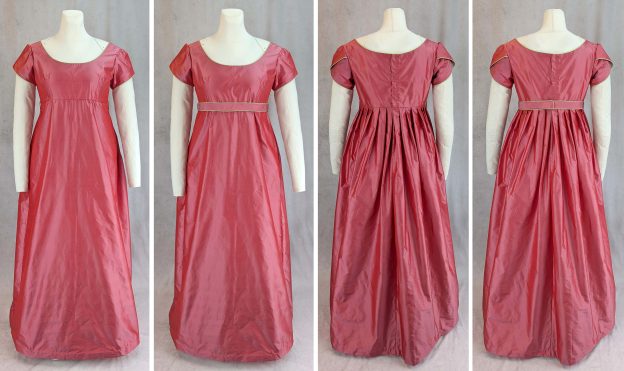
The world of historical fashion undoubtedly exerts a timeless allure that stimulates our imagination. For all those enchanted by the magnificent gowns and exquisite ensembles of the TV series Bridgerton, my sewing pattern allows everyone to fulfill their desire for a dreamy dress themselves.
Originally, I had crafted the dress in black for the Wave Gothic Festival in Leipzig. However, I have now revamped it in a colorful style reminiscent of Bridgerton. The instructions still adhere to historical techniques, but the dress can be sewn as much as possible with a sewing machine and closed at the back with a zipper instead of hooks and eyes.
The tulip sleeves are not typical of the Regency/Empire era, however, they are an important stylistic element of the dresses of young women featured in the show. The first tulip or petal sleeves can be seen on extant dresses from the 1850s.
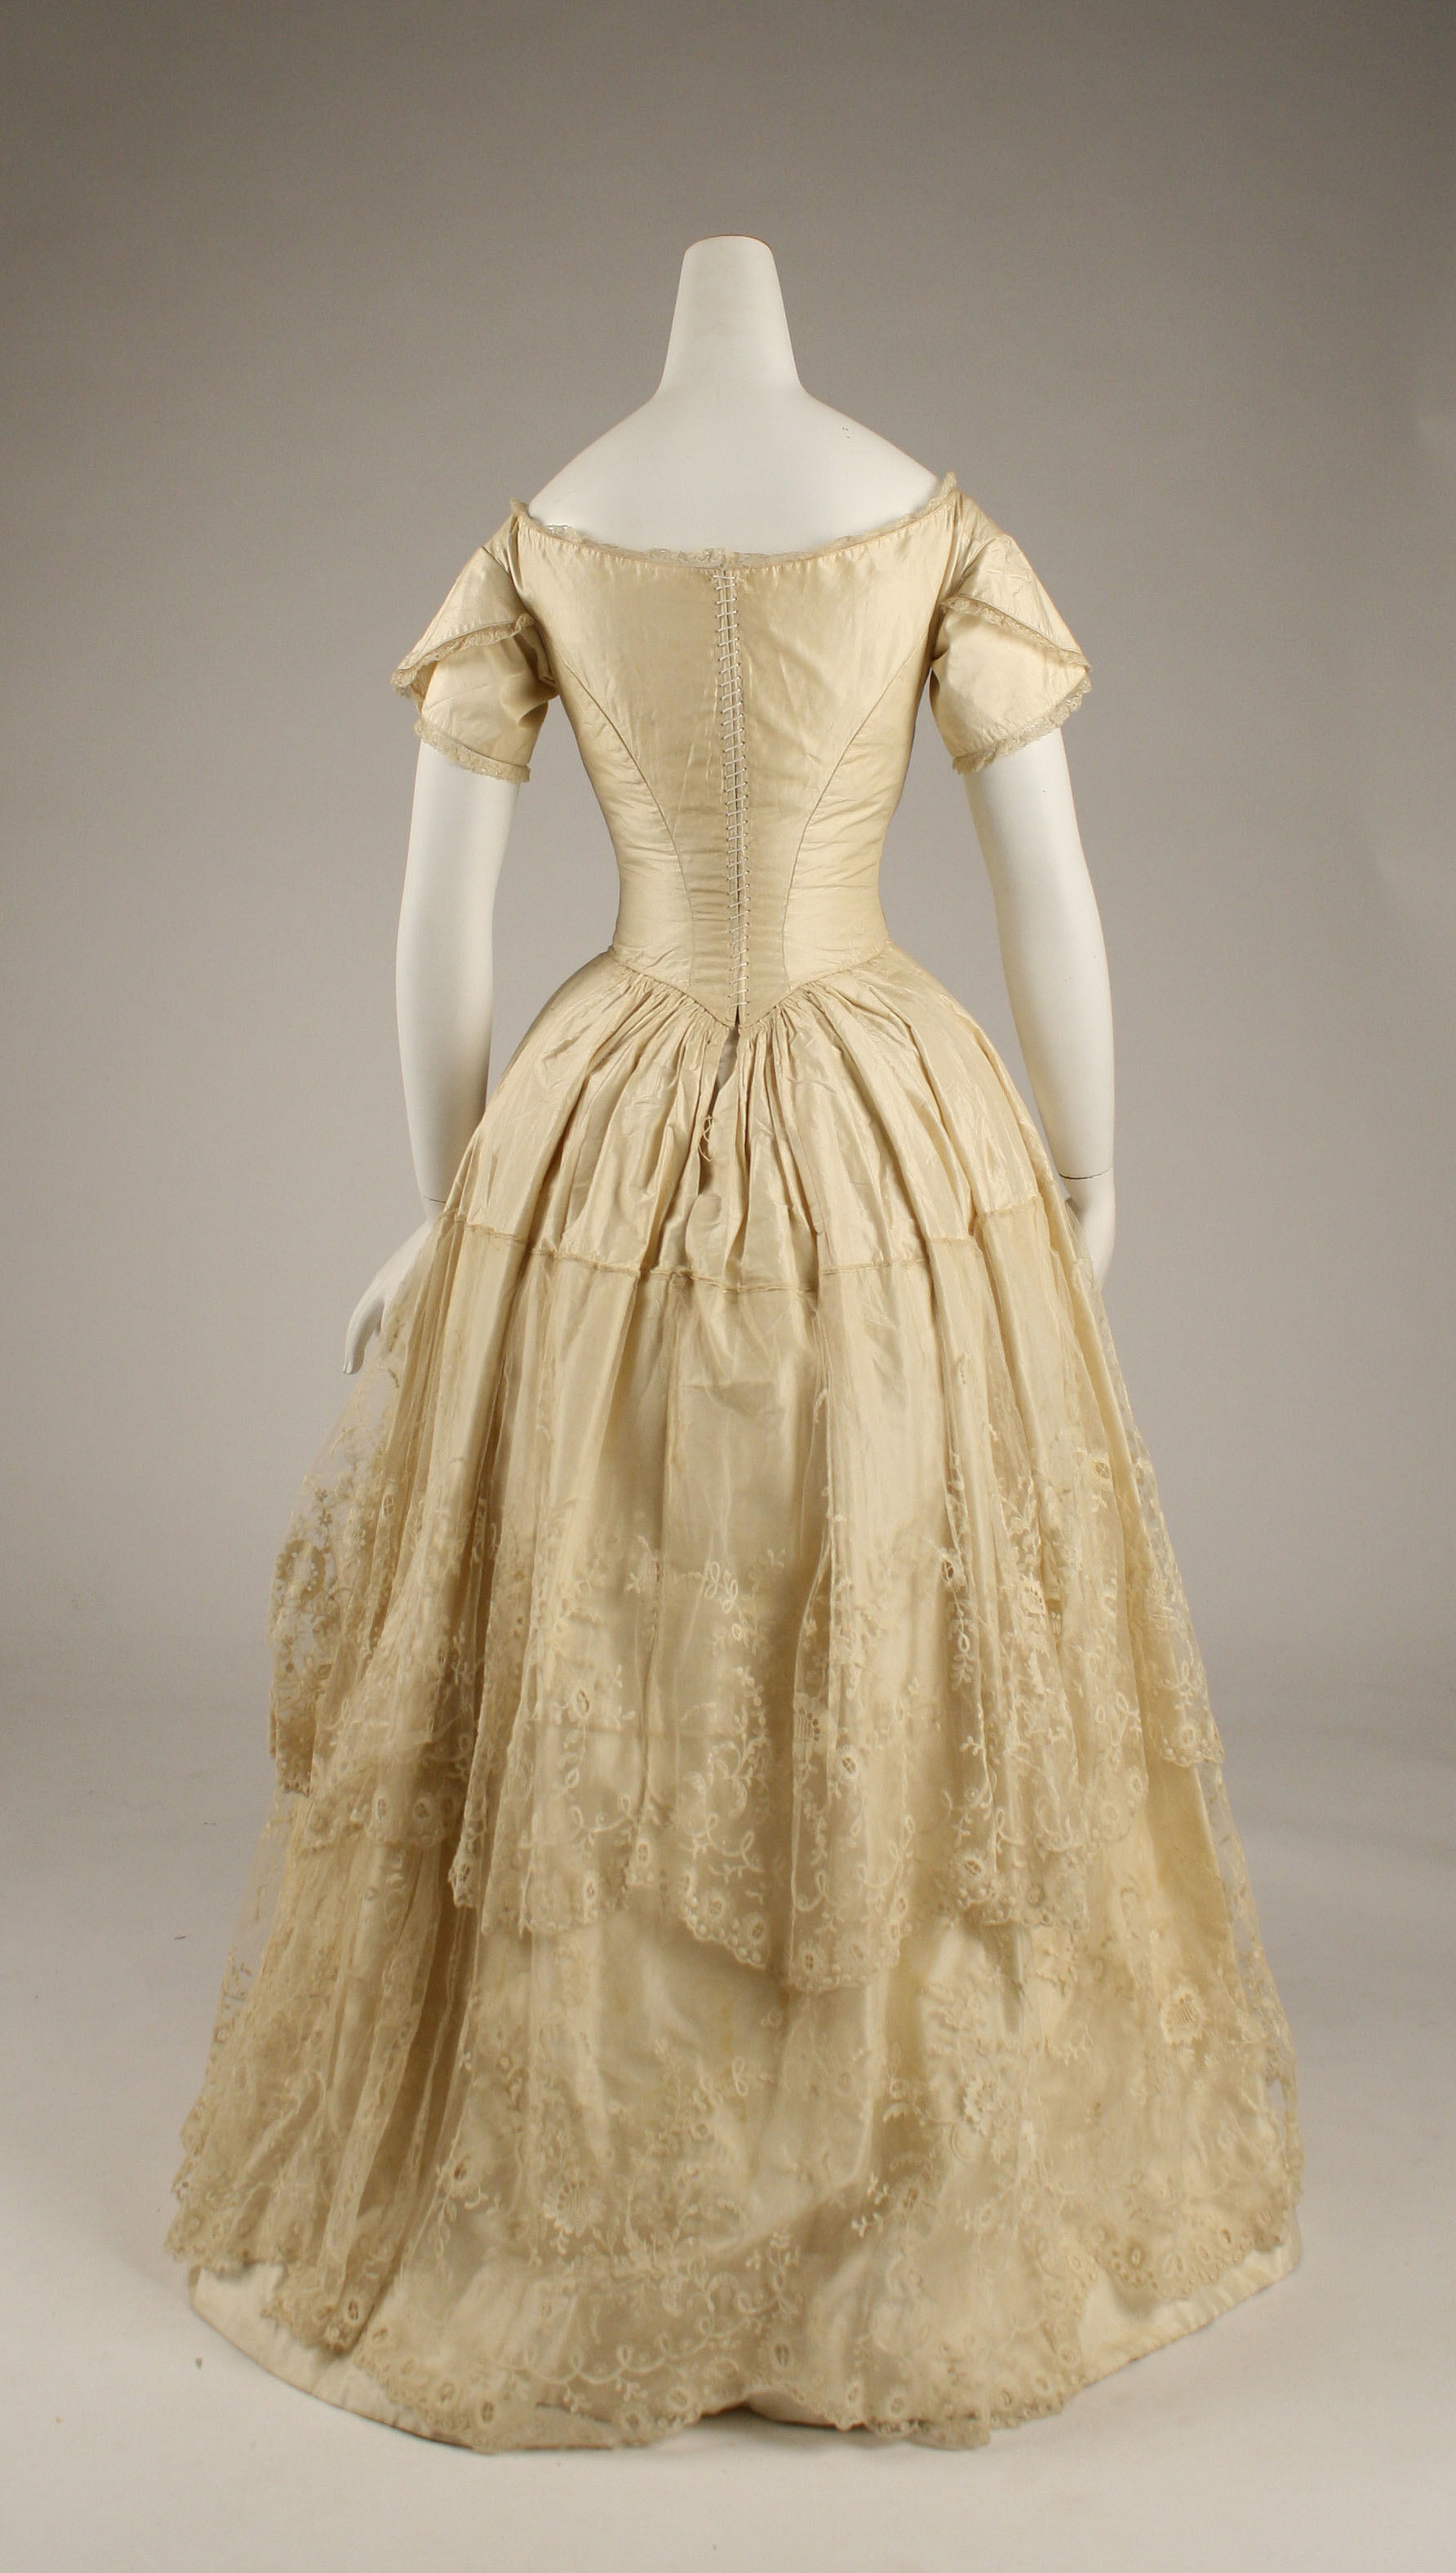
https://www.metmuseum.org/art/collection/search/108118
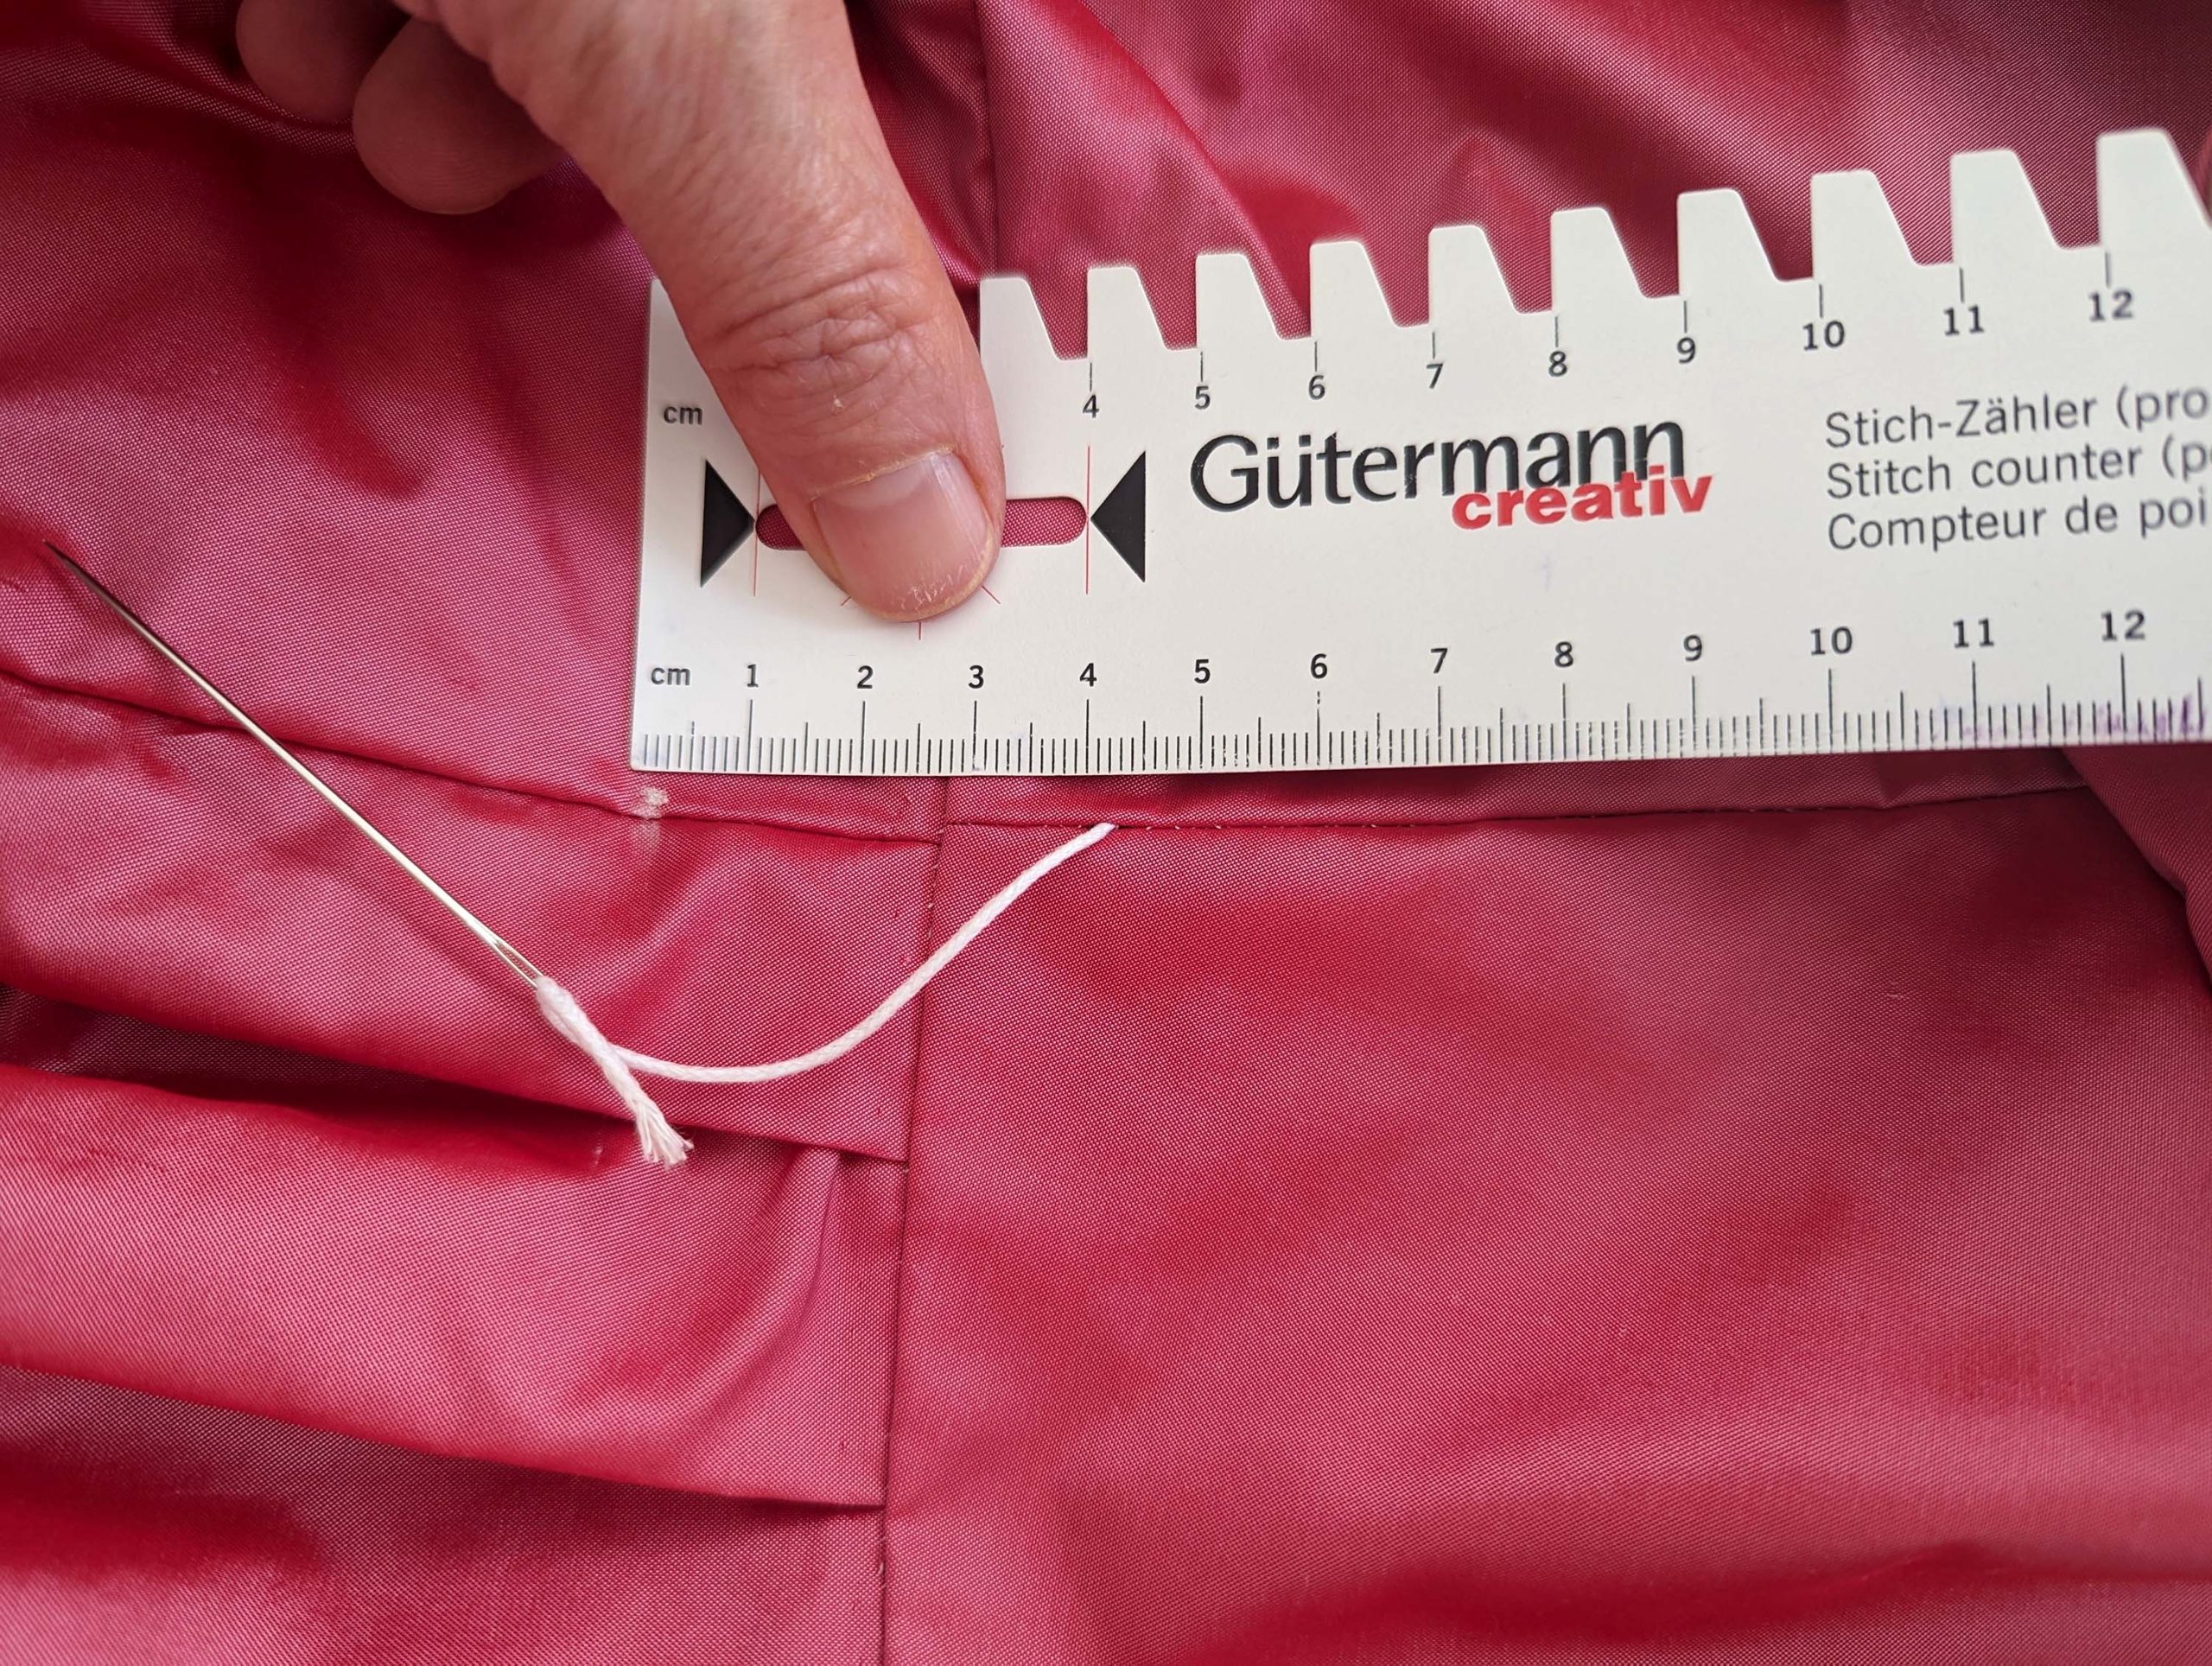
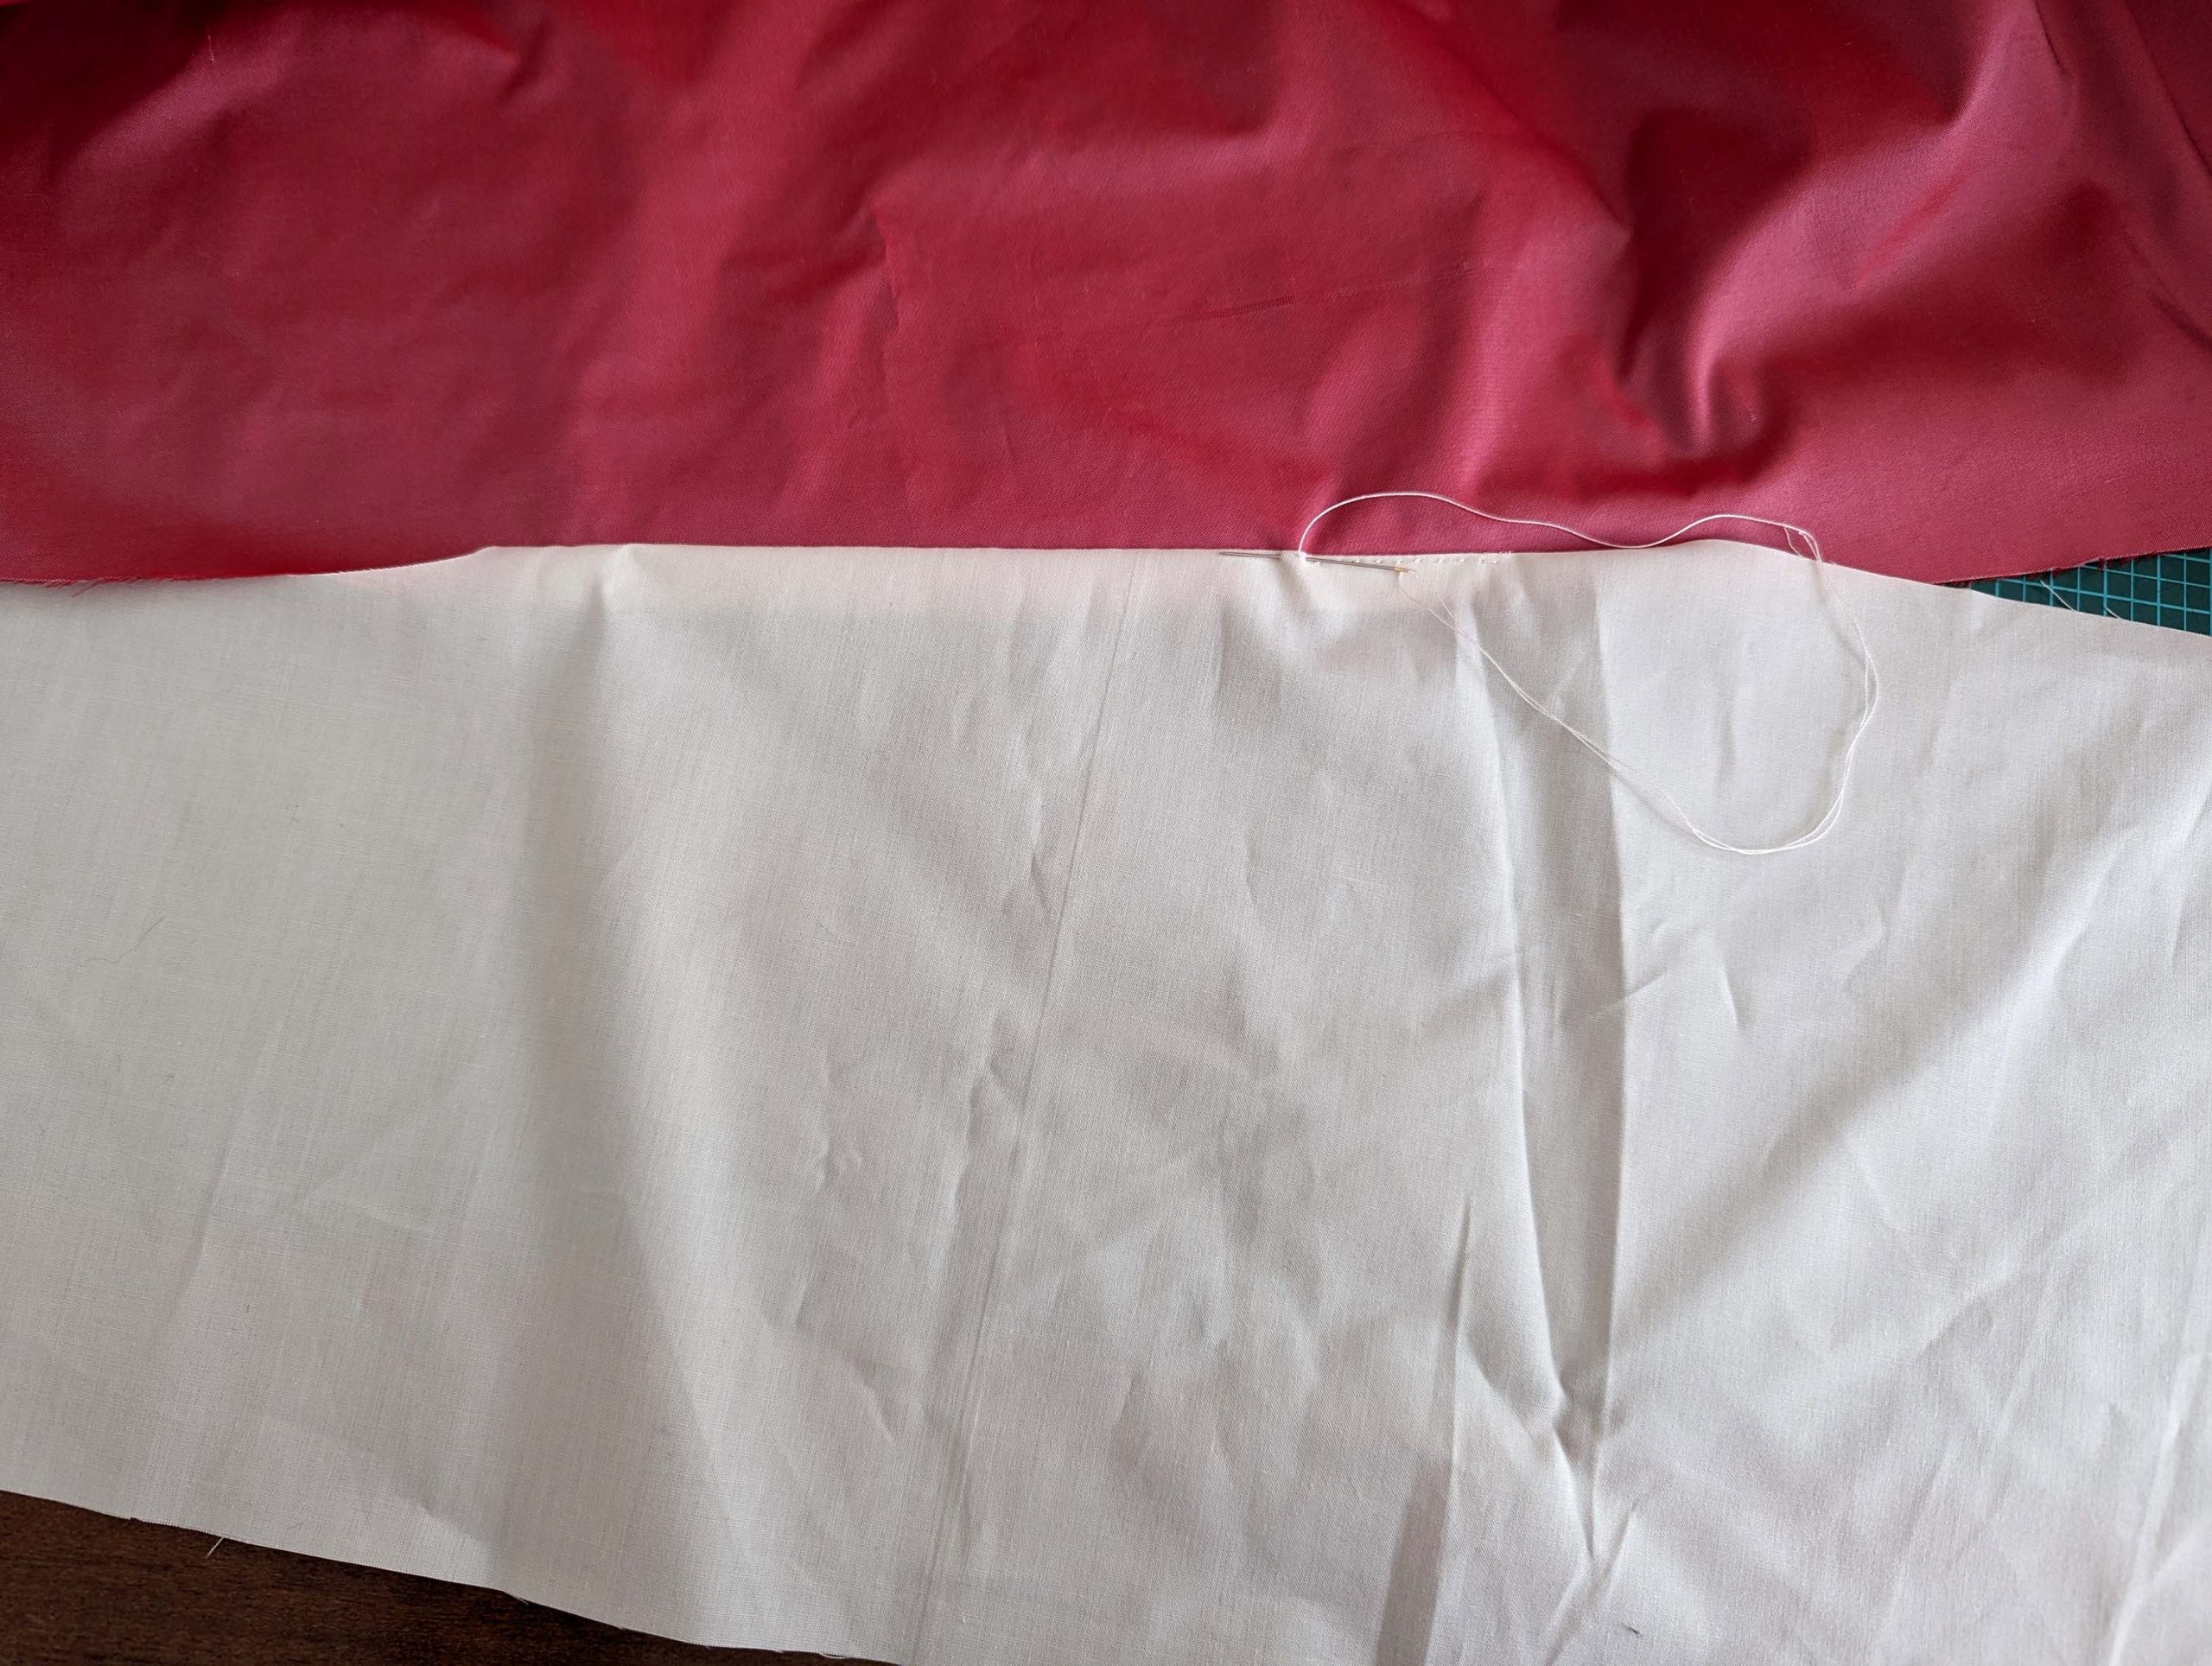
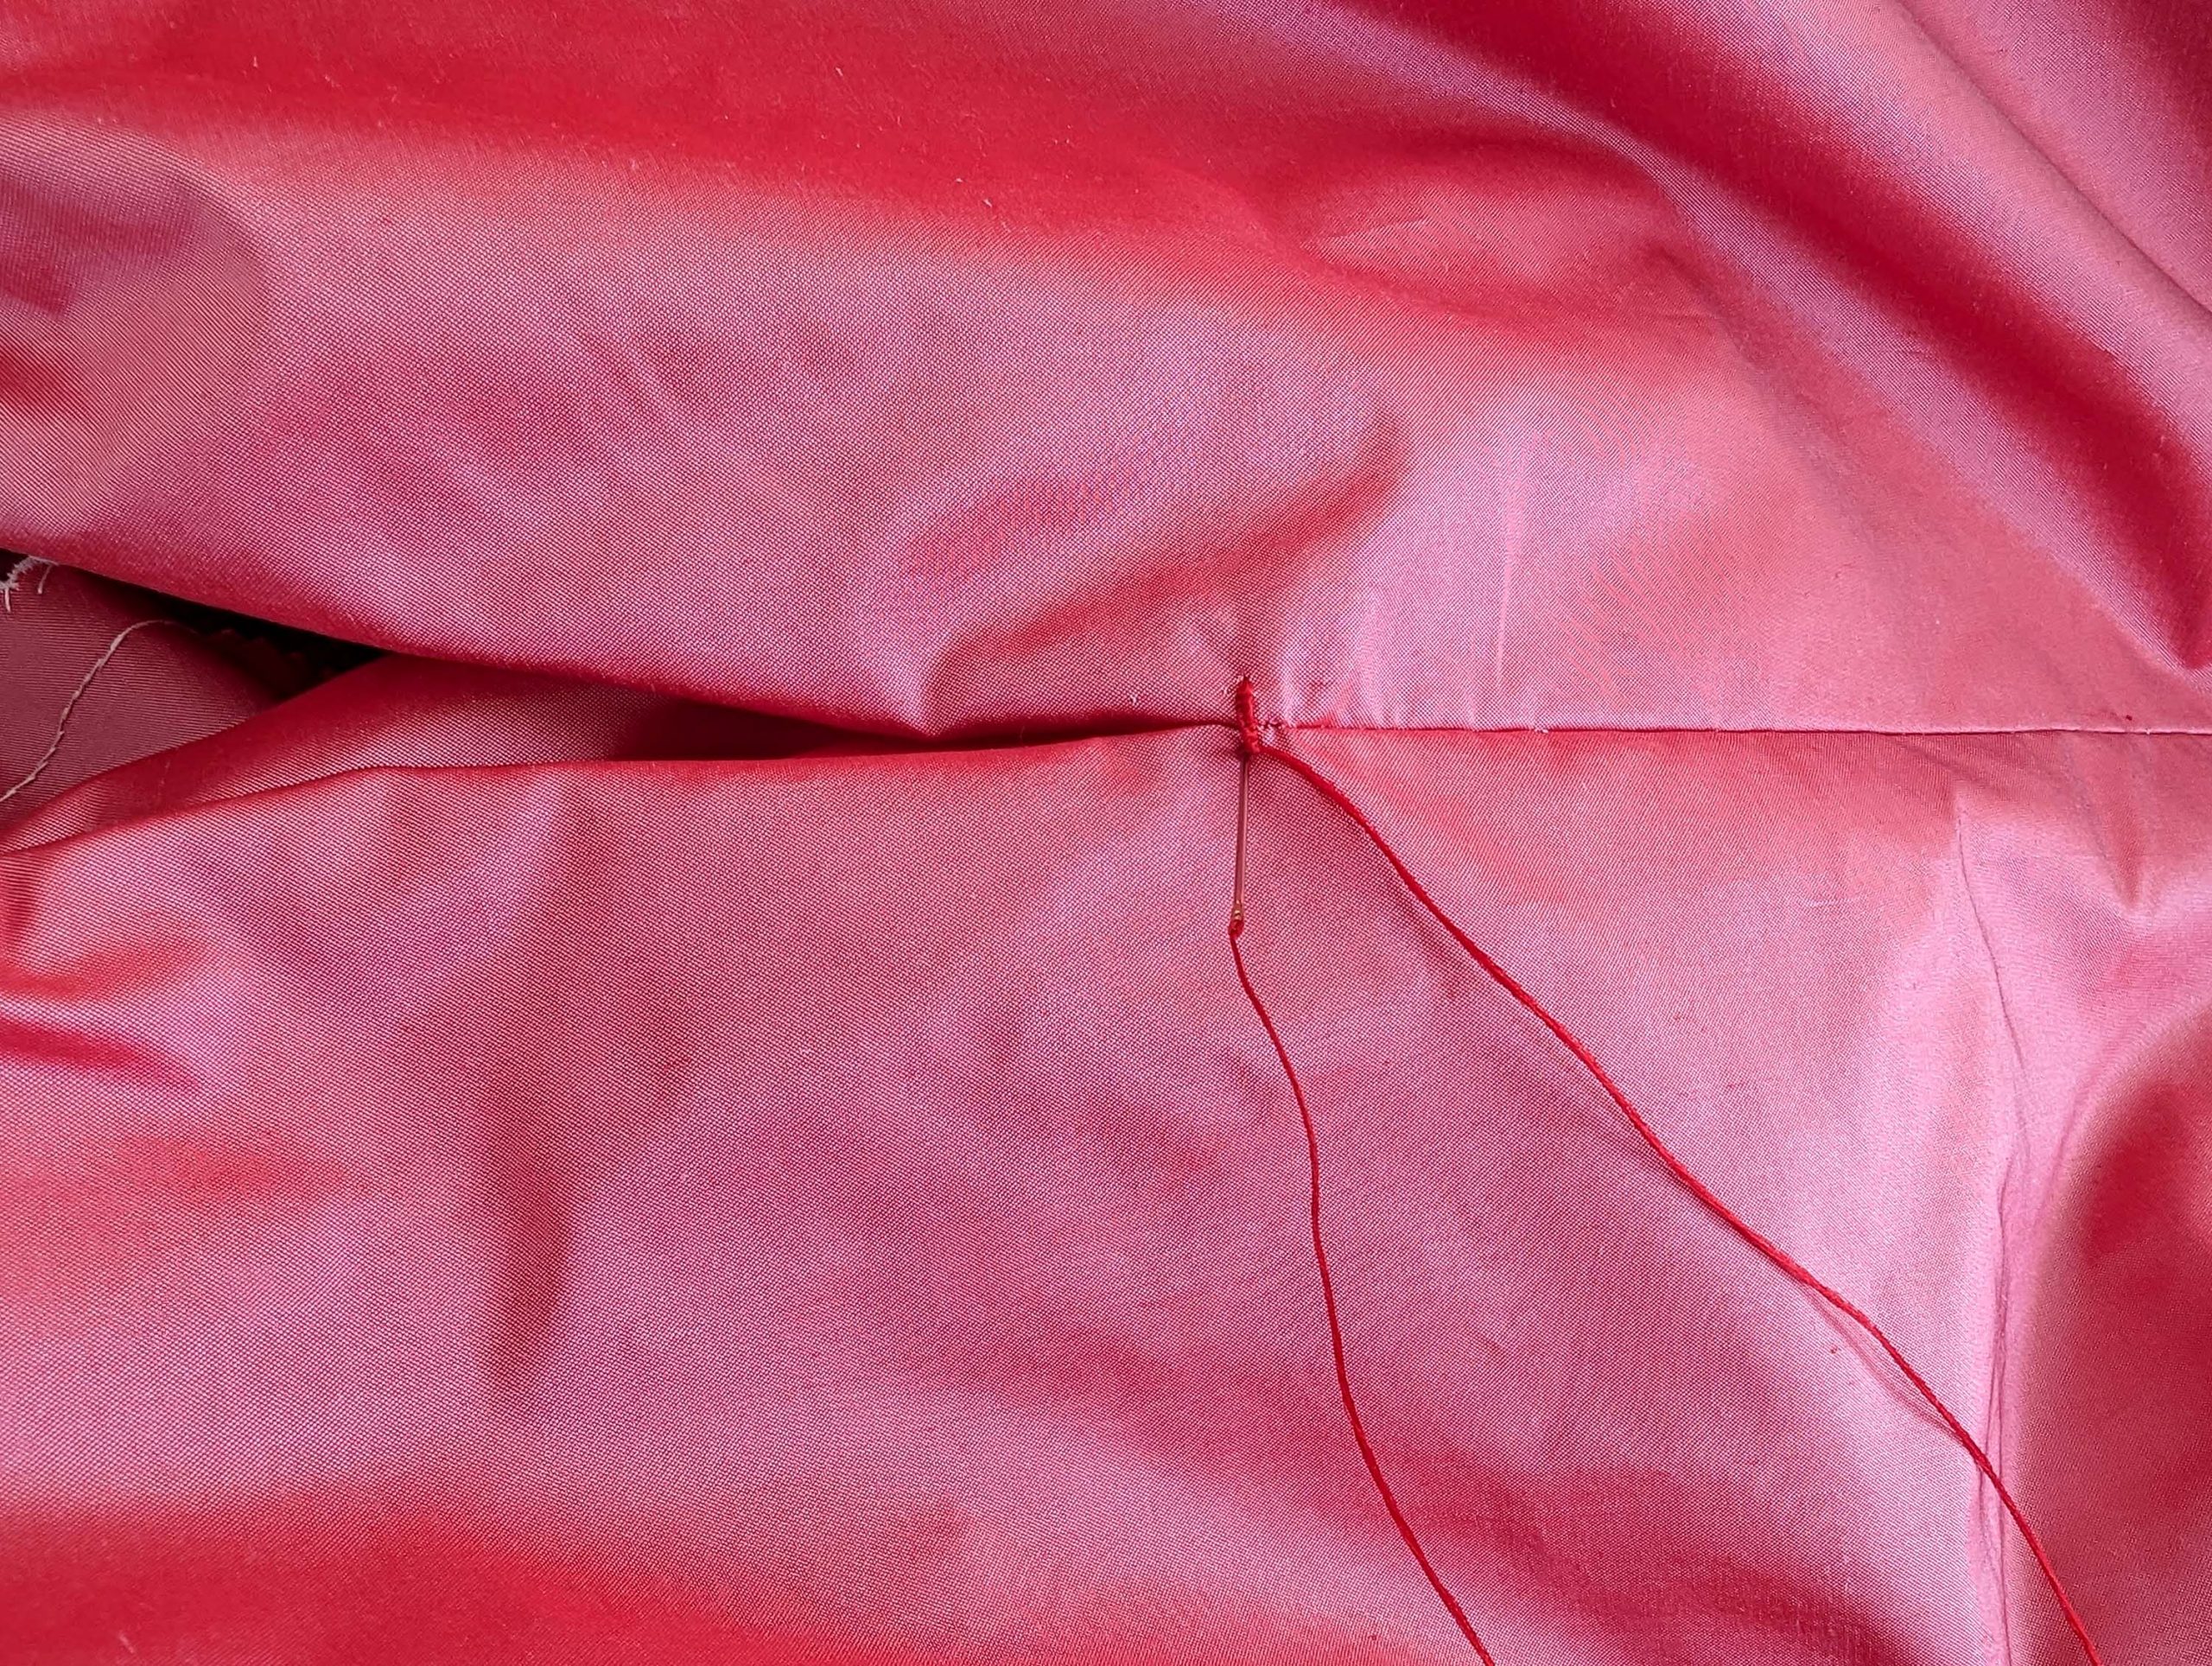
Let’s dive into the world of hand-sewing a dress! Back in those times, garments were typically sewn with white thread. I didn’t have a matching silk thread at home, so, in keeping with historical accuracy, the entire dress was sewn with white thread.
As always, we will follow the instructions step by step, accompanied by numerous detailed pictures.
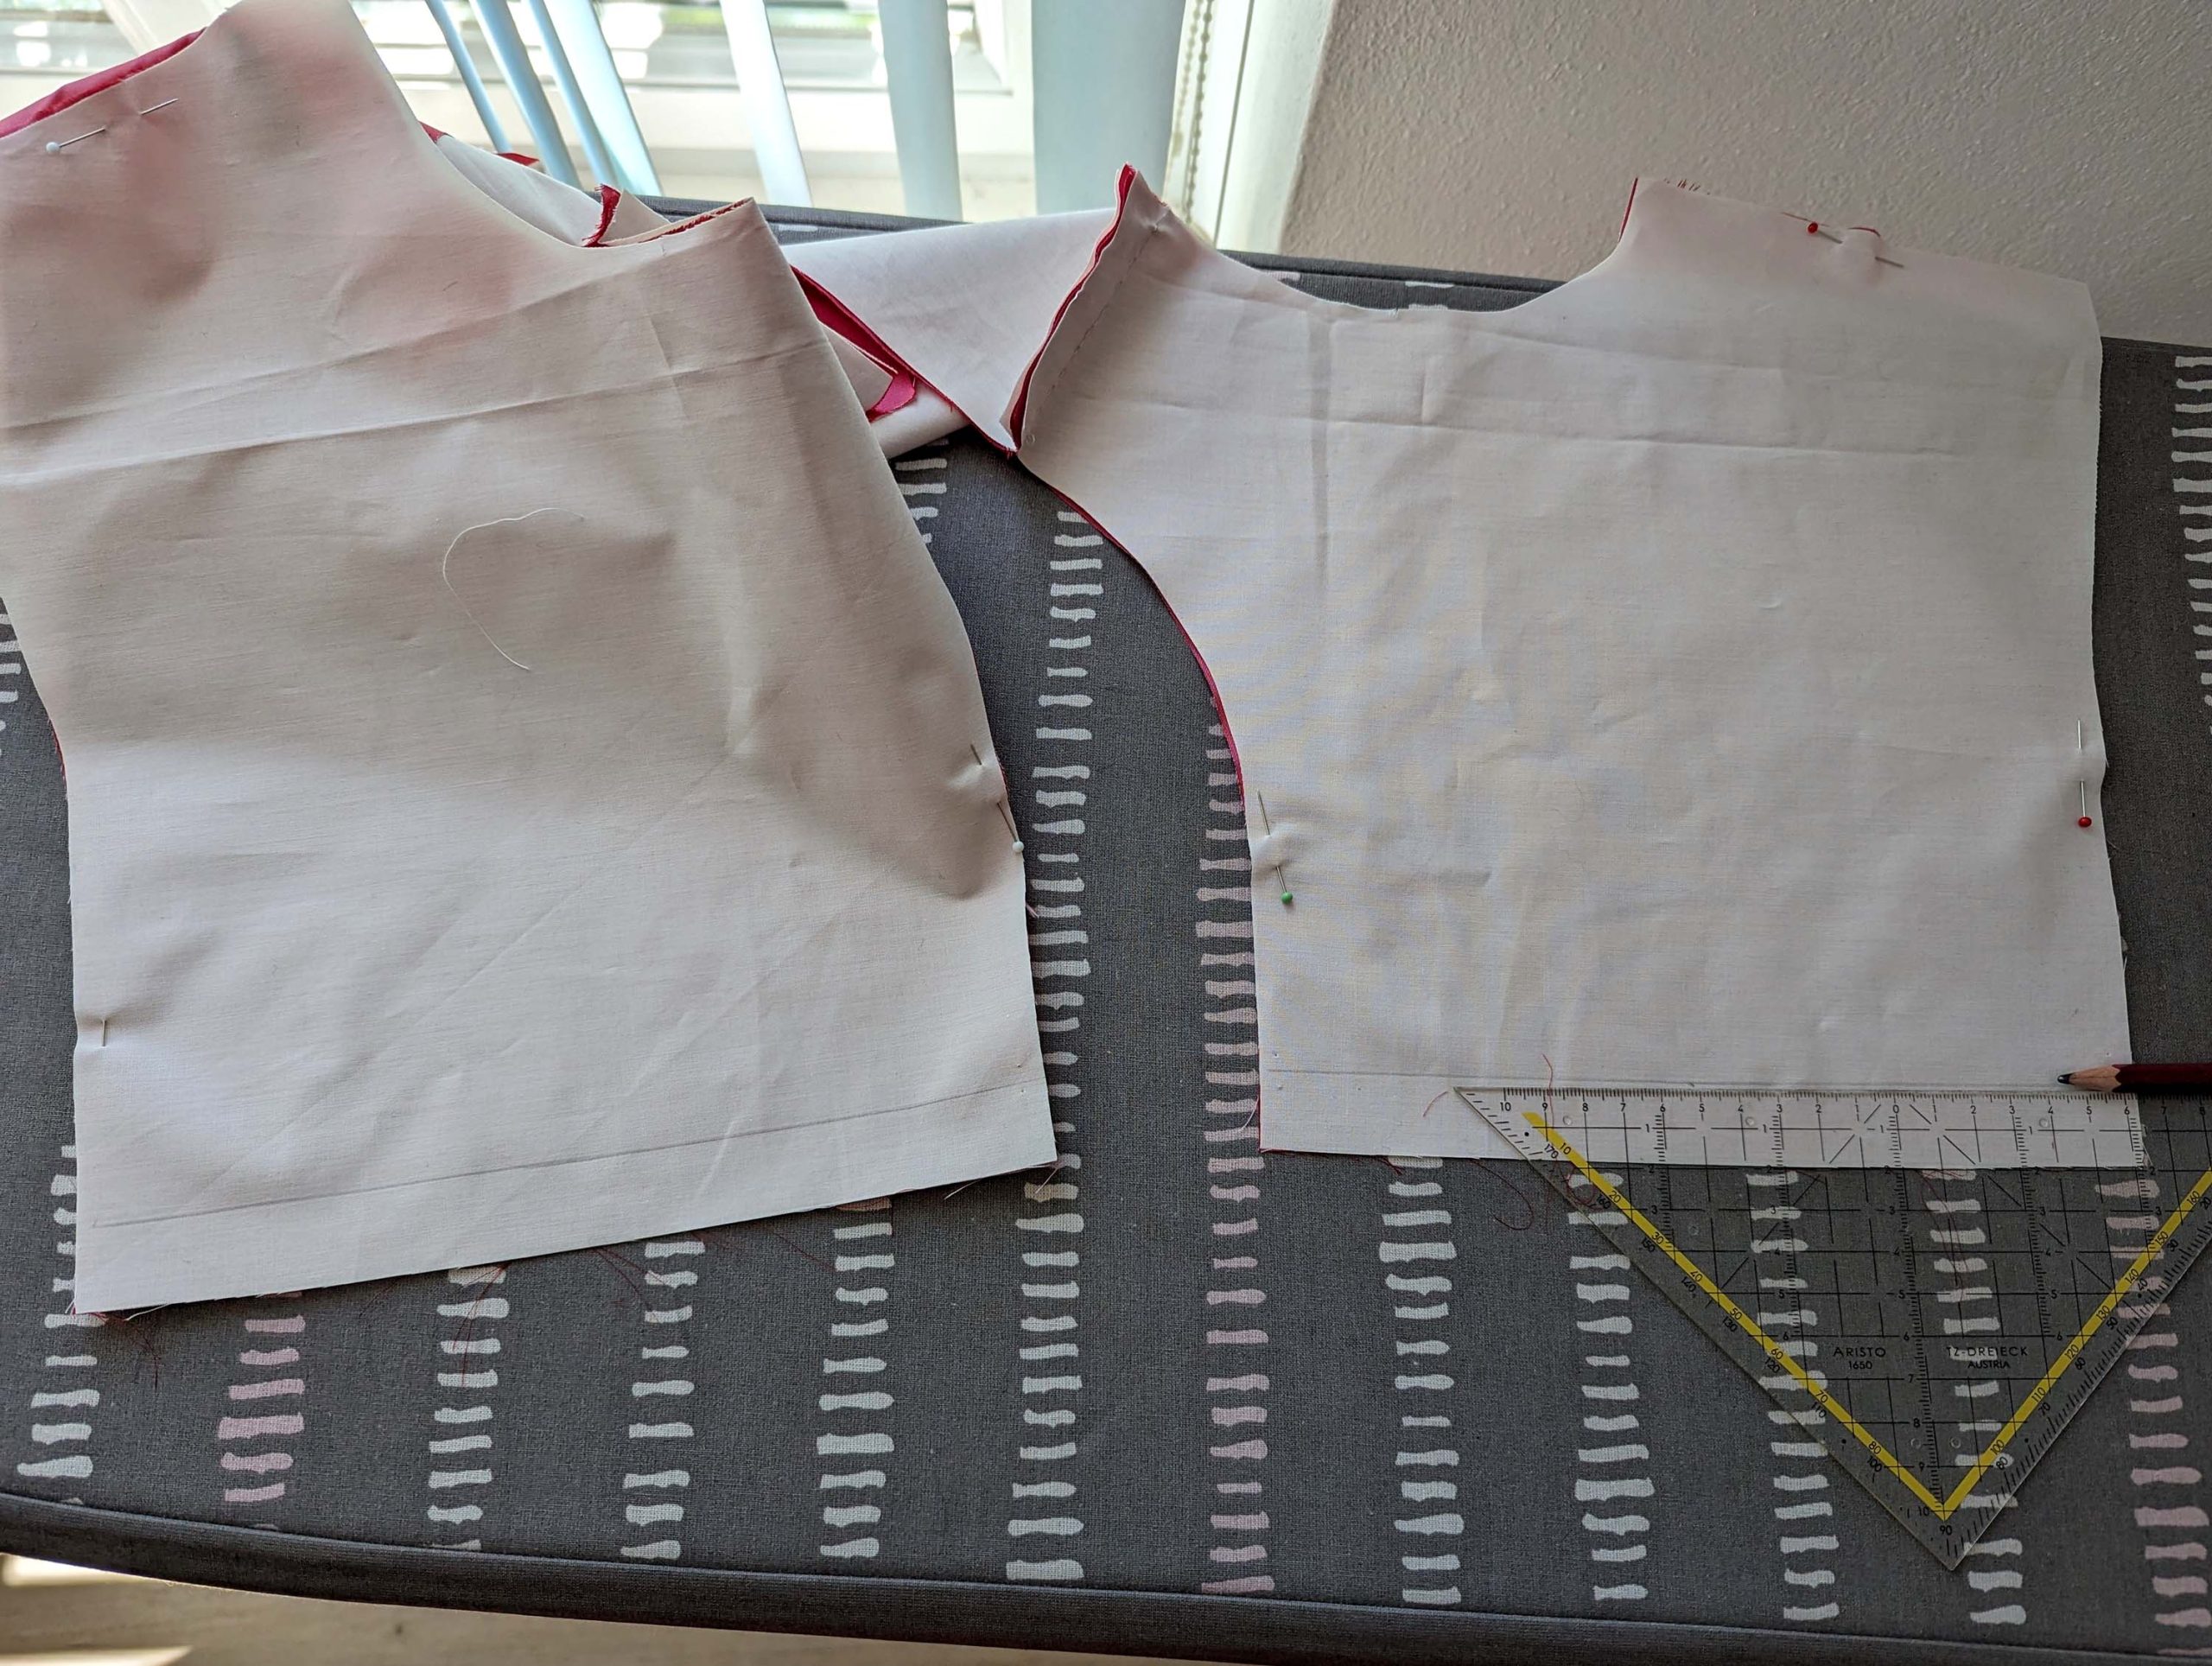
(1) Start with a mockup! Then, cut all the pieces, transfer all darts, marks, and notches, and flatline the bodice and sleeves.
(2) Sew the darts and press towards the sides. Start at the top and try to make small and tight stitches there, without crumpling the fabric. Sew the shoulder seams, right sides together and press open the seam allowances.

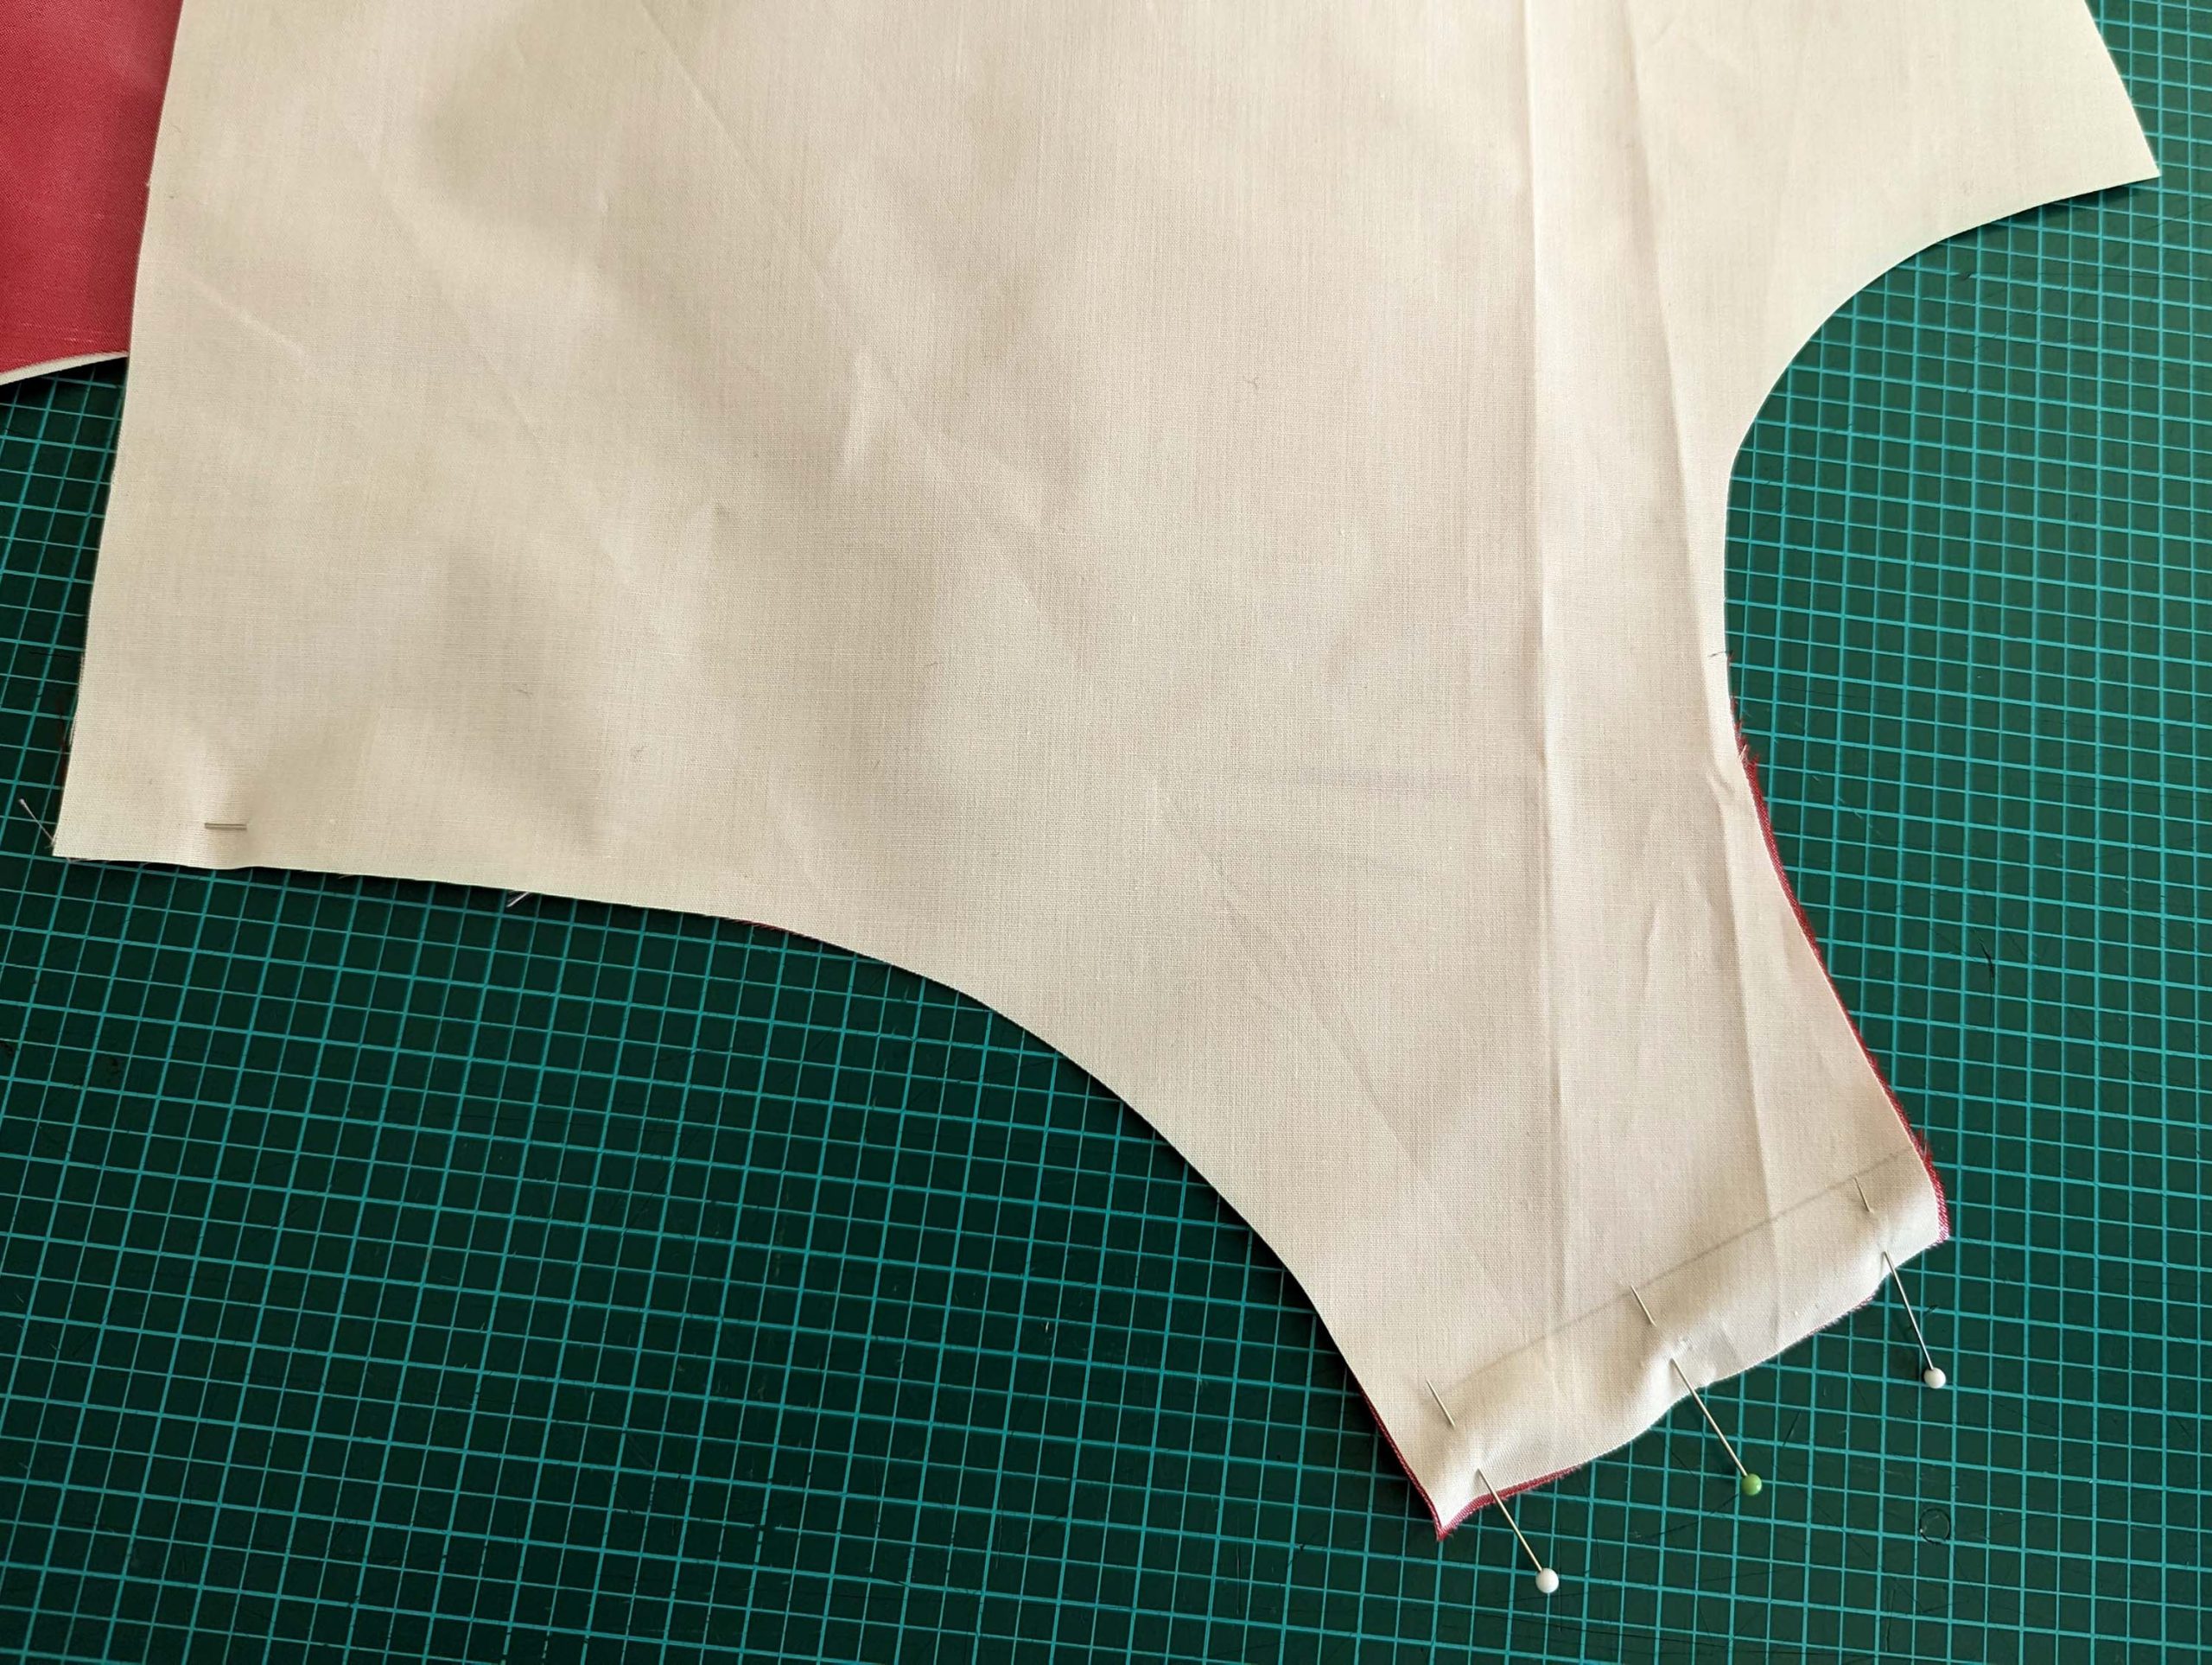
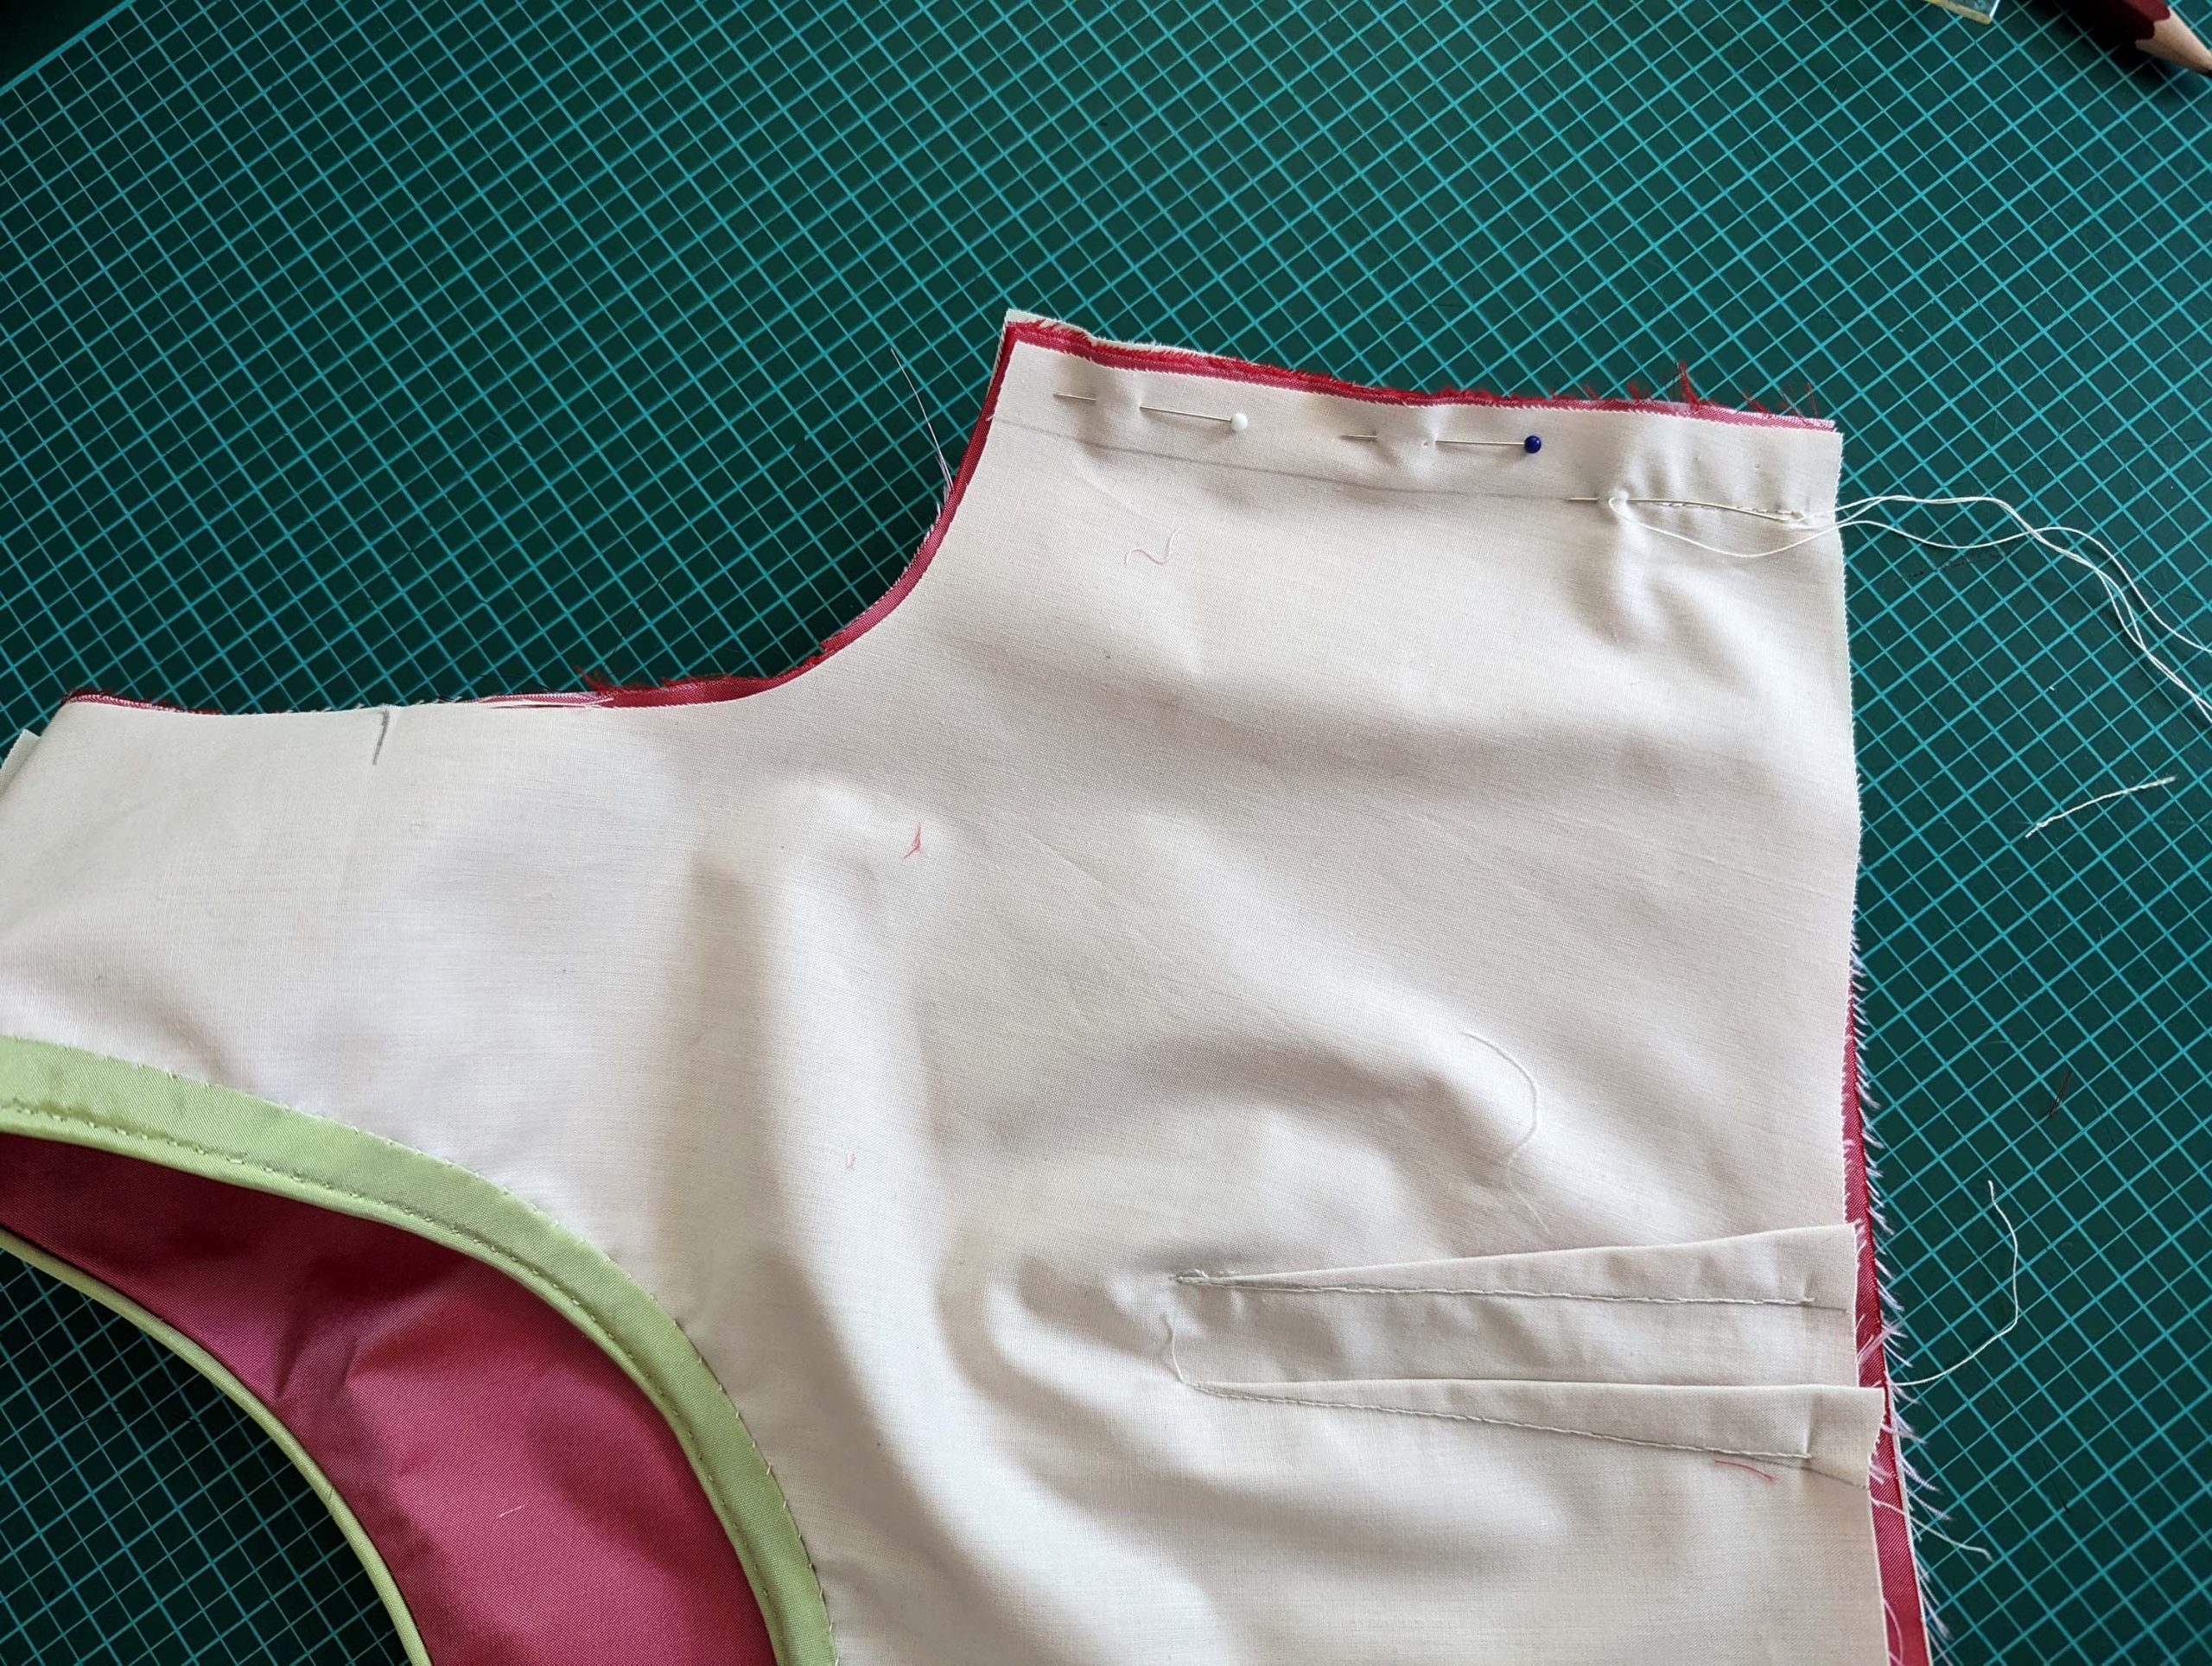
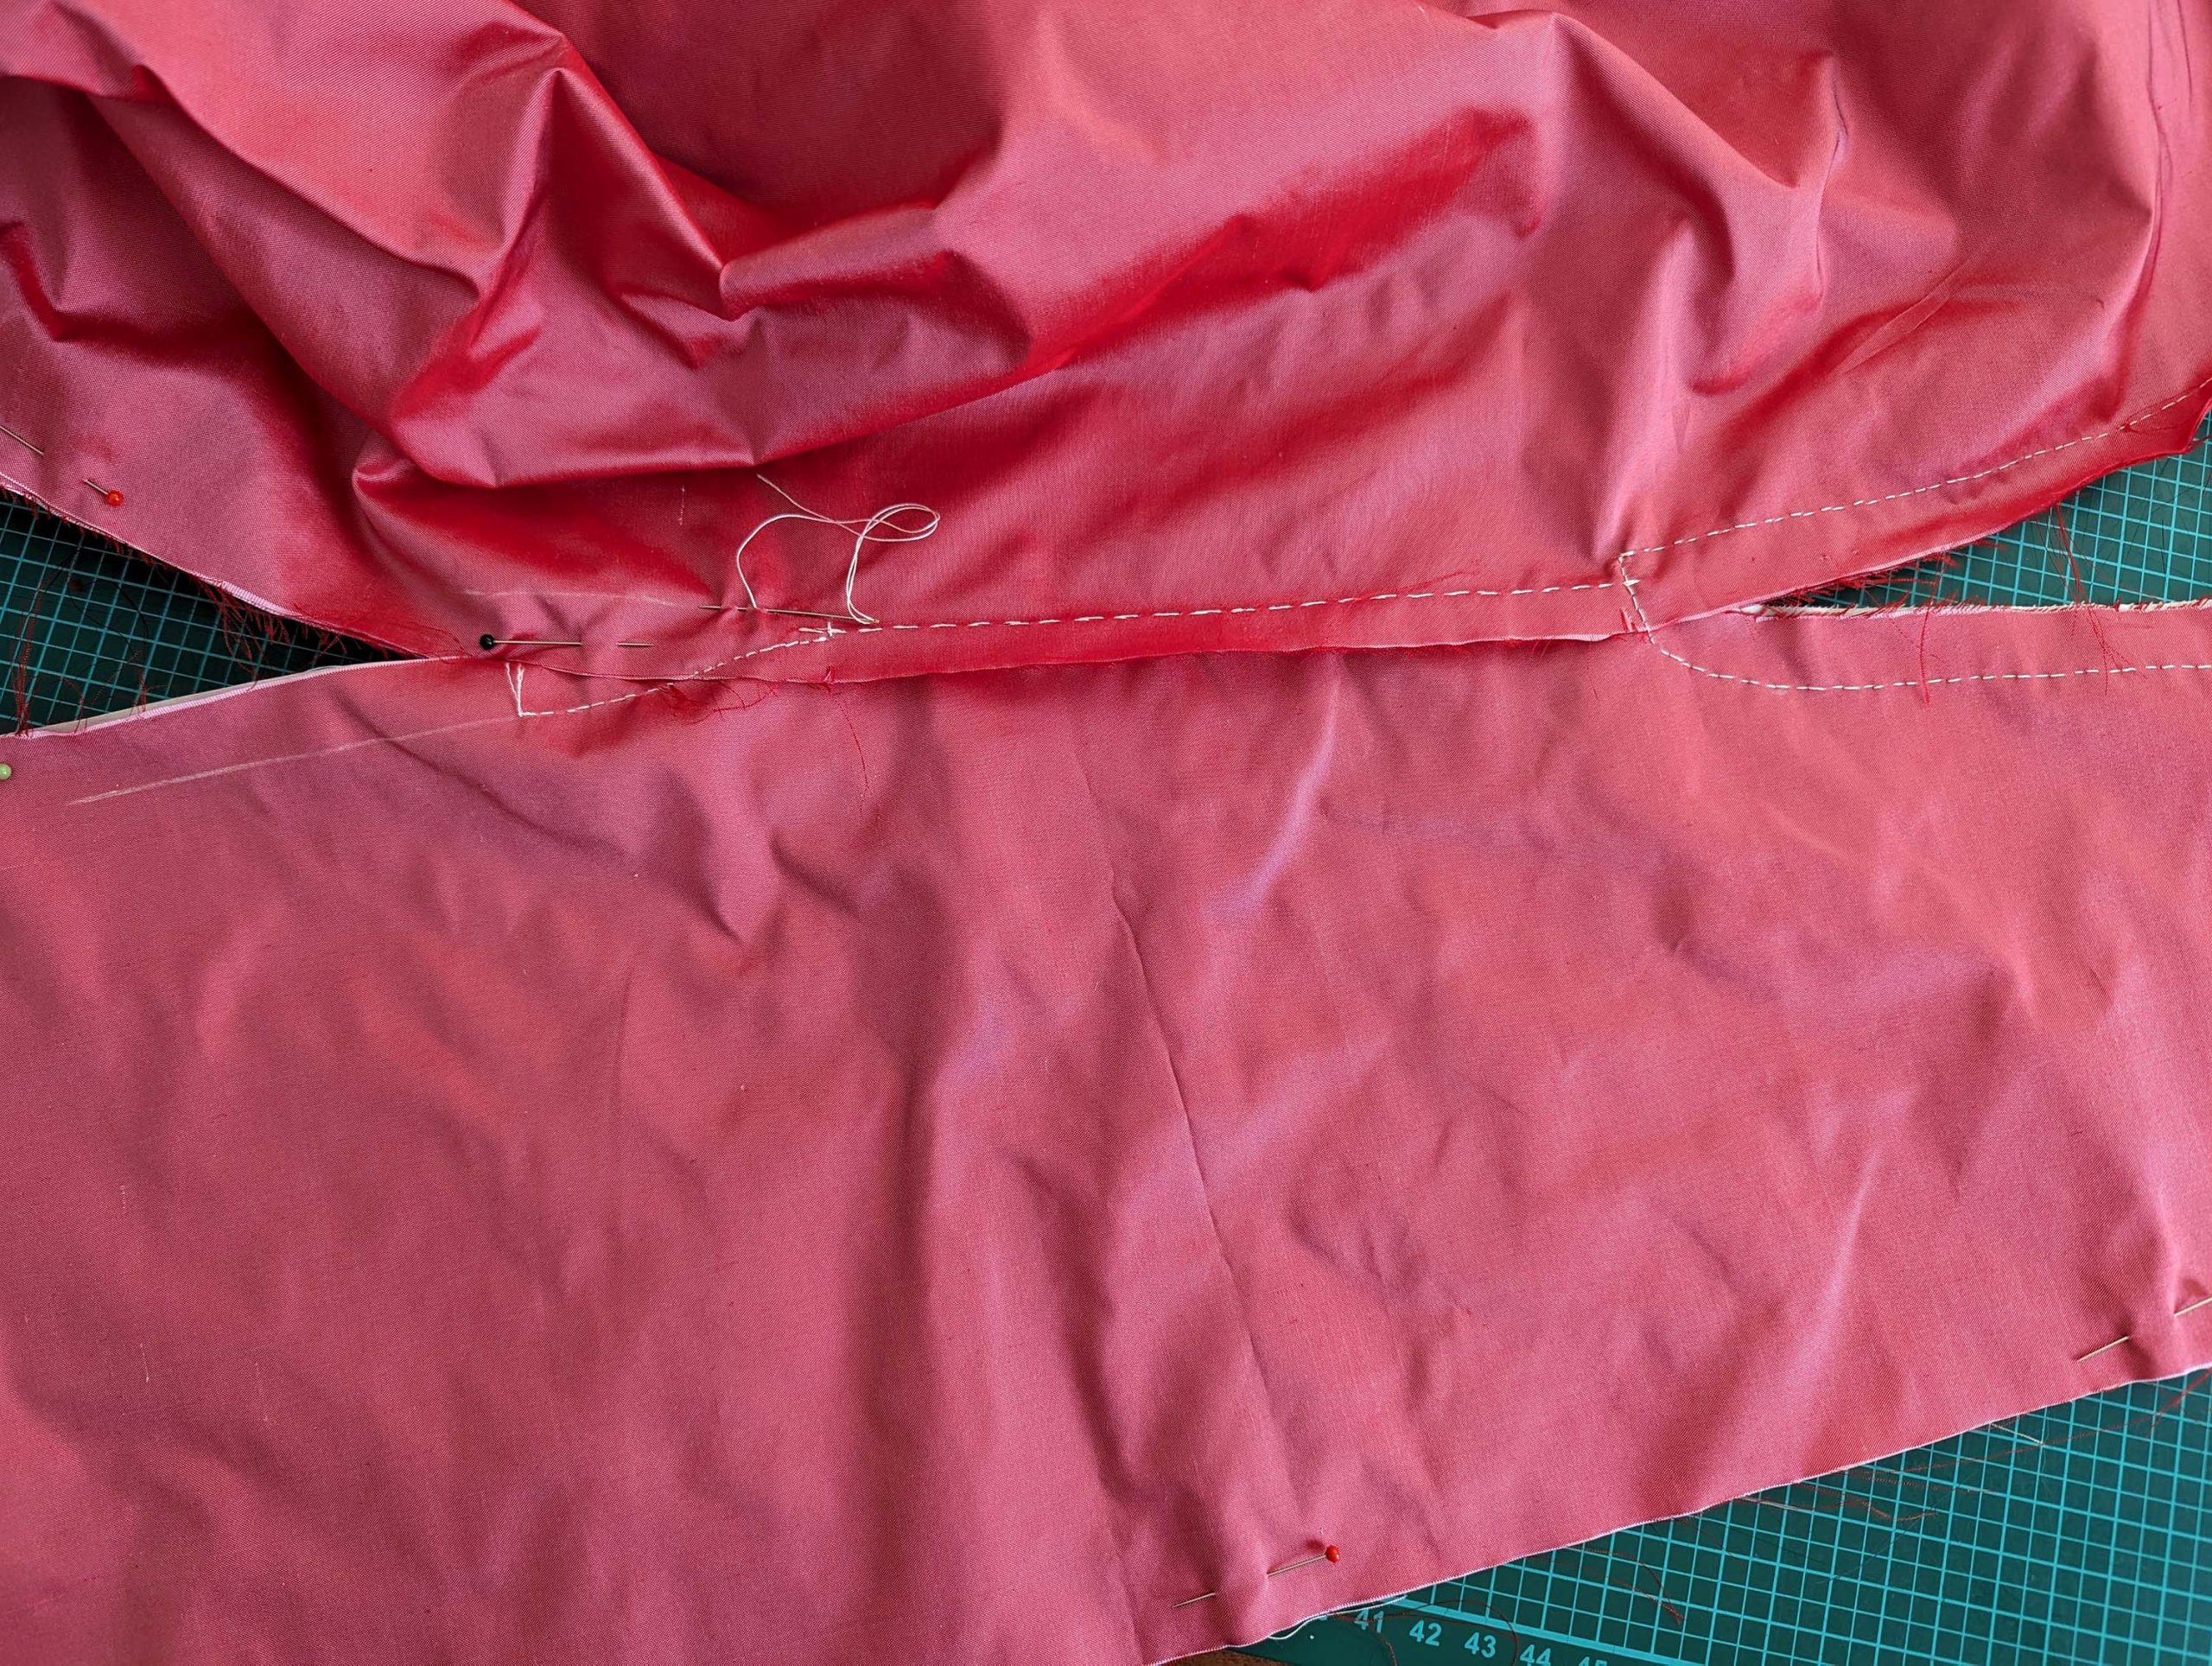
At this point, I prepared the back edges before applying the piping to the neckline when having the bodice on the ironing board.
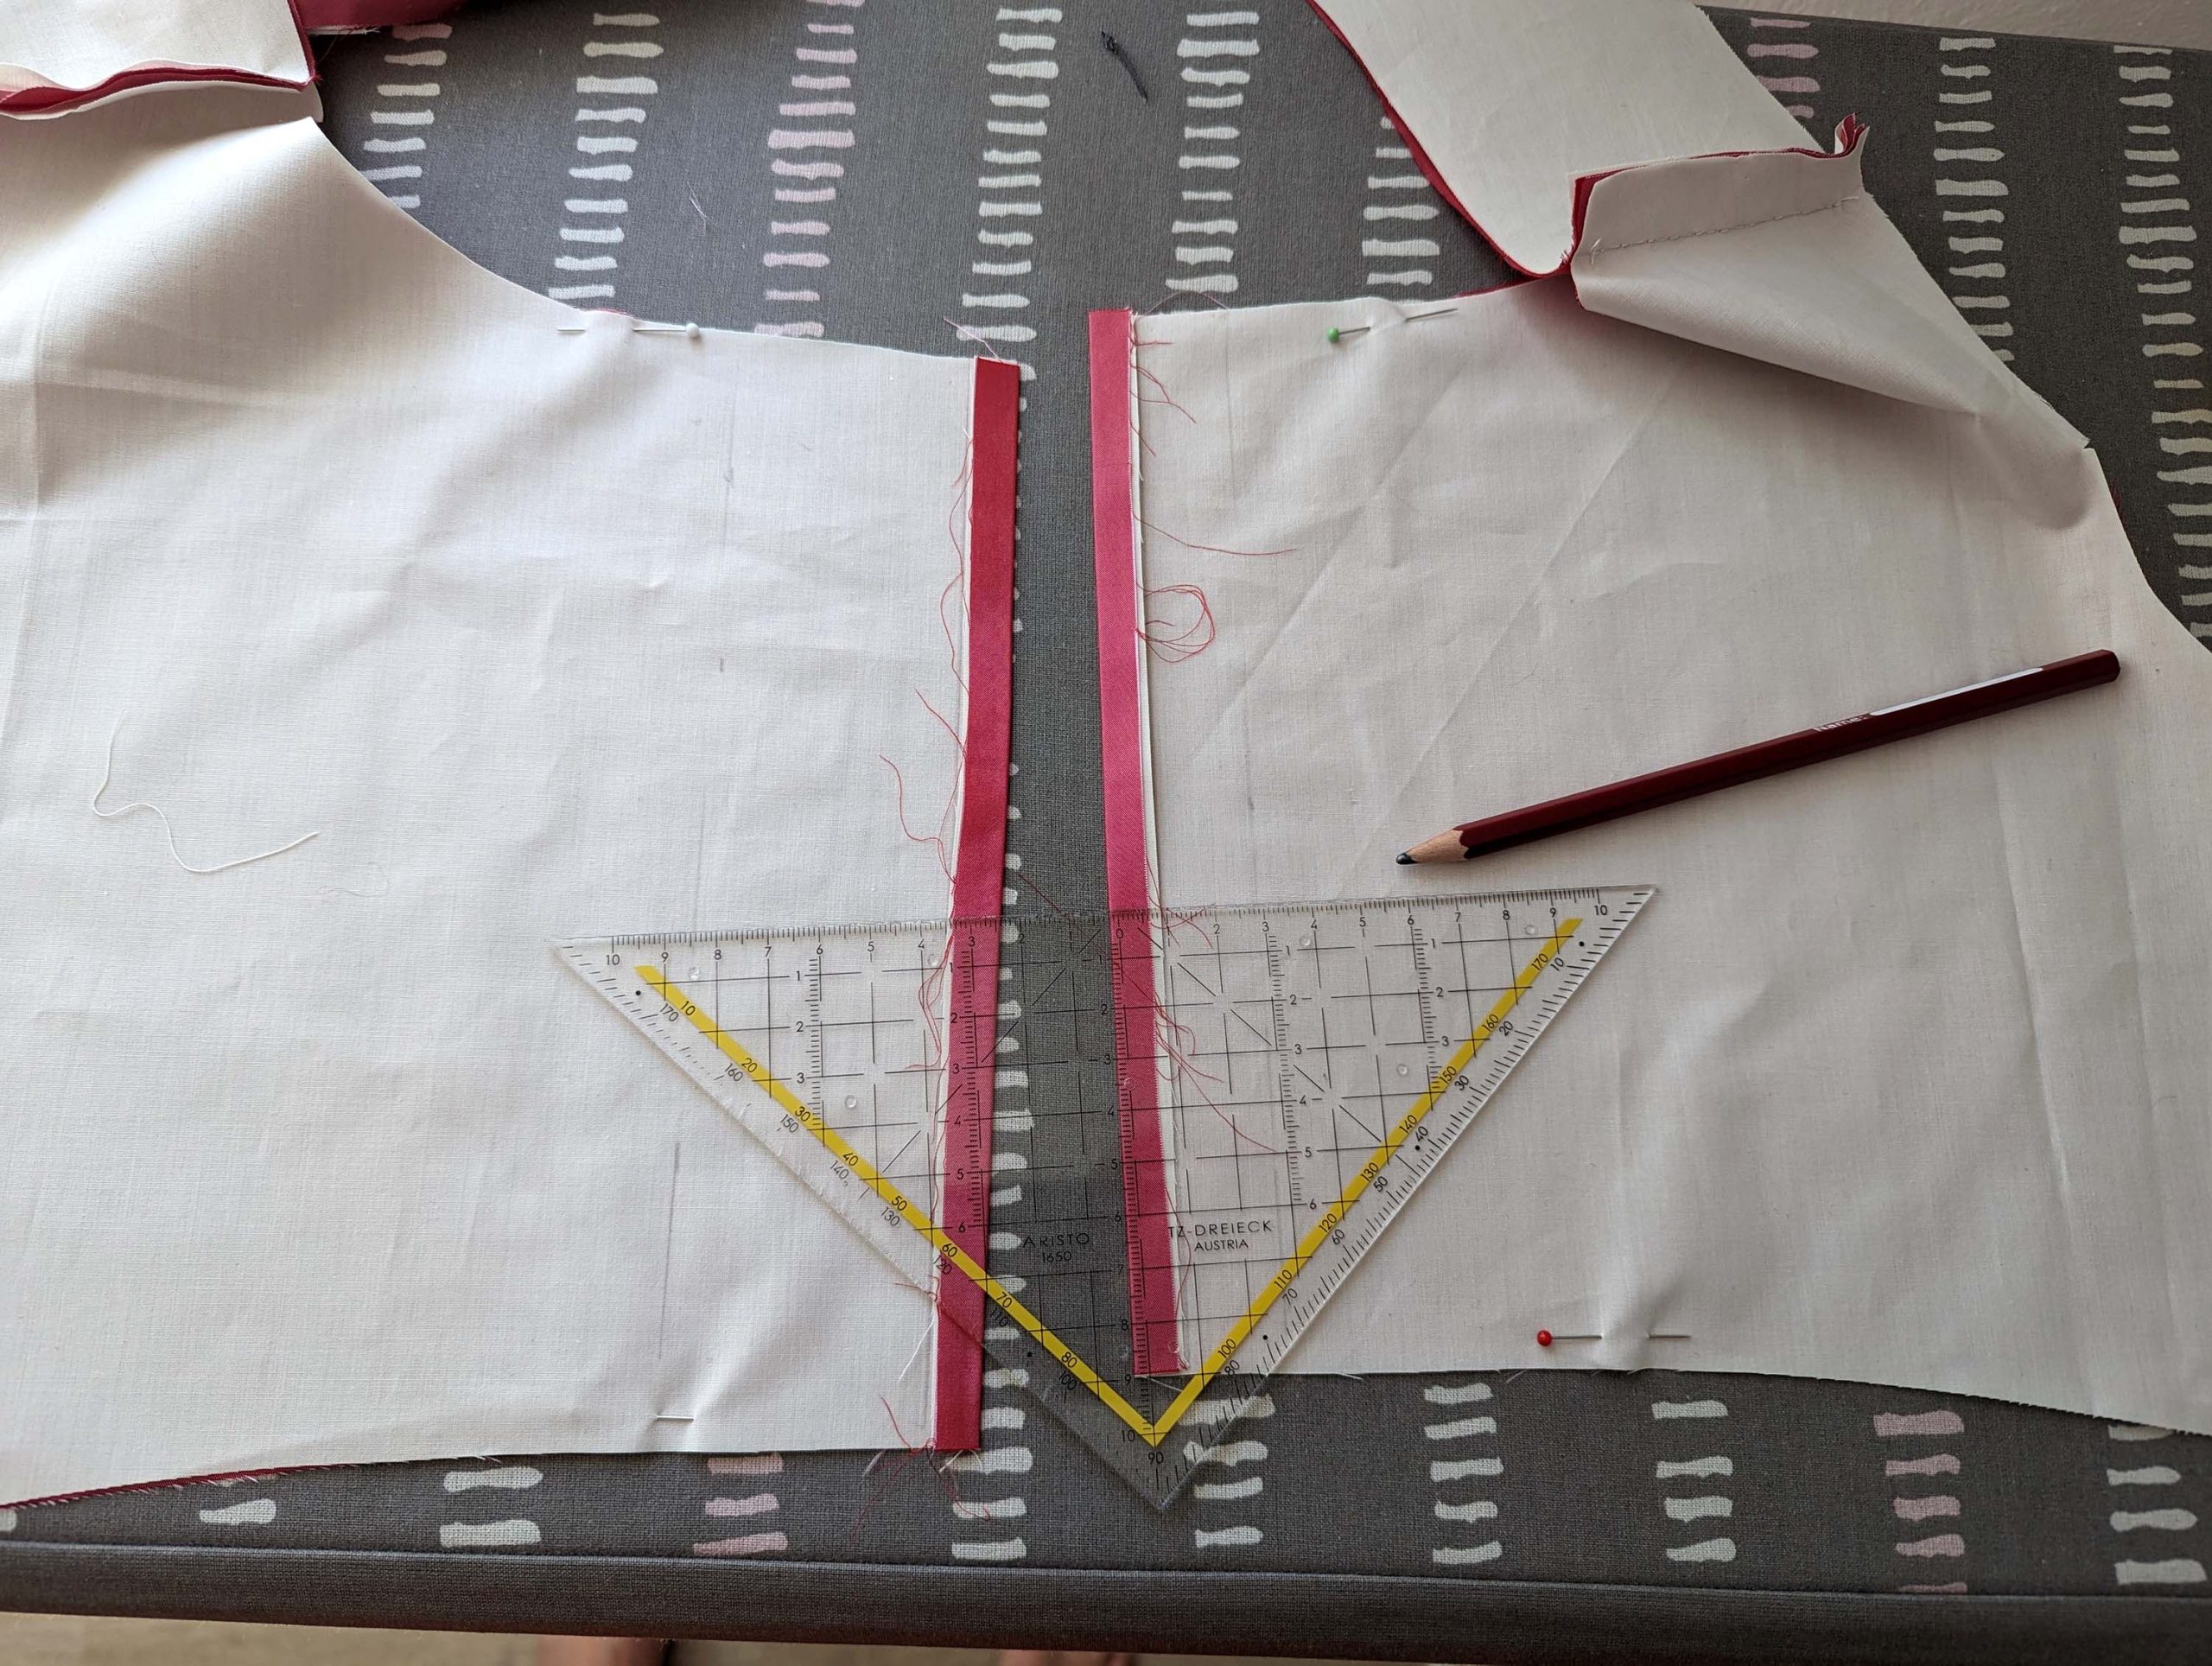
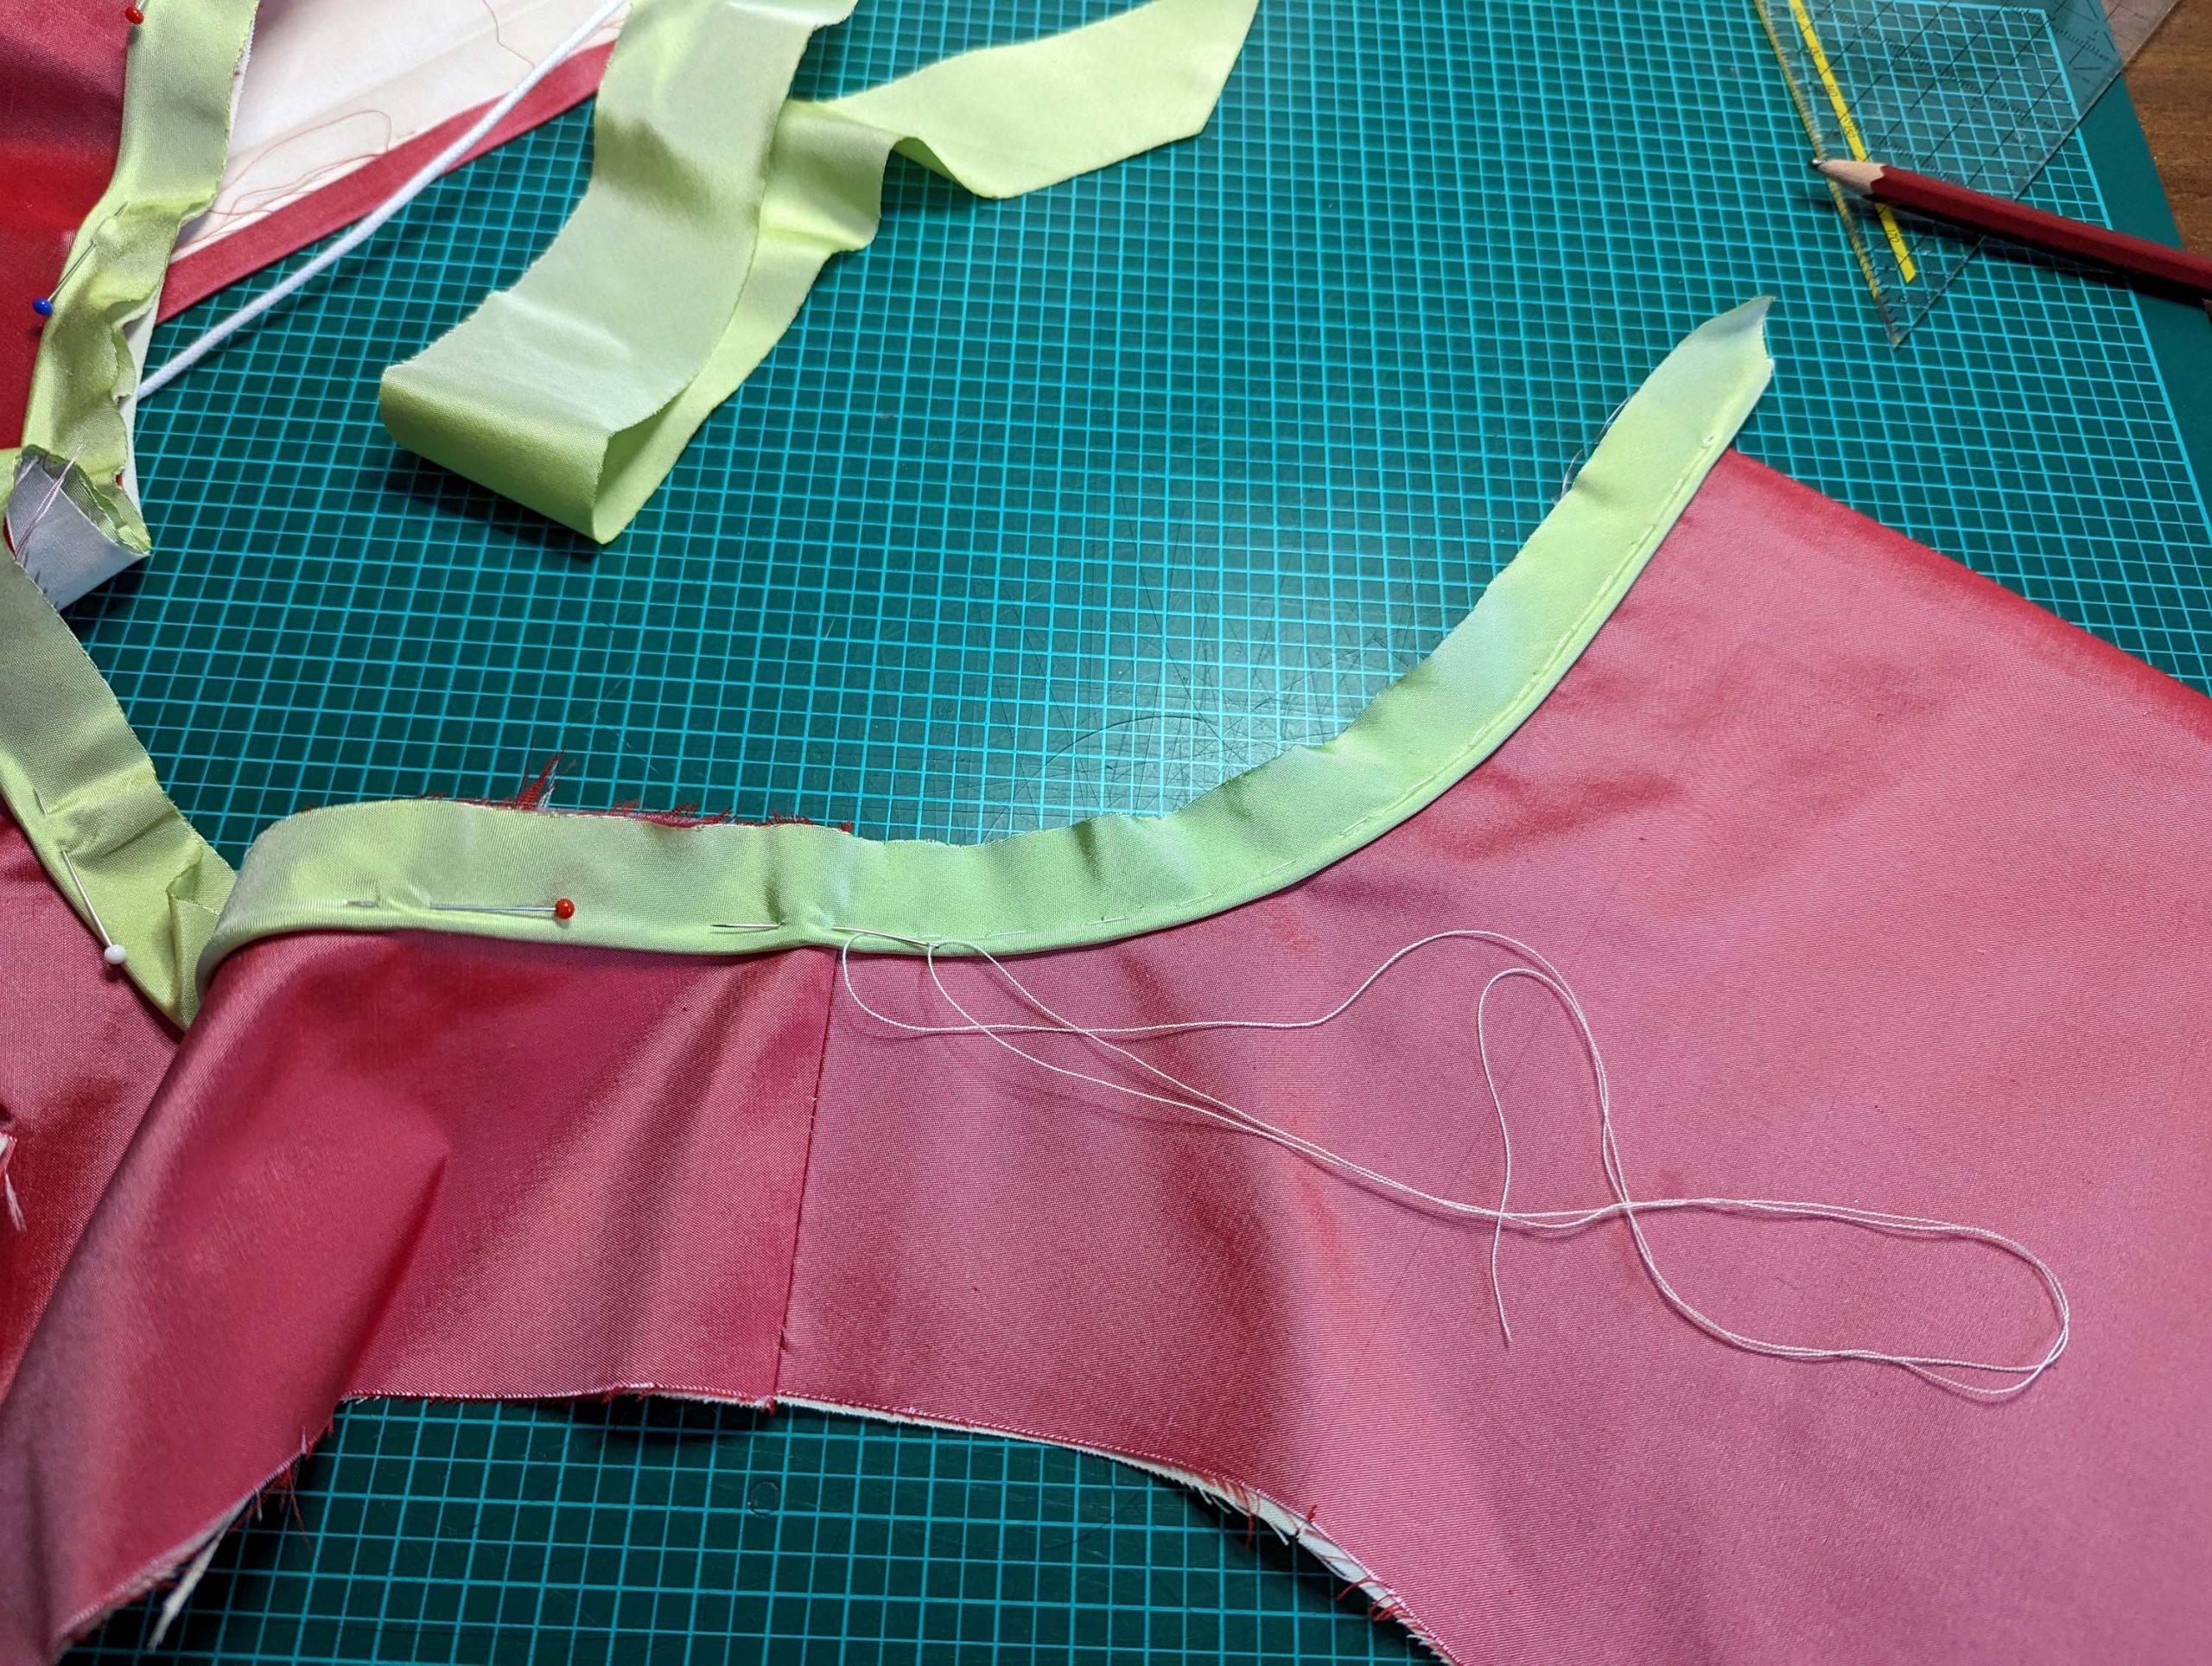
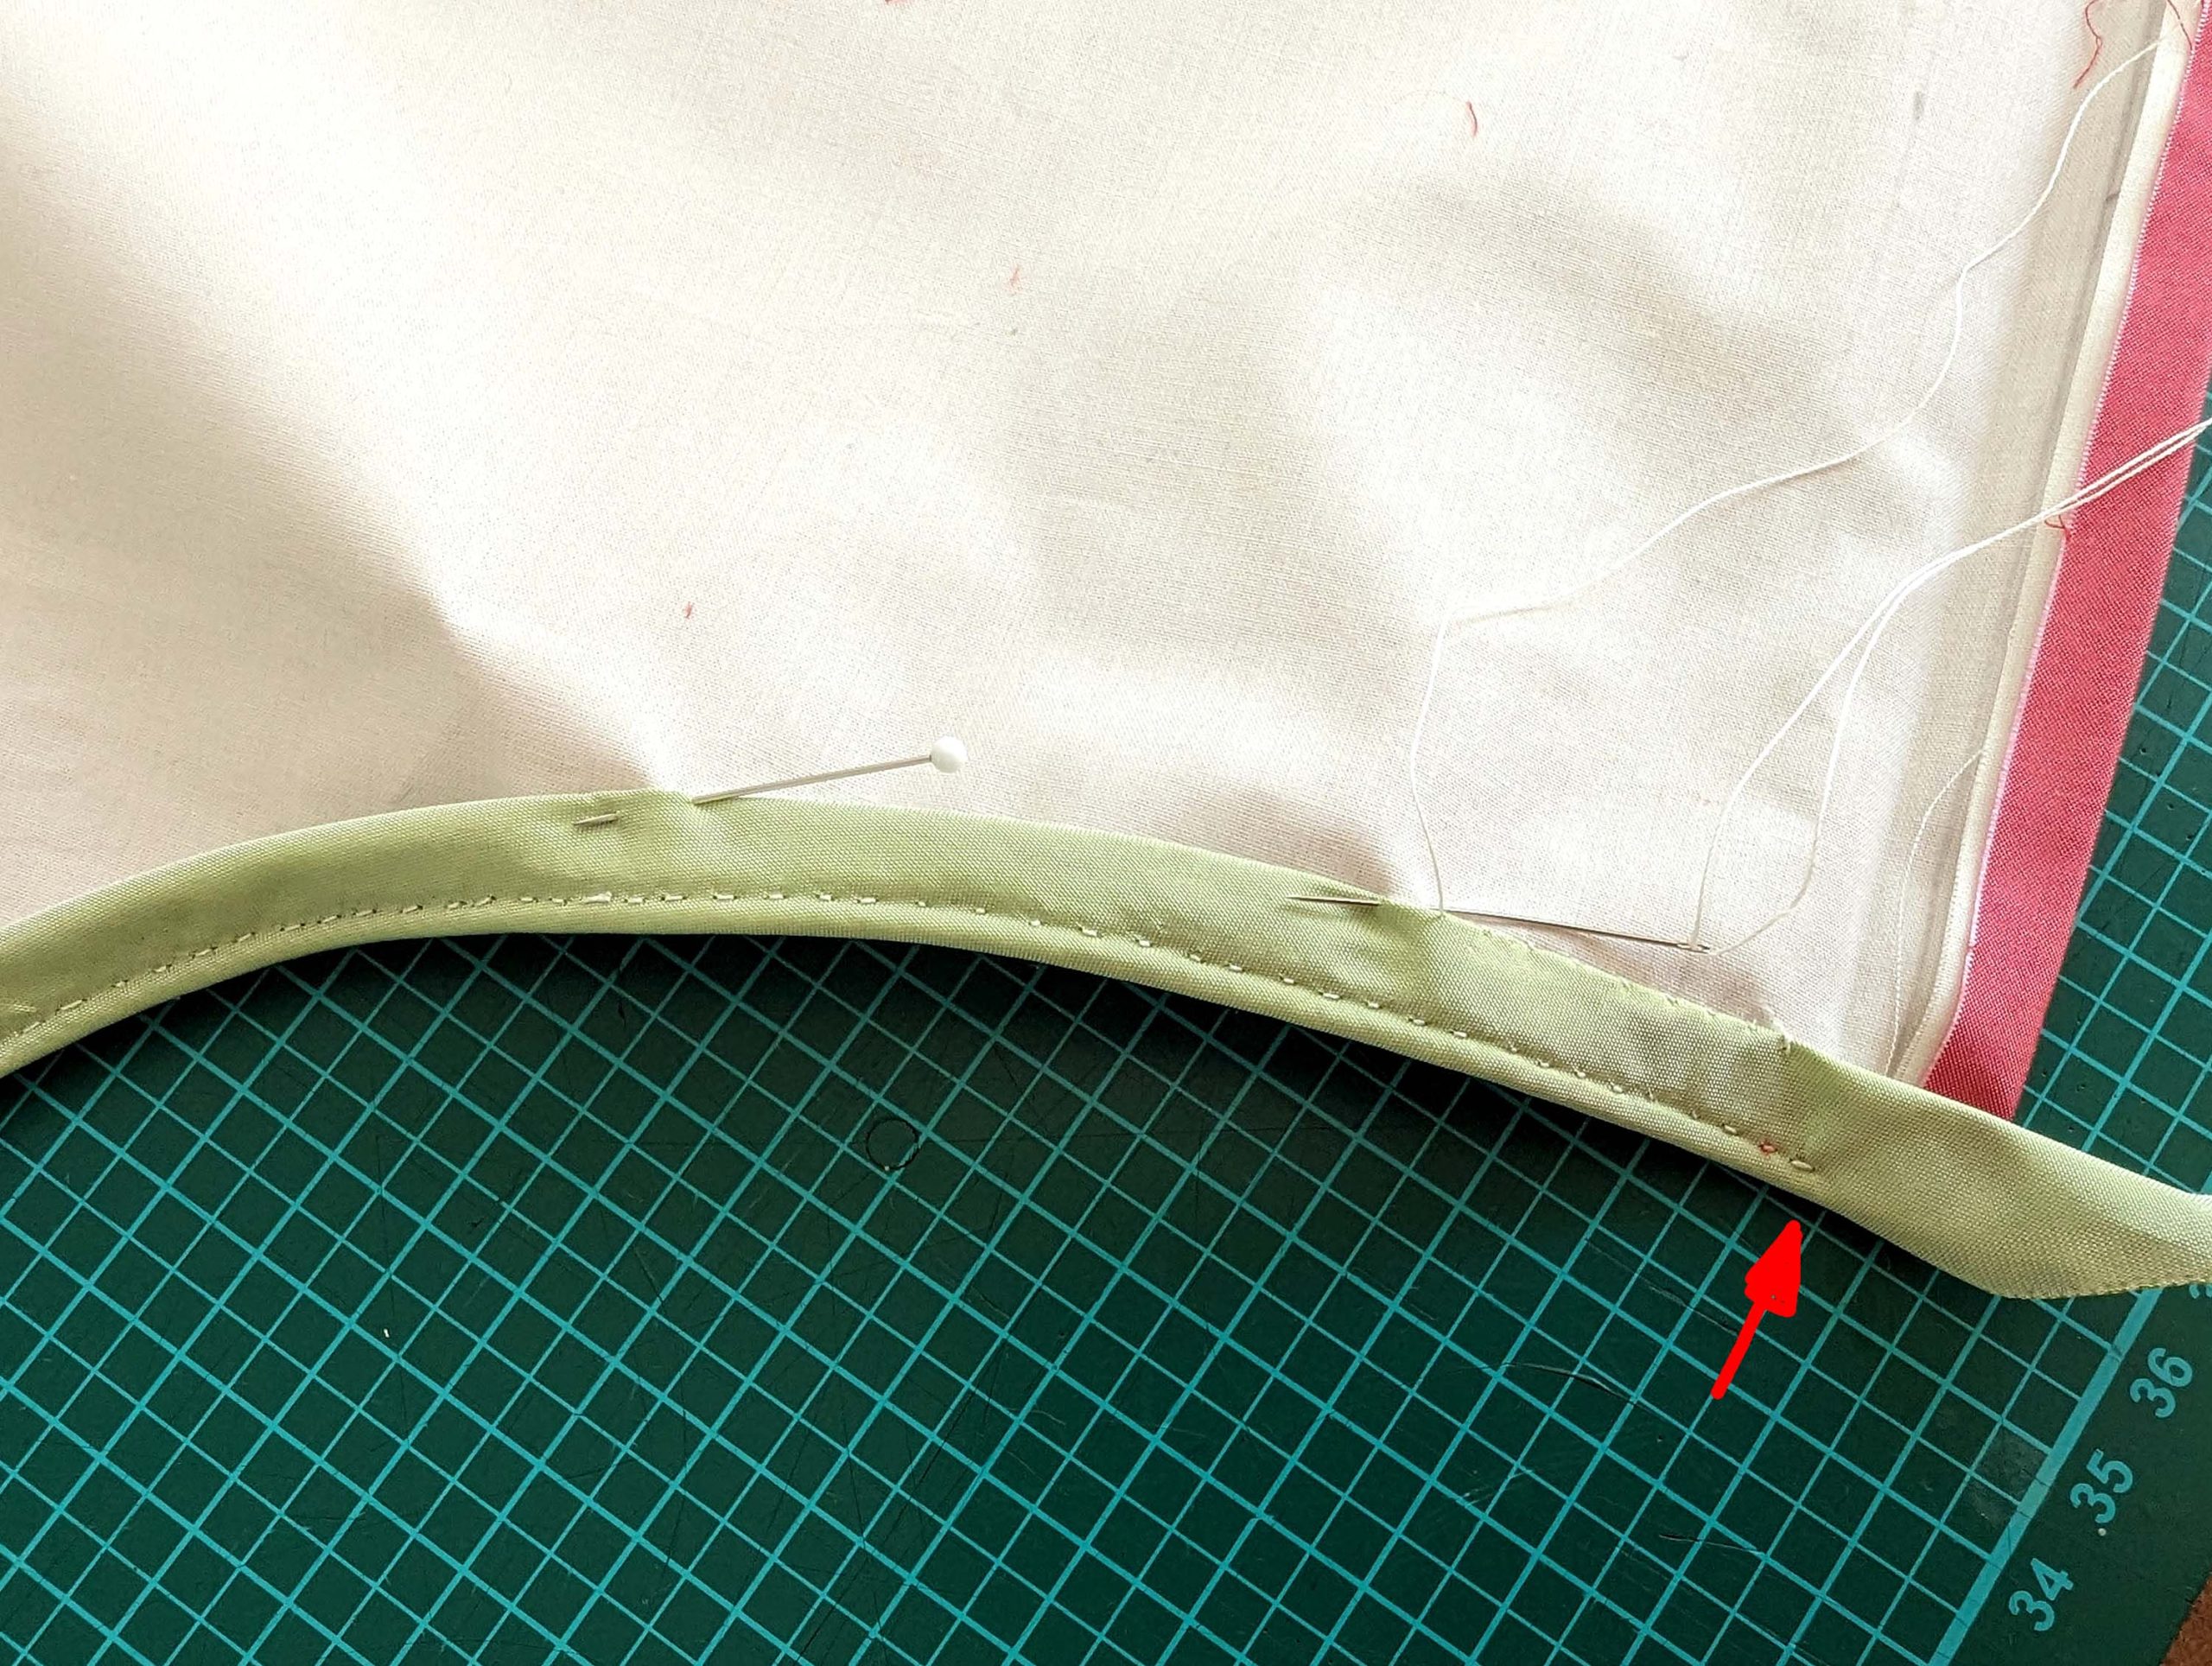
After that, place the bodice on the table and smooth it out. Mark the stitching line along the neckline and pin the piping along that line. First, baste in place, then sew with a backstitch. Start at point (1) on the left side (left back edge), and stop at the center back line (2) on the right side – the right back edge.
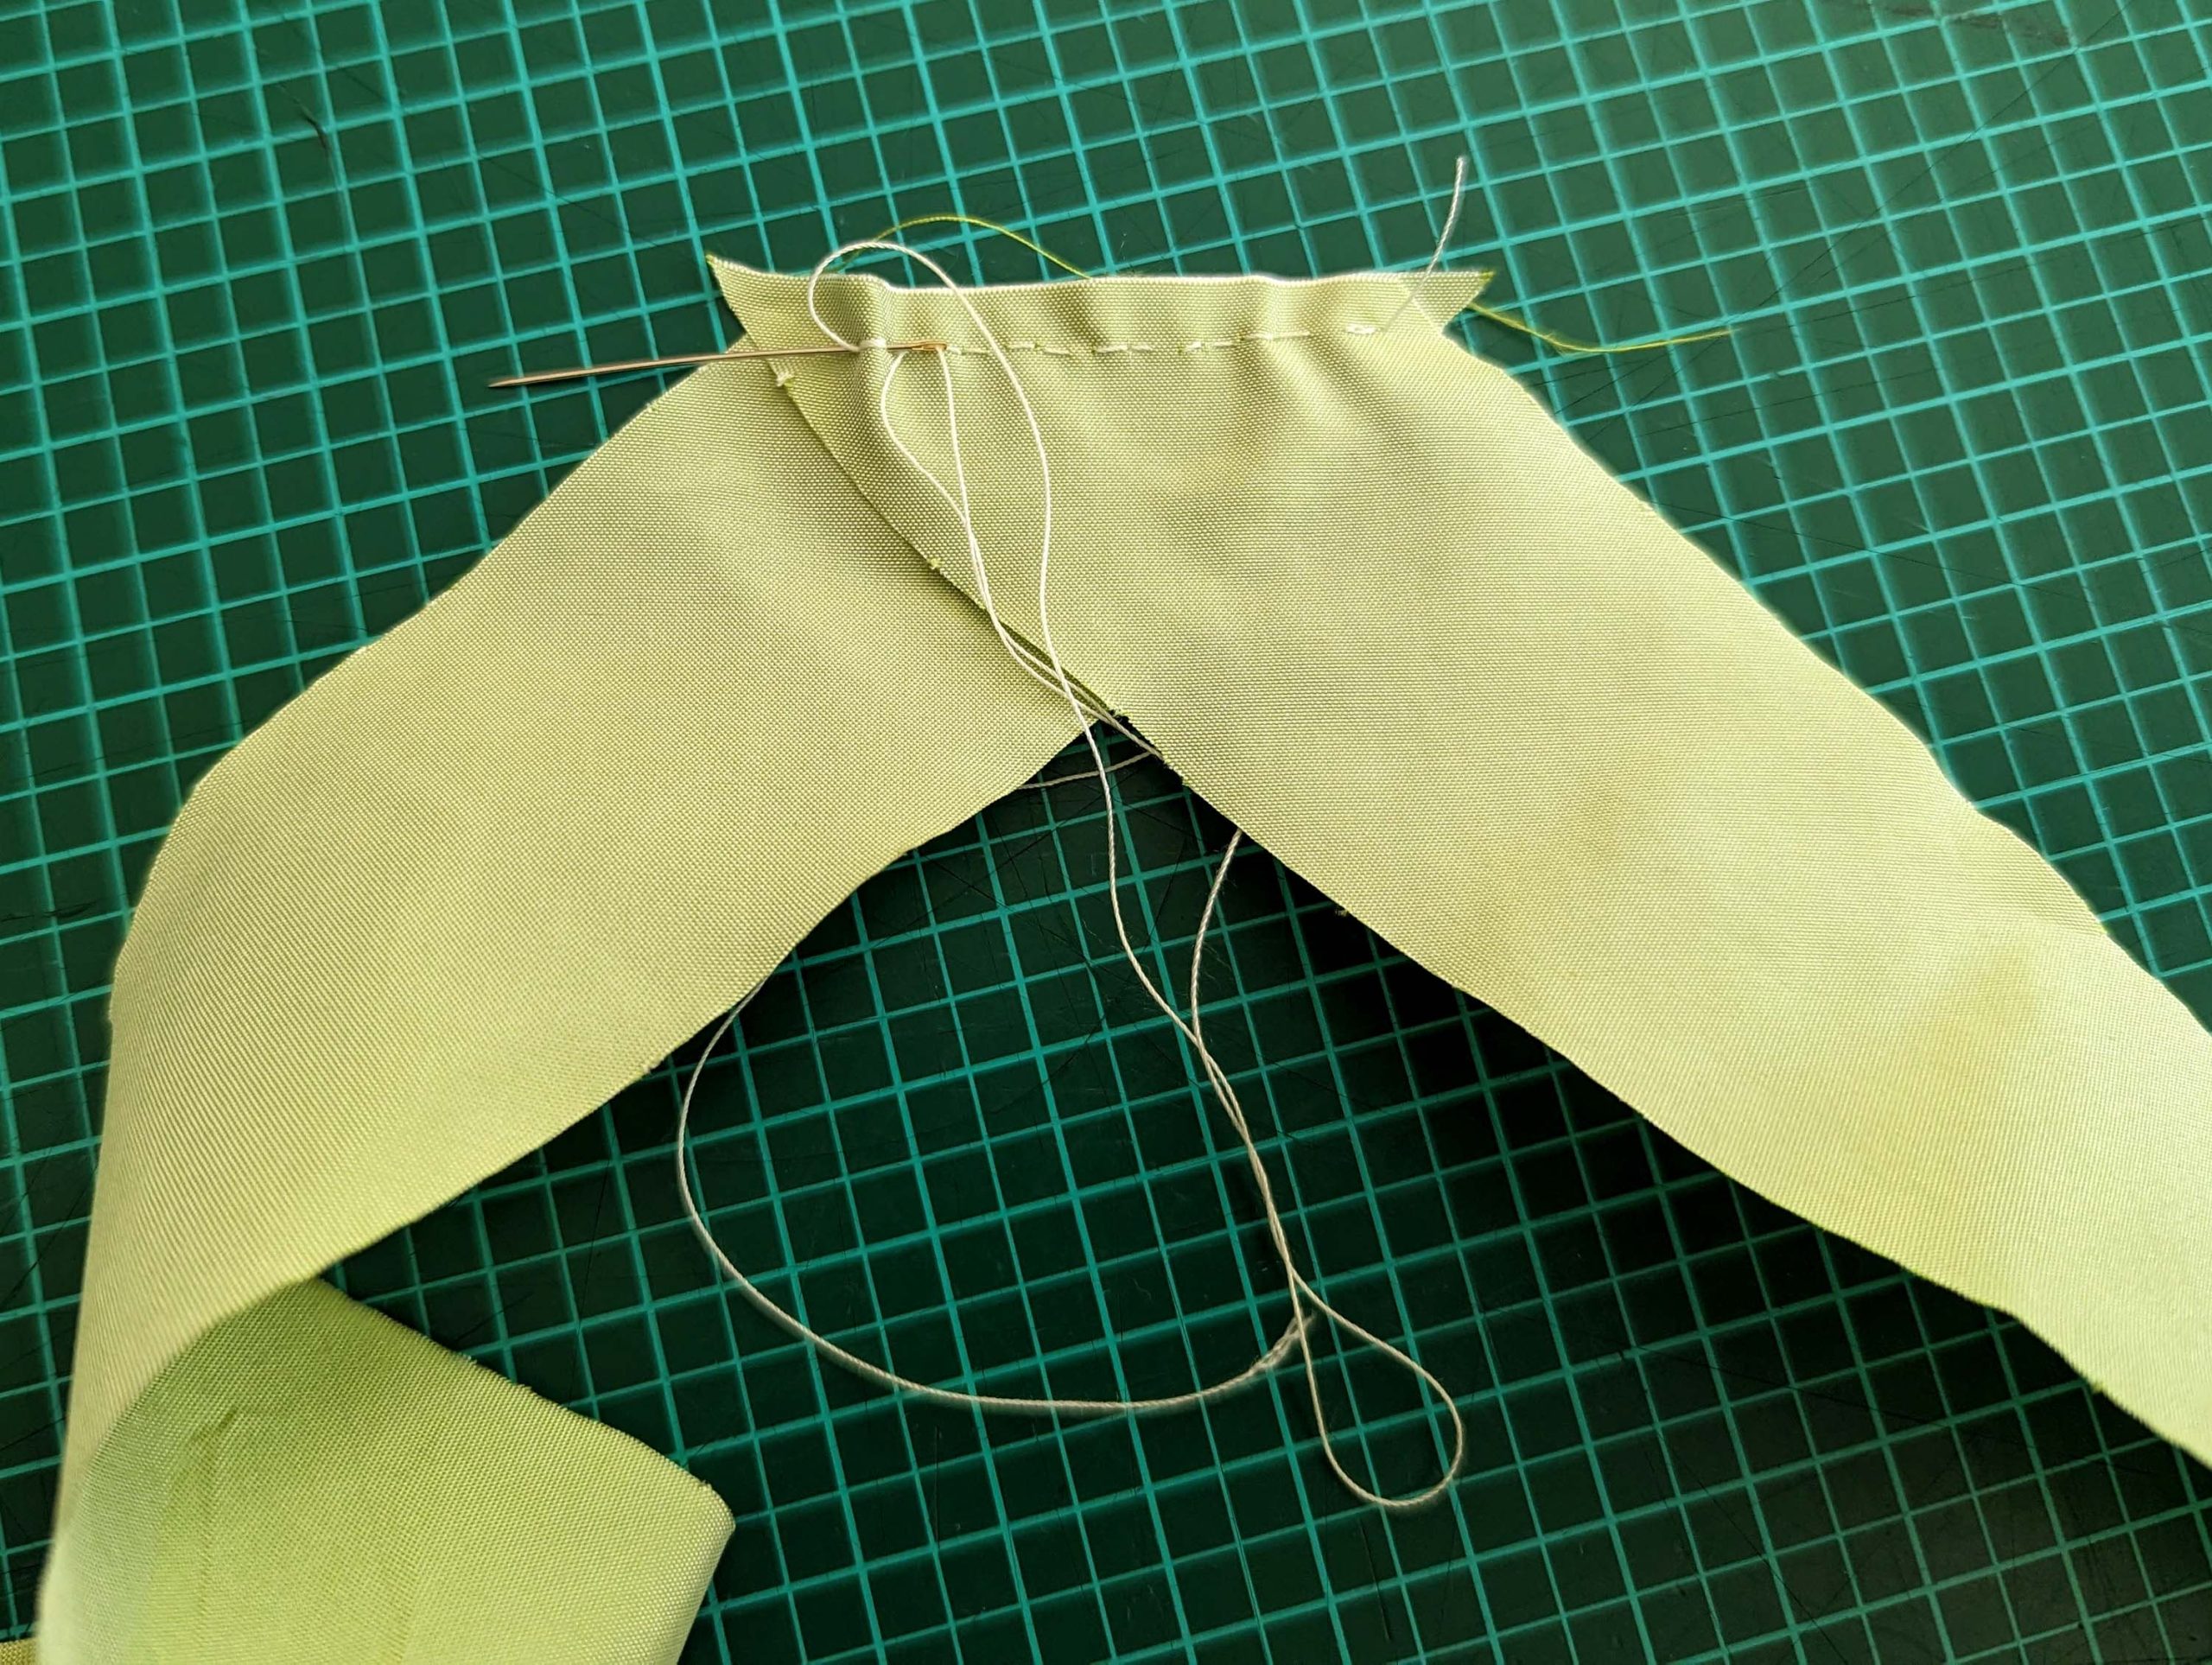
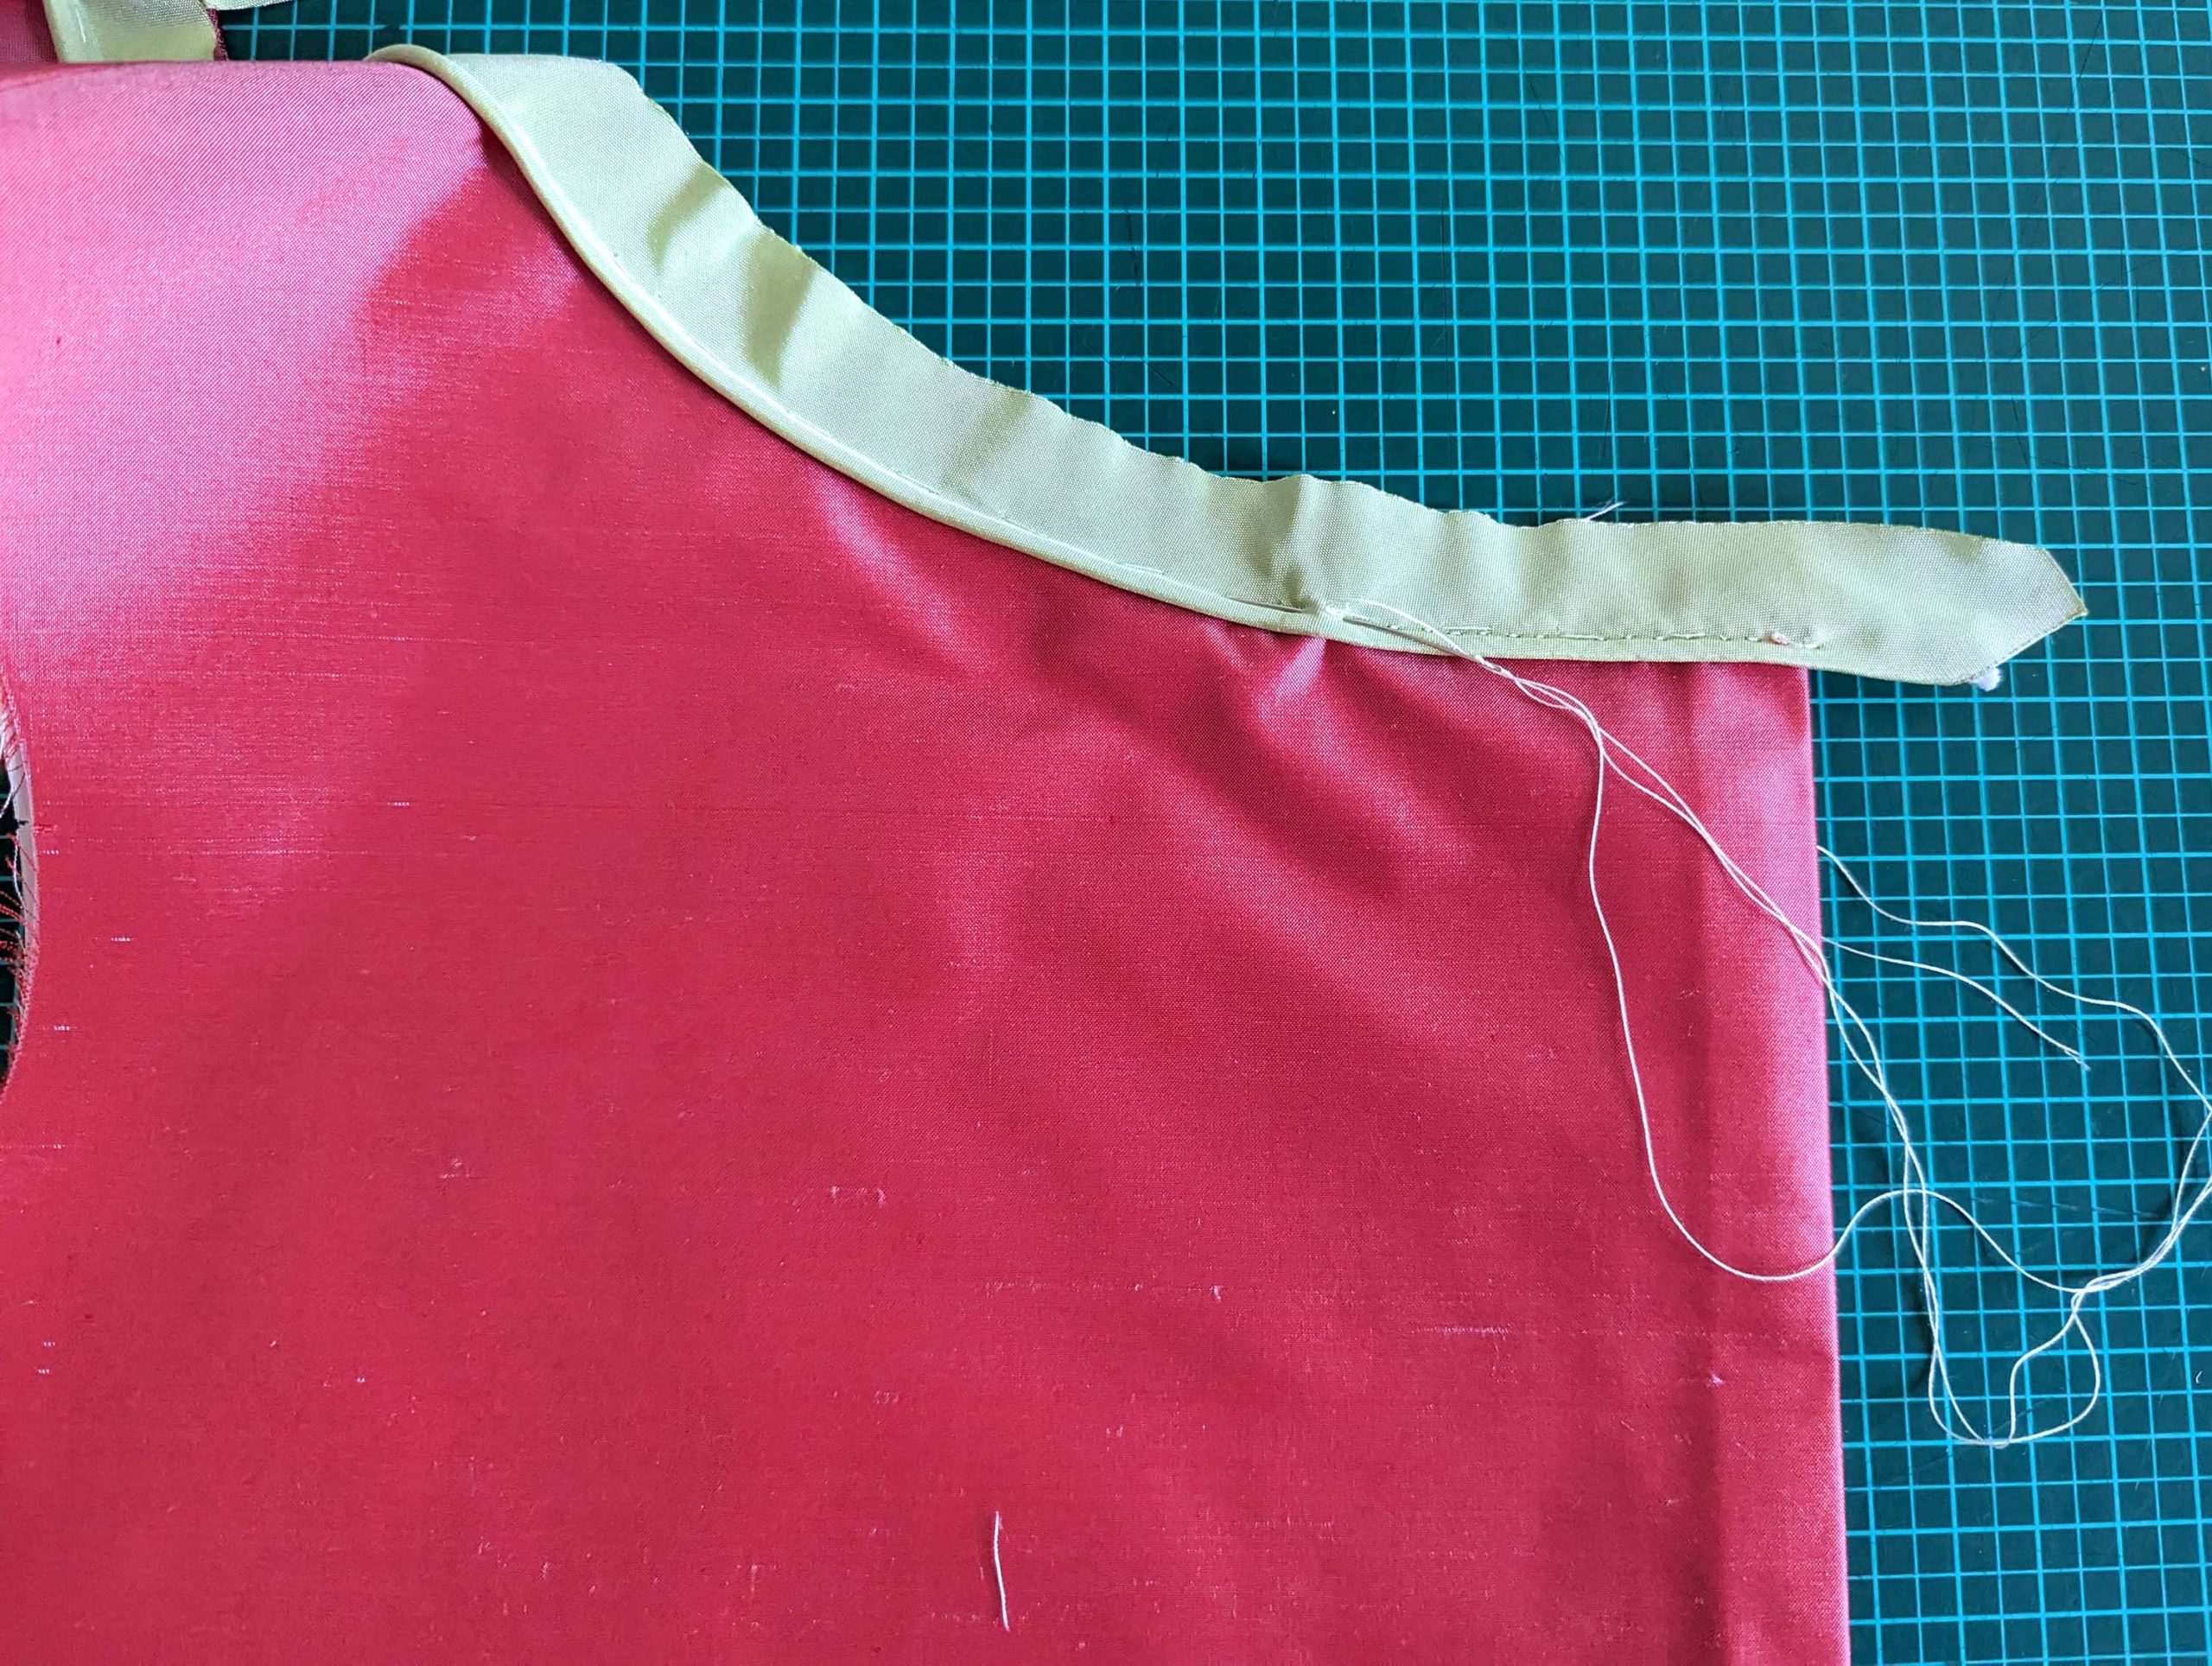
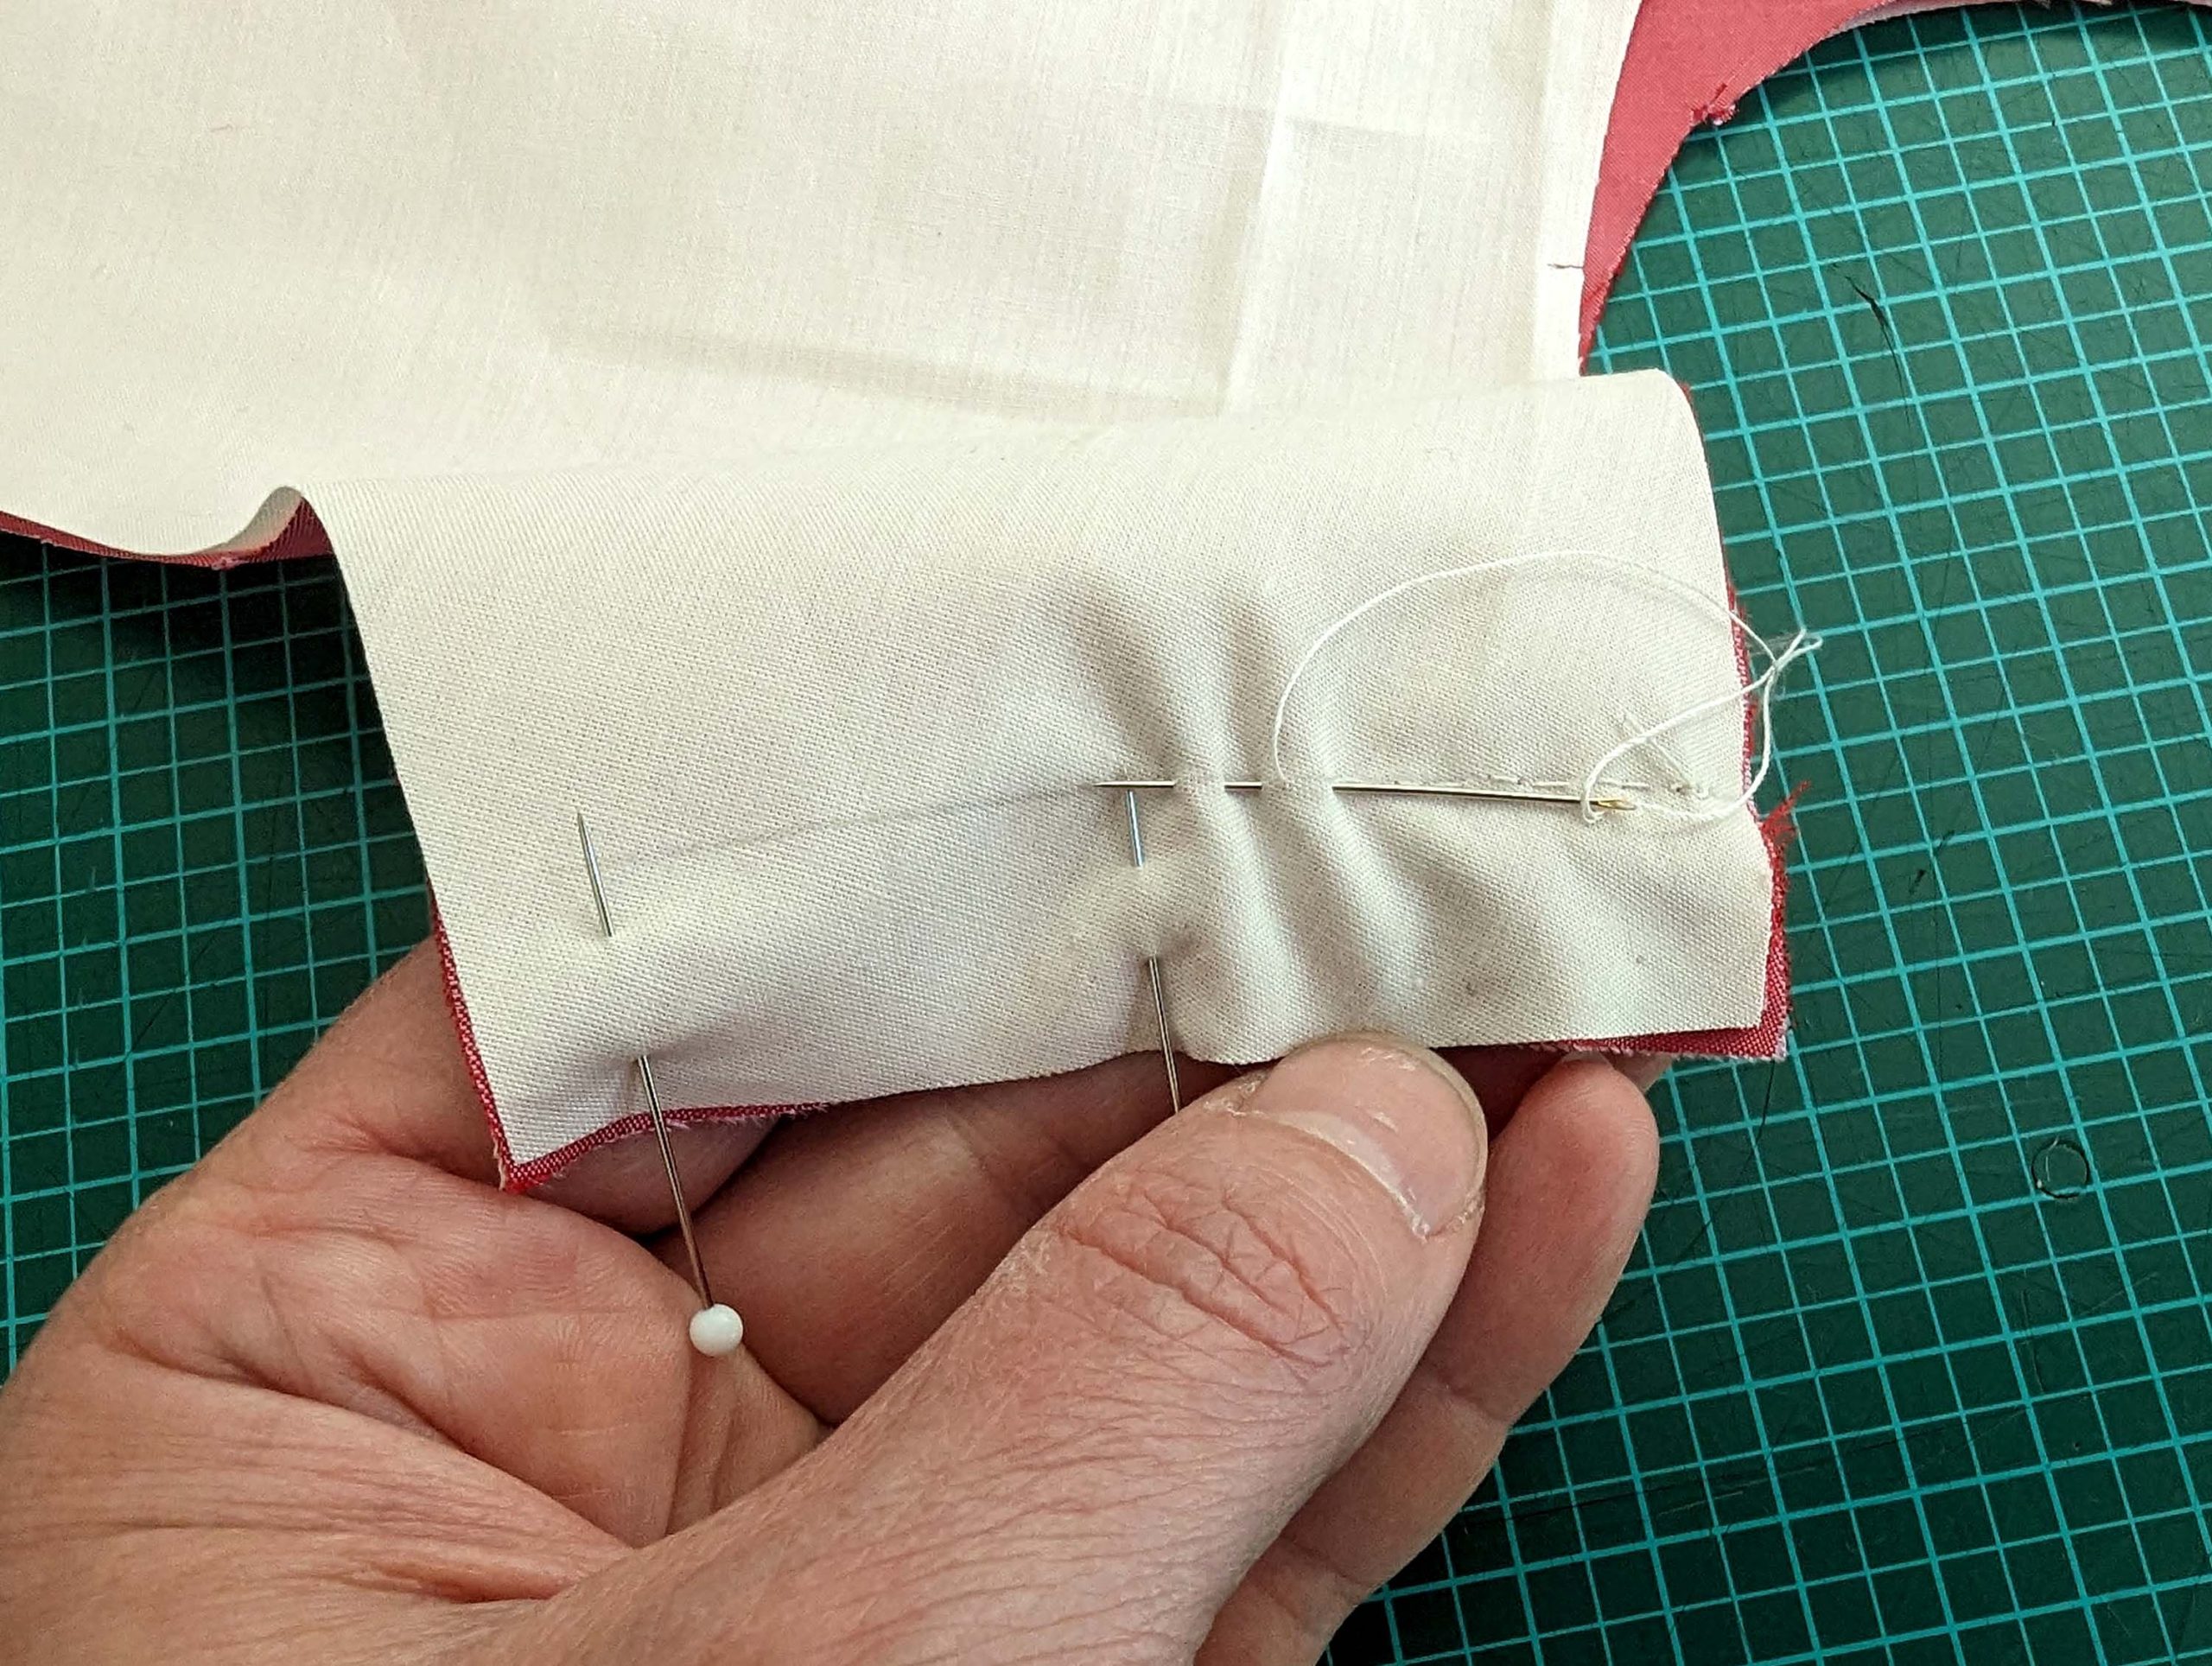
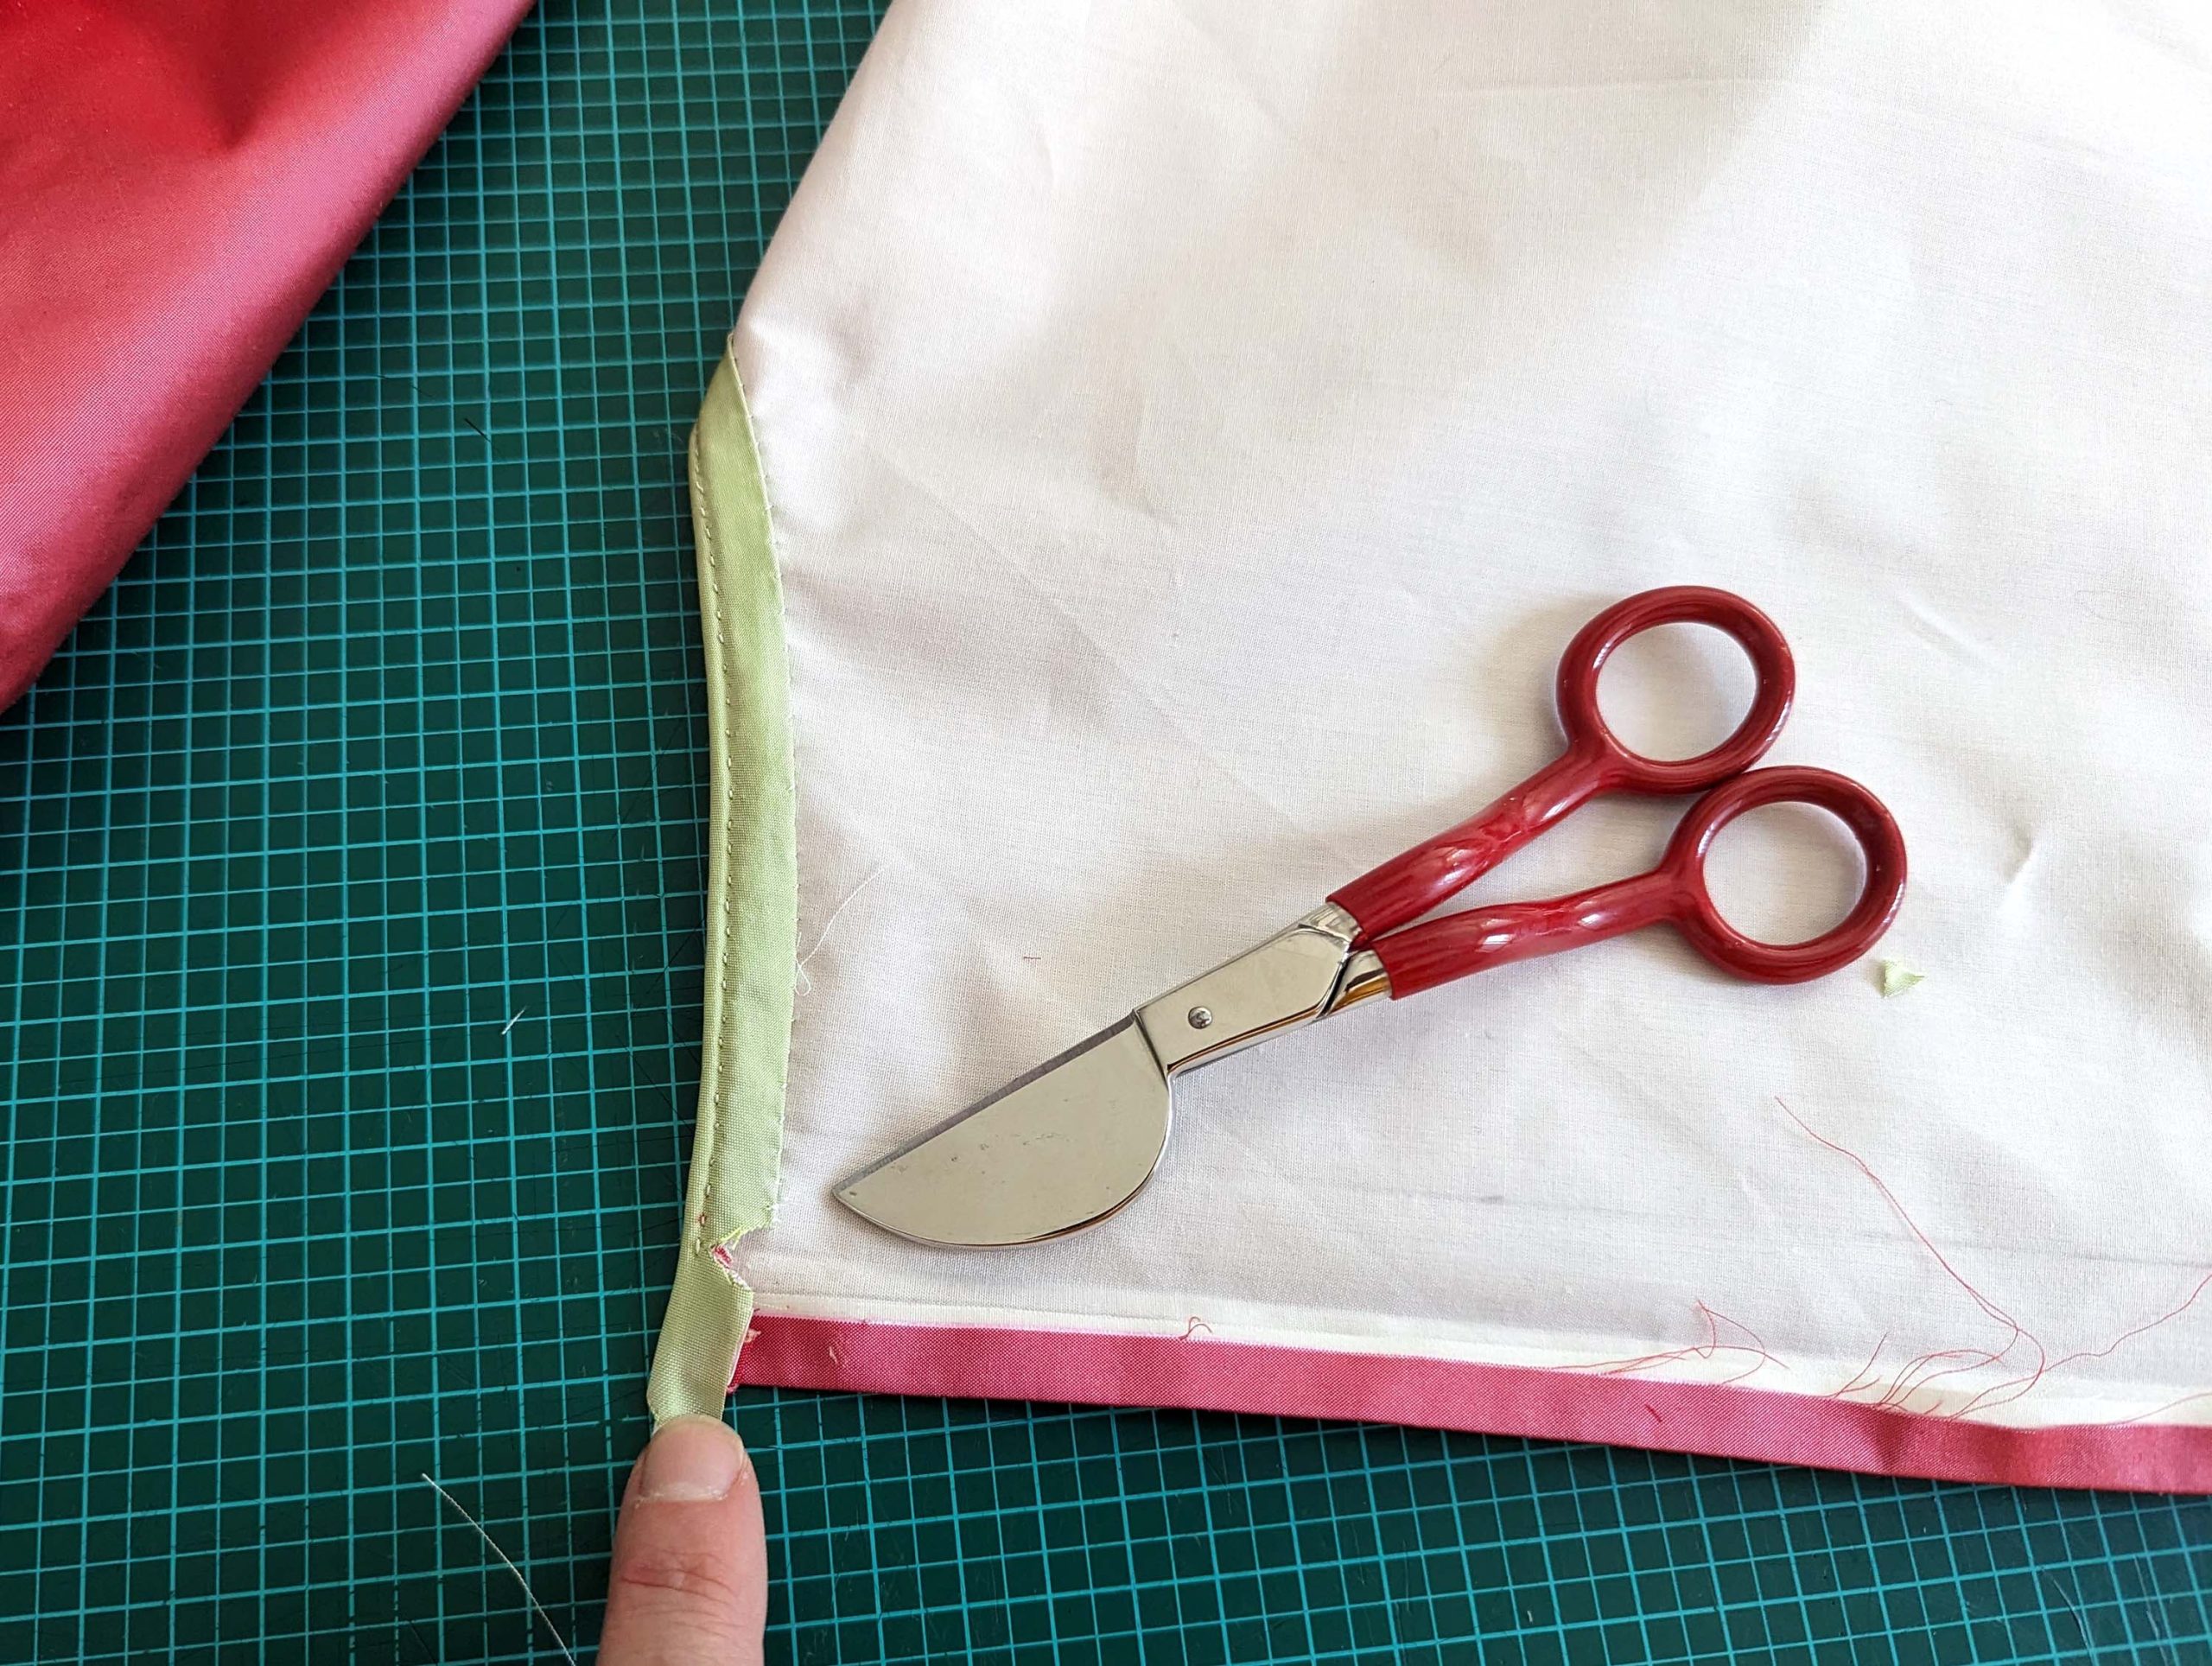
Trim back the seam allowances along the neckline to ¼” (5mm), leaving the uppermost layer of the piping. Clip them at the curves to lay flat later and turn them towards the bodice. Fold the wide seam allowance of the piping around the trimmed back seam allowances of the neckline, and fell stitch to the lining layer only.
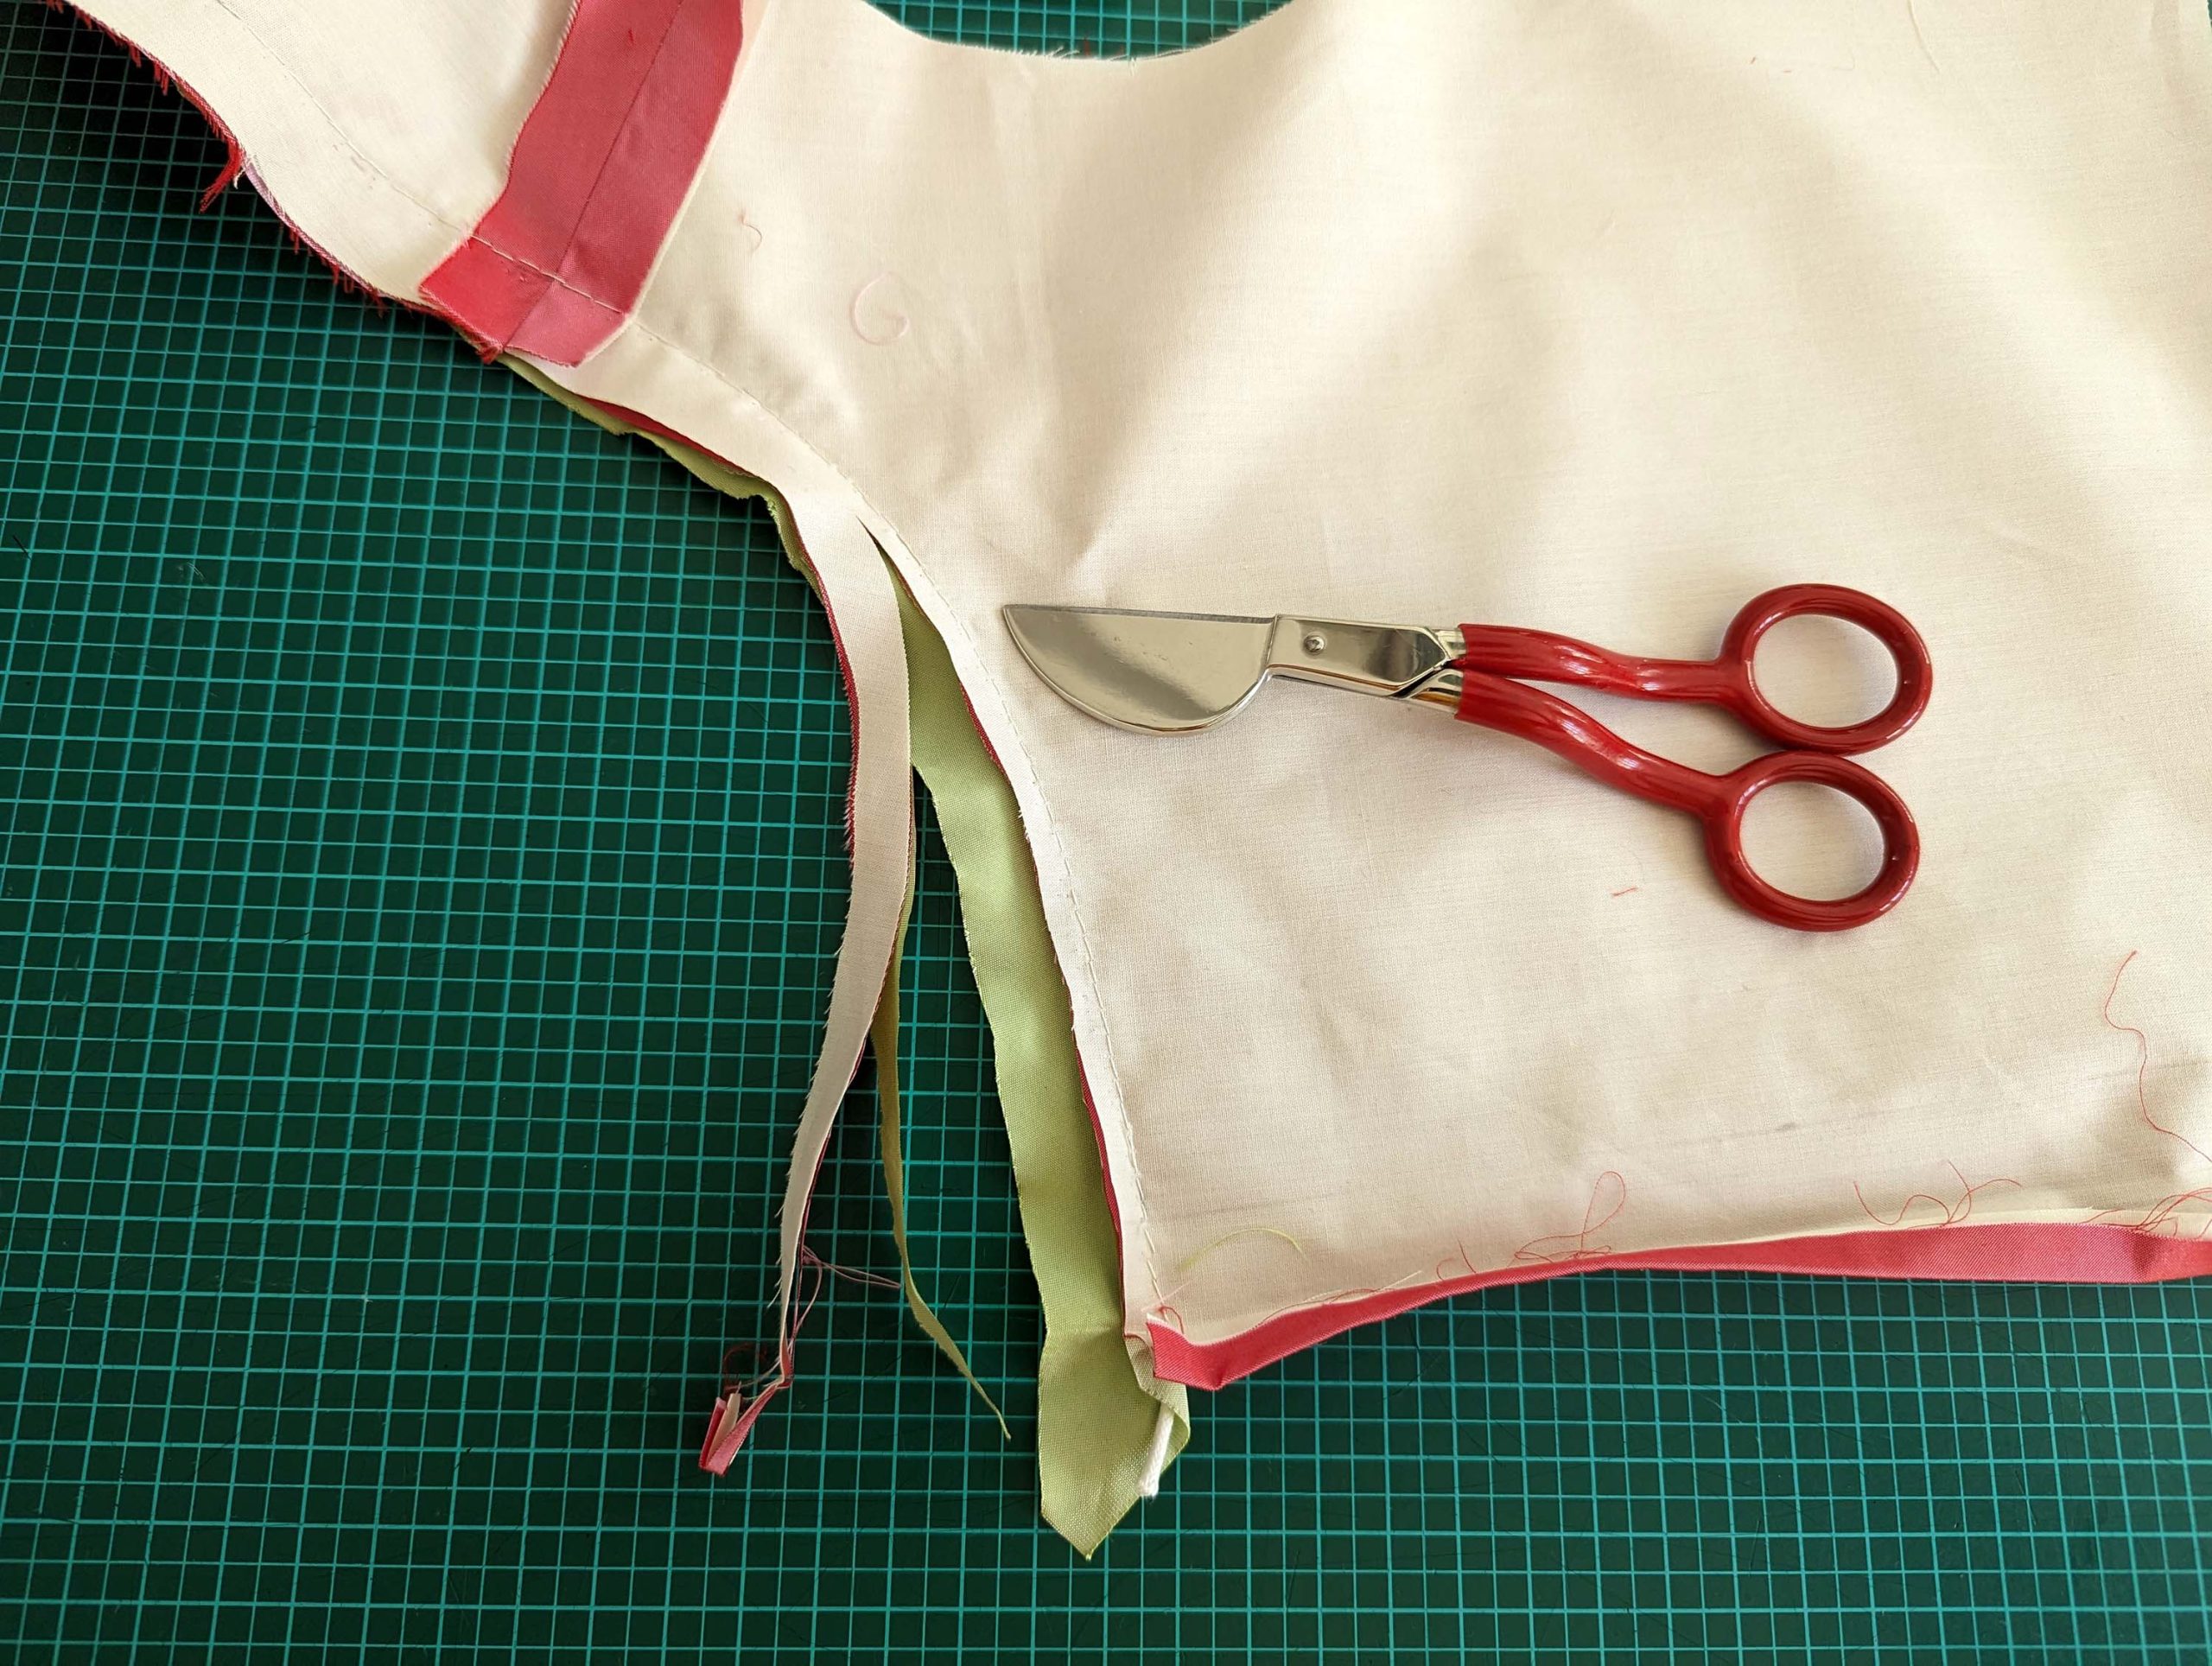
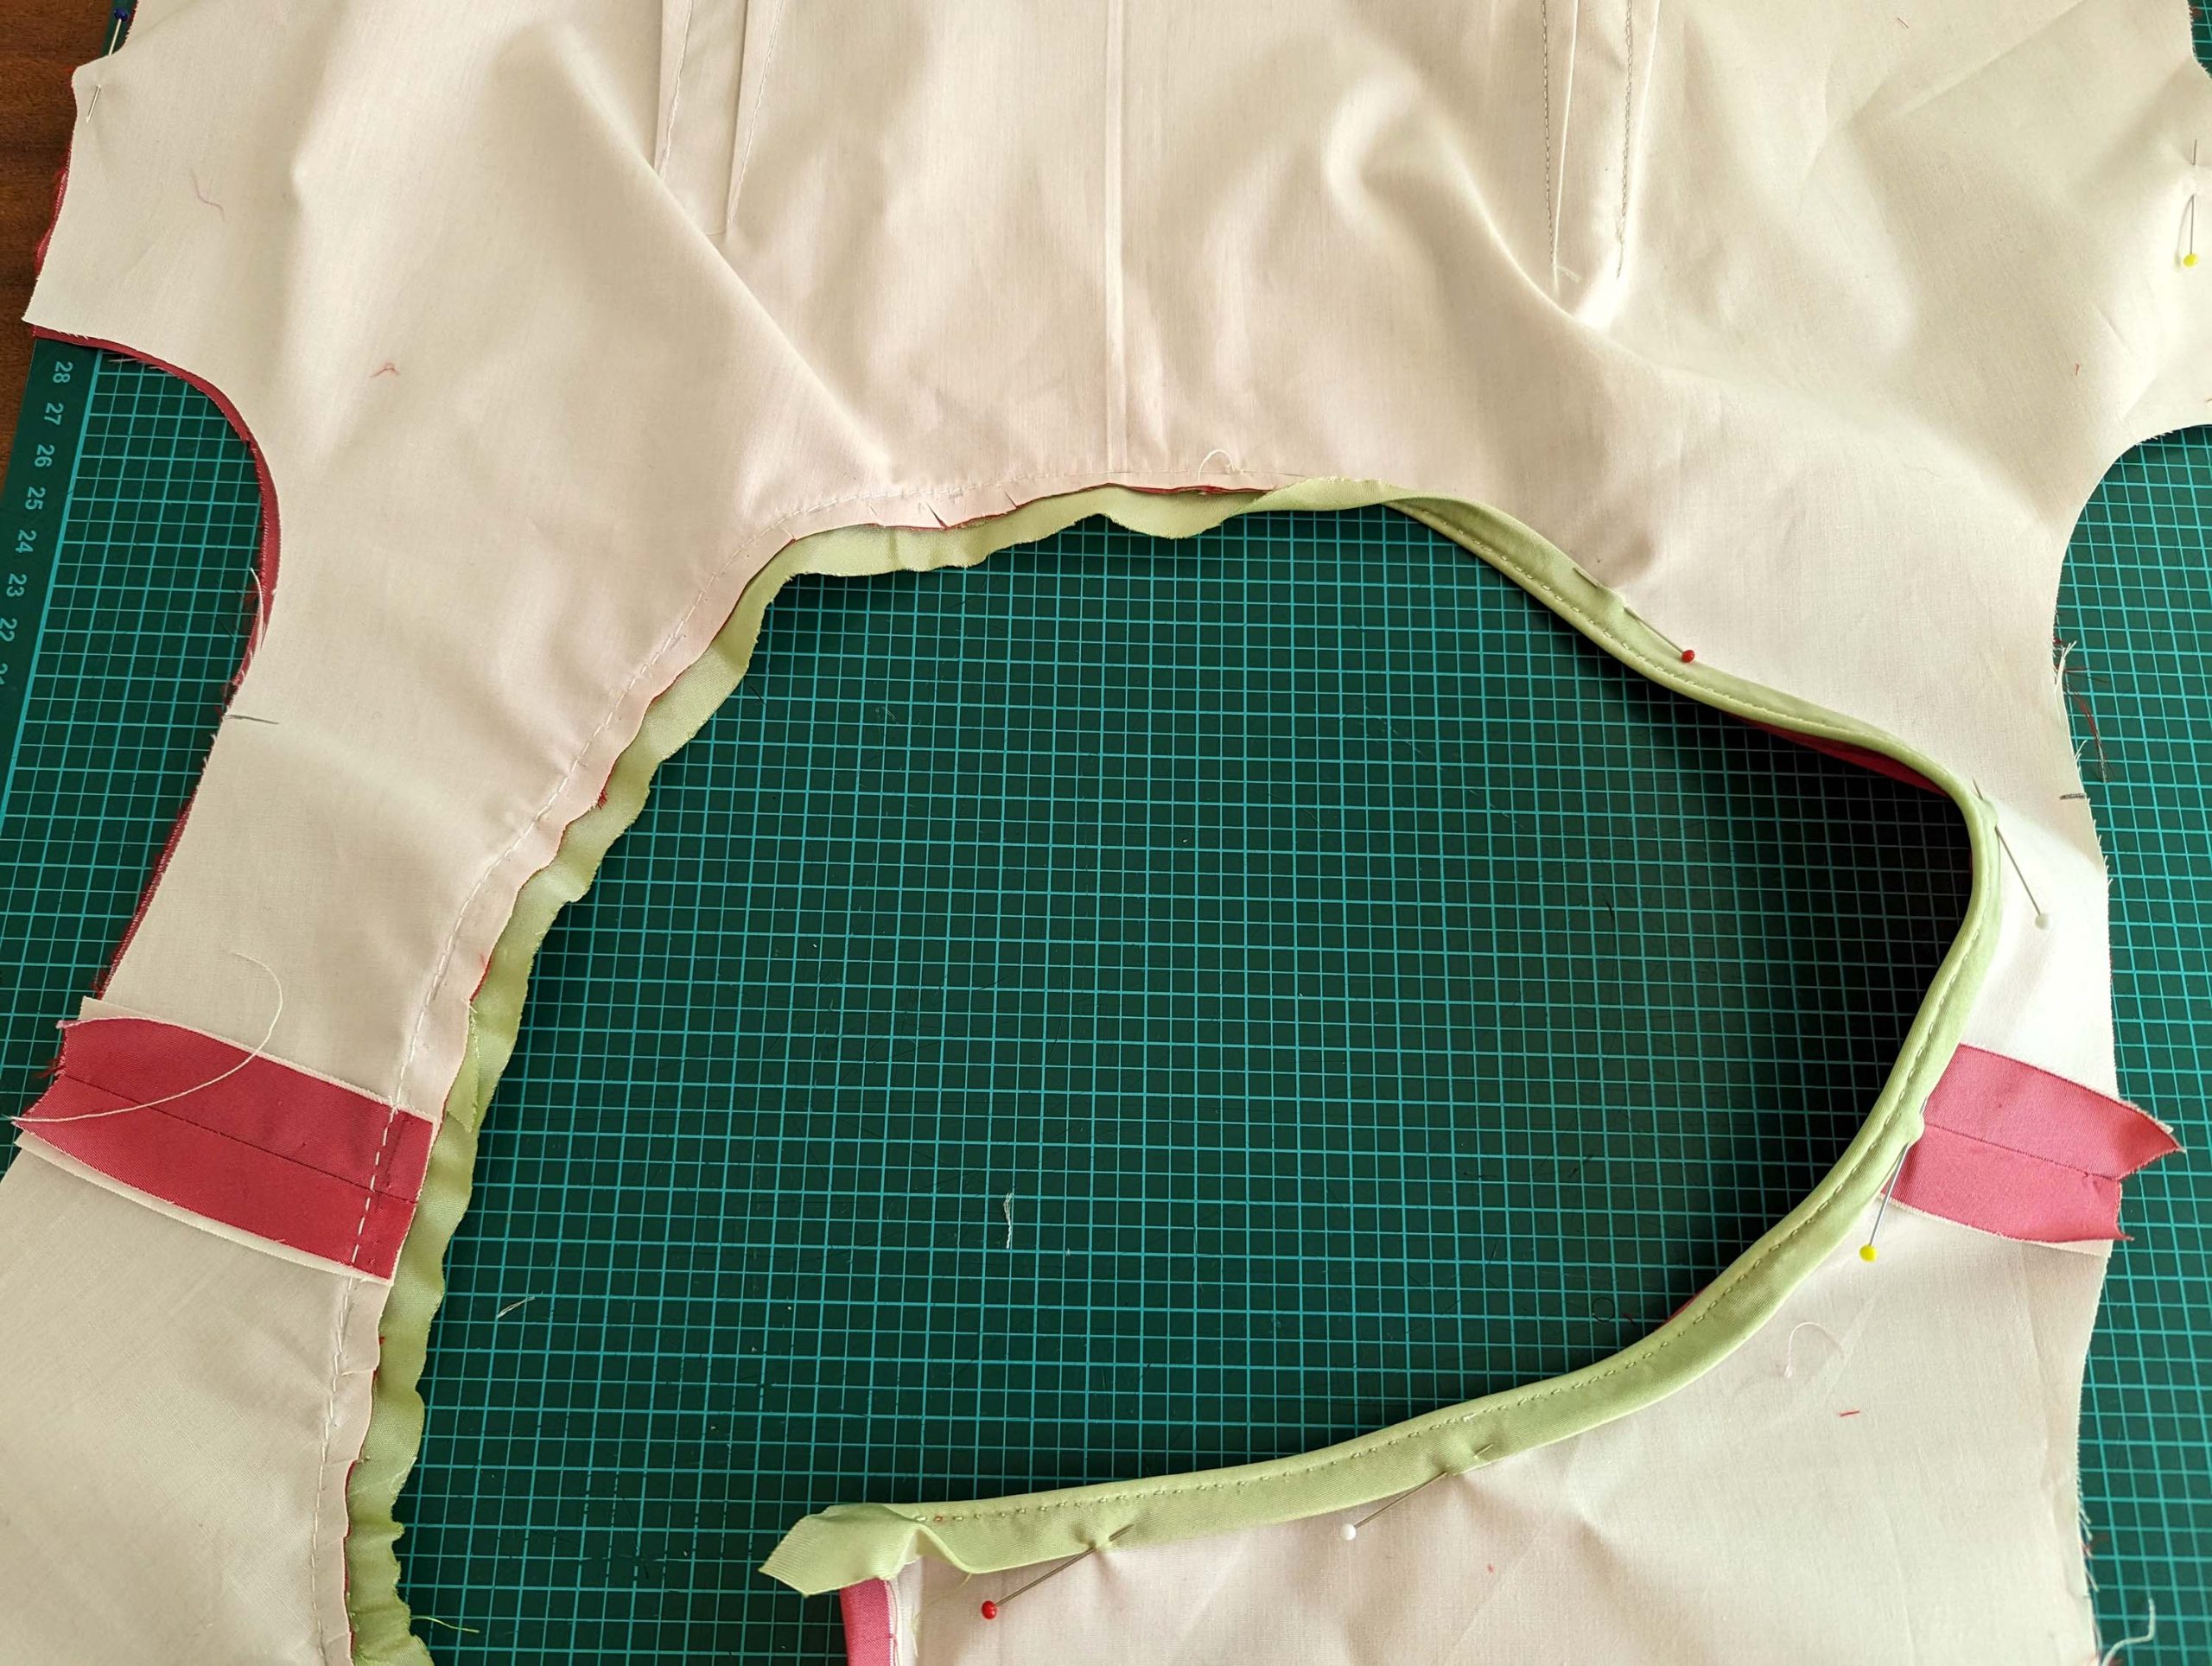
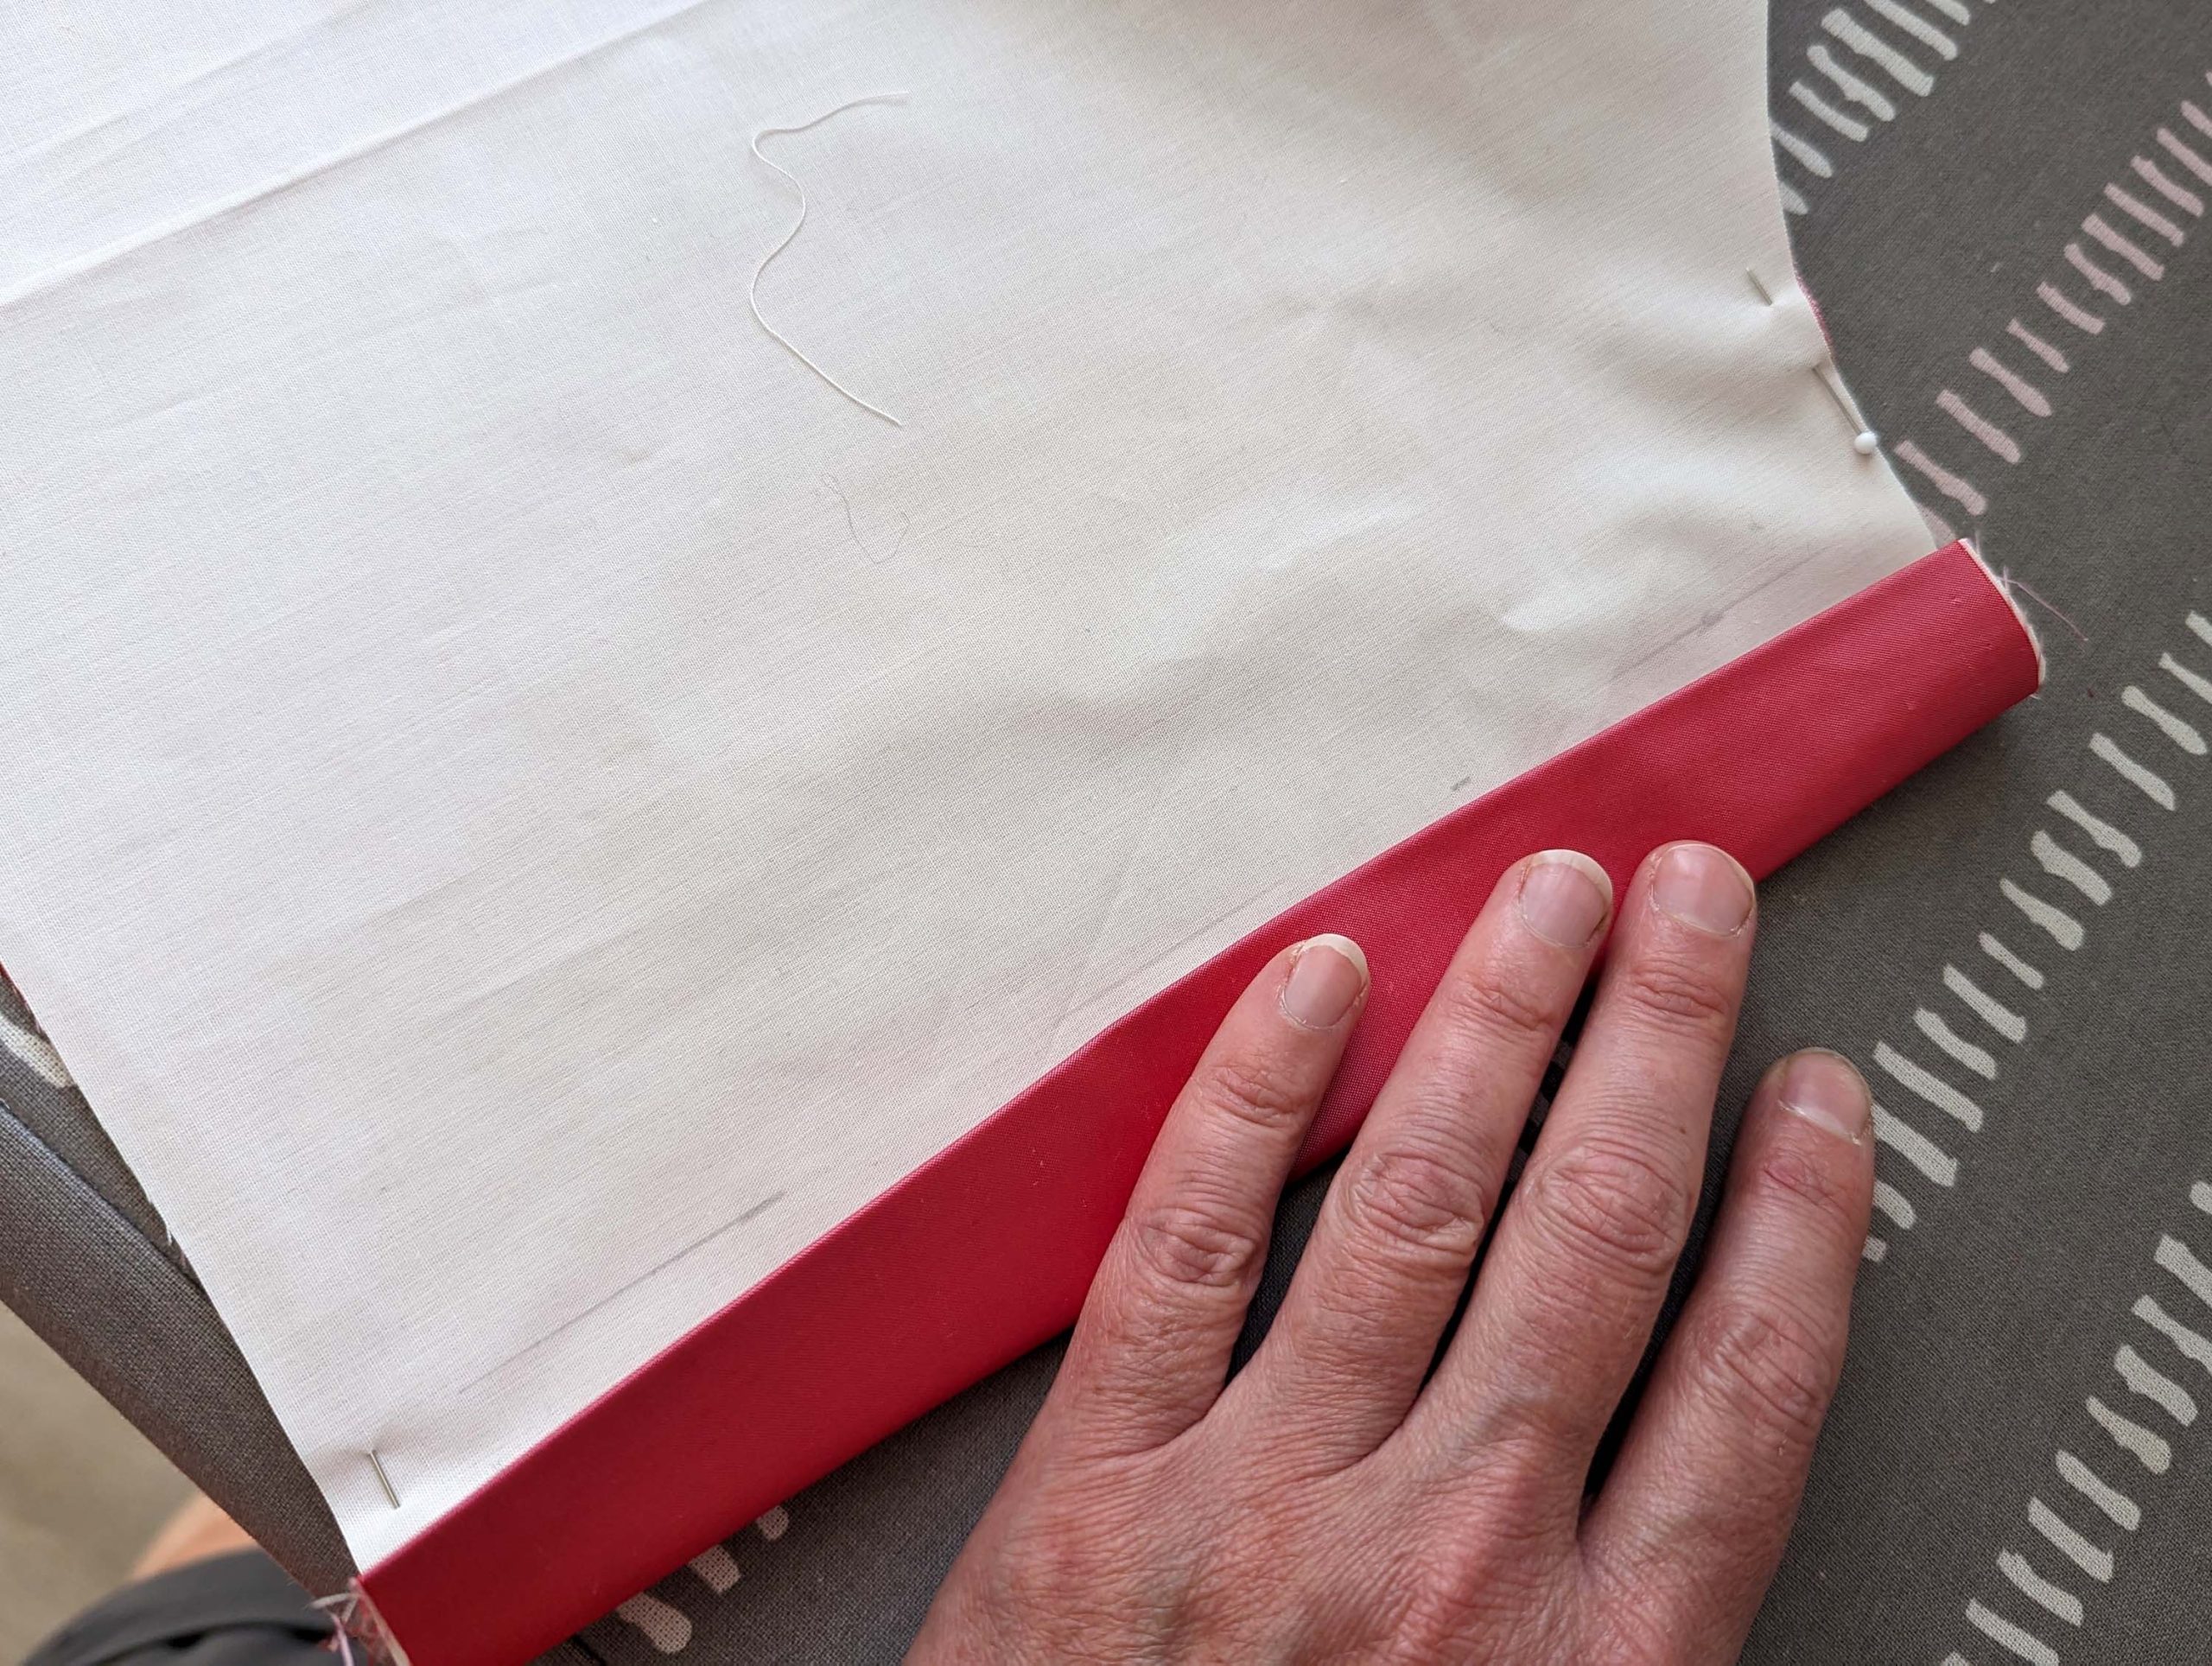
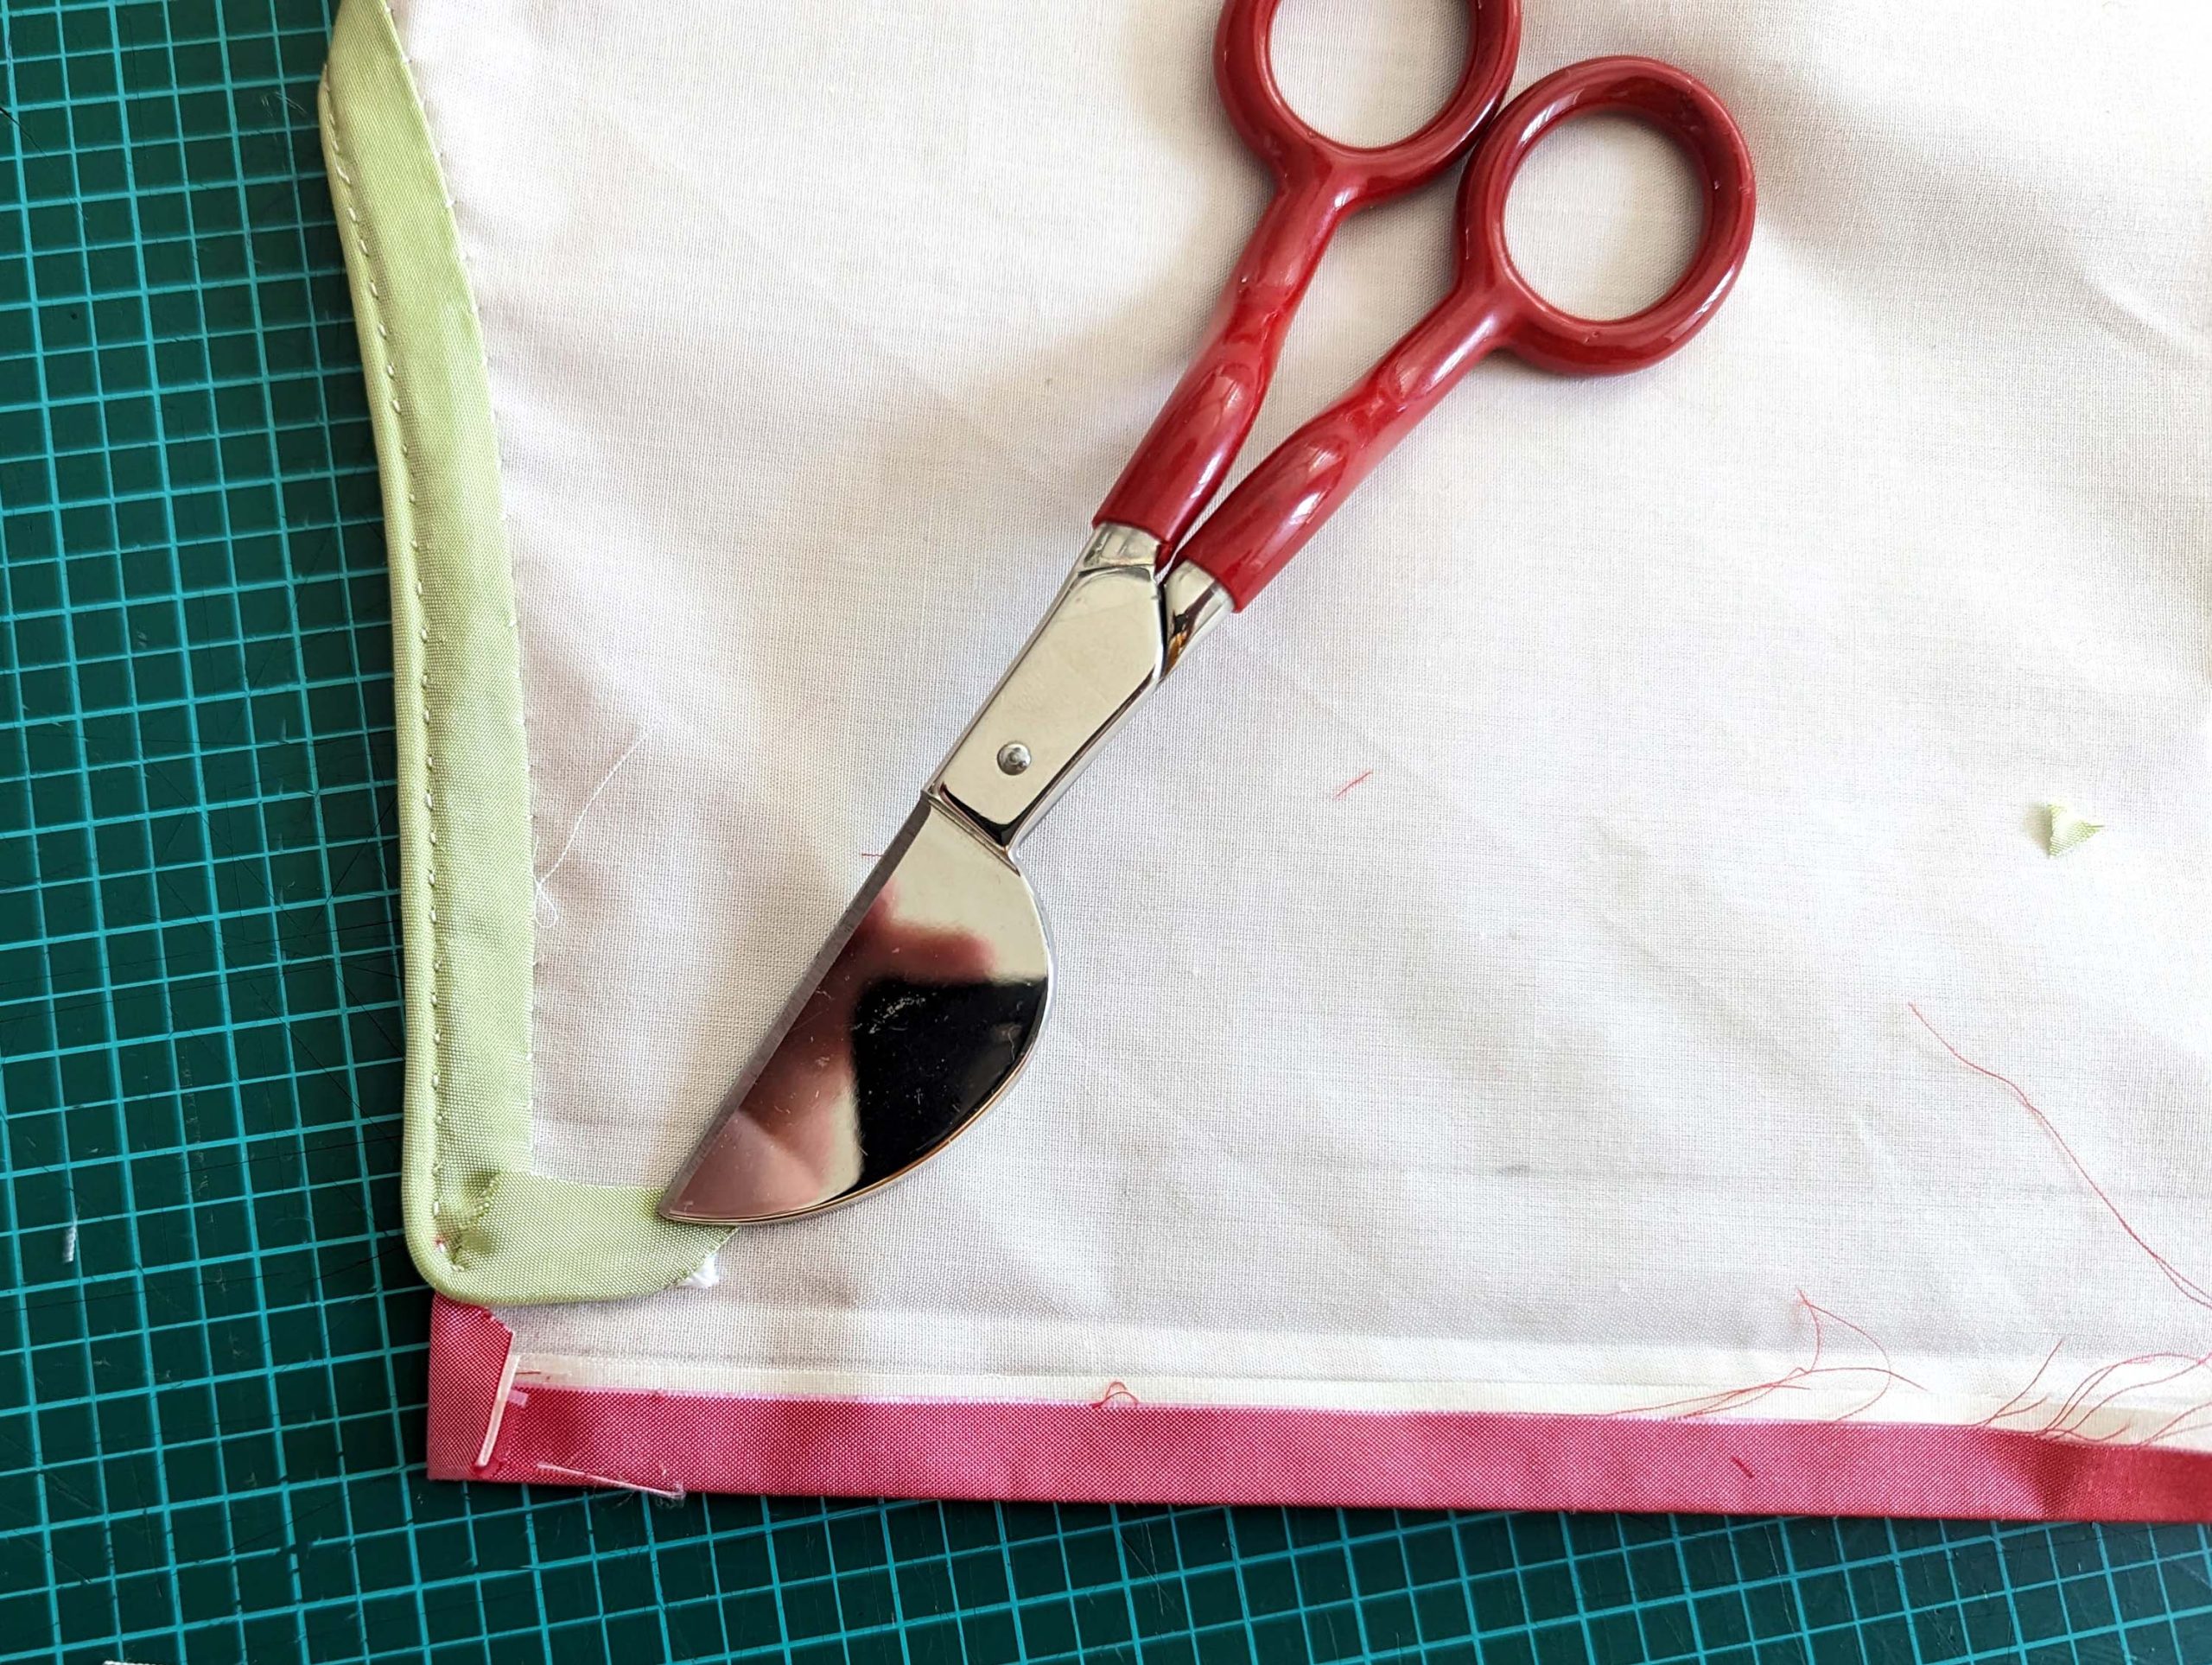
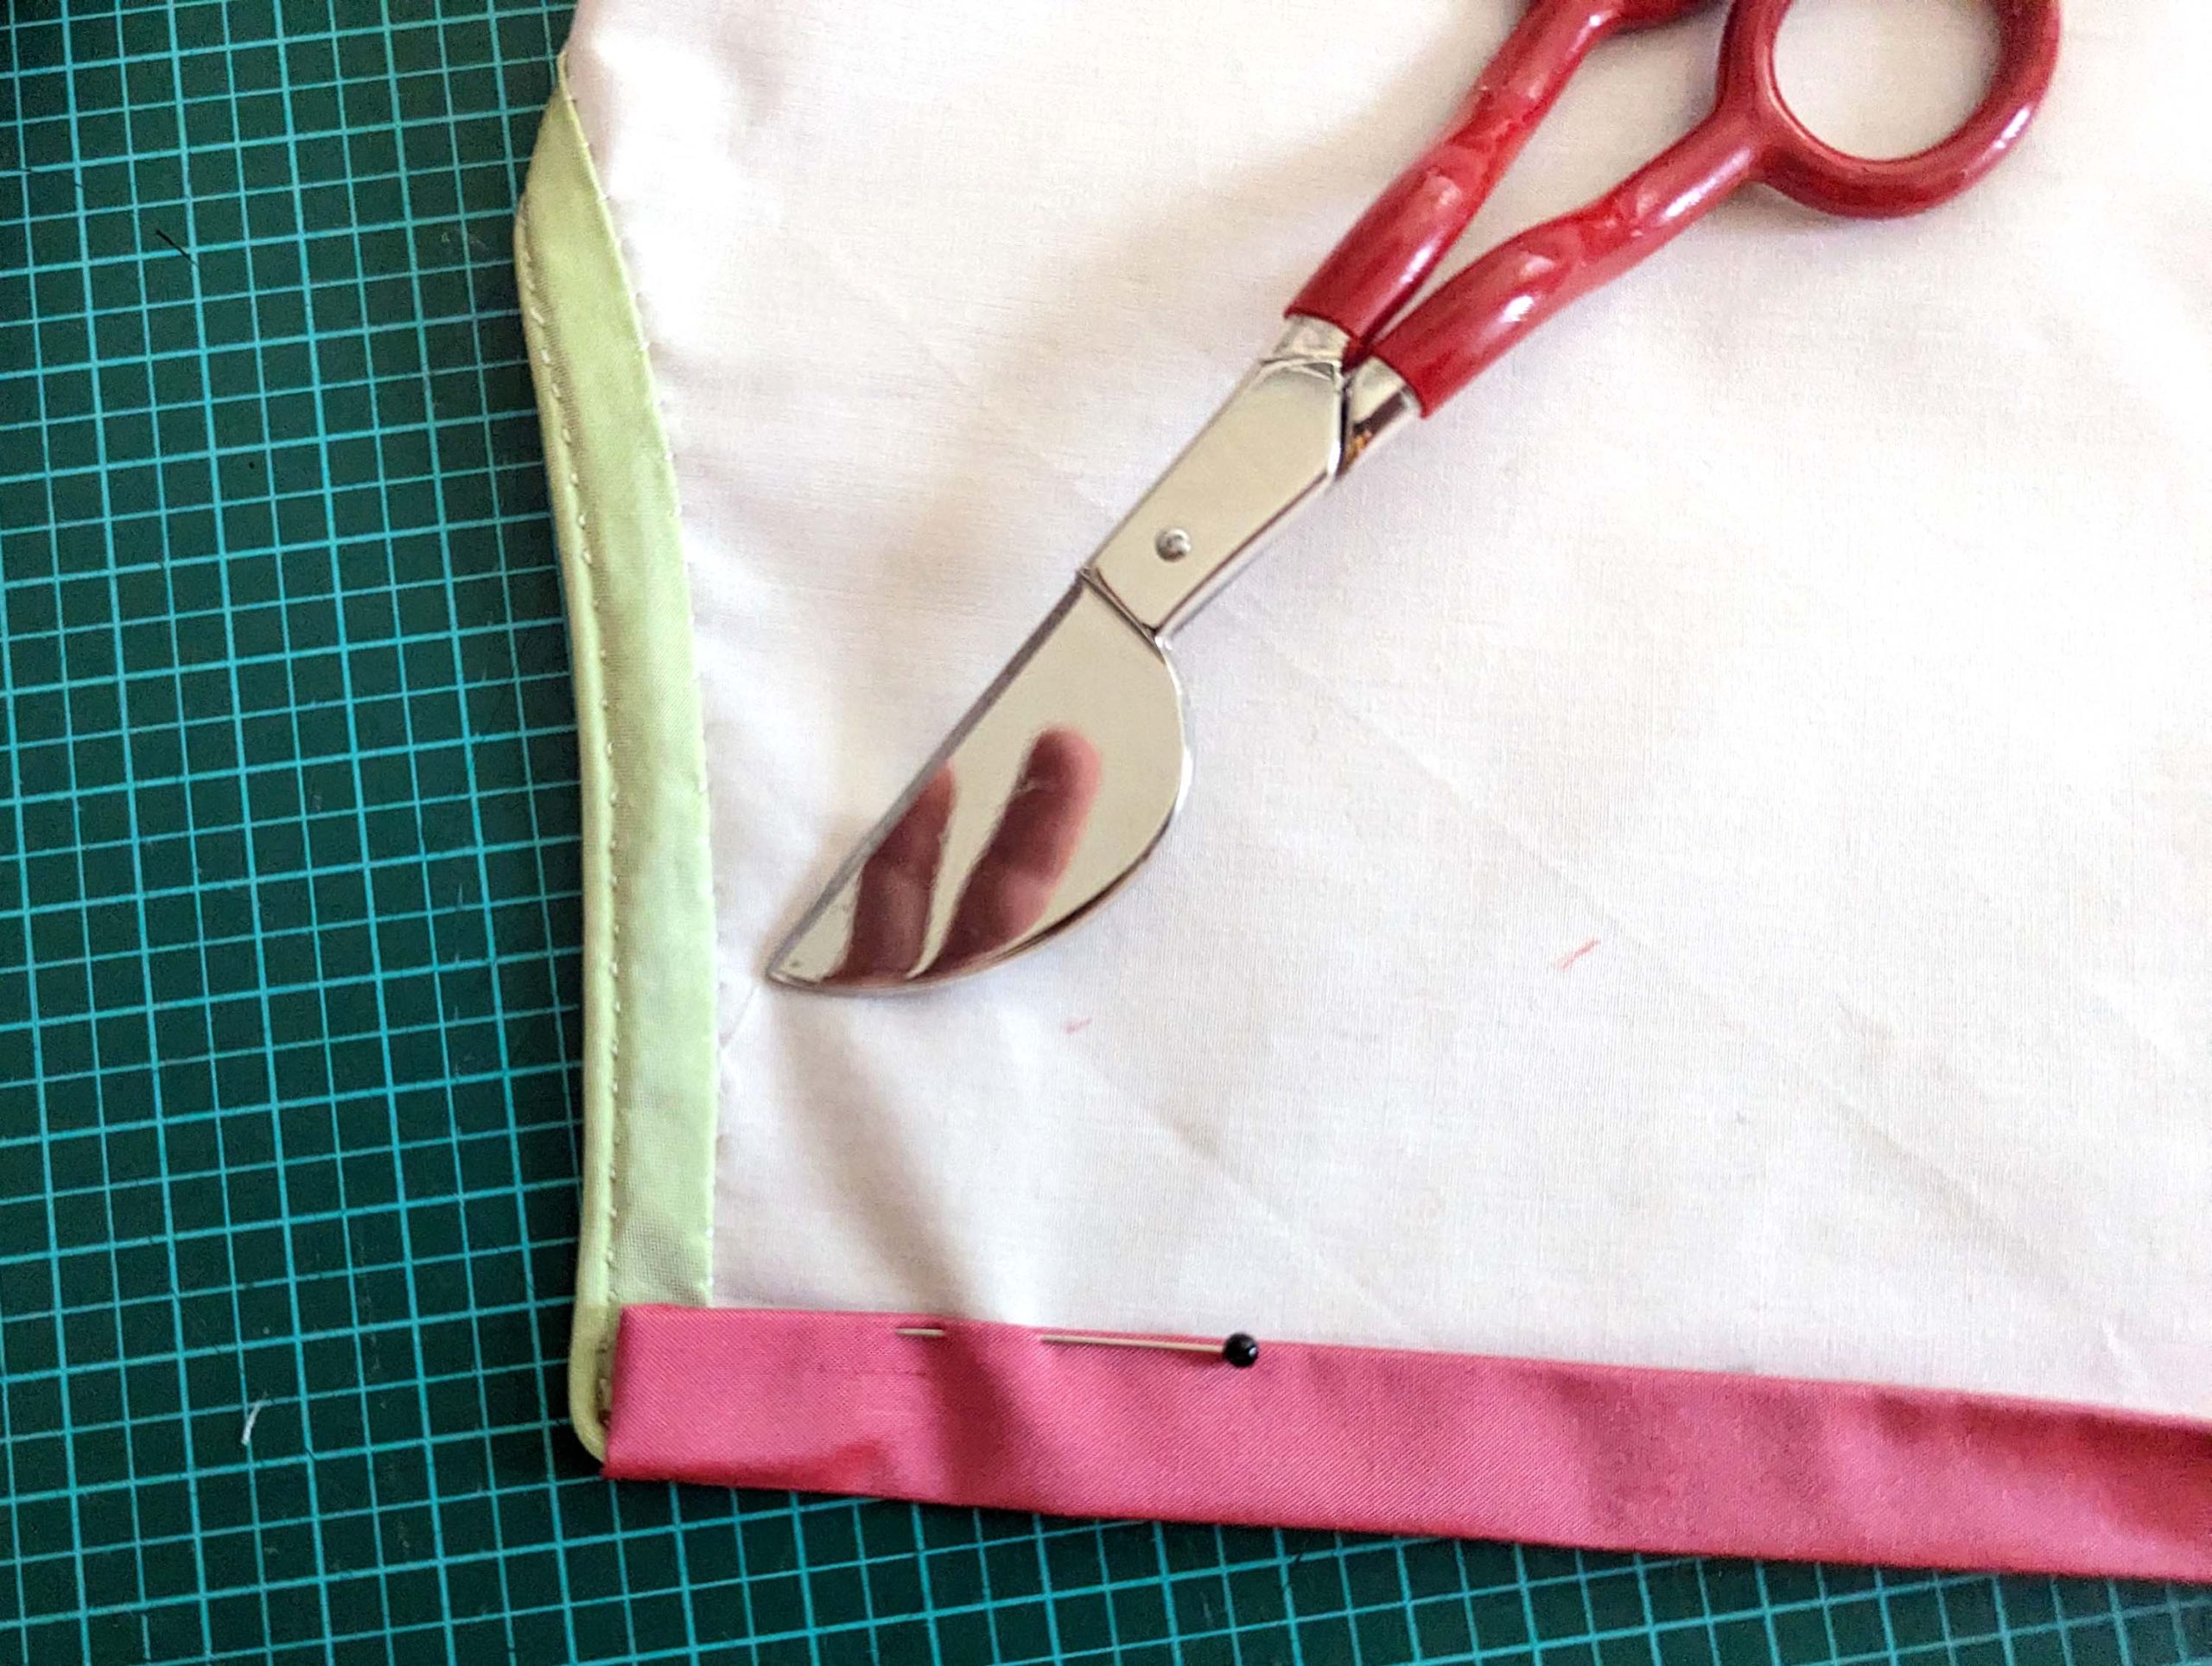
Notch the seam allowance of the piping at the points (1 – left side) and (2 – right side), and lead the piping downwards. Turn in the seam allowance 3/8” (1cm) along both back edges (gray area), treating the fashion fabric and lining like one layer of fabric. Turn in the back edges along the lines, indicated on the sewing pattern, (1 – left side) and (2– right side) to create a placket, lining up the top edge with the stitching line of the piping. Press the edges and baste in place
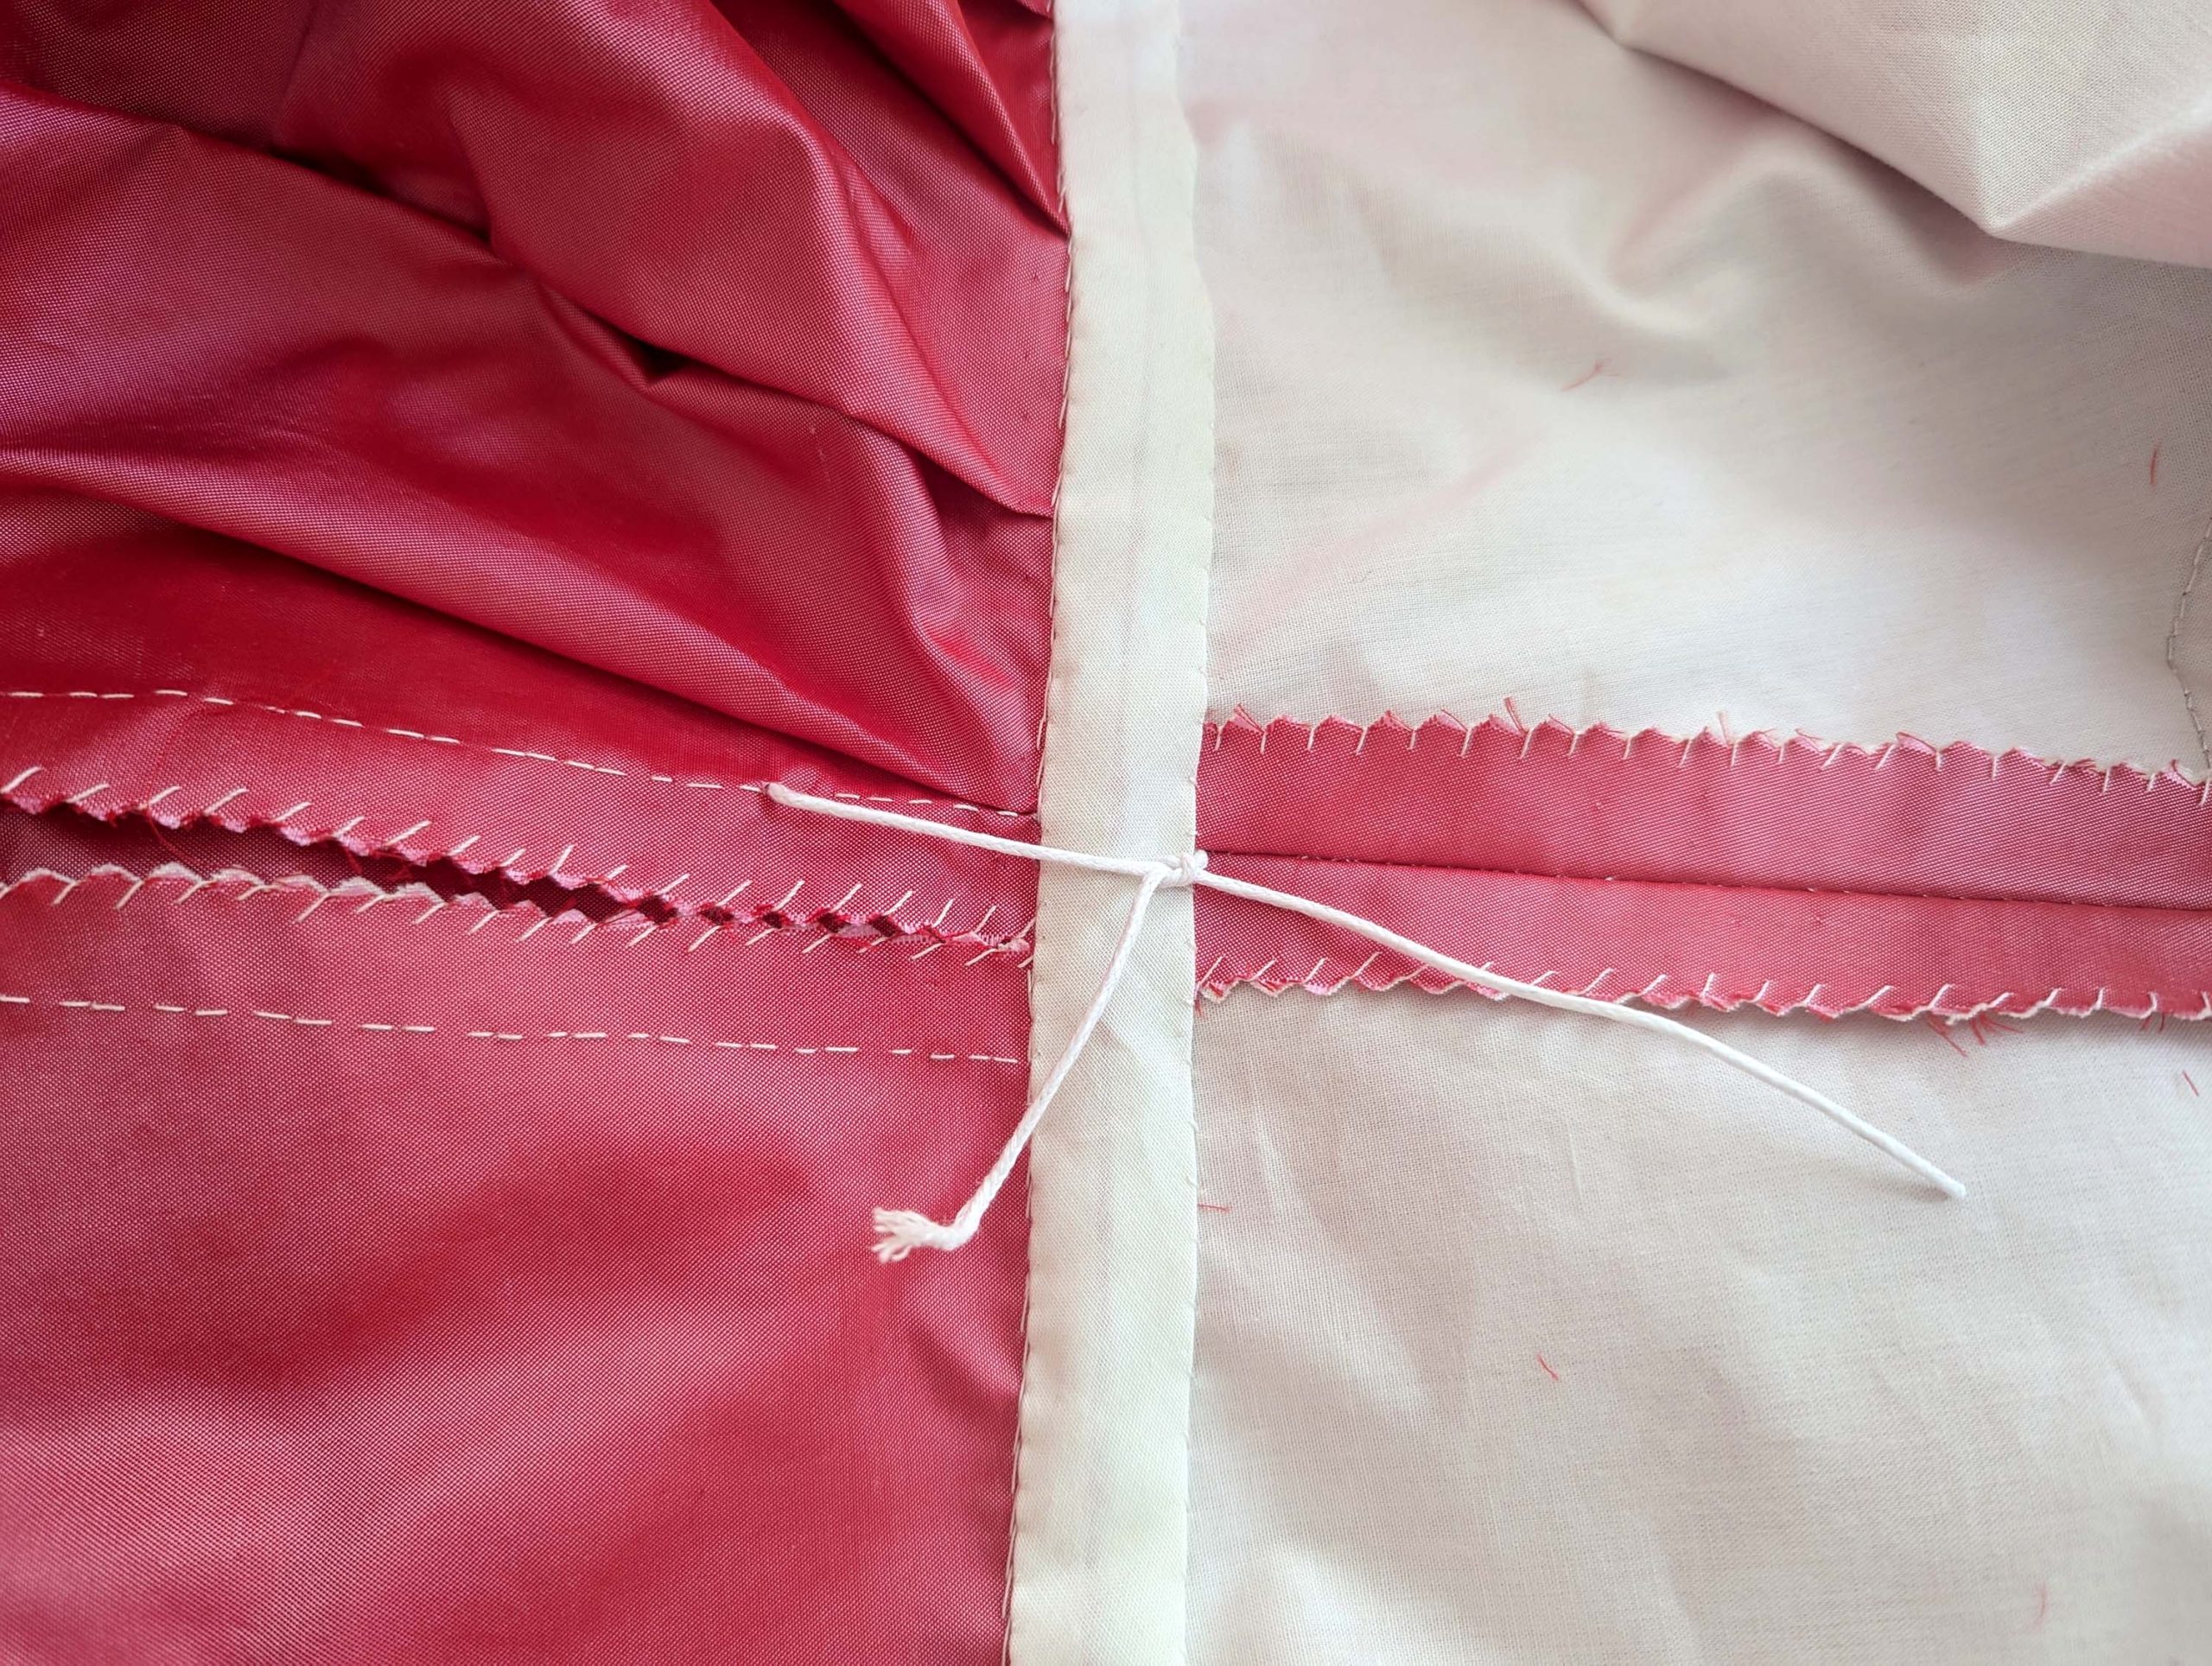
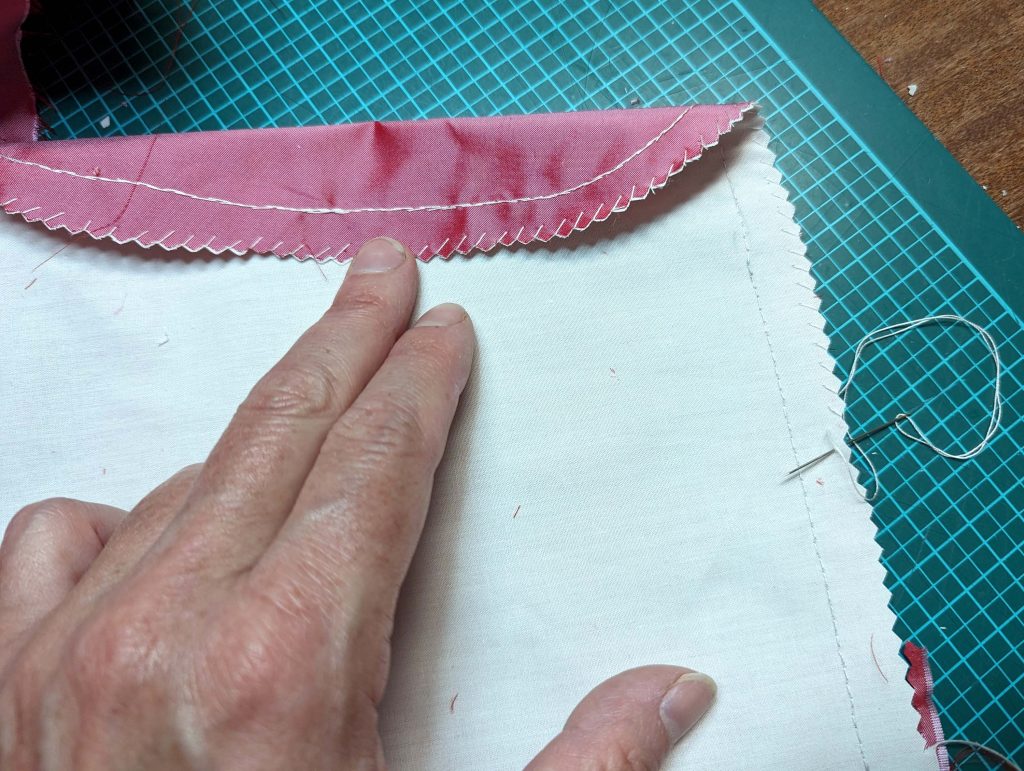
(3) Sew the side seams, right sides together and press open the seam allowances. Neaten the seam allowances of the shoulder and side seams with overcasting stitches.
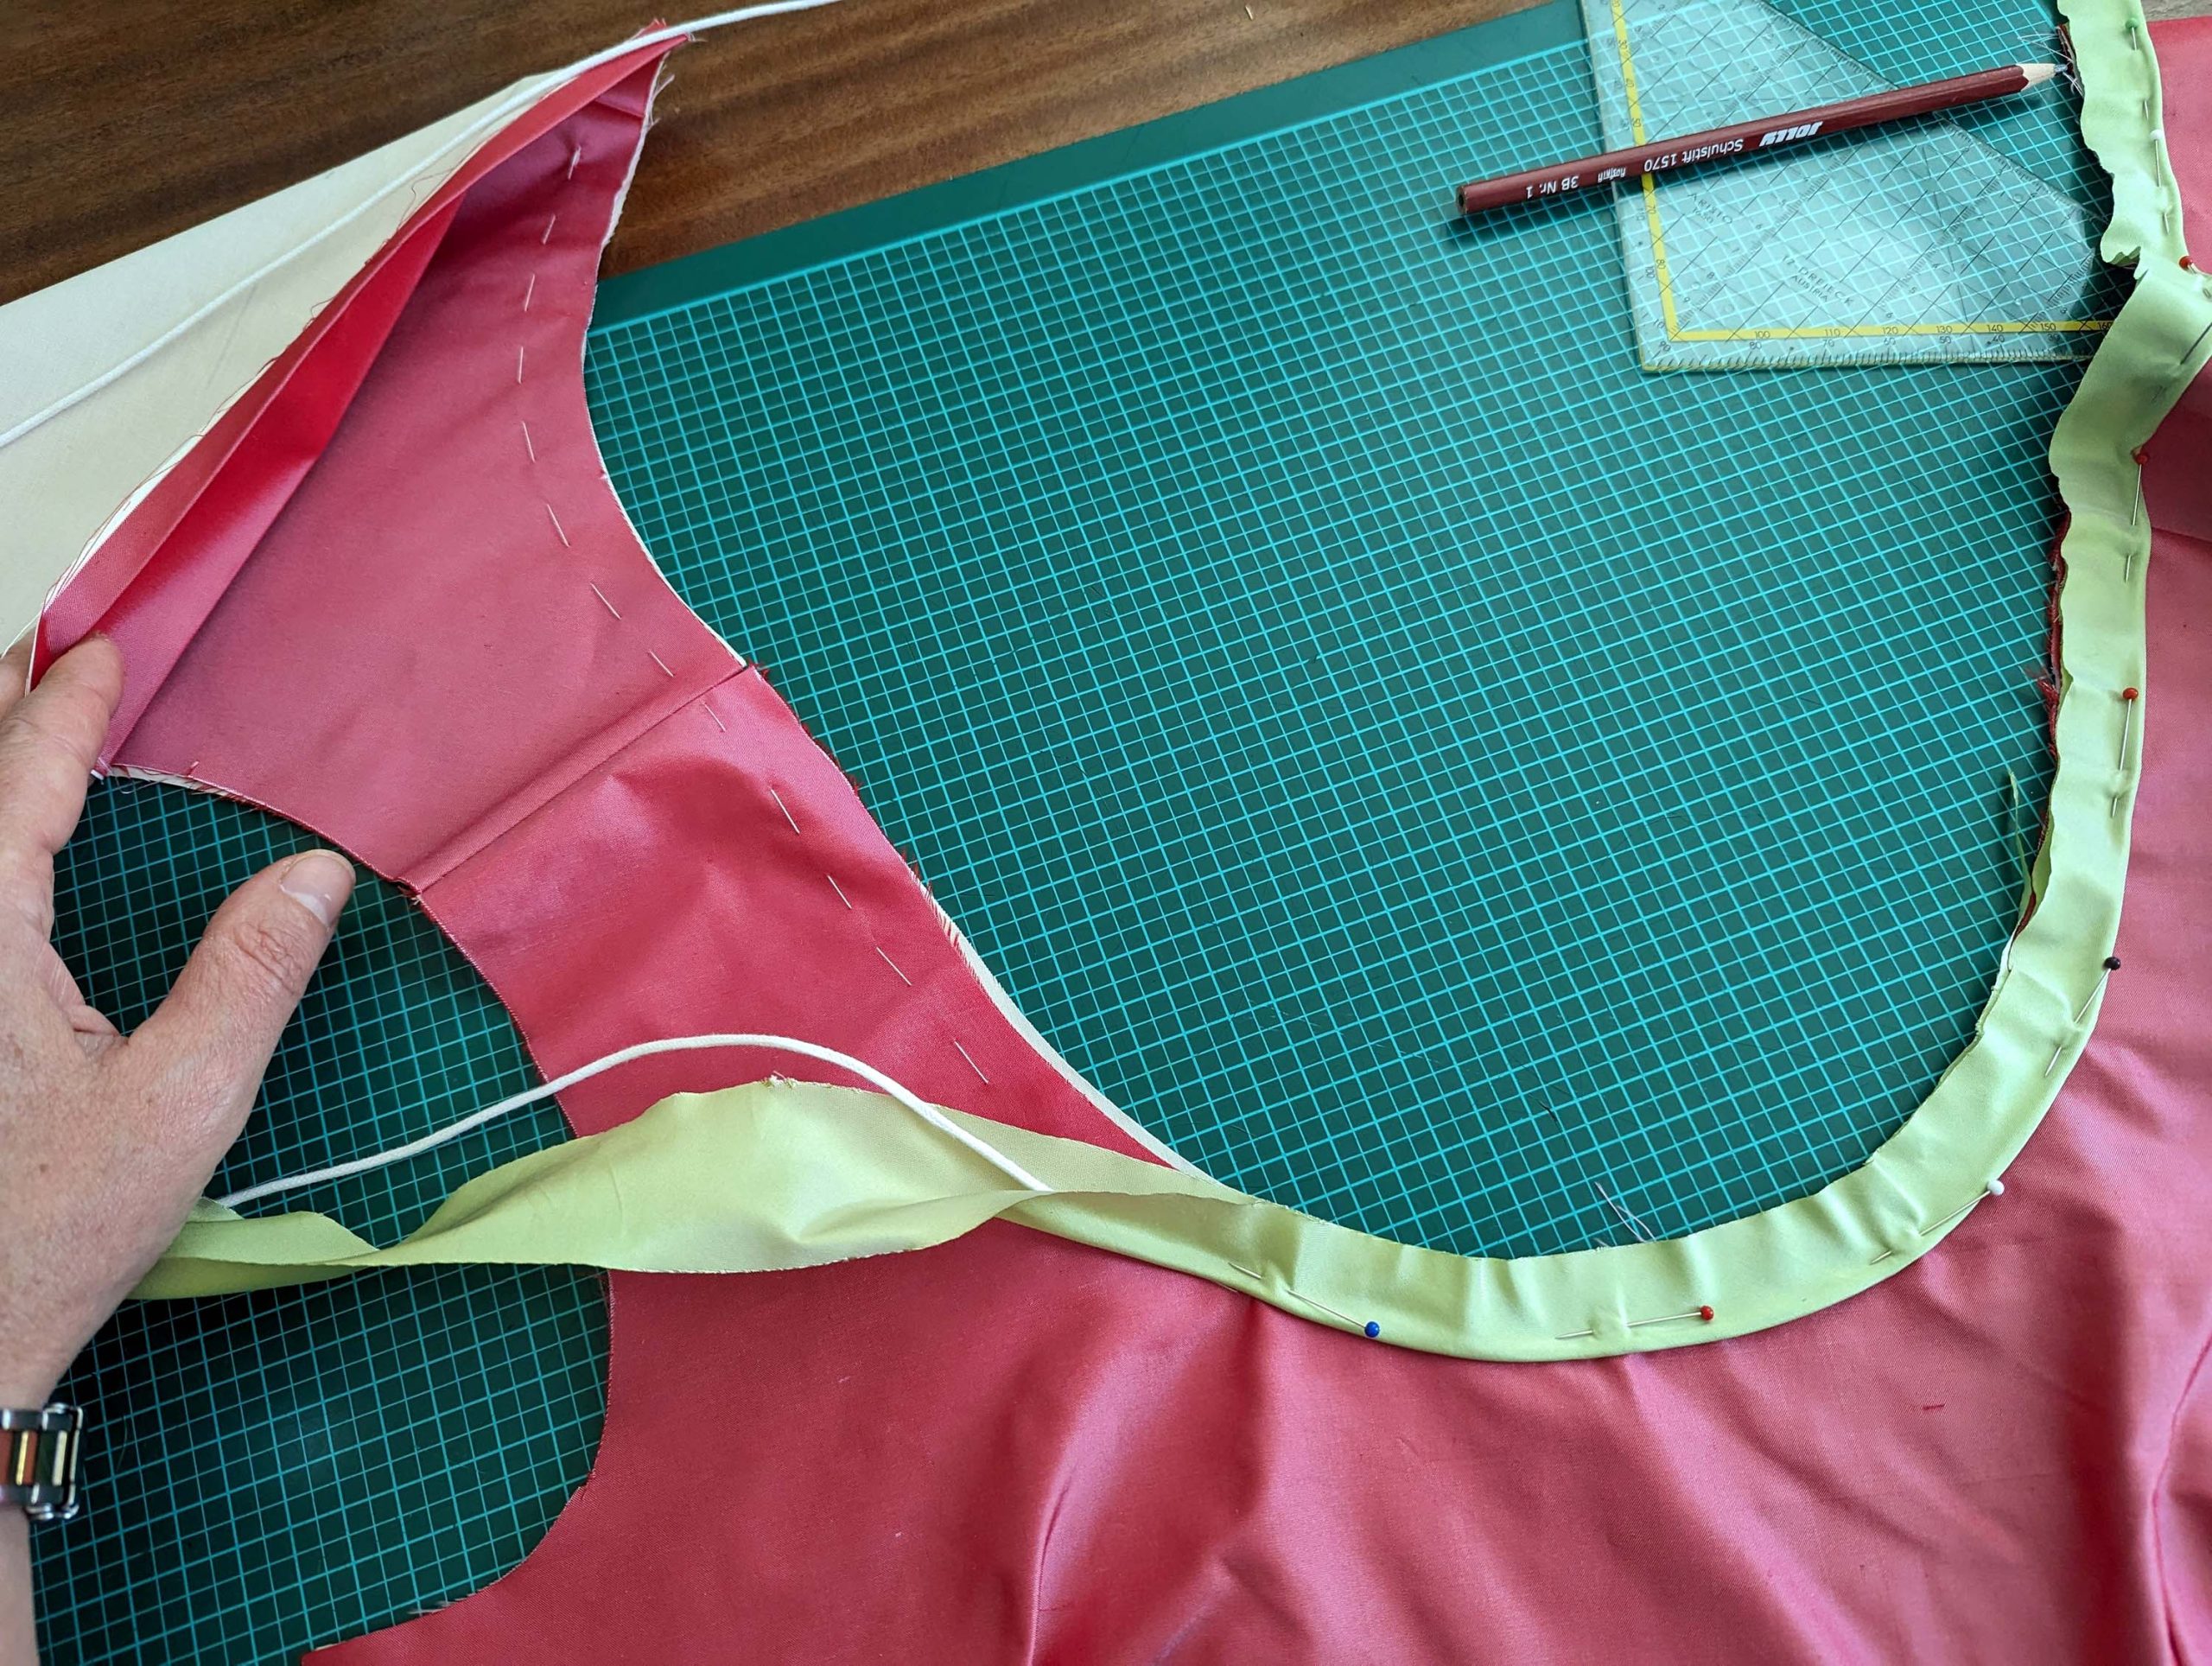
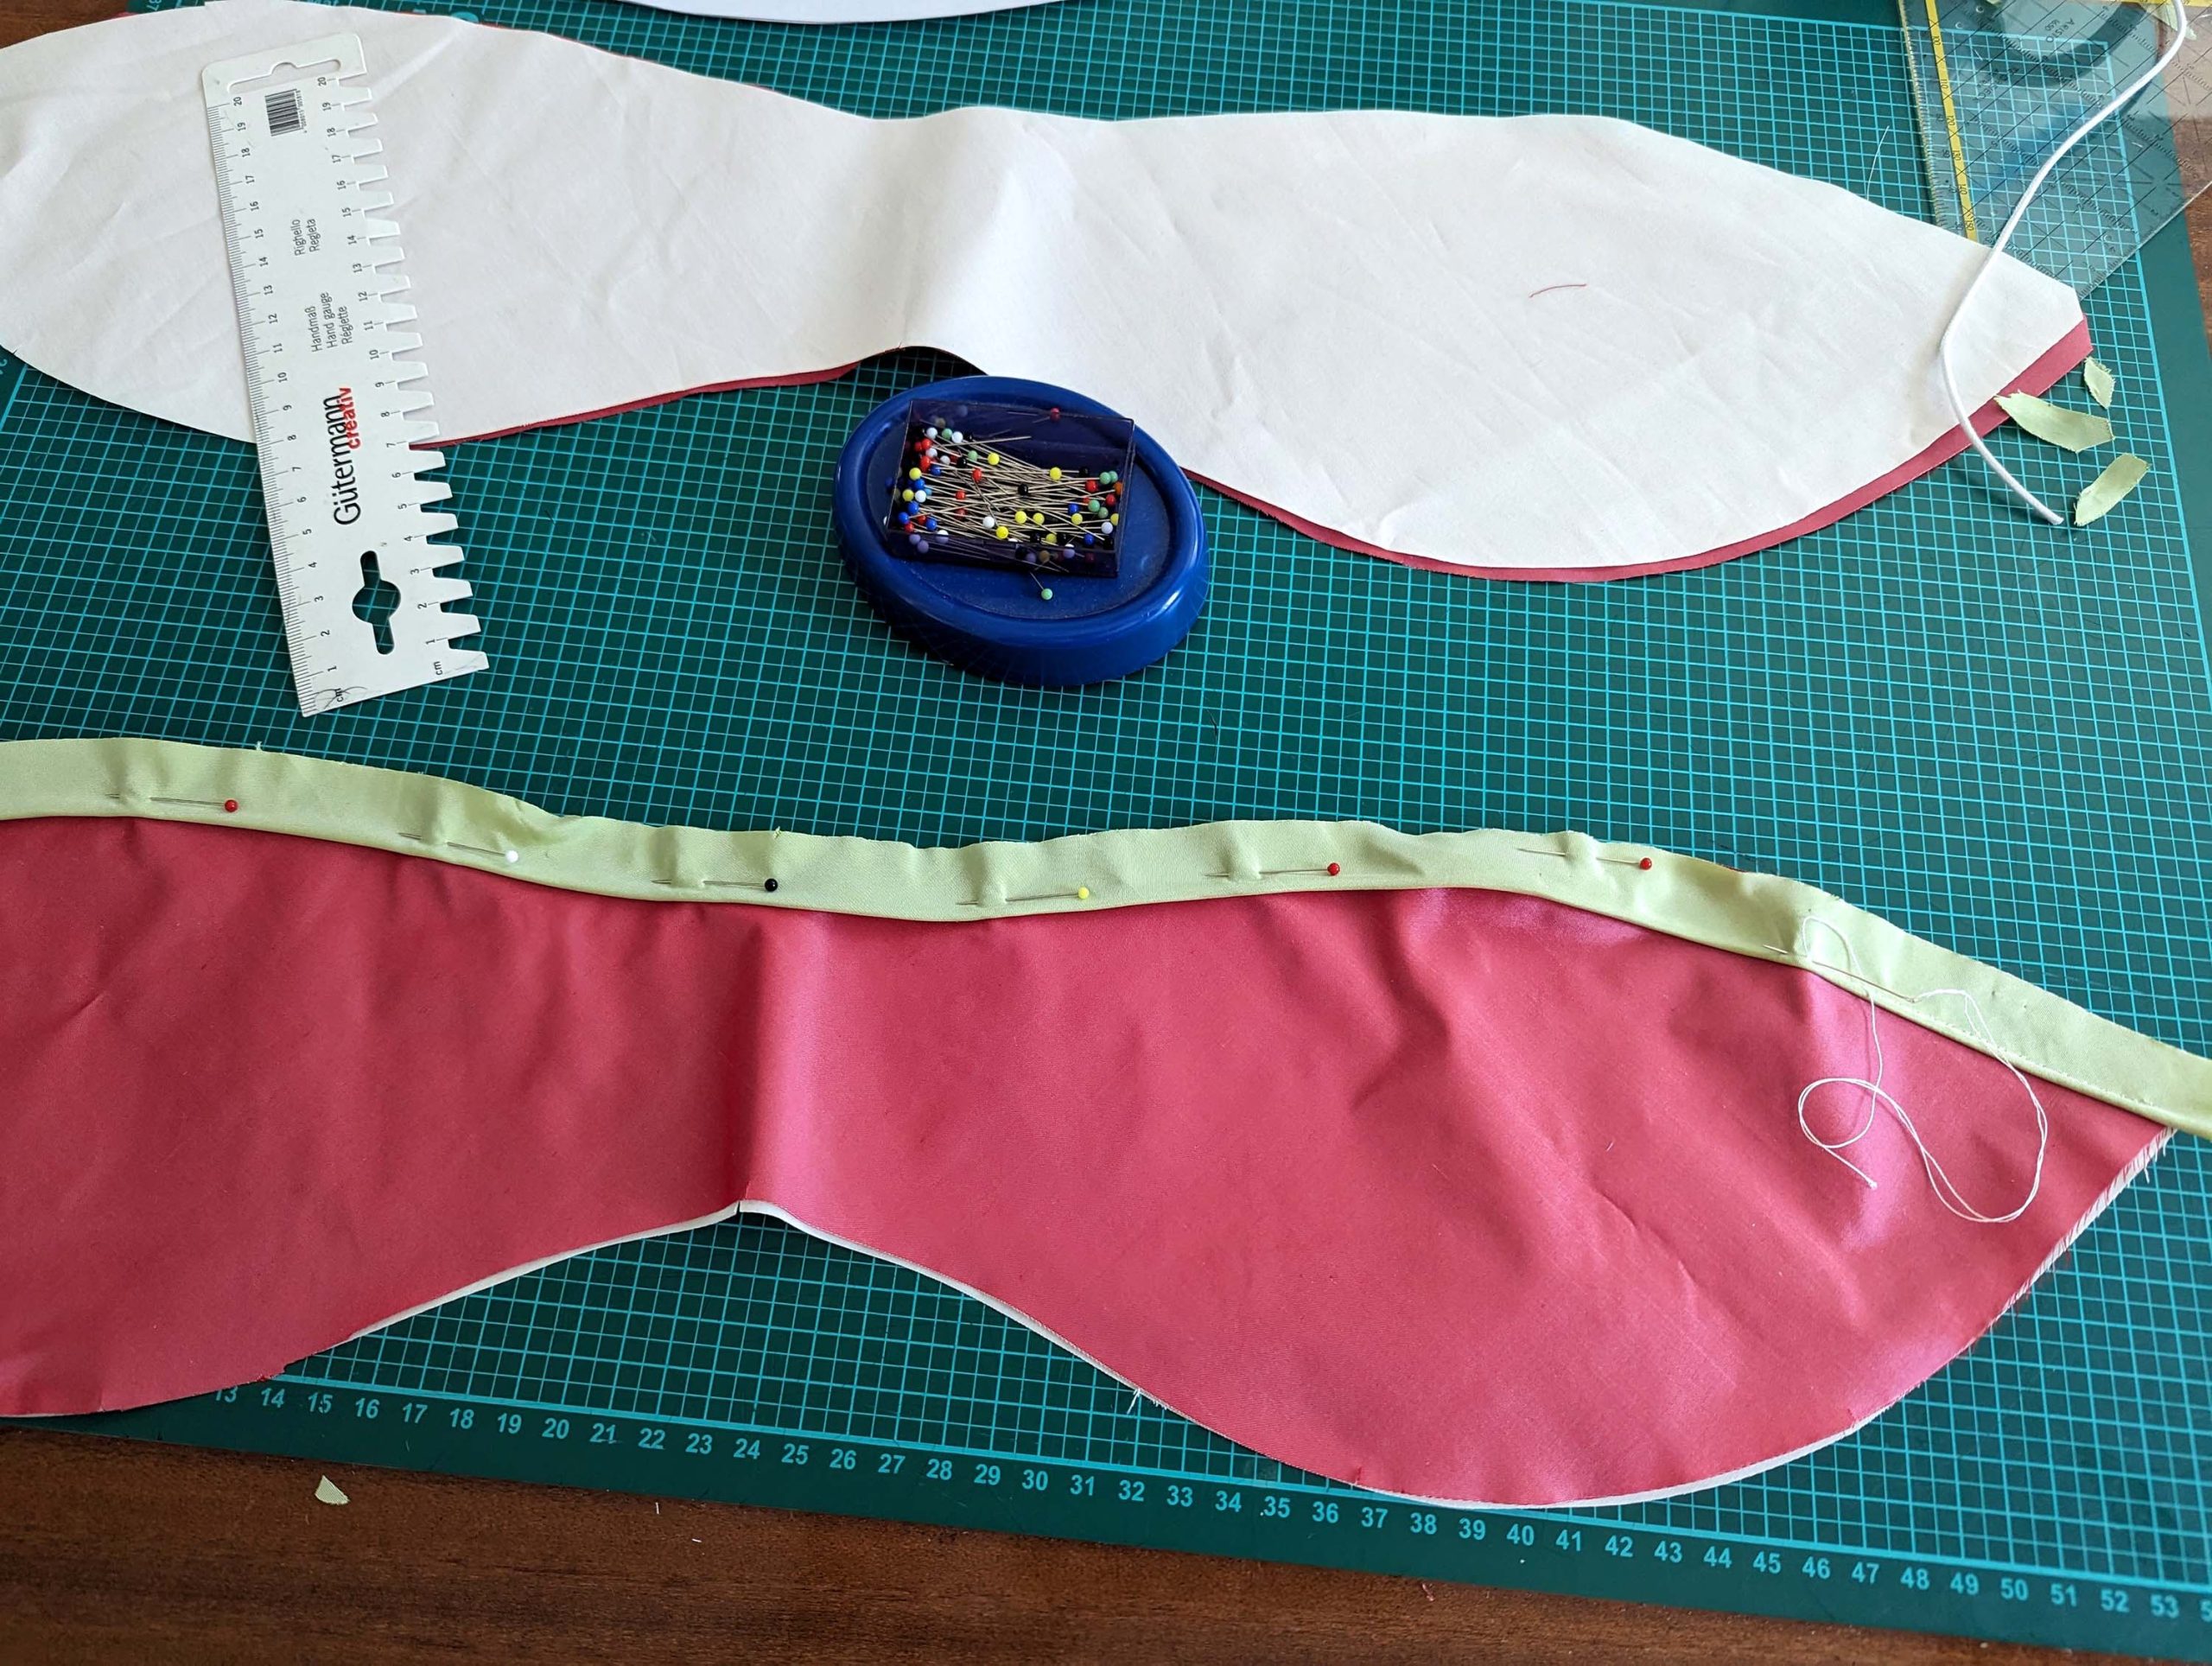
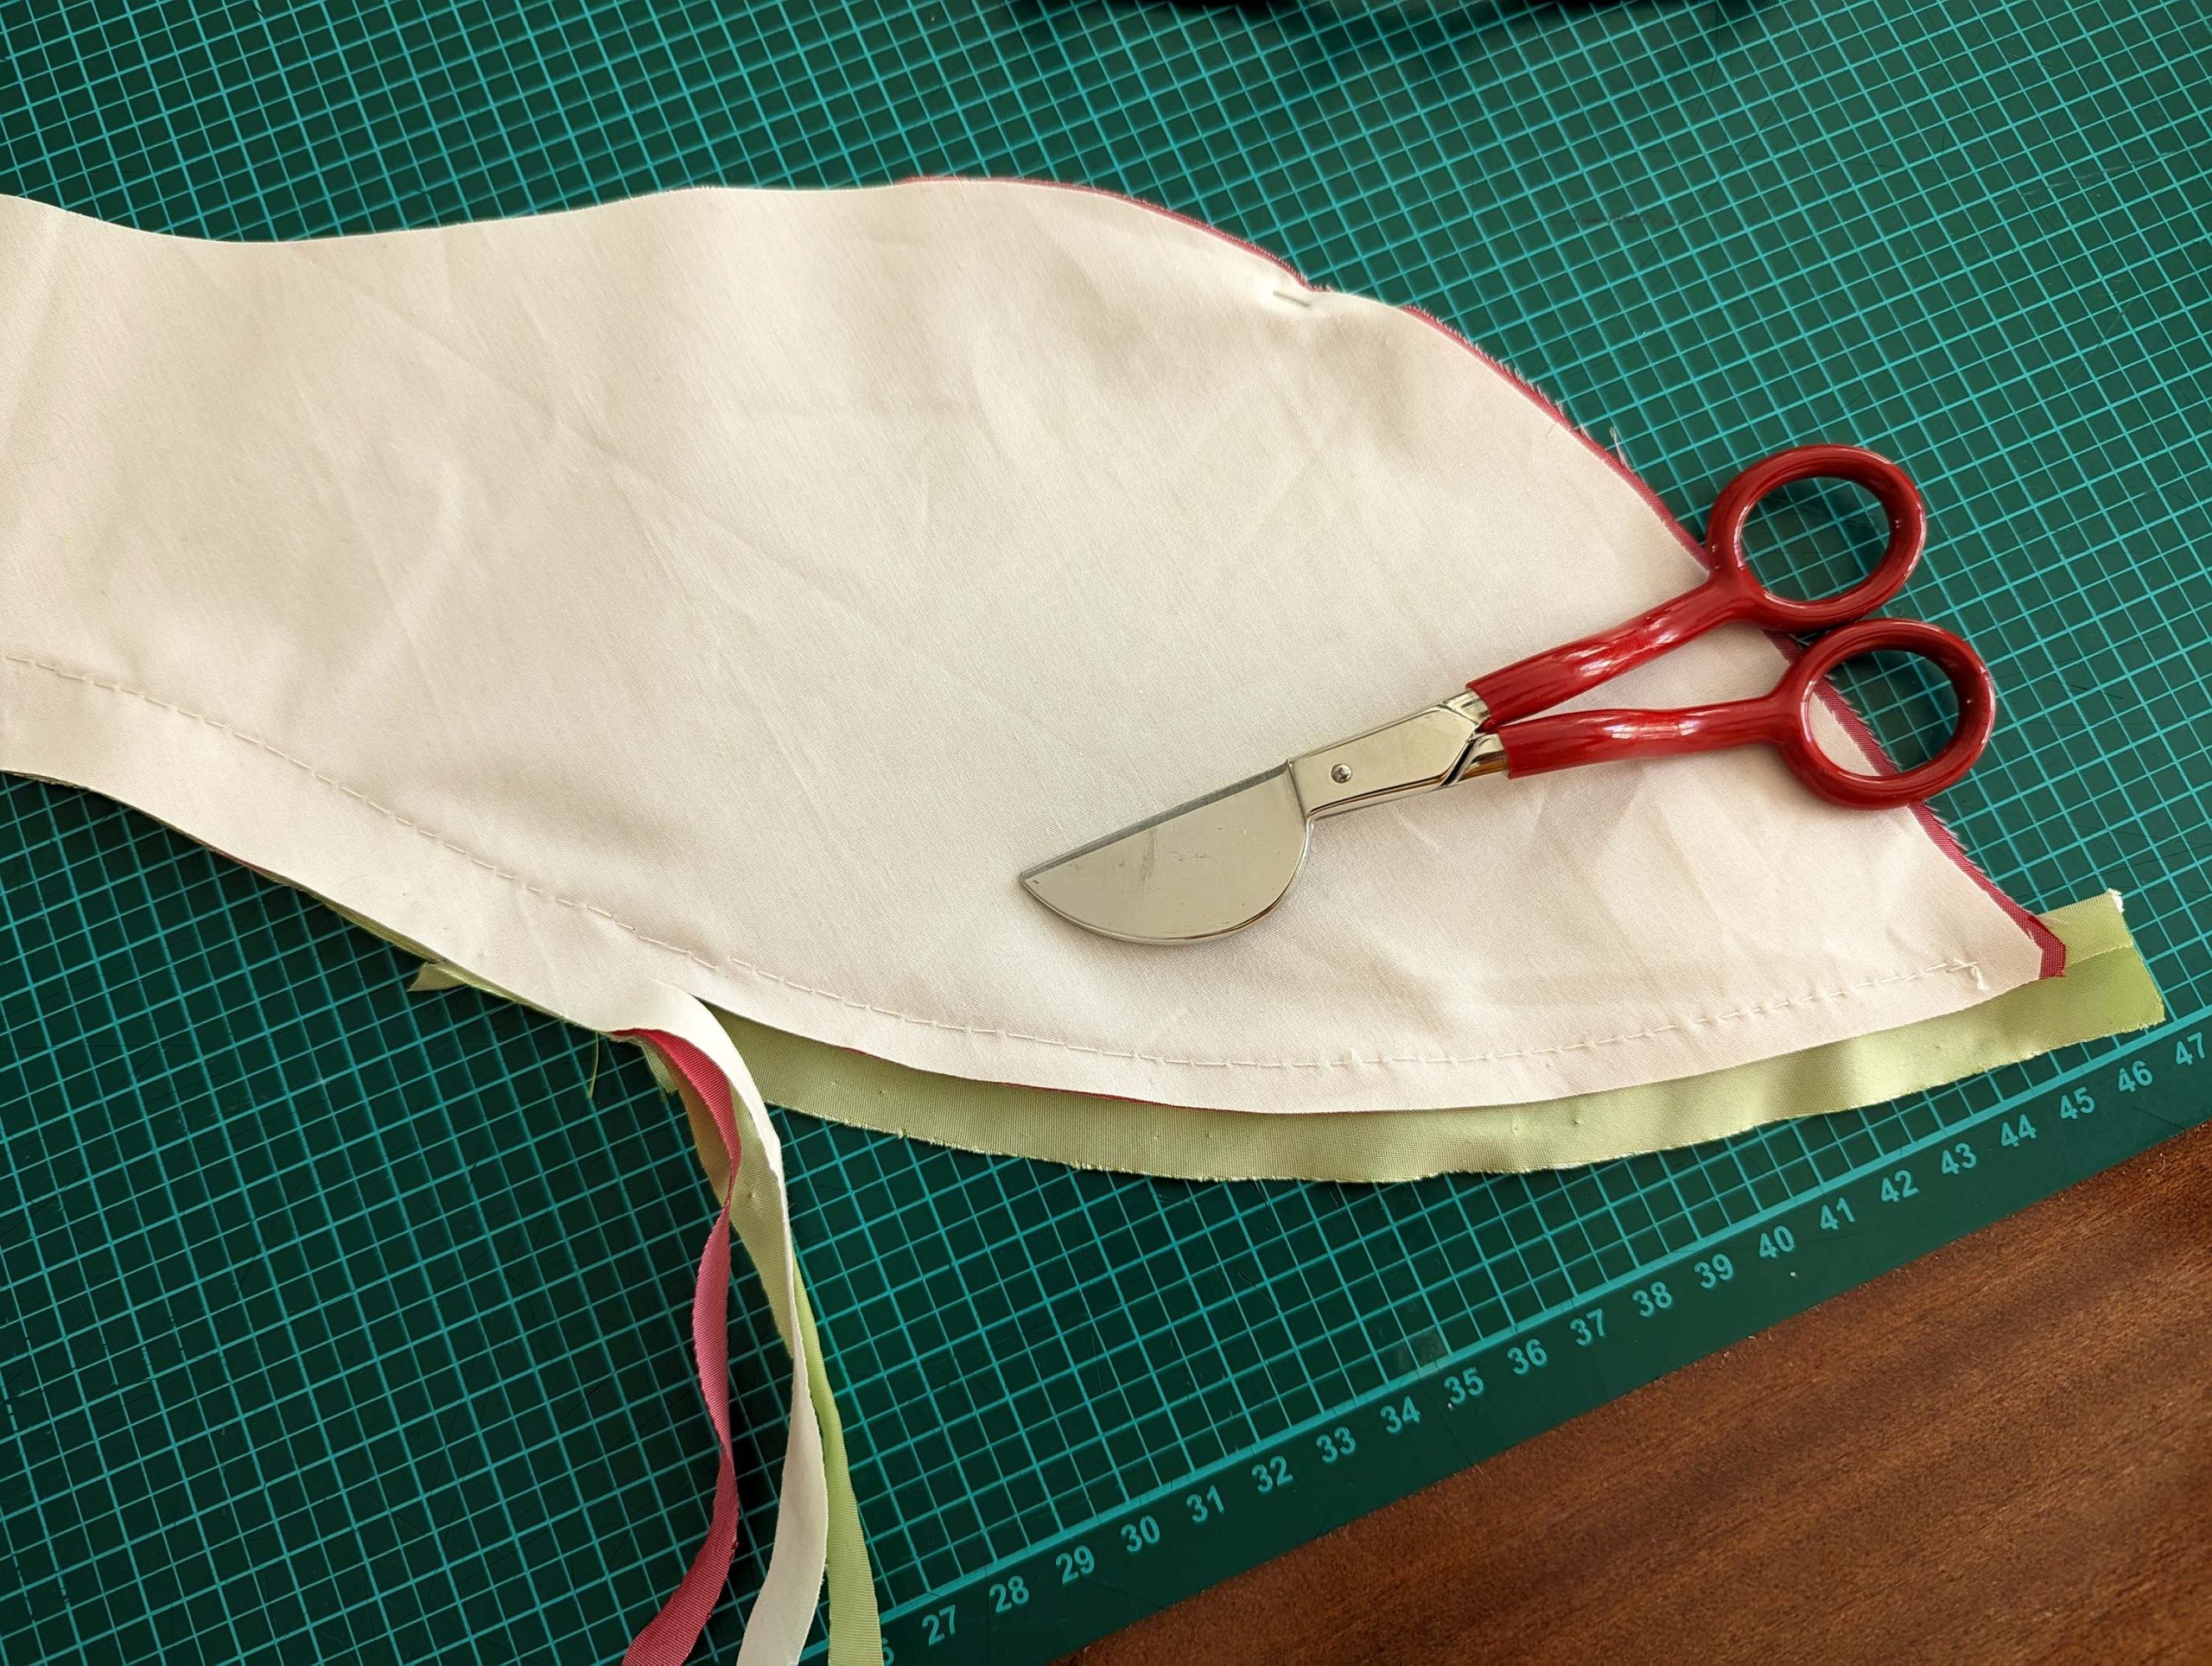
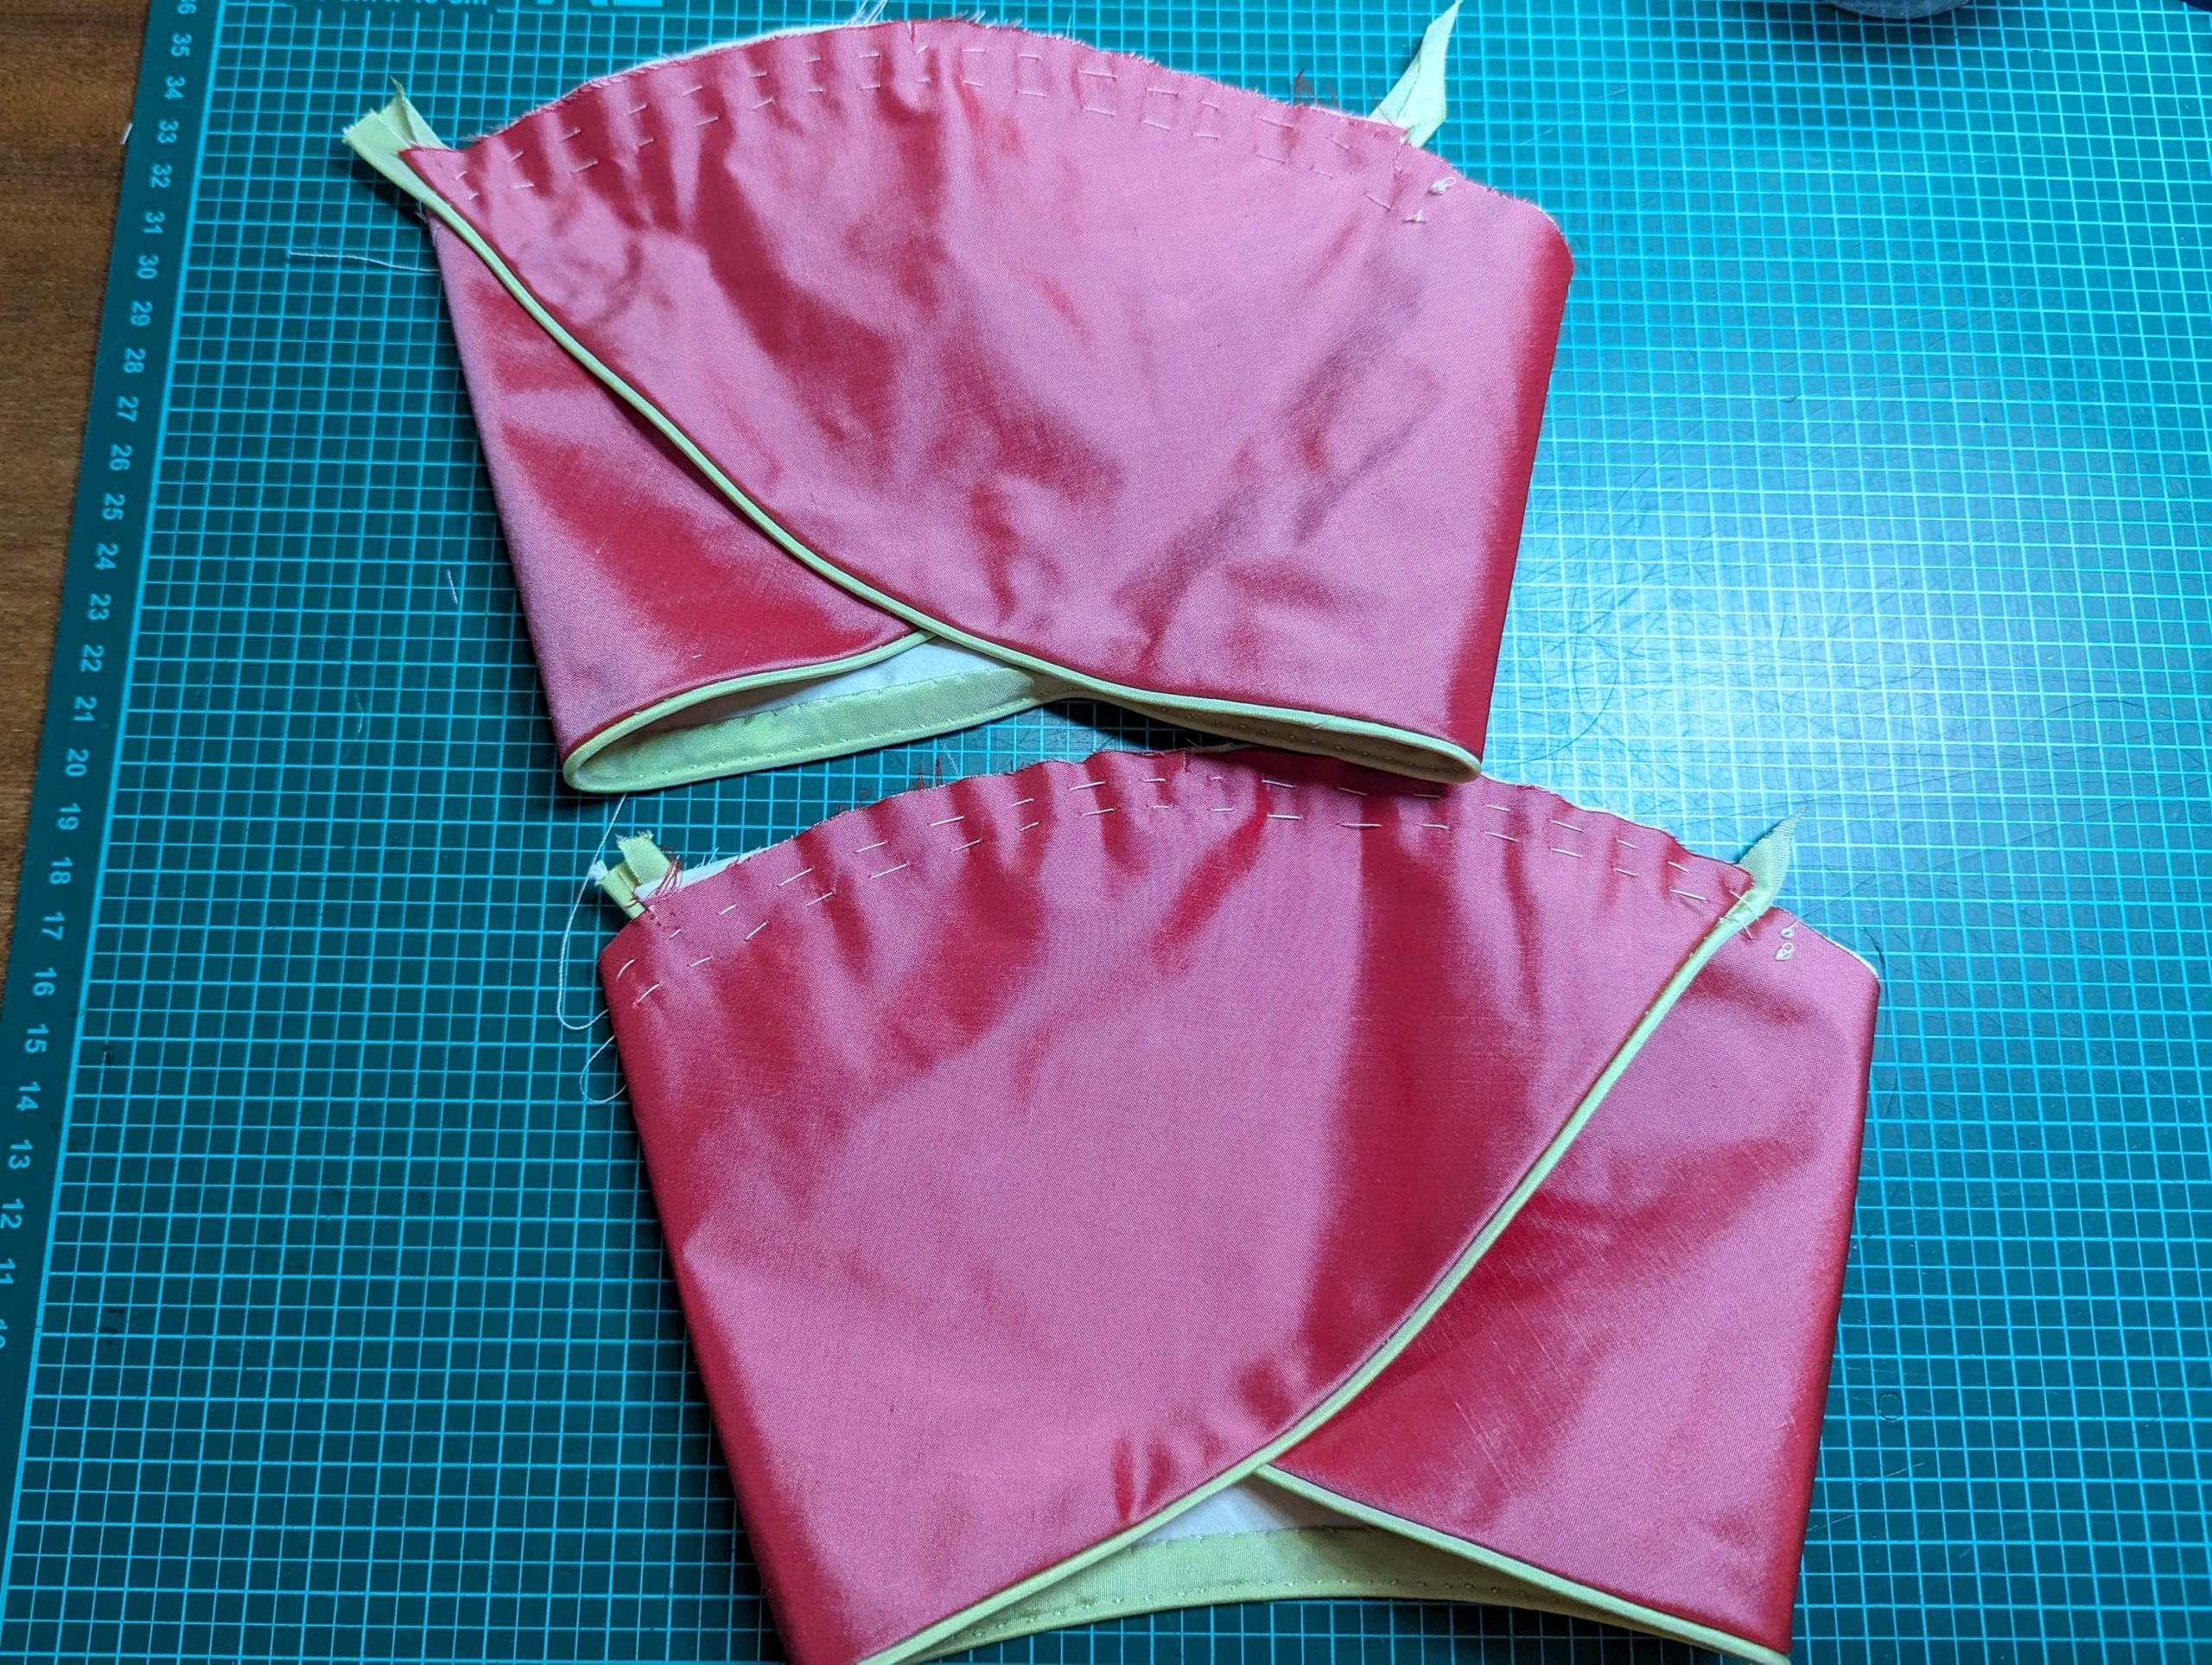
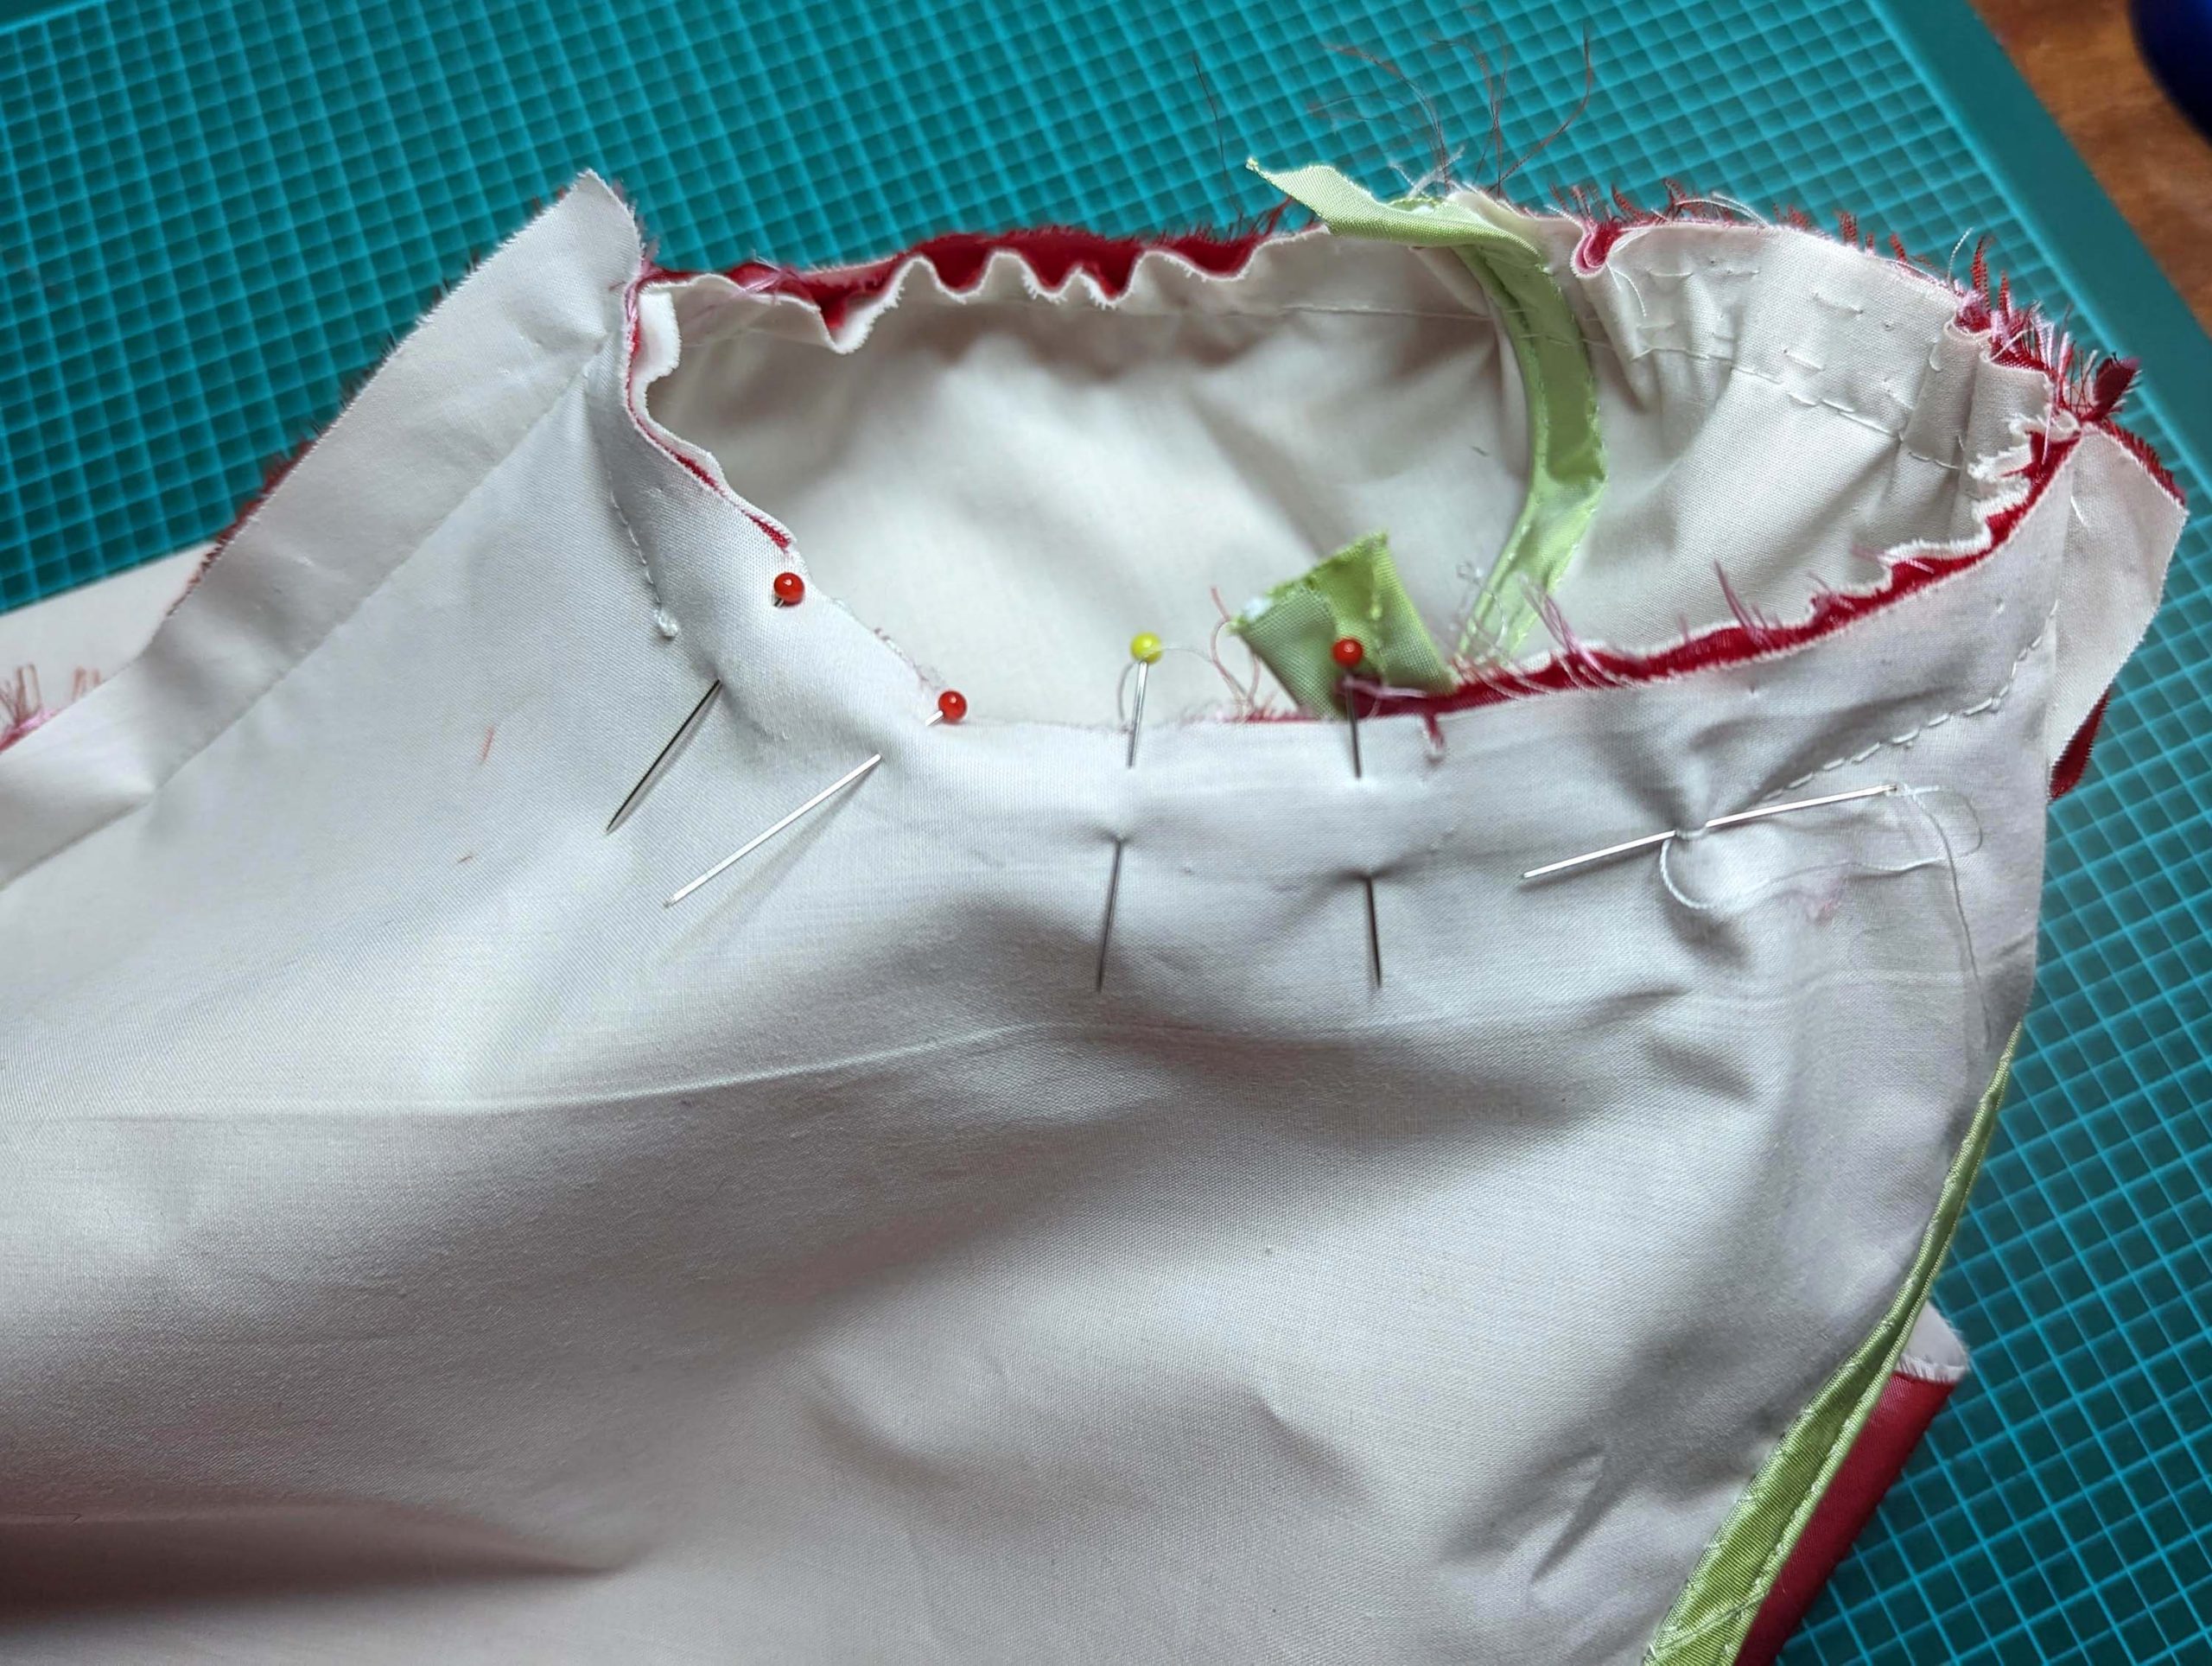
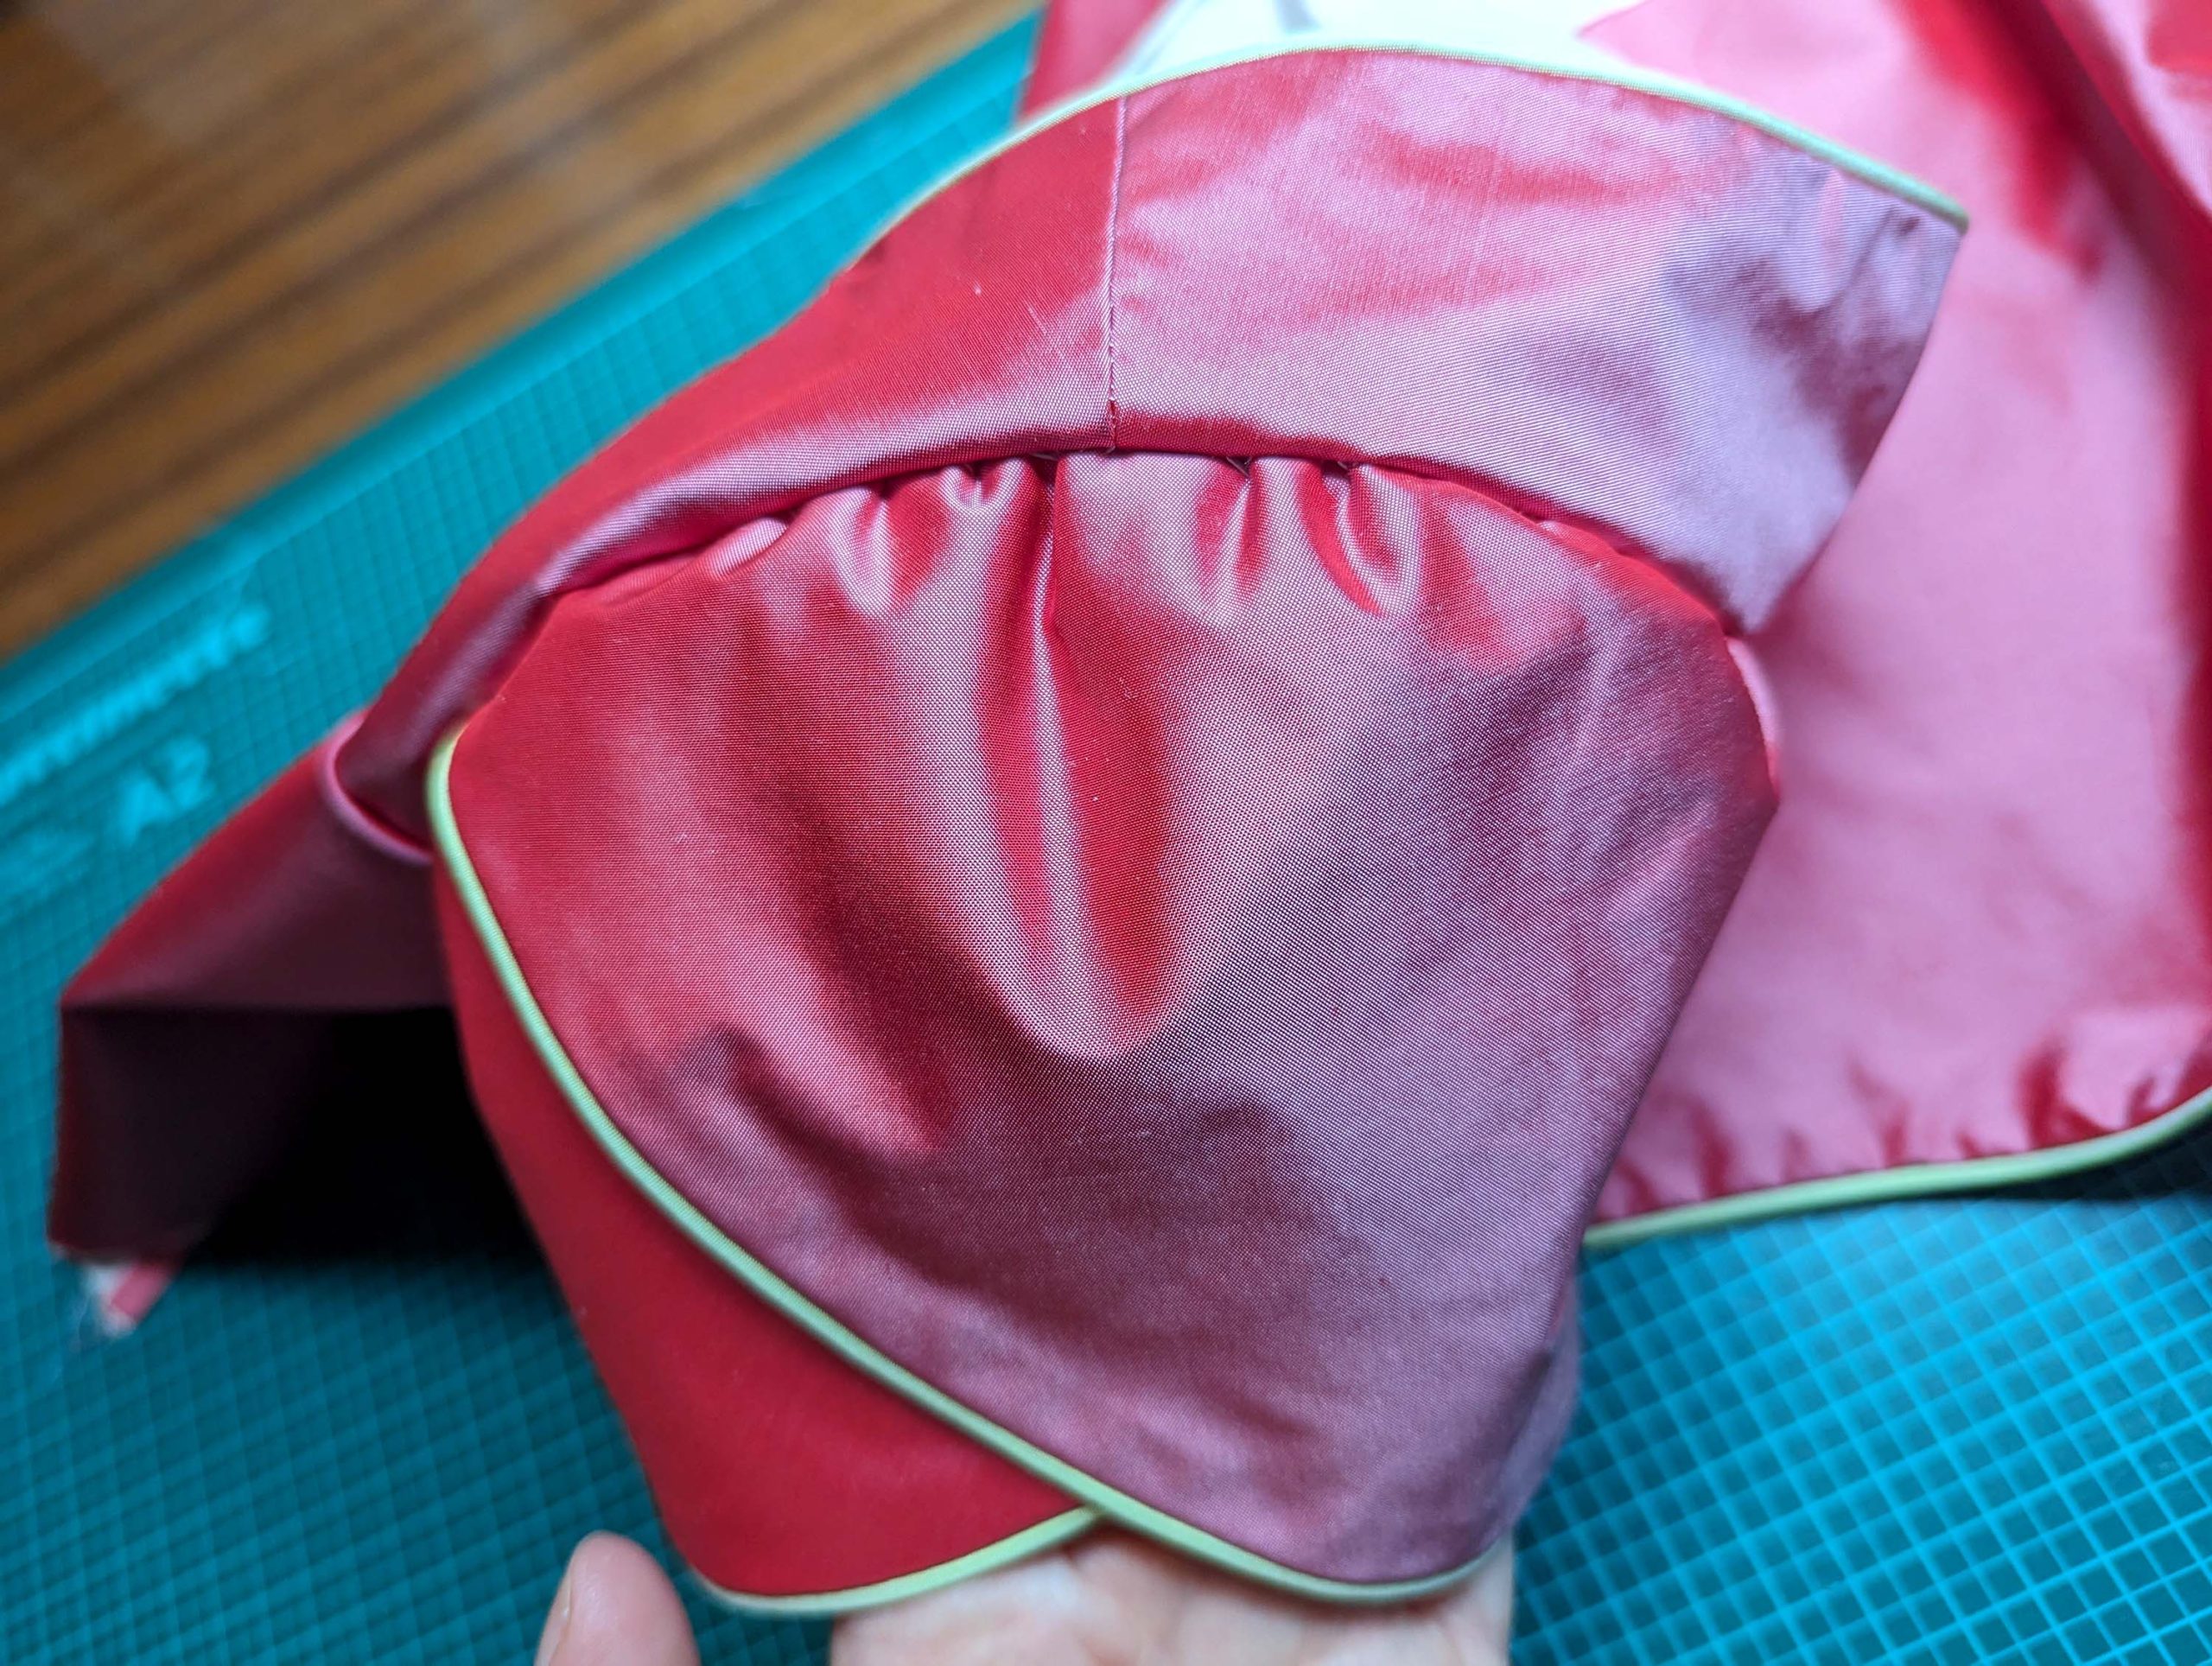
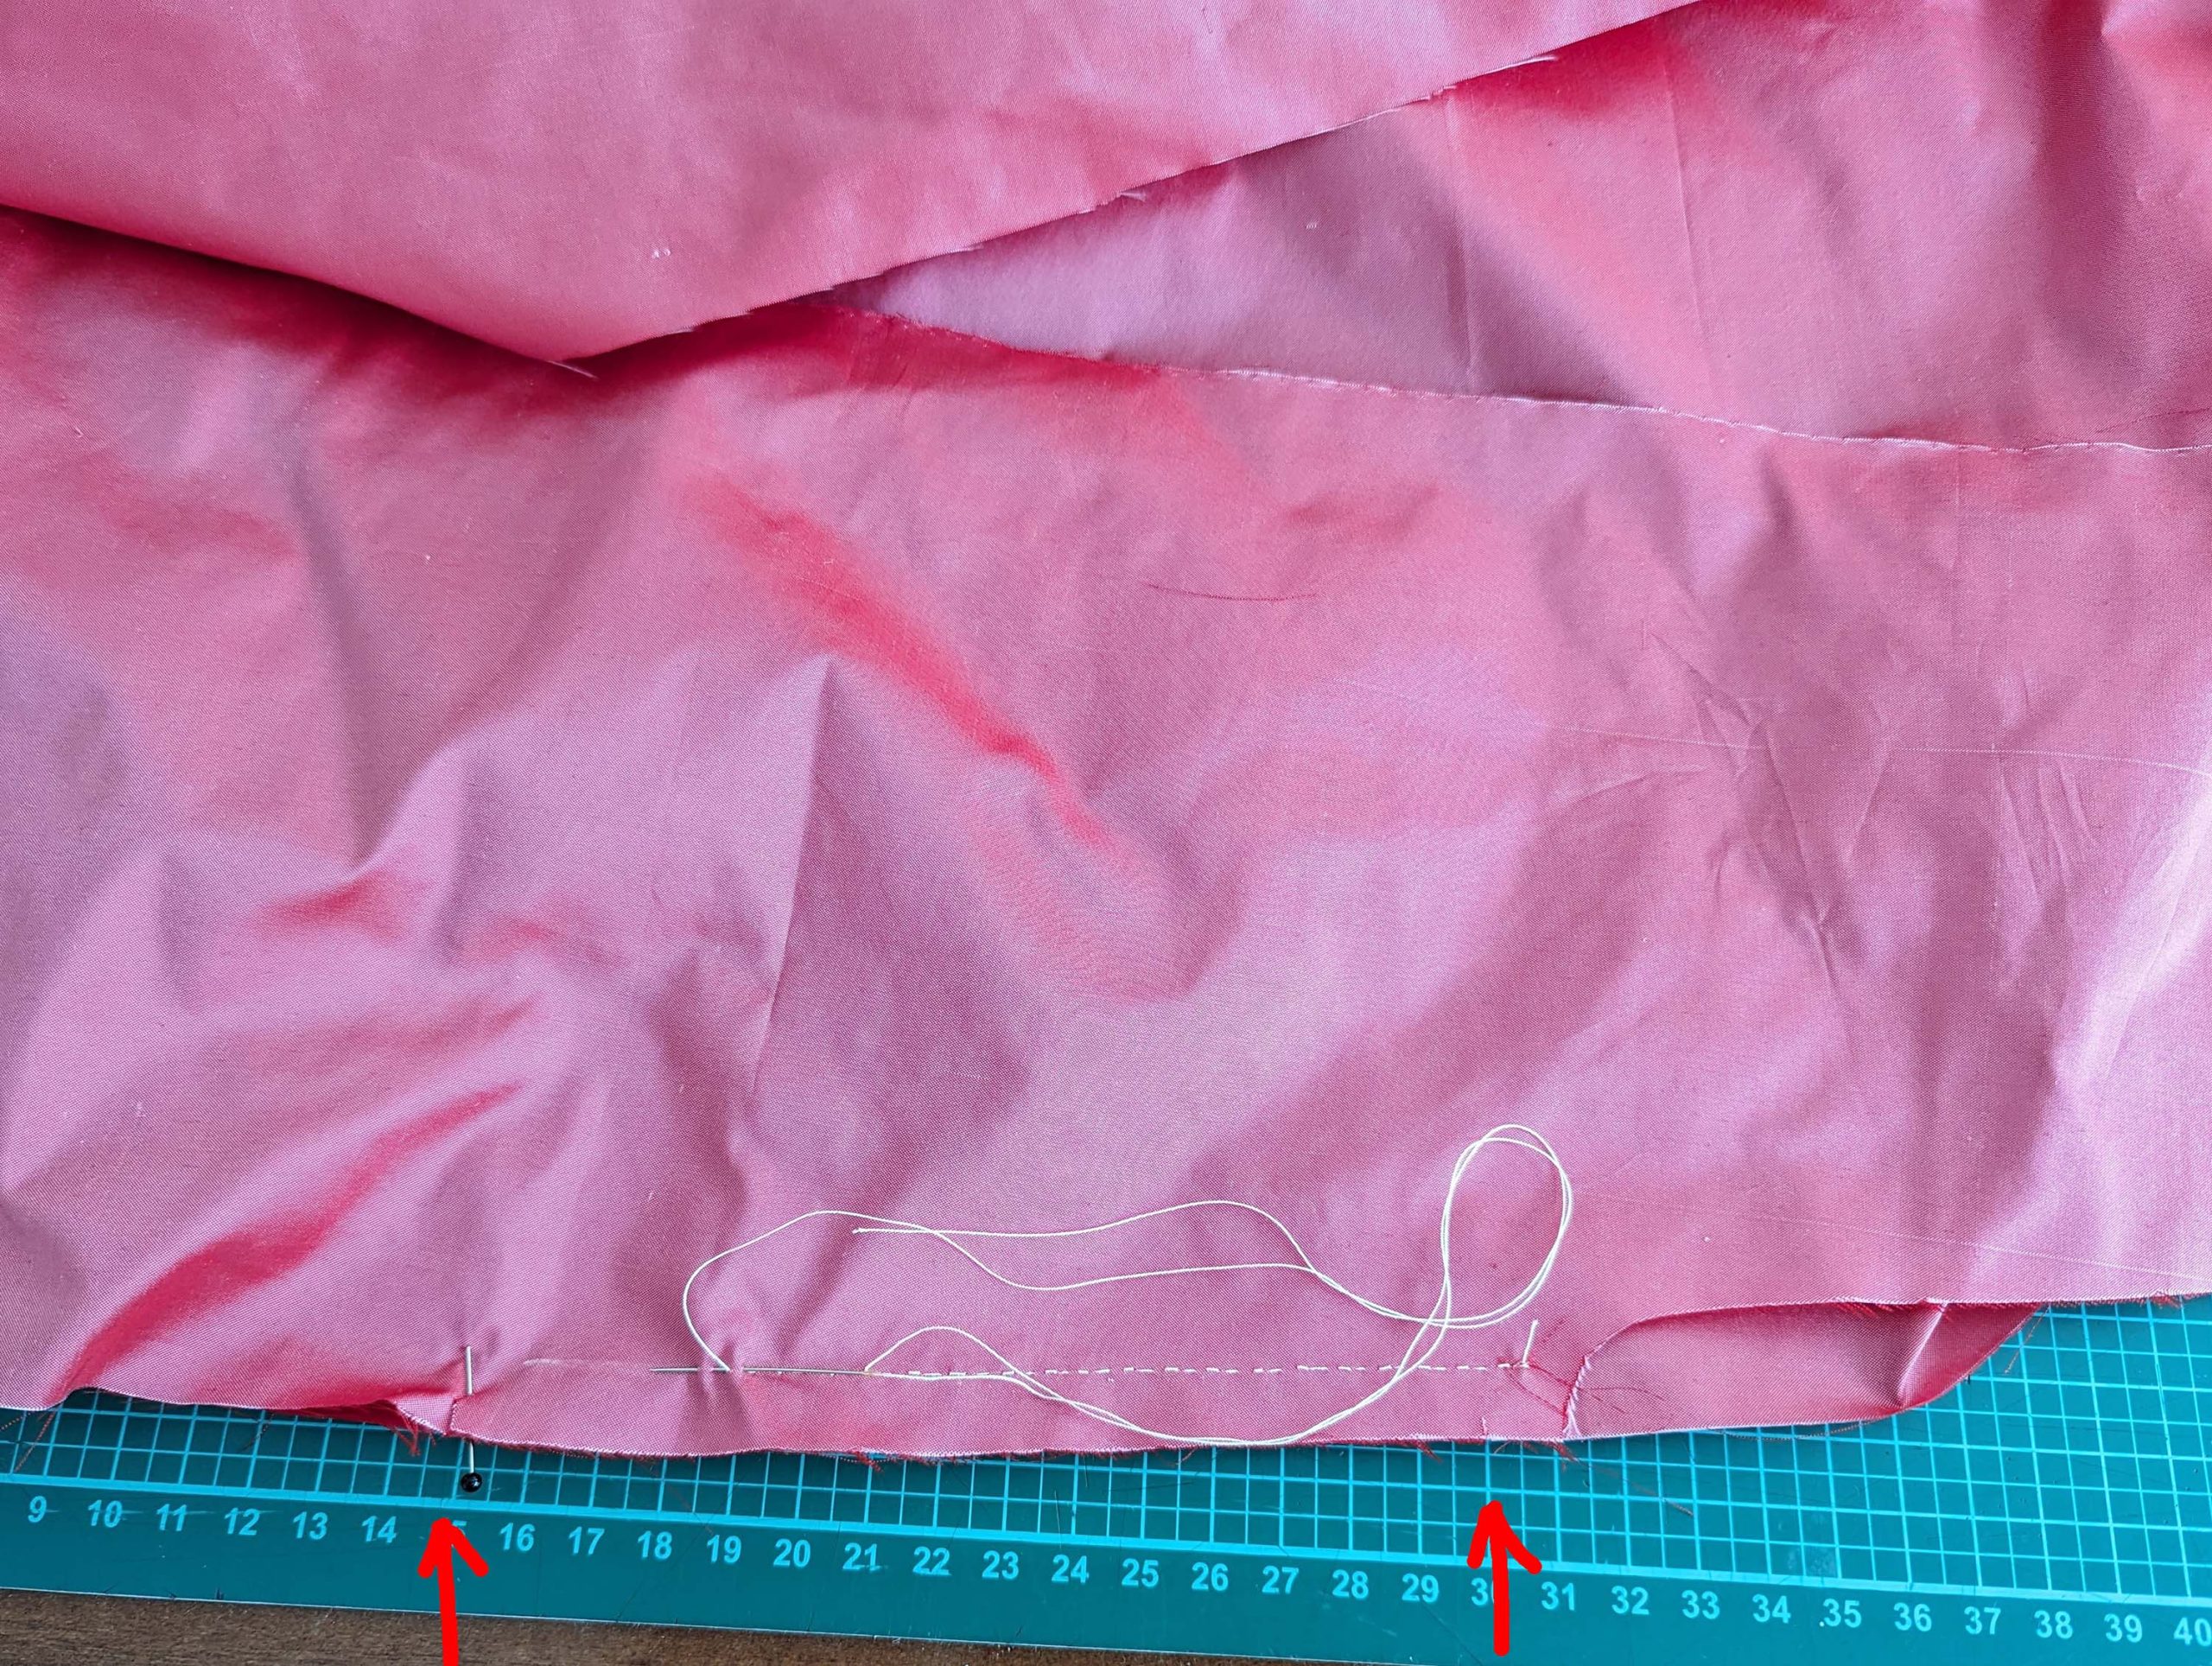
(4) Take the flatlined sleeves and add piping to the bottom edge in the same way as you did before at the neckline. Roll up the sleeve, lining up the two layers of the sleeve head. Take care to get the two sides mirrored. Gather the sleeve along the sleeve head and pull the threads slightly to fit the sleeve into the armhole. First pin, then baste the sleeve into the armhole, right sides together, and sew. Trim back the seam allowances to 3/8” (1cm) and neaten with overcasting stitches.

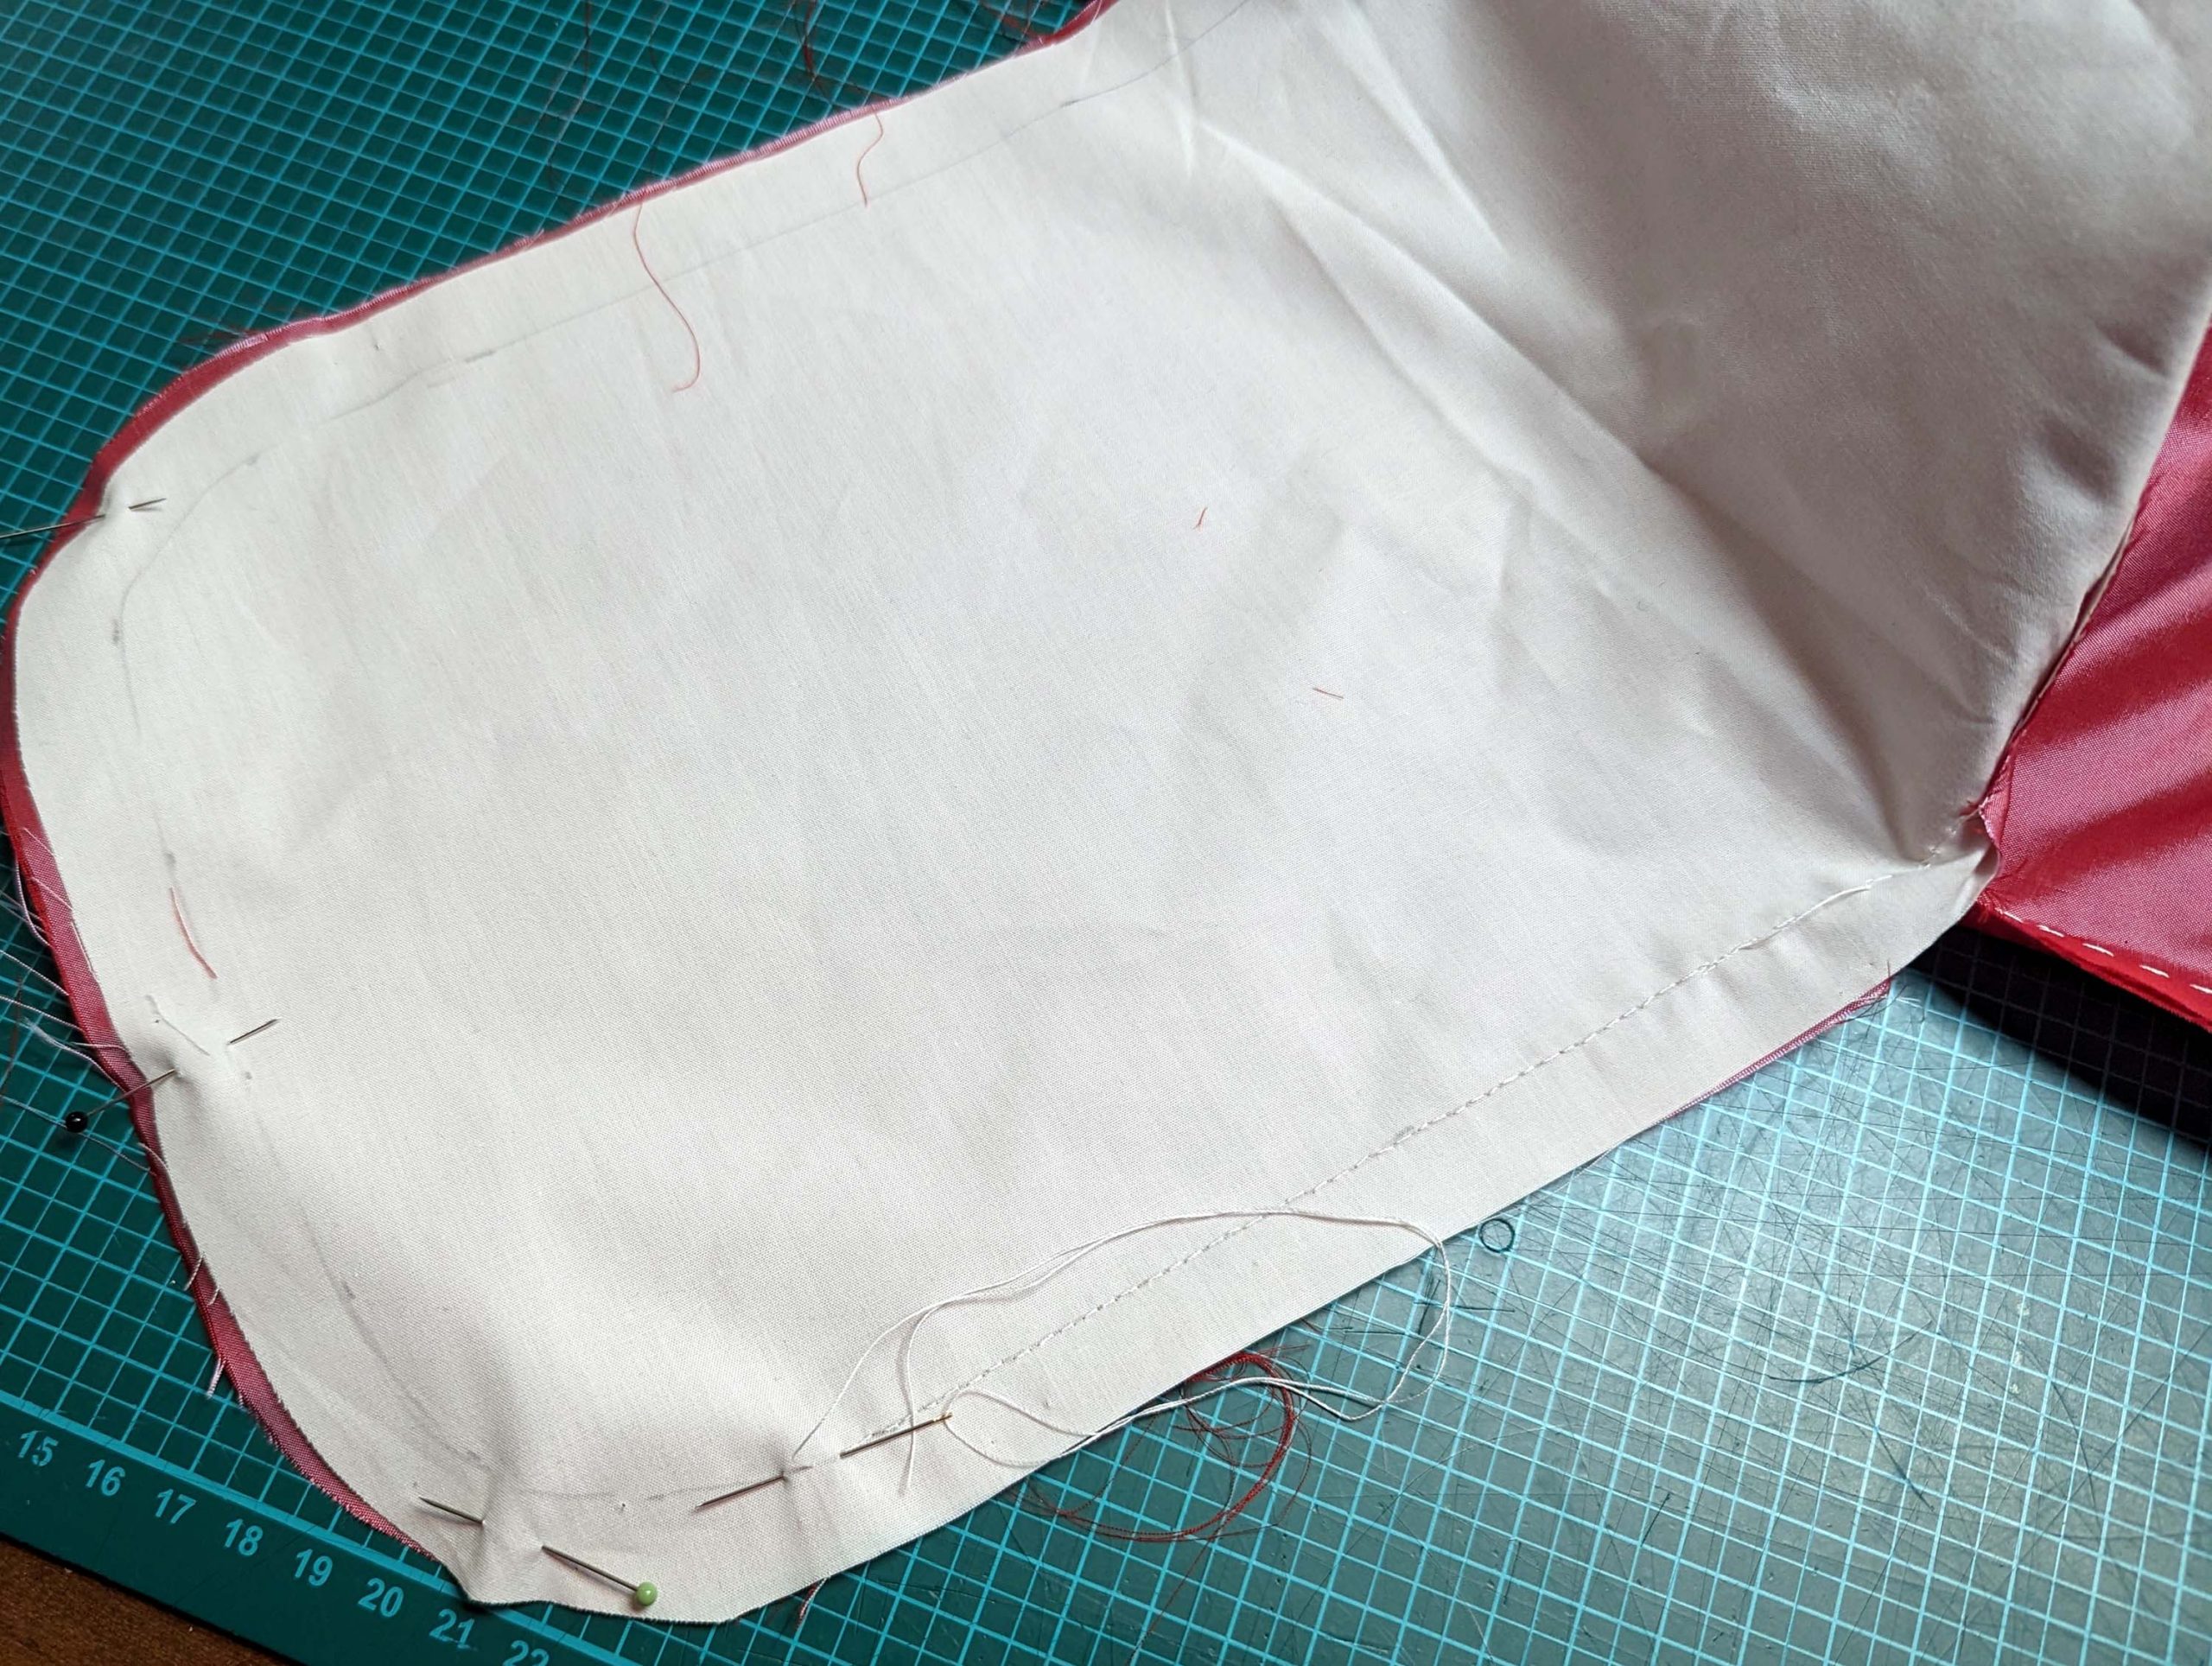
(5) Take the skirt panels and line up the pockets, right sides together, matching the marks. Line up the pocket from the fashion fabric with the back and the pocket from the lining fabric with the front.
Sew with a 3/8” (1cm) seam allowance, start and stop slightly outside the marks. Fold the pocket towards the sides and understitch if wanted. Line up the front with the back panel, right sides together, and sew with a 5/8” (1,5cm) seam allowance along the skirt and pocket. Press the seam allowances towards the fronts and neaten the raw seam allowances with overcasting stitches. Smooth out the pockets and line up the top edge with the top edge of the front. Baste in place.

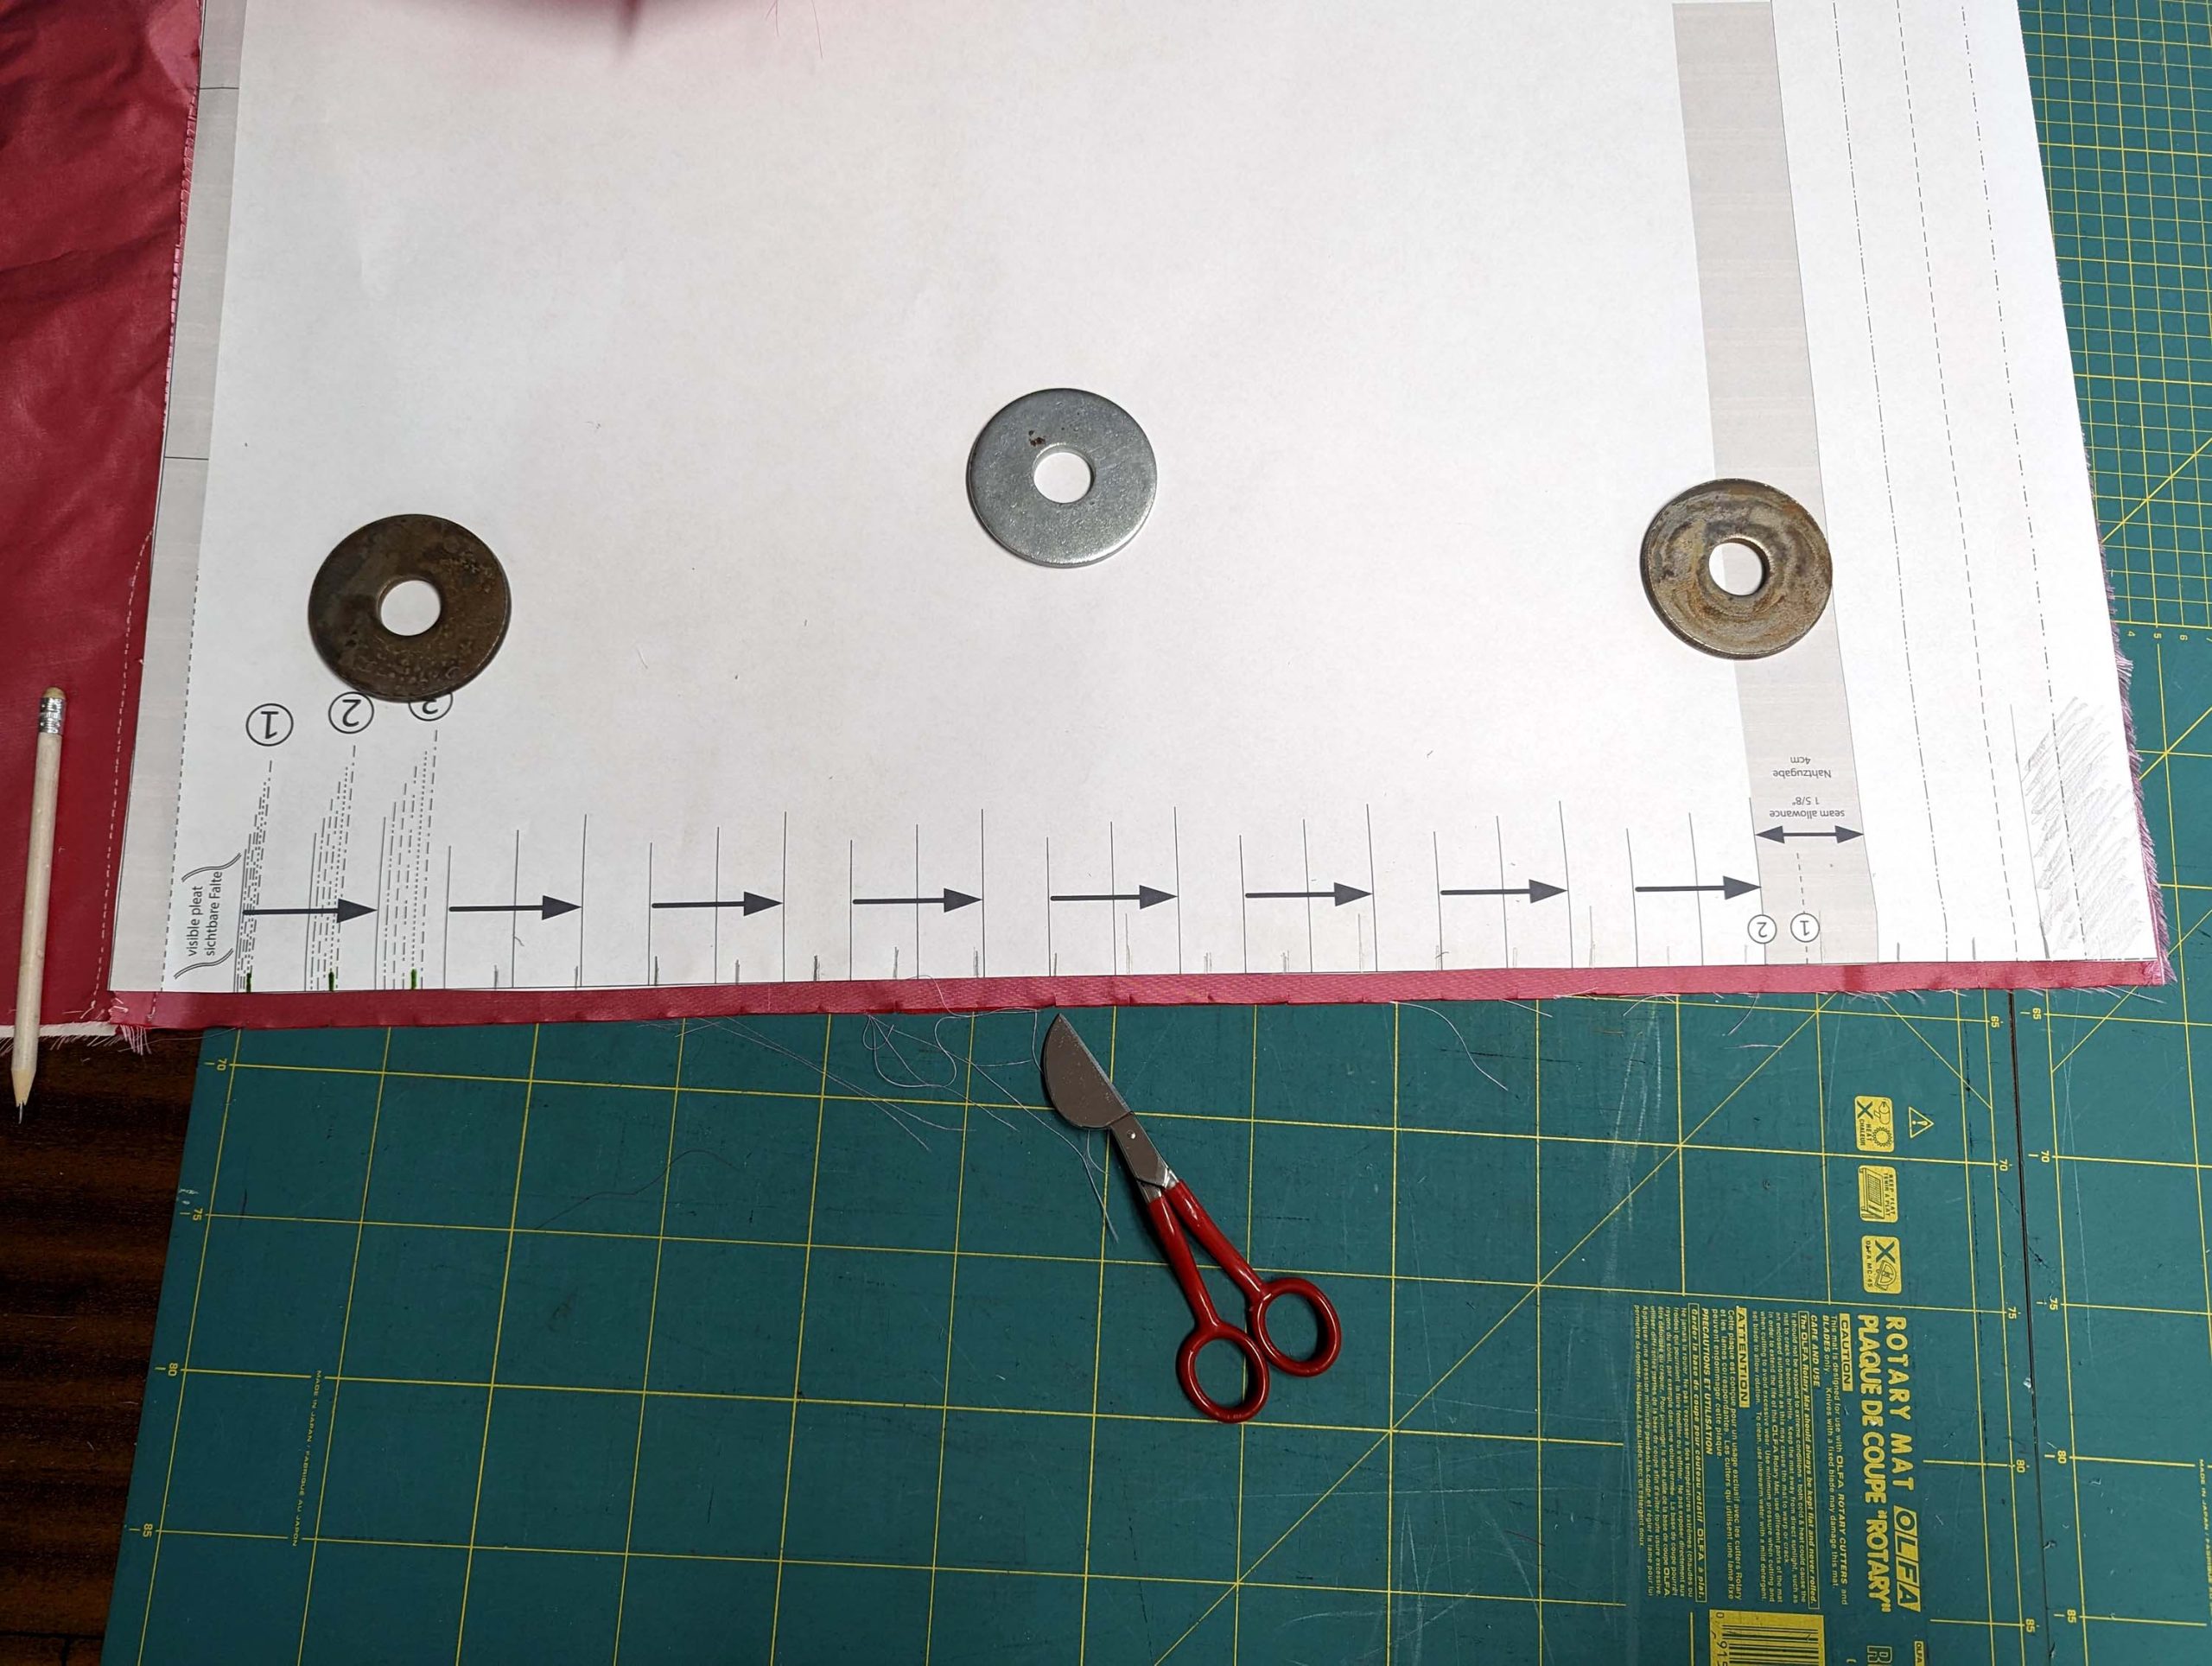
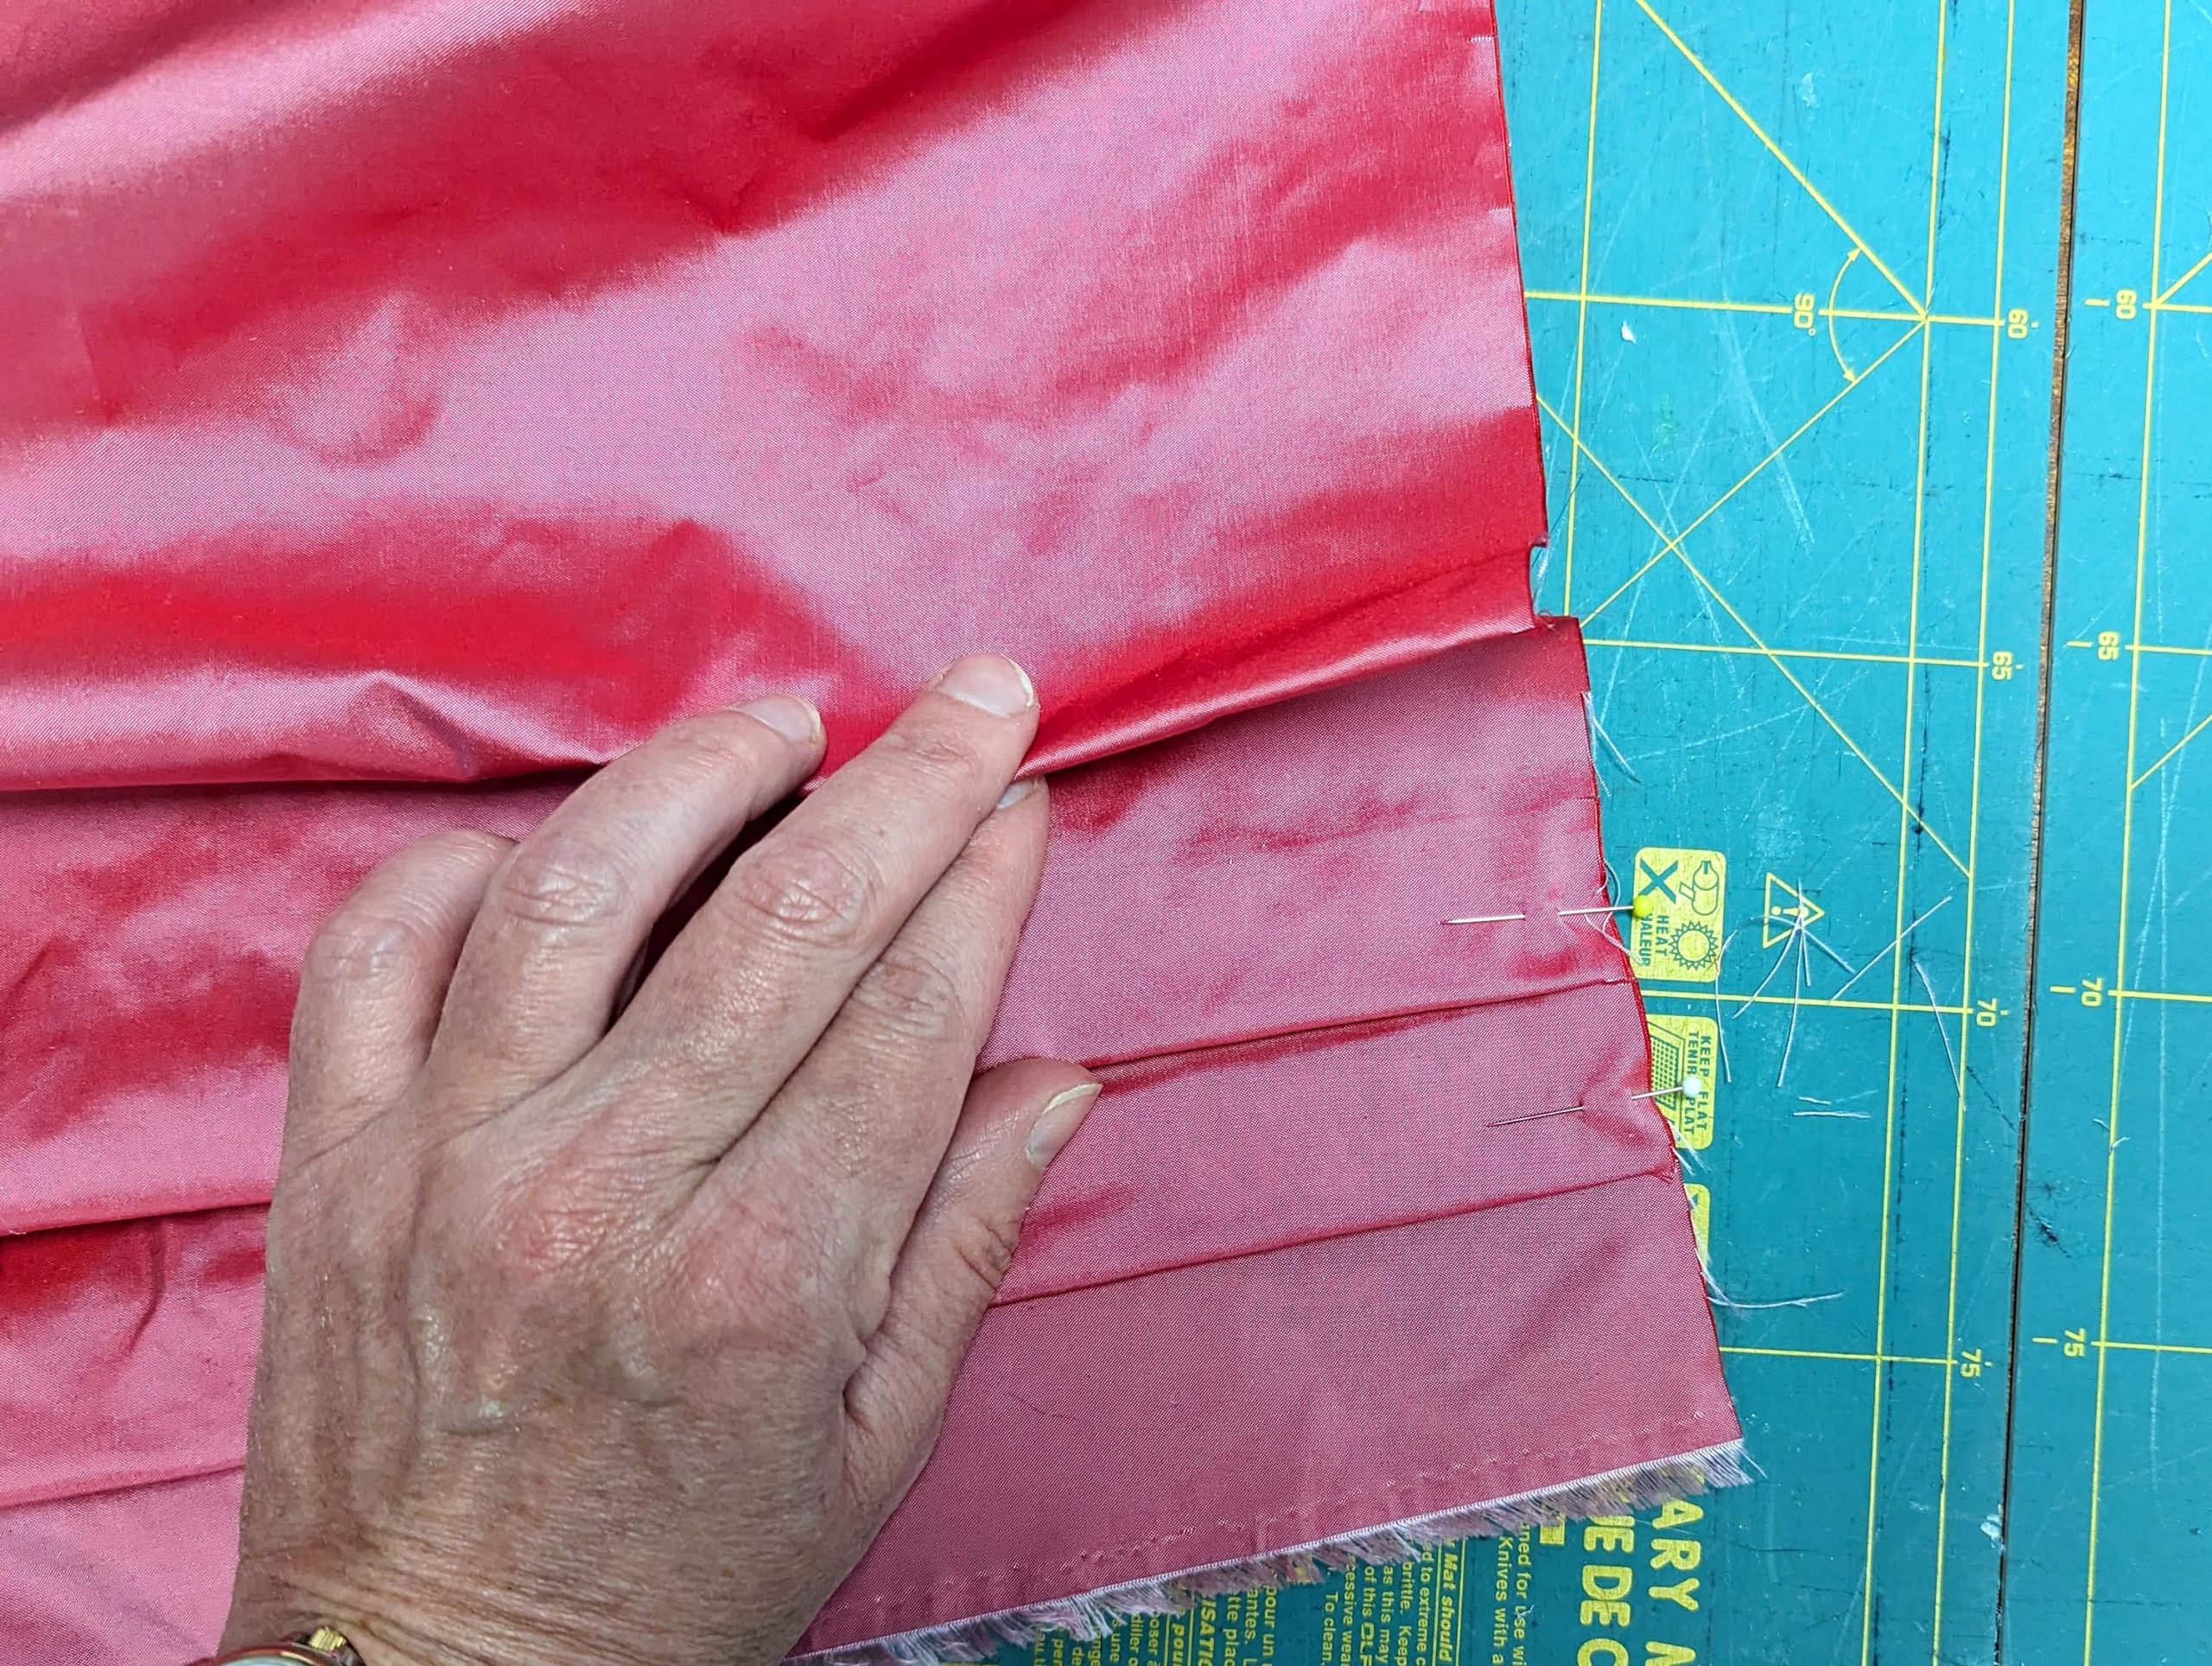
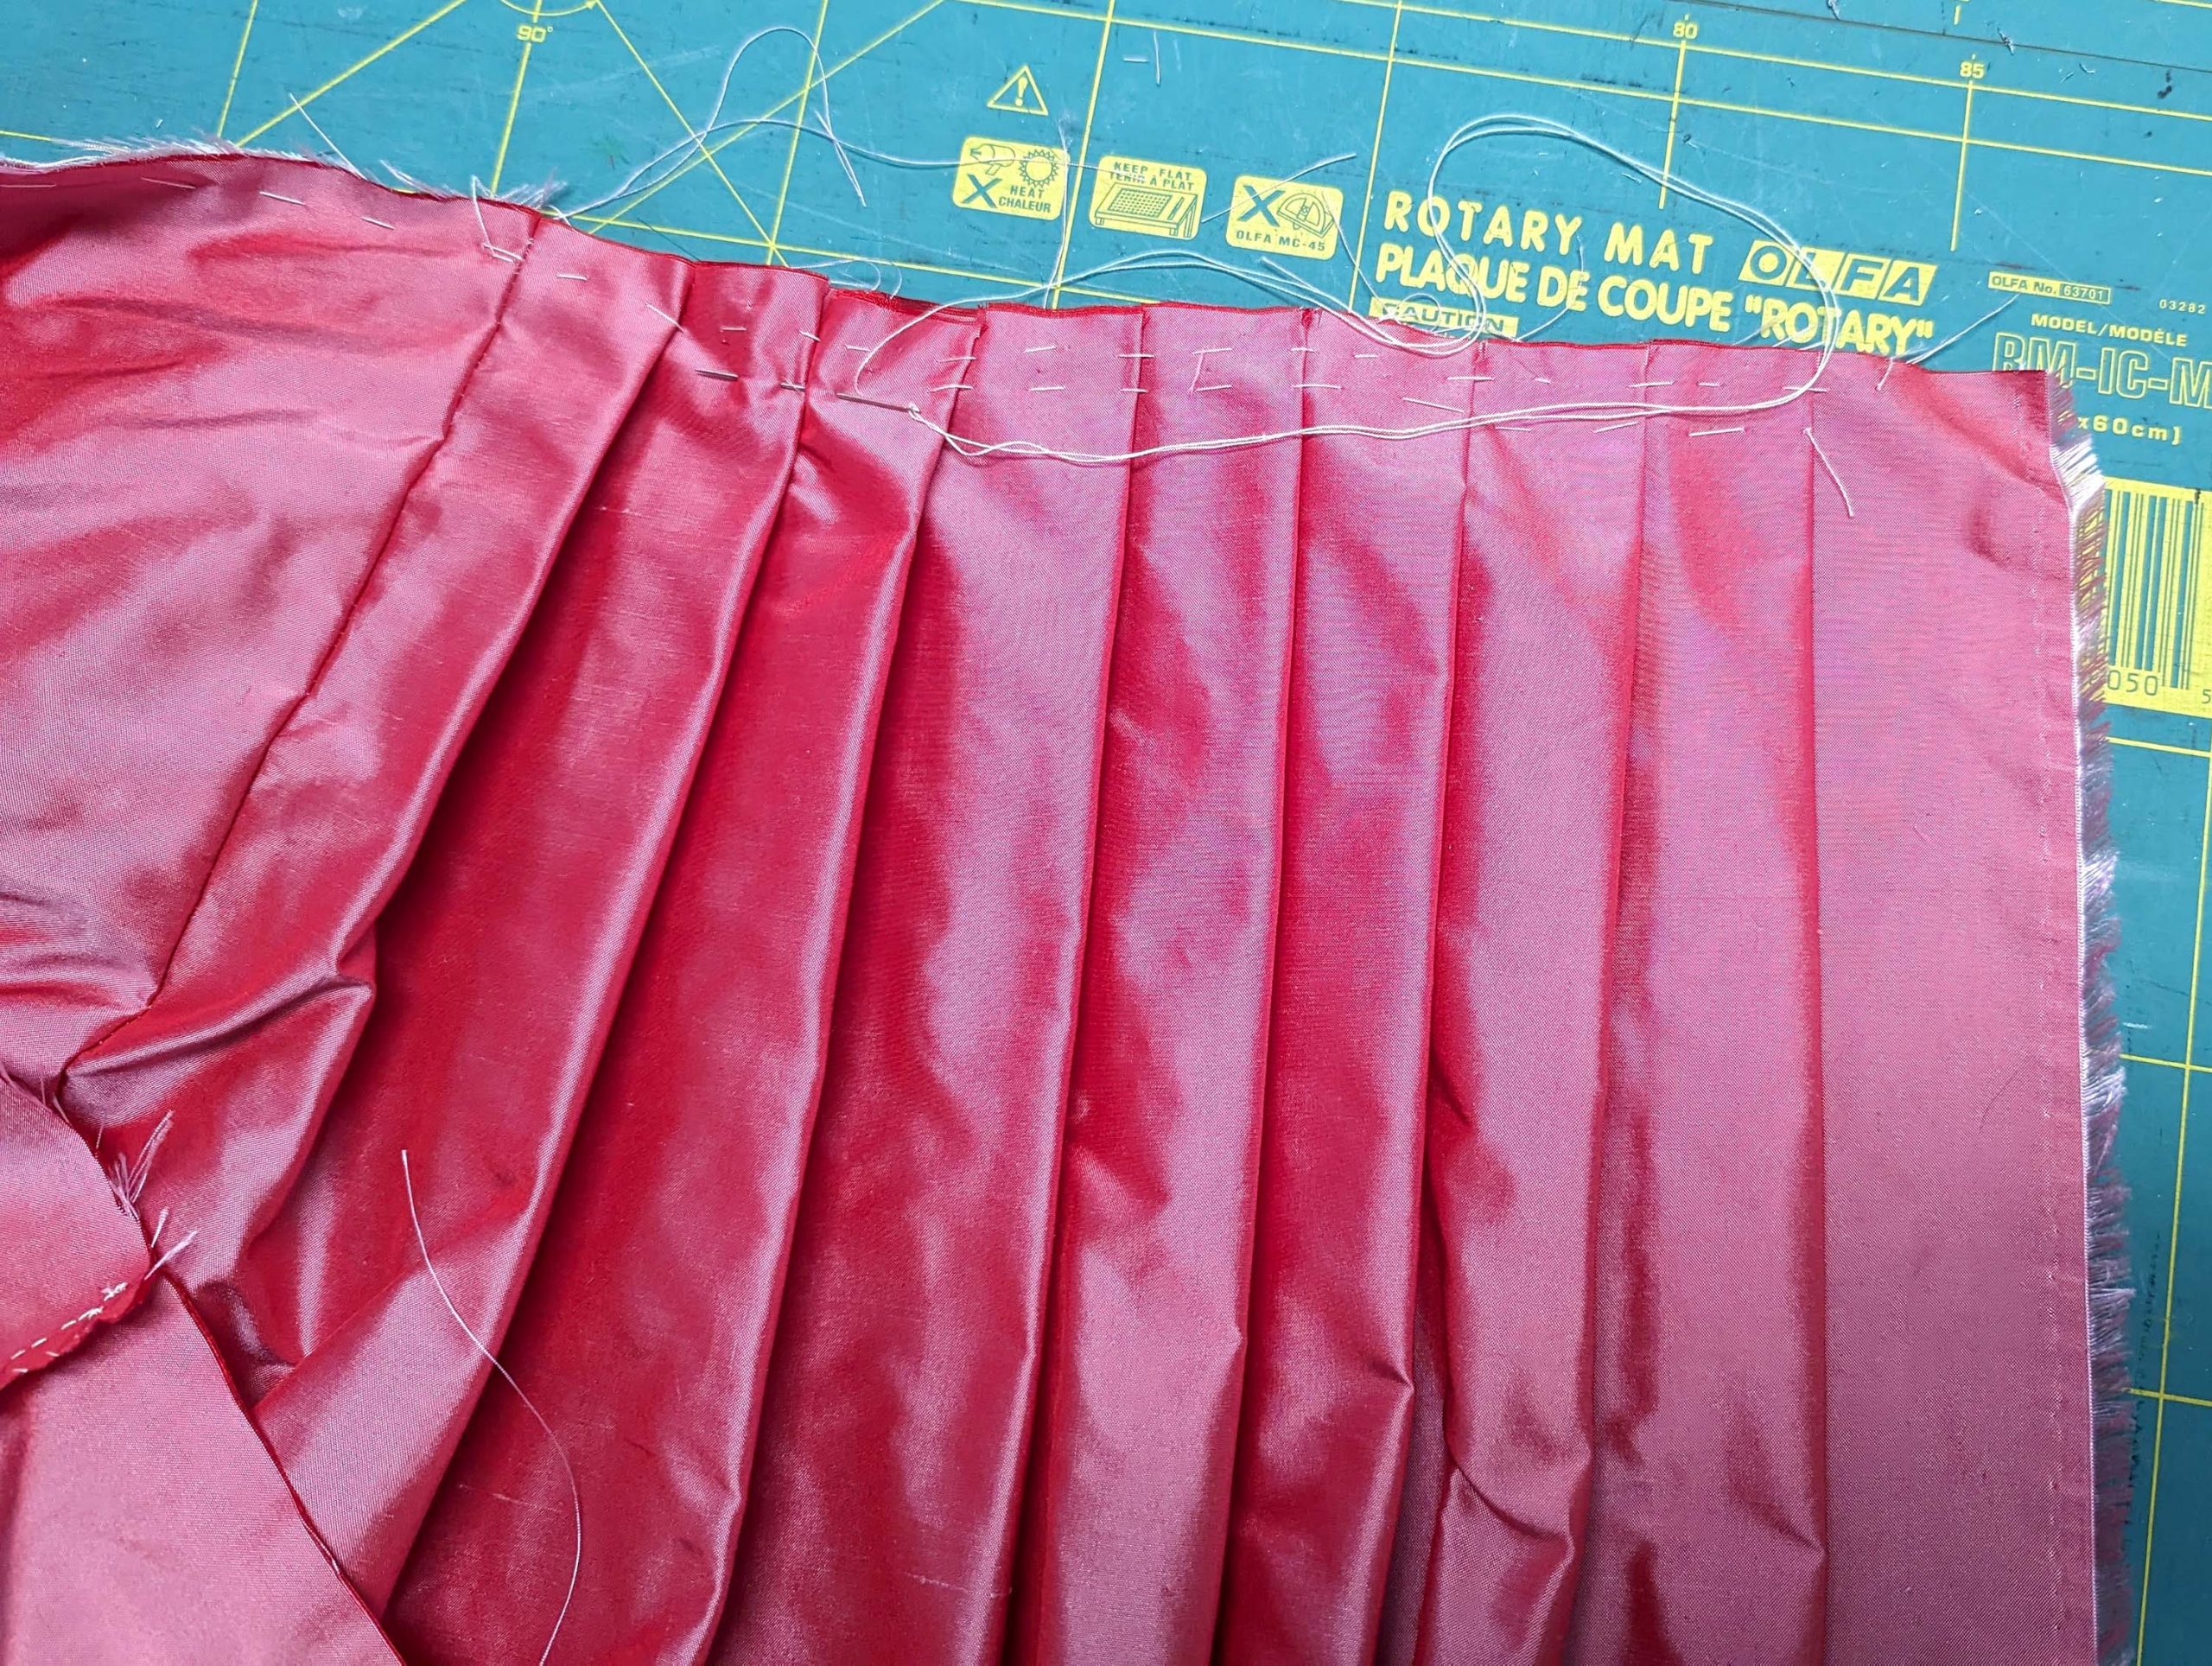
To mark the pleats, take a seam allowance of 1 5/8” (4cm) at the center back and 5/8” at the side seams into account (grey areas). Take a piece of paper or cardboard and mark the pleat depth, according to your size.
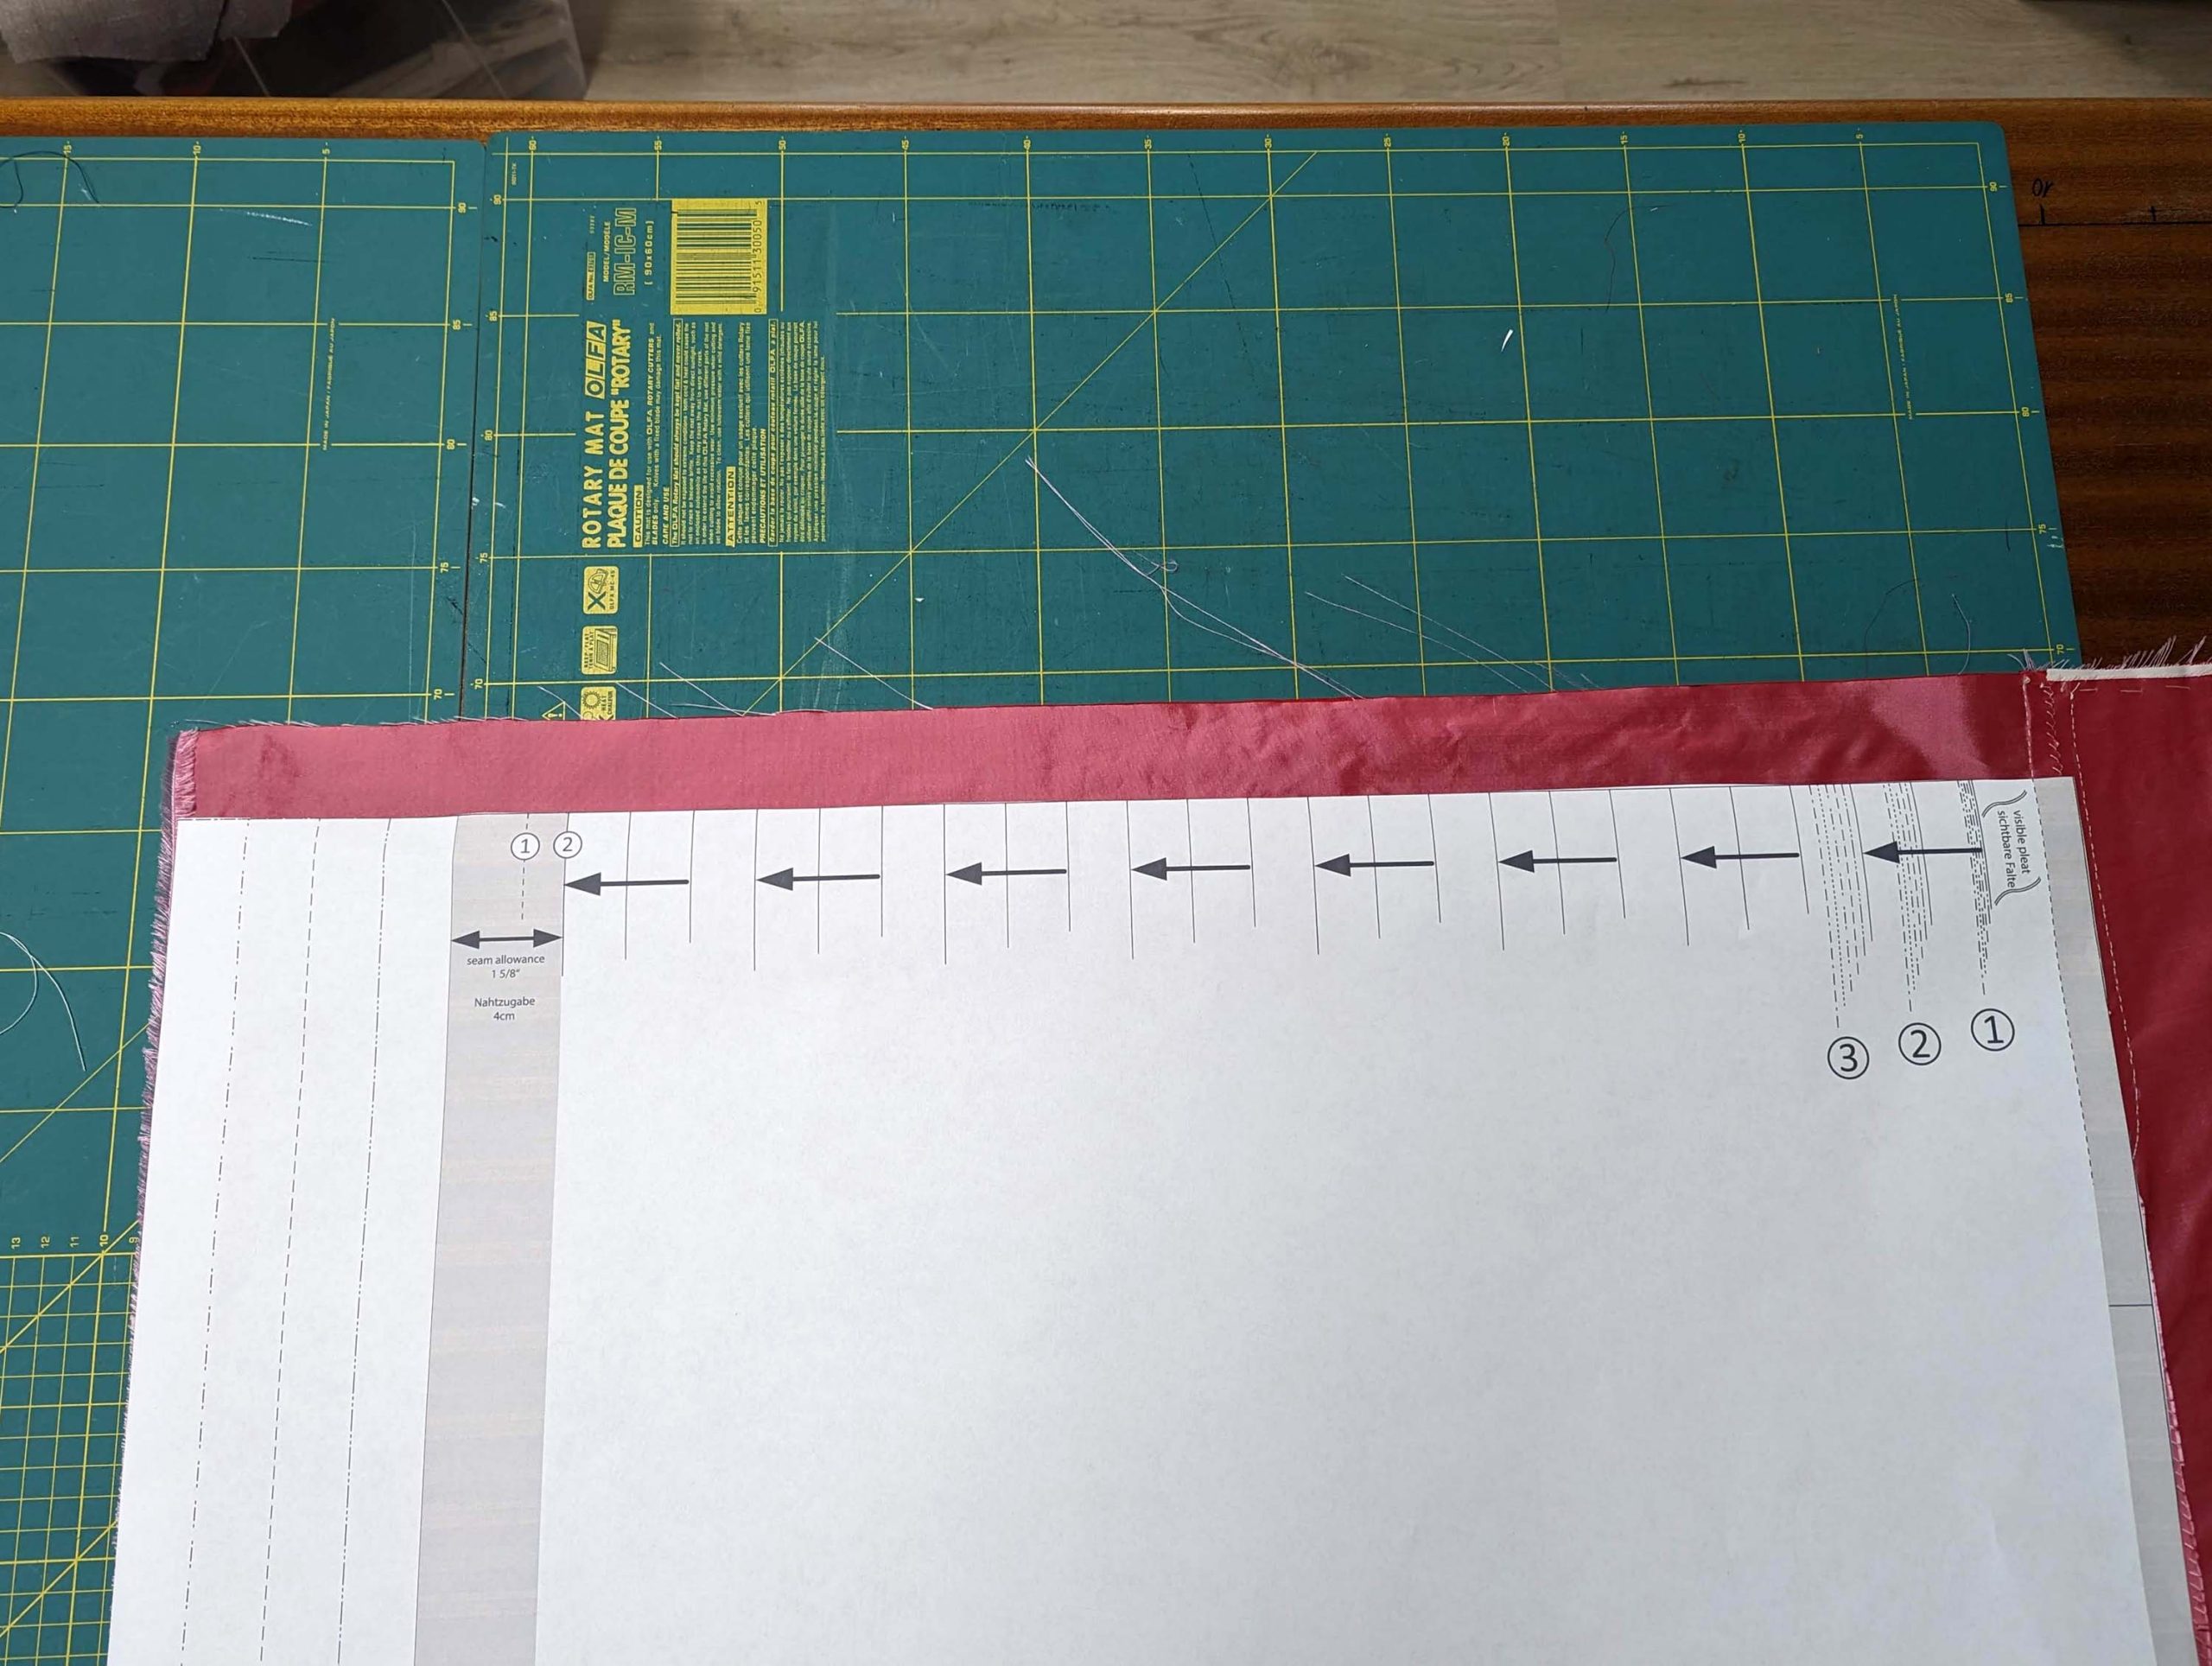
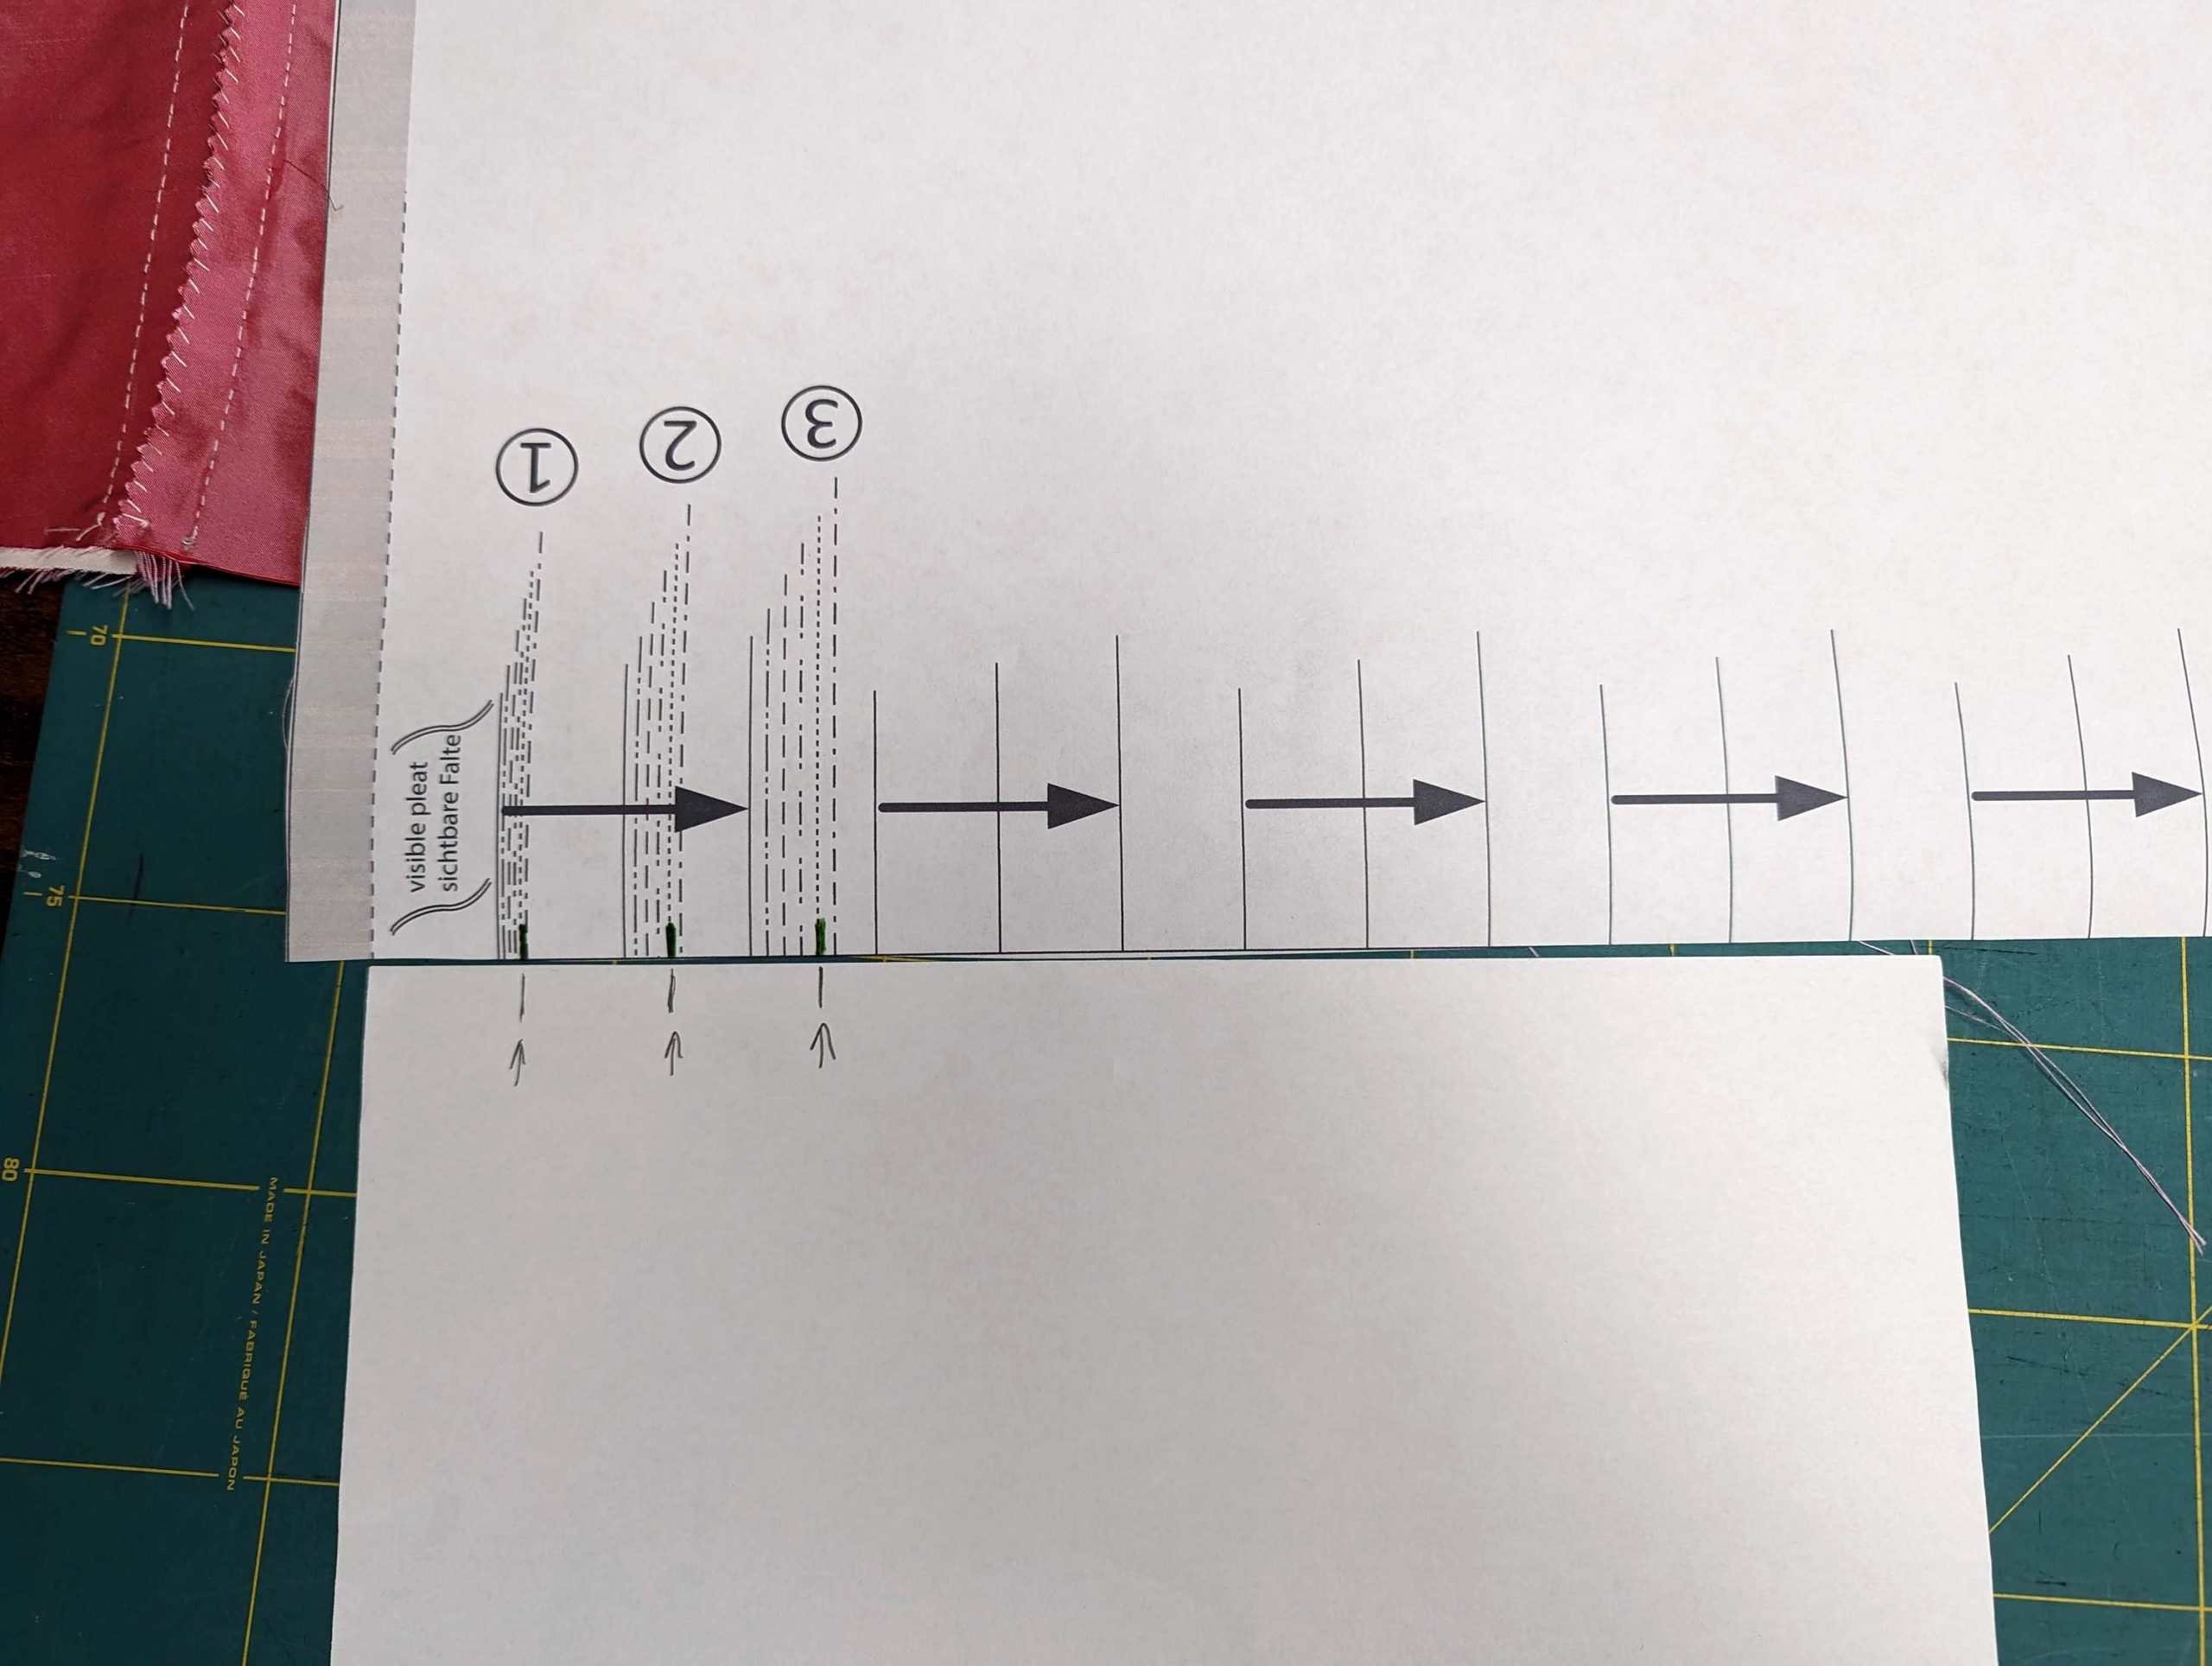
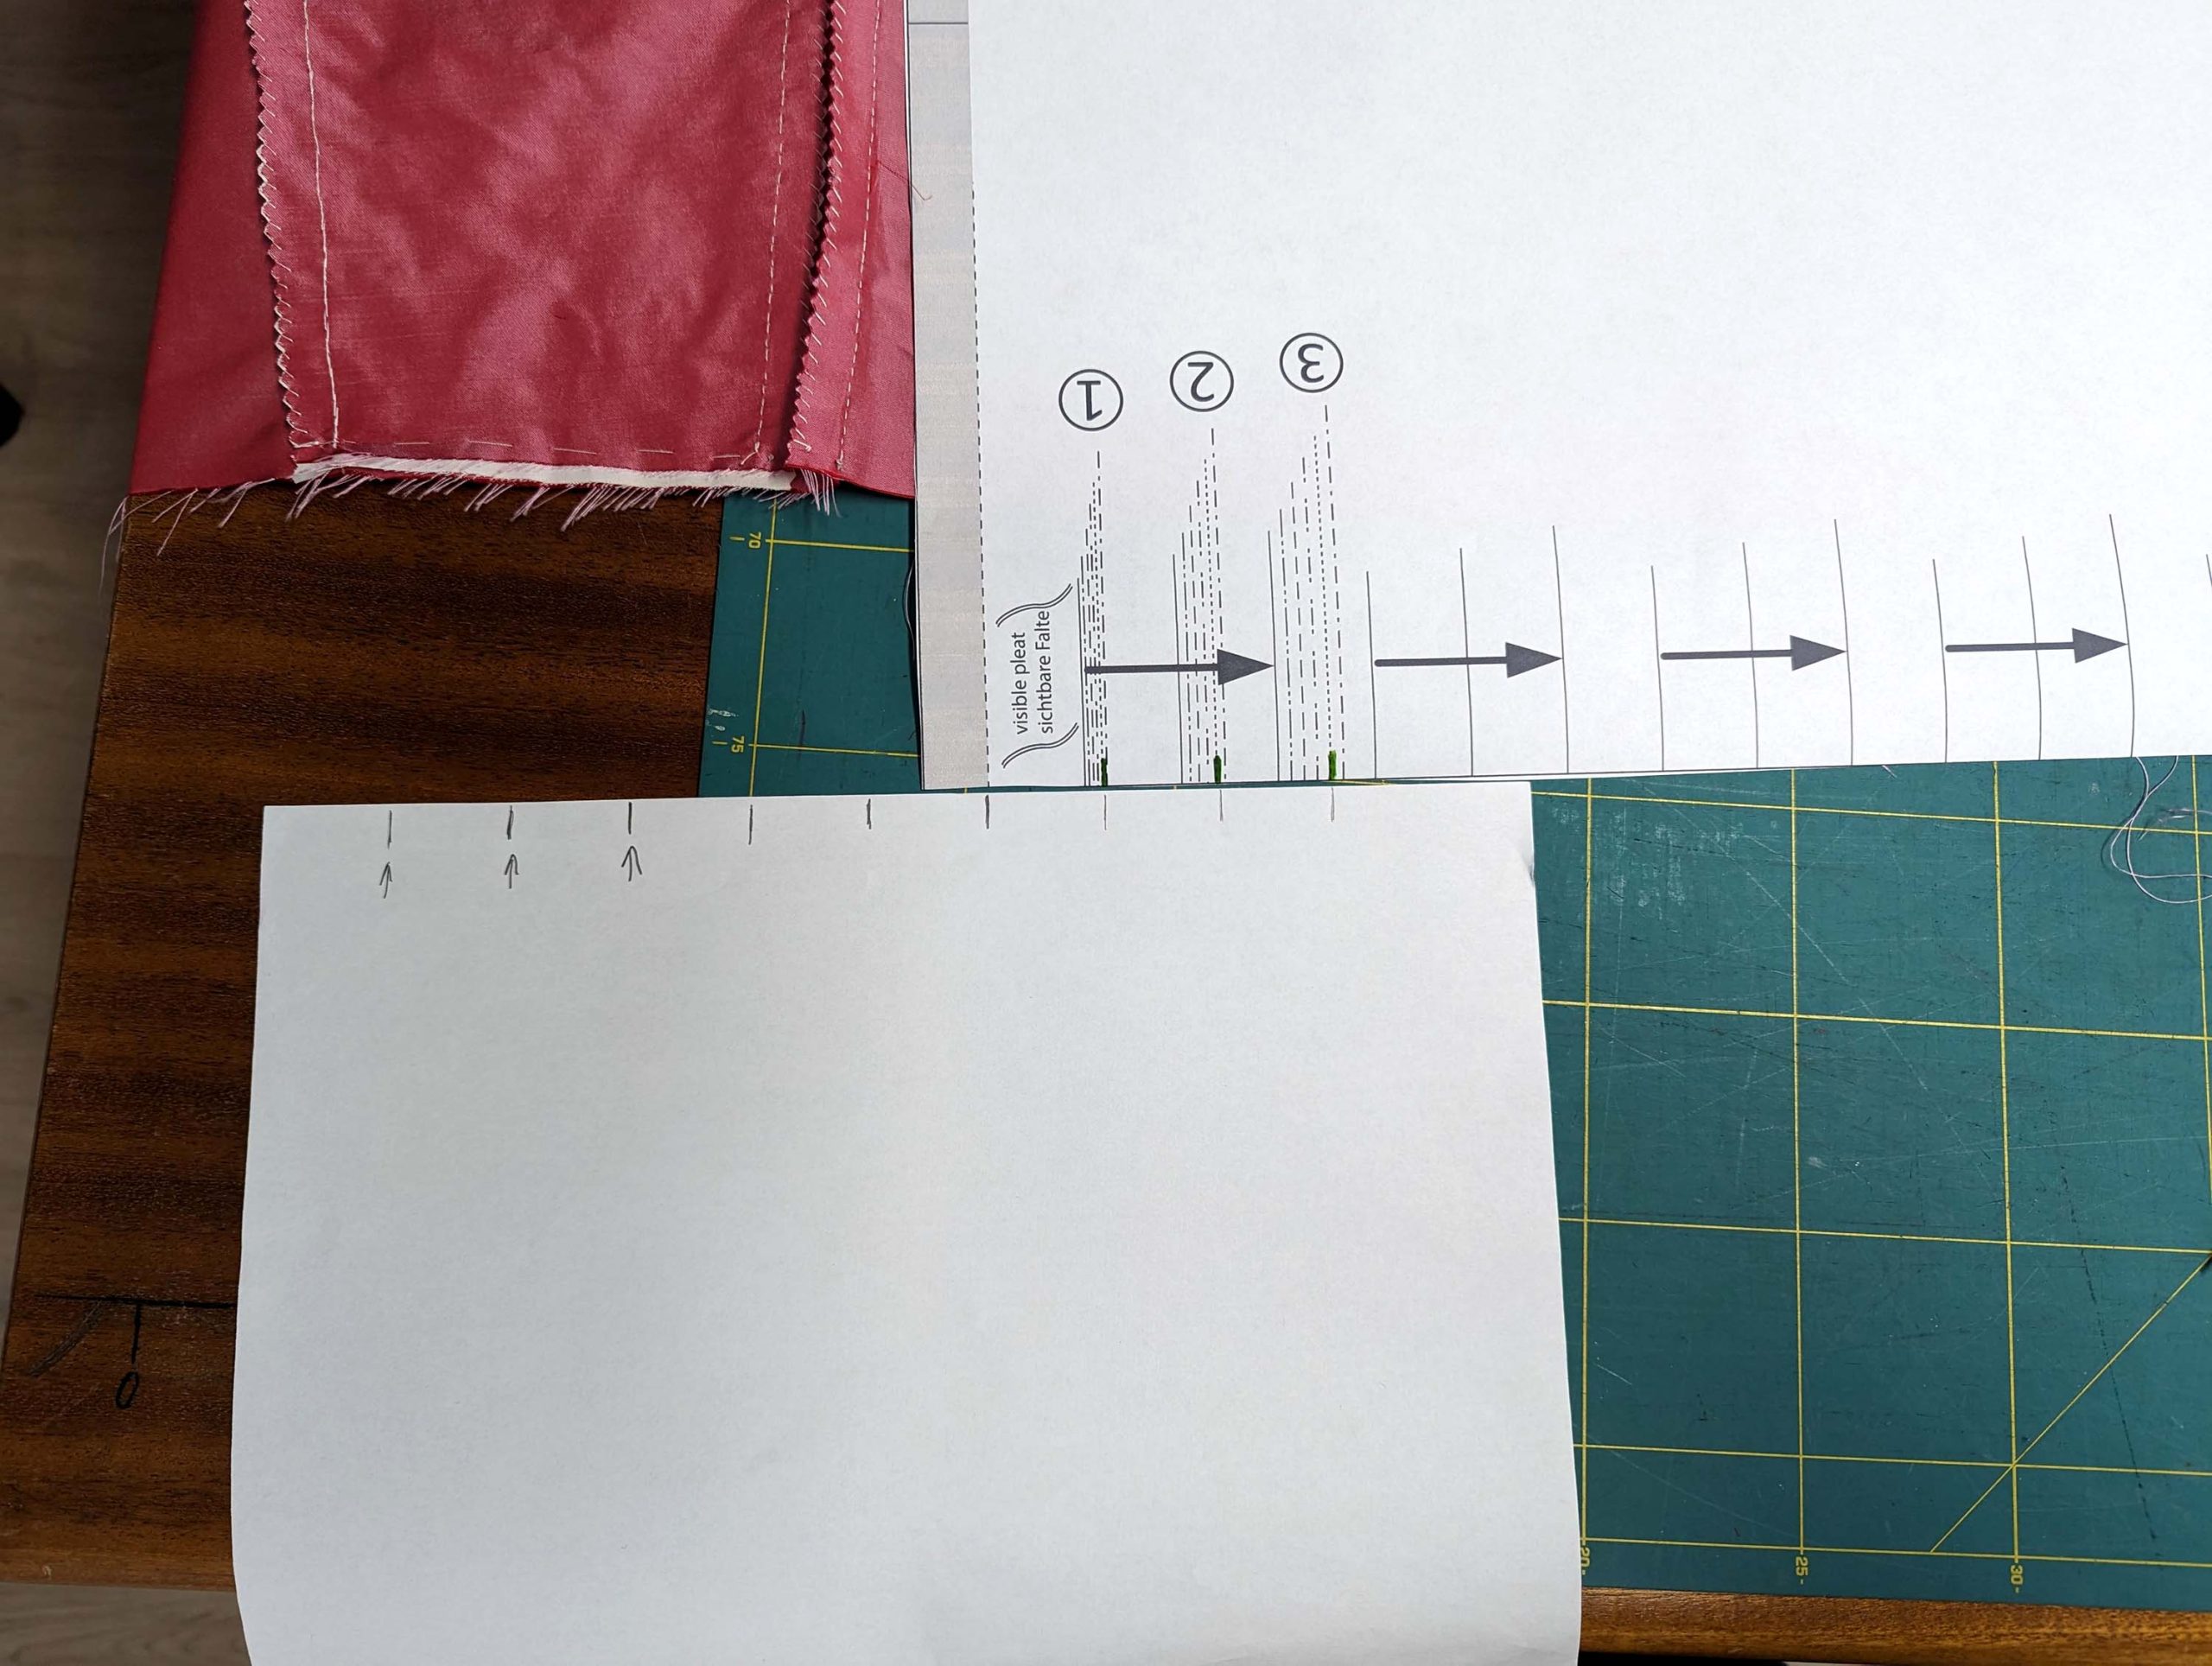
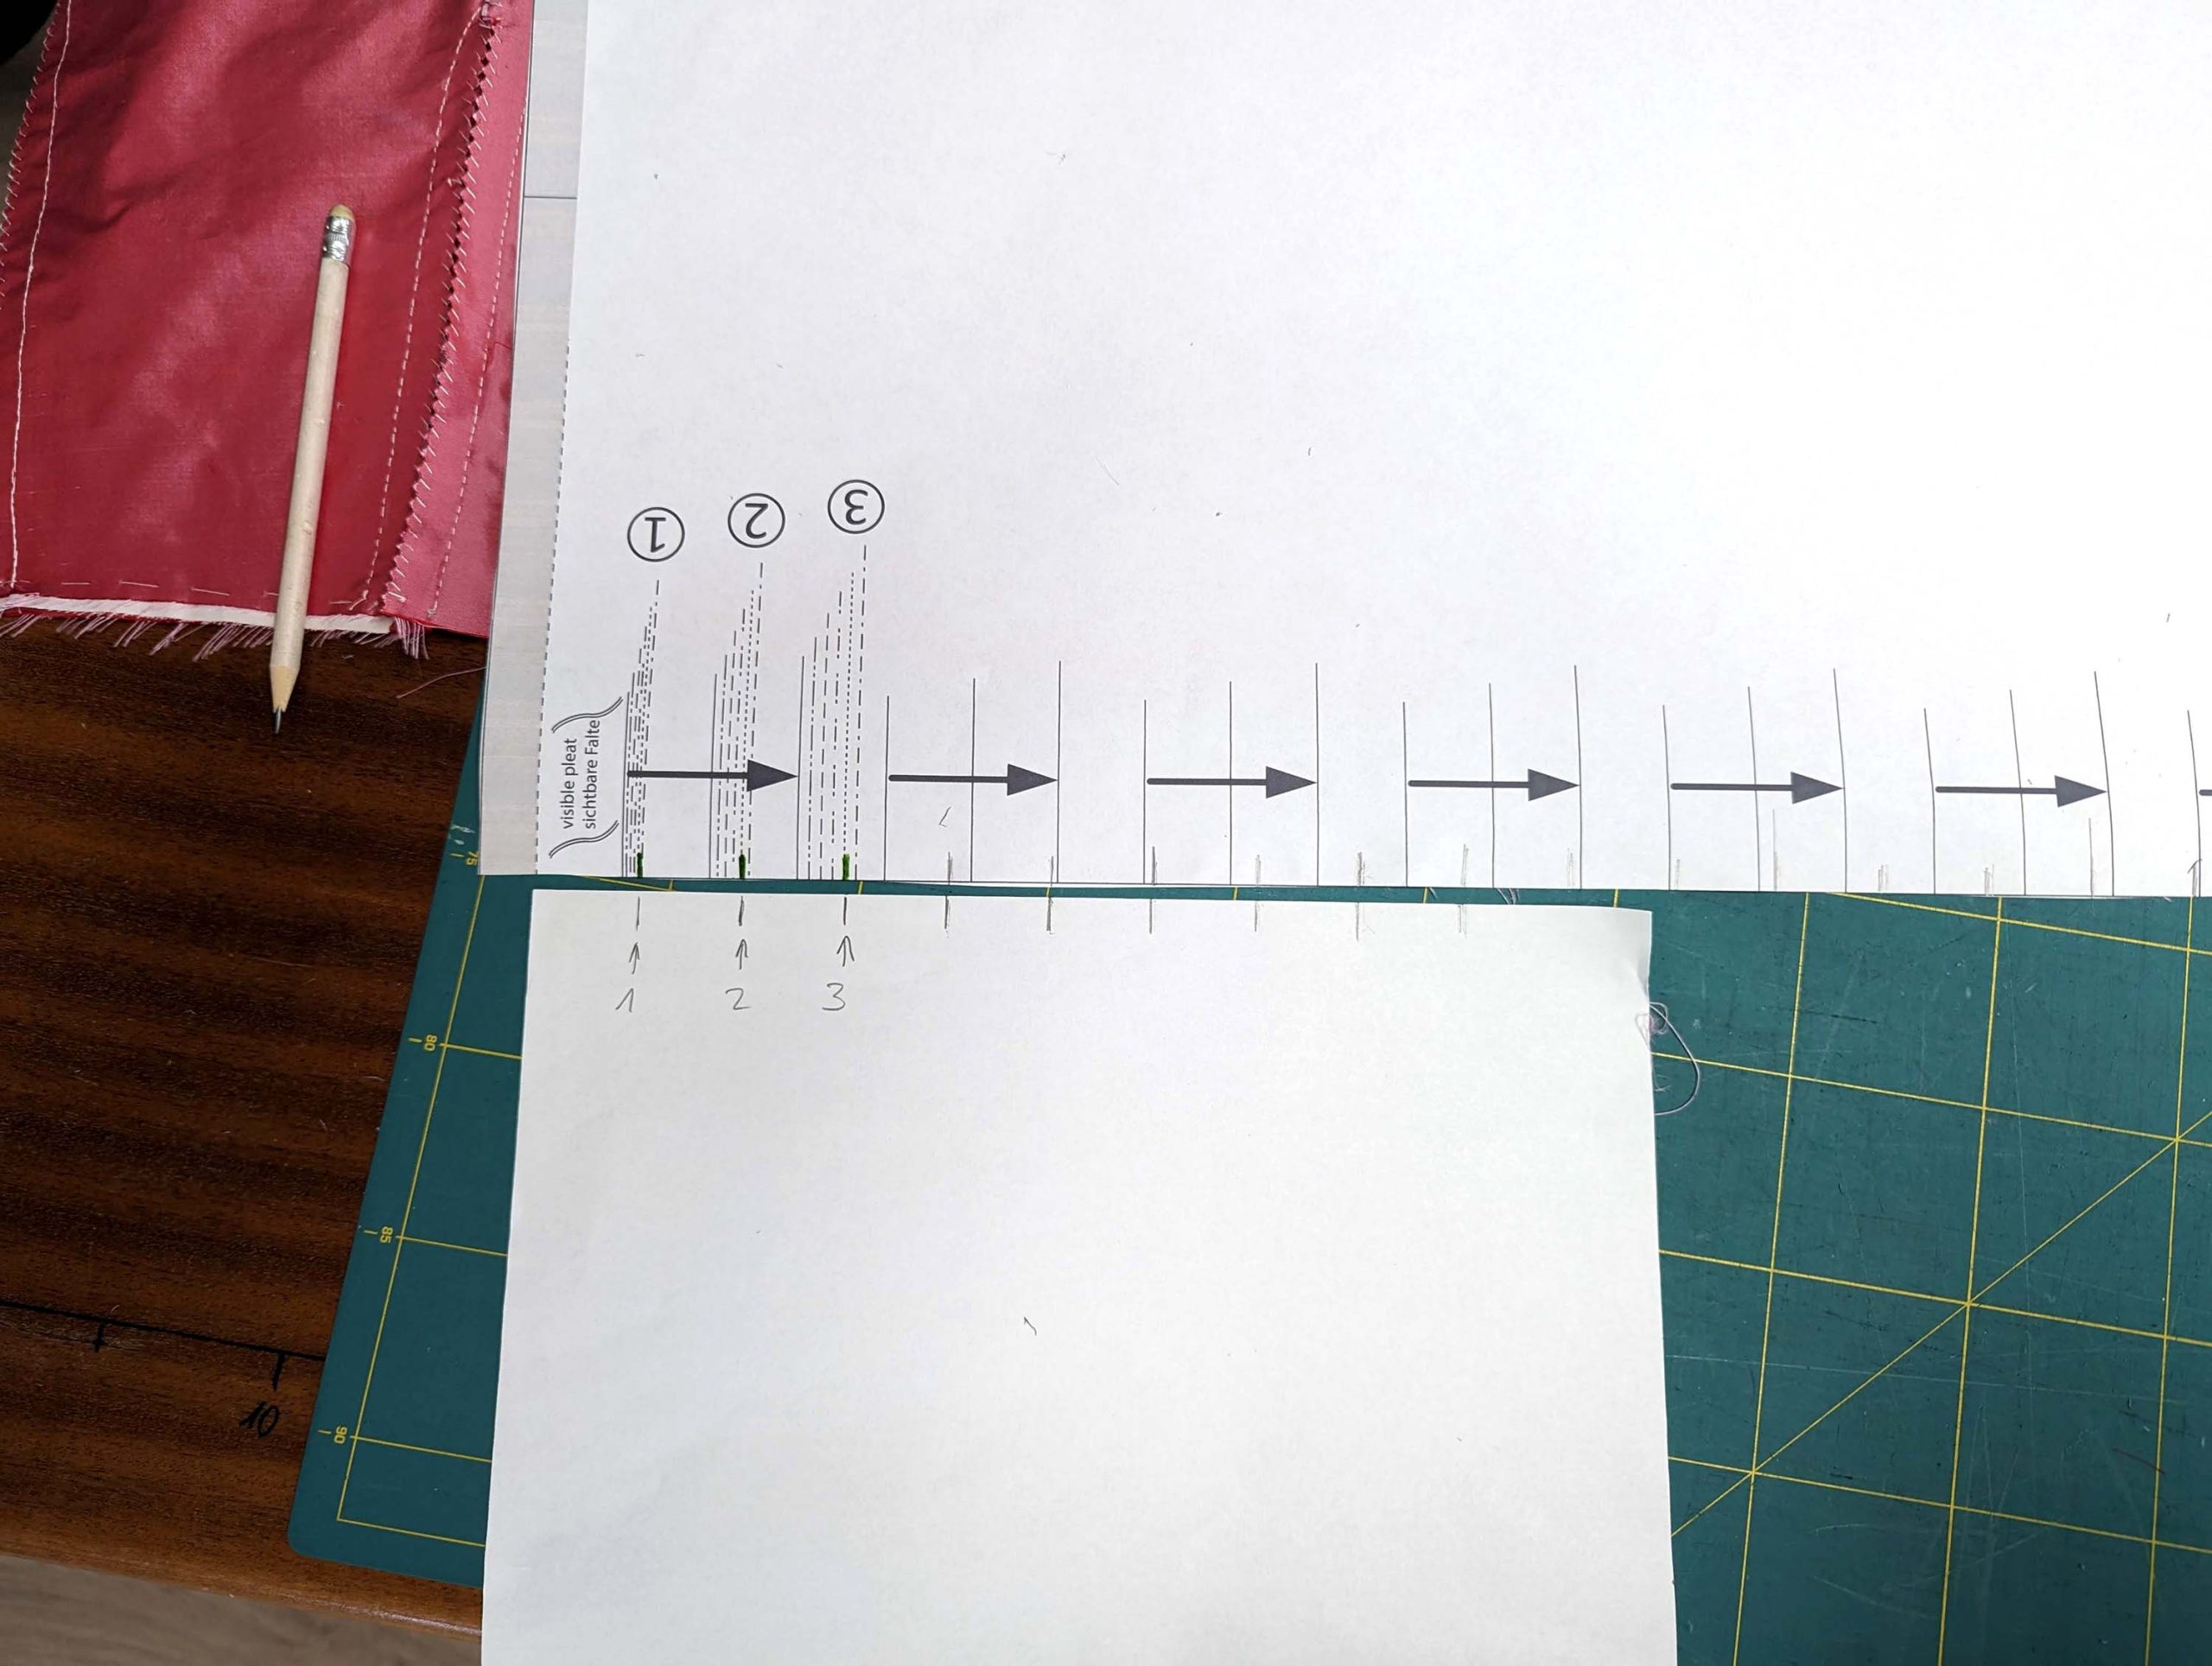
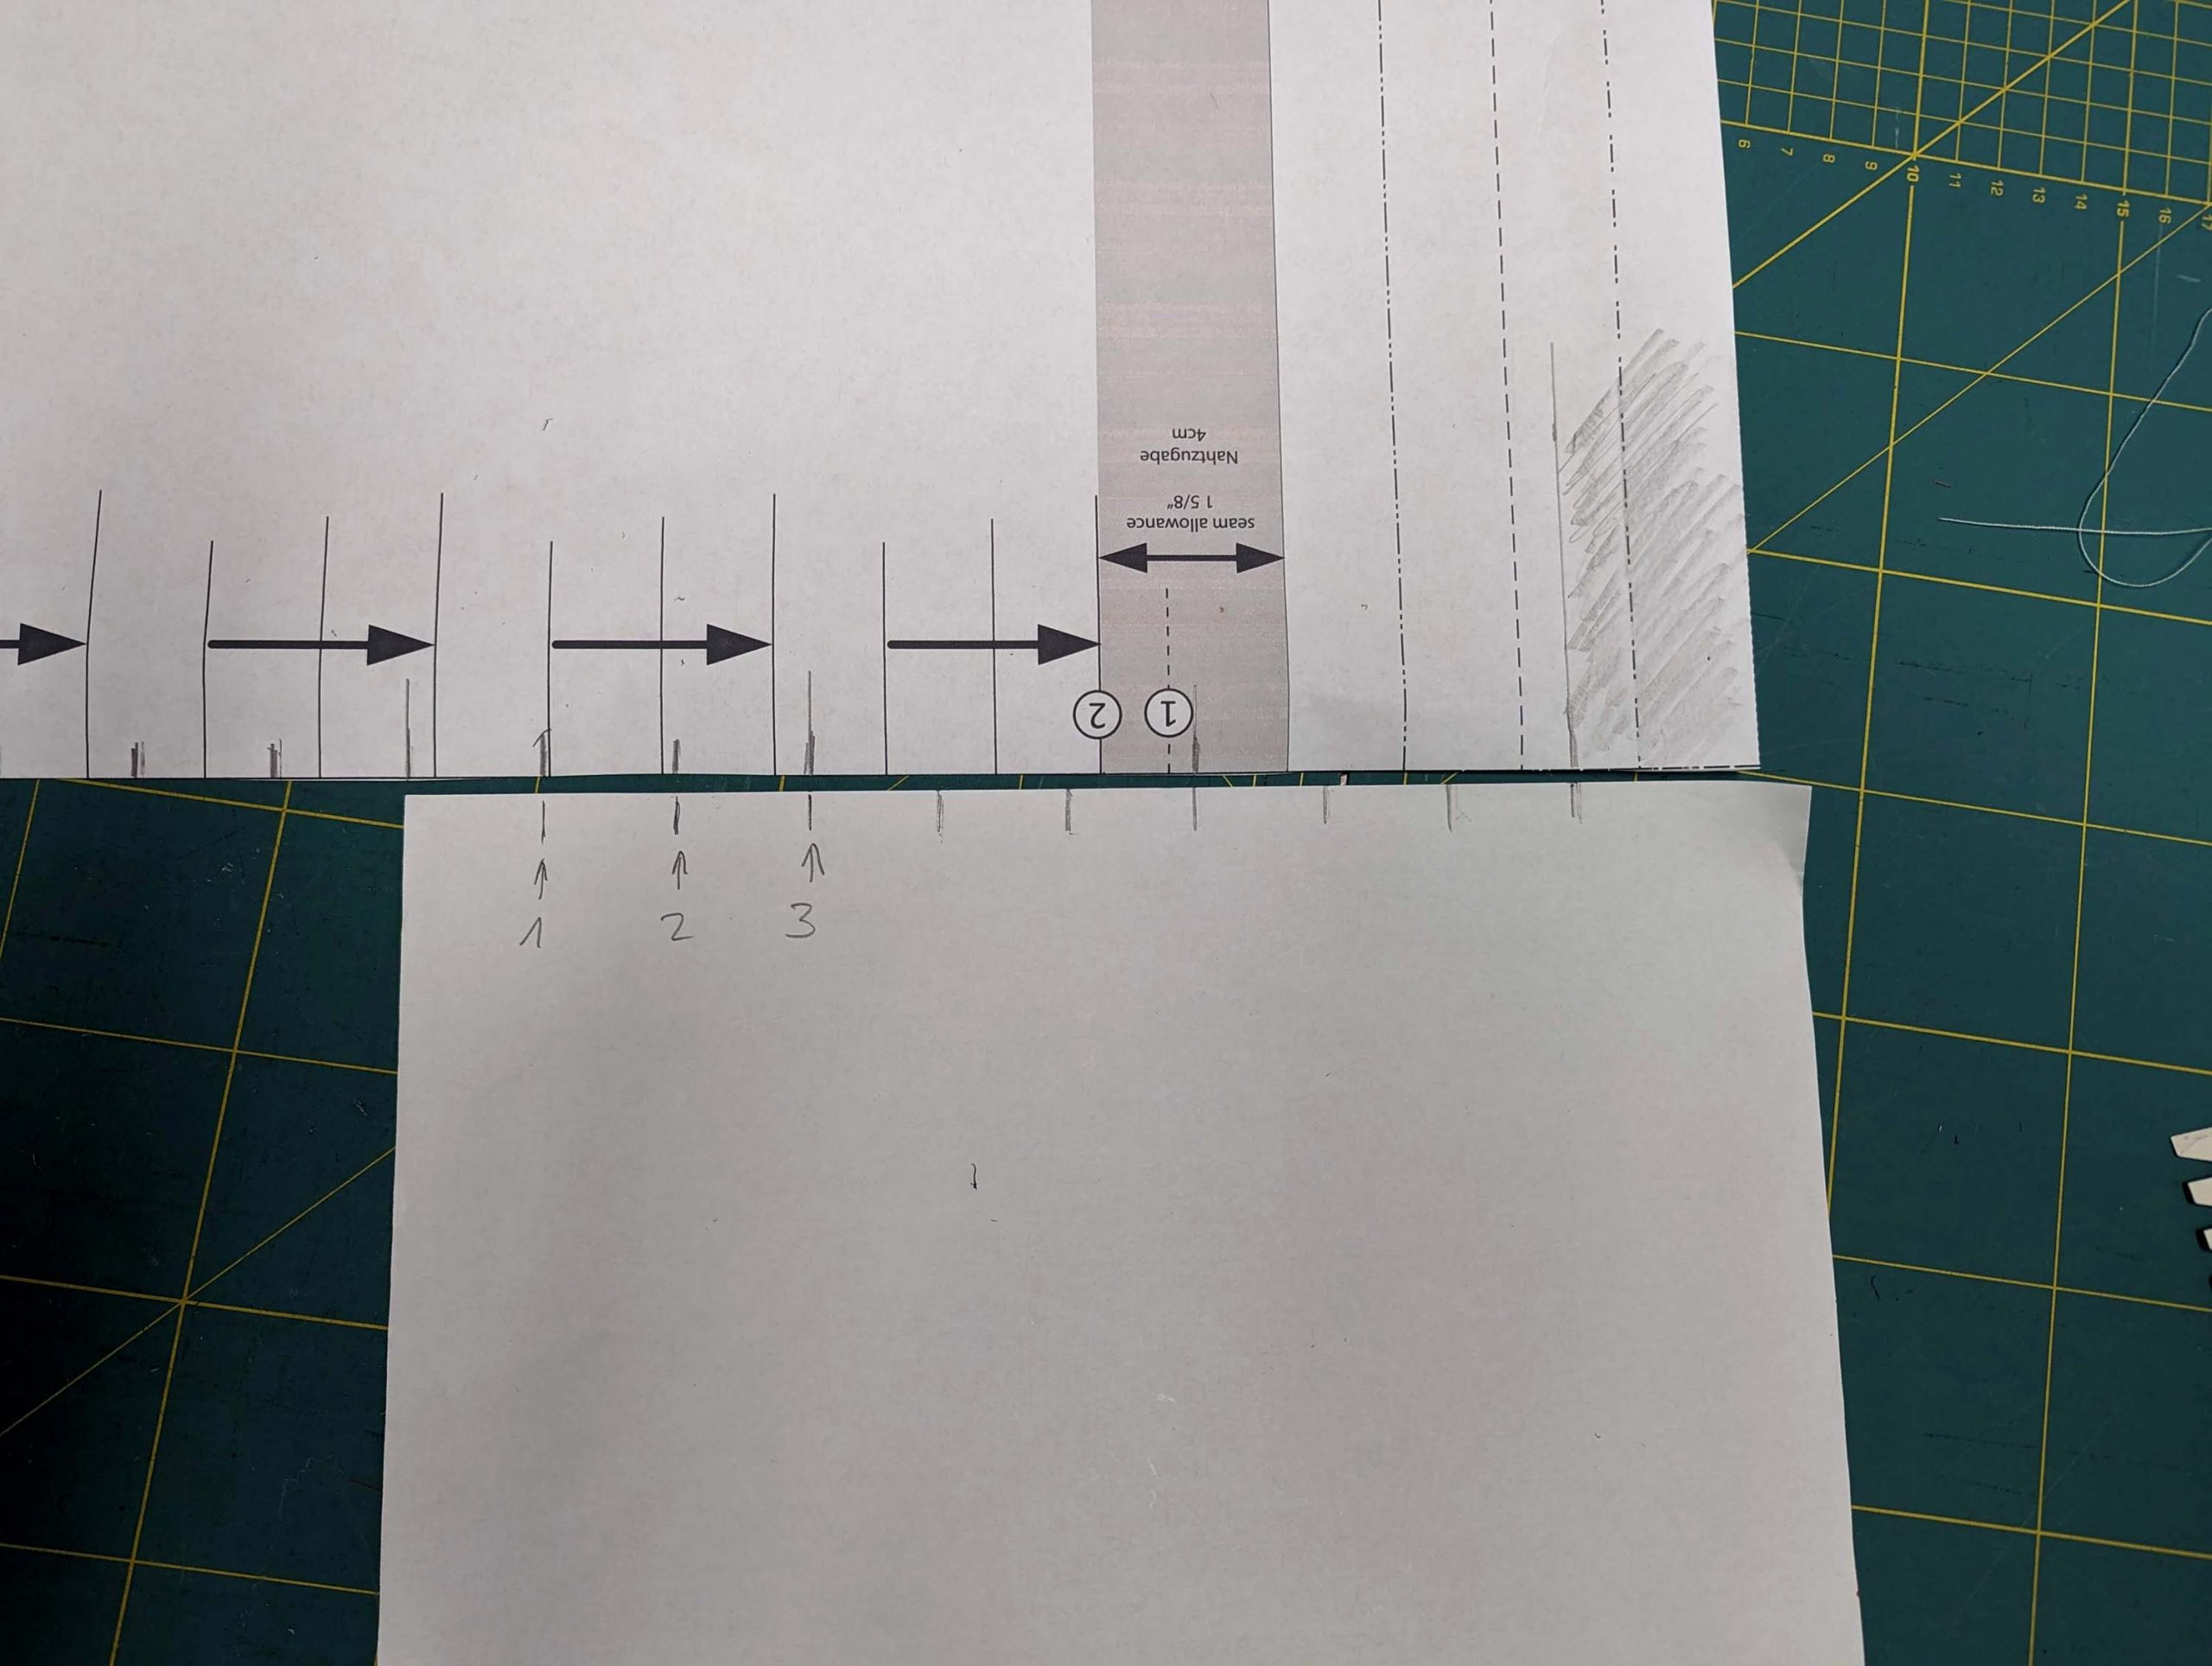
Transfer to the fabric and fold the back skirt panel into regular knife pleats, opening towards the back, meeting at the center back with a box pleat. According to the bodice, turn in a 1 5/8” (4cm) seam allowance at the right back edge and a 1” (2,5cm) at the left edge, forming a placket.
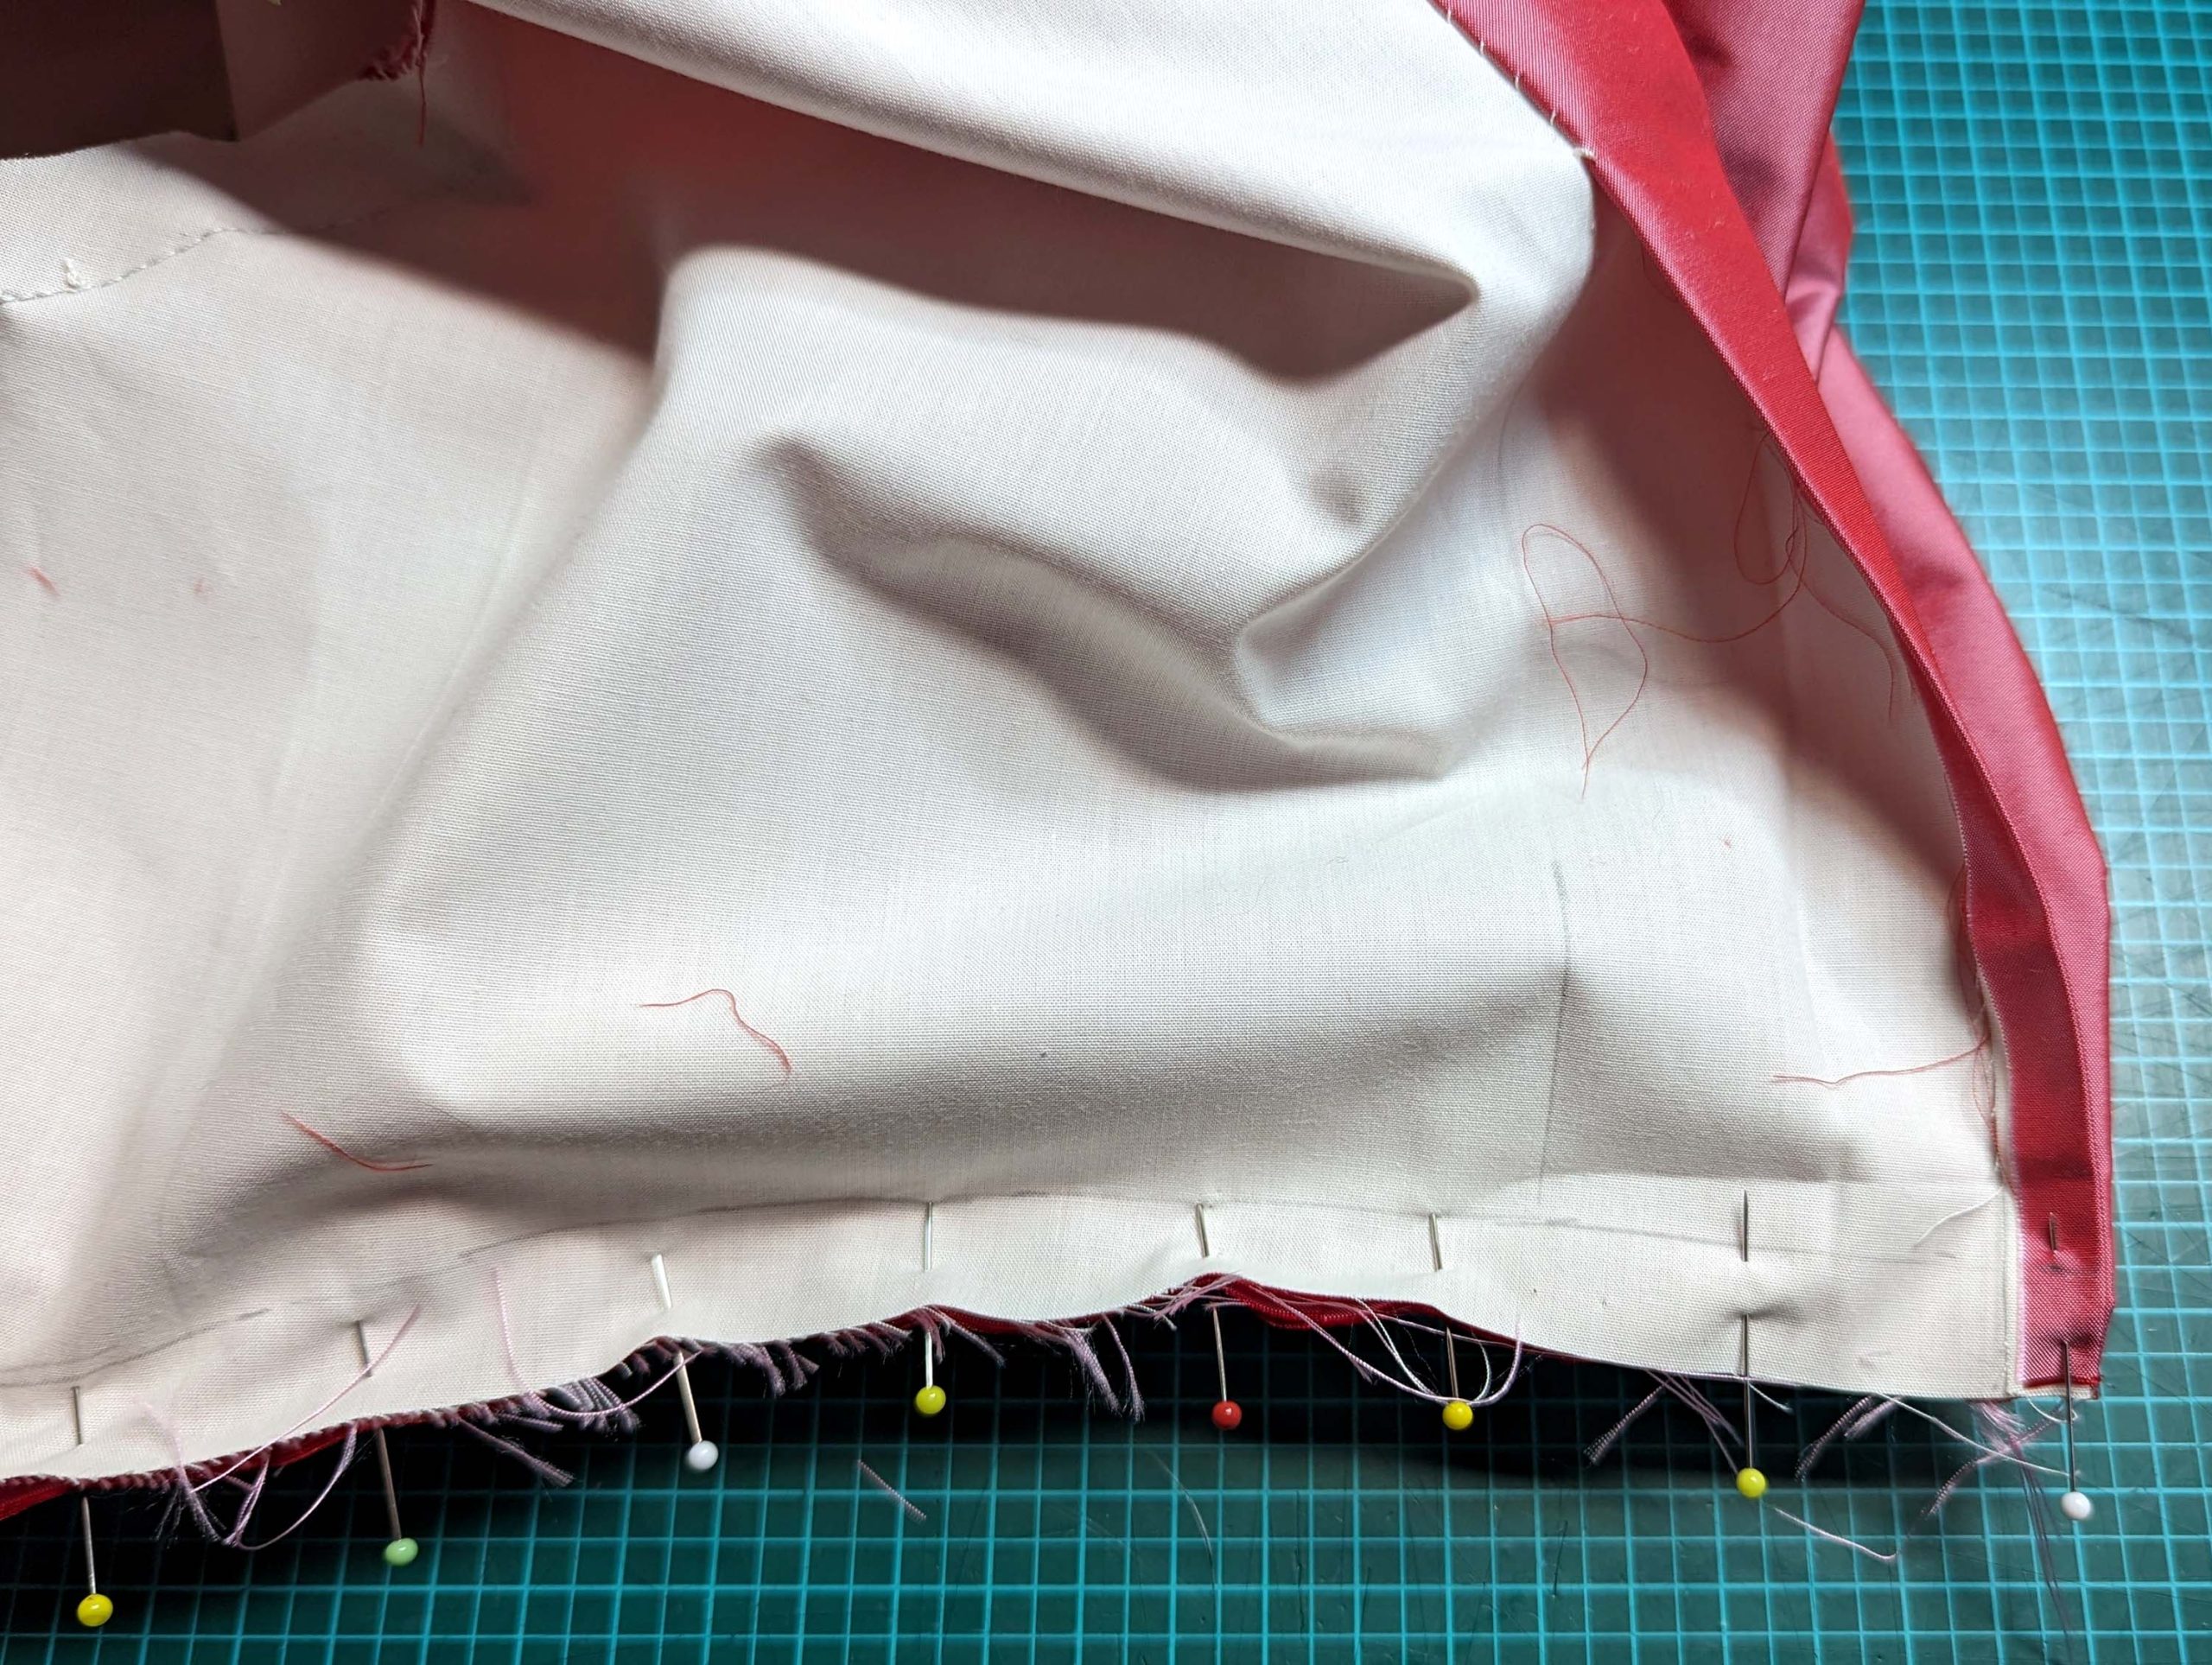
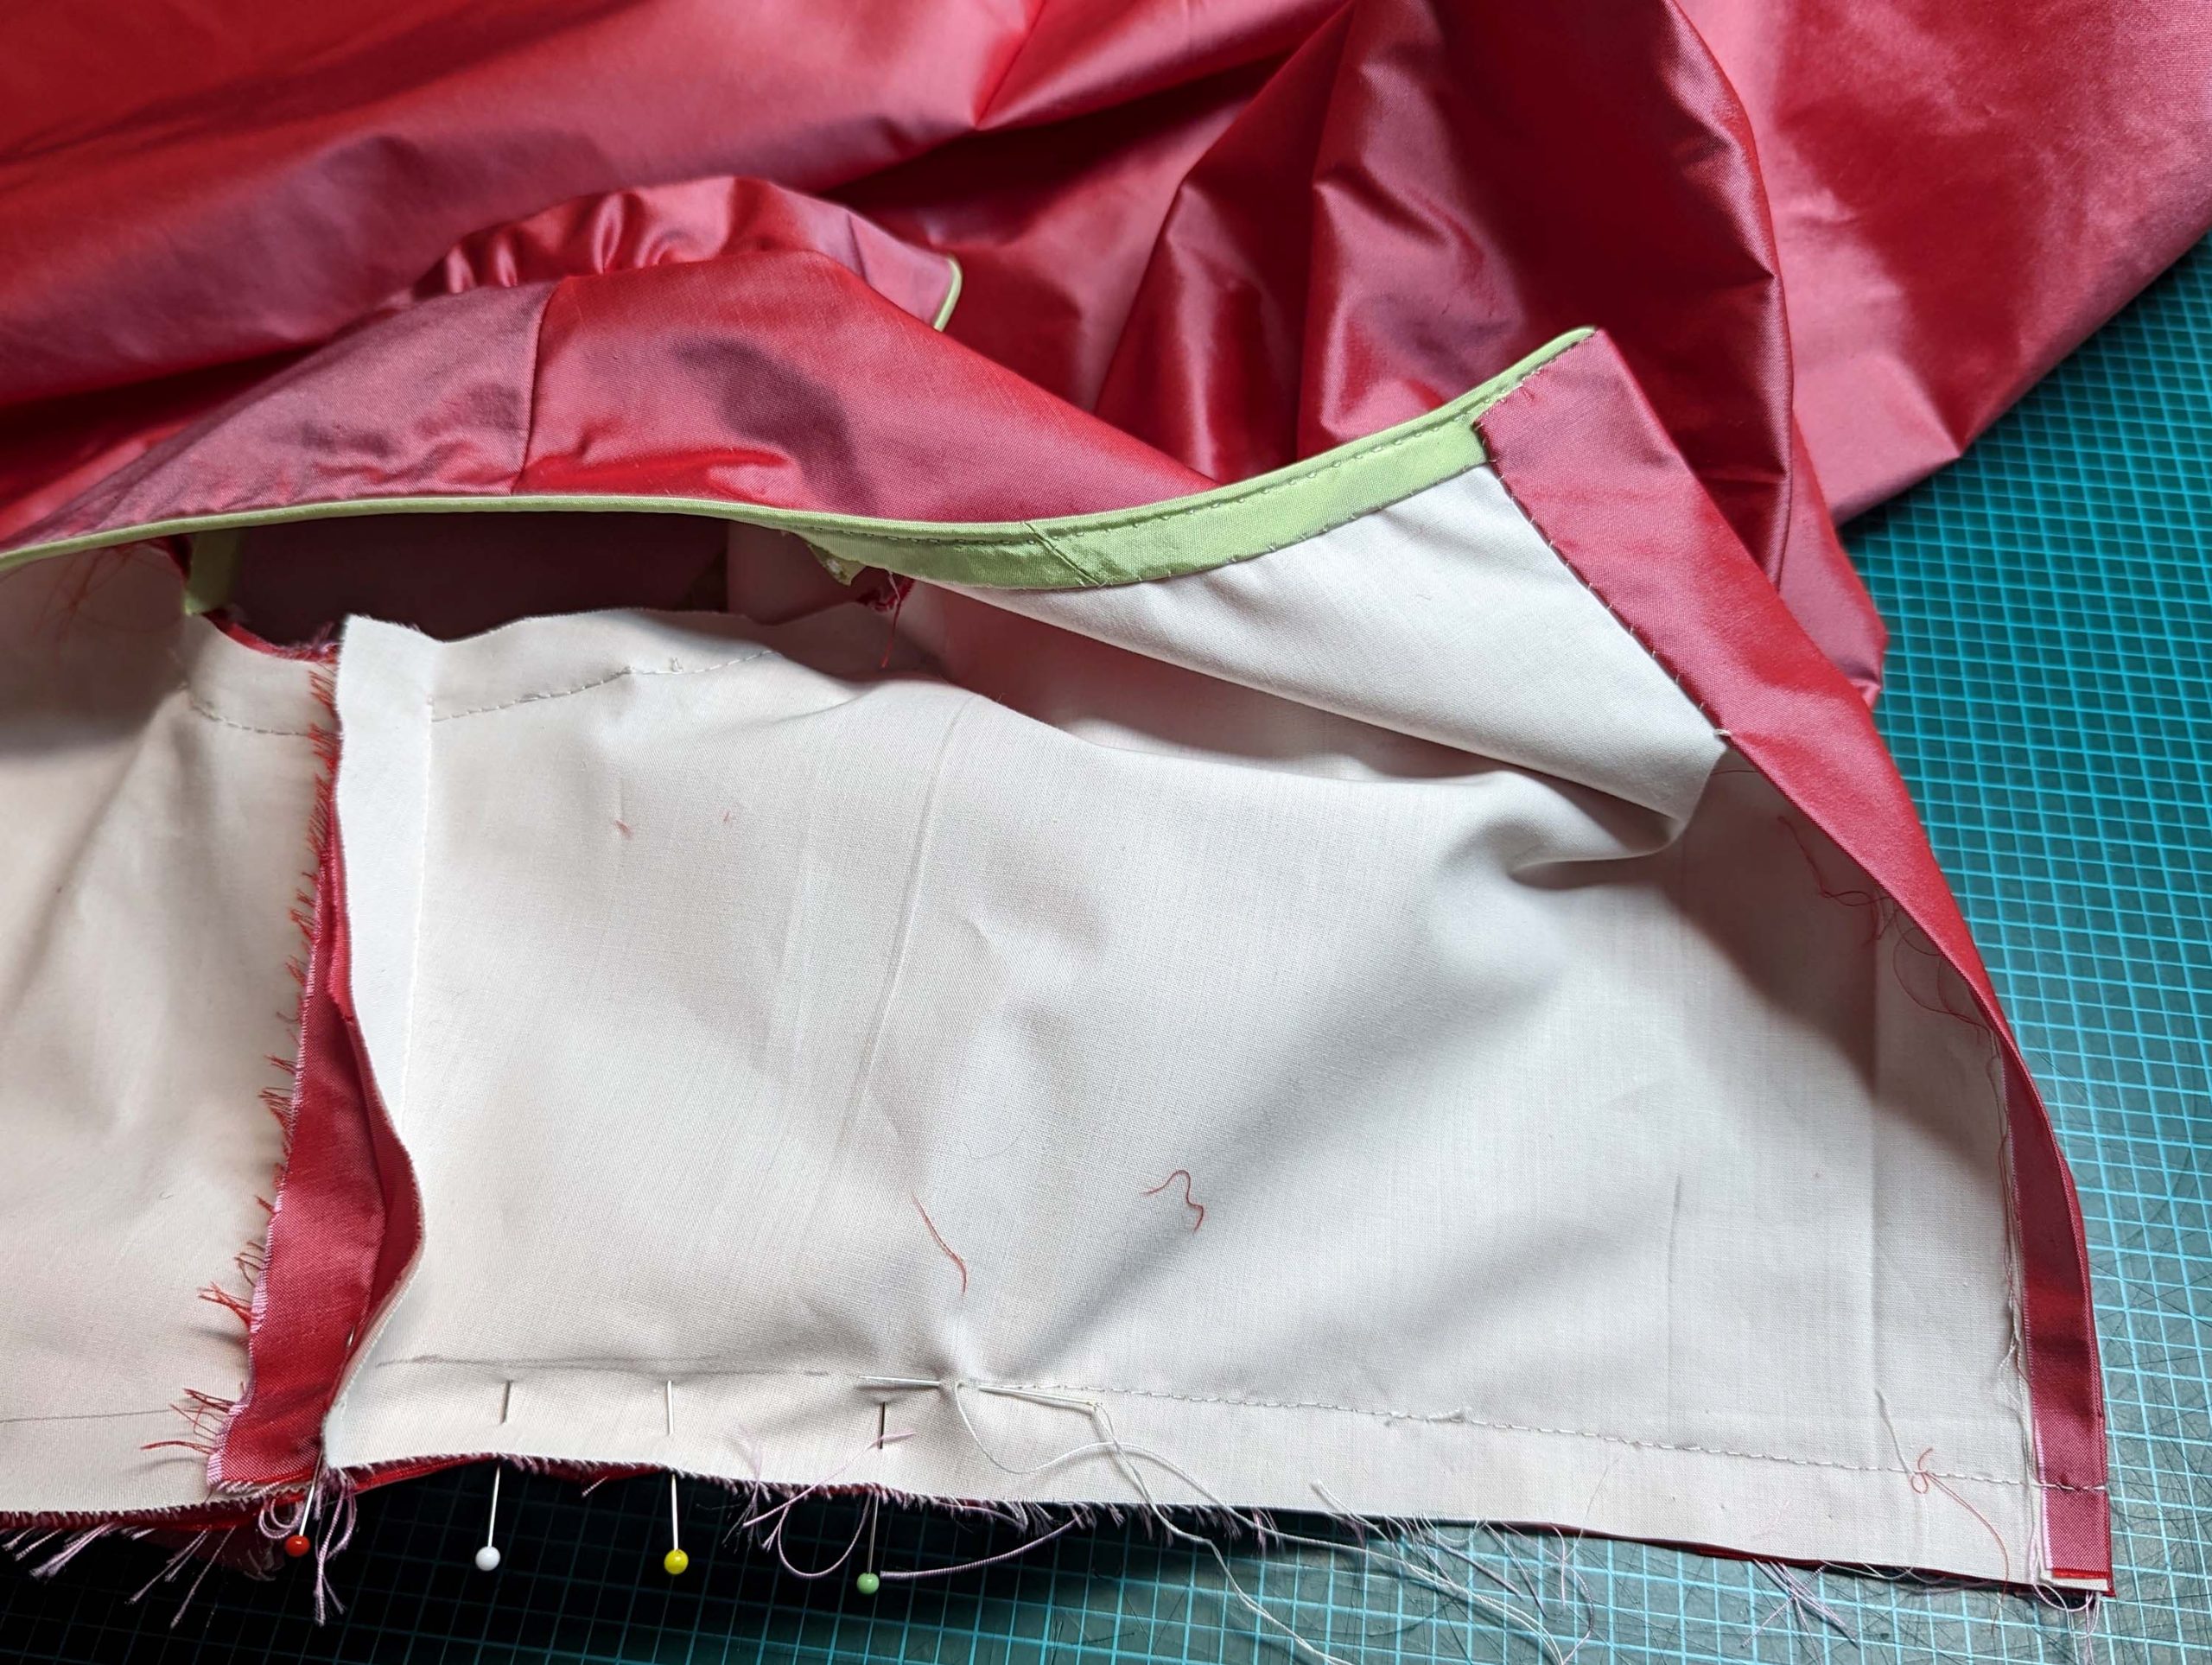
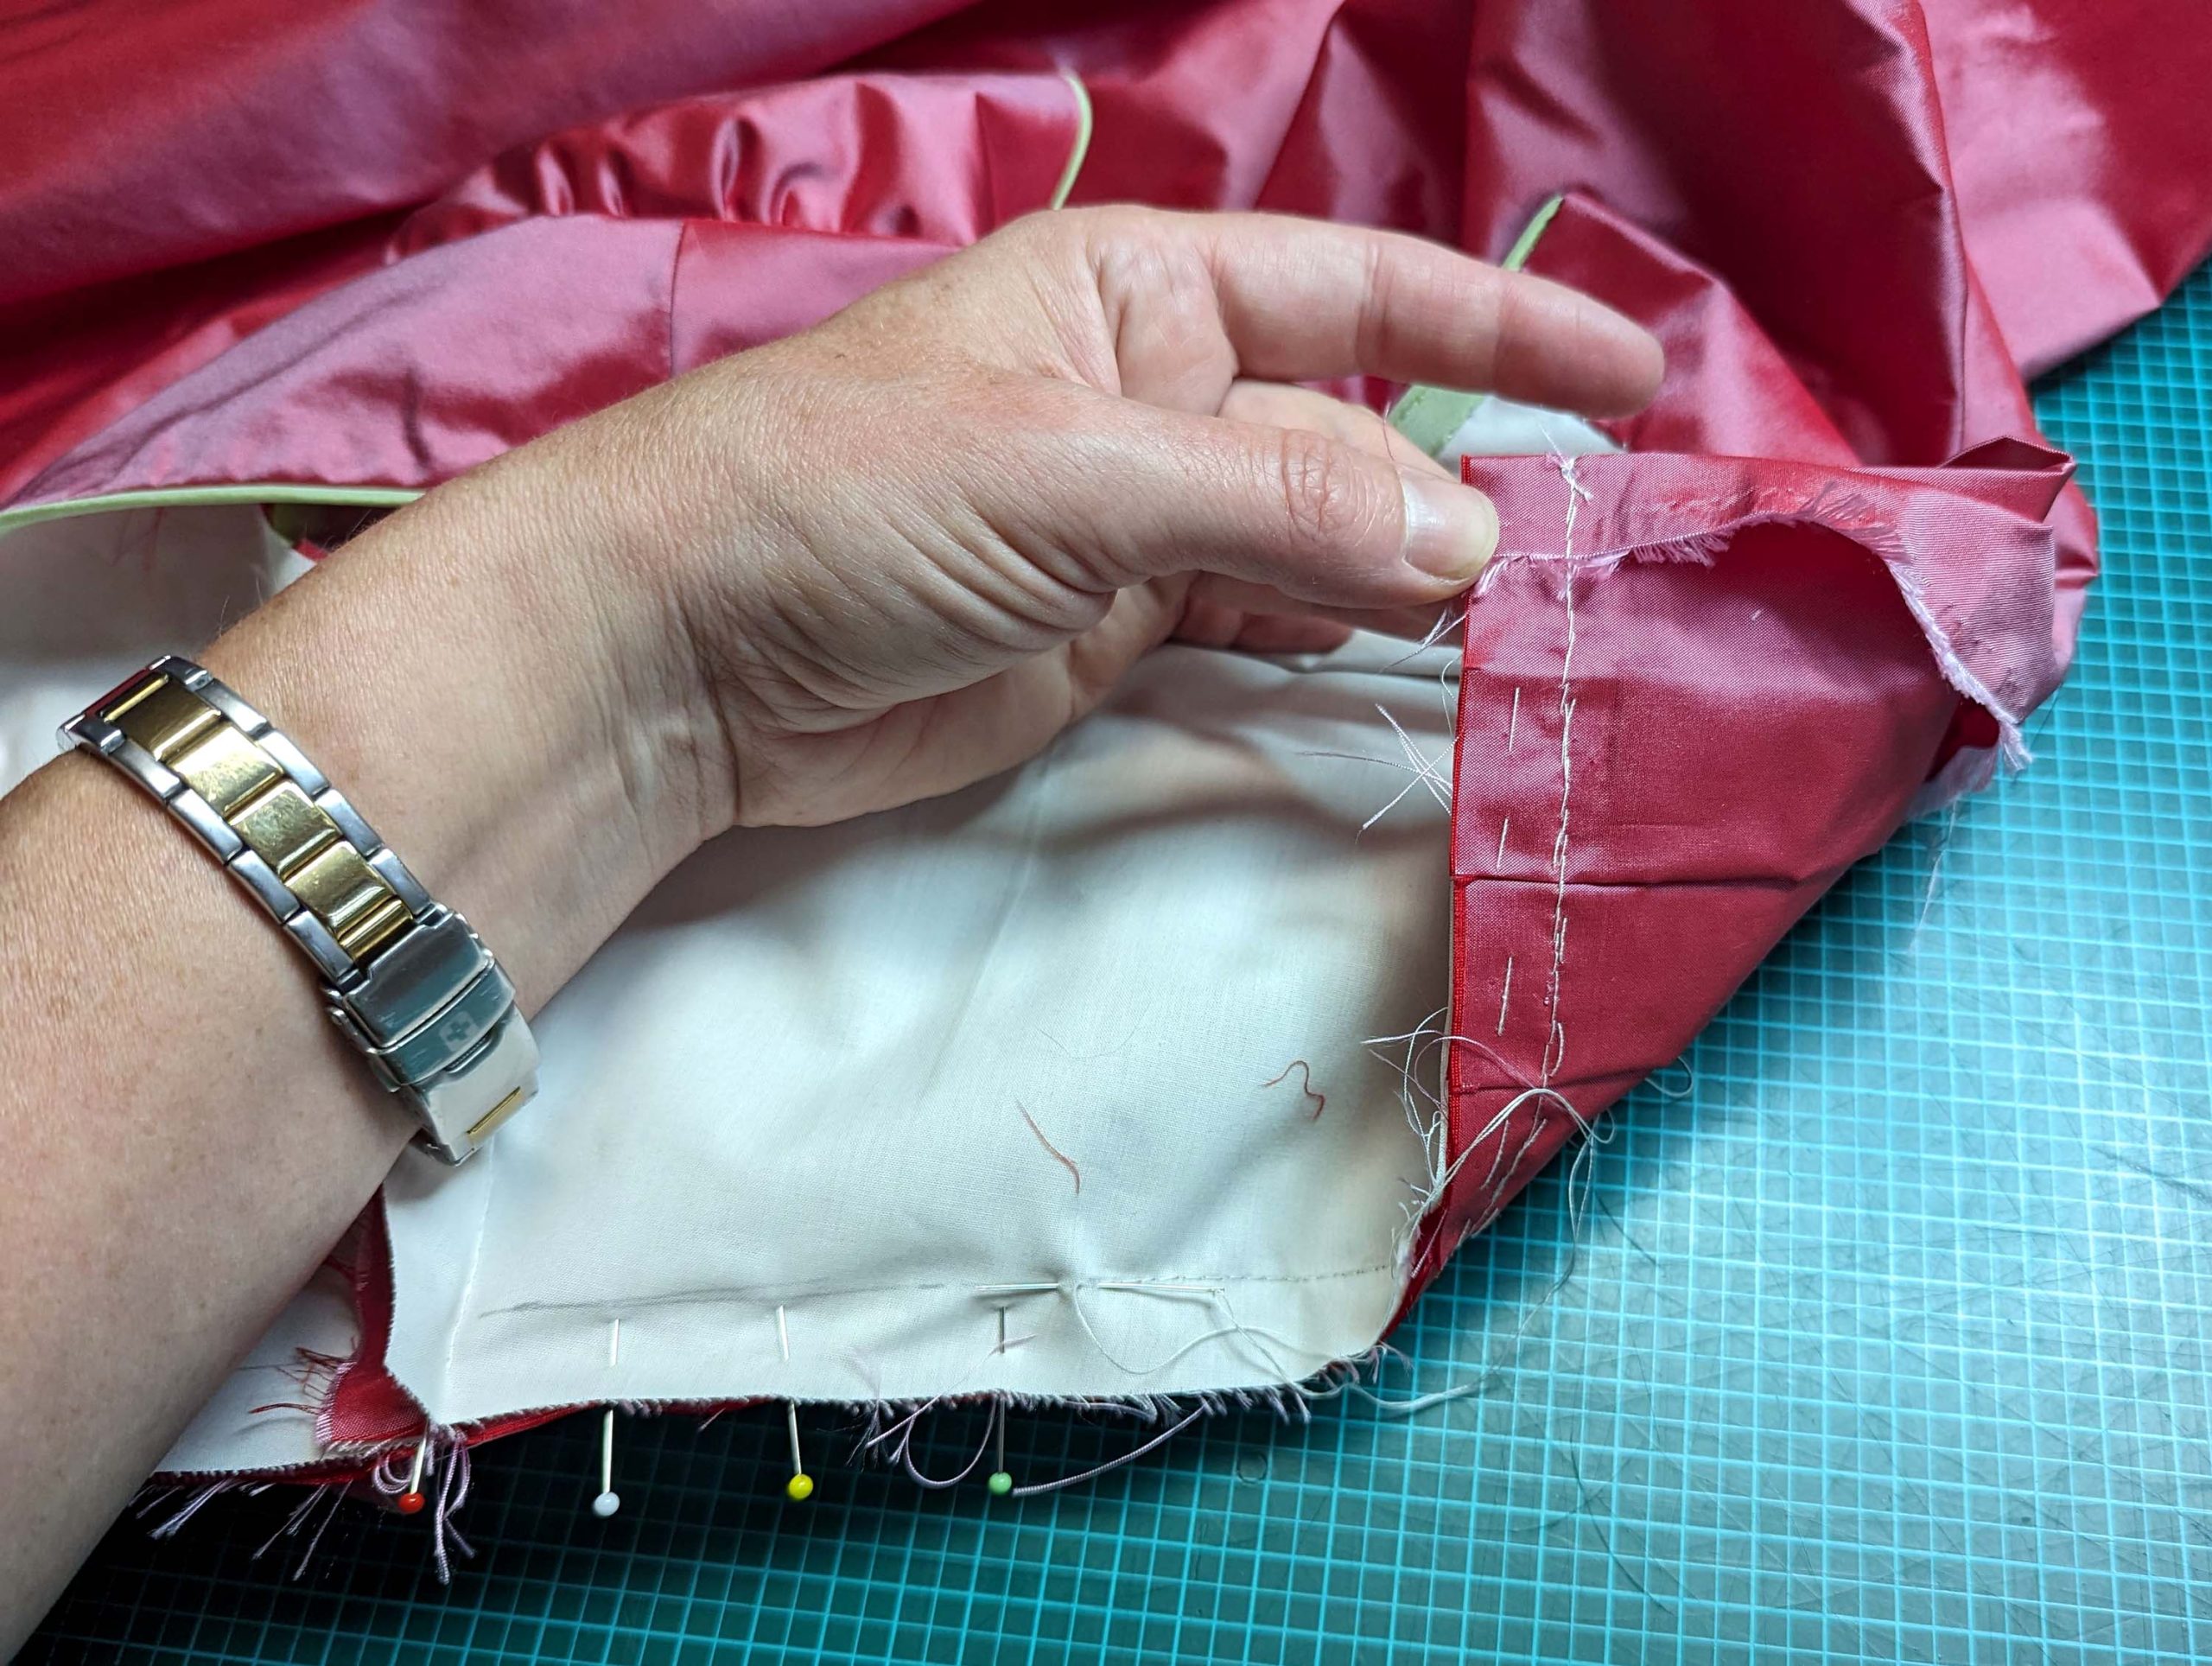
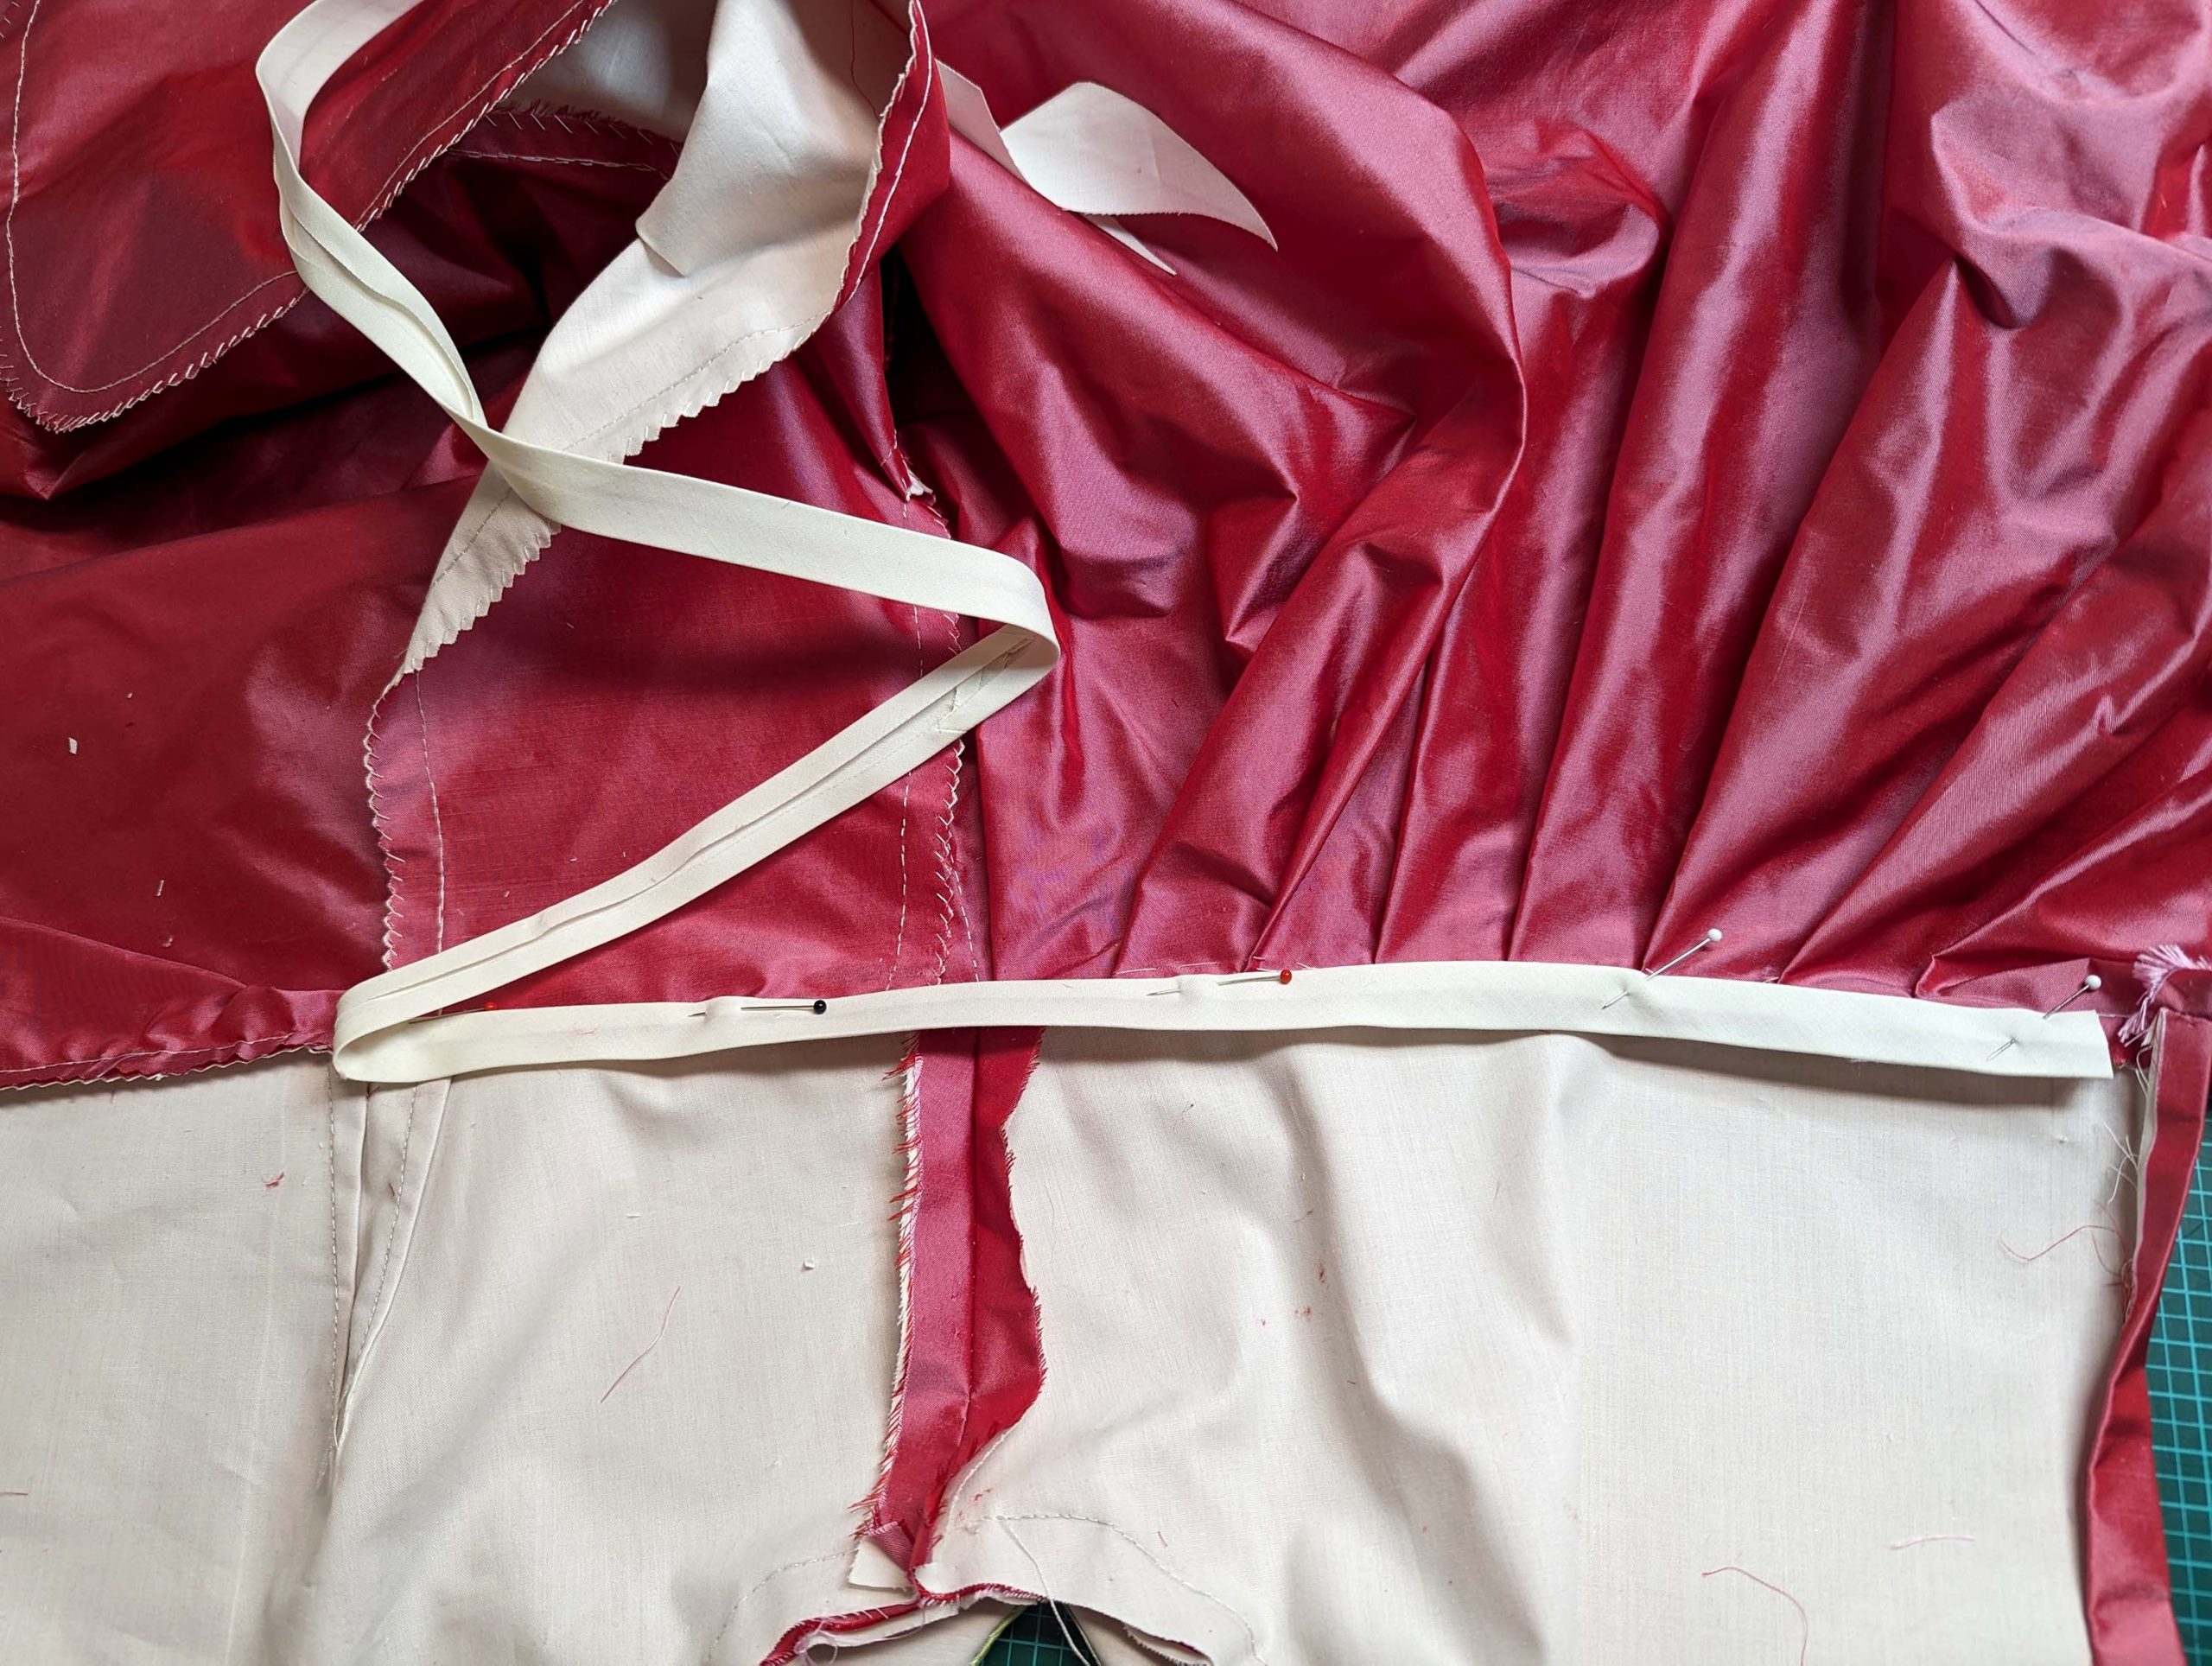
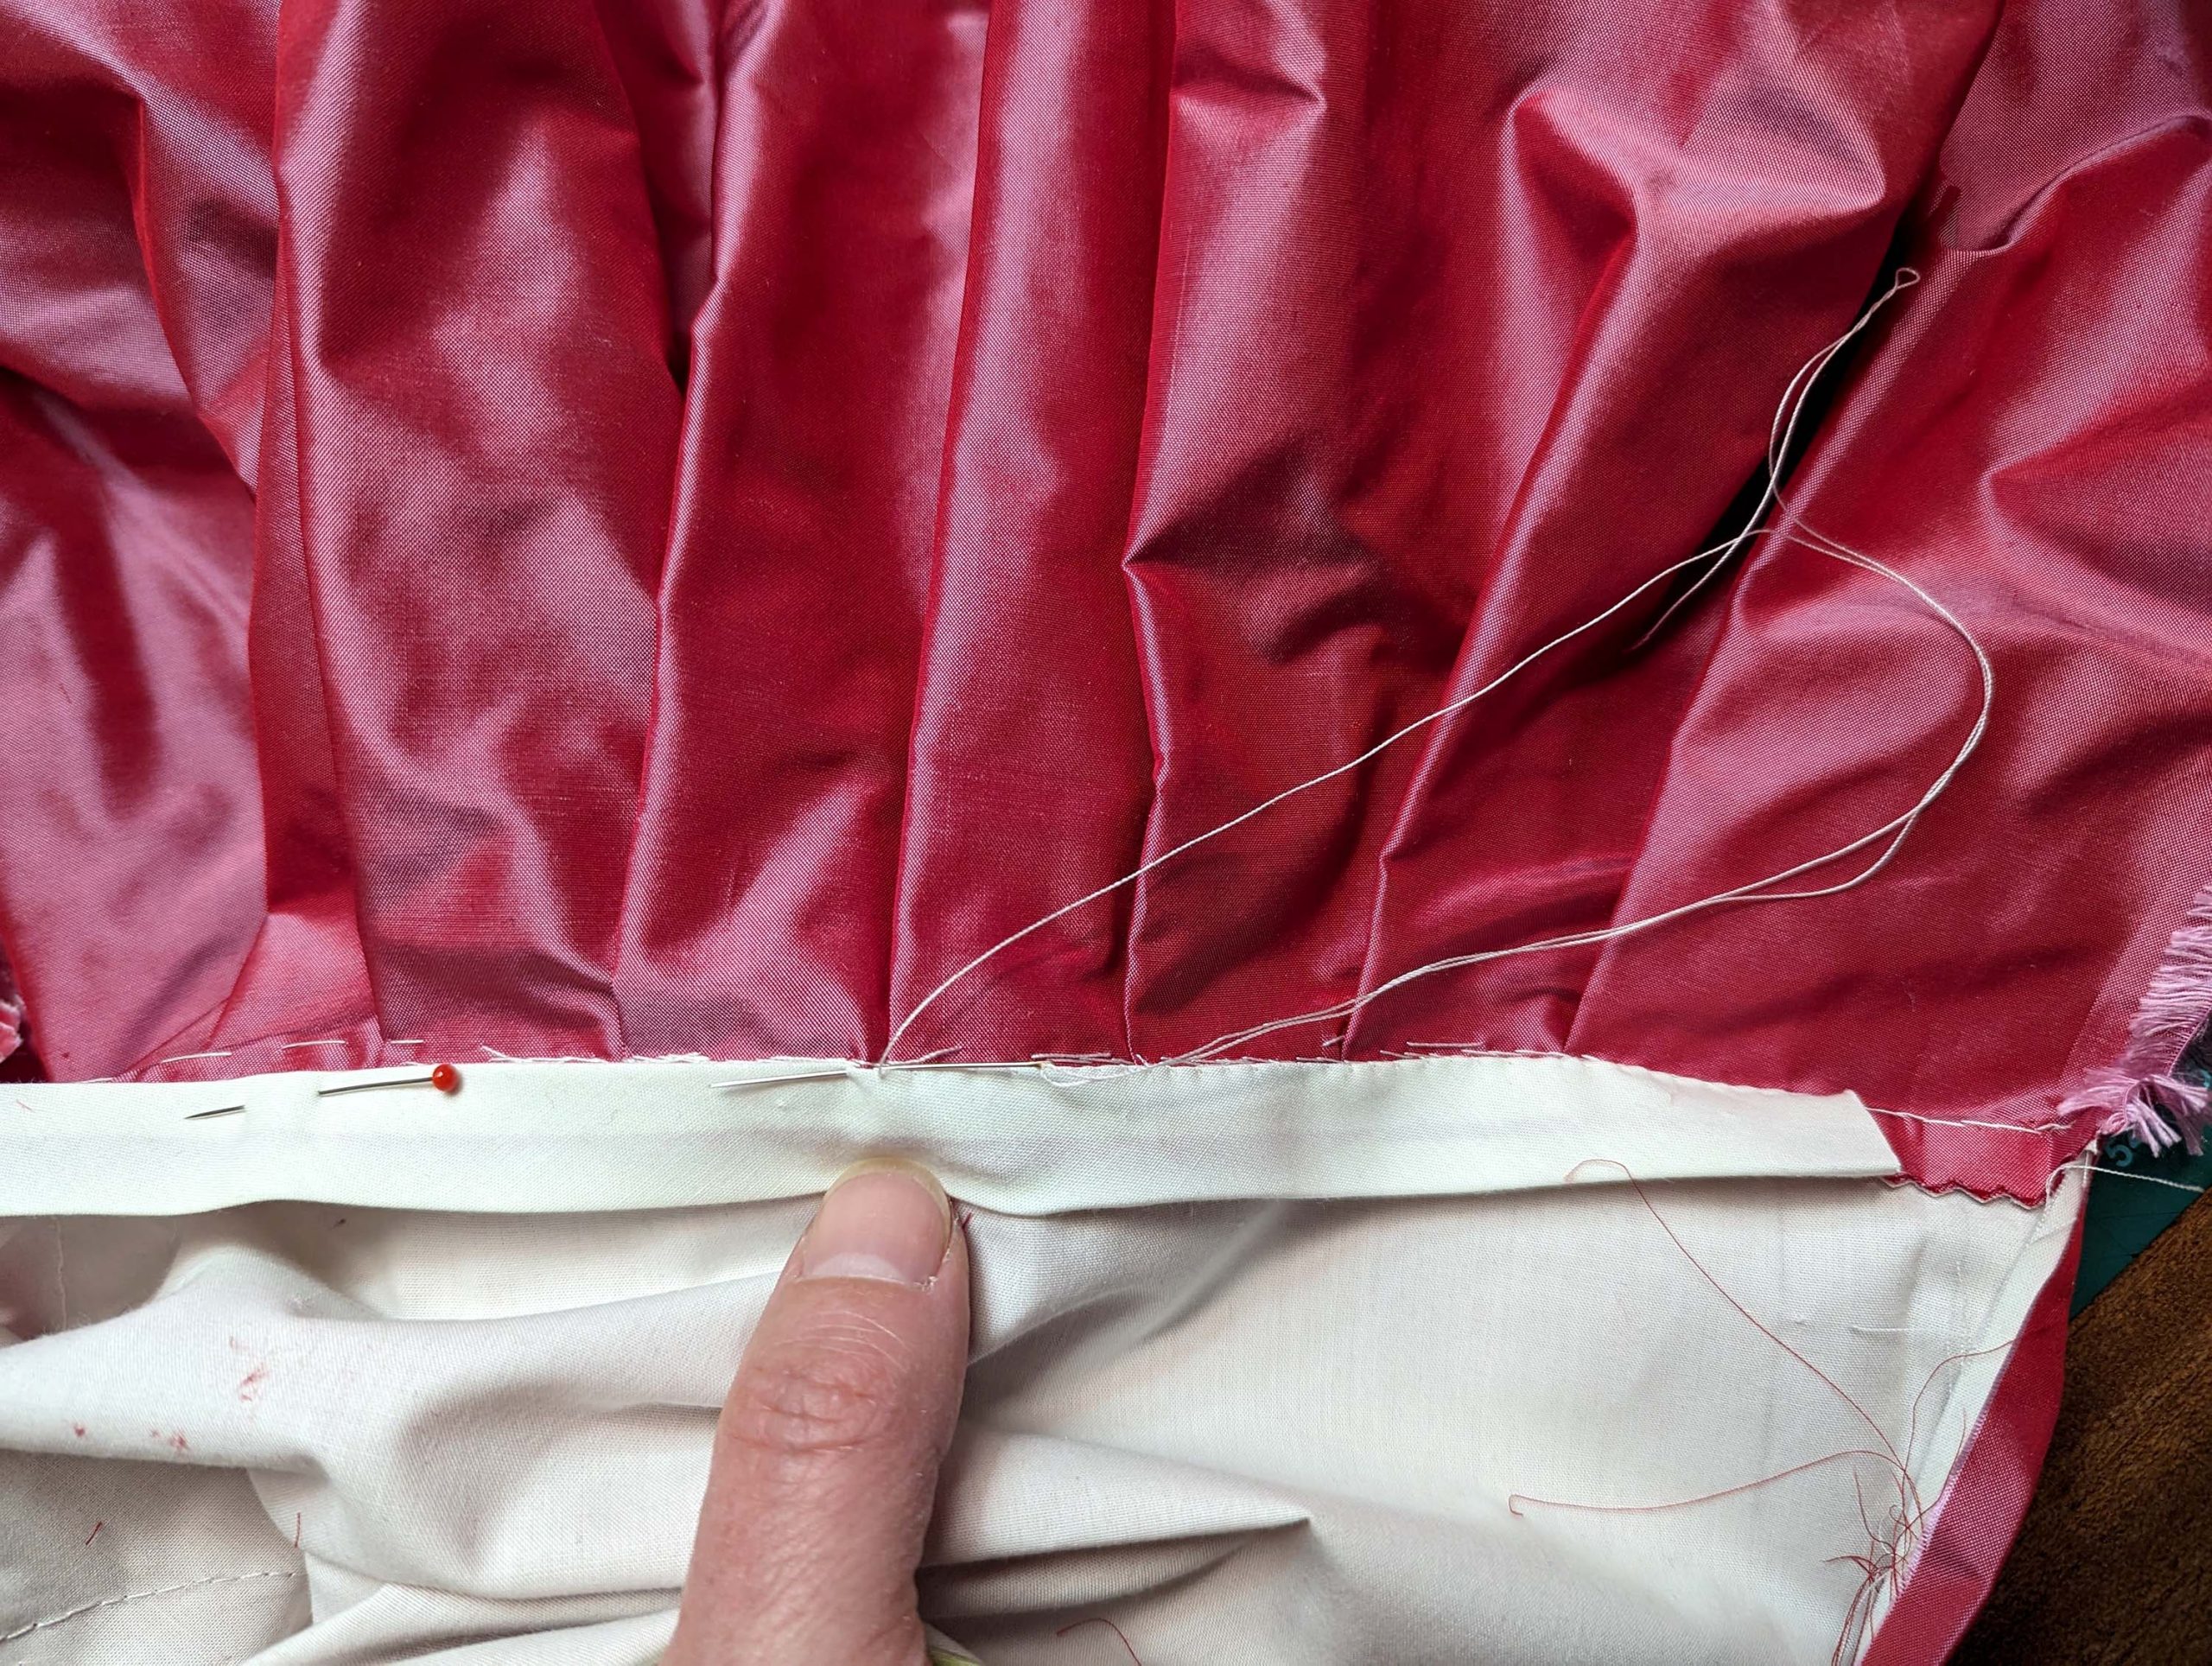
(7) Sew the skirt to the bodice, right sides together, matching all seams and marks. Fold open the seam allowances along the back edges while sewing, removing some of the basting stitches at the bodice. Press the seam allowances towards the bodice and trim back to 3/8” (1cm). Cover the raw seam allowances with a strip of bias binding.
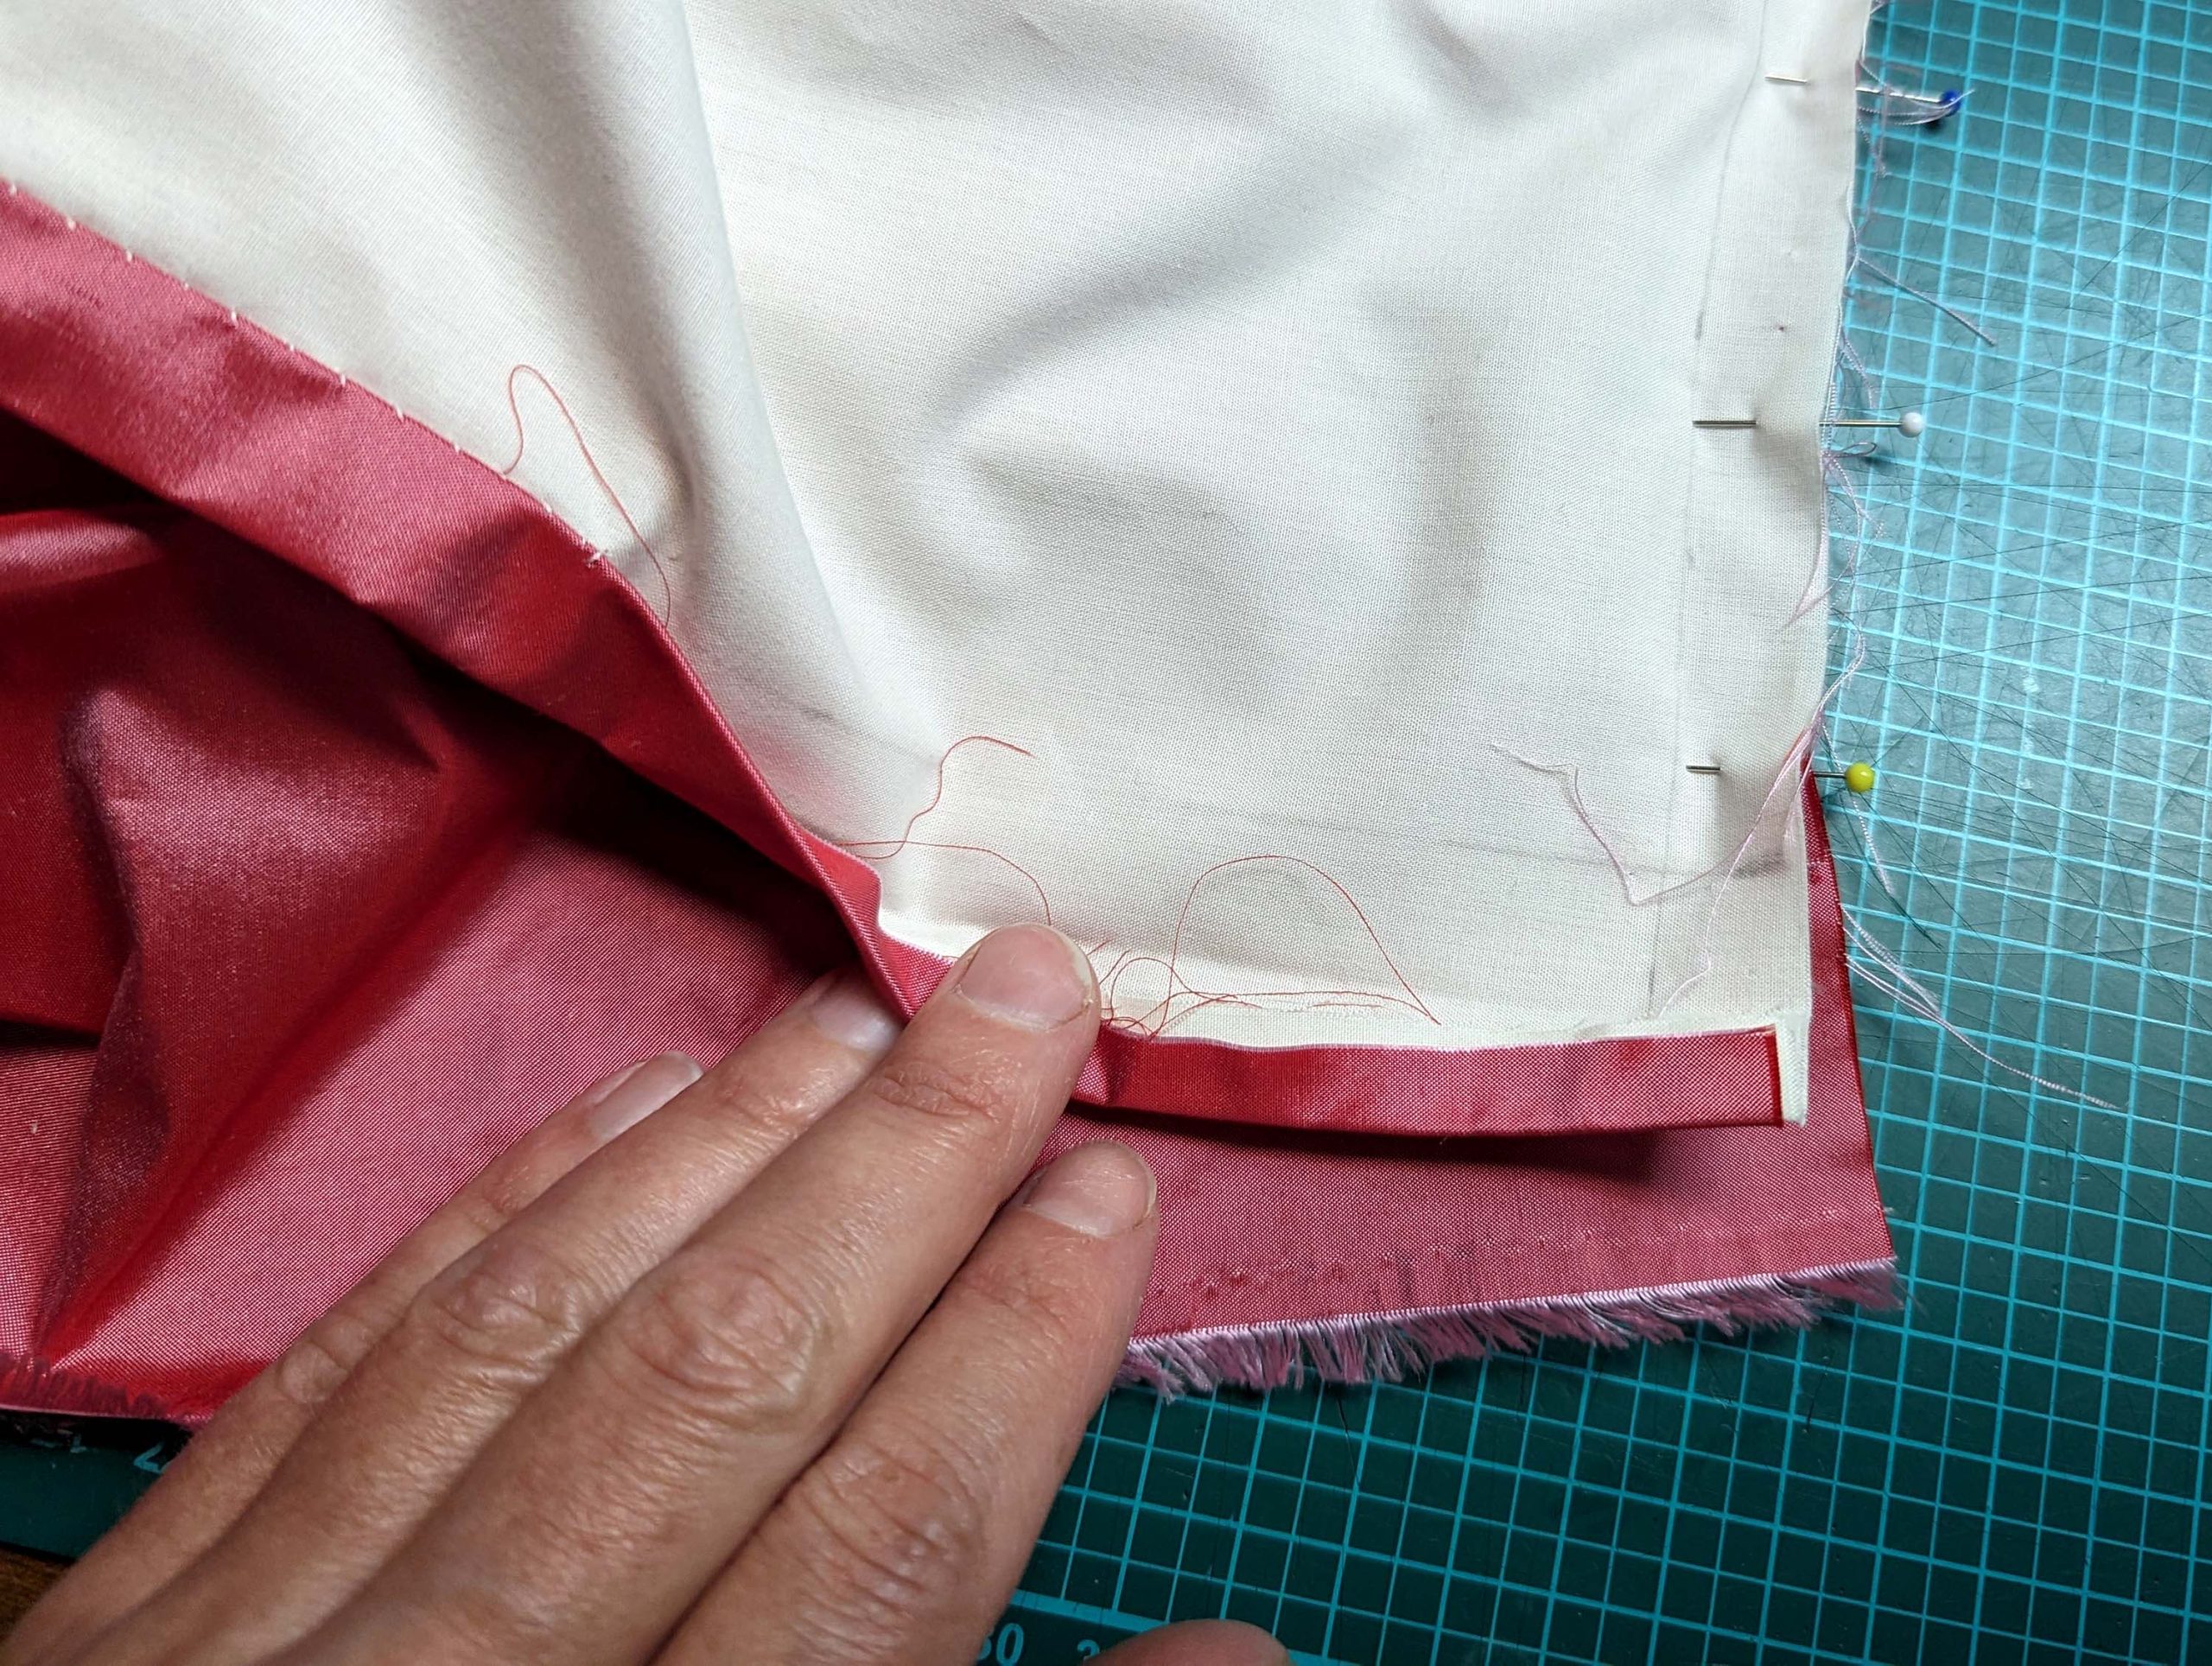
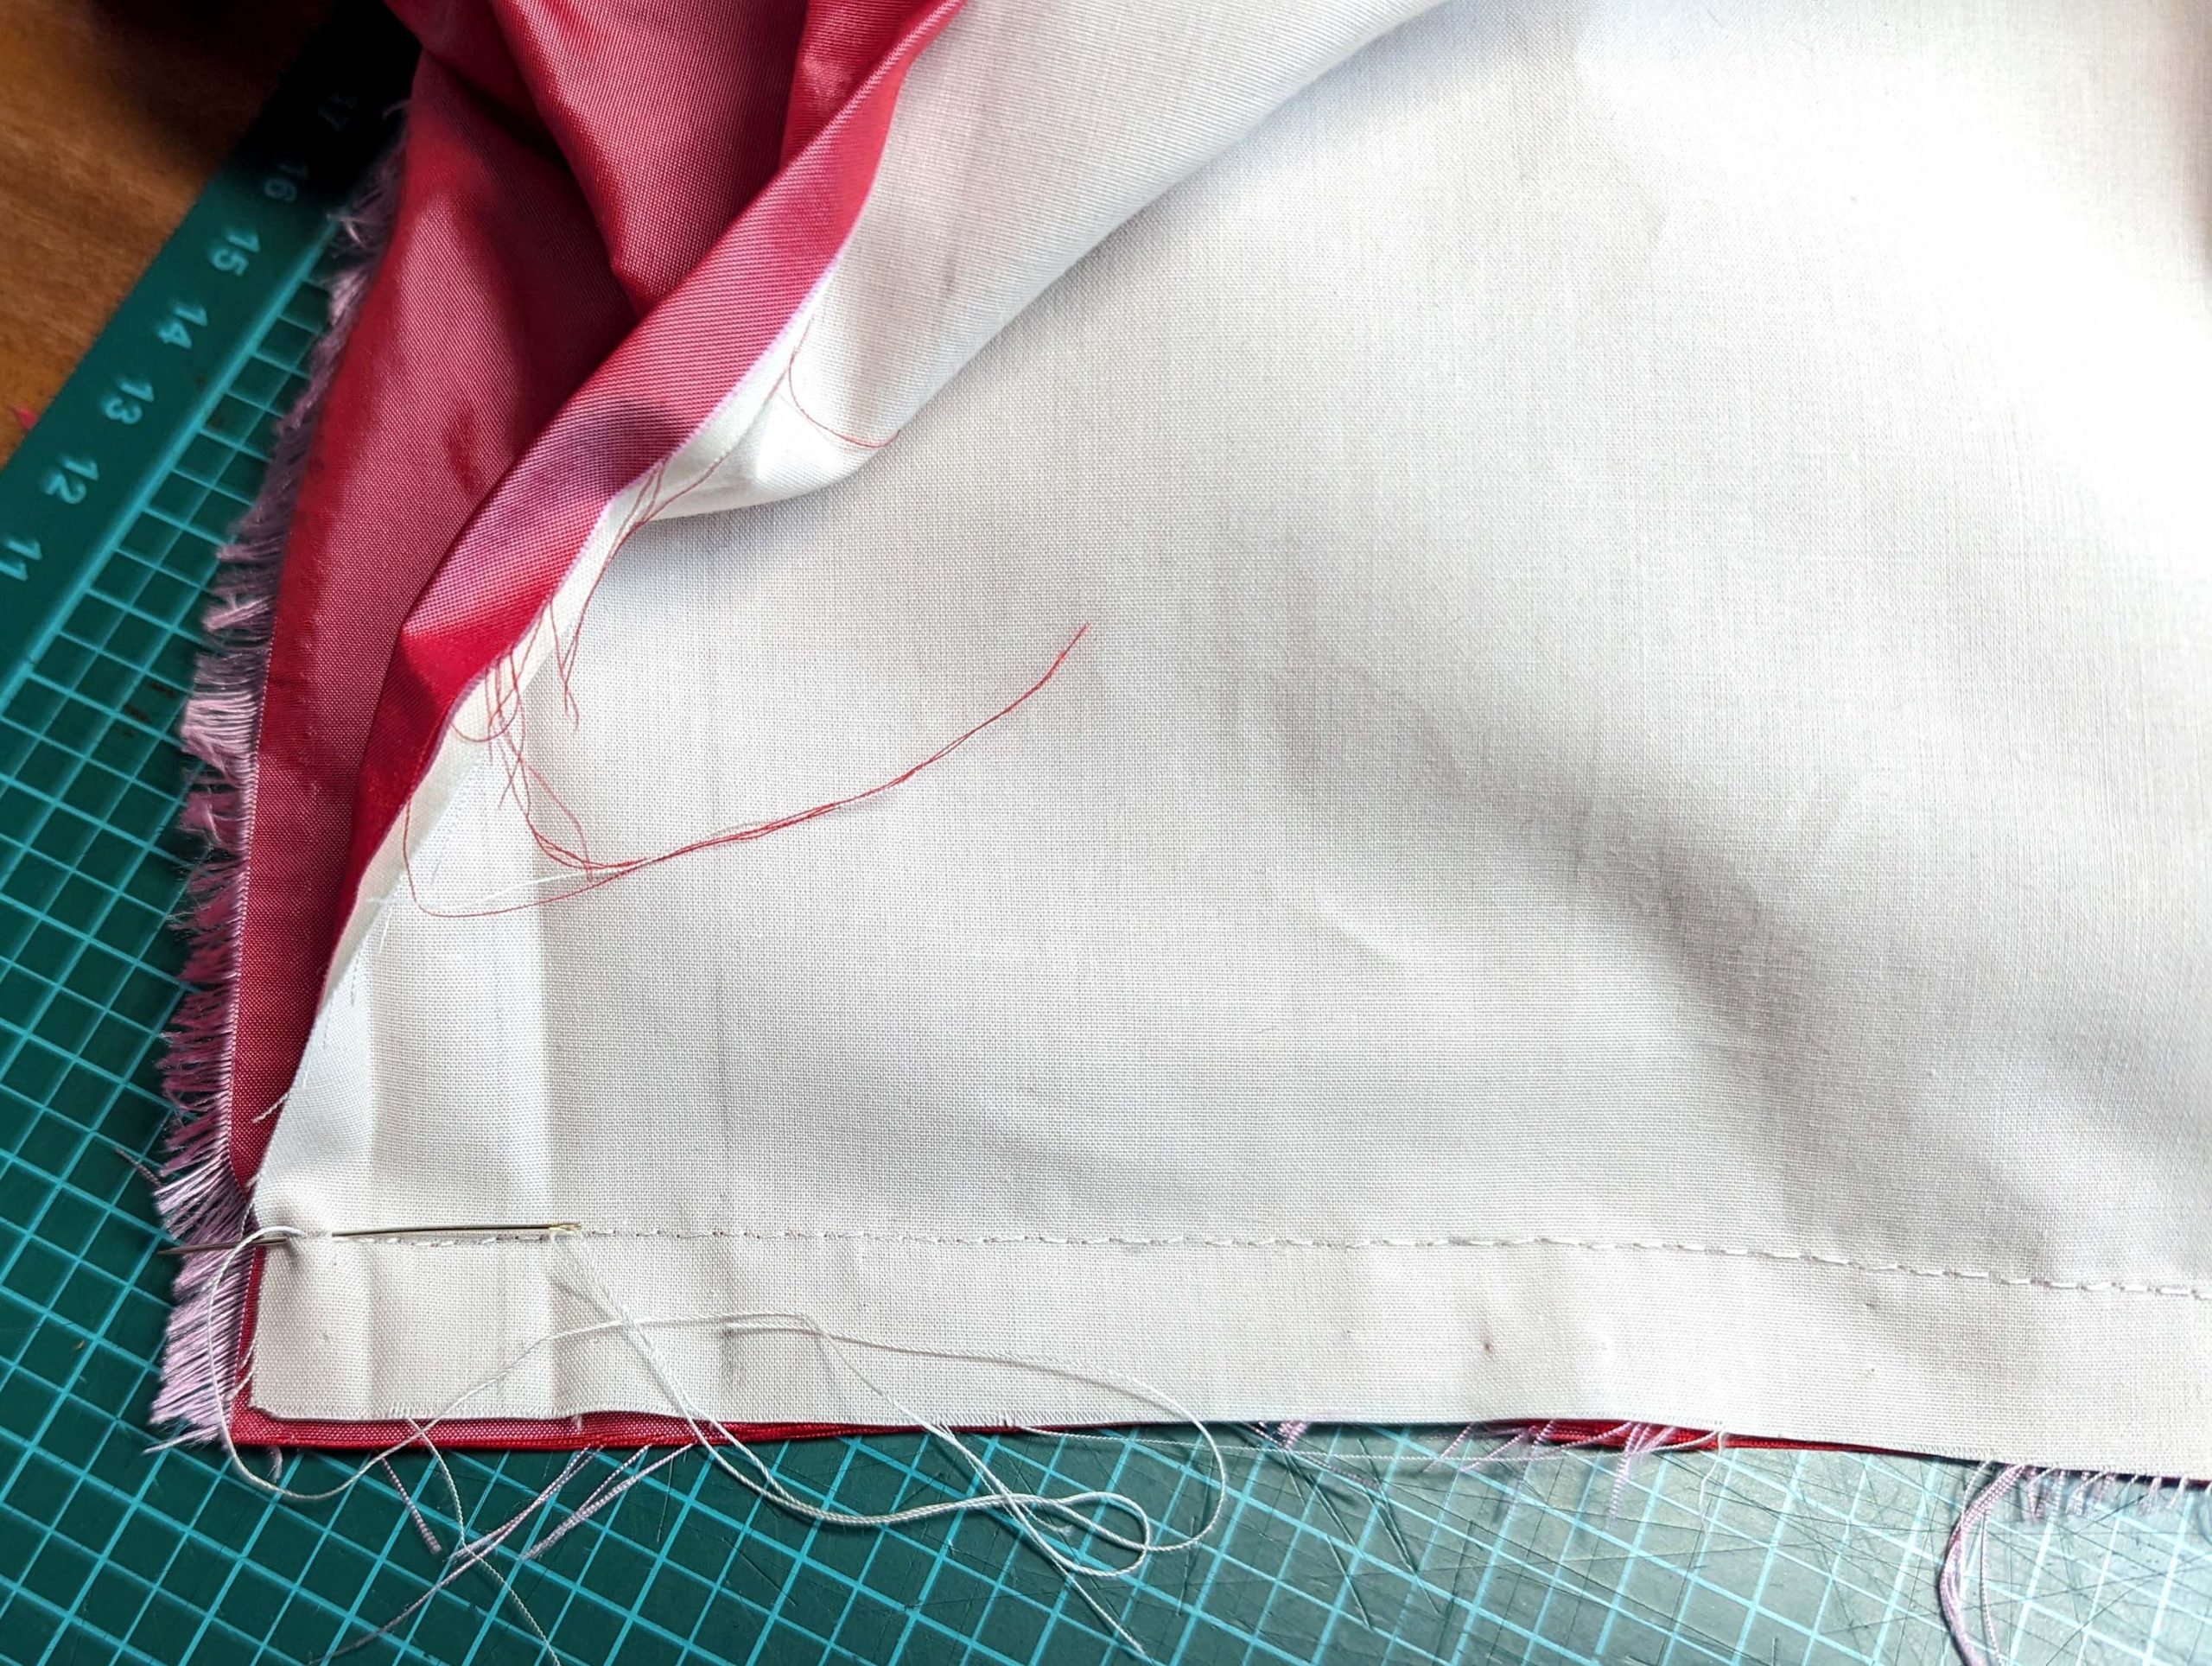
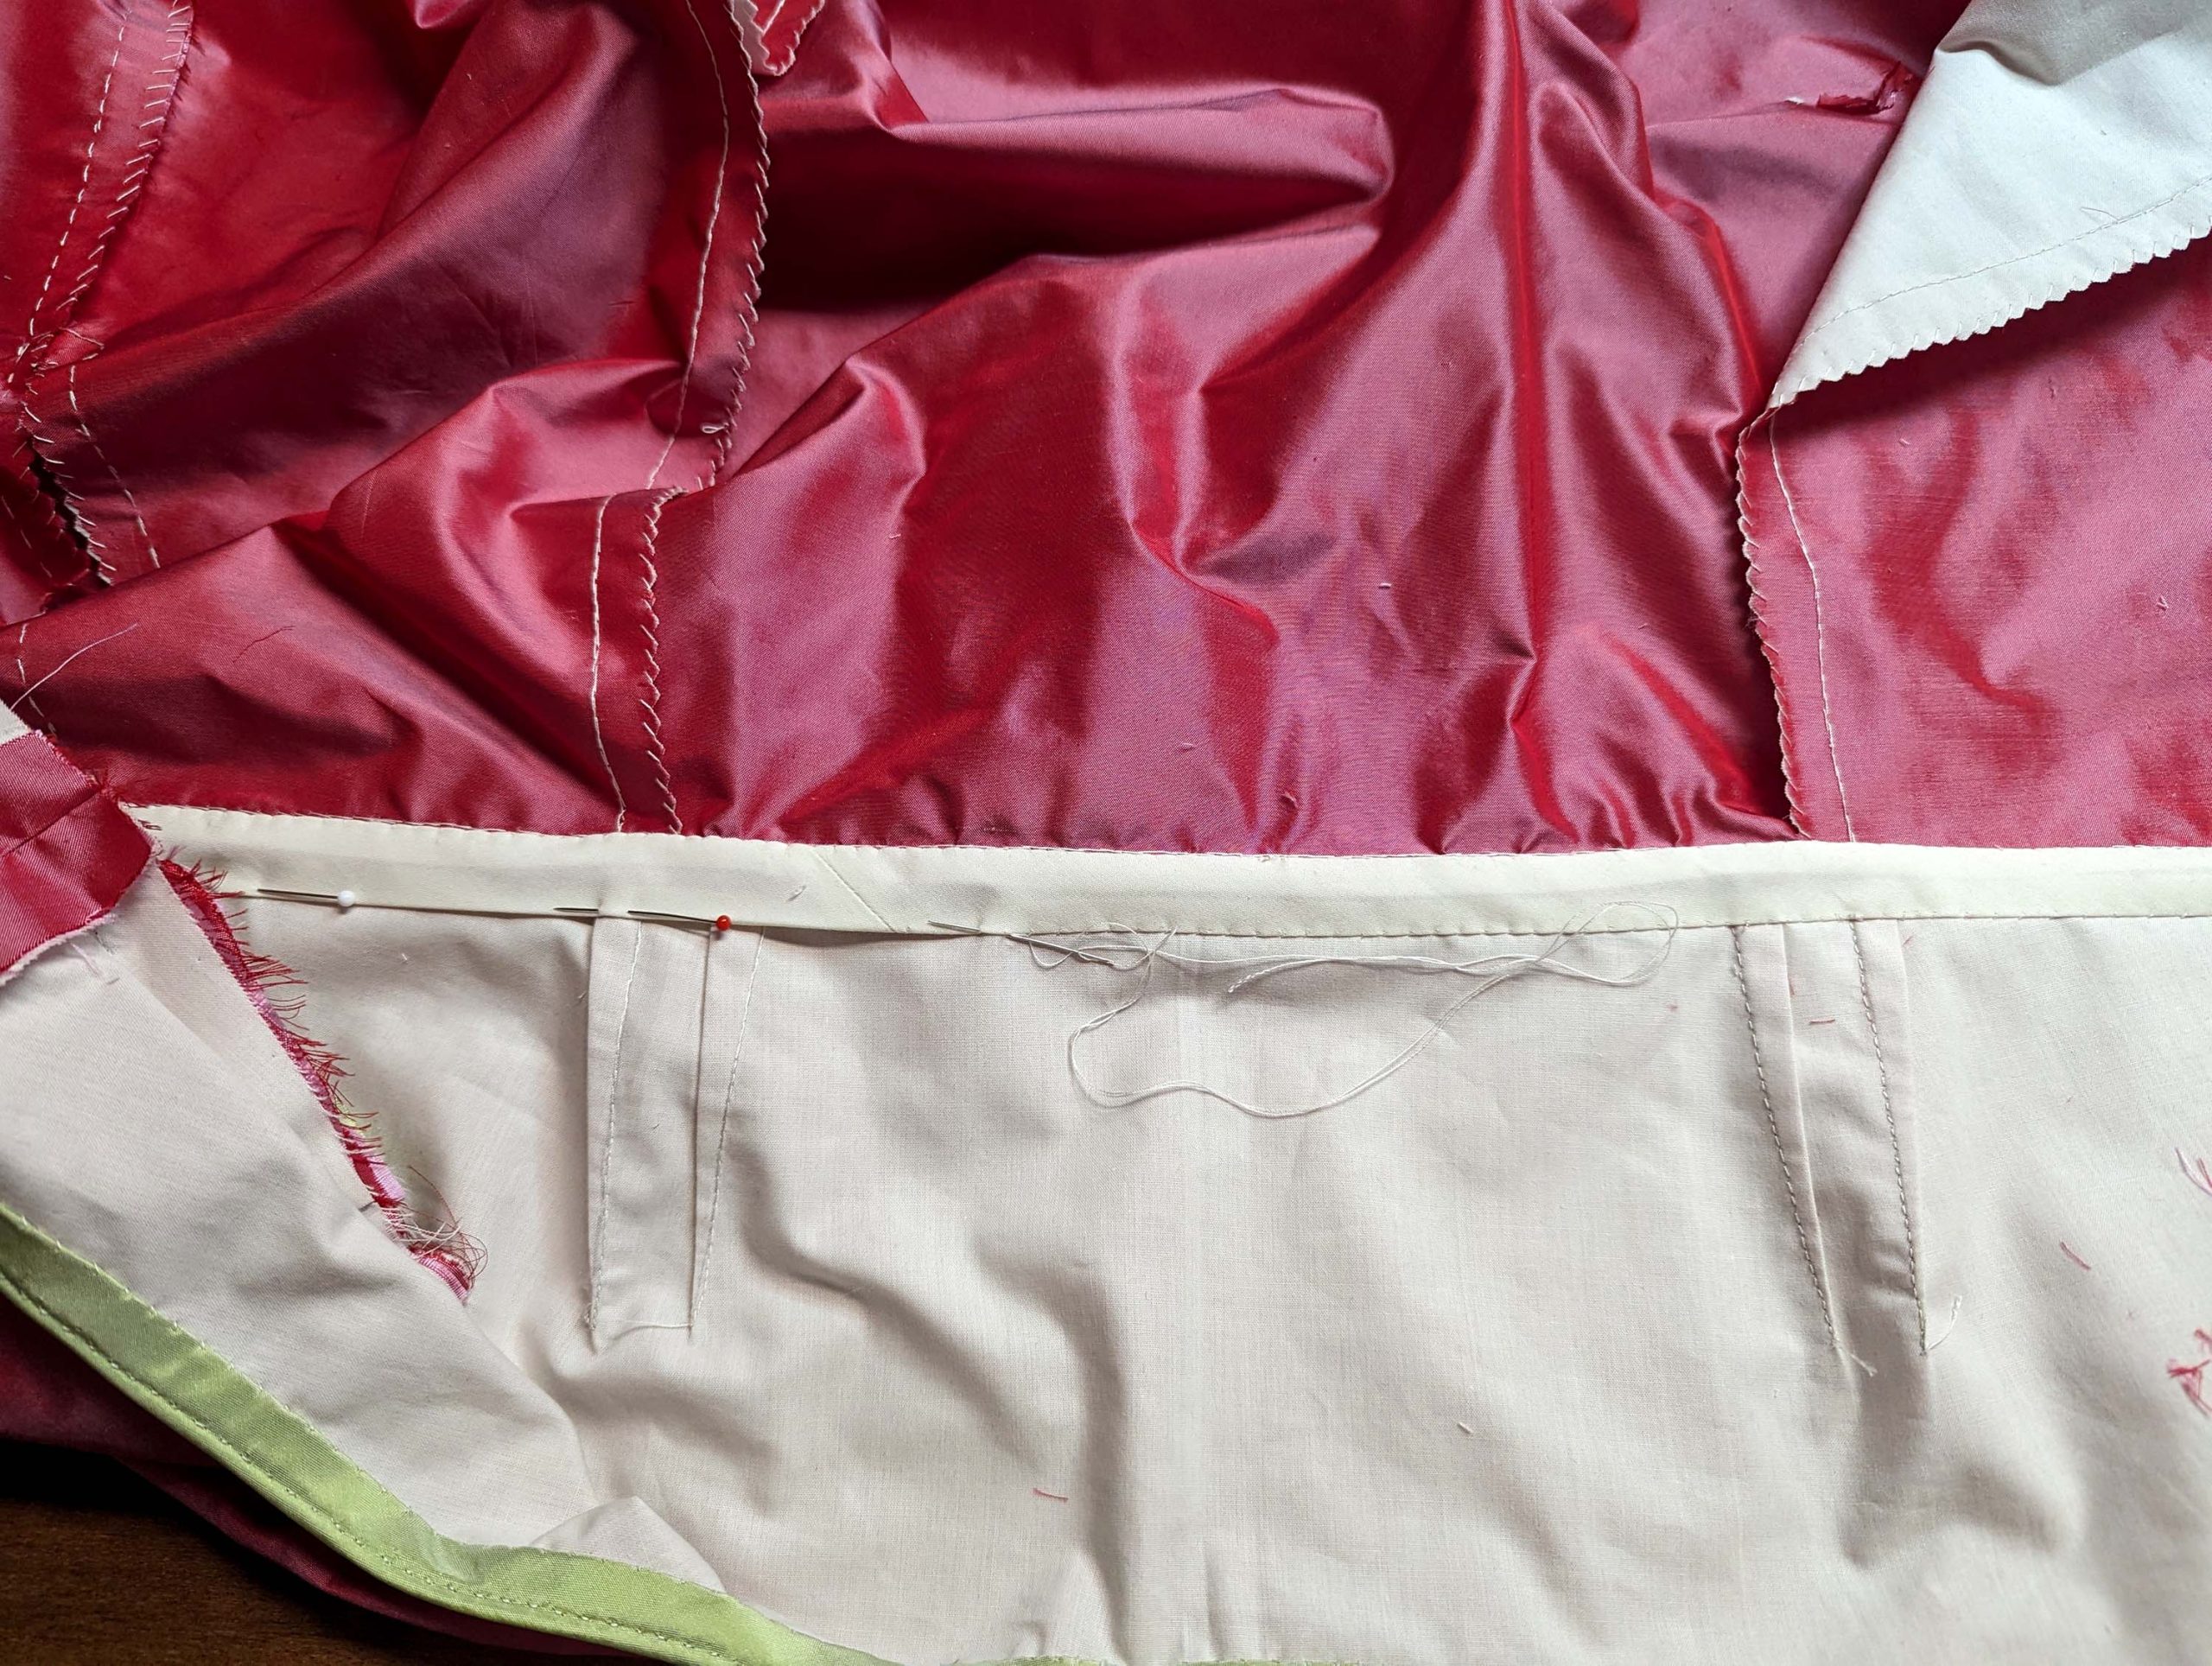
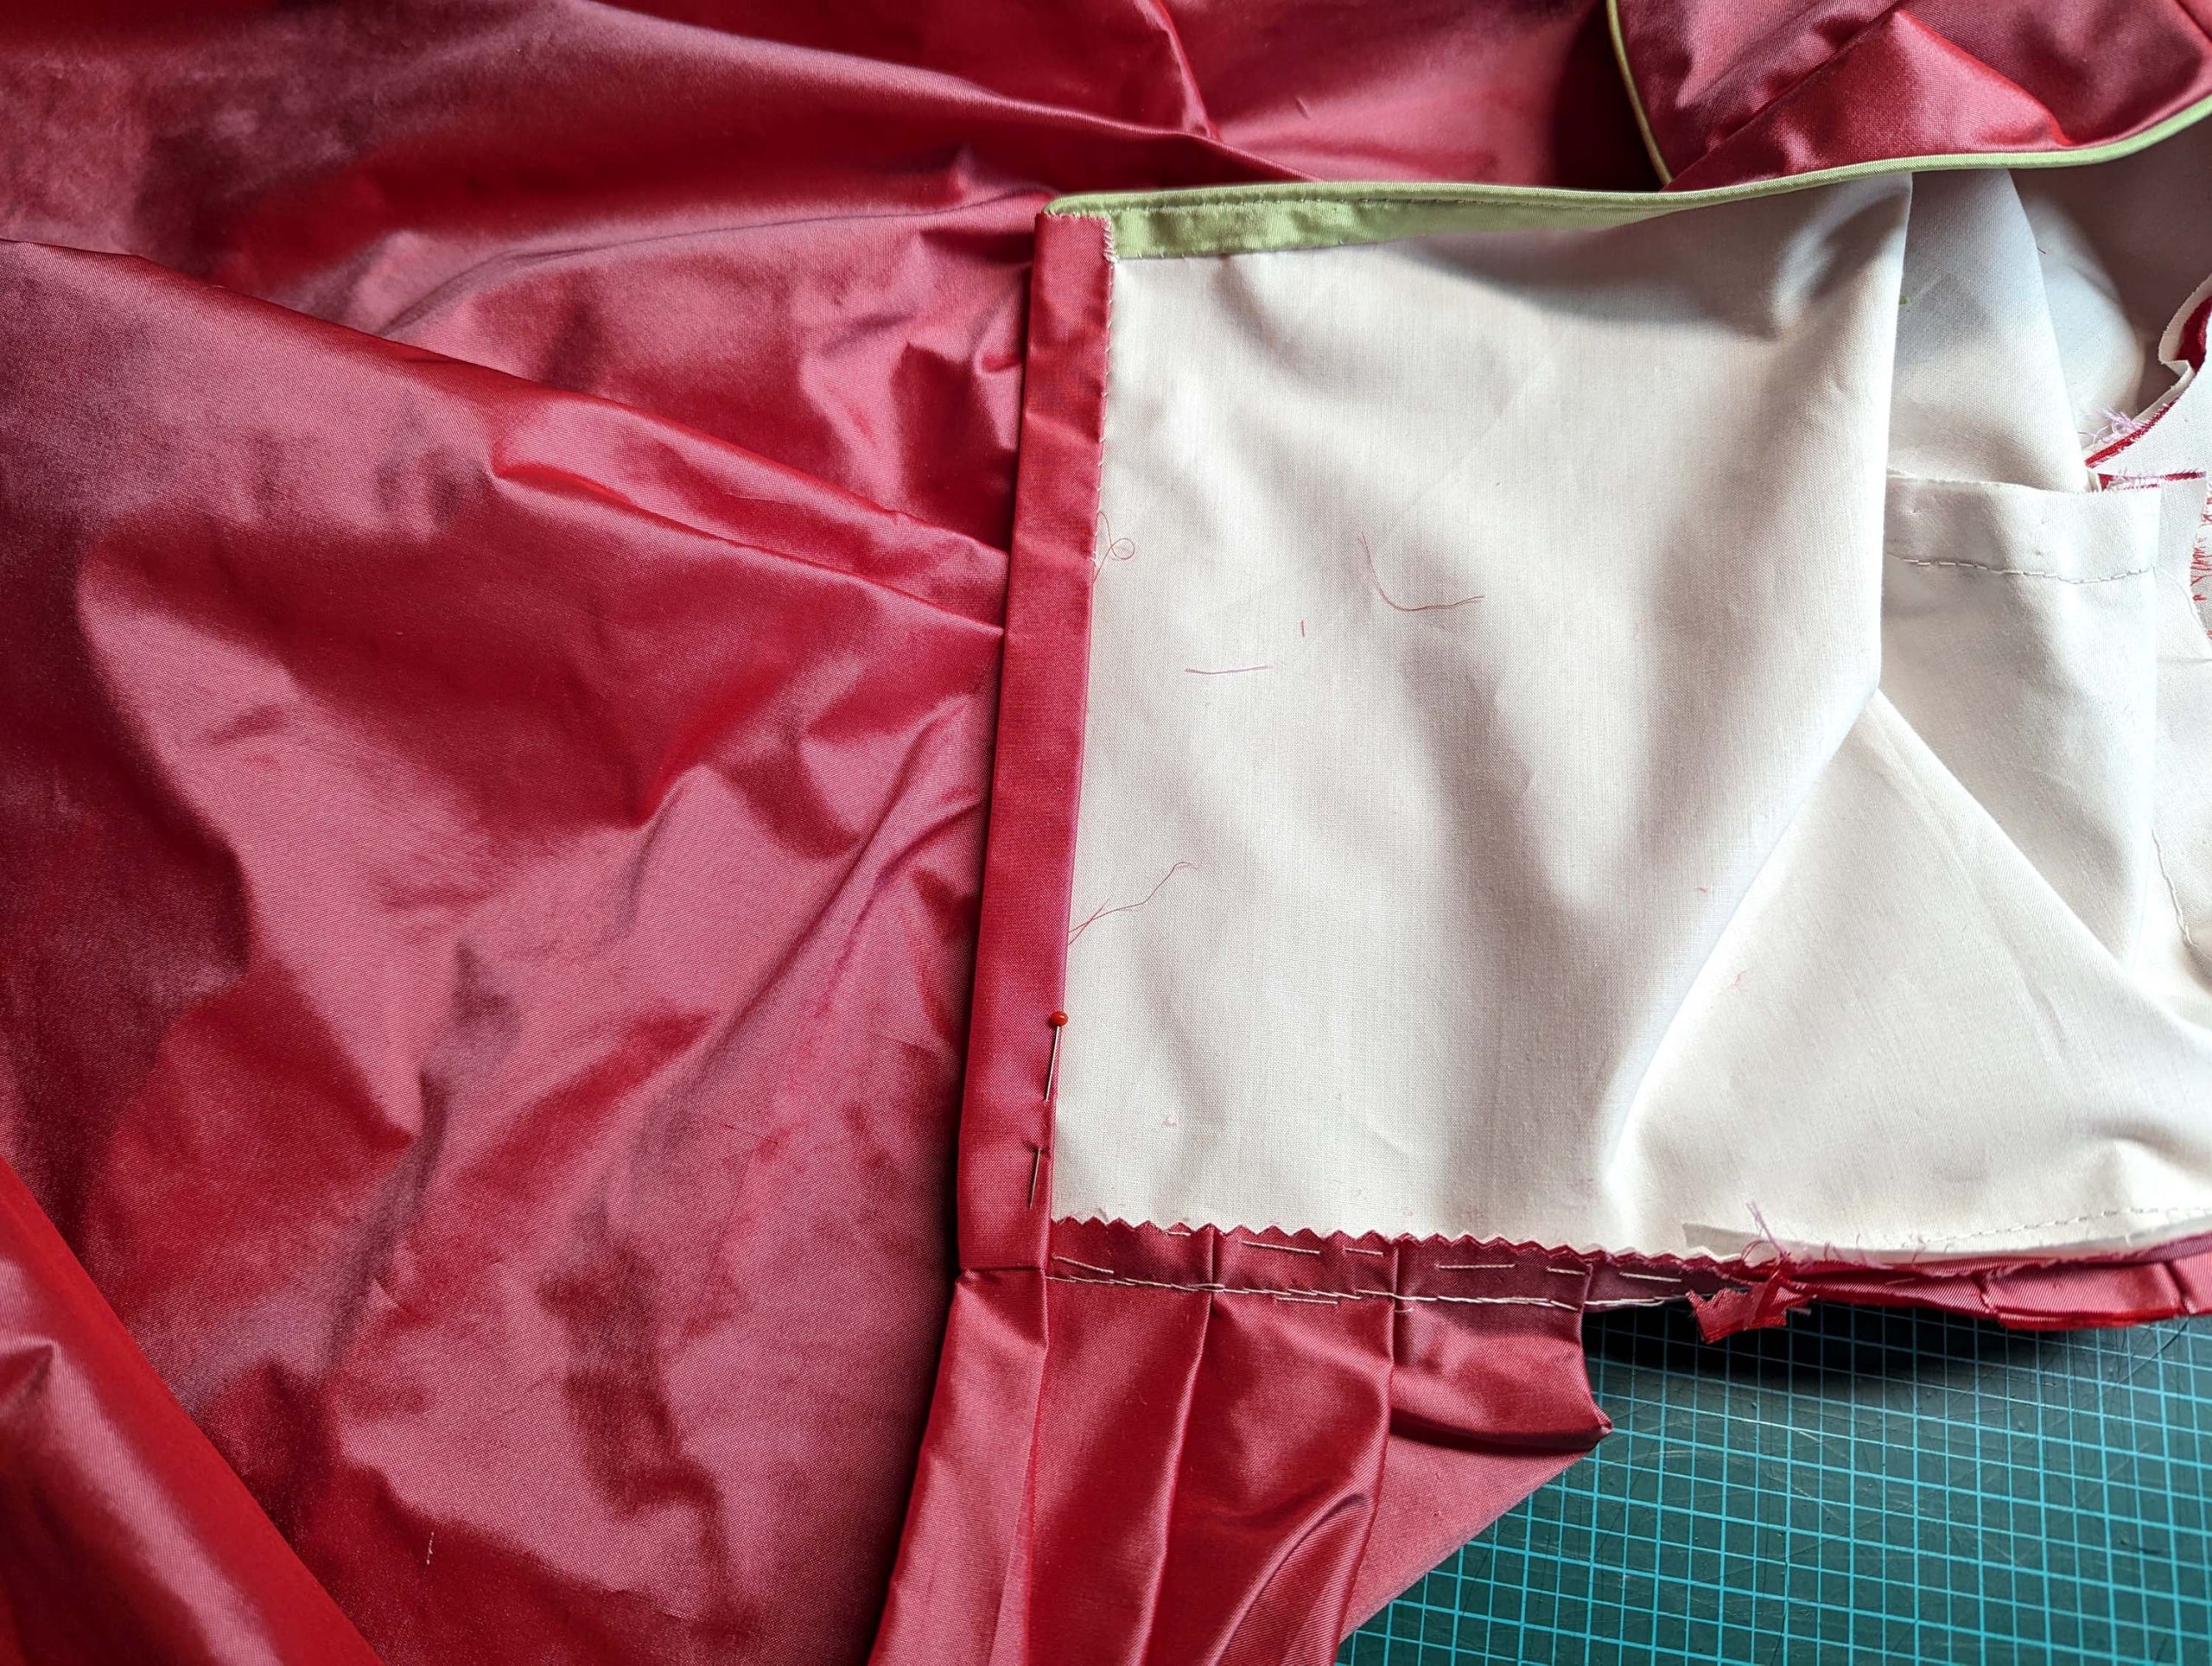
Turn in the seam allowances along both back edges of the bodice again and fell stitch to the lining only. Prick-stitch through all layers 5/8” (1,5cm) parallel to the right back edge.
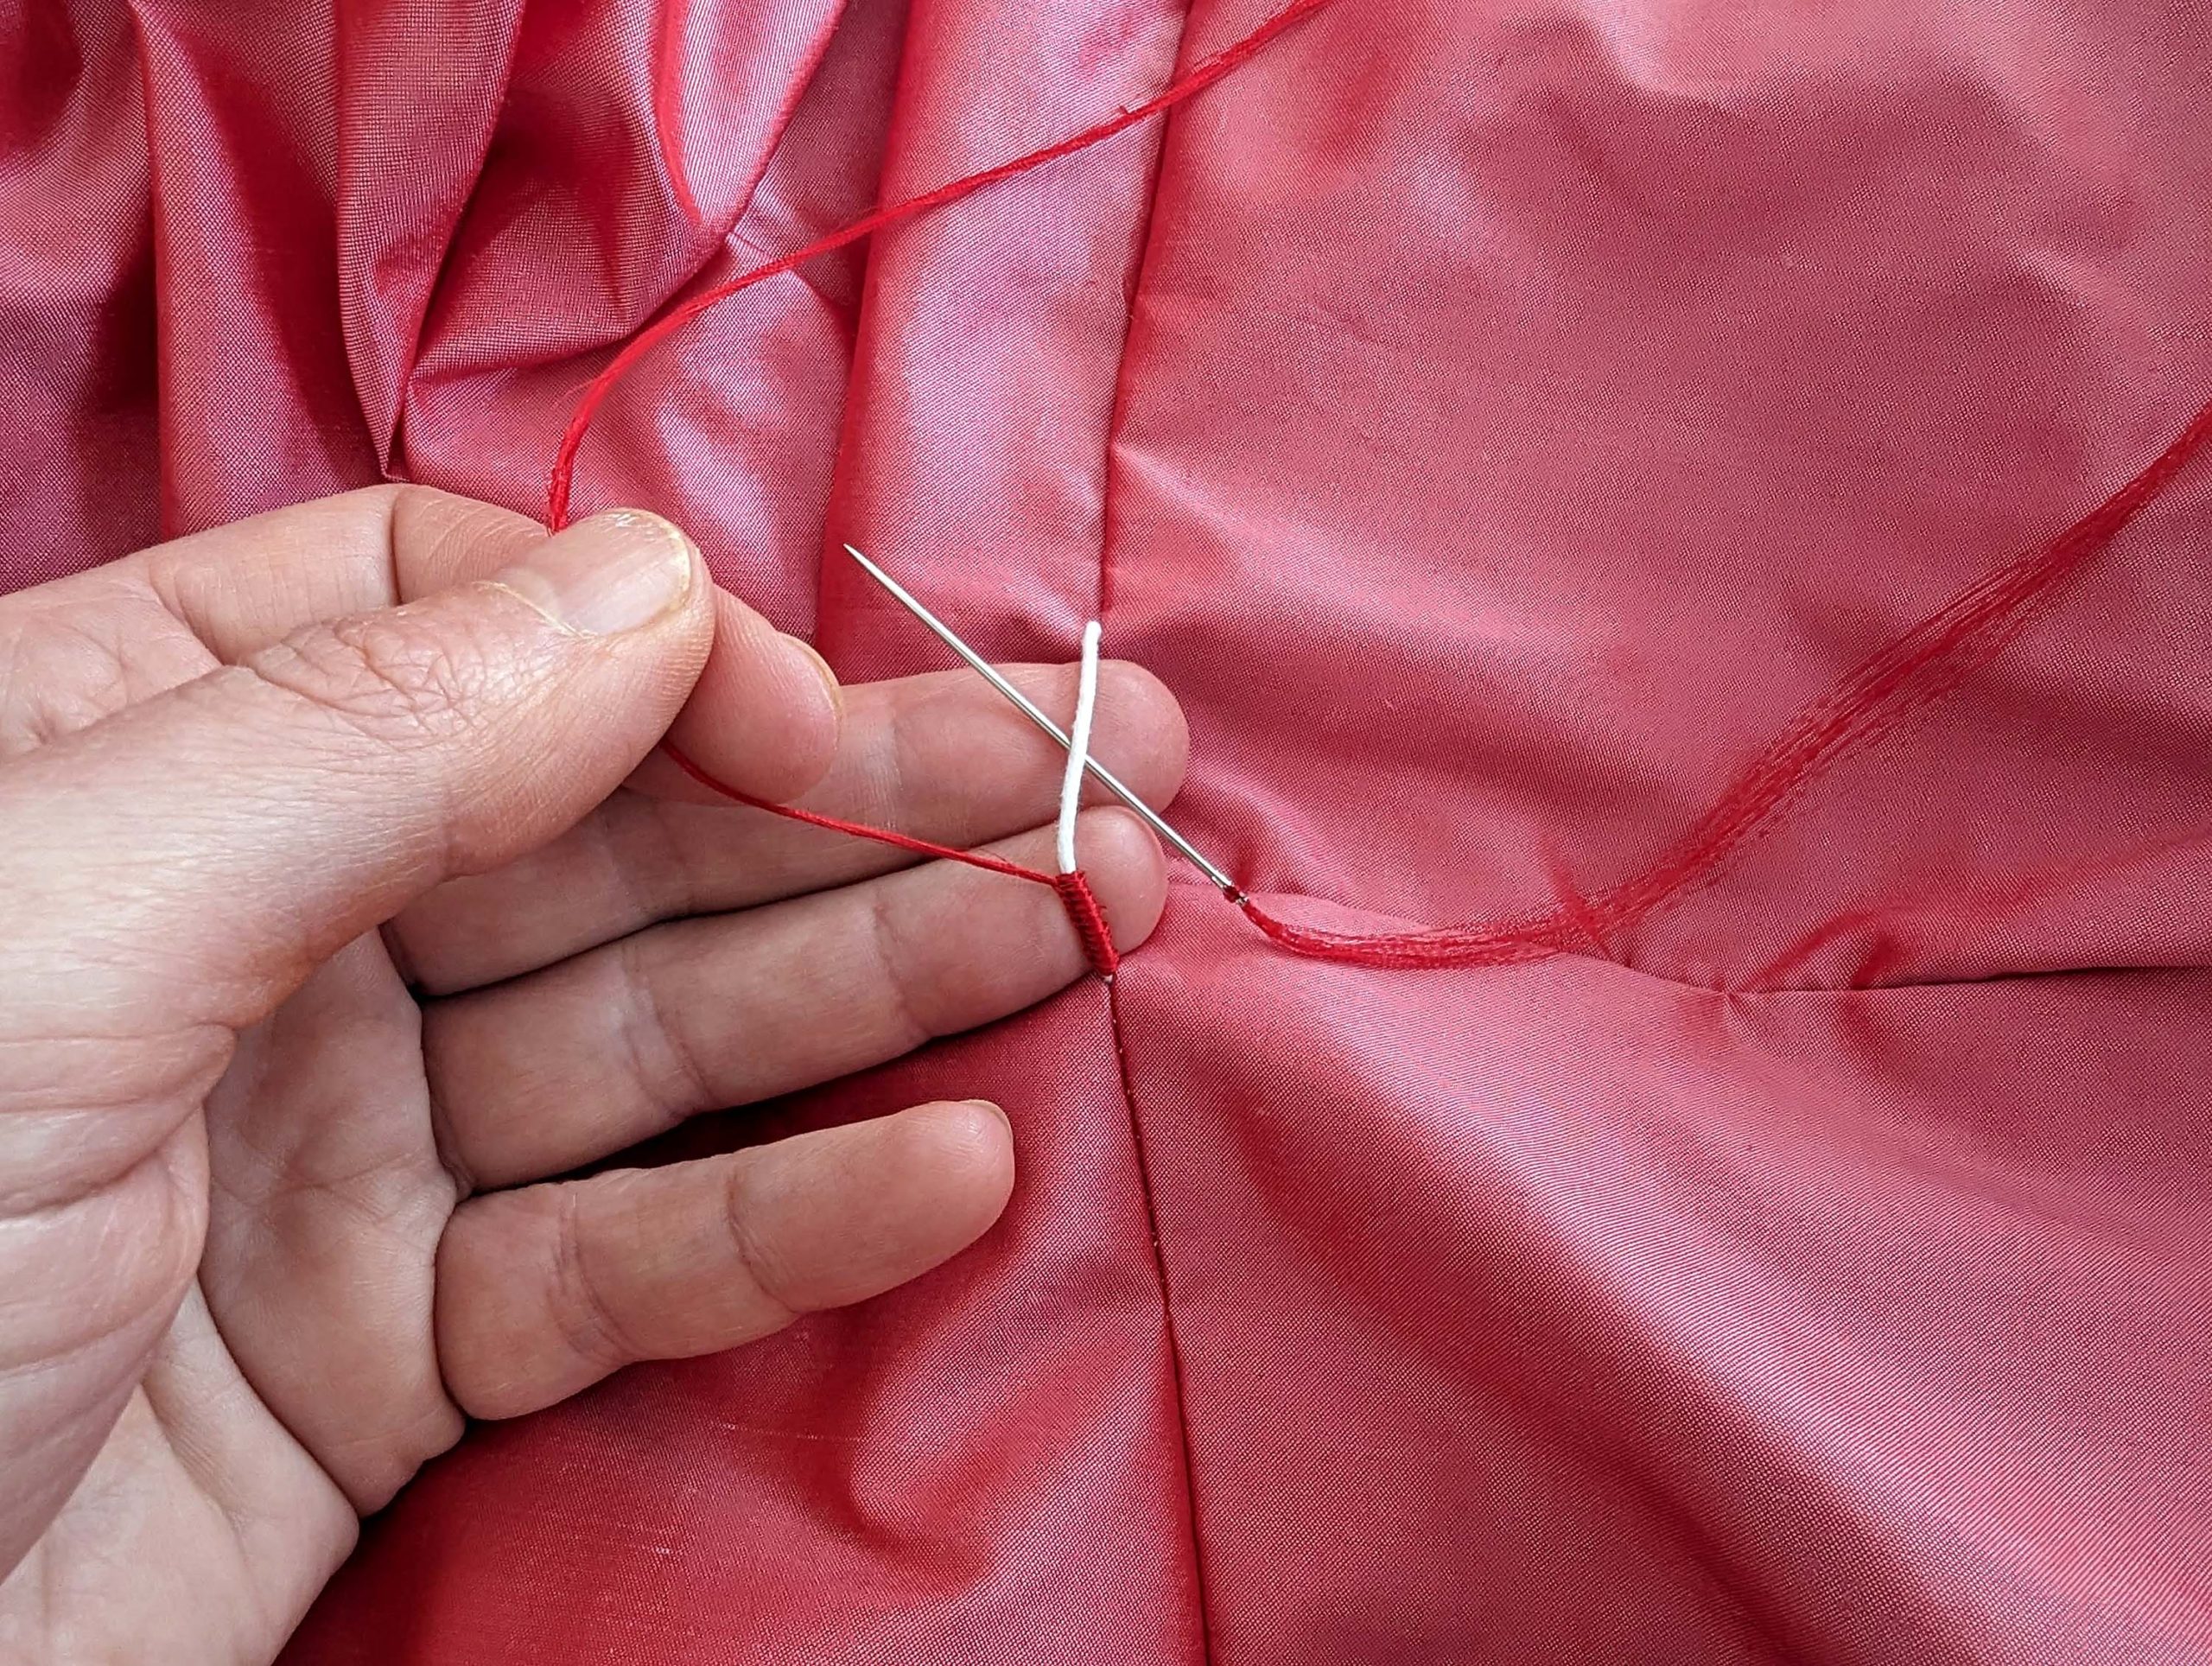
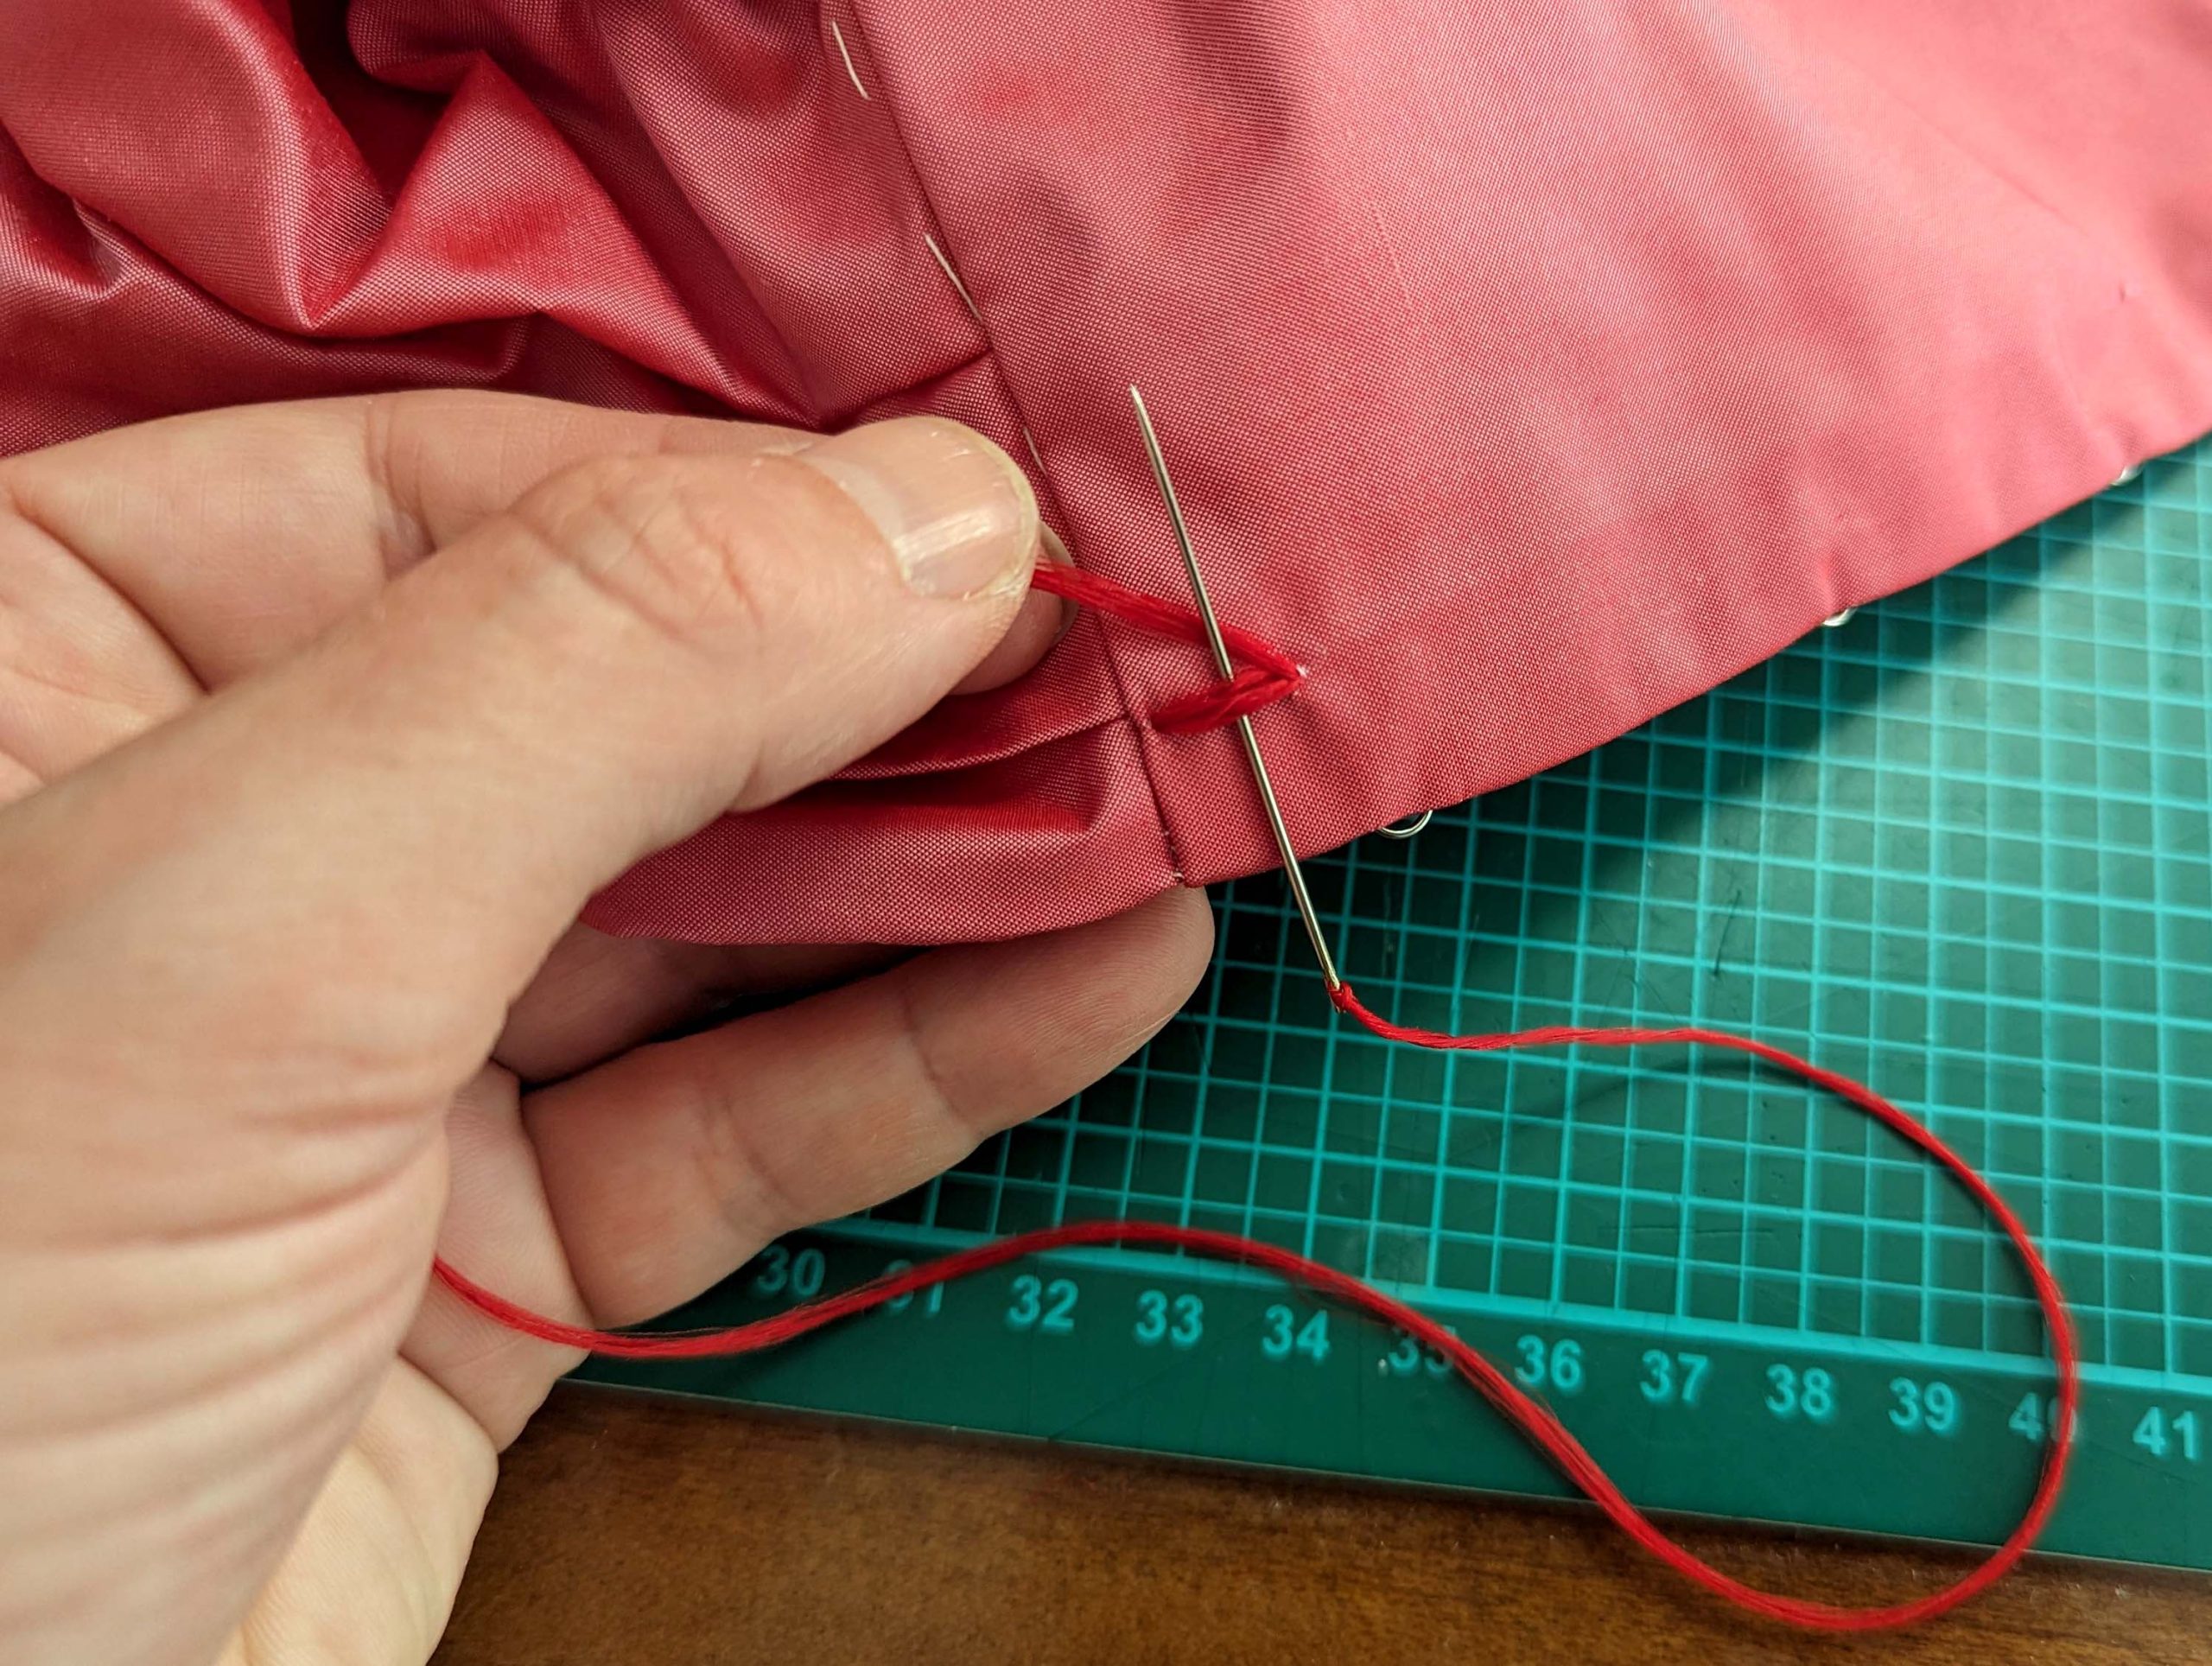
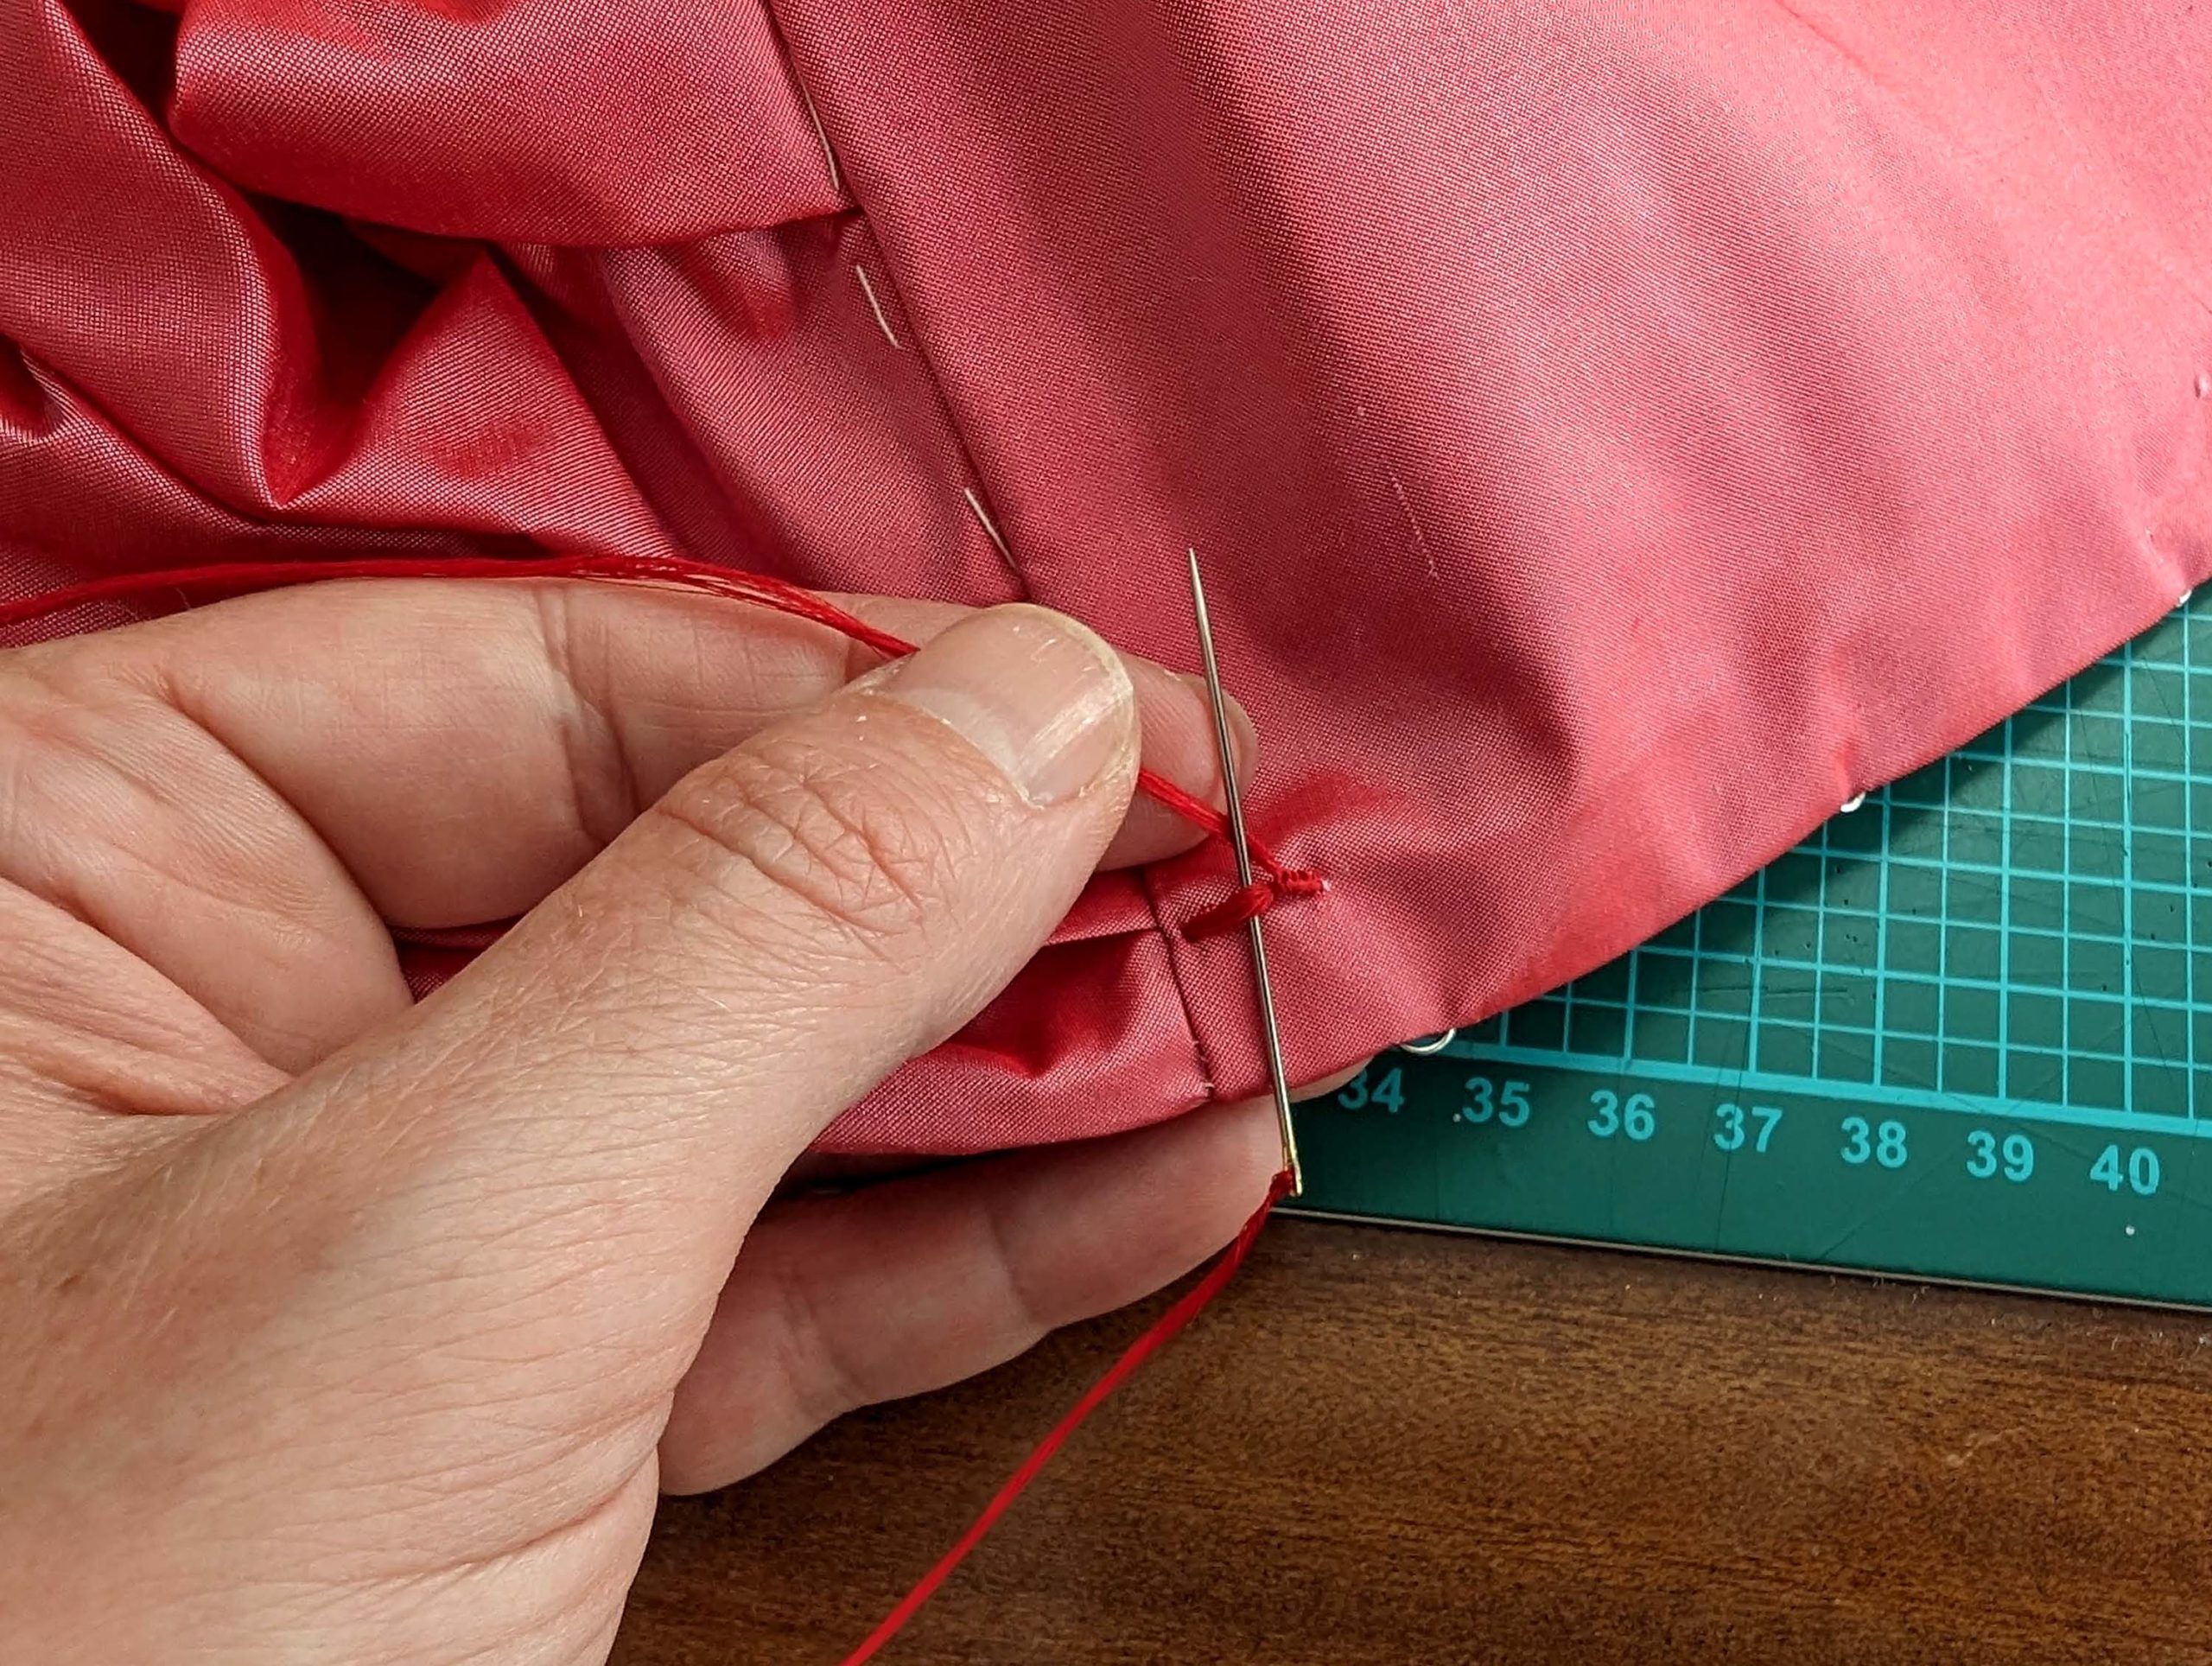
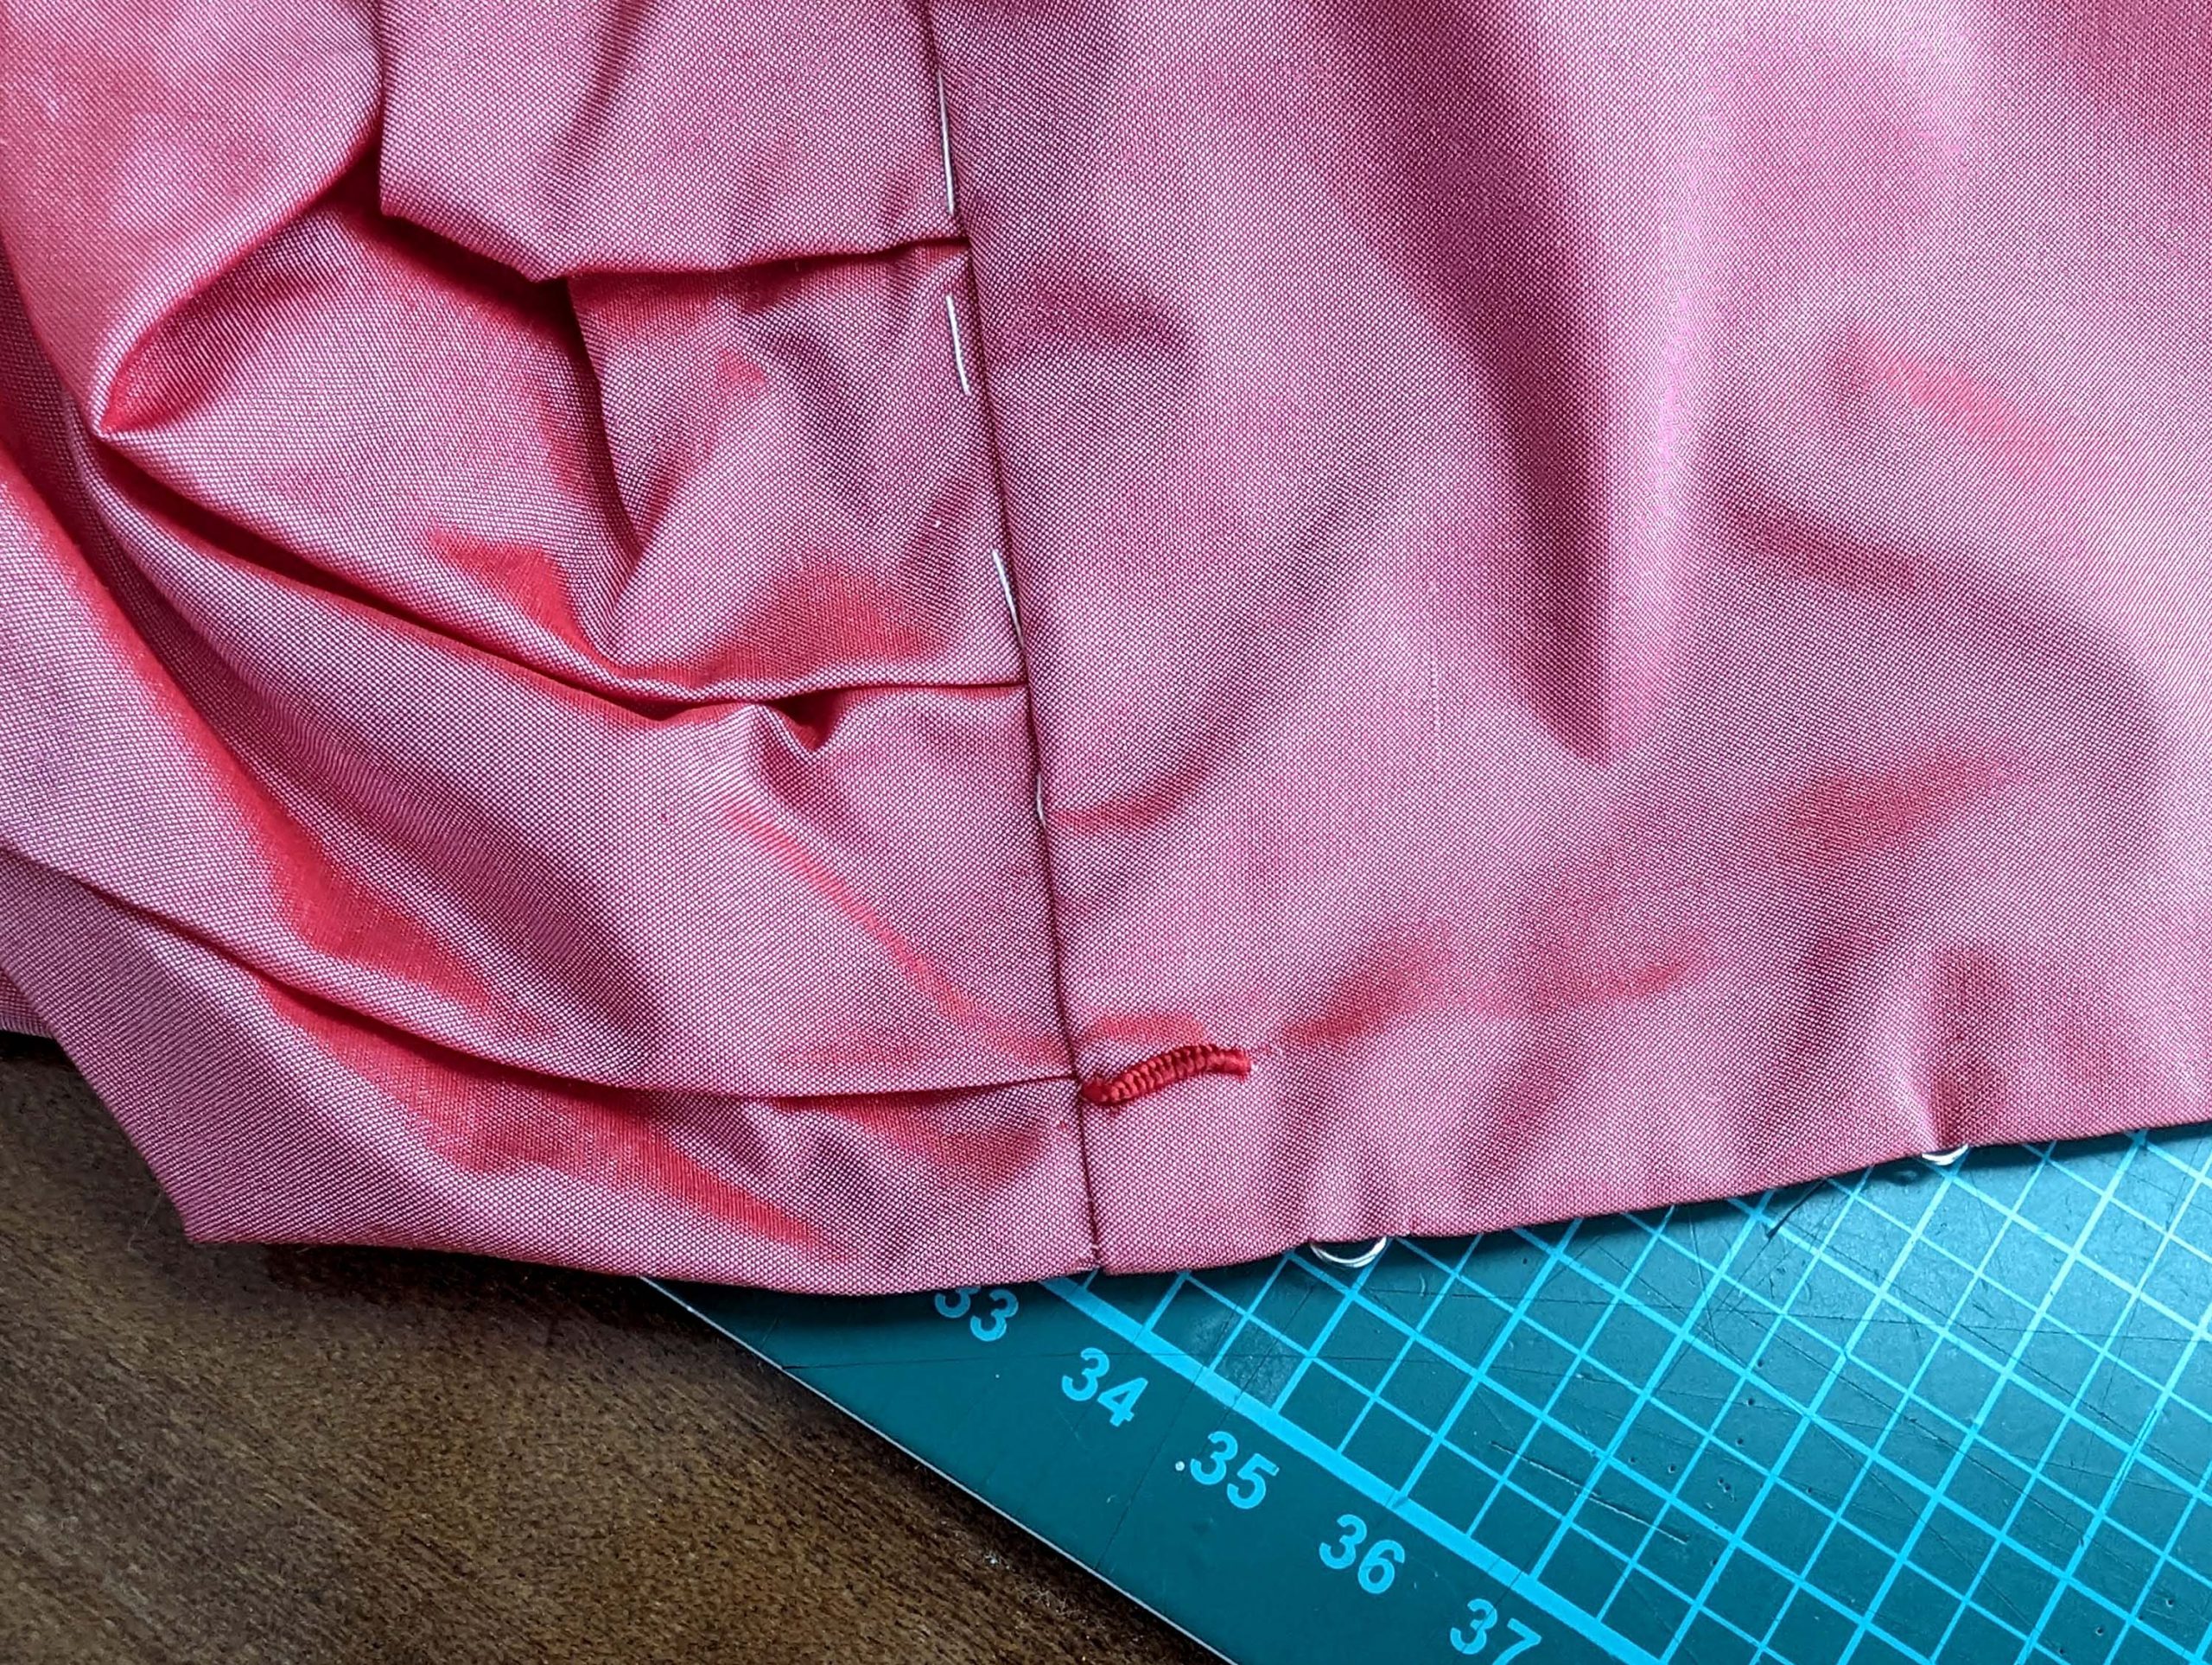
Sew on hooks and eyes as shown in the illustration and pictures.

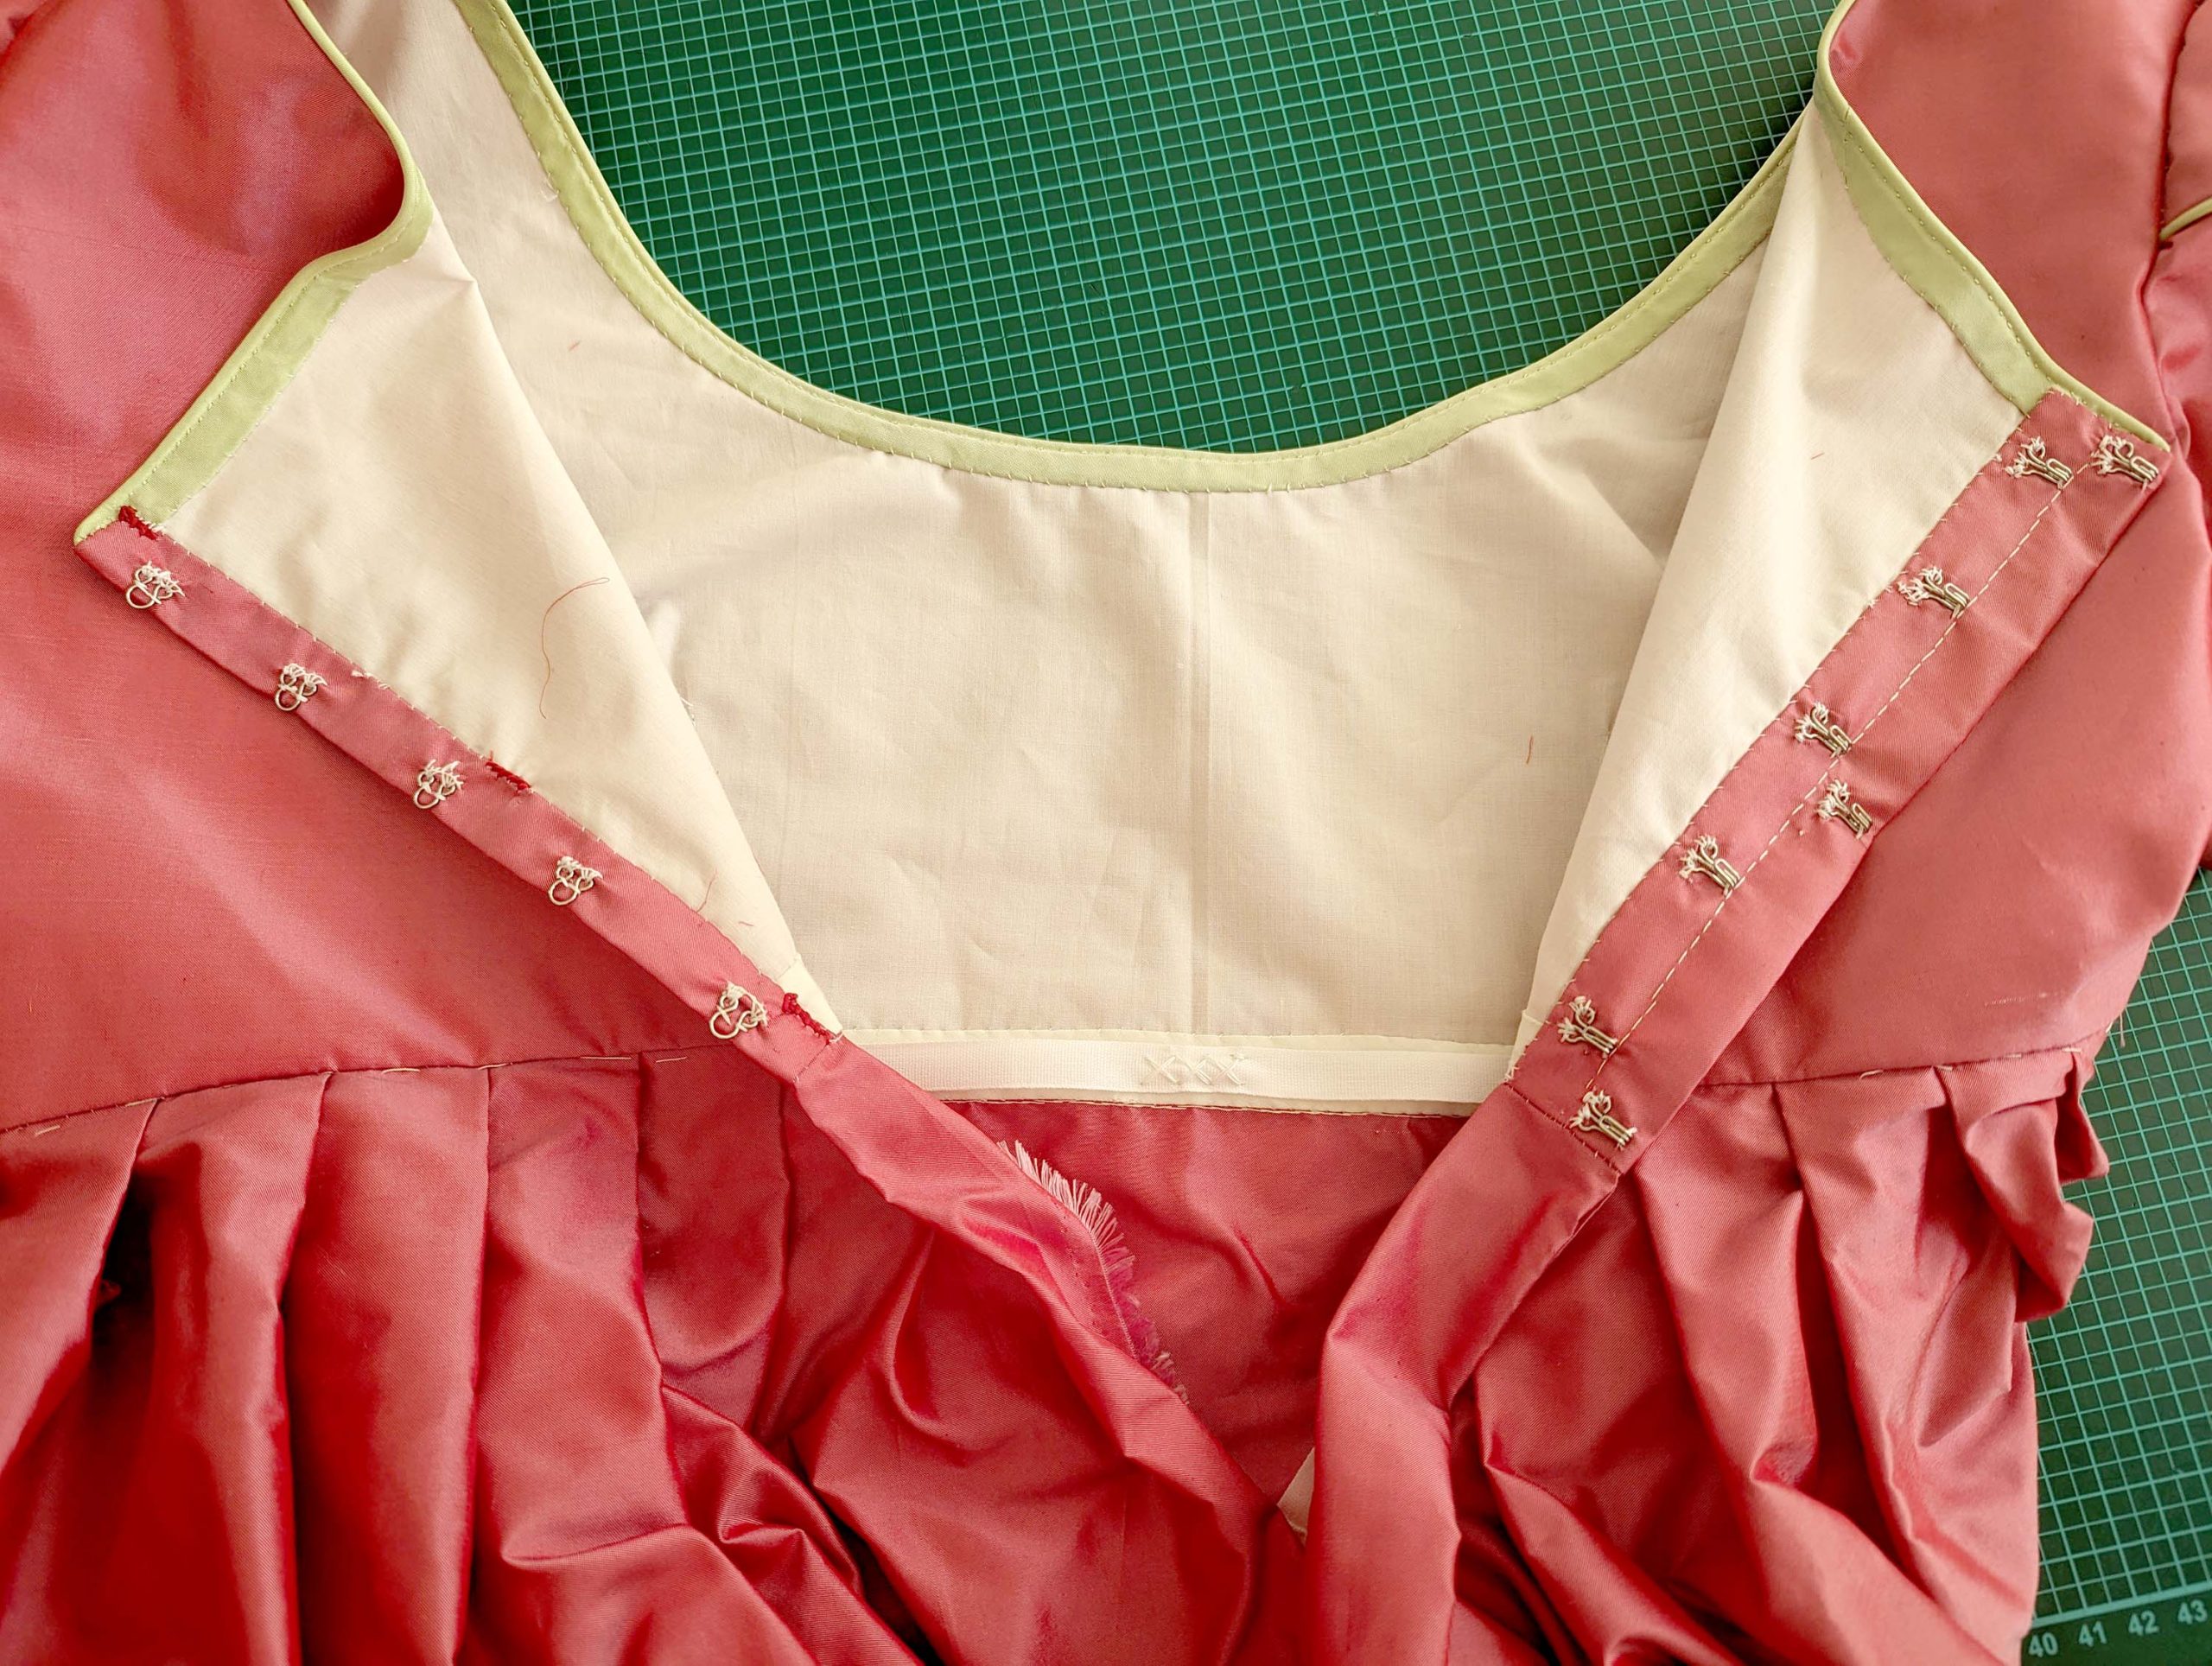
The uppermost, lowermost, and one in the middle will be closed with a thread bar instead of an eye.
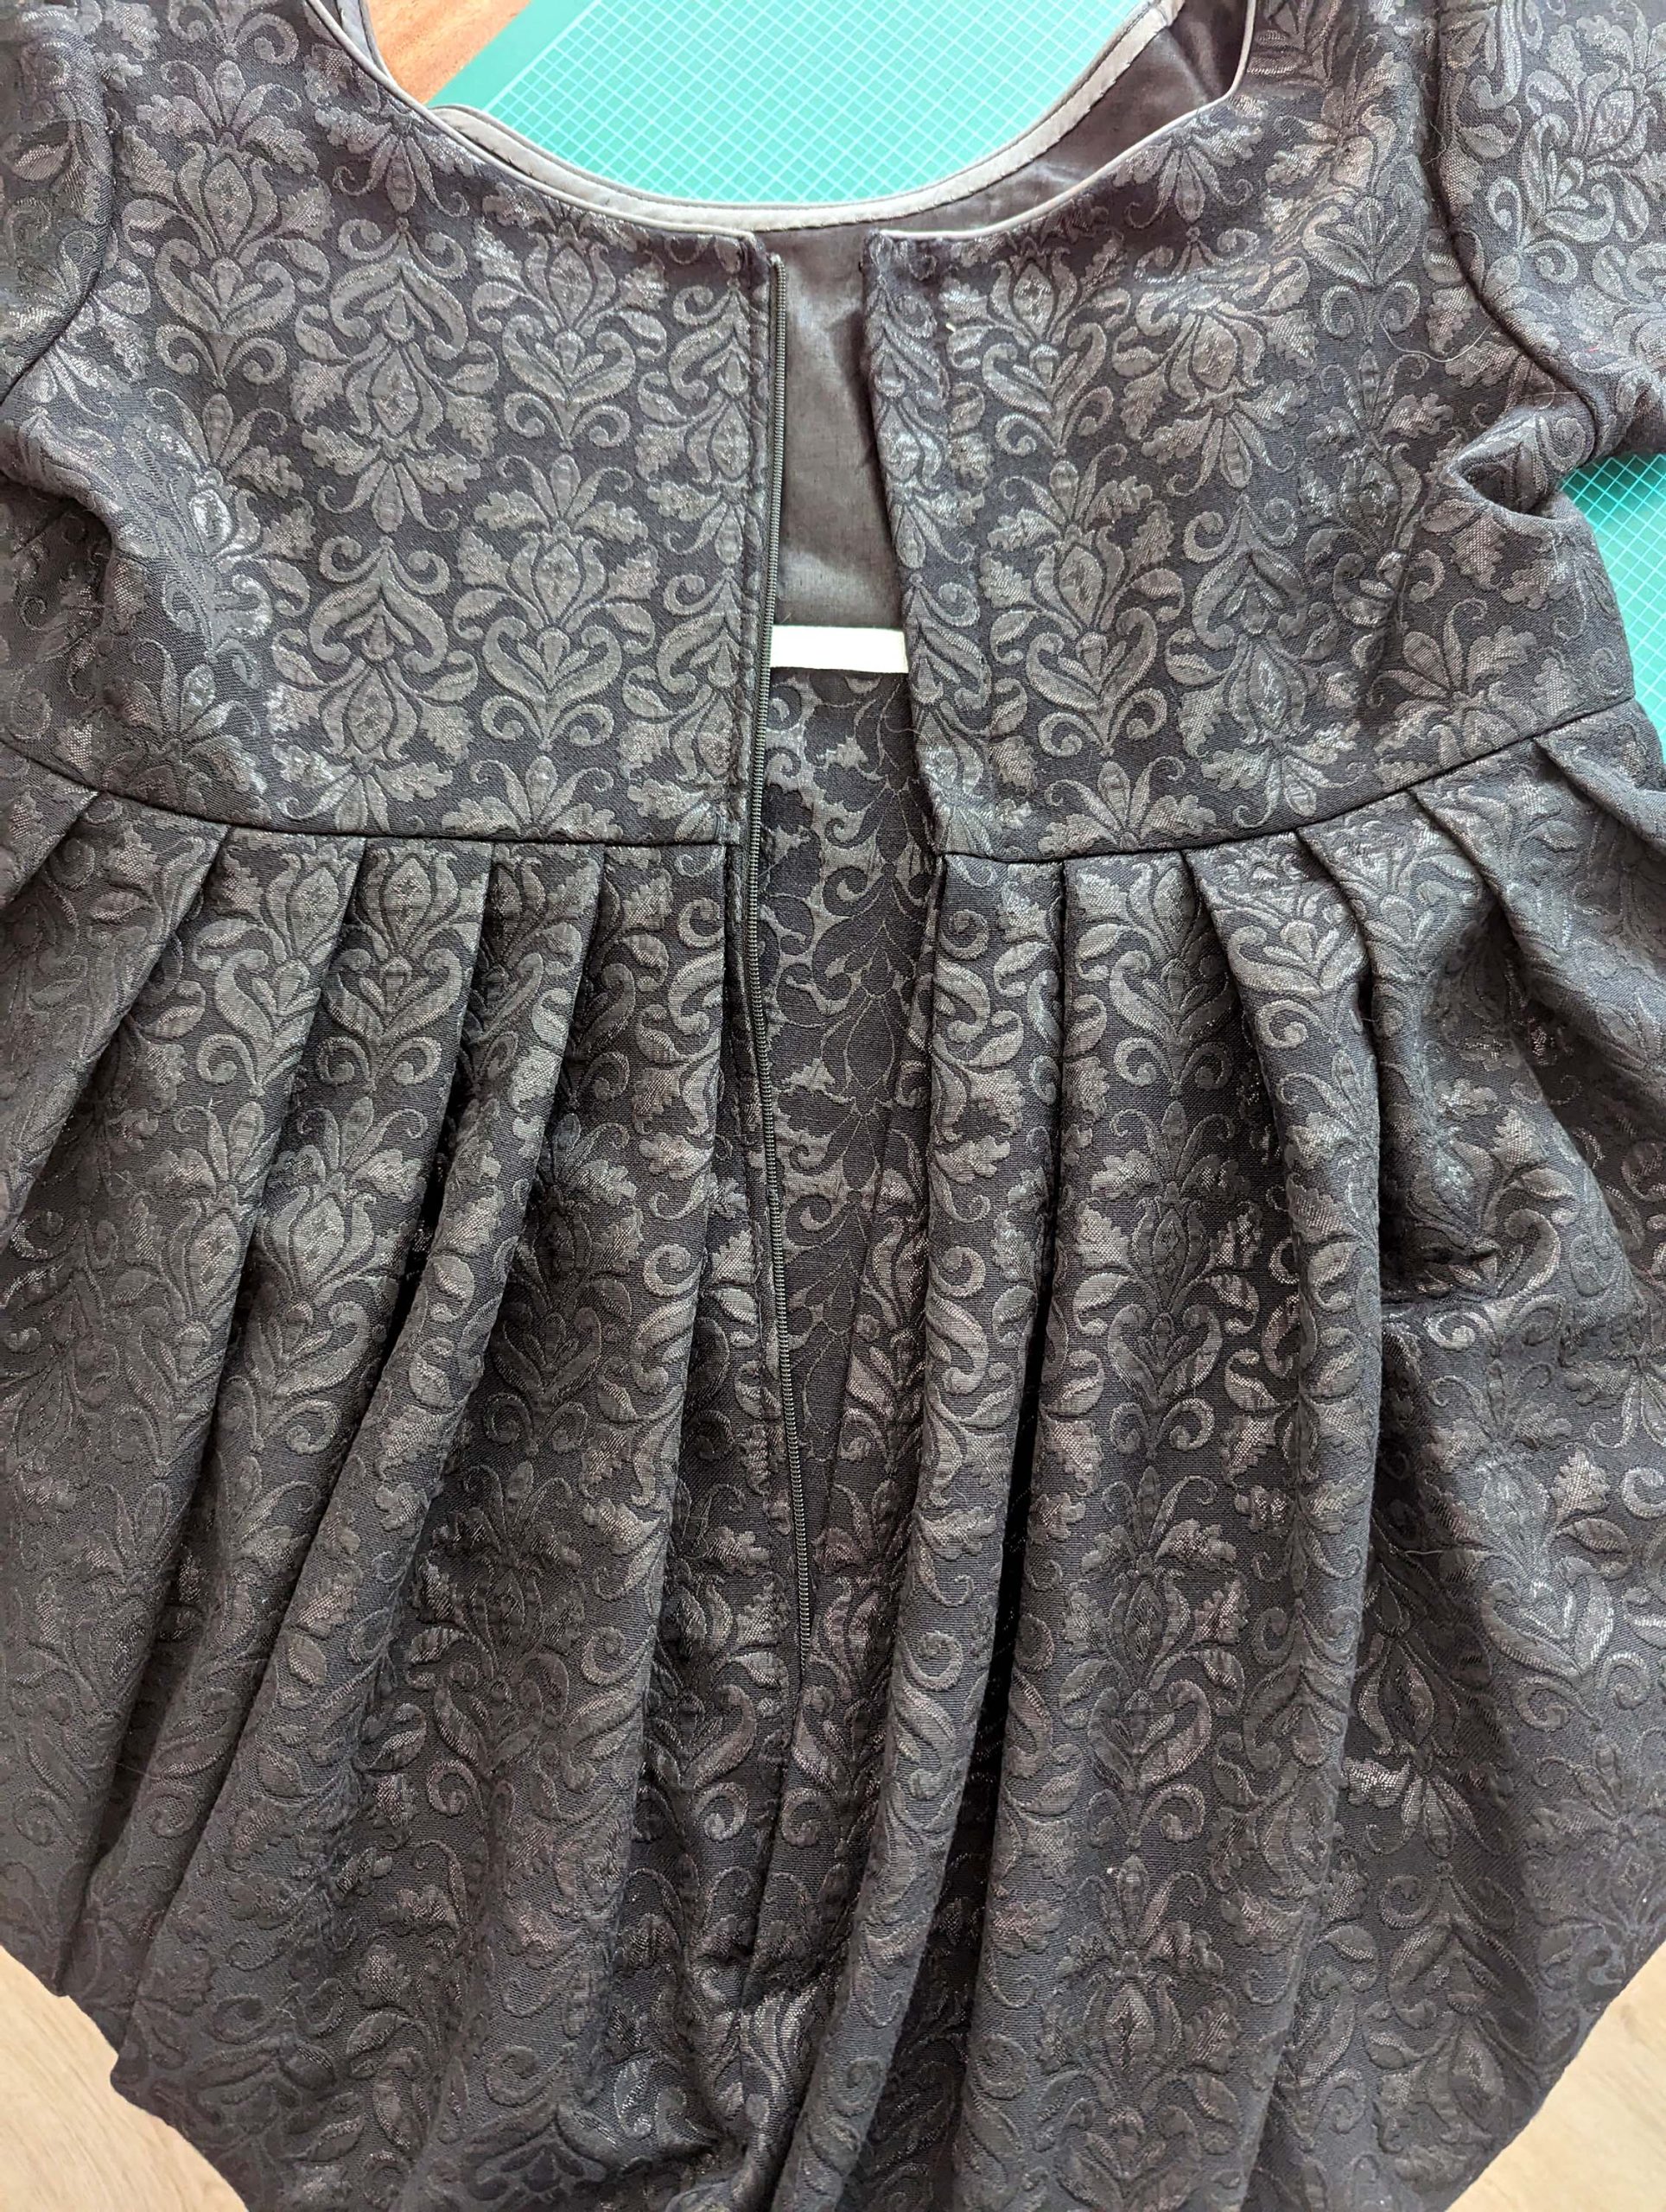
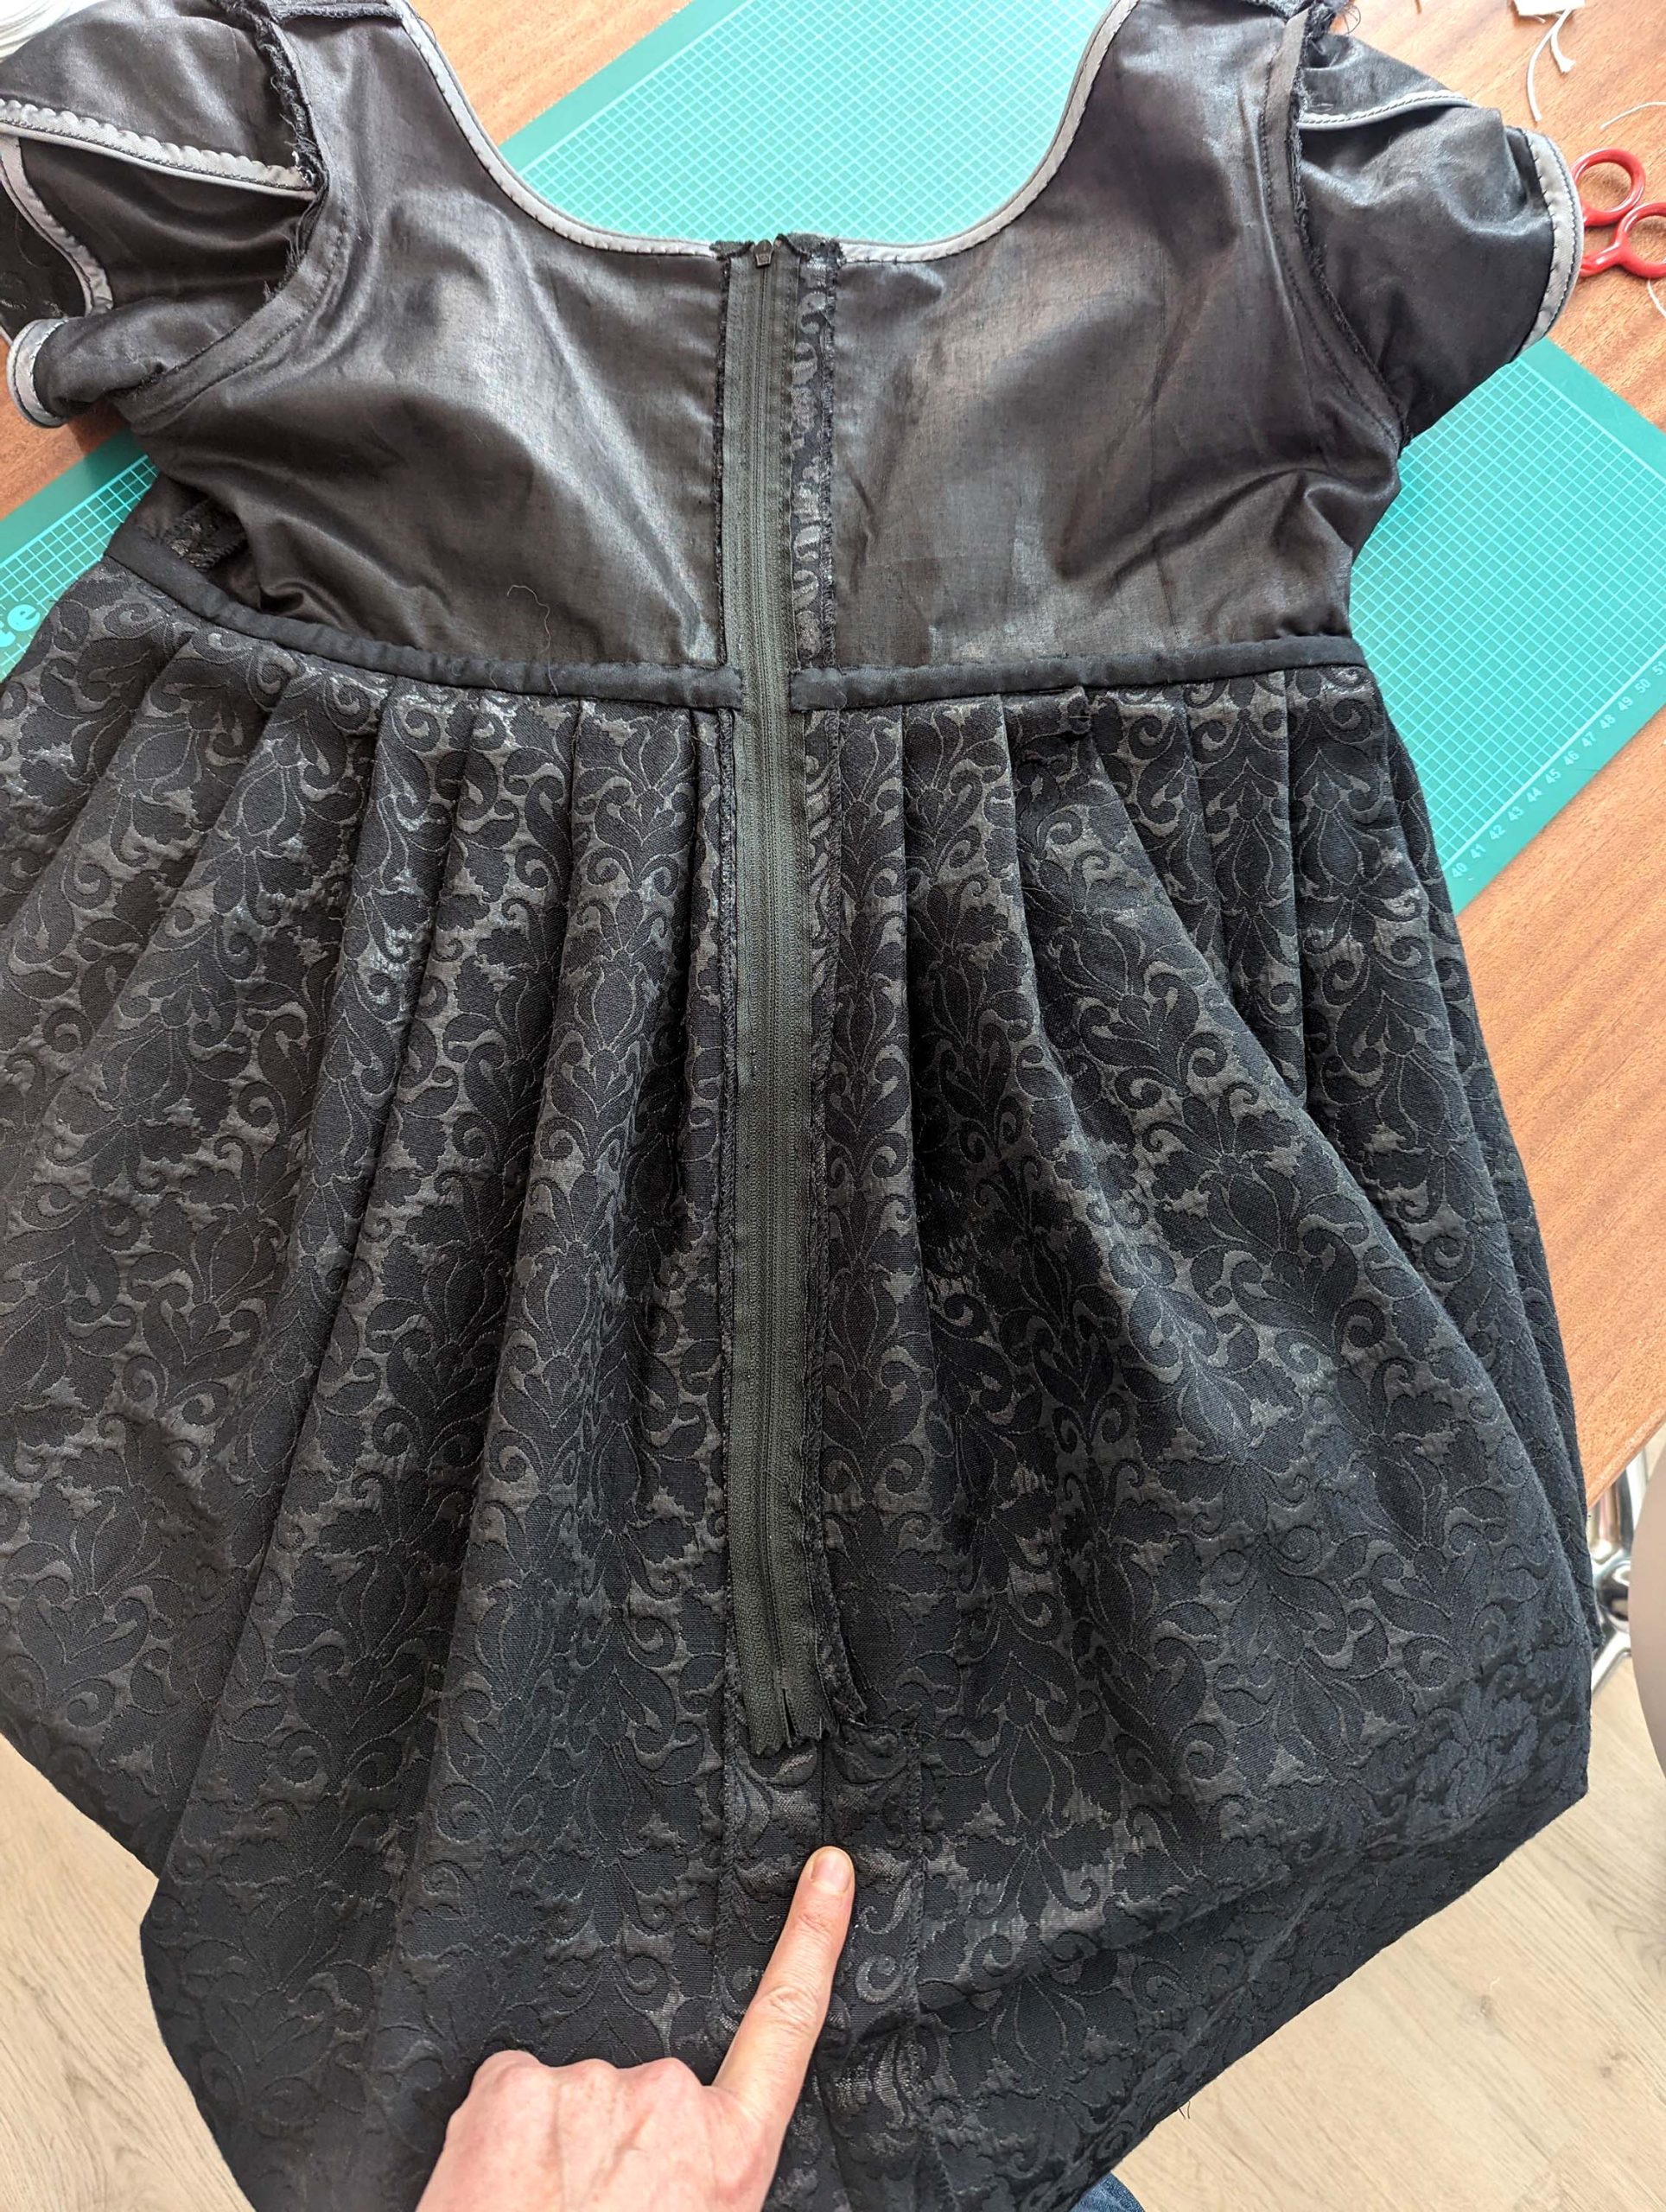
For a non-historical version, you can use a zipper instead of hooks and eyes, this zipper can´t be sewn by machine, it has to be inserted by hand.
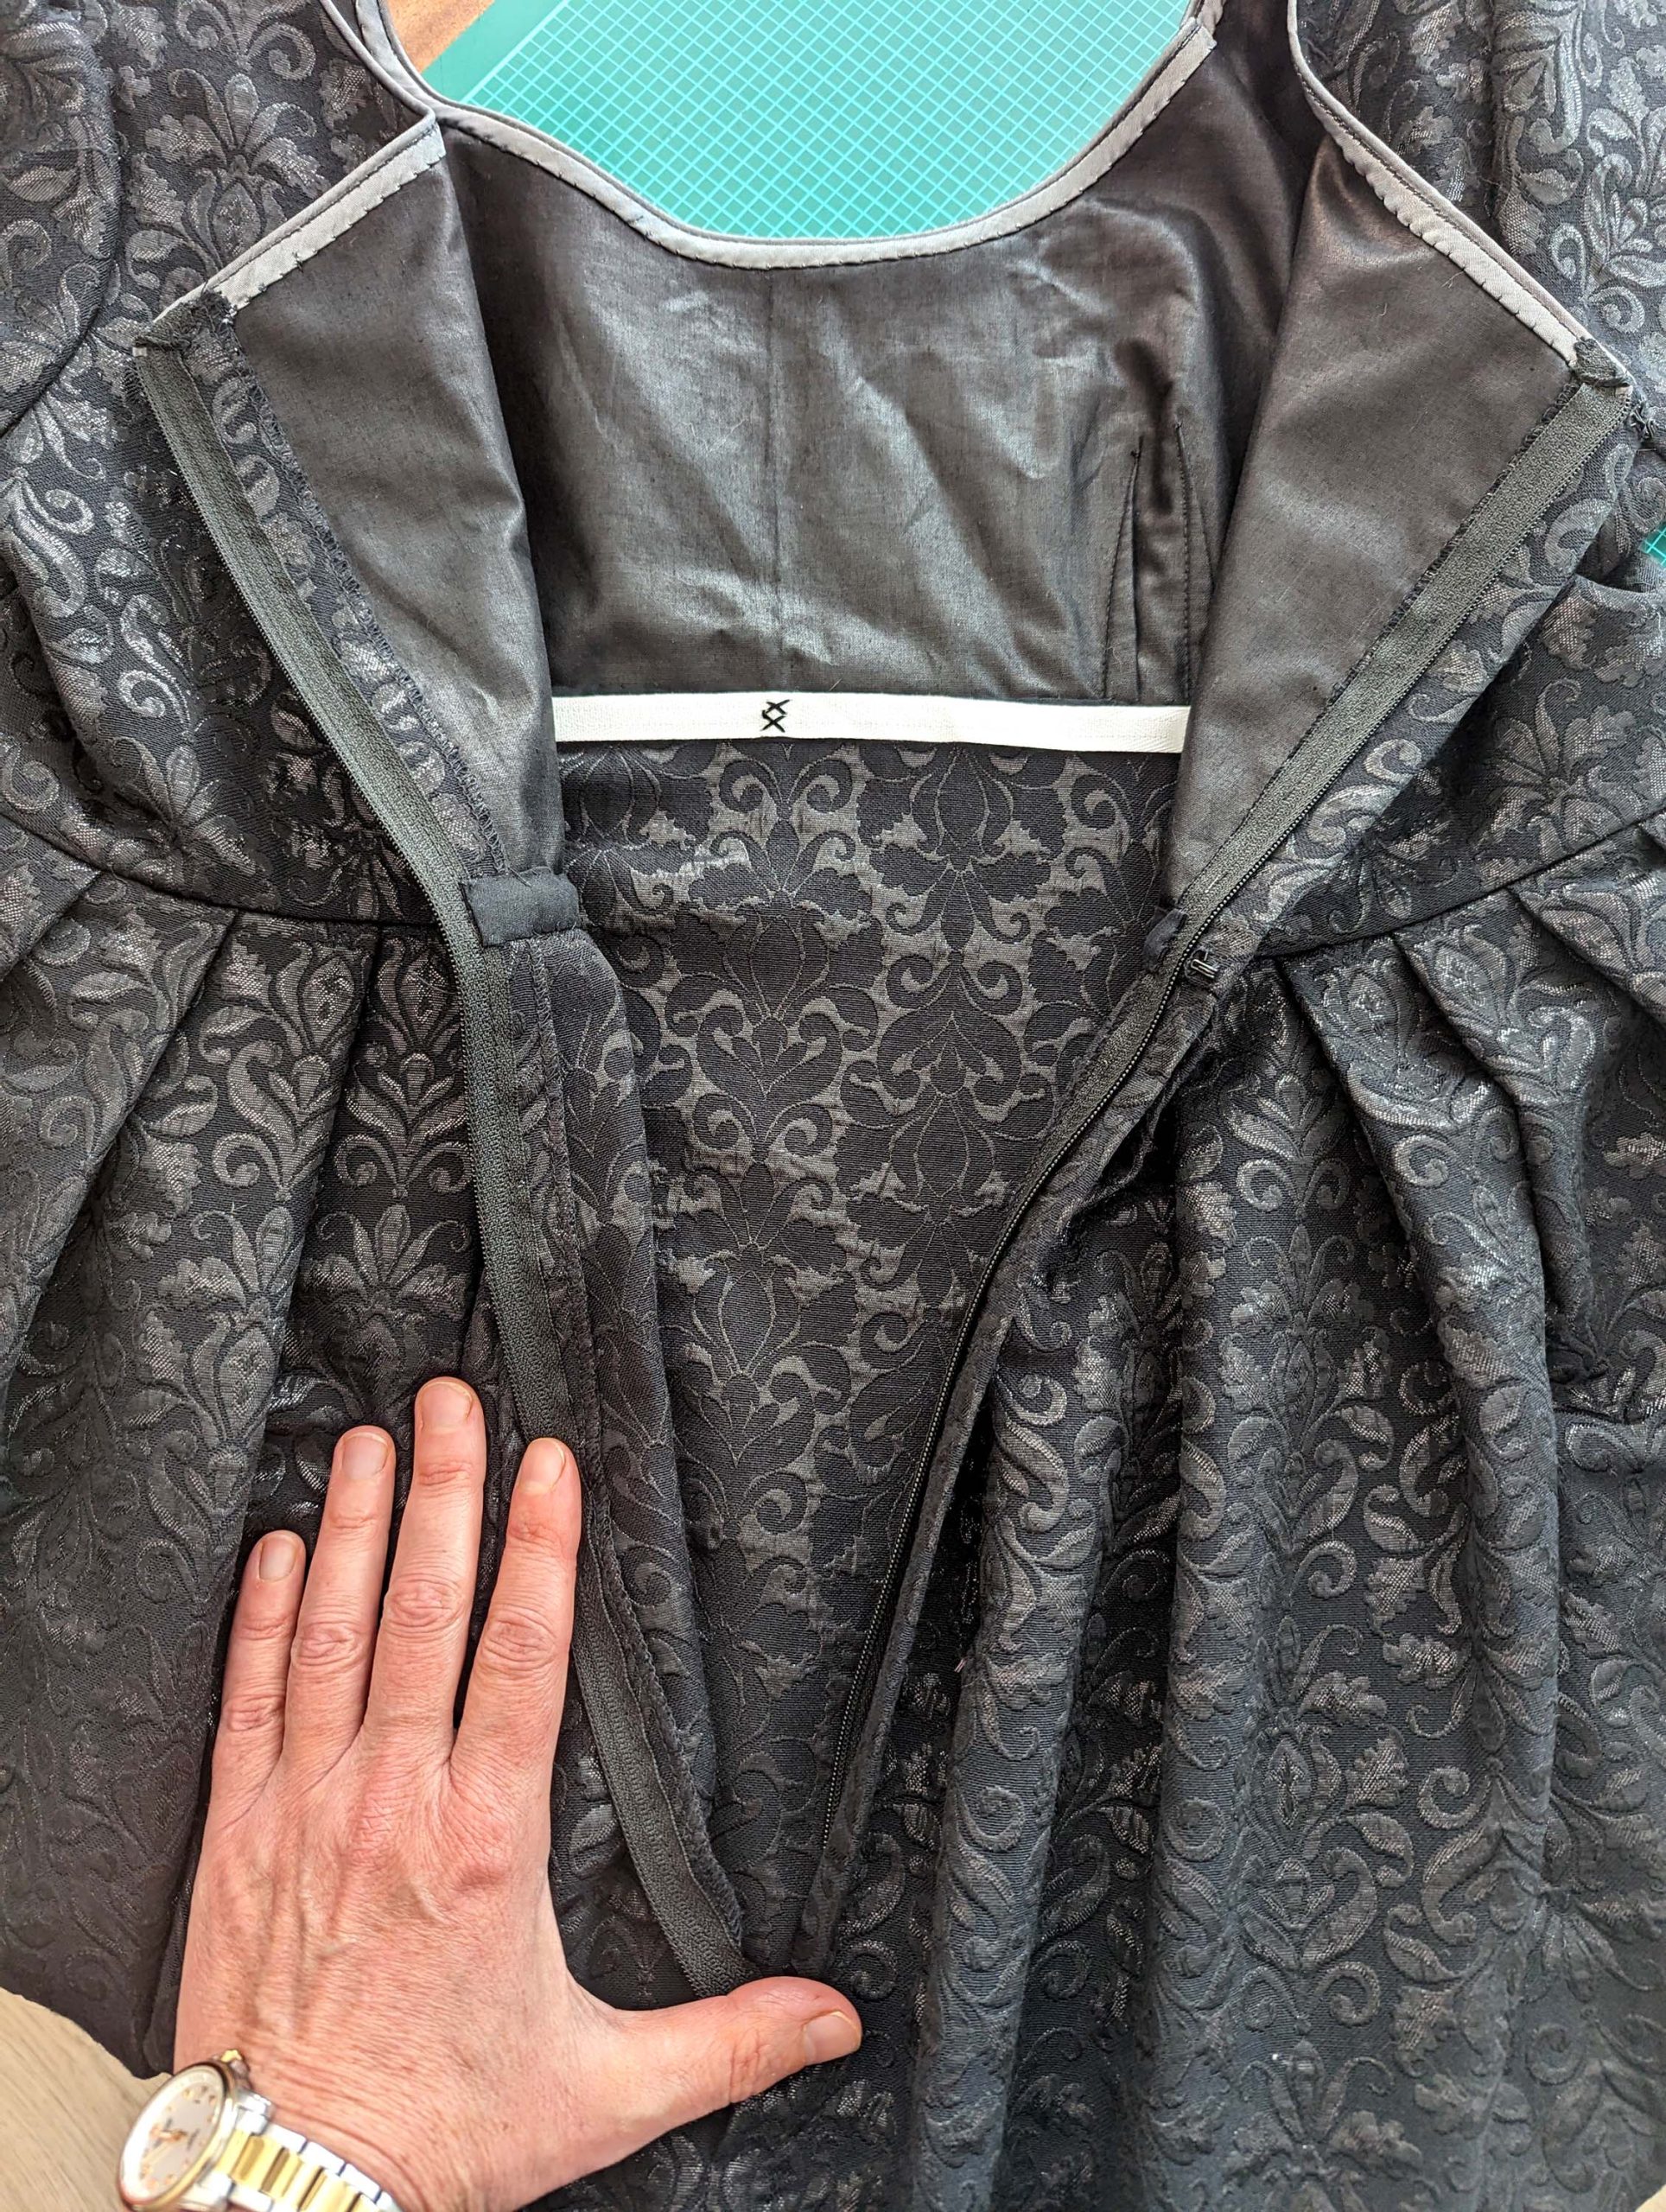
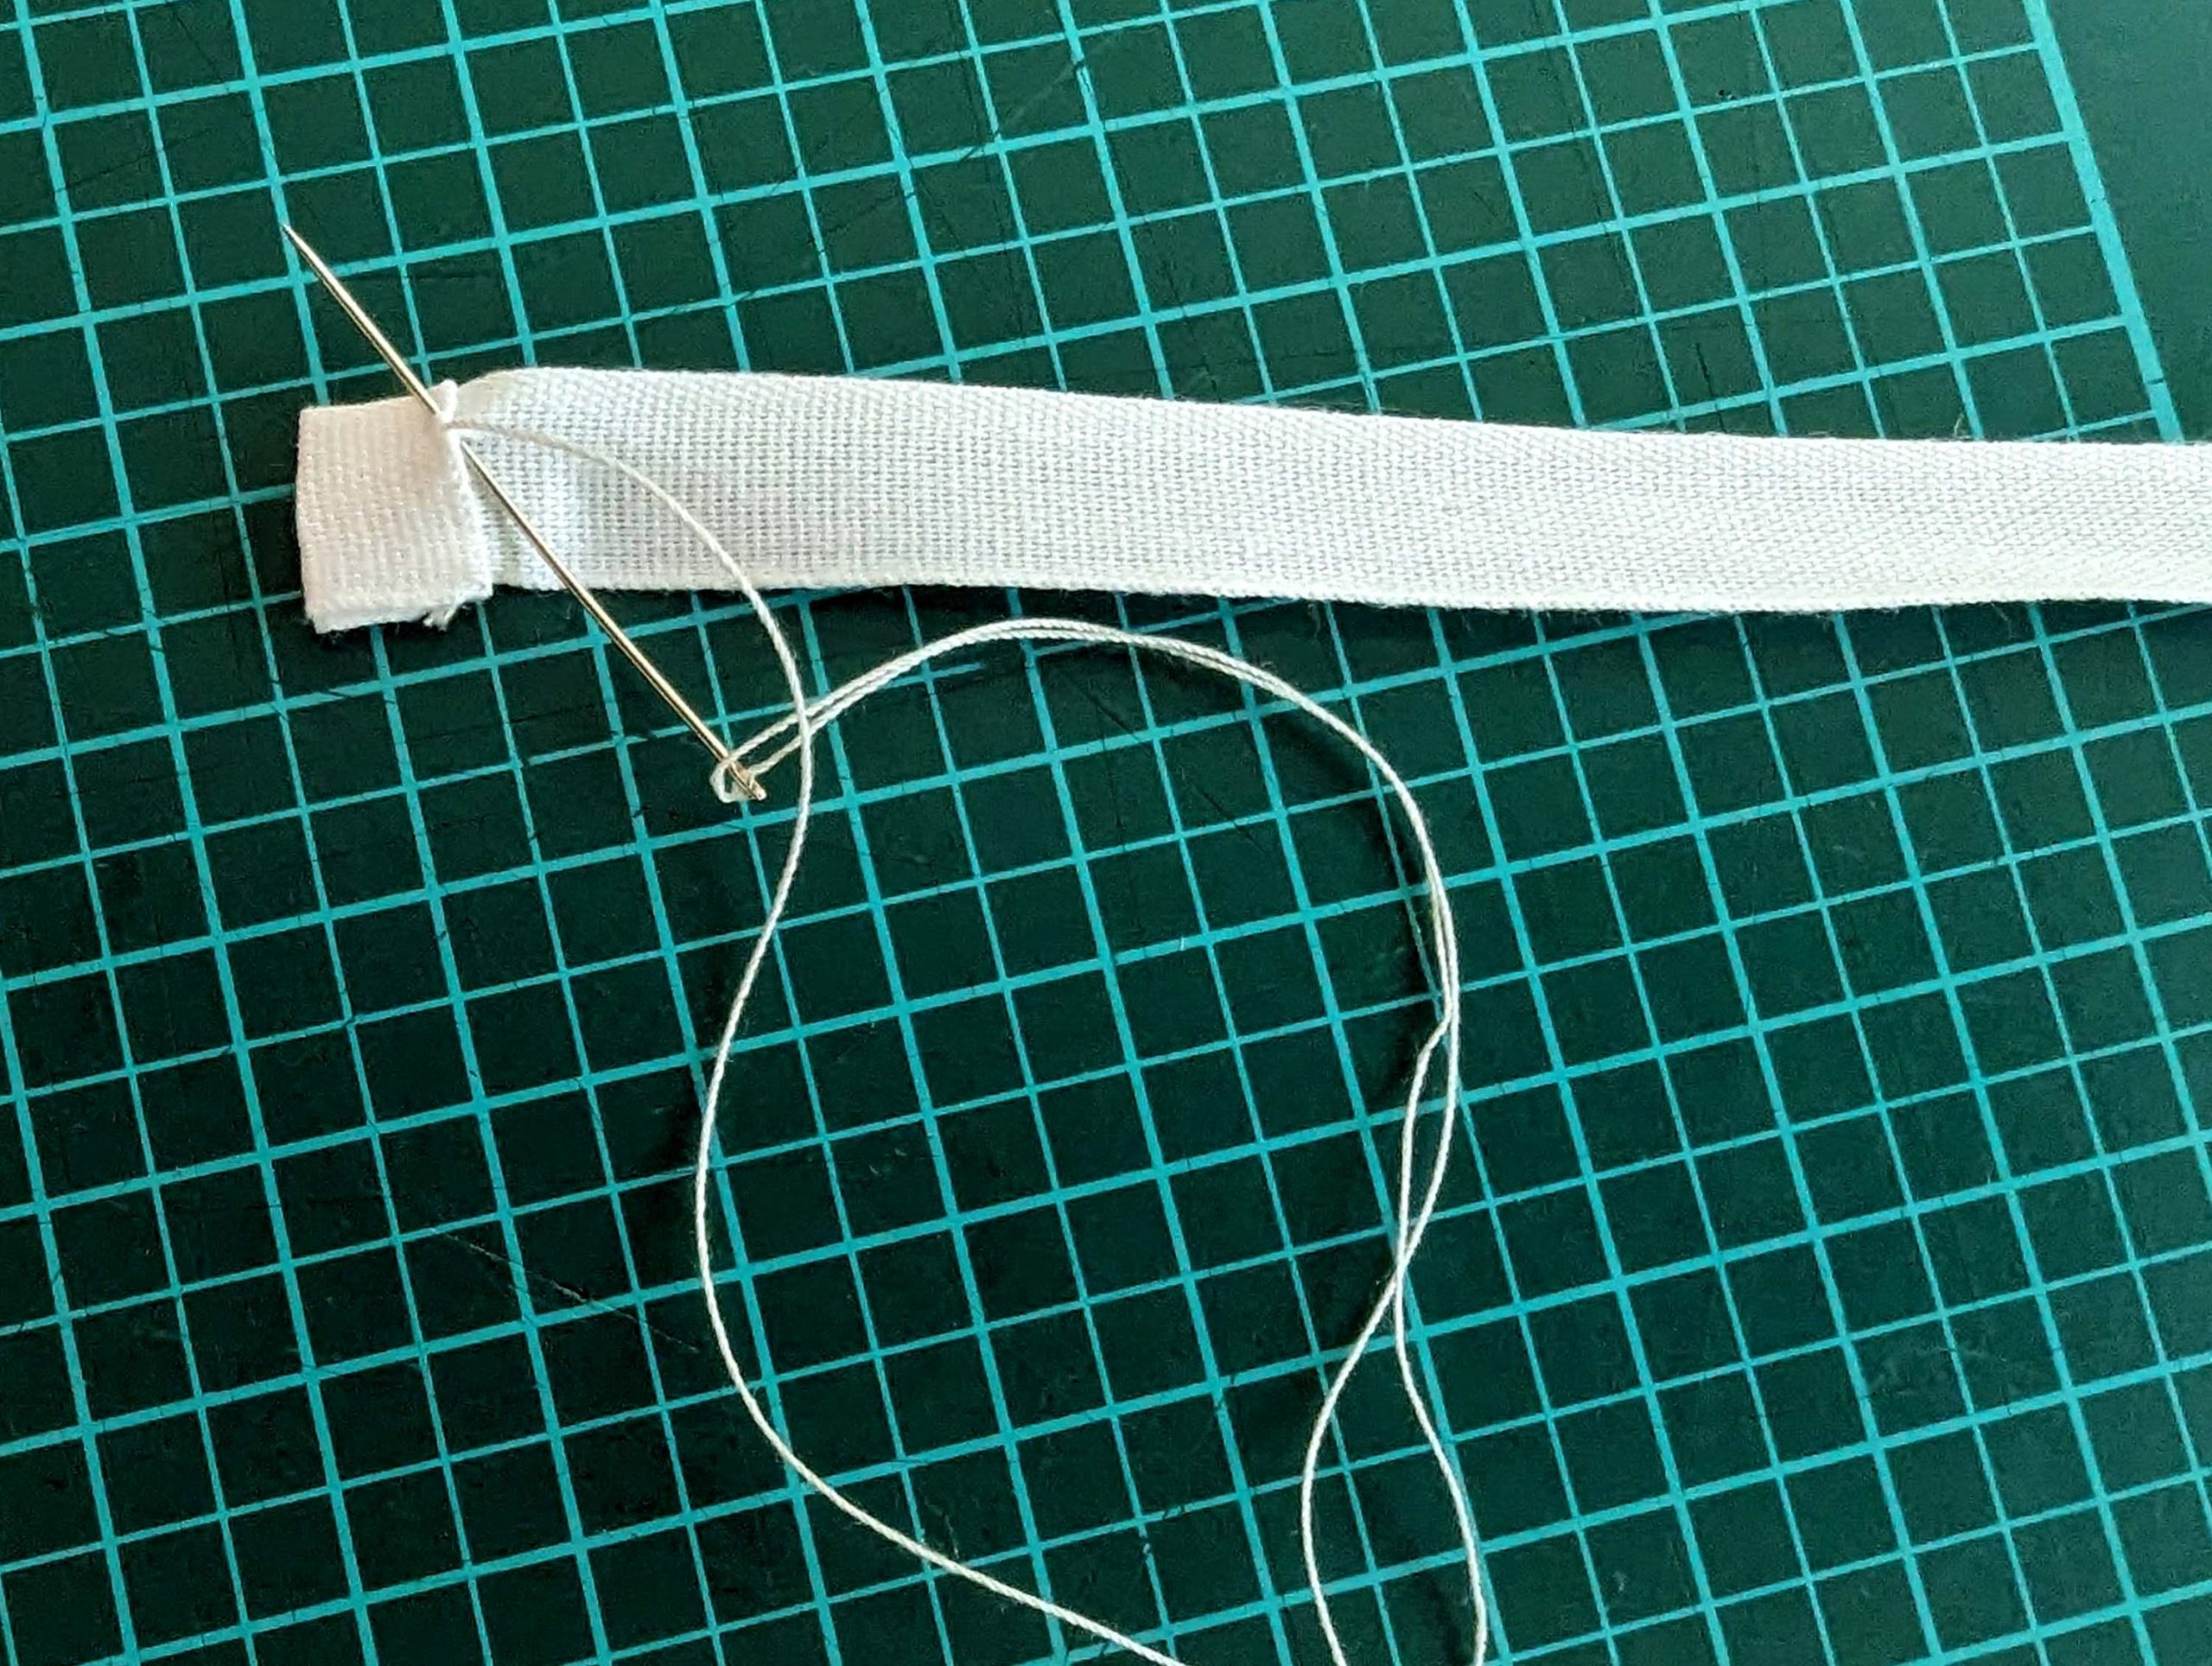
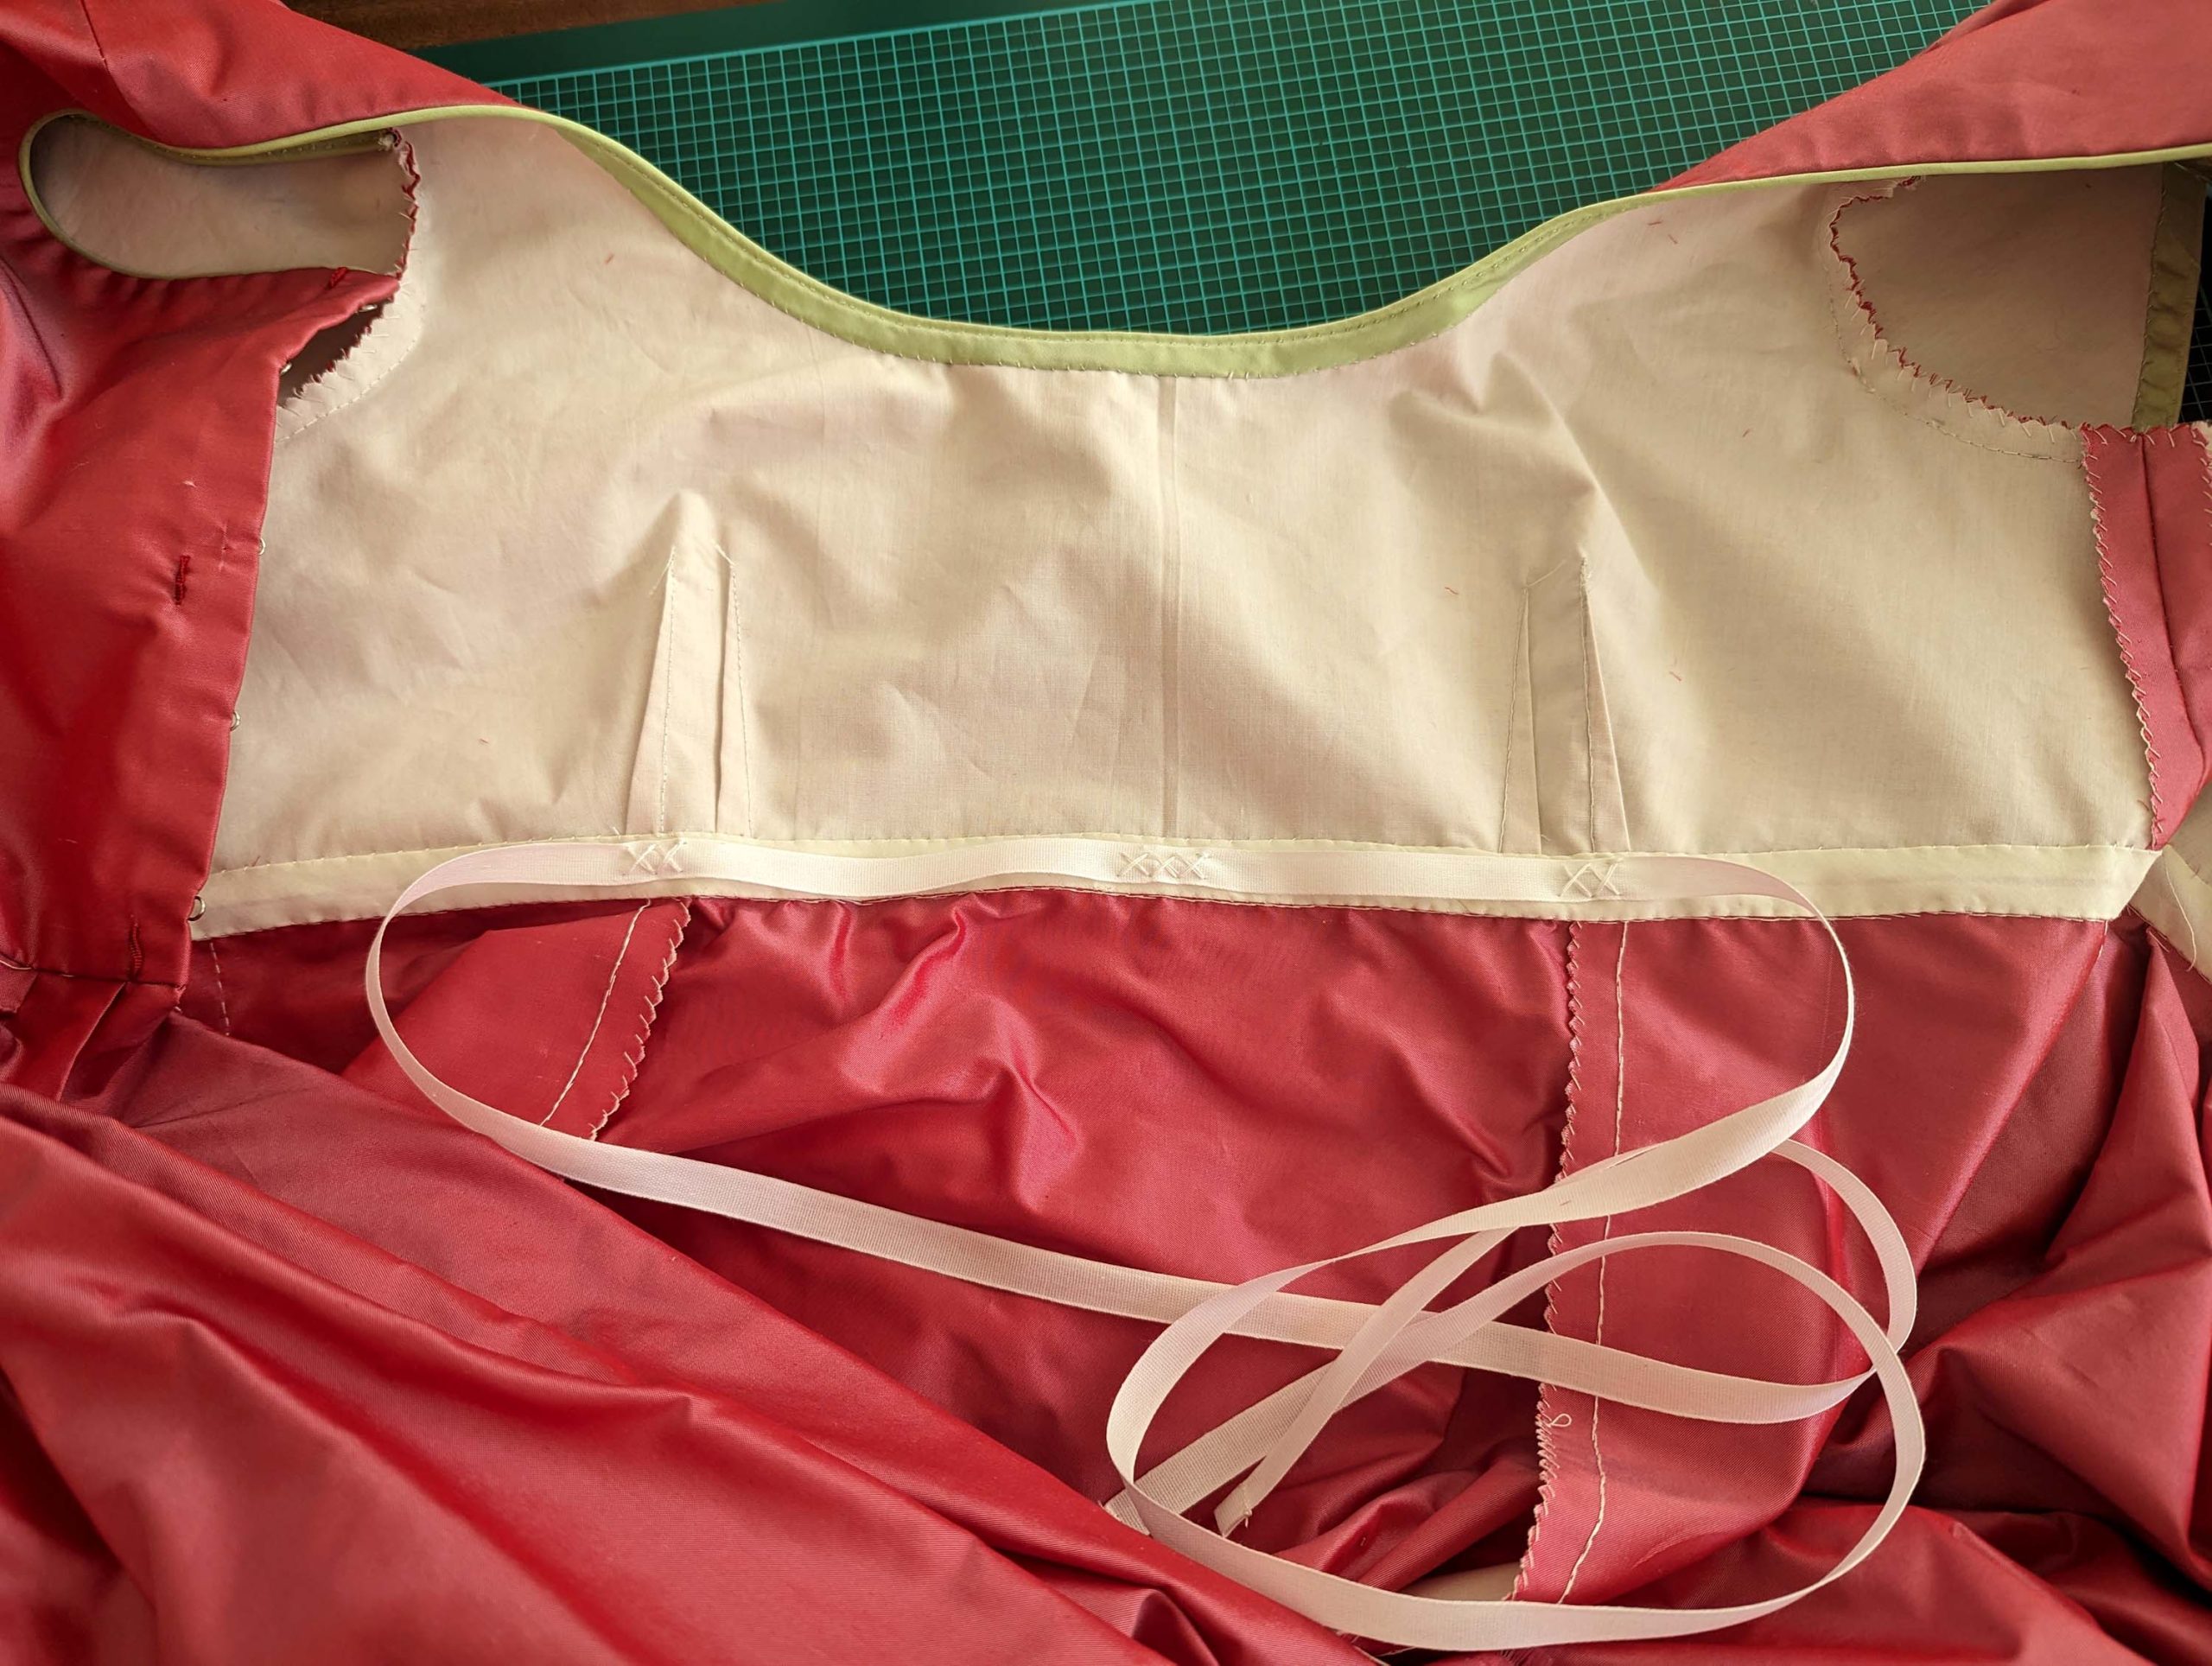
Optionally, take a narrow cotton tape (5/8” (1cm), cut to the length to wrap it around your underbust, and tie it up. Neaten the edges, and sew to the waistline (bias tape) with some stitches between the darts to hold the bodice in place when worn.

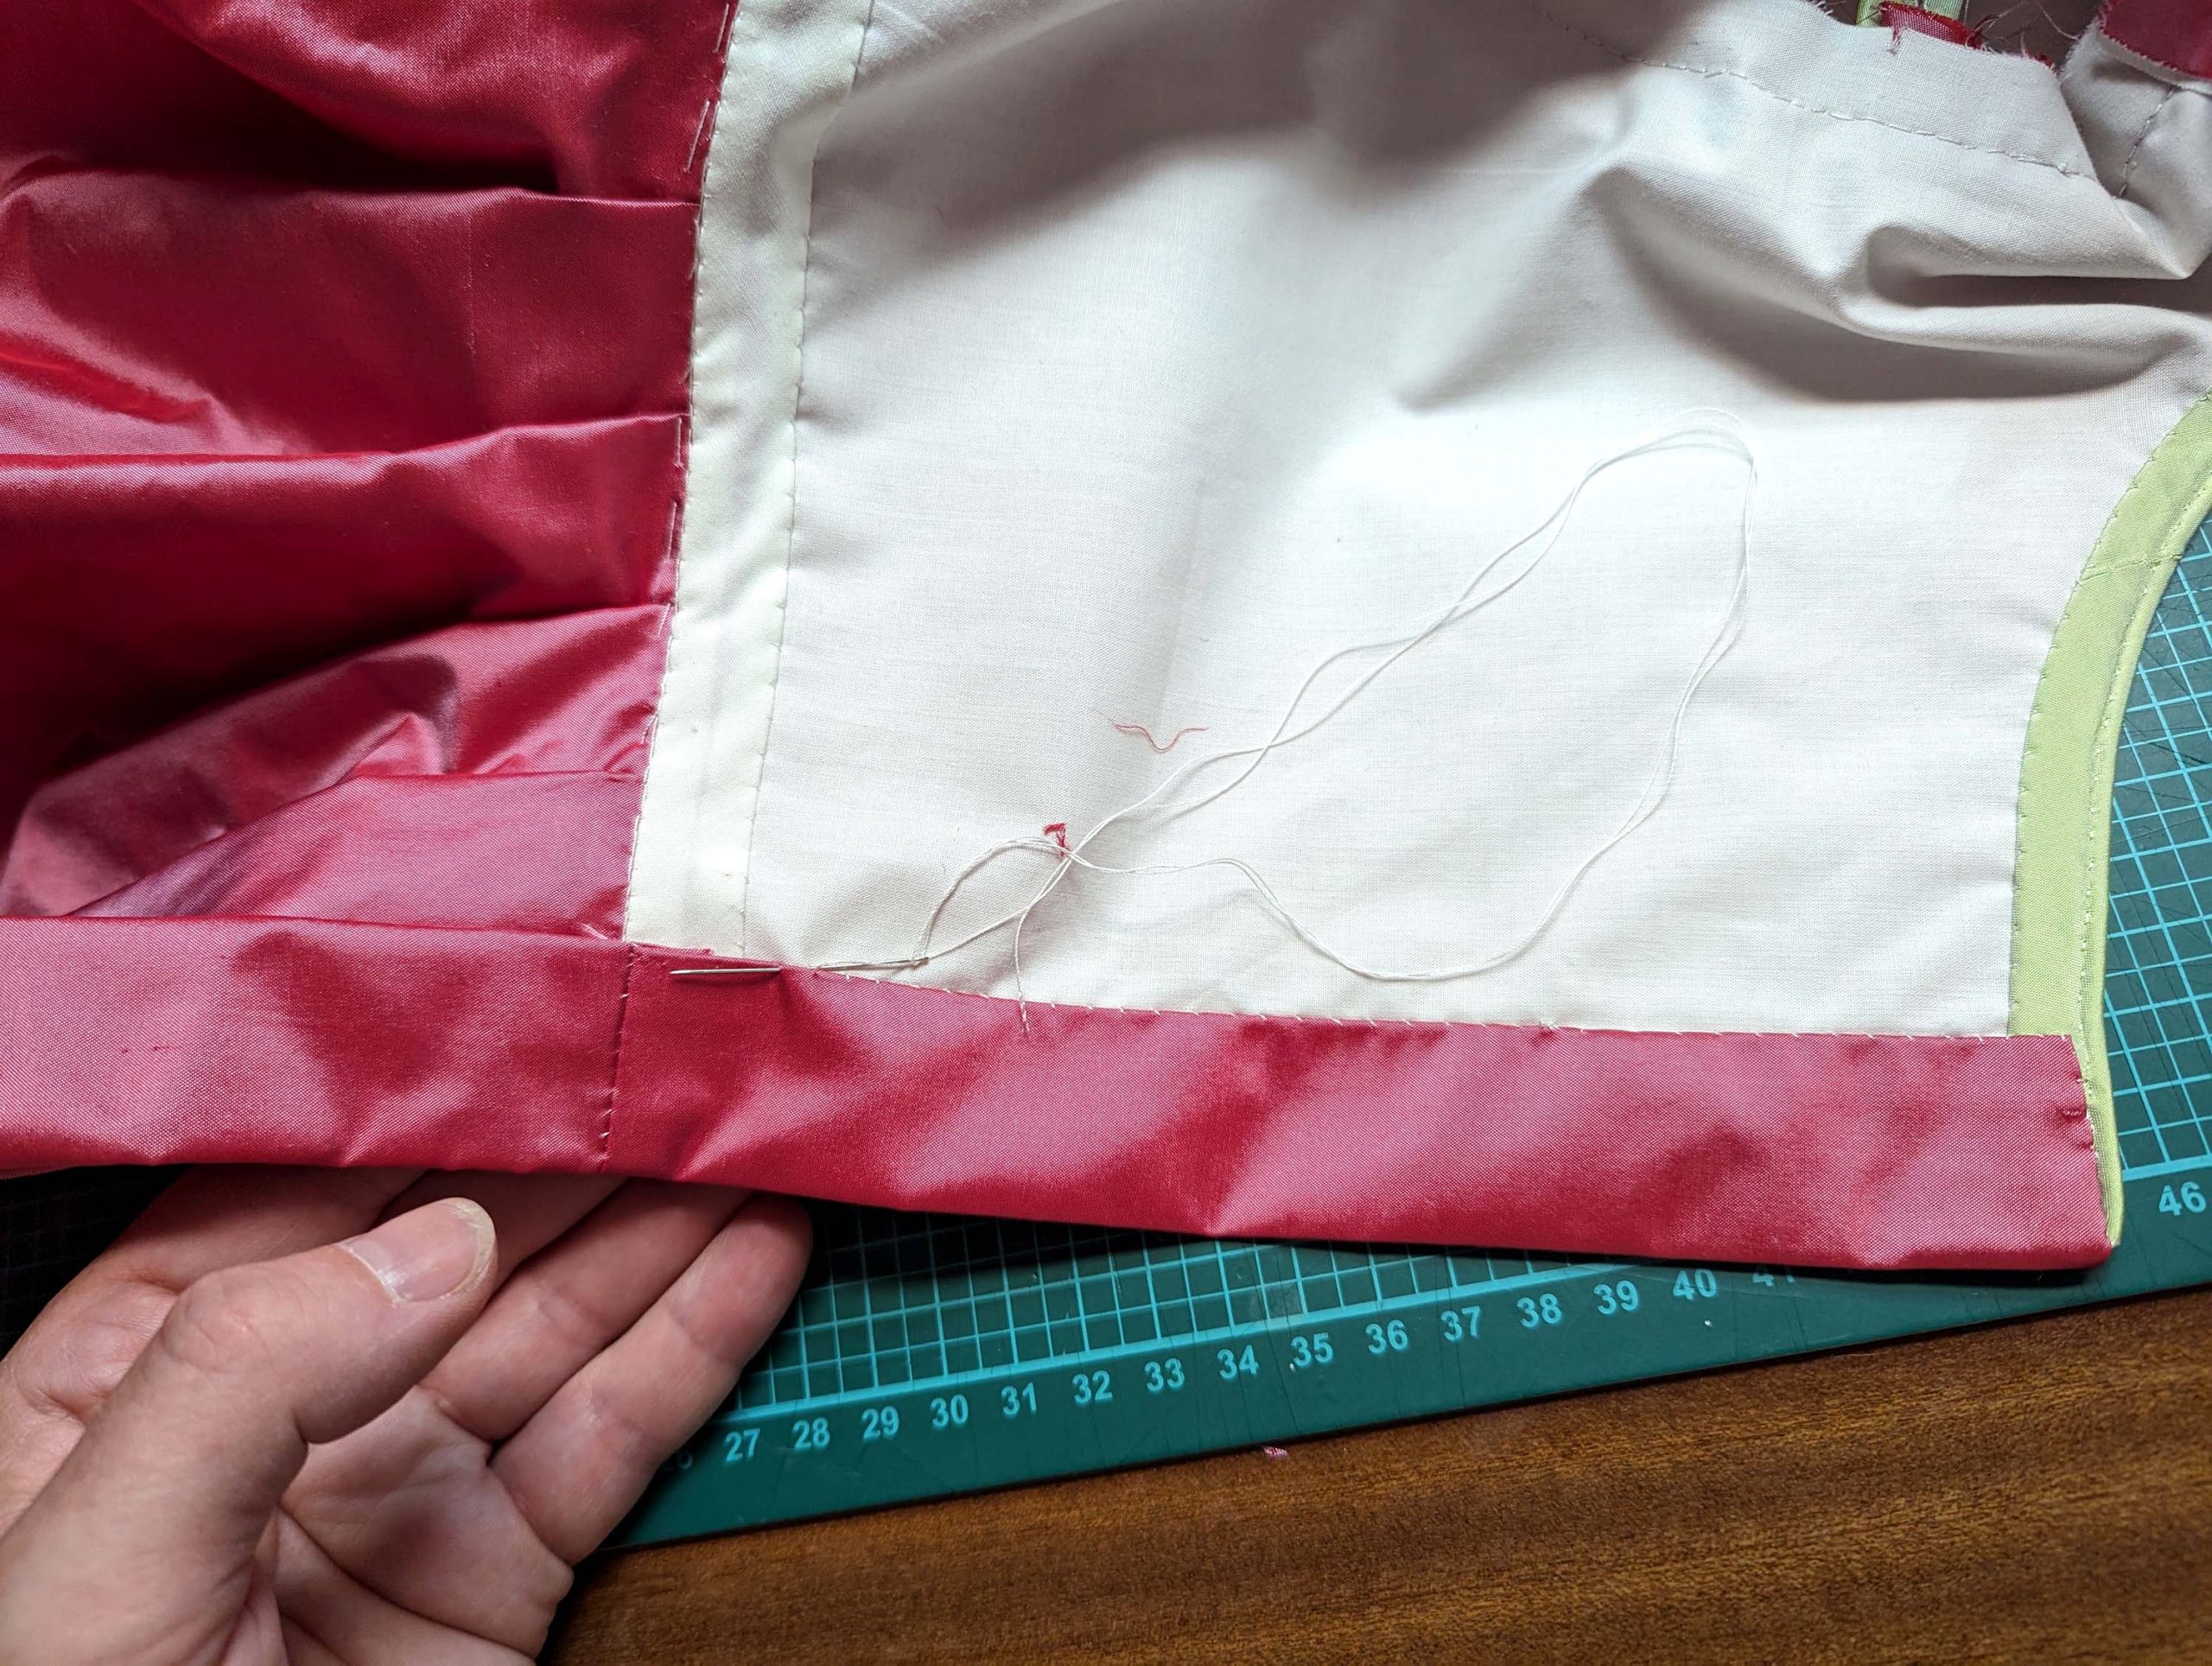
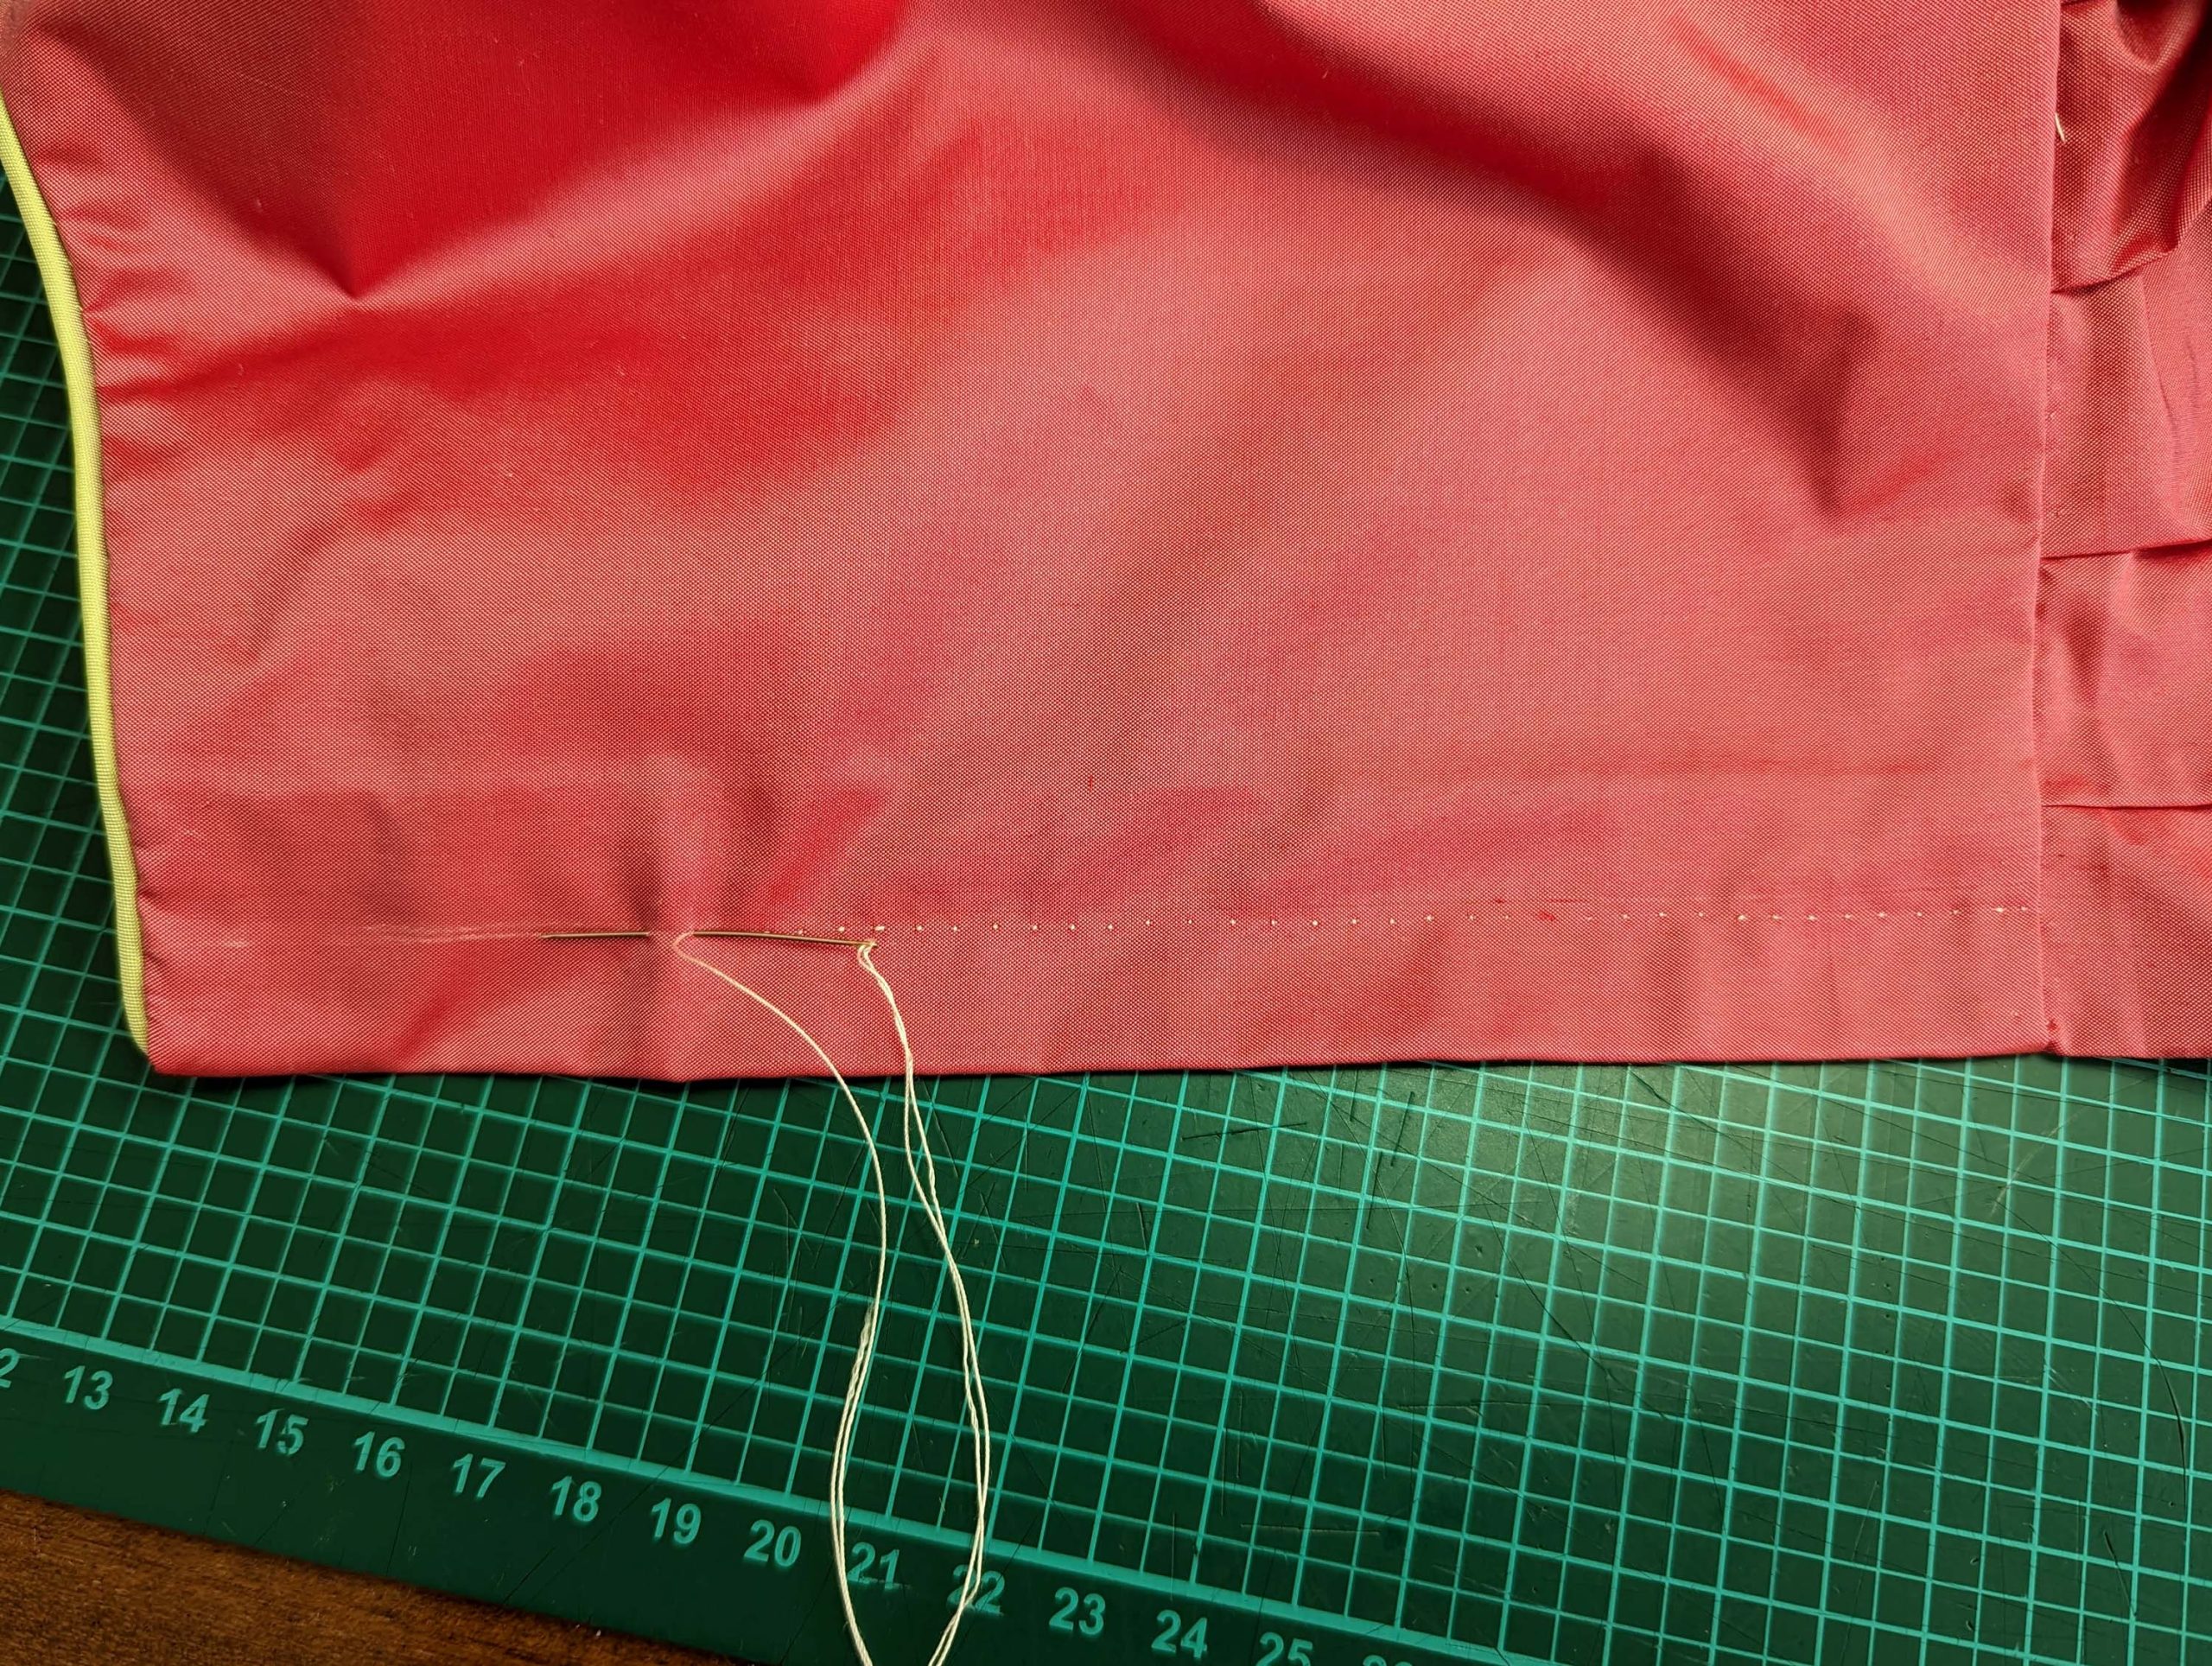
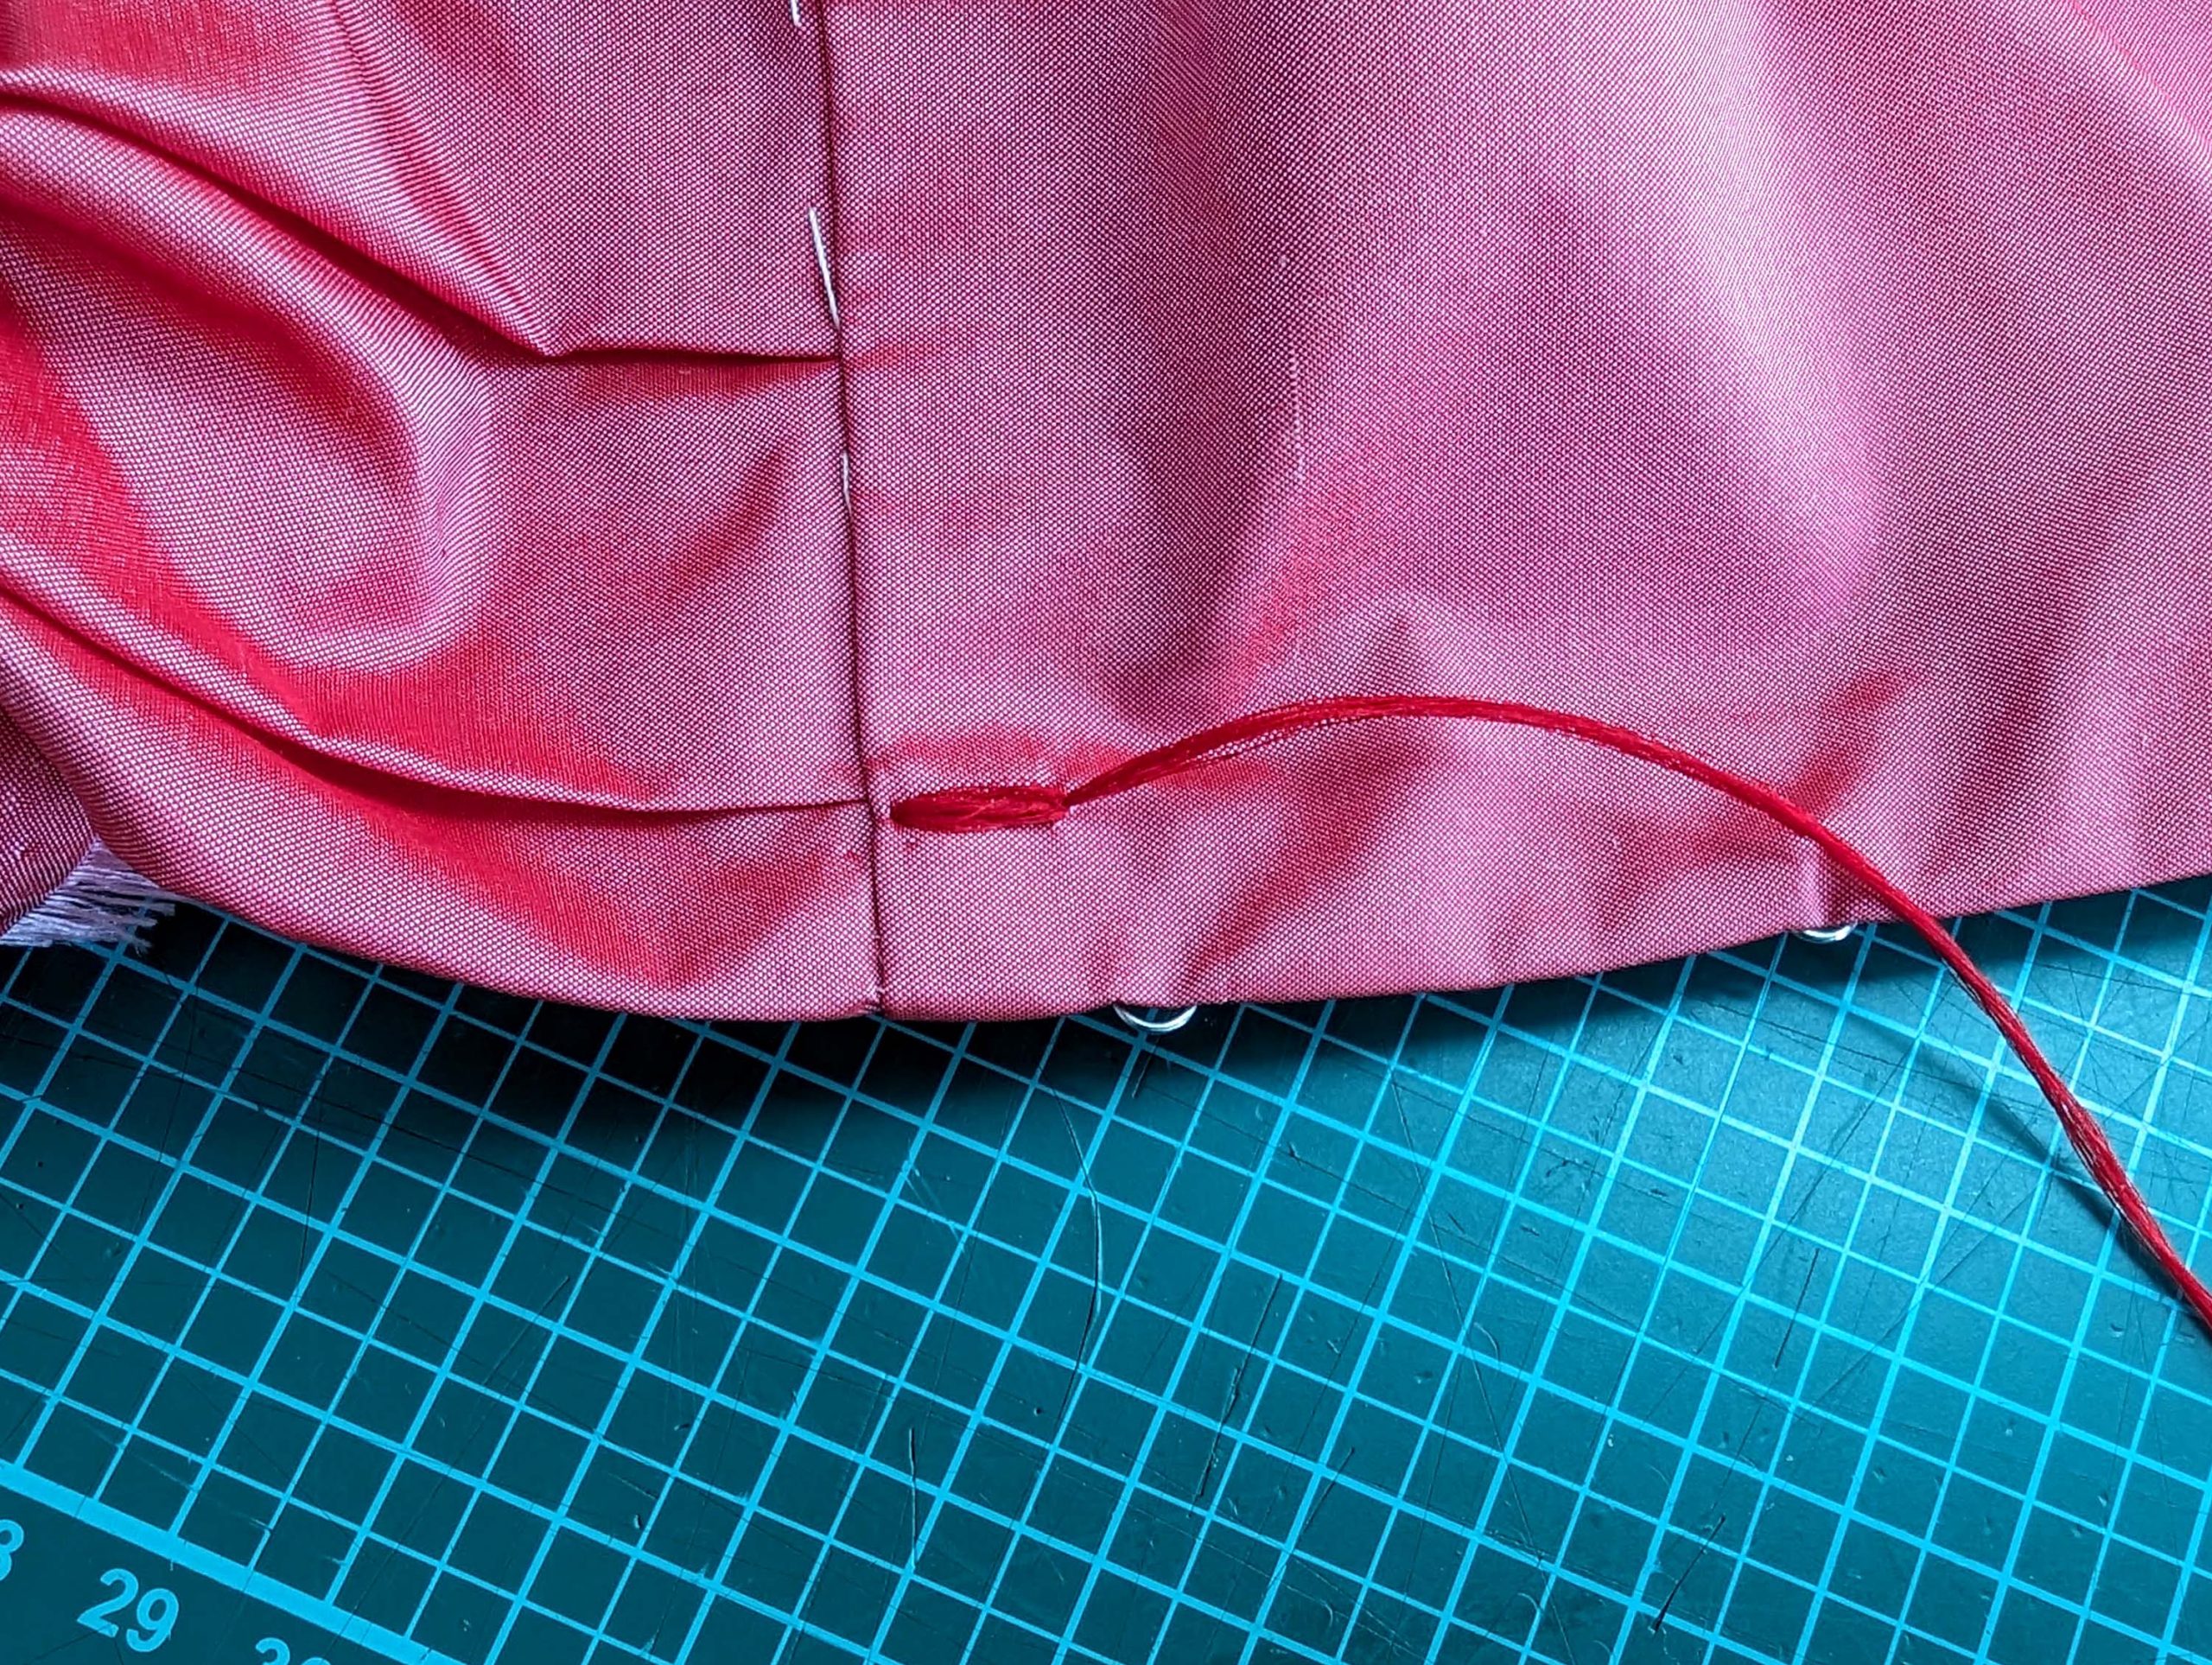
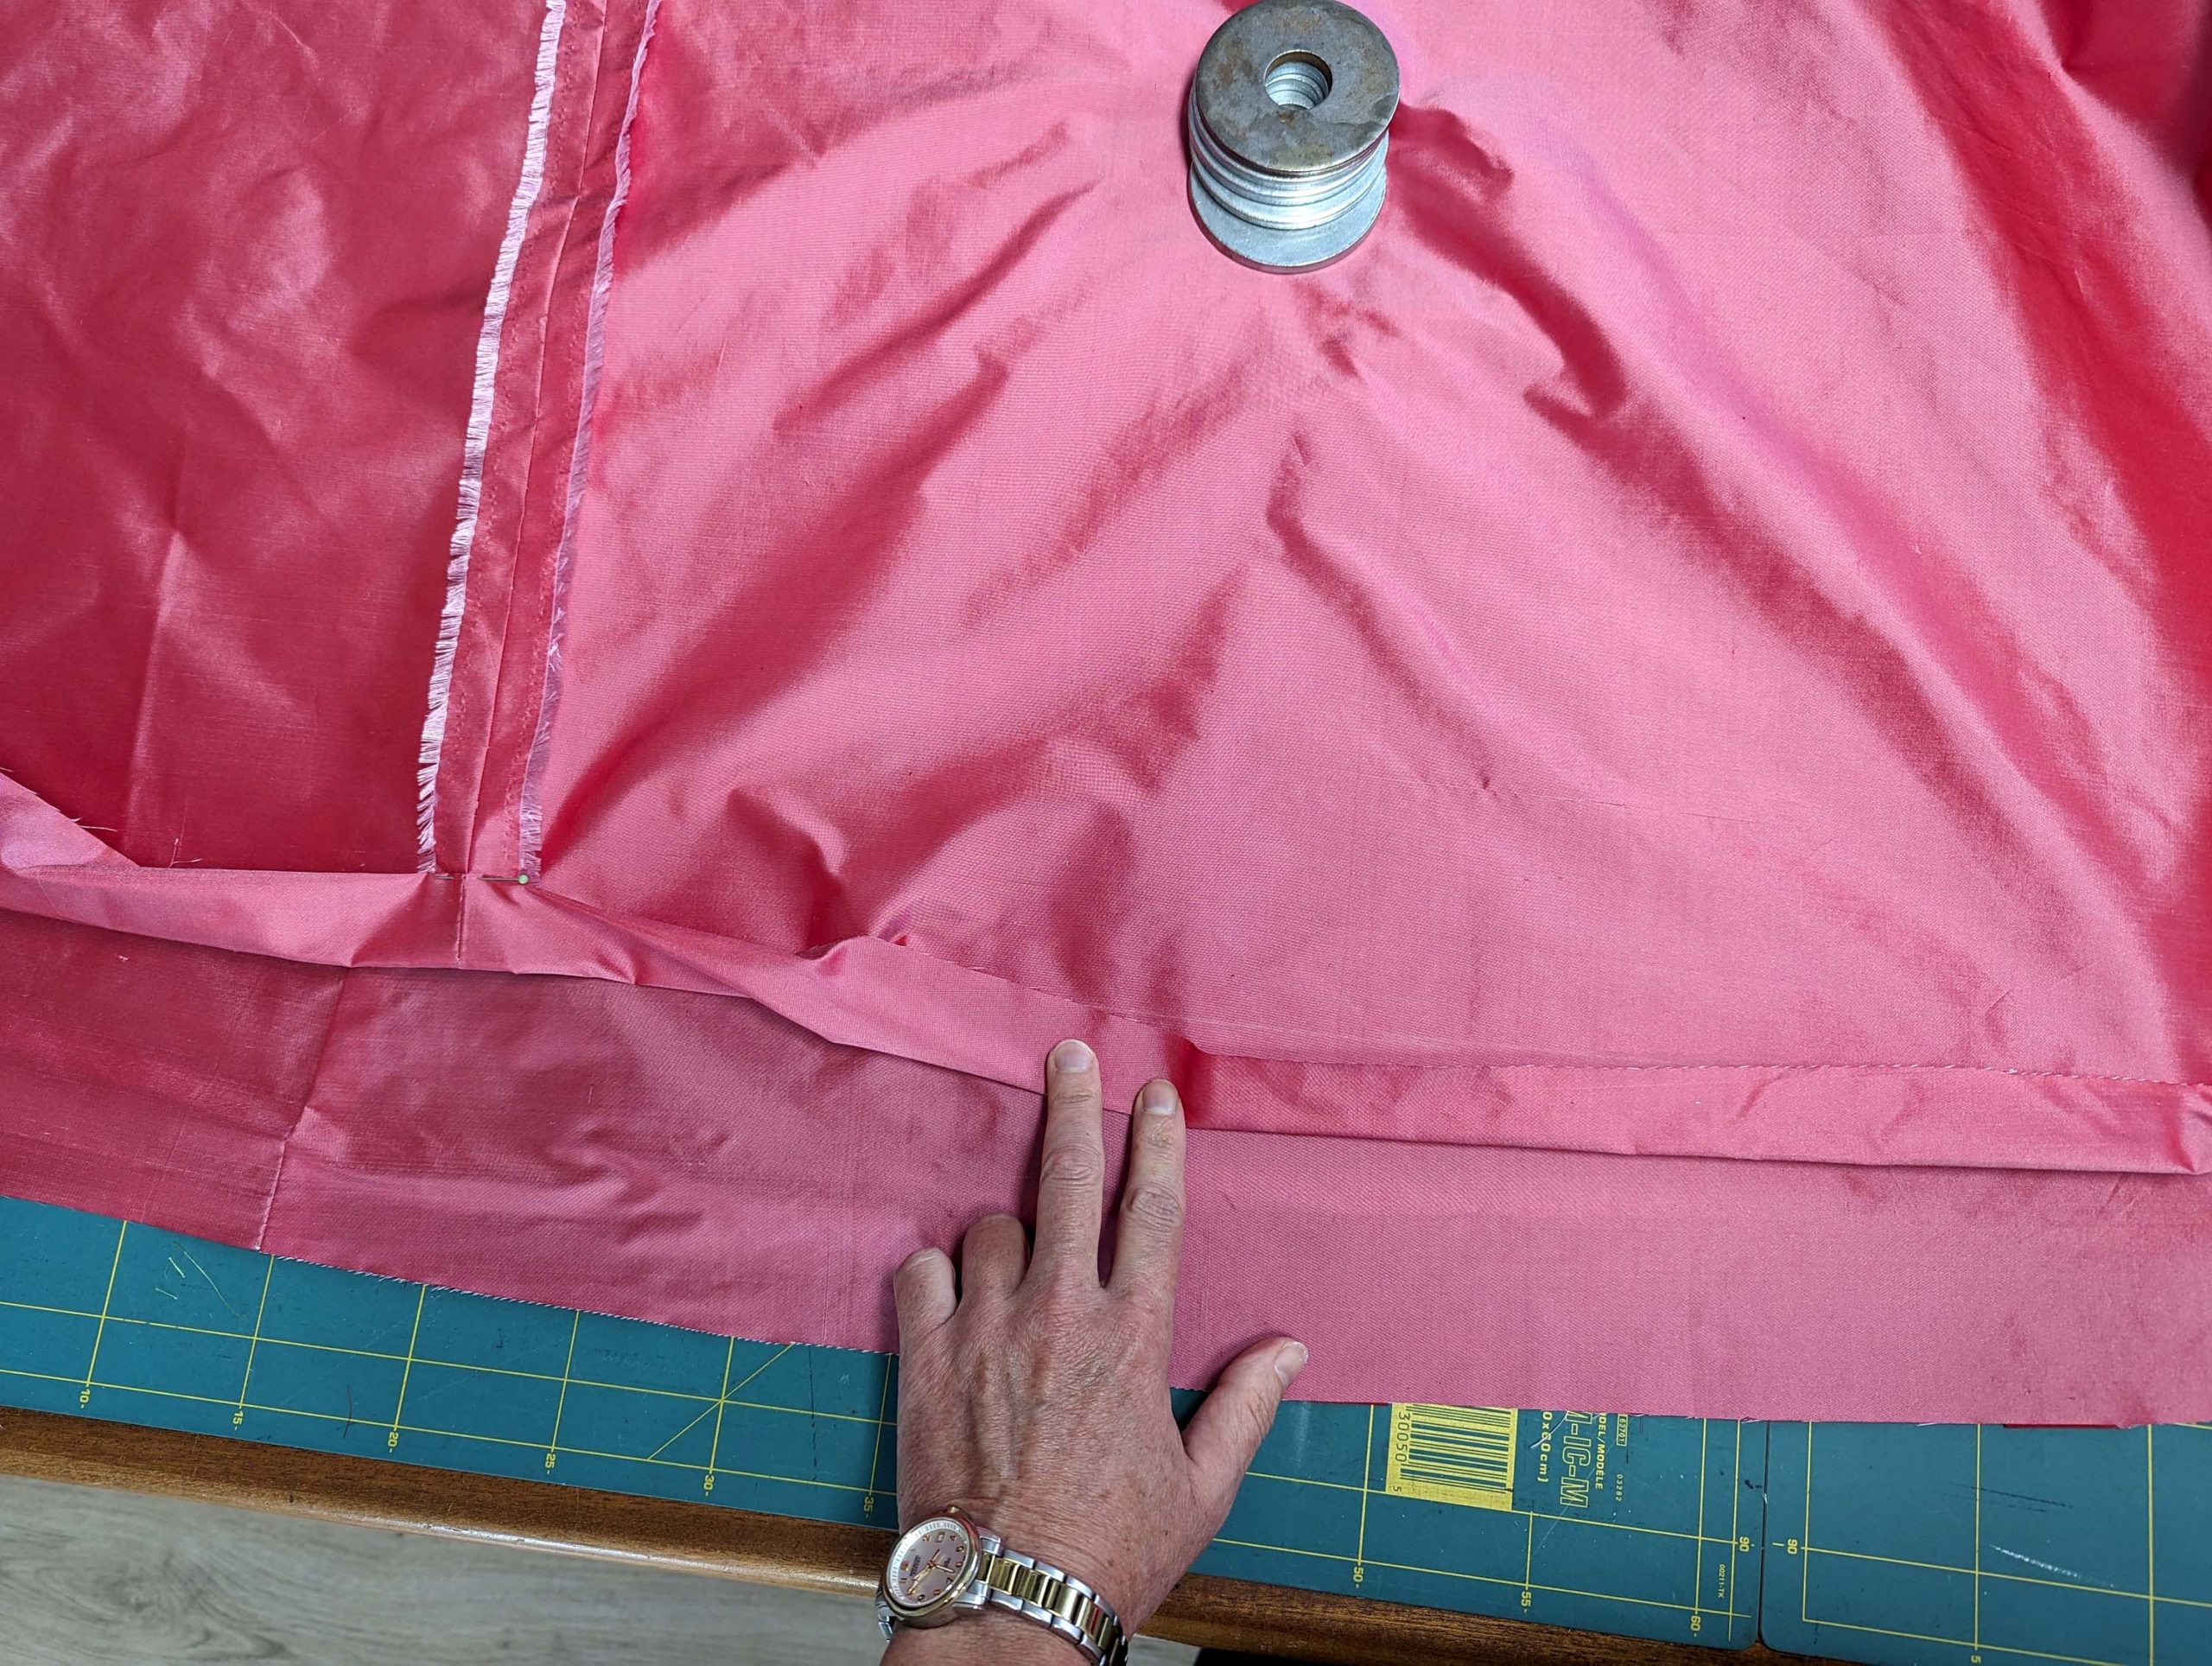
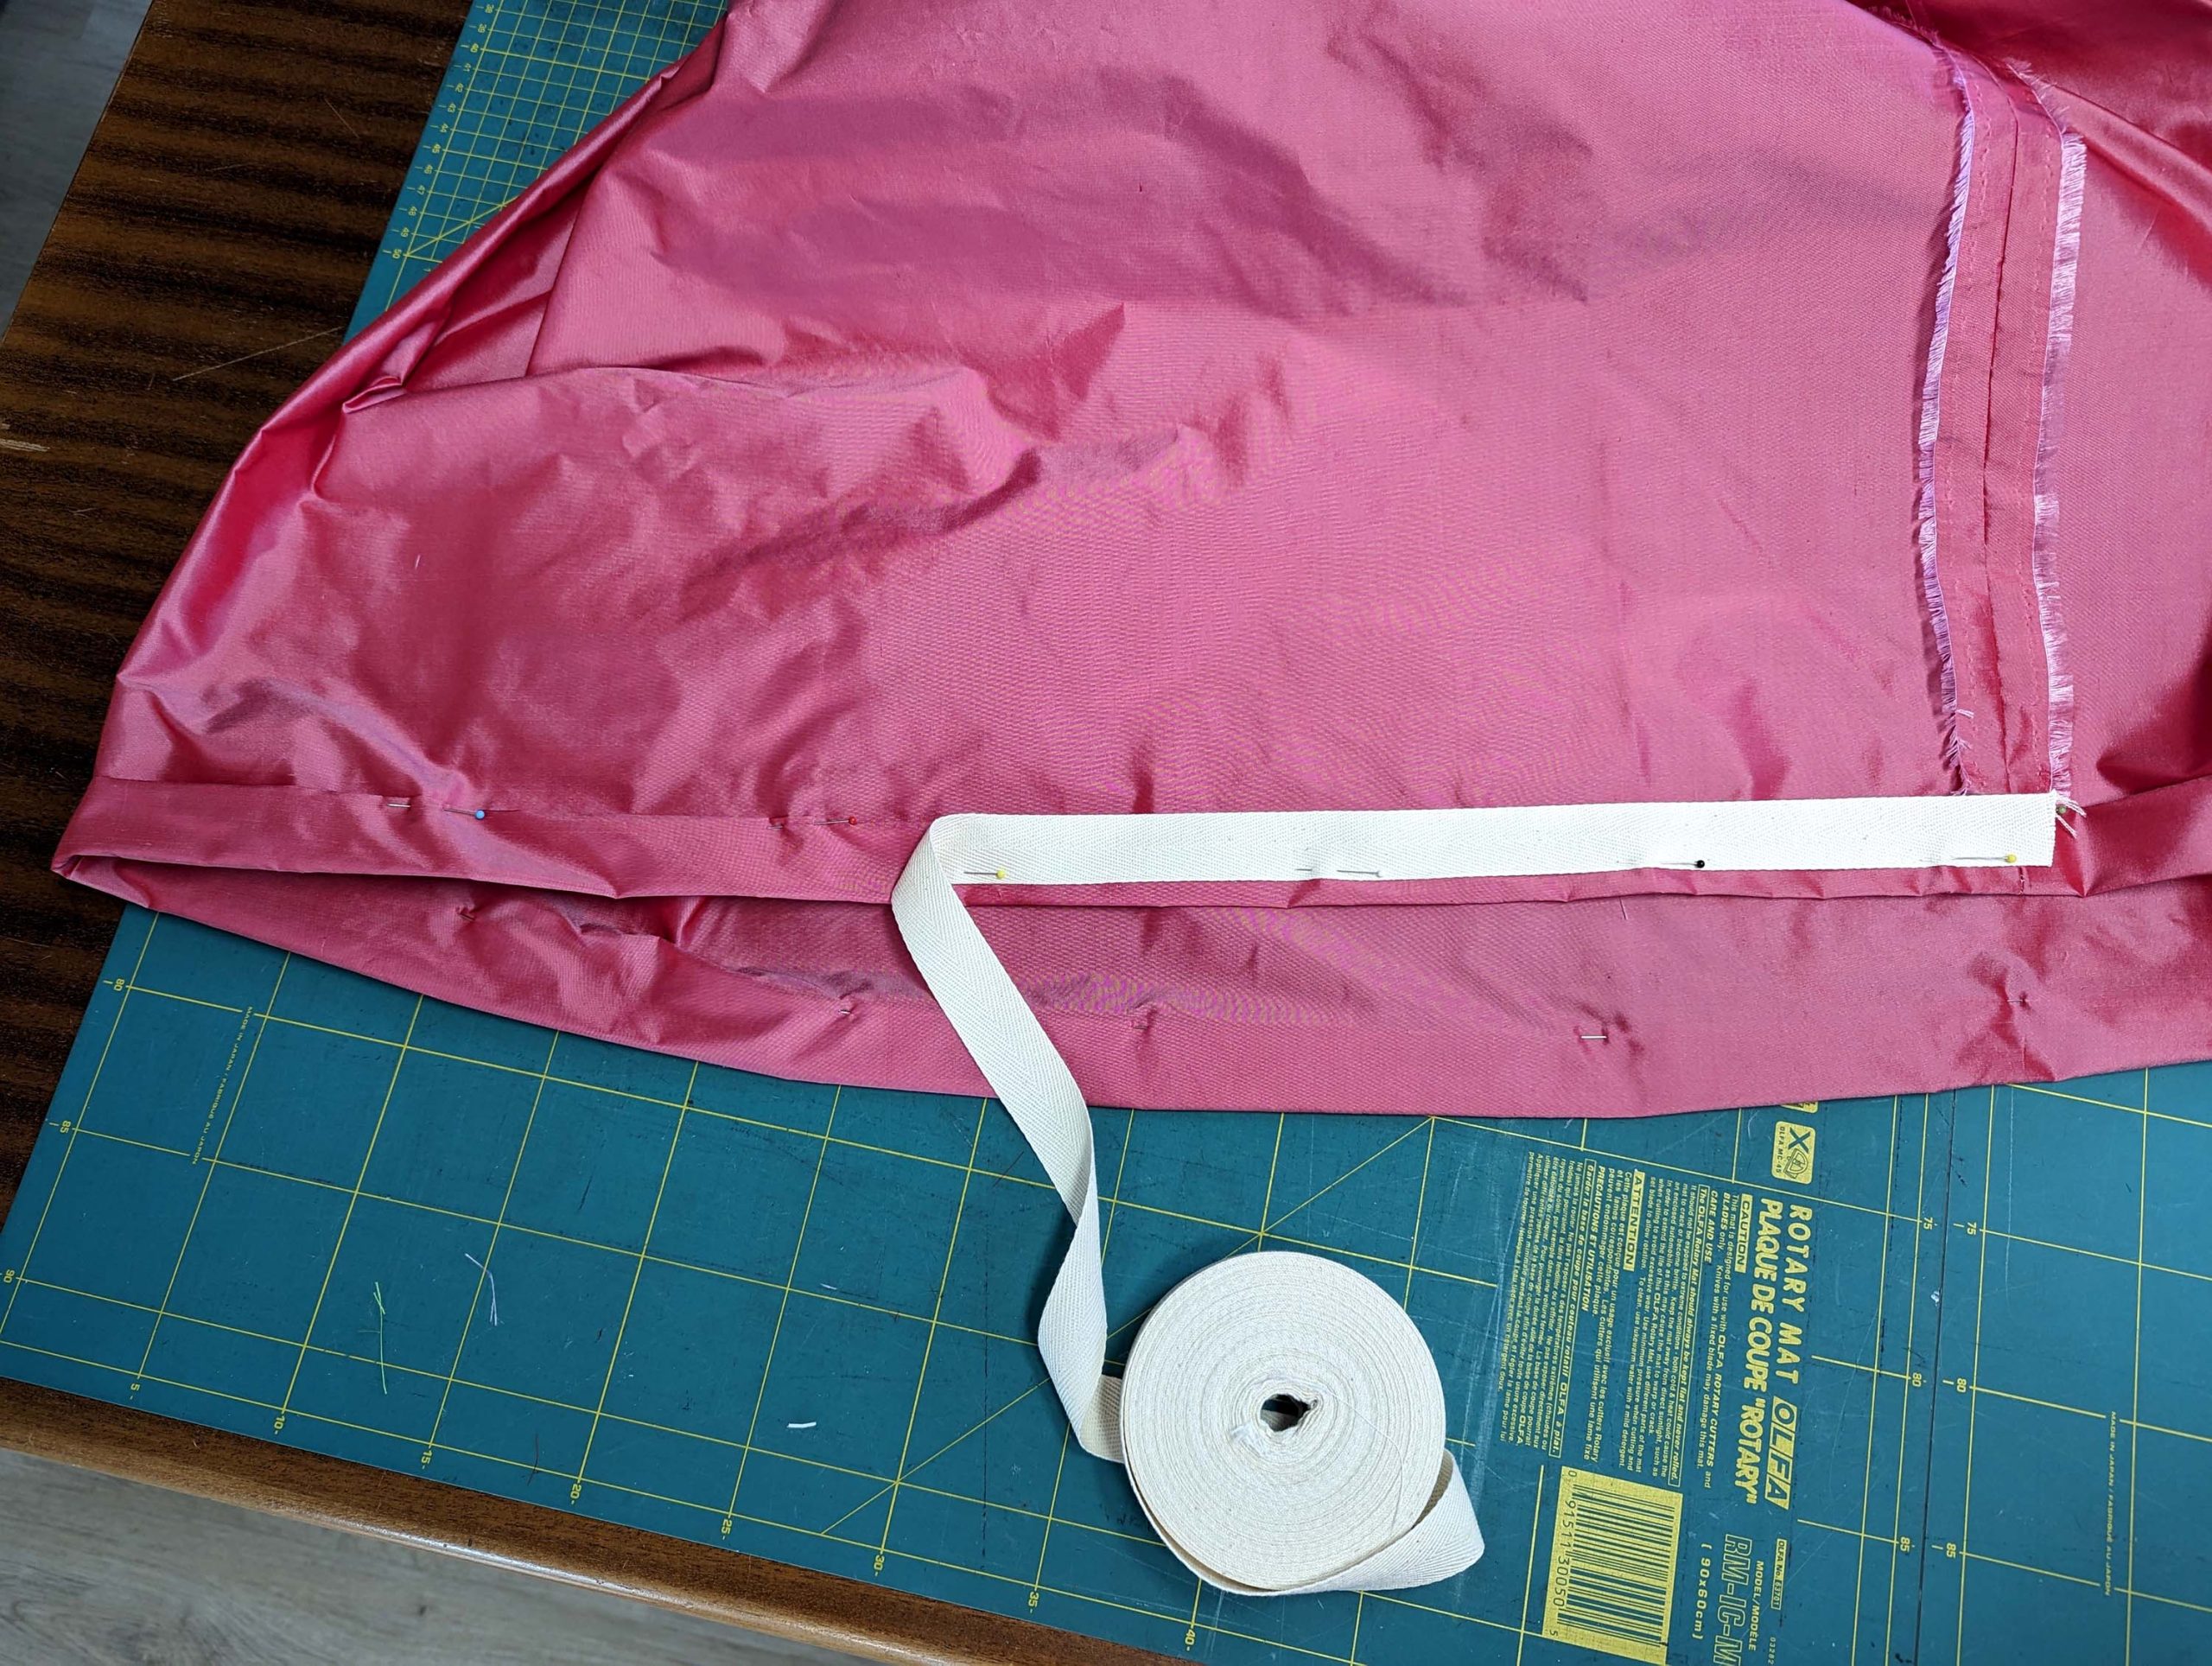
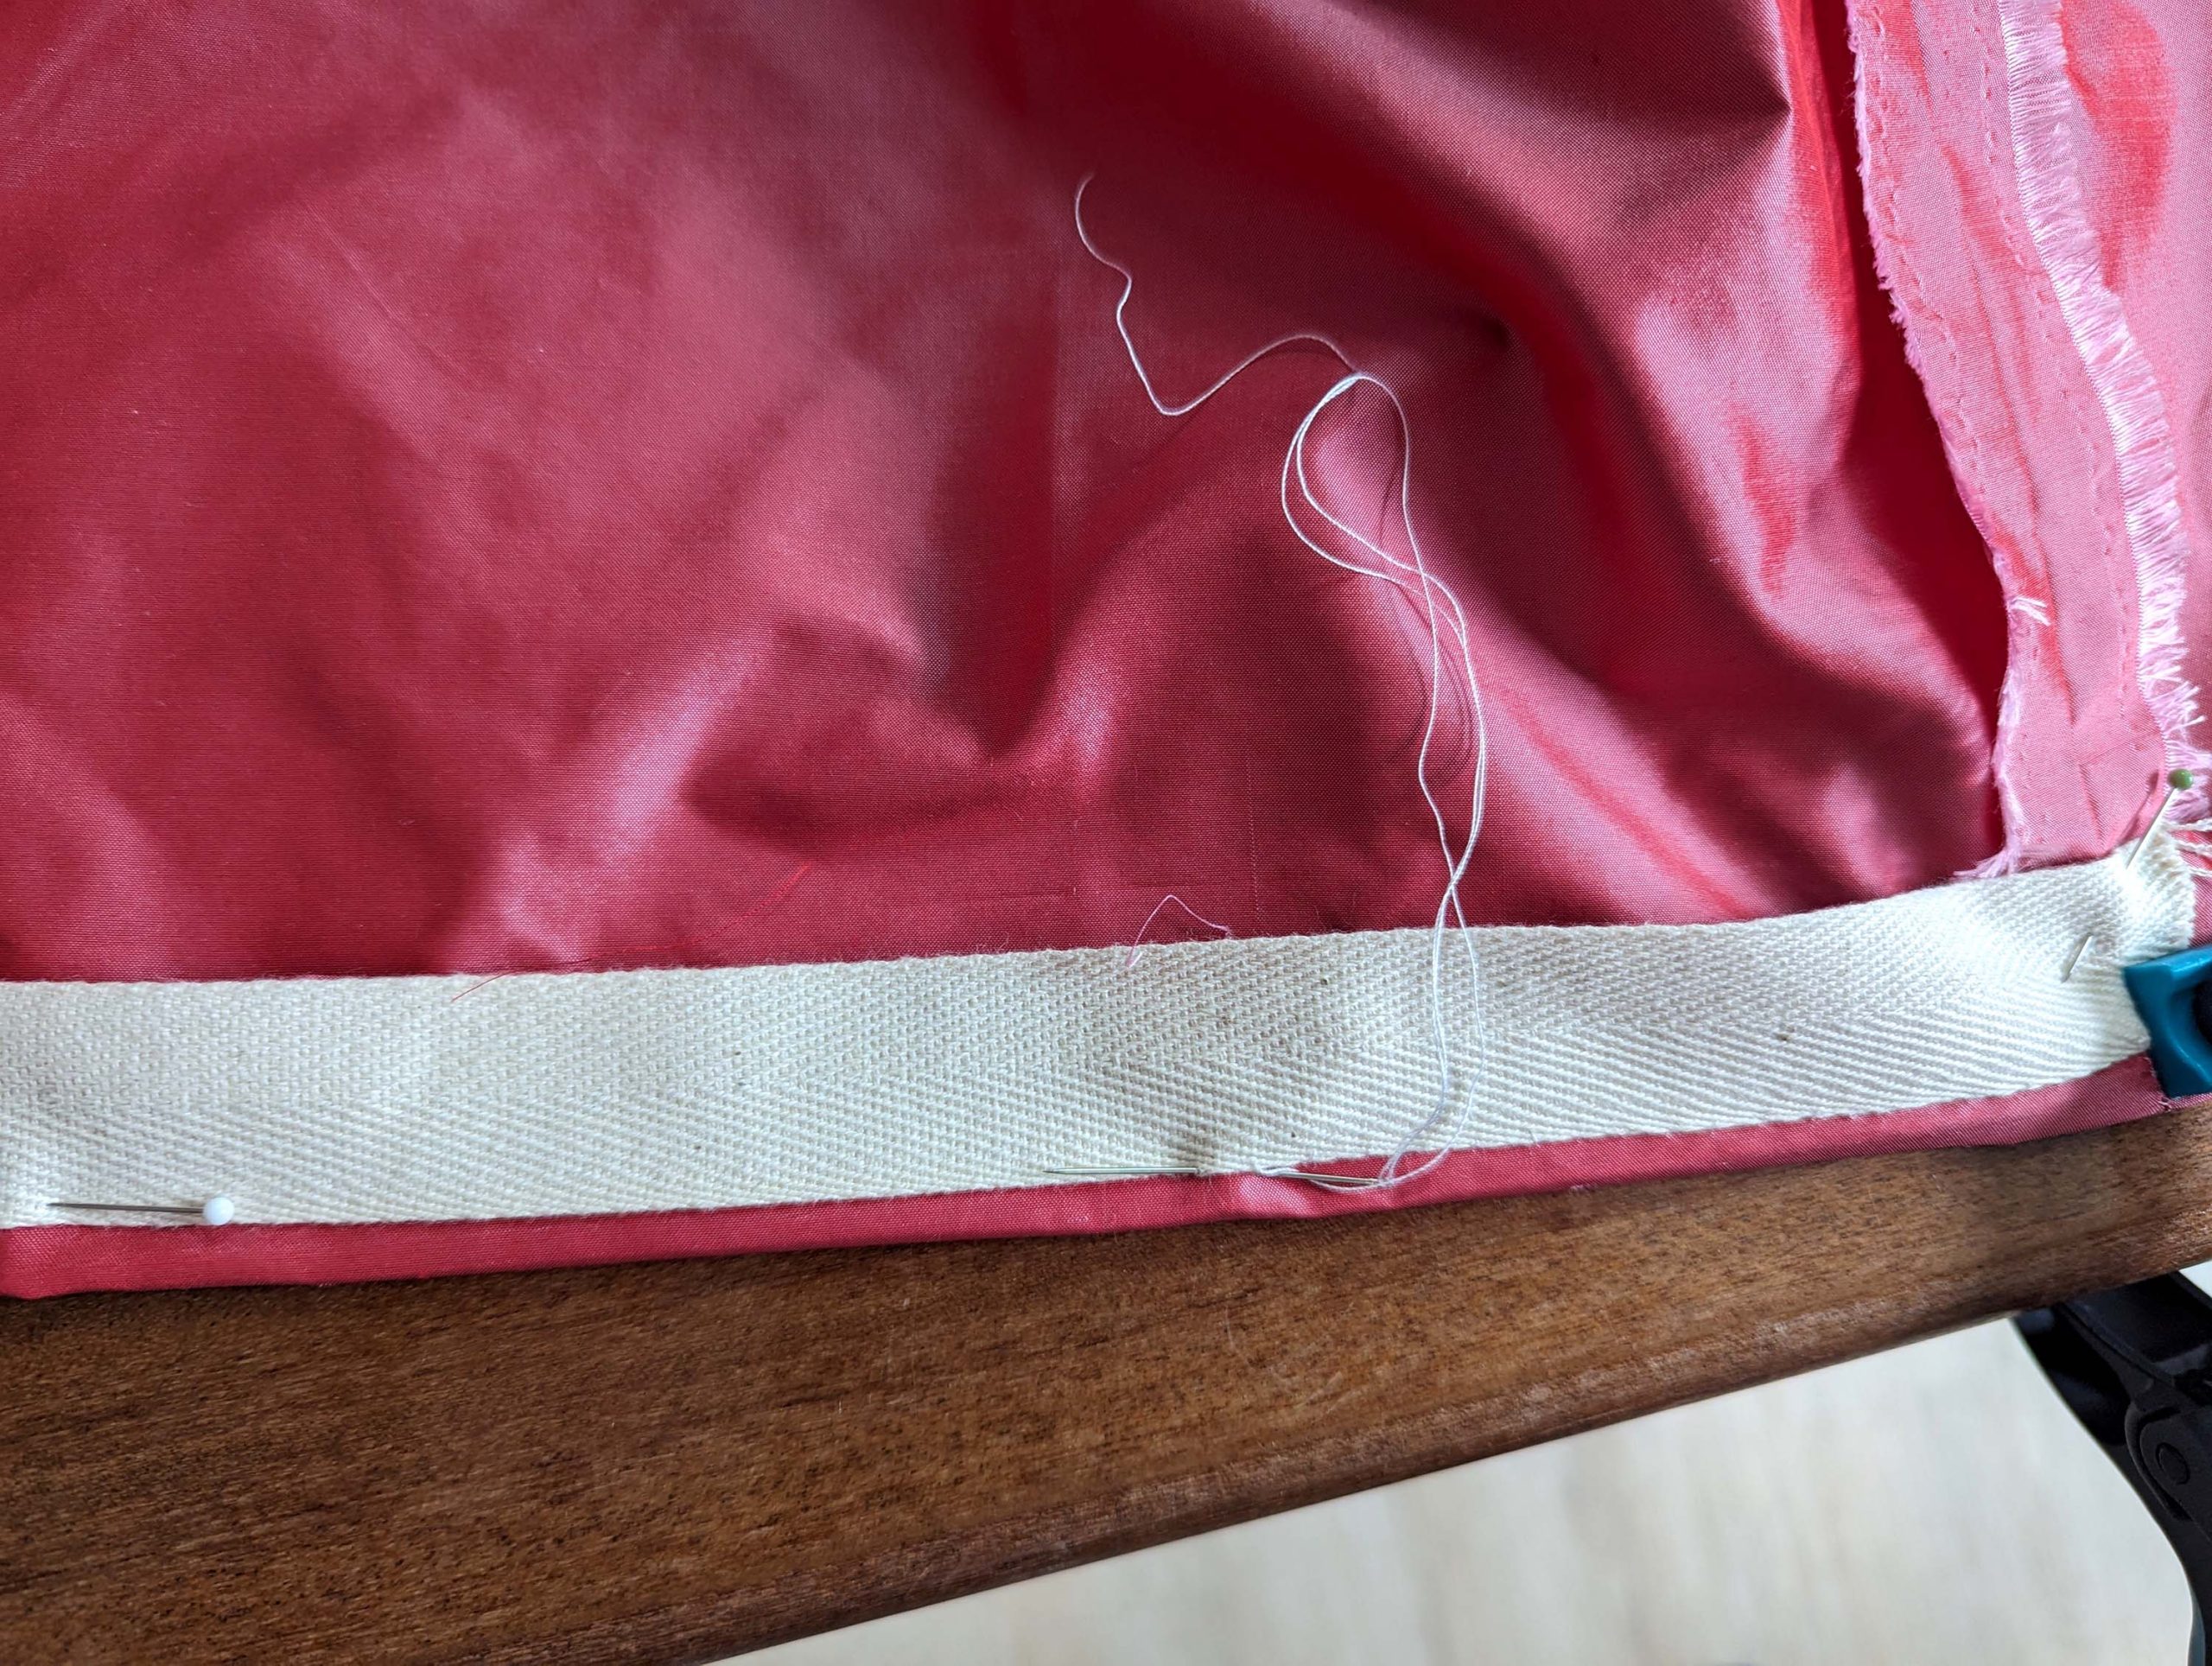
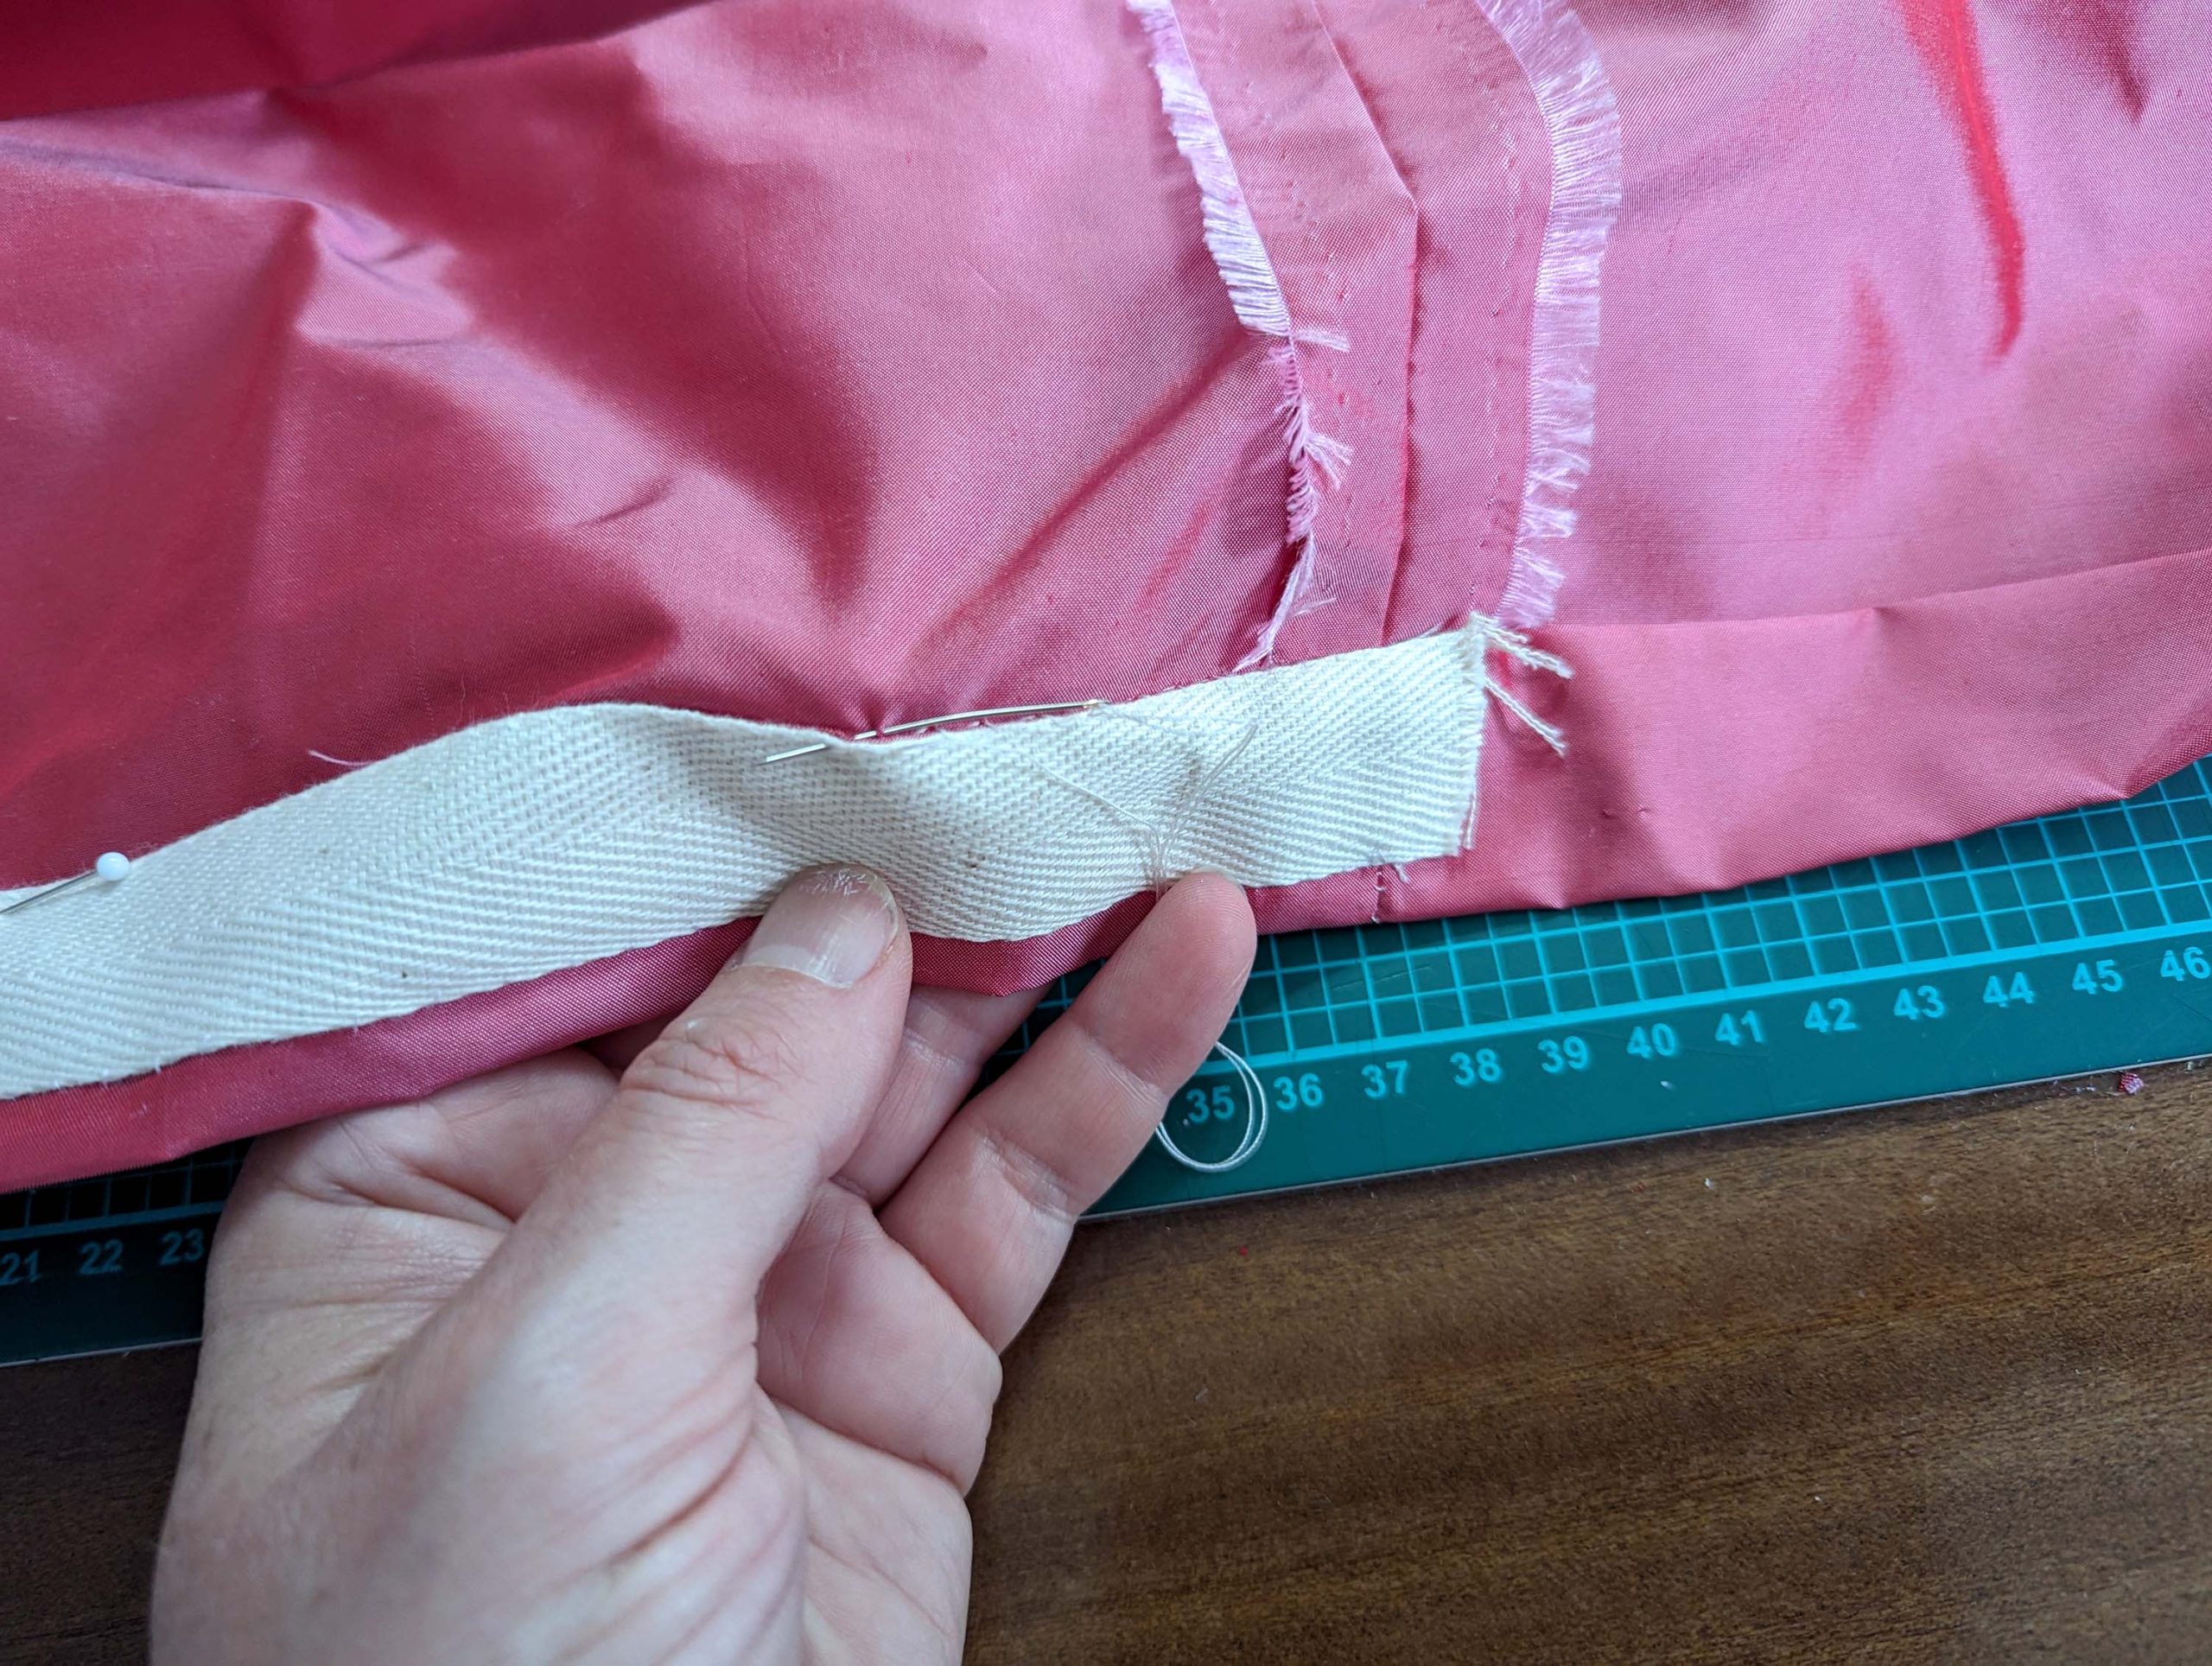
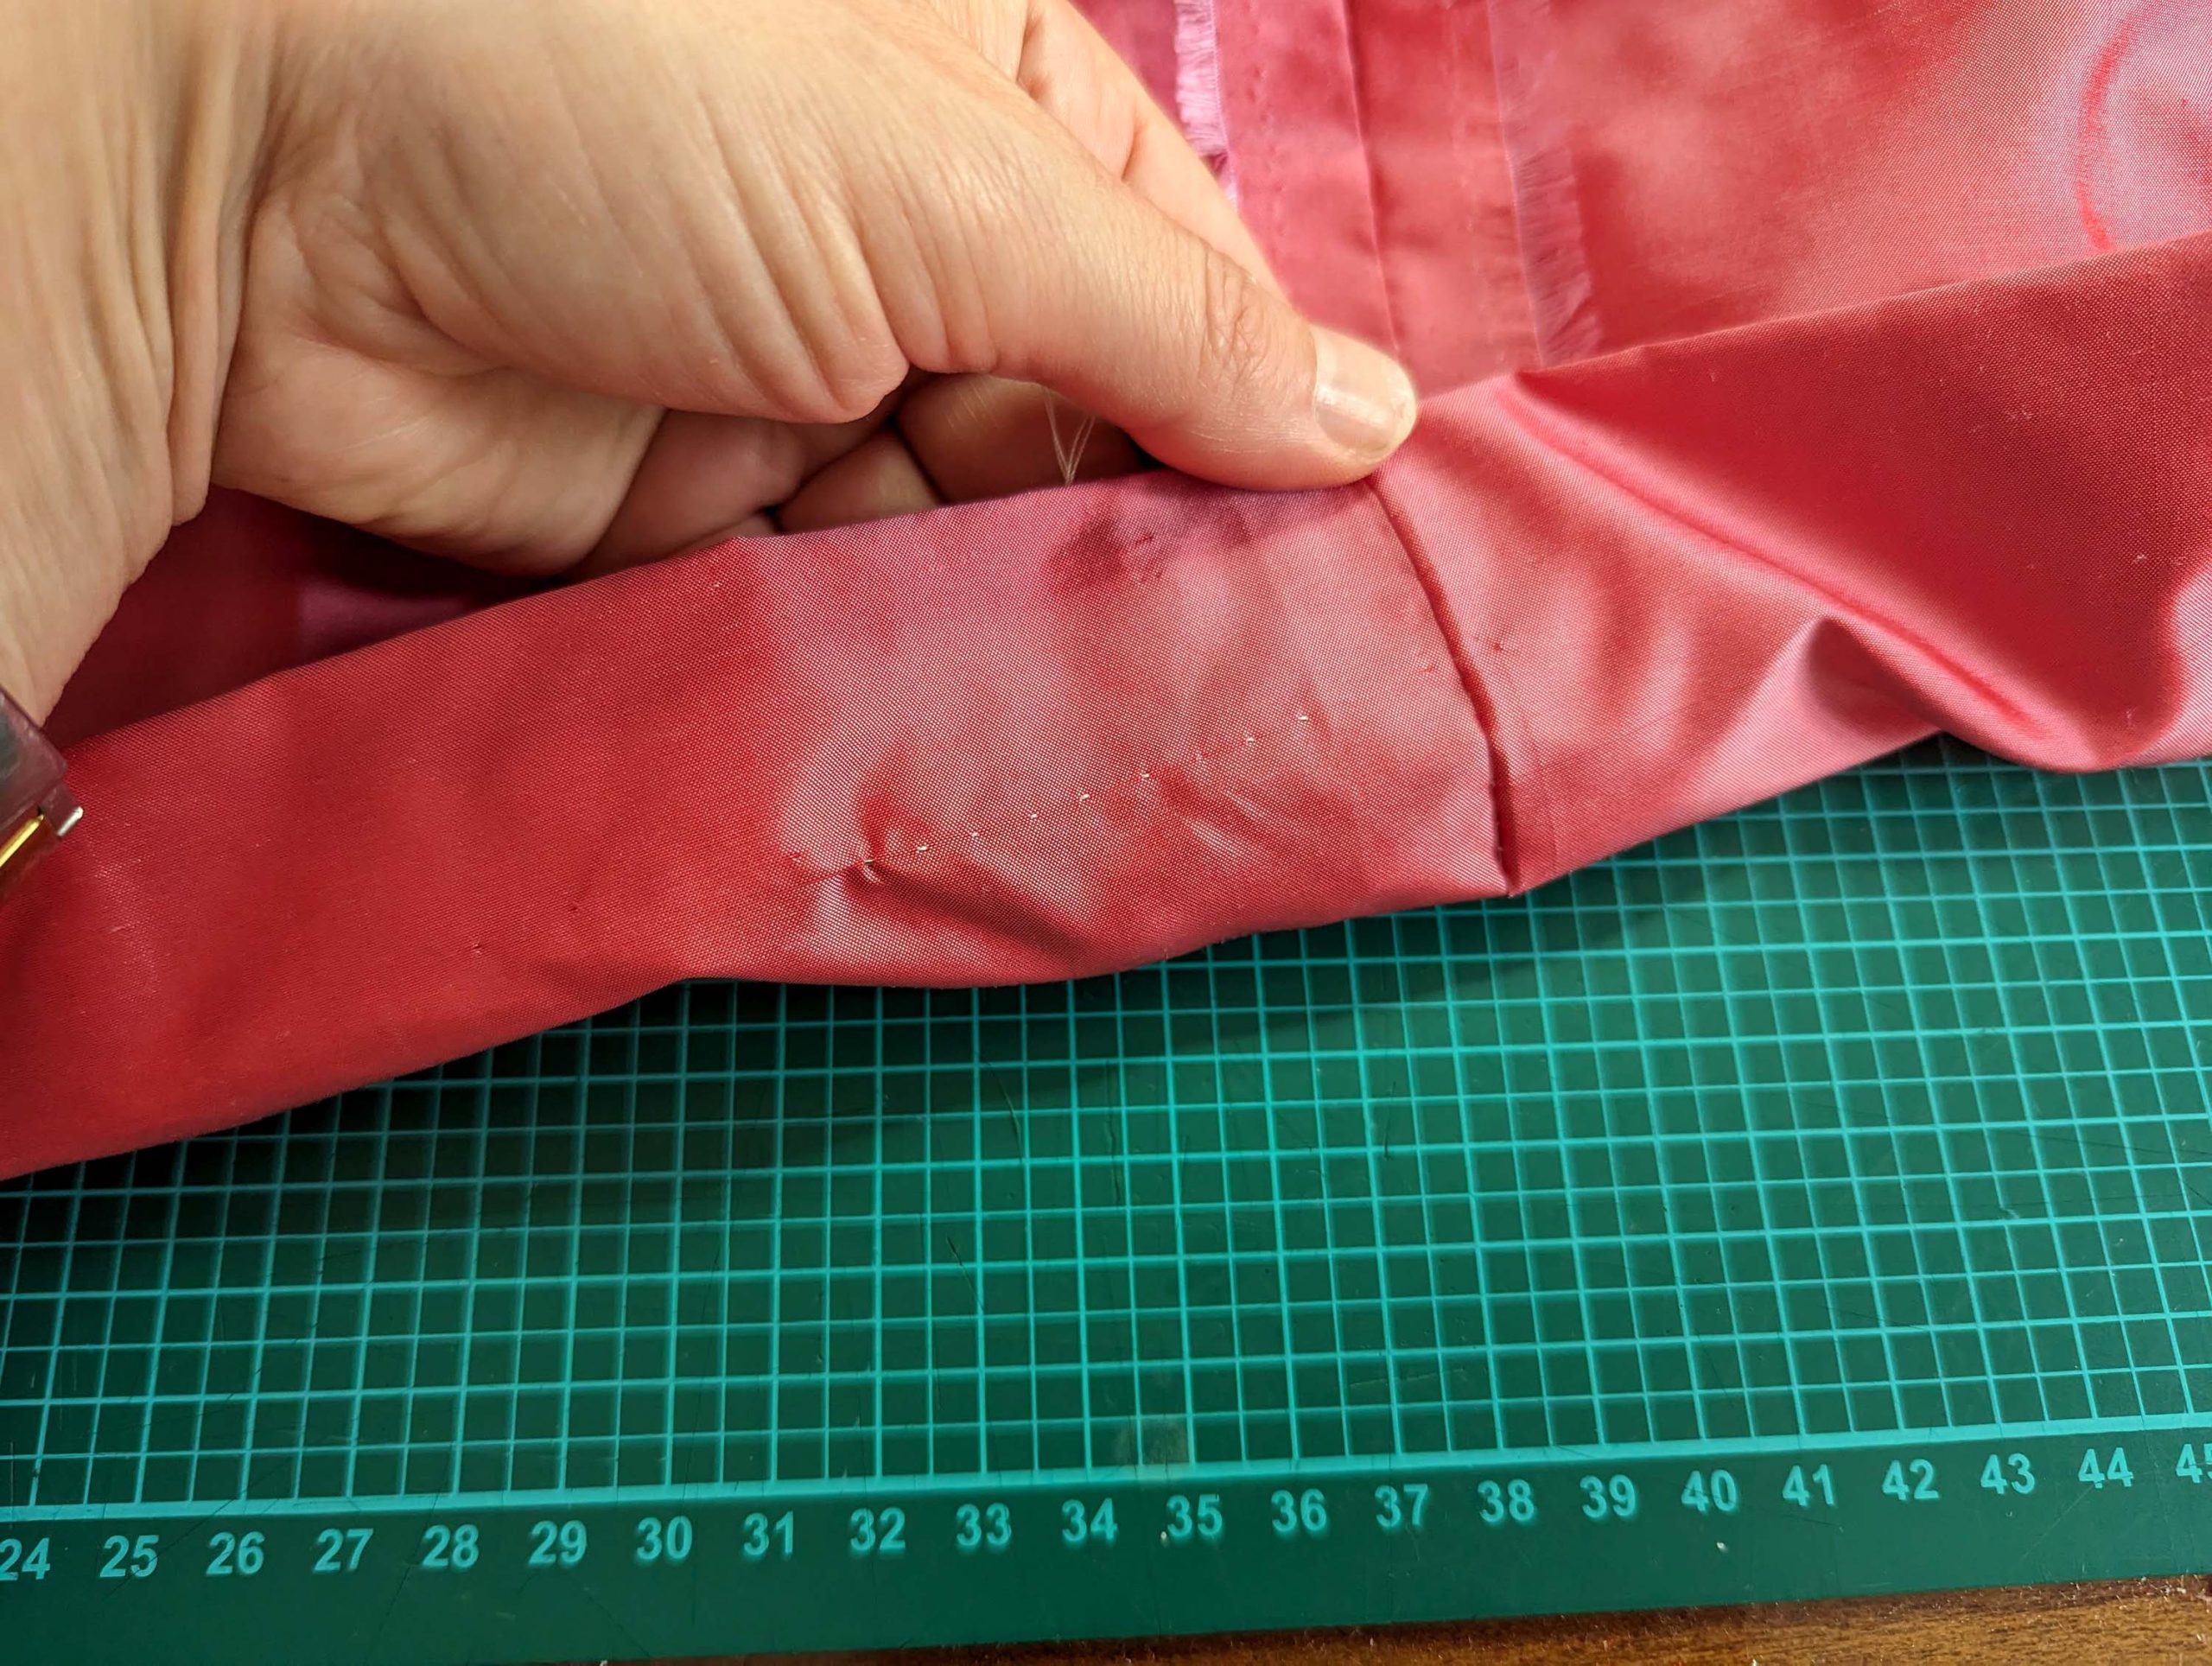
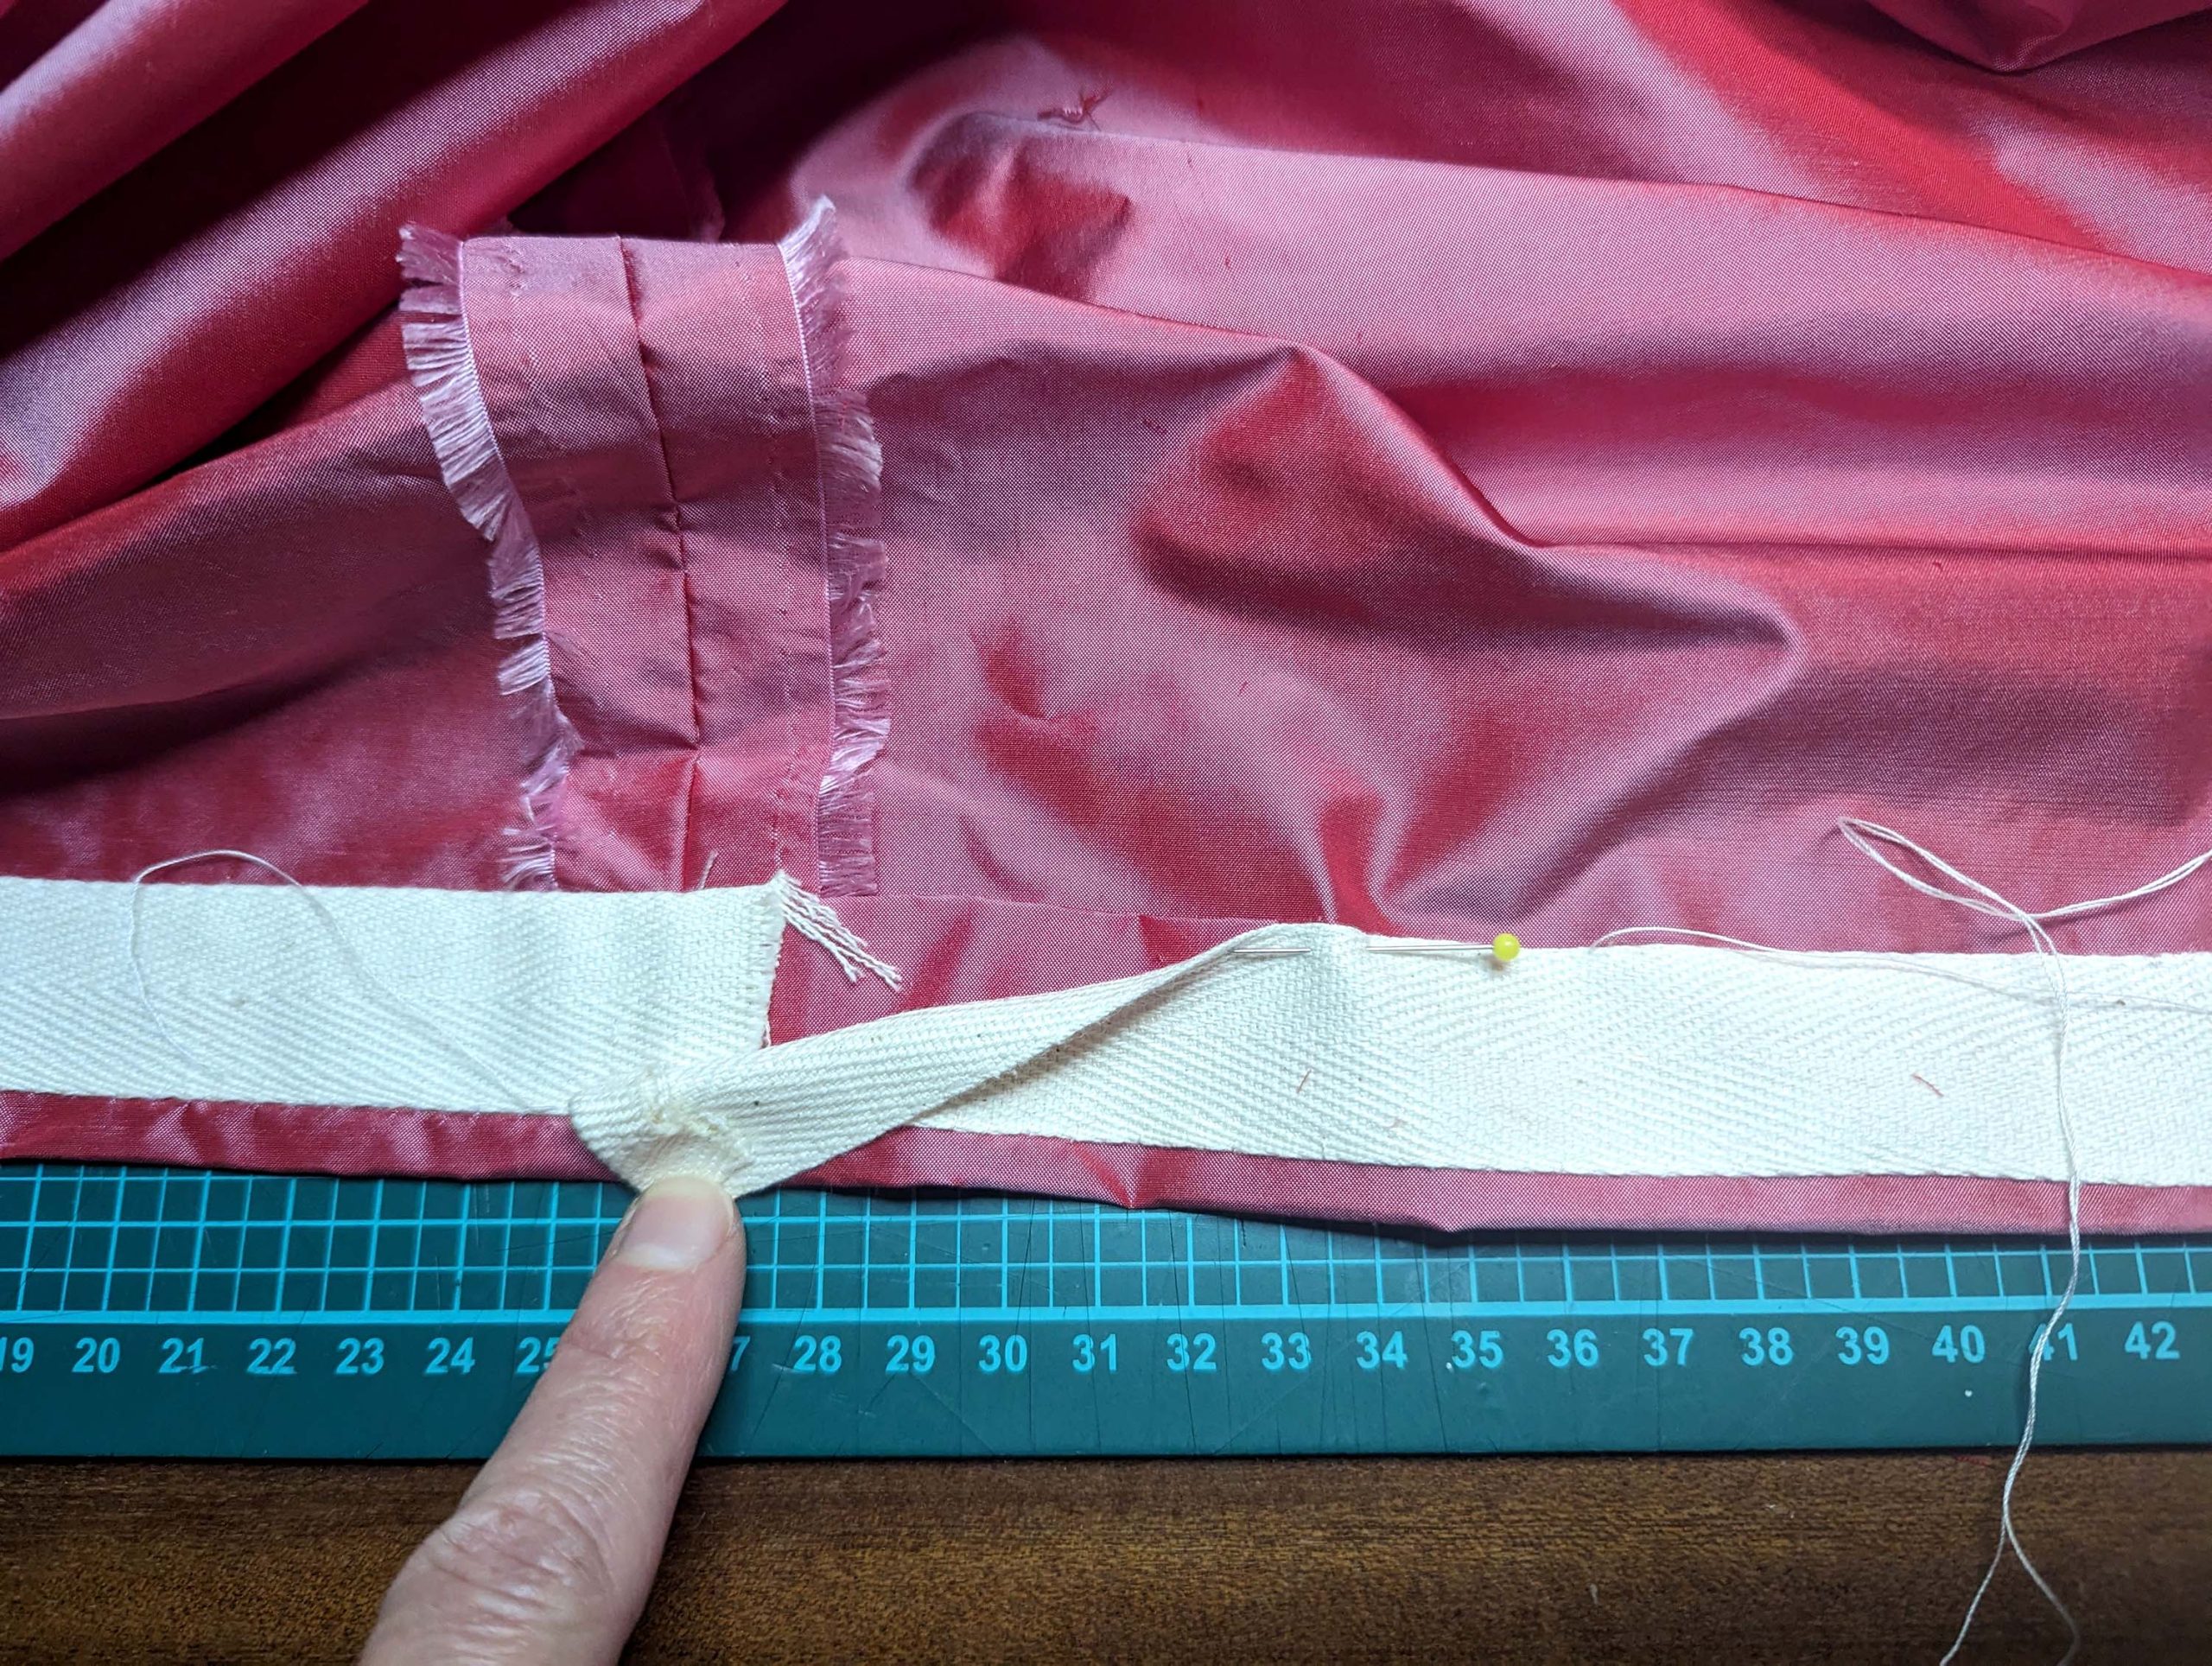
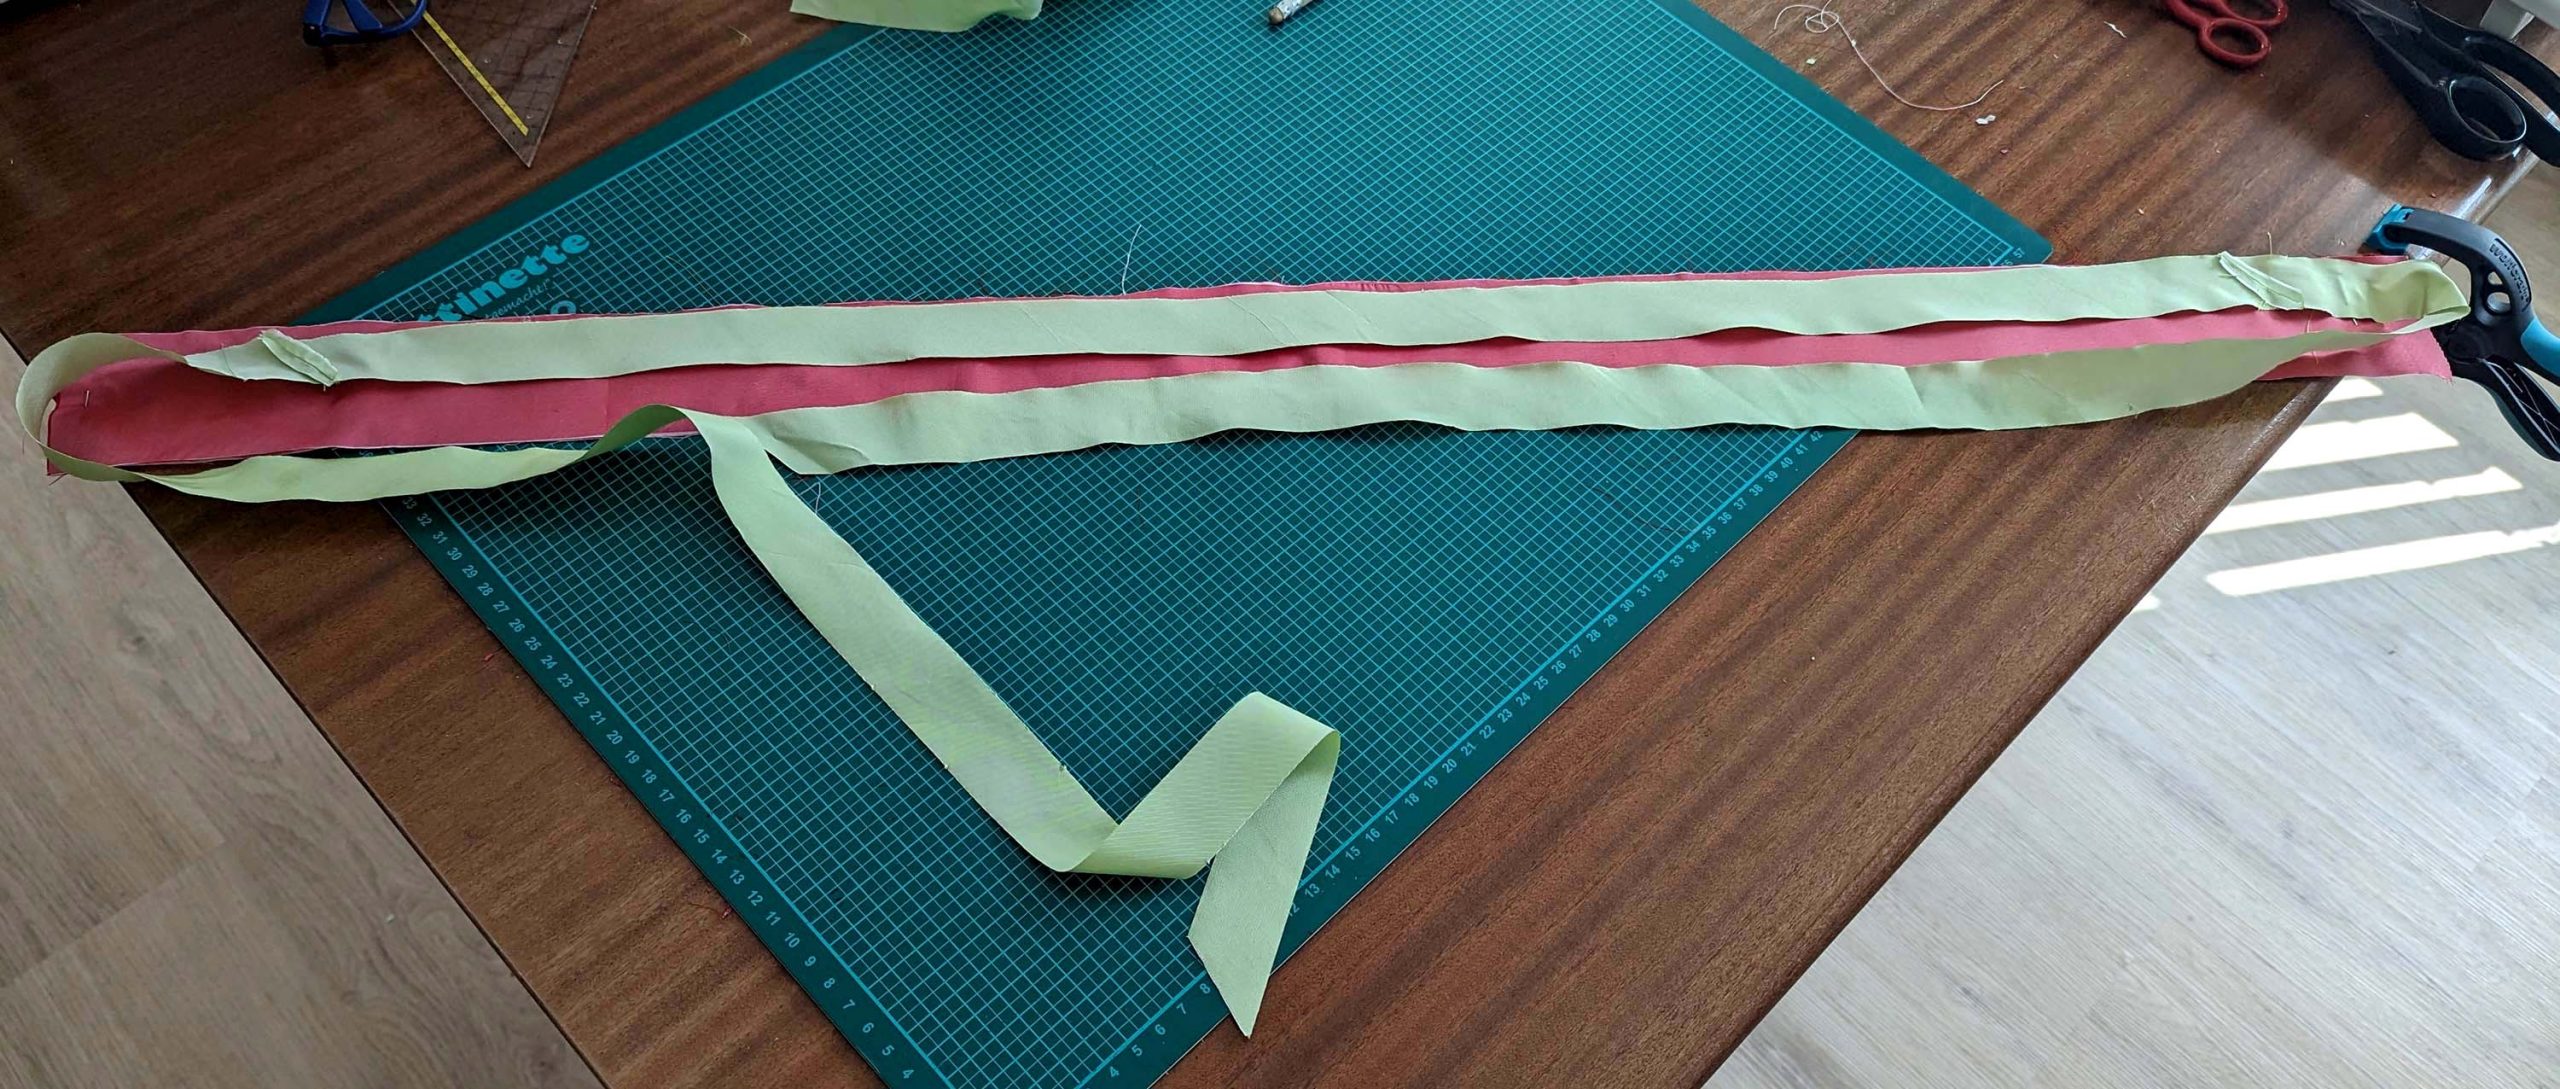
(8) Sew the skirt along the center back, leaving a vent of about 25cm, and secure the end of the vent with a thread bar. Plan a fitting and determine the skirt length, trim back the hem allowance evenly to about 2-3” (5-7cm). Here, I double-turned in the hem allowance and lined up a 1” (2-3cm) wide twill tape with the upper edge. I fell-stitched the bottom edge of the tape to the hem allowance, catching both layers (no stitches visible on the front). Then I hem-stitched both layers (top edge of the tape and turned-in hem), with just tiny stitches visible on the right fabric side.

(9) Belt (optionally): Take the strips for the belt and flatline the fashion fabric. Apply piping all around as described at the neckline and sleeves. Notch at the corners, trying to work there as accurately as possible, avoiding a bias tape junction there like mentioned previously. At the start/stop trim back the bias tape and piping to the length needed and turn in a narrow seam allowance.
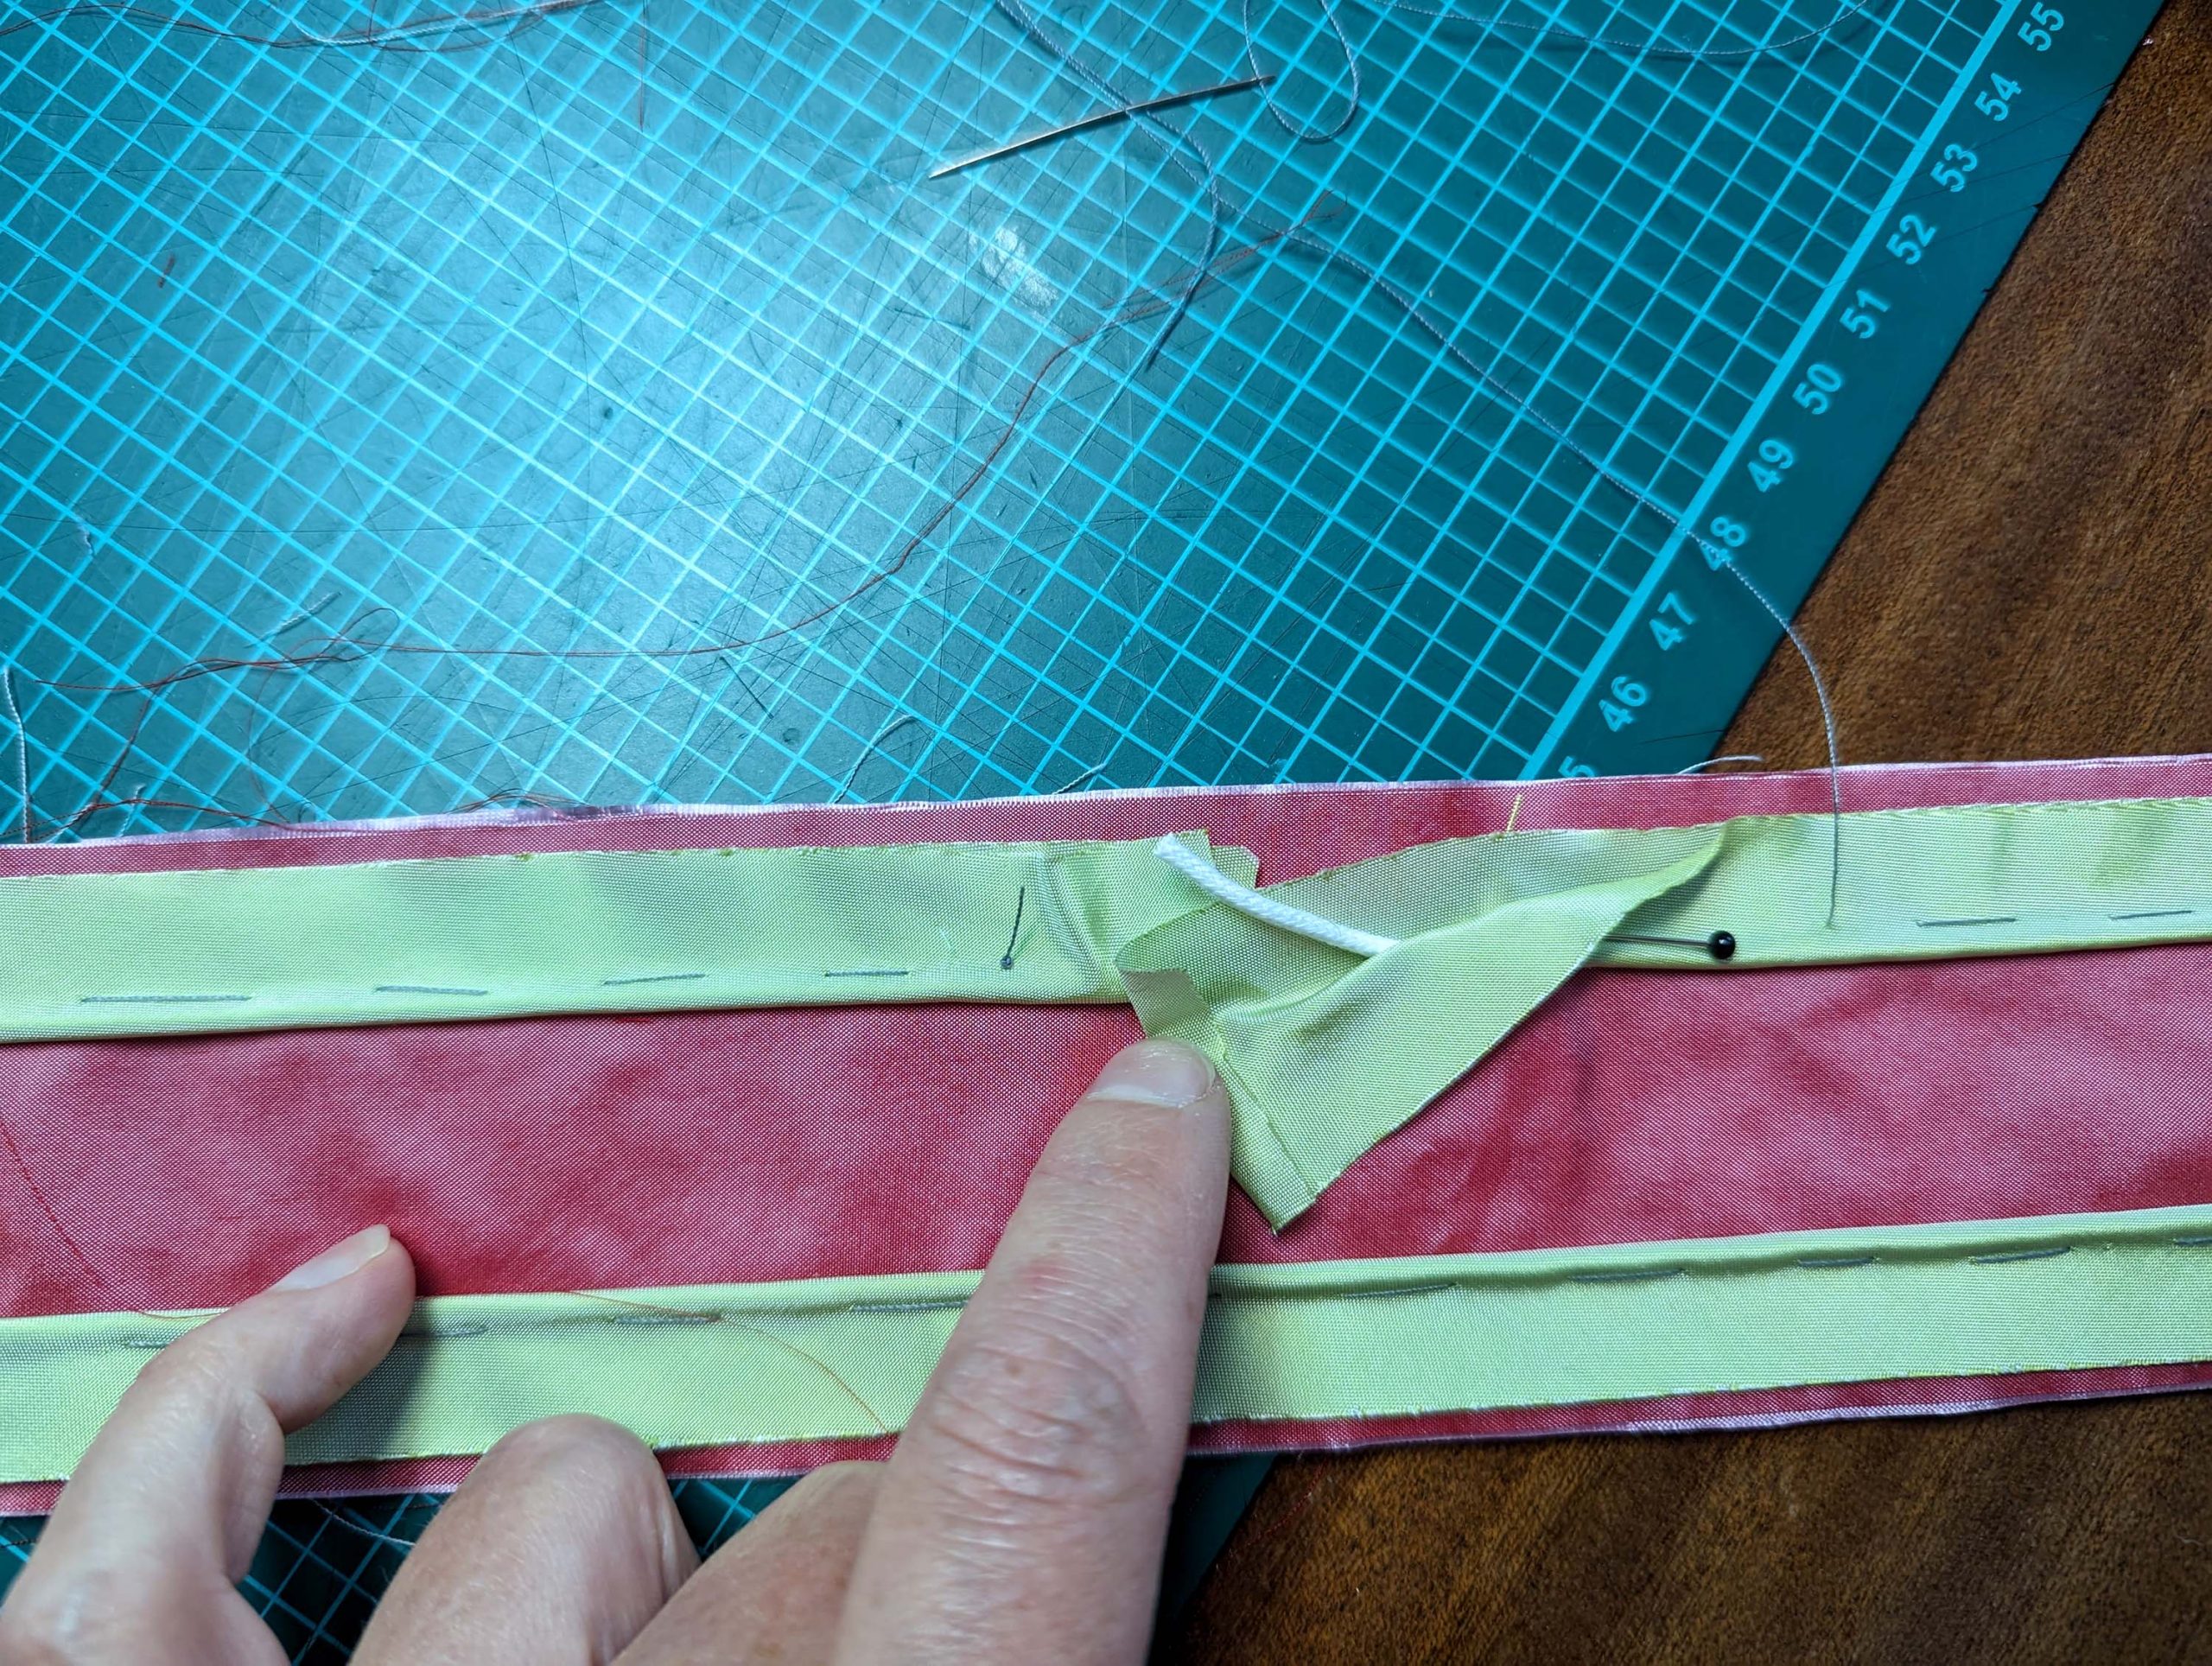
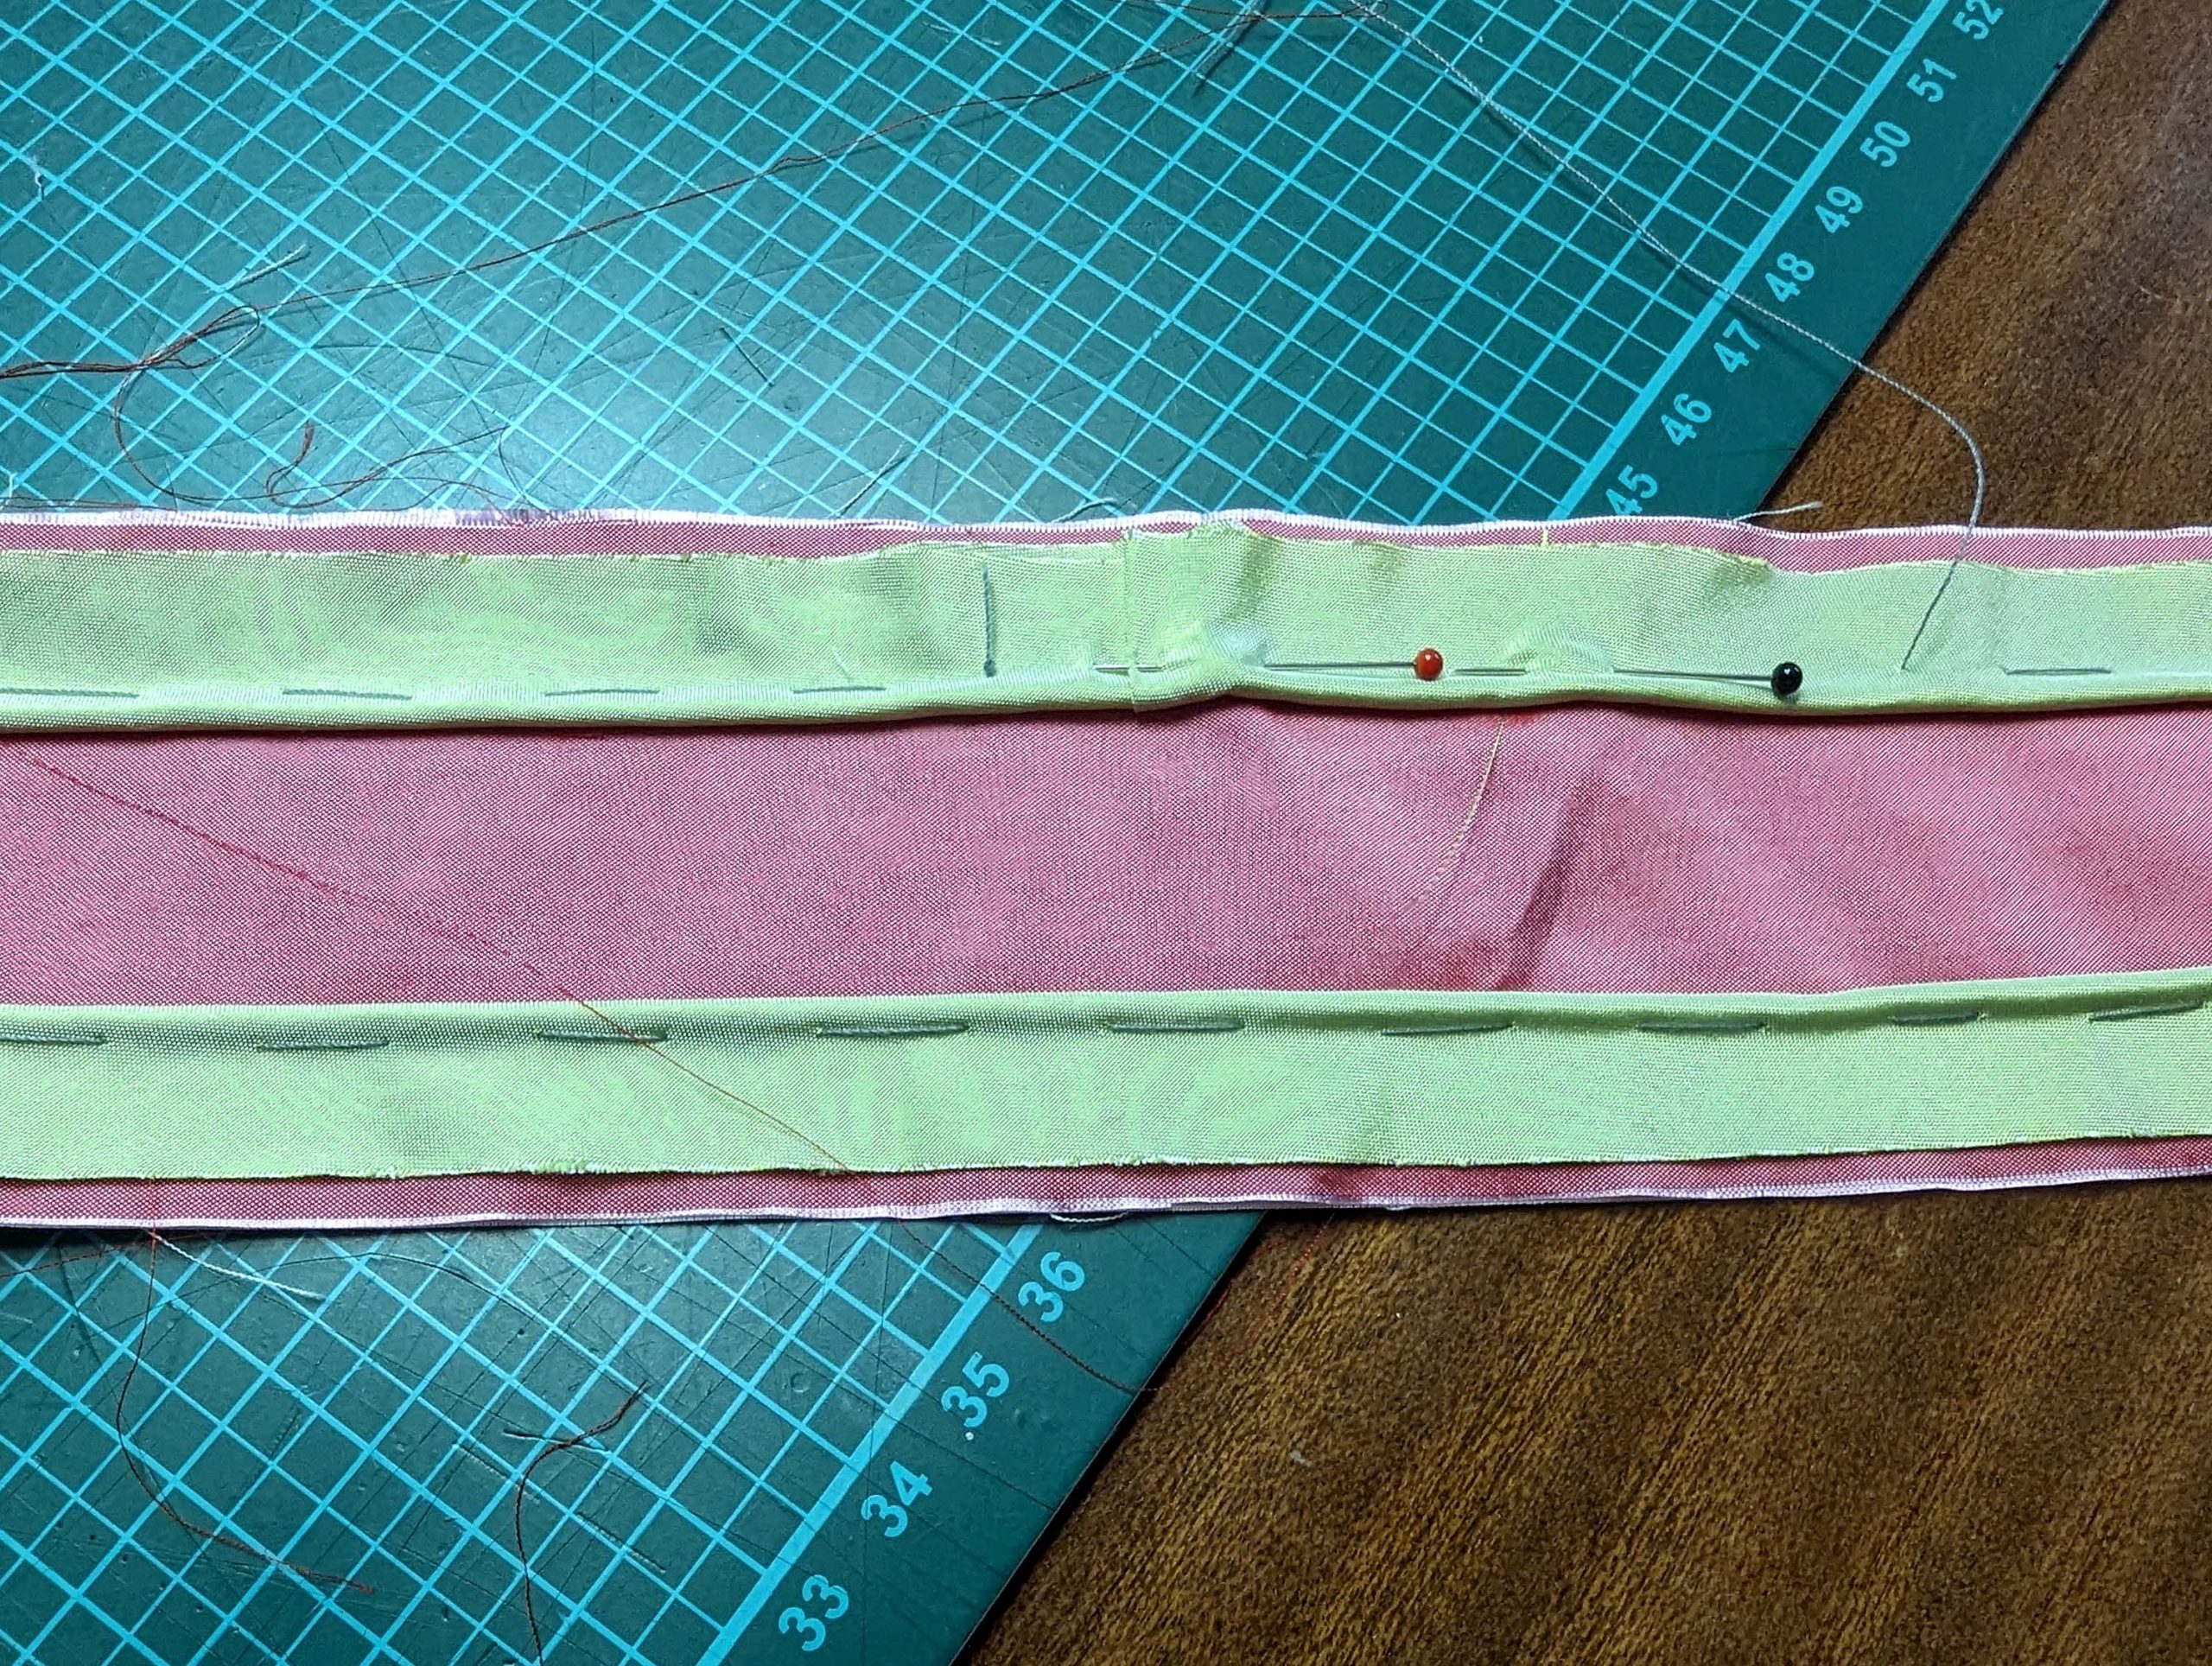
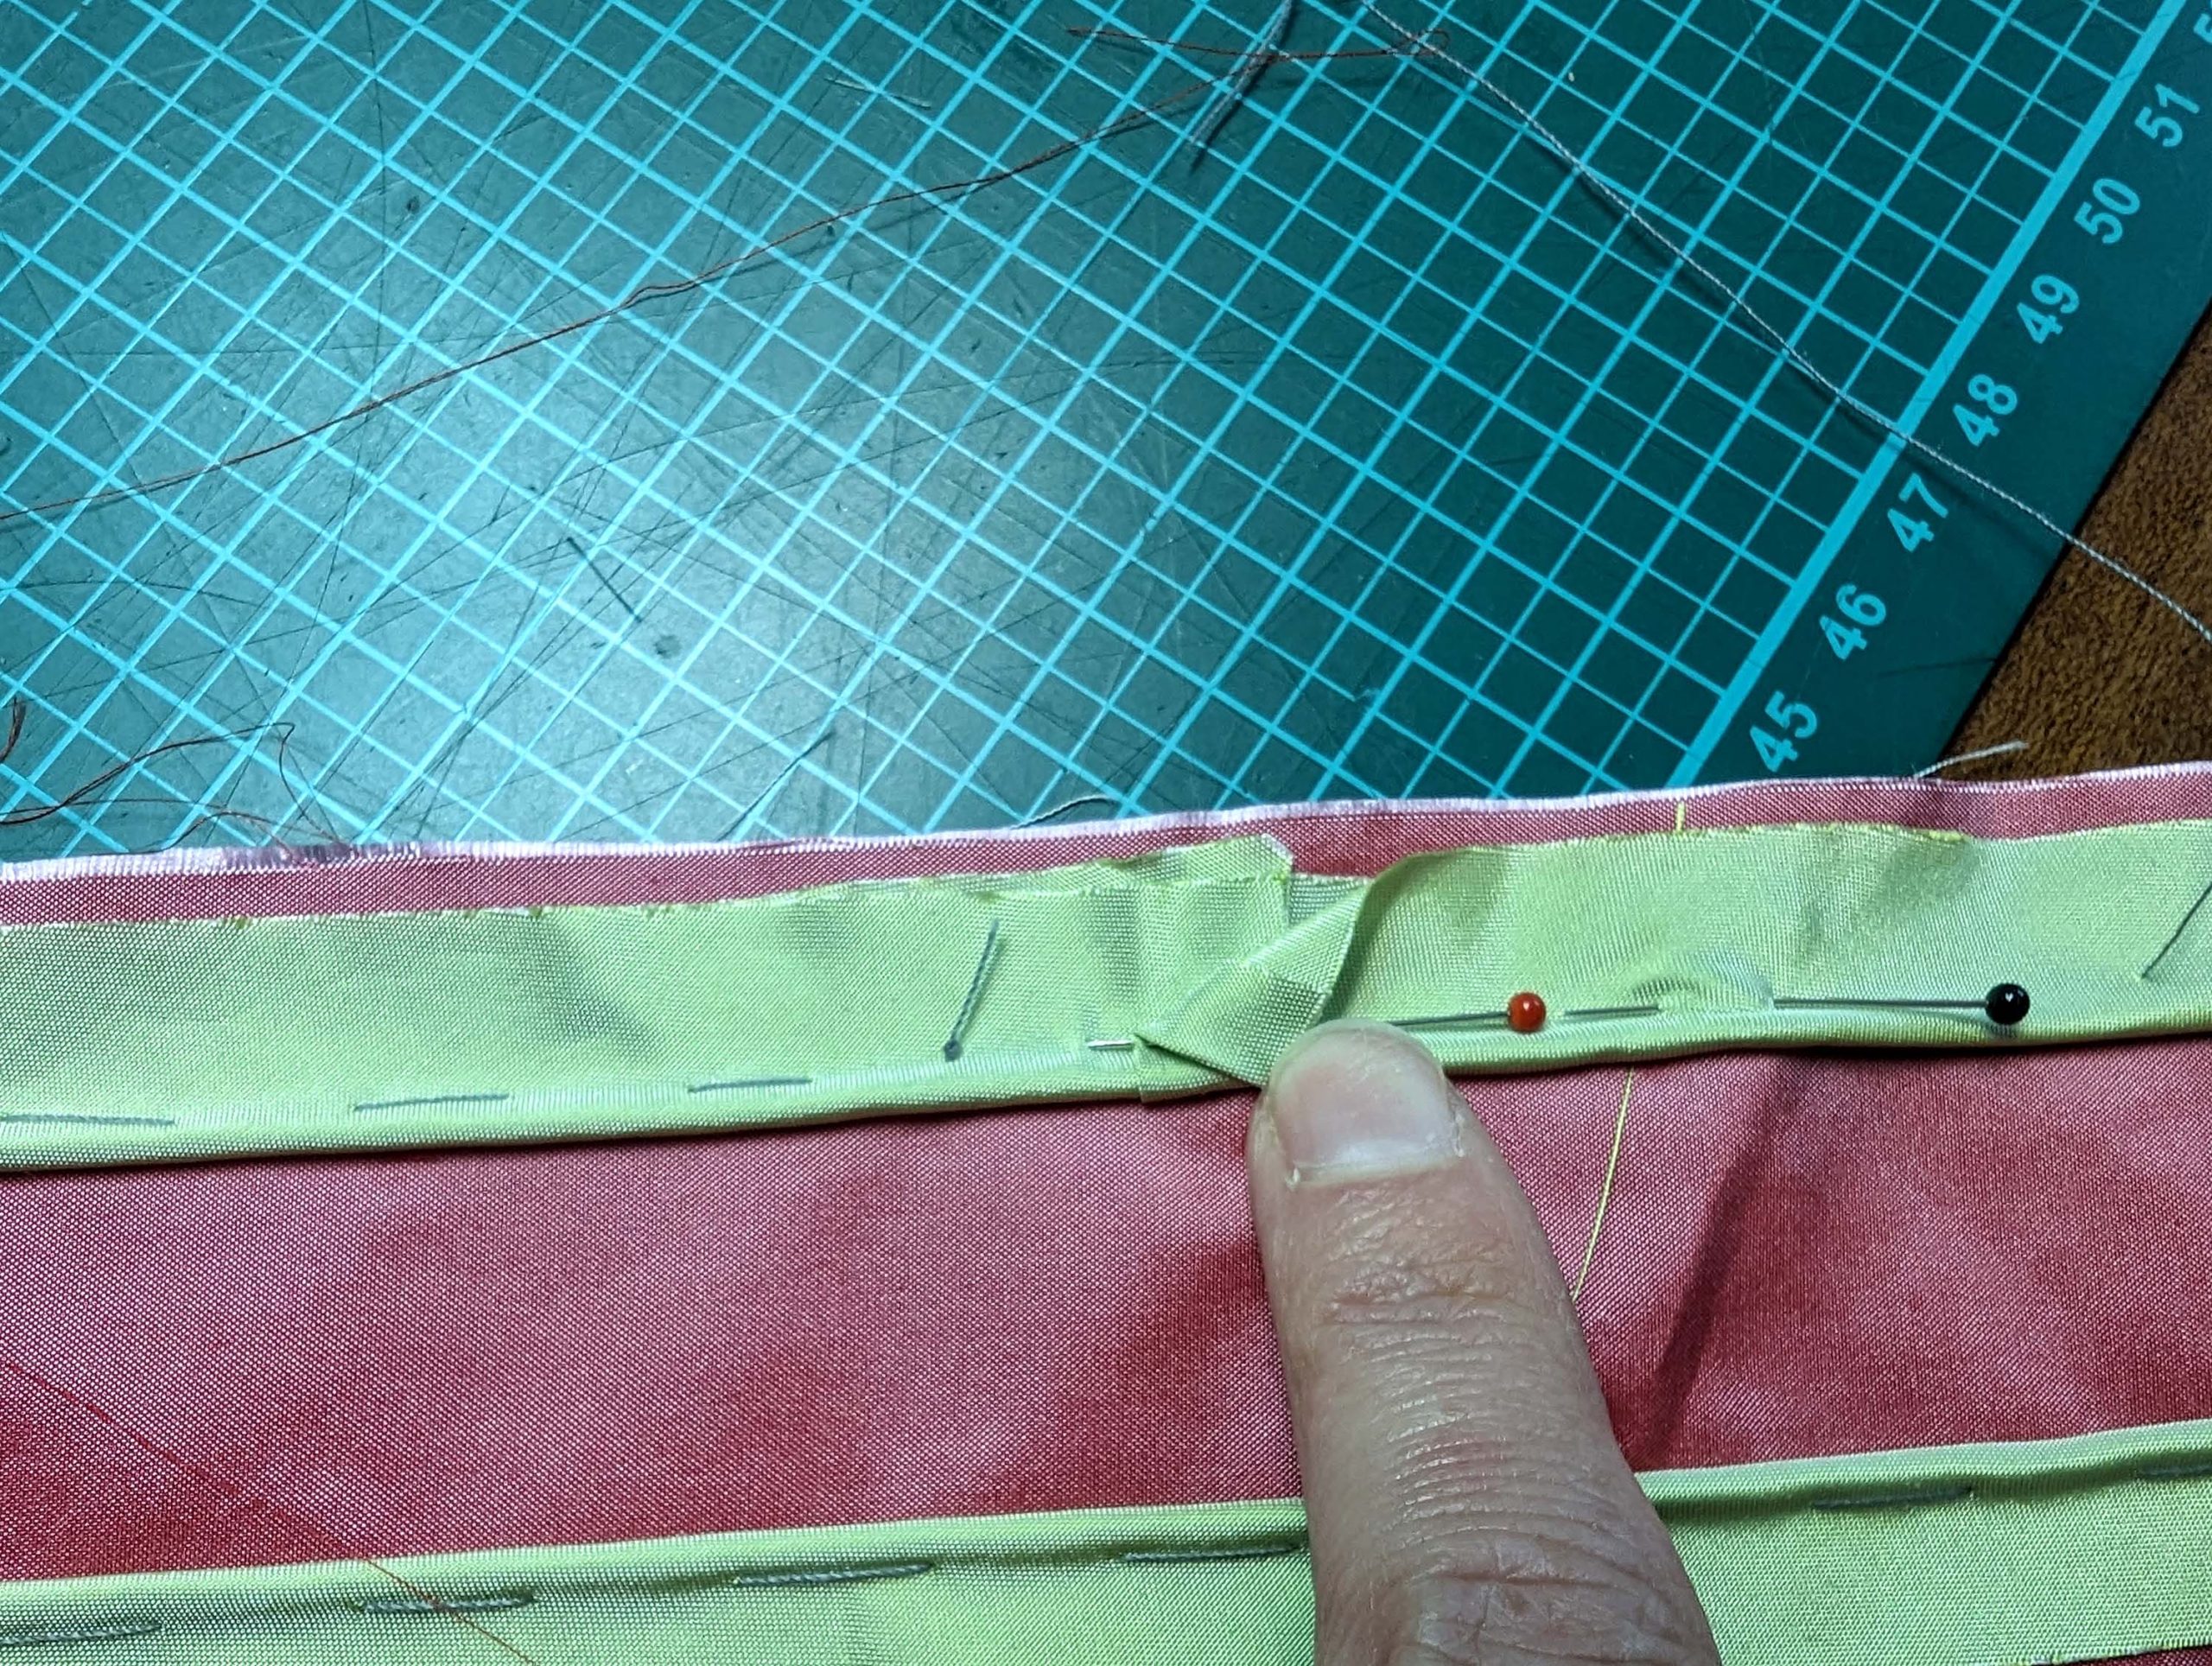
Trim back the seam allowance, leaving the uppermost layer of the piping. Notch at the corners and continue as described before. Sew hooks and thread bars to the ends of the belt to close at the center back. Sew thread loops to the side seam of the dress to hold the belt in place, I decided to cover a 1mm cotton piping with matching thread.