
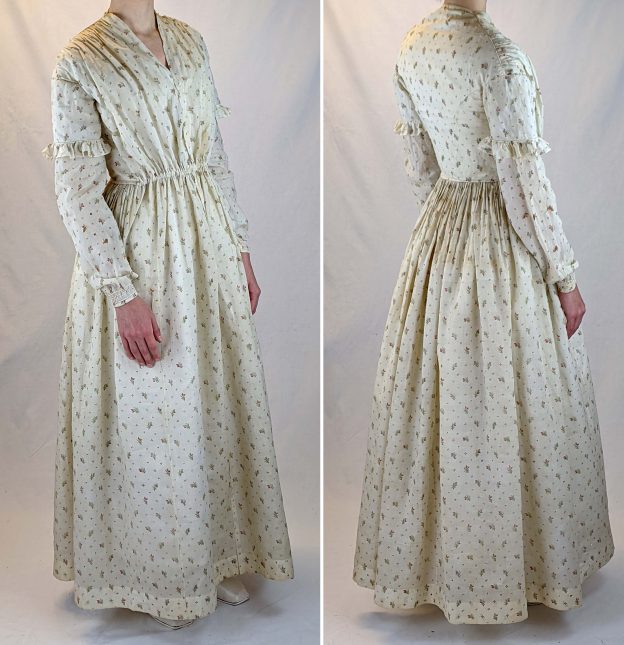
The bodice (except the sleeves) is finished, so it´s time to sew the skirt. Maybe this step seems a bit complicated to you, as it did to me when sewing my replica.
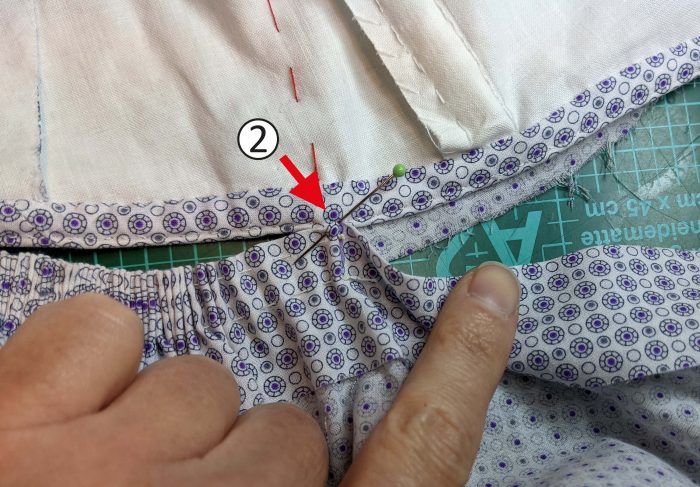
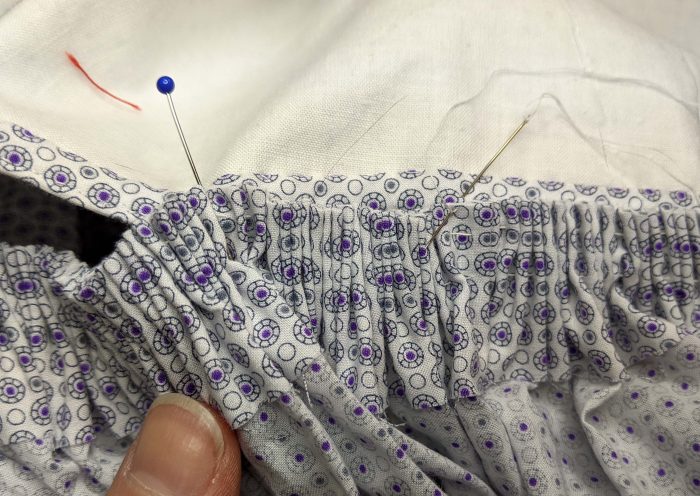
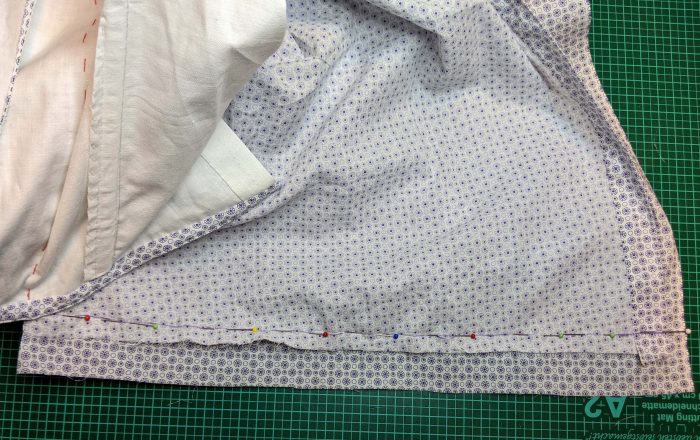
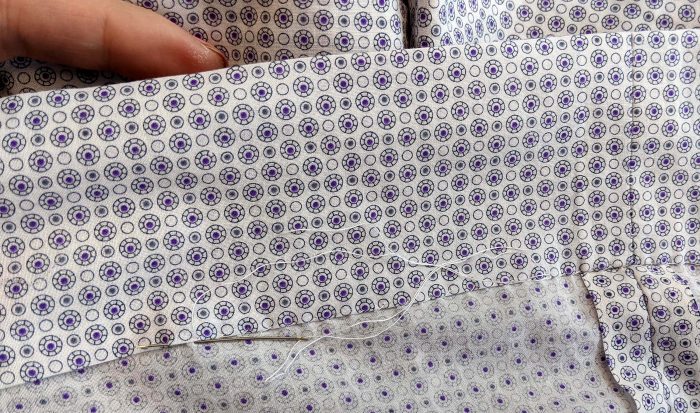
At the back portion of the skirt a wide seam is turned in and this double layer is gathered into cartridge pleats, while the front portion is sewn on plain to the front from the fashion fabric, with a turn point at mark (2). Another pitfall are the seam allowances at the front portion, wide on the skirt, narrower on the front piece. I hope the pictures are supplementing the sewing instructions.
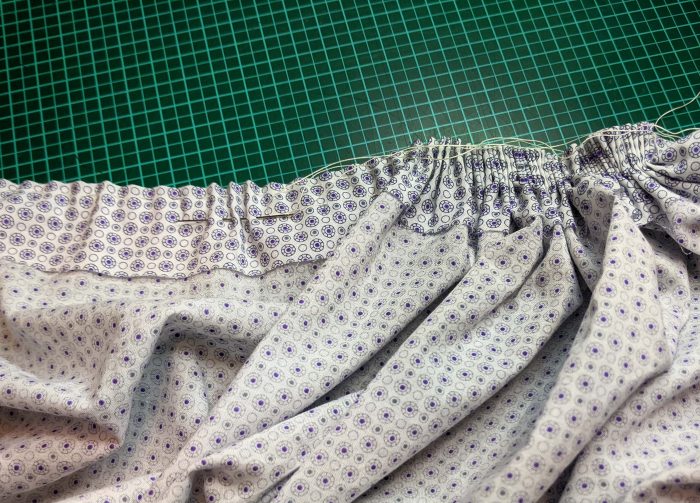
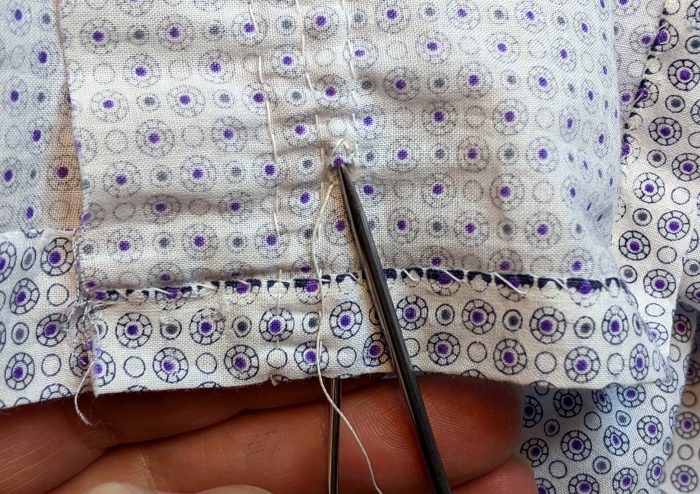
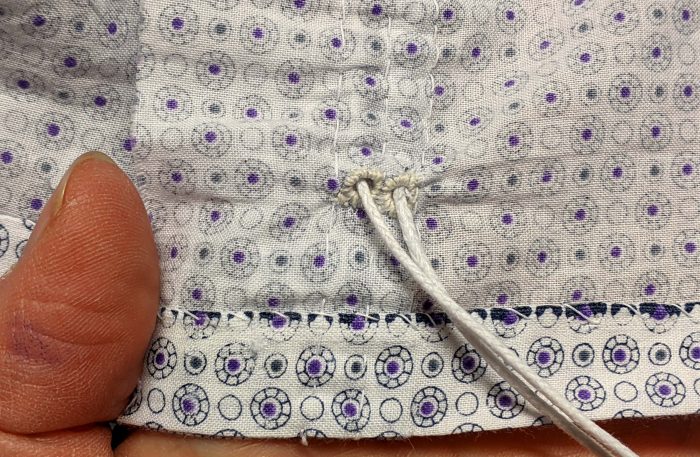
After spreading the pleats as evenly as possible, every pleat is sewn individually to the inside of the bodice.
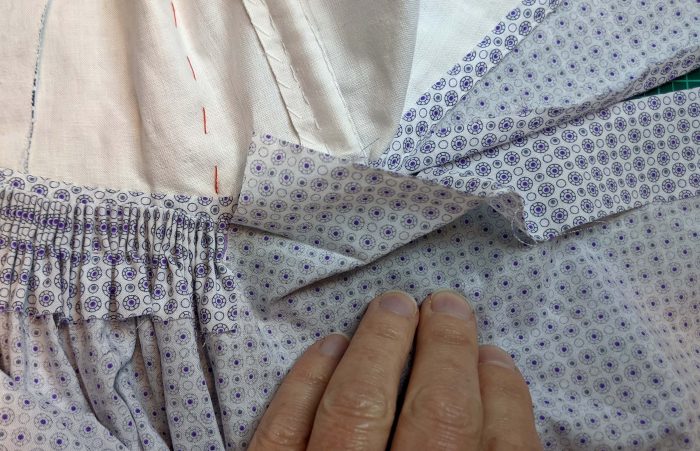
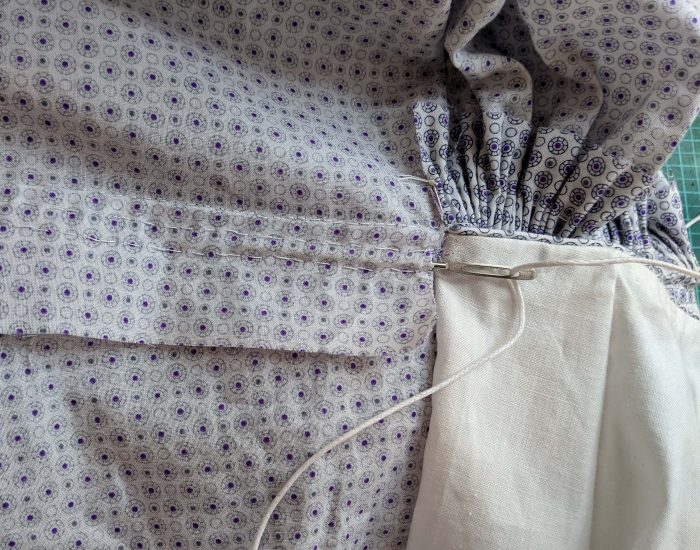
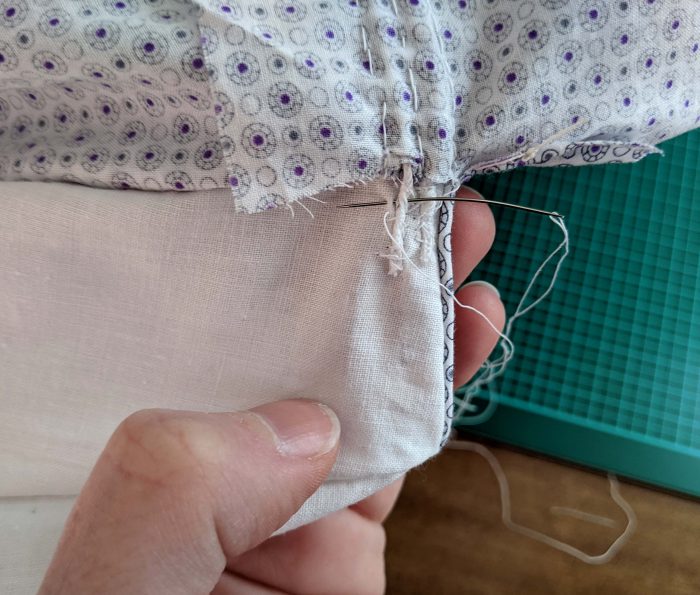
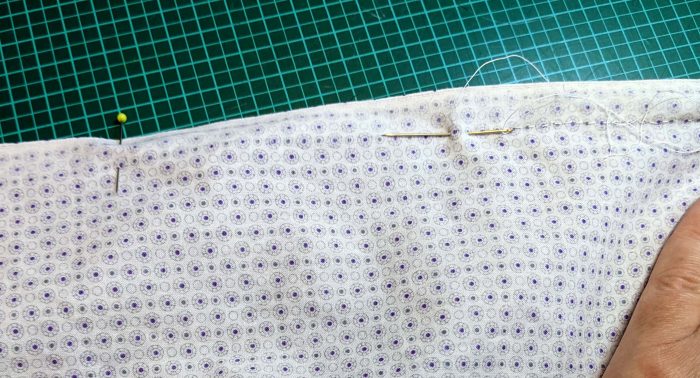
After that, the front portion of the skirt is sewn plain to the front from the fashion fabric, right sides together.
Sew with a back stitch from the skirt side, the seam allowance will be turned into the bodice and just the even side of the back stitch will be visible later.
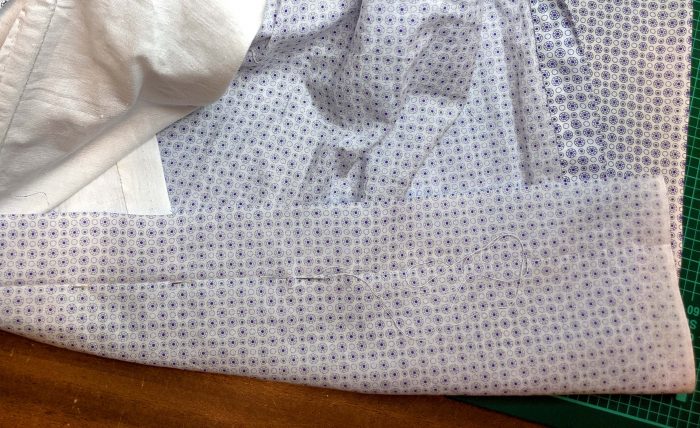
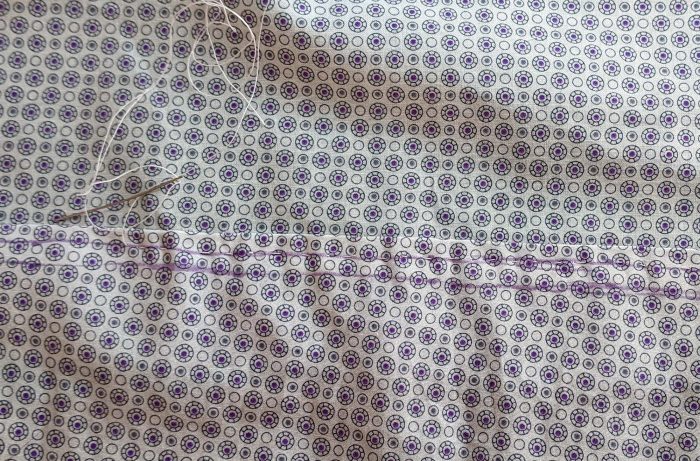
Mark the tunnels for the drawstring on the right fabric side. I used a heat erasing pen to draw some really ugly lines. I used a half back stitch for my tunnels.

On the right front side, I made the two tiny eyelets (seam allowances only, take great care not to catch the outermost layer) after stitching my tunnels. On the extant dress, the drawstrings are leaving the tunnels at the center front on both sides, what makes it a bit difficult to close the dress properly. With this eyelets you will be able to add hooks and eyes or buttons to close the front, even when closing the dress with pins it will be easier with an overlap of about 2centimeters.
Two steps are missing to finish the skirt, closing the center front and sewing the hem after checking the length.
Next post deals with the sleeves…