
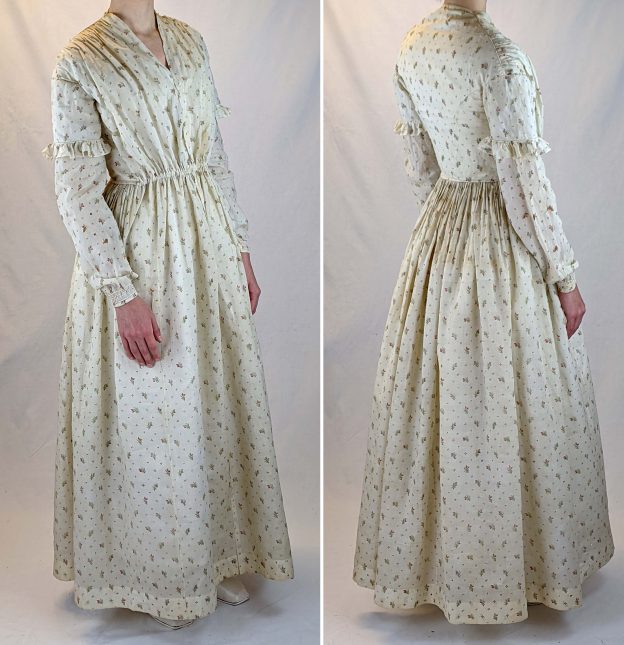
If you´re interested in sewing the dress you can purchase the sewing pattern via my Etsy shop. At the moment just a digital pattern version is available, the printed version is coming soon.
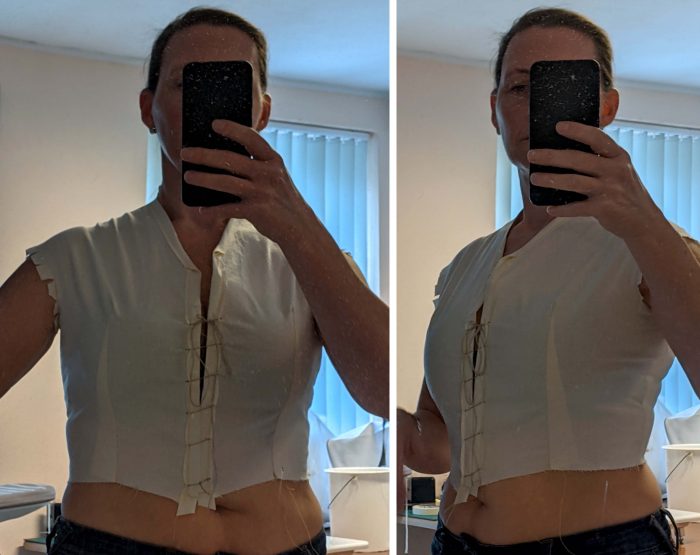
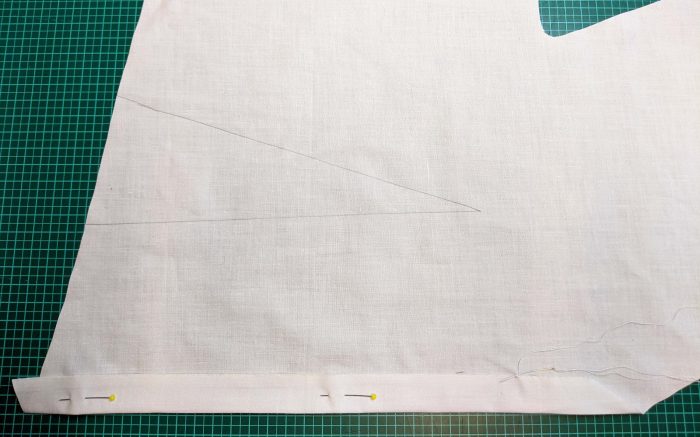
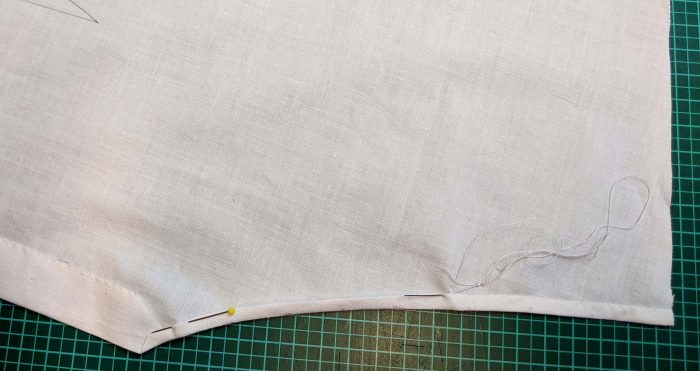
The first thing you should do is a mock-up of the lining layer. As you can see, mine got too short at the waist, had to add some centimeters. The armhole was pretty narrow as well, even with the seam allowances clipped. This picture was taken, when I was starting to take the pattern from the extant dress and adjust the pattern for my size. The original dress size is about EU 36, I need a size EU 42.
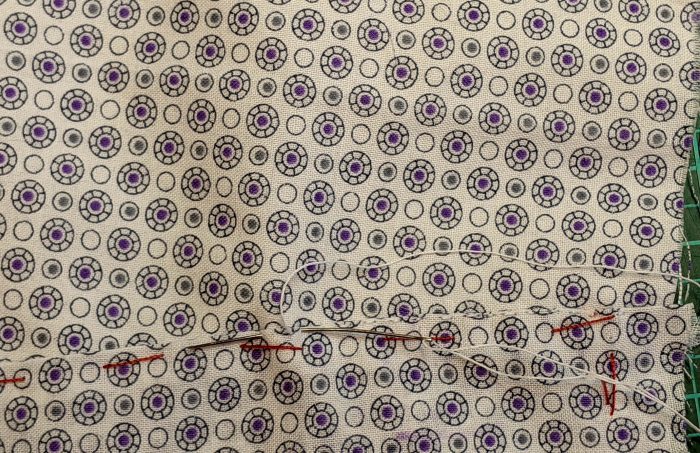
This is the back lining, with the back and side back from the fashion fabric lined up and basted in place. I tried to imitate the fine and regular back stitch from the extant dress, but I failed. Thank God, the print is hiding my stitching!

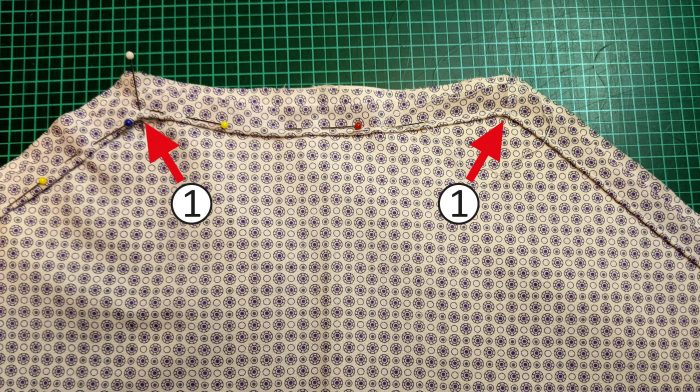
This is the piping that goes from one shoulder along the neckline to the other shoulder. Shame over me, I omitted the basting and made a little mistake. Backstitching only is necessary along the neckline, between the marks, along the shoulders basting is sufficient for the moment.
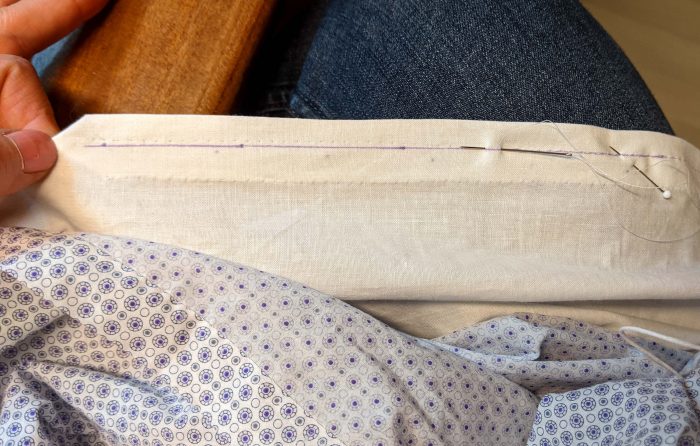
Next step is to prepare the fronts from the lining. Some years ago, I purchased several meters of a vintage cotton fabric. It is exactly the same quality as the lining of the extant dress, with a neat and sharp selvedge, which I cut on at the front edge. You can see the turned in facing, which is fell stitched in place and the dart lines. On the second picture the seam allowance along the neckline is double turned in and fell stitched in place as well.
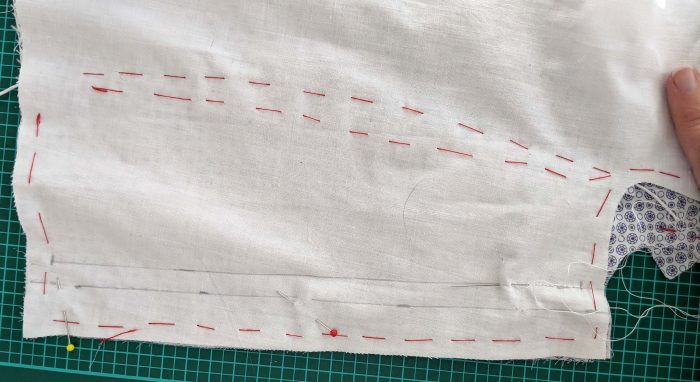
Sew a second row, parallel to the front edge to create a boning channel and sew the eyelets.
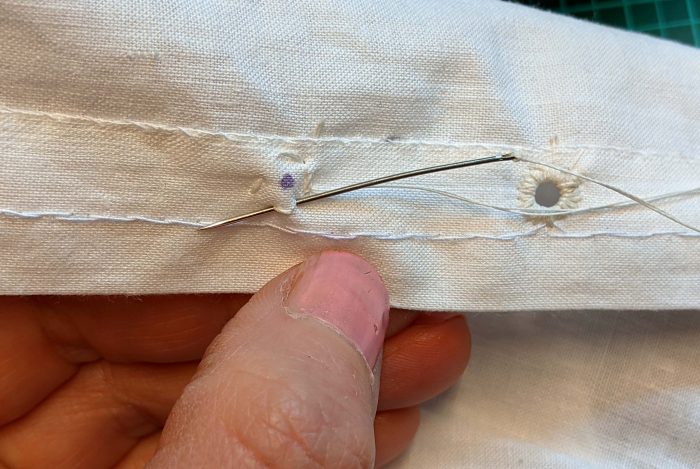

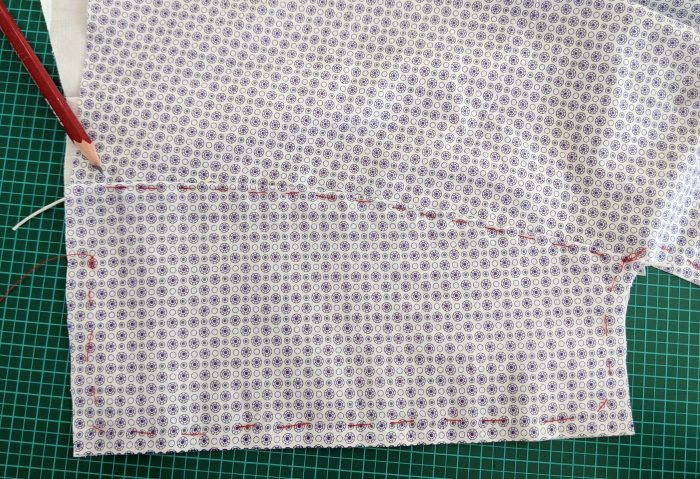
Sew the darts, sew a second row parallel to the dart seam to create a boning channel. Trim back the seam allowance and overcast.
My fashion fabric has a neat and even selvedge as well, so I cut them on to turn in the facing only once and fell stitch in place. Again, the print hides my stitching, which I didn´t manage to do as fine and regular as seen on the extant dress.
This picture shows the front, gathered to fit the shoulder of the linin. The edges along the armhole are lined up, as well as the stitching lines along the side edges. At neckline, the front from the fashion fabric extends past the lining edge some millimeters to hide the lining.


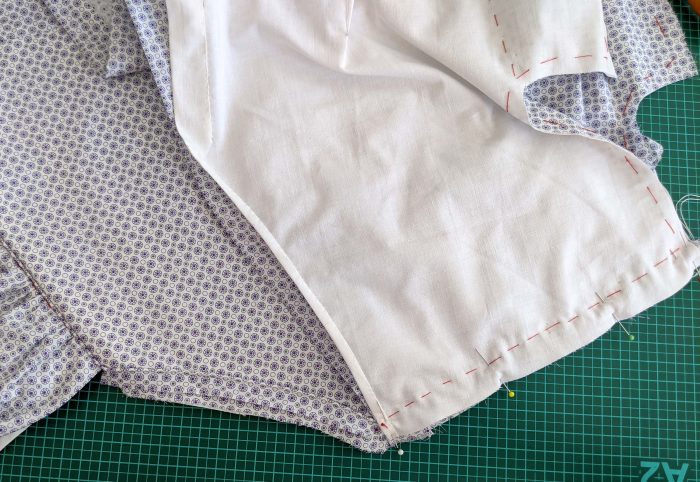
The side front from the fashion fabric, with the turned in and piped seam allowance along the front edge, lined up with the lining and basted in place. When basting and stitching down the side front with a back stitch along the piping, stop at mark (2) – the pencil point – and leave the bottom edge loose to attach the skirt later easily.
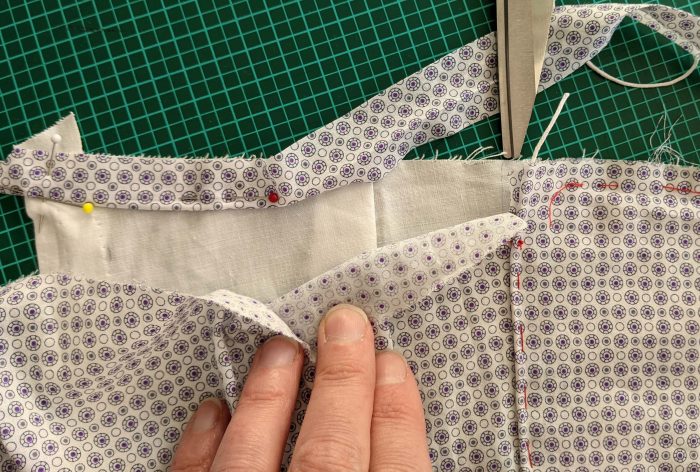
Time to sew the shoulder seam, right sides together. Sew with the back up, right beside the piping. Match the edges exactly at point (1) – my fingers. After stitching, trim back the seam allowances and neaten with overcasting stitches.
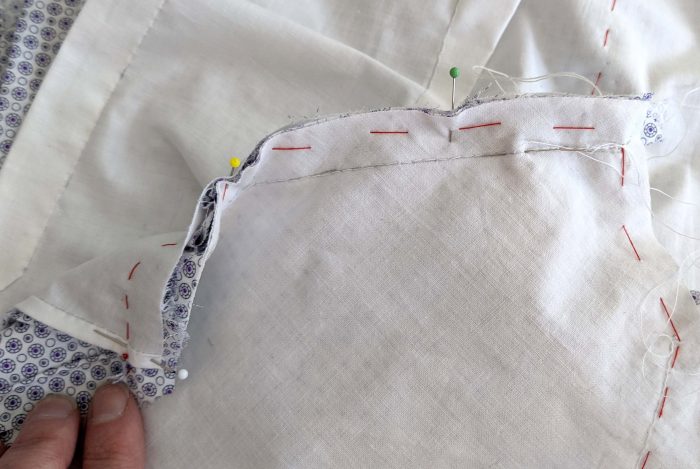
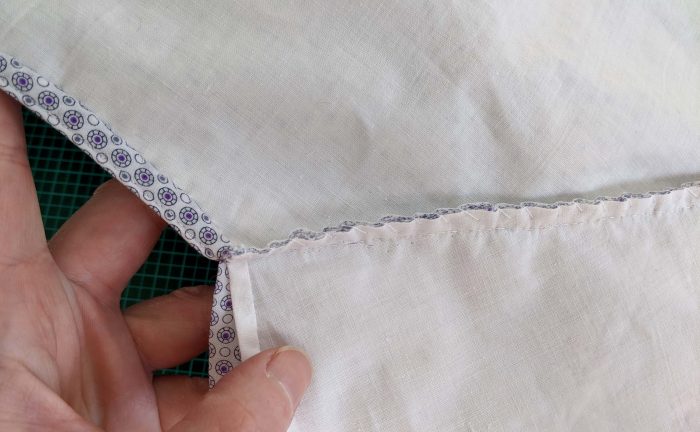
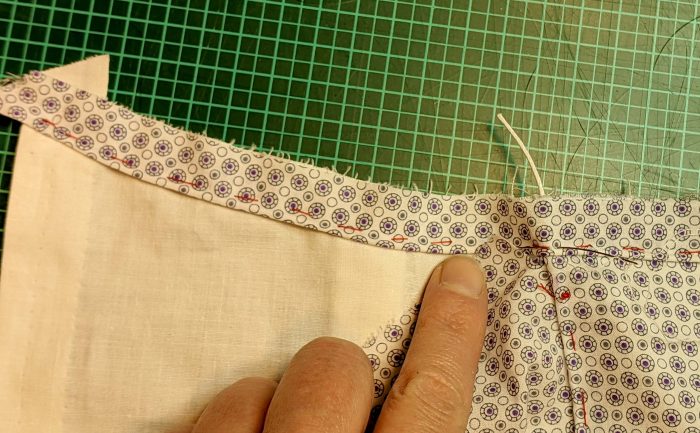
To finish the back neckline, trim back the seam allowances, leaving the uppermost of the piping. Turn the wide seam allowance around the trimmed back and fell stitch to the lining only.
Sew the side seam, right sides together and stitch down a second row to create a boning channel.
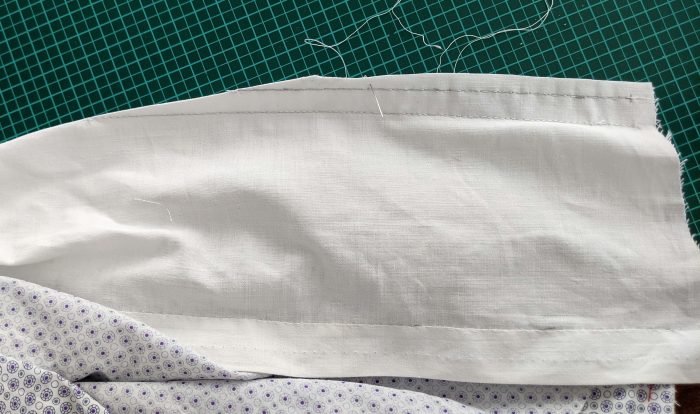
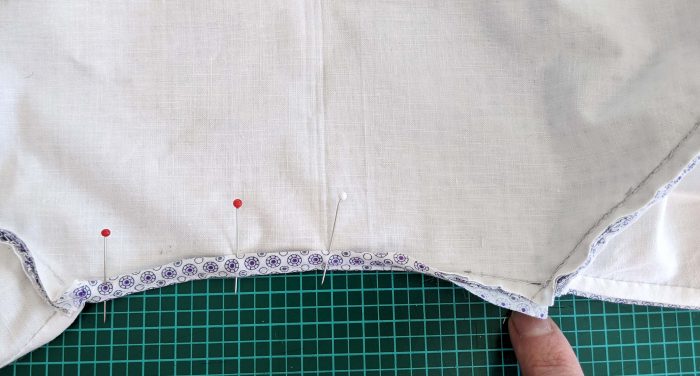
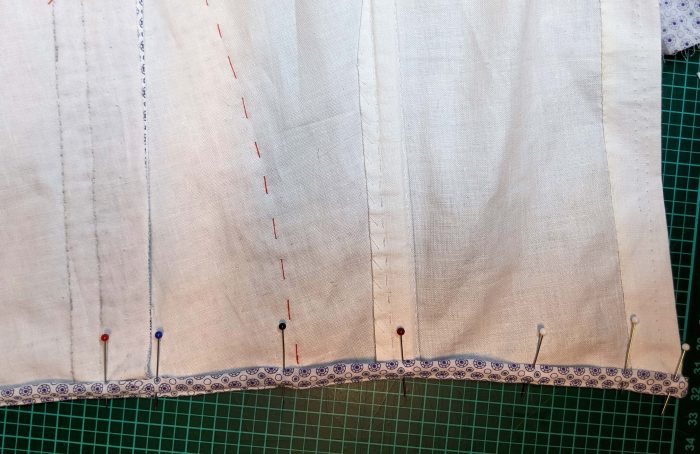
After that the bottom edge will be piped. To do so, insert your boning into the channels. I recommend to use plastic whalebone, a double layer at the front where the bodice is laced up.
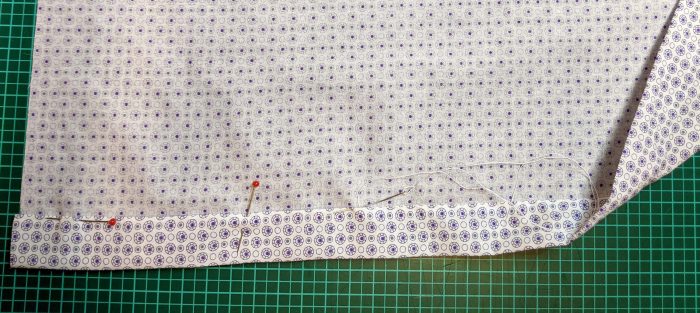
Line up the piping with the bottom edge, at the front, only the lining layer will be piped, the front from the fashion fabric is sewn to the skirt later. Clip the front at point (2) and keep lining up the piping with the side front and back. Finish the piping in the same way as the piping at the neckline.
In the next blogpost I´ll show you how to sew the skirt.