Another illustrated tutorial for my newest sewing pattern #0120, showing some steps a bit different than I explained in the sewing instruction´s, just because you can make things different.
A bit about the jacket: It is a typical double breasted jacket from around 1890, with puffed sleeves and large lapels and cut narrow at the waist to emphasize the 1890´s hourglass shape. As this jacket is mentioned to be made from a lightweight fabric like silk taffeta (shame over me, I used polyester taffeta – but it served well for the event I made it for) I flatlined the entire jacket with a midweight cotton fabric. The fabric was quite hard to take good pictures from, especially with artificial light. I do not have a picture of every step described in the sewing instructions, but from all more complicated ones. Let´s start!
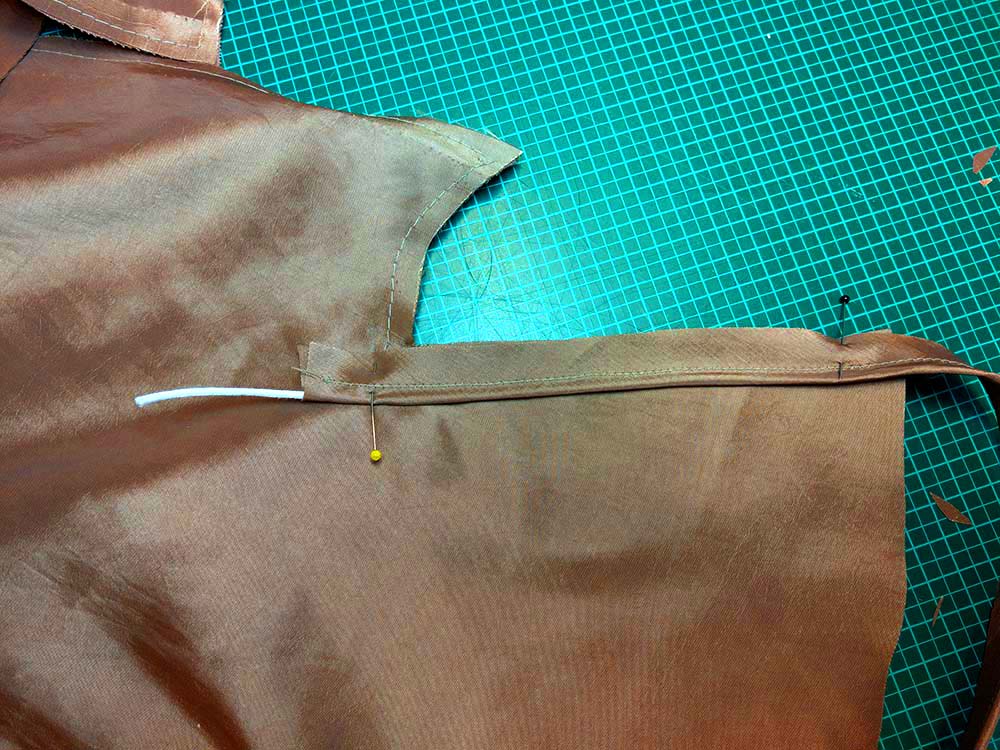
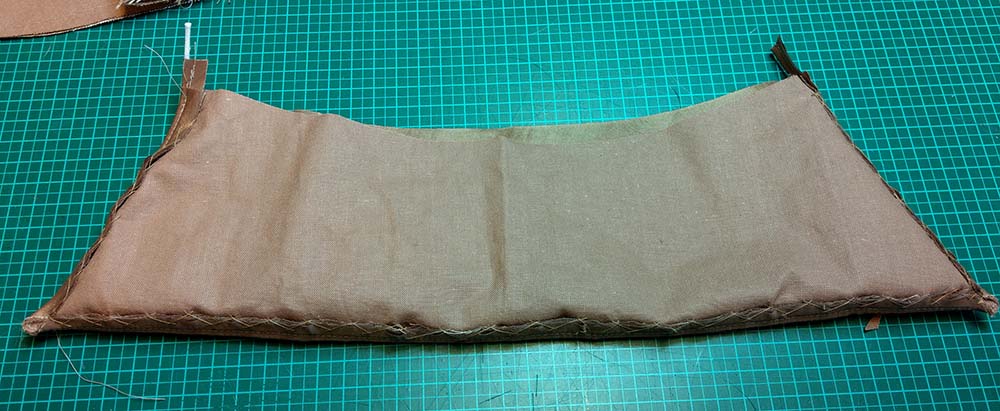
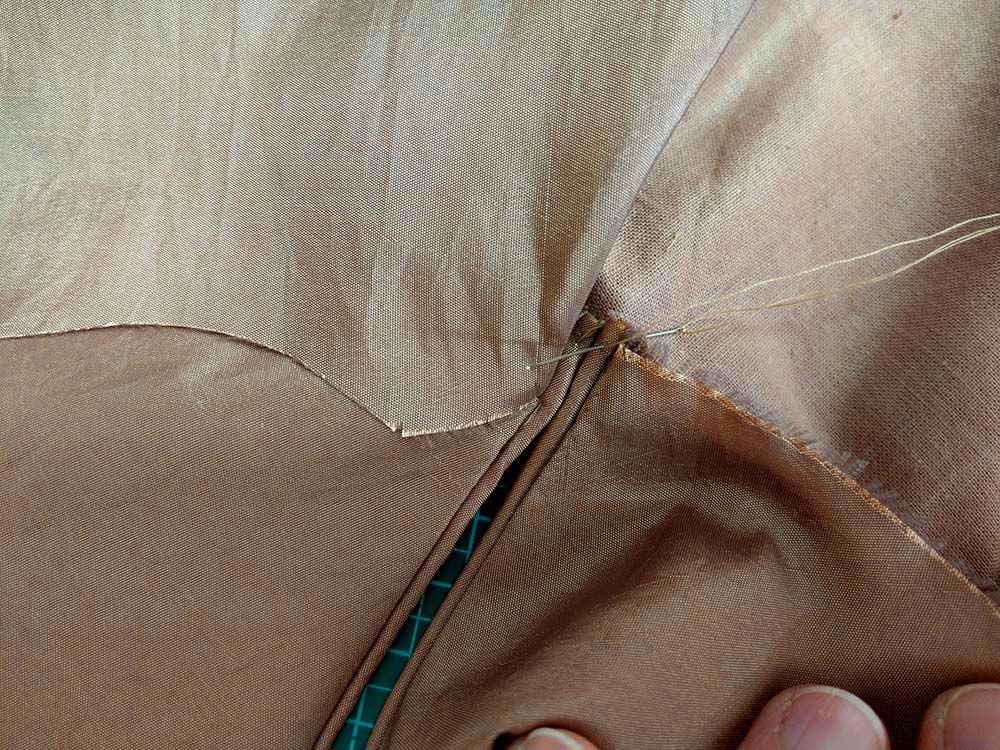
Here you can see the back, flatlined and sewn together, with the self-made piping from my fashion fabric lined up with the bottom edge until reaching the mark (5). I did not make pics from the piping making process, as there are so many great video tutorials on the internet. Just search for PIPING and choose your favorite one.
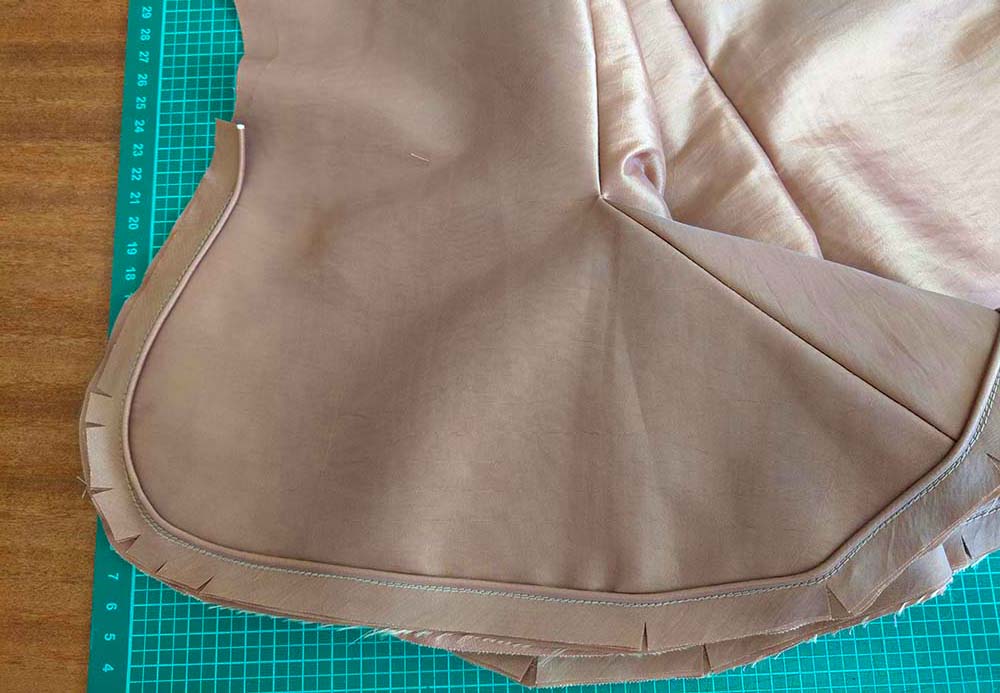
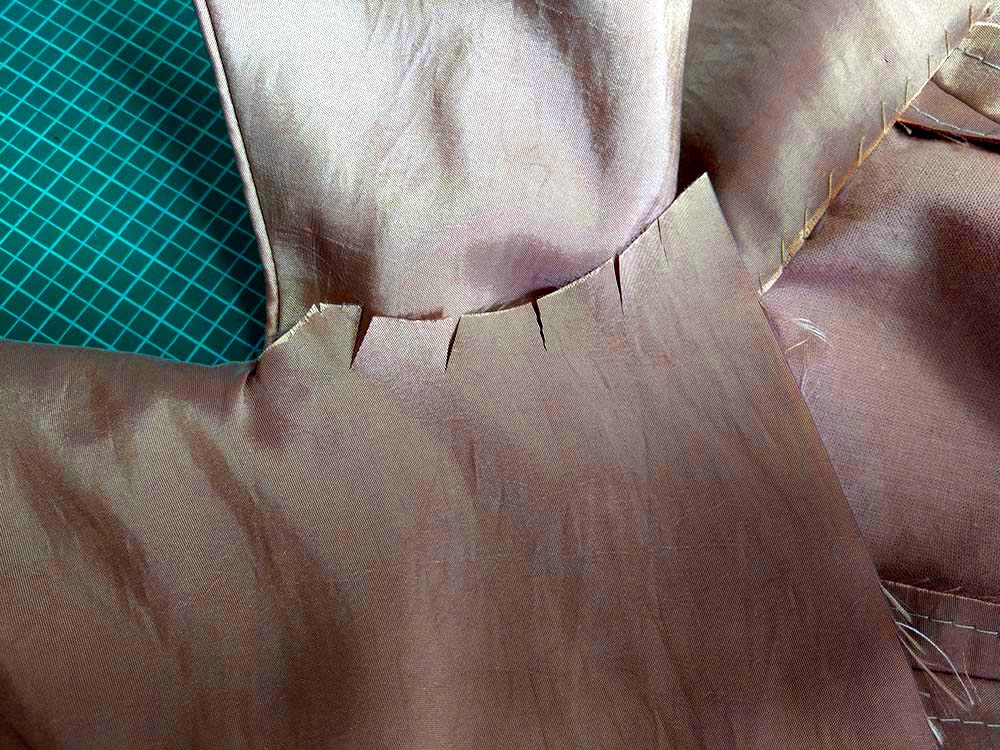
The peplum facing is attached, I started and stopped sewing exactly at mark (5) and trimmed back the seam allowances, clipping at mark (5) to have my 5/8” (1,5cm) seam allowance left to close the side seam.
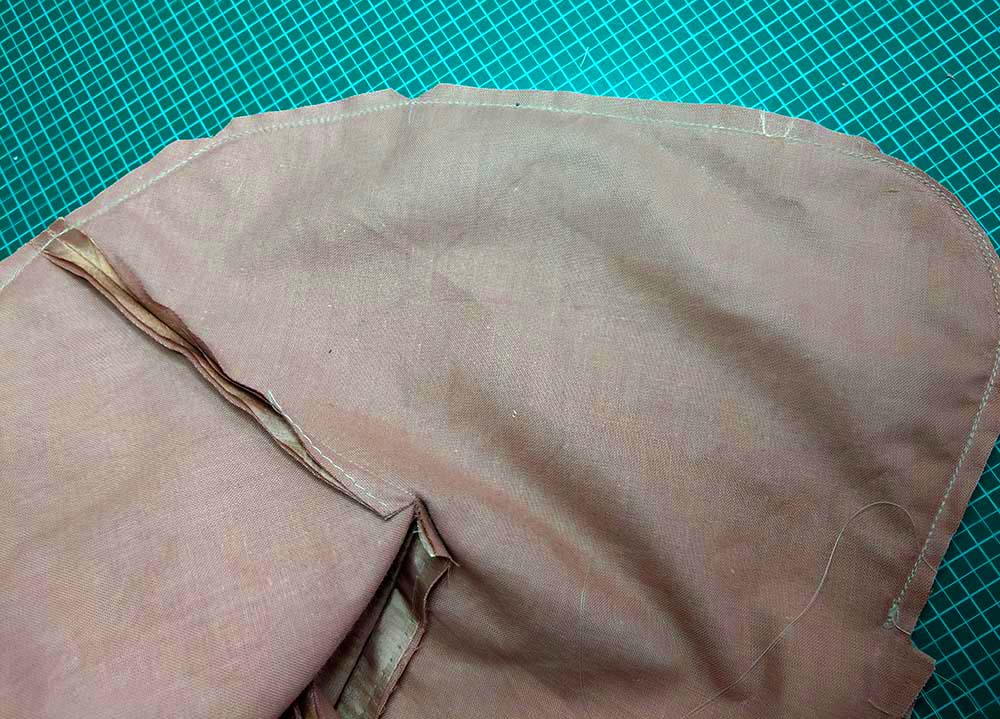
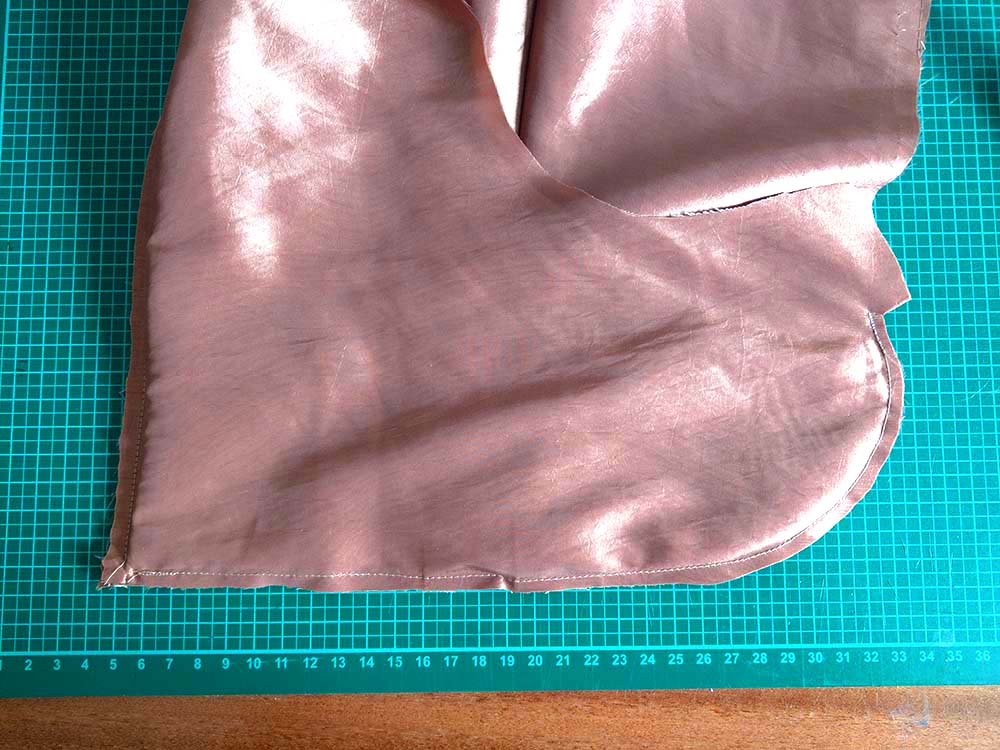
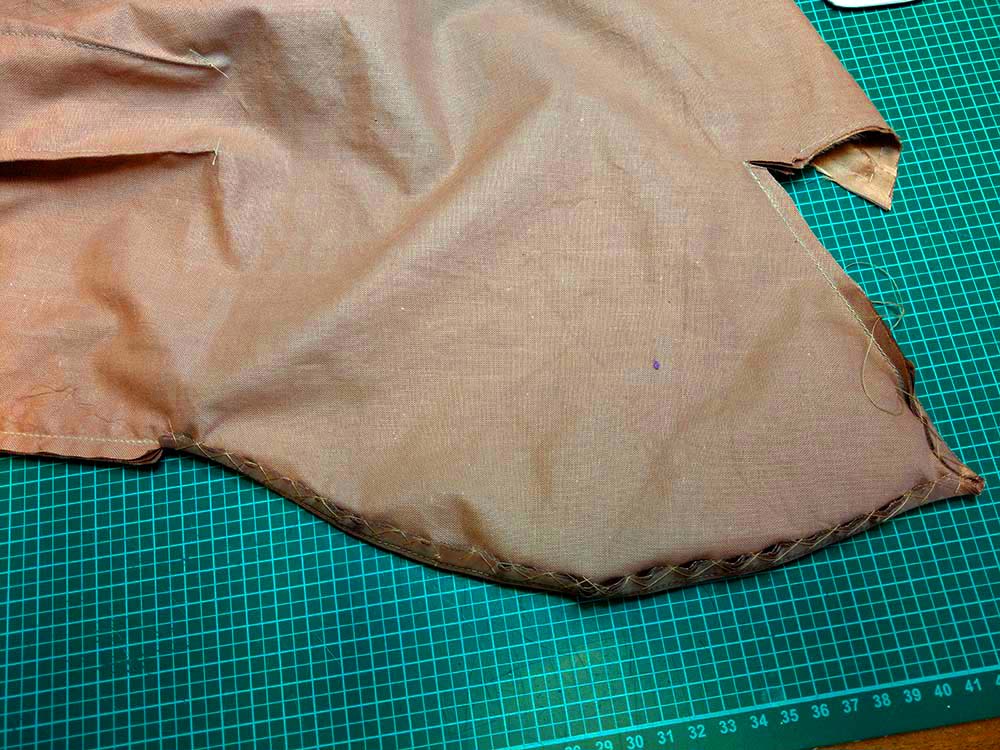
This step is not mentioned in the instructions, you can do it, but there is no need to. I turned the trimmed back seam allowance towards the flatlining of the back and catch stitched it to the flatlining only to get a crisp edge before turning the peplum right side out.

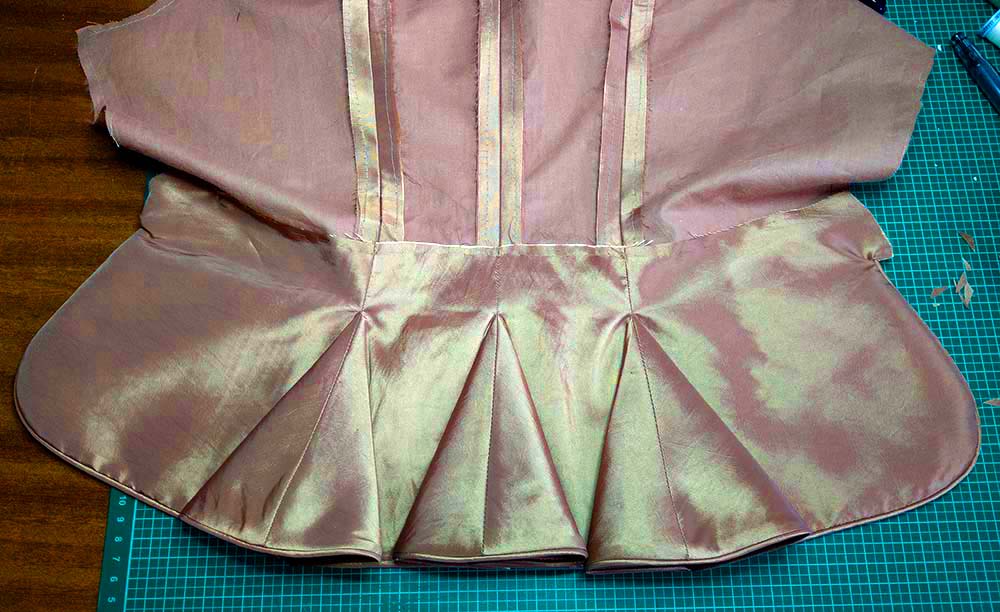
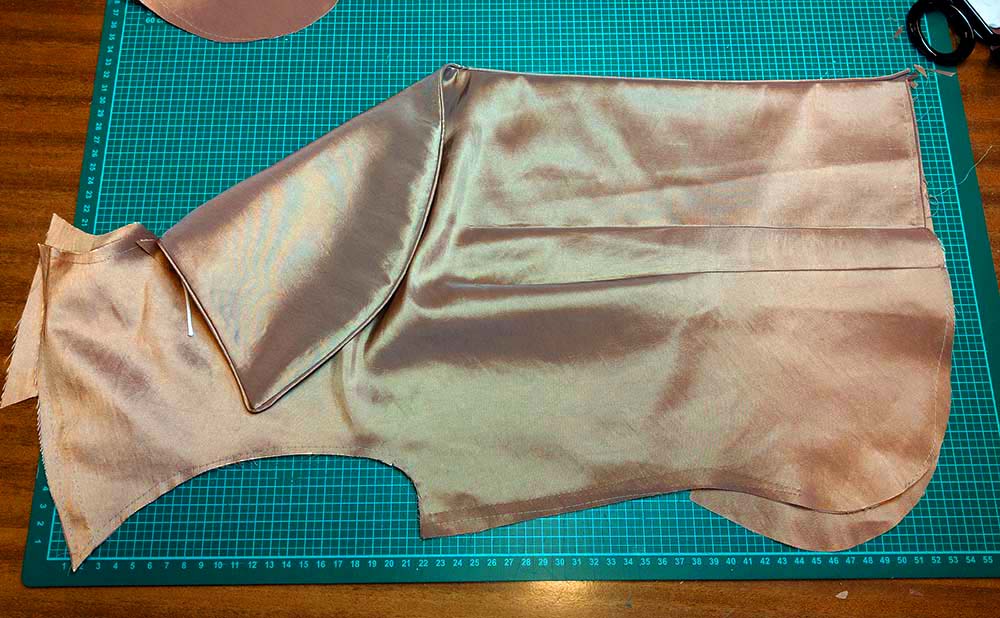
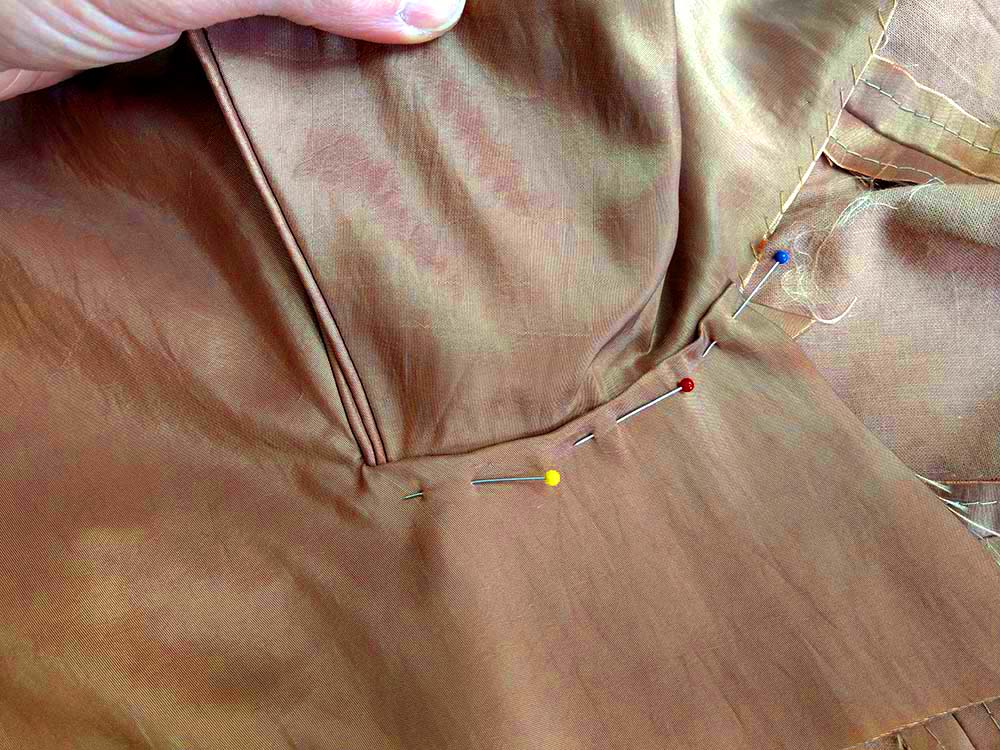
The peplum, turned to the right side, with the pleats pressed and the top edge of the facing smoothed out and basted to the flatlining along the waistline.
Piping the lapel and front edge, starting at point (6), continuing the same way as I showed you at the peplum.
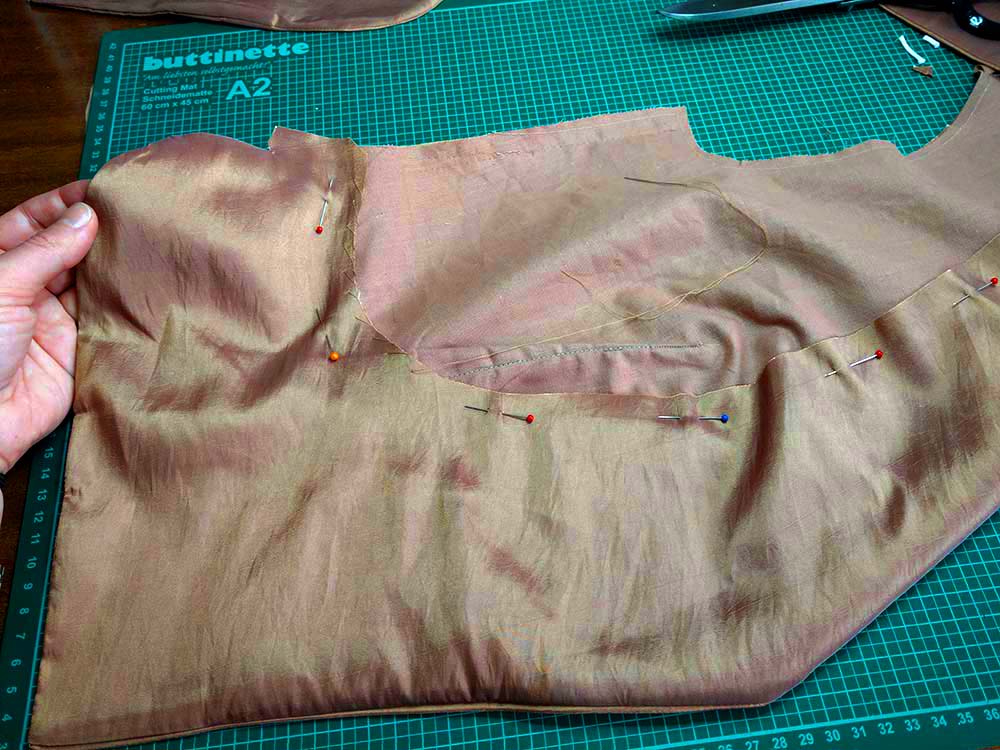
With the front edge ready piped, I checked the correct shape of my facing. As you can see, I had to reshape it along the sides after the first fitting and adjusting the darts for a perfect fit.
The lapel is turned along the roll line, to get the additional width needed for the turn of cloth and basted along the roll line through all layers (stitching is invisible due to the lapel covering it).
Again, some catch stitching to hold the seam allowances in place along the lapel and collar. Do not catch stitch down the front edge!
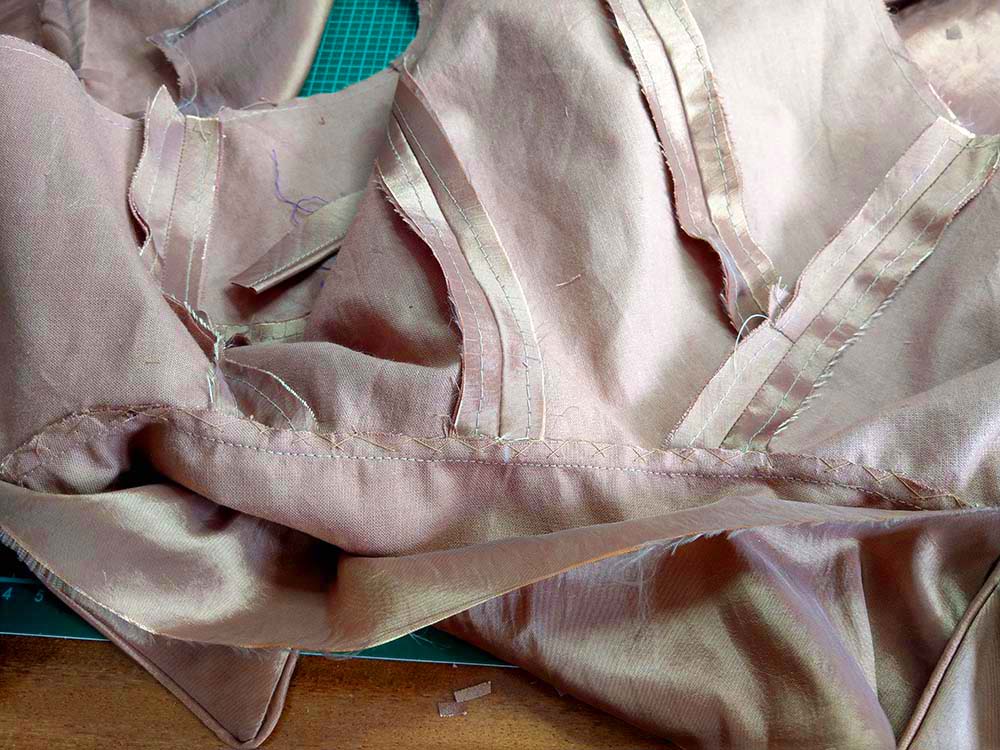
With the side seam still open (would have been better to close before doing that step as described in the instructions), I smoothed out the front facing and felled the loose edge down to the flatlining (with the lapel turned).
What I made different attaching the collar? To get the needed width for the turn of cloth I first sewed on the under collar only. After trimming back and clipping the seam allowance I catch stitched it to the flatlining of the jacket. Then I smoothed out the top collar, turned along the roll line and catch stitched the raw edge to the jacket after trimming and clipping as needed.
The collar notch with the piping of lapel and collar laying narrow beside each other, trimmed back and stitched to the flatlining to hold in place.
The front facing, clipped and turned in along the neckline and smoothed out over the shoulder seam.
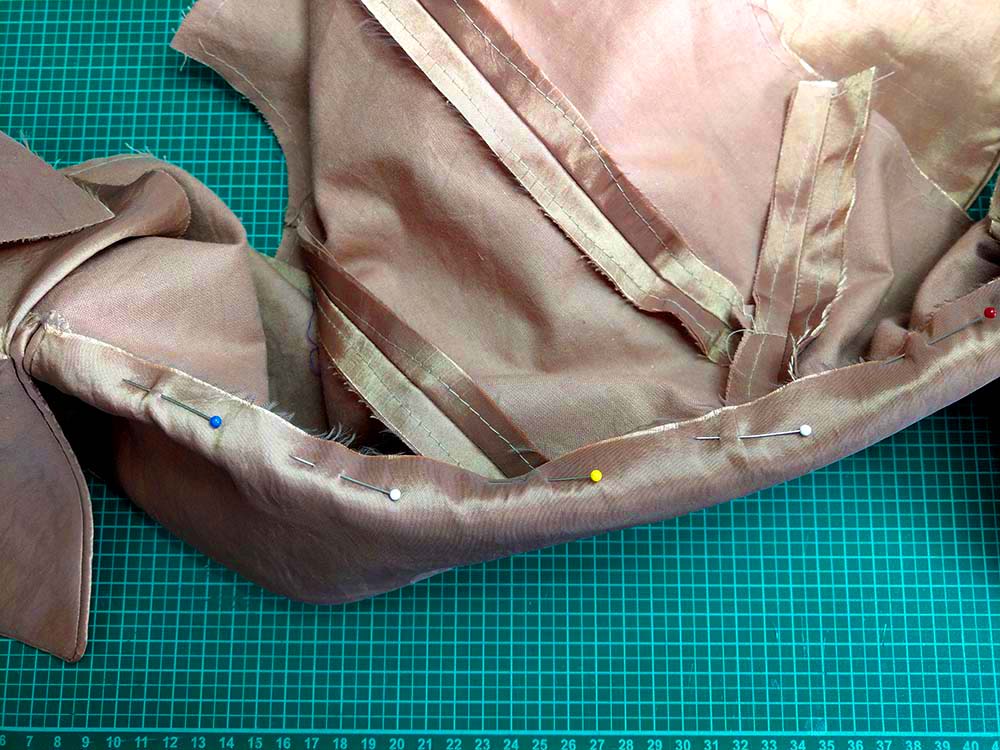
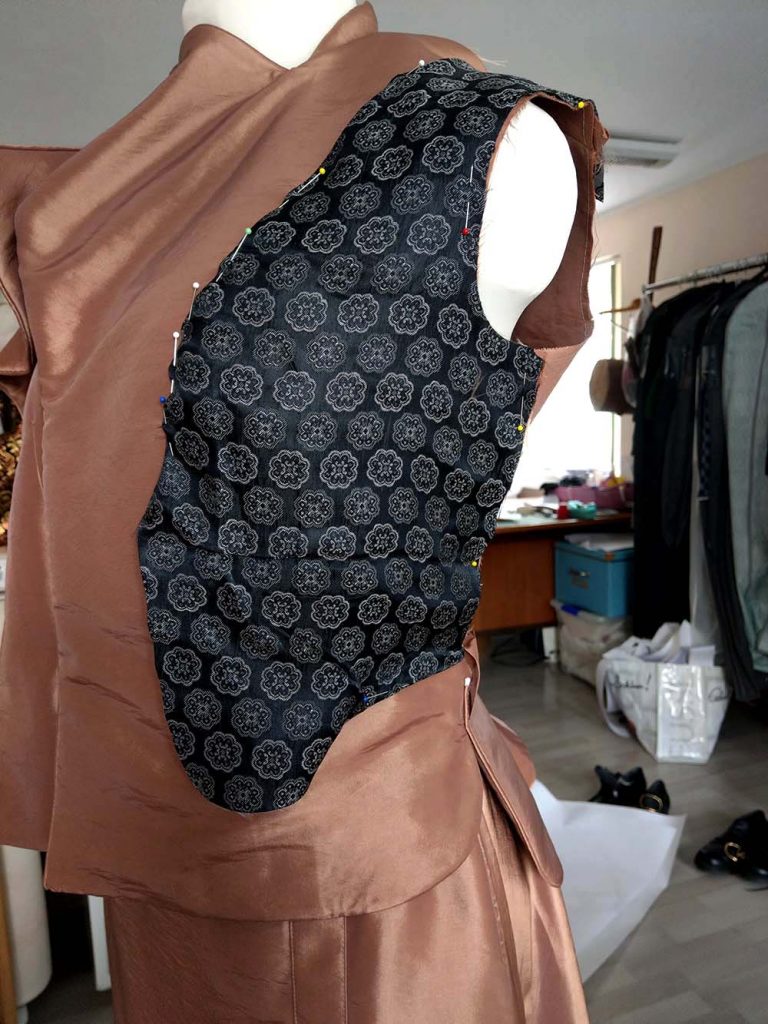
The best way to insert the front lining, is to put the jacket on your dress form, with the wrong side out and pin the lining in place first, then fell stitch the turned in seam allowances to the jacket.
This is the back lining, pinned in place. Instead of two back parts, I decided to cut the back in one piece, with a fold at the center back.
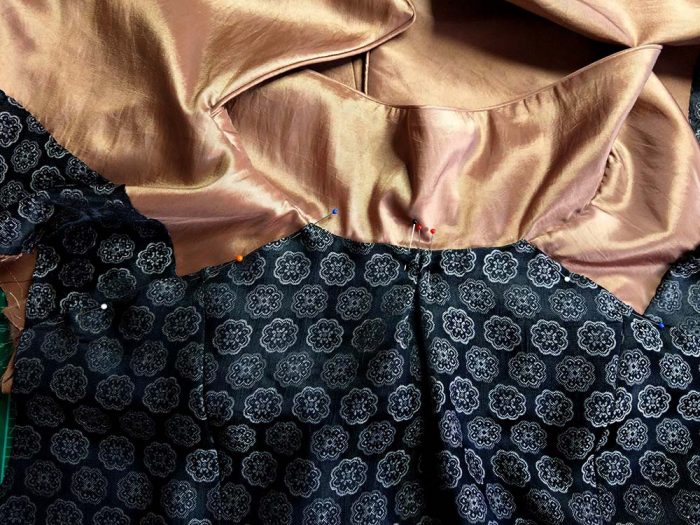
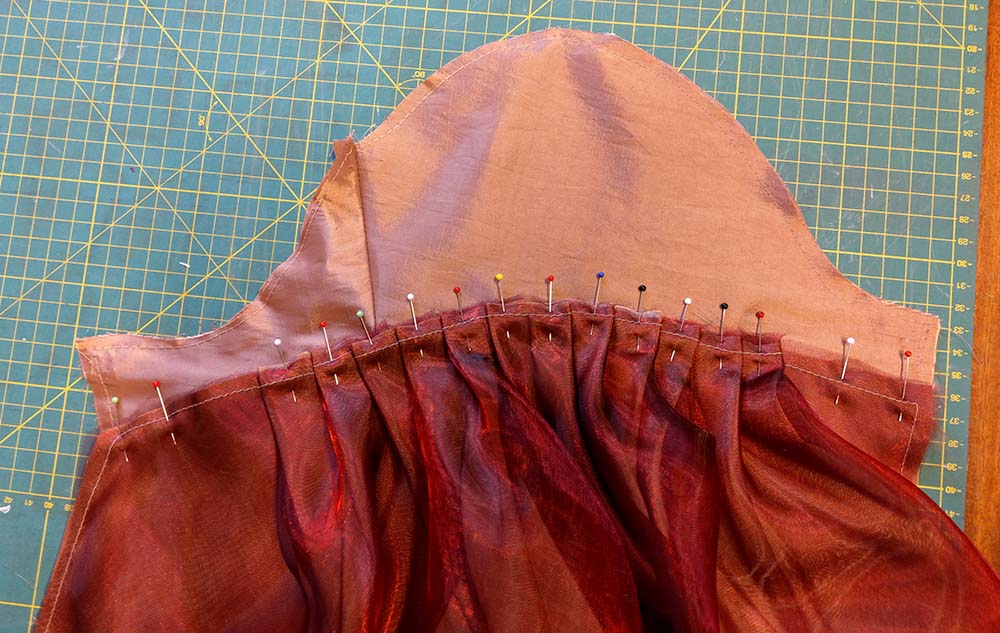
The sleeve, with the closed back sleeve seam and the puff sleeve pinned in place. I decided to make folds instead of gathering, as well as along the bottom edge as the sleeve head. The puff sleeve is flatlined with two layers of organza, cut on different grains.
As the jacket is not mentioned to be worn open, I made a “fake” double breasted closure with snap fasteners, hidden underneath the buttons.

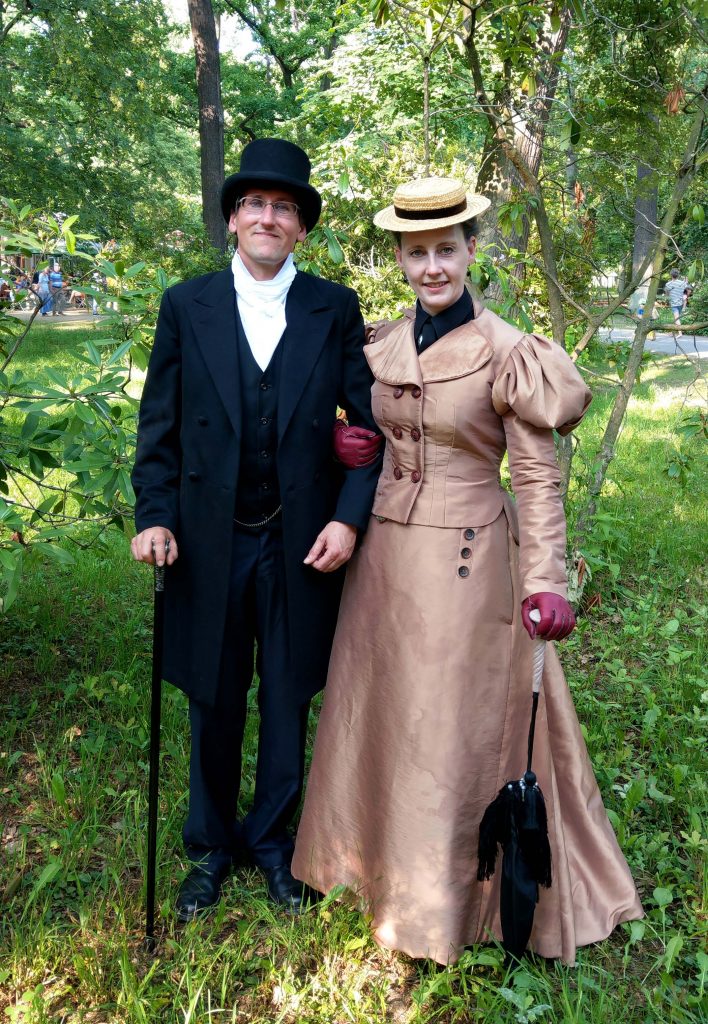
The finished jacket! This is me, together with my husband in Leipzig at the Victorian Picknick at WGT 2019.