The Fan-Skirt pattern (#0414) still is my best selling pattern, so I´ll show you how I made my new skirt with that sewing pattern.
But what happened to the old one, why do I need a new one, or what´s the difference? I made my old skirt a few years ago from a single layer of a midweight dark brown woolen fabric, the sewing pattern was one of the first I published under my pattern label. I have worn this skirt frequently for cycling and winter activities like walking and skating. After all this years, the skirt looks well-worn, with several marks of a bicycle chain and srubbed up at the hem.
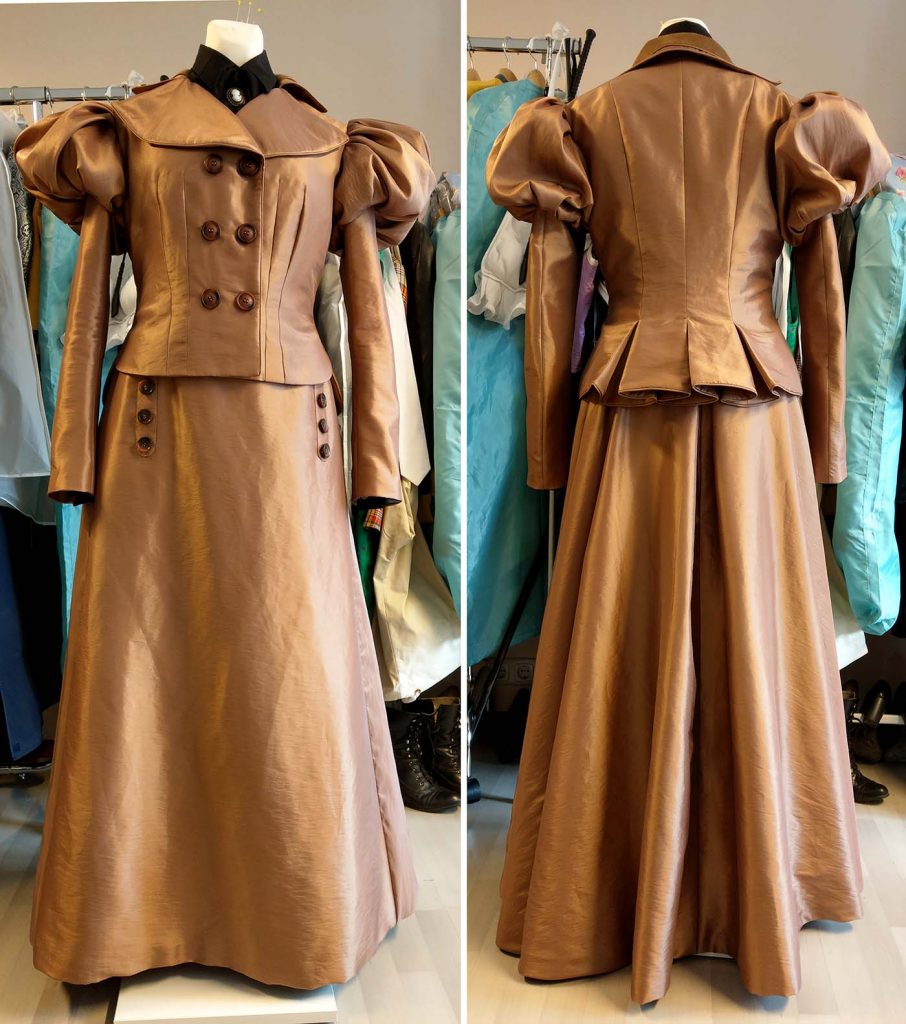
Plannig my first visit at the Wave Gothic Festival 2019 in Leipzig, I decided to make a new skirt and jacket, inspired by the motion picture Crimson Peak. As the skirt was thought to be worn on a festival I choosed a polyester taffeta, lined with glazed cotton. (That was a wise decision, as my husband emptied a glass of prosecco all over my skirt).
You´ll see pictures of two different skirts, made from different fabrics in this blogpost, as I forgot to take all pictures needed for this tutorial while sewing the Fan-Skirt.
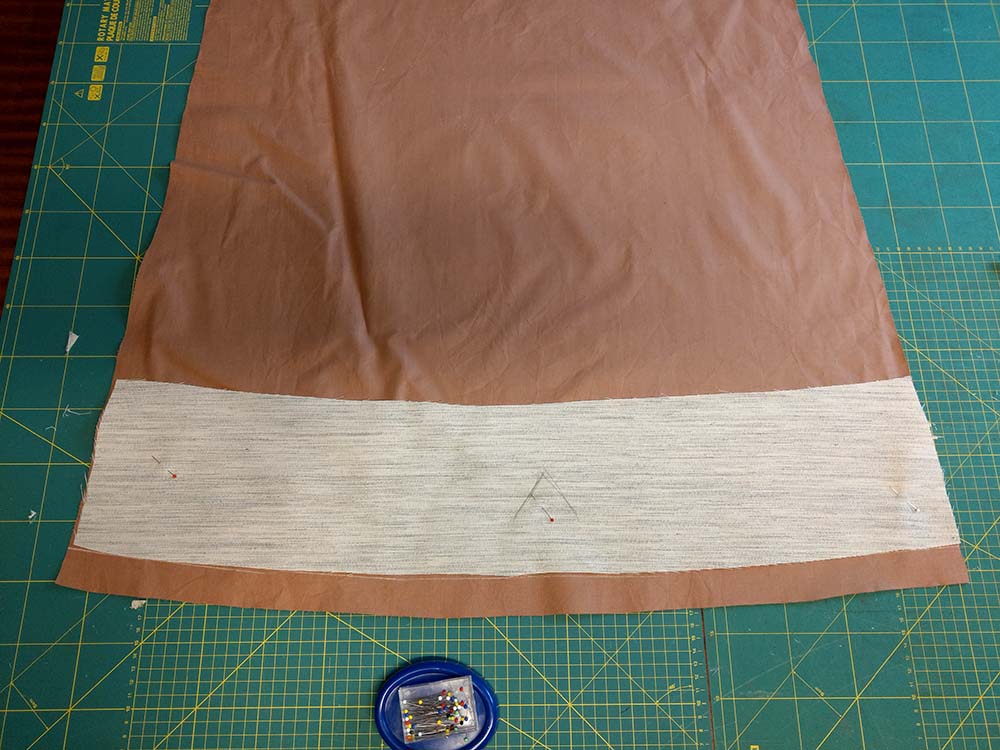
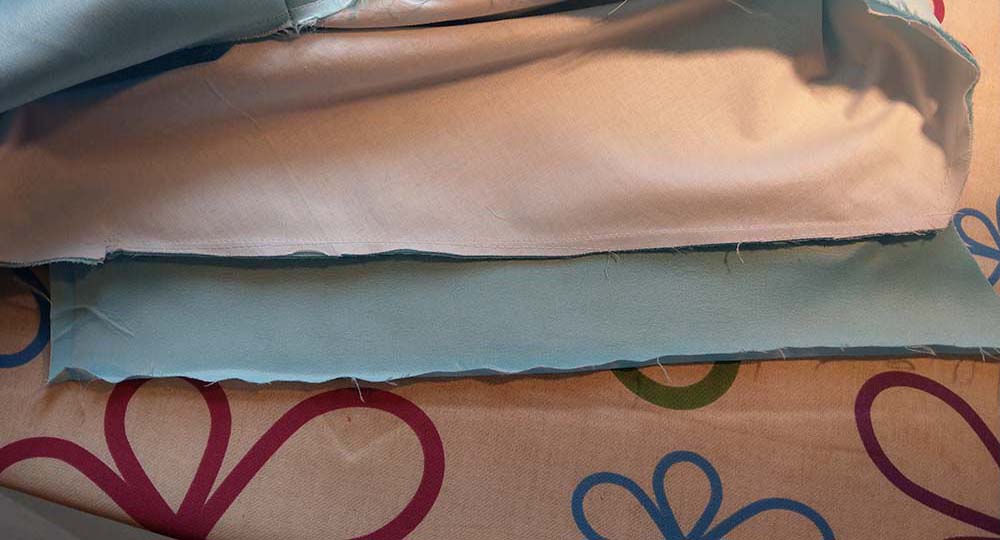
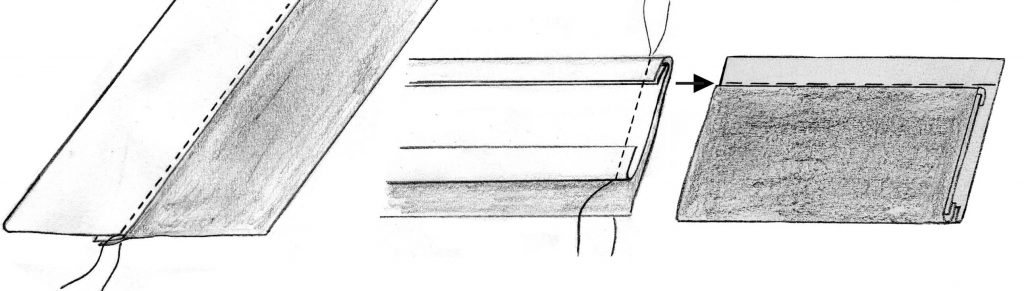
After cutting all pattern pieces from fashion and lining fabric, I prepared the hem interfacing, cutting about 8″ (20cm) wide hem-shaped strips from a stiff, but lightweight canvas. For a hemline of several meters , I needed to piece the strips of interfacing, joining them with a simple overlapping seam.
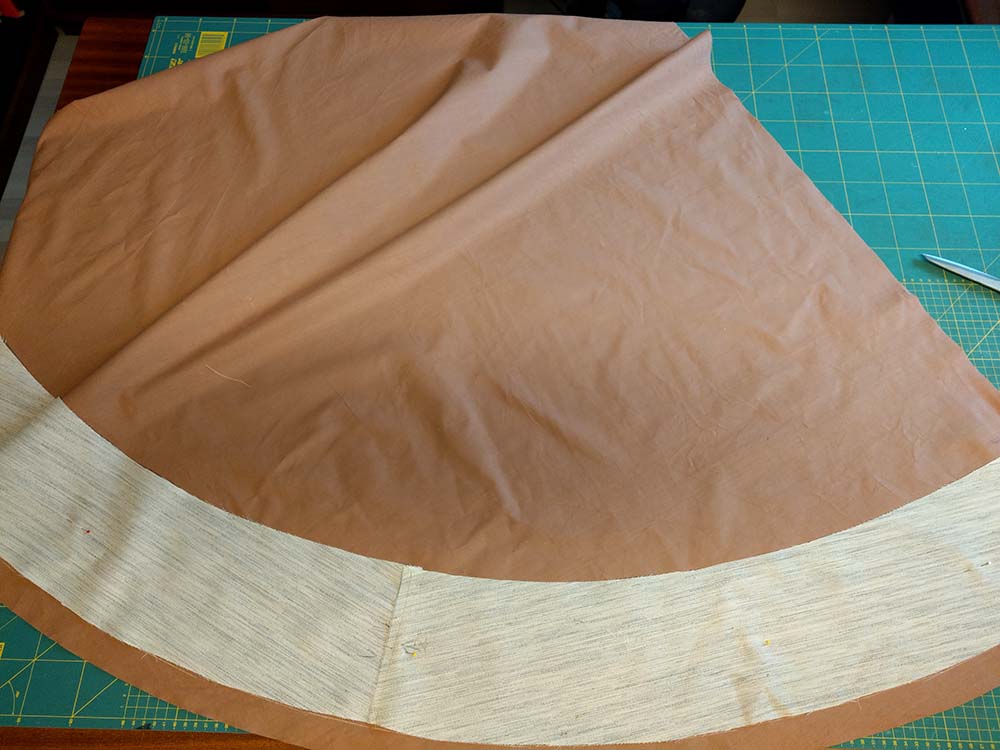
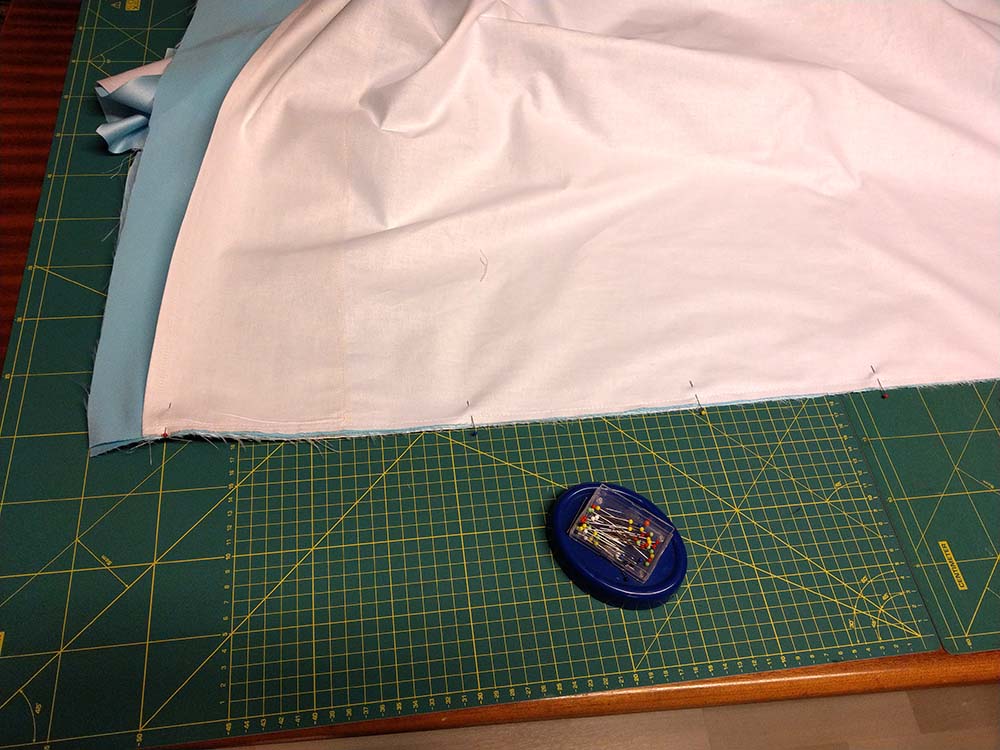
Placing the lining pieces on top of a table with the wrong side up, I marked the hem line and lined up the interfacing with this line.
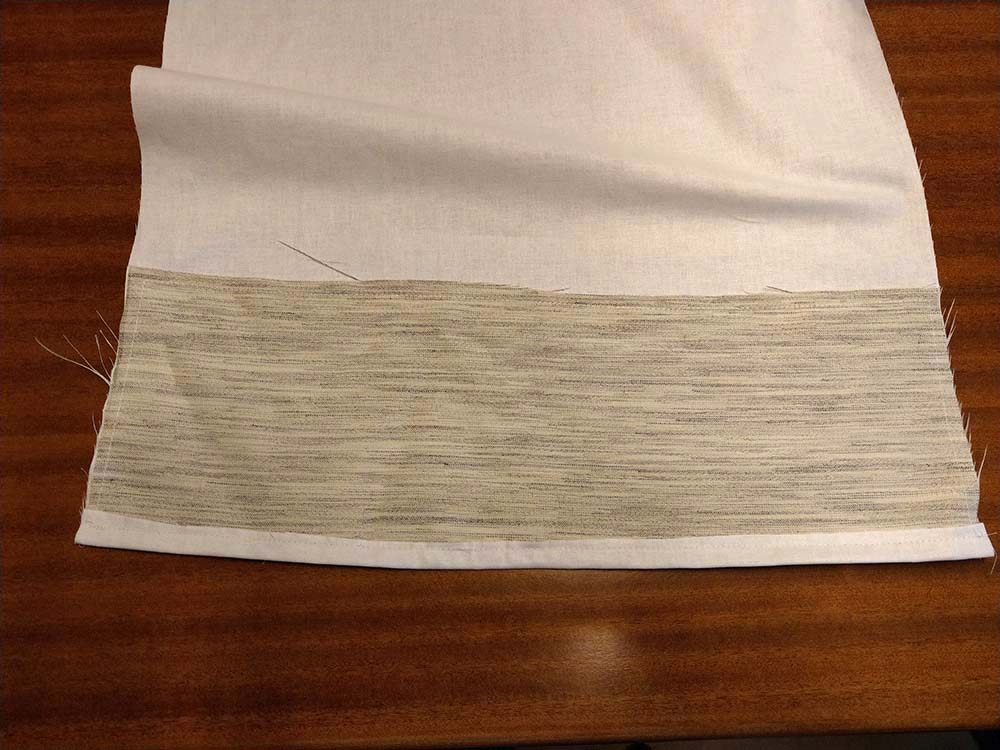
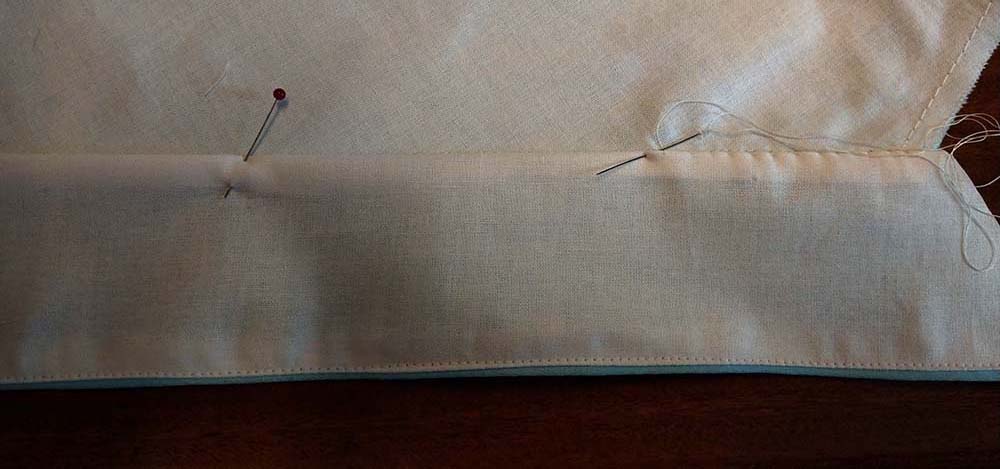
After sewing the interfacing to the lining along the edges, I turned the hem around the edge of the interfacing and stitched the hem of the lining down.
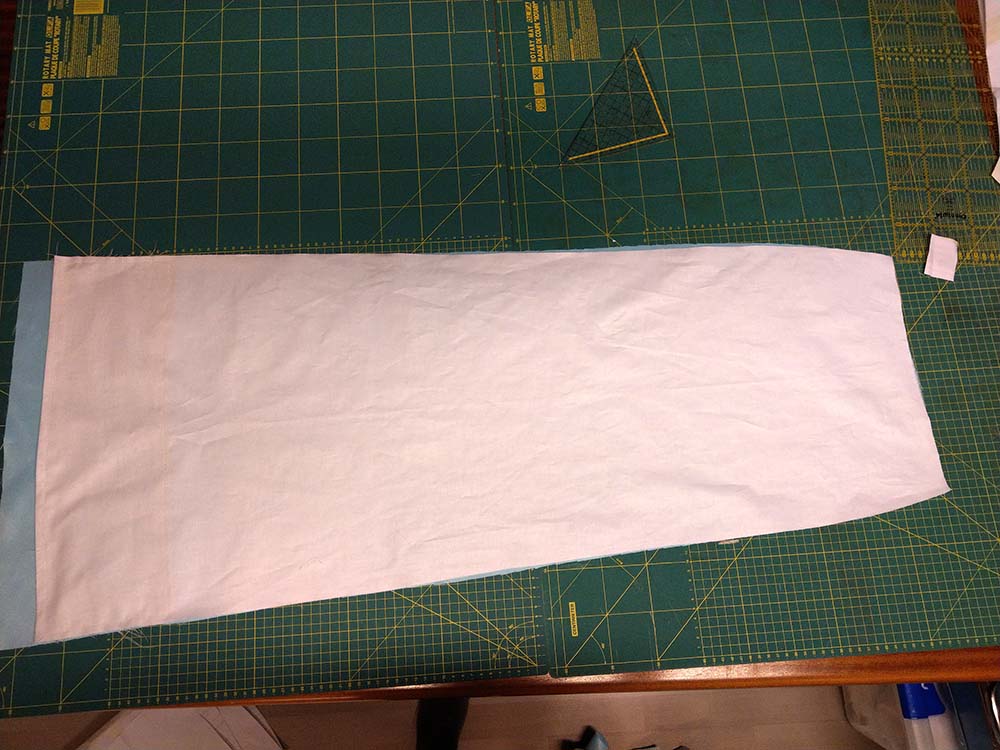
Next step was to flatline the fashion fabric, which means you line up fashion fabric and lining, wrong sides together, and baste the two layers together inside the seam allowance. As I had no claim on historically accuracy for that skirt I joined the layers with the overlocker. Further on I treated the two layers like a single one and closed the darts.
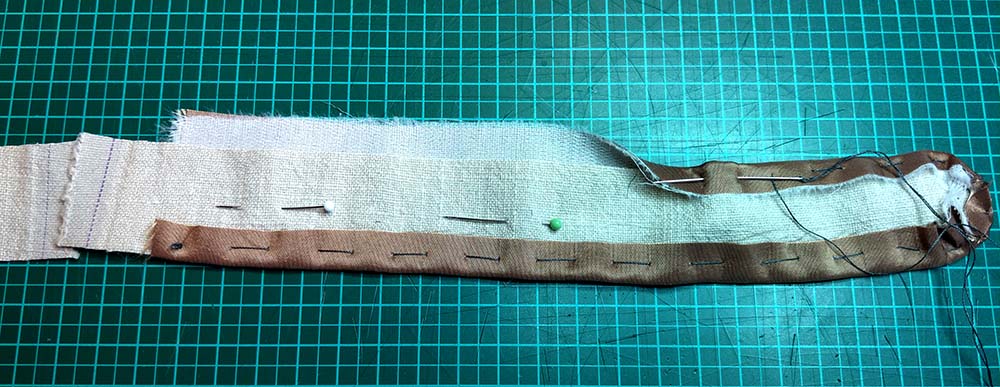
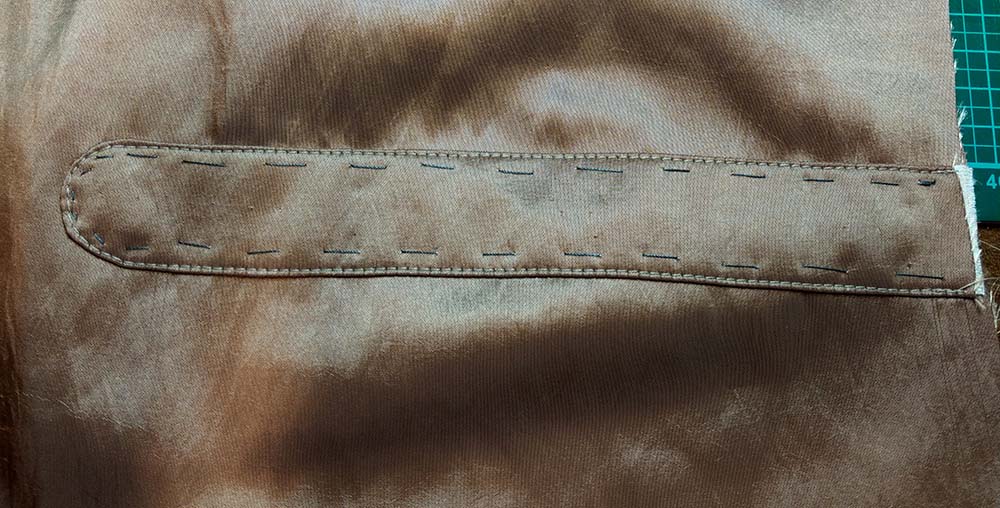
As a fashion detail, I covered the darts with an appliqué, edgestitched to the skirt.
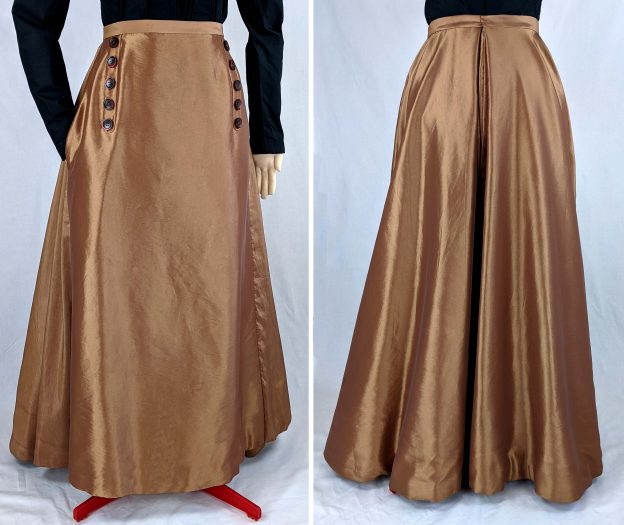
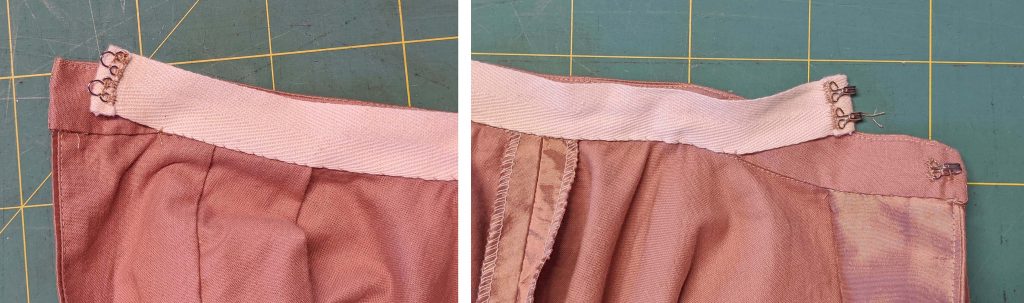
I made up the placket in a different way, as shown in the sewing pattern, without hooks and eyes along the placket, instead I used snap fasteners (invented circa 1890) to close the vent. The placket sewing was all done before closing the center back seam.
I lined up the placket from fashion fabric with the right center back edge and stitched down from top to the mark with a 3/8″ (1cm) seam allowance. After notching the seam allowance at mark (2), I turned in the seam allowances of the placket and lined up the placket lining (seam allowances turned in too) with the placket, wrong sides together. The lining is felled in place all around, leaving the bottom edge of the placket loose from the notch.

The placket facing is lined up with the left center back, right sides together, with the seam allowance at the bottom edge turned in, then stitched down from top to bottom with a seam allowance of 3/8” (1cm ). After I closing the center back seam with a seam allowance of 5/8″ (1,5cm) from mark (2) to bottom, I pressed open the seam allowances. At the placket facing I turned in all remaining seam allowances and fell stitched in place to the lining only,
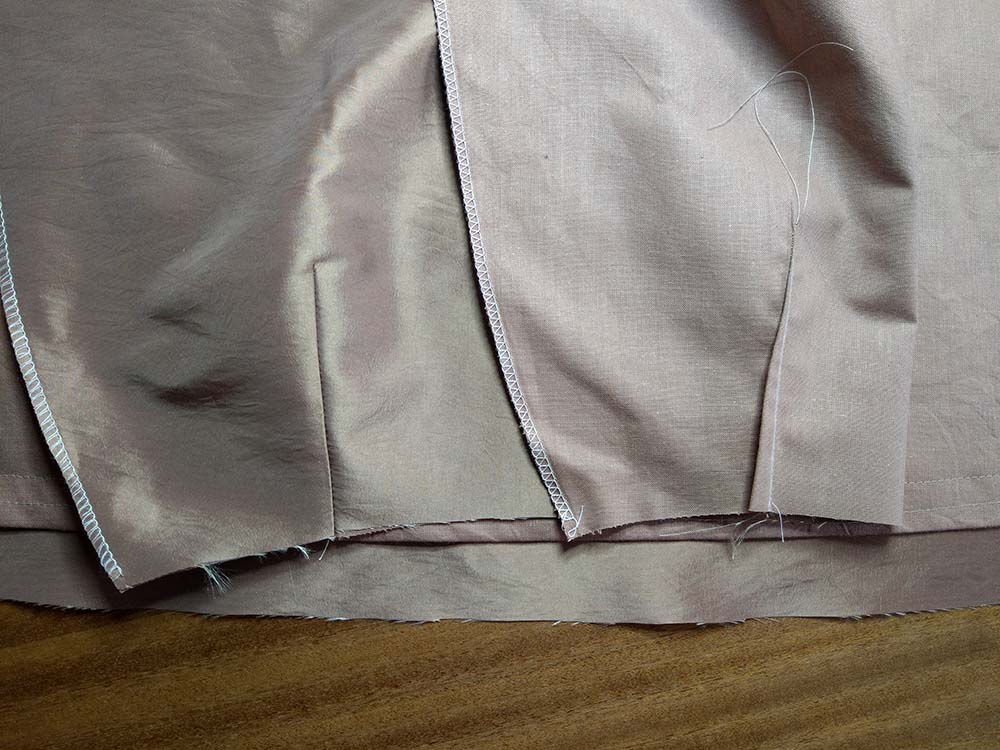
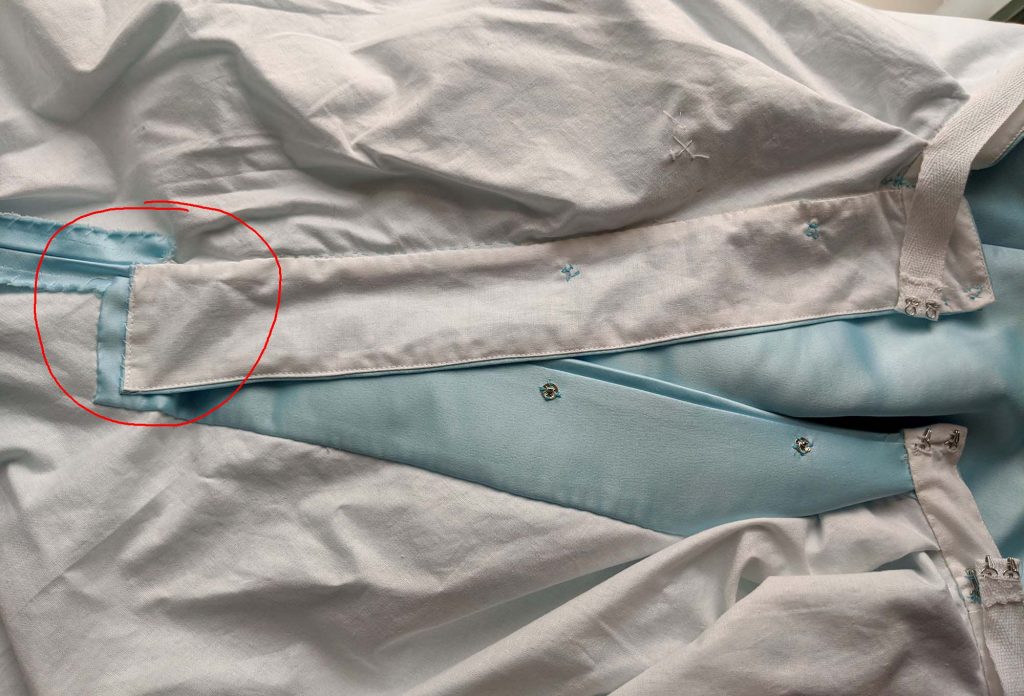
Here you can see the finished vent, with the seam allowances of the center back seam bar tacked to the lining layer and the bottom edge of the placket felled down to the facing to stay in place.
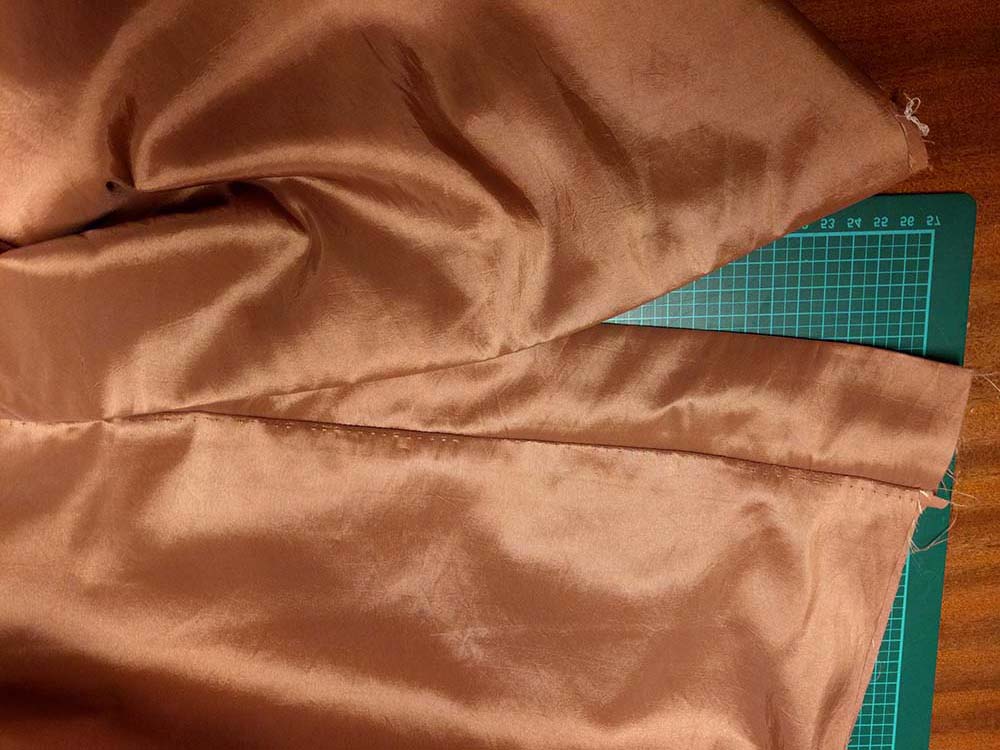
Next I stitched together front and back pannels, right sides together, and pressed open the seam allowances, never without a deep in-seam pocket at each side seam.
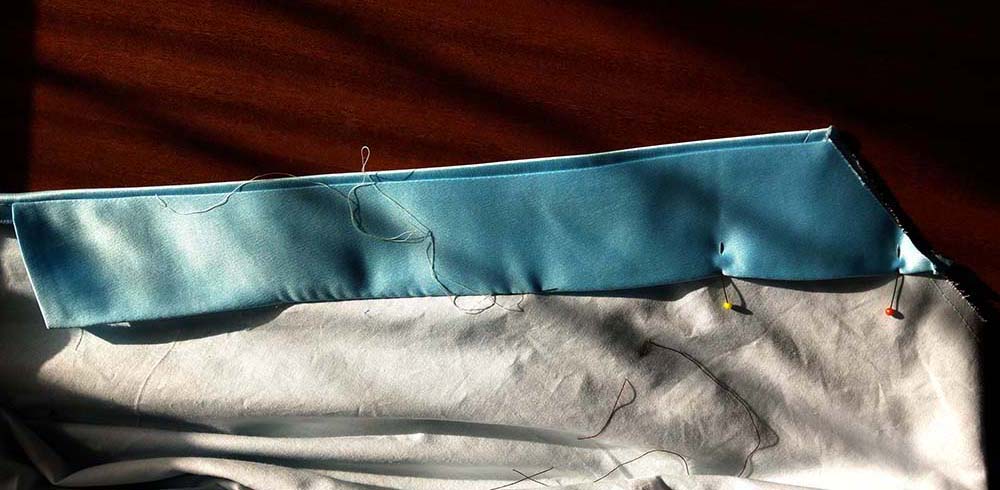
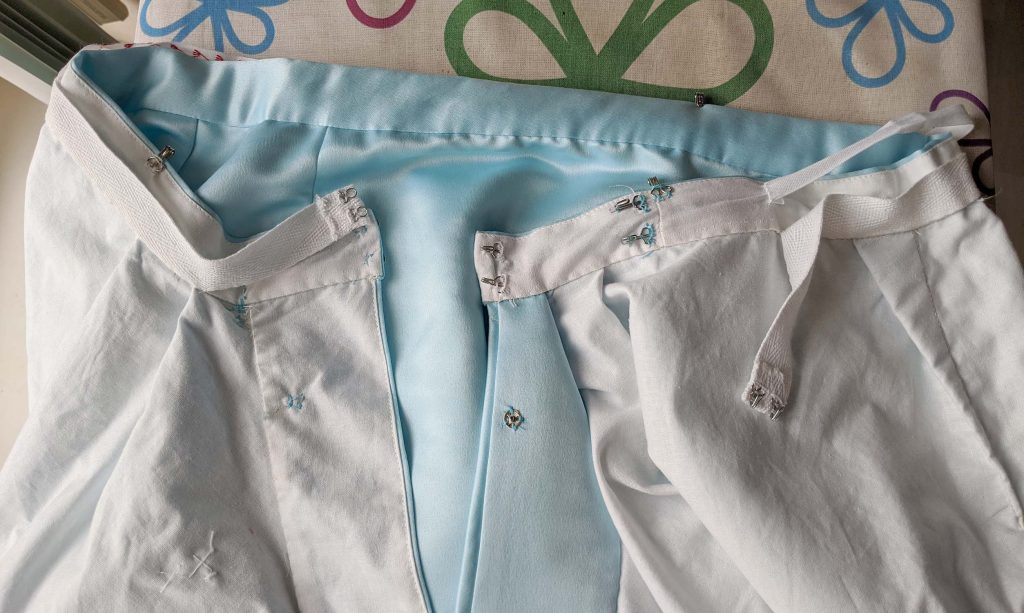
I made up the waistband the way I prefer to make all my waistbands. I lined up the waistband from fashion fabric and lining, right sides together and stitched along the top edge. Then I pressed the seam allowances towards the lining and understitched from the right fabric side on top of the lining, right beside the edge. Then I turned the waistband again right sides together, with the seam allowance of the top edge turned towards the lining side. After turning in the seam allowance of the lining along the bottom edge, I stitched along the short edges, reducing the stitch length at the corners. After trimming back the seam allowance I turned the waistband to the right side and marked the stitching line on the wrong side of the outside waistband along the turned in edge of the lining after pressing. I attached the waistband to the skirt, right sides together, and pressed the seam allowance of the skirt towards the waistband. Then, I fell stitched the bottom edge of the waistband lining along the seamline on the inside and attached a hook to the left back edge of the waistband and a matching thread bar to the right side.
To finish the waistband, I took a 3/4″ (2cm) wide twill tape and wrapped it firmly around my corseted waist, added seam allowances and cut to the length needed. After turning in the seam allowances and stitching them in place I sewed on hooks and eyes and fell stitched the bottom edge of that twill tape to the inside of the waistband along the bottom edge of the lining layer, leaving the ends loose. Does this make sense? Yes, it does! That tape reduces the tension that acts on the hooks and eyes on the waistband. A single hook with a sewn eye at the waistband will hold the skirt in the right position. Along the placket you can attach some hooks and eyes or snap buttons. The narrow white cotton tape loops, sewn to the inside waistband, are hangers.

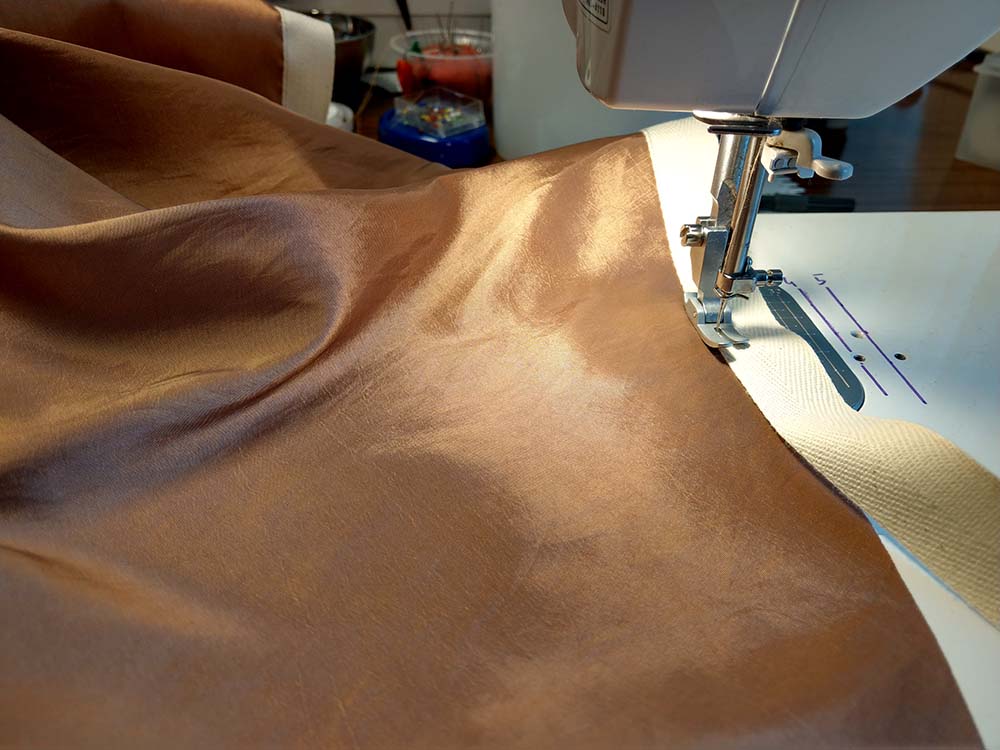
To finish the hem I took a twill tape, and attached it along the bottom edge. I pulled carefully at the tape while sewing, to ease in the hemline. Then I turned the hem around the lining hem and fell stitched the twill tape to the lining.

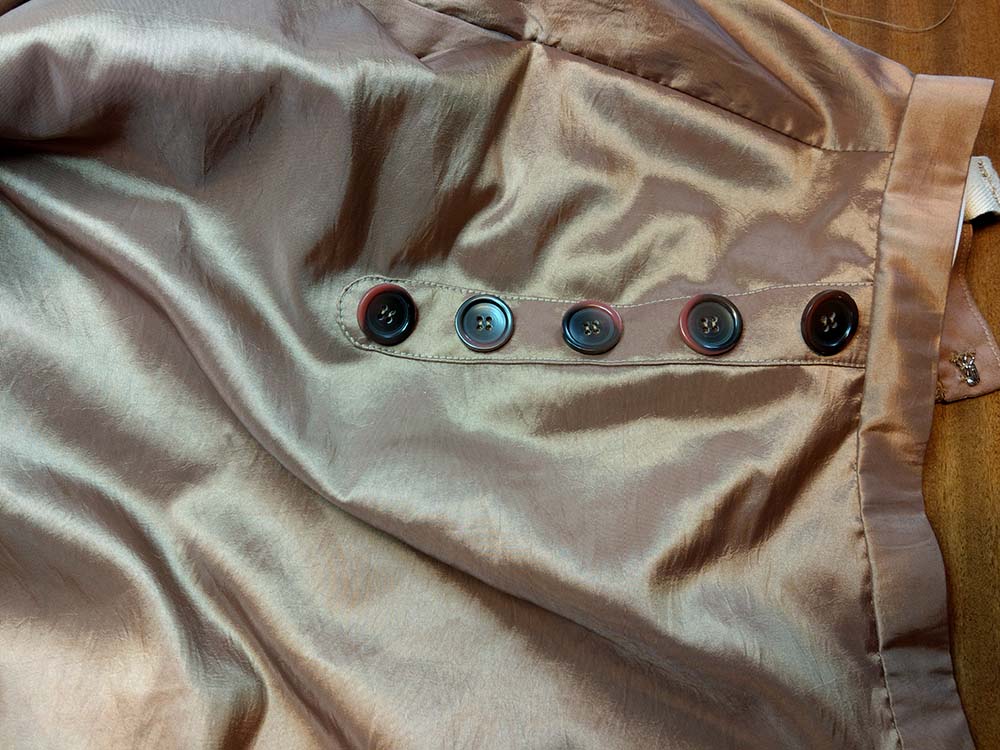
To finish the skirt I attached buttons on top of the front appliqué to match the jacket.