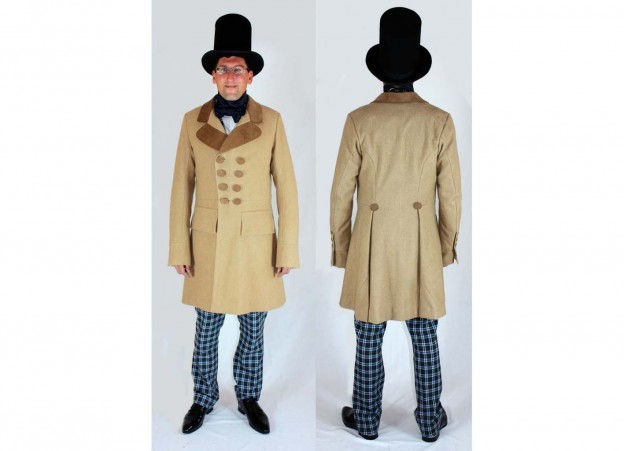
My new sewing pattern is now available on Etsy. Therefore I want to show you some additional pictures to facilitate your sewing process. I´d try to show you historical sewing techniques and processing, so again many hand stitches will be necessary.
The instructions and pictures here in my blog are deviating from the illustrations in the sewing instructions, because the sewing pattern still was under the way at that time. My Frock Coat has got a lapel and collar from a cheaper pile fabric, this can be basted compared to real velvet, without showing stitching lines after removing the basting threads.
The lapel isn´t cut on, but sewn on as usual at that time.
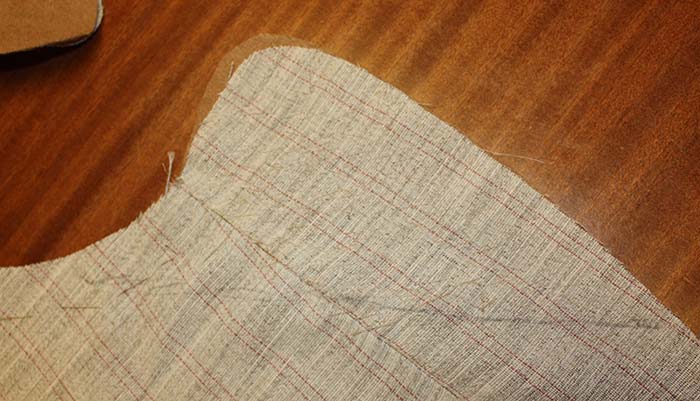
Here you can see the front part, with the already sewn on lapel. The interfacing is lined up with the front and basted. You barely can see the pad stitched lapel.

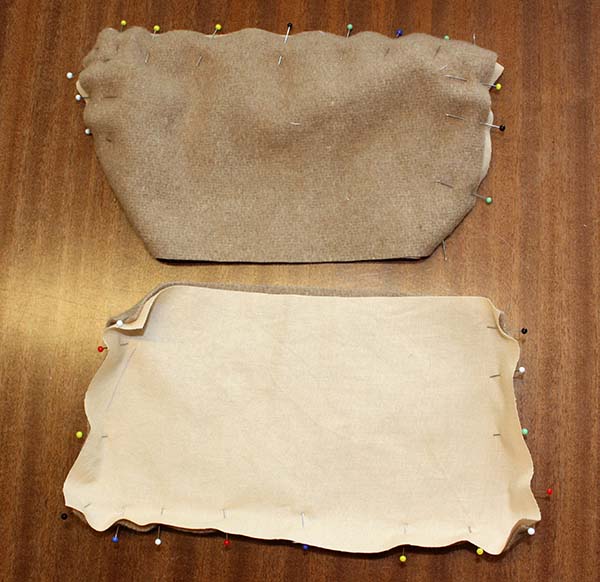
Here are some pics of the pockets. As you can see, the pocket mouth is ready prepared with a prick stitch along the edges to secure them and the pocket bag is closed. This doesn´t look very pretty, but will be covered later by the pocket flap.

I´ll show you how I prepared the pocket flaps. I used a cotton fabric for lining, because my fashion fabric is a thick felted wool fabric. Line up a pocket flap from fashion fabric and lining, right sides together. Push back the fashion fabric about 1/8” and pin in place. Pinning along the edge that way, you will get this bumpy edges. Sew the pocket flaps with the lining up, so your sewing machine (if you´re not a hand stitching nerd), will spread the width evenly with the feed dog. Now turn the pocket flap inside out and press. The stitching line or lining fabric won´t show at the right side using this technique.
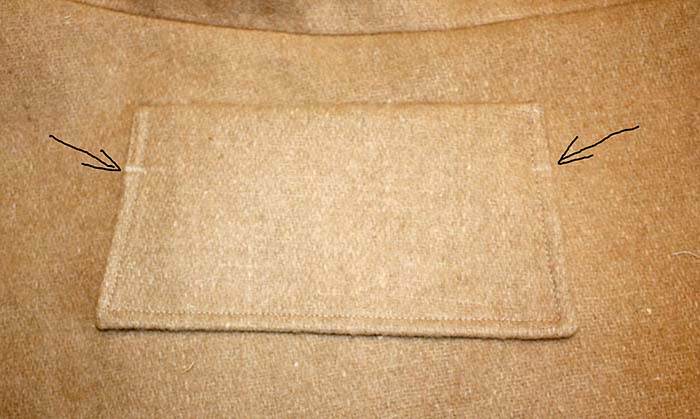
Topstitch the pocket flaps along the edges, attach along the pocket mouth and bar tack at the sides (arrows).
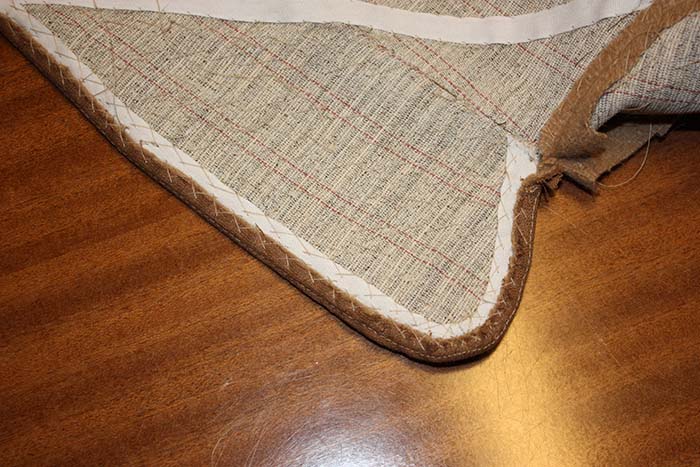
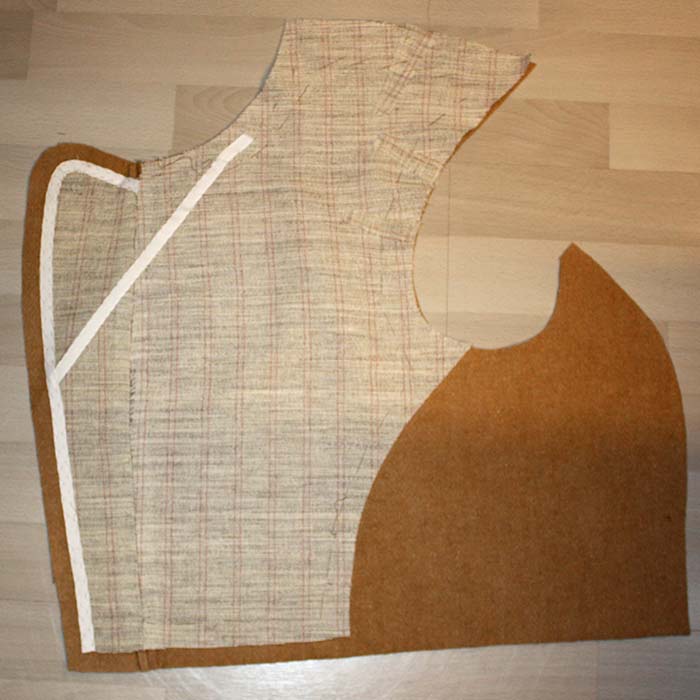
Mark the stitching line along the front edge and trim back the interfacing only slightly behind this line. At the picture you can see the ready prepared front piece with the cotton tapes along the roll line and along the stitching line at the front edge, covering the edges of the interfacing. In your sewing instructions the front skirt piece is already attached at this time and you continue attaching the cotton tape along the skirt´s front edge, reaching the hem.
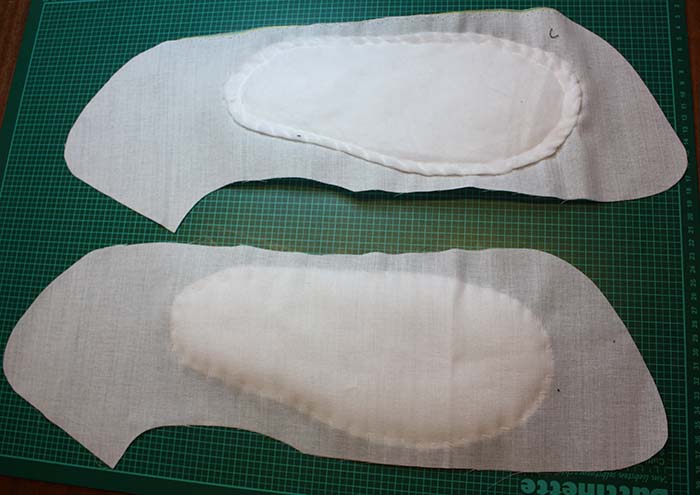
Sew together front facing and lapel facing and attach the chest padding with quilting stitches. I don´t have some good pics of the Frock Coat, so I’ll show you the pics from the Tailcoat. The only difference is of course the color of the fabric and the cut-on revers.

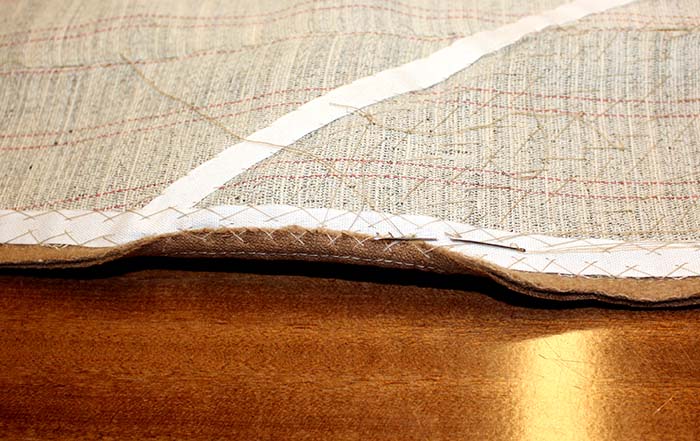
Line up the facing is with the front piece, right sides together. Sew, starting at the collar notch, ending at the hem. Trim back the seam allowances and attach to the interfacing with a catch stitch. Try to work exactly around the curve.
As you can see in the pic´s, the under collar already is attached, divergent to the sewing instructions. Using such a heavy weight fabric as I did, it would have been better to cut off the seam allowance of the under collar along the bottom edge. Alternatively collar Melton can be used for the under collar. The problem here is the separated lapel with all the seam allowances meeting at the collar notch. To avoid bulk trim back all the seam allowances carefully as described in the sewing instructions. After turning the lapel right side out, baste together the two layers with the lapel turned down, simulation the chest rounding with a pillow underneath.