Category Archives: 18th century / 18. Jahrhundert

An 18th century men´s shirt – Part 1

I´m back in the 1790´s! No special occasion is coming up, just that I planned to finish the 1790´s men´s pattern series with a shirt which I have so far neglected.

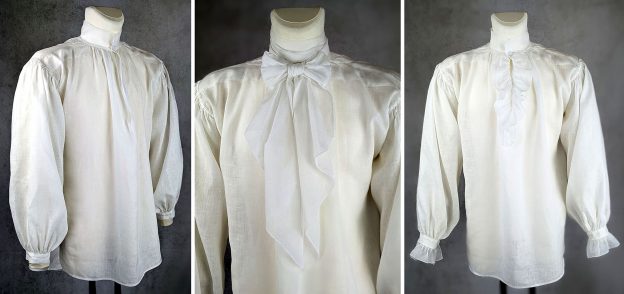
Men´s shirts are quite simple garment´s, made from rectangular pieces of fabric and have changed less than other garments during the last centuries. Therefore, the shirt in this pattern can be used for costumes over several decades, from about 1750 to 1830.
Gussets at the underarm and shoulder slope gave the shape needed. The shoulders were reinforced with additional patches, attached to the inside of the shirt with a fell or slip stitch. There are several ways to insert gussets, attach shoulder patches or cast all the raw edges, especially at the armhole. My templates are three extant men´s shirts displayed at the “Germanisches Nationalmuseum” in Nürmberg, Germany.   

Let´s start sewing, following the pattern instructions step by step.

You prefer a sewing pattern rather than a diagram? Go to my Shop and get yours!

(1) Of course, my step #1always is to cut and prepare the pieces from fabric, marking all the notches. I made the shirt from a fine linen. When sewing with linen, it´s important to pre-wash the fabric at least with the same temperature as you´re going to wash the shirt later. Cutting linen in the straight grain can be tricky as well, I prefer to pull out single threads. This can be boring and time consuming, but in the end it´s worth it.

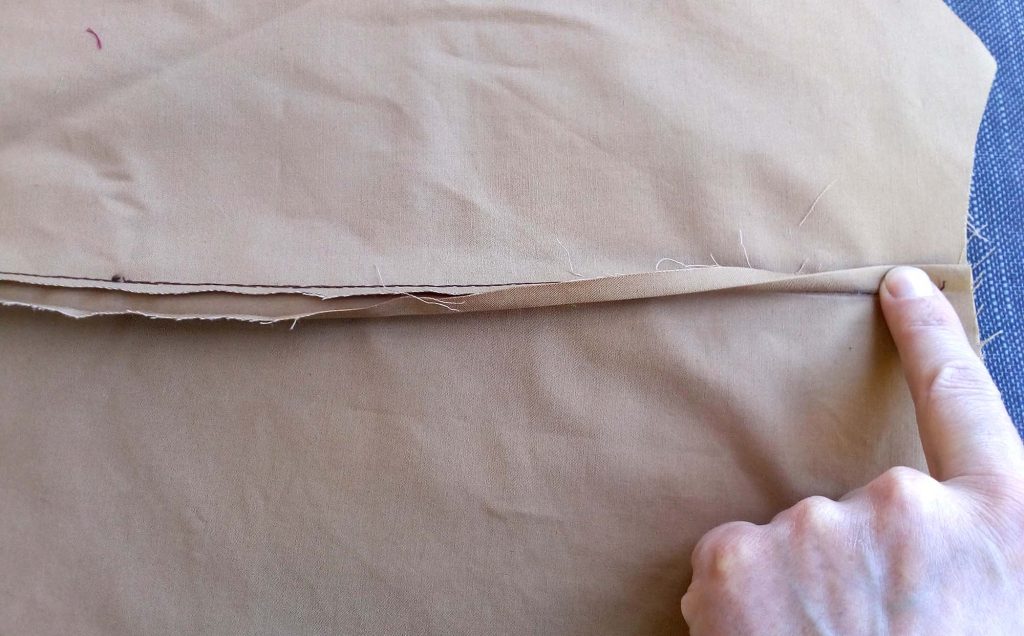
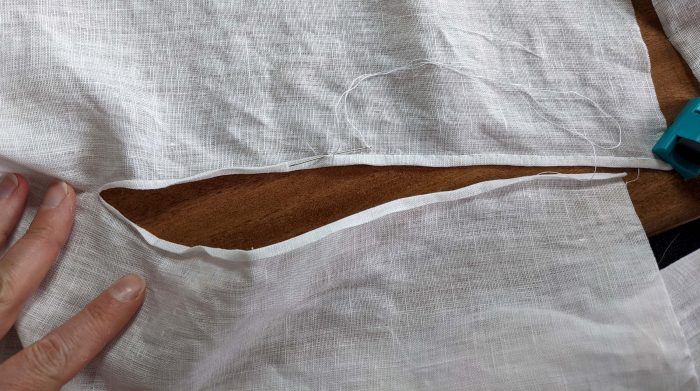
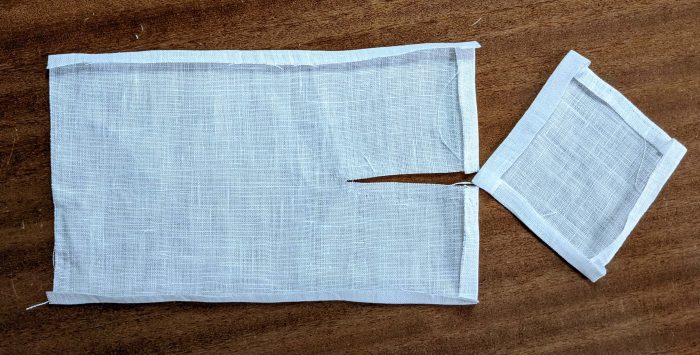
(2) This is the shirt bodice, slashed horizontally for the neck opening, and slashed down the center front at the chest. Along slash at the center front, a narrow seam allowance is double-turned in and fell stitched in place. To hold the edge of the fabric straight when sewing, I used a plastic clamp from the hardware store (my third hand).
(3) When I first started sewing a 18th century men’s shirt, the most difficult thing I found was the shoulder patches and gussets. Because of this, I’m going to show it in great detail.

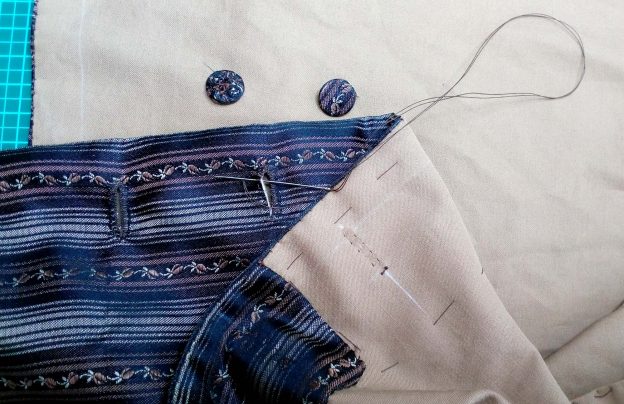
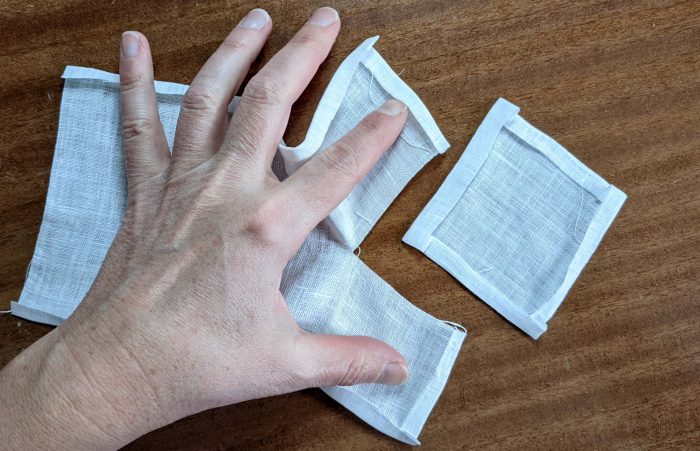
Take the shoulder gussets and turn in the seam allowances along two consecutive edges, or along all edges as shown in the pictures.
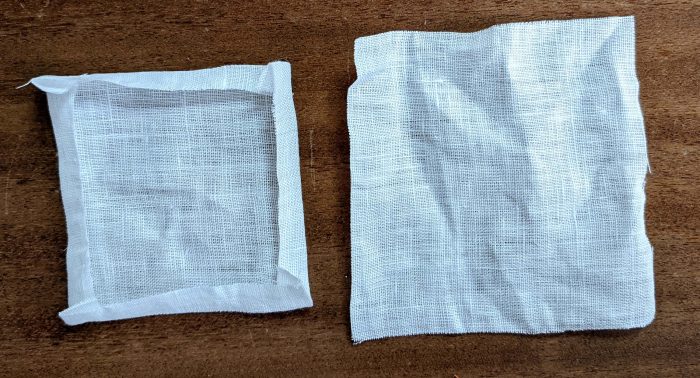
Slash the shoulder patch and turn in the seam allowances (except along the armhole edge) and insert the gusset as shown. It is shown and described a little differently in the instructions, only at the end the result will be the same.
Continue reading

1790´s Men´s Waistcoat sew-along Part 3

Part 2

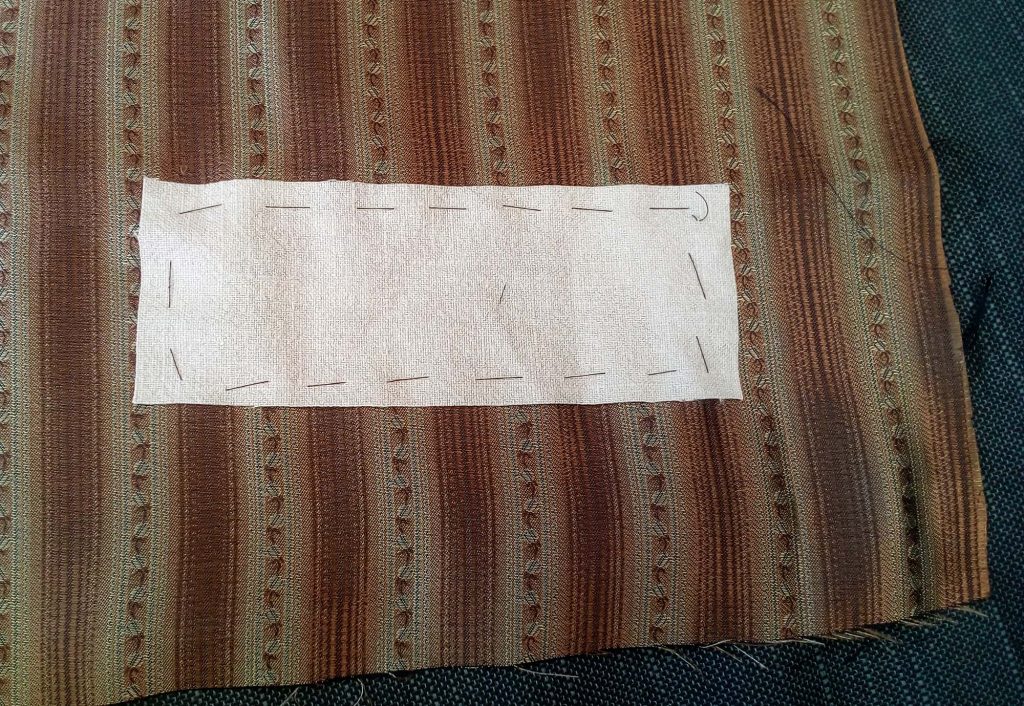
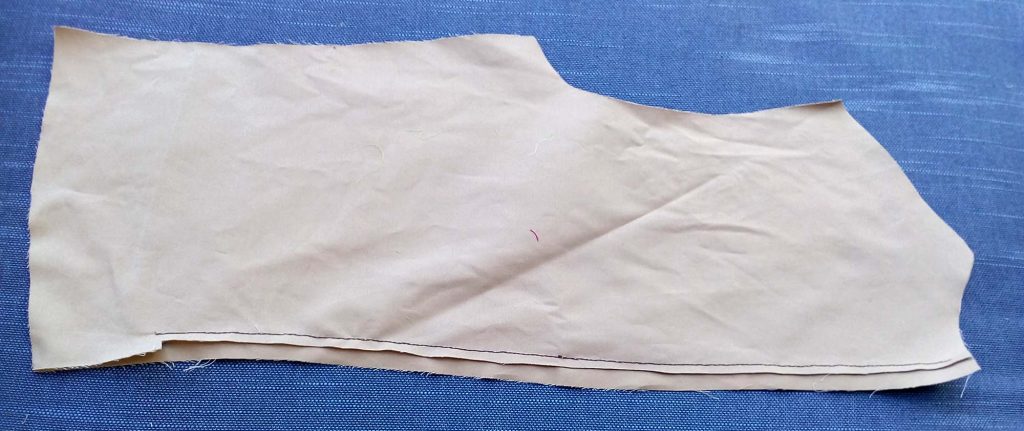
Next day I started to prepare the fronts from fashion fabric and marked the pocket opening on the right fabric side with basting threads. For reinforcement I basted a rectangular piece of interfacing to the wrong fabric side, covering the pocket opening.

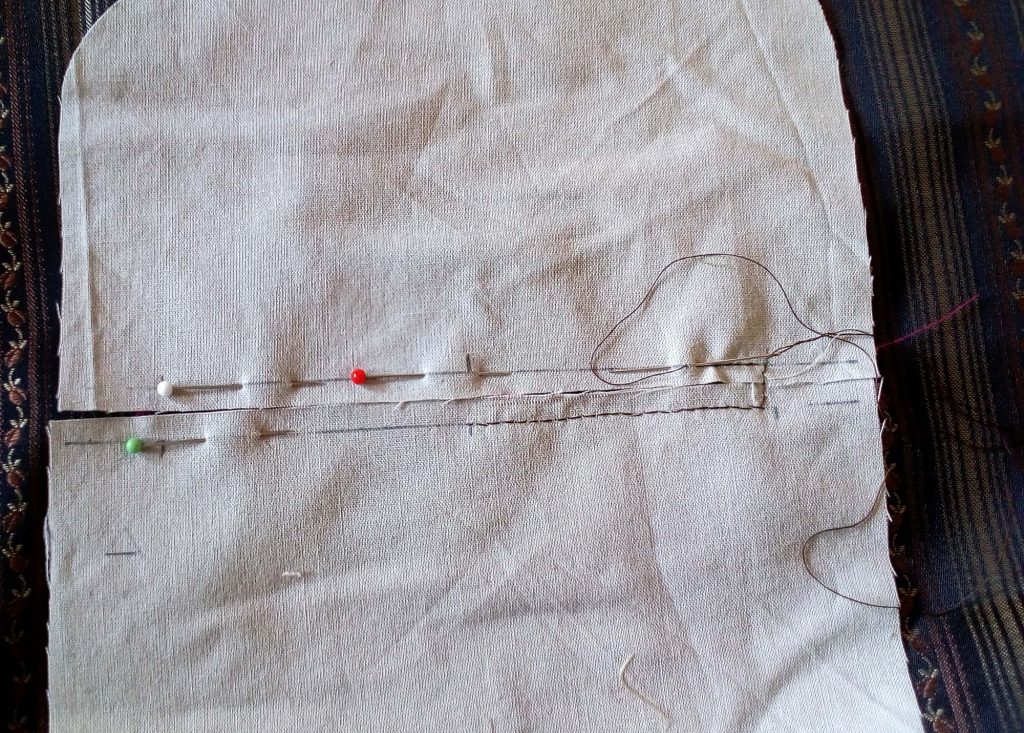
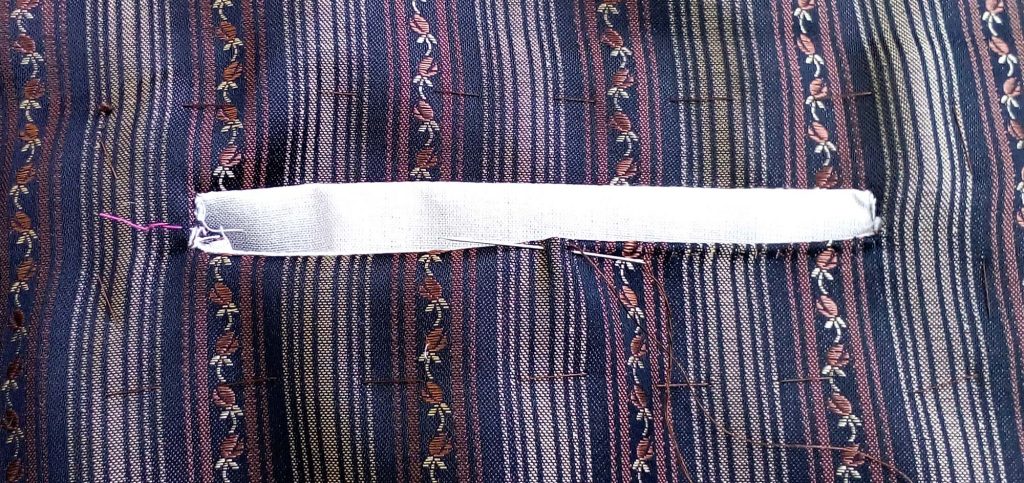
This was a quick and dirty pocket, this sloppy opening will be covered by the welt later.

Continue reading

1790´s Men´s Waistcoat sew-along Part 1

A few years ago, I started this waistcoat project for my husband for a visit of the Castle of Delitzsch (Germany). It was summer and I decided to sew the waistcoat completely by hand outdoors, enjoying my garden while sewing. However, the best thing was that I did not forget to make as many pictures of the sewing process as possible. And here we go!

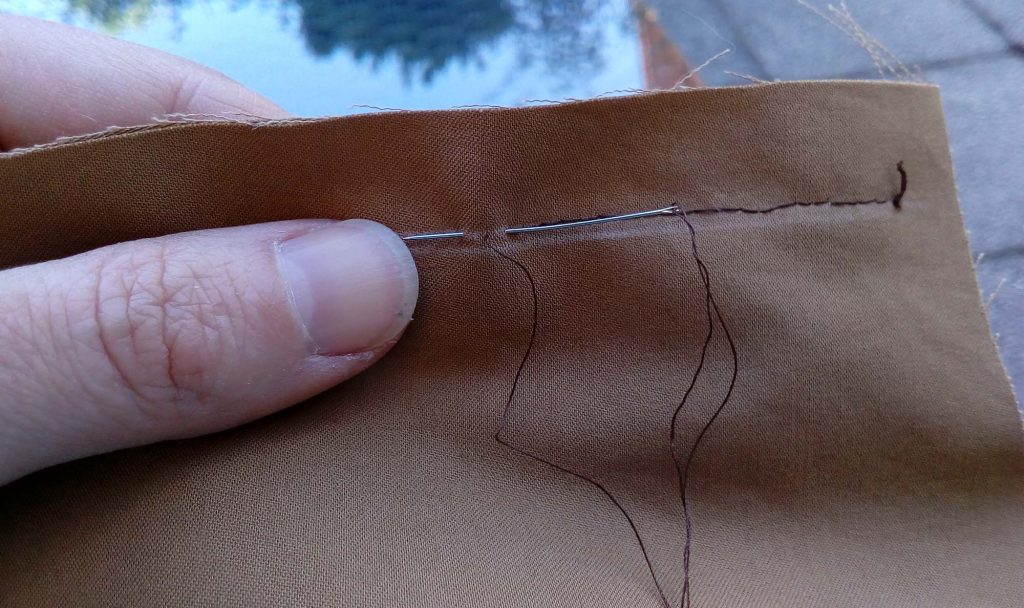
I prepared all pieces from fashion fabric and lining in my sewing room and moved then on my terrace, where I lined up the backs, right sides together, and stitched along the center back seam, starting at the top until reaching the top of the vent. To make a flat felled seam, I trimmed back the seam allowance of the right back to ¼” (5mm) from top to the vent and notched the seam allowance of the left back to fold over the trimmed back seam allowance of the right back. Without an iron available in the garden, I folded the edges with the nail of my thumb. I felled down the edge with small stitches, barely visible on the right fabric side.

Continue reading

1780´s Redingote for WGT 2019 /

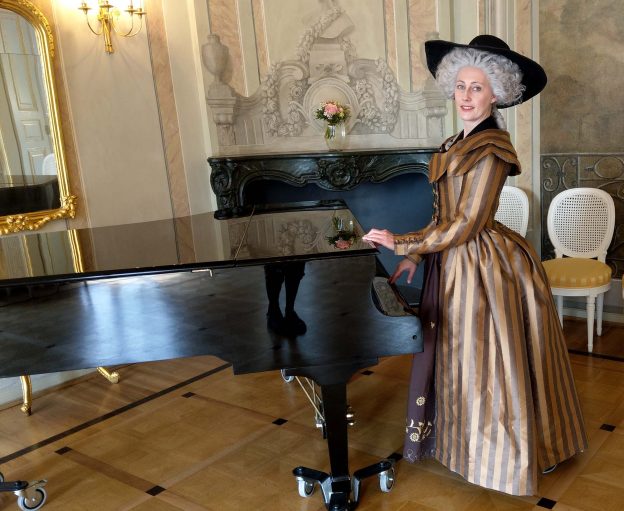
Preparing for the WGT 2019 I bought some meters of a brown striped taffeta fabric. It was mentioned to become a coat and trousers for my husband. But when I was finished, I still had 6m of that fabric left. First I was thinking of a steampunk inspired bustle dress, but reflecting this idea several days I decided to make a 1780´s Redingote dress matching with my husband´s 1780´s suit.


As usual I tried to make lots of pics during the sewing process and as I really love the dress, it became the first sewing pattern for a series of 18th century patterns. Please don’t be impatient, I´ll try to launch some of the new patterns this year (including some men´s patterns).


This tutorial should help to facilitate the sewing process of the Redingote, some things will be slightly different as described in the sewing pattern. Pictures and a tutorial for the petticoat are missing.


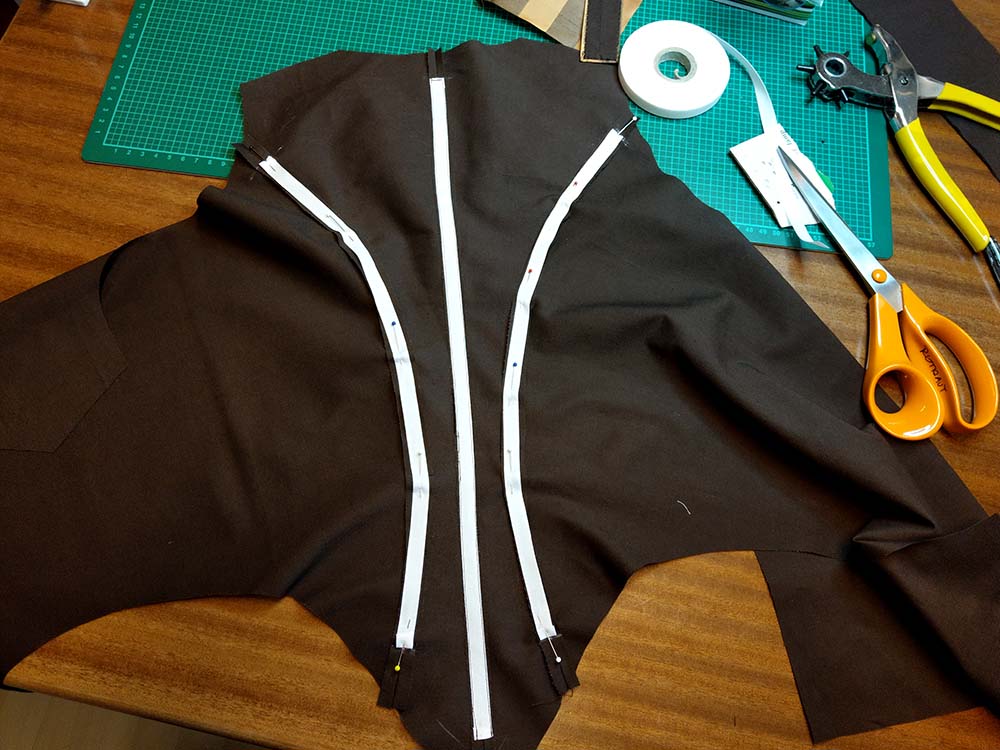
Here you see the bodice from lining, all parts sewn together and the seam allowances pressed open. Every seam is covered with a boning channel, I made mine from twill tape. The side seams are curved, filling that channels with plastic boning serves, but with a stronger bend I´ll recommend not to follow the seams anymore. Let the channel run straight towards the shoulder seam.

Continue reading

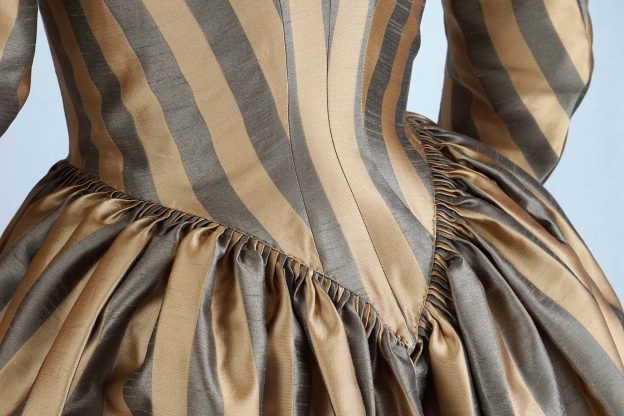
How to get small, regular pleats on 17th or 18th century skirts

For small folds (minimum ¼” (5mm)), measure the distance of the waistband or bodice section, where you want to attach the skirt.

Let´s say 35cm for an 18th century robe a l´Anglaise. Determine the width of folds and therefore the number of folds – with a width of 5mm there would be 70 folds each side (that makes a total of 140! folds).

Measure along the top edge of the skirt, from center back to the front edge, subtract about 1” from this measurement (e.g. 138cm-2cm=136cm). Divide this measurement by the number of folds (136cm/70=1,9cm). This is how much fabric each folds contains. Transfer that measurements to the wrong side of the top edge of the skirt. Mark the fold´s width (5mm) beside. As a rule, the skirt width has to be minimum three times the distance at the bodice/waistband.

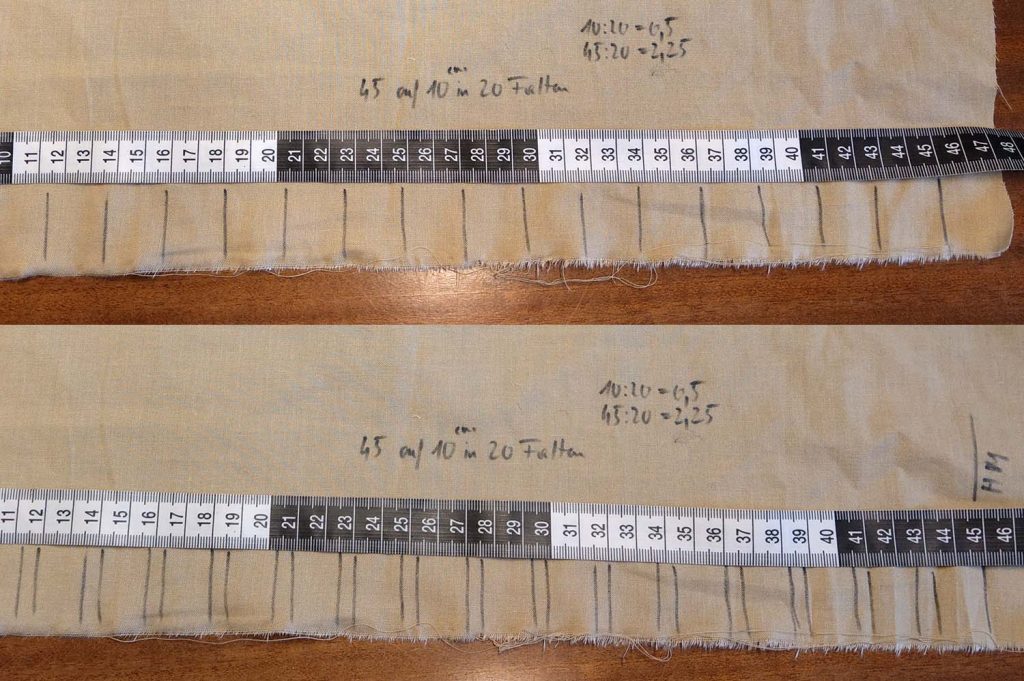
In this sample I wanted to gather 45cm into 10cm, with pleats of 5mm. That means I divided 45cm by 20, that is 2,25cm for each fold. On the picture above I marked this 2,25cm at the wrong fabric side along the top edge. On the picture below, I marked the fold´s width of 5mm beside.

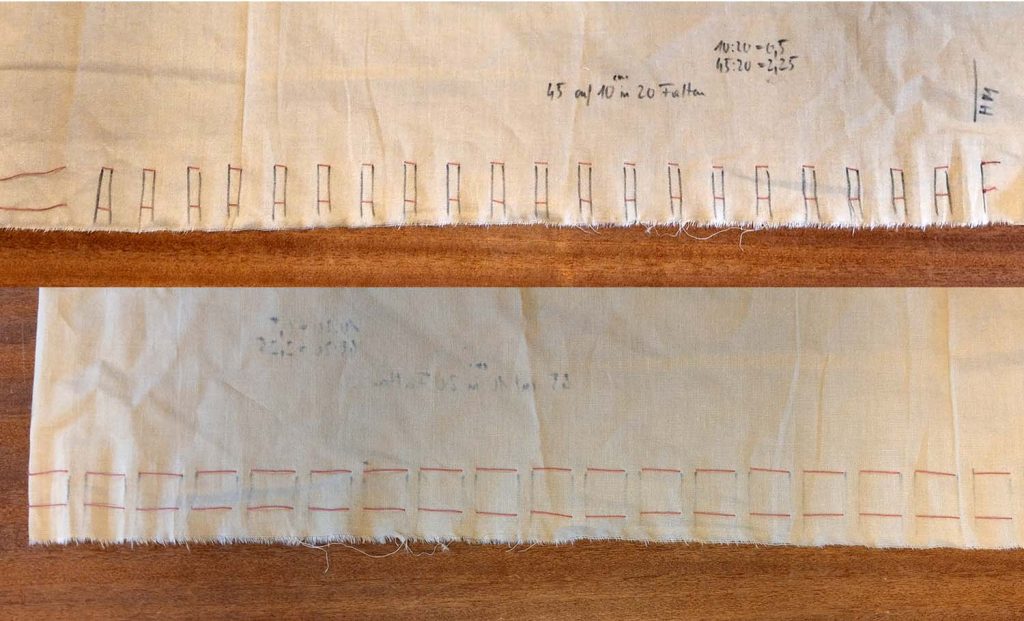
Sew two rows of gathering stitches with a thicker thread on both sides of the seamline. Above you see the wrong side, below the right fabric side of the skirt with the gathering threads already stitched.

Continue reading