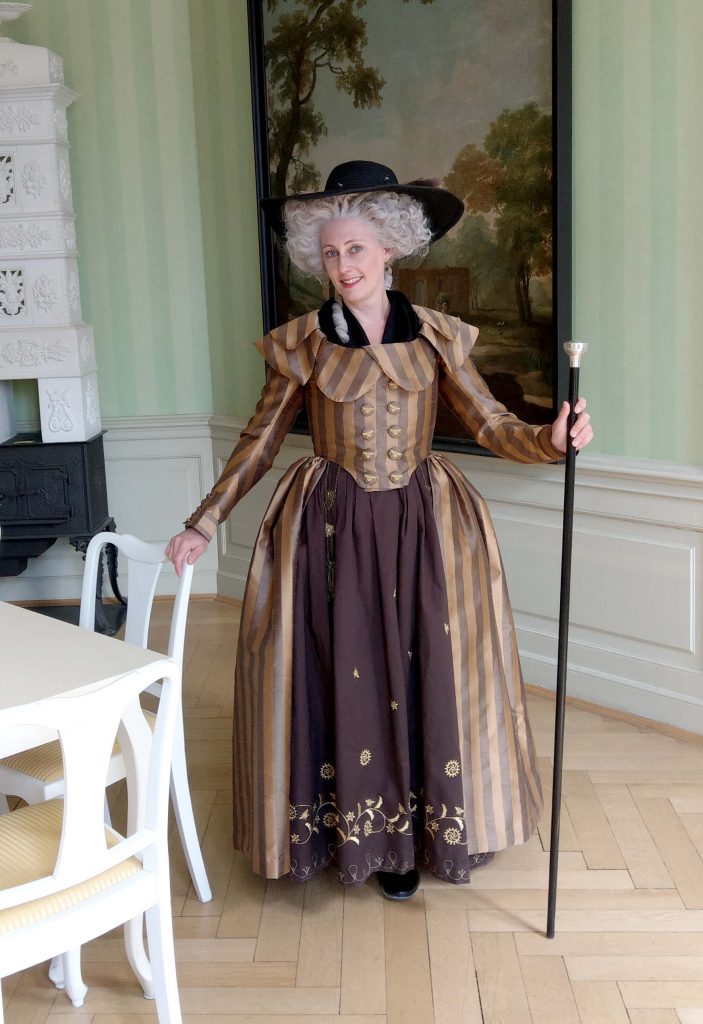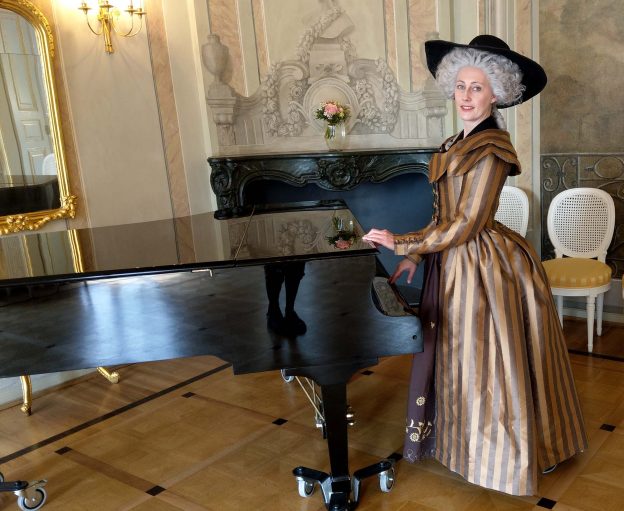
Preparing for the WGT 2019 I bought some meters of a brown striped taffeta fabric. It was mentioned to become a coat and trousers for my husband. But when I was finished, I still had 6m of that fabric left. First I was thinking of a steampunk inspired bustle dress, but reflecting this idea several days I decided to make a 1780´s Redingote dress matching with my husband´s 1780´s suit.
As usual I tried to make lots of pics during the sewing process and as I really love the dress, it became the first sewing pattern for a series of 18th century patterns. Please don’t be impatient, I´ll try to launch some of the new patterns this year (including some men´s patterns).
This tutorial should help to facilitate the sewing process of the Redingote, some things will be slightly different as described in the sewing pattern. Pictures and a tutorial for the petticoat are missing.
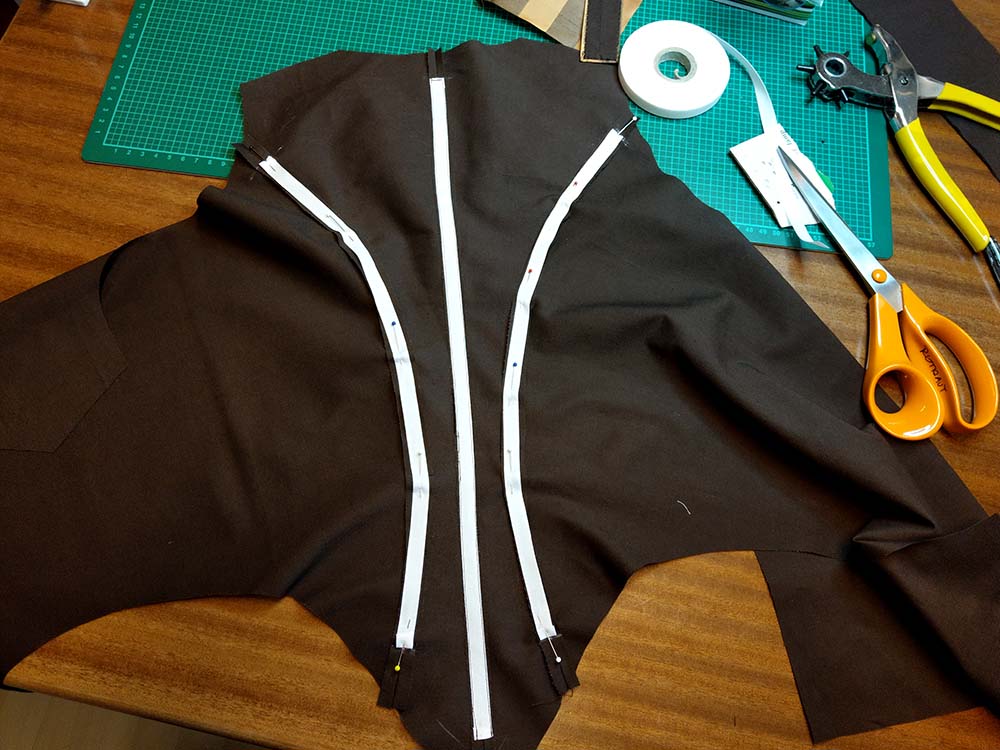
Here you see the bodice from lining, all parts sewn together and the seam allowances pressed open. Every seam is covered with a boning channel, I made mine from twill tape. The side seams are curved, filling that channels with plastic boning serves, but with a stronger bend I´ll recommend not to follow the seams anymore. Let the channel run straight towards the shoulder seam.
And here comes the ready prepared lining, with all seam allowances turned in and basted in place.

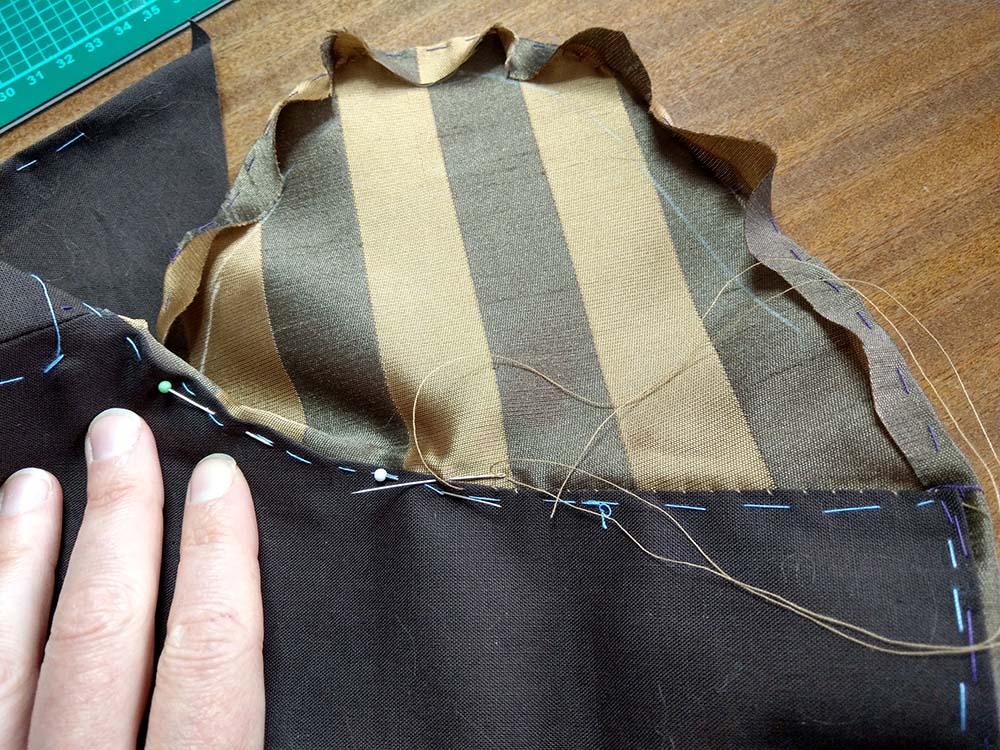
The difference between the sewing pattern and my Redingote is the cut-on front collar. The sewing pattern as an extra piece, as it will be easier for you to adjust the pattern and attach the collar. On the left side of the pic you can see the seam allowances of the bodice form fashion fabric turned in and basted in place to be sewn later with Diderot´s: point à rabattre sous la main.
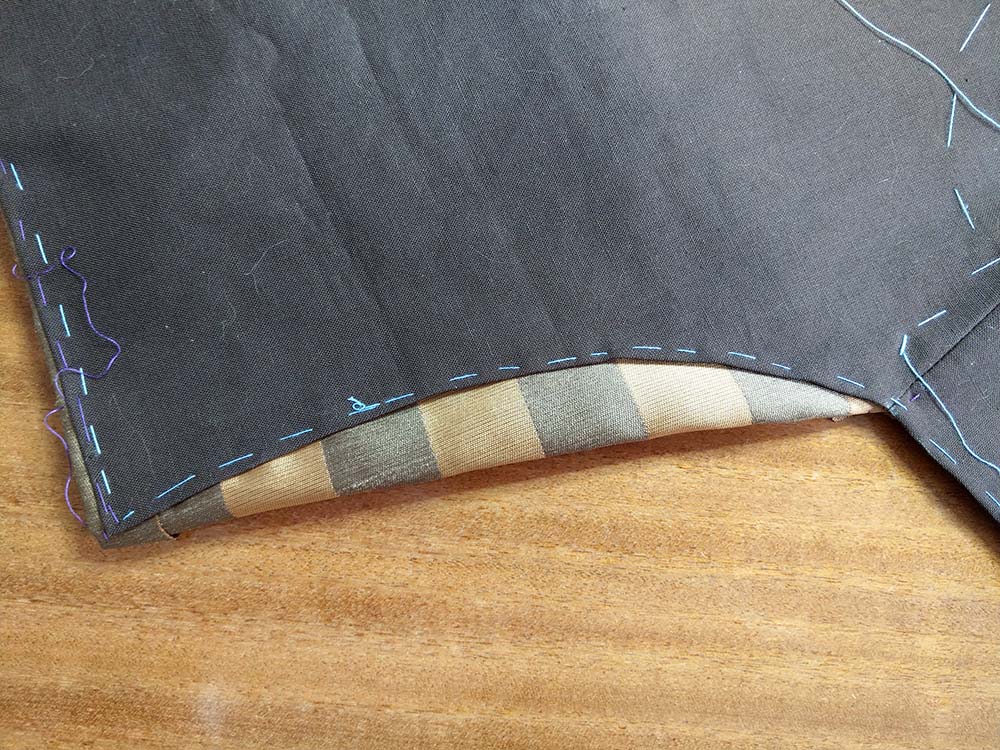
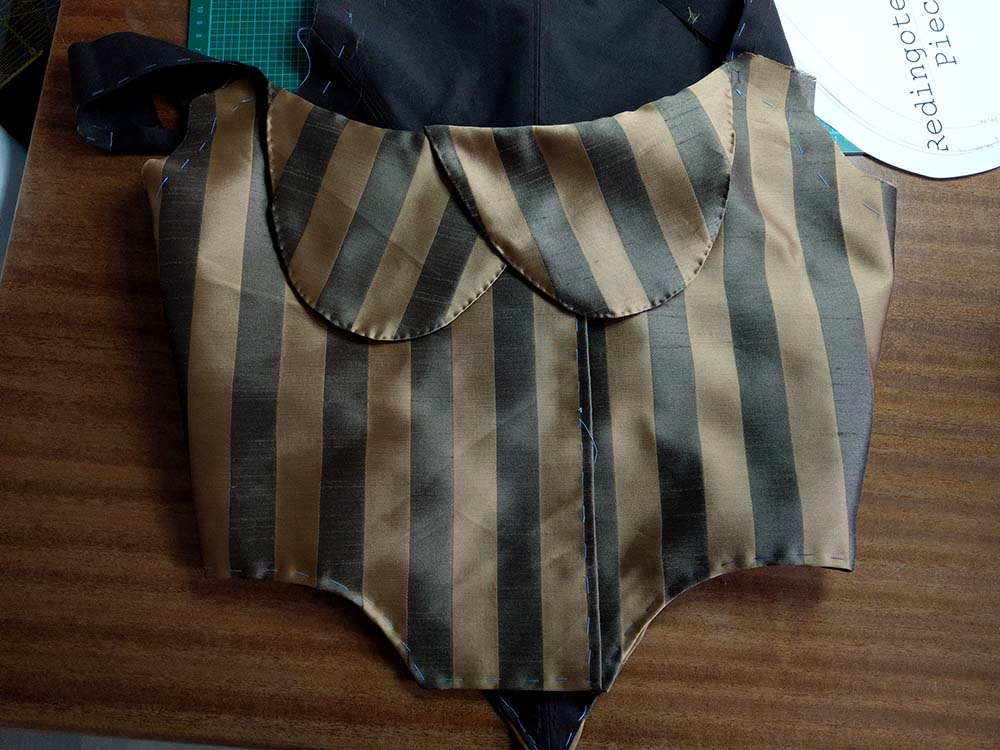
The principle is the same, in the end, the collar has follow the curved neckline and lay smooth and flat around the edge. All stitches to attach the collar to the bodice, visible on the right fabric side will be covered by the collar.
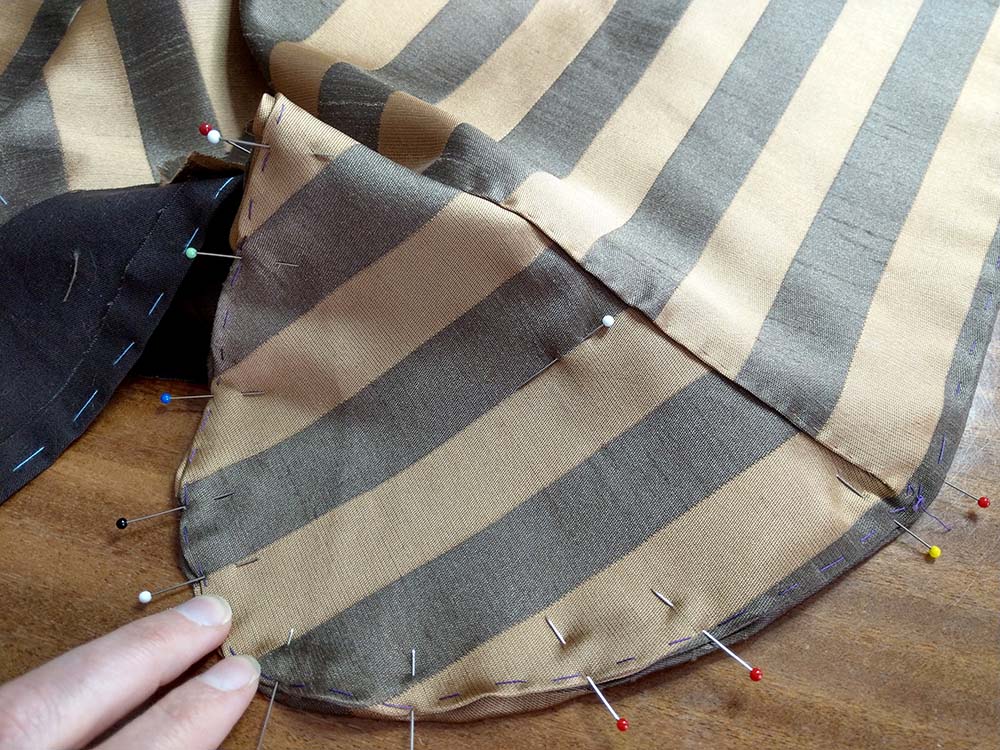
All collar pieces are prepared the same way: Turn in the seam allowance of the bottom layer and baste in place, line up with the top layer, wrong sides together, turn in the seam allowances of the top layer, so the edge protrudes the linings edge about 1/16” (1-2mm). Sew together with Diderot´s point à rabattre sous la main.

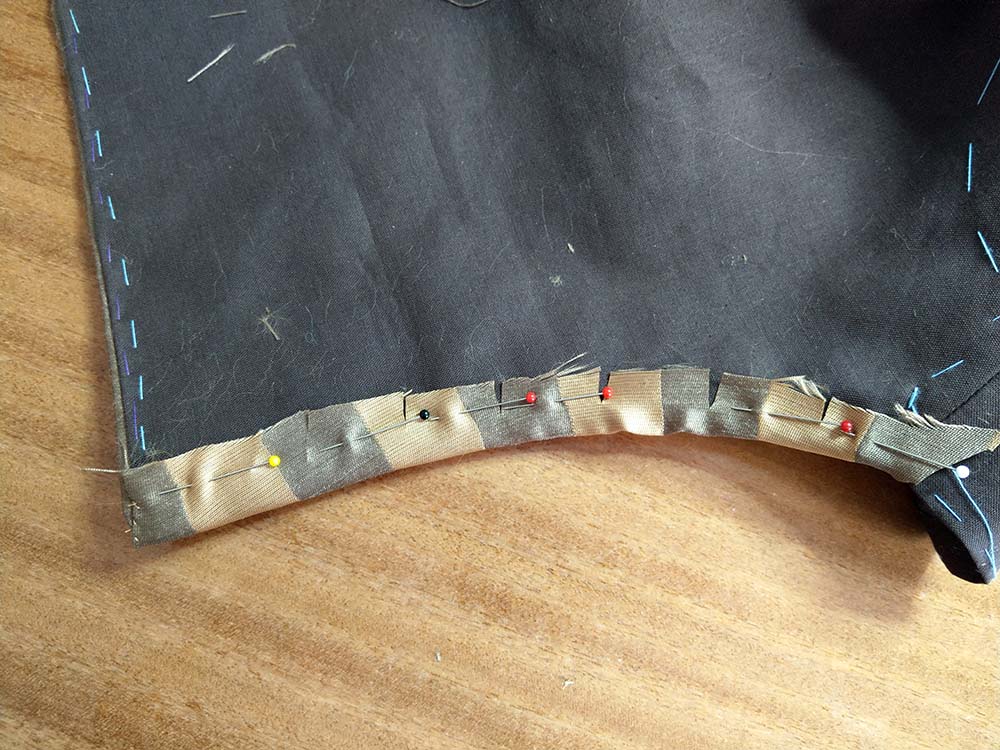
After attaching the collar pieces smoothly along the neckline with a basting stitch (just catch the lining), cover the raw edges of the collar with bias binding (I used a strip of fabric, cut on the straight grain at the back portion of the neckline). Then attach the top edge of bias binding with the point à rabattre sous la main through all layers, showing the small, regular stitches along the top edge of the bodice on the right side (and catch the collar in between).
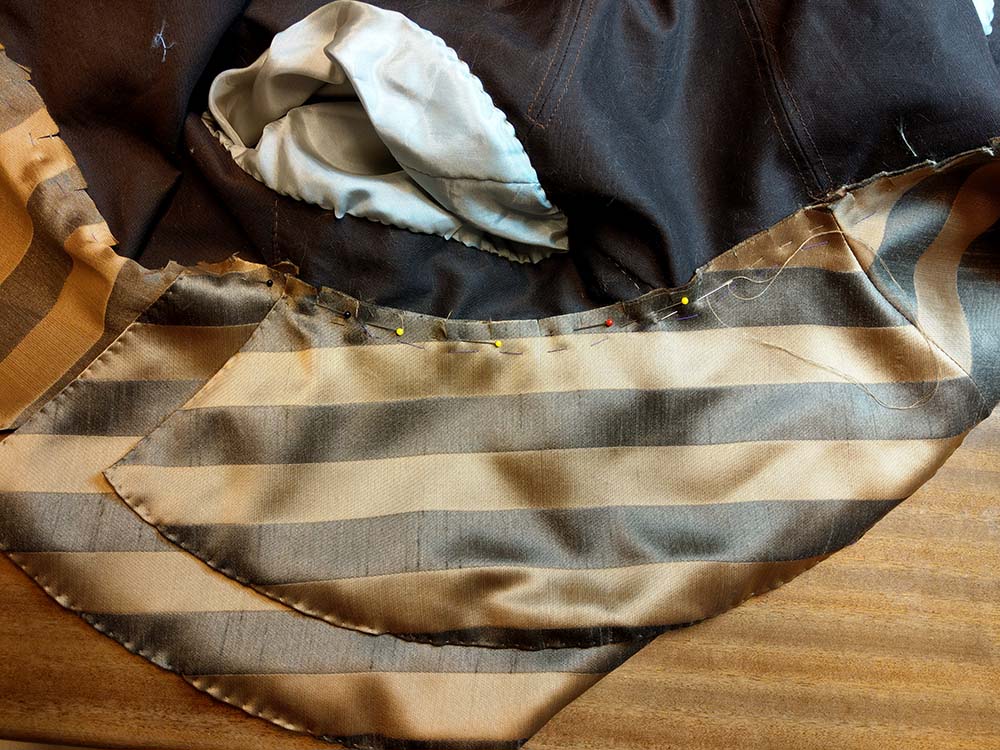
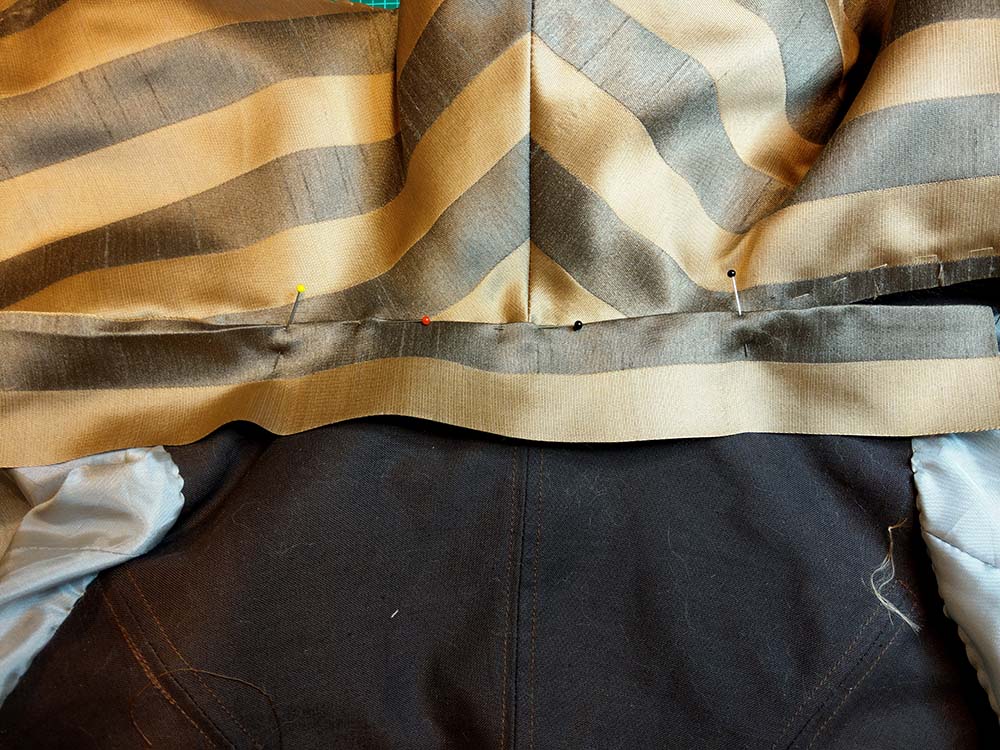
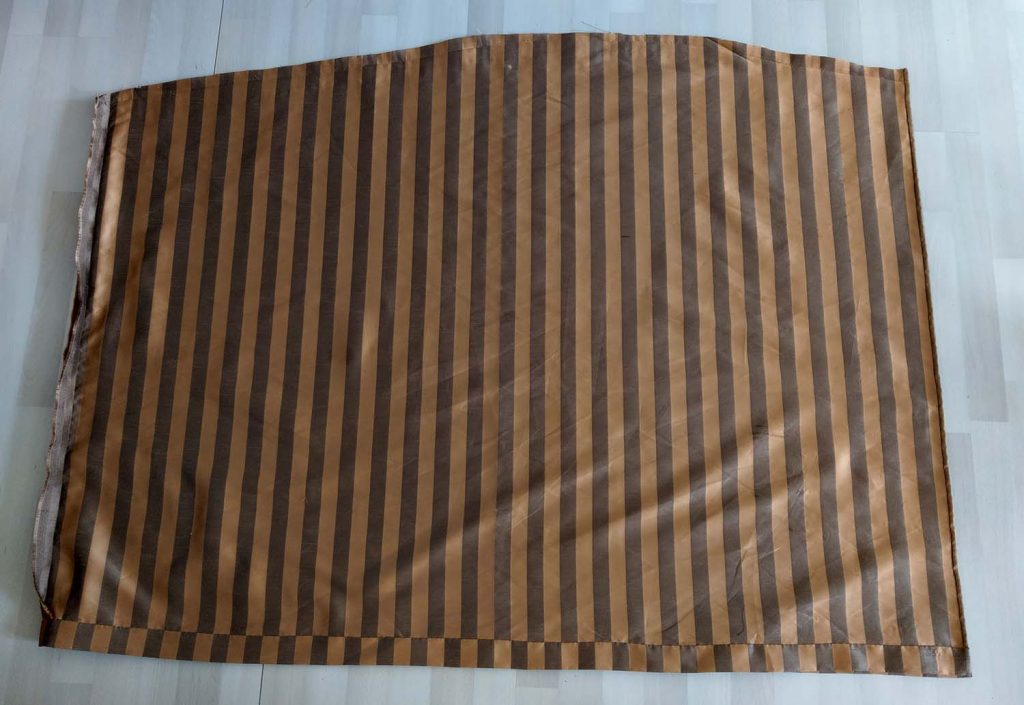
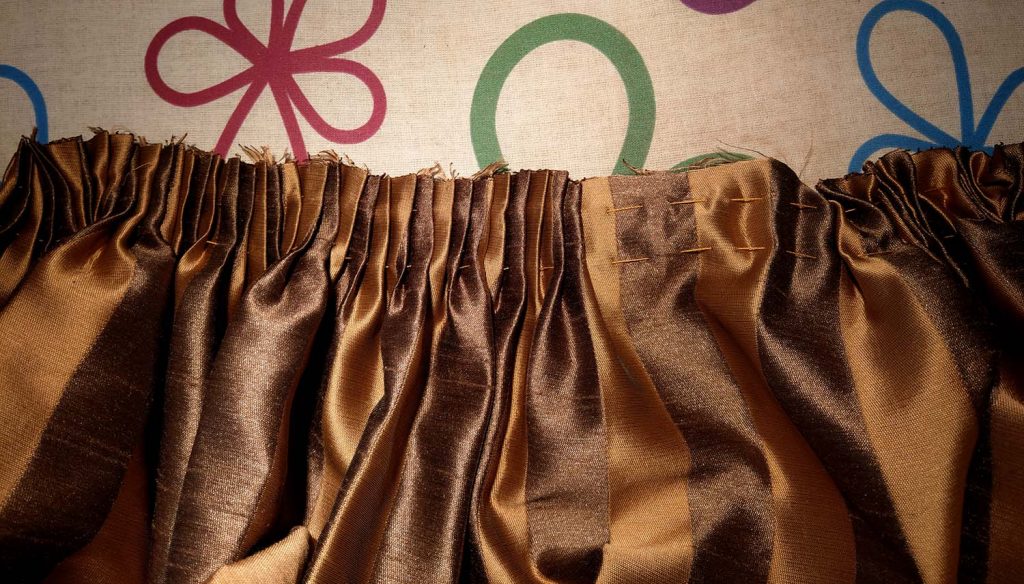
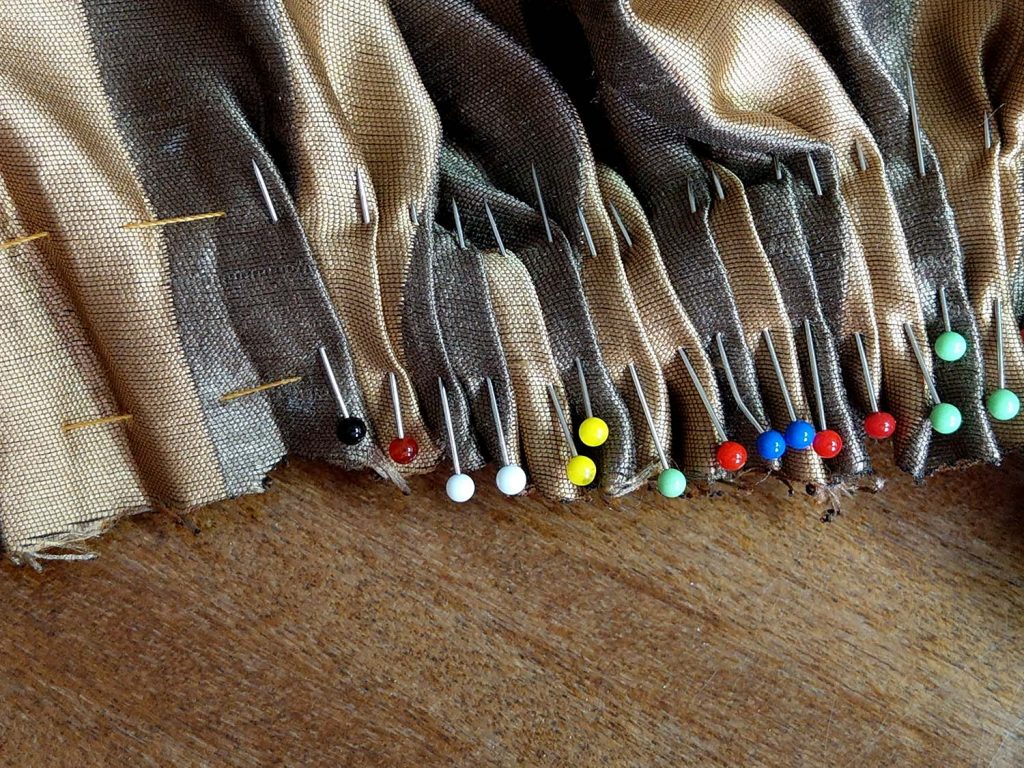
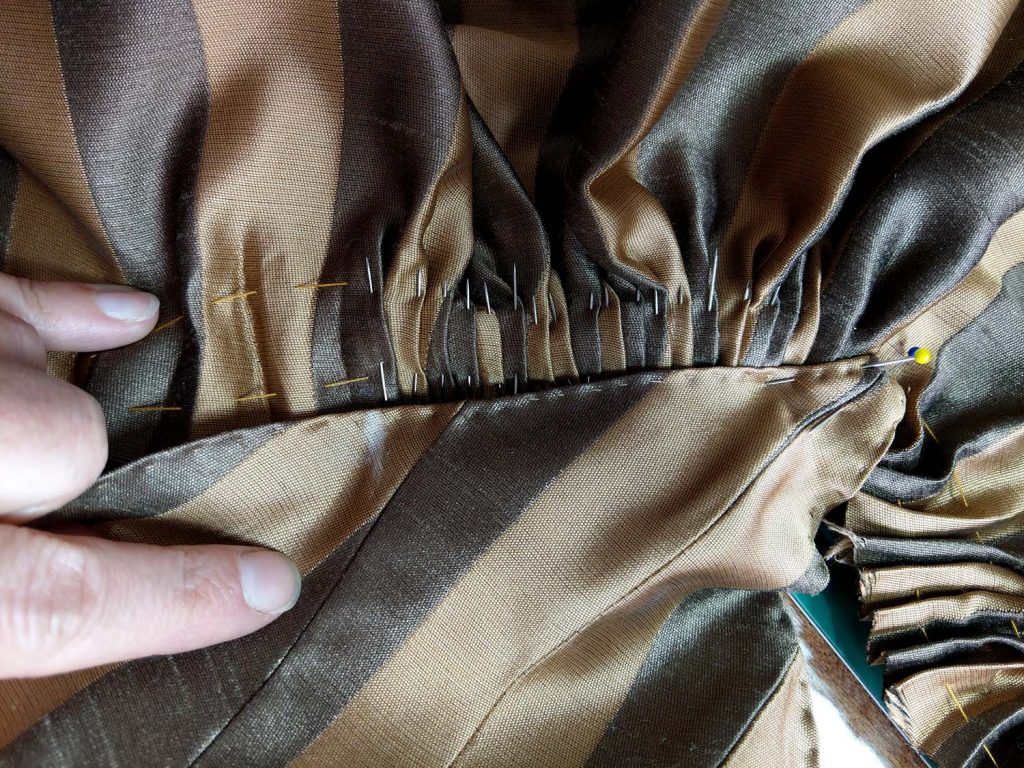
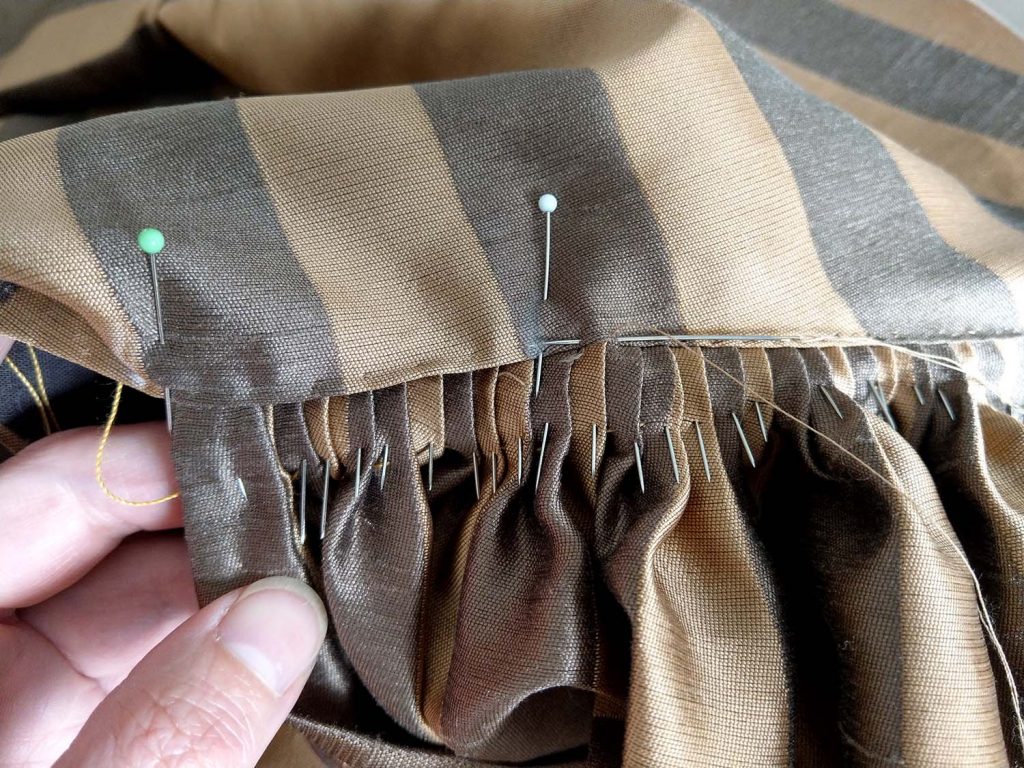
To pleat the skirt in regular folds I cut the top edge of the skirt into shape and marked the folds. After sewing to rows of gathering stitches I pleated the skirt with the help of that stitches. Last step was to attach the skirt to the bodice. Klick here for the pleat tutorial

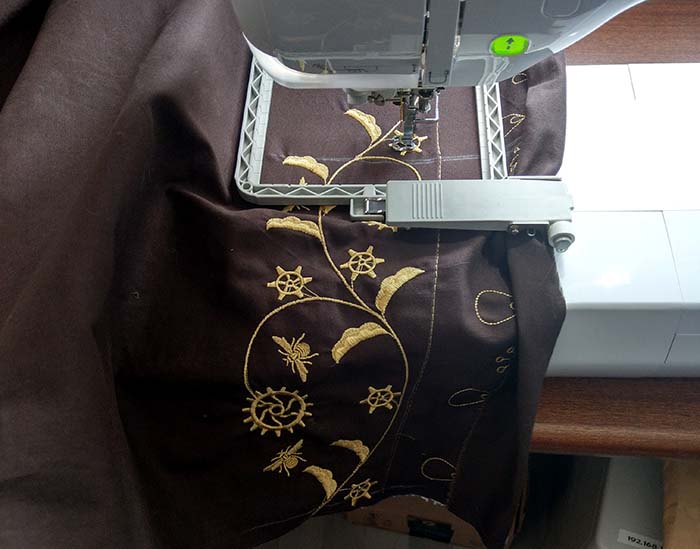
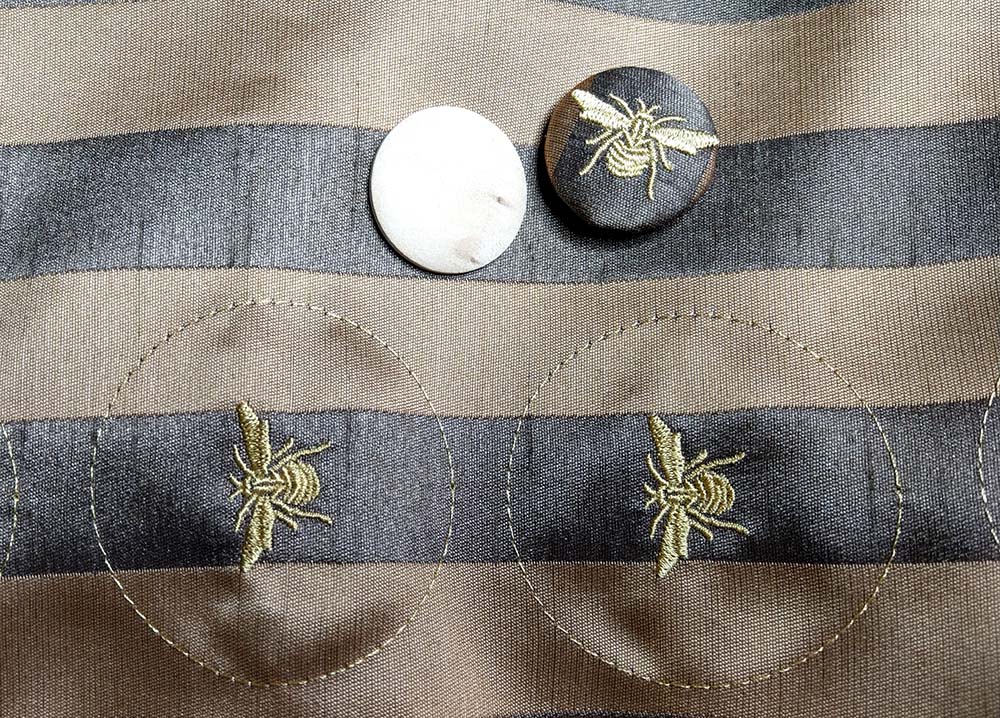
To get more Steampunk I embroidered the petticoat with an 18th century inspired pattern, using gear wheels instead of flowers. For the buttons I choose a bee pattern, repeating some motives from the petticoat.
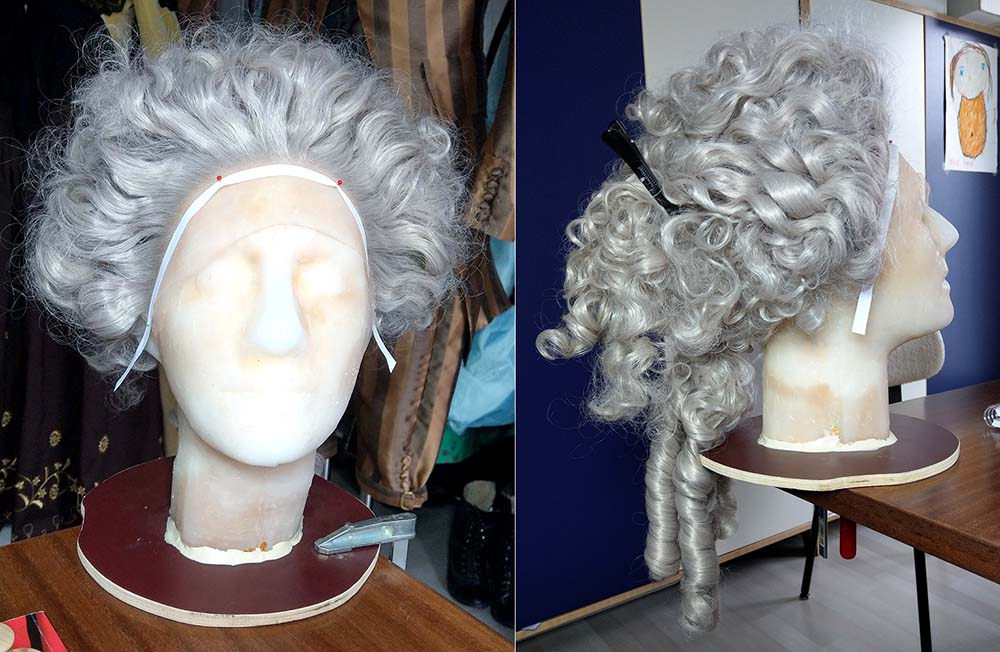
Next was the wig. I bought a long and curly gray front lace wig some months ago at Wig is Fashion. With lots of teasing, bobby pins, hairspray and baby powder I managed to create a nice hedgehog hairstyle.
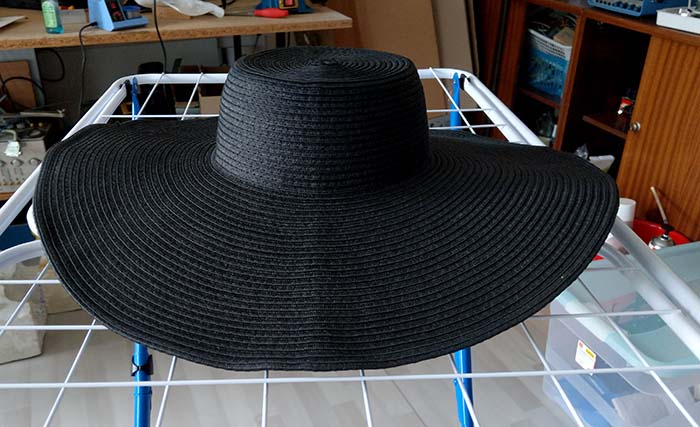
For the hat I bought a large sun hat via amazon. Stiffened with shellac over a cooking pot it now has the right shape.
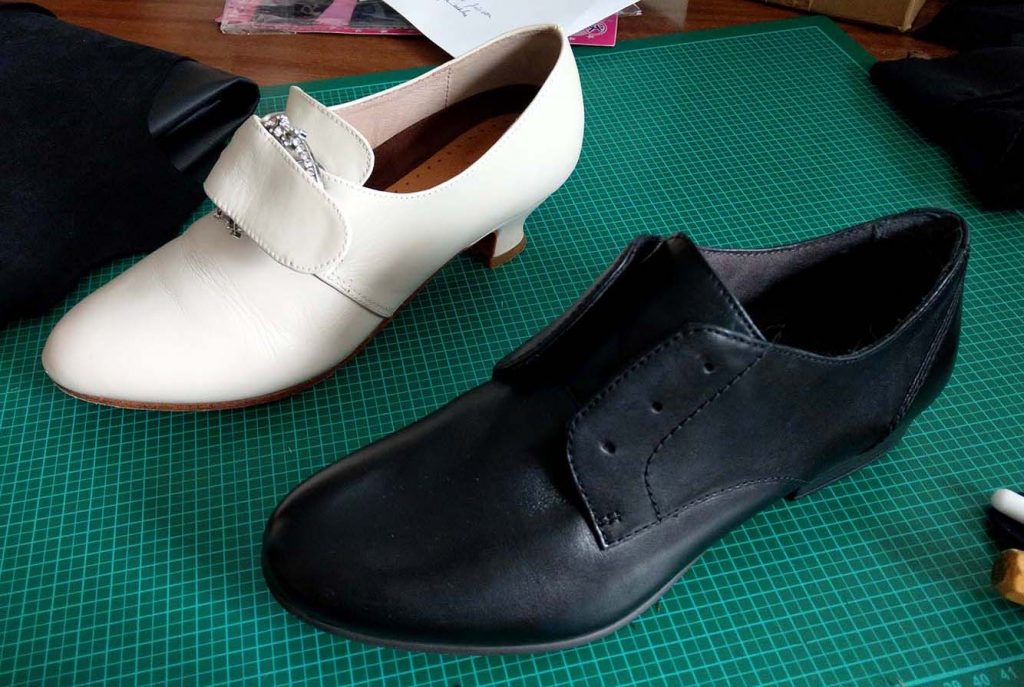
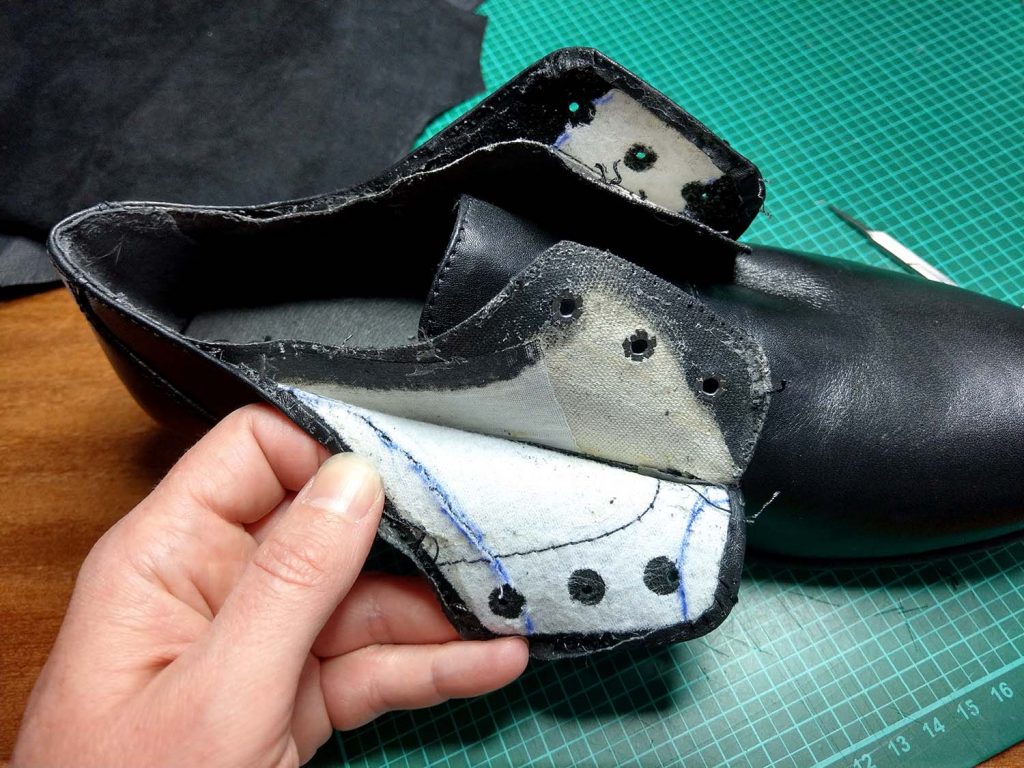
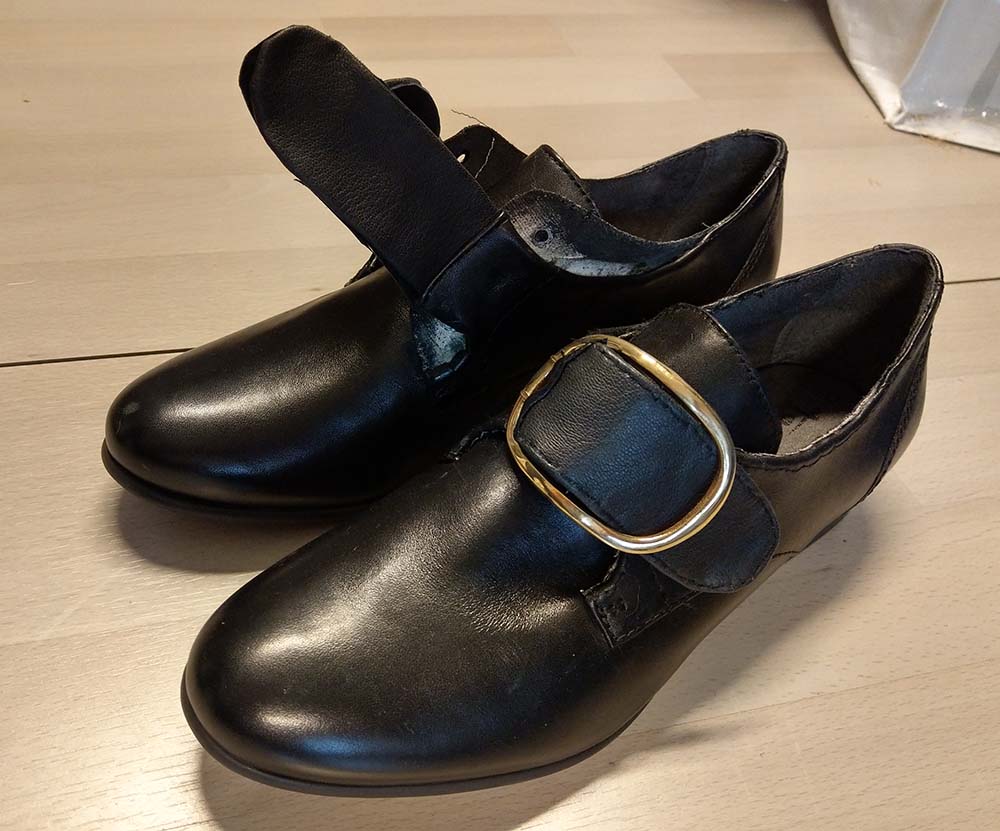
Also I tried to turn modern shoes into 18th century shoes, because I didn´t want my white American Duchess shoes to get dirty and brocken on a festival. I´ll never do that again!
That´s it! If you´re in the mood for sewing now, check my Etsy page for my sewing patterns.