
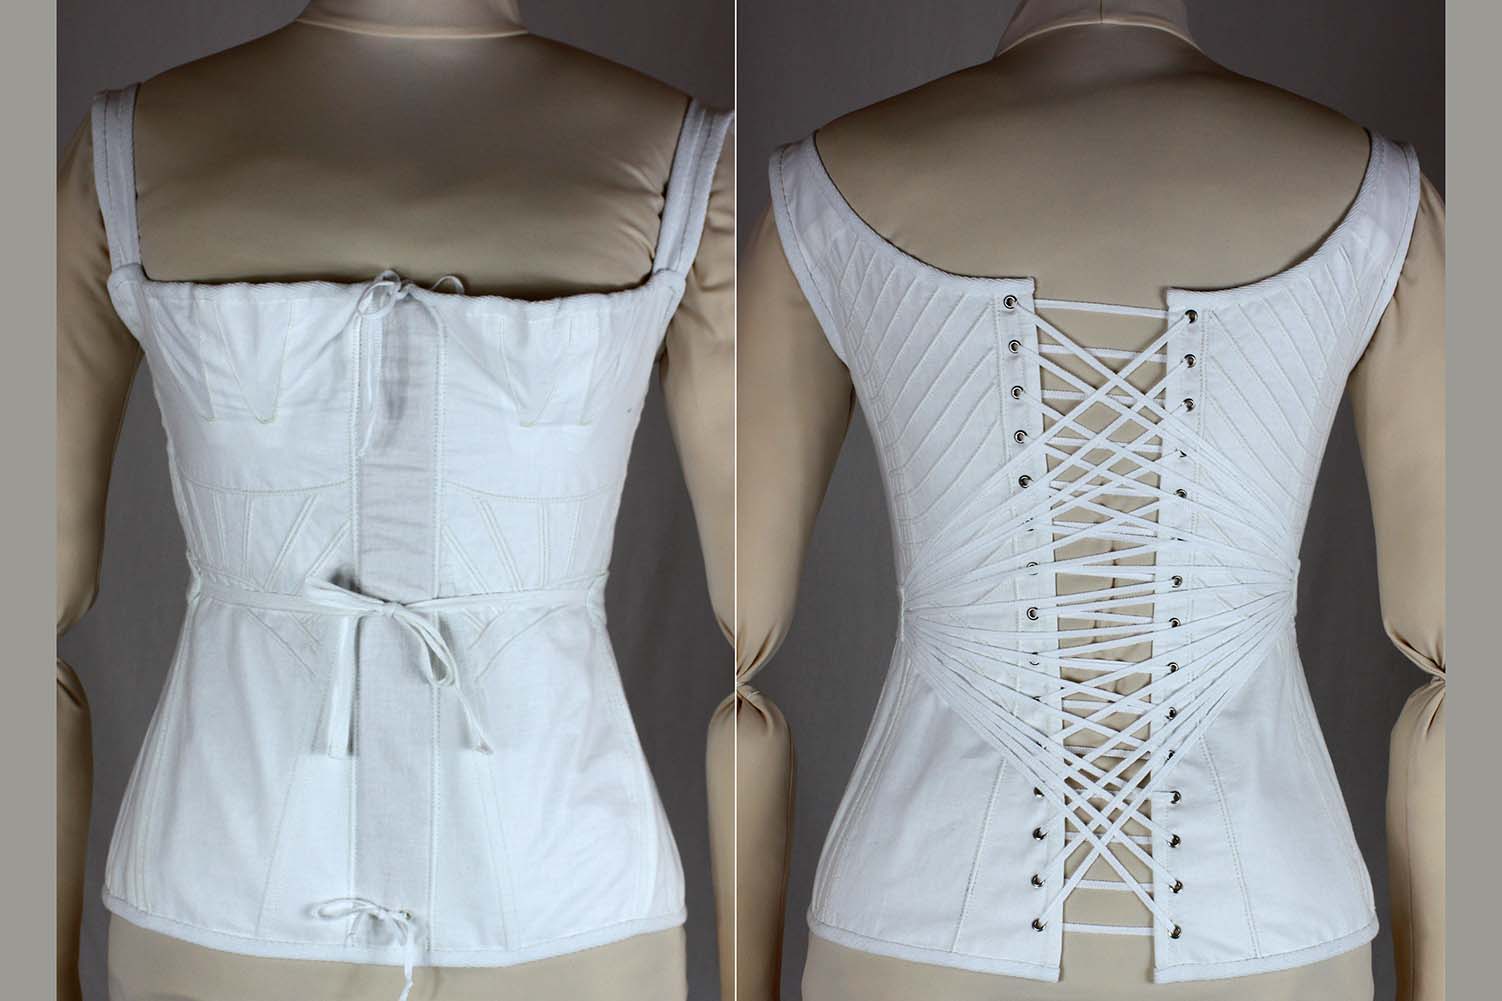
When I decided to make a new 1830´s corset, I thought a lot about the lacing first. My old one had a back and front lacing; nevertheless, I had trouble to pull it over my hips or my head, struggling with all that mess of lacing cord. I asked my husband for help, but every closure more complex than a zipper causes him shaking and sweating hands. This year I´m going to join our summer ball alone, with no helping hand available. Searching the internet, I found this interesting self-lacing corset:
https://collections.lacma.org/node/233817
For this corset, I used just two layers of a stiff waxed cotton fabric. The fabric was a little bit stretchy in the warp direction, but not stretchy at all in the direction of the weft. I used the warp as my grain line to get the non-stretchy fabric property for the waistline.
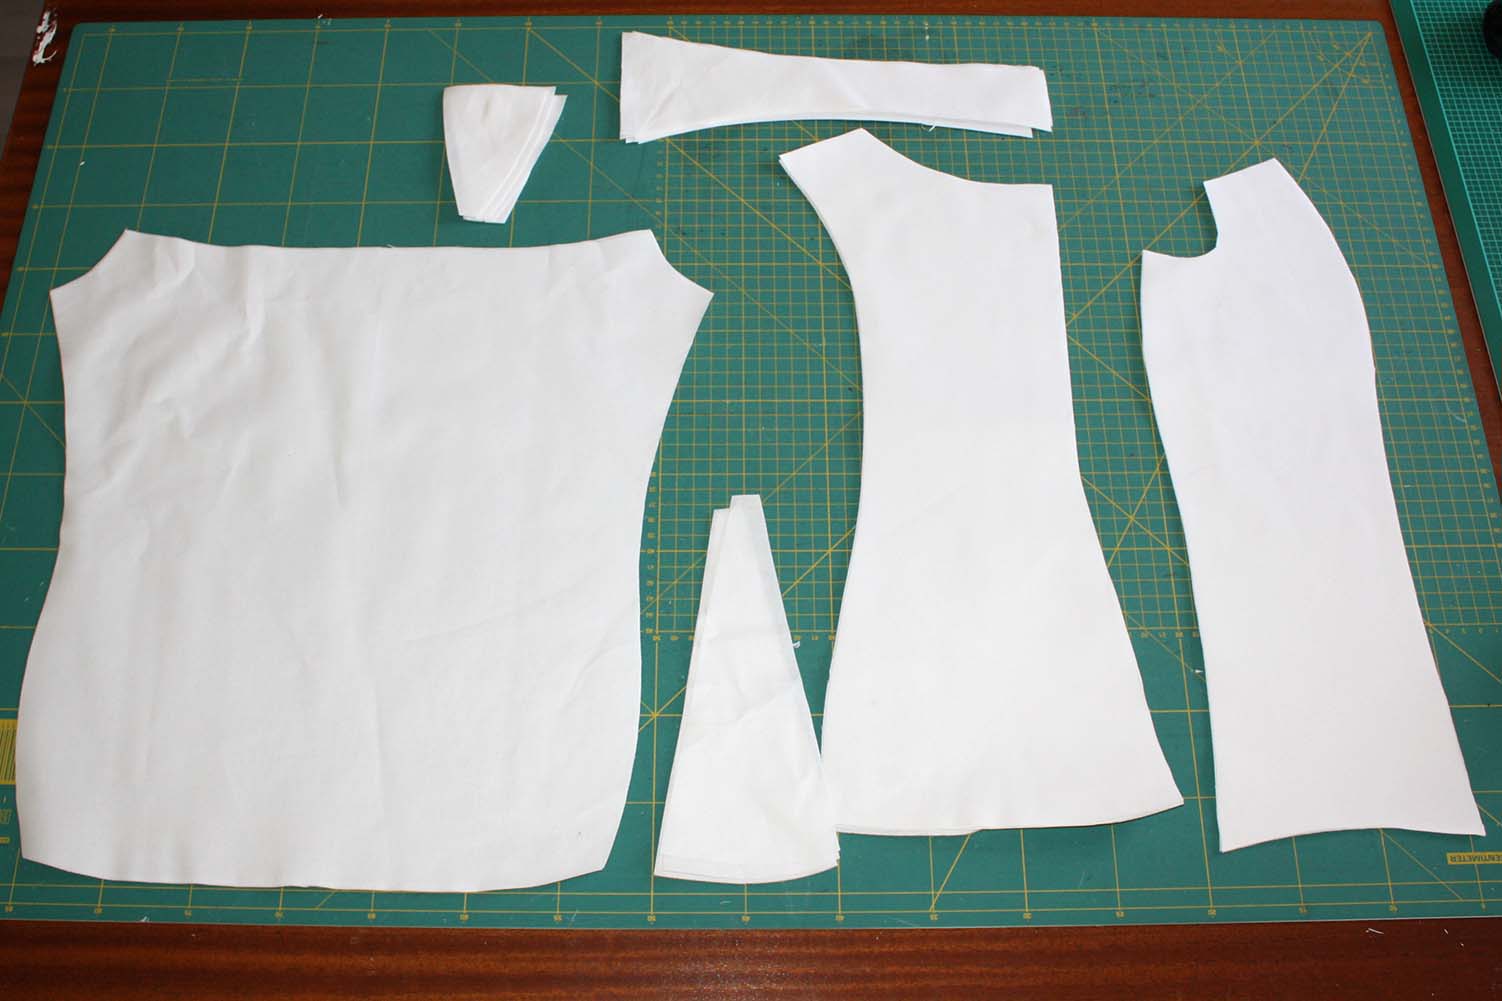
Here you can see all the pattern pieces, front, side and back piece, bust and hip gores and the shoulder straps.
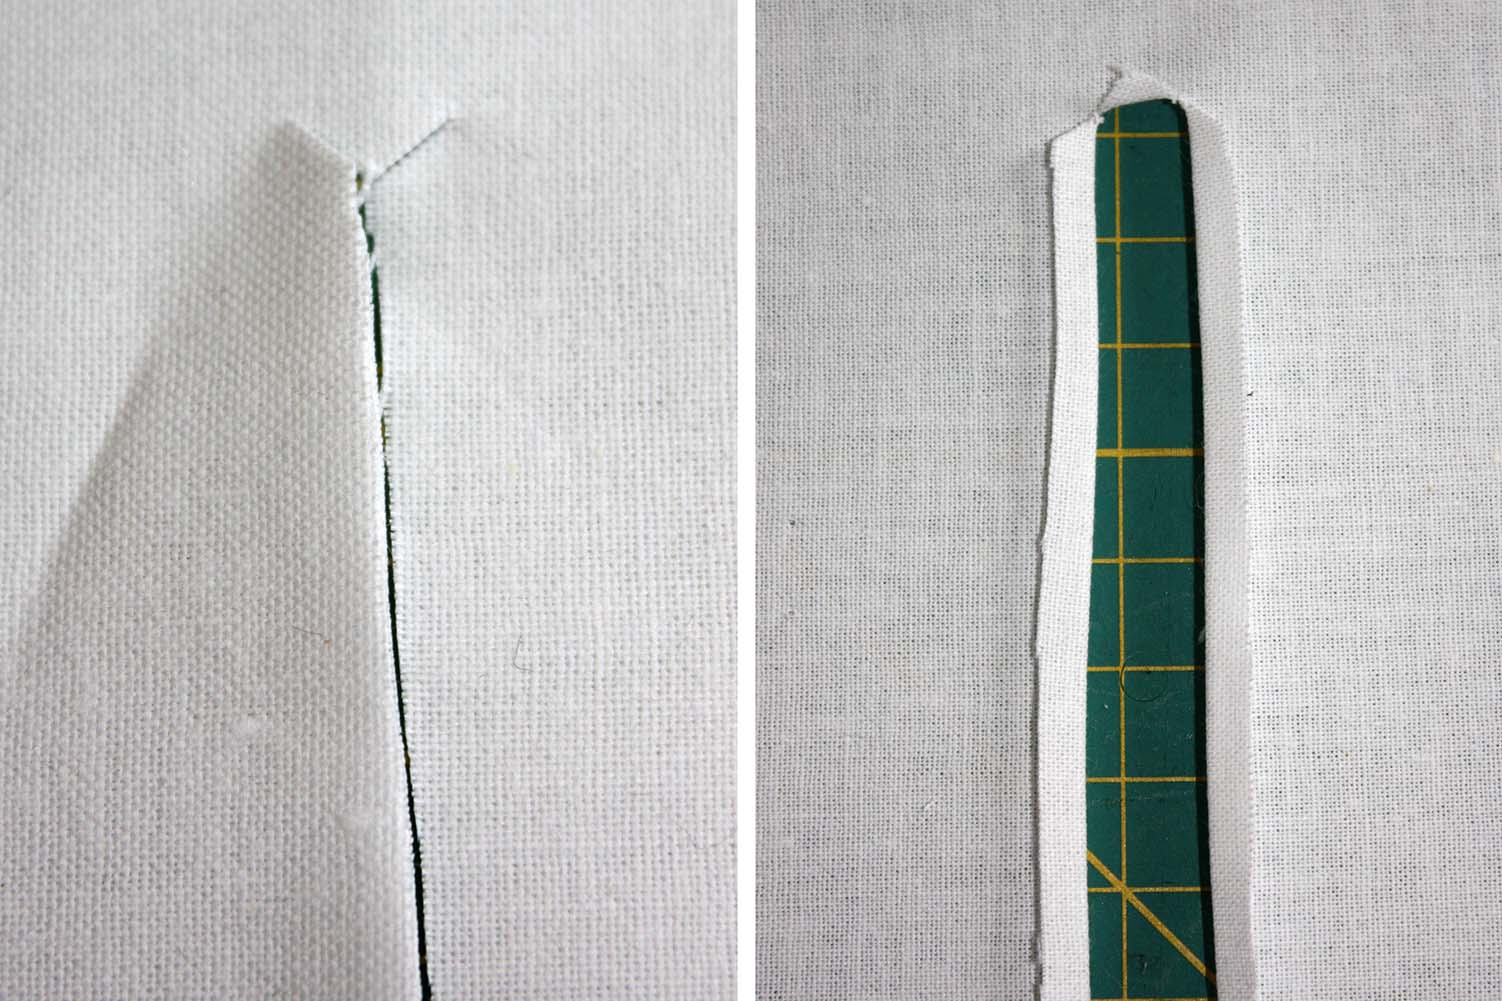
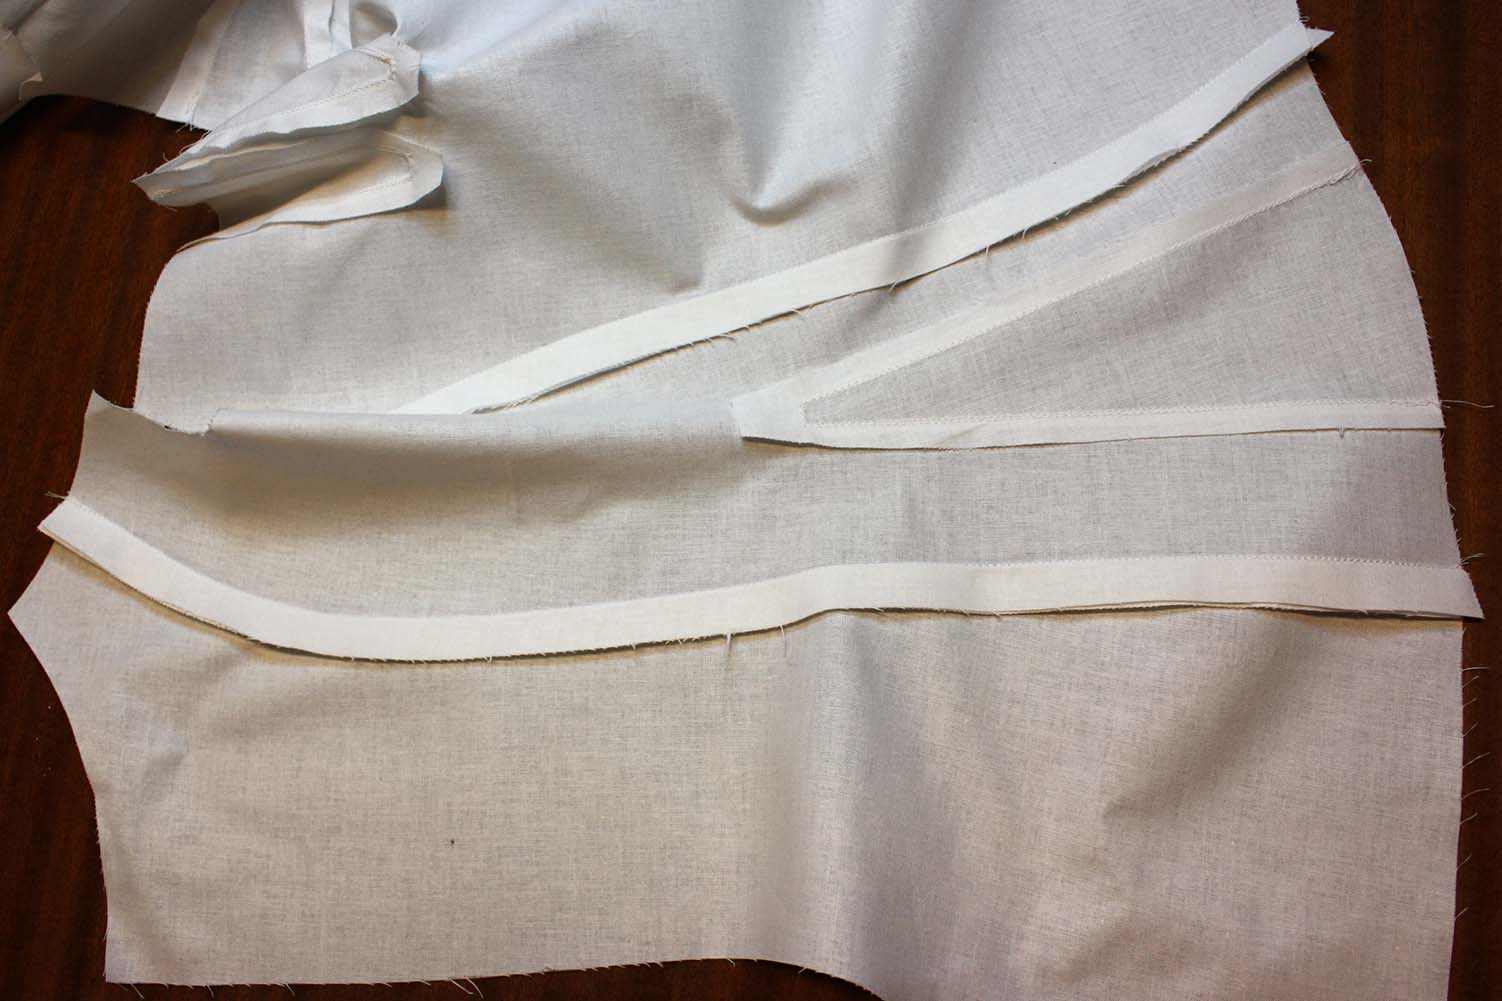
Pin together the pattern pieces to cut all gusset slits. Notch ends and turn in the seam allowance of 5mm.
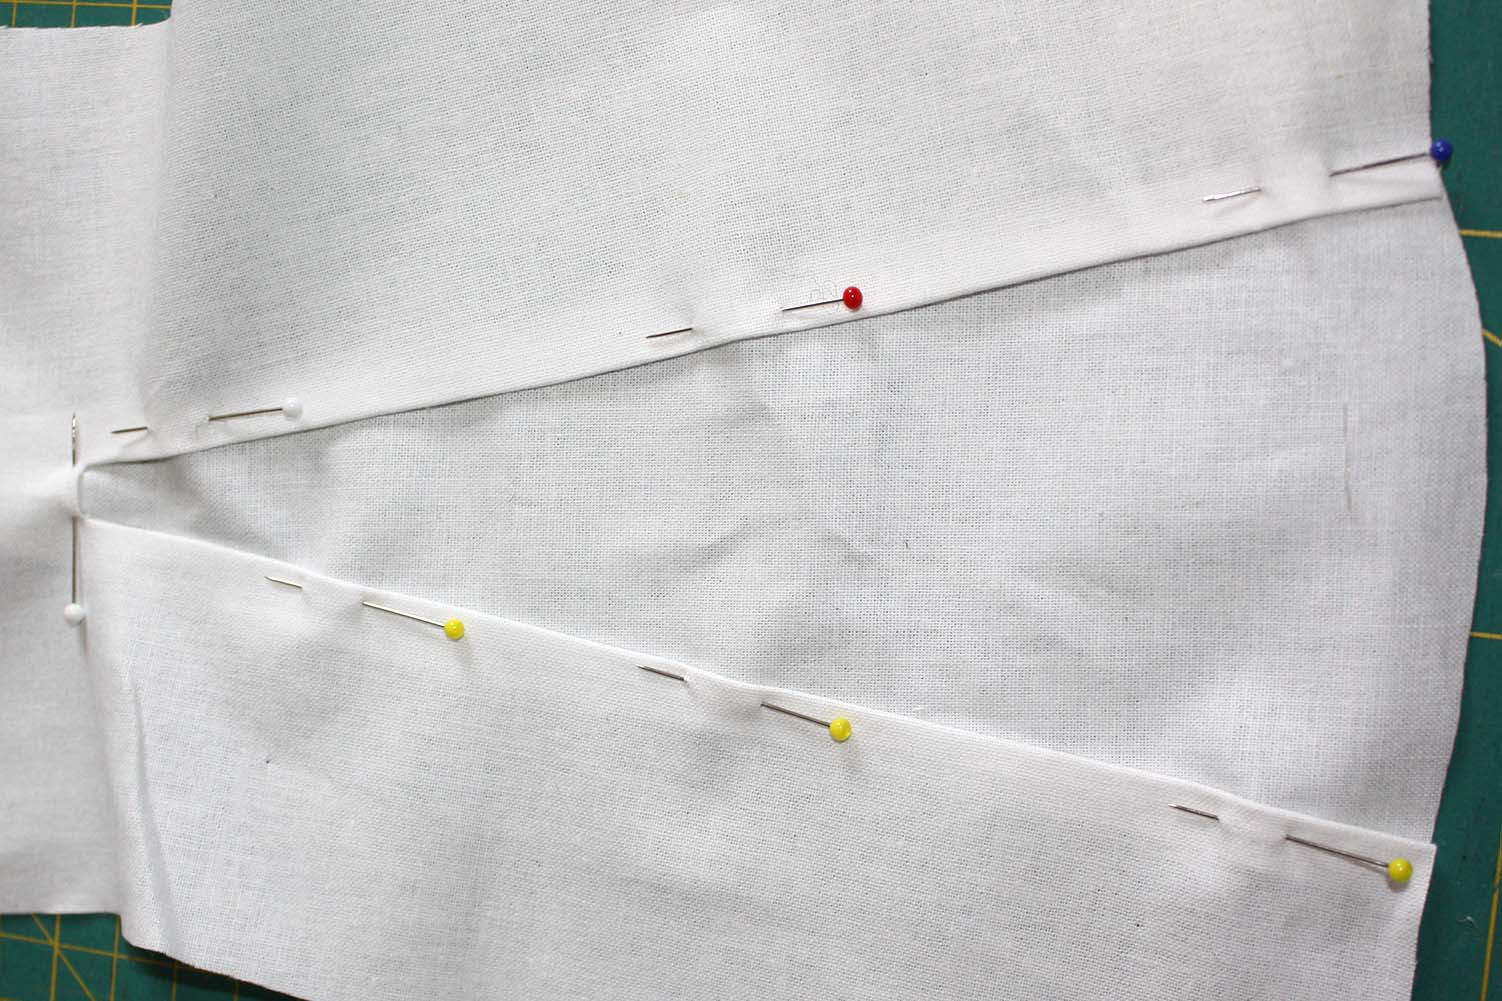
The best way to insert the gusset is to sew it by hand. Mark the stitching line on the gusset and pin it into the slit. Sew right beside the edge with a backstitch. Secure the corners with a decorative bar tack.
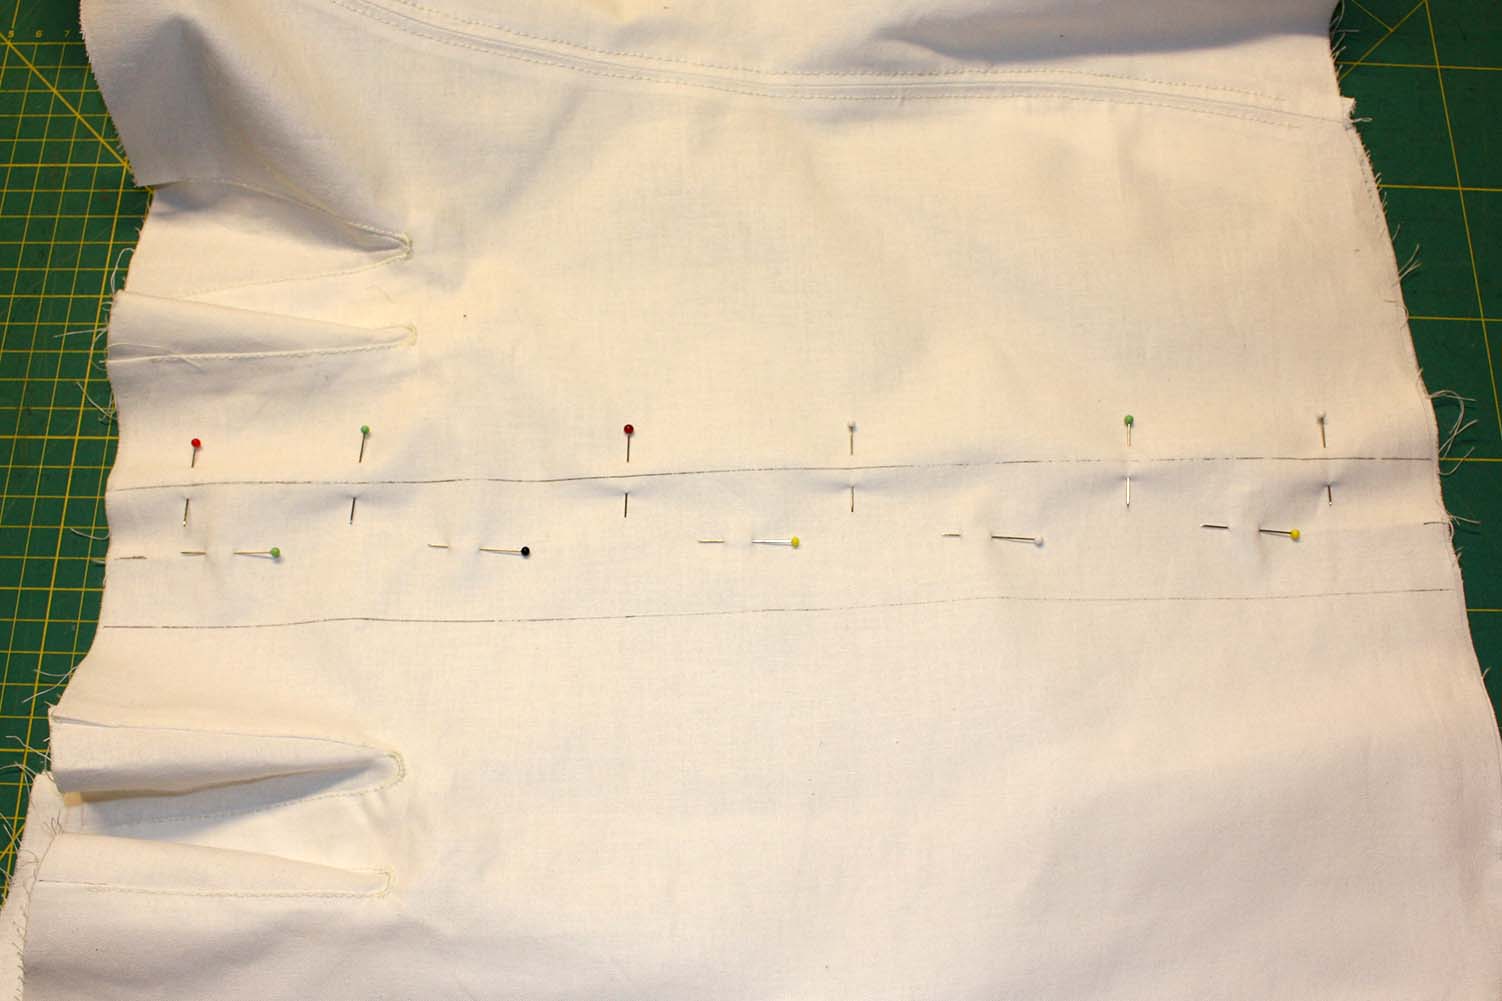
If you are ready with inserting the gussets, join all pieces of fashion fabric, press seam allowances towards the center front. Topstitch from the right side with a backstitch through all layers. Please ignore the opened seam allowance on the picture (made the mistake to think too complicated).

Join lining pieces and turn seam allowances towards the back edges. Line up the top piece and lining, wrong sides together, and sew along the back edges. Turn inside out and press the back edges. Line up all seams exactly and baste the two layers together along the seams.
Mark the center front and the width of your busk, mark all tunnels, for whalebone and cord, and stitch with a backstitch. This is how it looks like from the right side, and from the wrong side. I did my markings with a heat erasable pen. Feel free to make your own patterns, add or leave cording tunnels and add some more whalebone tunnels (if needed for bigger sizes).
Center front, tunnel for the busk.
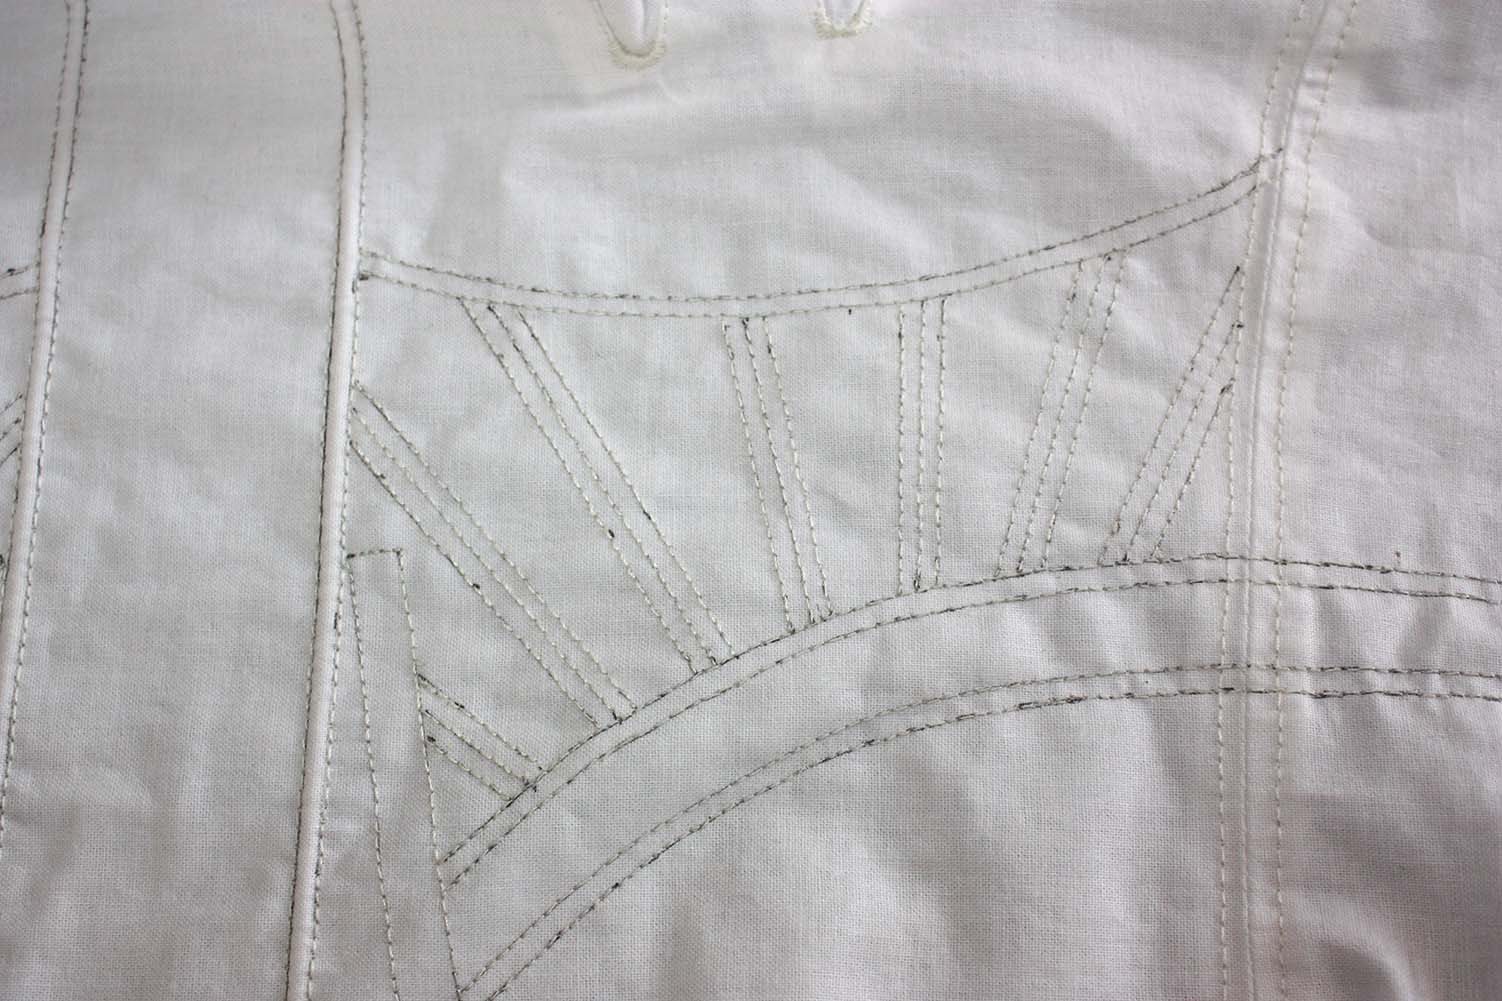
right side with markings
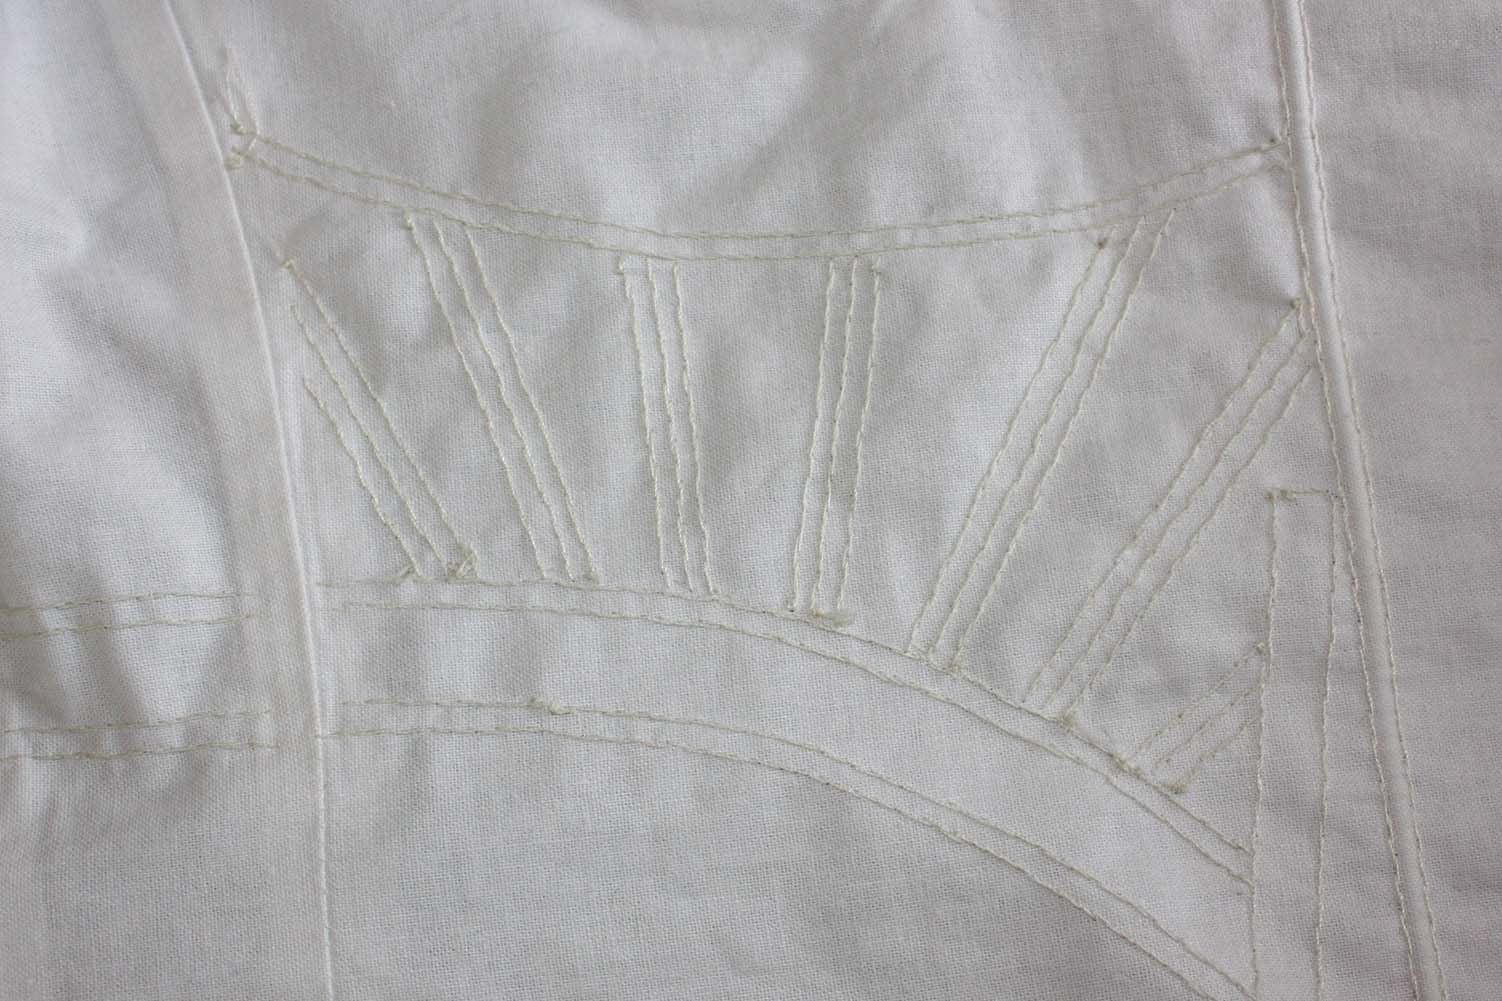
wrong side,