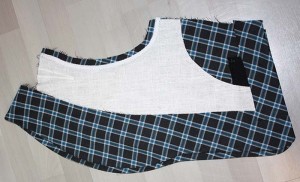
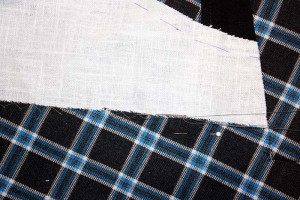
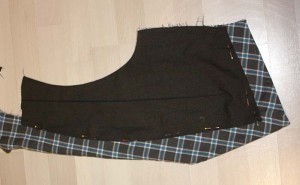
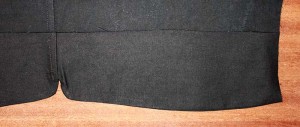
As I promised I show you some pics from the making off a men´s 1820-40´s waistcoat.
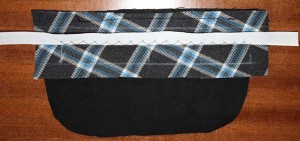
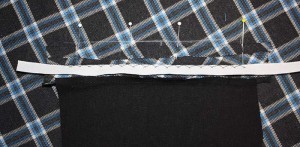
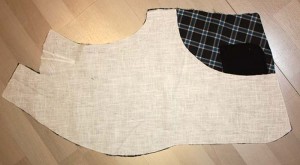
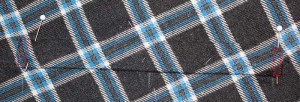
First the front part with the pockets. The welt pockets are made a little bit different as nowadays. Baste a piece of linen or cotton to the wrong side of the left front, covering the pocket opening. Mark the pocket opening with a basting thread, clearly visible on the right side of the fabric. Cut your welt from fabric, matching the fabric pattern and fold in half lengthwise, wrong sides together, press the edge and reopen. Attach a cotton tape along the fold to the inner half of the welt with a catch stitch. Sew the outer pocket bag to the inner half of the welt using, right sides together, stitch exactly between the marks of the pocket opening and press open the seam allowances.
Place the front on a table with the right side up. From below, line up the edge of the outer welt half with the pocket opening, right sides together. Sew with a reduced stitch length exactly between marks, indicating your pocket opeining. From above, line up the inner pocket bag with the pocket opening, right sides together and sew, starting and stoping about 1/8” (3mm) inside the marks.
Turn the front to the wrong side and cut the fashion fabric in the middle of the stitching lines, cut V-shaped towards the corners. Pull the welt and outer pocket throught the opening to the wrong side and press the bottom edge of the welt carefully. Turn the welt along the fold line, wrong sides together. The welt seams should match up now, but most important is a regular welt on the right fabric side. Baste together the welt layers and pull through the opening to the right side. From the right side, stitch (invisible) in the ditch of the welt seam, joining the layers.
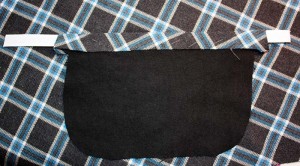
Pull the inner pocket bag to the wrong side and close the pocket, stitching the small triangles to the pockets, press. Finish the welts, after basting the interfacing to the fronts.
Turn the front right side up again and turn in the loose ends of the welt. Sew down the edges with a prick stitch through all layers, make a second row of prick stitches about ¼” (6mm) from the first. Trim back the turned in ends of the welt close to the second row of stitching.
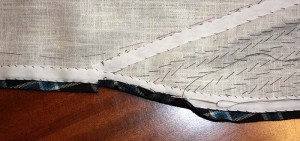
Join the front pieces at the center back, press. Don´t catch the interlining, place the edges of the interlining one above the other to avoid bulk.
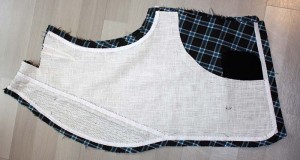
Attach a cotton tape a little bit behind the roll line, prick stitch the collar (you can skip this step). Trim back the interlining right behind the sewing line and attach a cotton tape all around the outside edges (Front, bottom and armhole).
Sew on the collar facing and trim back seam allowance, along the collar attach the seam allowance with a catch stitch to the interlining.
Turn inside out and press. Attach the raw edges of the facing to the interlining with a felling stitch.
Take the lining and sew to the front along the armhole, trim back seam allowance and place inside the front parts. Attach the lining with a felling stitch.
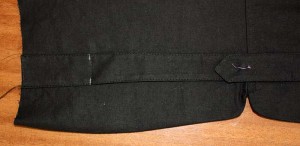
As I need the waistcoat for summer, I decided to make single layer back. Join back parts with a flat felled seam, cut straps for the bottom facing, join and turn over. Attach buckle straps.
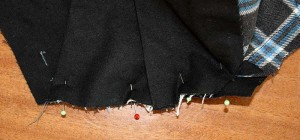
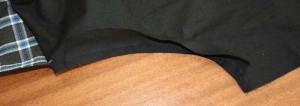
Join back and fronts, now you have raw edges at the side seams, the back armholes, shoulders and neckline. Cut bias straps, about 2” wide and cast the raw edges with the straps.
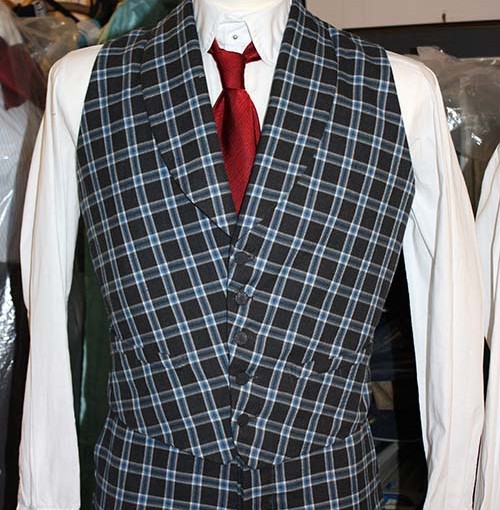
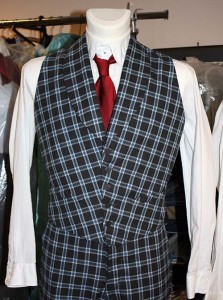
Here you see the finished waistcoat with fabric covered buttons.
Next project? A matching frock coat, what else?

