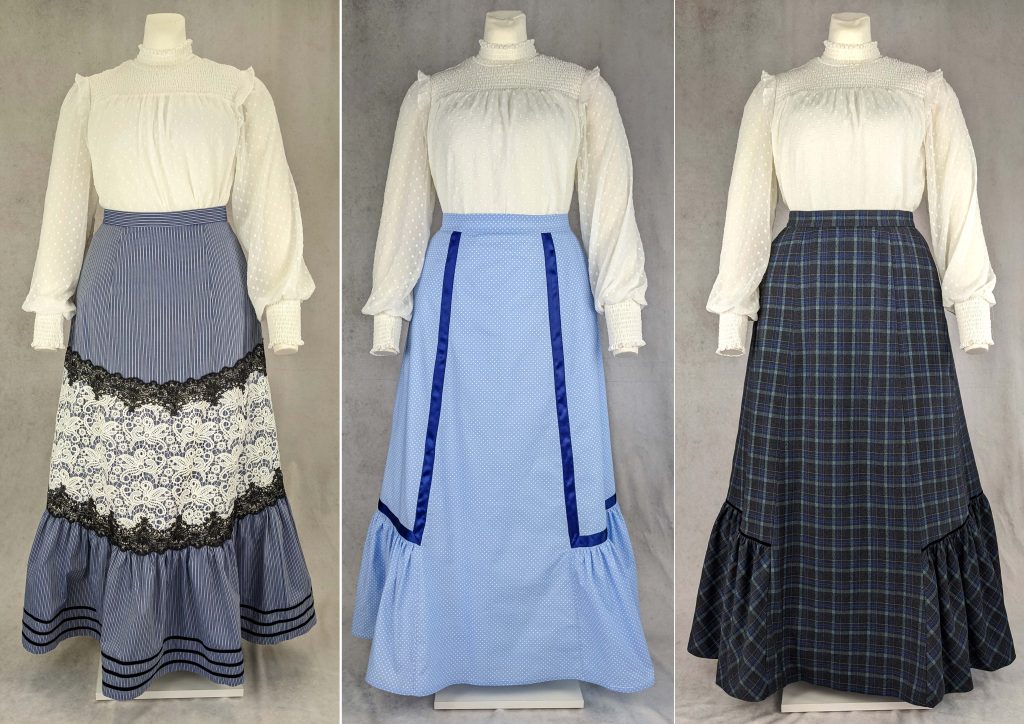
It´s time to revise another pattern, the Turtleneck Dress. The design contained the skirt and the blouse; I think it gave the impression to be too complicated to be sewn easily. The fact was that few people were interested in that pattern, although it offered a lot. For some years I was thinking of just dividing the pattern into skirt and top, but I wanted to add something extra and new, especially since the skirt seemed too simple. So time flies and at some point, the ideas come by themselves.
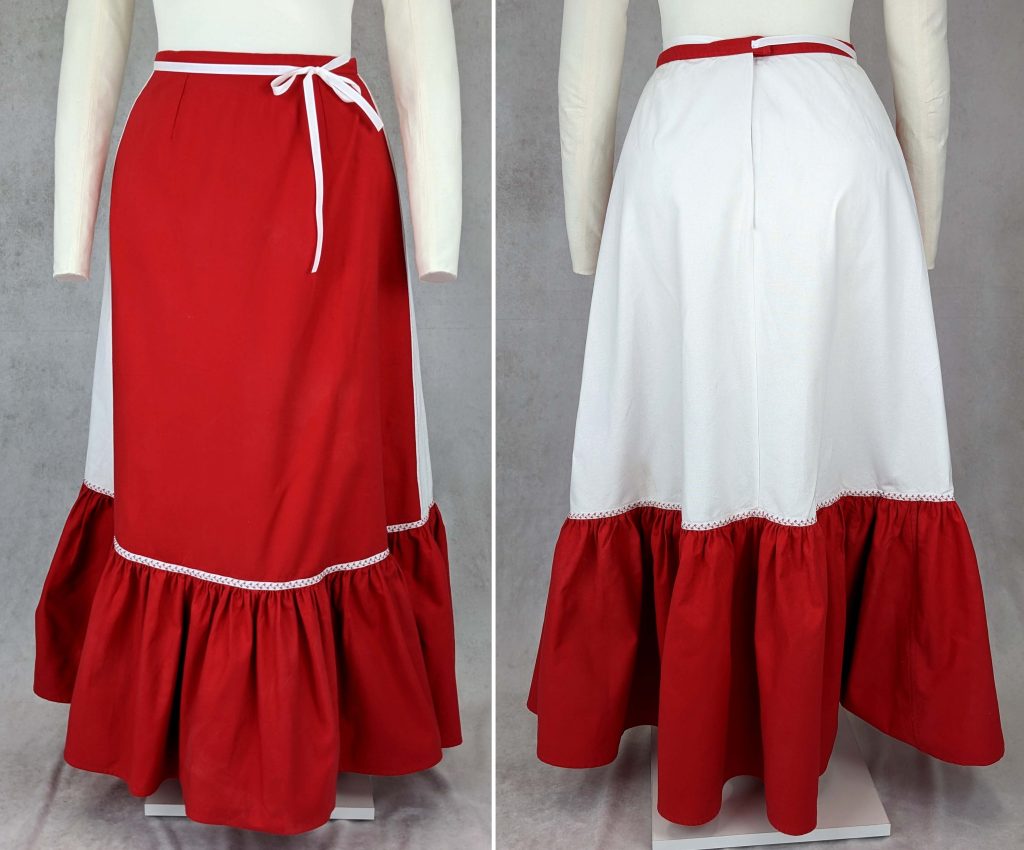
The new pattern #0916 now offers the skirt in two variations, including an underskirt, cut the same way as the skirt (perfectly fitting underneath pattern #0414). The top will come as an extra pattern in a few months.
Let´s start sewing! I´m just showing how to sew View B and C, because most steps are the same, it’s just that View B and C need some extra considerations. Again, the blog post is intended as a supplement to the pattern, trying to show some different techniques and options on how to sew the skirt.
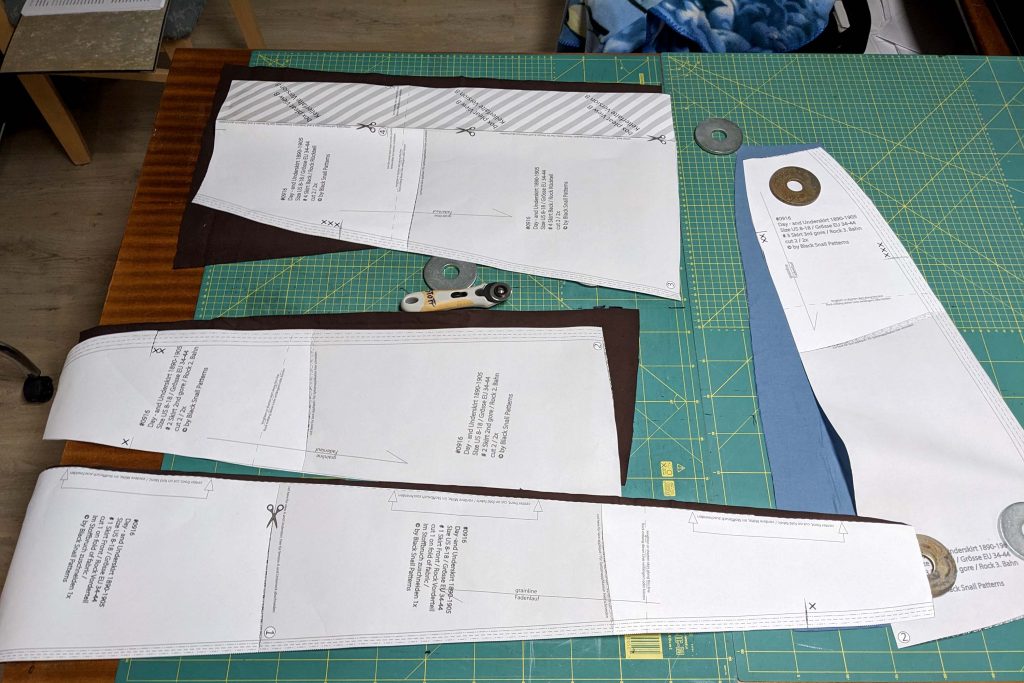
(1) We always start with cutting all pieces from fabric and lining. Take care of the grainline and don´t forget to add 6” (15cm) to the bottom edge of the ruffle pieces.
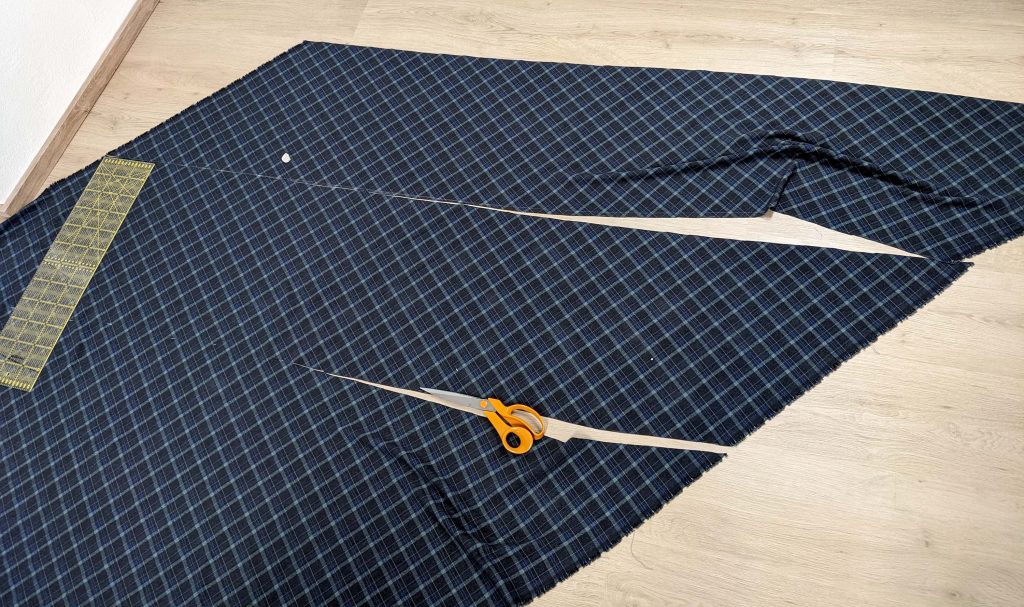
View B will not make difficulties, View C, with the ruffle, cut on the bias is a bit tricky, especially when using an asymmetrical checked fabric as I did. I first cut two 18” (45cm) wide bias strips and sewed them together along the center back, trying to pattern match as well as possible. Then I fold the strip along the later center back and placed my pattern pieces on top to cut to the shape needed. Don´t forget to transfer all the marks.
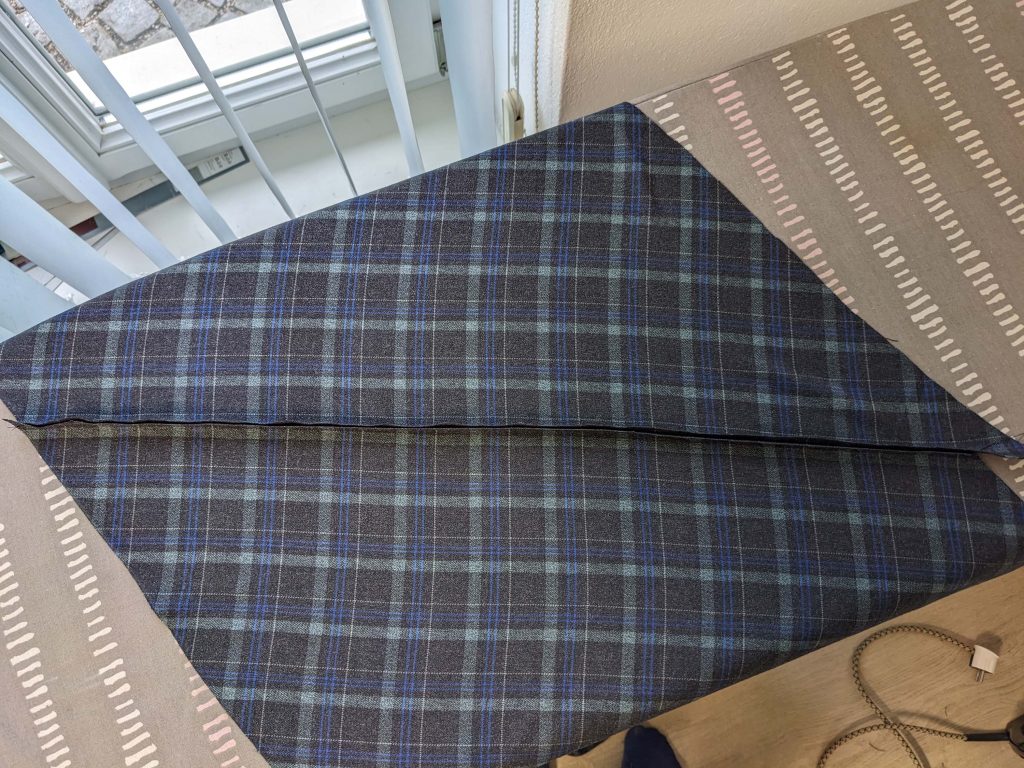
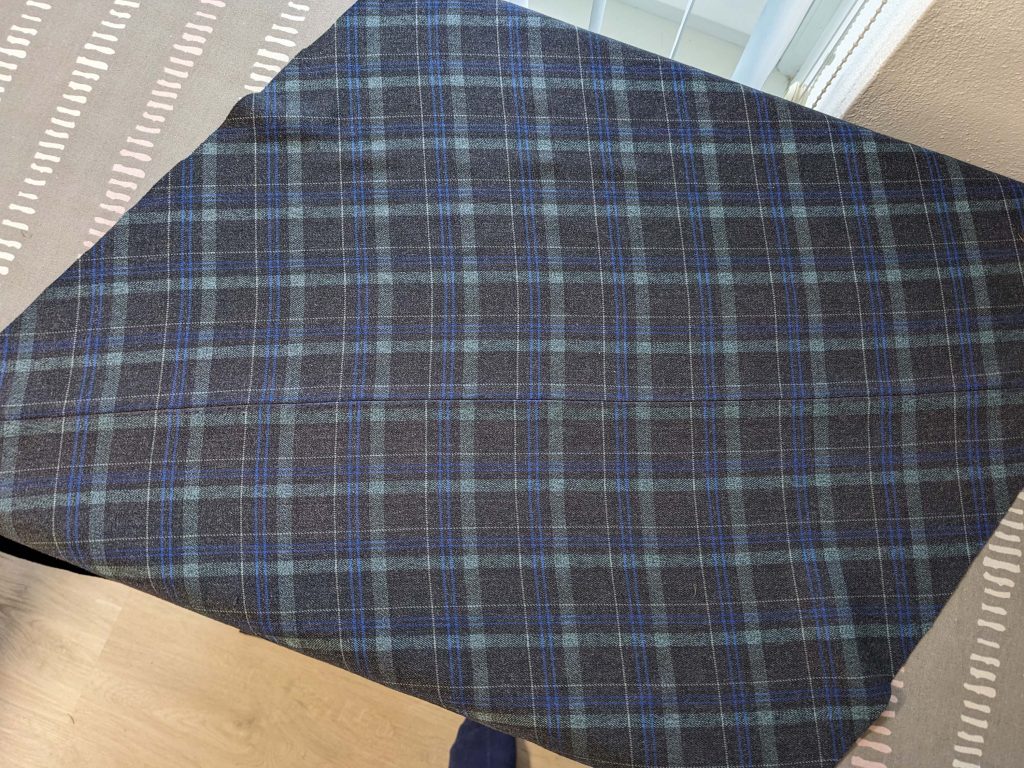
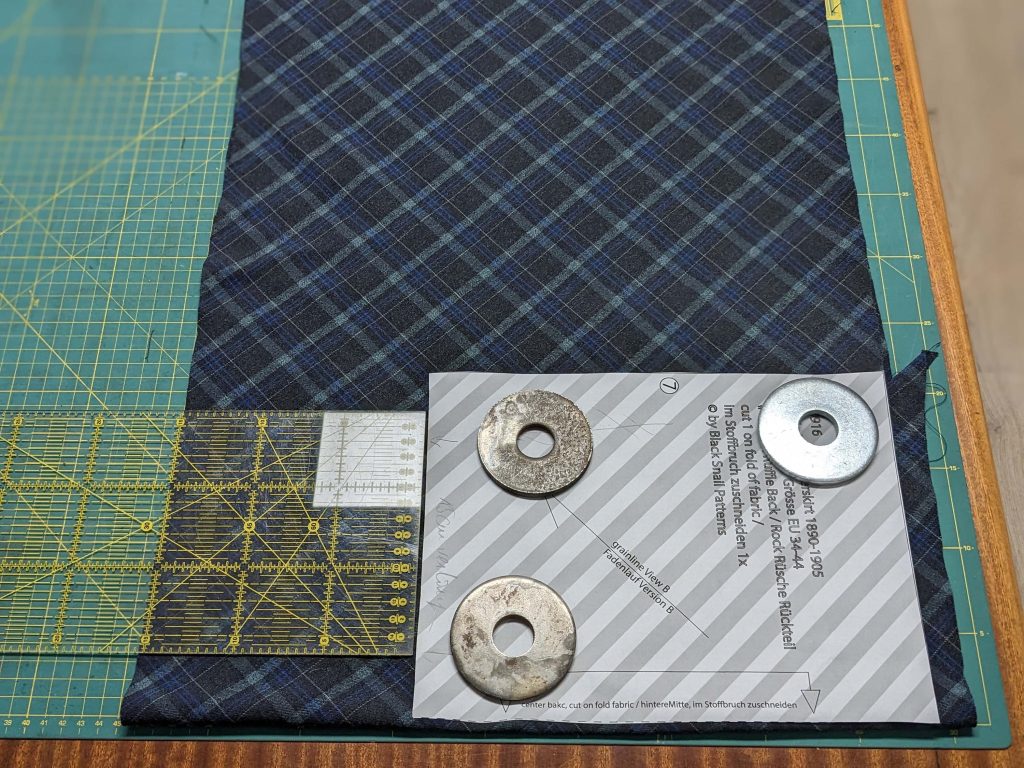
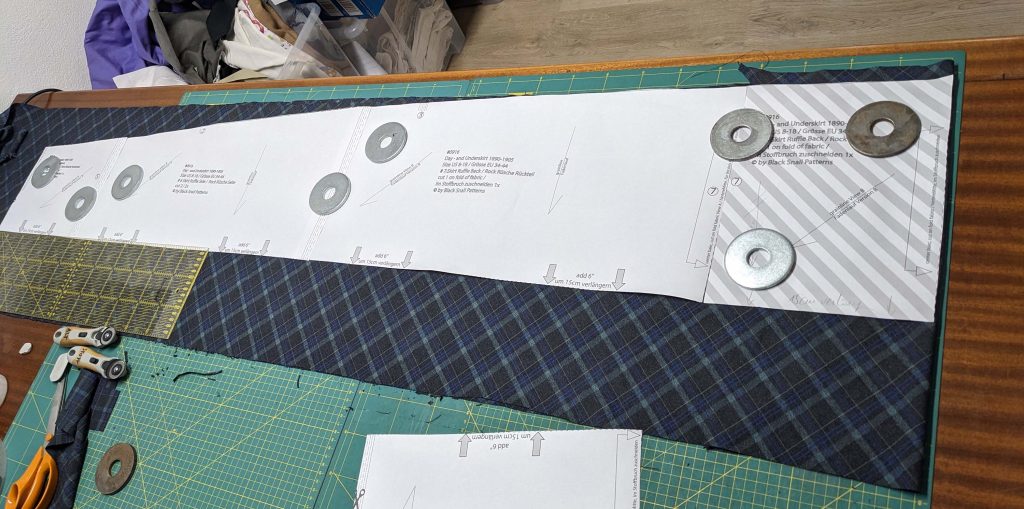
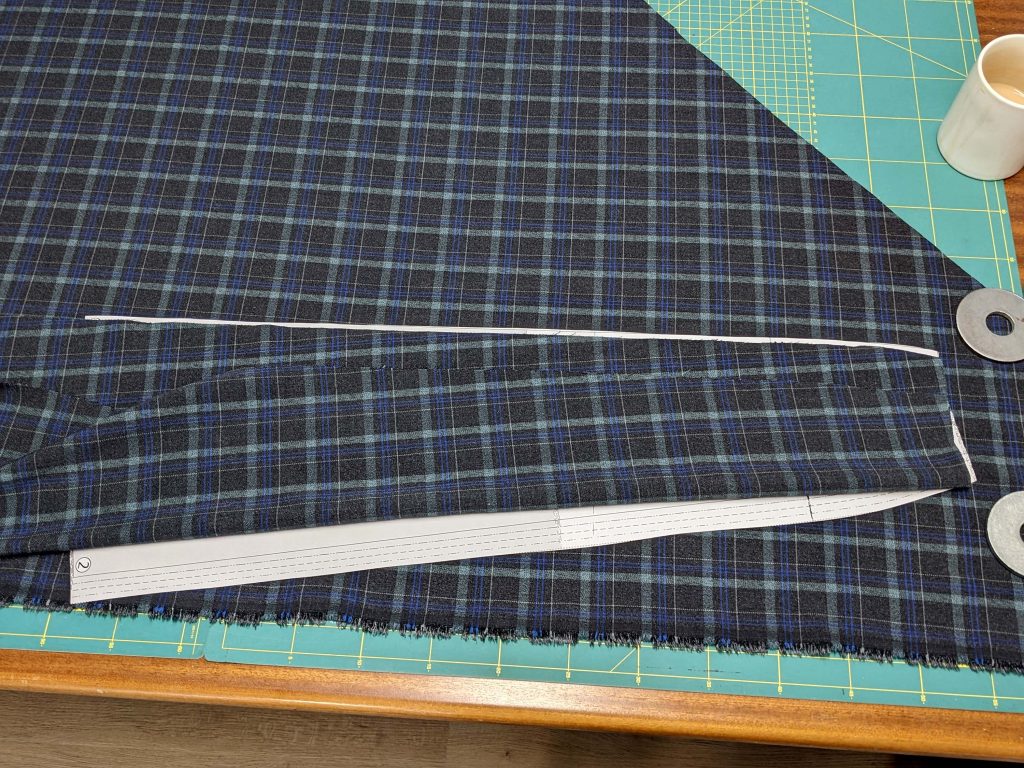
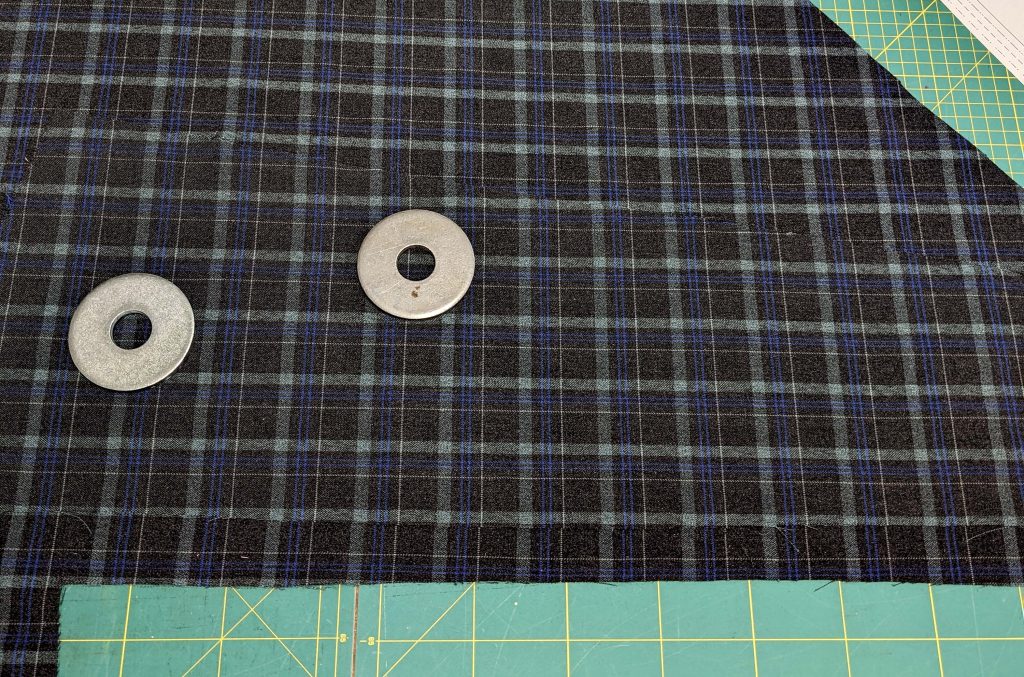
When cutting the rest I tried to pattern match as well, the first picture shows how I lined up the front piece (which I cut first) with the fabric’s pattern to cut the side front, following the bold lines. The second picture shows a pattern piece placed right sides together on the fabric to mirror the pattern. The third shows the matching placket.
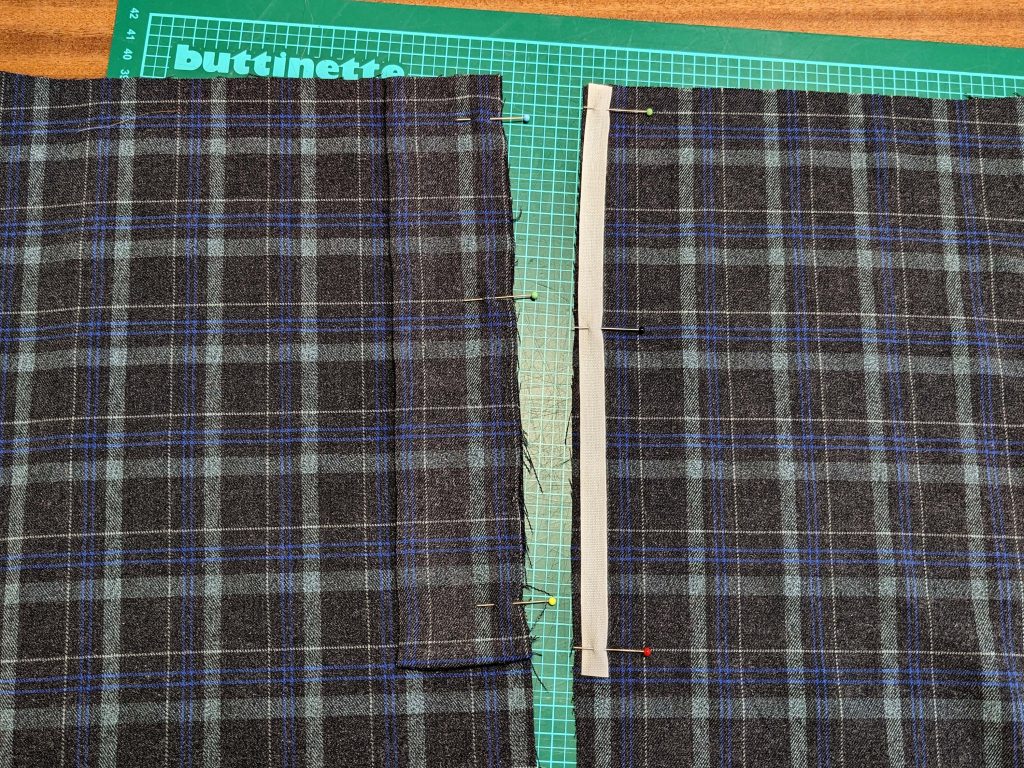
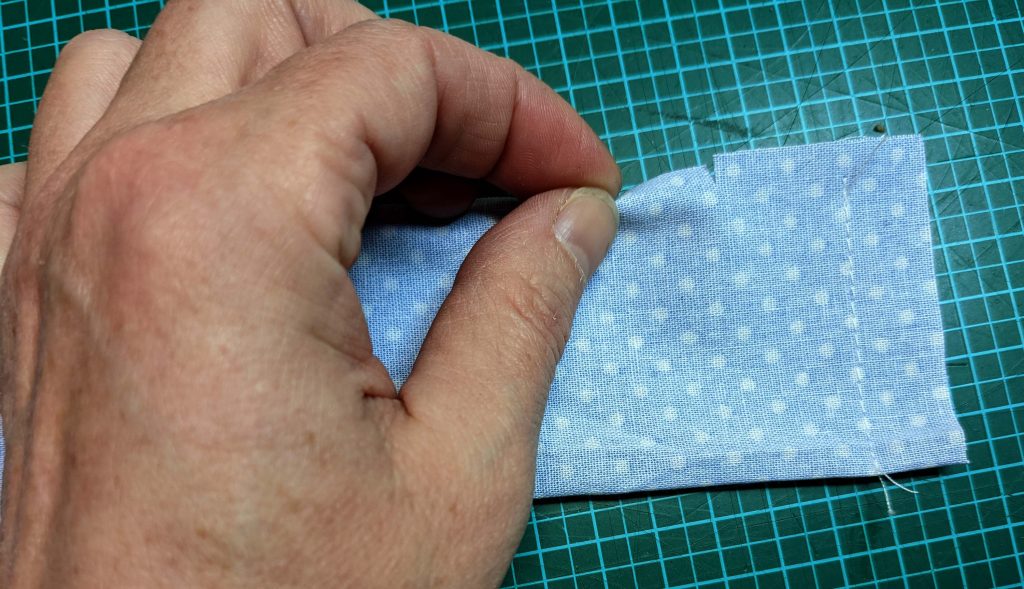
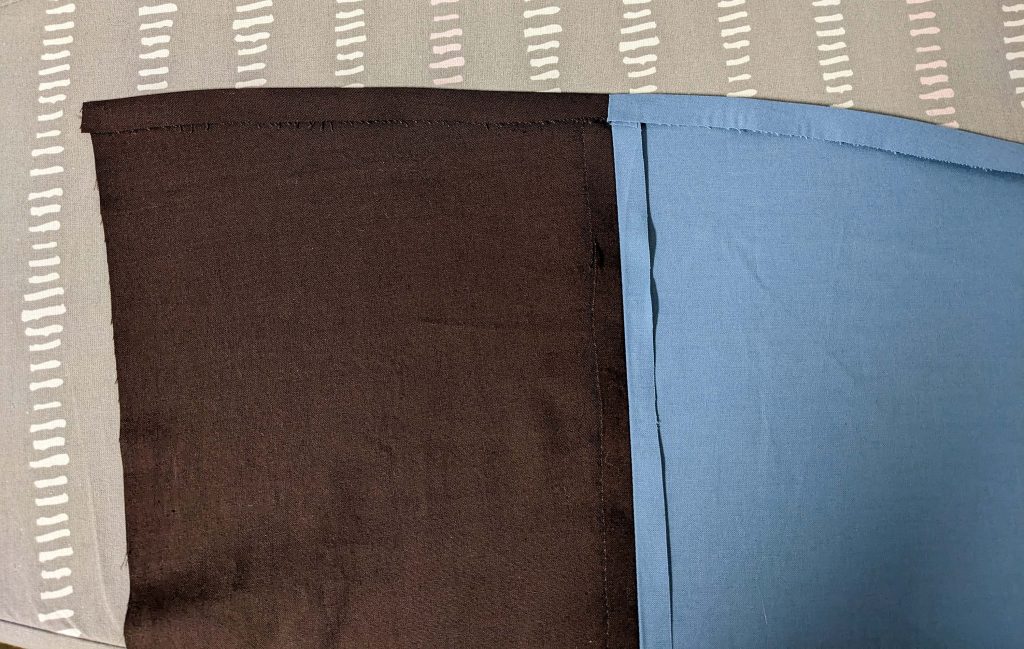
(2) I made a placket from some scrap fabric to show the placket in more detail. The checked fabric does not serve well for this purpose.
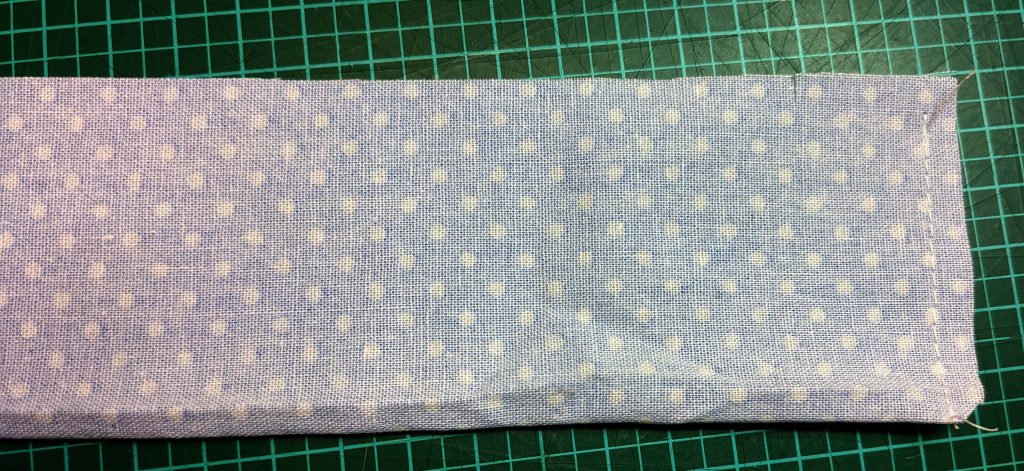
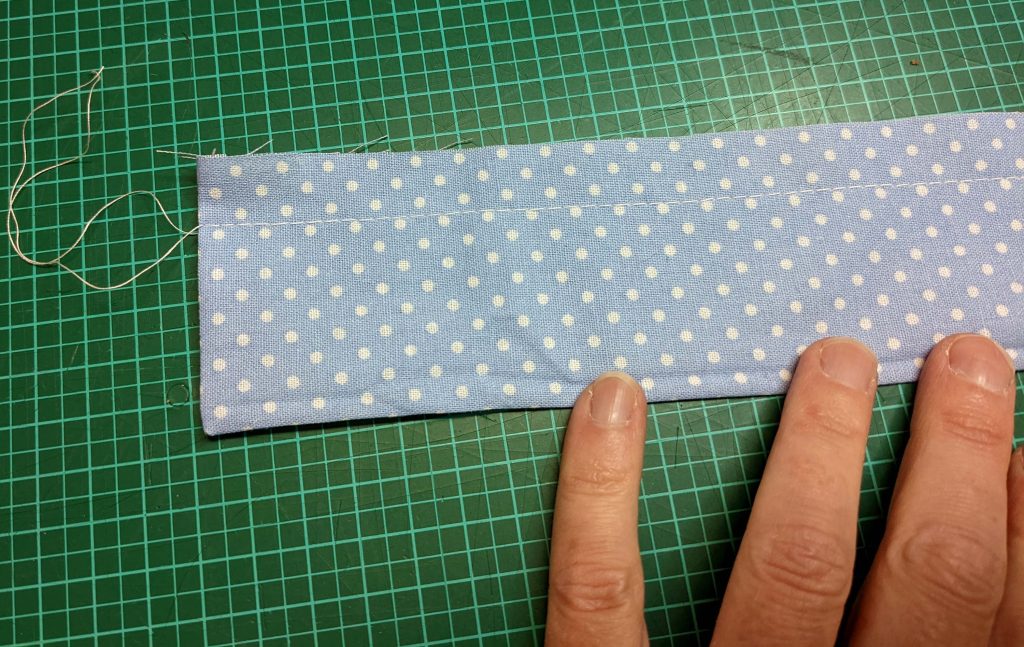
Fold the placket lengthwise, right sides together, sew along one of the short edges, trim back the seam allowance, turn the right sides out, and press. Baste together the loose edges of the placket.

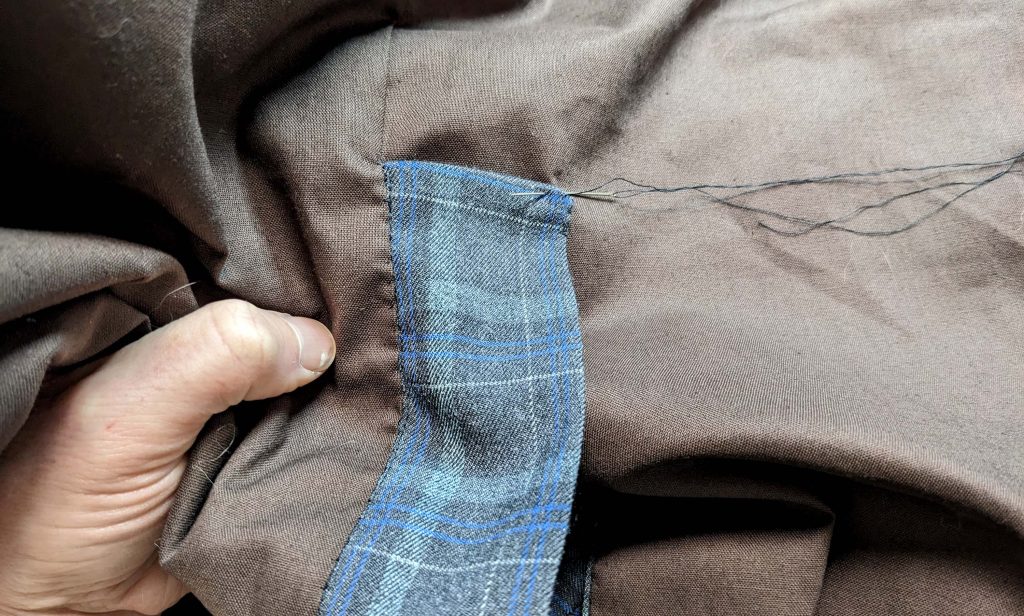
Pin the placket to the left-hand side of the center back edge of the skirt, right sides together, matching all marks. Sew with a 3/8” (1 cm) seam allowance, and stitch slightly beyond mark (4). Sew a cotton tape, 3/8” (1cm) wide to the right-hand side of the center back edge of the skirt.
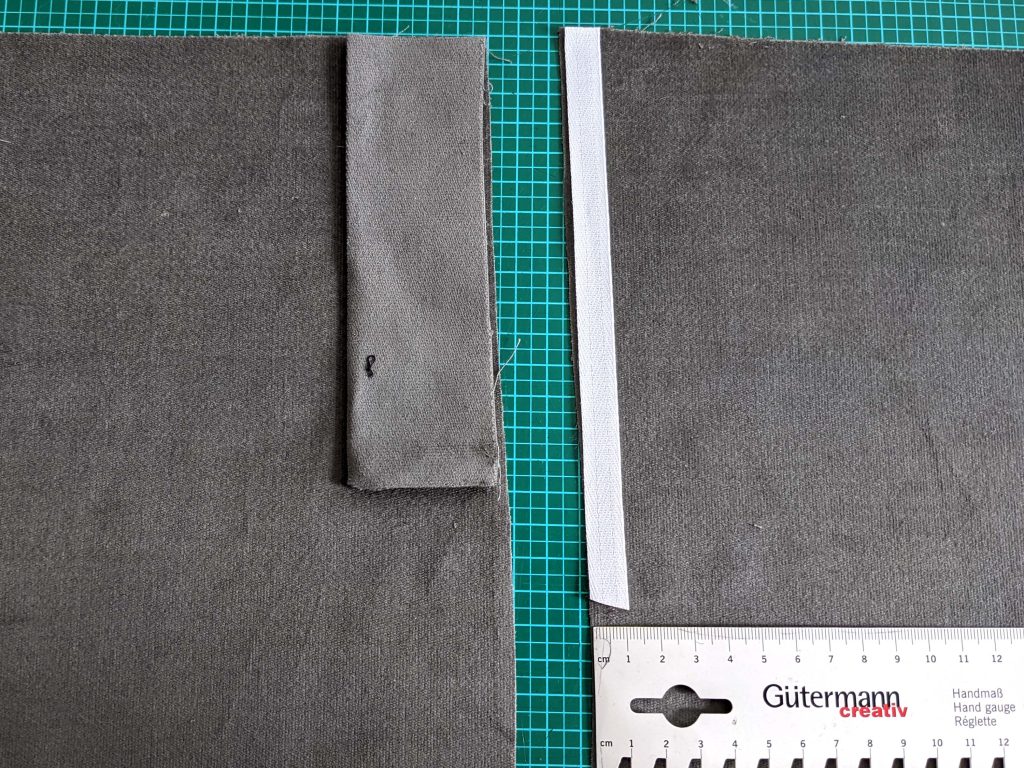
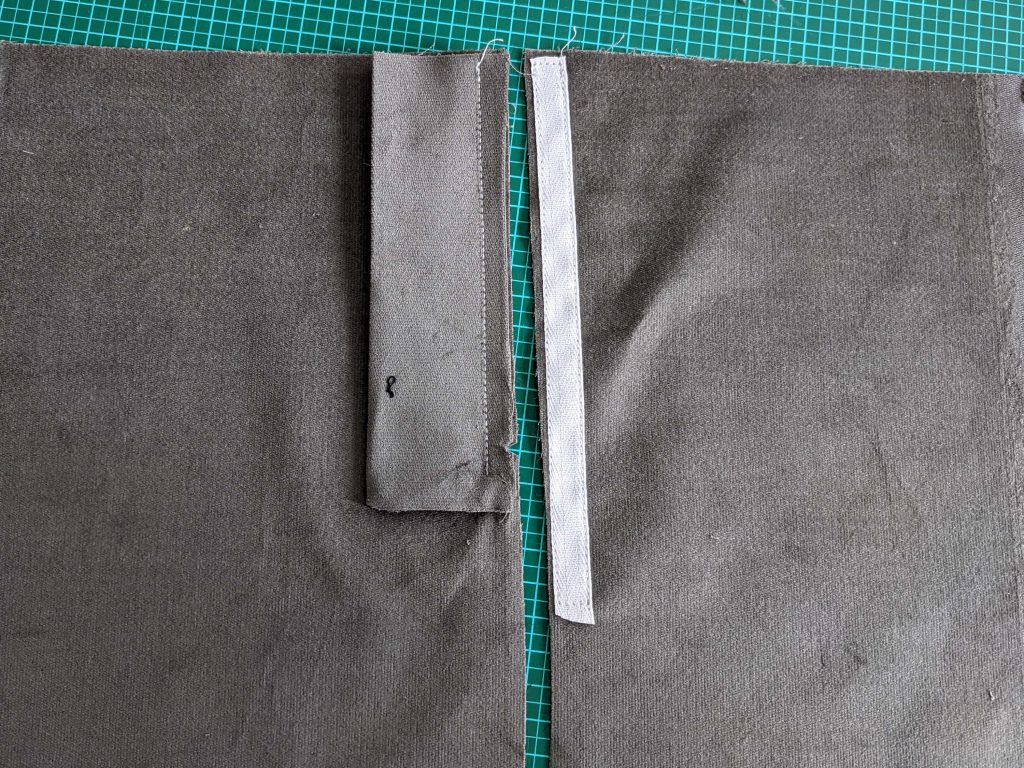
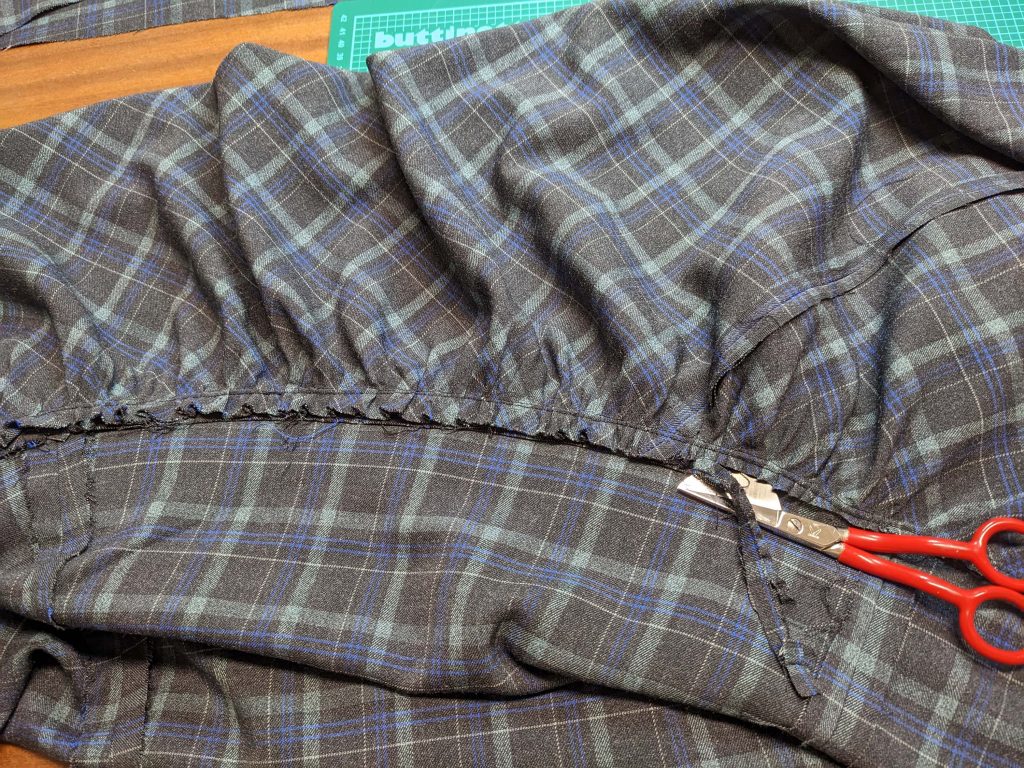
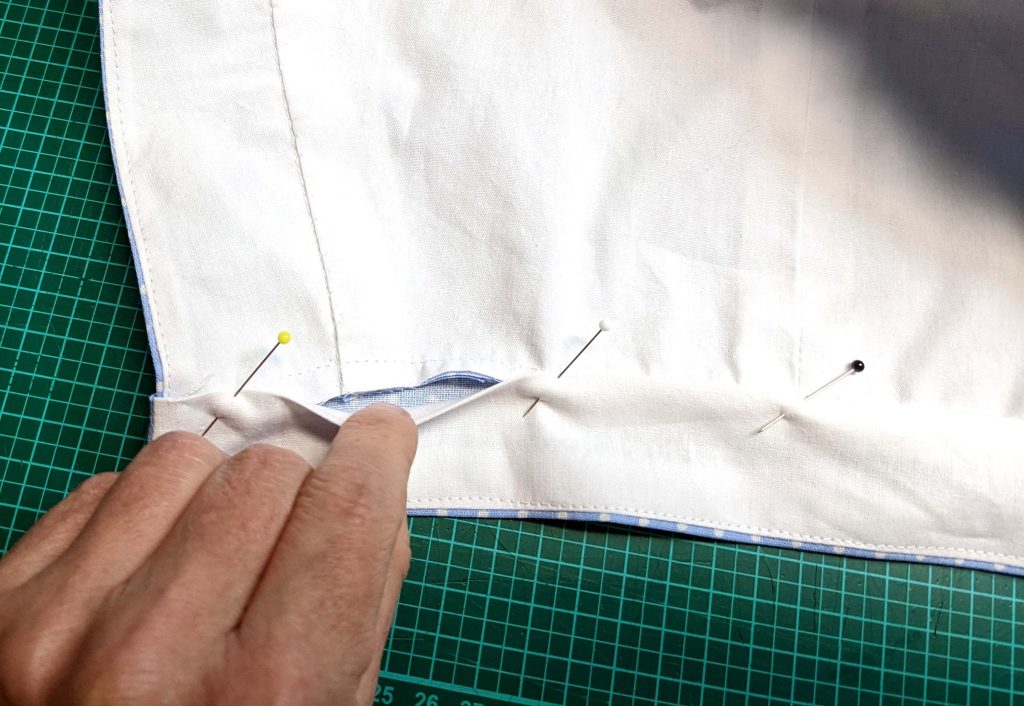
(3) Sew the center back seam with a 5/8” (1,5cm) seam allowance (c), right sides together, and stop at mark (4), pull the placket to the side while sewing, don´t catch. Clip just the seam allowance of the left side as shown and press open. Fold the placket to the side, turn in the right side’s seam allowance along the vent, and press in place.
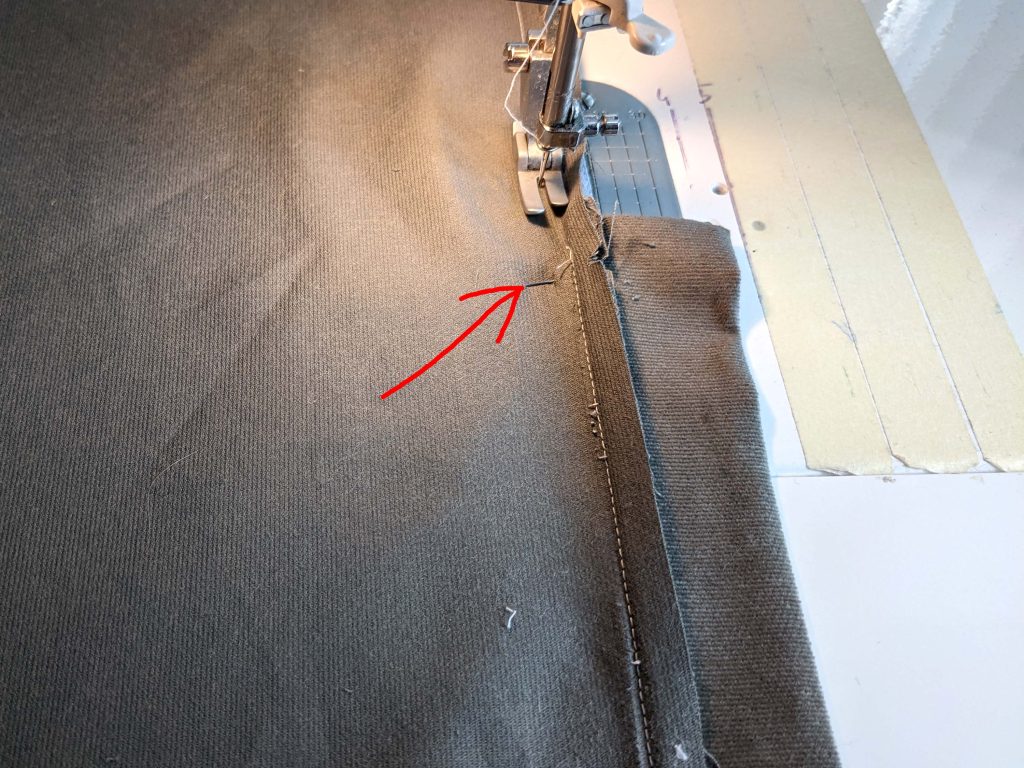
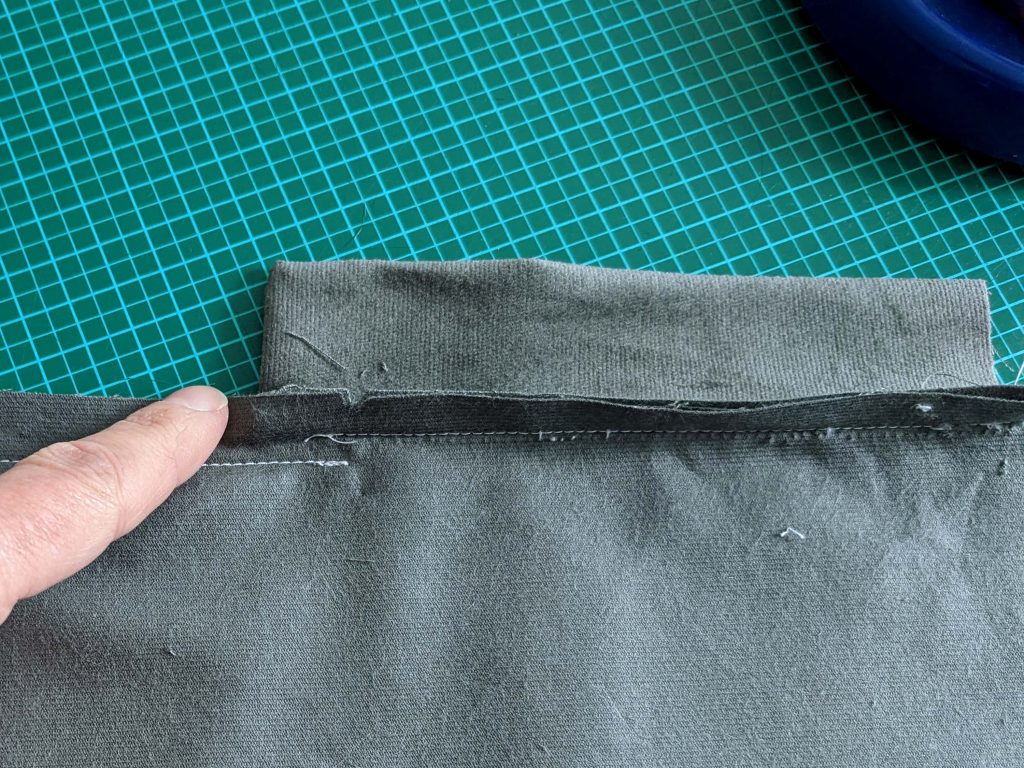
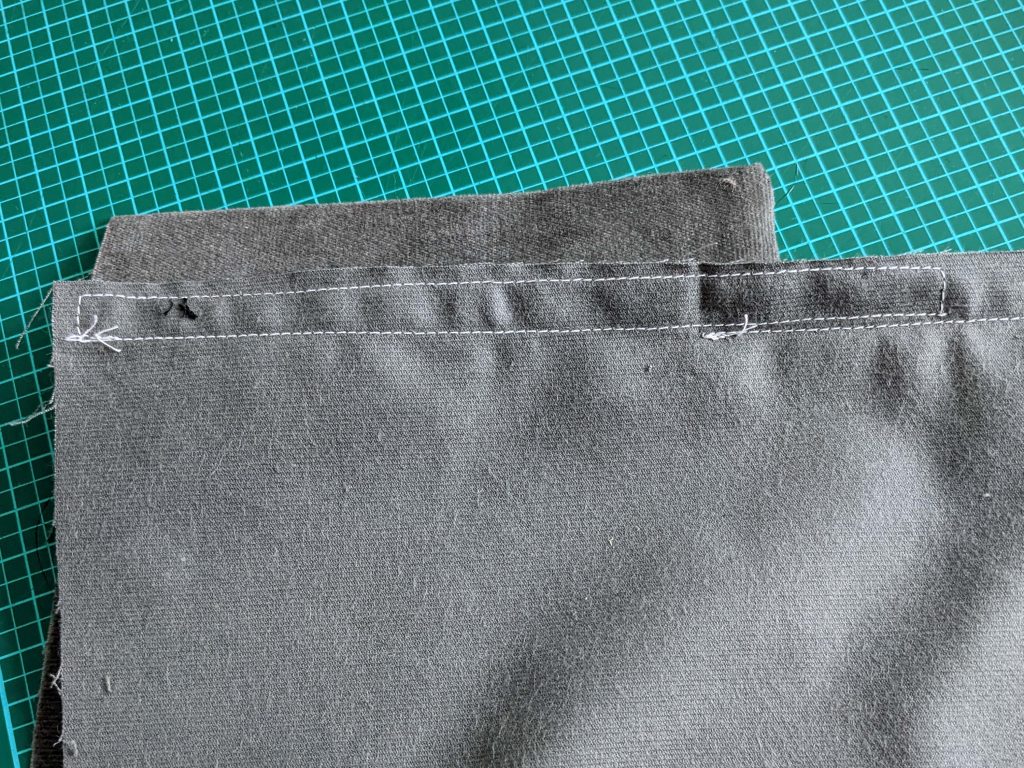
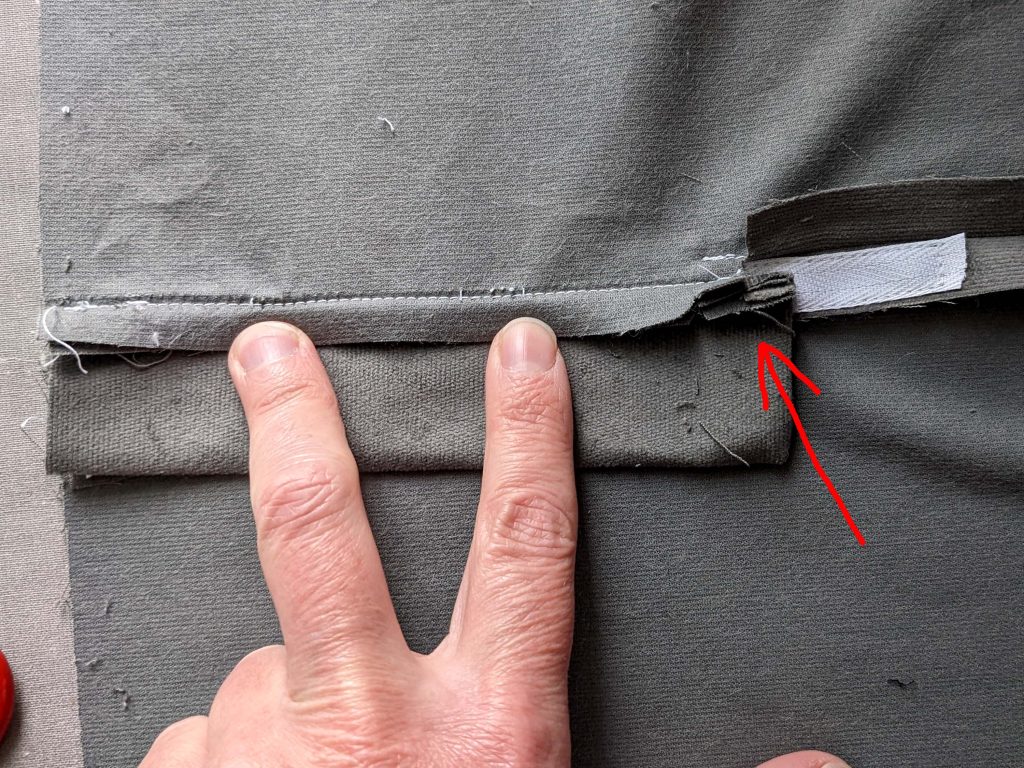
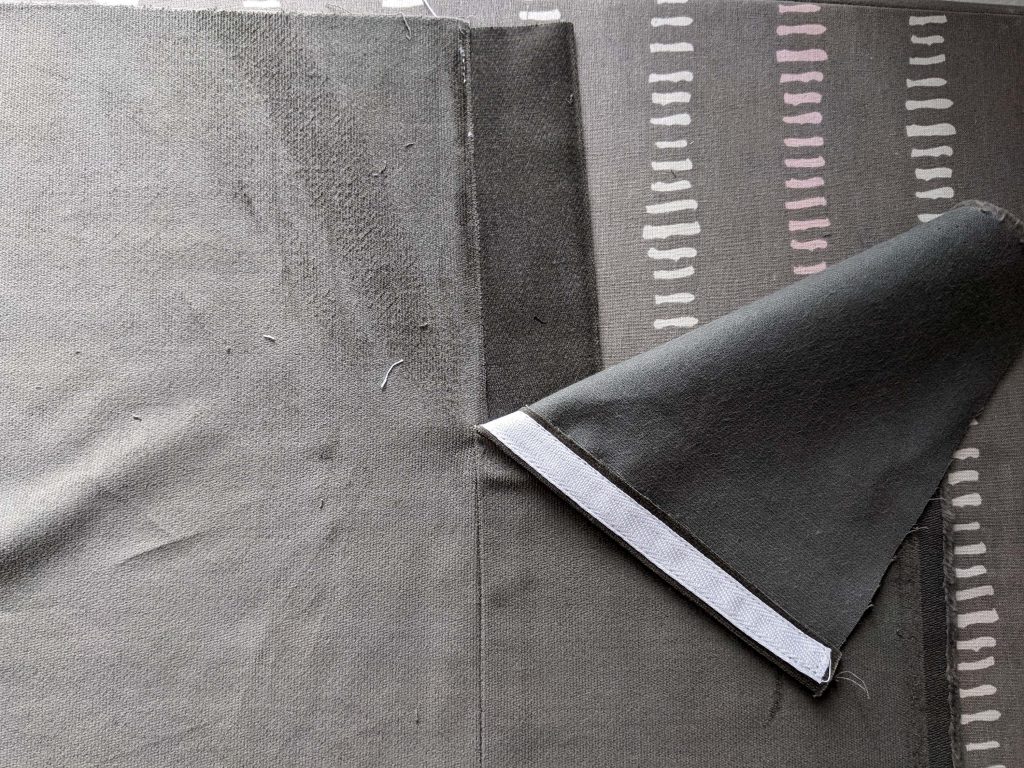
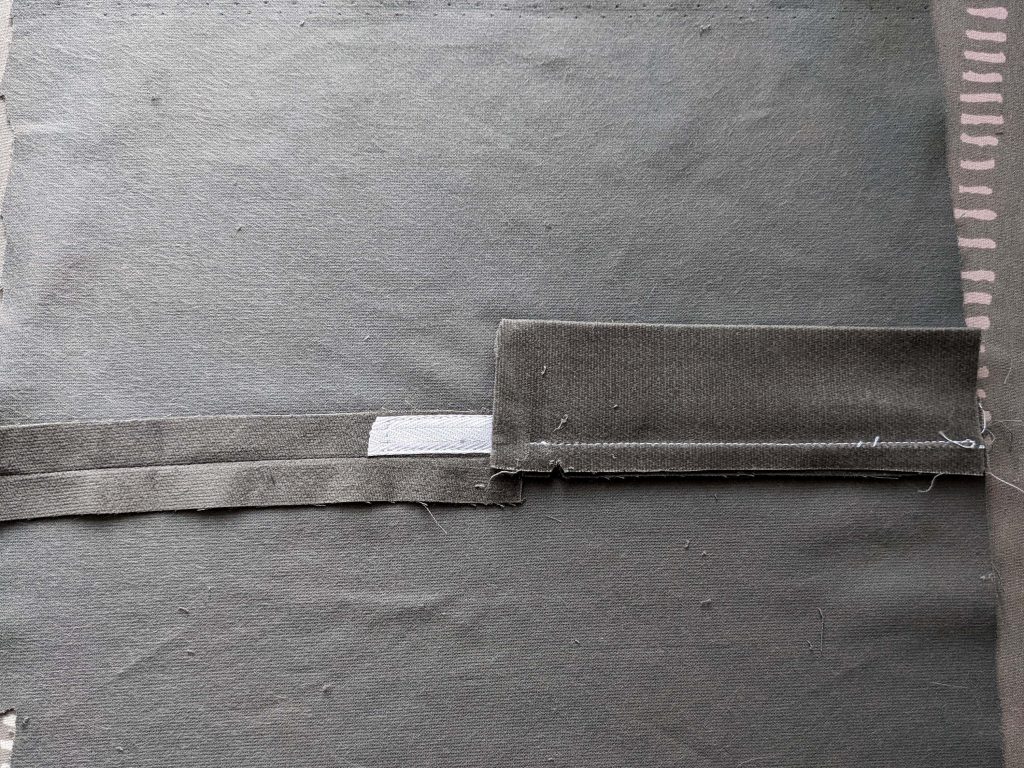
Understitch the placket, then topstitch along the right vent edge without catching the placket underneath. Fell down the loose seam allowance on the right side with regular stitches, barely visible on the right side. Mark the center back line on the left side.
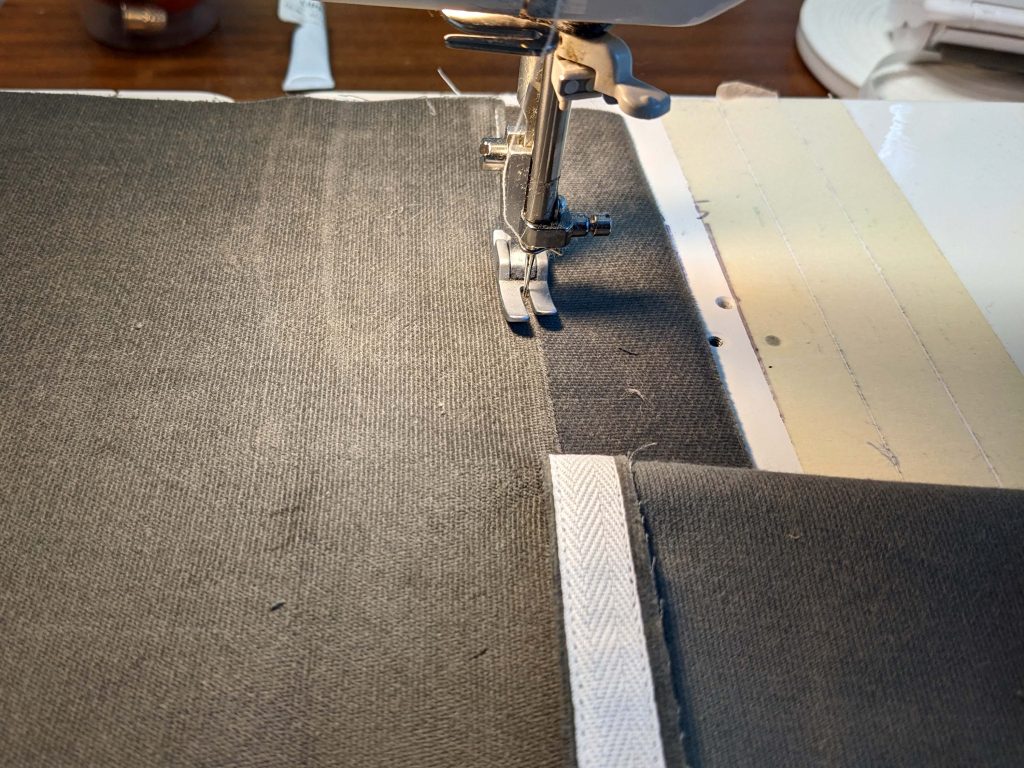
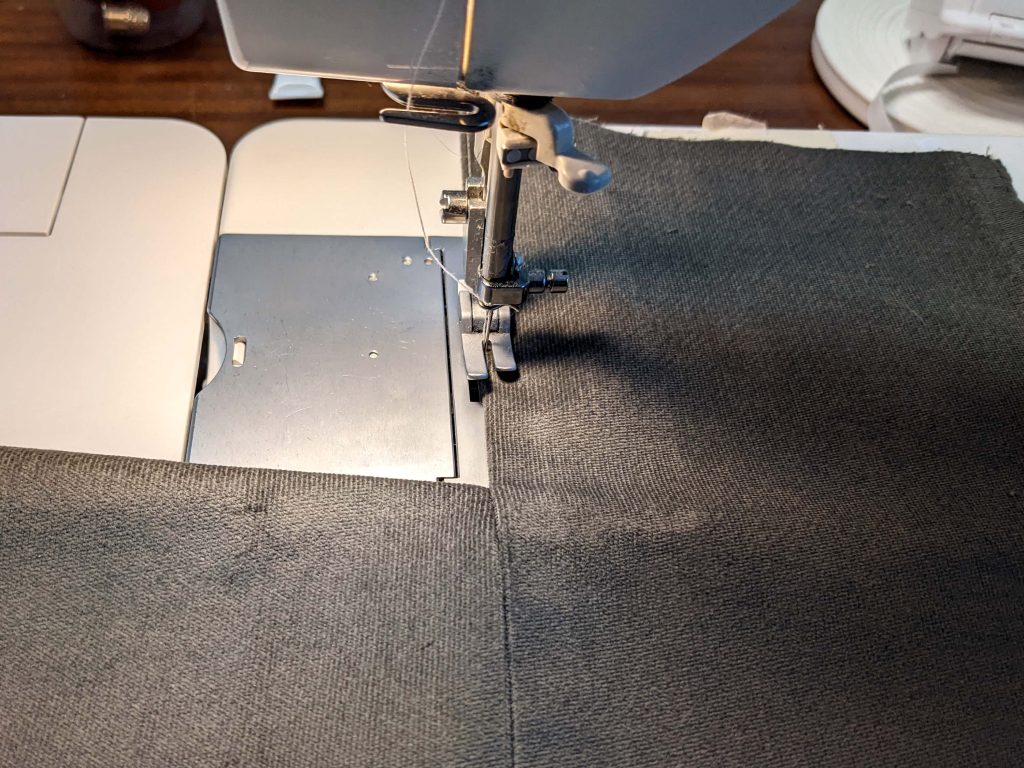
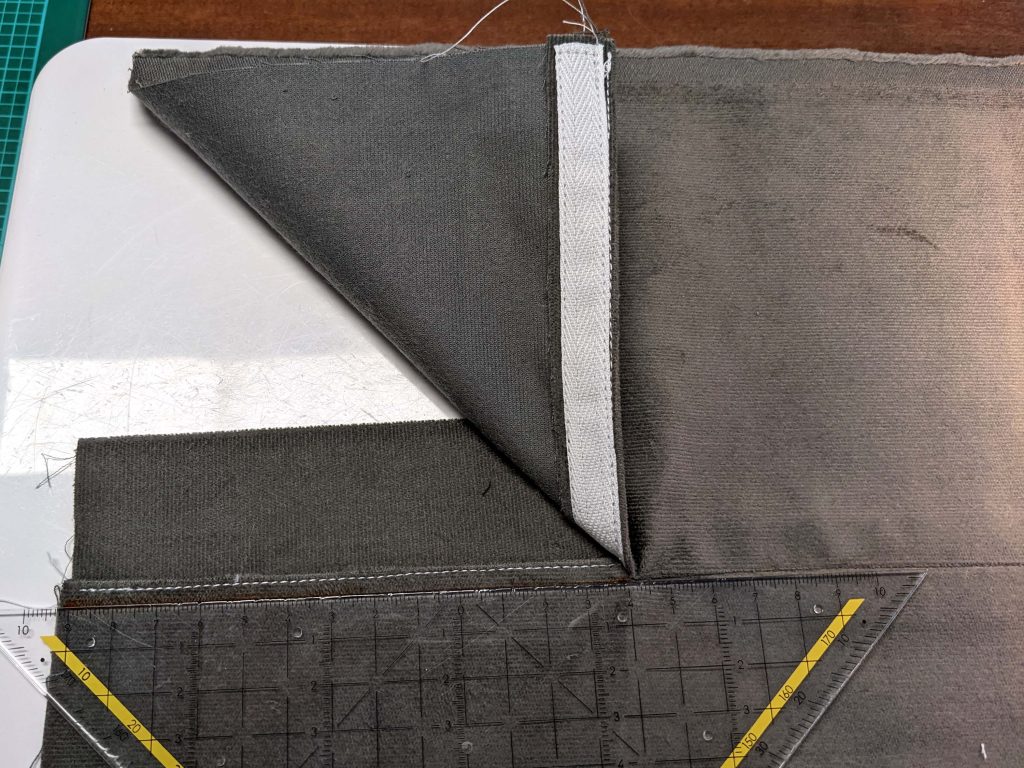
Fold the excess fabric at the center back into the box pleat as indicated on the pattern, when you decide to choose this option. Stitch down the box pleat halfway the placket along the center back to hold it in place. If you have chosen a lined skirt, do the lining before making the box pleat.
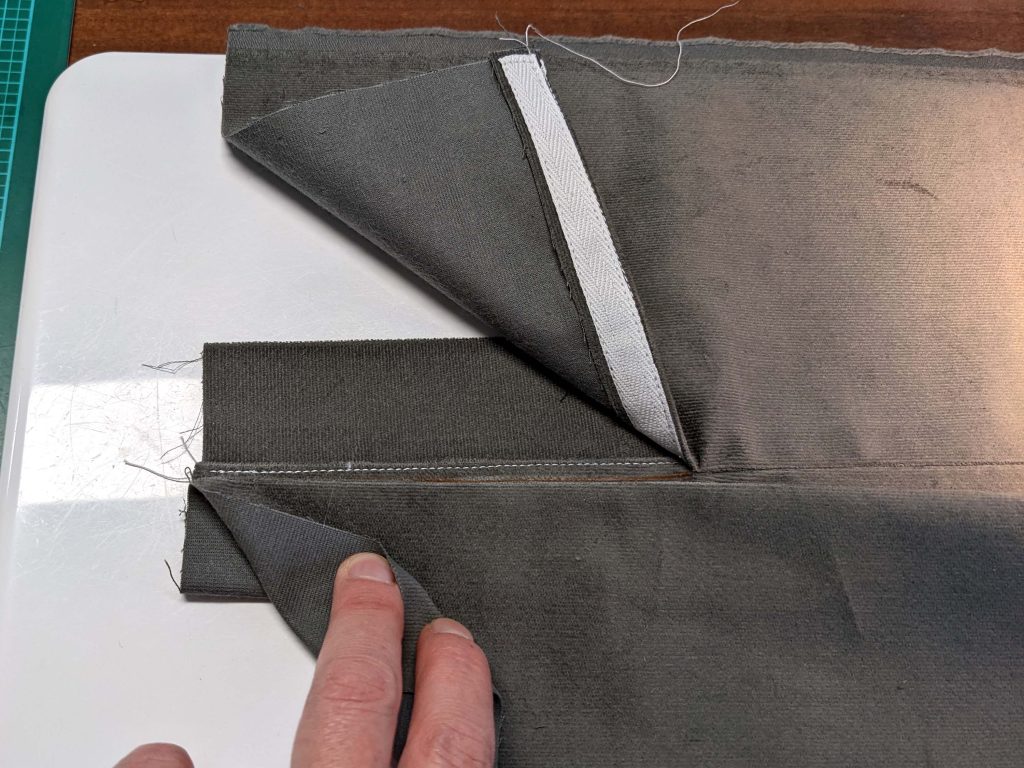
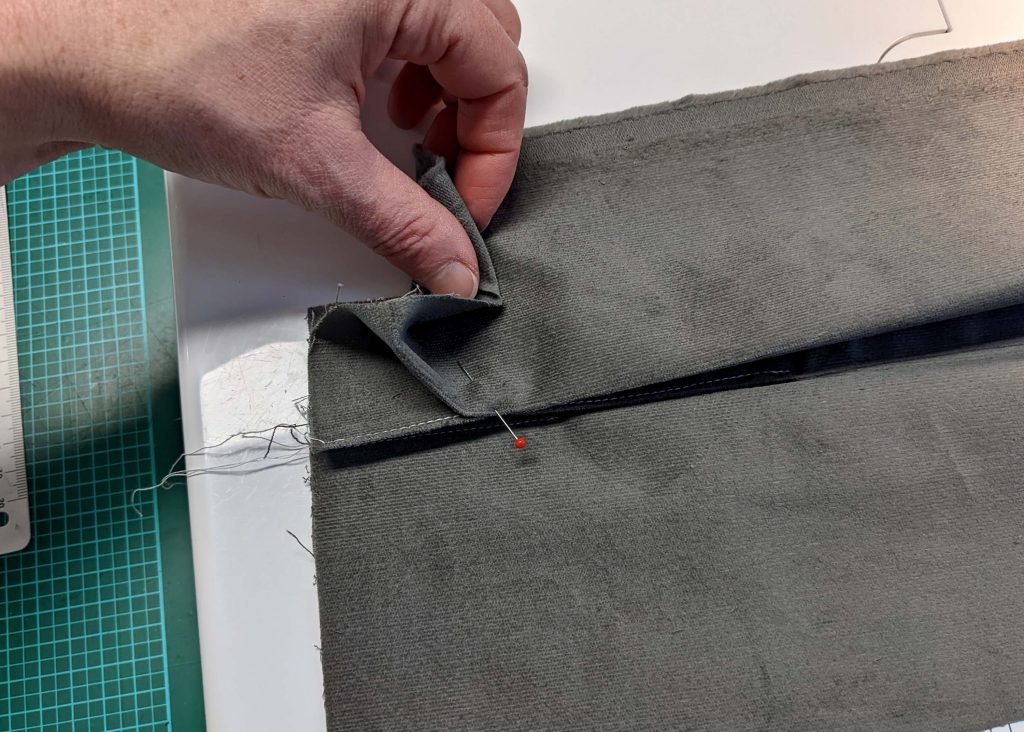
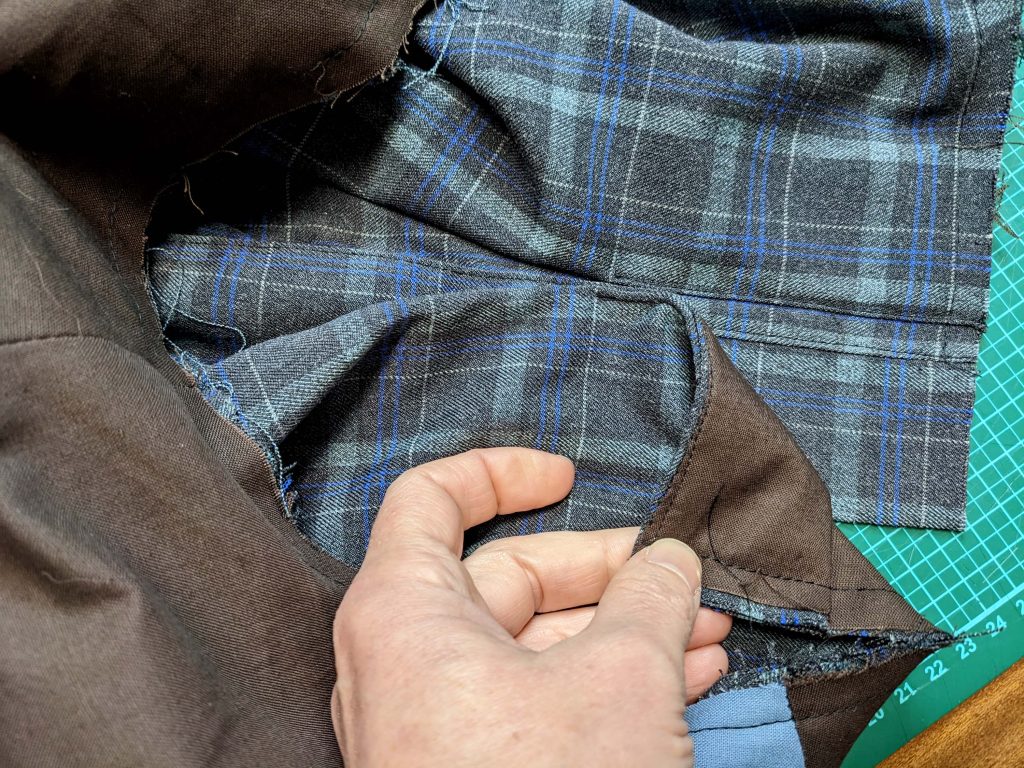
Sew panels 2 and 3 to the back, right sides together, matching all marks, and press open the seam allowances.
(4) View B: Sew the ruffle pieces, right sides together, matching all marks. Finish all seams with a flat felled seam.
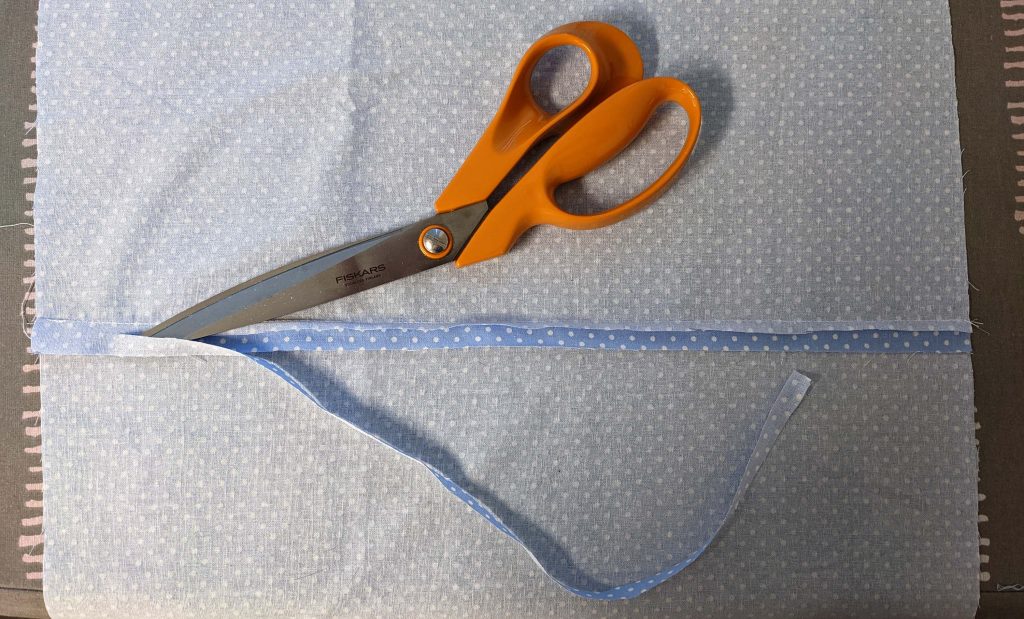
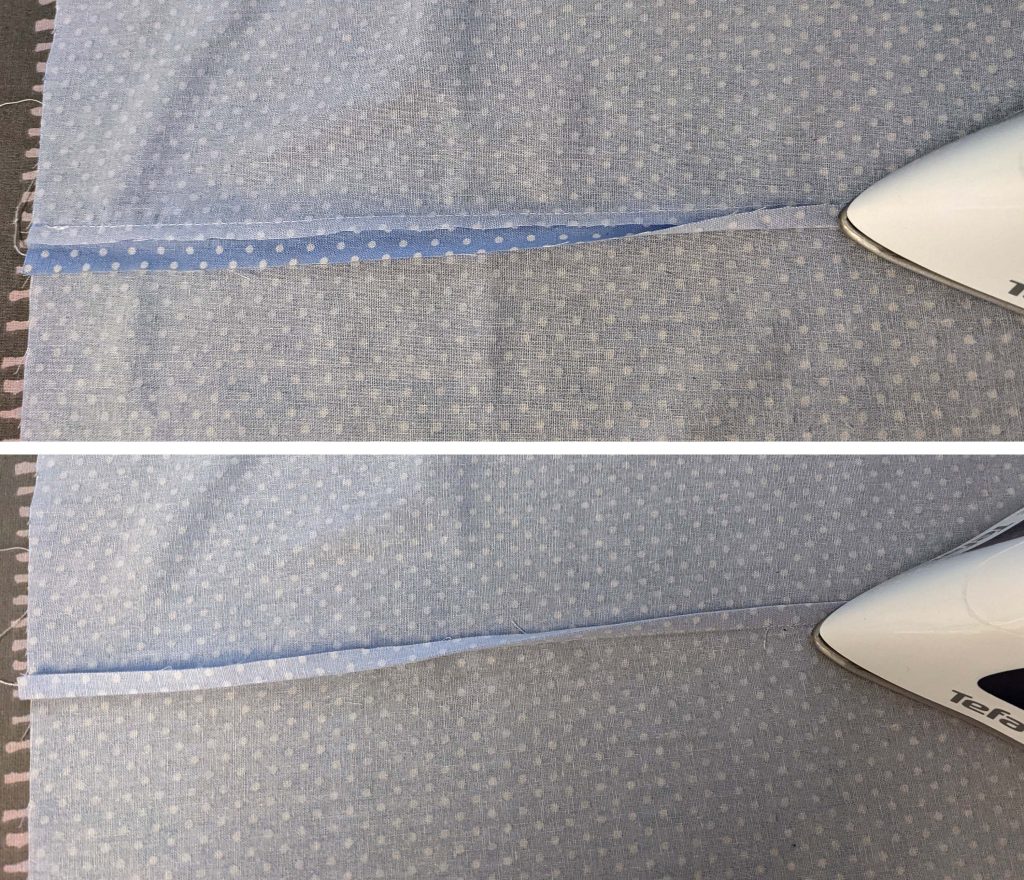
Sew along the top edge of the ruffle with two rows of gathering stitches. Add additional marks halfway between the existing marks to attach the ruffle to the skirt more easily. Pin the ruffle to the skirt, right sides together, matching all marks.
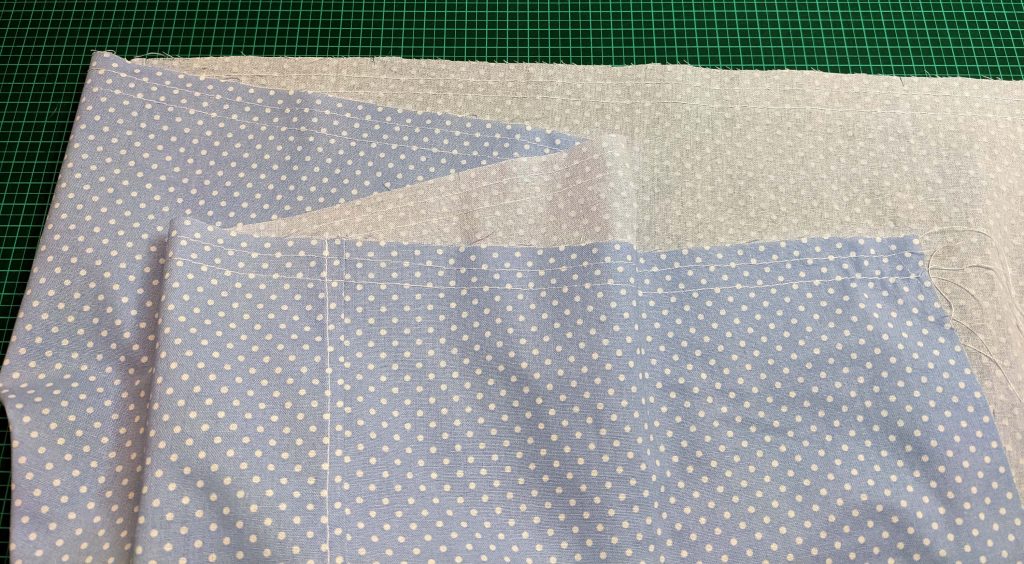
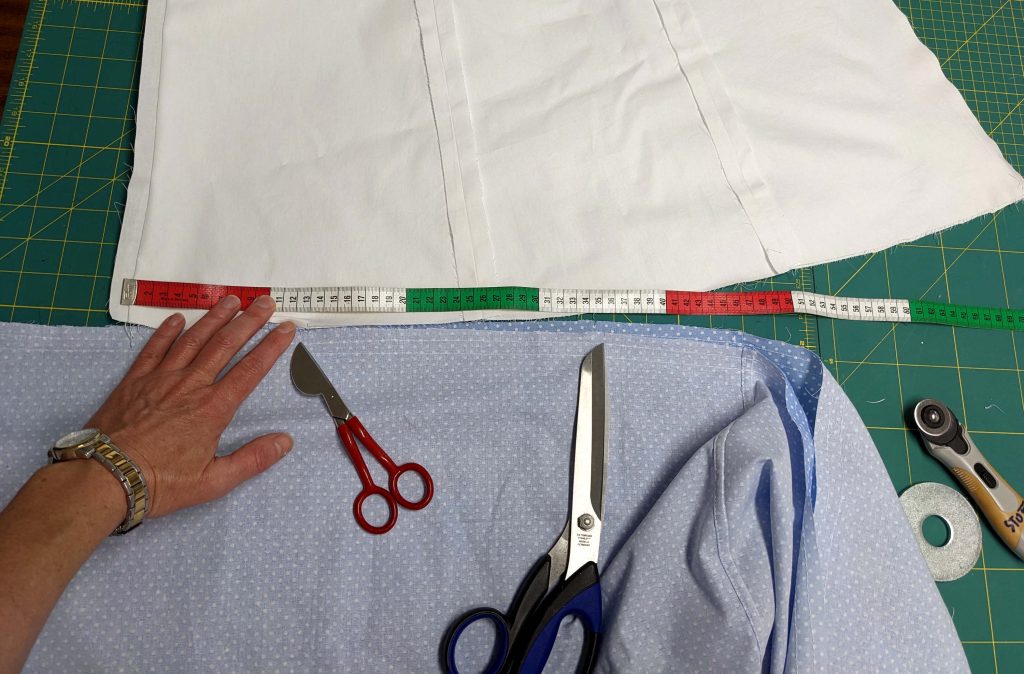
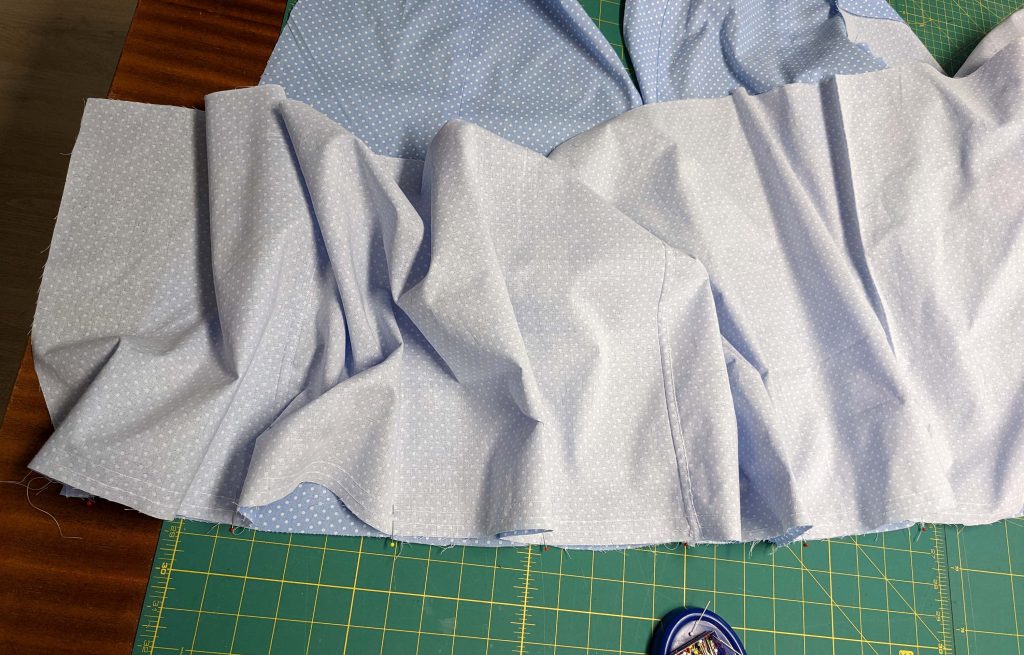
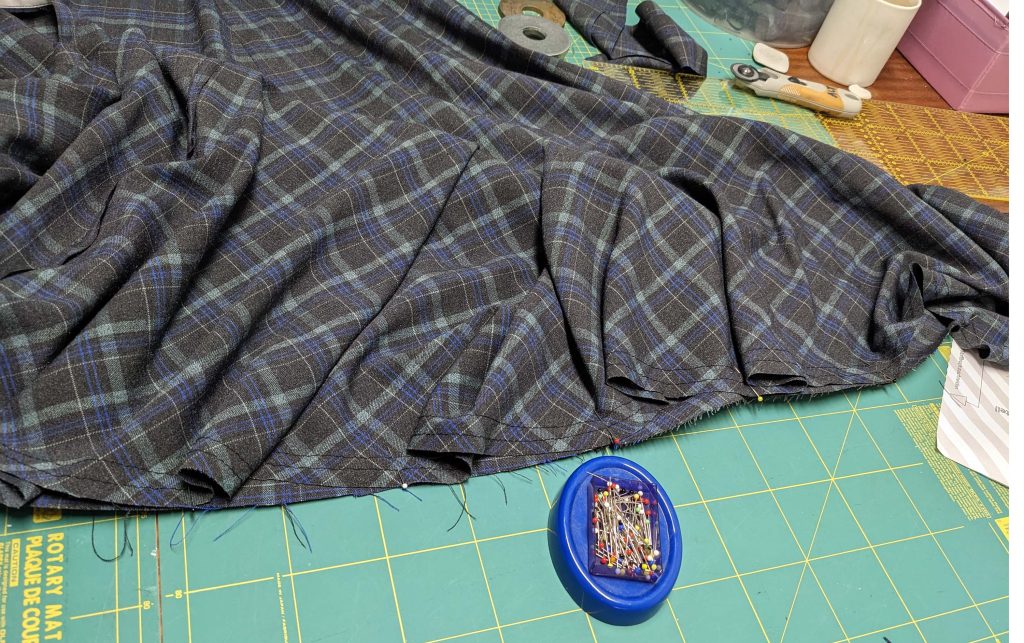
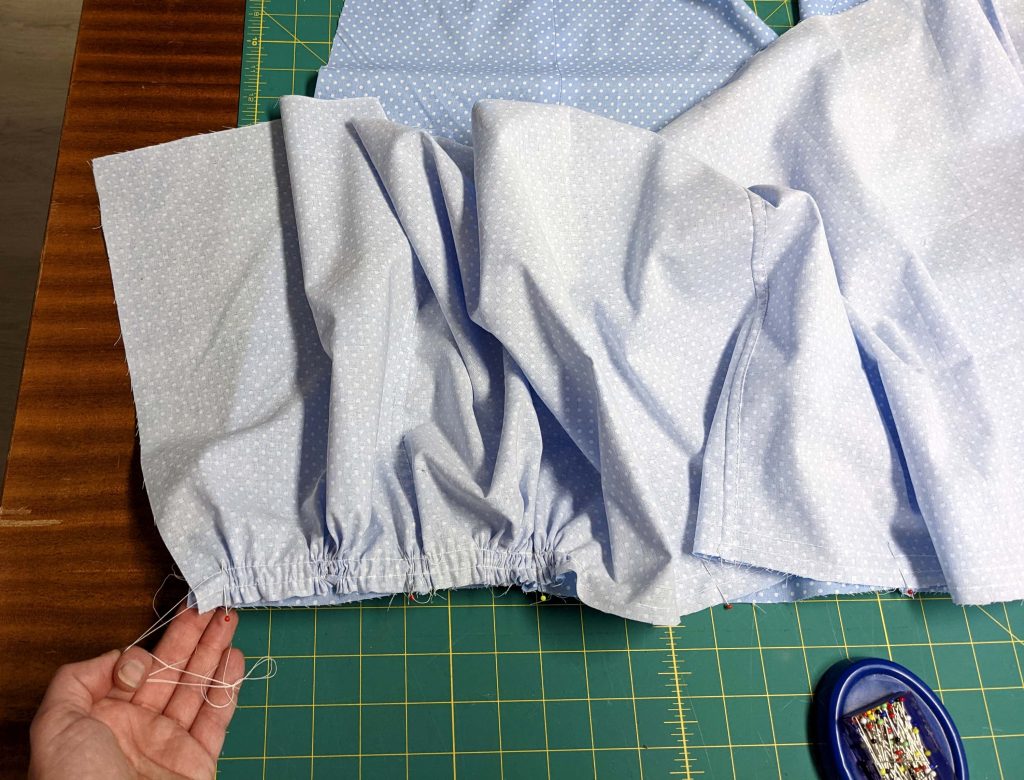
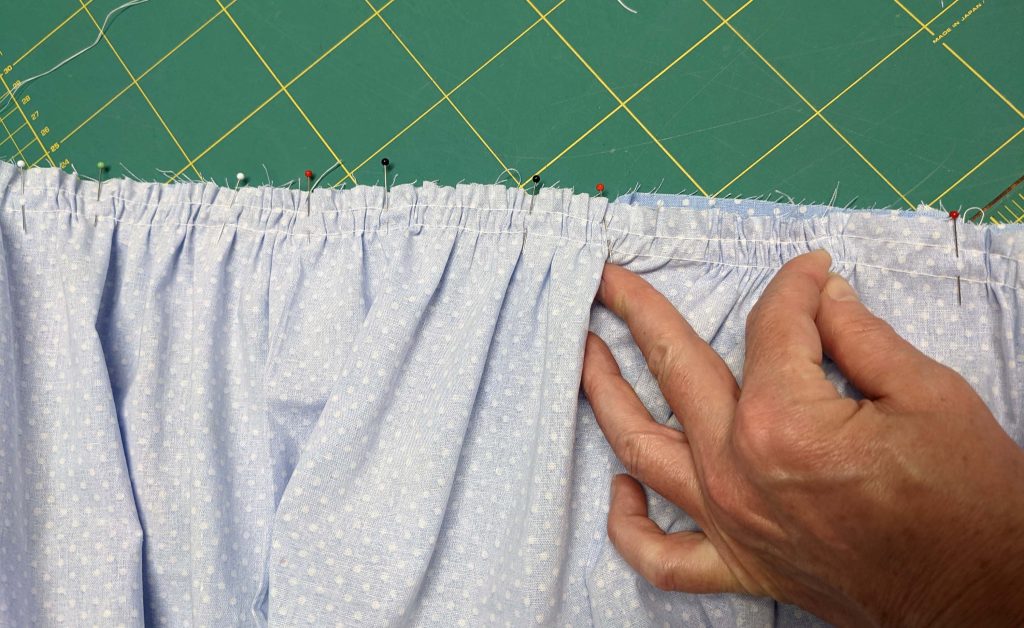
Spread the width evenly and sew.
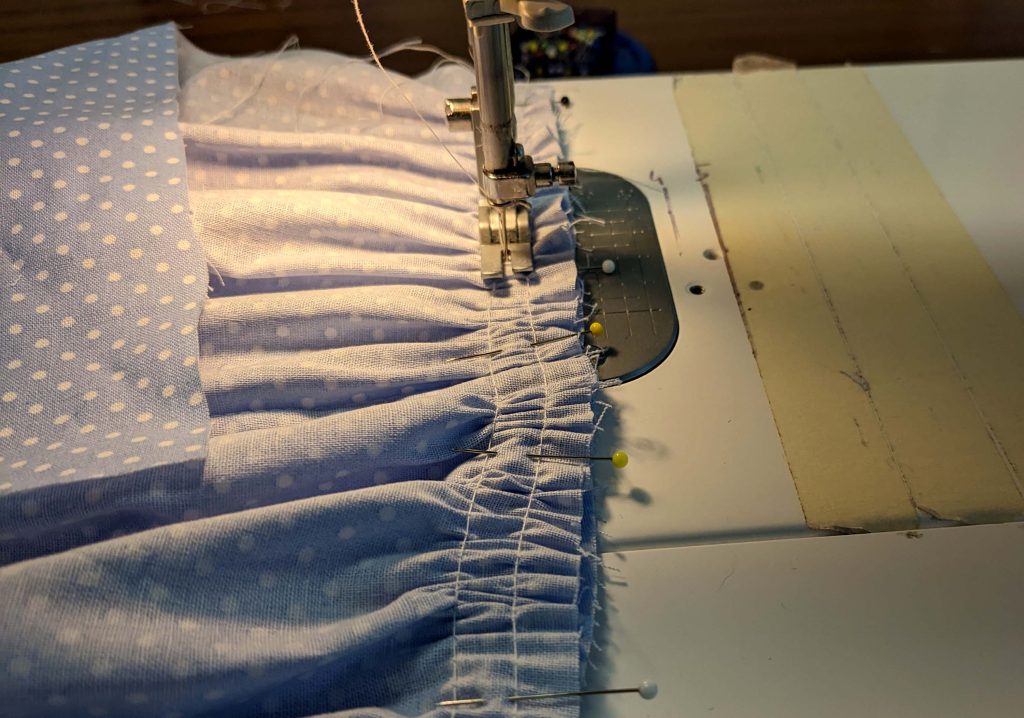
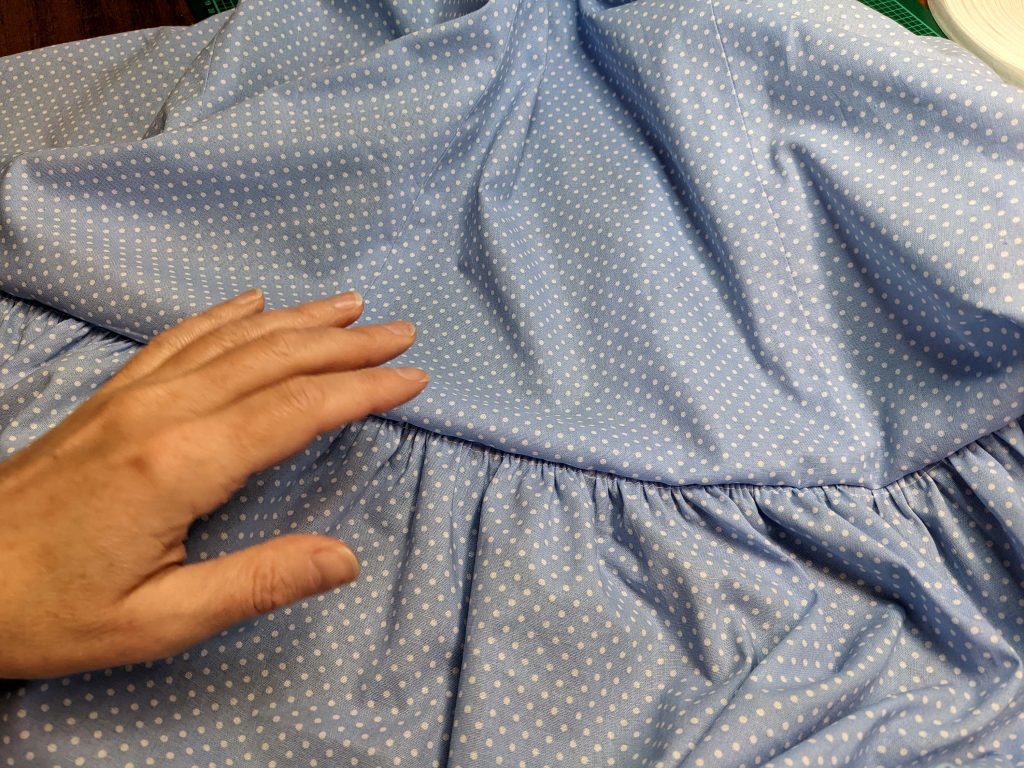
Press the seam allowances towards the skirt and trim back to 3/8” (1cm). Understitch from the right side to hold the seam allowances in place. Optionally, attach velvet or sateen tape along the seam.
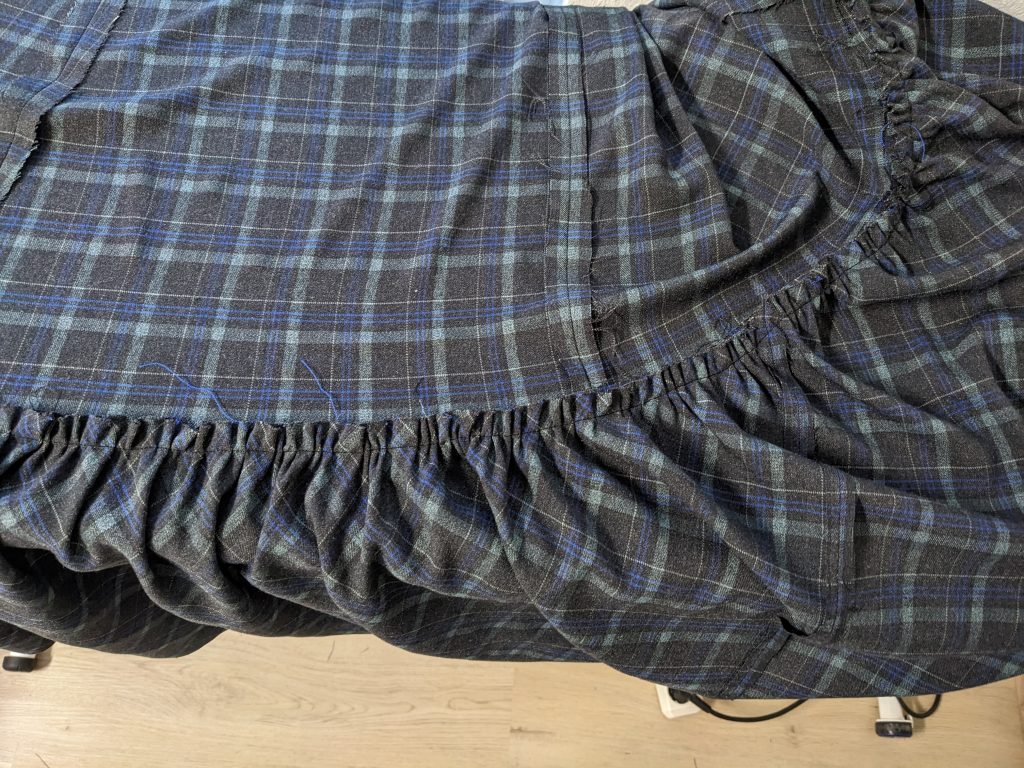
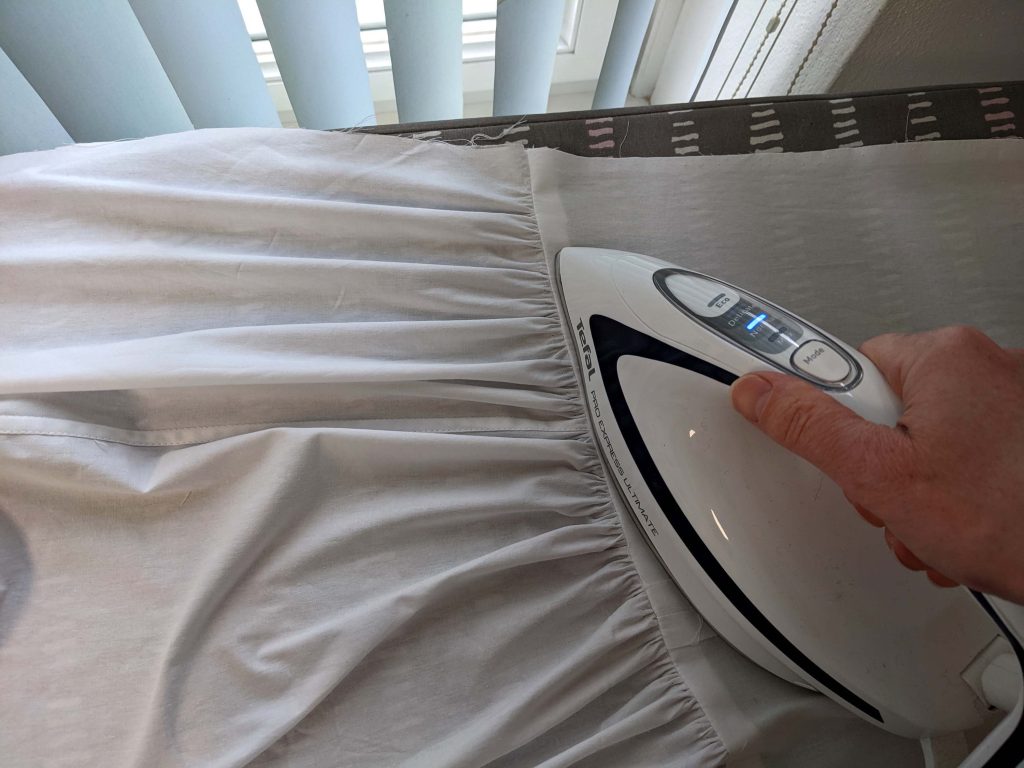
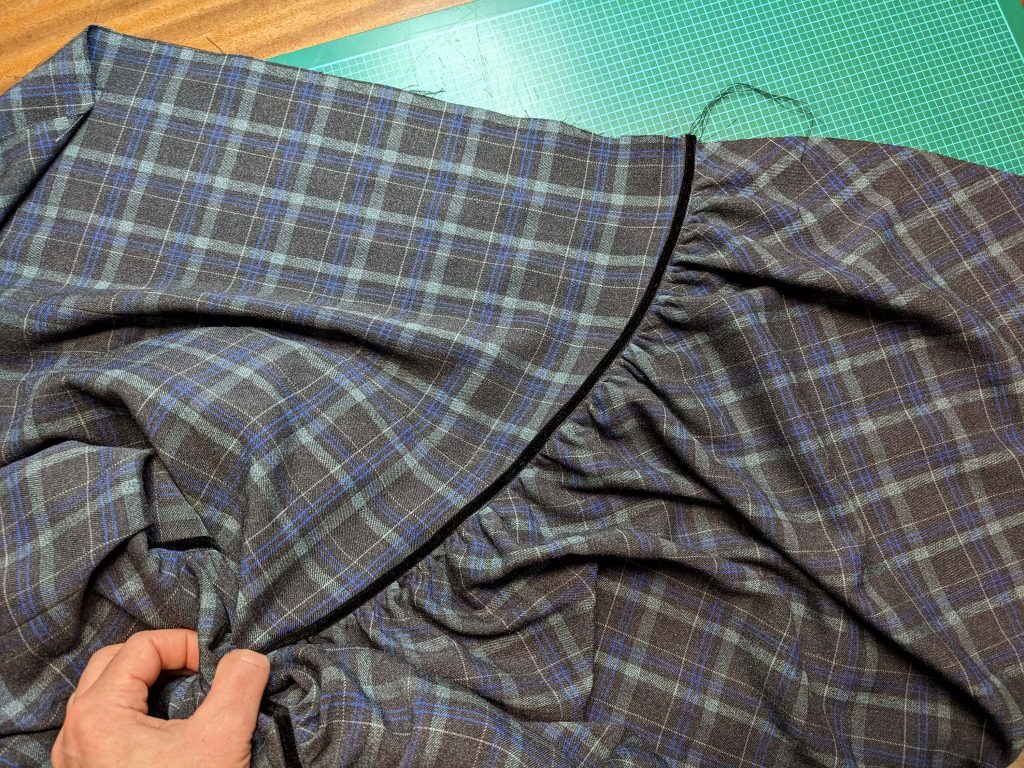
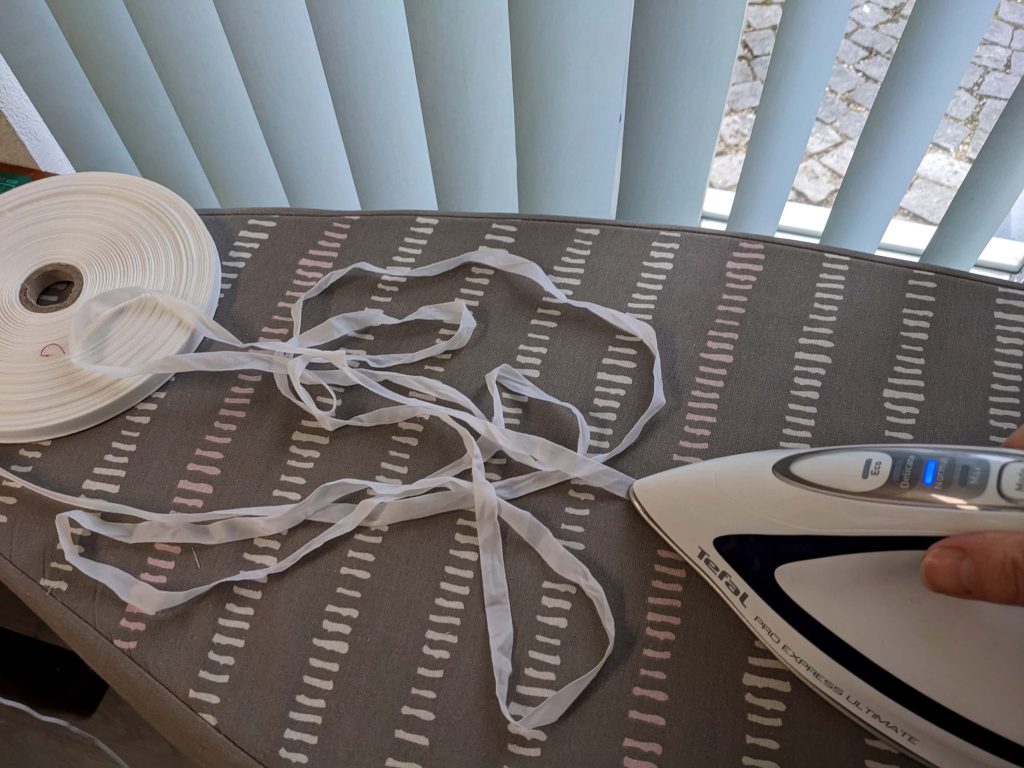
Back then, underwear in particular was heavily washed. Because of this, seamstresses tried to hide and cover all the seam allowances, making french or flat felled seams or using selvages. For the petticoat, I recommend making all seams a flat felled seam and covering all the raw seam allowances at the ruffle with tape. To do so, sew the ruffle to the skirt with the wrong sides together and trim back the seam allowances. Line up a narrow cotton tape (about 3/8” to 5/8″ (1 – 1,5 cm) wide) with the stitching line. Stitch in place along both edges, covering the raw seam allowances. When using cotton tape for the underskirt, dampen the tape before sewing to avoid shrinking when washing. Optionally embroider the tape before with any embroidery stitch of your sewing machine, using a cotton thread.
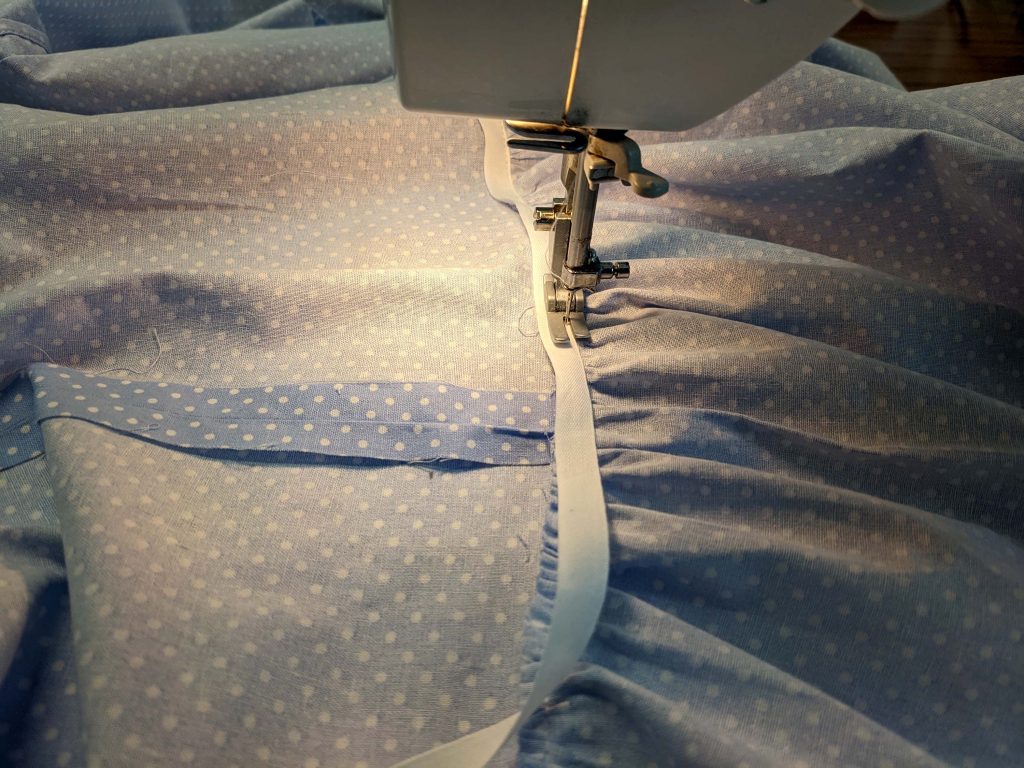
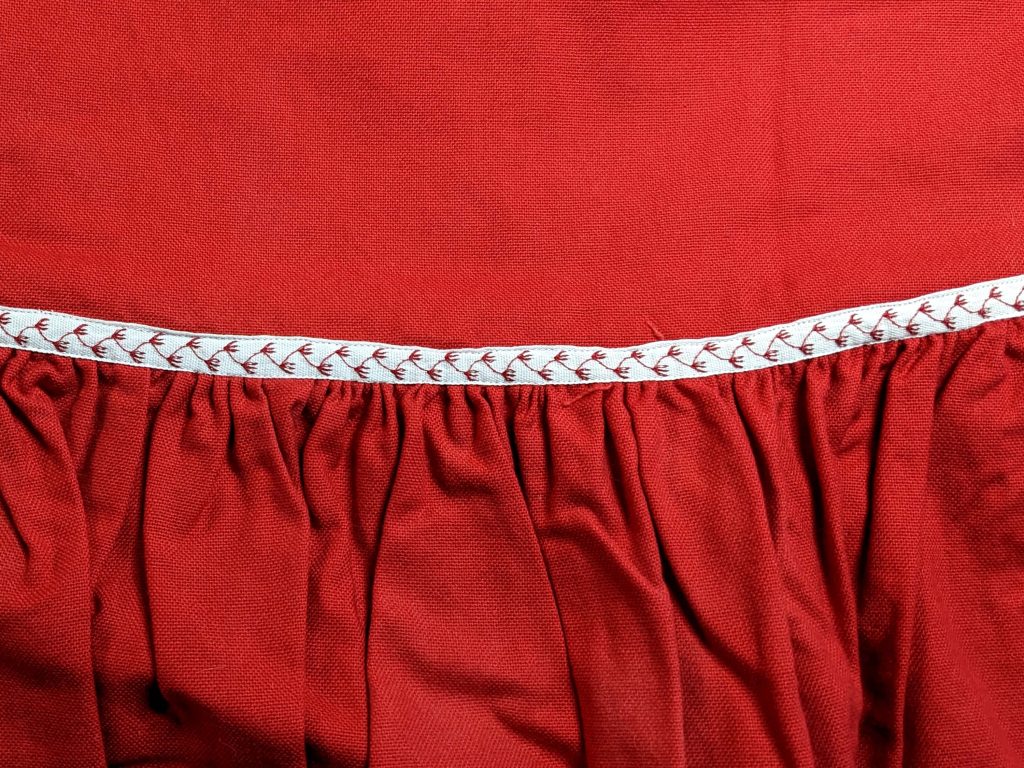
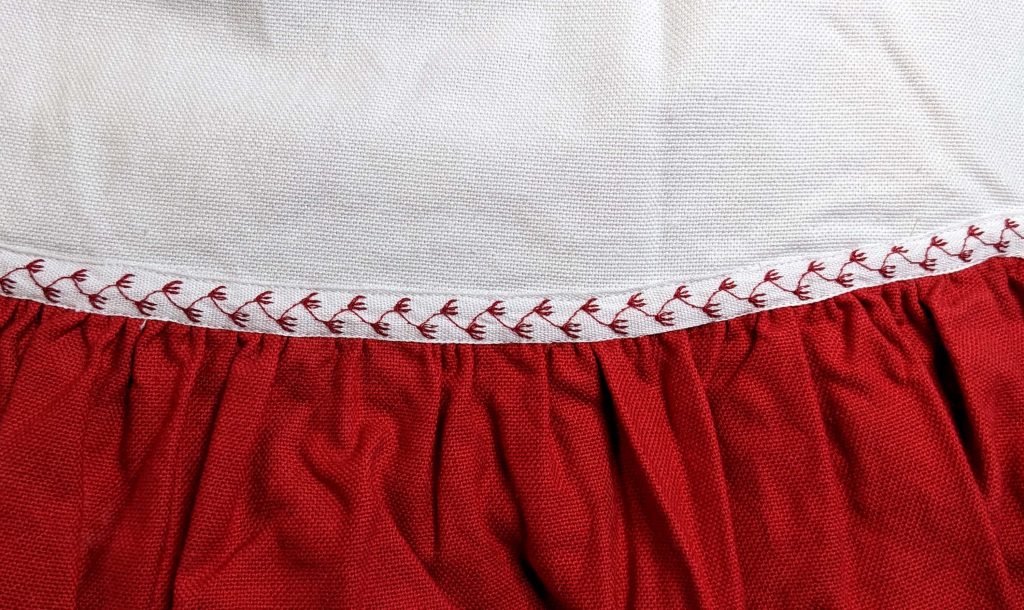
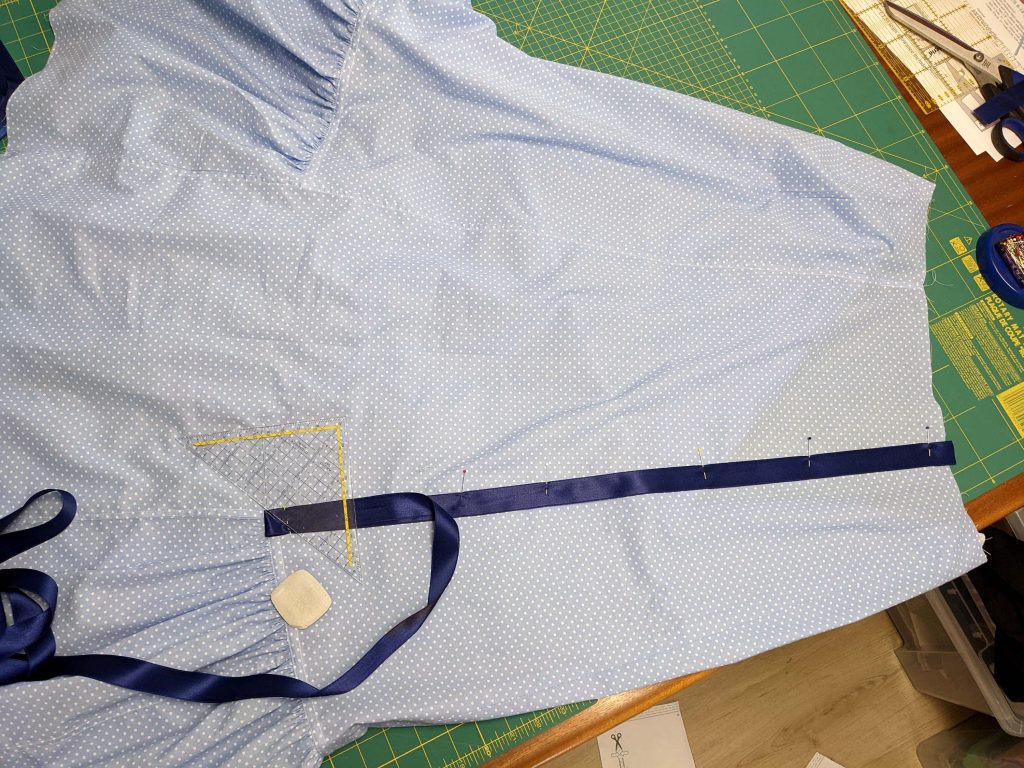
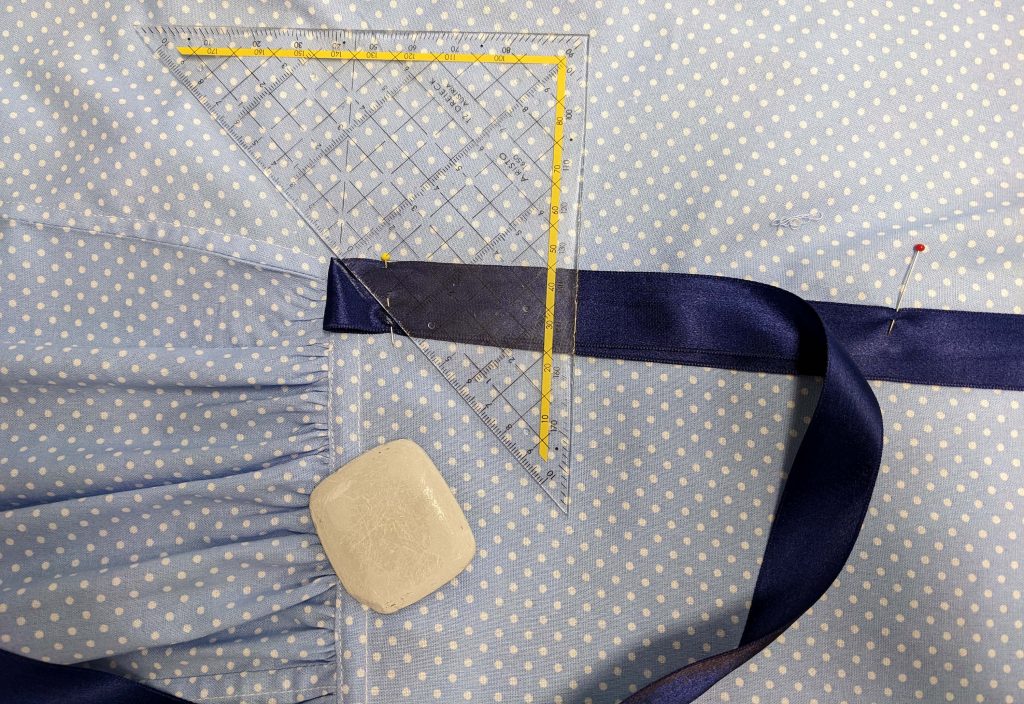
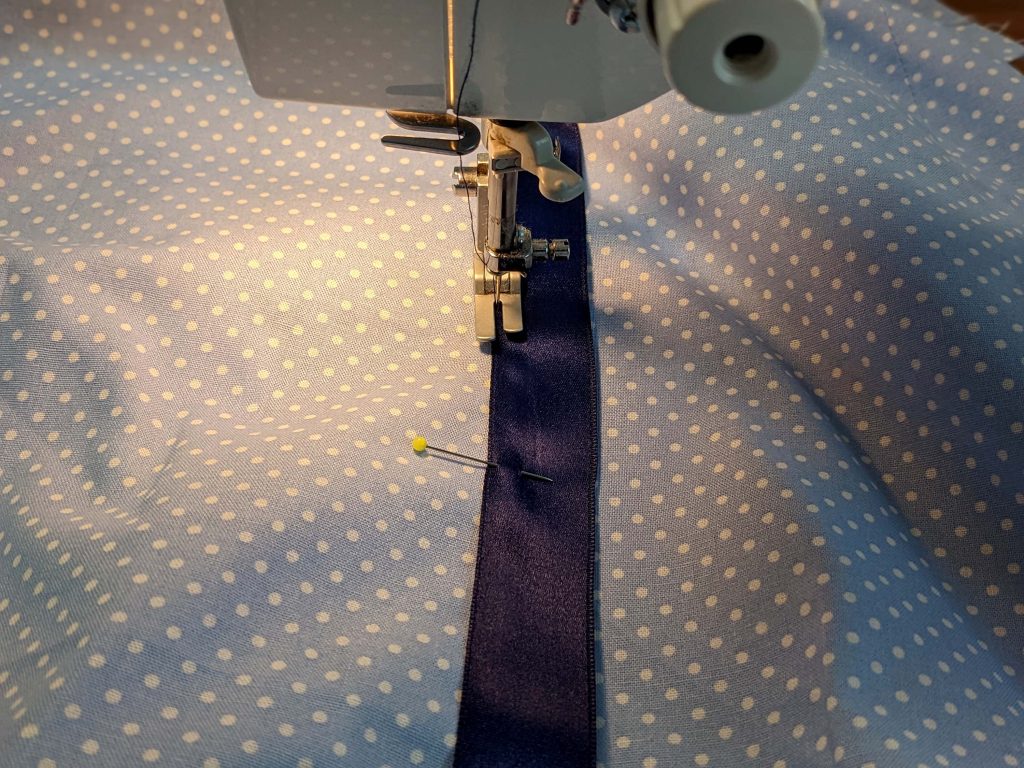
(5) Just the front panel now is missing. Line up the front edges of panel 2 and the ruffle with the front panel, right sides together. Sew from top to bottom. For a lightweight summer skirt without a lining, as the dotted skirt is supposed to be, I decided to make this seam a flat felled seam. Unfortunately, I trimmed back the wrong side of the seam allowance as I should have. But overall it wasn’t a problem as I decided to attach some trimmings.
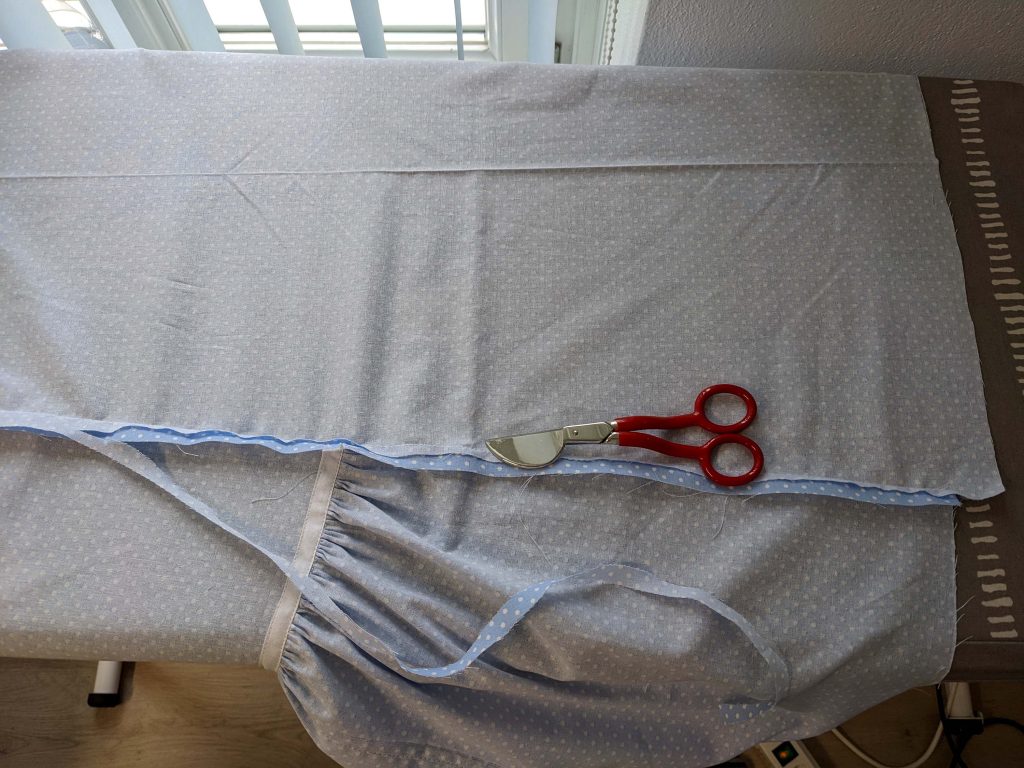
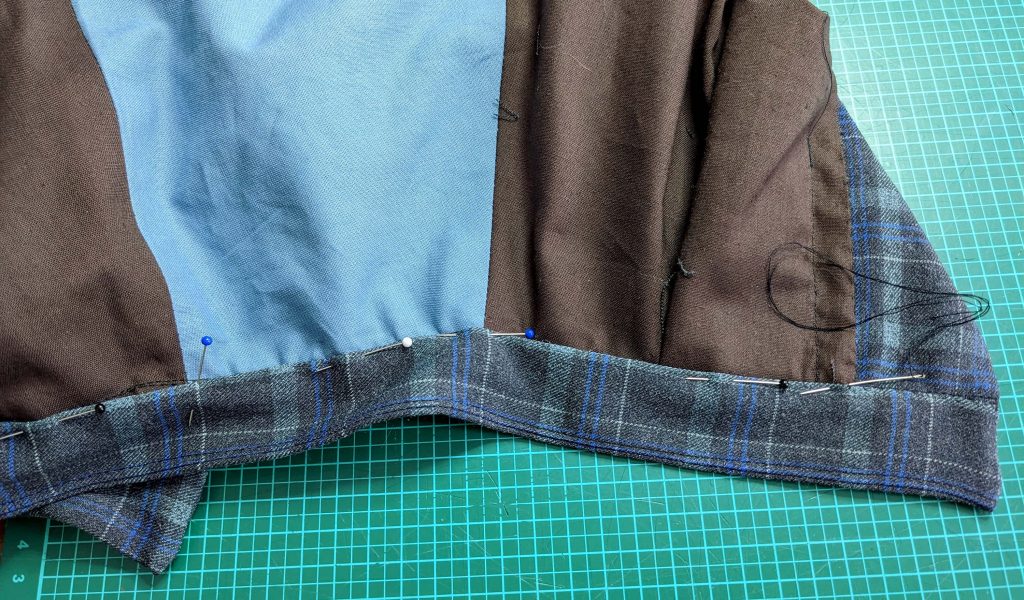
(6) When making a lined skirt it´s now time to prepare the lining. Sew all lining pieces with the right sides together, leaving a vent at the center back. Press open the seam allowances, turn in the seam allowance along the bottom edge, and press. Line up the skirt from the lining with the skirt, wrong sides together, lining up all seams and the vent, covering the raw seam allowances. Fell stitch in place. At the vent, sew the bottom edge of the placket to the lining with some stitches. (Excuse the different colors of the lining, just have to clear my stock.)
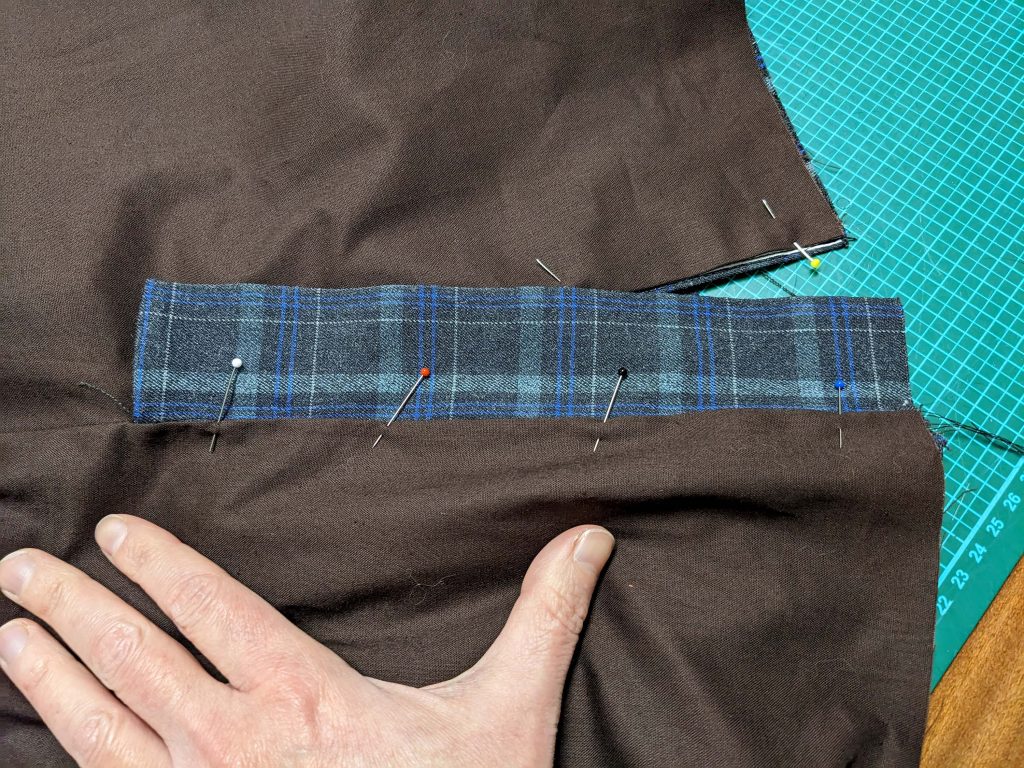
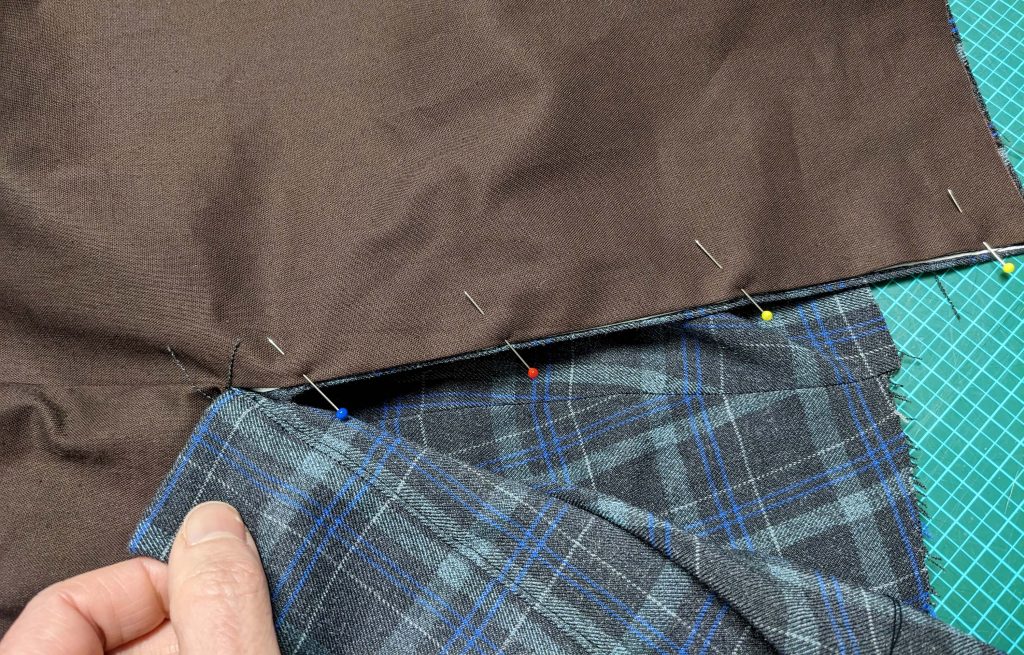
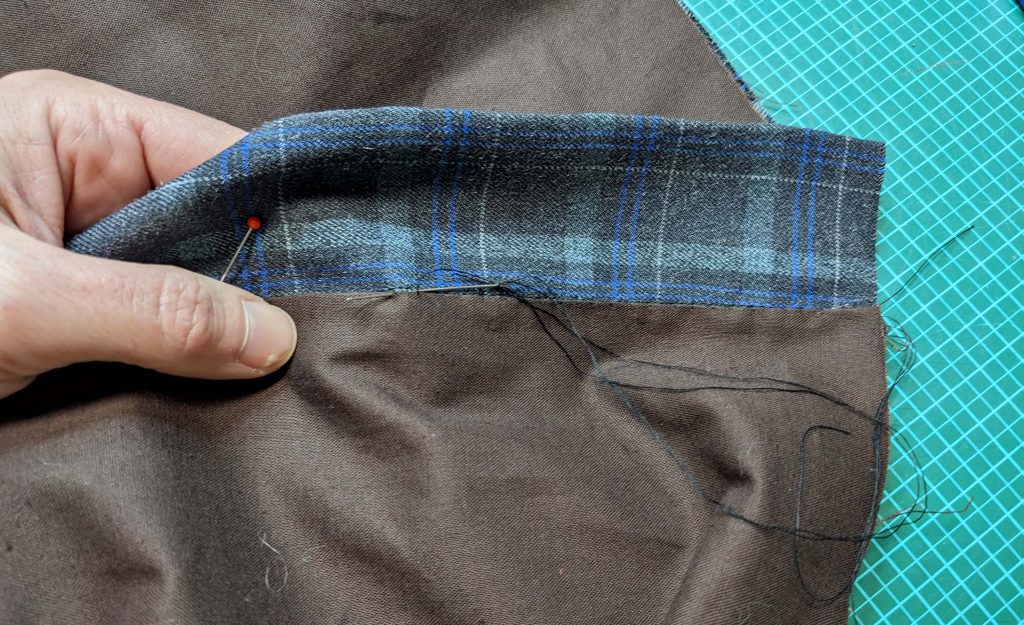
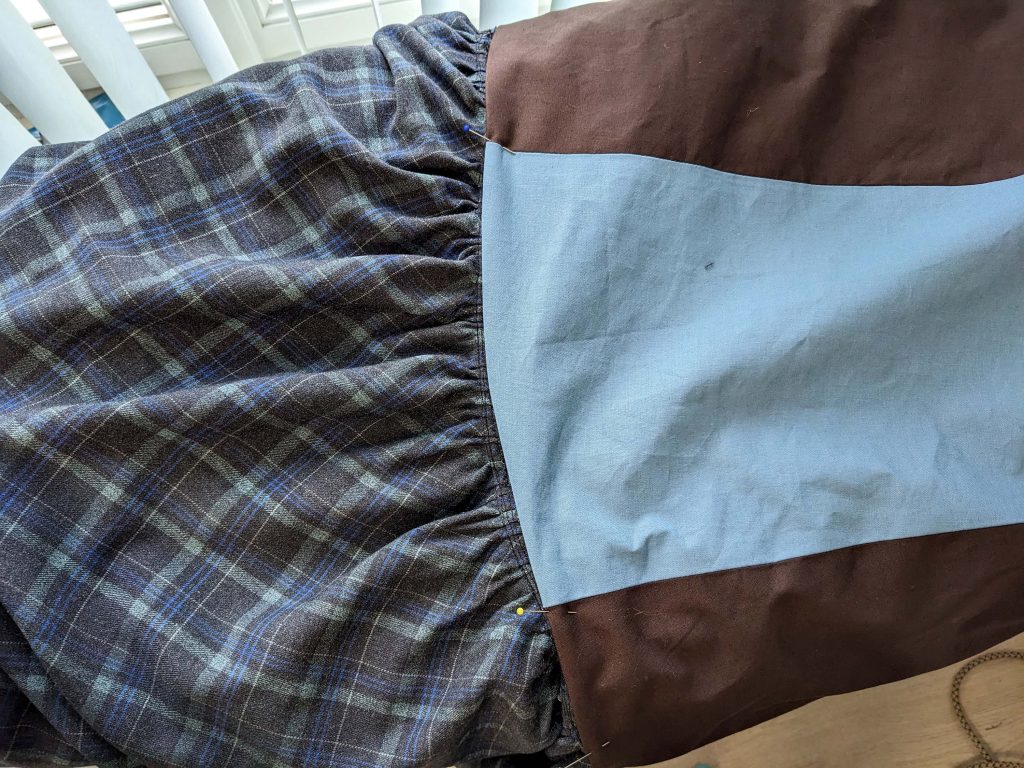
(7) Before the waistband is attached, the optional box pleat has to be arranged. Stitch down the box pleat halfway the placket along the center back to hold it in place.
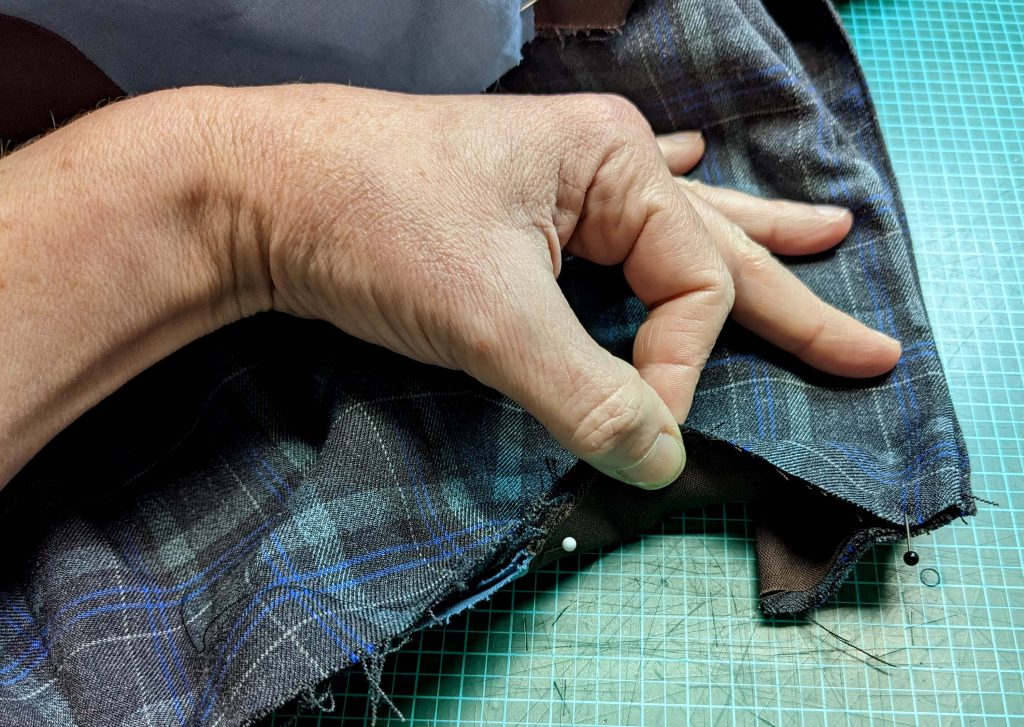
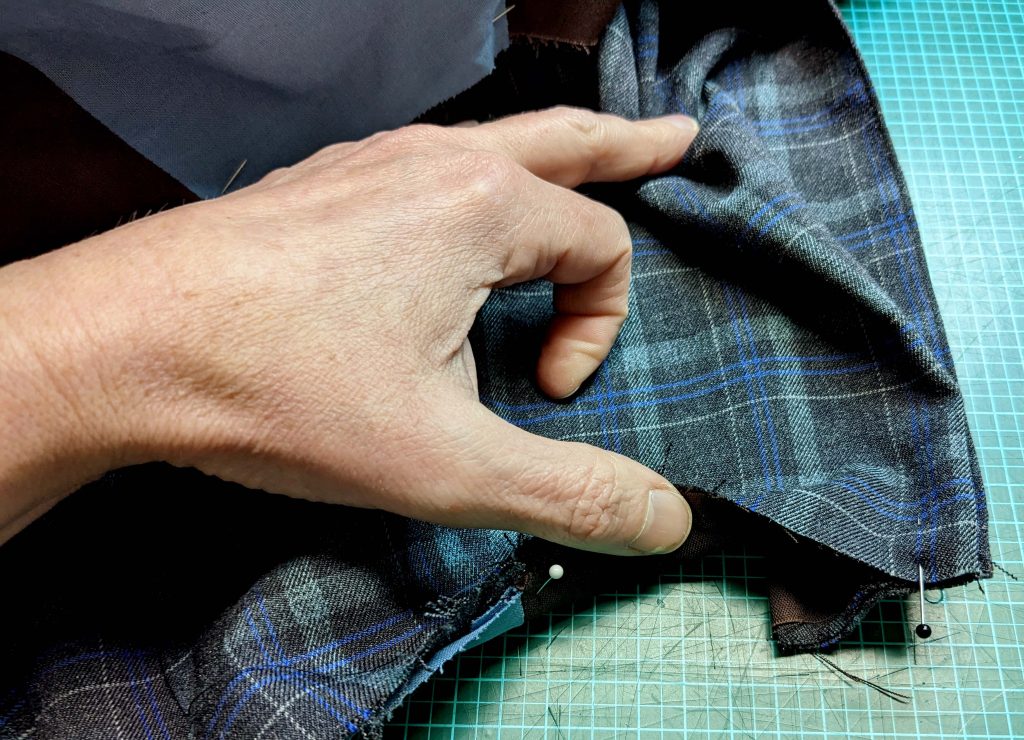
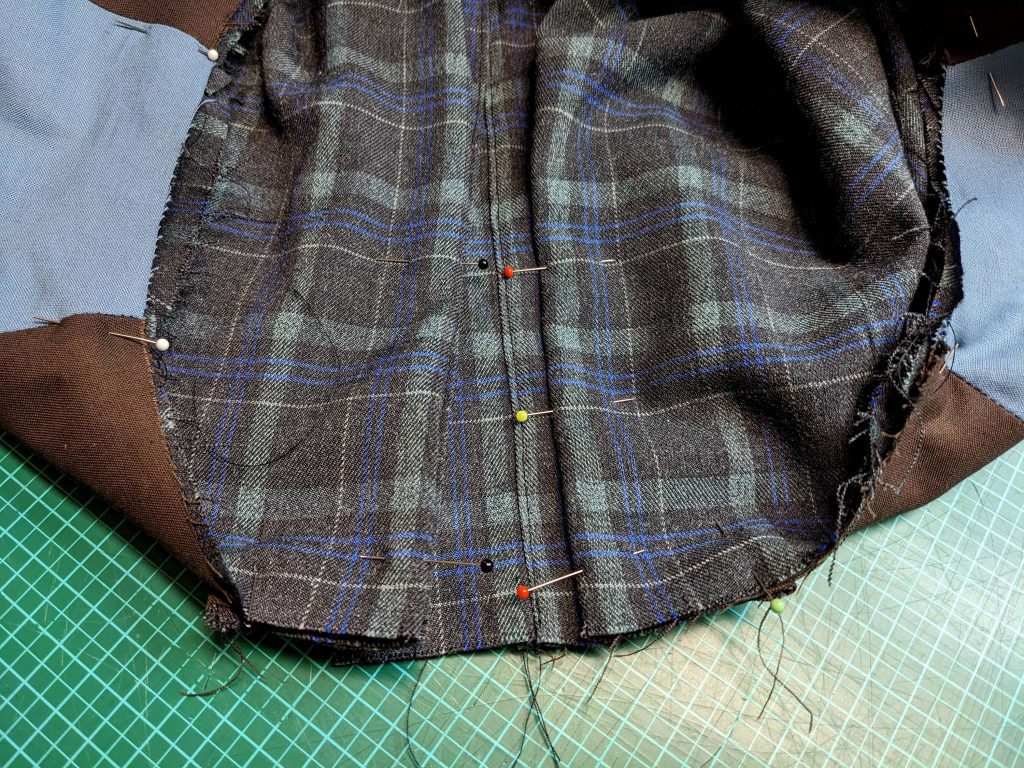
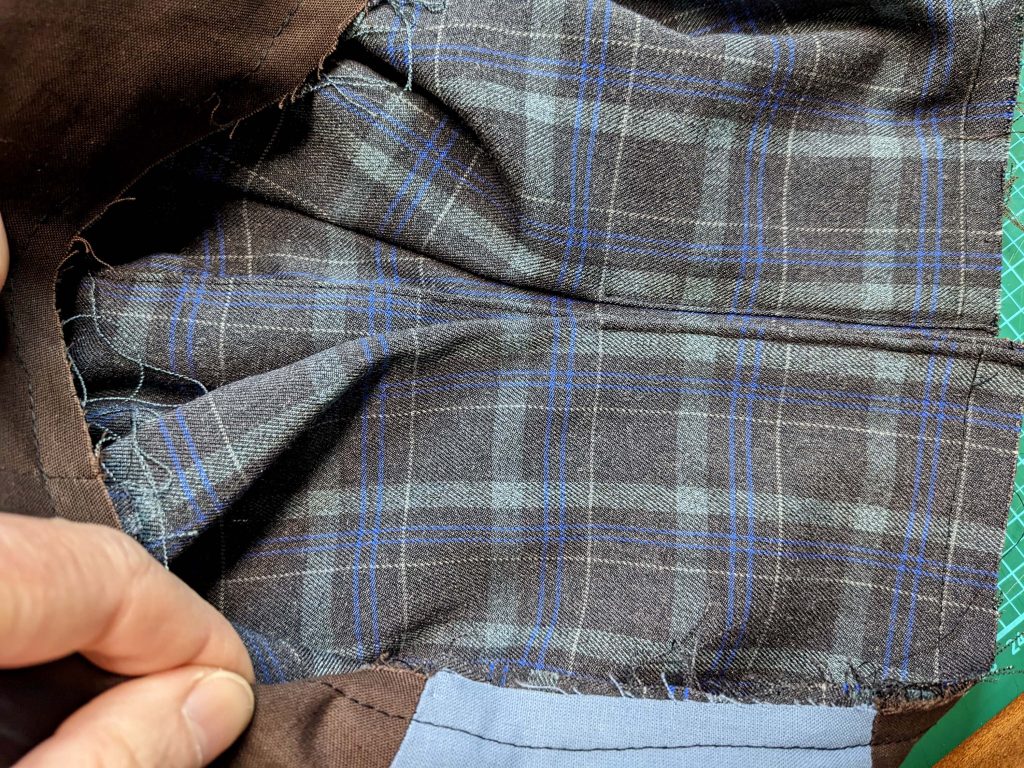

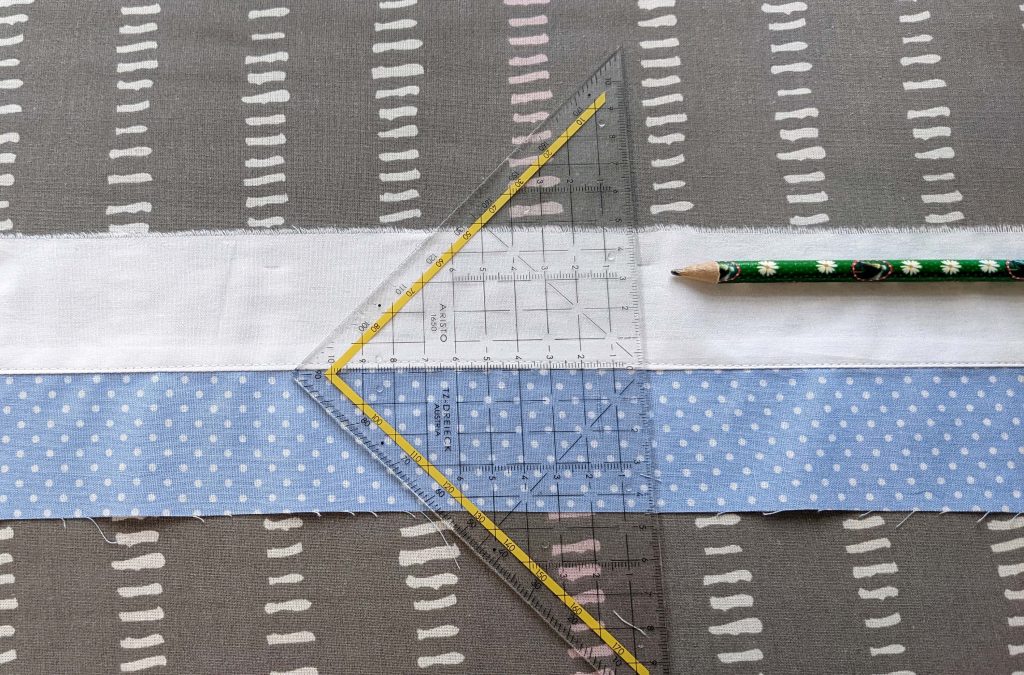
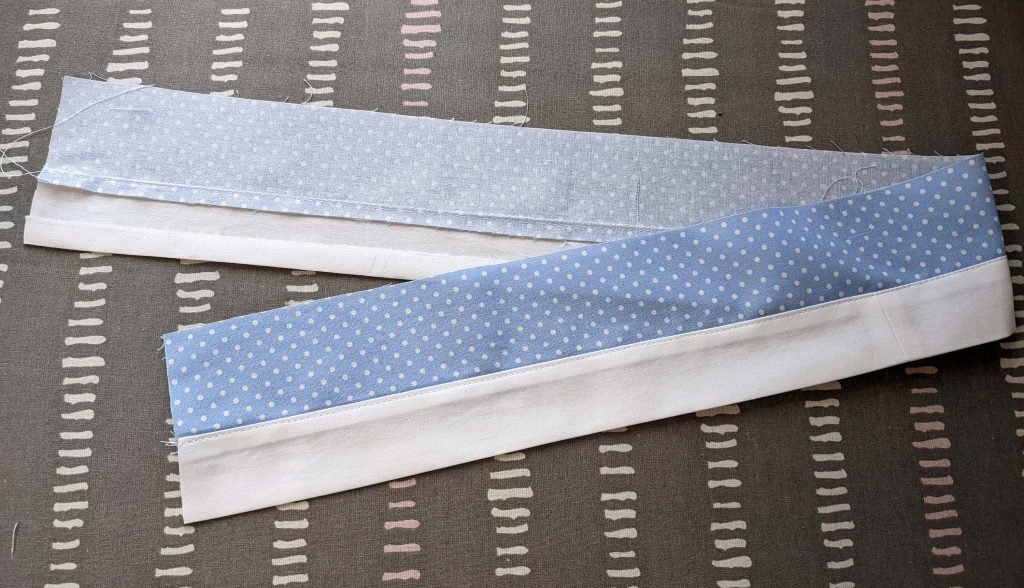
(8) To prepare the waistband, line up the waistband with the lining, right sides together, and sew along the top edge. Press the seam allowances towards the lining, and understitch from the right side
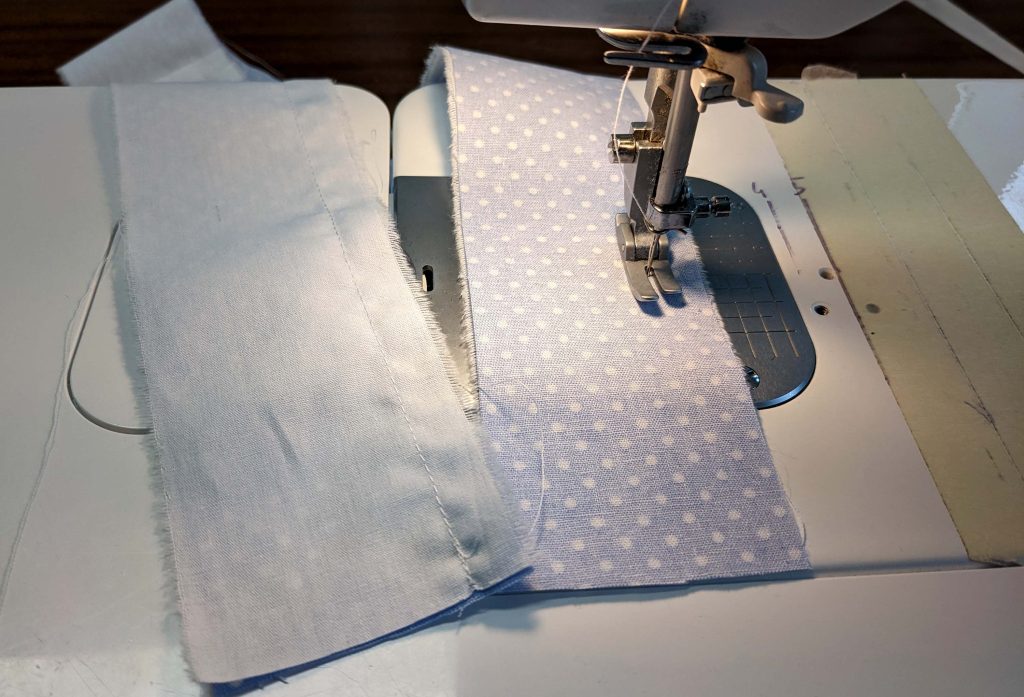
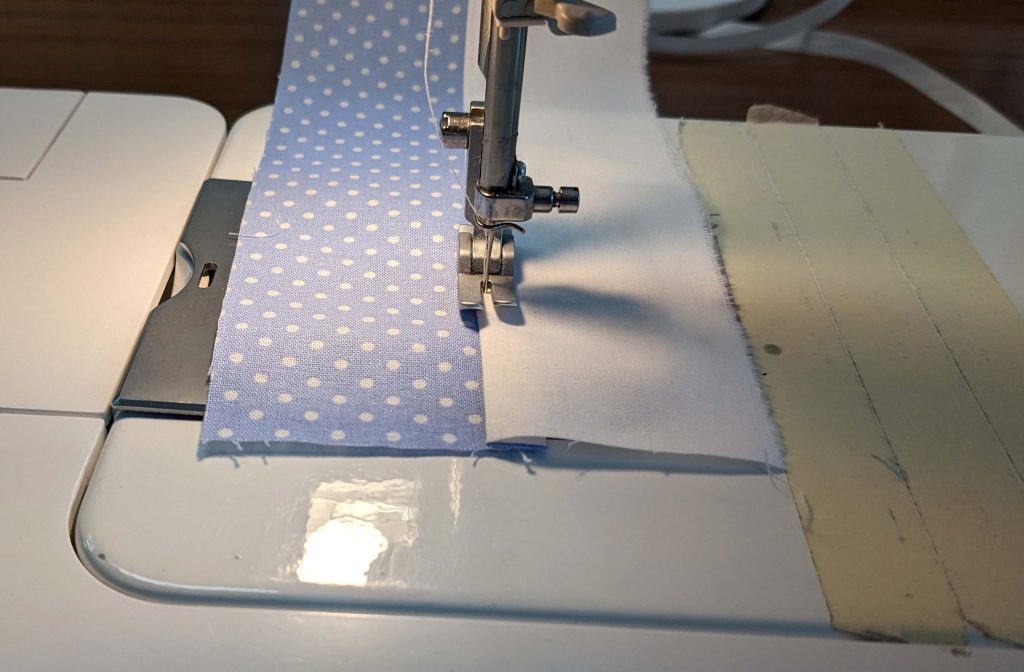
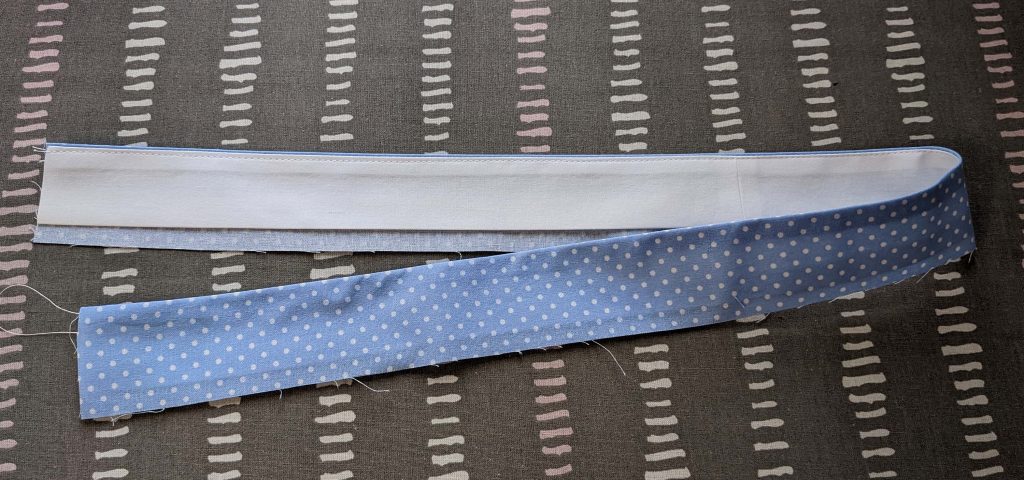
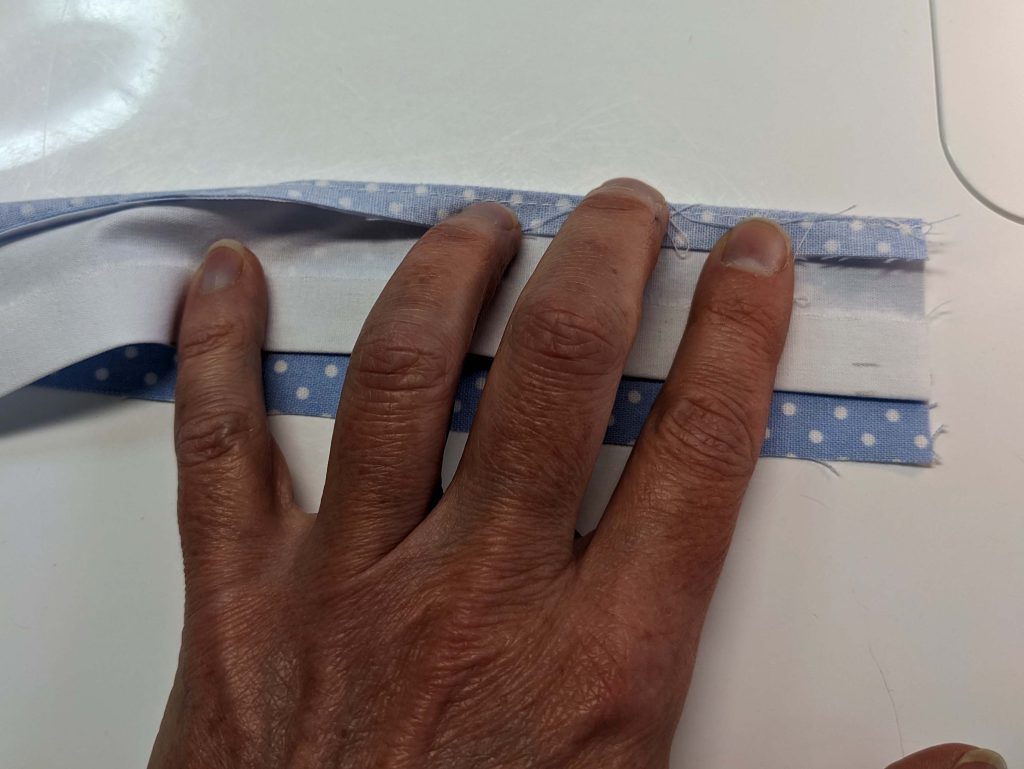
Fold the two layers with the wrong sides together and press along the top edge, reopen. Turn in the seam allowance of the lining along the bottom edge, taking care to get an even-shaped waistband. Now, fold the two layers with the right sides, turn the top edge’s seam allowance towards the lining, and sew along both short edges with narrow stitches. Trim back the seam allowances and turn the waistband the right way out. Press and mark the stitching line on the waistband’s wrong side along the turned-in edge of the lining.
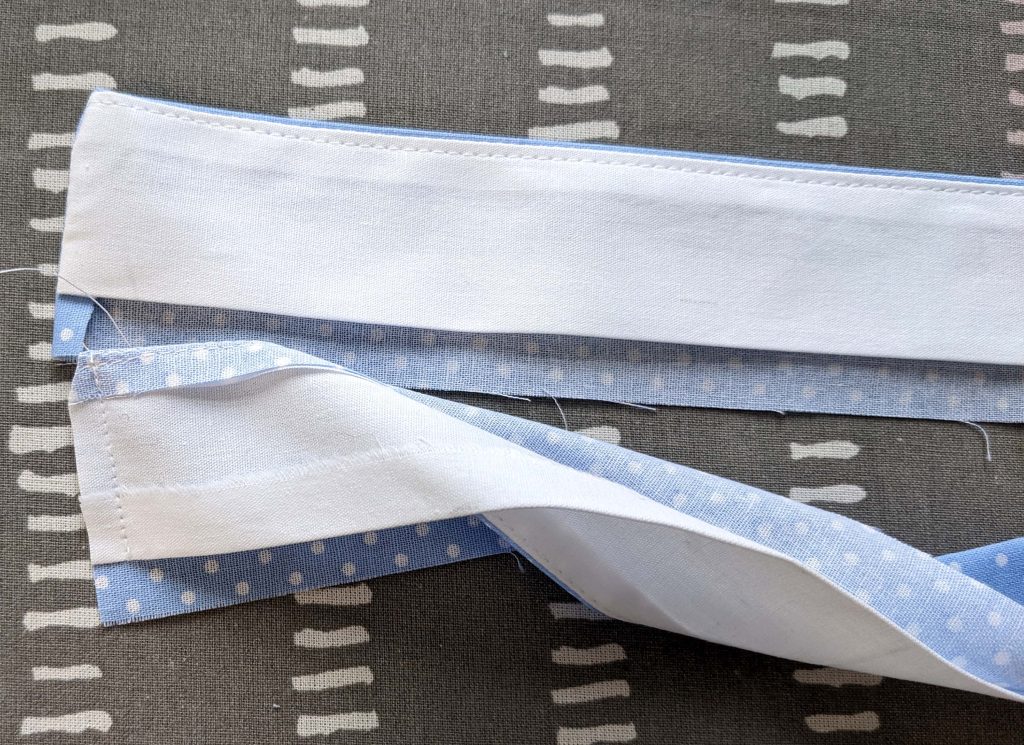
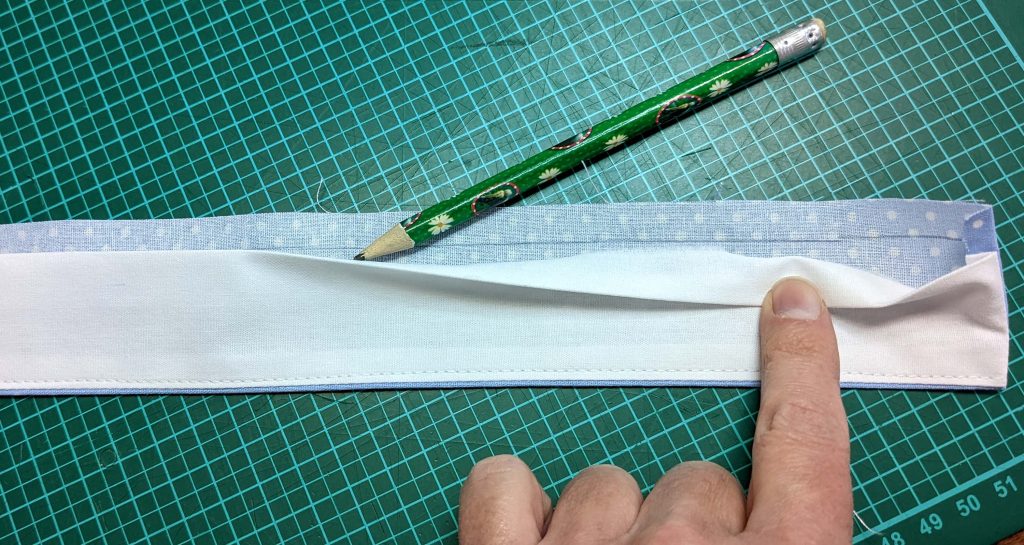
(8) Sew the waistband to the skirt, right sides together, matching the marks. On the inside, attach the waistband with a felling stitch along the stitching line.
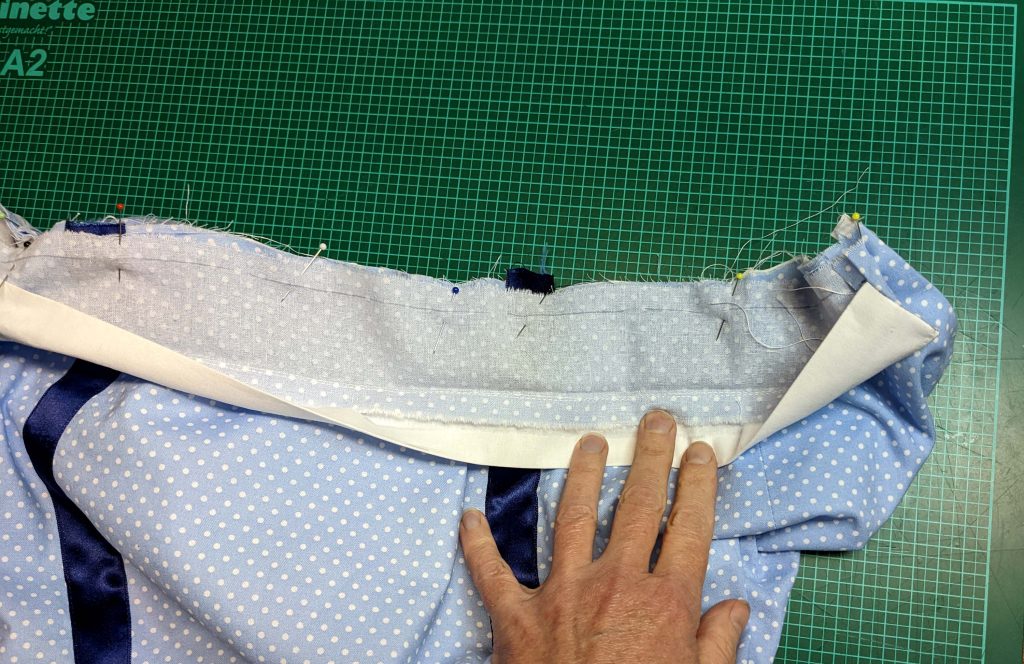
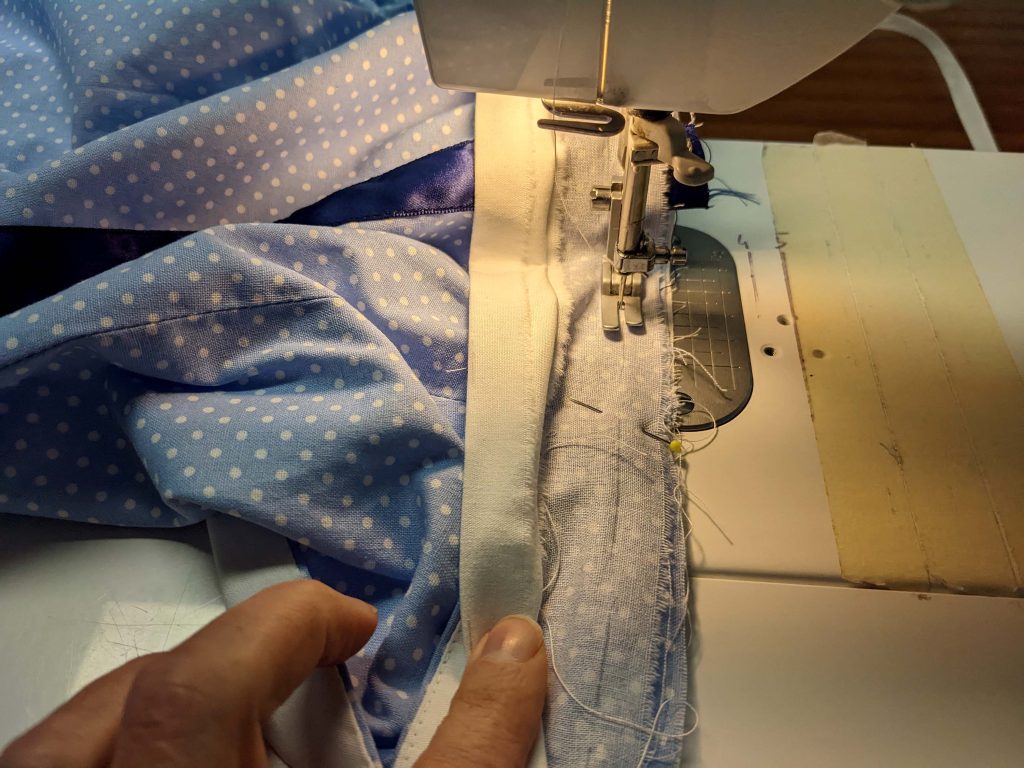
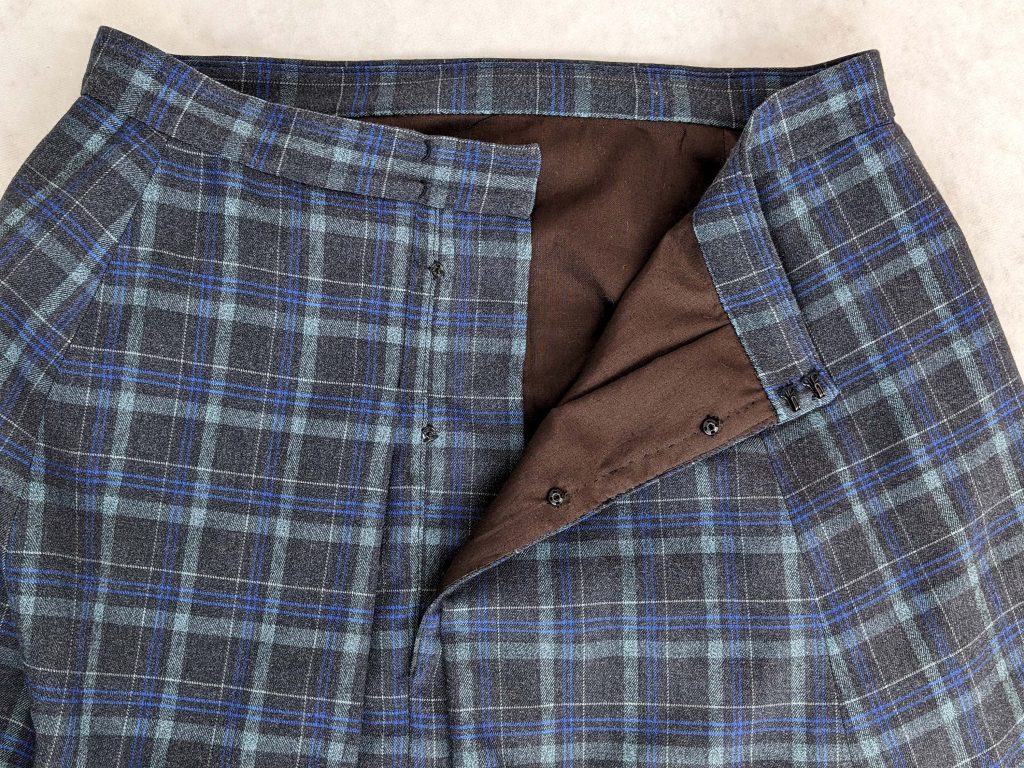
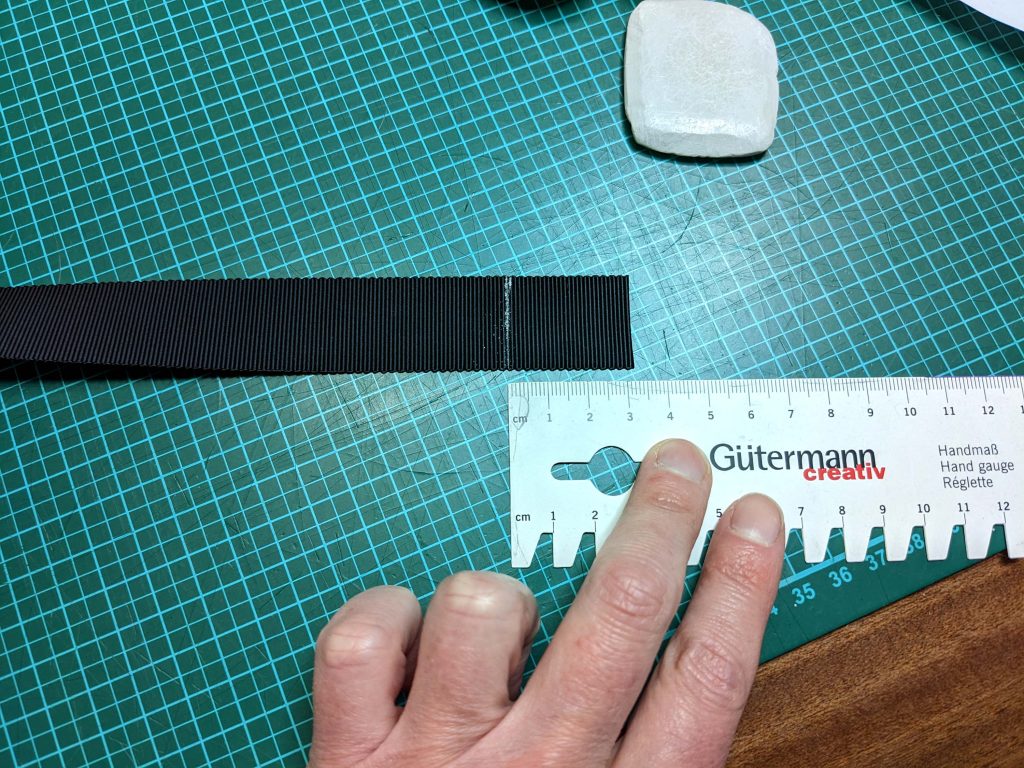
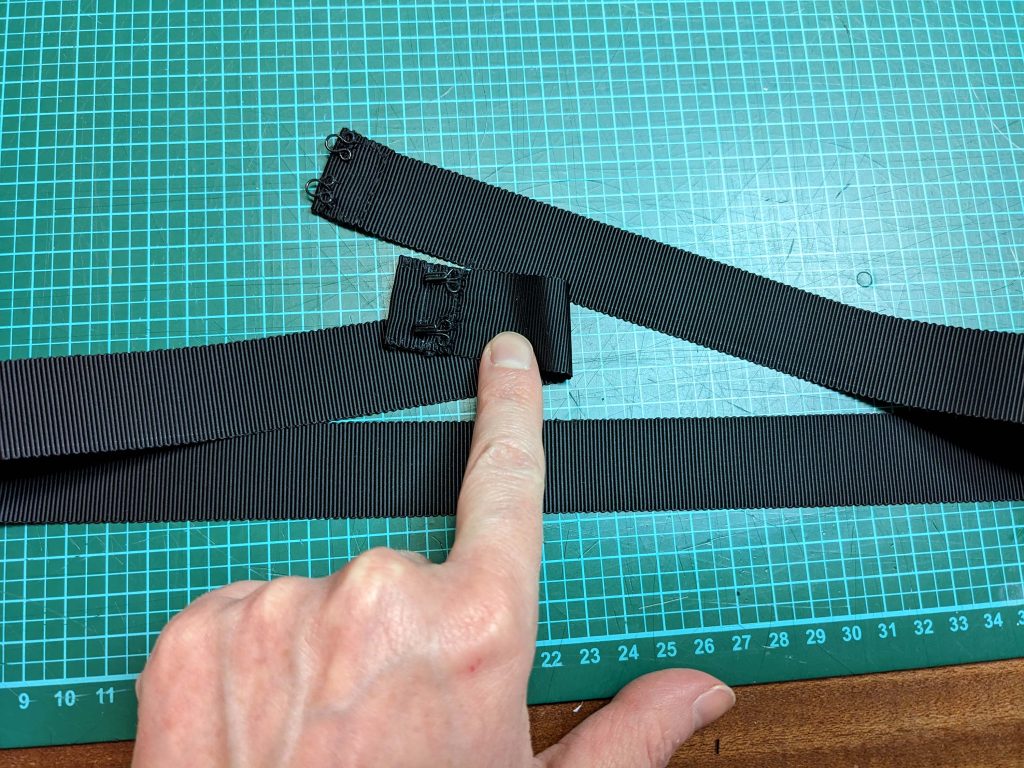
Sew hooks to the right back edge of the waistband and matching eyes or thread bars to the left side. Sew snap fasteners to the placket. Optional: to hold the skirt secure and tight around your waist, take a 3/4″ (2cm) wide twill or grosgrain tape and wrap it firmly around your corseted waist. Add 1 ¼” (3cm) seam allowance to both ends and cut to the length needed. Turn in that seam allowance, stitch in place and sew on hooks and eyes. Line up the tape with the waistband seam and fell stitch to the waistband along the bottom edge, letting about 4” (10) of the tape loose at each end.
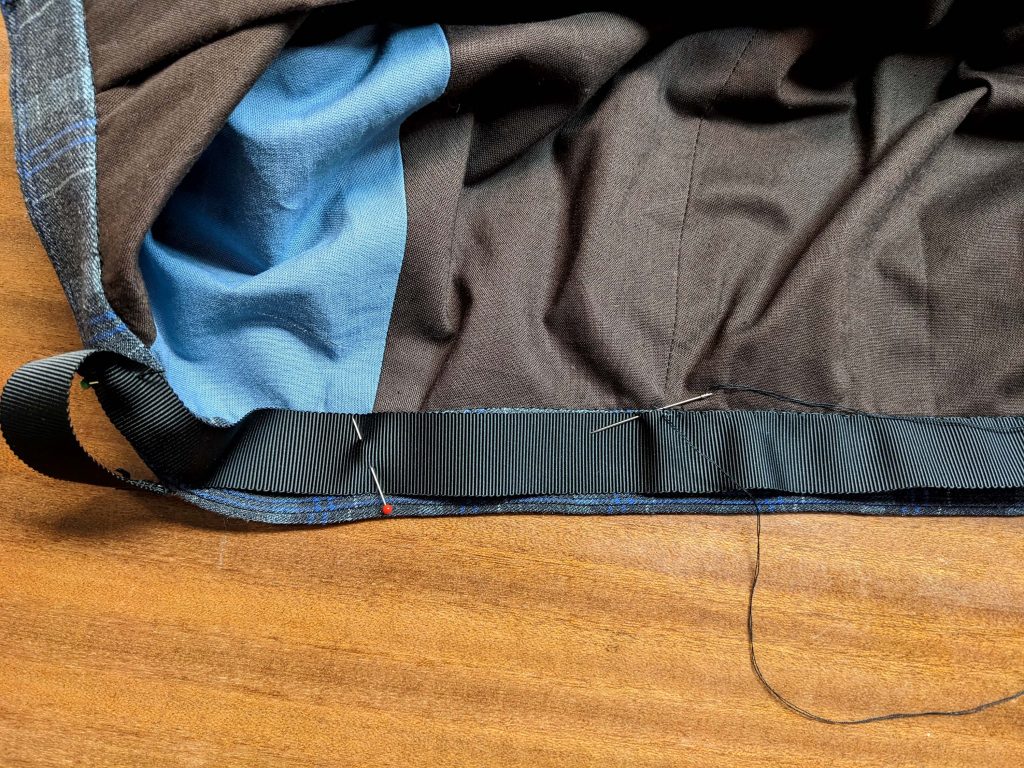
(9) Double-turn in the hem allowance of the skirt and sew with a hemstitch. Double-turn in the hem allowance of the lining, making the lining skirt 1” (2-3cm) shorter than the top layer, and stitch in place with the sewing machine.
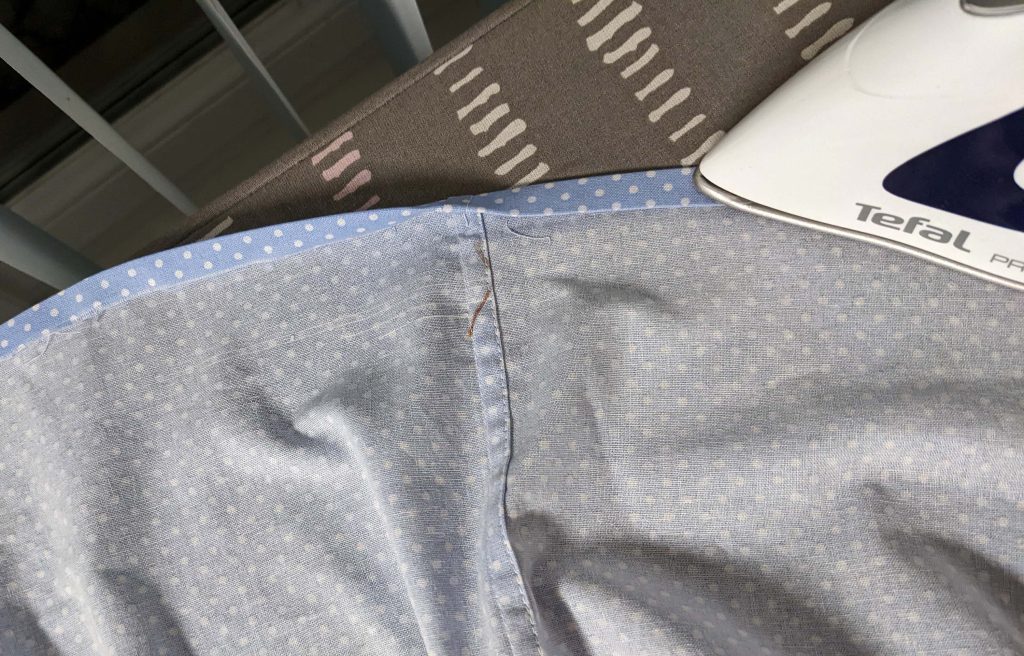
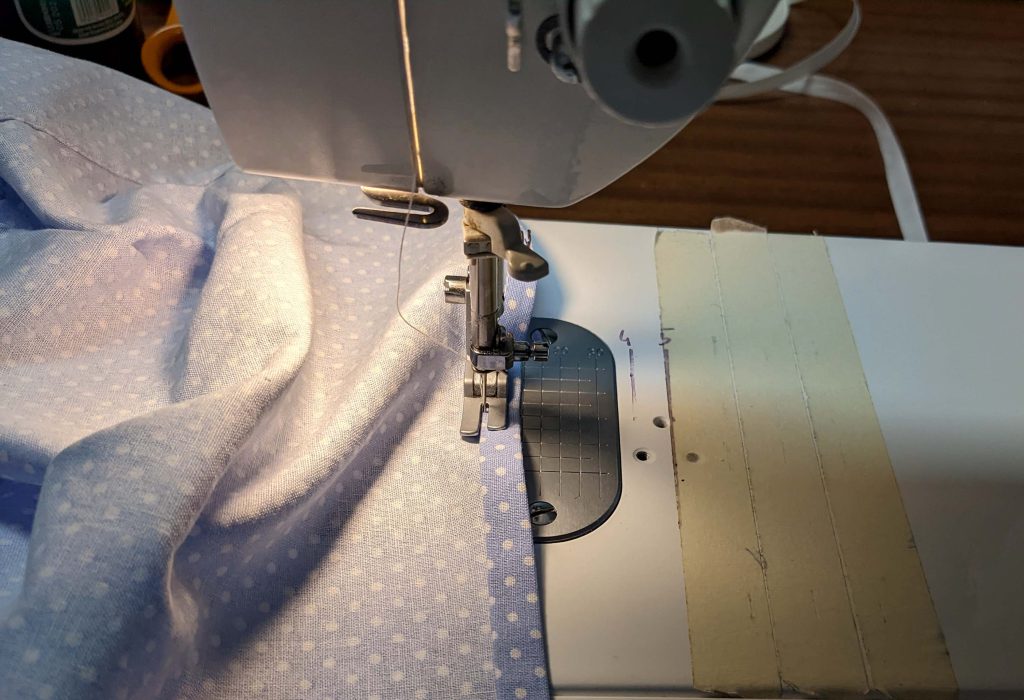
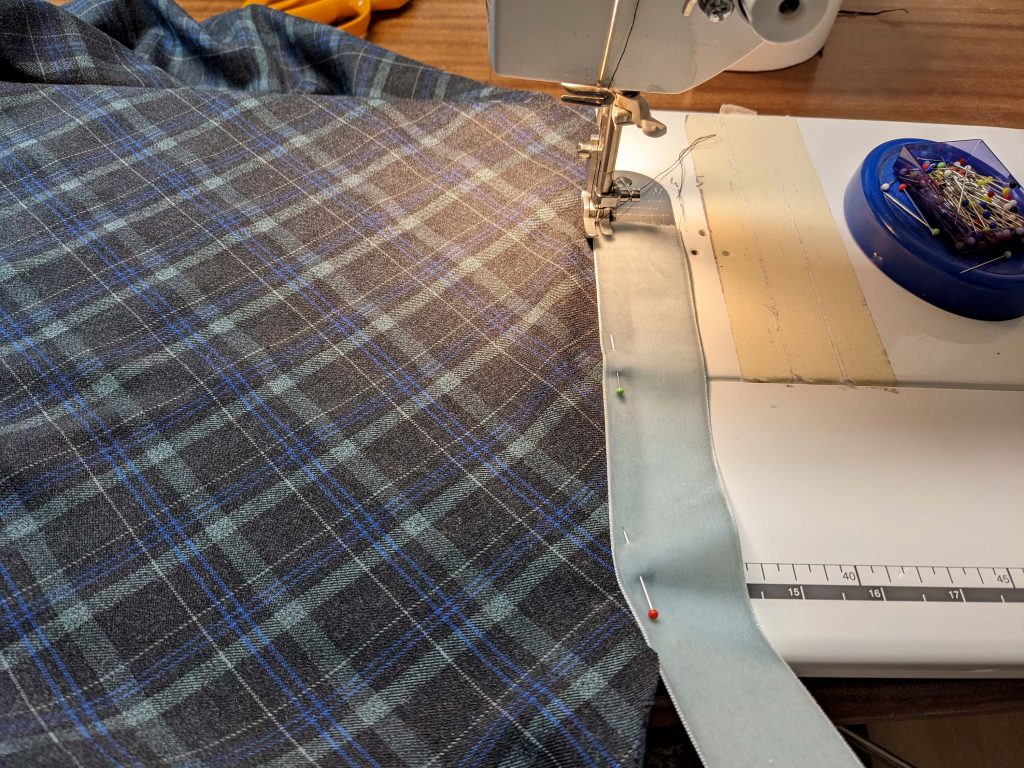
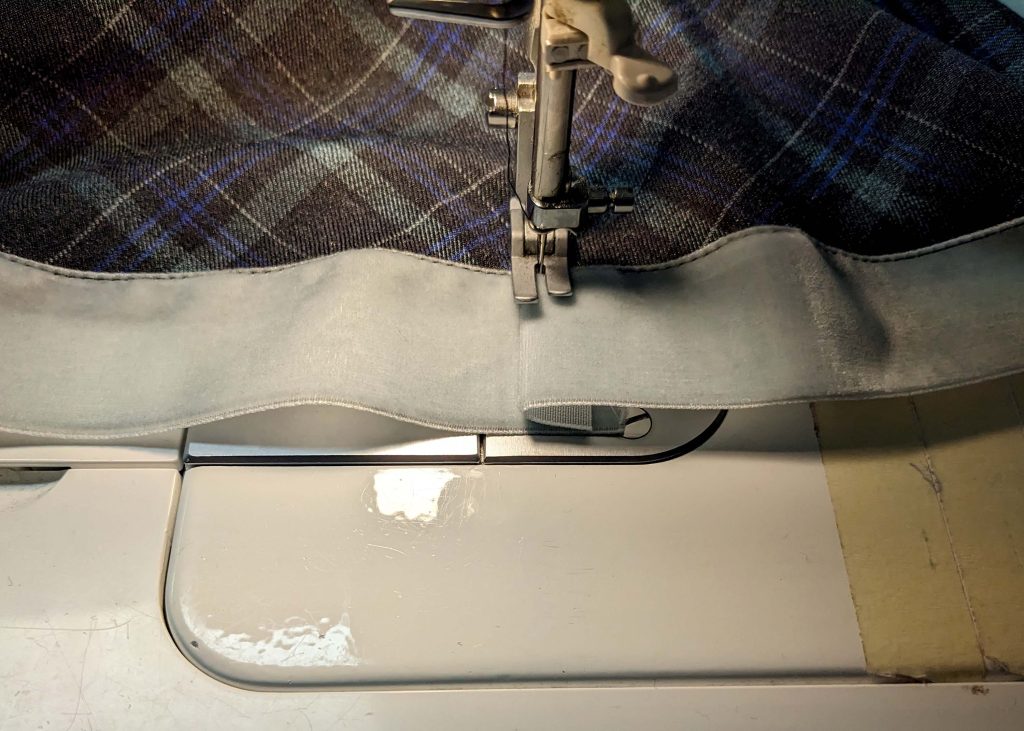
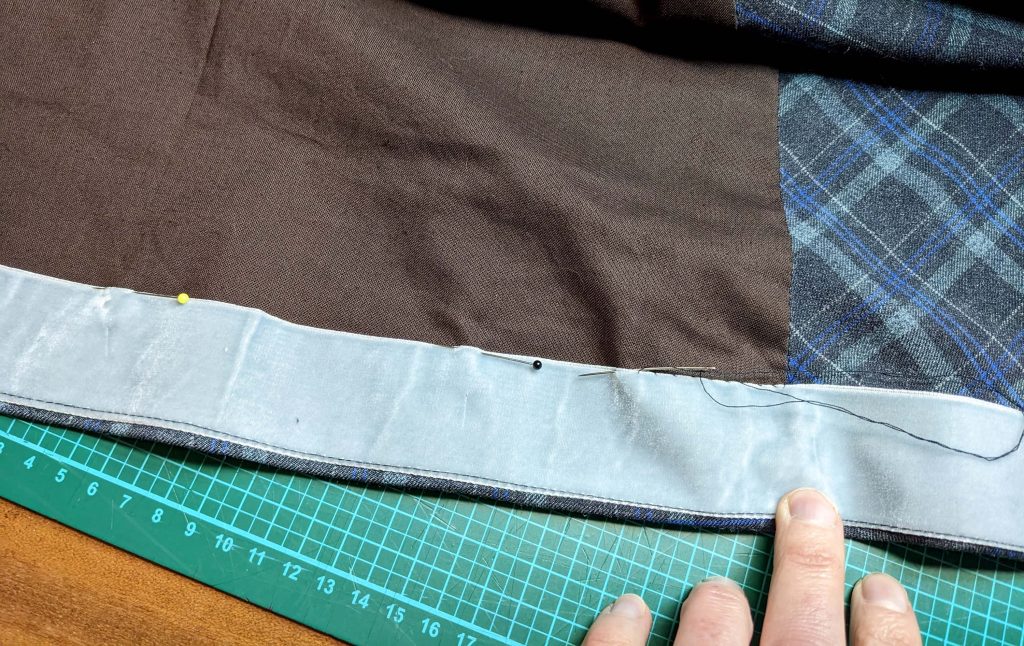
Alternatively, take a tape (twill or velvet), about 1”-1 ½” (2,5-4cm) wide and sew to the hem with a 3/8” (1cm) seam allowance. Turn in the hem with the tape and sew the tape to the skirt with a hem stitch. This technique will cover the raw edge and reinforce the hem at one time.
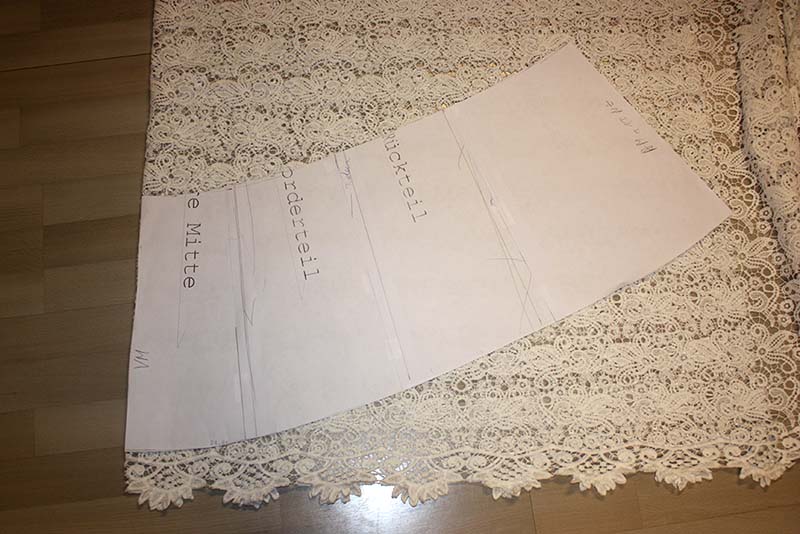
(10) The Optional lace appliqué and trimmings: Join all grey marked pieces of the sewing pattern to a large pattern piece, don´t forget to trim away the seam allowances, except at the center back. Cut the lace on the fold (center front), and mark the position of all the skirt seams.
Sew the lace into a circle, right sides together. Fold the seam allowances to one side and sew down the center back seam with a narrow zigzag, with the right side up. Trim back the excess seam allowance narrow to the zigzag stitches to remove bulk. Cover the skirt with the lace, the wrong side of the lace is facing the right side of the skirt, lining up the center back seam. Baste in place the lace along the top and bottom edge. Cover the raw edges of the lace with (contrasting) lace trimmings as desired.
