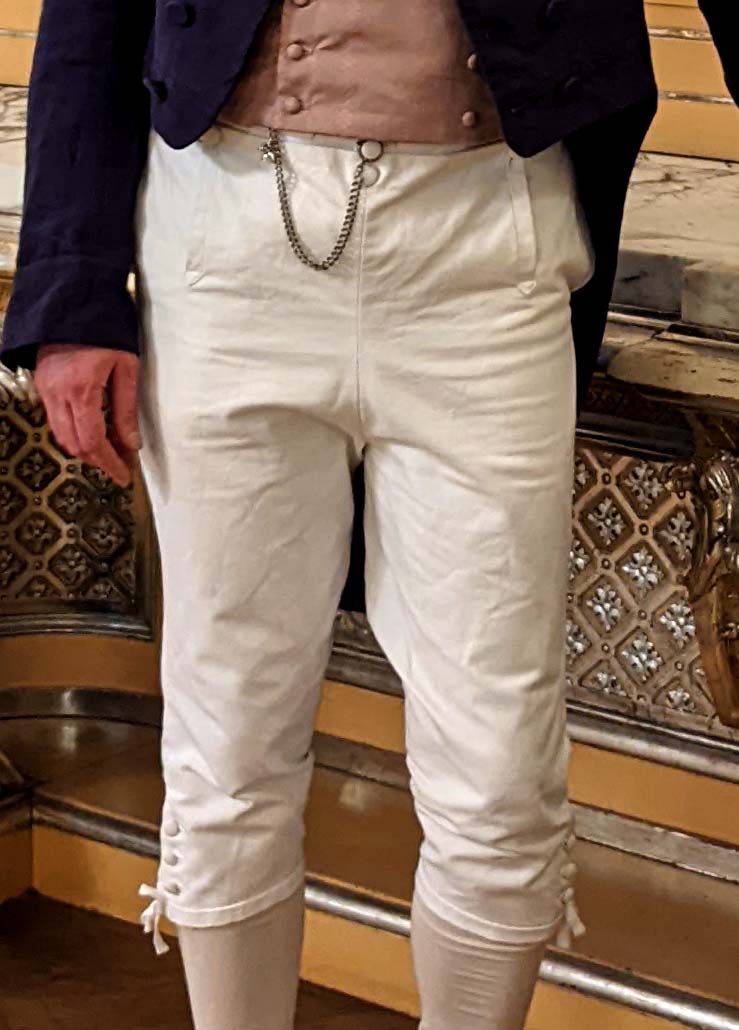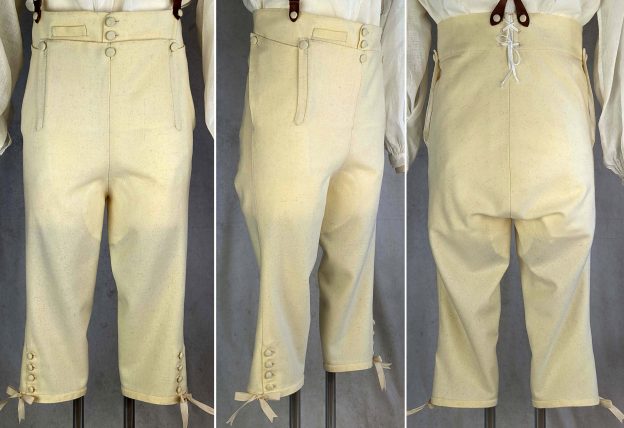
My latest pattern #0222, the fall front breeches around 1800, are hand-sewn in the instructions. Sometimes it has to be quick and easy, so I want to show you how you can easily sew the breeches mostly with the sewing machine.
So let’s start with our machine sewing project and basically stick to the original instructions.
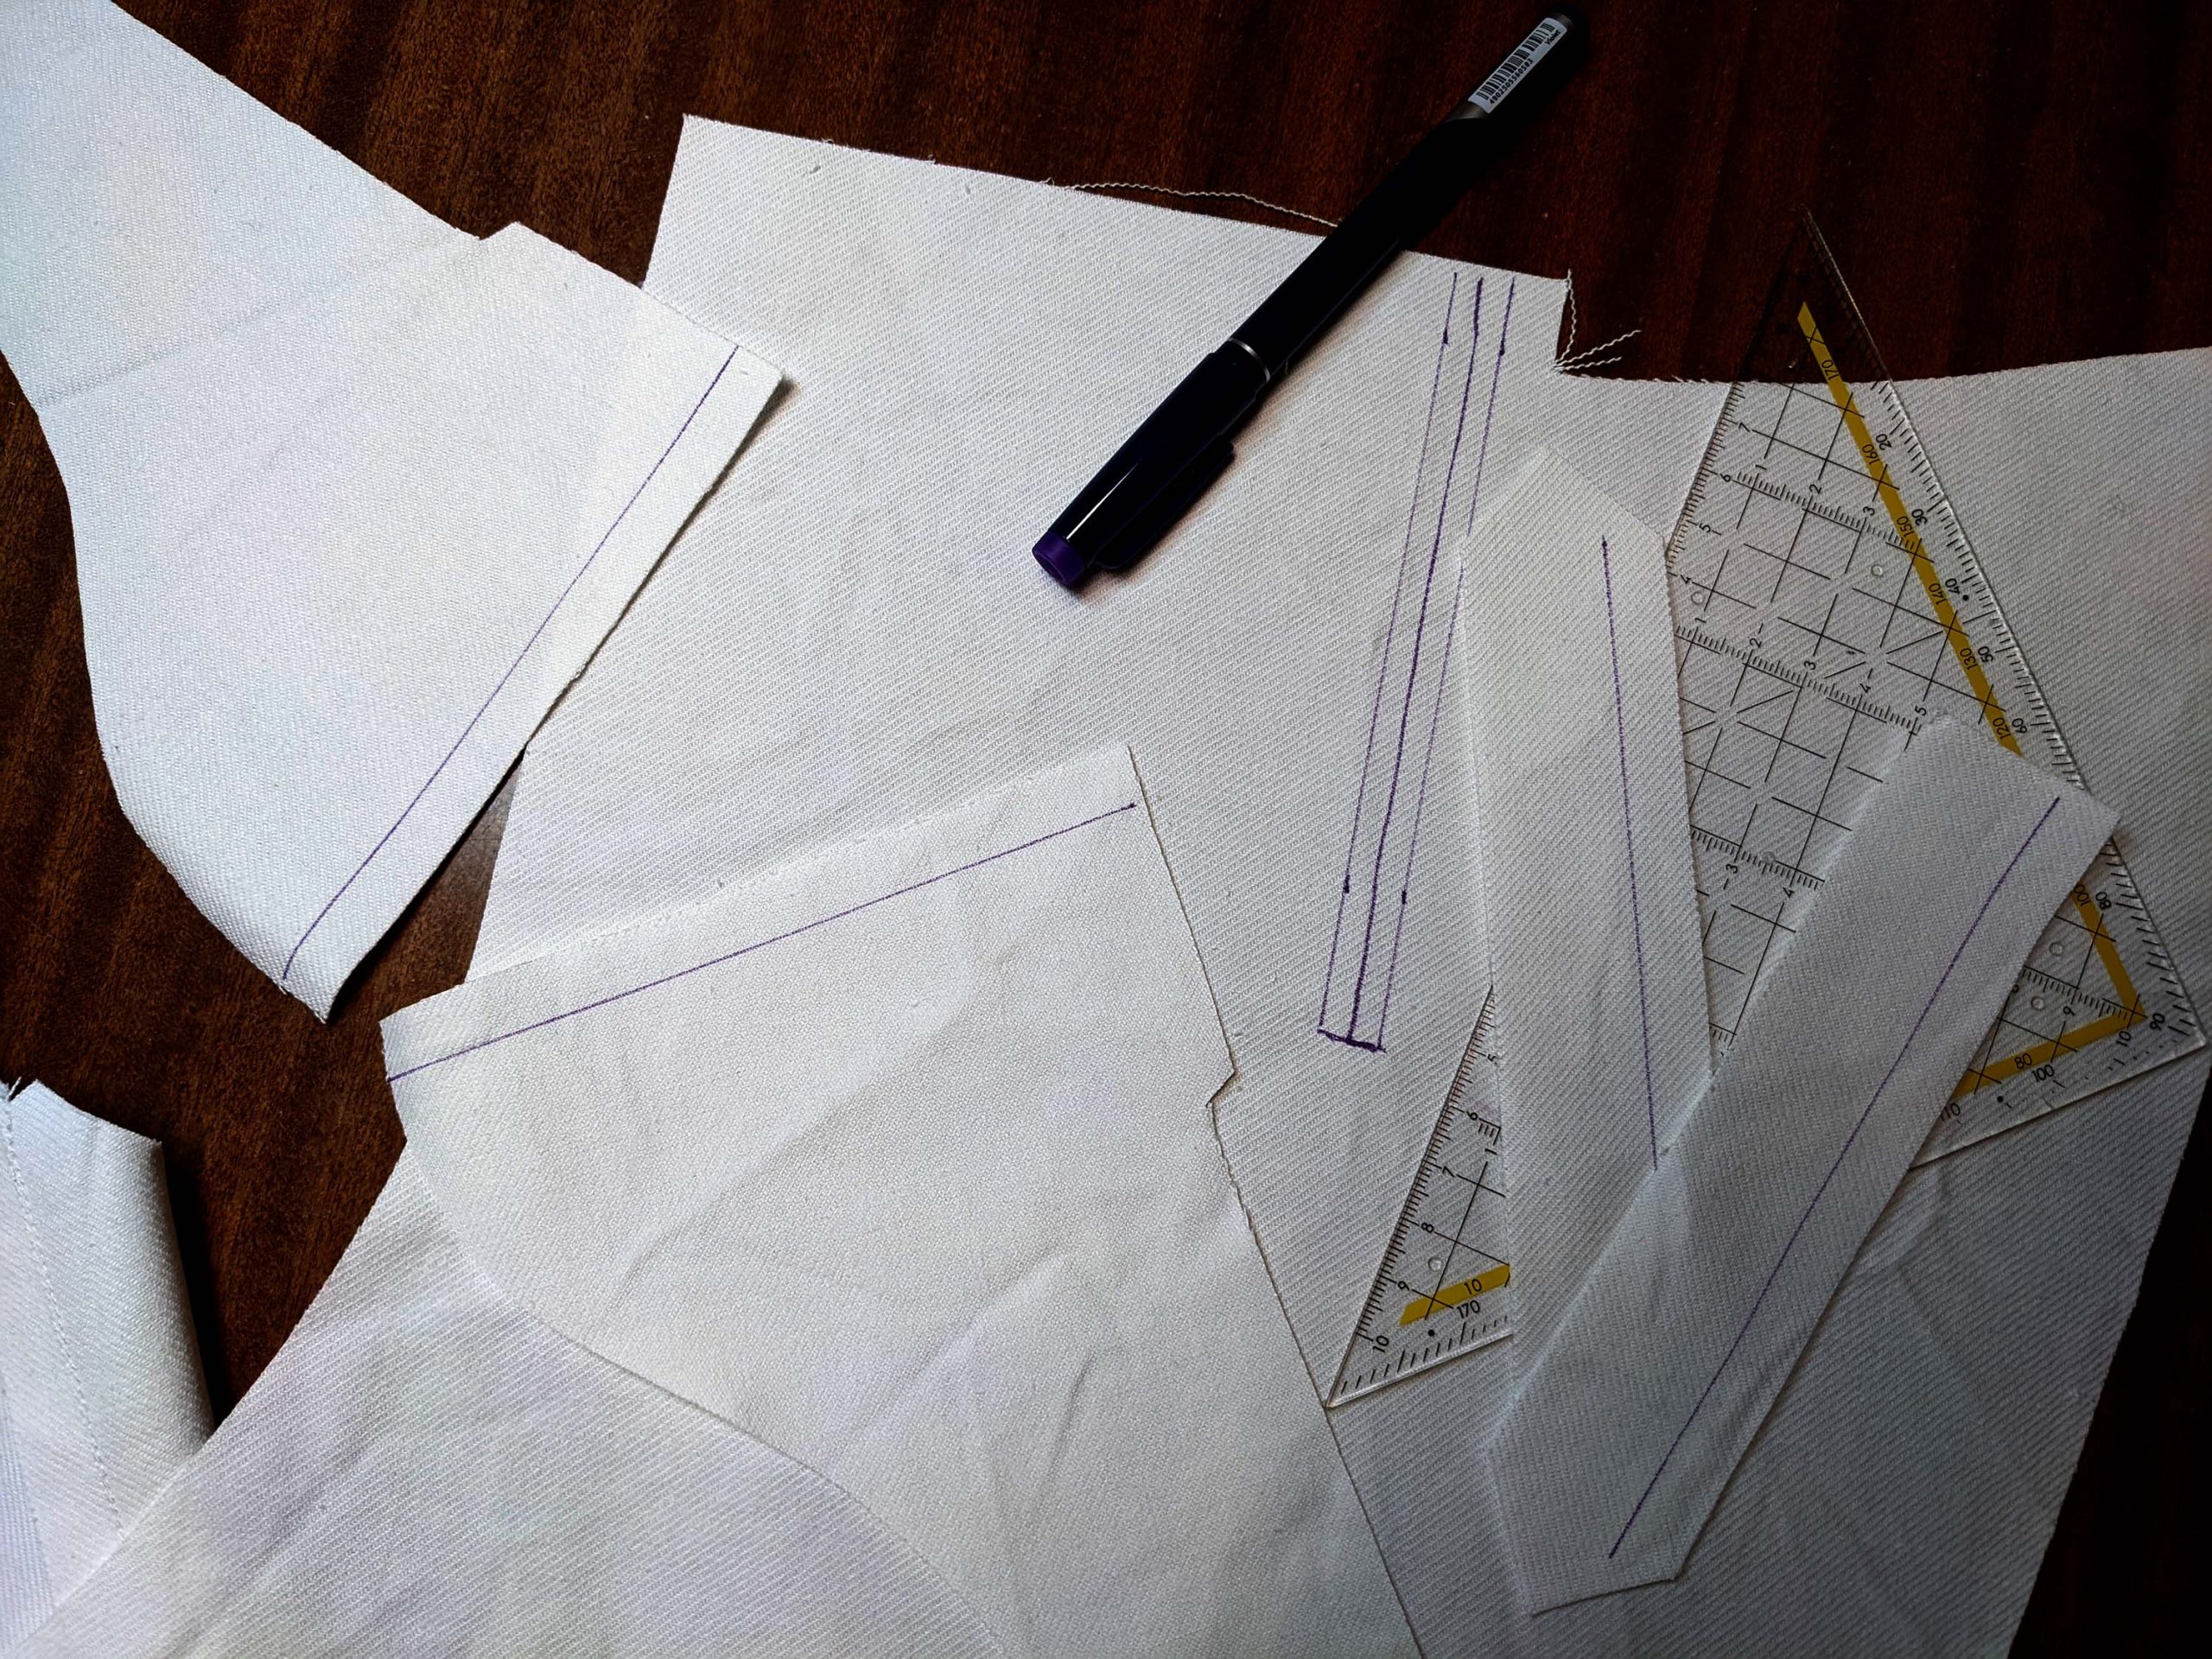
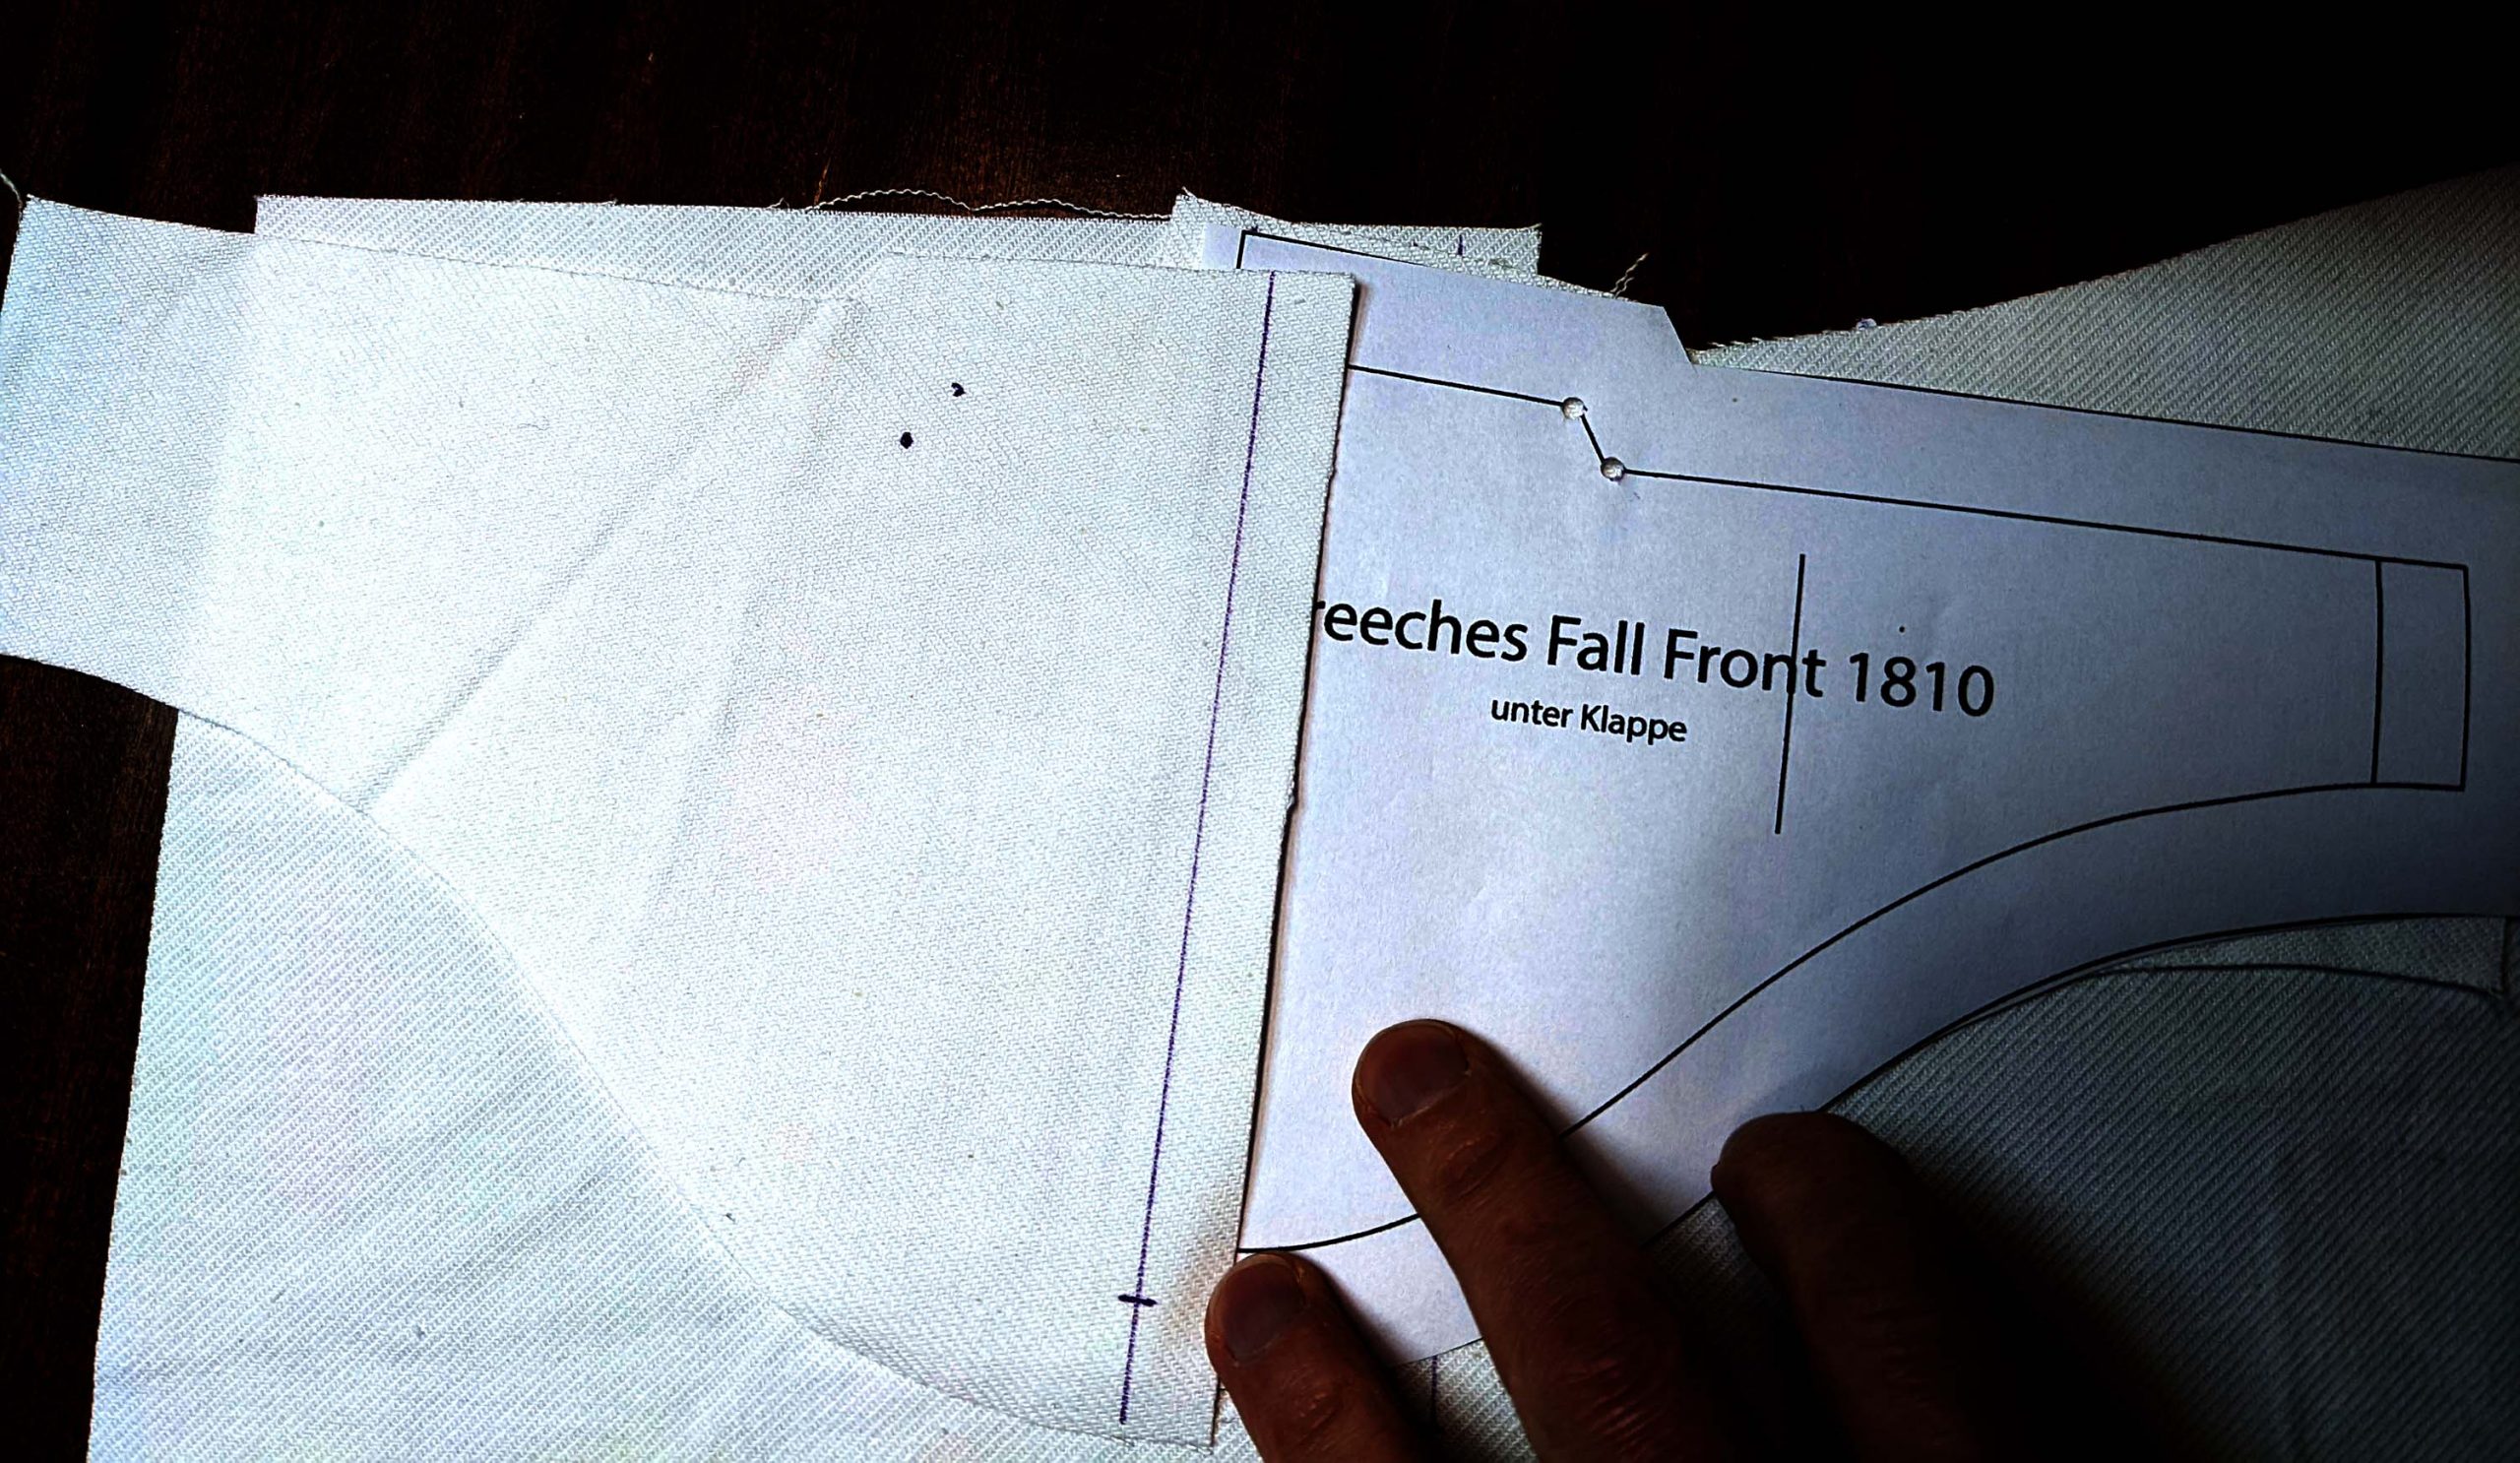
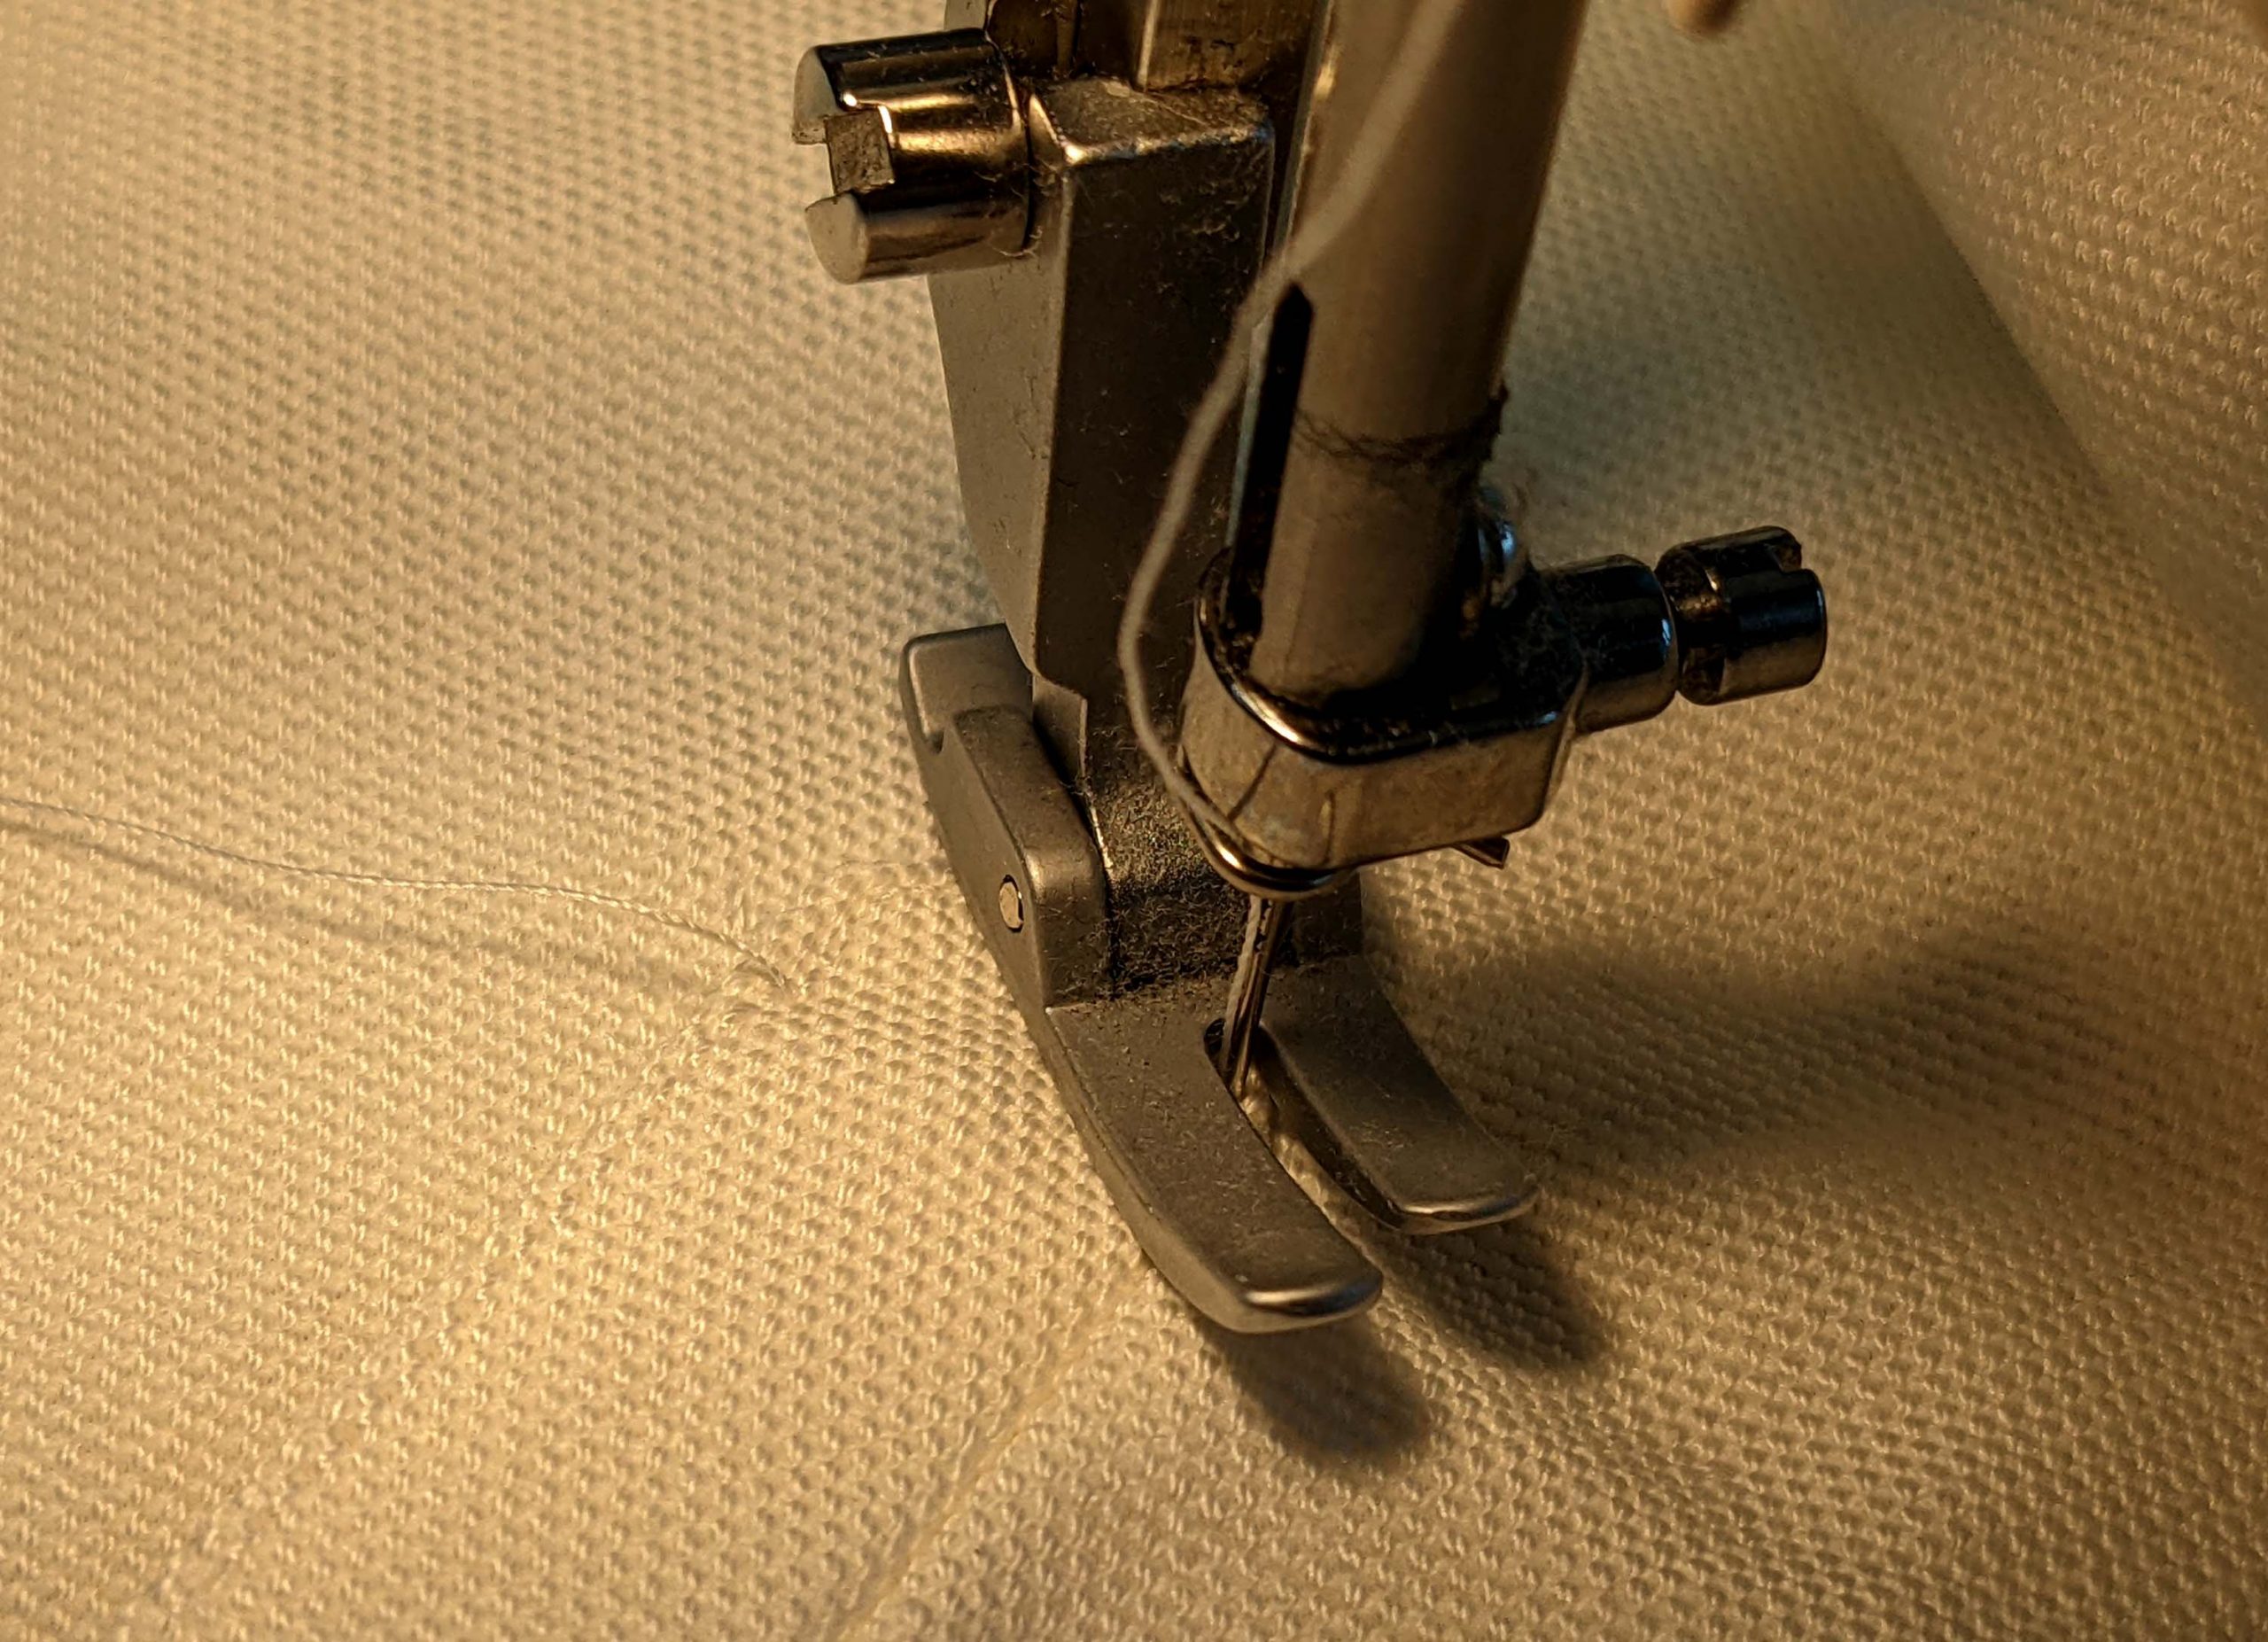
Mark all the stitching lines on the front trousers (vent), fall front placket and on the underfall. Line up with the belonging stitching lines, right sides together and sew, stopping exactly at the mark.

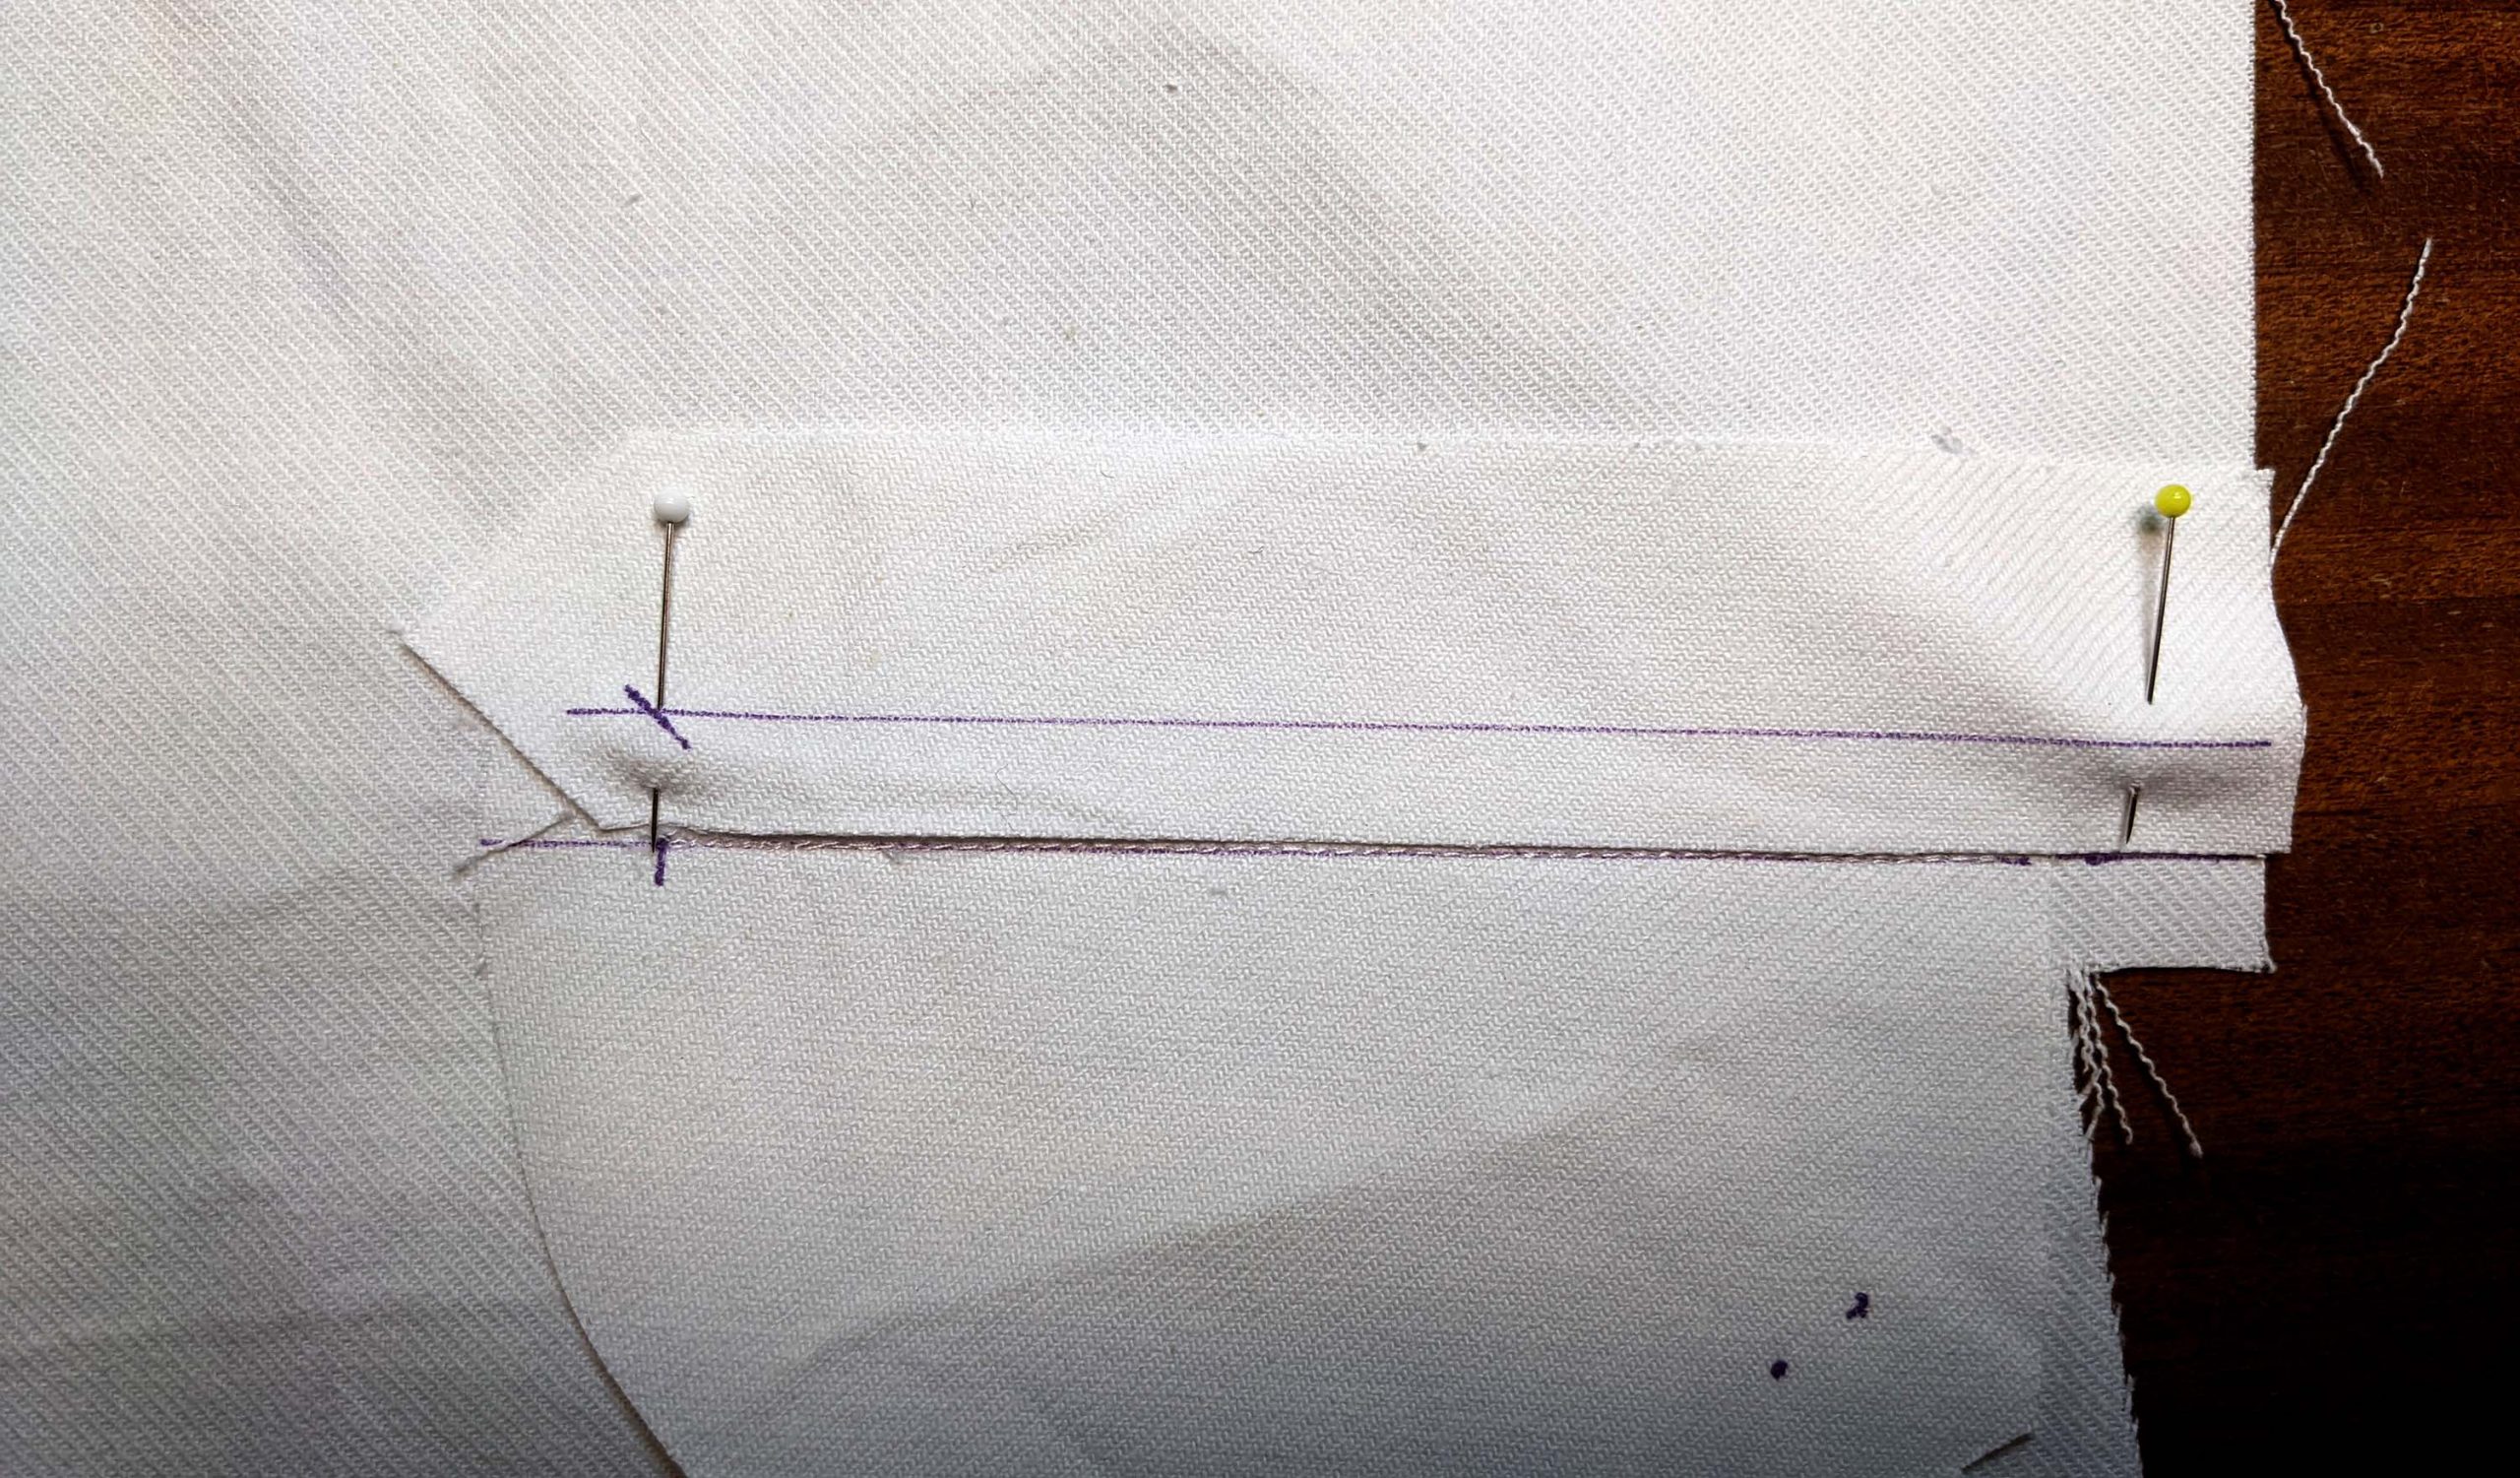
Line up the underfall lining with the underfall, right sides together and stitch along the front and bottom edge. Start or stop sewing exactly at the point, where the vent stitching ends.

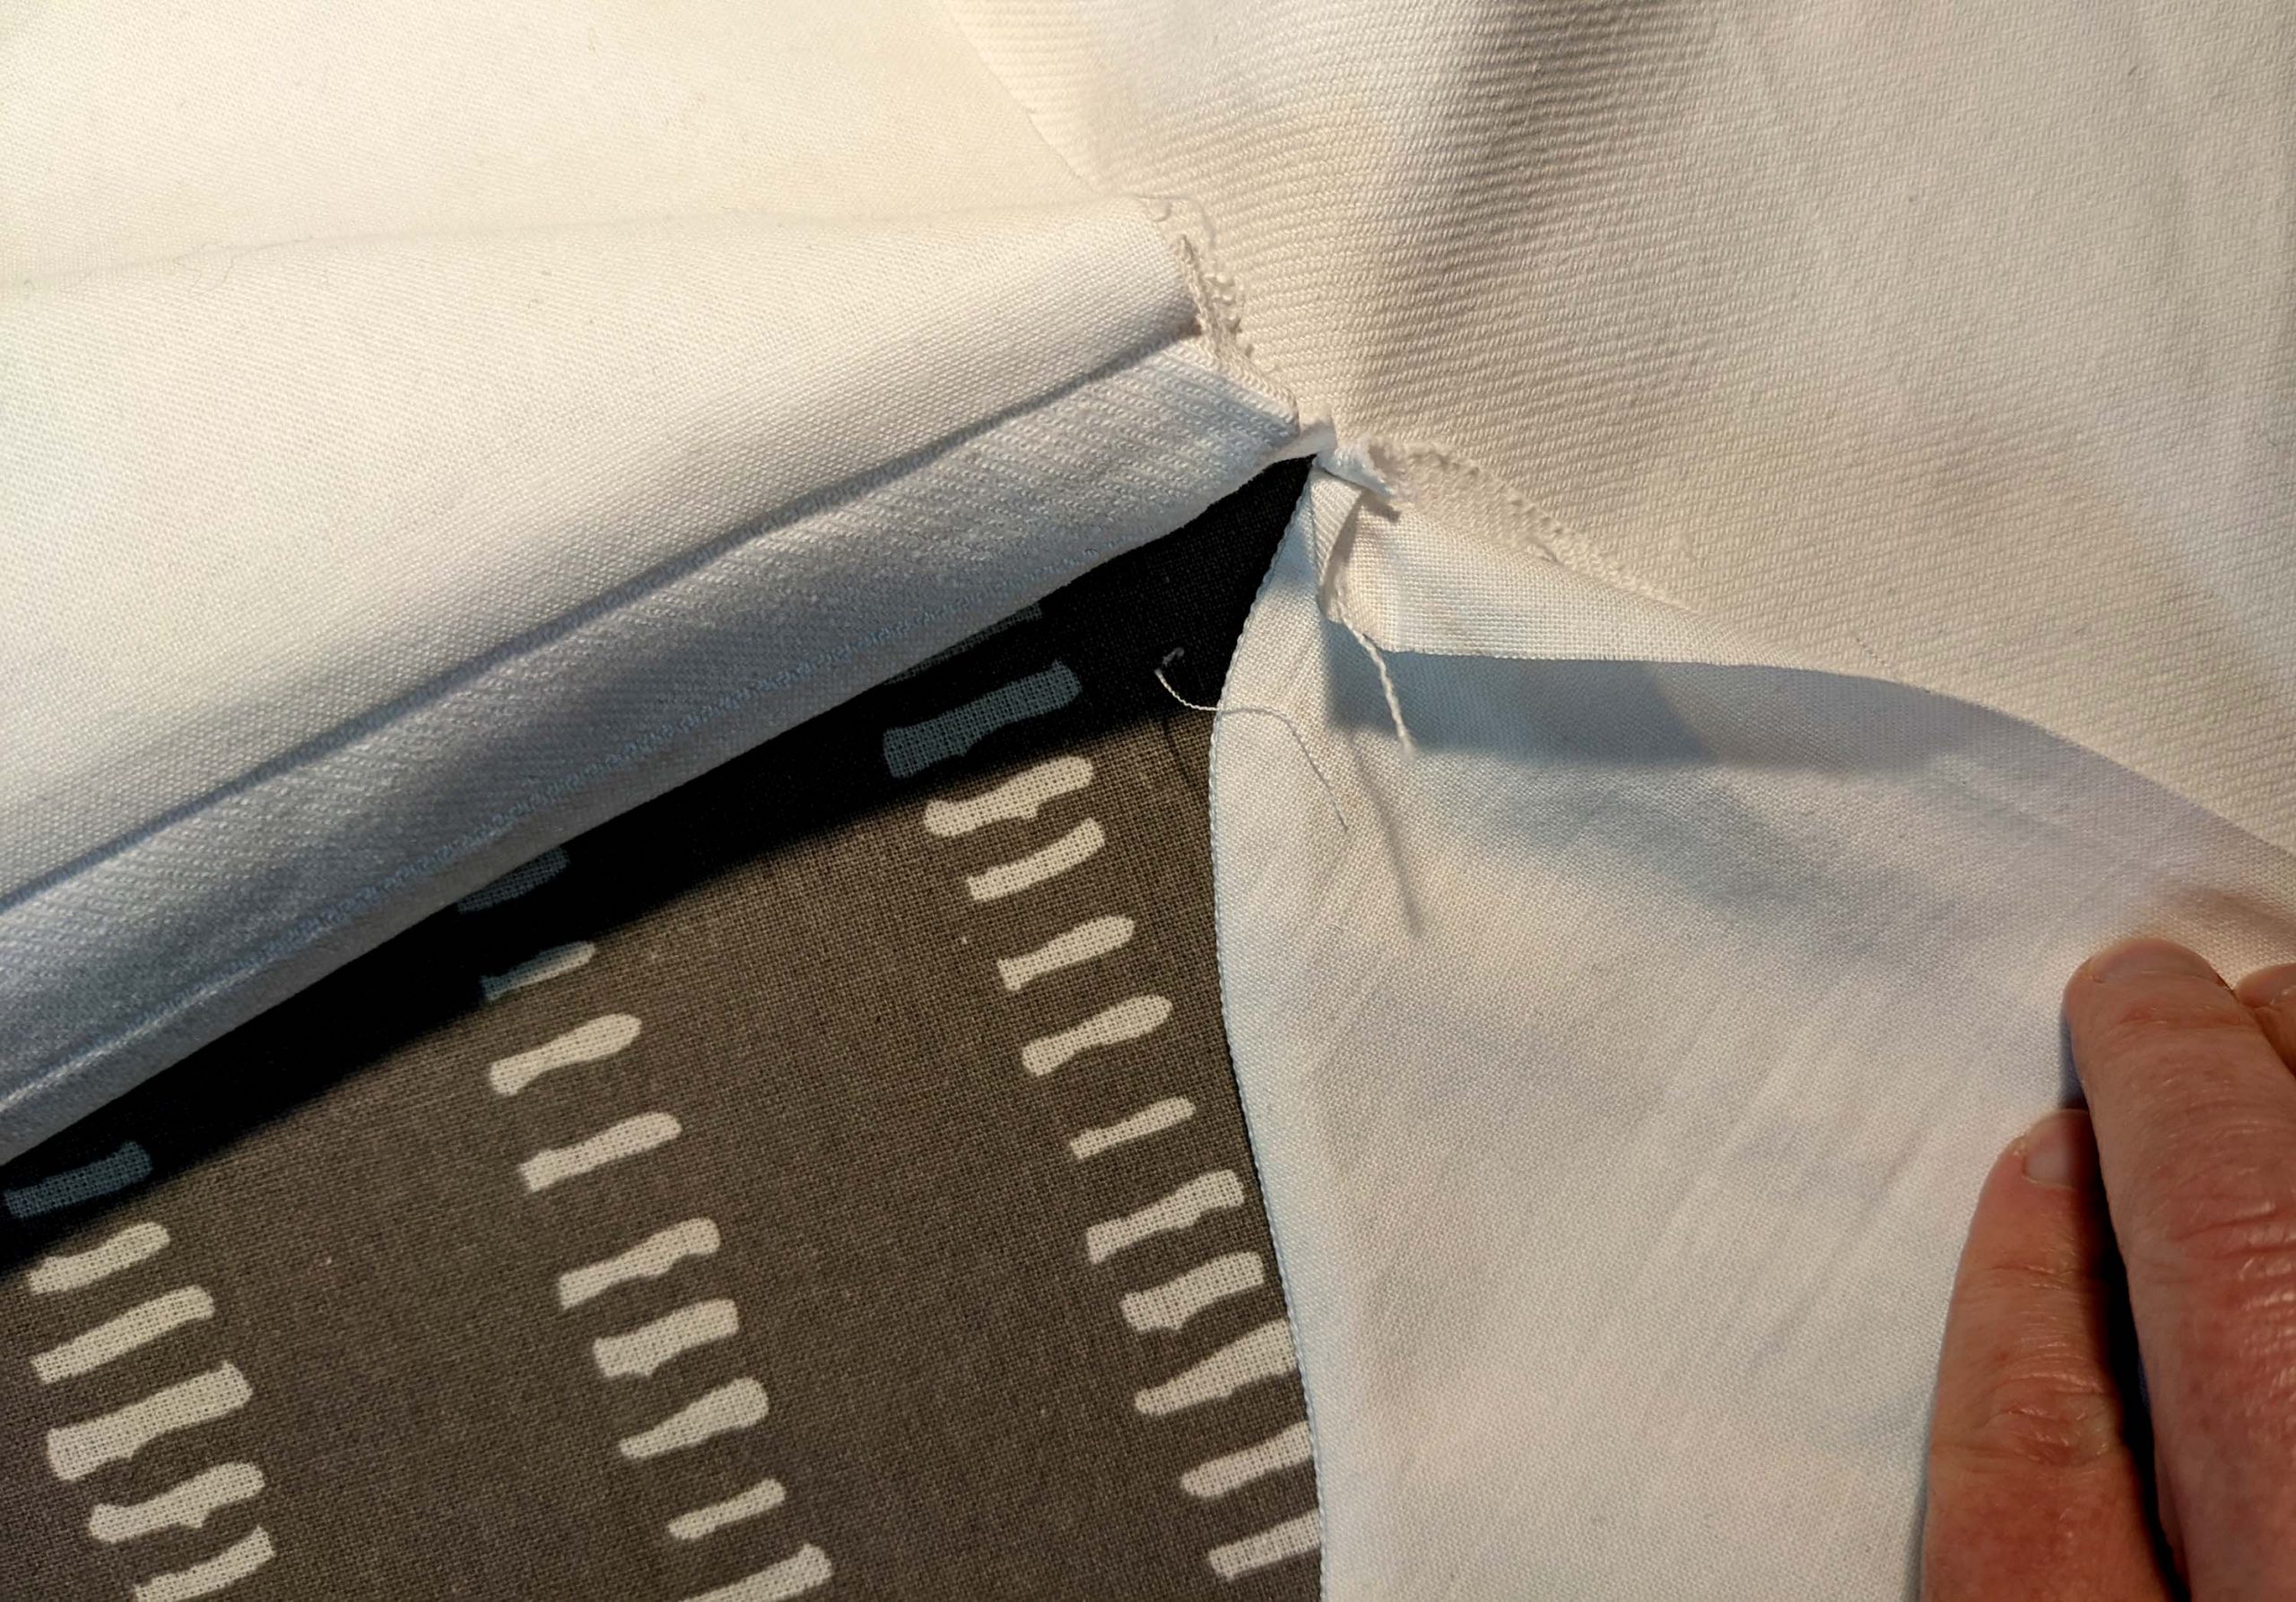
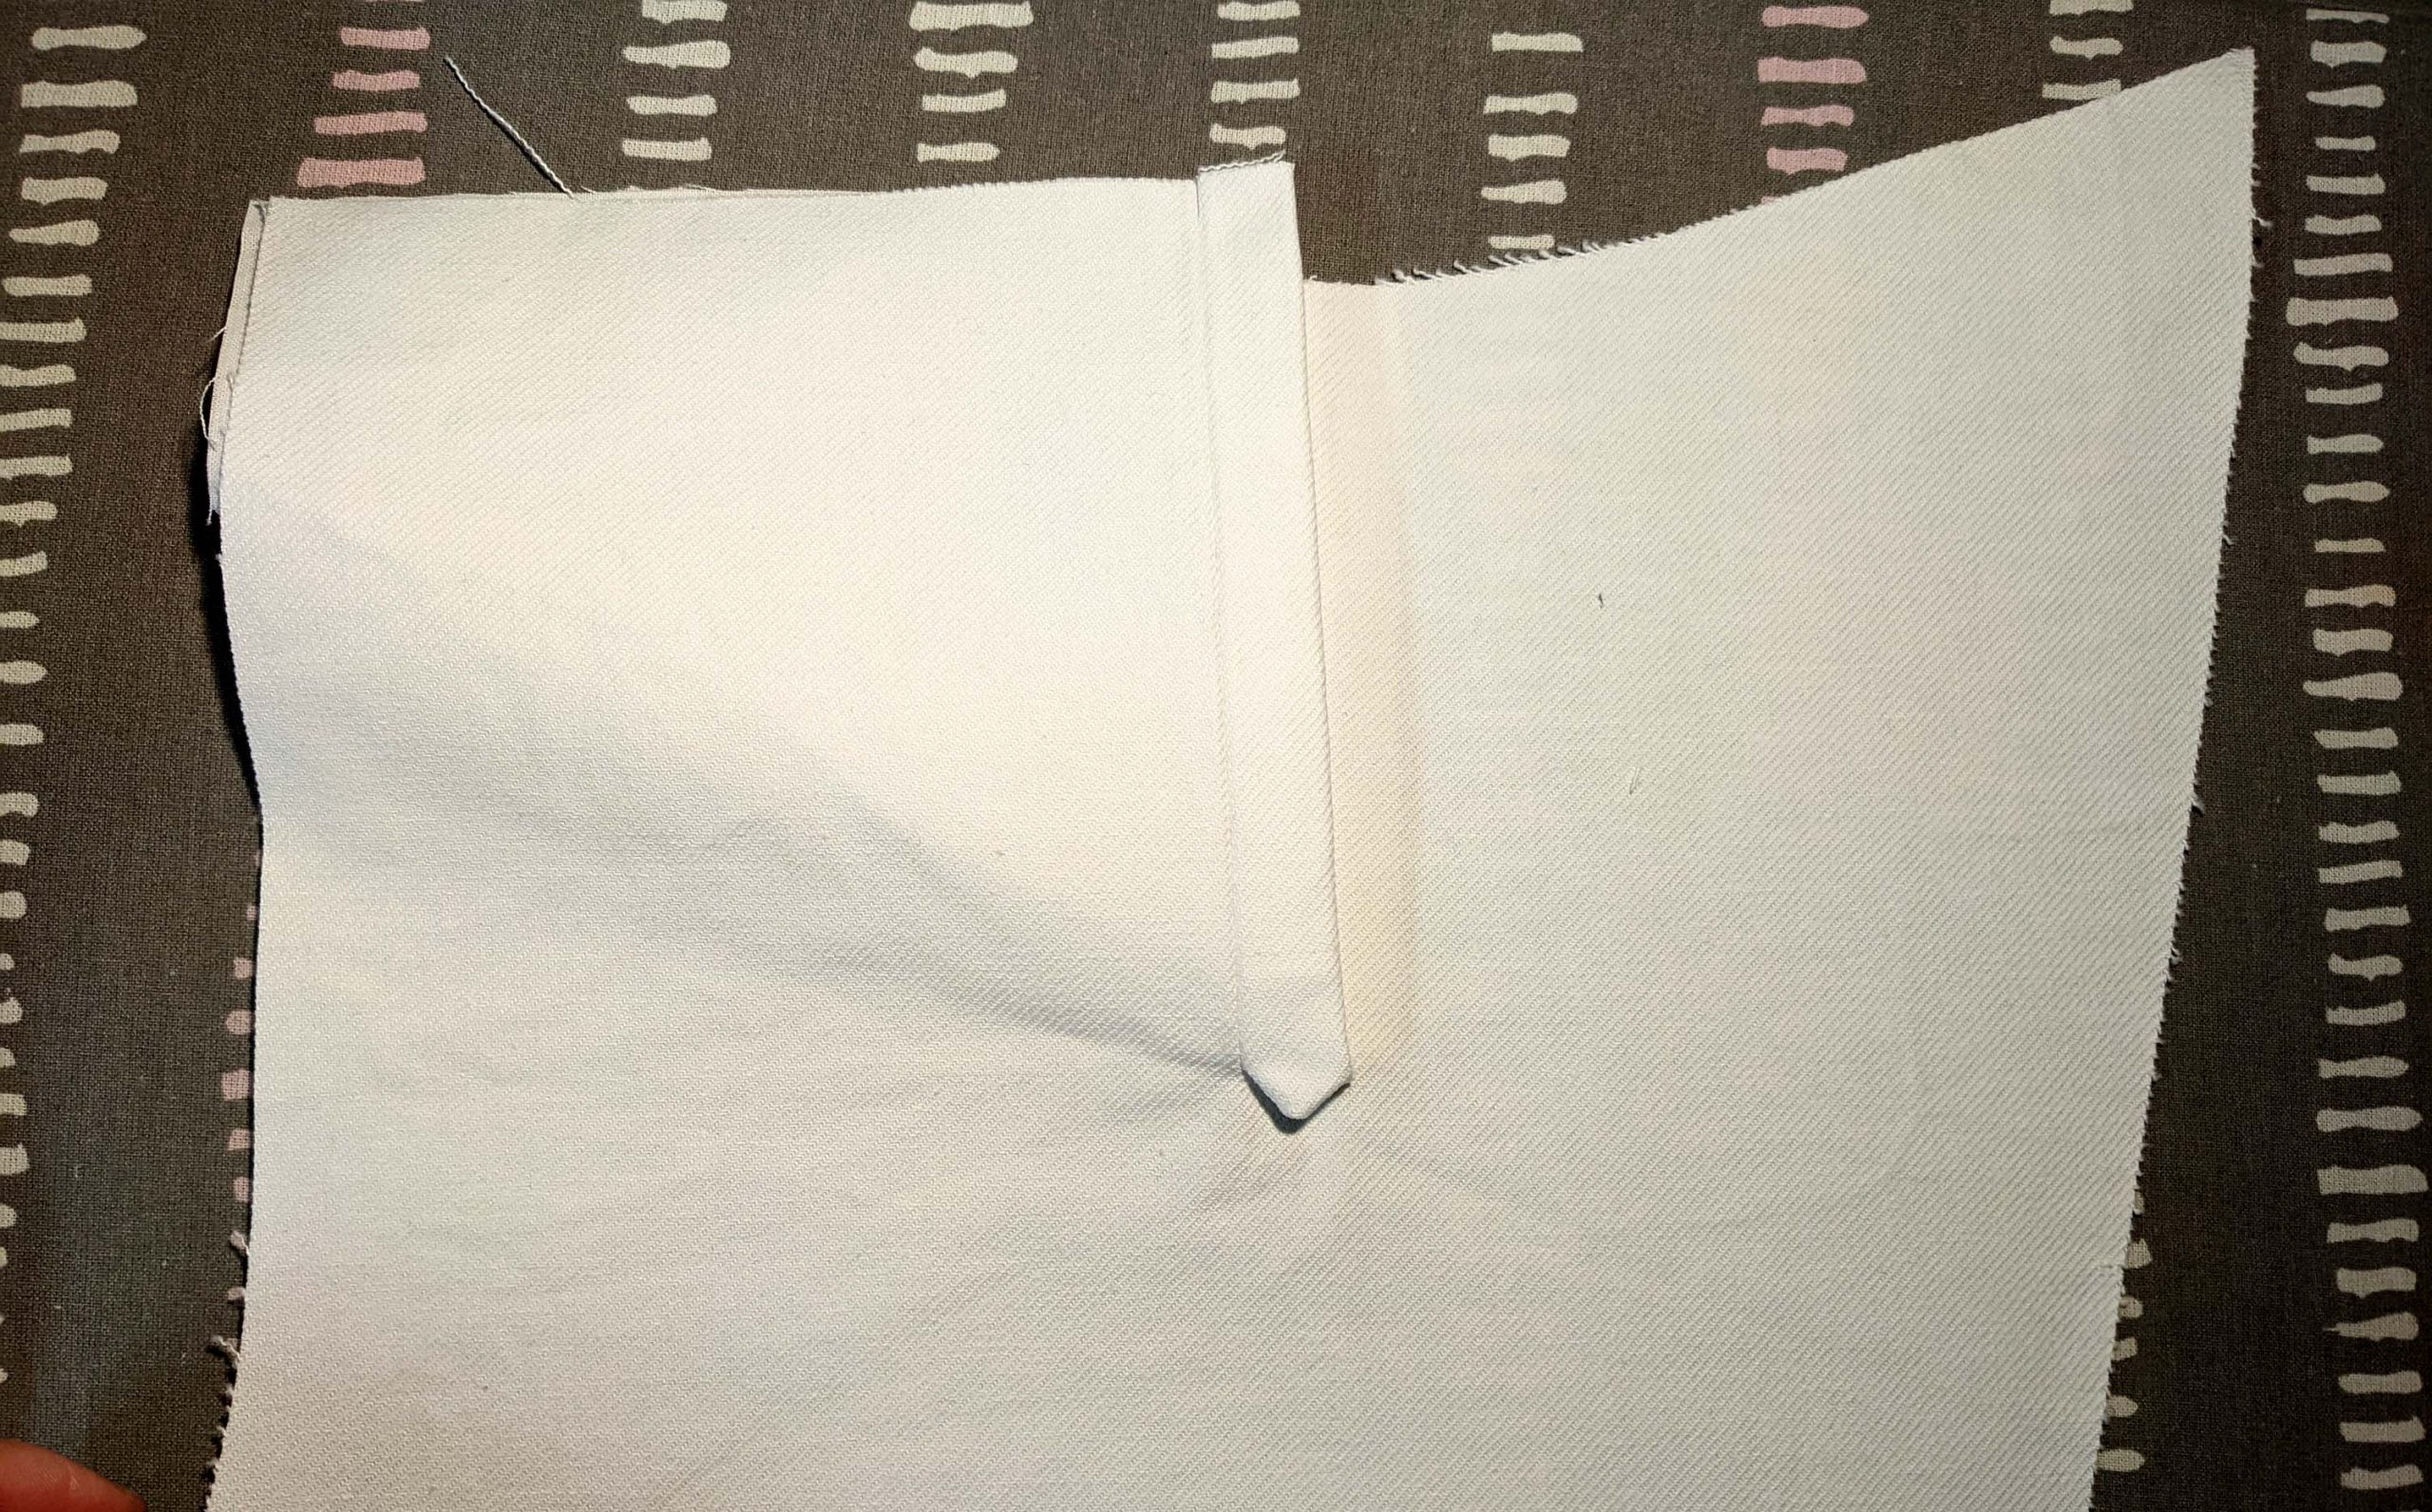
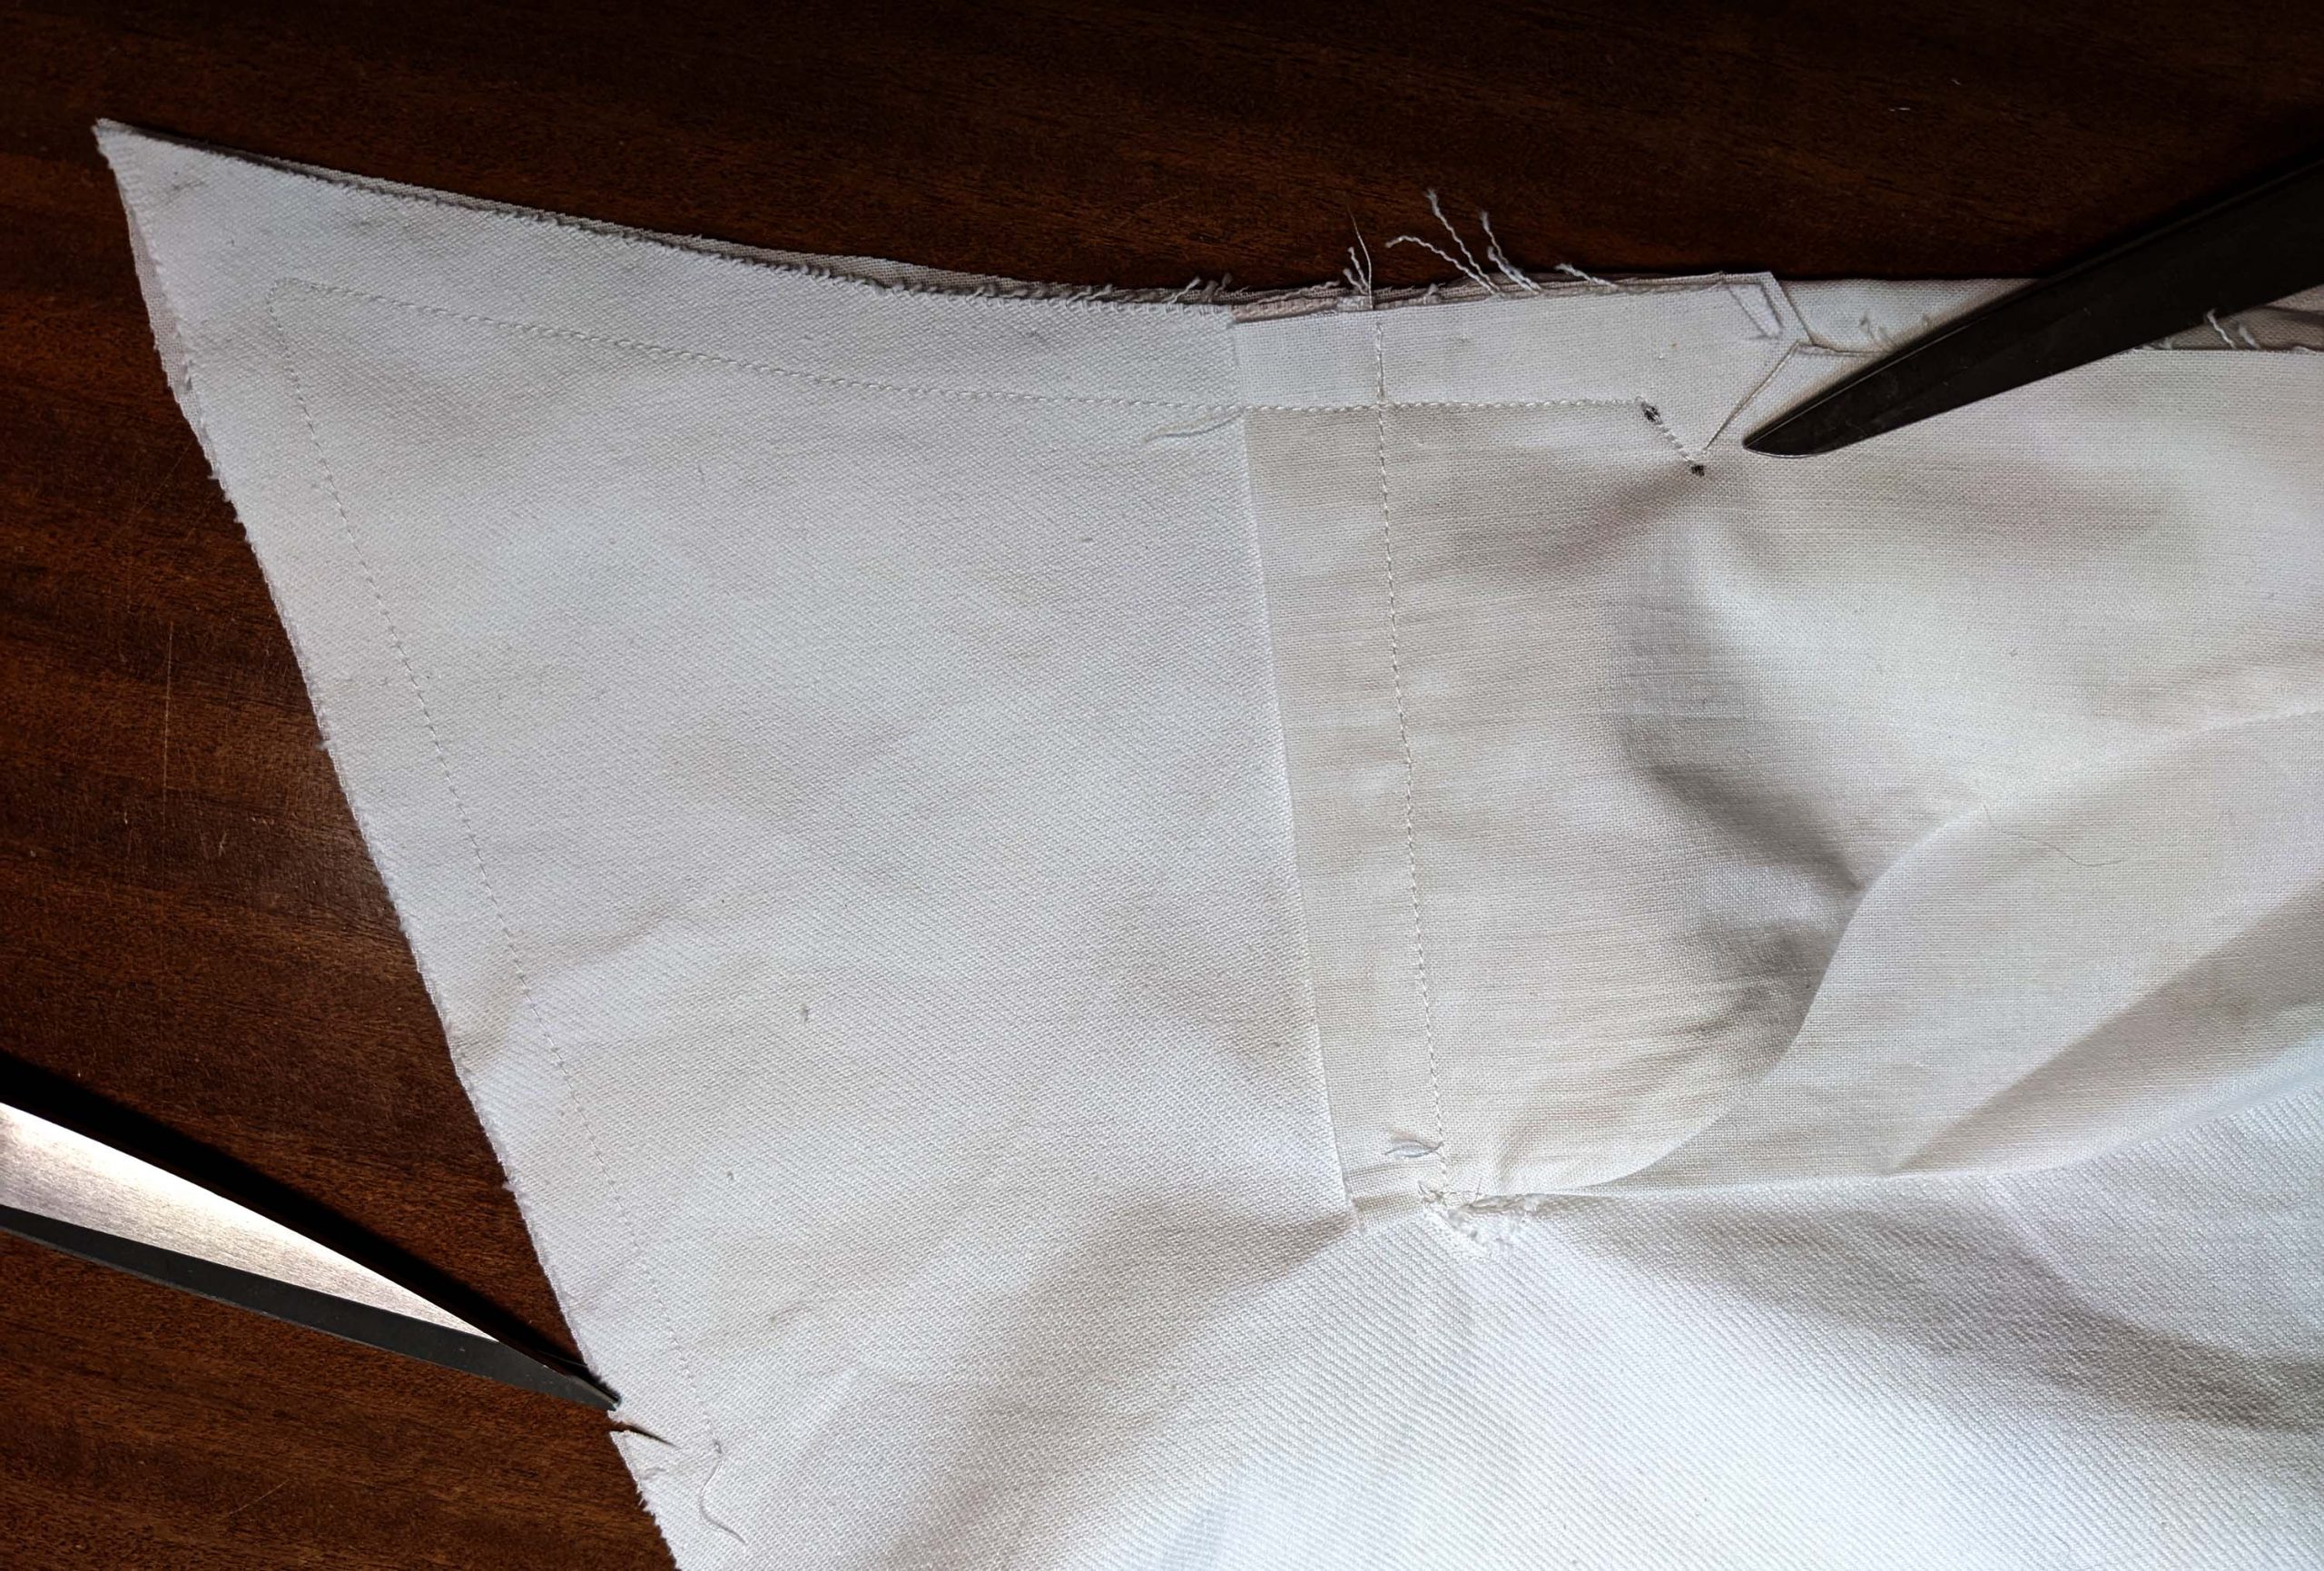
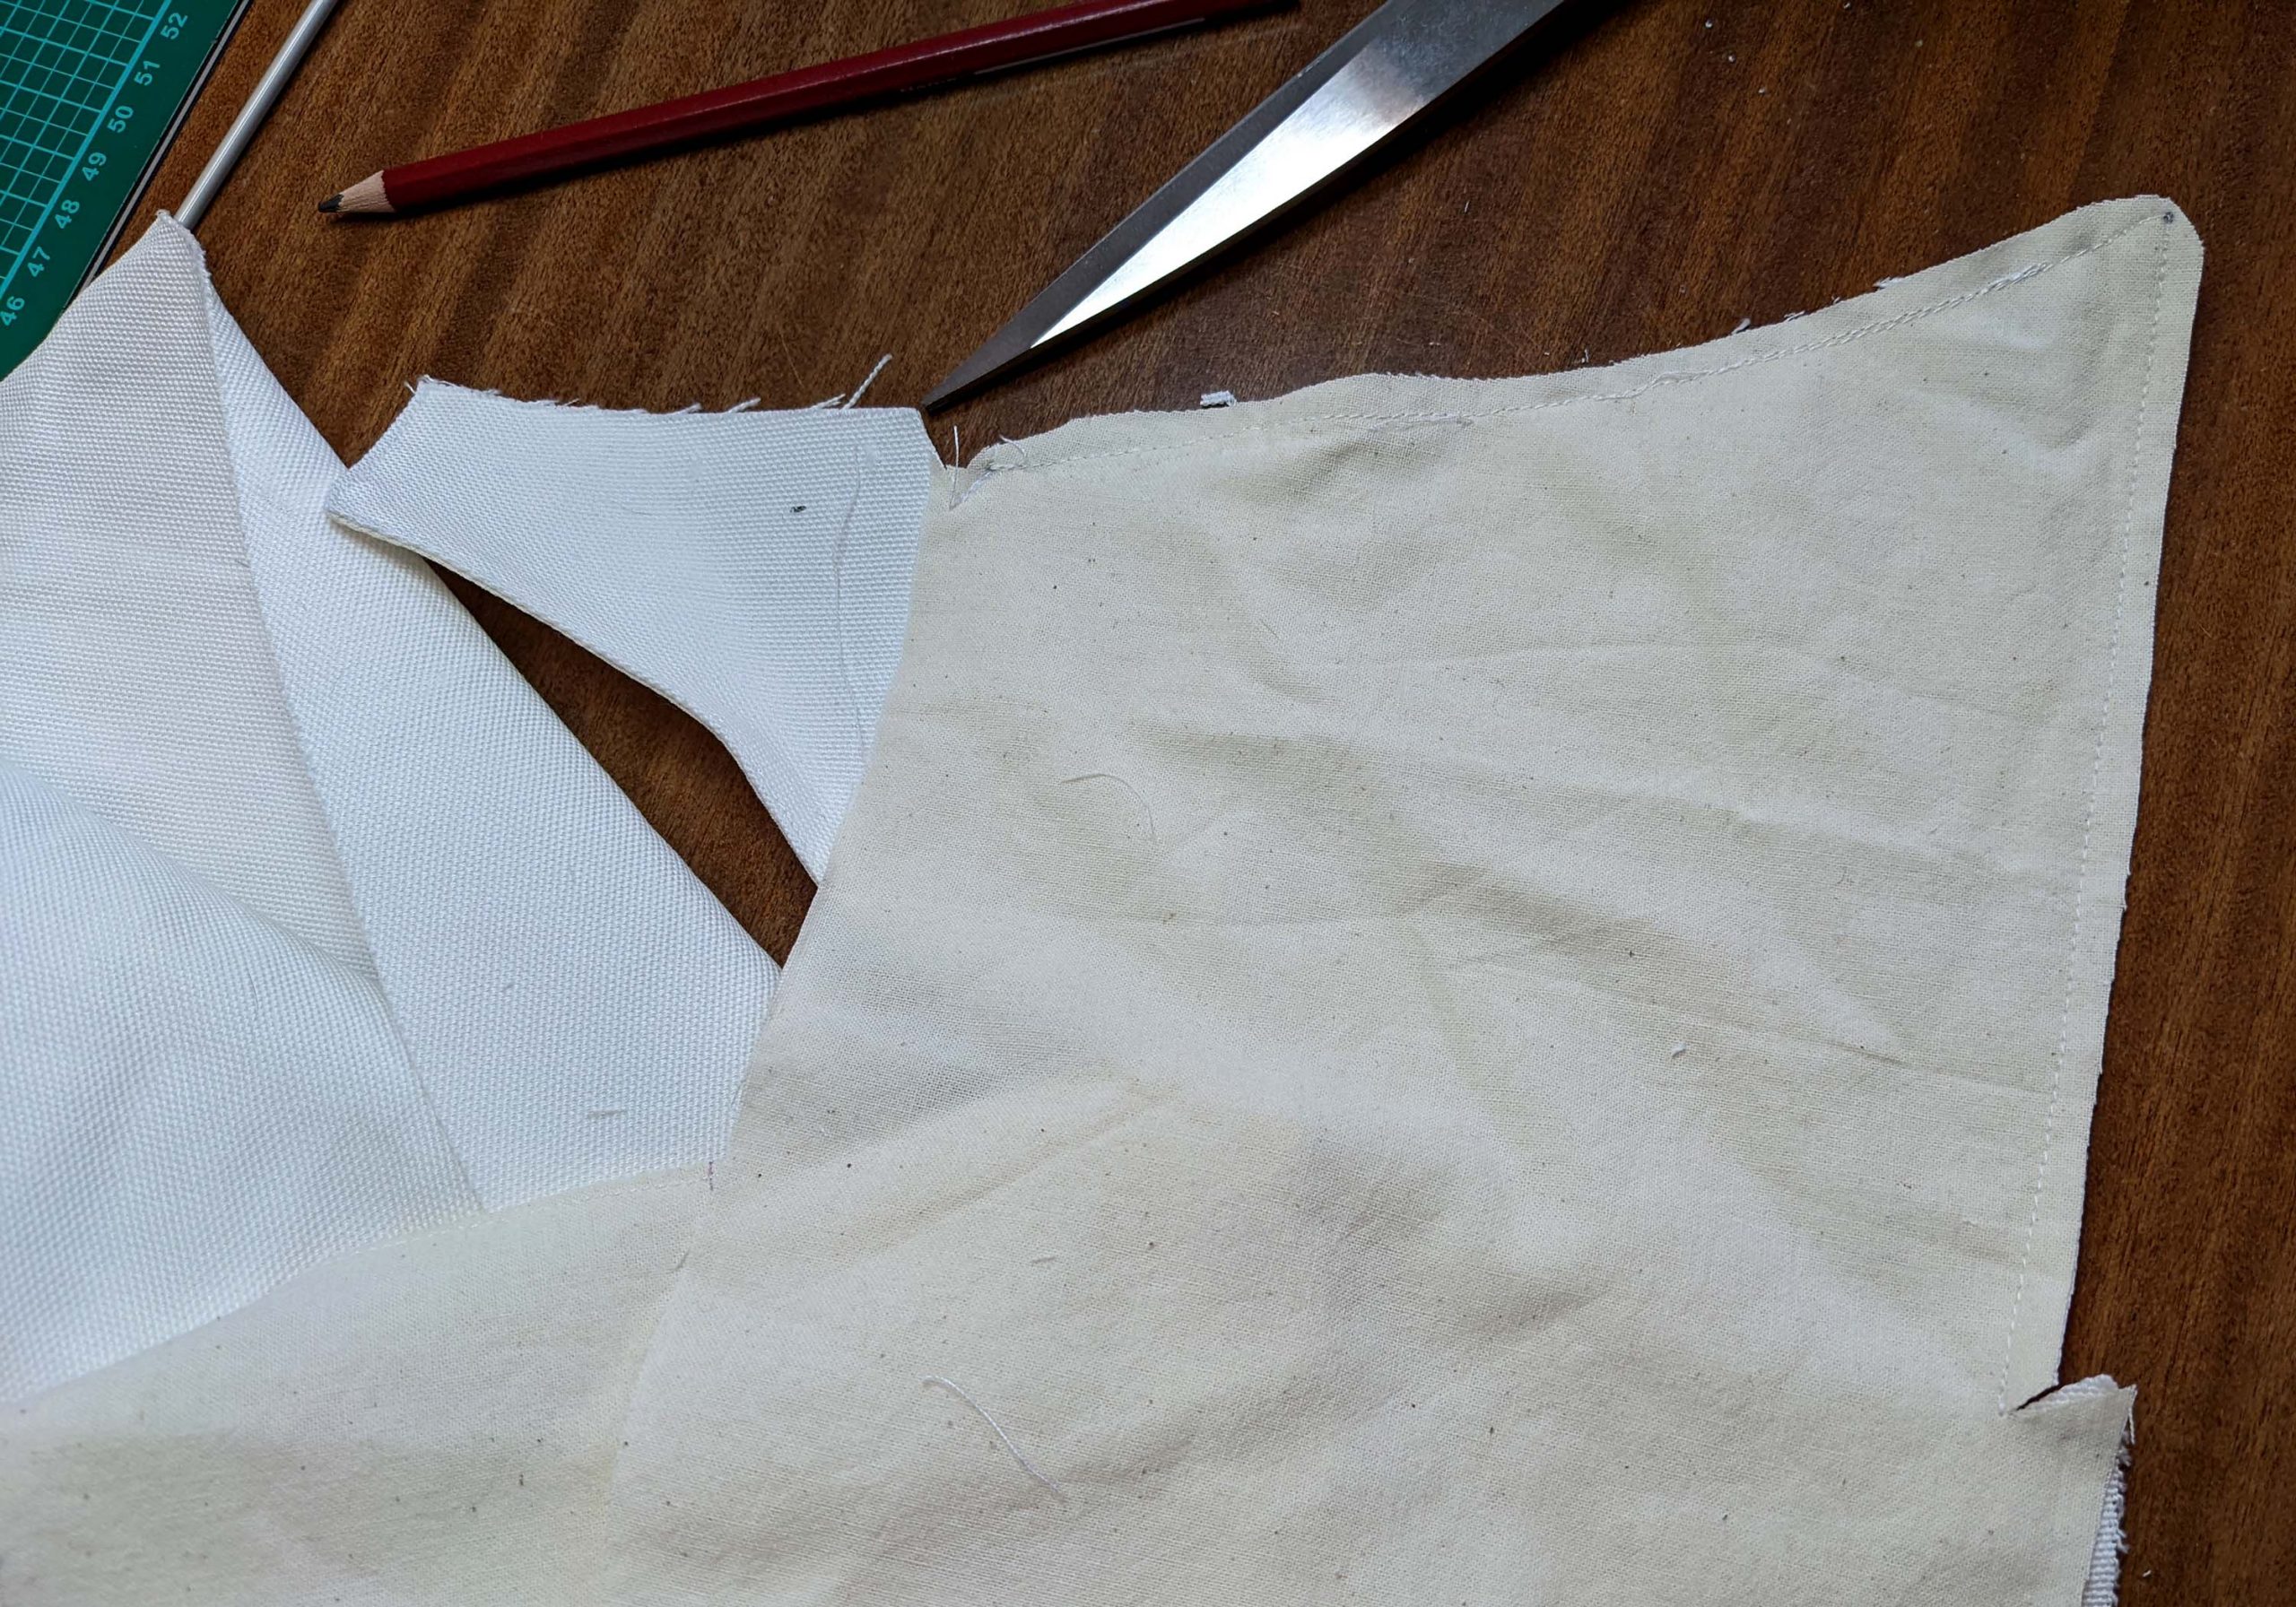
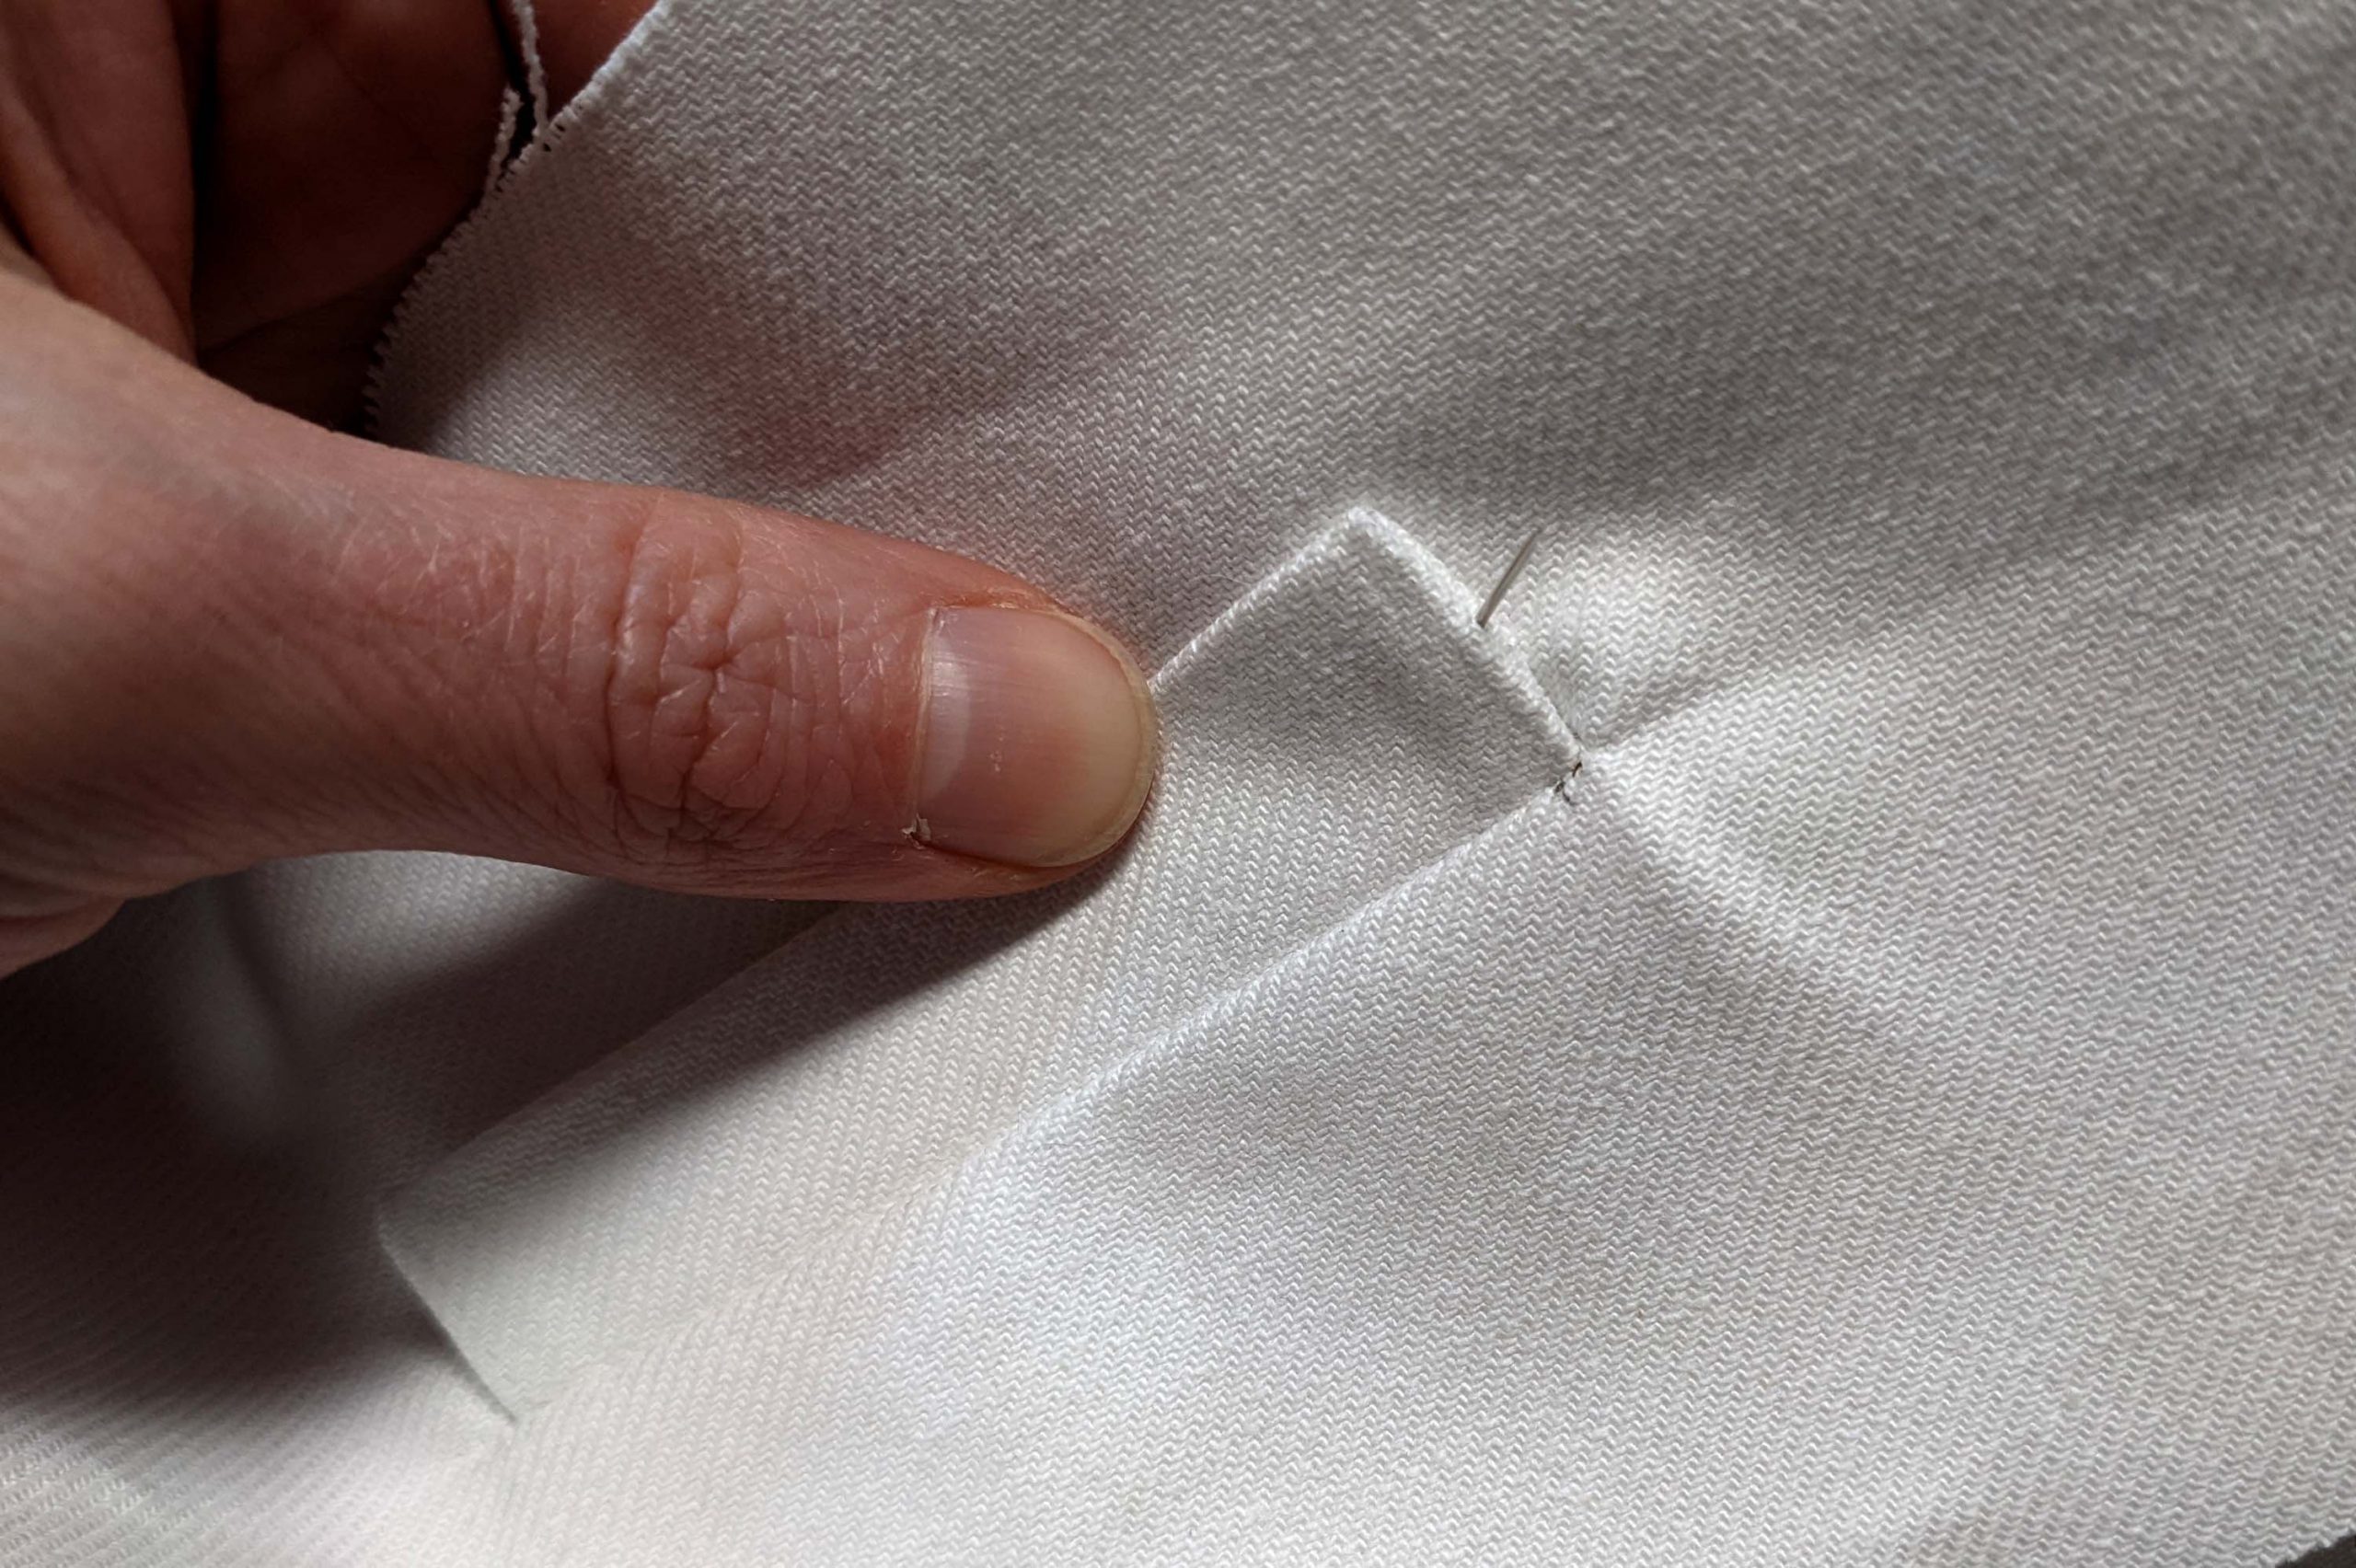
Check your markings on the fall front placket and make a mithered corner or simply turn in the seam allowances, forming a regular point. Trim back and notch the seam allowances where needed to lay flat.


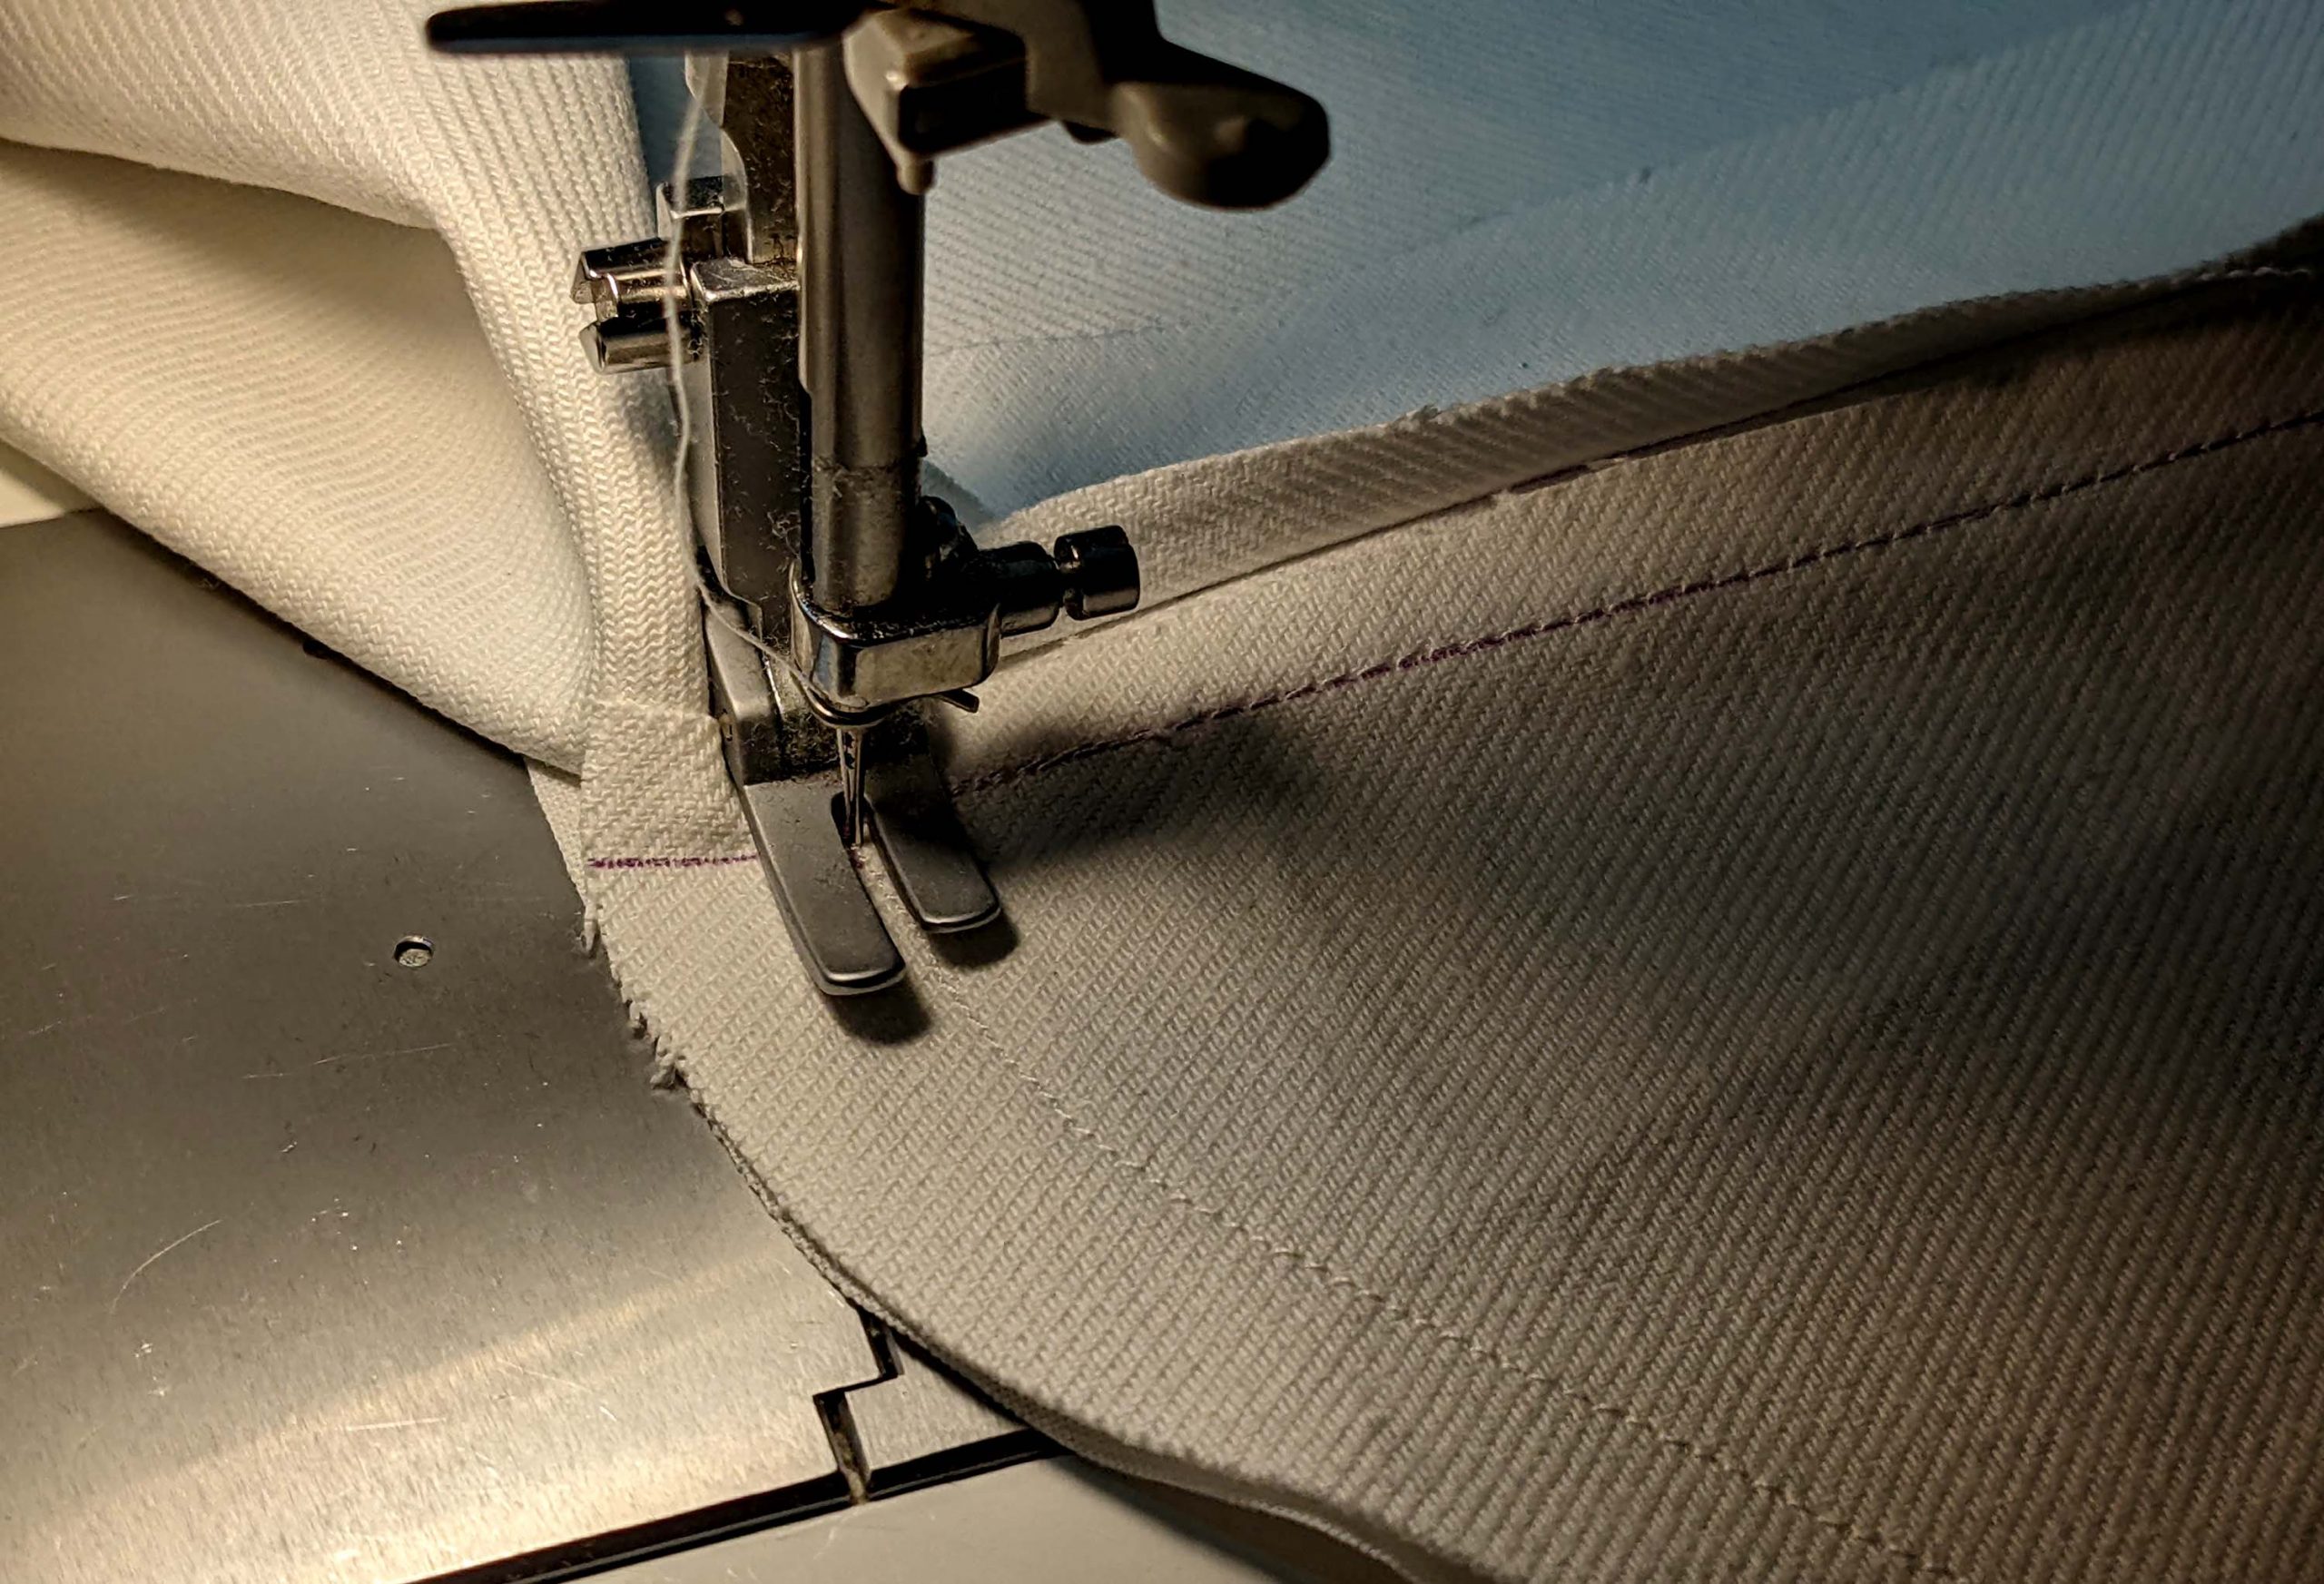
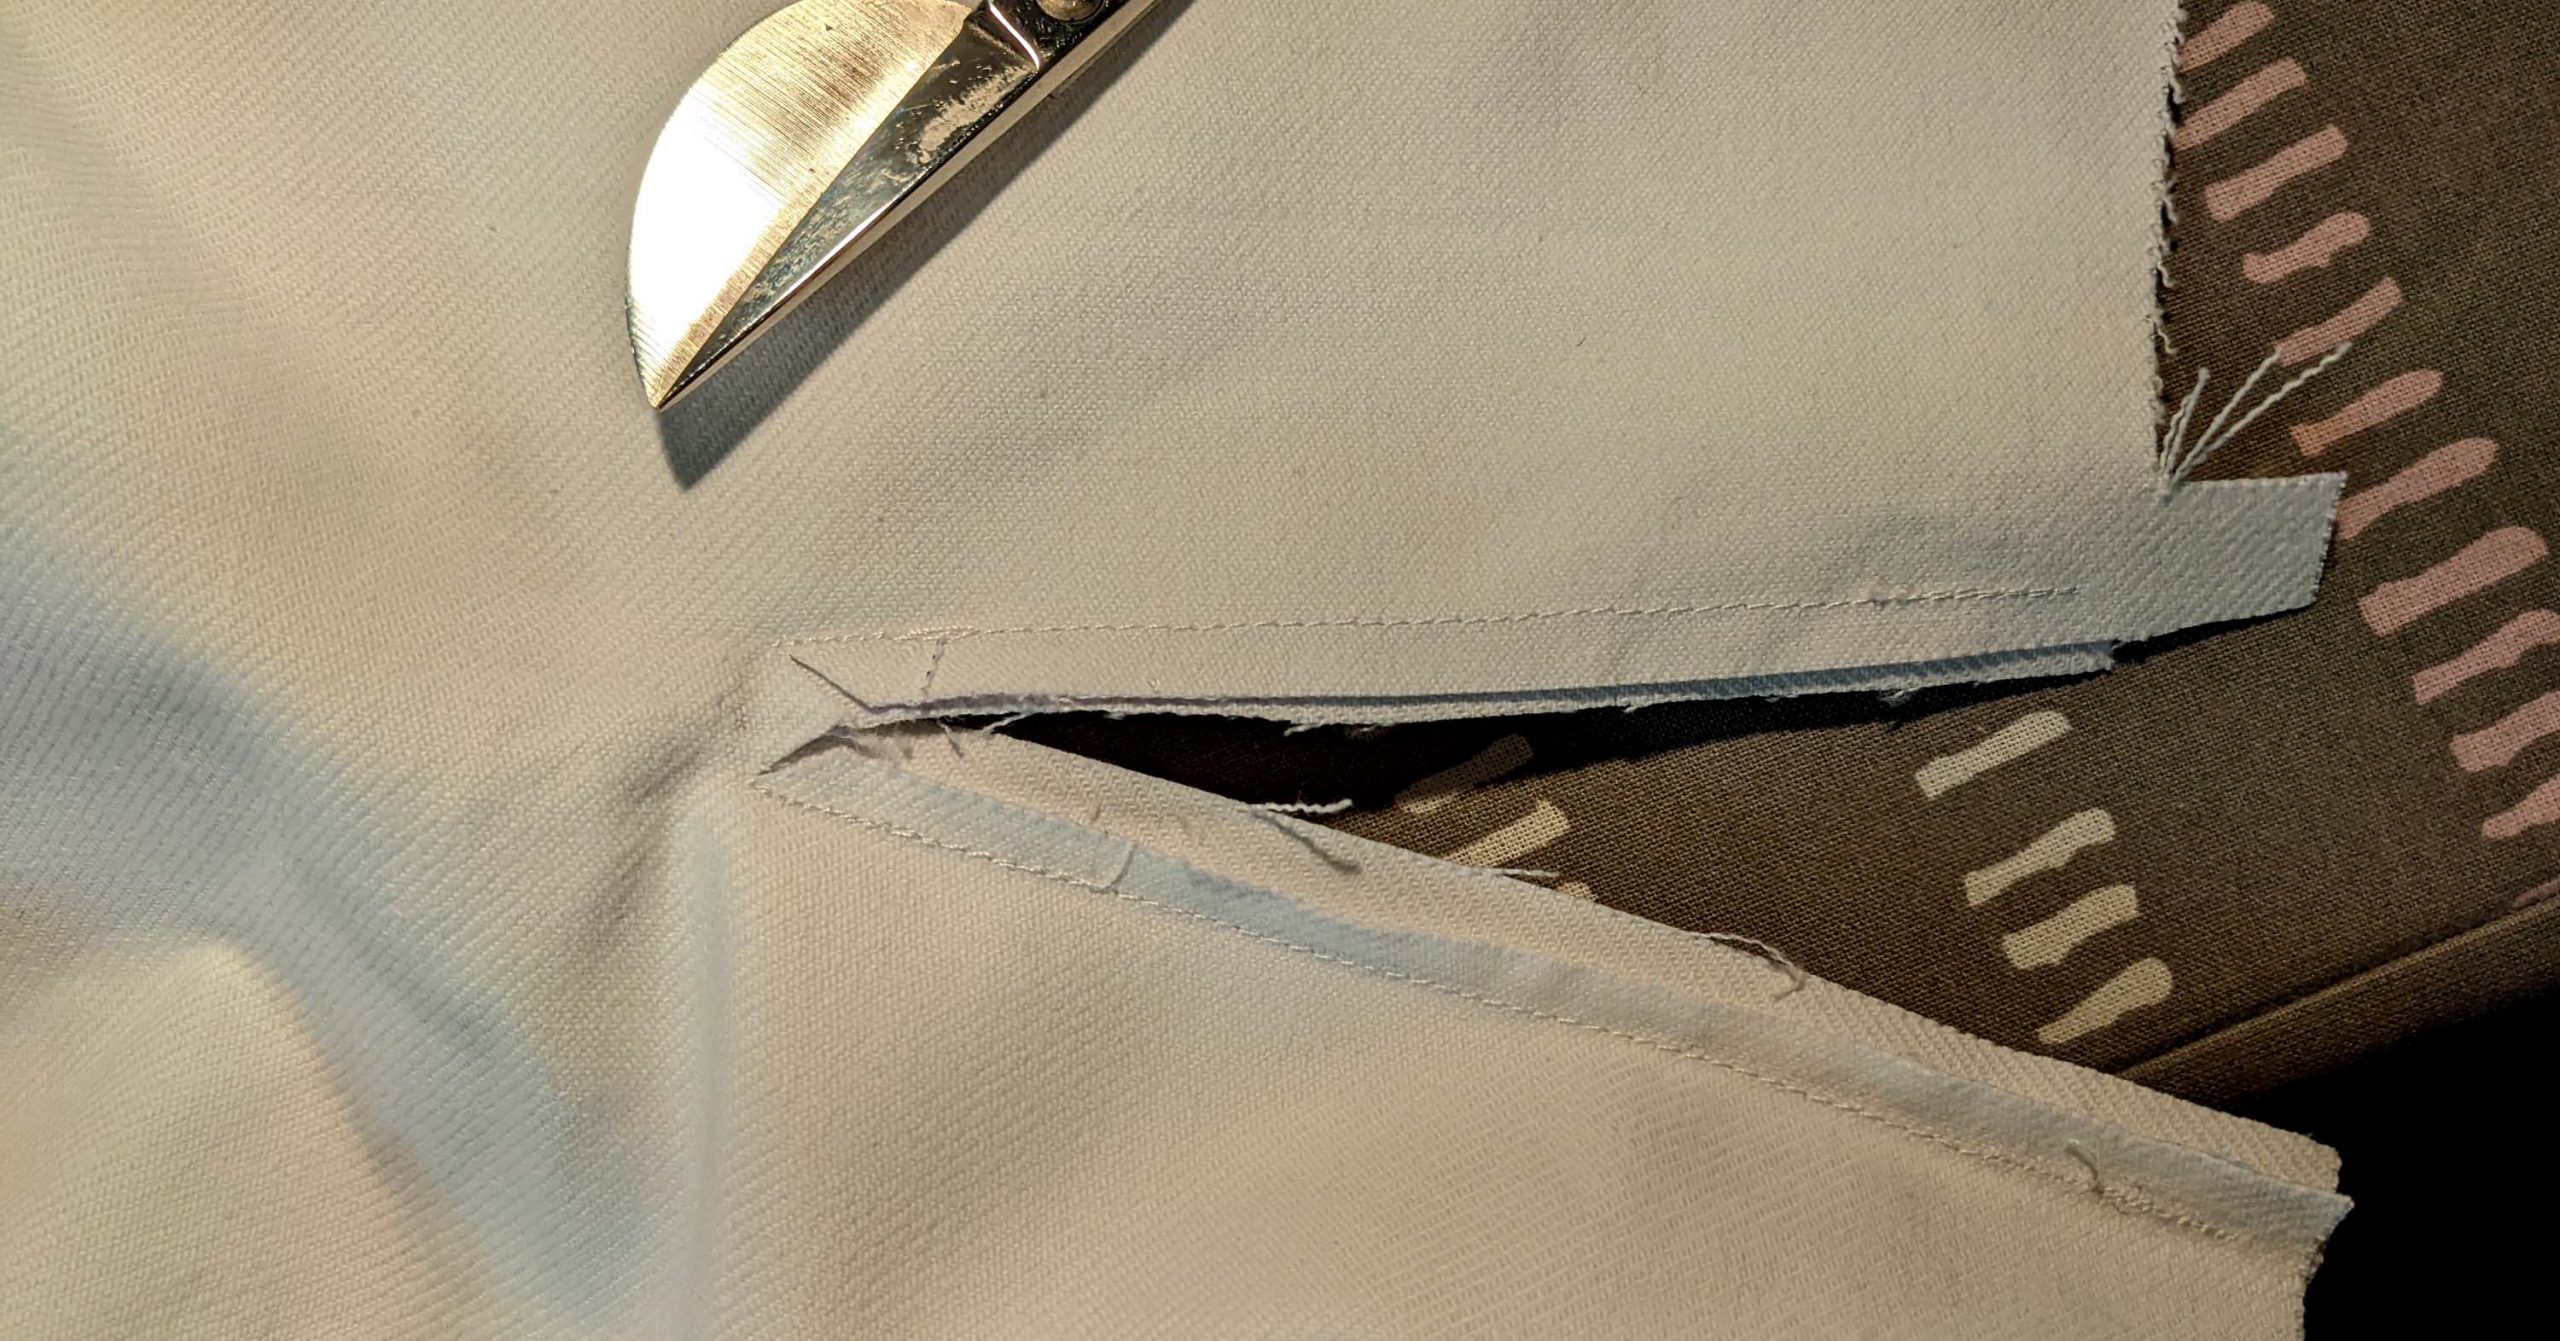
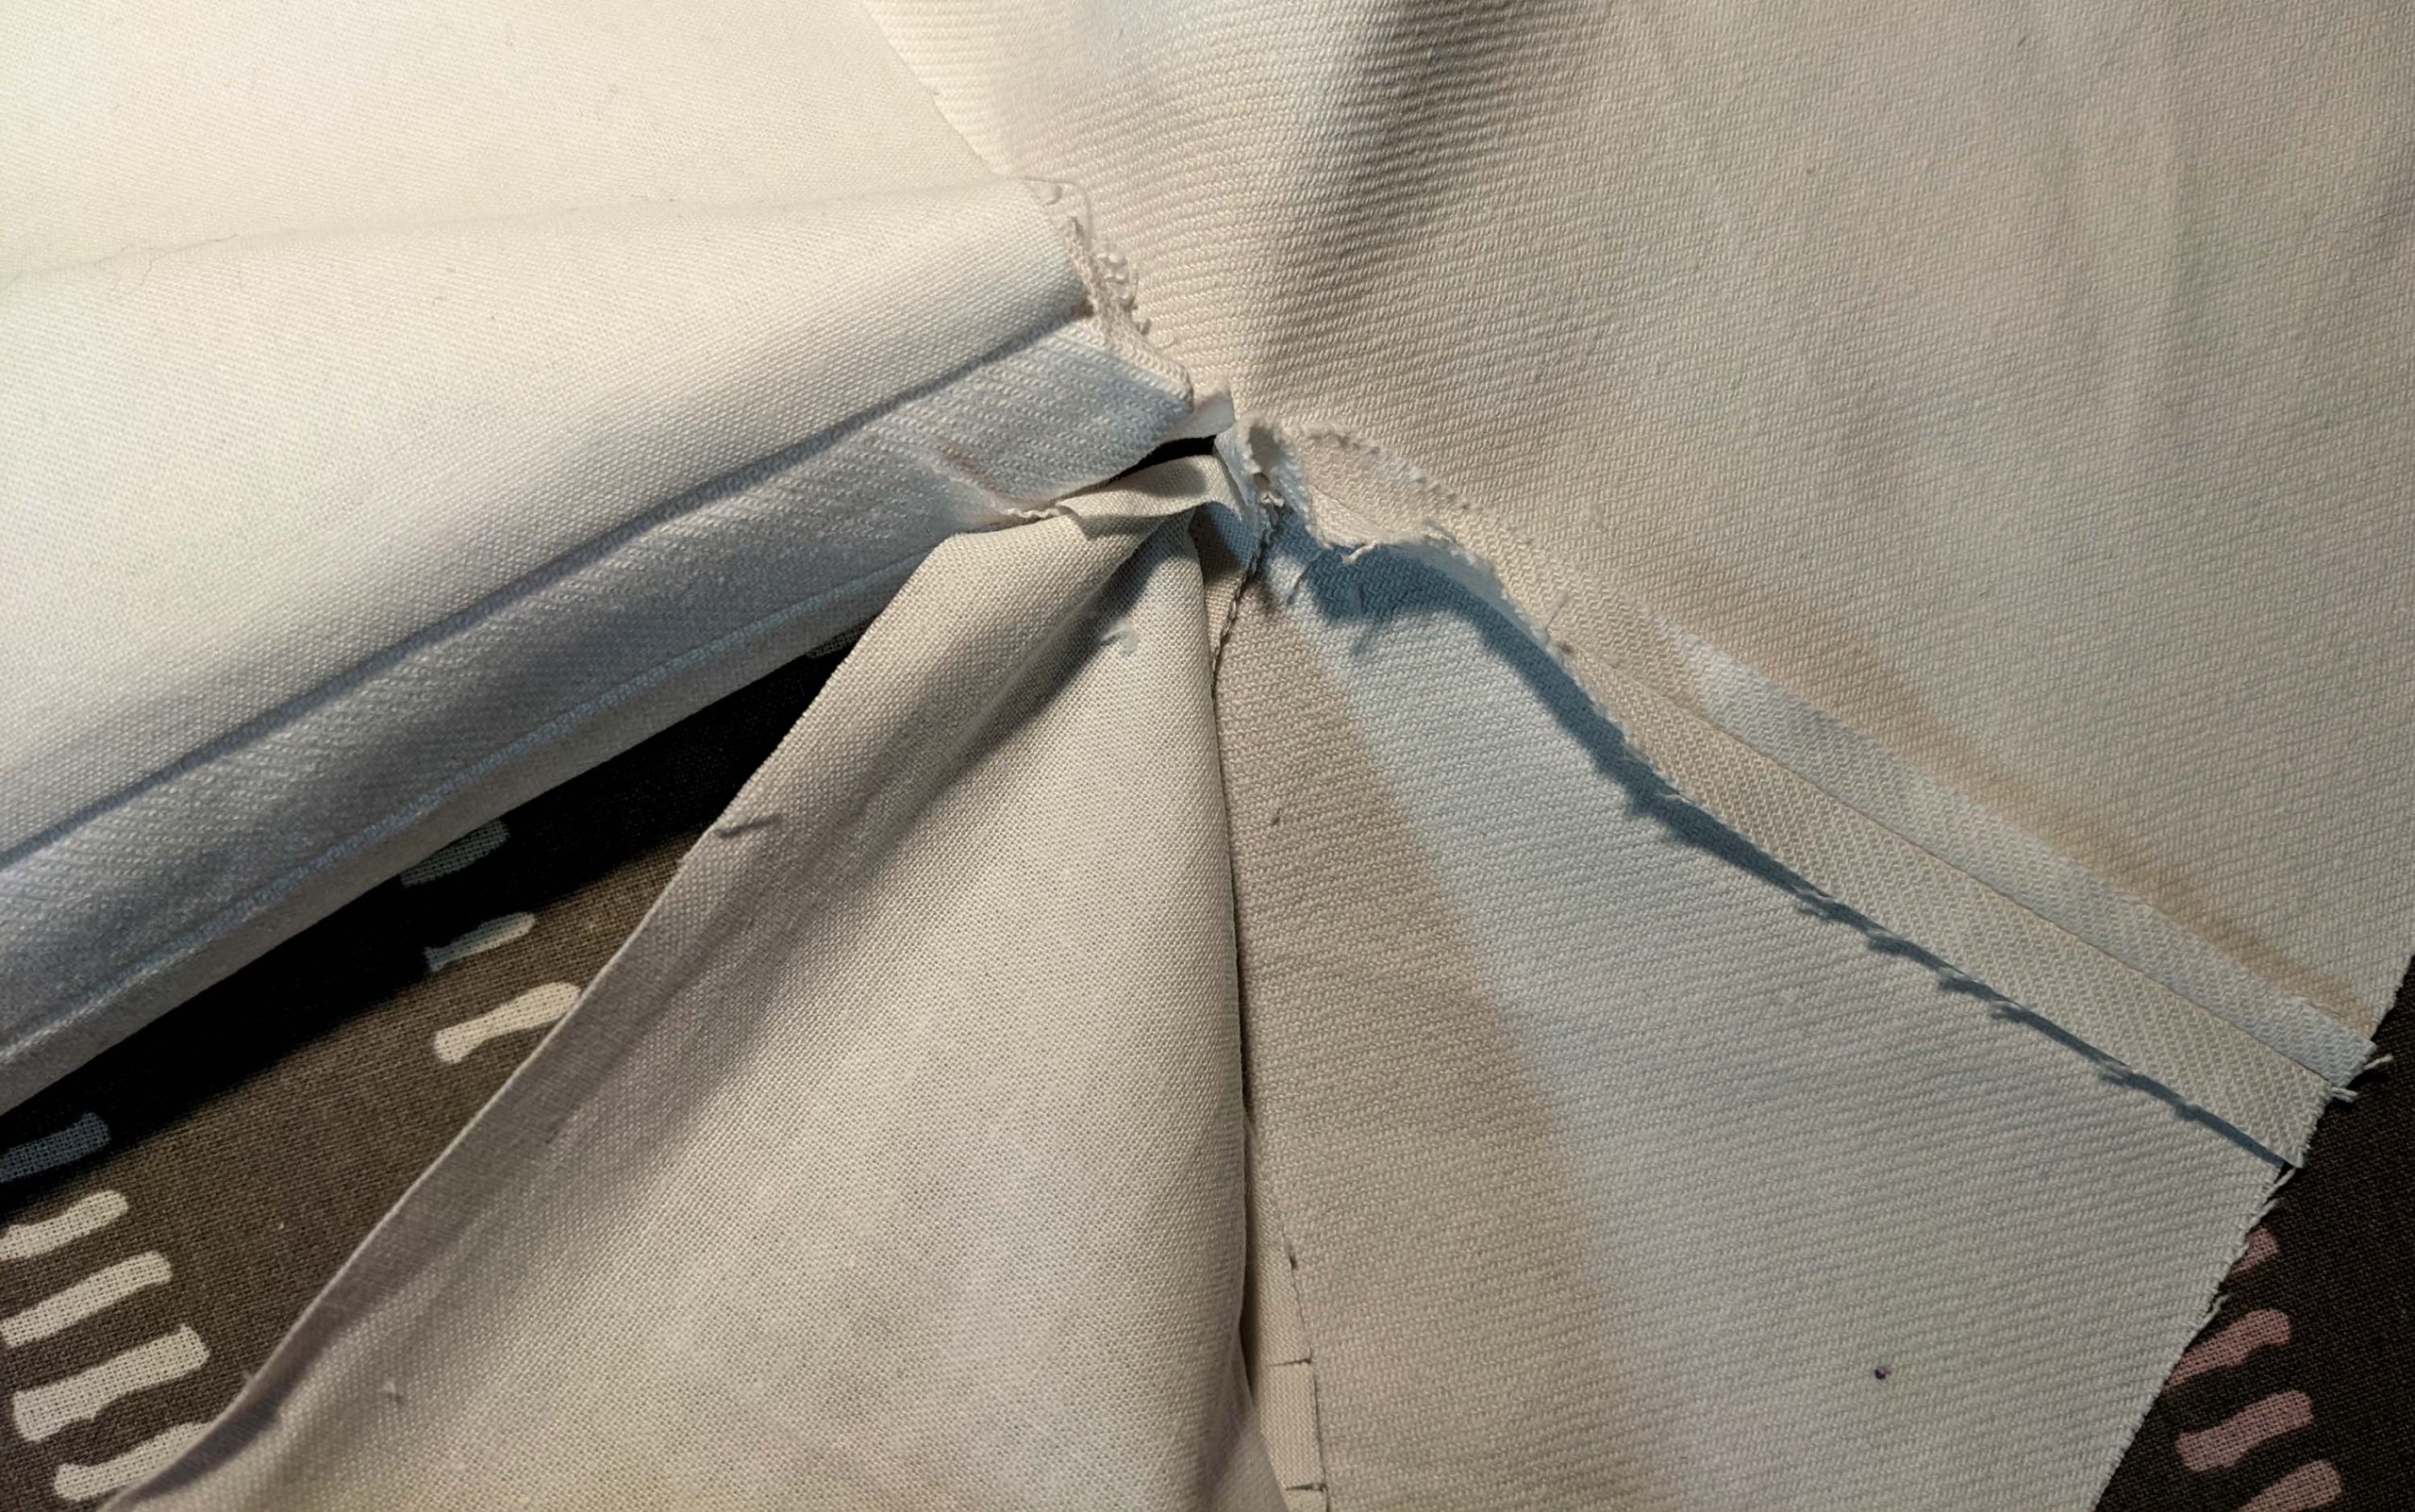
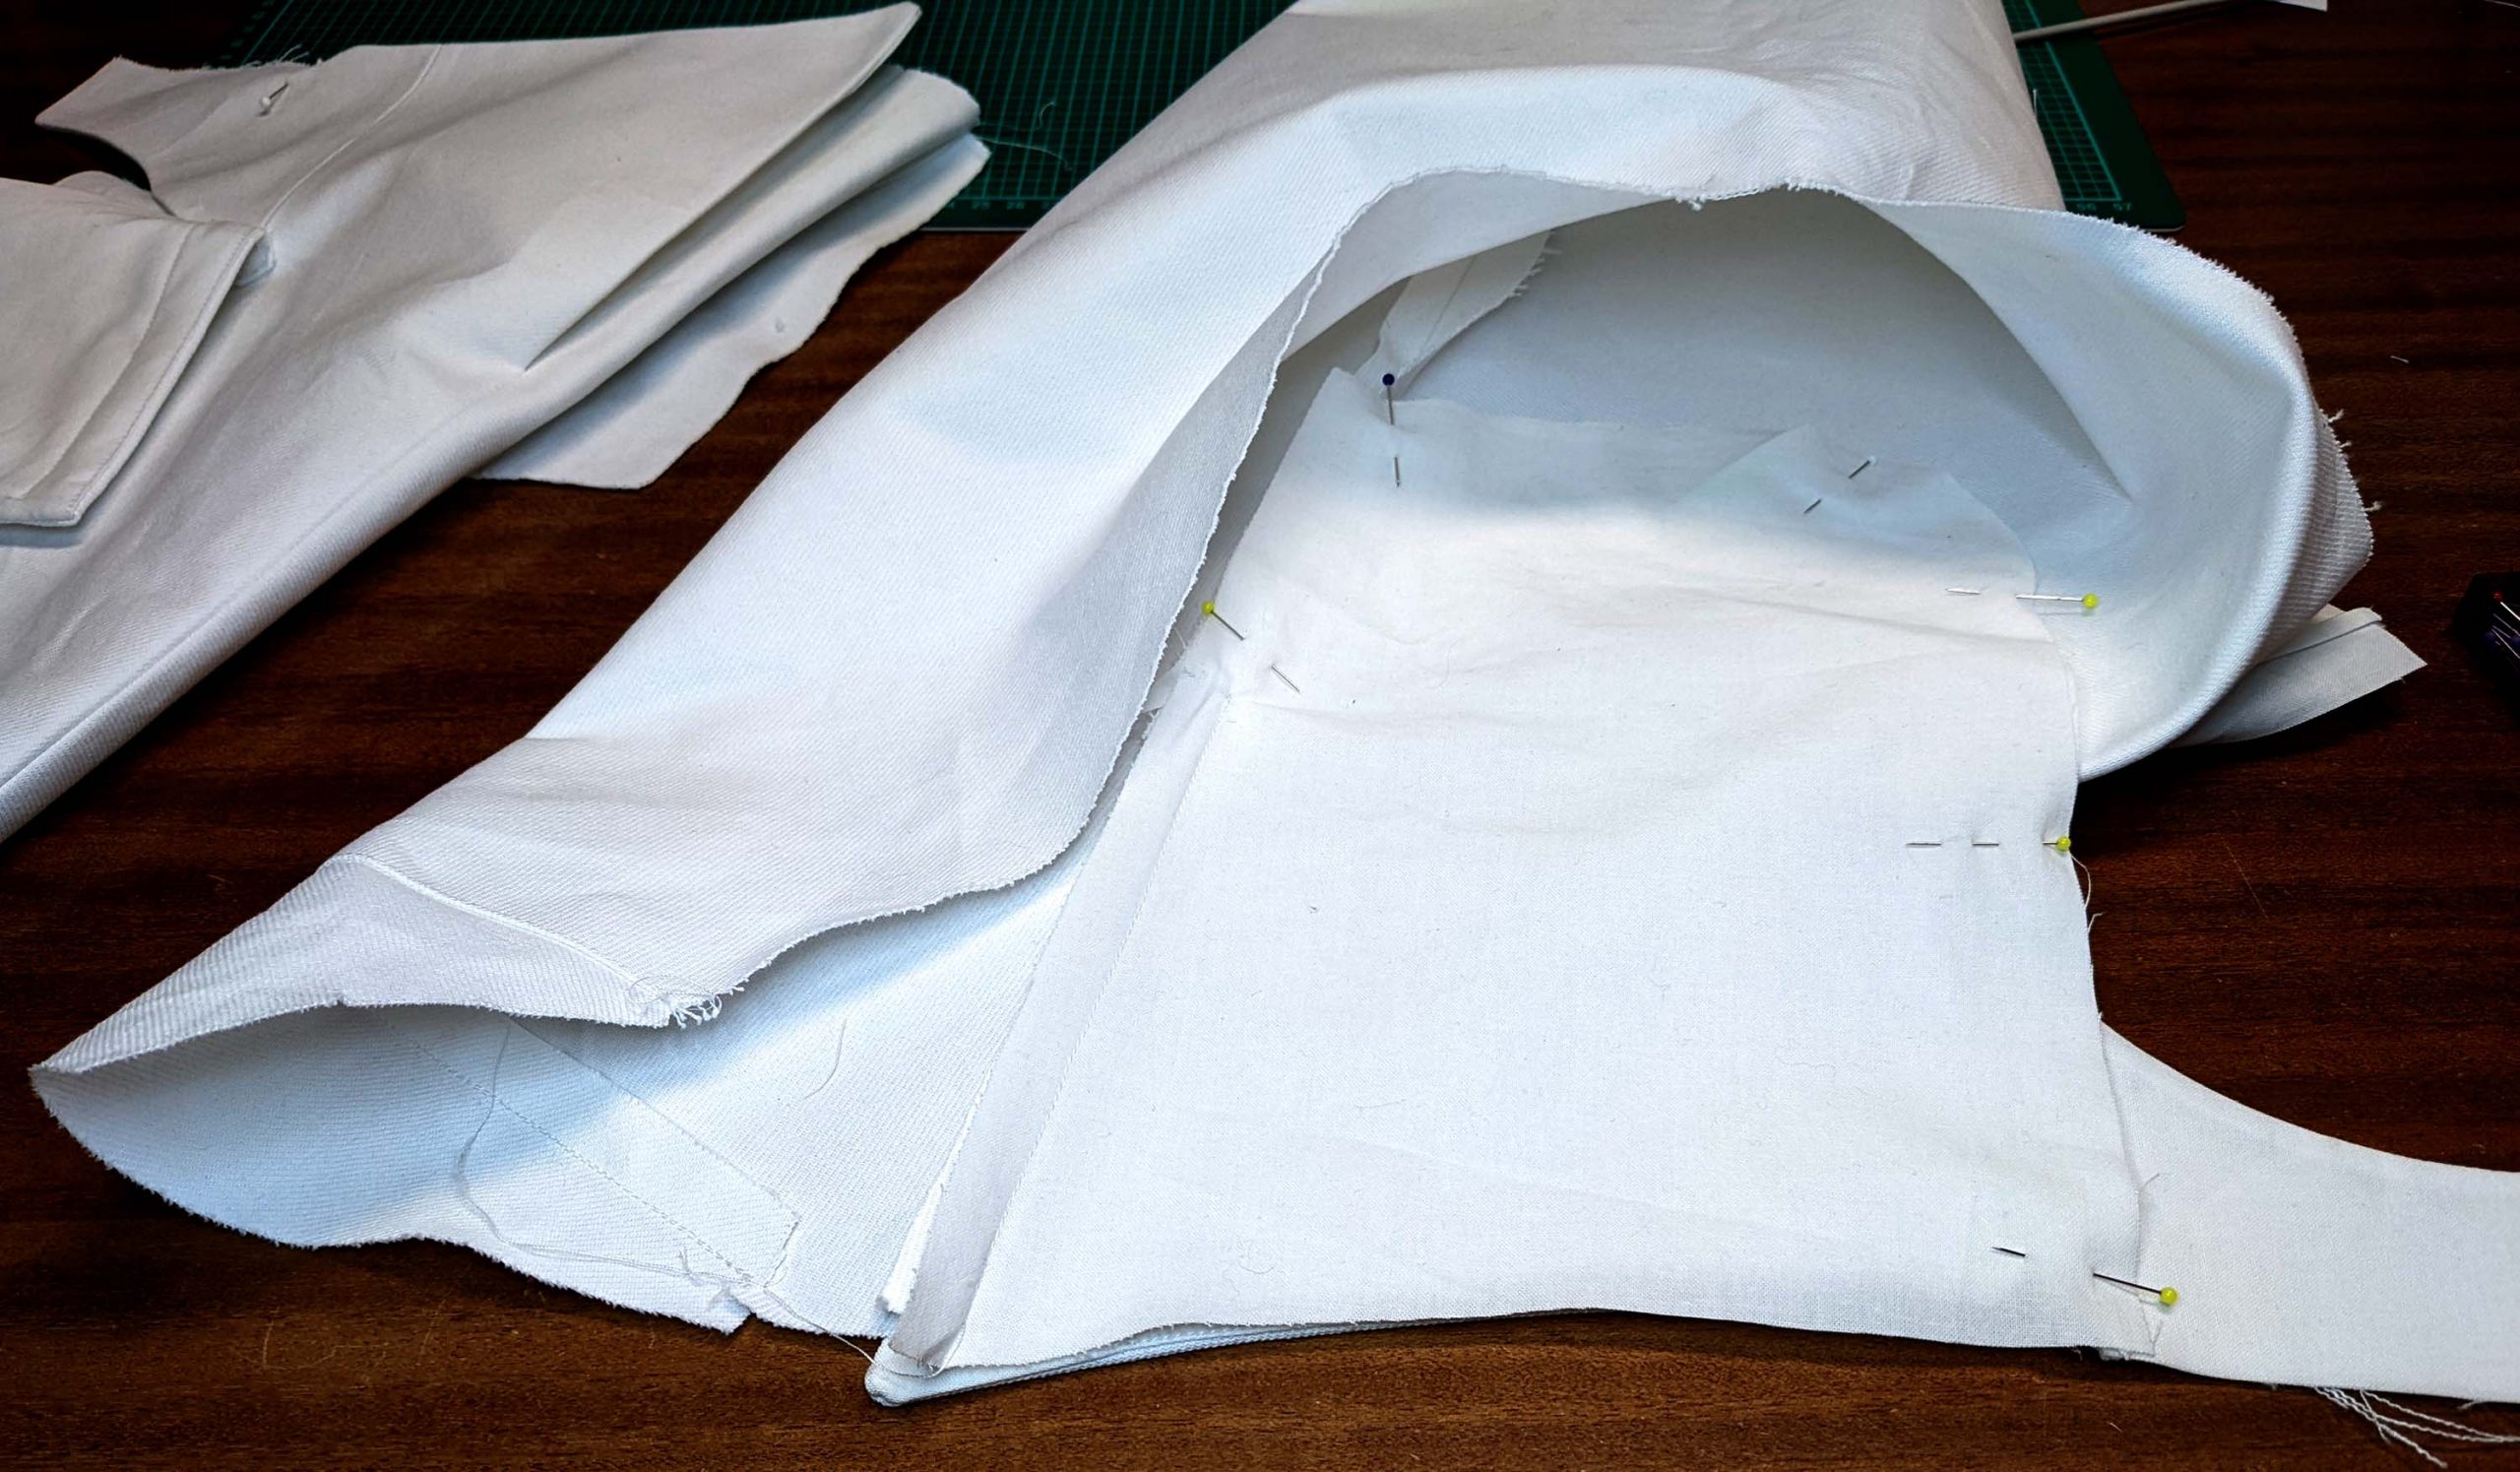
Turn the trousers to the wrong side and slash open the vent, Y-shaped towards the end of stitching at the bottom. Press open the seam allowances along the stitching lines of the underfall and placket. Trim back the seam allowances along the front and bottom edge of the underfall, clip at the curves and turn the right way out. Optionally edgestitch along the front and bottom edge. Smooth out the lining, covering the seam allowances along the vent. Turn to the right side and stitch the lining in place (stitch in the ditch).
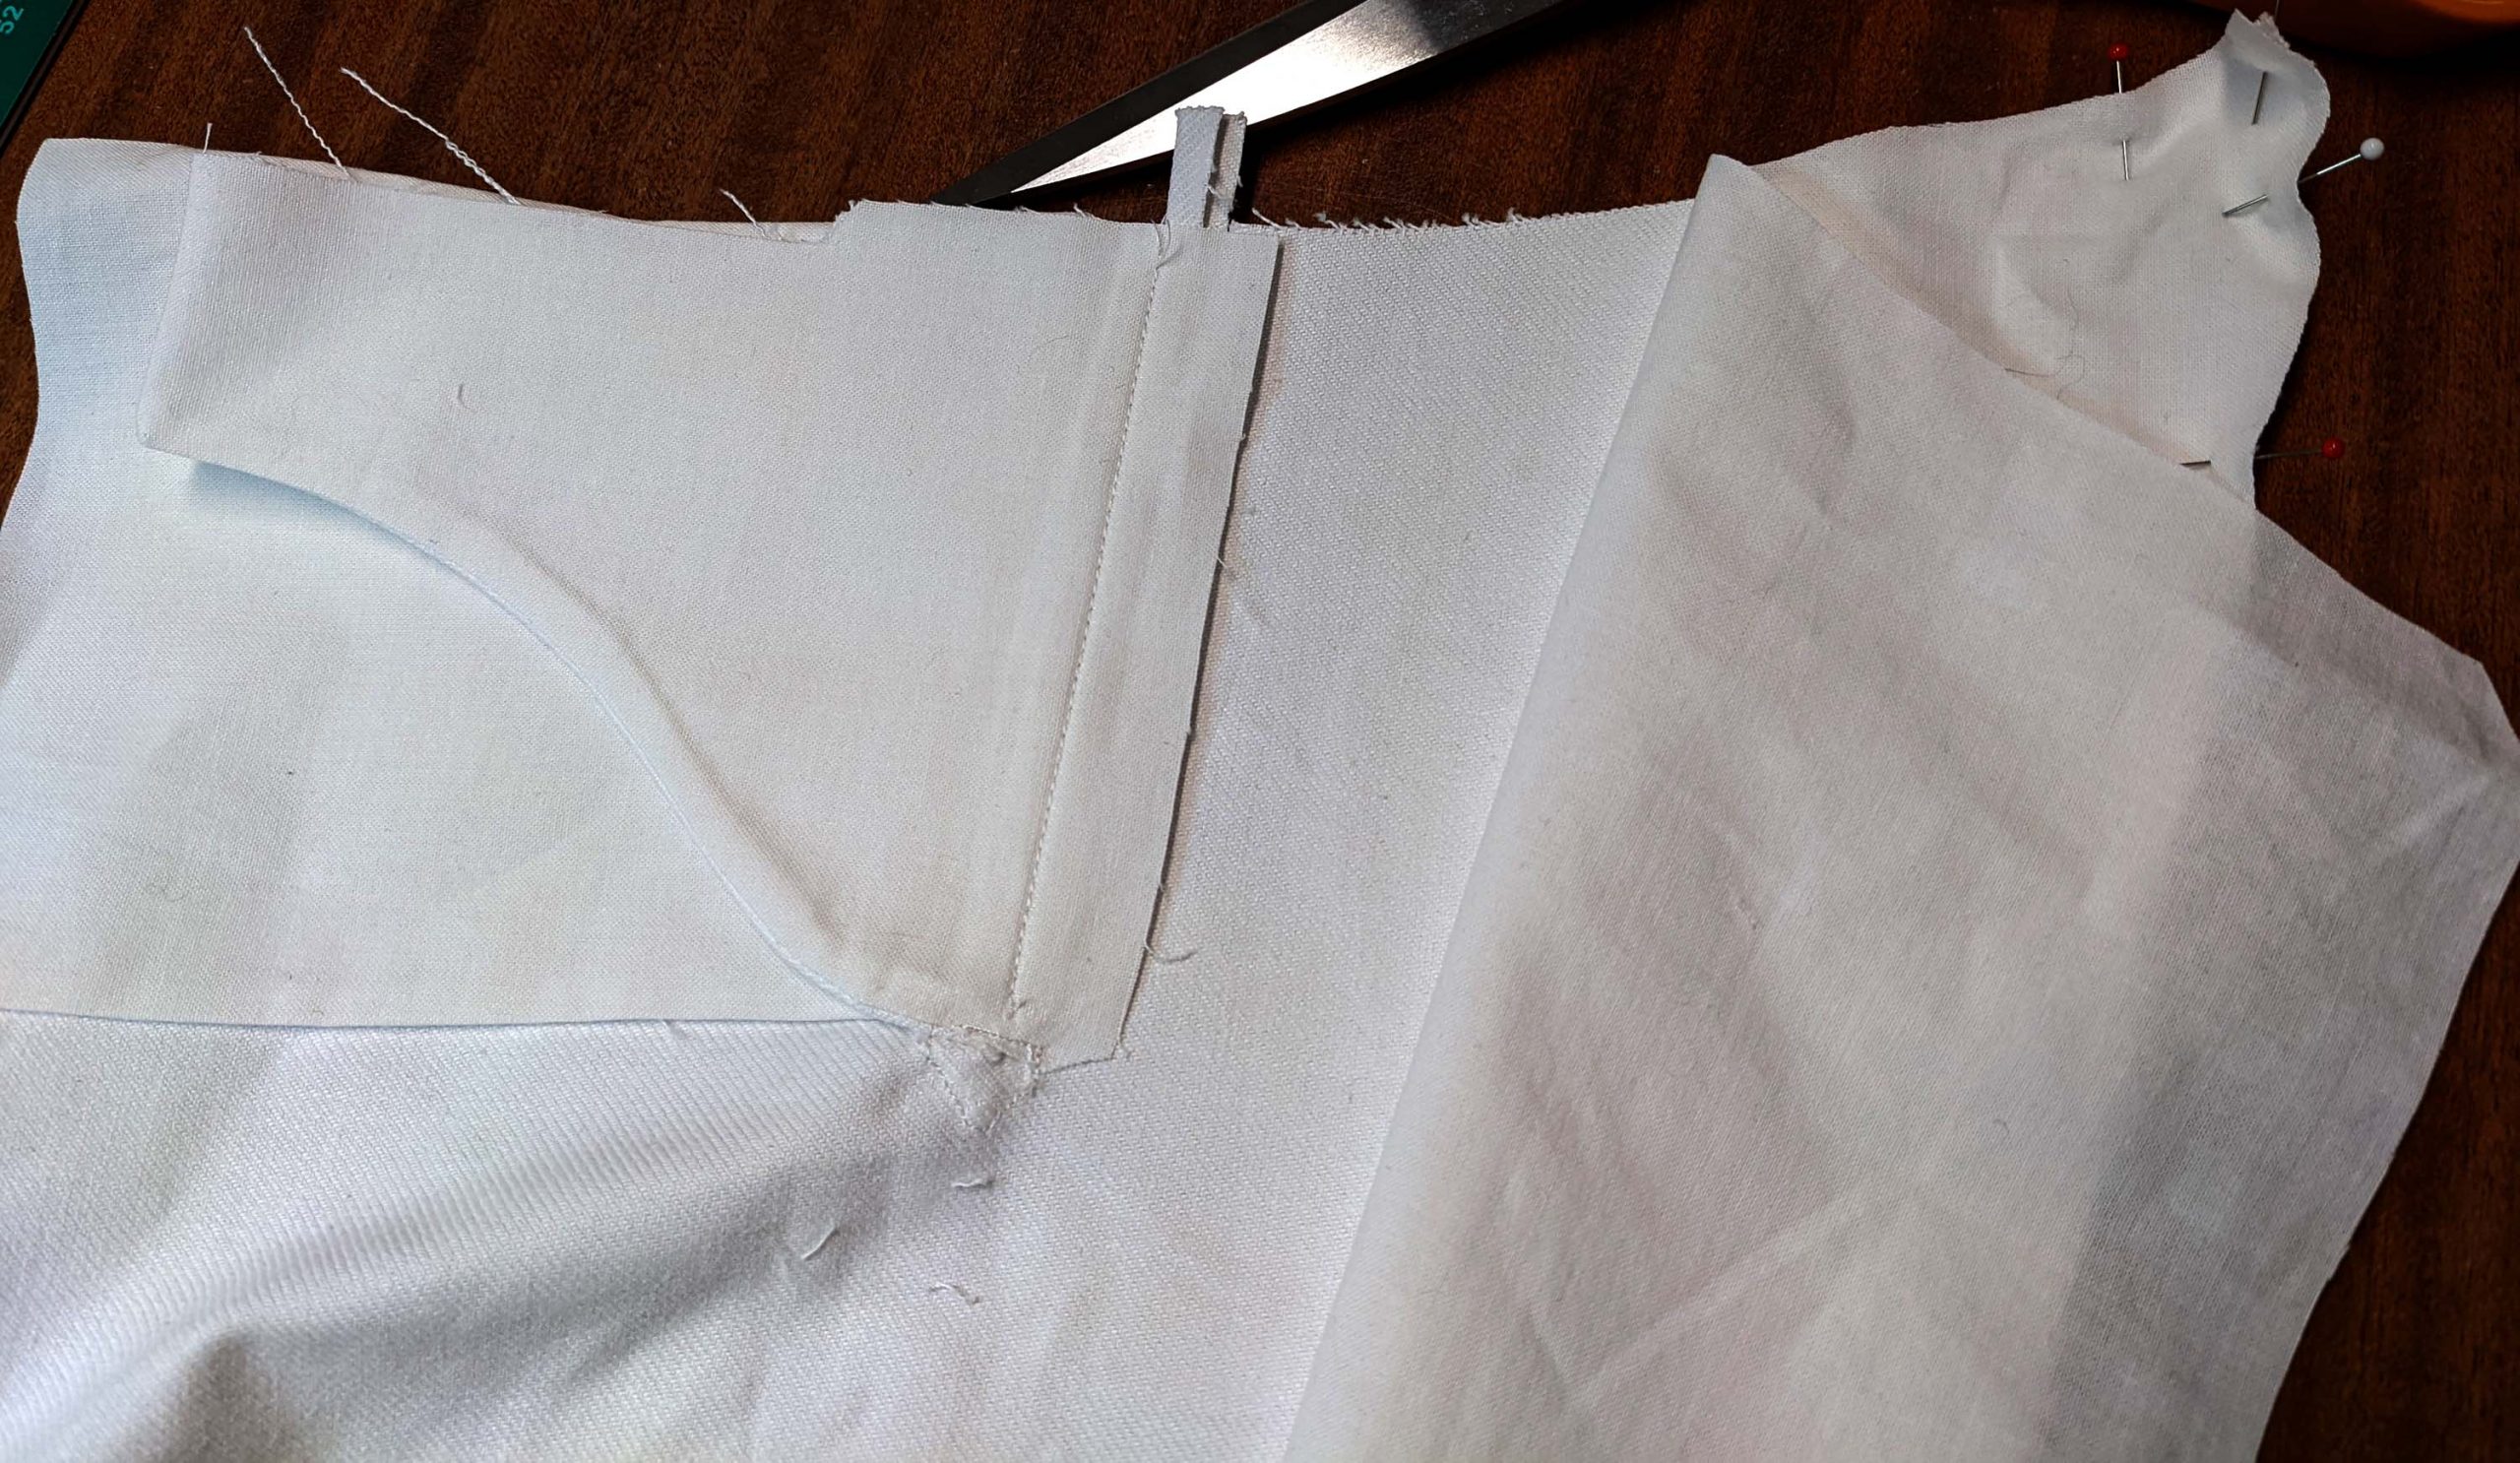
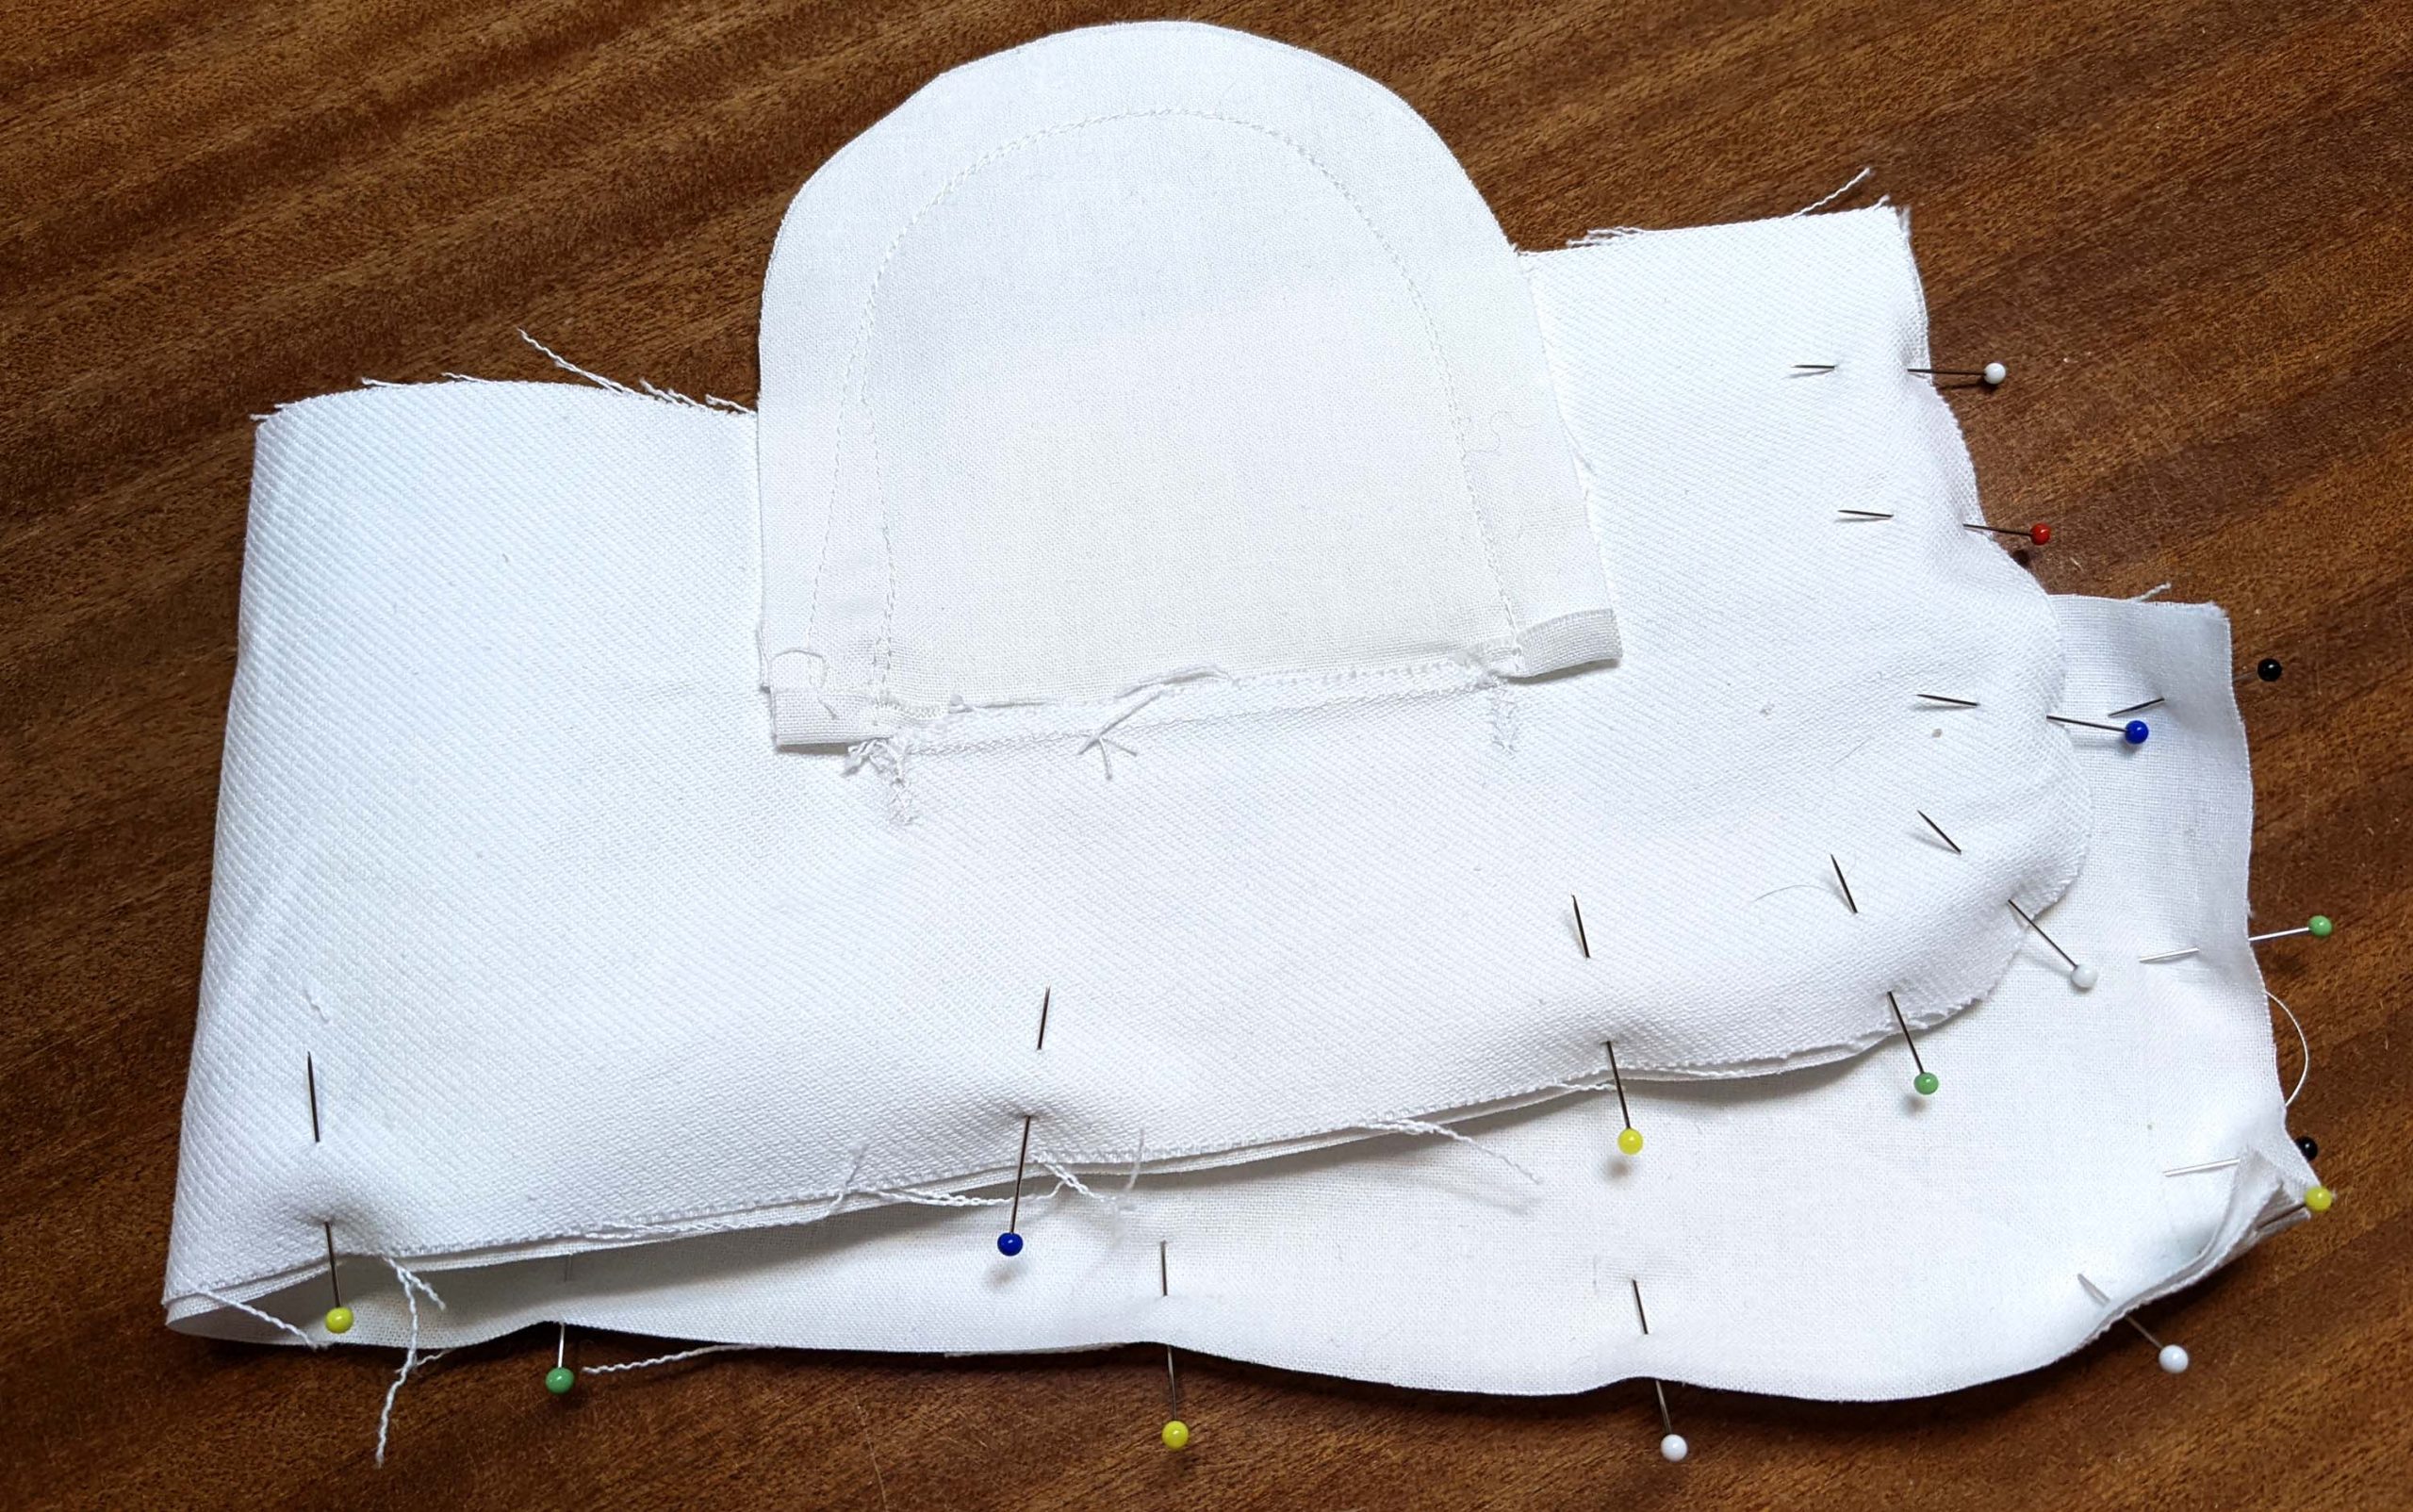
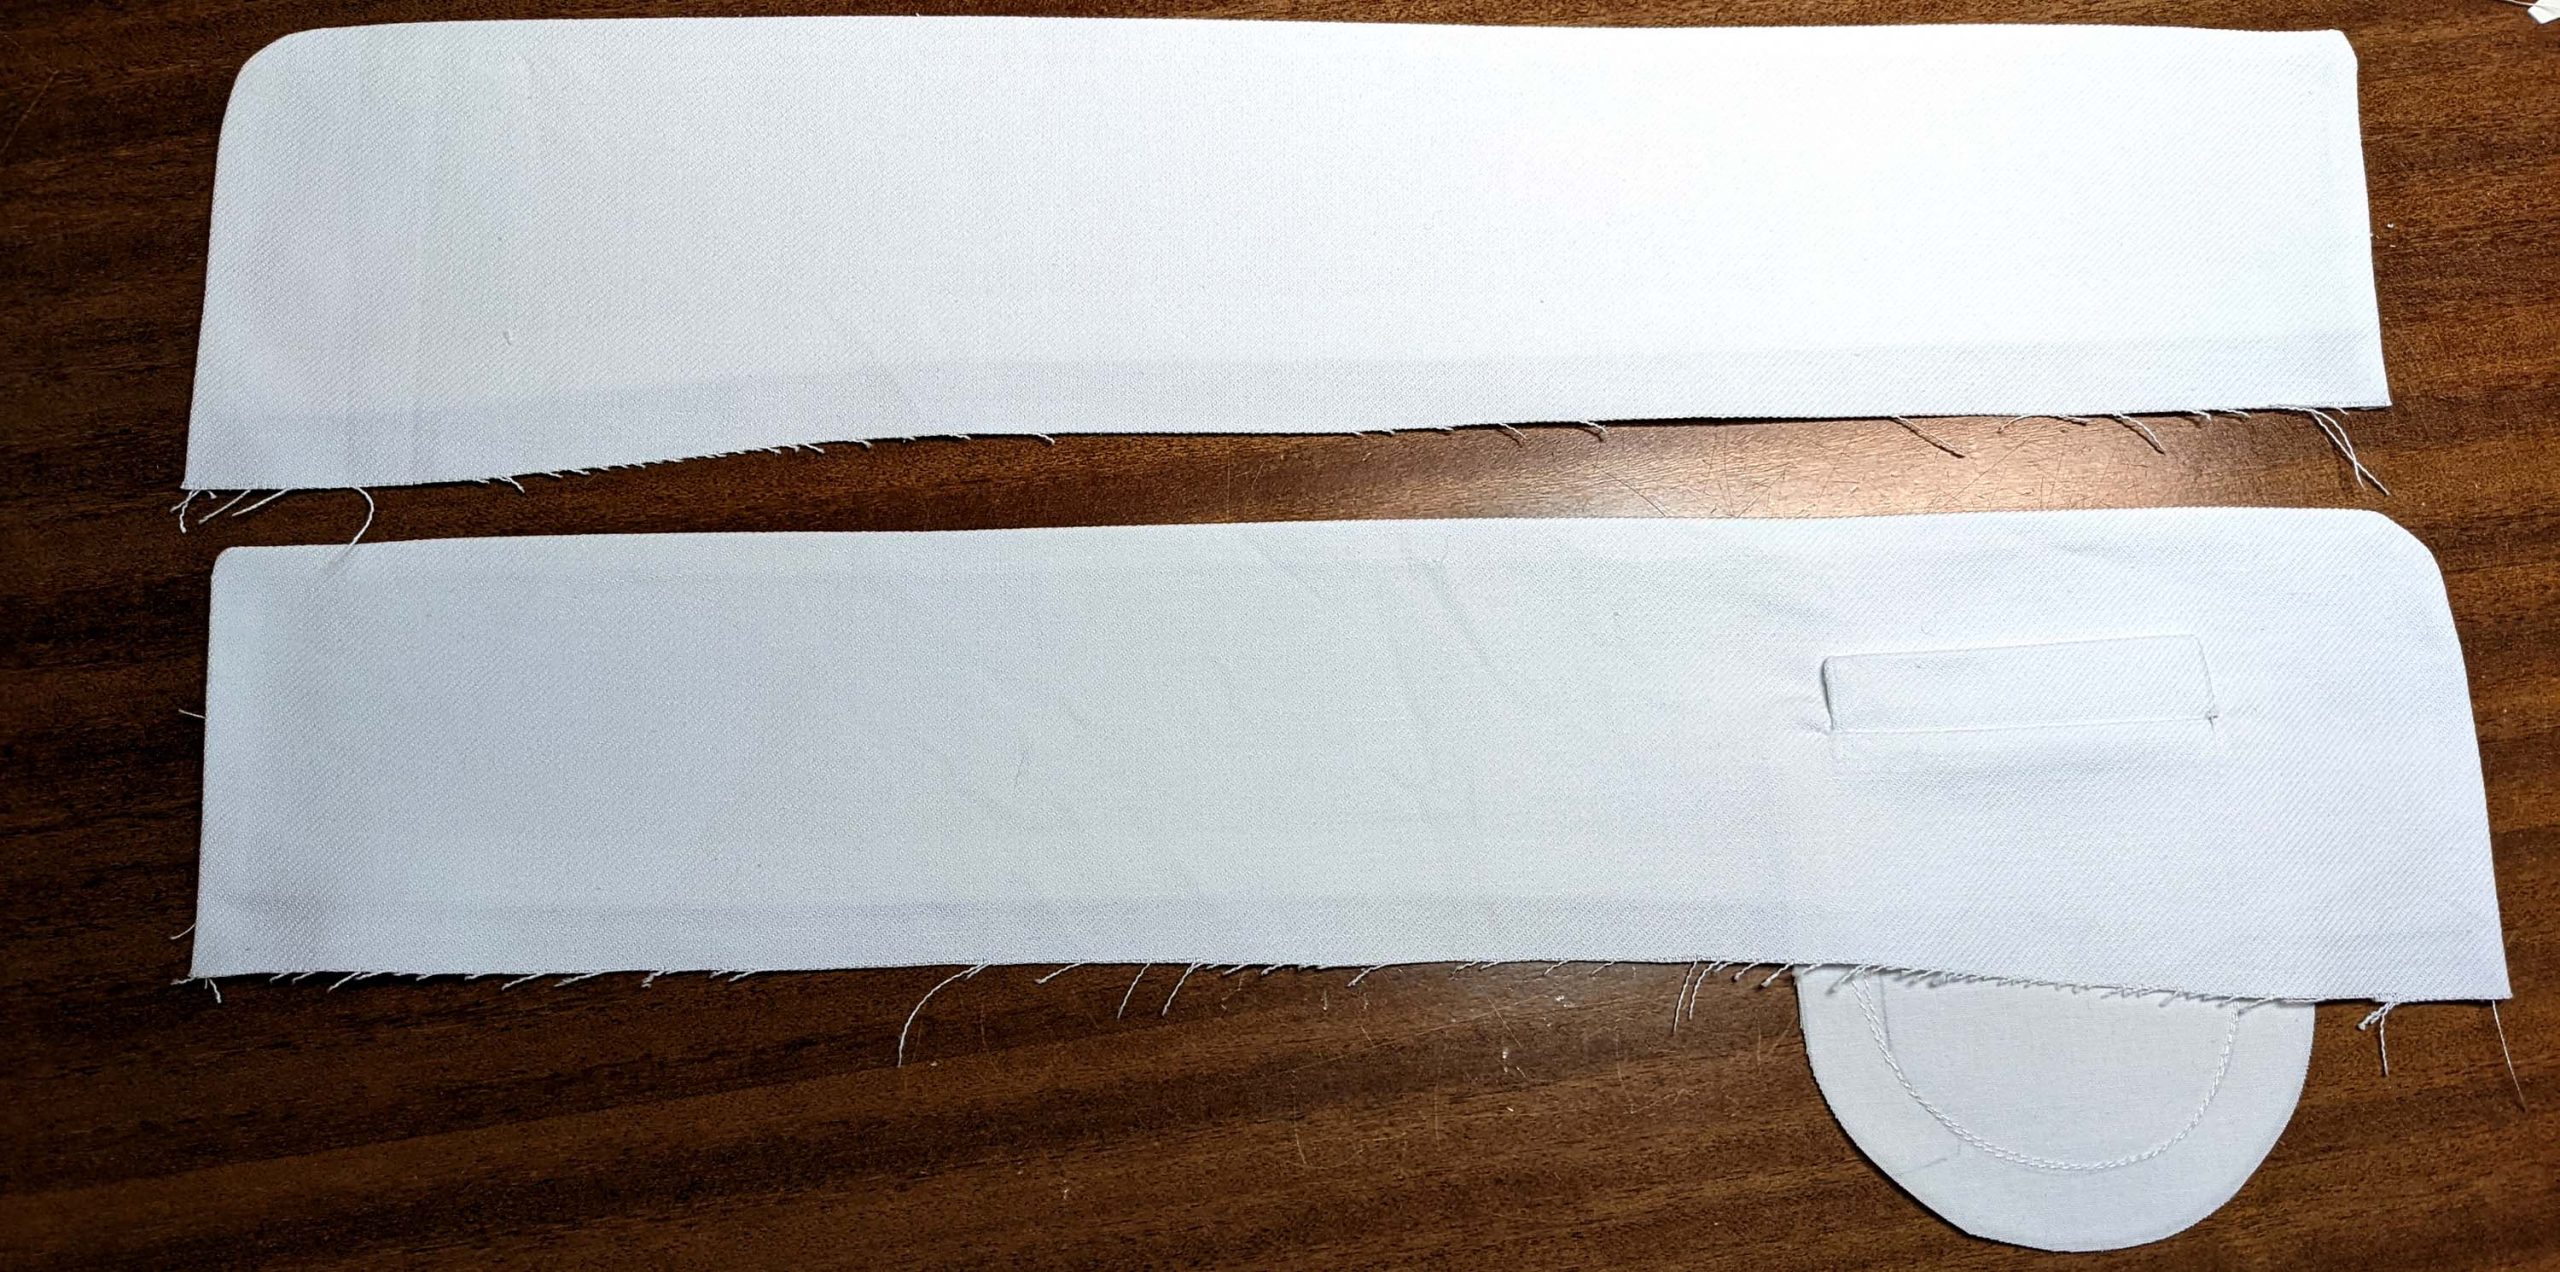
Take the fall lining and turn in the seam allowance along the bottom edge. Sew to the placket, right sides together. Trim back the seam allowances and press towards the lining, understitch.
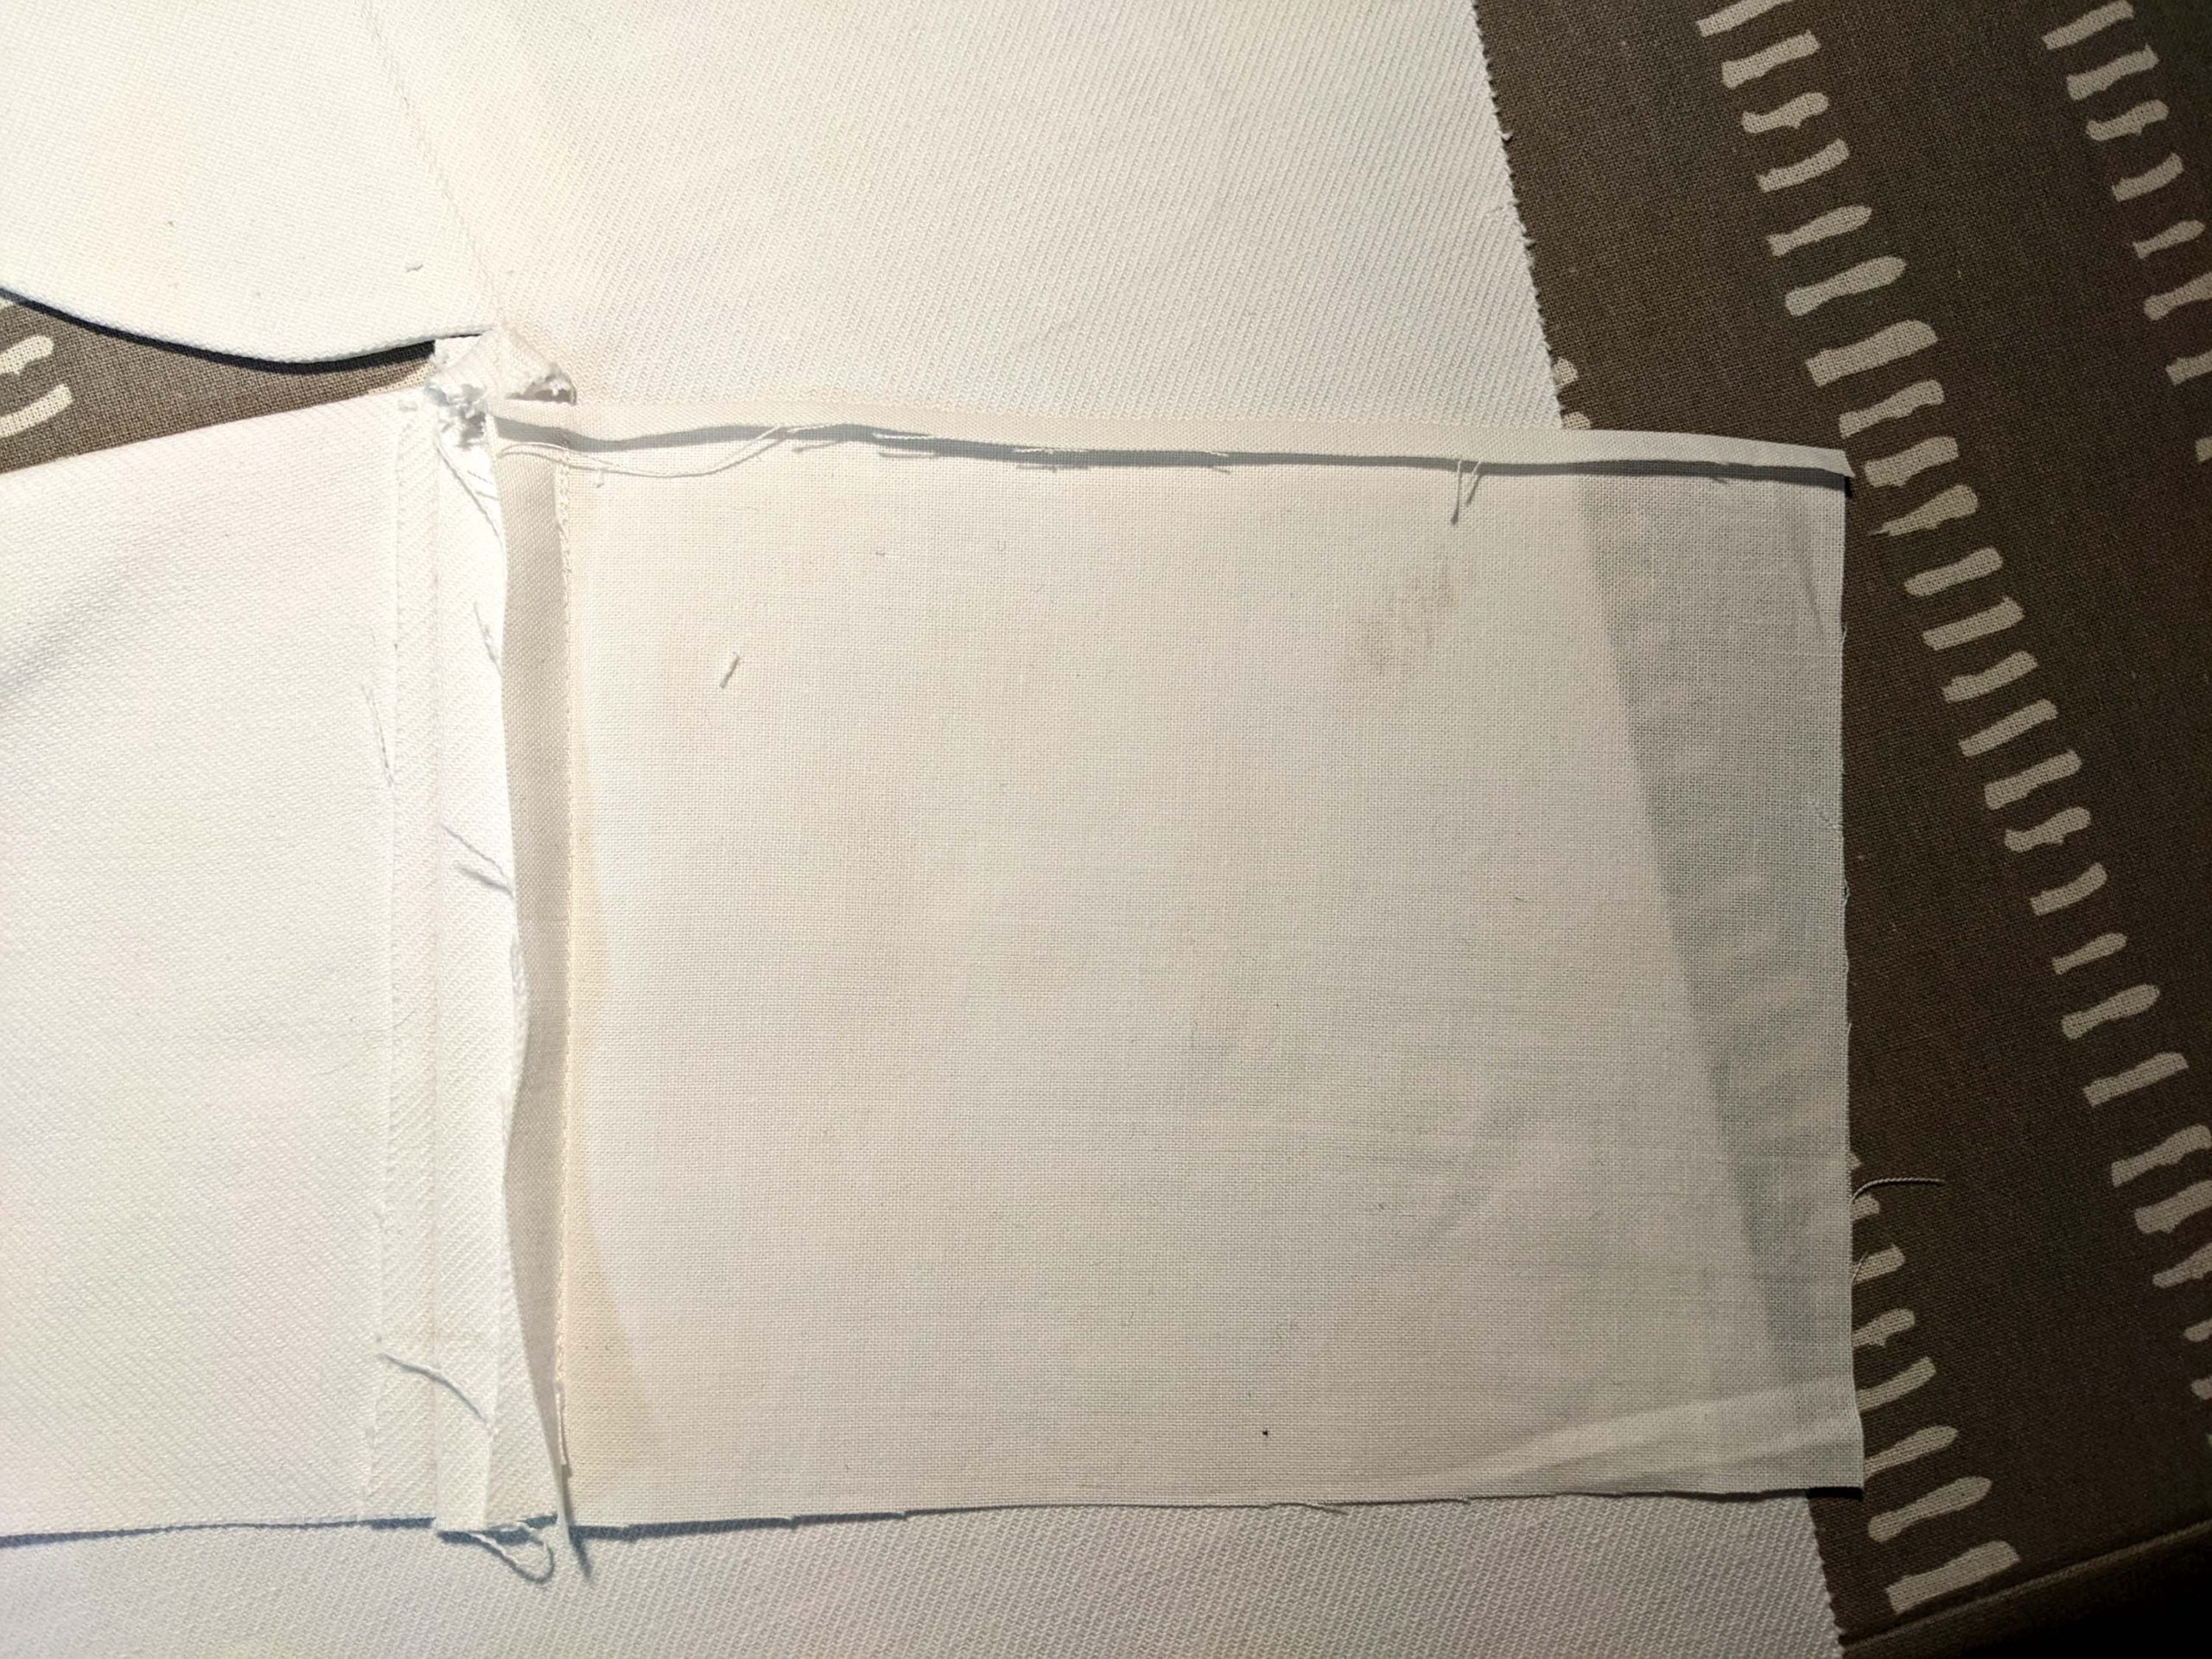
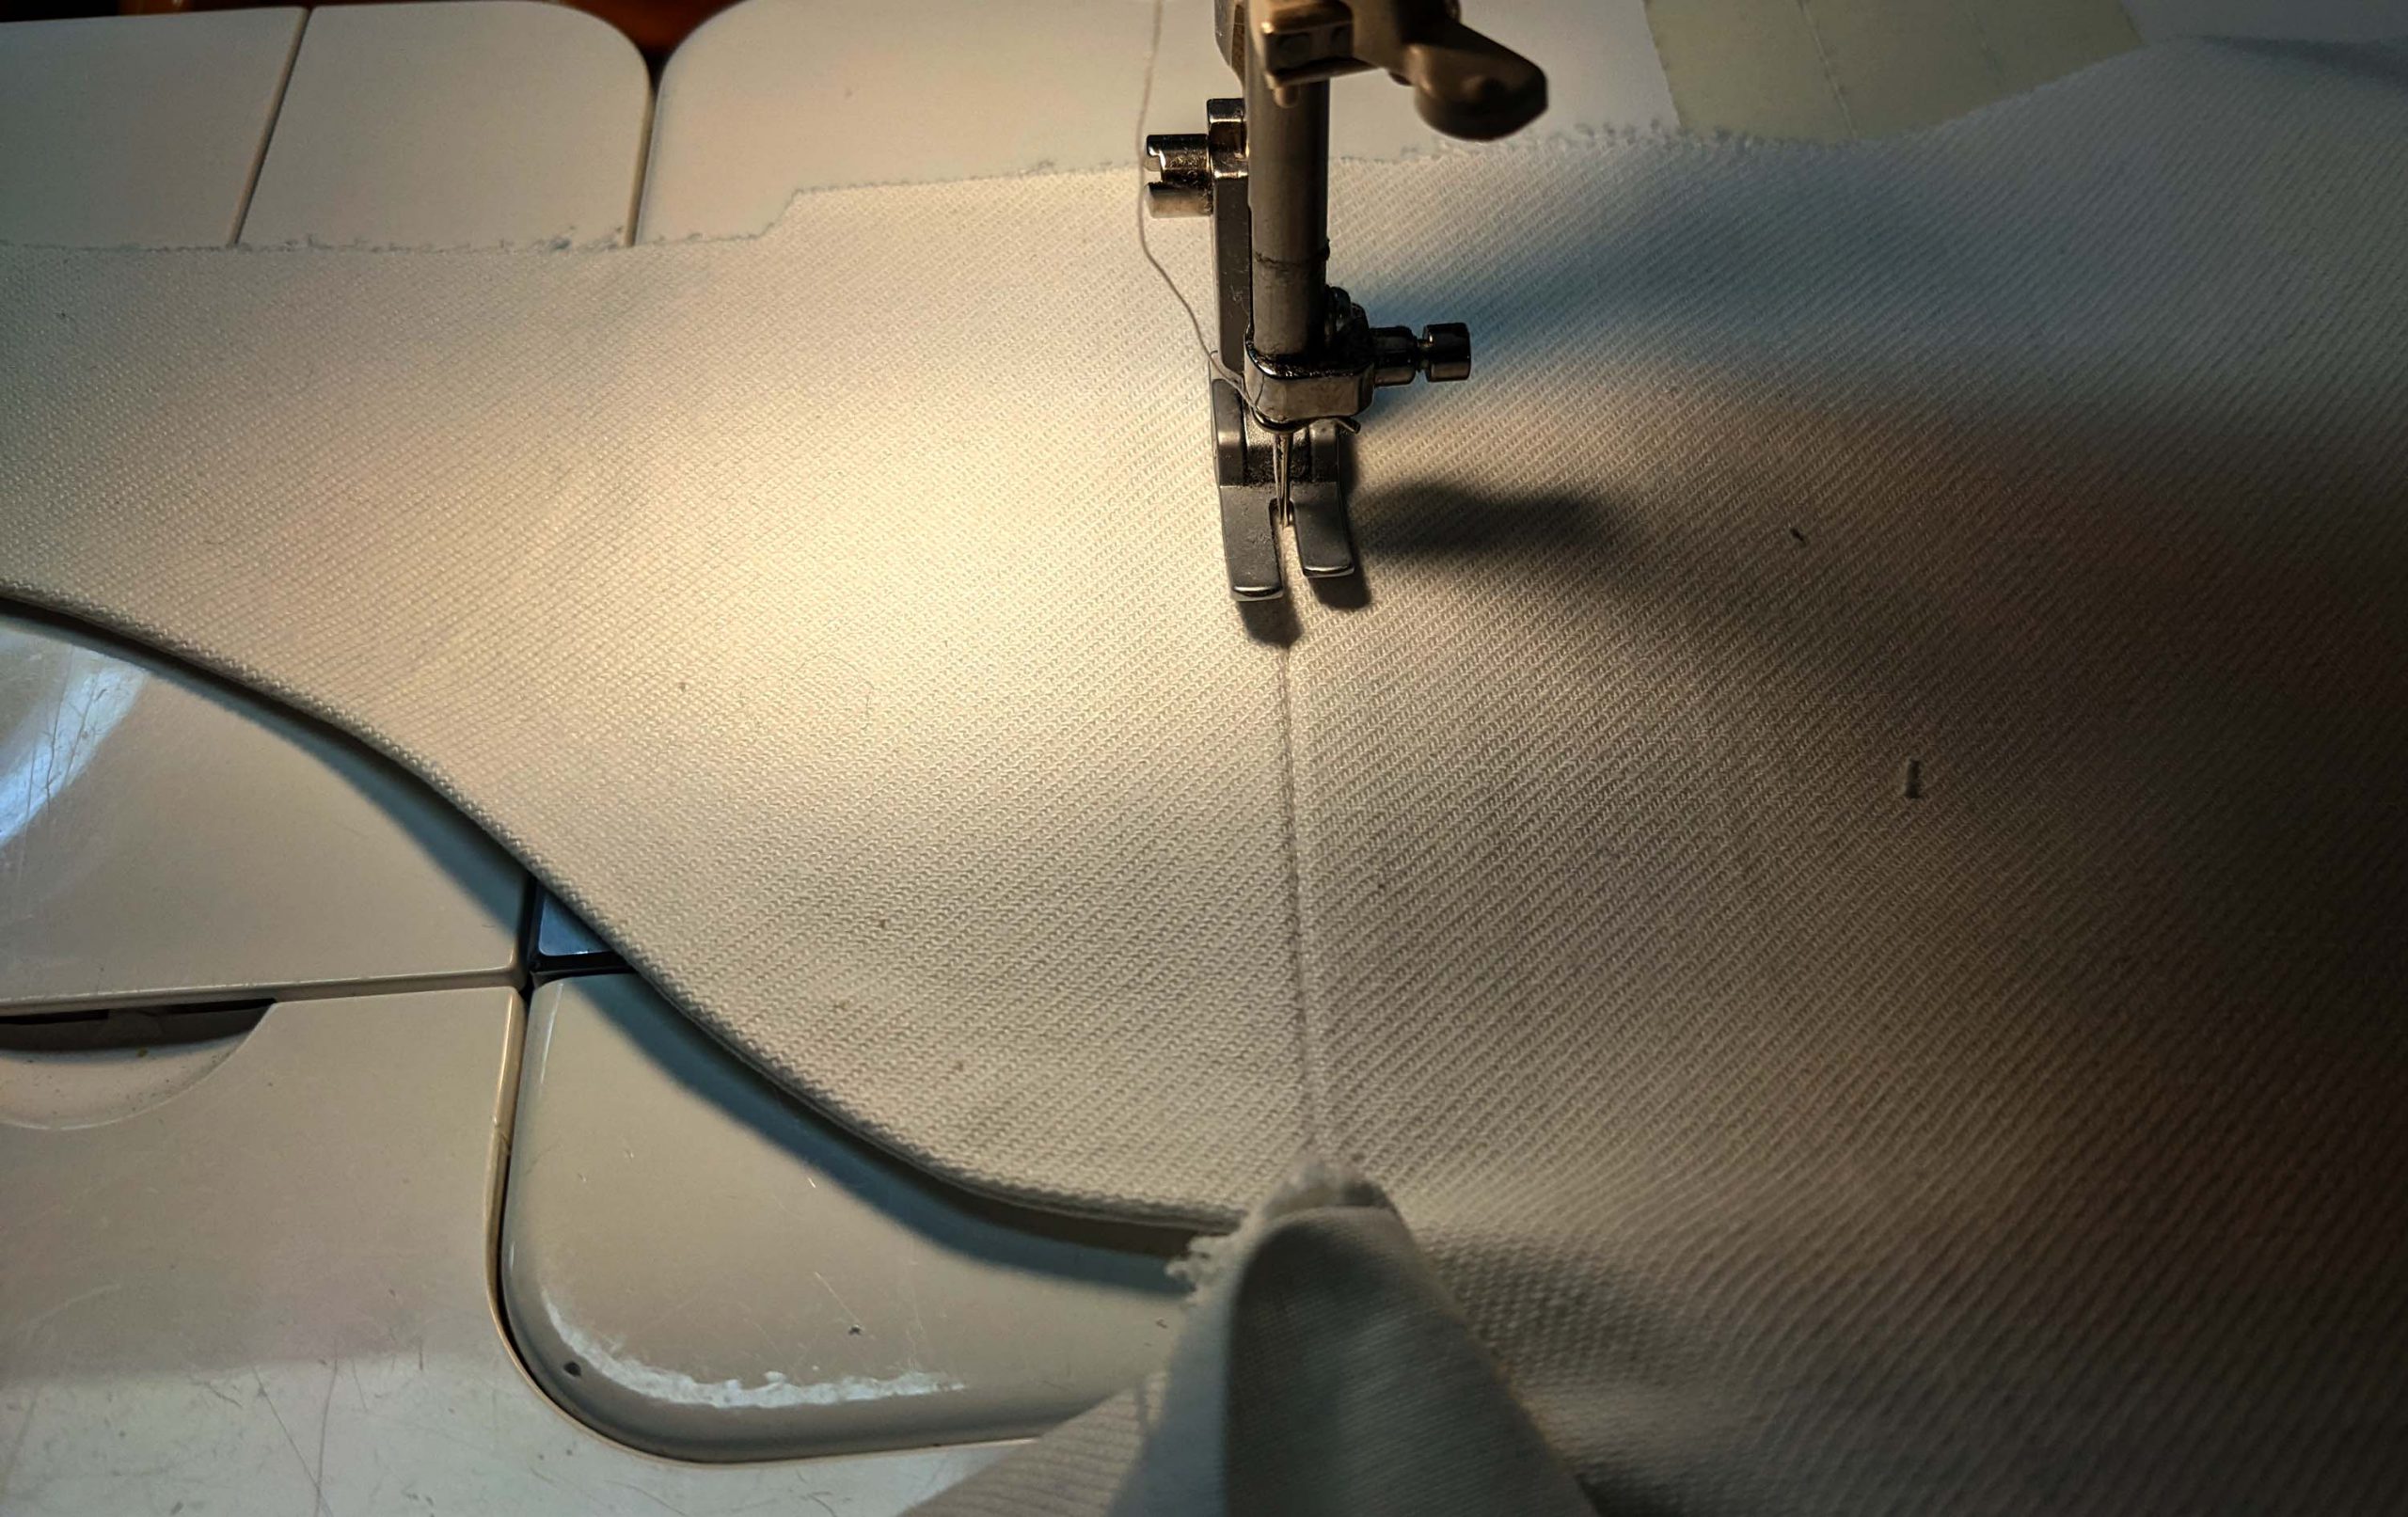
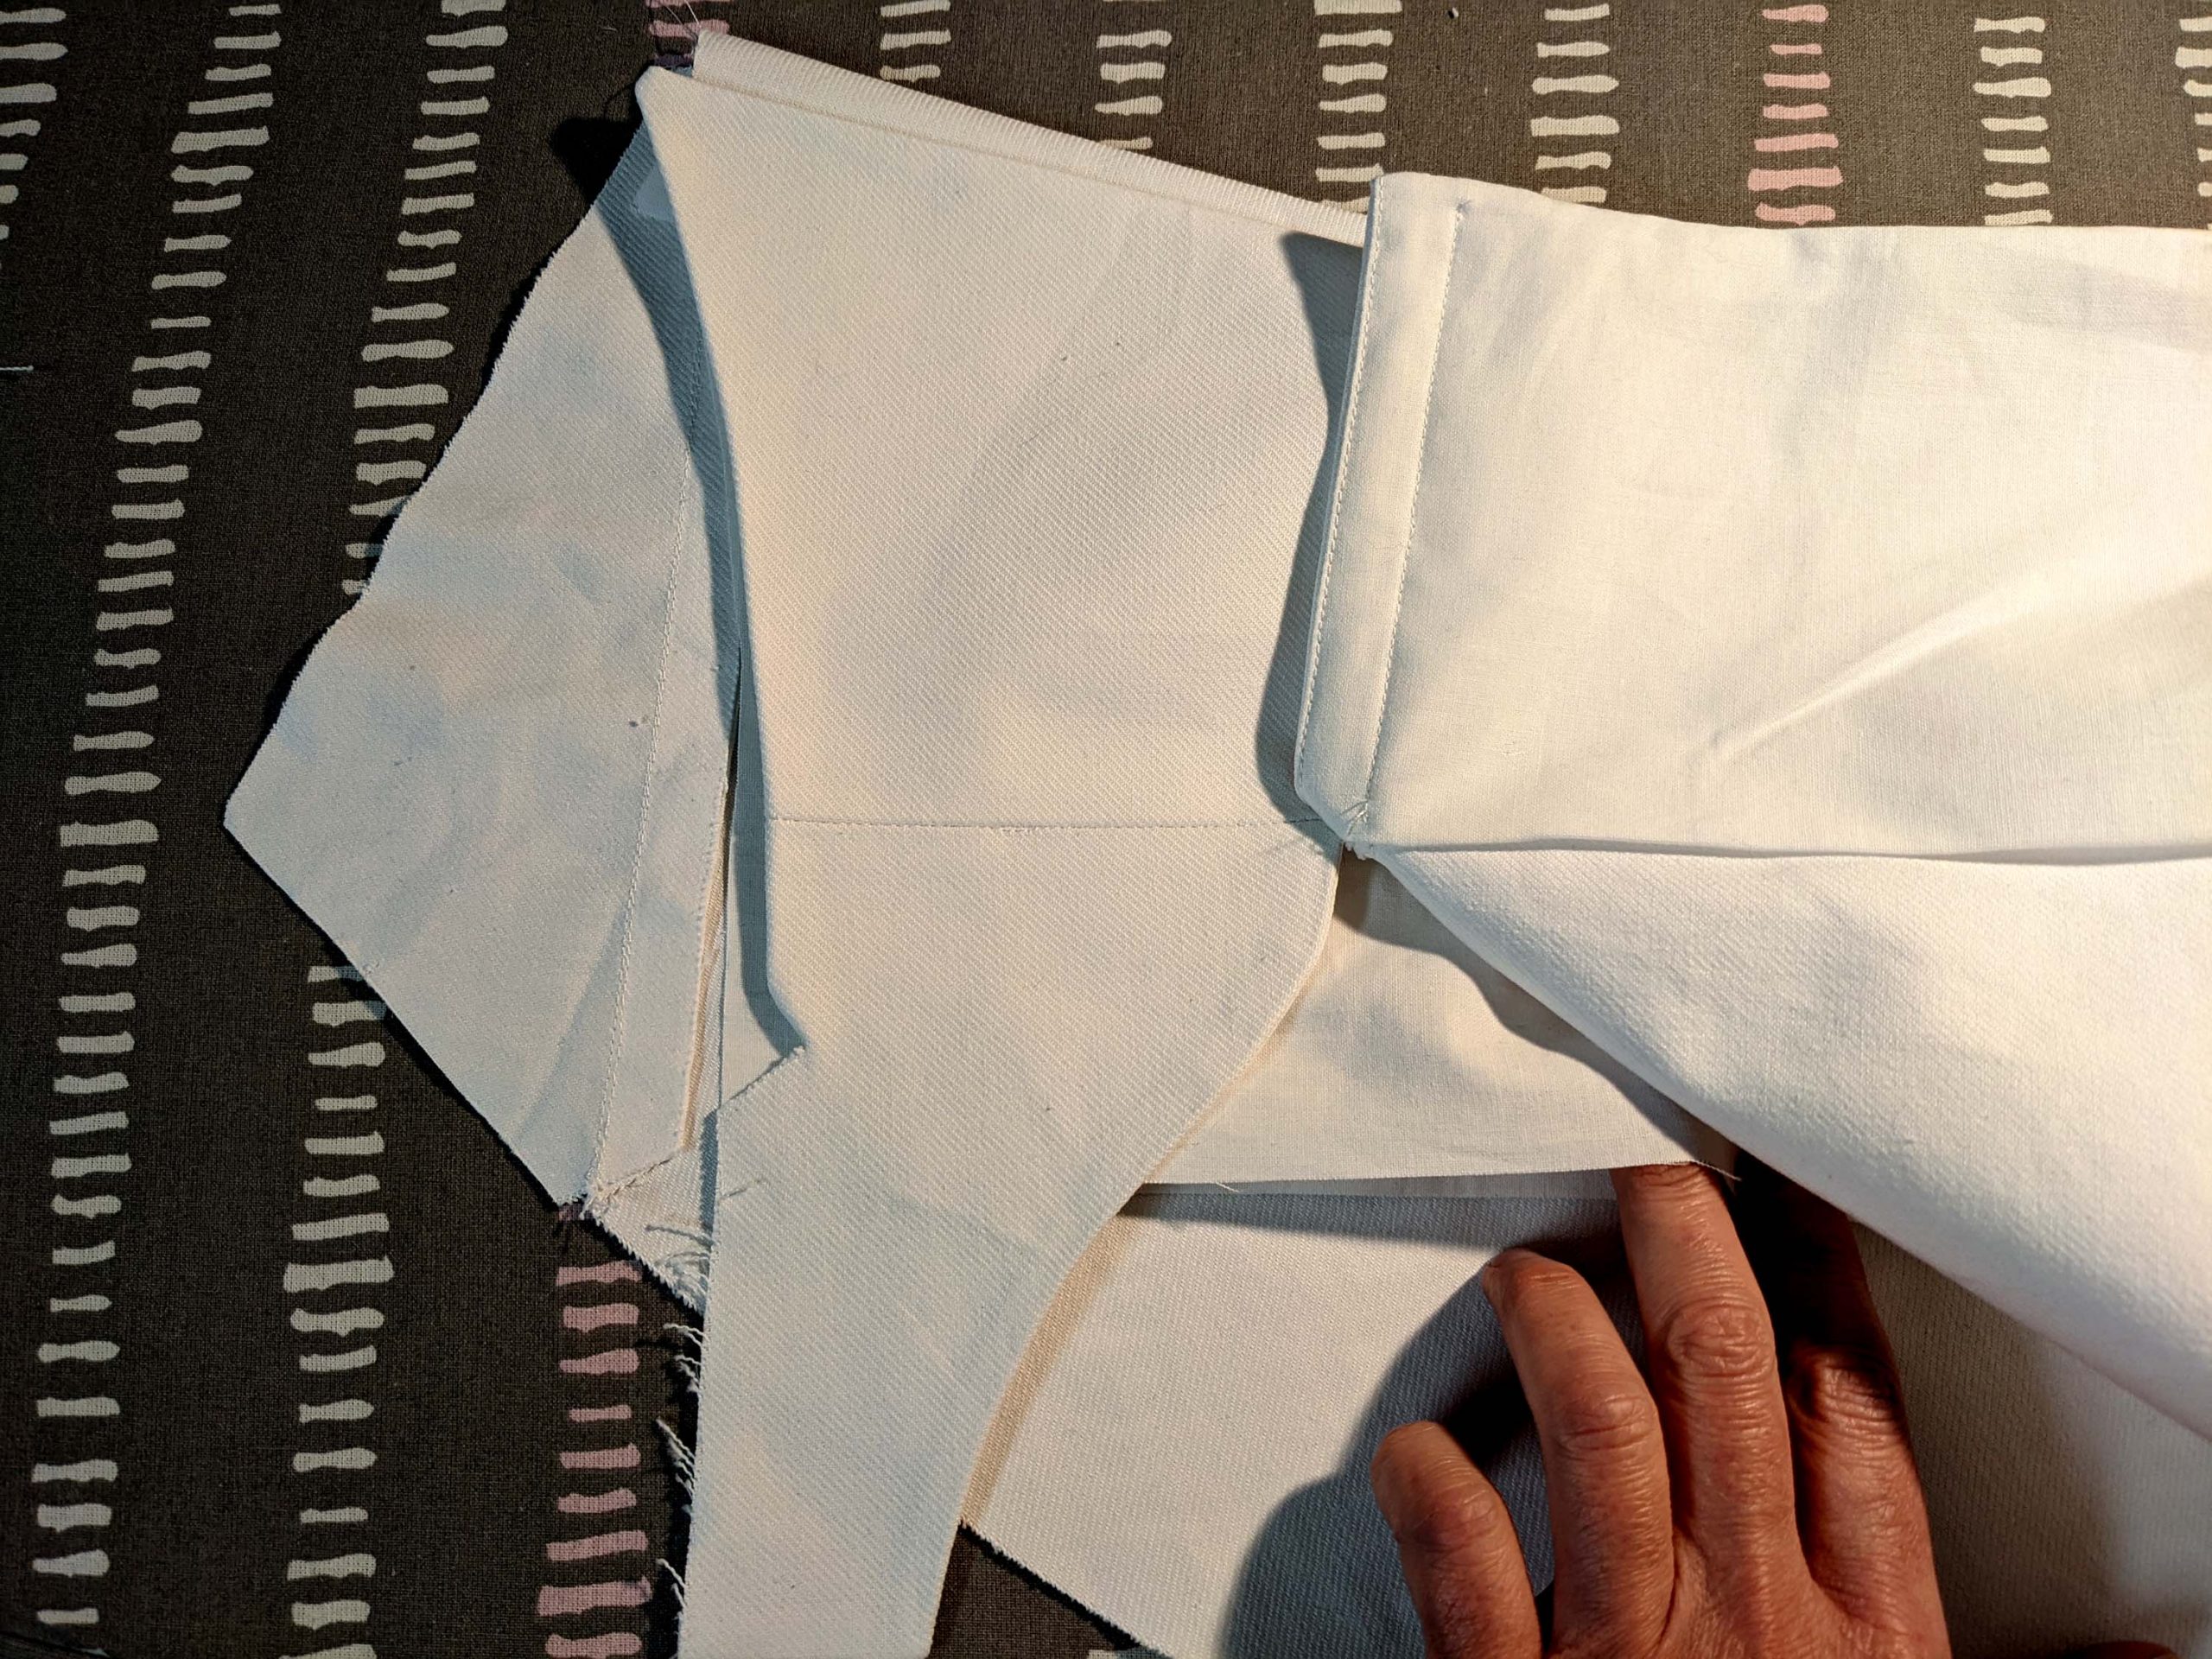
Line up the fall and fall lining, right sides together. Turn the seam allowance of the placket towards the lining and sew along the top edge. Leave loose about 5cm at the center front edge to sew the crotch seam later easily. Trim back the seam allowances and turn the right way out.
Lay the placket over the underfall and smooth out. Stitch the point to the breeches, optionally stitch in the ditch of the placket seam, catching the lining on the back to hold in place.
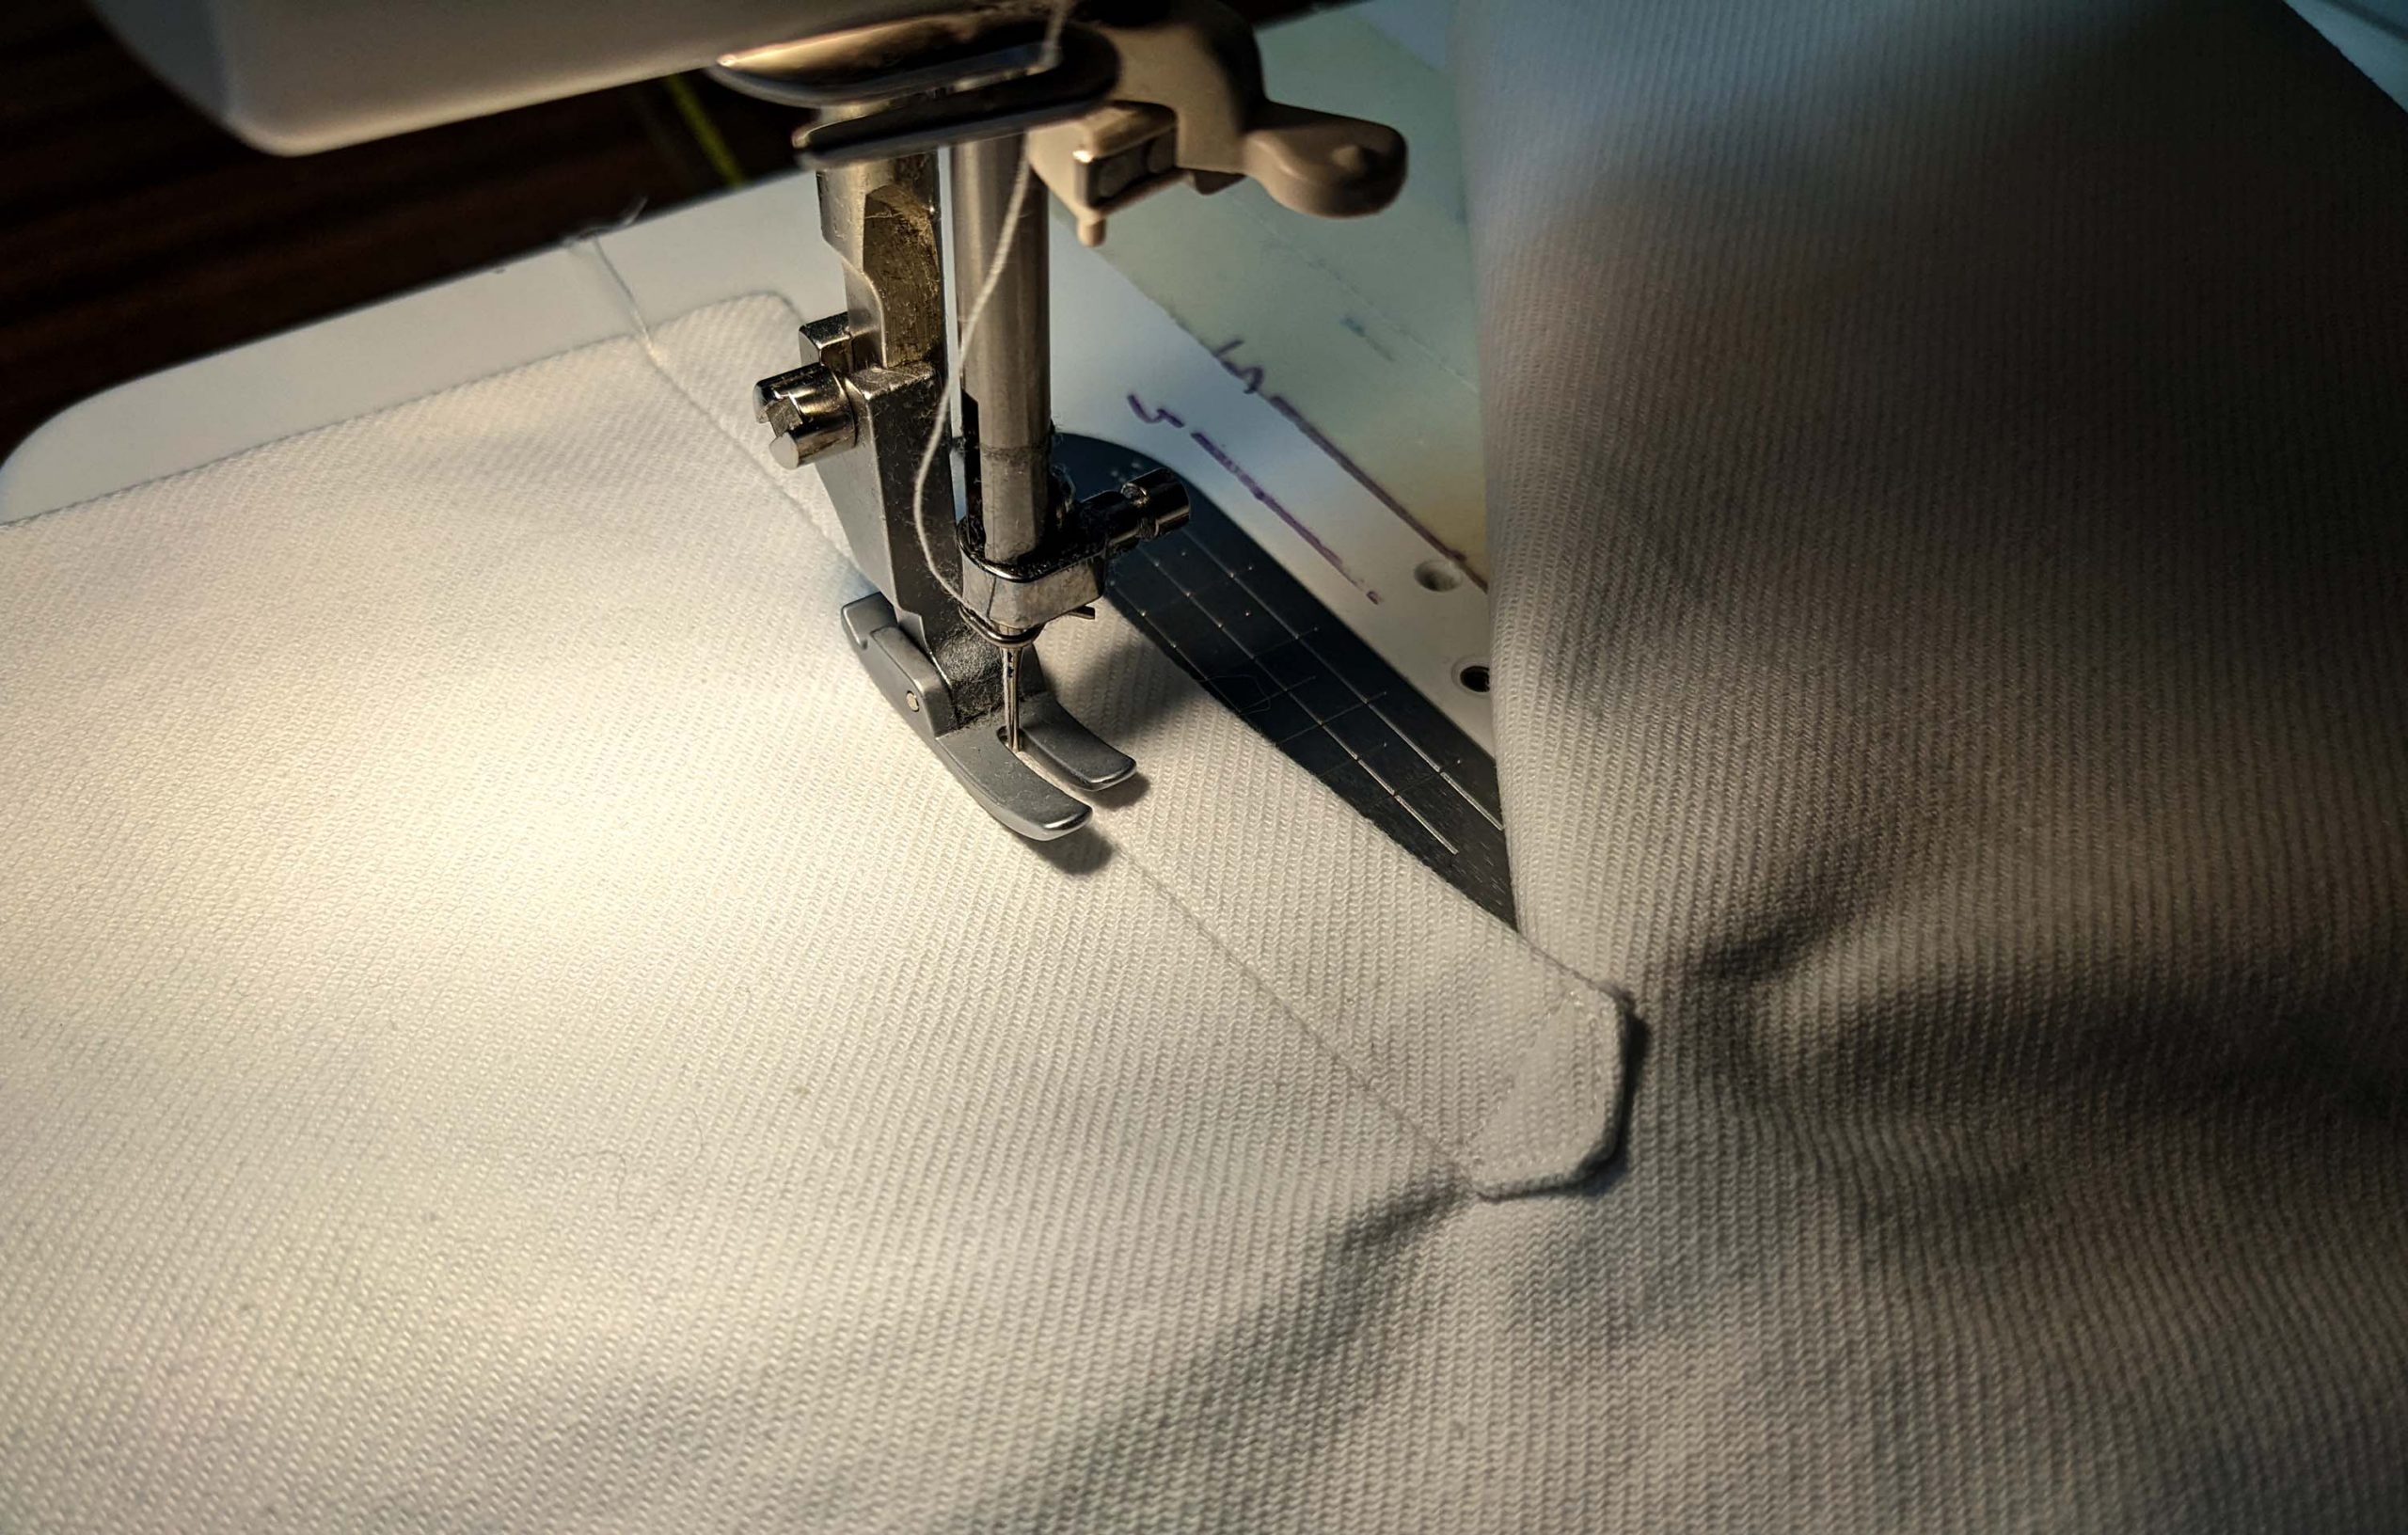
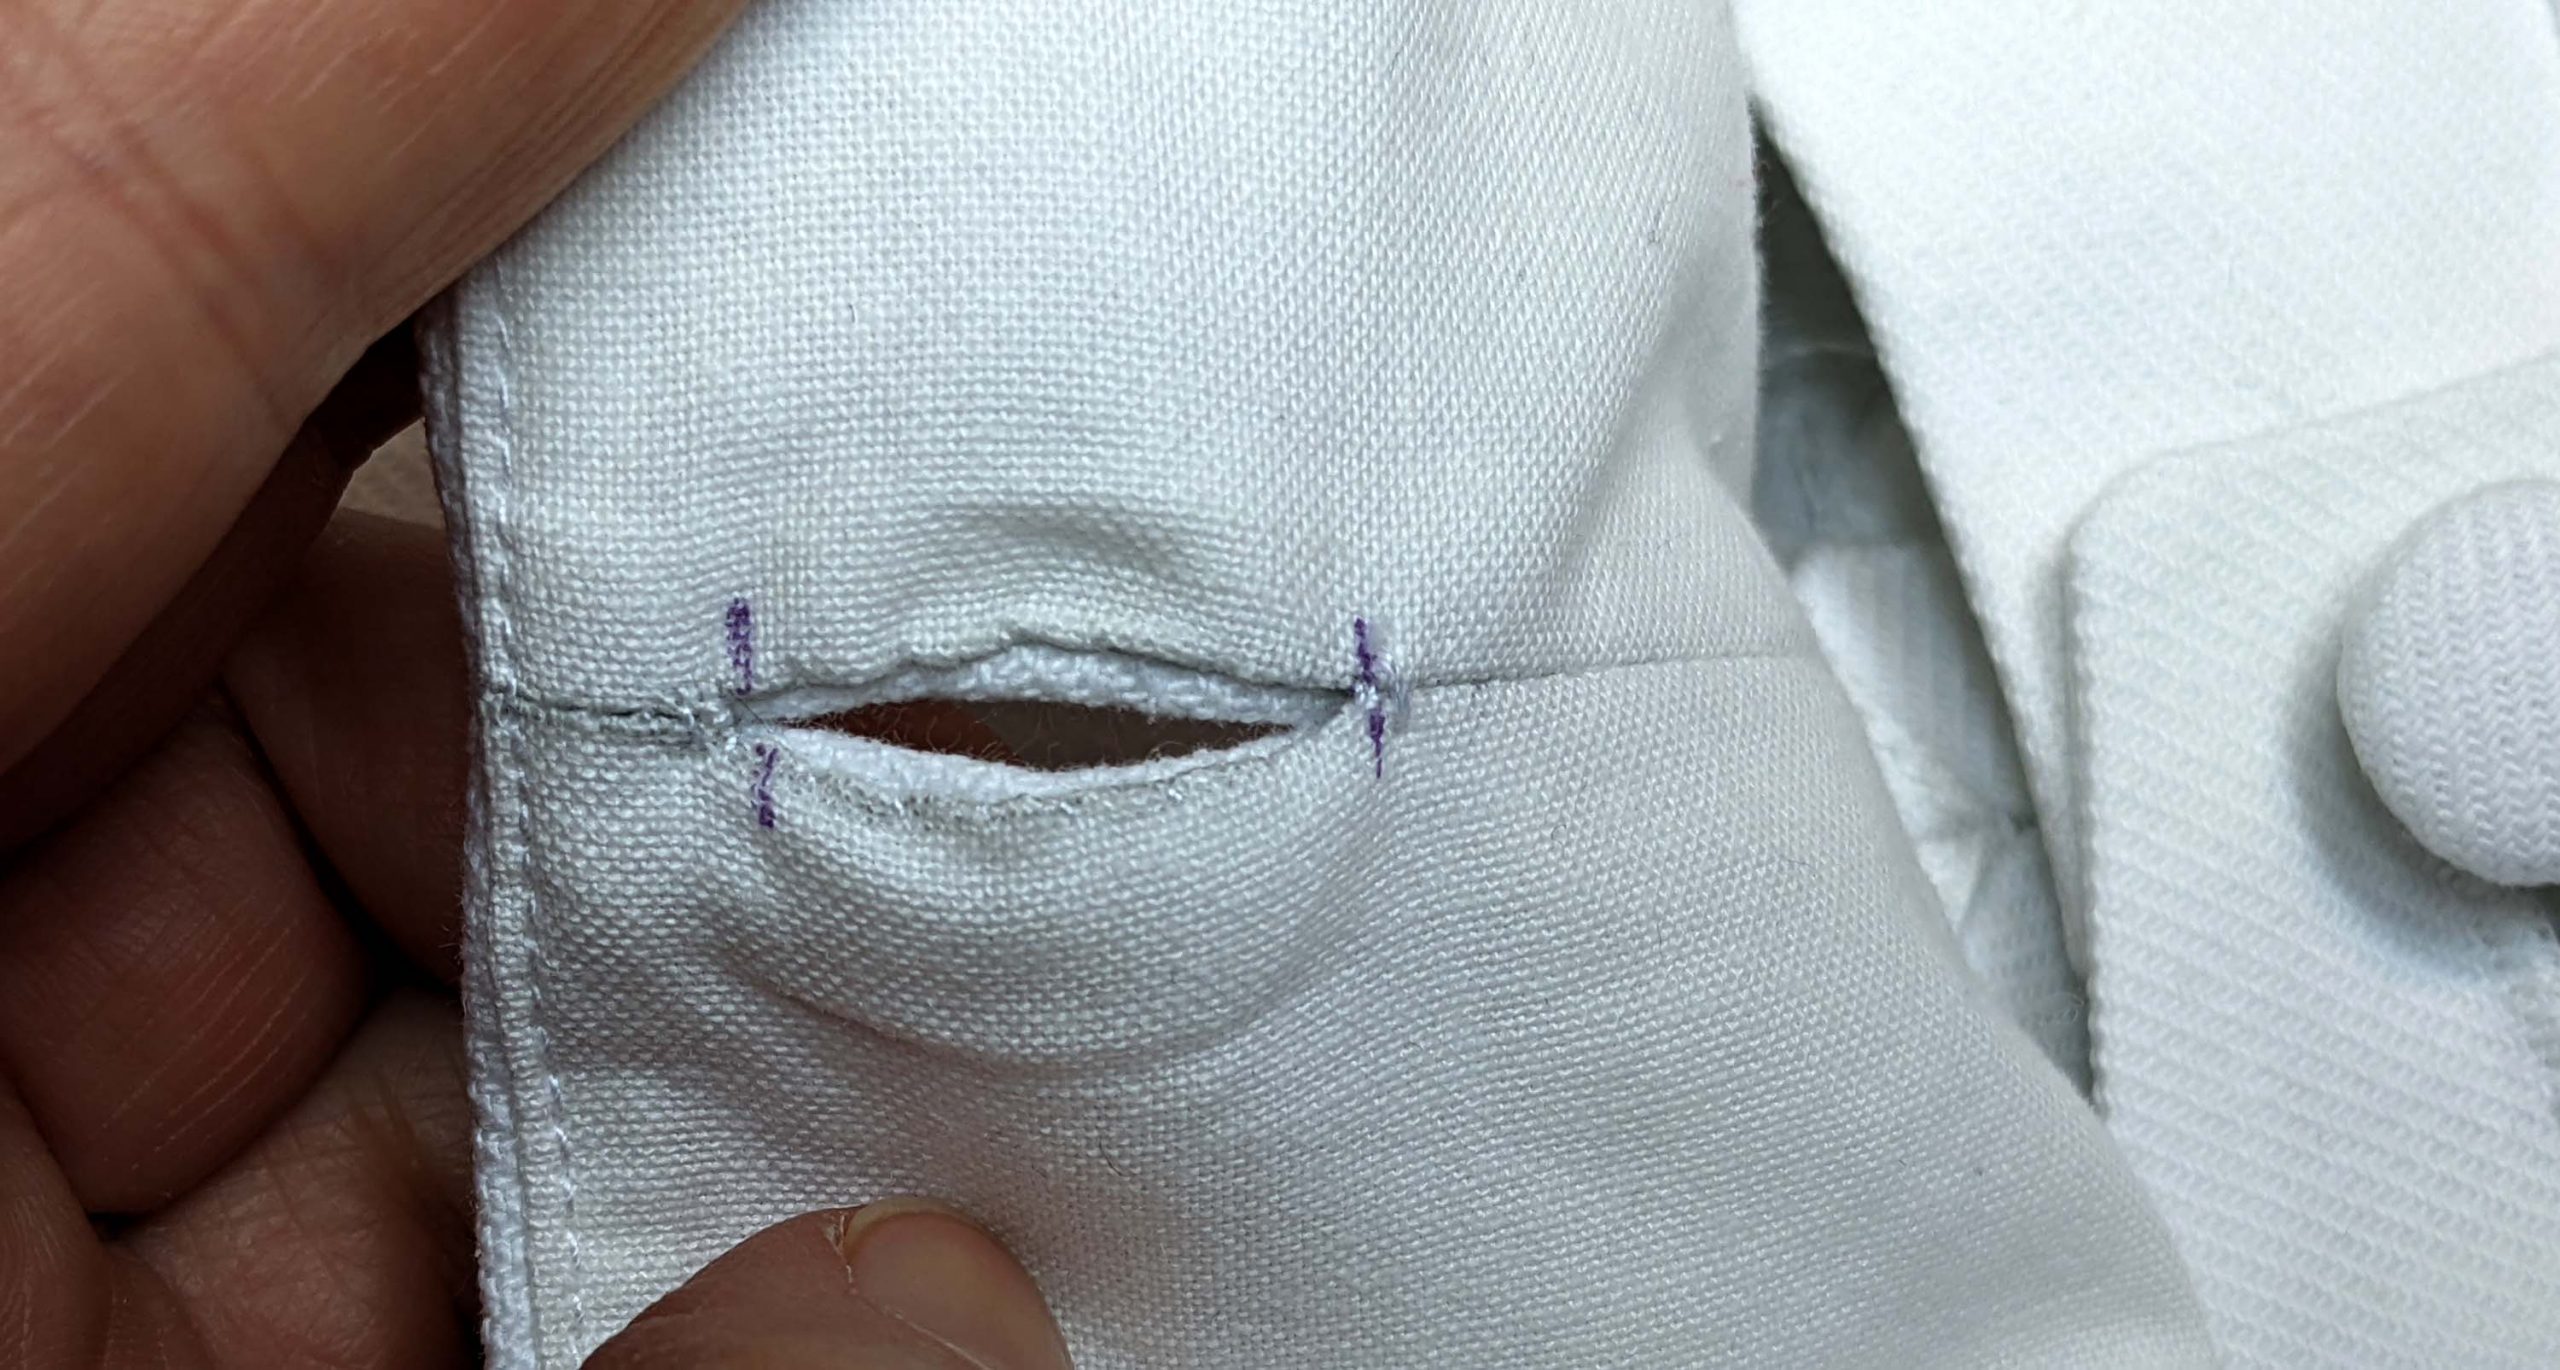
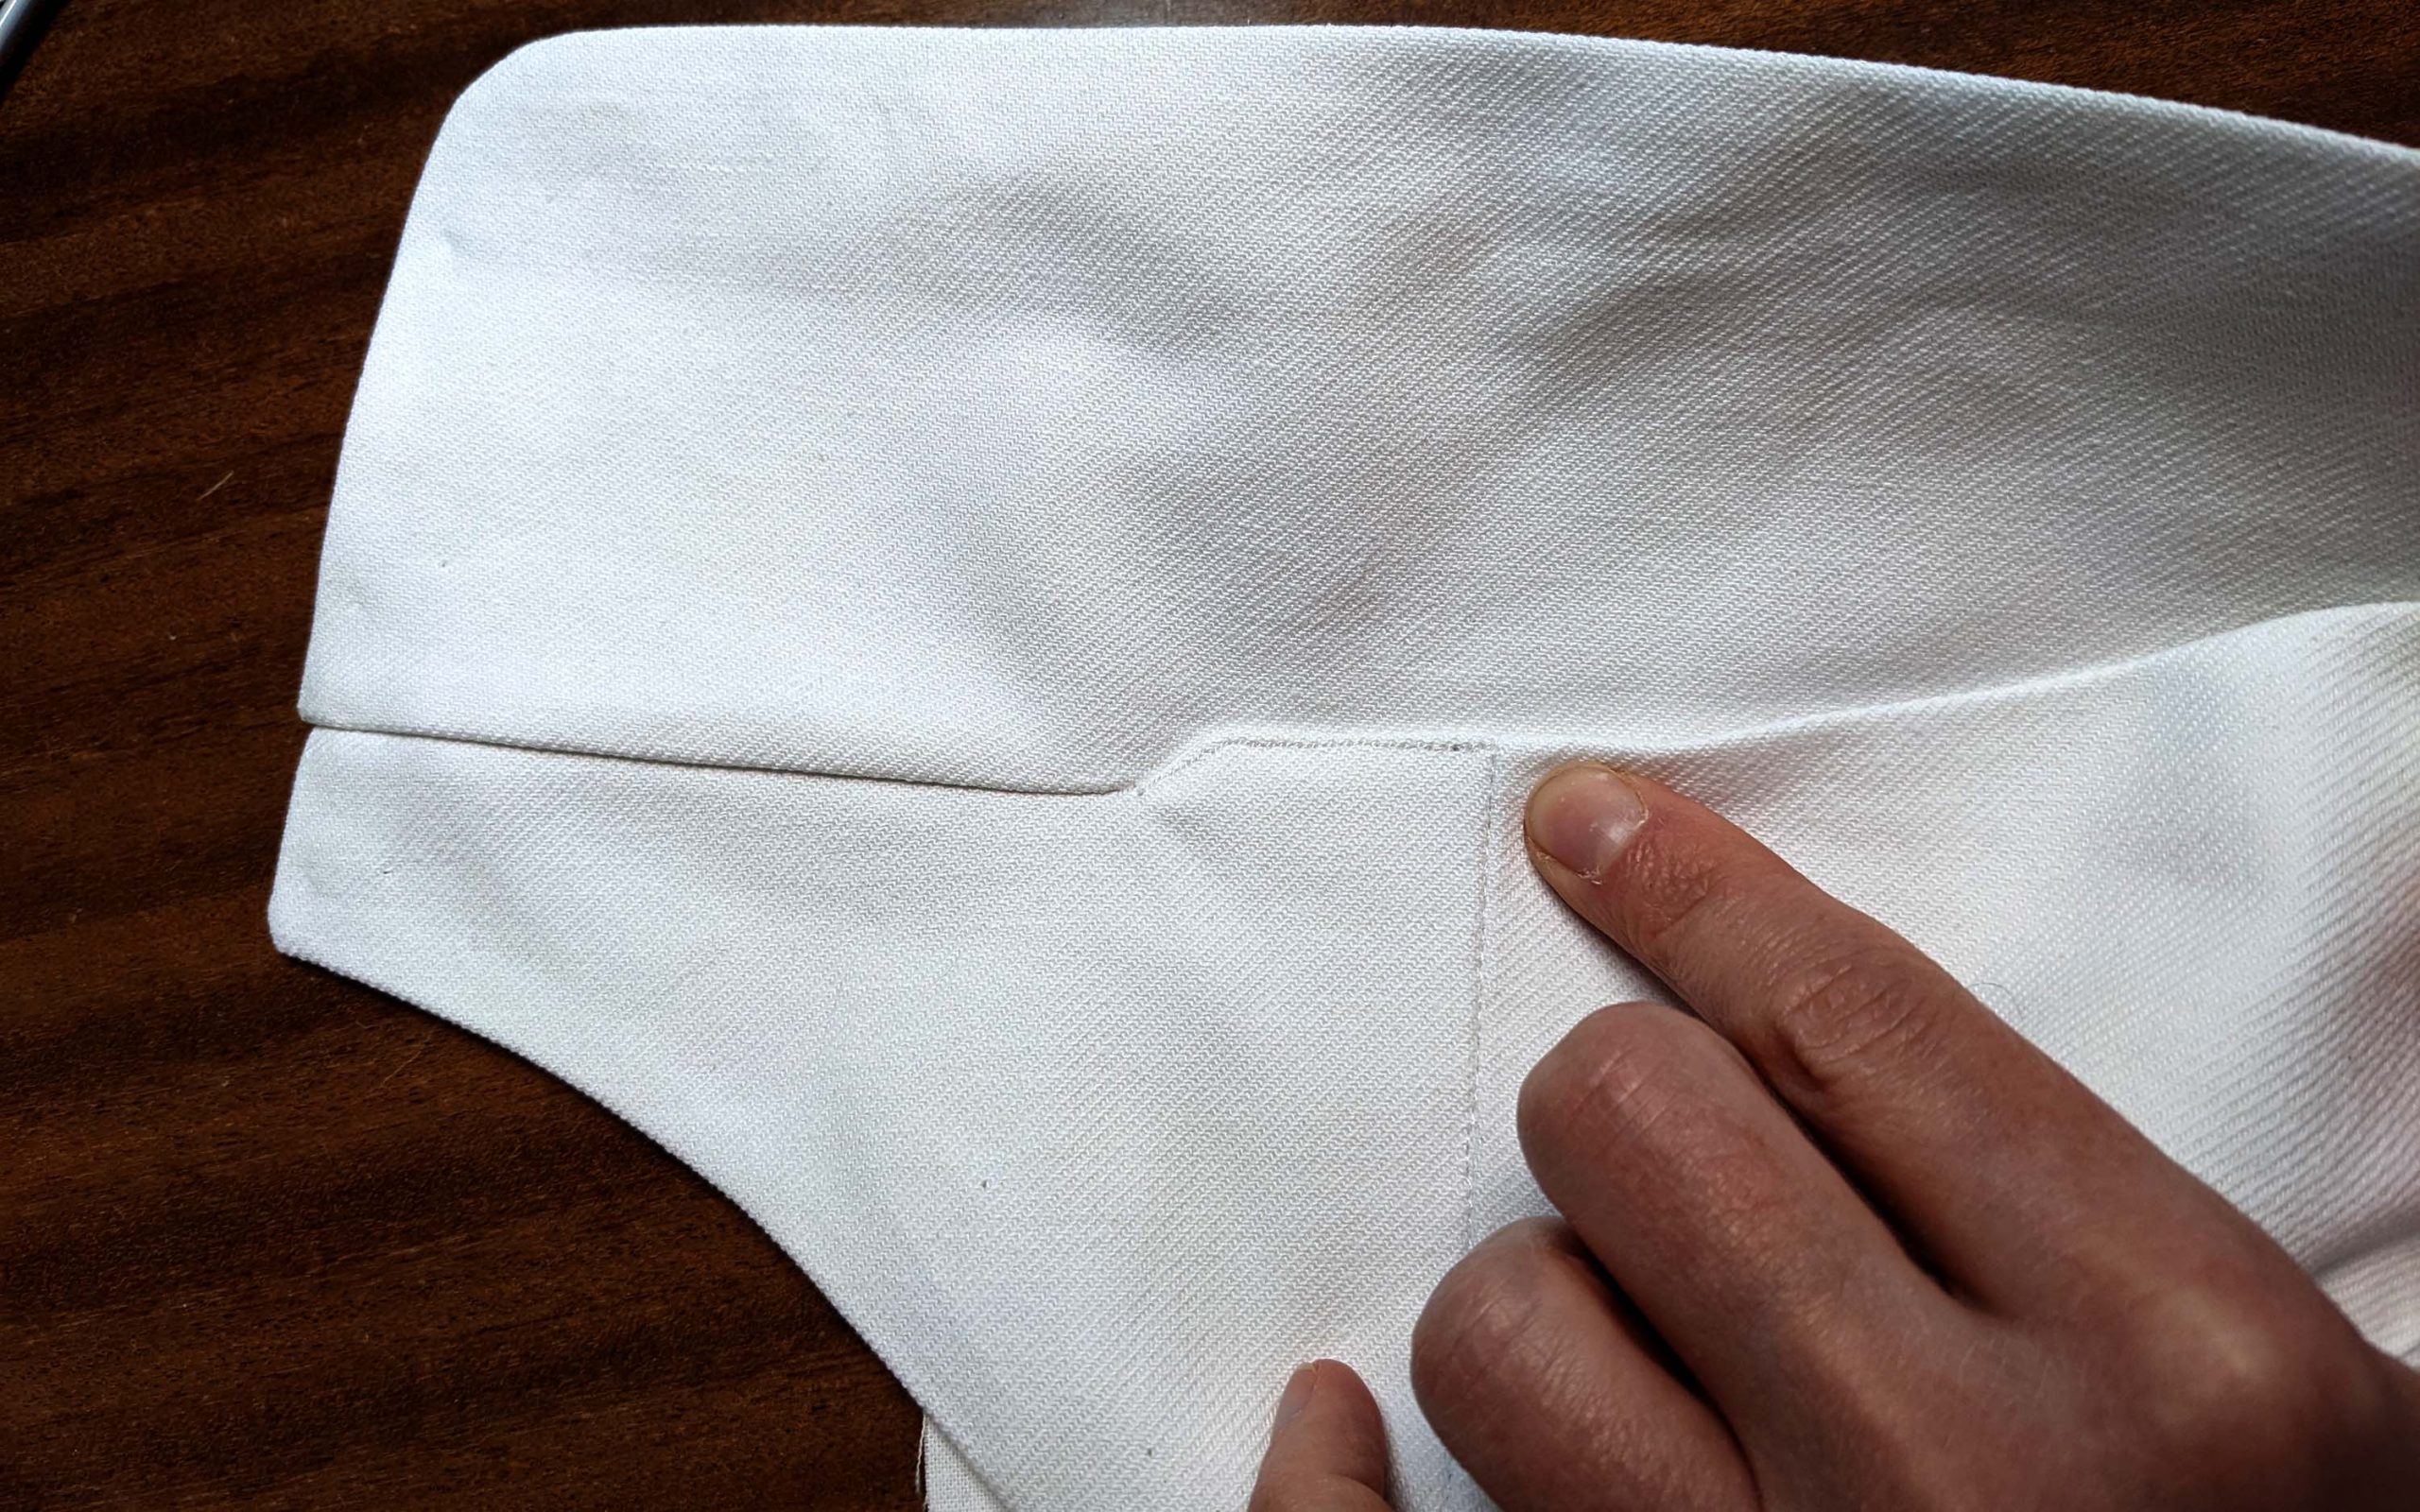
Line up the front pocket along the side edge of the breeches, matching the marks. The edge of the pocket must protrude the edge of the breeches about 1/16” 2-3mm to give the width needed for the turn of cloth. Stitch from mark (2) to (3), reducing the stitch length at the corner. Don´t sew a sharp corner, but round it off a bit. Clip the seam allowances towards the end of stitching and trim back the seam allowances between the marks. Turn the right way out and press.
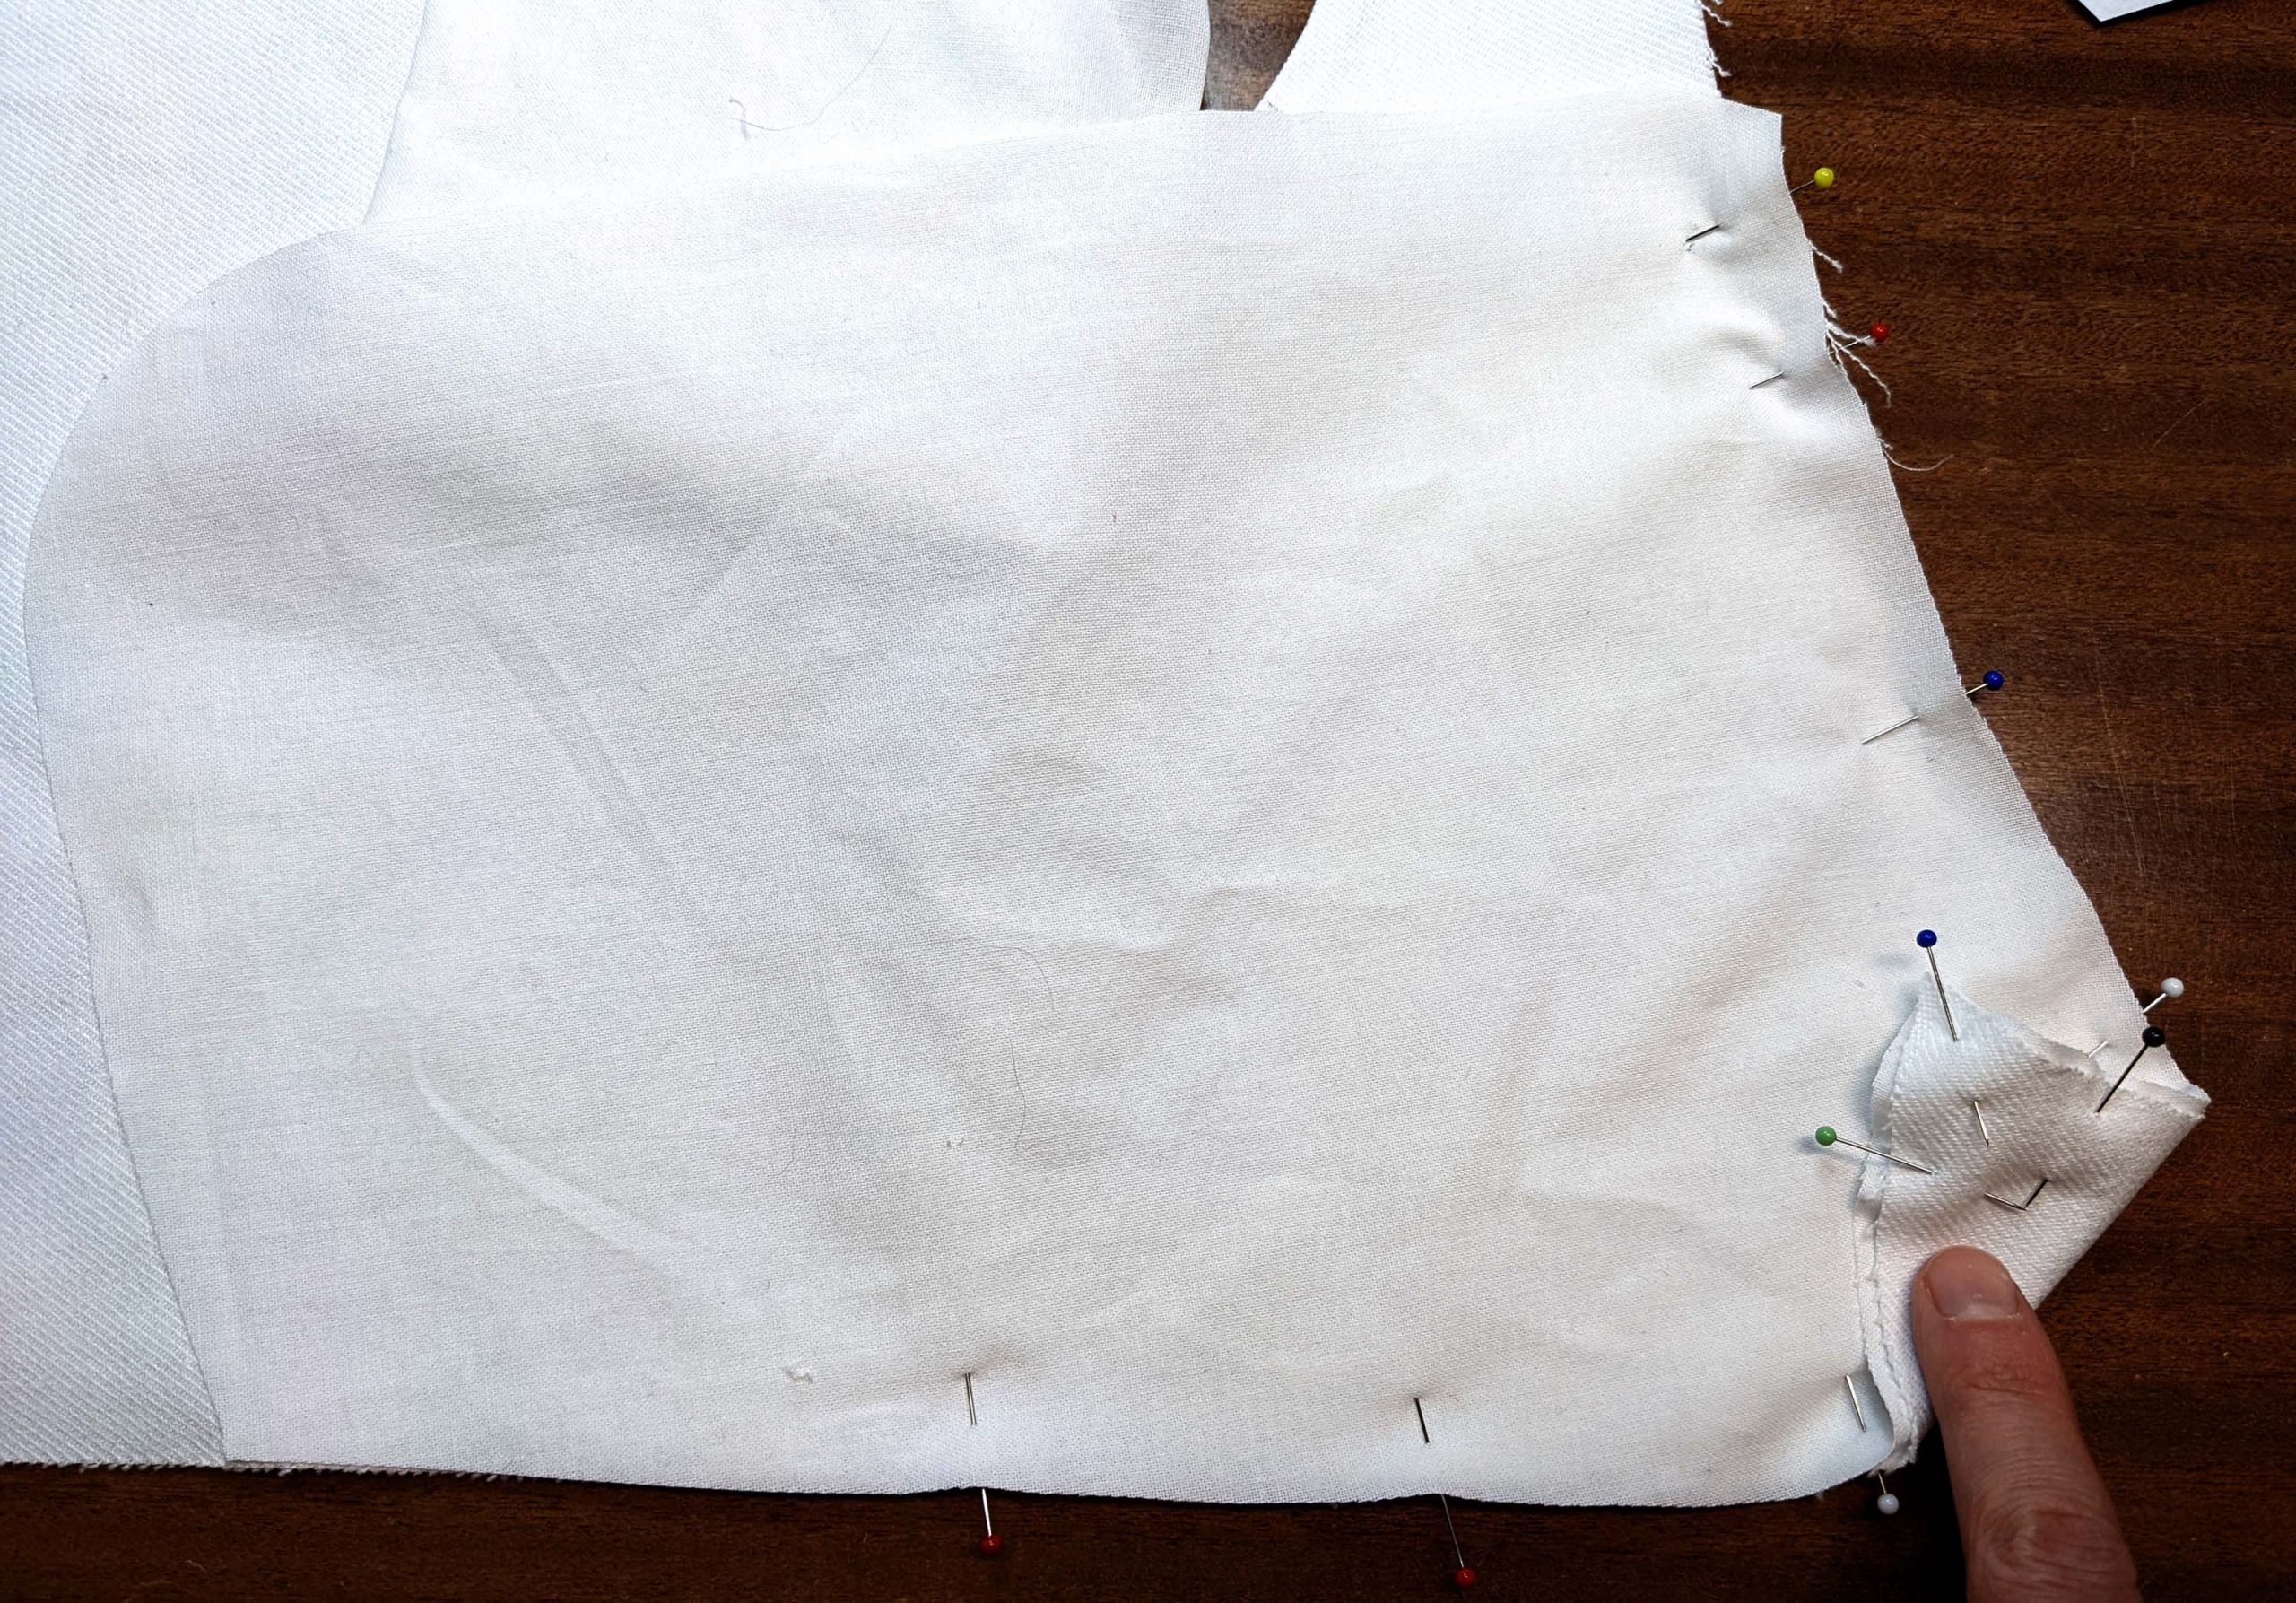
Line up the back pocket with the front pocket, matching the marks, and sew the pocket from (2) to (5) in the same way as described at point (3) of the hand sewing instructions.
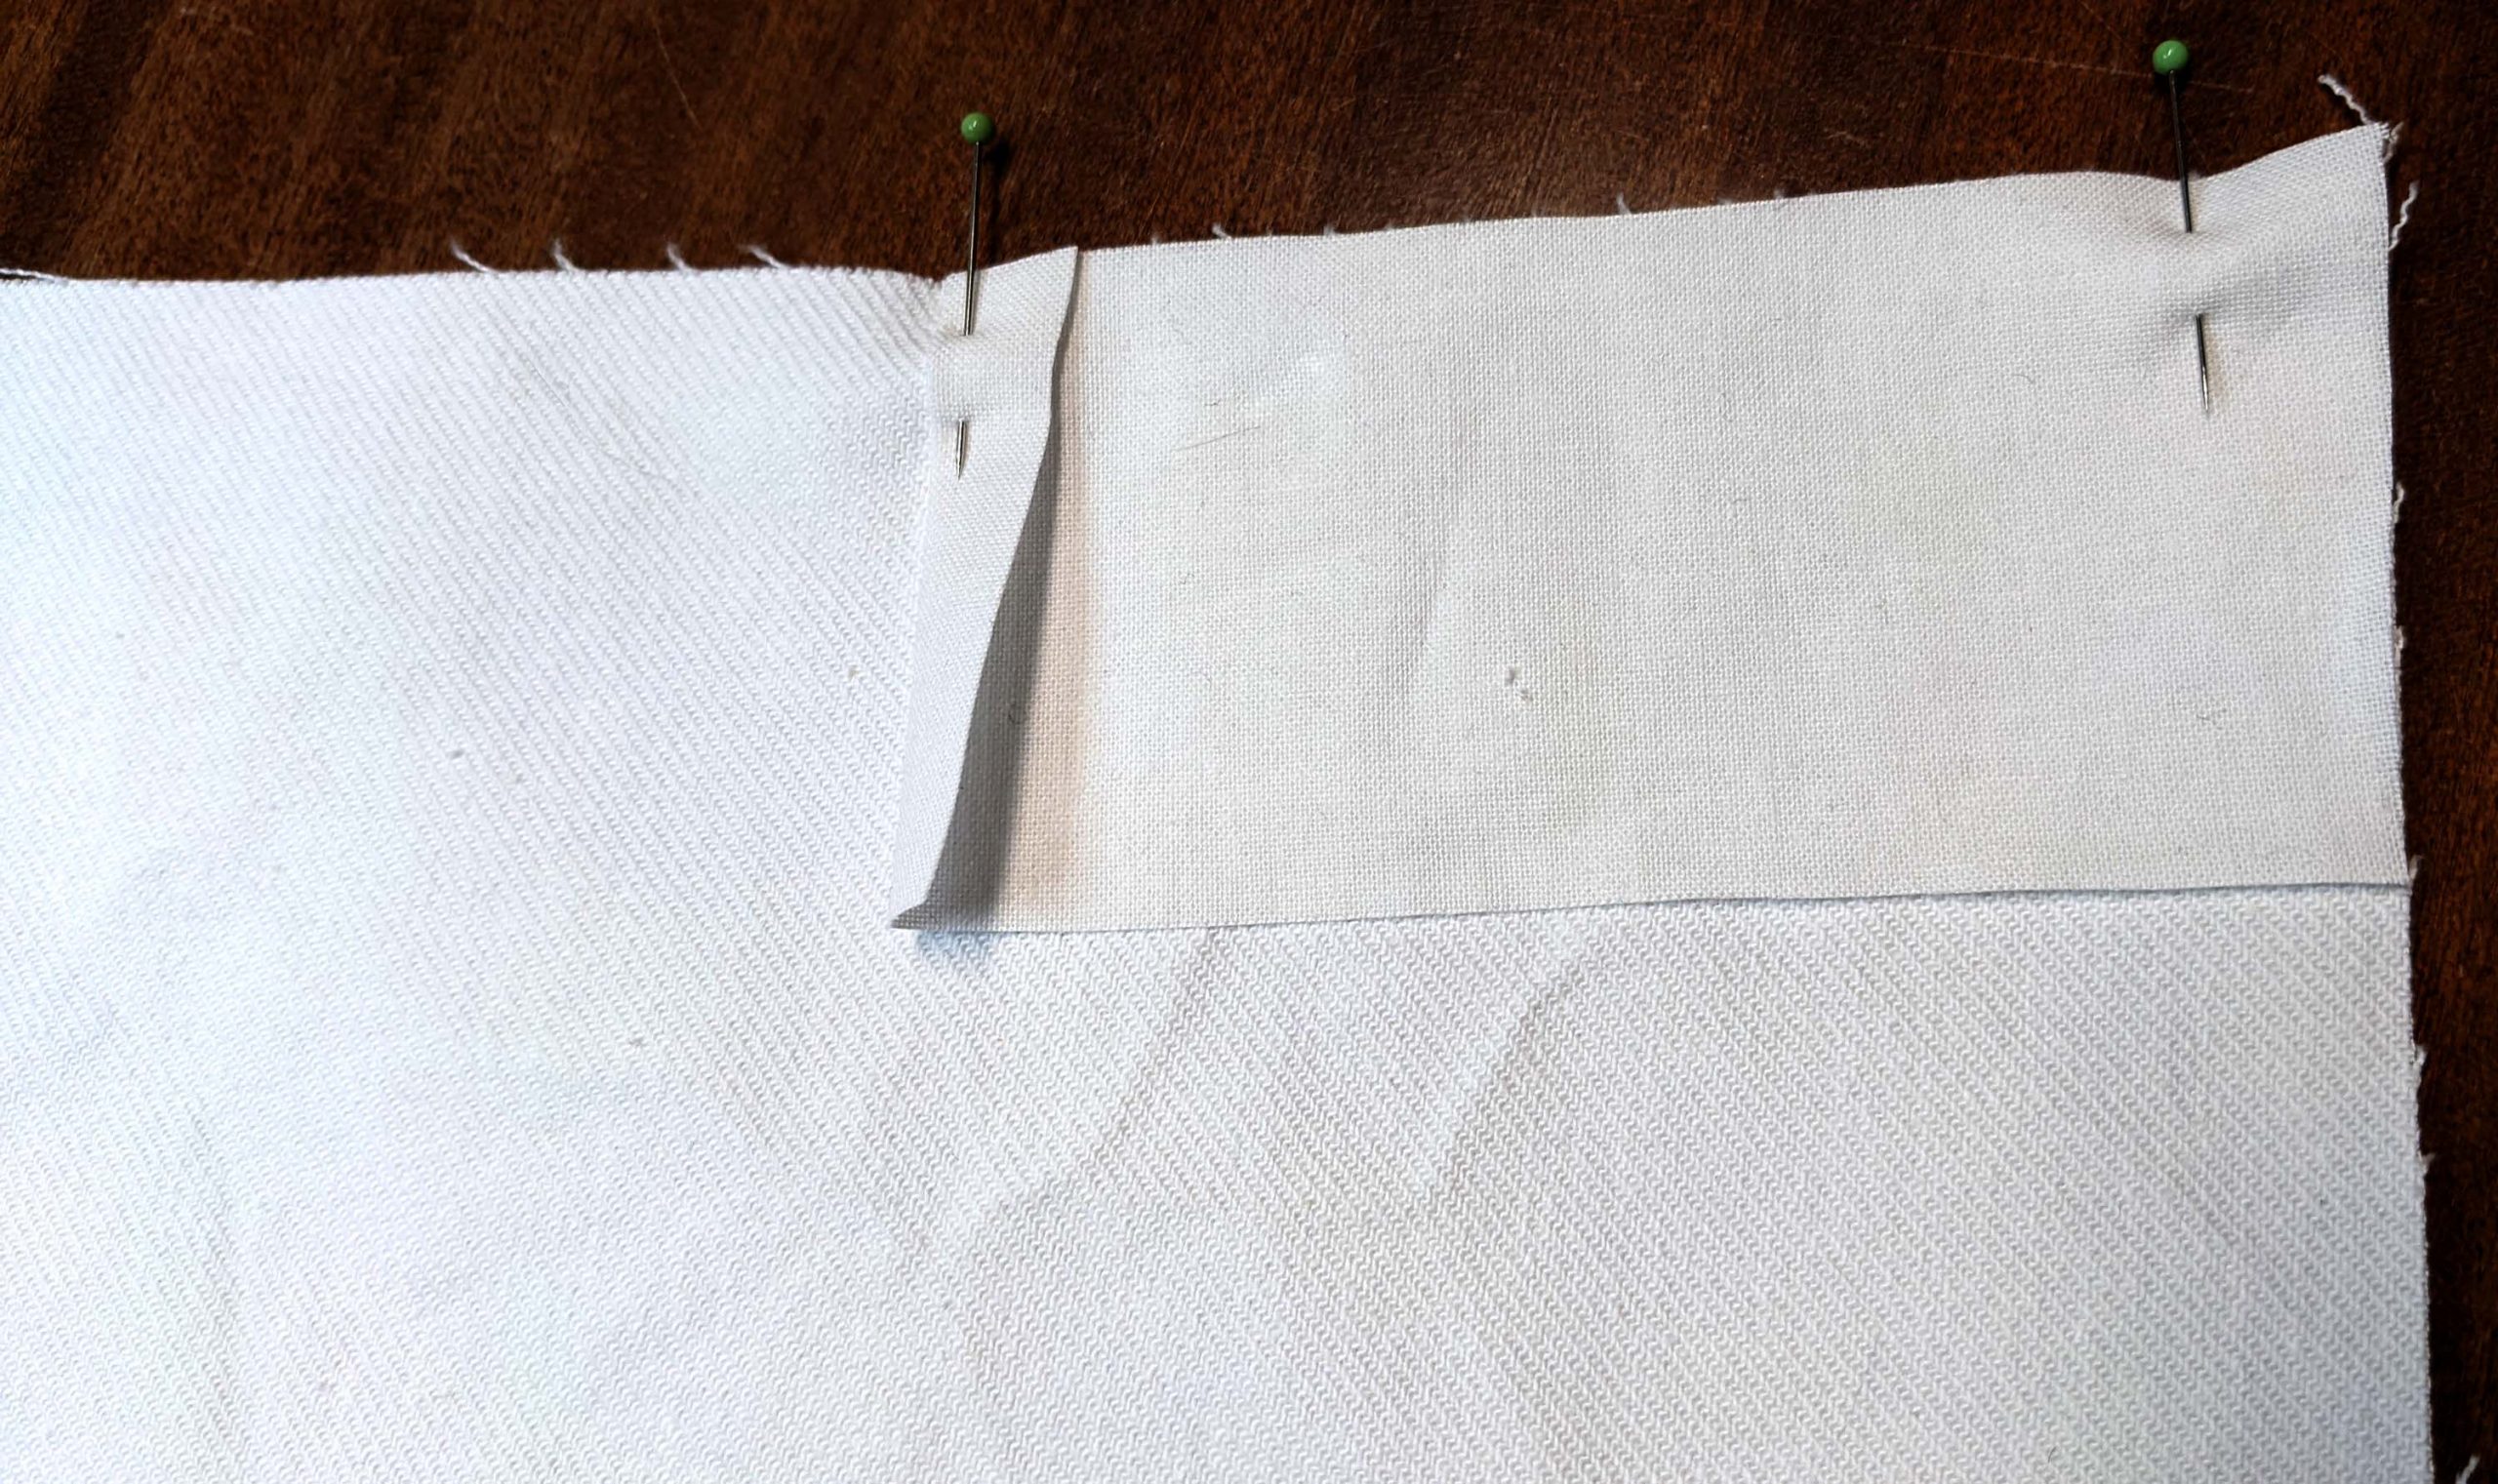
Preparing the vent is mostly the same with the sewing machine, just line up the lining with the breeches right sides together, stich along the edges, trim back the seam allowances and turn the right way out – again, see point (4) and (5) of the hand sewing instructions. Sew the side seam, right sides together, as you would by hand.


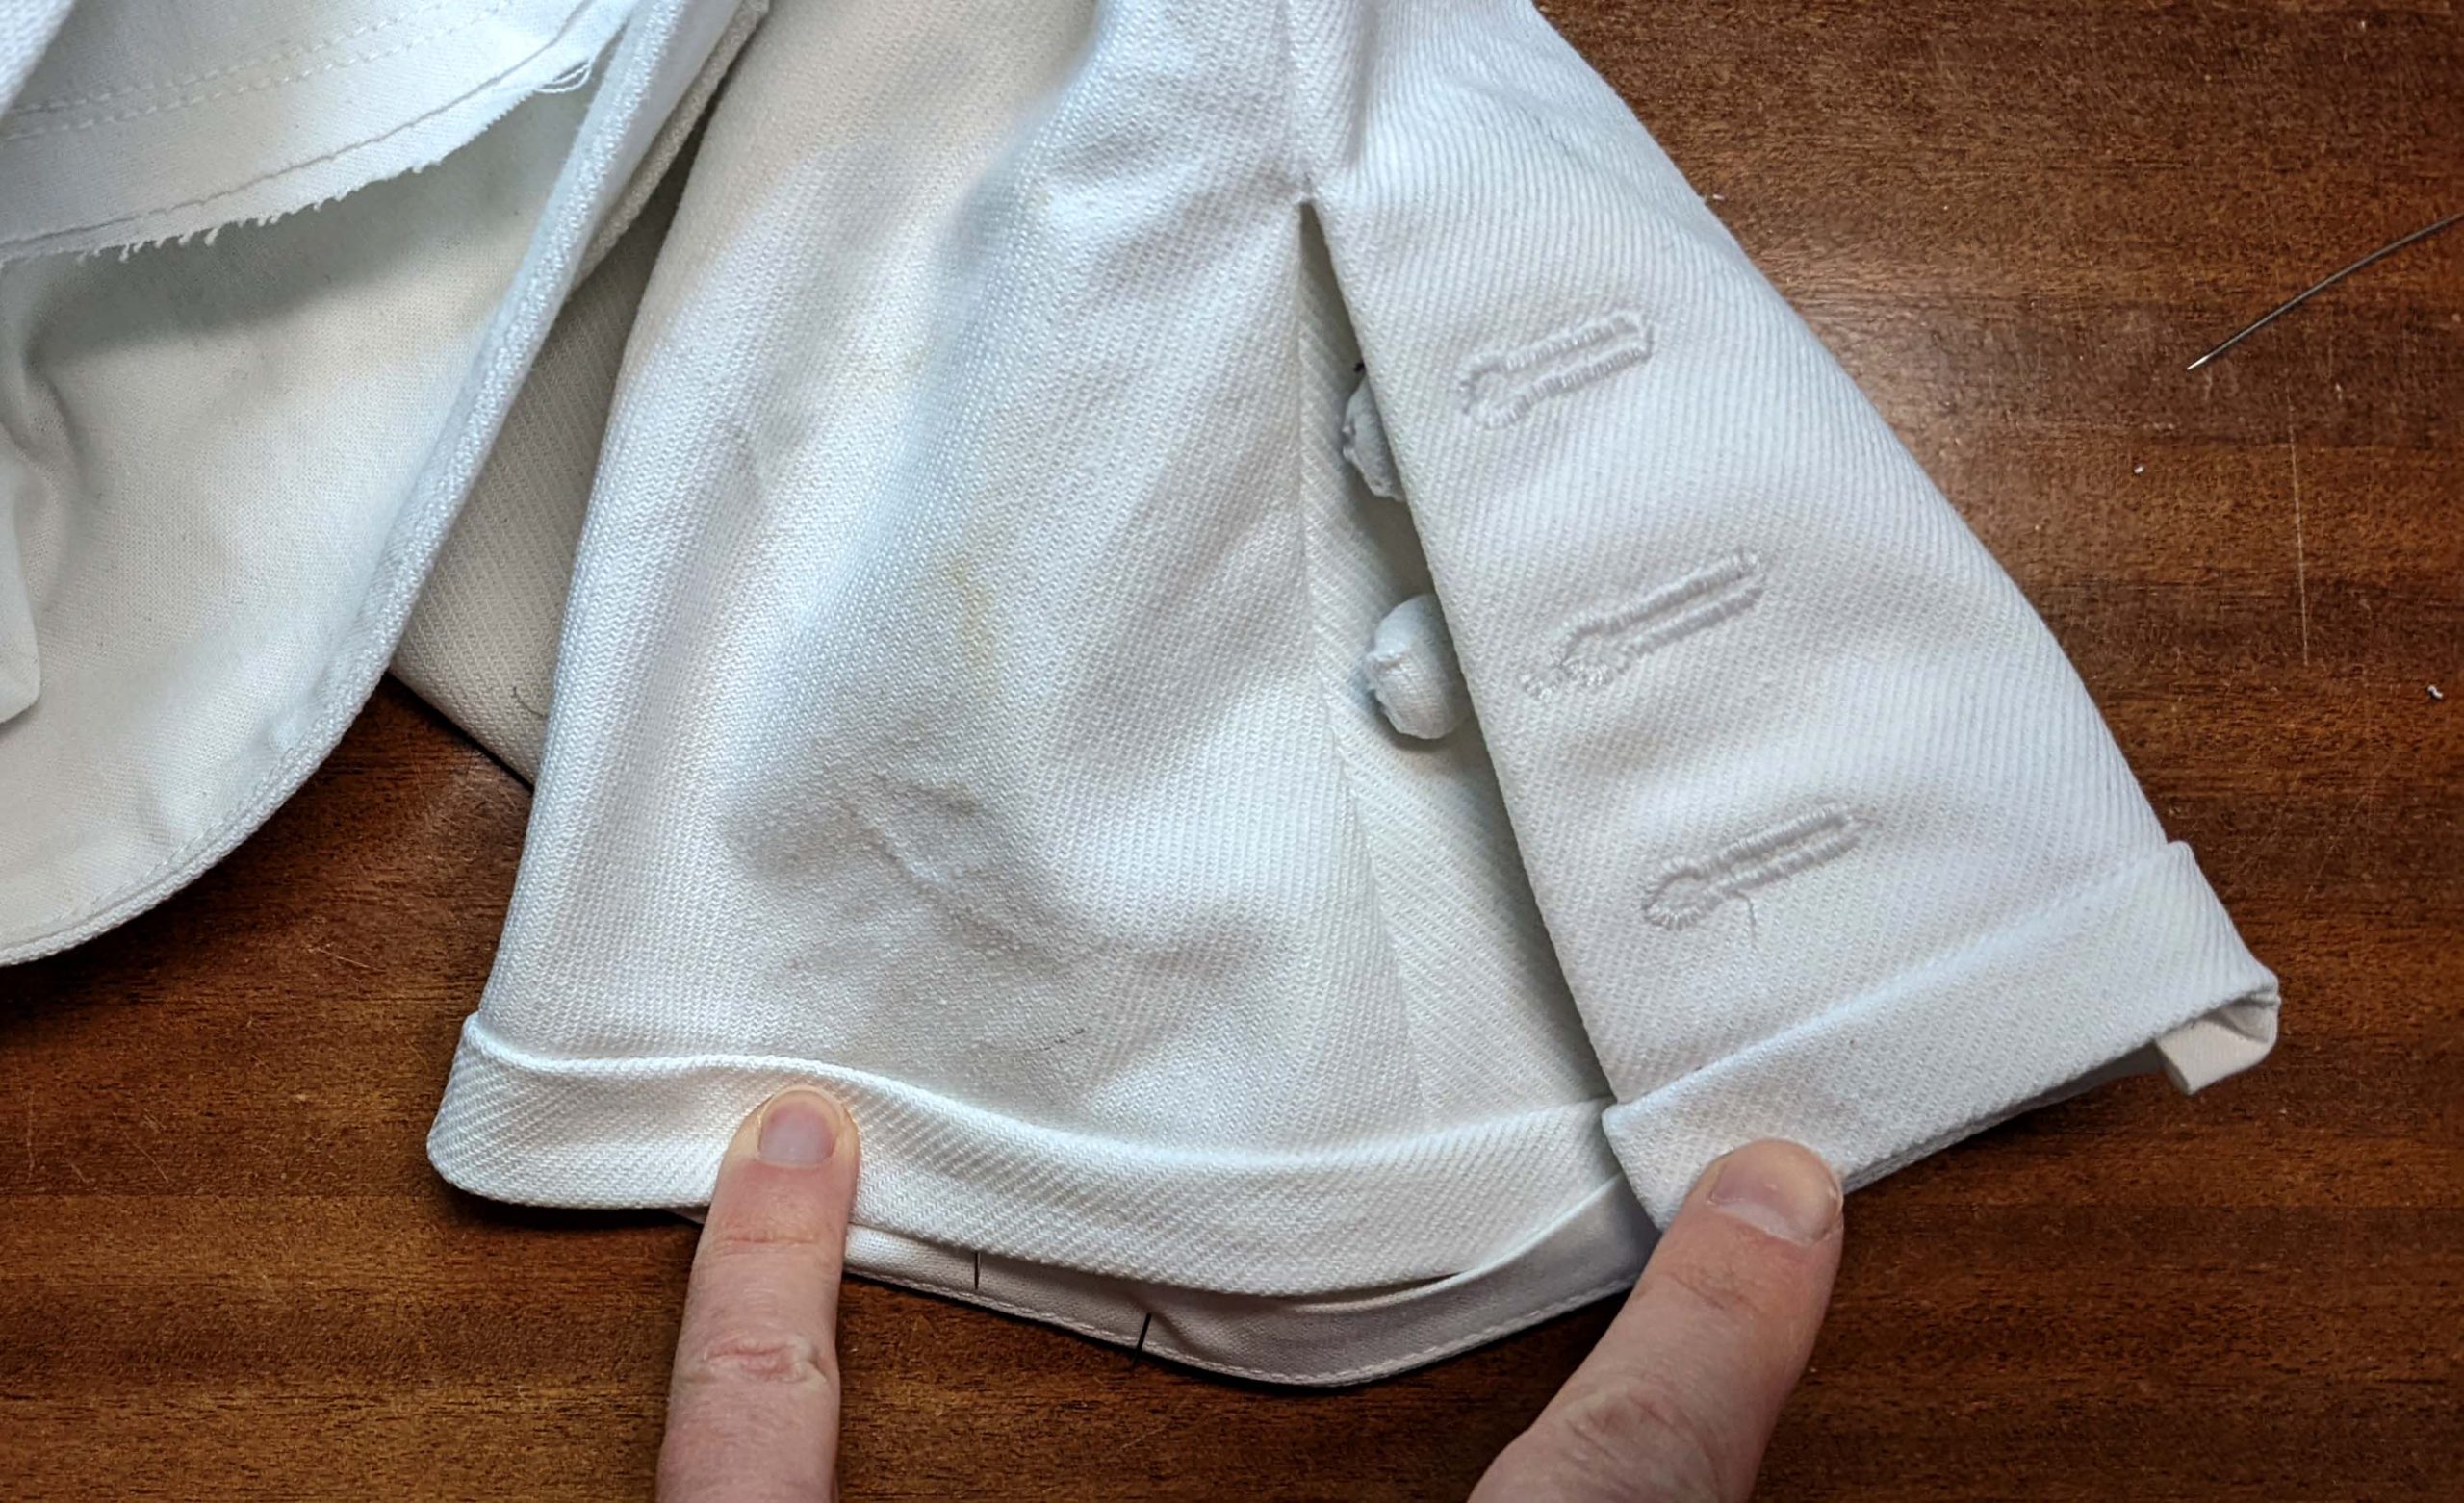
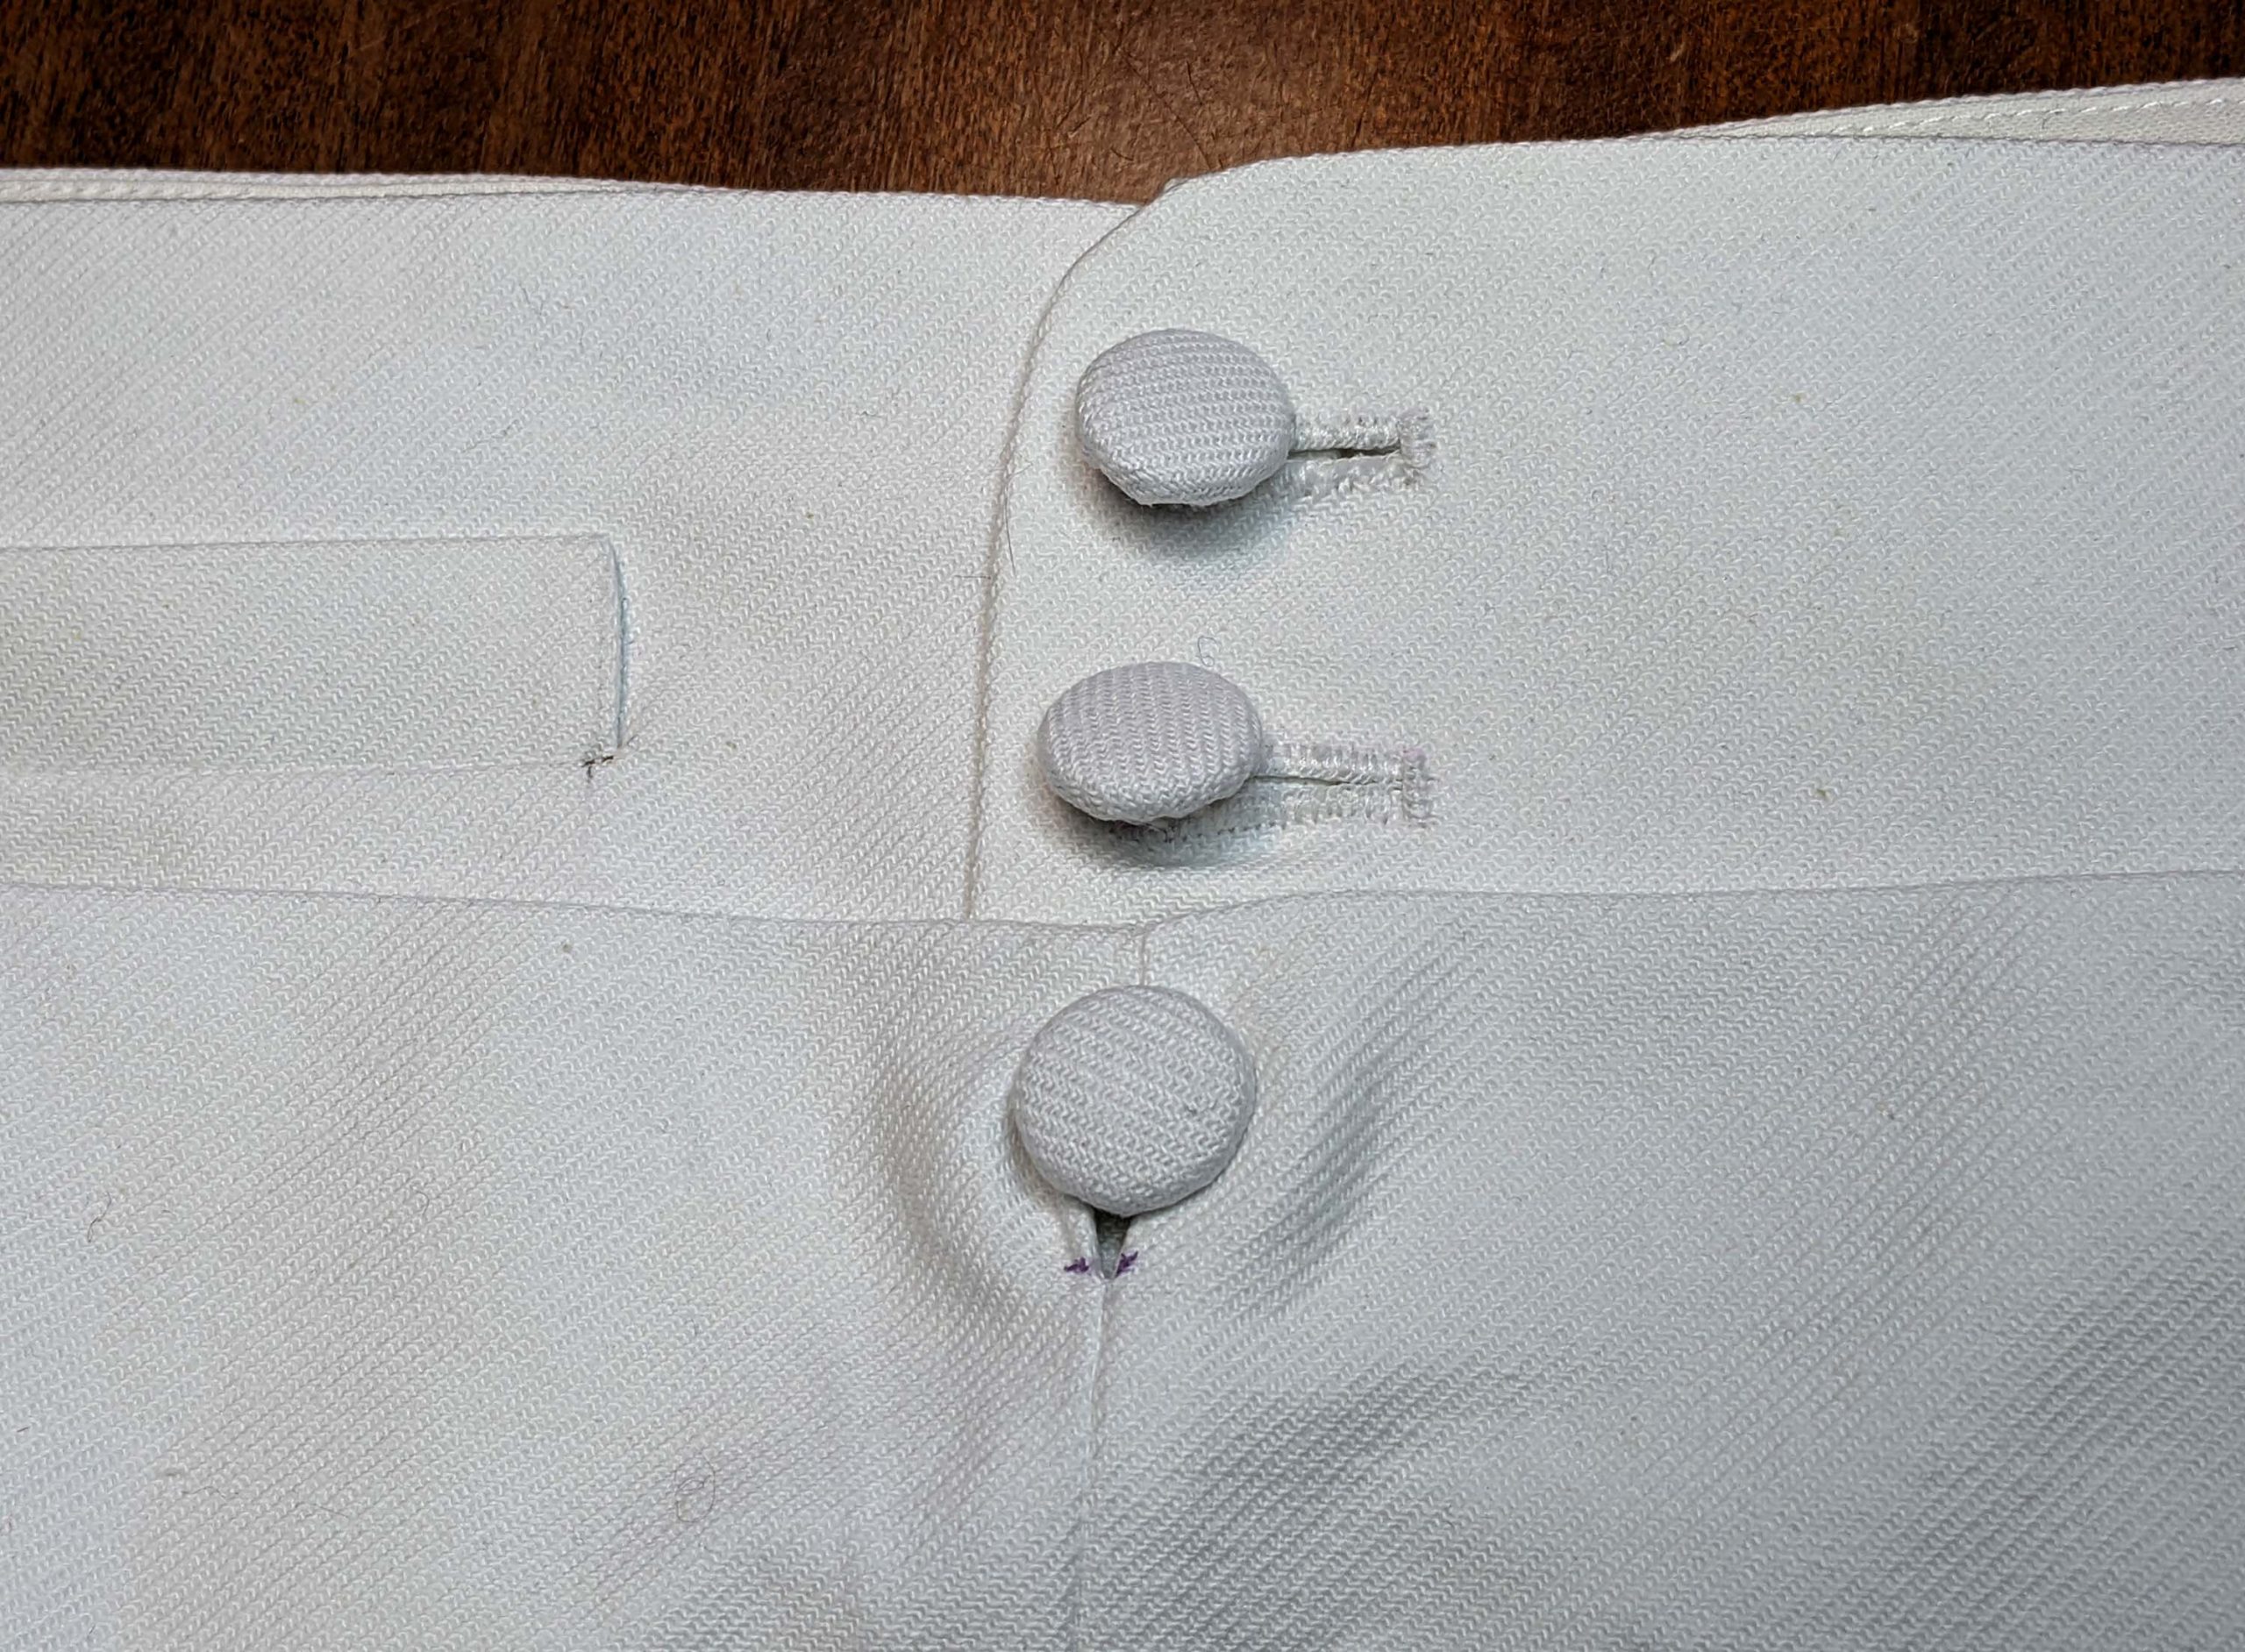
Take the knee band and line up with the lining, right sides together. Stich along the bottom edge. Trim back the seam allowance and press towards the lining, understitch. Turn in the seam allowance along the top edge of the lining and line up the knee band and lining right sides together again. Turn the seam allowance along the bottom edge towards the lining and stitch along both short edges. Trim back the seam allowances, mark the stitching line on the fashion fabric and turn the right way out. Sew the knee bands to the breeches, right sides together. Trim back the seam allowances and press towards the knee band. Line up the edge of the lining with the stitching line and fell down by hand. Sew button holes and sew on the buttons and tapes.


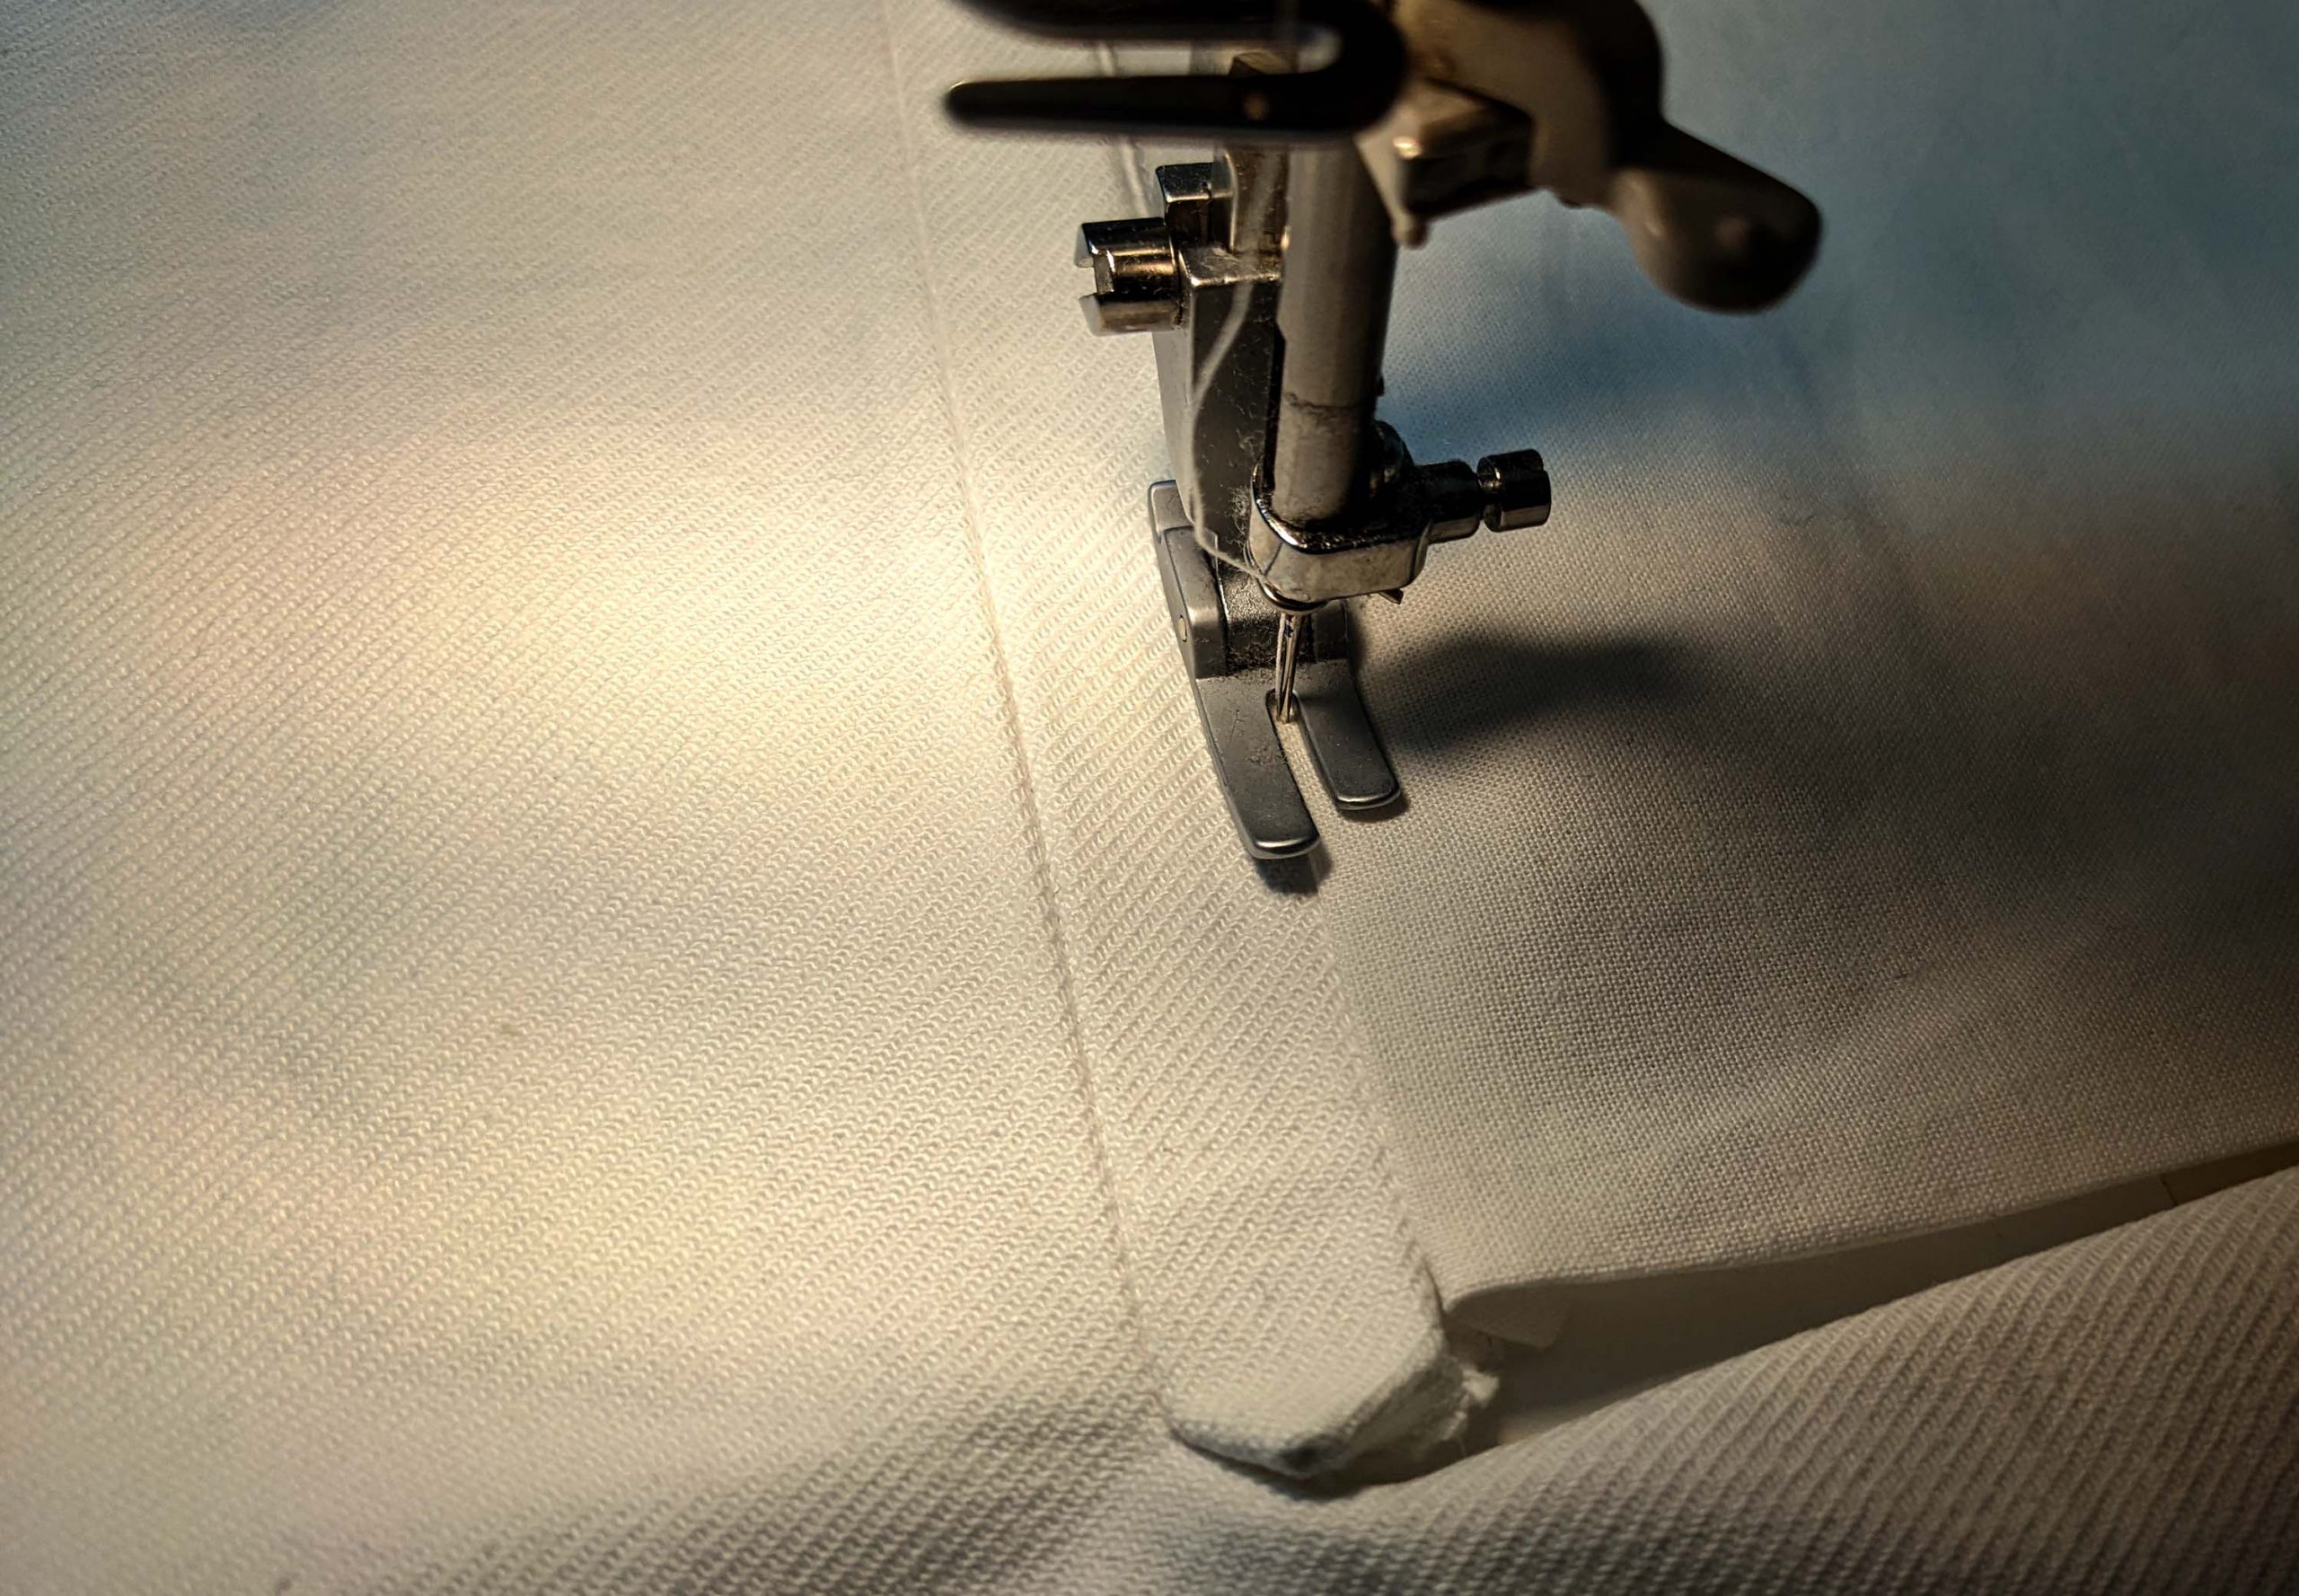
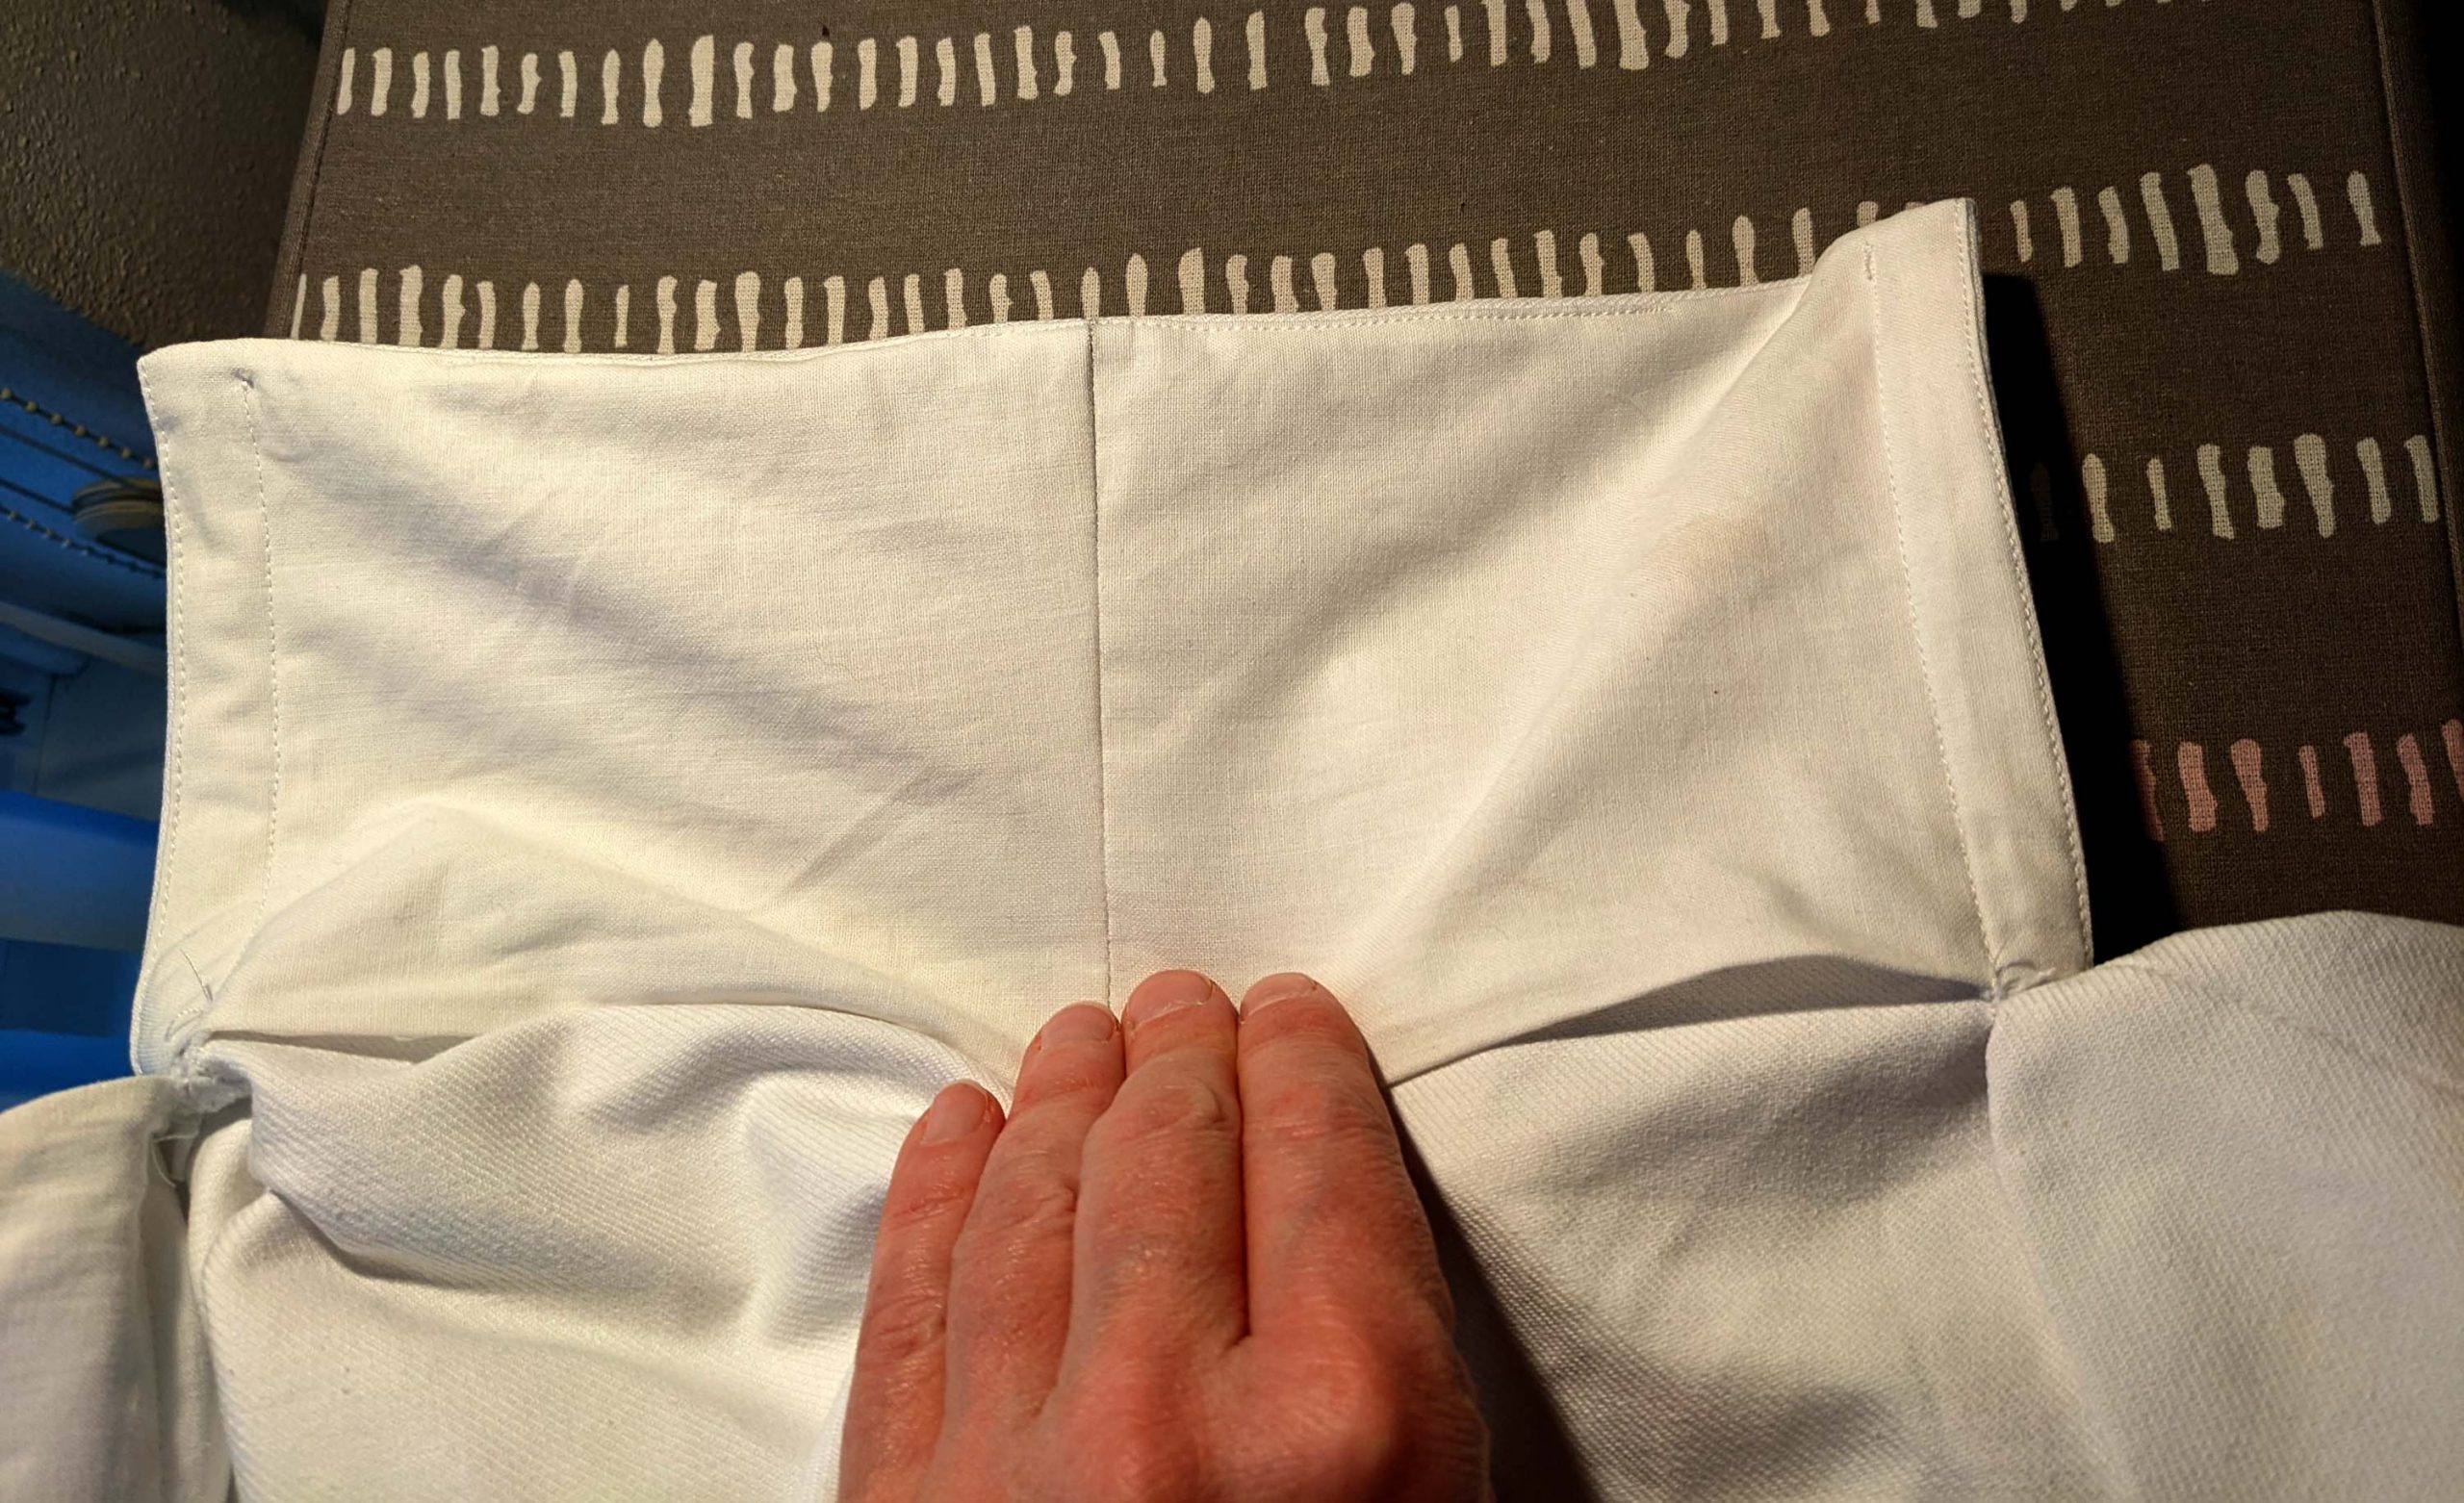
Sew the crotch seam, right sides together, leaving open for the button hole at the center front. Sew the fall lining along the center front, again, leaving open for the button hole. Line up the fall and fall lining, right sides together and sew the missing seam along the top edge. Trim back the seam allowances and turn the right way out. Understitch if wanted. Trying to stitch as far as possible towards the corners.
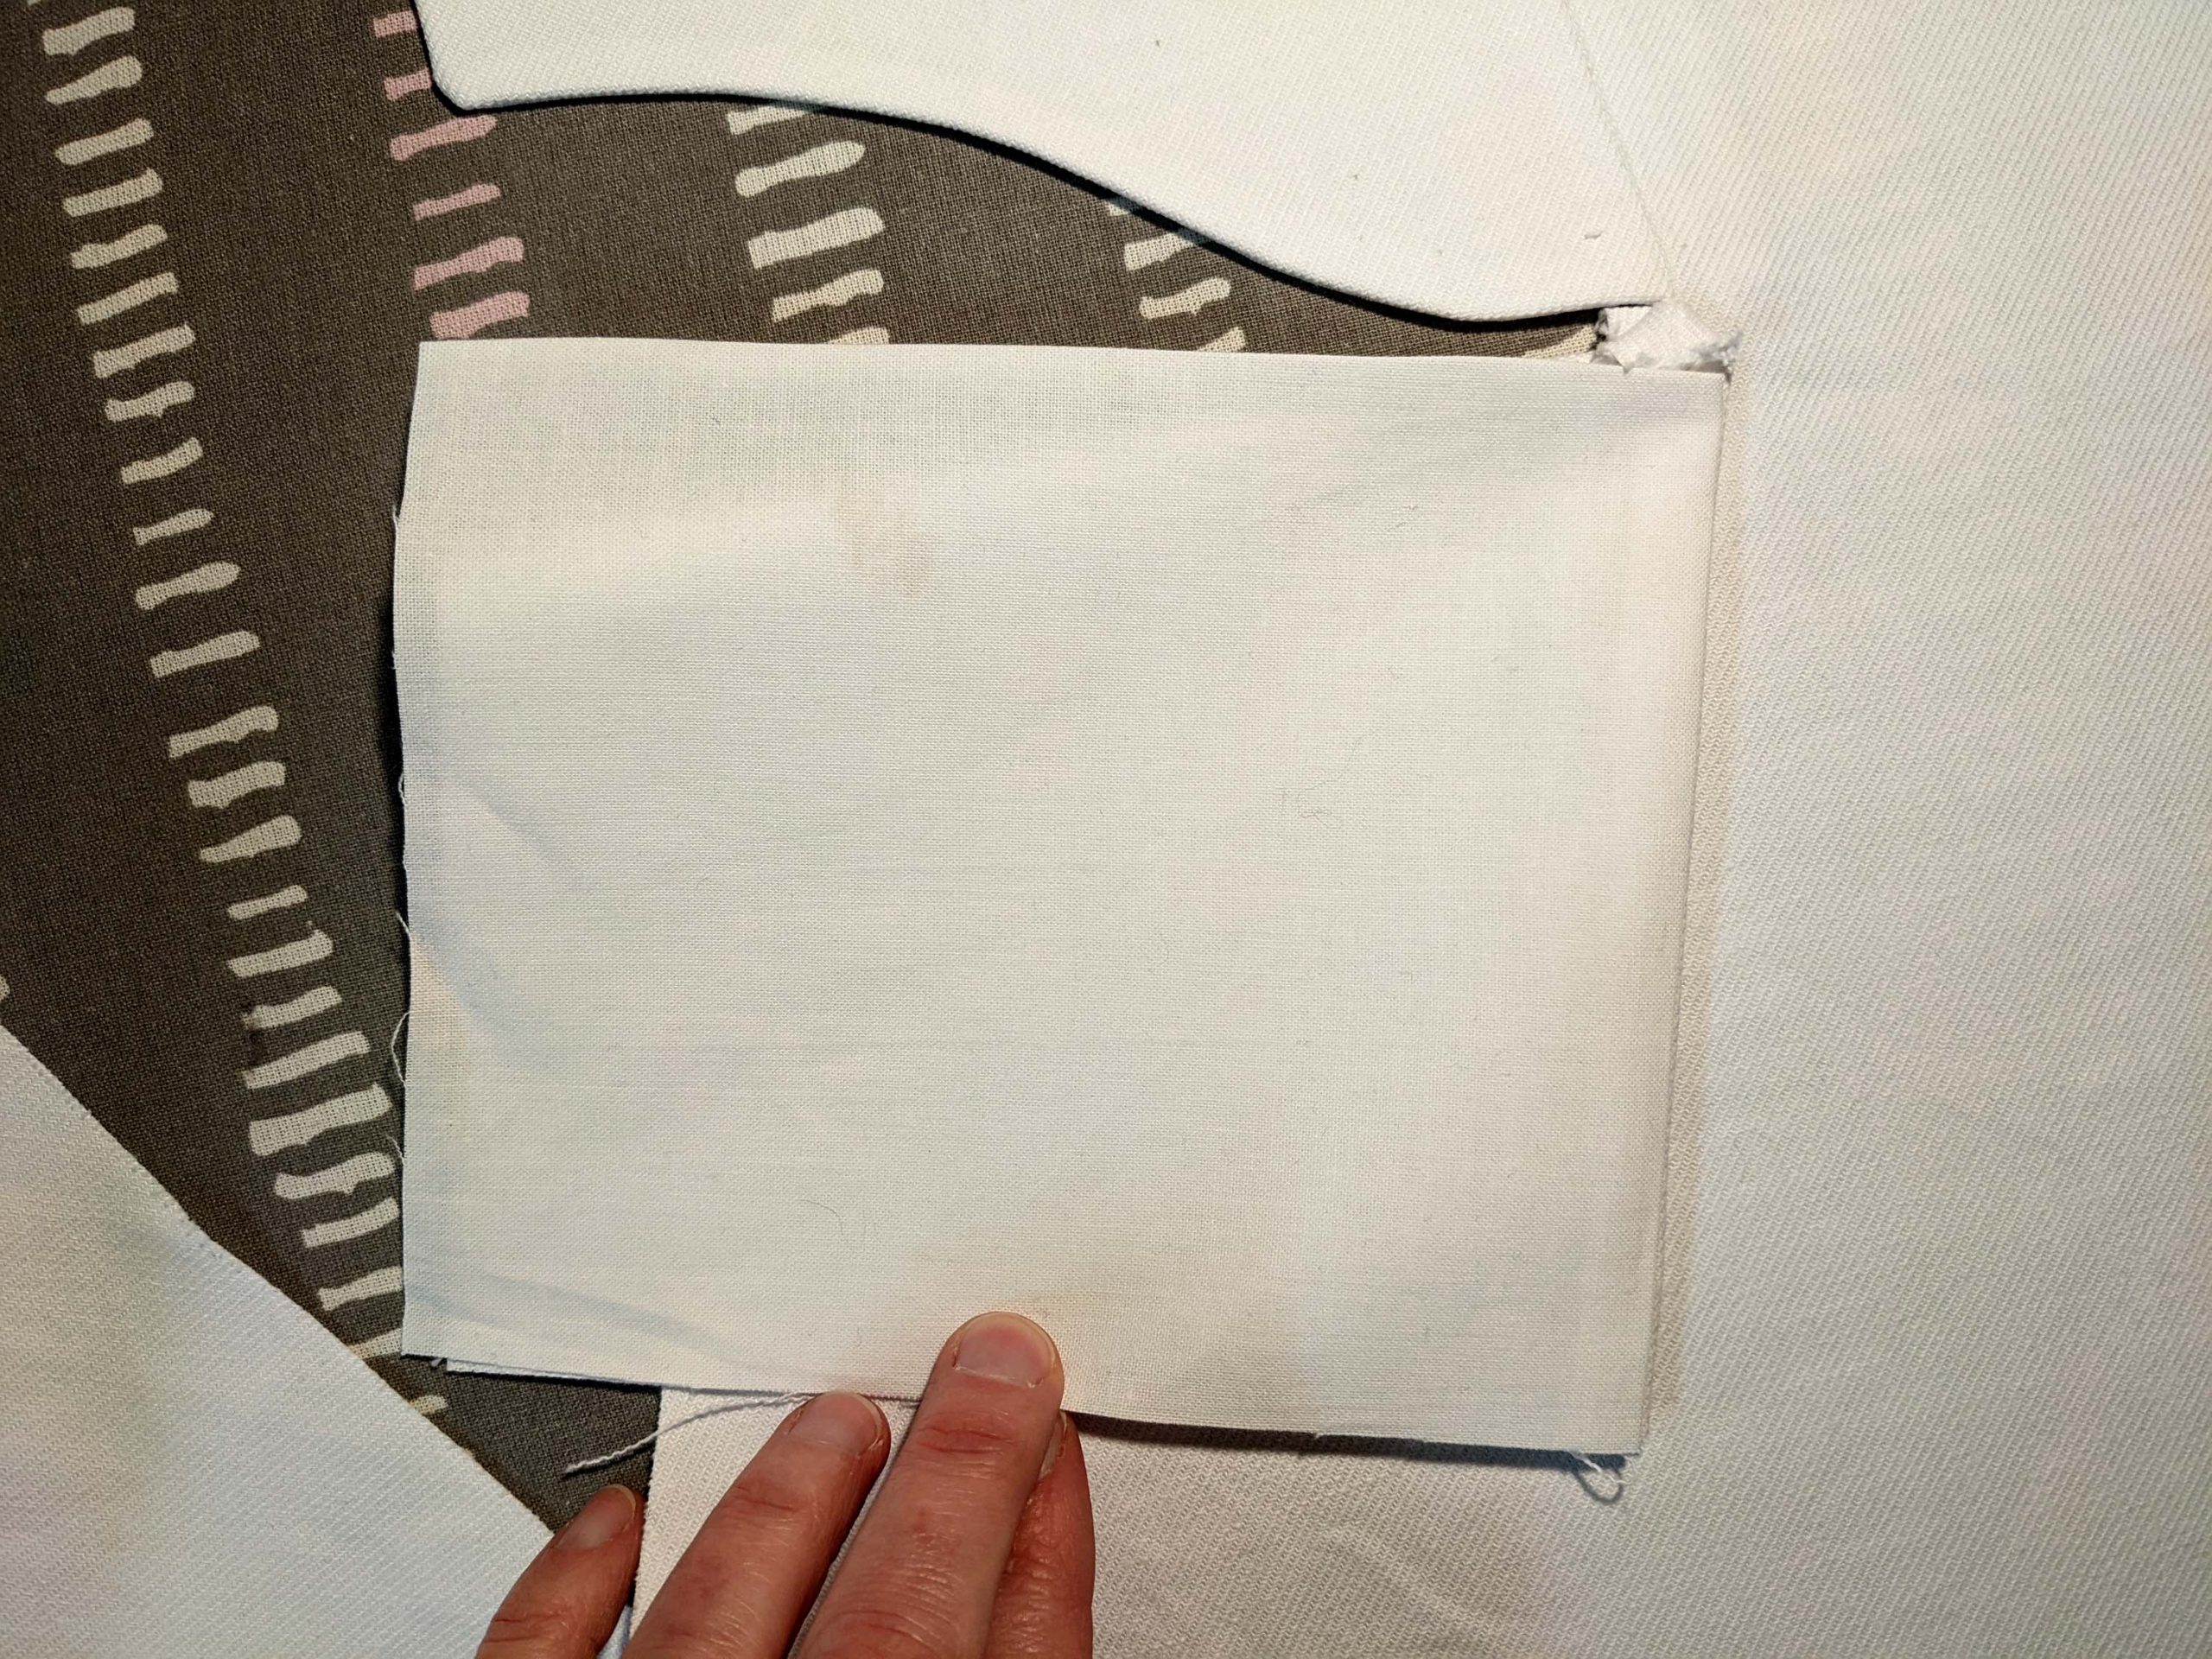
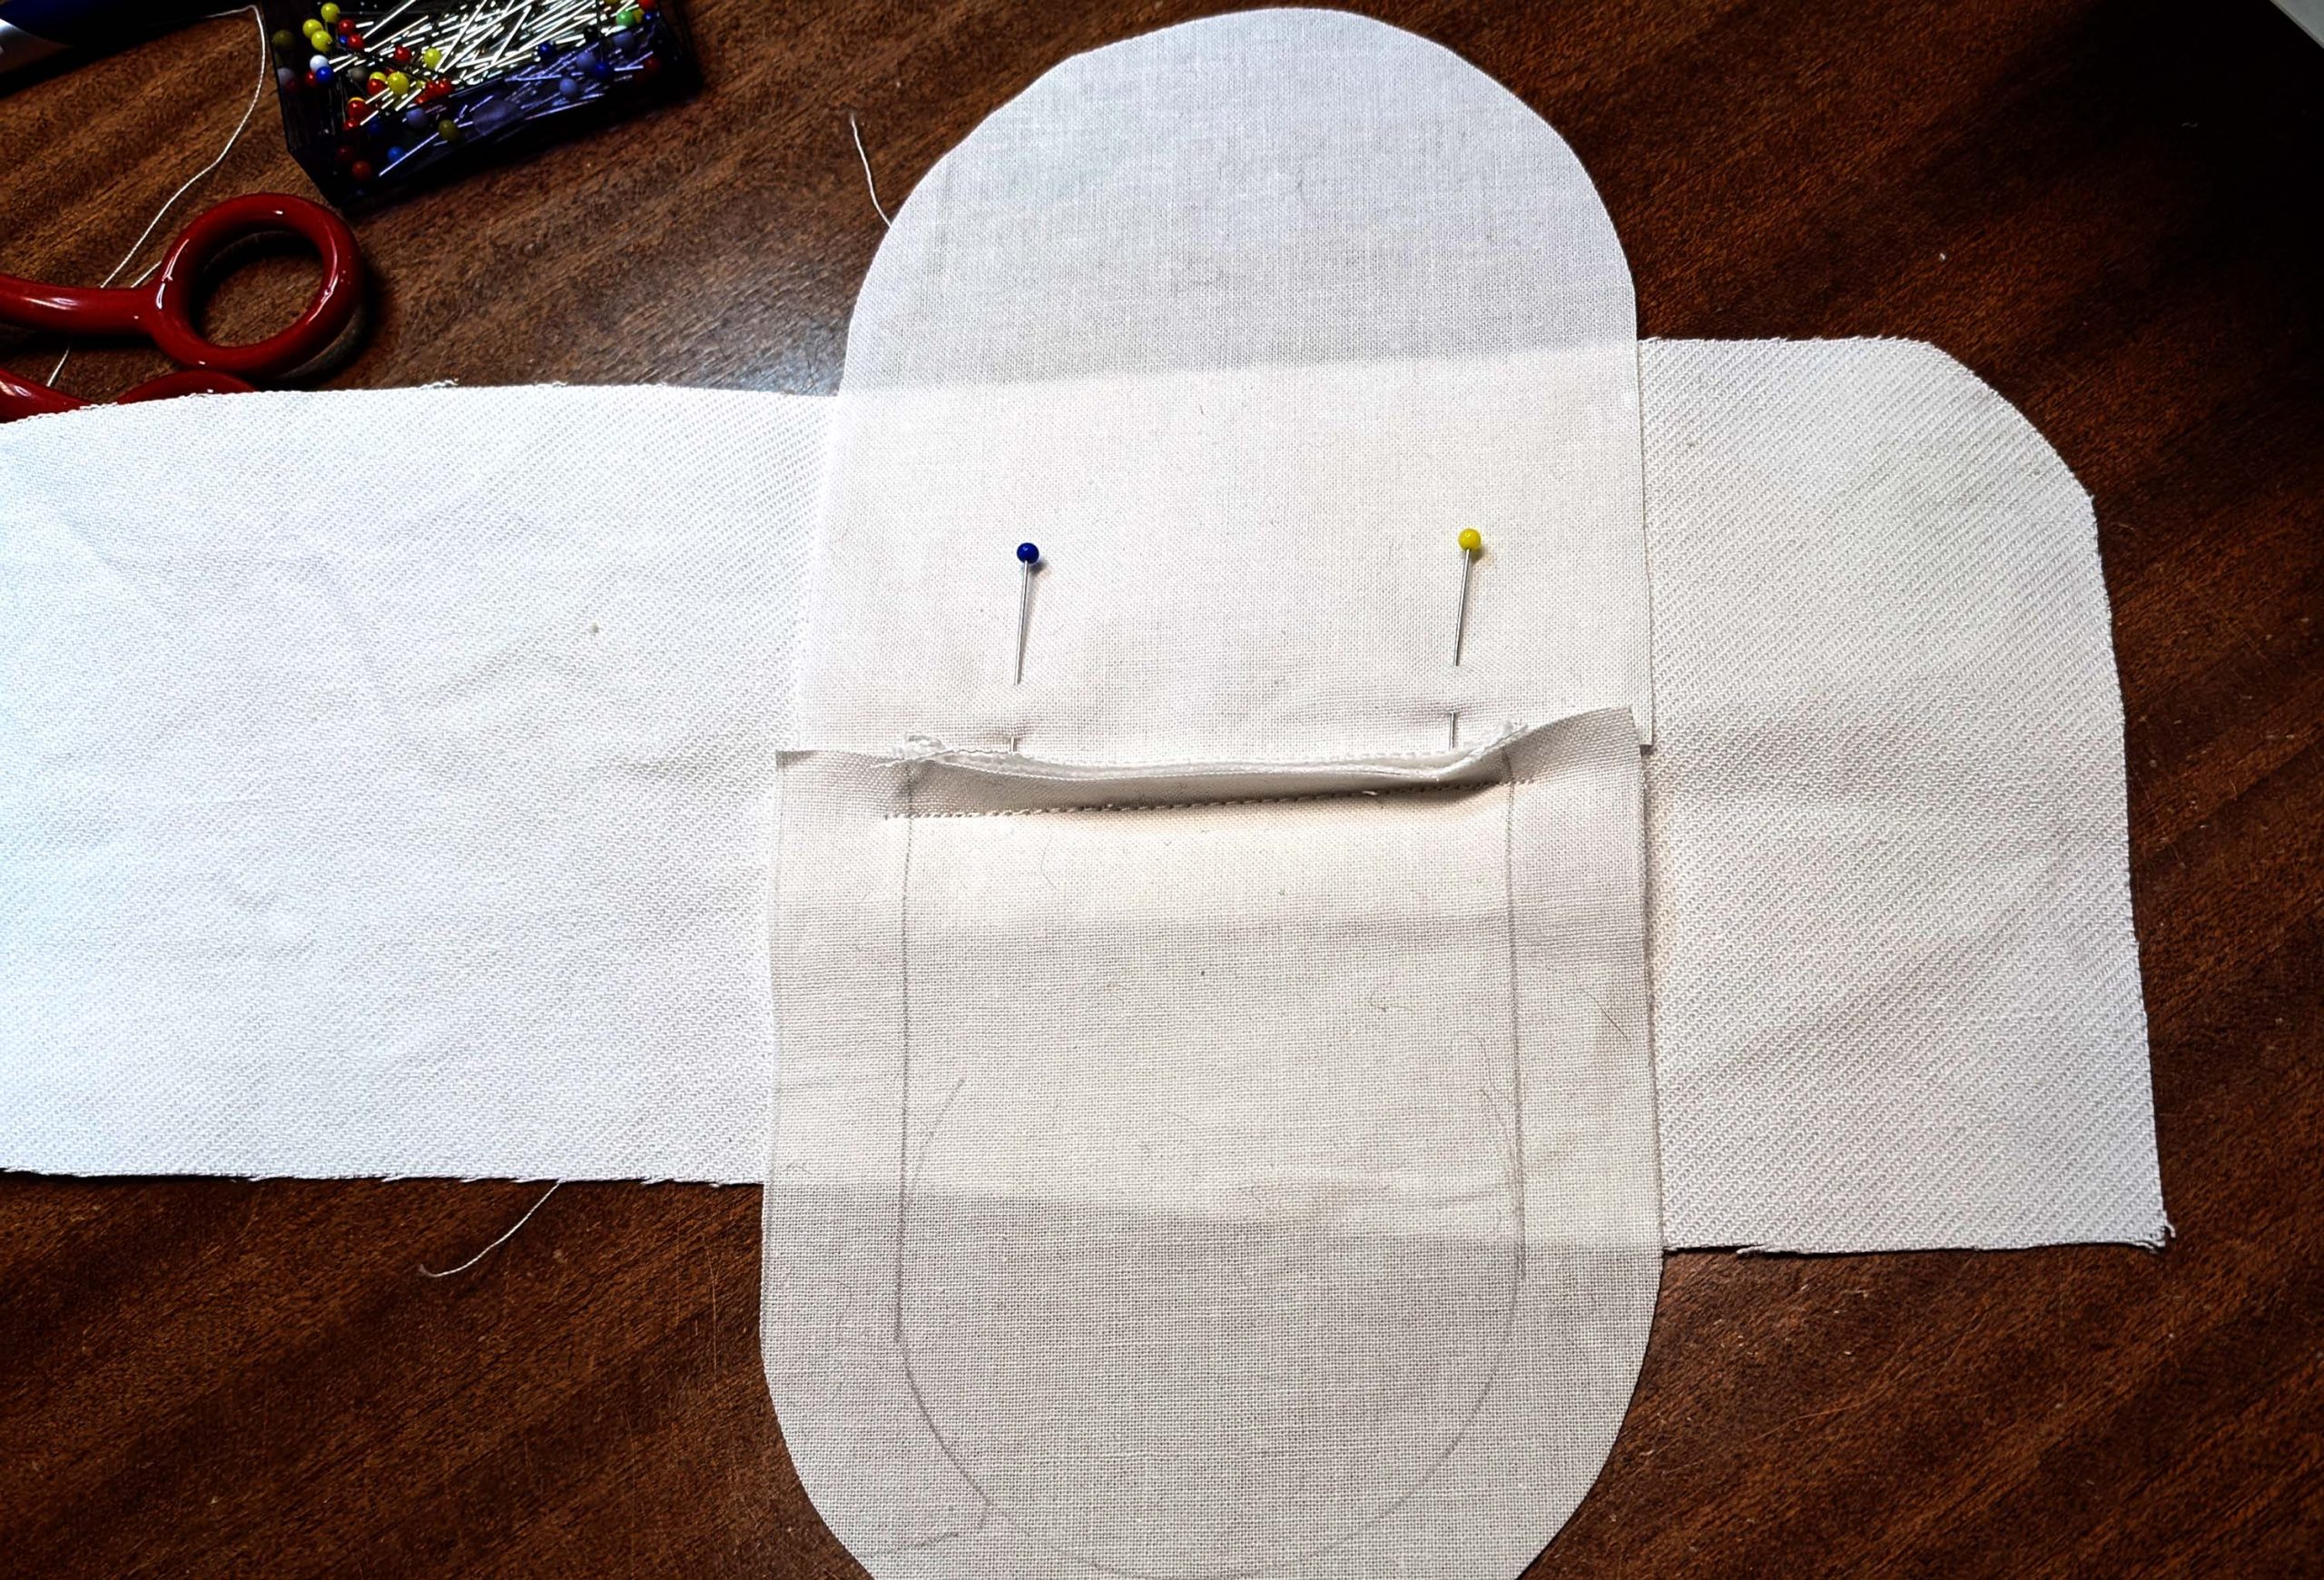
Make your waistband welt pocket your favorite way to make this type of pocket. The following pictures show how I made mine.
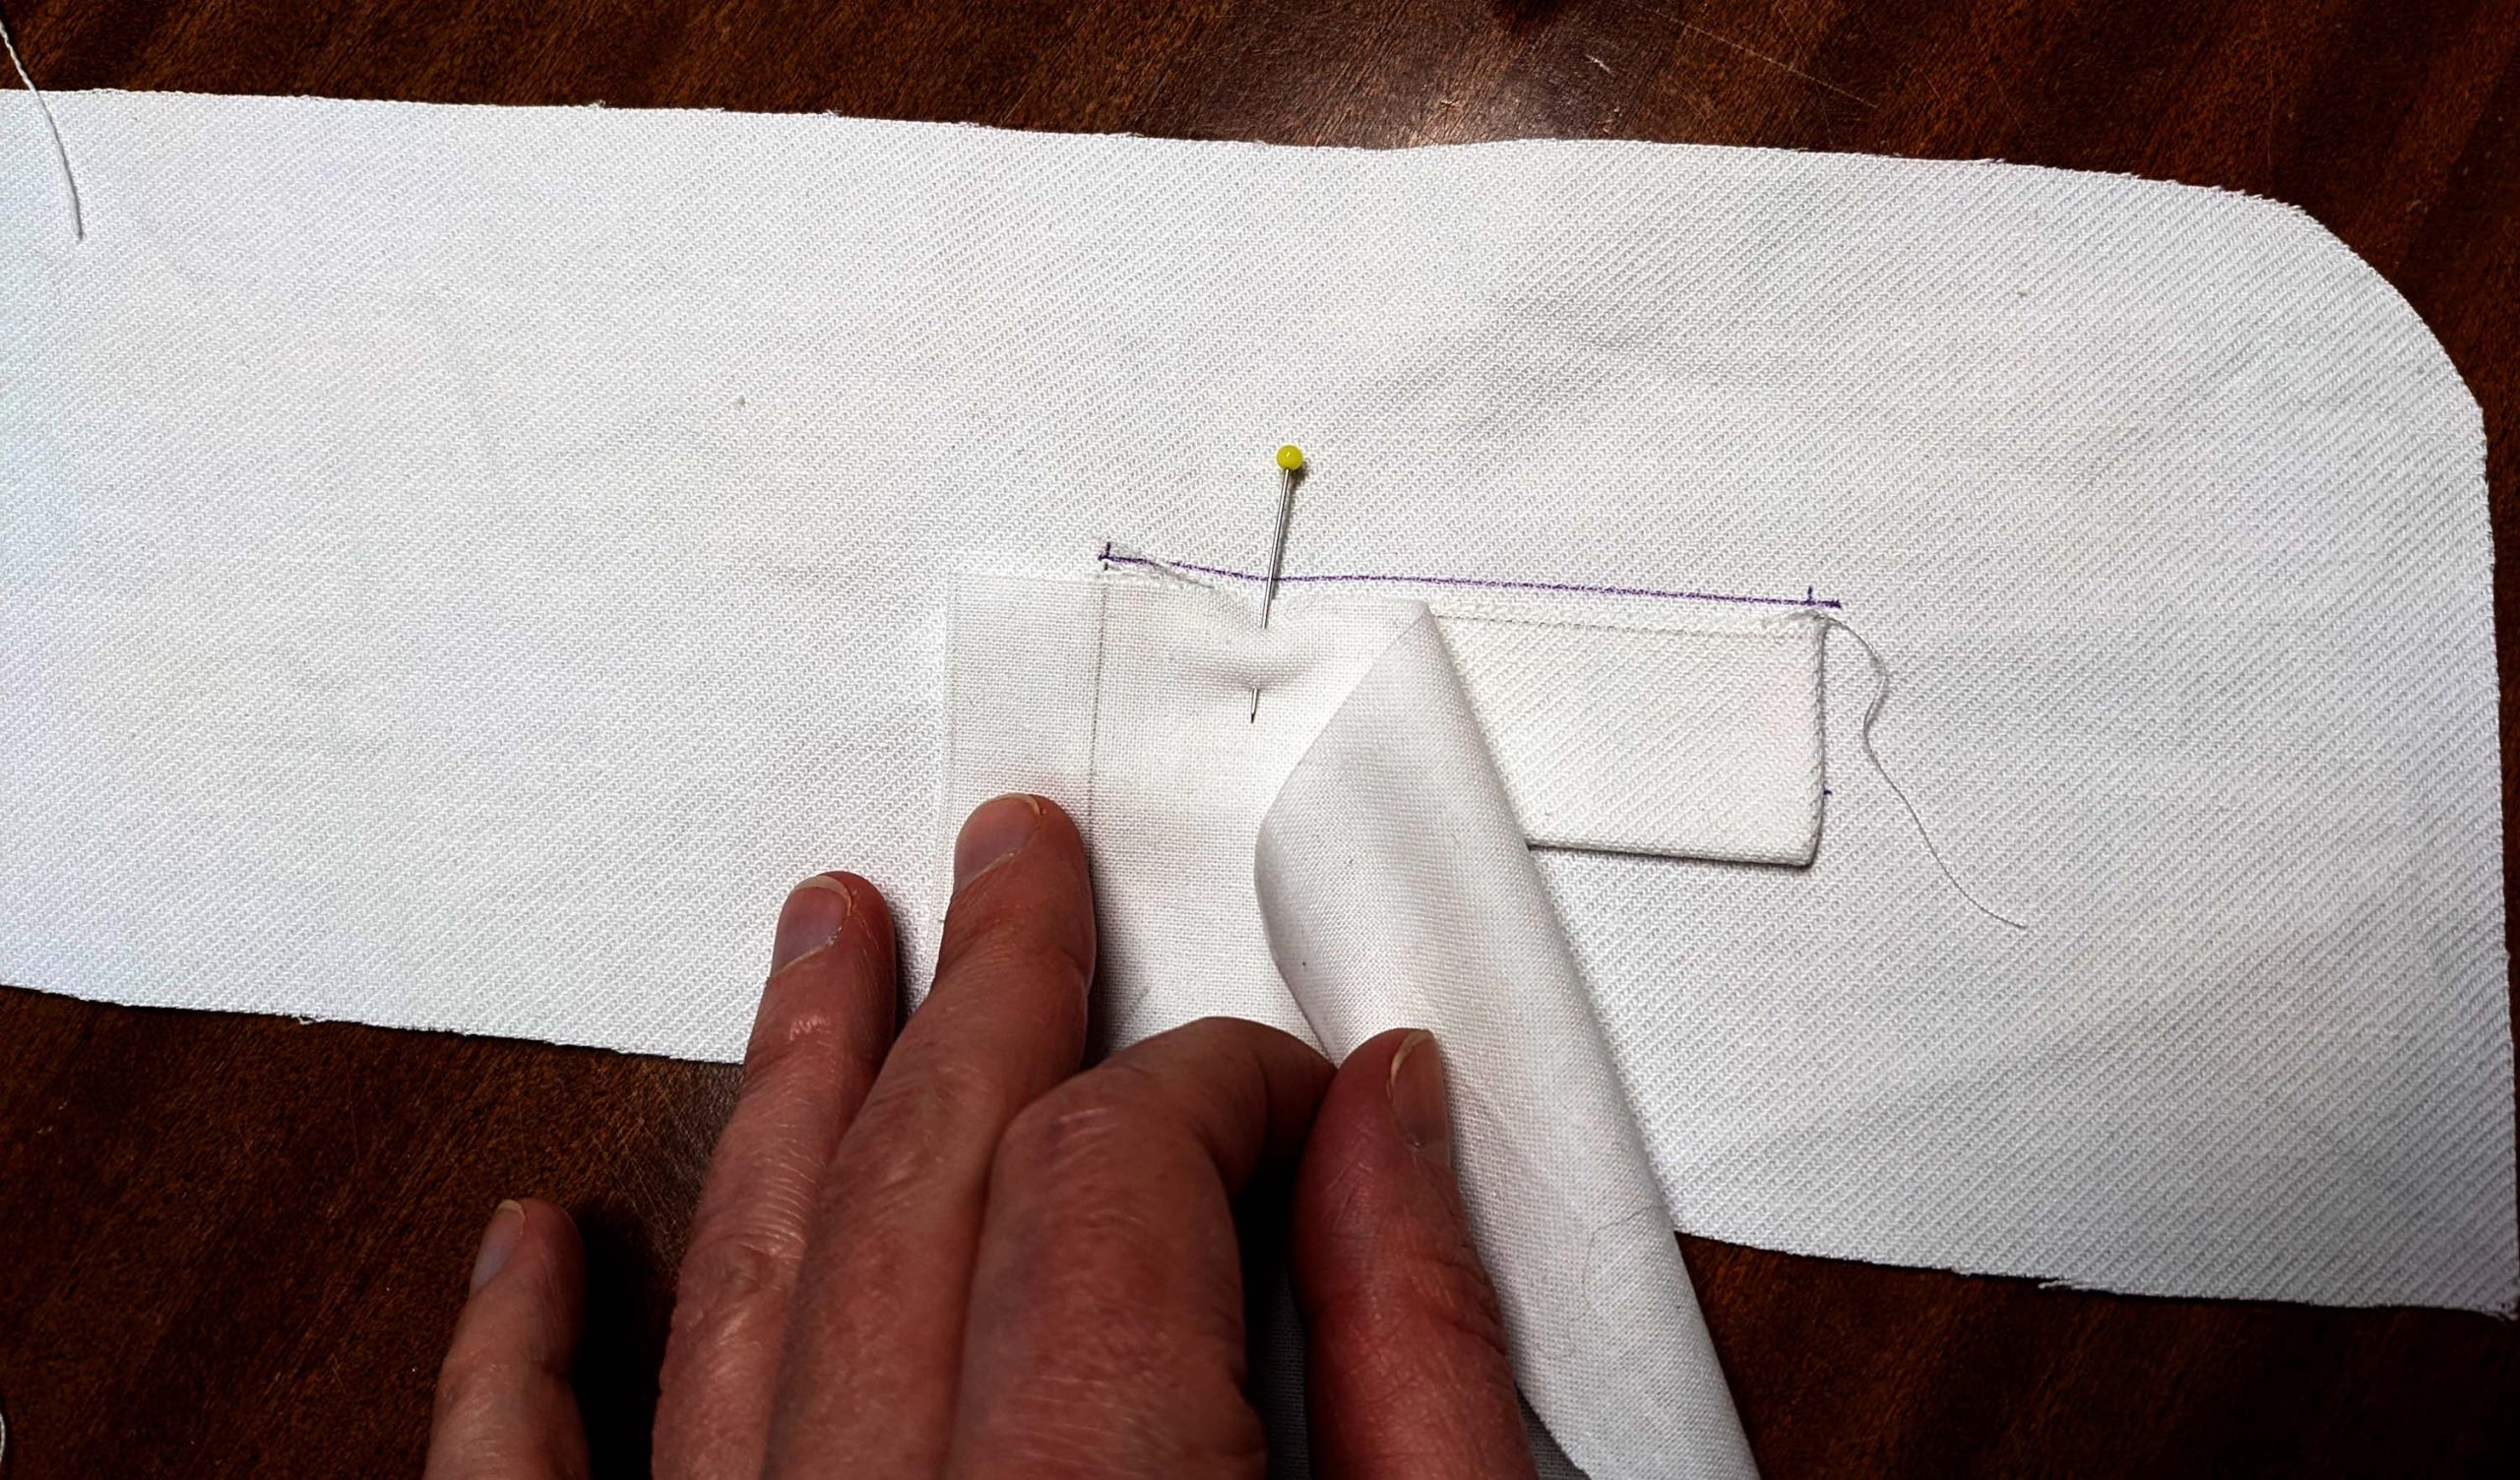

After you did this on the right waistband only, line up the waistband and waistband lining, right sides together, leaving the edge of the lining protrude from the fashion fabric about 1/16” (1-2mm) to get the width needed for the turn of cloth. Before stitching along the top and front edge, turn in the seam allowance of the lining along the back and bottom edge. Reduce the stitch length at the curve. Trim back the seam allowances and turn the right way out. Press and understitch if wanted.
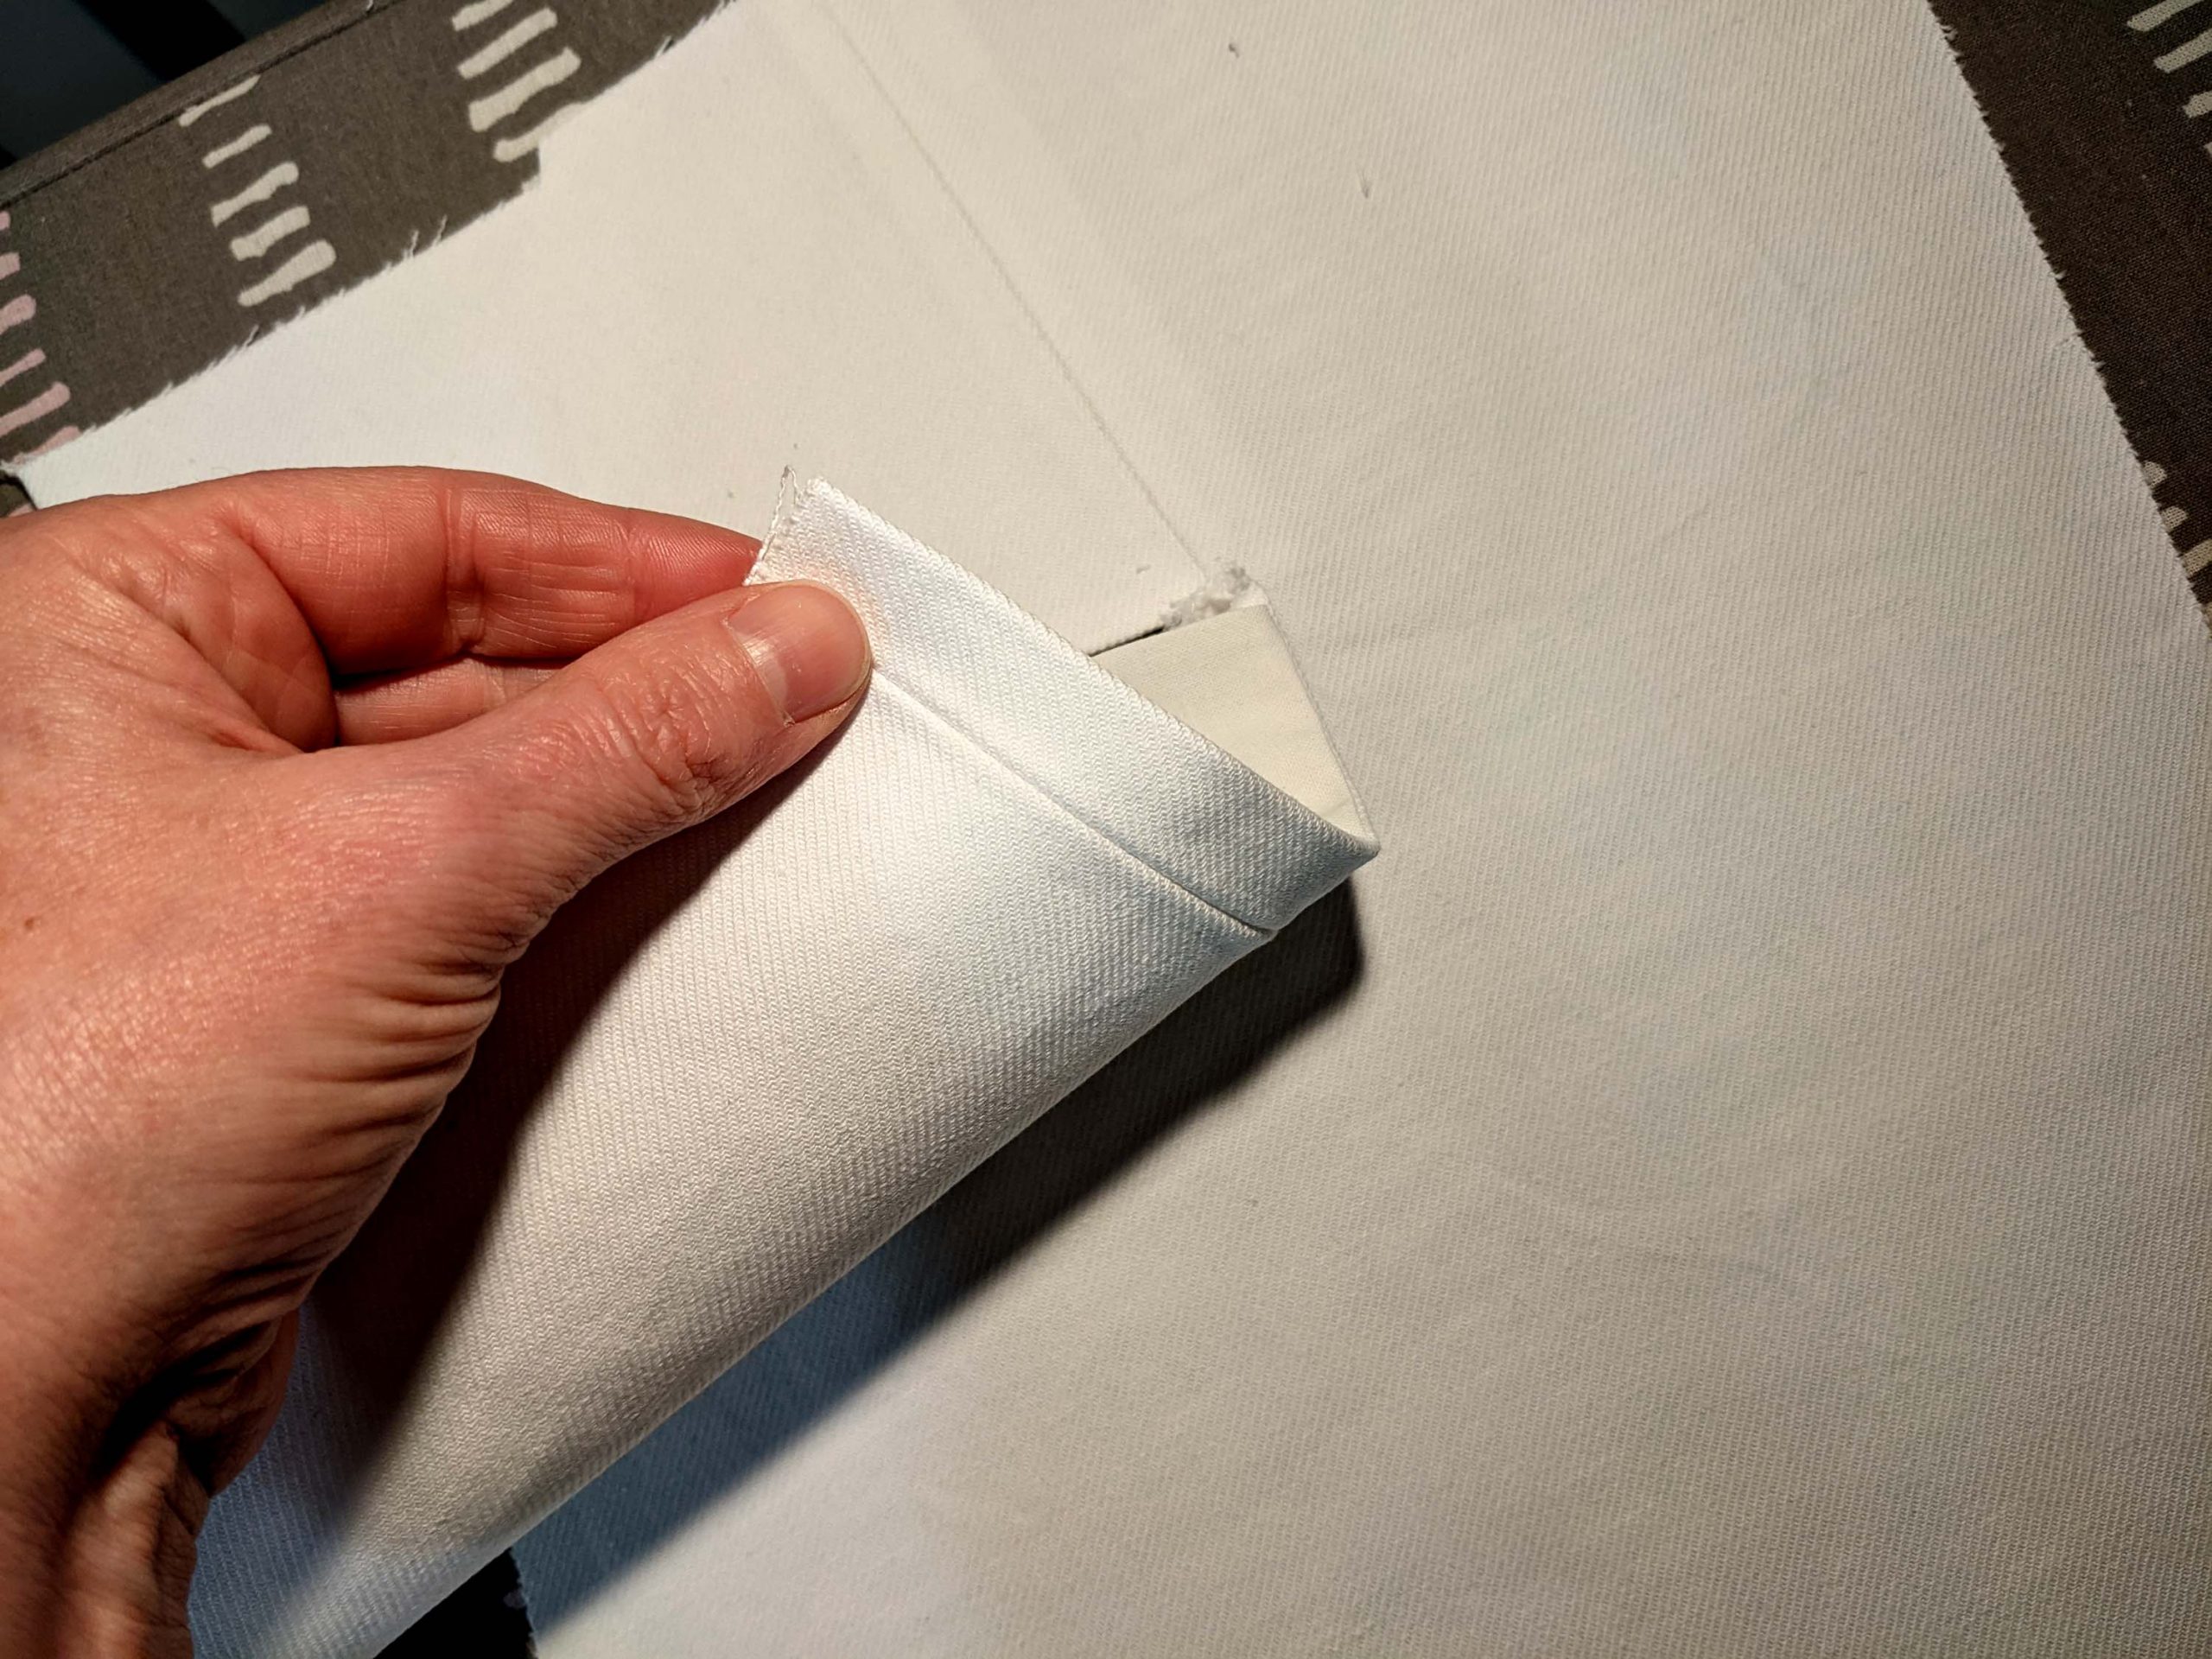
Sew to the breeches, right sides together, without catching the pocket flap – see point (8) of the hand sewing instructions. Trim back the seam allowances and press towards the waistband. Stitch the pocket flap to the waistband, starting at pint (2) until reaching the seam.

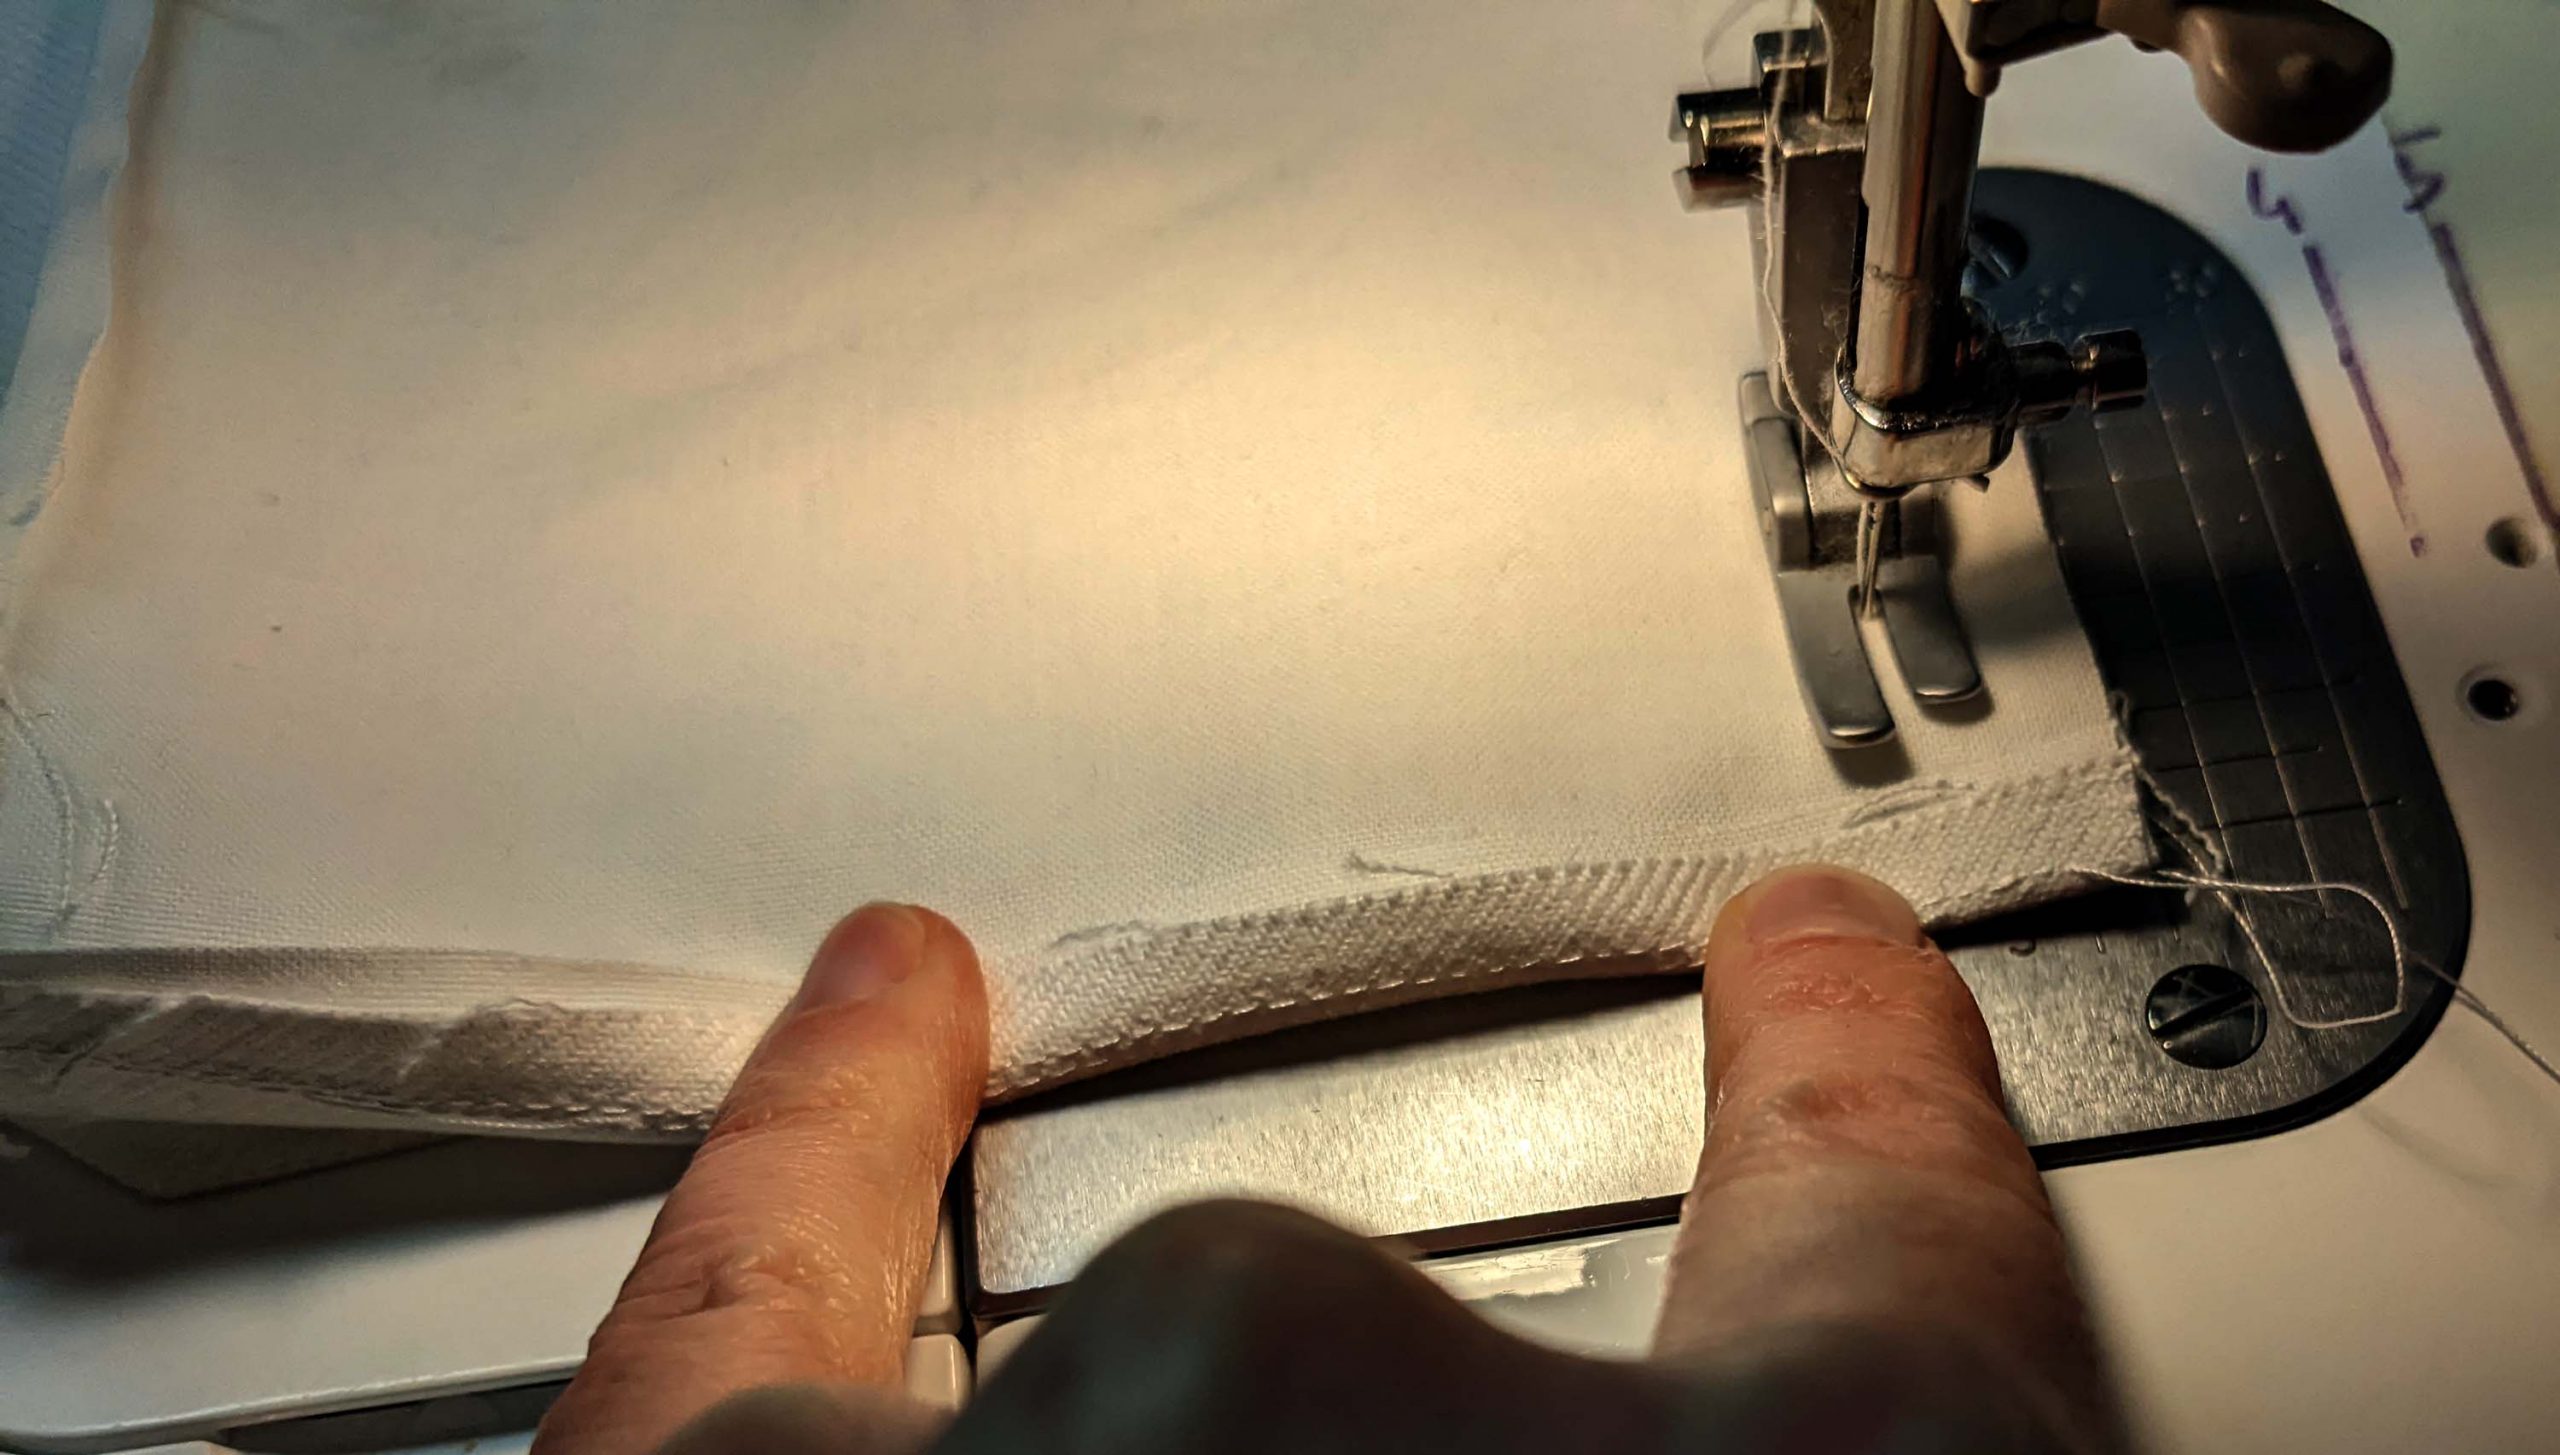
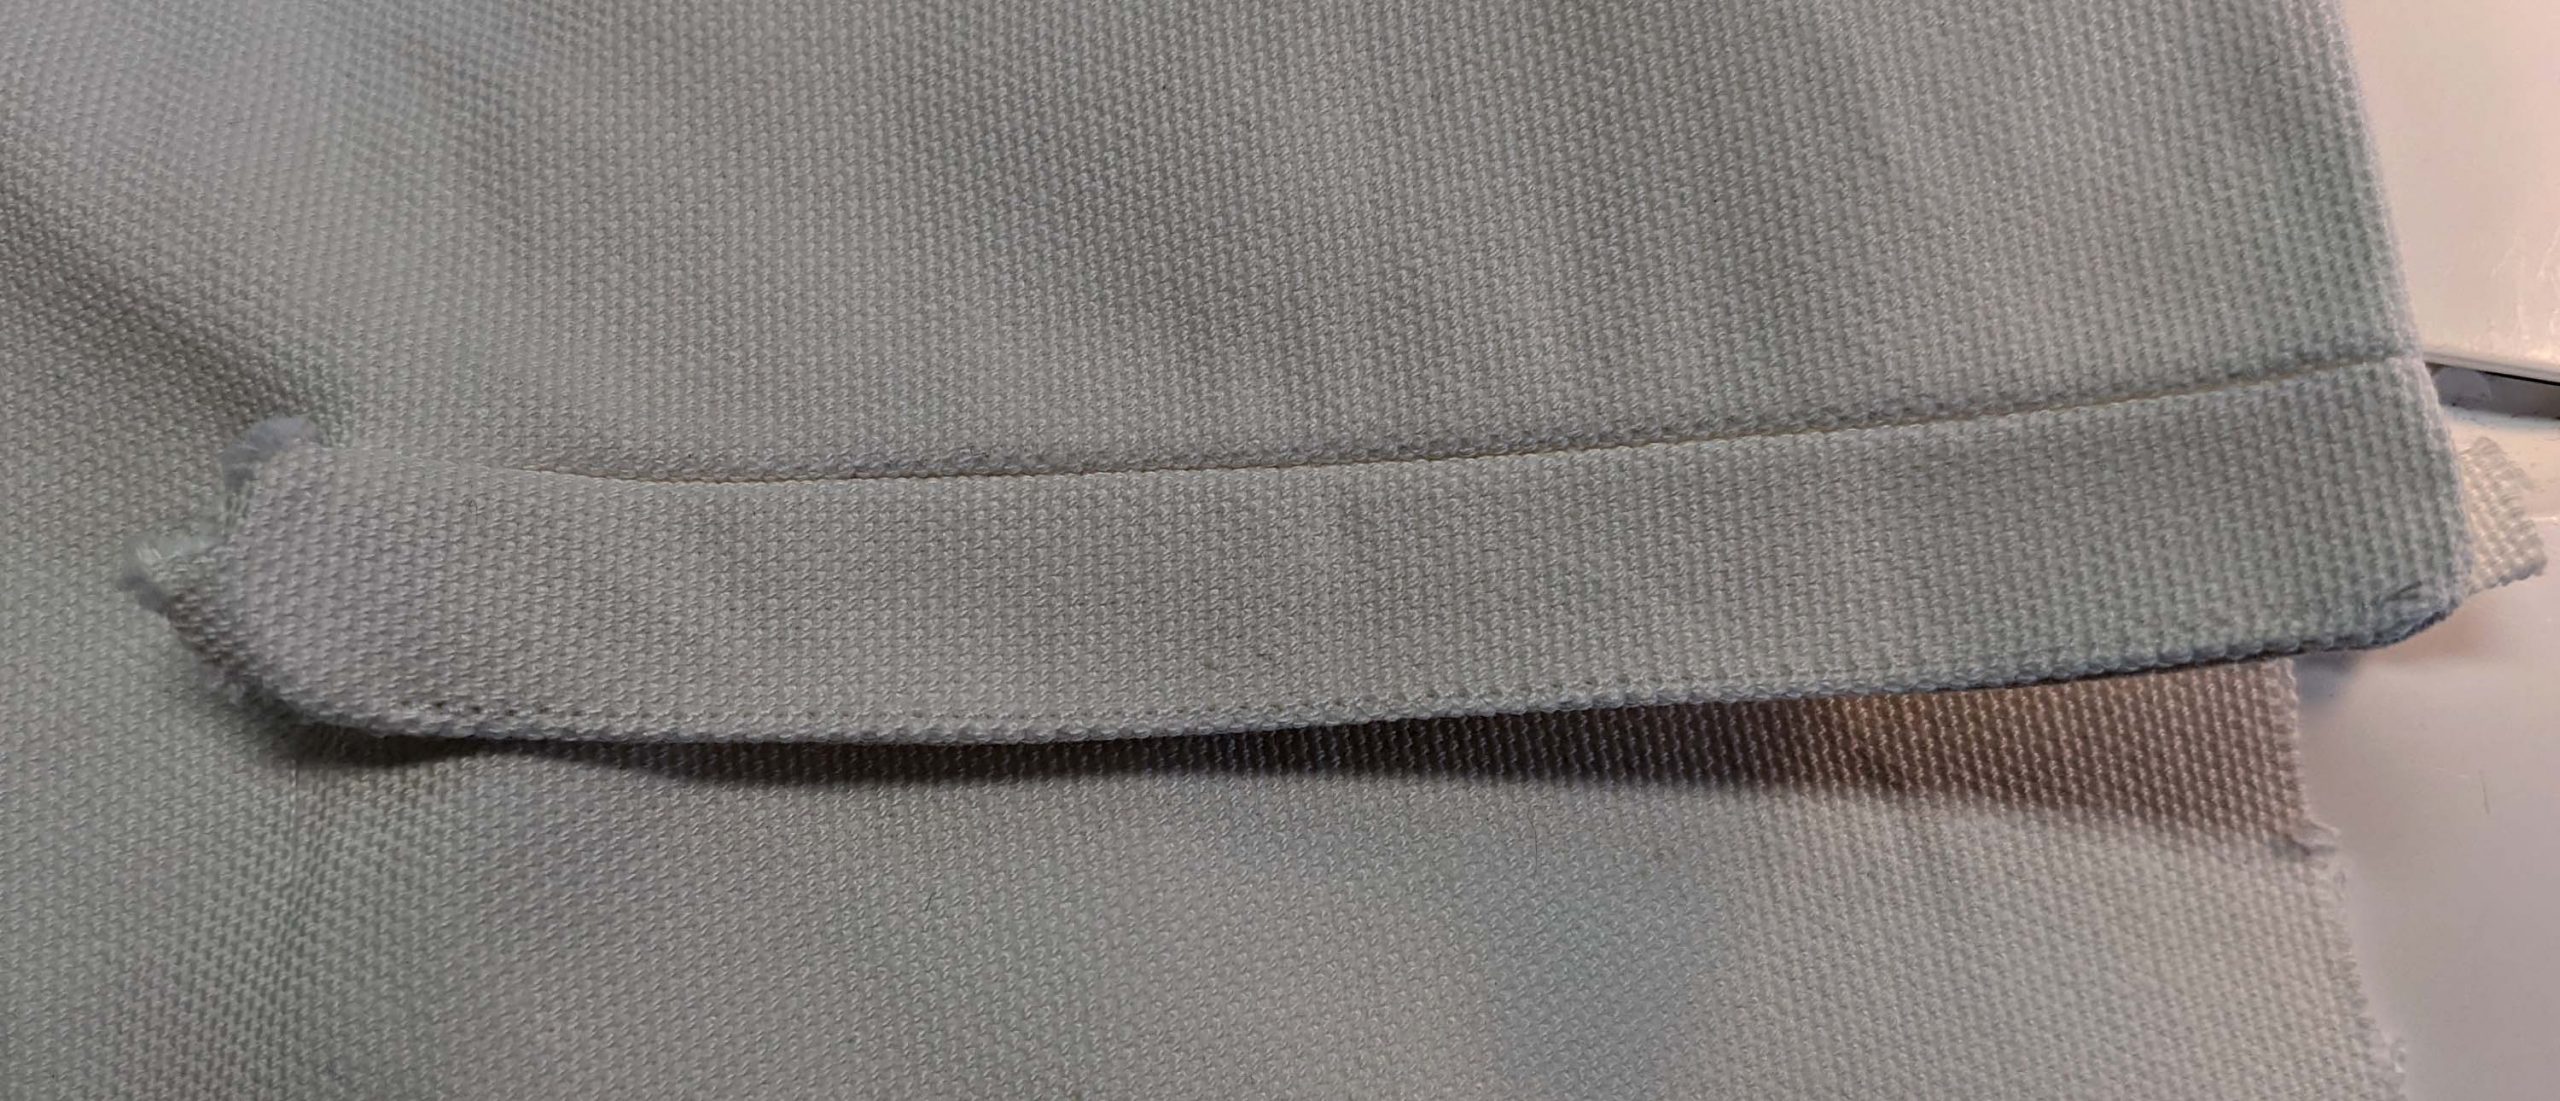
Prepare the gusset in the same way as described in the hand sewing instructions at point (10) and sew to the breeches using the sewing machine instead of hand stitches. Smooth out the lining, lining up the edges with the stitching lines, covering most of the raw seam allowances. Fell down by hand. Take care just to catch the back layer of the welt pocket.


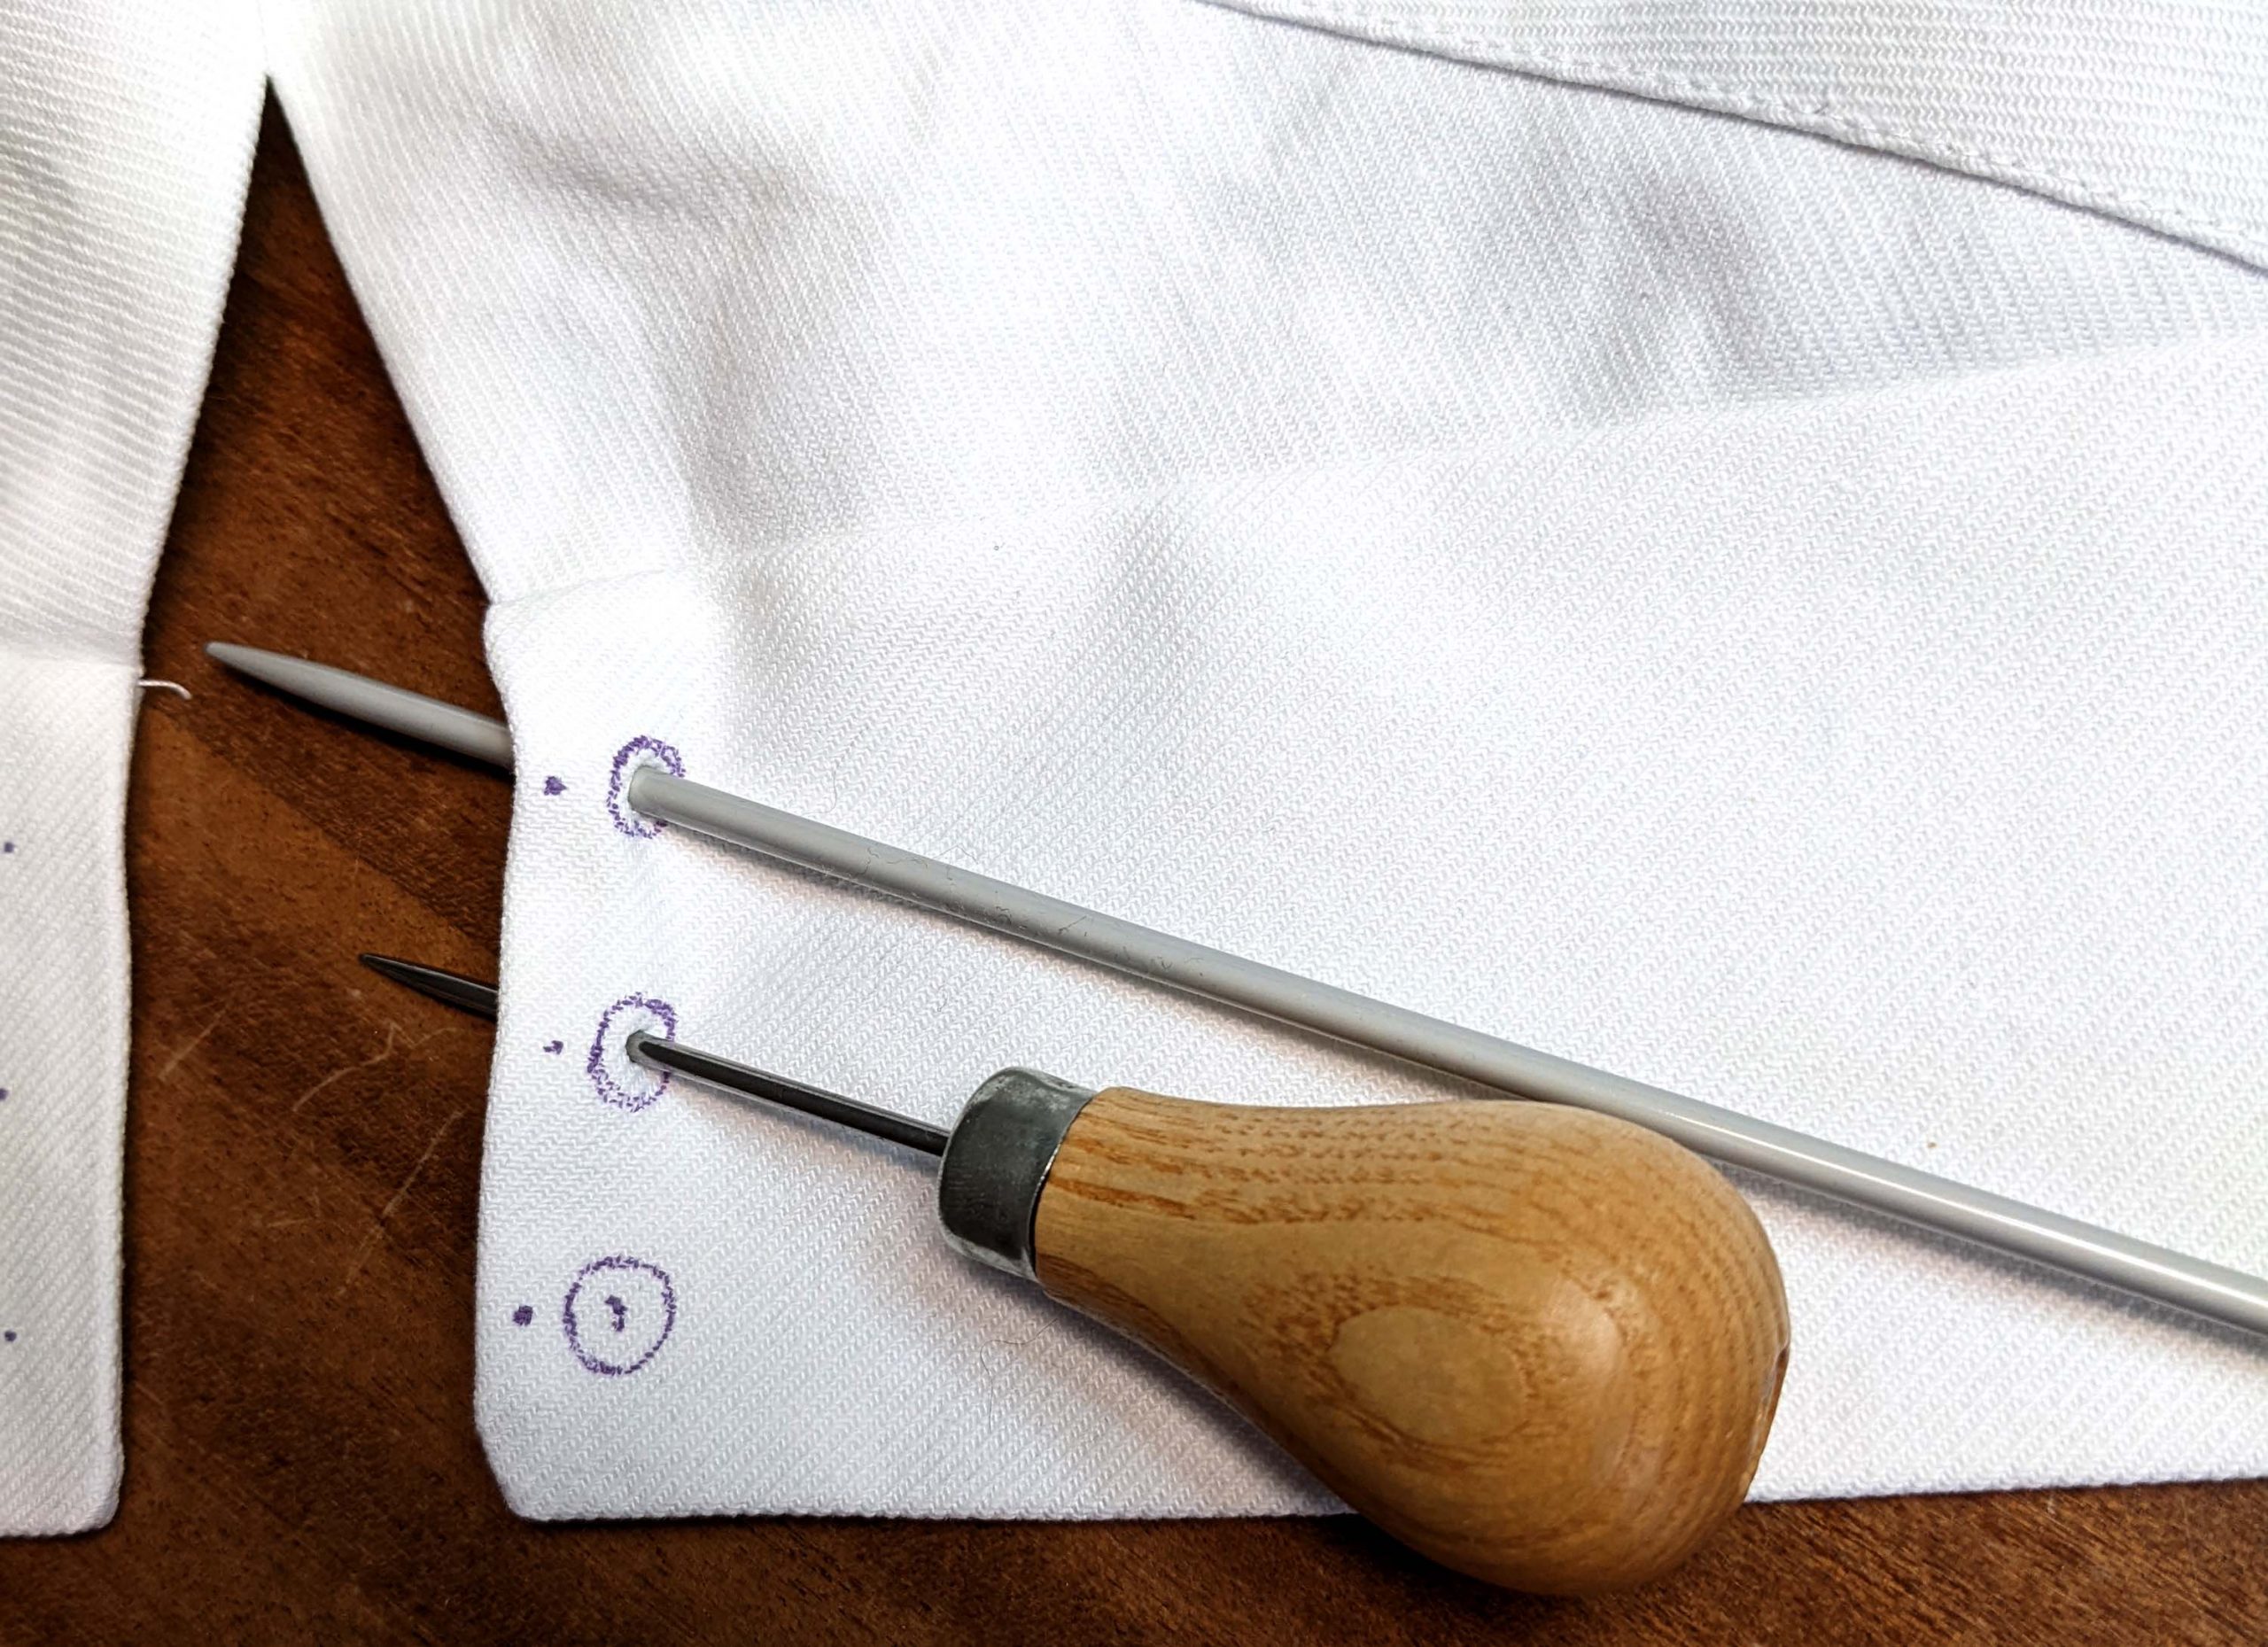
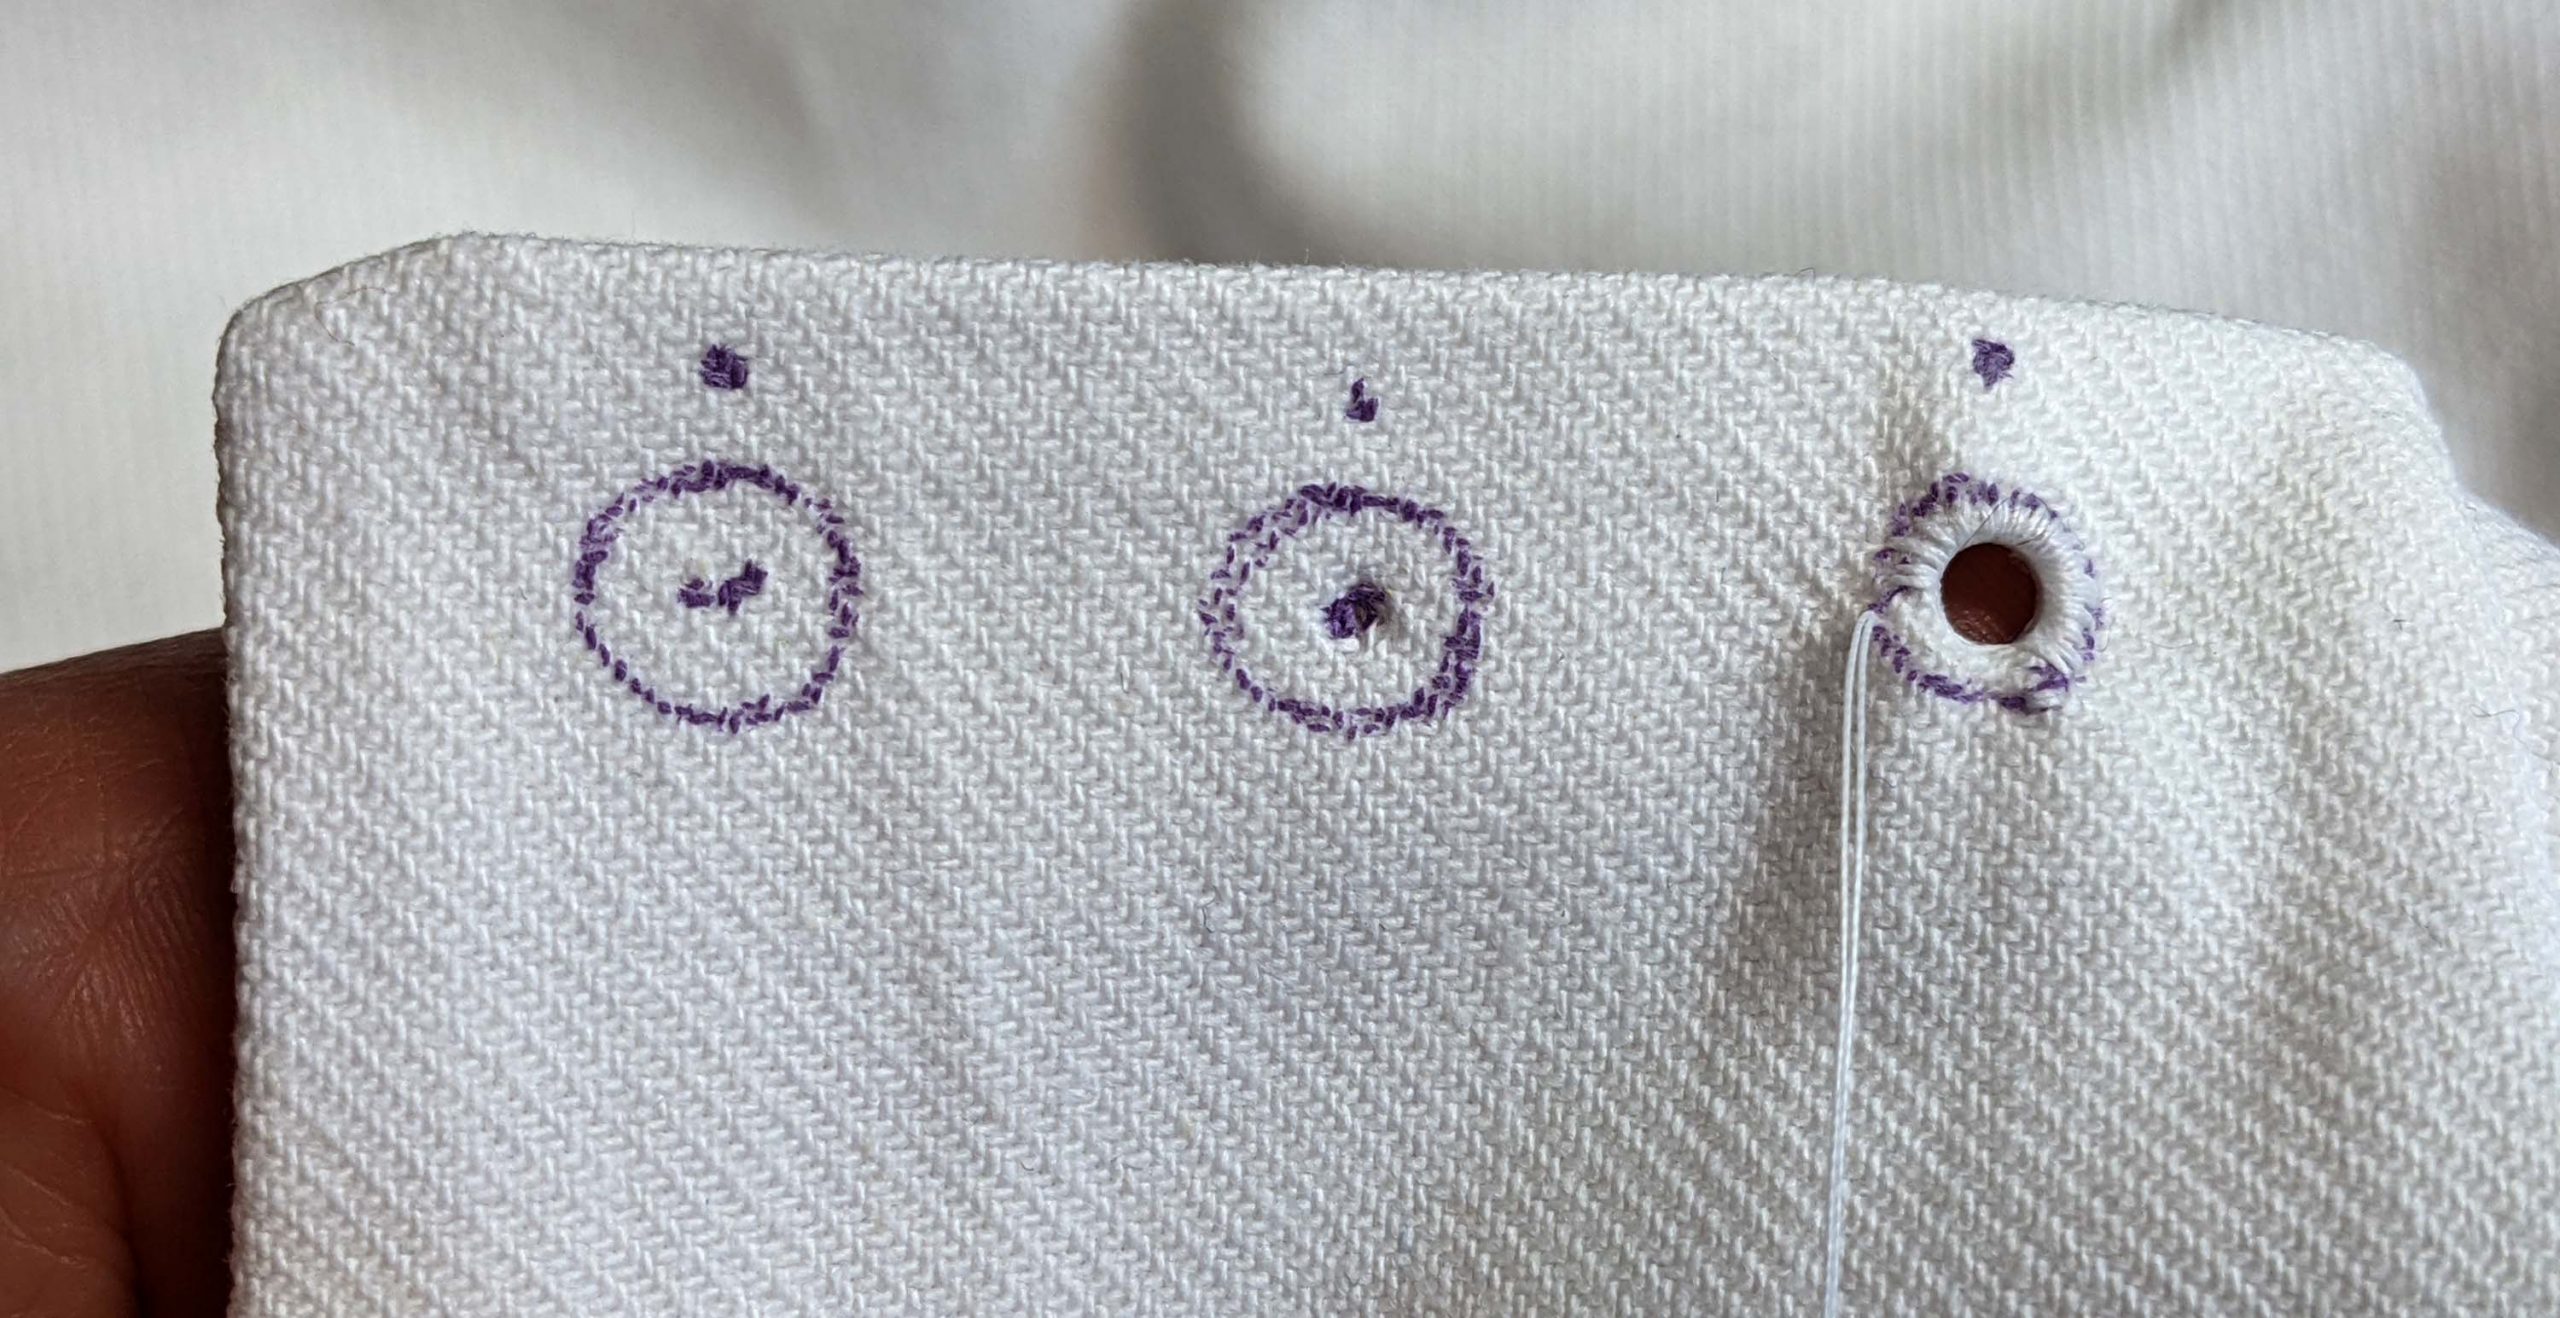
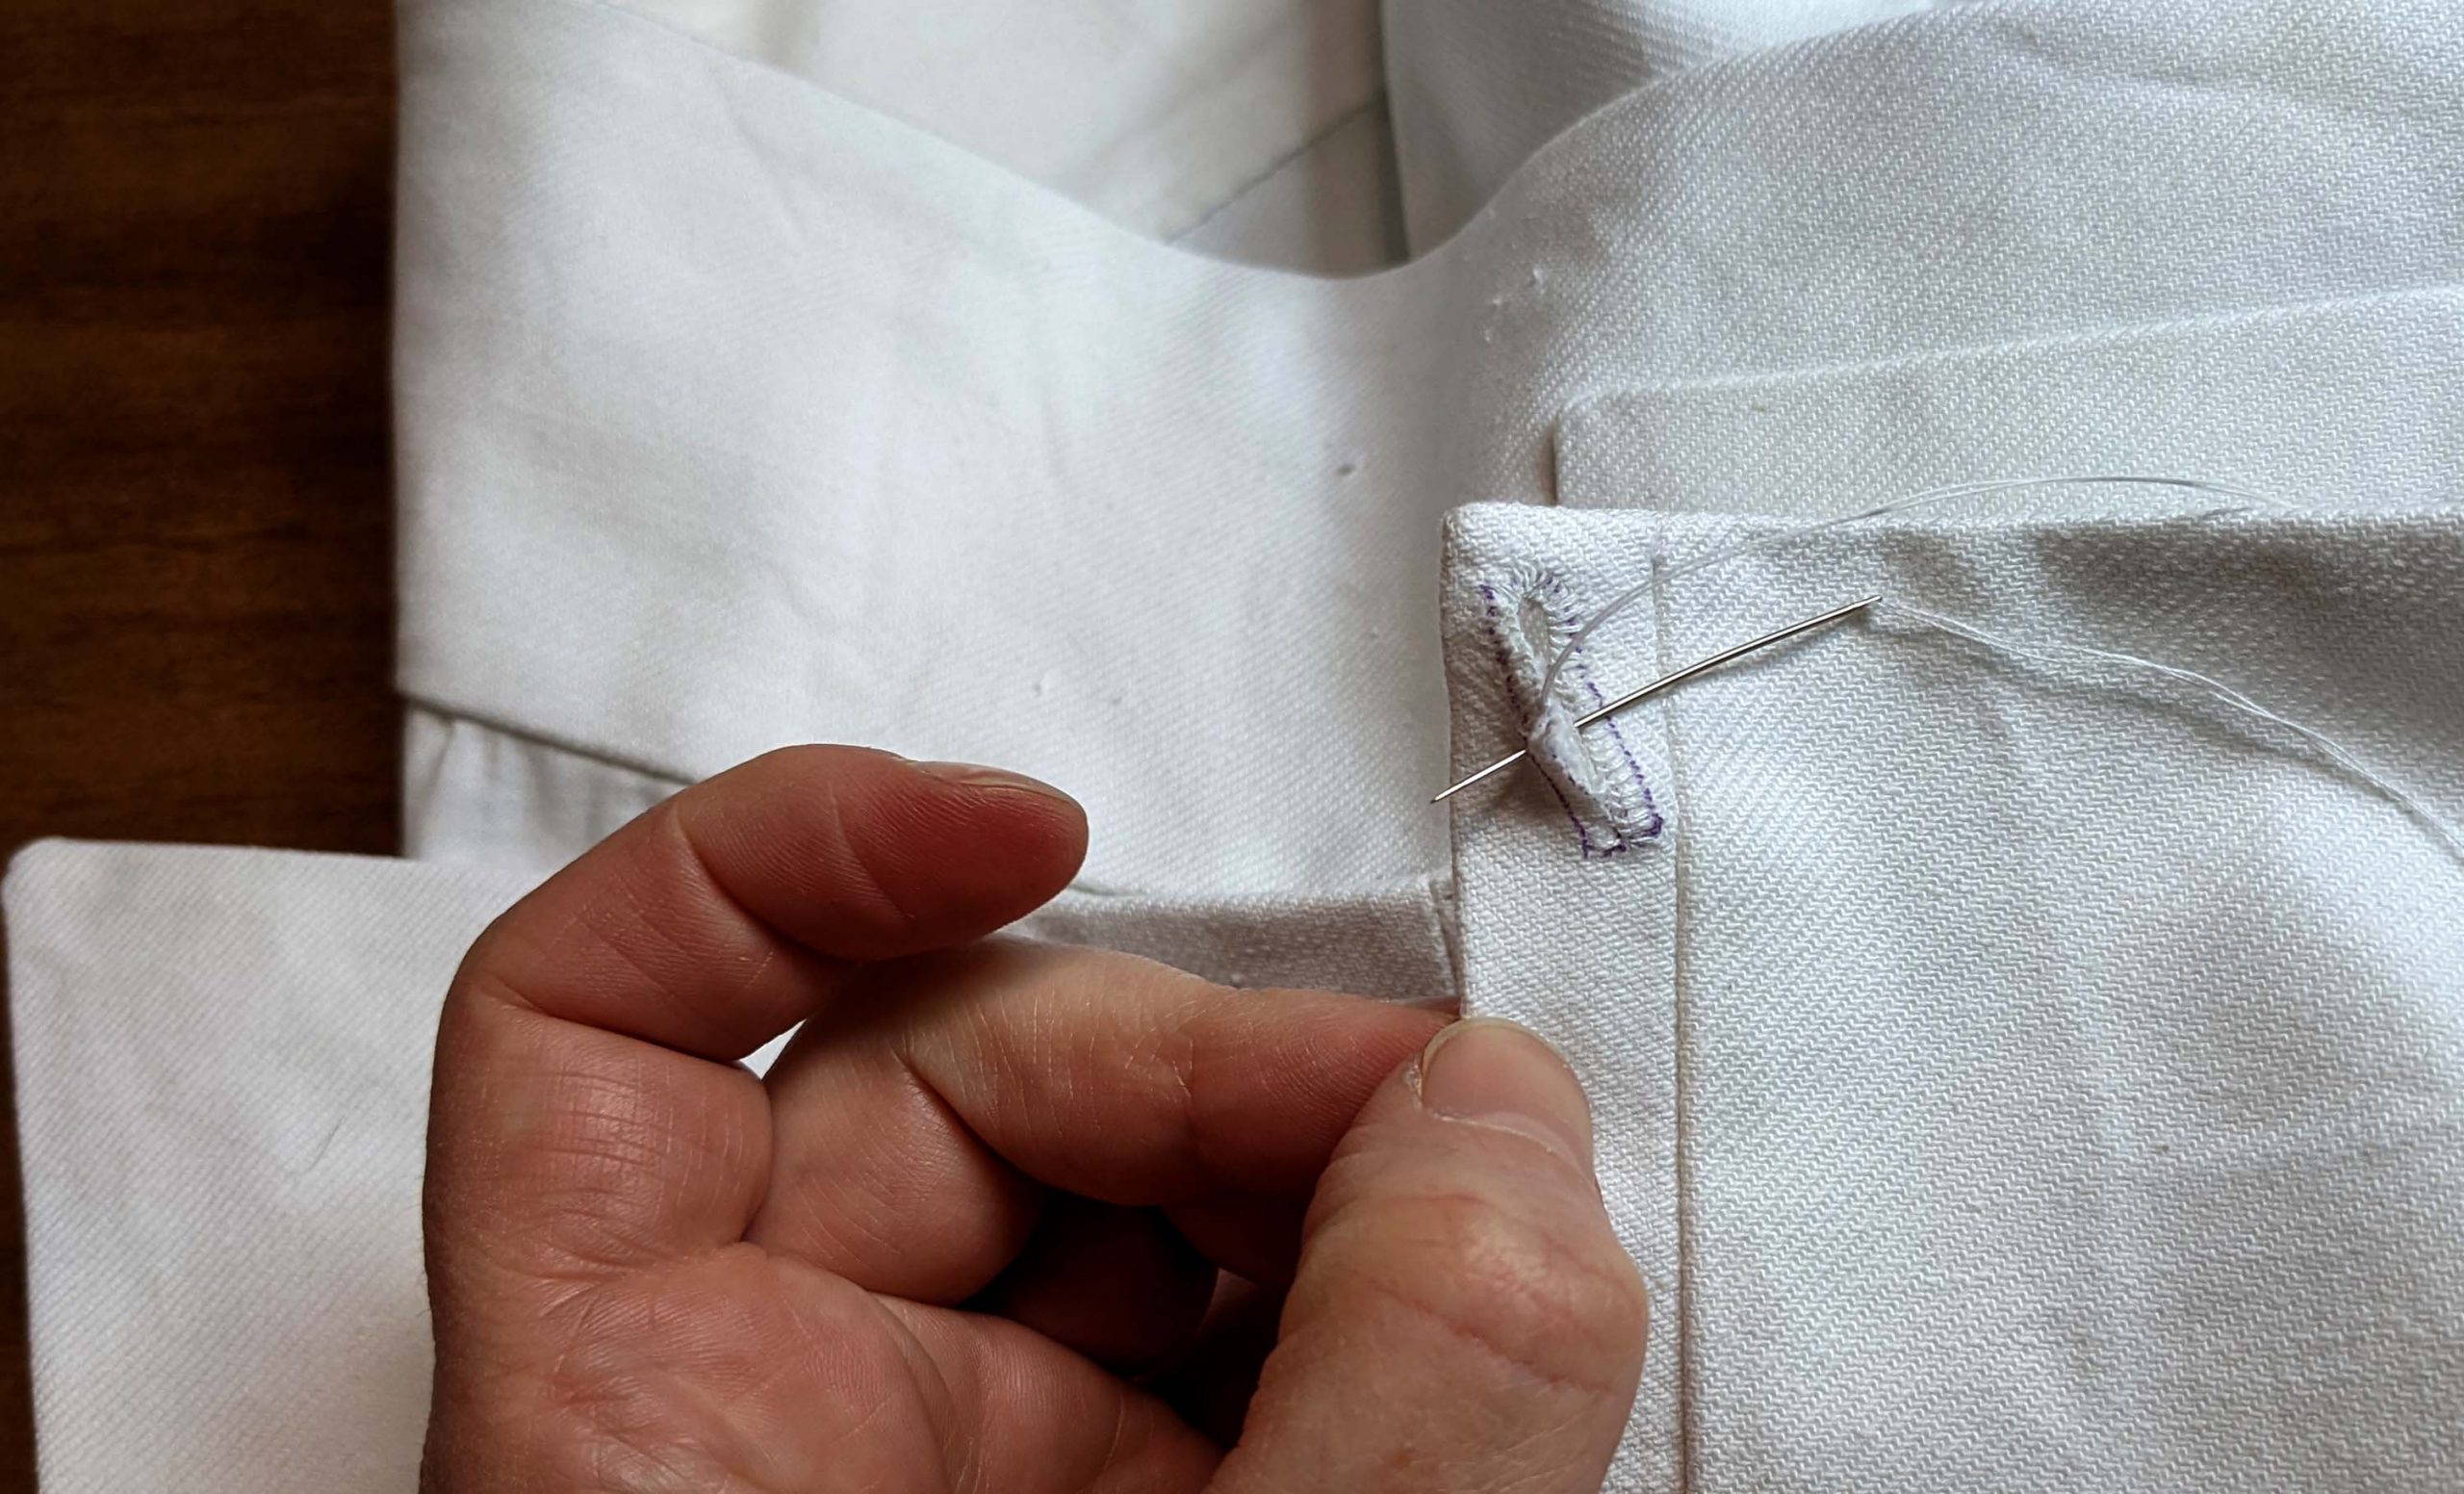
Sew the eyelets and missing button holes, sew on the buttons and thread the eyelets with a narrow tape. I prefer to make my buttonholes by hand, although I machine-sew most of the breeches.


That´s it!