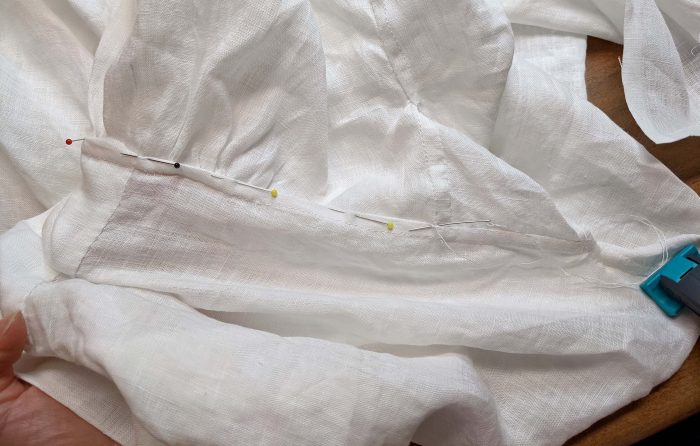
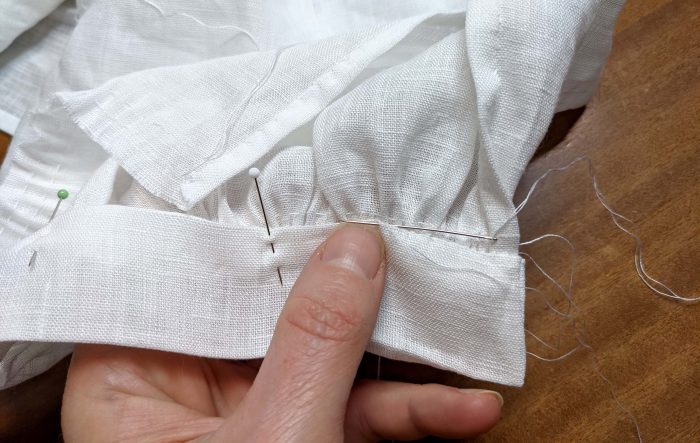
(5) The sleeves are gathered between the marks (3) and lined up with the shirt, right sides together, matching all marks (3) and (4). On the picture you can see my back stitch, made from the sleeve side. In the end, it would have been better to sew from the shirt side, to hide the longer and uneven stitches on the back with the flat felled seam later. On the second sleeve I made my back stitch from the right side, but unfortunately I didn’t take a picture.
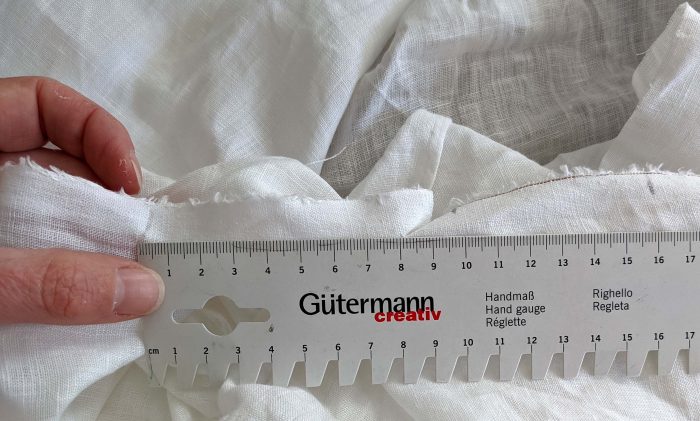
(6) Time to sew the side and sleeve seam. To get a nice result when making all seams flat felled seams later, I stitched all seams from the front side (front bodice + front sleeve), starting and stopping at marks for the vents and underarm gusset. After sewing, I used a ruler to check that my opening for the gusset was the right size.
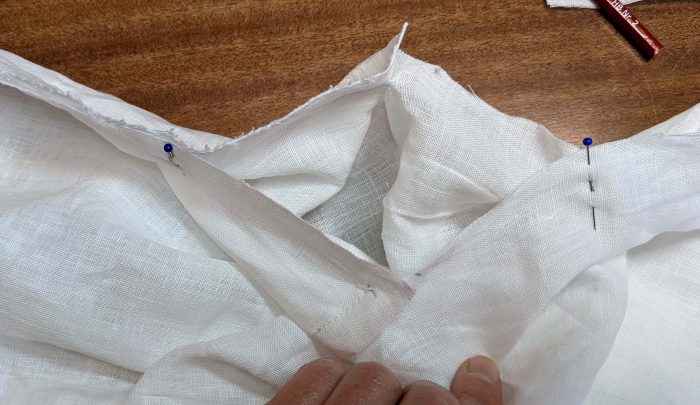
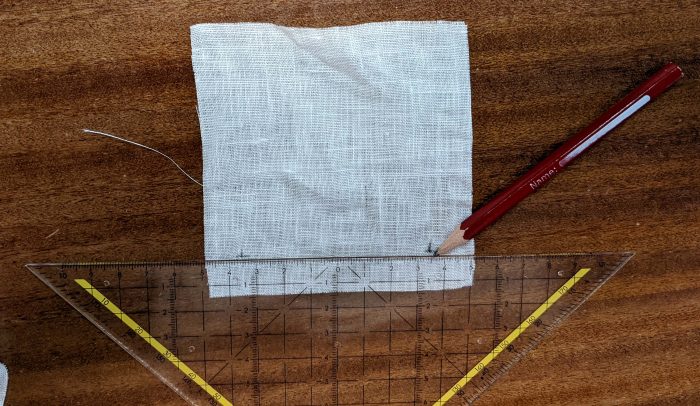
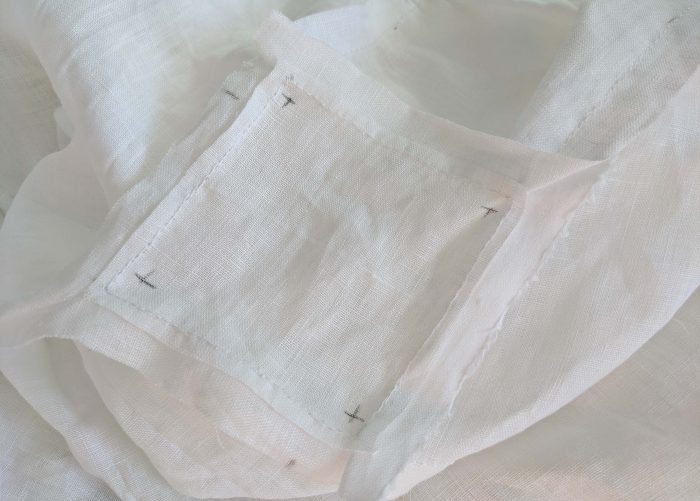
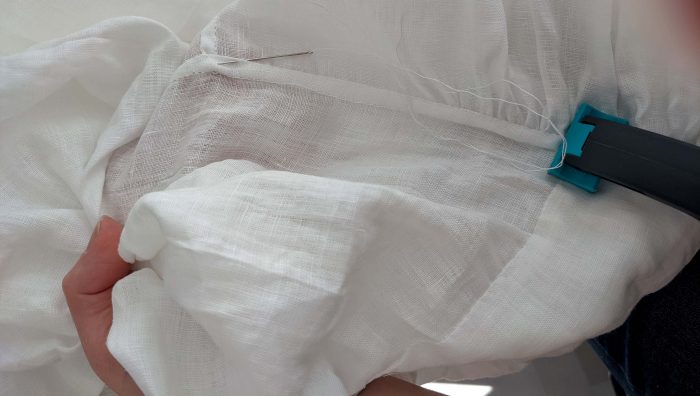
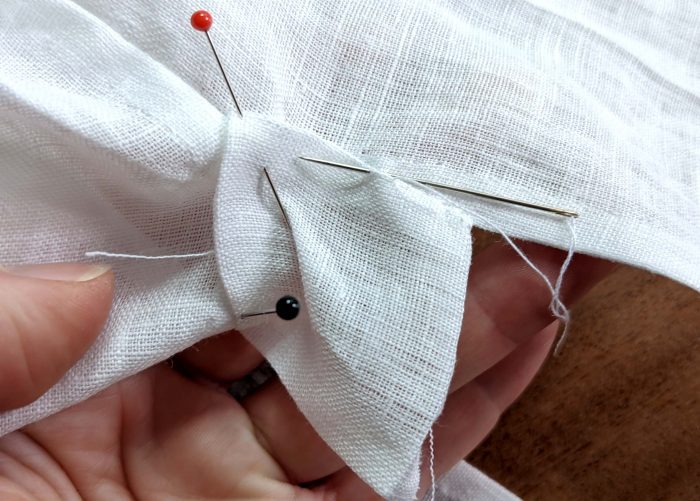
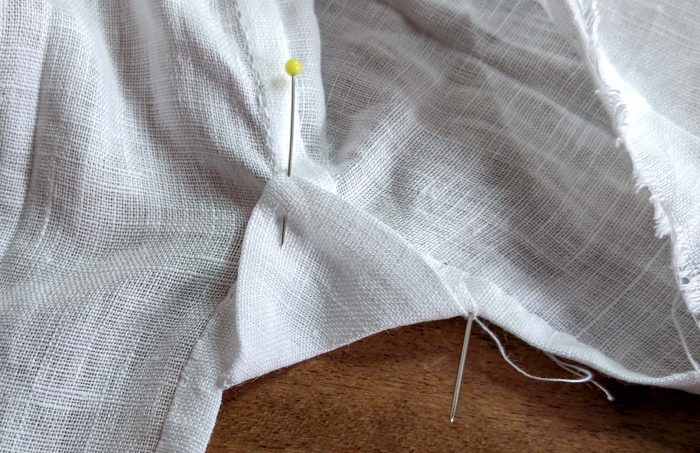
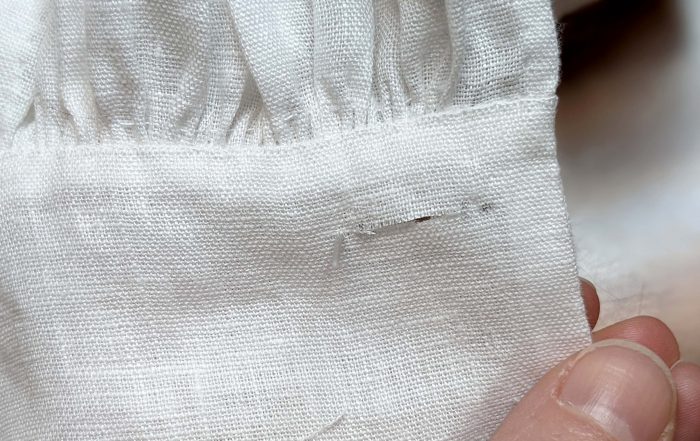
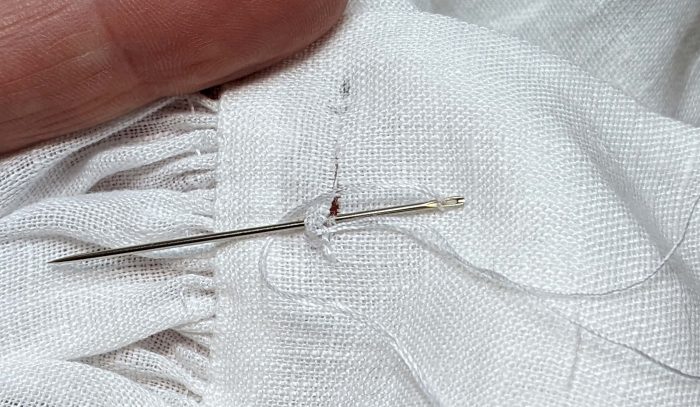
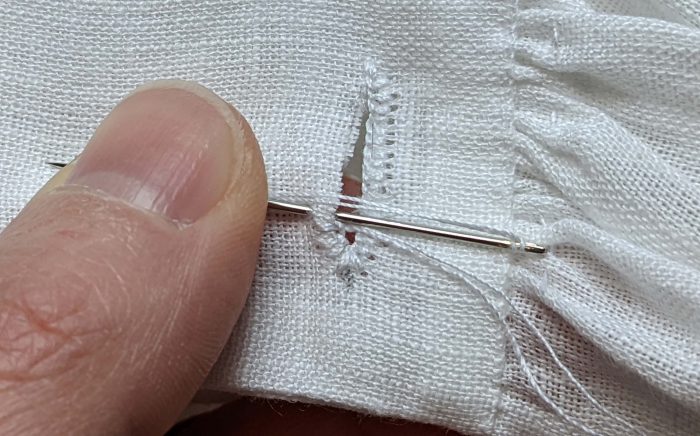
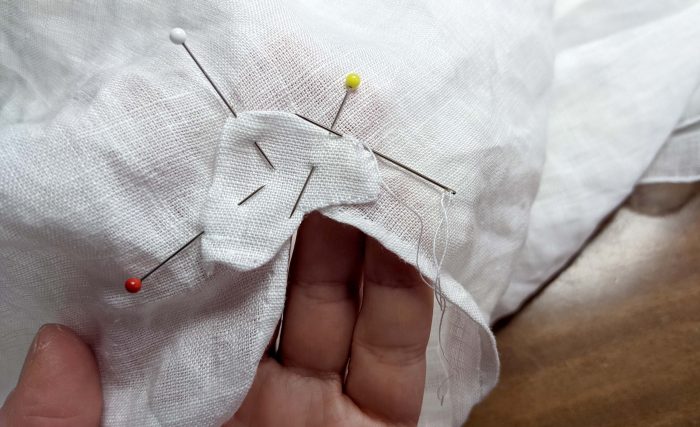
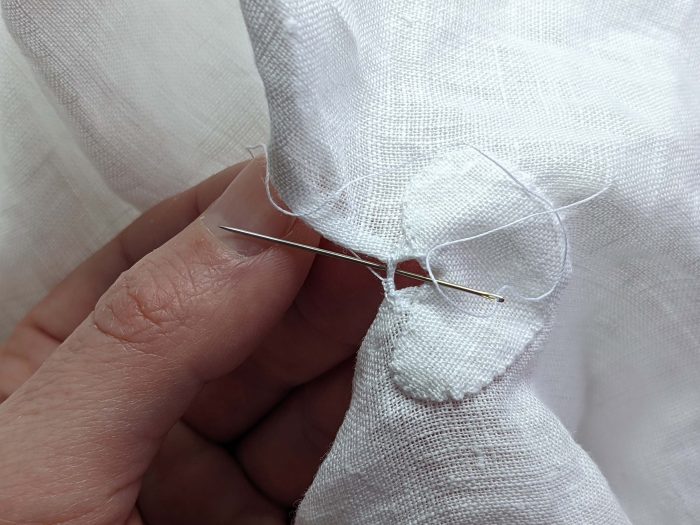
(7) Before pinning the gusset into the opening, I marked the corners to match the opening exactly. All gusset seams are made from the shirt and sleeve side to hide the uneven stitches with the flat felled seam.
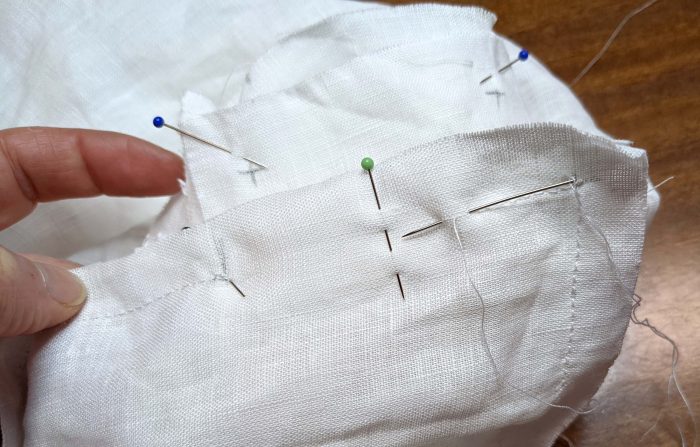
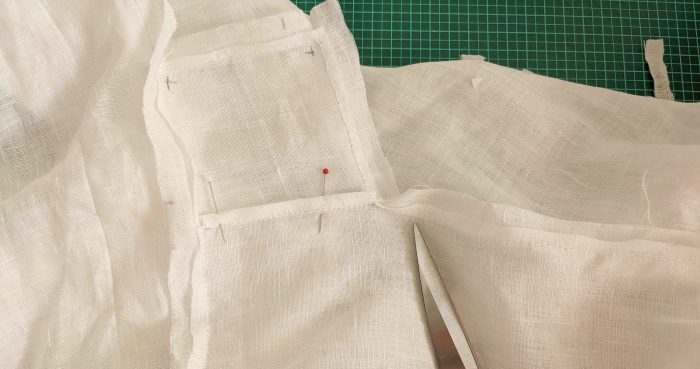
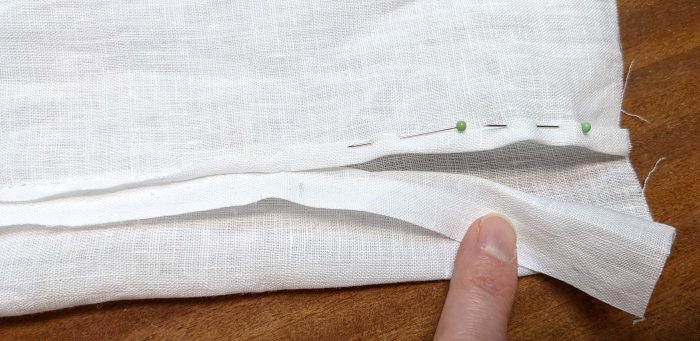
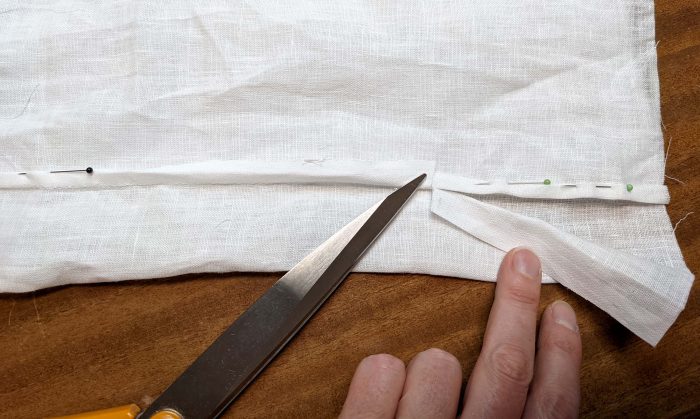
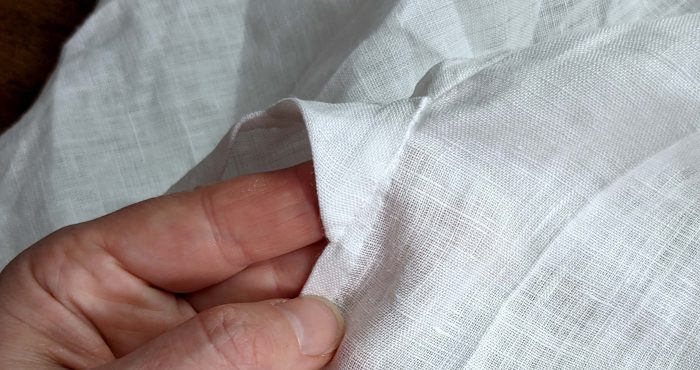
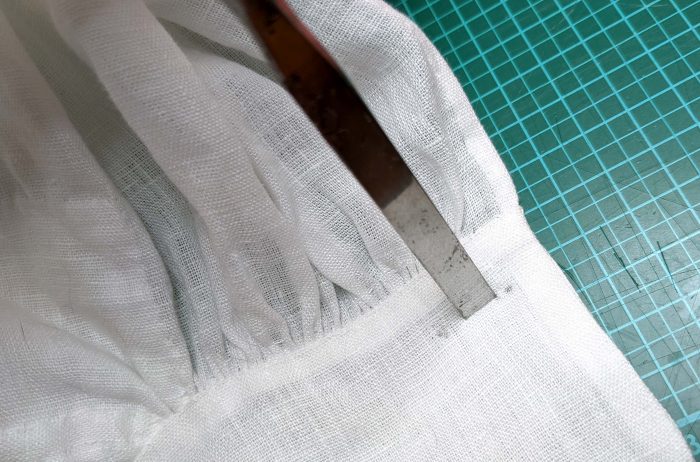
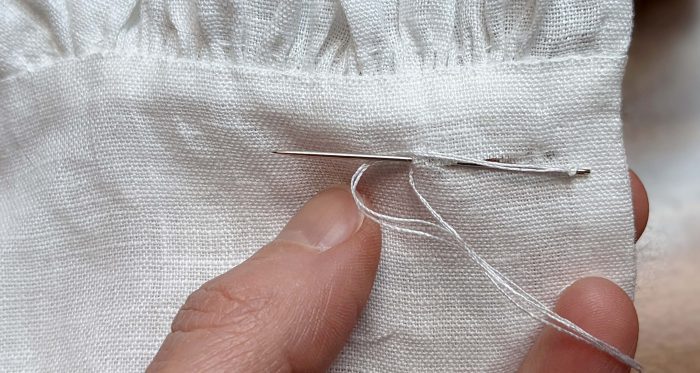
Making the flat felled seams around the gusset can be a bit tricky and fiddly. First step is to notch the seam allowances of the bodice and sleeves as shown in the illustration of the pattern. Then trim back the seam allowances of the gusset followed by the seam allowances mentioned in the instructions. Now all the wide seam allowances are folded around the trimmed back step by step and fell stitched in place.

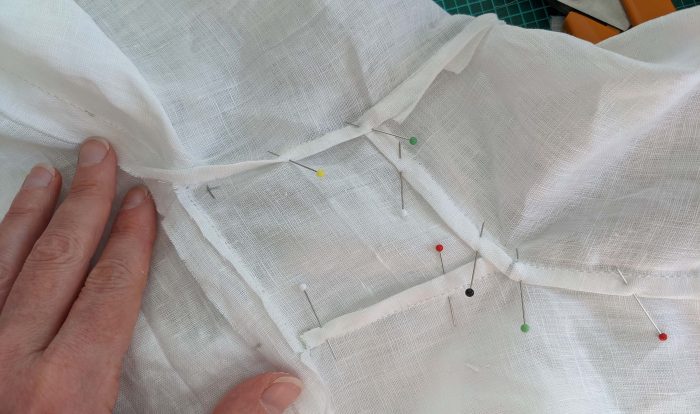
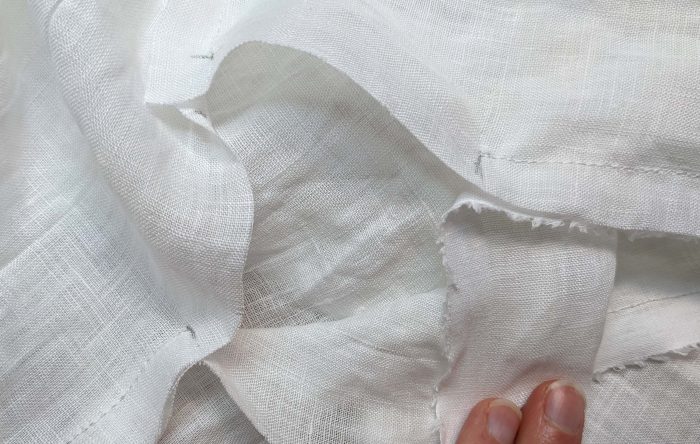
(8) The flat felled seam is continued along the armhole. When reaching the gathered part of the sleeve, catch every single pleat one by one when felling down the seam allowance.
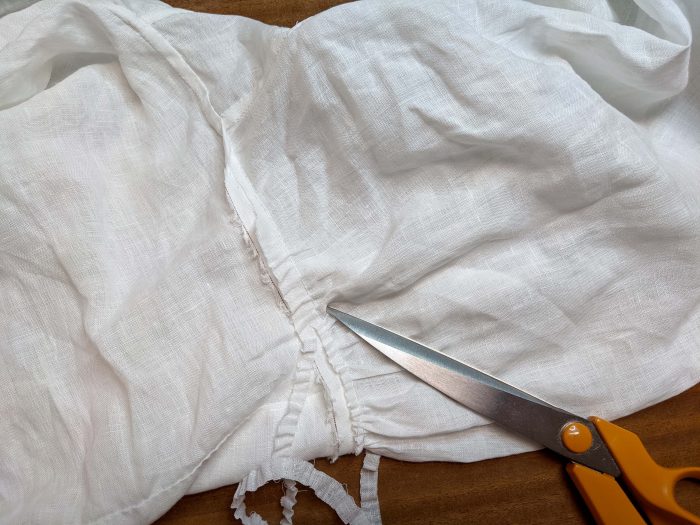
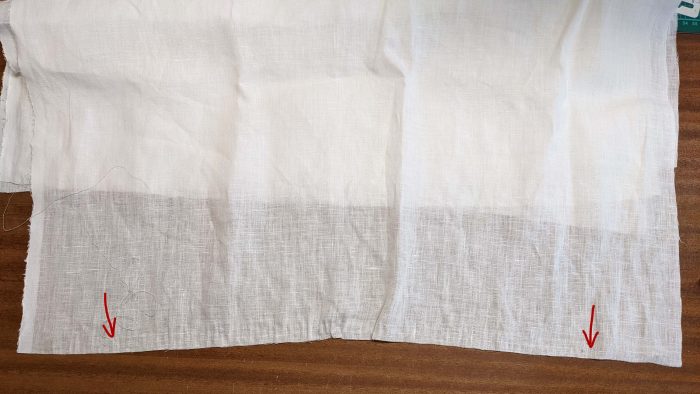
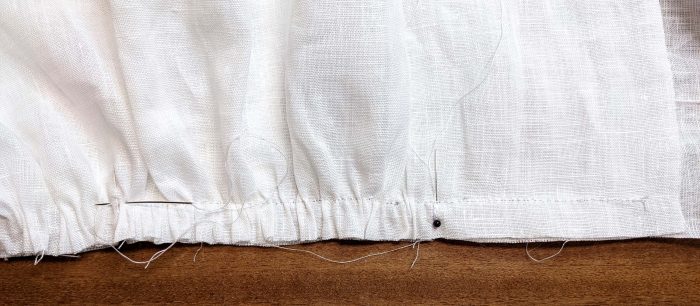
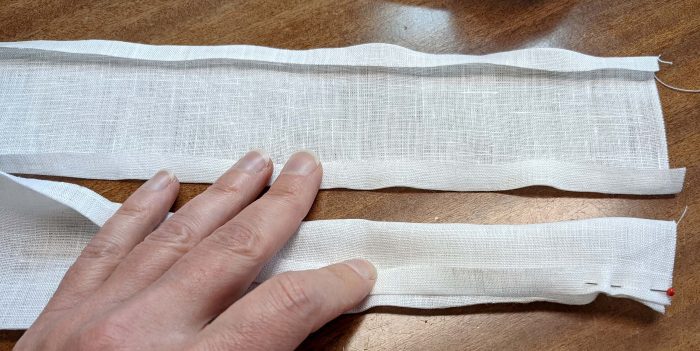
(9) The same along side seams and sleeve seams. When reaching the vents, clip the seam allowances and double turn in narrow along the vent edges.
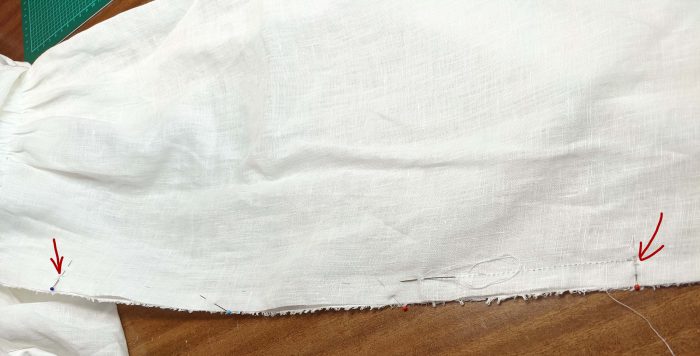
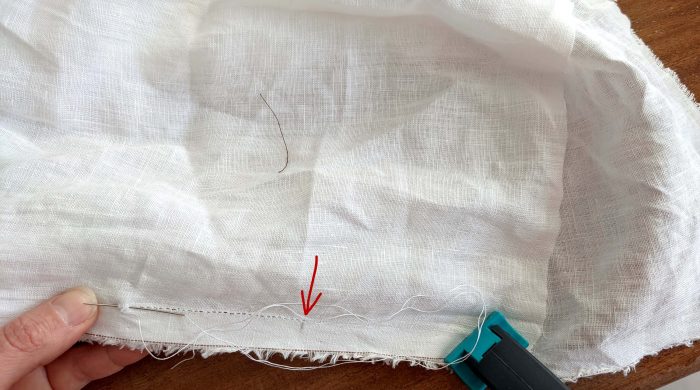
Double turn in narrow the bottom edge of the shirt and fell down.
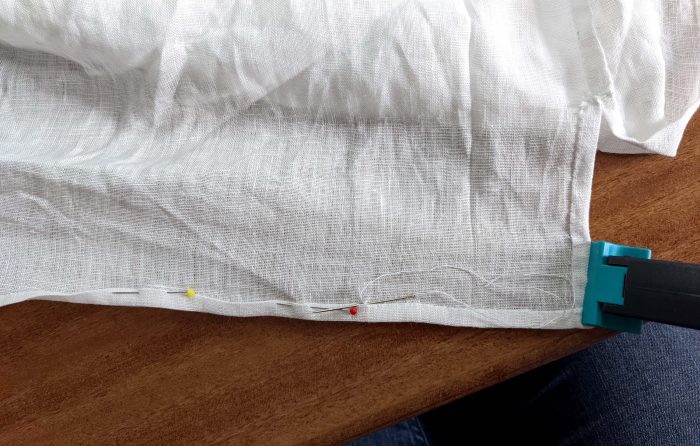
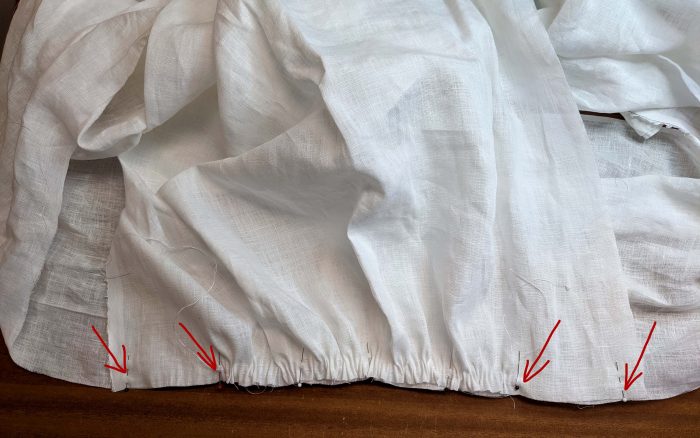
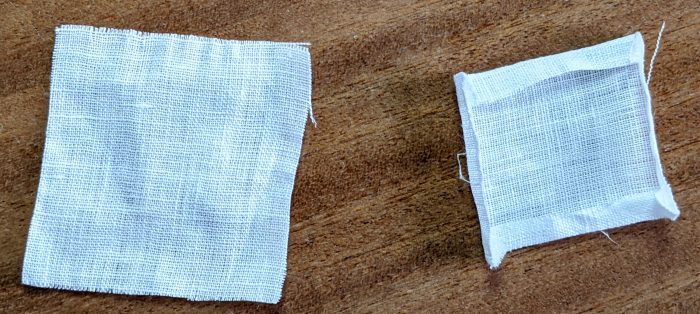
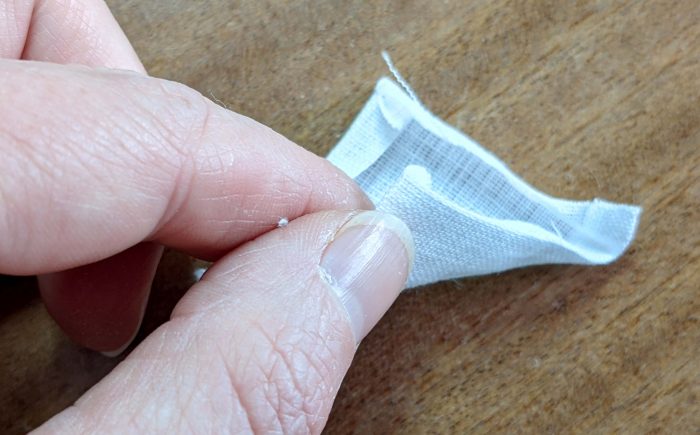
Insert the small gussets into the corners of the vent for reinforcement.
(10) After gathering the bottom edge of the sleeves, the cuffs are attached the same way as described at the collar.
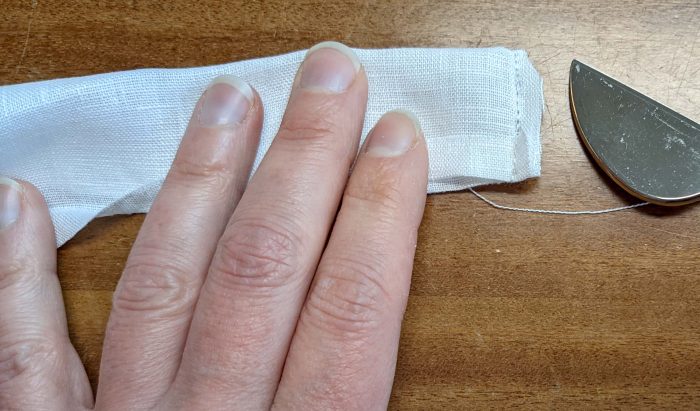
Buttonholes and buttons are sewn into the cuffs and collar. I confess, I used Fray Check before cutting the button holes to stiffen the material and avoid fraying of the linen. (By the way, my chisel is a bit to small.) I prefer to use a doubled thread and start with my stitches at the corner.
(11) The heart shaped piece, places at the end of the chest opening for reinforcement, and the optional thread bar.
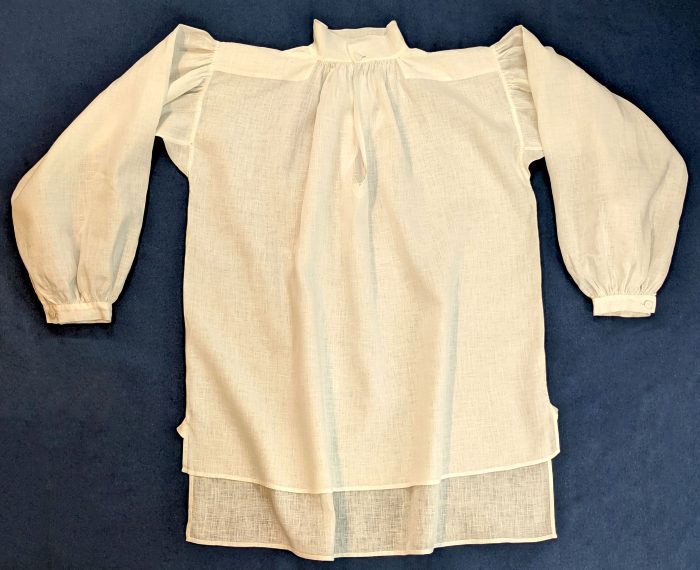
At this point, the plain shirt is finished! Just that a man needs some ruffles and accessories as well. That will be the content of part 3!