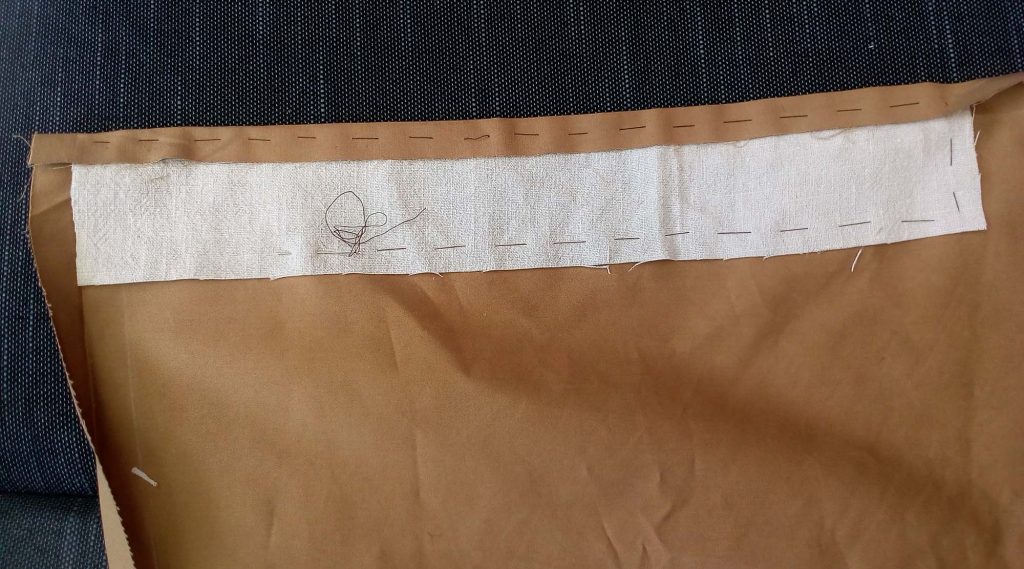
Now I took the front pieces from lining fabric and sewed on the shoulder pieces, right sides together, as common on late 18th century waiscoats. To finish the seam, I trimmed back the seam allowance of the shoulder piece, folded over the larger seam allowance of the front and felled down the edge as mentioned before.
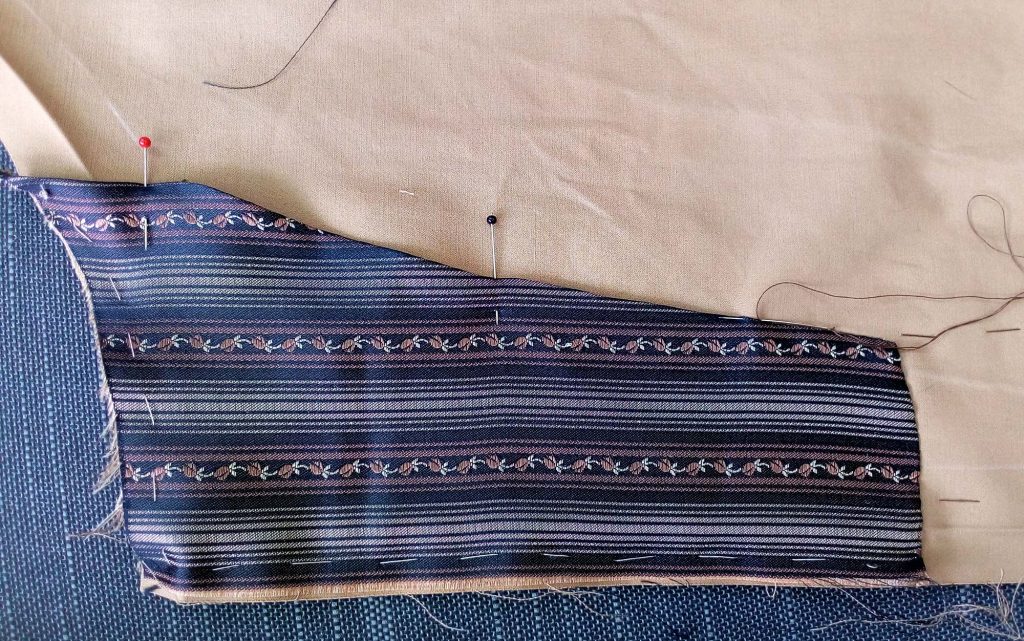
As the right fabric side of the front lining faces the wrong side of the fashion fabric later, I lined up the interfacing along the front edge, with the stitching line on the right fabric side and basted to hold in place. I turned in the seam allowances to the right side along the bottom, front and top edge.
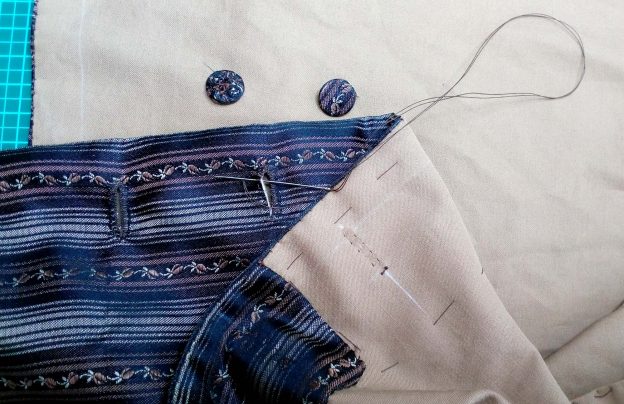
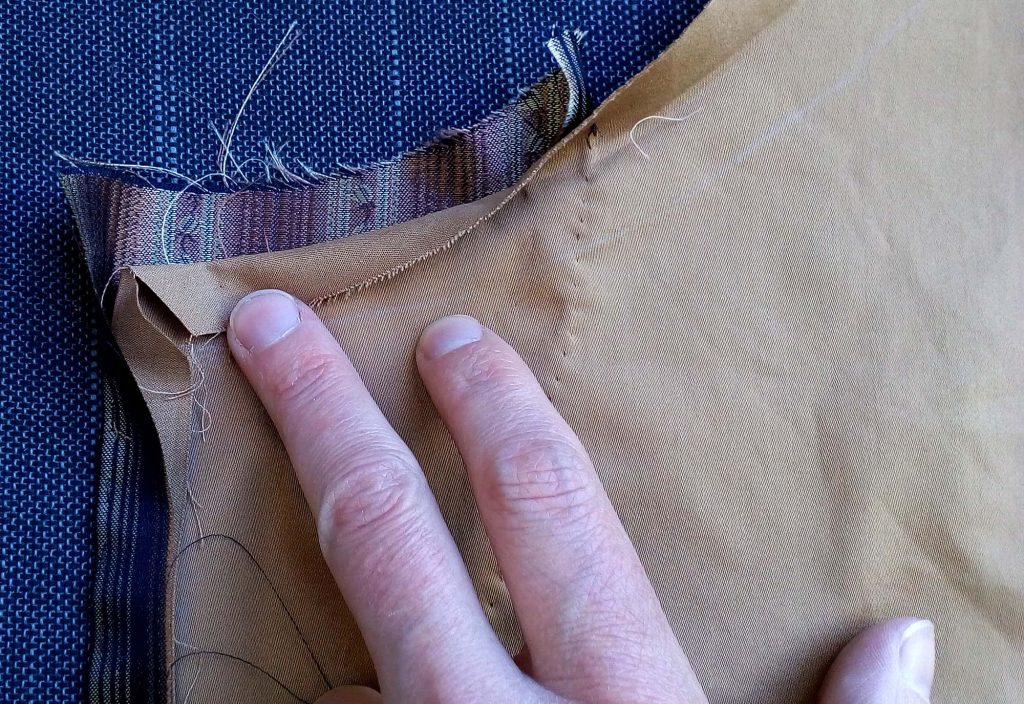
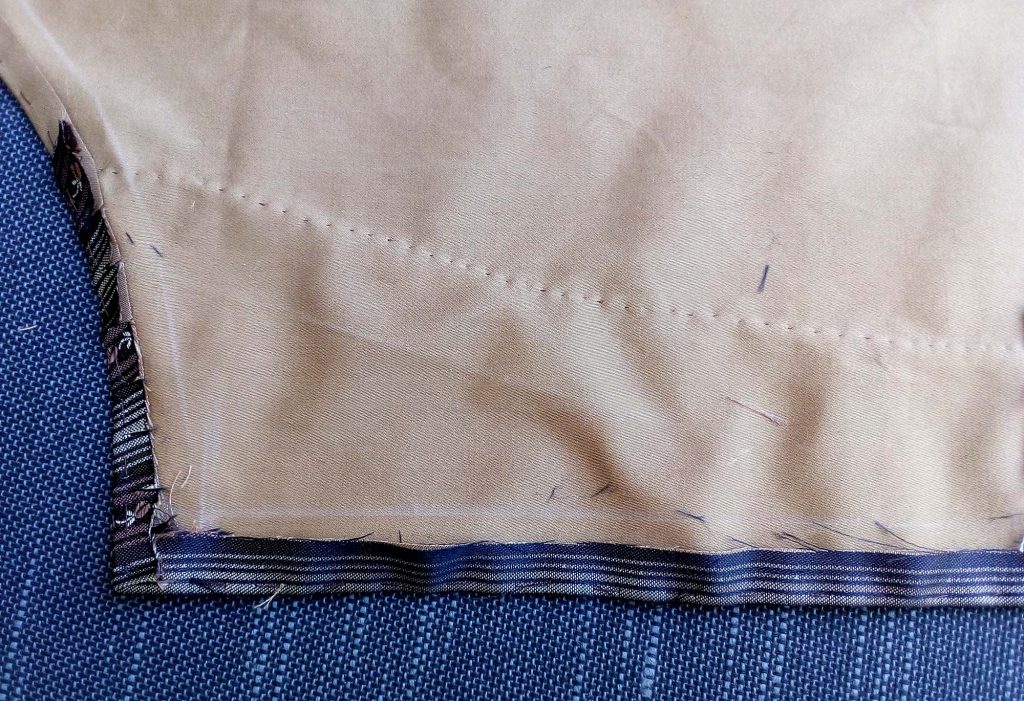
At the lapel facing, I turned in the seam allowance along the bottom and side Edge and basted the facing to the fronts, wrong sides facing each other. Simulating the roll line of the lapel while basting to I got some extra width for the turn of cloth. I sewed the facing to the lining along the bottom and side edge with a back stitch right beside the Edge.
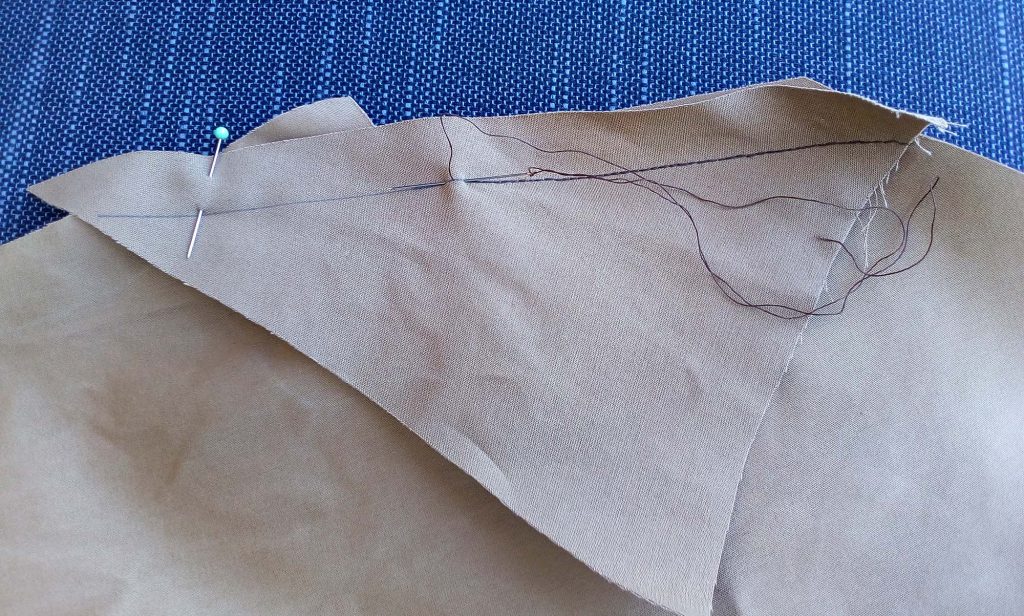
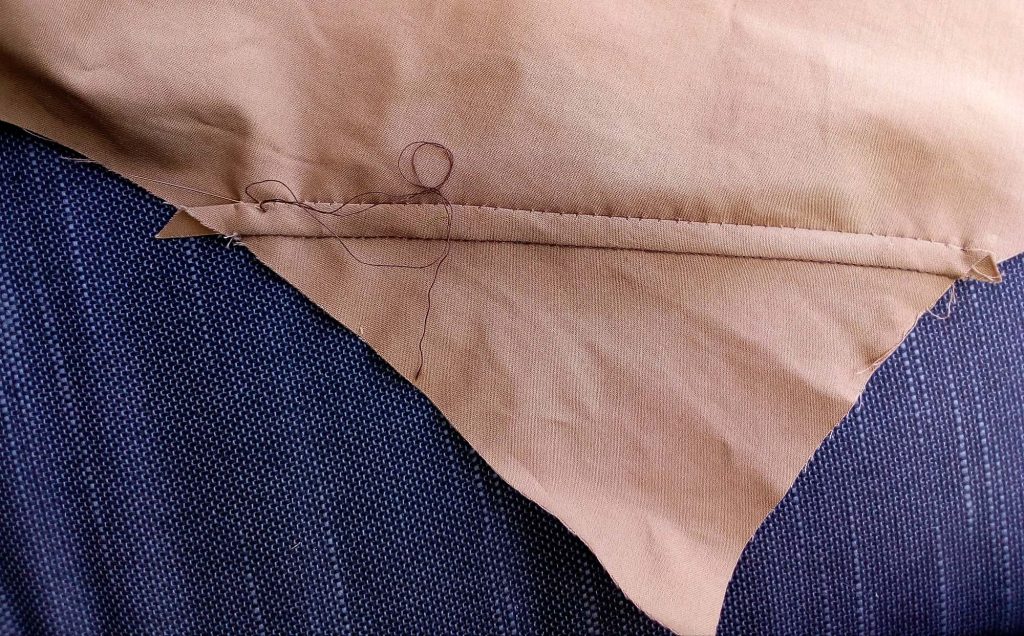
I turned in the seam allowance of front and top edge around the turned in seam allowance of the lining and basted to hold in place.
Now I closed the shoulder seam (shoulder and cut-on collar), right sides together, To finish the shoulder seam as a flat felled seam, I trimed back the seam allowance of the back, cliped the seam allowance of the front at the collar and folded over the trimmed one. At the collar portion I just pressed the seam allowances towards the collar.
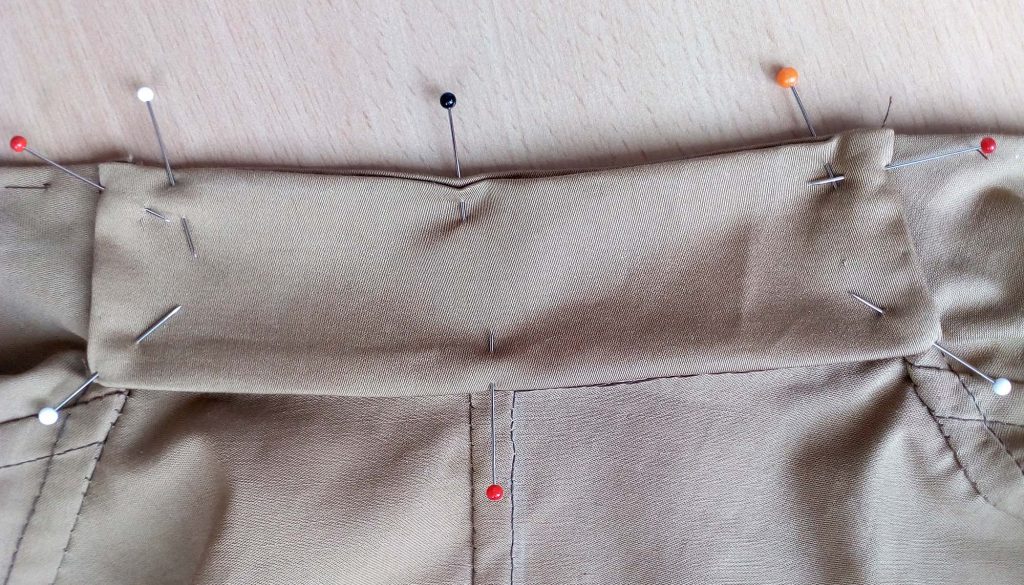
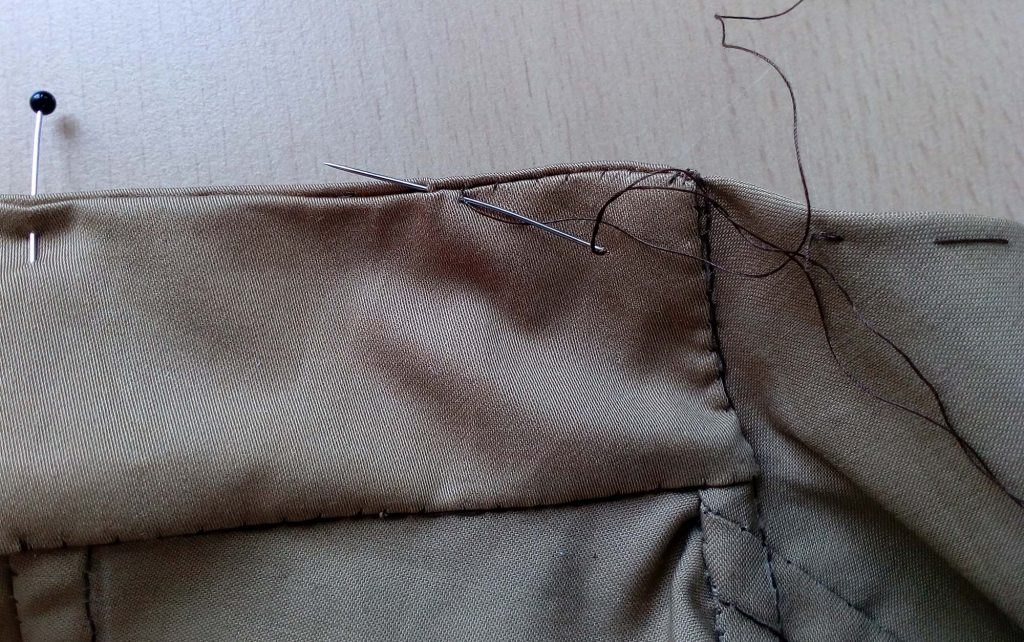
At the inner collar, I turned in all seam allowances and lined up with the outer collar, wrong sides together. I sewed the collar with a fell stitch along bottom and side edges and used the point à rabattre sous la main along the top edge.
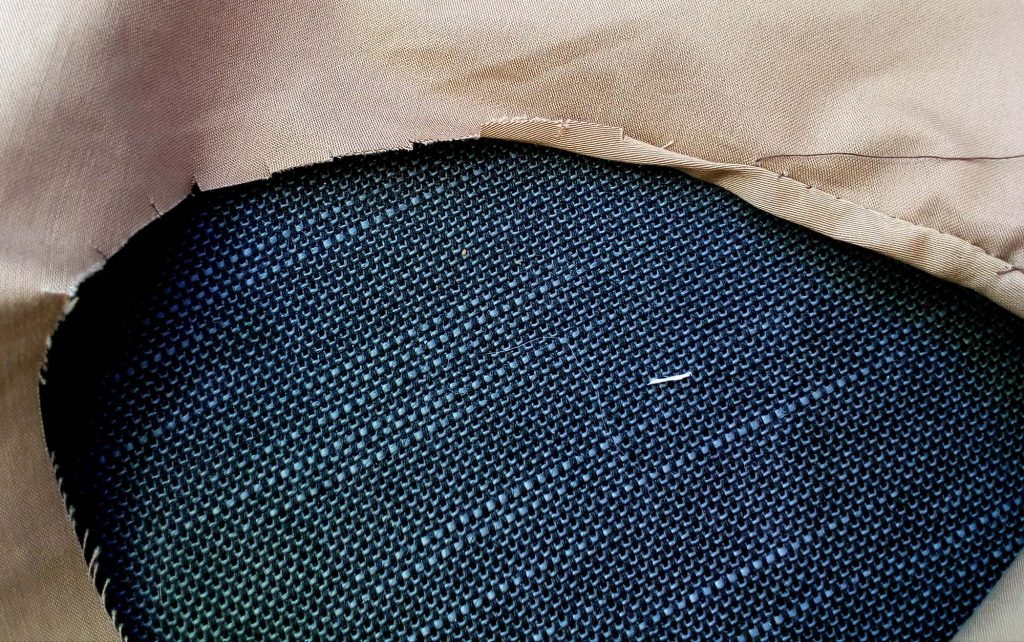
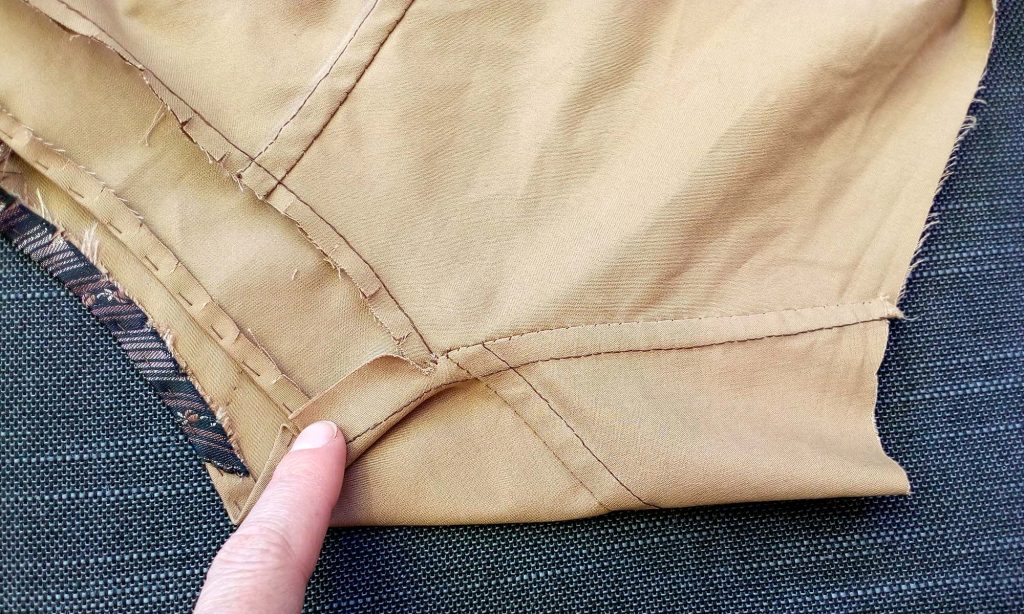
At the armholes, I double turned the seam allowance, cliping halfway into along the curves. I stretched the fabric at the curves while folding with my thumbnail to reach a neat finish, then basted to hold in place before felling down the edge with small stitches, barely visible on the right fabric side. I started and stoped sewing 1” (2,5cm) from the edge to finish the side seam later. (If the fabric your´e sewing with is too sturdy to get your seam allowances laying flat, you can finish the armholes with a facing strap, cut on the bias.)