
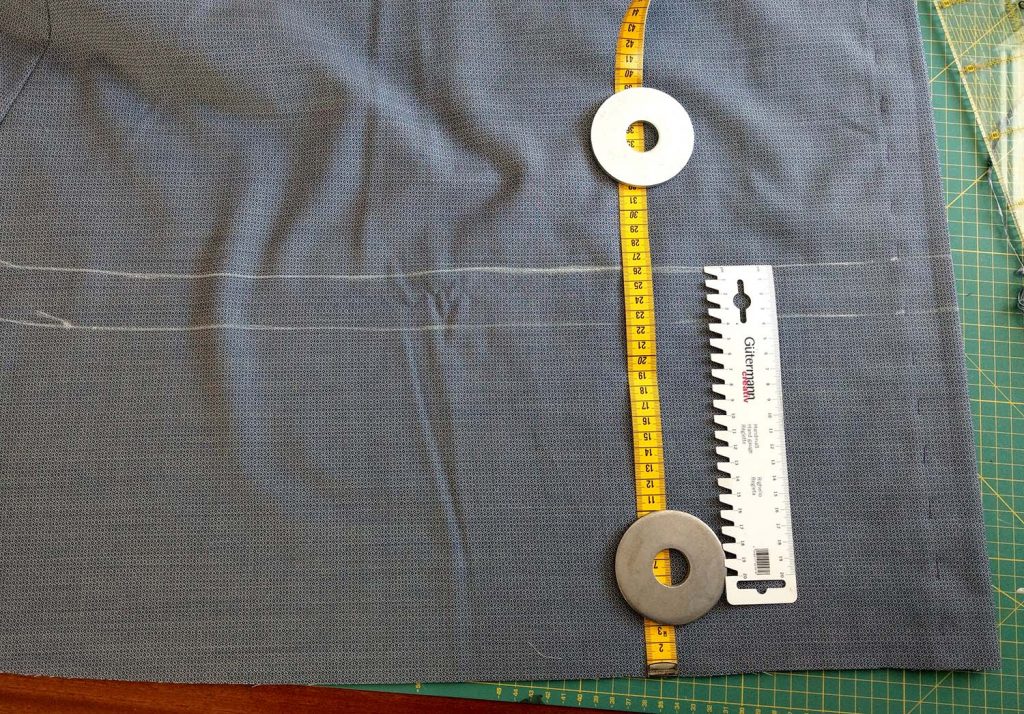
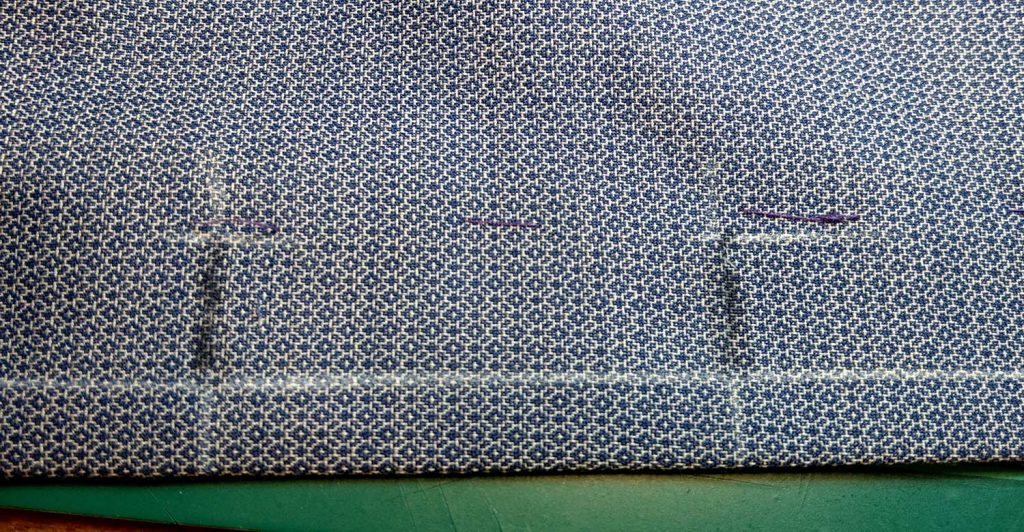
It´s time to finish the dress and to close the center front. But first, mark all lines for flounces and appliques along the hemline on the right fabric side, mark half, quarter and eighth to match the marks on the flounce.
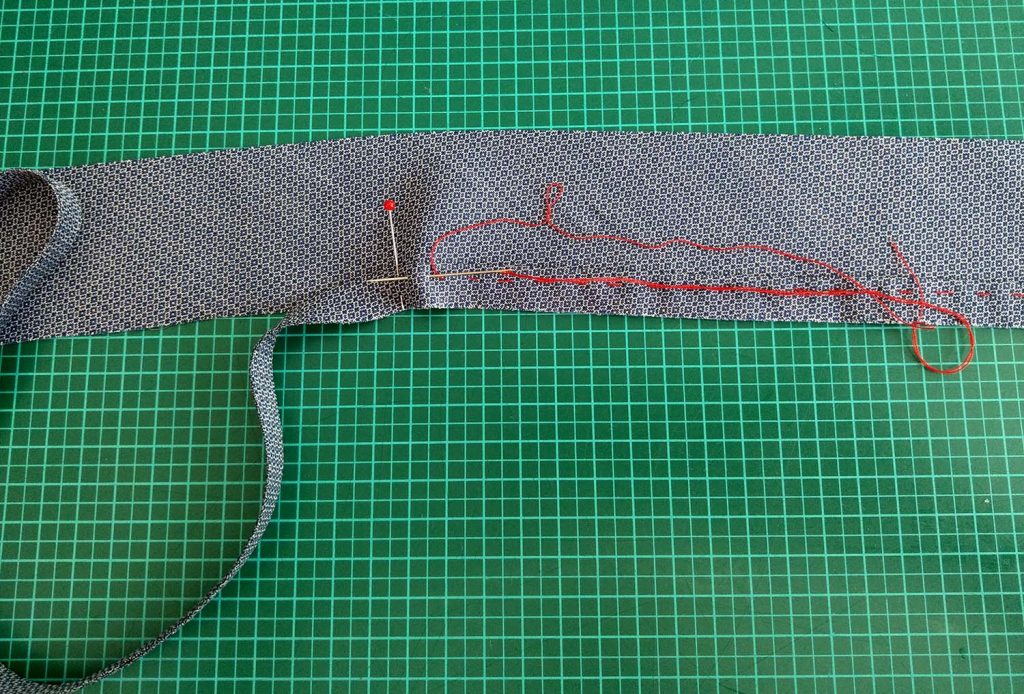
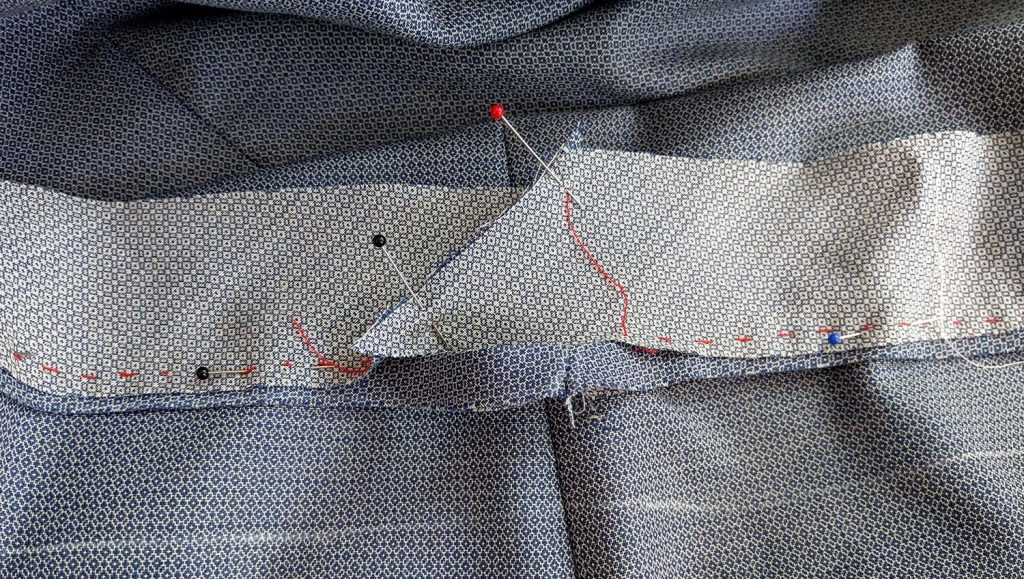
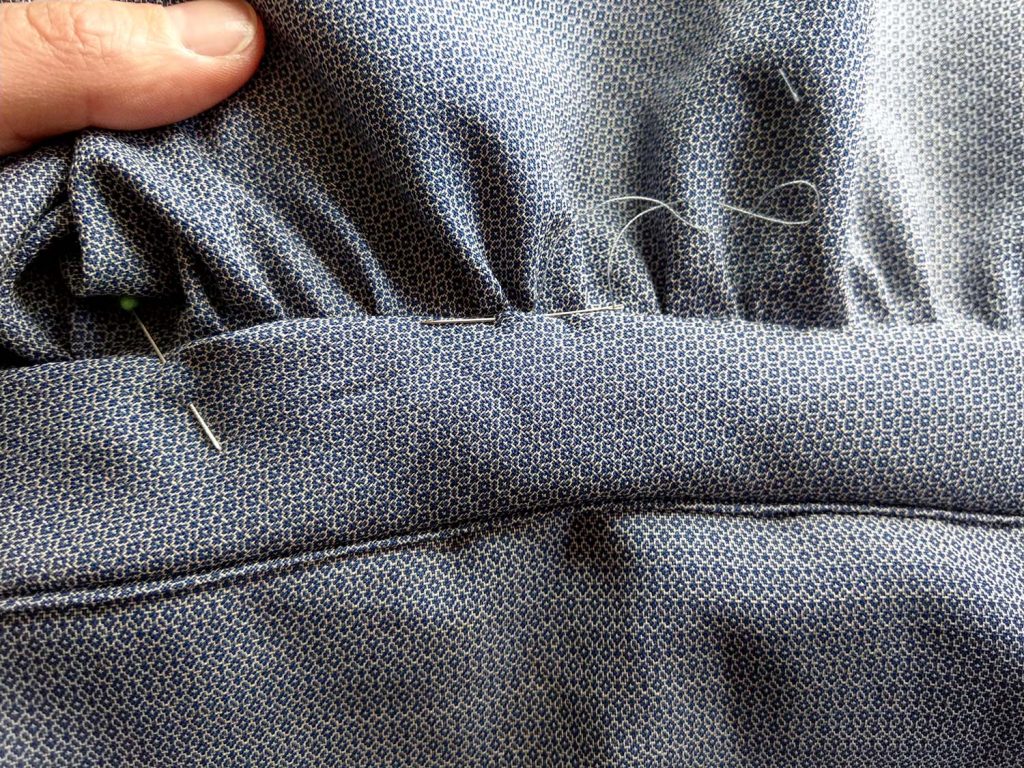
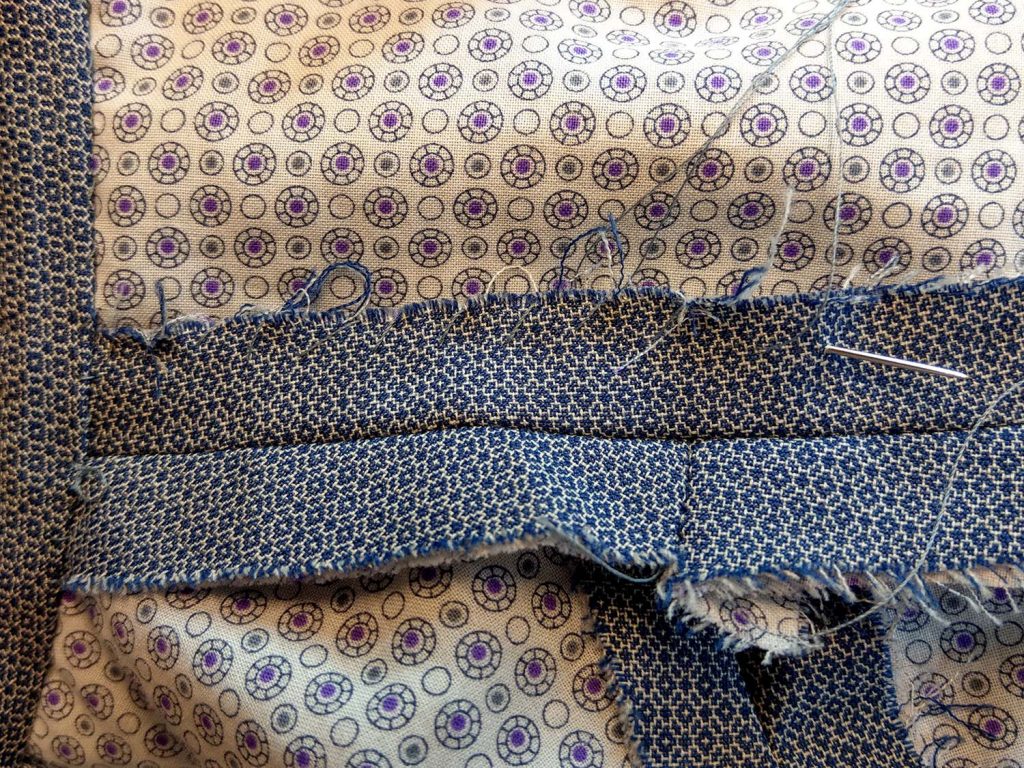
To close the center front below the button tab, place the left side on top, overlapping the right side. Baste along the left front edge from the right fabric side through all layers (pins), starting at the end of the button tab, ending at the hem. Turn the dress to the wrong side.

Grasp the left facing with the right front edge basted on top and pull to the side. Stitch together the two layers along the right front edge, start below the button tab and stop at the hem.
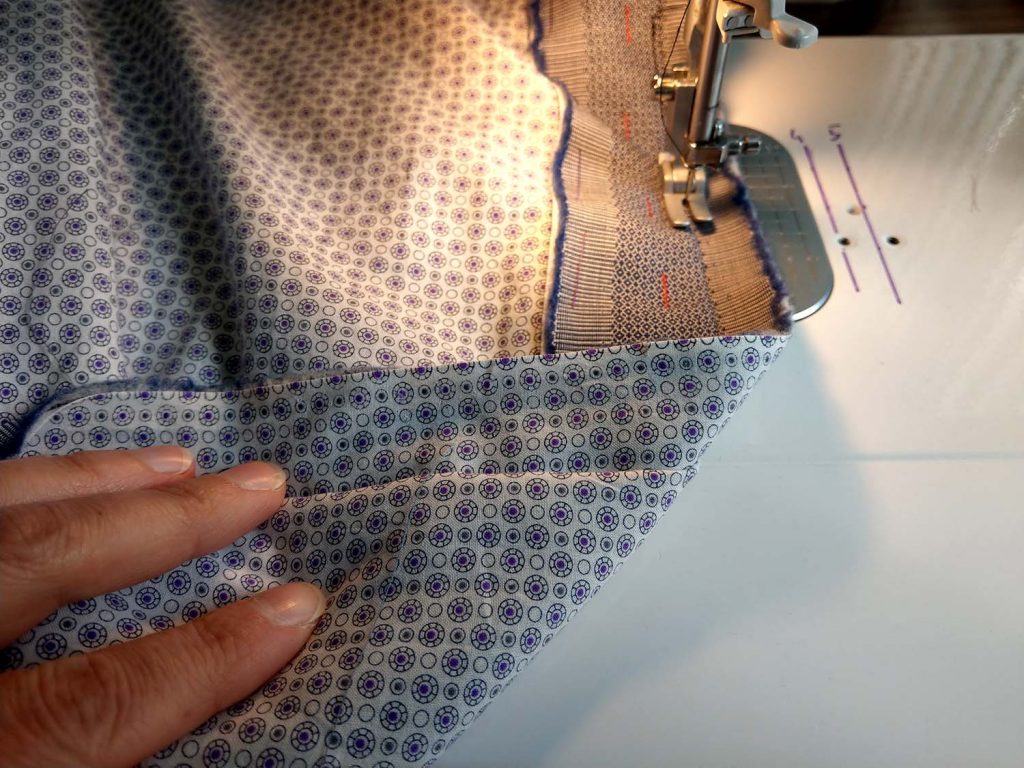
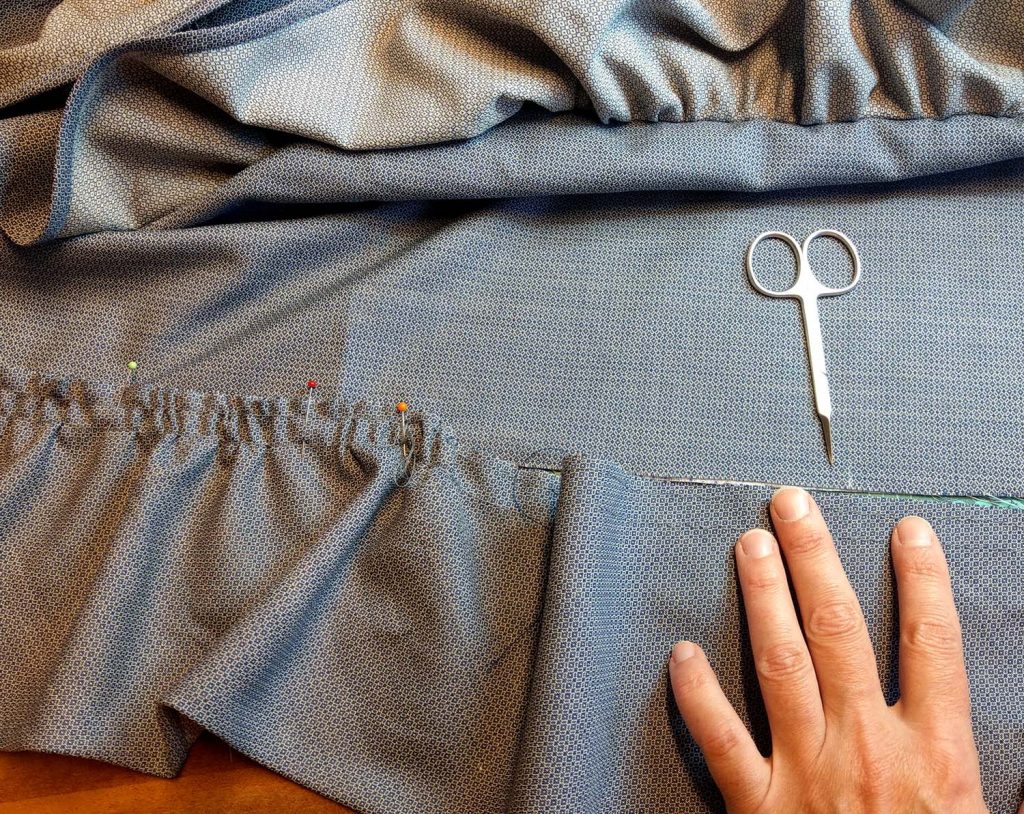
Prepare the flounces by joining several bias strips and closing to a circle in the desired length. On the extant dress the flounces are barely longer than the hemline, in the ratio of about 1:1,25 or even less. On my reproduction dress the flounce is in the ratio of 1:1,5. Double-turn the seam allowance along the hemline and sew with a hem stitch. On the top edge mark the half, quarter and eighth, or even more sectors, matching the marks on the dress. Sew along the top edge of the flounces with two rows of long gathering threads.
Join the bias strips for the applique, right sides together, minimum length has to be the length of the upper flounce line. Prepare a piping the same length and line up the raw edges with the top edge of the applique. Baste in place along the stitching line of the piping to mark the stitching line on the wrong side of the applique.
Take the applique strip and line up the basted stitching line along the indicated line on the dress, right sides together.

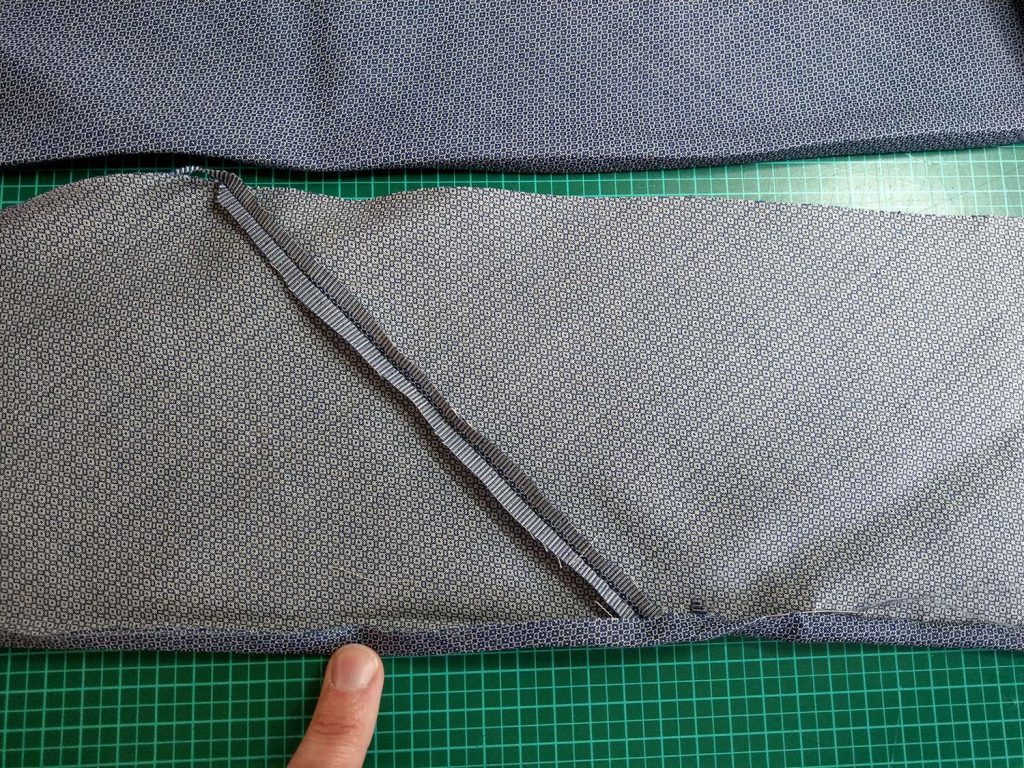
At the ends, cut off the excess fabric on the bias with some seam allowance added, remove some basting threads and close piping and applique strip separately to a circle, baste in place again.
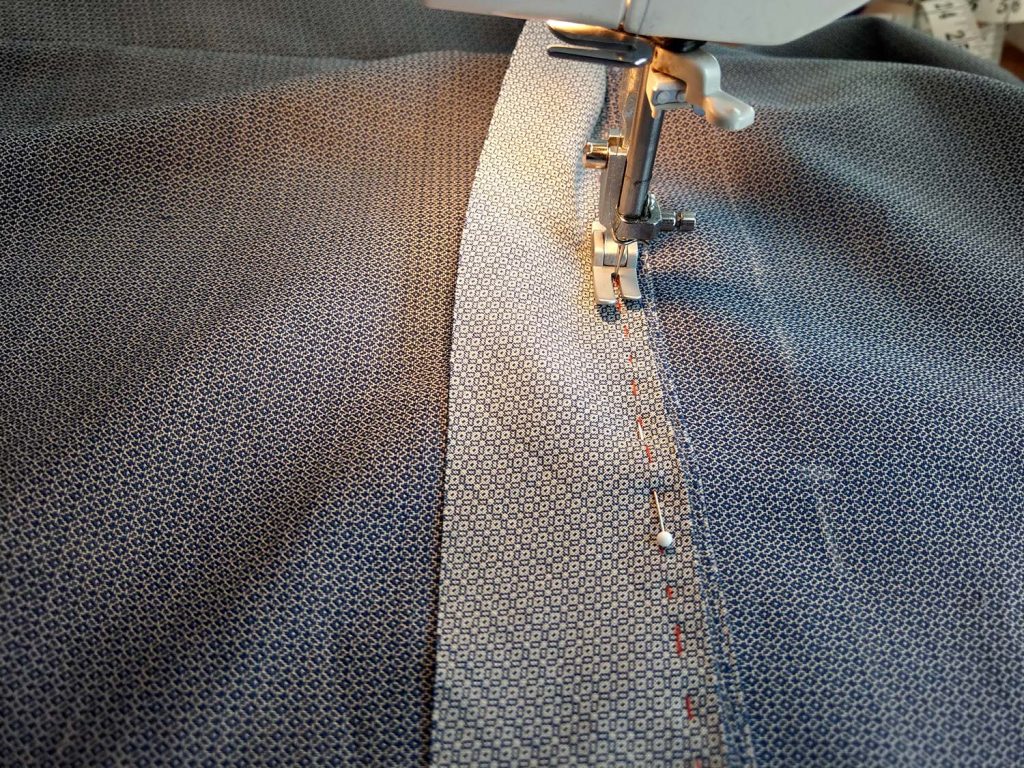
Sew just next to the basting threads and remove the basting after stitching the seam.
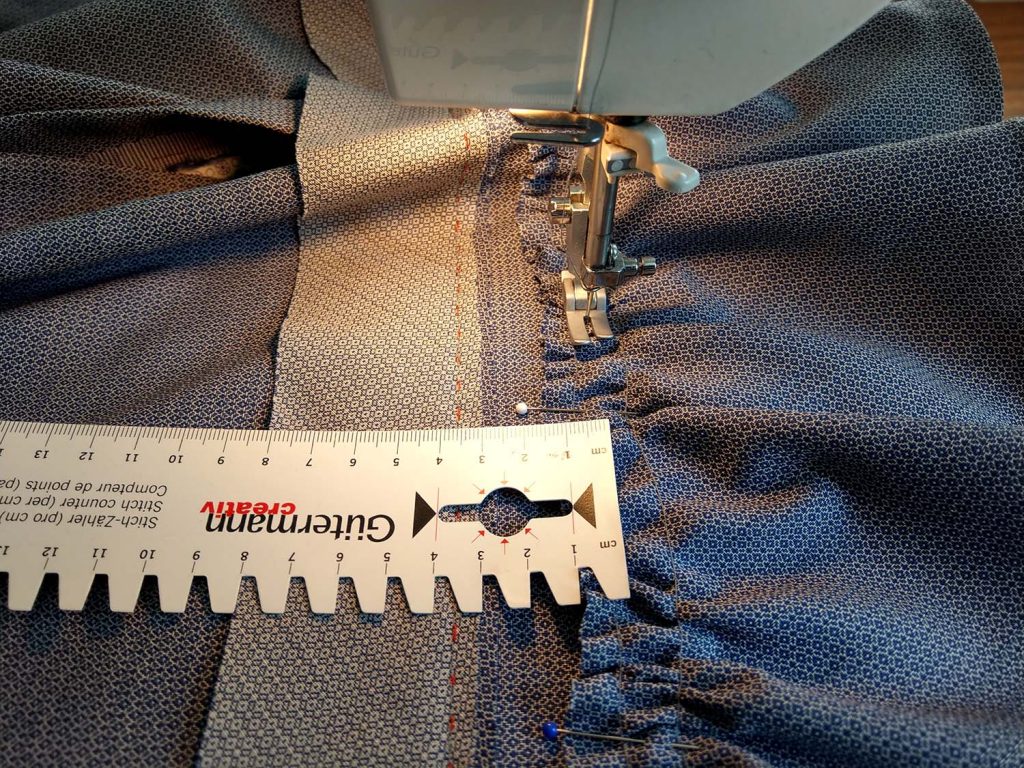
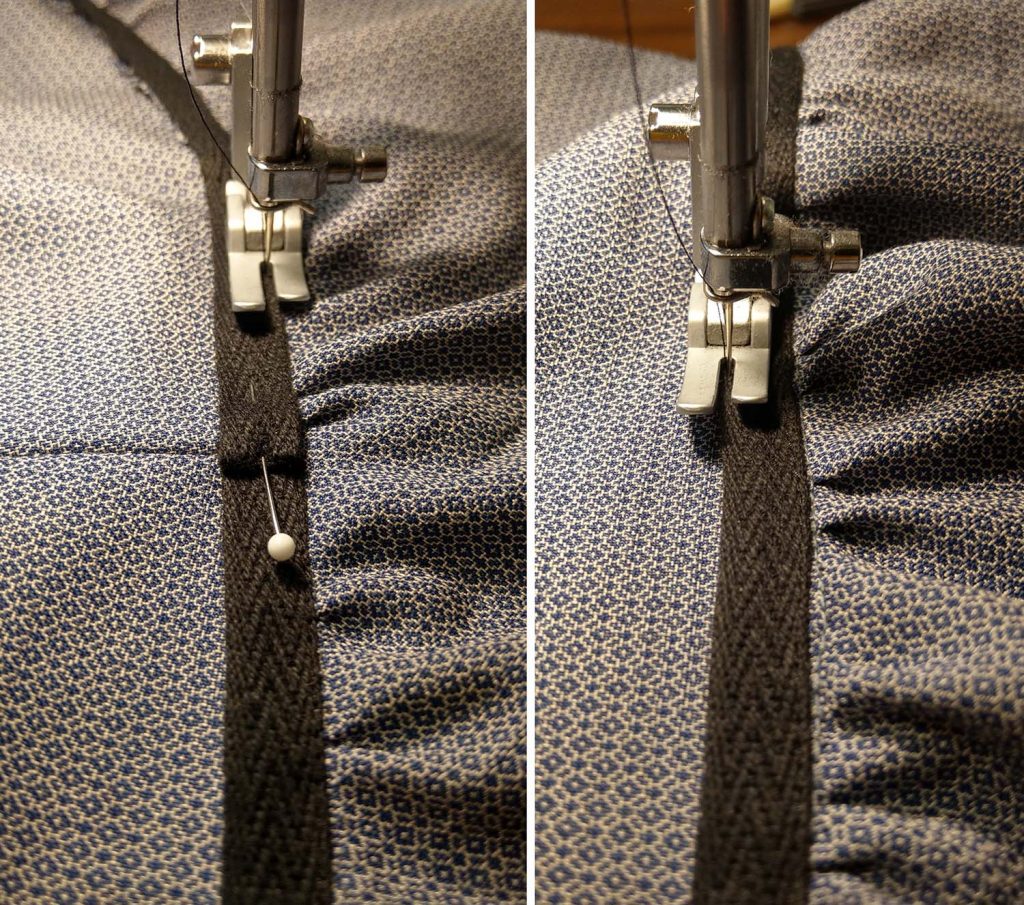
Line up the top edge of the upper flounce with the indicated line and pin in place matching all marks. Pull the threads to gather the fabric and spread the width evenly. Sew with a seam allowance of 1,5cm, trying to keep them seam parallel to the stitching line of the applique.
Fold the applique towards bottom, turn in the bottom seam allowance and fell stitch in place along the stitching line of the flounce.

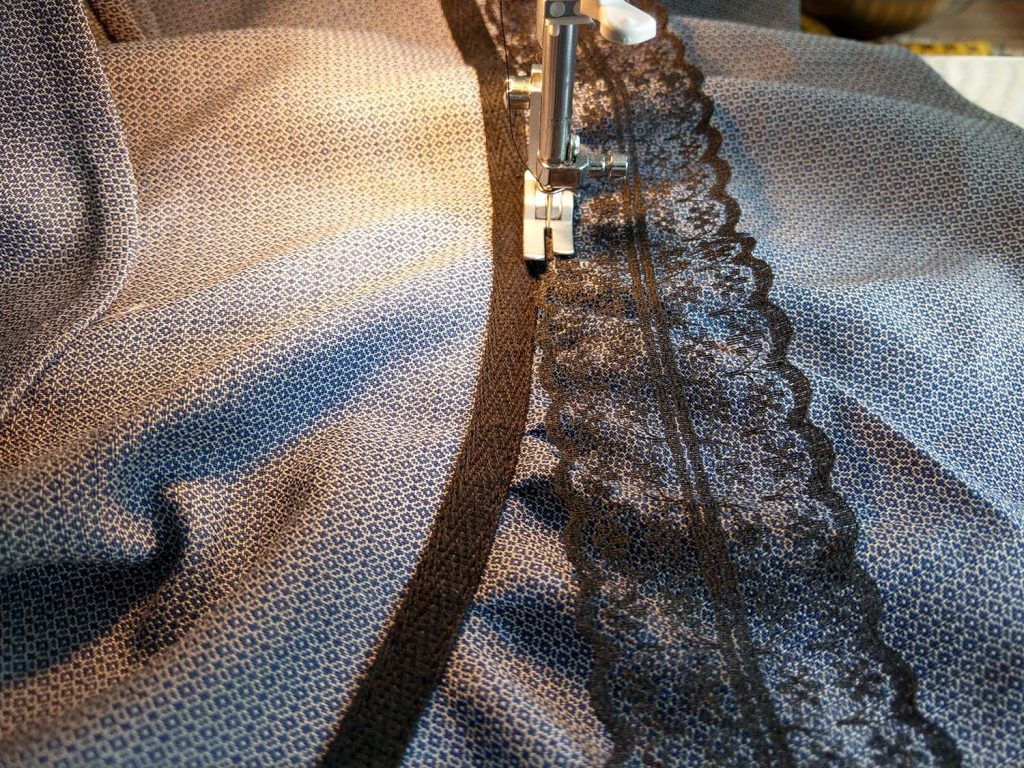
Attach the bottom flounce the same way, but trim back the seam allowance to 7mm. Take a velvet or sateen ribbon and line up with the stitching line, covering the raw edges of the seam allowance of the flounce. Attach the ribbon by sewing along both edges.
Attach a lace trim along the hem, right beside the ribbon without any gathering.
Sew button-holes and buttons.

Attach a hook right below the collar at the left front edge and sew a thread loop instead of a metal eye.

Neaten all raw edges and seam allowances with an overcasting stitch.
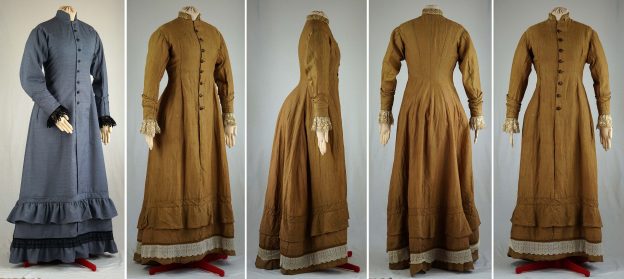
Decorate the collar, sleeves and hem of the dress with lace as desired to finish the dress!