Monthly Archives: December 2014

Paletot 1876 – How to Part 2

Part 1 / Teil 1

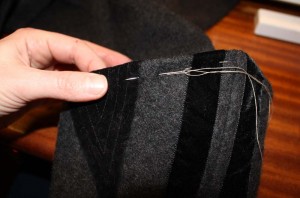
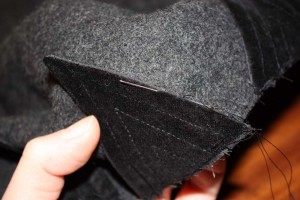
5. Close collar facing at center back sew to collar piece, right sides together. Trim seam allowance and clip curves. Within the range of your velvet appliques sew seam allowance with a cross stitch to outer fabric, be careful not to stitch through appliques. Press collar edge so you won´t see your seam at the outside.

IMG_2090


6. Hem:

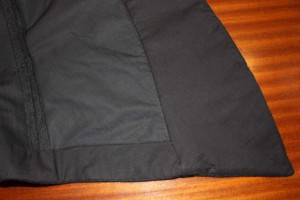
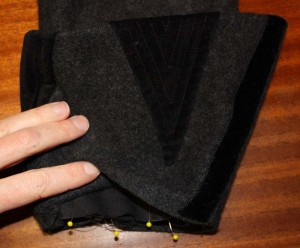
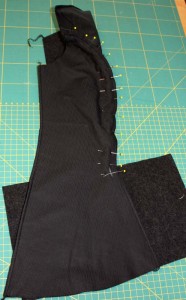
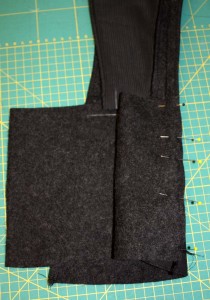
For the hem facing cut a strip of fabric 3 1/8” (8cm) wide, 67” (170cm), size 18-26 (EU 44-52) 79” (200cm) Long.                          Pin lining and outer fabric of collar at hem line, right sides together, fold front edge seam allowance towards lining. Fold in seam allowance of the loose end of collar facing. Pin facing strip to hem line, at collar seam overlap collar facing.

IMG_2094

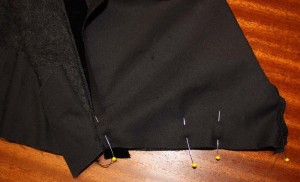
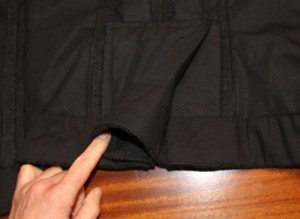
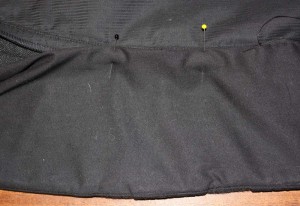
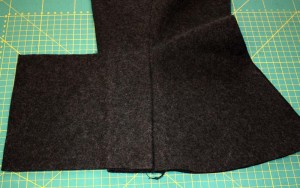
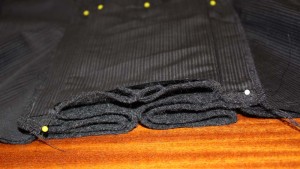
Sew hem, don’t catch lining of pleats. Trim seam allowance, clip corners and turn right side out. Fold in upper seam allowance of strip and sew with a felling stitch just to lining, spread fullness when needed. Press pleats again.

IMG_2097

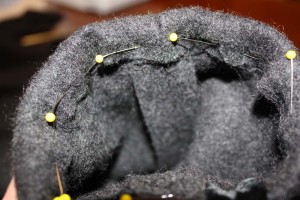
Fold in seam allowance of collar facing and sew to collar seam. Lay excess fabric to a little fold at bust point.

IMG_2091

IMG_2096


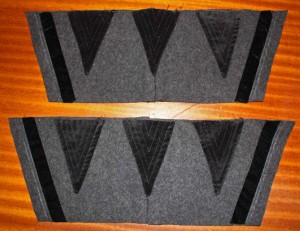
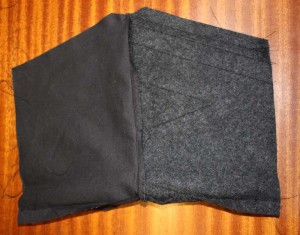
7. Close back seam of sleeve, make gathering stitches at sleeve head. Close front seam, press.                                                                                               Mark and sew velvet appliques to cuff as described before.              Close side seam of cuff and cuff lining. Sew cuff to cuff lining at upper edge, right sides together, trim seam allowance. Turn inside out, press edge so you can´t see the seam from outside. At velvet appliques fix seam allowance with a cross stitch to the outer fabric like you did before at the collar.

IMG_2099

IMG_2103

IMG_2107

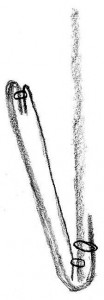
Sew cuff lining to cuff. Trim seam allowance exactly to 3/16” (1/2cm), fold cuff hem neatly to the inside of sleeve and stitch down (see profile)

IMG_2104

IMG_2108Bild 12

Set in sleeve according marks. With a modern sleeve you will spread most of the fullness to back armhole and sleeve head. This is a Victorian sleeve, at the back armhole insert the sleeve quite plain, spread the fullness at the sleeve head between shoulder seam and forearm pitch.                                                                                                                 Sew sleeve lining and insert to sleeve. At the armhole attach at seam allowance. At hem fold in seam allowance and sew to hem allowance of cuff. Cover with a velvet ribbon.


8. Sew on Hooks and Eyes, sew velvet placket to the inside of left collar piece between first and last hook.                                                  Measure waistband and sew to seam allowance of center back, sew on hooks and eyes in front.

IMG_2109


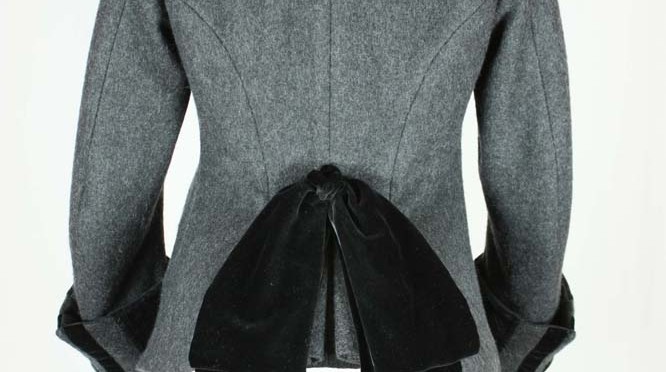
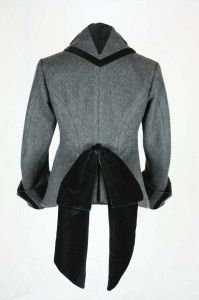
9. Face stripe of velvet 79” x 6” (200 x 15cm) with sateen lining, bevel ends at an angle of 45°, make a bow and sew to center back.

You can by the pattern for this jacket here

IMG_2119 klein                        IMG_2125 klein

IMG_2148 klein


Paletot 1876 – How to Part 1

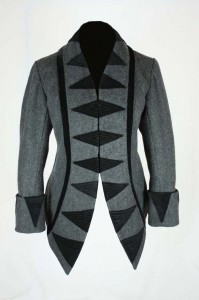
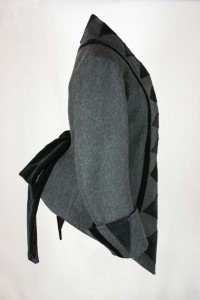
Promised in spring, now the time has finally come. A pattern for a Victorian jacket (paletot) based on a model from “The Bazaar” from 1876. This is a small guide with many pictures intended to support the sewing pattern.

IMG_2119 klein

First, cut out all pieces, the lining for the back piece ends at waistline. The pleats will be lined with a separate stripe of fabric. The back, side back and side front are flatlined with lining fabric and  processed like one layer in the further. Serge the edges together, that later on nothing will slip while sewing. Interline collar, placket and outer cuff.

At corners of back and side back (waistline) mark seam allowance exactly and sew side back to back, end at markings. Open seam allowance. Sew side of pleat to side part, be careful to stay within seam allowance meeting seam at upper edge. Open seam allowance and fold pleats, press. Sew side front to side back, open seam allowance, seam at center back is still left open. Close shoulder seam.

. IMG_2073                         IMG_2074 IMG_2075


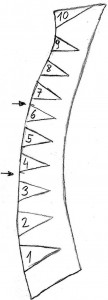
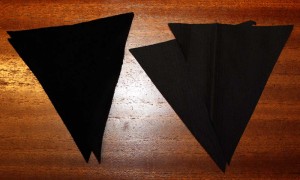
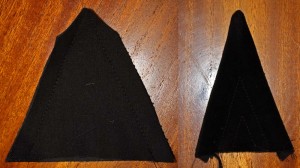
Prepare embellishment for the collar. Take your collar pattern piece and mark triangles, ad 3/8″ (1cm) seam allowance and copy. Number pieces. Cut 2xvelvet + 2xlining each triangle. Sew velvet and lining, right sides together, at the point use a small stitch. Leave short edge open. Trim seam allowance, turn inside out and press.

With velvet side up topstitch 5/8” (1,5cm) distant from edge, topstitch again at a distance about 1cm (width of presser foot) until the triangle is filled.

Attach triangles to collar piece. Topstitch with your sewing machine between edge and first stitching. Sew along edges with small hand stitches. The triangle at the center back will be attached later.

Bild 13
IMG_2077
IMG_2078
IMG_2081

4. Sew collar to side front, fold seam allowance toward collar, trim the inner part of seam allowance.

Sew back parts together, take care to match collar seam exactly. At the bottom stop exactly in the corner at waistline. Open seam allowance and sew the last triangle to center back of collar.

IMG_2082

Attach velvet ribbon close to collar seam.

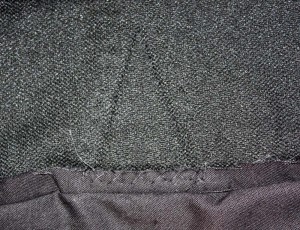
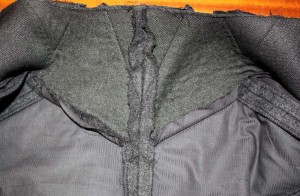
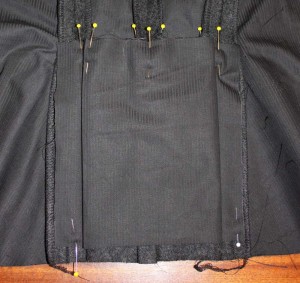
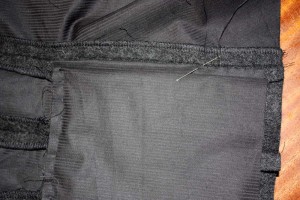
Close peplum at center back and open seam allowance. Take your stripe of lining and baste it to upper edge of pleats, fold pleats and press. Turn in seam allowance at the sides of strip and sew with a felling stitch to seam allowance of outer fabric.

IMG_2085
IMG_2088
IMG_2087

Part 2 / Teil 2

You can by the pattern for this jacket here