Category Archives: General

My Romantic Era Bonnet

I finished my Romantic Era dress already two years ago, but there was still something missing: a bonnet.

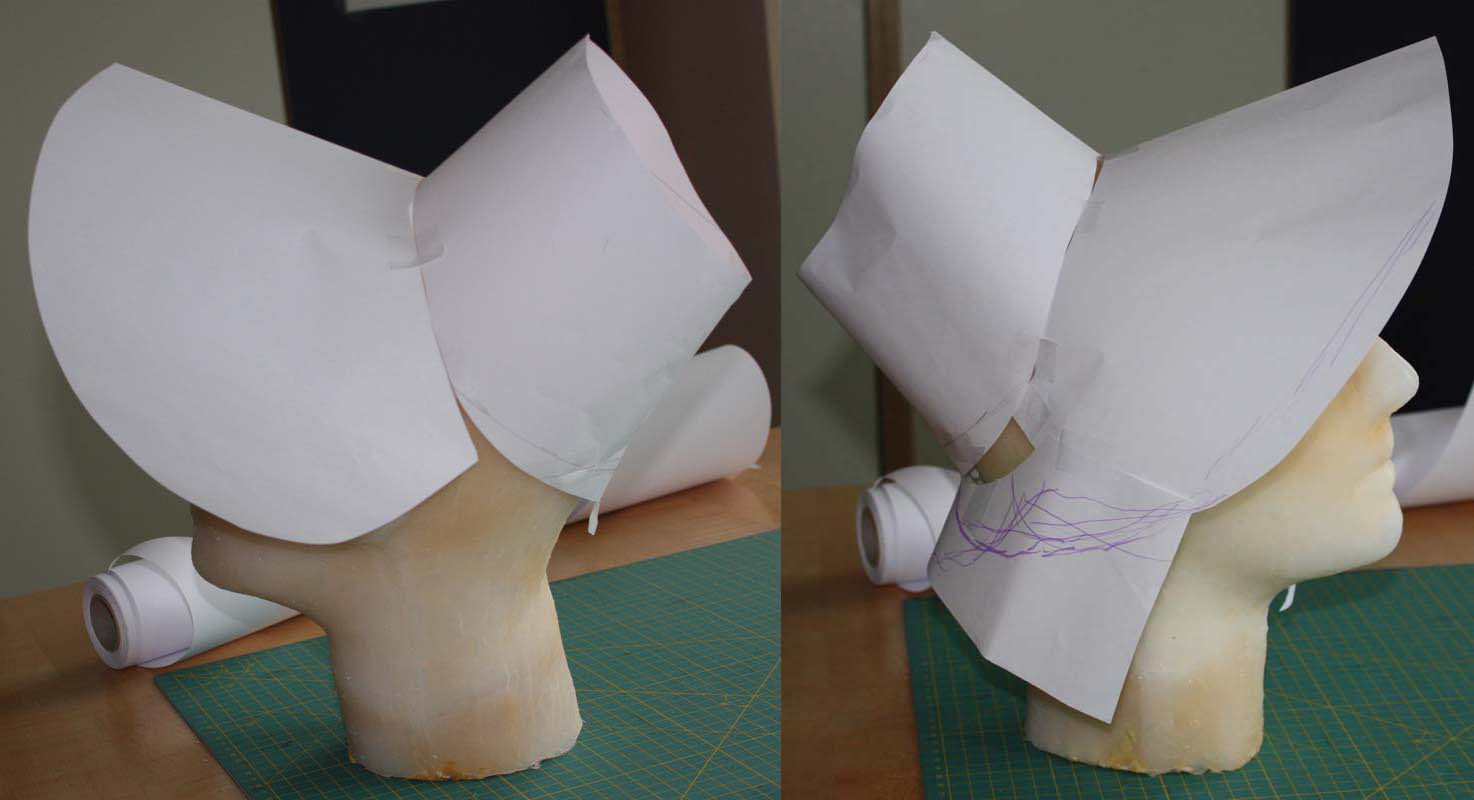
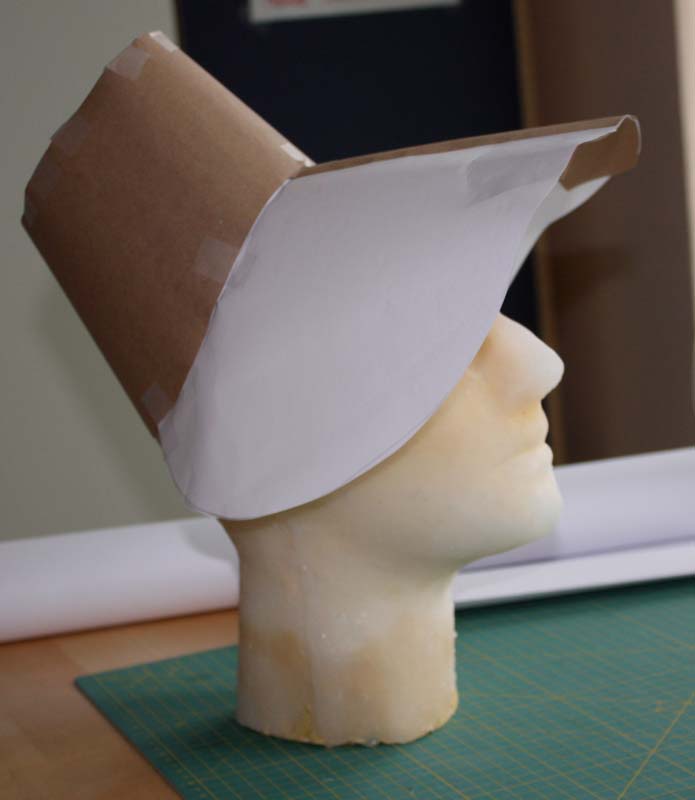
For the construction of the pattern take a wig head and build the form of the bonnet with paper. Then trim the paper where needed or ad paper with adhesive tape. If the bonnet has the desired shape, copy the pattern and adjust asymmetries. Build the bonnet once again from paper or board and do last adjustments if needed.

IMG_2208
IMG_2209

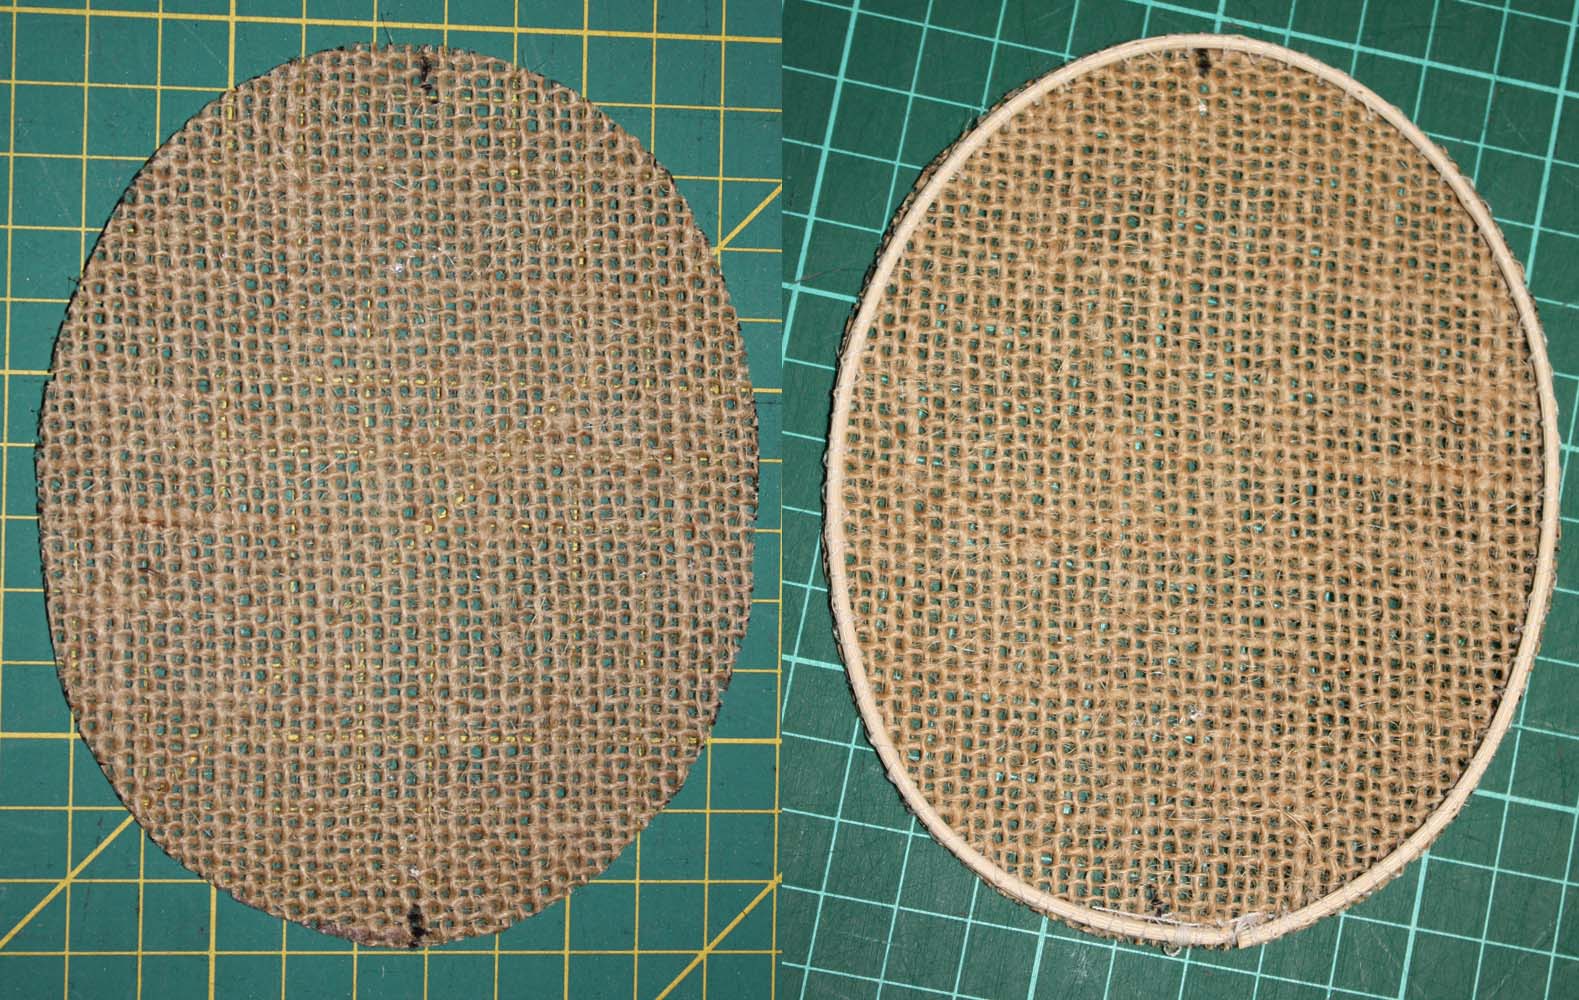
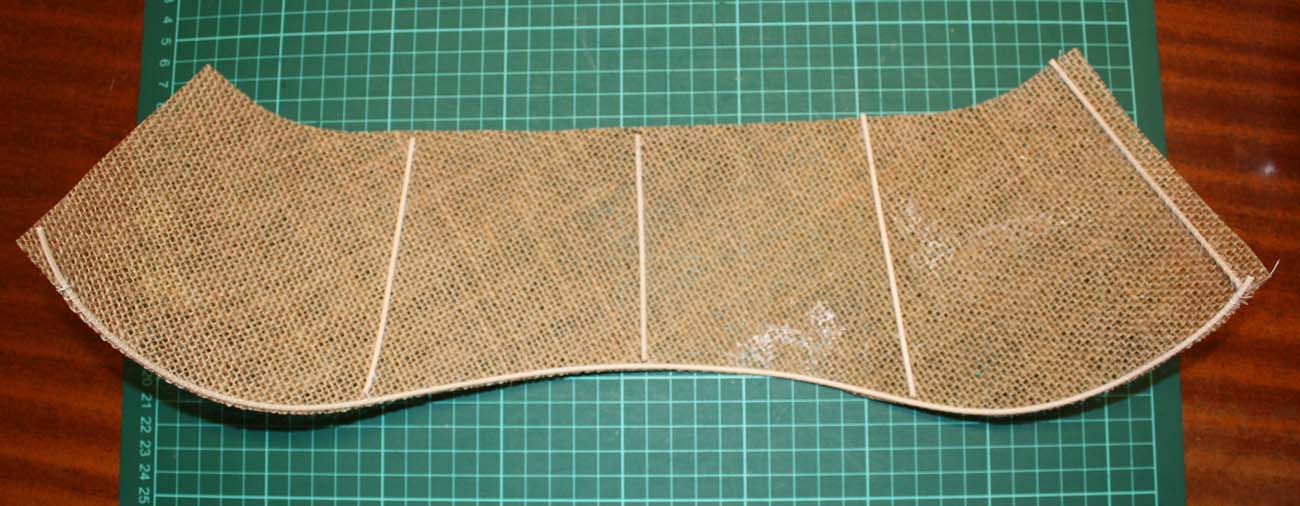
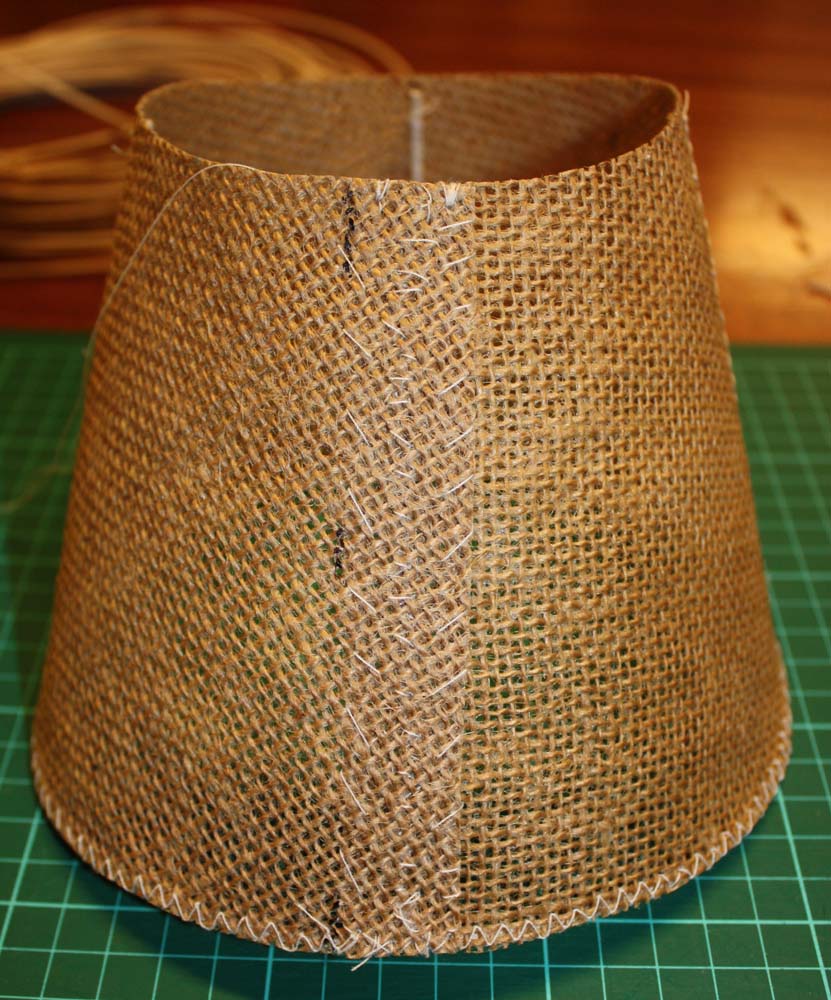
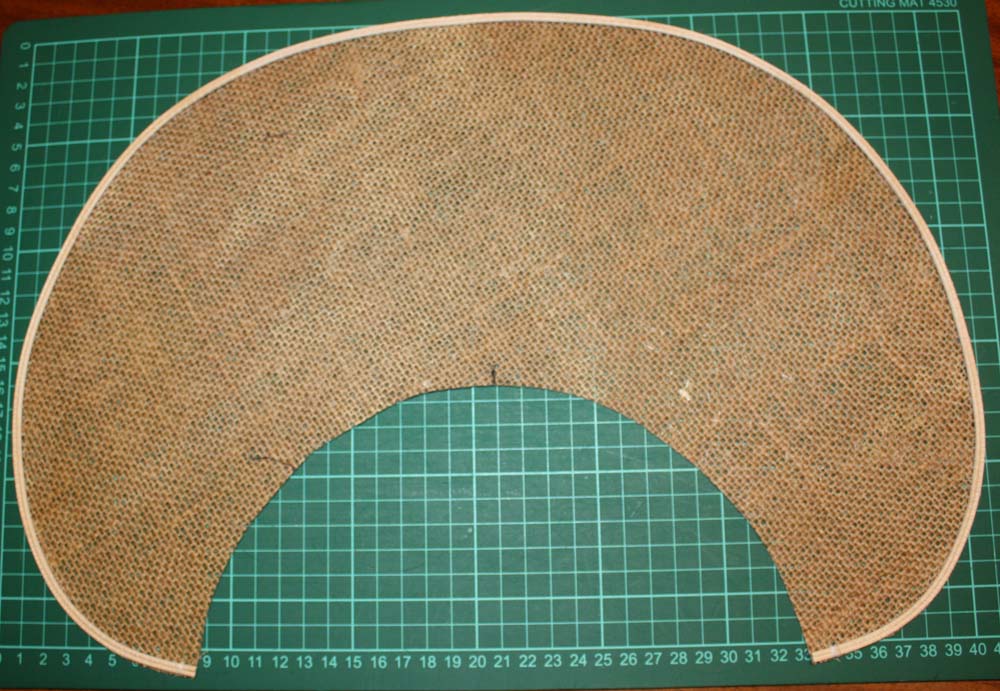
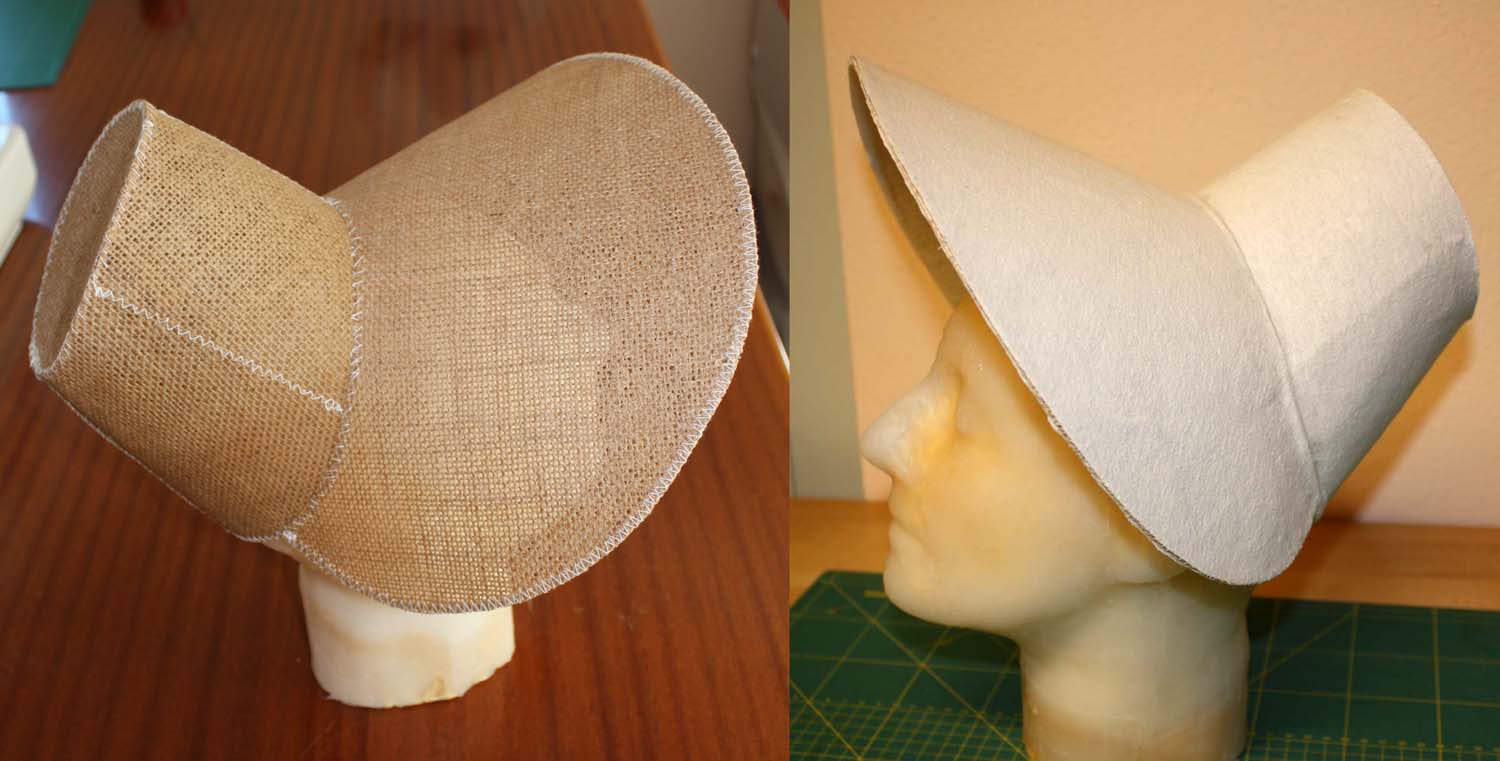
Now cut the pieces from buckram. I  use round reed instead of wire to strengthen the seams because I think it keeps the shape better.
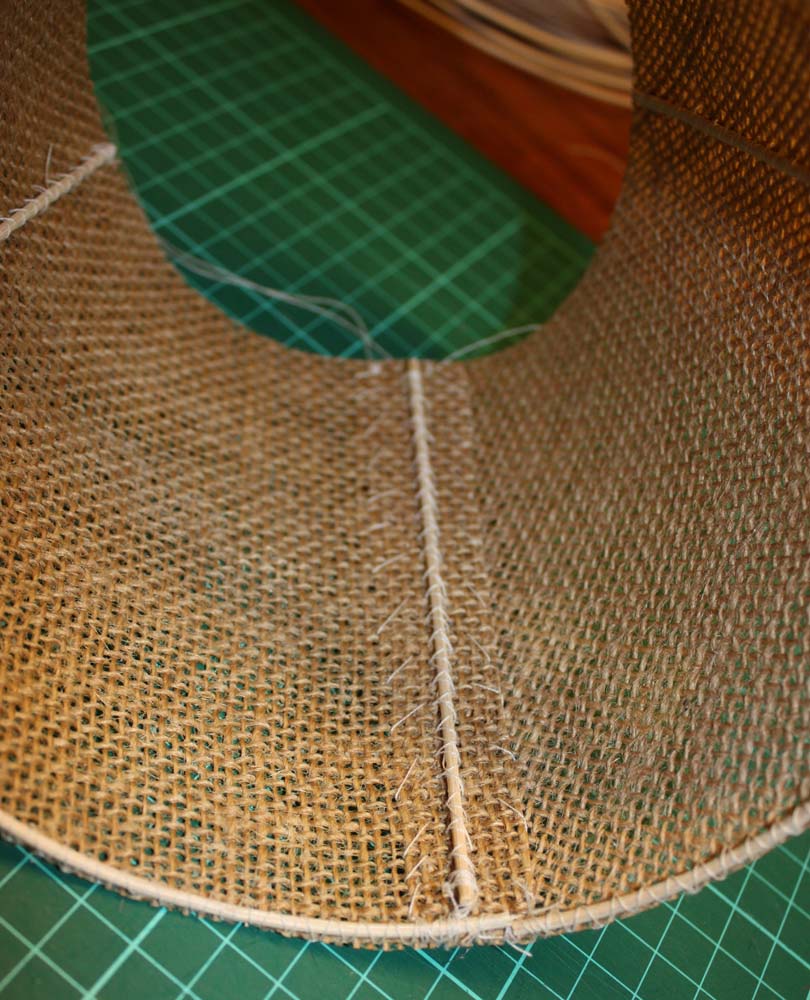
Sew the reed with a zigzag stitch at the edges, the brim is reinforced with additional bars of reed.
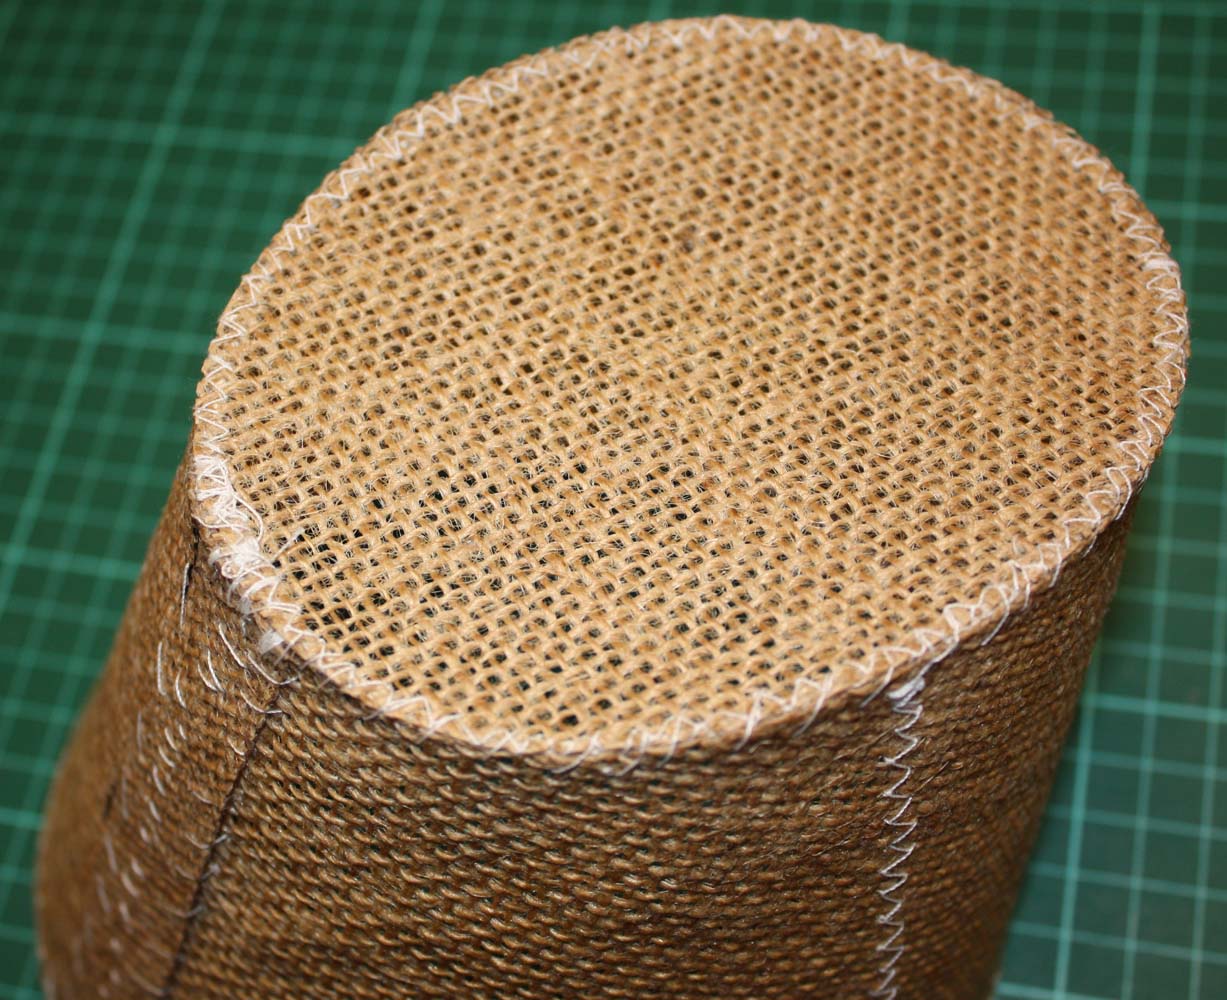
Now join all pieces by hand.


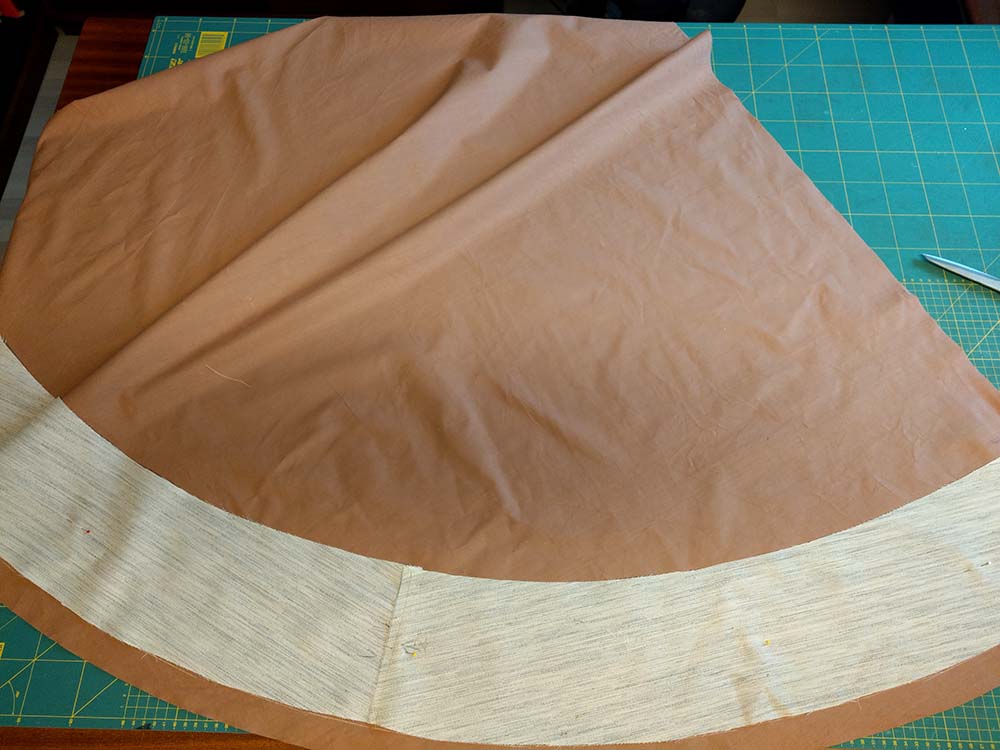
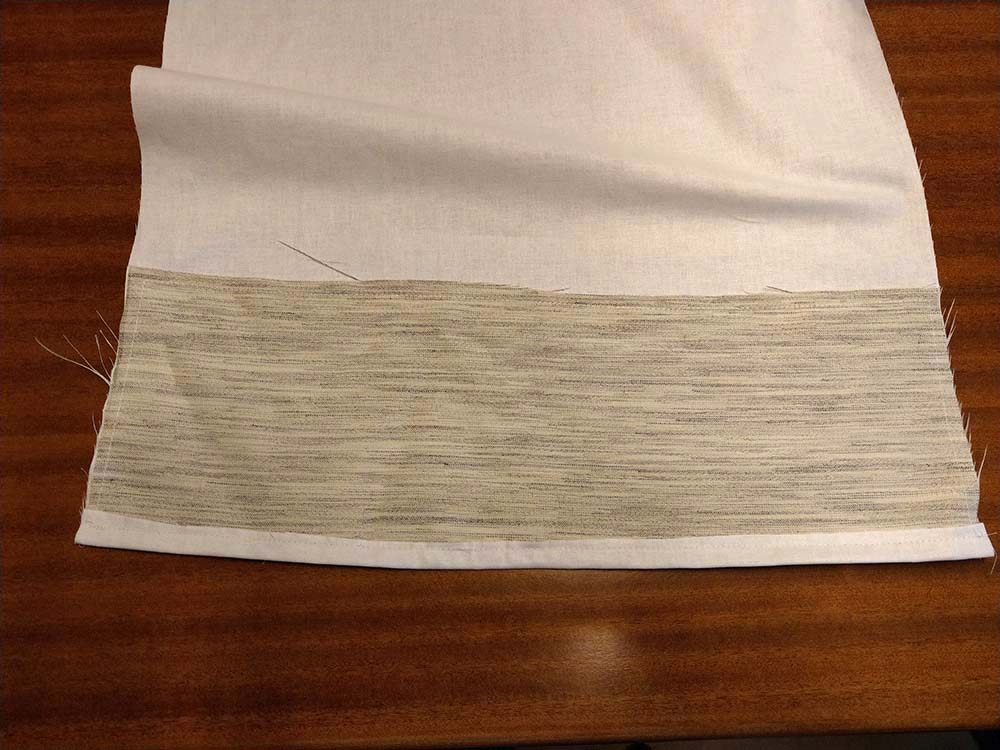
Cover the bonnet with flannel fabric, so later you won´t see the raw buckram through your top cloth.
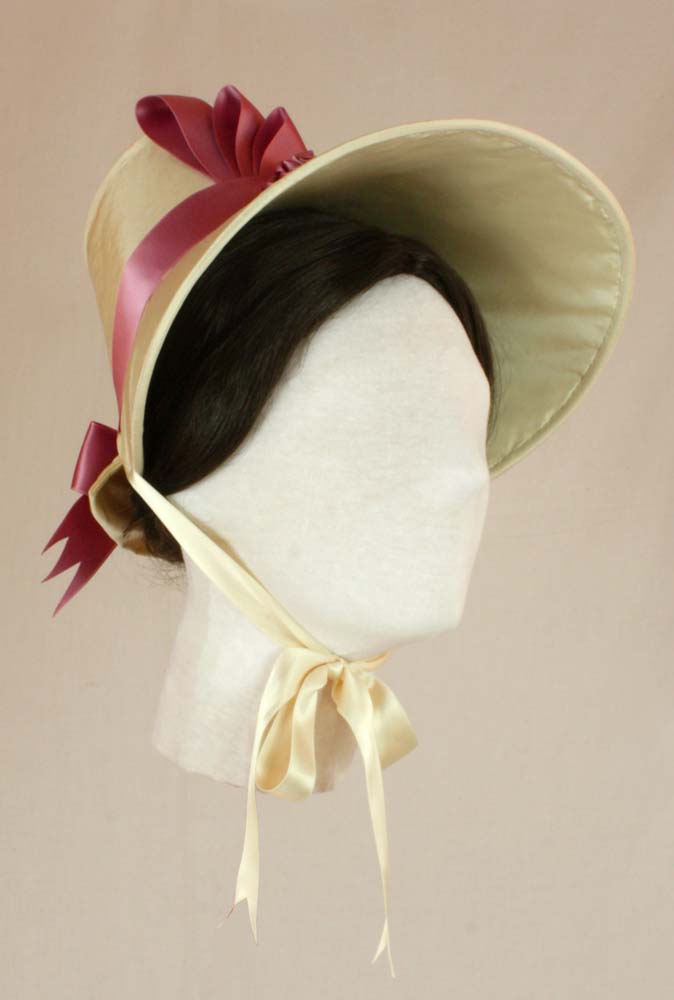
Cover the hat with your desired top cloth e.g. Silk taffeta, and decorate as desired.

IMG_2220

Do you think constructing the pattern by yourself is quite complicated? Visit my Etsy-Shop, there you will find the pattern with detailed and illustrated sewing instructions. A pelerine collar which was popular during the Romantic era is included.

PDF Pattern #0615 Romantic Era Bonnet and Pelerine

.

How to make a piping tape

Making a piping tape is easy. You can make it out of nearly any fabric and color desired for your project. Depending on the diameter and rigidity of the cord you become piping tapes for different uses.
Take a stripe of fabric on the bias, about 4cm wide. Lay your cord on top of the left side and fold it. Pin the cord in place and sew with the zipper foot tightly along the cord. Ready!

IMG_2344

IMG_2345

IMG_2346

IMG_2347

Thread bar

A nearly invisible way to close a garment is to use a thread bar instead of a metal eyelet.


Double up your thread, begin from the back to hide the knot, make a stitch in the desired width of your bar. Repeat till you have four threads, loose the threads a little bit to get a nice result.
Overcast the threads with a narrow buttonhole stitch, at the end stitch through to the back side and secure your thread with some stitches.

IMG_2325

IMG_2329

IMG_2331

IMG_2332

How to line a hem

To achieve the perfect shape for your vintage skirt more support than just flatlining the skirt with cotton fabric is needed, especially the hem line needs additional structure. Depending on the choosed fabrics and materials the skirt will be washable or not.
In extant dresses often buckram is used, not only to reinforce the hemline, sometimes every  single skirt panel was interfaced throughout to achieve the desired shape. Buckram is still available, but can not be washed. When I made this skirt, I decided to use a washable and light weight hair canvas from polyester fibers.


After cutting all pattern pieces from fashion and lining fabric (and of course a fitting with the panels basted together to determine the hemline), prepare the hem interfacing the following way: Take your pattern pieces (with all adjustments transferred) and mark the seamline. Draw another line circa 8″ (20cm) parallel to the seamline. Cut out this 8″ (20cm) wide hem-shaped strips and transfer to your stiffening fabric. For a hemline of several meters , you´ll needed to piece the strips, joining them with a simple overlapping seam (don´t forget to add seam allowance)
Place the skirt lining on top of a table with the wrong side up, and mark the hem line. Line up the interfacing with this line.


Sew the interfacing to the lining along both edges, circa 3/8″ (1cm) parallel from the edge. Turn the the hem allowance around the edge of the interfacing and stitch down the hem.


Next step is to flatline the fashion fabric: line up fashion fabric and lining, wrong sides together, and baste the two layers together inside the seam allowance. From her on treat the two layers as one and sew together the skirt as usual.


To finish the seam, turn the seam allowance of the fashion fabric around the edge of the lining towards the gament inside and fell or catch stitch to the lining. Cover the raw edge with a twill or a velvet tape.