Category Archives: Romantic Era

1840 to 60´s Underwear Part 3 – The quilted Petticoat

Part 1 – The Chemise

Part 2 – The Corset

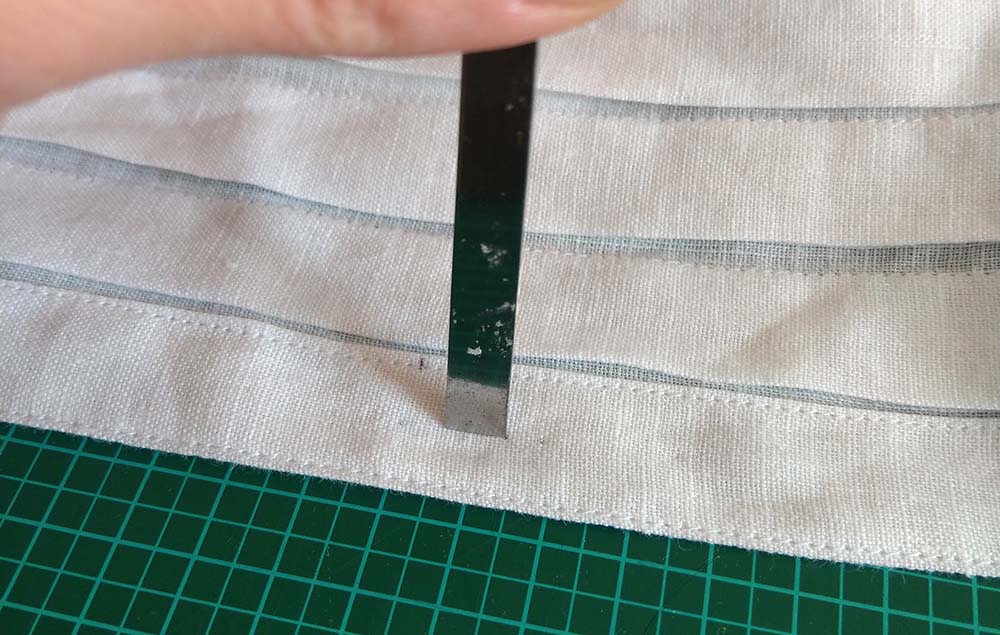
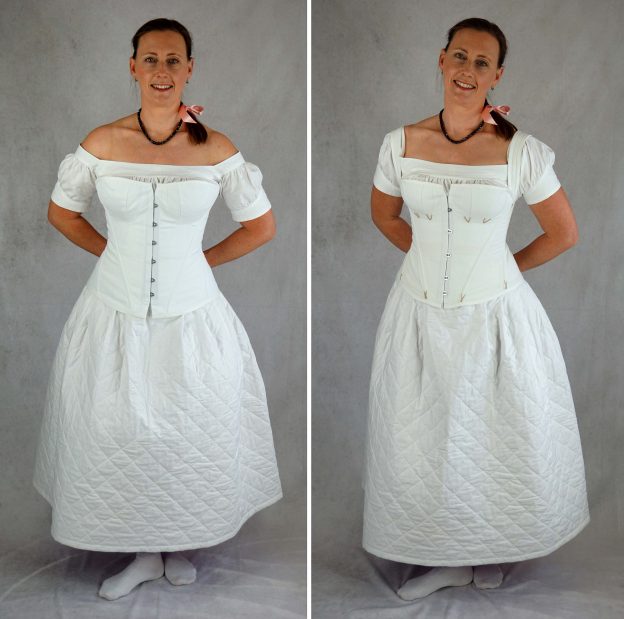
Quilted petticoats where worn from the middle of the last century until the end of the 19th century, warming the body and shaping the overskirts at the same time. A quilted petticoat is a very simple garment, made of a double layer of rectangle pieces of fabric, padded with wool or cotton, commonly attached to a boned hip yoke to avoid bulk around the belly during the romantic period. I´m not a passionate quilter, that´s why I kept the quilting pattern of my petticoat simple, just a diamond pattern. On extant petticoats, you can see quilting patterns ranging from just parallel lines to fancy and complex designs.

I decided to use different colors of a polished cotton for the top and lining layer and sew them together along the bottom edge. It would have been easier not to do so, as the fabric warped in all directions I didn´t want. On this picture, I basted my batting to the lining layer and sewed the two pieces of padding needed together edge by edge with some rough stitches.
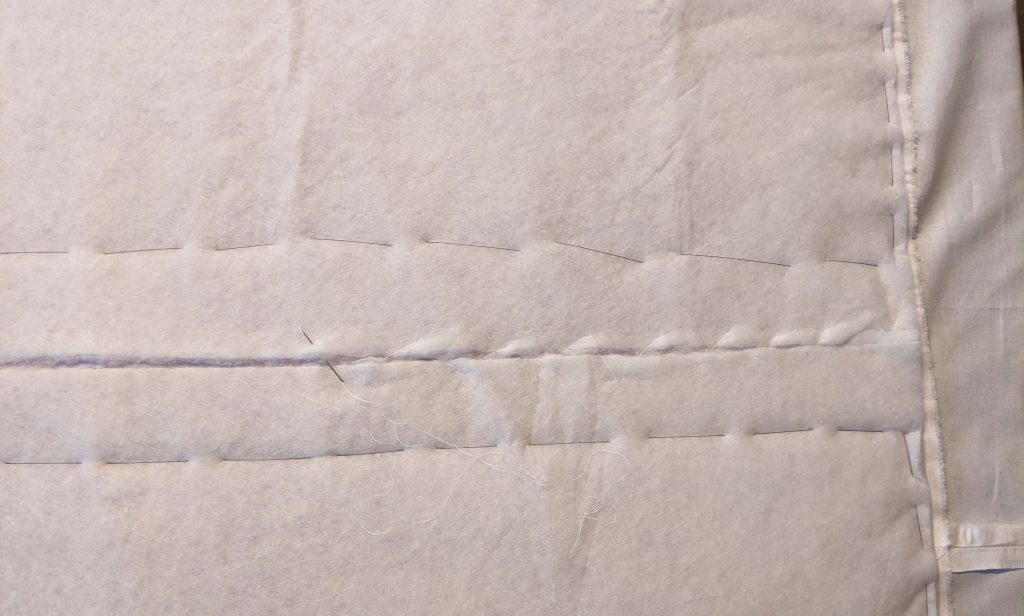
I smoothed out the top layer on top of the fabric and traced my quilting design, before I basted together all layers before quilting the petticoat.  

Continue reading
19th century welt pockets

19th century welt pockets where made different from modern welt pockets. In this tutorial I´ll show you the period correct method.

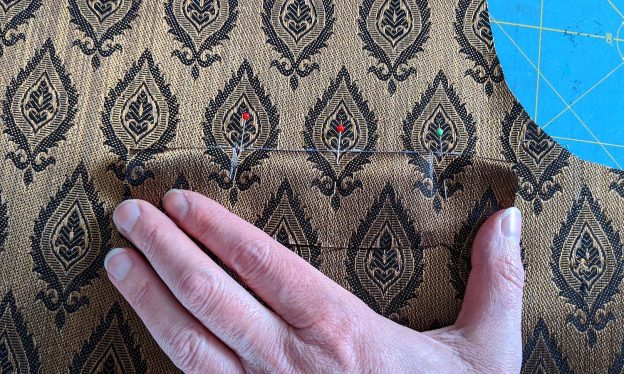
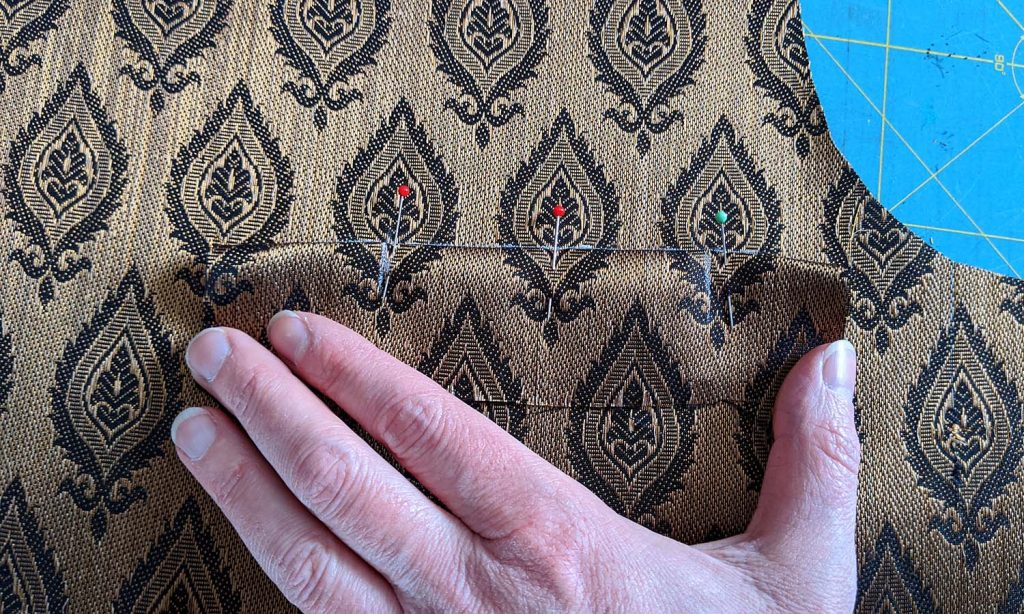
Baste a piece of linen or cotton to the wrong side of the left front, covering the pocket opening. Mark the pocket opening with a basting thread, clearly visible on the right side of the fabric. Cut your welt from fabric, matching the pattern of your fabric, with a 1/4” (6mm) seam allowance added to top and bottom and a 5/8″ (1,5cm) seam allowance added to the sides.

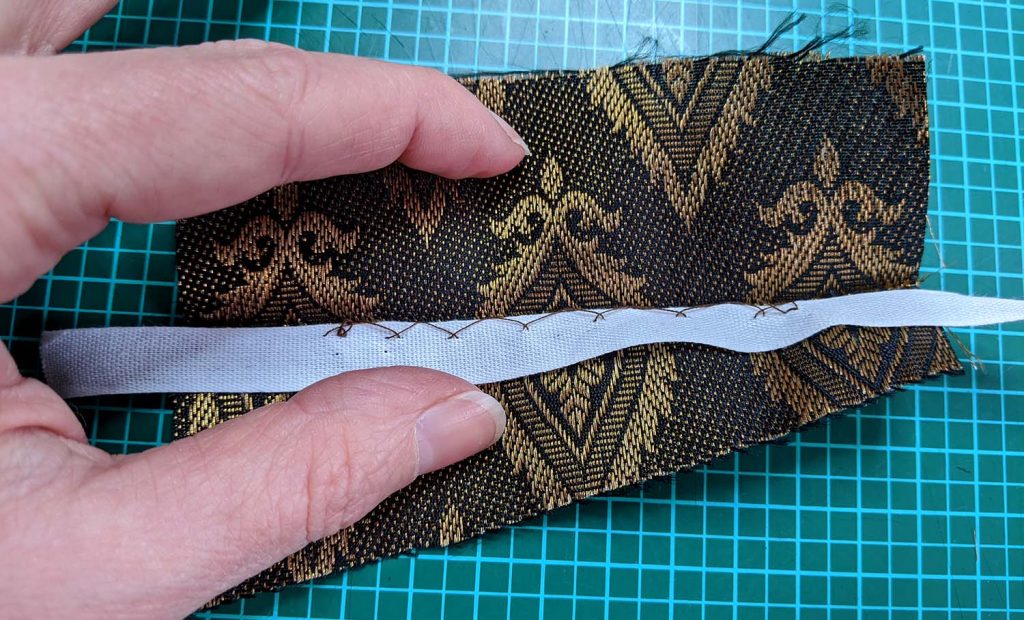
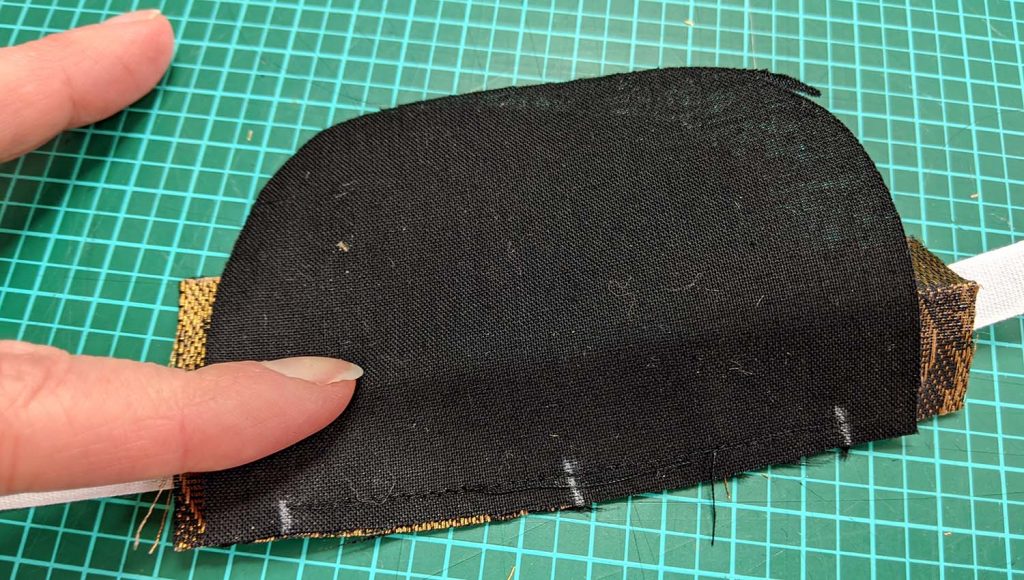
Fold the welt in half lengthwise, wrong sides together, press the edge and reopen. Attach a cotton tape along the fold to the inner half of the welt with a catch stitch. Sew the outer pocket bag to the inner half of the welt using, right sides together, stitch exactly between the marks of the pocket opening and press open the seam allowances.

Continue reading

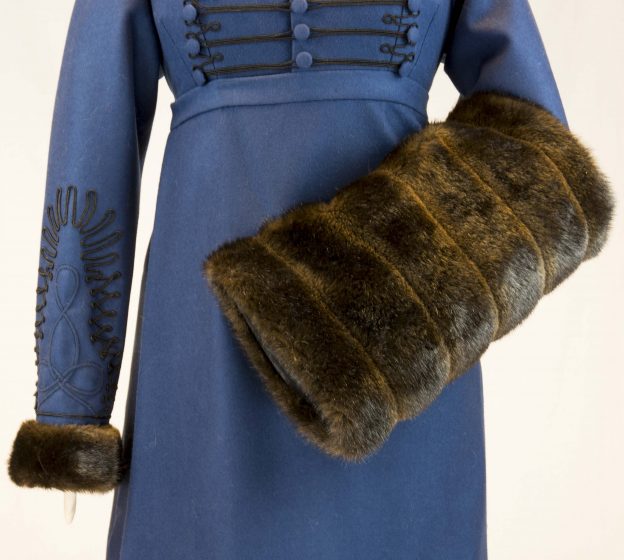
A Muff Tutorial (Georgian, Regency, Victorian….)

I muff is an accessory which you never should omit wearing an historical fall/winter costume. The advantages are obvious. You´ll never get cold hands and you can hide all that things a modern women needs, like your car keys and of course your cell phone! With a cord or a loop attached to secure the muff around your neck or wrist you get your hands free.

Continue reading

1830´s trouser pocket

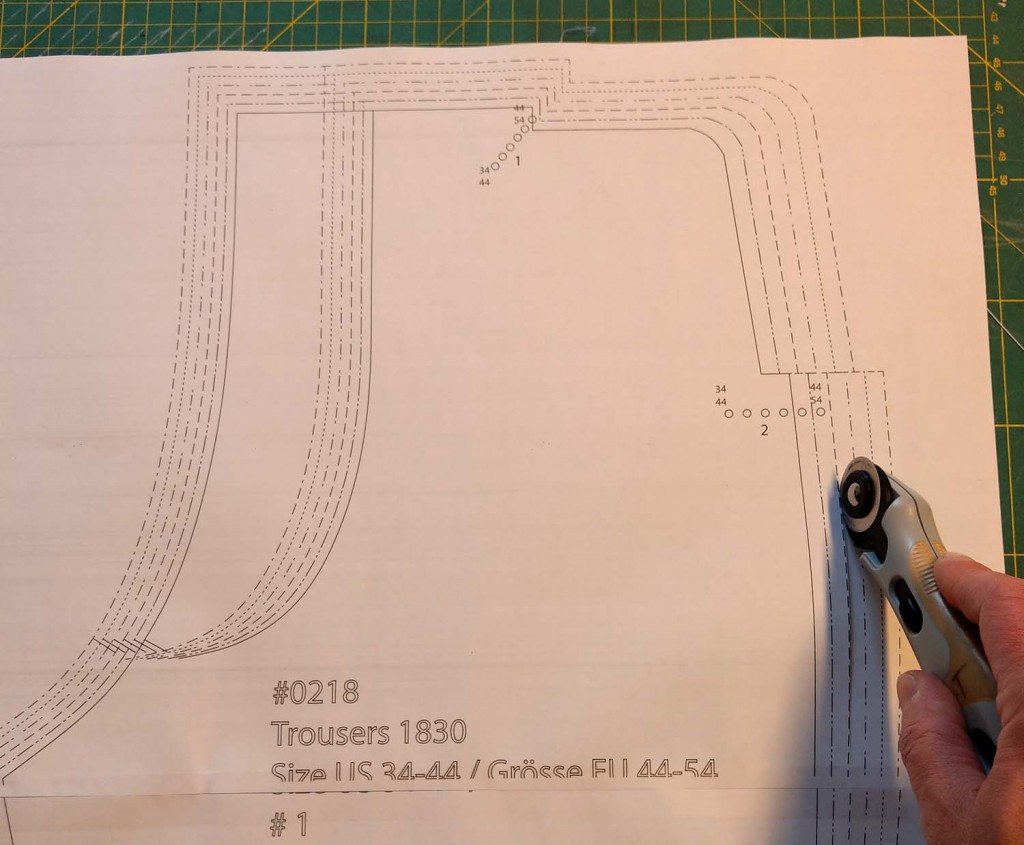
Continuing my 1830s men´s pattern collection, it´s time for matching trousers, suitable to wear with the 1830´s Tailcoat and shirt. In general trousers are easier to sew than the coats, just some pocket details are more complex.  I´ll show and explain that details her in this tutorial with lots of pictures. I choose the US size 38 (EU 48).


IMAG1287


After cutting all pattern pieces, I marked the marks corresponding to the size chosen. Re-check your marks, the red arrow points on the mark I did wrong at the first time.

Continue reading

Construction of a 1830-60 men´s shirt Part 4: buttonholes

Part 1  General Information 
Part 2  Fronts 
Part 3  Sleeves and collar 

The sewing pattern is available via Etsy.

Now the shirt is already finished, just the buttonholes and buttons are missing. An 1830-60 shirt has three vertical buttonholes at the button tab and one vertical buttonhole at the collar. If you prefer e detachable collar instead of a stock collar you have to make small vertical buttonholes on both collar sides and one vertical buttonhole at the center back of the collar. The collar will be attached with collar studs.

However, how to sew a buttonhole by hand? First mark the position of your buttonholes, they should be about 1/16” -1/8” (2-3mm) longer than the diameter of your button. I know, it isn´t historically accurate, but I prefer to add some Fray Check along the marked cutting line. First it prevents the fabric from fraying, second is stabilizes the edges for easier sewing. Let´s start! Cut open the buttonhole with scissors, better with a punching tool.

IMAG0789
Continue reading