Author Archives: Rotraut

Tutorial for a 1890´s Day Bodice or Blouse – Part 1 Preparing the back and fronts

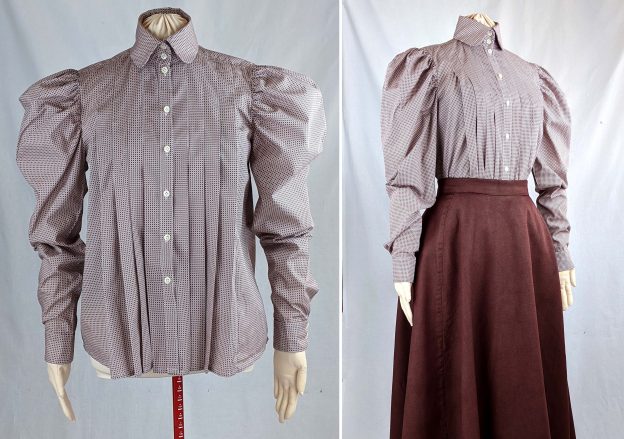
Many of you asked about the black blouse with the large puff sleeves that I showed underneath the 1890´s vests. I made this blouse from a black cotton fabric years ago and have worn it a lot at customizing events in recent years. After many washes, it looks like an extant piece from the 1890´s with many sings of wear. Time for a new one, and of course a sewing pattern!

This time I chose a mid to heave weight silk/cotton blend with some drape, a contrasting plastron from a soft satin, all mounted on a base of black polished cotton. With this stiffer fabric it turned out more a day bodice than a blouse. The first, made of light to medium-weight cotton, appears more like a blouse than a day bodice. So, depending on the chosen fabric the finished garment will turn out in different ways.

Both are mounted on a firm and tight fitting lining with boned seams as usual at that time. The lining base closes at the center front, edge to edge with hooks and eyes, covered by the plastron. The plastron is sewn on at the right side, with the edge covered by the fashion fabric of the front. The other side is closes layered underneath the fashion fabric with hooks and eyes.

If you´re interested in sewing the bodice together with me, you can buy my pattern here: Sewing pattern #0420

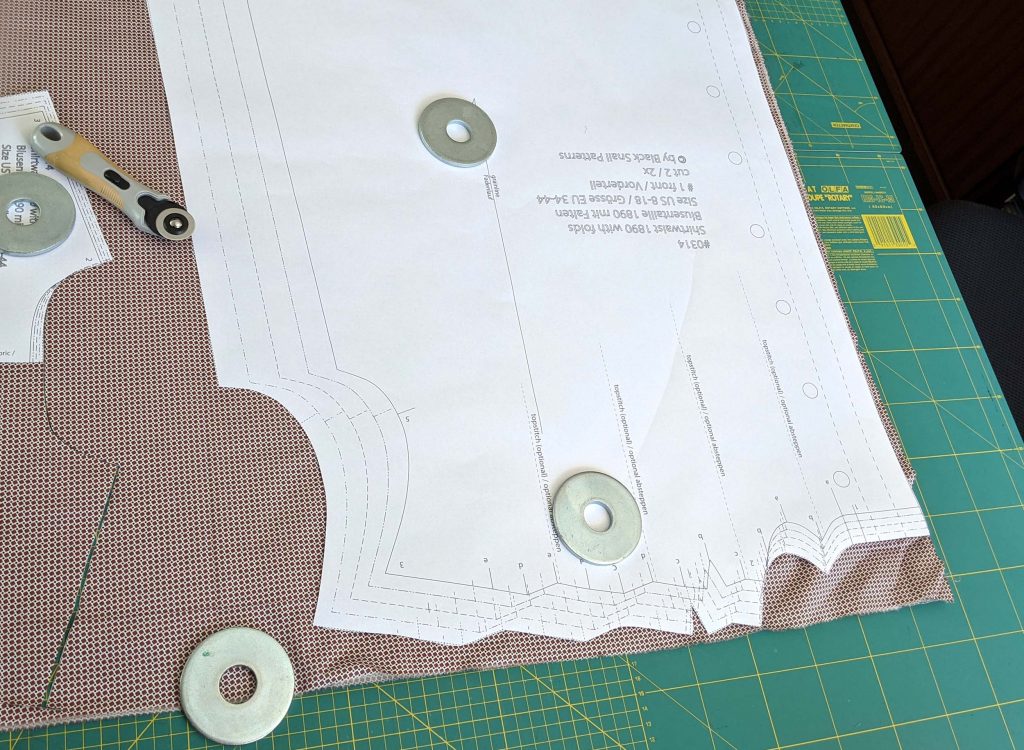
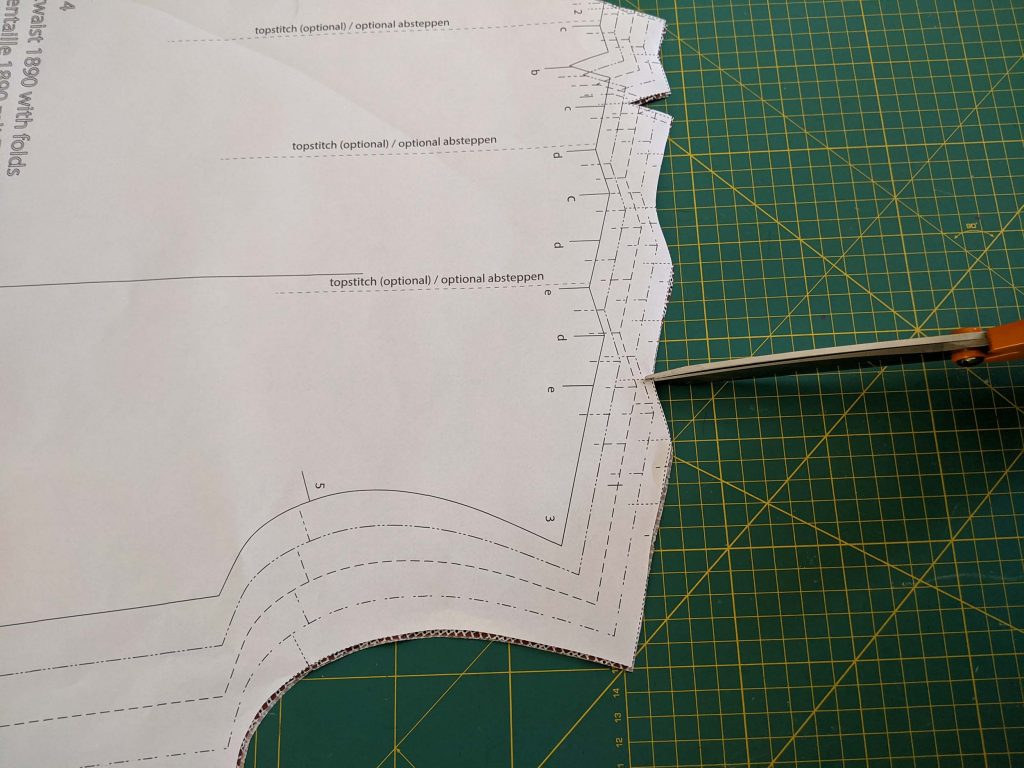
Let´s start! First thing to do is cutting out all the pattern pieces from fashion fabric and lining. I was asked about the fabric in the picture, it´s the polished cotton!

Sew all back pieces from the lining, right sides together and press the seam allowances towards the sides. Trim back if wanted and clip at the waistline before understitching the seam allowances to lay flat.

Place the back from the fashion fabric on top, with wrong sides together. Make a box pleat at the center back and baste the layers together.

To match the peplum at the back, open the box pleat slightly at the bottom edge and slash the fashion fabric, ending about 5/8” (1,5cm) from the waistline. Turn in a narrow seam allowance along the slits and prick stitch to the lining layer.

Continue reading

A 1890´s Ball Bodice Part 3 – Finishing details and sleeves

Part 1: https://patterns.bplaced.net/blog/?p=2651

Part 2: https://patterns.bplaced.net/blog/?p=2672

For the button down front of View B mark the center front with a basting thread, as well as every single button hole.

These are pictures of another dress, but the button holes are made the same way. Sewing with a delicate fabric, best is to make a button hole on scrap fabric, with all layers simulated you´re having on your bodice. Stitch around the button hole with short stitches, don´t lock at start and stop but pull the threads in between top layer and facing.

Cut open the button hole, make an eye if wanted. Overcast the edges with a matching fine thread.

Continue reading

A 1890´s Ball Bodice Part 2 – The sewing process of the bodice

Part 1: https://patterns.bplaced.net/blog/?p=2651

OK, last time we did the fitting of the bodice, now it´s time to sew. This is the back, with all pieces joined and the seam allowances pressed open. Next step would be to sew the shoulder seam, then turning in the front facing and pressing the edge before piping the neckline.

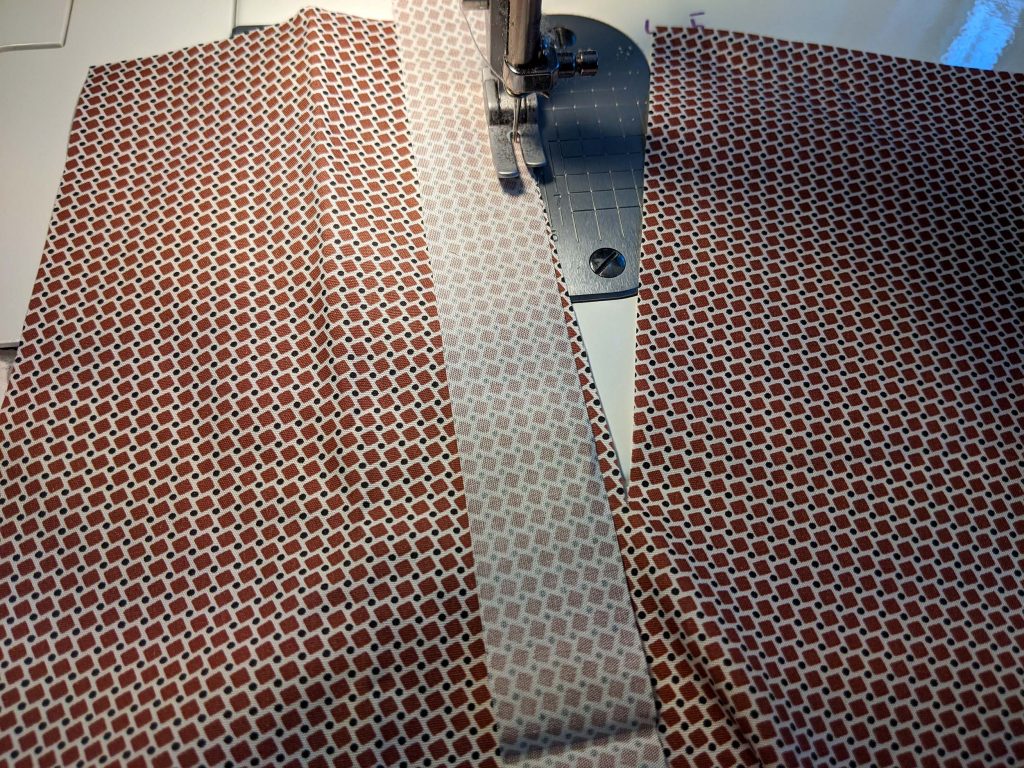
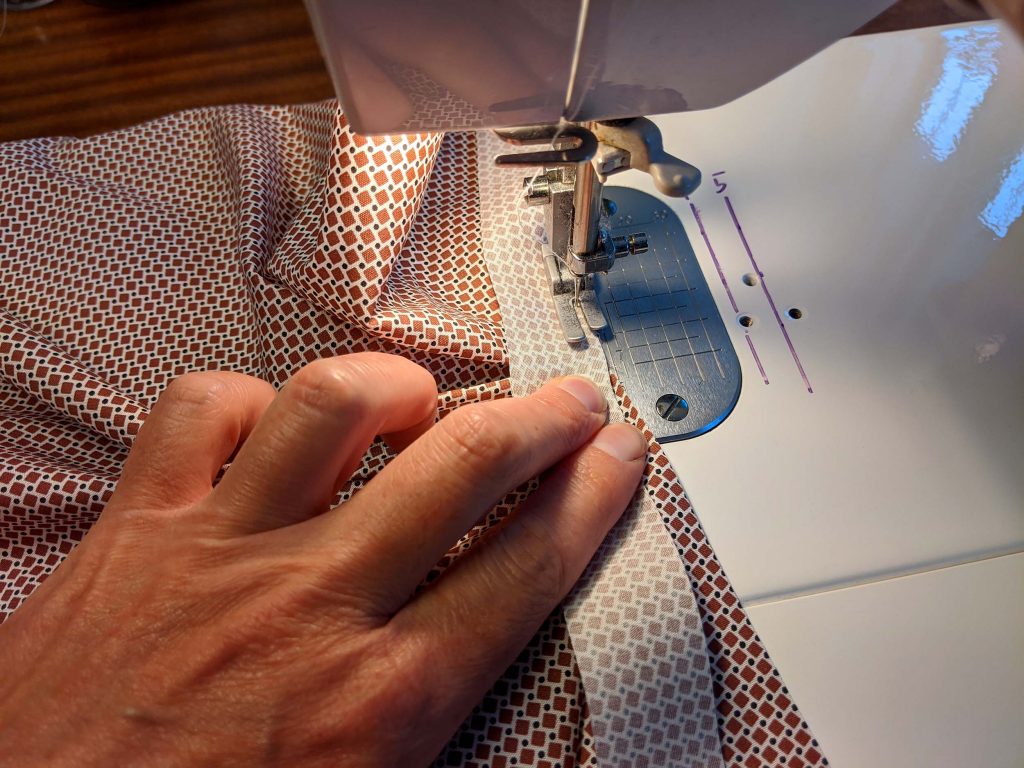
For the piping I joined several strips, cut on the bias and folded in half lengthwise, wrong sides together. I inserted a piping cord, with a diameter about 1/8” (2mm) and stitched with the zipper food along the cord.

Continue reading

A 1890´s Ball Bodice Part 1 – Research and Fitting

Some years ago I fell in love with an 1894´s evening gown from Worth. Just a drawing but the dress looked so elegant with its giant sleeves, small waist and flaring skirt, embroidered with branches of wheat. At that time I thought that I couldn’t do the thing with my sewing and embroidery skills. After some years of practice and research I decided to start with that dress, planning to wear it at the ball, during the Belle Époque week in Kandersteg (Switzerland) 2019.

Here is another extant gown from Worth, accessible via the online collection of the Metmuseum, shows a similar embroidery design. The dress dates just some years later, about 1900, without that giant sleeves, but with almost the same shape of bodice and skirt.

For the skirt I used as a base my 1890´s Fan-Skirt pattern. I made the front gore a bit narrower, with the side seam moved forward to the position of the original darts, an extra side piece with darts at the position of the original side seam to fit the hips.  I made the skirt with a train, which was not a good idea at all, as I had to loop up the train for dancing. And I danced a lot when wearing the dress the only time so far.

All embroidery is machine made, except the sequins and pearls, nevertheless it took me hours finishing the skirt and bodice. All the emboridery of the bodice has to be done before sewing the darts and joining the bodice pieces.

In this tutorial I´ll focus on the bodice, in the meantime I made to different versions, the same you get when buying my pattern. View A shows the bodice with the giant sleeves, closed edge to edge in the front with hooks and eyes, decorated as close to the template from Worth as possible. View B shows the bodice sleeveless, with a button down front, suitable for evening gowns from 1880 to 1890 and again the time around 1900, when the giant sleeves came out of fashion.

Continue reading

1890´s Ladies Vest Tutorial Part 3 – sewing together and finishing details

Part 1 – preparing the back

Part 2 – preparing the front

Now it´s time to sew together all parts of the vest.

Sew the front facing to the bottom facing, matching all marks, right sides together and press the seam allowance towards the bottom facing. Close the center back seam – the collar, right sides together, trim back the seam allowance and press open.

Line up the facing with the fronts, right sides together and sew along the front, bottom edge as well as the collar, reduce stitch length at corners. Trim back the seam allowance, sloped at the corners, notch the seam allowance where the collar starts to turn.

Continue reading