Author Archives: Rotraut

Construction of a 1830-60 men´s shirt Part 1

Before I´ll show you how to sew an early Victorian men´s shirt, I want tell you a bit about the little but obvious differences between Victorian and Georgian men´s shirts.

During Georgian and Regency era, a shirt always was a quite simple piece of clothing, made from rectangular pieces. Gussets provided sufficient movement at the shoulders and underarms. Excess width was gathered along the neckline and sleeves. Nearly nothing of a shirt was visible underneath a high-necked waistcoat, except from the jabot, made from fine fabric.

Men´s Shirt with Jabot and high stand-up collar about 1800 / Continue reading

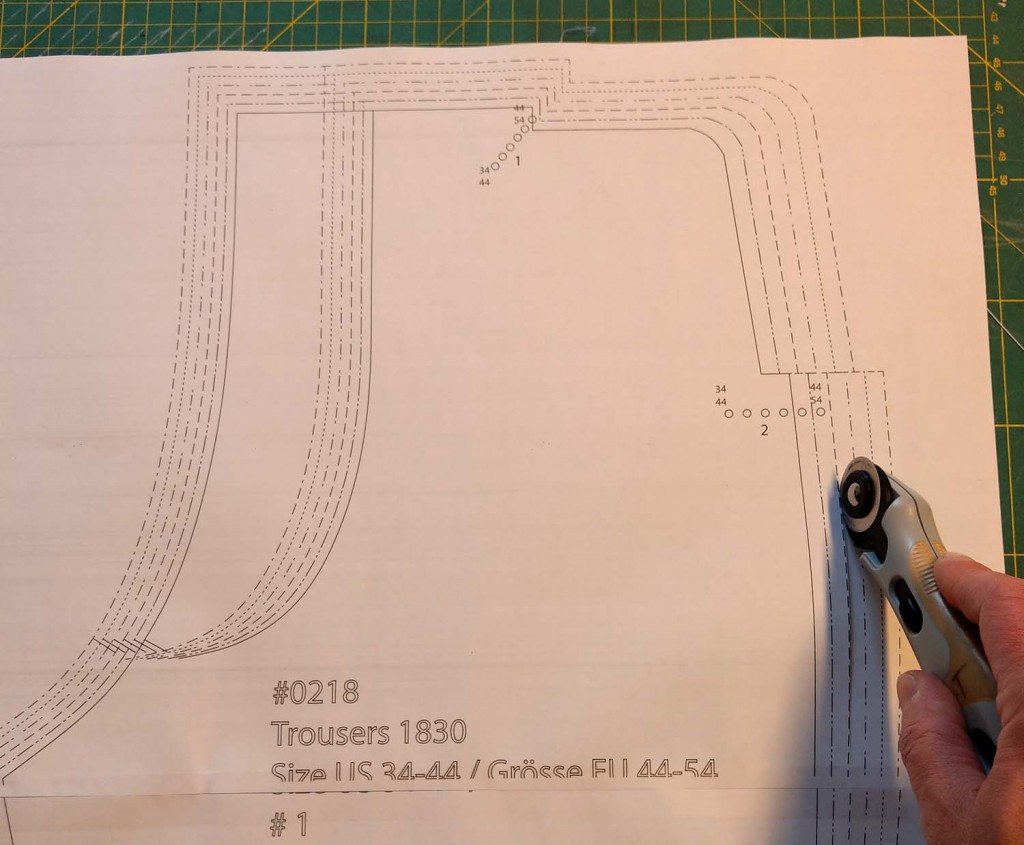
5/8″ seam allowance included

I decided to add seam allowance to my sewing patterns, because I think it´s easier and more comfortable for you to work with.
Why do I use a seam allowance of 5/8“ (1,5cm) in my sewing patterns, although after sewing I would tell you to trim it back? This is a question I´ve been asked many times. Continue reading

1830-40´s Corset

IMG_5243All tunnels stiched? Now it is time to add the cording. The technique is called Trapunto, that means you add the cords after stitching the tunnels. This is a time-consuming and exhausting work, nobody told it would be easy. You can avoid this step with adding each piece of cord after you stitched one side of the tunnel, then make the second seam beside the cord. The result will be smoother with the Trapunto technique.
For adding the cord, I threaded a blunt point needle with a strong buttonhole thread, make a couple of stitches through the end of the cord. To harden the cord´s end I used glue and let it dry for some hours.
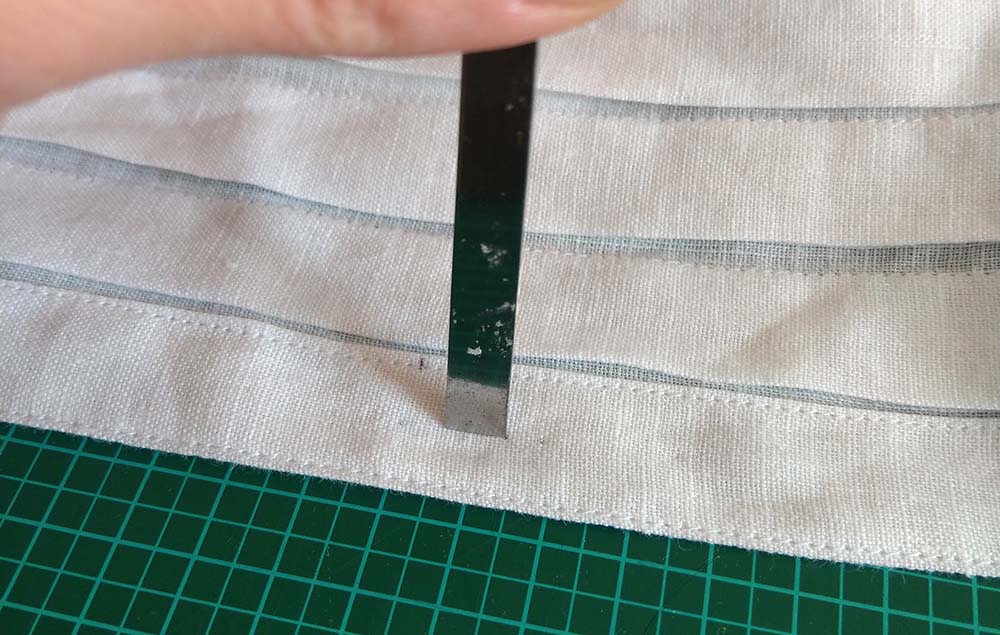
Widen the holes with an awl. If you have problems pulling through the cord you can widen the tunnel with the awl first.
Pull the cord through the tunnel, the end should just slip into. Cut off the cord close to the fabric and shove the end back into the tunnel with your awl.


IMG_5160 Continue reading