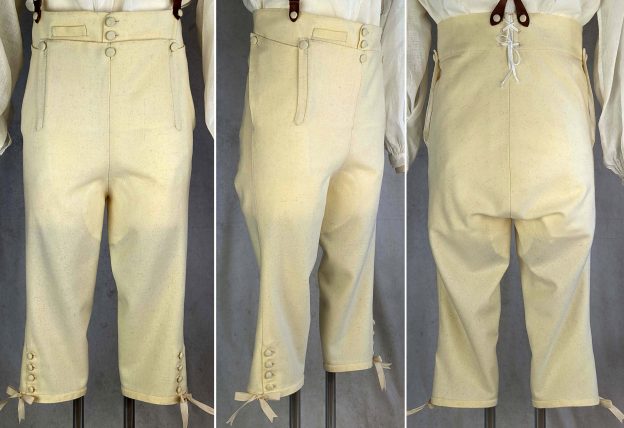
No chance to relax, to complete the men’s wardrobe we need breeches!
Again, this blog post is just an addition to complete the instructions for my sewing pattern with more pictures.
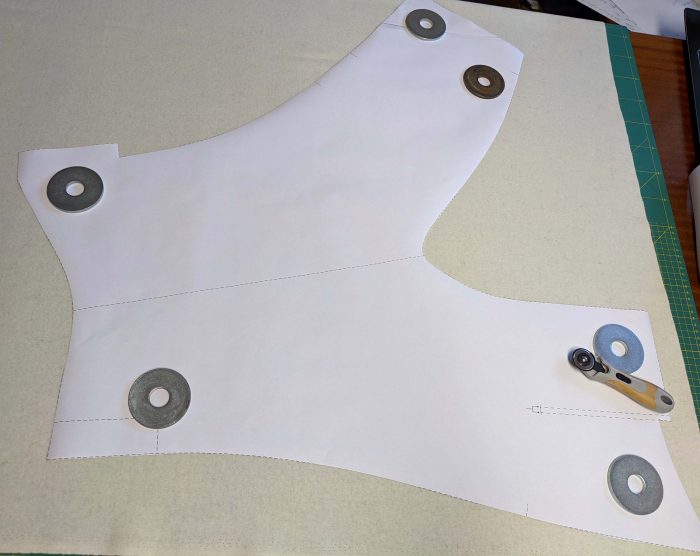
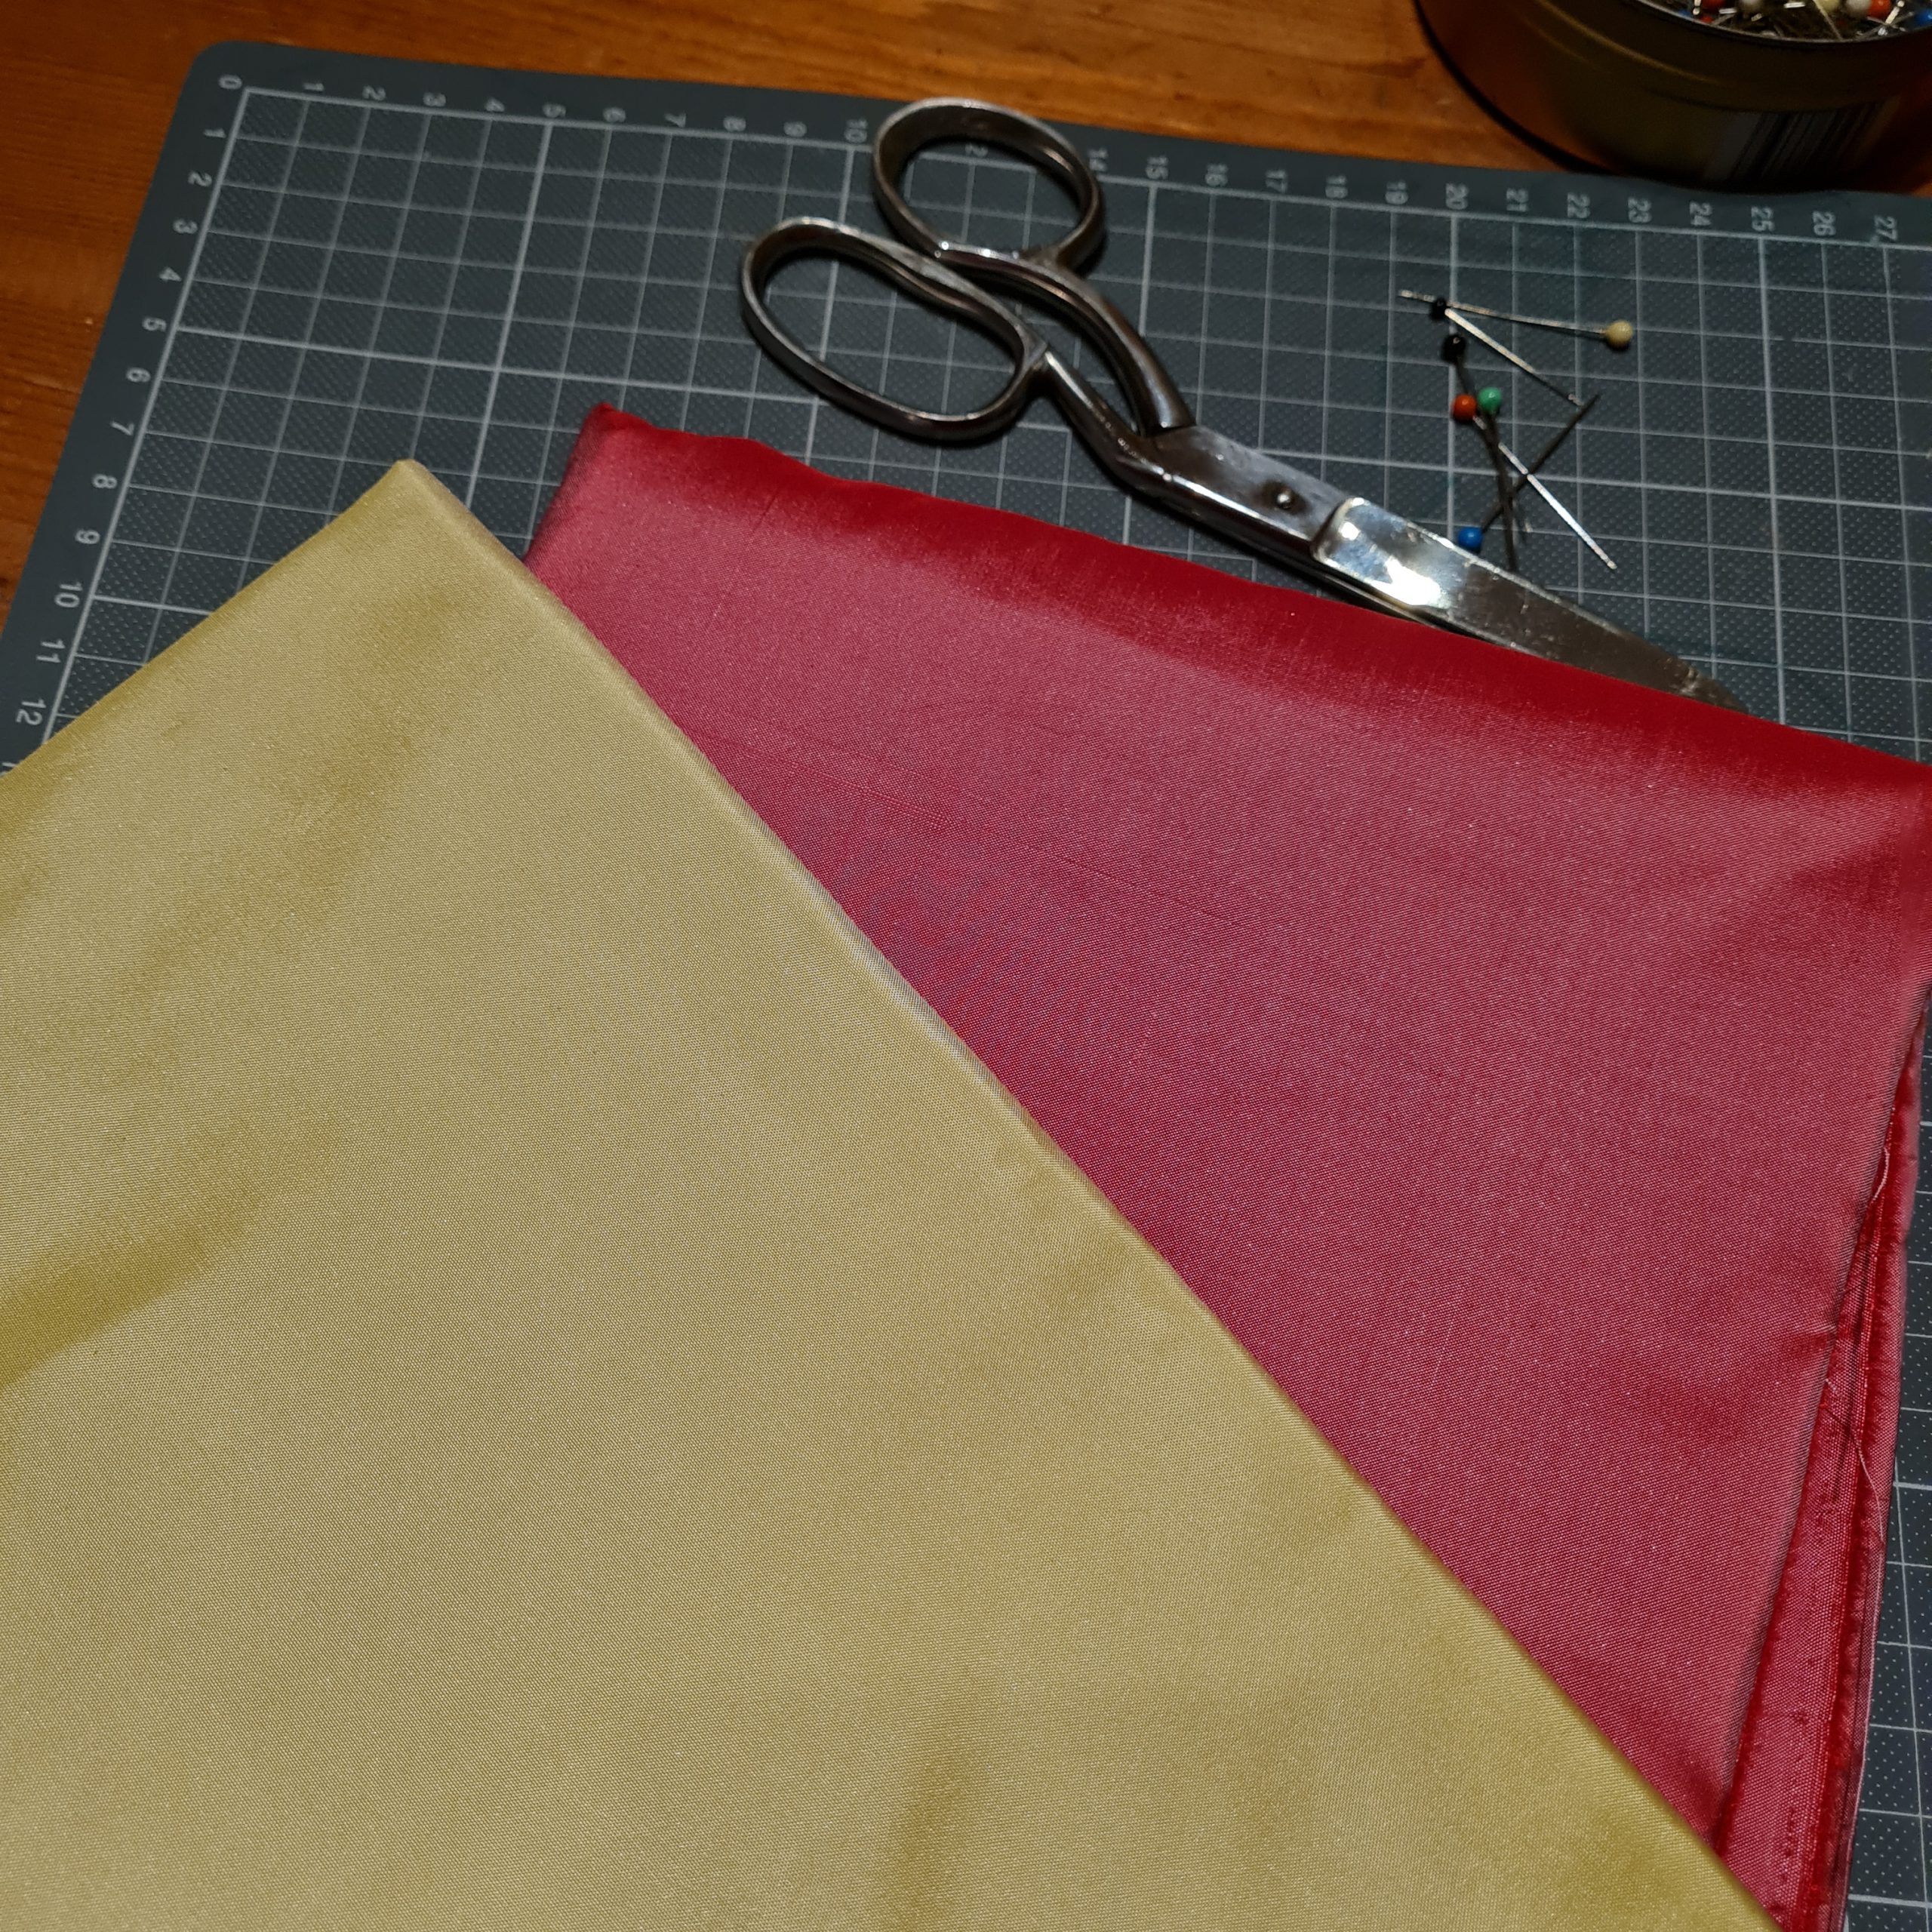
(1) Let´s start with cutting the fabric! Don´t be afraid of the weird looking pattern with no inseam and the legs pointing outward. If wanted add the inseam, the line is marked on the pattern, but don´t try to straighten the legs, they give the width needed for a comfortable fit. Compared to Georgian breeches, the volume at the buttocks is significantly reduced, but still more than most of us are used to from modern pants. The pattern is based on an extant sewing pattern from 1796.
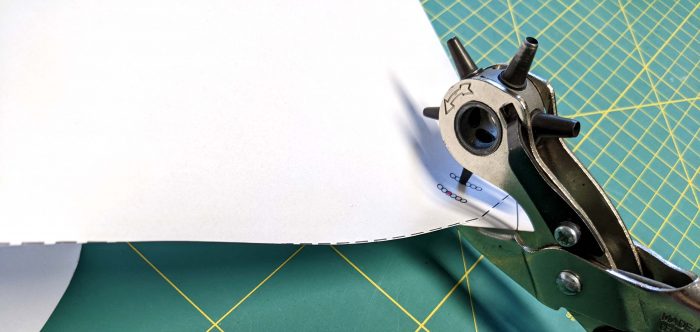
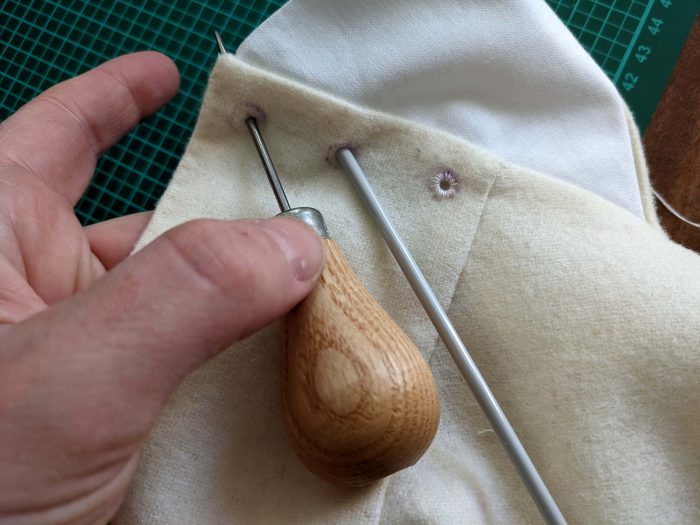
Punching holes on the pattern for accurate markings on the fabric.
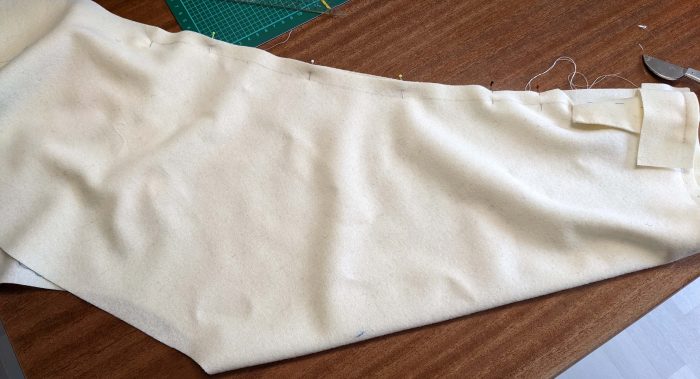
Trim back the seam allowances, they are to wide here on this picture.
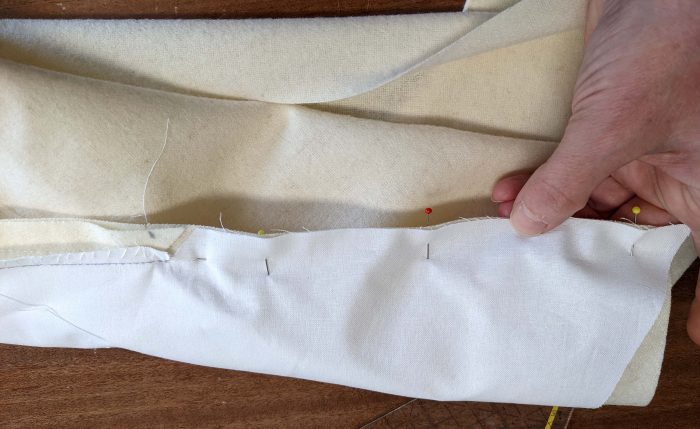
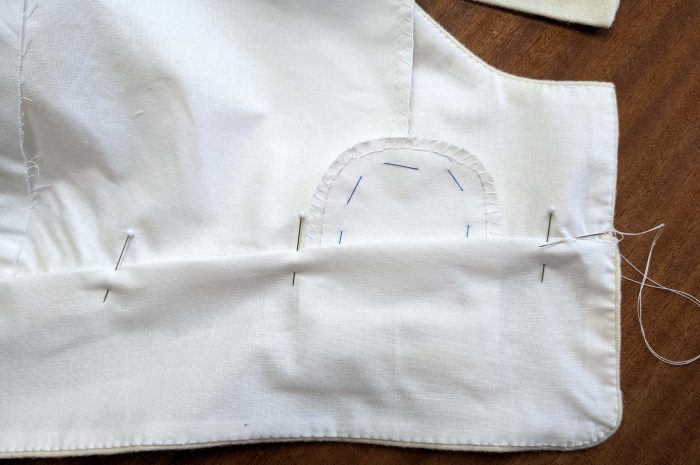
Cover the raw seam allowances with the waistband lining.
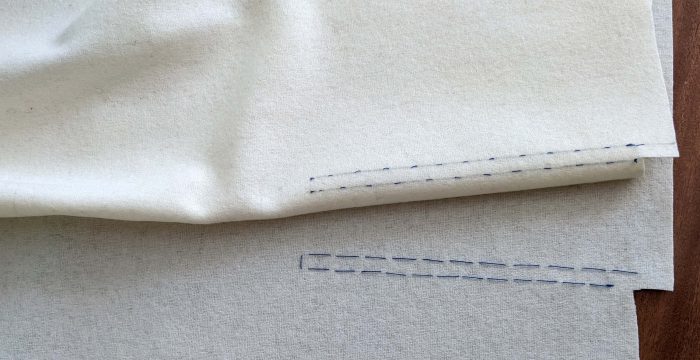
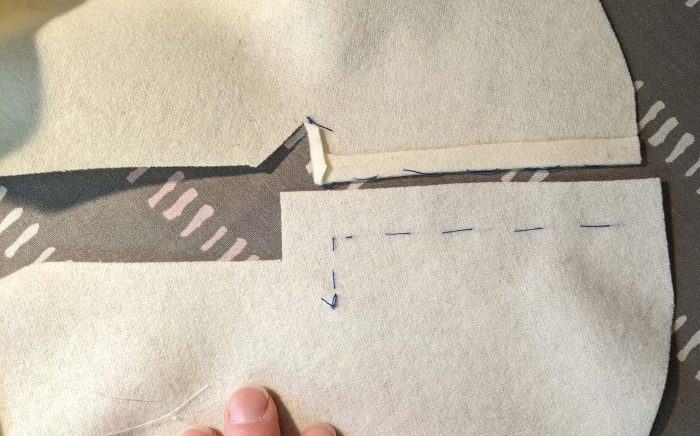
The front area of the waistband, don´t sew the pocket, just catch the back of the pocket when felling down the lining. Sew with the “point à rabattre sous la main” along the front and top edge.
Inspired by Bridgerton Season 2, we had the idea of modifying the ball gown sewing pattern #0422 to be even more Briderton-like and documenting the sewing process here on the blog.
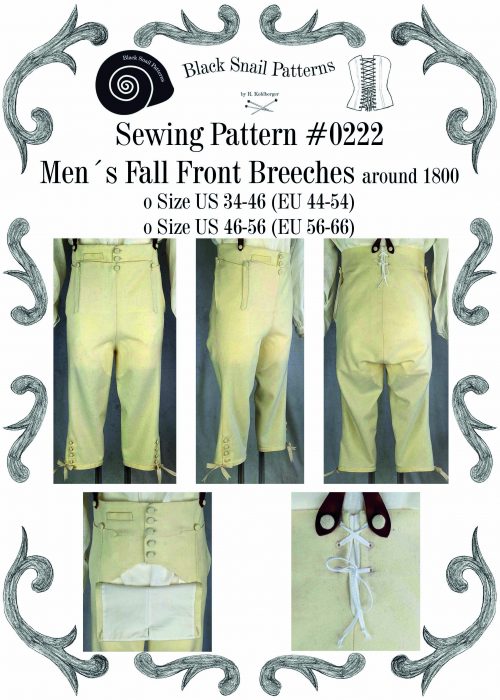
Click here if you are interested in purchasing the sewing pattern:
The dresses of the main characters in season 2 look very different from pattern 0422 at first glance, but on closer inspection they are relatively simple in cut. Using the lining pattern pieces, I’ll show you the basic changes.
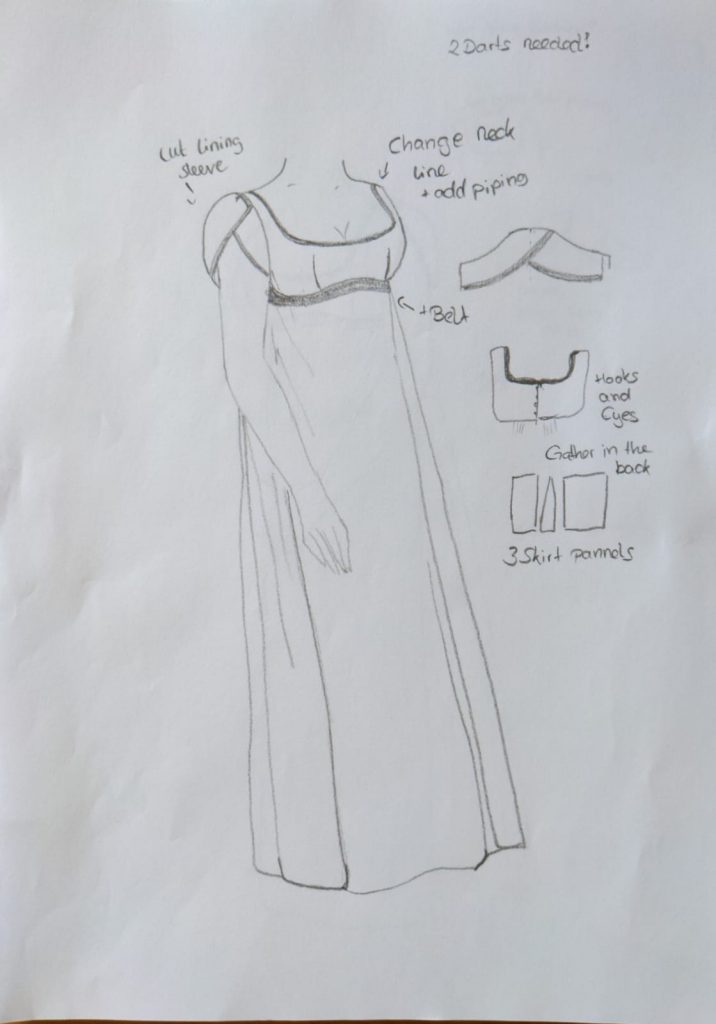
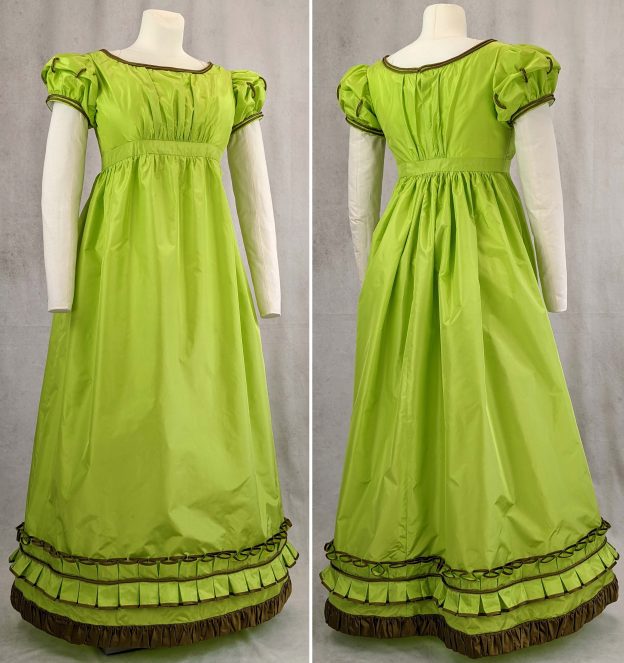
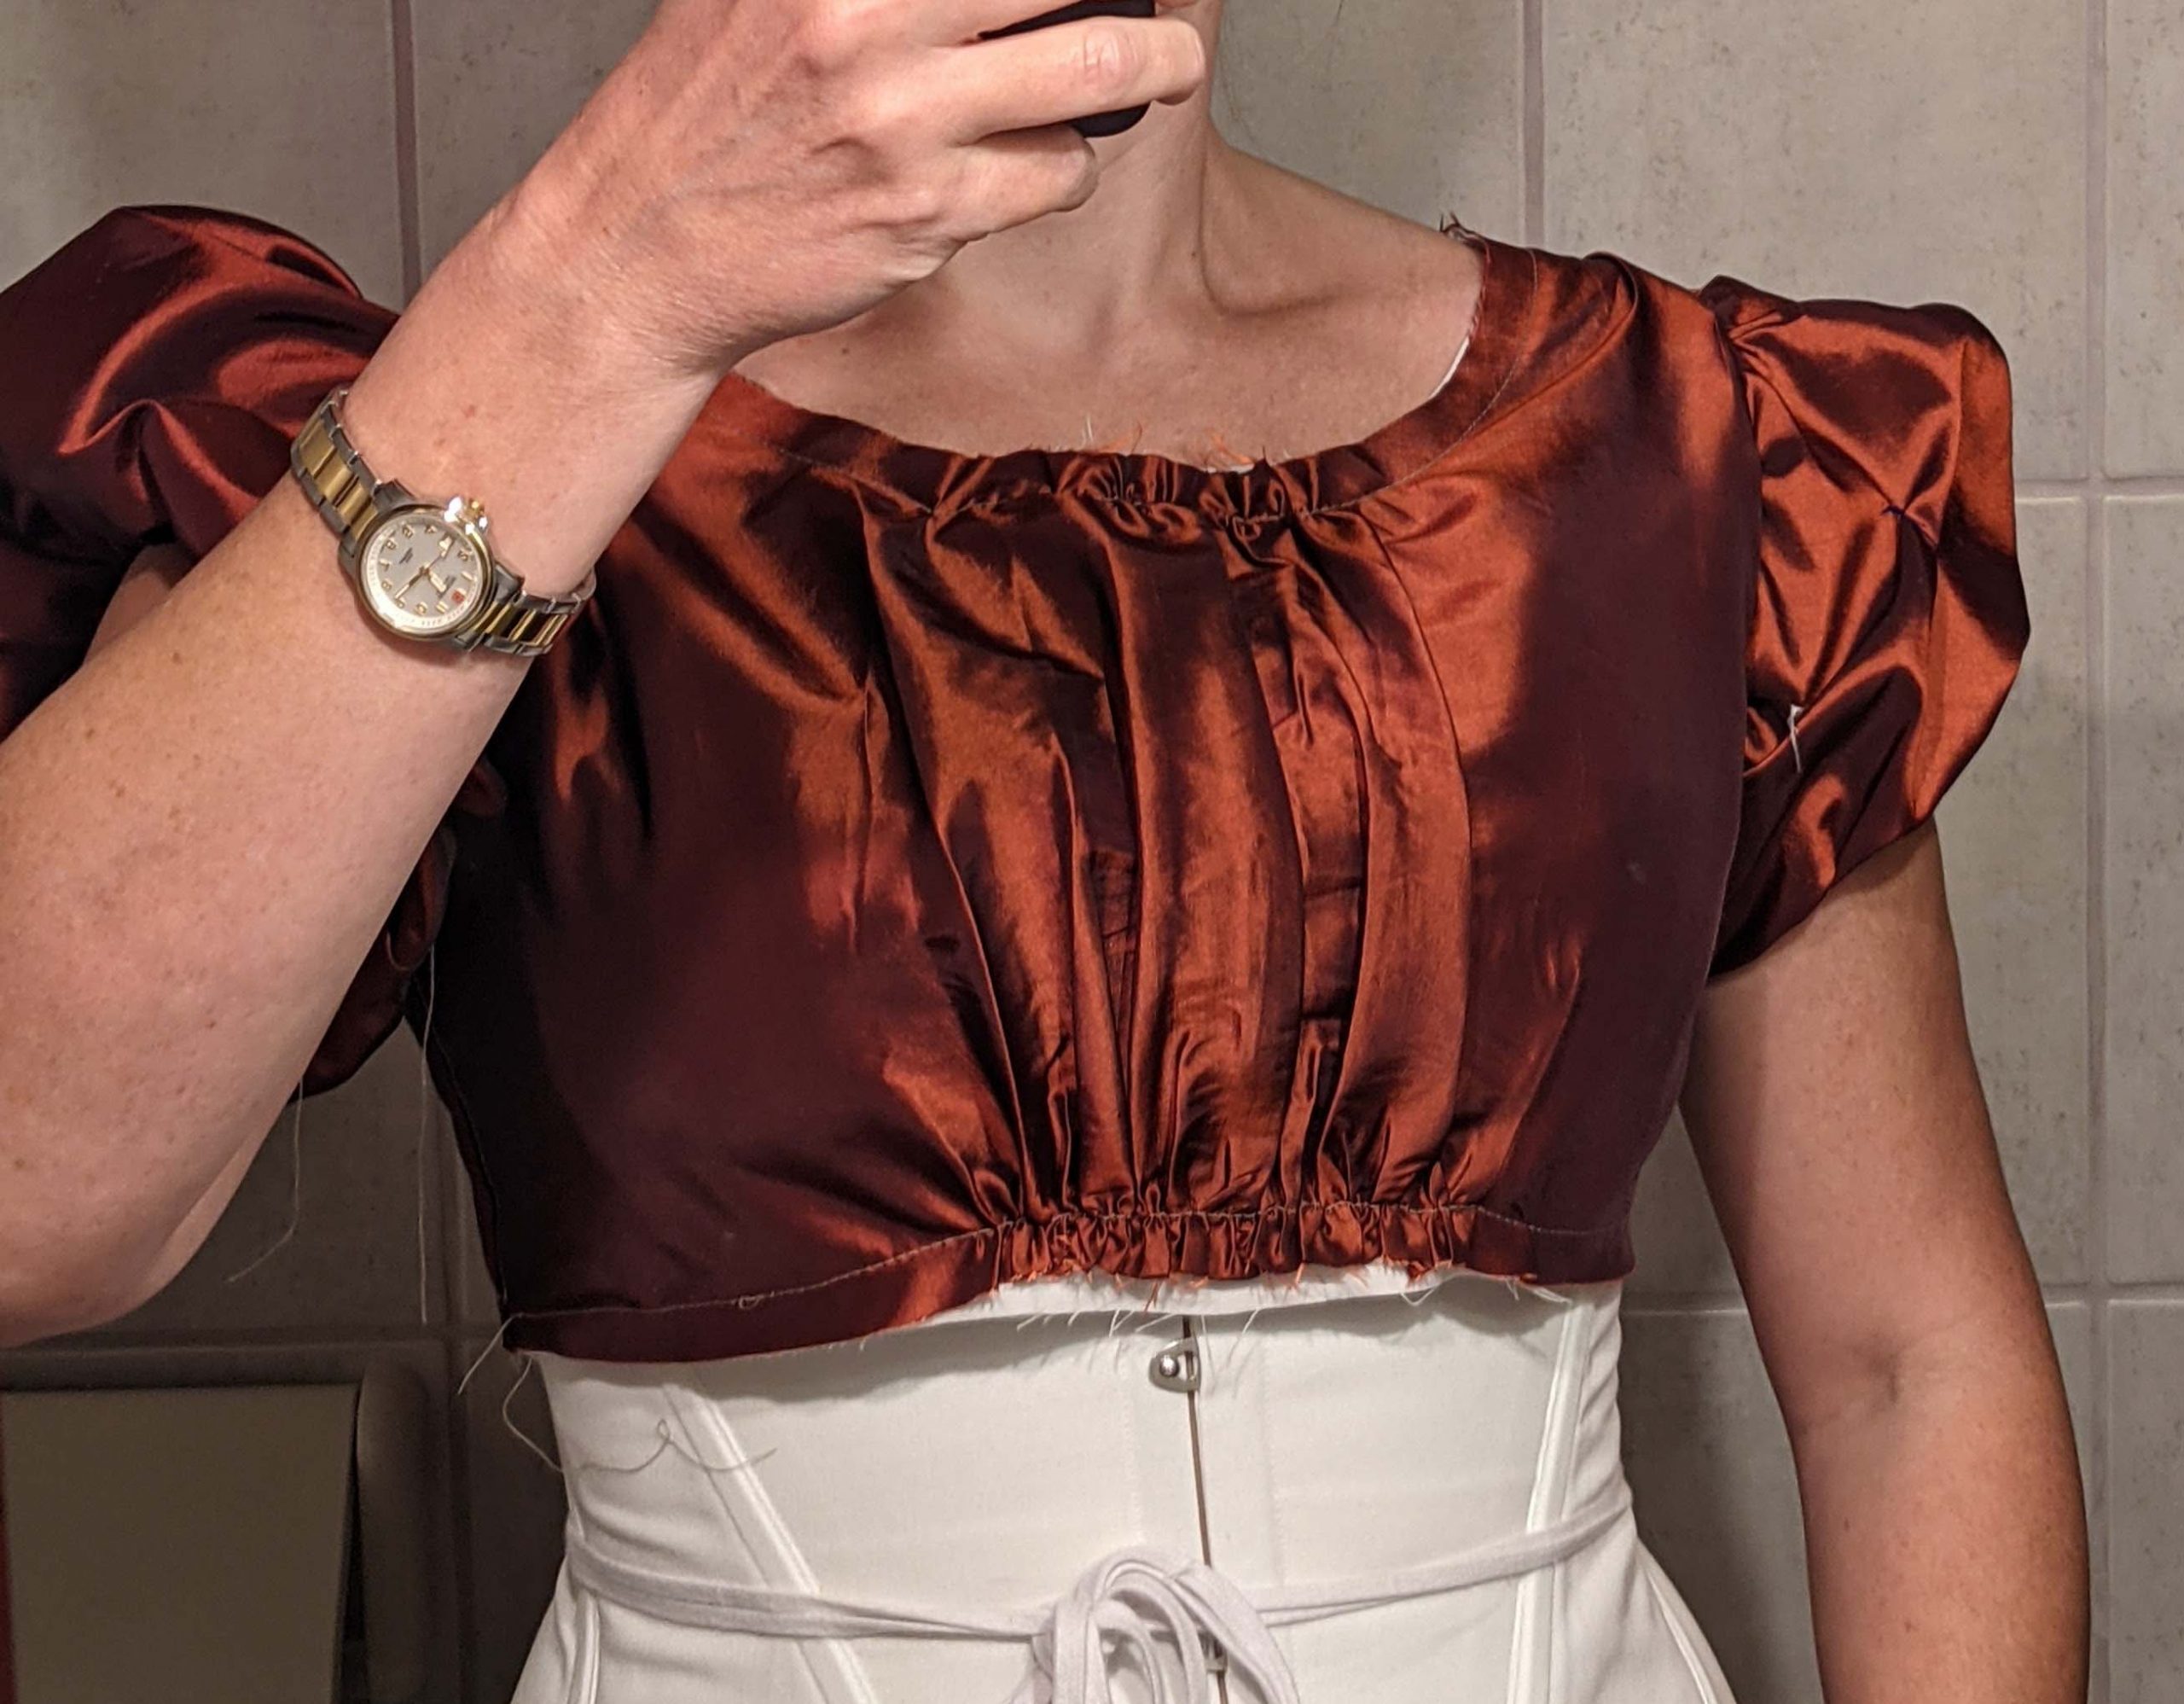
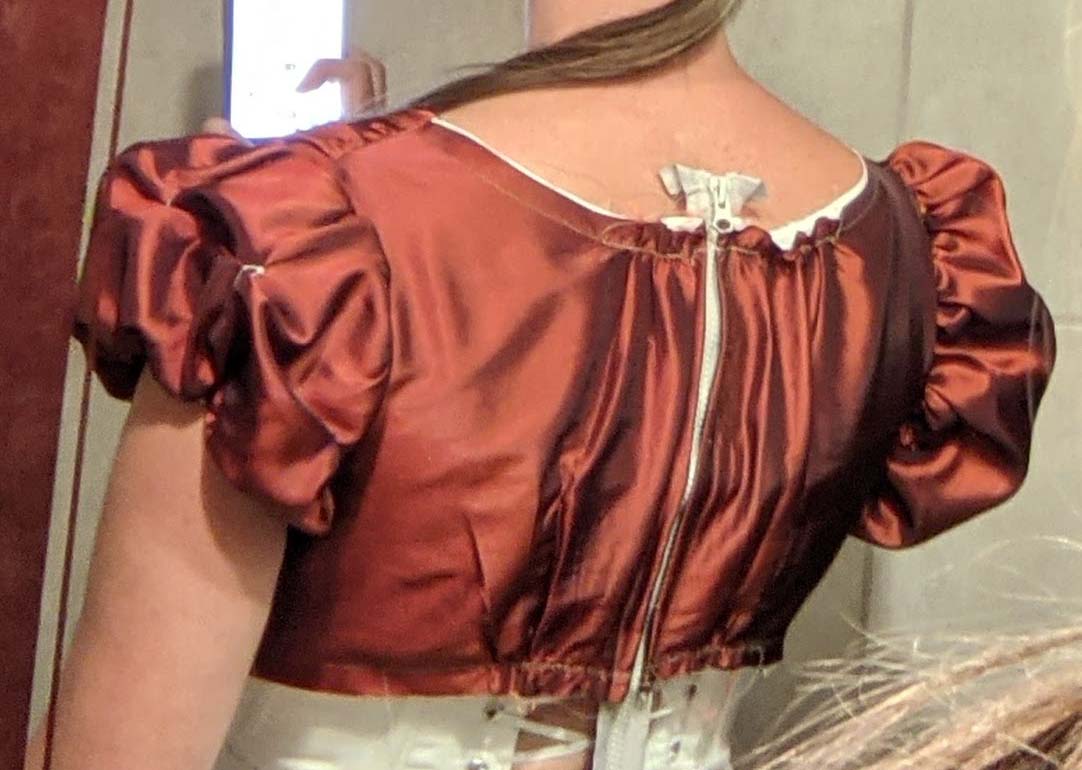
First I made a sketch of how I imagined the dress and wrote down the details. It closes with hook and eye at the back and I’ve added an optional belt, the waistband of the original dress is omitted. The sleeves are given the tulip shape, seen on many dresses in the series. Neckline and sleeves are piped with contrasting fabric for a neat finish.
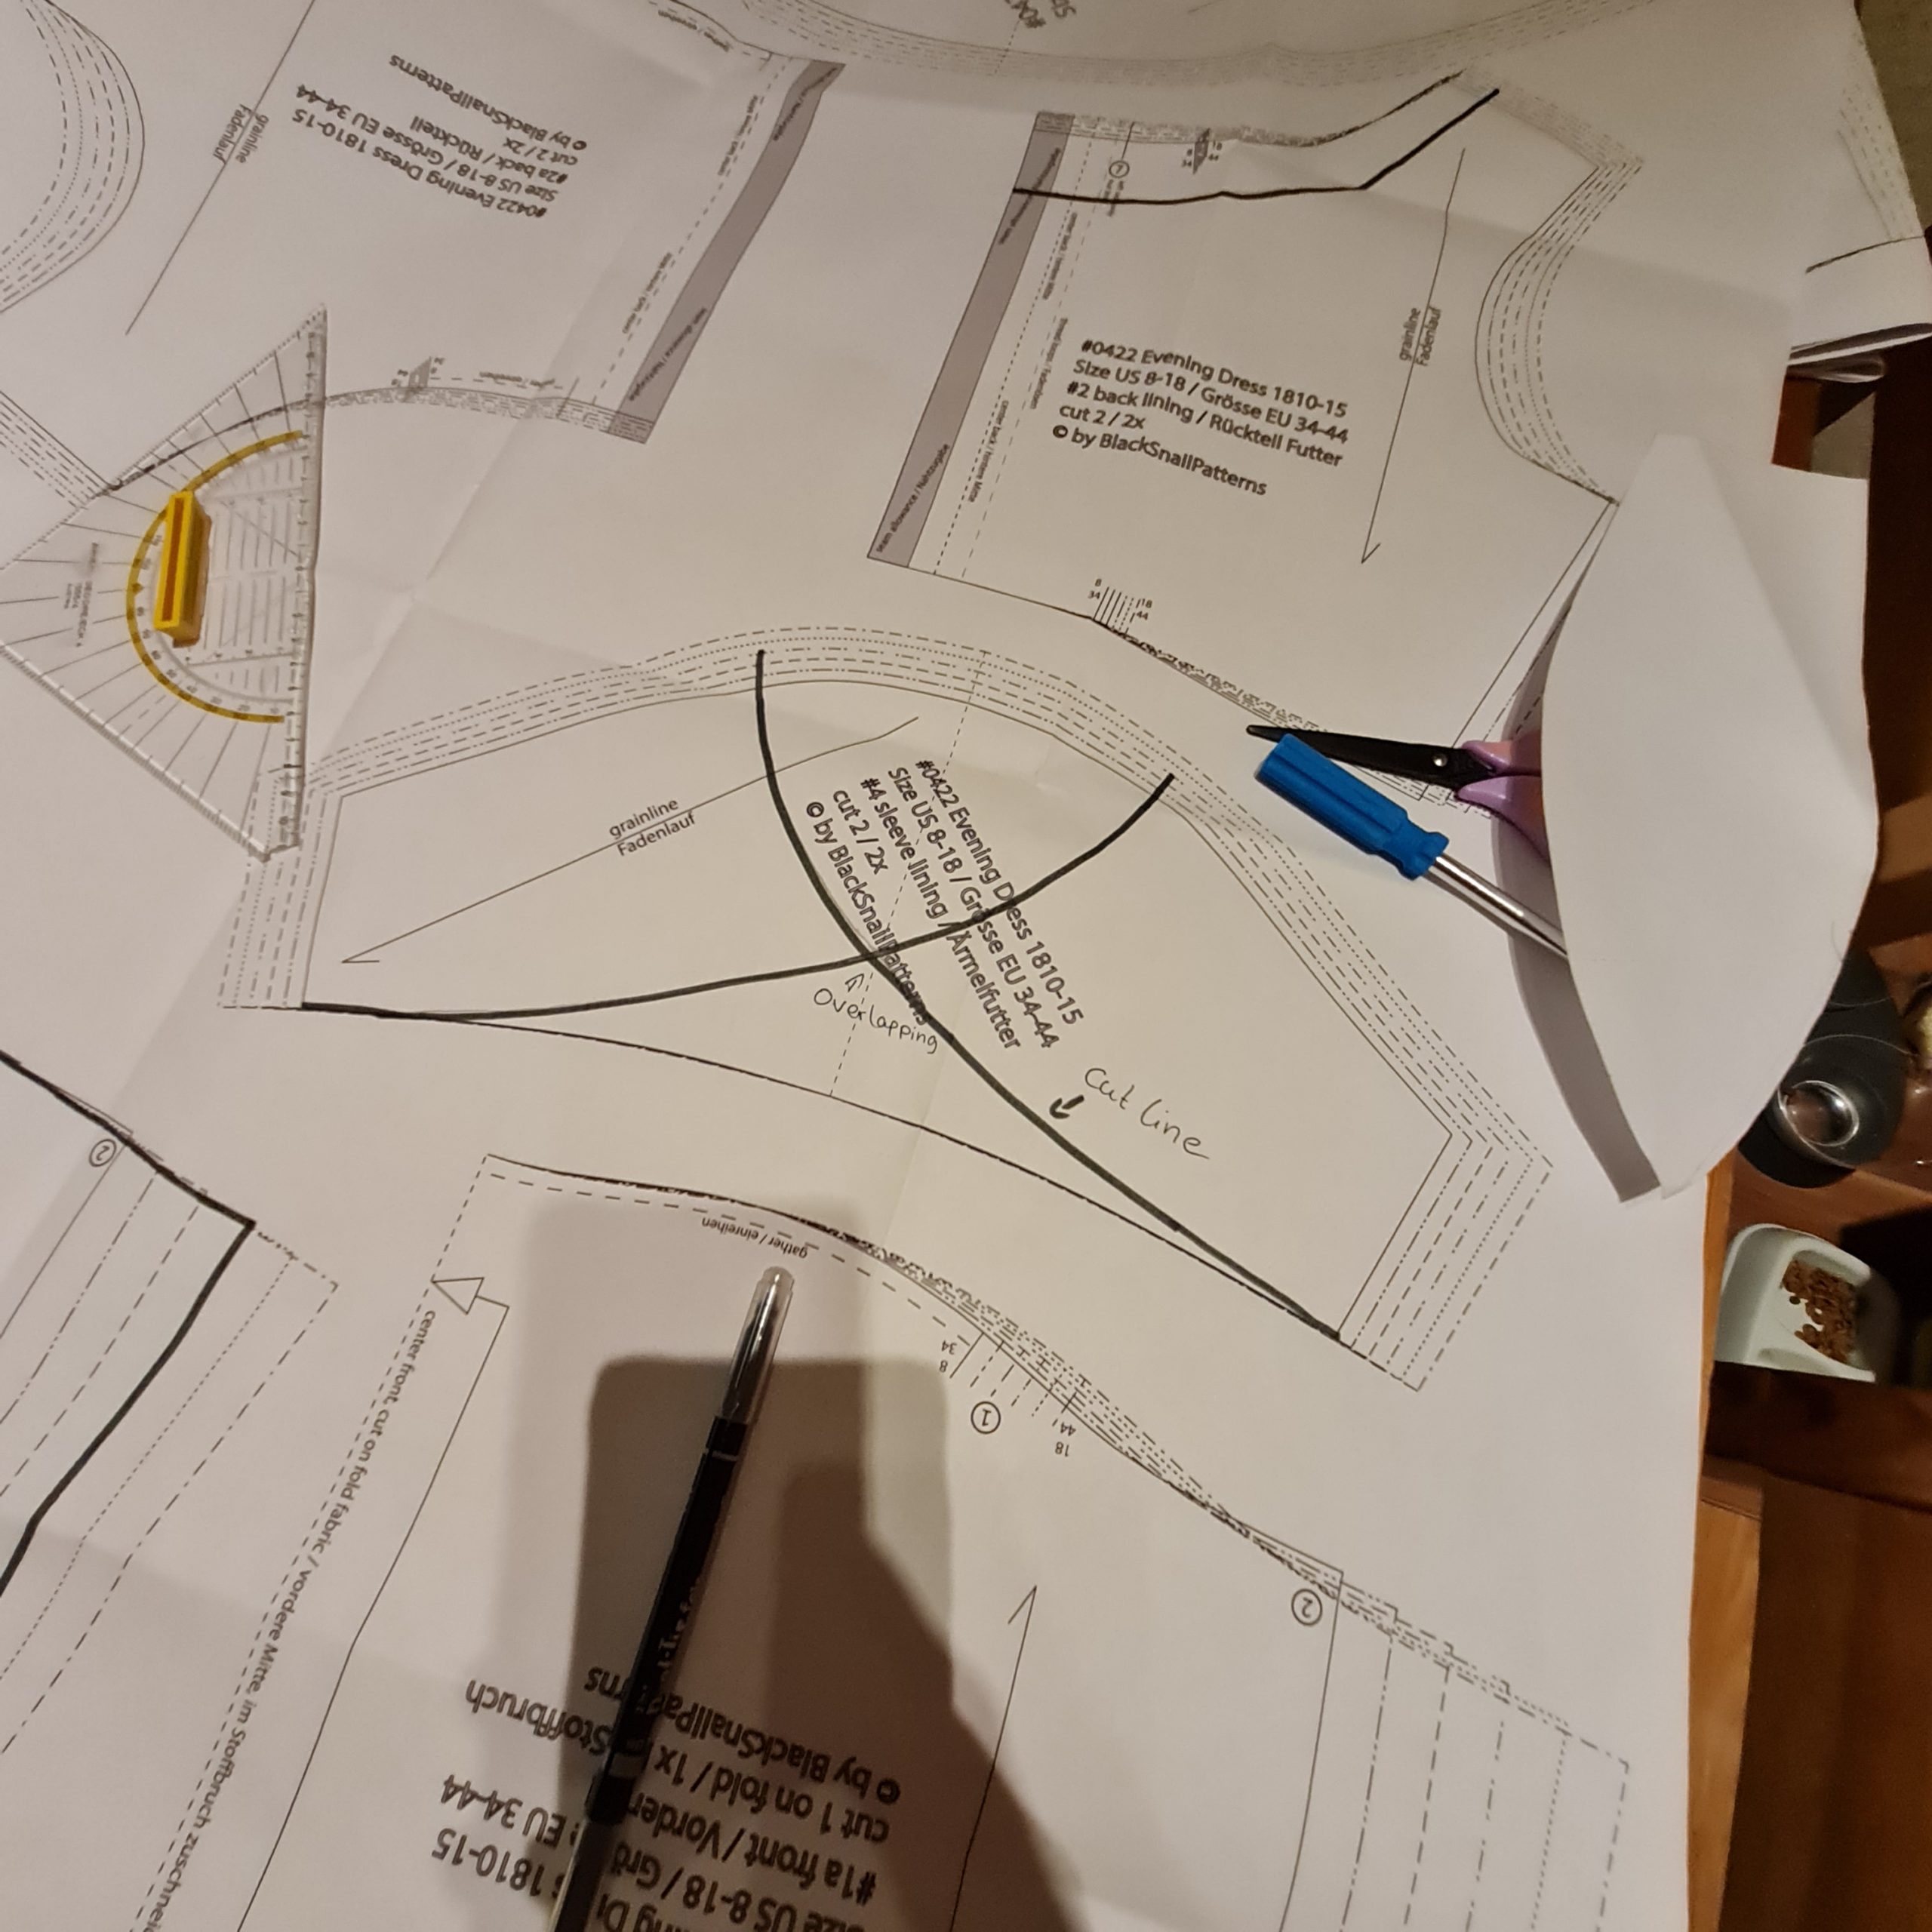
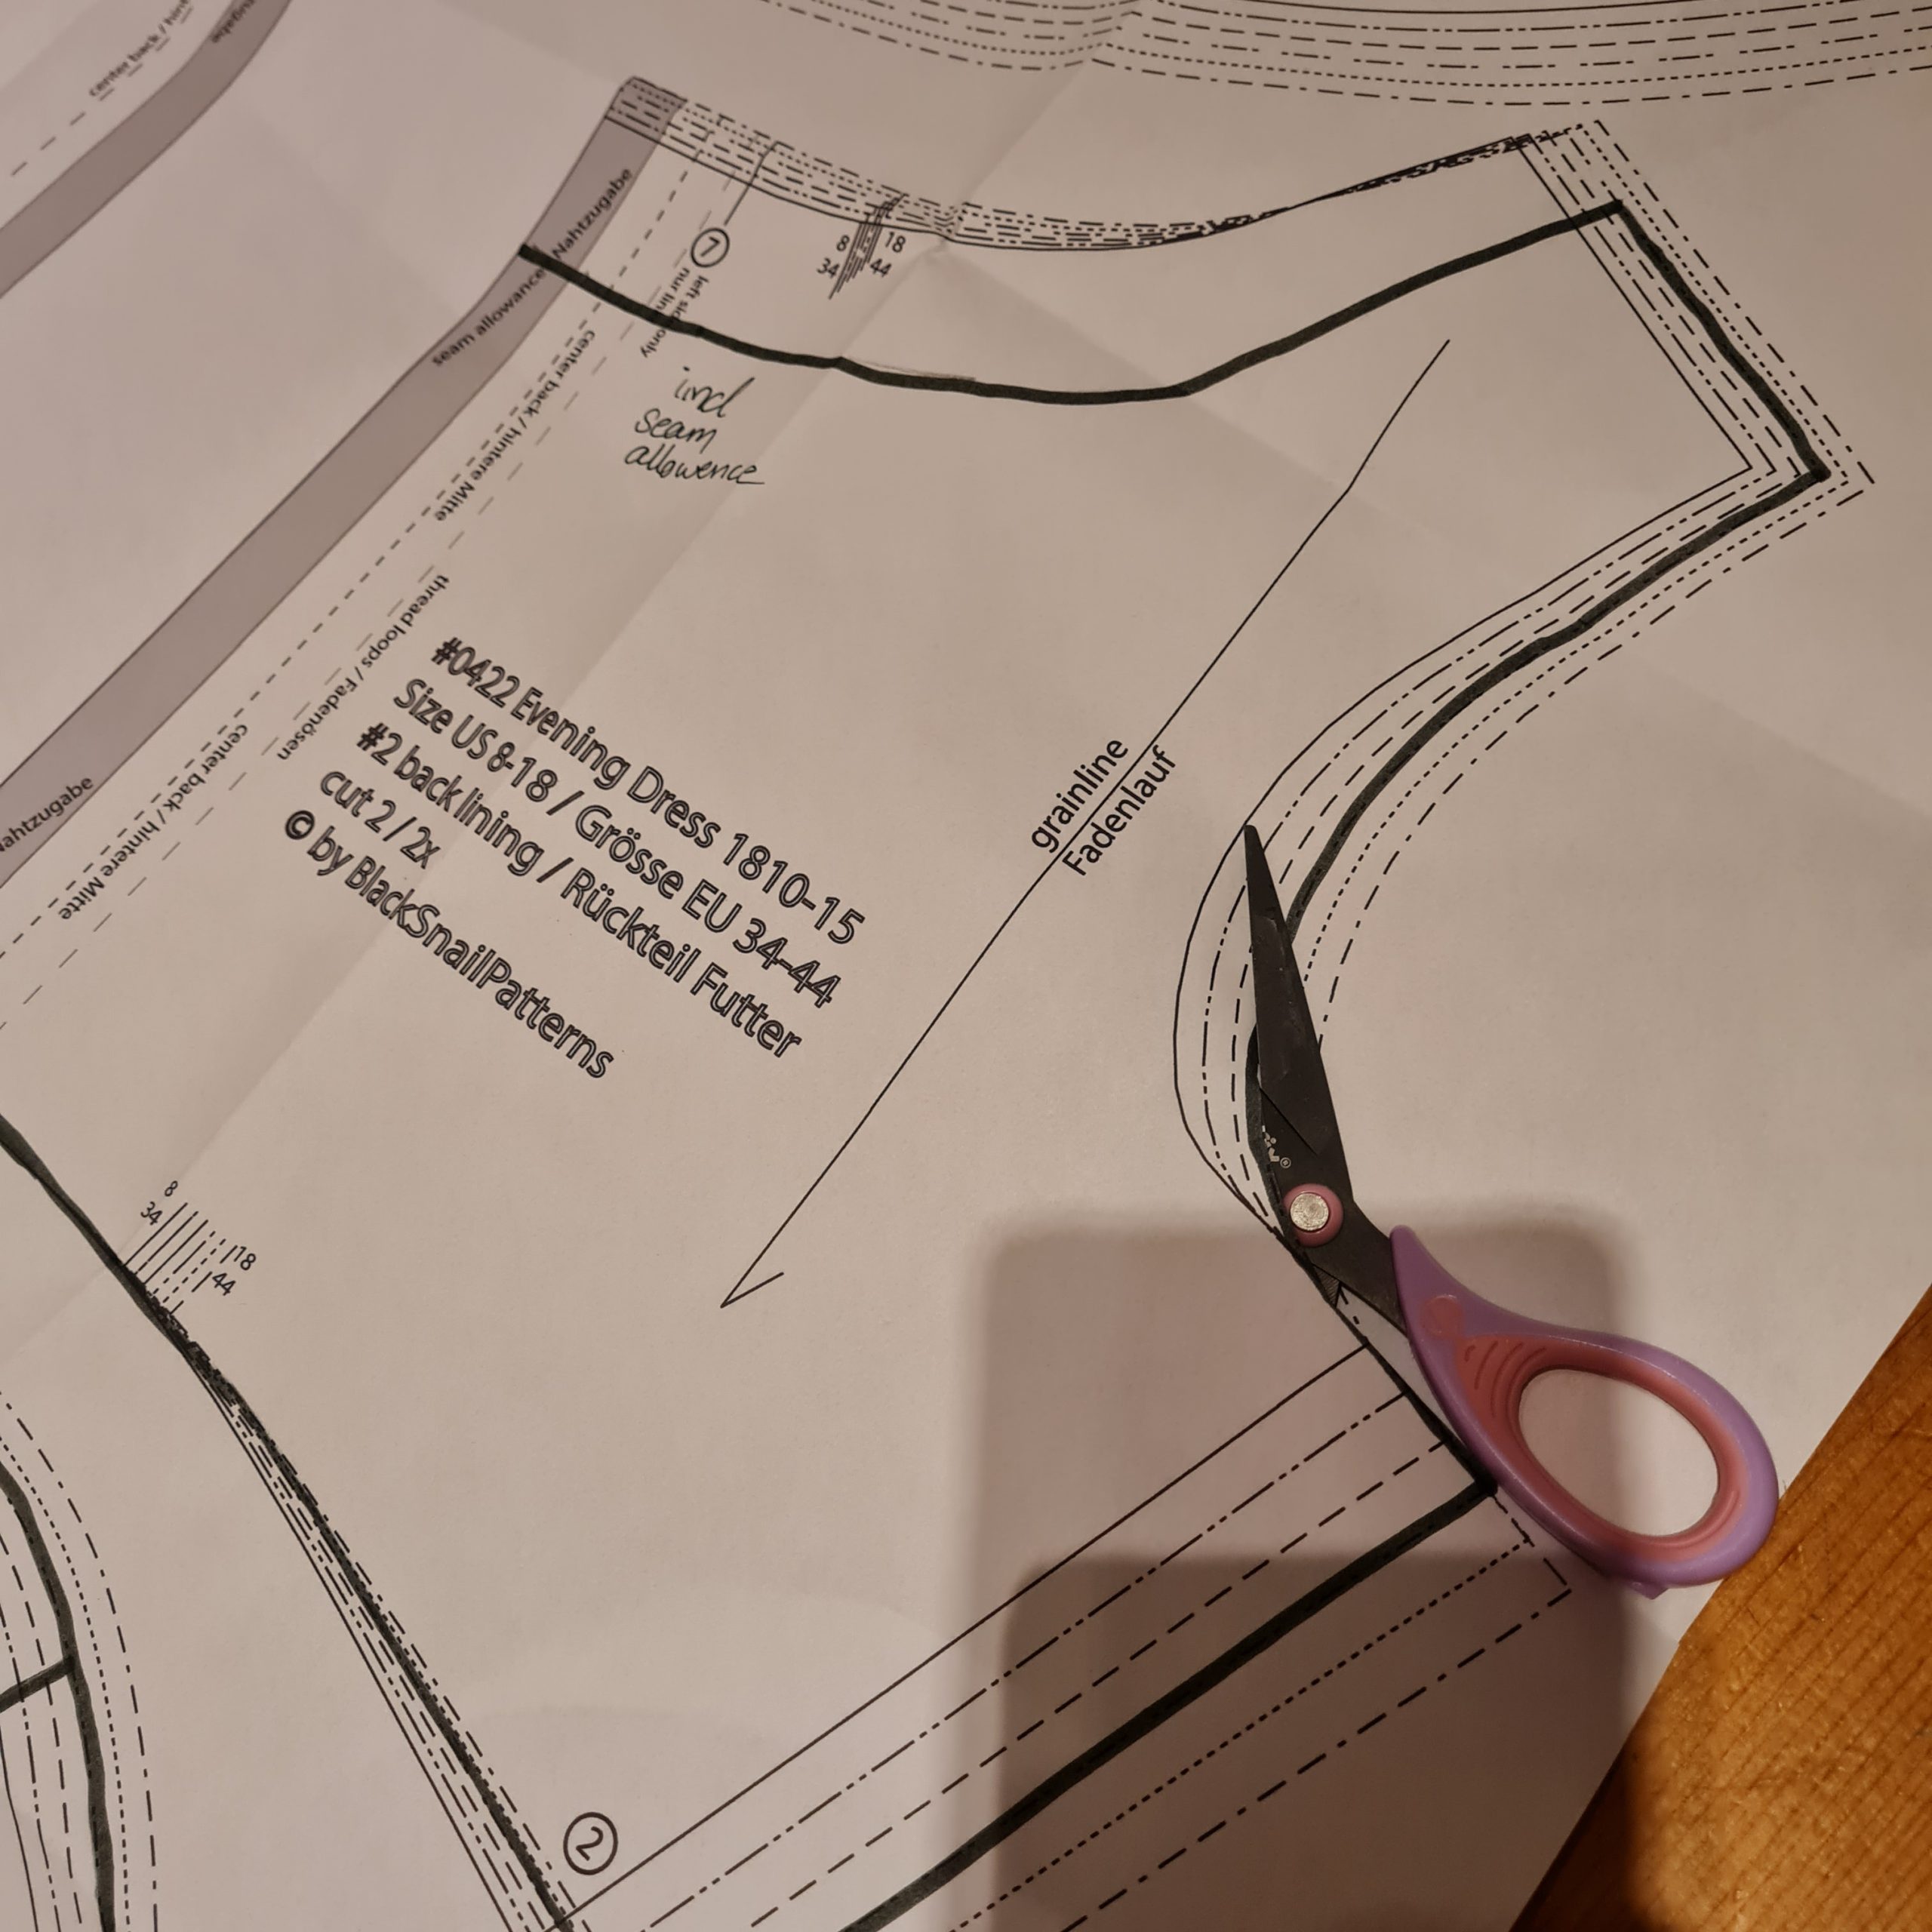
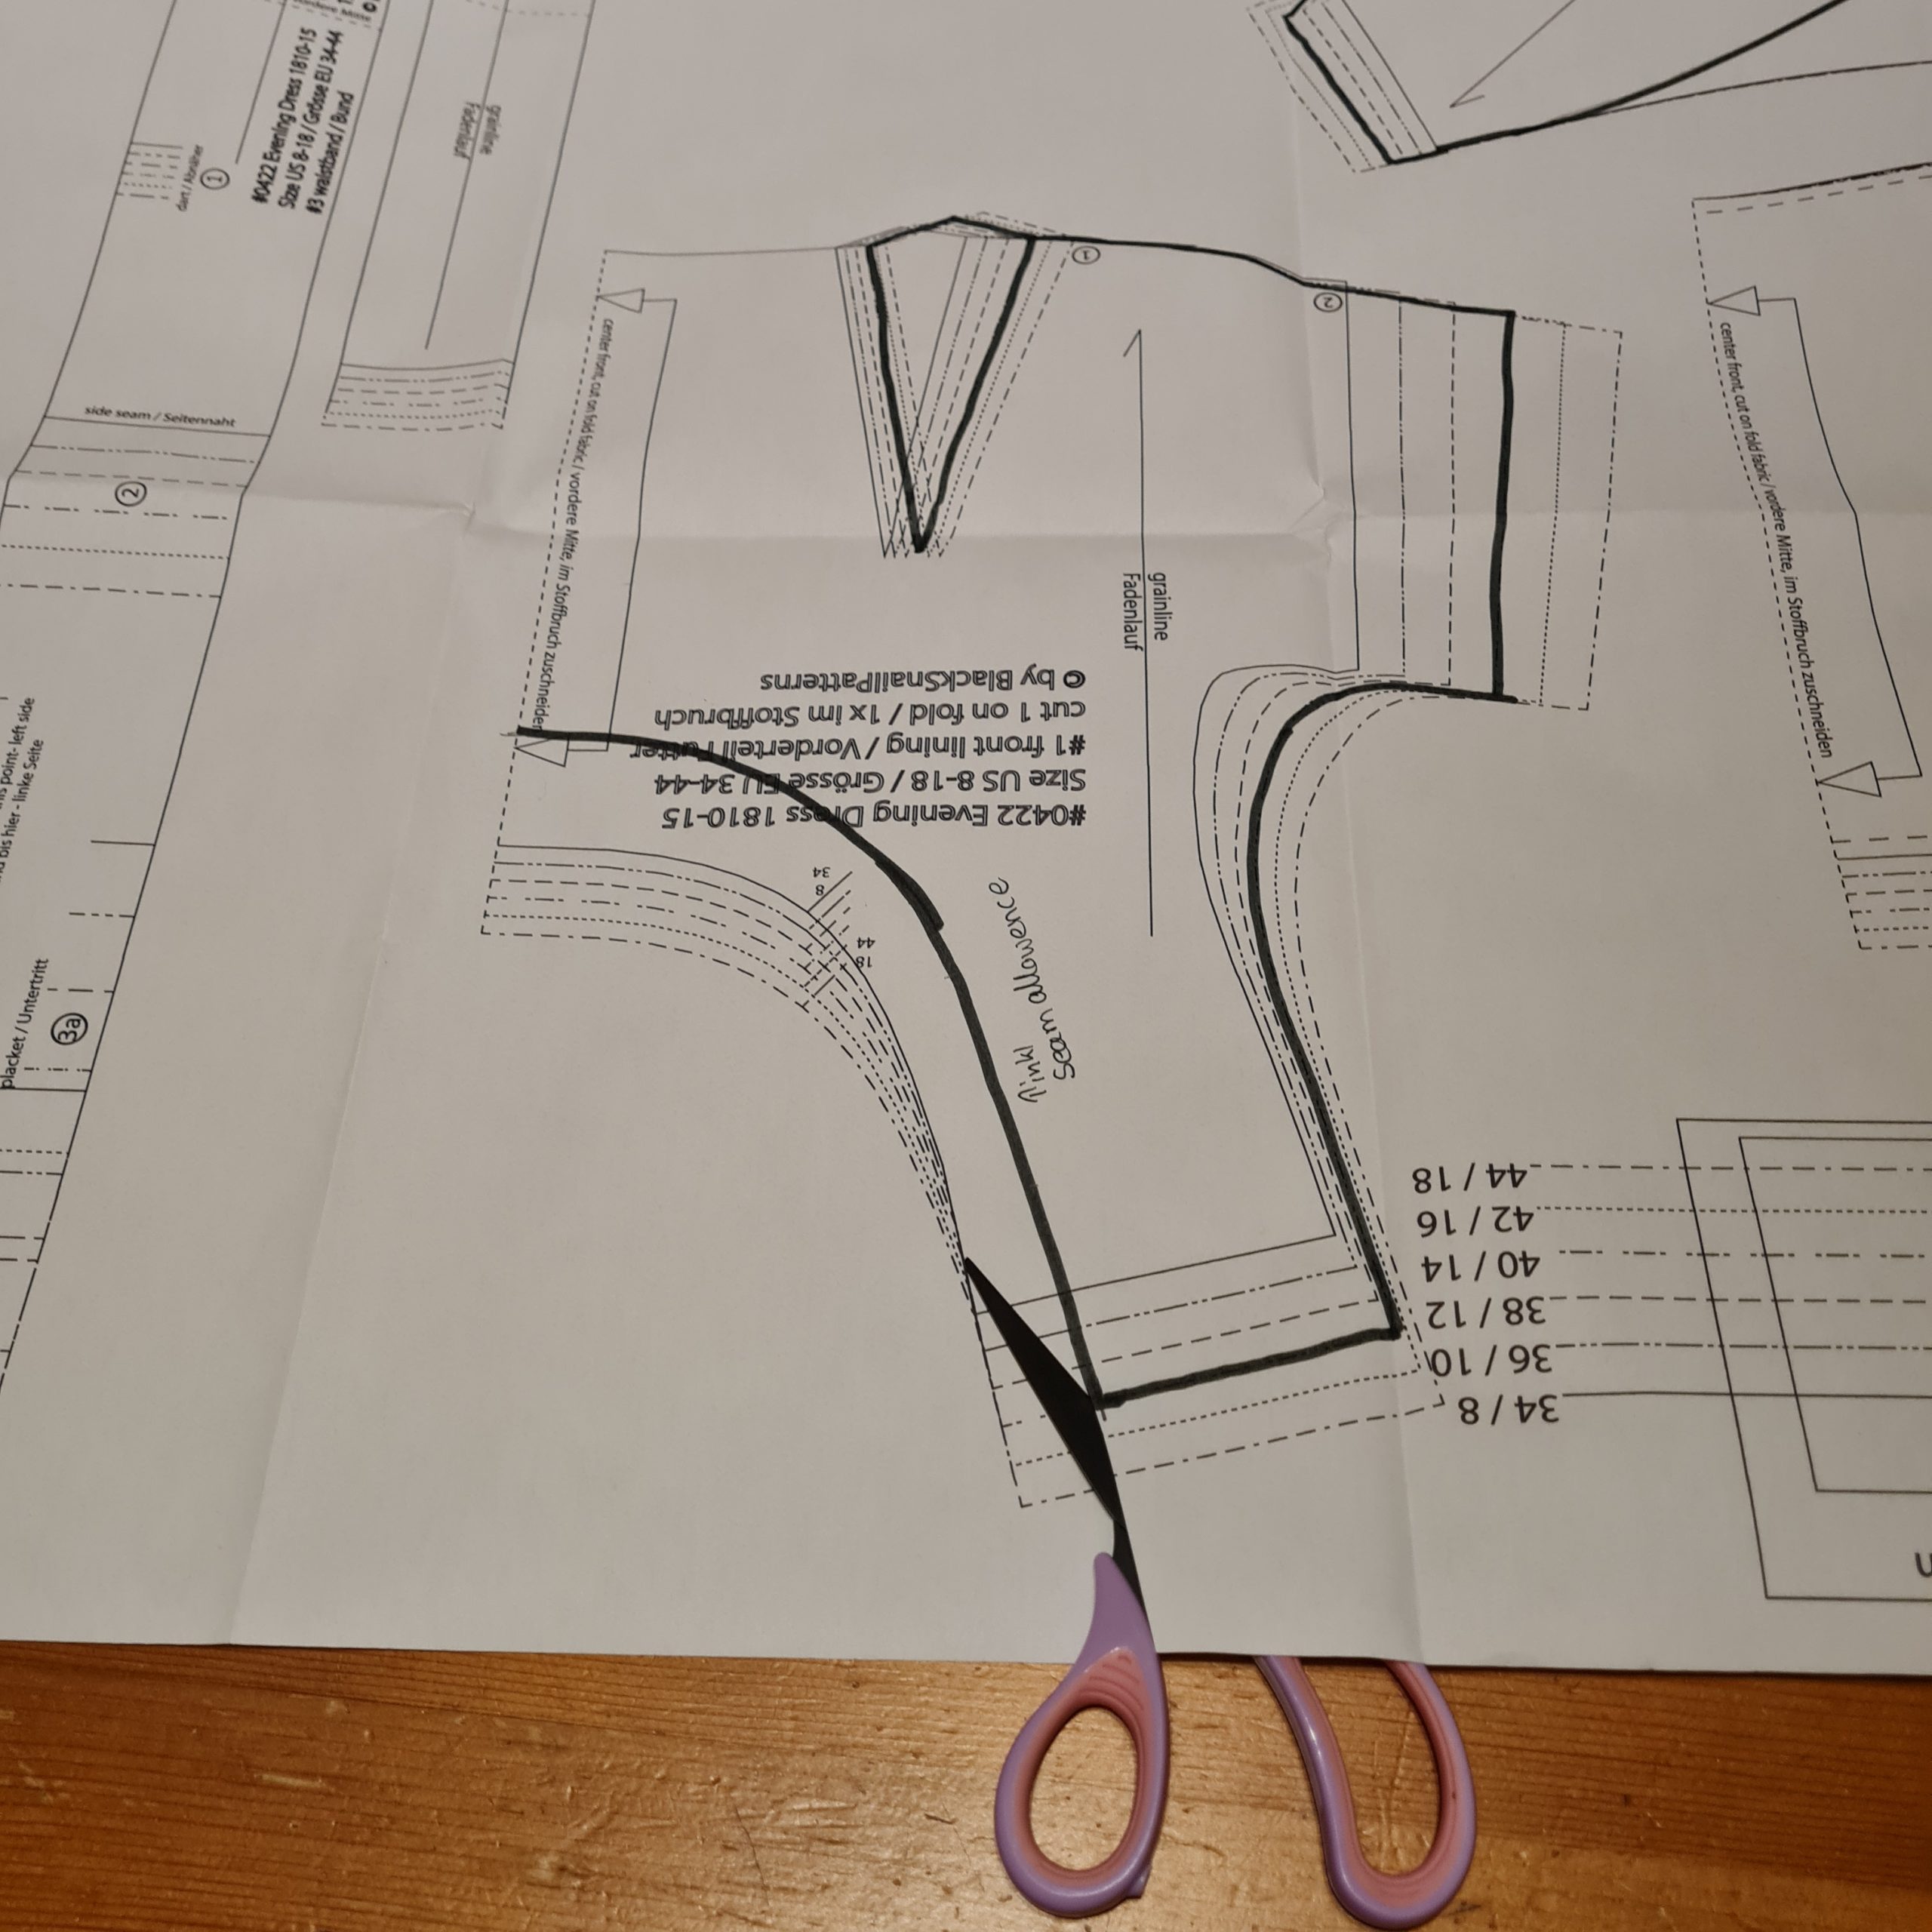
Let’s start with the original pattern and make the necessary changes. I lowered the neckline on the front and back and shaped the sleeve into the tulip shape as shown in the picture, don’t forget to mark the original center line to easily line up the two sleeve pieces later.
I´m sorry, that I didn´t made lots of pictures during the sewing process because I was in a hurry, I made a mistake when cutting the skirt, but I love the result. Due to the newest release of Bridgerton Season 2 I don´t want to withhold this pattern from you.
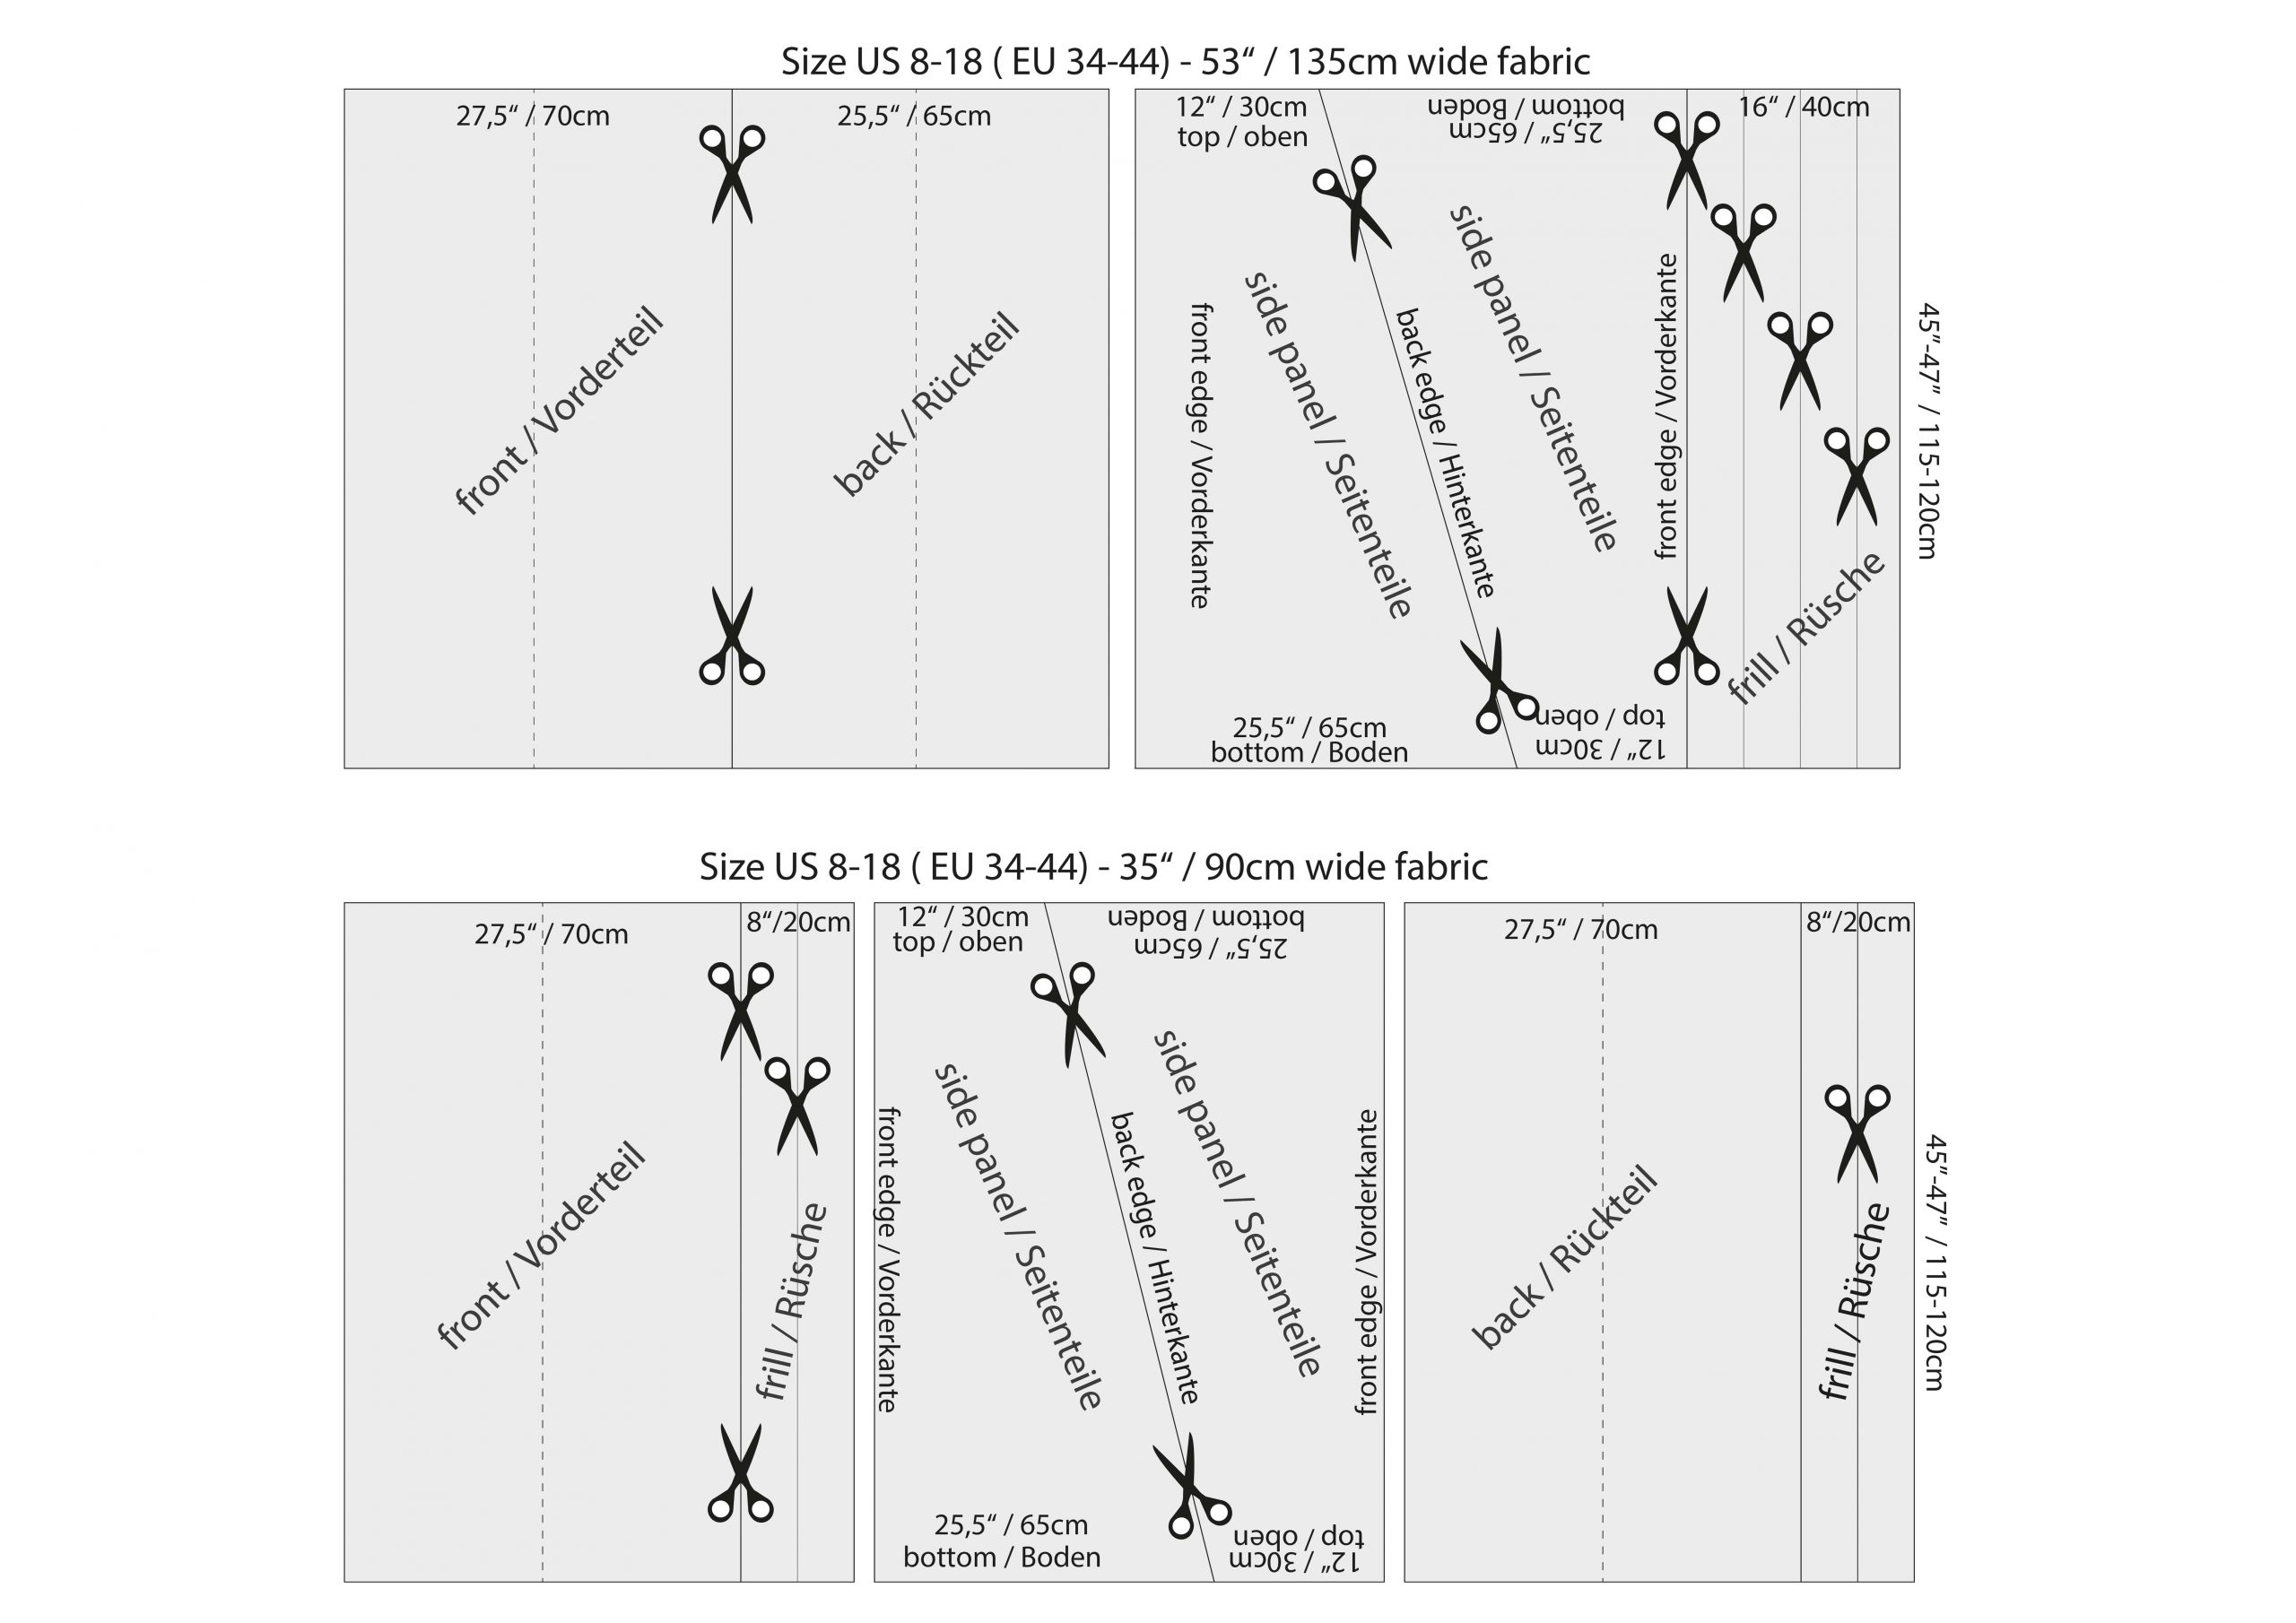
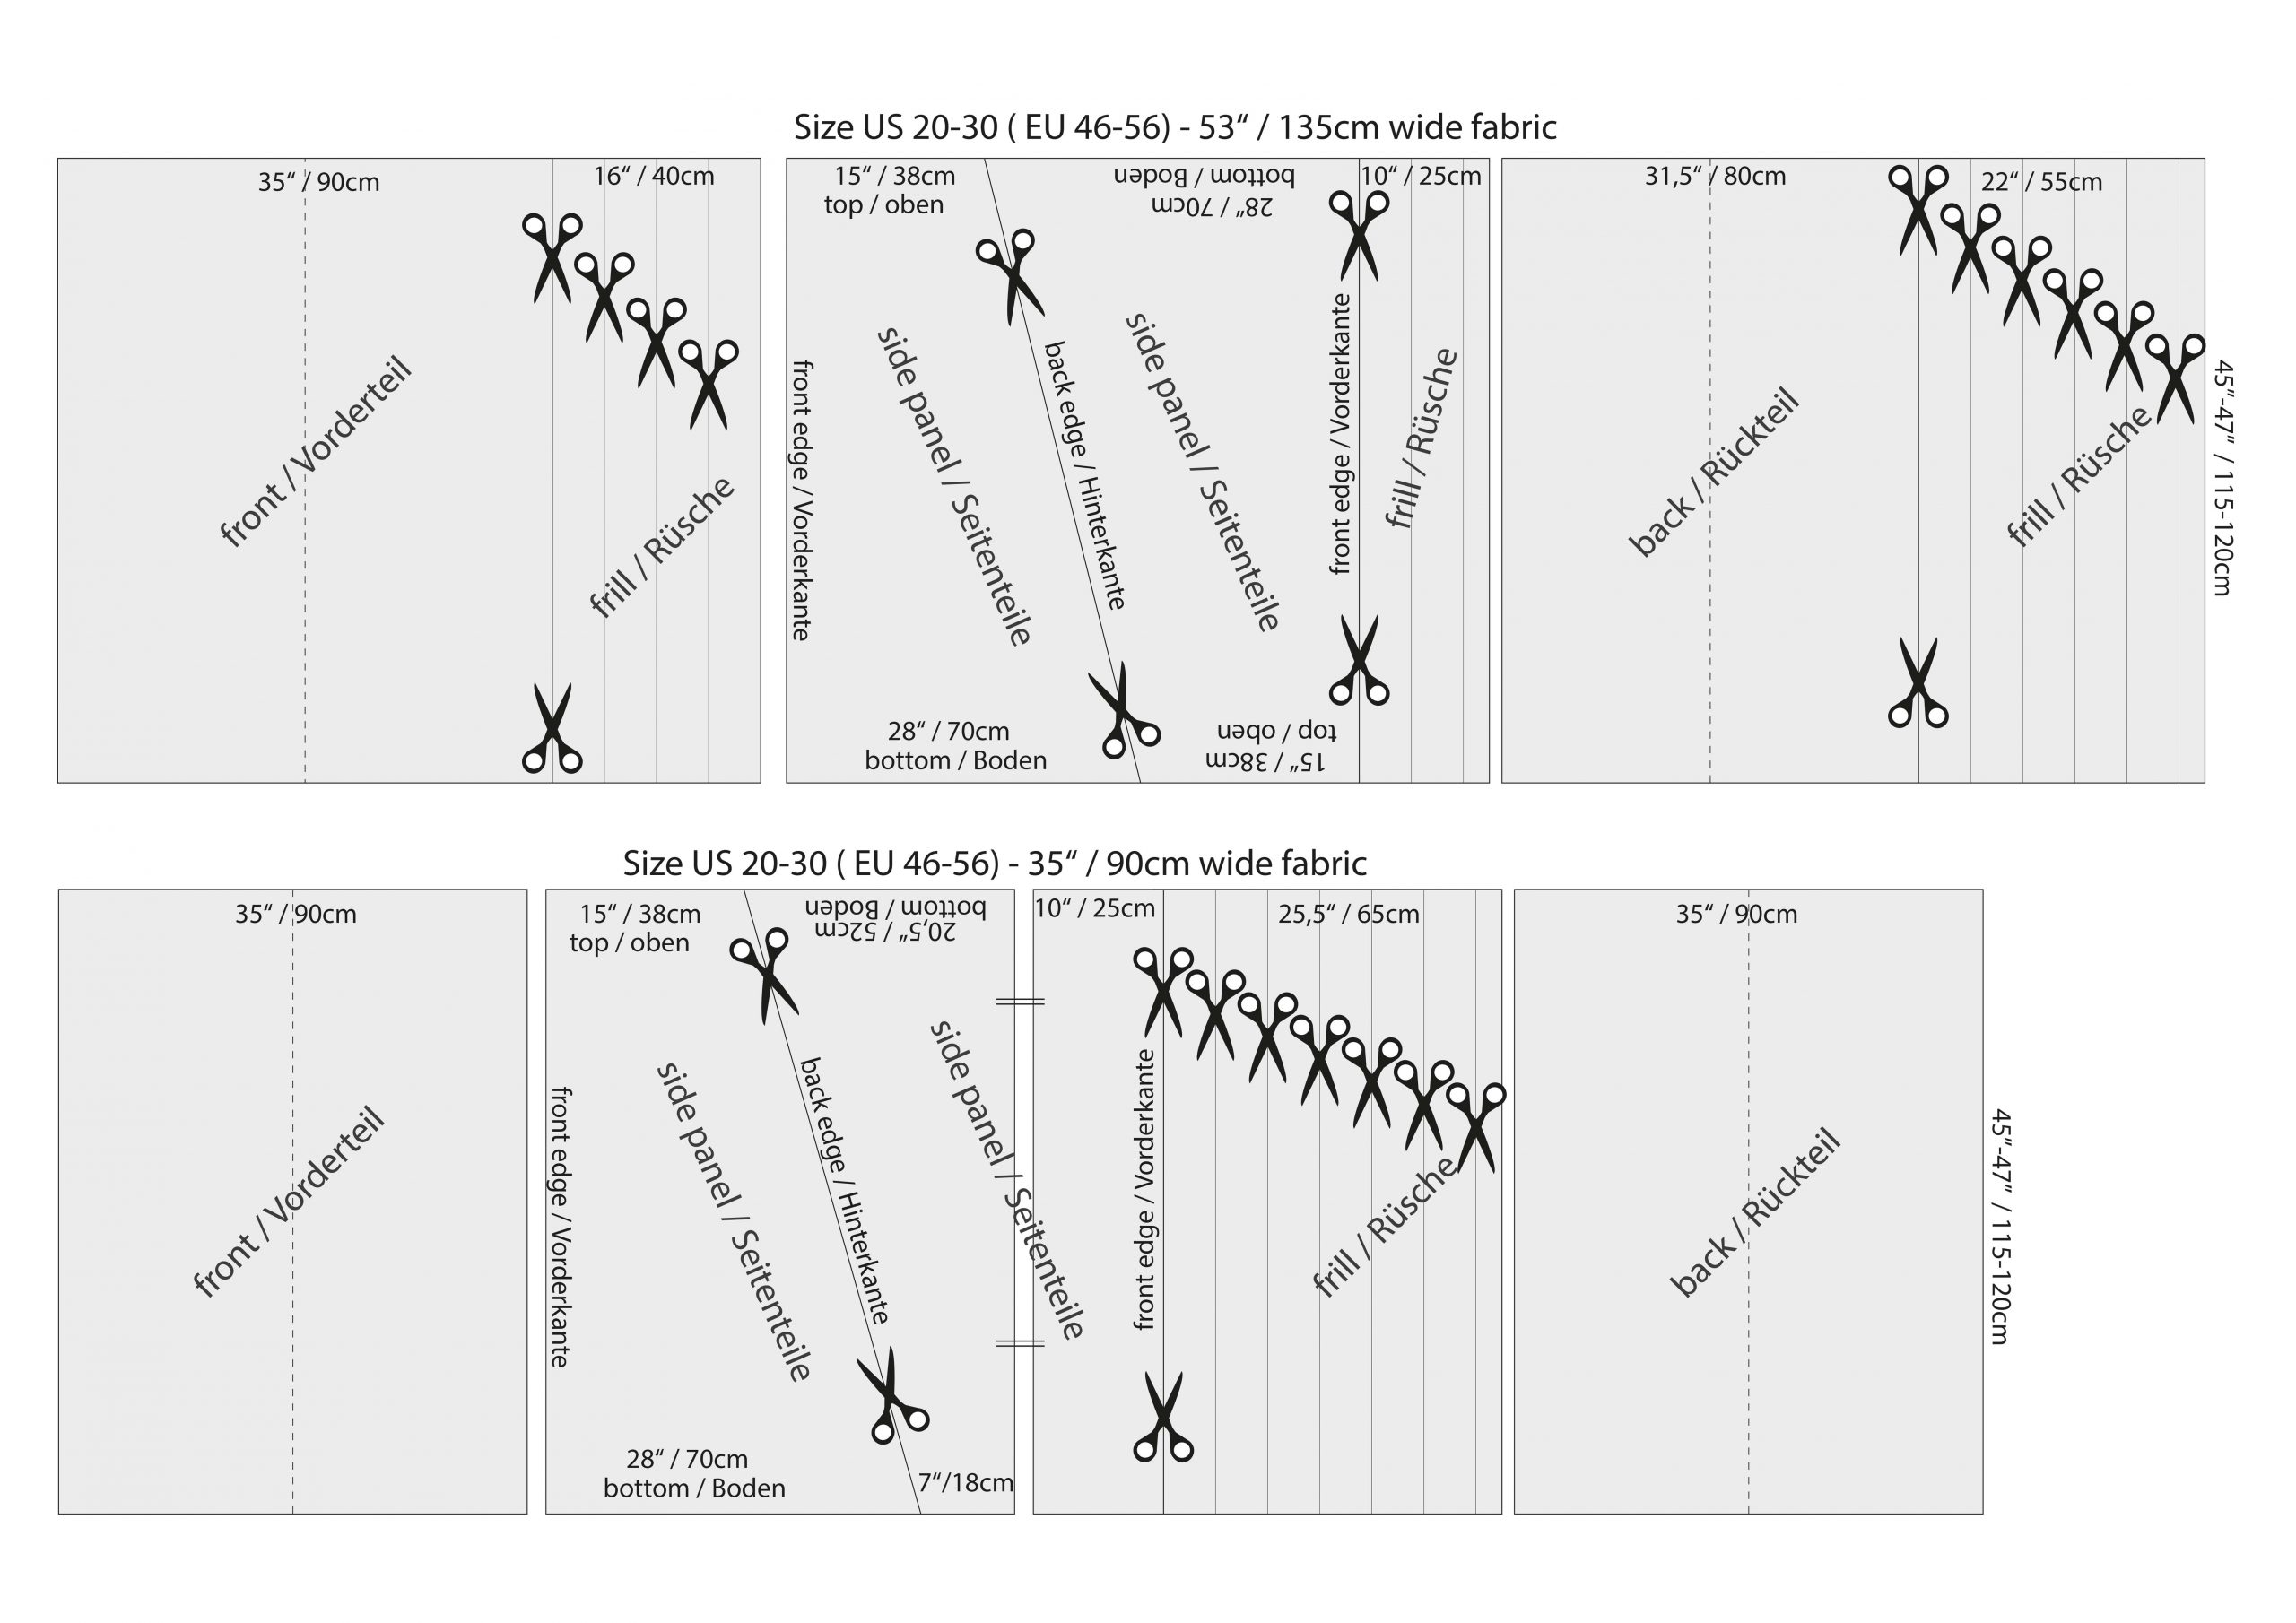
Let´s start with sewing! Just some considerations before we´ll start. Take care that there are no extra pattern pieces for the skirt. The skirt is made from panels of fabric, cut into rectangle and trapezoidal pieces. The following diagram shows how to cut the skirt from different fabric widths.
This is another overview how to estimate the width of your panels. The measurements do not necessarily have to be observed exactly. The width of the front panel should be 1,5 times the length from mark ② to mark ② on the waistband. The side panel should measure about 2 times the length from mark ② to mark ③, and the back panel about 4 times from ③ to ④. (When sewing a larger size with 35” (90cm) wide fabric, you´ll have to piece one of the side panels as shown on the diagram – piecing is period). The remaining fabric strips will be used for the box pleated frill at the hem.
(1) The importance of a mock-up: Quite sloppy pics of my mine. You can see the additional length at the front to fit over the bust.