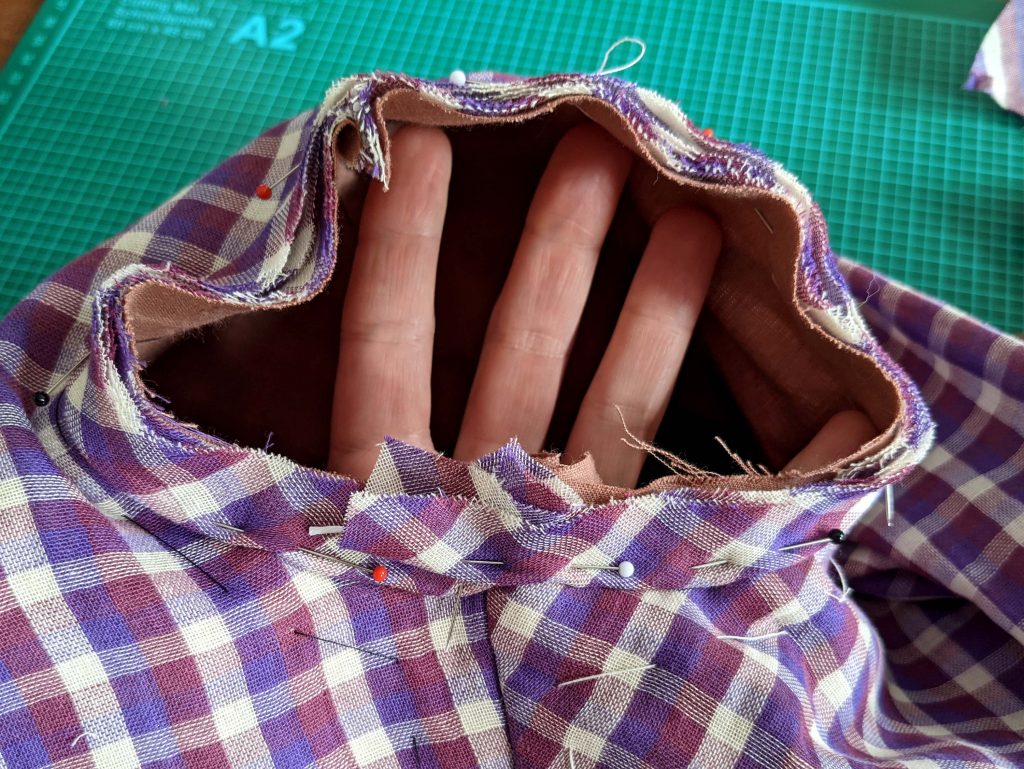
(9) Take the bodice and mark the stitching line around the armhole. Line up another length of piping and baste in place. Trim back the cord only at the start and stop (in the range of the armpit) to remove bulk and fold the ends of the bias tape crossing each other.
Insert the sleeve into the armhole, right sides together, matching the sleeve seam with the side seam of the bodice. Ease in the excess width of the sleeve by pulling the threads and spread evenly along the sleeve head. Sew the sleeve with a backstitch, right beside the piping cord (sew from the side of the bodice to get better controll of the piping cord). Trim back the seam allowances and neaten with an overcasting stitch.
This time, I´ll show you the sewing process of my new 184s day dress, made from a checked cotton muslin. The pattern includes two versions of the dress, first a simple day dress, with V-shaped neckline, with the skirt attached to the bodice with cartridge pleats, and a second, more elegant version, similar to a dress, Jenna Coleman wears in the TV show “Victoria”.
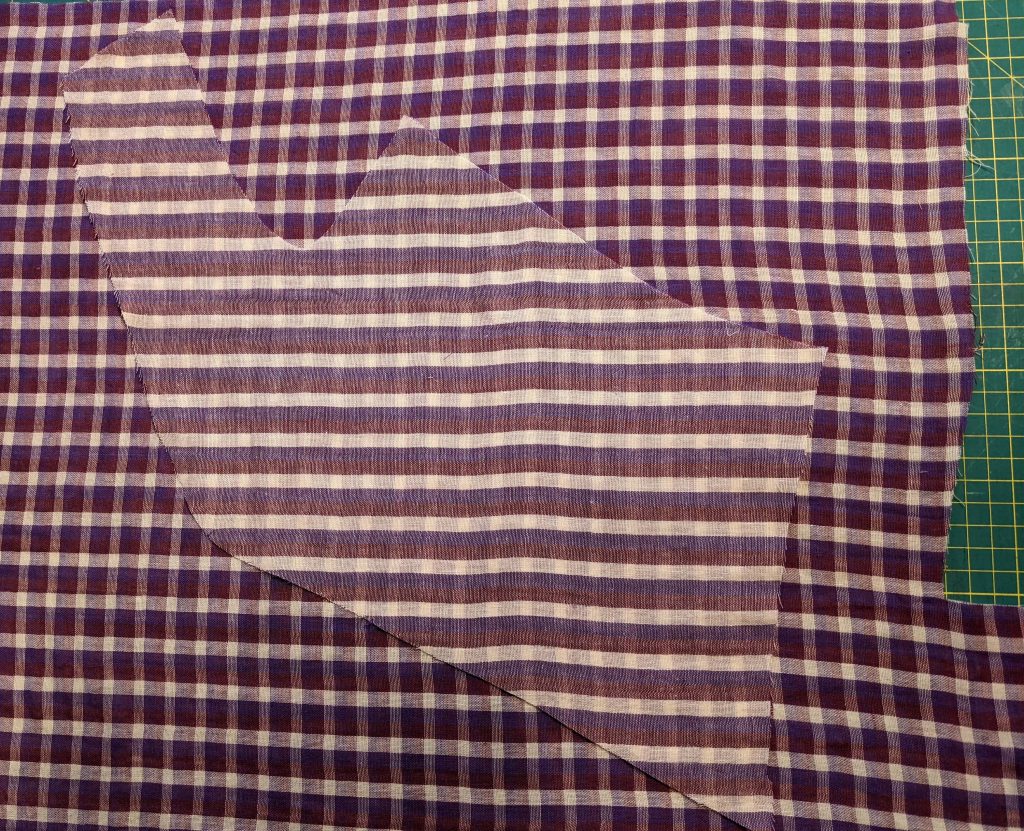
I found a checked cotton muslin in my preferred colors on Ebay, just the right fabric for a light and simple 1845s summer day dress.
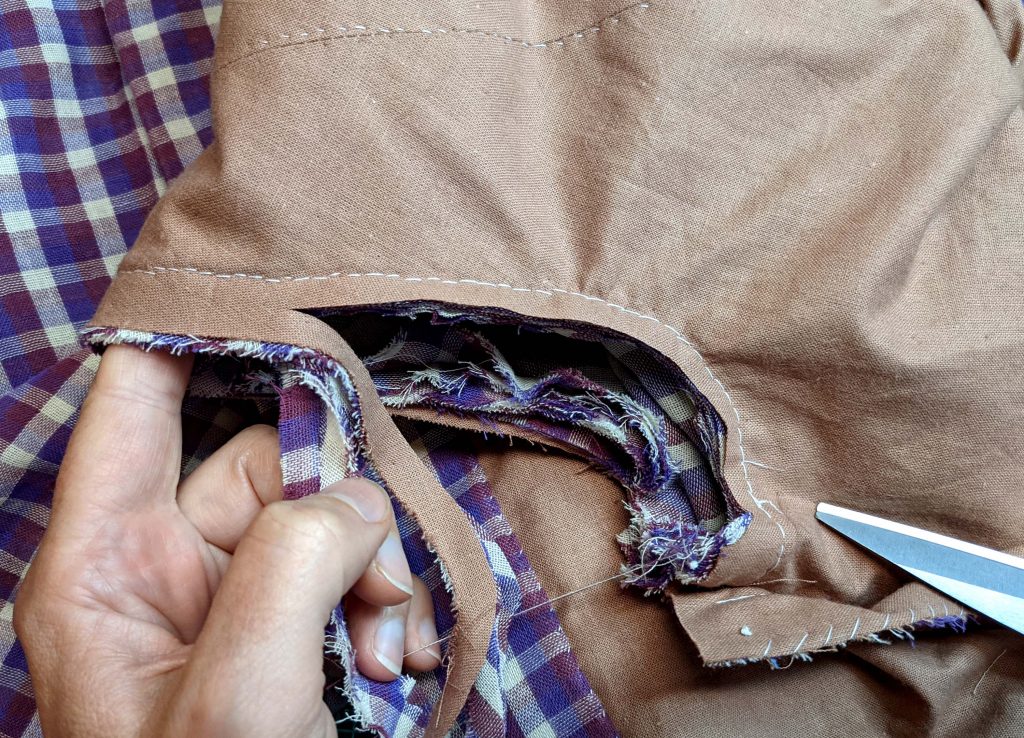
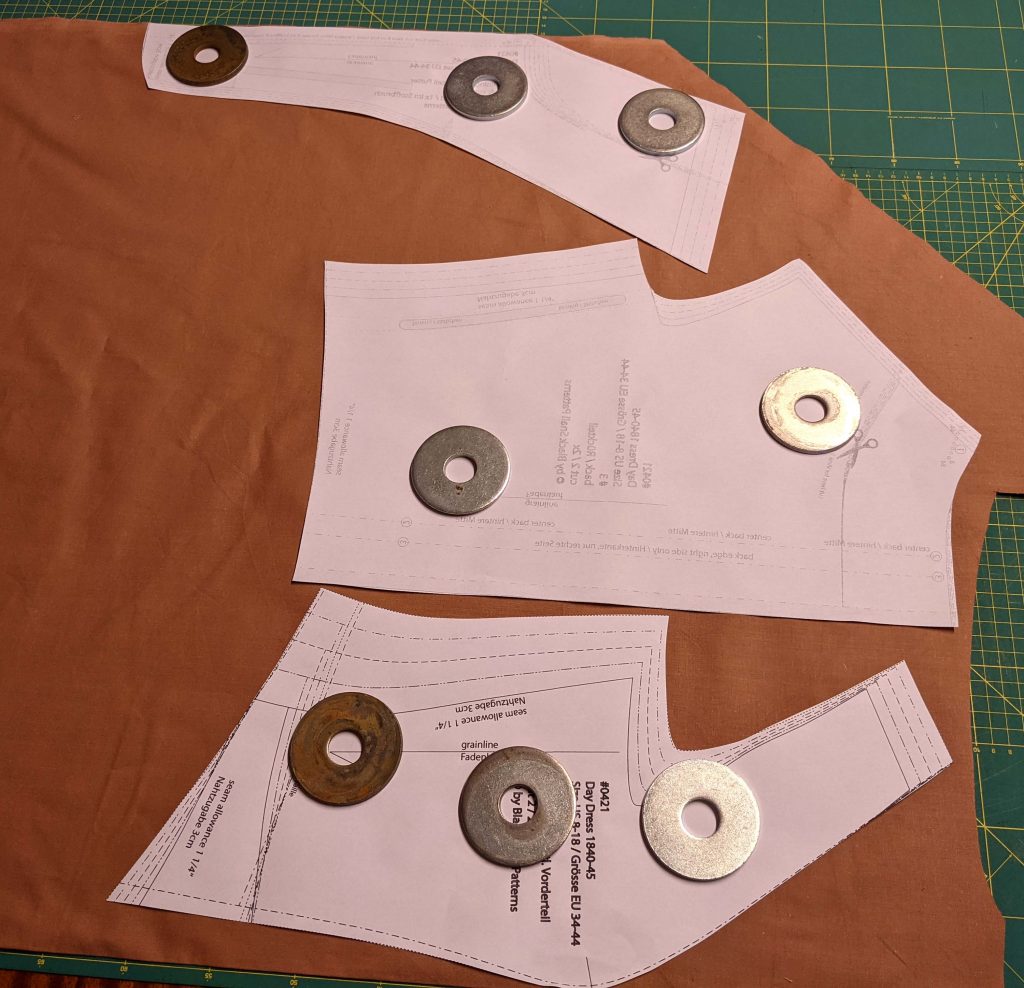
After washing and pressing the fabric, I started cutting out the pattern pieces. I tried to pattern match the checks as good as possible, with the fabric pulling out of shape even when watching (the fabric is a double layer muslin with stripes on the wrong fabric side).
For the lining, I choosed a glazed cotton fabric in a (not really) matching color. I left the selvages on the fronts to avoid fraying.
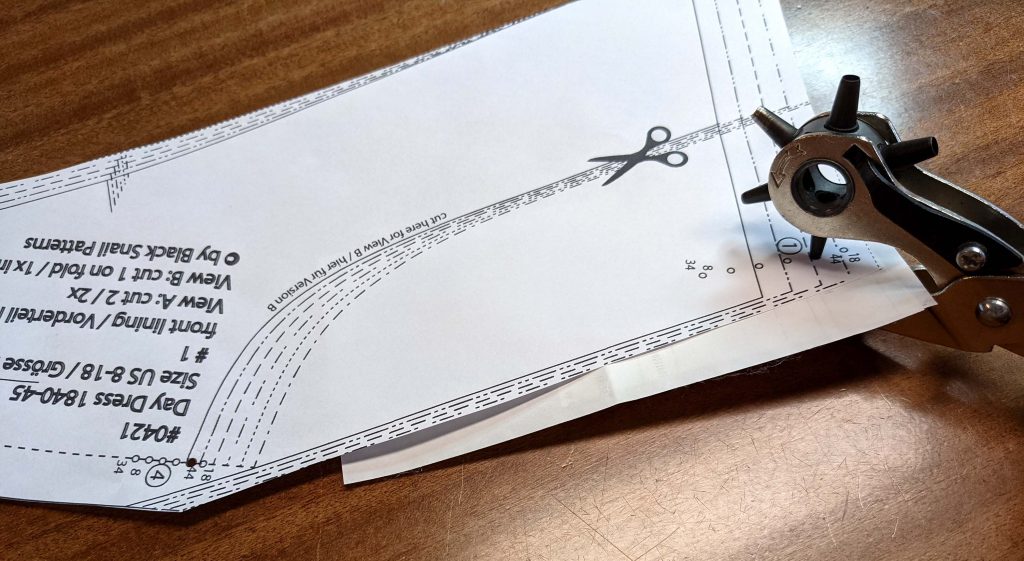
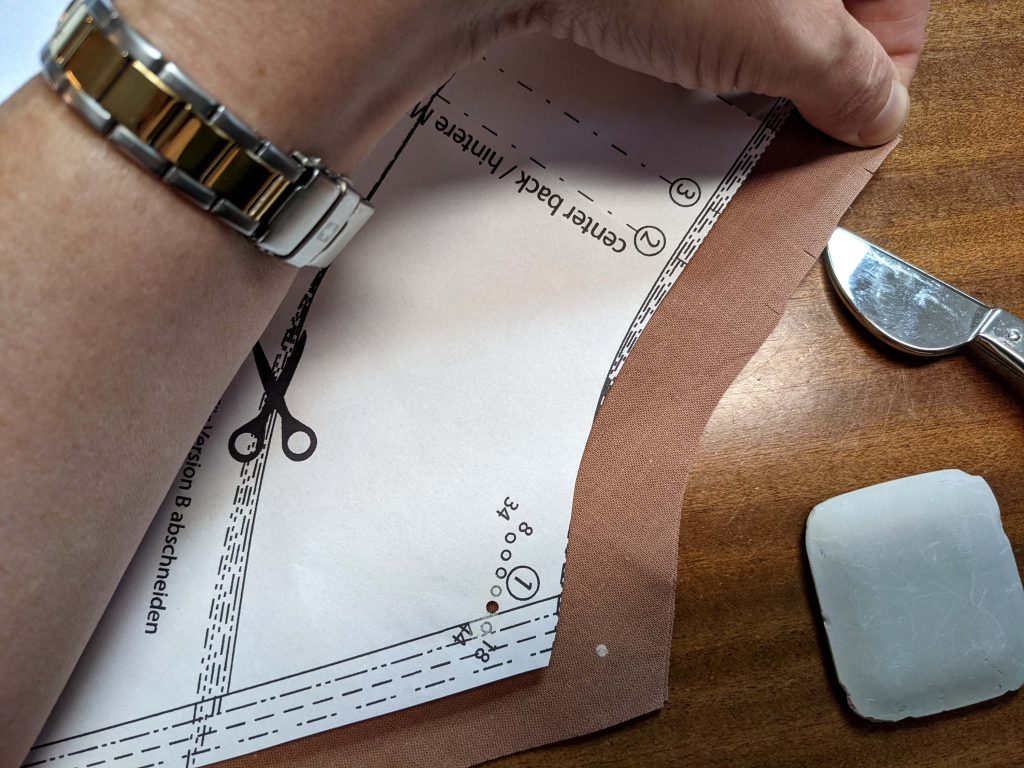
To transfer the neckline corner mark (1) easily, I punched holes into the pattern and marked it with tailor´s chalk. I made just notches to mark the back lines of the bodice.
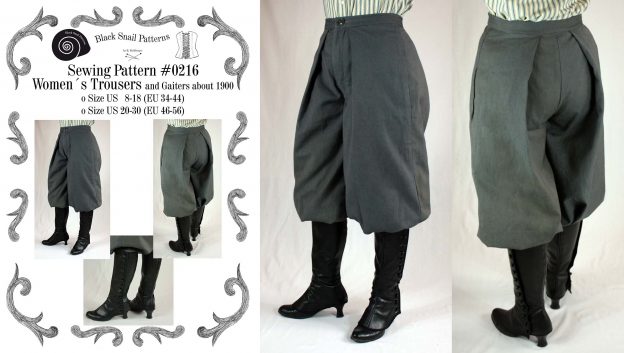
Recently, many of you asked me for a button fly trousers tutorial. In this tutorial I´ll show the Edwardian women´s trousers, the men´s trousers, especially the patterns #0316 (Edwardian men´s cycling breeches) and #0716 (Edwardian men´s walking trousers) are made up the same way. Only the buttons are on the right side of the men´s trousers and on the left side of the women´s trousers. I personally prefer the buttons on the right side, my women´s trousers open like men´s trousers!
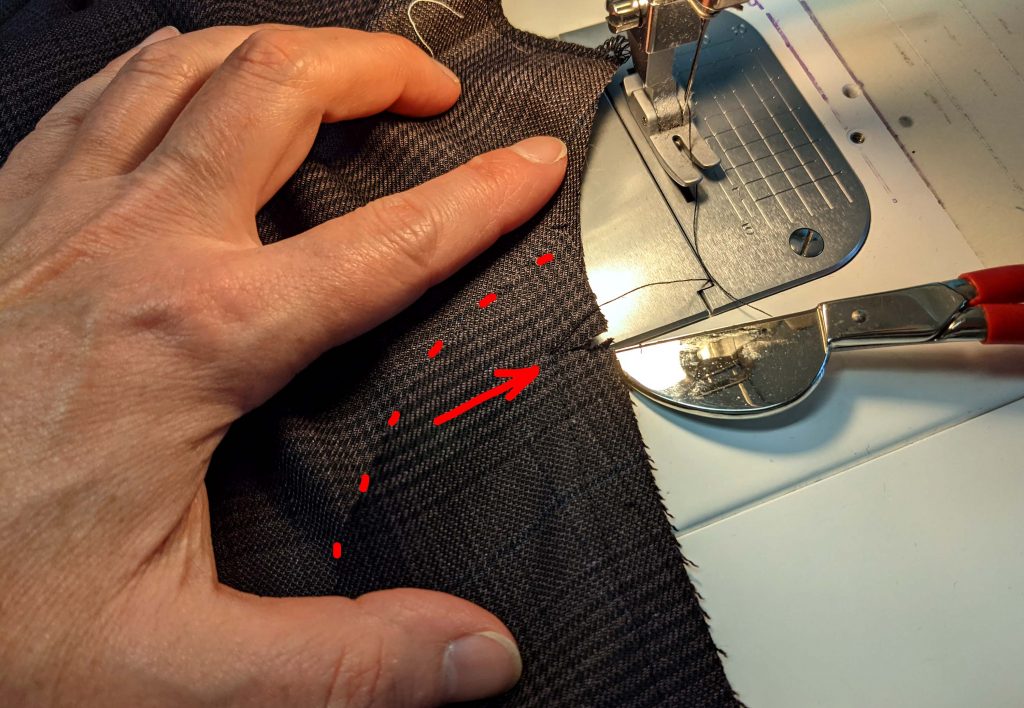
I used a checked suit fabric from my stock and tried to pattern match whenever it was possible, unfortunately, it makes the pictures partly confusing. I tried to mark the important edges with red dotted lines.
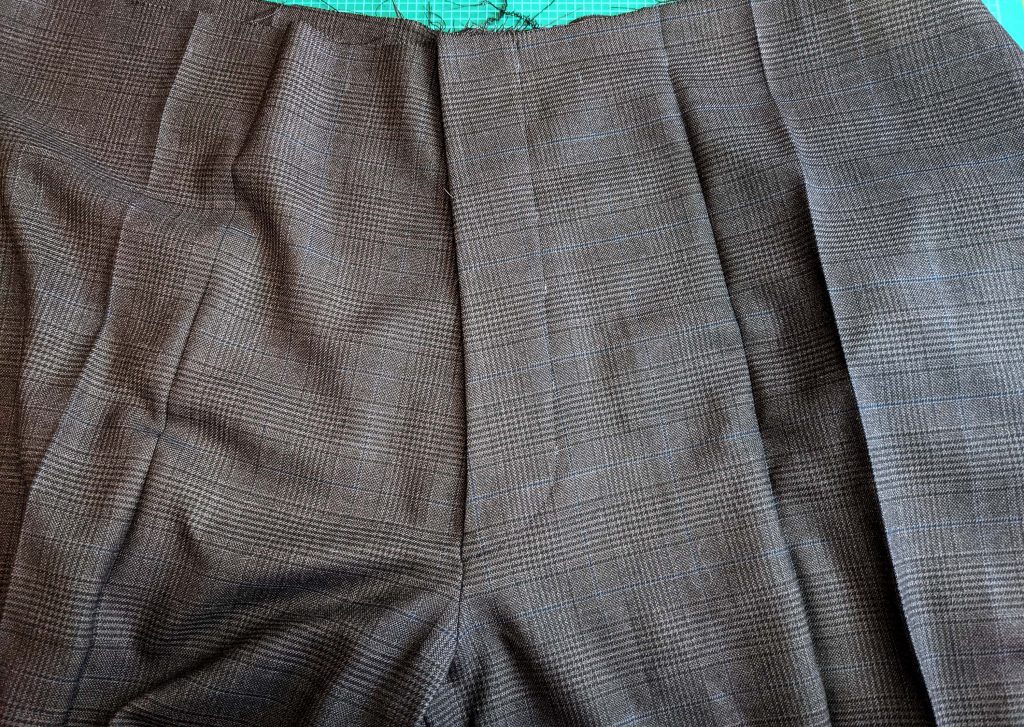
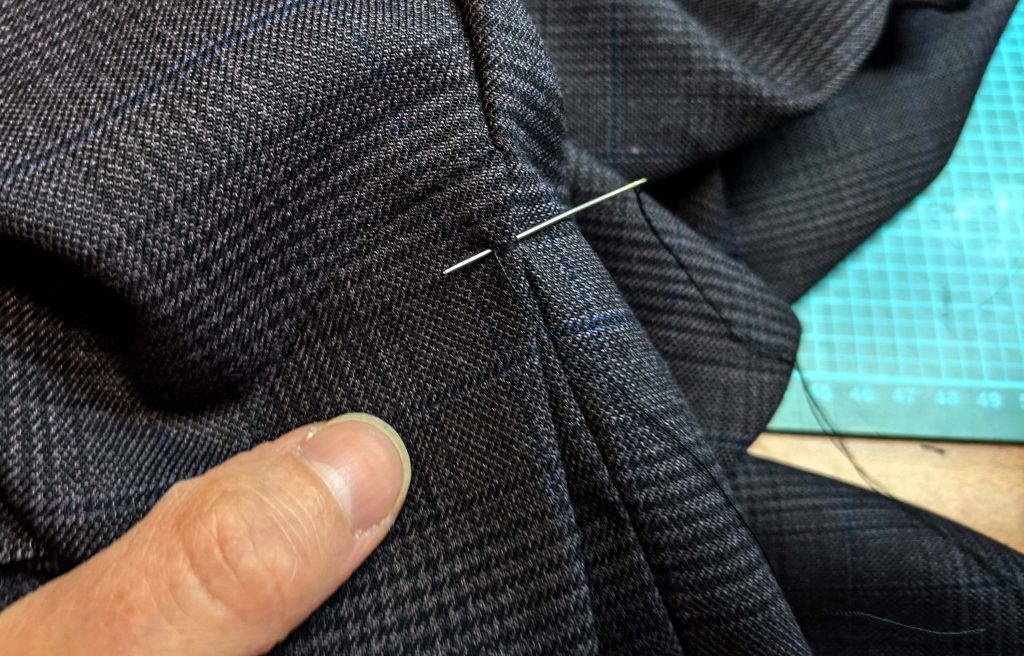
First was to press the folds on the fronts and backs. My checks were the exact measurements to fit the folds, so I decided to omit basting down the folds, I also left out the fork reinforcement. (The trousers where supposed to be a quick project.)
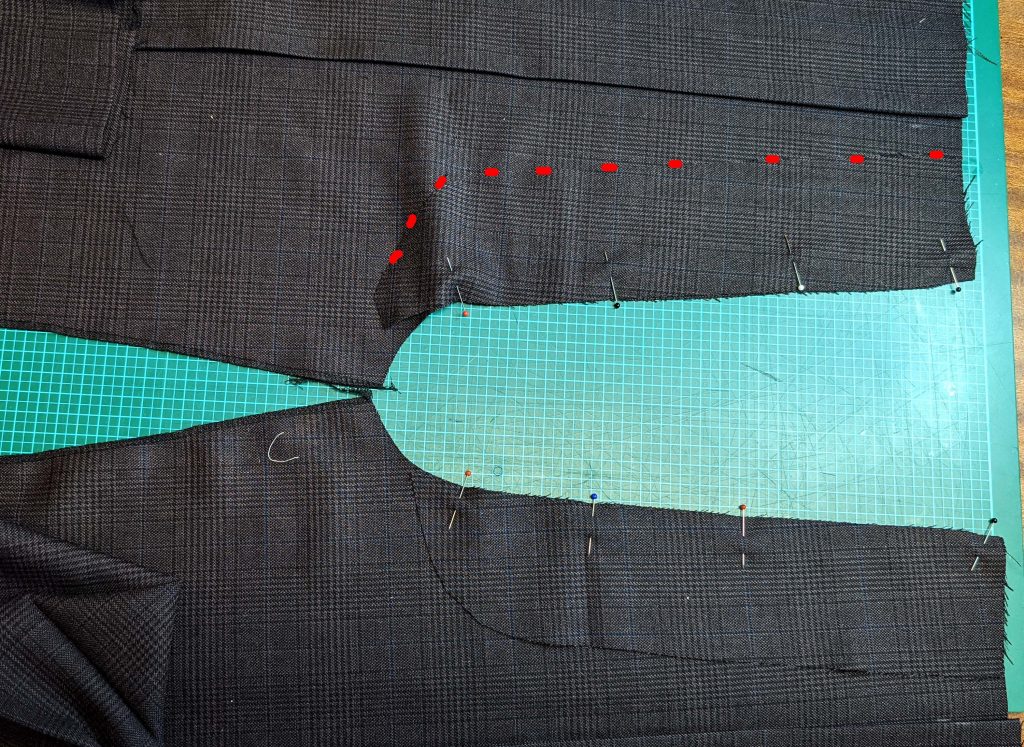
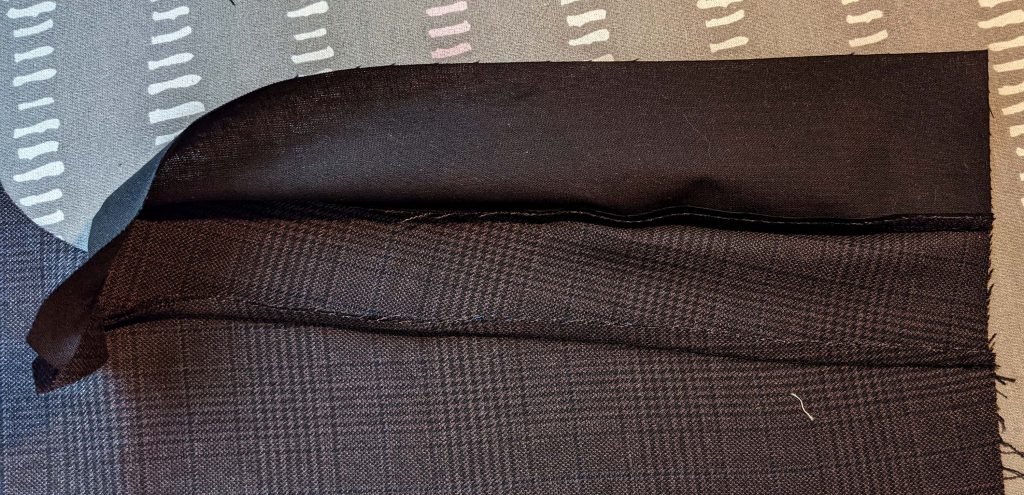
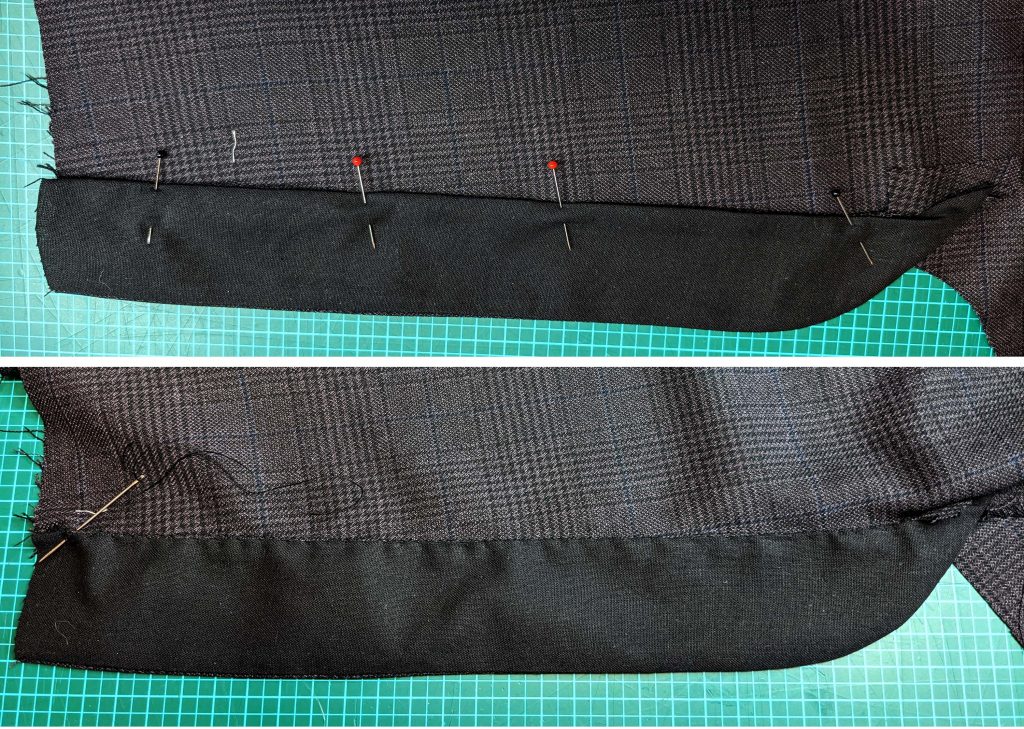
Time to make the button fly! On the picture you can see the left (lower) and right (upper) front, on the left the fly facing is lined up, on the right the button-stay. I decided to use the fashion fabric for the fly facing, thin enough to avoid bulk. If you´re working with a thicker fabric, I´d recommend to use a thinner lining fabric in a matching color. The last pin on the left indicates the notch, where you have to start or stop stitching.
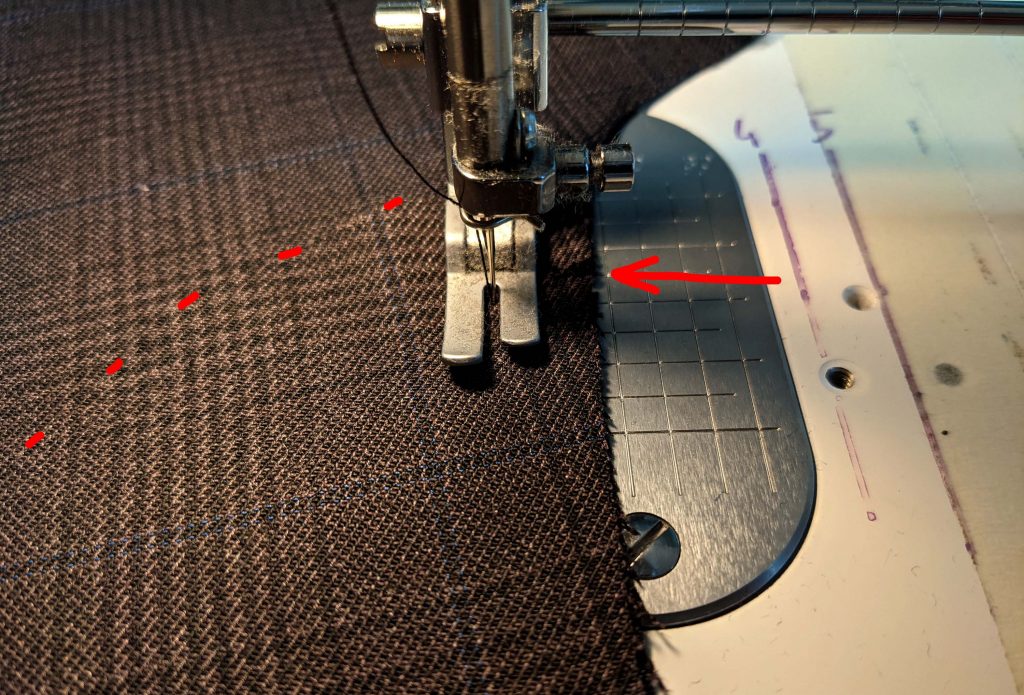
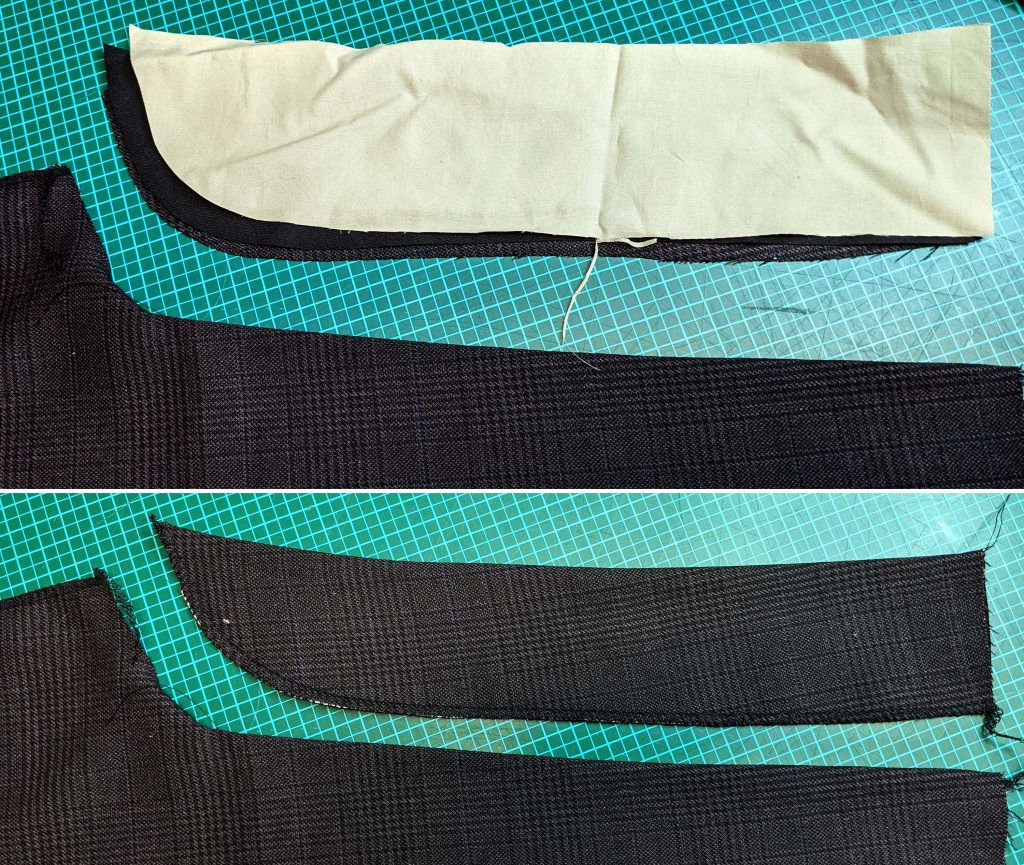
Let´s continue with the fly (left side). Stitch the fly facing to the left front edge of the trousers, with a seam allowance just a bit less than the 5/8” (1,5cm) included (for the turn of cloth), starting exactly at the mark. Notch the seam allowance toward the end of stitching at the notch and fold the fly facing to the side, understitch if wanted. The understitching automatically rolls the seam slightly out of sight toward the garment wrong side and helps to keep edges and corners precise and flat when turned the right way out. Fold the facing inside the front and press the edge.
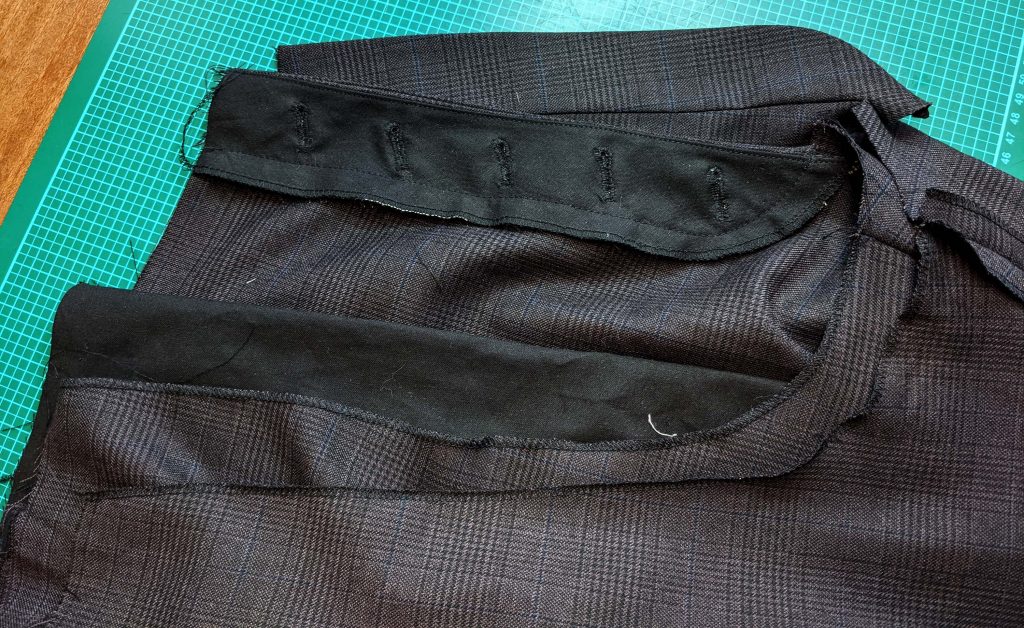
Line up your fashion fabric with the lining and the interfacing, right sides together to prepare the fly. Sew along the front edge, trim back the seam allowance and turn the right way out. Cast the raw edges as they would be one layer of fabric (ok, I used the overlock – absolutely not HA). Sew the button holes as indicated on the pattern, matching your buttons.
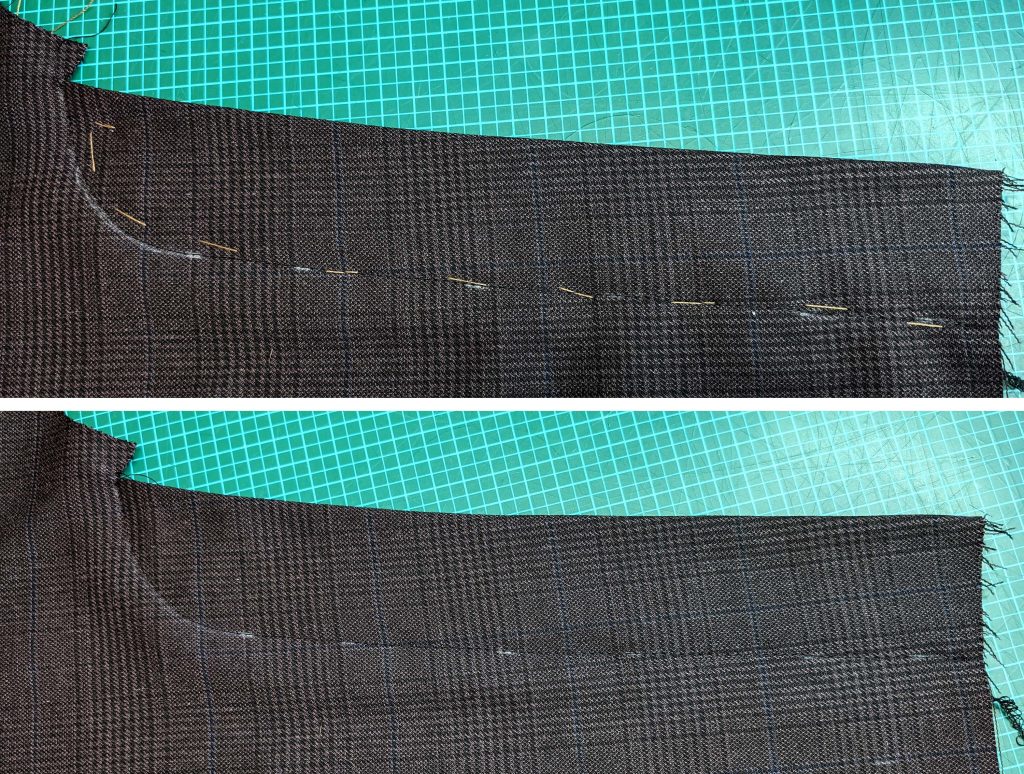
Place the fly inside the left front that the edge of the fly lays a bit 1/16” (2mm) behind the left front edge, with the right side of the fly facing the wrong side of the left front. Baste in place, then topstitch J-shaped from the right side, starting at the notch, catching the back edges of the fly facing and the fly.
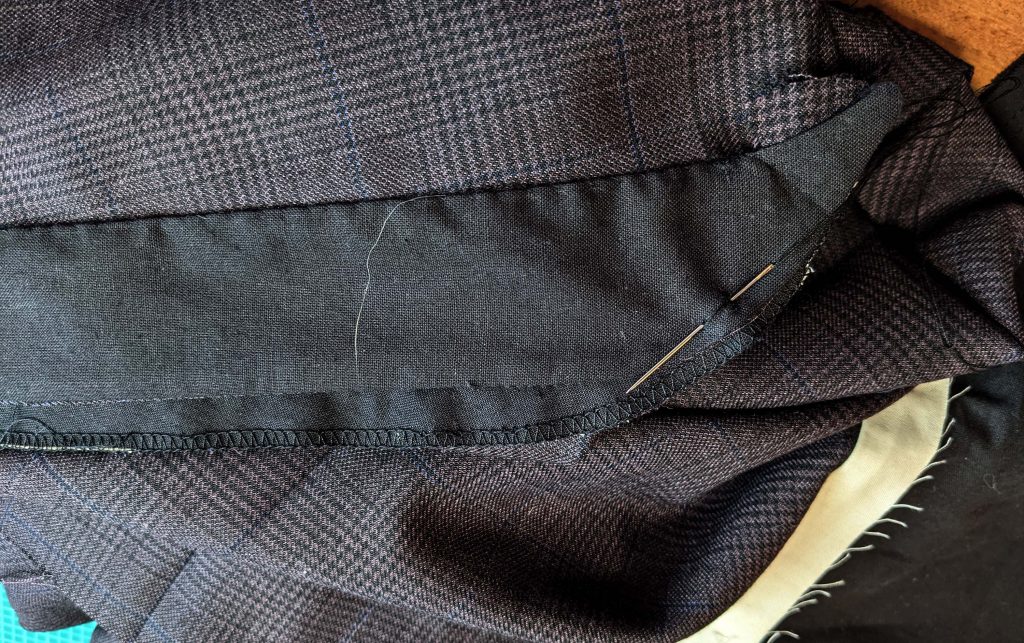
Now the button-stay on the right side. Stitch the button stay from the fashion fabric to the right front edge of the trousers, starting or stopping exactly at the mark. Notch the seam allowance toward the end of stitching at the mark. Trim back and press the seam allowances towards the button stay. Stitch the button-stay facing from lining fabric to the button stay, right sides together, and trim back and press open the seam allowance. Fold the facing inside the button-stay, wrong sides together, turn in the seam allowance along the loose edge and line up the edge with the stitching line. Fell stitch along that line from the notch to the top edge.
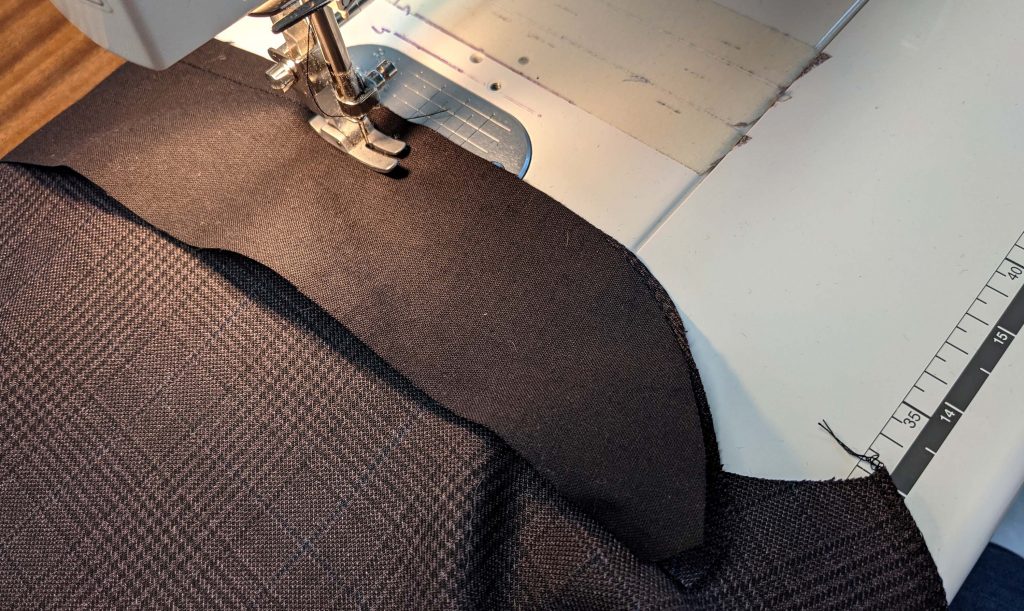
After sewing the sides and inseams (see next post), turn the right leg only to the right side. To sew the crotch seam, push the right leg into the left (or vice versa as seen in the picture), lining up the crotch edges with matching marks, notches and seams, right sides together. Start sewing at the top edge of the backs and continue until reaching the notches on the fronts, without catching any material from the fly or button-catch. Lock the seam carefully at the notch and press open the seam allowances.
Turn the trousers right side out and place the fly on top of the button catch. Bar tack the fly end through all layers from the right side, on the inside, sew together the fly and button stay with some stitches. Trim back the end (point) of the button catch to avoid bulk and neaten with overcasting stitches.
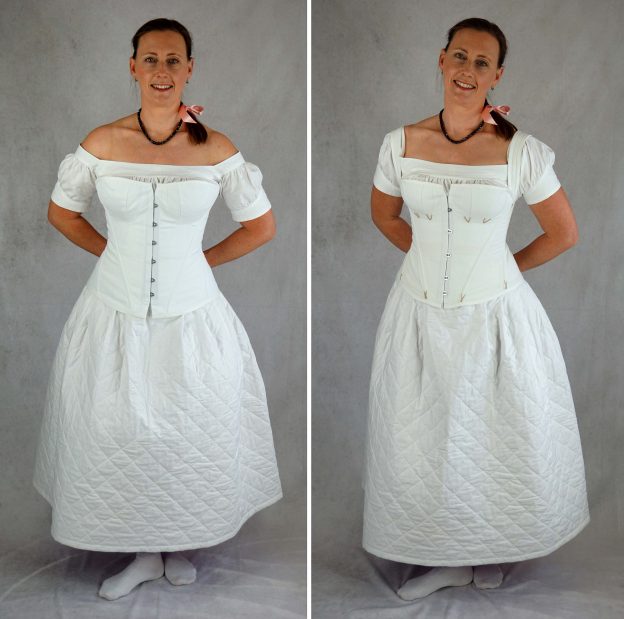
Finally, the matching underwear for the last two dress patterns I published recently is finished. Two corsets, a chemise and a quilted petticoat (quilting won’t be my passion in the future either) later I´m happy to present my new sewing pattern for 1840´s to 1860´s underwear.
Beside the sewing instructions, coming with the pattern, I´ll show some additional information and pictures here in my blog.
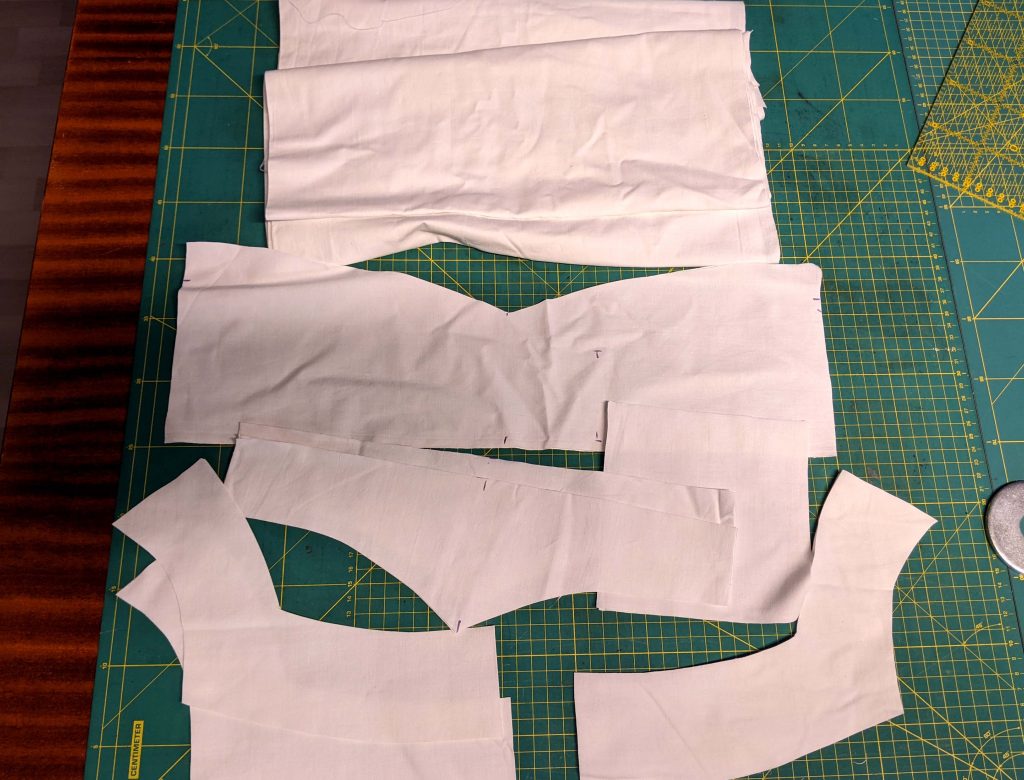
Let´s start with the chemise, all pattern pieces prepared for sewing.
Before I made up the sleeves, I decided to sew the yoke and embroidered it with a decorative stitch of my sewing machine. Instead of polyester thread I used a cotton thread for all seams and the embroidery.
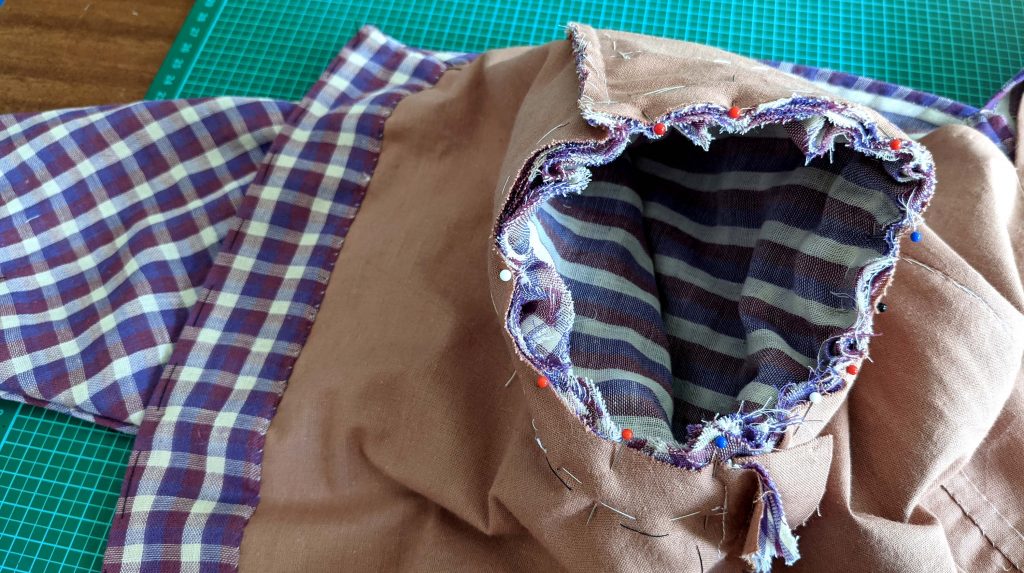
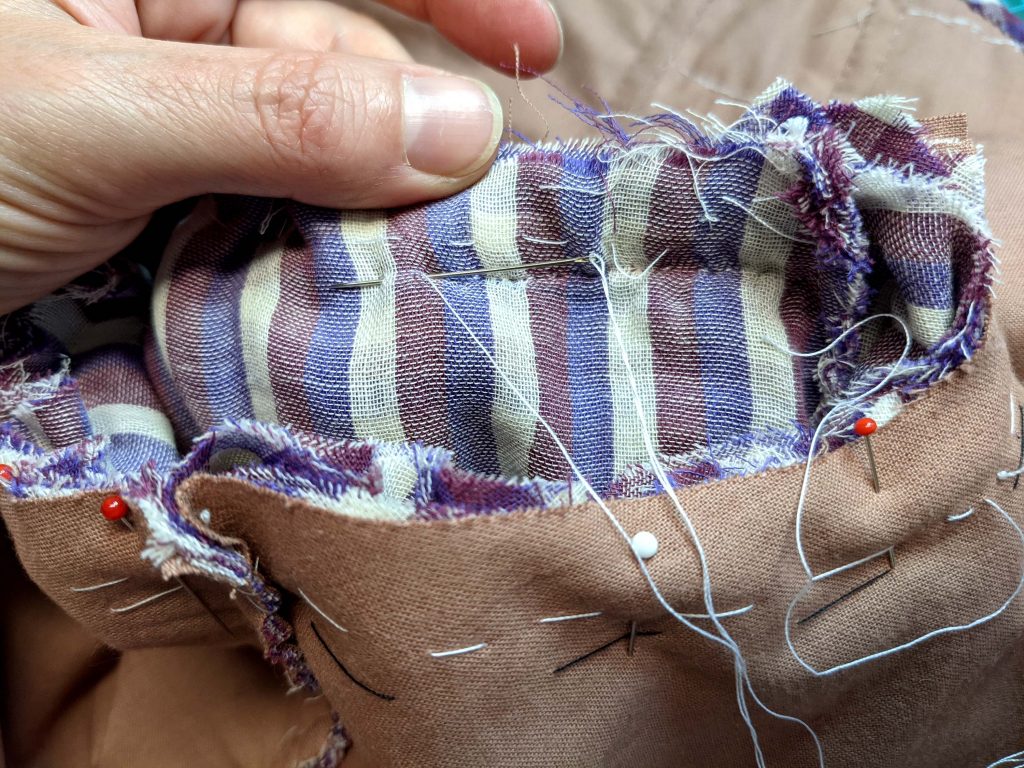
After doing all the gathering on front, back and the sleeves, I lined up the bottom edge of the sleeve with the sleeve cuff and clipped the sleeve at the corner to sew more easily.
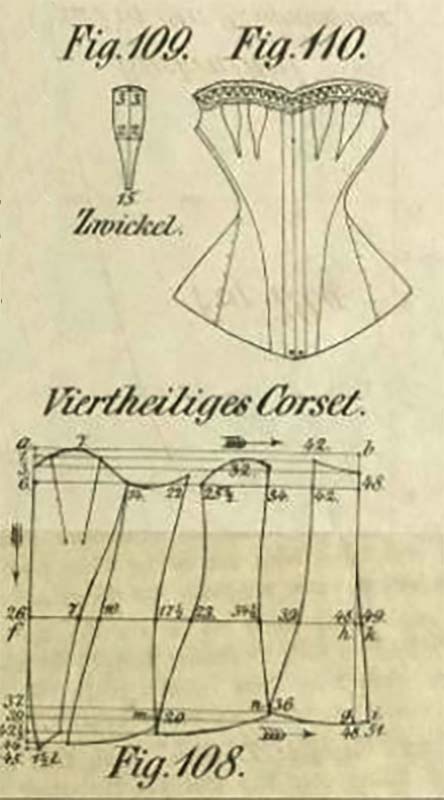
The first time I stumbled over this corset was some years ago, when I made the young Queen Victoria cosplay for my daughter. I was looking for an easy to sew, period accurate and comfortable corset for a 16 years old and found a four gored corset dated to 1844 in Norah Waughs “Corset and Crinolines”. Further research leaded me to the original publication of the pattern, “Vollständiges Lehrbuch der modernen Bekleidungskunst für Damen“ from C. Kawitsch and H. Klemm, Dresden 1852. The 3rd edition from 1856 is downloadable via the digital collections of the University of Dresden: https://digital.slub-dresden.de/werkansicht/dlf/29313/5/0/
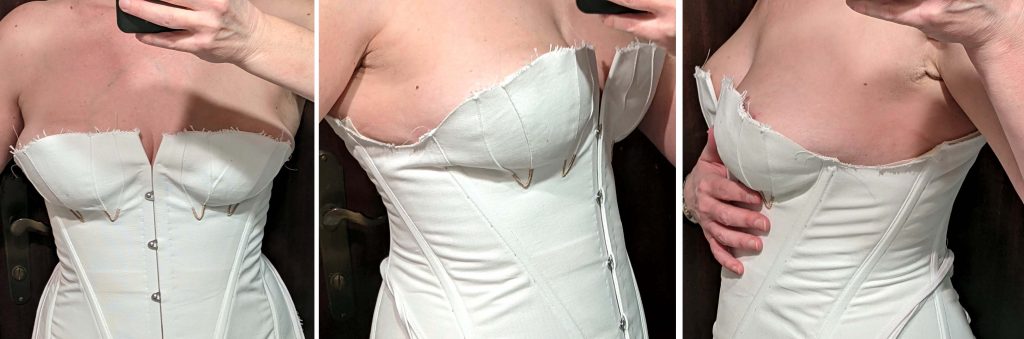
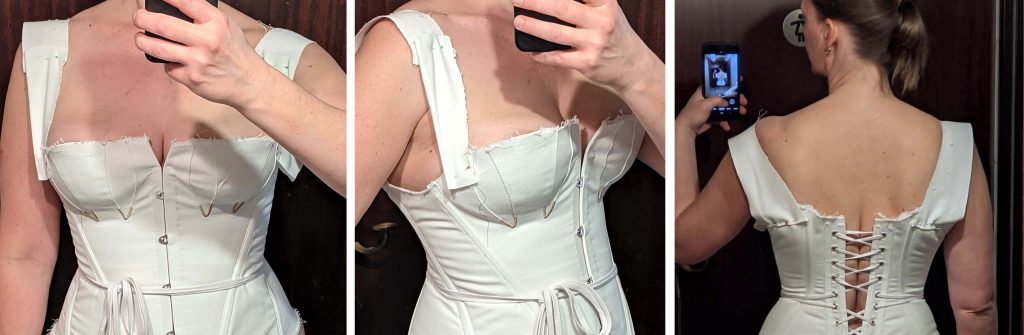
The original pattern served well for a very slender young girl, just when I mad my first mock-up, I noticed, that it is cut very deep at the armpit and will work better with shoulder straps. At this point I decided to make two corsets, one with shoulder straps and another without. The patterns are similar, just the top edge is raised at the armpit to give the support needed at the sides without straps.
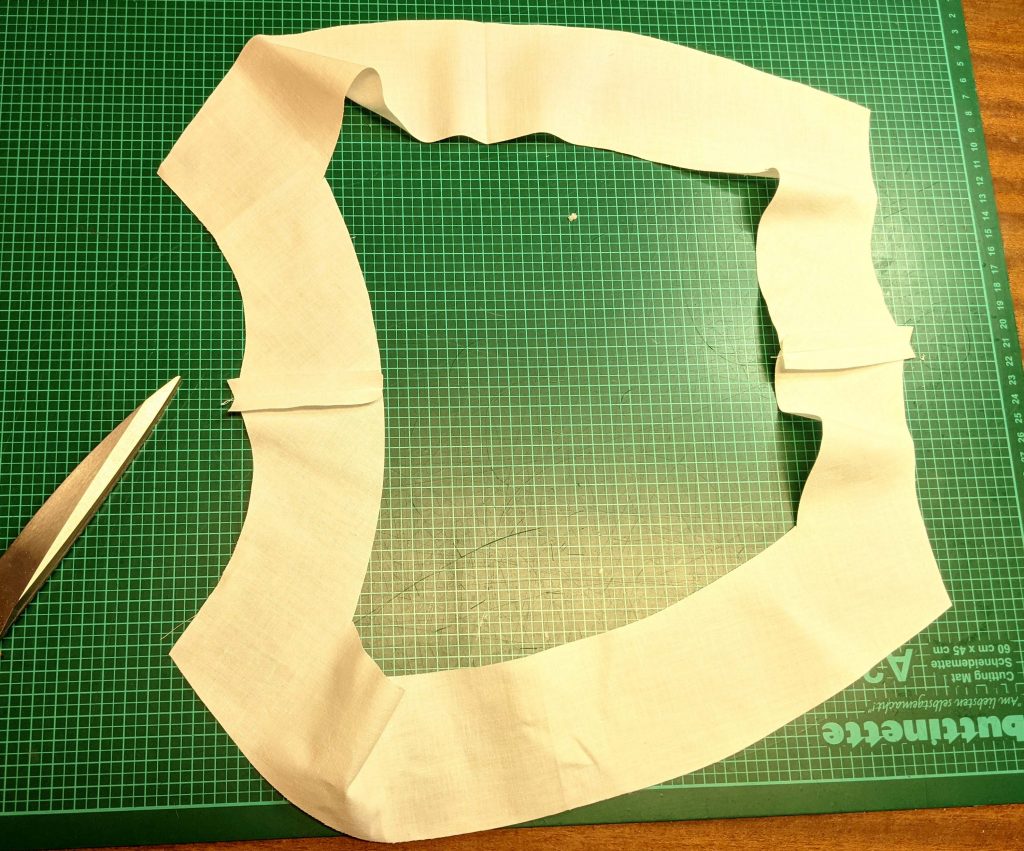
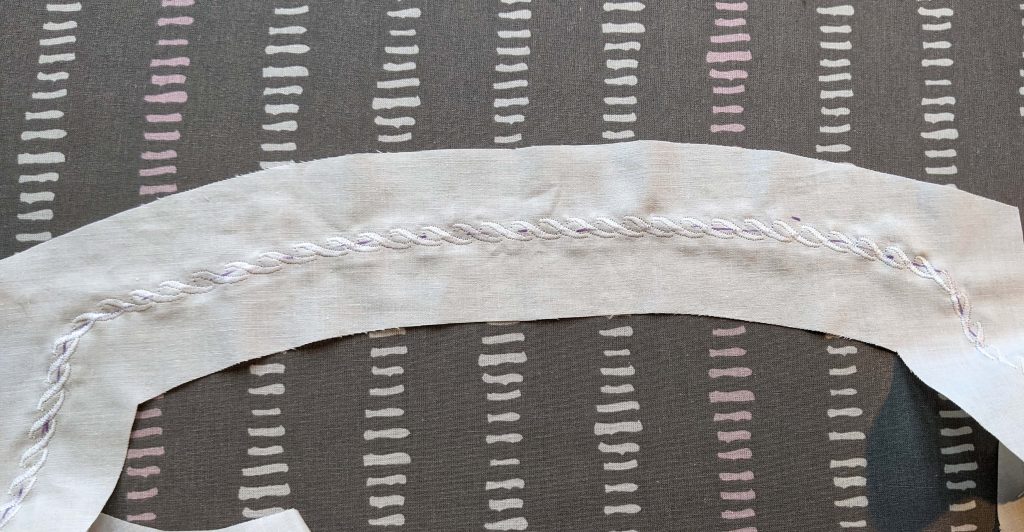
Let´s start sewing the corset! Inserting gussets to a corset is not as difficult as it seams to be in the first moment. I cut the slits and turned in a narrow seam allowance, lined up the edges with the marked line on the gussets and pined in place. After edgestitching the gussets to the corset, I made a decorative bar with a contrasting (silk) thread to avoid fraying. On the lining, I omitted that step, but a bar tack, made with the sewing machine will serve was well.