Author Archives: Rotraut

1890´s Skirted Jacket Part 2 – Sewing the bodice

Part 1 – The Cut

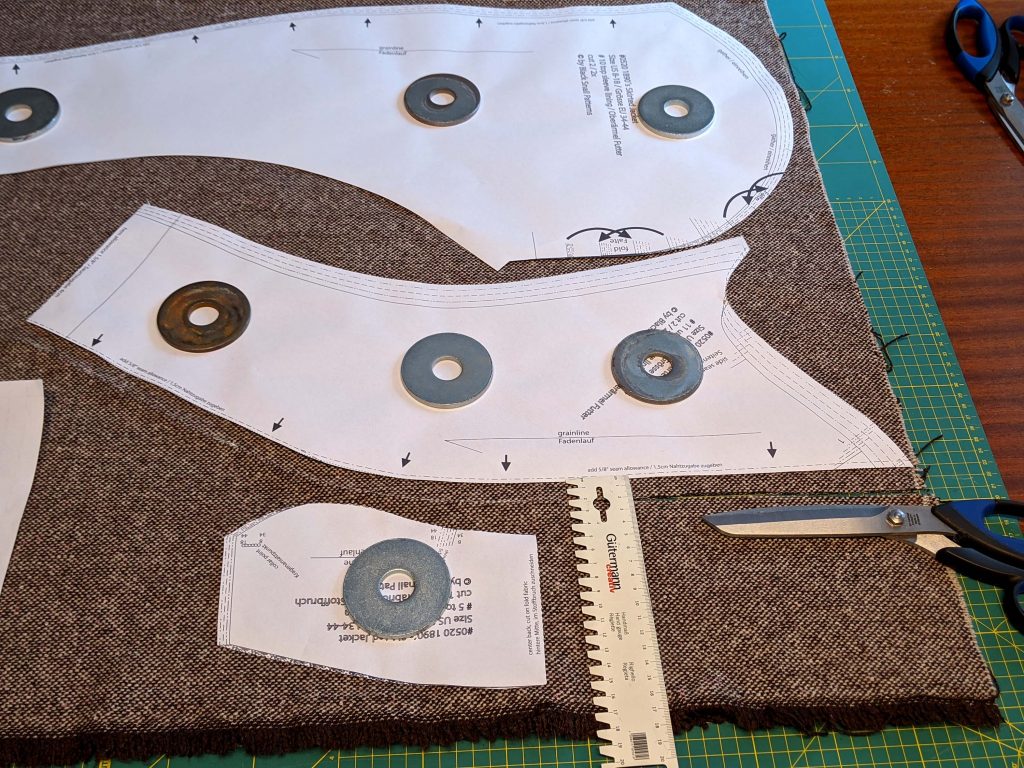
When sewing the jacket, I tried to document the sewing process as accurate as possible, paying special attention on all the tailoring techniques coming up throughout the instructions. I´m sorry for the coat fabric being absolutely not photogenic, and the threads merging with the background. I had to use all material from stash due to the Covid Pandemic. Some steps are deviating from the instructions of the pattern, because many things can be made in different ways with the same result. In the first post I showed you how to use the pattern and cutting the pieces from the fabric, now it´s time to sew!

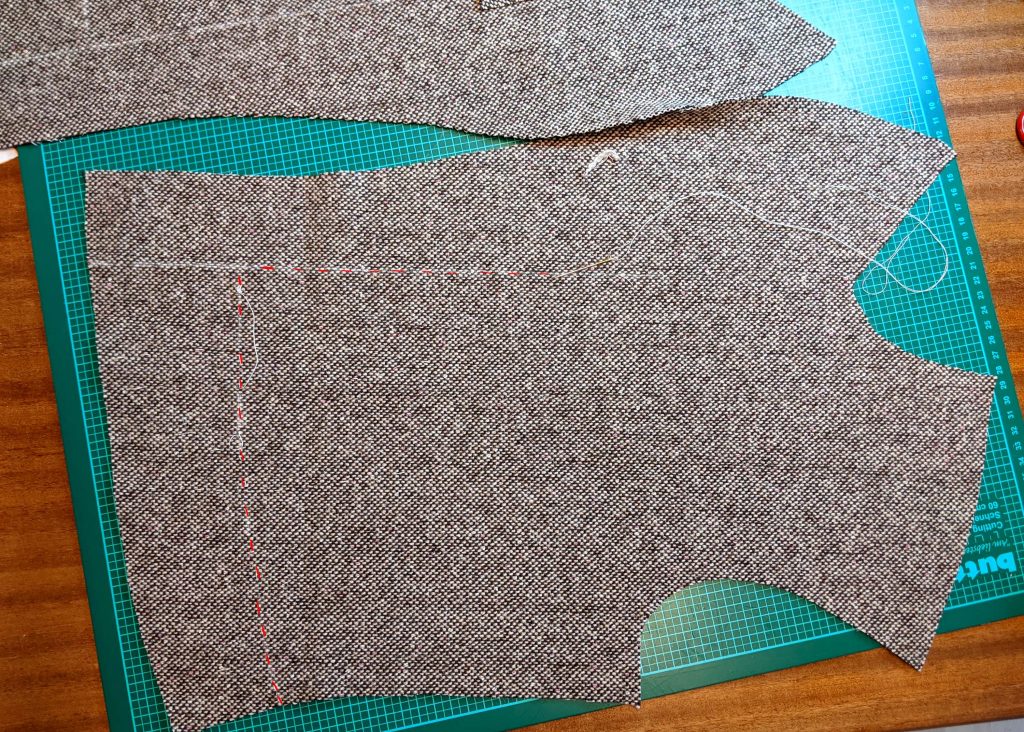
A very important step is to mark essential lines on the bodice, like the center front, darts and waistline. Best serves a contrasting basting thread, visible on both sides and which can be removed without residues.  I recommend hand-basting the bodice for the first fitting, as well as basting the darts before stitching with the sewing machine.

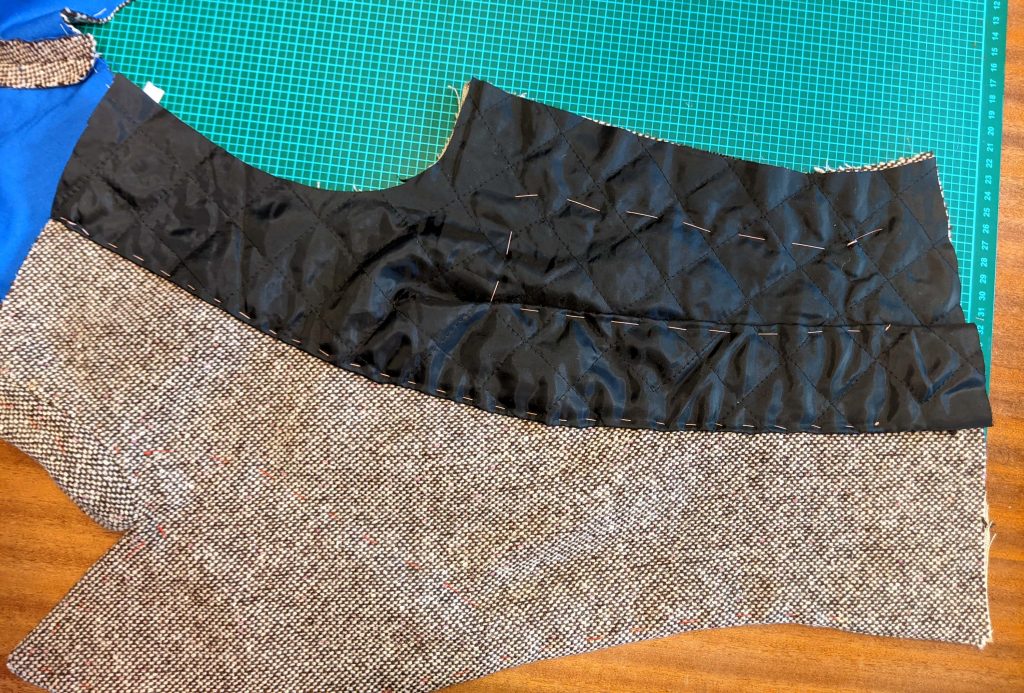
Hand-basting allows more control over the fabric, without the risk of shifting the layers while machine stitching. This is important as well, when basting the lining to the backs and flatlining some selected pieces.

Continue reading

1890´s Skirted Jacket Part 3 – The Bodice Lining and Peplum

Part 1 – The Cut

Part 2 – The Bodice

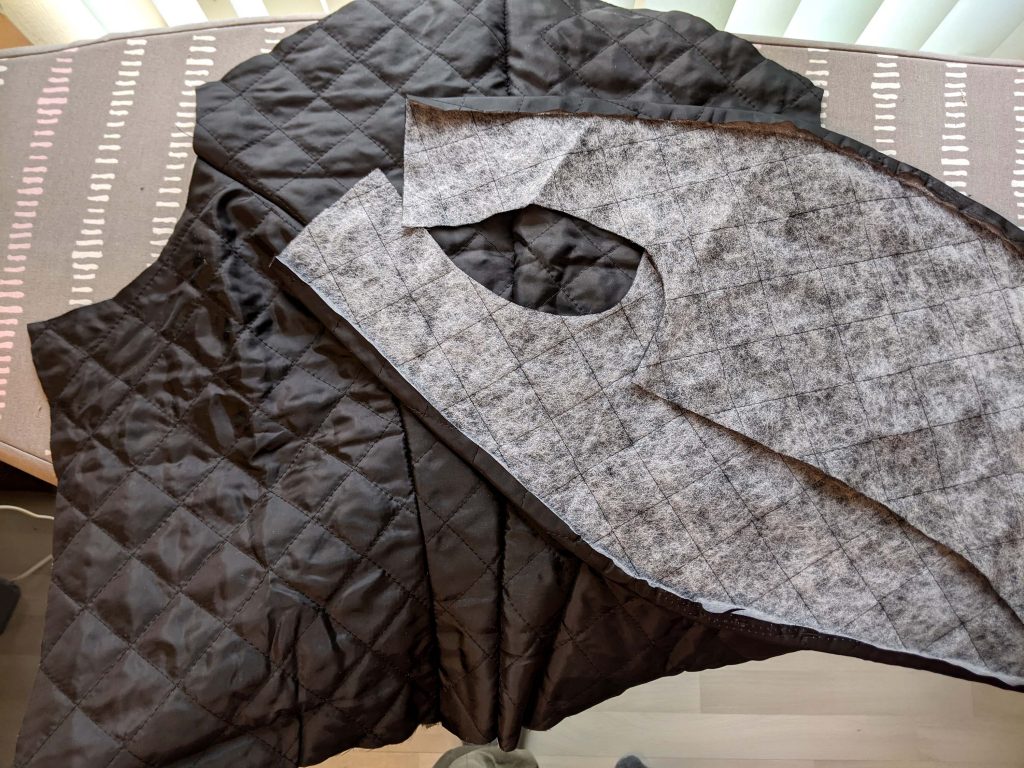
This is my padded lining, the fronts and back ready prepared. I had to be very careful pressing the seam allowances, as the polyester fibers where melting when pressing with an average heat.

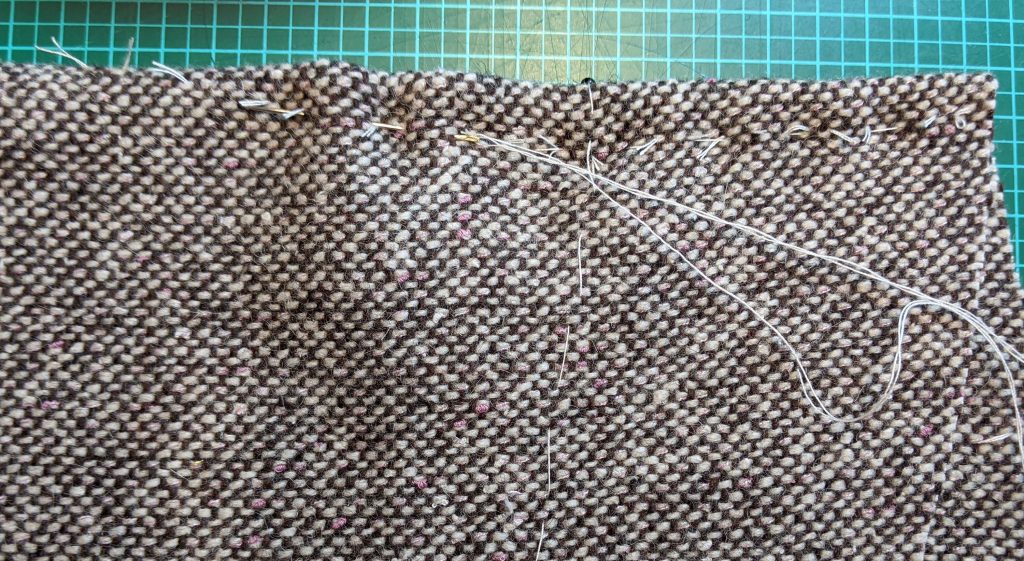
This is the front lining with the dart just basted, to get some ease later. As you can see, I stopped basting about 2” (5cm) from the bottom edge as I´ll have to attach the skirt or peplum later.

Continue reading

1980´s Skirted Jacket Part 4 – The sleeves and finishing details

Part 1 – The Cut

Part 2 – The Bodice

Part 3 – Lining and Peplum

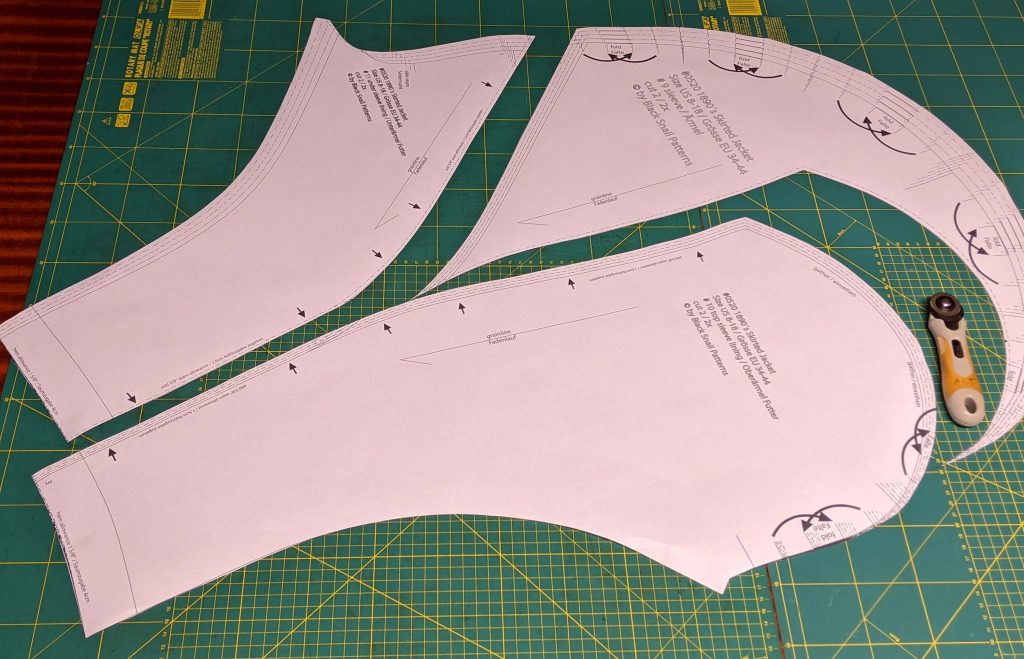
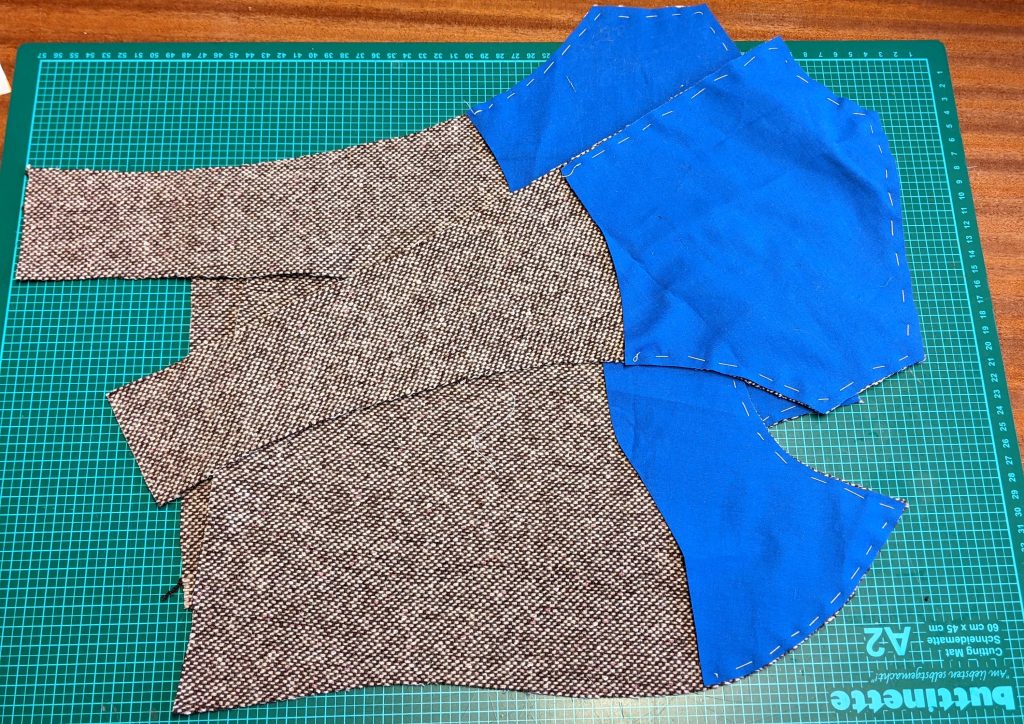
It´s time to get finished! Just the sleeves and some details are missing. I decided to take the smaller lining sleeves, still enough pouf for my purposes. This is the canvas for the sleeve hem, cut on the bias and shaped into a slight curve with the iron.

After sewing the back sleeve seam, line up the canvas with the hemline and baste in place, and catch stitch to the seam allowances. Sew the front sleeve seam while folding the canvas to the side. Press open the seam allowances and smooth out the canvas over the seam, and catch stitch in place. Turn in the hem allowance and catch stitch to the canvas.

Continue reading

A 1890´s to 1910 Bustle Pad

About 1885 the large bustles of the previous decades started to disappear. That didn´t mean, that the bustle itself disappeared completely. To achieve the fashionable shape, many women helped out with smaller bustle pads, giving the body the desired shape, featuring a small waist and wide hips. The difference is obvious! These bustle pads were worn until about 1910, when the silhouette became slender.


Let´s sew your own bustle pad with this free pattern and tutorial!

Bustle Pad US 8-18 (EU 34-44) Bustle Pad US 20-30 (EU 46-56)

Continue reading

#0314 Shirtwaist Tutorial – The sleeves, hem and finishing details

Part 1 – Adjusting the pattern

Part 2

Ok, time to make the sleeves, again a bit different, than described in the instructions, with the side seam of the blouse still open!

I made the placket as described in the instructions, with a strip of fabric, sewn to the vent with a very narrow seam allowance. While sewing, I pulled the vent straight, trying to avoid folds when sewing round the corner.

Continue reading