Category Archives: Tutorials

Men´s Regency Fall Front Breeches around 1800 Part 1 – Step (1) – (3)

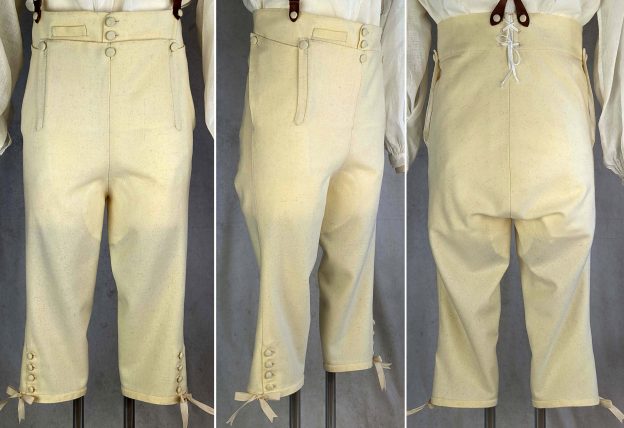
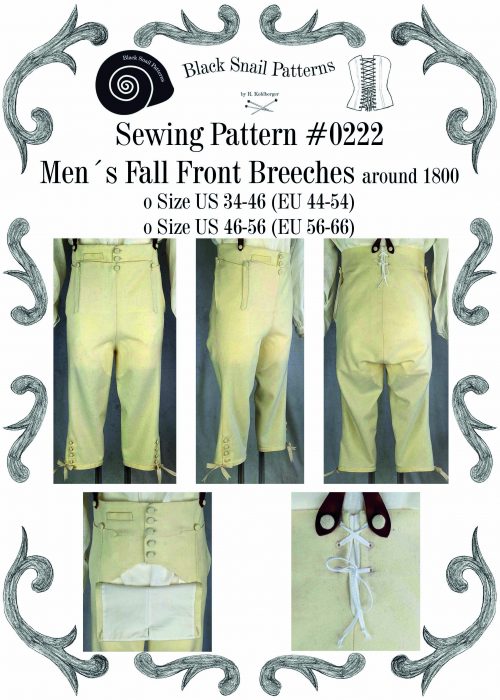
No chance to relax, to complete the men’s wardrobe we need breeches!

Again, this blog post is just an addition to complete the instructions for my sewing pattern with more pictures.

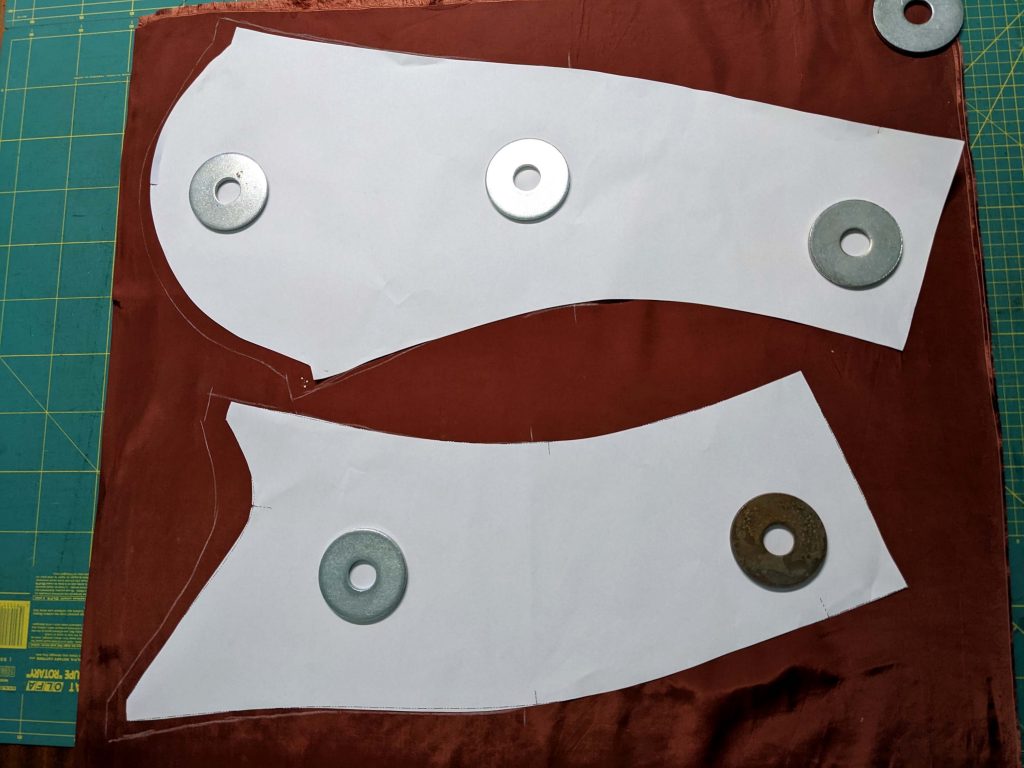
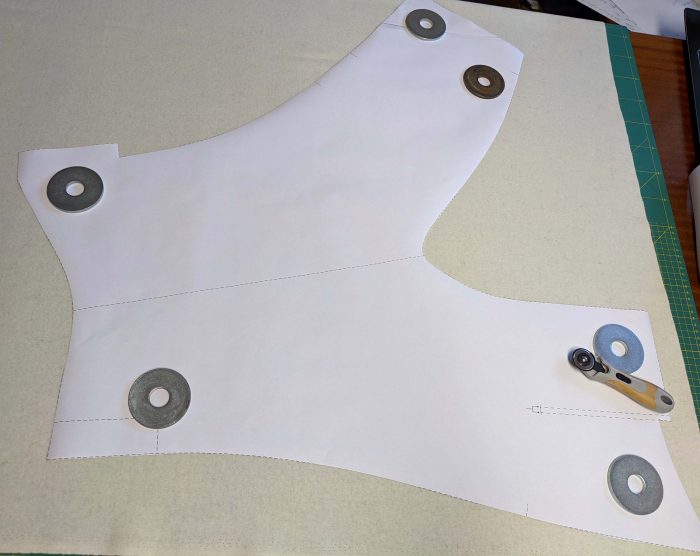
(1) Let´s start with cutting the fabric! Don´t be afraid of the weird looking pattern with no inseam and the legs pointing outward. If wanted add the inseam, the line is marked on the pattern, but don´t try to straighten the legs, they give the width needed for a comfortable fit. Compared to Georgian breeches, the volume at the buttocks is significantly reduced, but still more than most of us are used to from modern pants. The pattern is based on an extant sewing pattern from 1796.

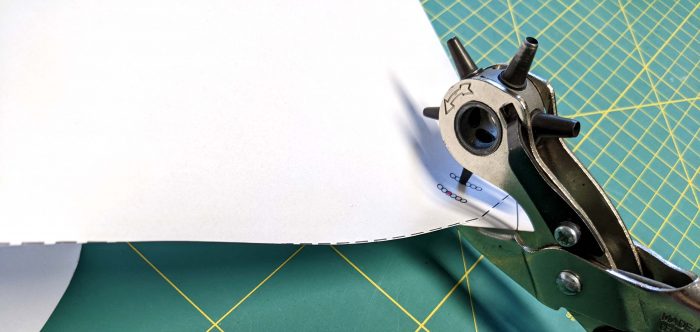
Punching holes on the pattern for accurate markings on the fabric.
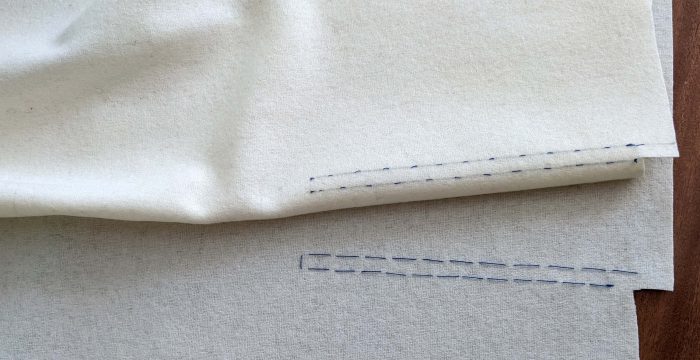
thread tracing for accurate markings
Continue reading

Men´s Regency Fall Front Breeches around 1800 Part 3 – Step (10) – (14)

Part 2 – Step (4) – (9)

(10) The gusset and waitband lining:

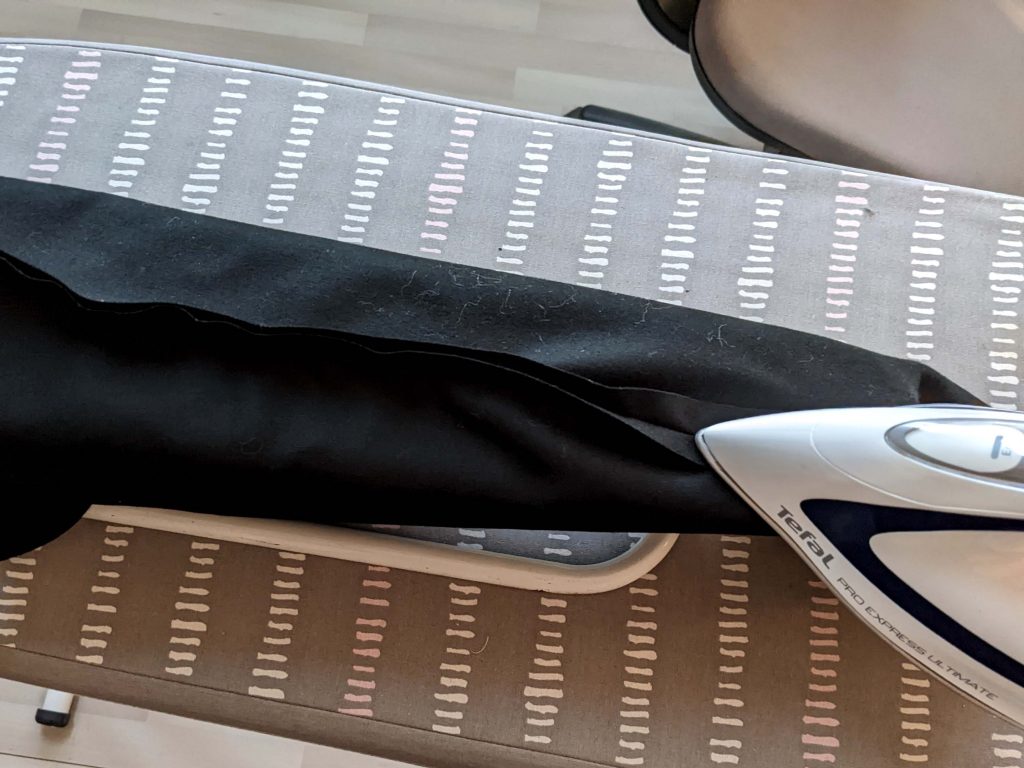
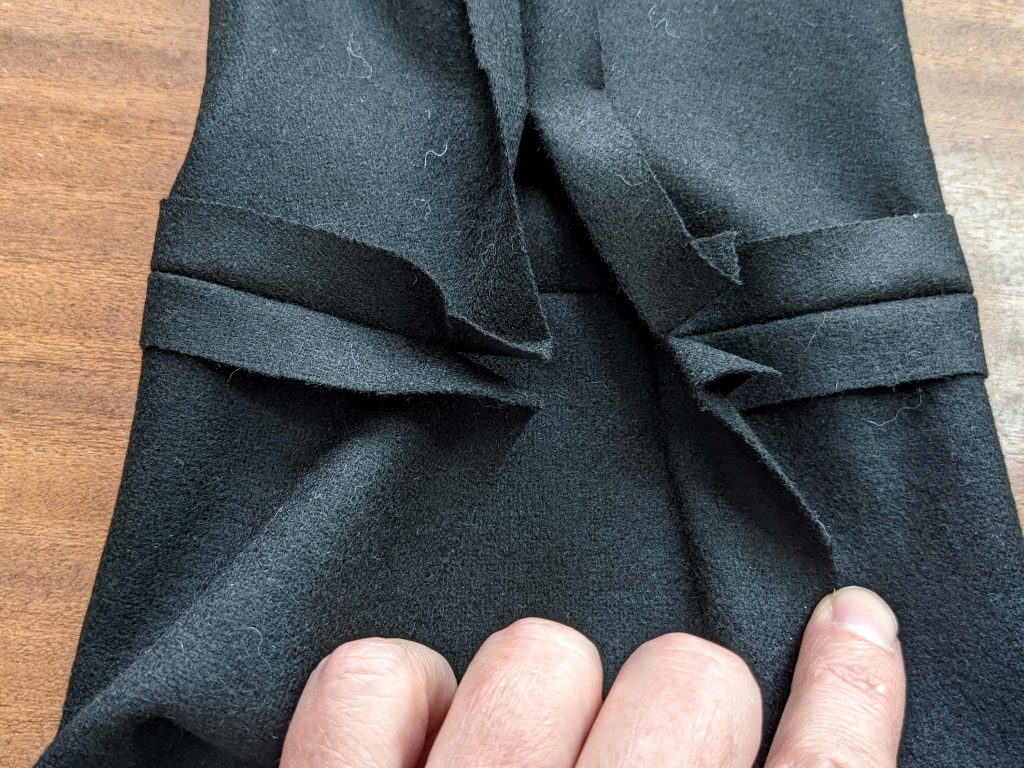
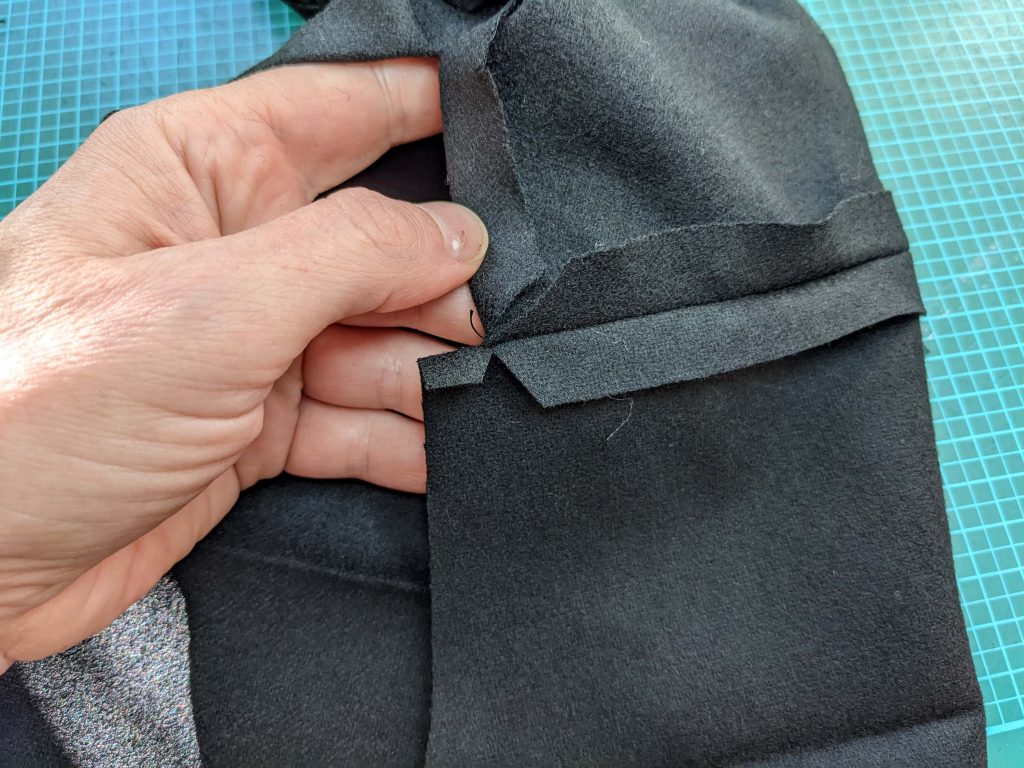
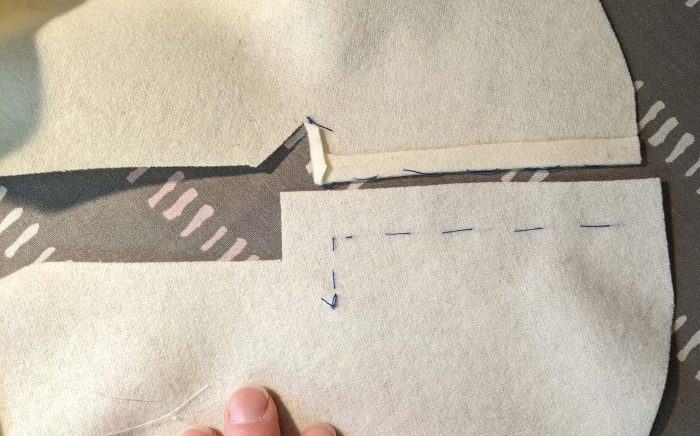
Trim back the seam allowances, they are to wide here on this picture.
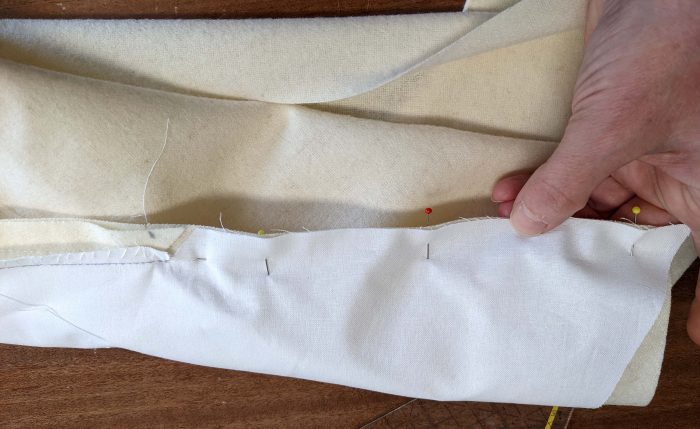
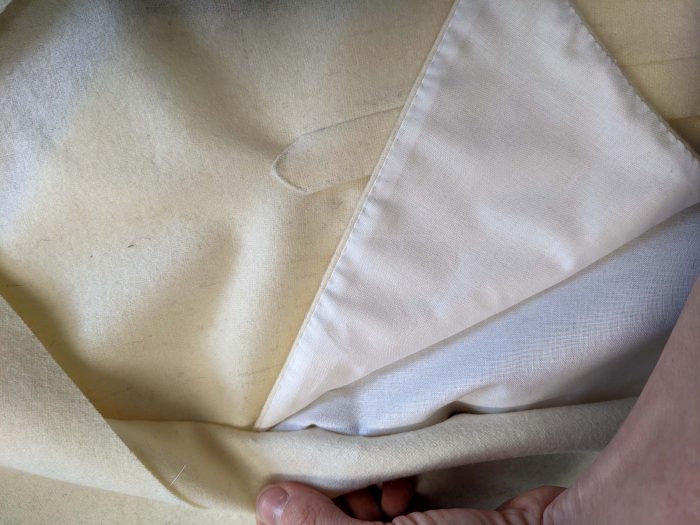
Cover the raw seam allowances with the waistband lining.
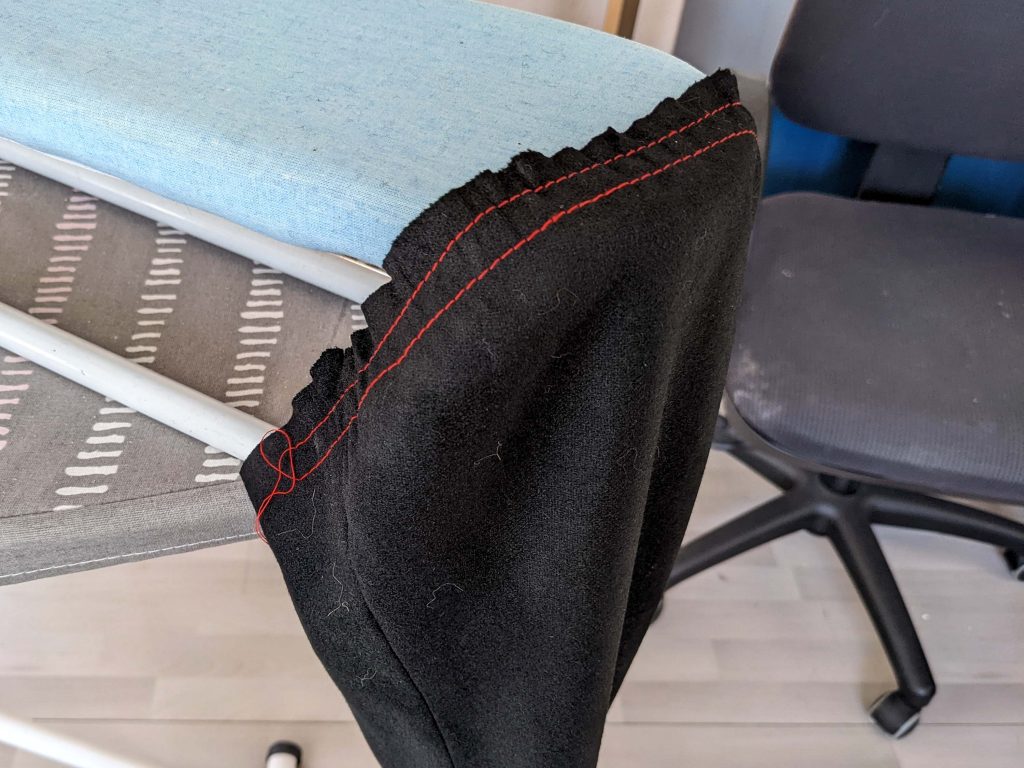
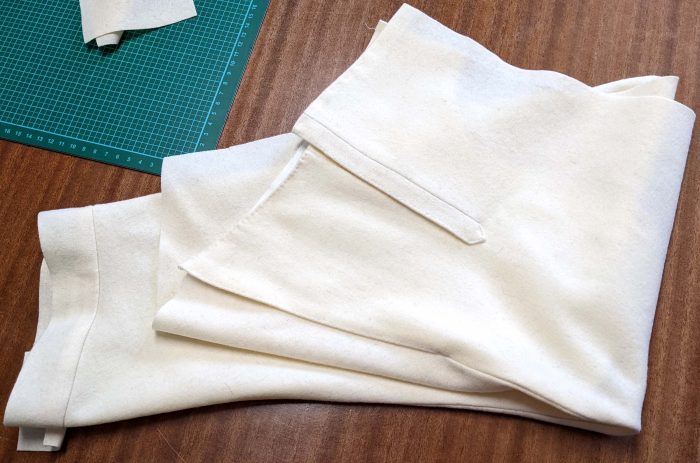
The front area of the waistband, don´t sew the pocket, just catch the back of the pocket when felling down the lining. Sew with the “point à rabattre sous la main” along the front and top edge.
Sew the eyelets right beside the gusset.
Continue reading

Men´s Regency Fall Front Breeches around 1800 – The machine sewing guide

My latest pattern #0222, the fall front breeches around 1800, are hand-sewn in the instructions. Sometimes it has to be quick and easy, so I want to show you how you can easily sew the breeches mostly with the sewing machine.

So let’s start with our machine sewing project and basically stick to the original instructions.

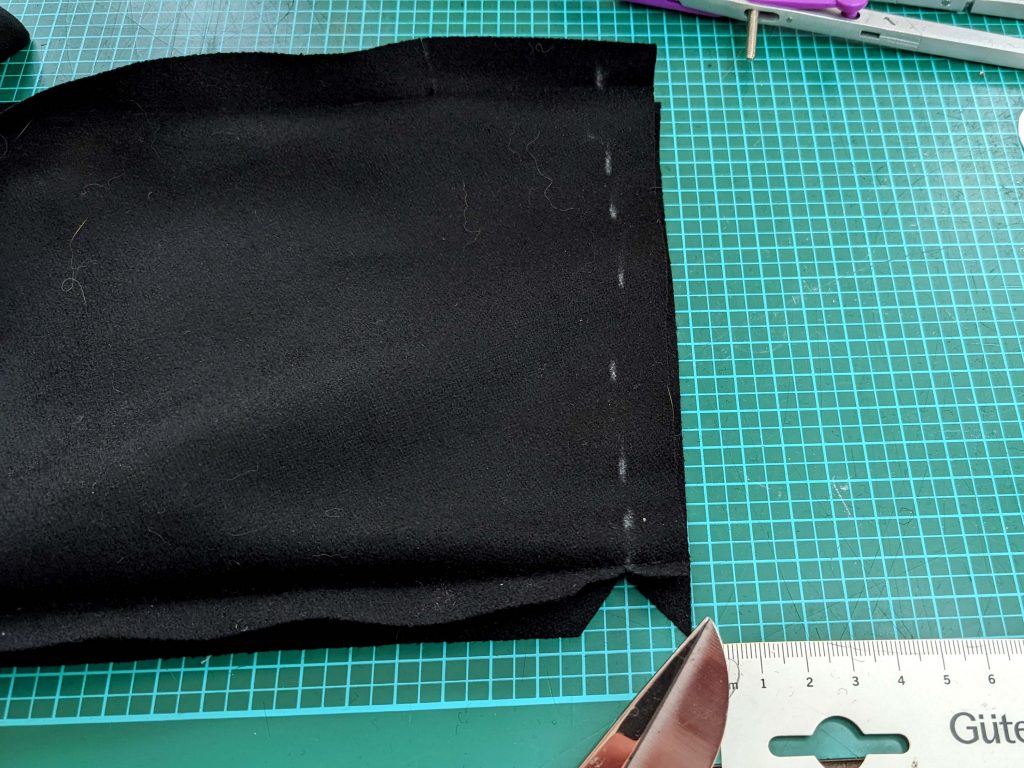
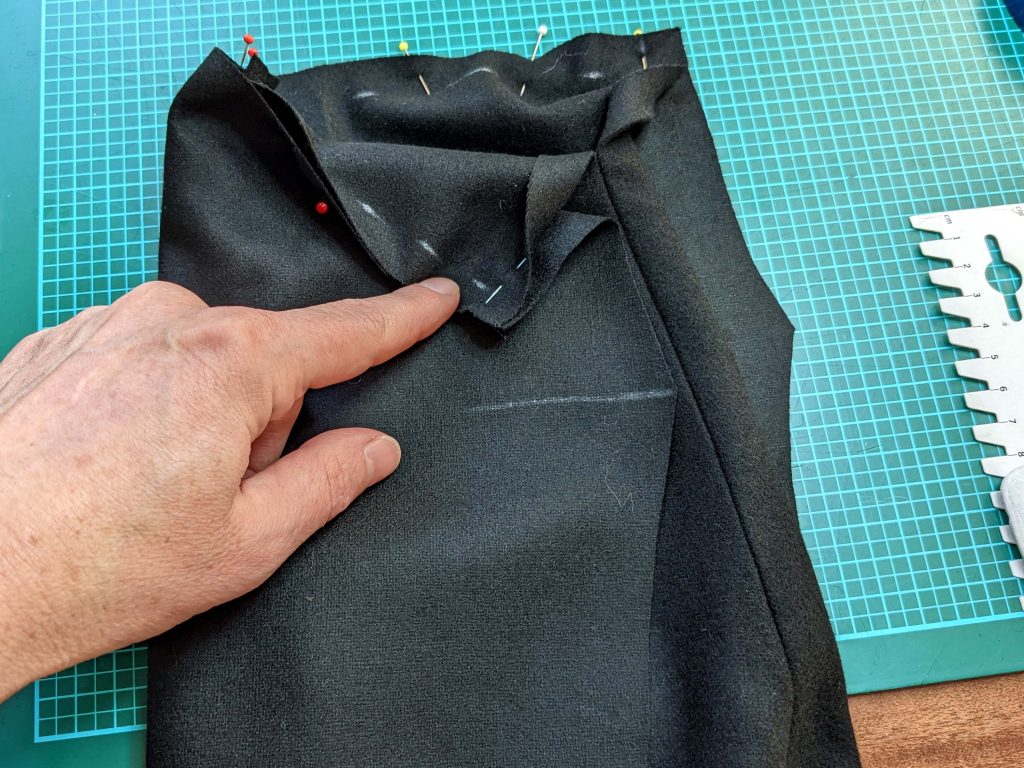
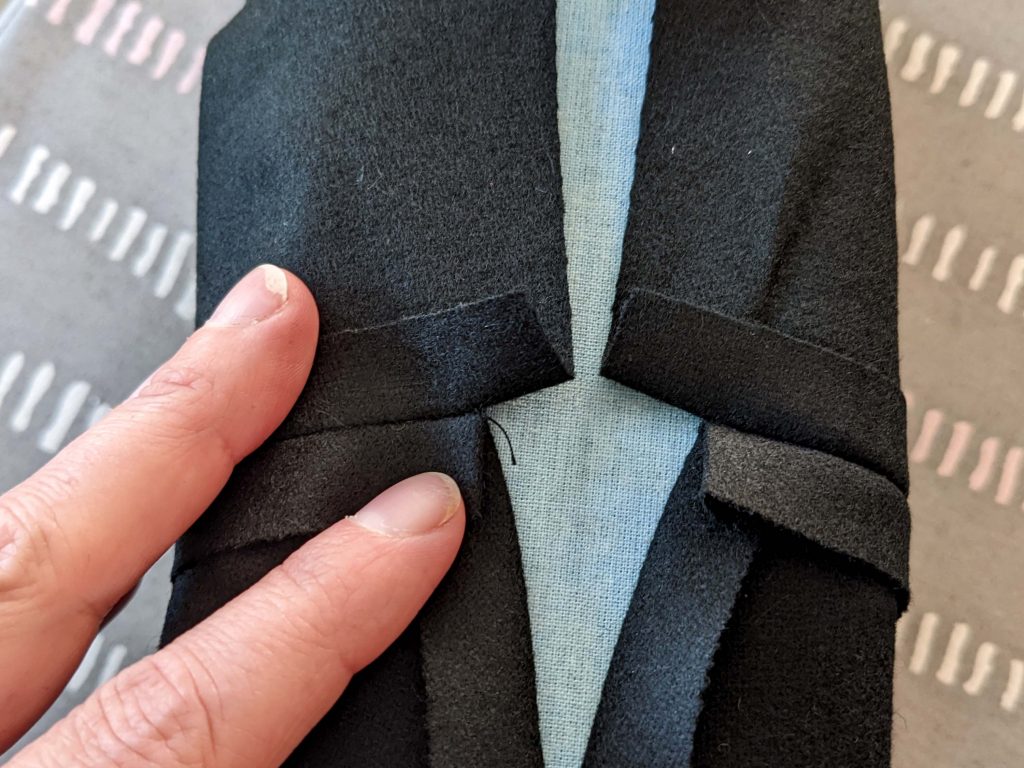
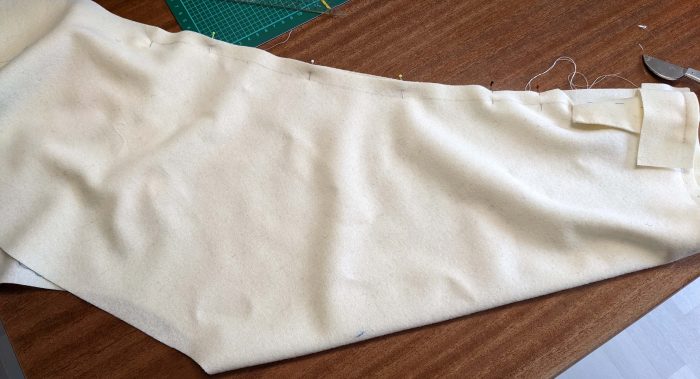
Mark all the stitching lines on the front trousers (vent), fall front placket and on the underfall. Line up with the belonging stitching lines, right sides together and sew, stopping exactly at the mark.

Continue reading

The modified pattern #0422 – Blogpost by Laura

Inspired by Bridgerton Season 2, we had the idea of modifying the ball gown sewing pattern #0422 to be even more Briderton-like and documenting the sewing process here on the blog.

Click here if you are interested in purchasing the sewing pattern:

The dresses of the main characters in season 2 look very different from pattern 0422 at first glance, but on closer inspection they are relatively simple in cut. Using the lining pattern pieces, I’ll show you the basic changes.

First I made a sketch of how I imagined the dress and wrote down the details. It closes with hook and eye at the back and I’ve added an optional belt, the waistband of the original dress is omitted. The sleeves are given the tulip shape, seen on many dresses in the series. Neckline and sleeves are piped with contrasting fabric for a neat finish.

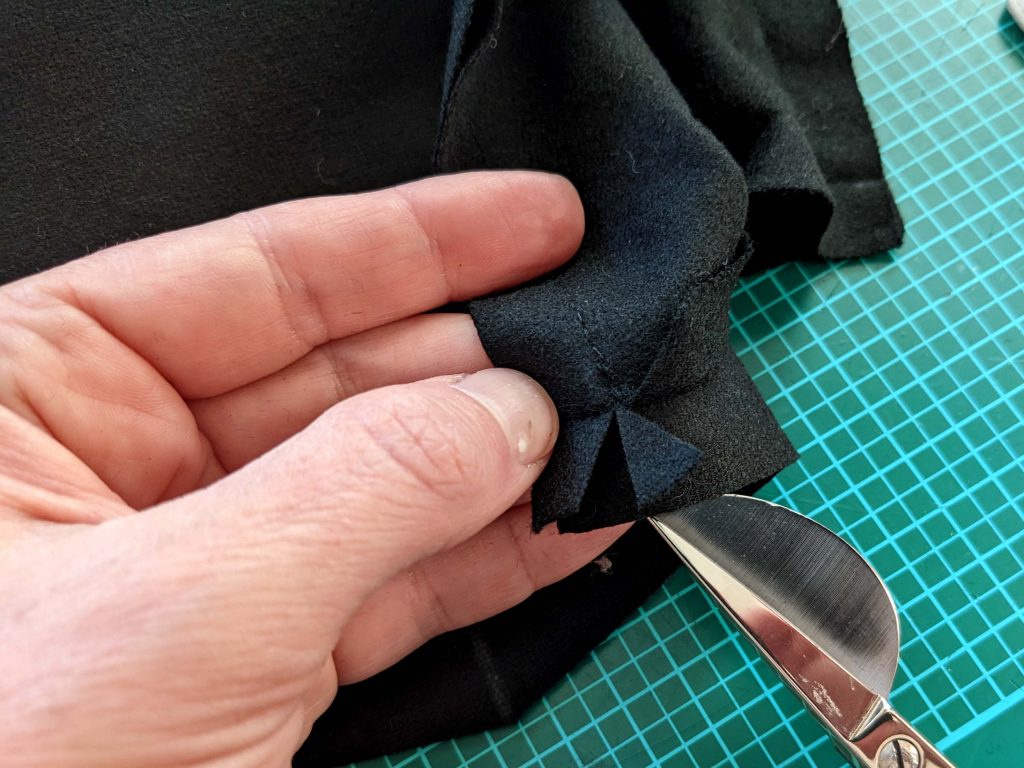
Let’s start with the original pattern and make the necessary changes. I lowered the neckline on the front and back and shaped the sleeve into the tulip shape as shown in the picture, don’t forget to mark the original center line to easily line up the two sleeve pieces later.

Continue reading