Category Archives: Tutorials

1870´s Wrapper dress sew-along Part 4 (Sleeves)

This time I´ll show you how to sew the cuffs and make a piped armhole.

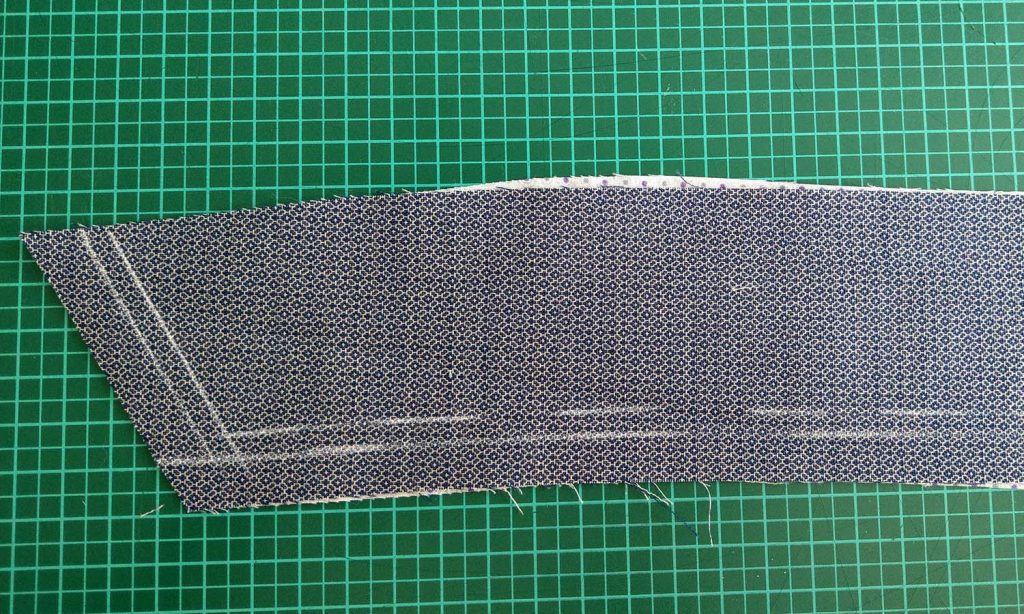
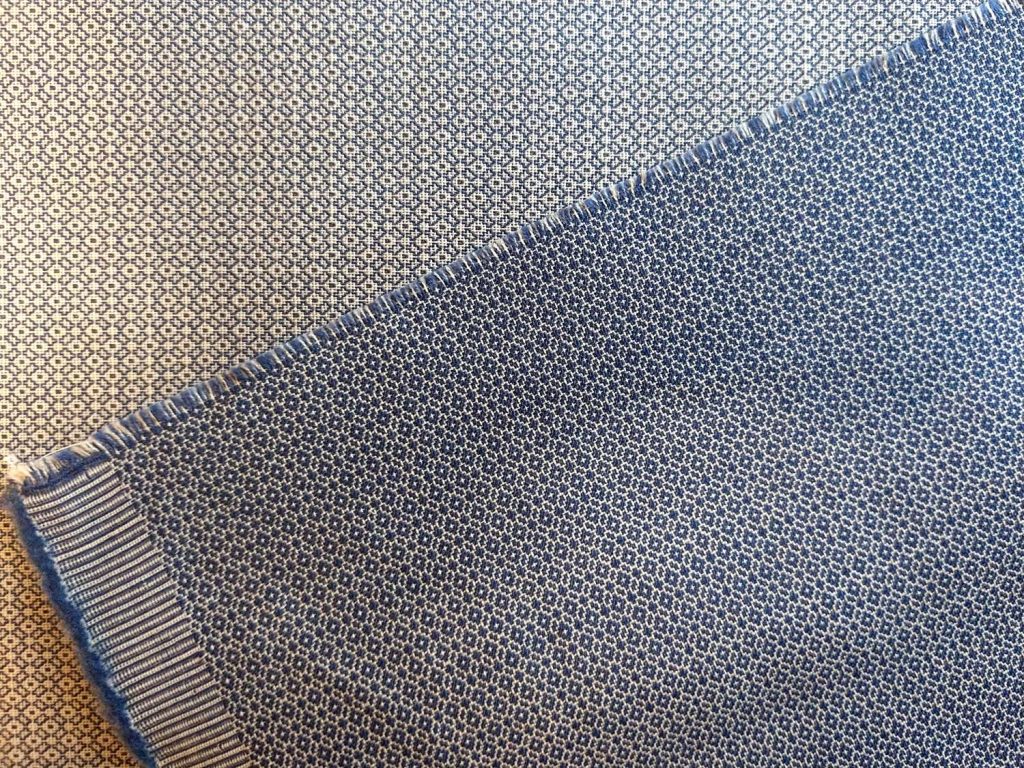
Take the cuffs and Flatline with cotton fabric. I already prepared the bias binding with a bias tape maker, you can buy them in different widths, I used the 12mm from Clover.

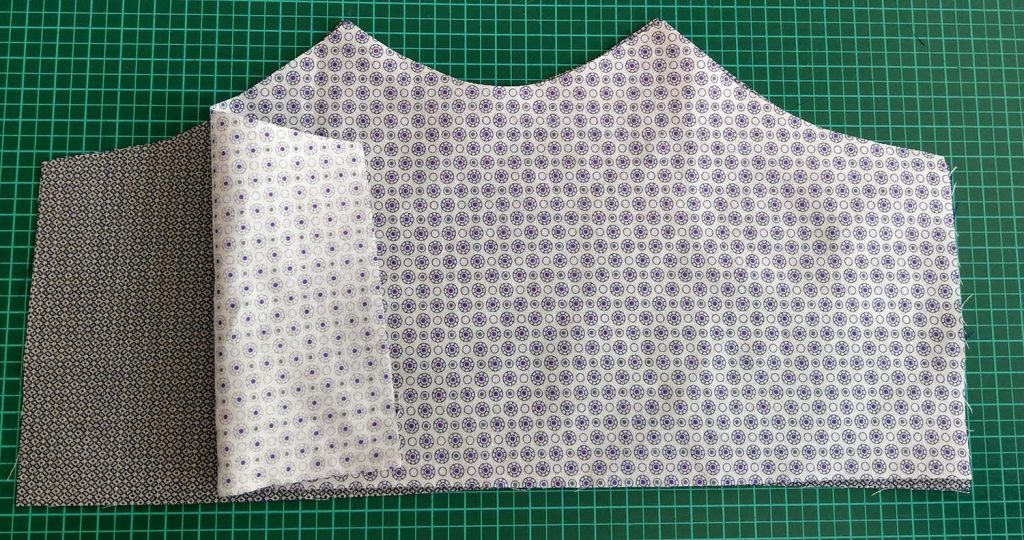
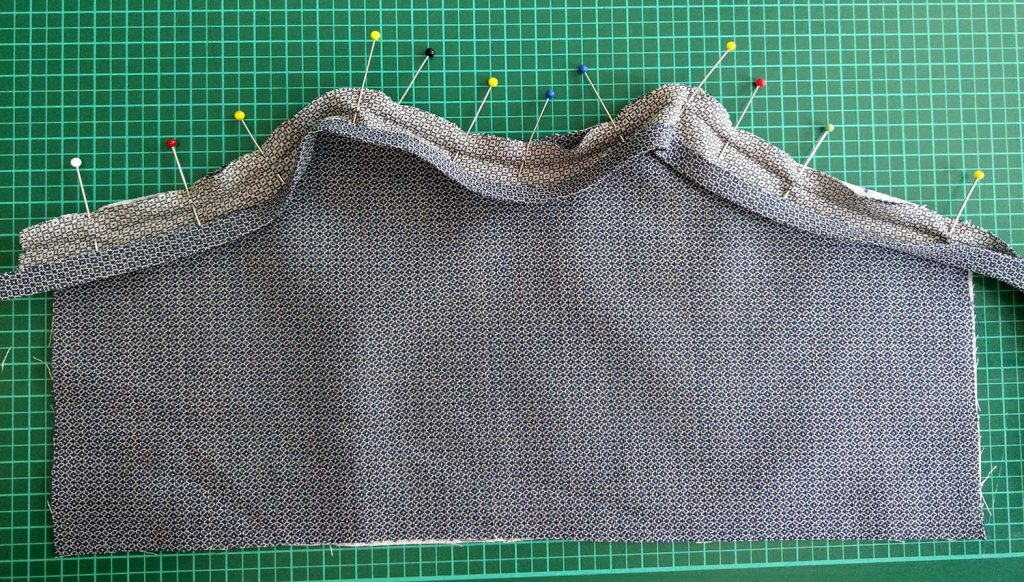
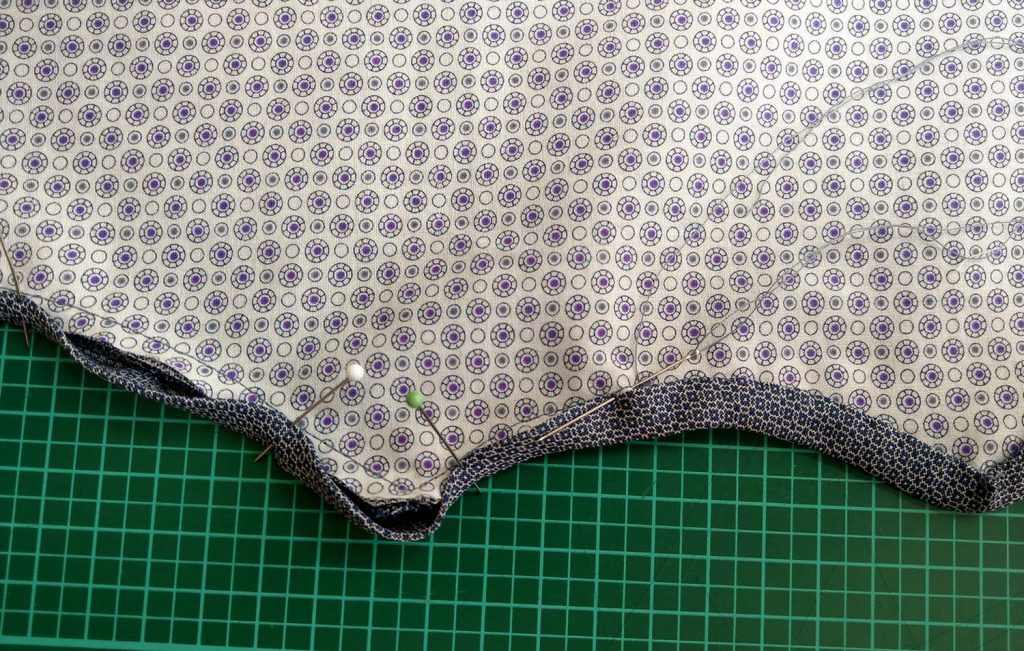
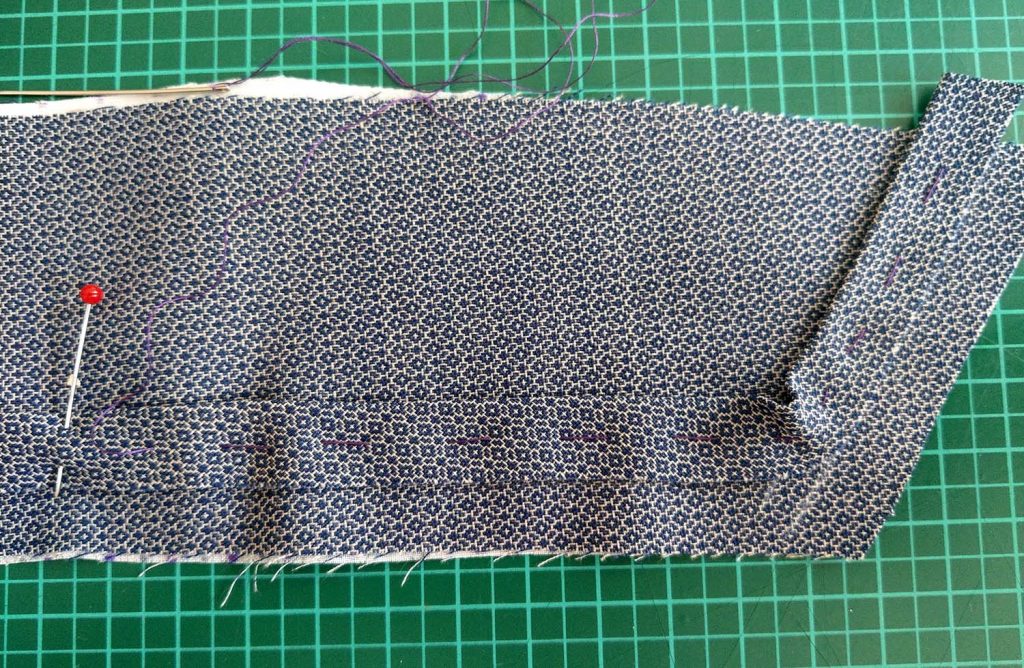
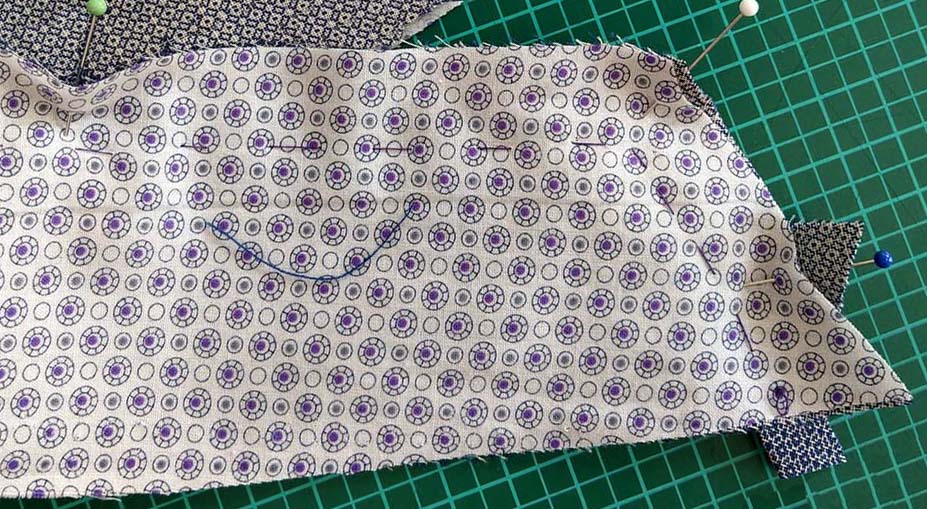
Open out the bias binding; with the right sides together, line up with the top edge of the cuff and pin in place, clip at corners to get some extra width. Sew along the crease of the bias binding and fold the bias binding over to the wrong side of the cuff. Fell stitch in place along the stitching line and press.

Continue reading

1870´s Wrapper dress sew-along Part 3 (Collar)

It´s time to prepare the collar! The collar is piped along the outside edges, the width of the piping is about 3mm. To achieve a regular piping, take a bias strip, about 3cm wide, and fold in half all the way along, wrong sides together, and press. Baste all the way along the folded edge with an even spacing of 3mm to mark your sewing line.

Mark the stitching line on the right side of the outer collar. As you can see, it was a bit of try and error to mark the correct line.

Place the collar piping on top, with the folded edge towards the collar, lining up the stitching lines. Clip the piping at the corners to give some extra width and baste along the stitching line through all layers. The basting stitches seen on the wrong side of the collar indicates the stitching line.

Line up inner and outer collar, right sides together, and sew just next to the basting threads, indicating your stitching line, with the outer collar up.

Continue reading

1870´s Wrapper dress sew-along Part 2

Today let´s start with sewing! The fabric from stock is a lightweight wool with a very small diamond pattern, flatlined with a lightweight cotton fabric.

The front pattern with it´s two darts is quite a large pattern piece. With modern fabrics you can cut the whole thing in one, the extant dress is pieced to be cut from a fabric with a width of about 90cm.

Continue reading

1780´s Redingote for WGT 2019 /

Preparing for the WGT 2019 I bought some meters of a brown striped taffeta fabric. It was mentioned to become a coat and trousers for my husband. But when I was finished, I still had 6m of that fabric left. First I was thinking of a steampunk inspired bustle dress, but reflecting this idea several days I decided to make a 1780´s Redingote dress matching with my husband´s 1780´s suit.


As usual I tried to make lots of pics during the sewing process and as I really love the dress, it became the first sewing pattern for a series of 18th century patterns. Please don’t be impatient, I´ll try to launch some of the new patterns this year (including some men´s patterns).


This tutorial should help to facilitate the sewing process of the Redingote, some things will be slightly different as described in the sewing pattern. Pictures and a tutorial for the petticoat are missing.


Here you see the bodice from lining, all parts sewn together and the seam allowances pressed open. Every seam is covered with a boning channel, I made mine from twill tape. The side seams are curved, filling that channels with plastic boning serves, but with a stronger bend I´ll recommend not to follow the seams anymore. Let the channel run straight towards the shoulder seam.

Continue reading