Category Archives: Romantic Era

1840s Tailcoat Part 4

Collar and Sleeves 

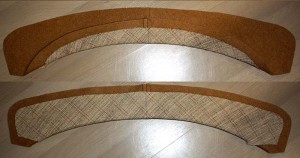
I basted together all layers along neckline; that means the basic layer is the top itself, then along the front neckline the interlining and along the back neckline the cotton lining. The seam allowances of the facings are already turned in and the edge basted to the stitching line. I prepared the collar with canvas pad stitched to the fashion fabric. With the hot iron, I stretched the top and bottom edges and pressed in the roll line.

IMG_4412 Continue reading

1840s Tailcoat Part 3 / 1840er Tailcoat Teil 3

The Tails / Die Schößchen

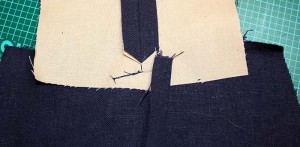
Let´s continue with this picture: this are the back parts already sewn together. You can see the seam allowance of the vent turned in and catch stitched to fix it. You will see small stitches on the right fabric side, but that doesn´t matter, it was usual on men´s clothing during the Regency and Romantic period.


IMG_4527

IMG_4529 Continue reading

1840s Tailcoat Part 2

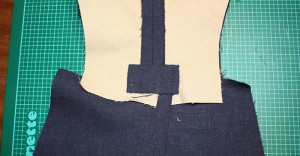
Let´s continue with the front facing. For the pattern I joined the pattern piece of the front and the back. At the back piece I drew a curved line from the center back to the side seam and cut. Placed on top of my fashion fabric and cut with some more seam allowance at the neckline. I didn´t close the dart at the facing. Now the facing will reach to the center back as you can see on this tailcoat: https://www.augusta-auction.com/component/auctions/?view=lot&id=4509&auction_file_id=8

IMG_4532

Continue reading

A 1840´s Linen Tailcoat Part 1

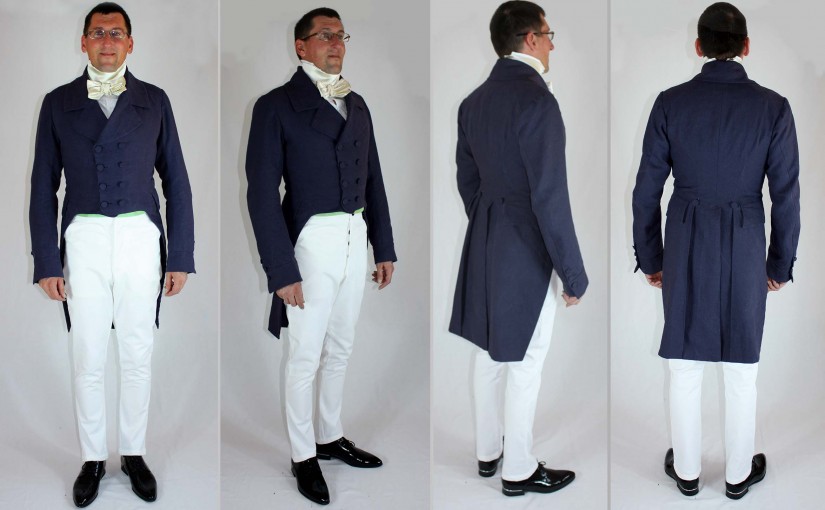
Apart from trousers, shirts, waistcoats and collars my husband needed a jacket for our romantic period costume summer meeting. I already made a Frock Coat from quite heavy wool fabric, suitable for cold and rainy days. However, what to do if it´s going to be hot? Years ago, I made a regency tailcoat from wool broadcloth. He never wore willingly, except in the carnival when he was a vampire.
There are other options than broadcloth and that´s linen. I decided to make him a linen tailcoat. I used the Frock Coat pattern and modified as needed, because it hat to fit closer. Fitting quite narrow at the waist I had to add some extra width at the skirt for the hips. This made me some problems with the pockets, but this was my fault. I couldn´t remember how to make a pocket, means a little bit of a black out. Thank god, the pocket flaps cover everything.


Continue reading

My first attempt at hand embroidery

The last hand stitching embroidery I remember was at school. That´s quite a long time since then. After some research, I decided to copy this pattern for my husband´s 1840´s waistcoat. A friend, Helena, who does a lot of 18th century needle painting embroidery, recommended using floss silk for my project. I was a little bit shocked when I got my floss silk. The thread was so fine, and with its golden color it was nearly invisible with the background of my kitchen table. However, the first try on my ice green silk was not too bad. I used a sateen stitch for the branches and a false satin stitch for the leaves, due to my panic running out of thread during the project. All the embroidery process was quicker than expected, enjoying the first spring sunbeams on my terrace while working.

IMG_4560IMG_4562IMG_4570


At the same time I started to prepare the other waistcoat pieces. Here you see the back, ready prepared to be joined to the front. Just a single layer of fabric, the armhole neatened with bias binding.

IMG_4631


I interlined the front pieces with linen and made the welt pockets the usual Victorian way. Anybody here interested in an extra how-to?

IMG_4620IMG_4621


I sewed a cotton tape along all edges and the roll line with a catch stitch, along the stitching line I tried to make small stitches through the fashion fabric. At the center back, I joined the fronts and laid the interlining one side over the other to avoid bulk.

IMG_4626IMG_4633


The front with the embroidered lapel facing already attached and pressed.

IMG_4634


Now I decided to make things a little bit different, due to the single layer back. I sewed the back part to the fronts, first the neckline, after notching the shoulder seams and at least the side seams. All seam allowances are trimmed, and notched at curved seams, then pressed towards the fronts.

IMG_4635IMG_4638


Then I folded the fronts along the roll line and sewed the edges of the facing to the interlining. I notched the facing at the shoulder seam, turned in the seam allowance along the neckline and fell stitched the collar.IMG_4639


I prepared the front lining, turned in all seam allowances and fell stitched the lining to the inside of the fronts.

IMG_4640


Ready! IMG_4642