Category Archives: Romantic Era

#0418 – The 1830´s Frock Coat – Part 1 – first considerations and point (1) to (4)

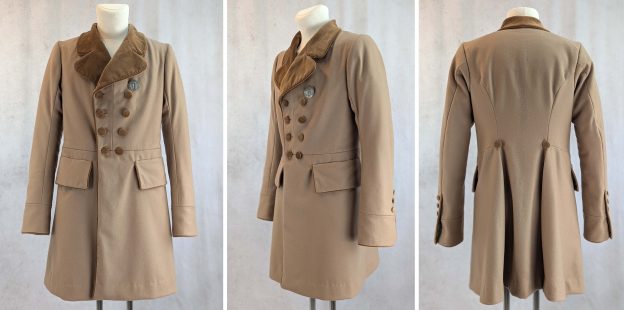
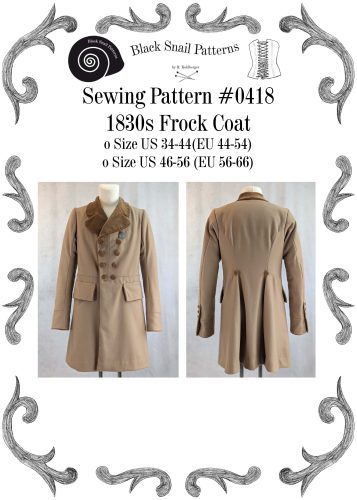
Hi there! Roti from Black Snail Patterns here. I’m thrilled to announce that we’re giving our popular 1830s Frock Coat sewing pattern a major upgrade. This classic garment has long been a favorite among historical costume enthusiasts, and now we’re making it even better.

We’ve listened to your feedback and enhanced the pattern with clearer, more detailed instructions. This is not a beginner sewing pattern. However, we tried to explain tailoring terminology in a way that, with sufficient motivation and enthusiasm, everyone could understand.

Get the completely updated pattern here:

In this post, I’ll walk you through the updates we’re making:

  • Expanded step-by-step instructions
  • New troubleshooting tips for common challenges
  • Additional pictures for complex construction steps and period-accurate piped edges.

These improvements will help you achieve stunning results, whether you’re creating a historically accurate costume or adapting the Frock Coat for a contemporary twist.

Join me as we explore the refined details of this 19th-century classic and uncover the techniques that bring it to life. Let’s make historical sewing not just accessible, but truly enjoyable for everyone. Ready to dive in? Stay tuned as we delve into the fascinating details of this classic garment and the techniques used in its construction.


Continue reading

#0418 – The 1830´s Frock Coat – Part 2 – point (5) to (9) 

Part 1 – point (1) to (4)

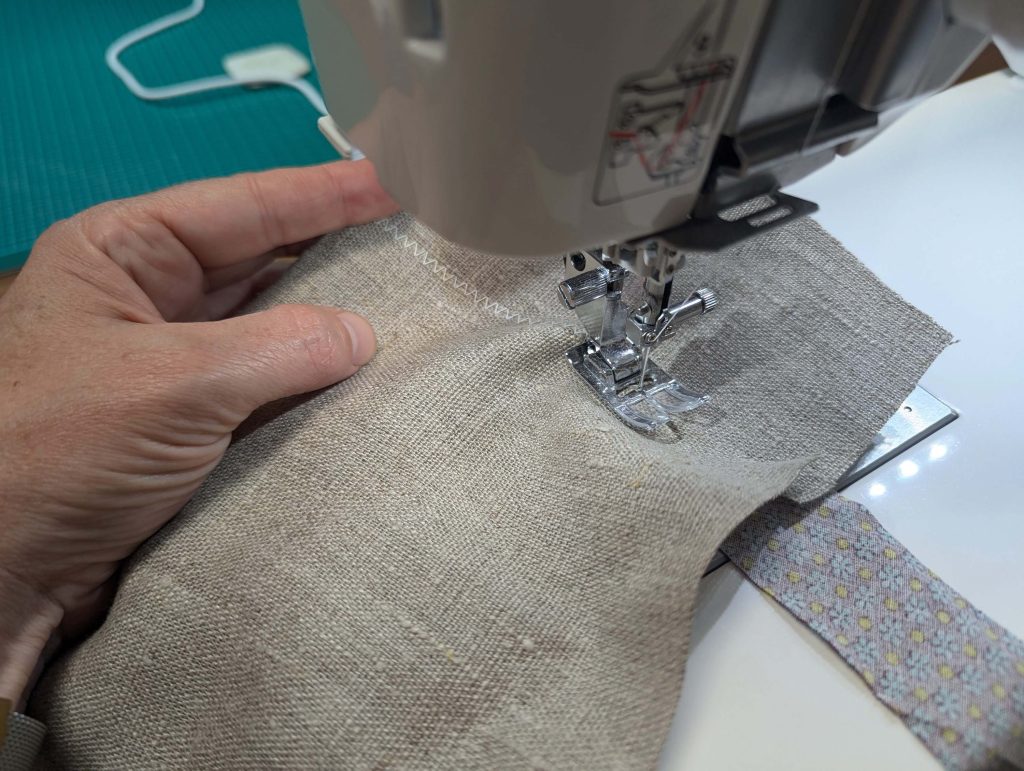
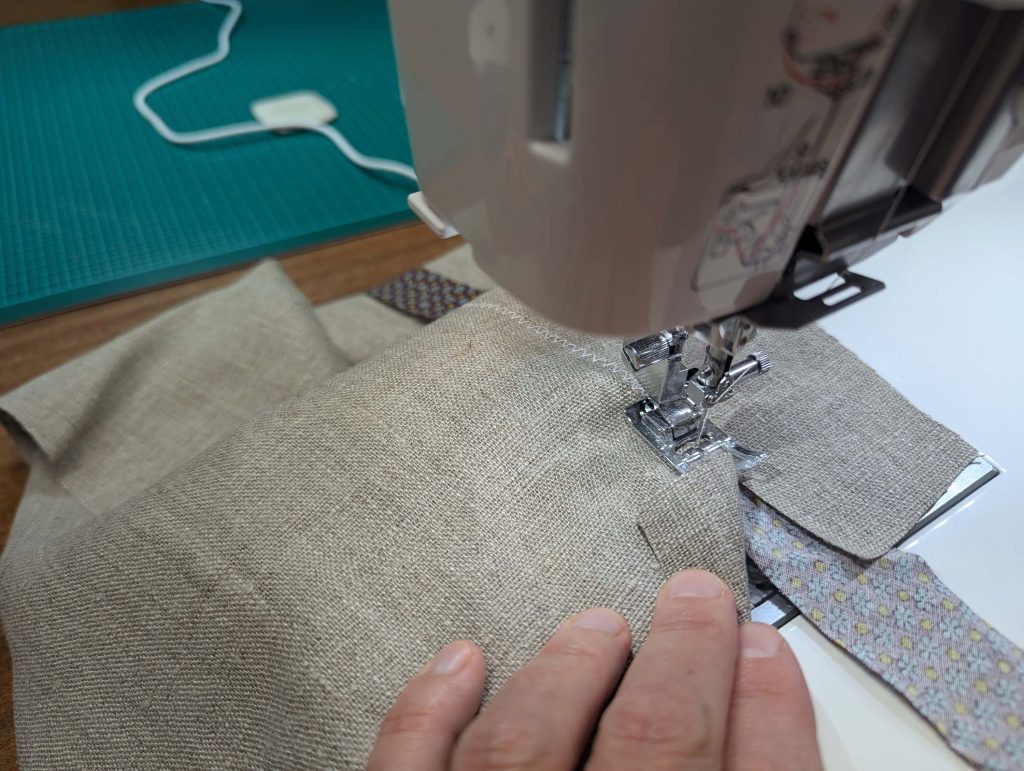
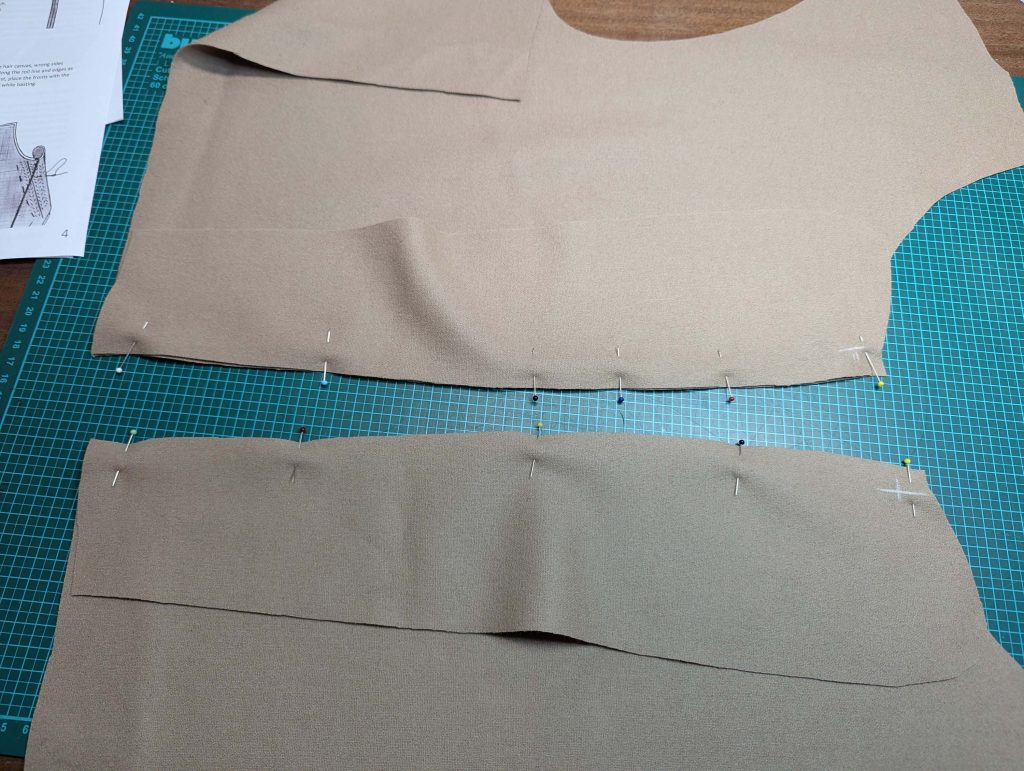
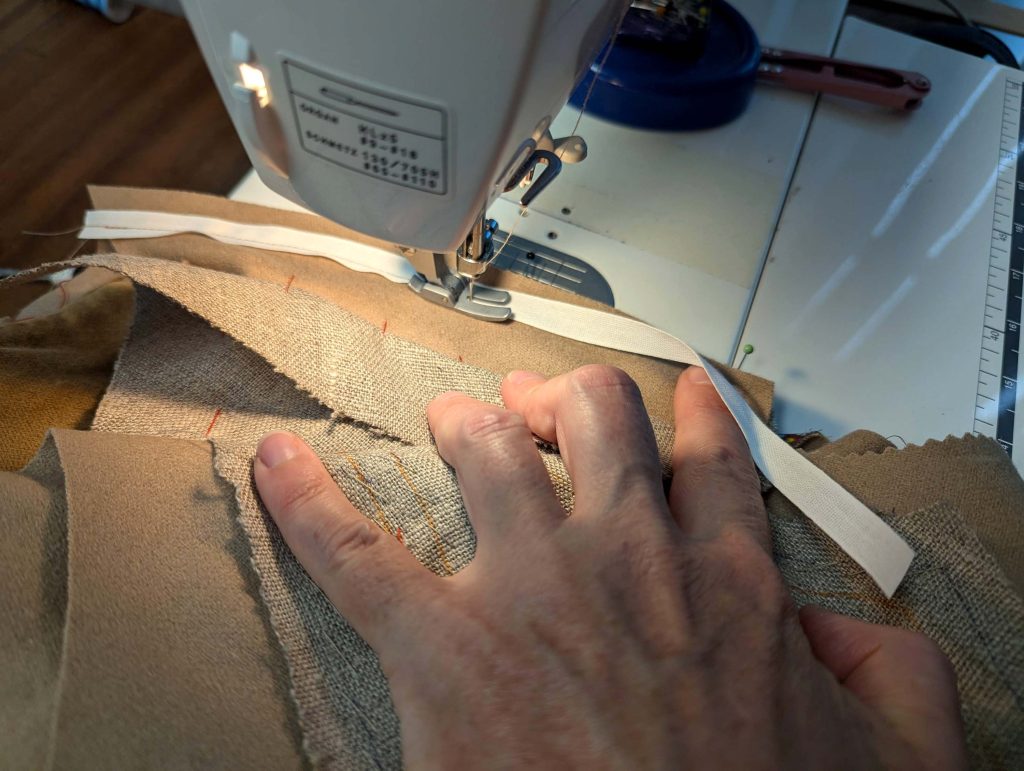
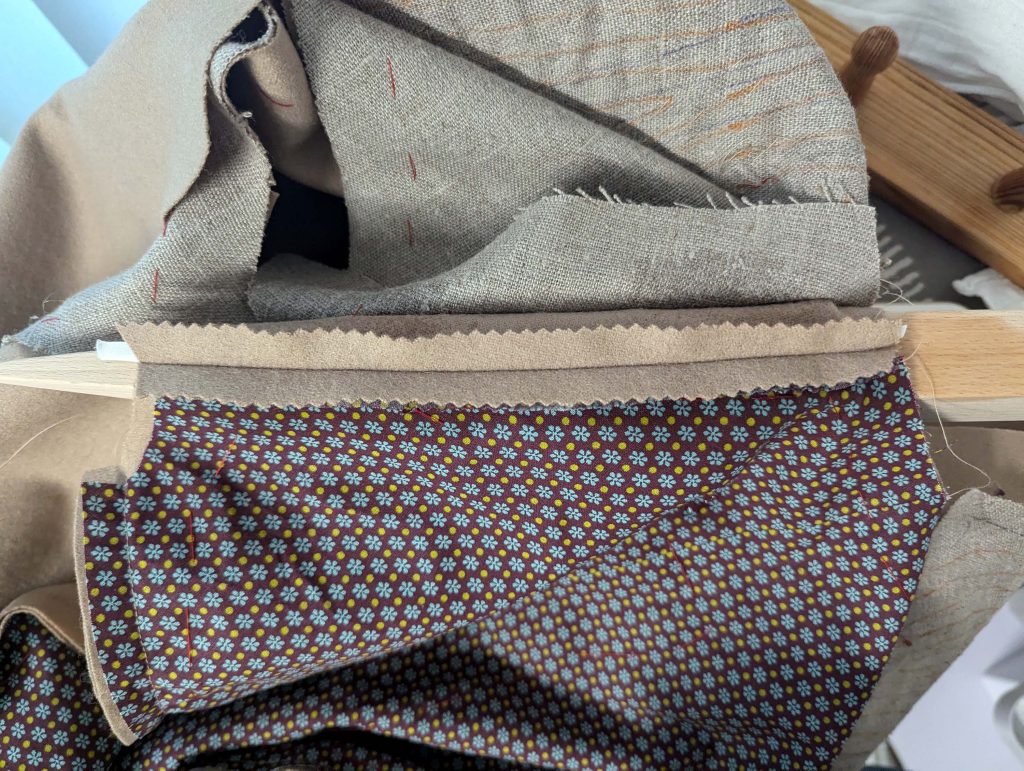
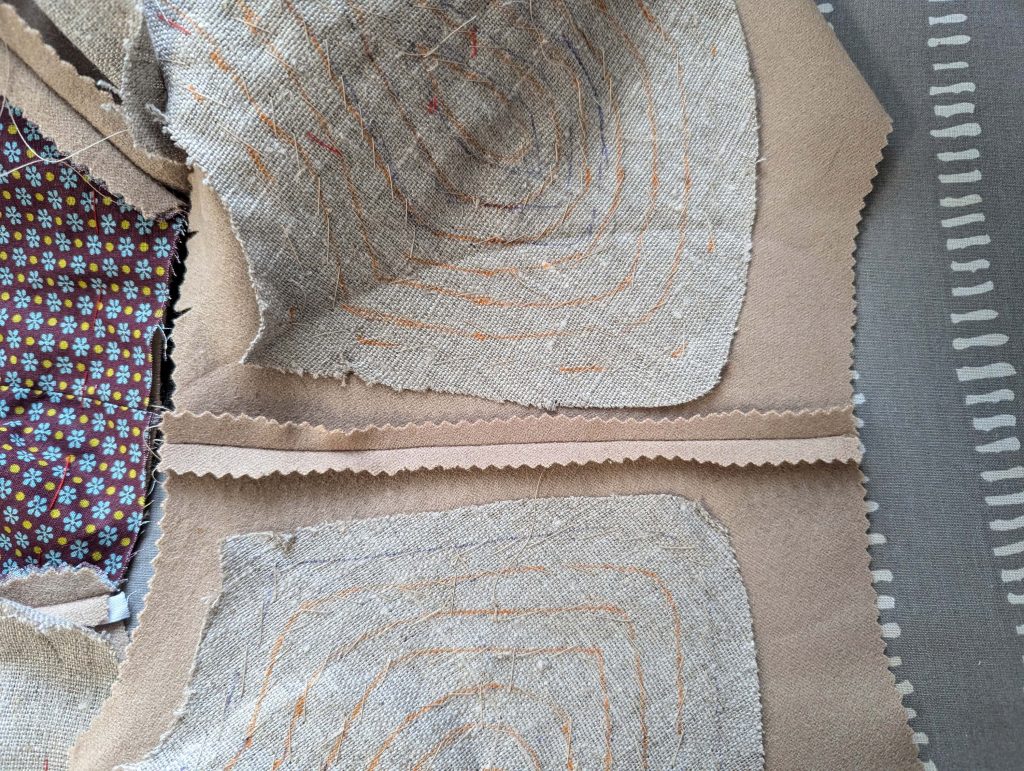
(5) Time to prepare the fronts: Take the canvas of the front and lapel, and trim back the seam allowances along the abutting edges, to sew together the pieces edge to edge, using a zig-zag stitch. Stop sewing exactly at the collar notch (x). Underlay the seam with a strip of bias tape (cotton). This method reinforces the joint and helps distribute stress across the garment.

Take the fronts from the fashion fabric and stretch the shoulder. Sew the lapel to the front, right sides together, and stop sewing exactly at the collar notch (x). Press open the seam allowances, and trim back the seam allowances at the collar notch.

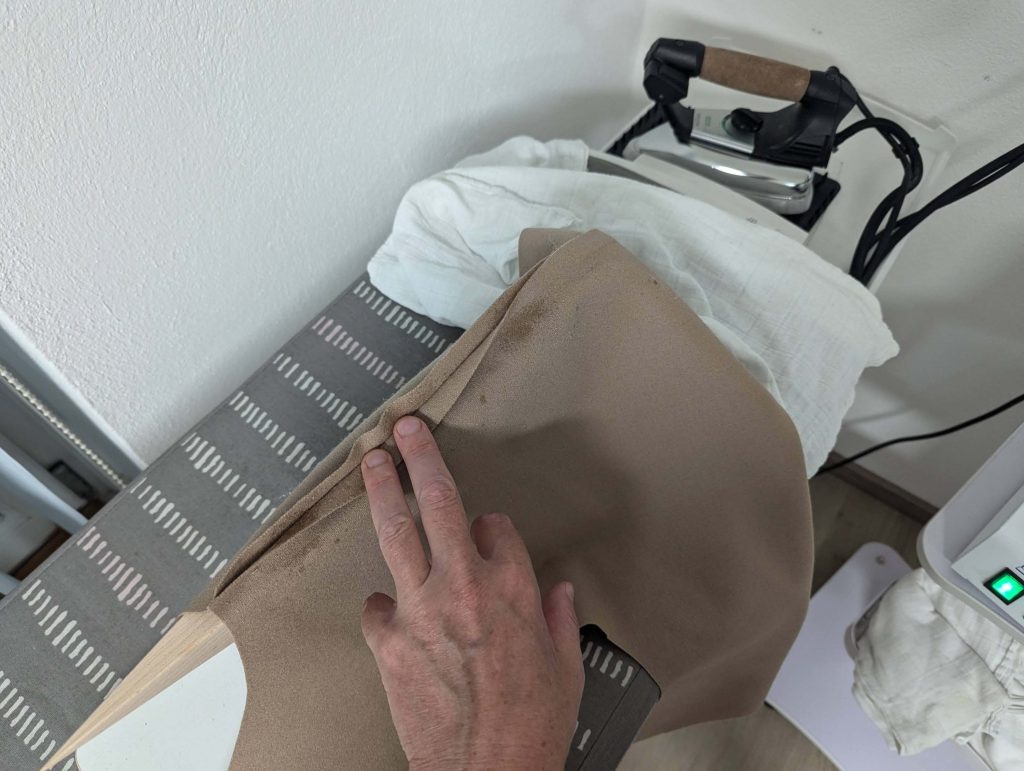
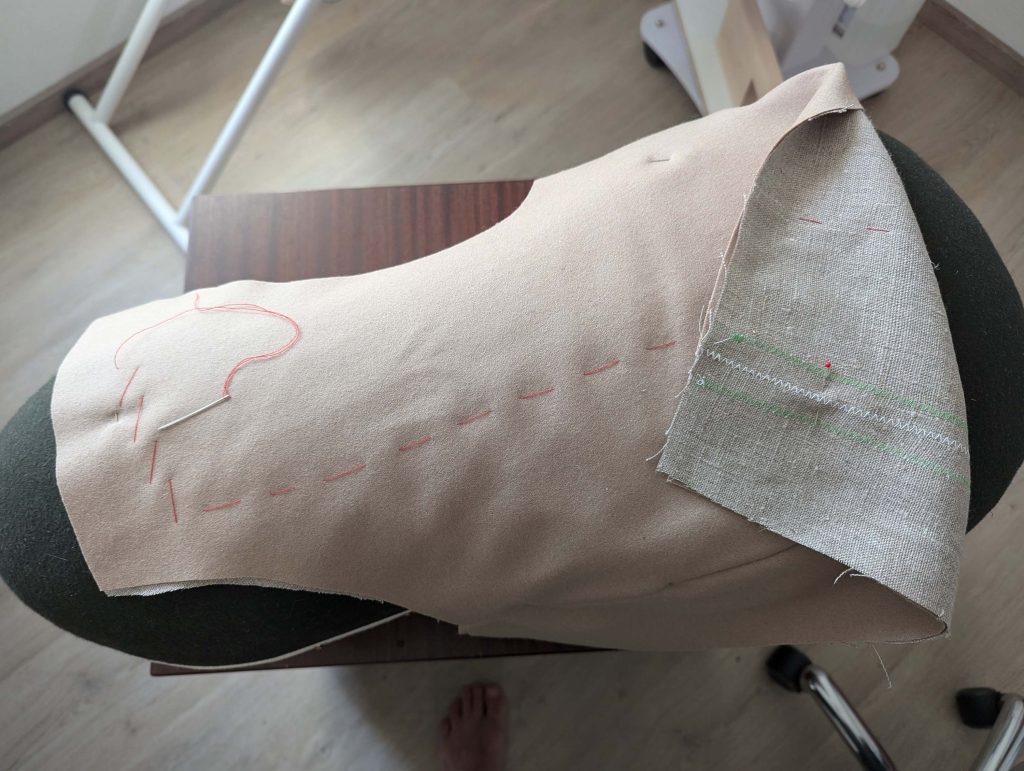
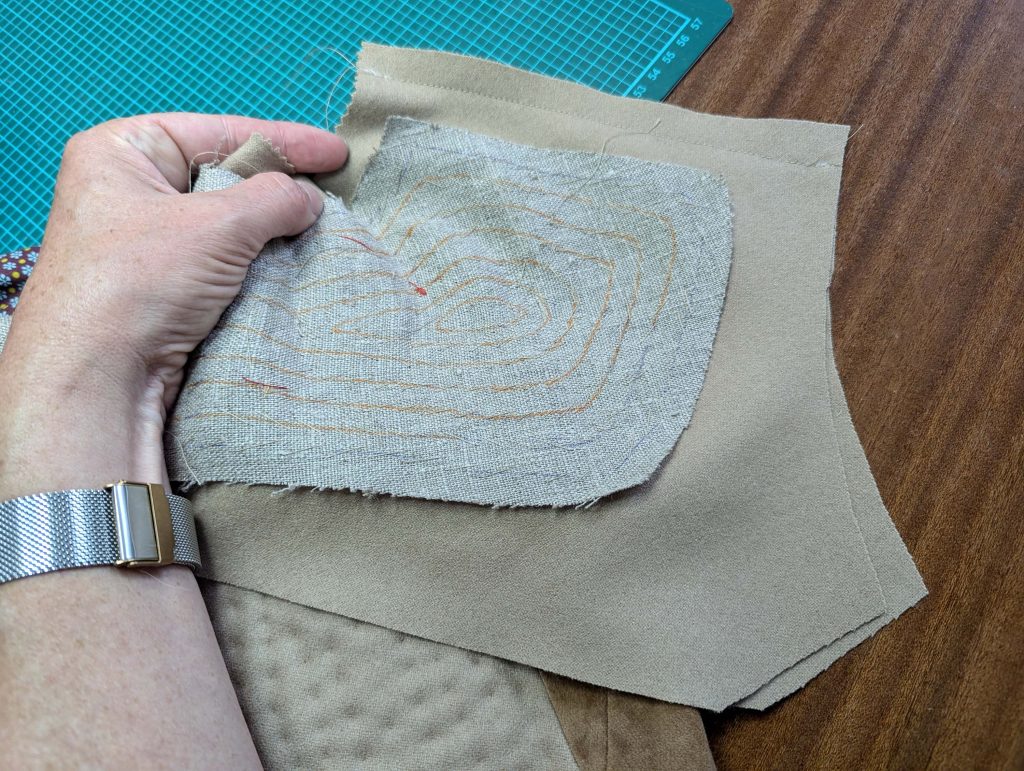
Baste the front canvas to the wrong side of the front, lining up the edges. Start stitching centered down the front and continue along the front edge, following the roll line until reaching the shoulder. Give the front some ease while basting by stretching the chest slightly and simulating the body with a tailor’s ham or a pillow. Lastly, baste along the armhole and the side seam. Baste about 2” (5cm) from all edges. 

Continue reading

#0418 – The 1830´s Frock Coat – Part 3 – point (10) to (18) 

Part 1 – point (1) to (4)

Part 2 – point (5) to (9)

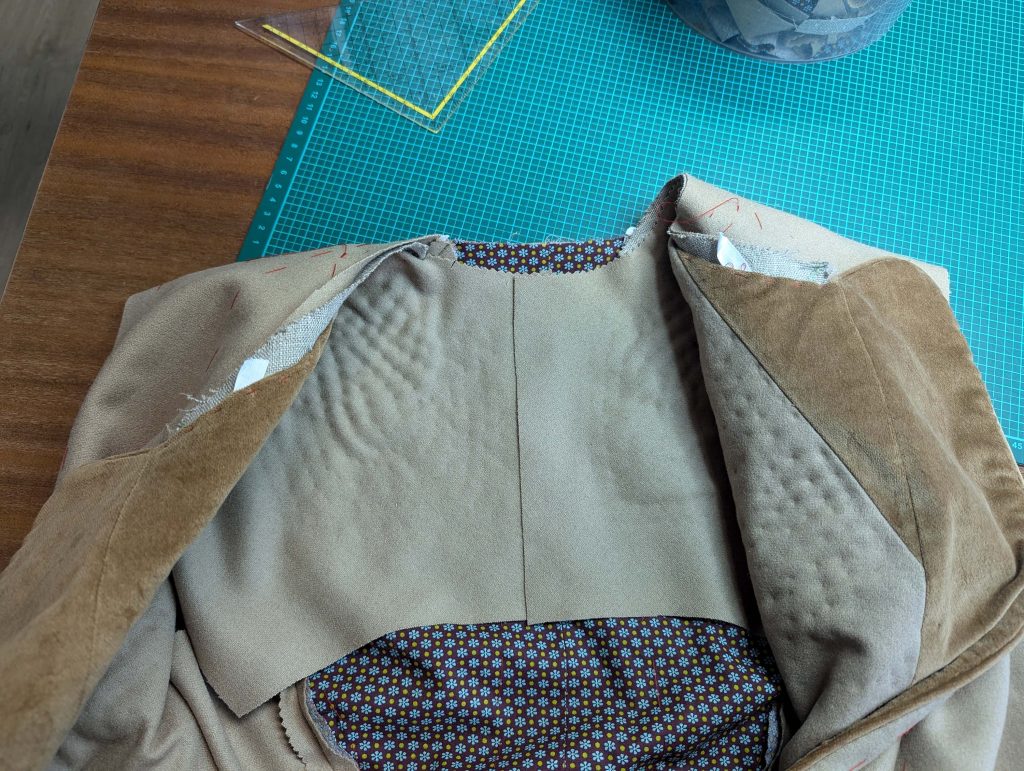
(10) Sew the shoulder seam, right sides together, easing in the extra width of the back. Fold the front-facing and front canvas to the side while sewing. Press open the seam allowances and place the front canvas on top.

Let´s move over to some other tricky details with velvet and piping!

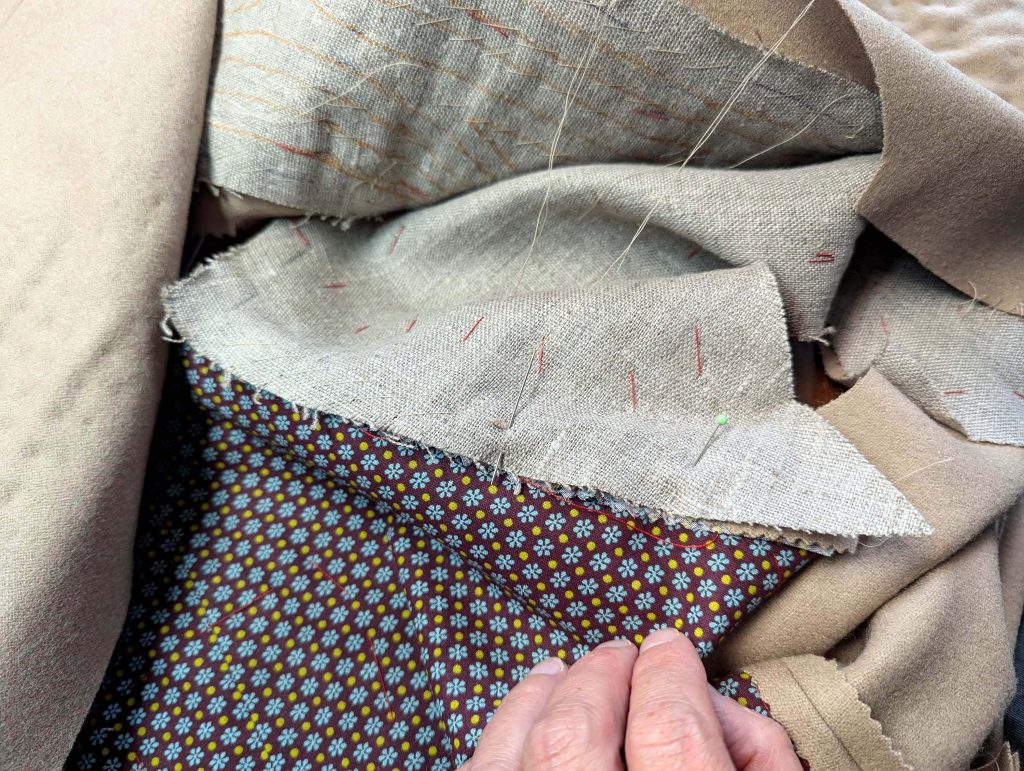
Mark the stitching line along the neckline, and baste together the layers (canvas and front) inside the seam allowance, right beside the stitching line. Trim back to 3/8” (1cm). Smooth out the front-facing over the shoulder seam towards the center back and mark the center back. Line up the front facings along that line, right sides together, and sew. Trim back the seam allowances and press open. That was the easy part.

Continue reading

1840 to 60´s Underwear Part 1 – Chemise

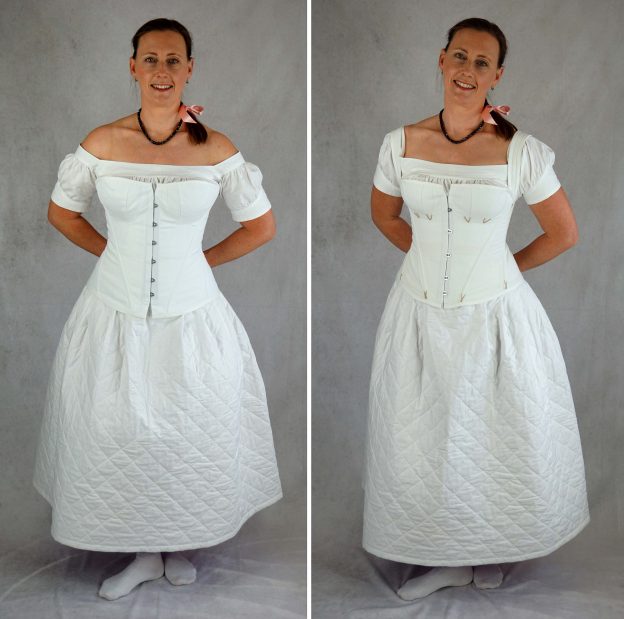
Finally, the matching underwear for the last two dress patterns I published recently is finished. Two corsets, a chemise and a quilted petticoat (quilting won’t be my passion in the future either) later I´m happy to present my new sewing pattern for 1840´s to 1860´s underwear.

Beside the sewing instructions, coming with the pattern, I´ll show some additional information and pictures here in my blog.

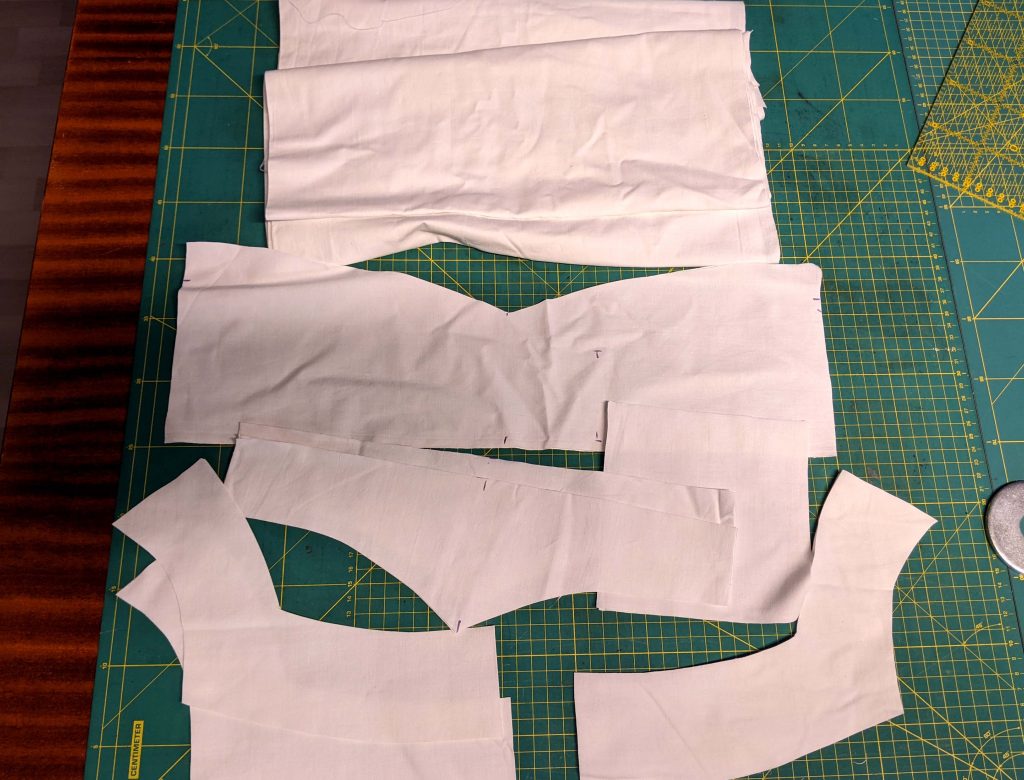
Let´s start with the chemise, all pattern pieces prepared for sewing.

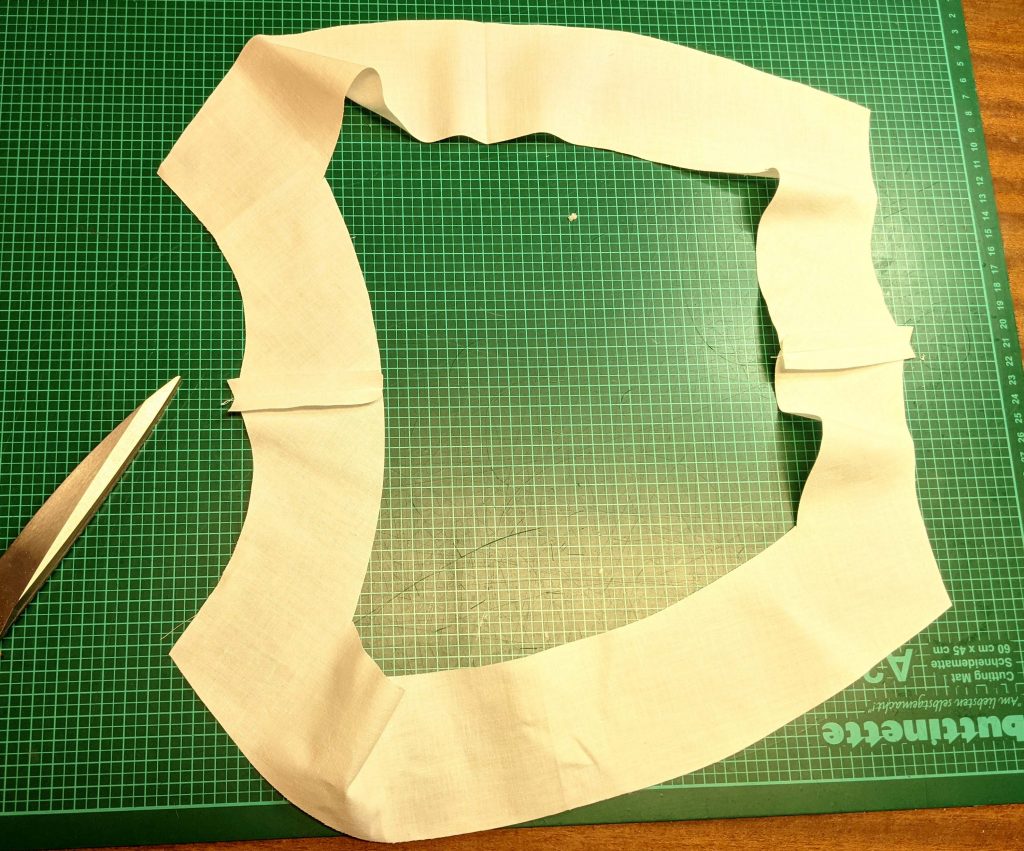
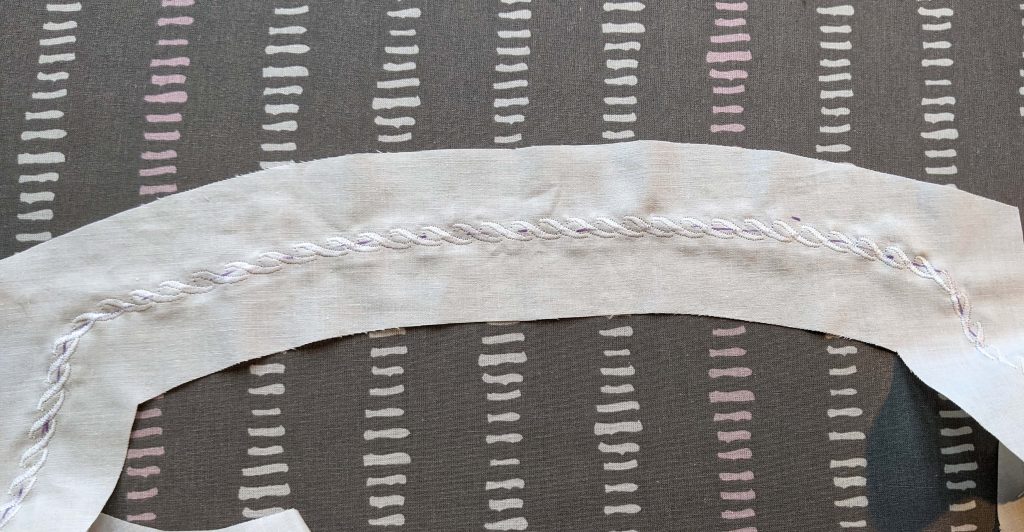
Before I made up the sleeves, I decided to sew the yoke and embroidered it with a decorative stitch of my sewing machine. Instead of polyester thread I used a cotton thread for all seams and the embroidery.

After doing all the gathering on front, back and the sleeves, I lined up the bottom edge of the sleeve with the sleeve cuff and clipped the sleeve at the corner to sew more easily.

Continue reading

1840 to 60´s Underwear Part 2 – The Corset

Part 1 – The Chemise

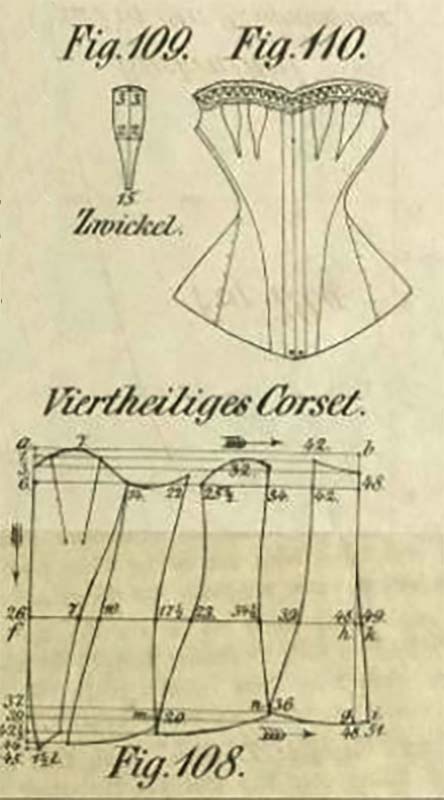
The first time I stumbled over this corset was some years ago, when I made the young Queen Victoria cosplay for my daughter. I was looking for an easy to sew, period accurate and comfortable corset for a 16 years old and found a four gored corset dated to 1844 in Norah Waughs “Corset and Crinolines”. Further research leaded me to the original publication of the pattern, “Vollständiges Lehrbuch der modernen Bekleidungskunst für Damen“ from C. Kawitsch and H. Klemm, Dresden 1852. The 3rd edition from 1856 is downloadable via the digital collections of the University of Dresden: https://digital.slub-dresden.de/werkansicht/dlf/29313/5/0/

The original pattern served well for a very slender young girl, just when I mad my first mock-up, I noticed, that it is cut very deep at the armpit and will work better with shoulder straps. At this point I decided to make two corsets, one with shoulder straps and another without. The patterns are similar, just the top edge is raised at the armpit to give the support needed at the sides without straps.

Let´s start sewing the corset! Inserting gussets to a corset is not as difficult as it seams to be in the first moment. I cut the slits and turned in a narrow seam allowance, lined up the edges with the marked line on the gussets and pined in place. After edgestitching the gussets to the corset, I made a decorative bar with a contrasting (silk) thread to avoid fraying. On the lining, I omitted that step, but a bar tack, made with the sewing machine will serve was well.

Continue reading