Author Archives: Laura

Hi, I´m Laura, the new member of the Blacksnailpatterns team!

My passion for historical fashion was awakened in 2005. After seeing P&P 2005 in the cinema, I was recommended to see the BBC 1995 version. And then it happened. I liked the clothes straight away.
That’s how it started. In 2007 I bought my first piece, a pelisse, based on a model from 1800, with the money I earned as an apprentice. But that was just the beginning, many dresses followed. I dared to sew my needle for the first time in 2014. Since then I have sewn a lot of fashion for the Empire and also for other epochs that appeal to me.
Since then my motto has been: practice makes perfect. Anyone can sew.
In 2019 I got to know Roti. Since December 2021 I have been working at Blacksnailpatterns and supporting Roti.
My activities include processing international orders, answering customer inquiries, support and I take care of the social media area.

I live in Austria with my husband and my two childrens.


Enjoy sewing!
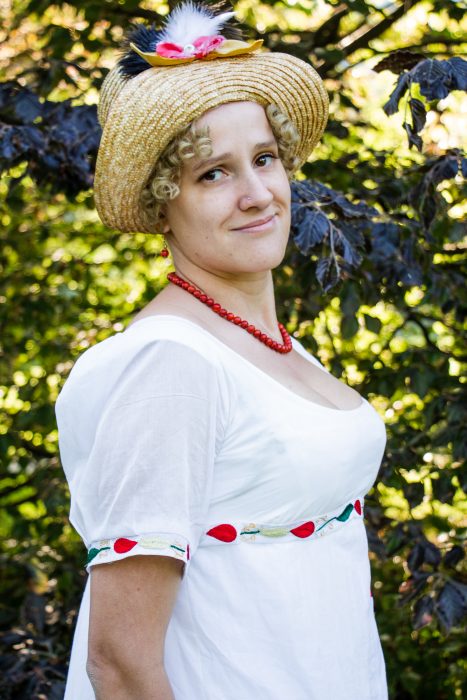
Foto by yassi.n.photography

The modified pattern #0422 – Blogpost by Laura

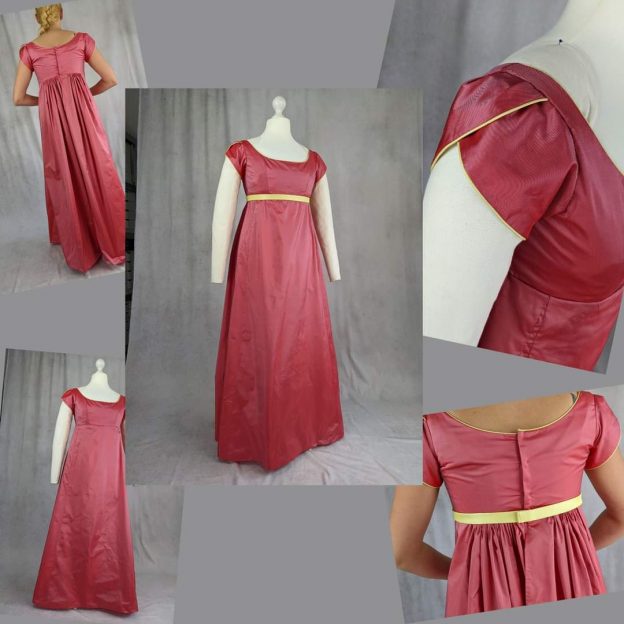
Inspired by Bridgerton Season 2, we had the idea of modifying the ball gown sewing pattern #0422 to be even more Briderton-like and documenting the sewing process here on the blog.

Click here if you are interested in purchasing the sewing pattern:

The dresses of the main characters in season 2 look very different from pattern 0422 at first glance, but on closer inspection they are relatively simple in cut. Using the lining pattern pieces, I’ll show you the basic changes.

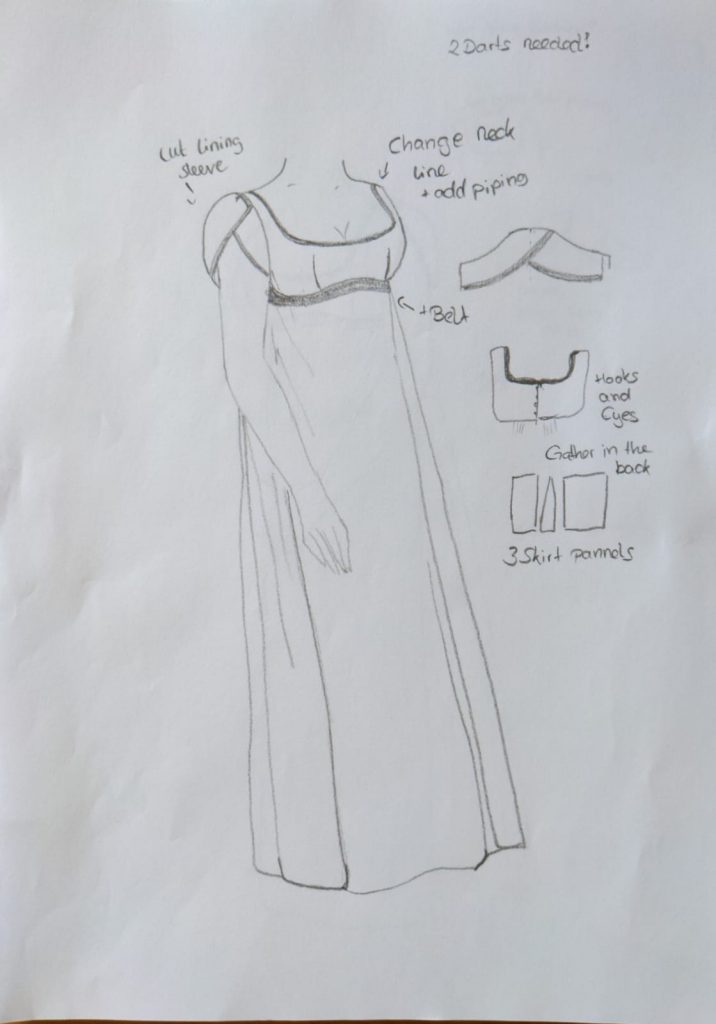
First I made a sketch of how I imagined the dress and wrote down the details. It closes with hook and eye at the back and I’ve added an optional belt, the waistband of the original dress is omitted. The sleeves are given the tulip shape, seen on many dresses in the series. Neckline and sleeves are piped with contrasting fabric for a neat finish.

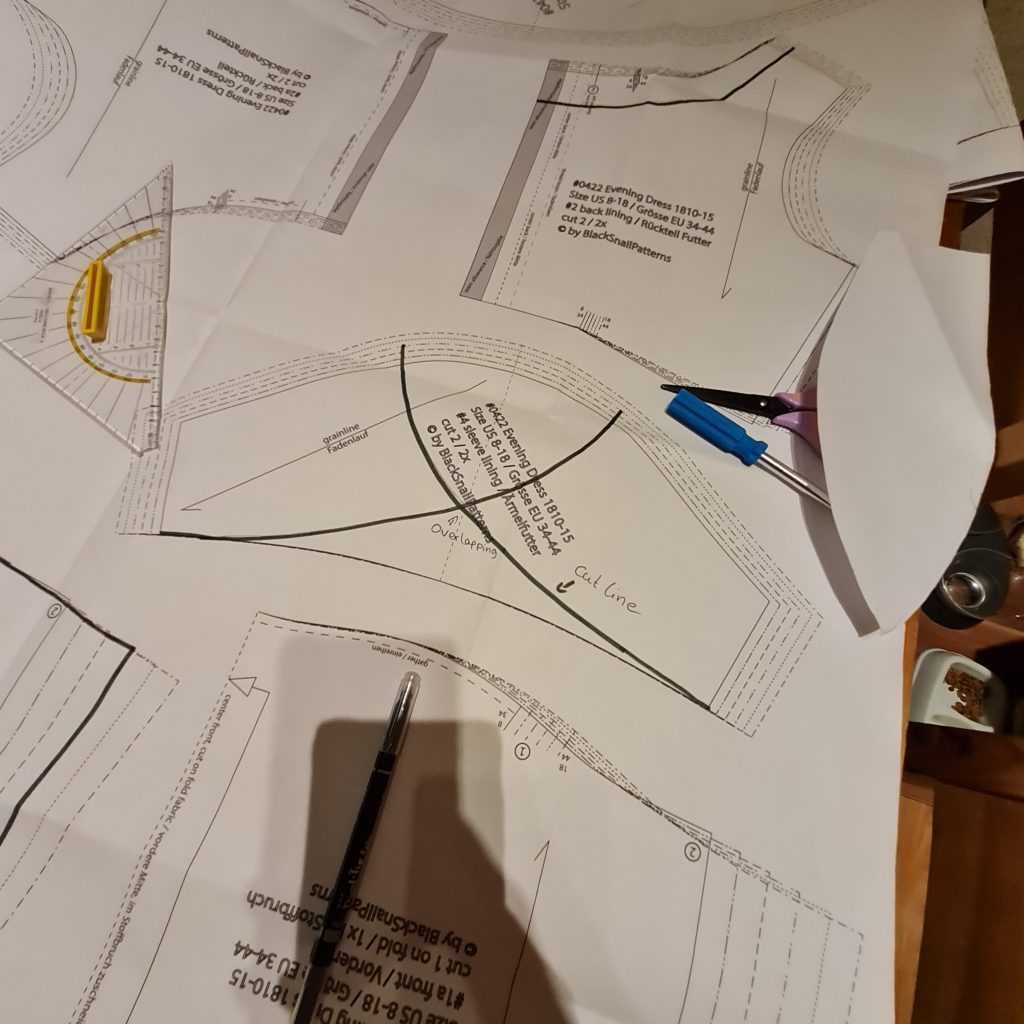
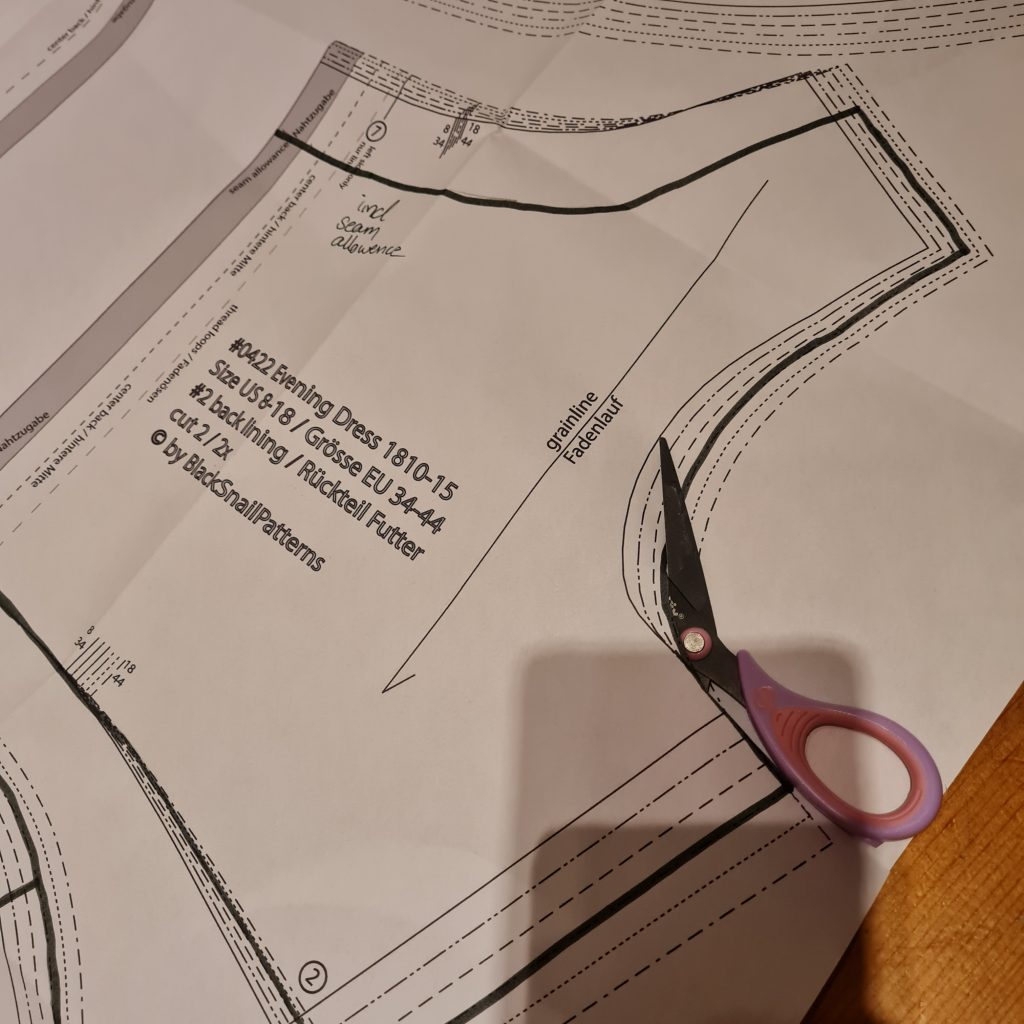
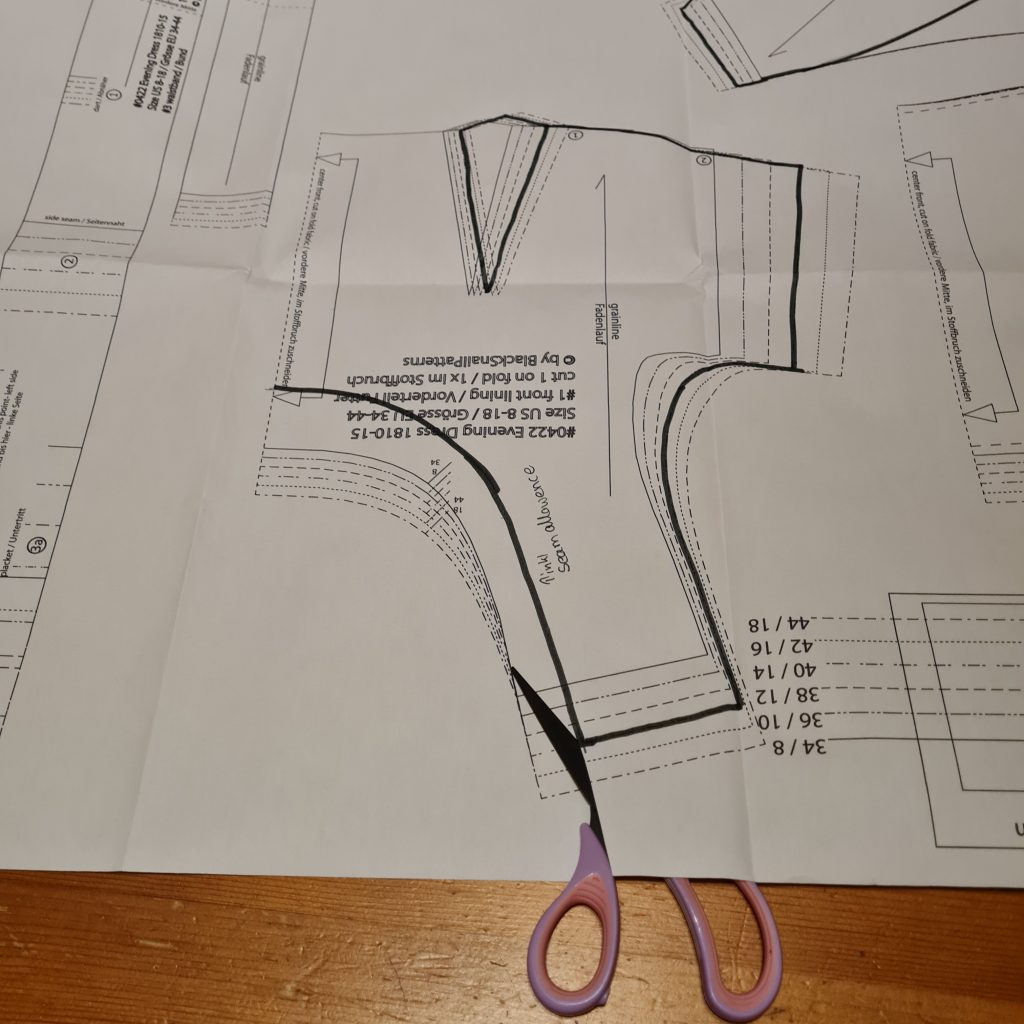
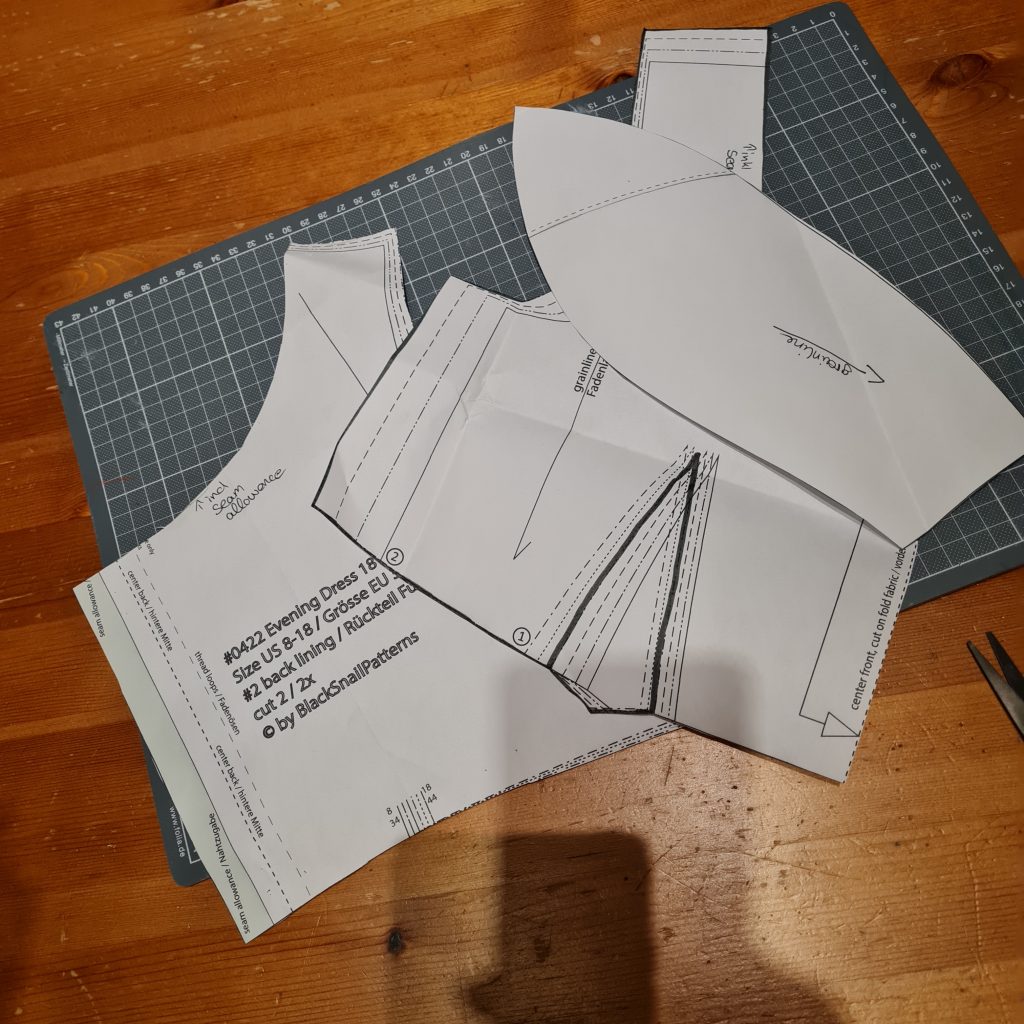
Let’s start with the original pattern and make the necessary changes. I lowered the neckline on the front and back and shaped the sleeve into the tulip shape as shown in the picture, don’t forget to mark the original center line to easily line up the two sleeve pieces later.

Continue reading