A few years ago, I started this waistcoat project for my husband for a visit of the Castle of Delitzsch (Germany). It was summer and I decided to sew the waistcoat completely by hand outdoors, enjoying my garden while sewing. However, the best thing was that I did not forget to make as many pictures of the sewing process as possible. And here we go!
I prepared all pieces from fashion fabric and lining in my sewing room and moved then on my terrace, where I lined up the backs, right sides together, and stitched along the center back seam, starting at the top until reaching the top of the vent. To make a flat felled seam, I trimmed back the seam allowance of the right back to ¼” (5mm) from top to the vent and notched the seam allowance of the left back to fold over the trimmed back seam allowance of the right back. Without an iron available in the garden, I folded the edges with the nail of my thumb. I felled down the edge with small stitches, barely visible on the right fabric side.
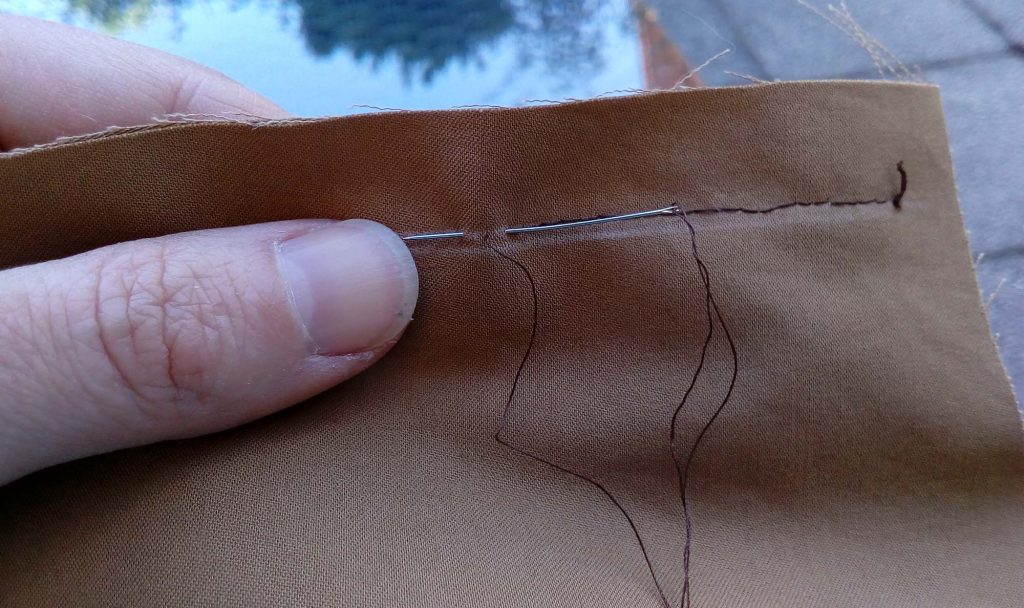
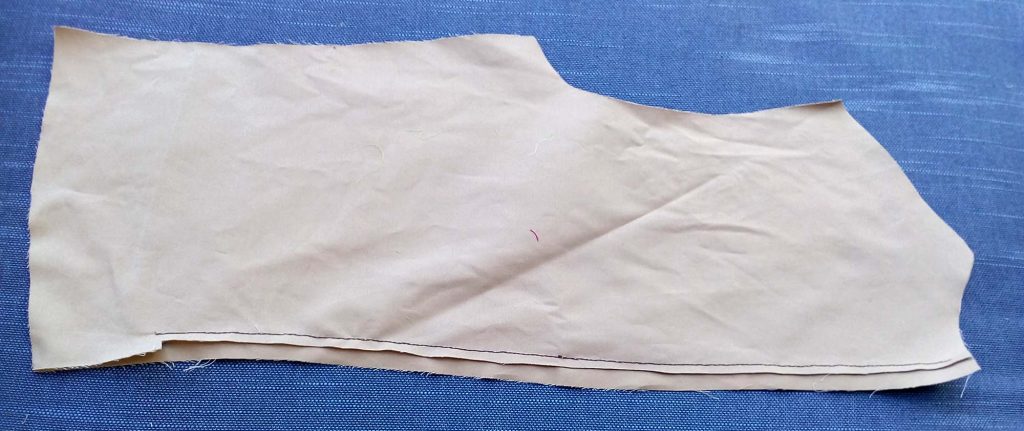
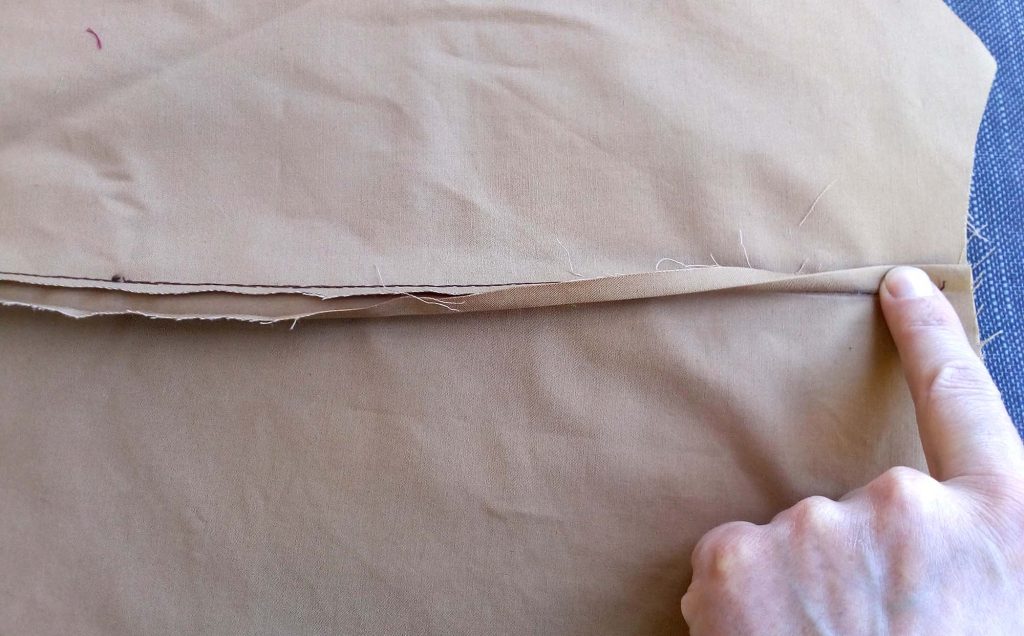
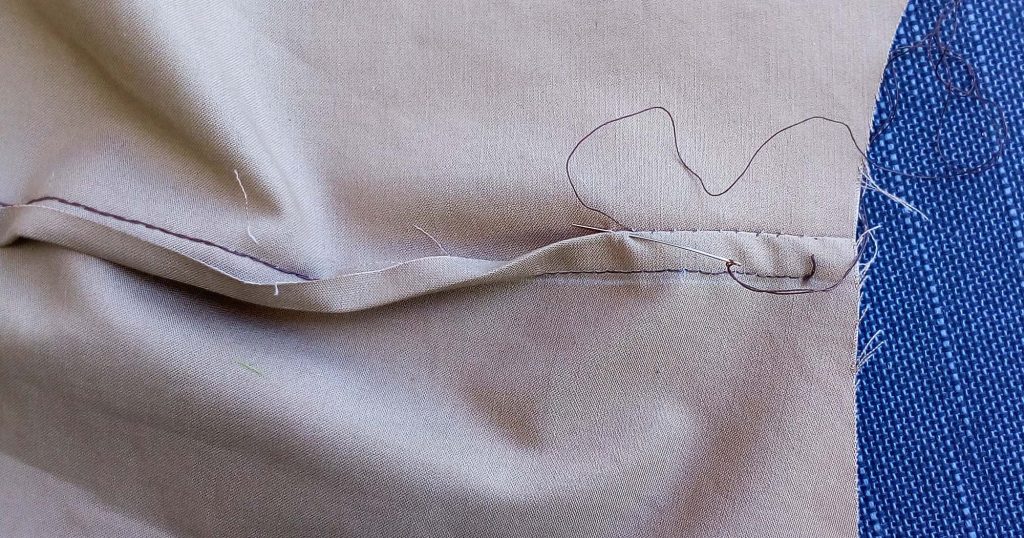
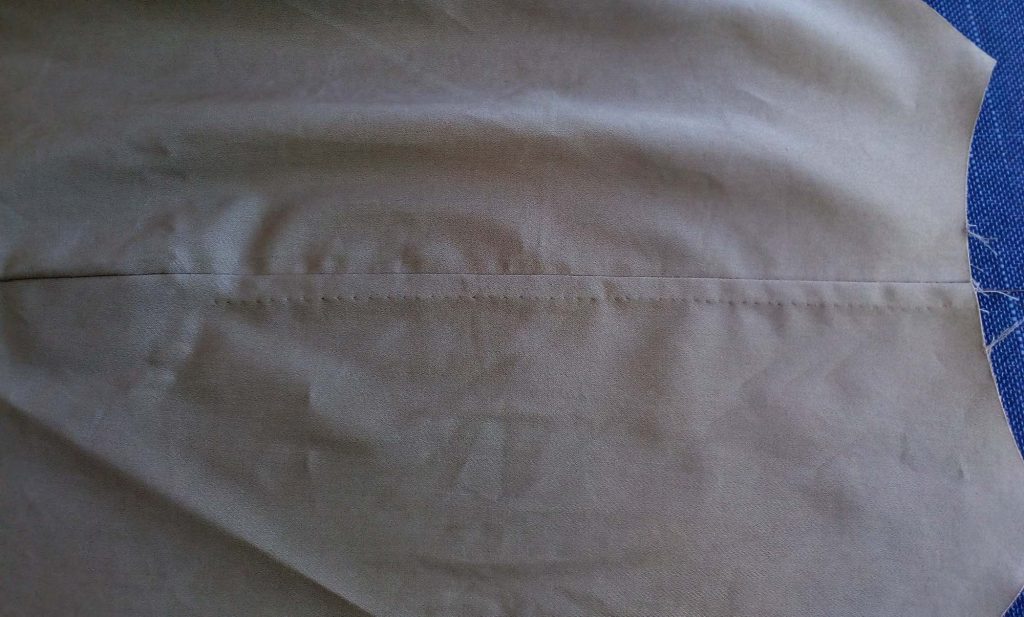
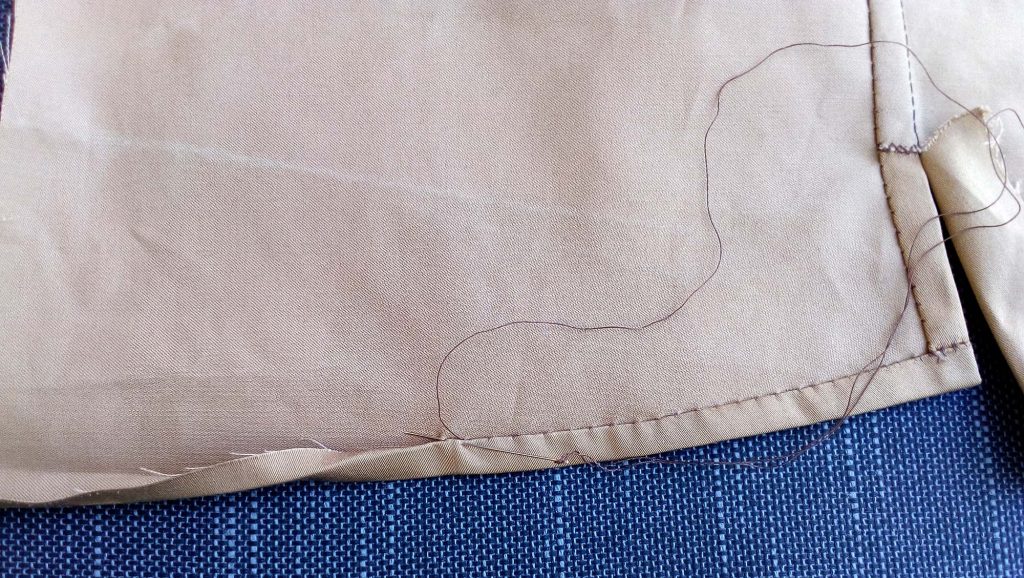
Along the vent and hem I double turned the seam allowance to the wrong side, folded the edges with my thumbnail and felled down the edge the same way as I did before sewing the flat felled seam along the center back.
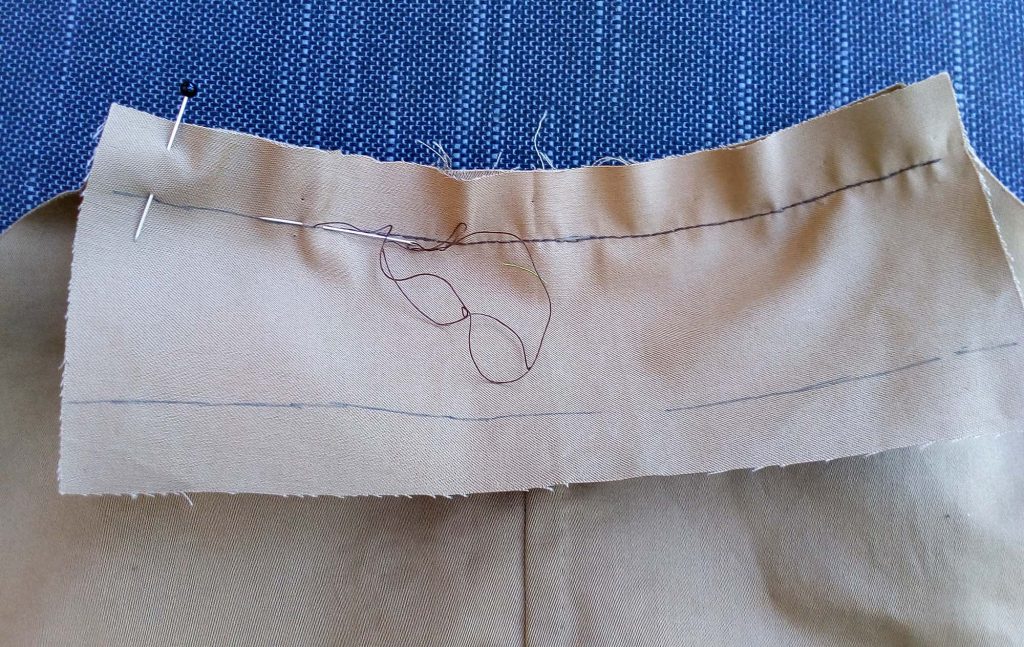
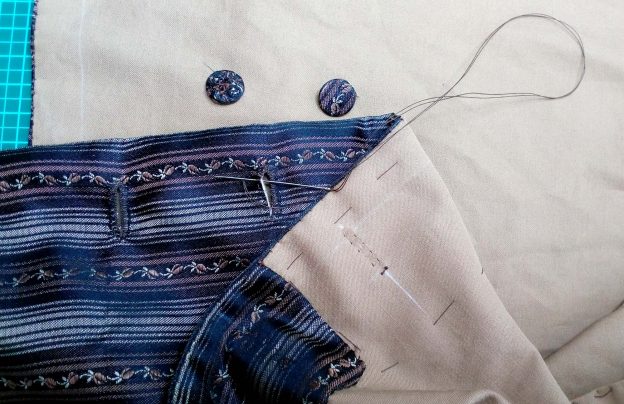
Here you can see the outside collar sewed to the back with a back stitch, right sides together along the marked stitching line.
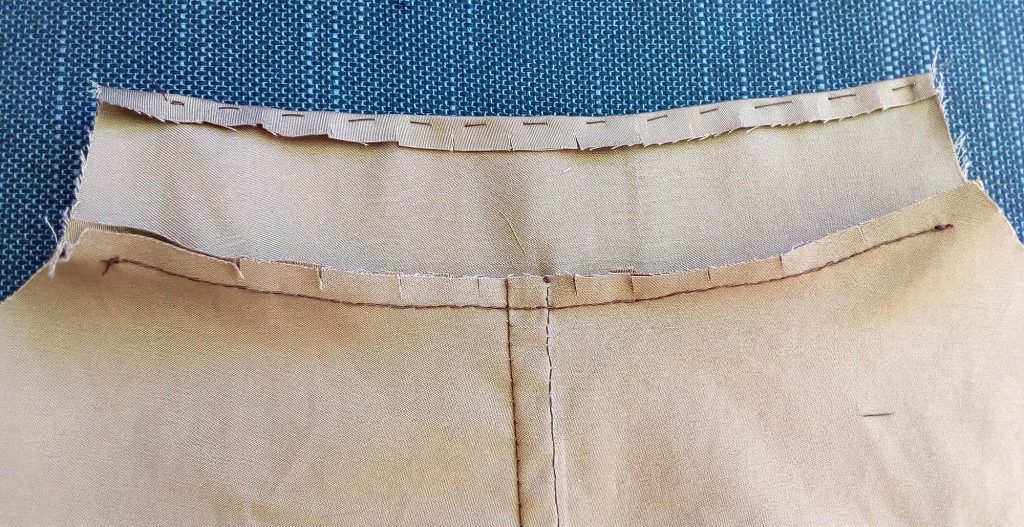
And here the trimed back the seam allowances pressed towards the collar and the seam allowance along the top edge turned in and basted to hold in place.

Anstelle eines Bügeleisens nehme ich immer ein Falzbein, wie es die Buchbinder oder Sattler verwenden, um den Stoffbruch ” flach zu bügeln”.
Dieses Werkzeug gehört in jedes Nähkästchen, denn man kann damit auch prima Kragenecken u.ä .wenden.
Ich bin selbst mit der Devise groß geworden :” Gut gebügelt ist halb genäht!” ,aber wenn das nicht geht, ist so ein Stück Knochen die beste Alternative.
LG Petra
Danke für den super Hinweis!