

Part 1 – Steps (1) to (5)
Part 2 – Steps (6) to (10)
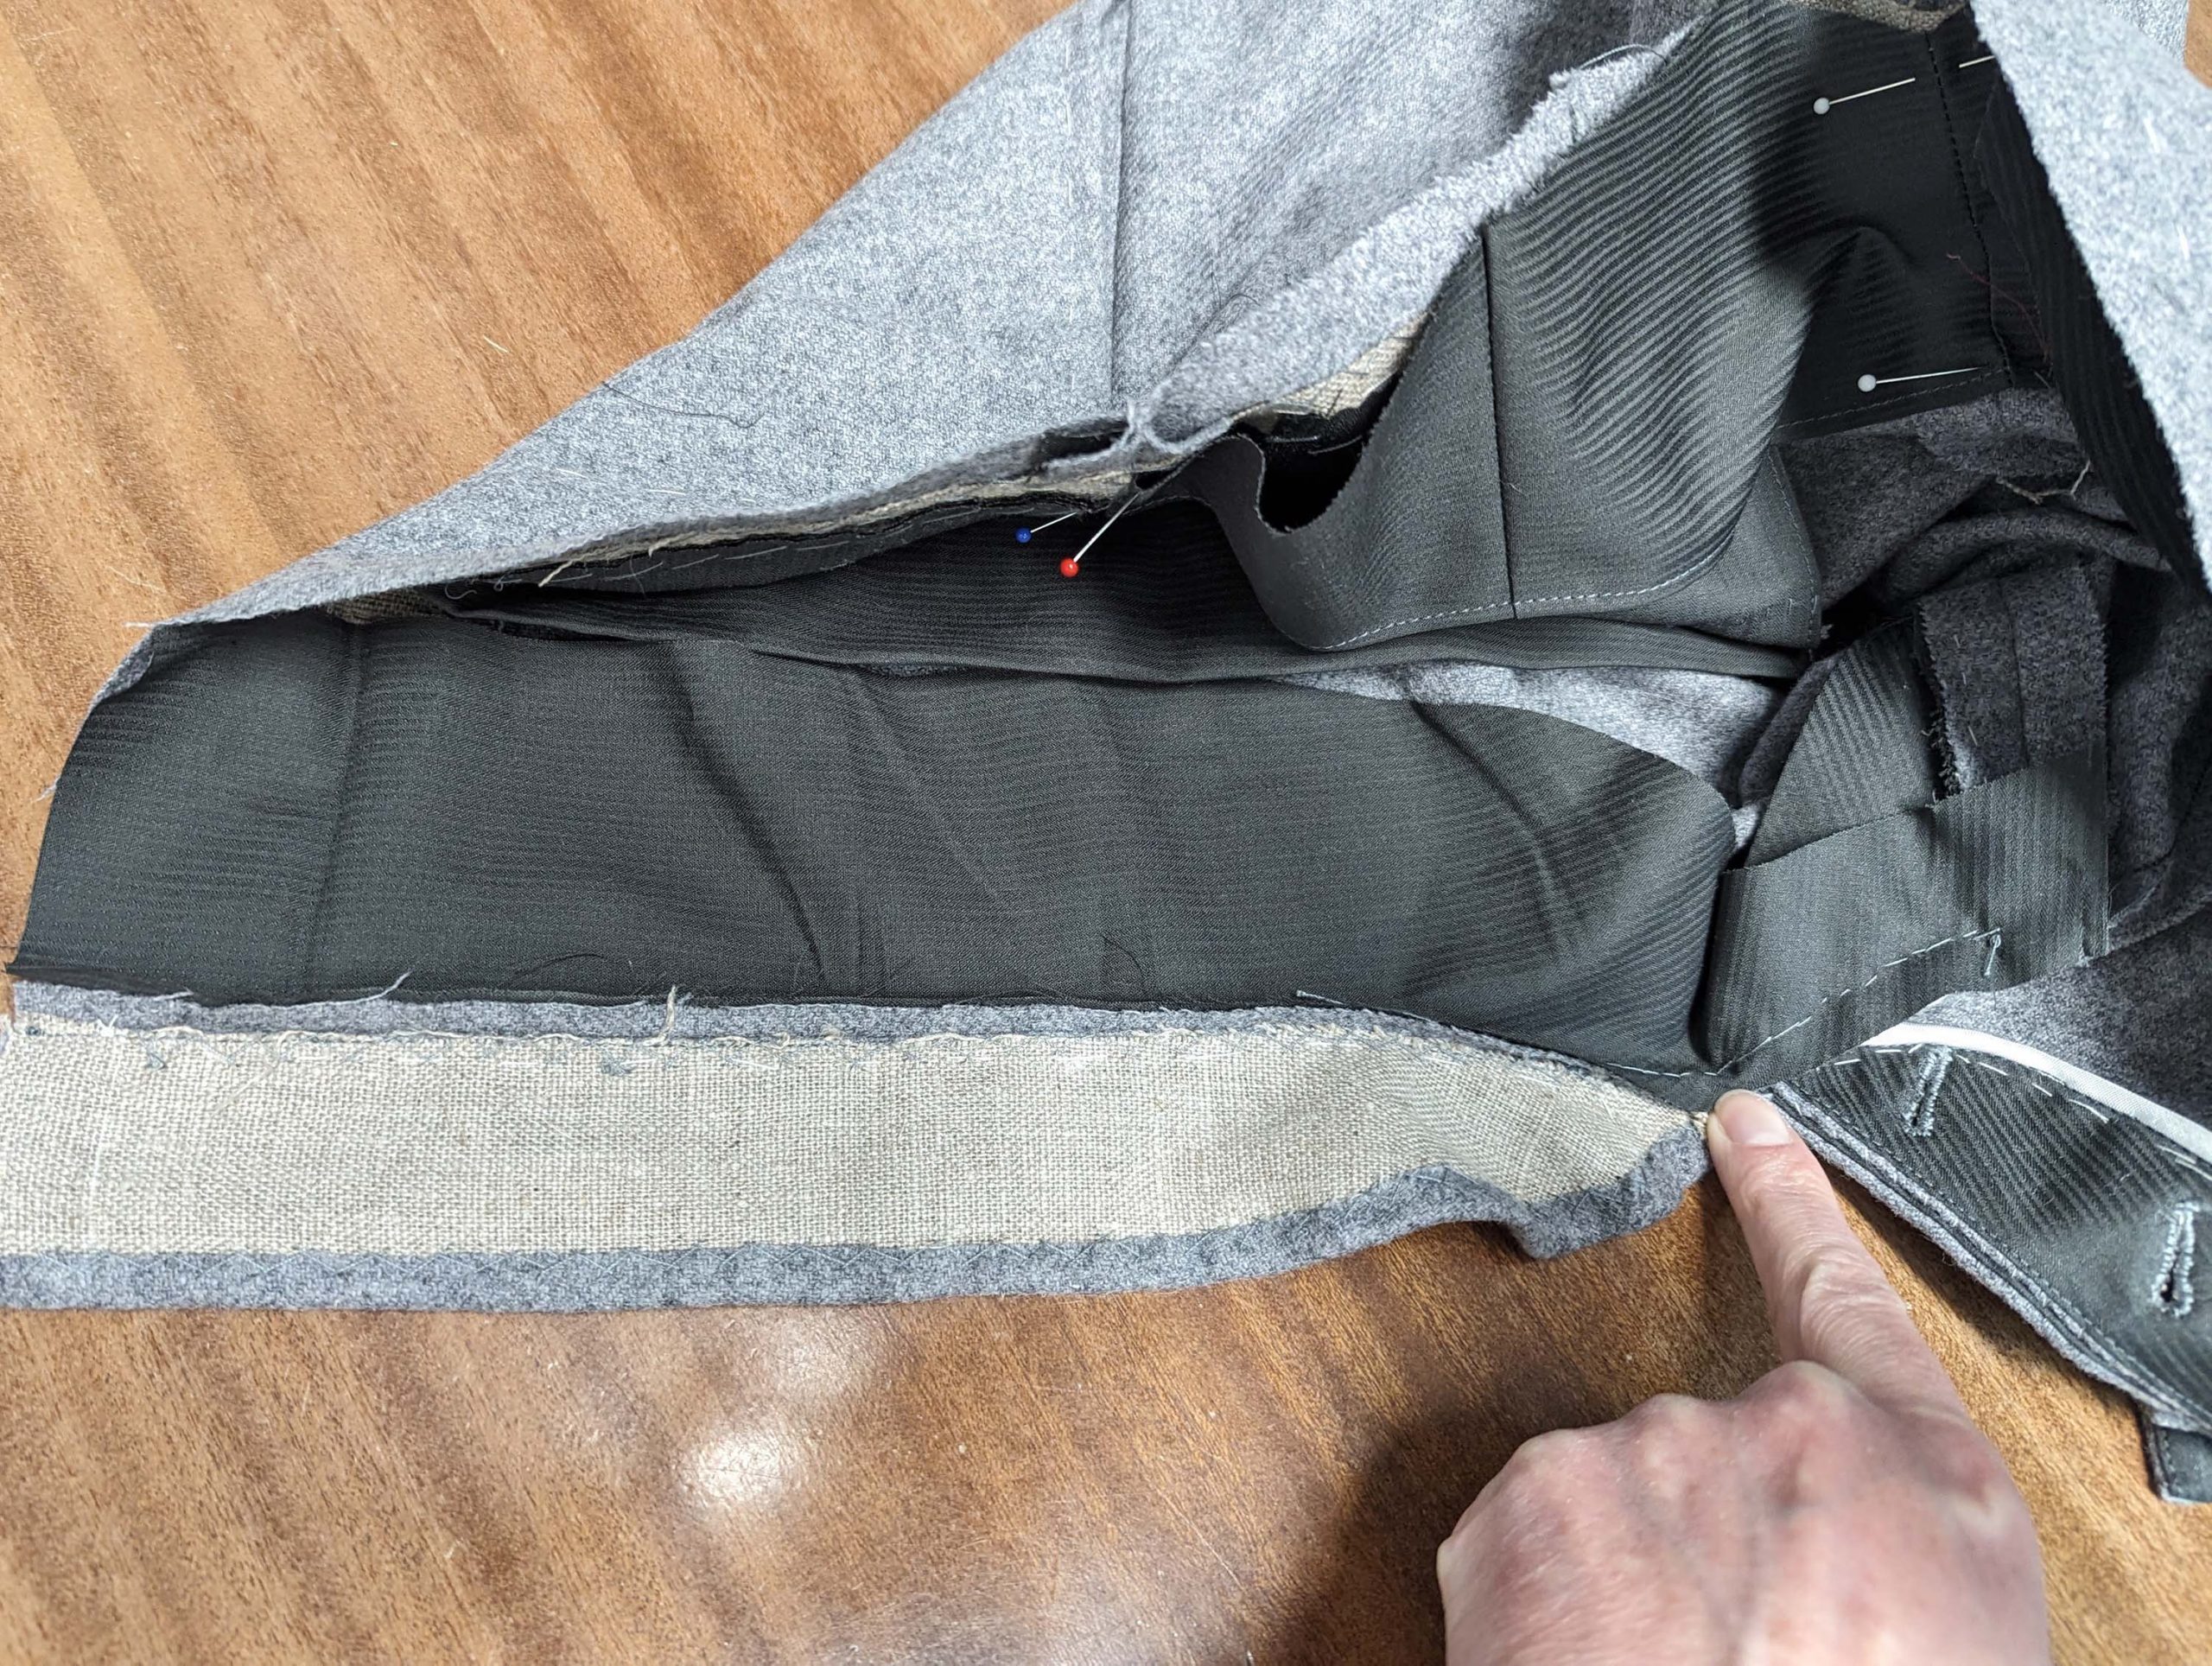
(11) Turn the left leg the wrong way out. Insert the right leg into the left one, right sides together, and line up along the crotch seam. Sew the crotch seam by hand, using a buttonhole thread or at least a double thread, starting at the center back and stopping exactly at mark (3) – don´t catch the waistband interfacing at the center back. Turn the right way out and press open the seam allowances. Trim back the seam allowances from point (3) to the inner leg seam to about ¼” (7mm). Stitch the seam allowances of the left topside to the fly placket.
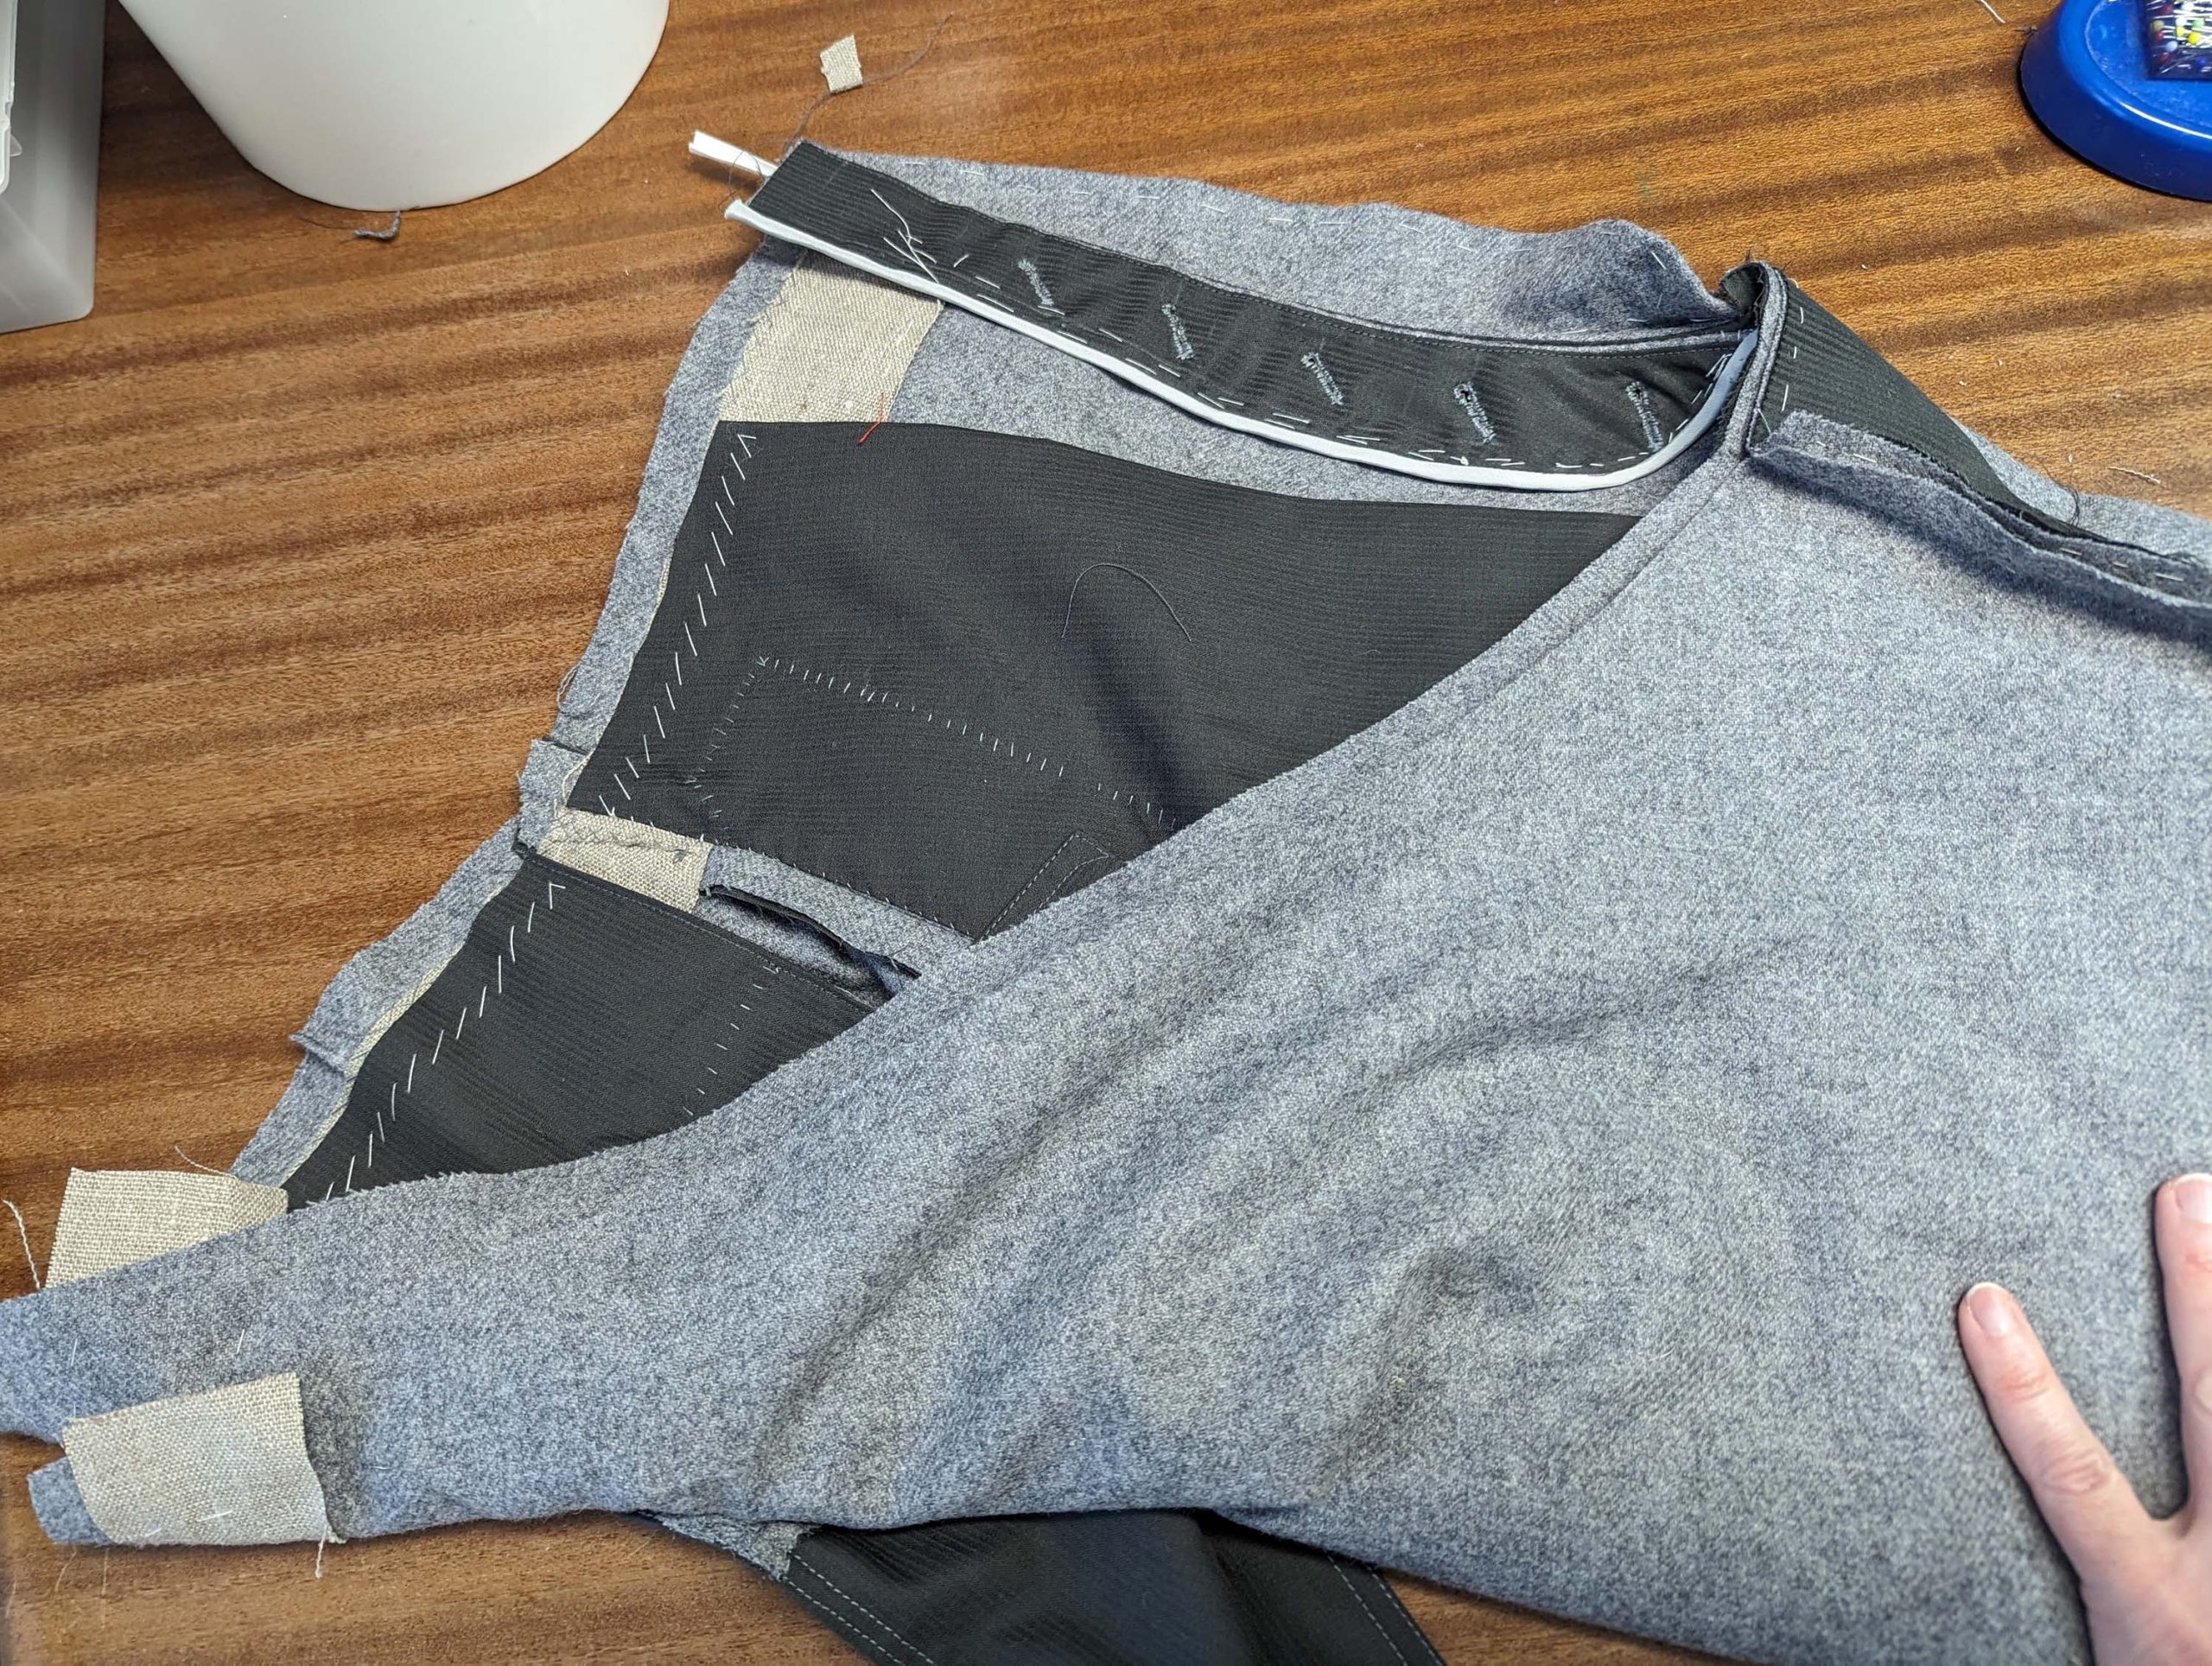

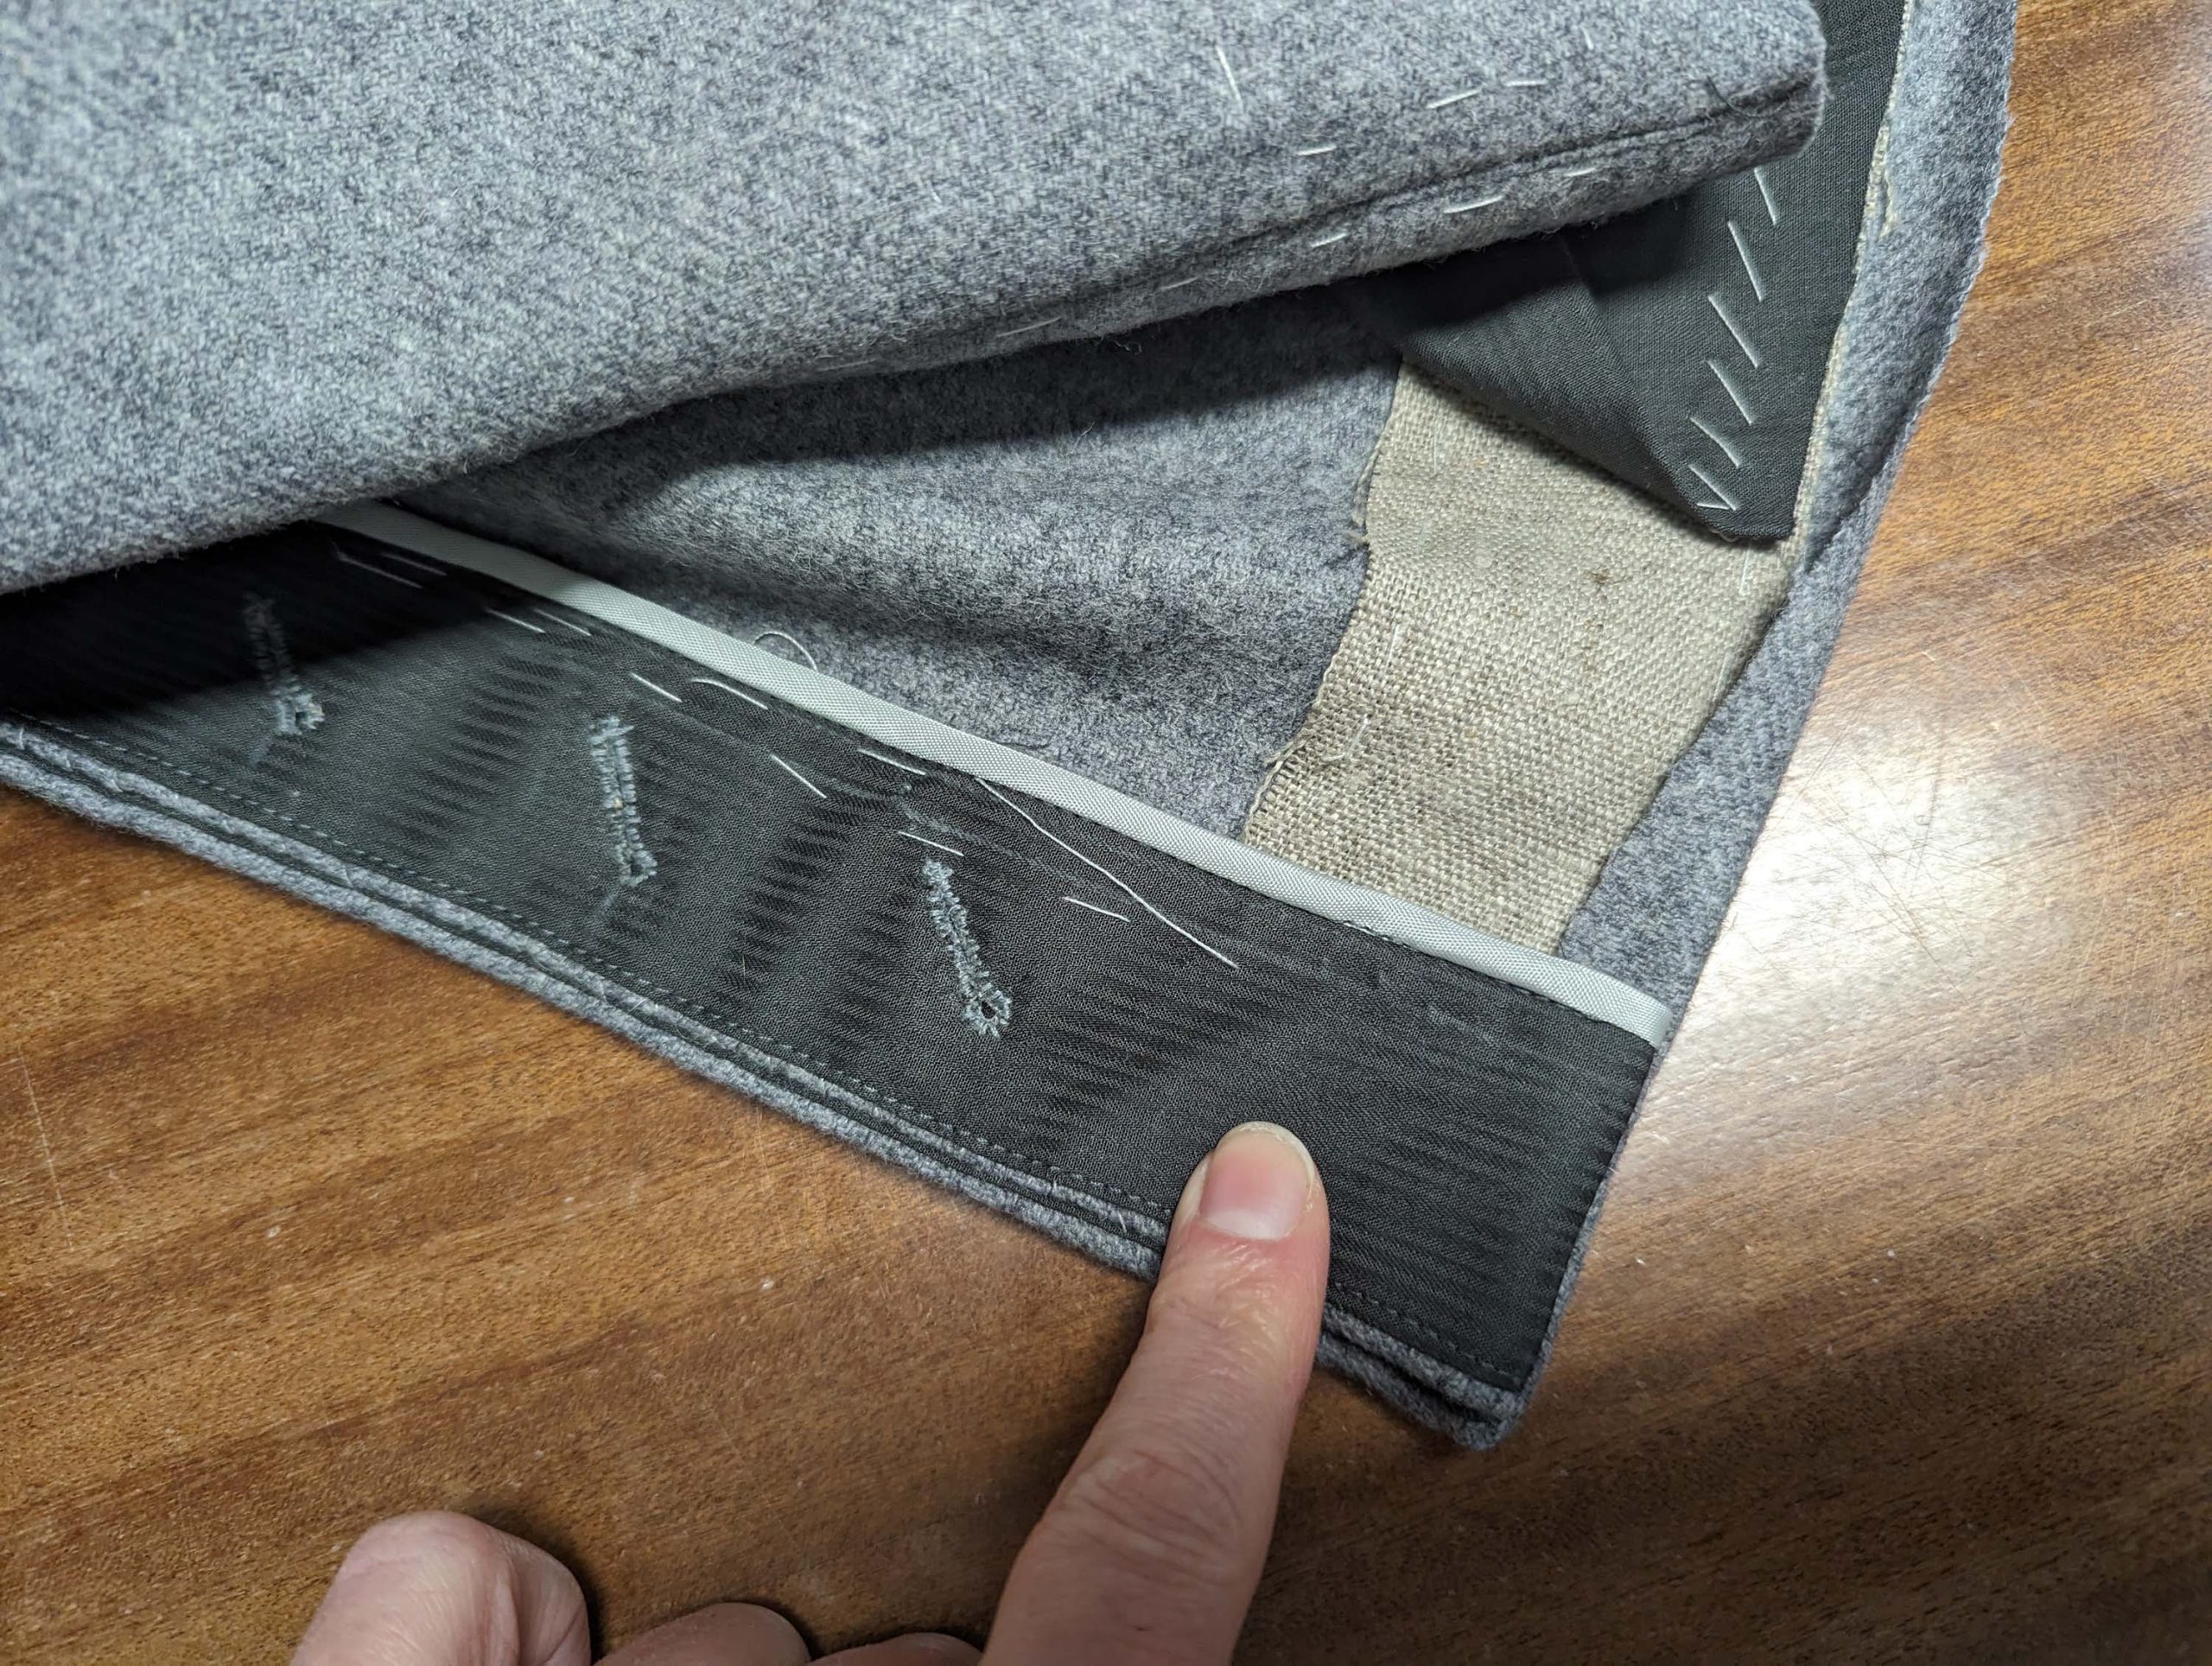
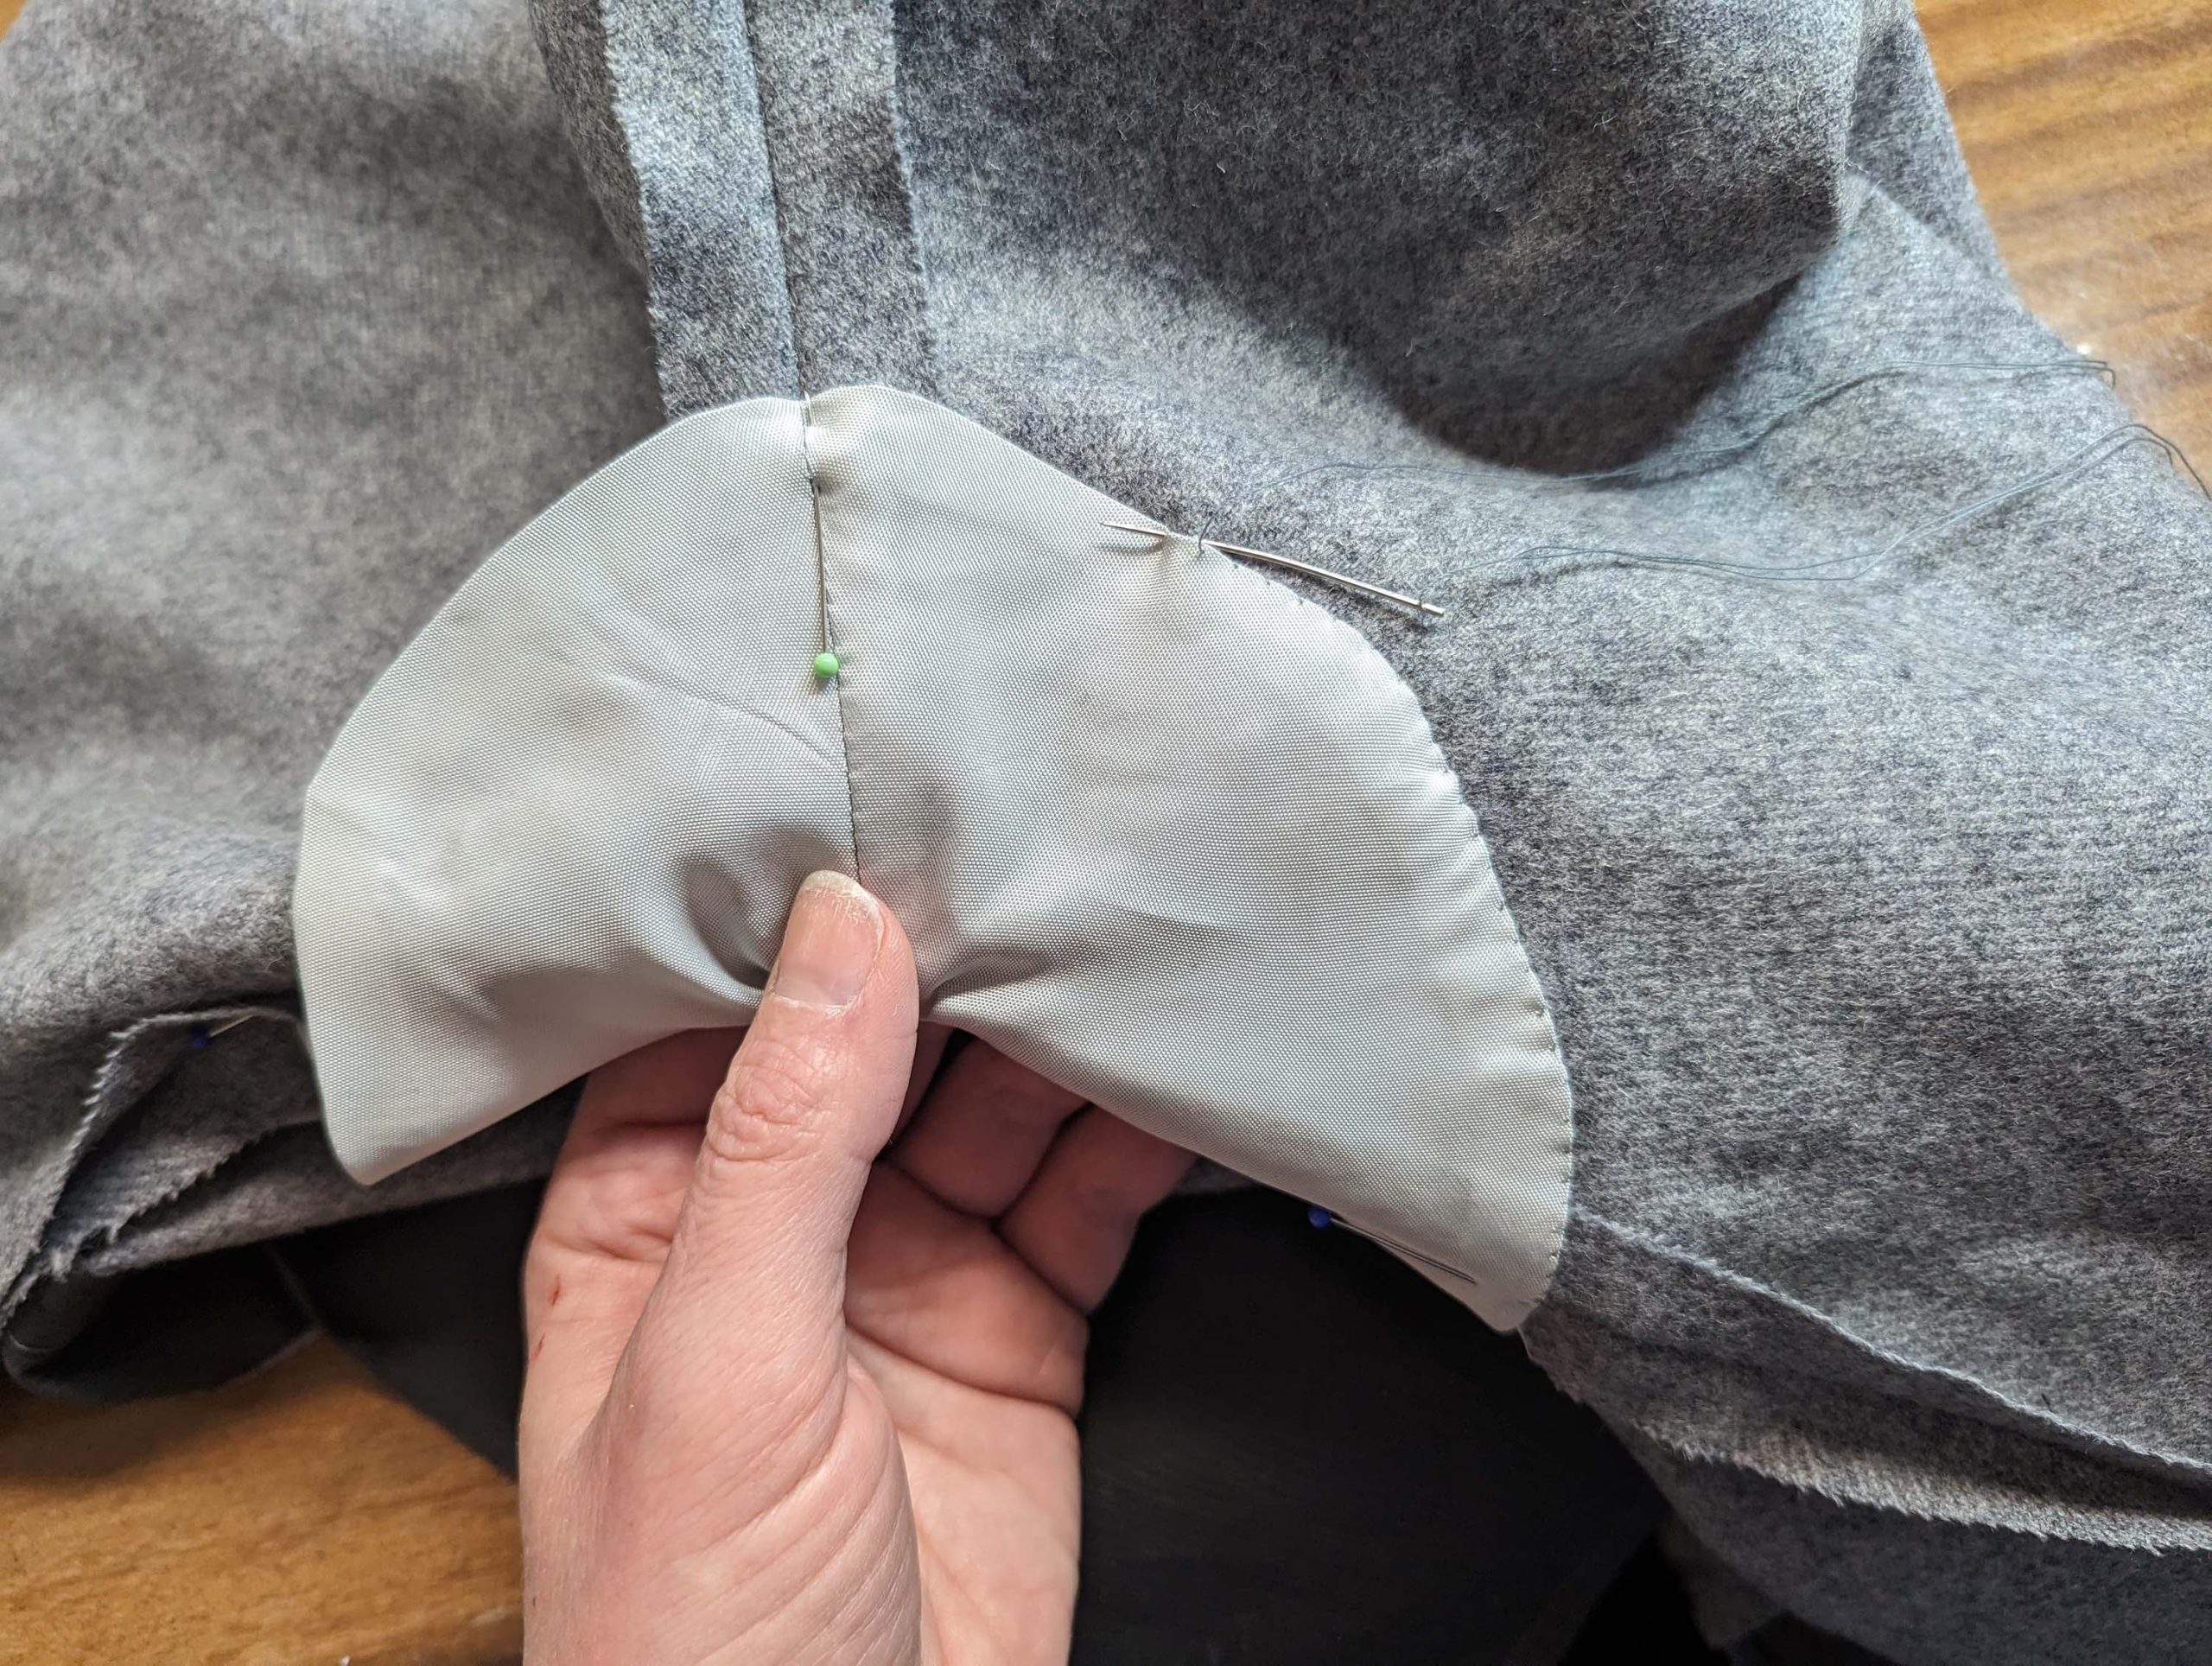
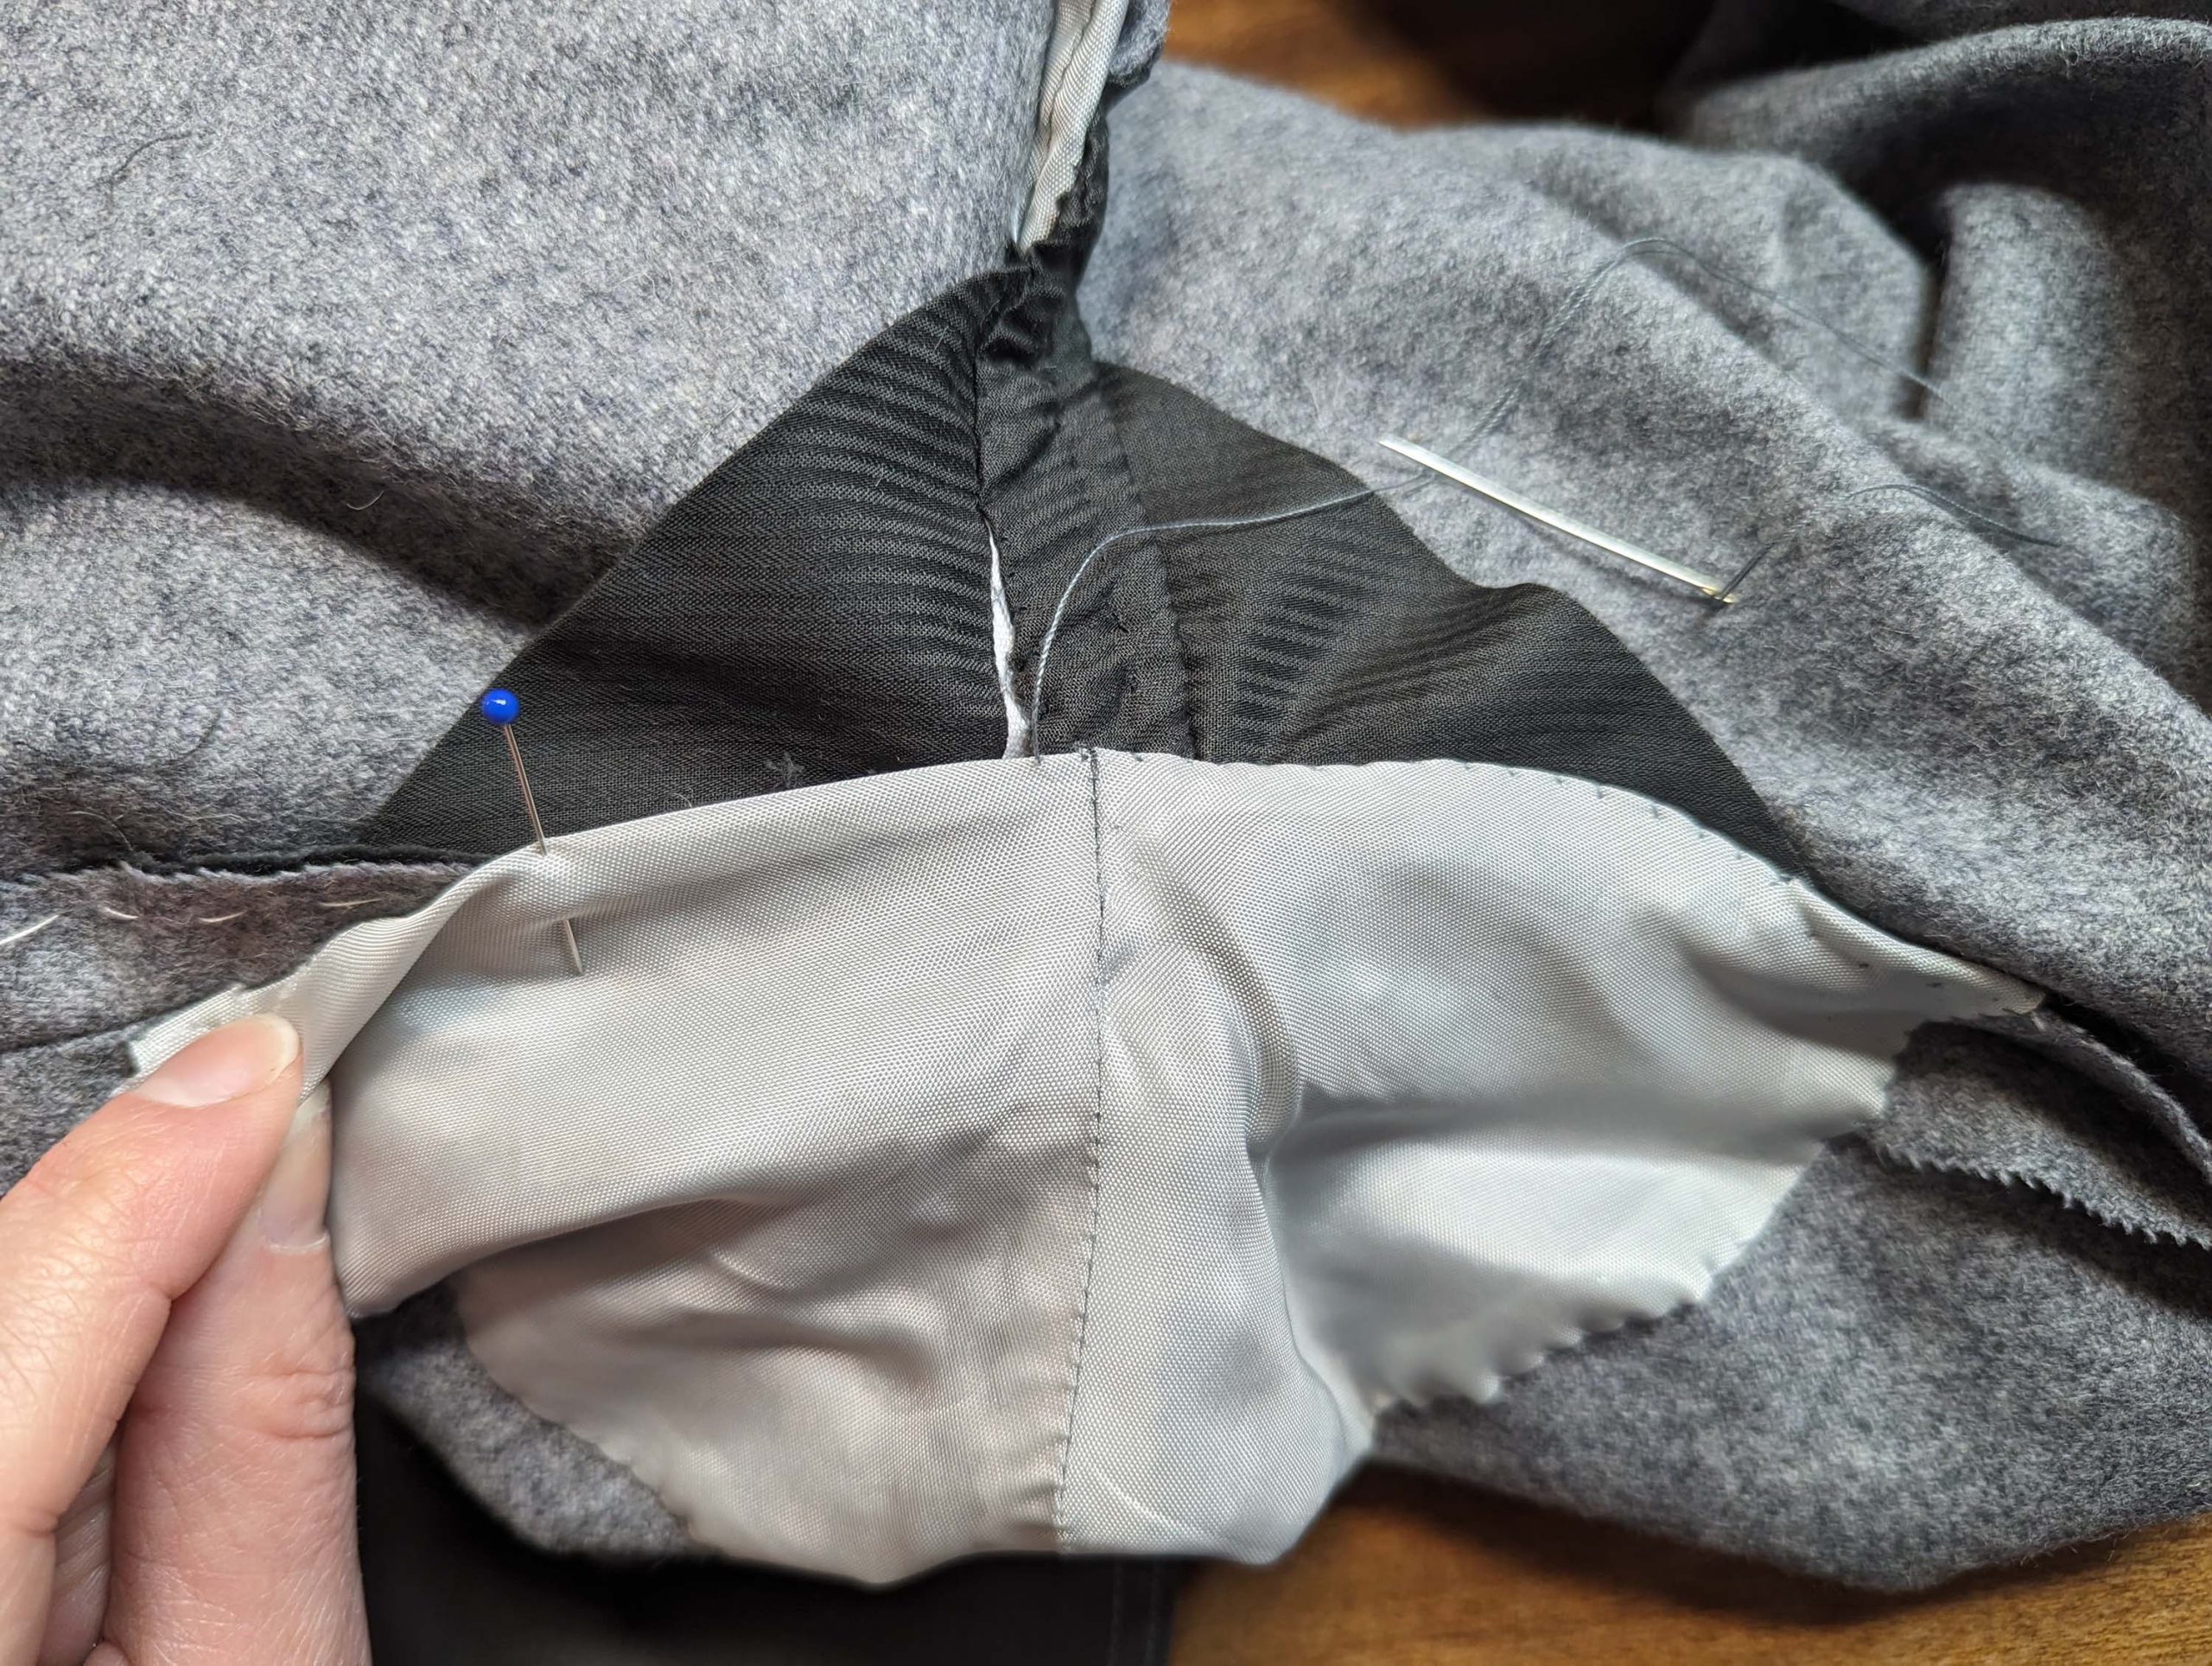
At first glimpse, lining the fly-shield seems a bit complicated, maybe the pictures here will bring more clarity. Fold the shield towards the topside, right sides together, and line up the lining with the seam allowance of the topside, the right side of the lining faces the wrong side of the fashion fabric. Sew in the ditch, starting at the top, until reaching the inner leg seam. Fold the lining around the seam allowances and again, stitch in the ditch.
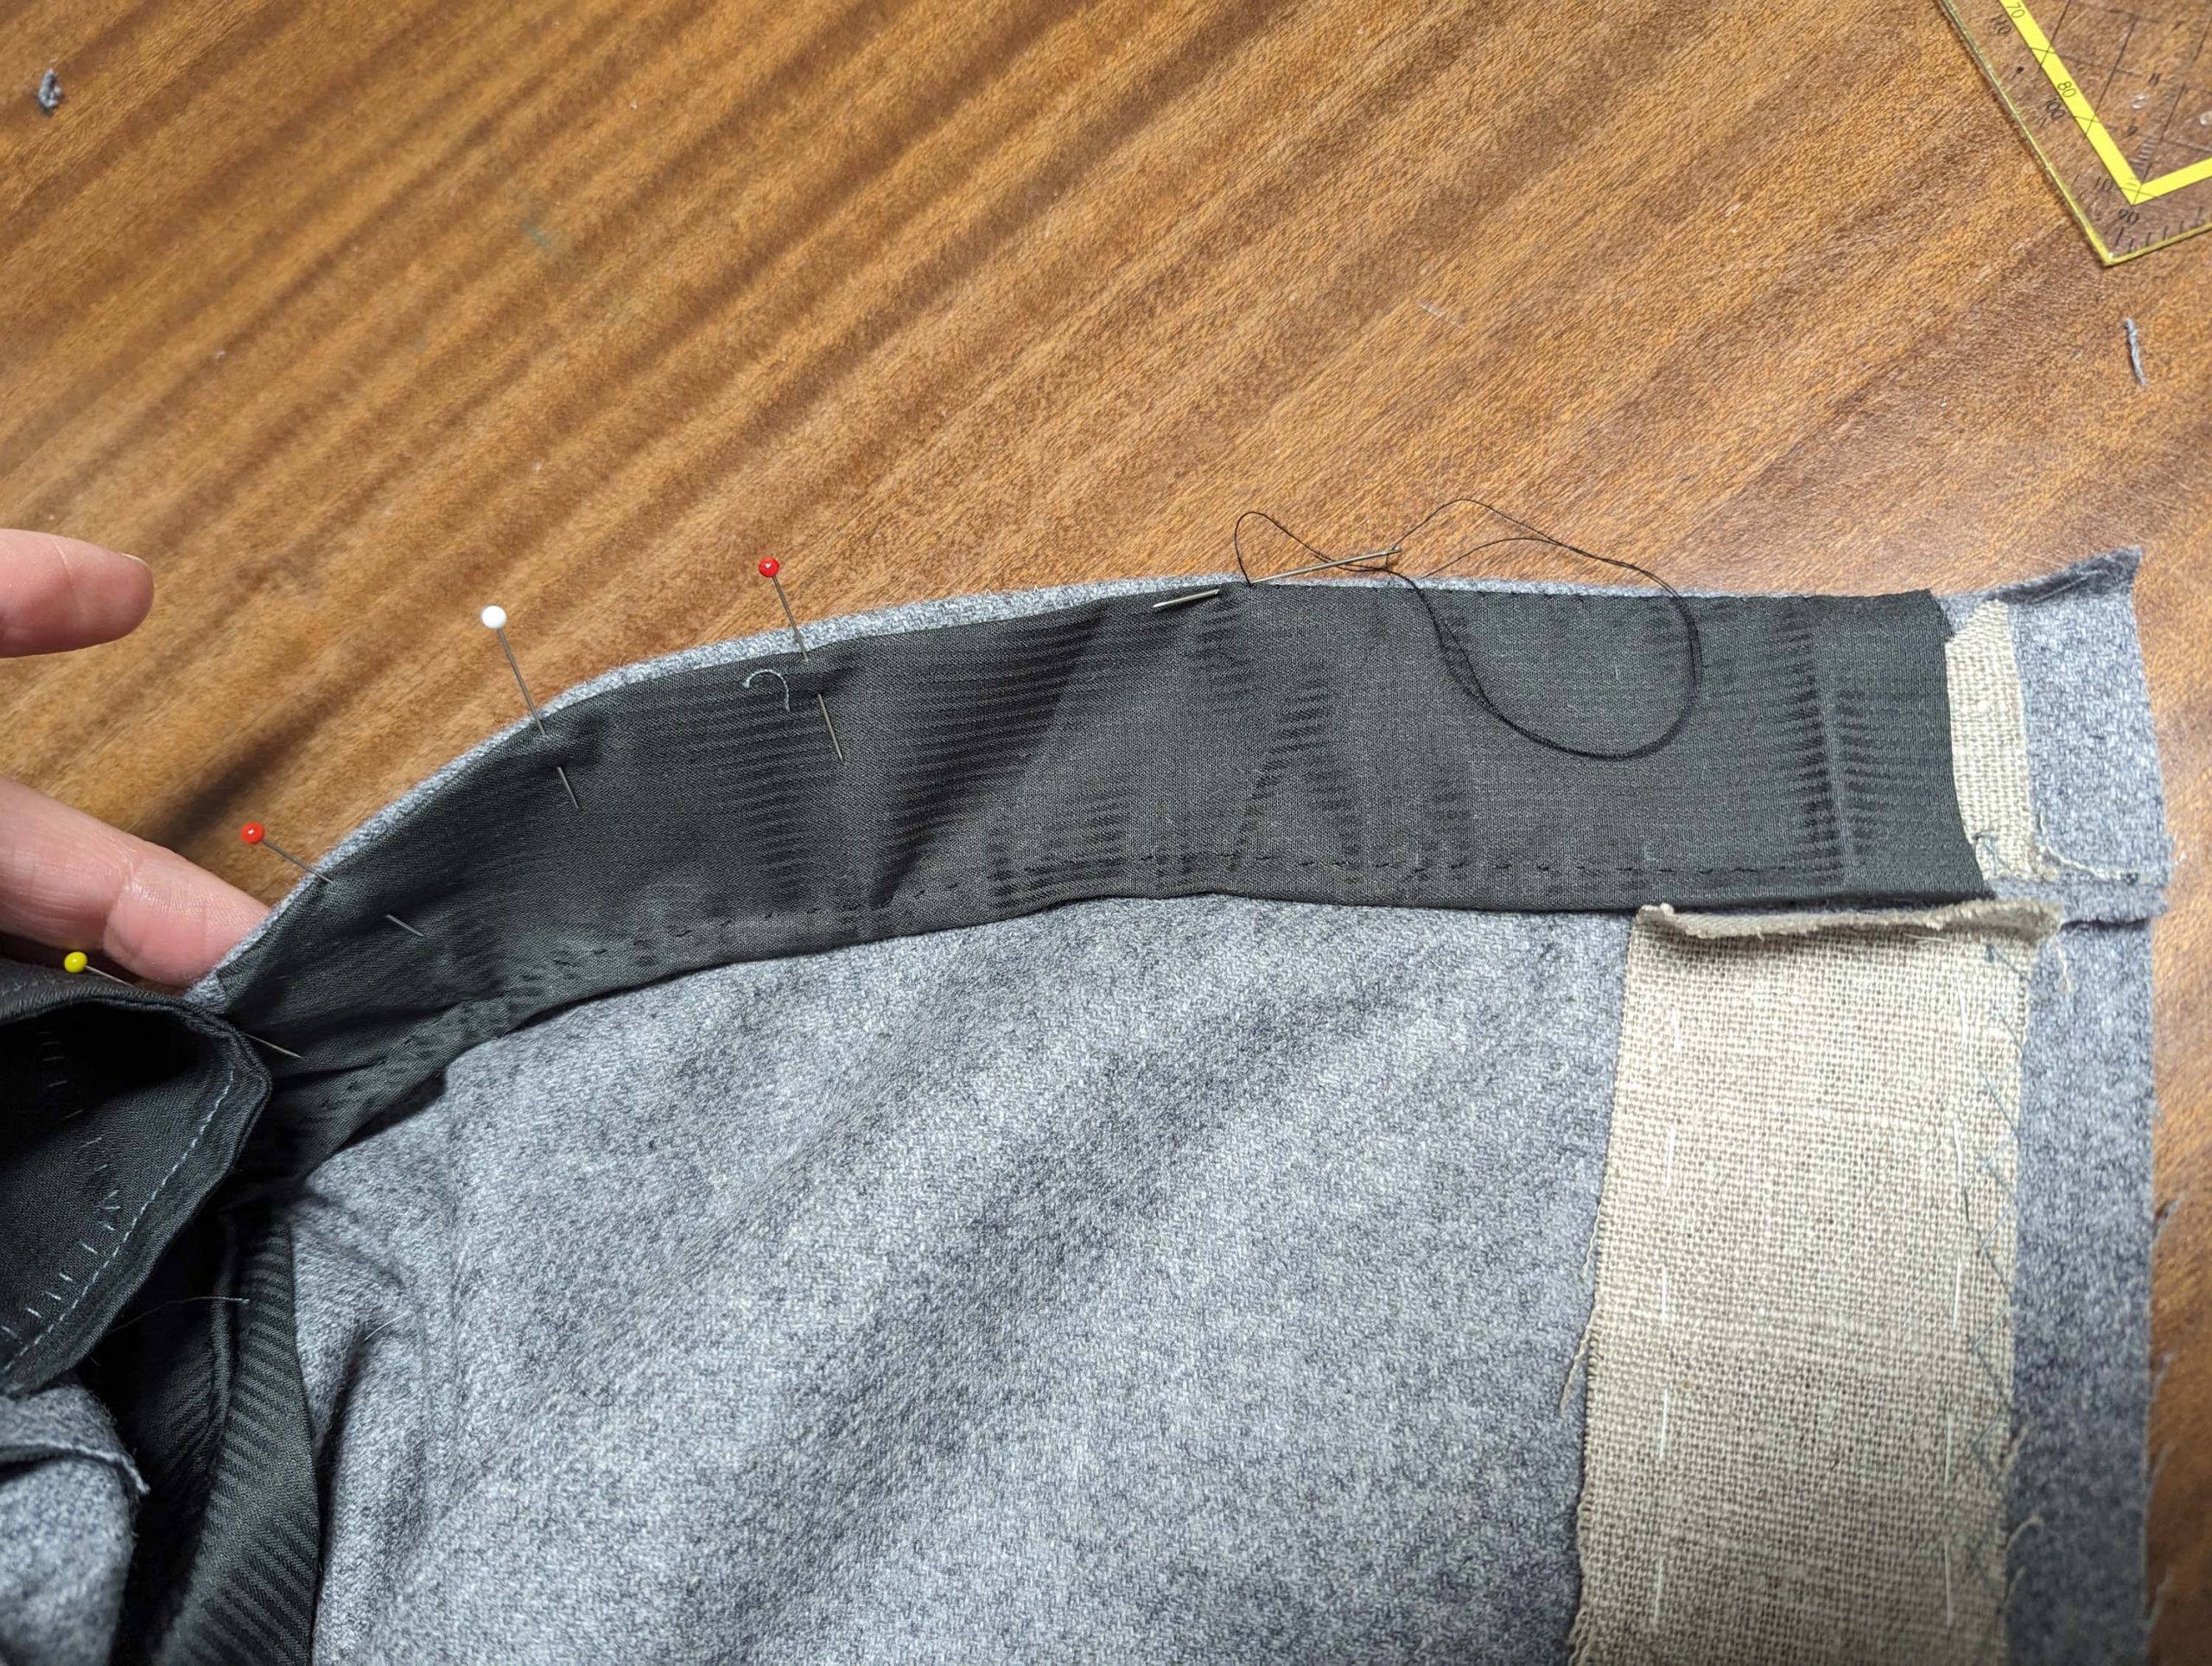
Smooth out the lining over the fly-shield and turn in the seam allowance along the side edge, trim back if needed. When reaching the bottom of the shield, lead the lining towards the inner leg seam, covering the raw seam allowances of the crotch. Fell stitch in place. My lining was a bit too narrow at the bottom, so the tape is showing.


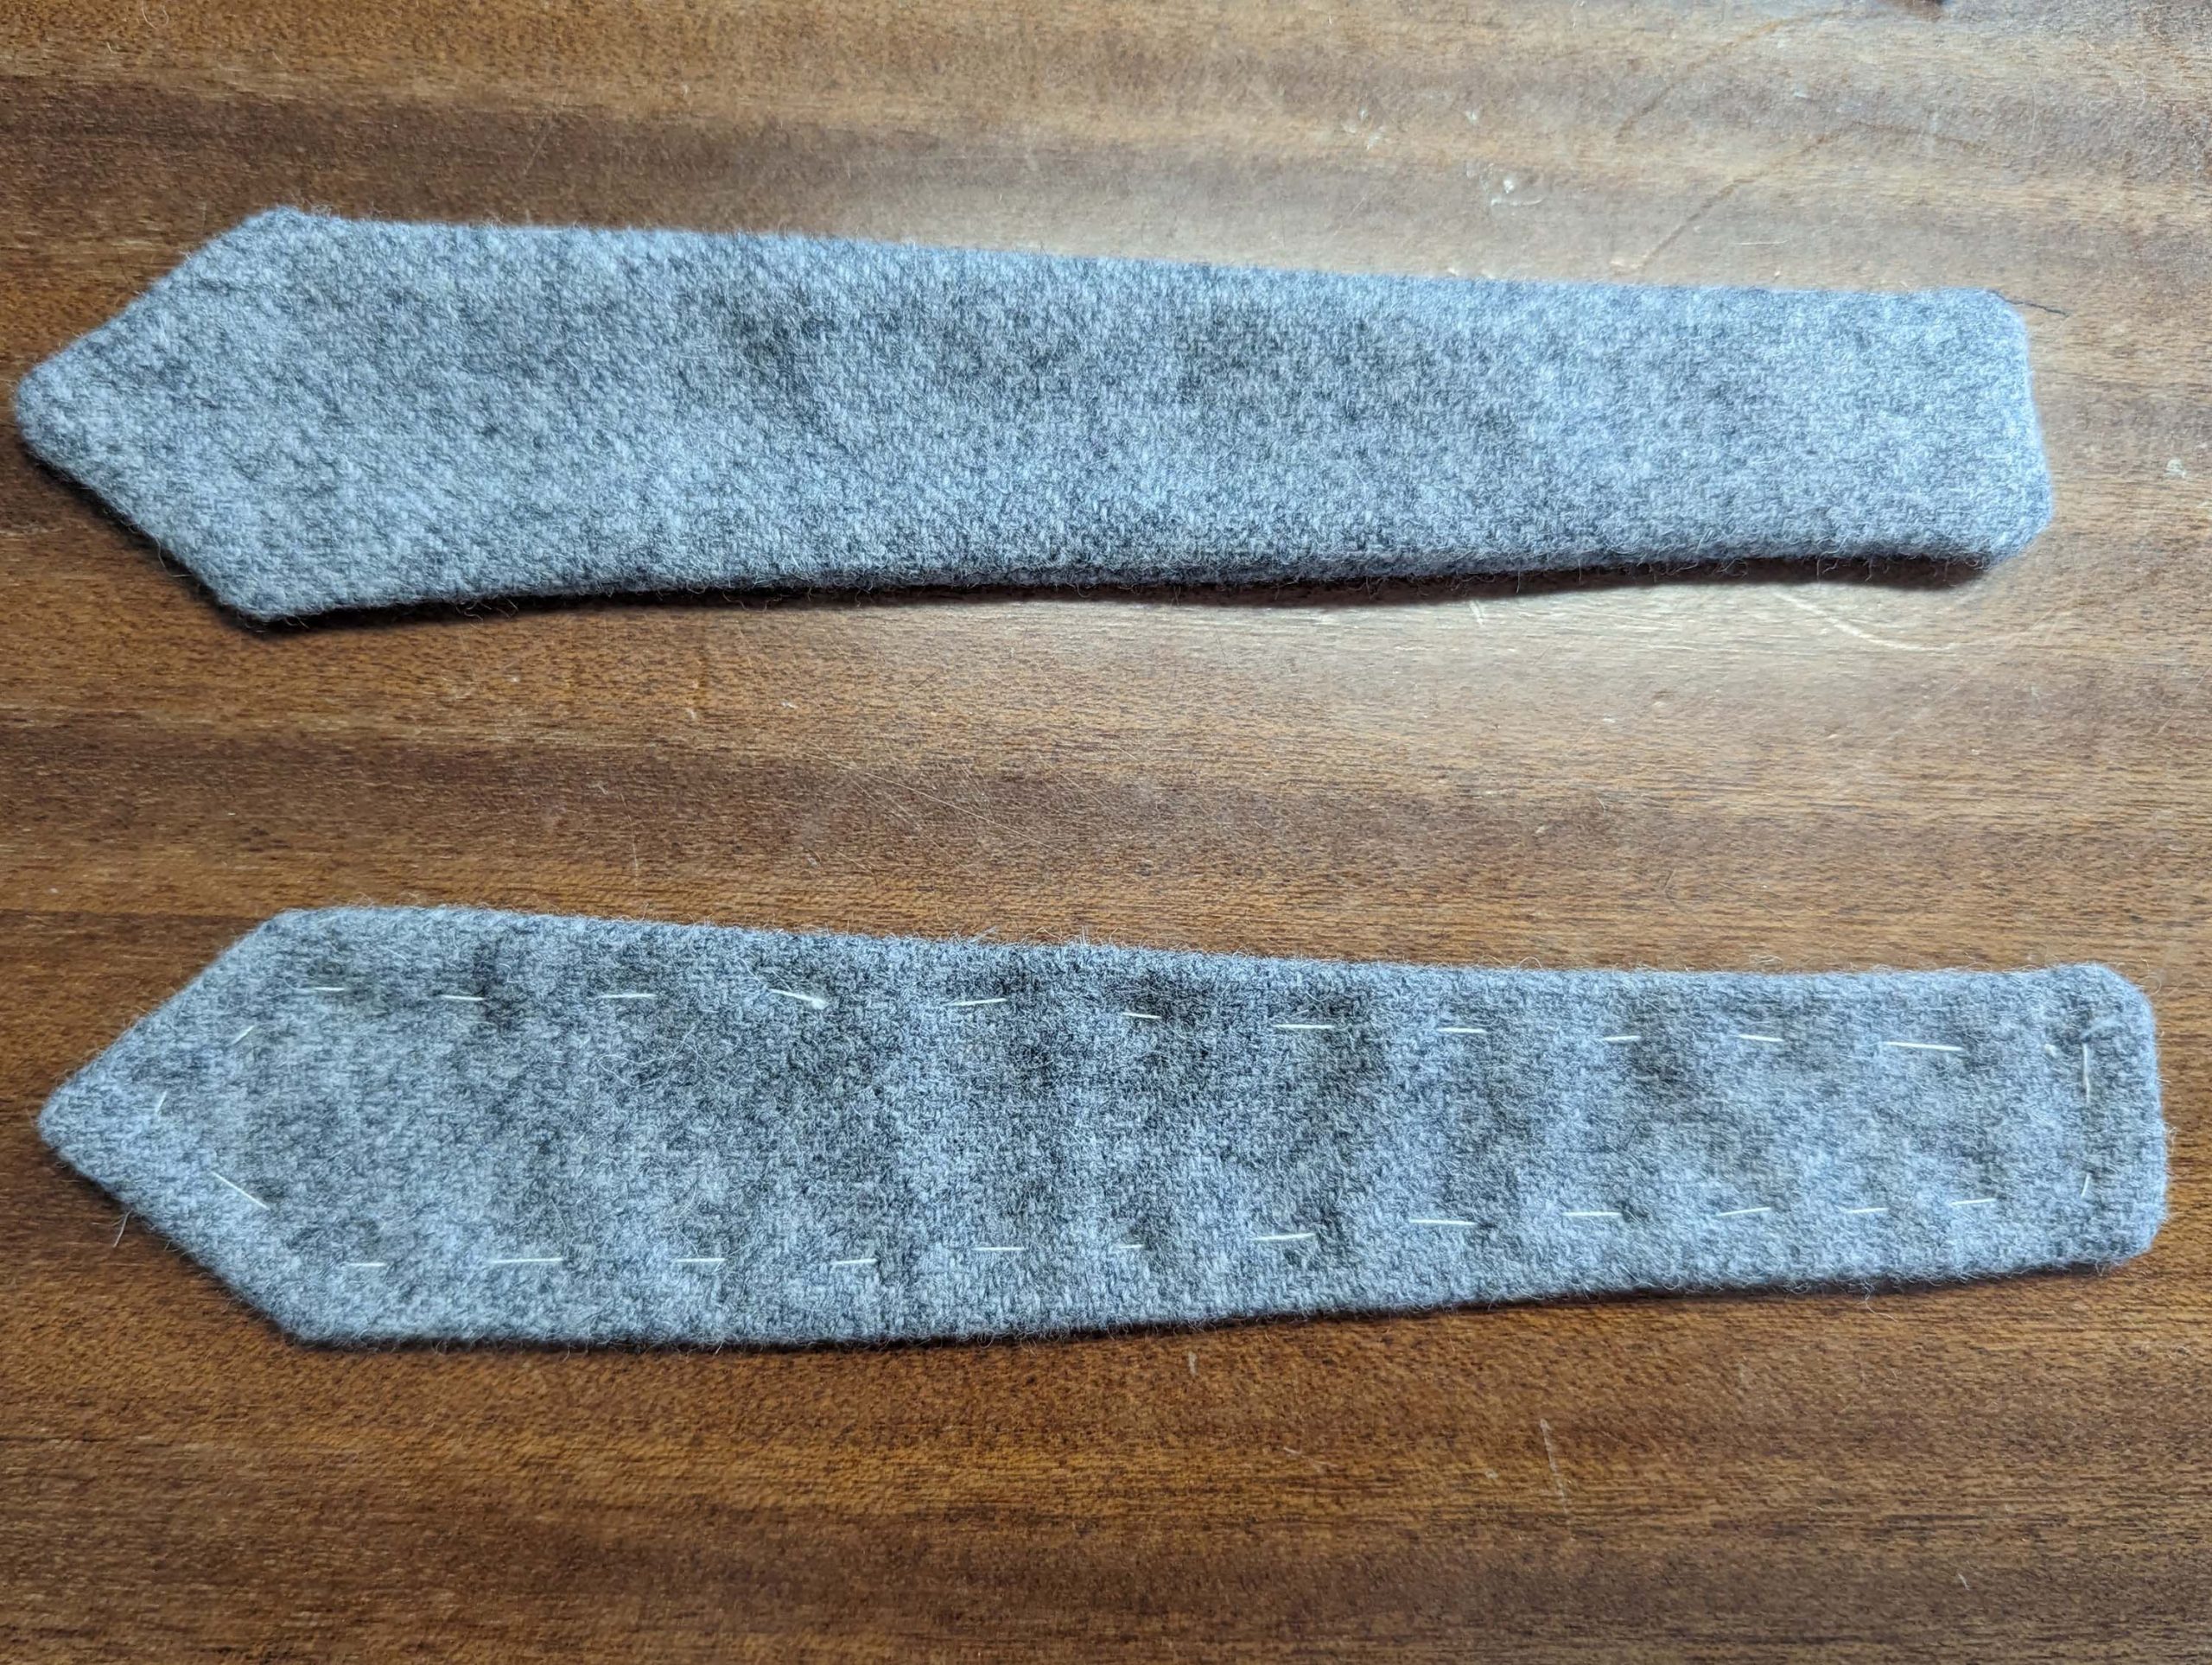
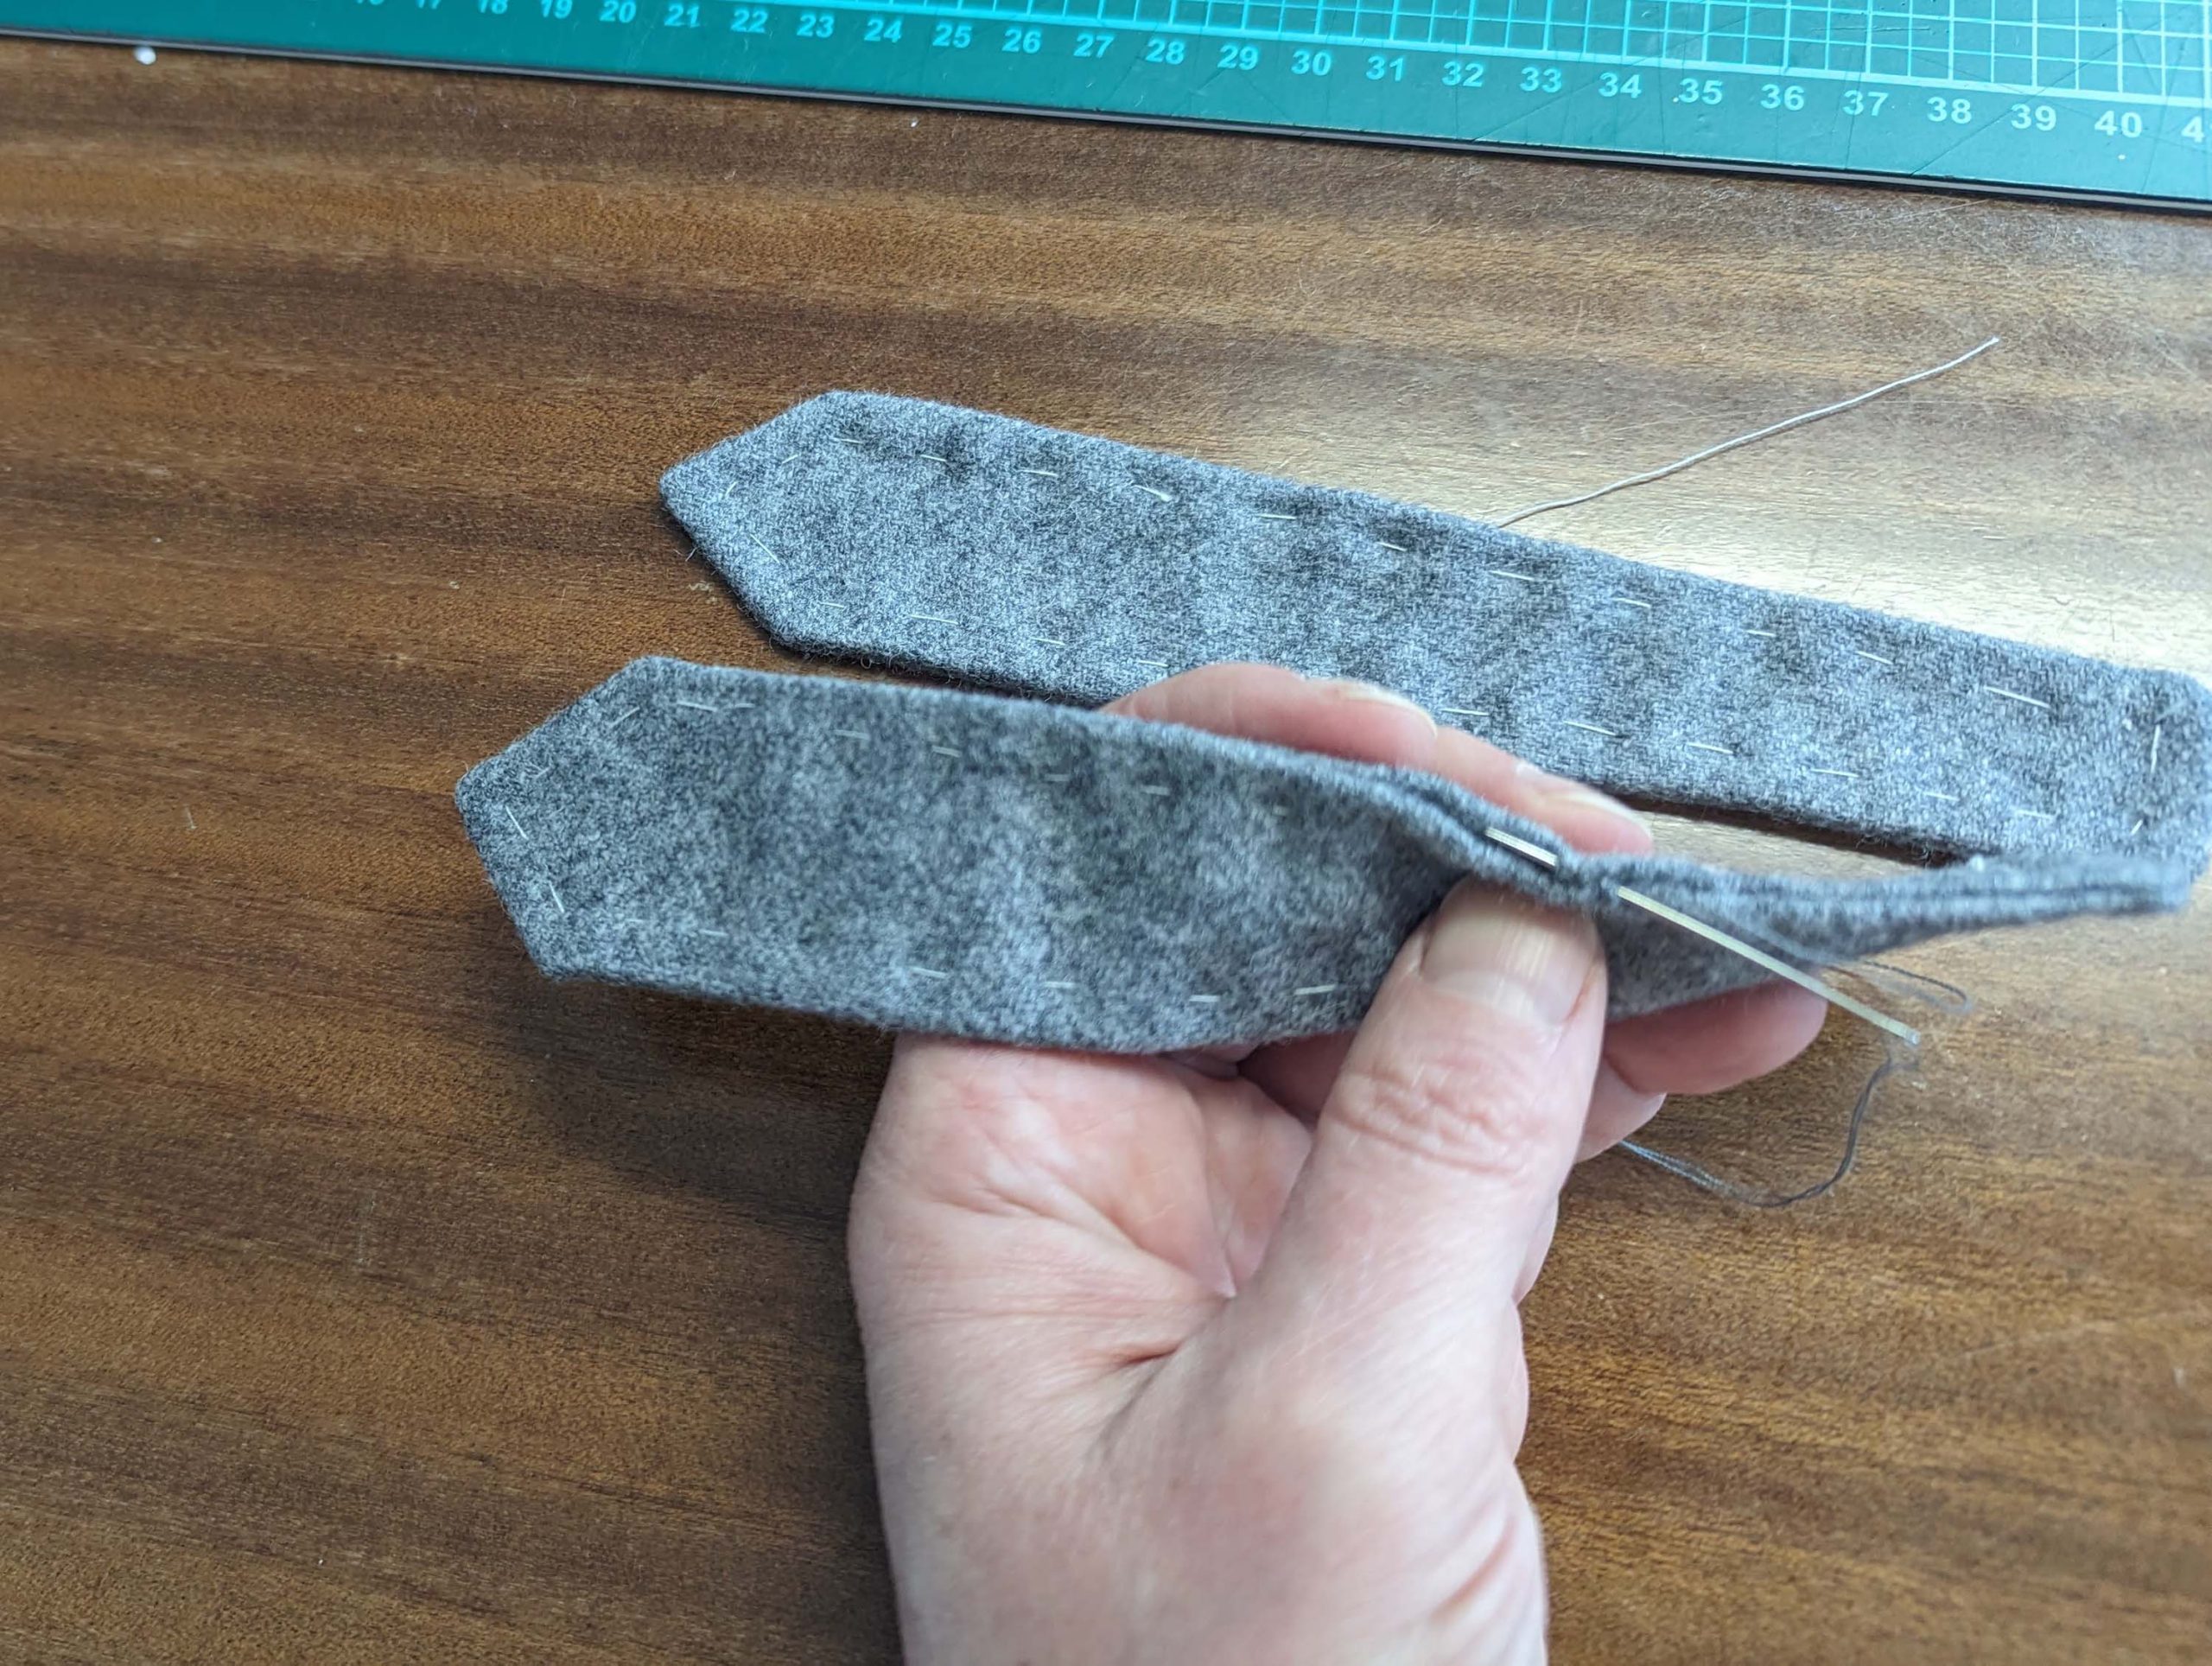
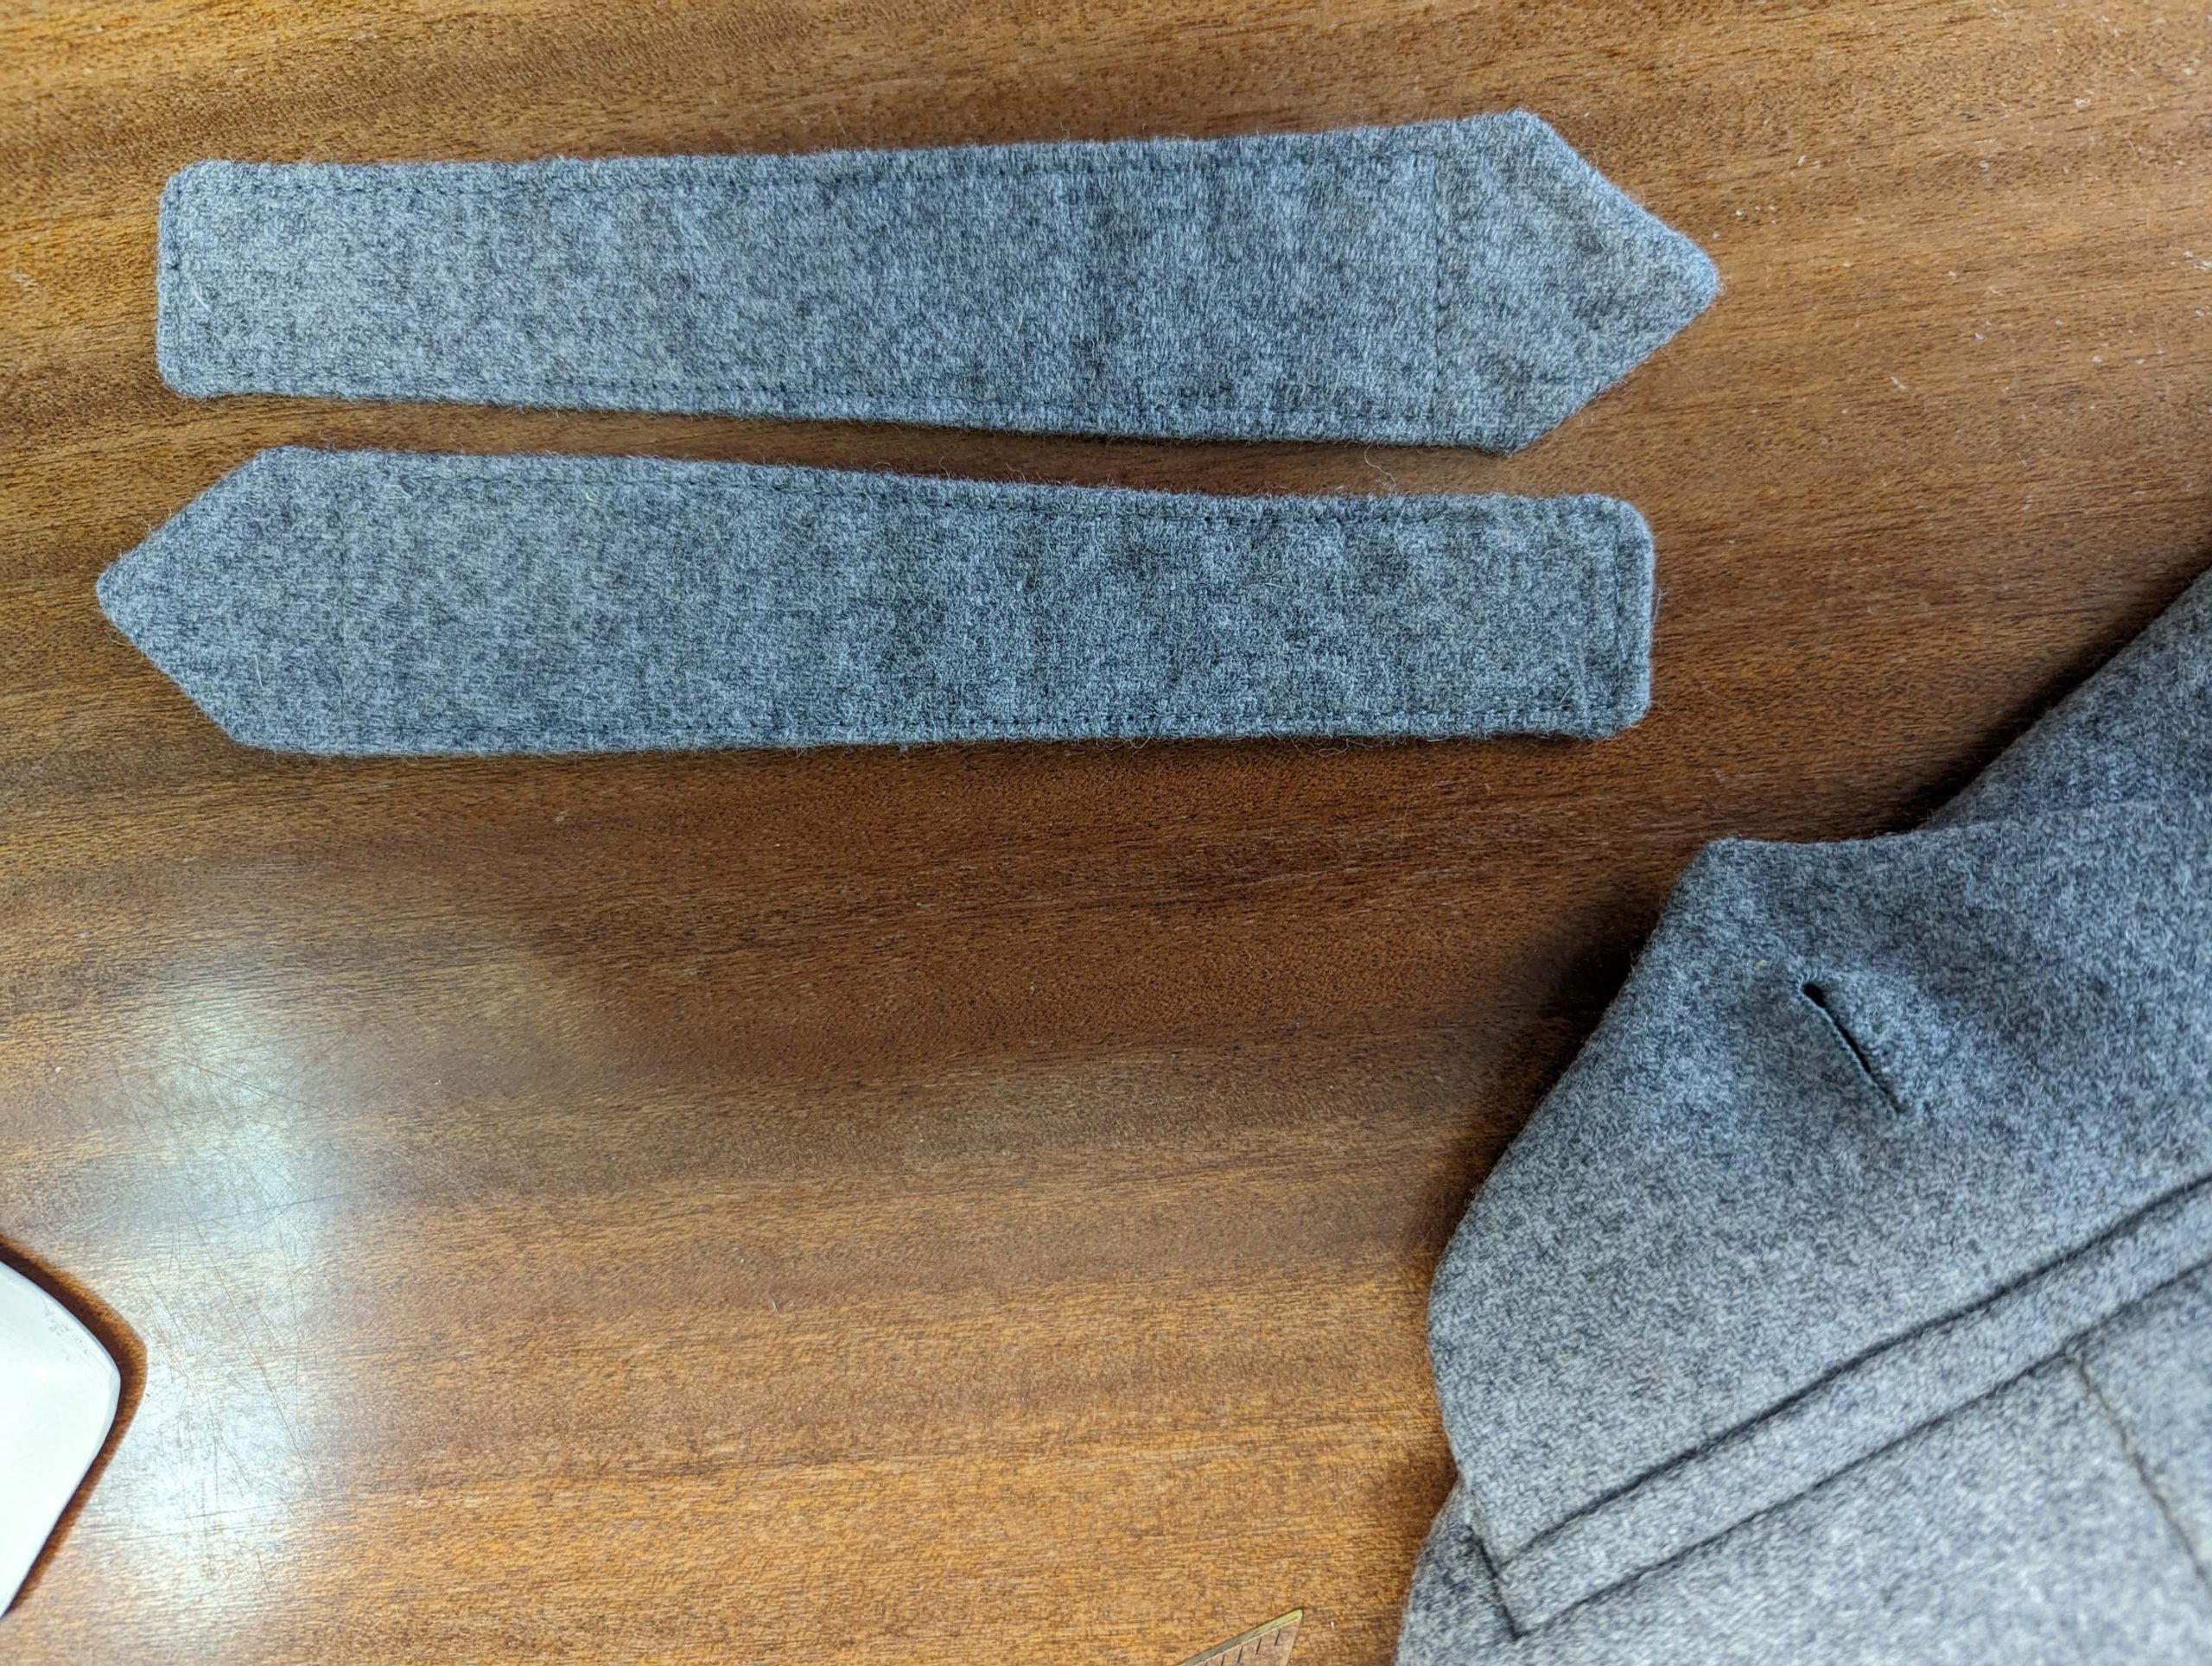
(12) Line up the pieces for the straps, right sides together, and sew all the way around, leaving an opening. Trim back the seam allowance and turn the right way out. Press and topstitch right beside the edge as shown in the picture.
Attach the straps to the trousers, where indicated on the pattern, forming a right angle with the crotch seam. Baste the loose ends to the trousers to hold them in place during the further sewing process.


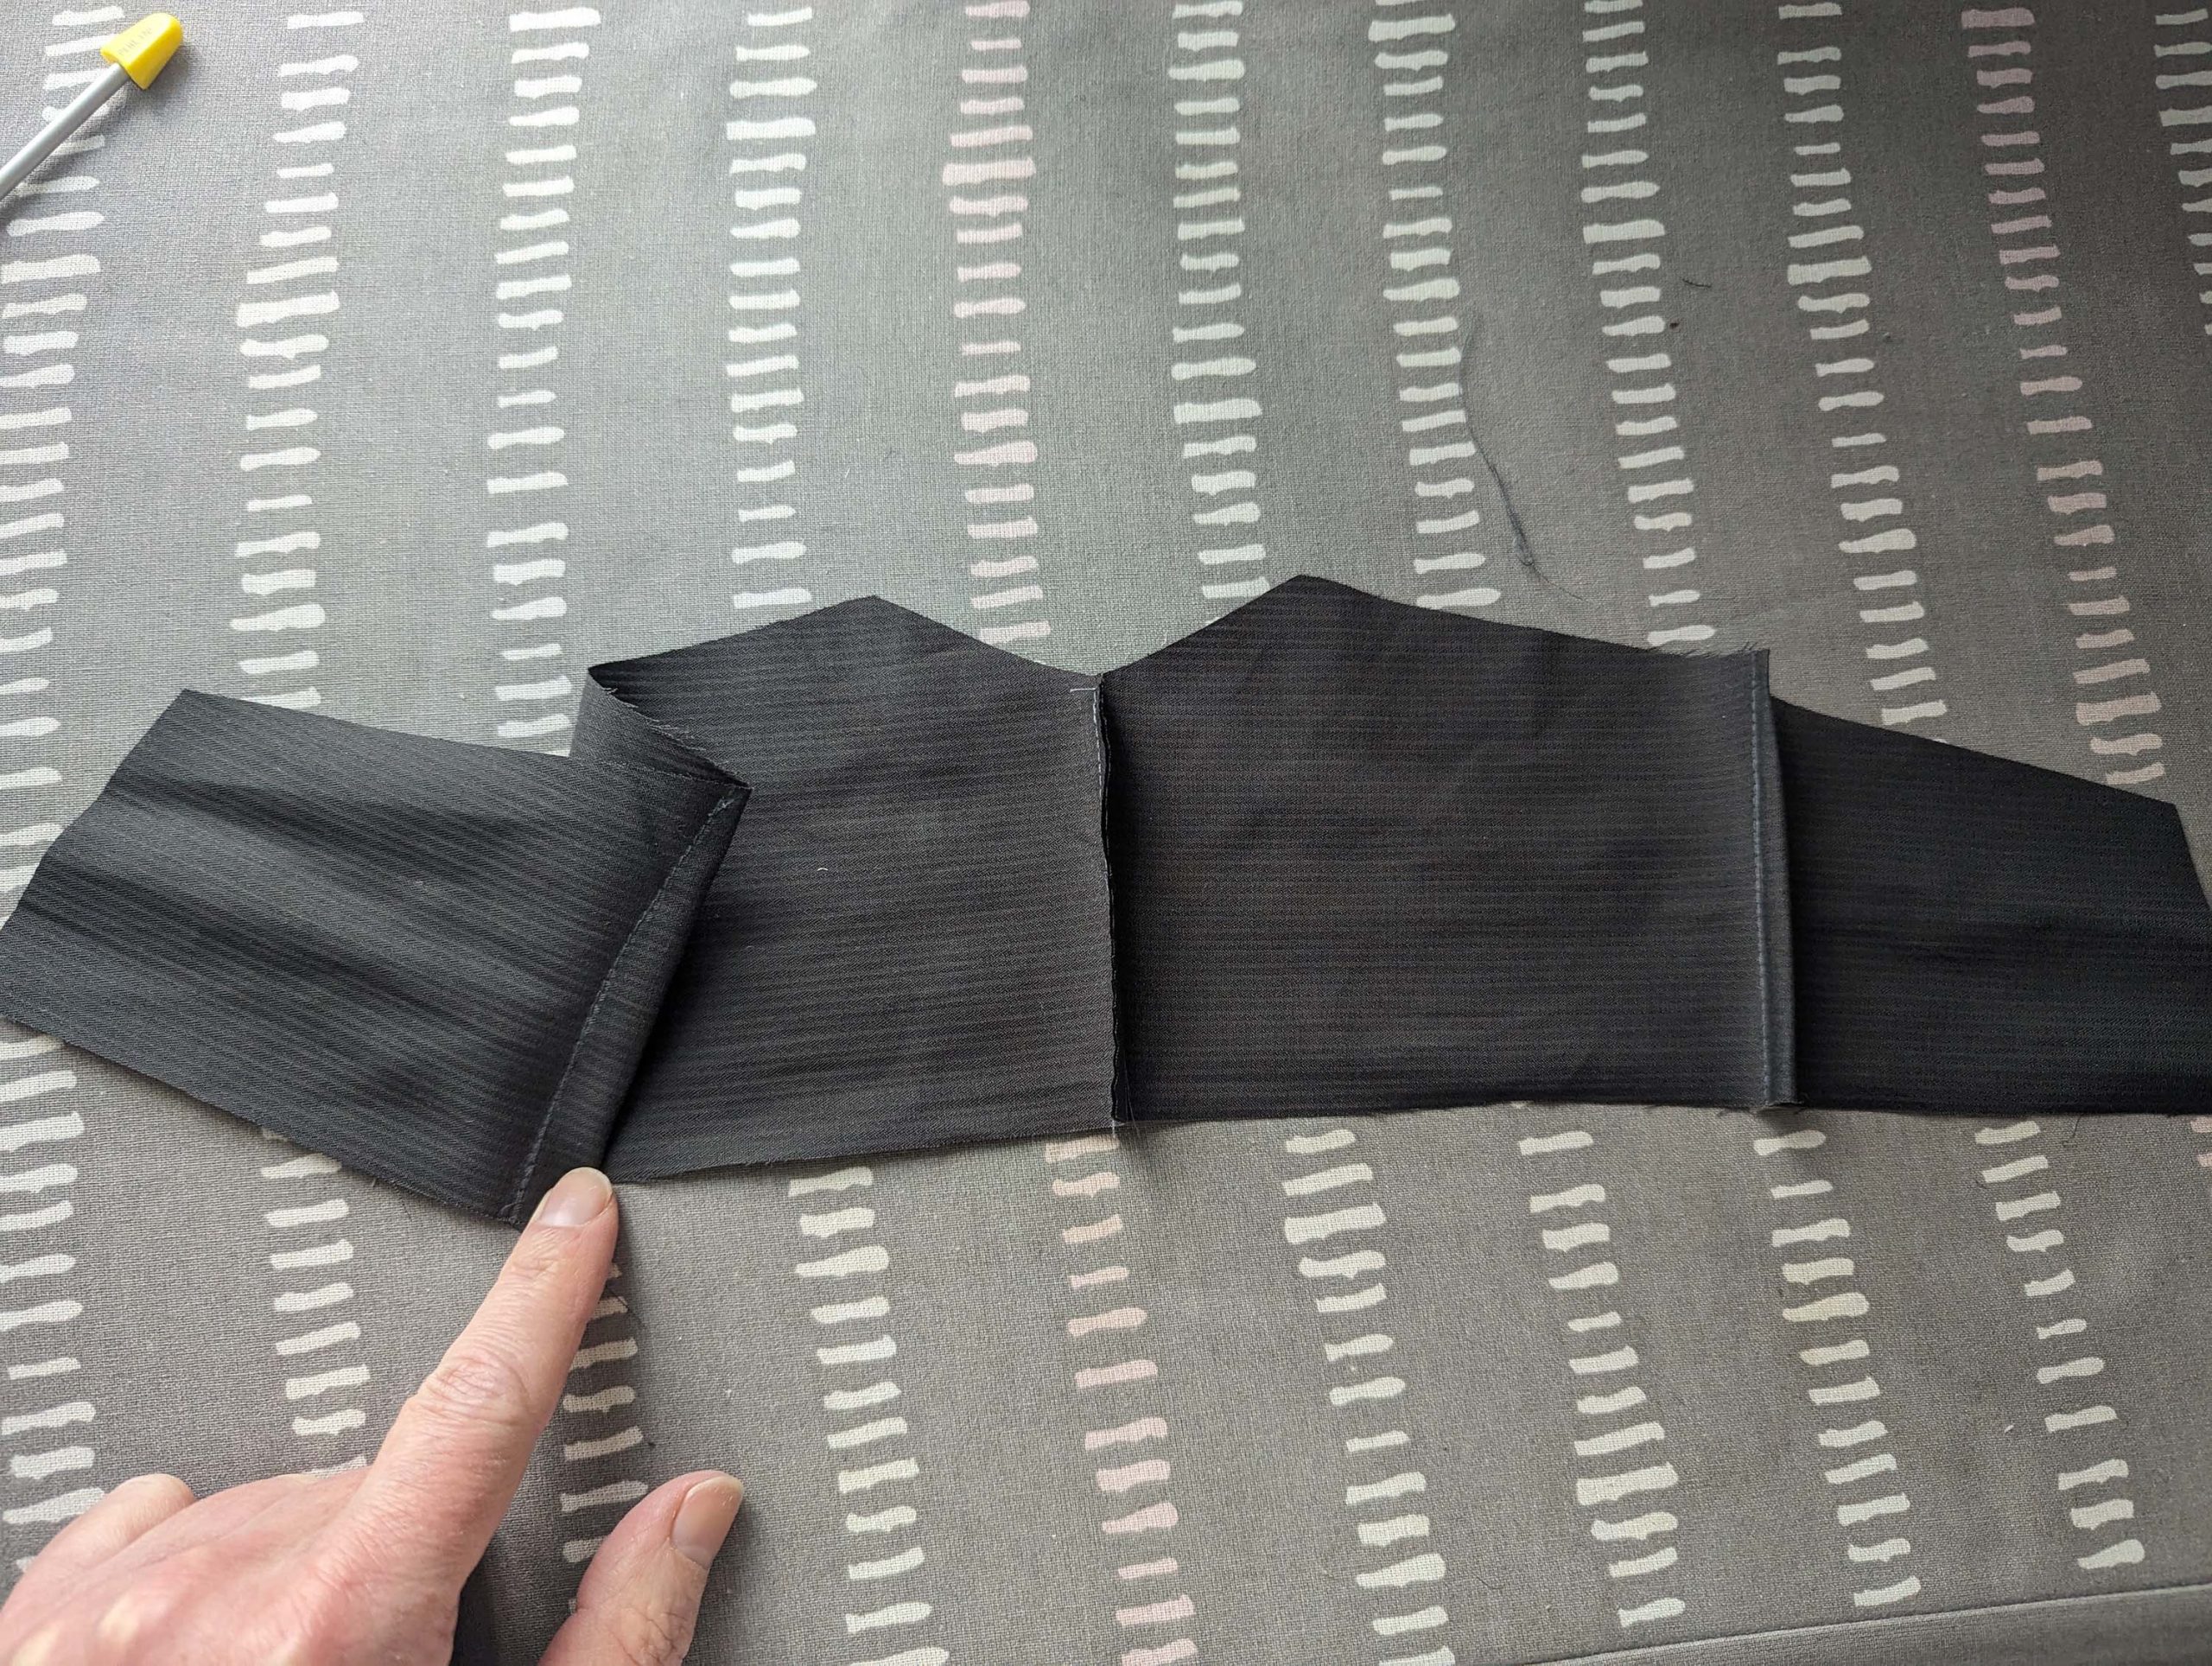
(13) Line up the curtain pieces (a term still used by tailors for a facing at the back of trousers), right sides together, and sew along the center back, press open the seam allowances. When working on the pattern I made the darts, in the pattern there are no more darts, as they aren´t necessary.
Turn in the seam allowance along the bottom edge and topstitch from the right side. Place inside the trousers, wrong sides together, lining up the top edge with the stitching line. Stitch to the waistband interlining without showing any stitches on the right fabric side. Turn in the seam allowances at the sides, lining up the edge with the side seam/pockets, and fell down.


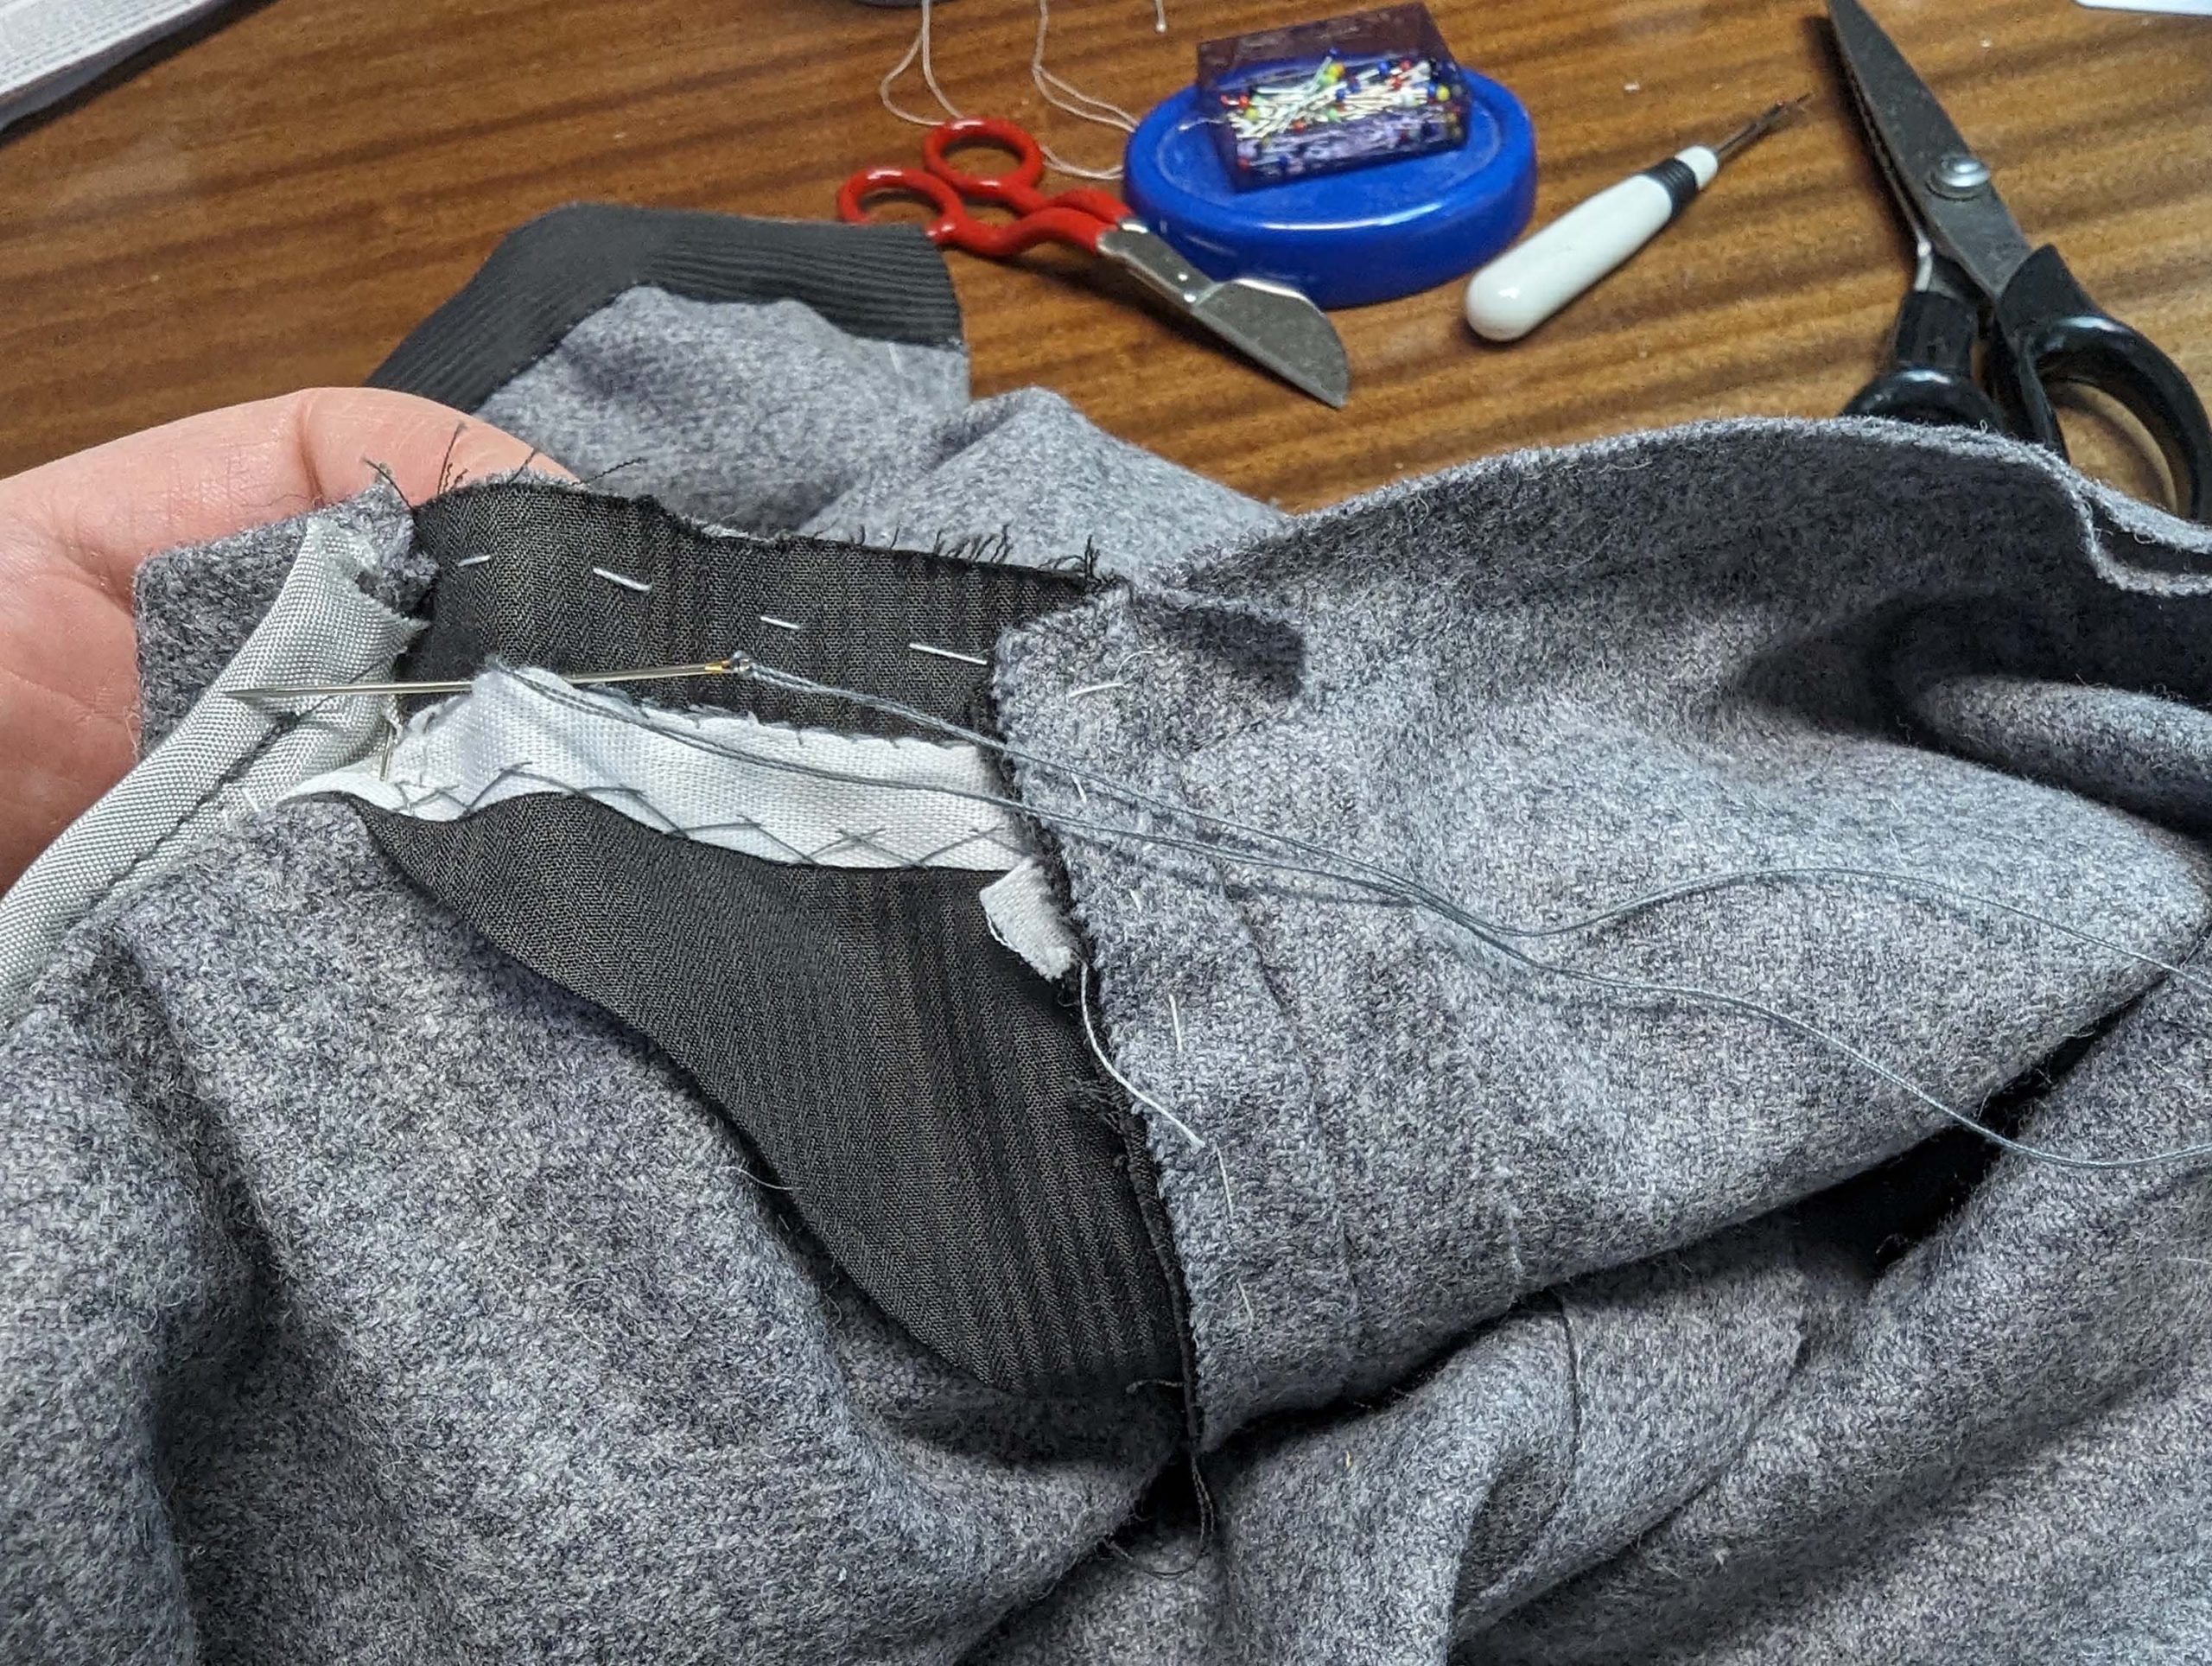
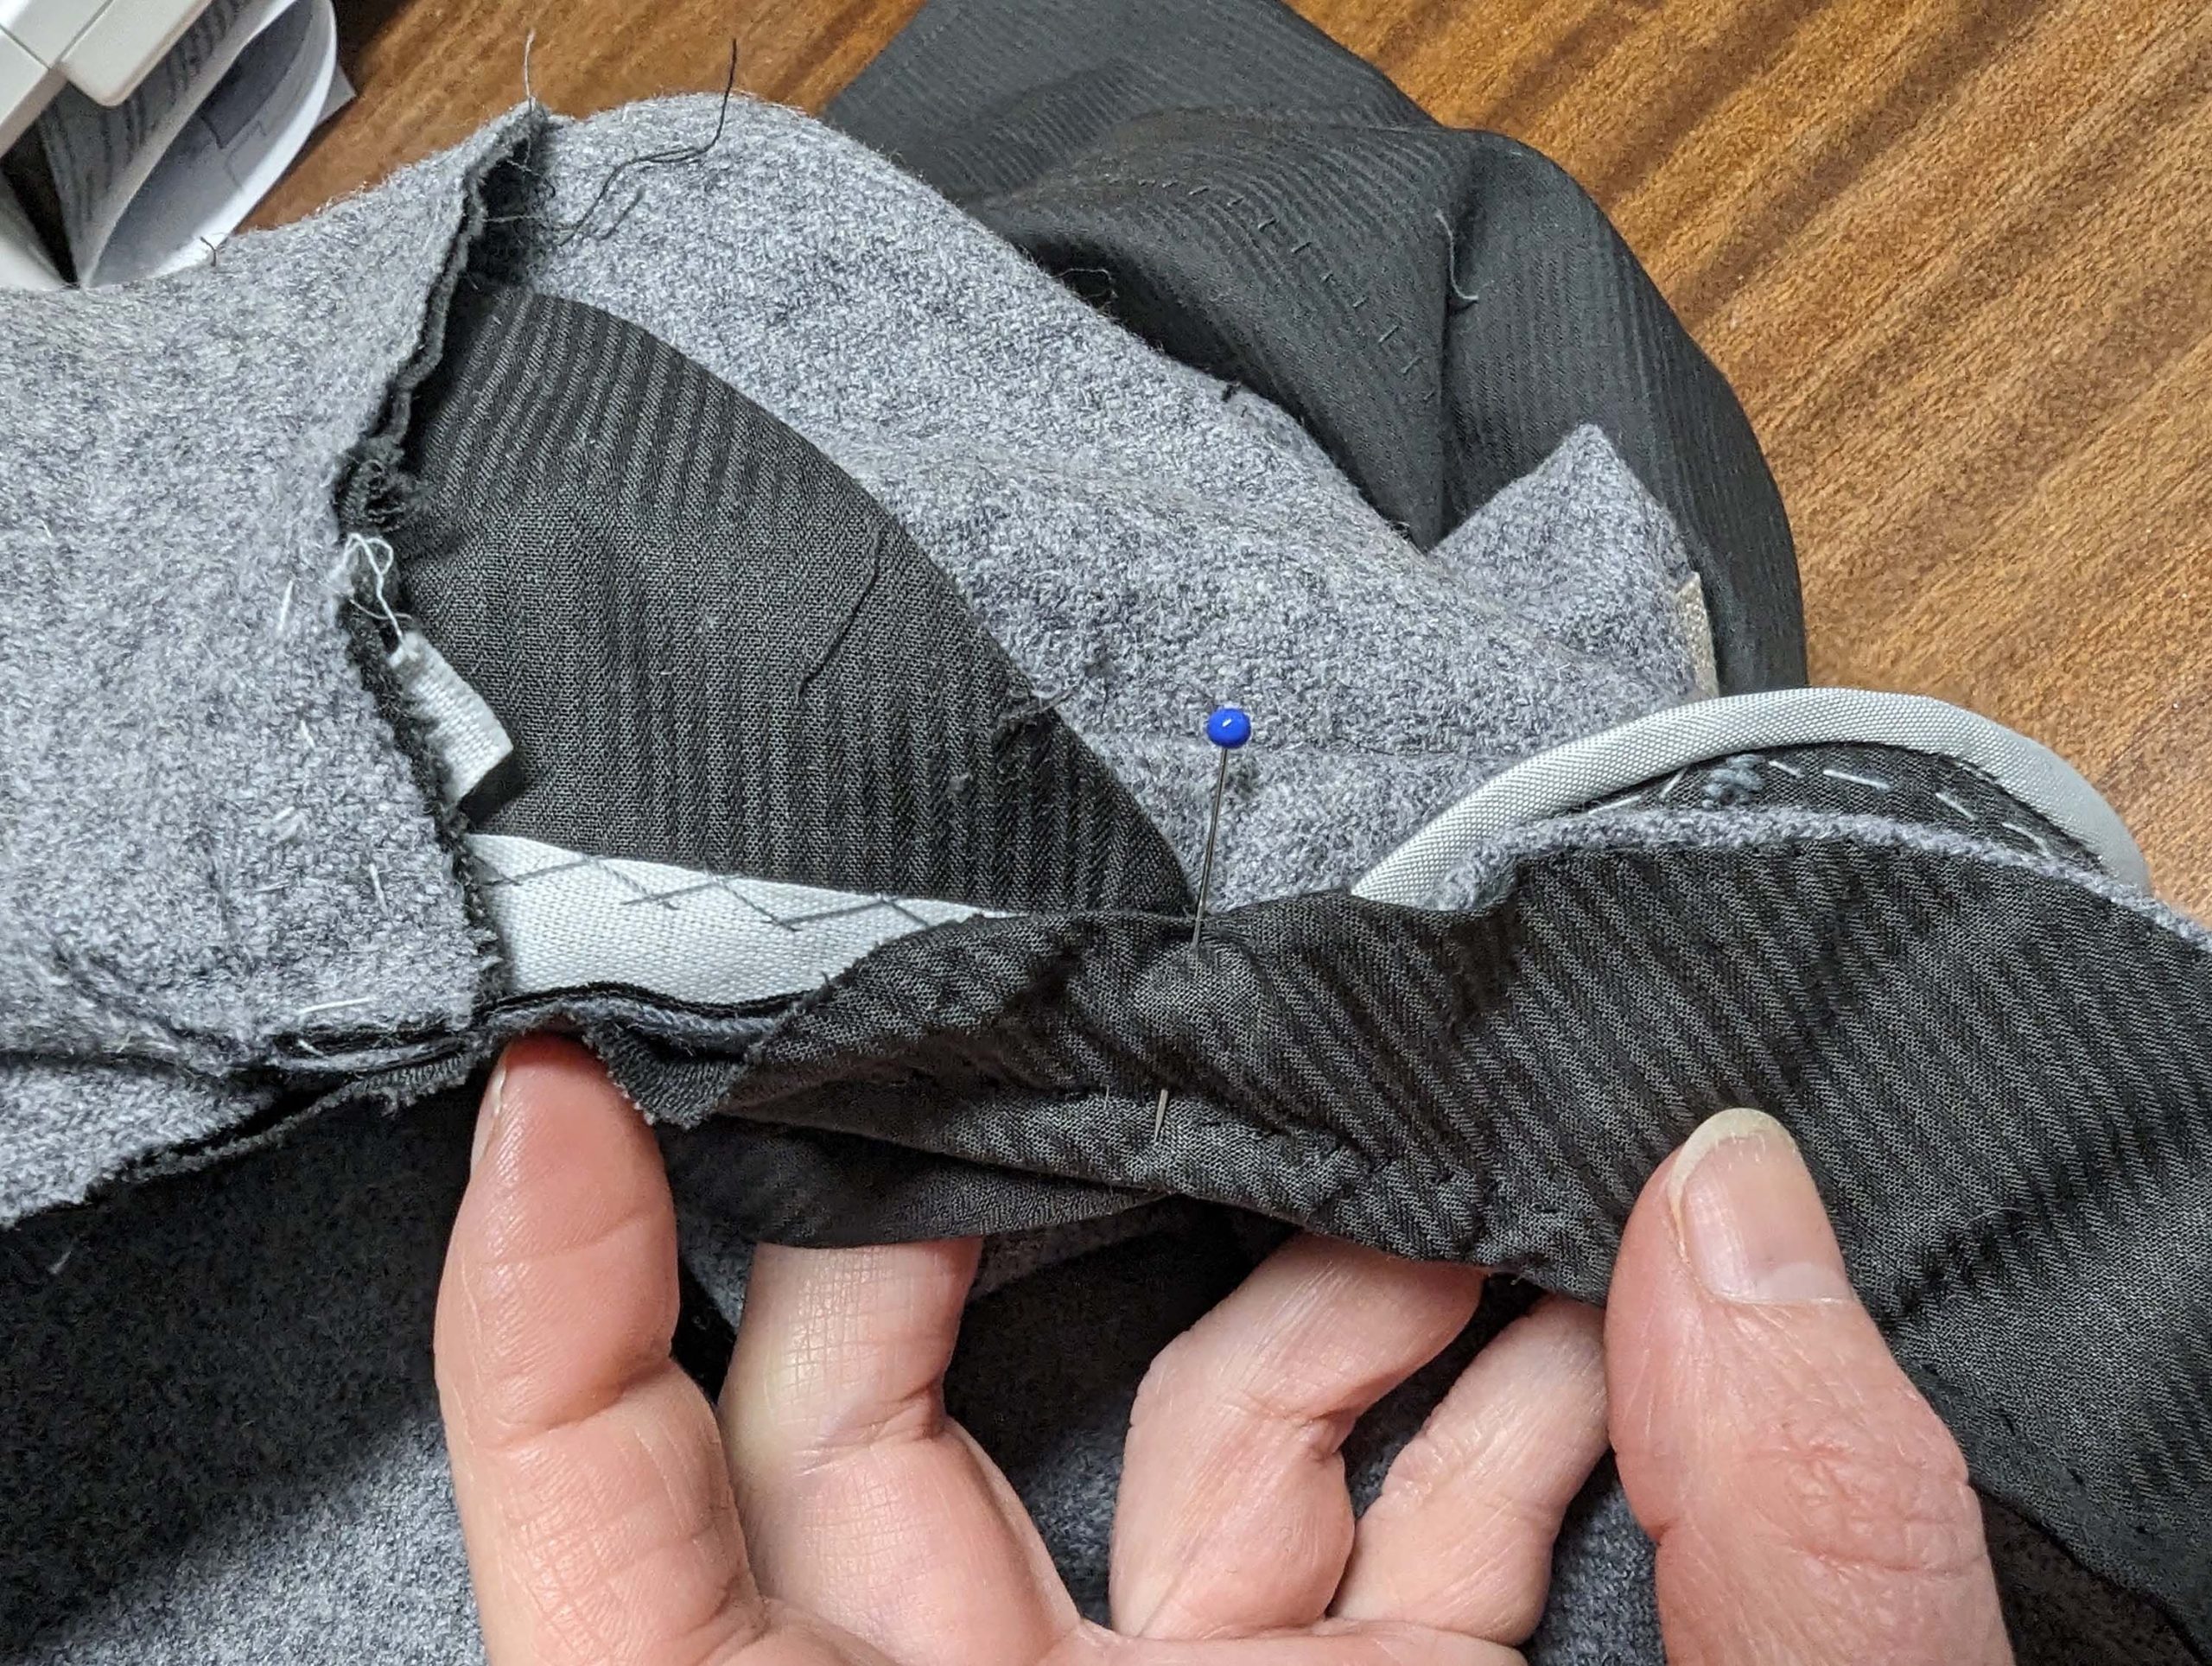
Turn in the seam allowance along the top edge and catch stitch to the waistband interfacing.
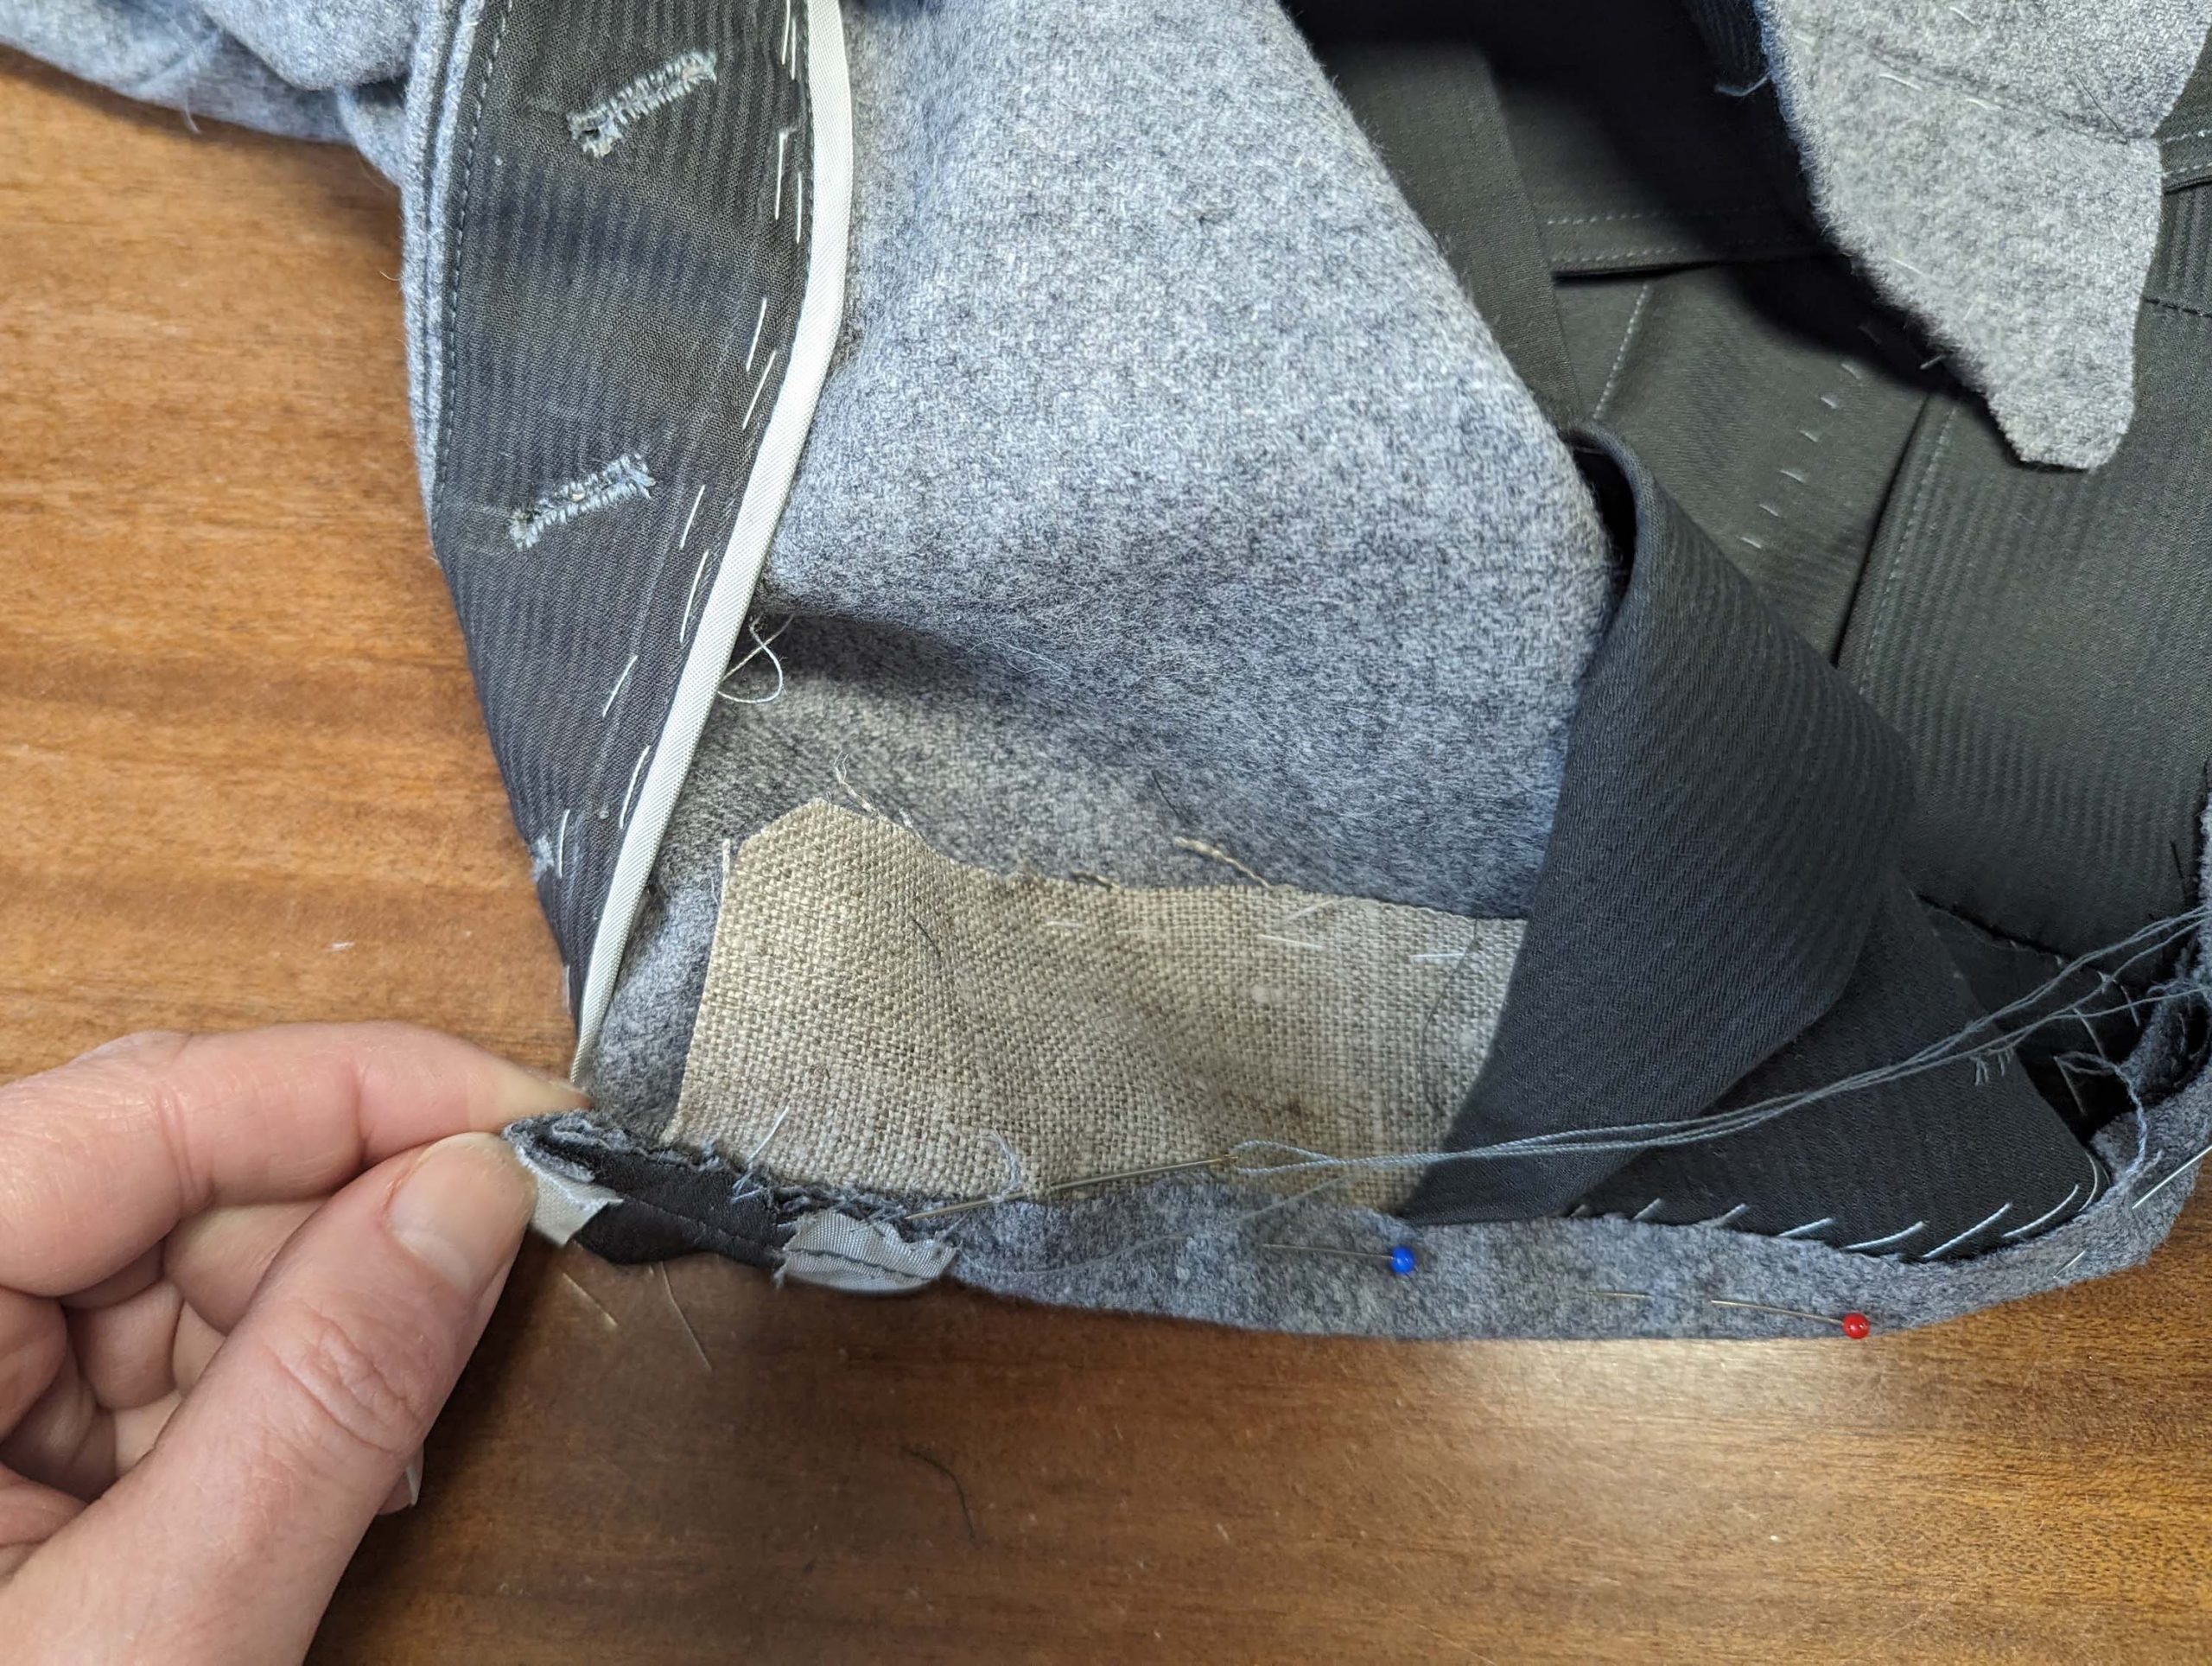
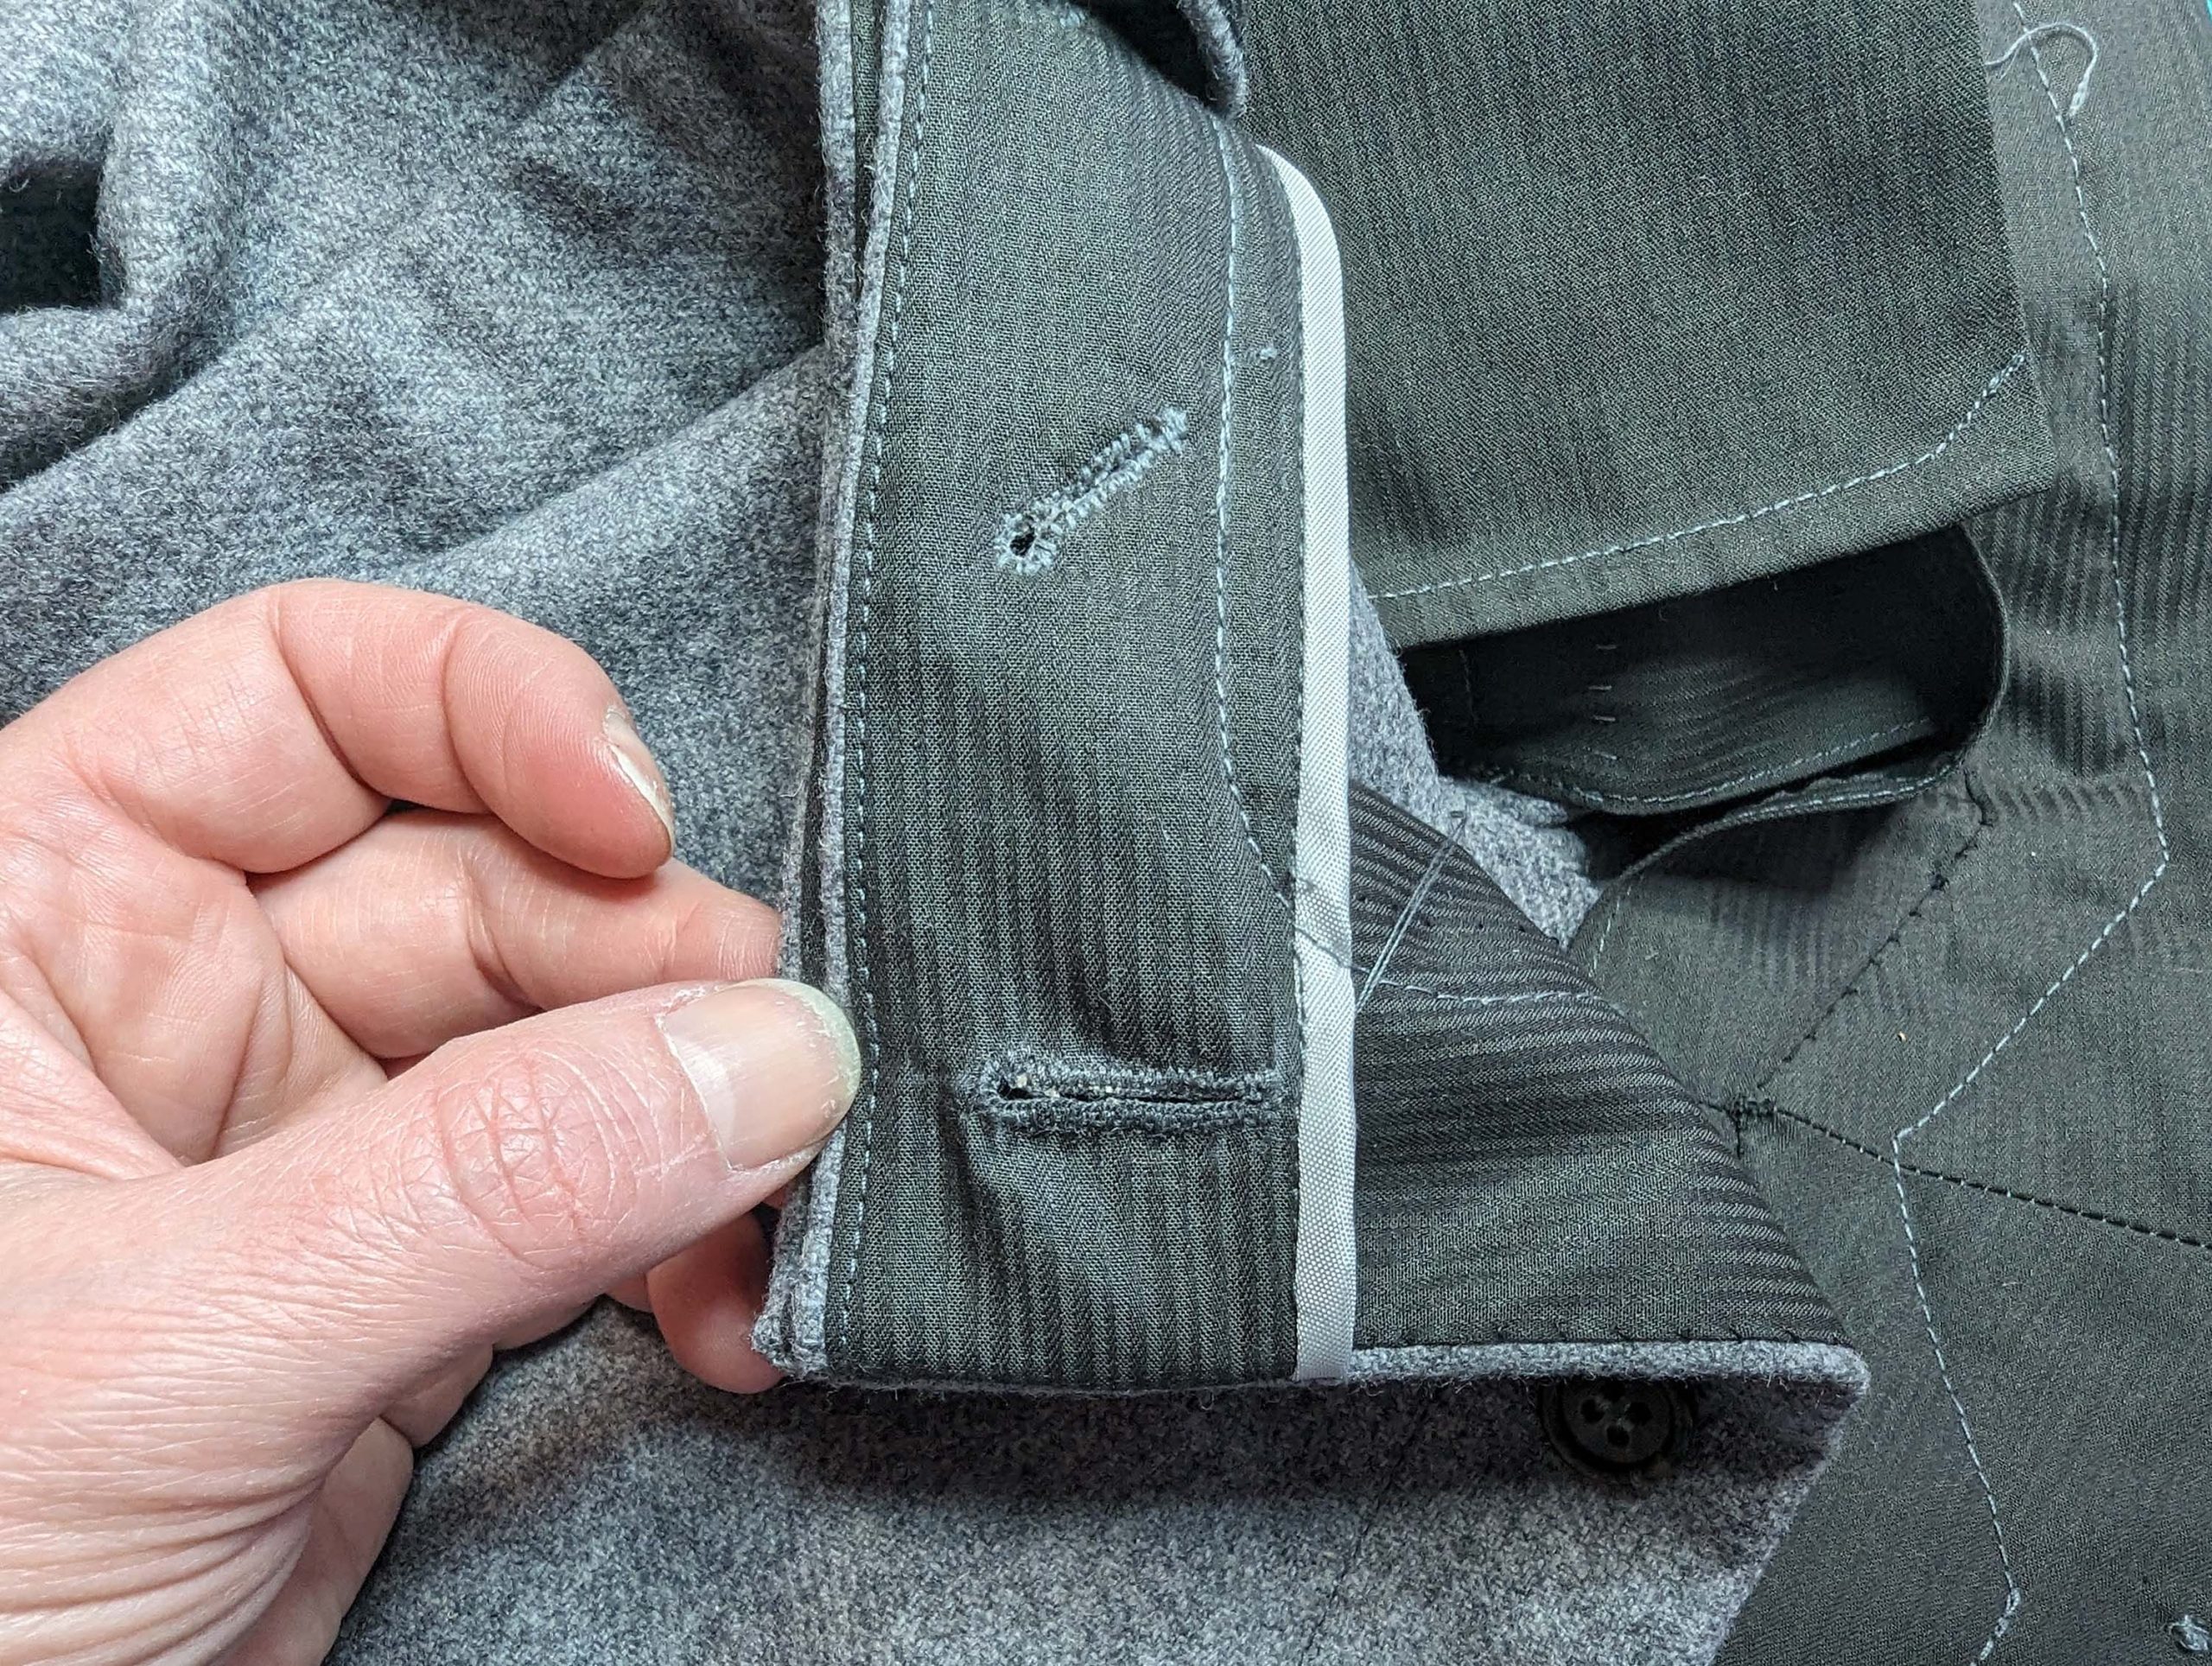
(14) To finish the right front, trim back the interfacing and lining of the shield to the stitching line. Lead the loose end of the waistband interfacing about 5/8” (1,5cm) extending the center front and catch stitch to the shield. Notch the seam allowance of the shield at the front edge to get a neat finish, when turning in the seam allowances.
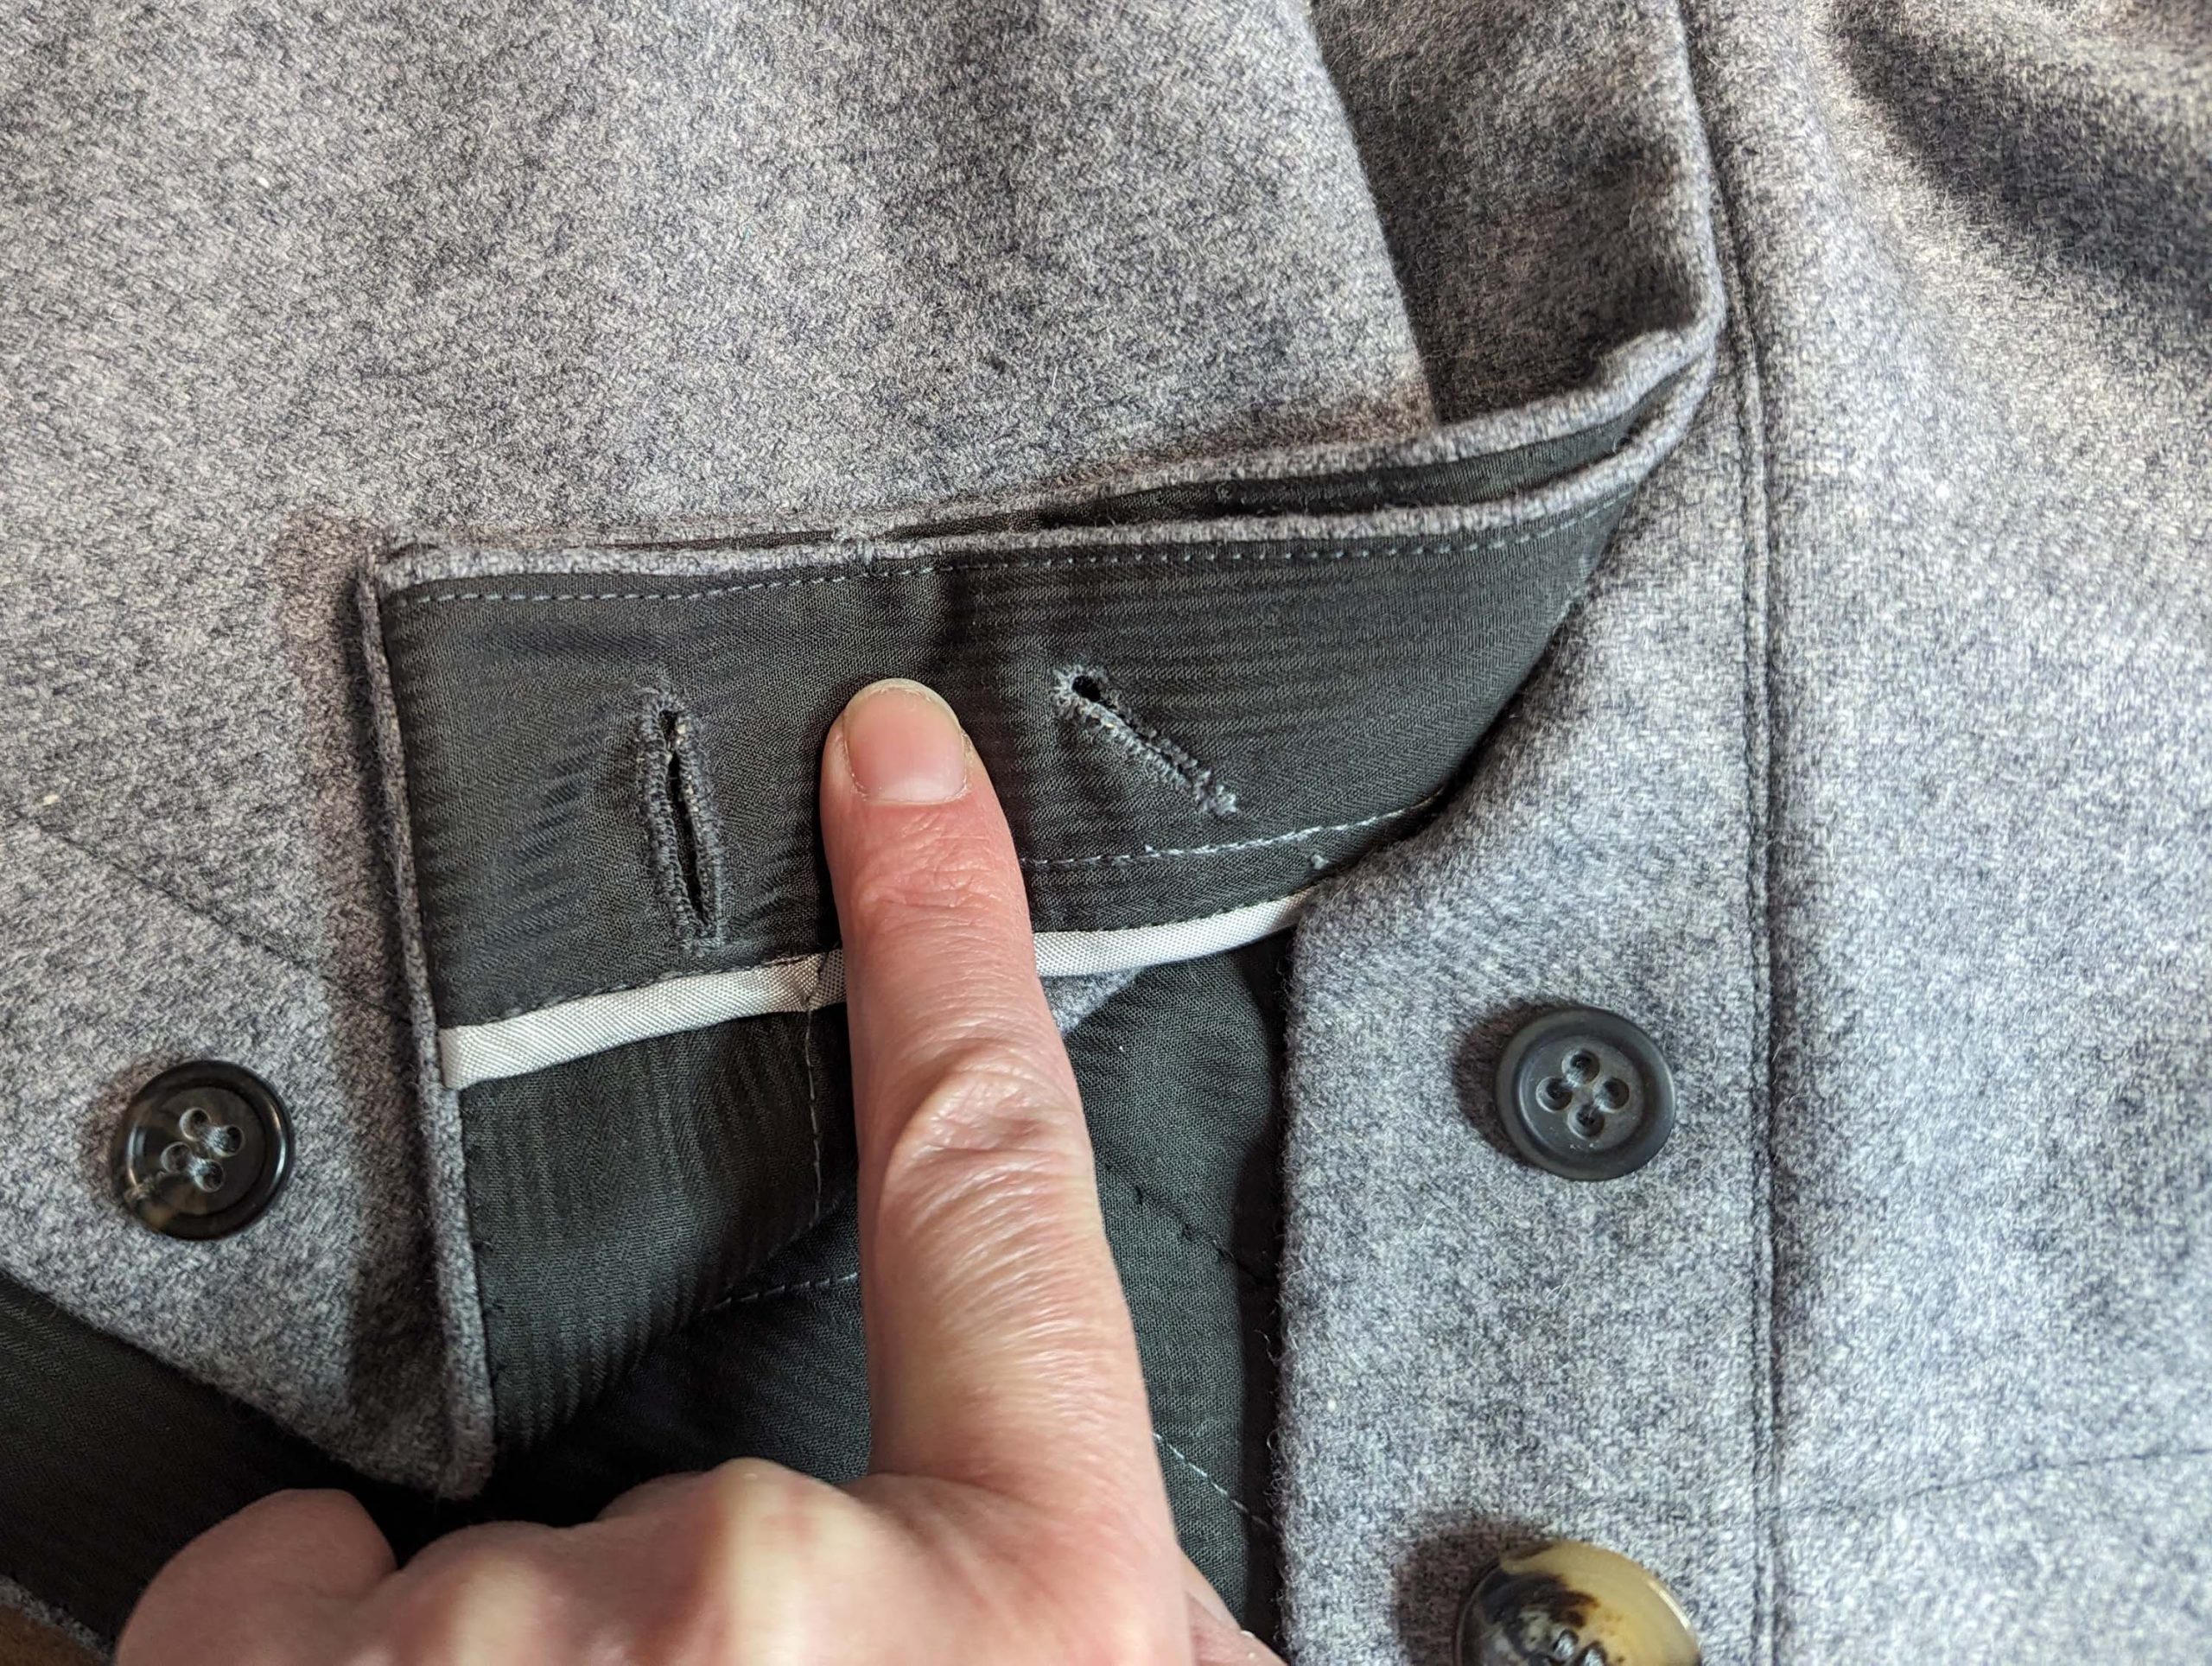
(15) The left front can be done in different ways, depending on the desired closure. Here I´ll show you a different way than described in the instructions, with a hidden button and buttonhole at the waistband. This version can be a bit bulky, depending on your fabric choice.
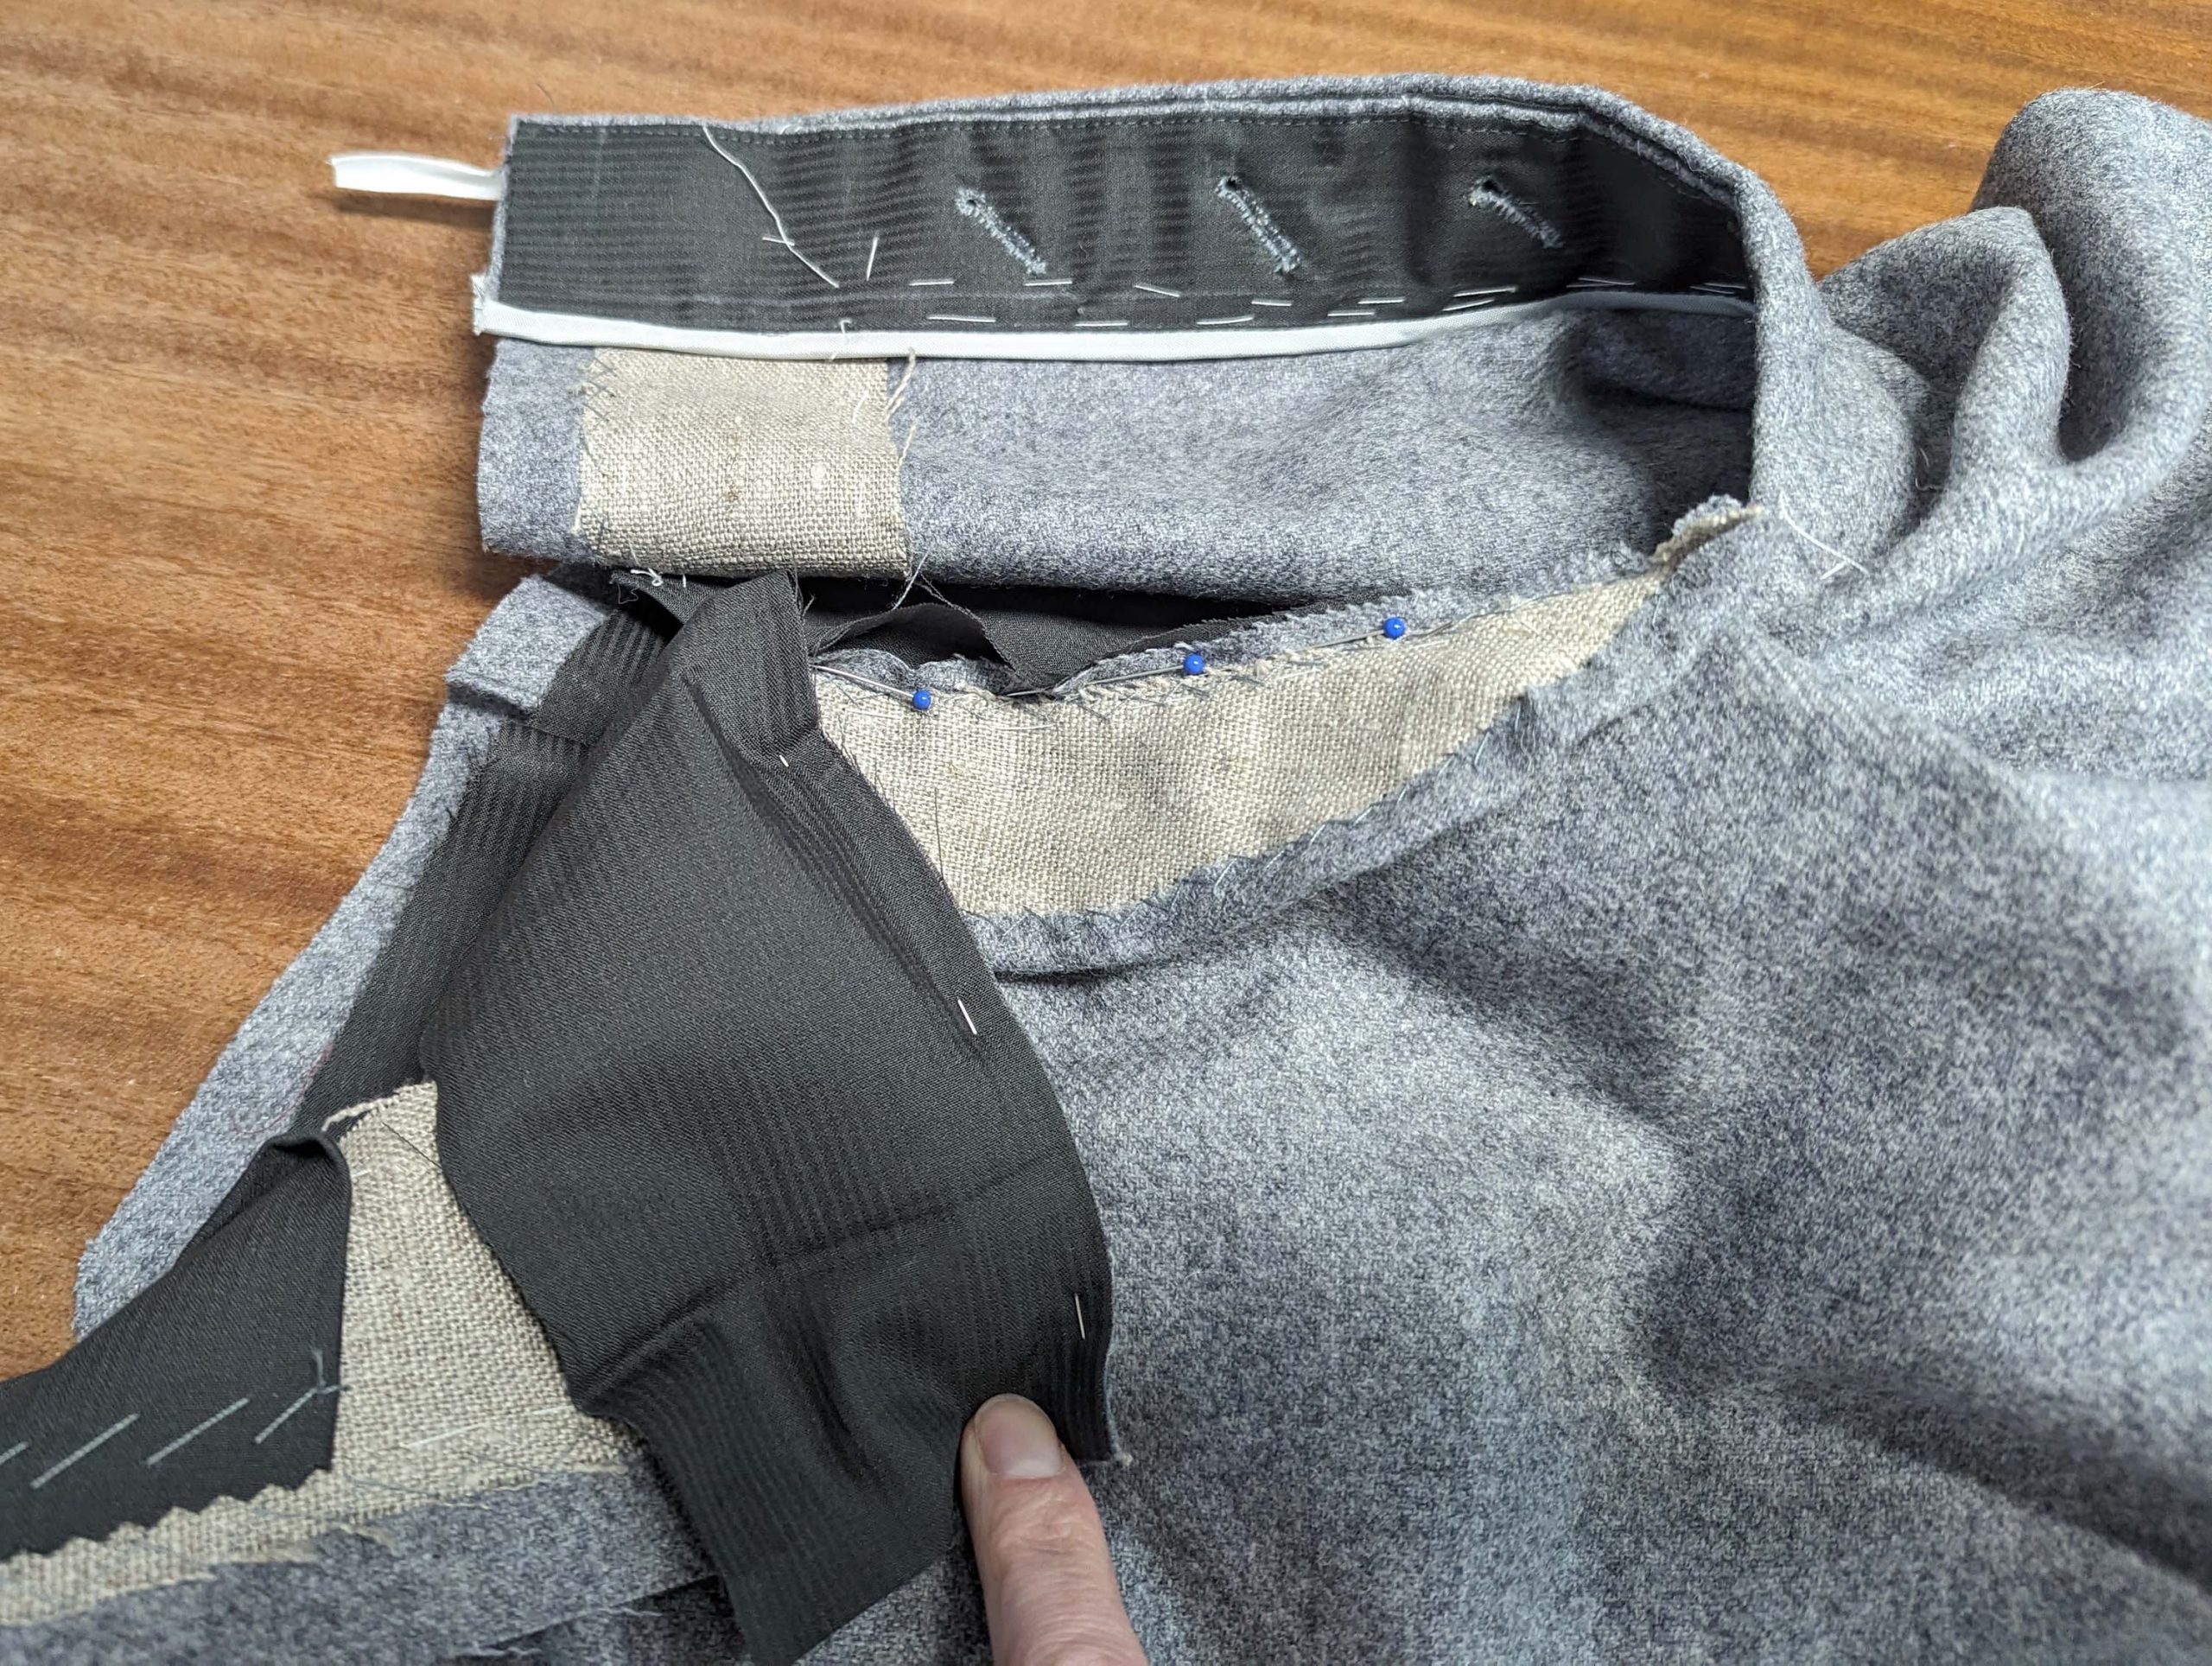
For the hidden button, sew a buttonhole (which I made later) at the upper end of the fly placket. Unravel some basting threads and fold the placket towards the trousers, along the center front. Turn the seam allowances towards the placket. To allow for the turn of cloth pull the placket until it extends a bit at the top edge. Sew, trim back the seam allowances, and turn the right way out.

(16) Starting at point (3), sew in a J-shape through all layers of the fly placket, curving out along the top edge, sewing along the undersides, until reaching the right center front, keeping a distance of about 1 3/8” (3cm) from the edges. Sew along the pocket openings with a prick stitch and bar-tack the ends.


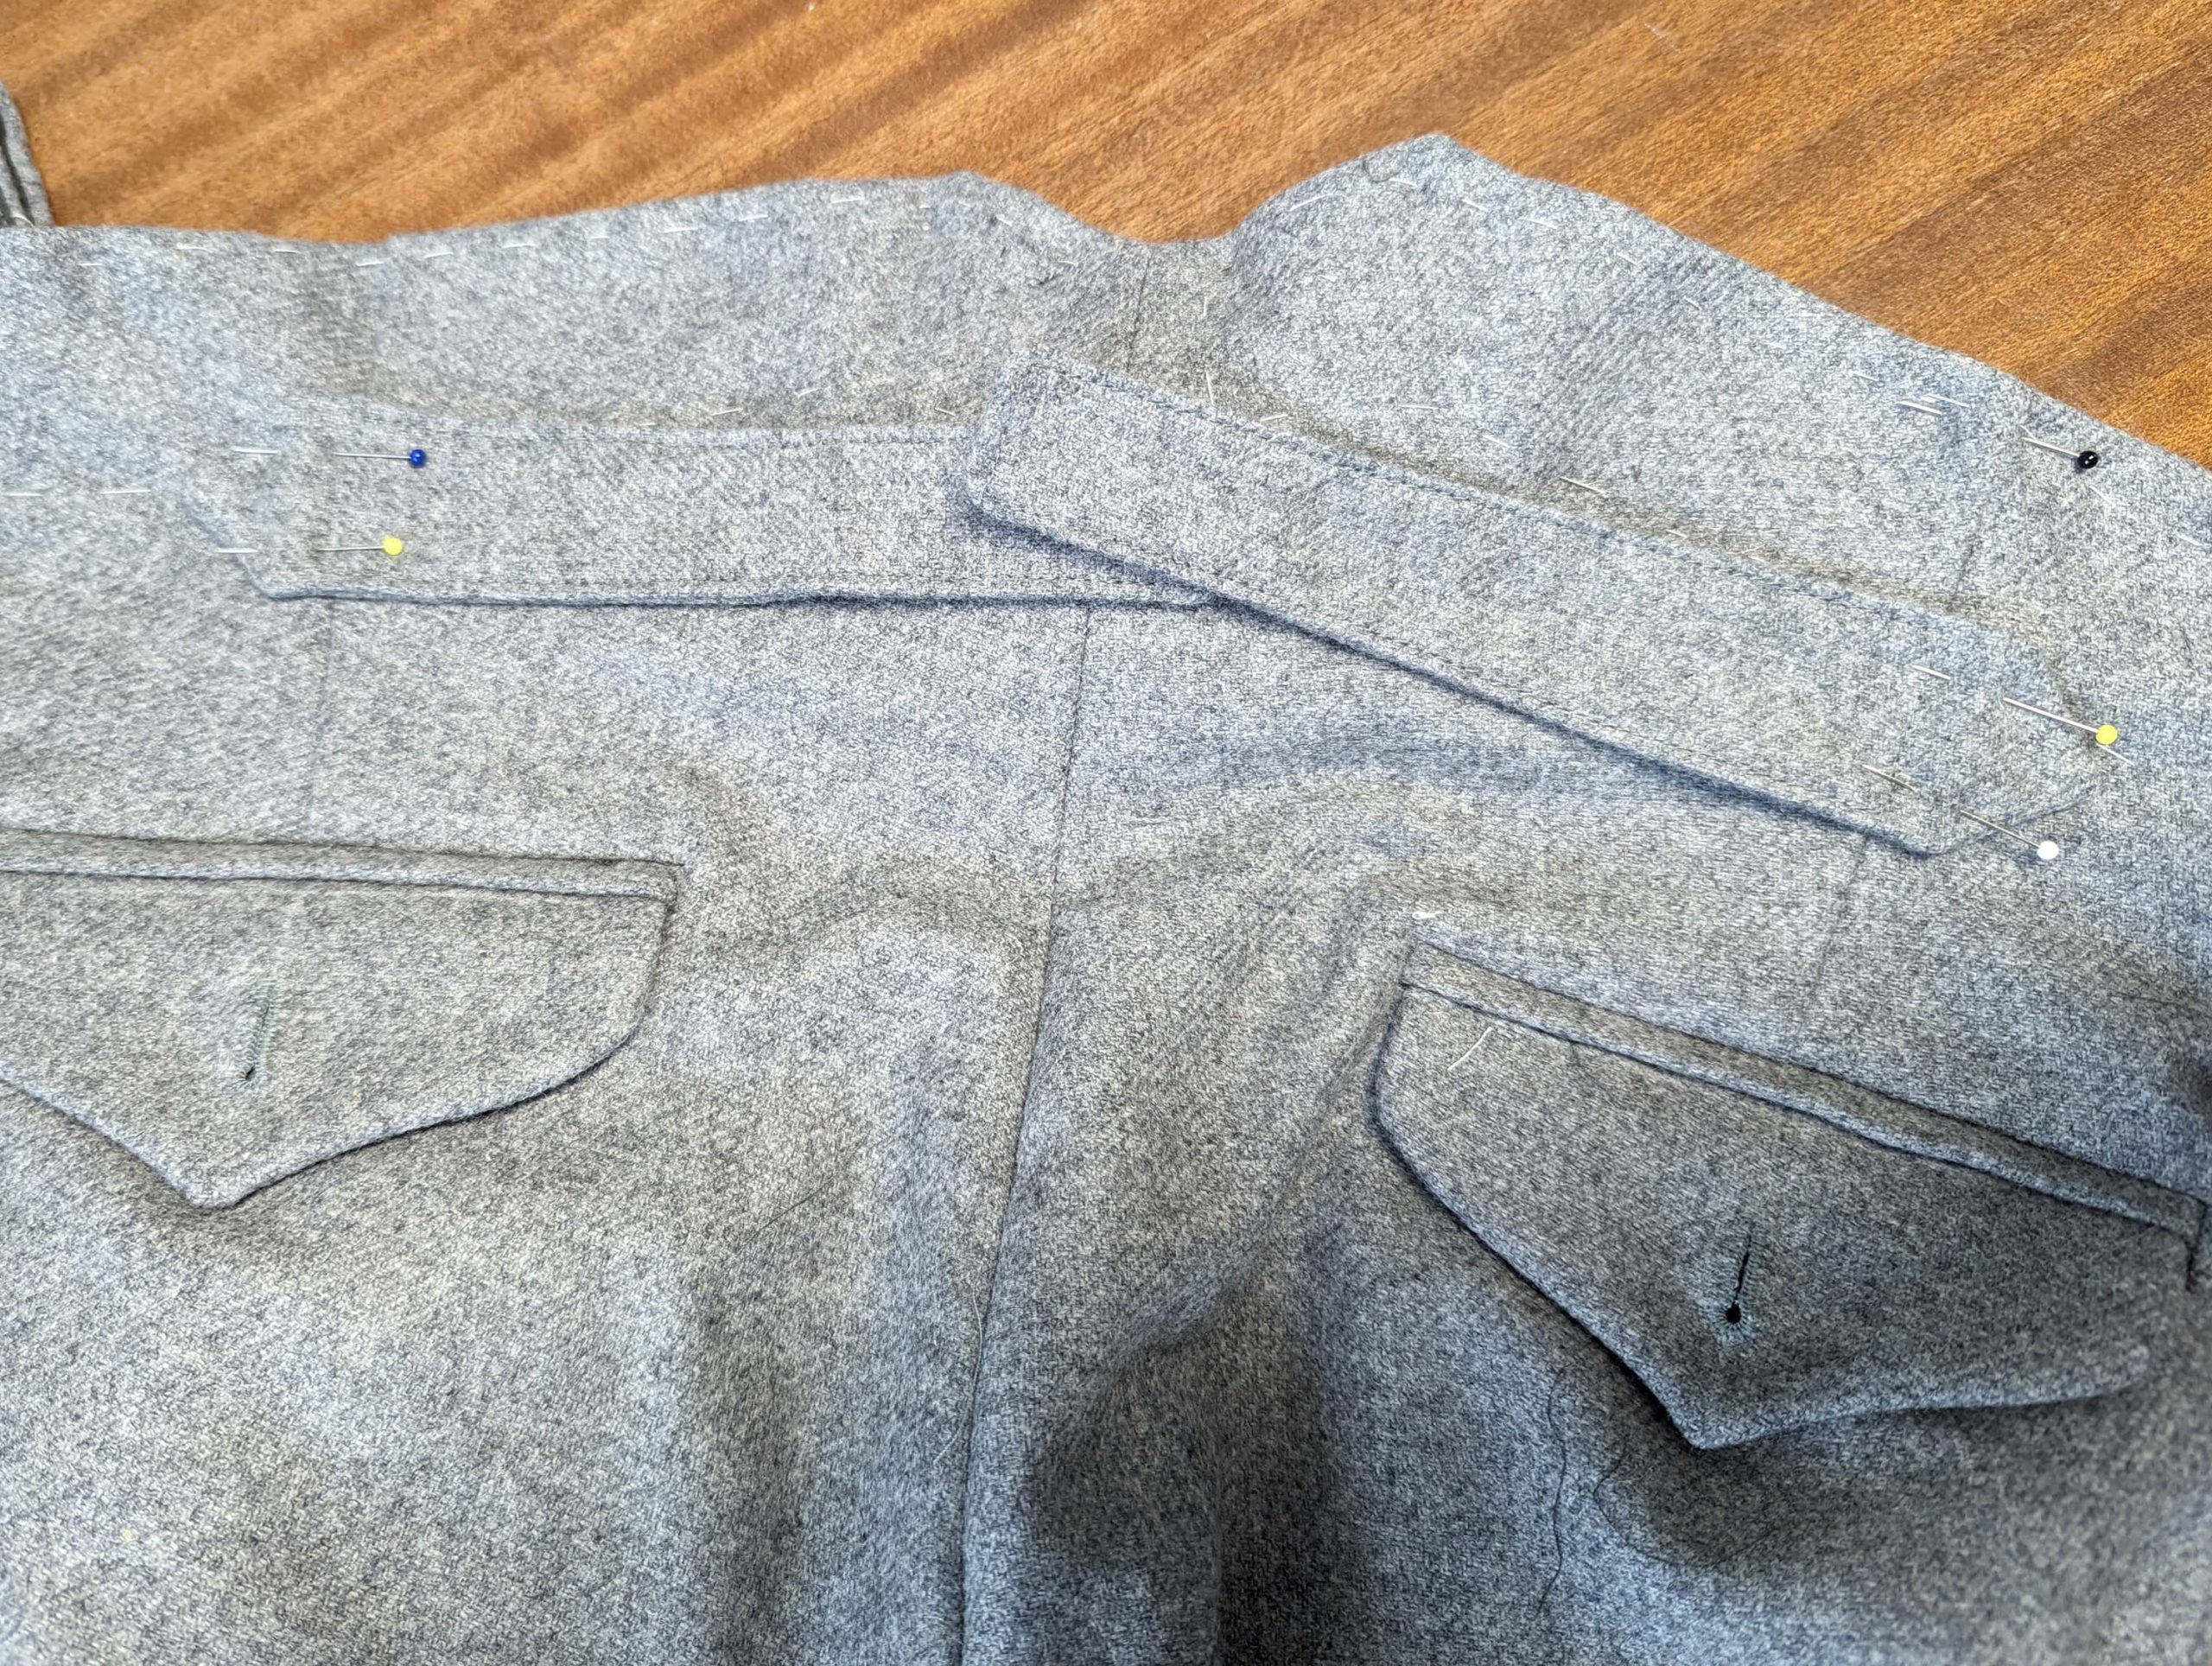
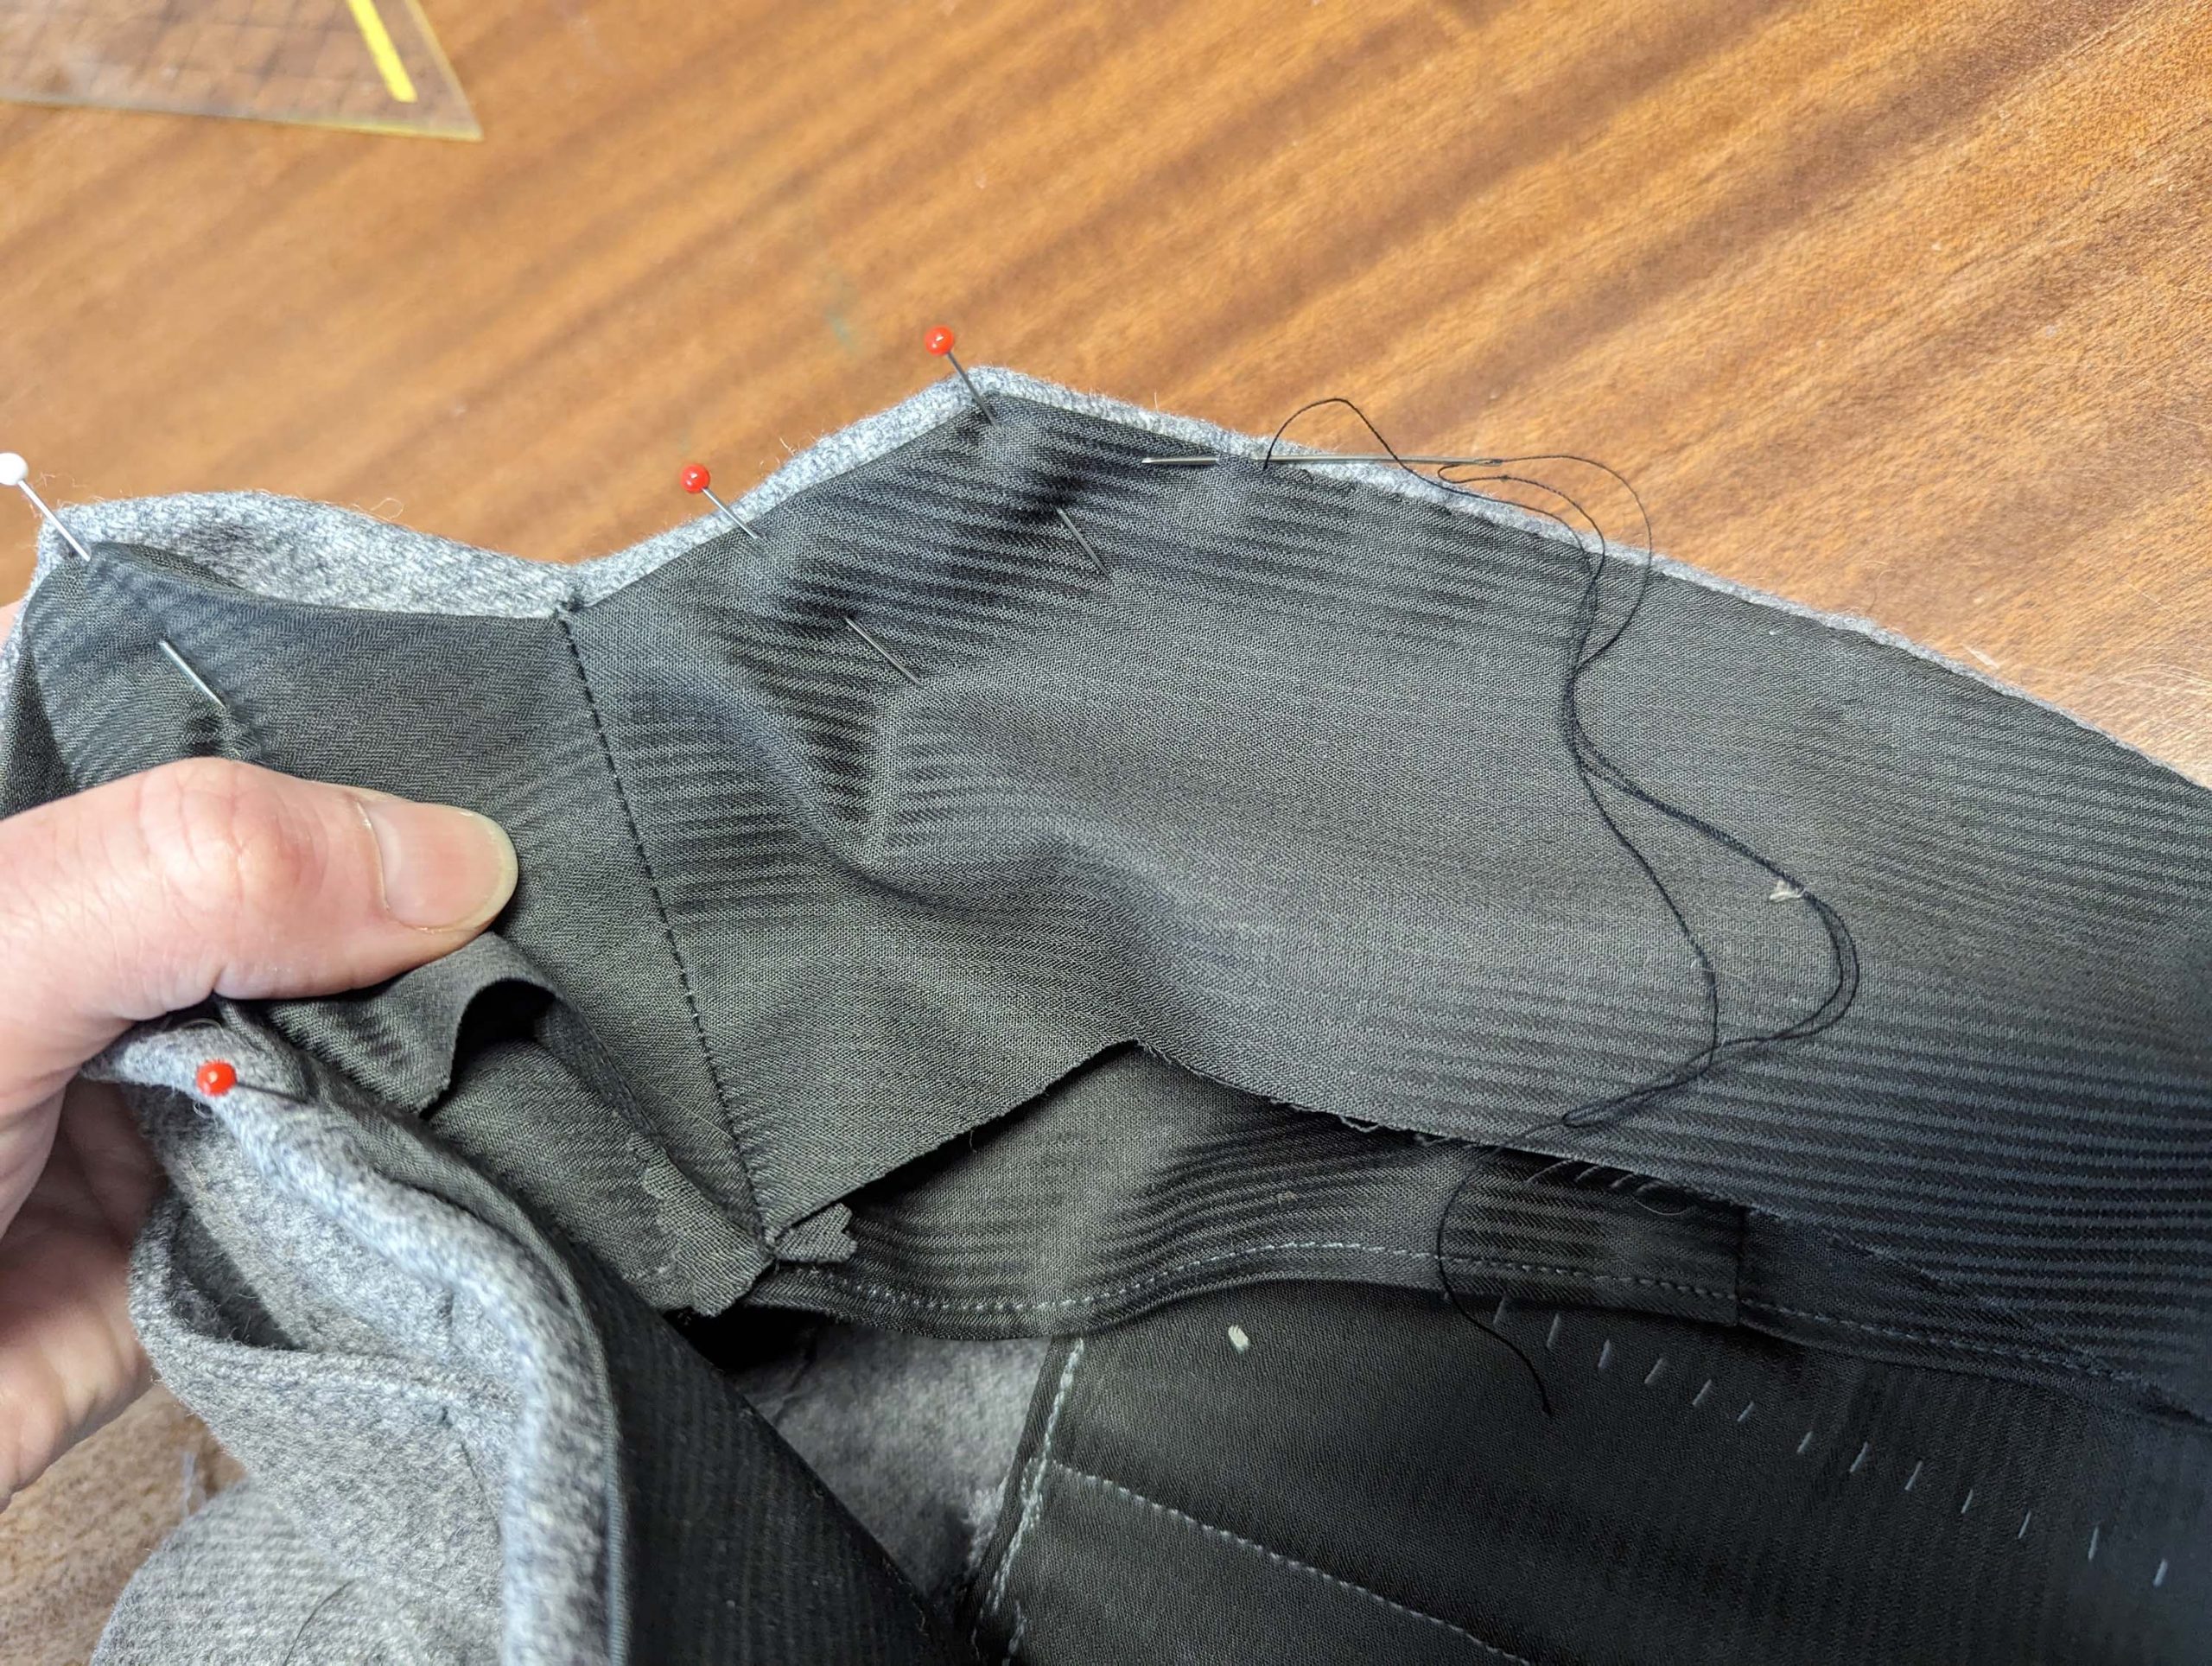
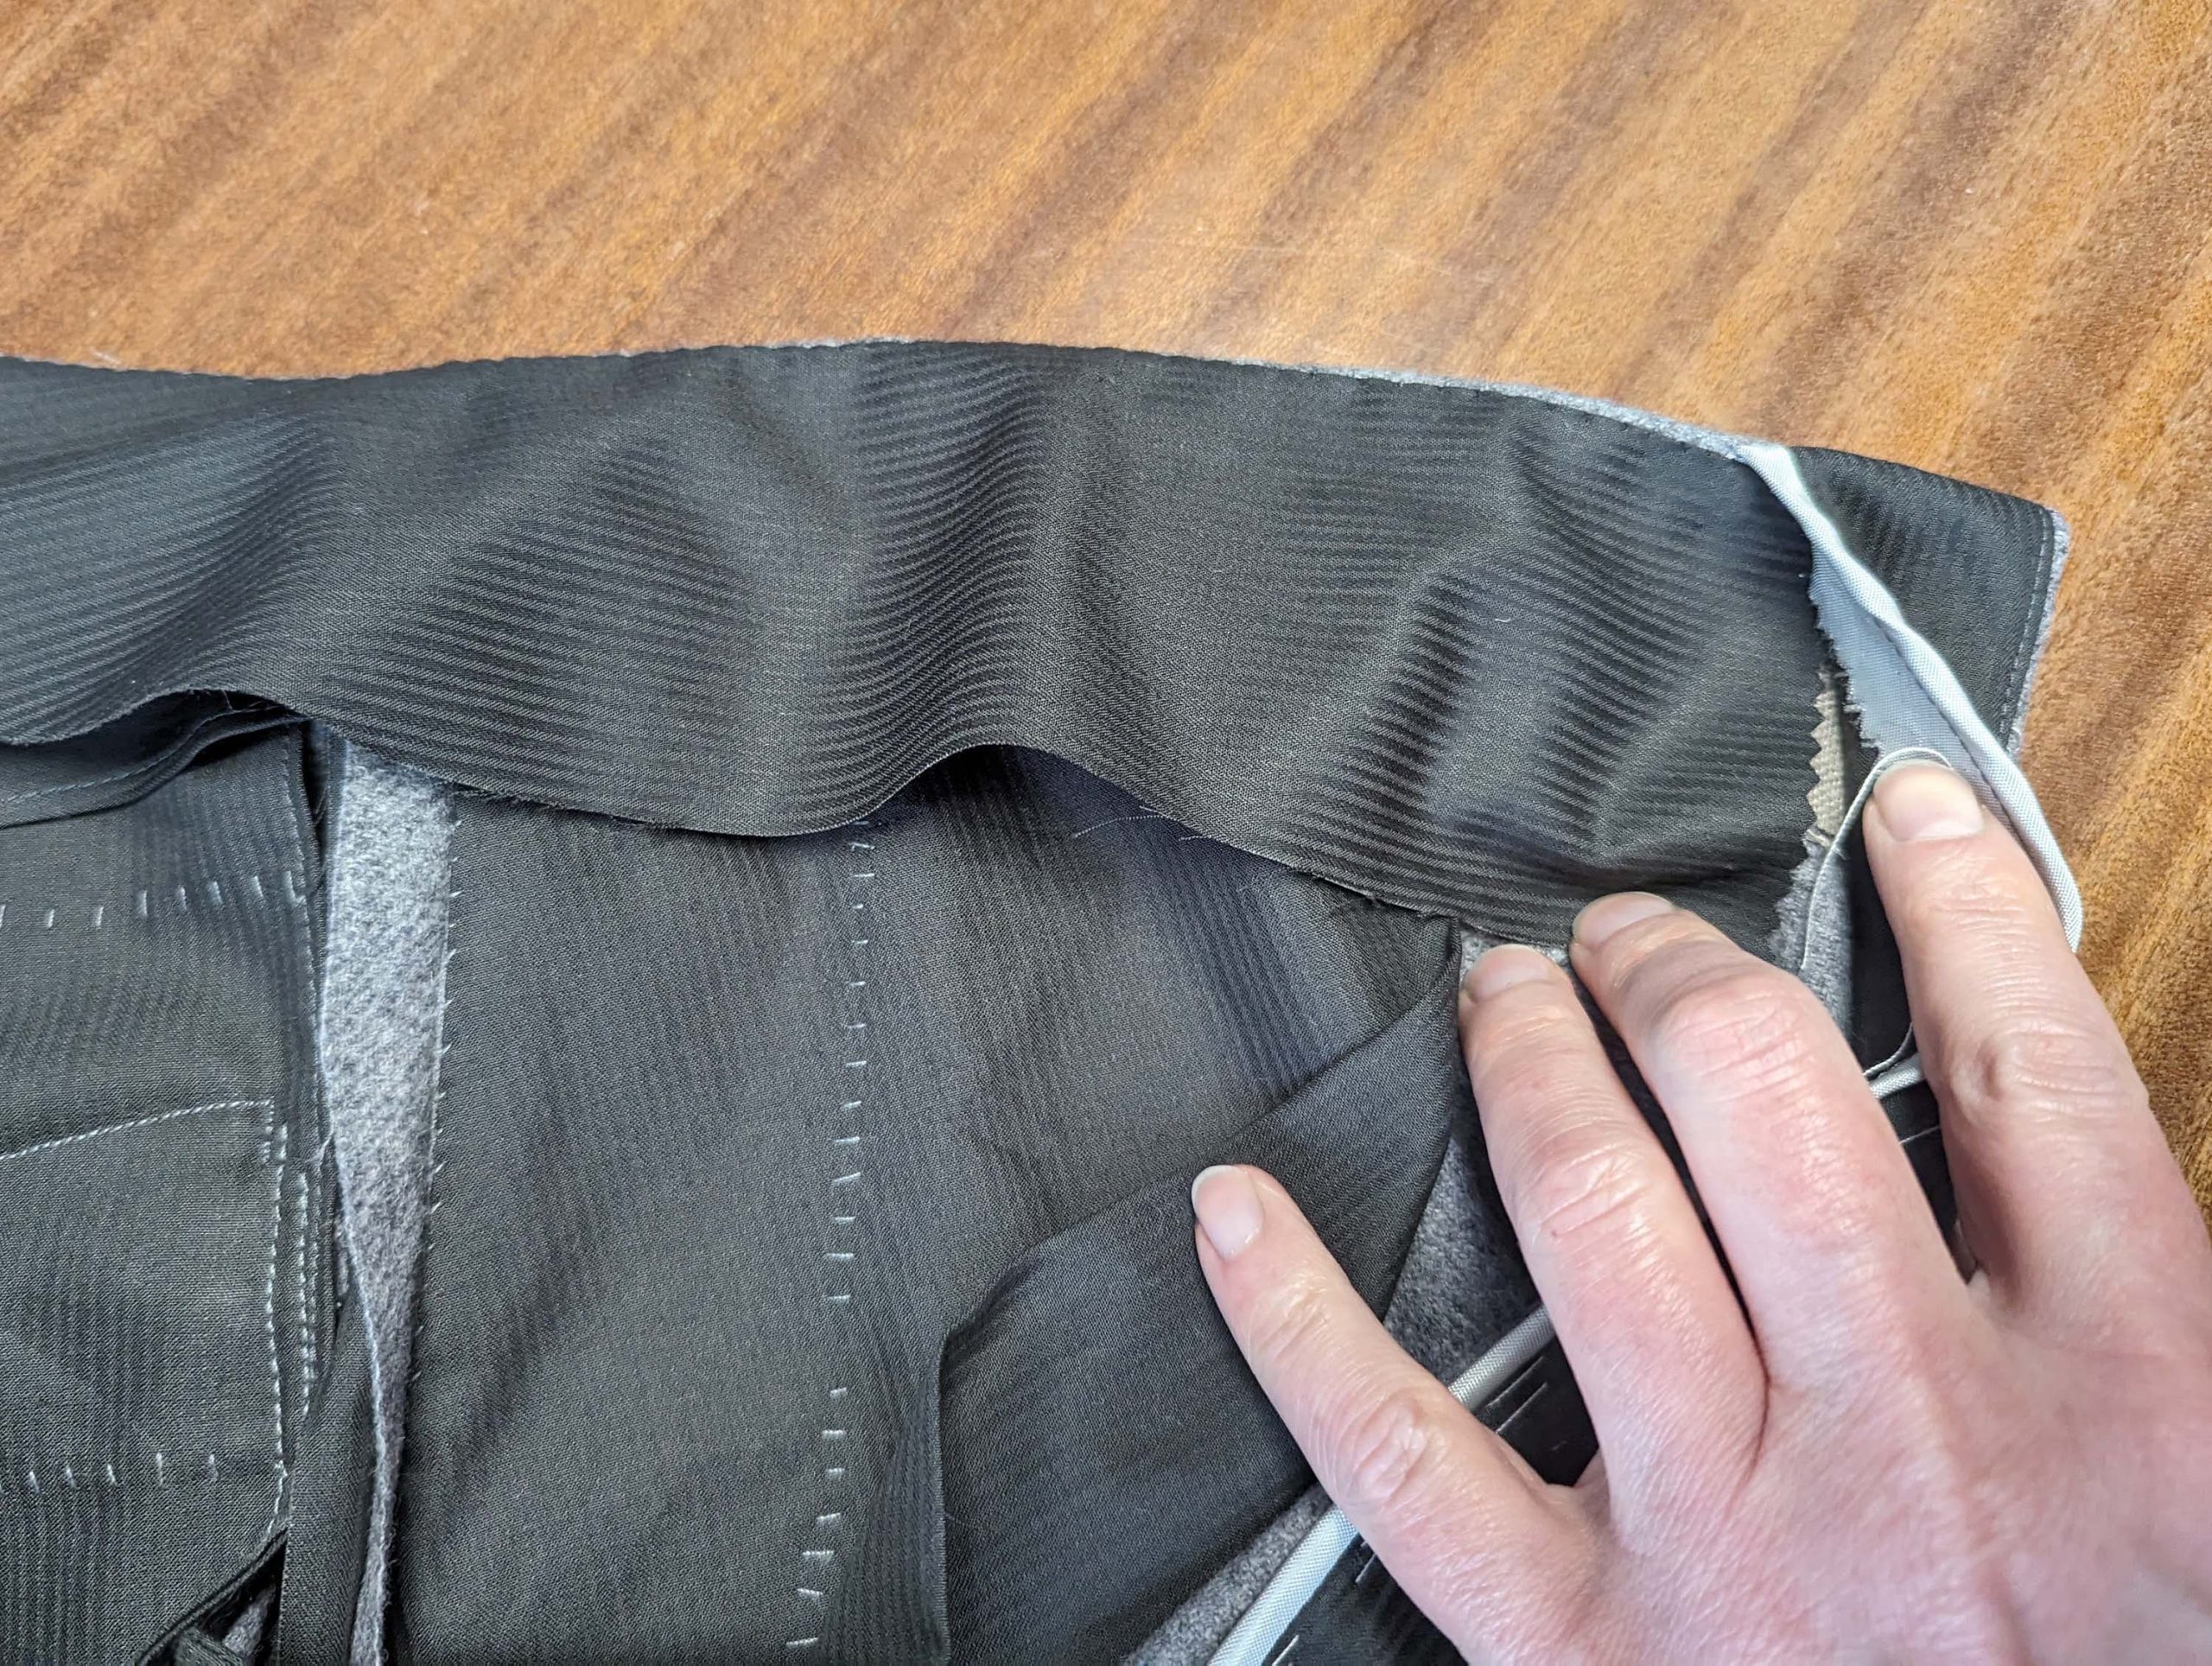
Line up the pieces for the waistband lining, right sides together, and sew along the center back. Trim back the seam allowances and press open. Turn in the seam allowance along the top edge, notch at the side seam and the center back. Line up with the top edge of the trousers, wrong sides together, with the fashion fabric extending past the lining about 1/8” (2-3mm), and baste in place. At the fronts, trim back as needed, turn in the seam allowances, with the fashion fabric extending past the lining about 1/8” (2-3mm), and baste. Sew the lining to the trousers with a felling stitch along the top and front edges.
Along the bottom edge, turn in a seam allowance of about ¾” (2cm), notch where needed. Sew with a prick stitch parallel to the edge, catching the interlining along the topsides. Along the curtain, fell down the edge, catching the curtain.

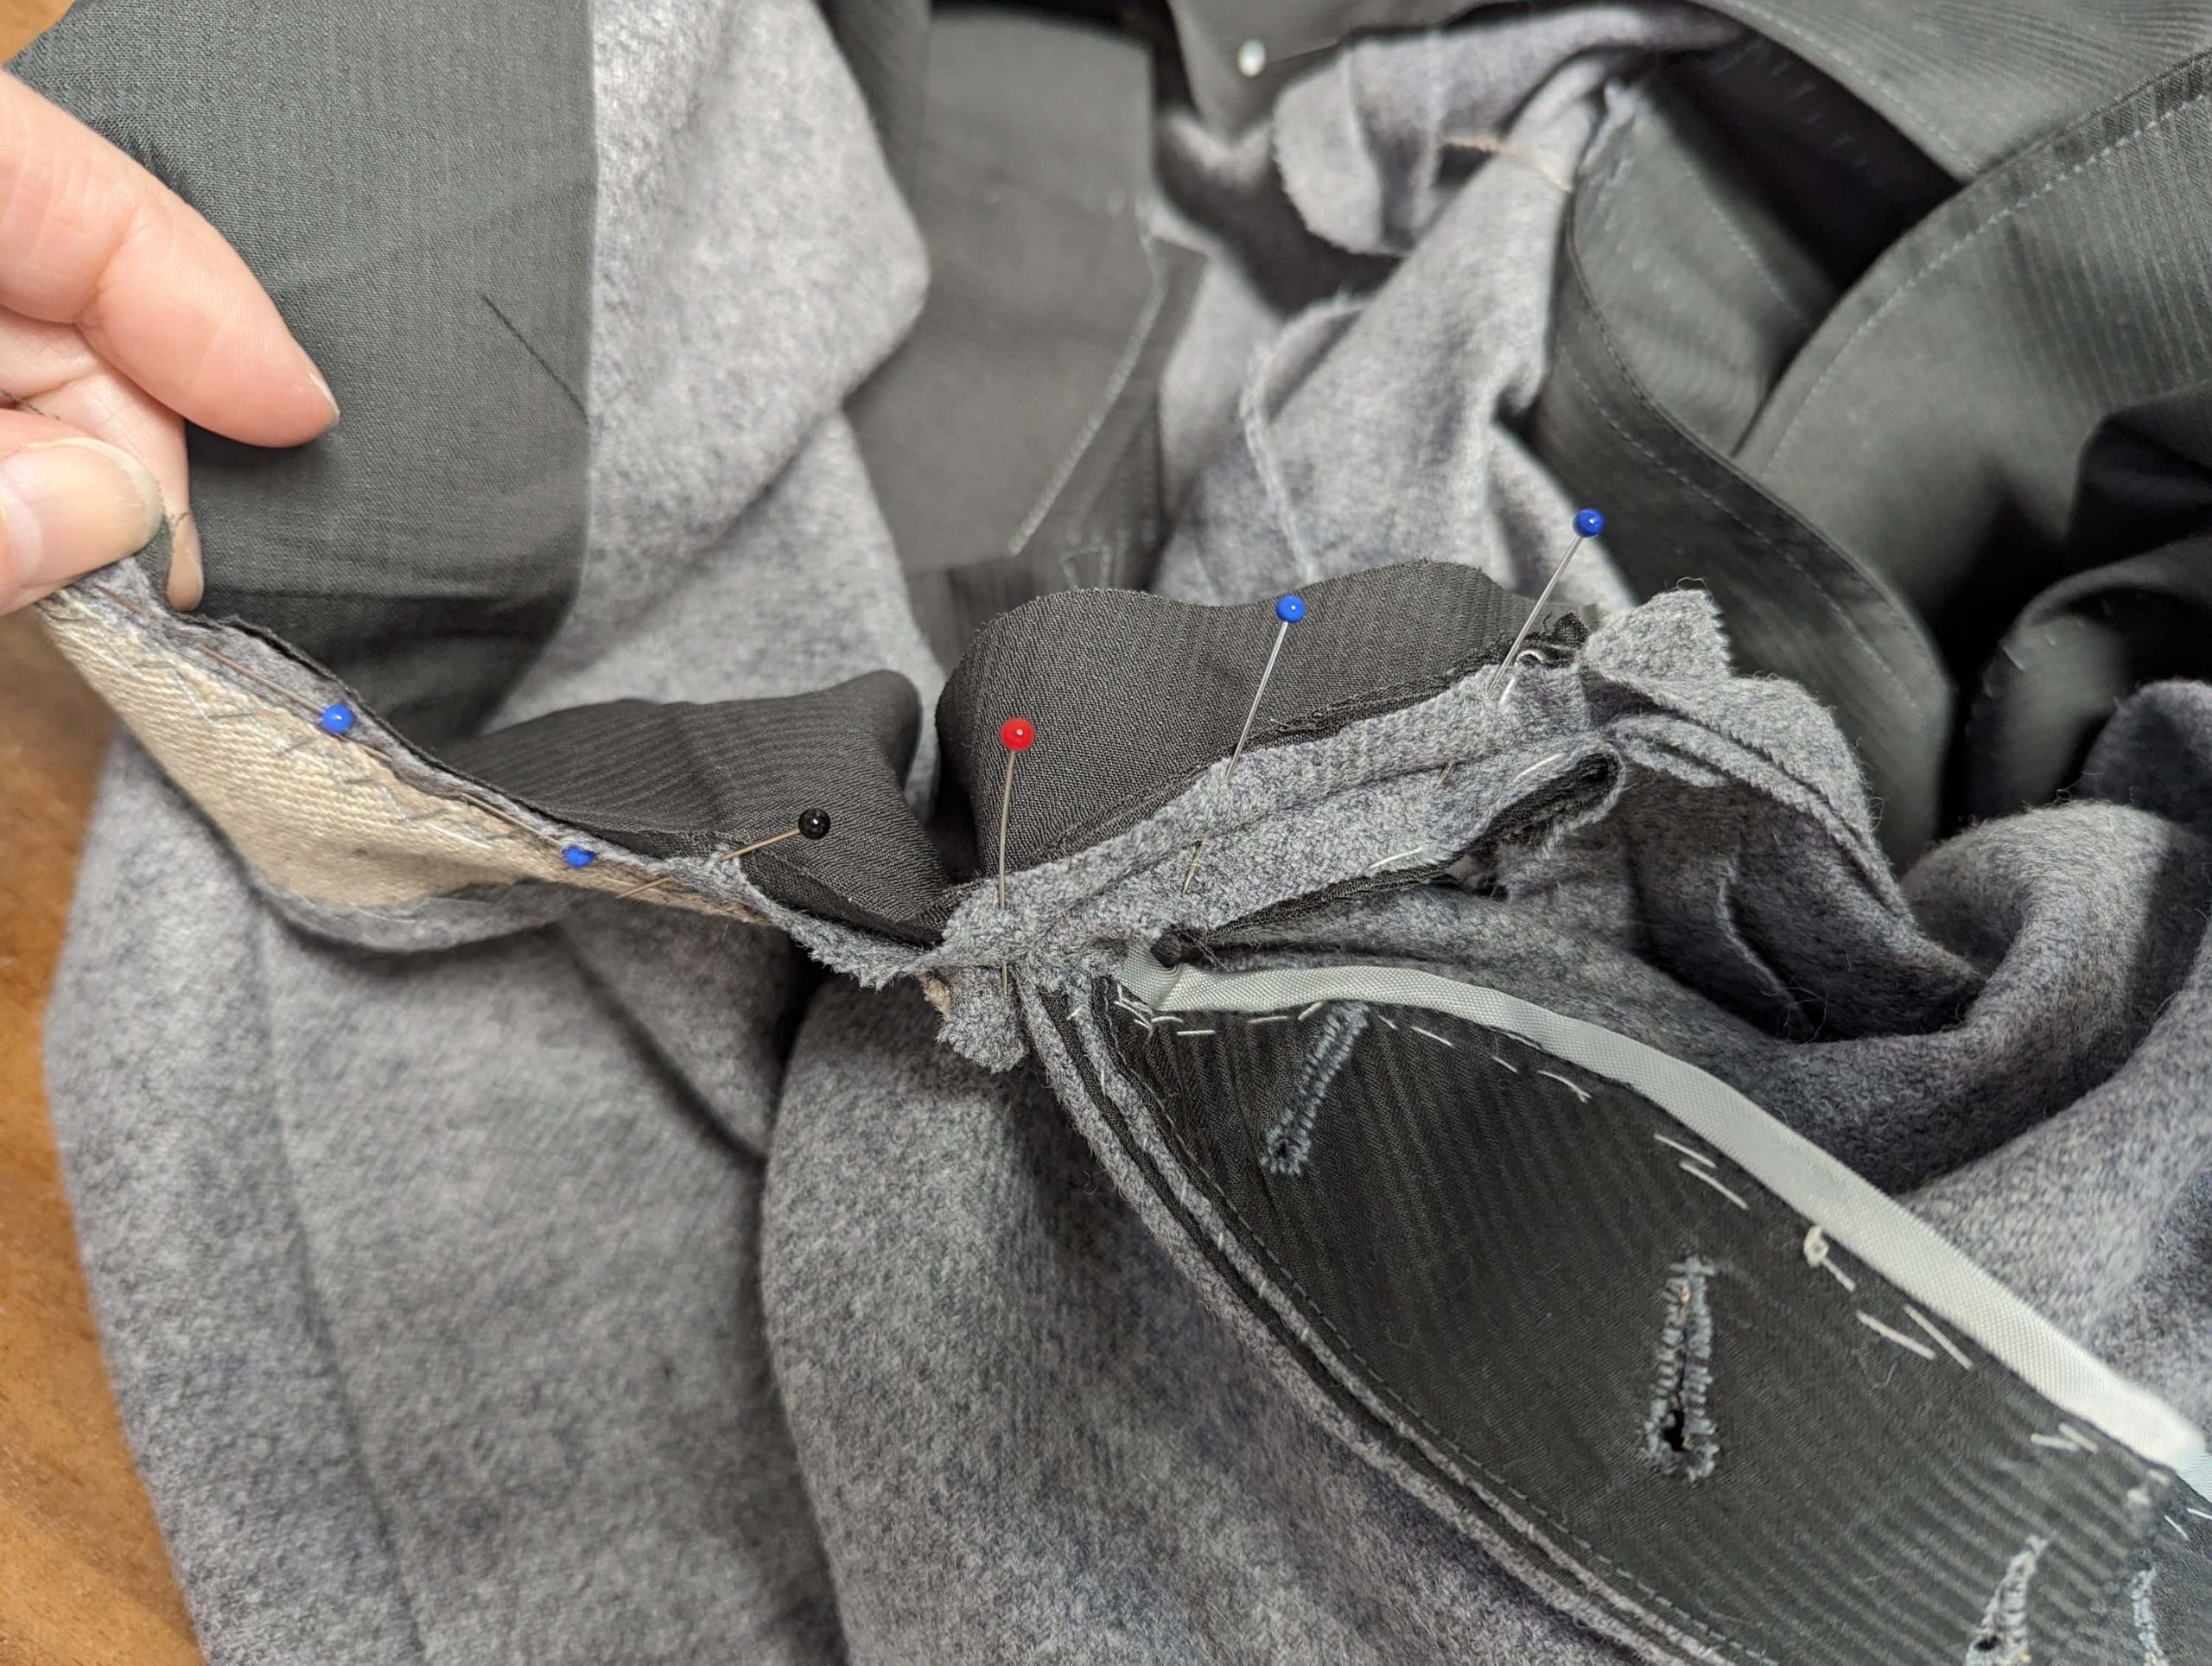
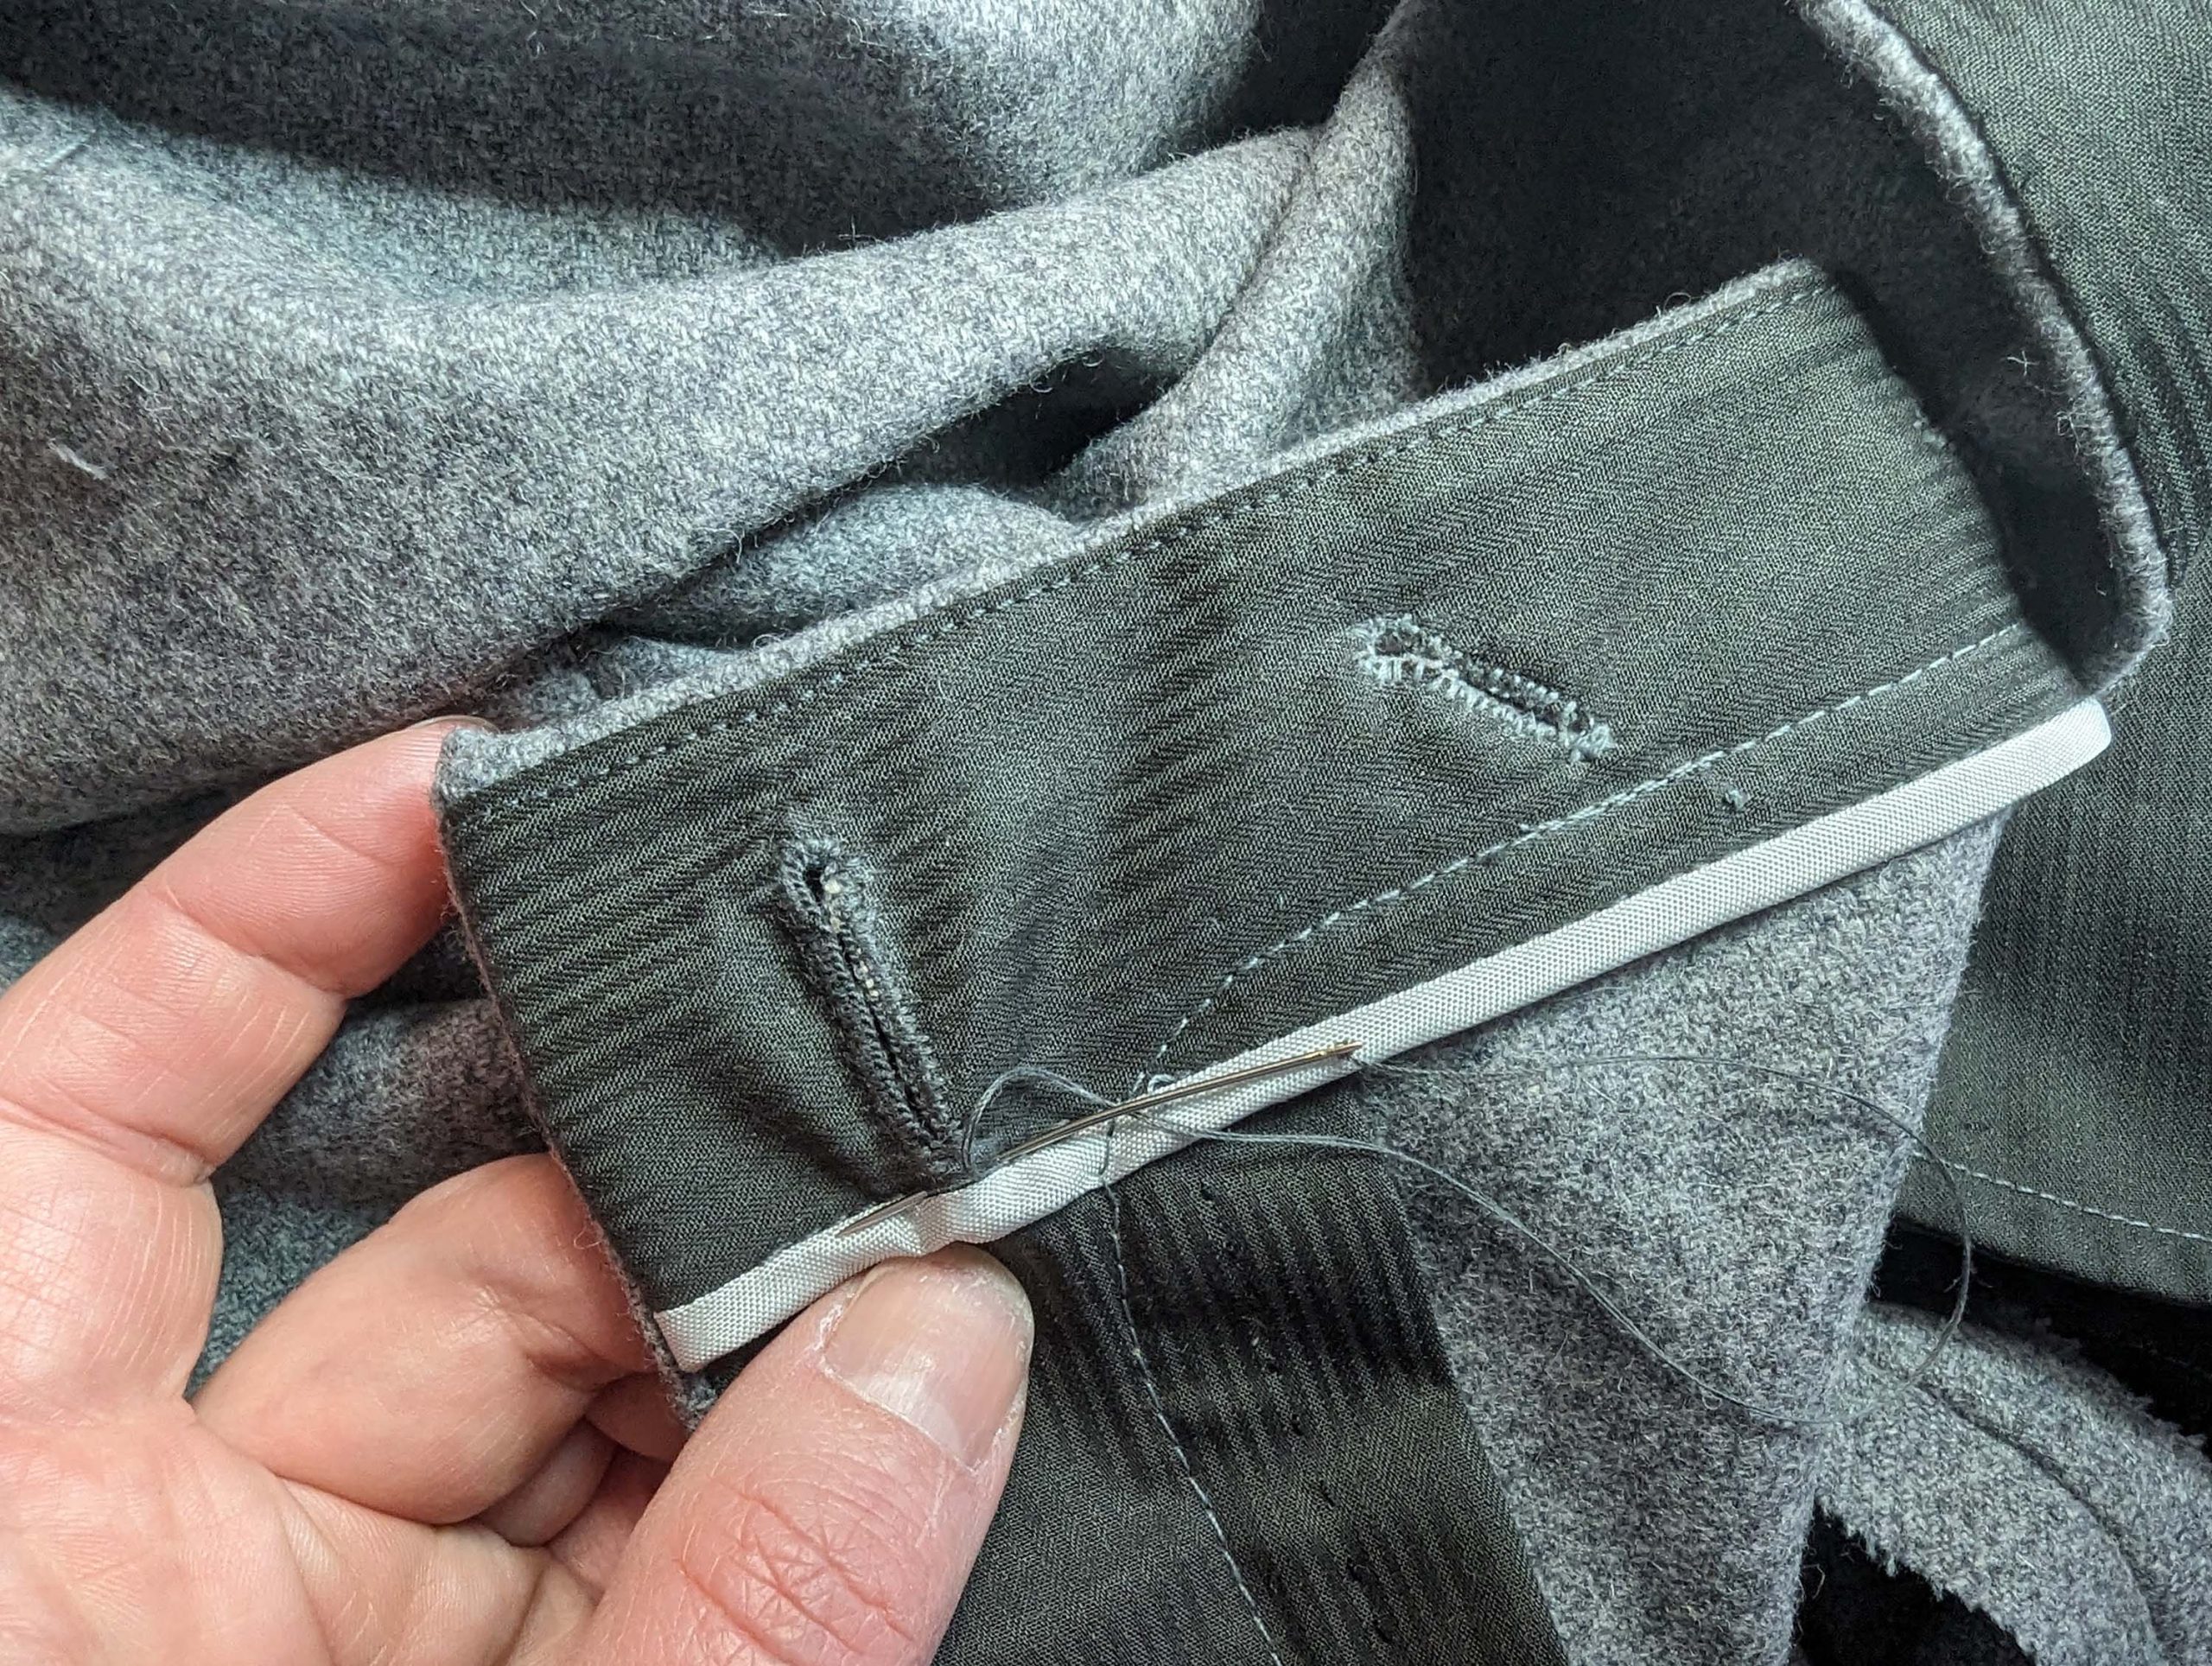
When you make the hidden buttonhole at the waistband, slide the lining underneath the placket and stitch down the placket to the interfacing along the loose edge. Bar tack at the front between the imaginary line between the waistband and the fly.

(17) Now, just some finishing details are missing: Bar tack the bottom edge of the curtain to the seam allowance of the crotch seam with some stitches. Sew on all buttons, including matching suspender buttons. At the waistband sew a buttonhole or use a trousers hook, as desired.
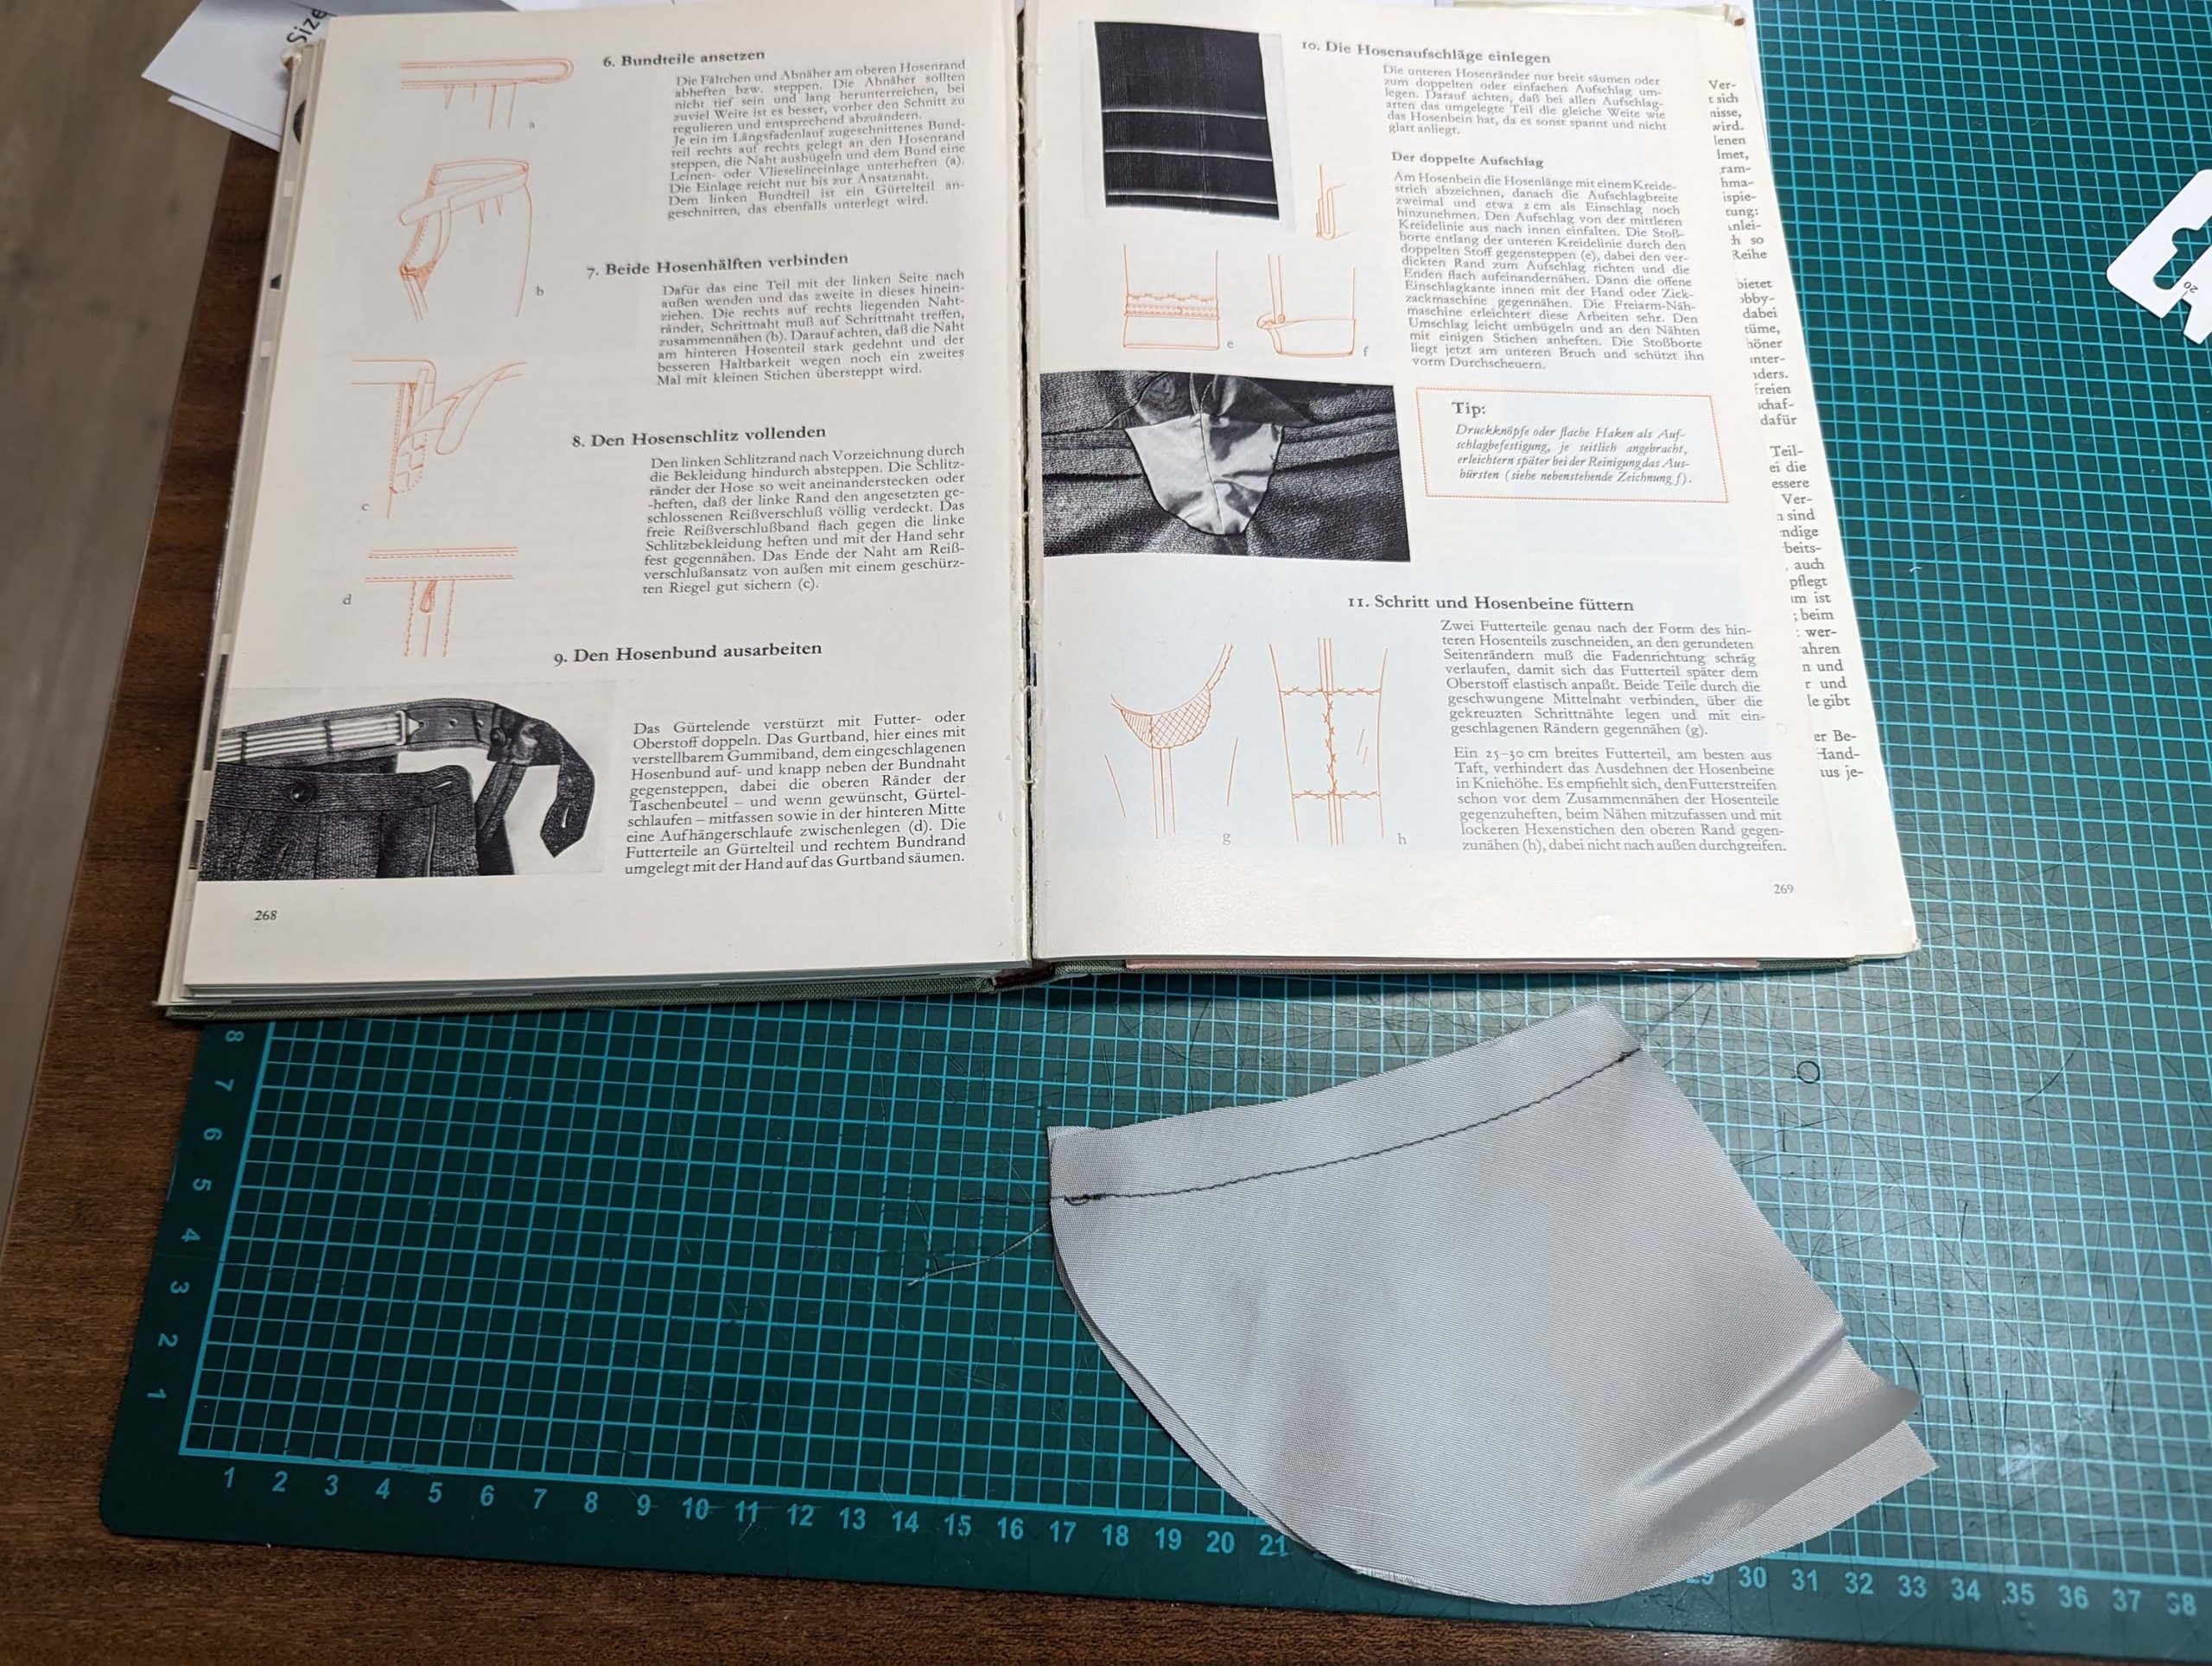
The crotch lining is optional, but until now we have done so many things to get a neat finish inside, that we shouldn’t skip that. I found some short instructions in an old German sewing book. Line up the crotch lining and sew along the crotch. Turn in the seam allowances all around and place it inside the crotch, covering the seam allowances. Fell stitch in place all around.


fin