

After updating the Norfolk Jacket, we’re shifting our focus to the breeches pattern, with an upcoming blog post dedicated to its update. Traditional trousers tailoring isn’t as straightforward as it may seem; it took me several years to master, and now I’m excited to offer you a solid foundation for your projects.
For further research, numerous preserved tailor’s books and magazines from that era are available as free PDF scans on the internet, providing additional insights into materials, cutting, and sewing techniques. The breeches featured in this sewing pattern are based on a pattern from the following book: W. D. F. Vincent (circa 1900): The Cutter’s Practical Guide to Jacket Cutting and Making, London.
The trousers featured in the sewing pattern have a fly front, a grown-on waistband, and are designed to be worn with buttoned suspenders. Additionally, the width of the trousers can be adjusted using straps and a buckle at the back.
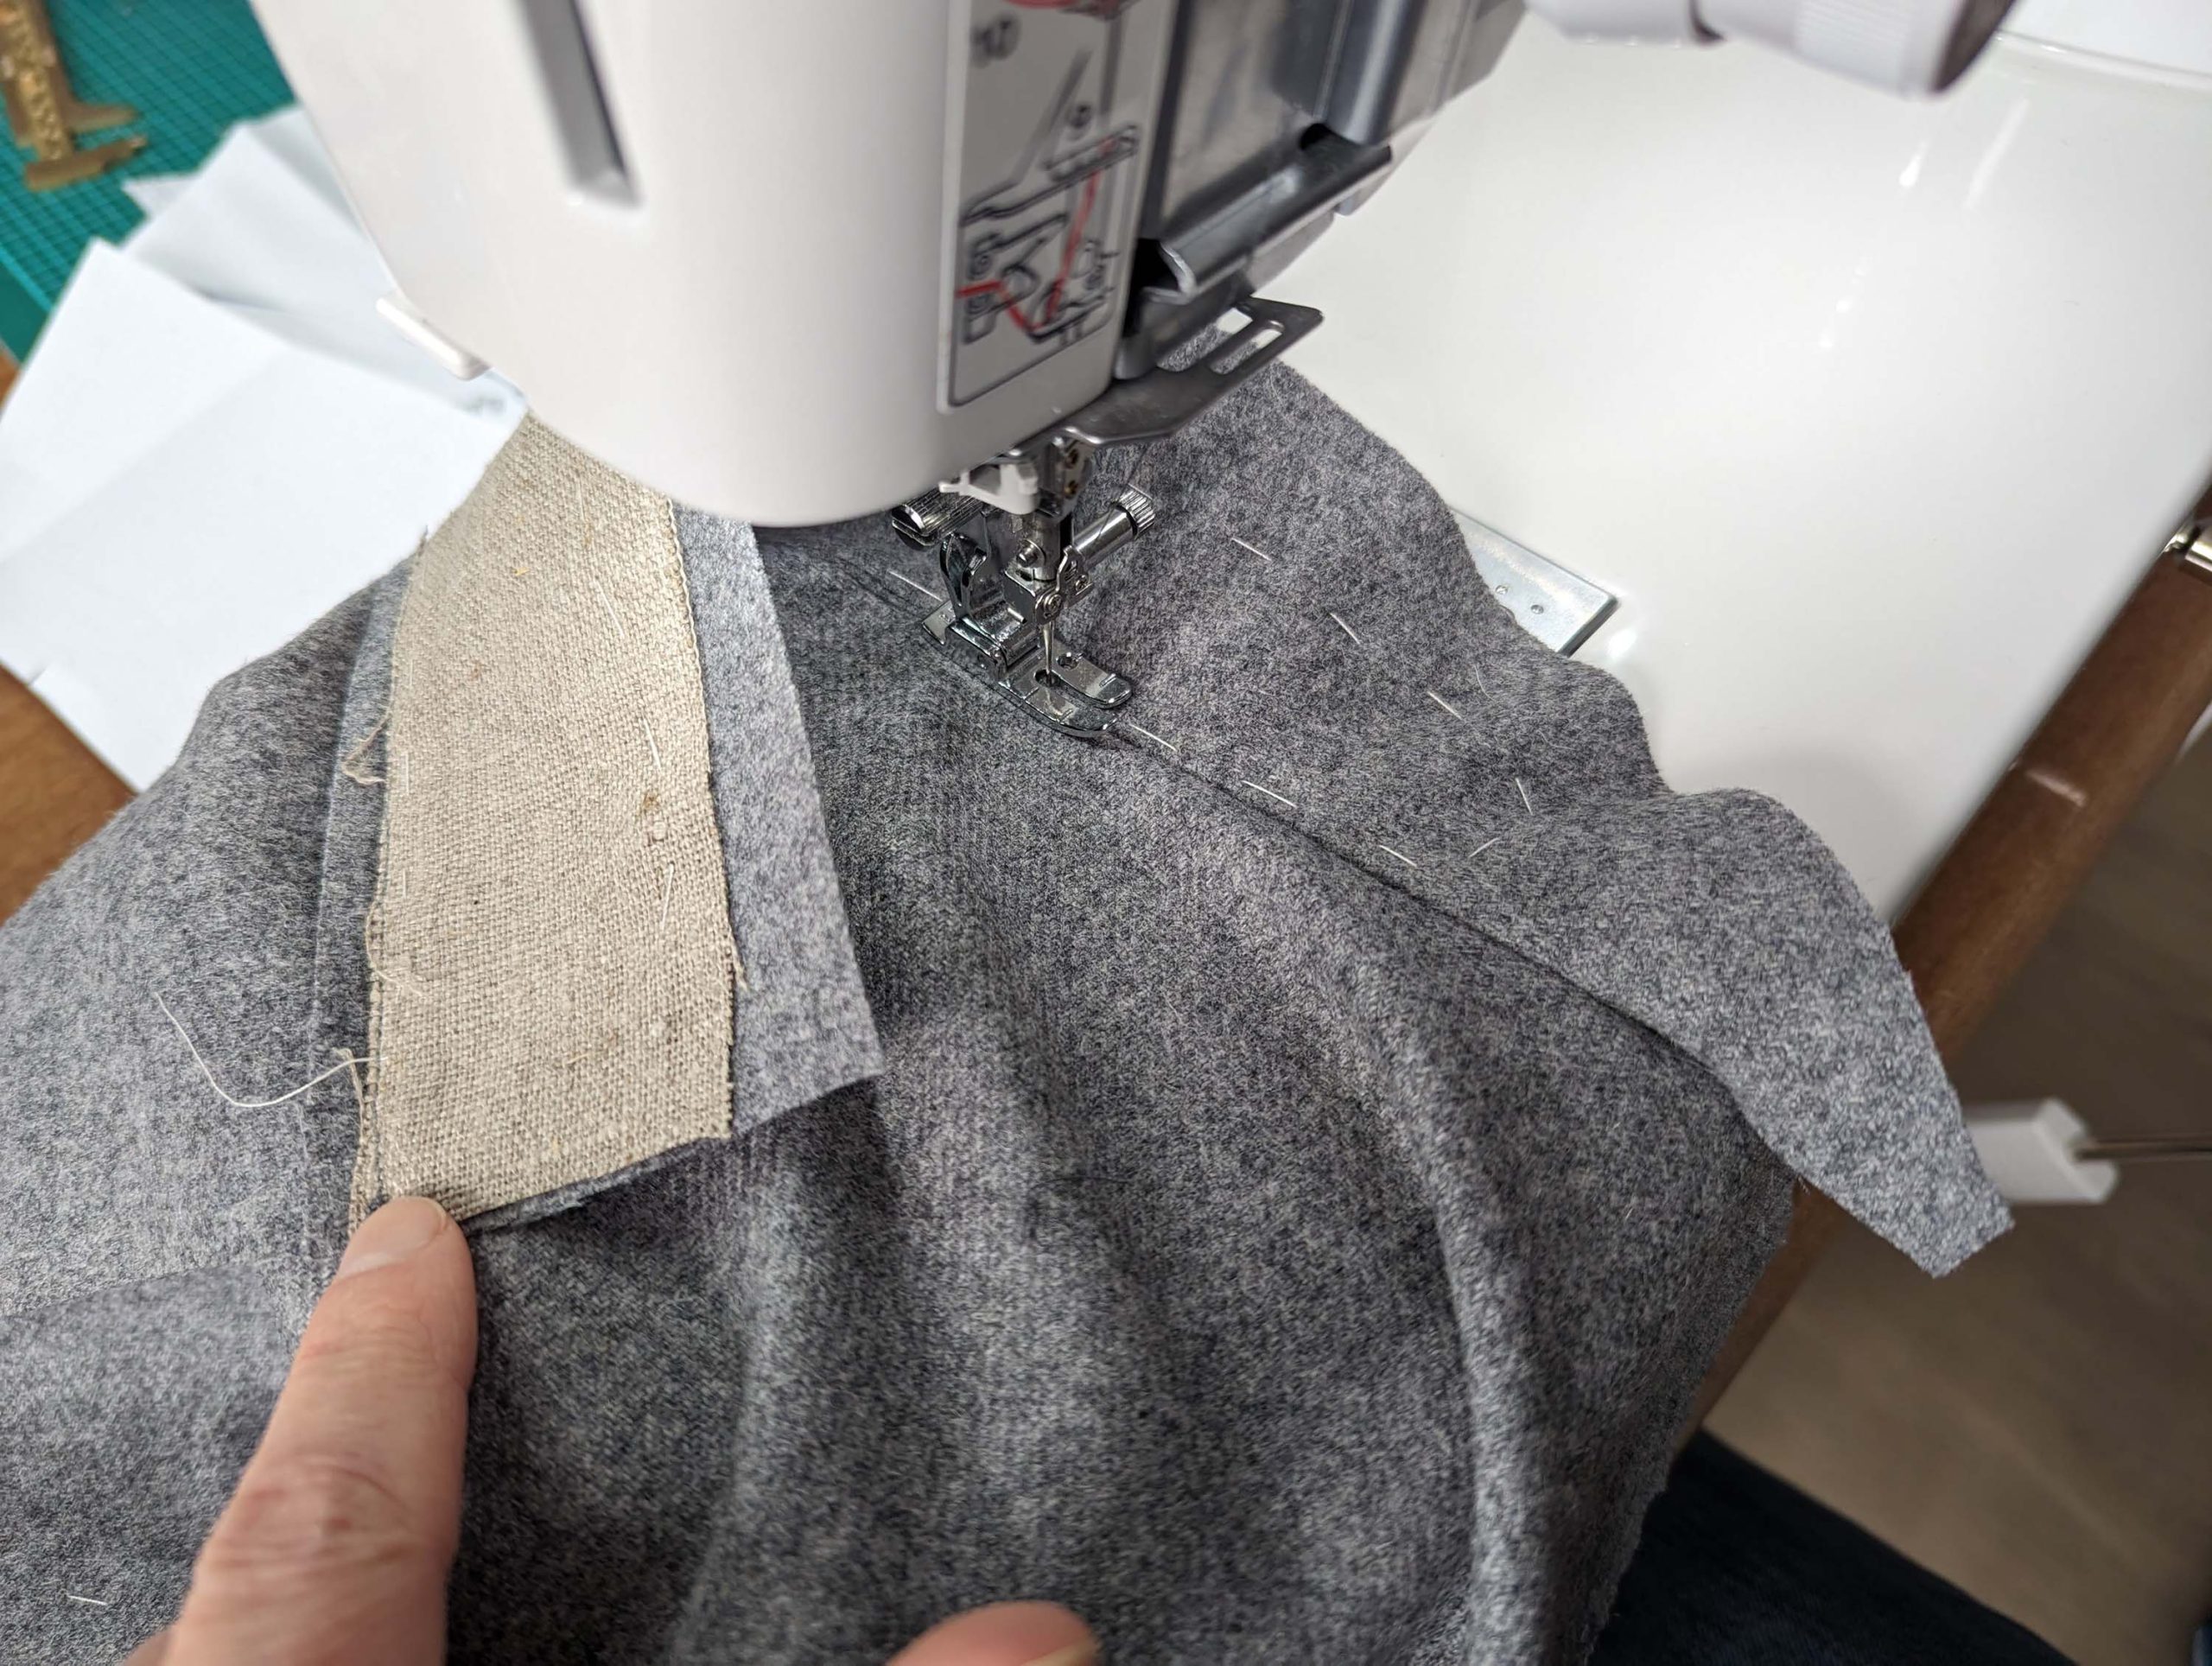
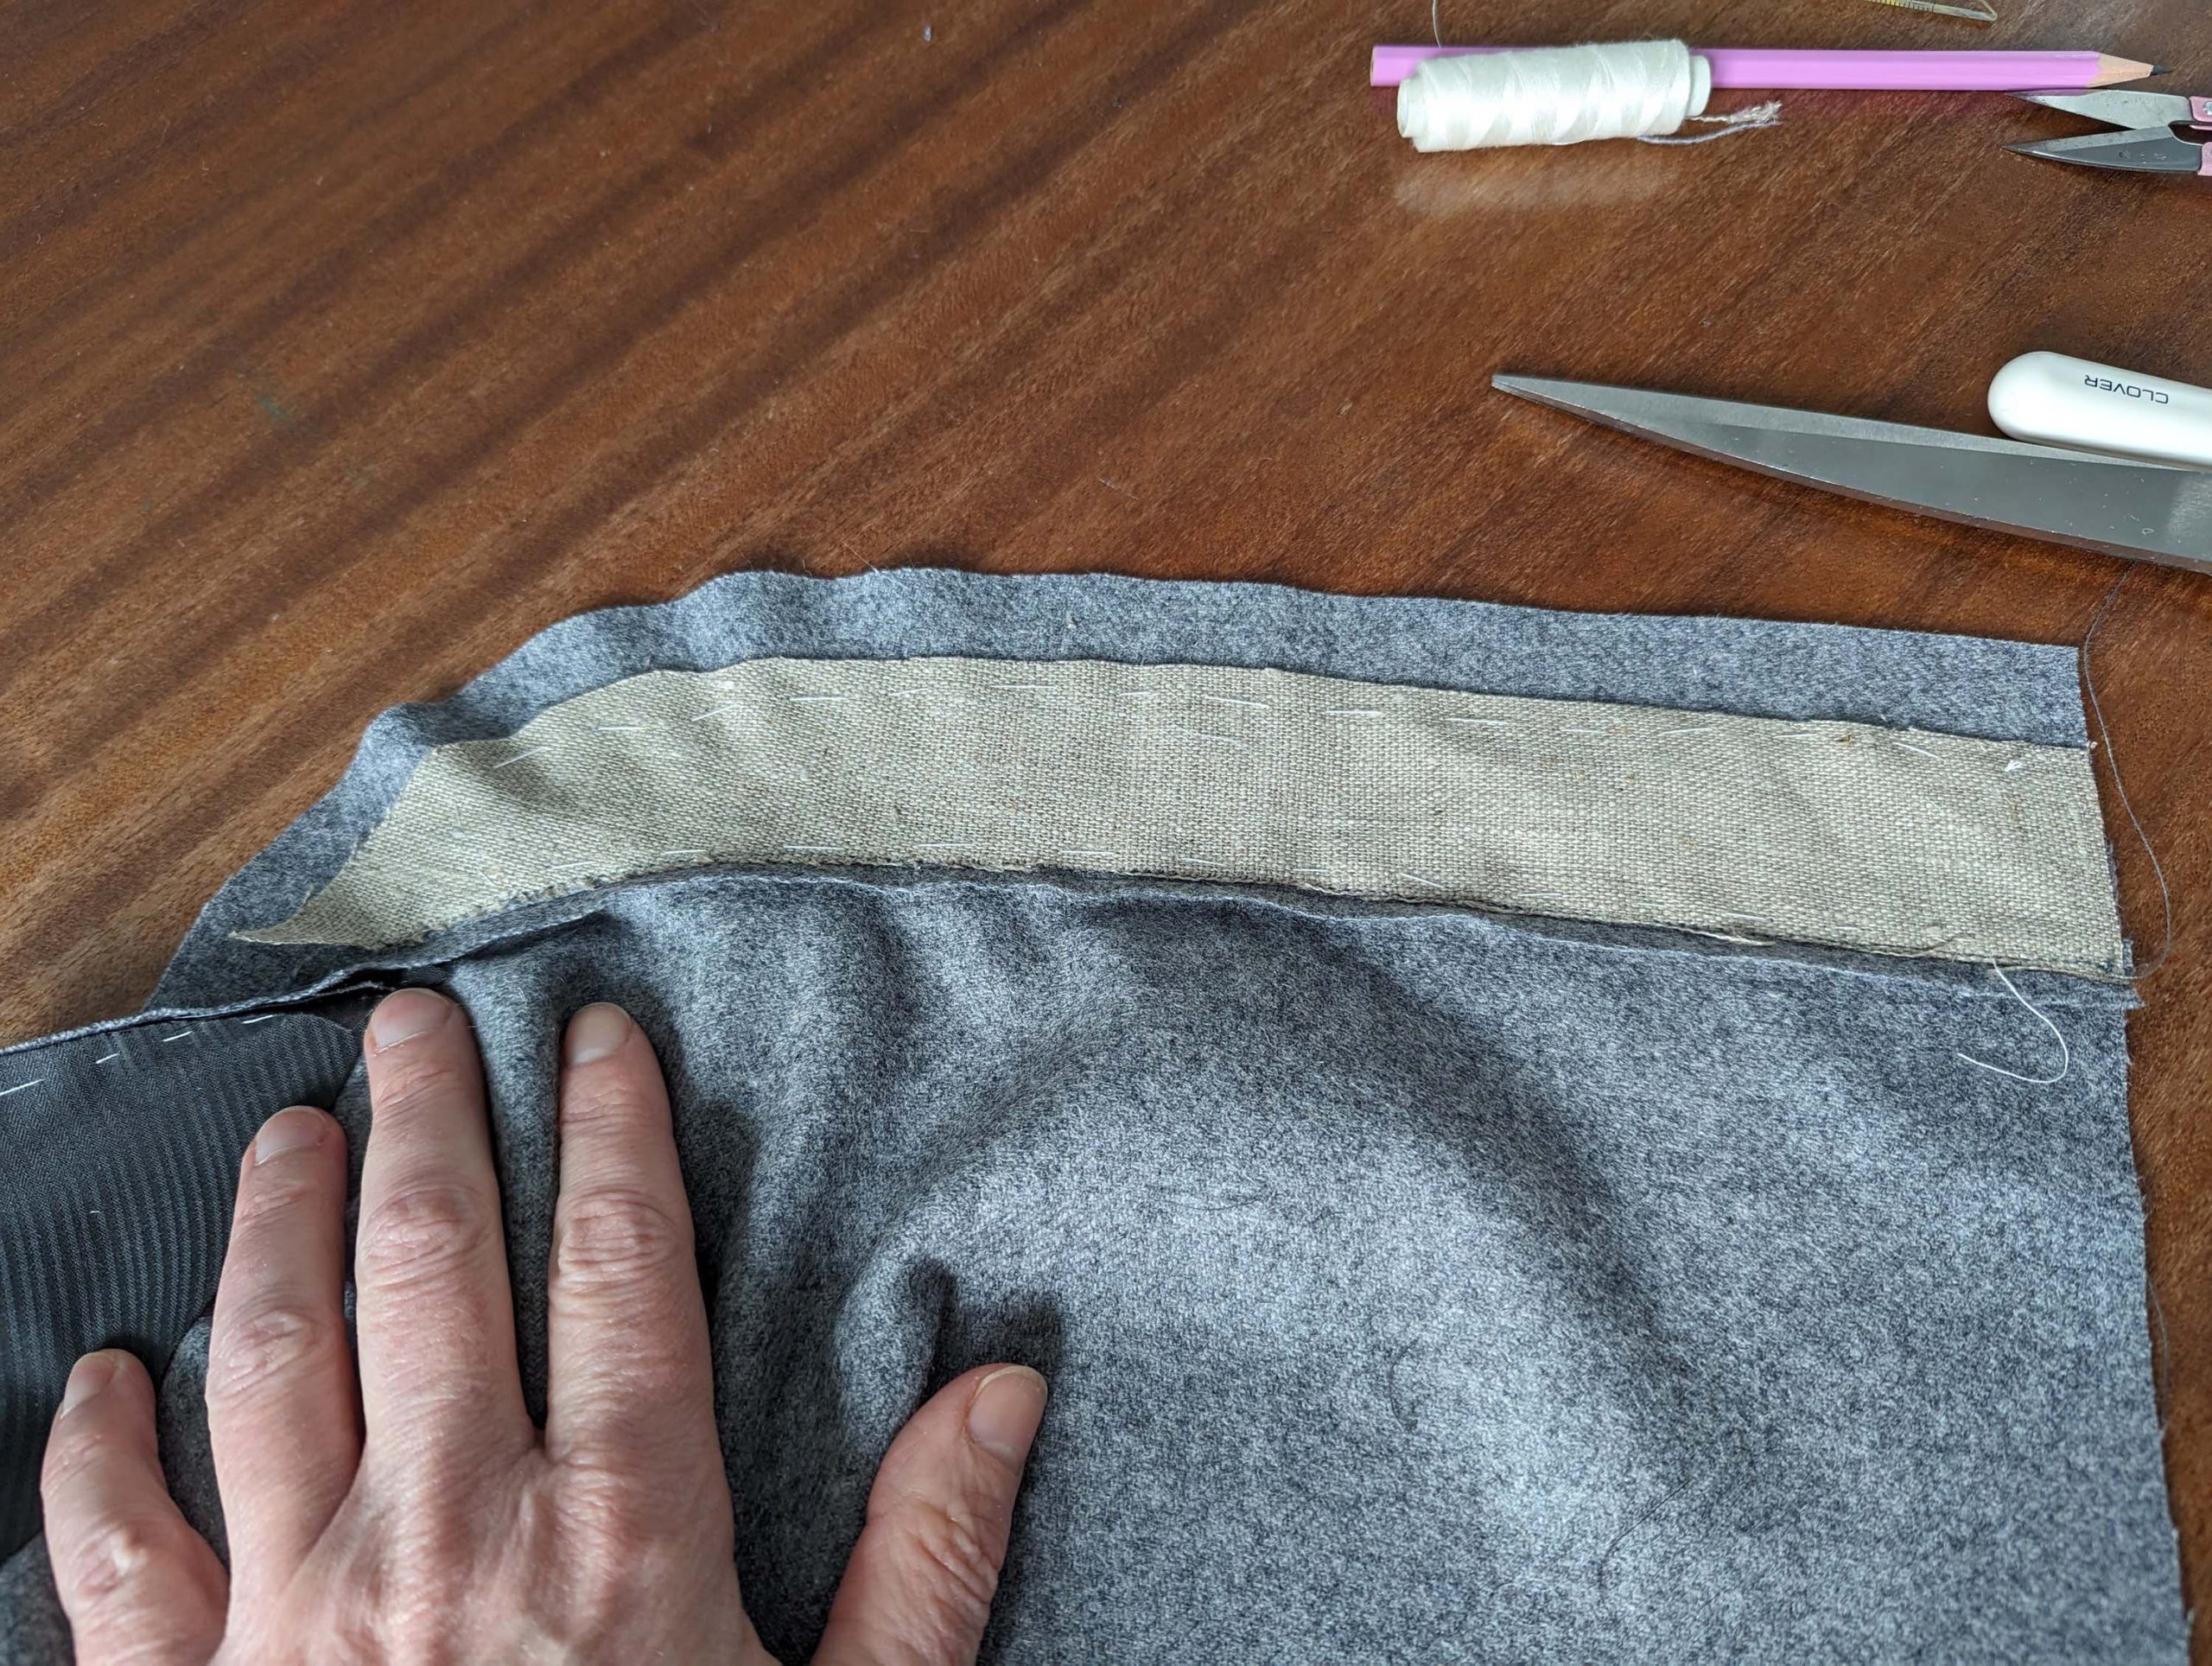
Durability was paramount for garments in the 19th century, so trousers were reinforced at critical points. They were basted to the wrong side of the fabric first, then stitched in place during construction. I made some mistakes while constructing the breeches, so I ask for your patience as I share my pictures and work through any challenges I encountered during the sewing process.
For the side pockets, the sewing pattern offers two methods for pocket construction: easy-to-sew in-seam pockets and the traditional tailored approach, which will be discussed here in detail. The hip pockets are optional, they are typically absent in most extant trousers.
The sewing techniques outlined in the instructions closely mirror the construction methods observed in extant garments and found in extant tailoring books.
Let’s start sewing step by step, starting with a mock-up as usual!
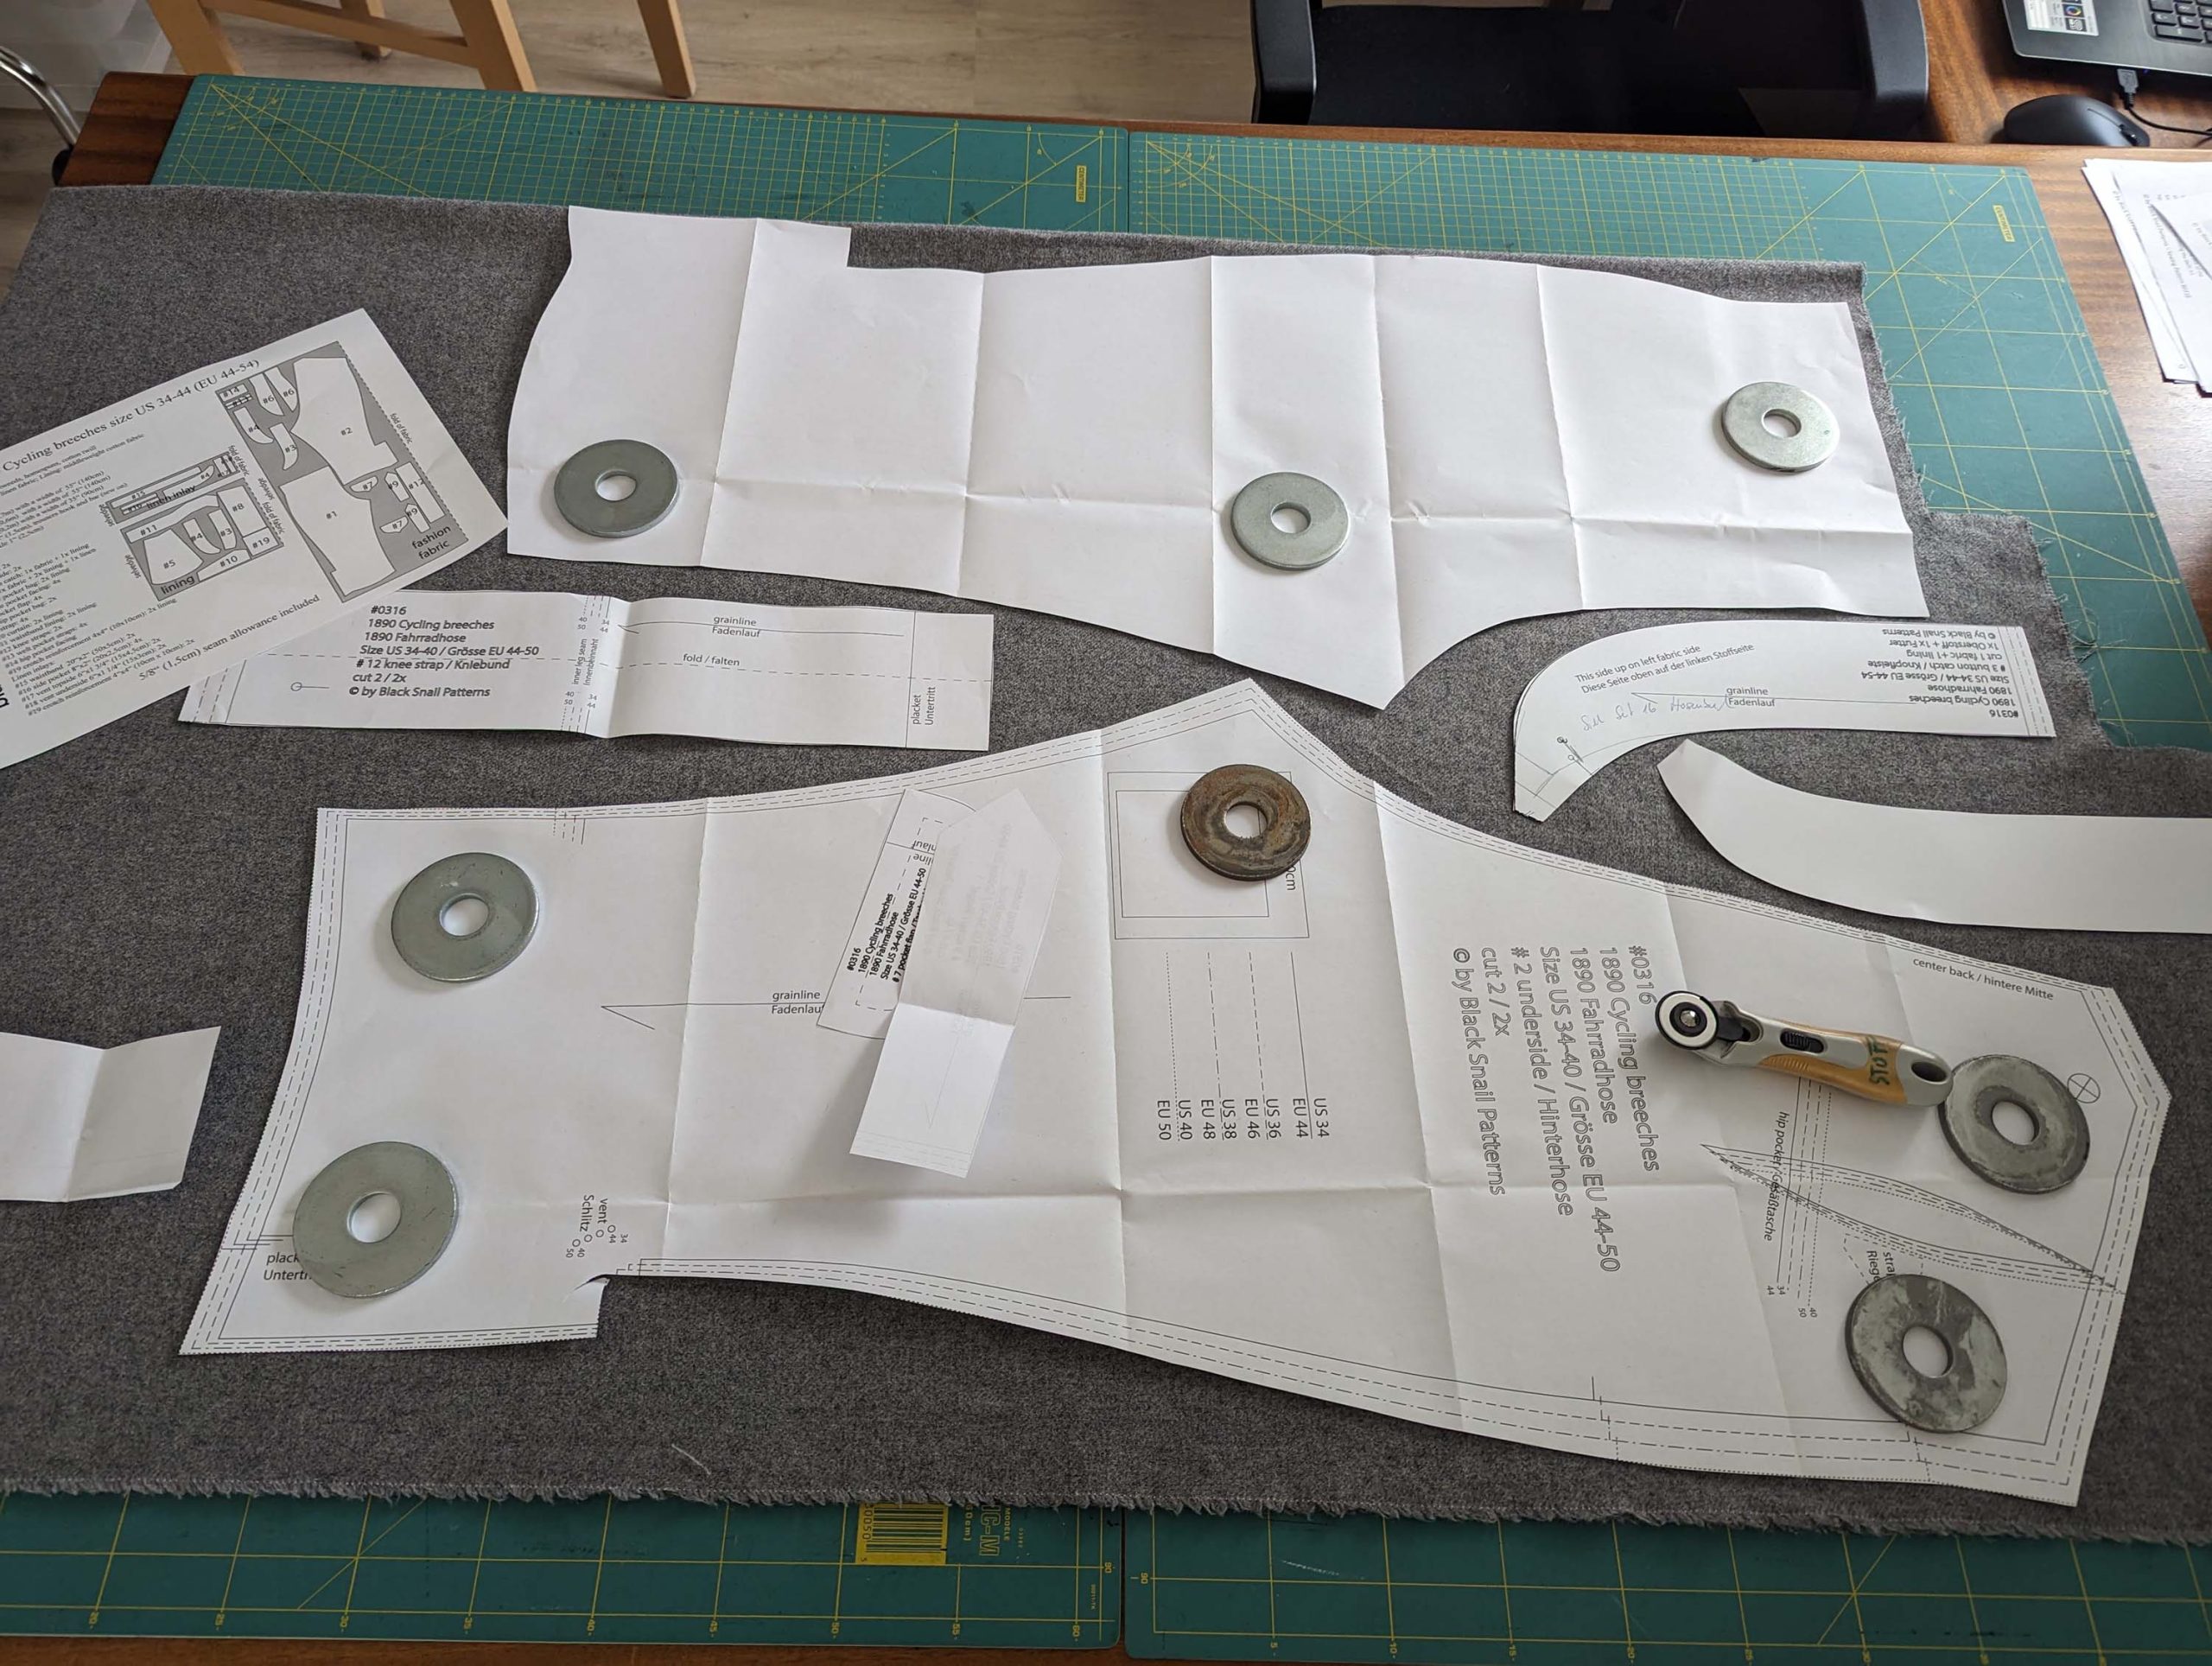
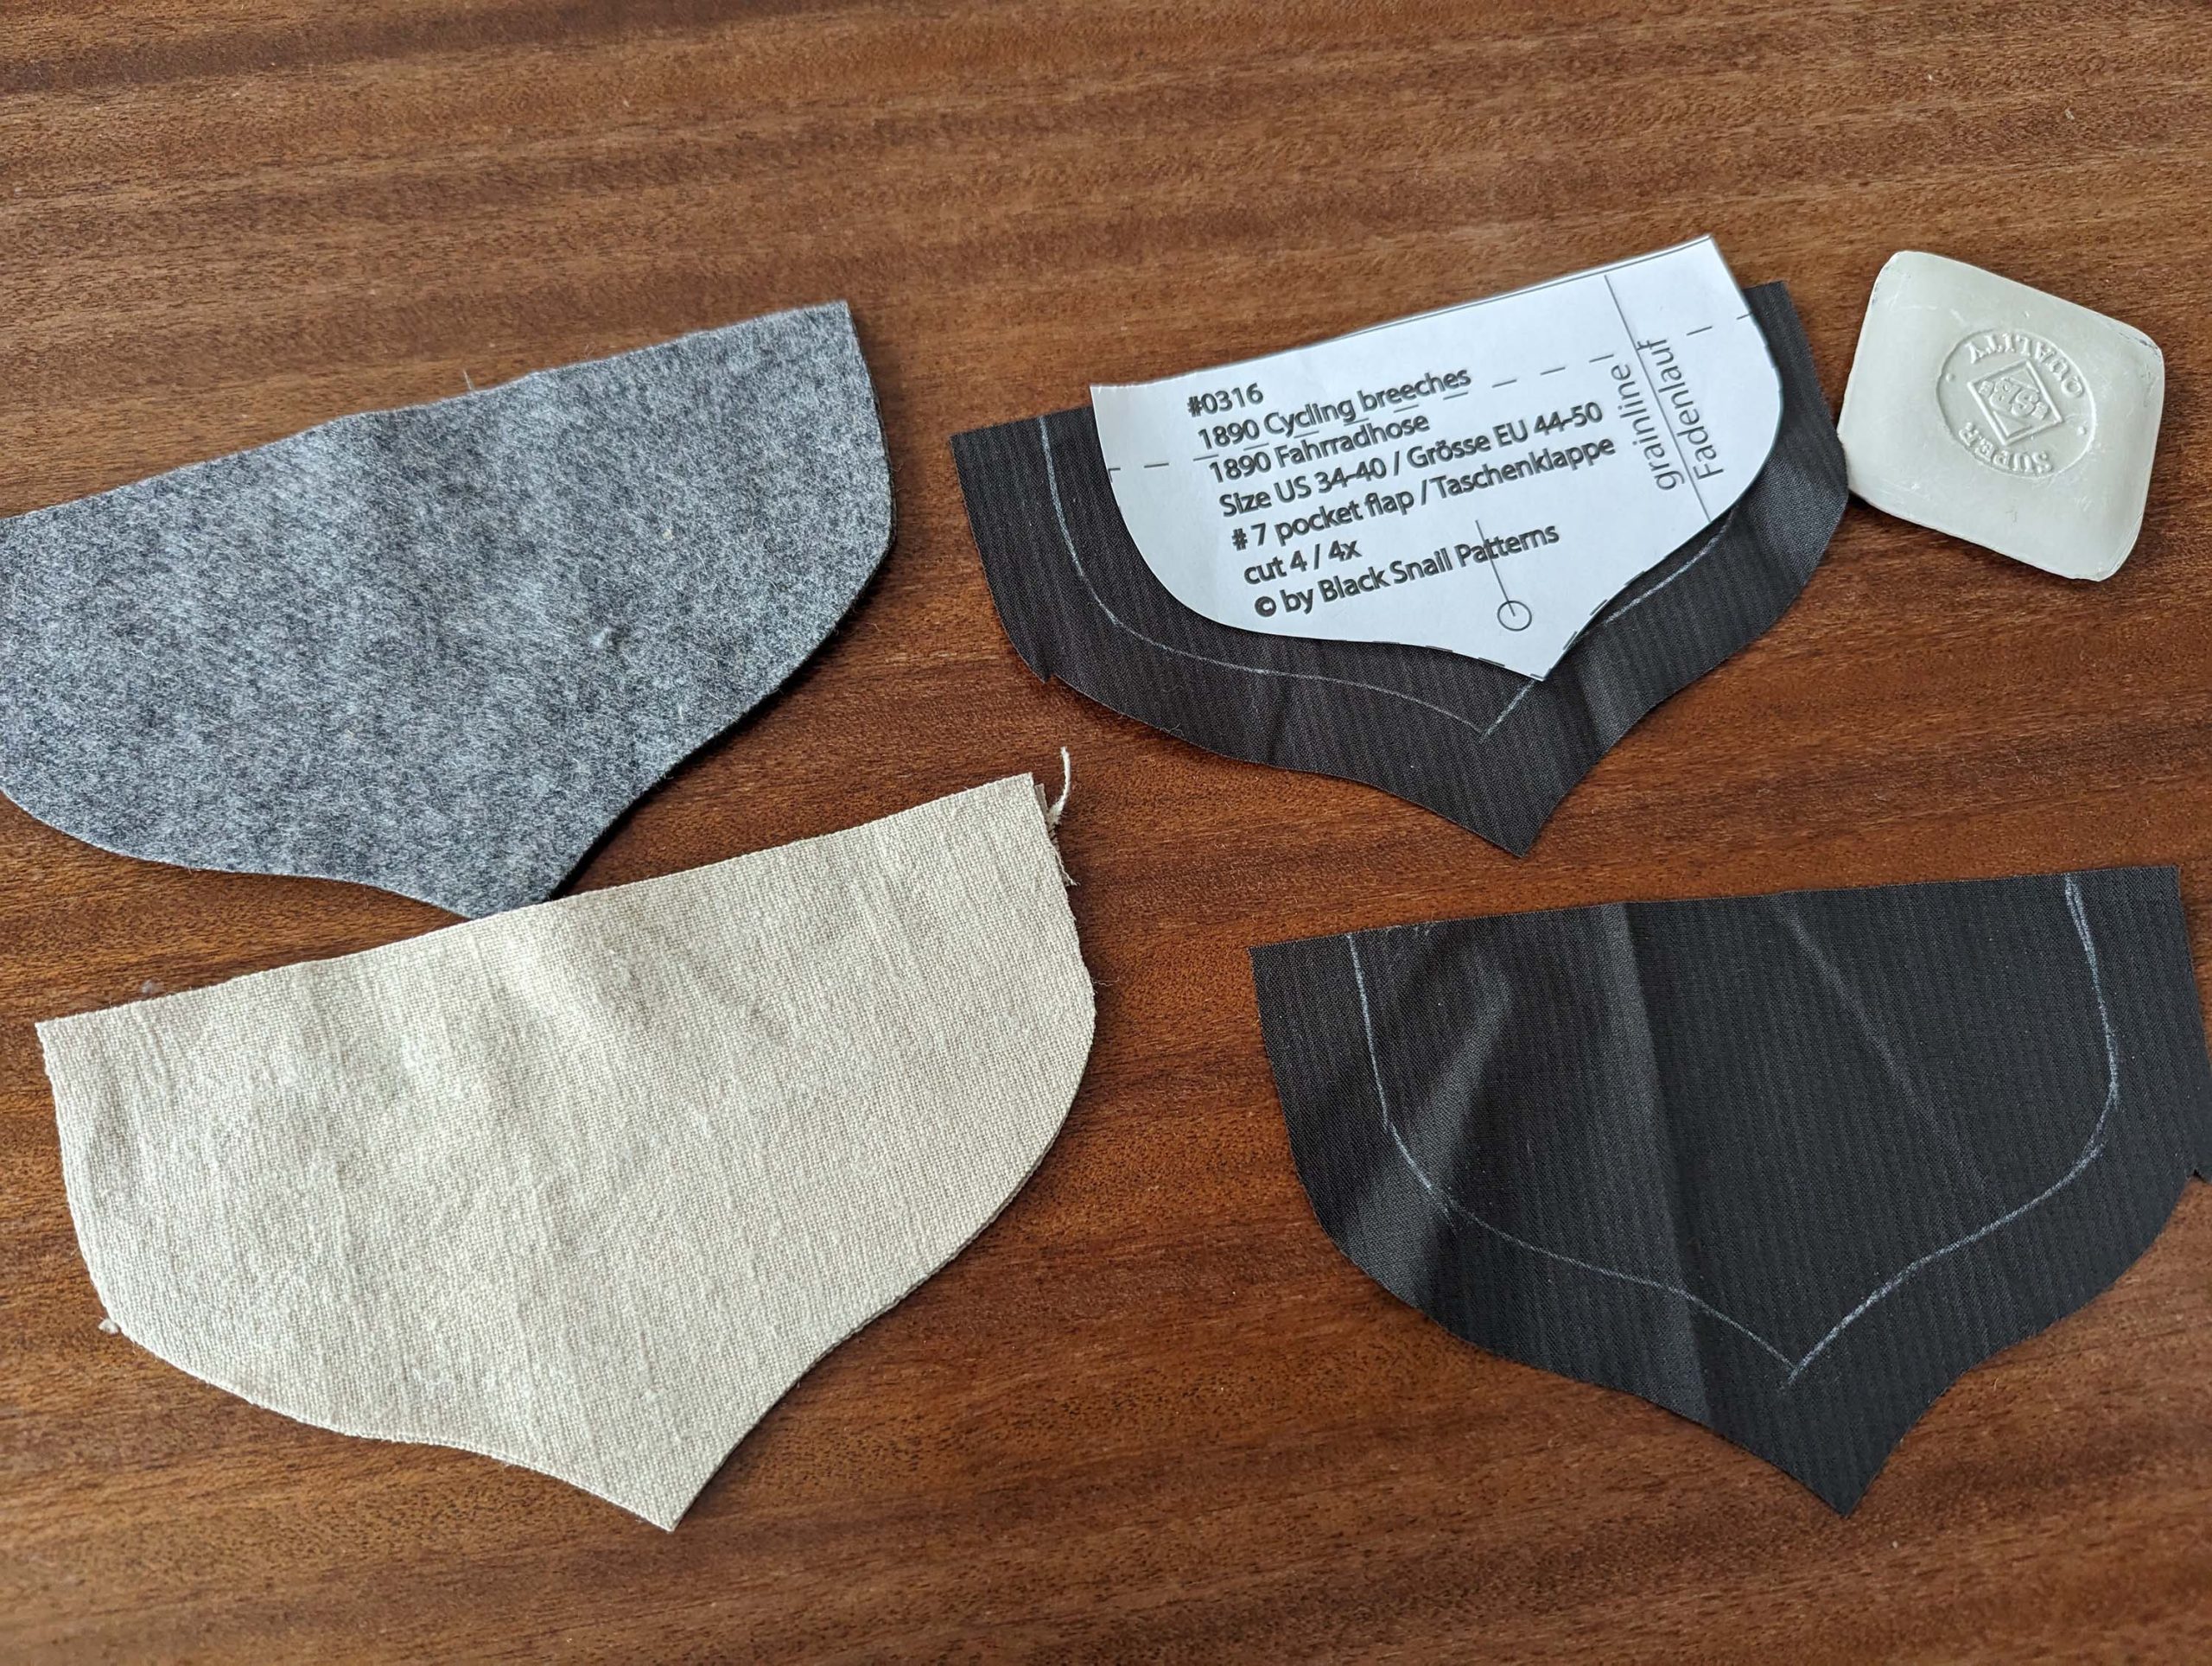
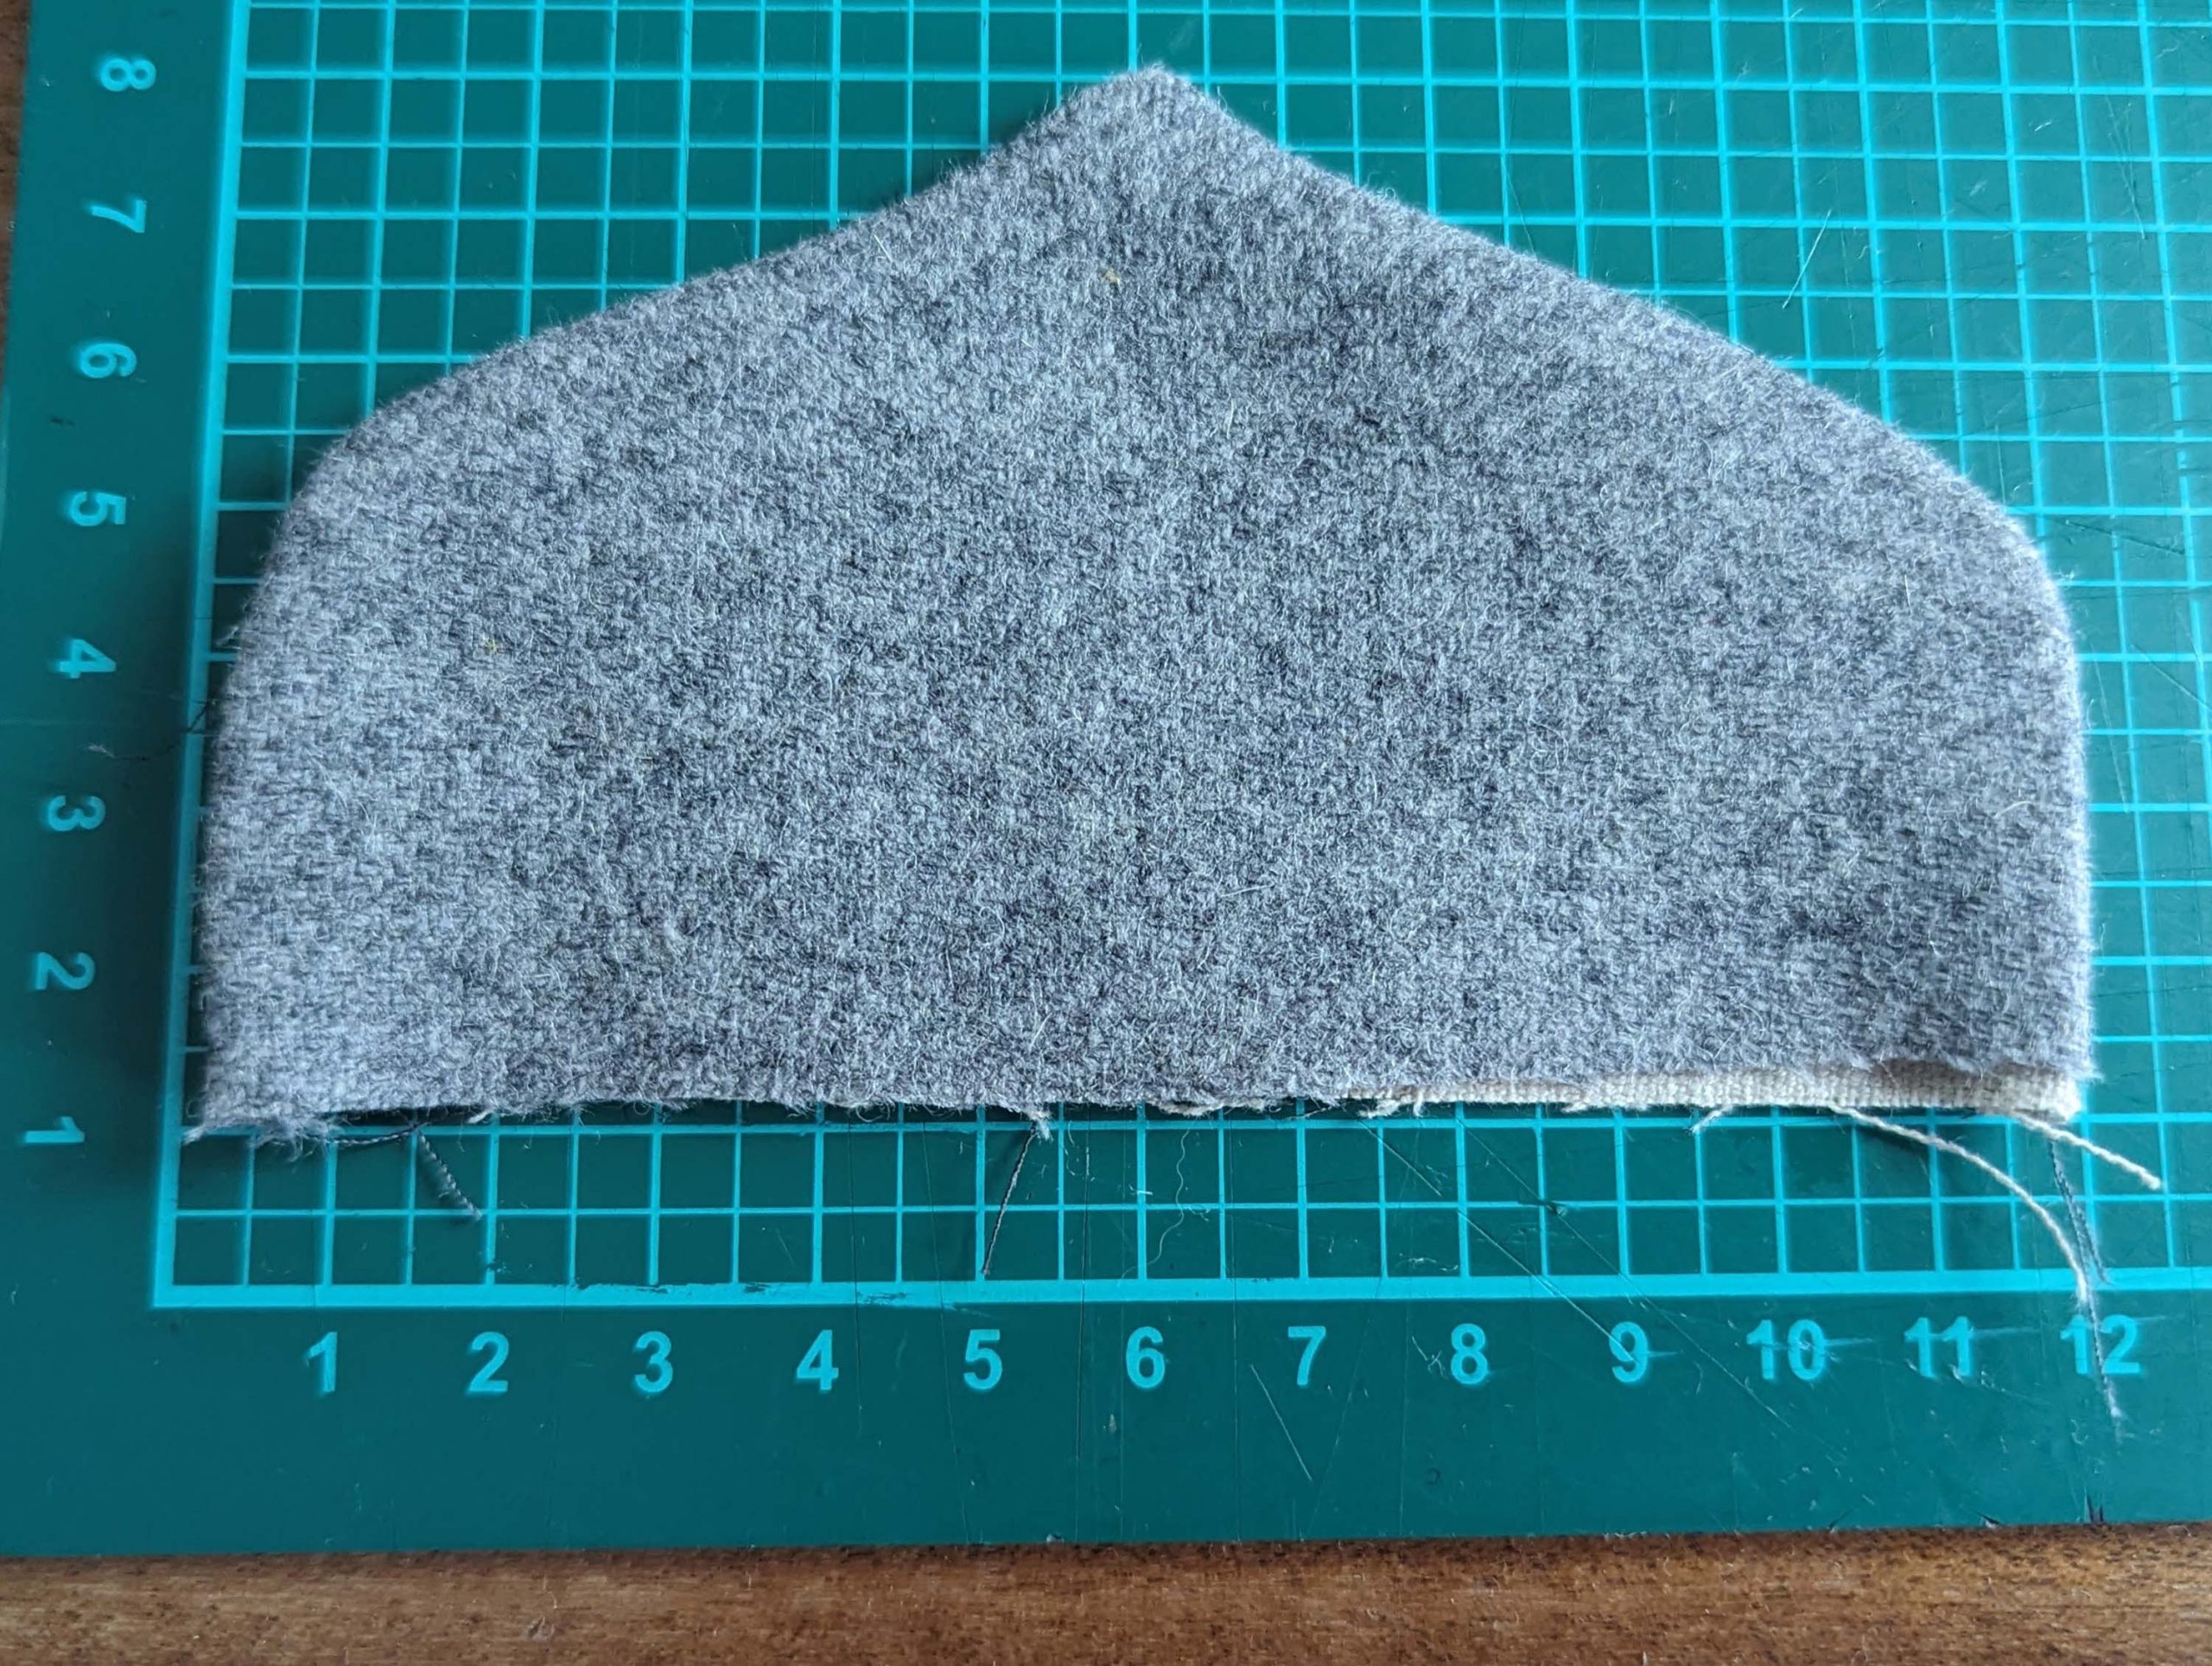
(1) Cut all the pieces from the fashion fabric, lining, and interfacing, as indicated on the cutting diagram.
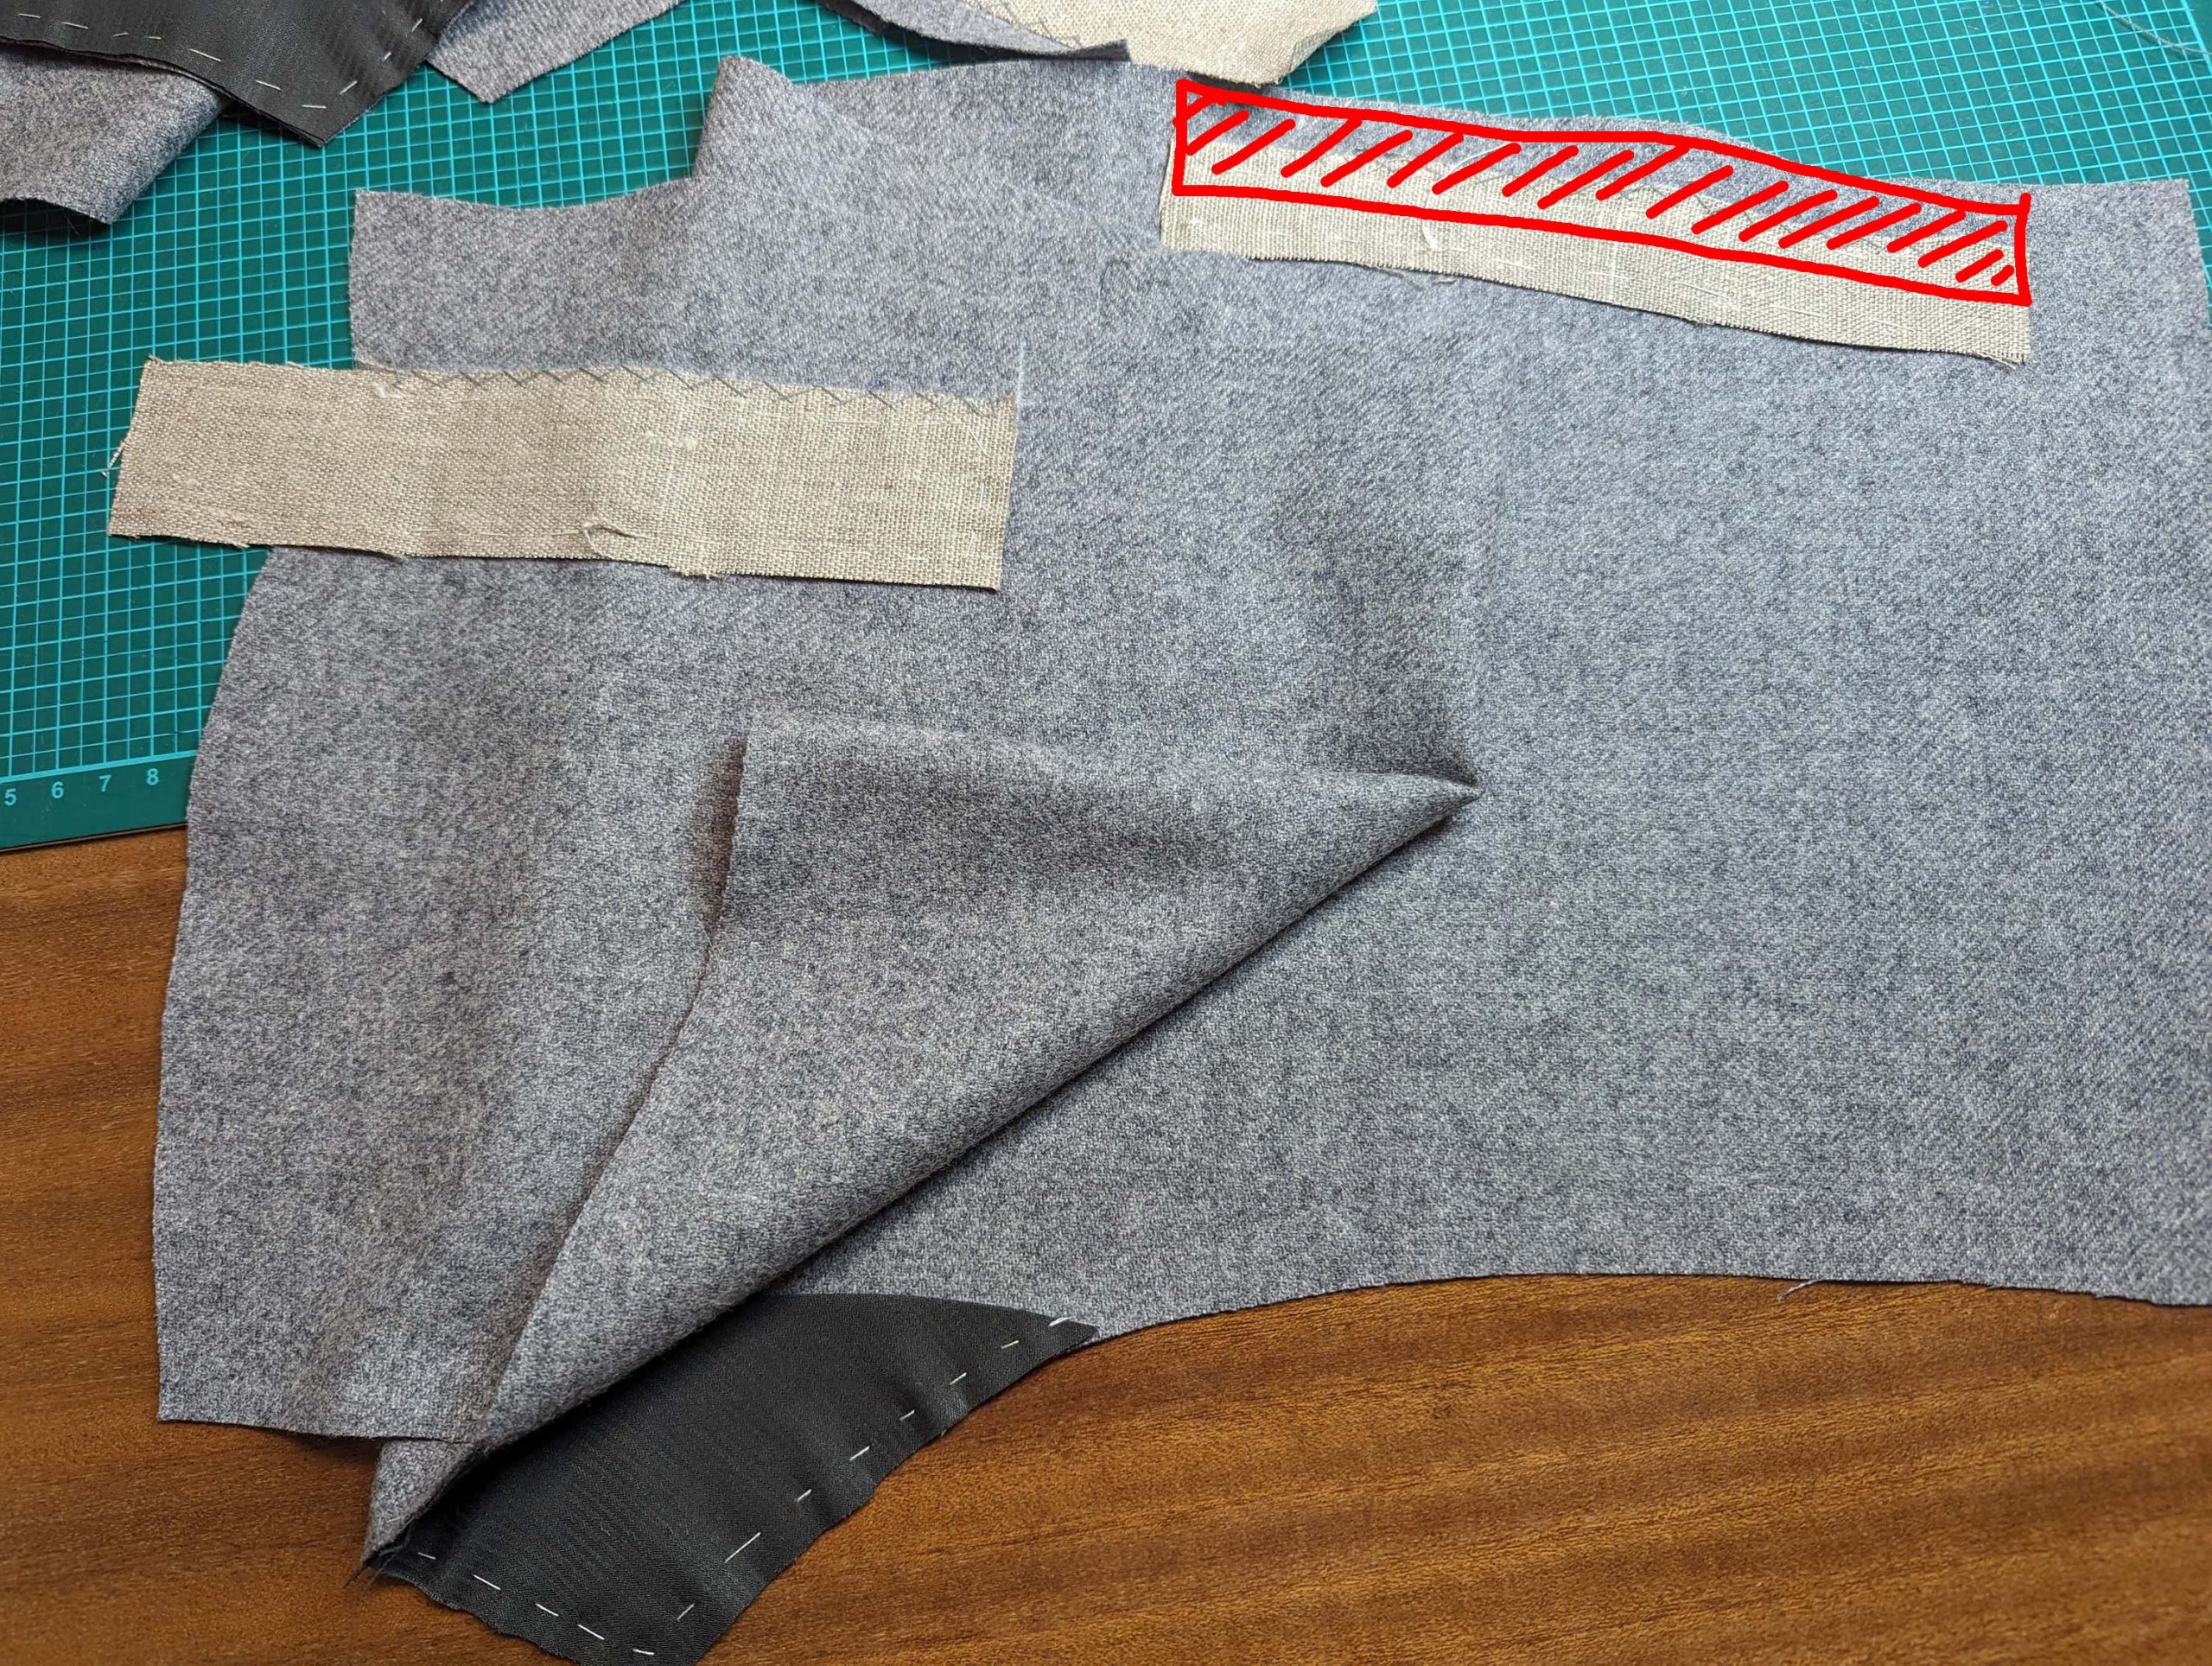
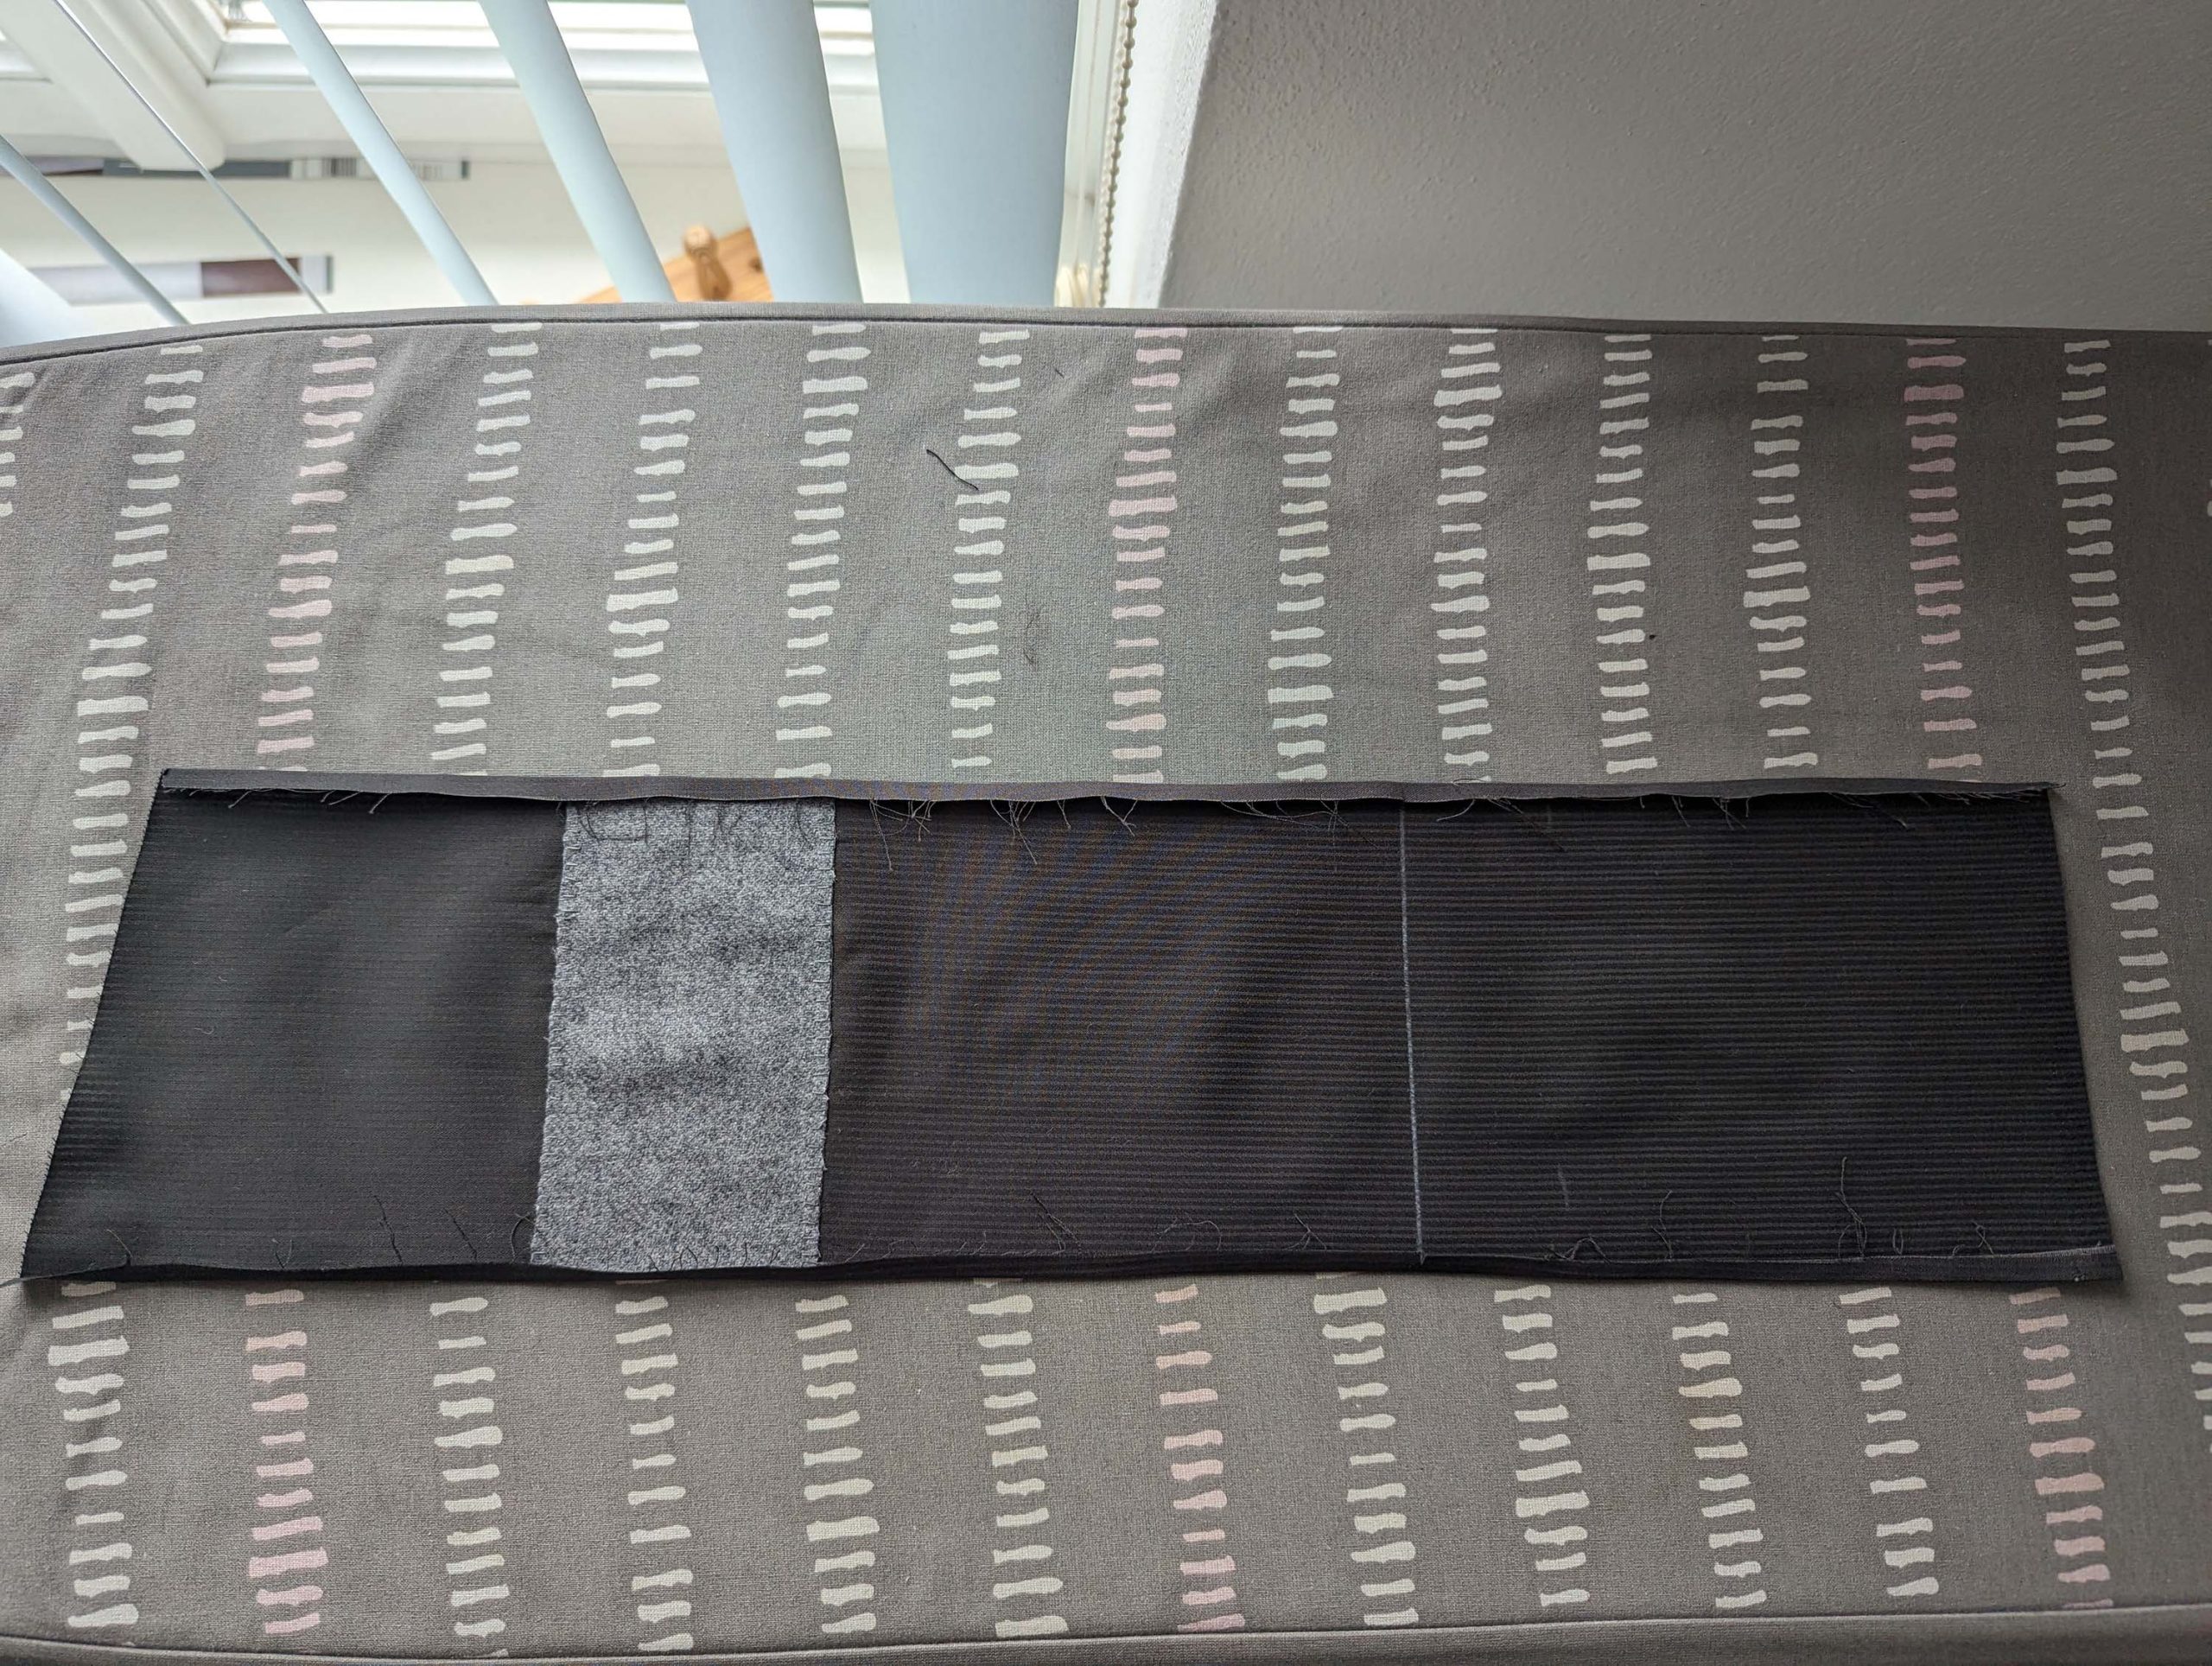
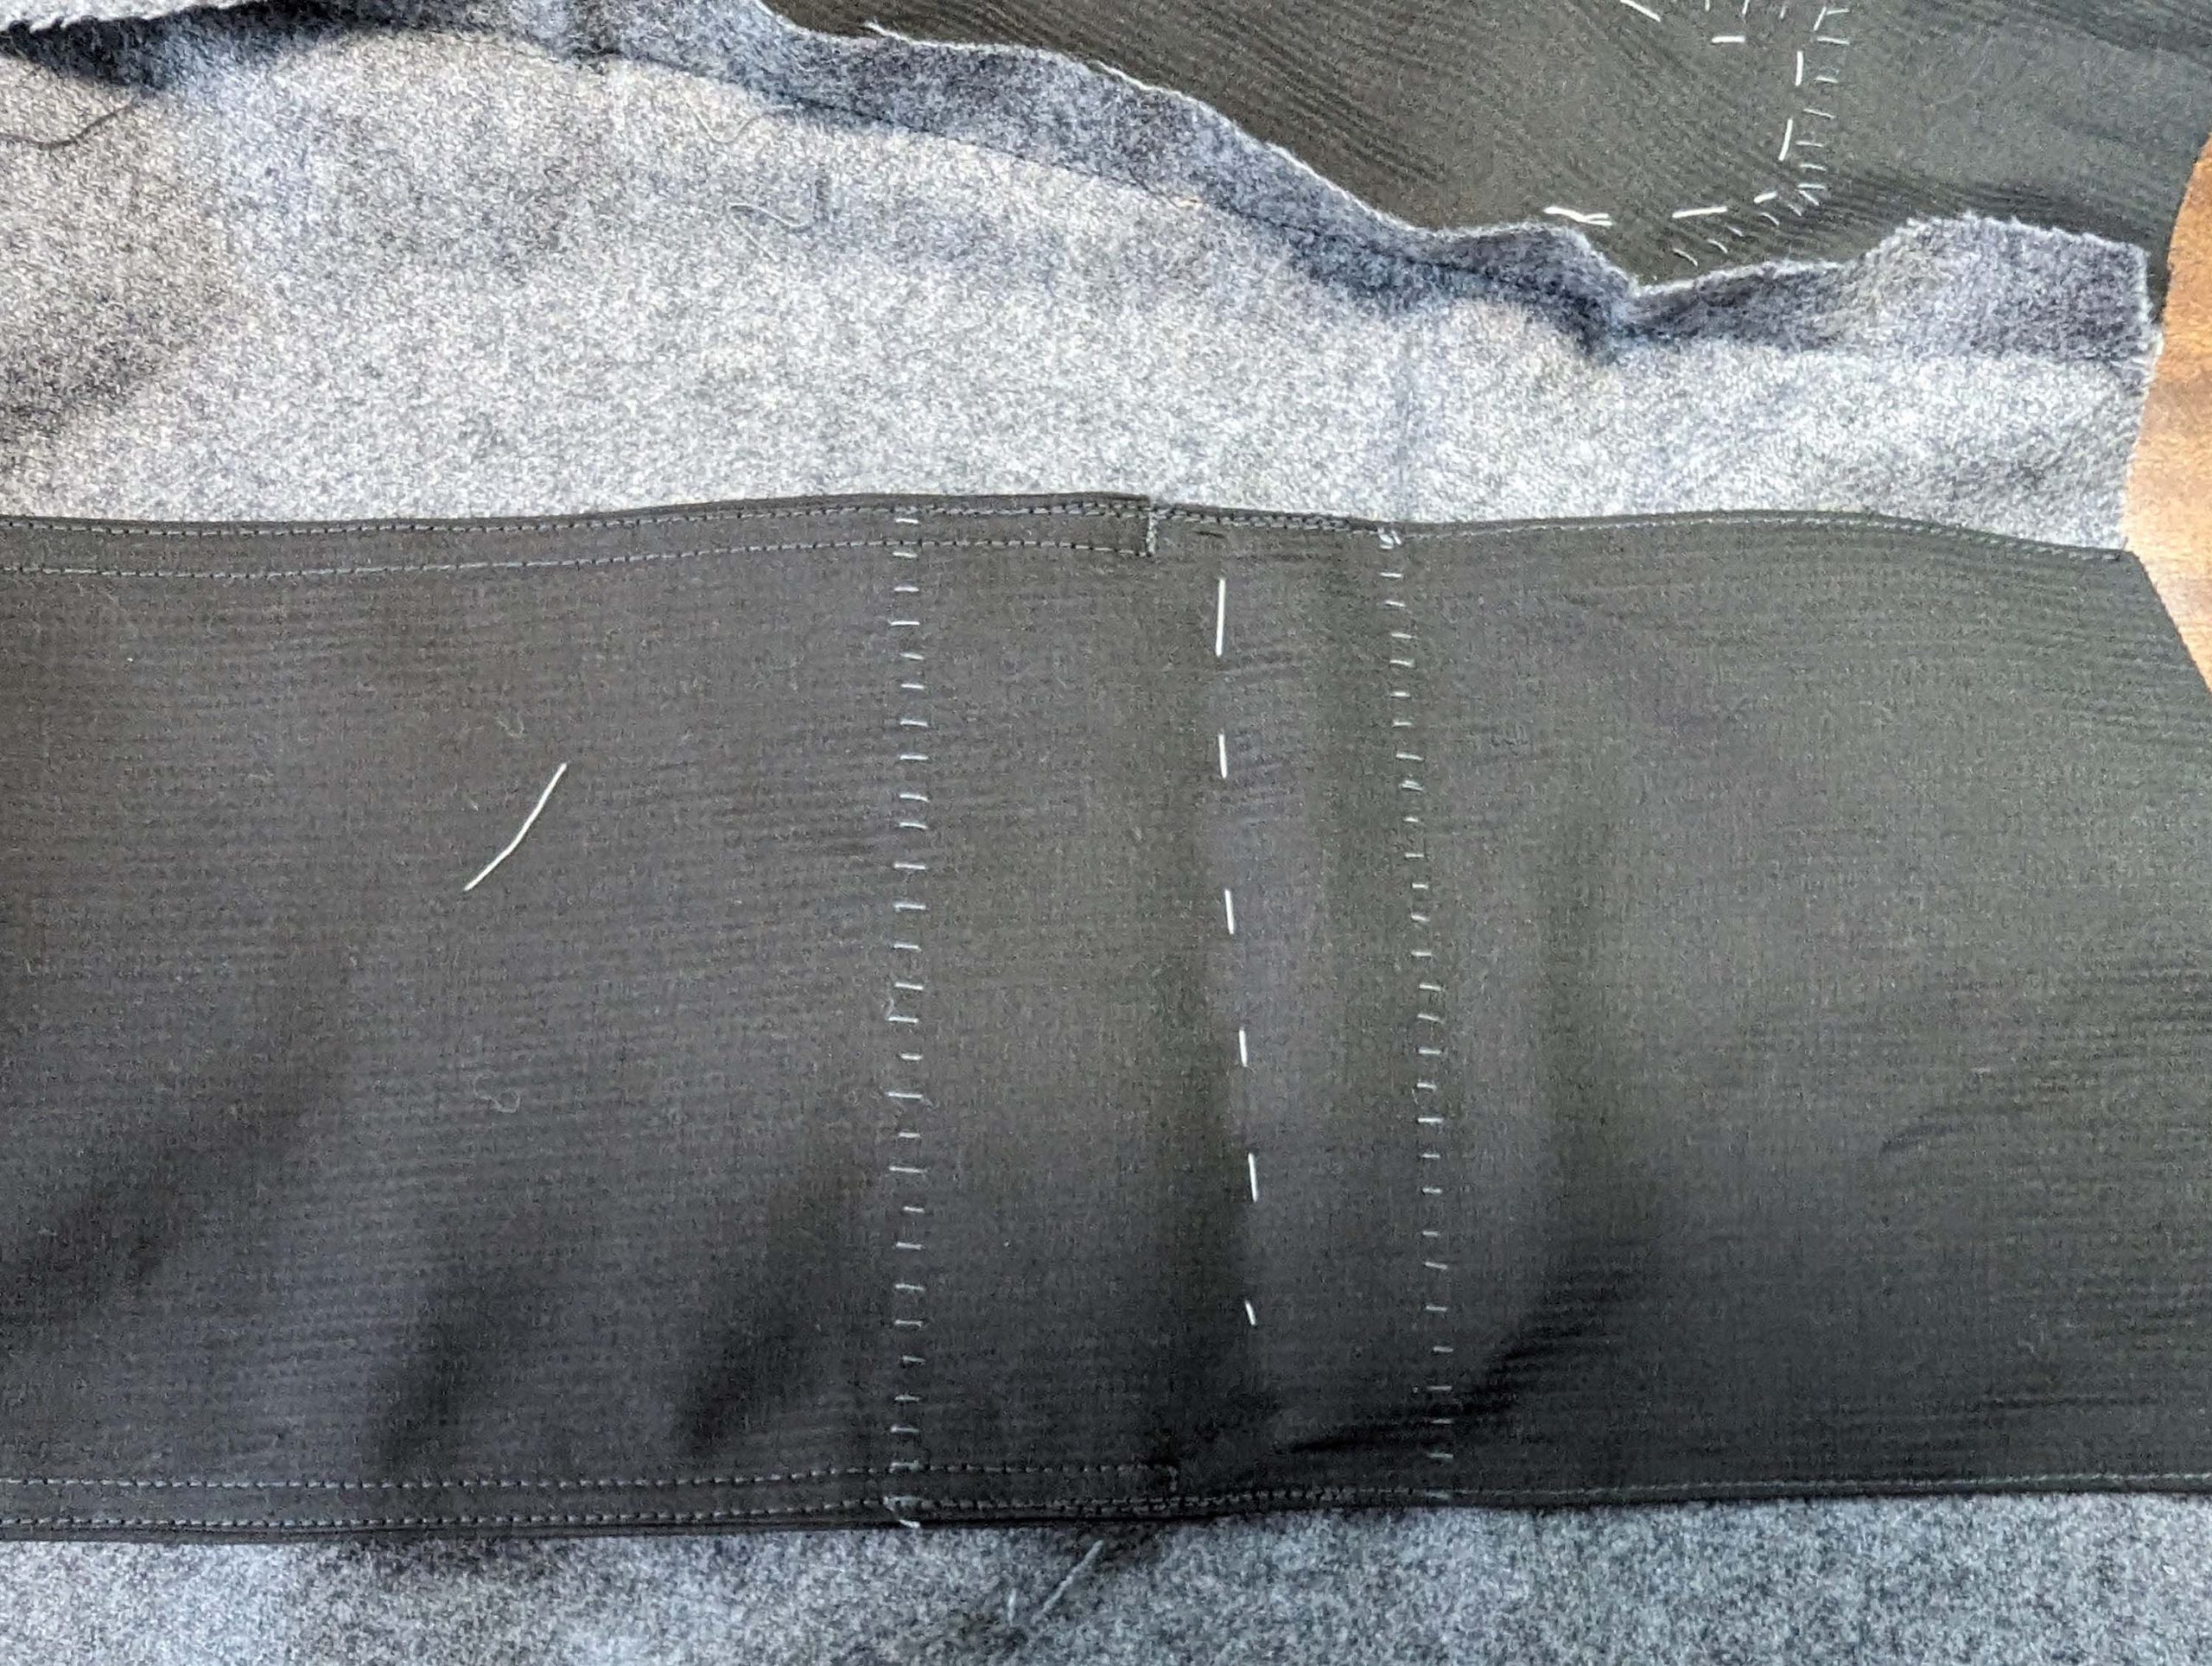
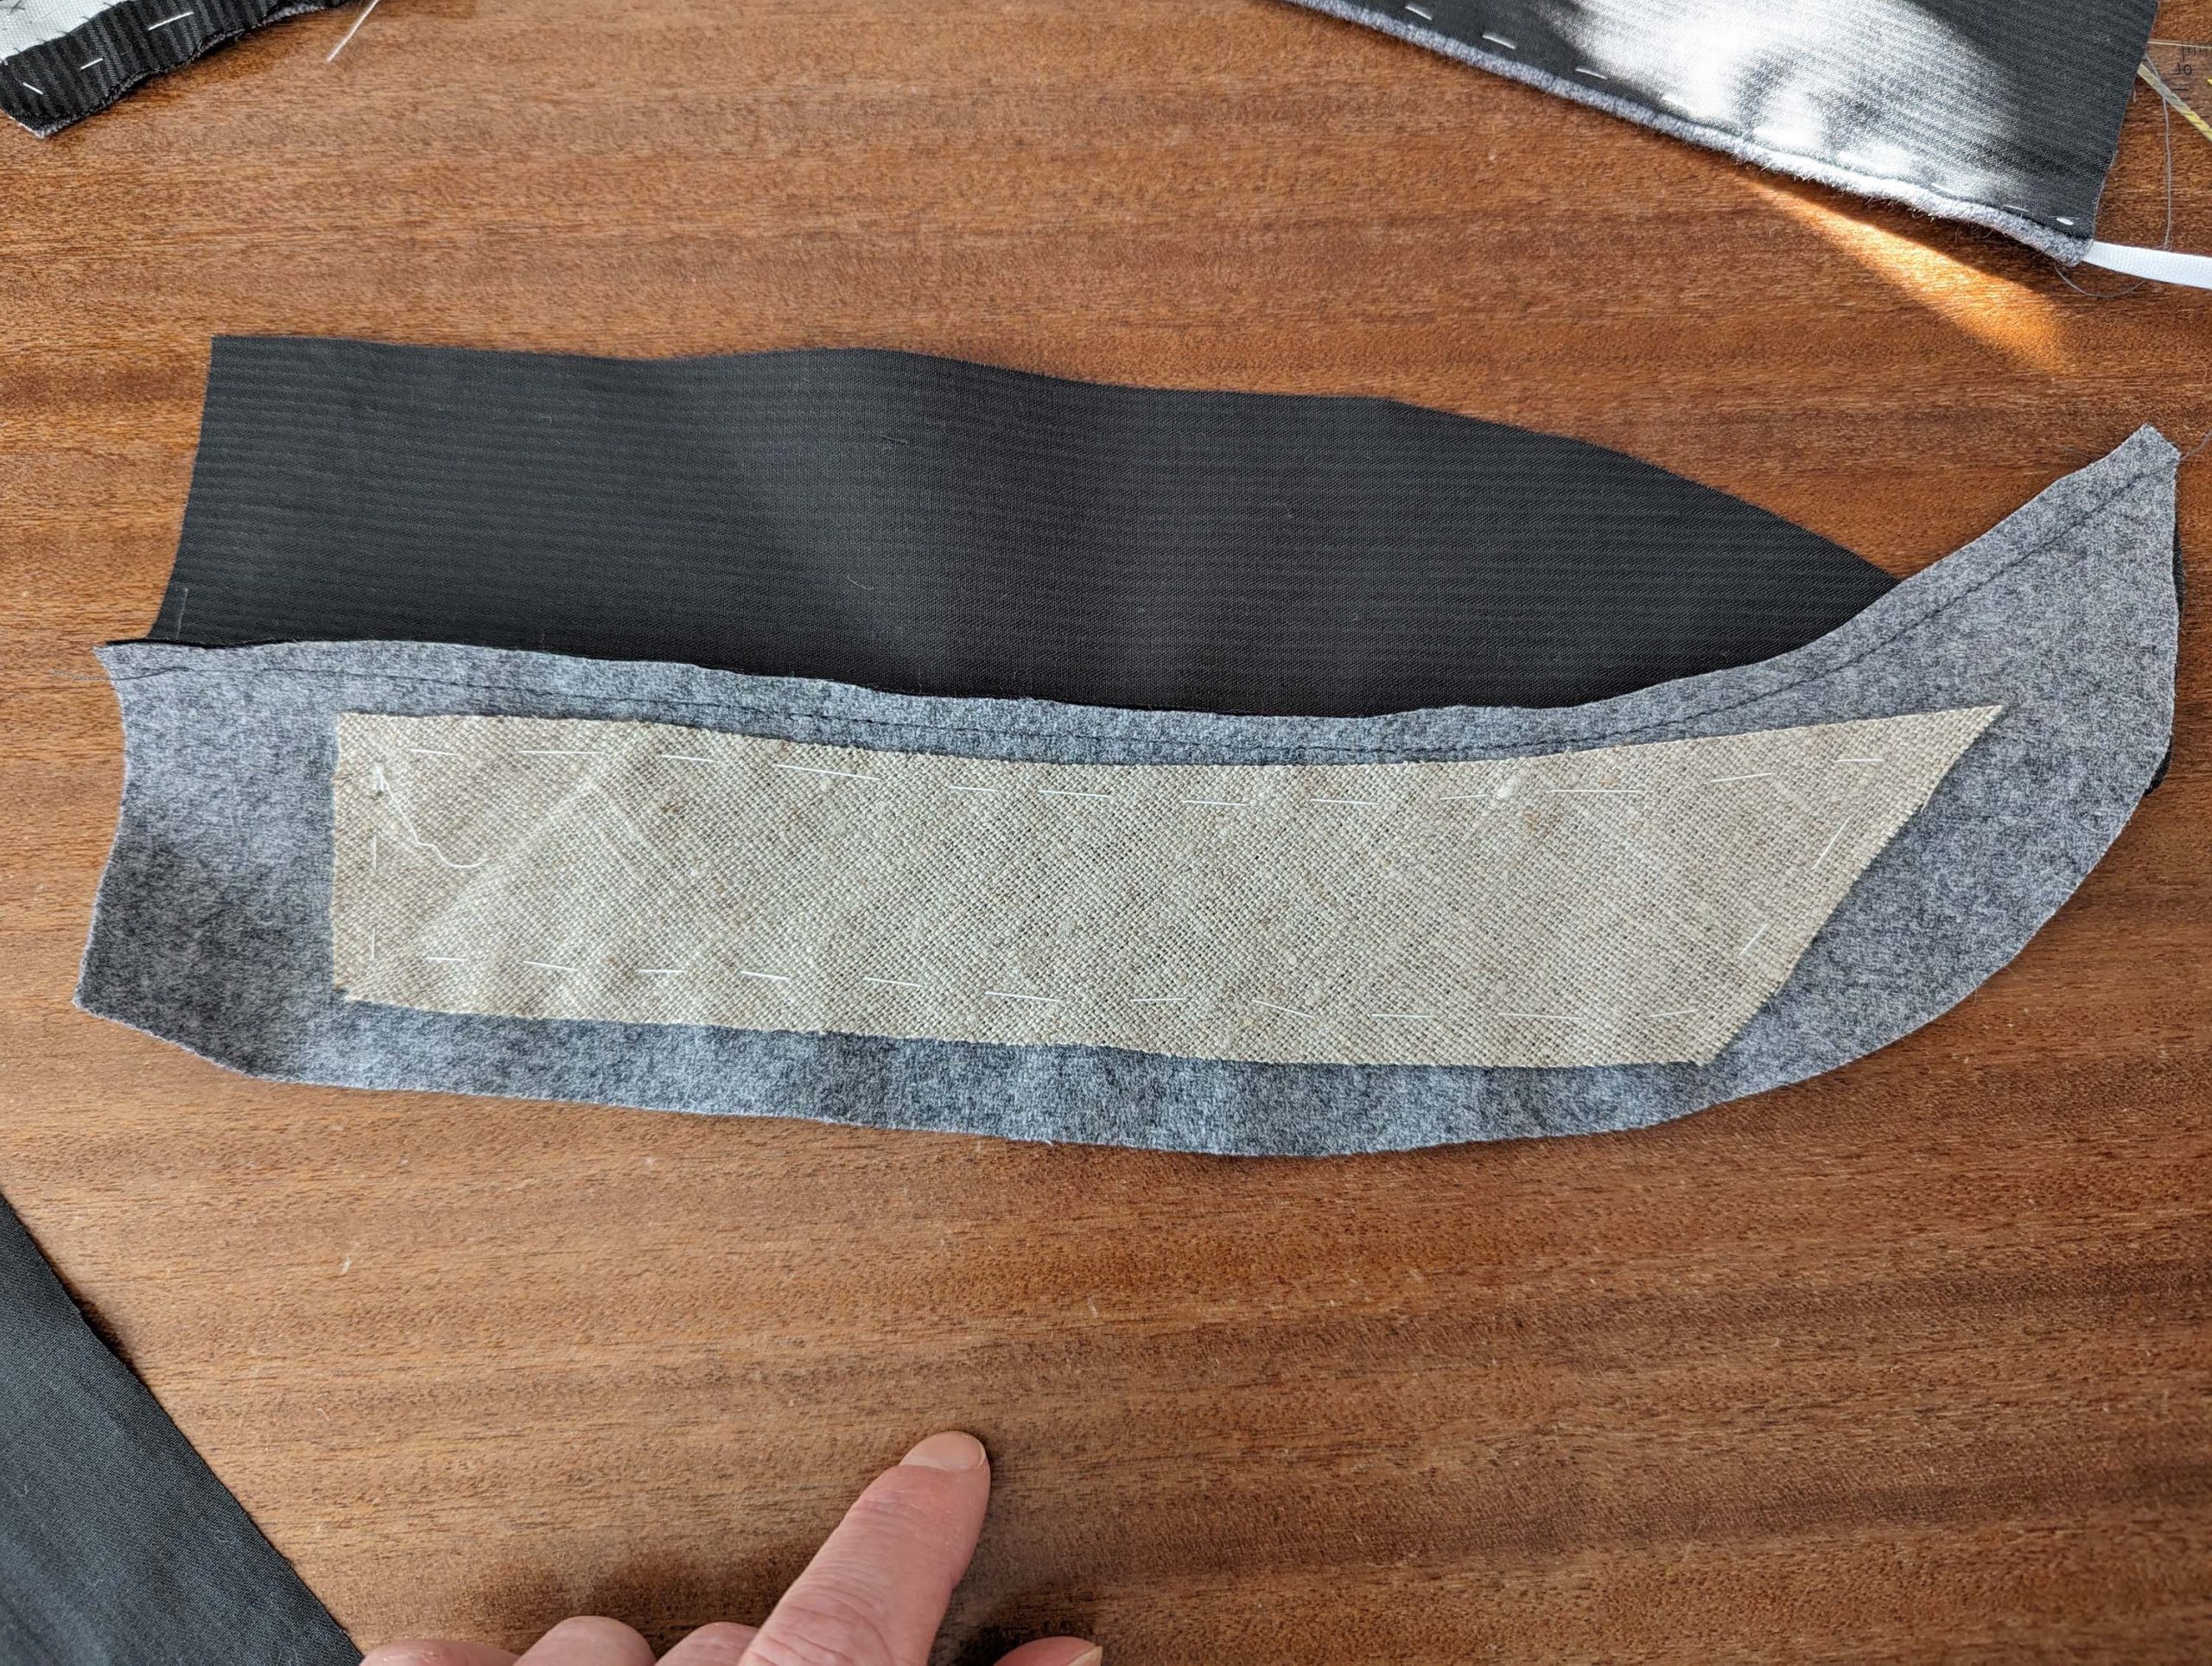
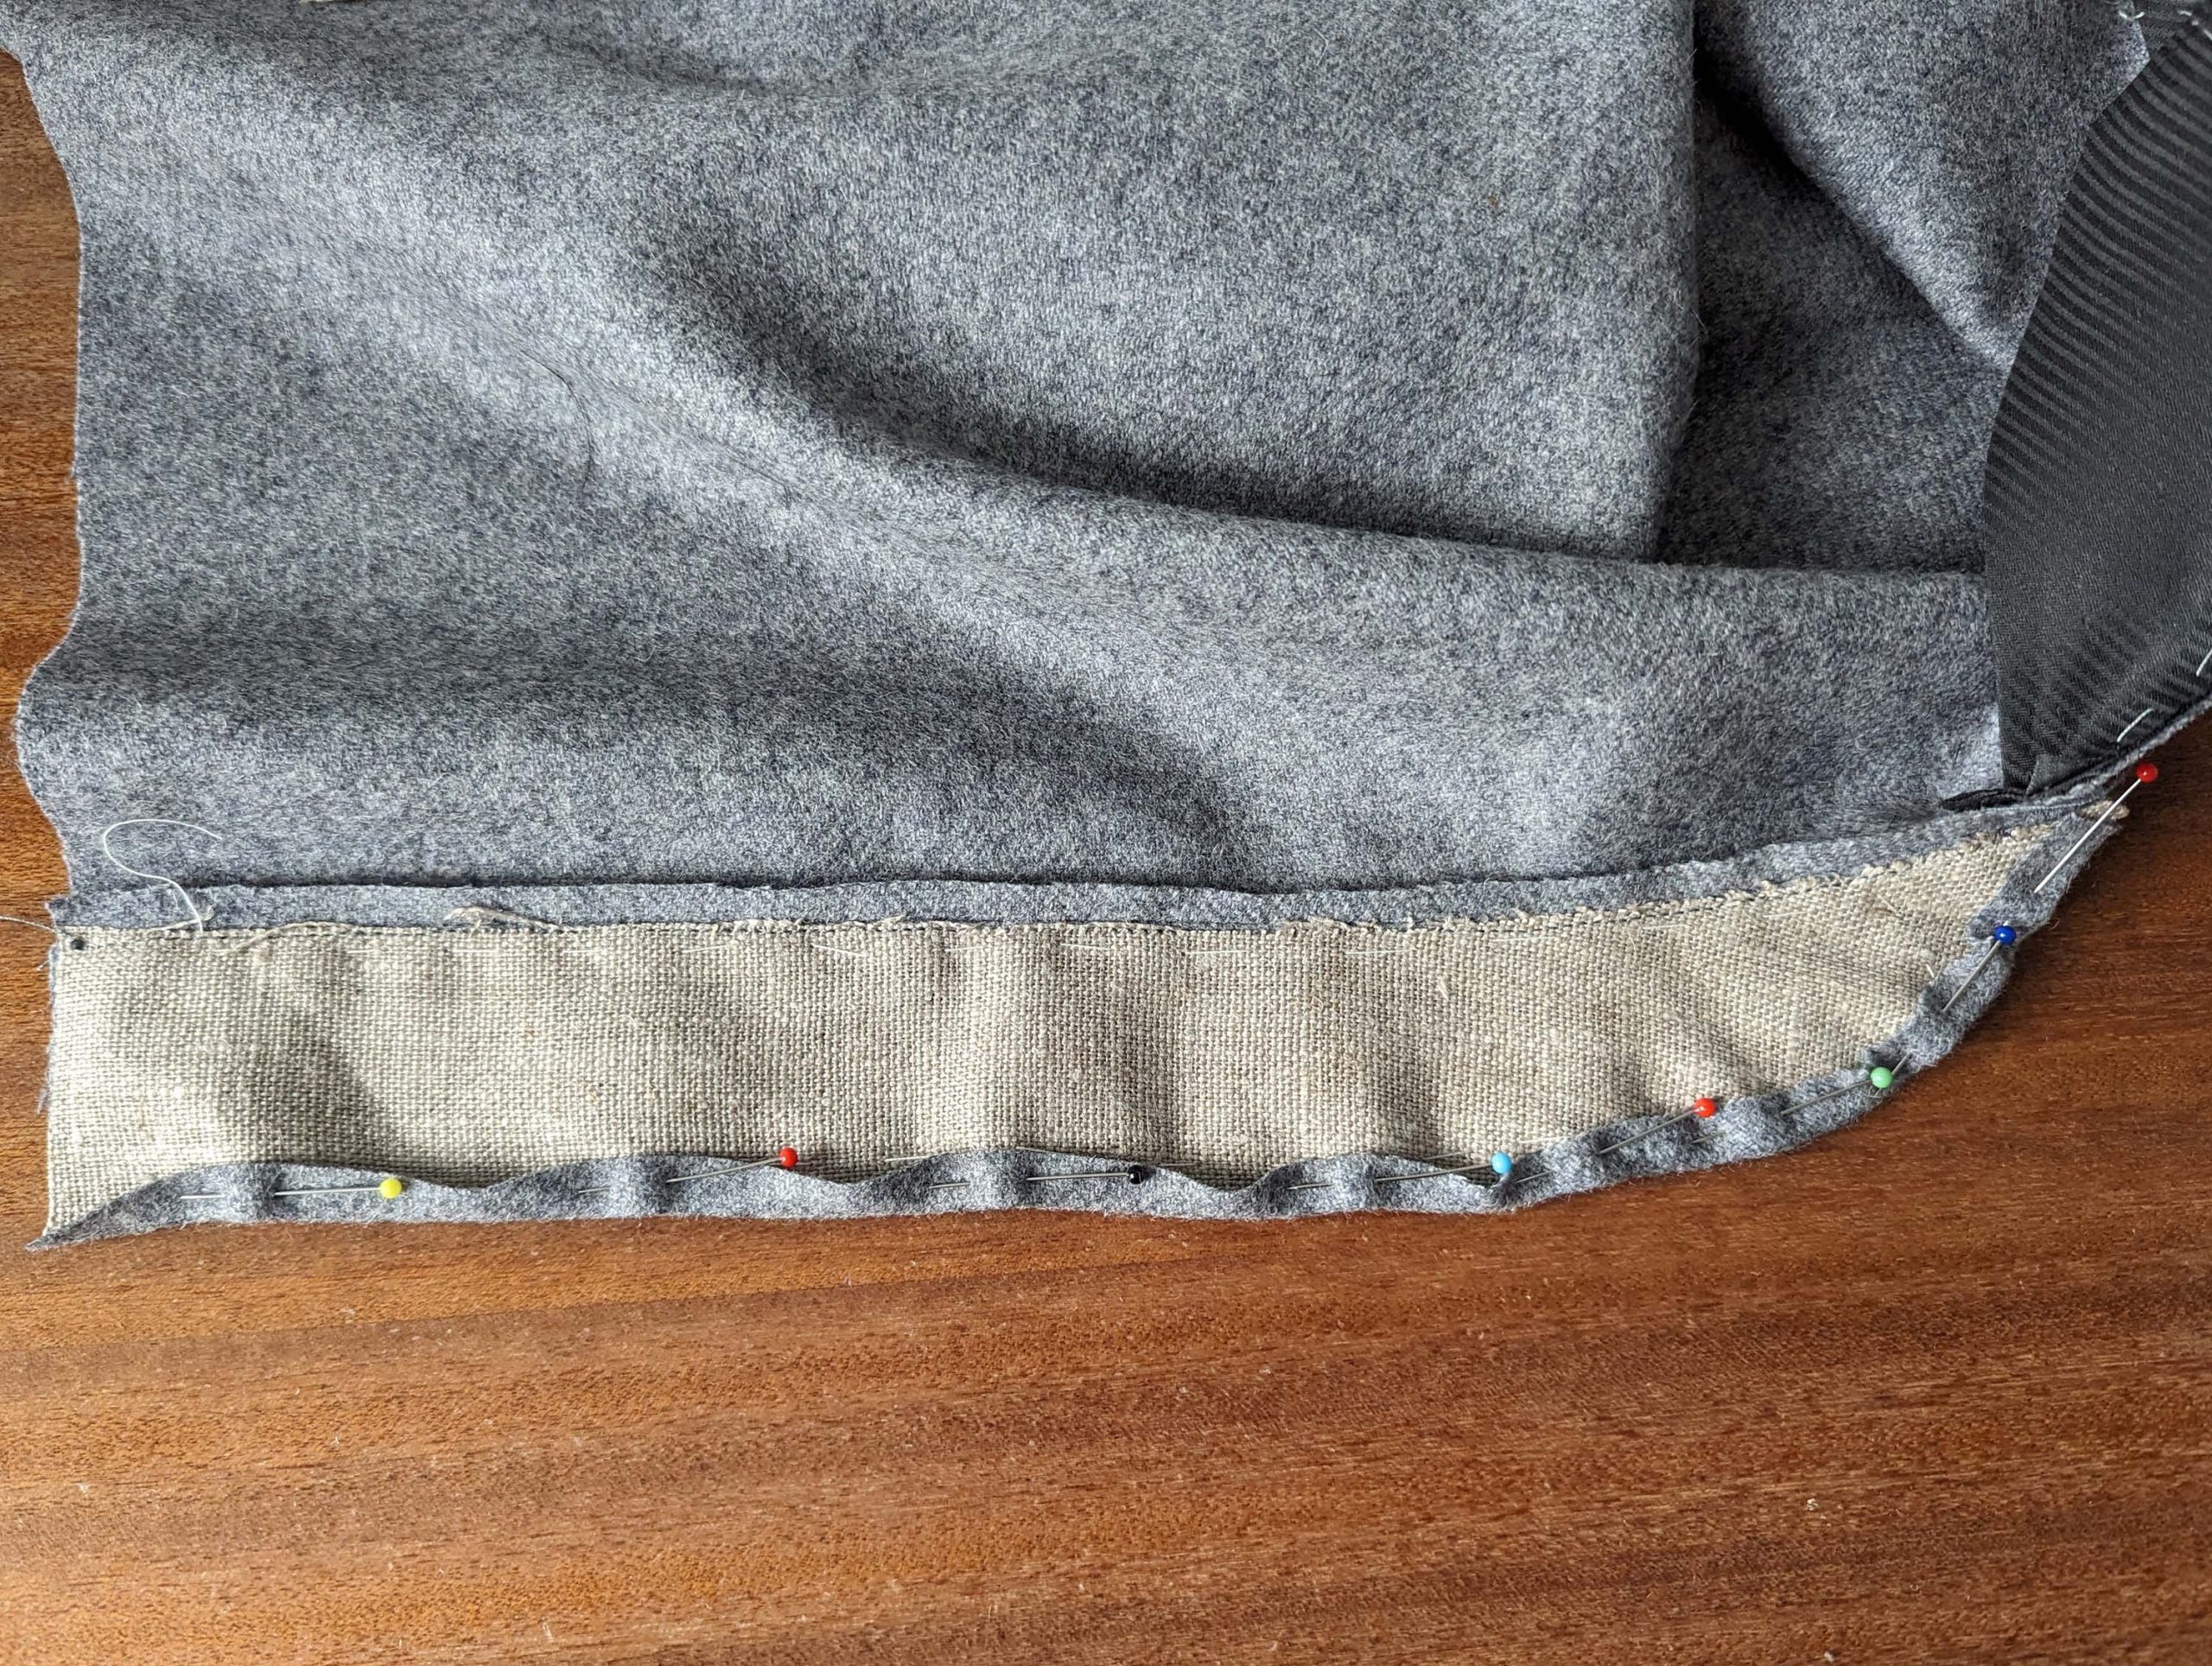
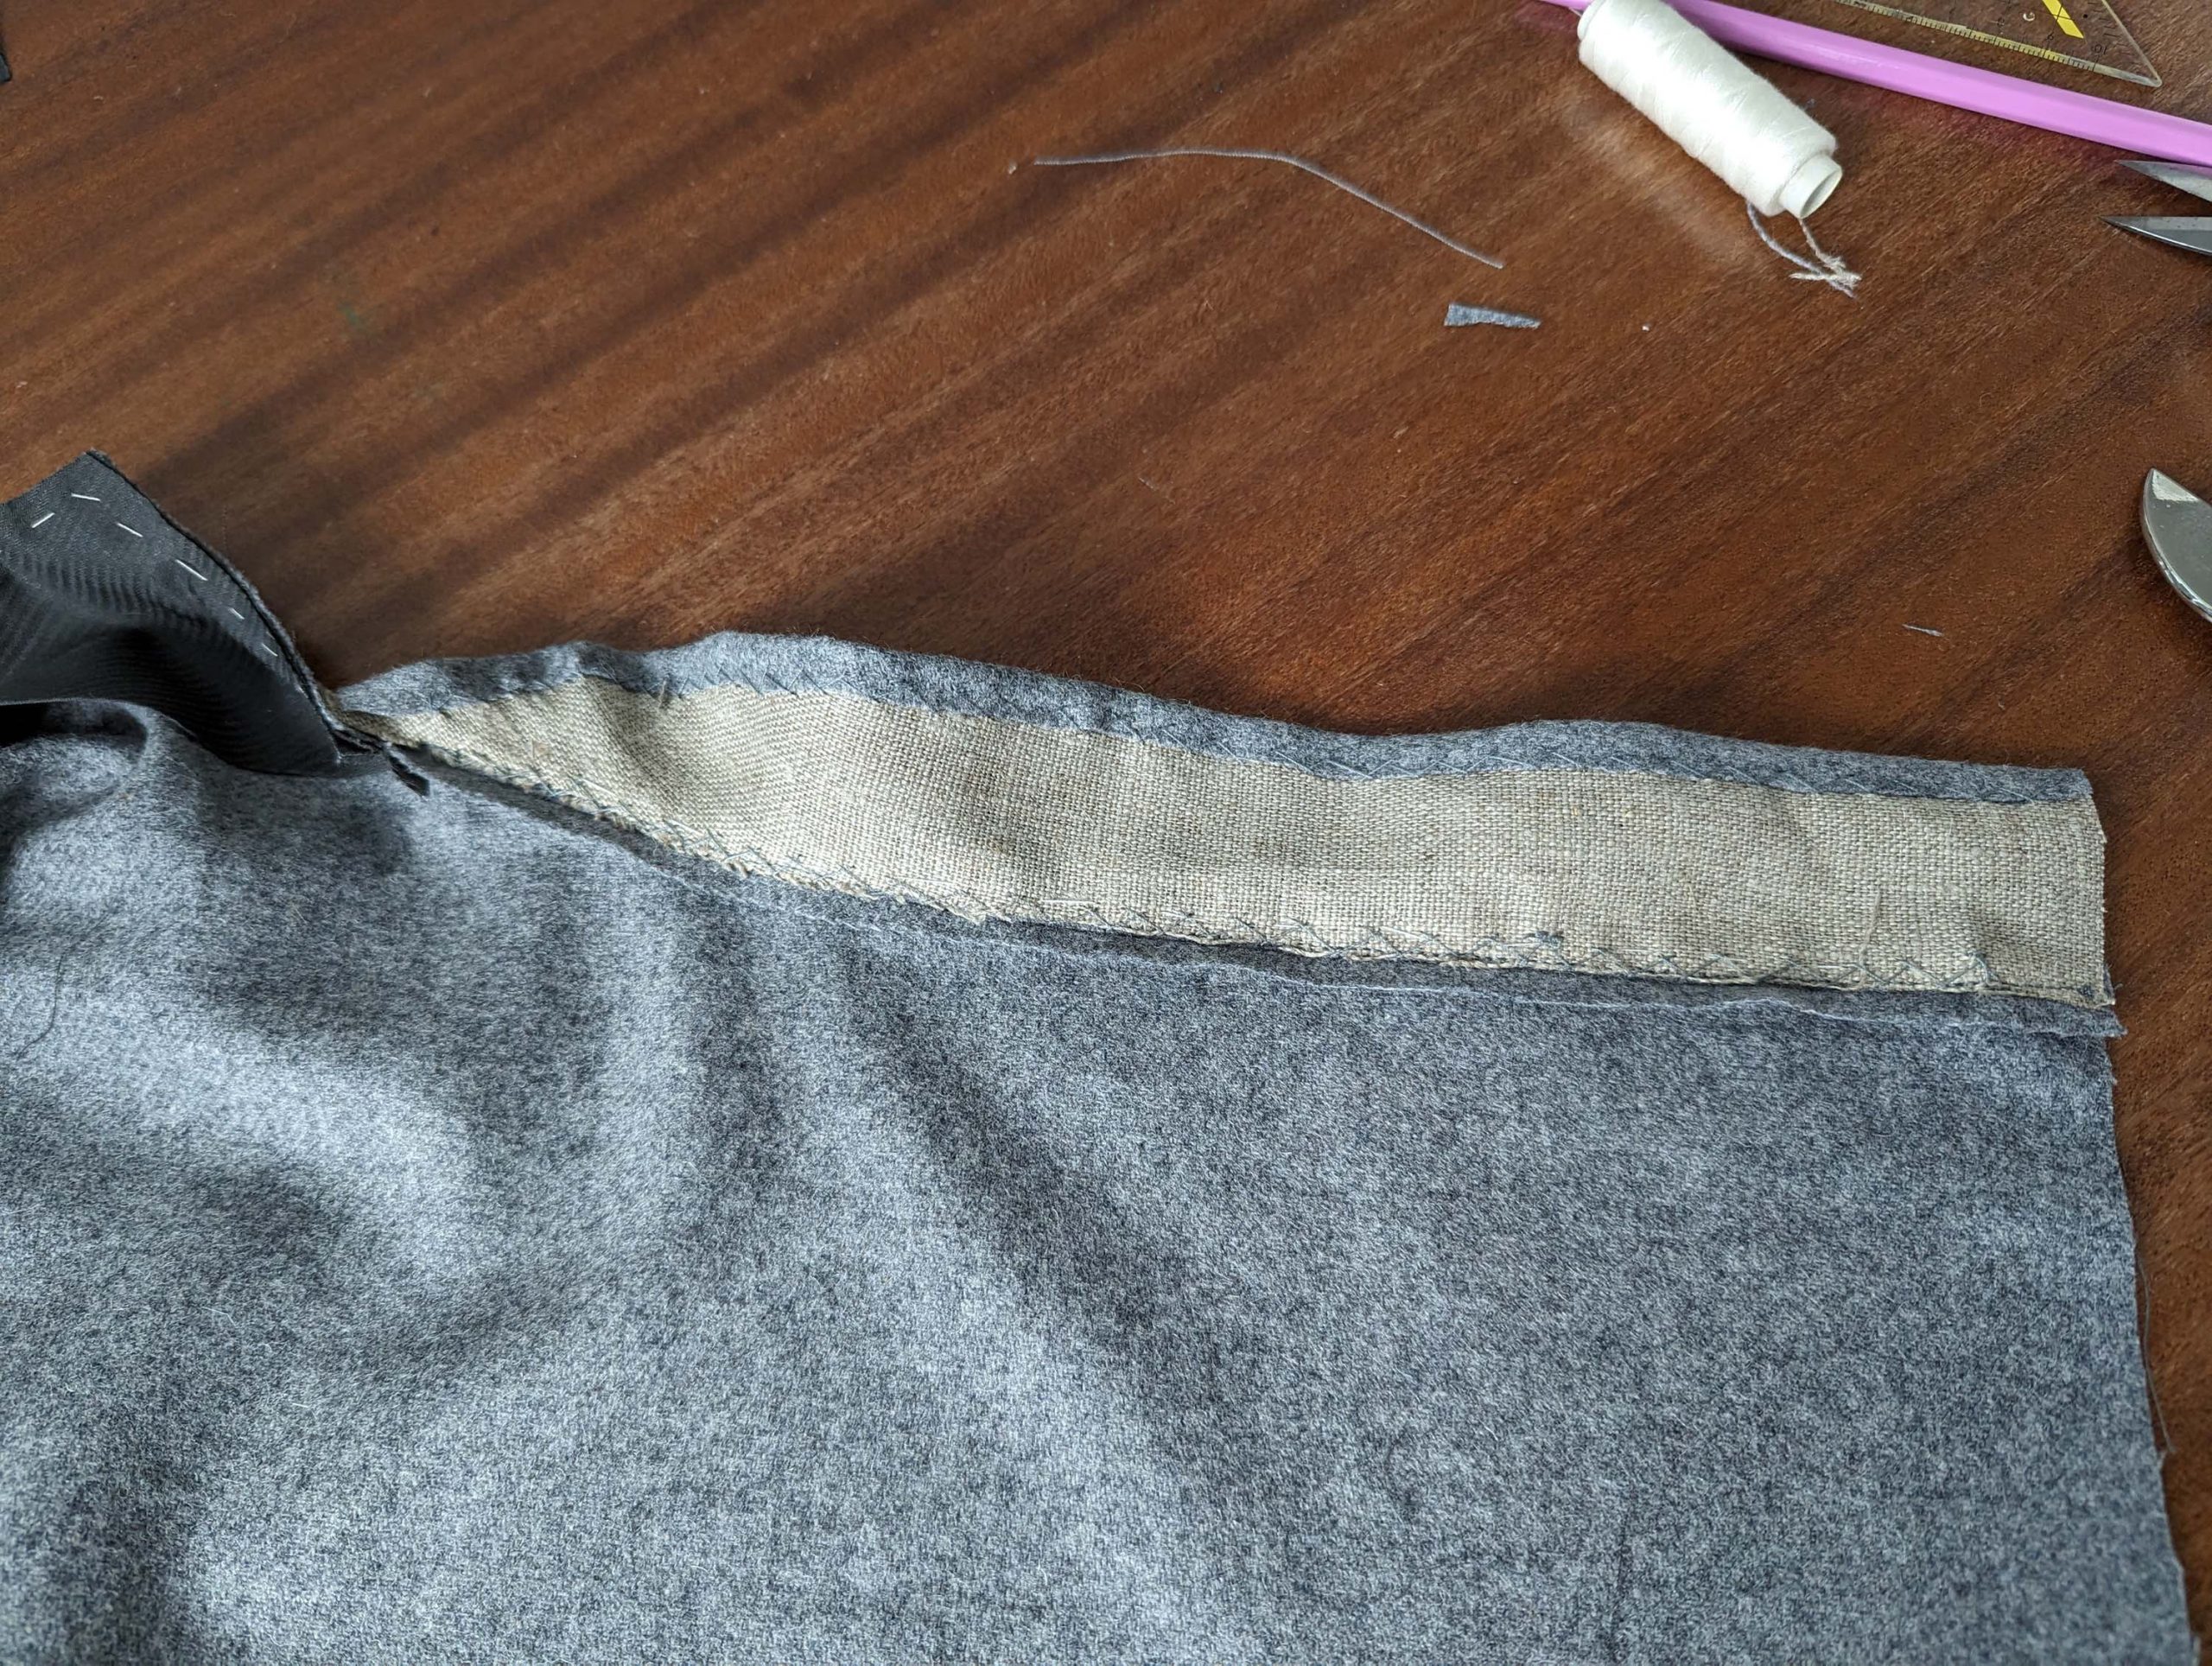
(2) Reinforce all critical points such as the side pockets and hip pockets with cotton fabric. Here, I made the first mistake of using heavy linen and placing it incorrectly, forgetting to reinforce the hip pocket completely.
At the vent, I needed some additional facing because I was using an old pattern version, on the new version, the facing is already cut-on. The placement of the linen strips itself is correct.
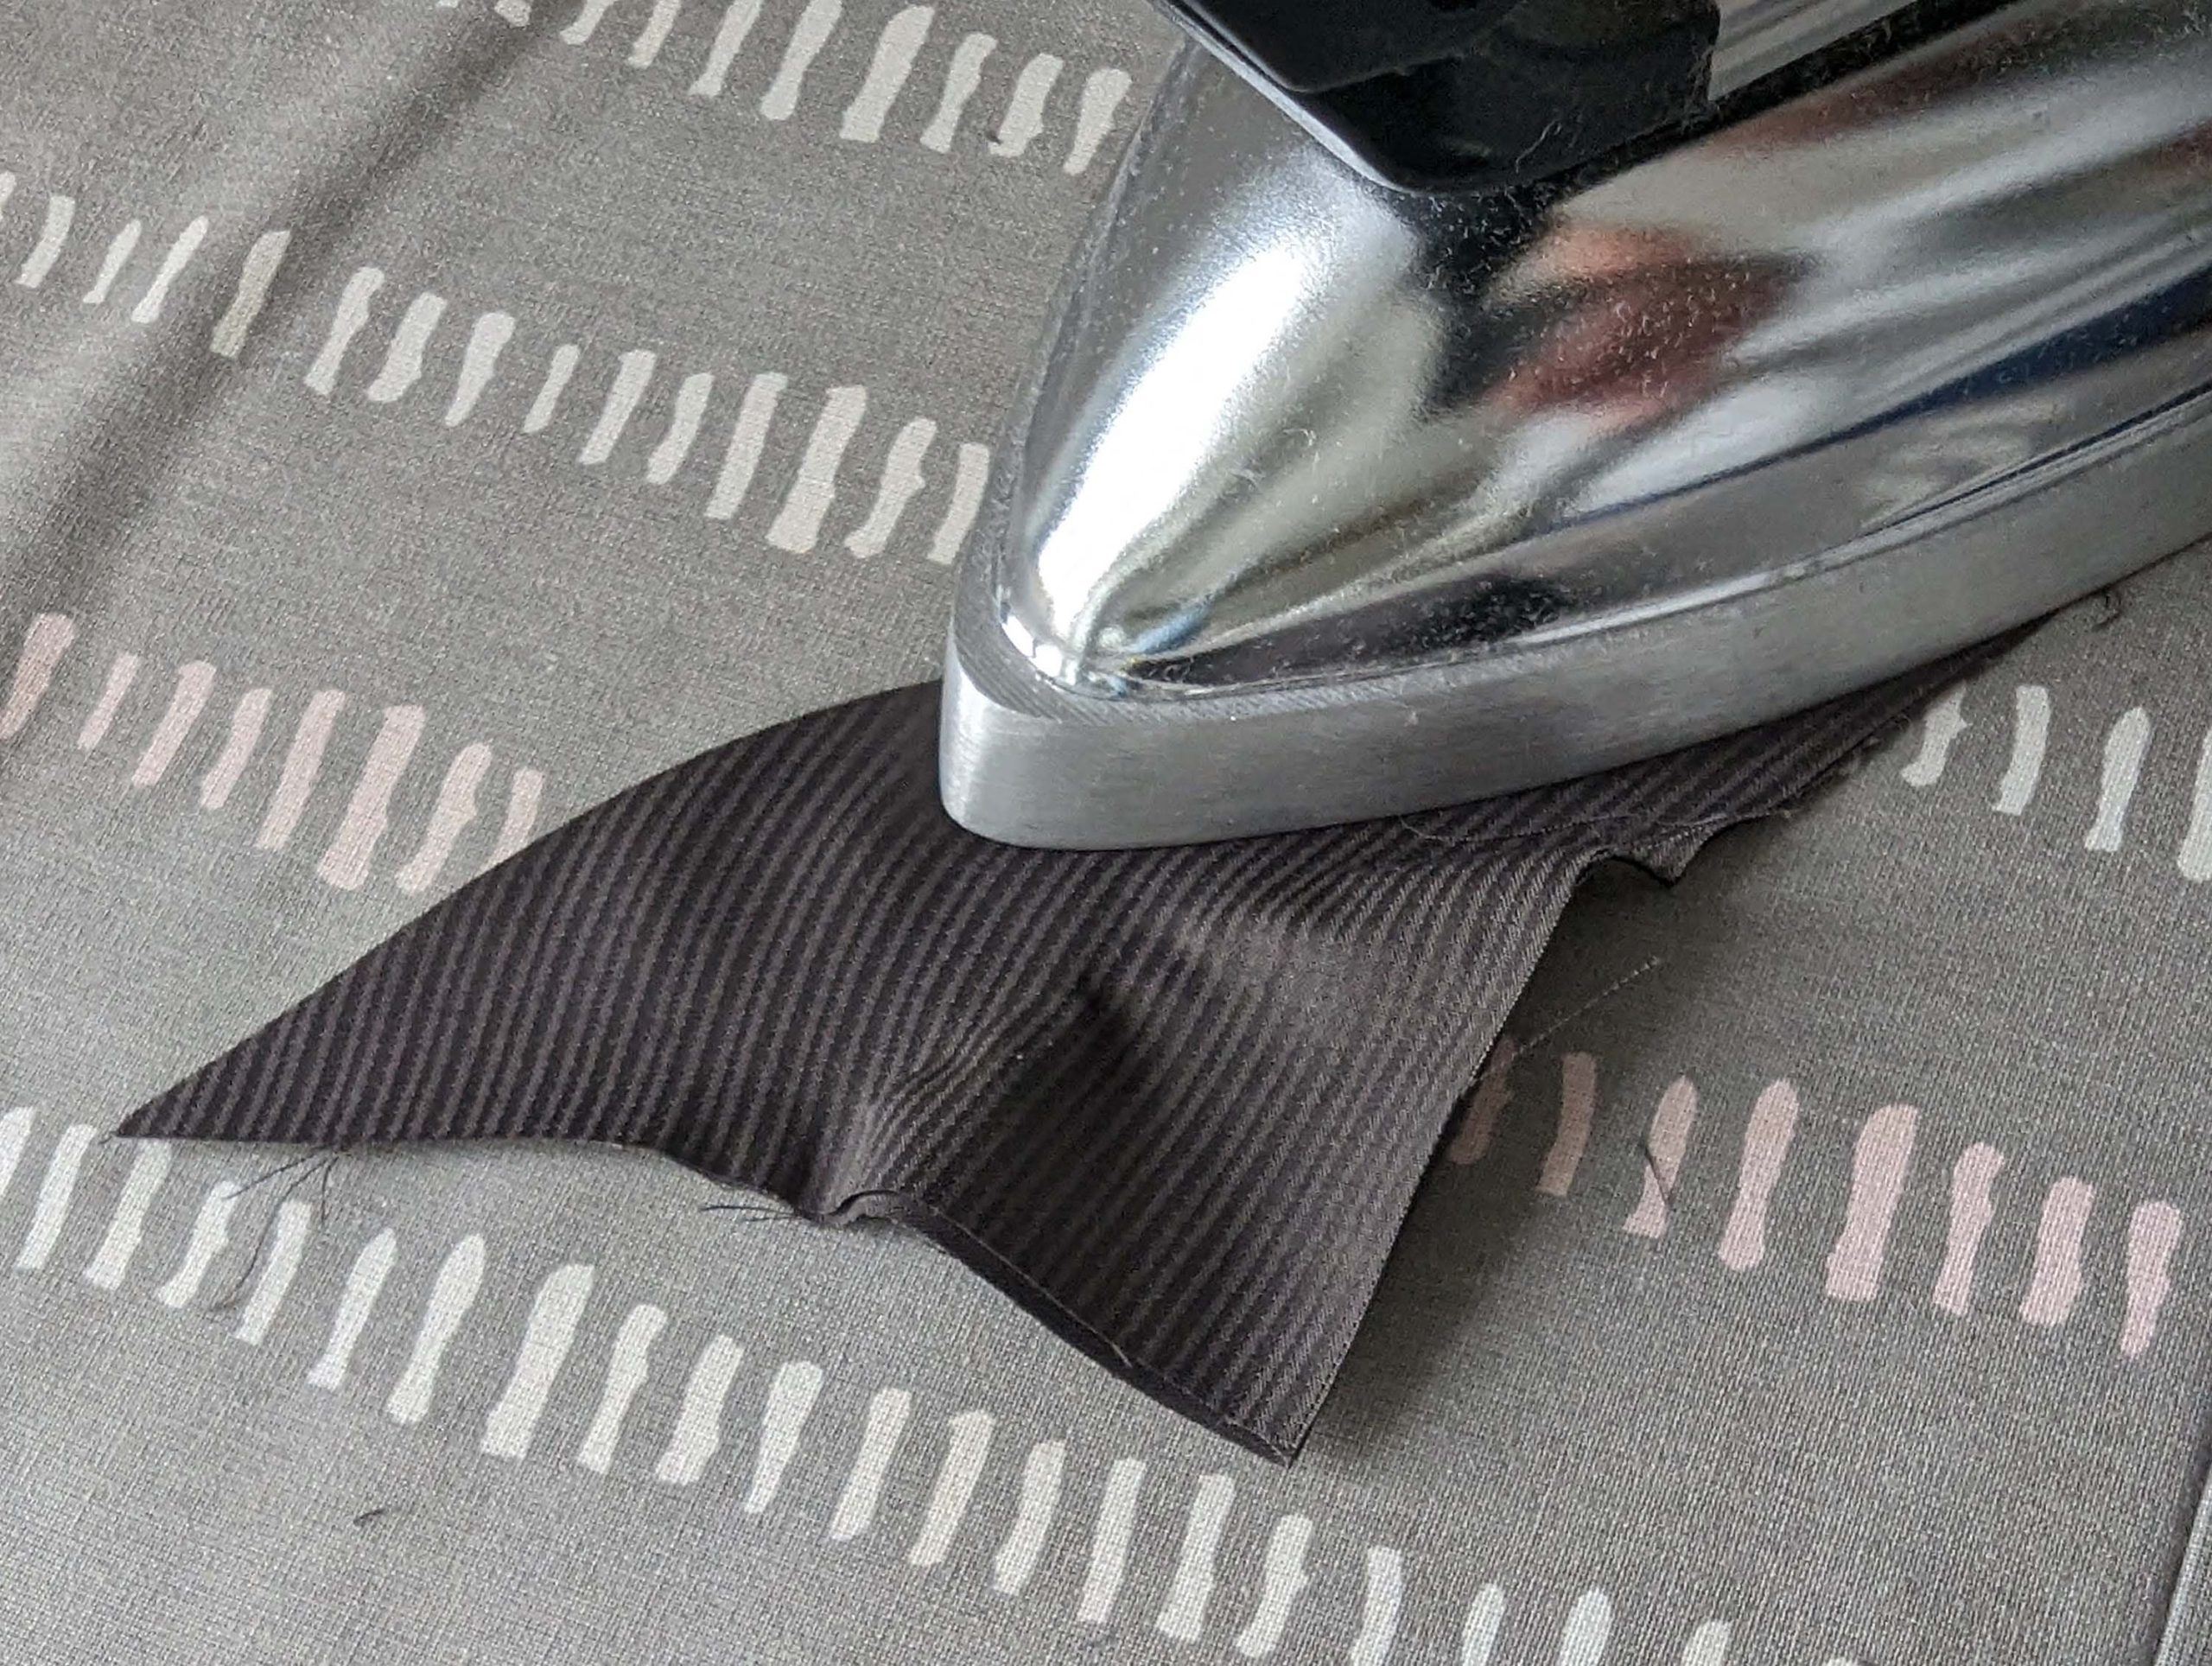
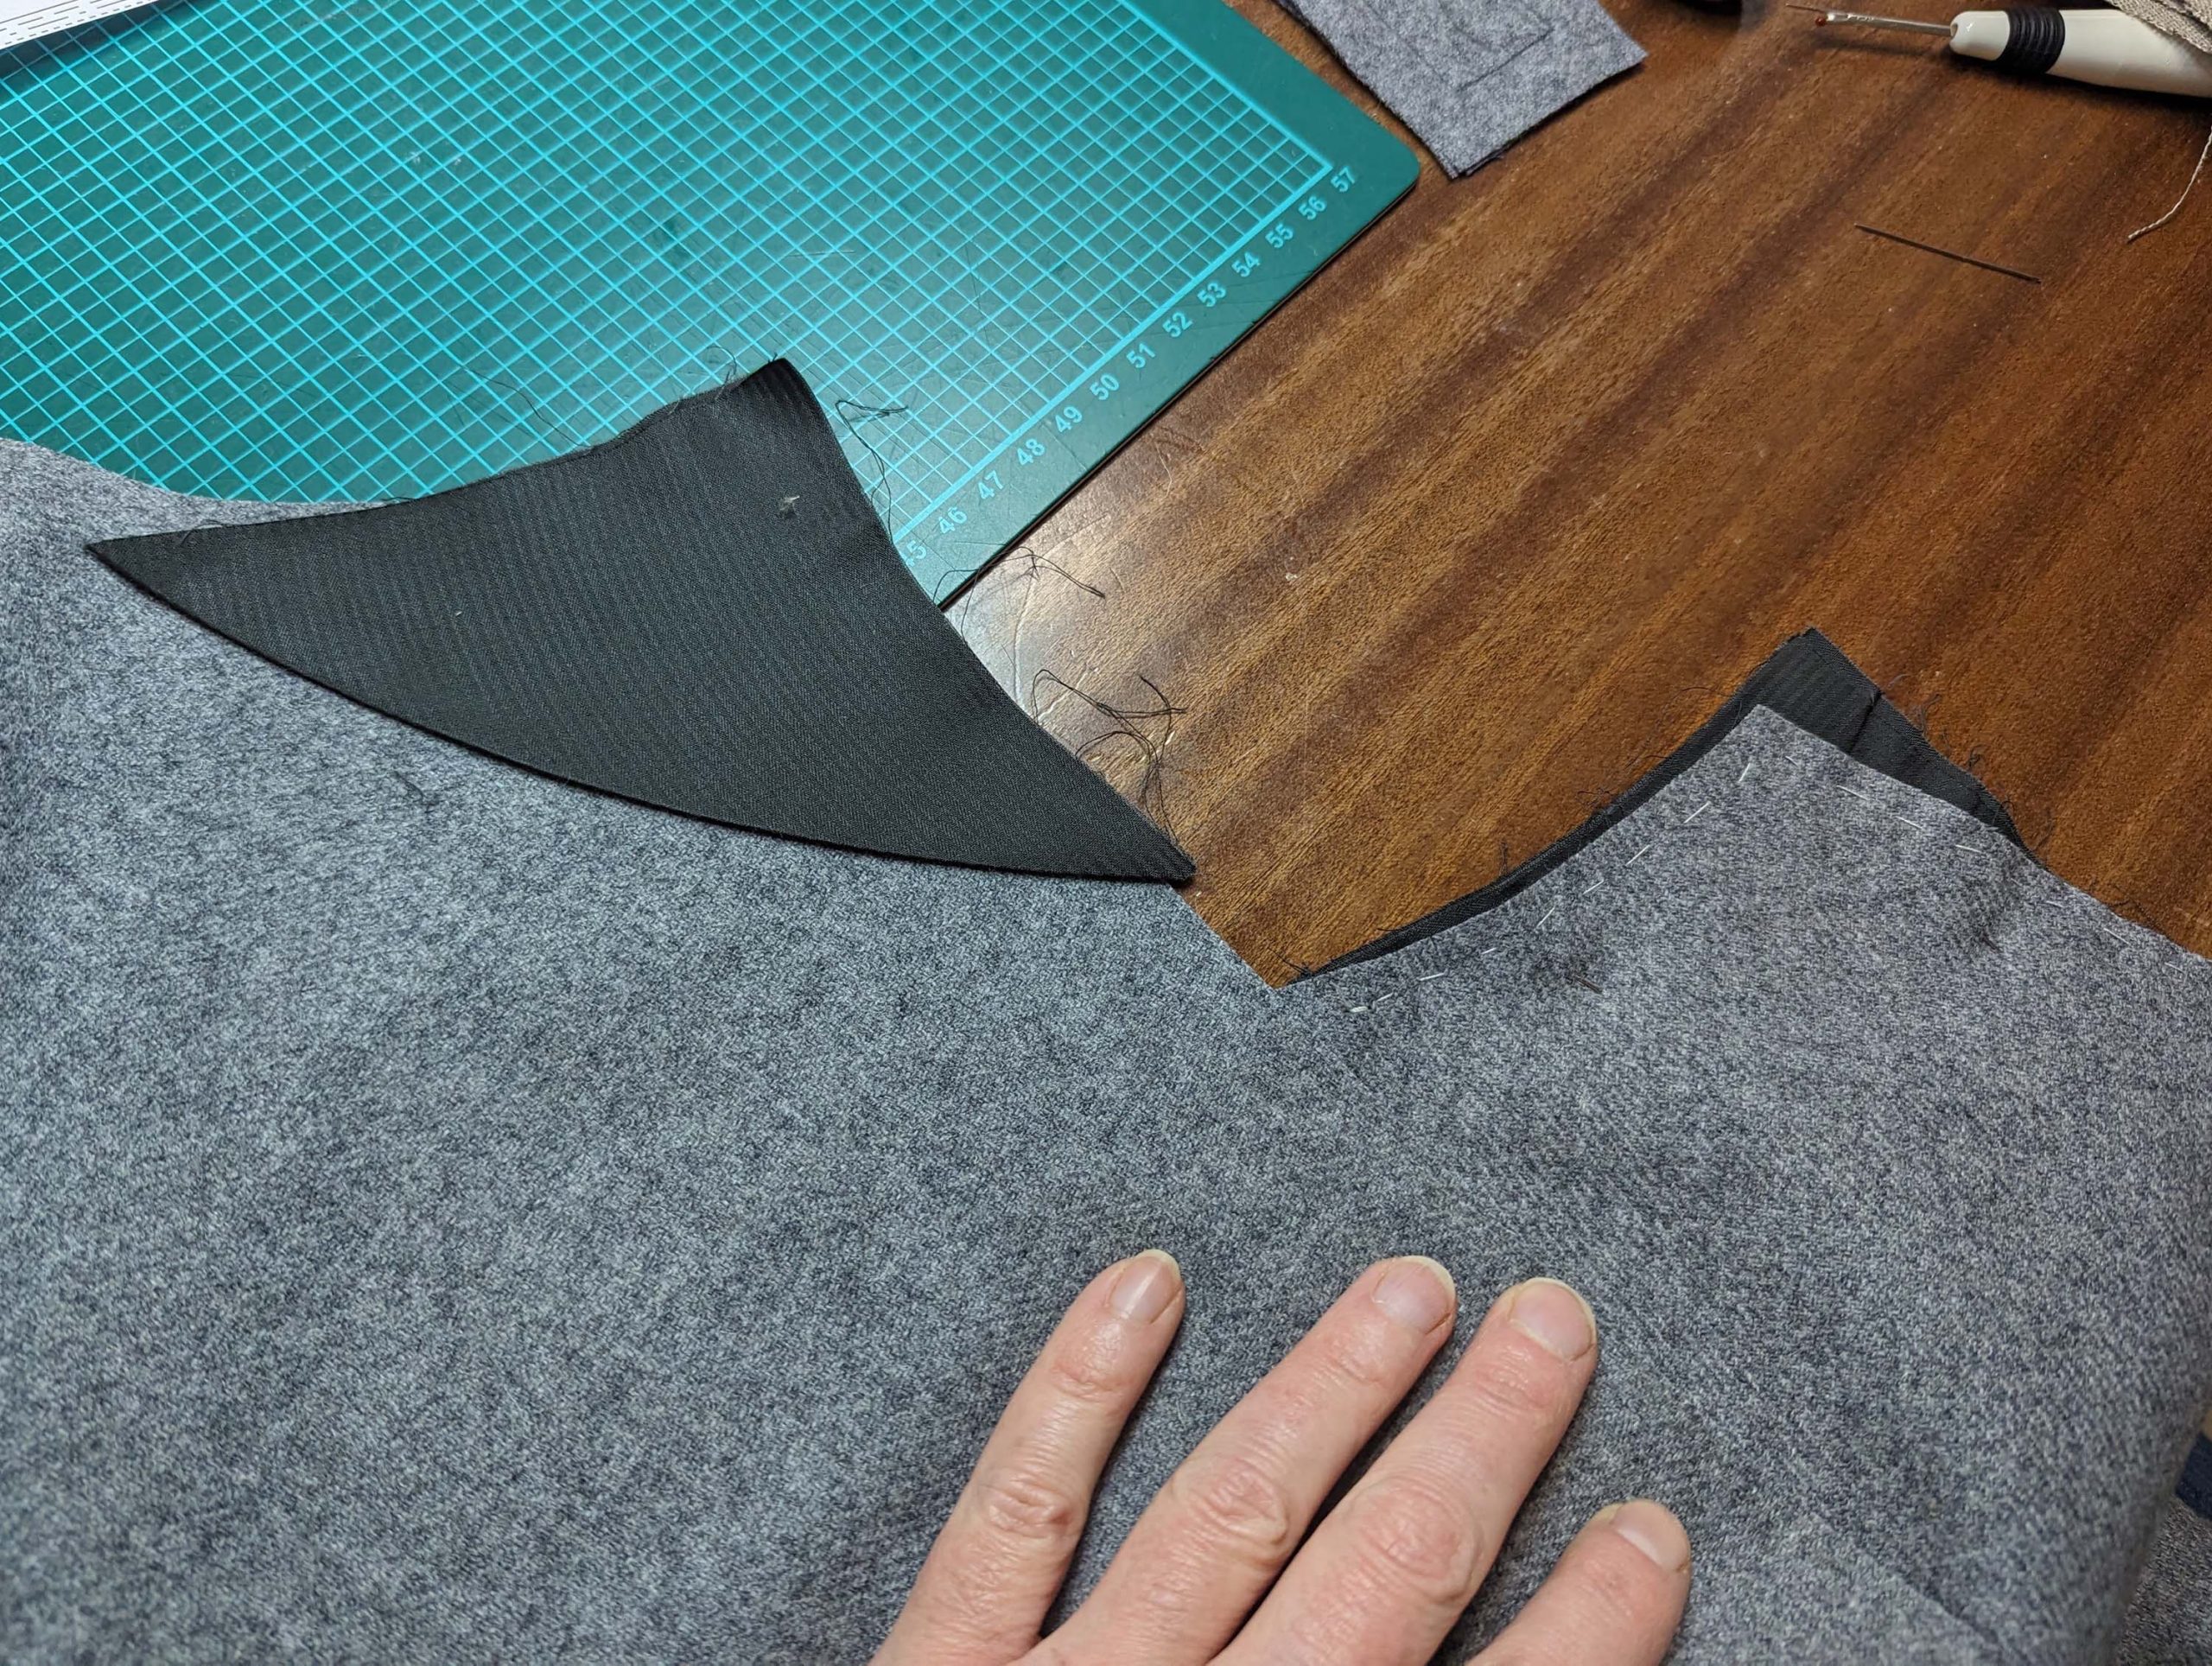
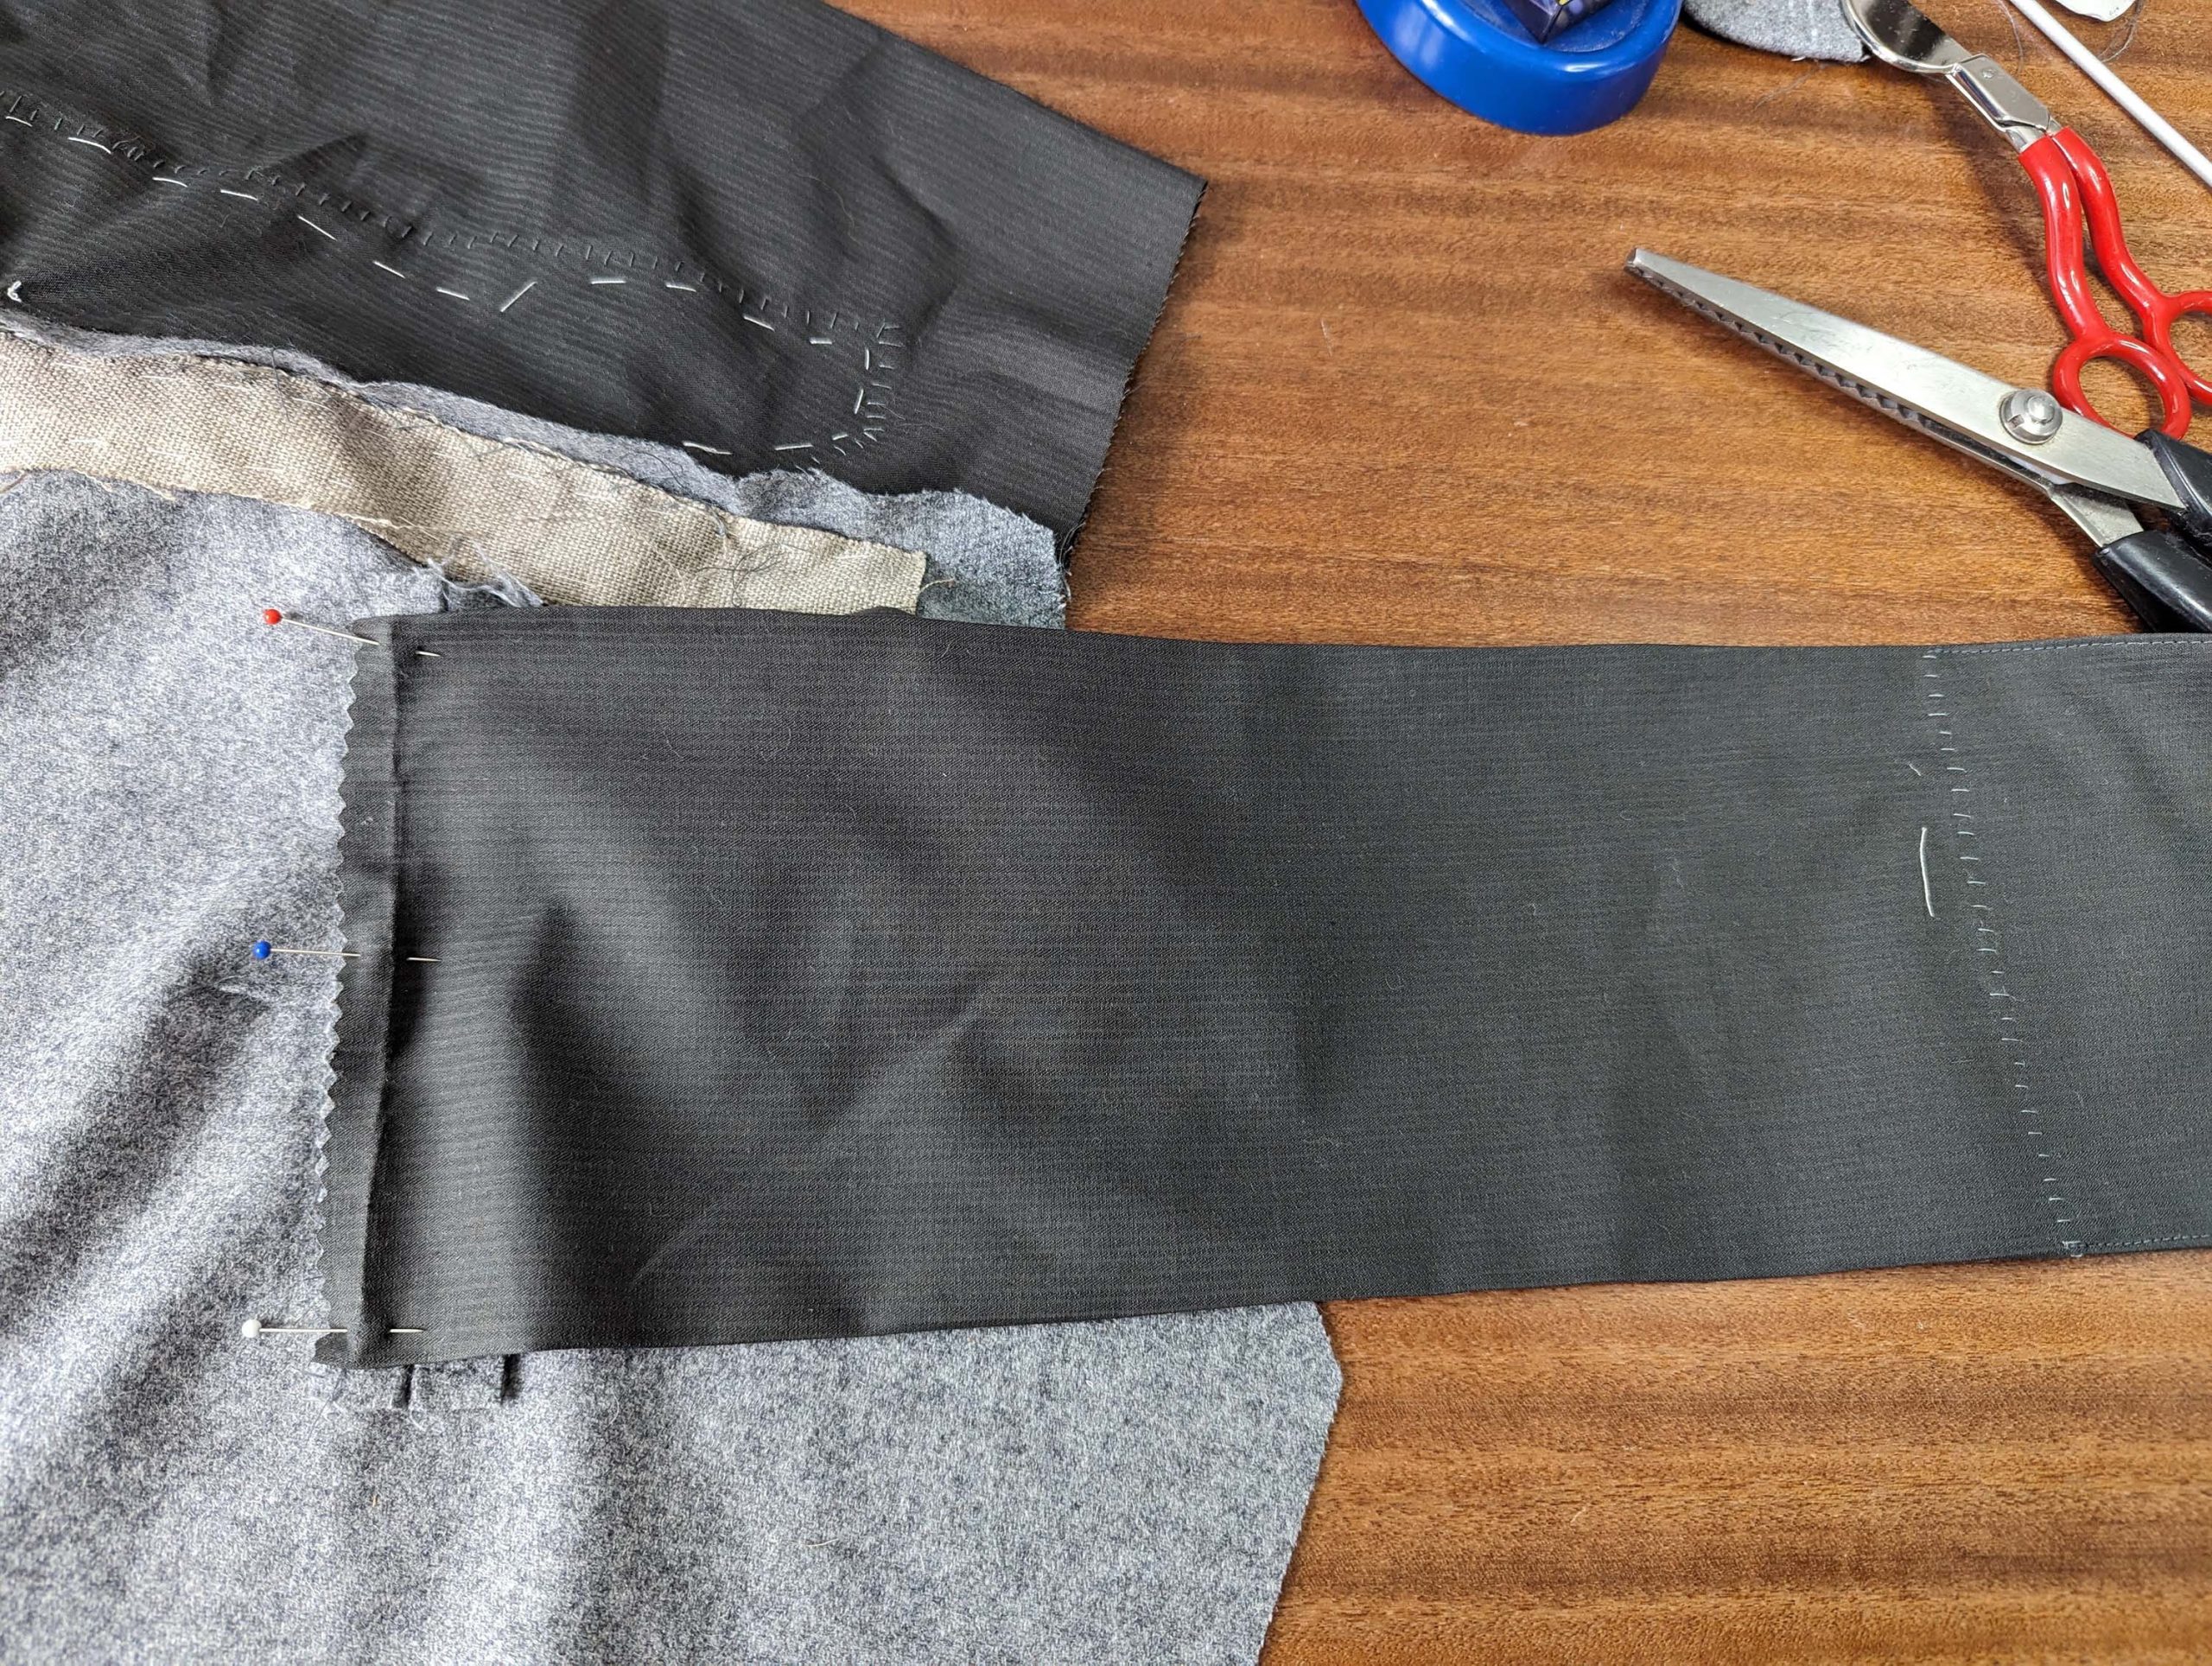
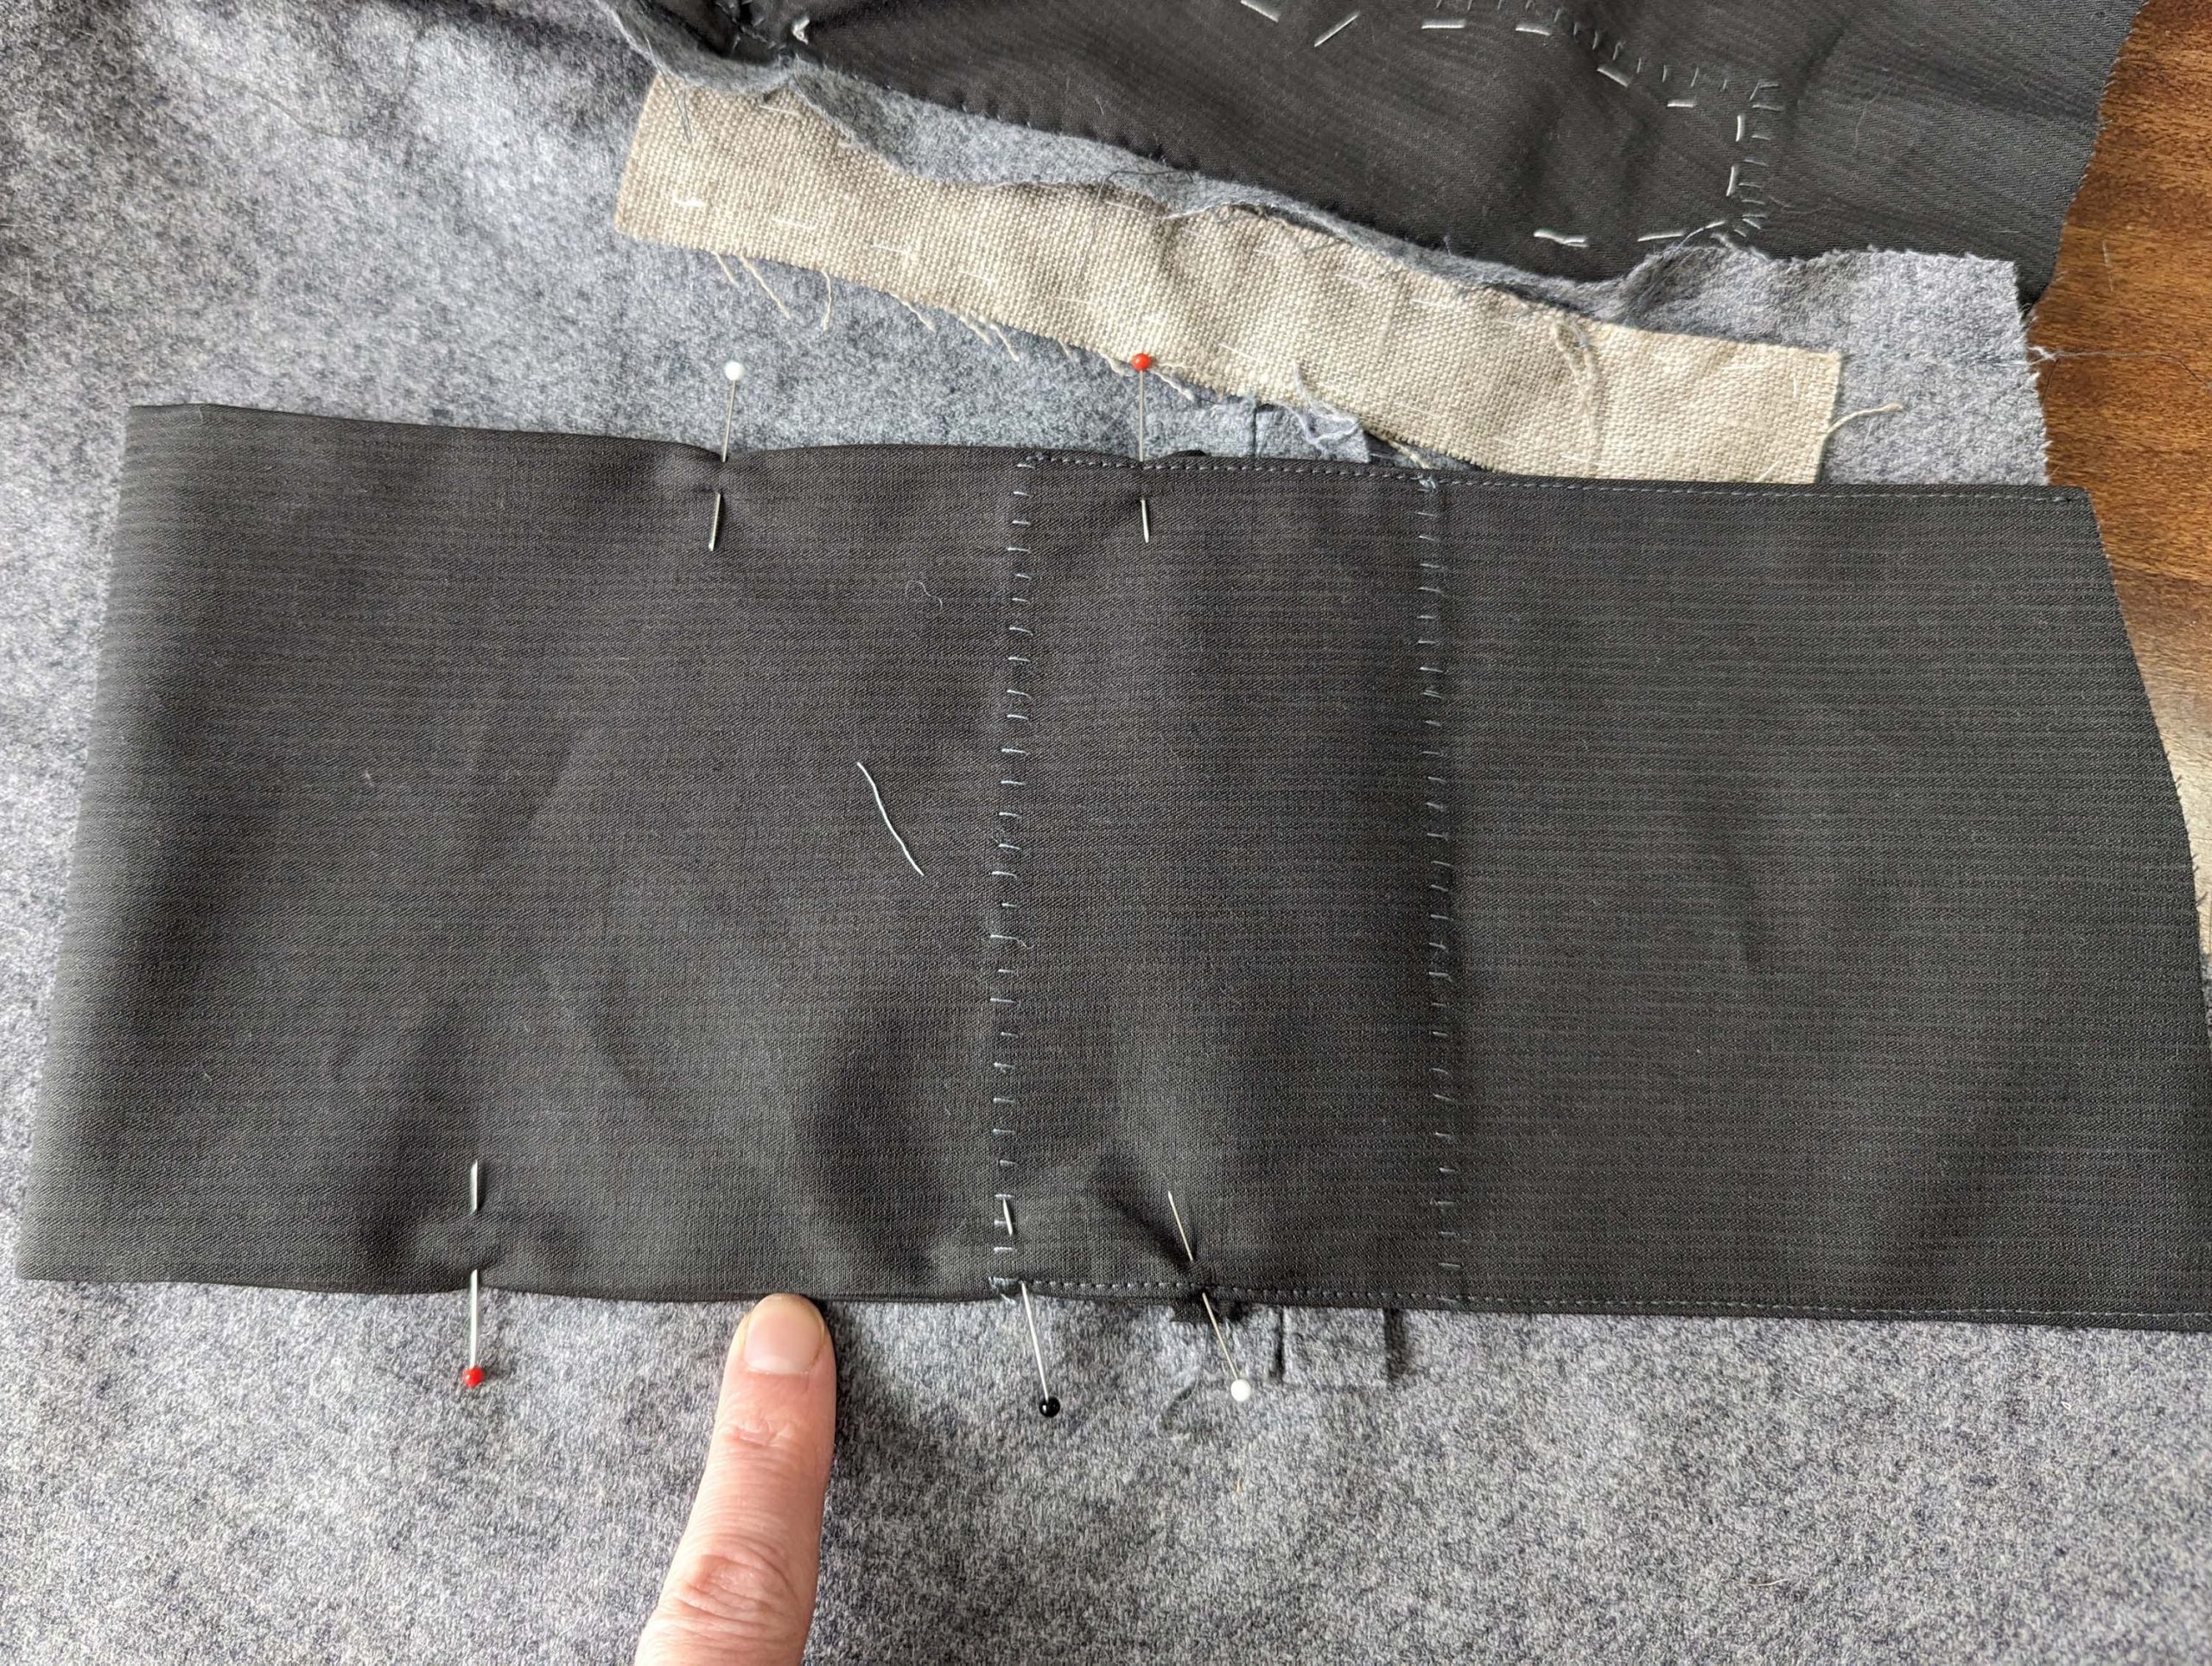
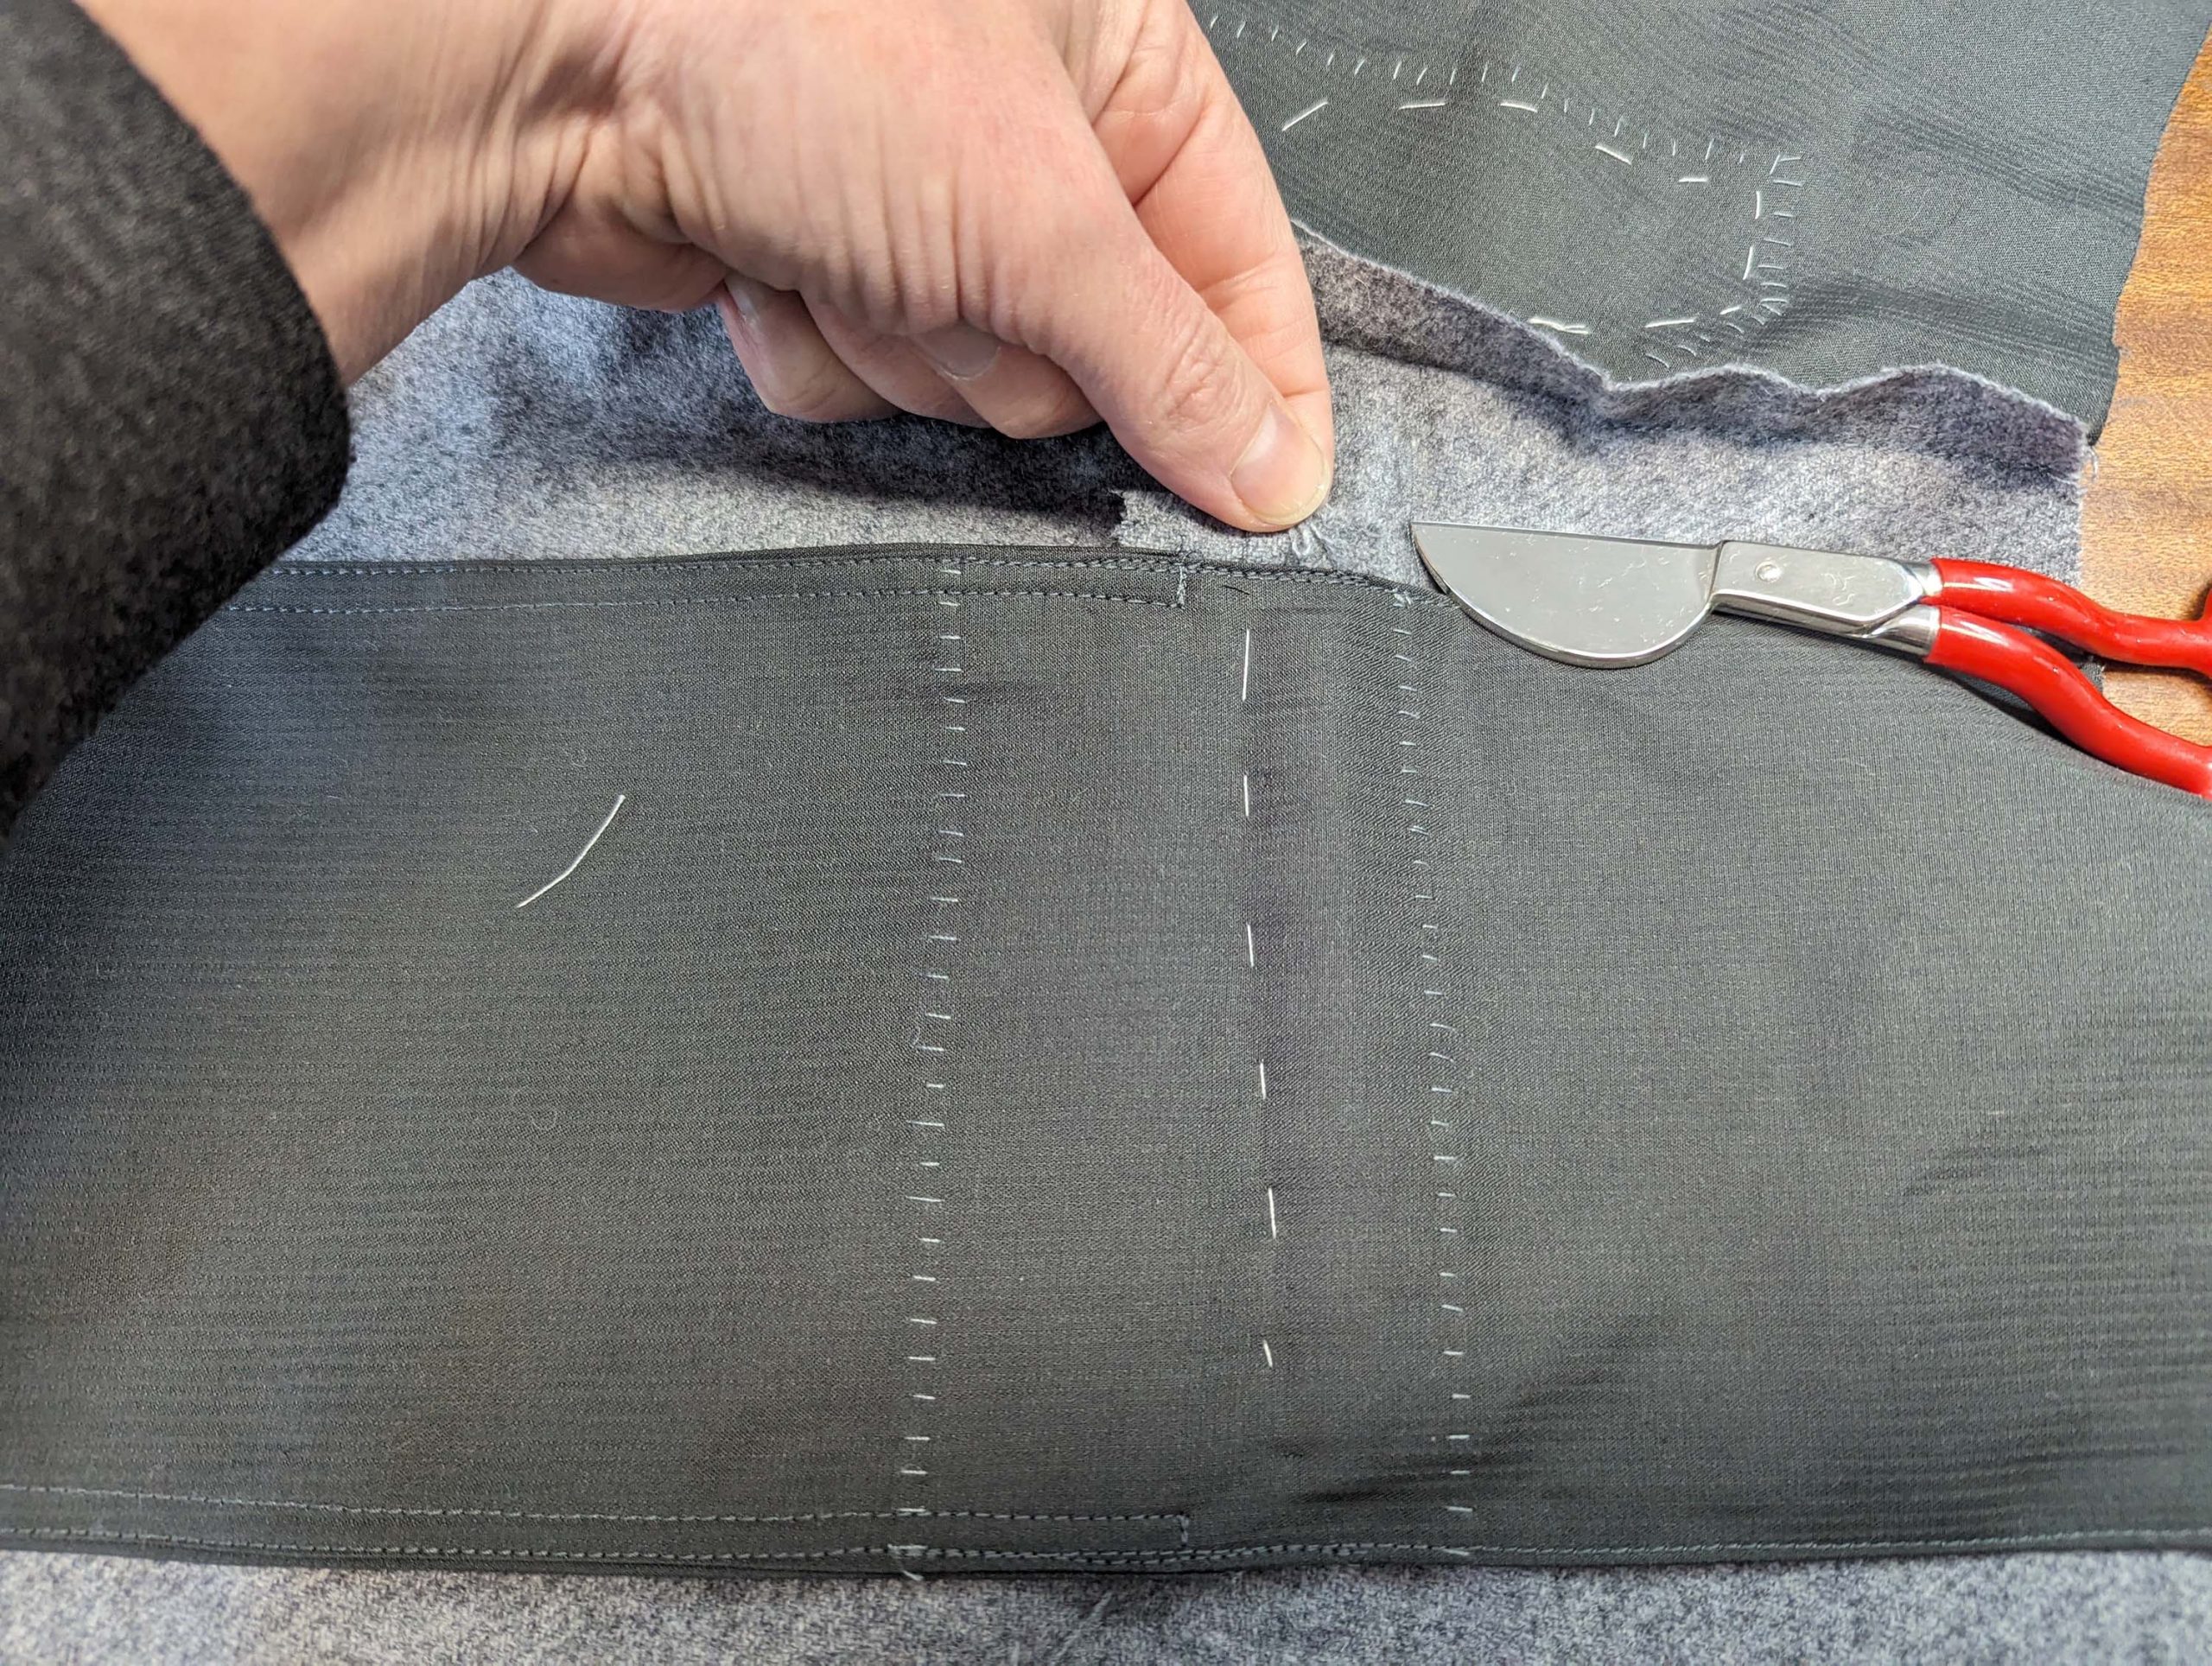
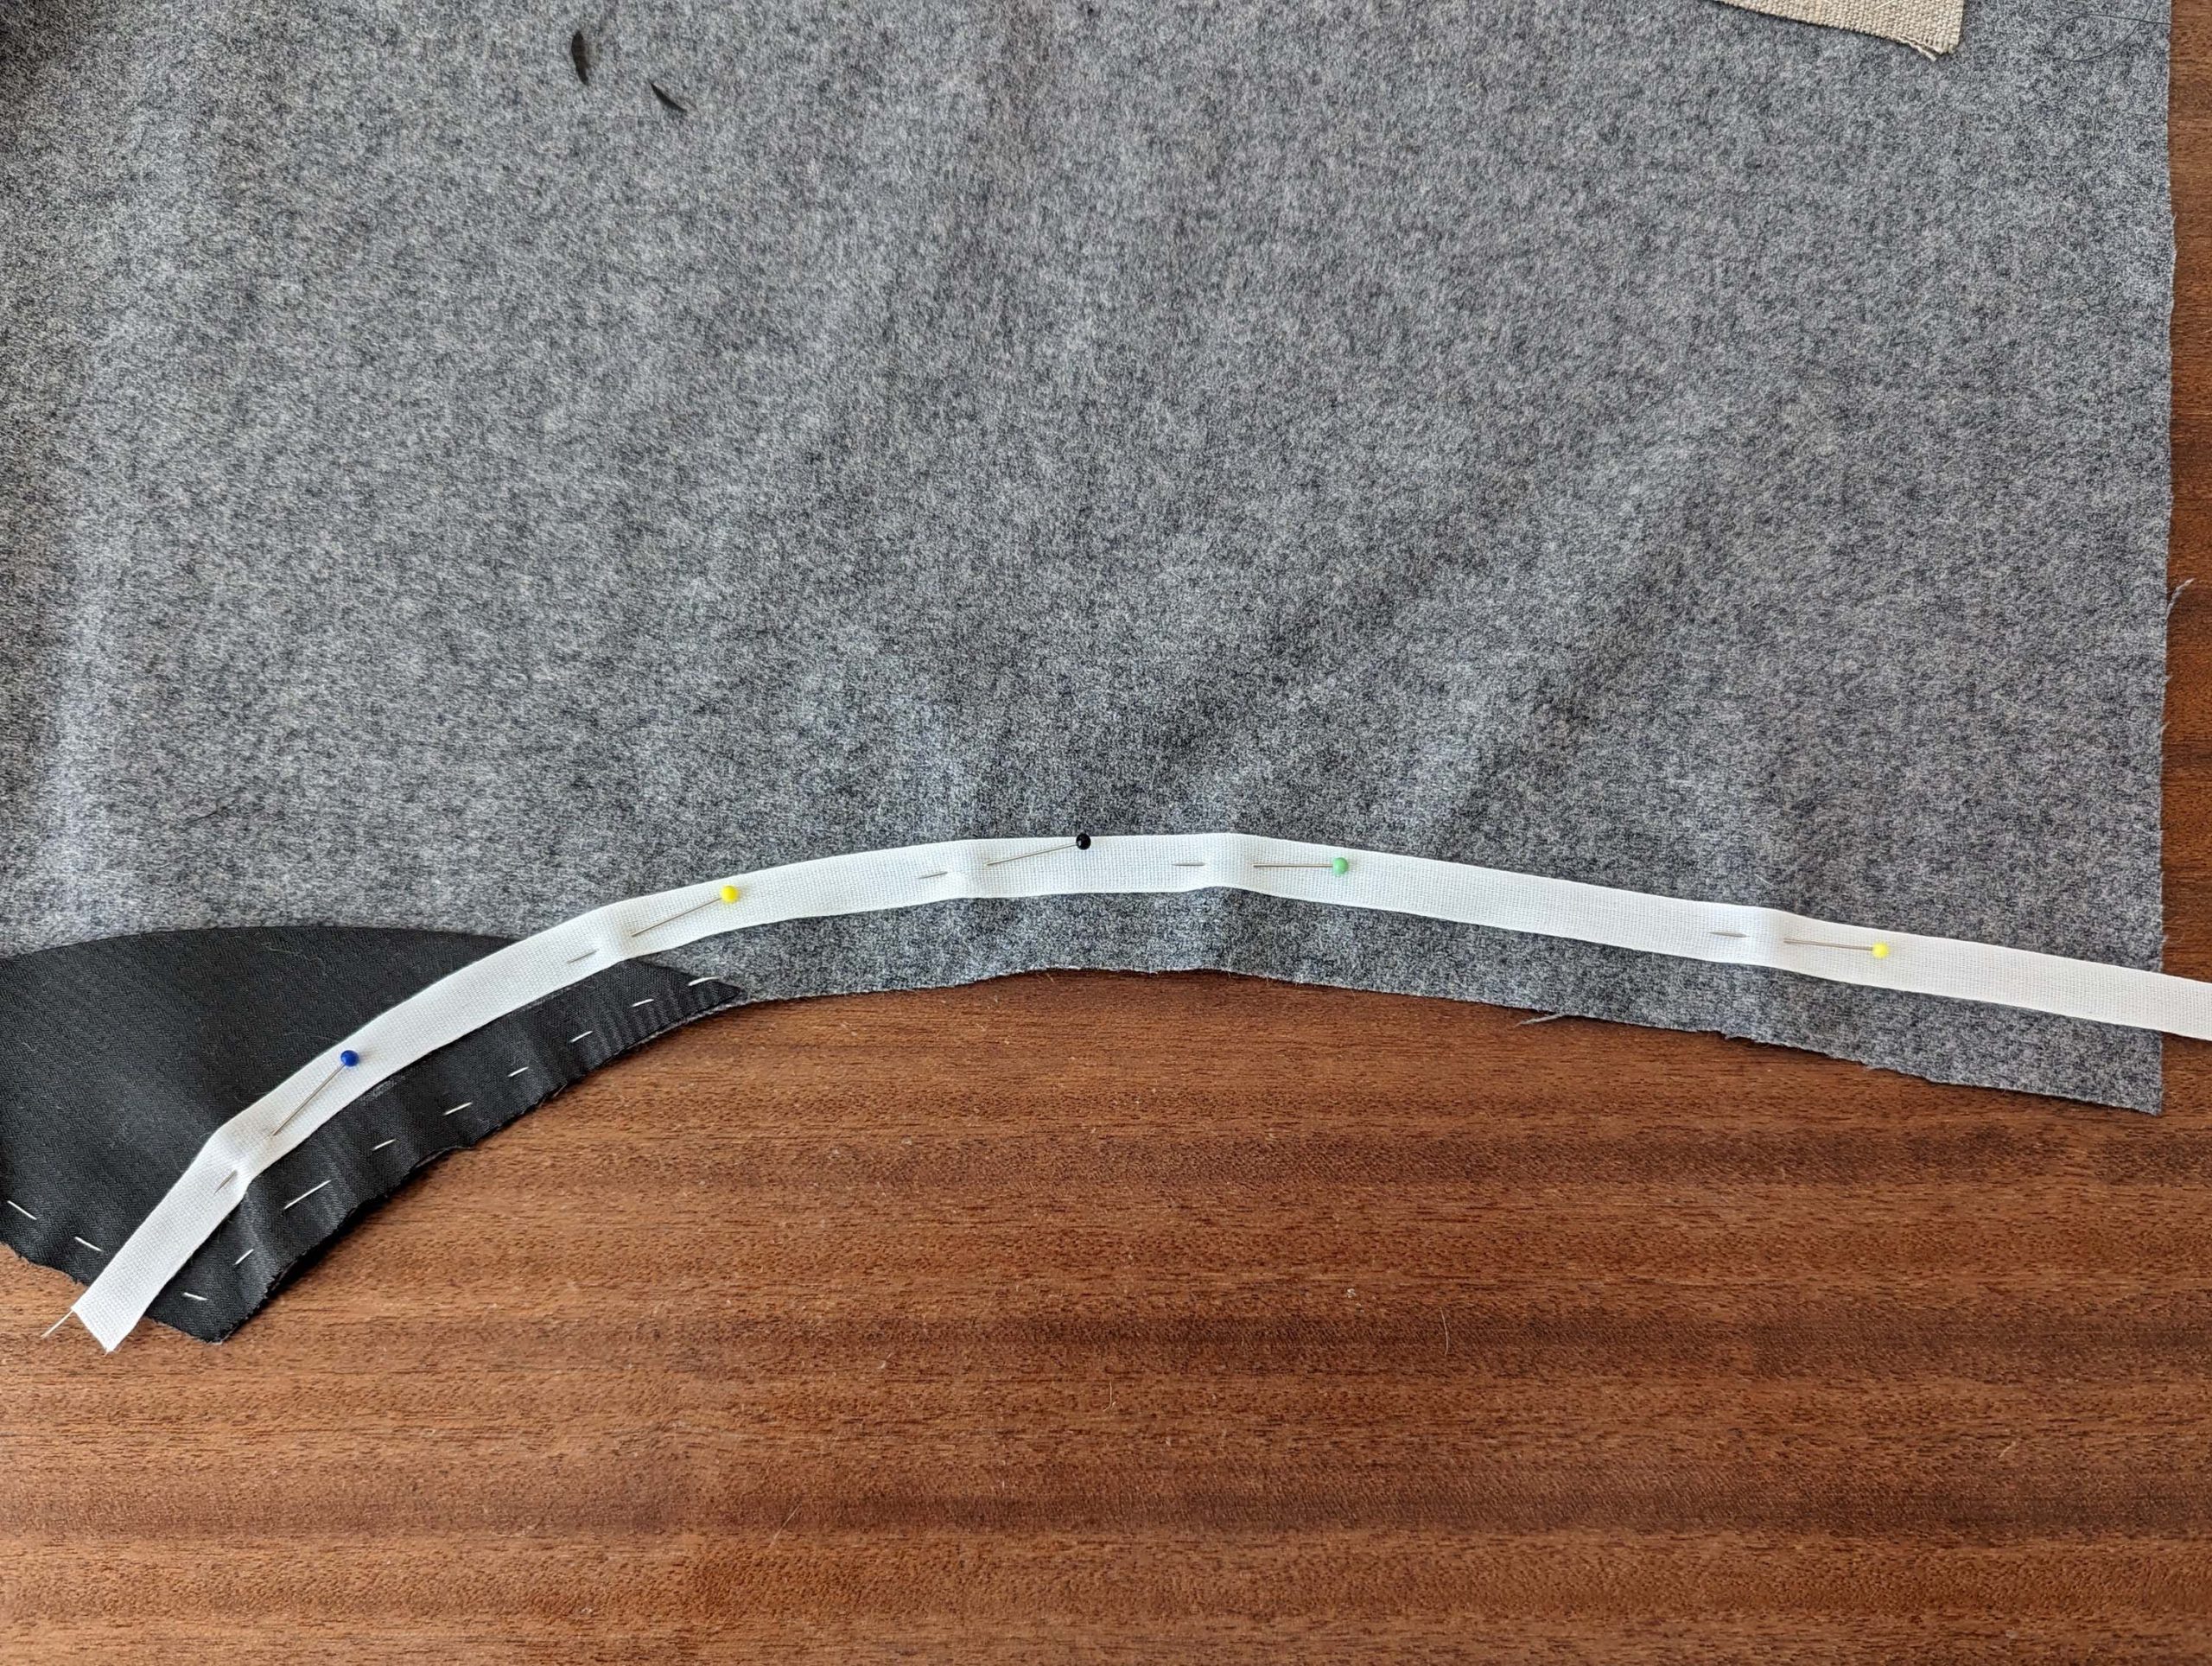
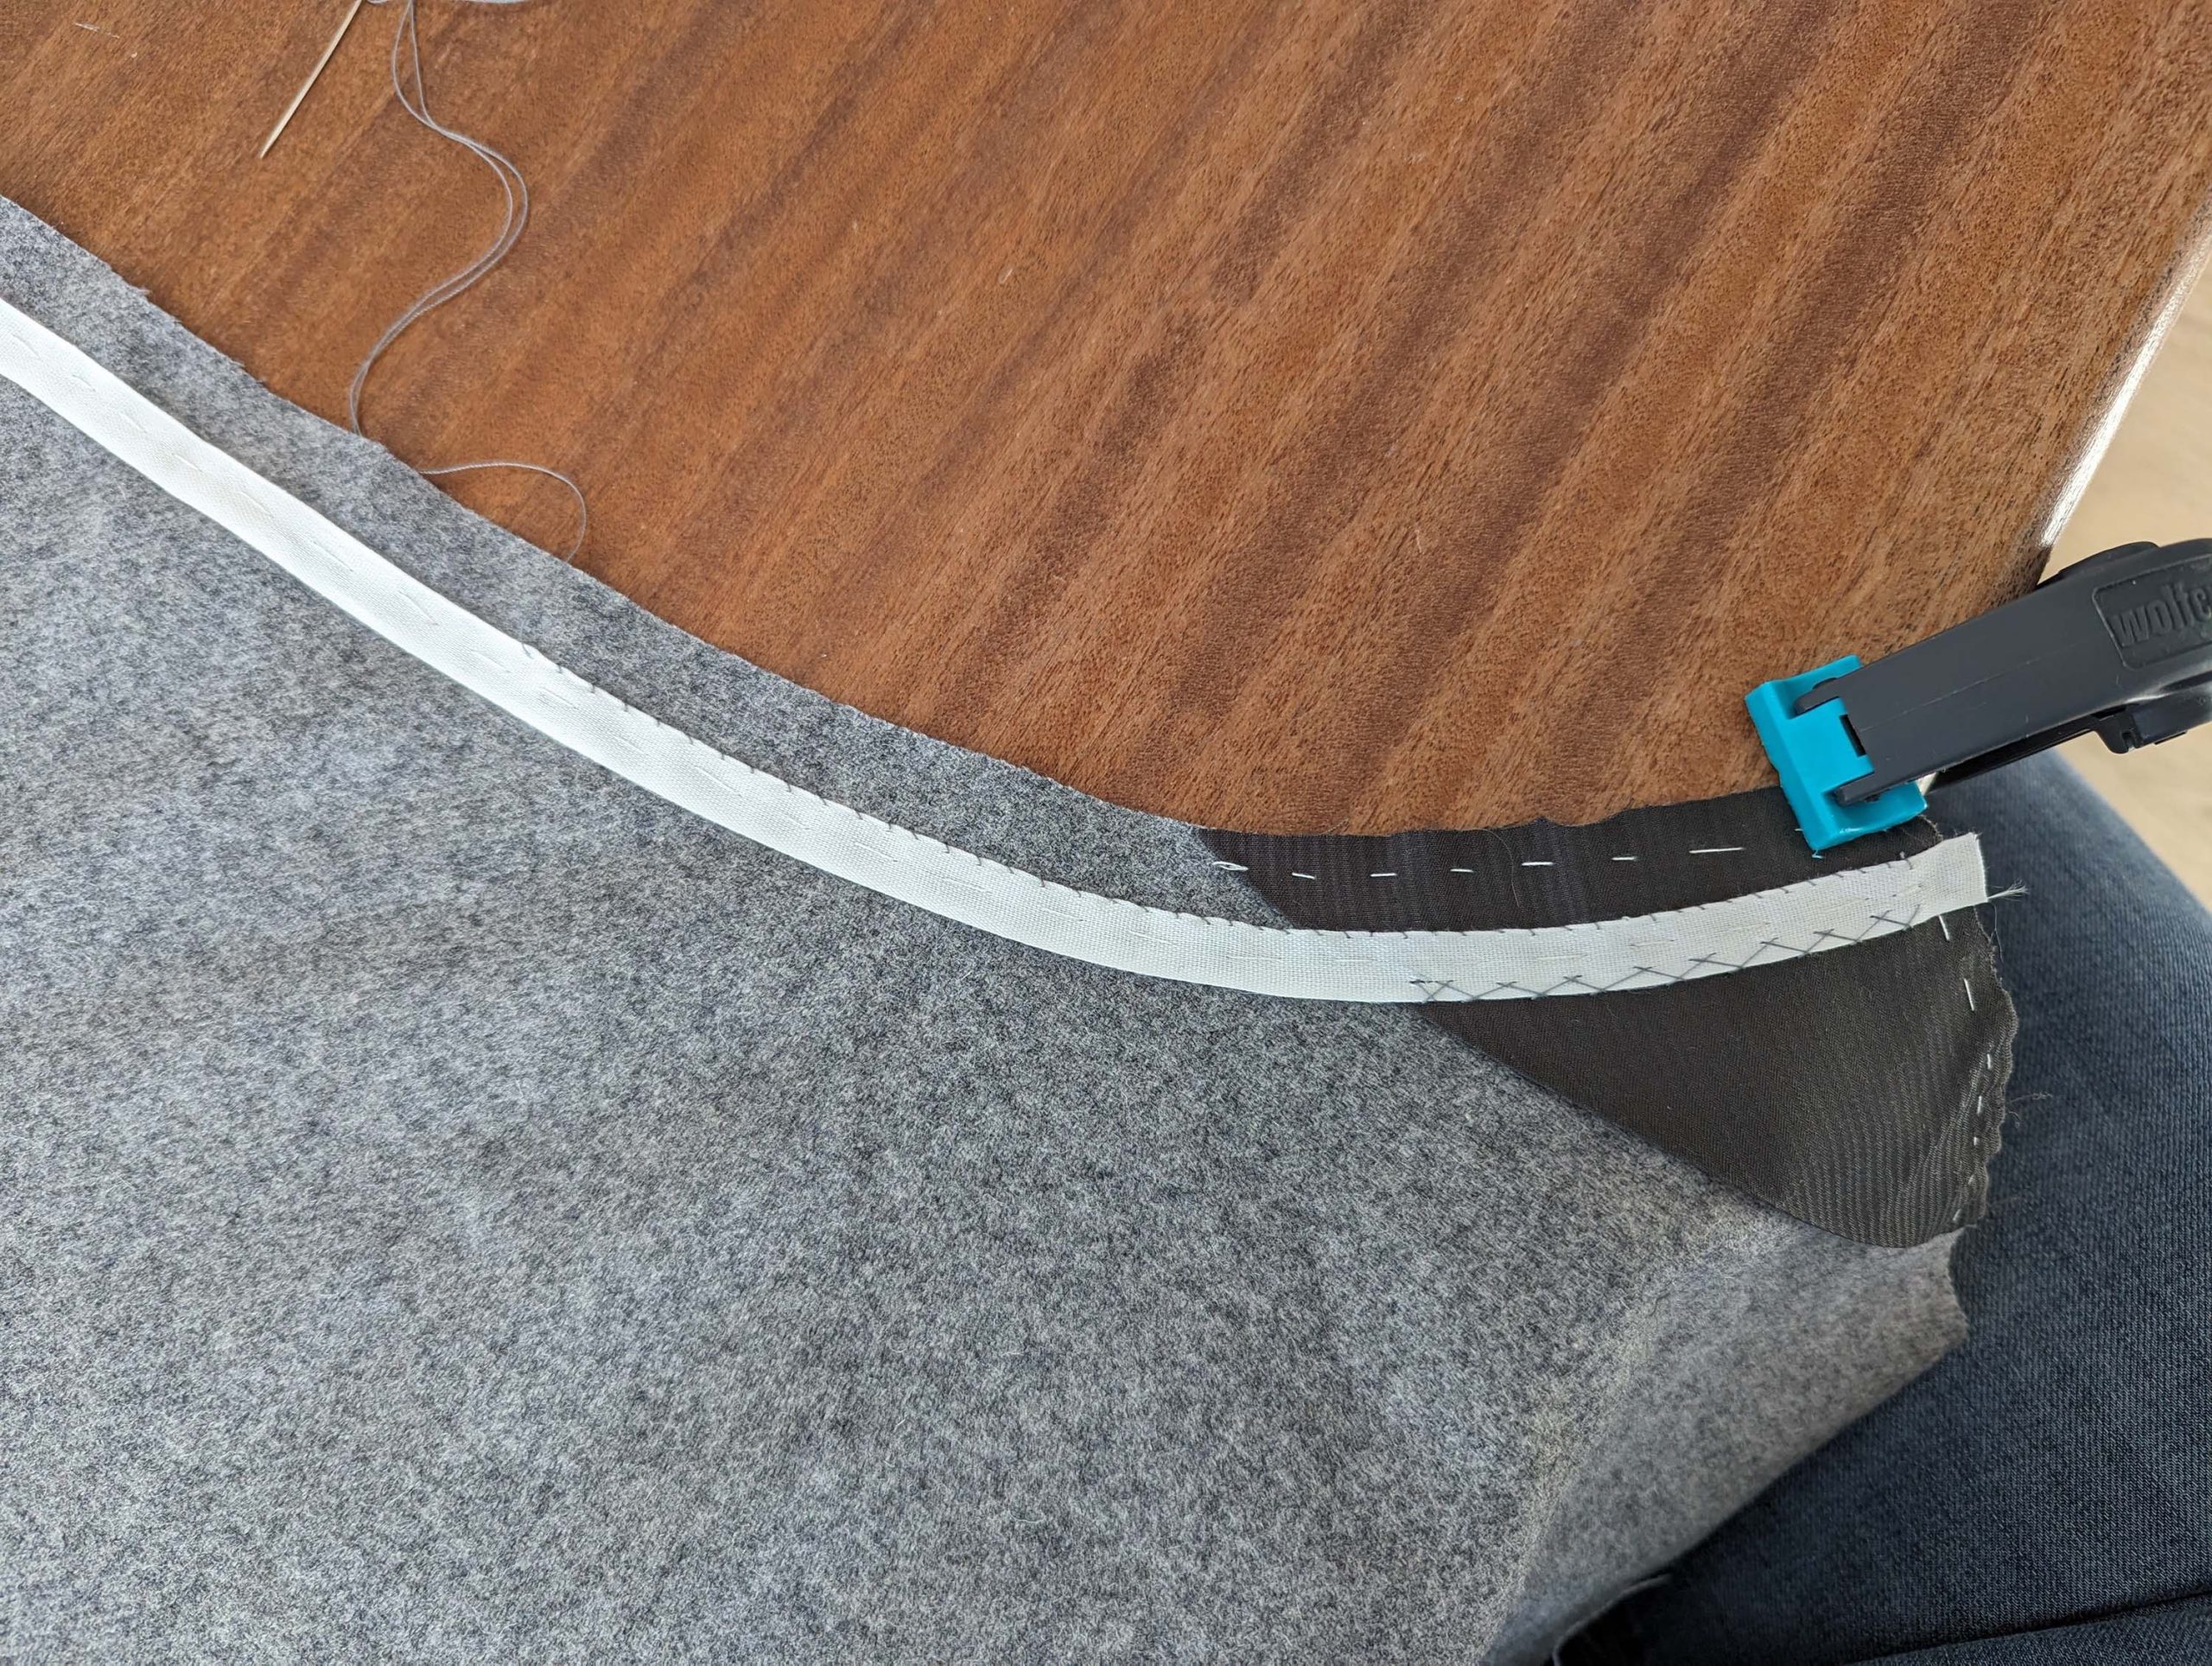
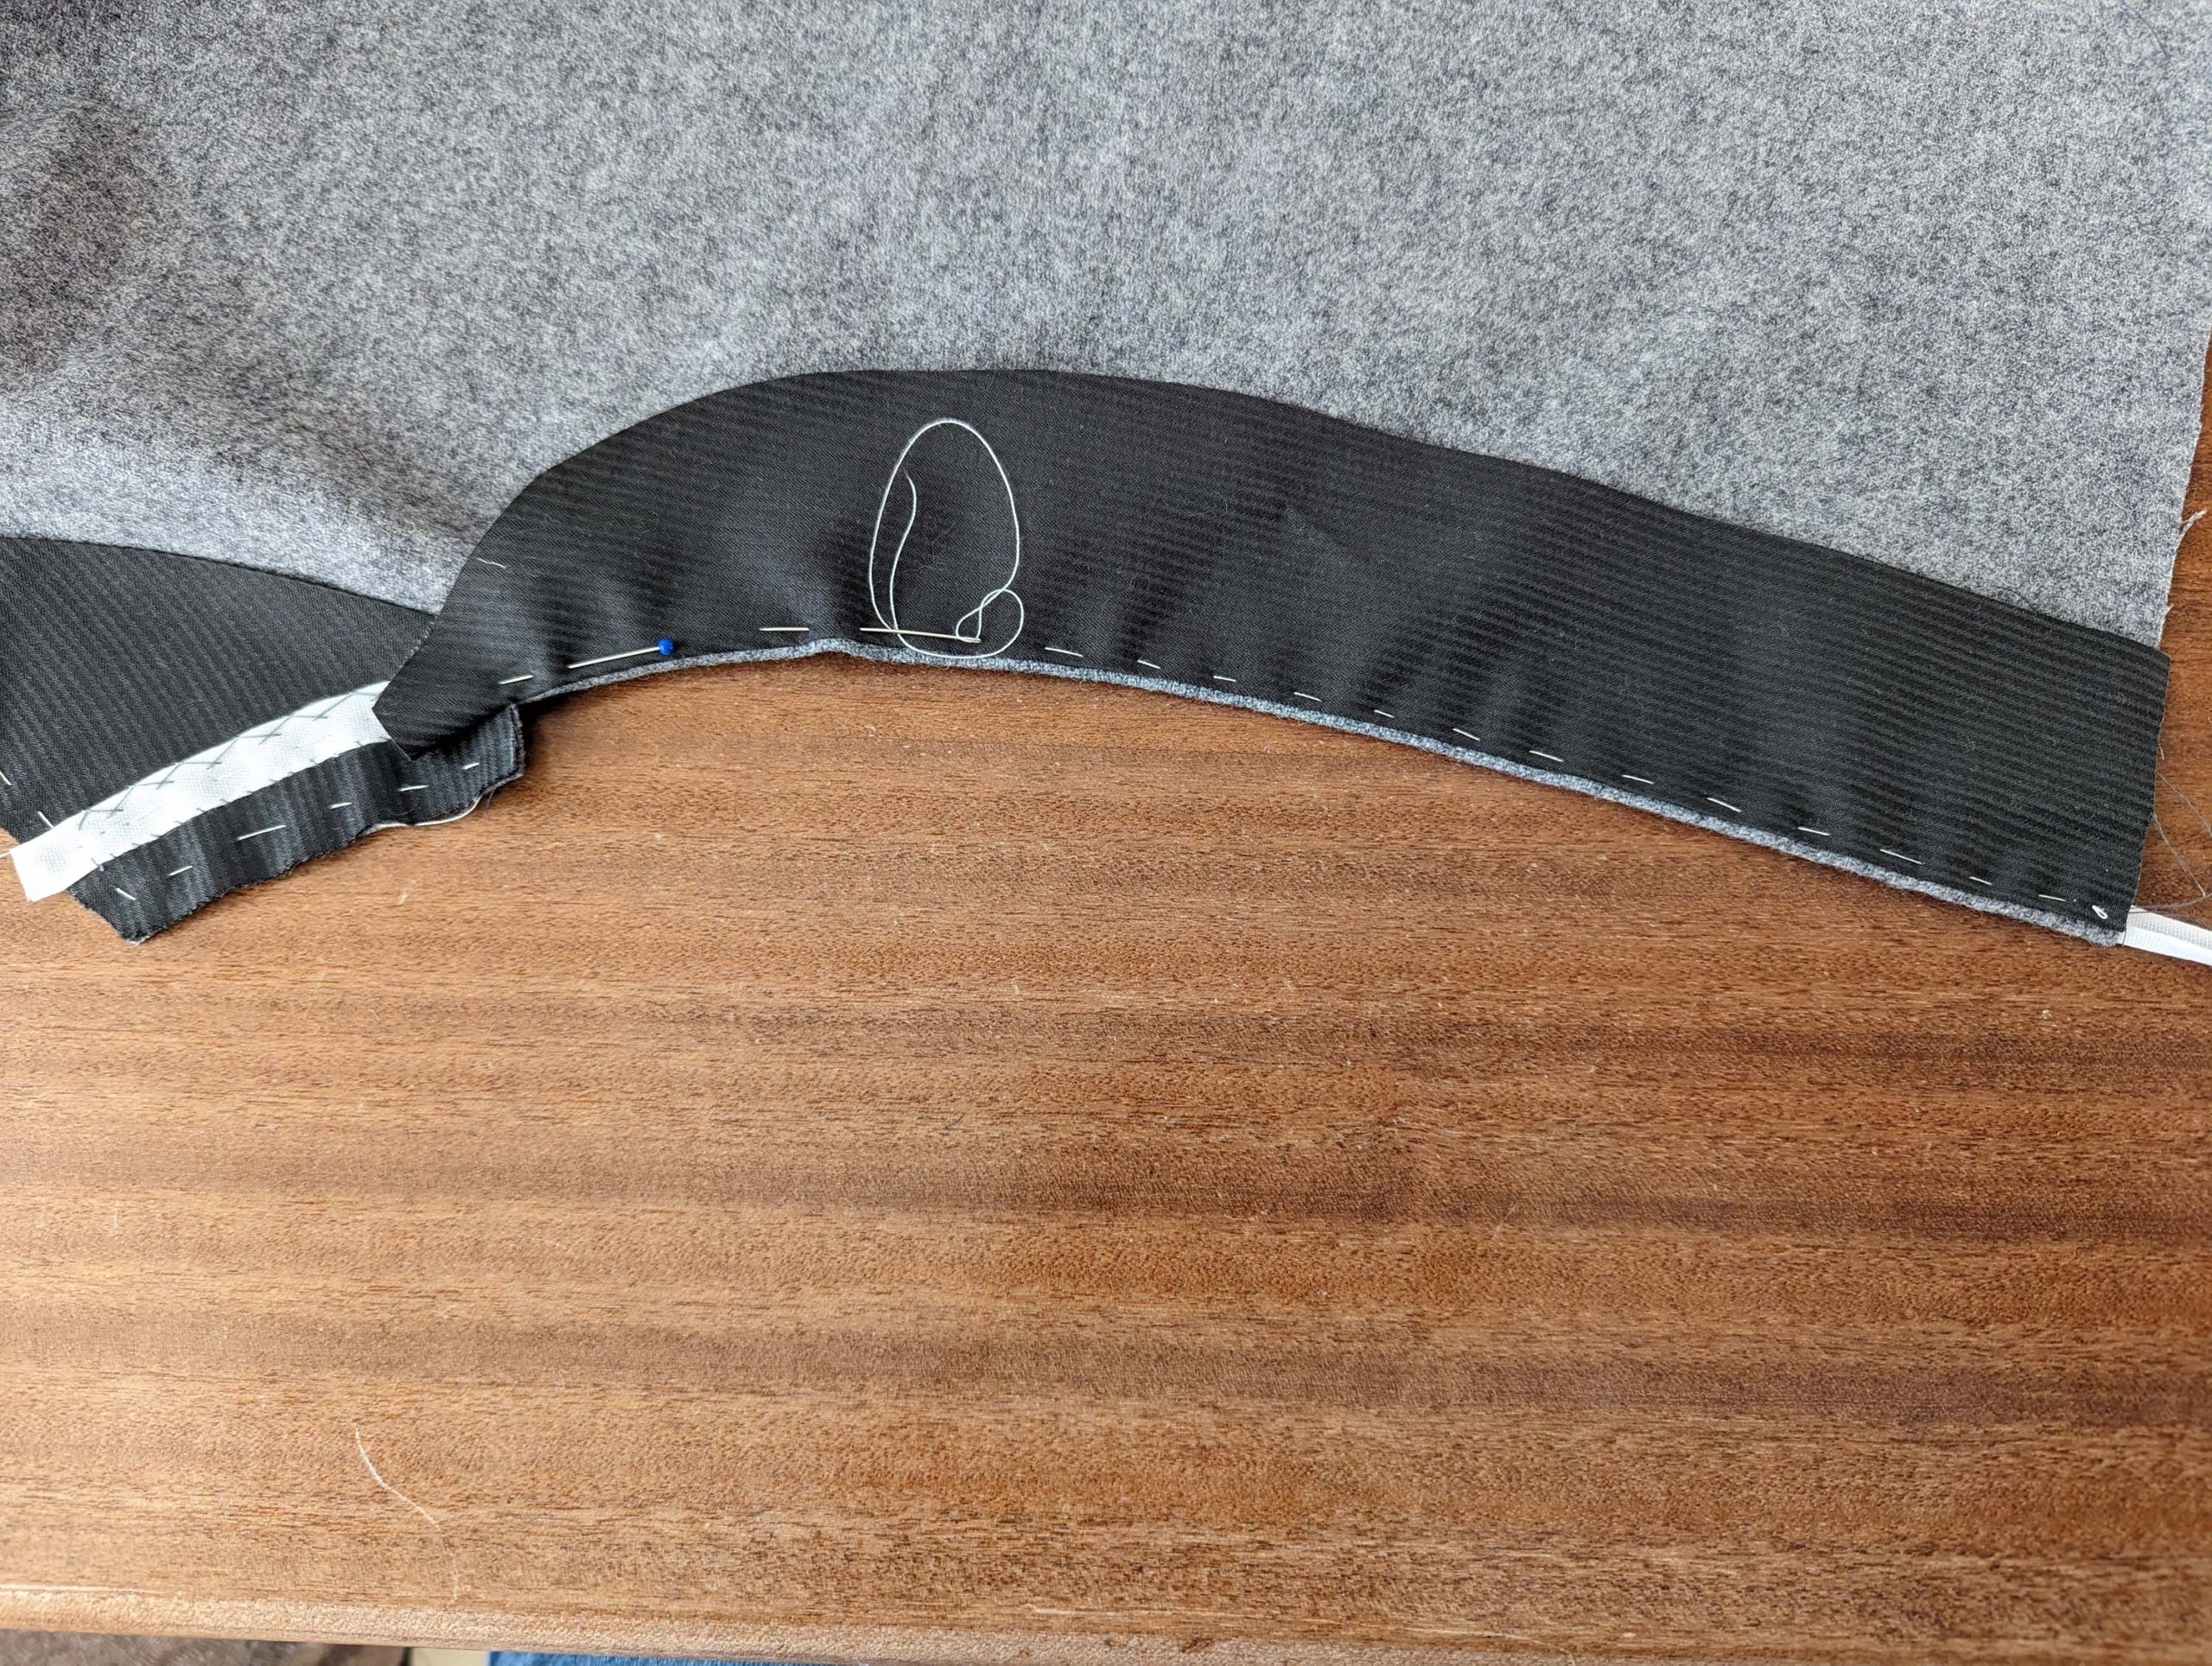
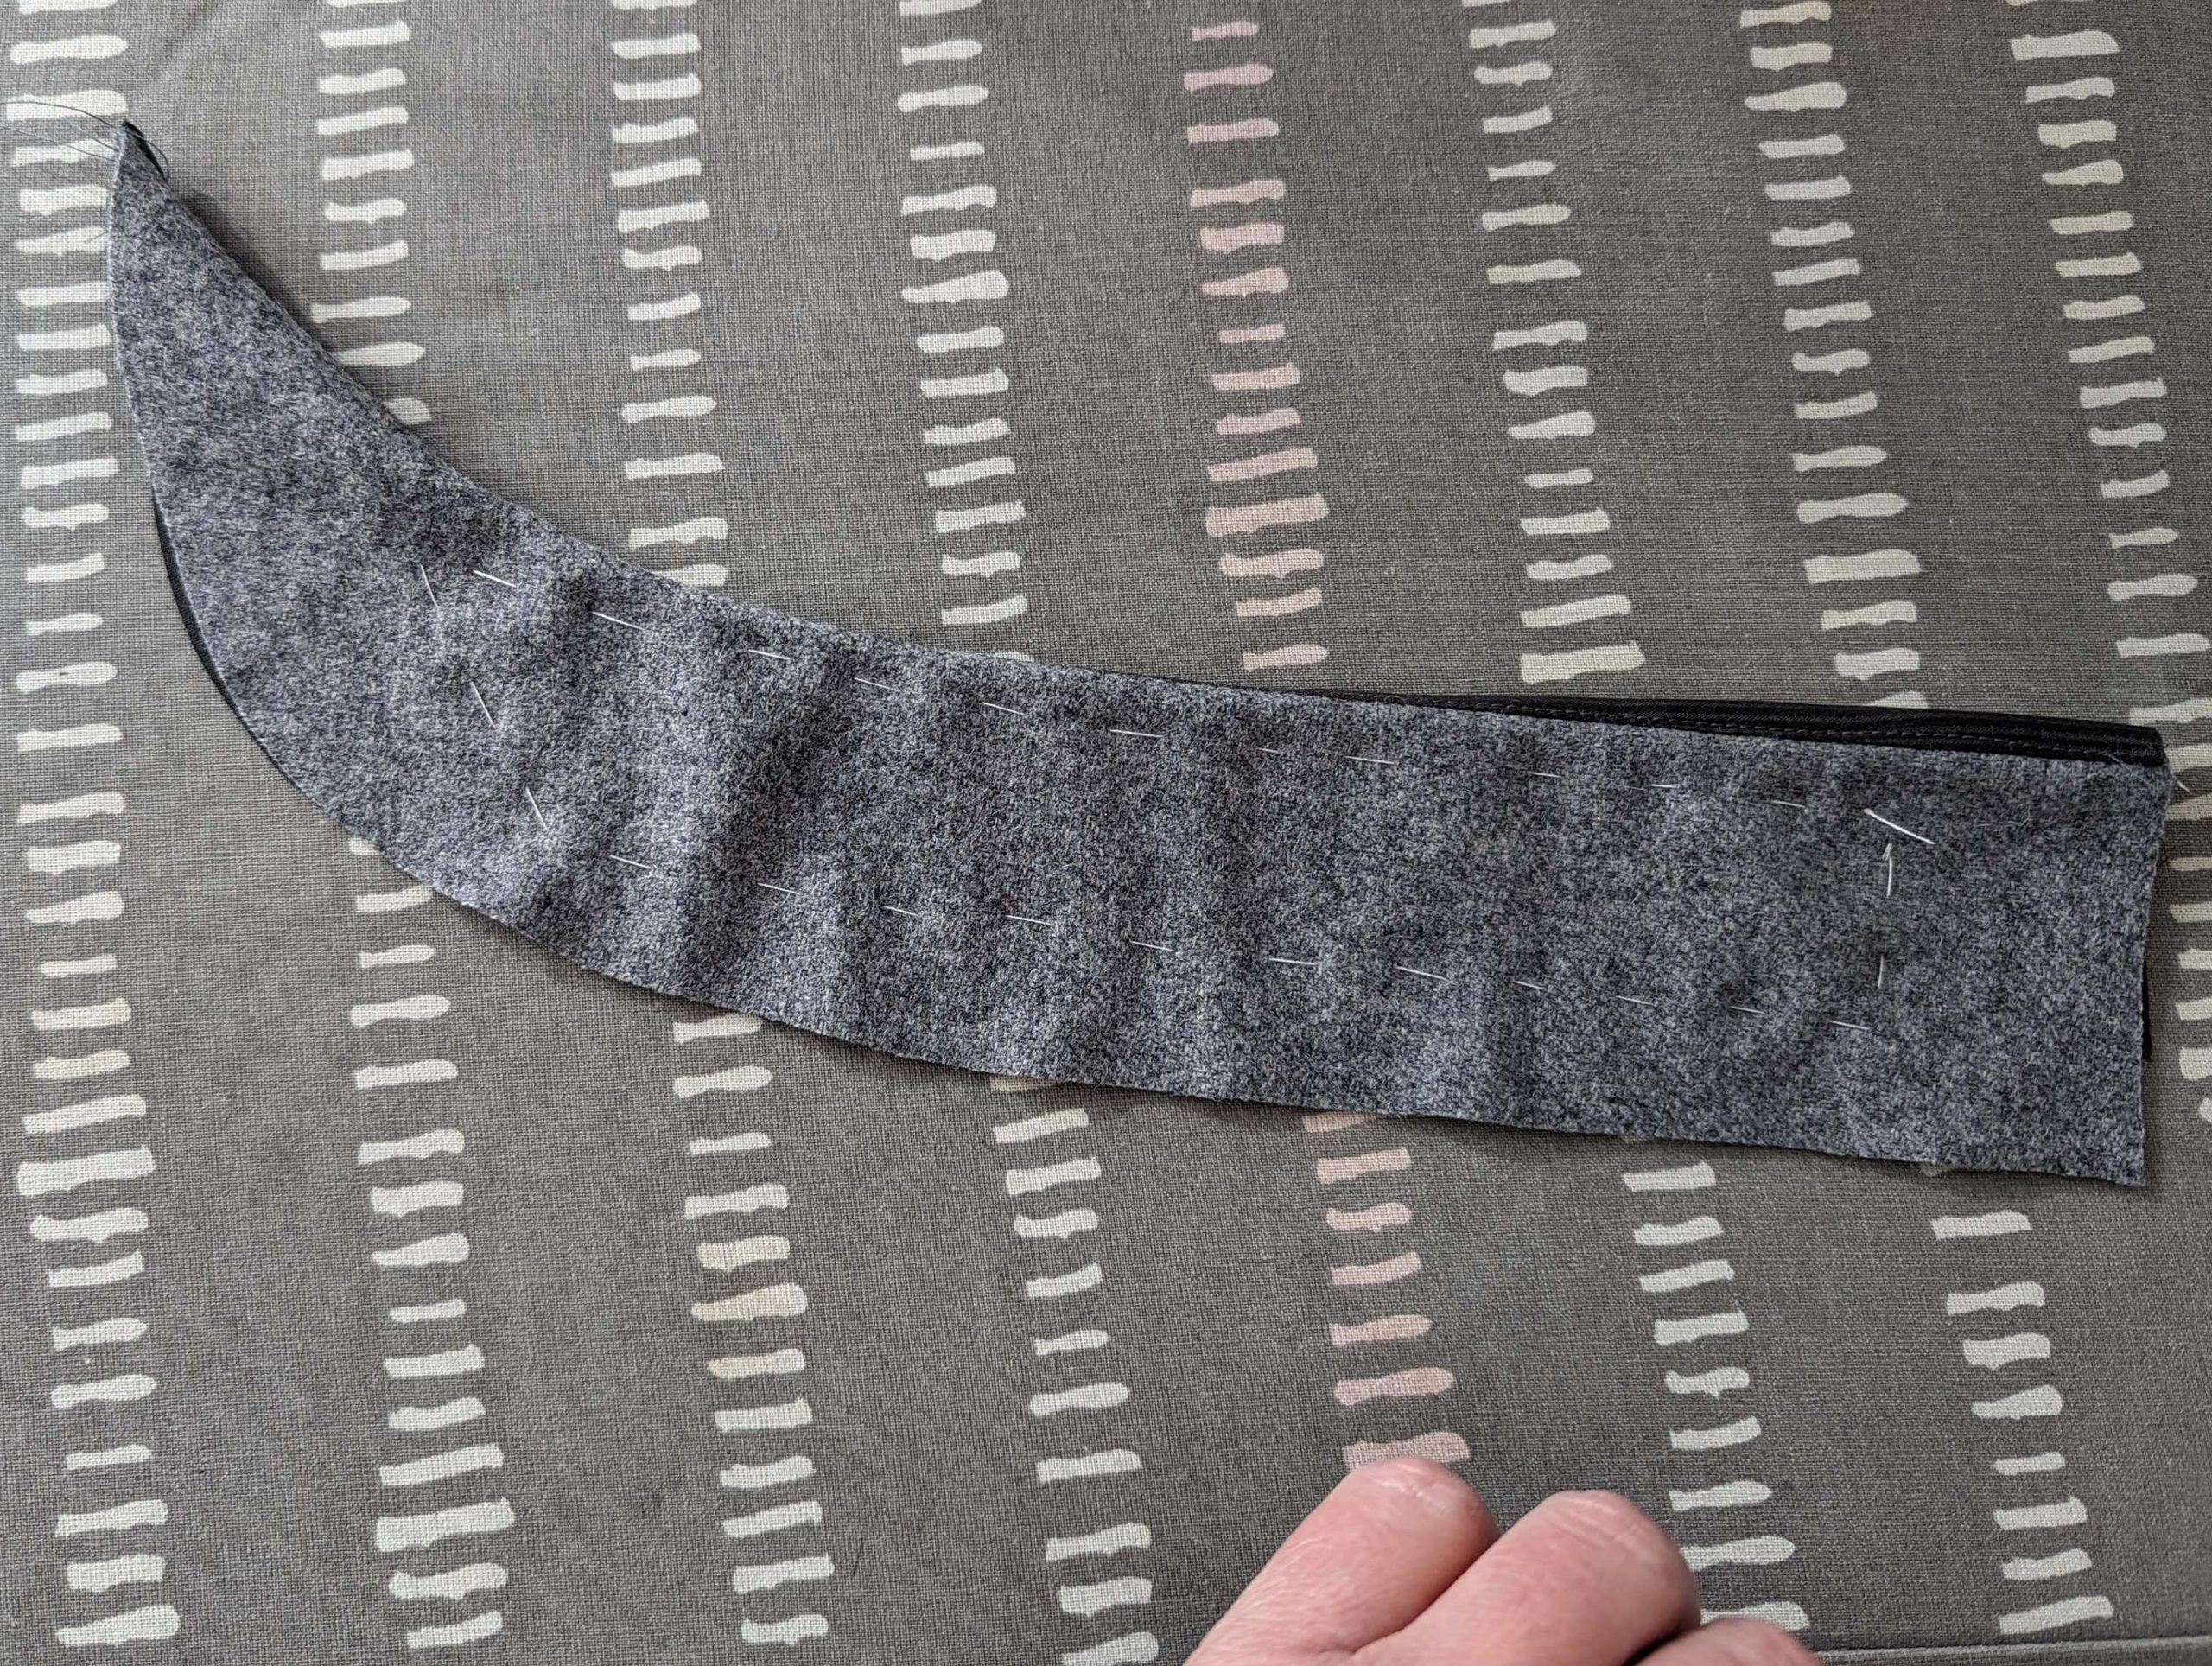
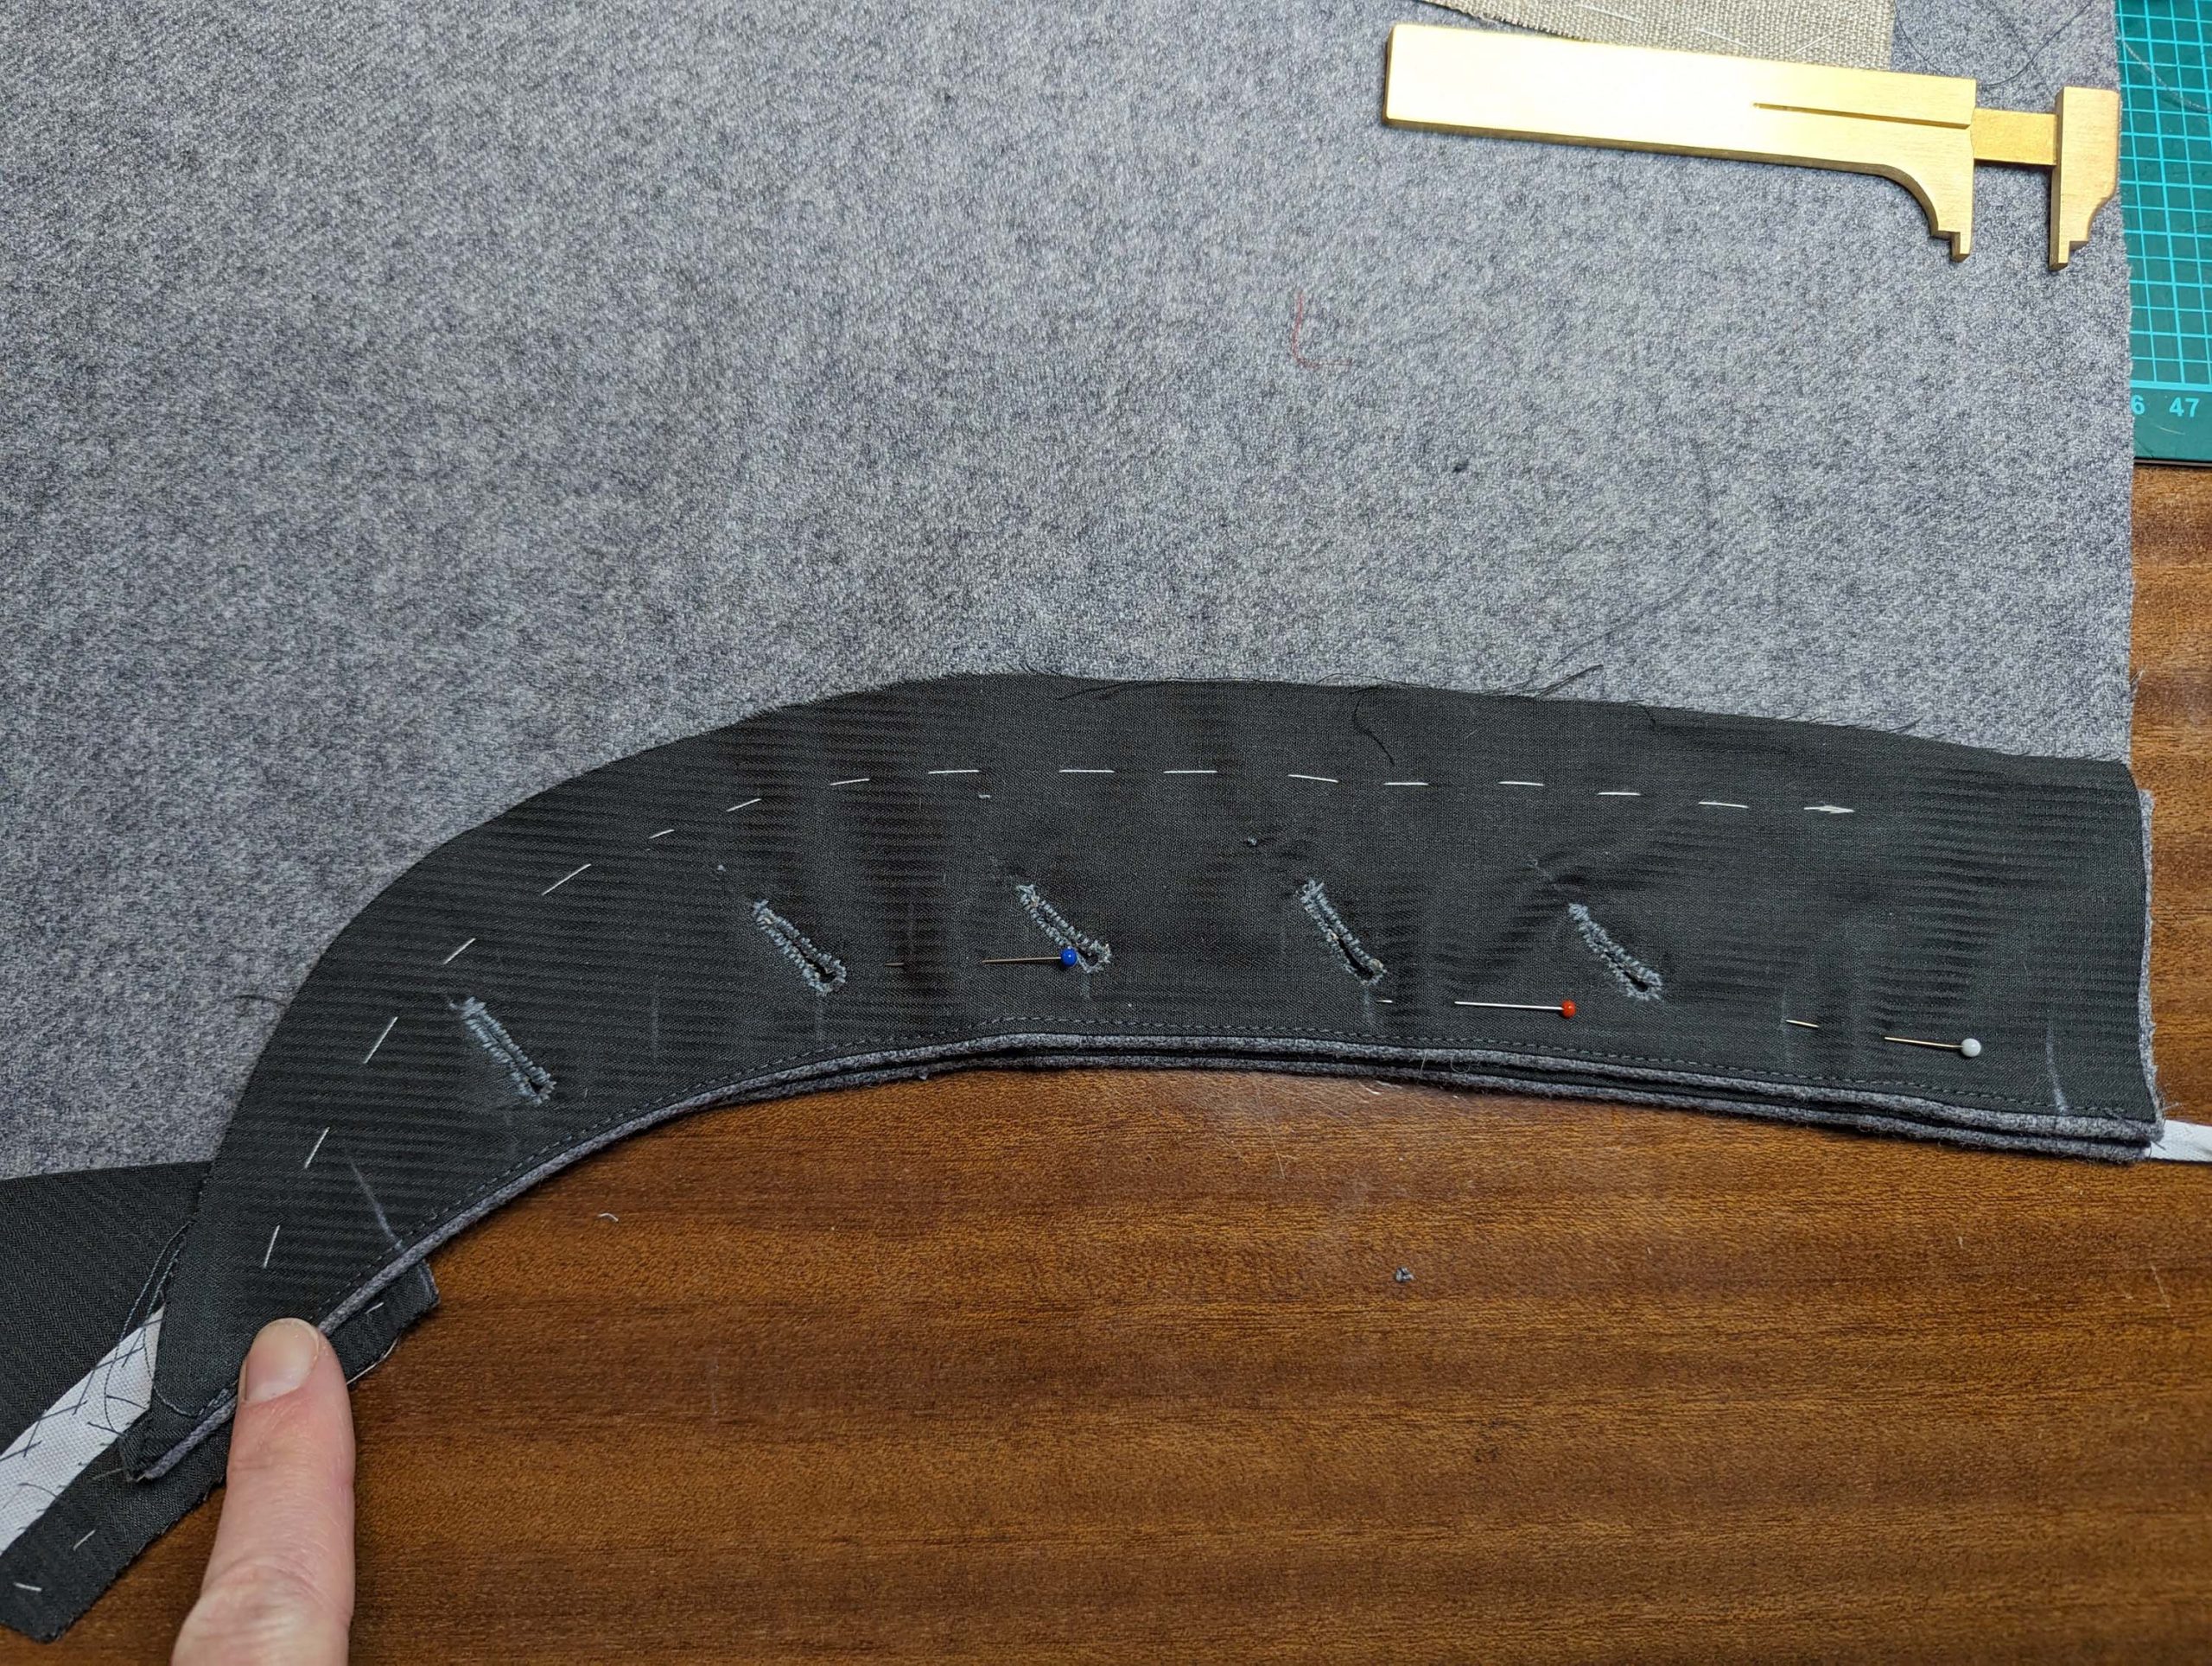
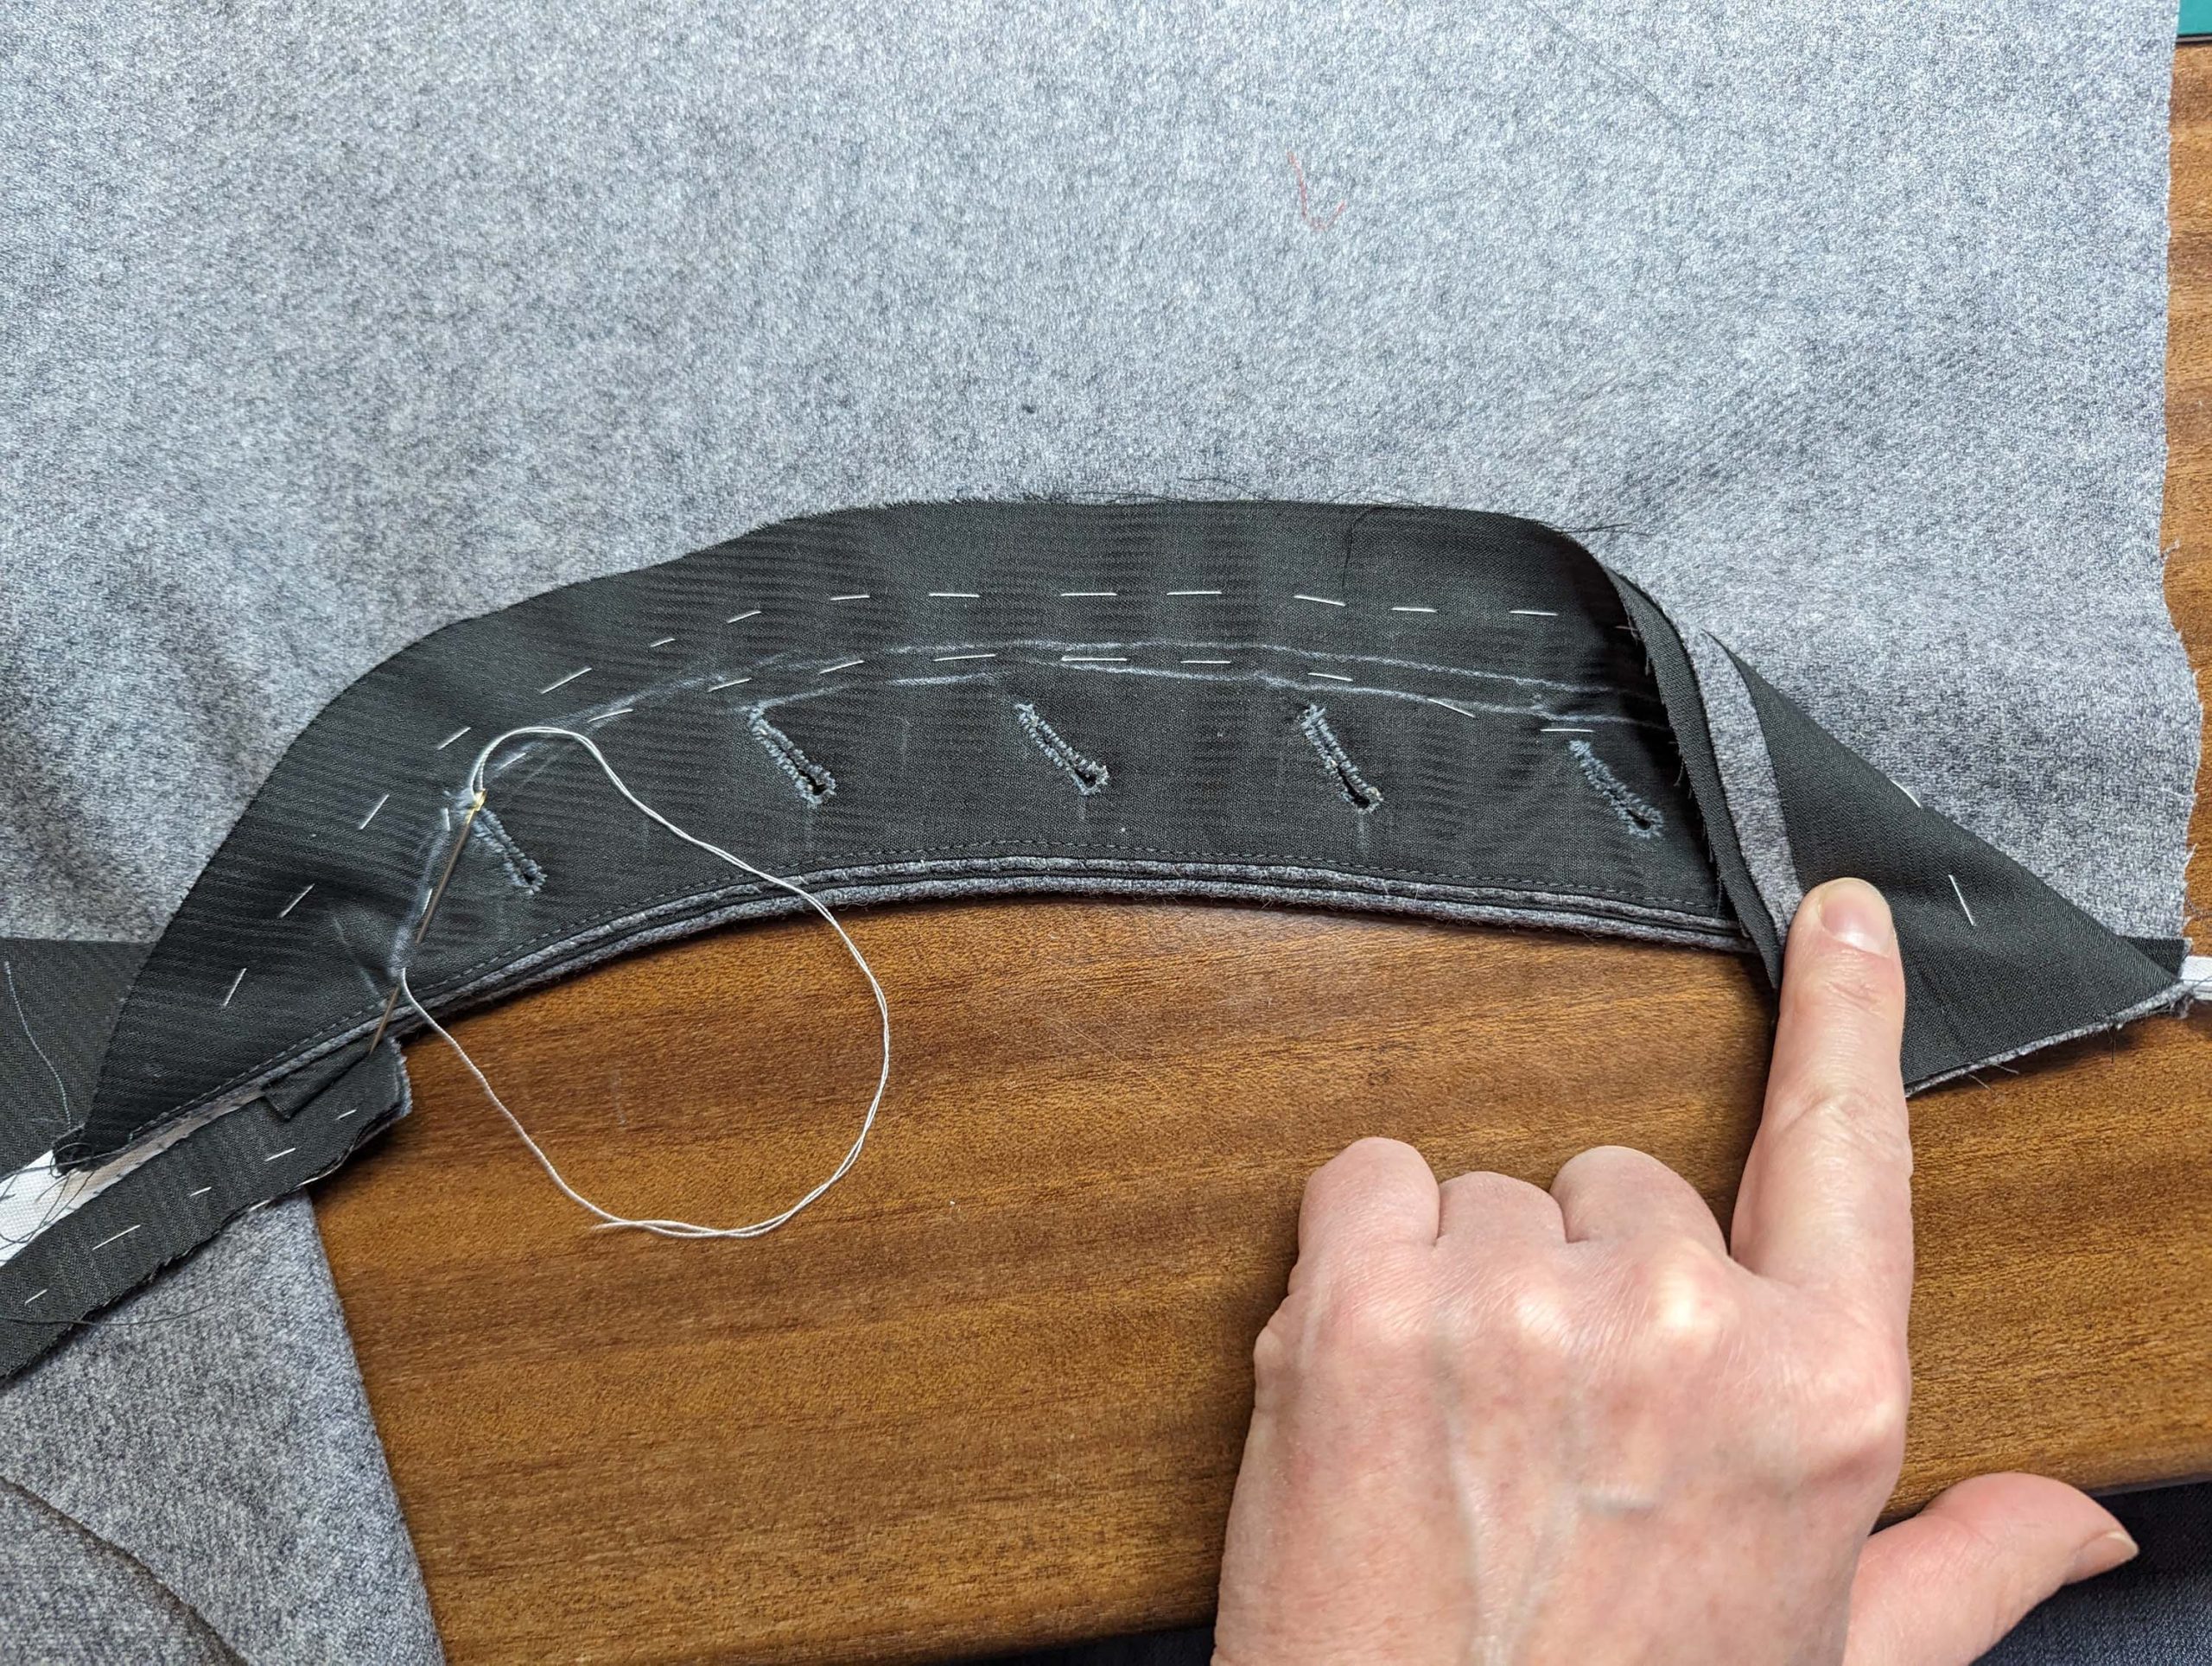
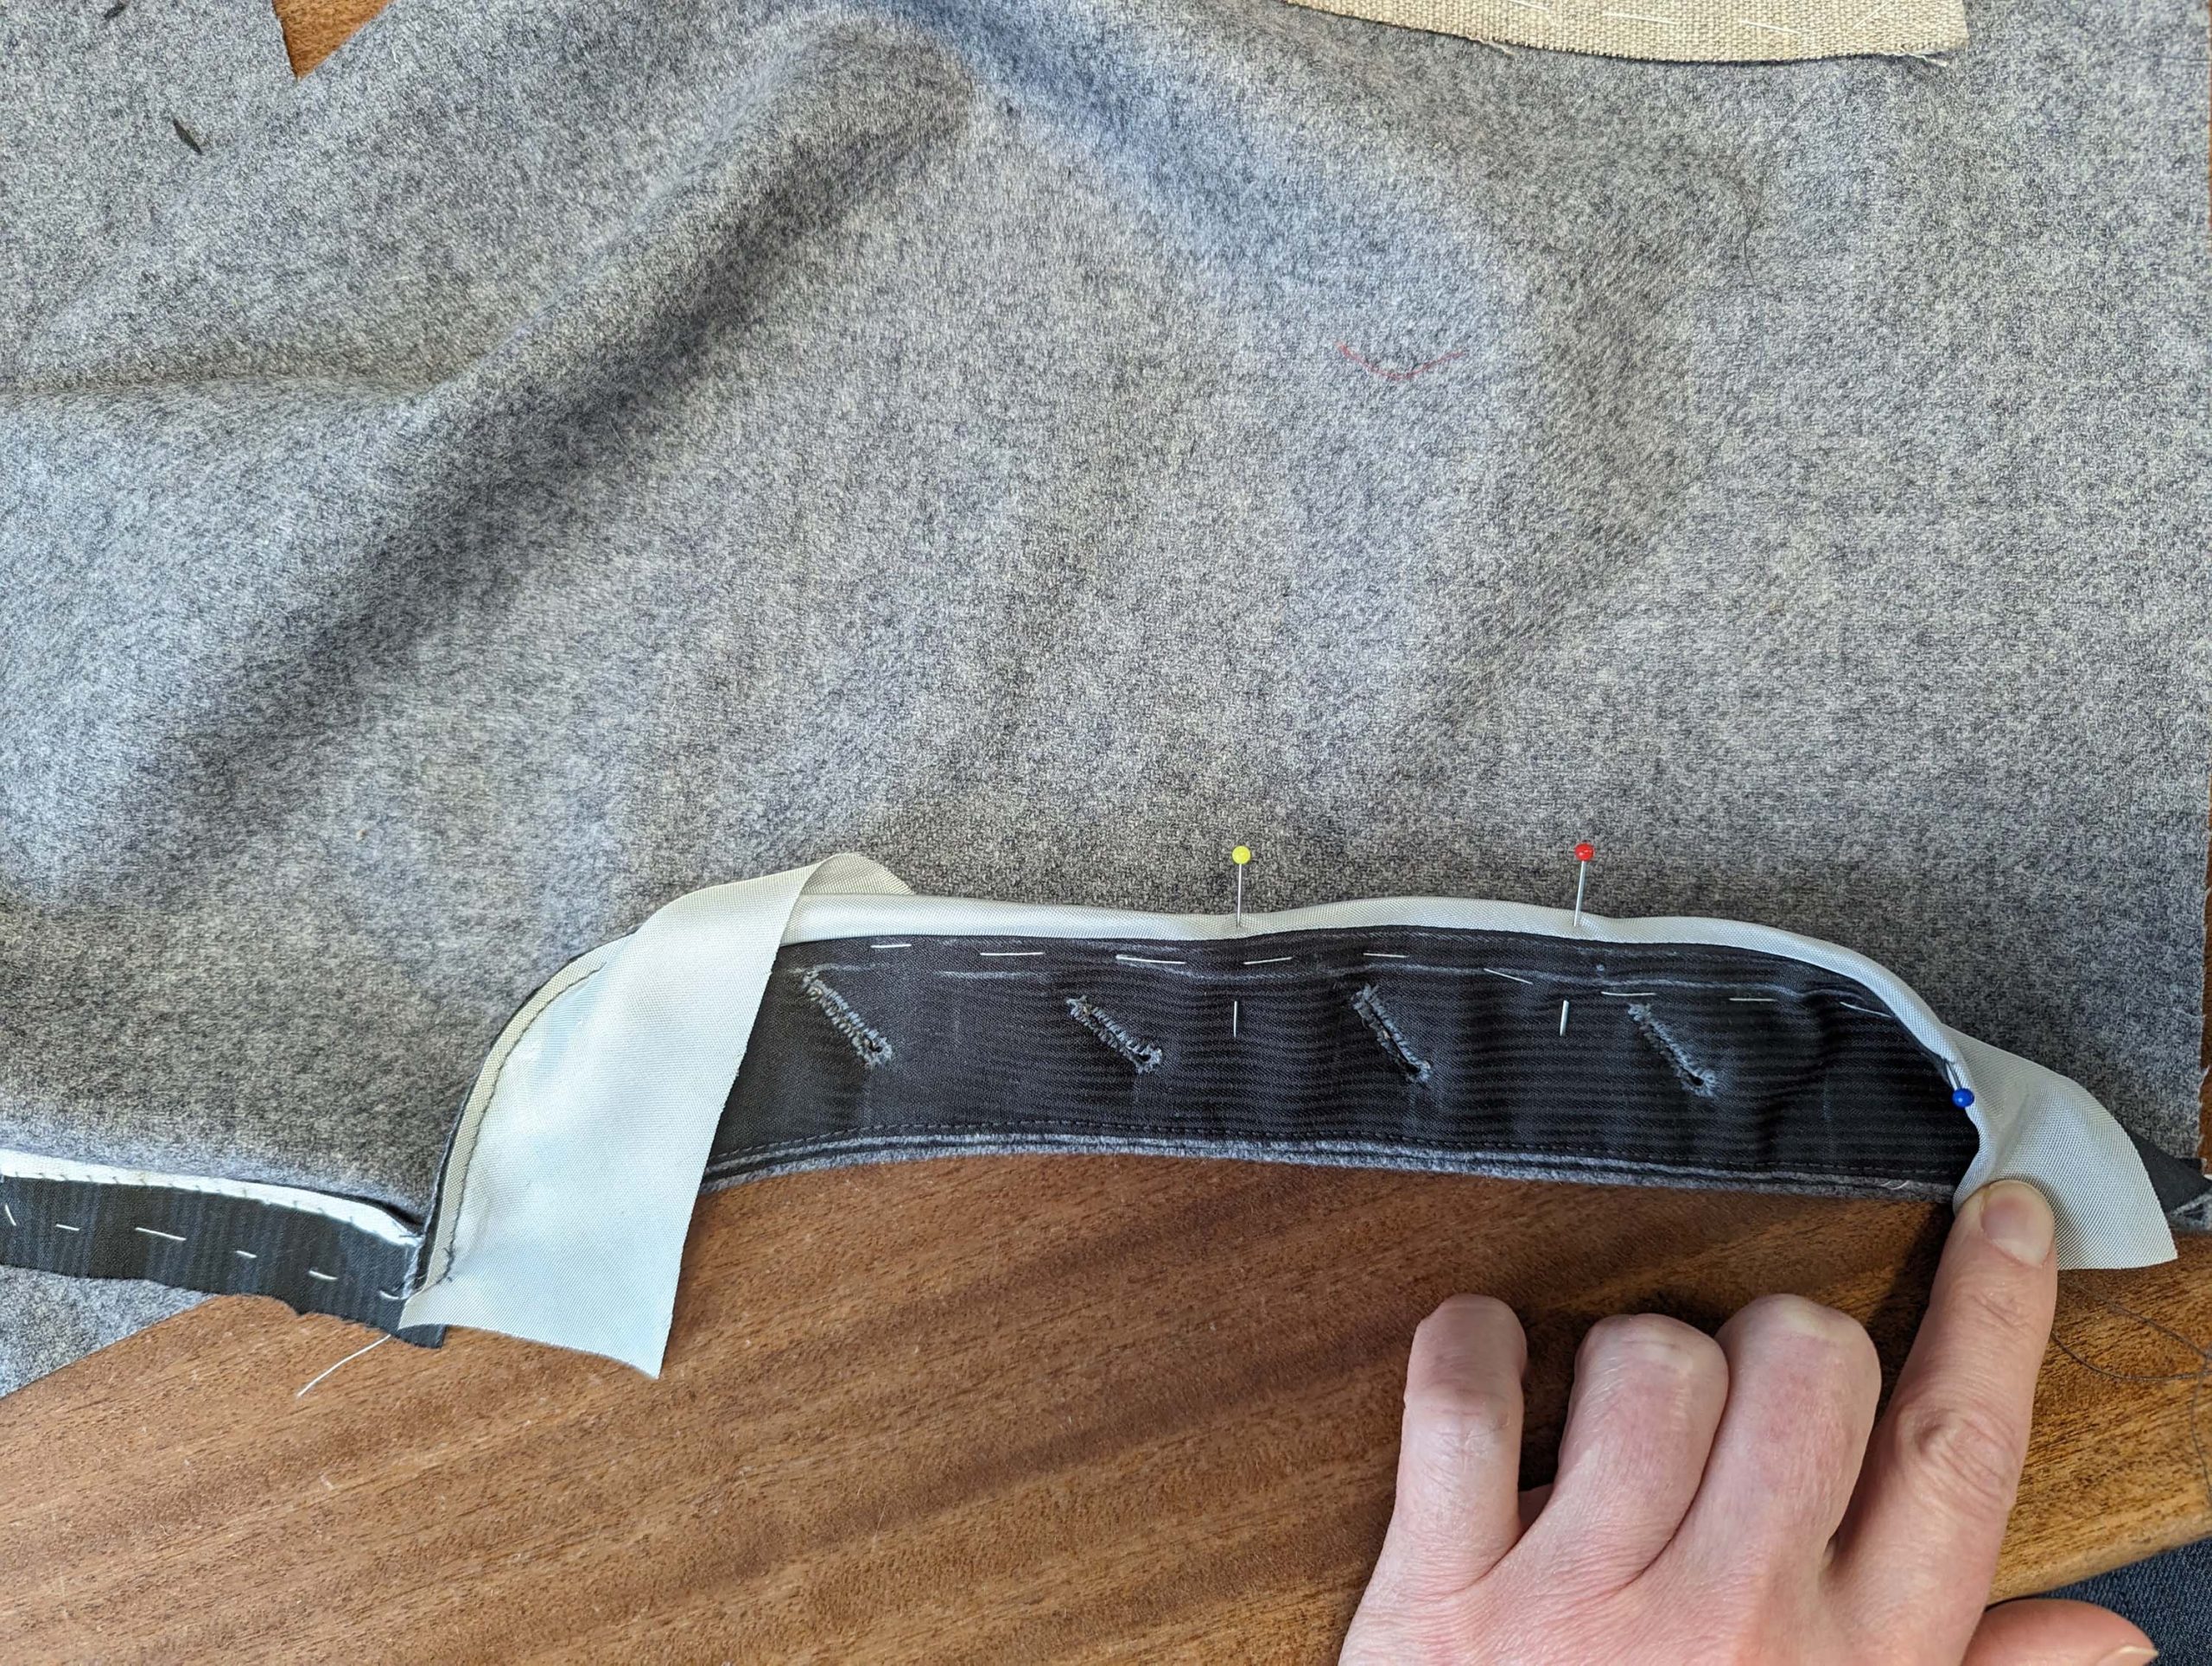
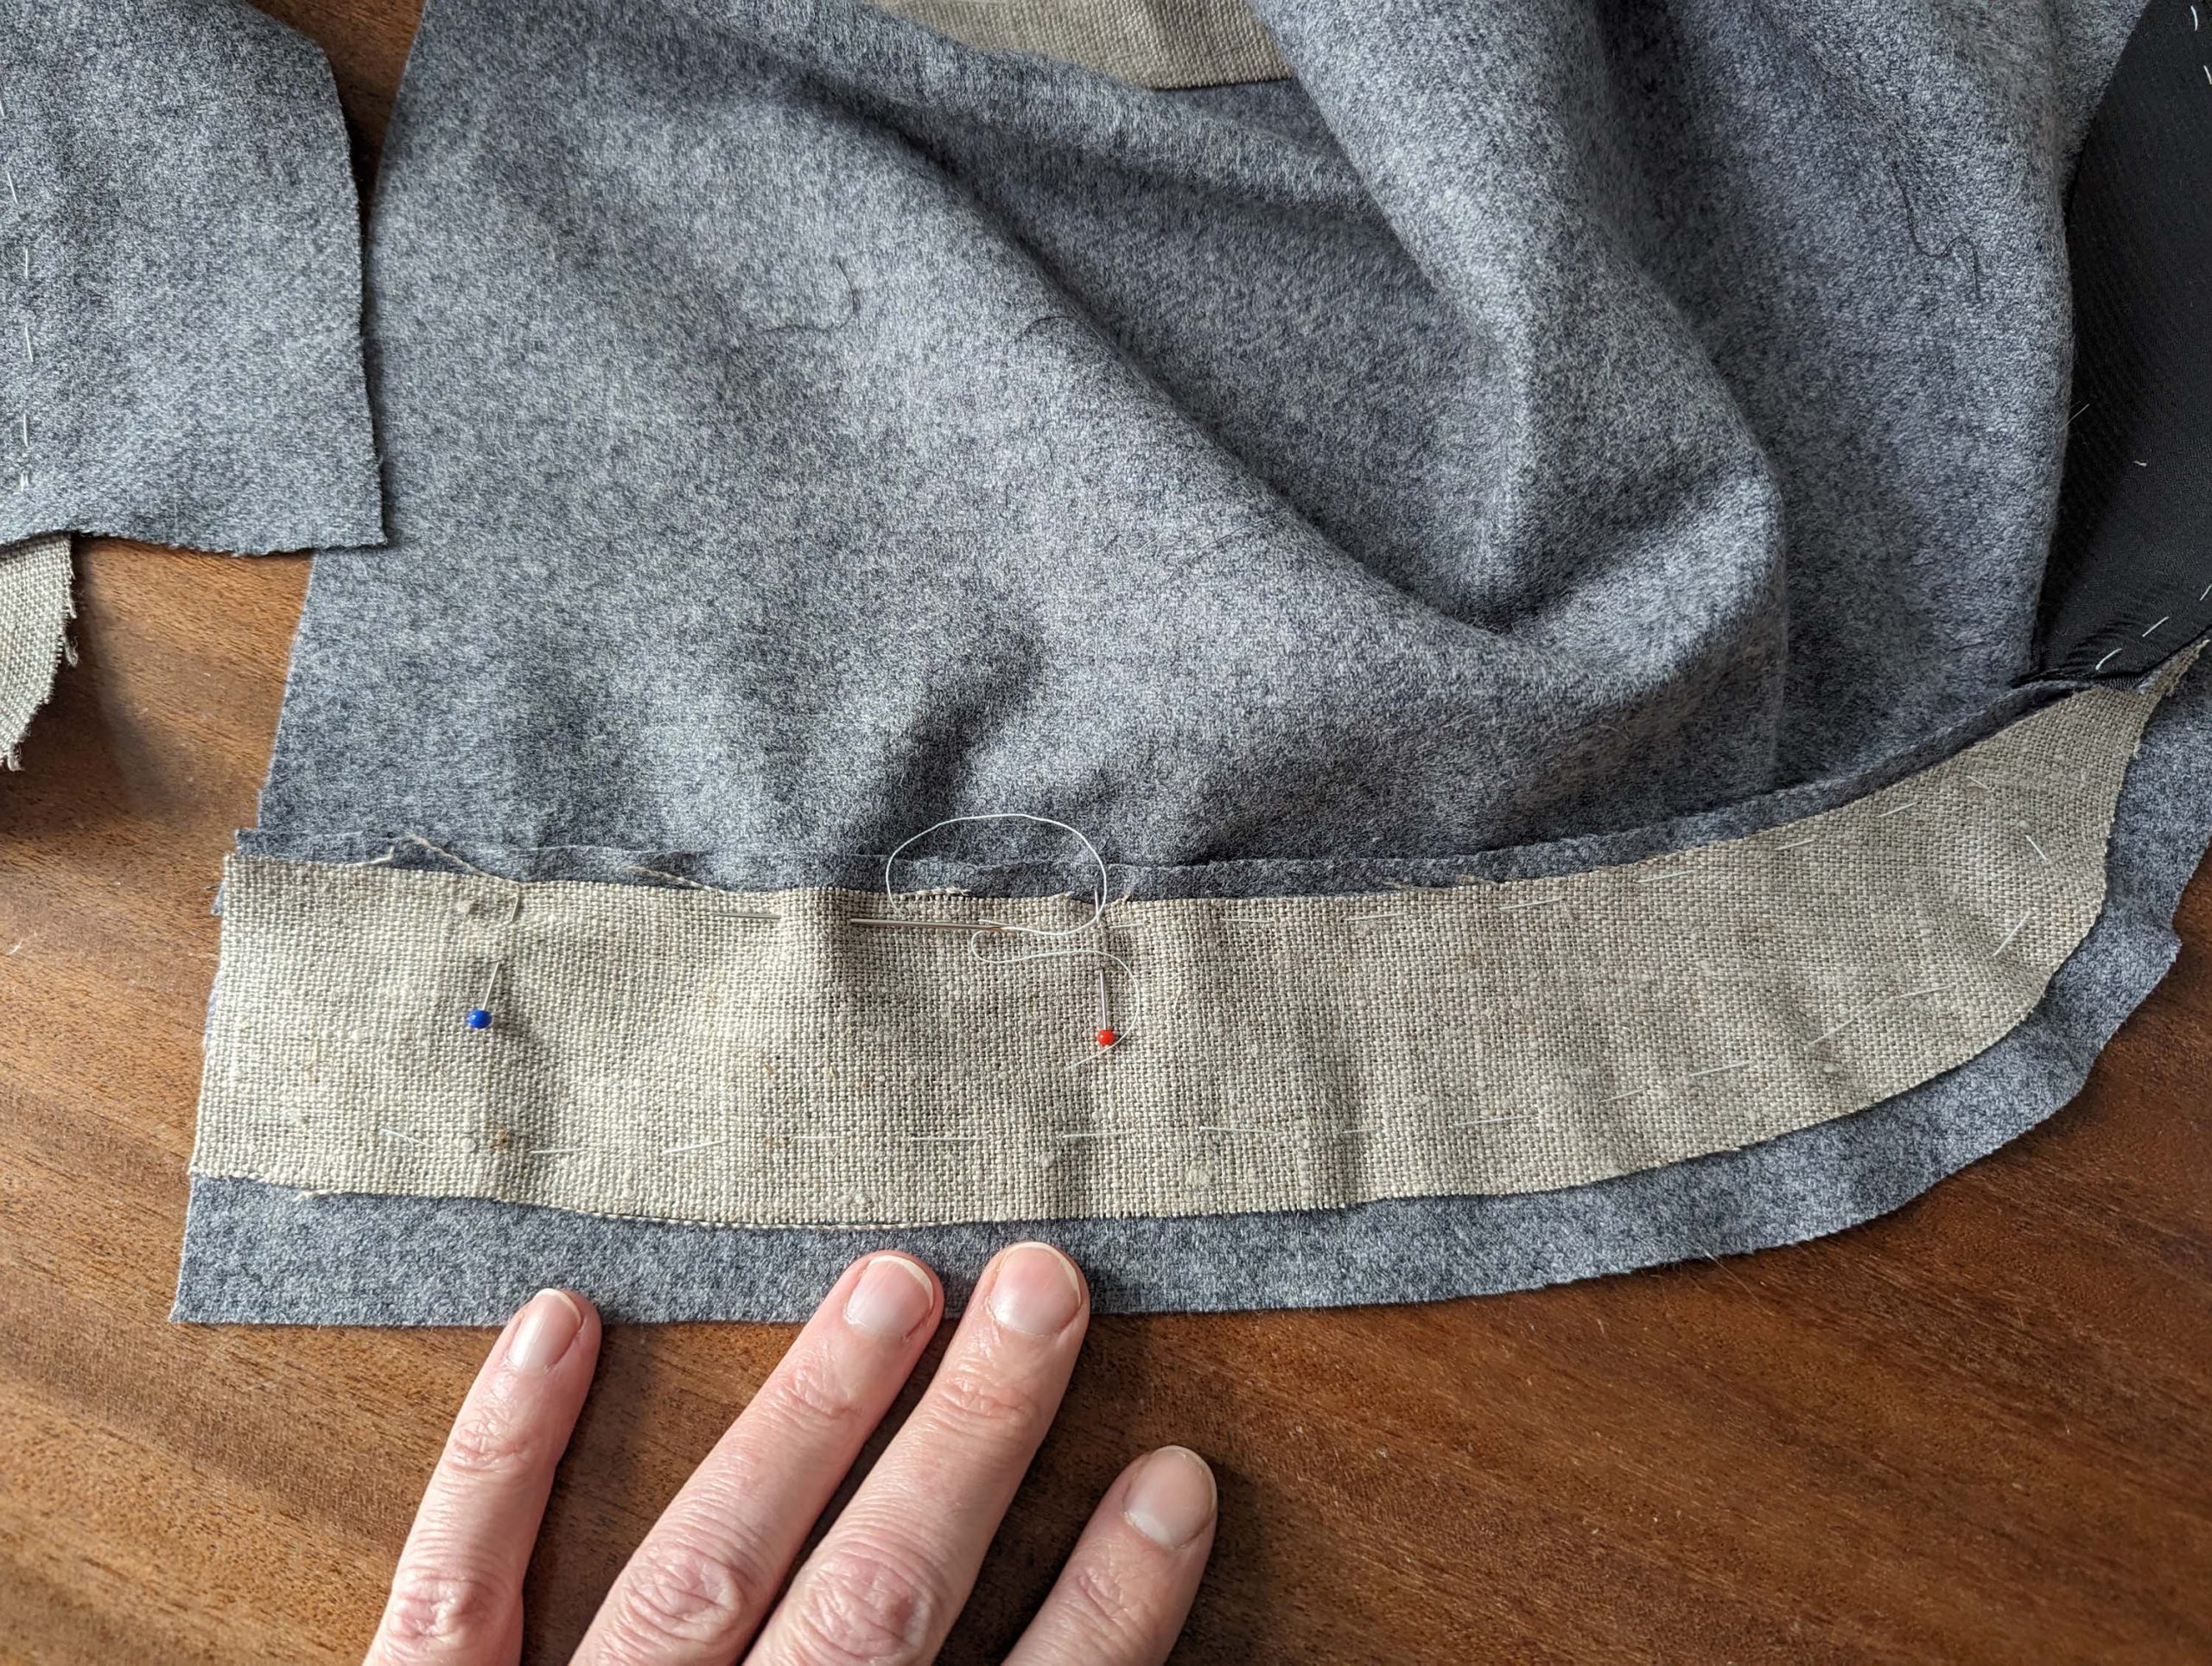
In the past, many had encountered difficulties understanding the crotch reinforcement. Here are some pictures to provide a clearer understanding of what to do. Take the crotch reinforcement, which is pattern piece #19, fold it in half diagonally, and press the folded edge into a curved shape. Baste it to the topsides without any stretching at the crotch (referred to as the “fork” in vintage tailor books), and then cut off any excess fabric.
In the past, many had encountered difficulties understanding the crotch reinforcement. Here are some pictures to provide a clearer understanding of what to do. Take the crotch reinforcement, which is pattern piece #19, fold it in half diagonally, and press the folded edge into a curved shape. Baste it to the topsides without any stretching at the crotch (referred to as the “fork” in vintage tailor books), and then cut off any excess fabric.
Sew the darts and press towards the back, optionally – when planning hip pockets – baste a strip of lining to the undersides, covering the pocket area.


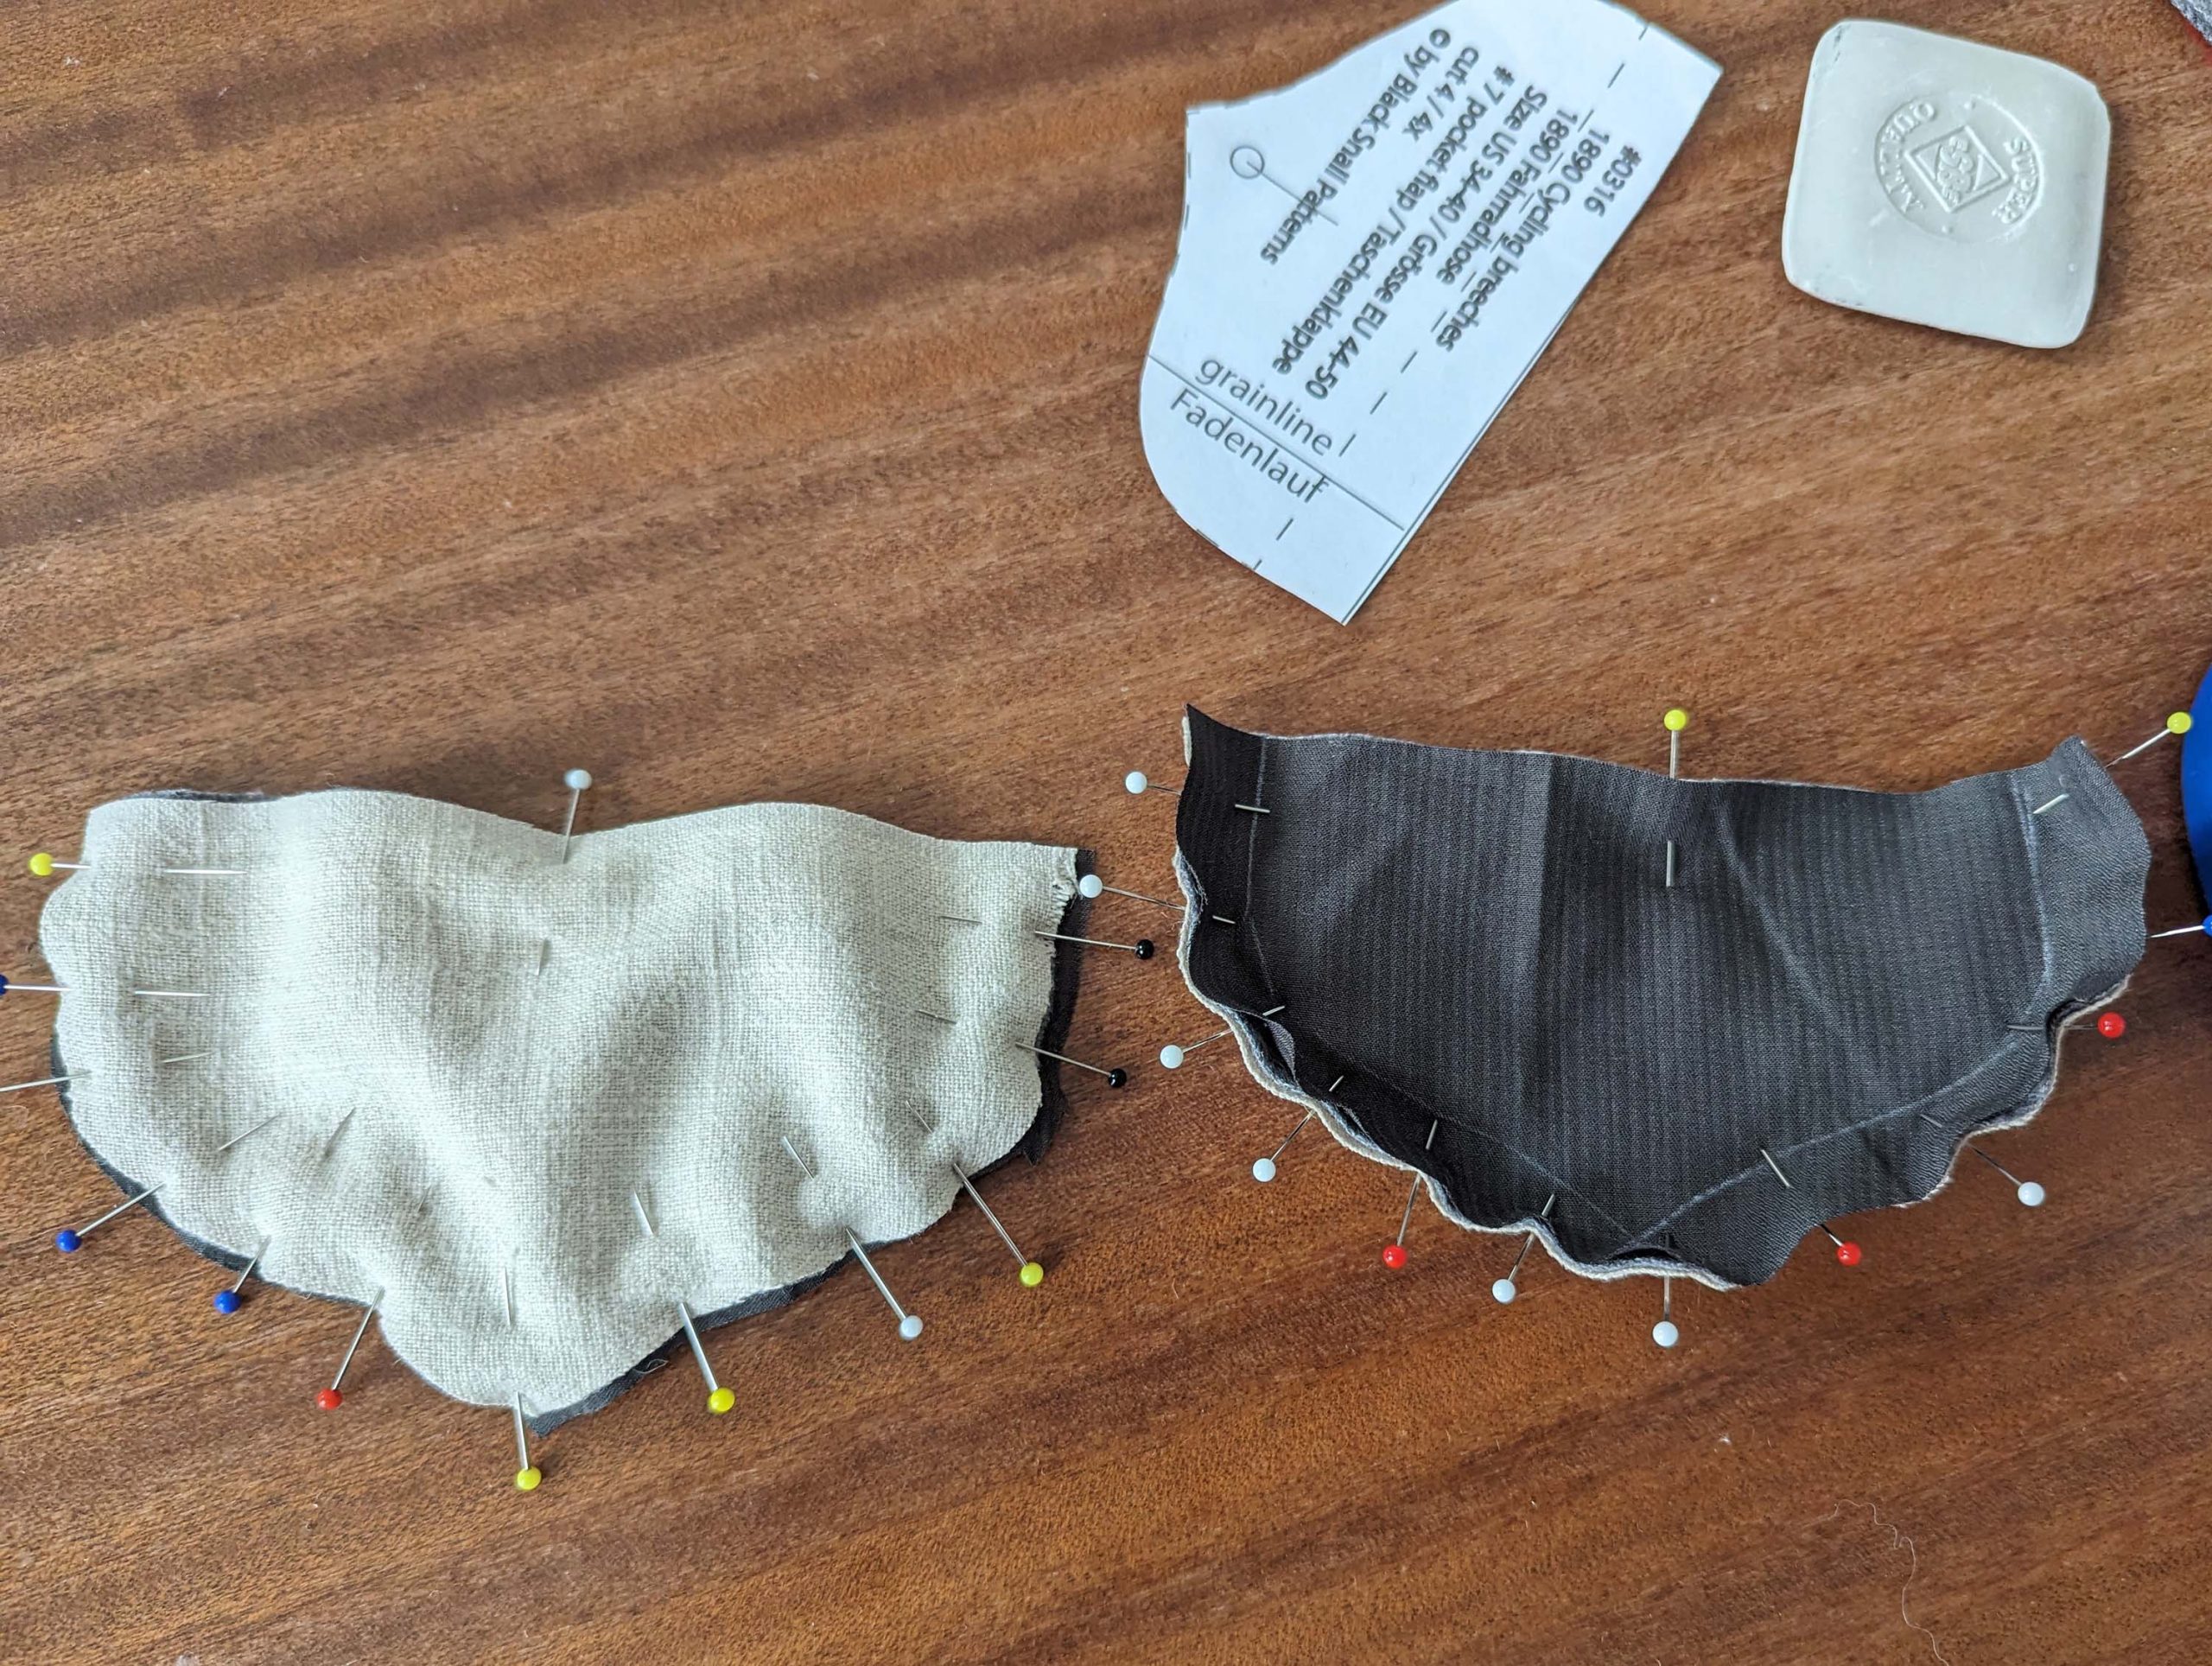
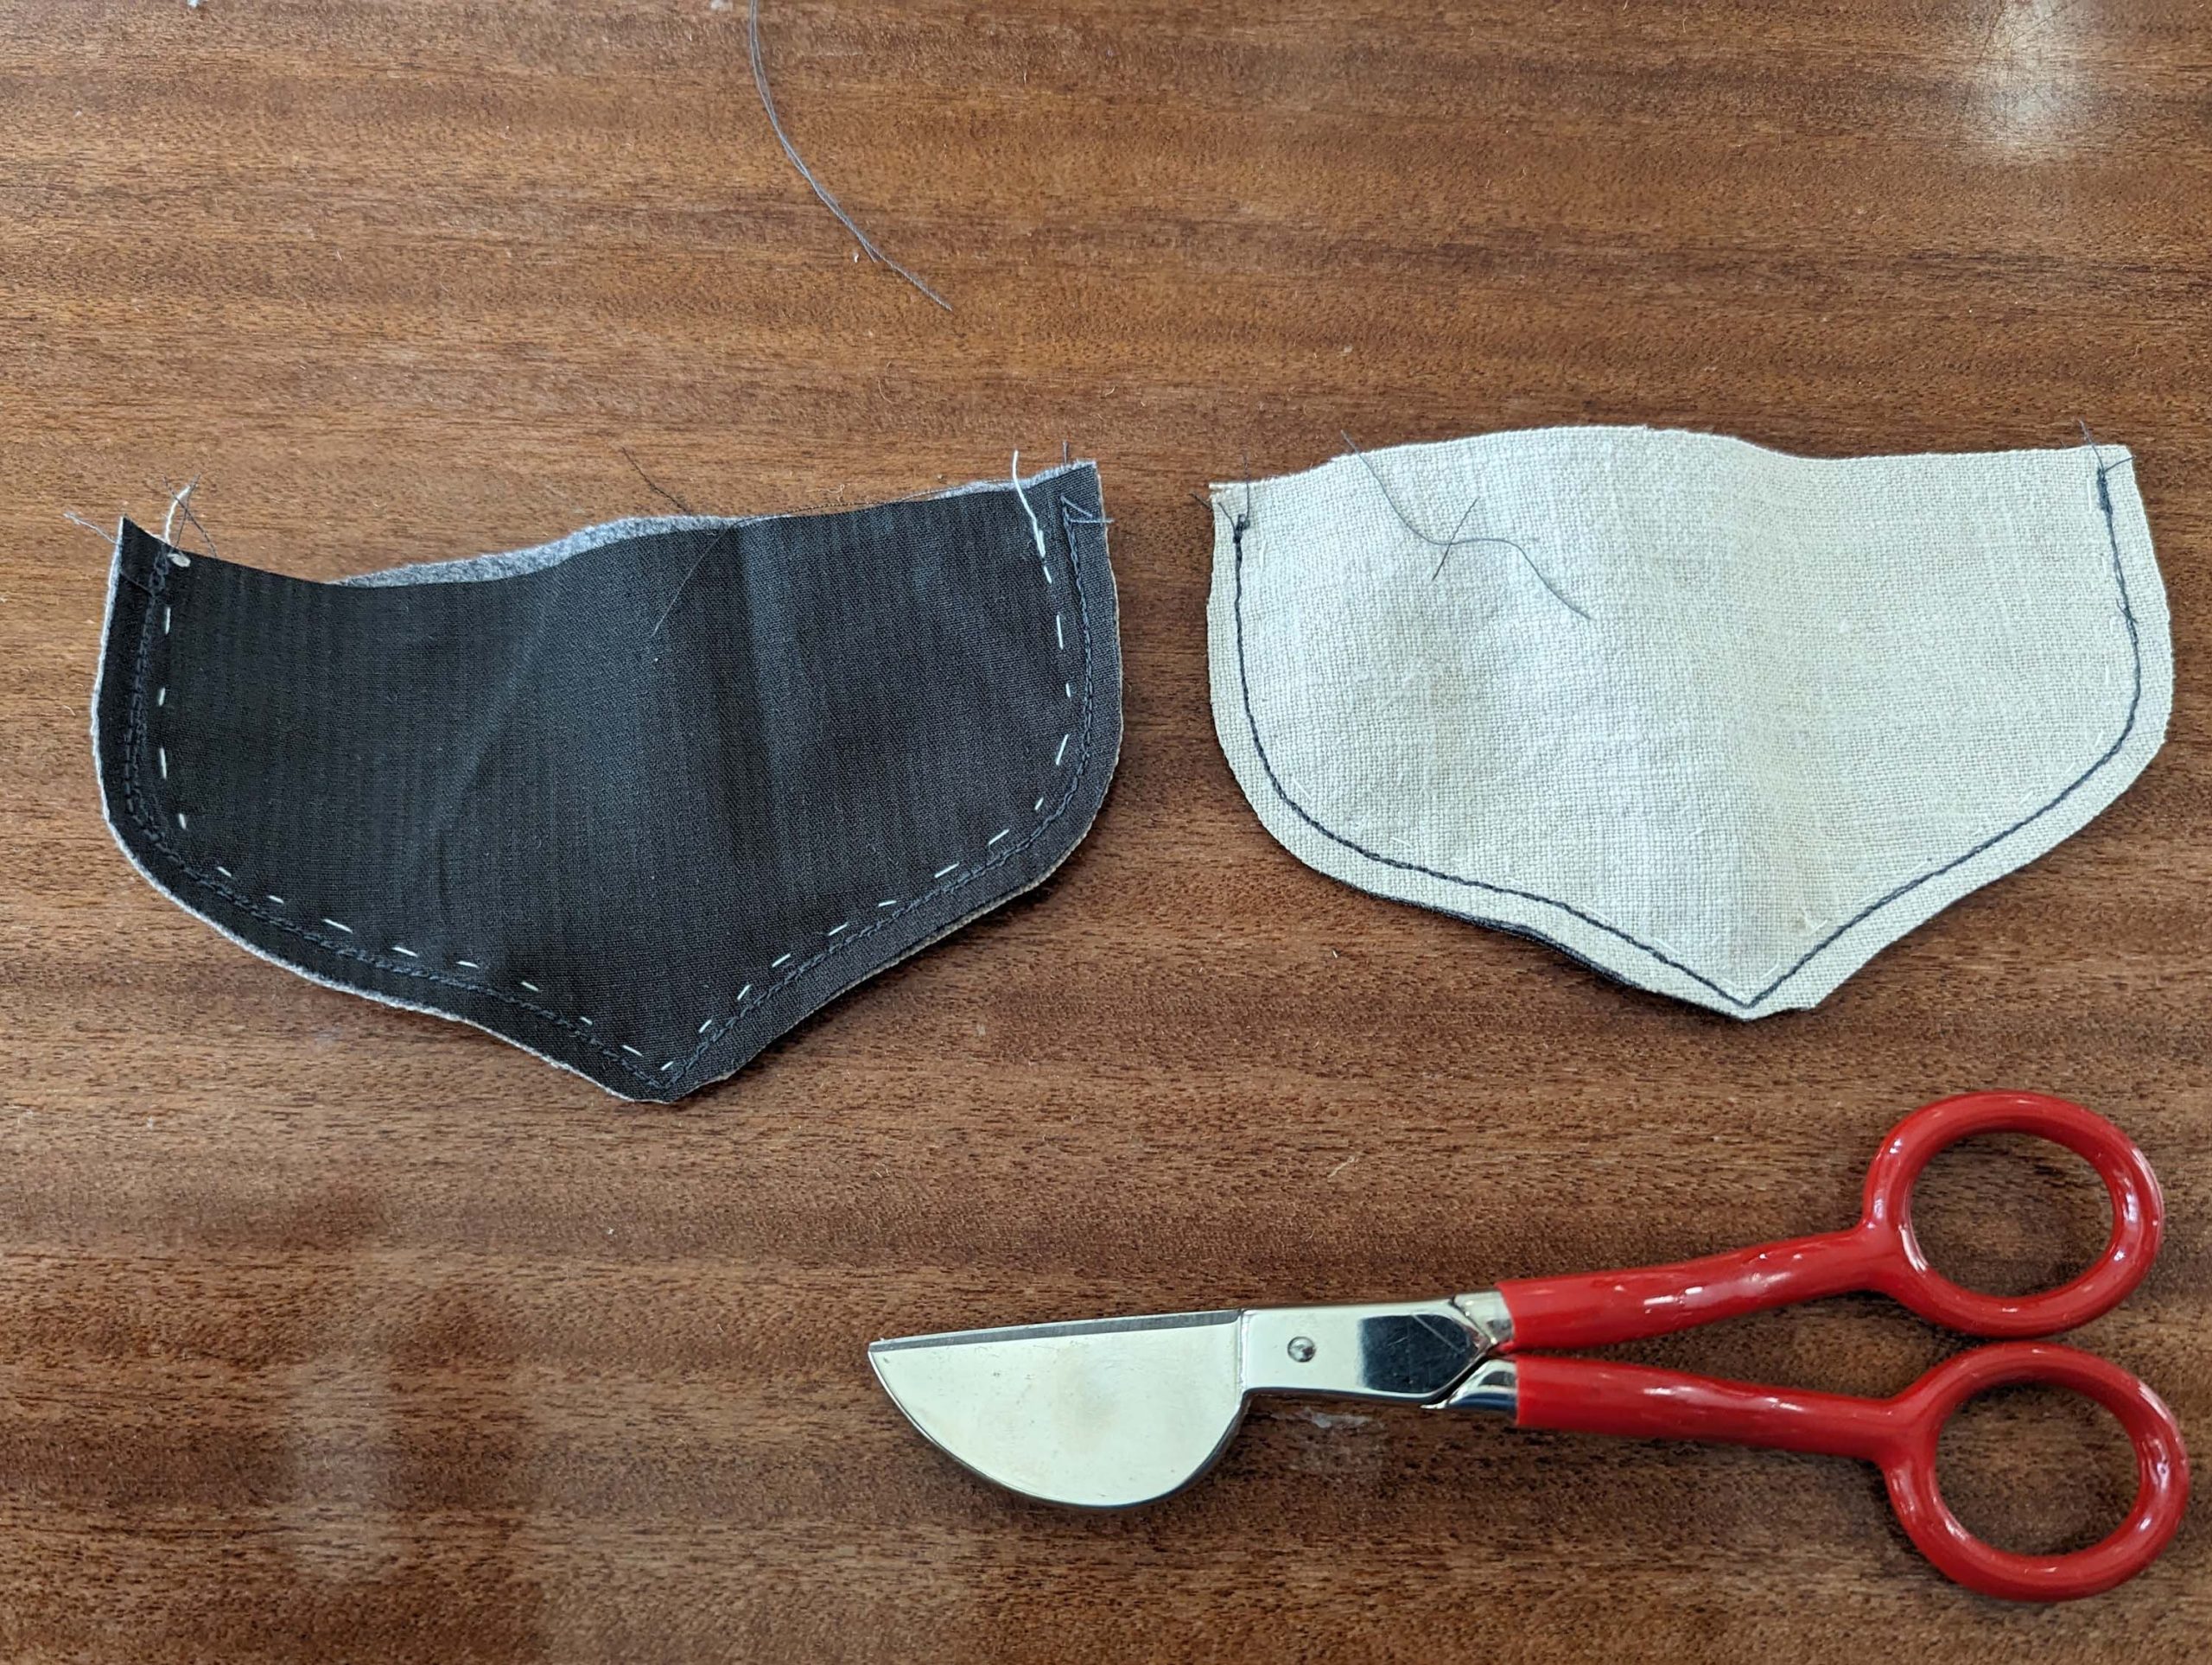
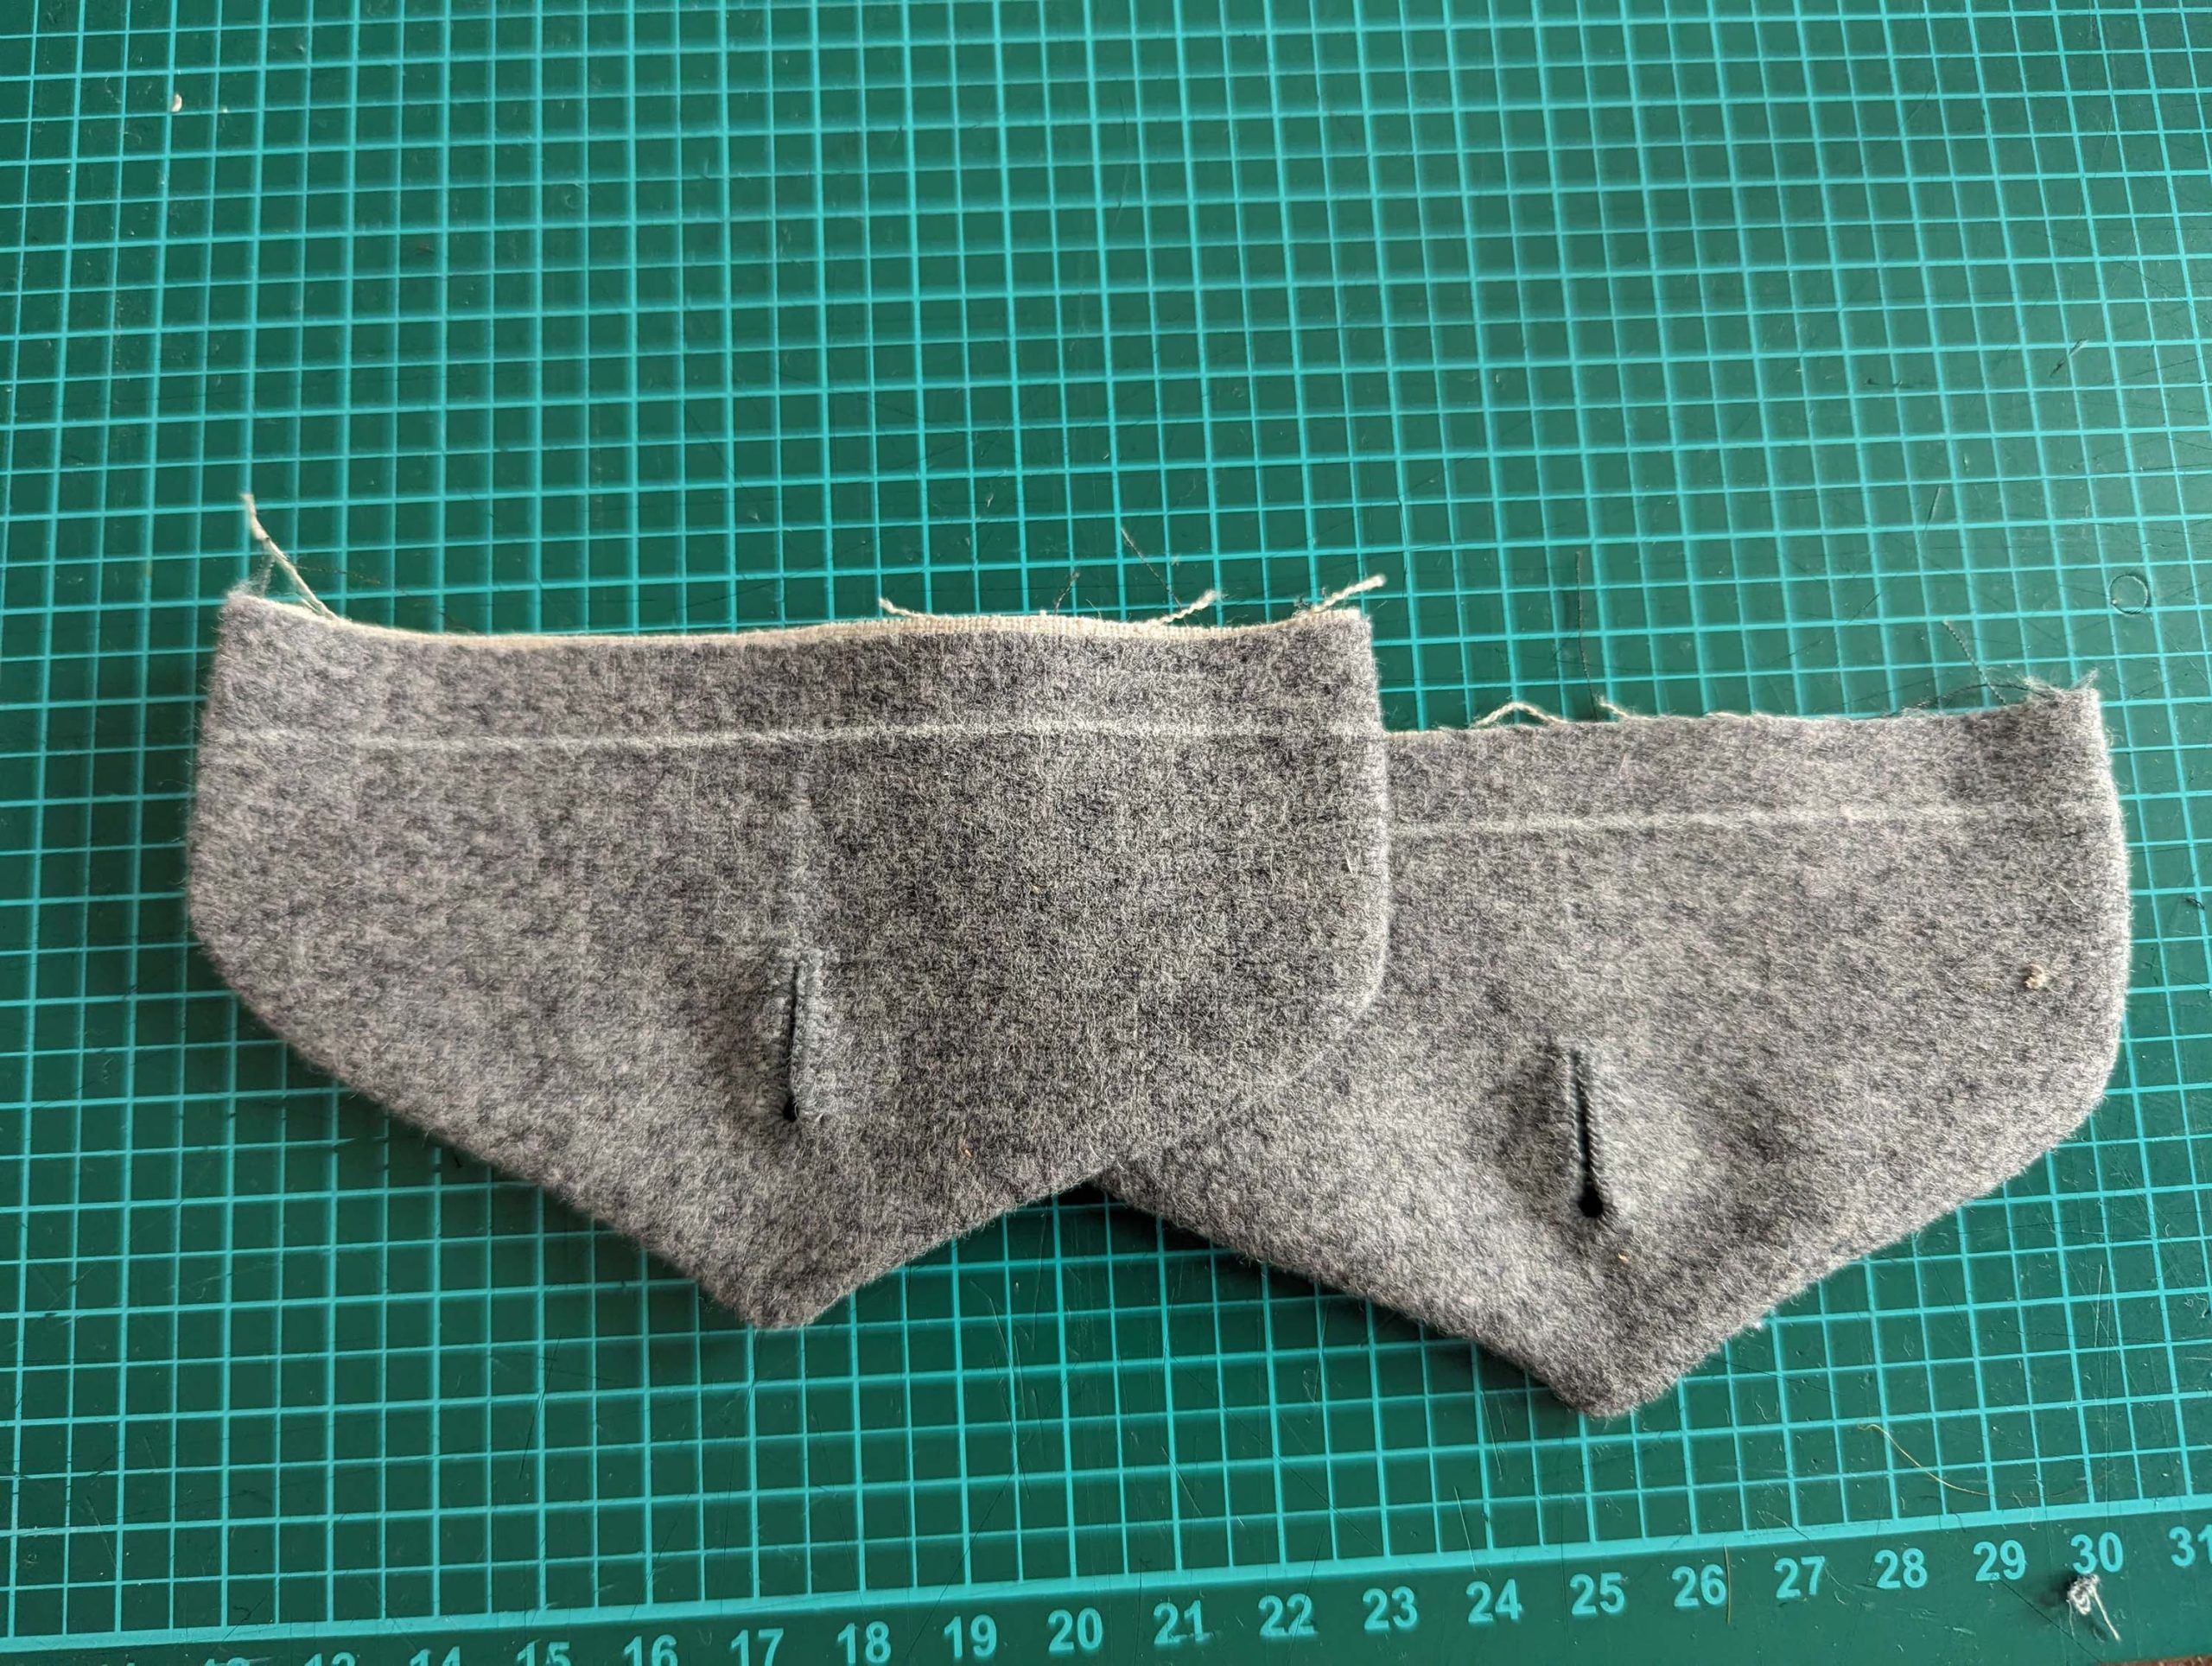
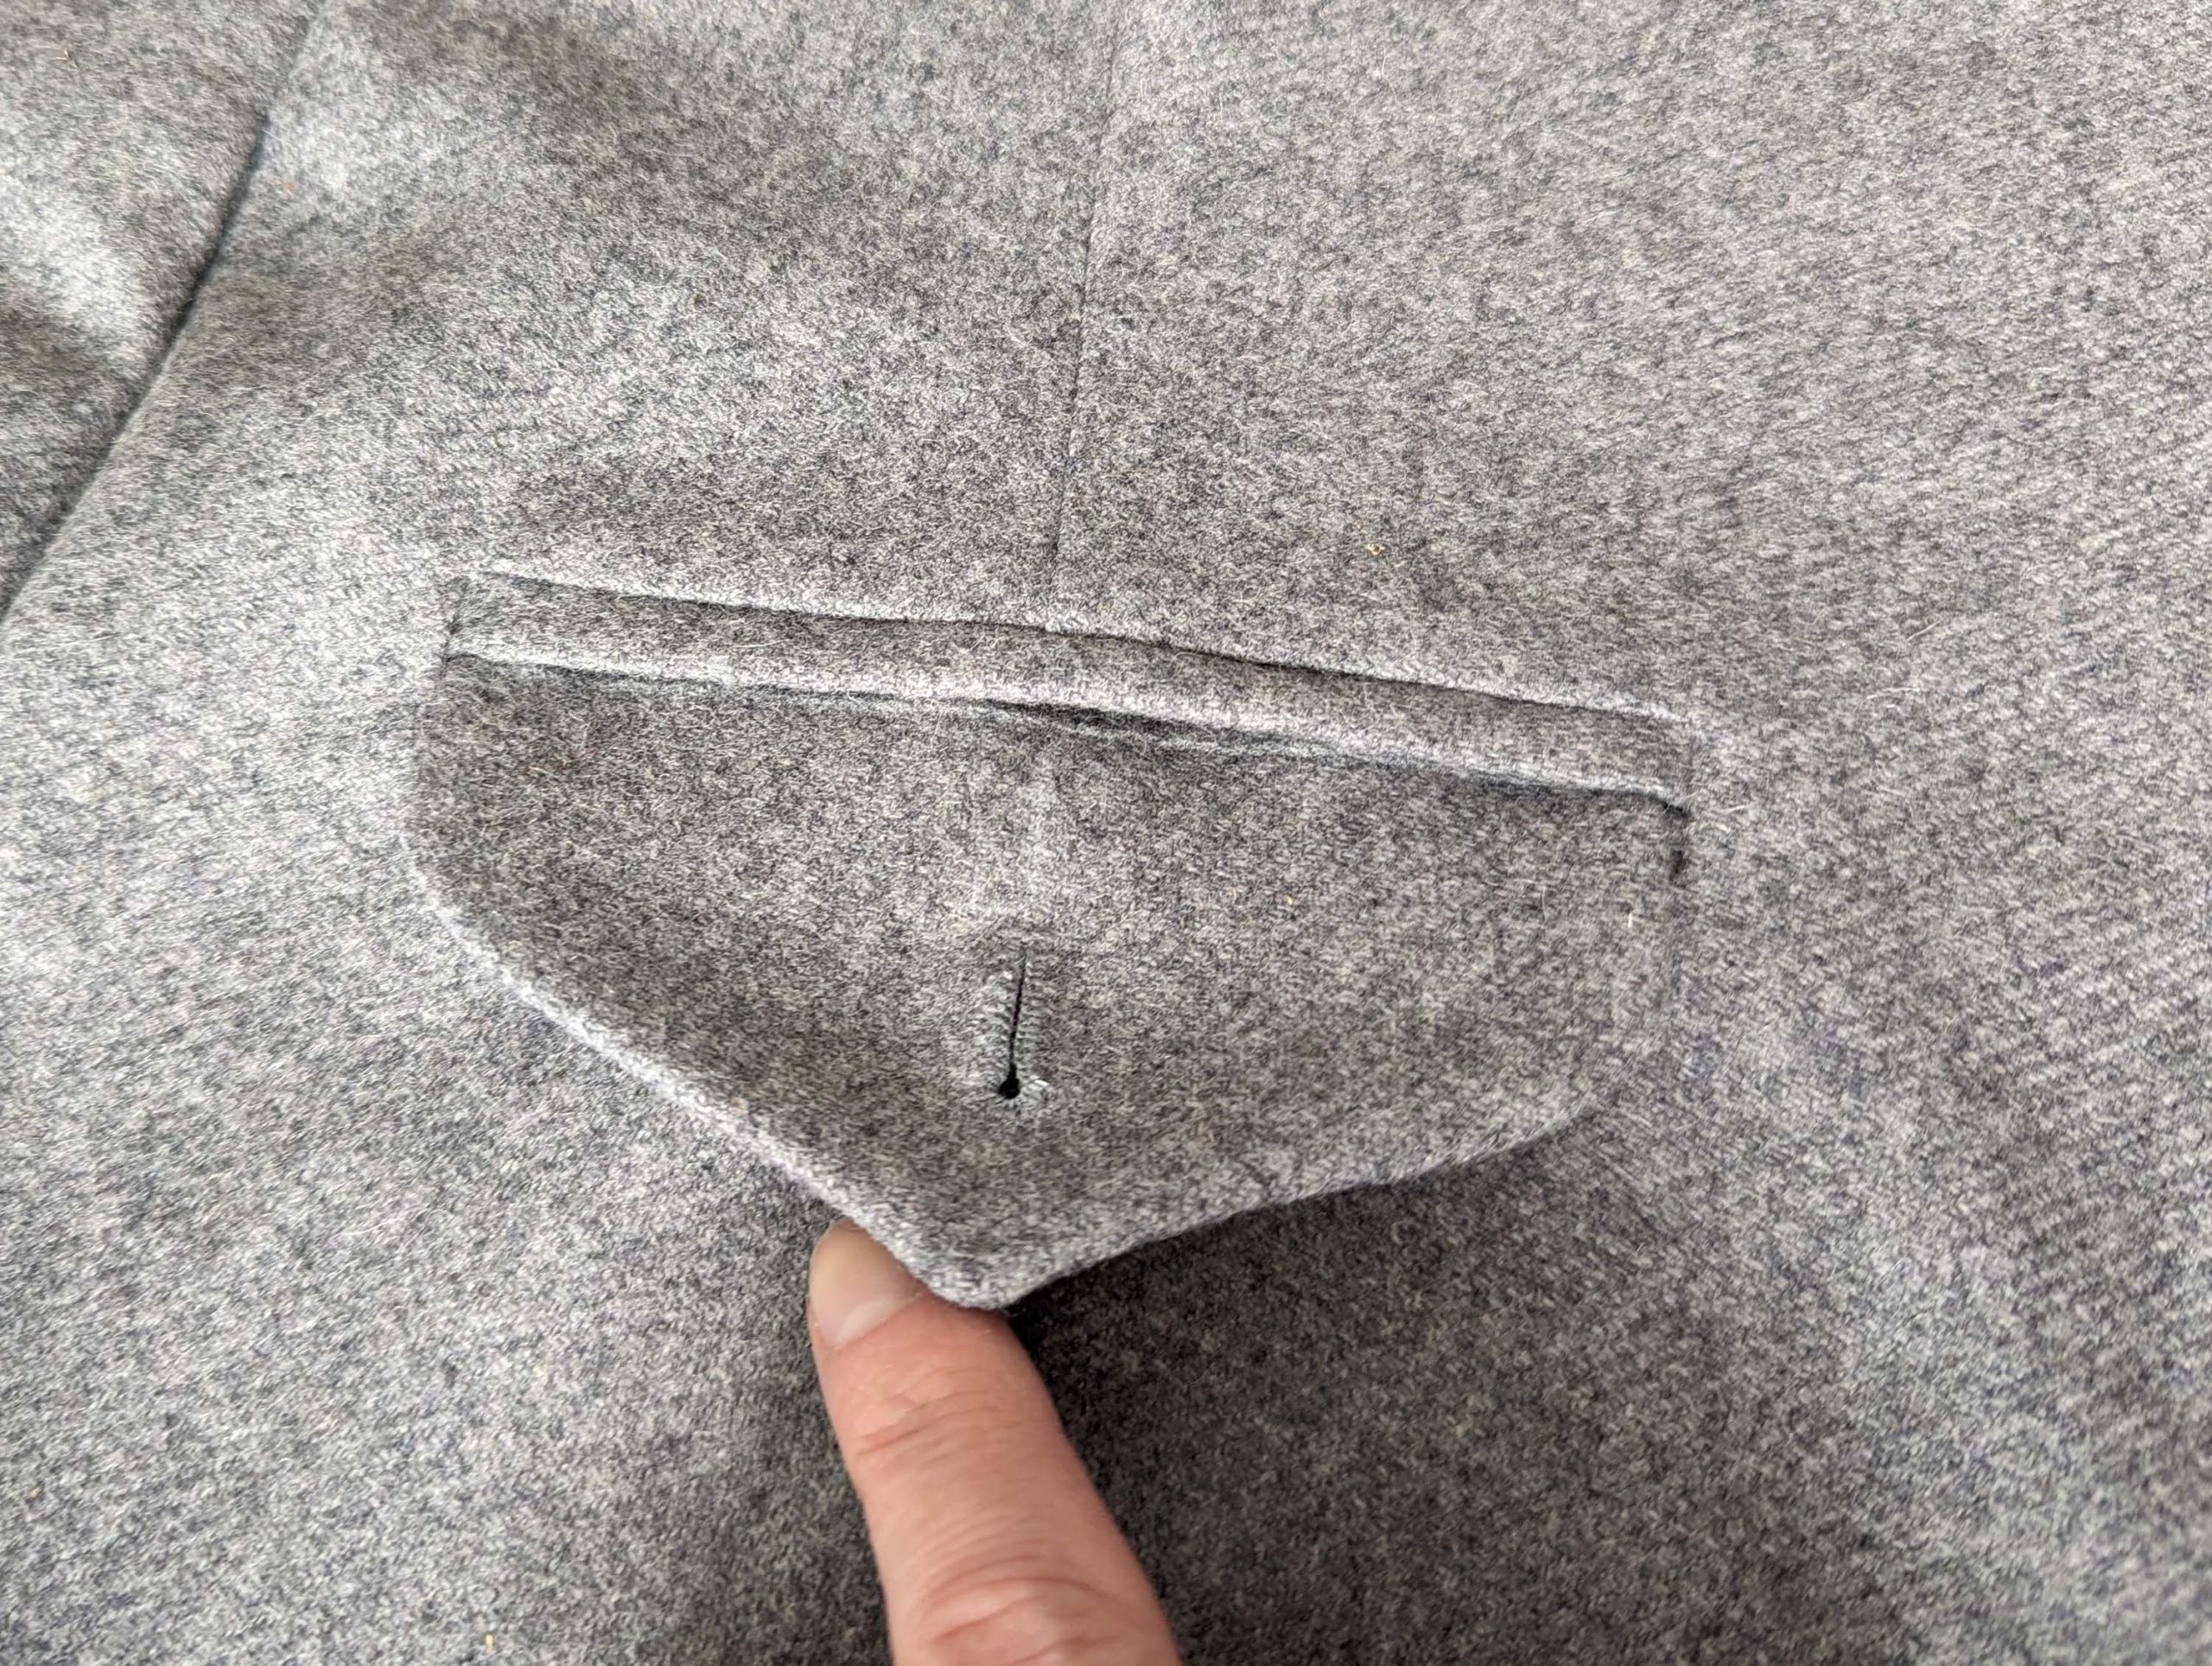
(3) I made hip pockets, so here are detailed pictures of how to make them. For the pocket flaps, mark the stitching line on the wrong side of the lining and line up with the fashion fabric, right sides together. Consider flatlining the flaps (I did), depending on the choice of your fashion fabric. First pin, then baste, while pushing back the fashion fabric about 1/8” (2-3mm) for the turn of cloth.
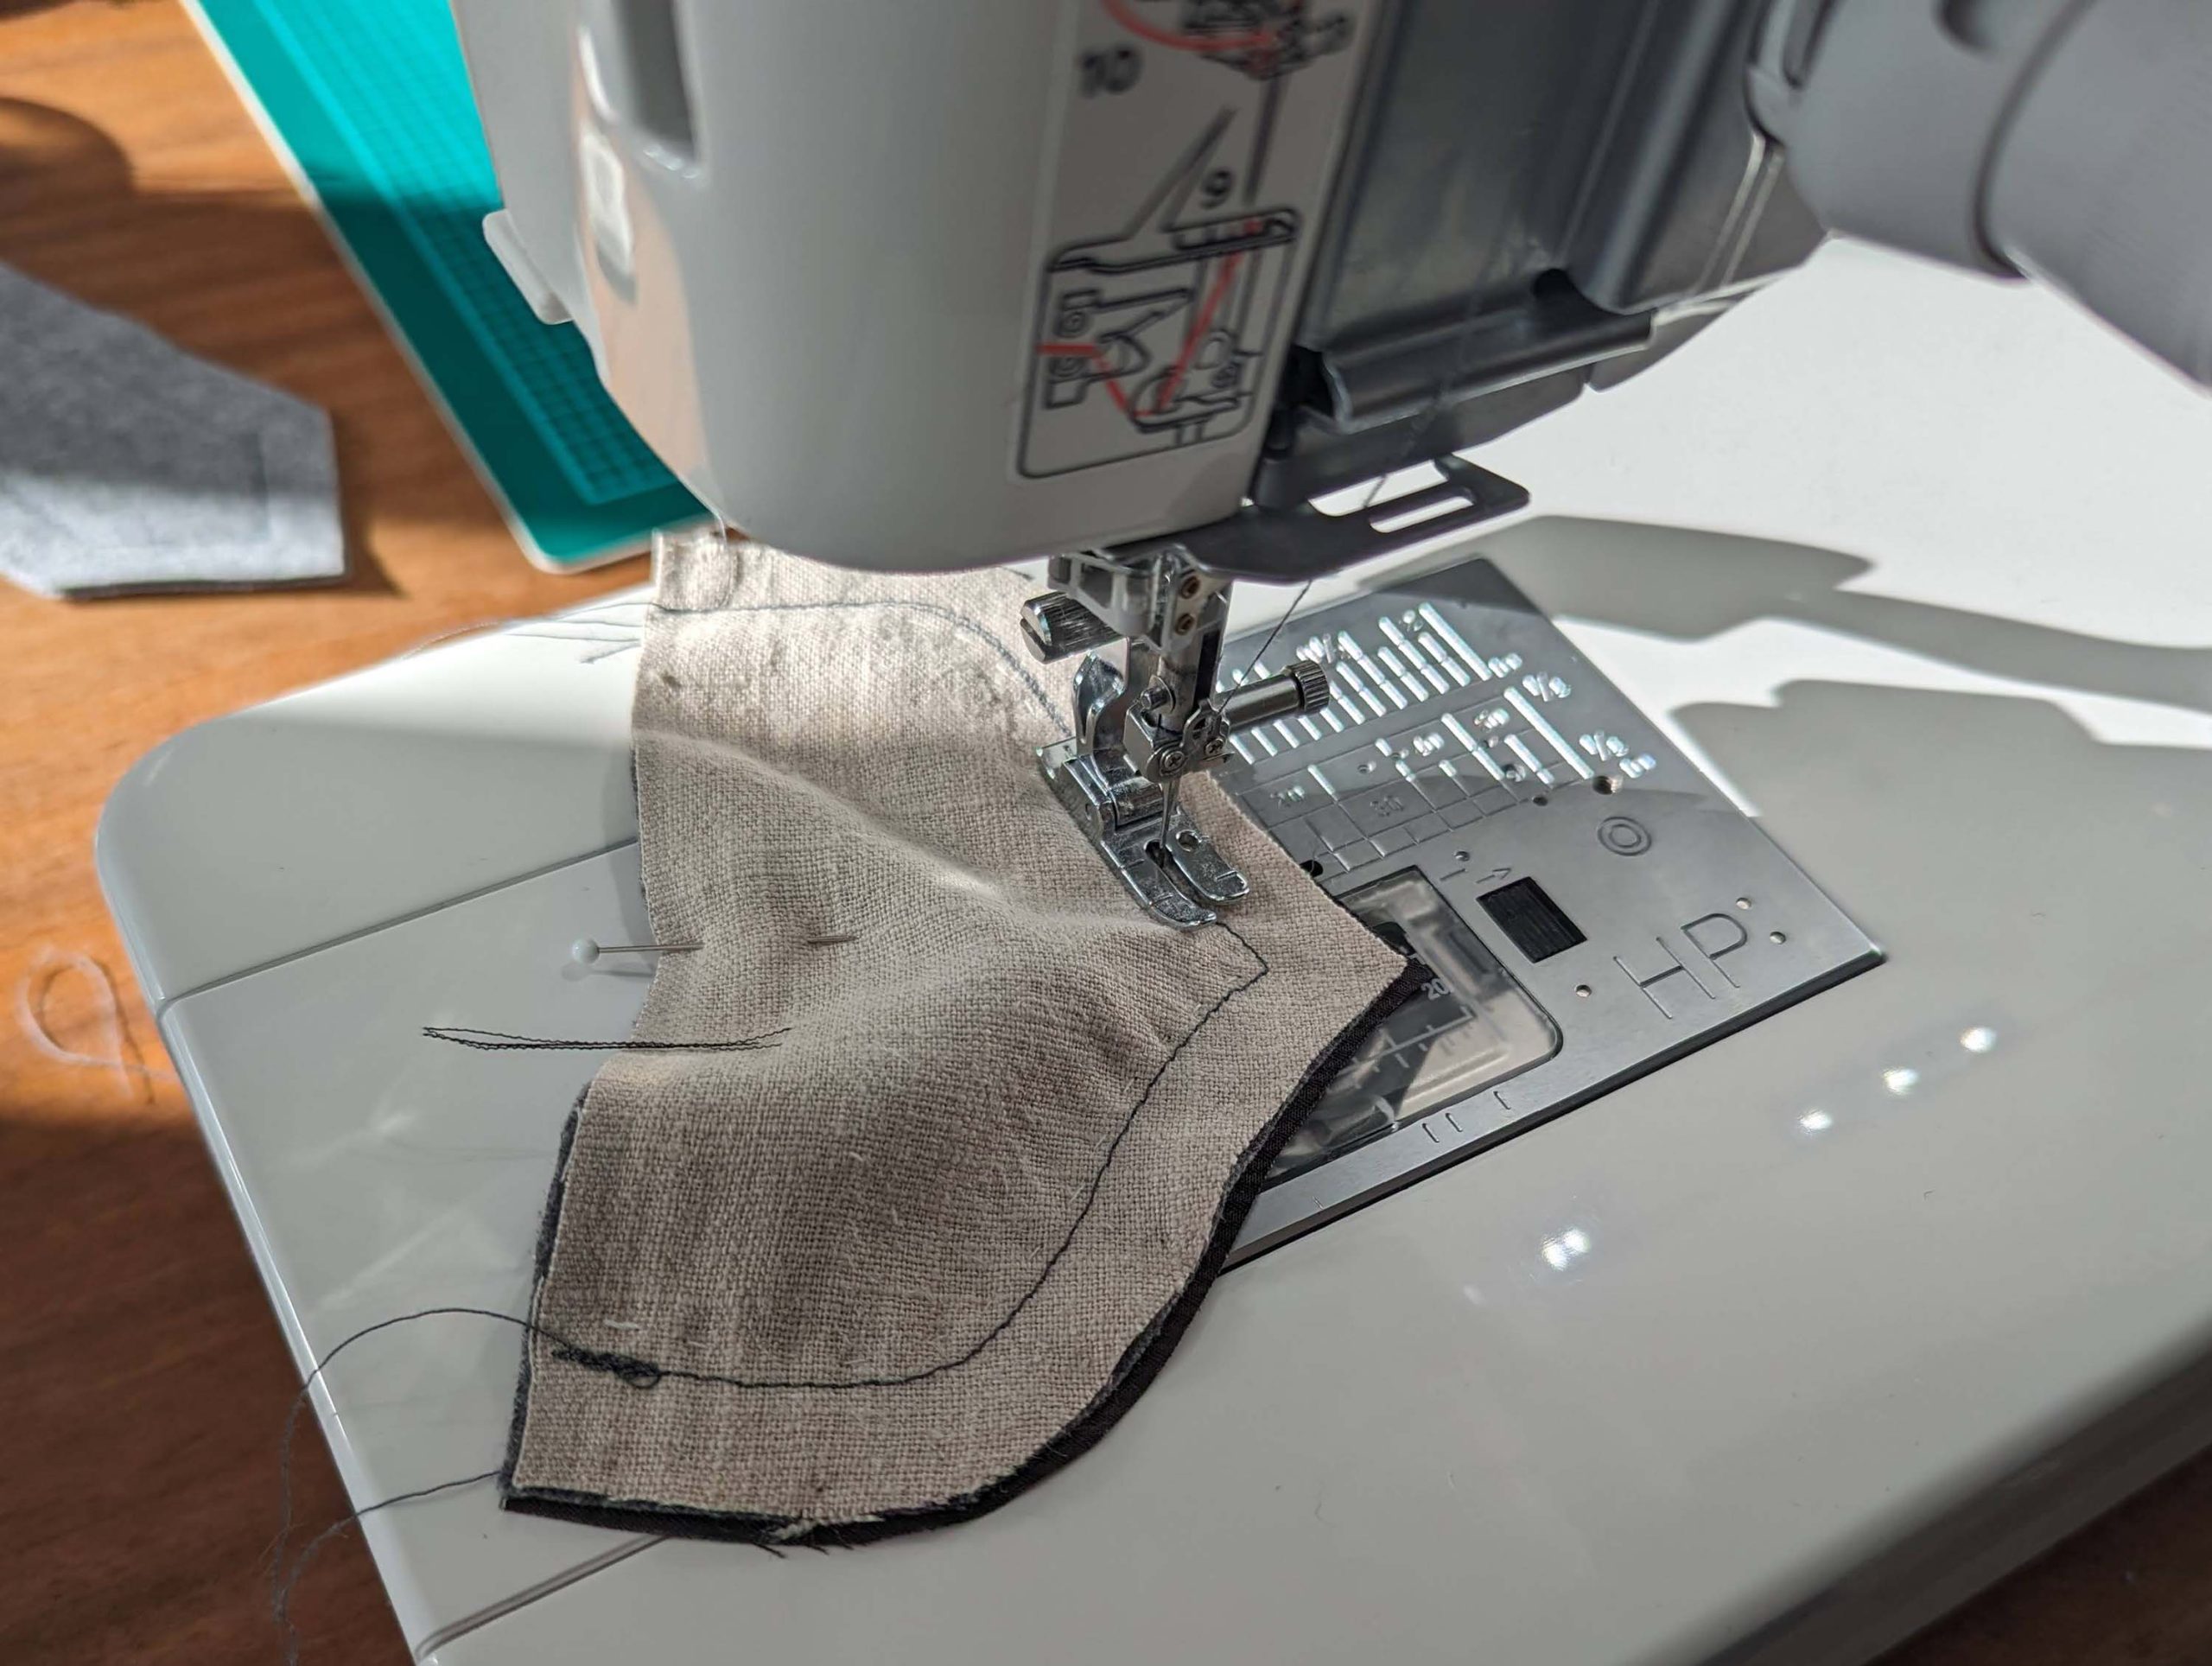
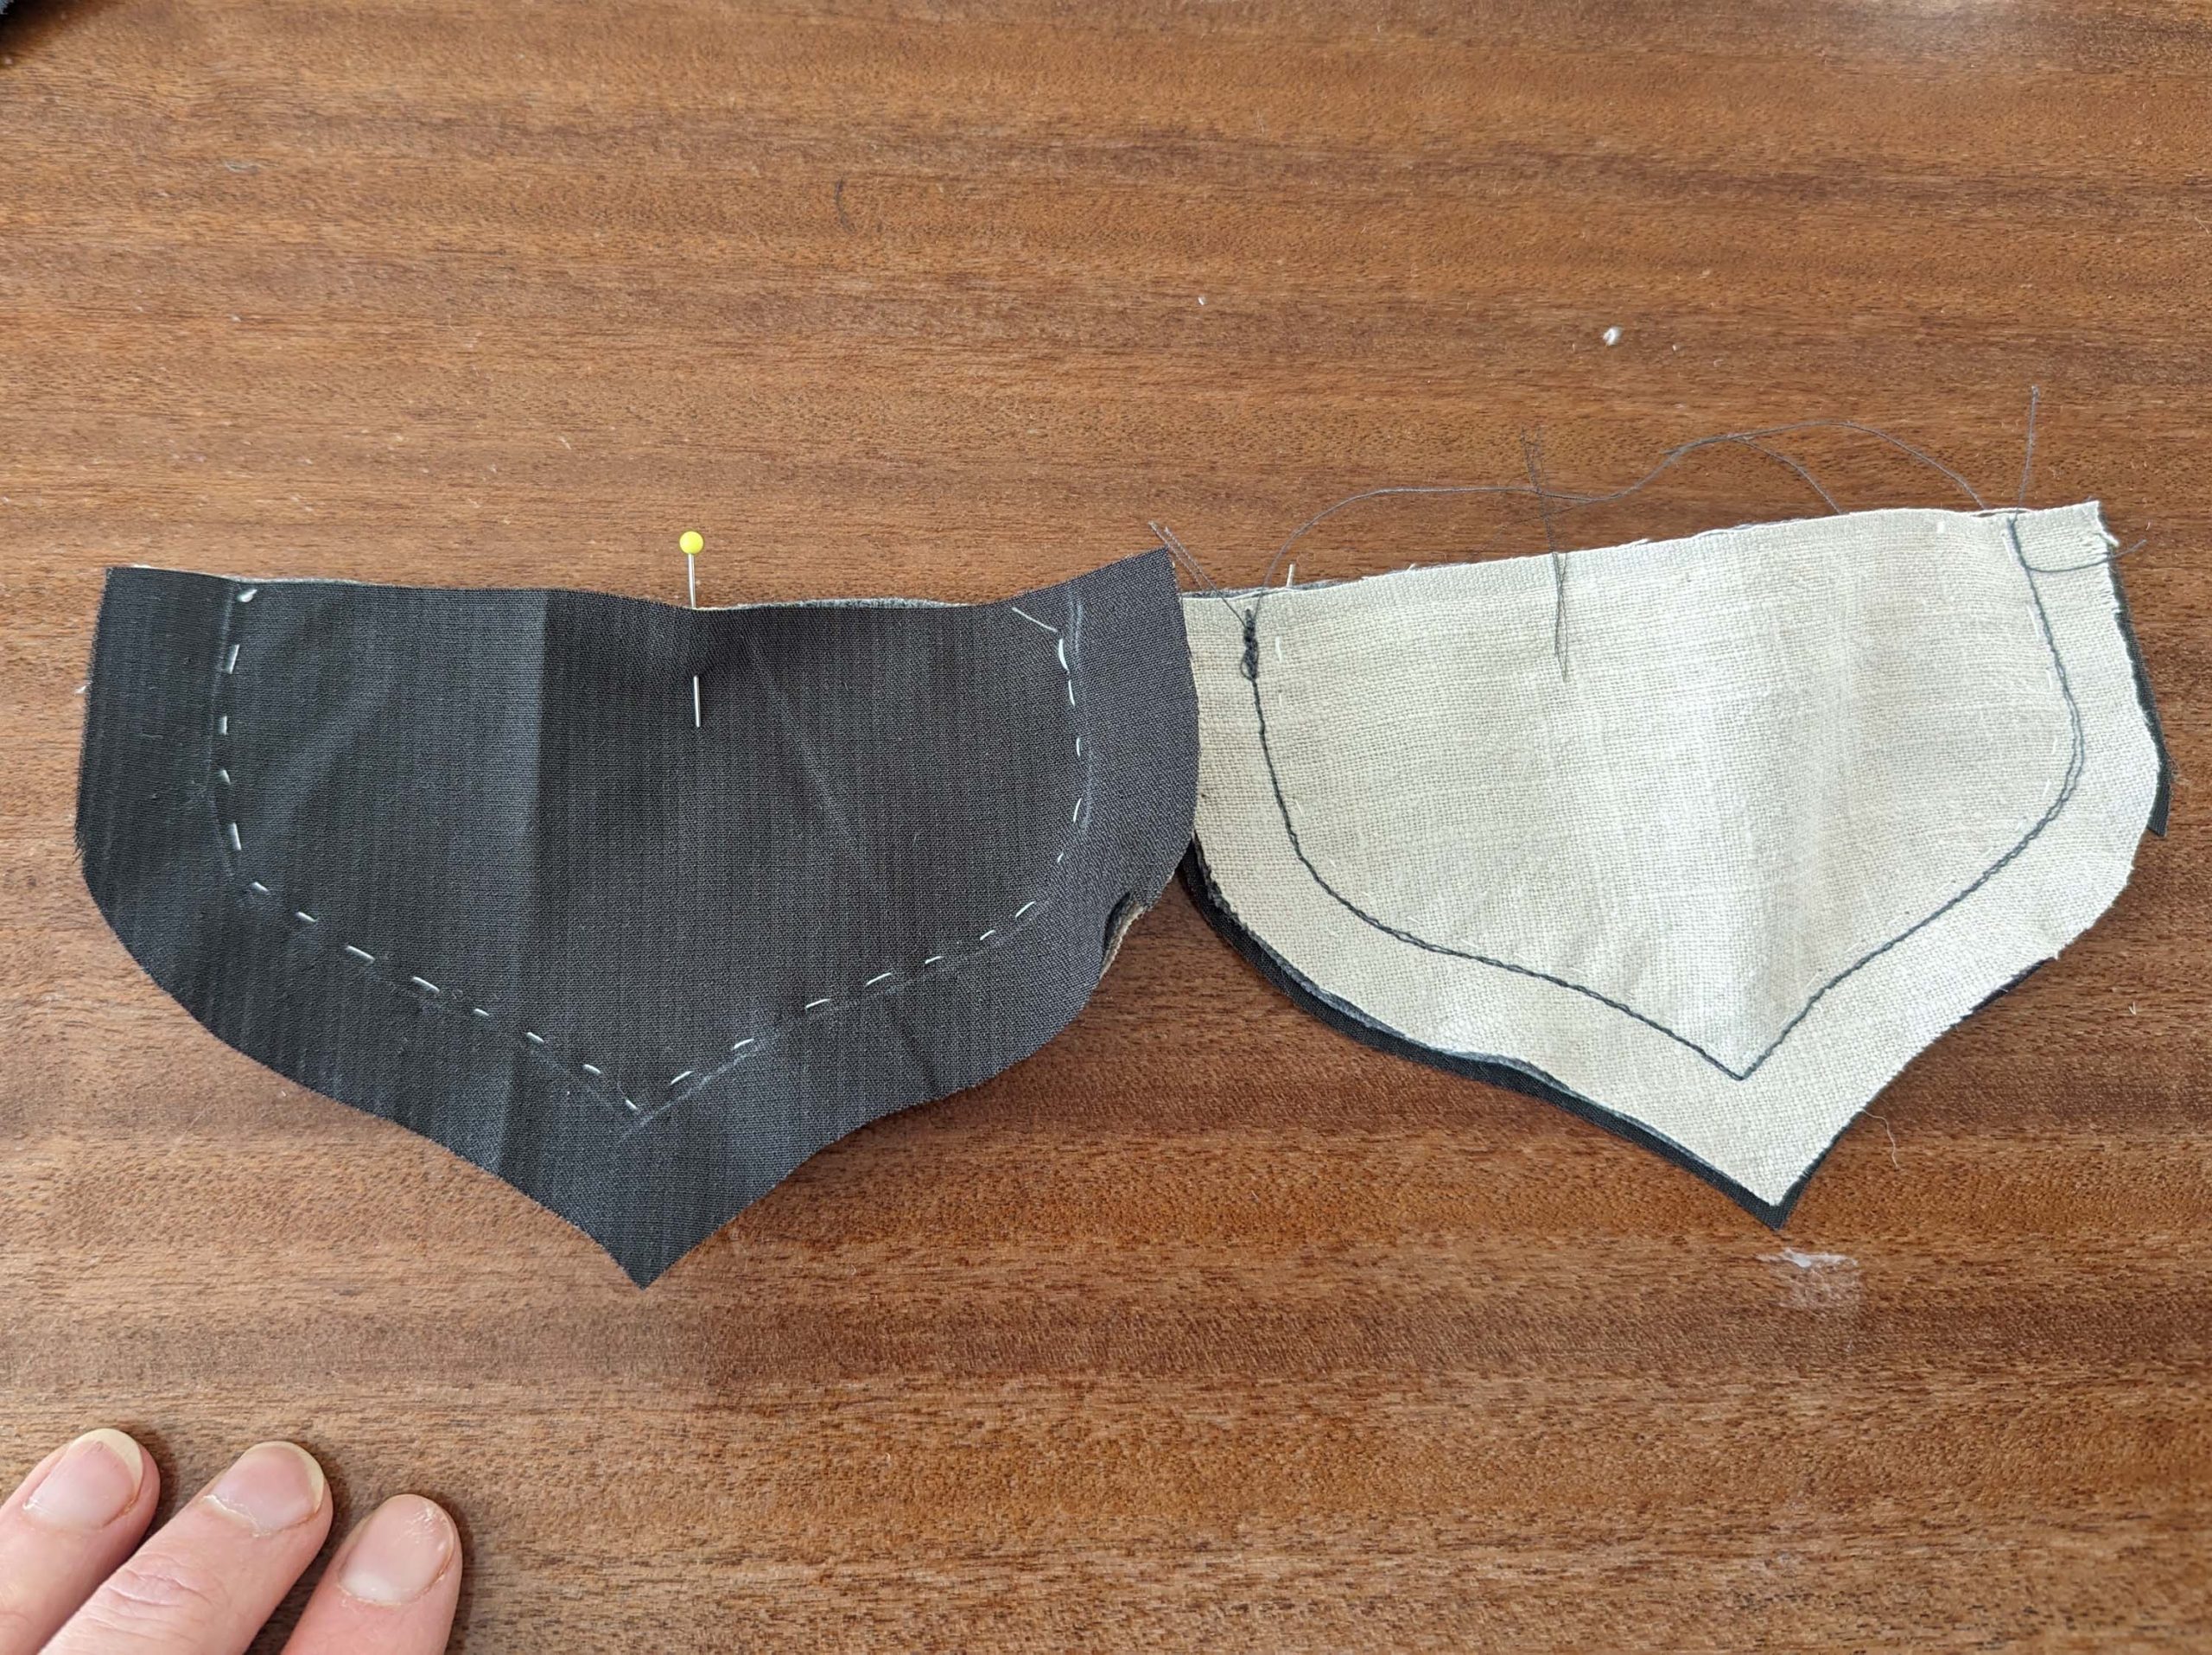
Start sewing with the lining on top, then turn around and stitch again with the fashion fabric facing up, correcting any uneven stitching and reducing the stitch length at the point. Trim back the seam allowances and turn the right side out. Press, ensuring that the sewing line stays slightly offset on the wrong side. Baste together the layers along the raw edges mark the stitching line and check the size of the flap, before making the pocket opening. Sew a buttonhole as indicated on the pattern.

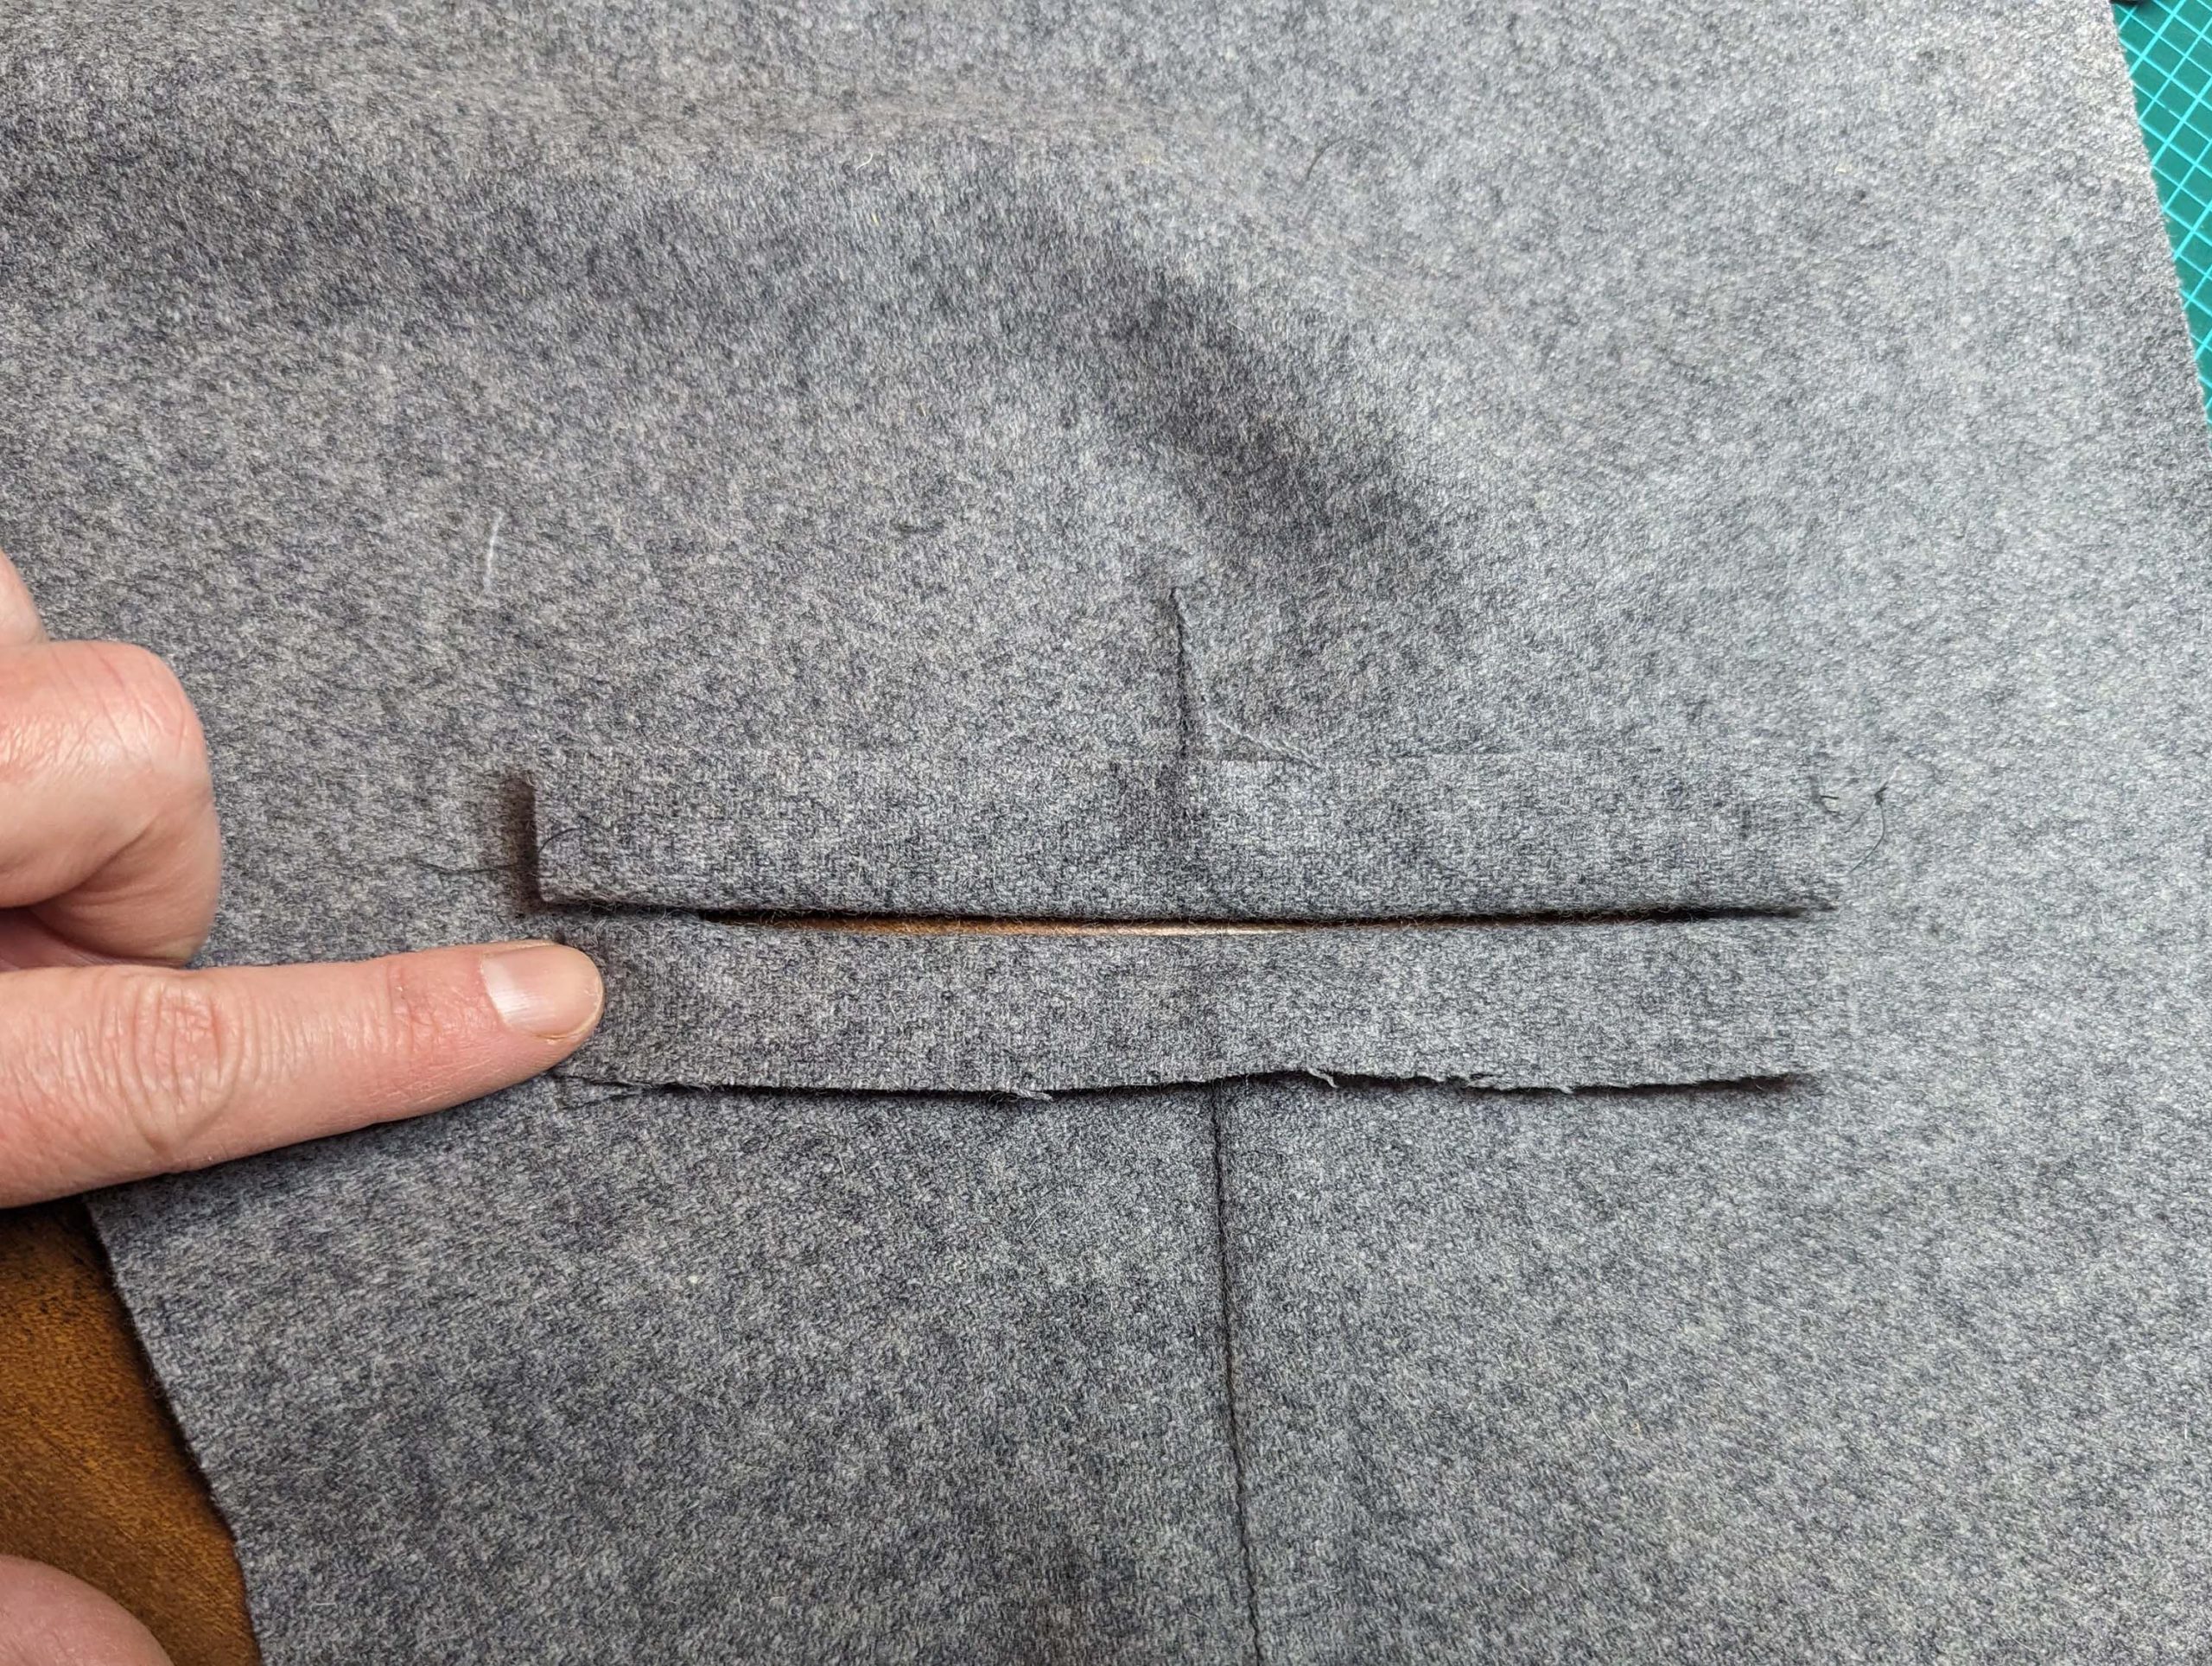
Mark the position and the correct length (depending on your flaps) of the pocket opening on the right fabric side with basting stitches, the dart marks the middle of the opening (at a right angle to the dart). Check with your pocket flap, if the opening is wide enough.
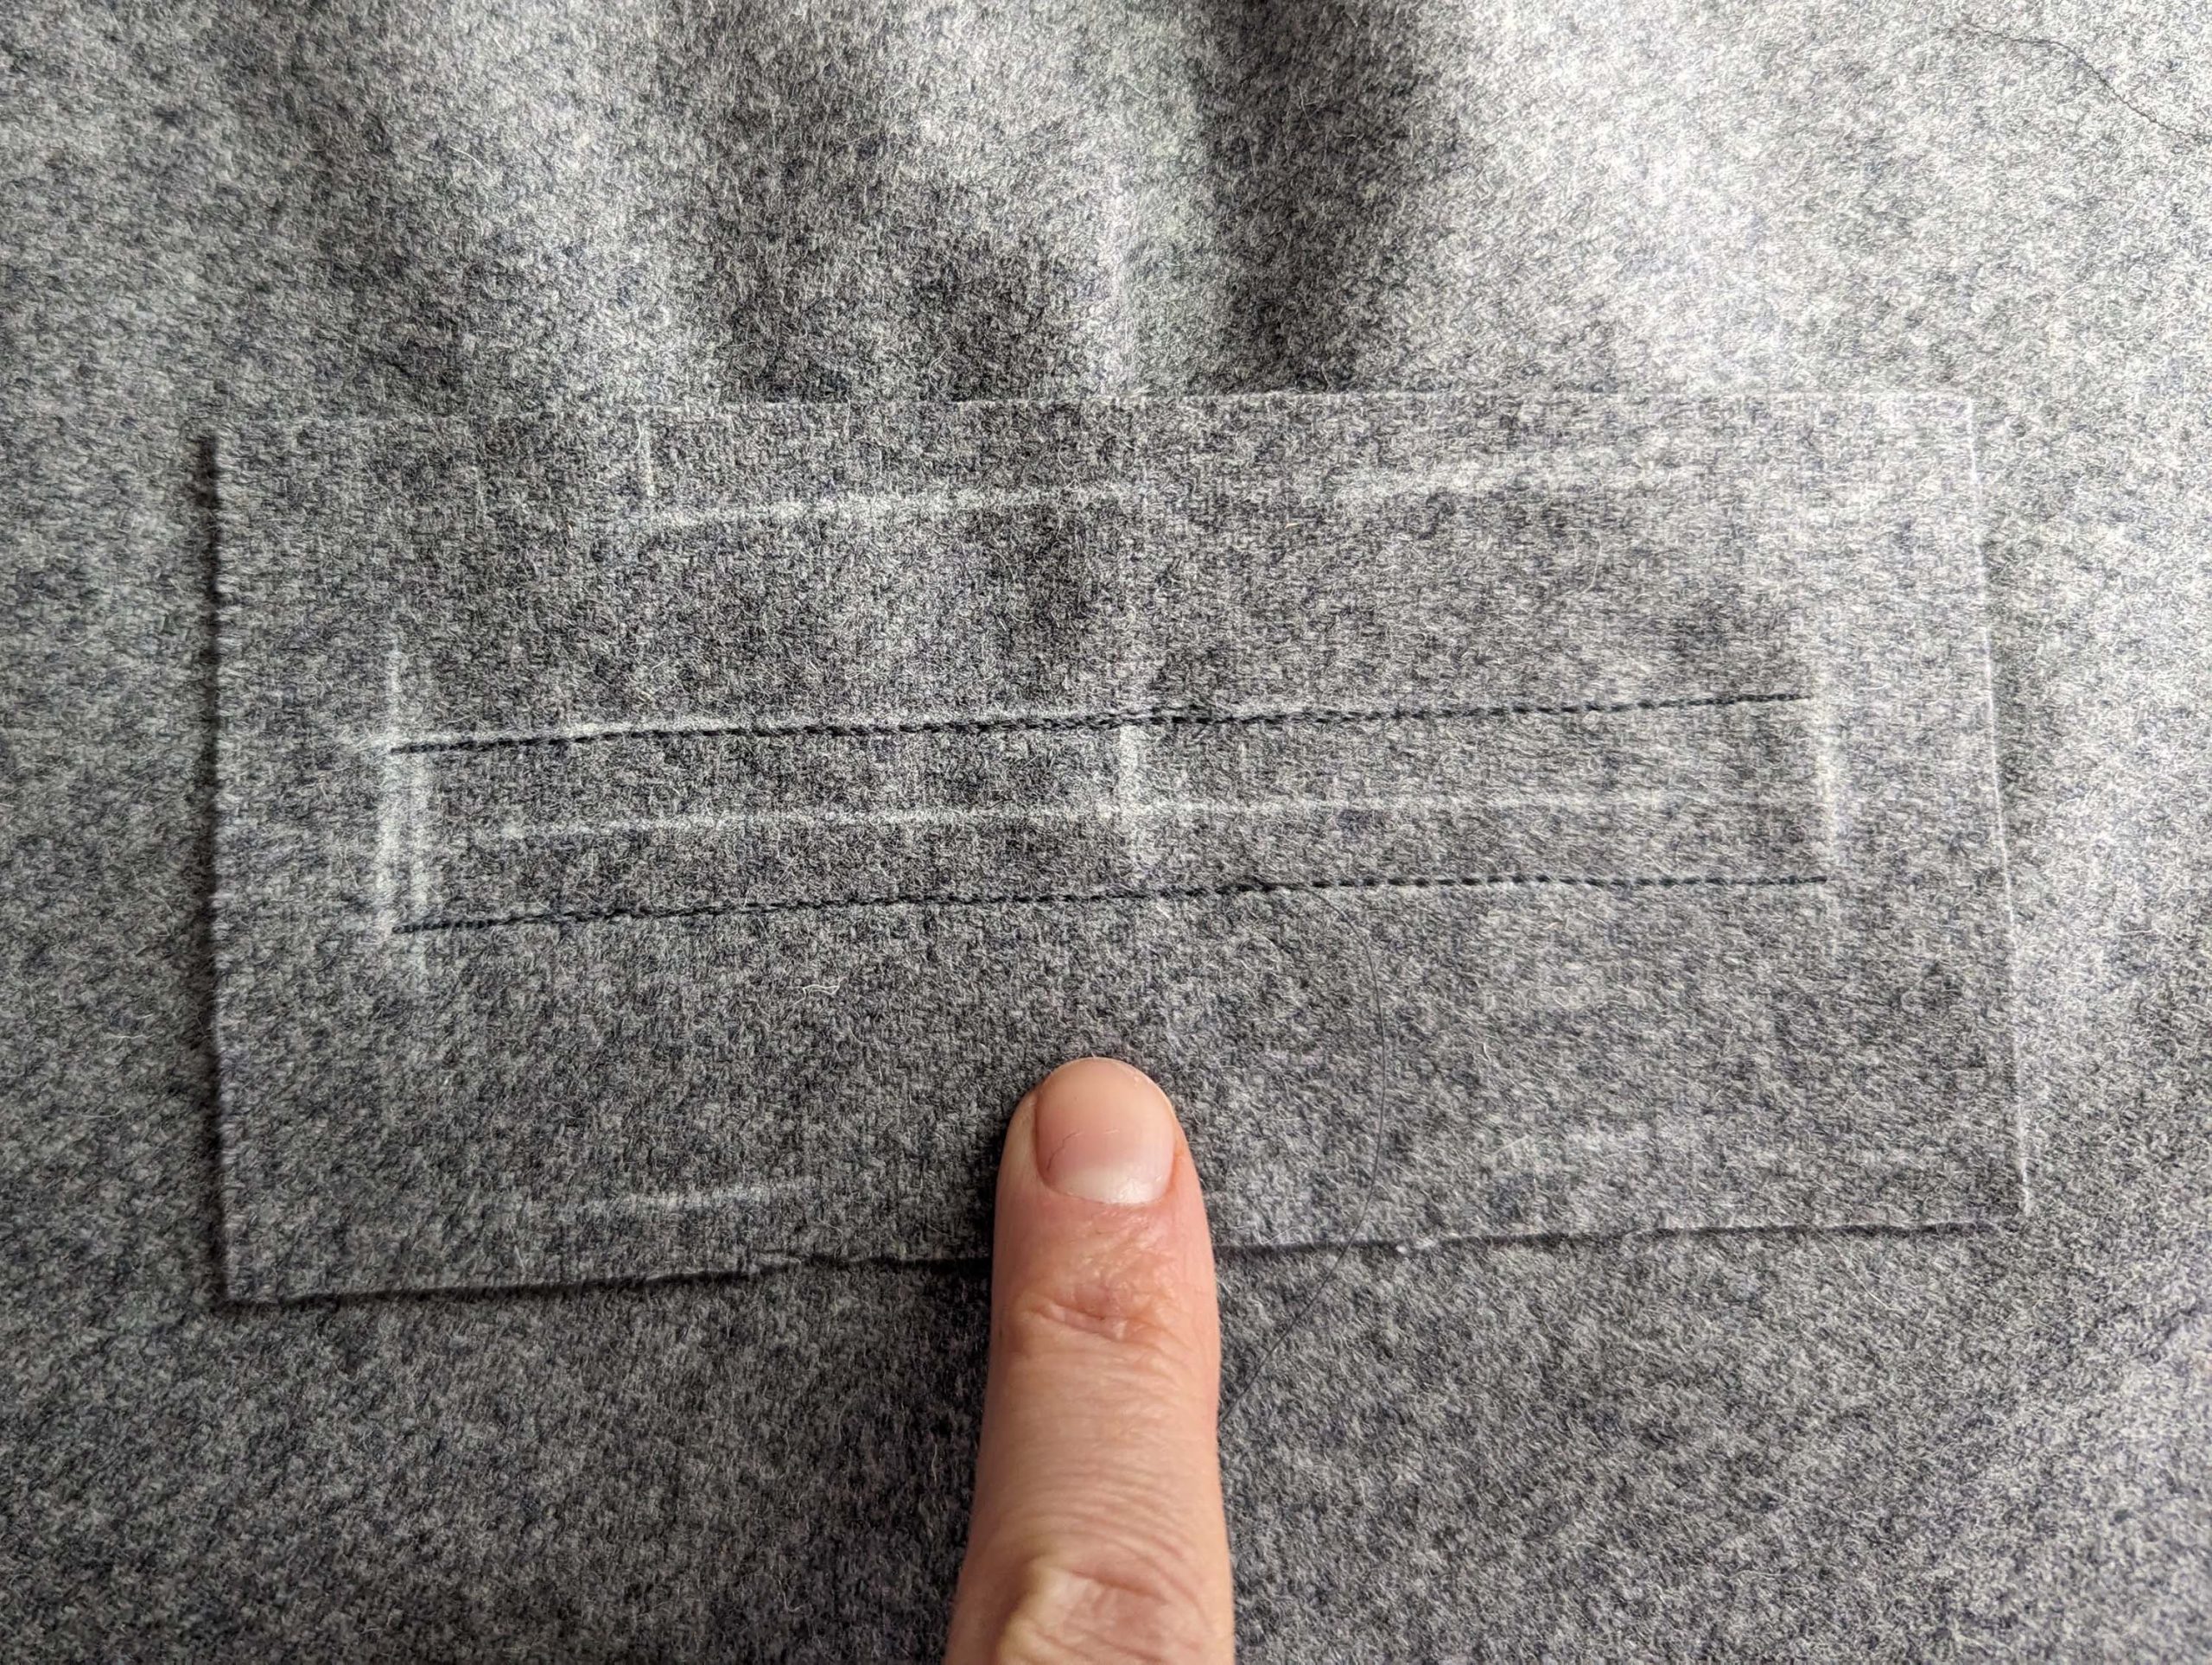
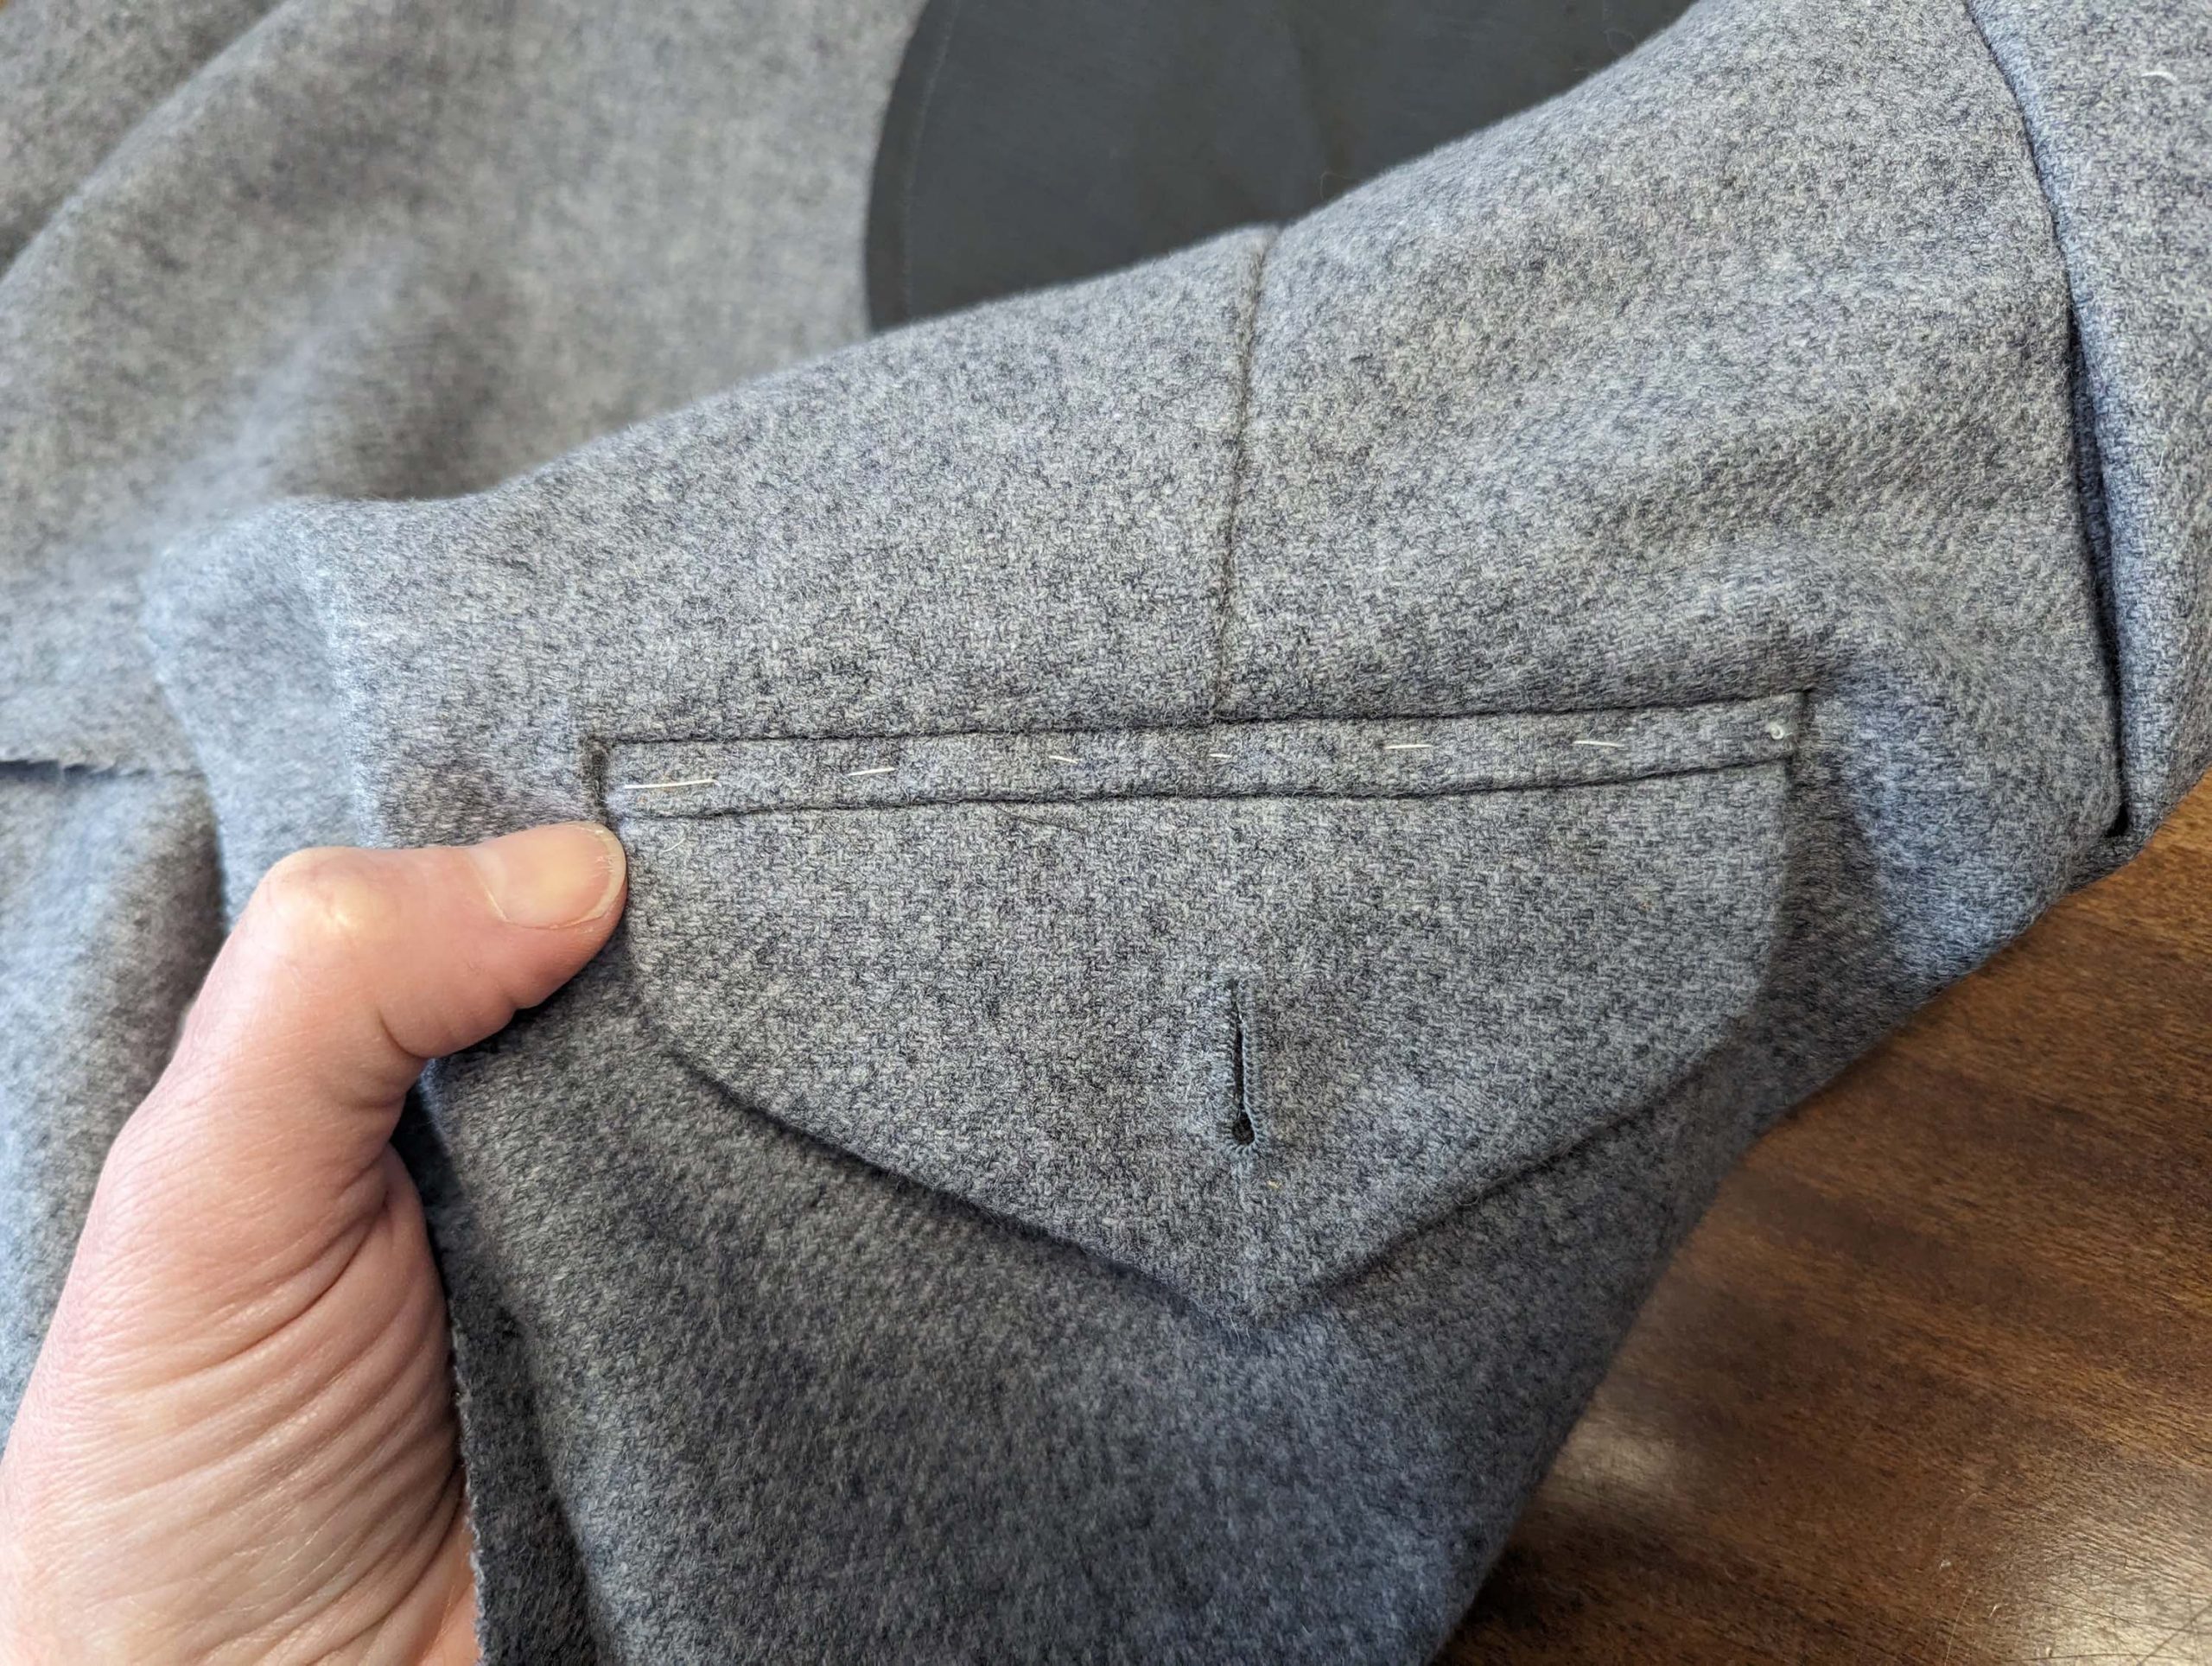
Take the welt piece, mark the center and the two stitching lines, and line up with the pocket line, right sides together. Sew along the stitching lines, starting and stopping exactly at the corners. Cut along the center line of the welt piece, cut the opening Y-shaped, and turn the right way out. Press, forming the welts, and press again. With the right side up, baste in place the welts, and sew with a catch stitch. Fold the undersides to the side and stitch down the small triangles. Sew along the ditch of the seamline of the lower welt.


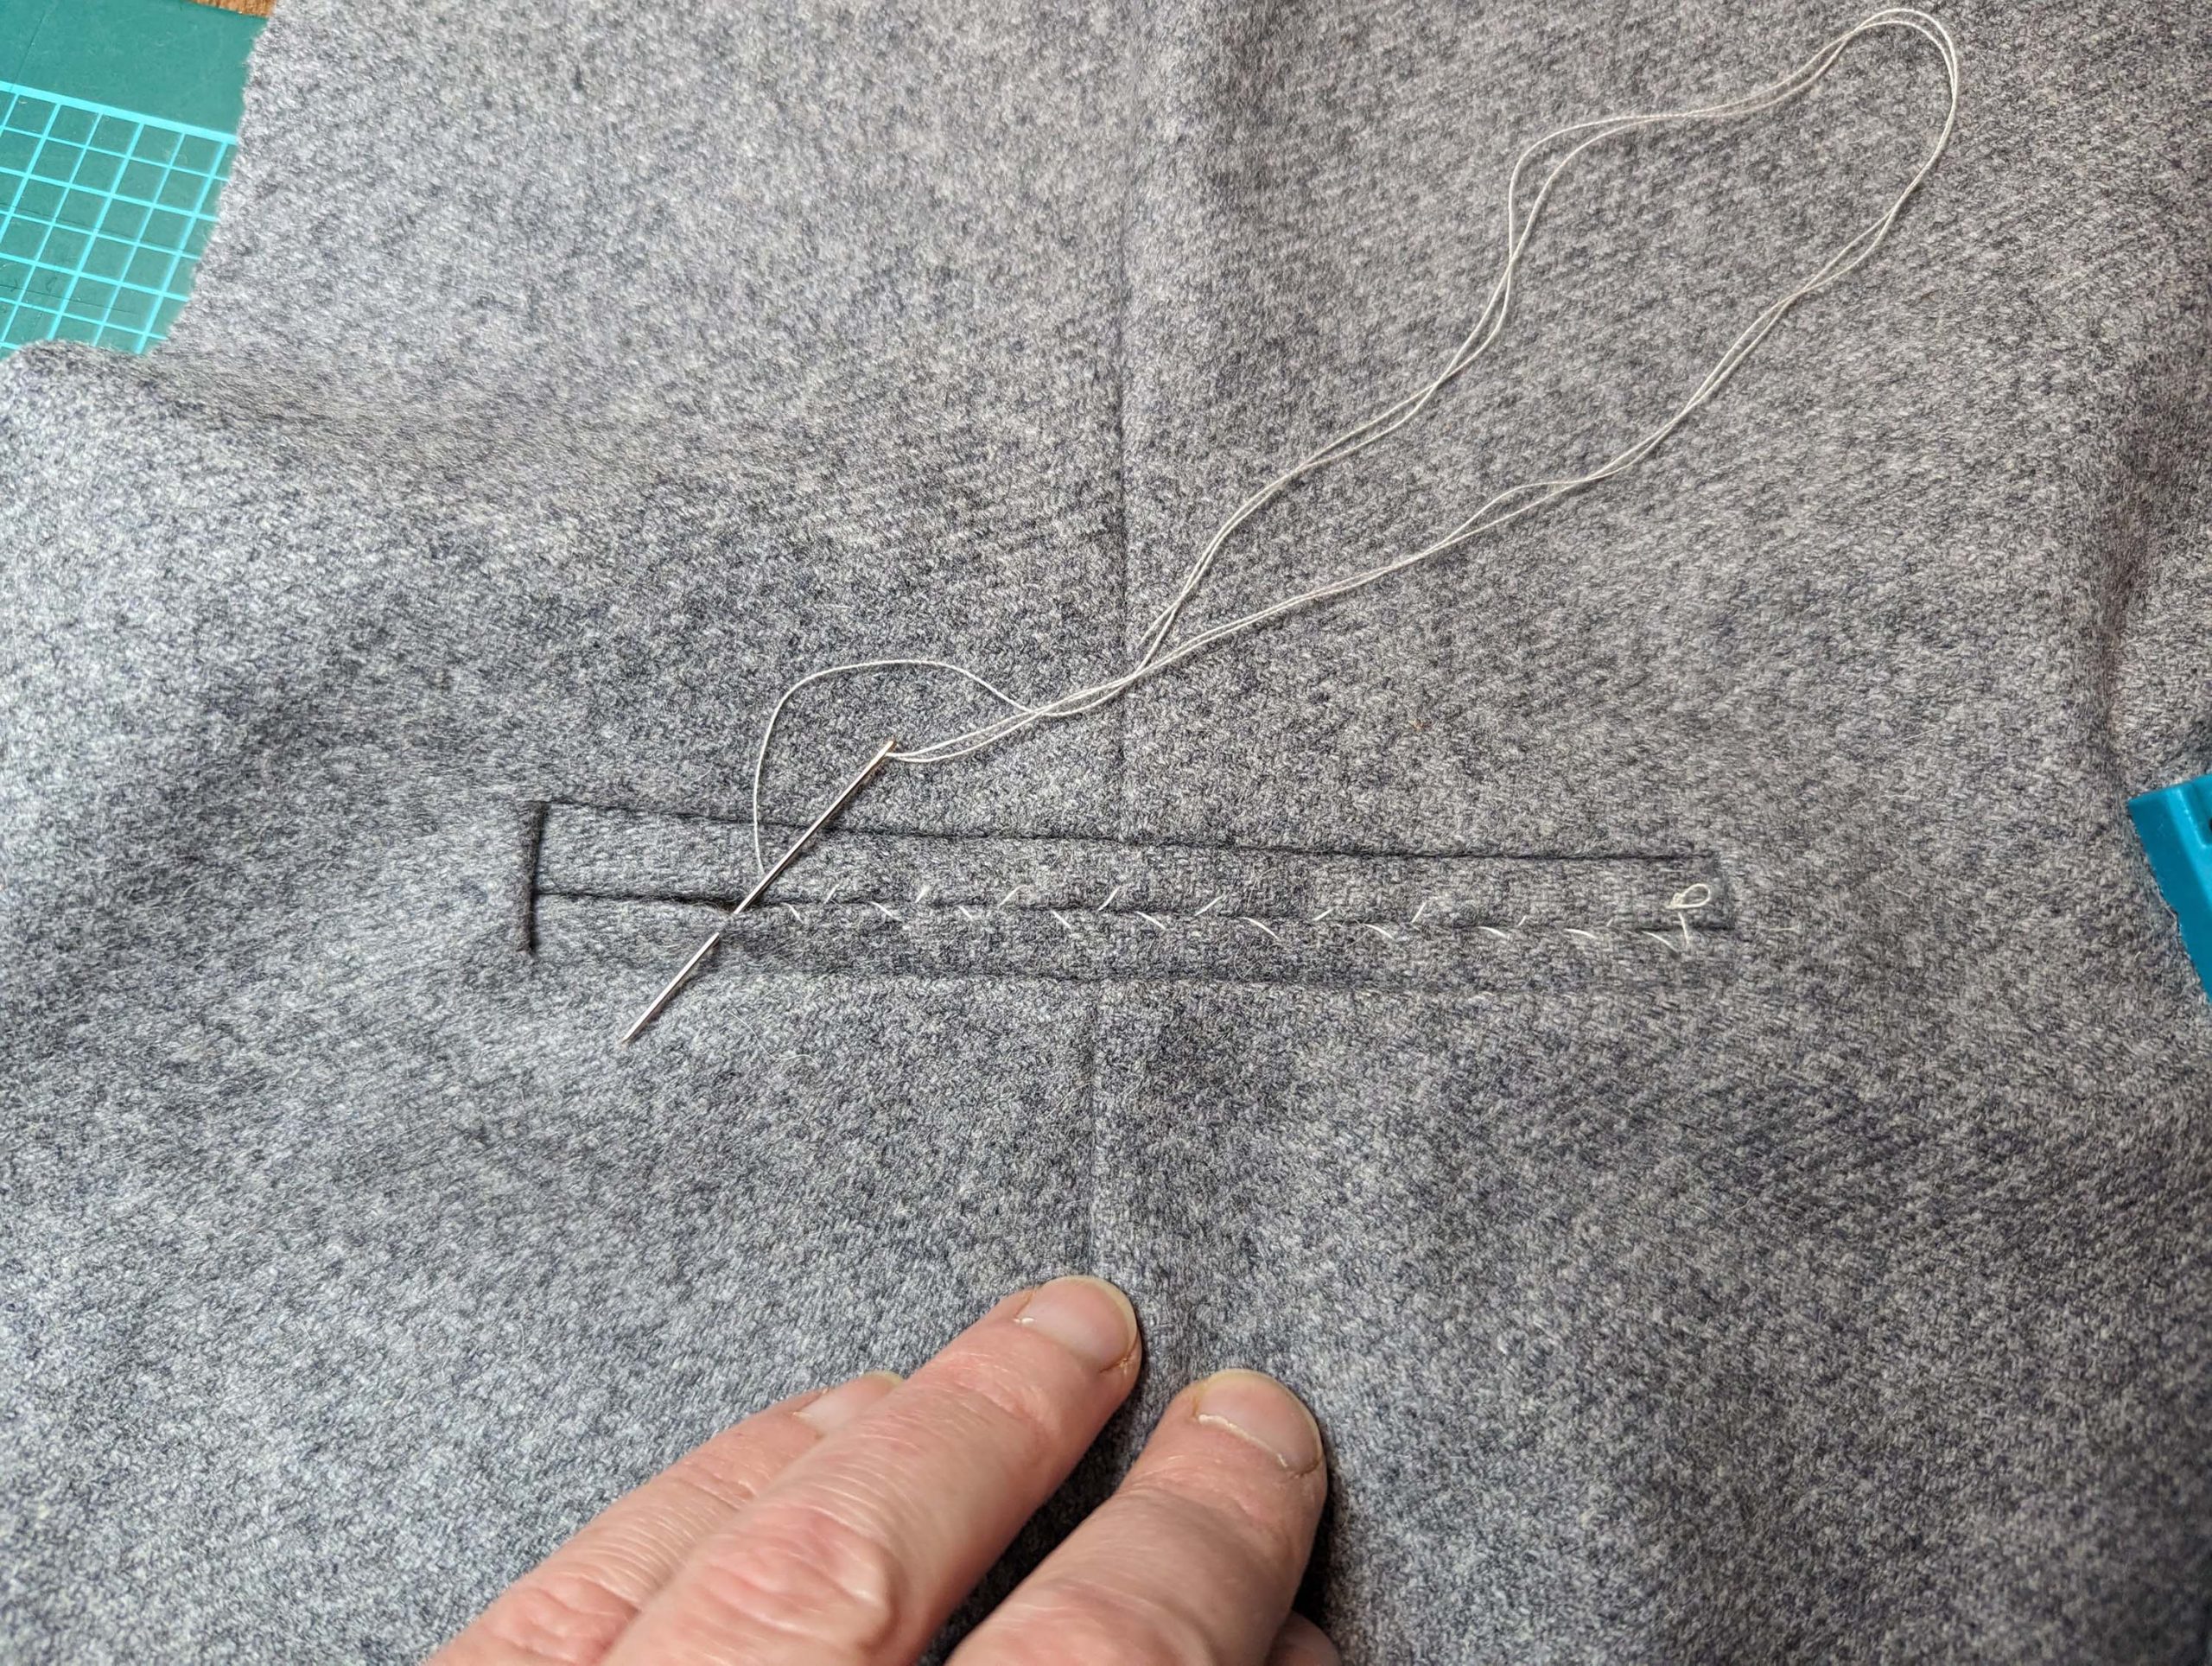

To prepare the pocket bag, attach a piece of fashion fabric (the size of the gray area) by hand with a blanket stitch, or with a zigzag, as a facing. Turn in a seam allowance of about ¼” (6mm) along both long edges and press. Pin the bottom edge of the pocket to the seam allowance of the lower welt, with the inside of the pocket showing towards the wrong sides of the trousers (I messed up when trying the first time). Turn down to see the stitching line of the welt and sew right beside that stitching line.
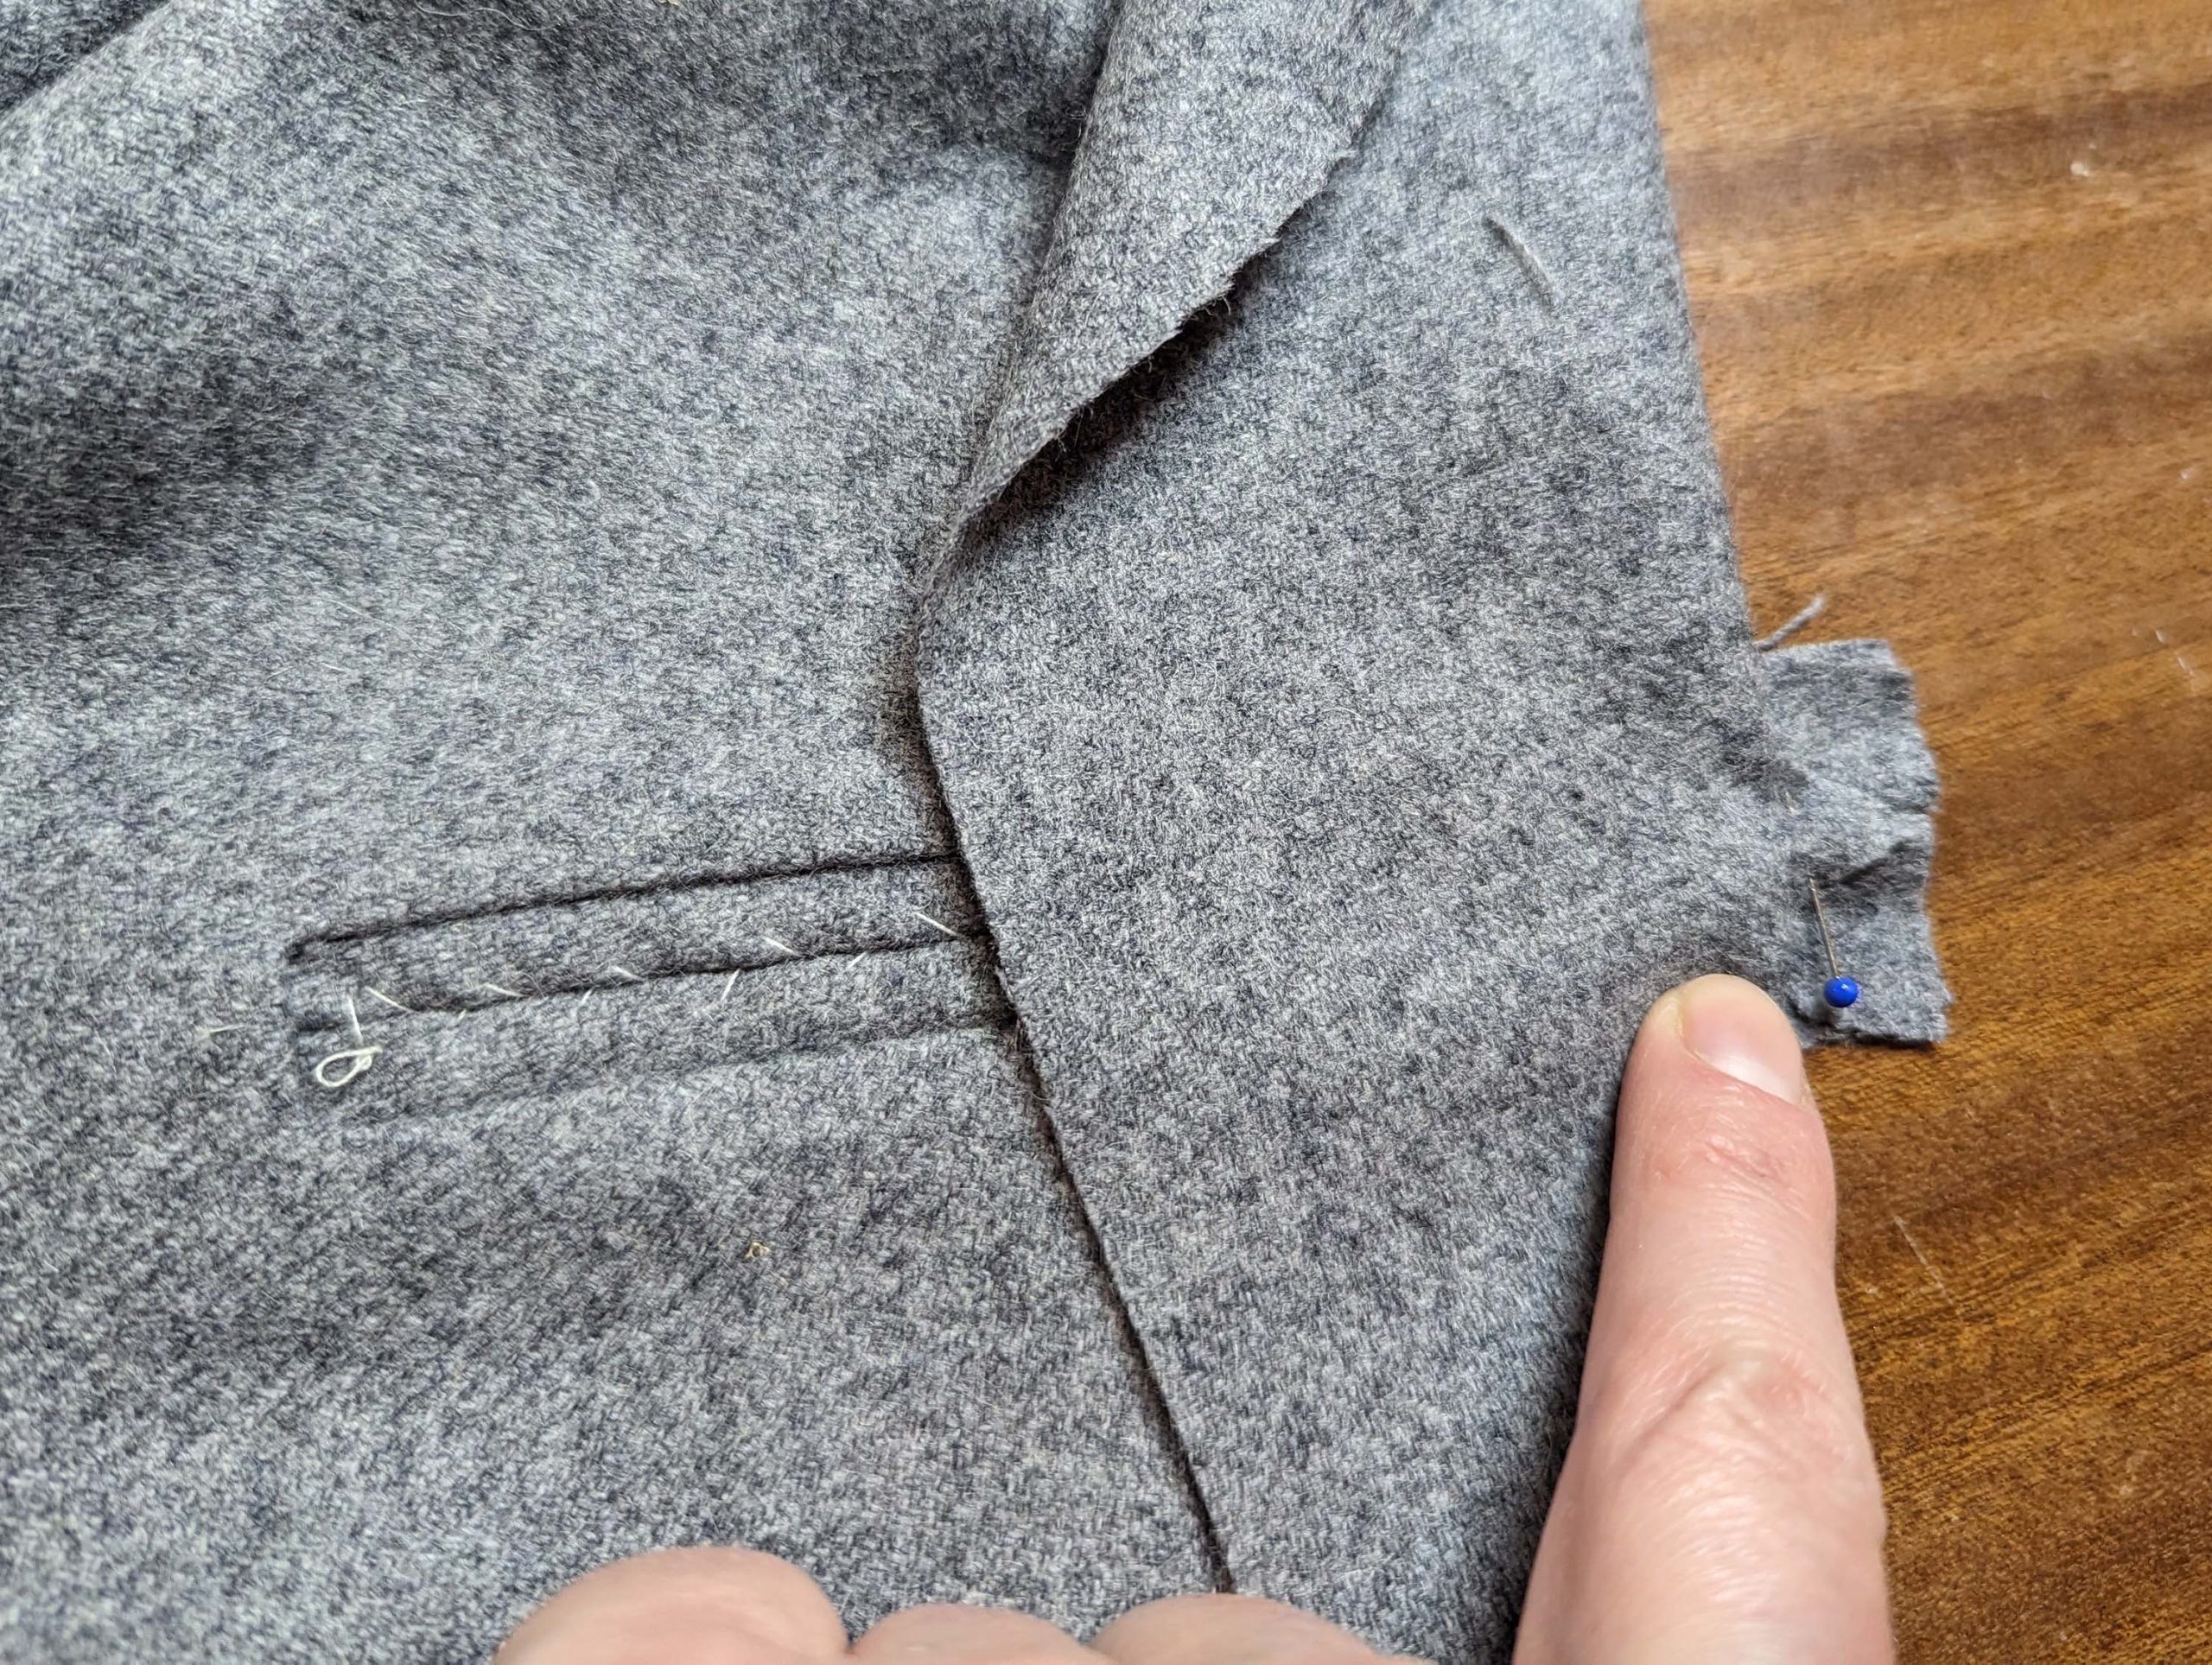
Fold the pocket downwards and press. Turn the pocket along the indicated line, wrong sides together, and smooth out, covering the pocket opening with the facing. Sew the pocket with a double row of stitching, first narrow beside the edge reaching from the top edge of the pocket to the bottom, the second about ¼” (7mm) parallel from the first, just reaching the welts. Trim back the excess fabric of the welts.
Unravel the catch stitches, and slide the flap under the upper welt. First, baste, then stitch in place along the ditch of the upper welt and the sides. The top edge of the pocket is attached to the waistband later.


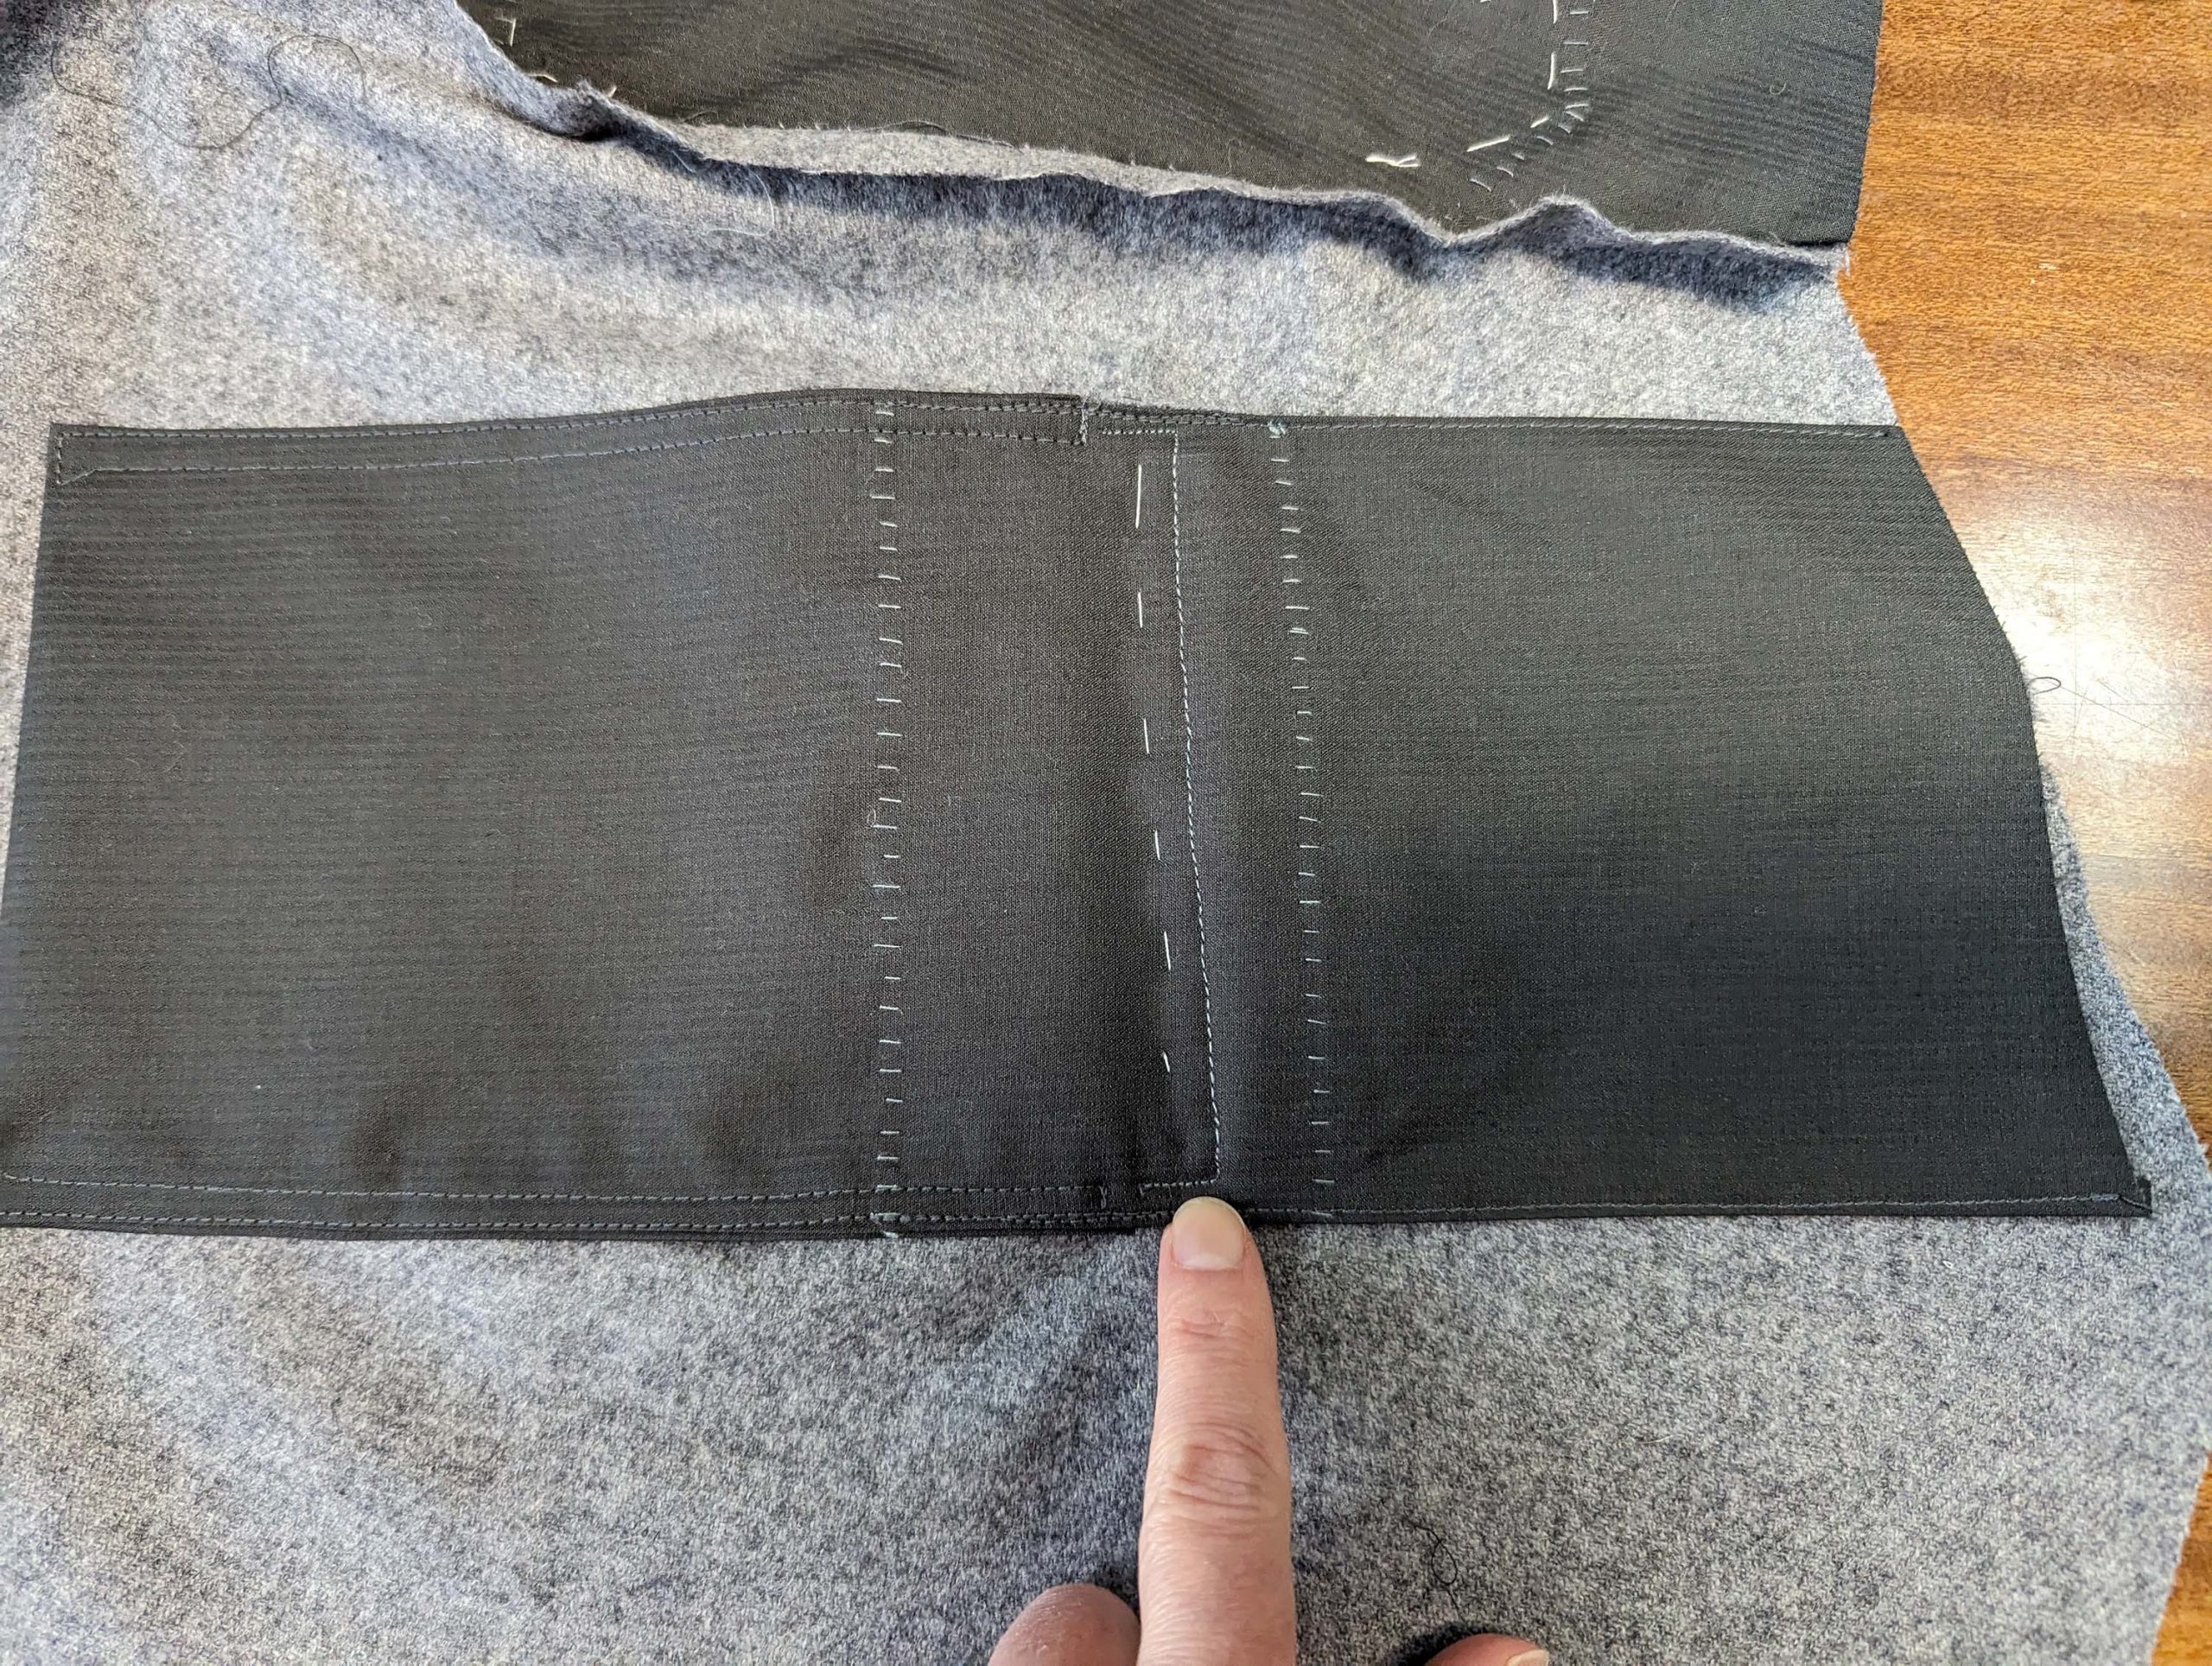
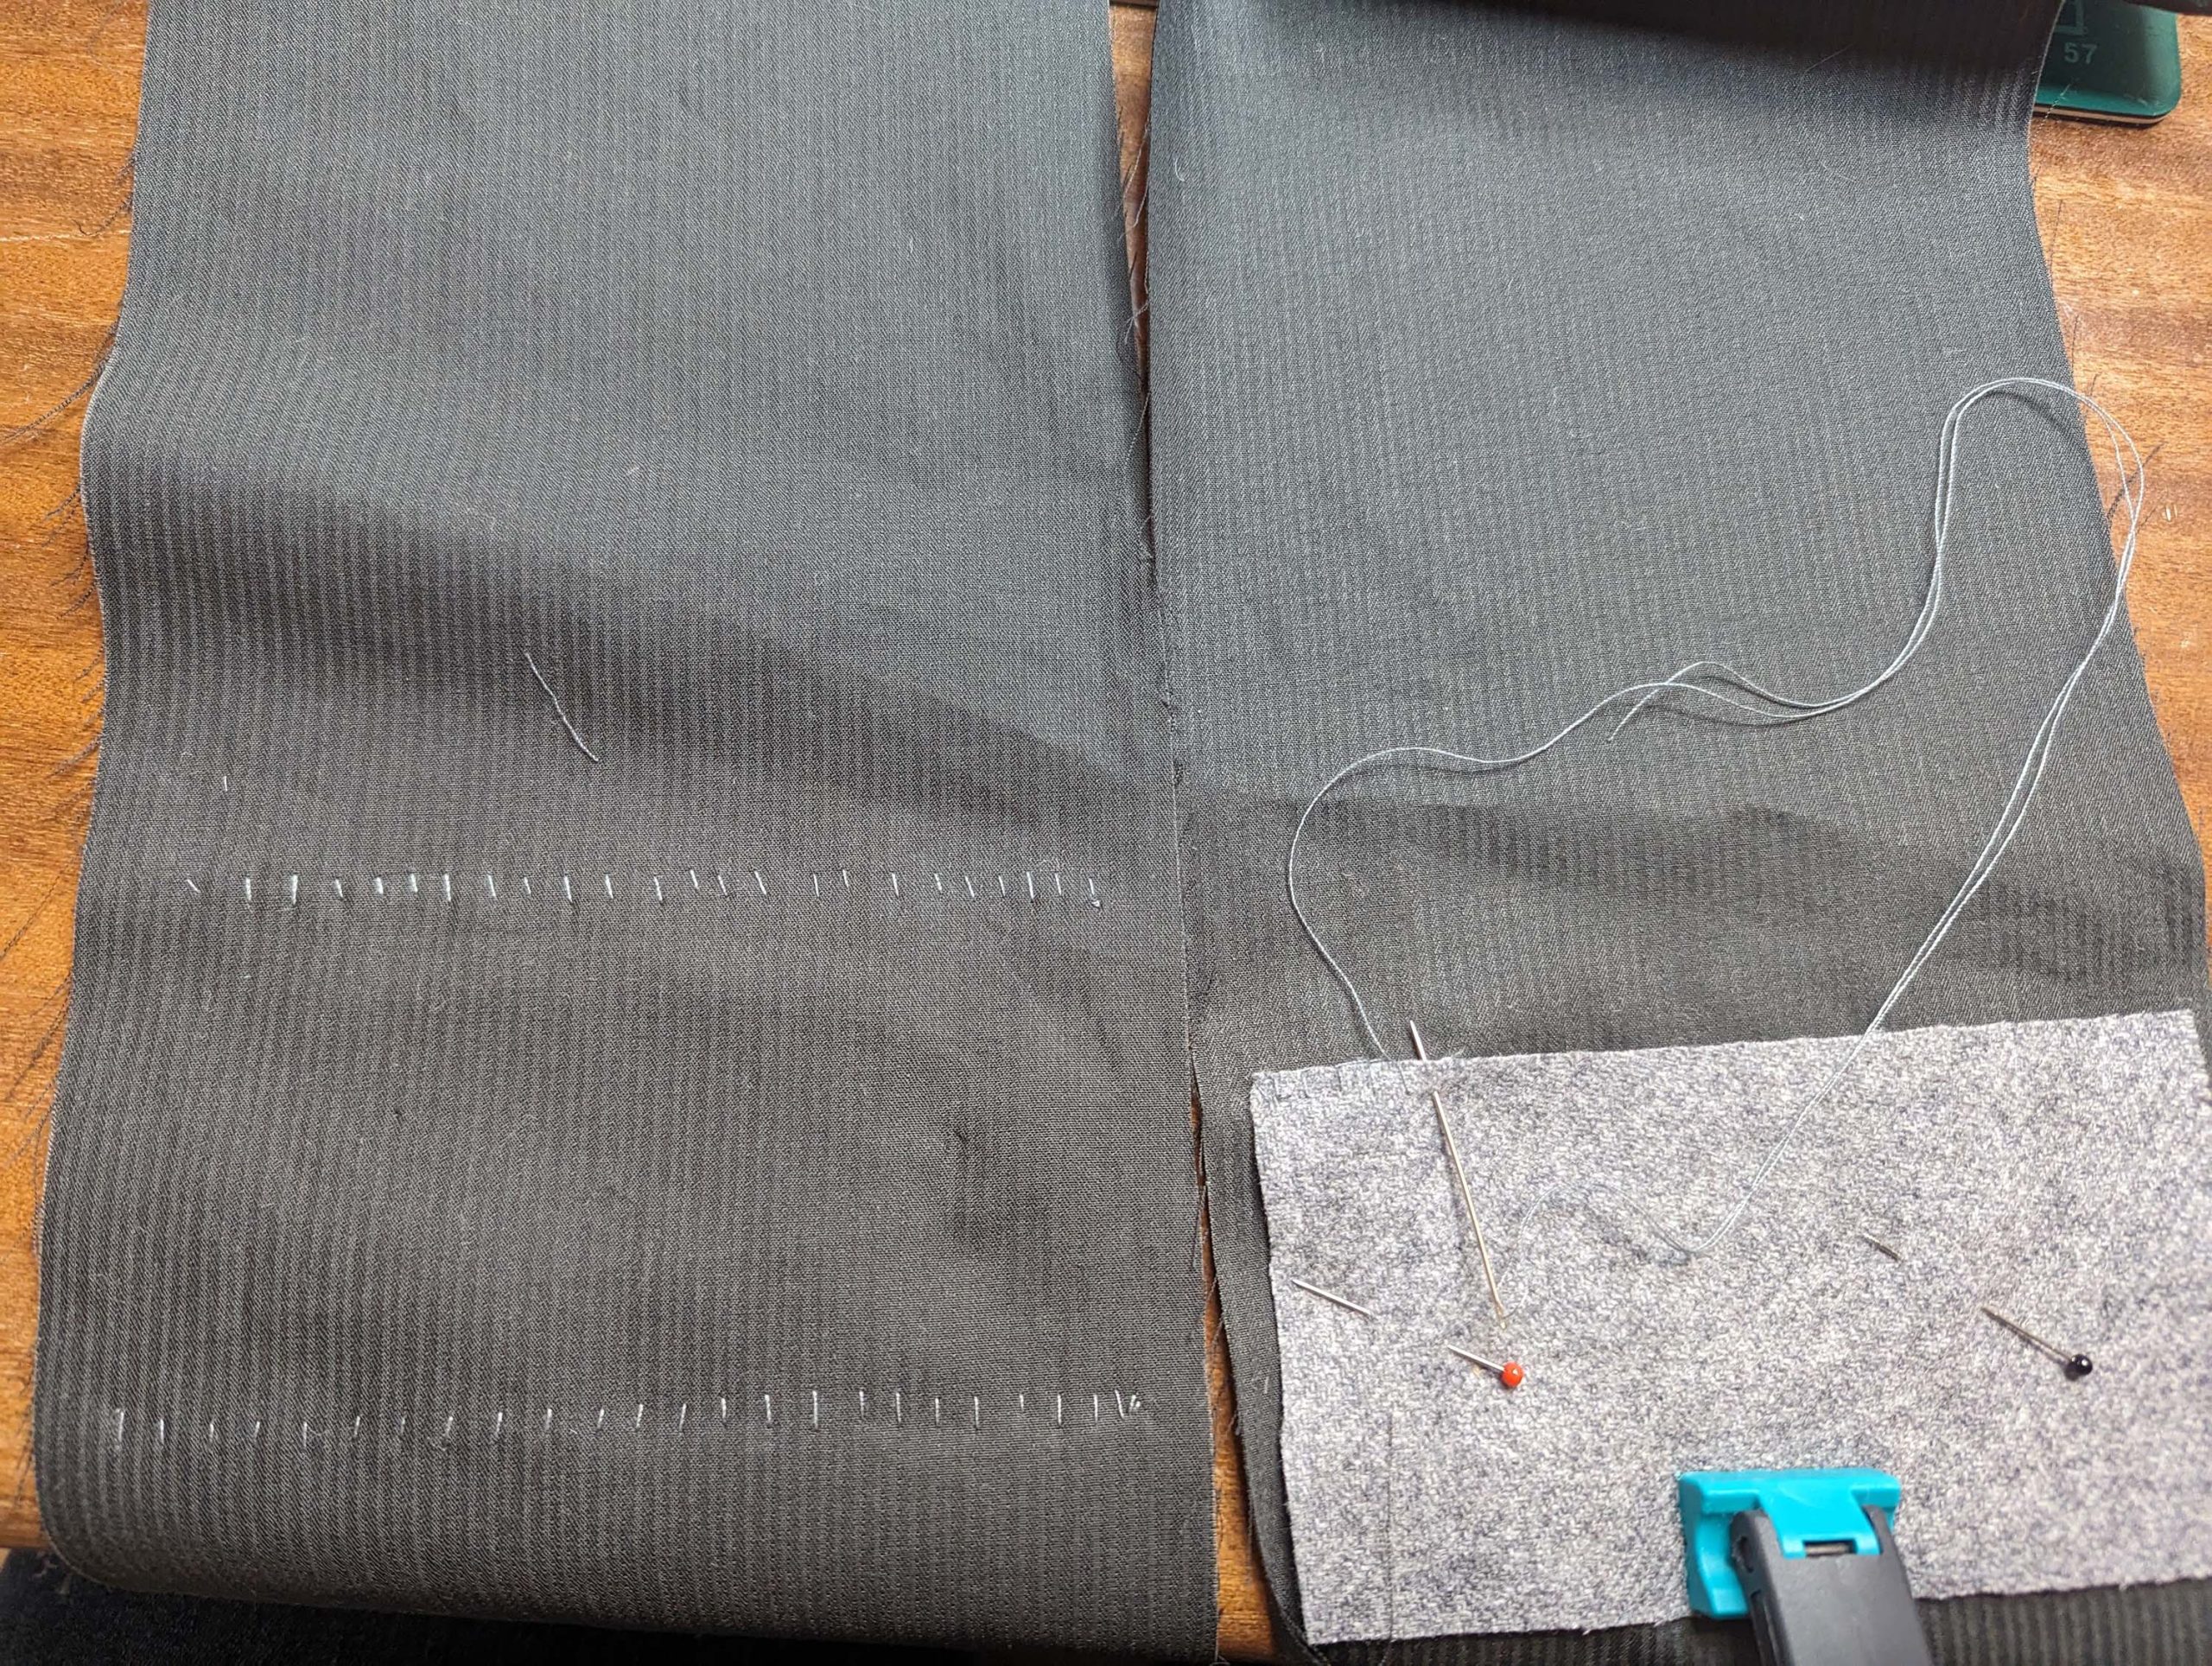
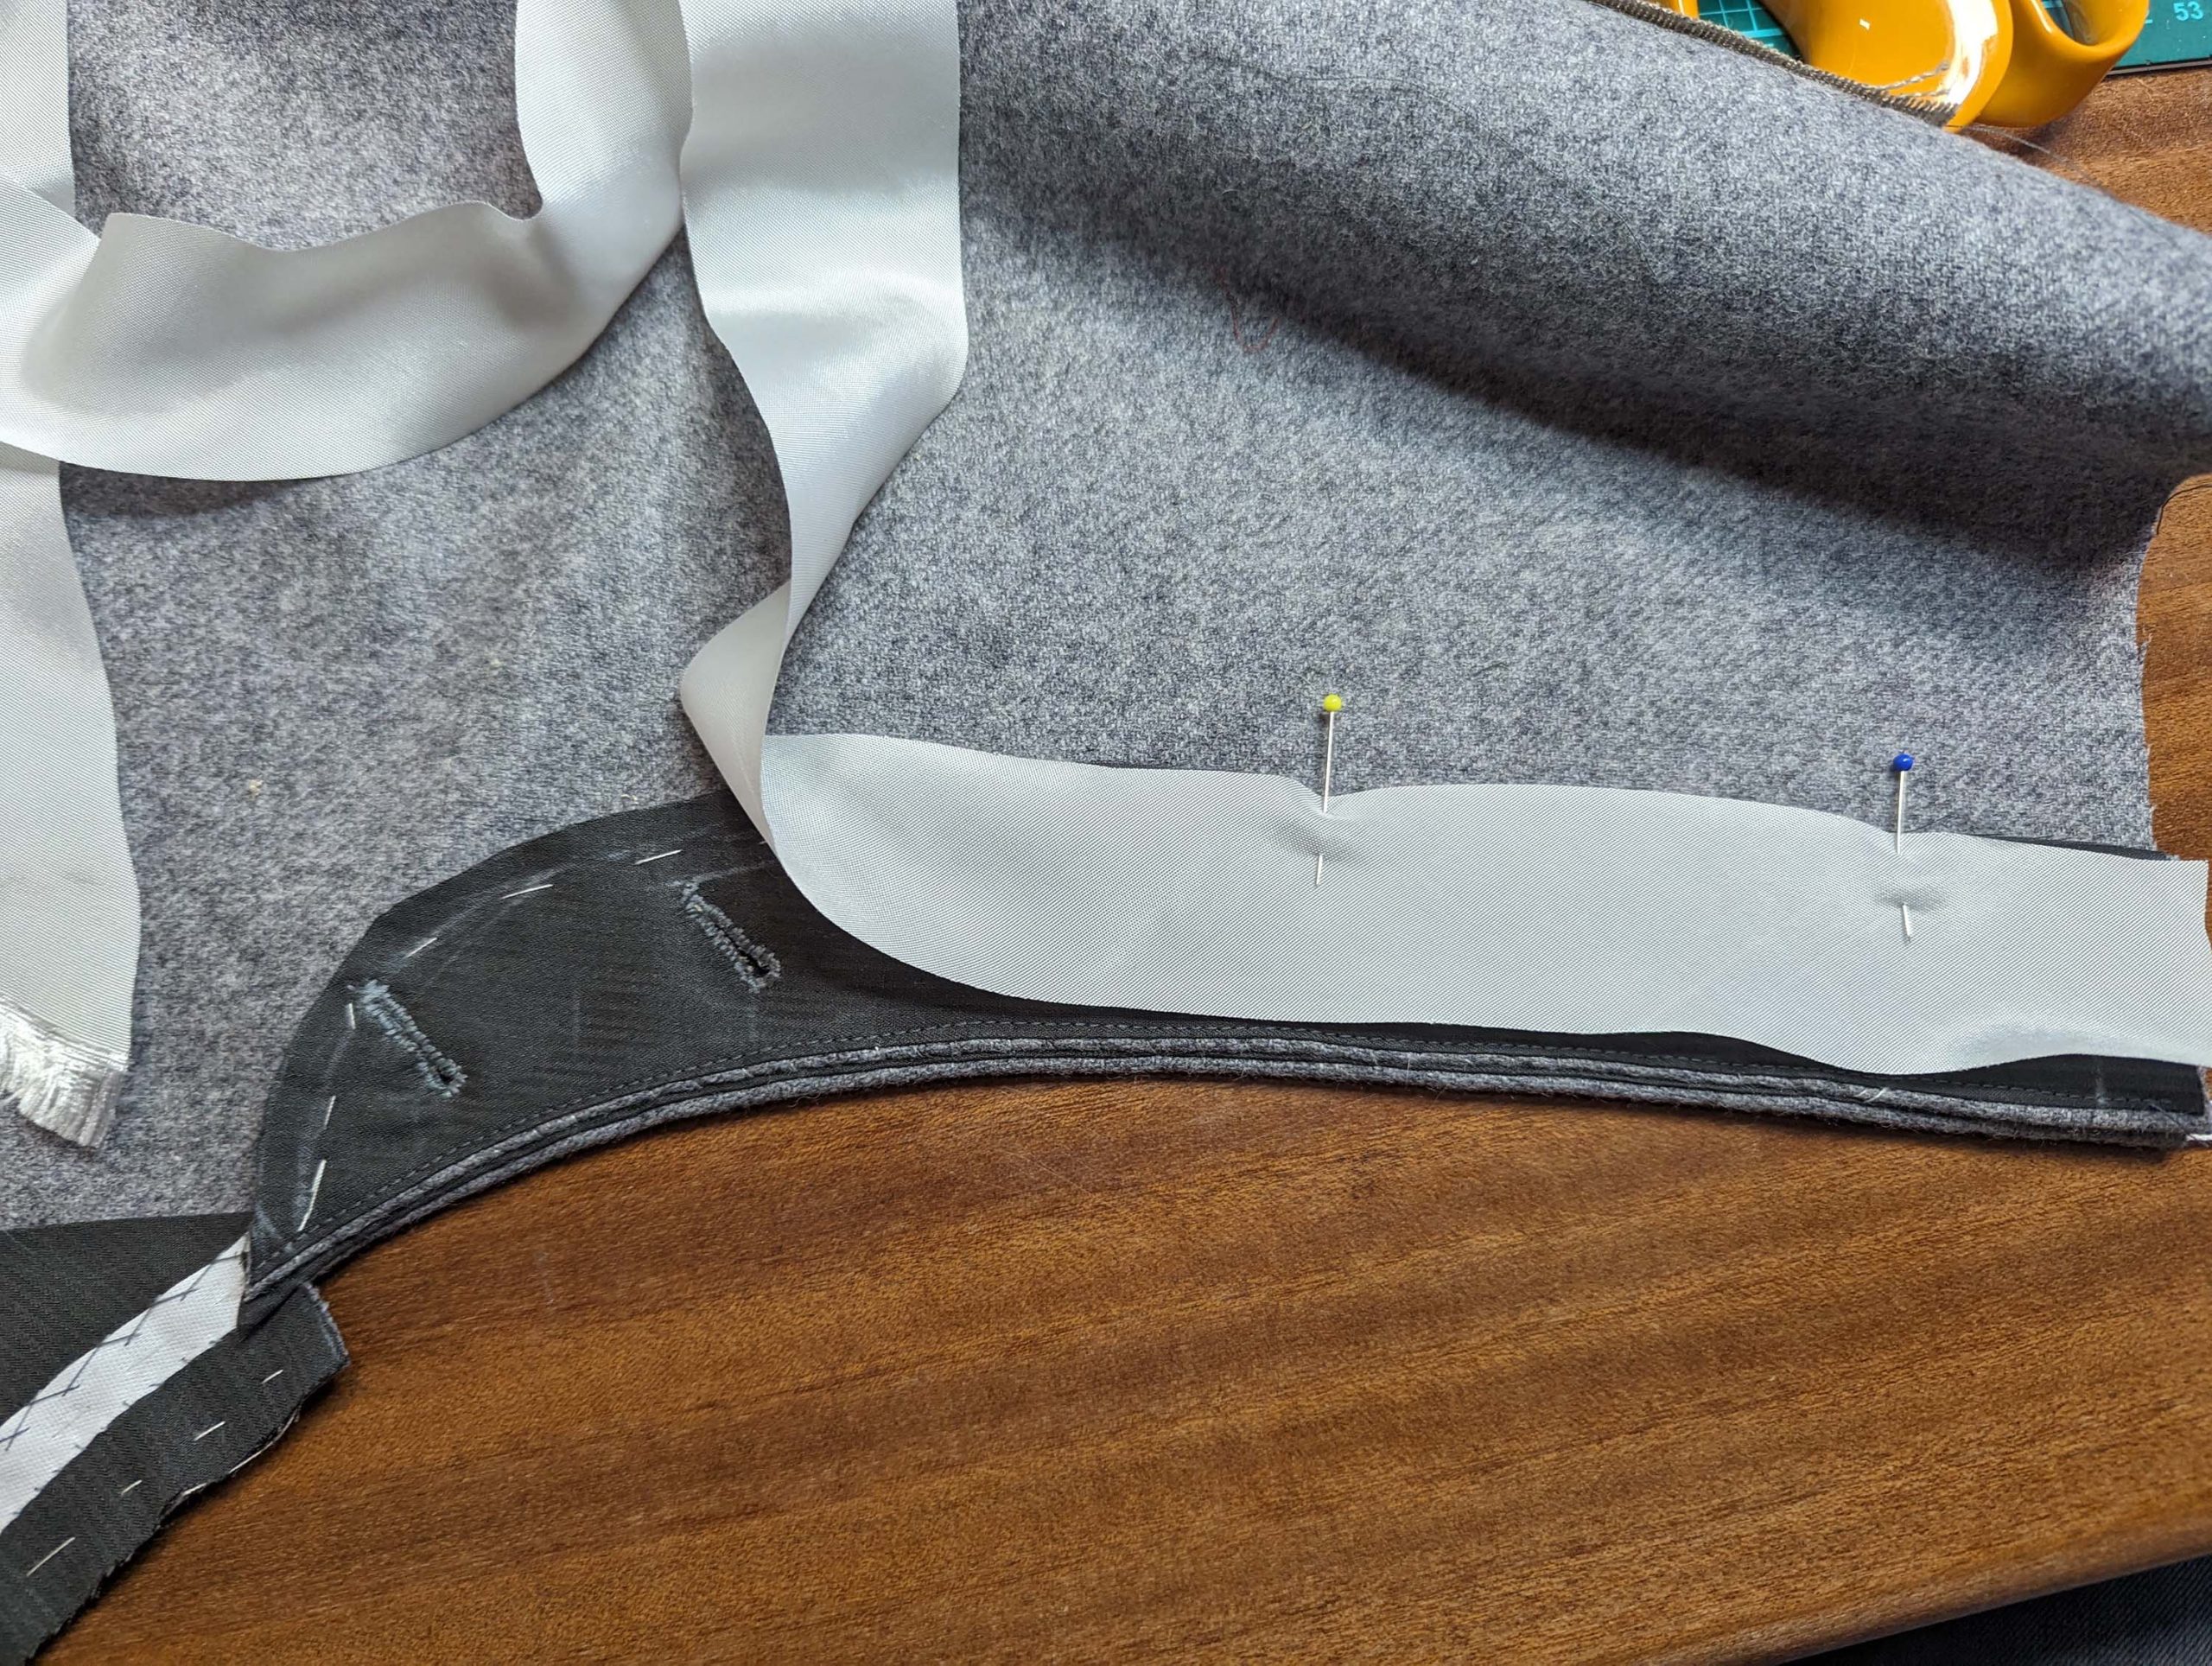
(4) Take the stay tape and press the lower part into a curved shape. Line up with the stitching line of the front edge of the left topside and fell stitch in place along that line, with the stitches barely visible on the right fabric side. Catch stitch to the crotch reinforcement. Line up the fly facing (#3a) with the left front, right sides together and stich from the top until reaching mark (3). Trim back the seam allowance and notch at mark (3) towards the end of stitching, trim back the crotch reinforcement as needed. Turn the facing inside the trouser, wrong sides together. Press the edge, rolling the seamline slightly out of sight towards the garment’s wrong side, and baste in place.


For the fly placket, line up pieces (#4) from the fashion fabric and lining, right sides together. Place the interfacing piece (#4a) from linen (dark grey area) on top of the fashion fabric and baste in place – my interlining could be larger. Sew along the front edge, trim back the seam allowance, and understitch. Turn the right way out and press the edge, rolling the stitching line slightly towards the garment’s wrong side. Sew the five slanted button holes, don’t forget to check the right position before.


Place the fly placket inside the left topside, pushing back the edge of the placket slightly behind the front edge, the right side of the placket faces the wrong side of the topside. Baste in place along the front edge. Mark the desired stitching line of the topstitching and baste along this line, catching just the fly placket and facing. Trim back the seam allowances of the layers, mentioned before, considering a seam allowance of about ¼” (5mm). Line up the bias binding from lightweight lining fabric with the loose edge and sew with that seam allowance. Turn the bias binding around the edge, baste in place, and stitch in the ditch. Trim back the excess fabric of the bias binding and baste the placket to the left topside along the loose edge, easing in the extra width along the curve.


(5) Line up the fly-shield from fashion fabric with the front edge of the right topside and stitch up to mark (3). Trim back the seam allowance, notch at mark (3) and press open. Line up the interfacing from linen (#4b) with the stitching line, covering the seam allowance of the fly shield, and baste in place. Catch stitch to the seam allowances along the seamline. Trim back the seam allowance along the loose edge and turn around the interfacing. Catch stitch to the interfacing only.


Part 2 – Step (6) to ( )