Coming Soon: Spotlight on Pattern #0416 – The Norfolk Jacket! – Part 1 – Considerations

We are thrilled to announce that we’ll reveal our revamped sewing pattern, #0416 – The Norfolk Jacket in just a few weeks. Get ready for an in-depth showcase as we share detailed instructions and everything you need to know to master the art of creating tailored men´s garments. Whether you’re a seasoned stitcher or a sewing enthusiast embarking on a new project, the Norfolk Jacket promises a captivating journey into historical men’s fashion.

In the world of classic men’s clothing, the “Norfolk Jacket” occupies a special place as a jacket for many occasions. Originating as a young men’s jacket in the 1860s, it gained early popularity within the Rifle Corps of the Volunteer Movement and later became a symbol of comfort for country sports like riding and hunting.

As the jacket transcended social classes, it evolved into a versatile garment that was popular with cycling enthusiasts at the turn of the century. Advertising at the time highlighted the jacket’s adaptability, allowing for customization in terms of style and fabric, from tweed to linen.

In the future, we will release an updated version of this pattern, addressing previous shortcomings and offering a more comprehensive guide for sewing enthusiasts. This release will seamlessly blend historical charm with contemporary craftsmanship.

This interpretation of the Norfolk jacket is rooted in the historical patterns found in J. P. Thornton (1885): The International System of Garment Cutting, London. and W. D. F. Vincent (around 1900): The Cutters Practical Guide to Jacket Cutting and Making, London.

Before delving into the sewing process, let’s discuss some key factors about men’s tailoring.

In the world of men’s fashion, the art of tailoring is a step-by-step process, where every stage contributes to the overall quality of the final piece. The result is not just a piece of clothing but a manifestation of skill, dedication, and timeless style.

Embarking on the journey of sewing a tailored garment is an exciting endeavor. While my instructions are designed to guide you every step of the way, it’s important to recognize that it might not be a breeze, especially if you’re new to the craft. Patience will be your greatest ally.

Tailoring demands attention to detail, precision in cutting and stitching, and a willingness to take your time with each stage of the process. Don’t be discouraged by any initial challenges; rather, view them as opportunities to refine your skills and understanding. Remember, every stitch is a step closer to a tailored masterpiece that reflects your dedication and newfound skills.

When choosing fabrics for your jacket, opt for medium-weight wool fabrics with some drape. Additionally, it’s advisable to steer clear of fabrics with intricate checks or patterns, as they can present challenges in pattern matching and alignment, requiring more advanced skills. Starting with simpler, solid-colored wool fabrics will provide a smoother learning experience for beginners.

Creating a mock-up, also known as a muslin or toile, is a crucial step in the tailoring process, think of it as a practice run before working with your chosen fabric. The mock-up allows you to test the pattern for fit, identify potential adjustments, and familiarize yourself with the construction steps.

Choosing the right interfacing depending on the fashion fabric is crucial for achieving the desired structure and finish in your tailored garment. Each component serves a specific purpose in enhancing the overall fit and appearance of the final piece.
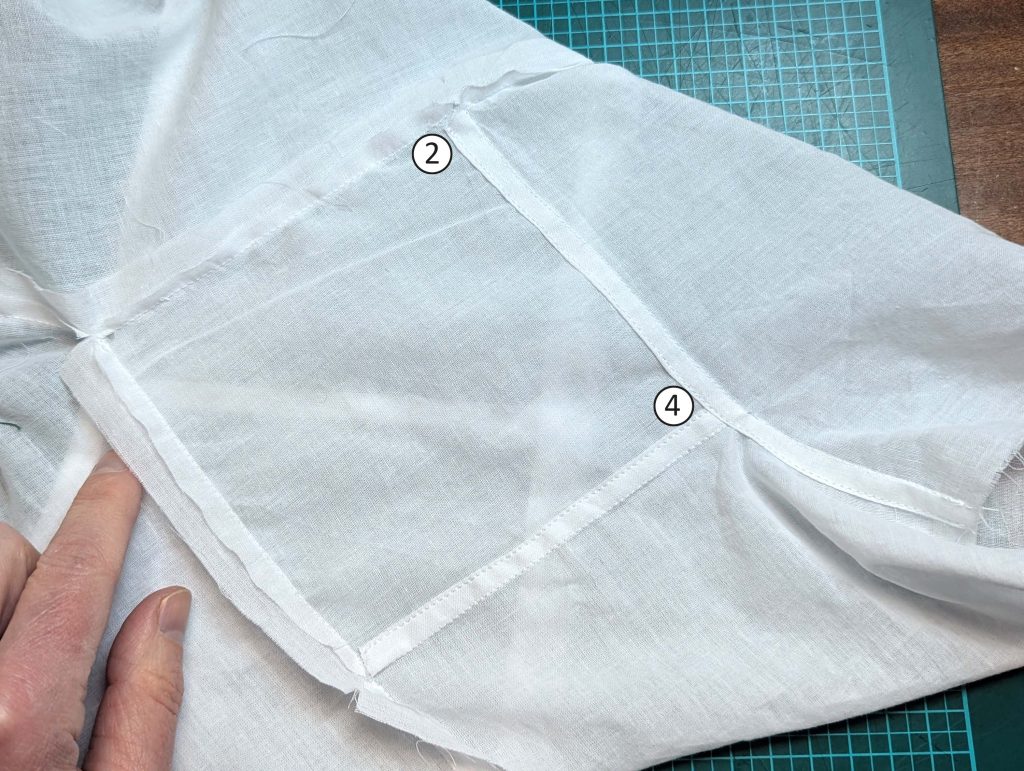
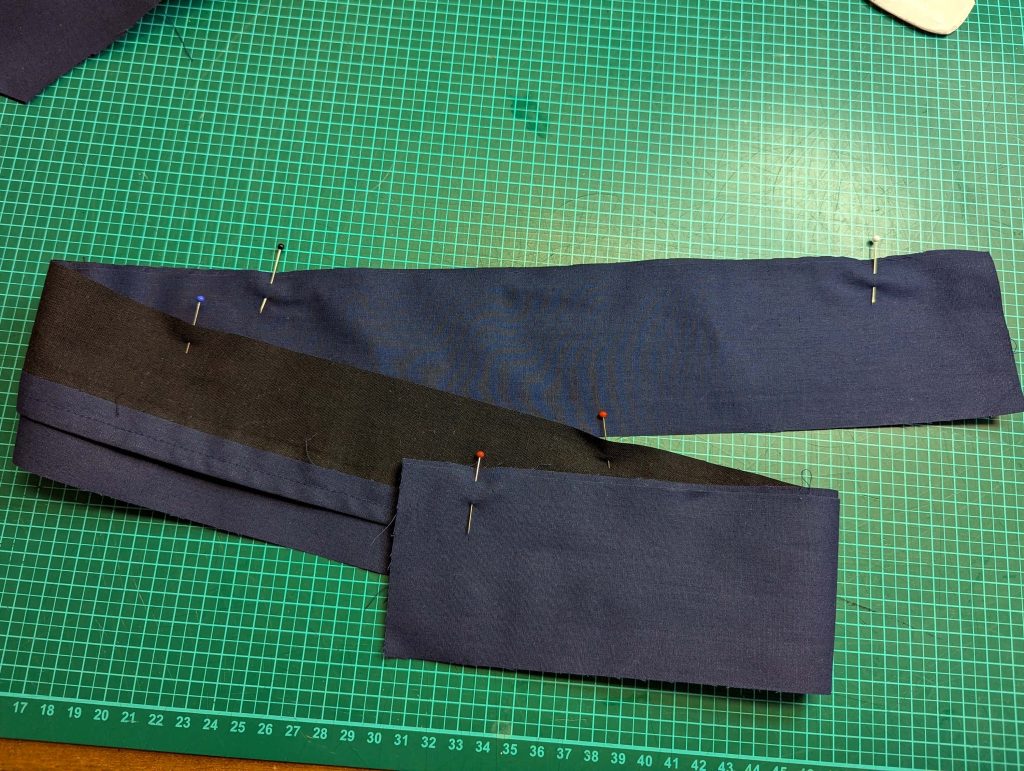
Hair canvas is a traditional and essential interlining used in tailoring to provide structure, support, and shape to various parts of a garment. Hair canvas is typically made from a blend of horsehair and cotton fibers, nowadays, the horsehair often is replaced by synthetic fibers. It comes in different weights, allowing tailors to choose the appropriate thickness for specific areas of a garment. Lighter weights are often used for more delicate fabrics, while heavier weights provide robust support.
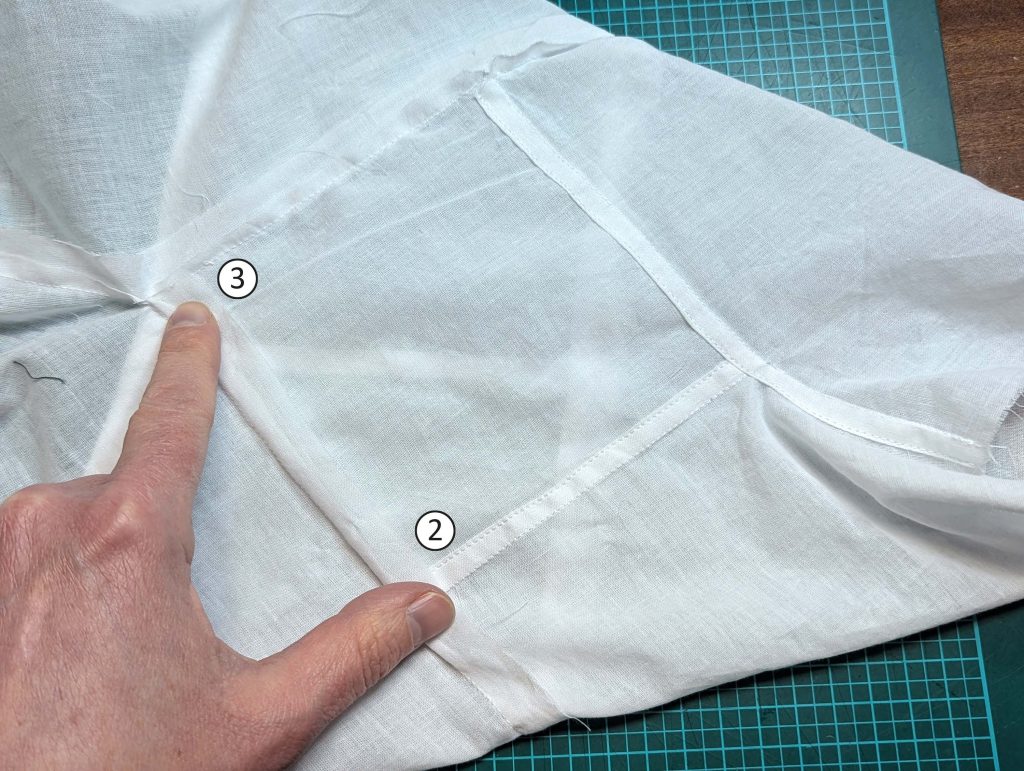
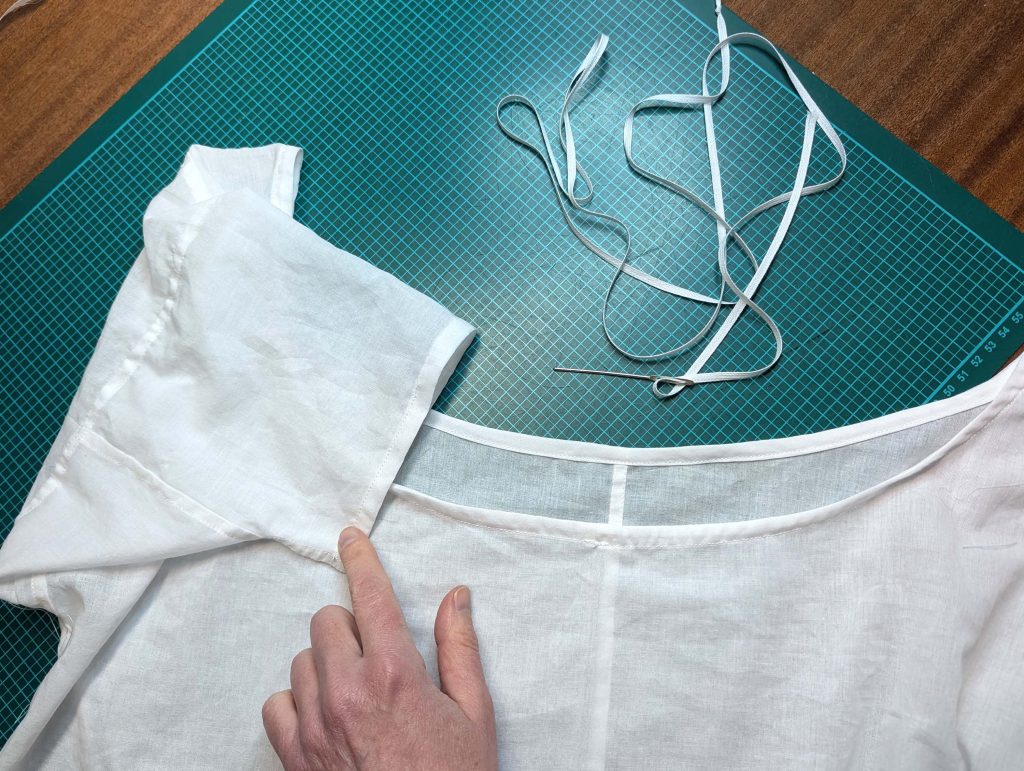
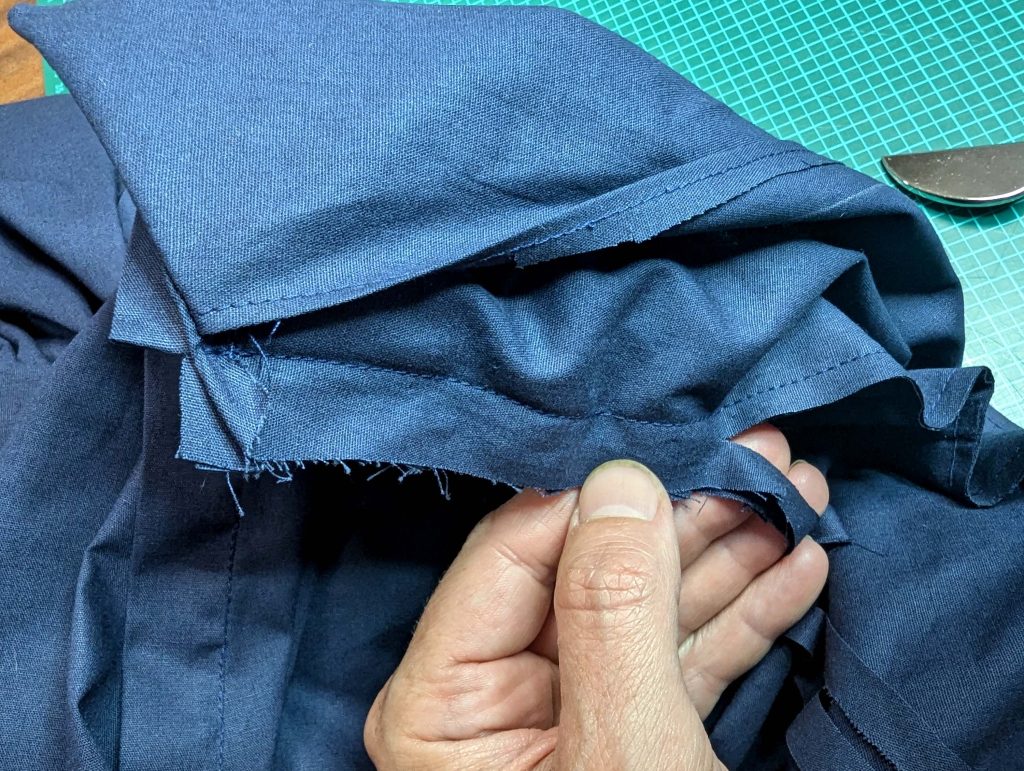
Hair canvas is commonly used in areas like lapels, under collars, front chest panels, sleeve pads, and the sleeve hem. The canvas is pad-stitched to the garment, creating a structured yet supple foundation.

I personally prefer a heavyweight, and stiff linen fabric, replacing the hair canvas in historical garments, that´s what you´ll see later when sewing the jacket.

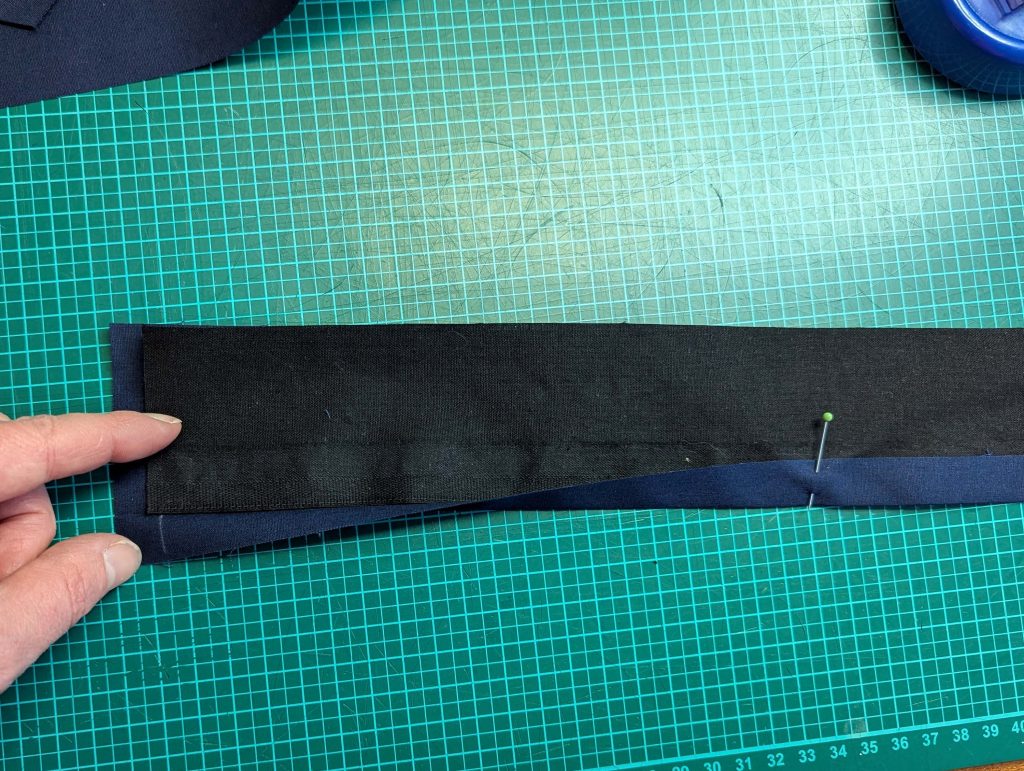
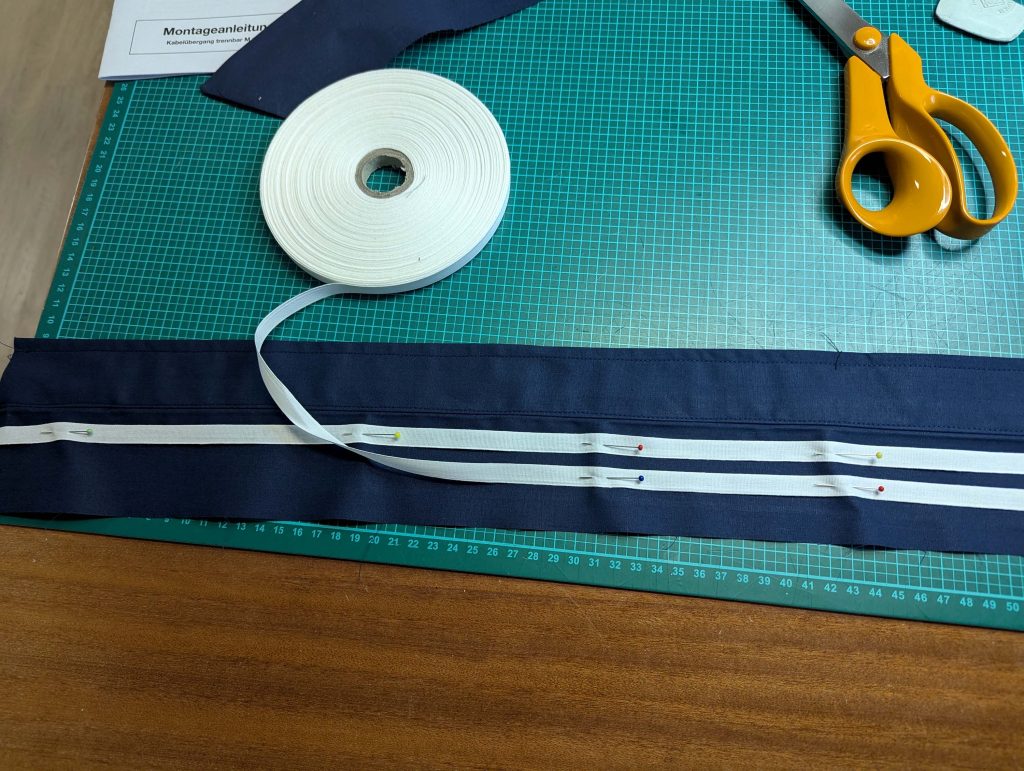
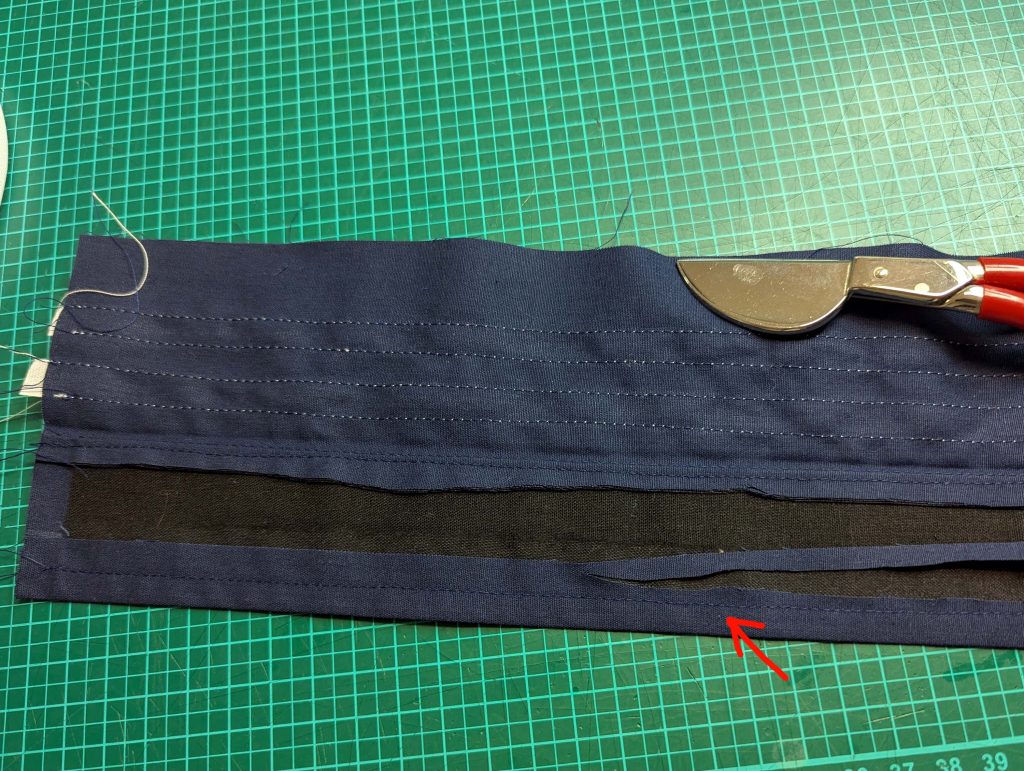
For interfacing the back, pocket, and loop areas, as well as the sleeve head I recommend some light to mid-weight cotton fabric. The same fabric is used for flatlining one layer of the belt.

In the era when the Norfolk jacket design originated, shoulders weren’t supported by the large shoulder pads commonly used in contemporary fashion. However, adding some support to the shoulders is essential to maintain the structure of the garment. To achieve this, it’s recommended to craft your shoulder pads from layers of padding.

Let’s now transition to the practical side of things. As we move through the steps, consider the Norfolk jacket as more than just a project – it’s a bridge between past and present. Each step holds its challenges and rewards, contributing to the final result. So, with an awareness of the journey ahead, let’s start crafting your Norfolk jacket, combining history with creativity, one stitch at a time.

Part 2 – The sewing process – coming soon!

Elegance Continues: The Regency Spencer Jacket inspired by a TV Show – Pattern #0323

The pattern is coming soon….

In our journey through the world of historical fashion, we’ve uncovered the enchanting allure of Regency dresses. However, the story doesn’t end there. To complete your transformation into a character from a Jane Austen novel or the grand ballrooms of Bridgerton, we introduce a perfect companion piece – a Regency Spencer Jacket. This exquisite garment, like the dress, has been meticulously recreated with a historical nod, making it the ideal addition to your Regency-inspired ensemble.

Just as we ventured into the realm of the Empire dress, it’s time to explore the creation of this captivating Spencer Jacket. Following the same commitment to historical techniques and style, this piece embraces the authenticity of the Regency era while adding a modern twist. Whether you’re a seasoned seamstress or a budding costume enthusiast, this blog post will guide you through crafting this elegant jacket with step-by-step instructions and detailed images. So, as we delve deeper into the world of Regency fashion, prepare to embark on another sewing adventure, one that promises to bring the grandeur of Bridgerton and the Regency era to life in your wardrobe.

The time of the Empire/ Regency lasted from 1795 to 1820 and can be divided roughly into three subcategories of fashion styles.

Contrary to persistent fashion misconceptions, such as the ‘muslin disease,’ numerous period fashion illustrations depict an array of coats, jackets, and overdresses in a spectrum of colors and diverse materials, including silk, fabric, velvet, and fur.

A redingote, derived from the English ‘riding coat,’ is a full-length coat crafted from woolen fabric. Redingotes were frequently embellished with braids, imitating the style of hussar military jackets.

A pelisse, on the other hand, is a lightweight coat or overdress that ranges from calf-length to floor-length.

A spencer, a shorter jacket, could feature a peplum or not, depending on the design.

Additionally, individuals of the era often opted for colored pashmina shawls and tunics.

It’s worth noting that these terms were not consistently used in fashion publications of the time and have evolved over the years.

https://www.rijksmuseum.nl/en/search?q=Journal%20des%20Dames%20et%20des%20Modes%20&v=&s=&ondisplay=False&ii=0&p=1

Continue reading

Elegance Revived: A Regency Dress, inspired by a TV Show – Pattern #0223

Purchase pattern #0223 here

The world of historical fashion undoubtedly exerts a timeless allure that stimulates our imagination. For all those enchanted by the magnificent gowns and exquisite ensembles of the TV series Bridgerton, my sewing pattern allows everyone to fulfill their desire for a dreamy dress themselves.

Originally, I had crafted the dress in black for the Wave Gothic Festival in Leipzig. However, I have now revamped it in a colorful style reminiscent of Bridgerton. The instructions still adhere to historical techniques, but the dress can be sewn as much as possible with a sewing machine and closed at the back with a zipper instead of hooks and eyes.

The tulip sleeves are not typical of the Regency/Empire era, however, they are an important stylistic element of the dresses of young women featured in the show. The first tulip or petal sleeves can be seen on extant dresses from the 1850s.

https://www.metmuseum.org/art/collection/search/108118

Let’s dive into the world of hand-sewing a dress! Back in those times, garments were typically sewn with white thread. I didn’t have a matching silk thread at home, so, in keeping with historical accuracy, the entire dress was sewn with white thread.

Continue reading

1016 The new Turtleneck Bodice – View B front closure

Let’s proceed with the front closing bodice, as it´s naturally easier to wear and to put on and take off, only an Edwardian bodice requires a sophisticated multi-layered closure due to its construction technique.

(1) Same here, make a mock-up and transfer any changes to the sewing pattern. Cut all the pieces from the fabric and the lining, as indicated on the pattern and cutting diagram for the front closure, and transfer all marks exactly.

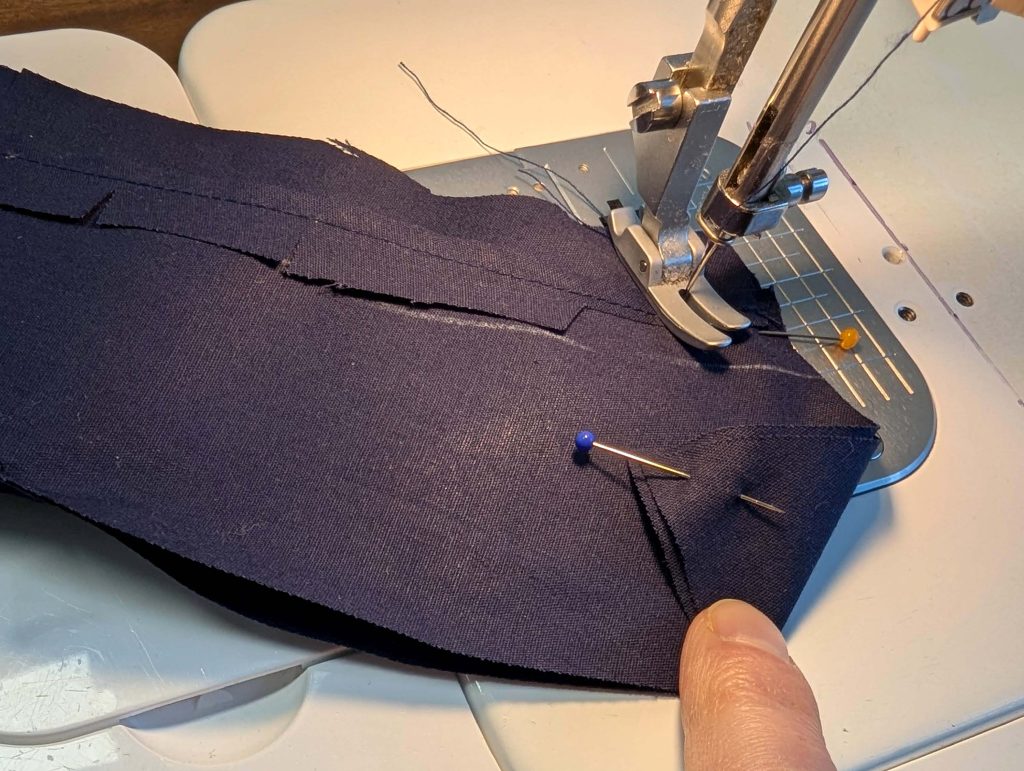
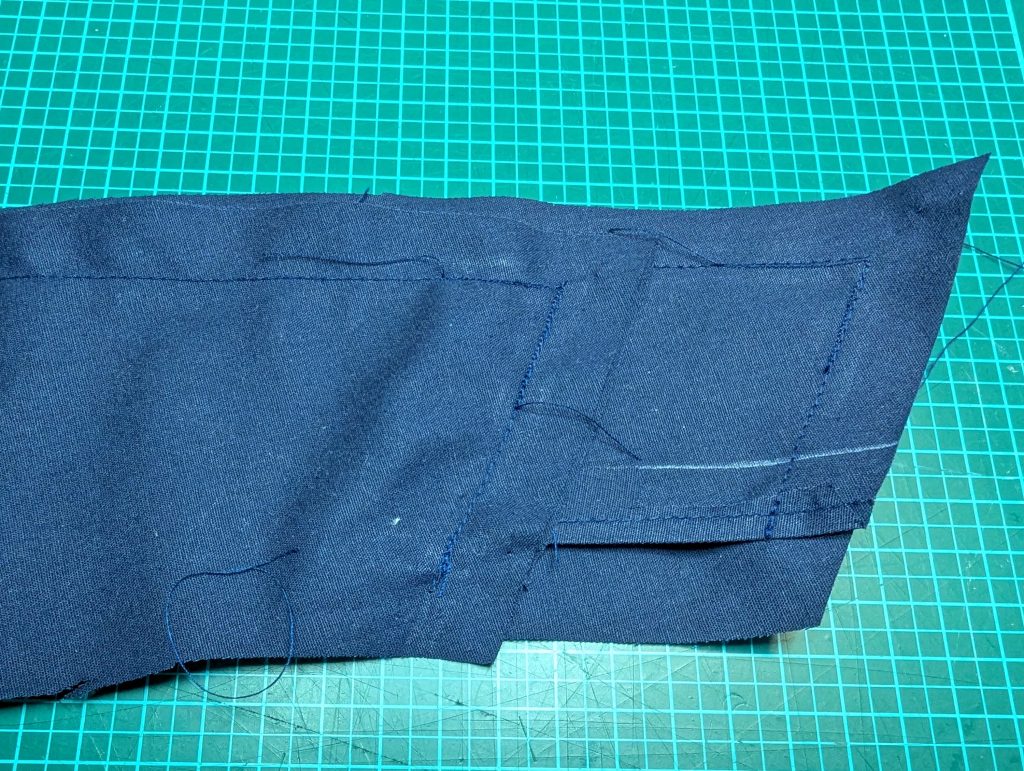
(2) Take the front from the lining, and line up the front-facing, right sides together. Stitch down the front edge, trim back, and understitch the seam allowances. Turn in the seam allowance of the facing along the loose edge.  On the right side, fold the facing and front wrong sides together, and stitch down the facing along the loose edge. On the left side, fold the facing right sides together, turn the seam allowances of the front edge towards the facing, and sew from the front edge until reaching the end of the facing b. Clip the seam allowance towards the end of the stitching and turn the right way out. Stitch down the loose edge of the facing. Sew the darts, and press towards the side seam, reducing the stitch length at the point.

Continue reading

1016 The new Turtleneck Bodice – View A back closure

The original design, named the Turtleneck Dress, pattern #0916, contained the skirt and the blouse. I think it gave the impression to be too complicated to be sewn easily. The fact was that few people were interested in that pattern, although it offered a lot. For some years I was thinking of just dividing the pattern into skirt and top, but I wanted to add something extra and new, especially since the skirt seemed too simple and the back closure of the top was not suitable to be dressed alone. So time flies and at some point, the ideas come by themselves.

The new pattern #0916 now offers the skirt in two variations and the top, now numbered #1016 with an extra option for front closure.

Let´s start sewing! Grab your pattern here in my shop.

First I´ll just start with the original bodice, closed at the back, the View A as shown in the title picture. I´m sorry to show fewer pictures of the sewing of that bodice as I made the dress back in 2015/16. Maybe I´ll do a remake of the back closing bodice soon, just running out of time as always…

Continue reading