
This is the side seam, the seam allowances already pressed open and notched toward the end of the seam. You can see the pressed fold on the front skirt piece, the side seam and waist seam meeting at mark (3) on the sewing pattern. Next step would be closing the fold along the edges and press again
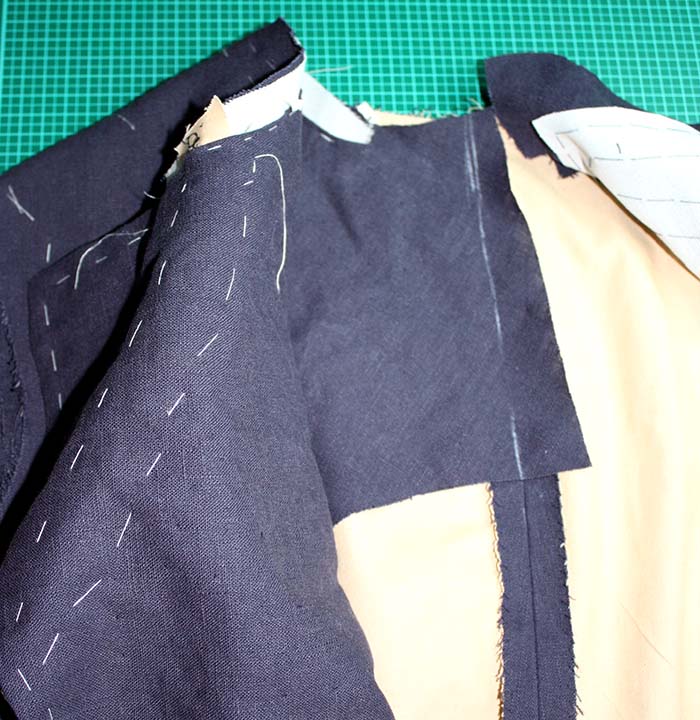
The shoulder seam with the seam allowance pressed open, the interfacing will be place on top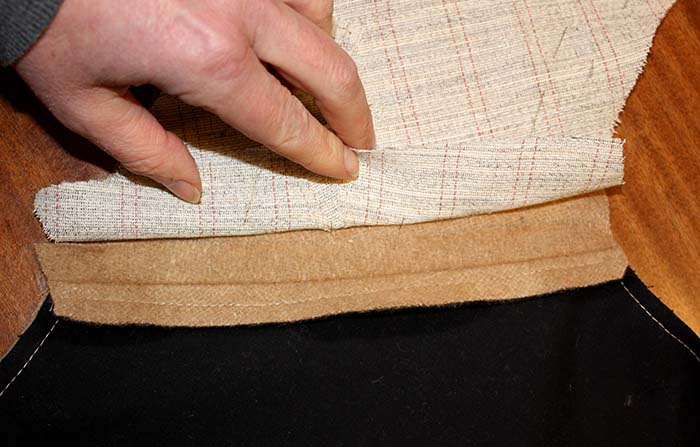
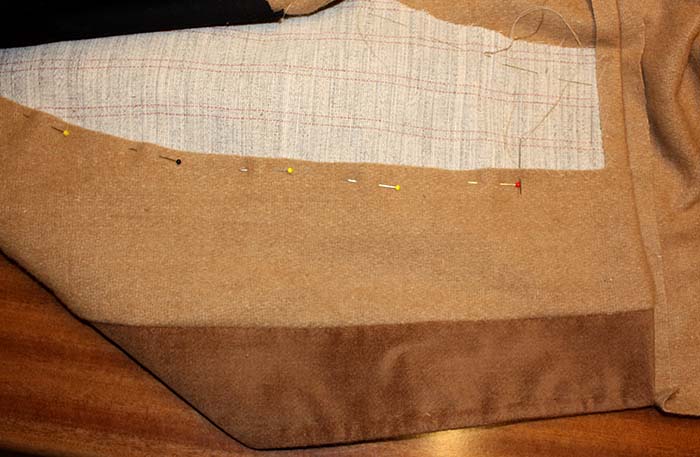
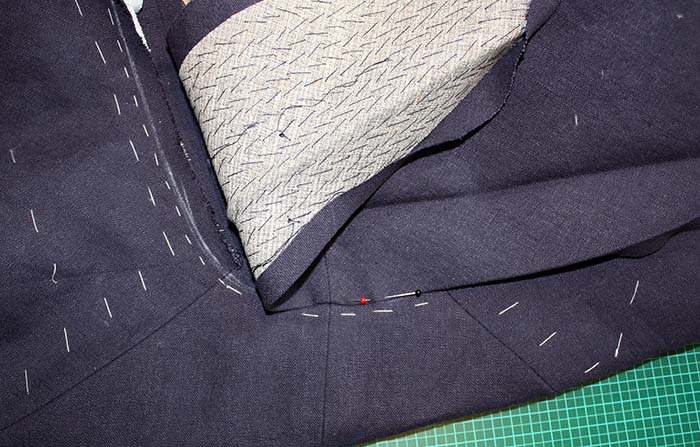
The loose edge of the front facing is attached to the lining with loose stitches. Along the neckline the seam allowance of the front facing is turned in, trimmed and notched if needed, and basted along the stitching line. Once again a pic of the Tailcoat.
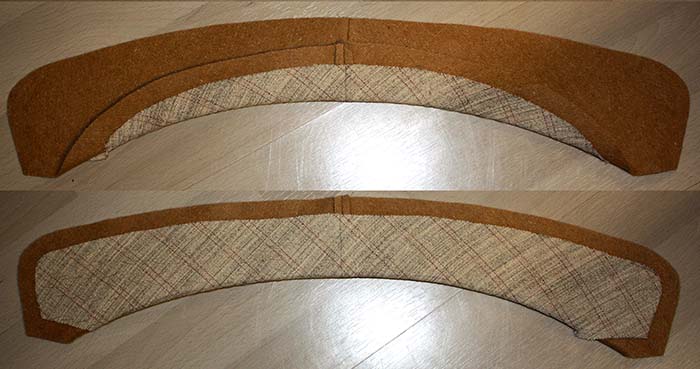
The ready padded under collar, sorry, but once again you barely can see the padding stitches. Good to see is the pressed roll line. Once again a pic of the tailcoat, how to attach the under collar. Using a thick and non fraying fabric it would be better to cut off the seam allowance along the bottom edge. The collar would be attached with a felling stitch, simultaneously overcasting the bottom collar Edge.
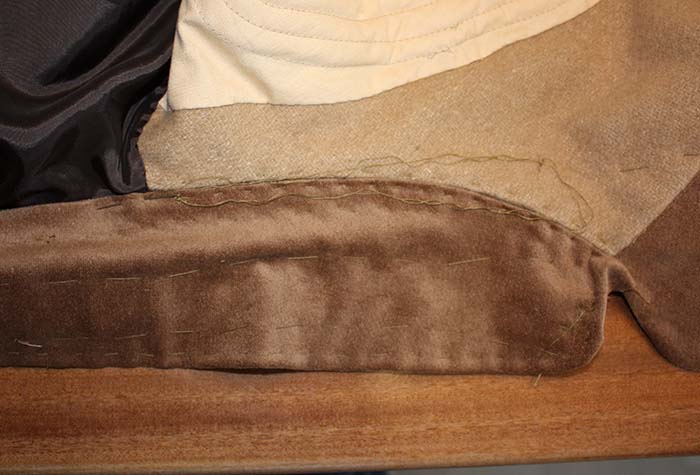
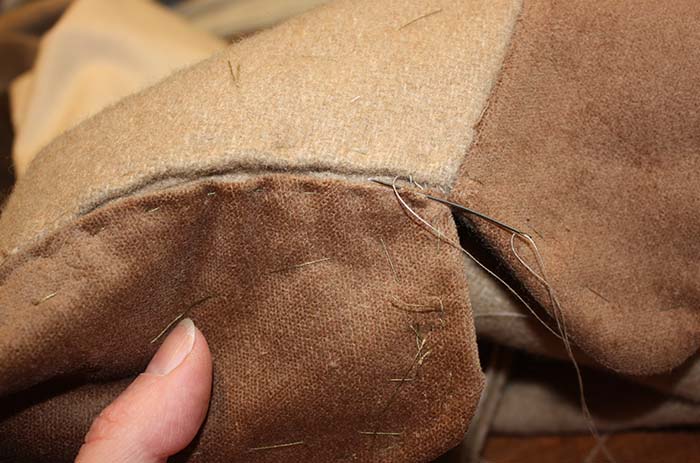
To attach a velvet top collar I´ll show you a different technique than described in the sewing instruction. First step is to cut off the seam allowances of the under collar along the outer edges. Place the top collar on top, wrong sides together, and baste. Take care your top collar piece contains enough seam allowance all around.
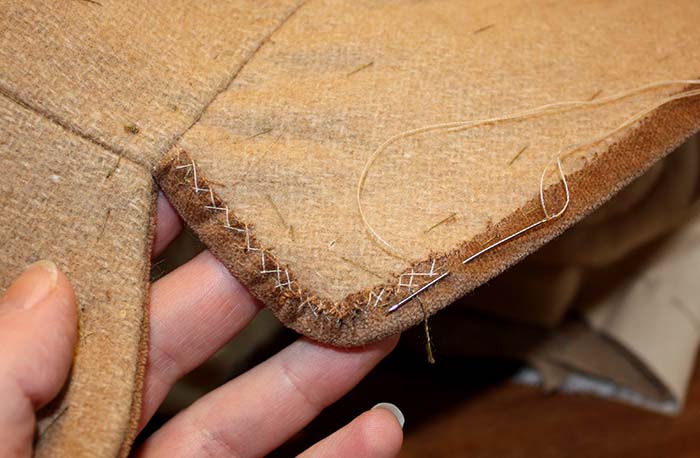
Turn in the seam allowance of the top collar along the bottom edge and baste in place carefully. Trim back the seam allowance along the outer edges to 3/8” and fold around the under collars edge. Attach the top collar to the under collar with a catch stitch.
Sew together the top collar and front facing with a small and invisible ladder stitch.
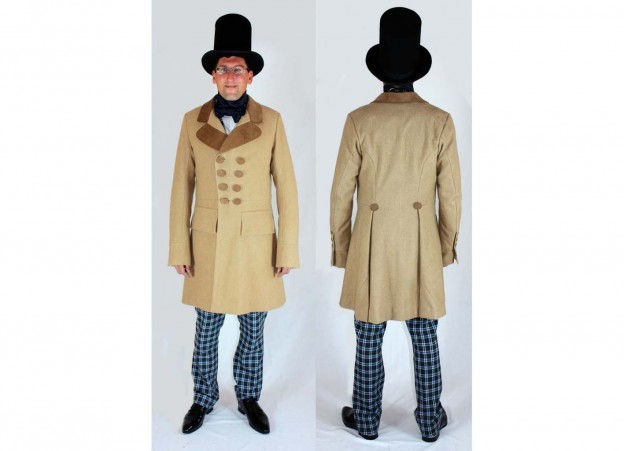
This is how the Coat should look like before sewing the sleeves.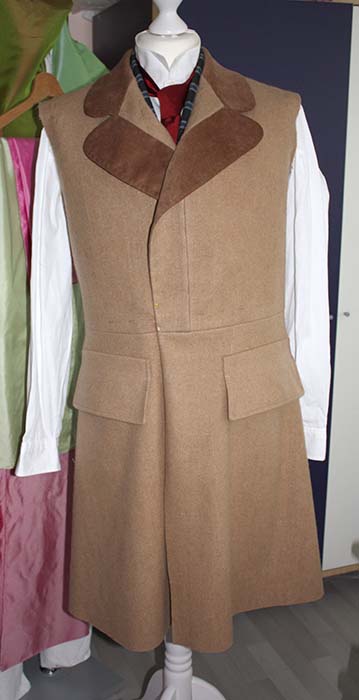 Part 3