Part 1, Part 2, Part 3
(17) Line up the under collar pieces, right sides together and sew along the center back. Trim back the seam allowances and press open. Place the canvas on top of the wrong side of the collar. I made my canvas from two pieces, better would be one as described in the instructions. Mark the seam and roll lines on the canvas. Start pad stitching in longitudinal rows below the roll line. Continue above, as shown while shaping the collar over your hand´s edge. Press the under collar, stretching the top and bottom edge while pressing. Fold and press along the roll line.
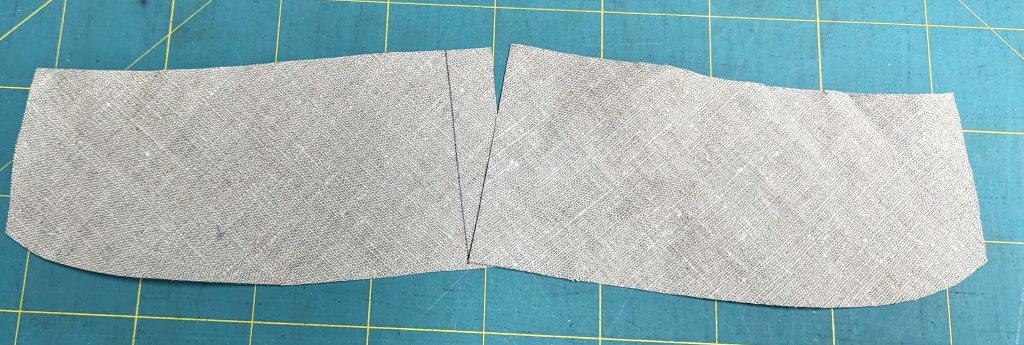
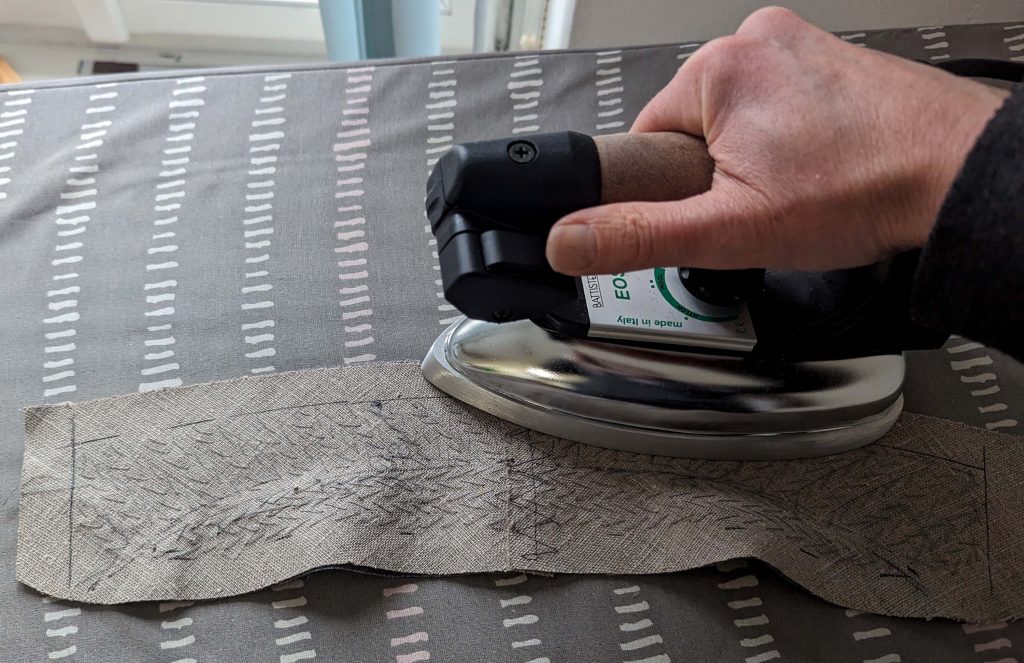
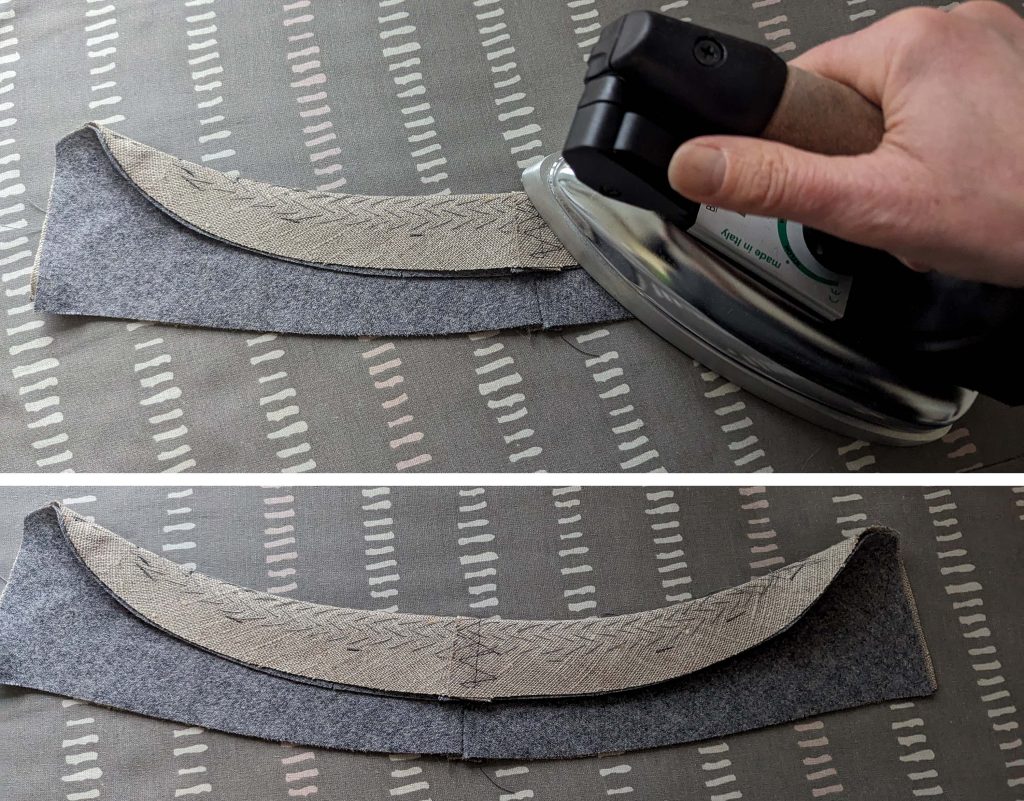
Trim back the canvas slightly behind the seamline, turn in the seam allowance along the bottom edge, and press, baste in place, and mark the collar notch.
Pin the undercollar to the jacket along the neckline, matching seams and collar notches and easing in the excess width. Baste in place, and fell stitch the collar to the jacket, starting and ending exactly at the collar notch.
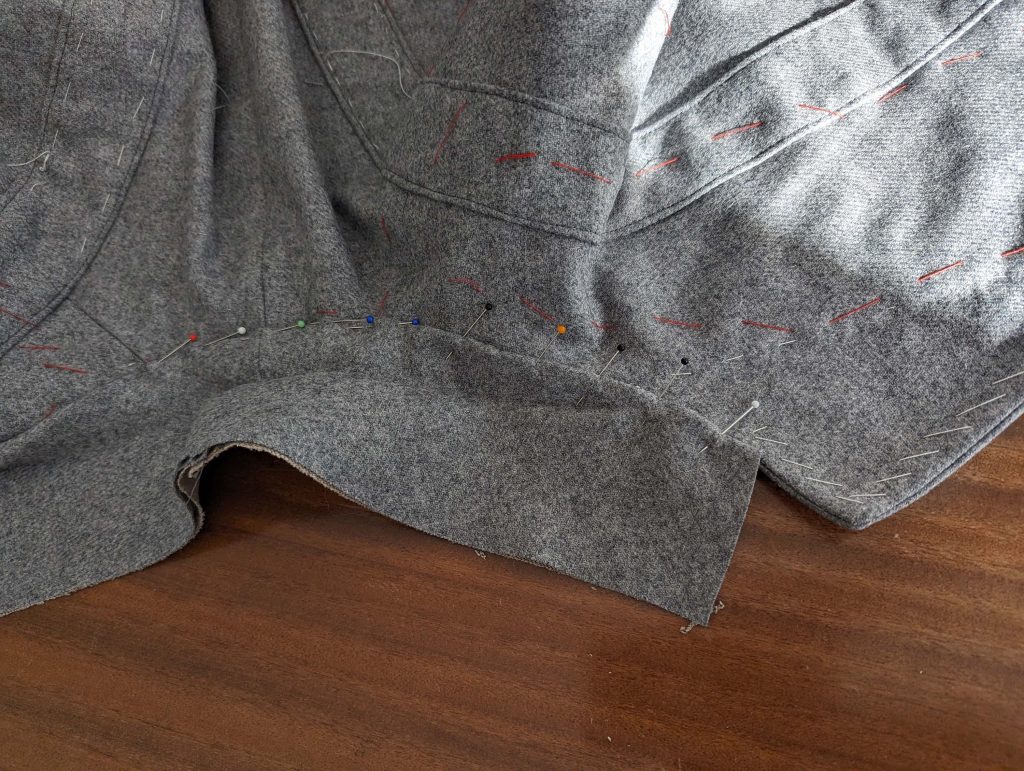
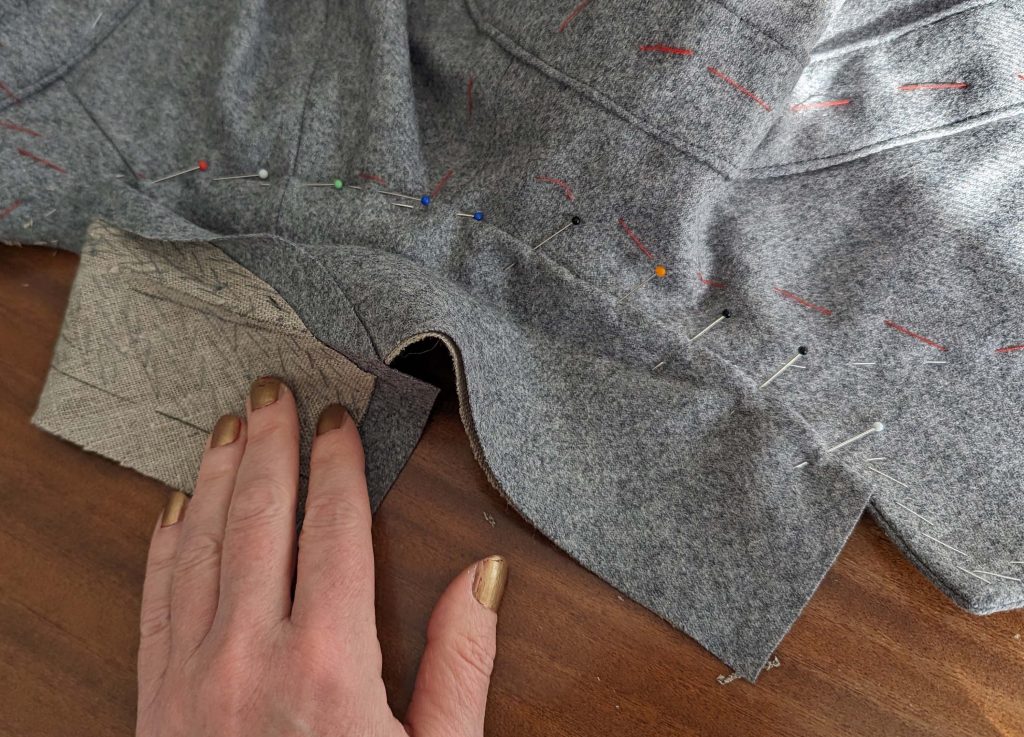
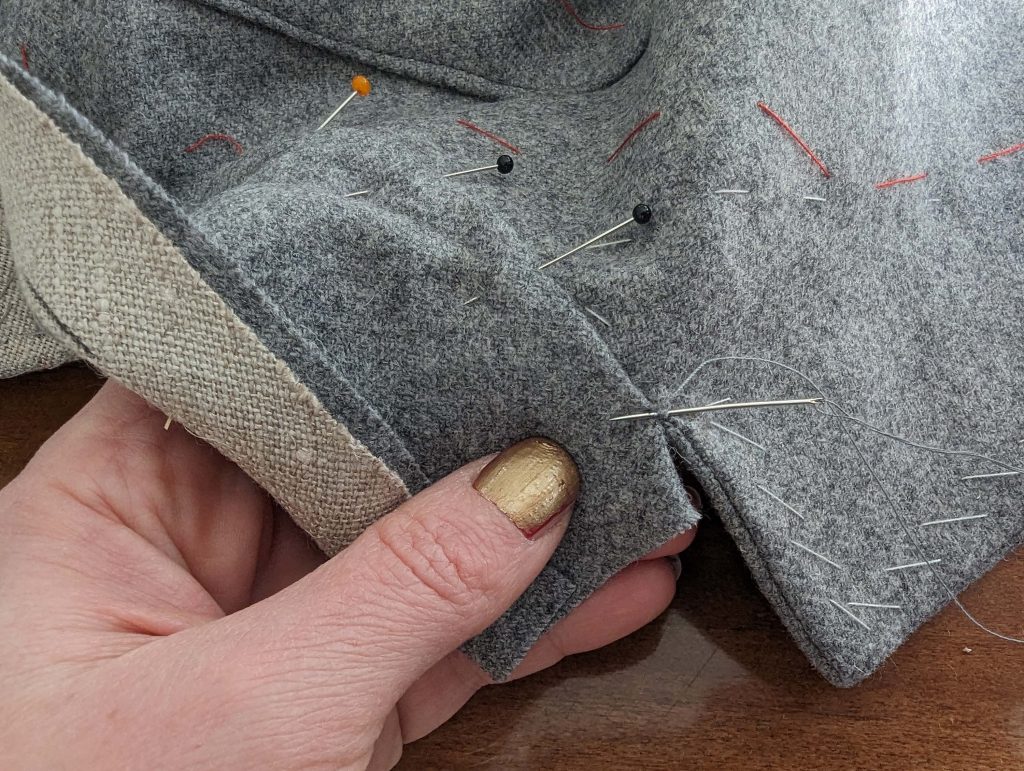
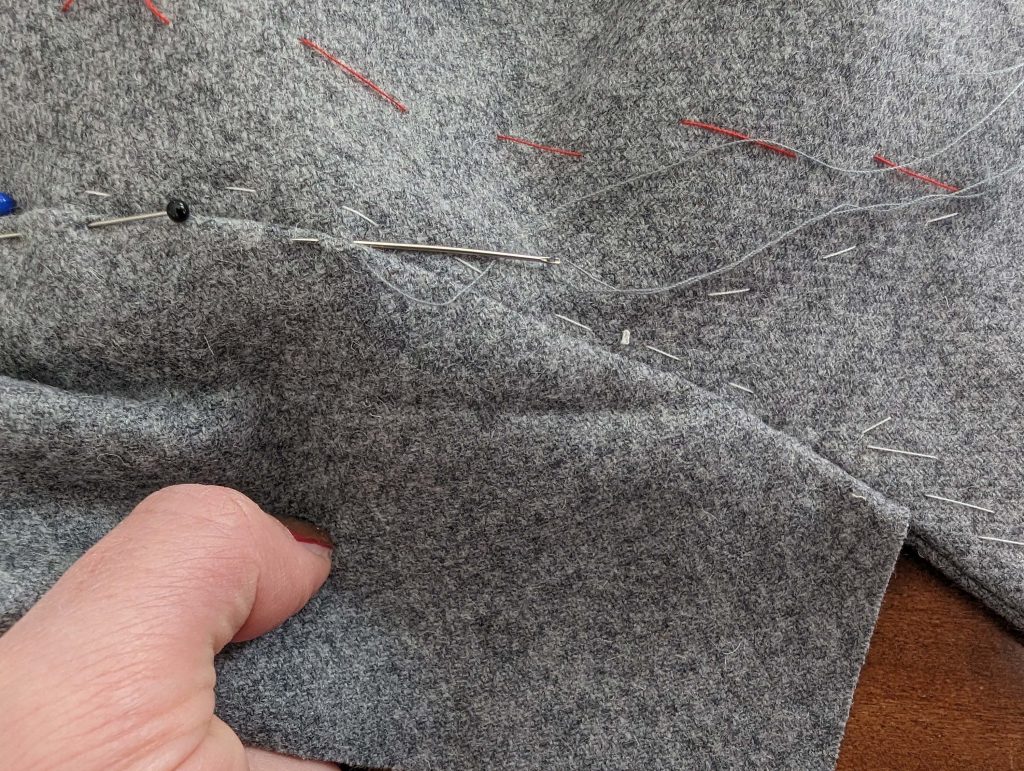
Place the jacket on the table with the wrong side up and catch stitch the seam allowances of the neckline to the collar canvas, clip and trim back the seam allowances if necessary to lay flat.
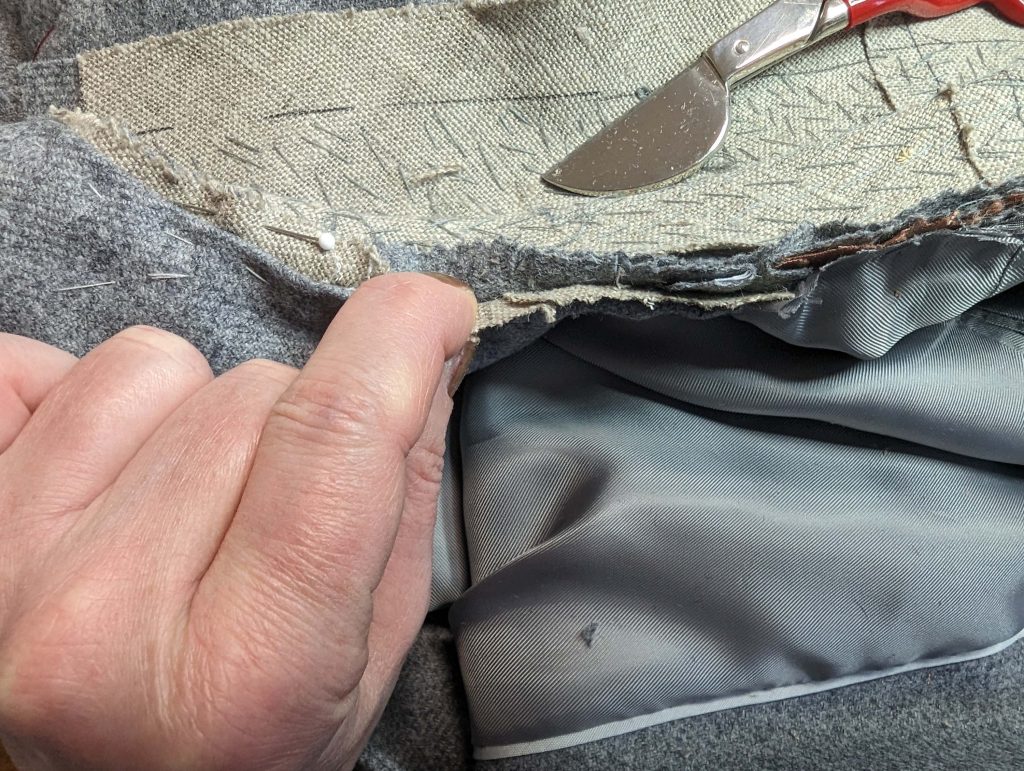
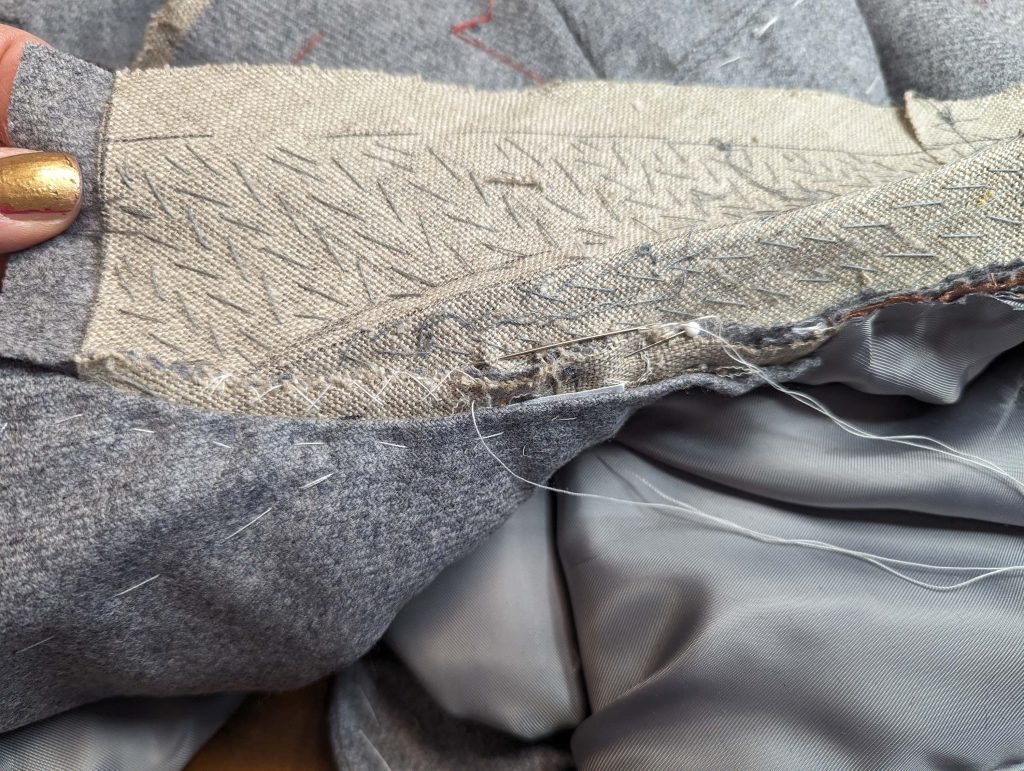
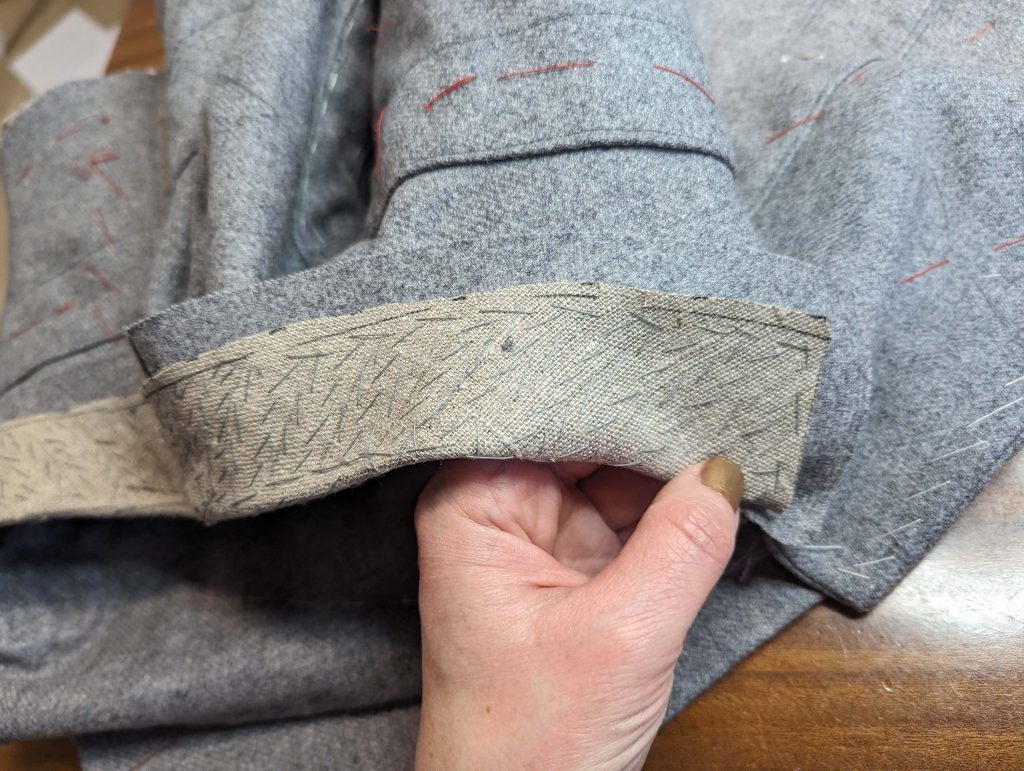
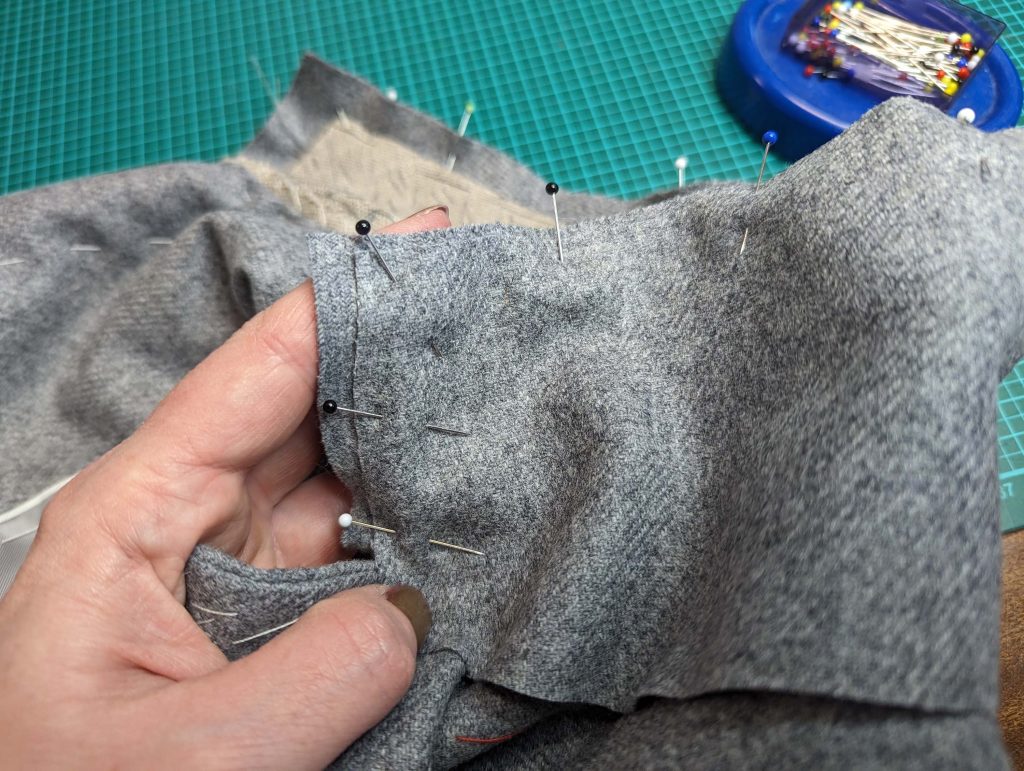
Take the top collar and stretch it along the top edge, giving that edge a bit of a curved shape. Let it cool down before you line up the top collar with the under collar, right sides together. The turn of cloth had been taken into account when patterning, just take care, that the undercollar was stretched as well and cut on the bias. So, you´d maybe need a bit more ease, simulating the rounding of the neck, and turning down the points while pinning. I needed some more width than given in the original pattern piece.
With the undercollar up, sew from collar notch to collar notch, without catching the seam allowances. Reduce the stitch length at the corners and sew a second time with the top collar up, correcting any uneven stitches.
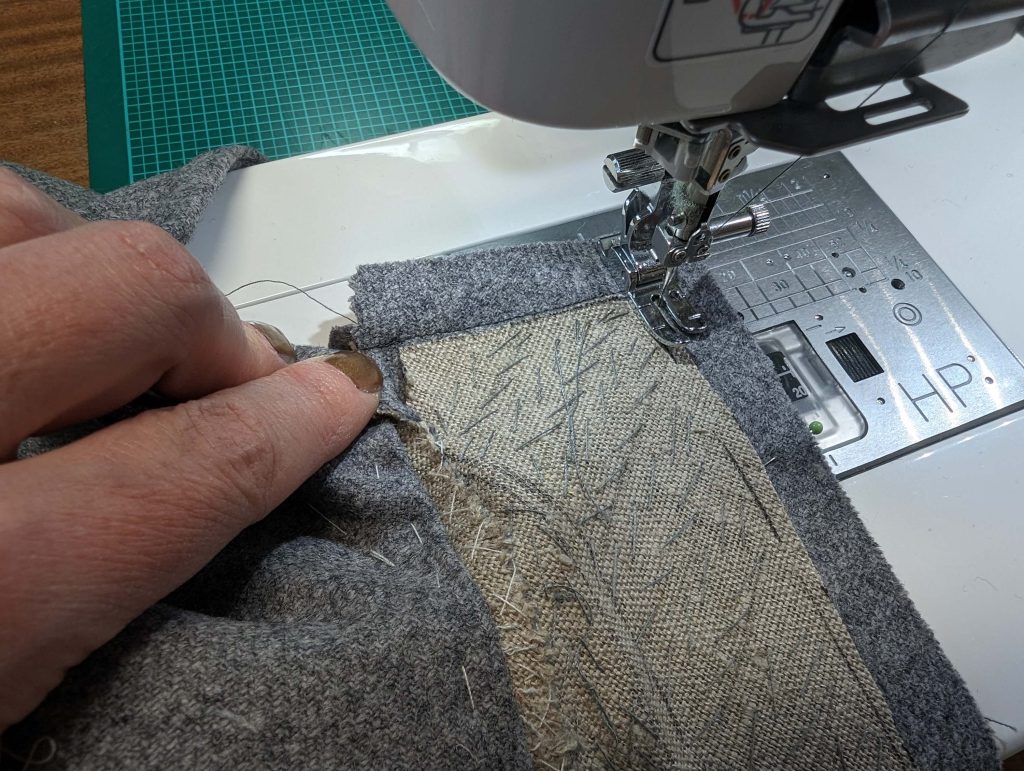
Trim back the seam allowances to ¼” (7mm), and notch only the seam allowance of the under collar at the collar notch. Fold the seam allowances towards the canvas and catch stitch to the canvas in the same way as you did at the lapel. Turn the right way out and press, rolling the seam slightly out of sight toward the garment’s wrong side. Baste along the edges to hold in place.
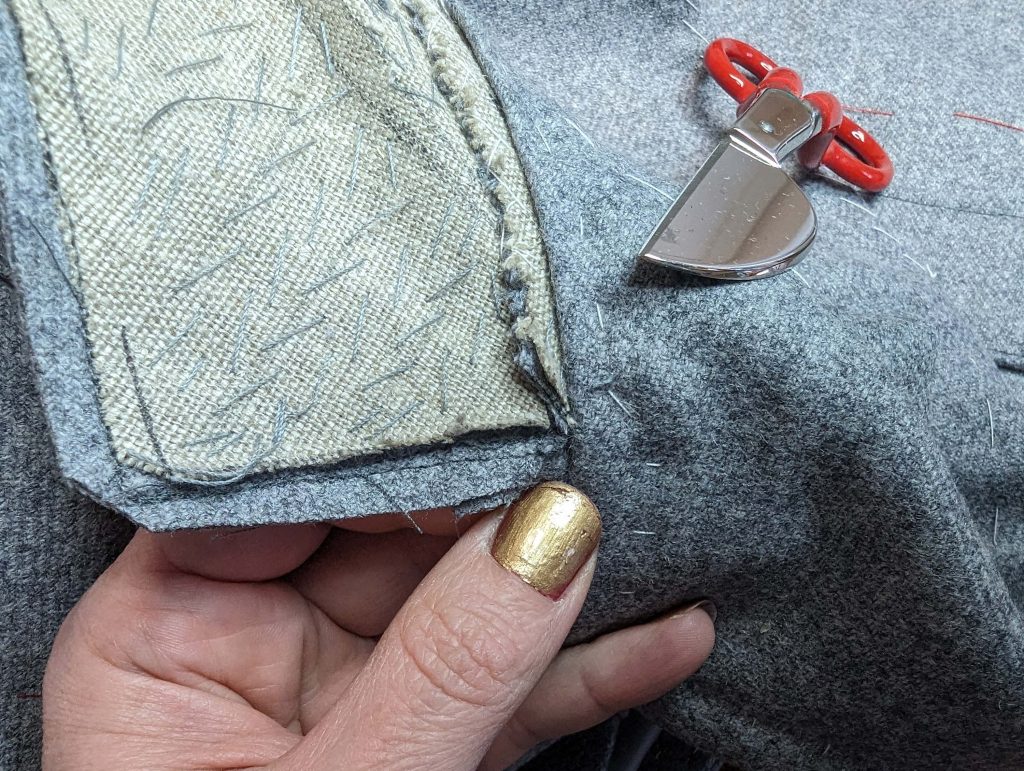
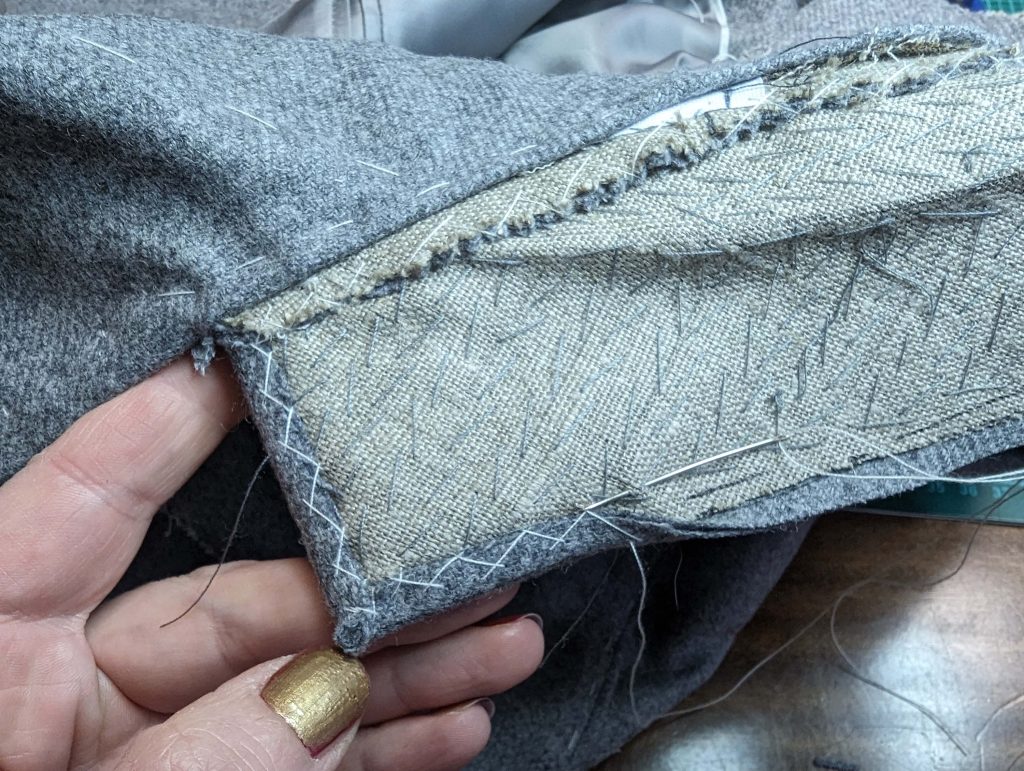
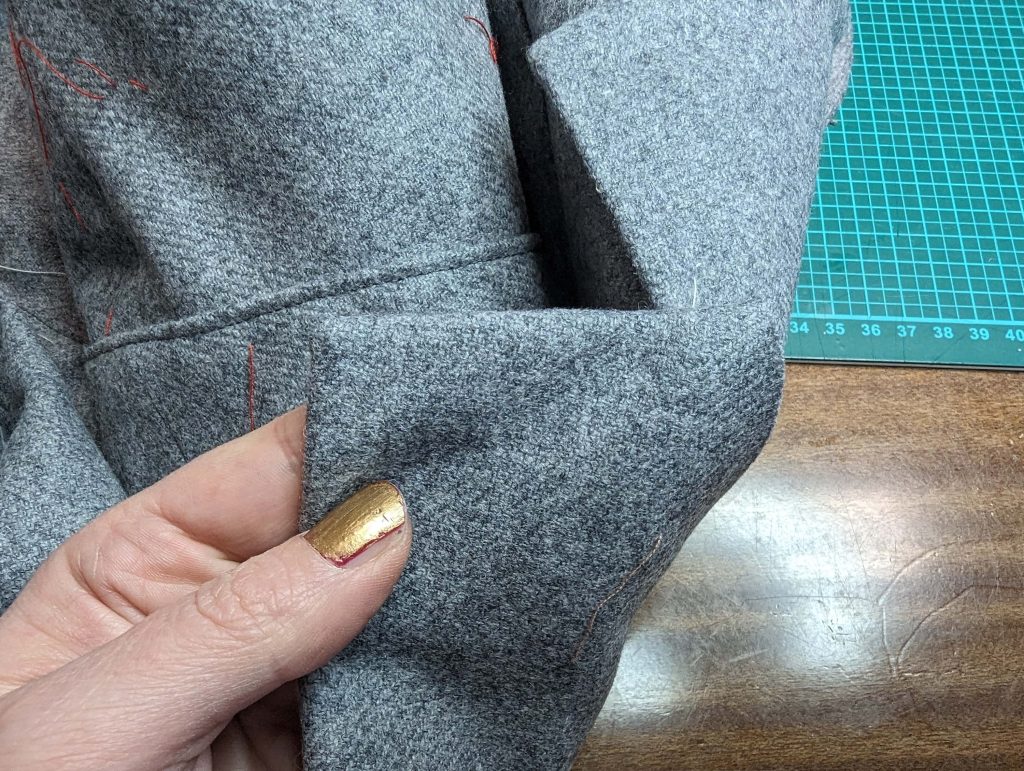
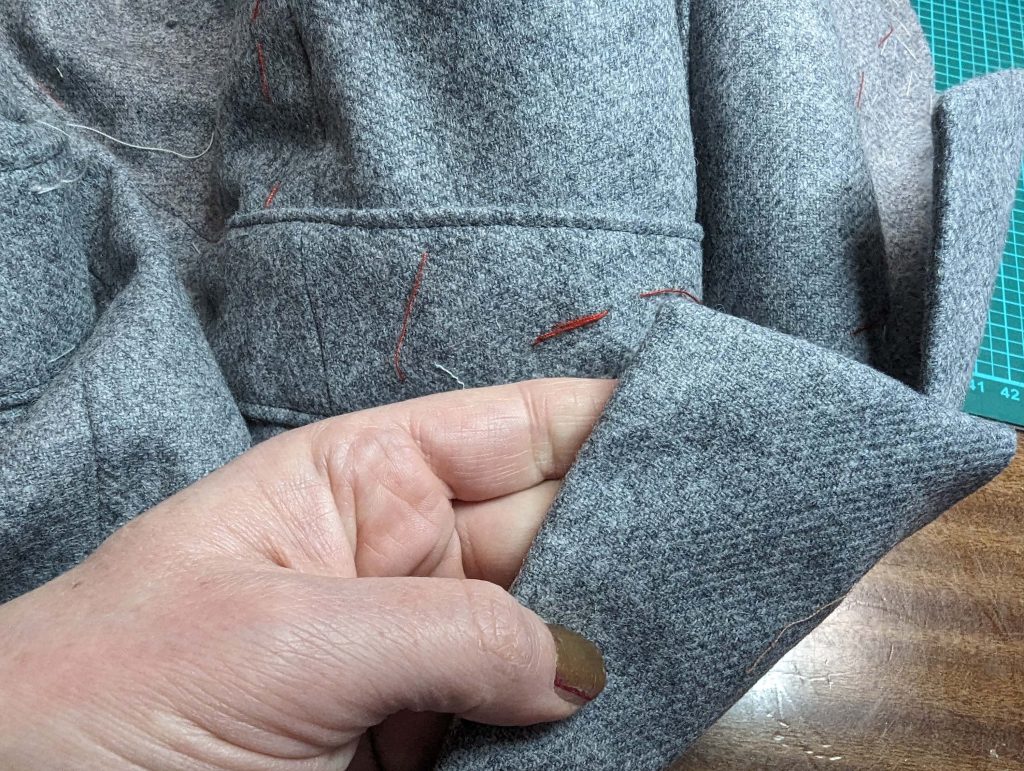
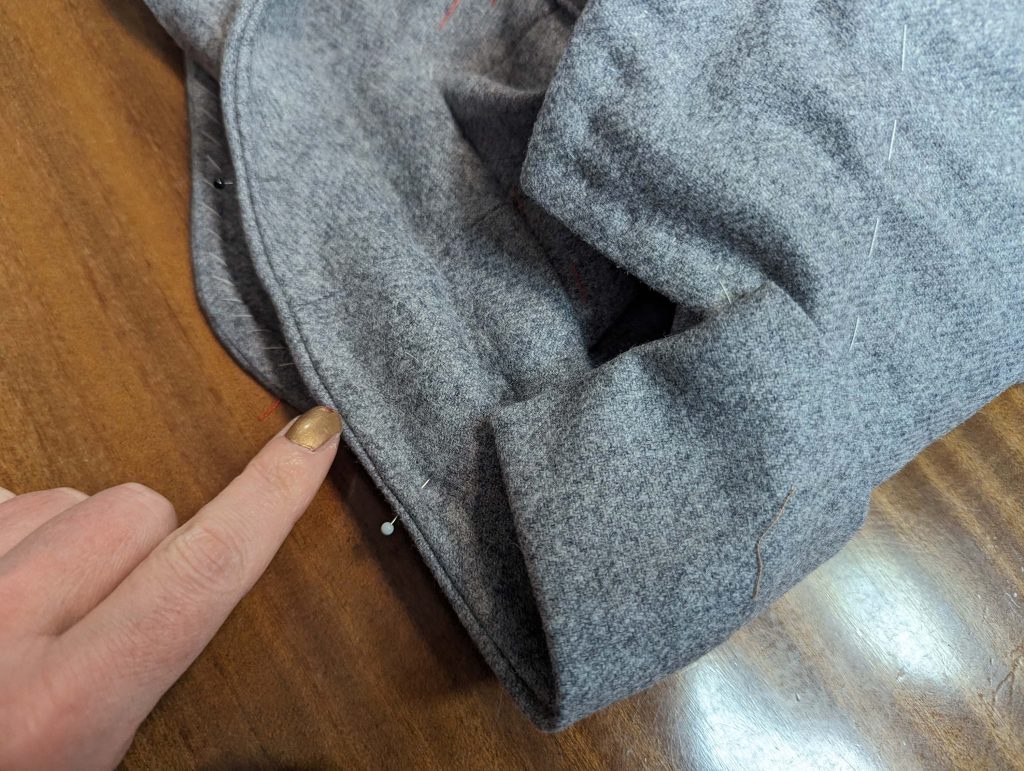
While simulating the curve of the neck and the width needed for the turn of cloth at the roll line, baste along the roll line. Turn in the seam allowance along the bottom edge, and trim back to about 3/8” (1cm), baste in place. Sew the crotchet seam (between the collar and facing) with an invisible ladder stitch. At the back portion of the neckline, stitch down the collar with a felling stitch.
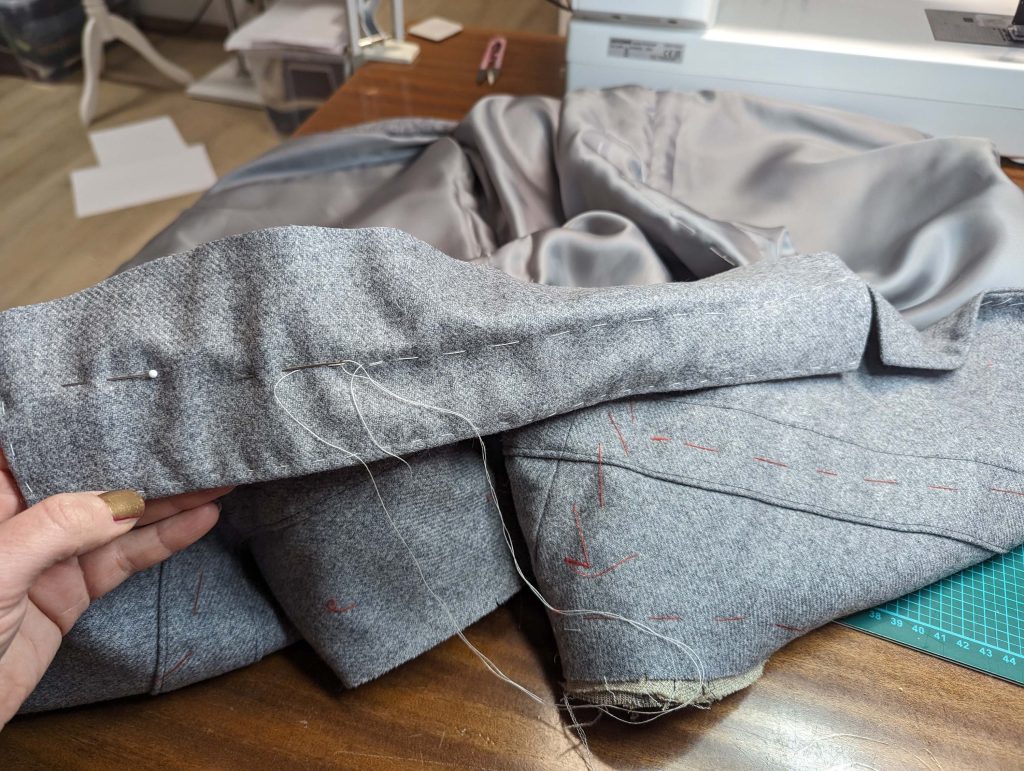
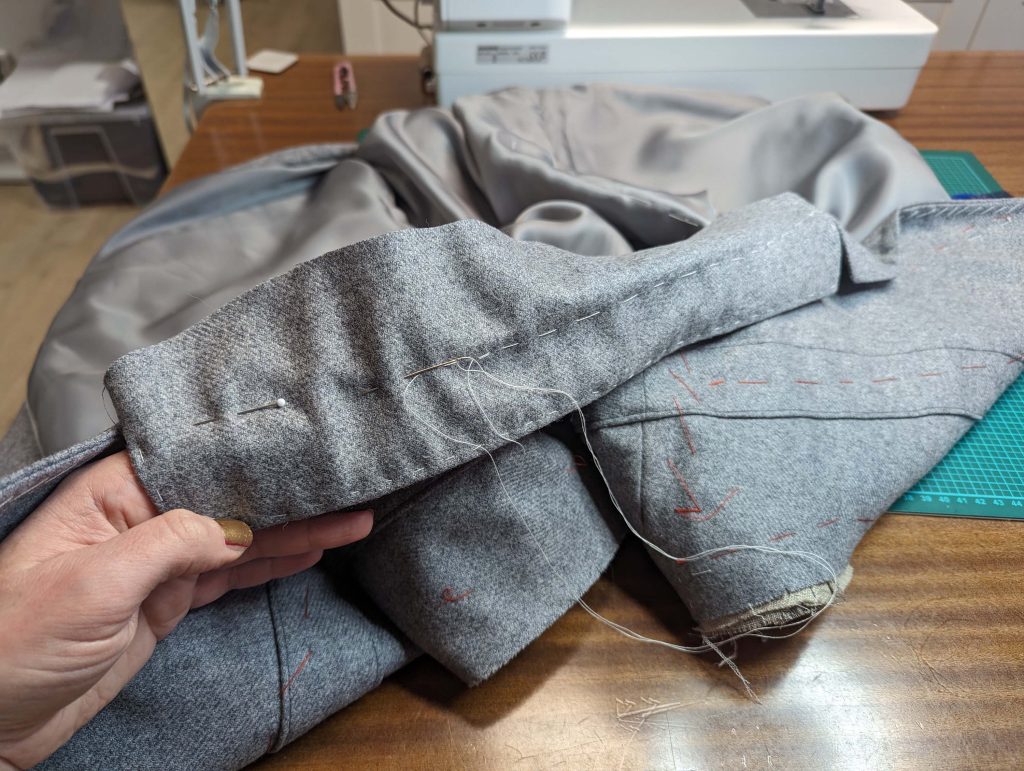
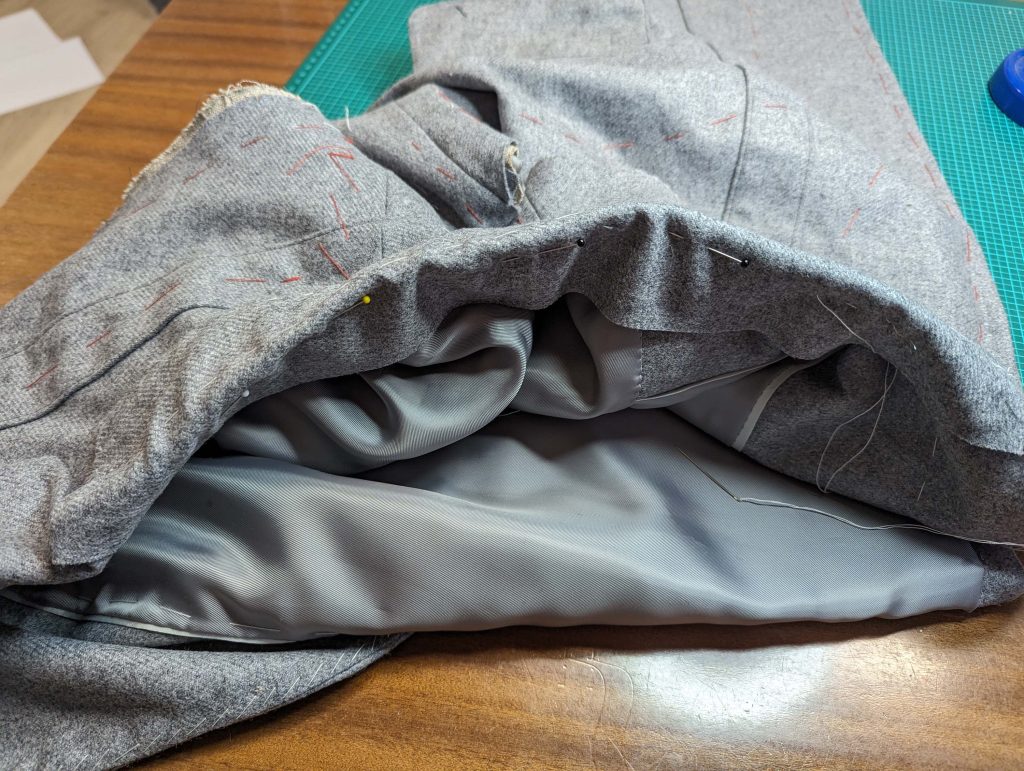
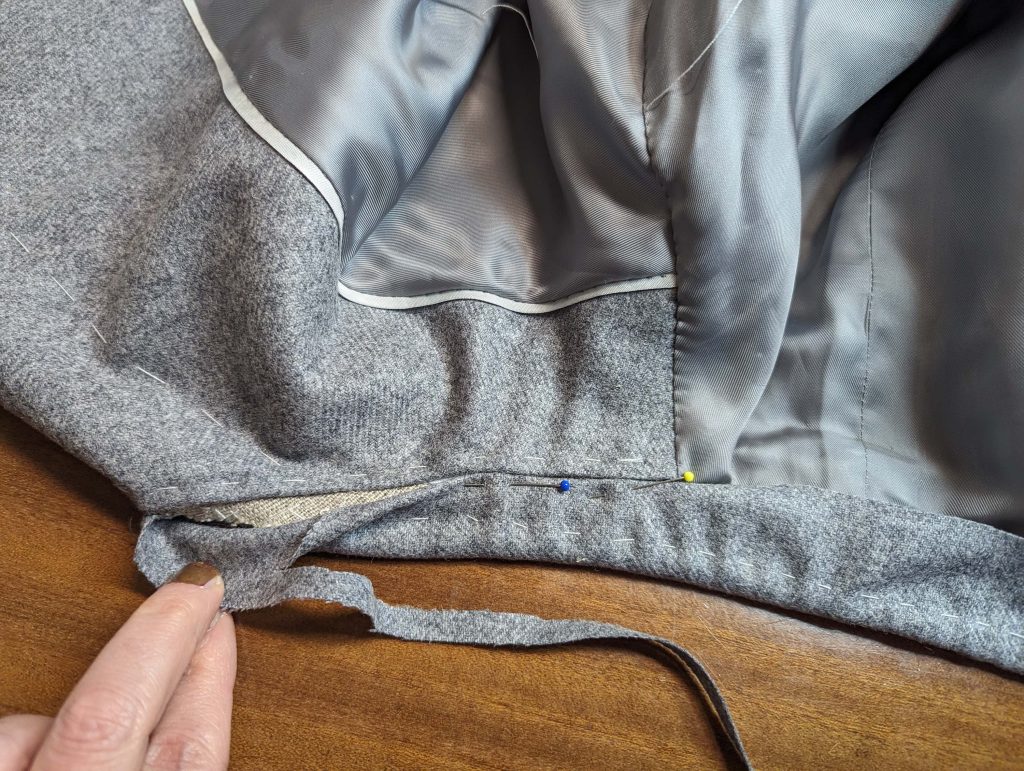
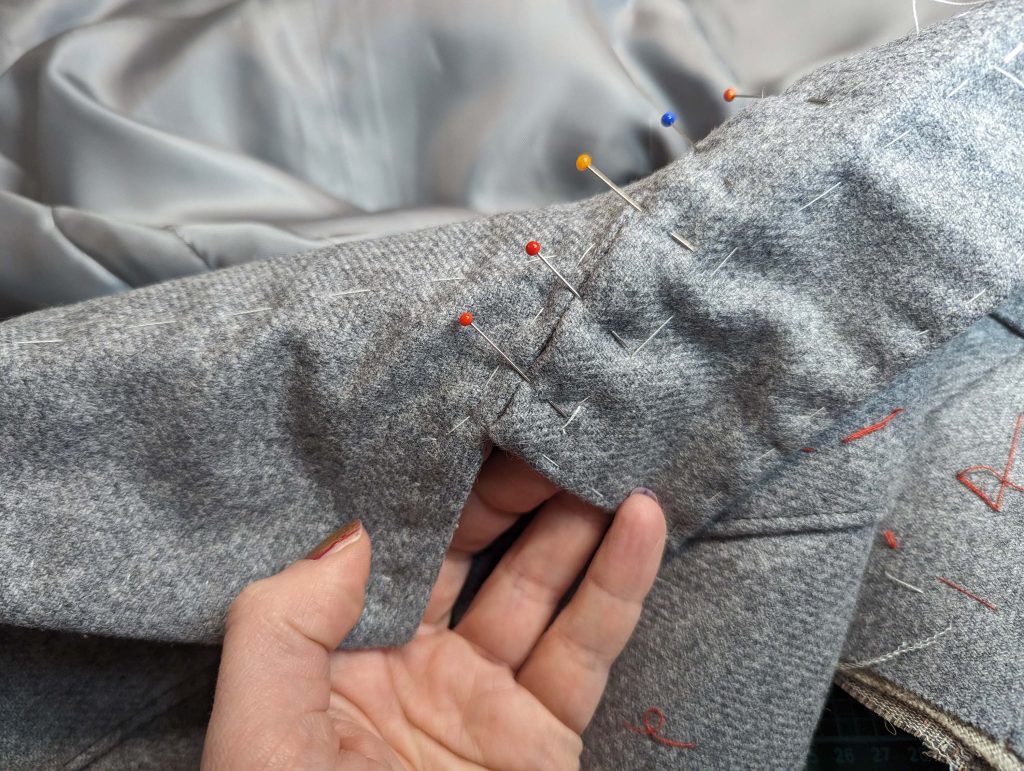
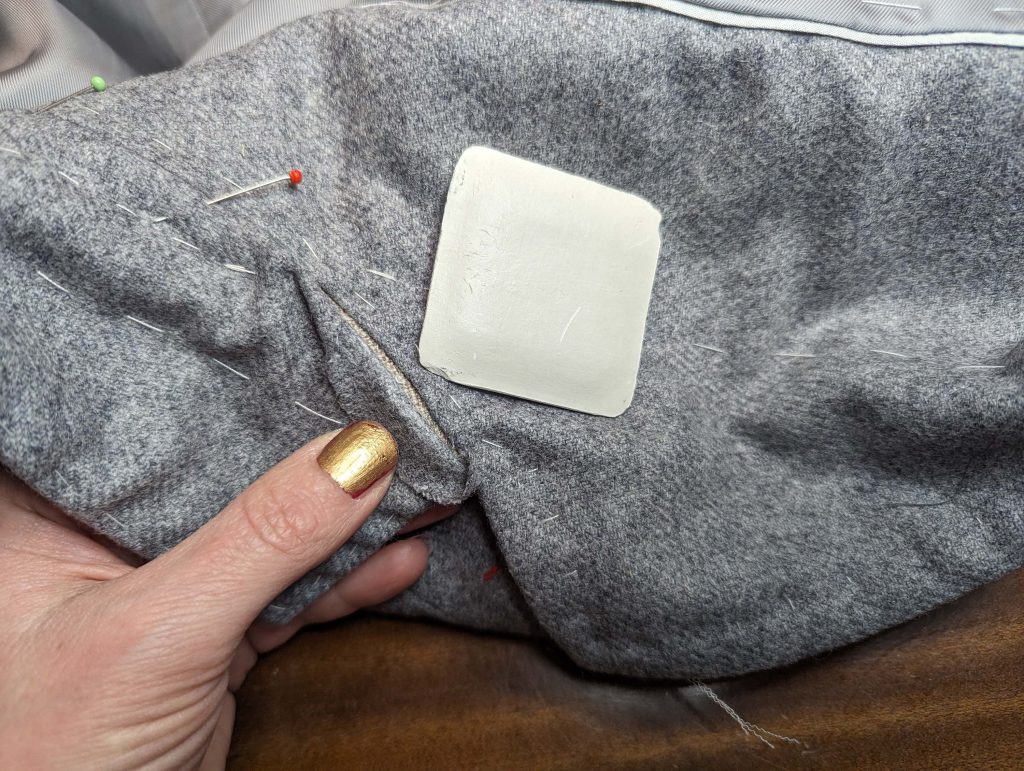
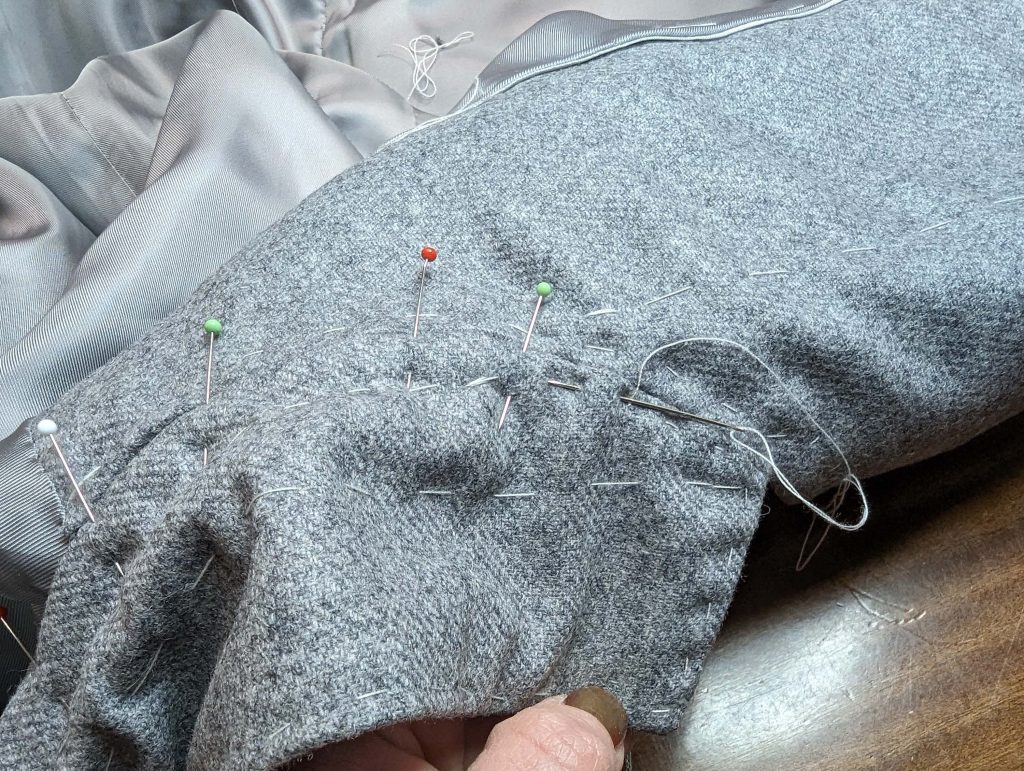
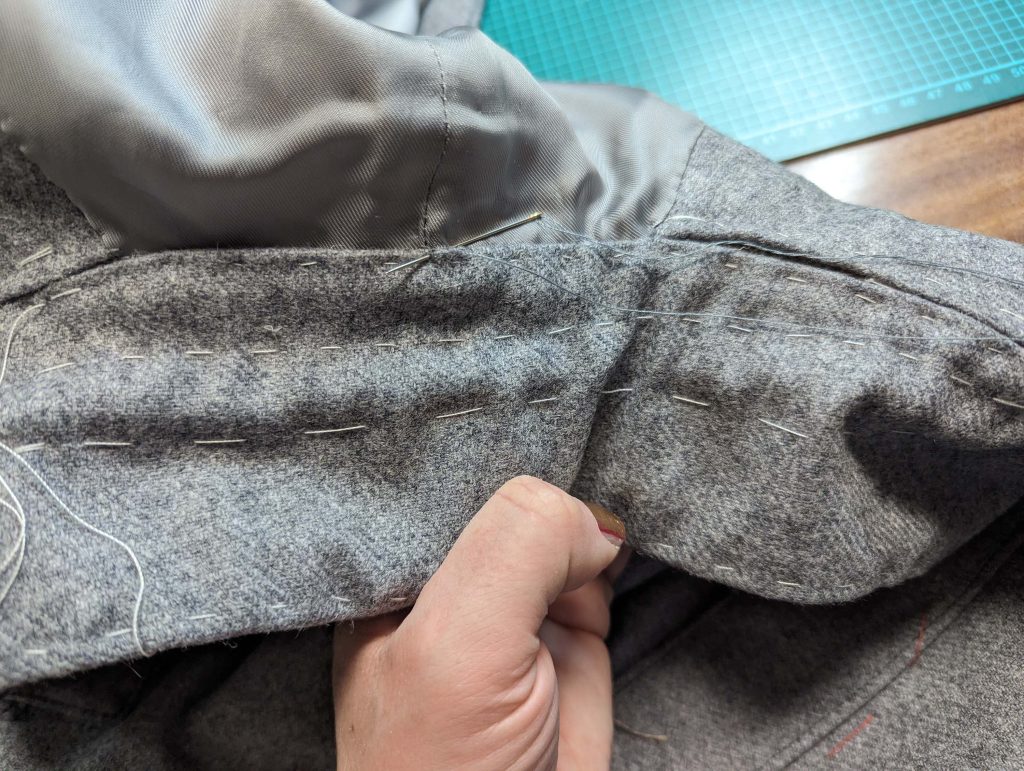
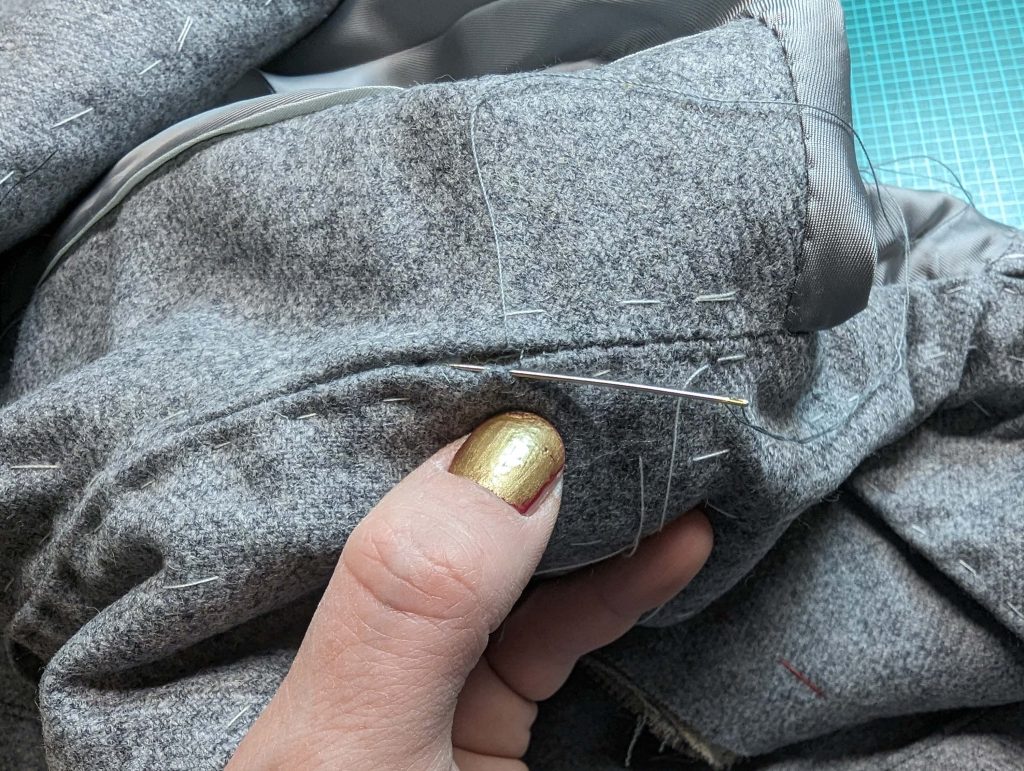
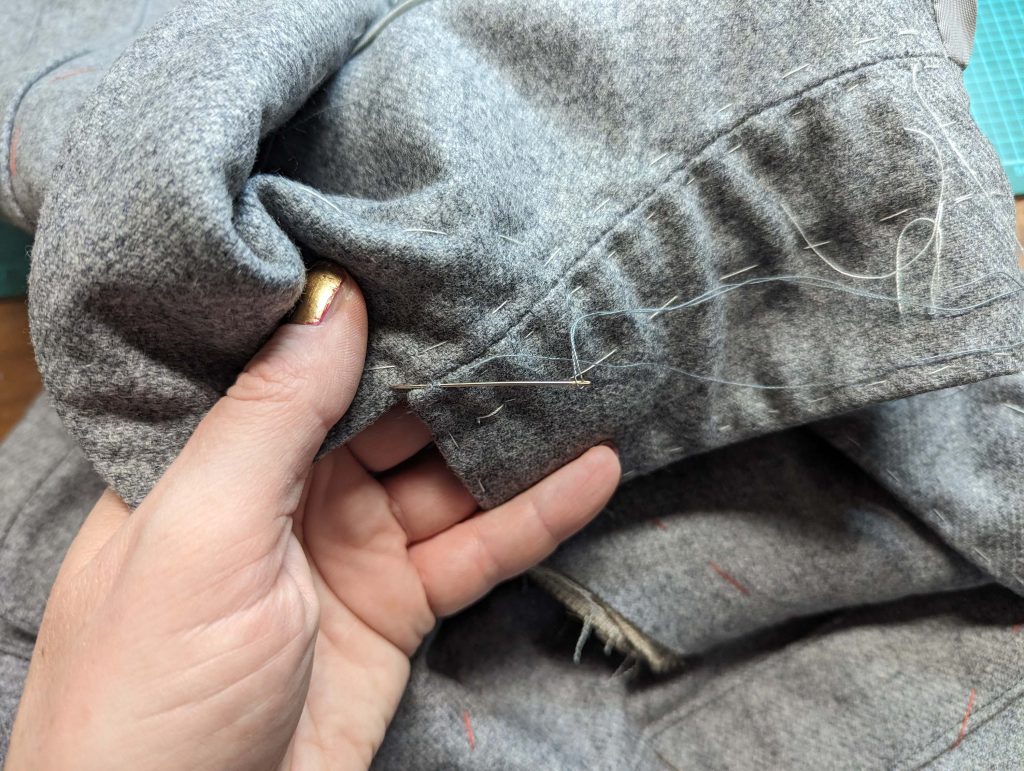
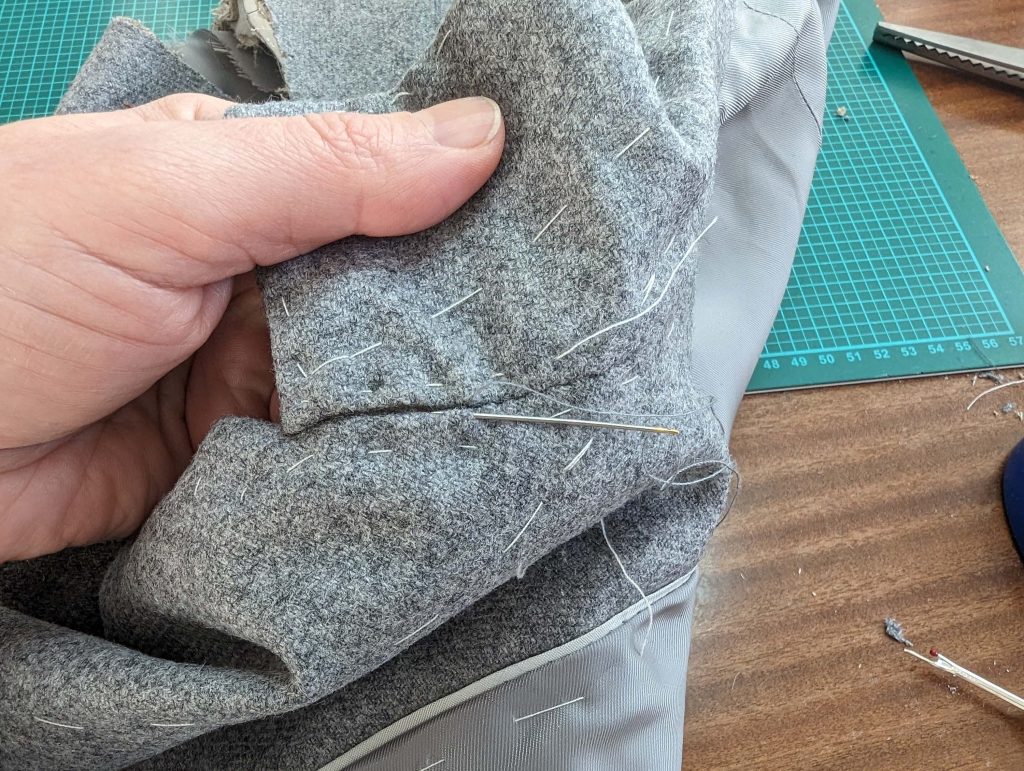
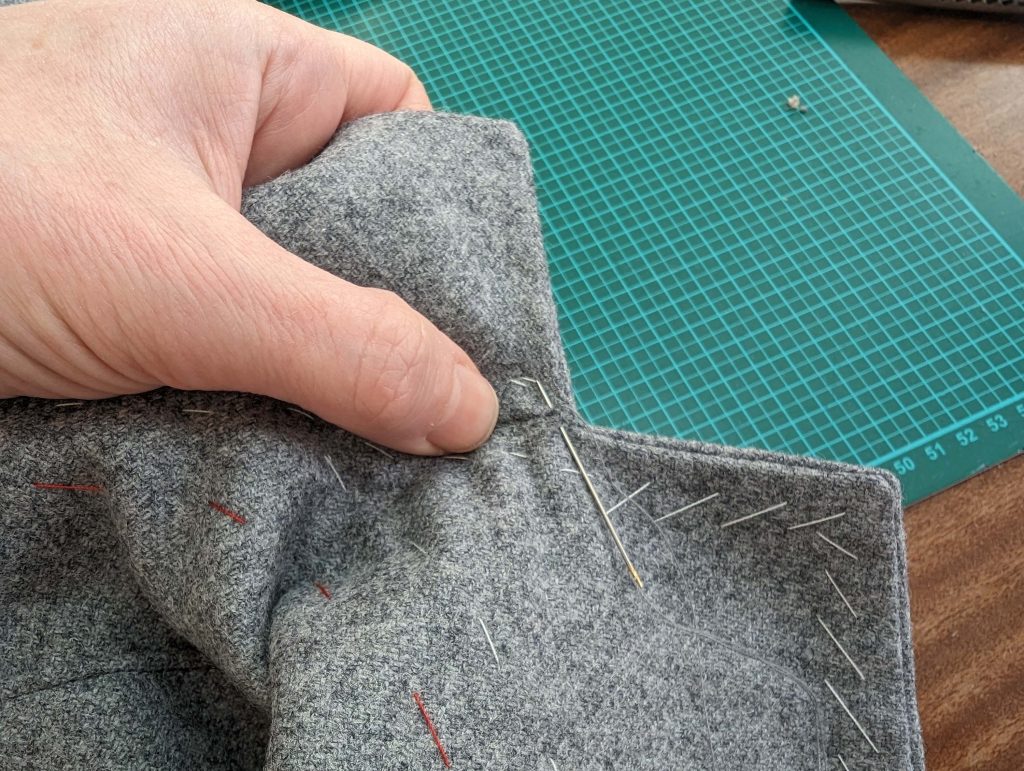
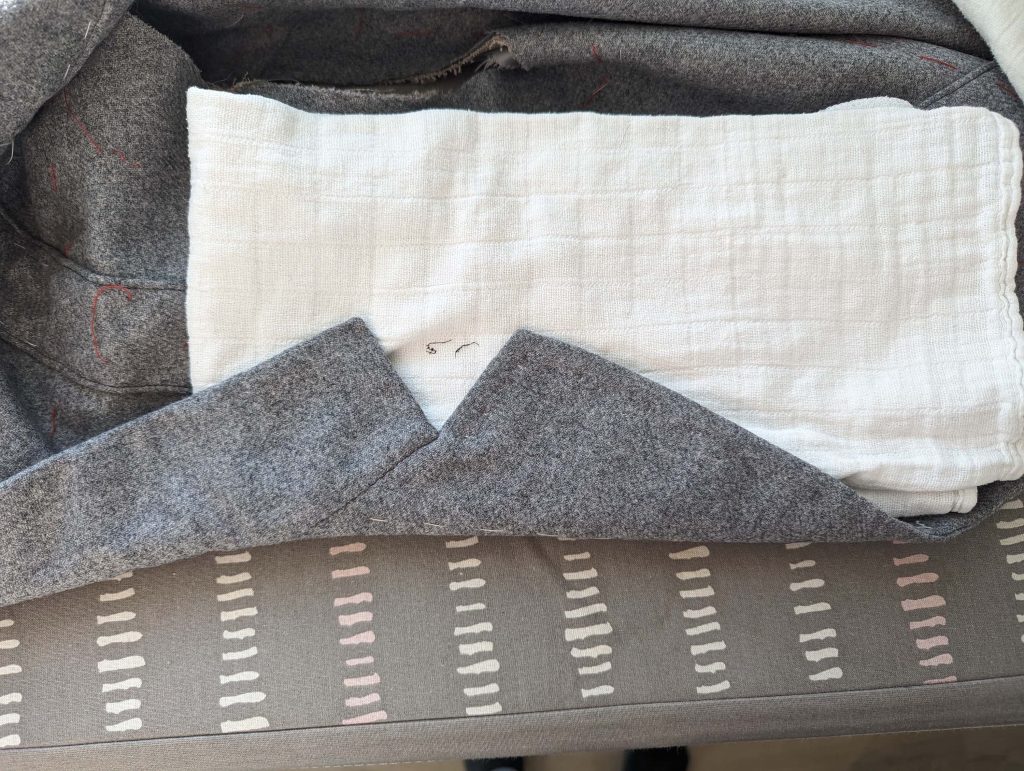
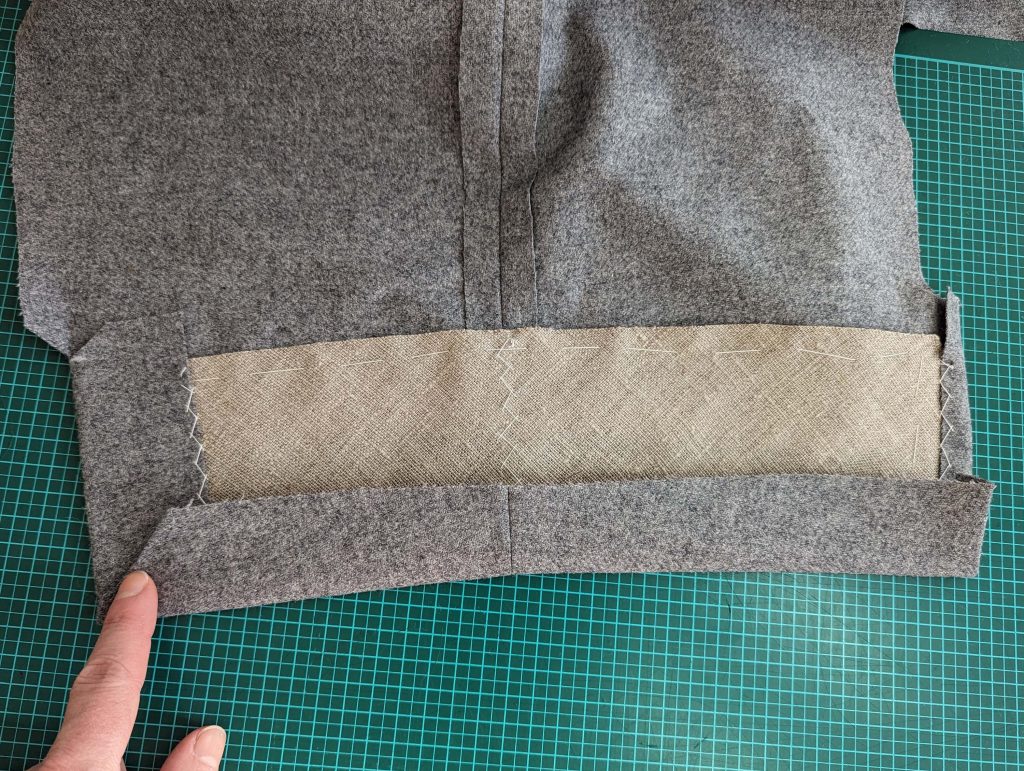
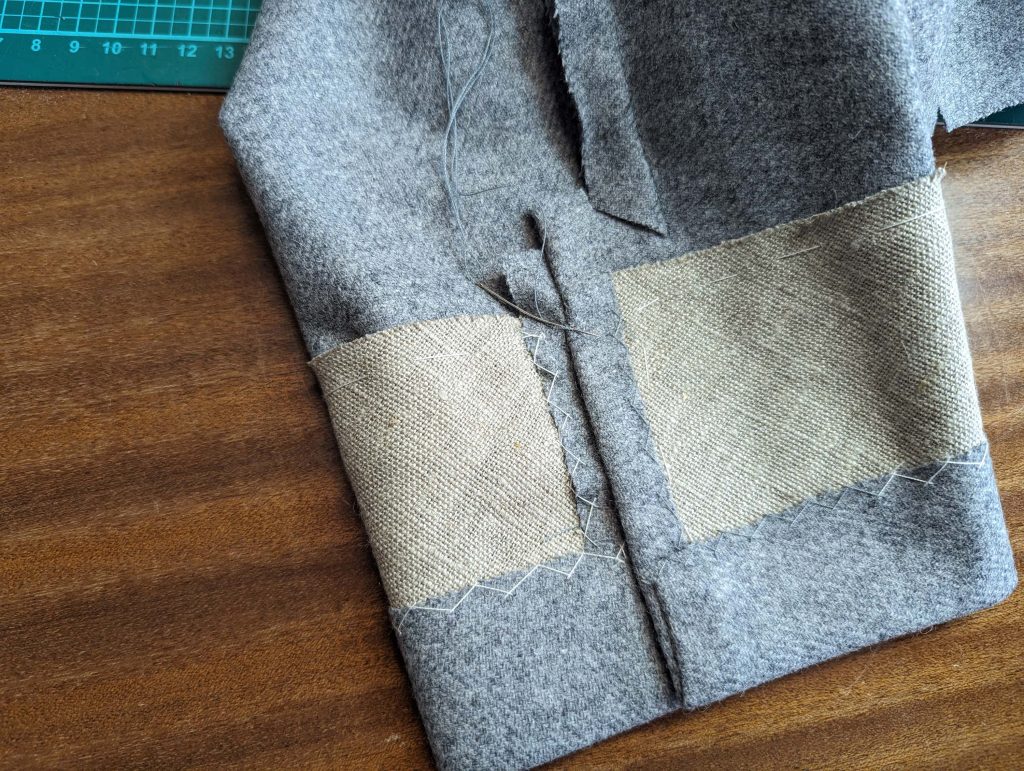
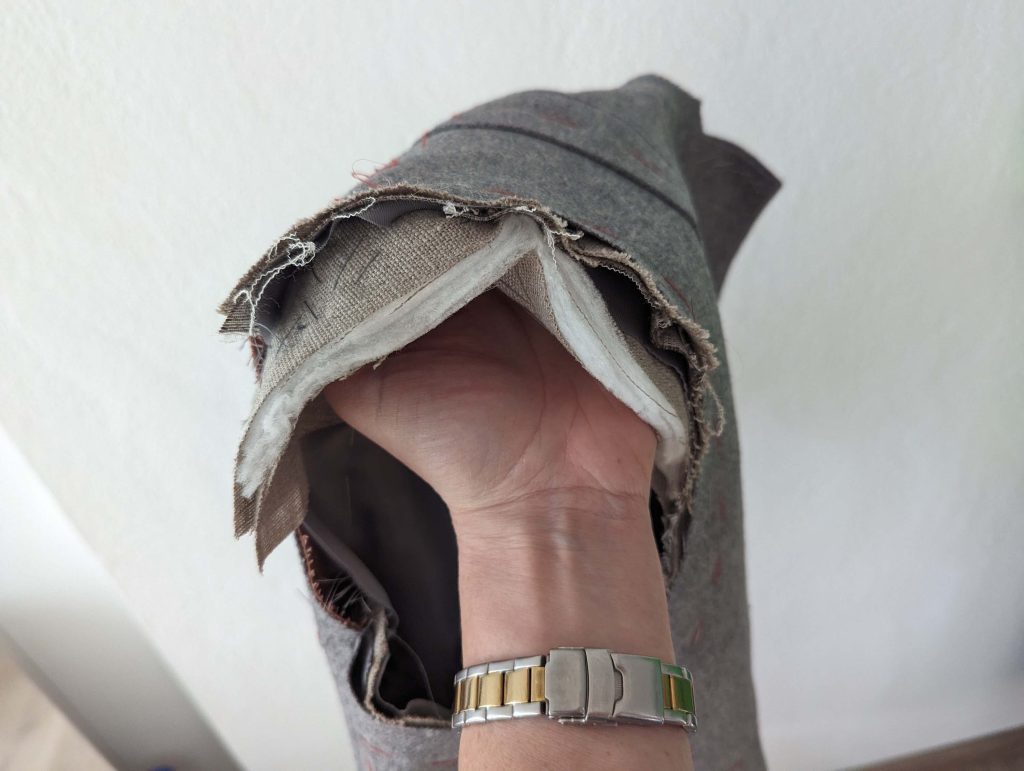
(18) Sew the front sleeve seam and press open the seam allowances. Take the 4” (10cm) wide strap from the canvas, cut on the bias, and press it into a curved shape. Line up with the hemline of the sleeve, baste in place. Catch stitch to the seam allowance of the sleeve seam. Notch the seam allowance of the top sleeve at mark (8) and turn in the vent facing, fell stitch to the canvas. Turn in the seam allowance of the placket and fell stitch to the canvas. Optionally, interface the sleeve head with a piece of cotton.
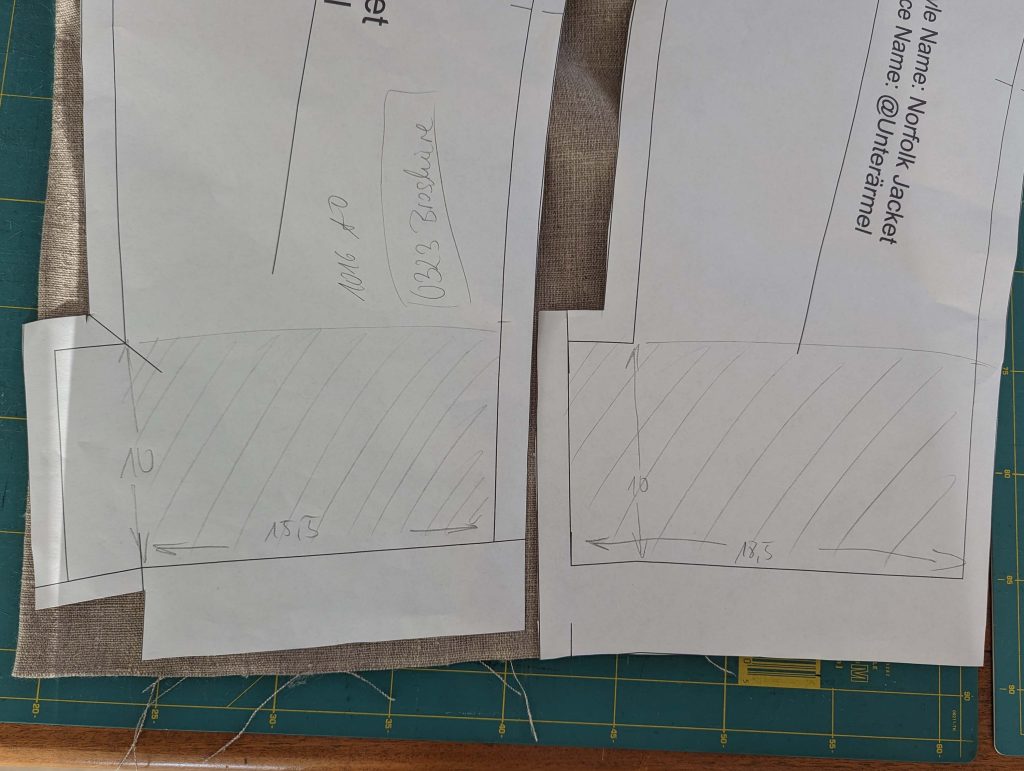
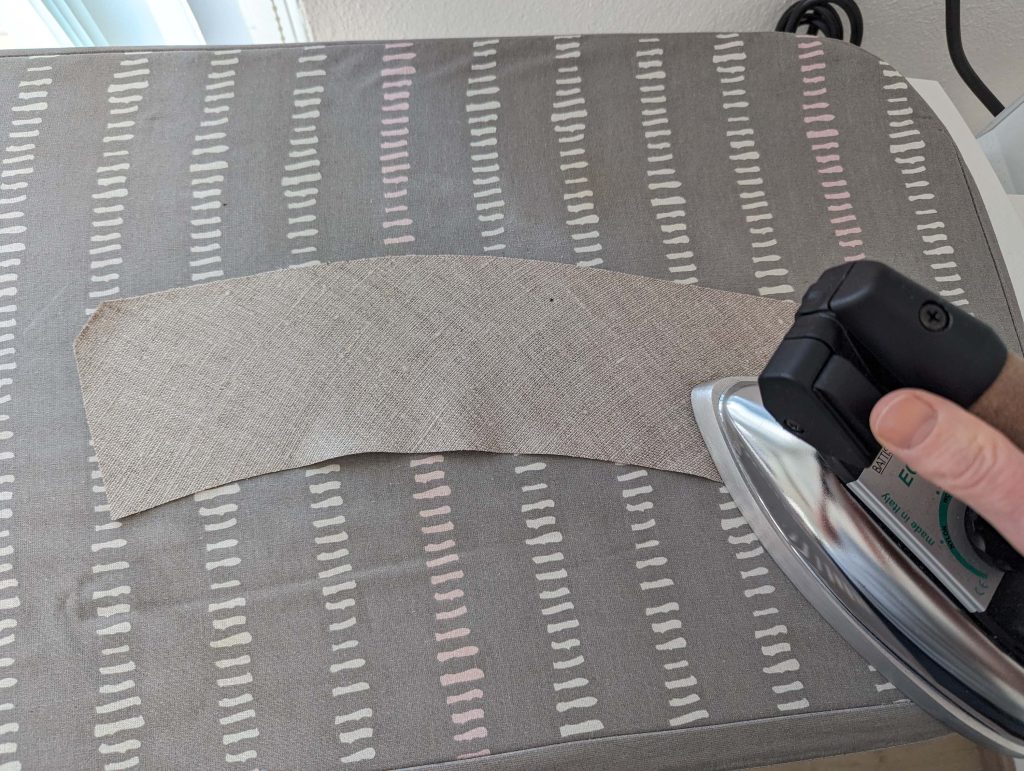
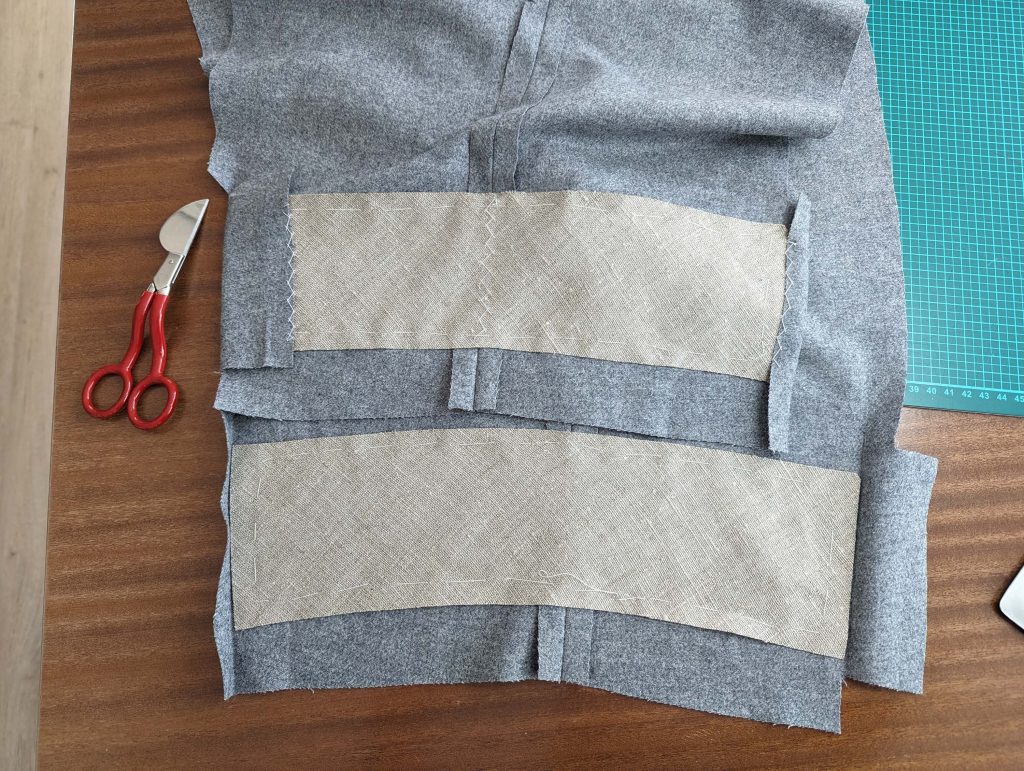
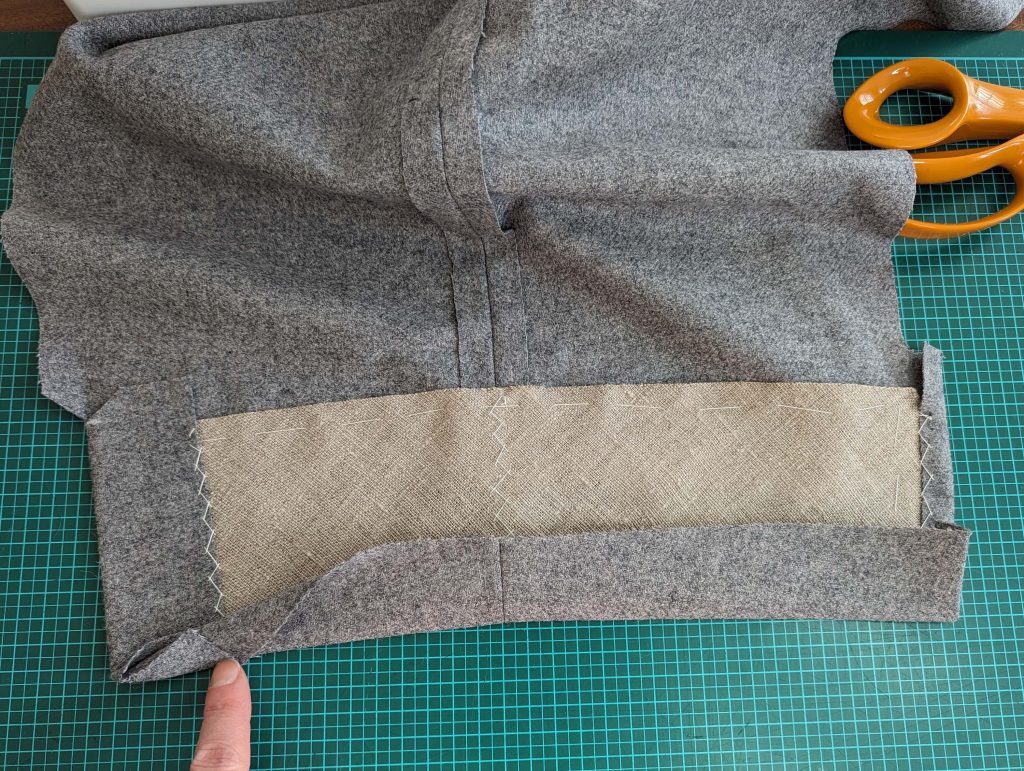
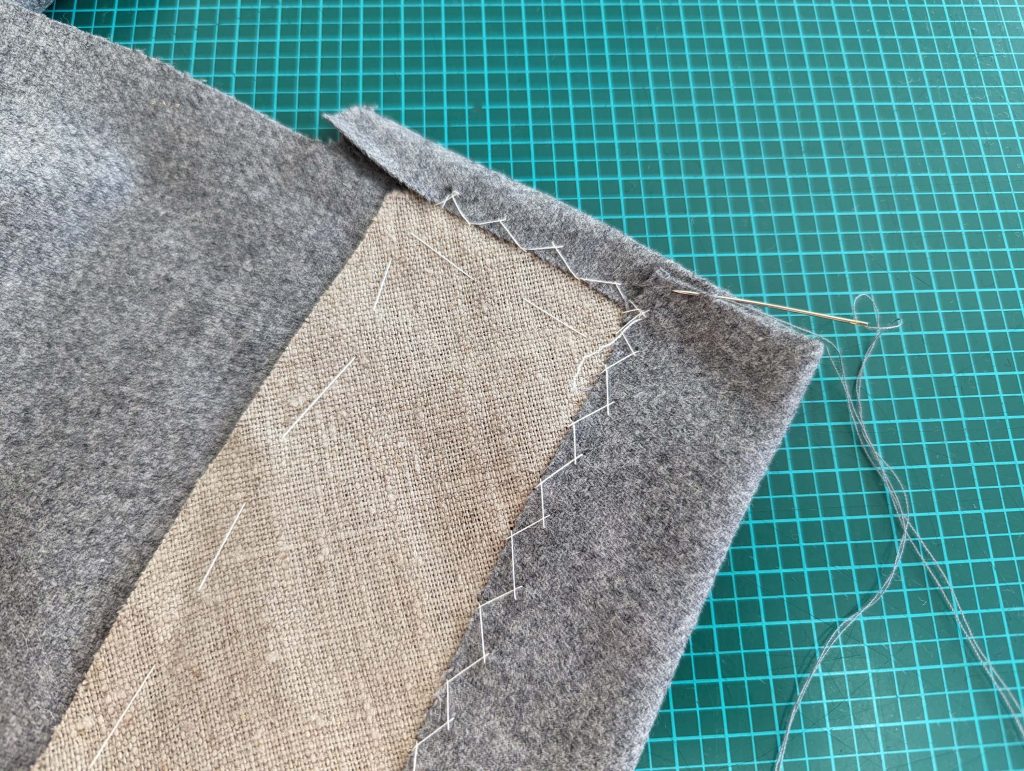
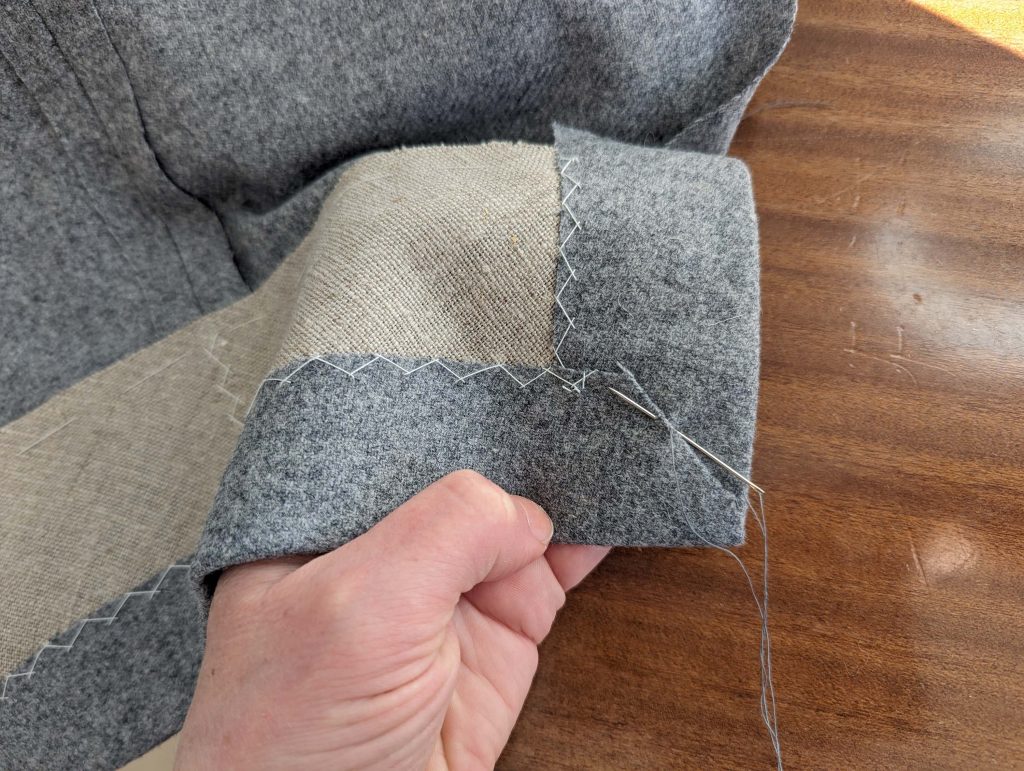
Turn in the hem allowance, stretch the edge, turn in the corner and catch stitch to the canvas, fell stitch along the short edges. Finally, press the hem, and sew the button-holes.
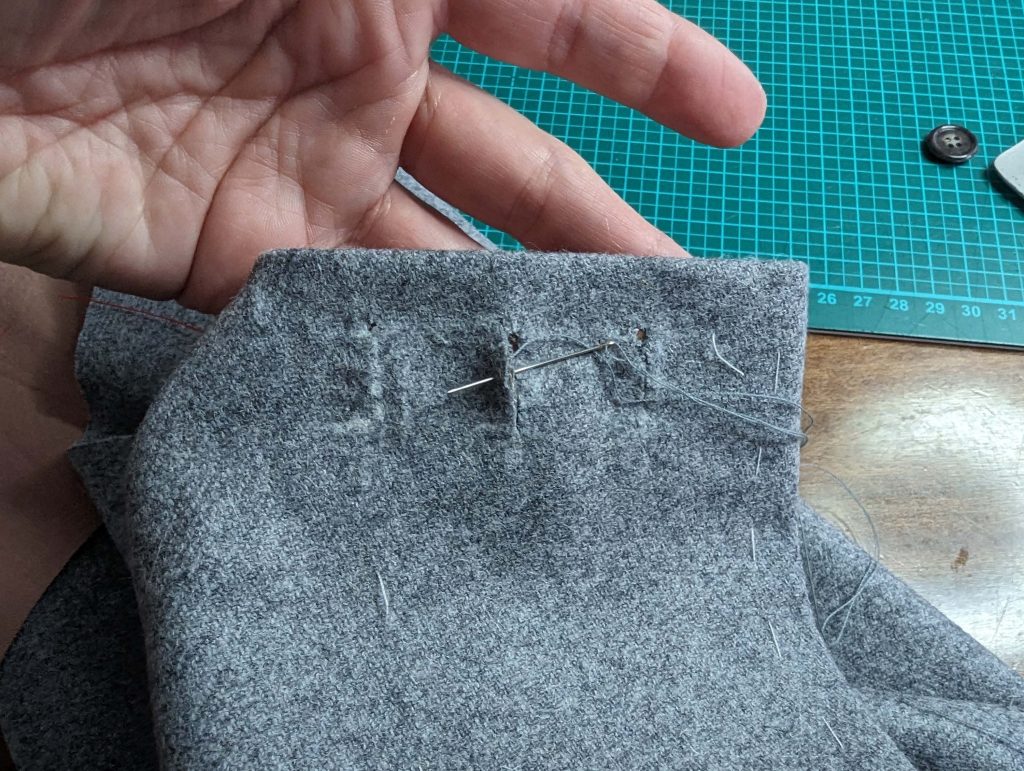
Sew the back sleeve seam, taking great care, that your vent edges are the same length. Notch the seam allowance of the under sleeve at mark (6) and press open the seam allowances of the back sleeve seam. Sew the top edge of the placket to the vent facing, and leave the sleeve turned the wrong side out.
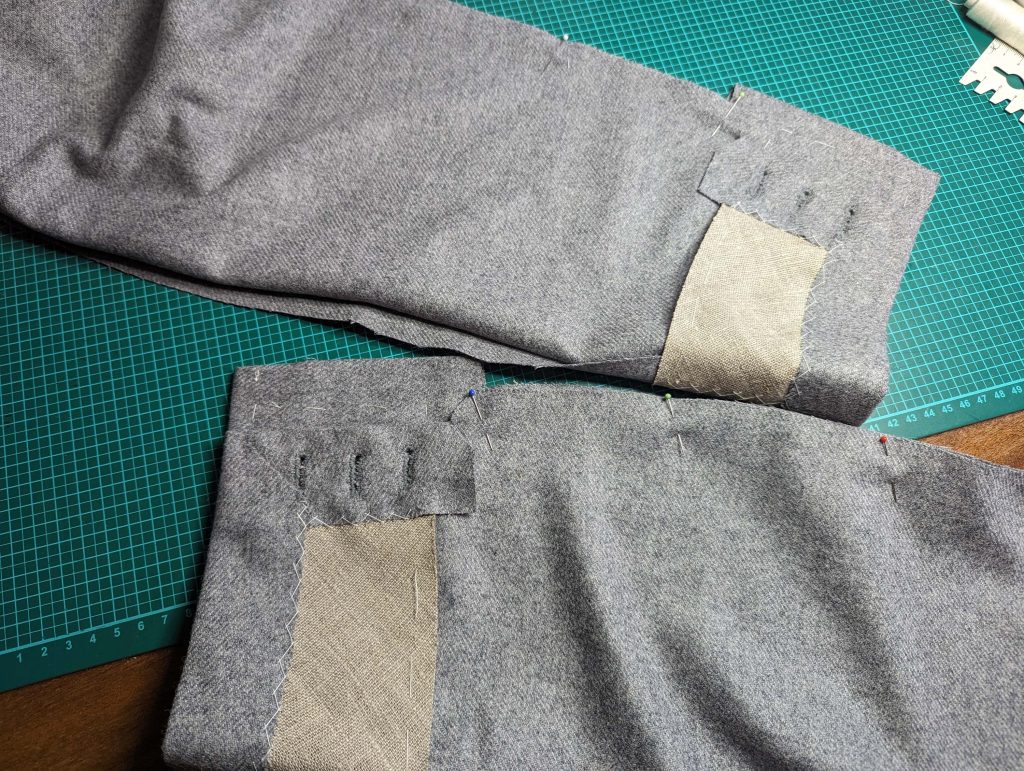
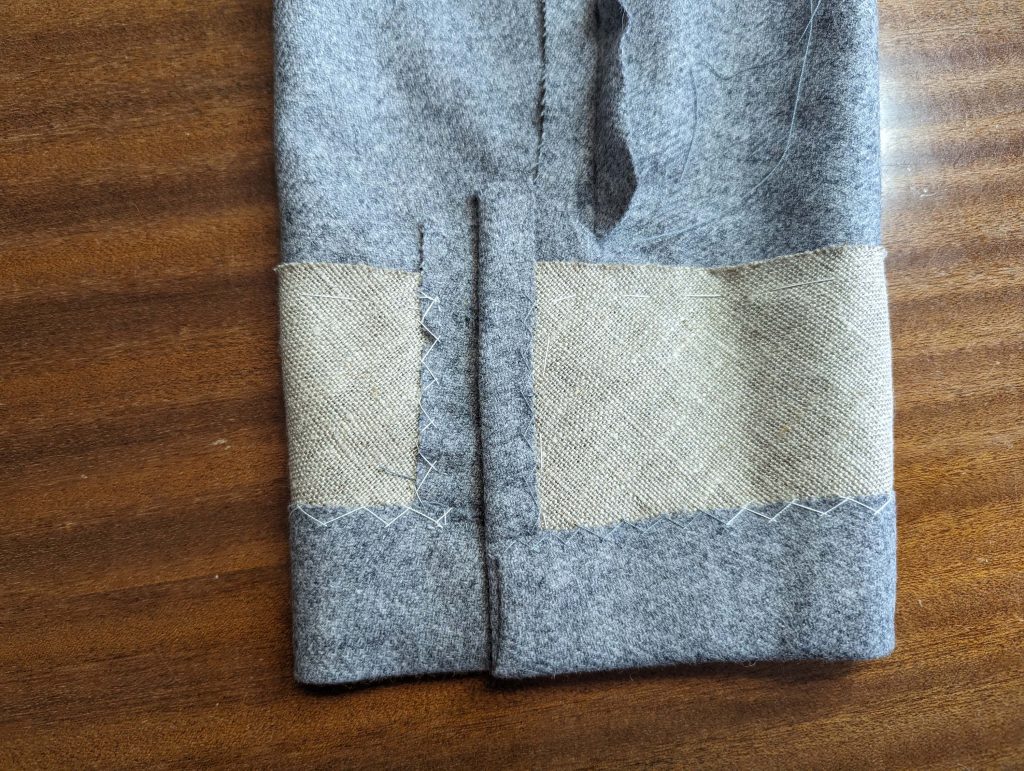
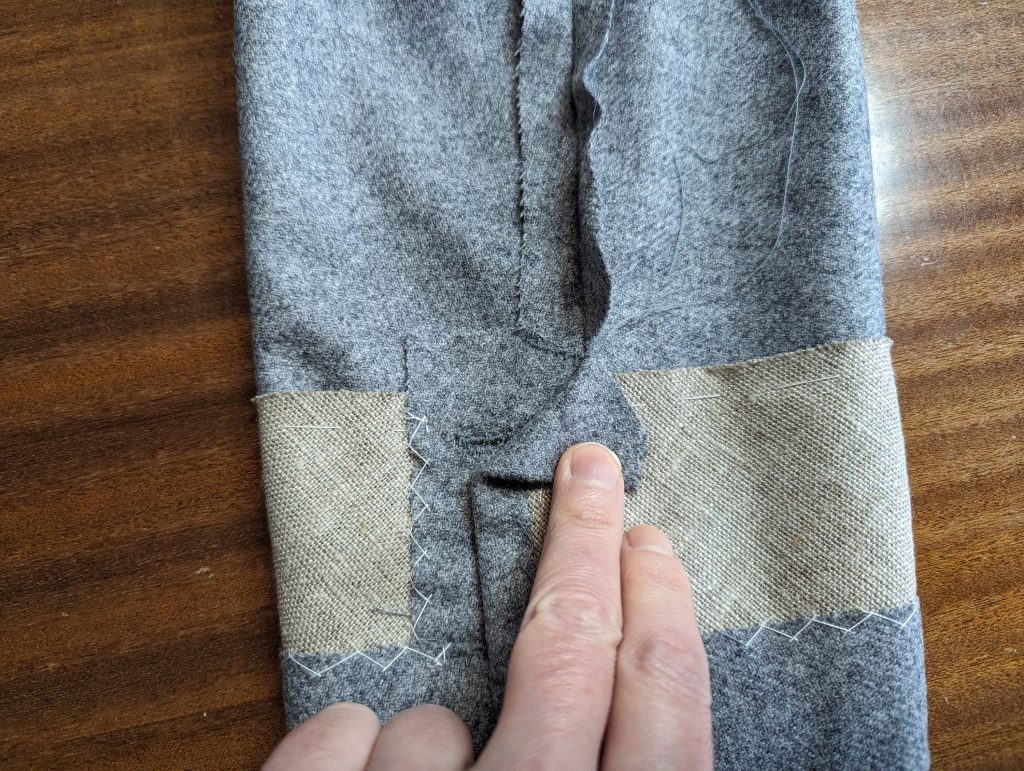
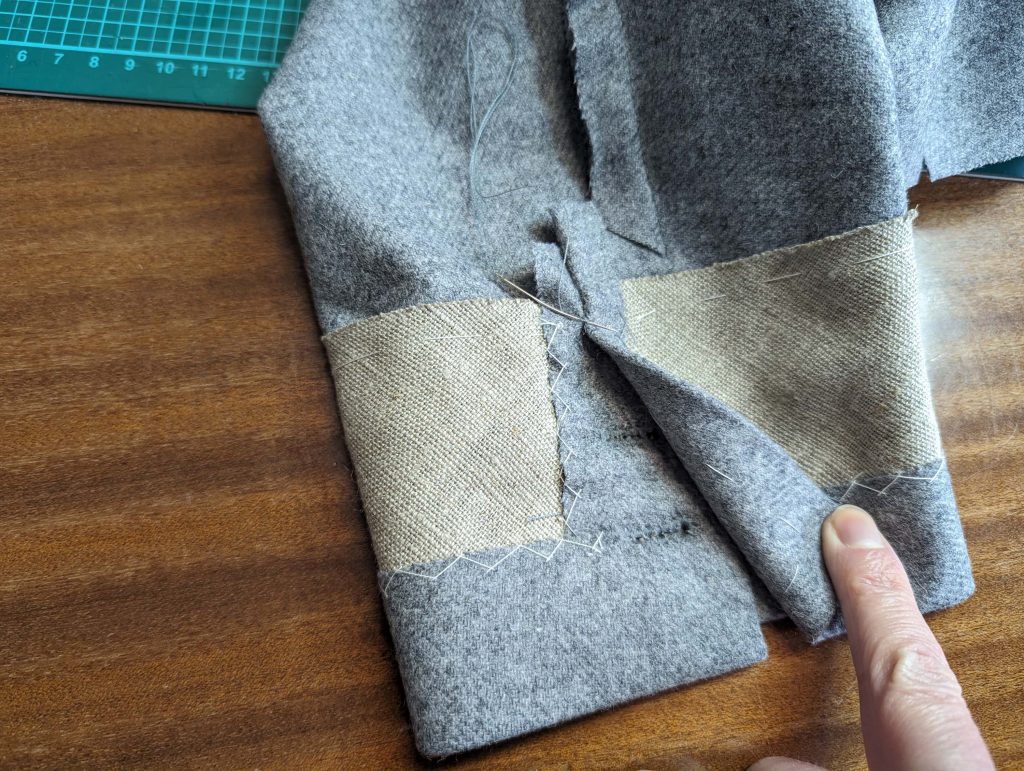
Cut the sleeve lining as described on page 3 of the instructions. Sew the sleeve lining, leaving open the vent (stop at mark (6)). Turn in a seam allowance of 5/8” (1,5cm) along the hem. Turn the lining with the right side out. Pull over the sleeve from fashion fabric, wrong sides together, and match up all seams. Turn in seam allowances to fit the vent, and notch the lining at the corner. Fell stitch in place. Turn the sleeve with the right side out and pull down the lining a bit out of the way while inserting the sleeve.
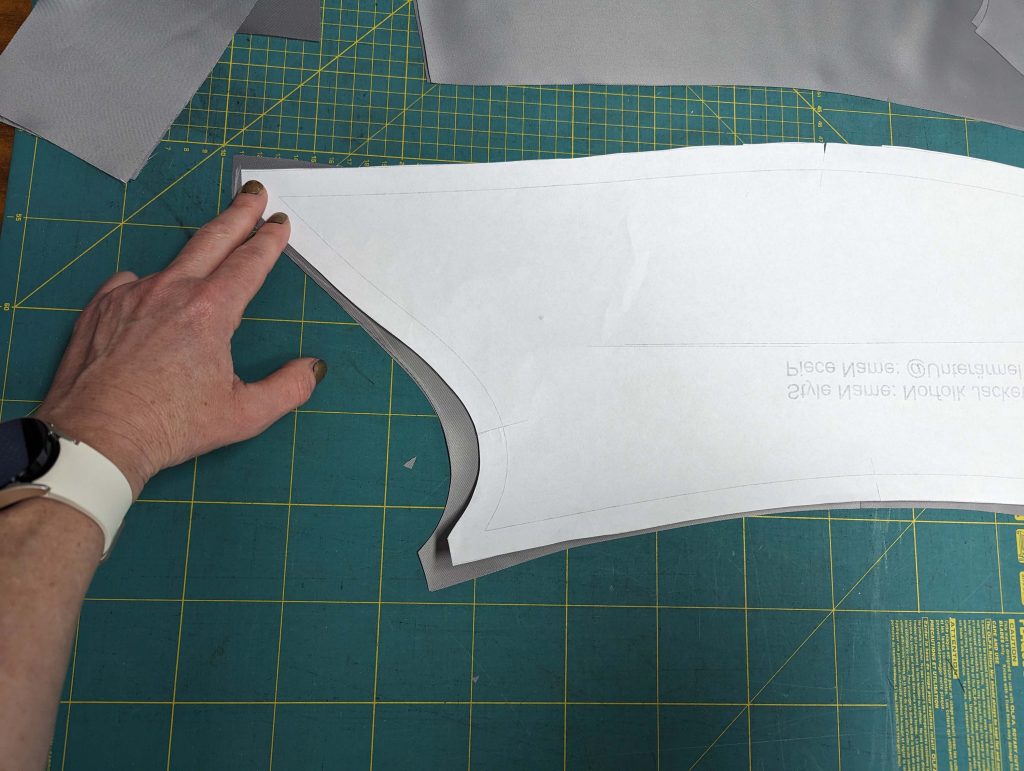
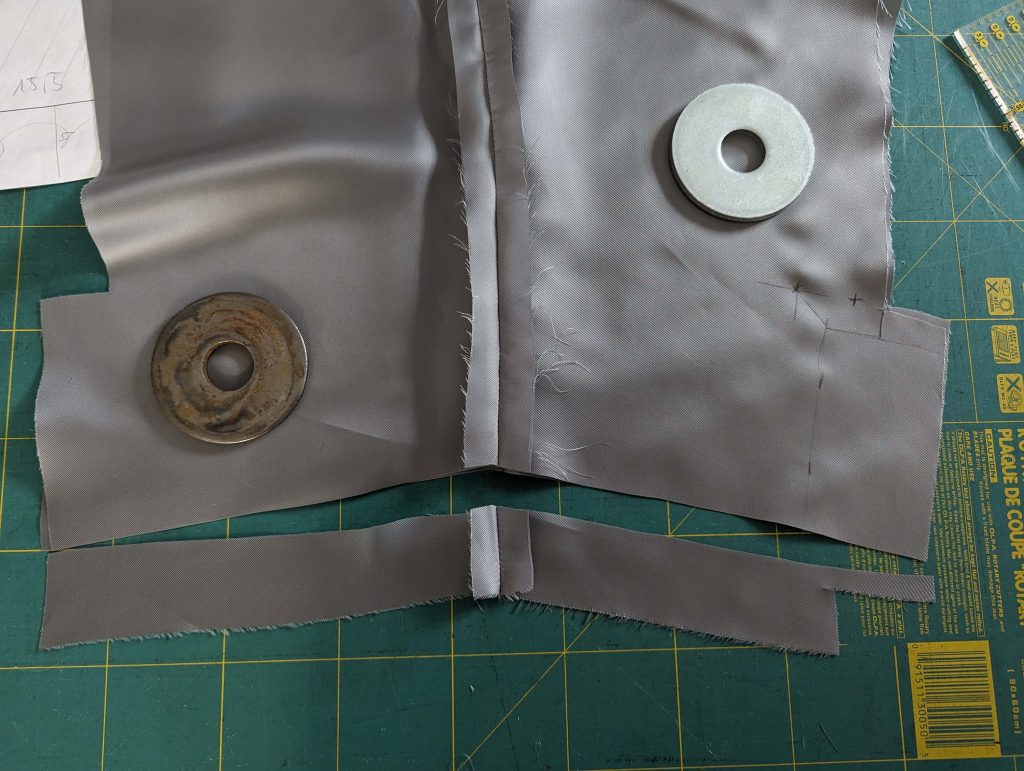
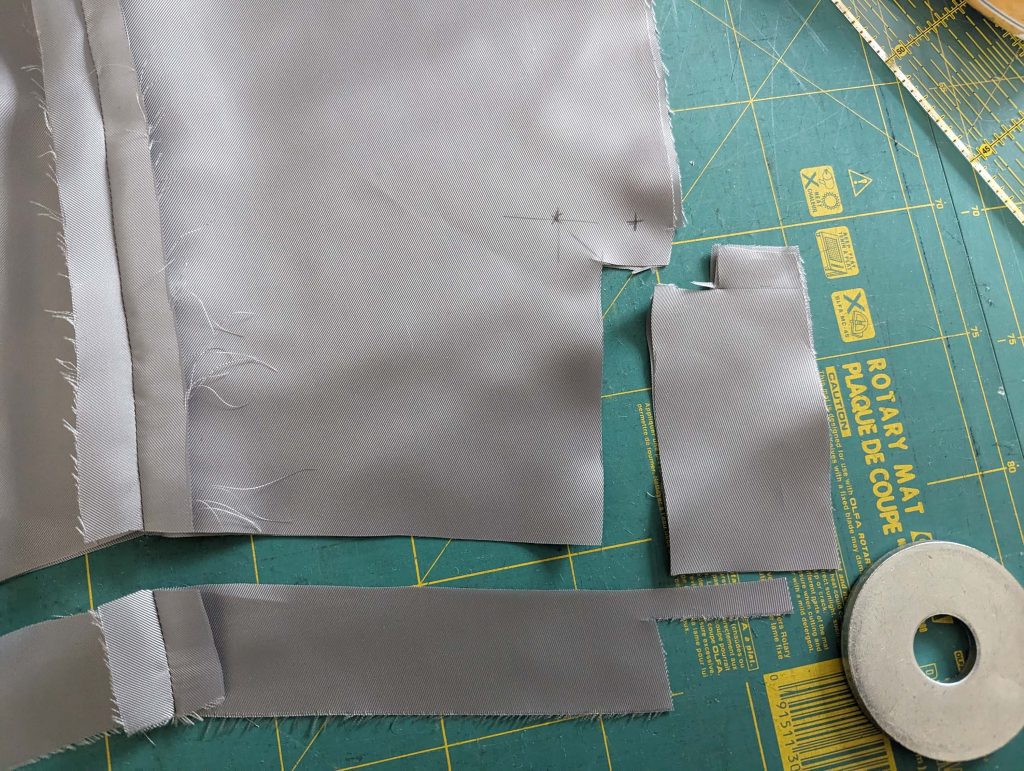
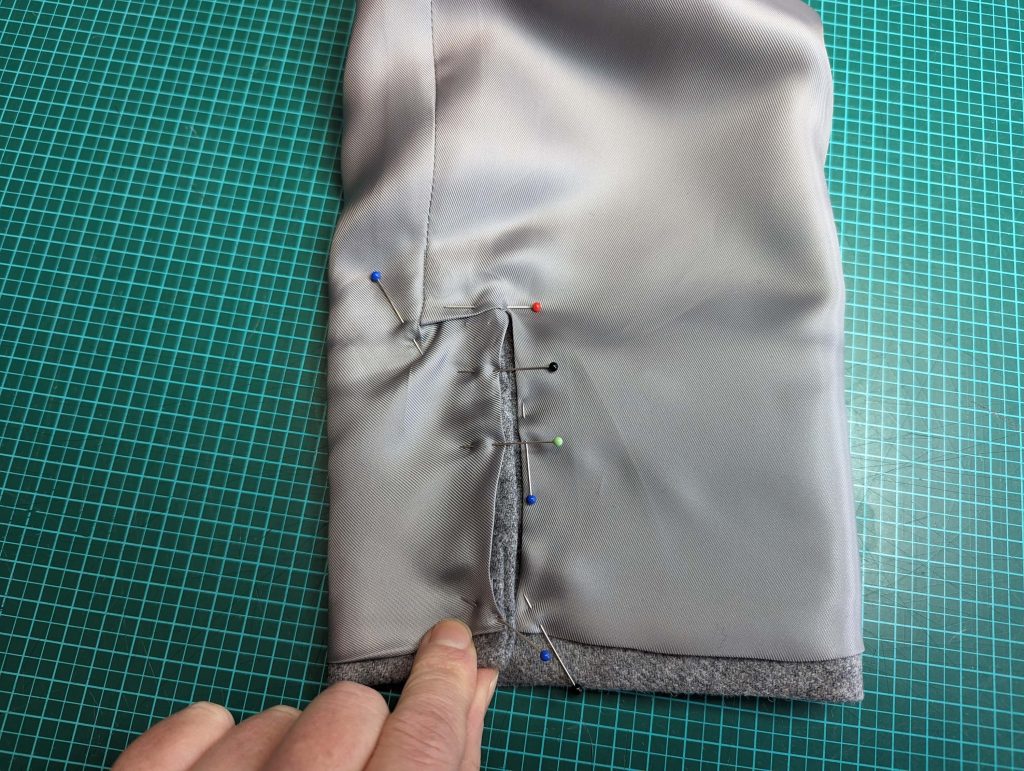
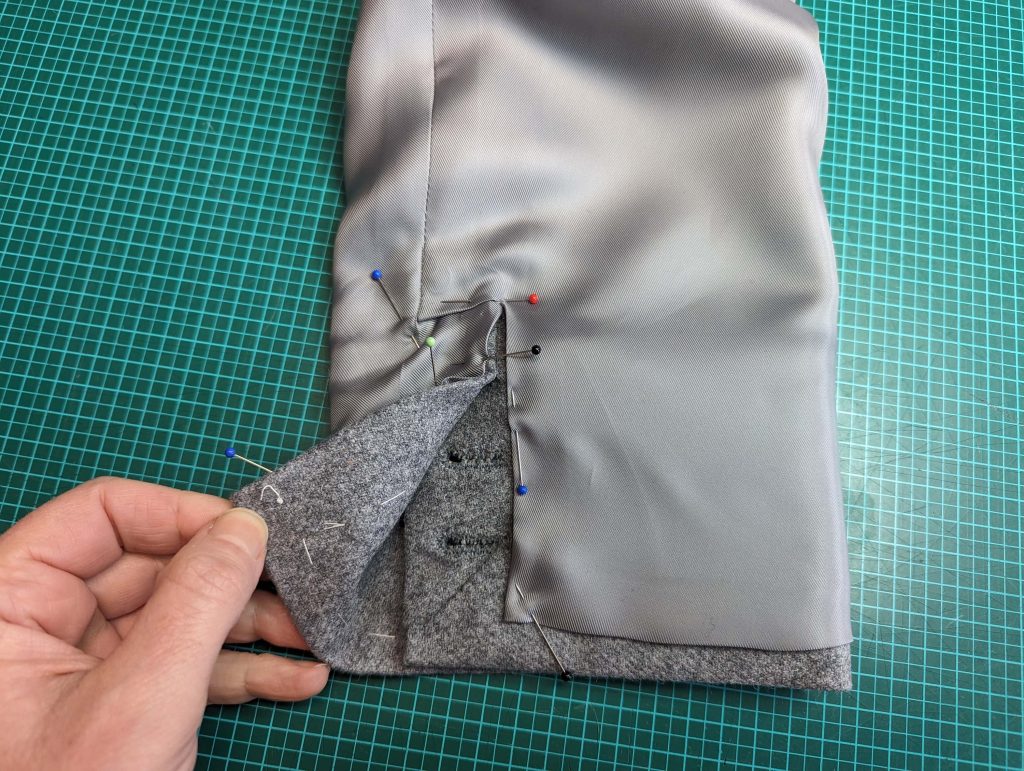
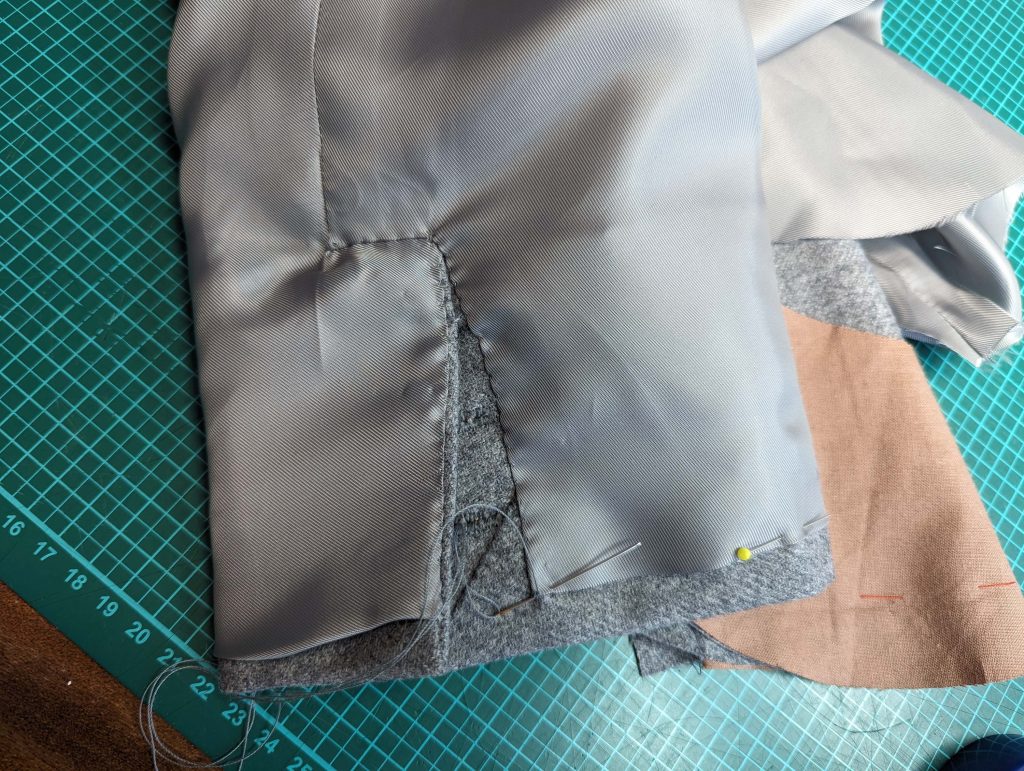
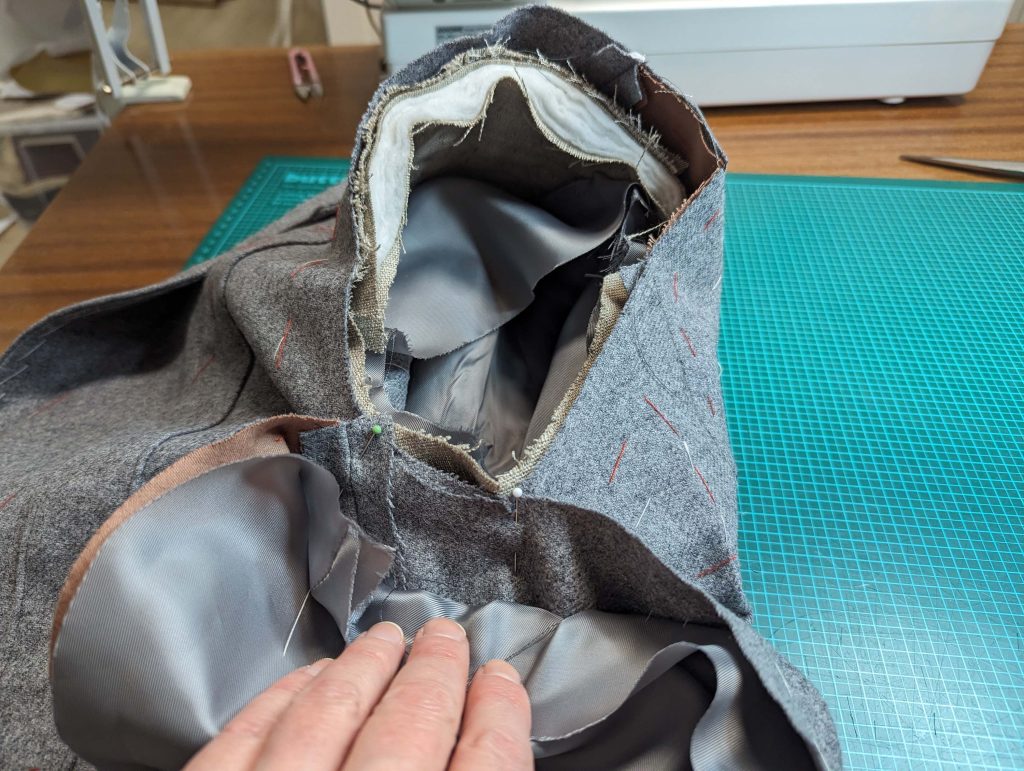
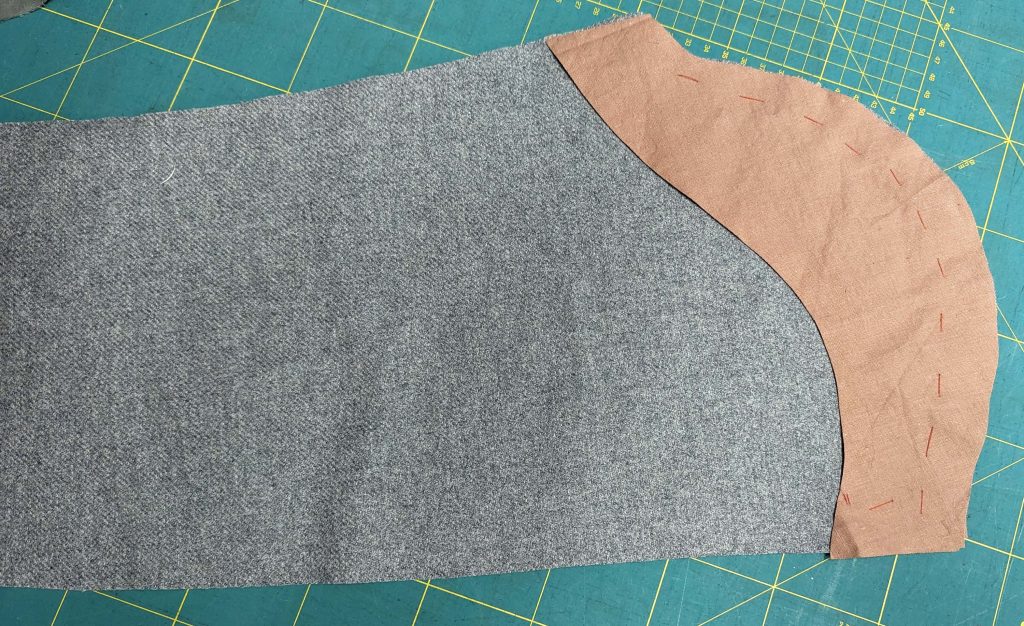
Before inserting the sleeve, check the right position of the shoulder pad and baste in place along the back edge.
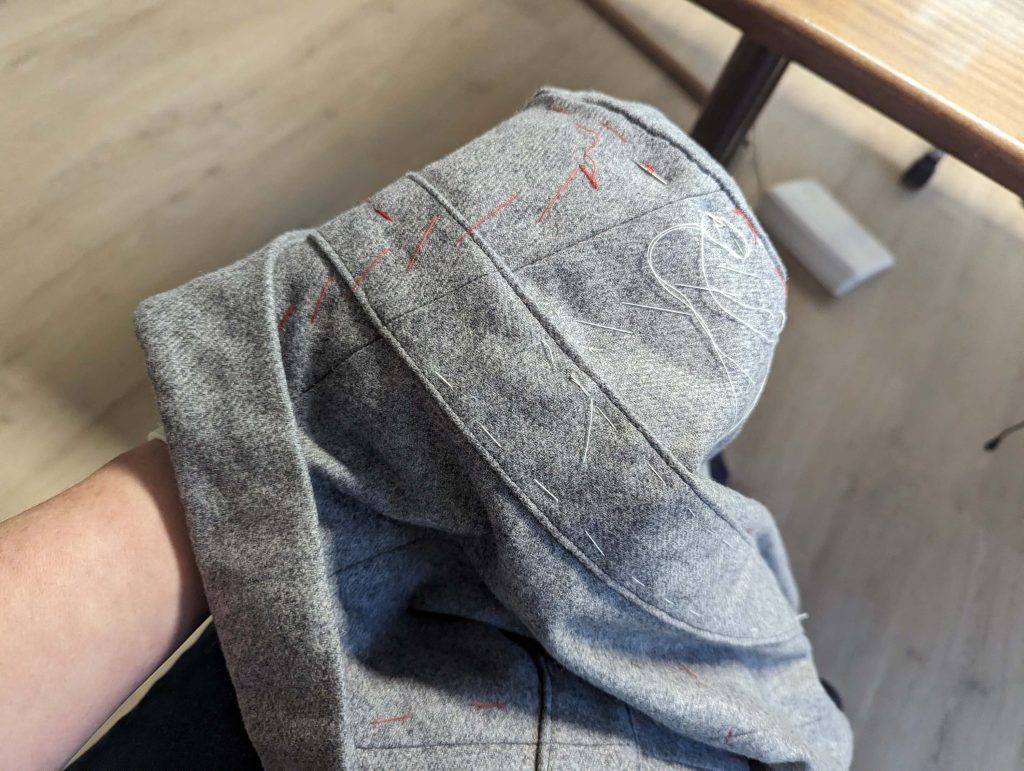
Pin the sleeve into the armhole, right sides together, matching all marks. Start at the front sleeve seam, follow the armpit to the back sleeve seam, and continue along the sleeve head. Pull the threads to ease in the excess fabric. First baste, then sew (I decided to stitch with the sewing machine – worked well) the sleeve to the fashion fabric only, folding the canvas and the shoulder pad to the side.
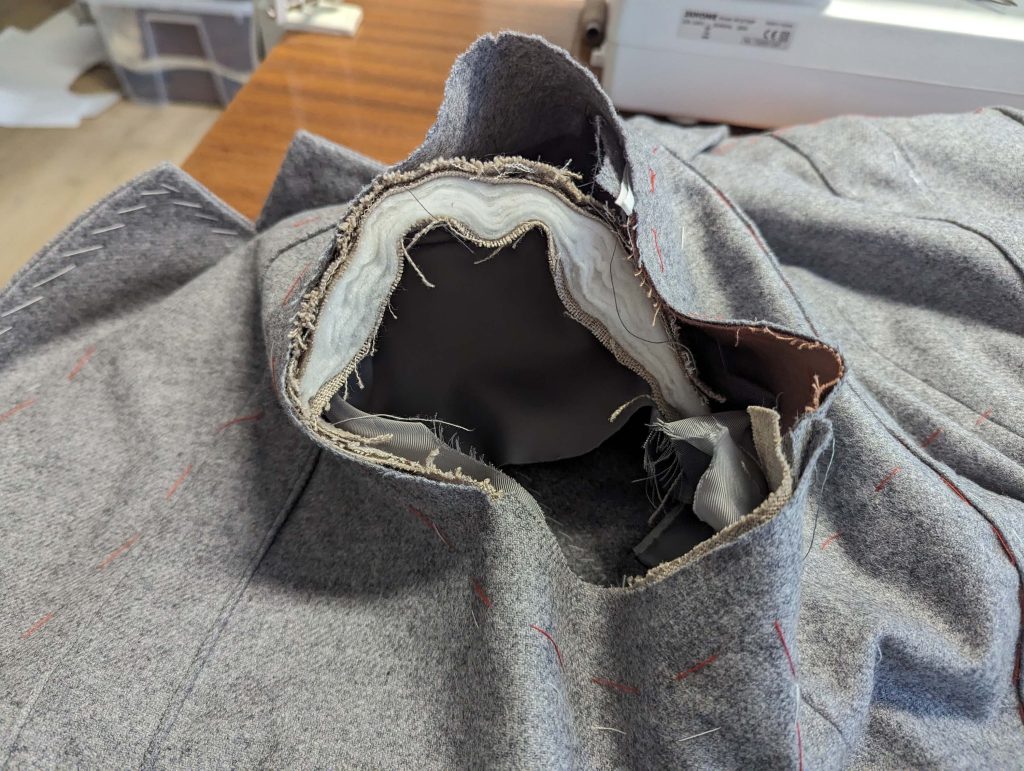
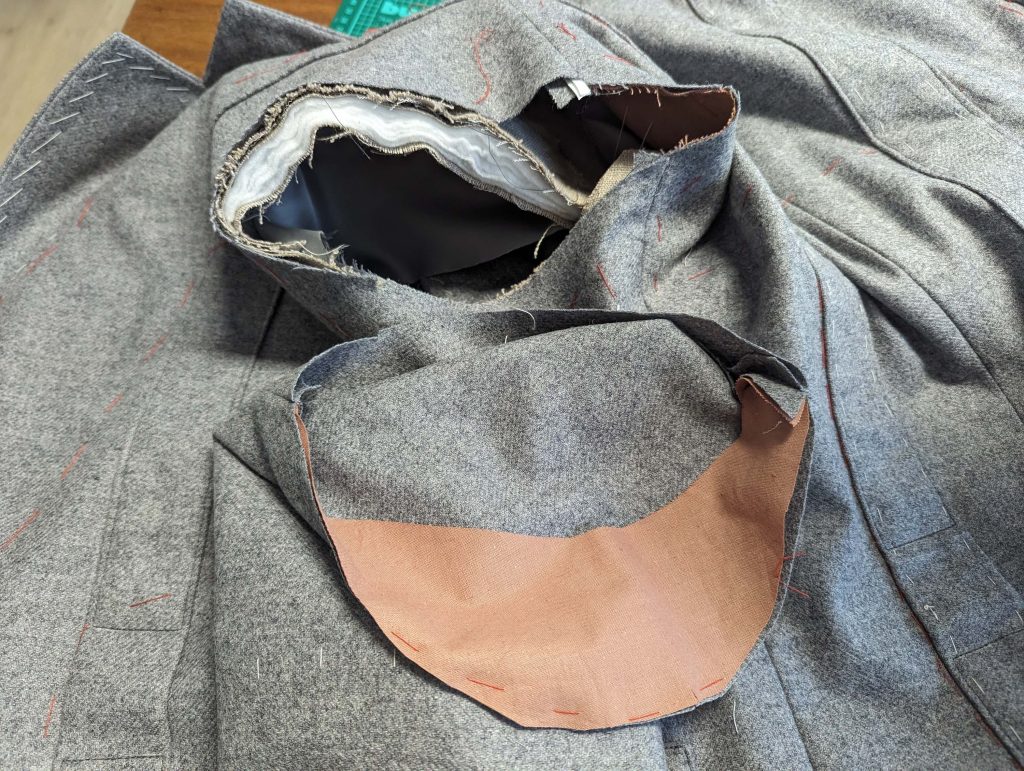
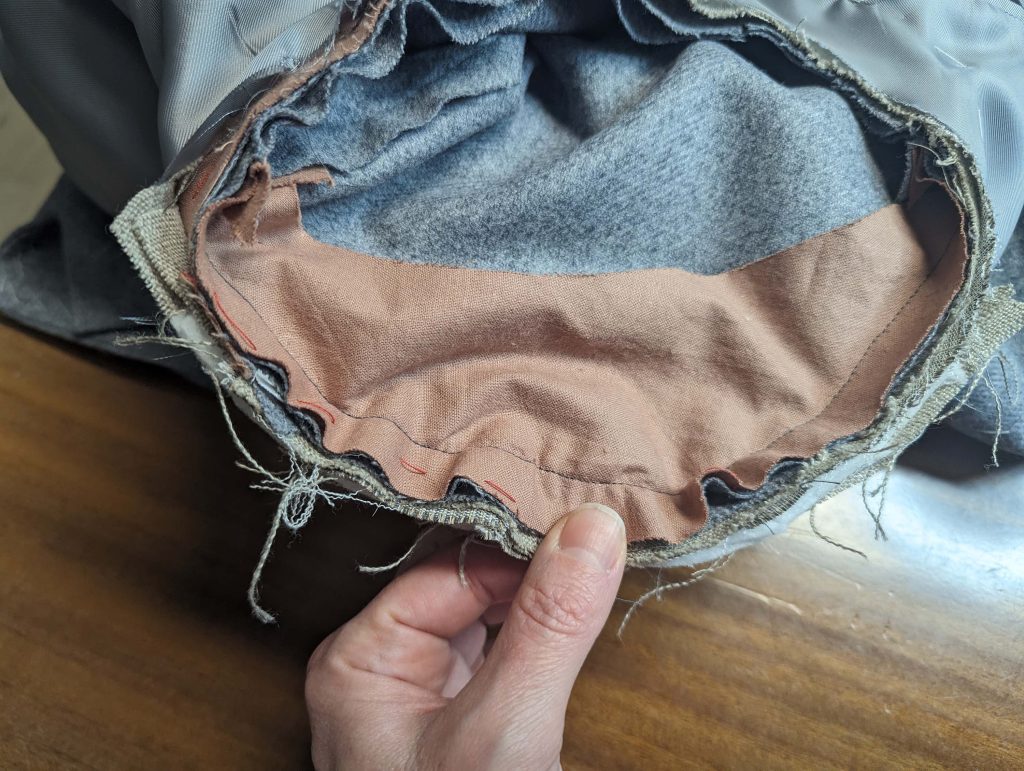
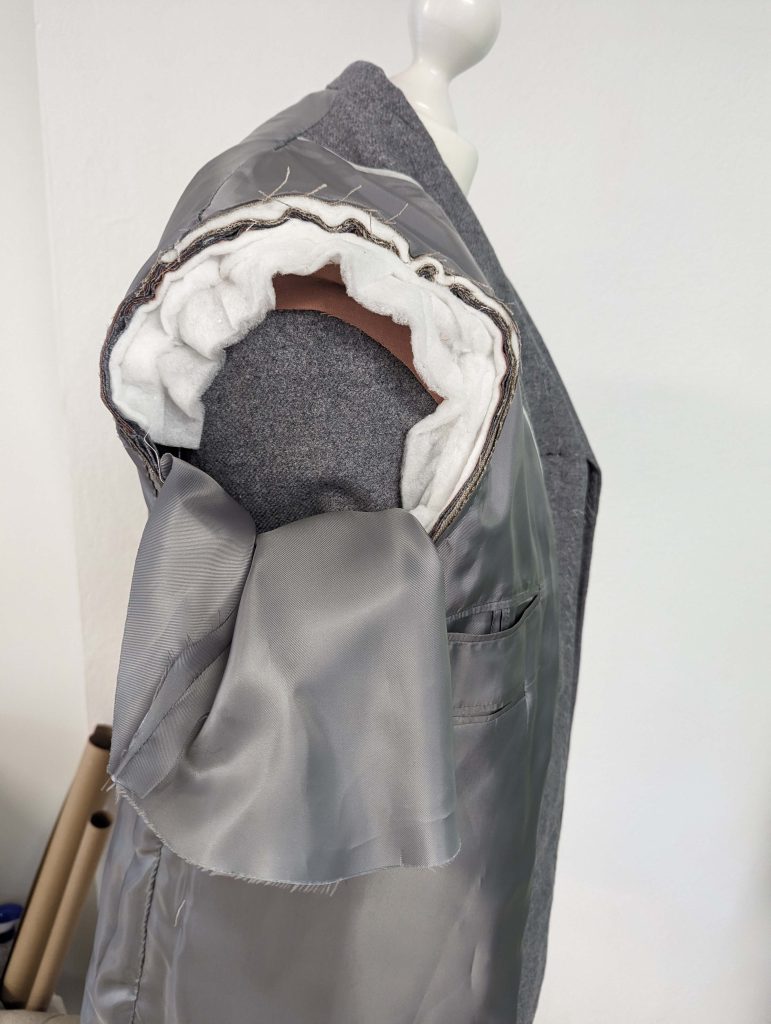
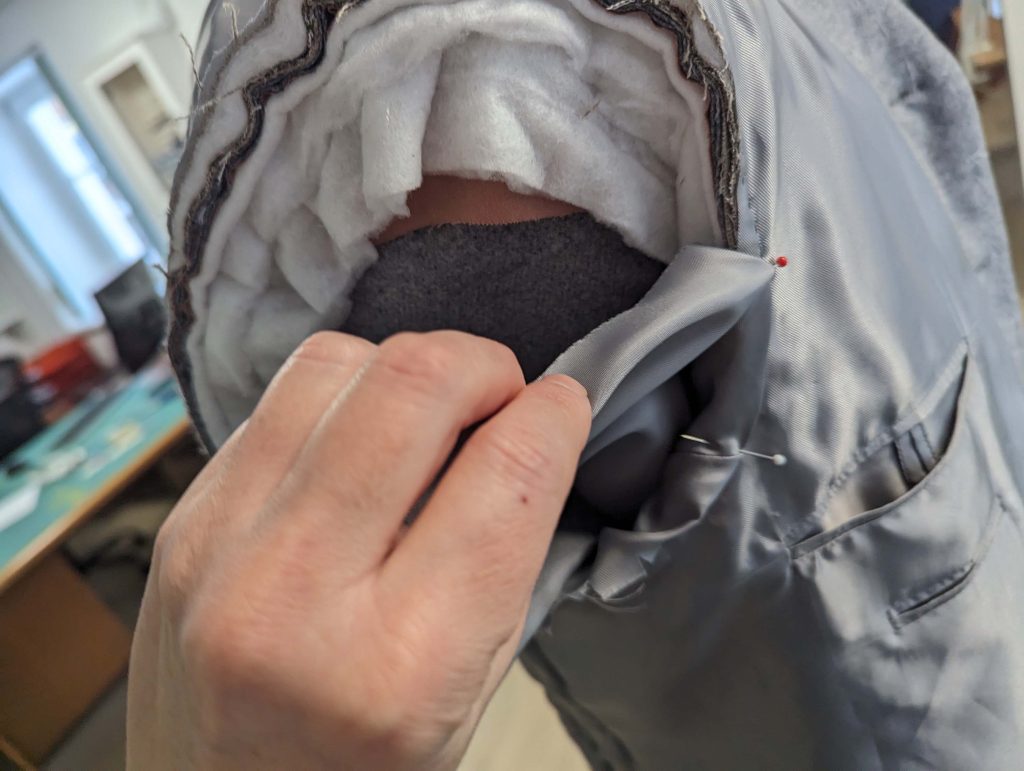
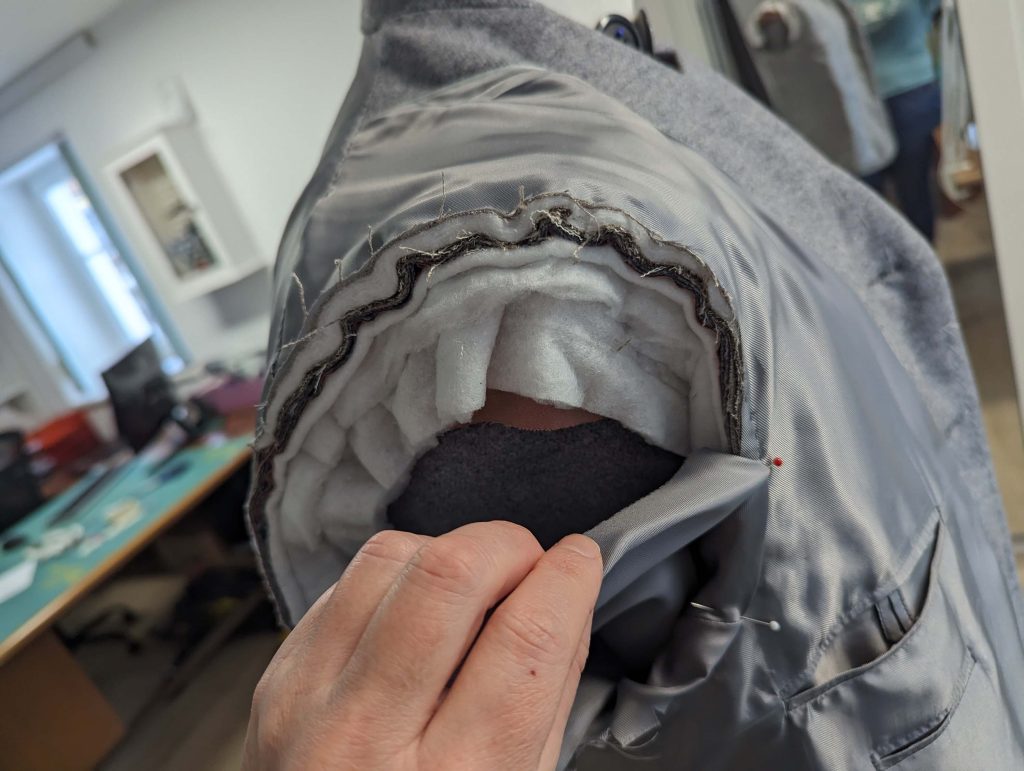
Next, baste together all layers (fashion fabric, canvas, shoulder pad, and the lining) right beside the sleeve seam inside the seam allowance. Trim back the seam allowance to 3/8” (1cm). Take a strip of padding (about 3”x15” (8x40cm)), turn in about 1/3 along one long edge, and line up with the seam allowance along the sleeve head, baste to the seam allowance.
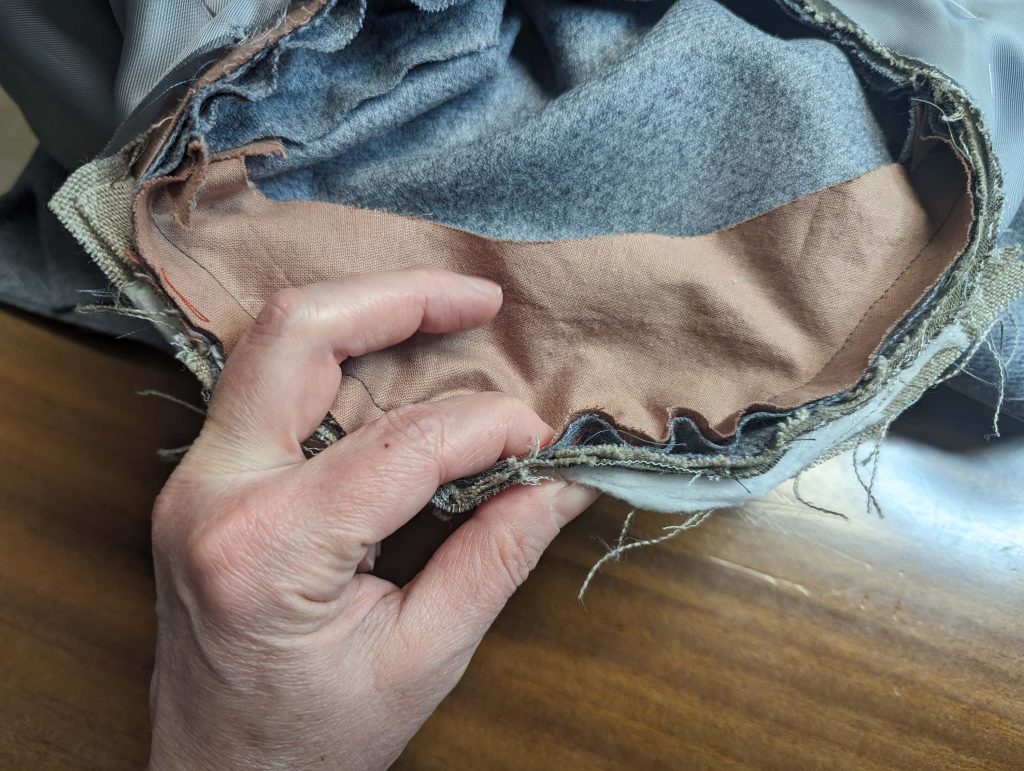
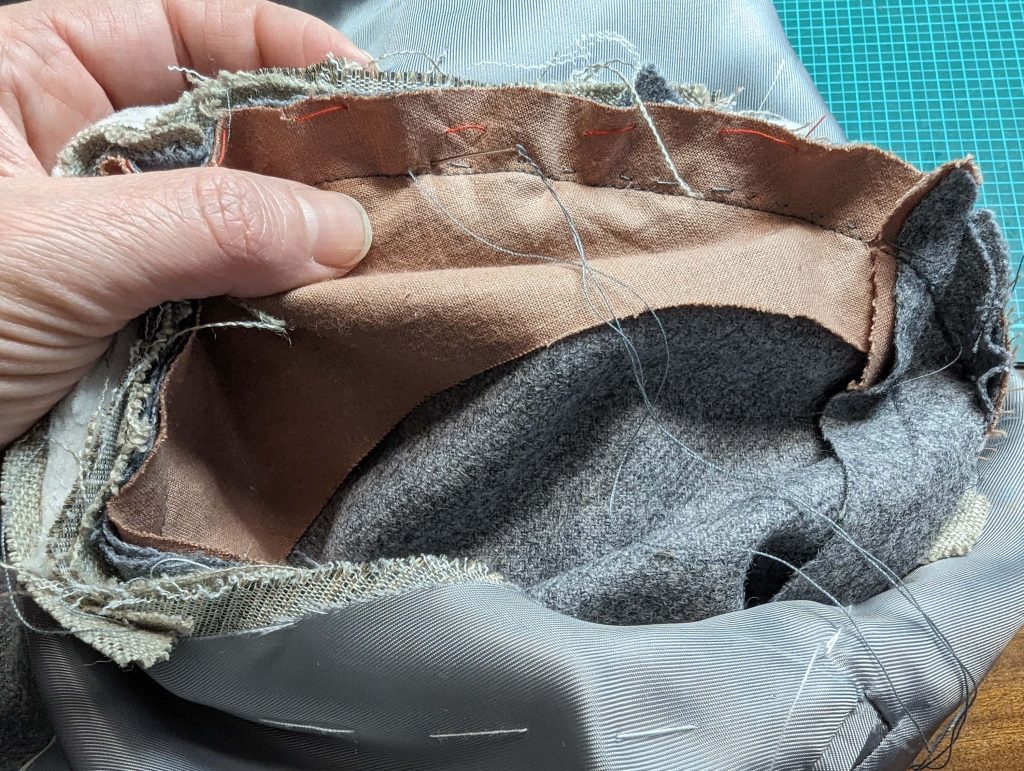
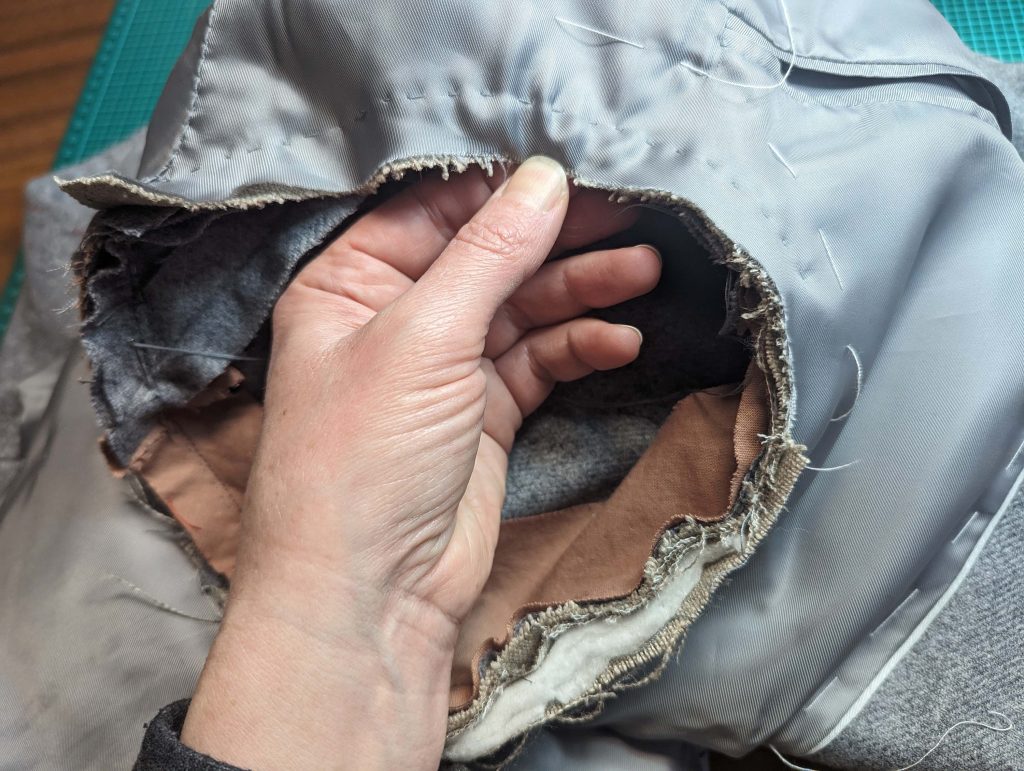
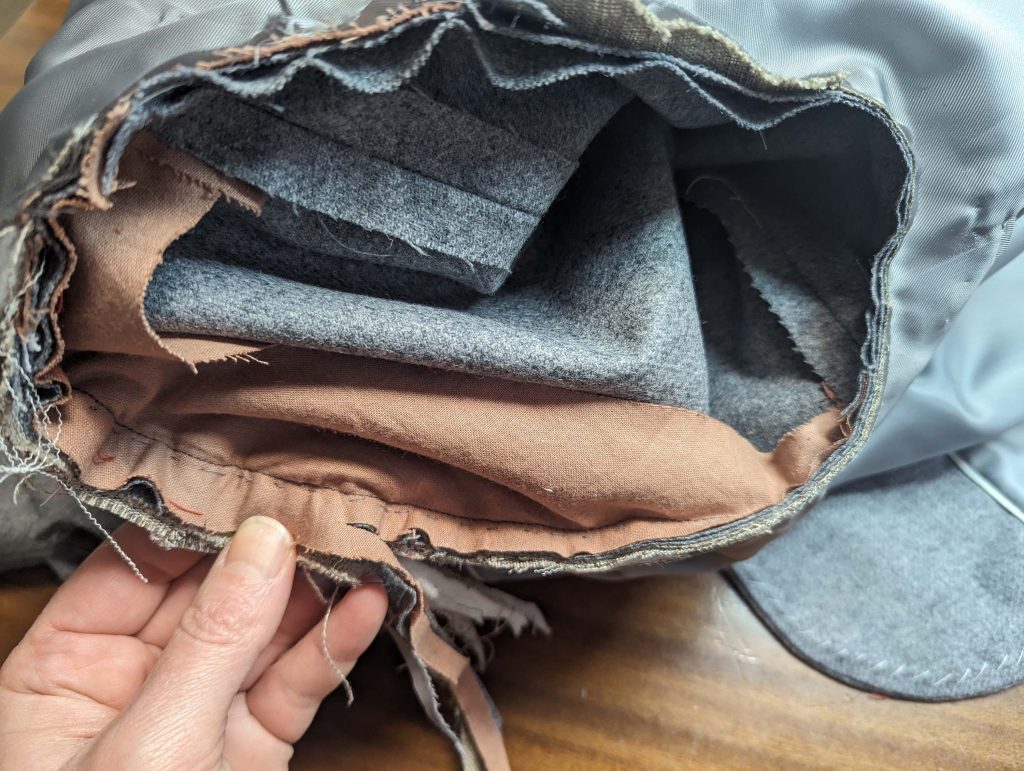
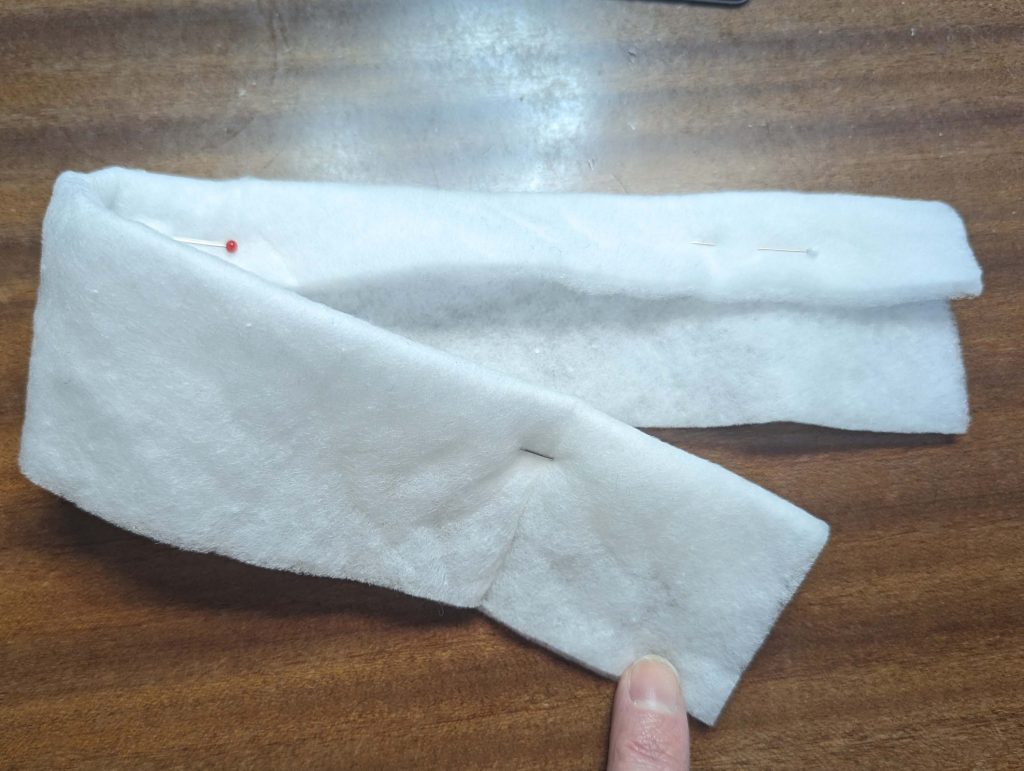
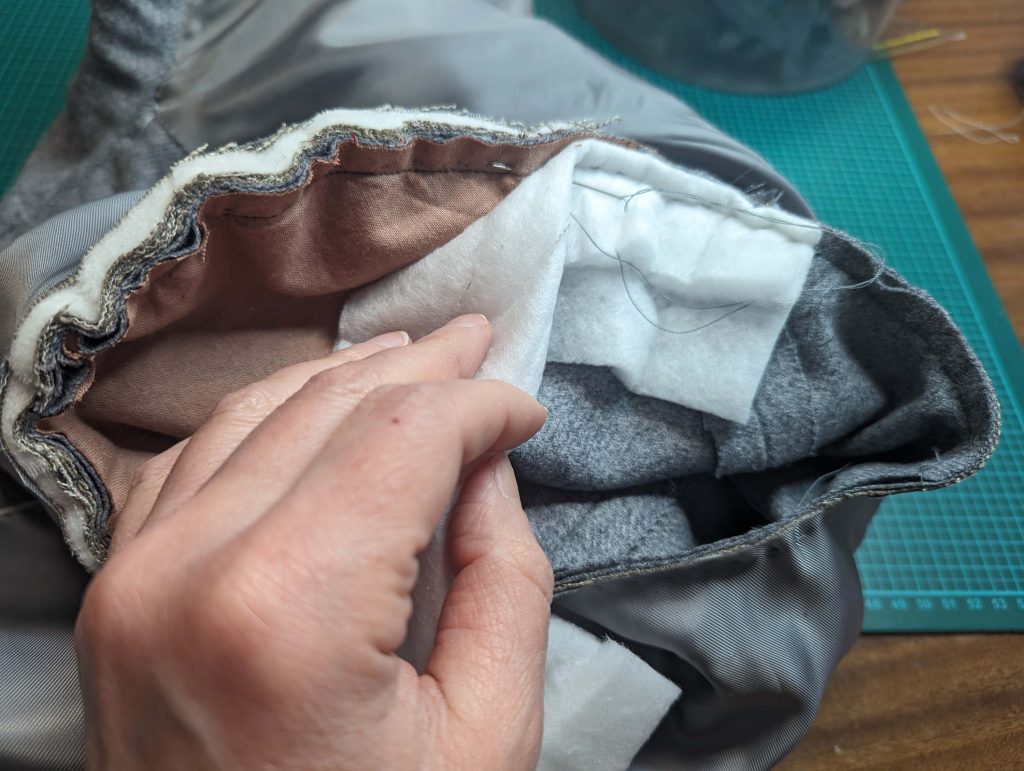
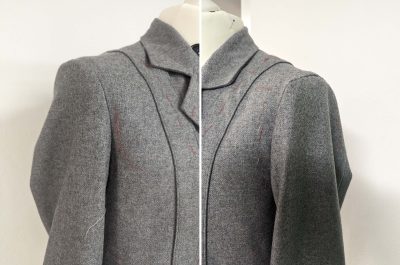
Is this strip of padding important? Yes it is, look at the difference it makes!
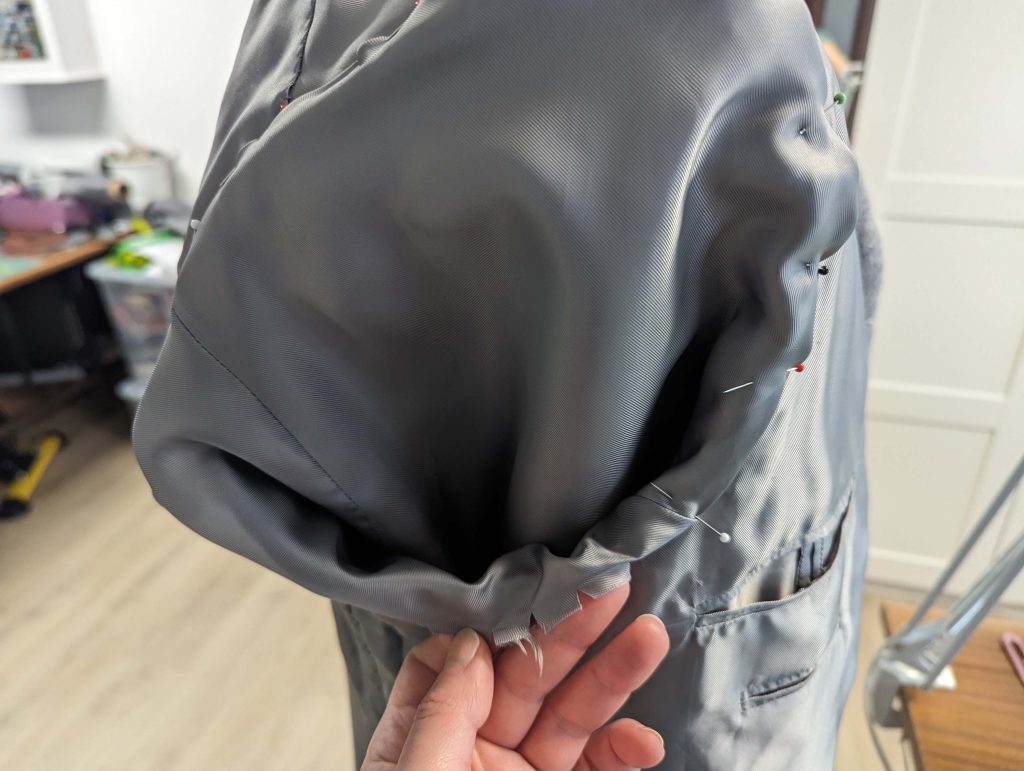
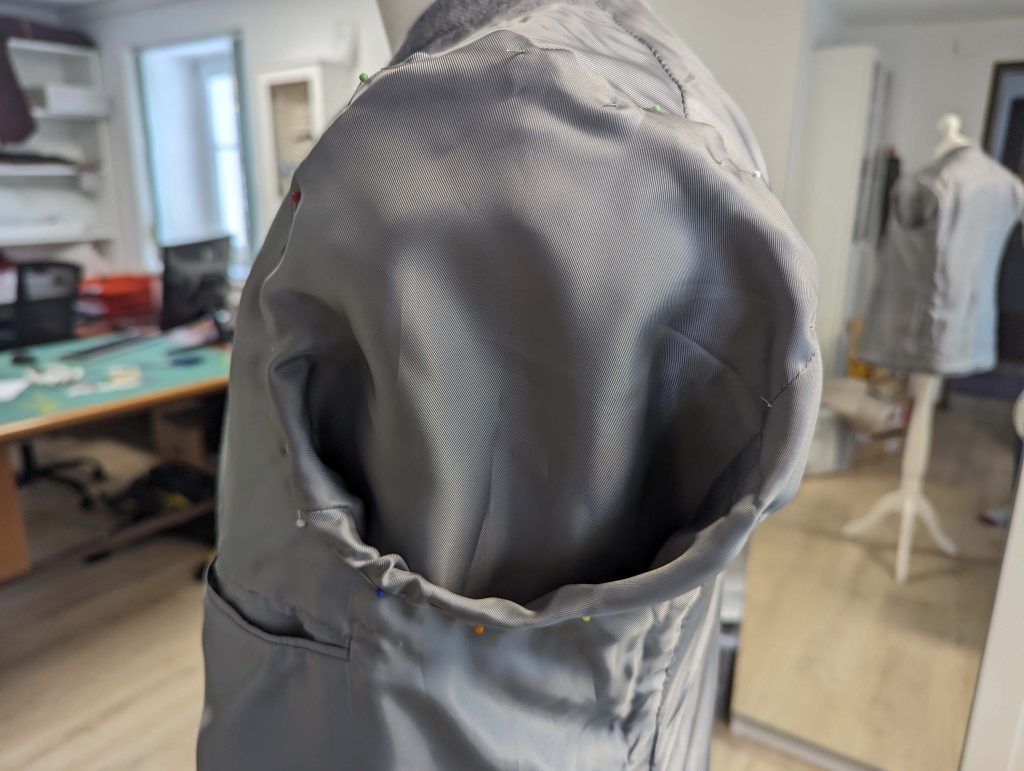
Pull the sleeve lining through the armhole and turn in the seam allowance. Line up with the armhole seam, covering the raw edges of the armhole, and fell stitch in place. Lay the excess width of the sleeve head into small folds if necessary.
(20) Flatline one of the belt pieces and line up the strips, right sides together. Sew, leaving an opening, reduce the stitch length at the corners, and design the tips as desired, squared, pointed, or rounded. Trim back the seam allowances, and turn the right way out, press. Sew the opening with invisible stitches and edgestitch the belt as desired.

