Tag Archives: Tailcoat

Men’s Tailcoat about 1800 – Part 1 – Getting started, steps (1) – (2)

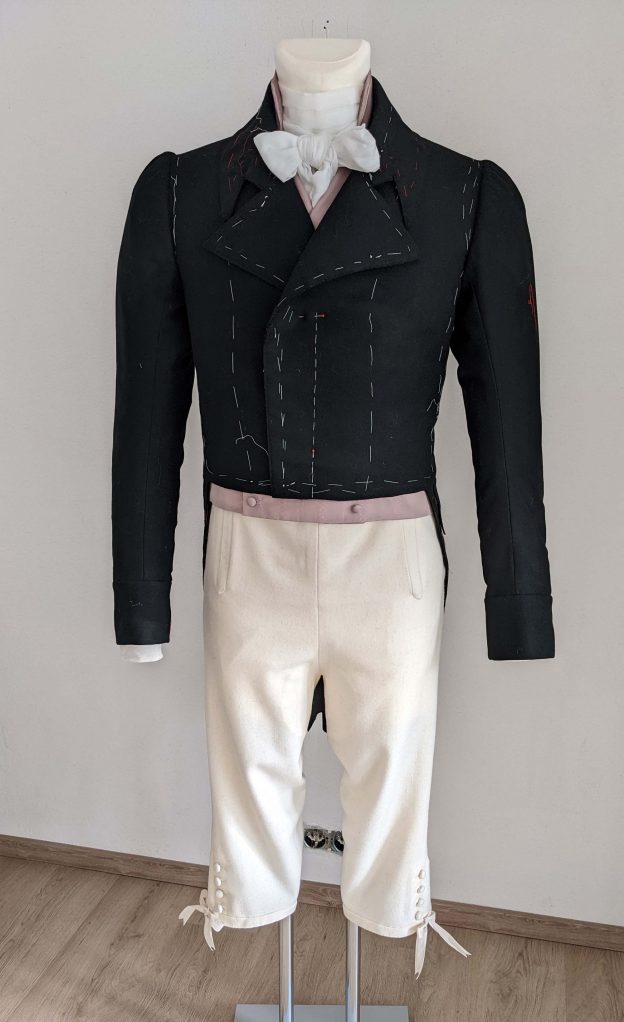
The last garment missing to complete our men´s wardrobe is the Tailcoat. Again, this blog post will supplement the sewing instructions for my pattern. The sewing techniques described in the instructions will follow the construction methods seen on extant garments as much as possible, with some extra information and pictures here.

Grab the sewing pattern here!

Please be aware, that this is a hand-sewing pattern, all long seams can be sewn by machine, but many steps can be only done by hand. Some steps are quite tricky, even for an experienced sewer, some steps are unfamiliar compared to modern sewing techniques.

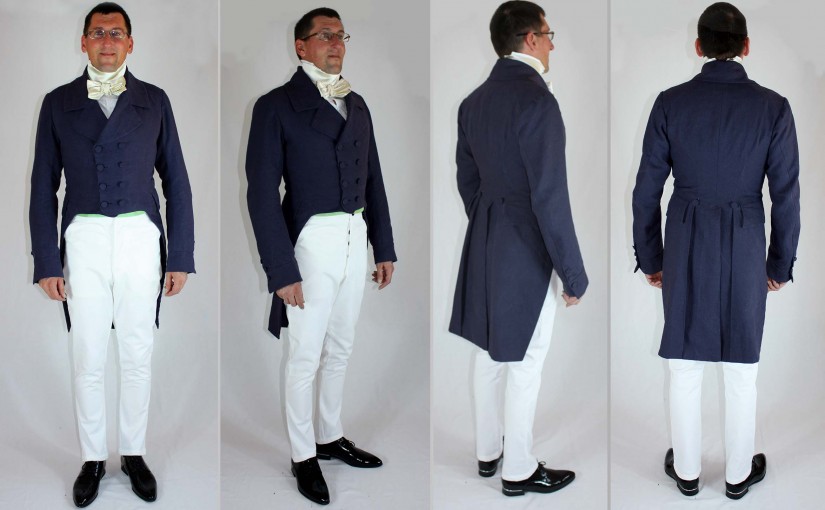
I´m going to show you the making of a double-breasted Tailcoat of the early 19th with many of the typical characteristics of these days. The body has three seams only, a center back seam, two back side seams, moved wide into the back, and no waist seam. Front and back tails are sewn together along the back side seam, pleated into a backward opening fold. The pocket opening is hidden inside these folds. The back opens into a vent beneath the waist. 

The double-breasted front ends about 1” above the natural waistline, showing the waistcoat underneath.  Breast padding supports the front and no shoulder pads are installed. The sleeves are pretty long, reaching the basal thumb joint, and finishing with a cuff. All the extra width at the sleeve head is gathered at the front. The collar features the typical m-notch. The body is lined with polished cotton fabric. The front facings are extended to meet at the center back.

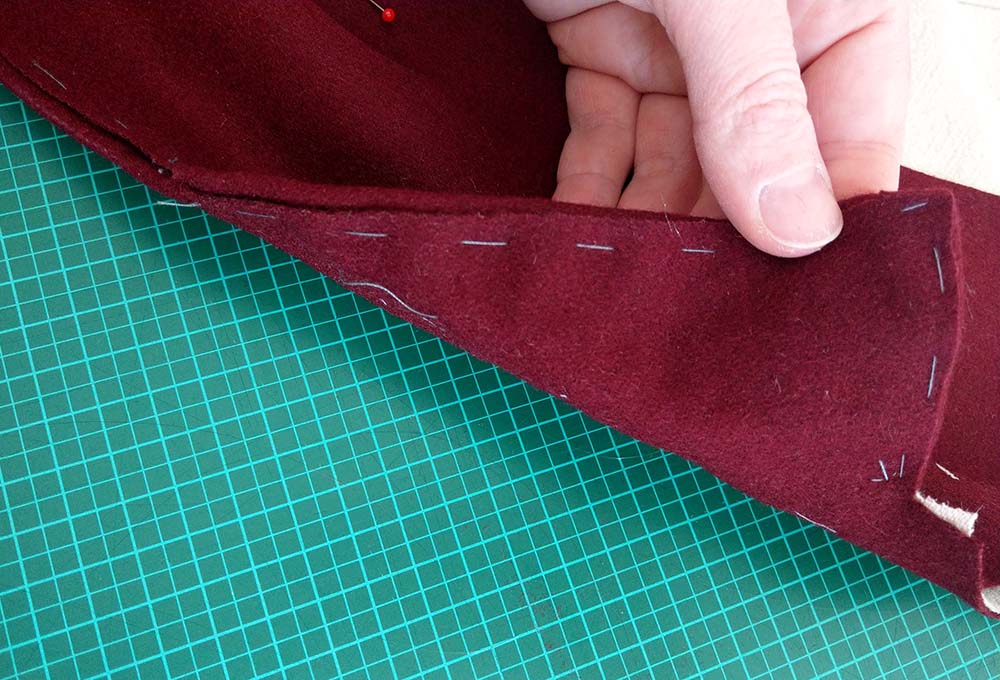
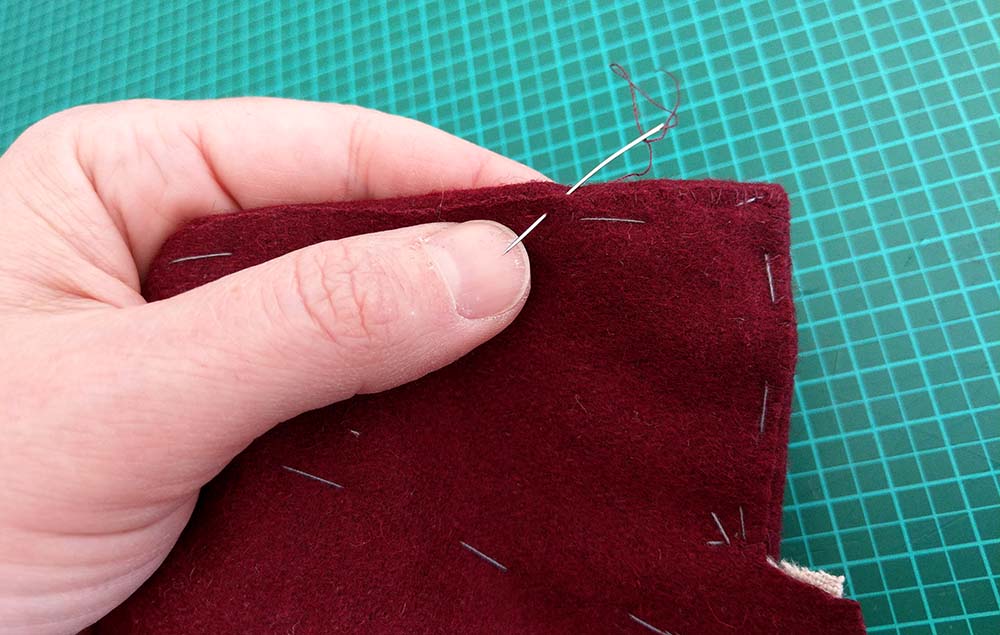
The edges of non-fraying wool fabrics like felted wool will be left raw. When working with a fraying fabric, I recommend sewing the tailcoat in a more “modern” way.

The first possibility would be to line up the top and bottom layers, wrong sides together. Then turn the seam allowances under and sew all edges with a slip stitch, described in this blog post of my Romantic Tailcoat: https://patterns.bplaced.net/blog/1840s-tailcoat-part-4-1840er-tailcoat-teil-4/

The second possibility is even more modern, sewing collar and lapels with the right sides together and then turning the right side out, as usual nowadays: https://patterns.bplaced.net/blog/an-1830s-frock-coat-part-1-ein-1830er-gehrock-teil-1/

A third (for moderate fraying fabrics) would be to turn under the seam allowances of the top layer, trim back the seam allowance of the bottom layer to the net, and slip or fell stitch the bottom layer in place:

1840s Tailcoat Part 4

Collar and Sleeves 

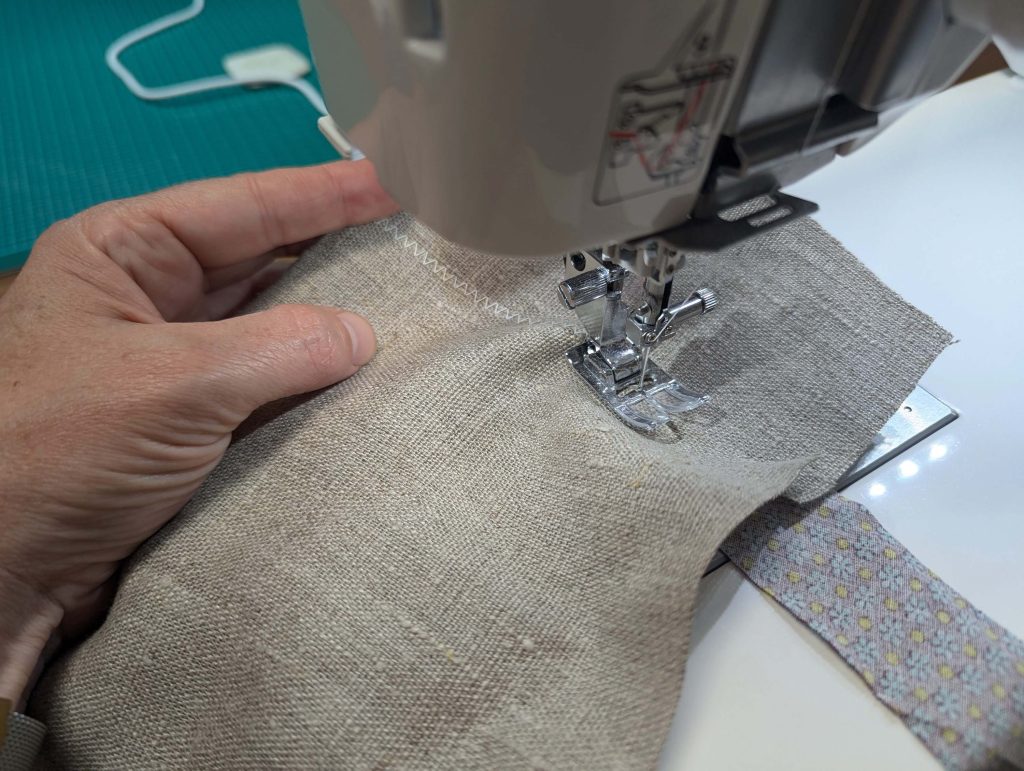
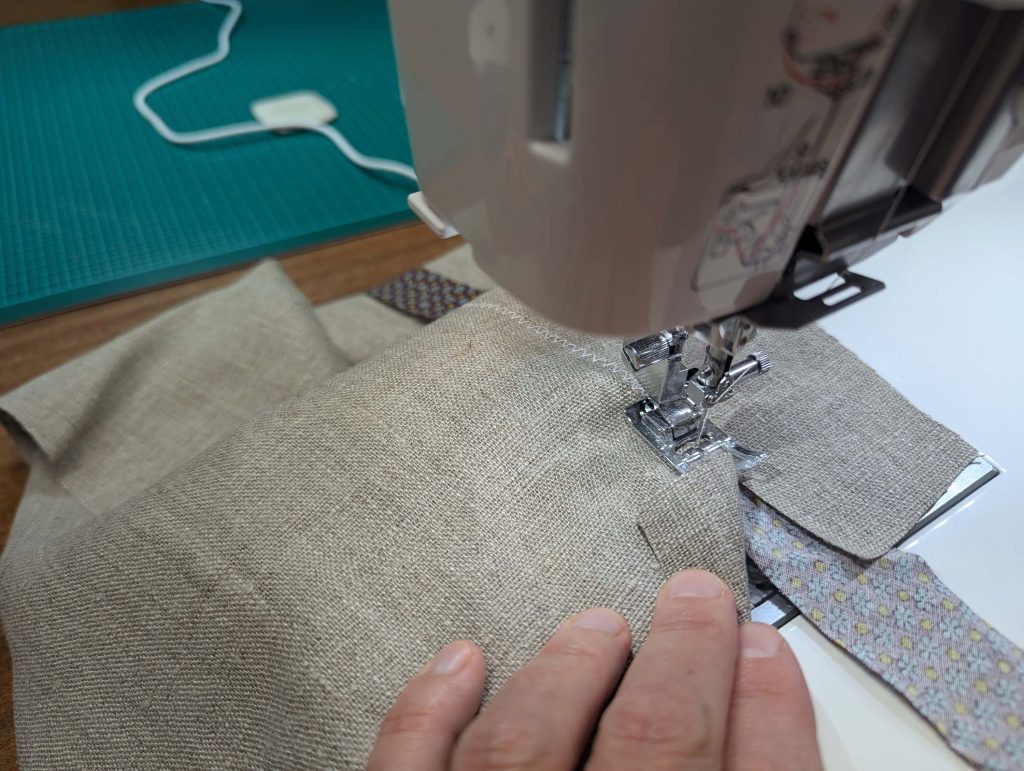
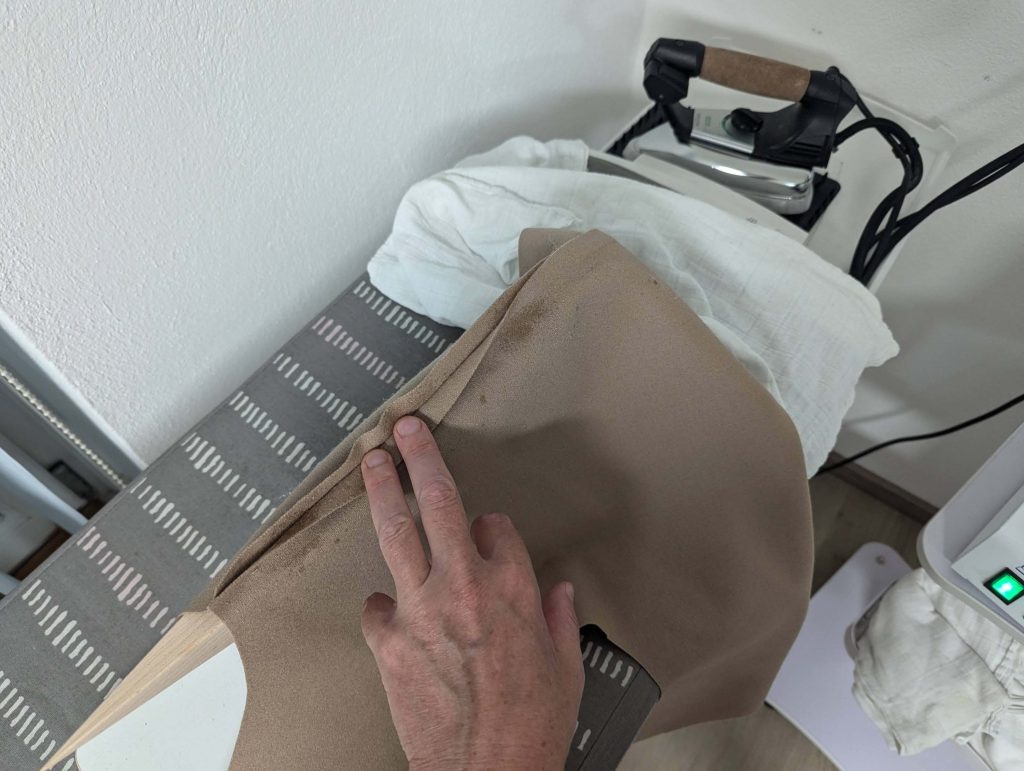
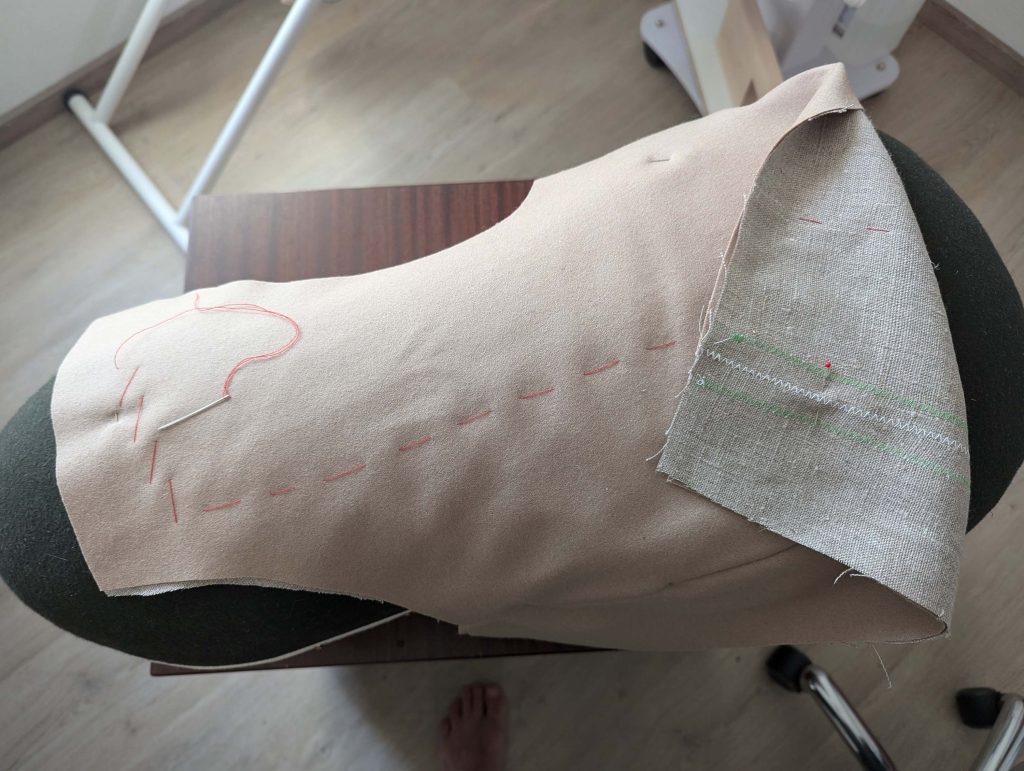
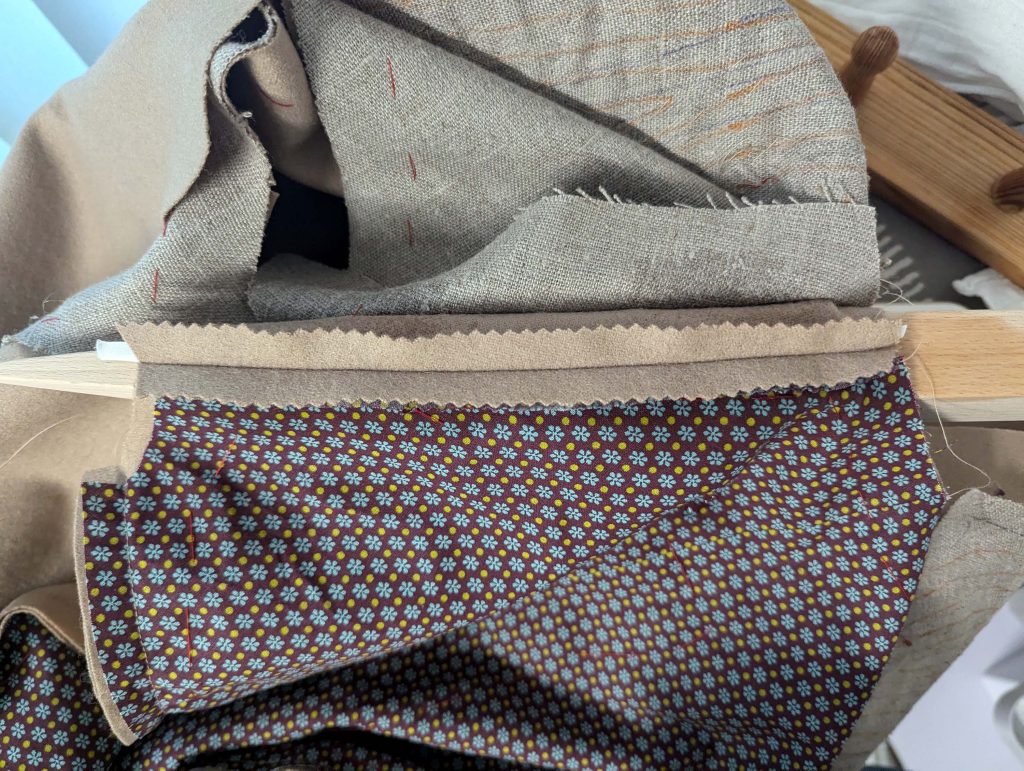
I basted together all layers along neckline; that means the basic layer is the top itself, then along the front neckline the interlining and along the back neckline the cotton lining. The seam allowances of the facings are already turned in and the edge basted to the stitching line. I prepared the collar with canvas pad stitched to the fashion fabric. With the hot iron, I stretched the top and bottom edges and pressed in the roll line.

IMG_4412 Continue reading

1840s Tailcoat Part 3 / 1840er Tailcoat Teil 3

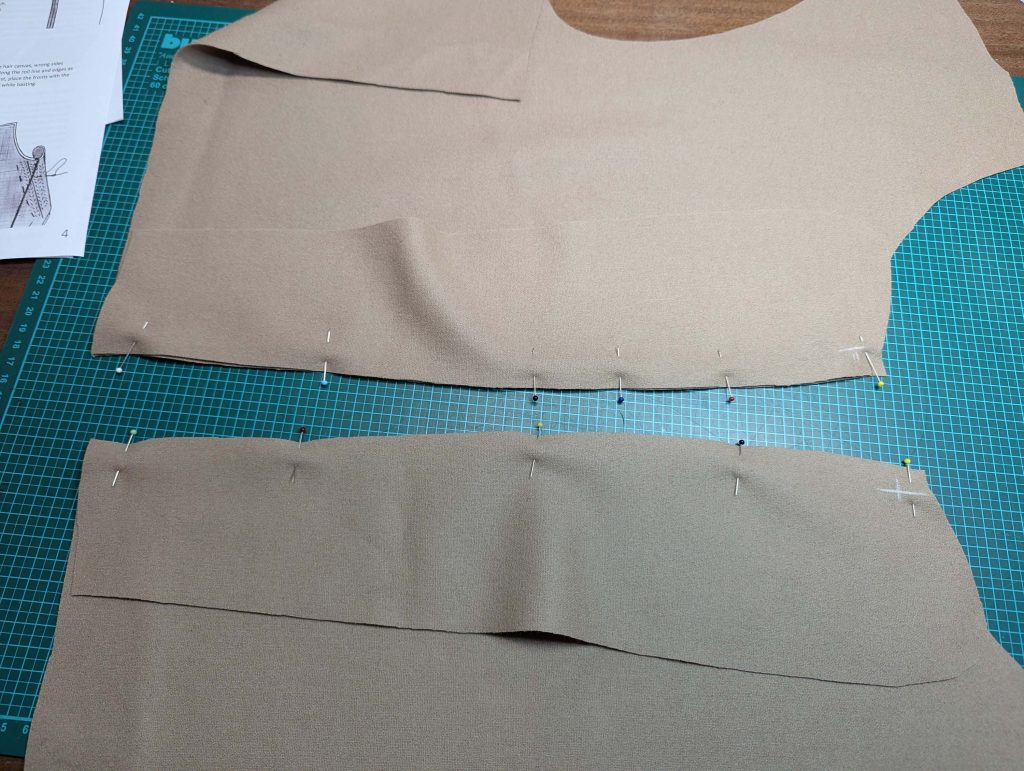
The Tails / Die Schößchen

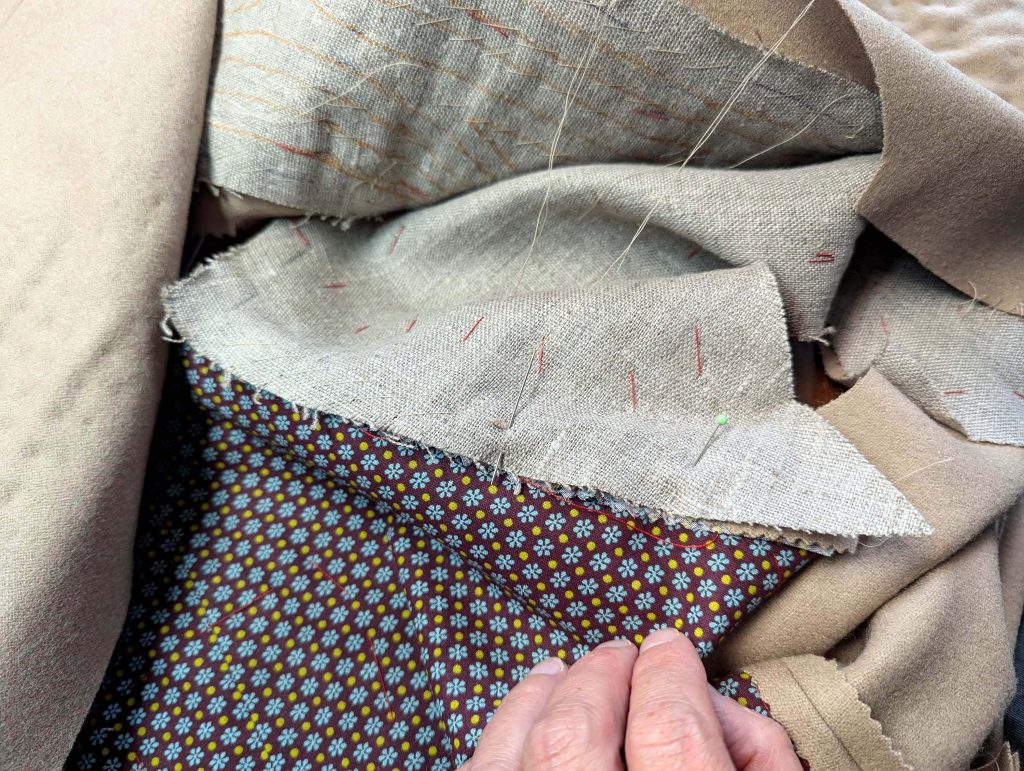
Let´s continue with this picture: this are the back parts already sewn together. You can see the seam allowance of the vent turned in and catch stitched to fix it. You will see small stitches on the right fabric side, but that doesn´t matter, it was usual on men´s clothing during the Regency and Romantic period.


IMG_4527

IMG_4529 Continue reading

1840s Tailcoat Part 2

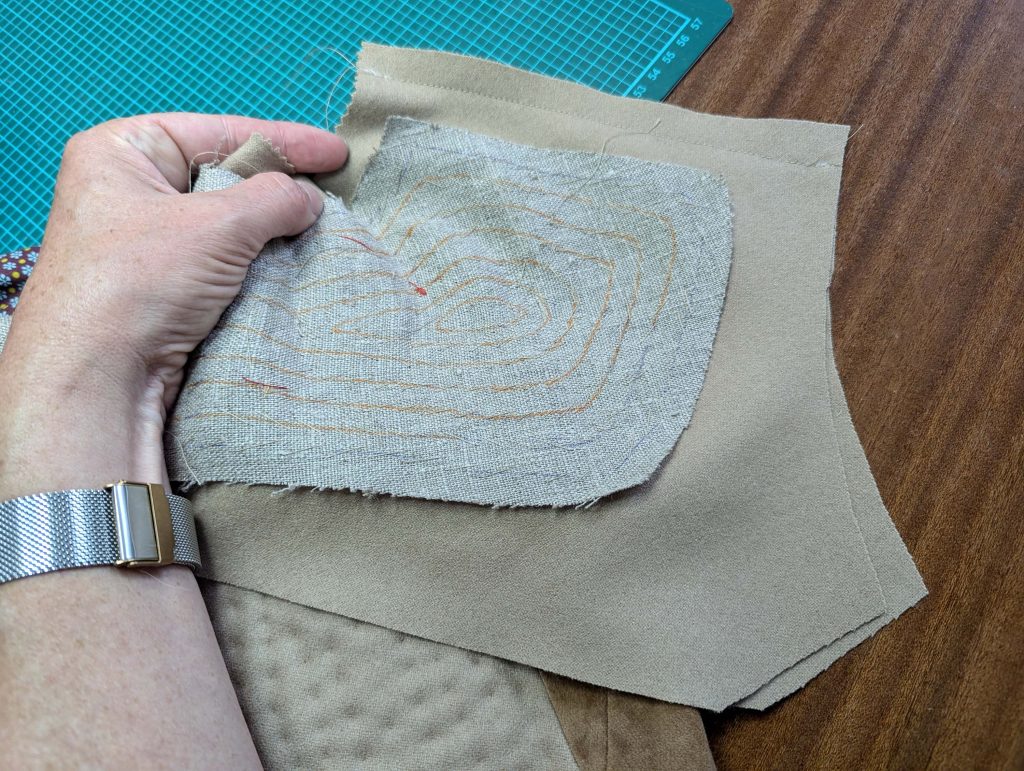
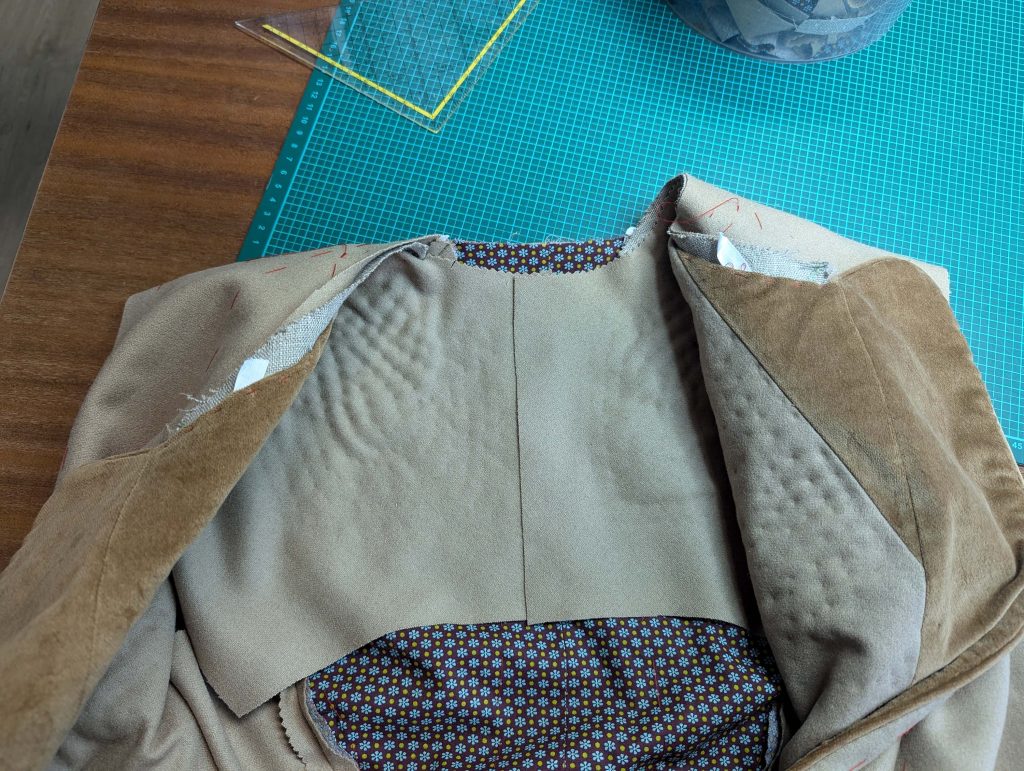
Let´s continue with the front facing. For the pattern I joined the pattern piece of the front and the back. At the back piece I drew a curved line from the center back to the side seam and cut. Placed on top of my fashion fabric and cut with some more seam allowance at the neckline. I didn´t close the dart at the facing. Now the facing will reach to the center back as you can see on this tailcoat: https://www.augusta-auction.com/component/auctions/?view=lot&id=4509&auction_file_id=8

IMG_4532

Continue reading

A 1840´s Linen Tailcoat Part 1

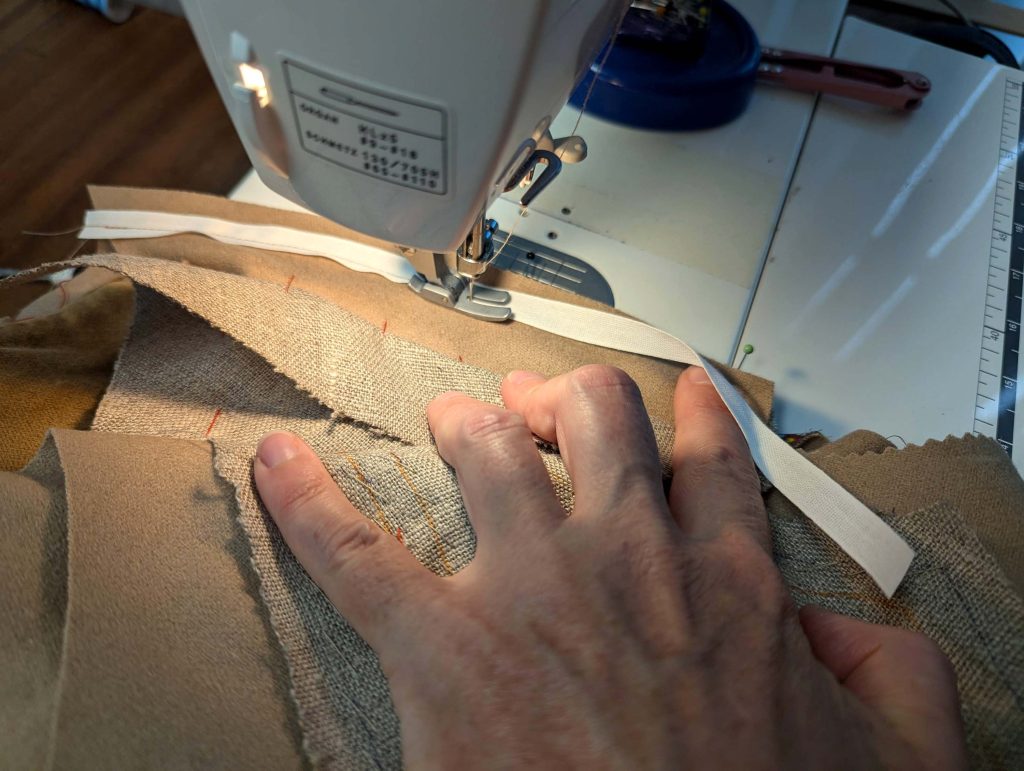
Apart from trousers, shirts, waistcoats and collars my husband needed a jacket for our romantic period costume summer meeting. I already made a Frock Coat from quite heavy wool fabric, suitable for cold and rainy days. However, what to do if it´s going to be hot? Years ago, I made a regency tailcoat from wool broadcloth. He never wore willingly, except in the carnival when he was a vampire.
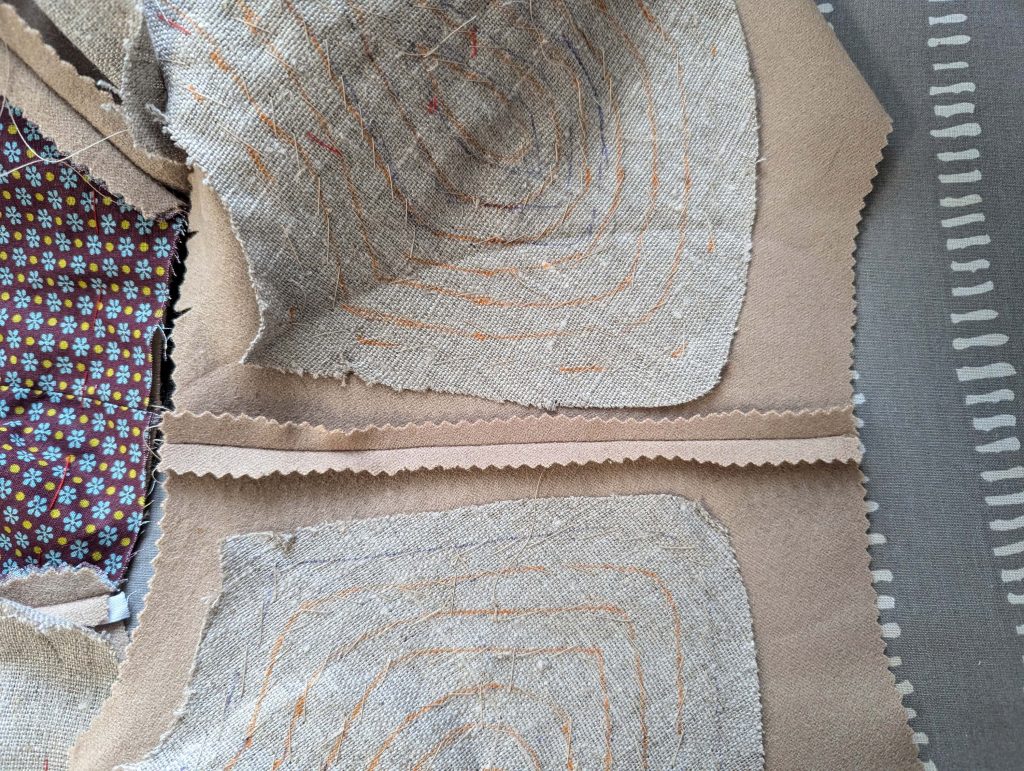
There are other options than broadcloth and that´s linen. I decided to make him a linen tailcoat. I used the Frock Coat pattern and modified as needed, because it hat to fit closer. Fitting quite narrow at the waist I had to add some extra width at the skirt for the hips. This made me some problems with the pockets, but this was my fault. I couldn´t remember how to make a pocket, means a little bit of a black out. Thank god, the pocket flaps cover everything.


Continue reading