Category Archives: Tutorials

Unveiling the Enhanced BlackSnailPatterns #0416 „Norfolk Jacket“ Sewing Pattern – Part 4 – Step (17) – (22) 

Part 1, Part 2, Part 3

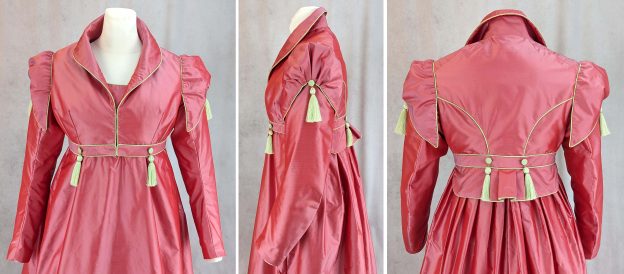
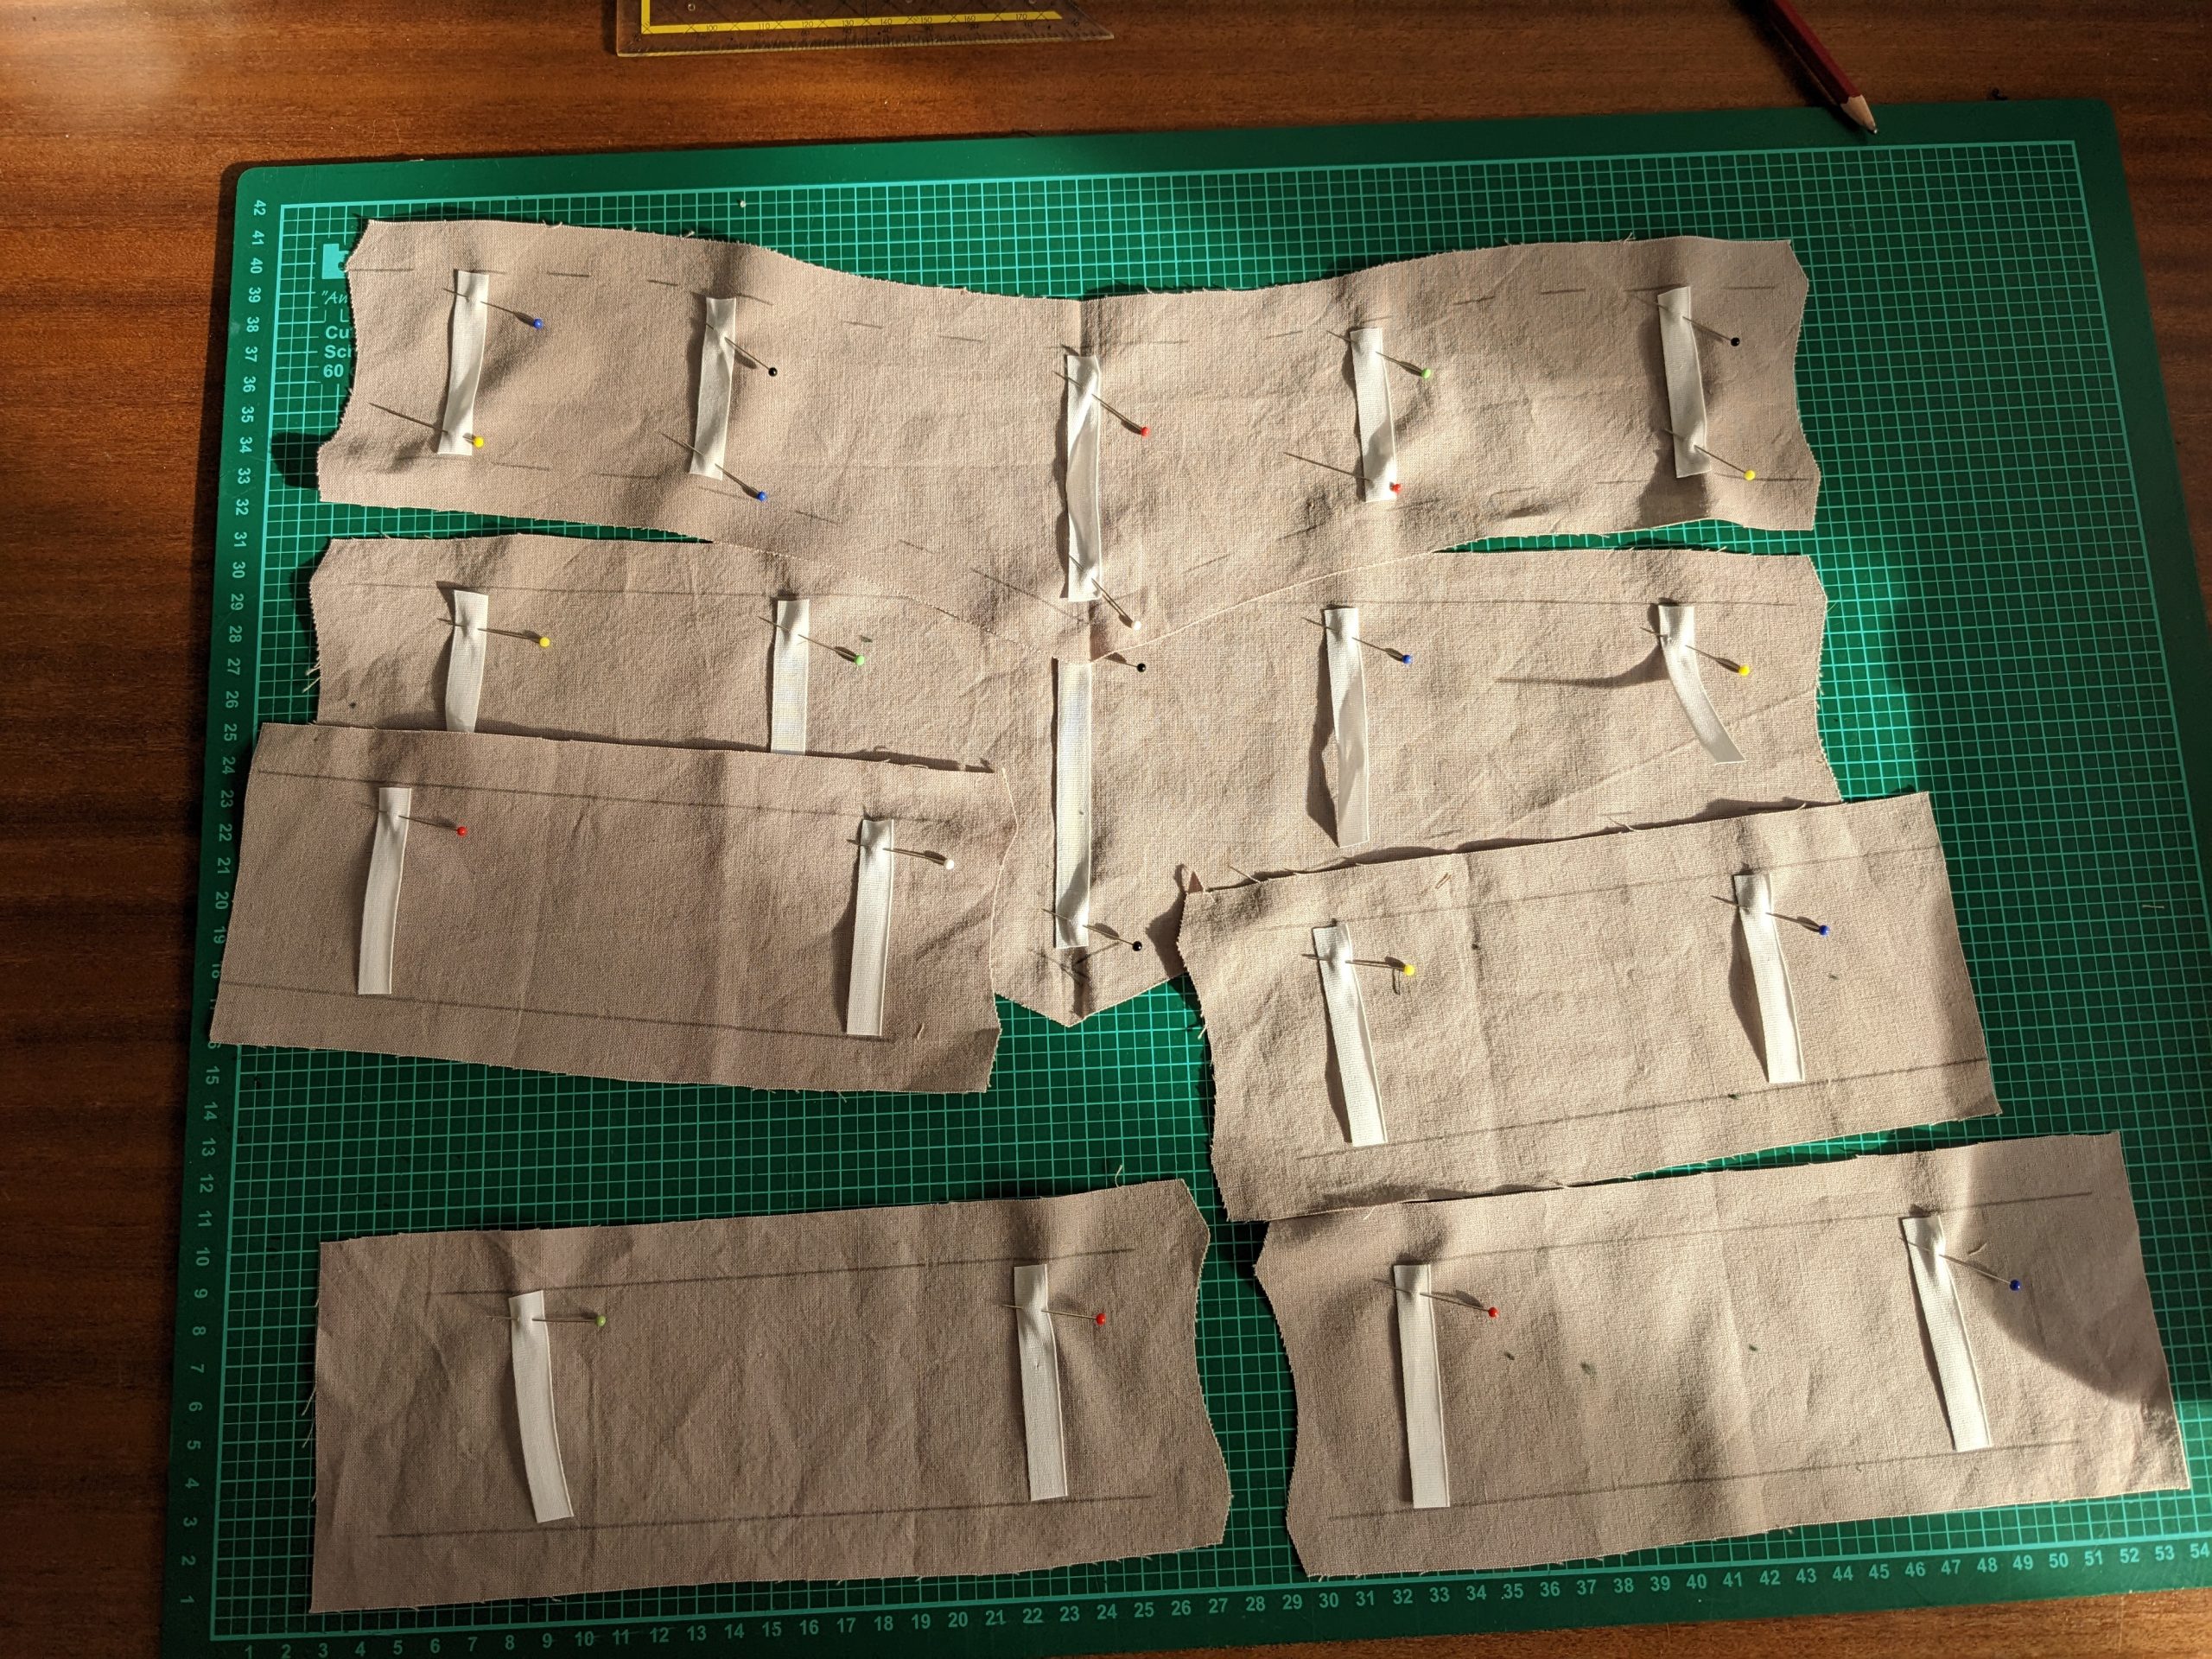
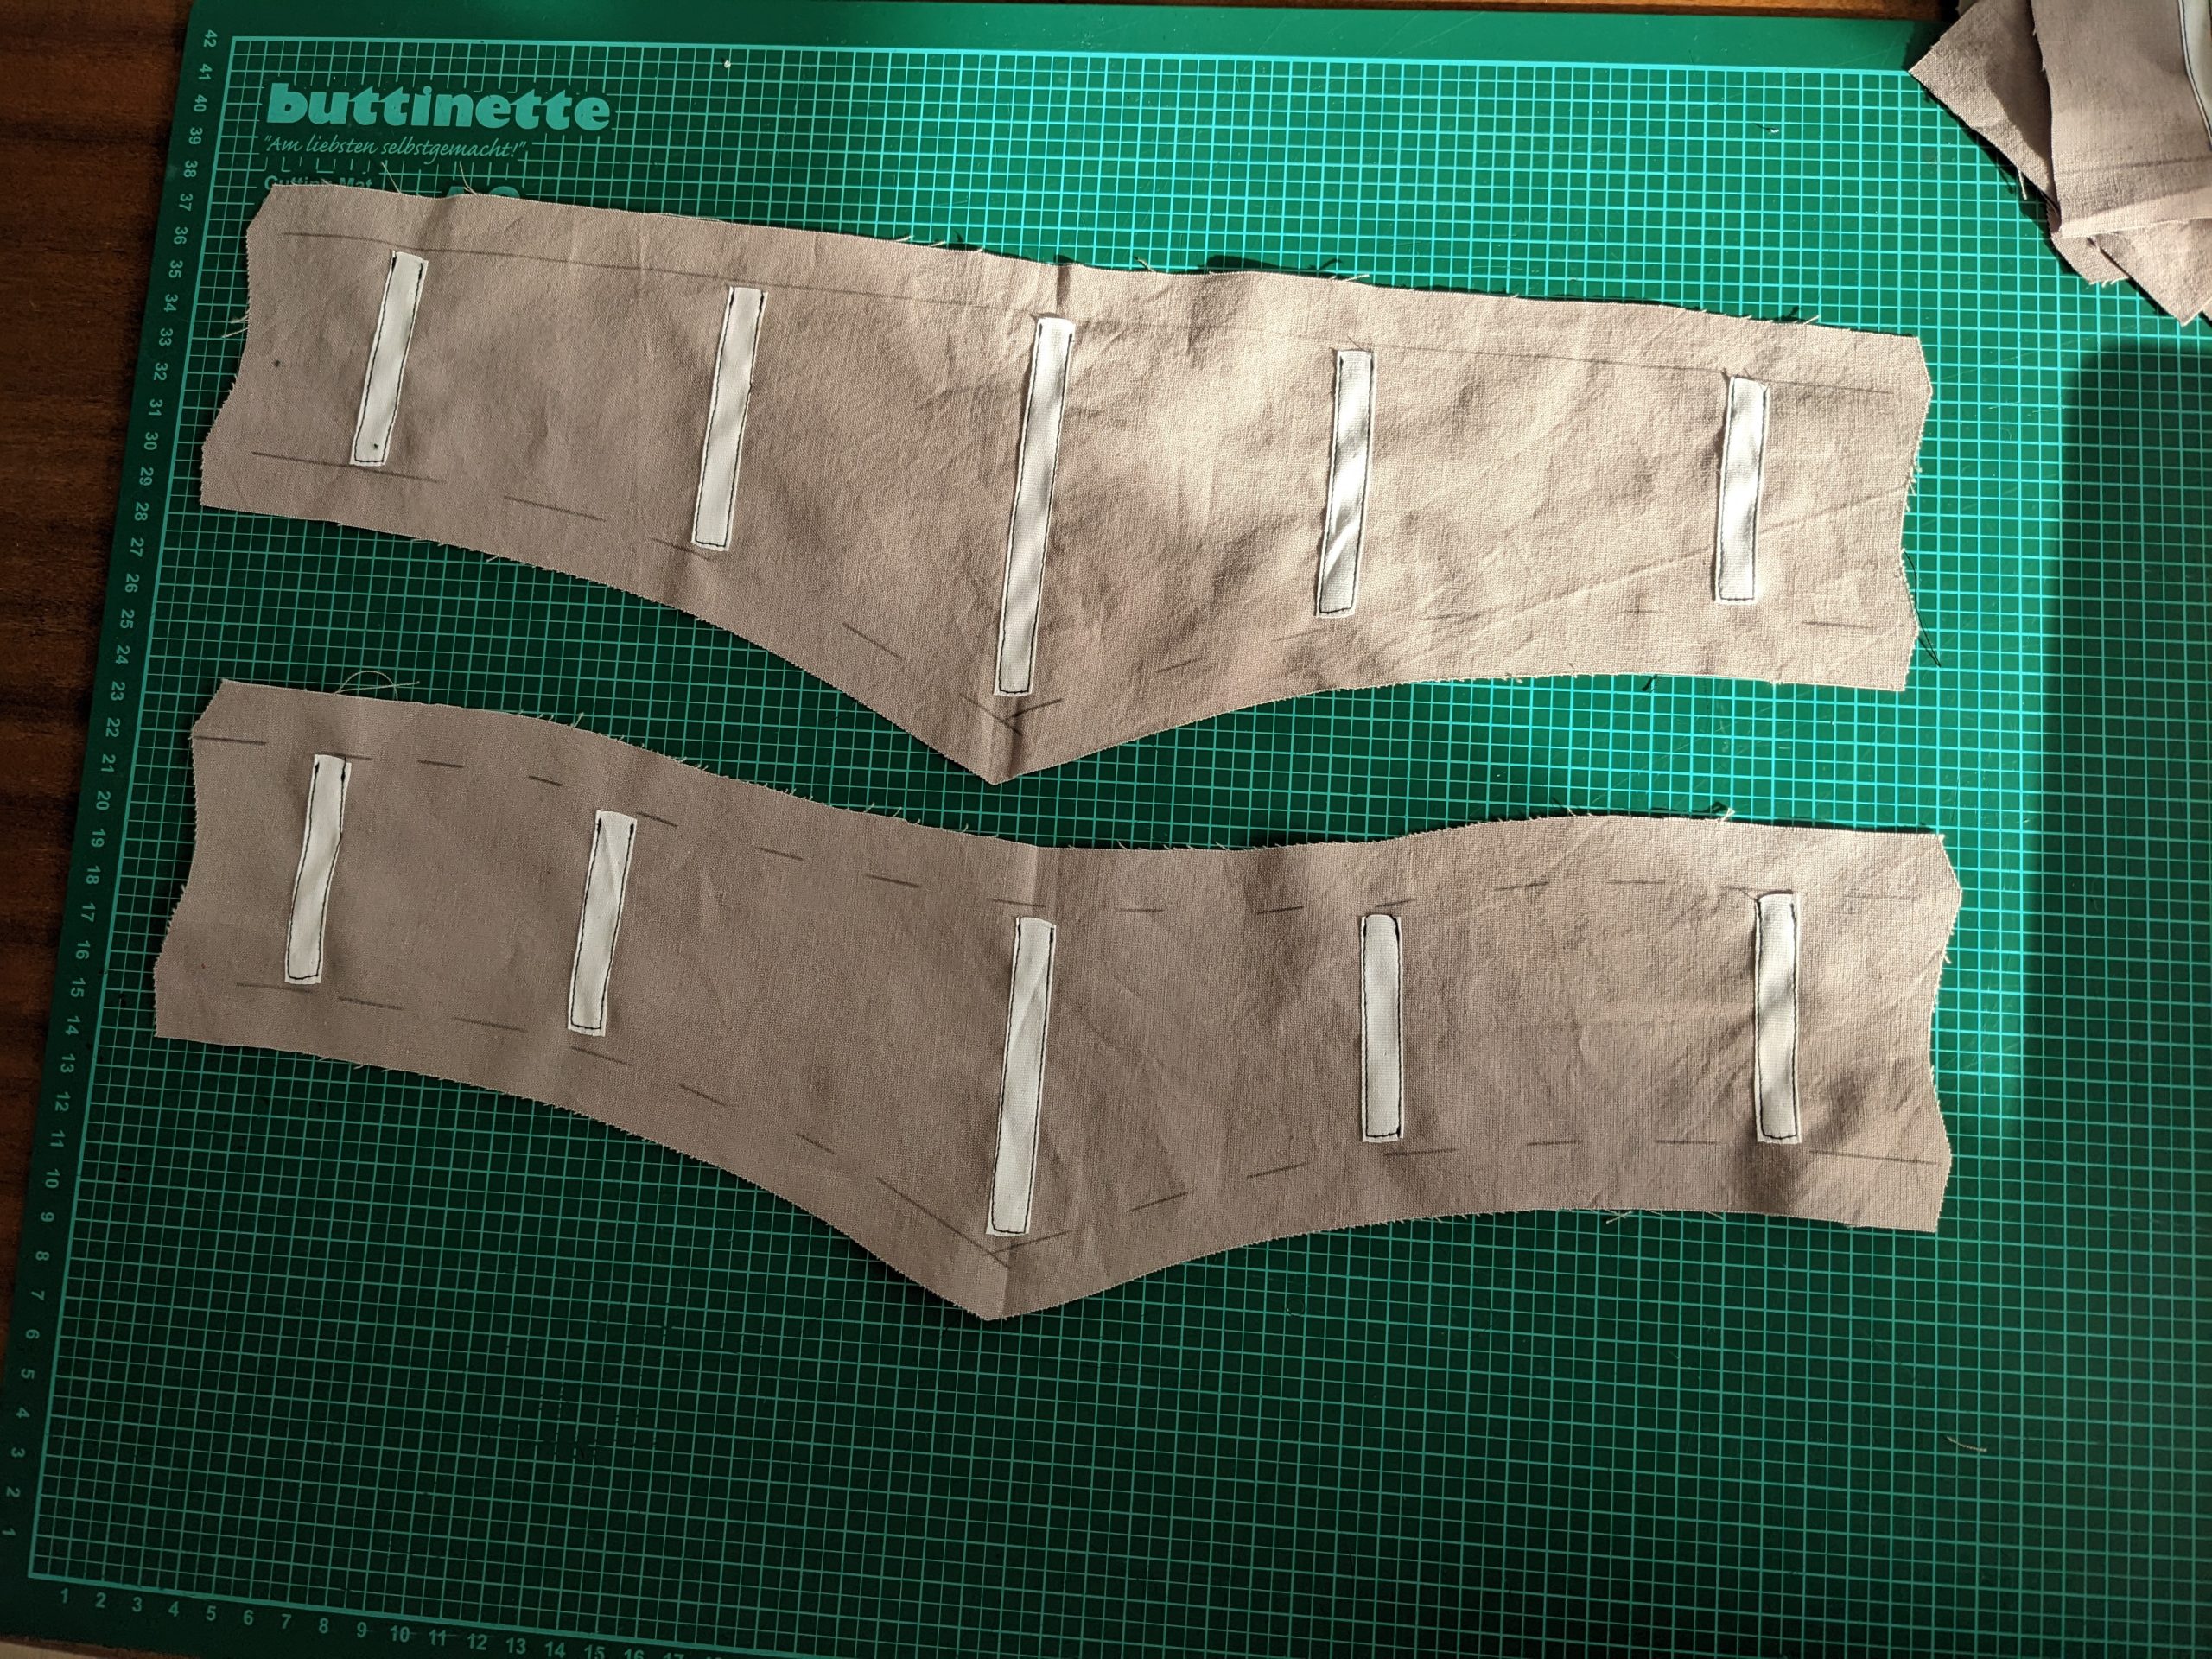
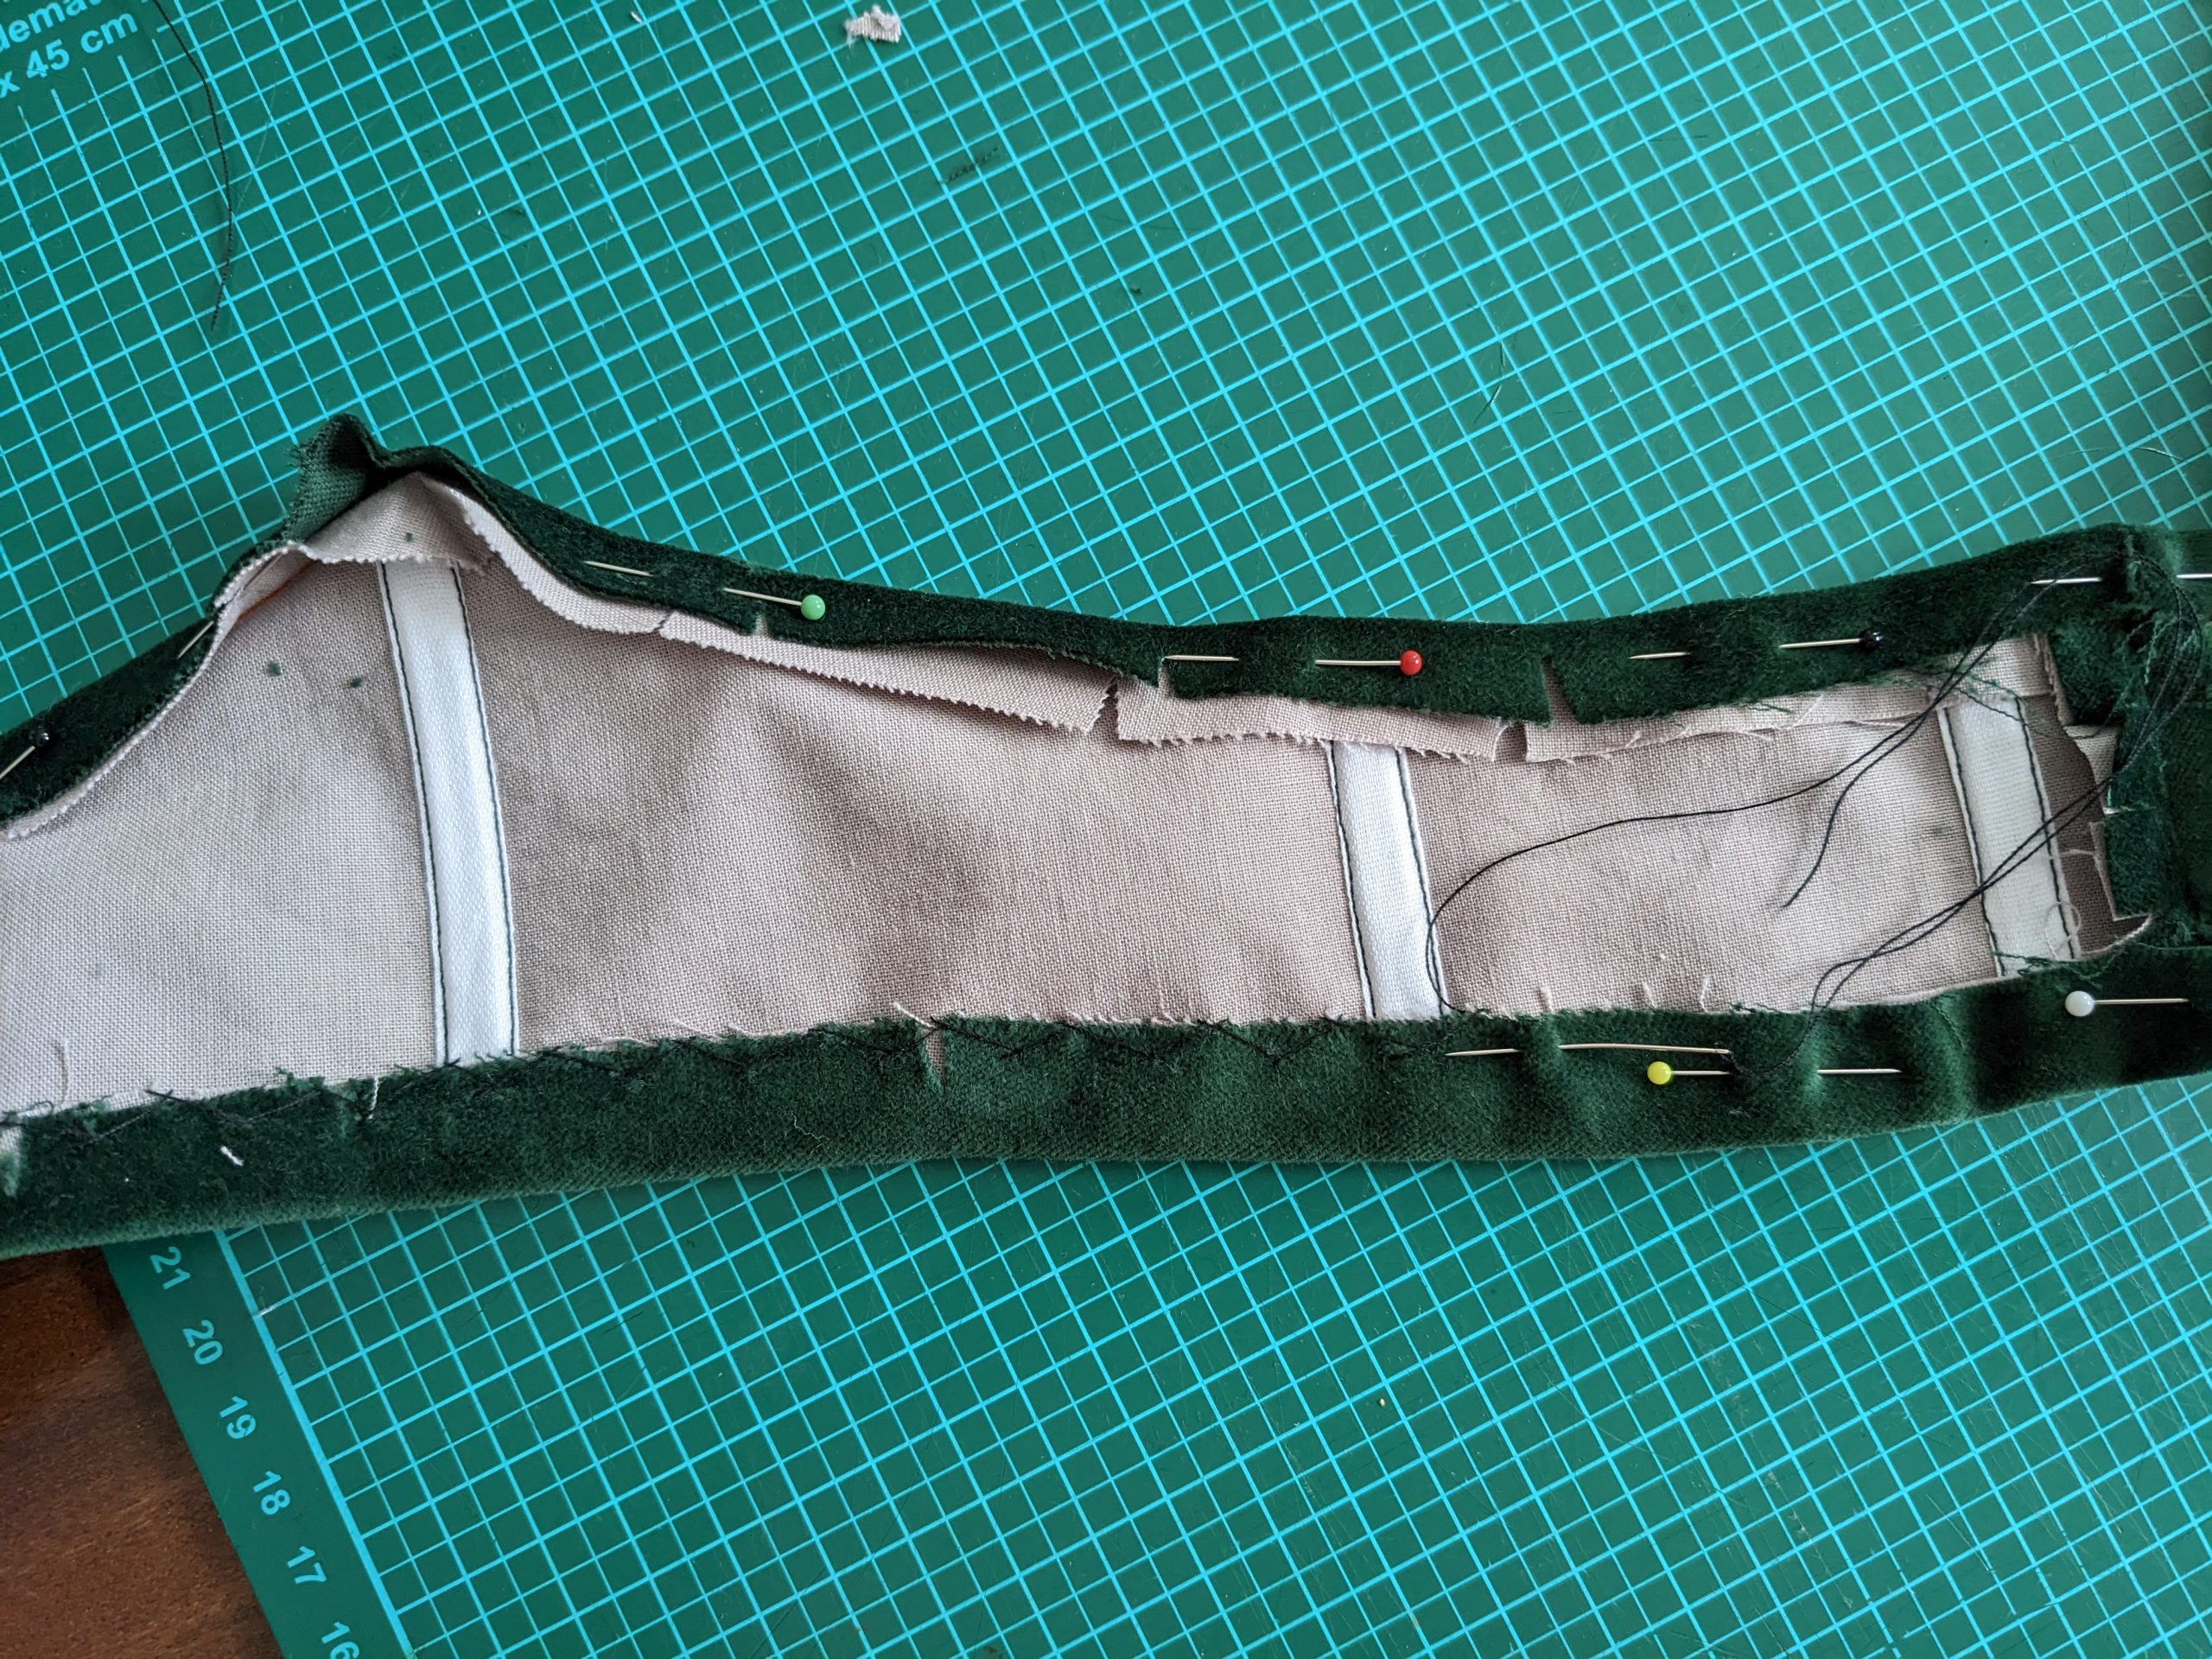
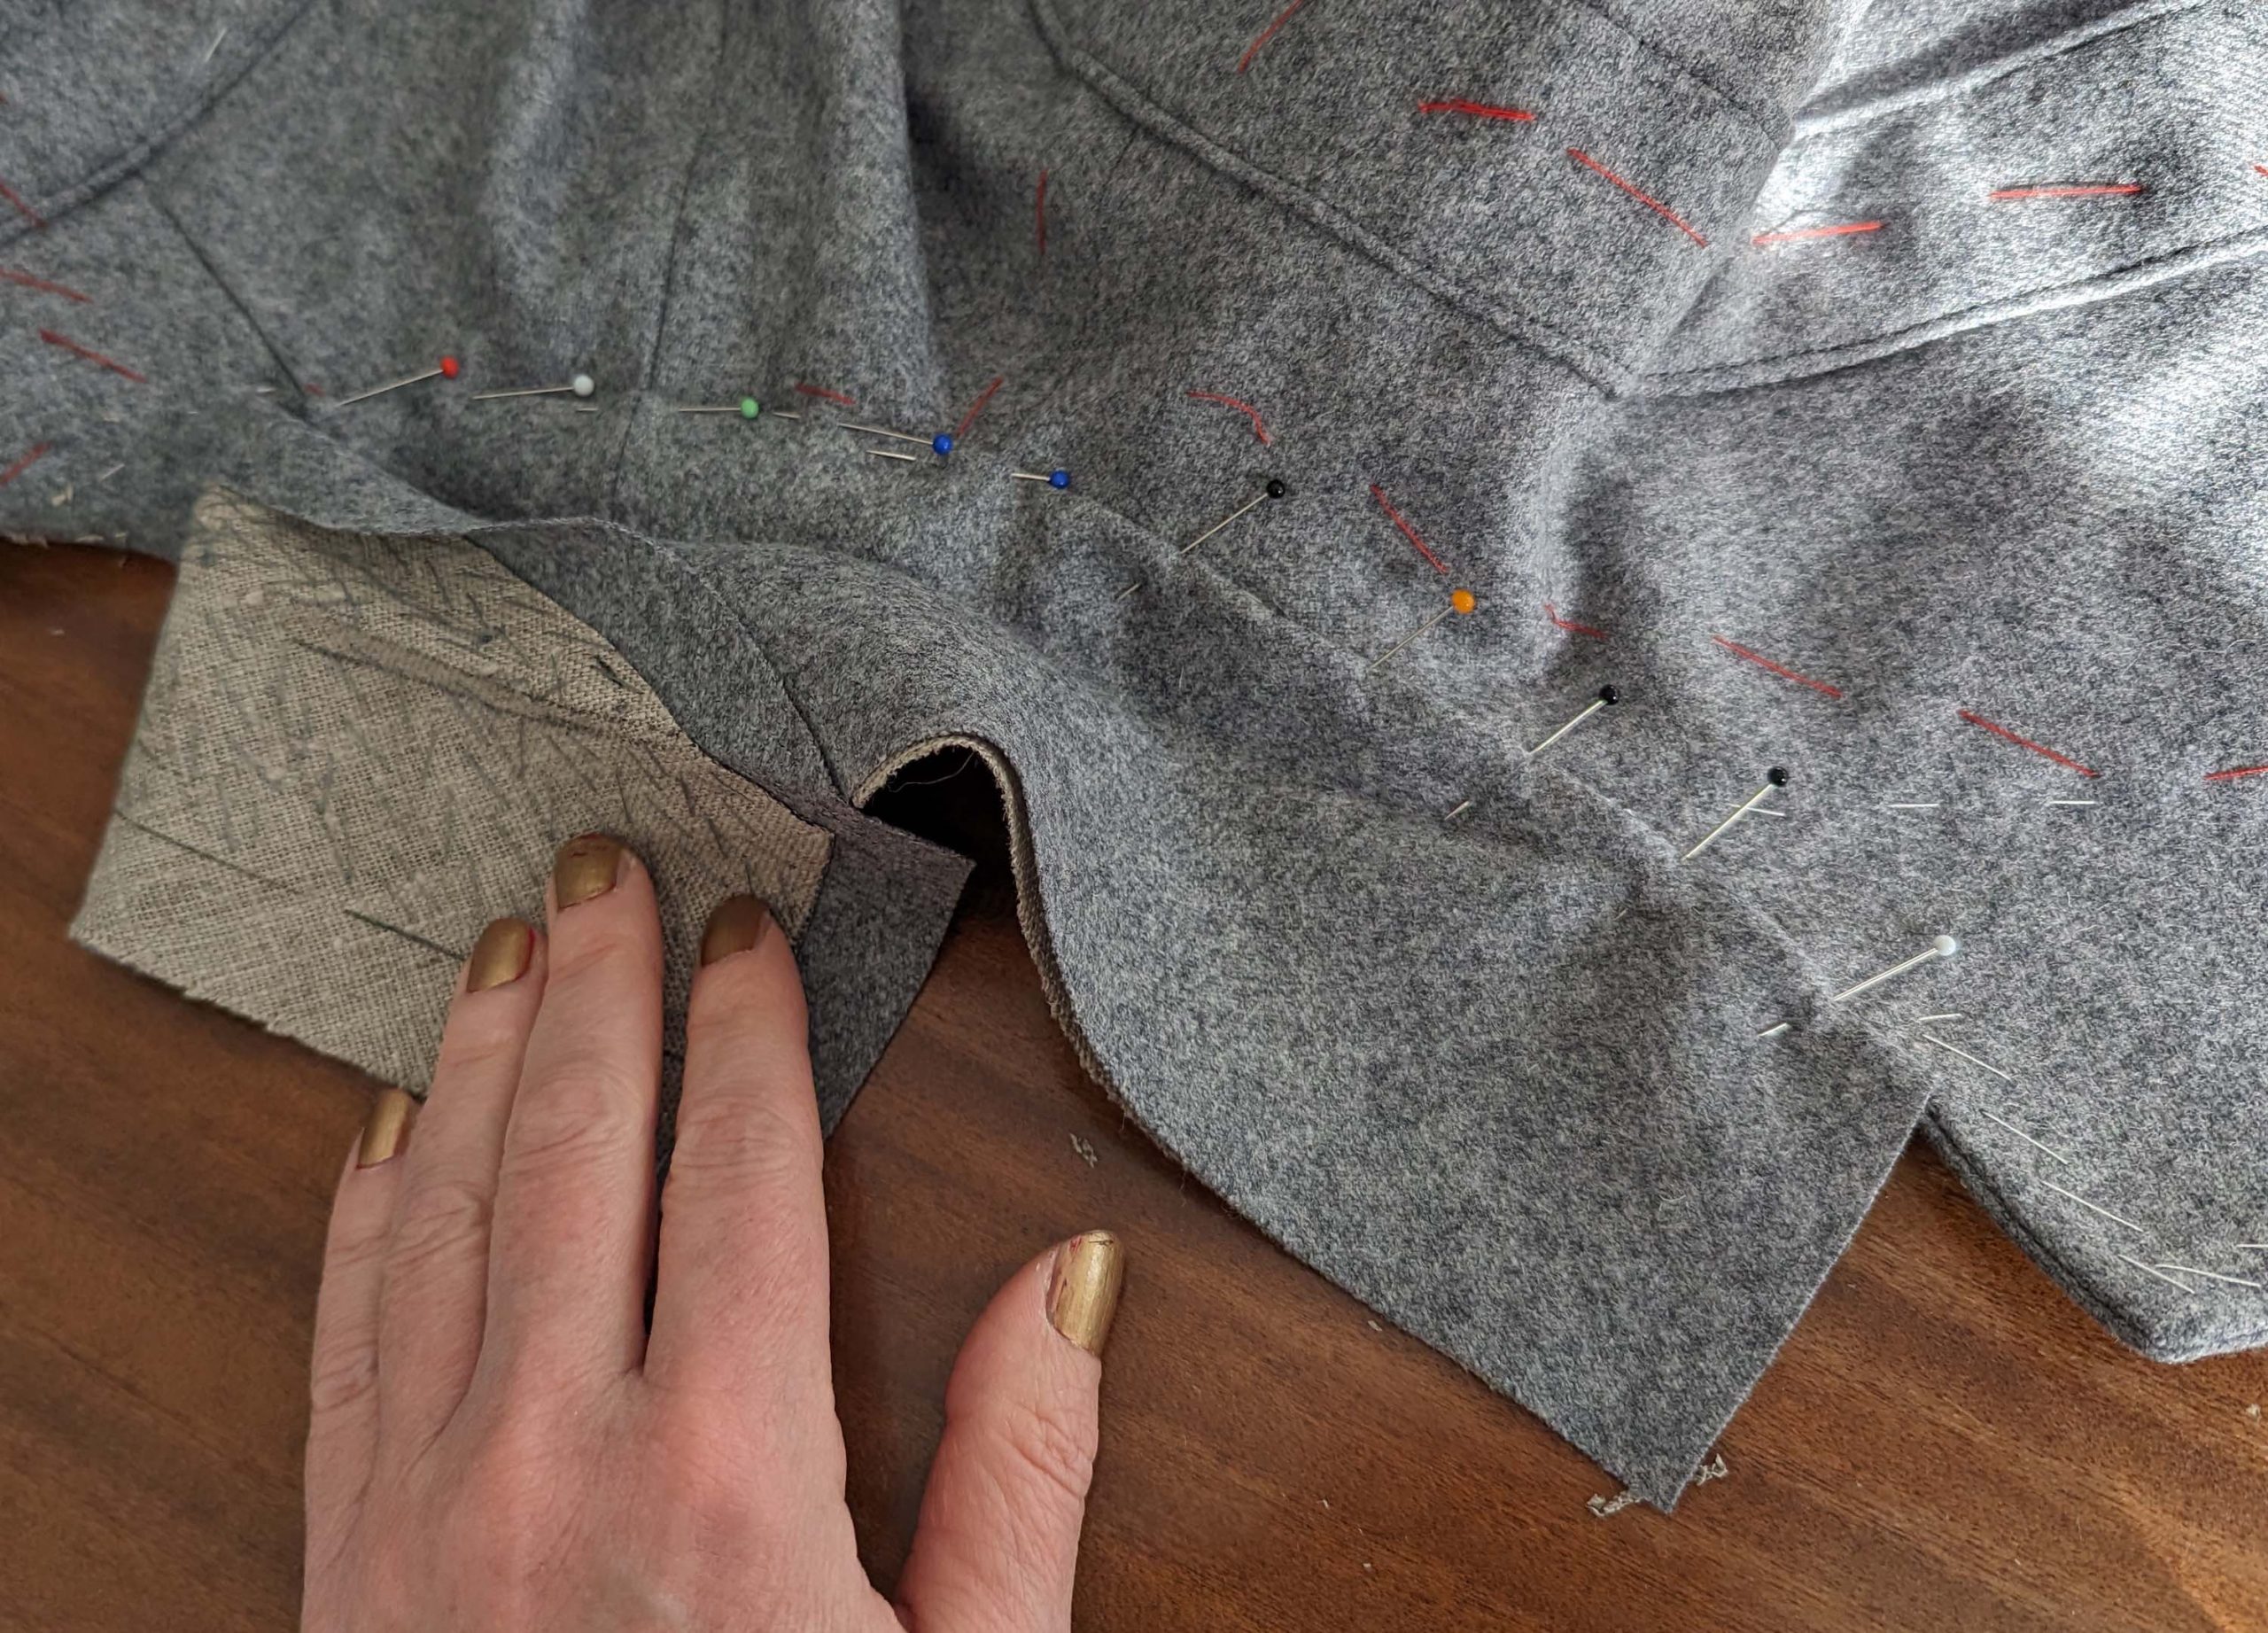
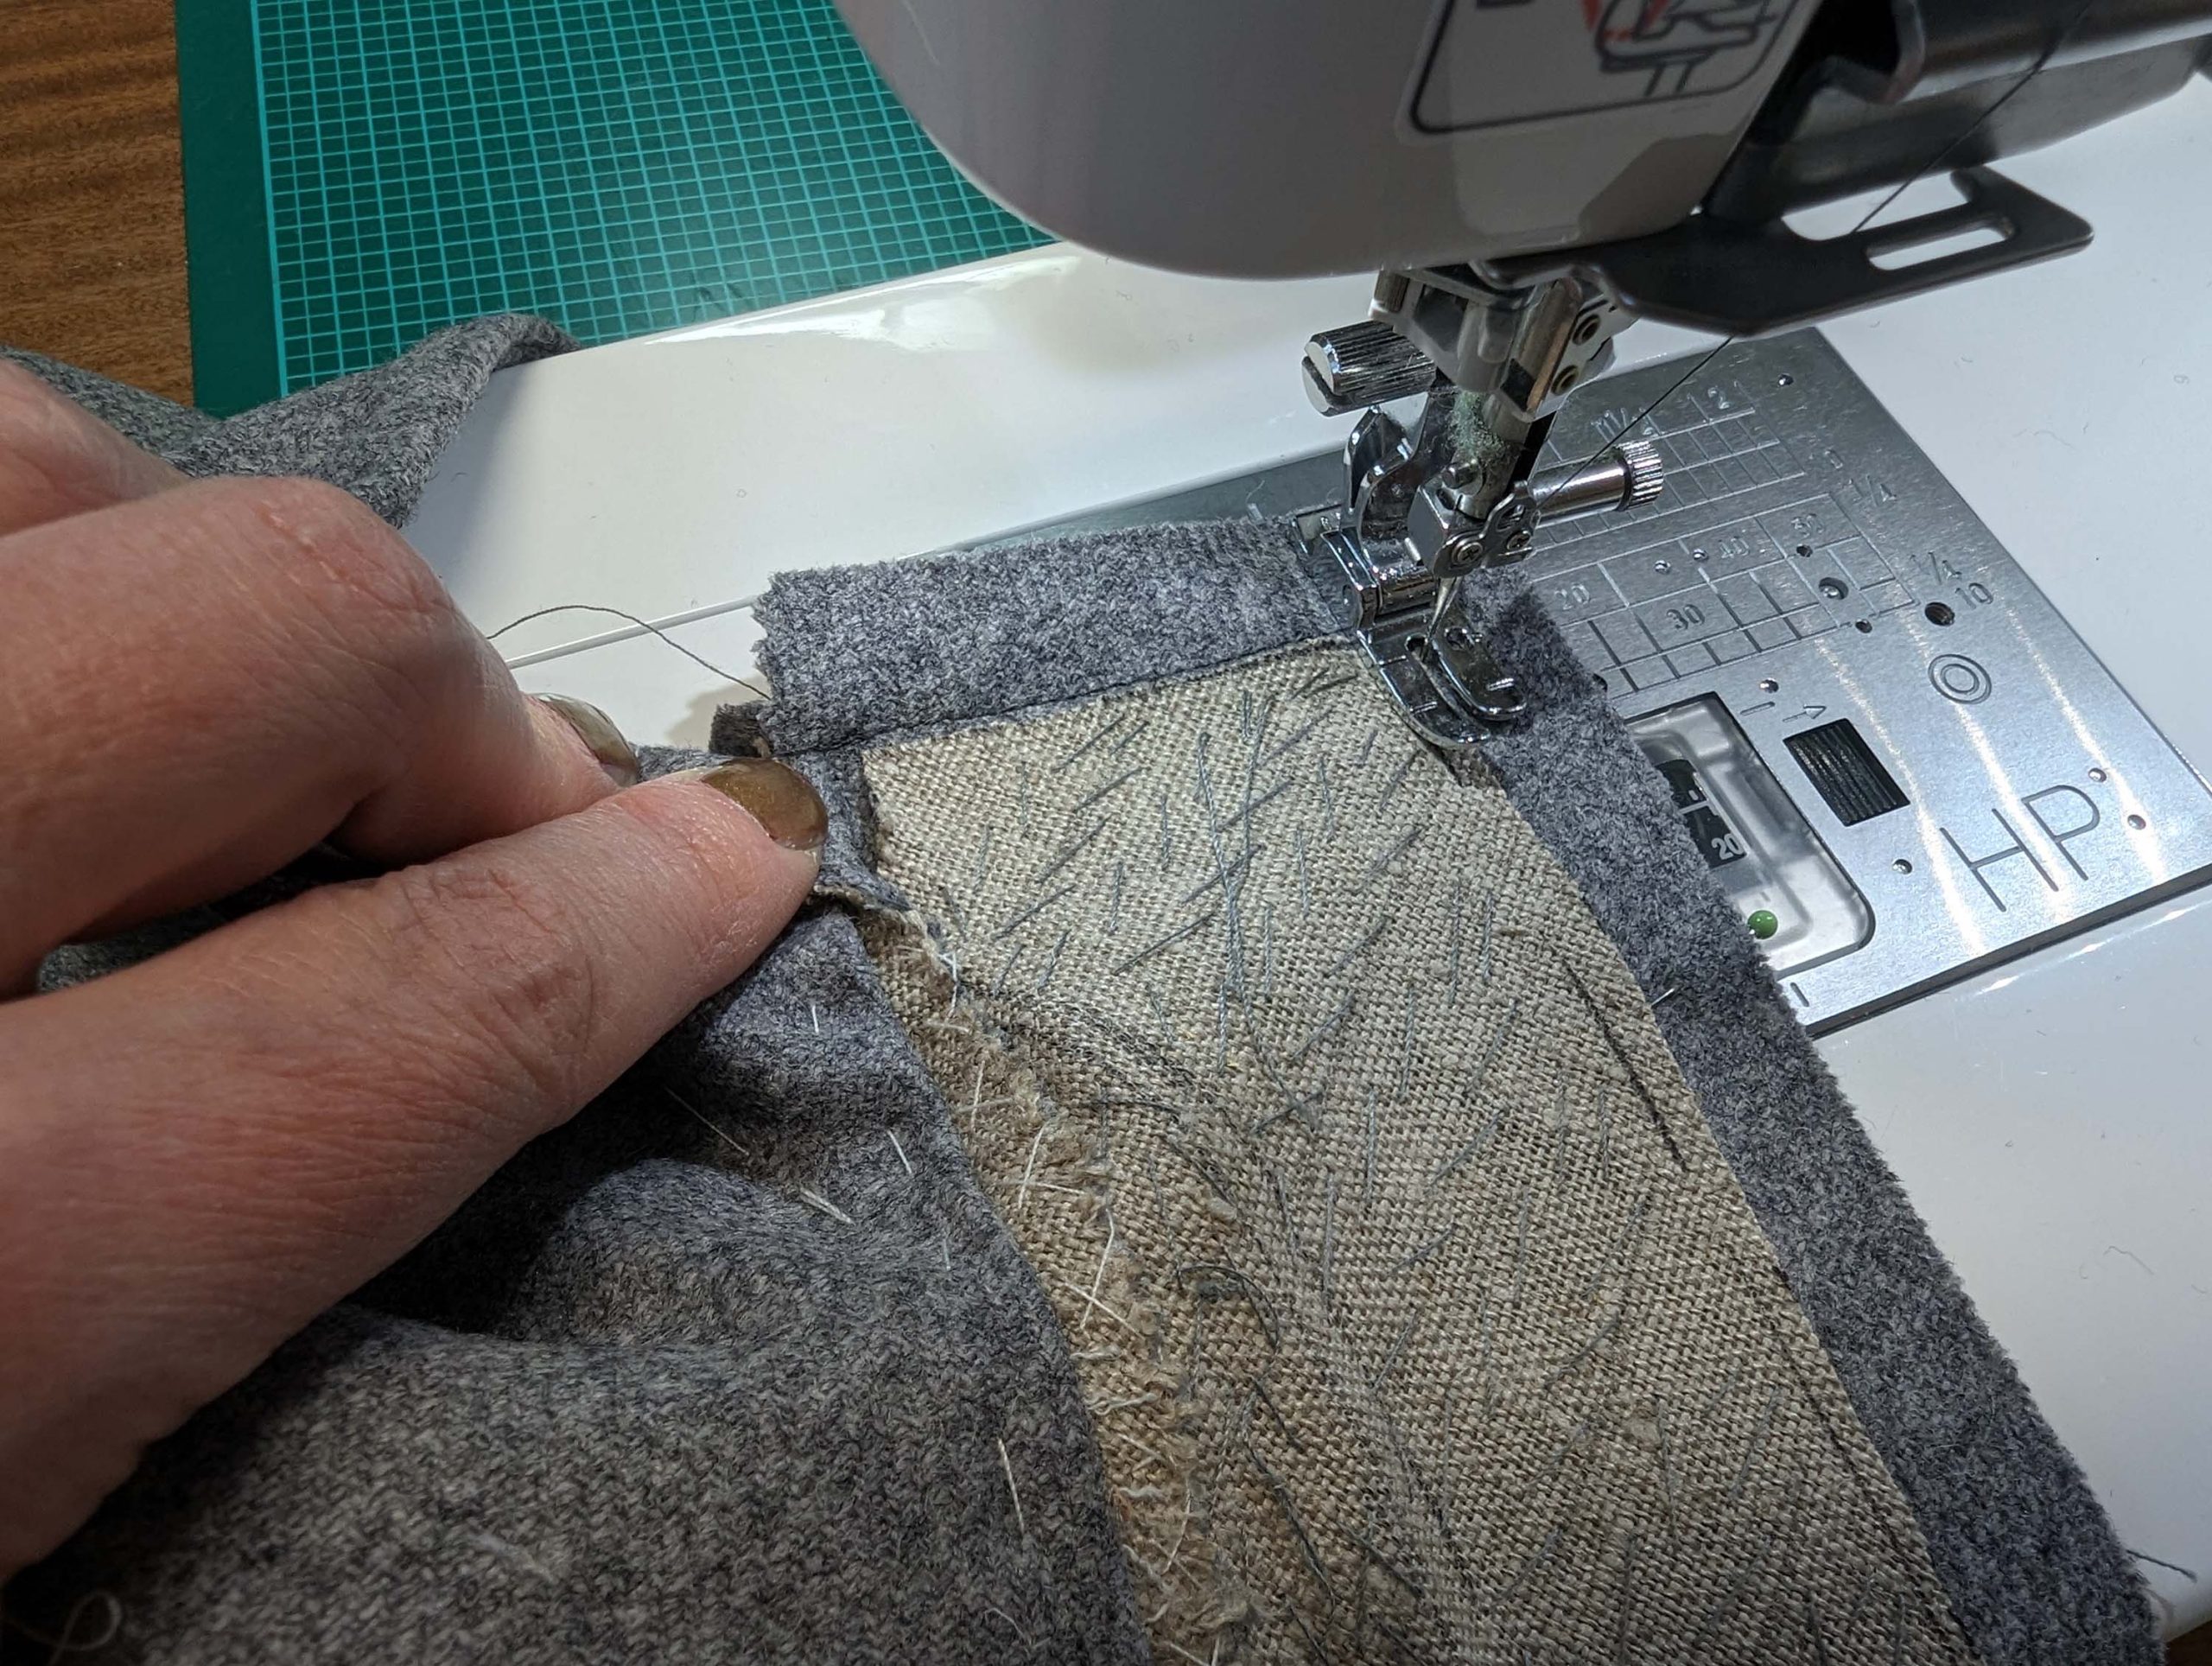
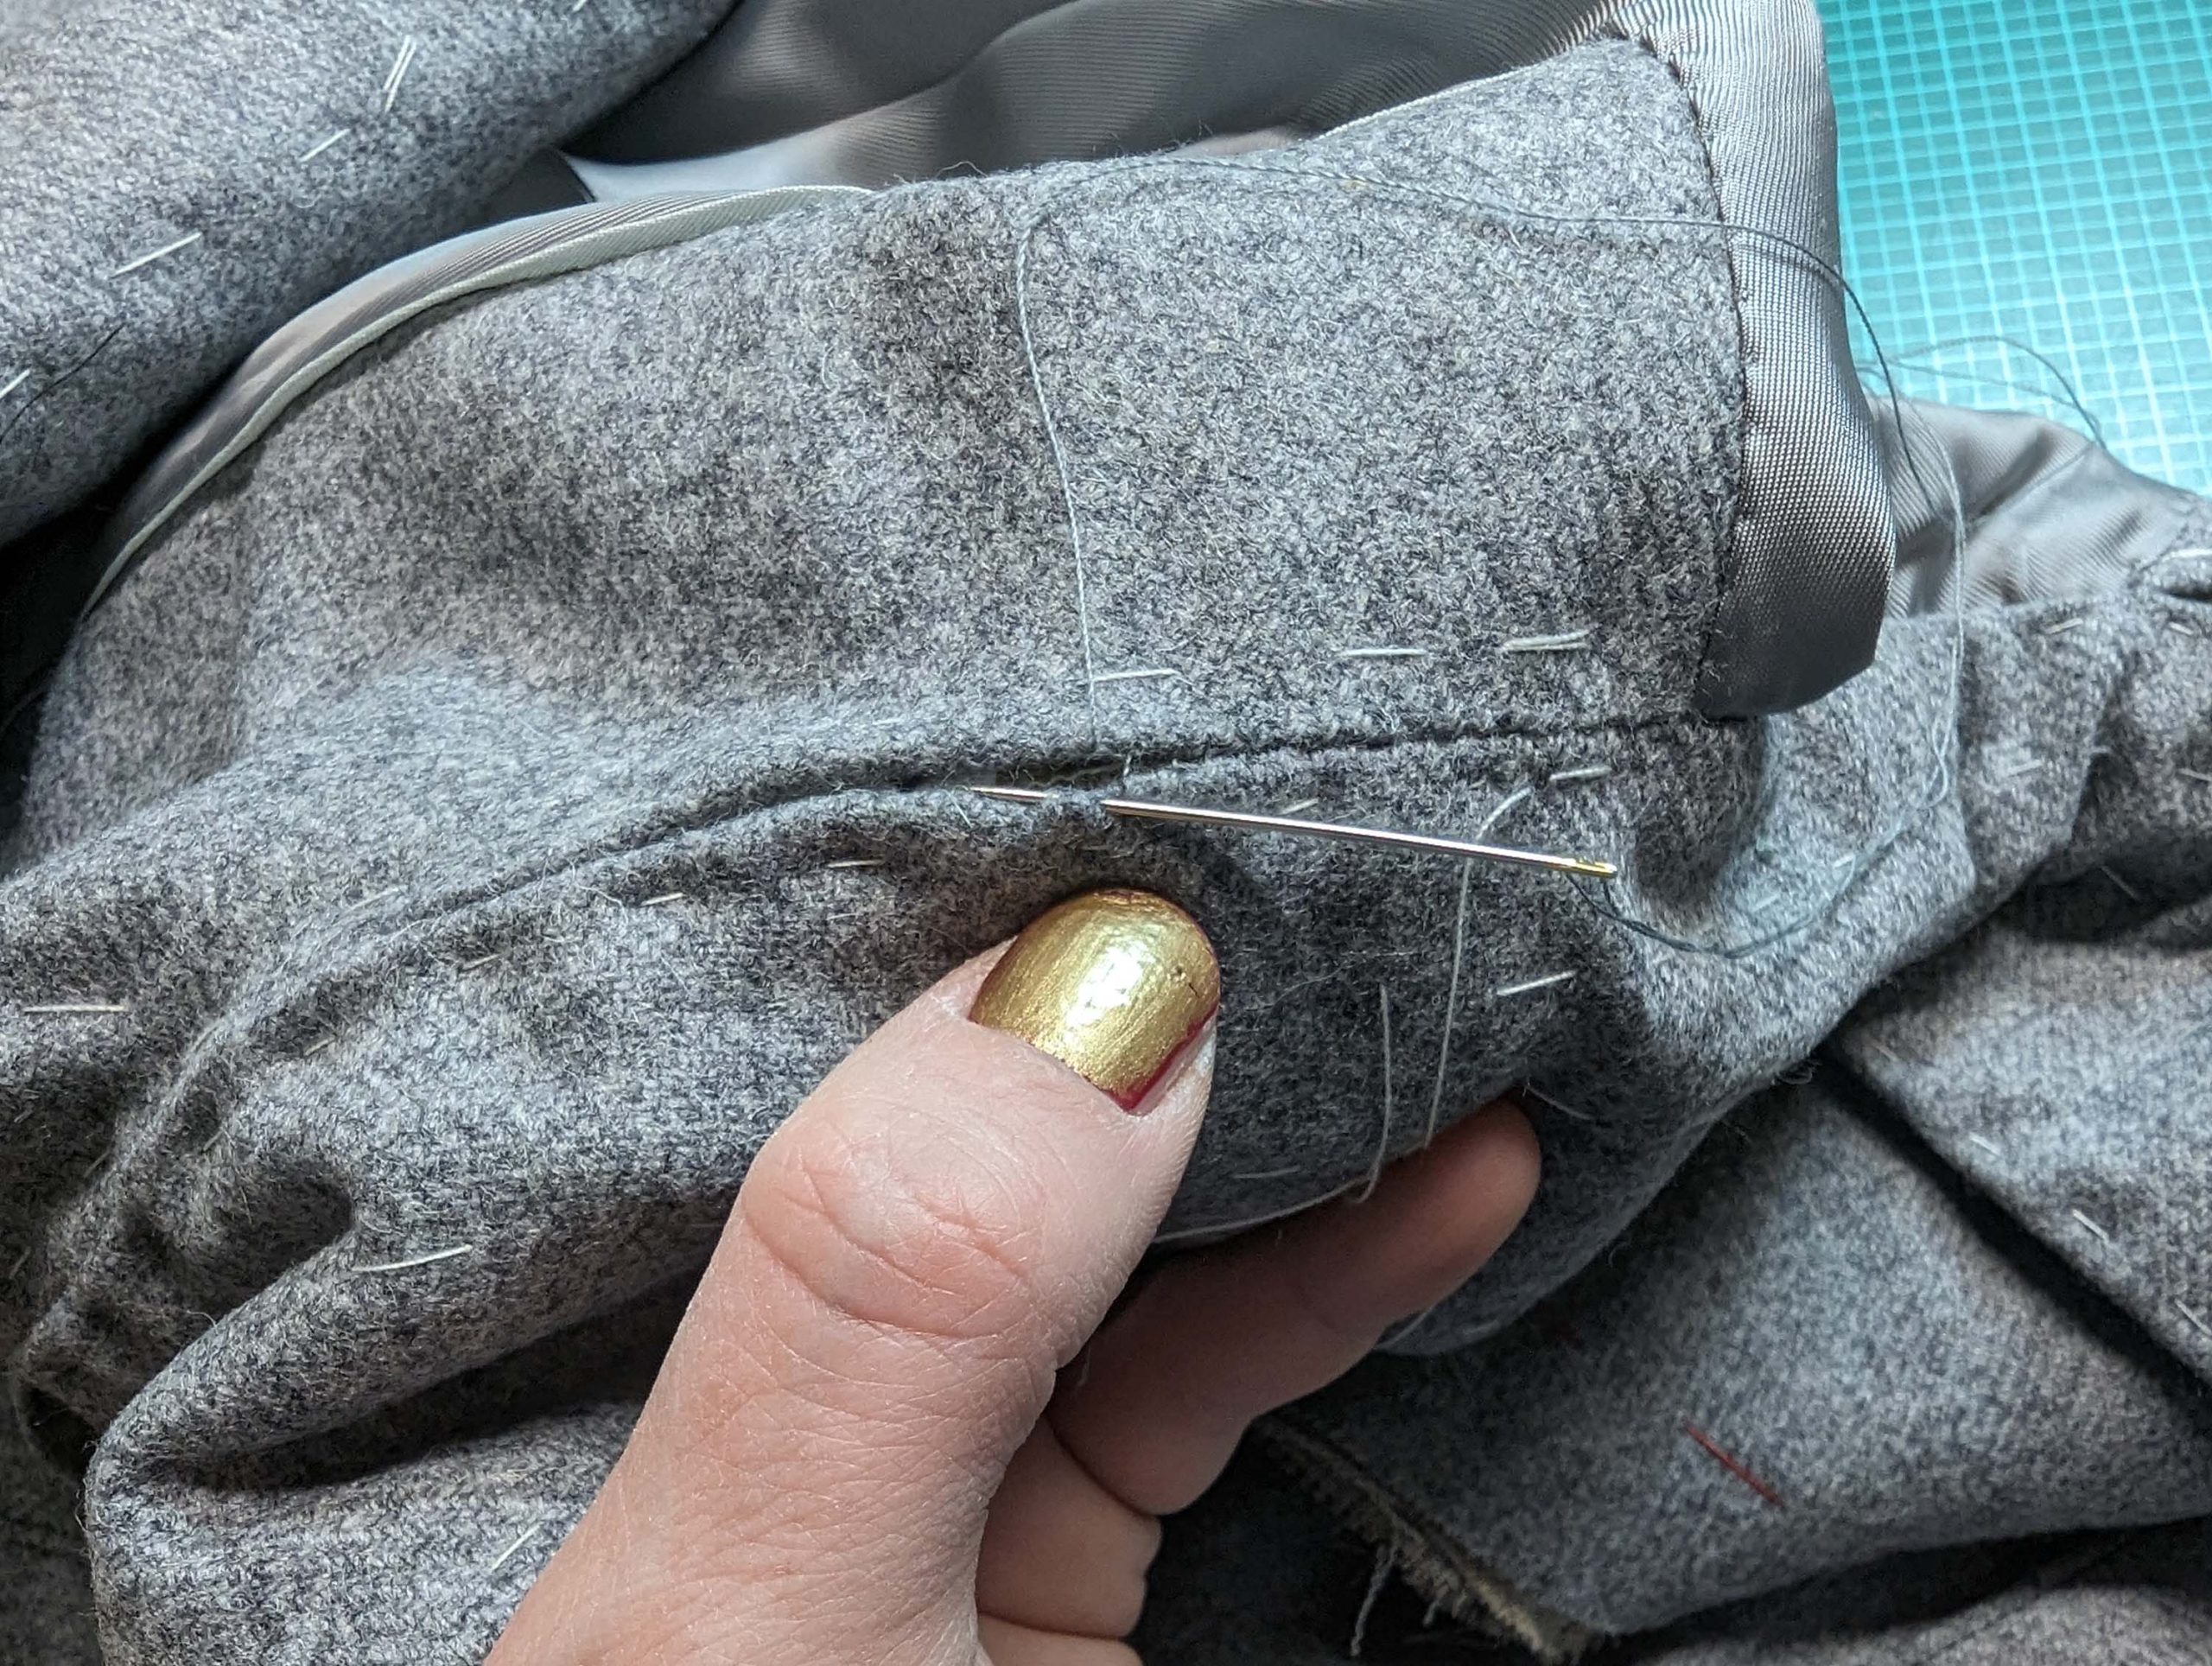
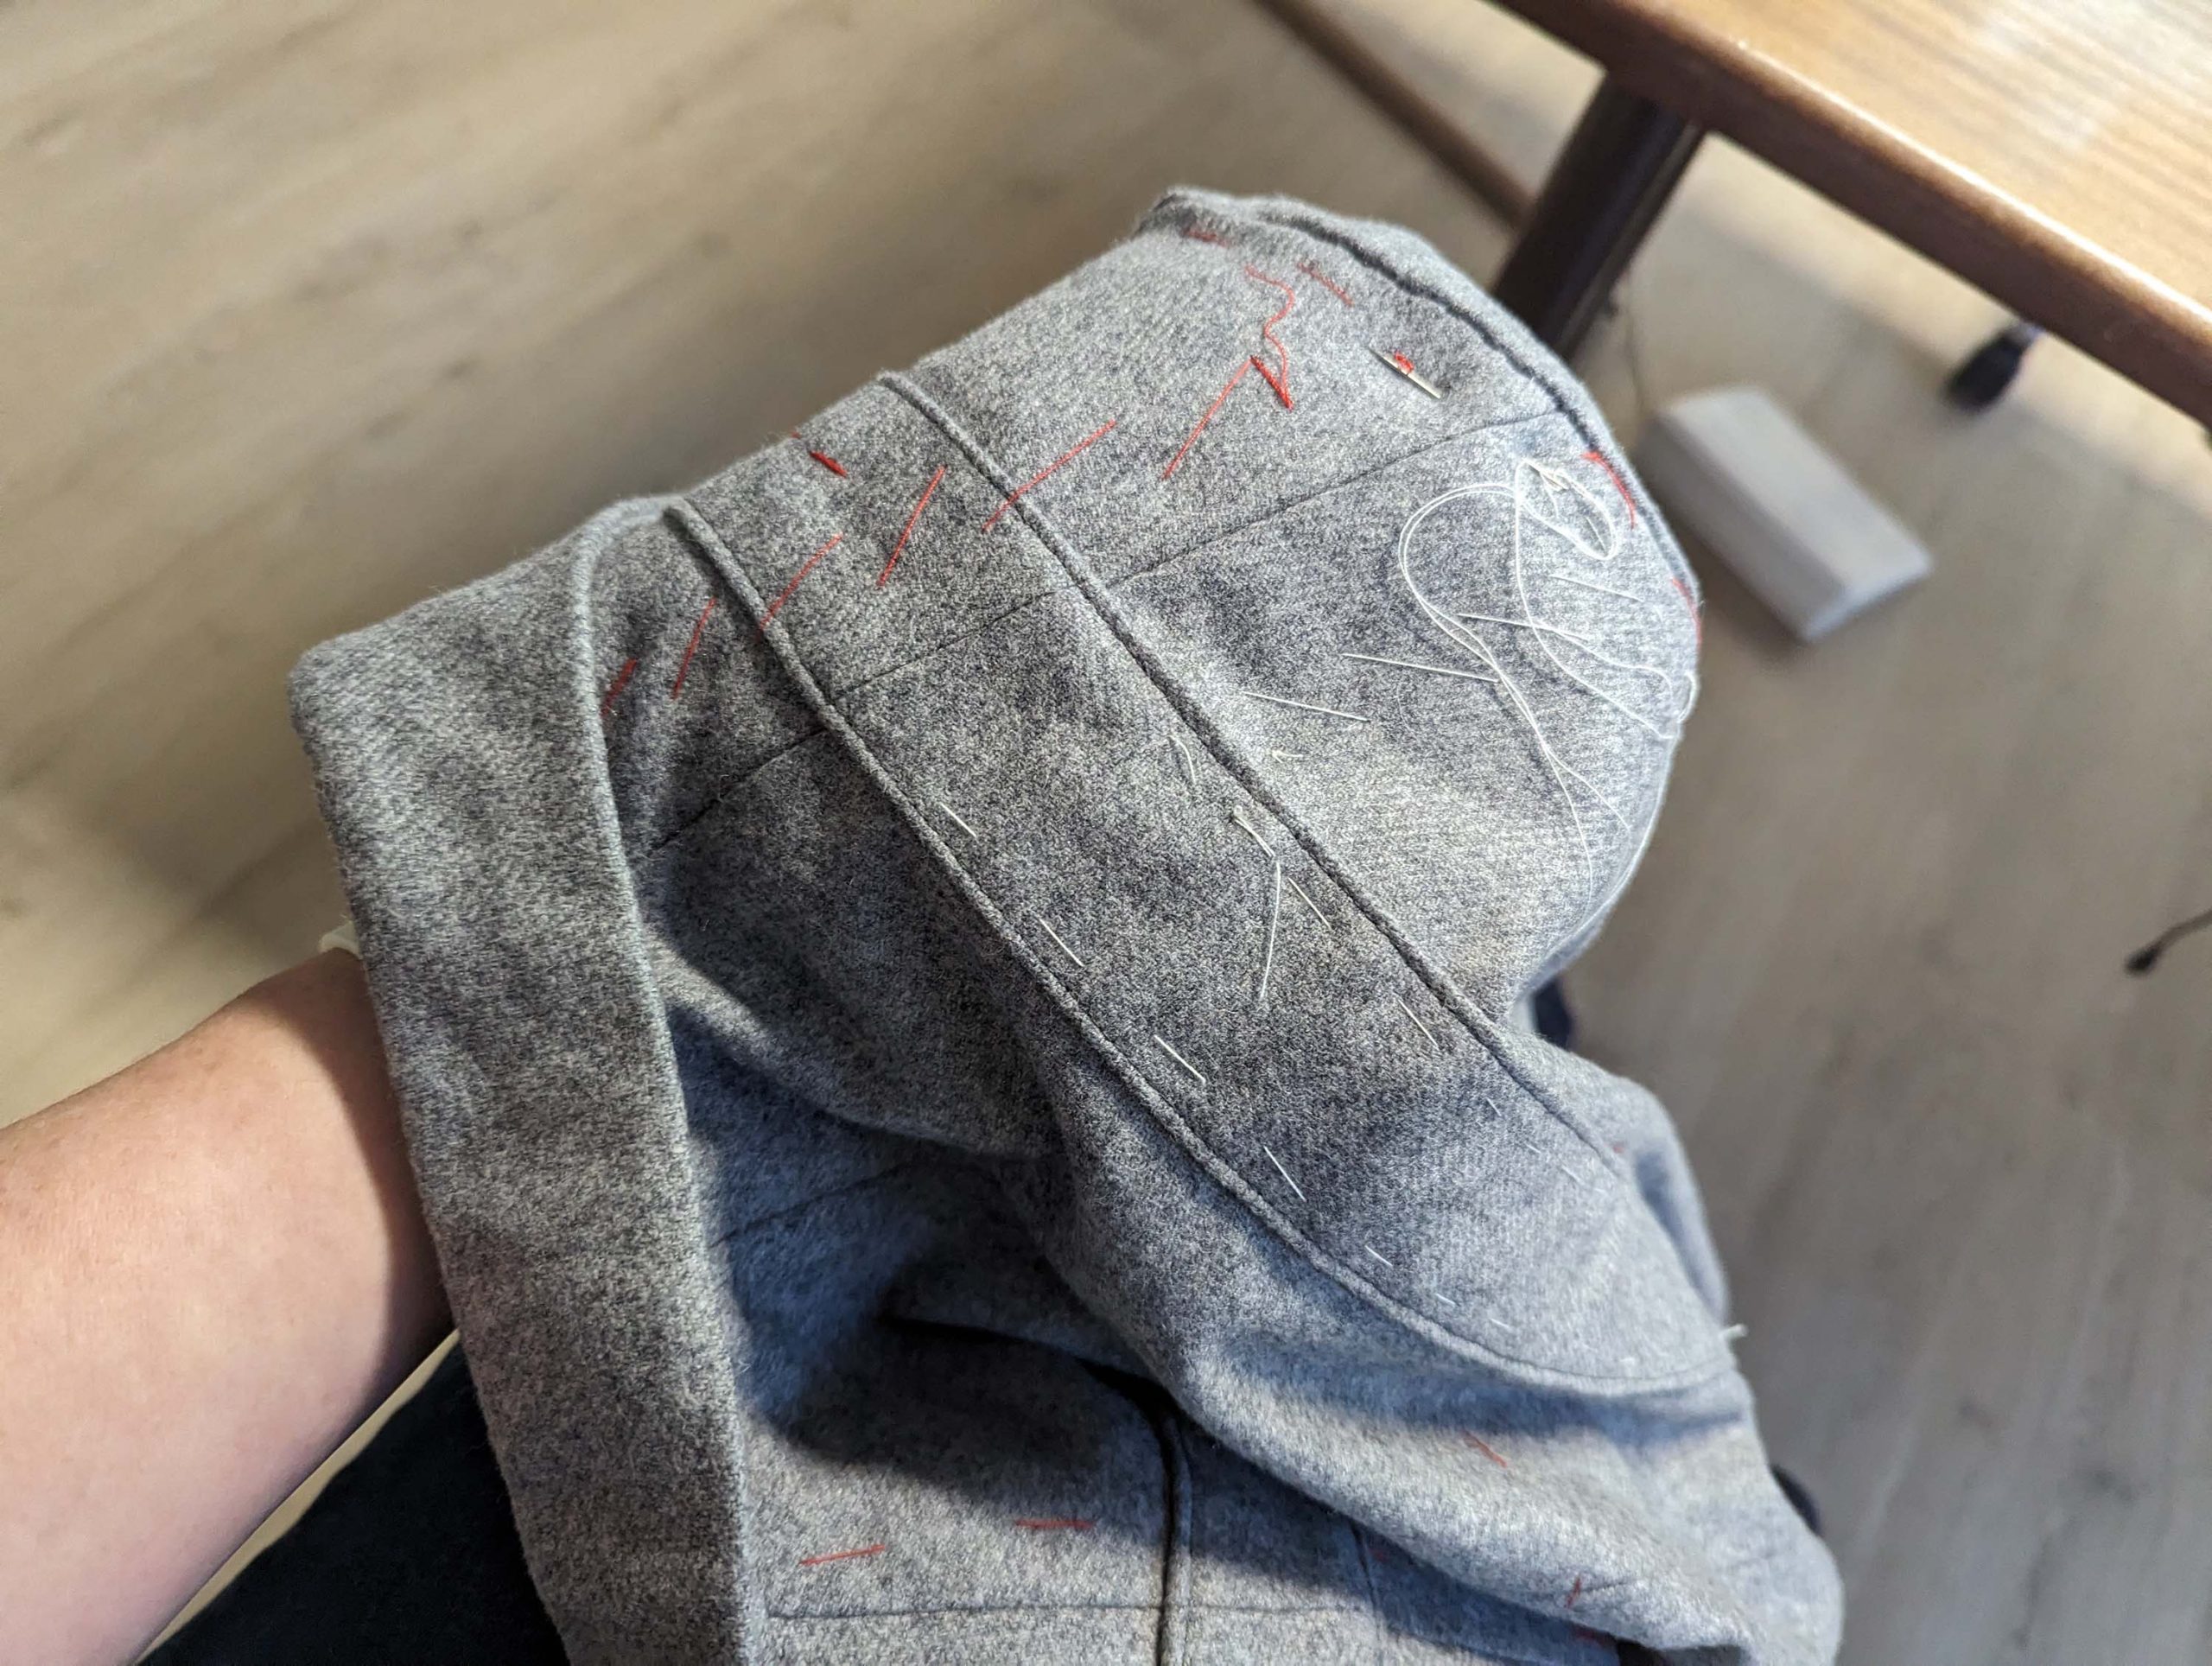
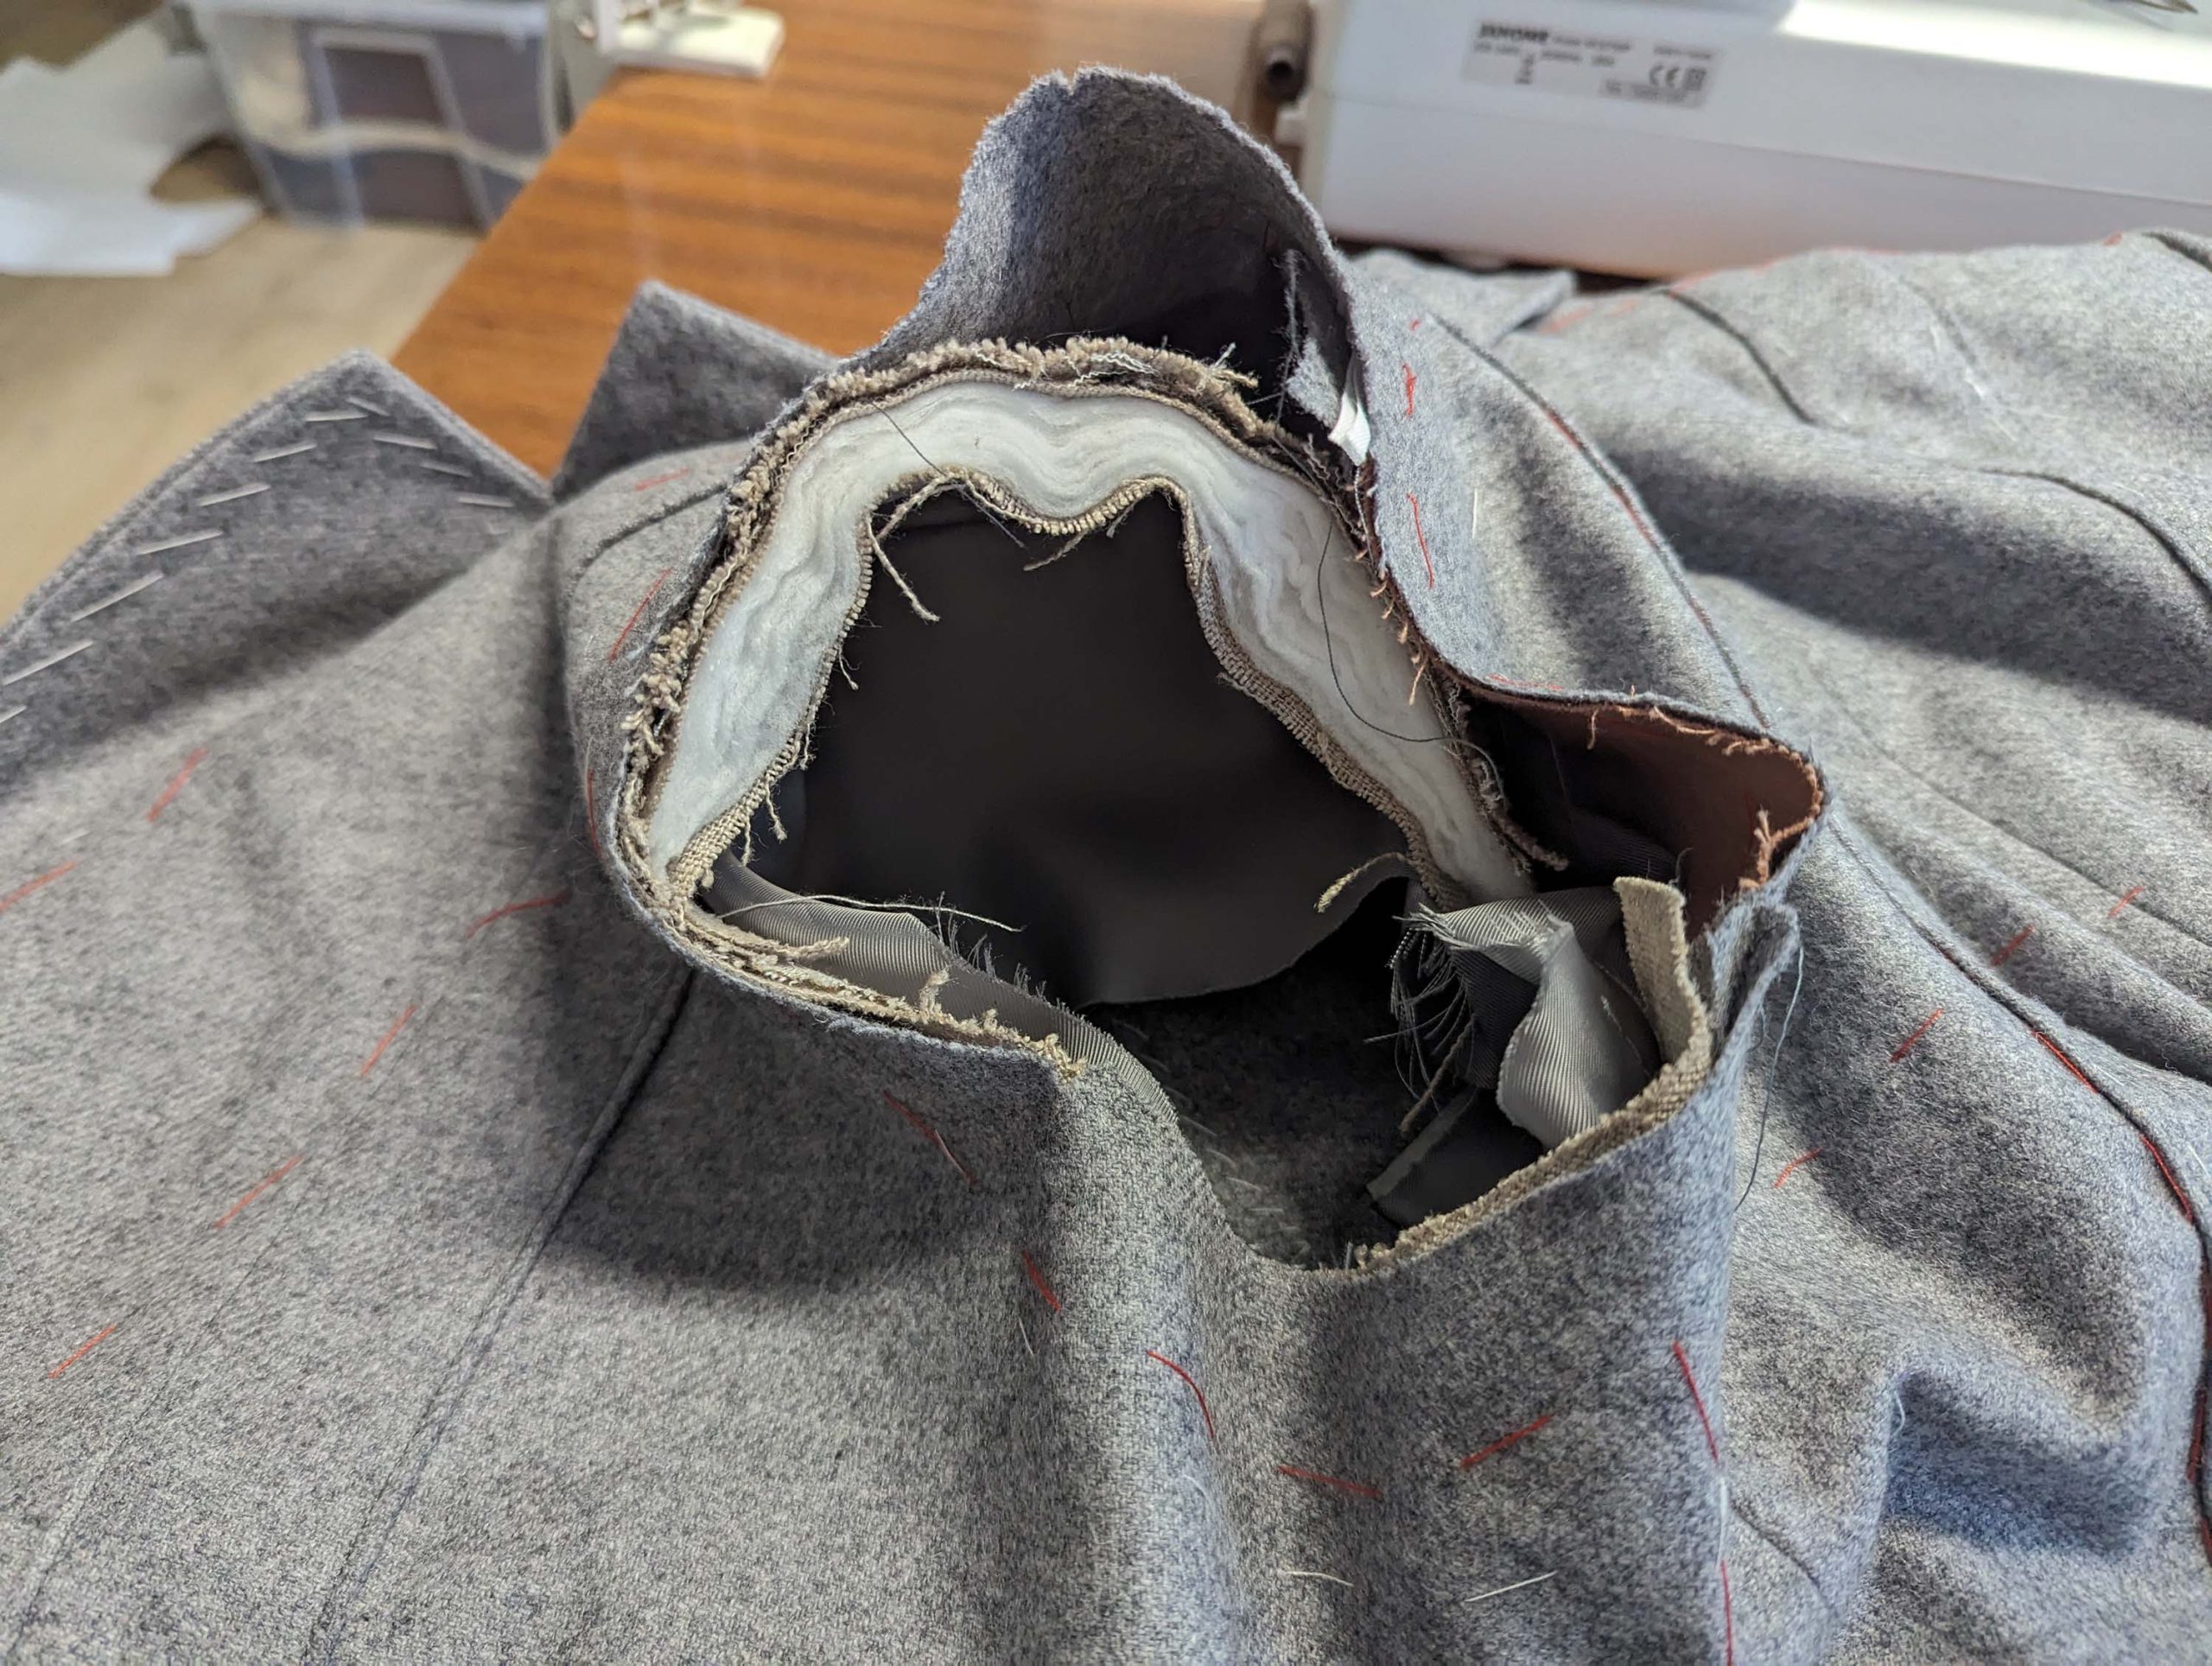
(17) Line up the under collar pieces, right sides together and sew along the center back. Trim back the seam allowances and press open. Place the canvas on top of the wrong side of the collar. I made my canvas from two pieces, better would be one as described in the instructions. Mark the seam and roll lines on the canvas. Start pad stitching in longitudinal rows below the roll line. Continue above, as shown while shaping the collar over your hand´s edge. Press the under collar, stretching the top and bottom edge while pressing. Fold and press along the roll line.

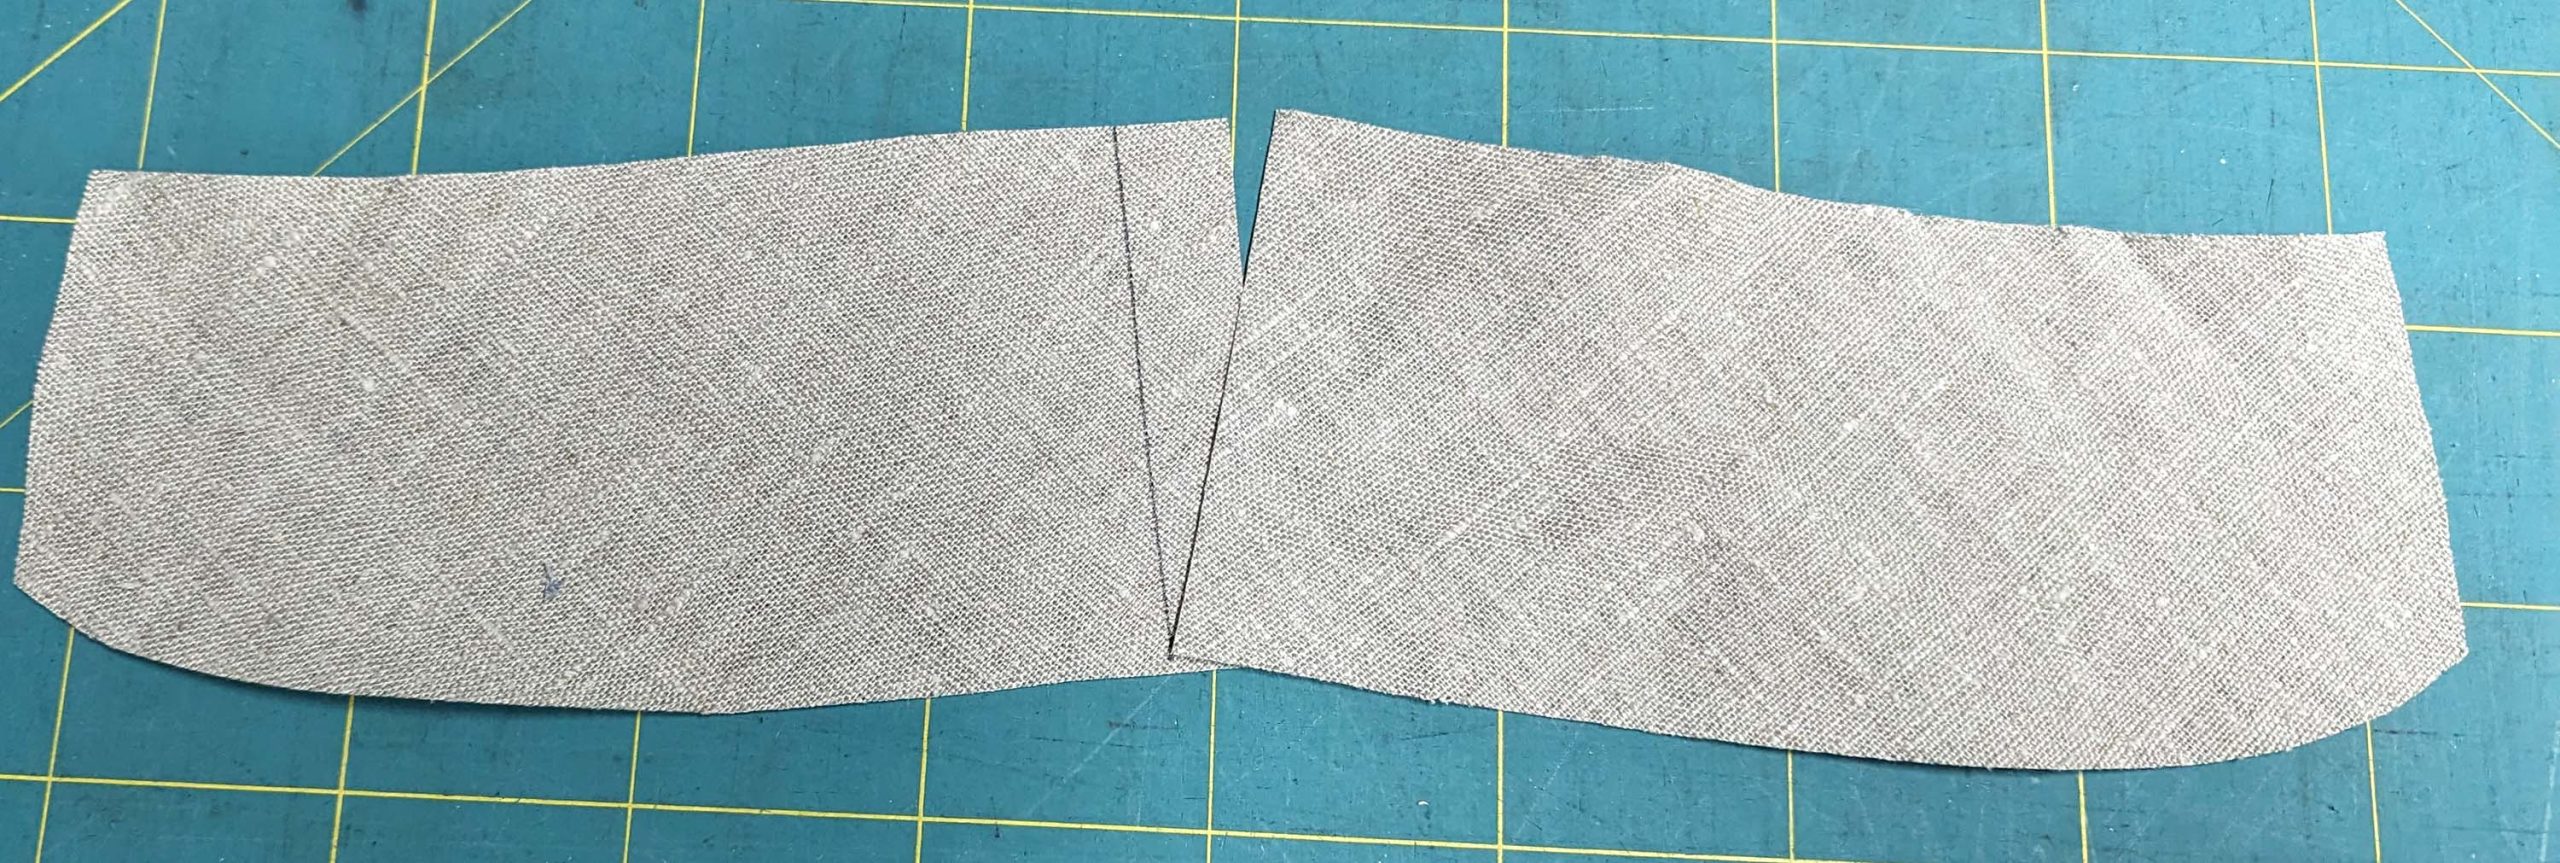
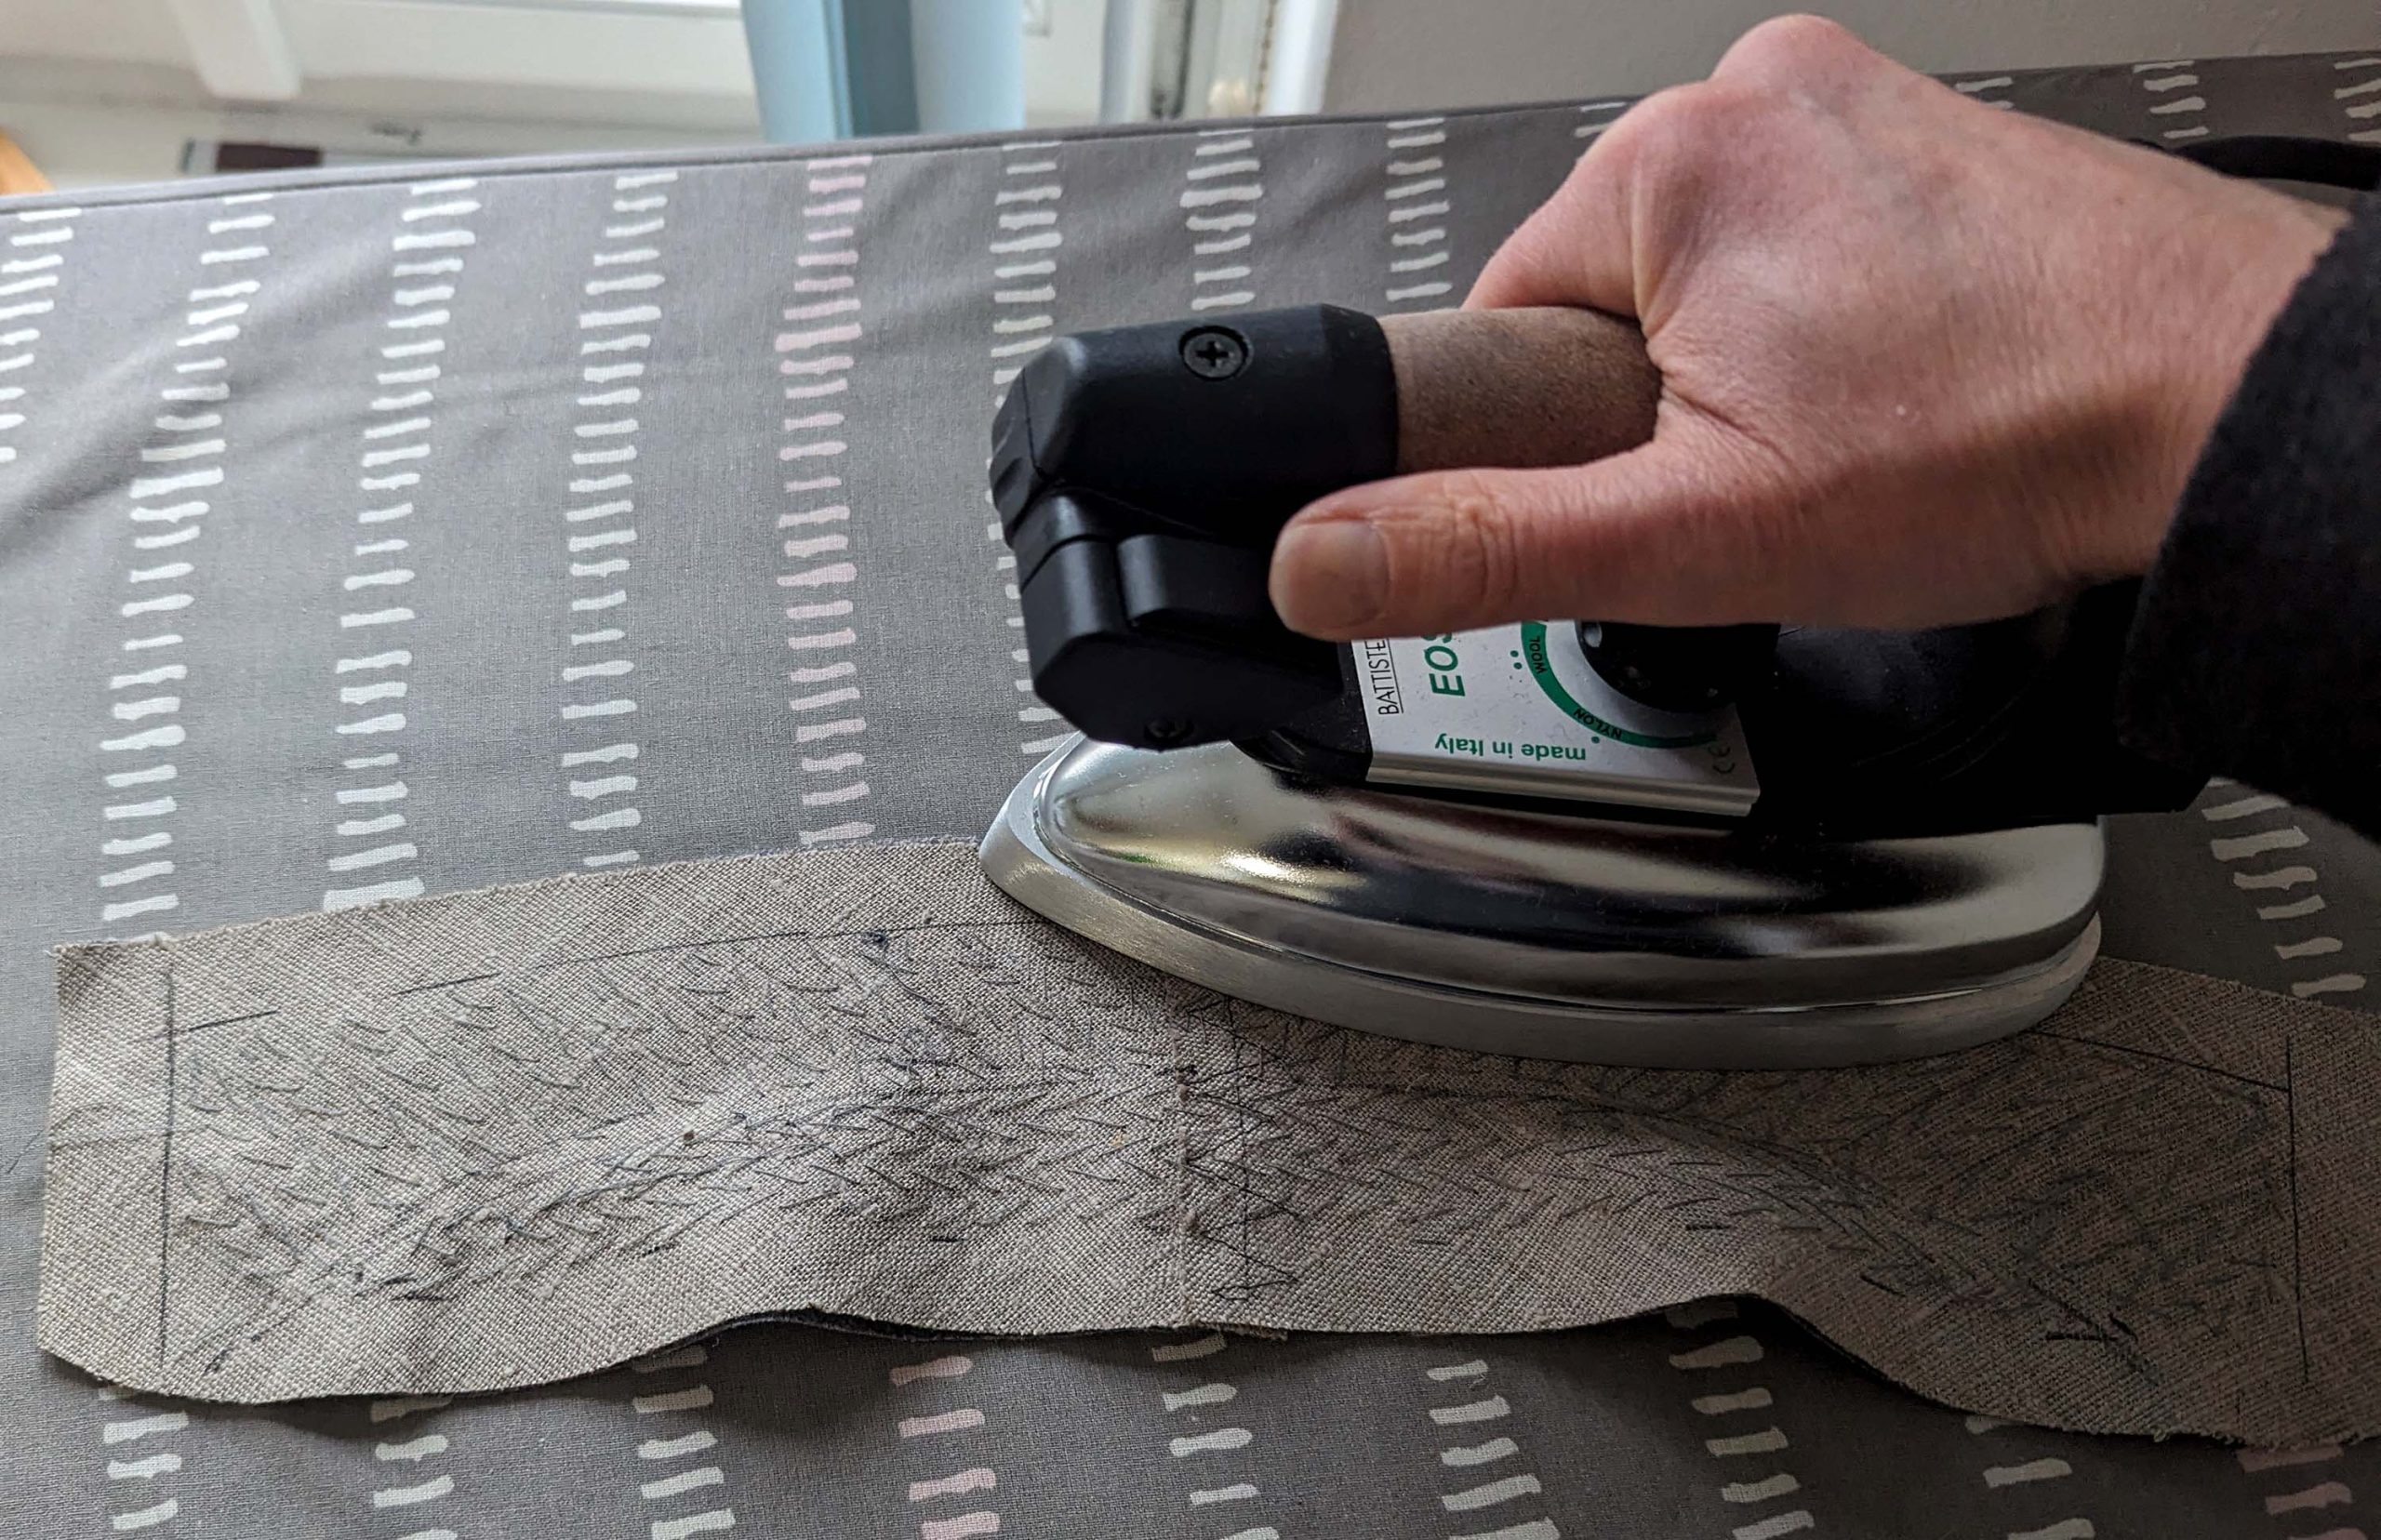
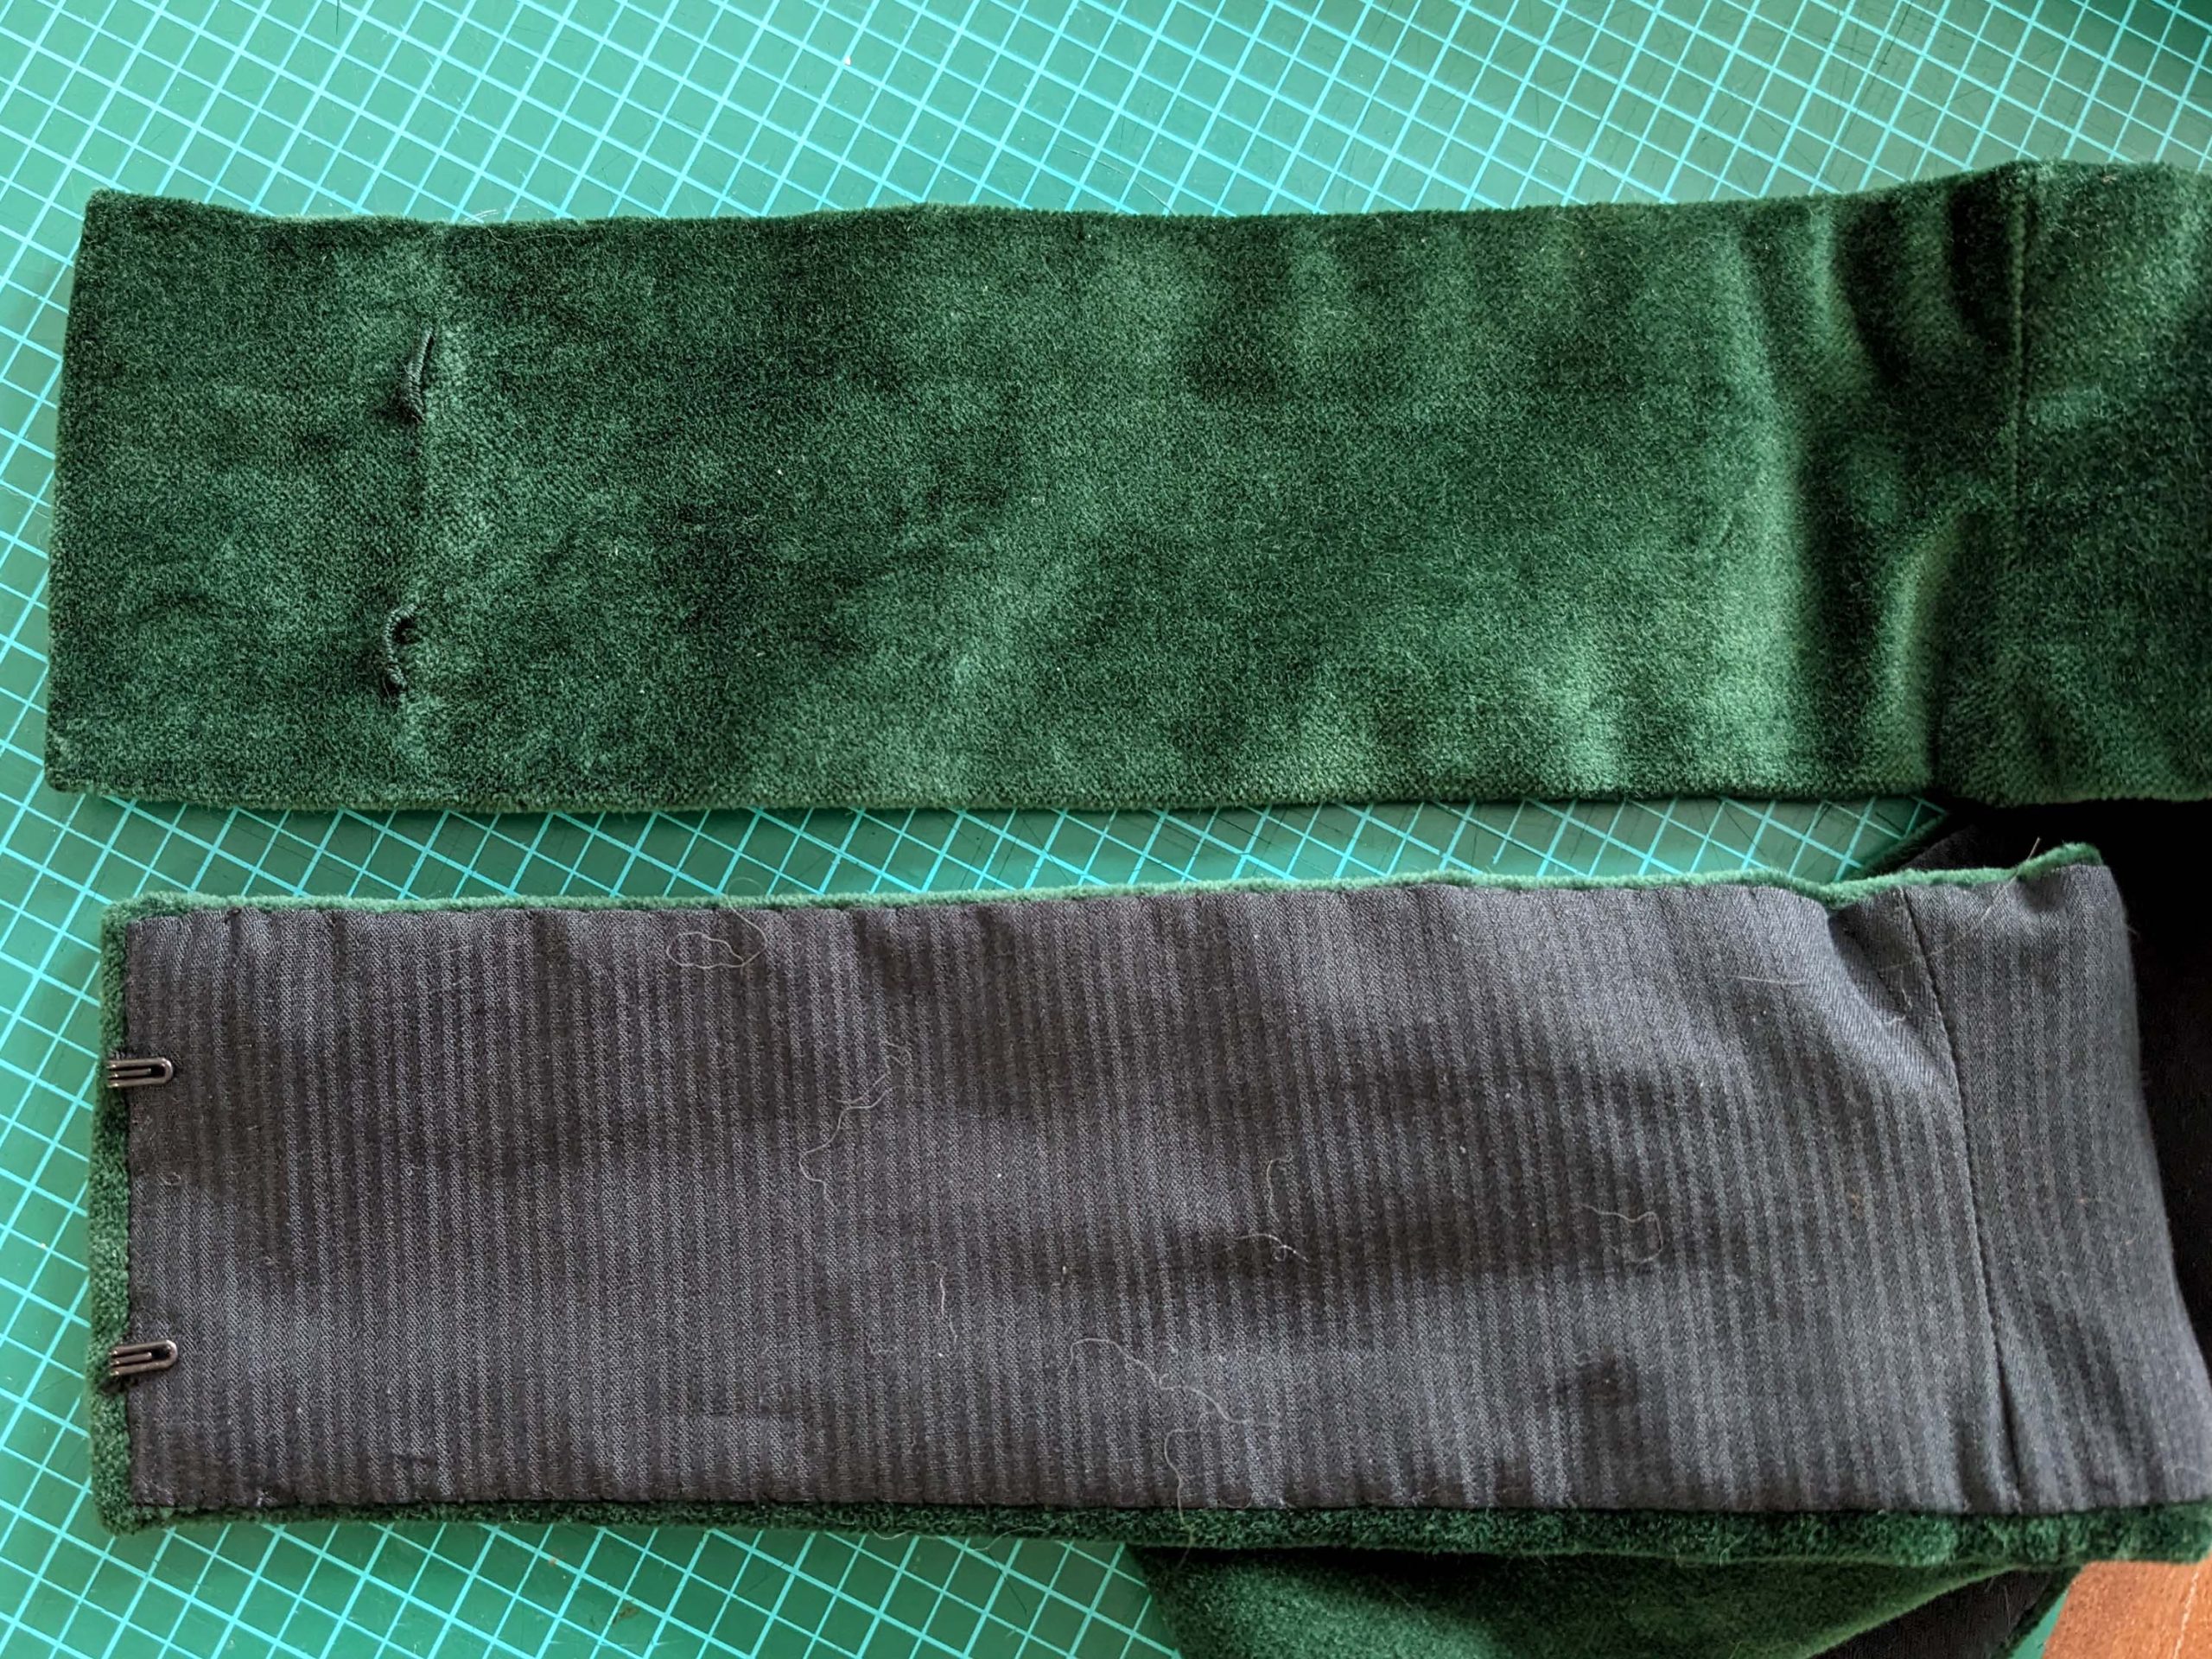
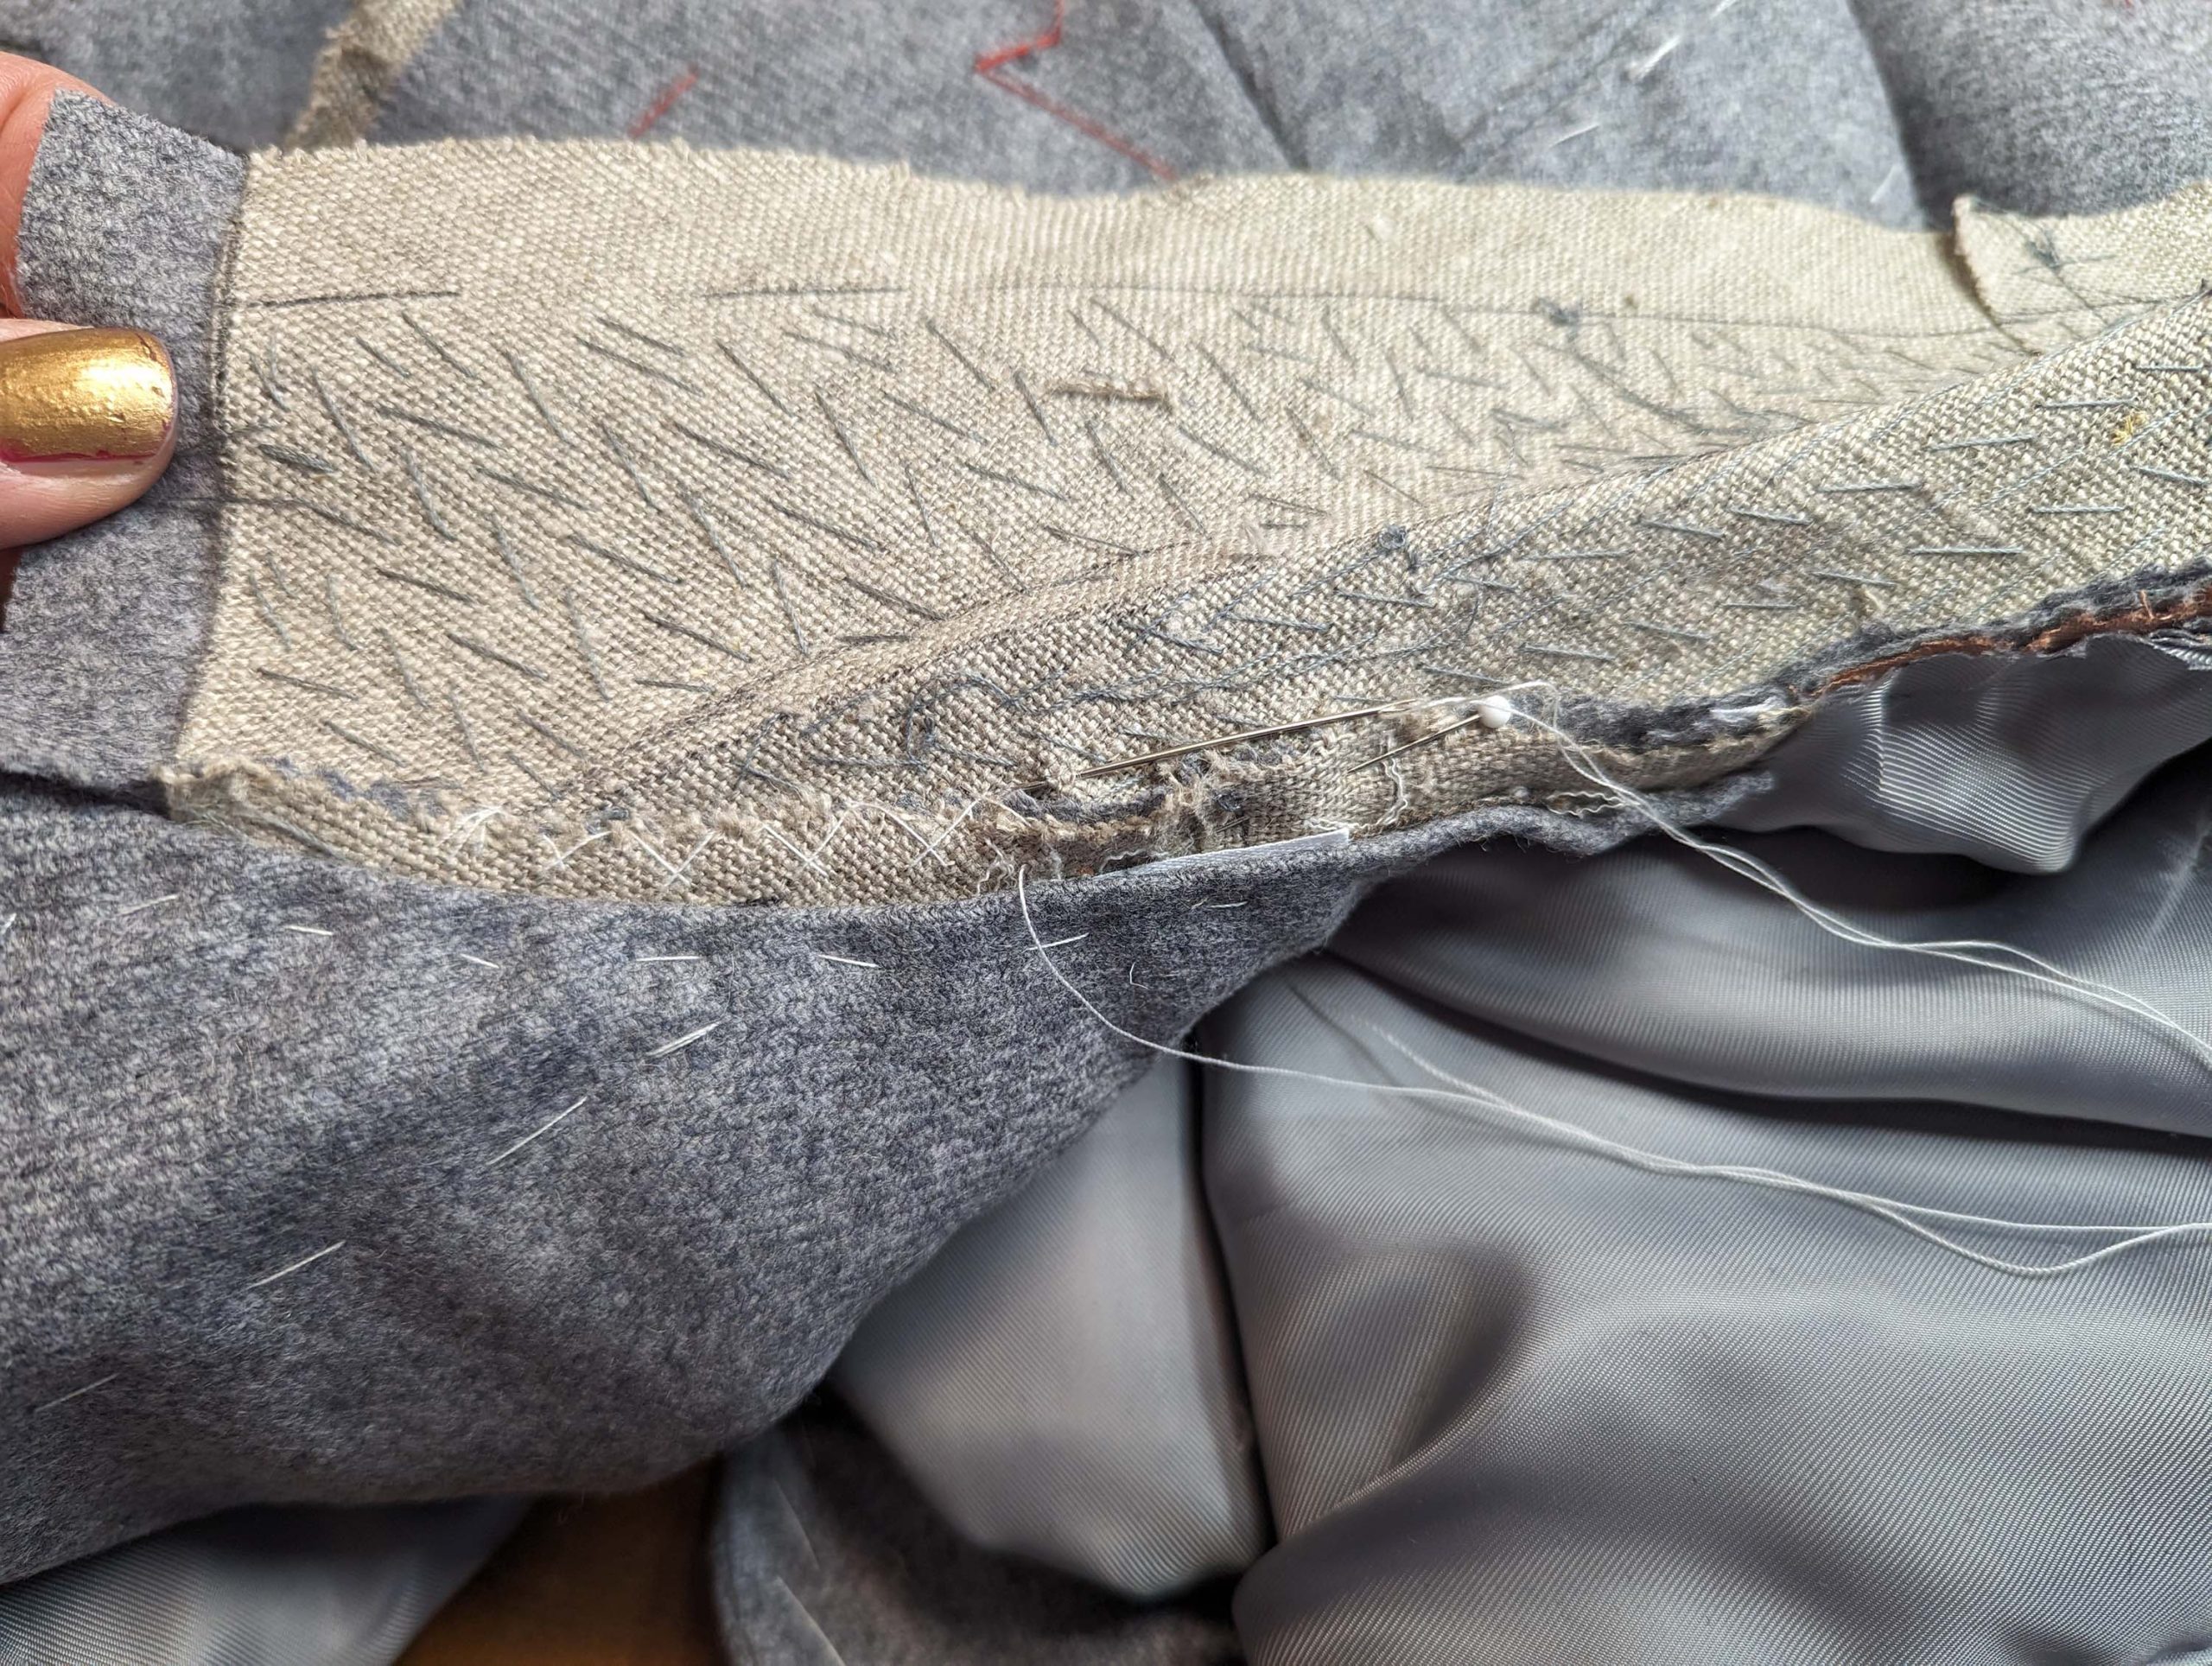
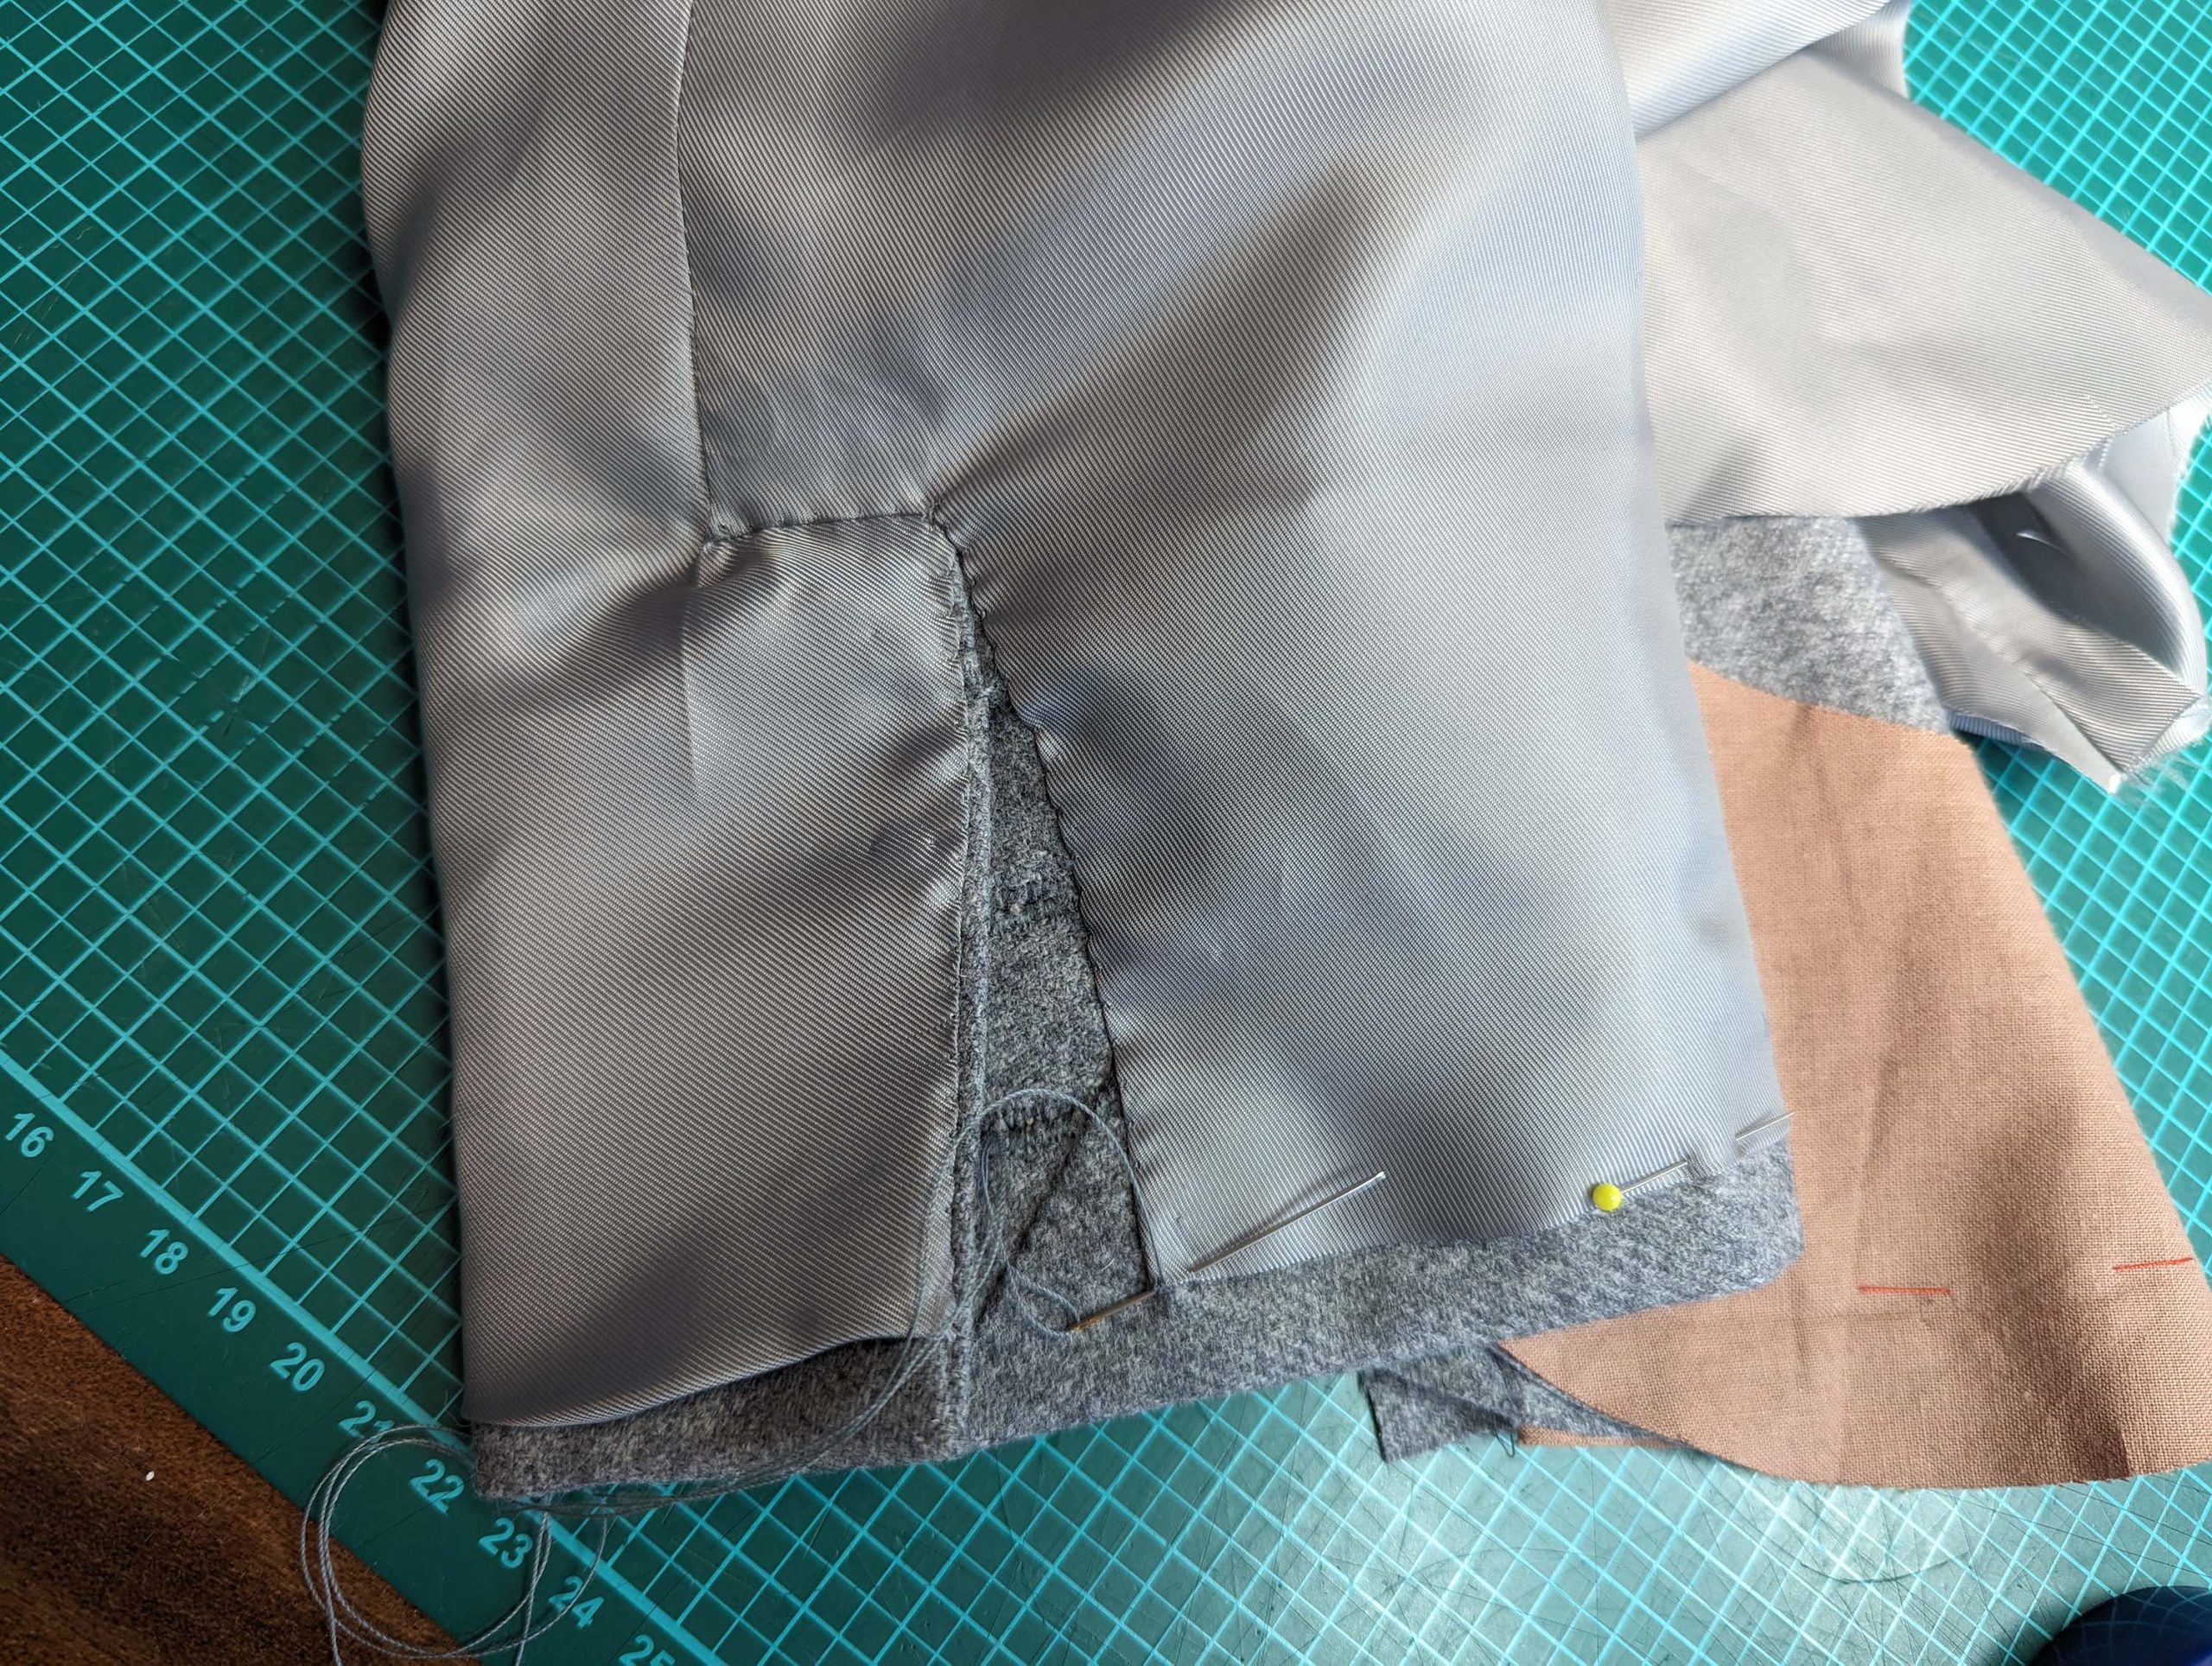
Trim back the canvas slightly behind the seamline, turn in the seam allowance along the bottom edge, and press, baste in place, and mark the collar notch.

Pin the undercollar to the jacket along the neckline, matching seams and collar notches and easing in the excess width. Baste in place, and fell stitch the collar to the jacket, starting and ending exactly at the collar notch.

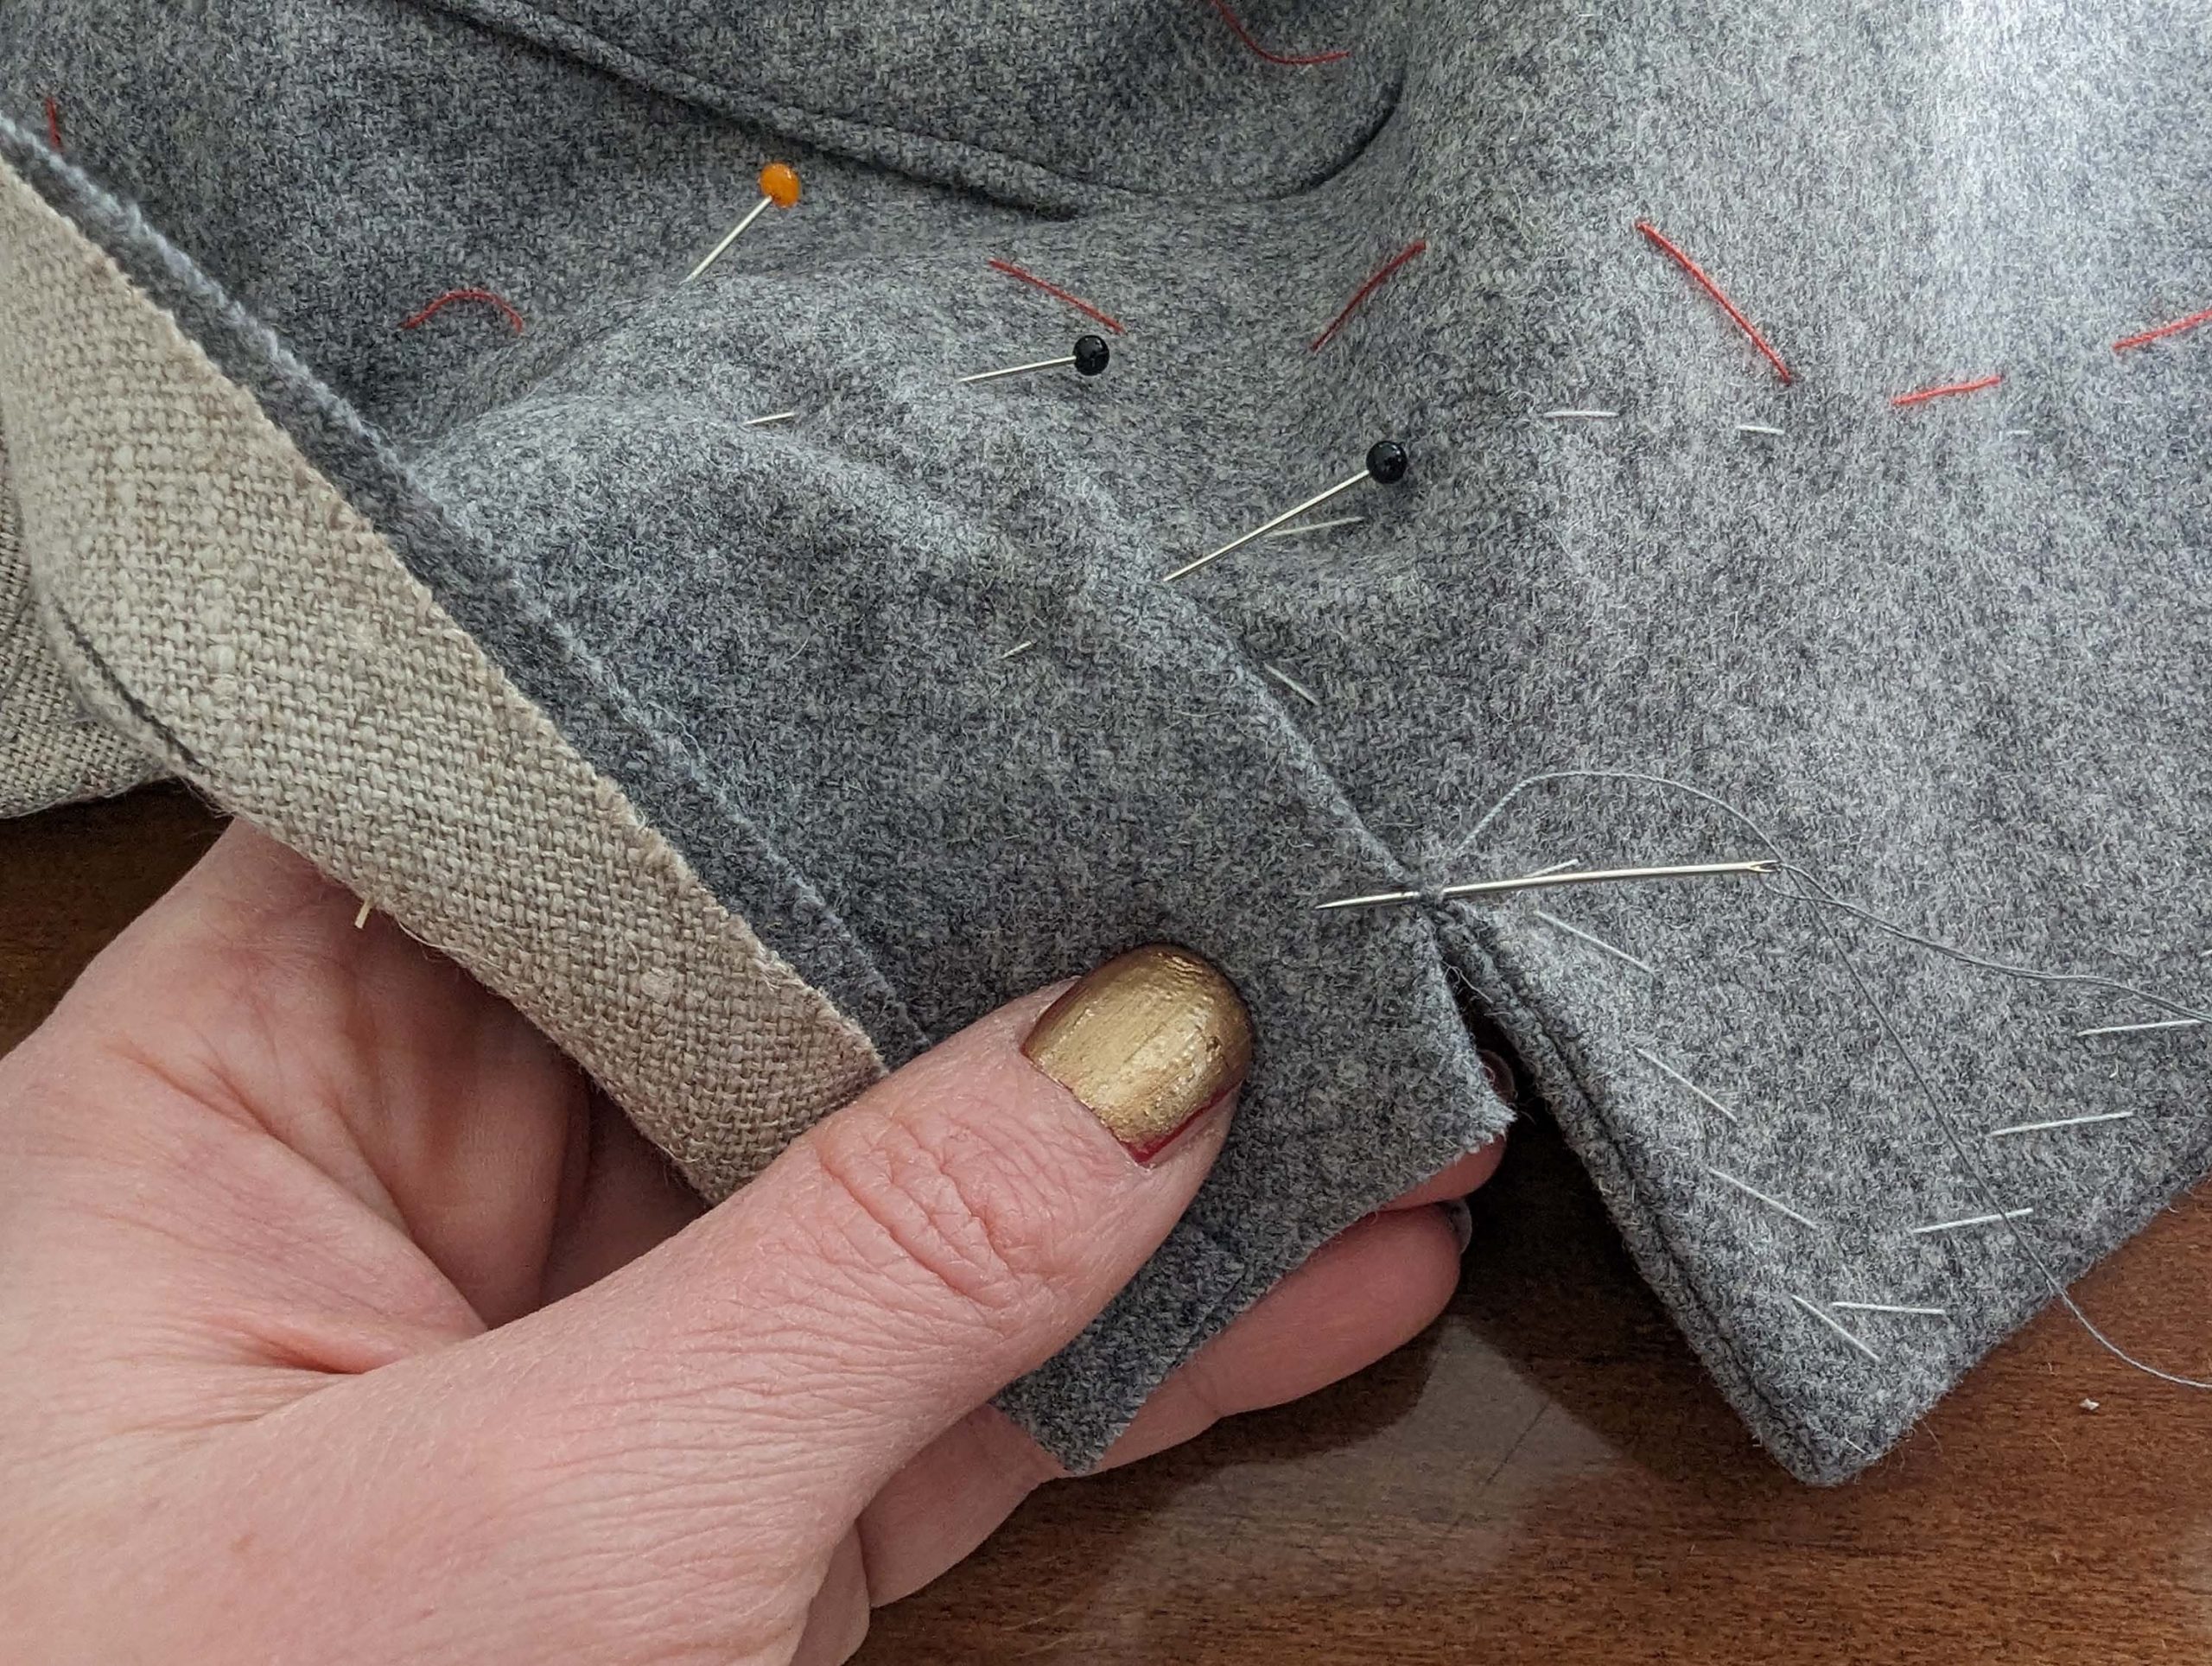
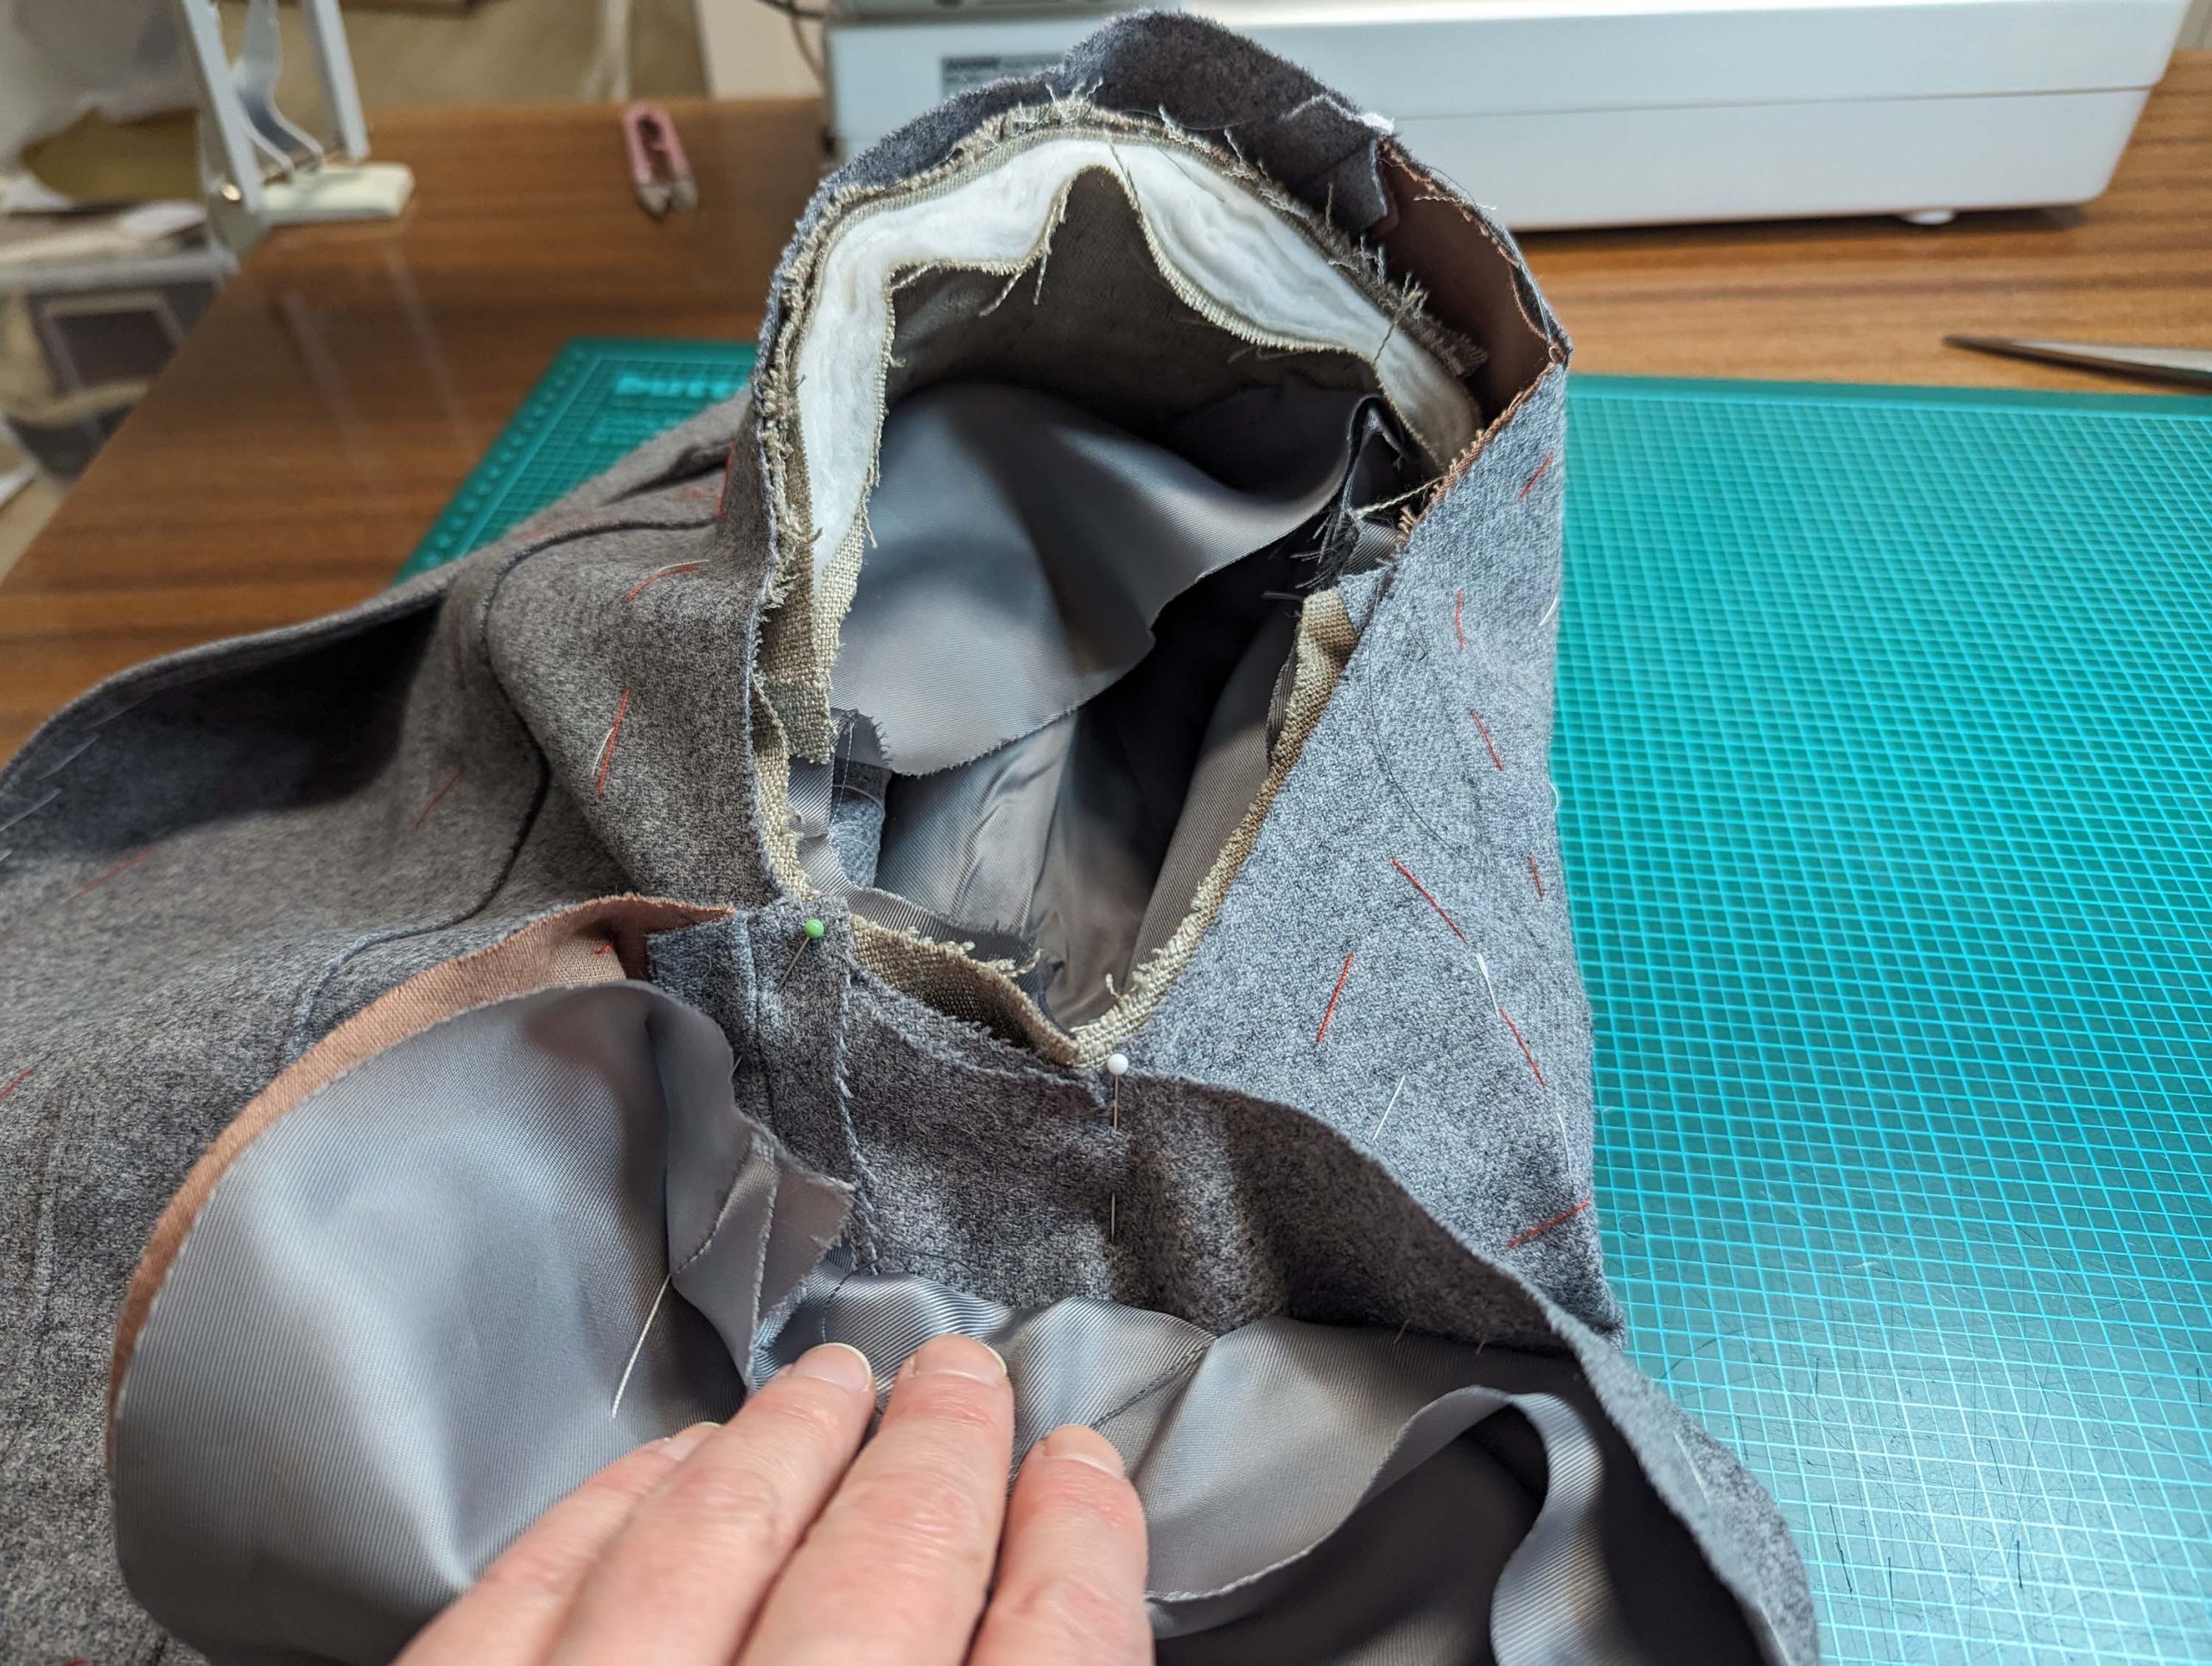
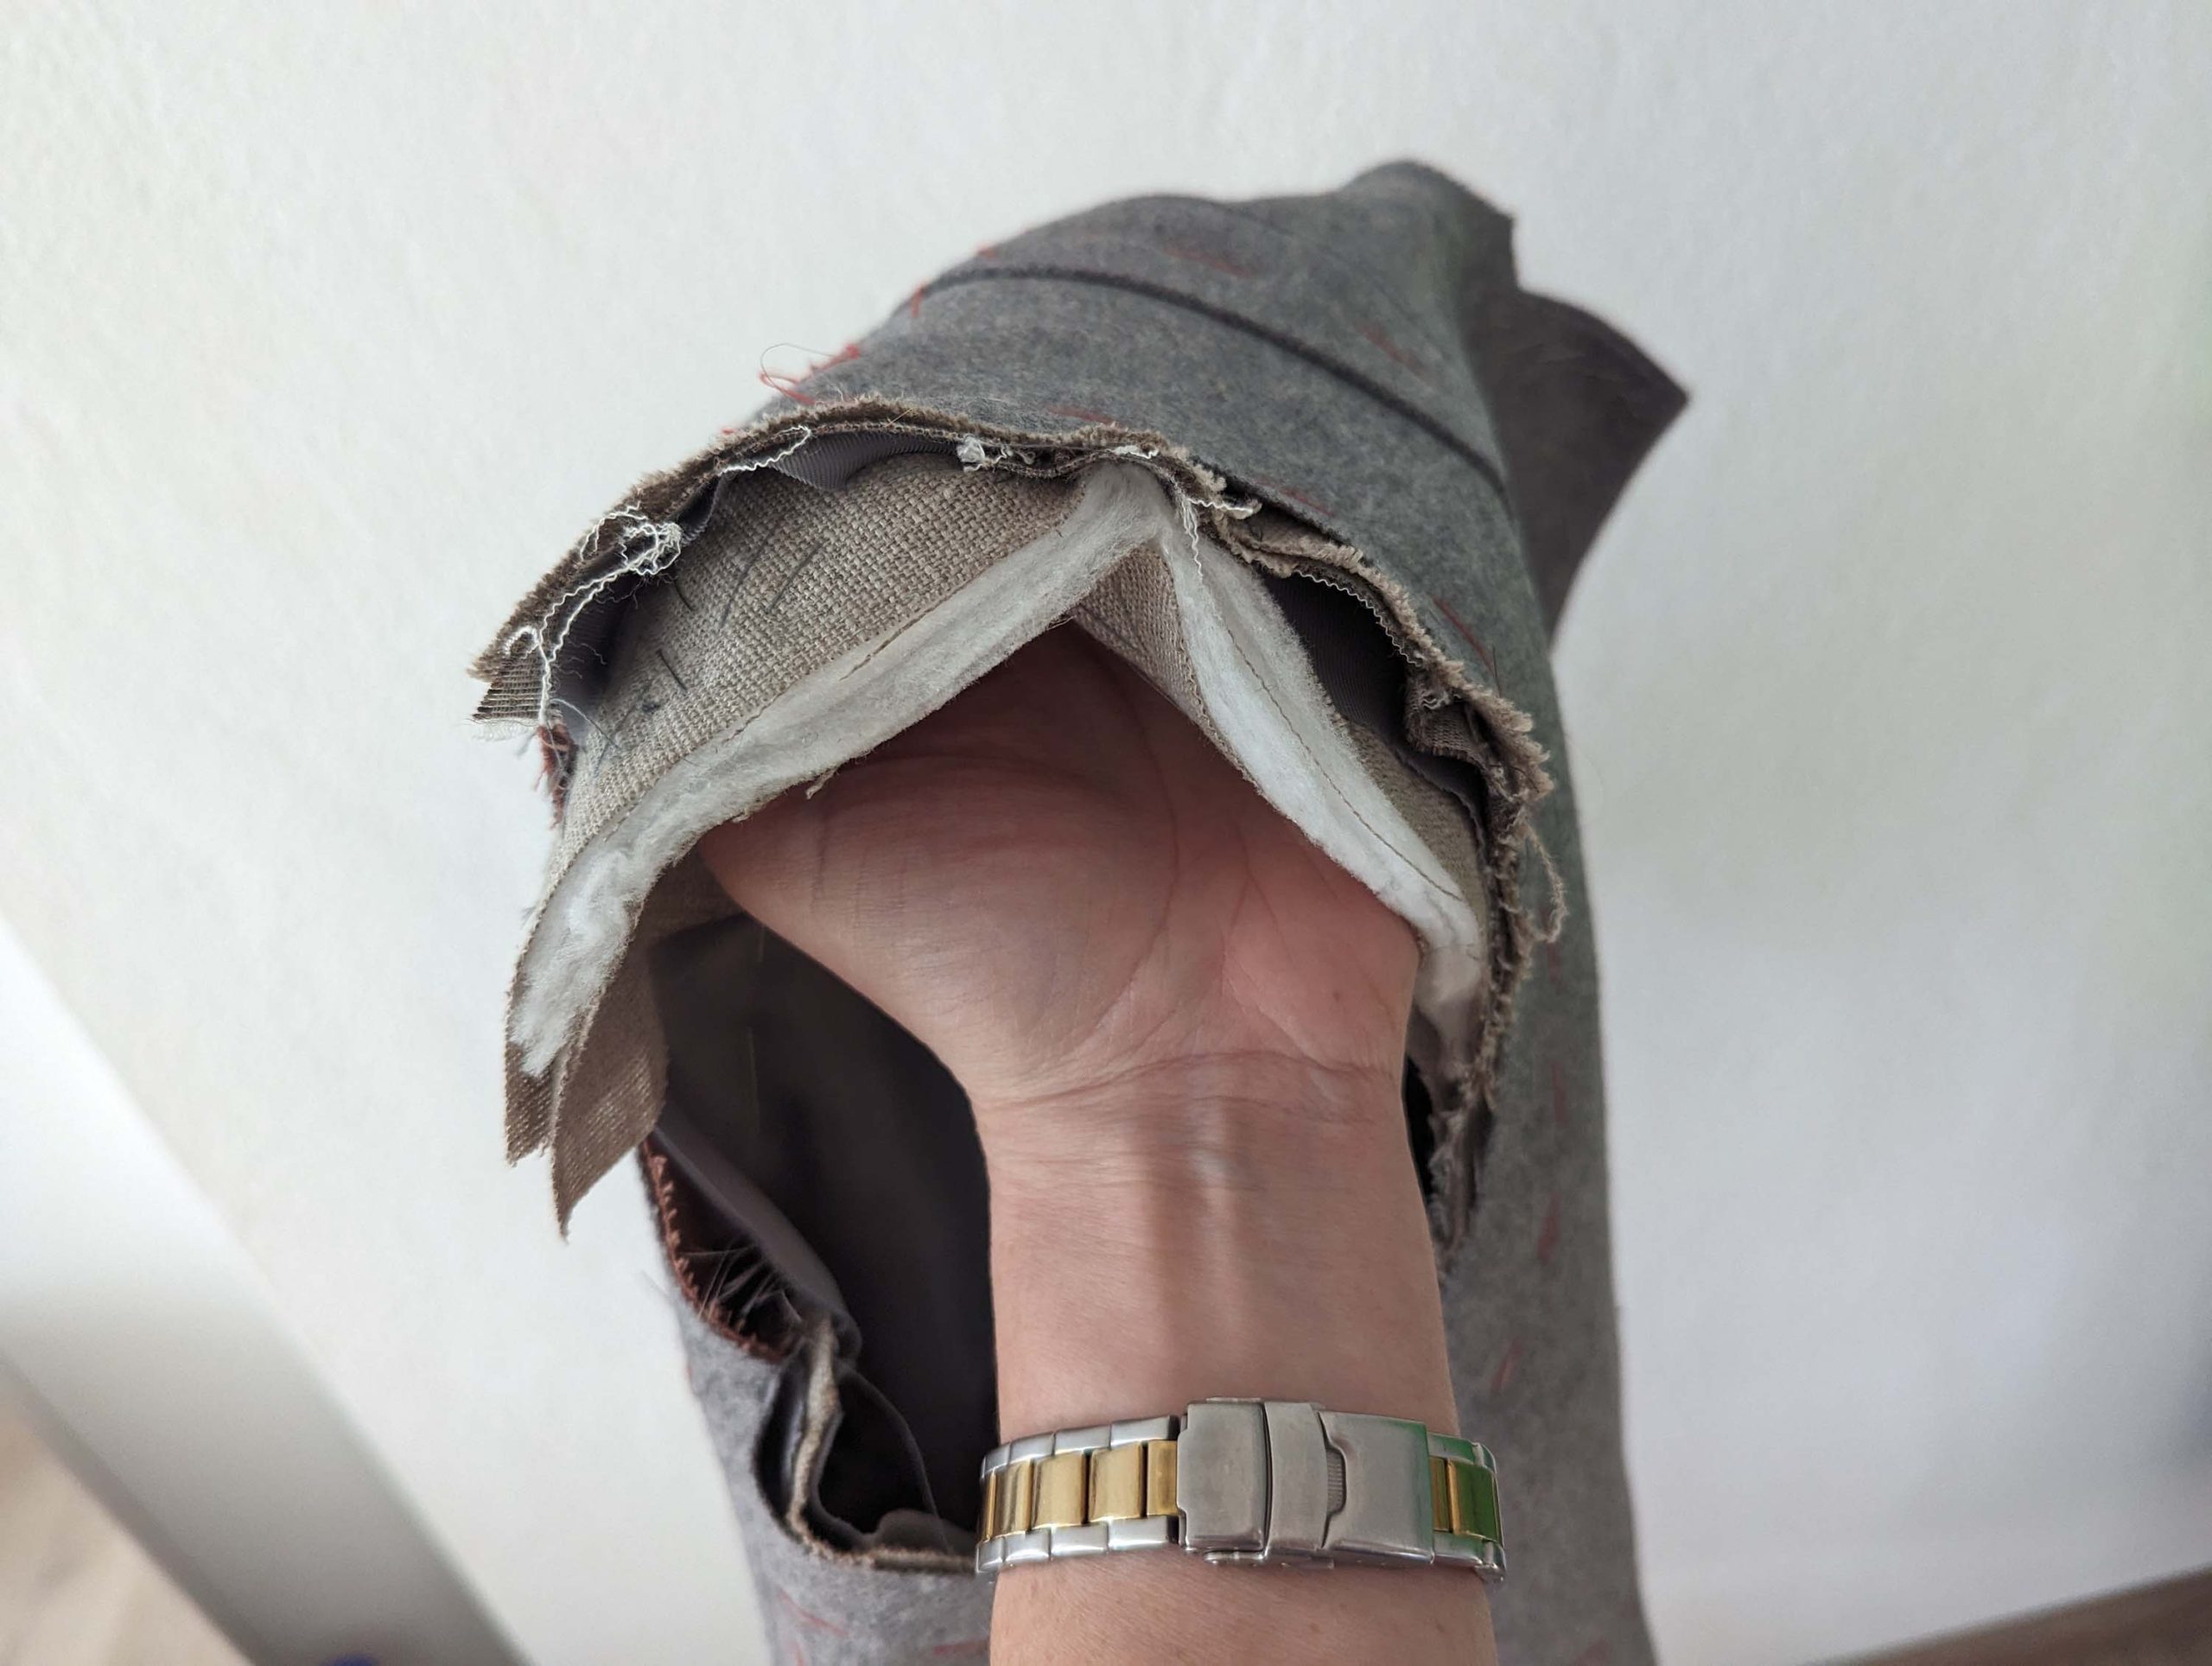
Place the jacket on the table with the wrong side up and catch stitch the seam allowances of the neckline to the collar canvas, clip and trim back the seam allowances if necessary to lay flat.

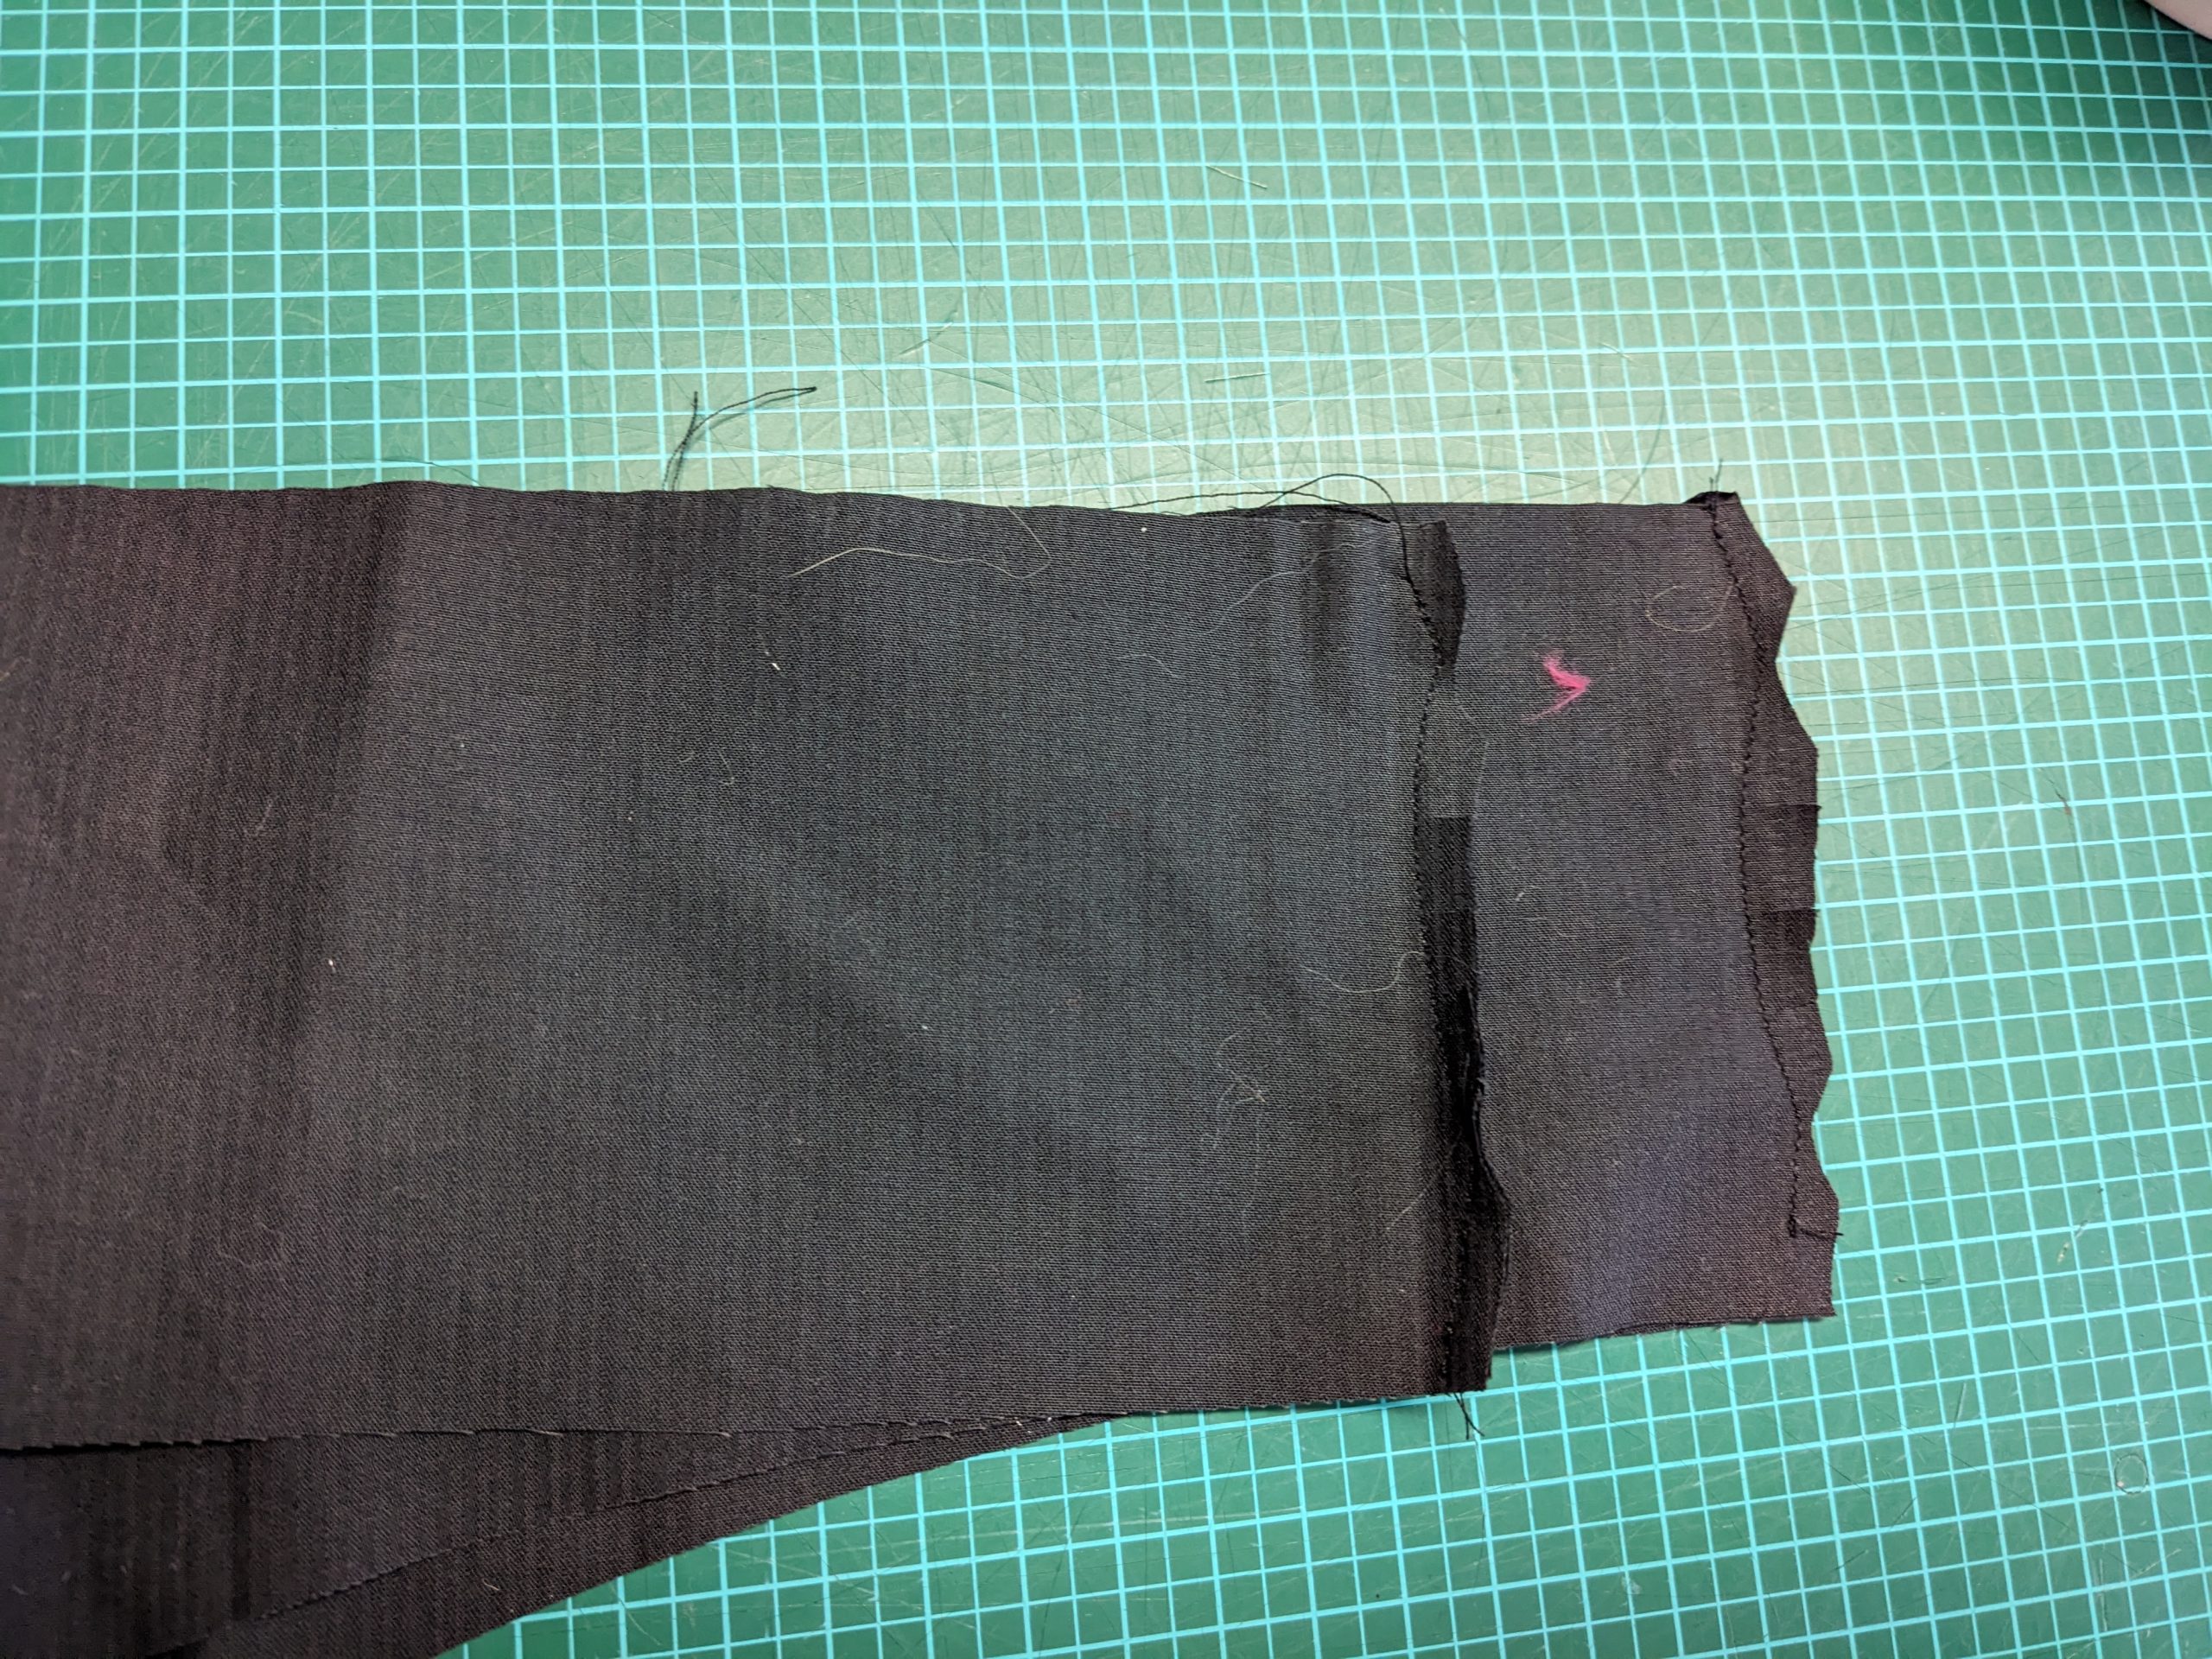
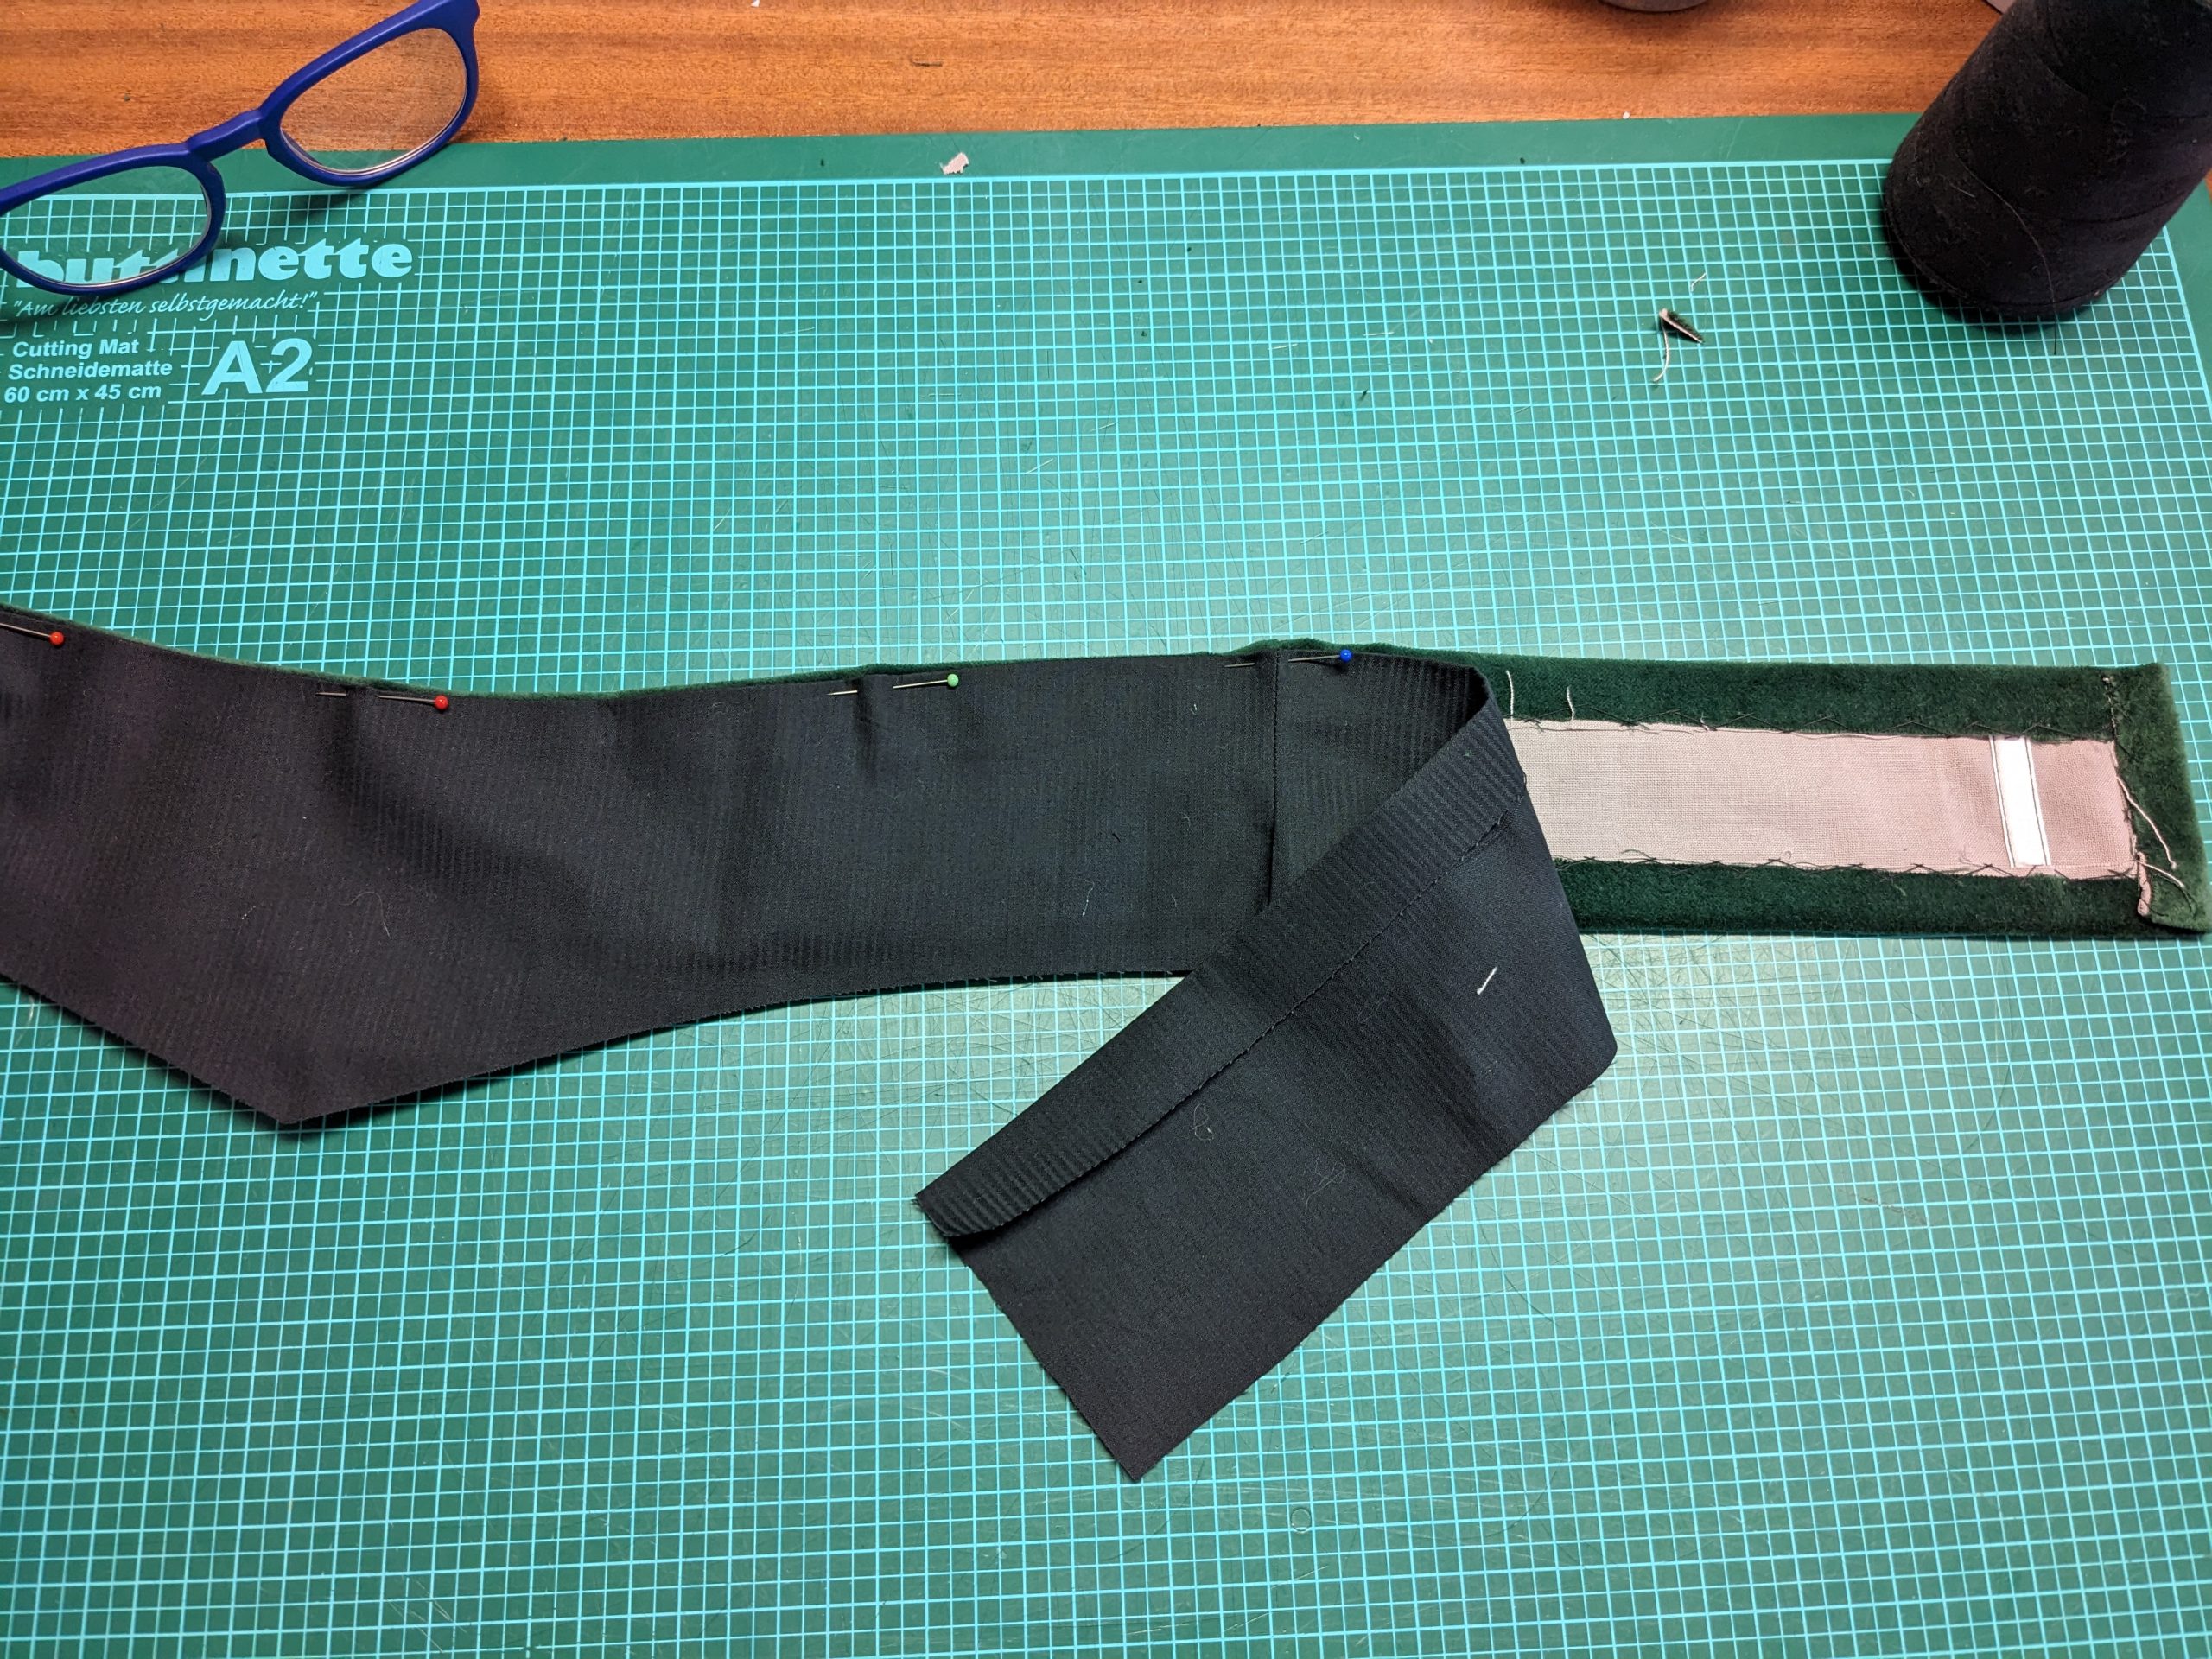
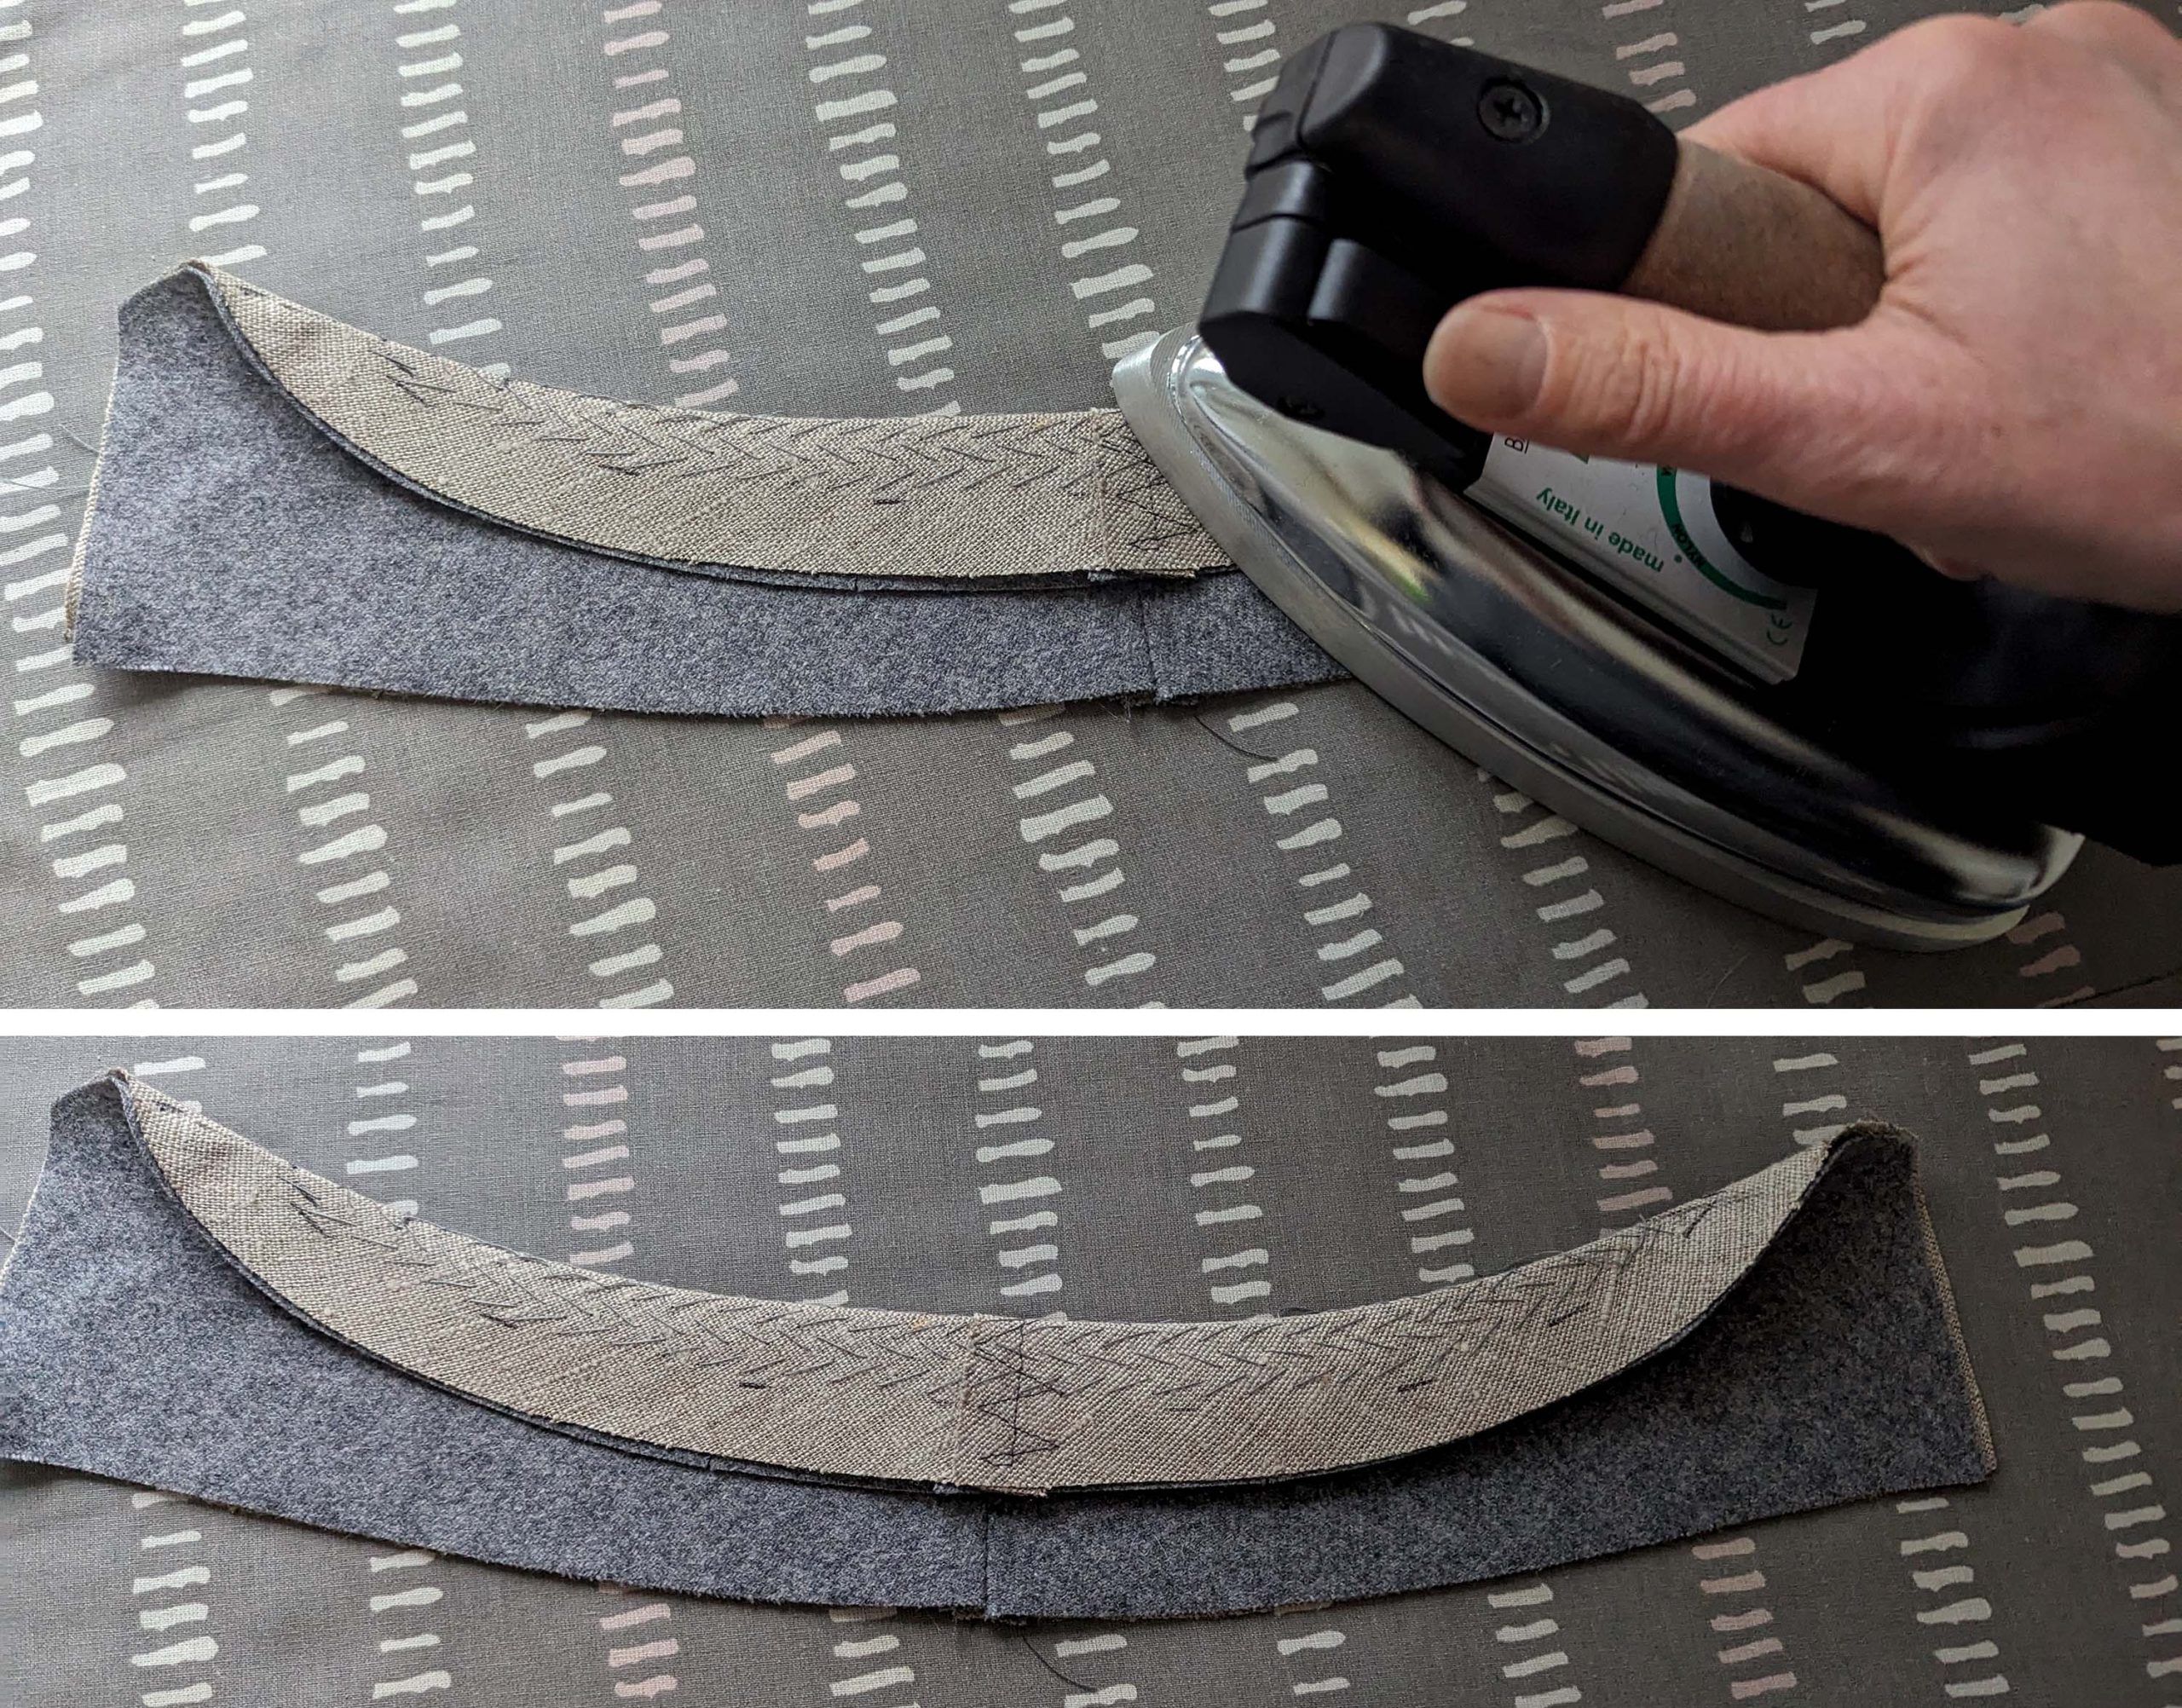
Take the top collar and stretch it along the top edge, giving that edge a bit of a curved shape. Let it cool down before you line up the top collar with the under collar, right sides together. The turn of cloth had been taken into account when patterning, just take care, that the undercollar was stretched as well and cut on the bias. So, you´d maybe need a bit more ease, simulating the rounding of the neck, and turning down the points while pinning. I needed some more width than given in the original pattern piece.

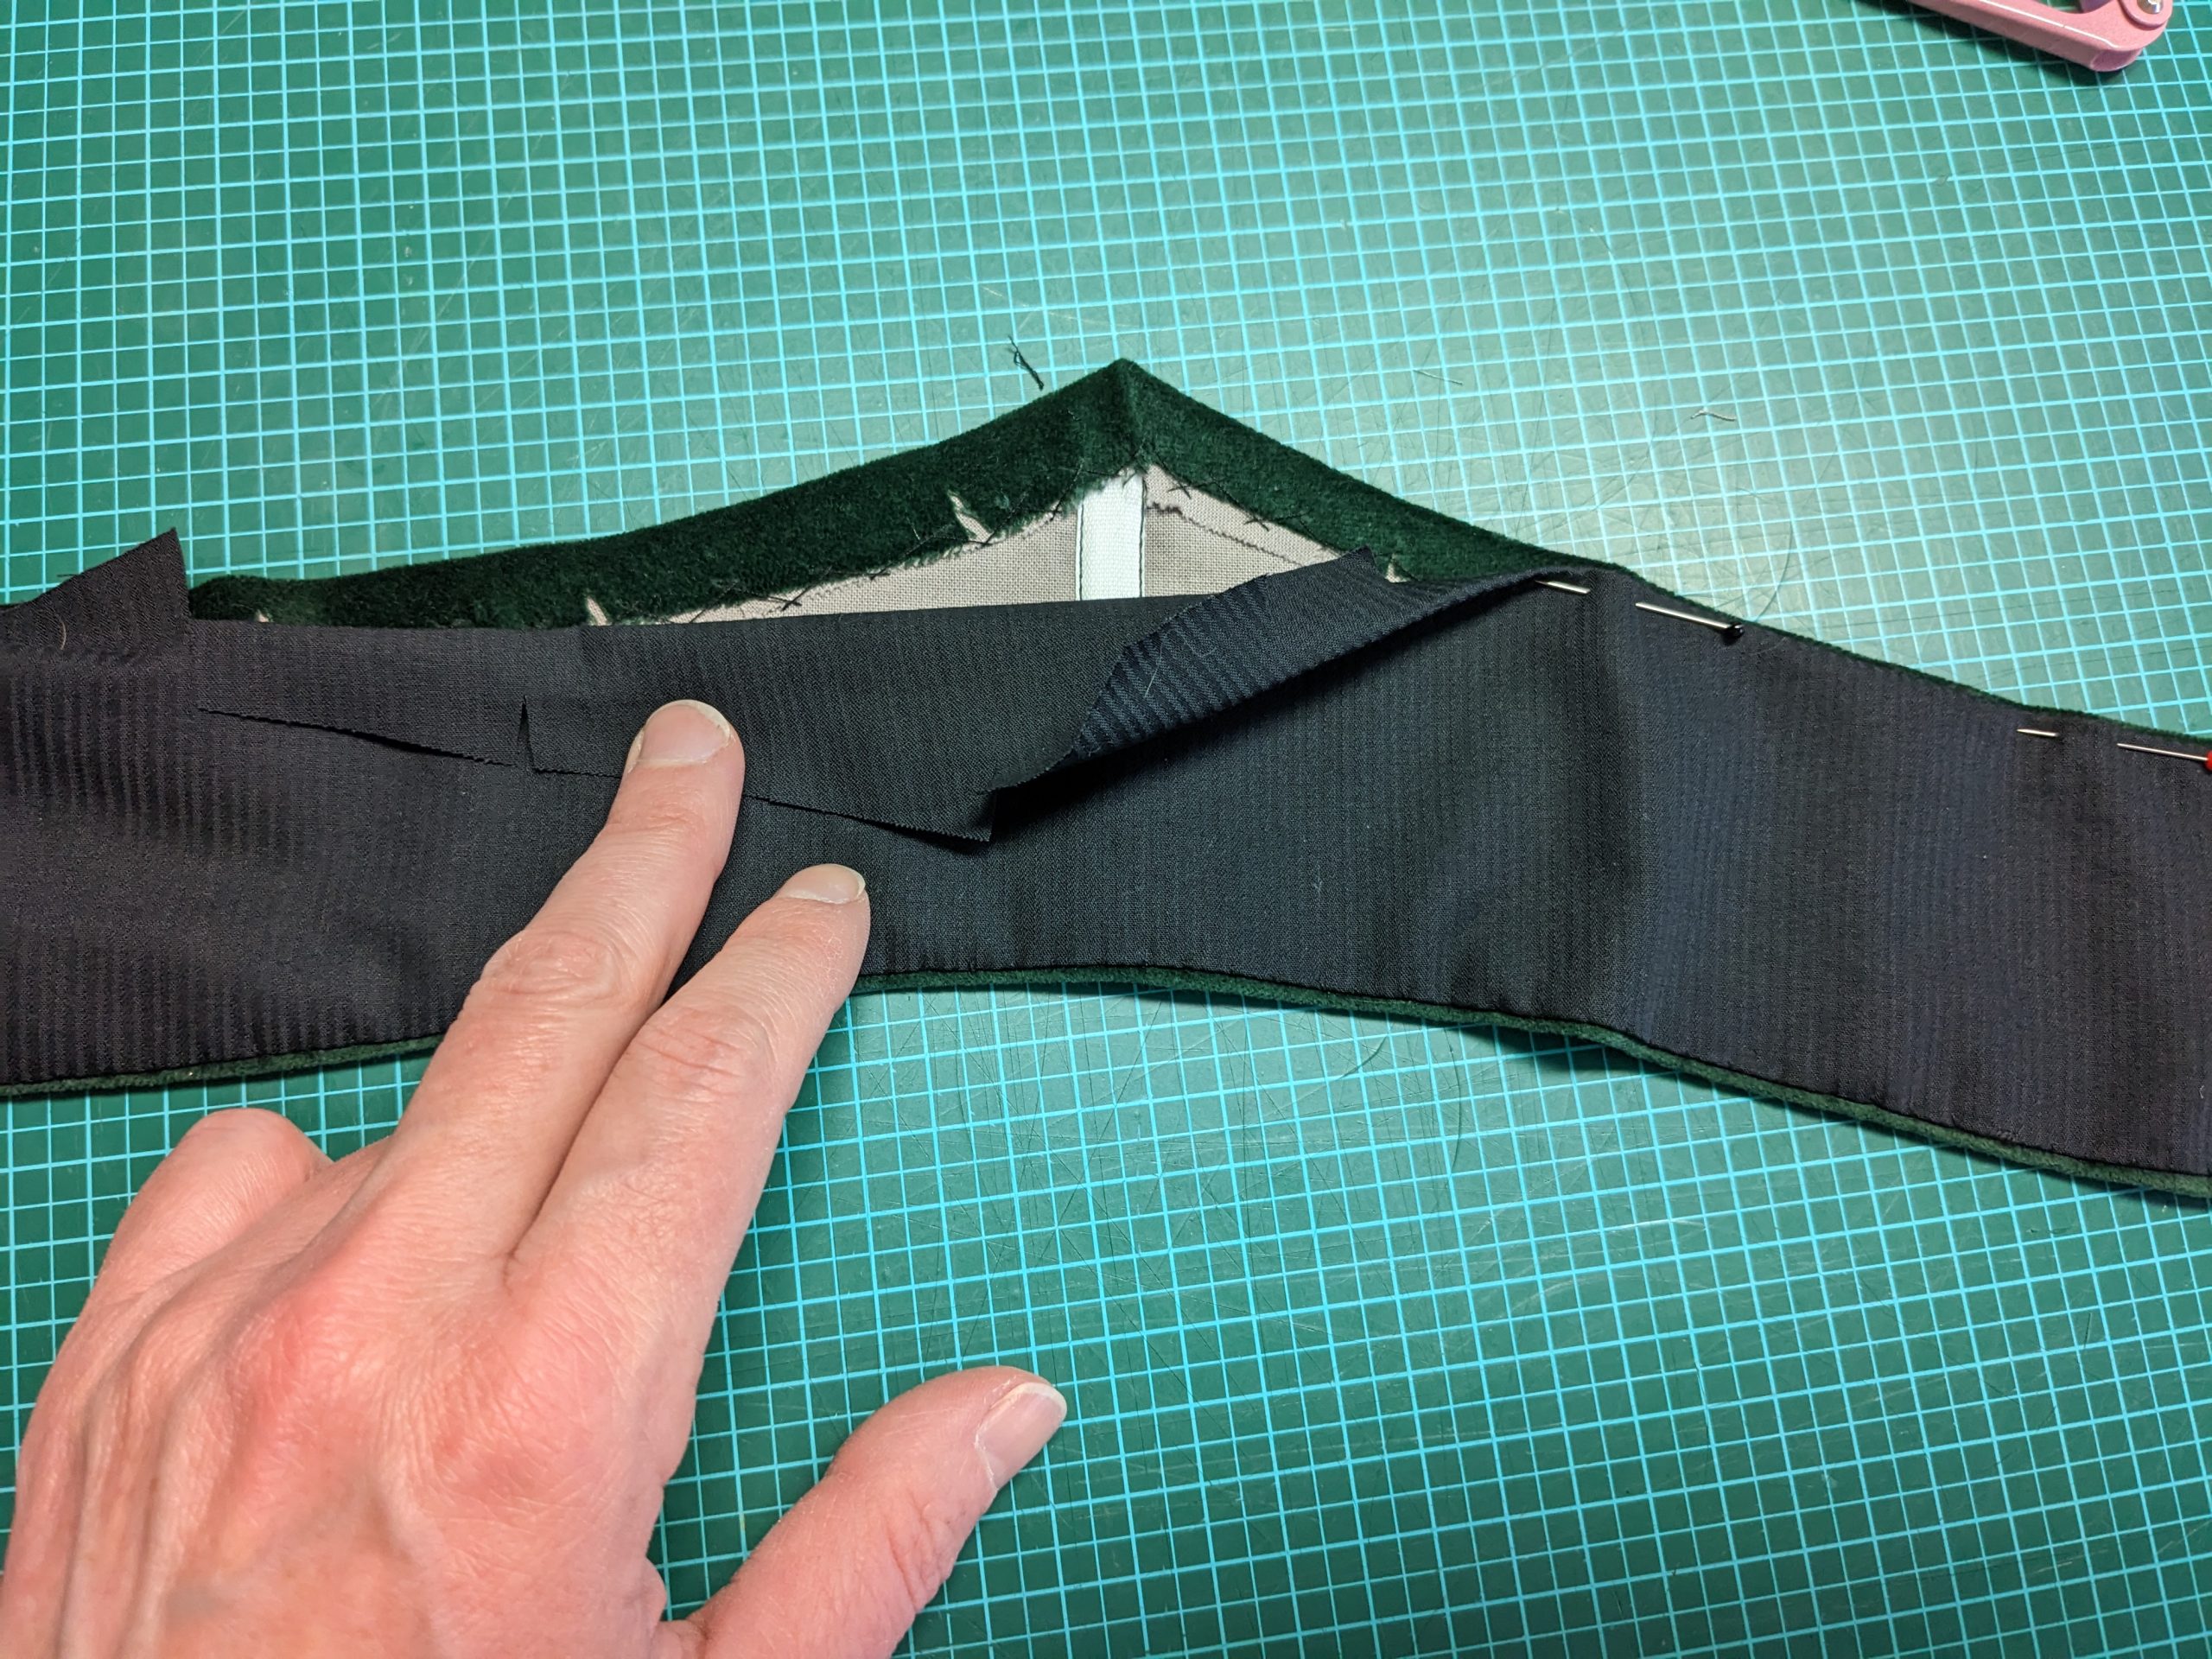
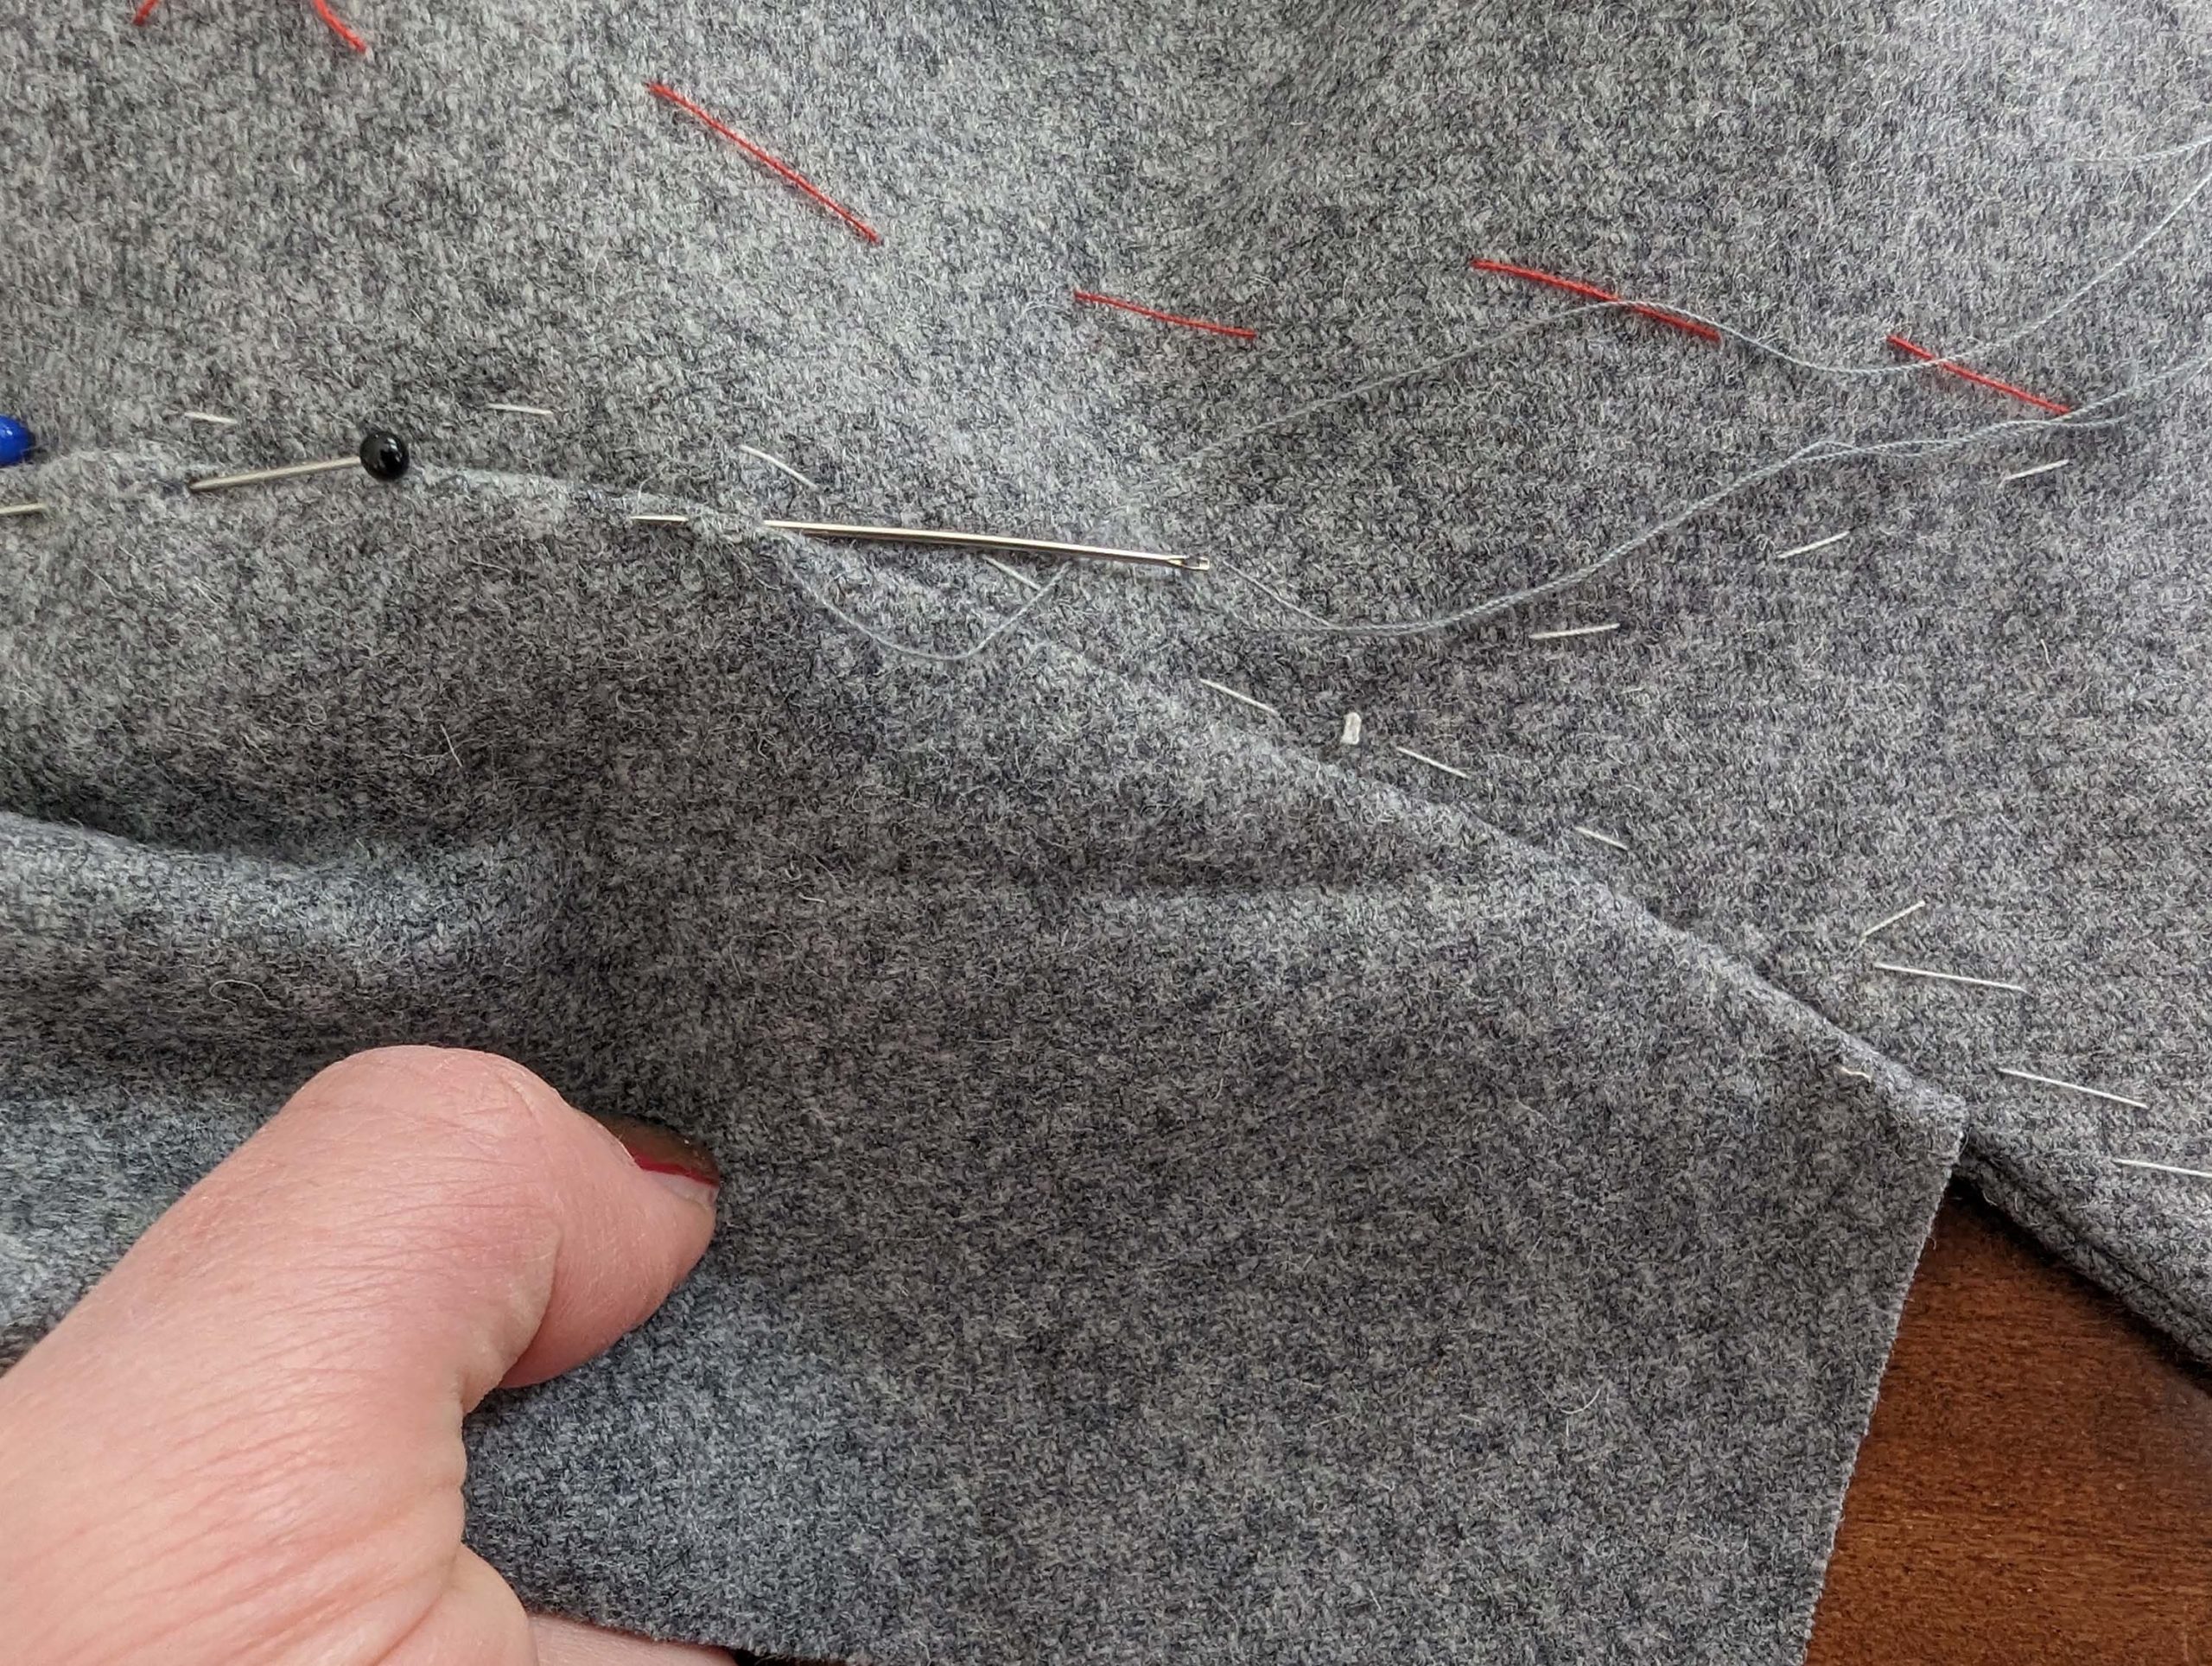
With the undercollar up, sew from collar notch to collar notch, without catching the seam allowances. Reduce the stitch length at the corners and sew a second time with the top collar up, correcting any uneven stitches.

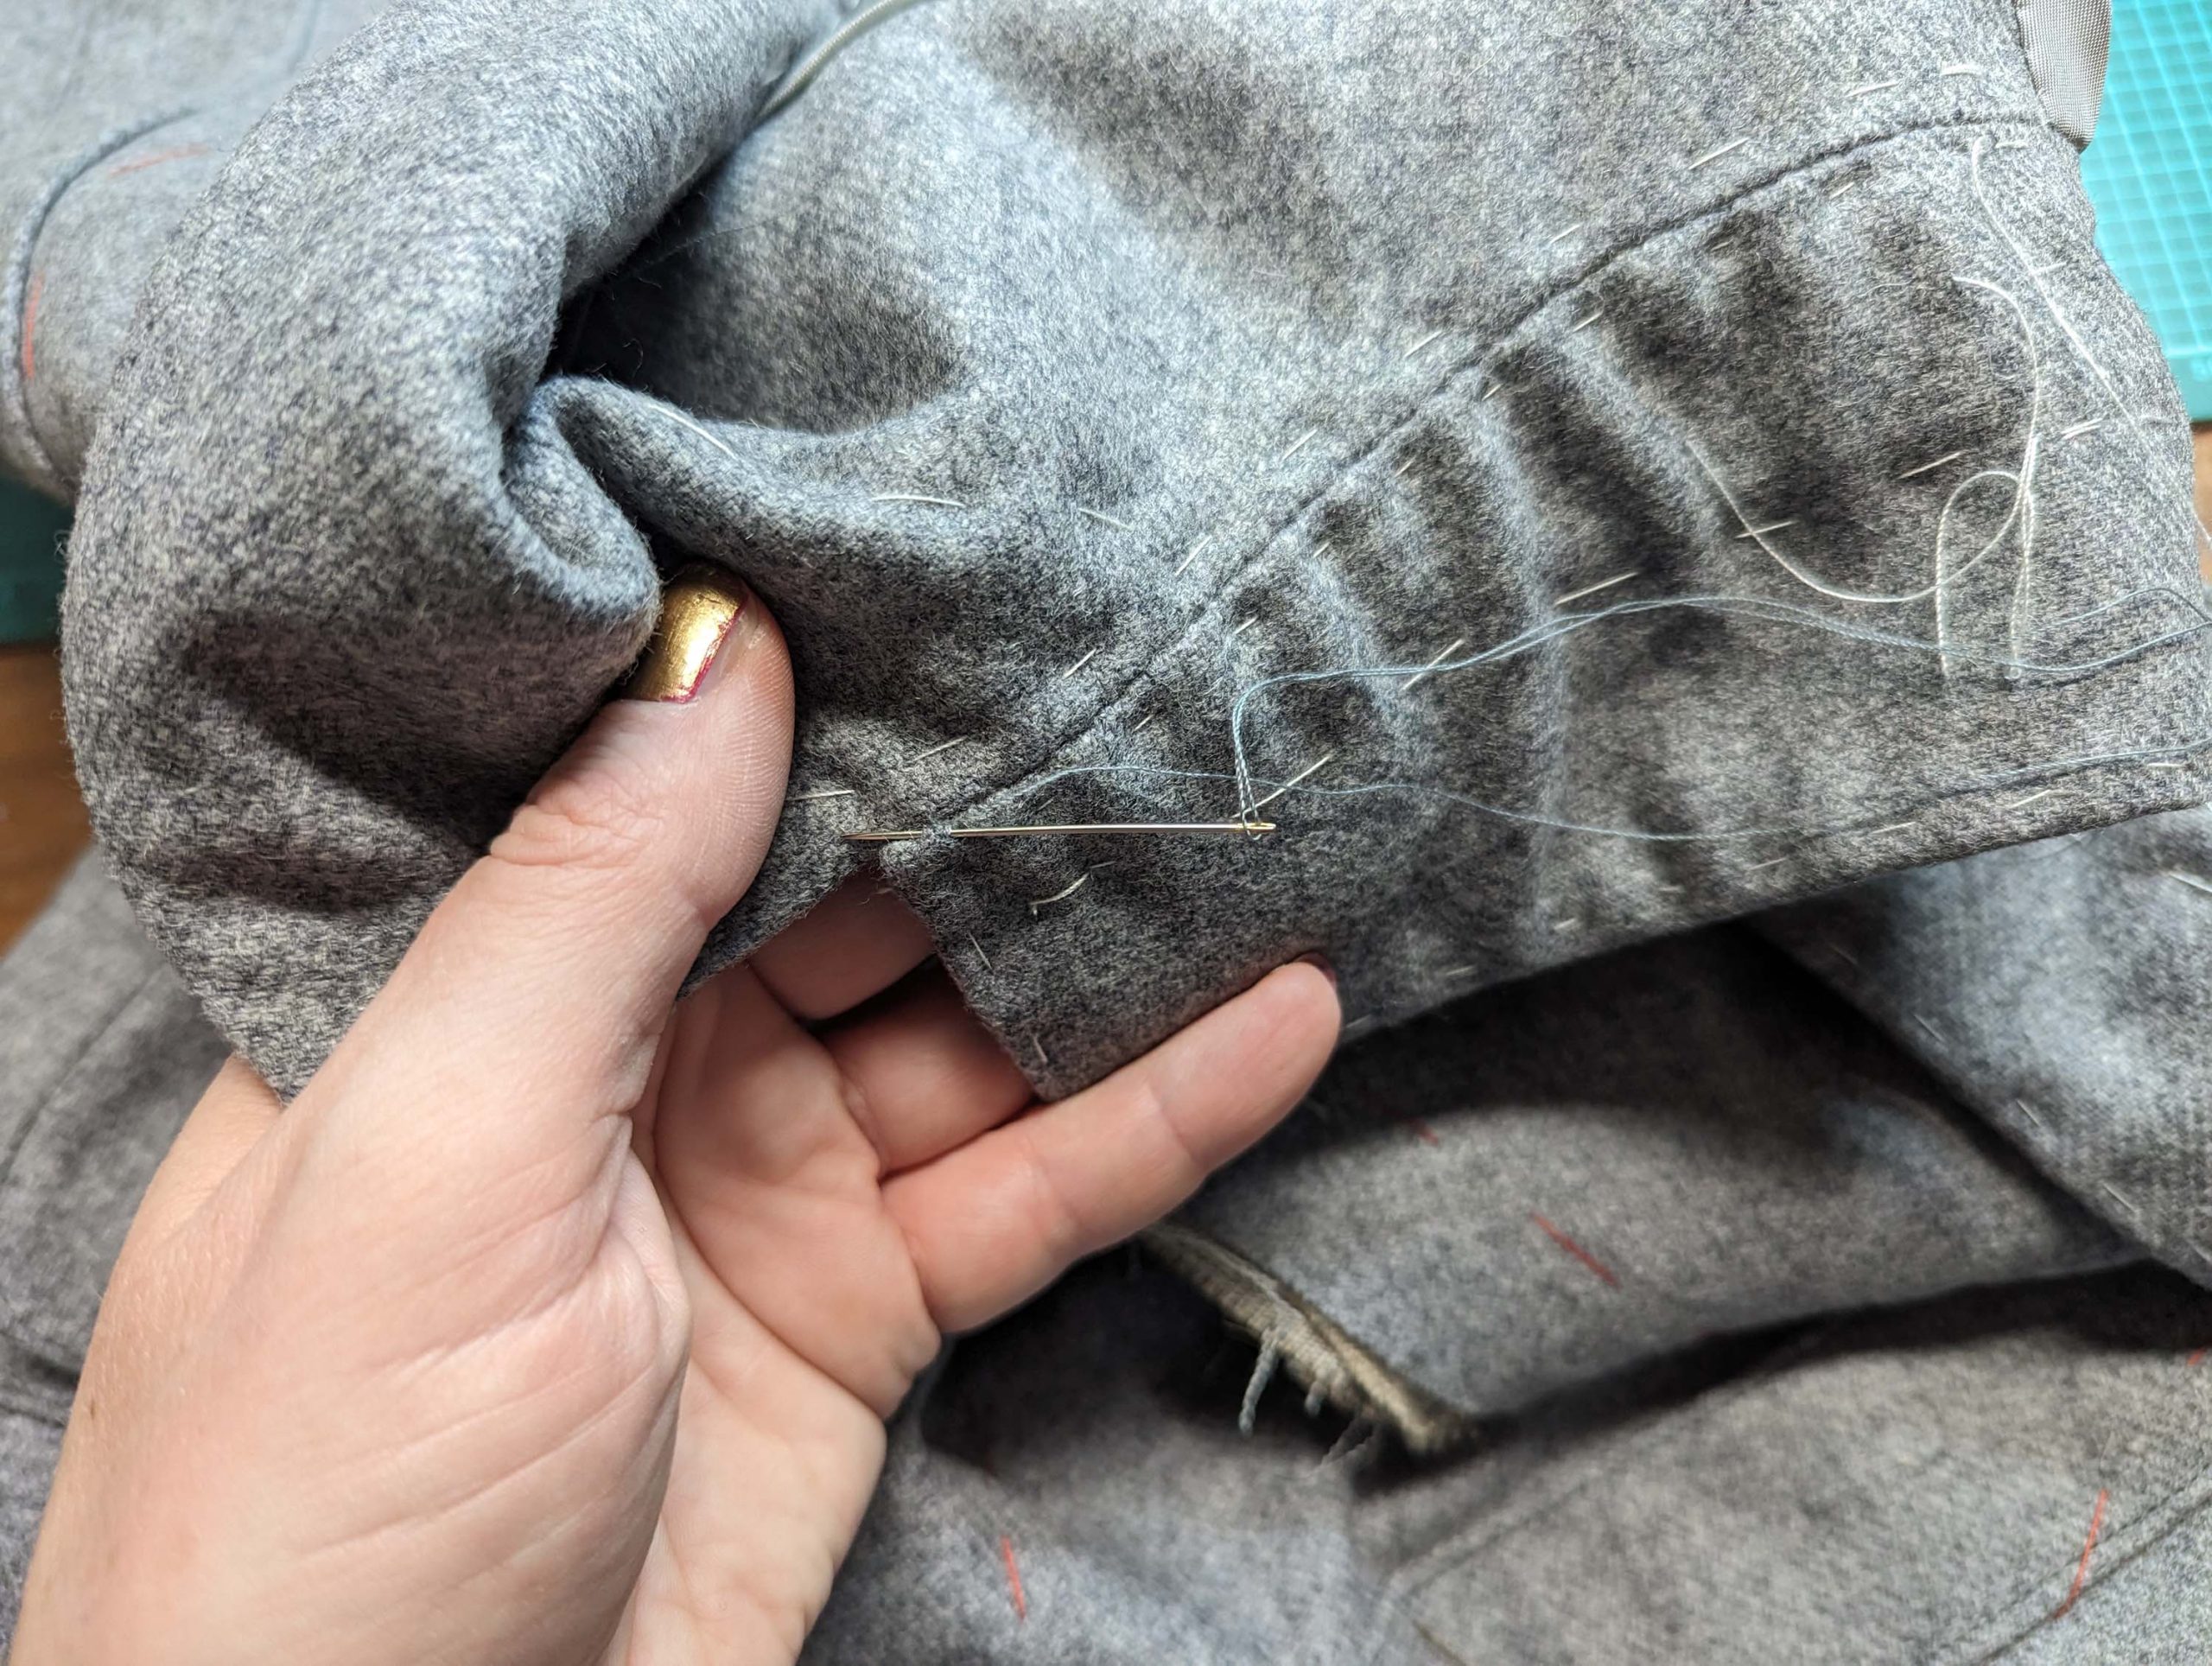
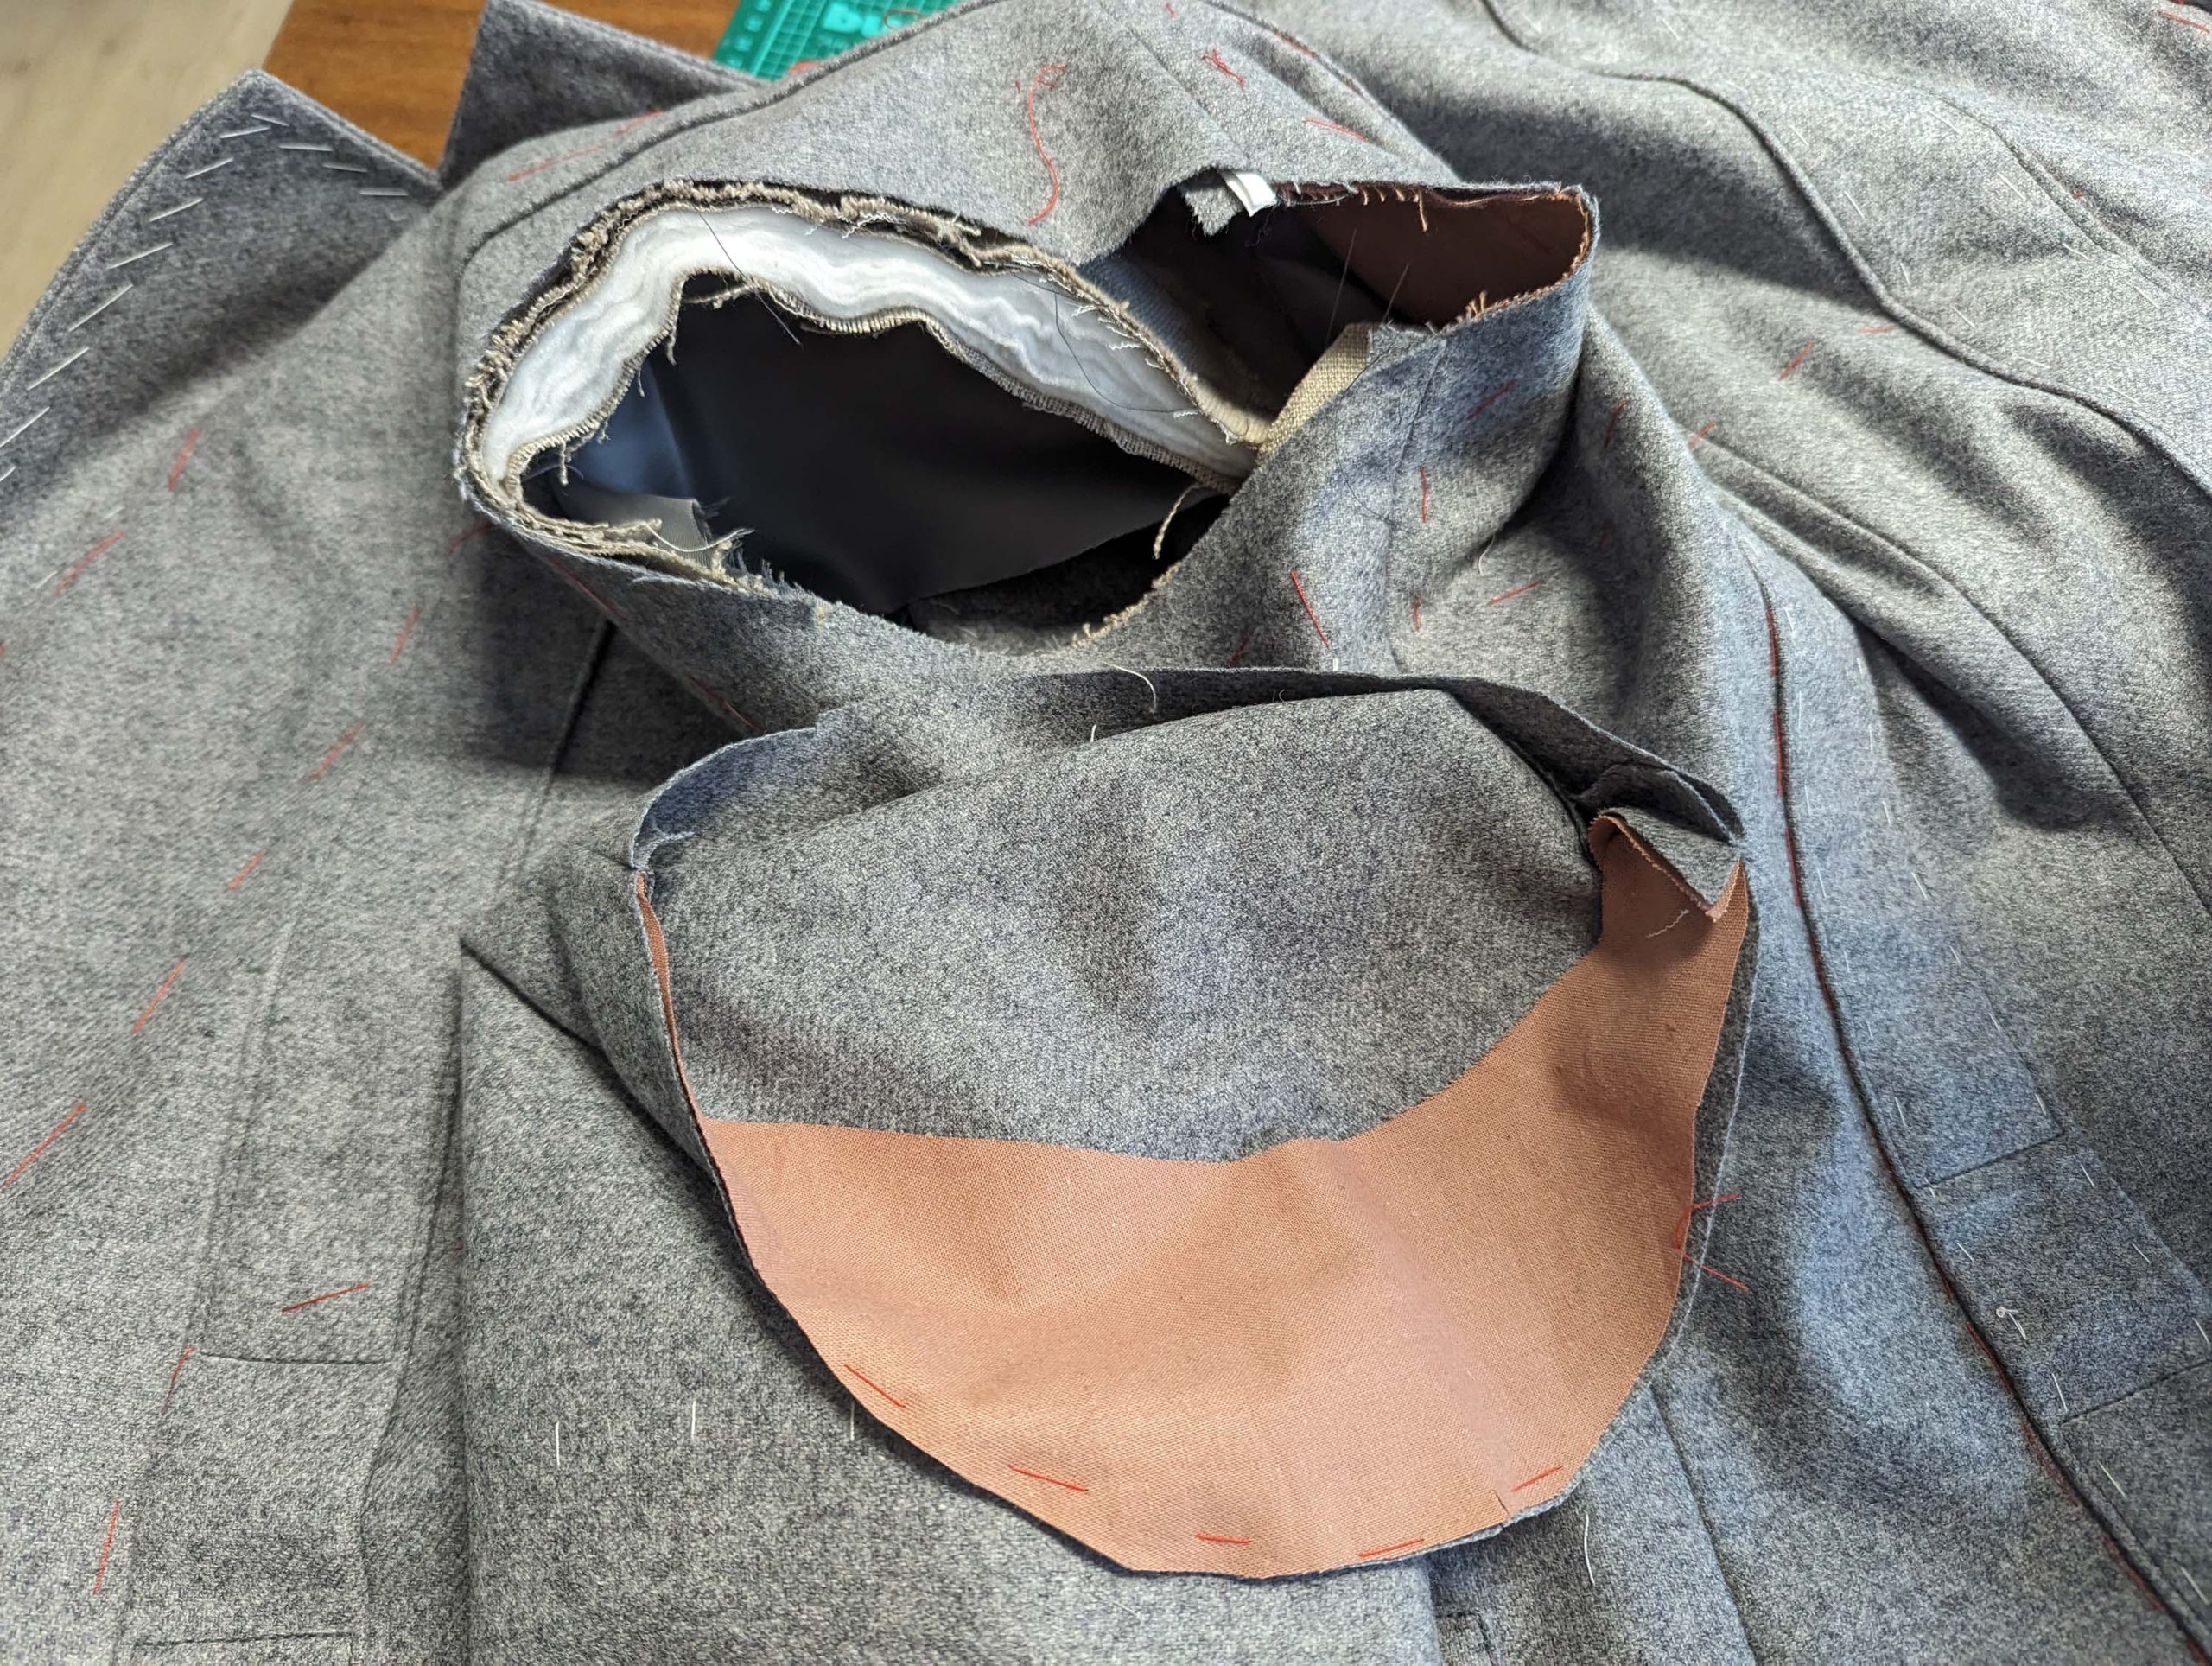
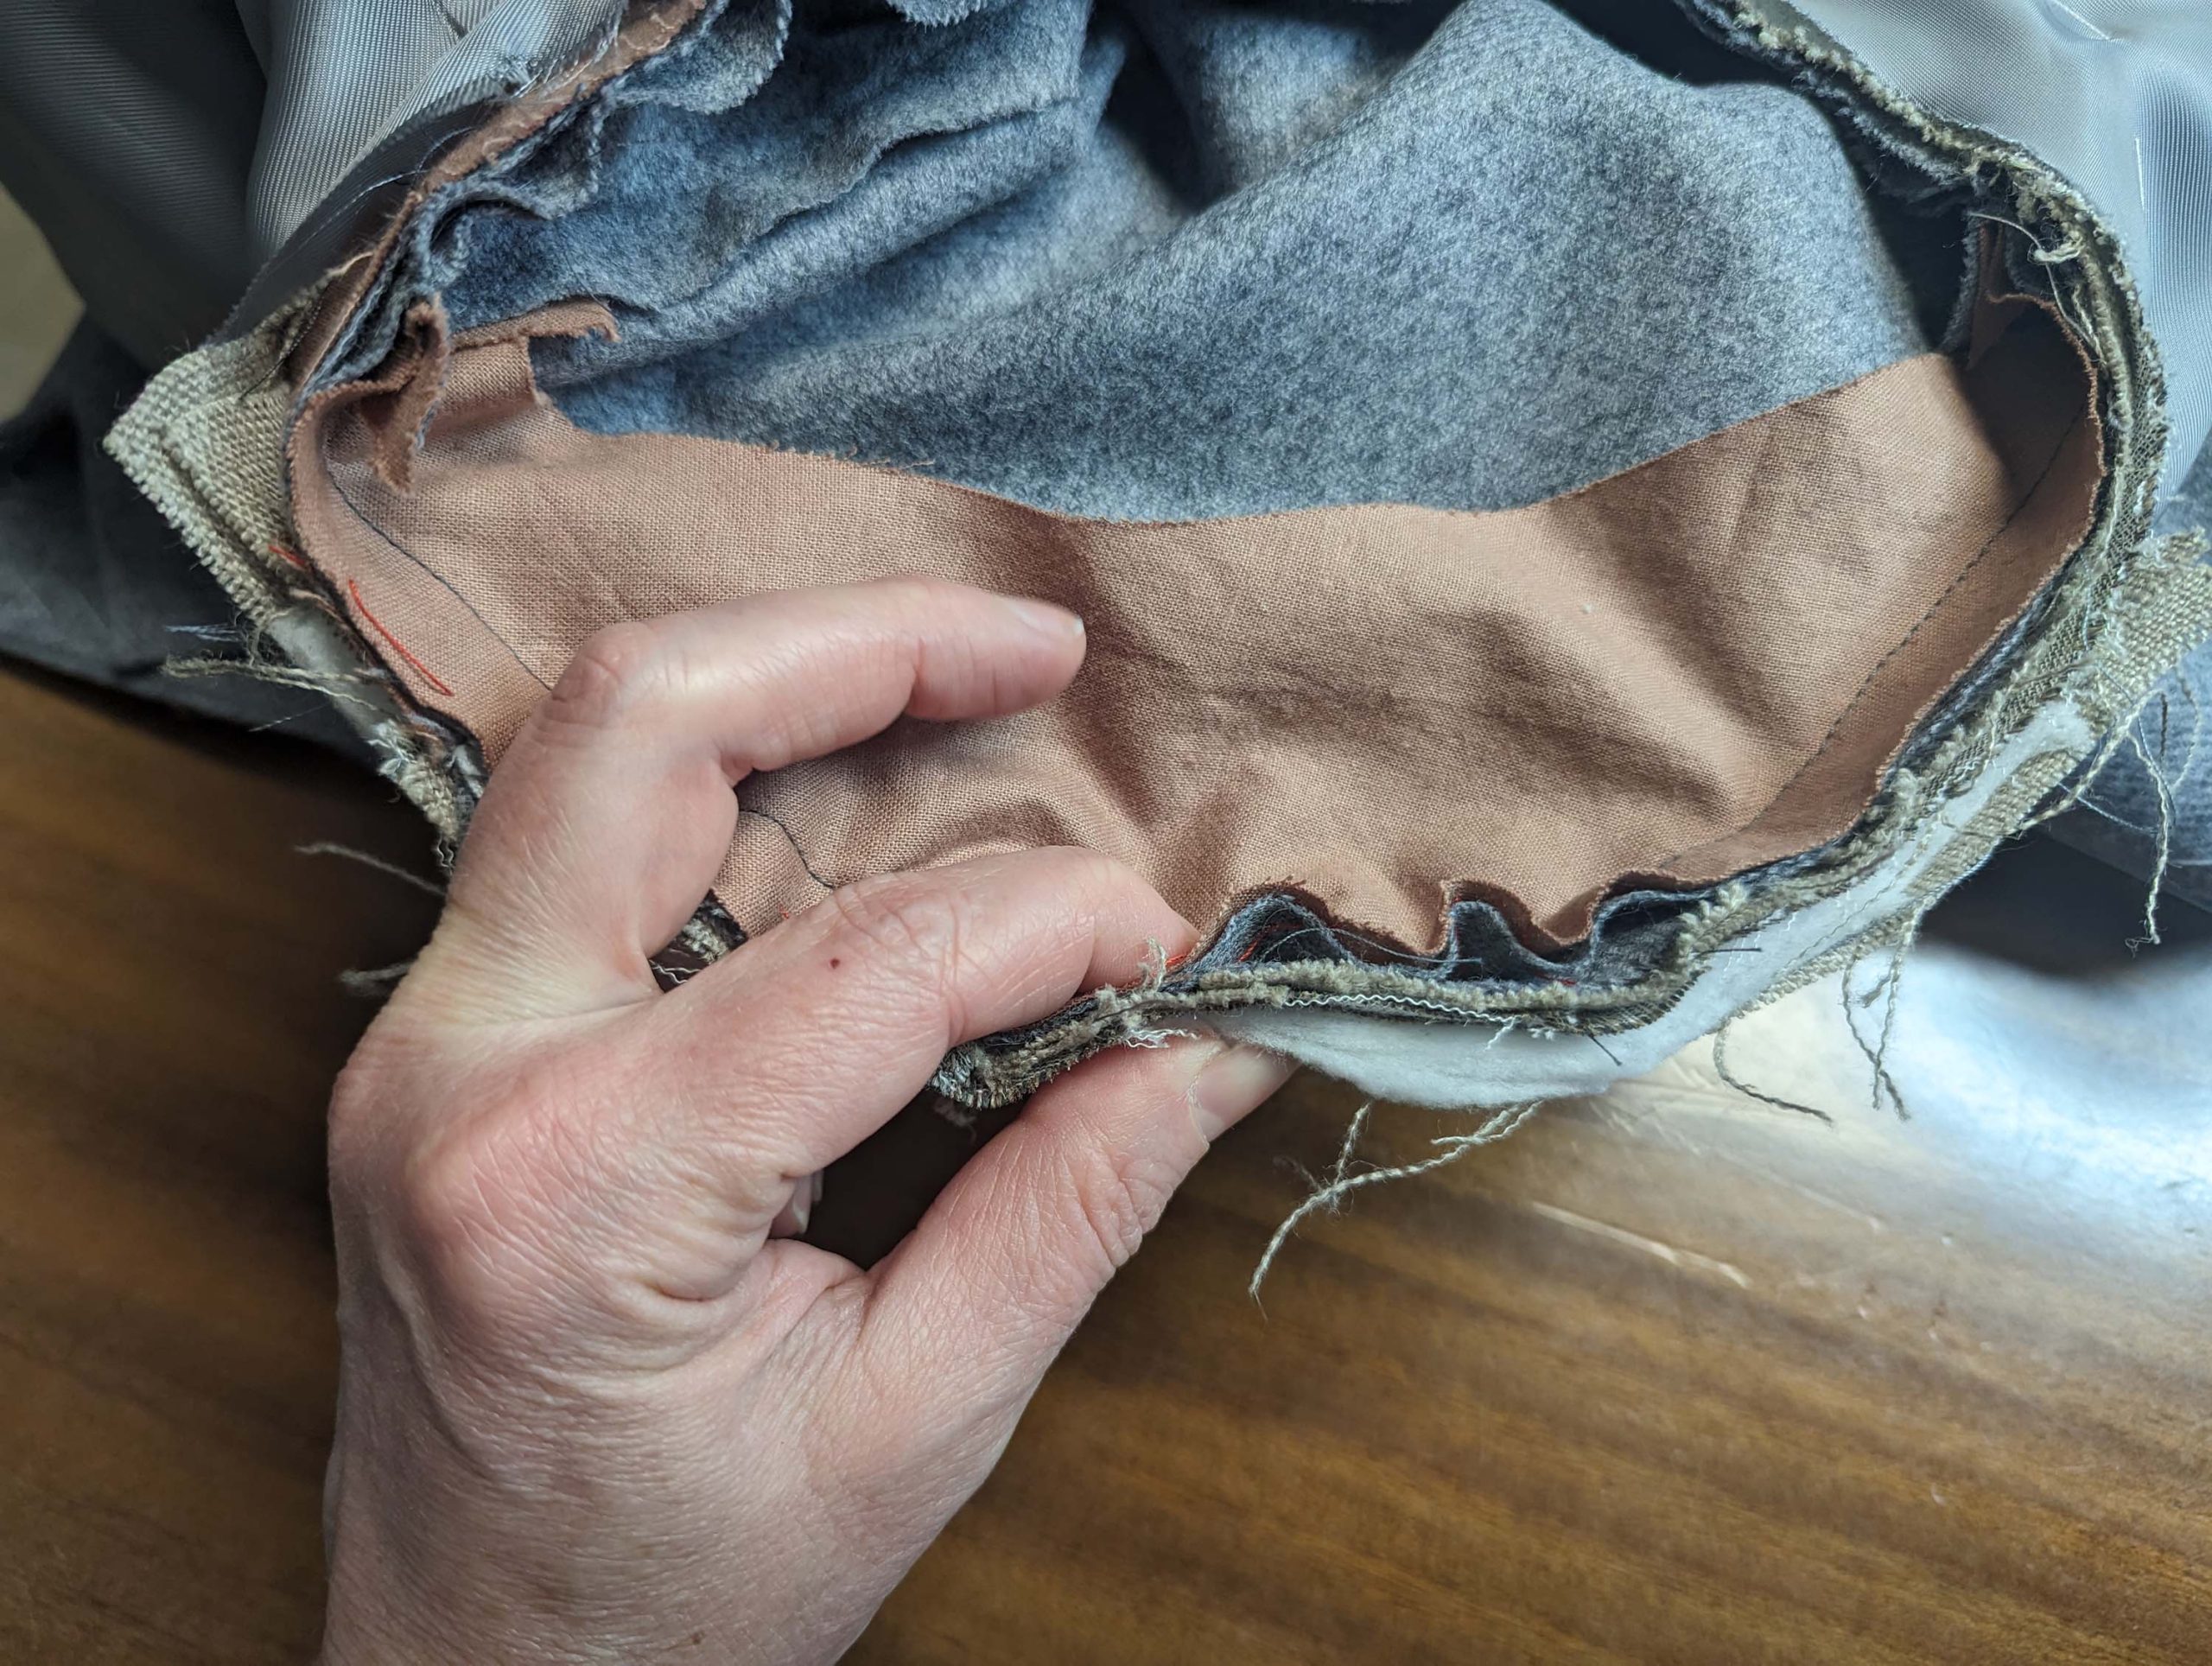
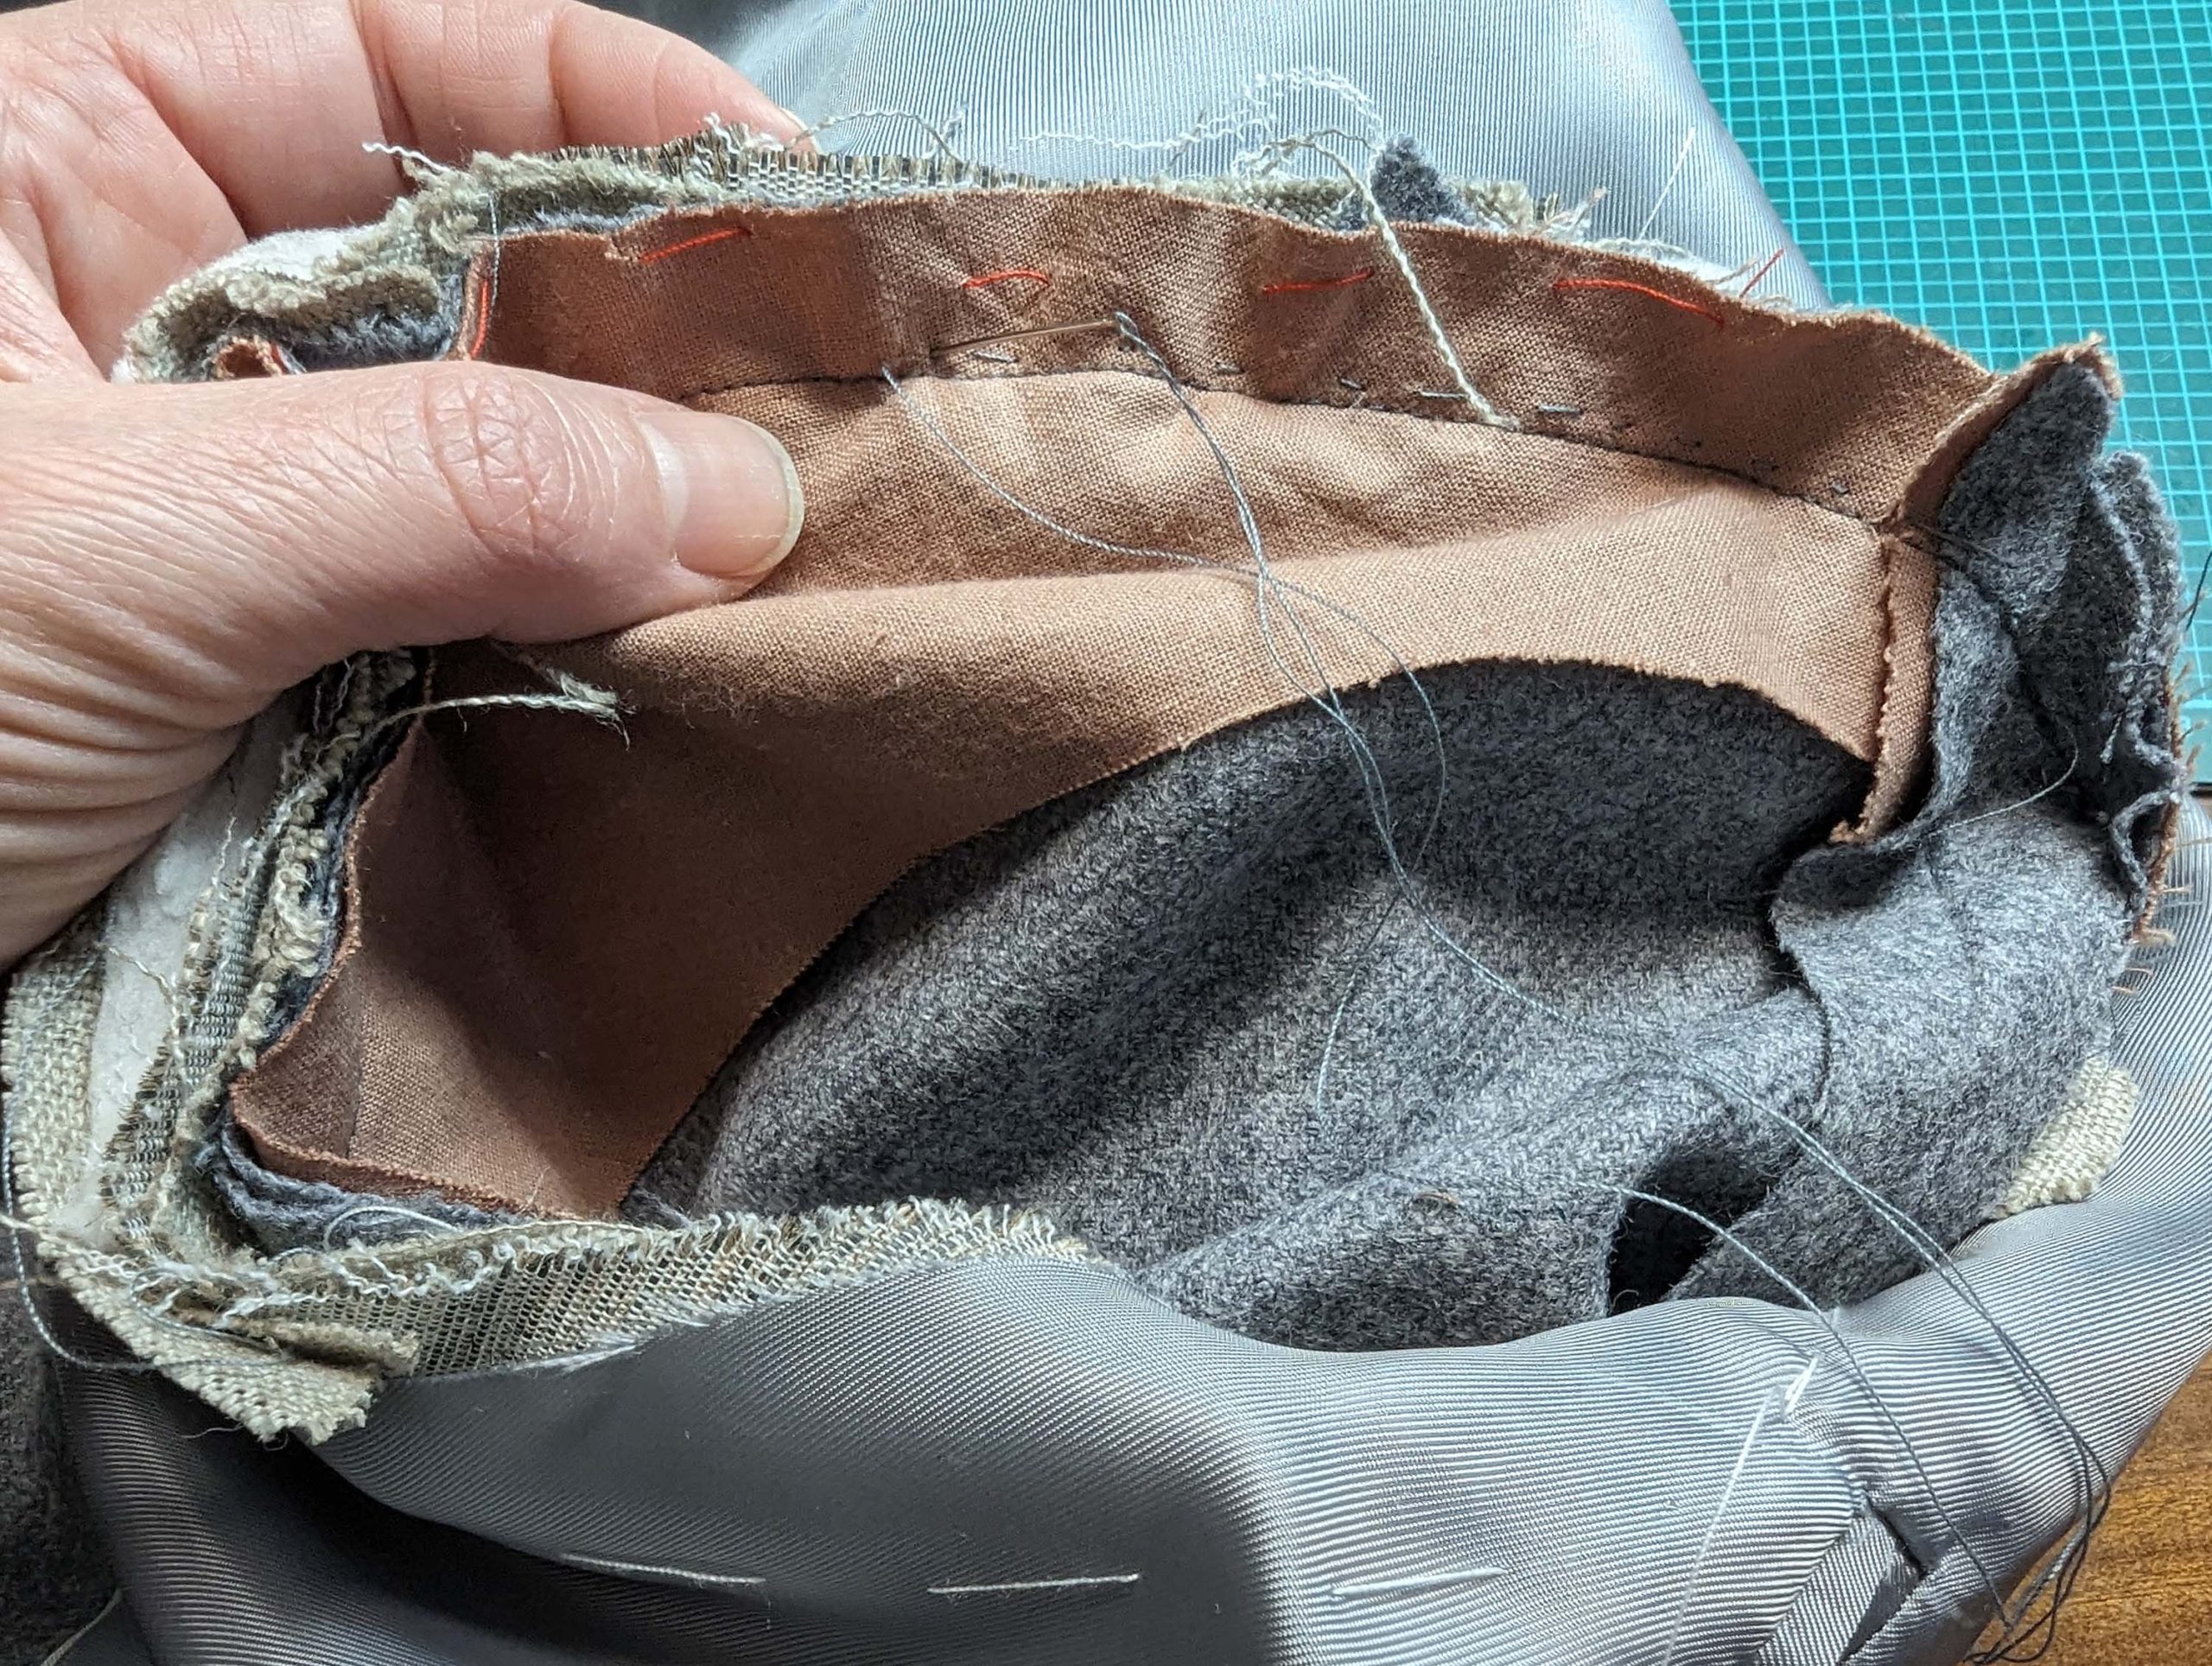
Trim back the seam allowances to ¼” (7mm), and notch only the seam allowance of the under collar at the collar notch. Fold the seam allowances towards the canvas and catch stitch to the canvas in the same way as you did at the lapel. Turn the right way out and press, rolling the seam slightly out of sight toward the garment’s wrong side. Baste along the edges to hold in place.

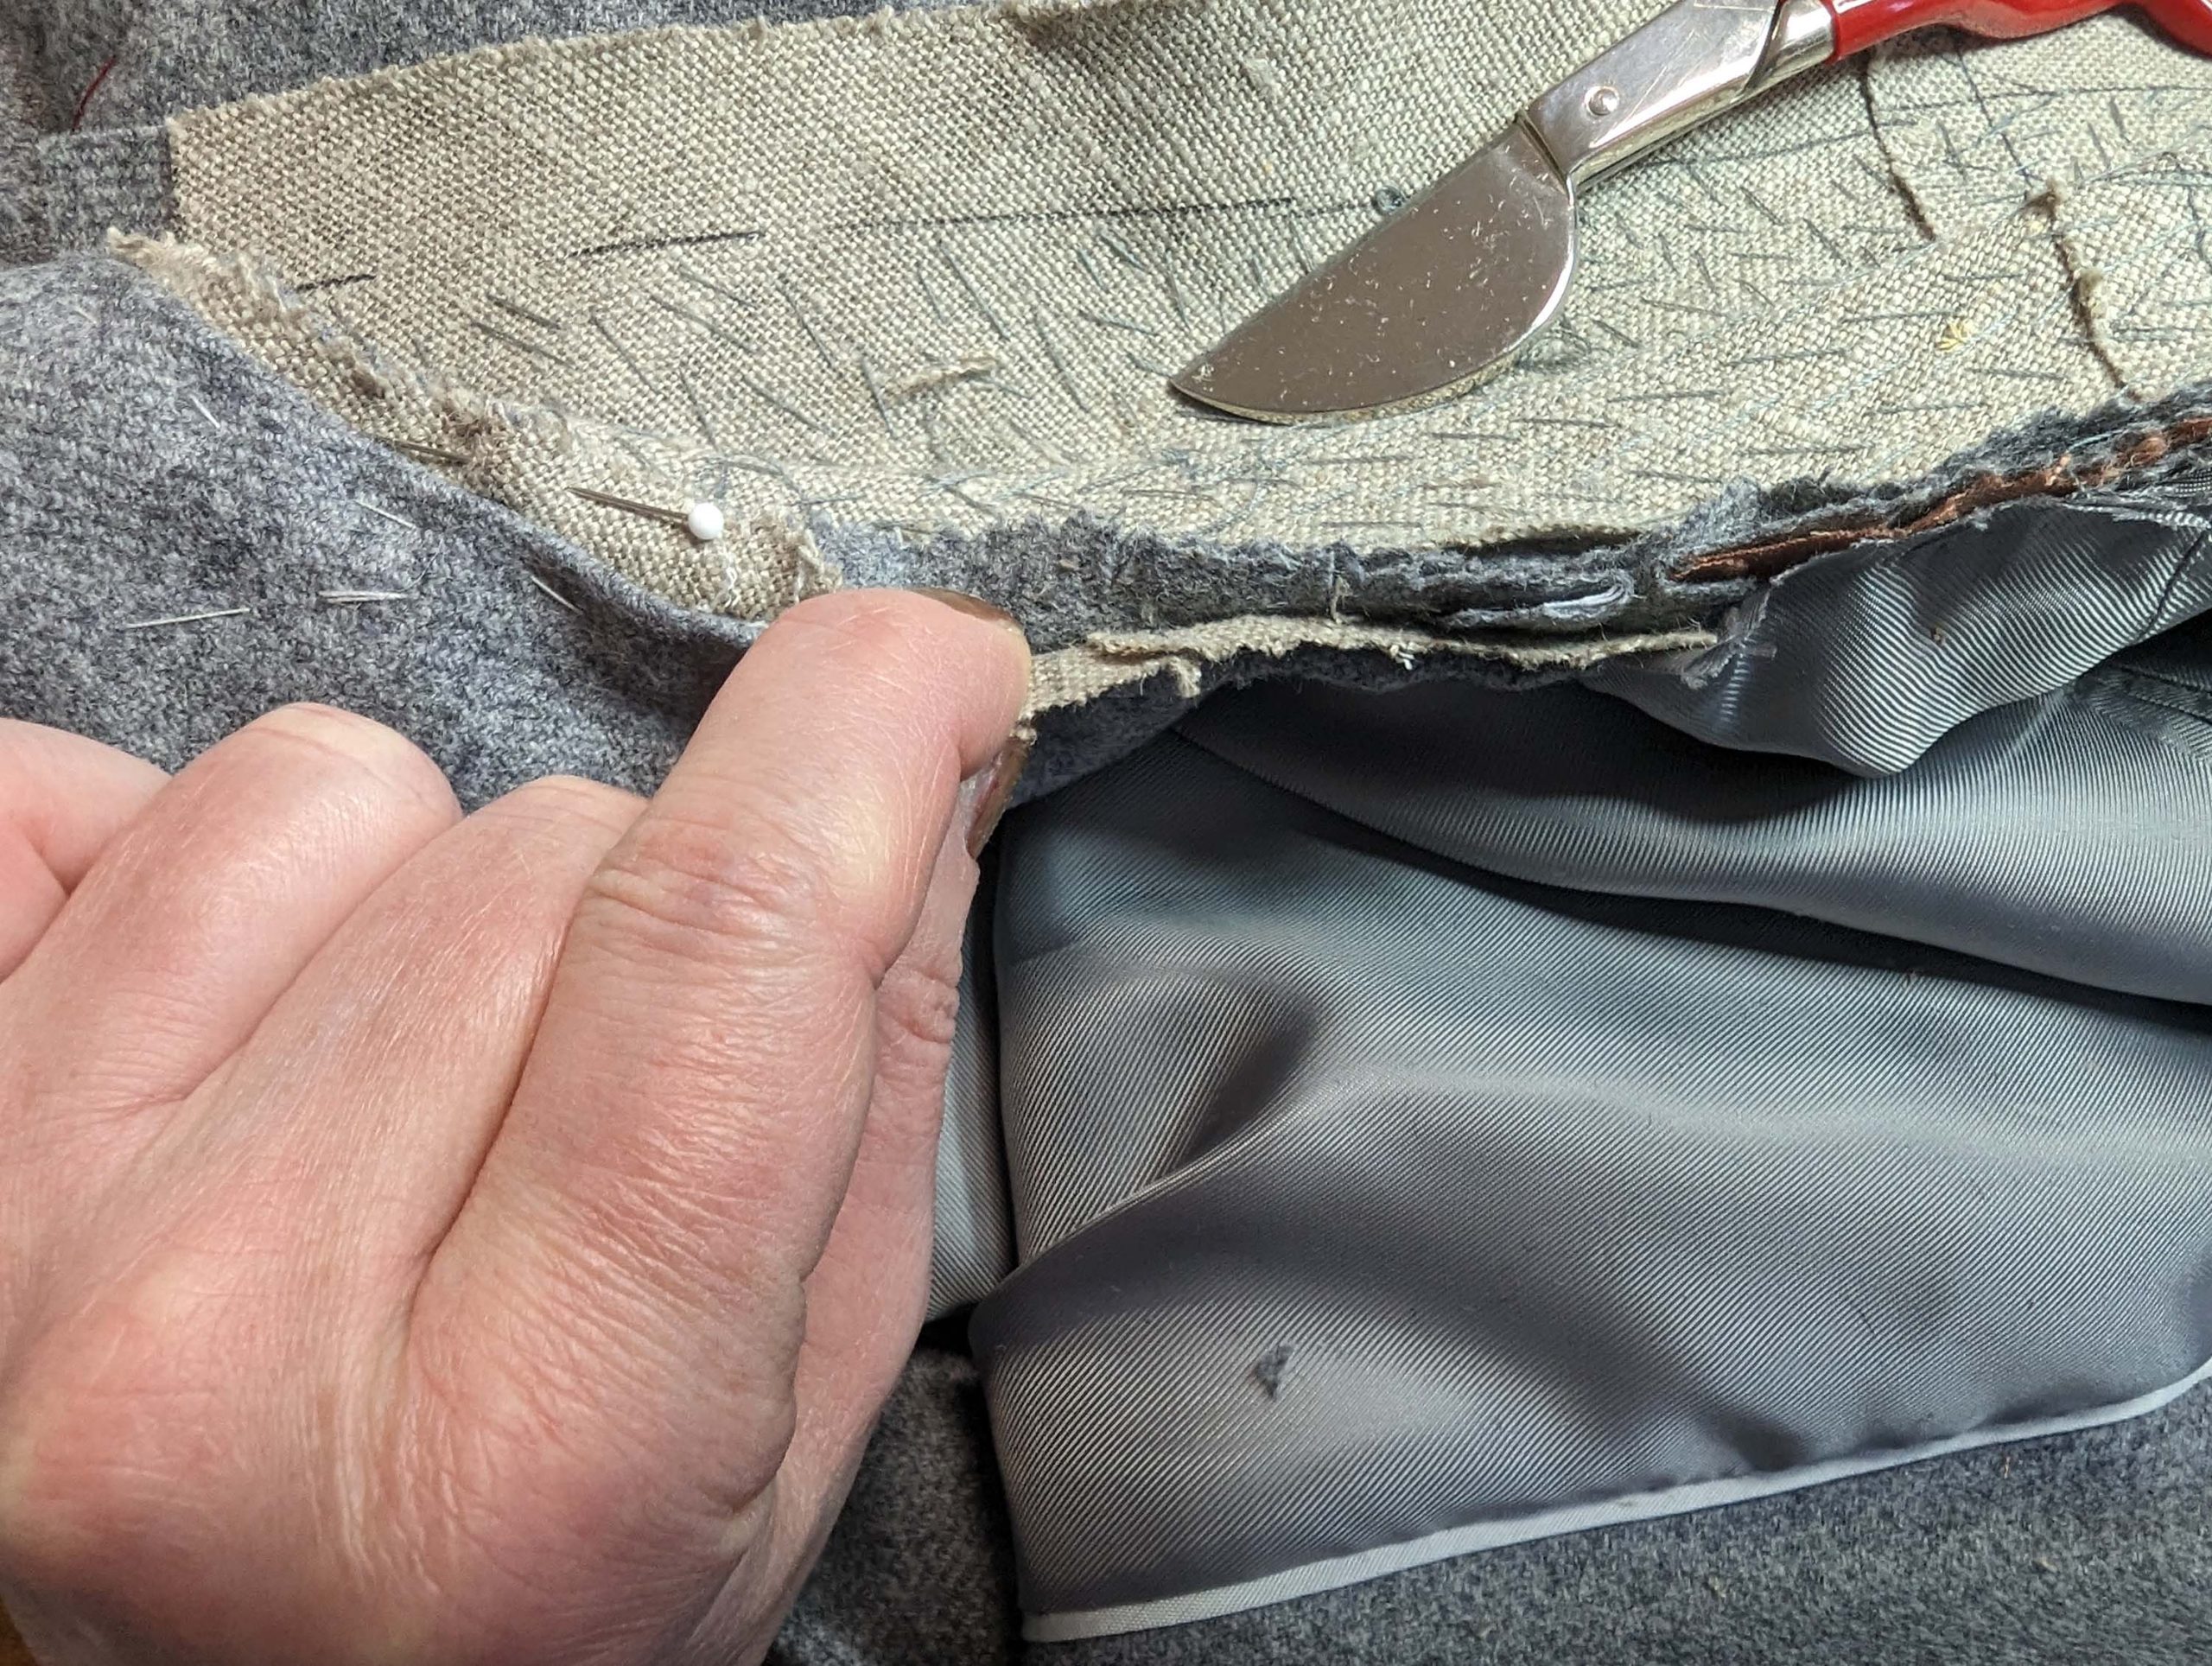
While simulating the curve of the neck and the width needed for the turn of cloth at the roll line, baste along the roll line. Turn in the seam allowance along the bottom edge, and trim back to about 3/8” (1cm), baste in place. Sew the crotchet seam (between the collar and facing) with an invisible ladder stitch. At the back portion of the neckline, stitch down the collar with a felling stitch.

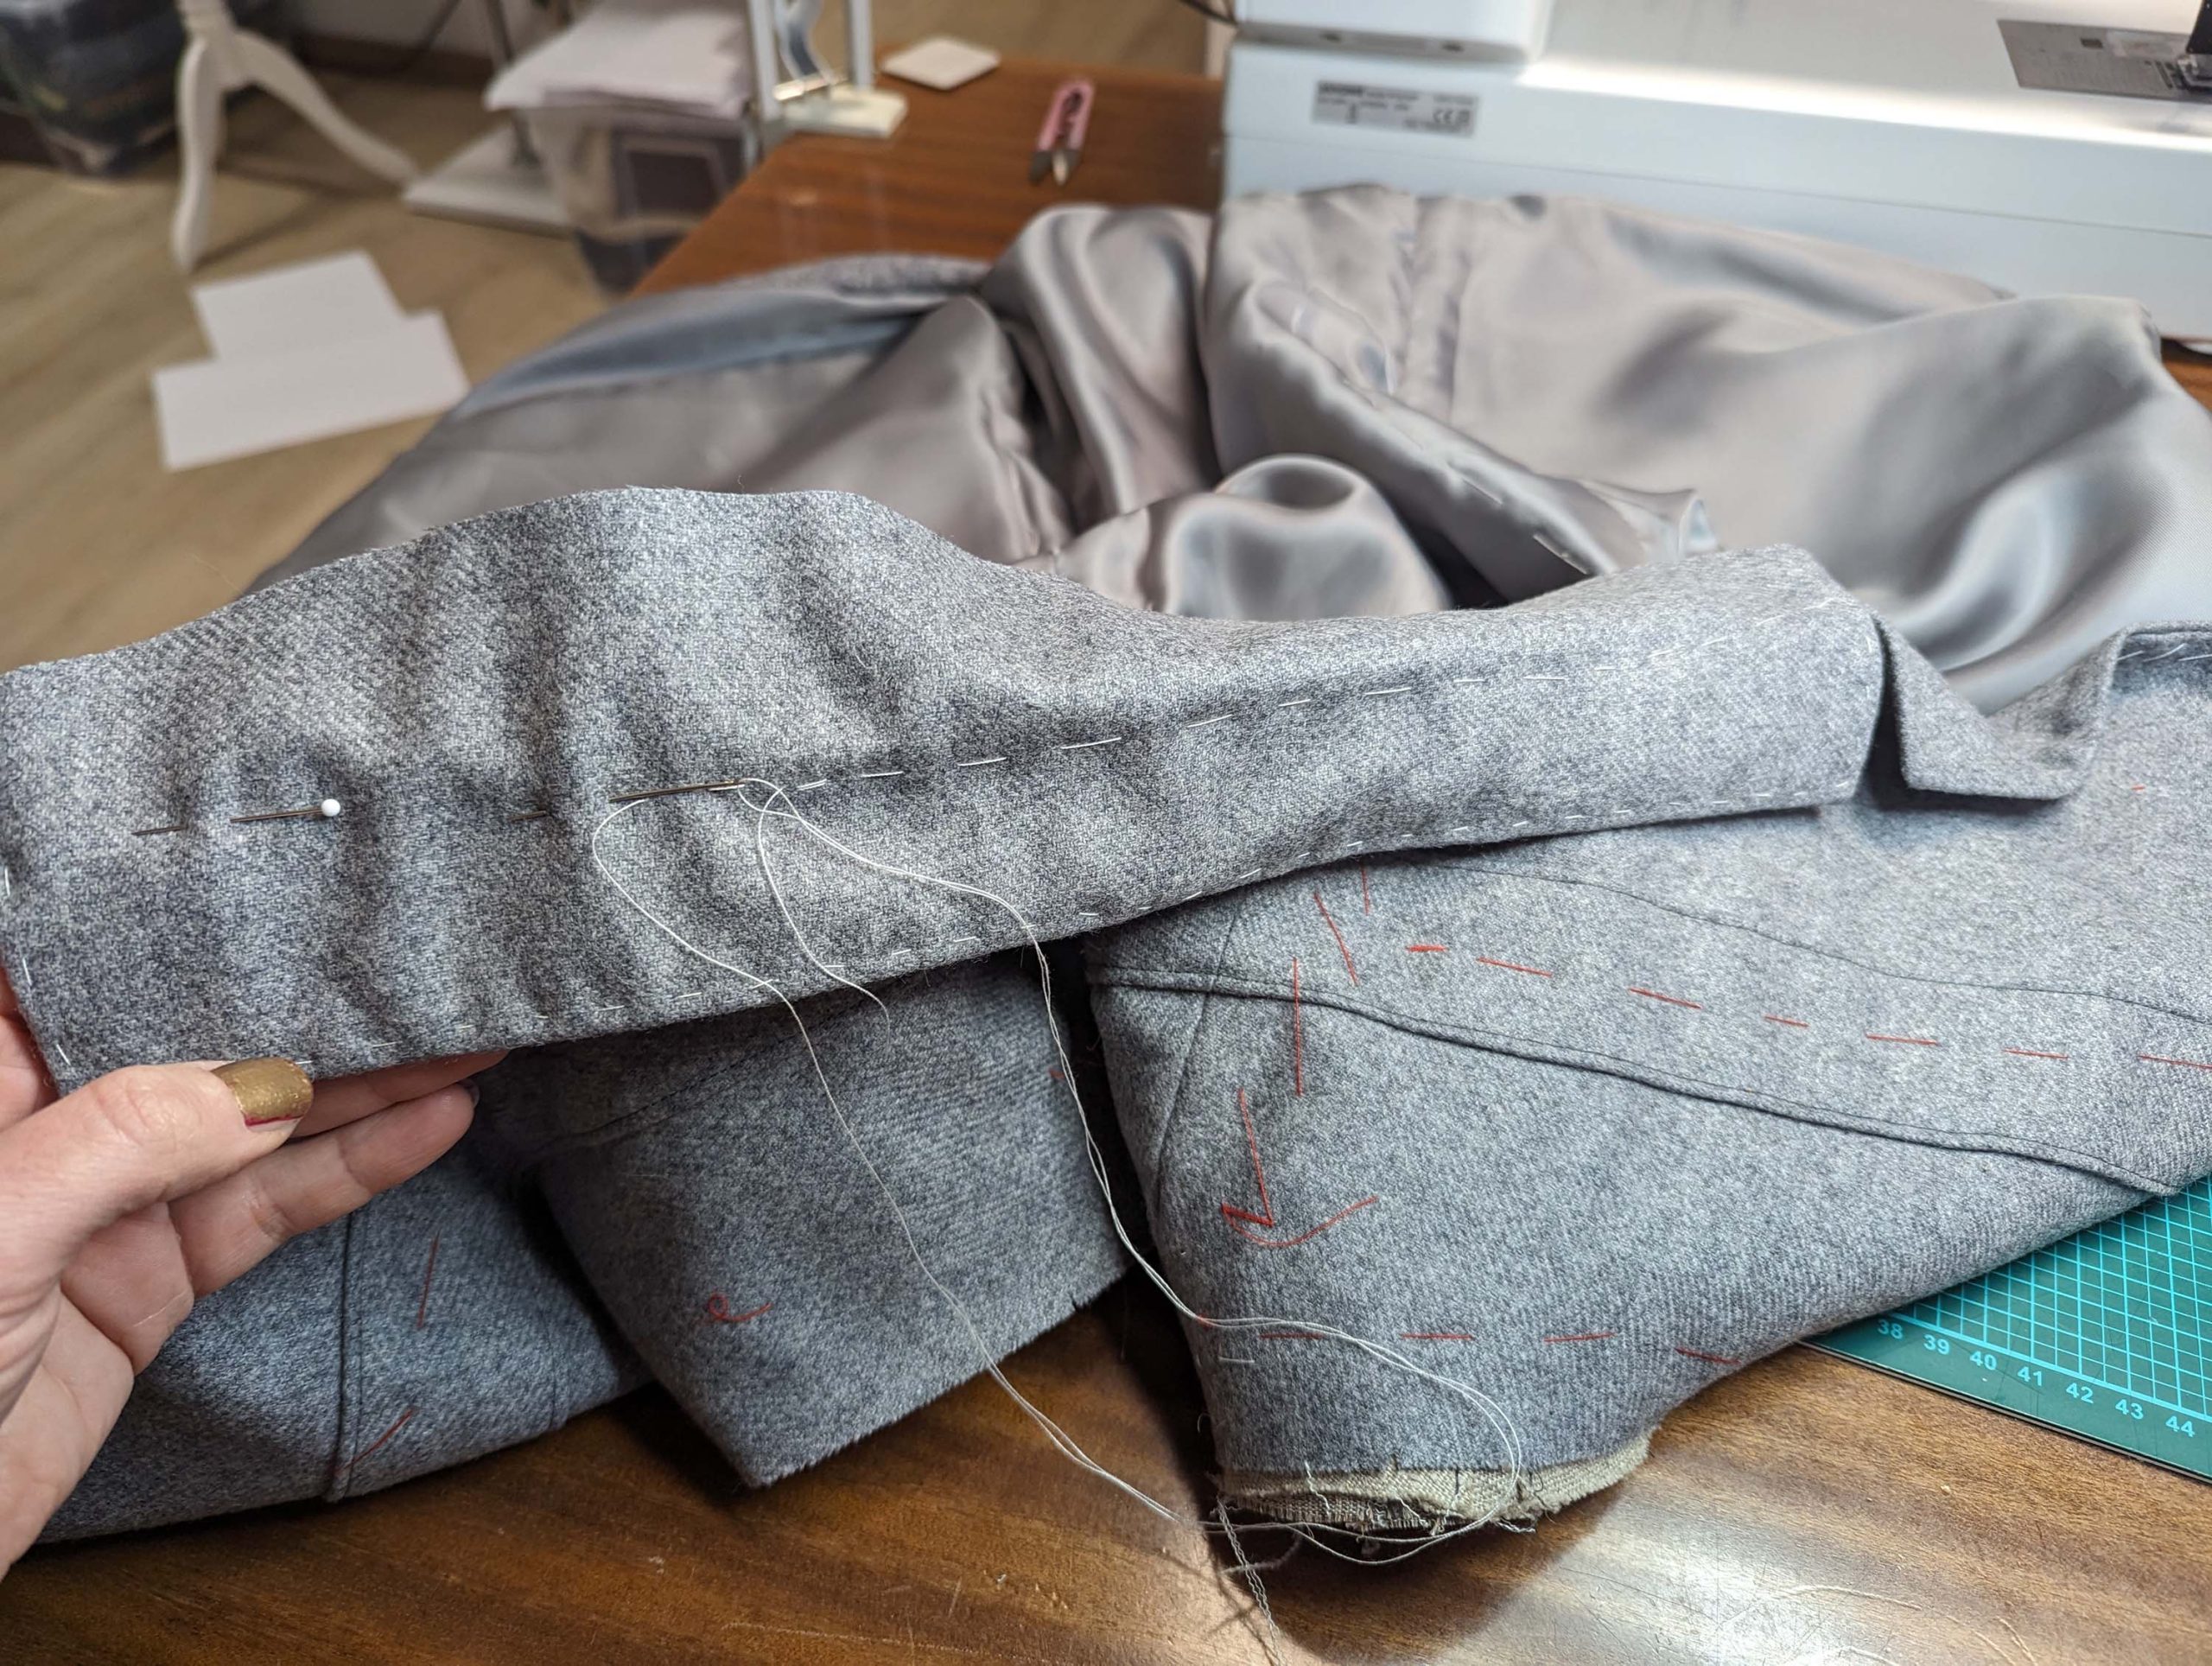
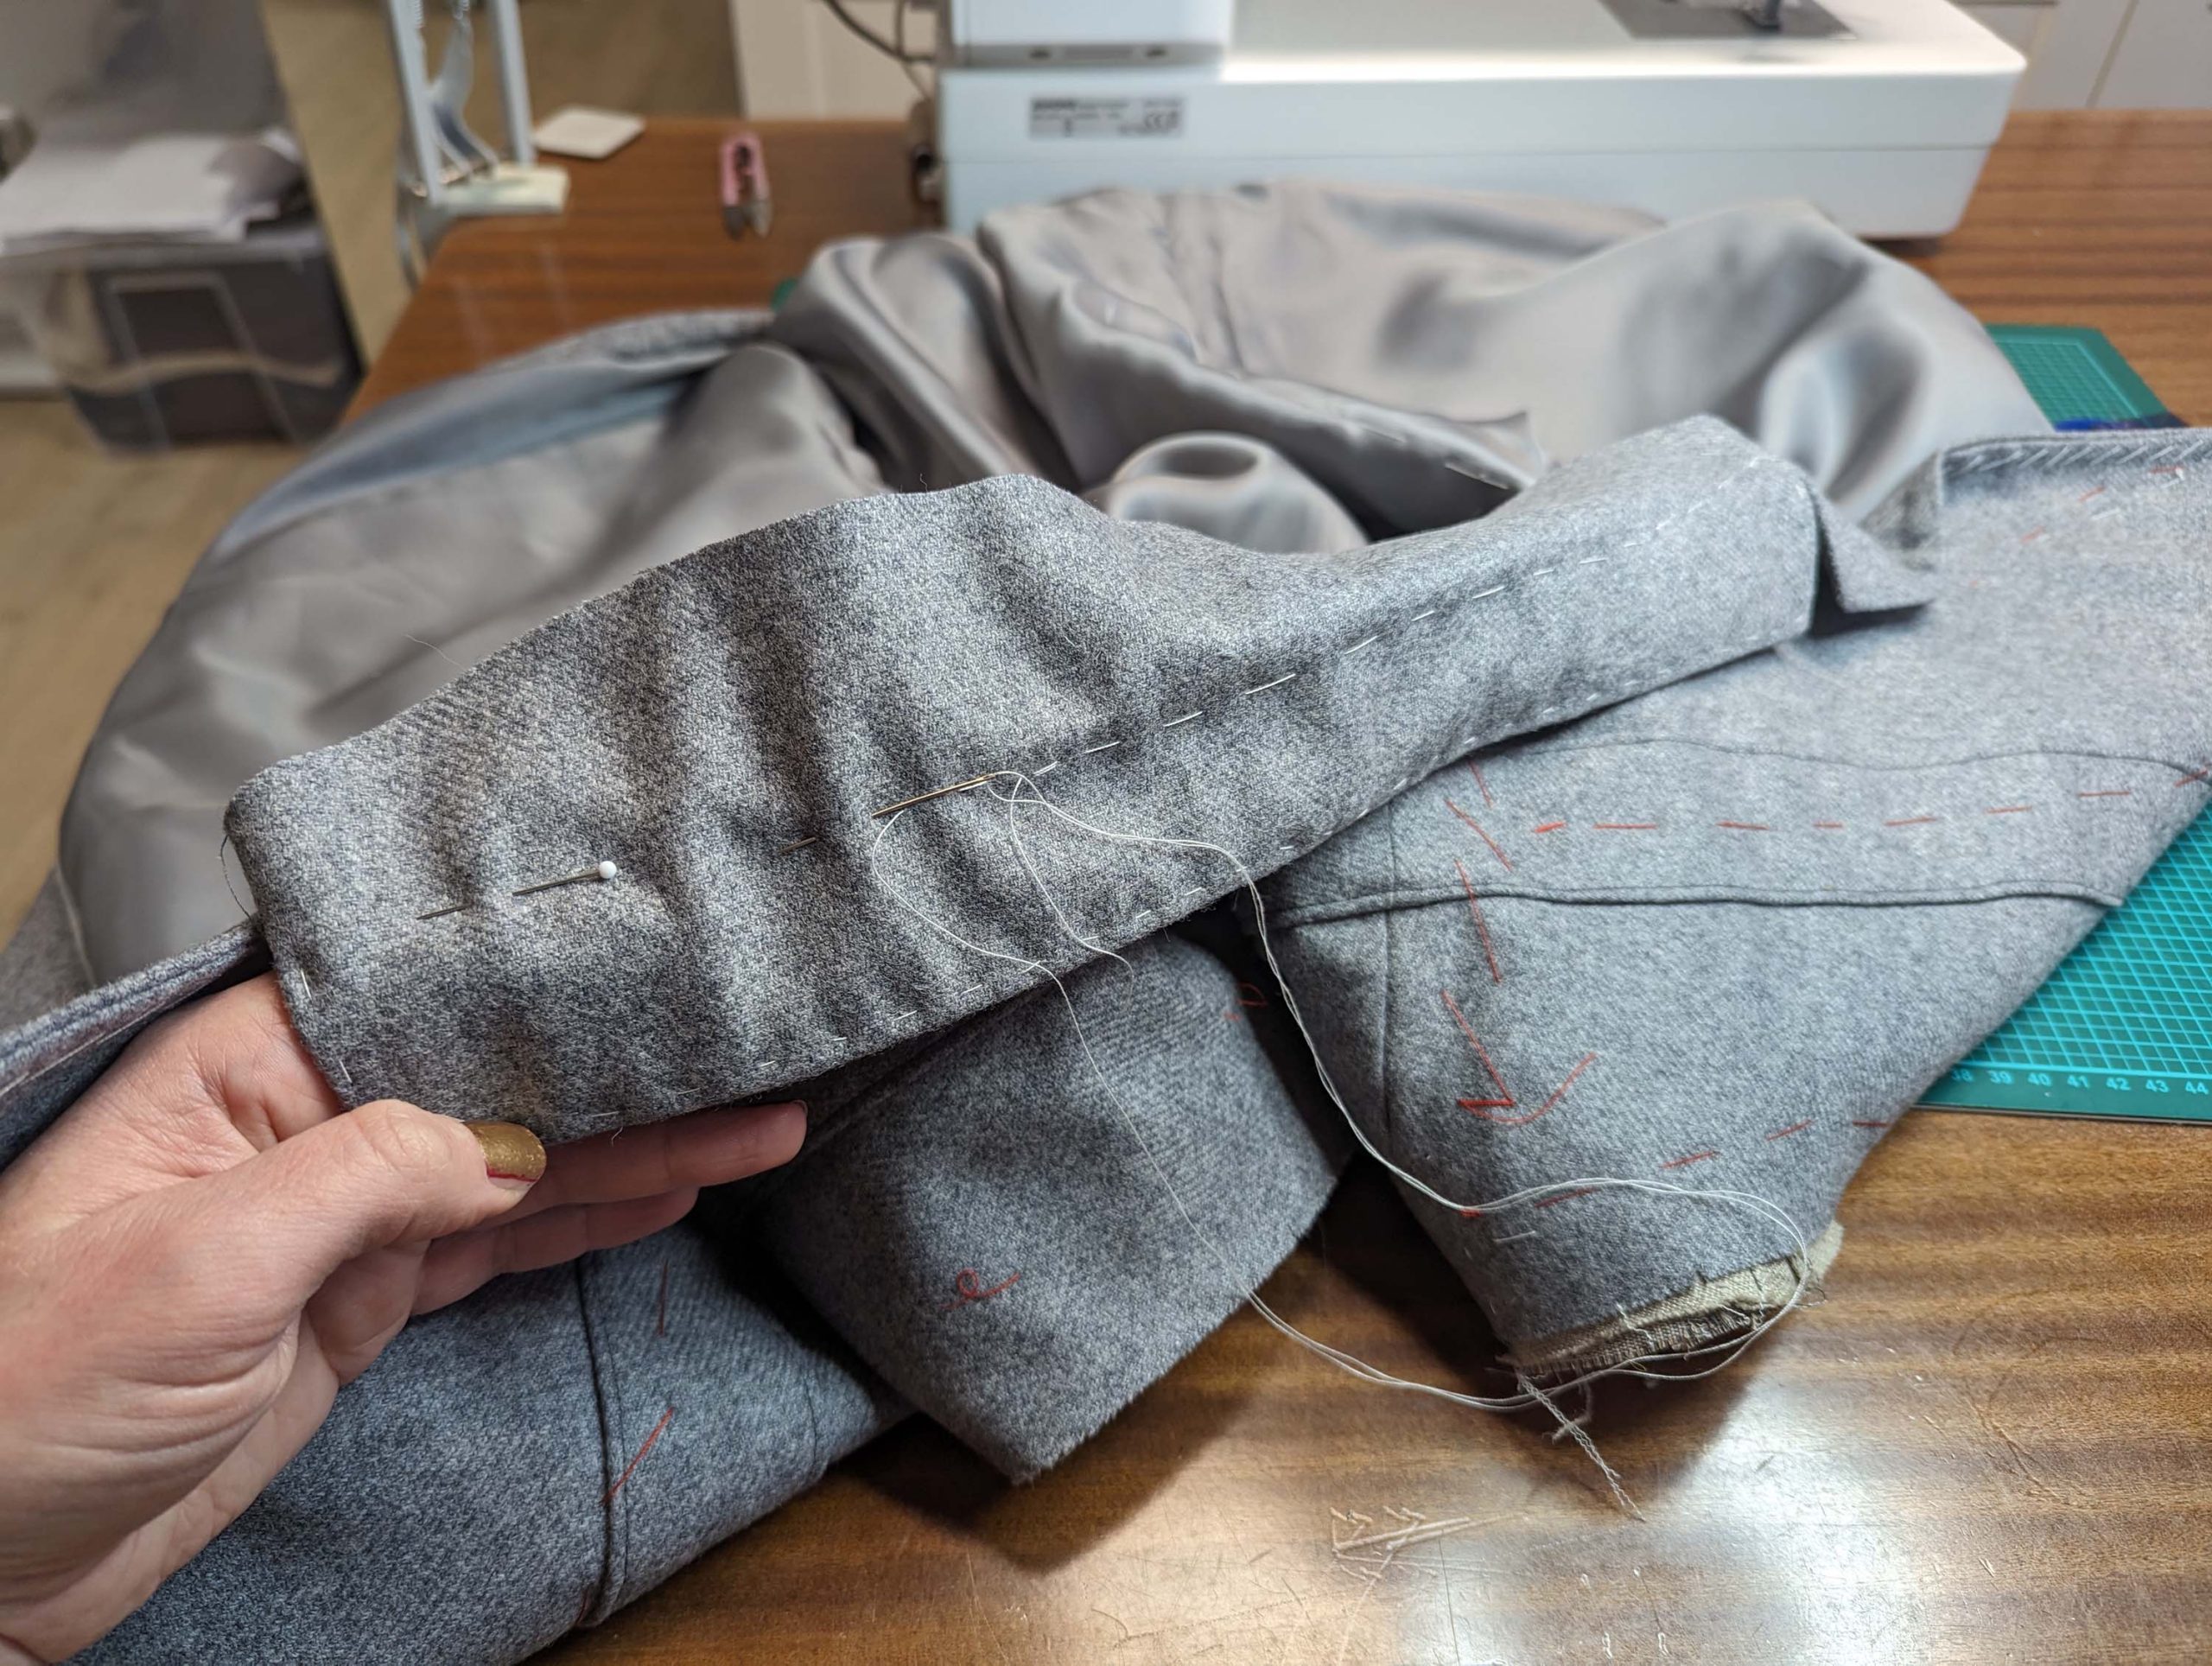
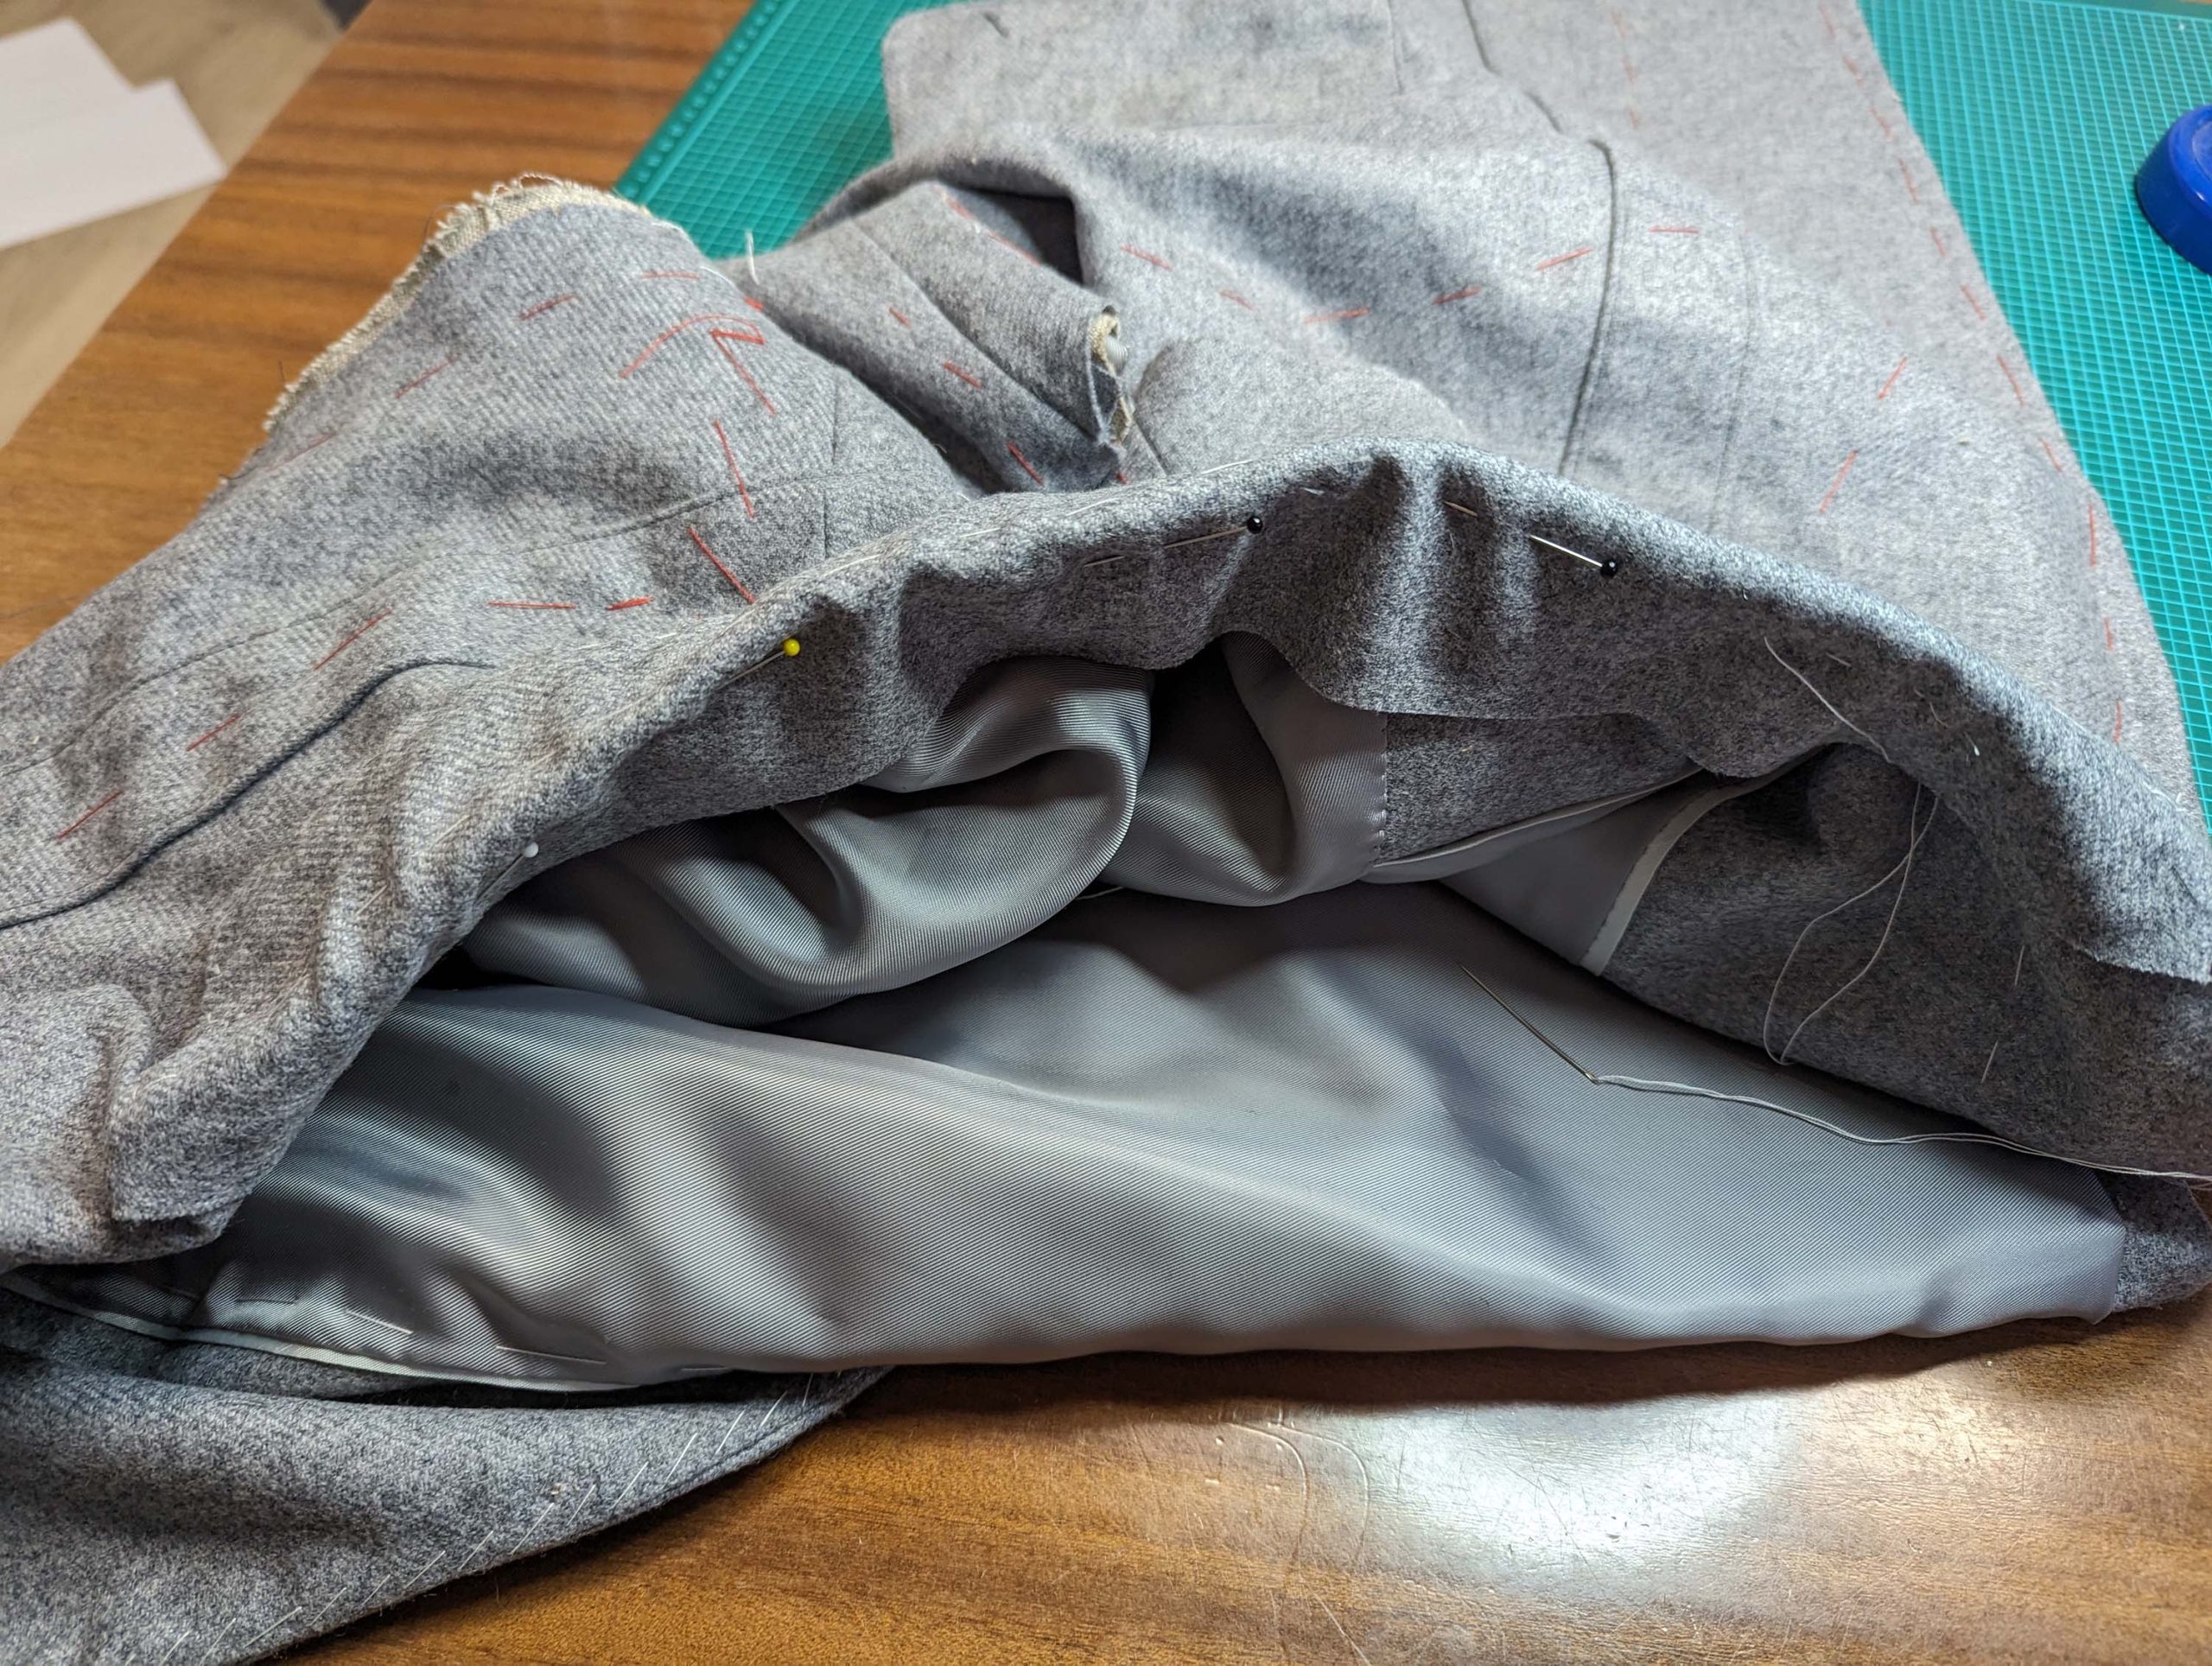
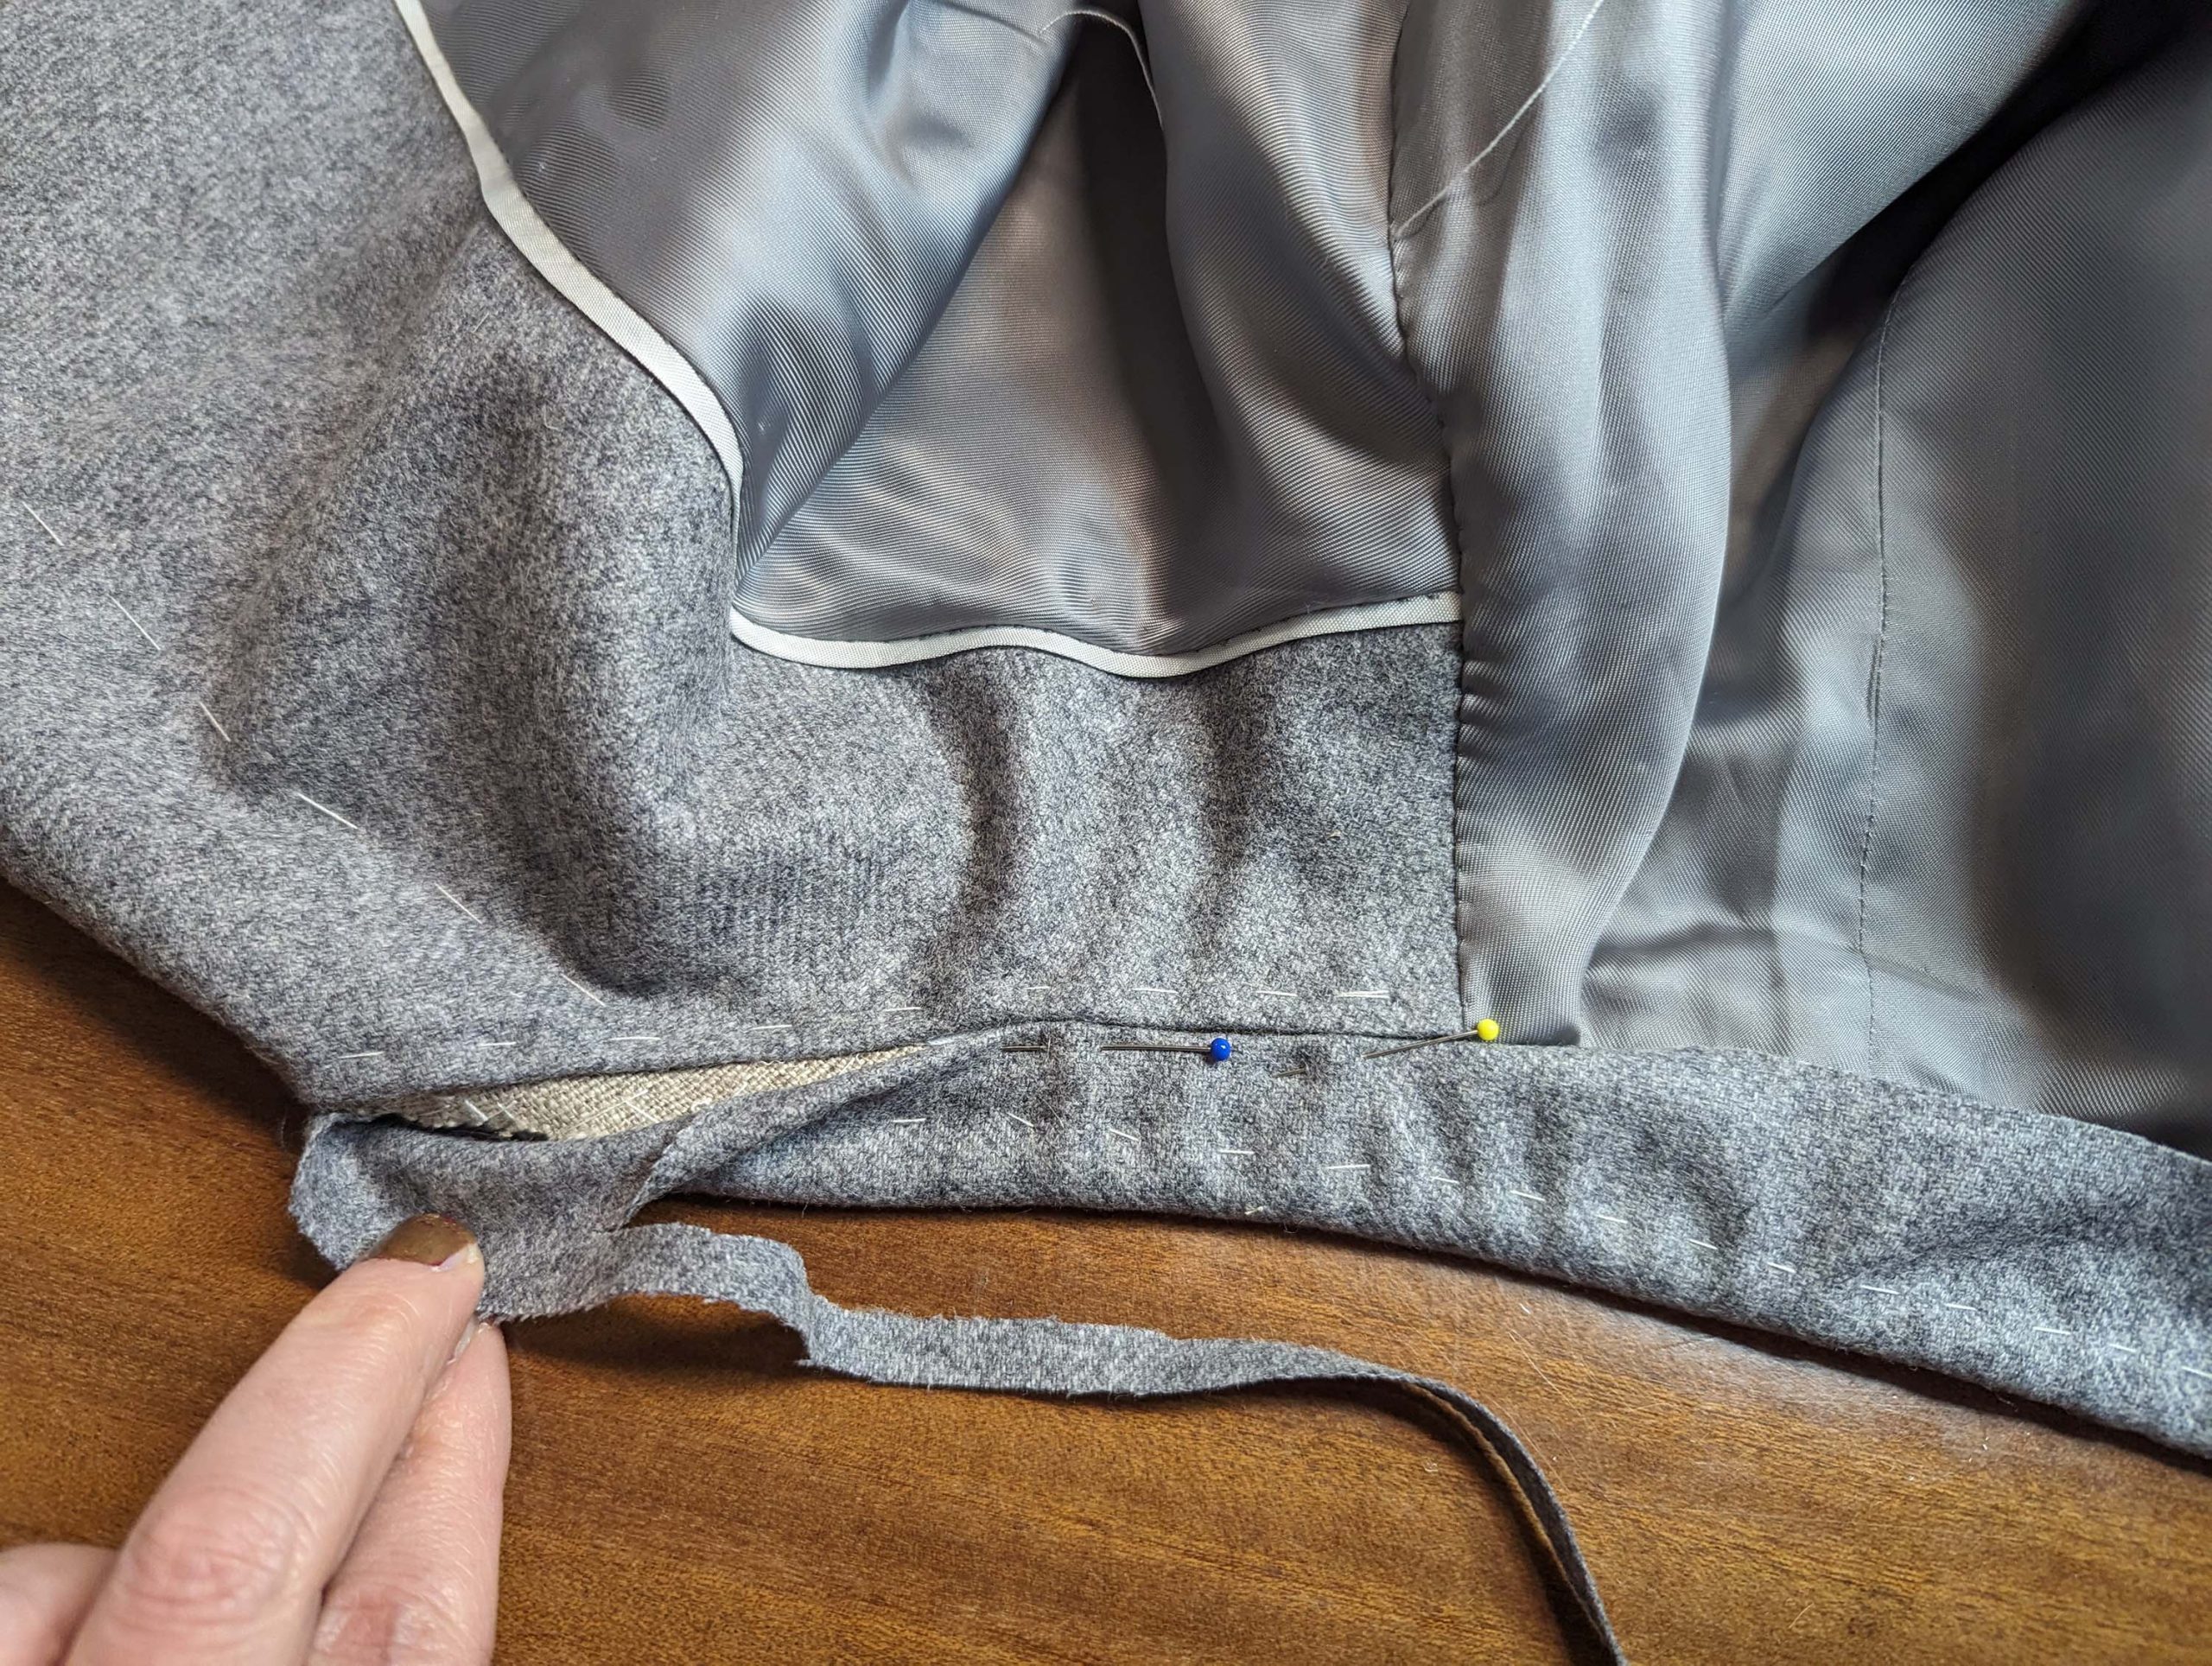
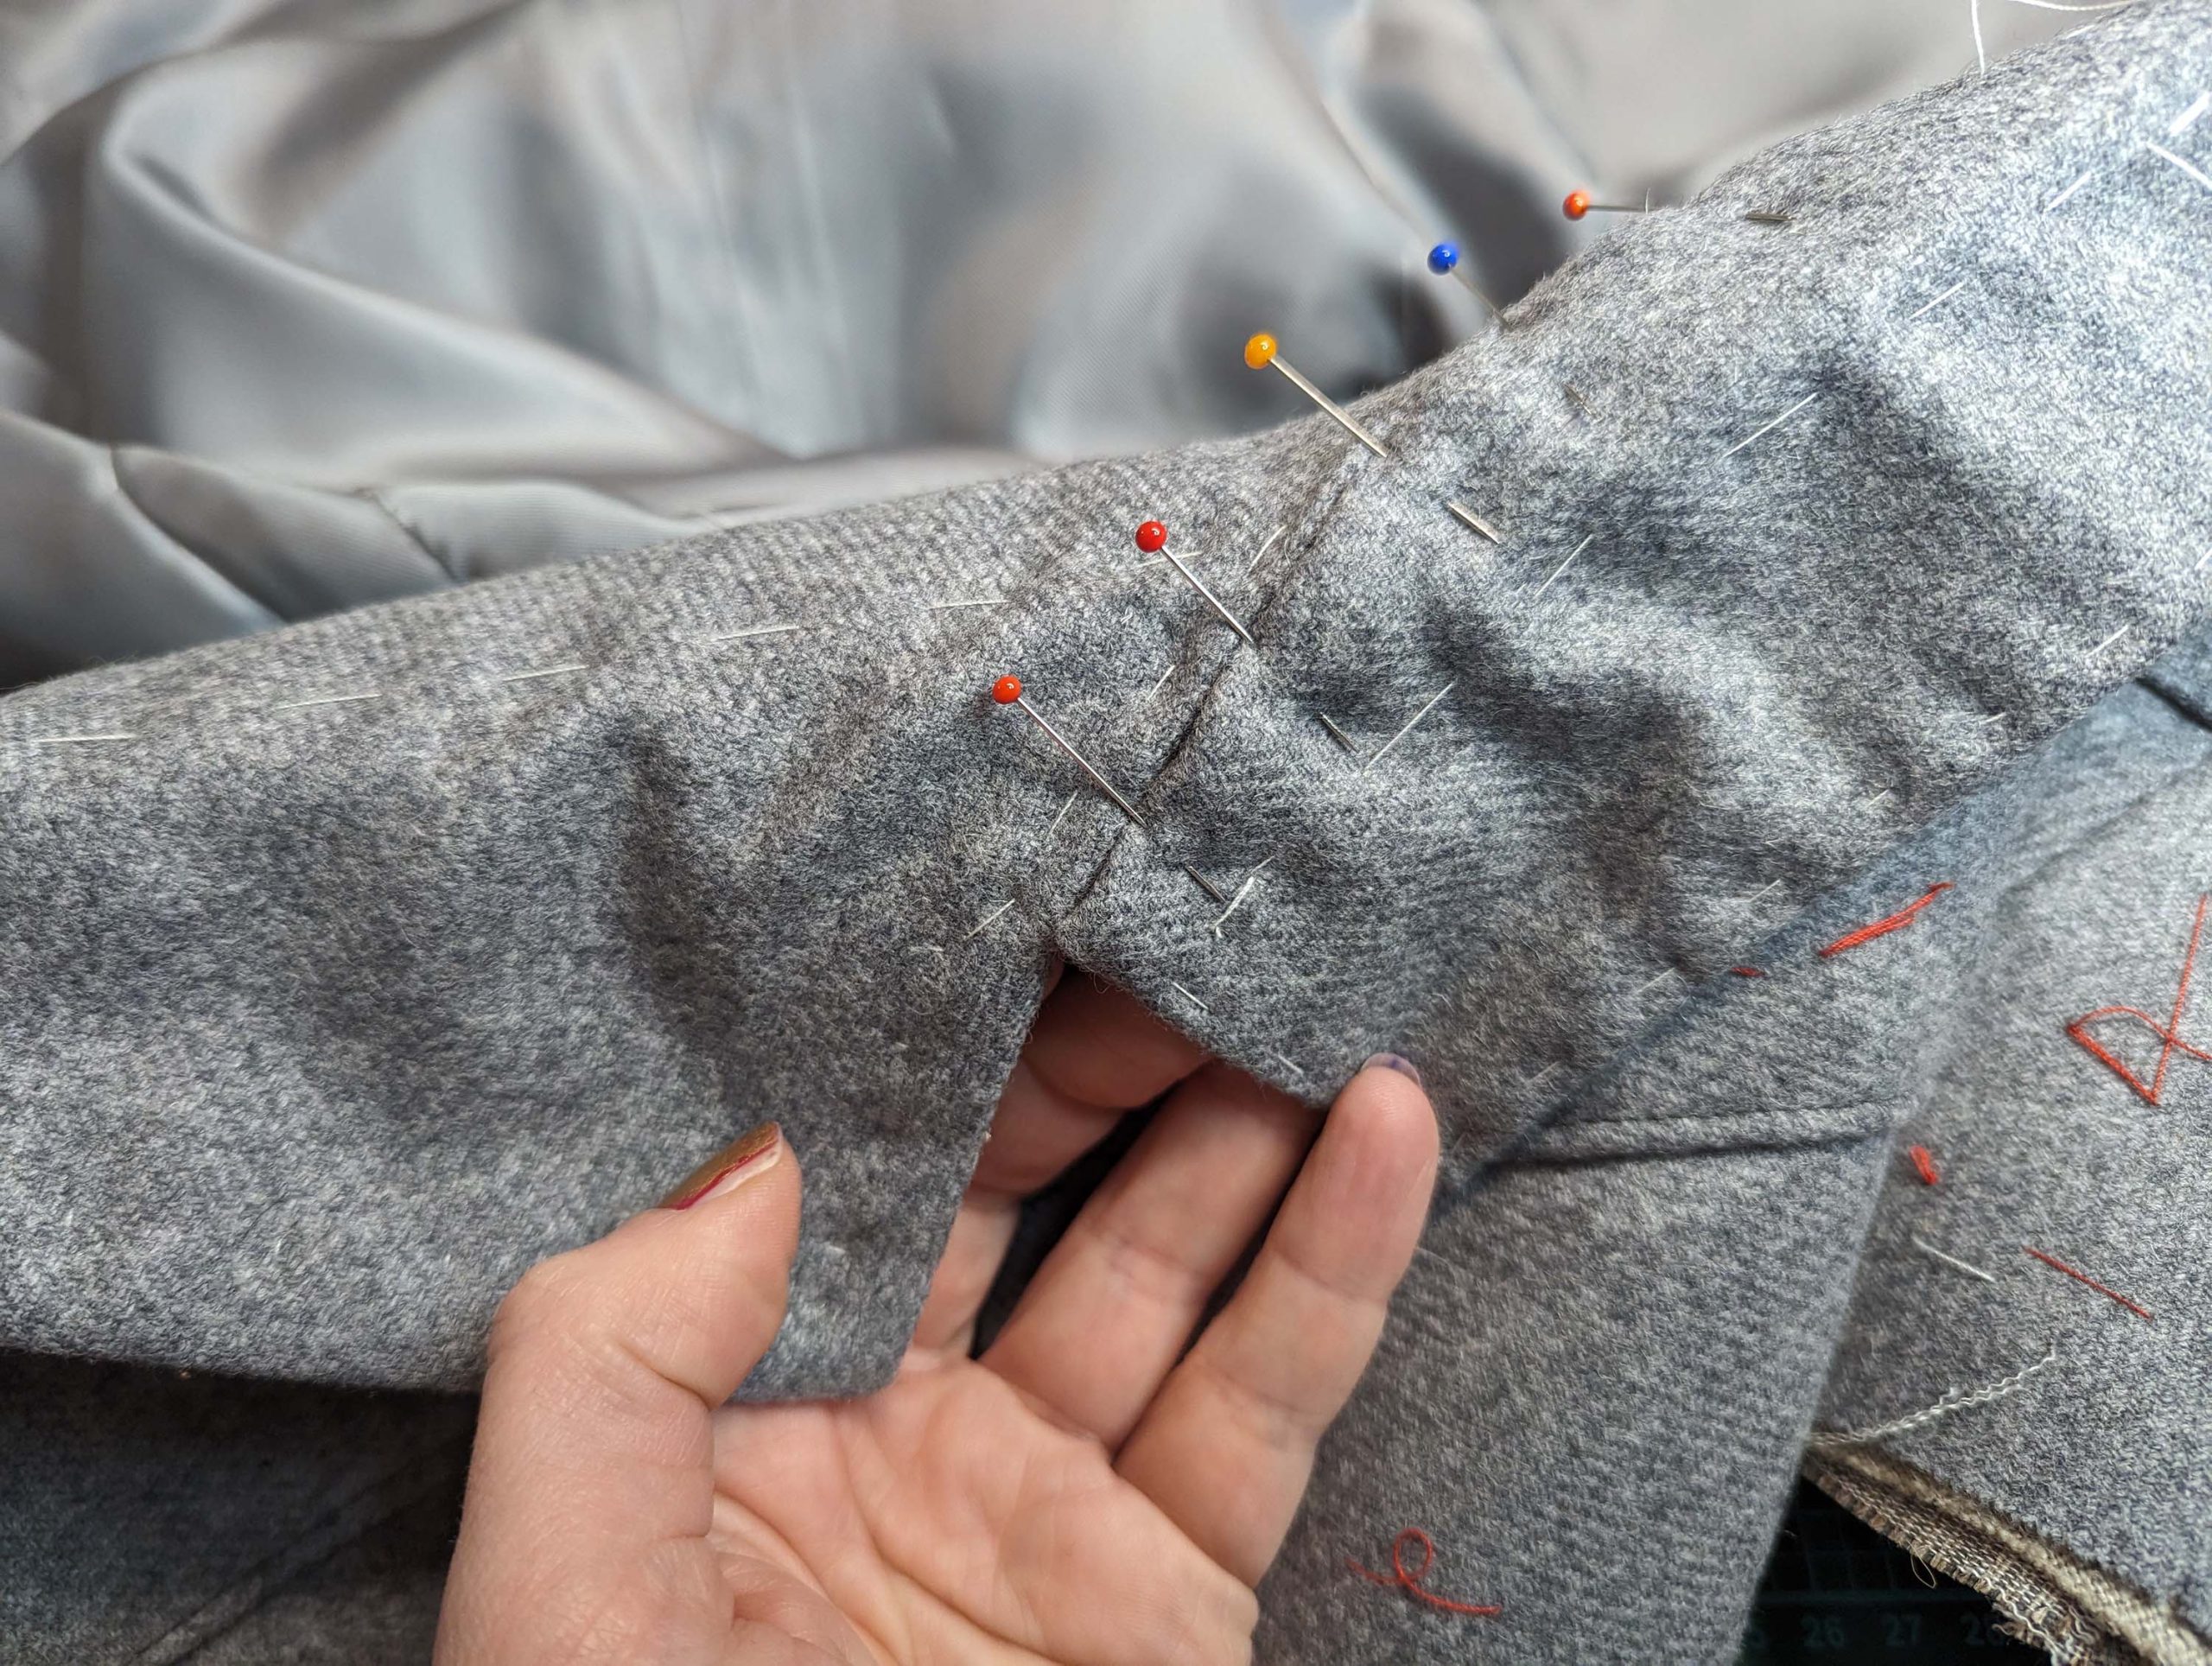
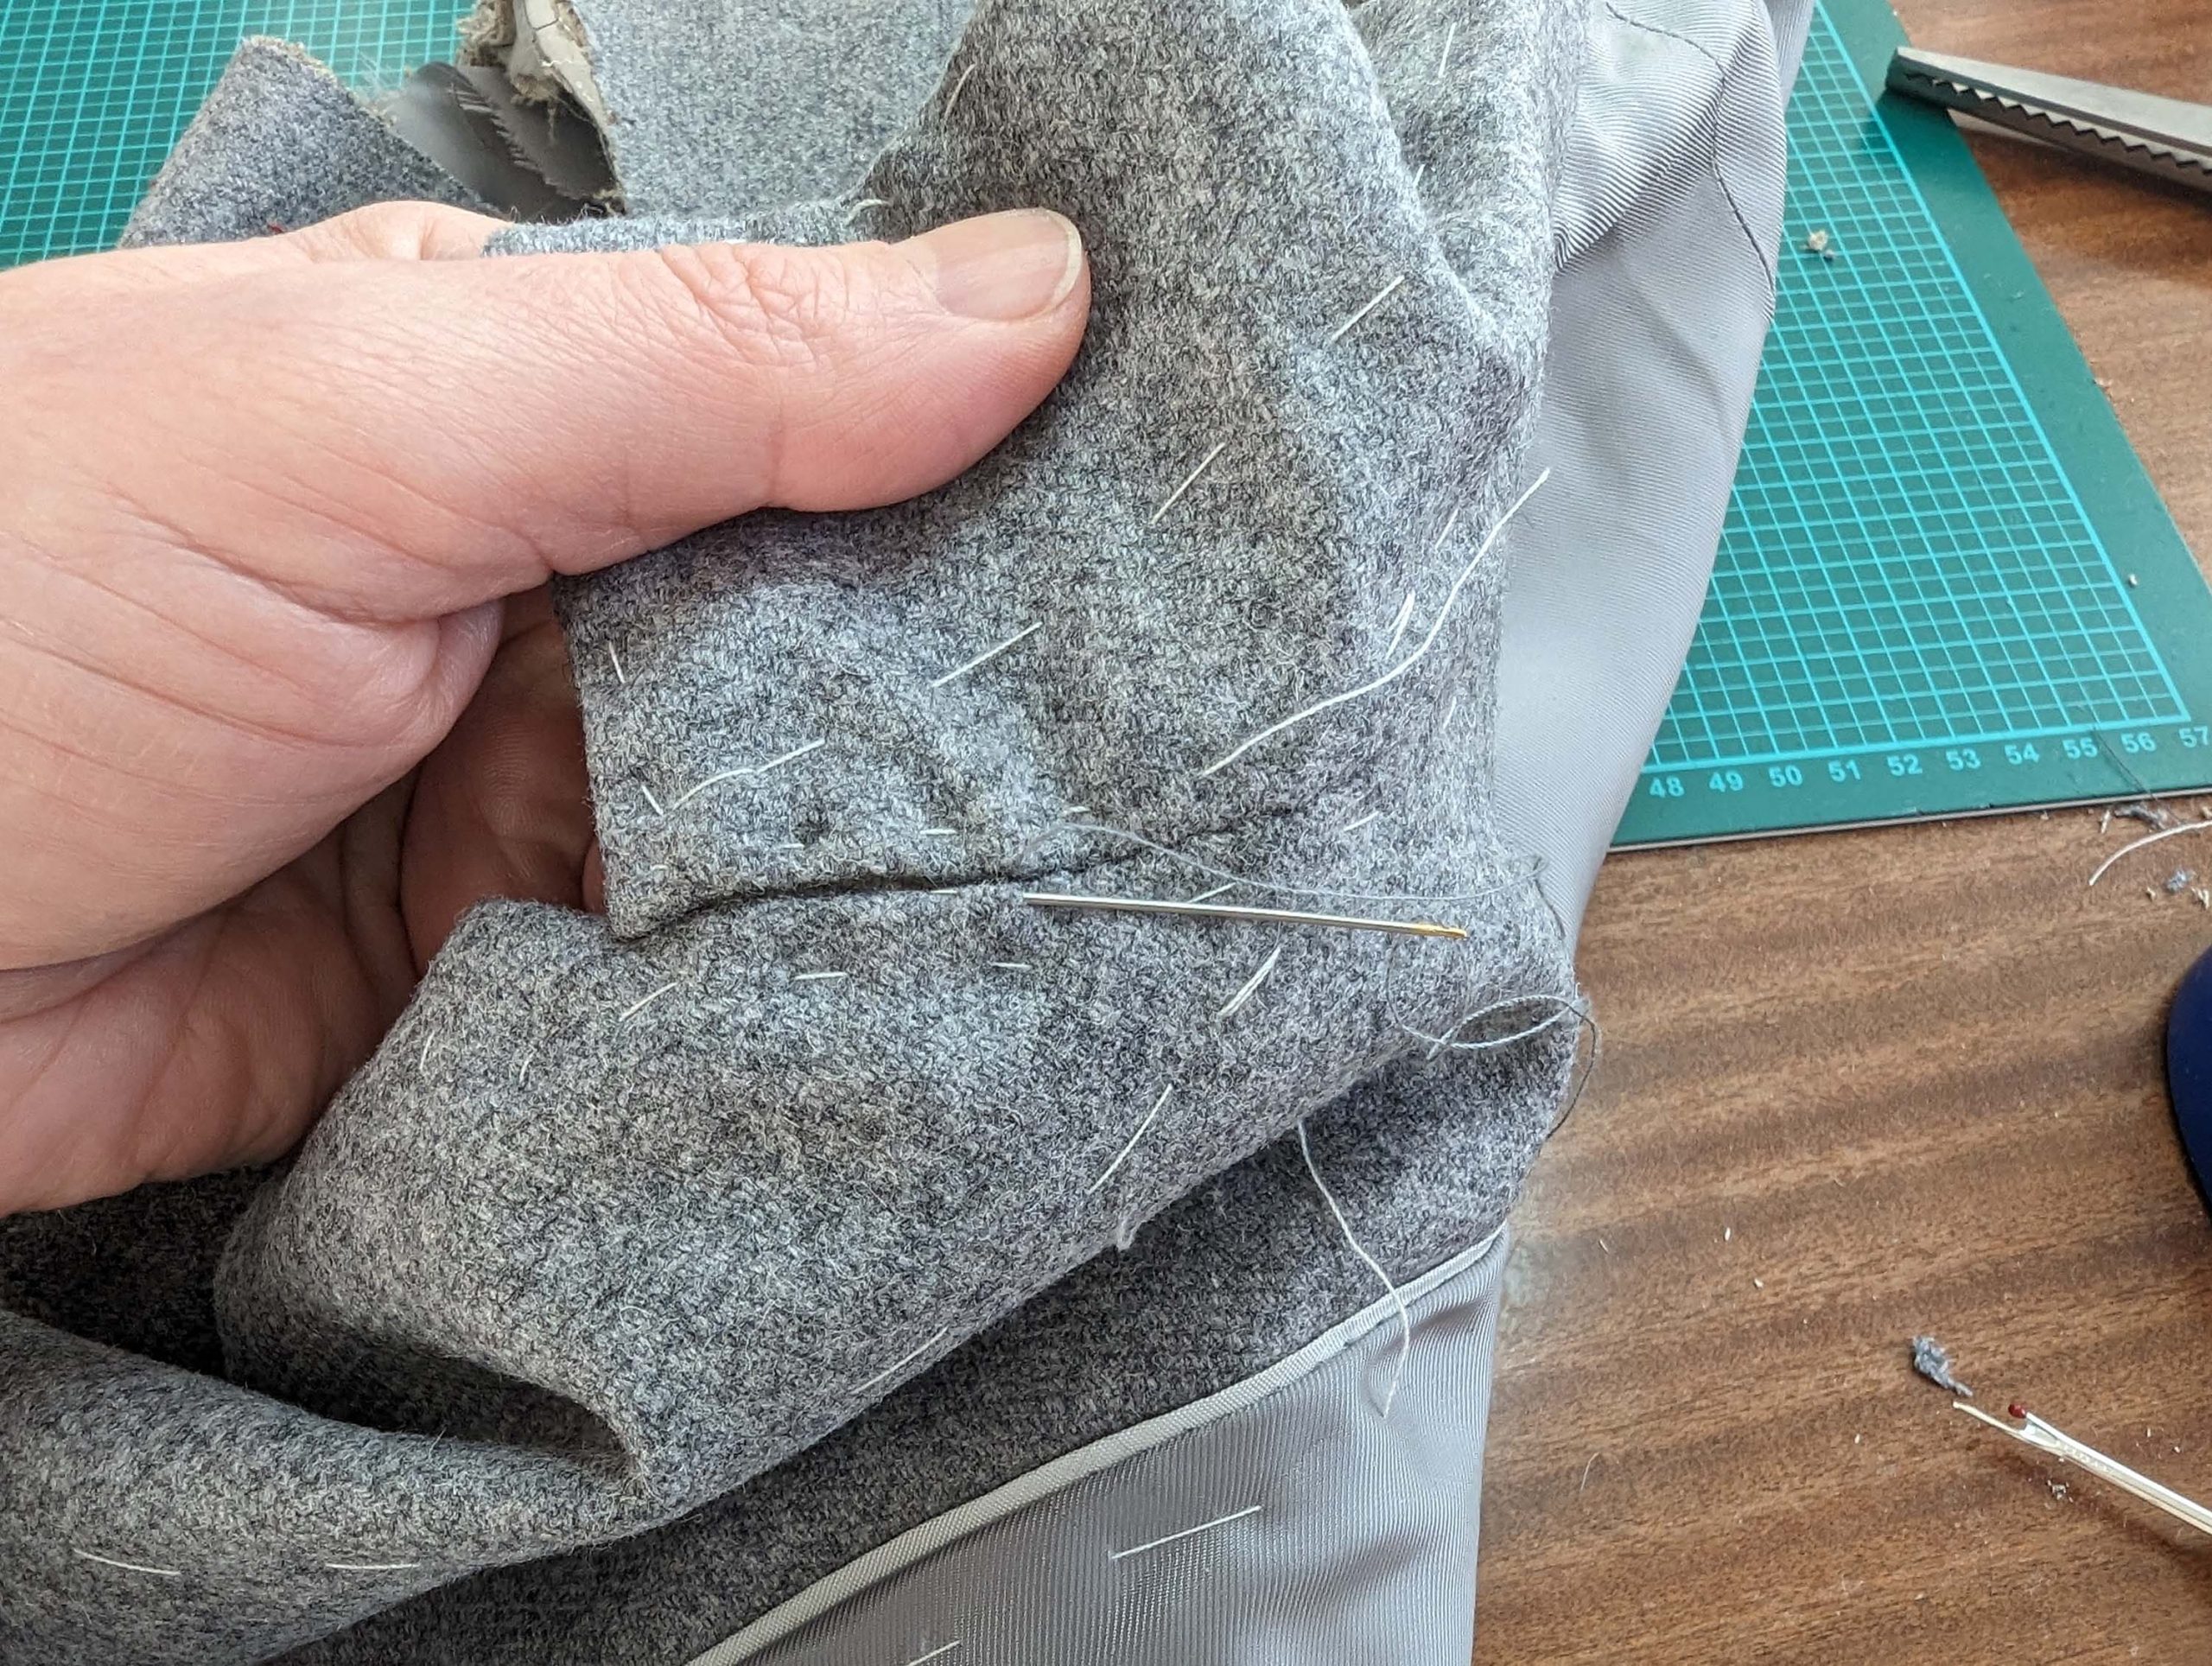
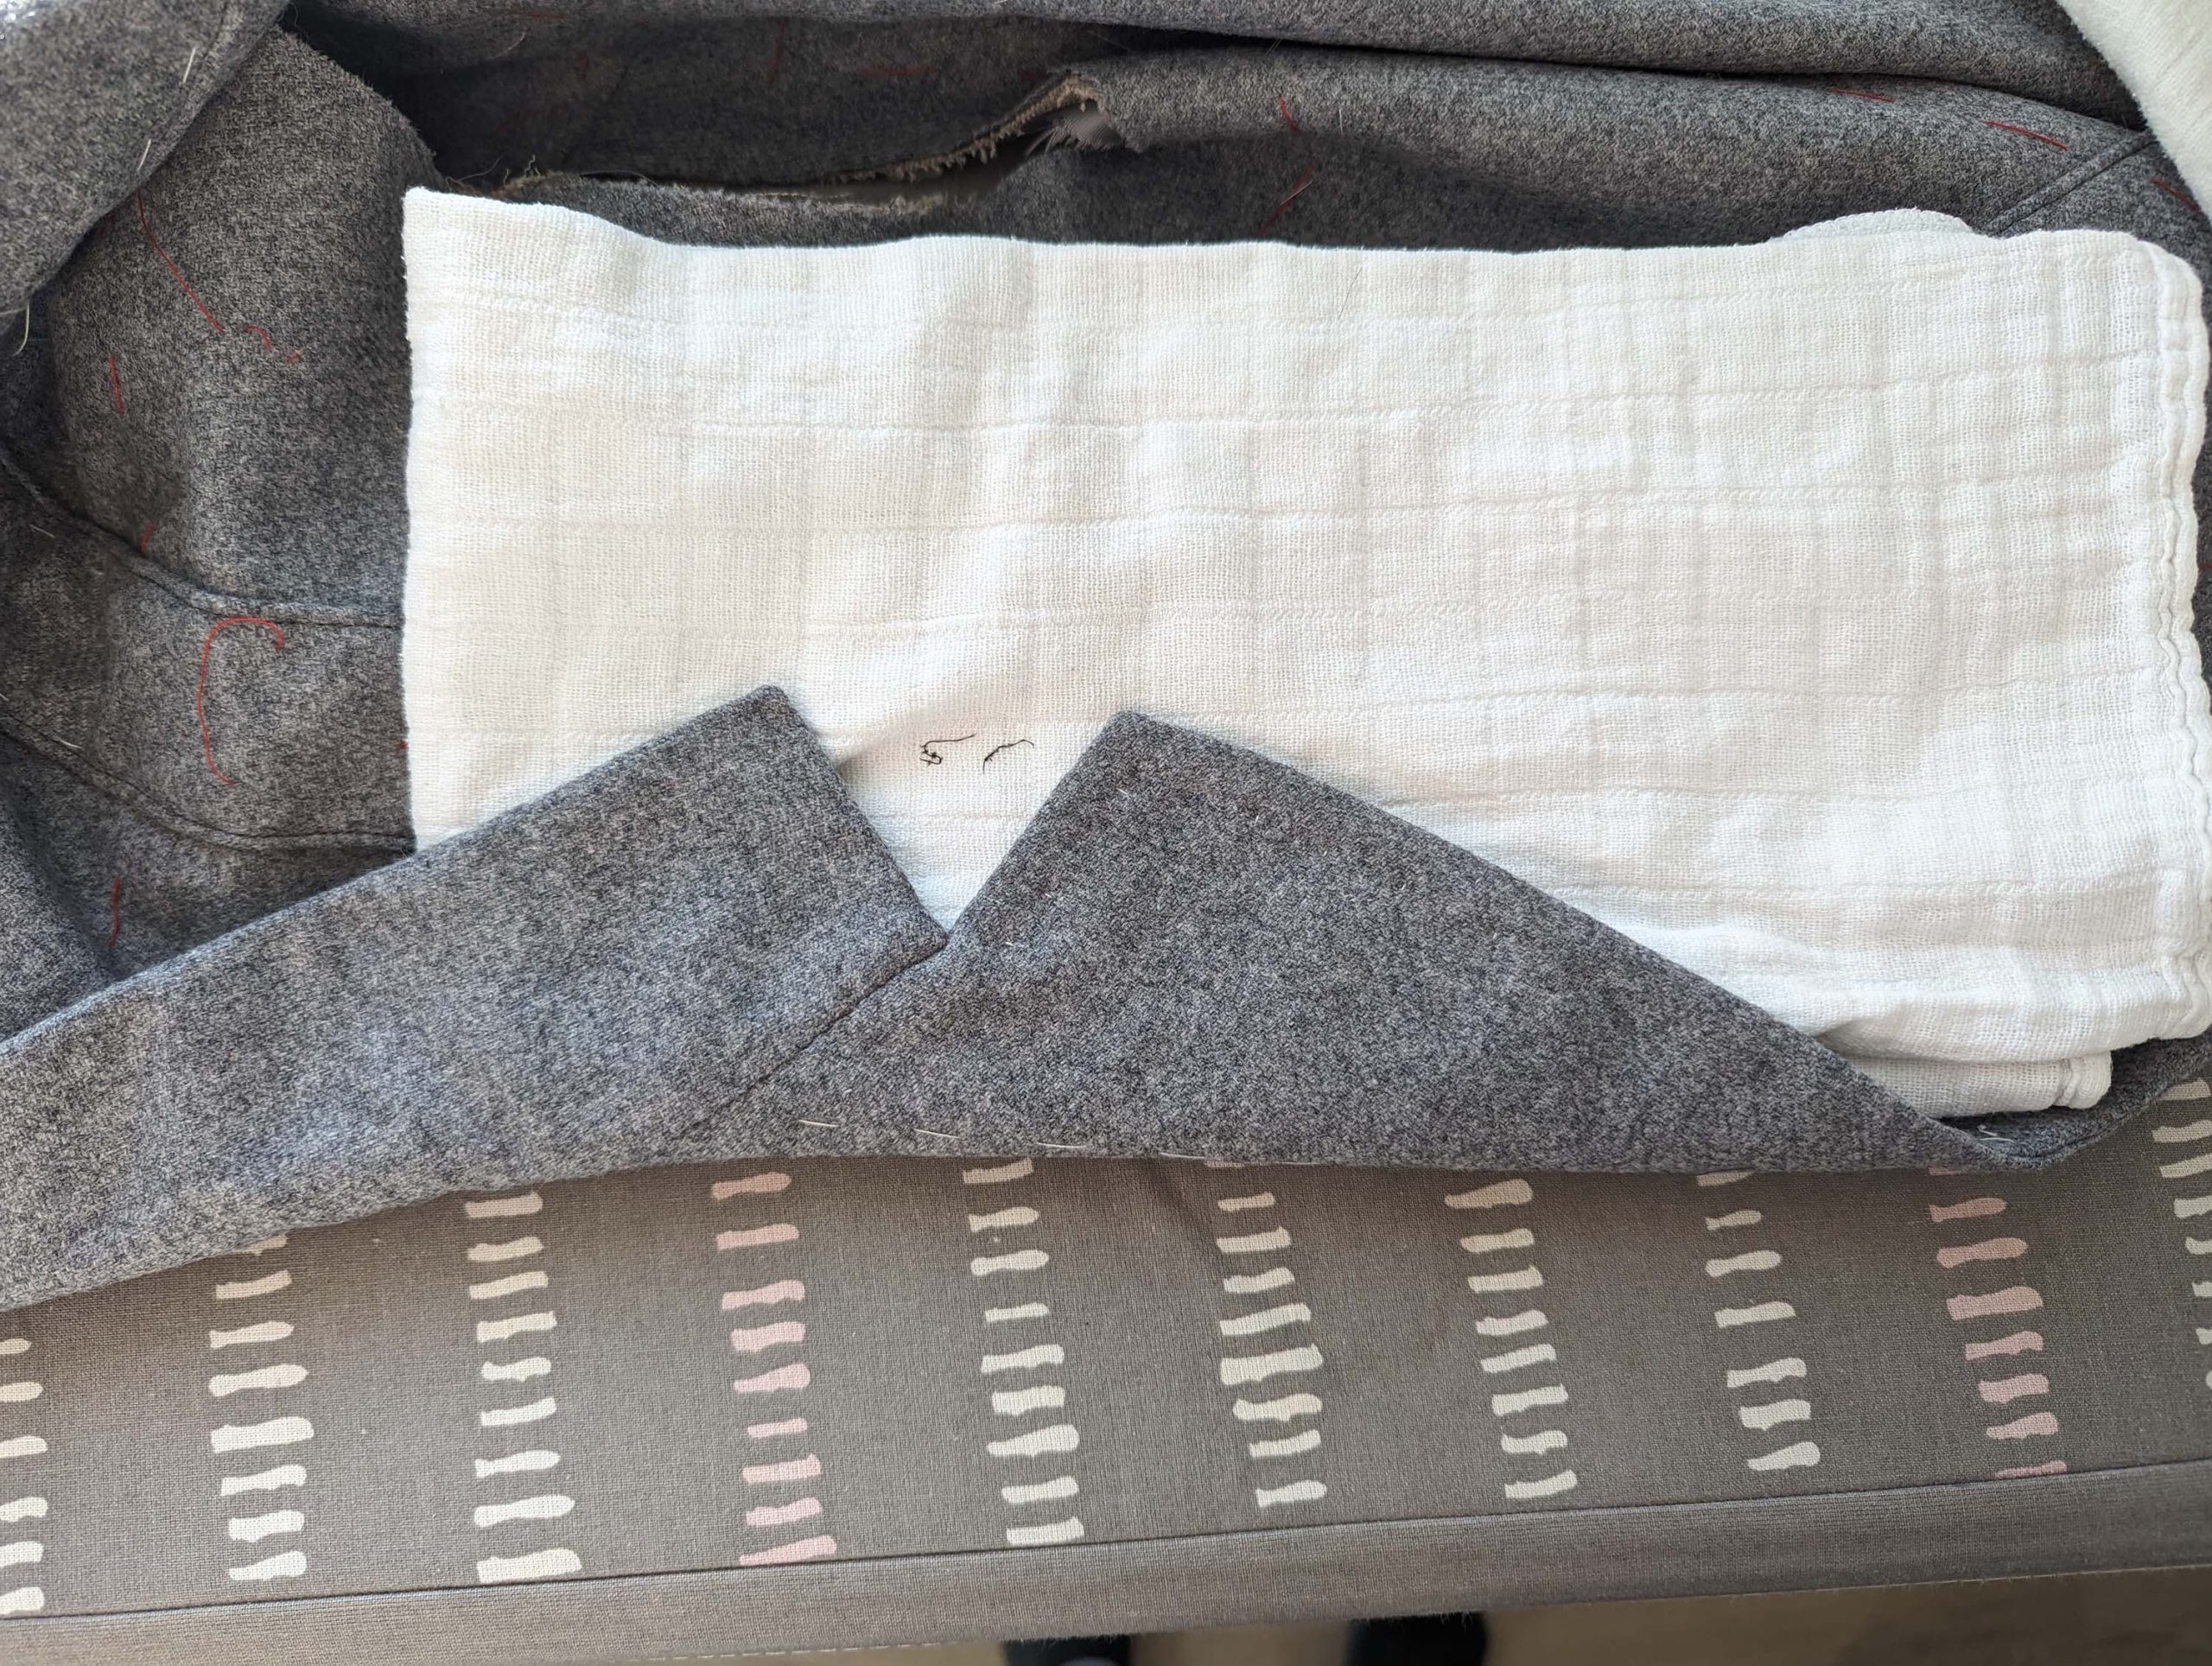
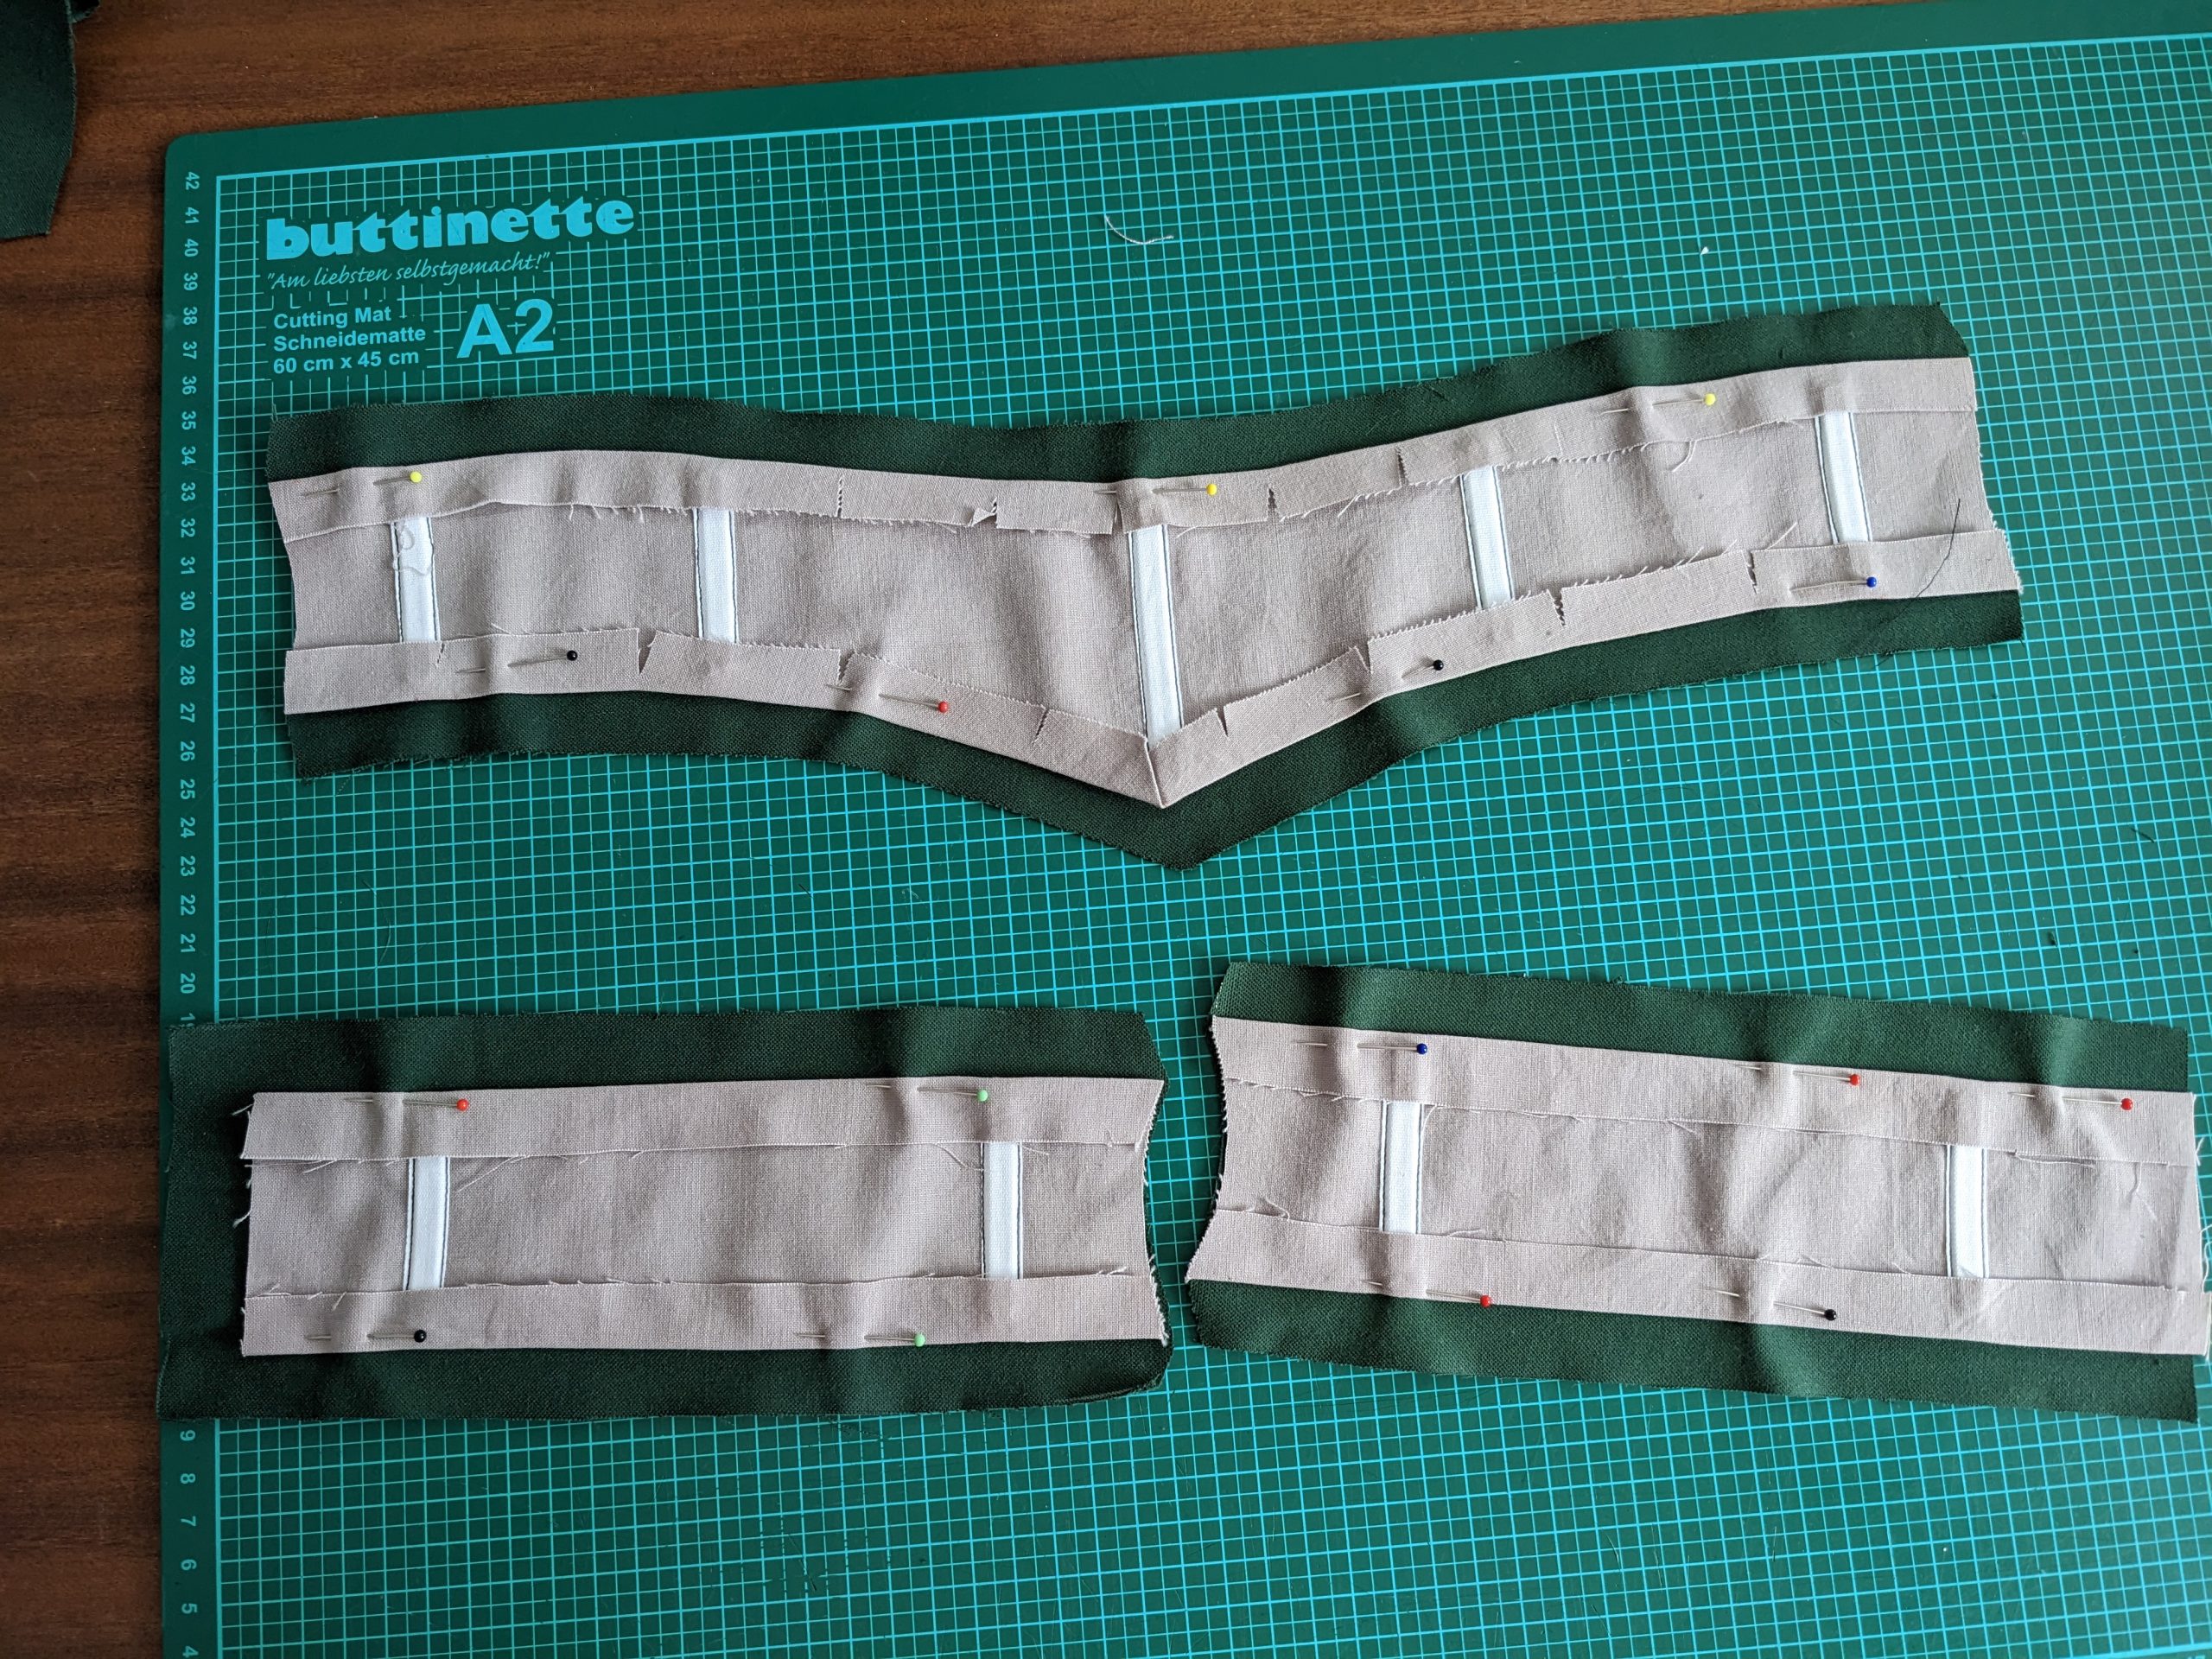
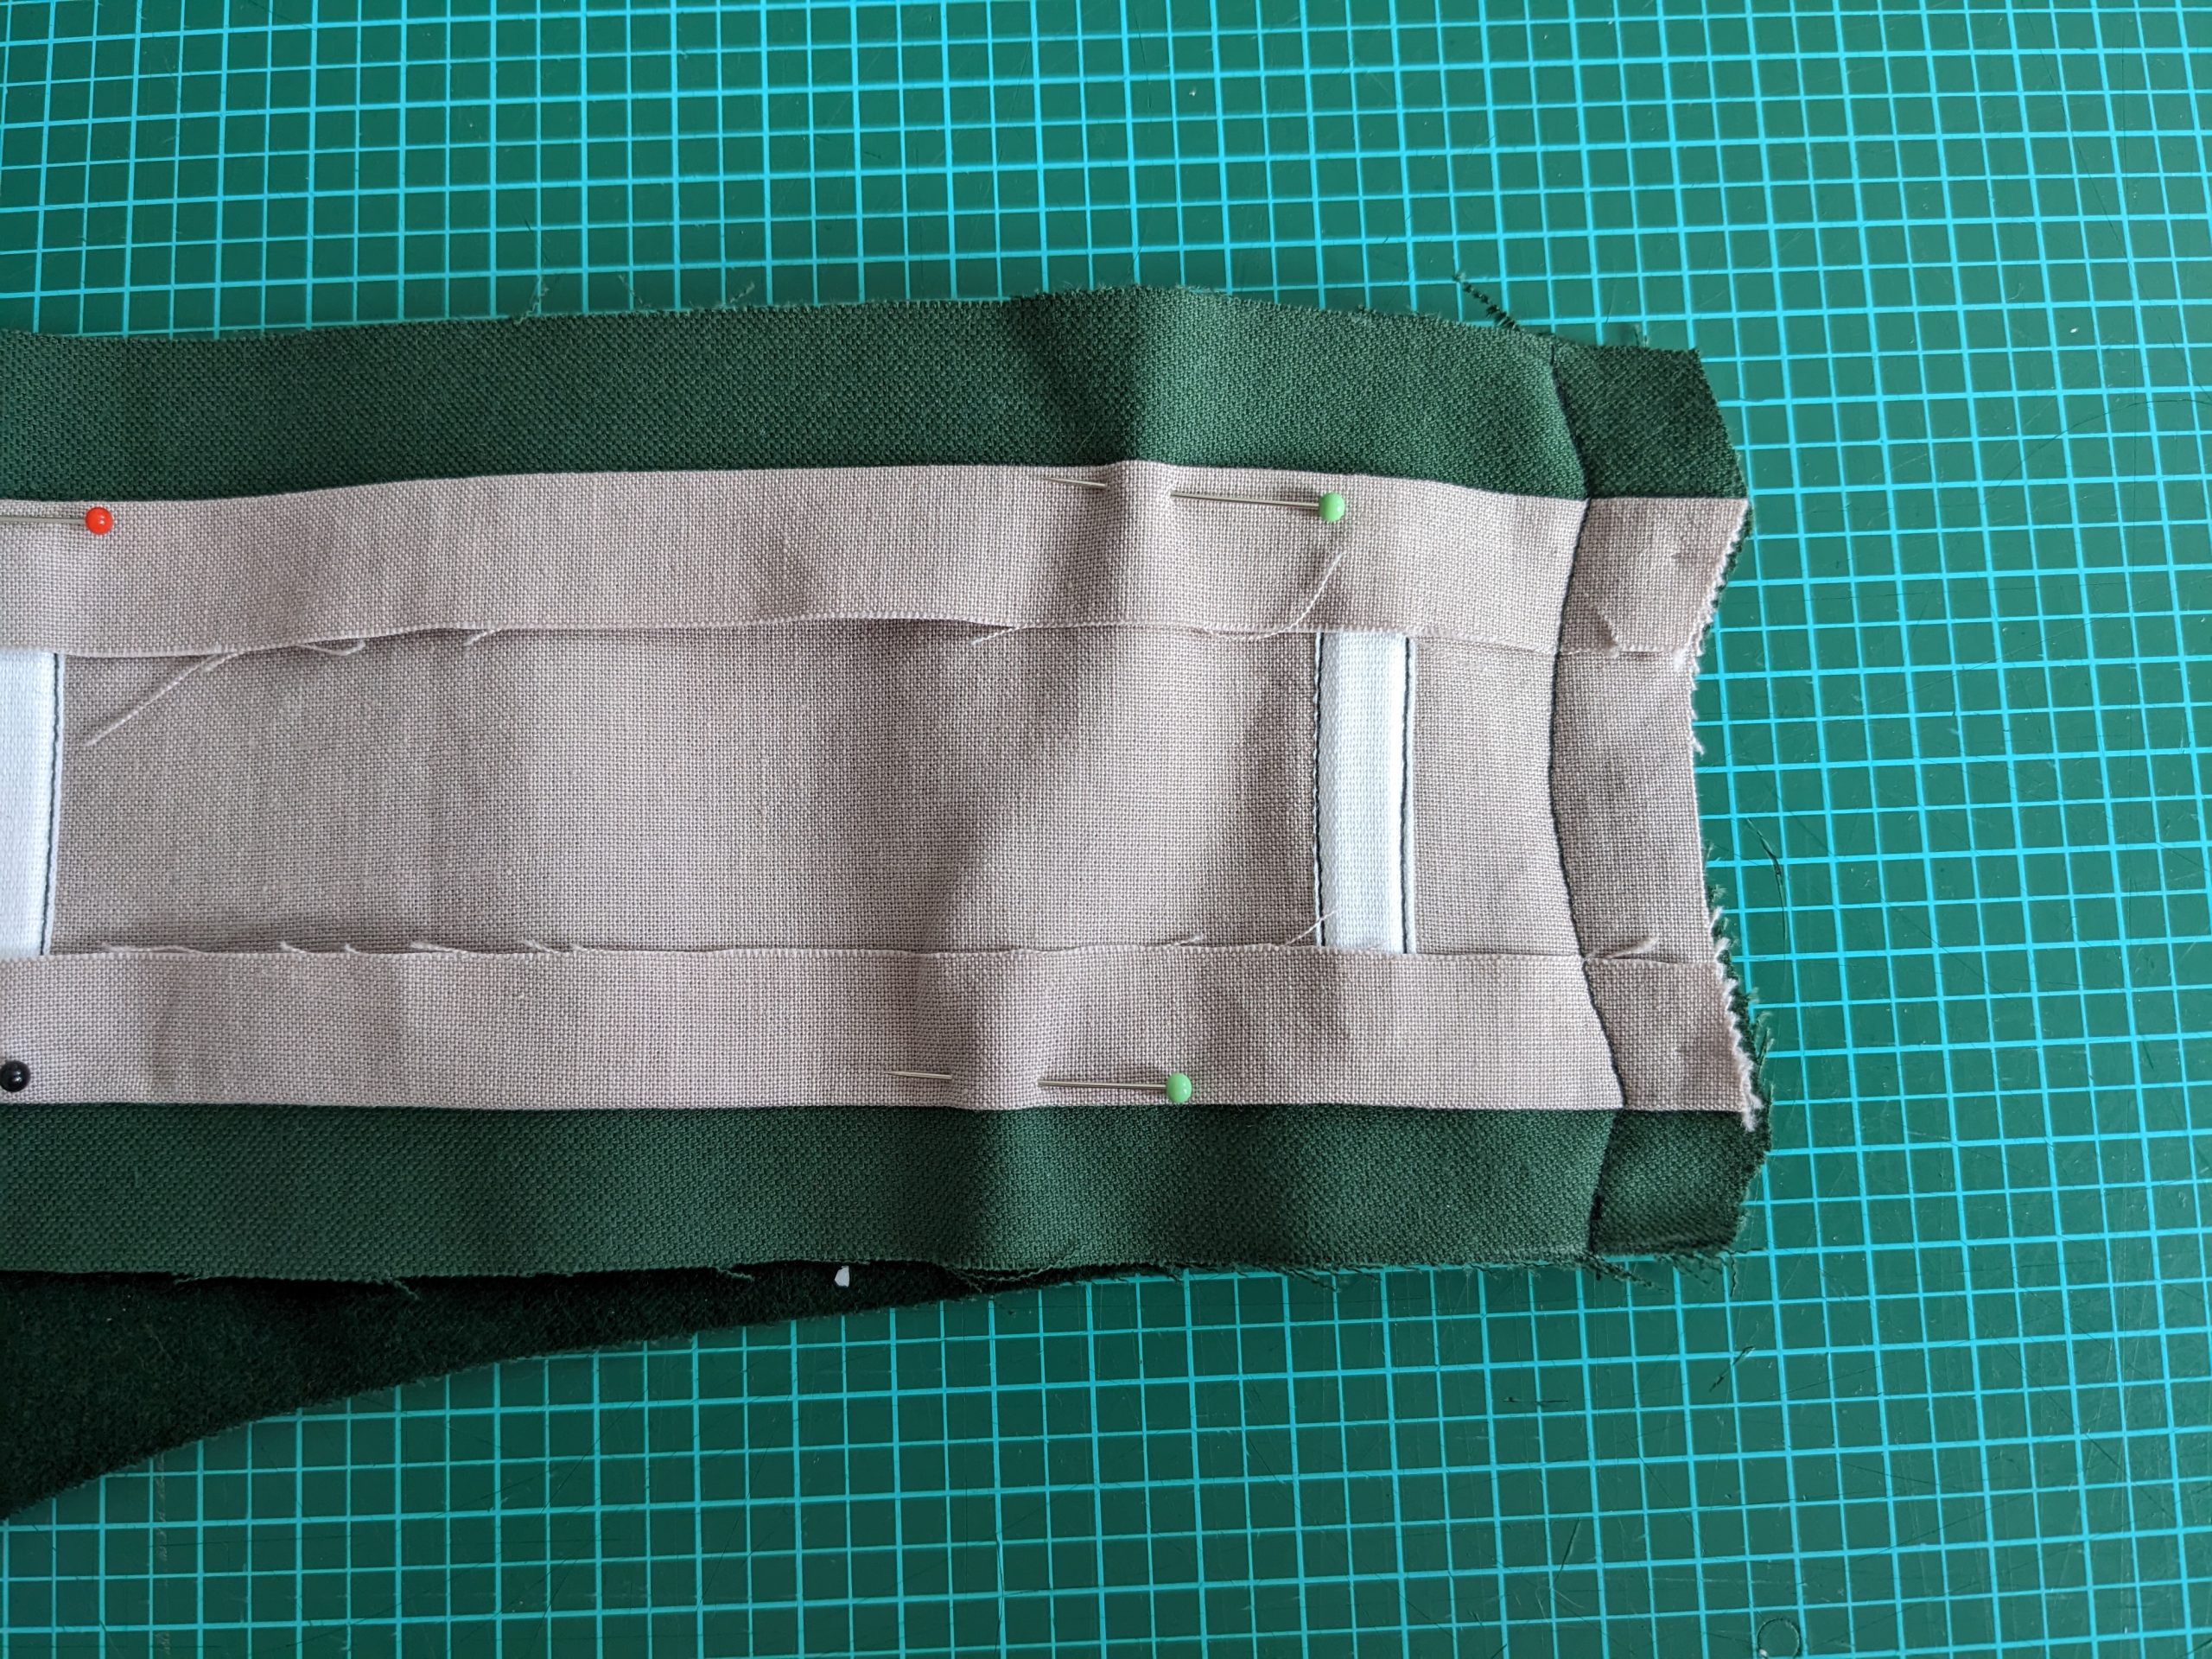
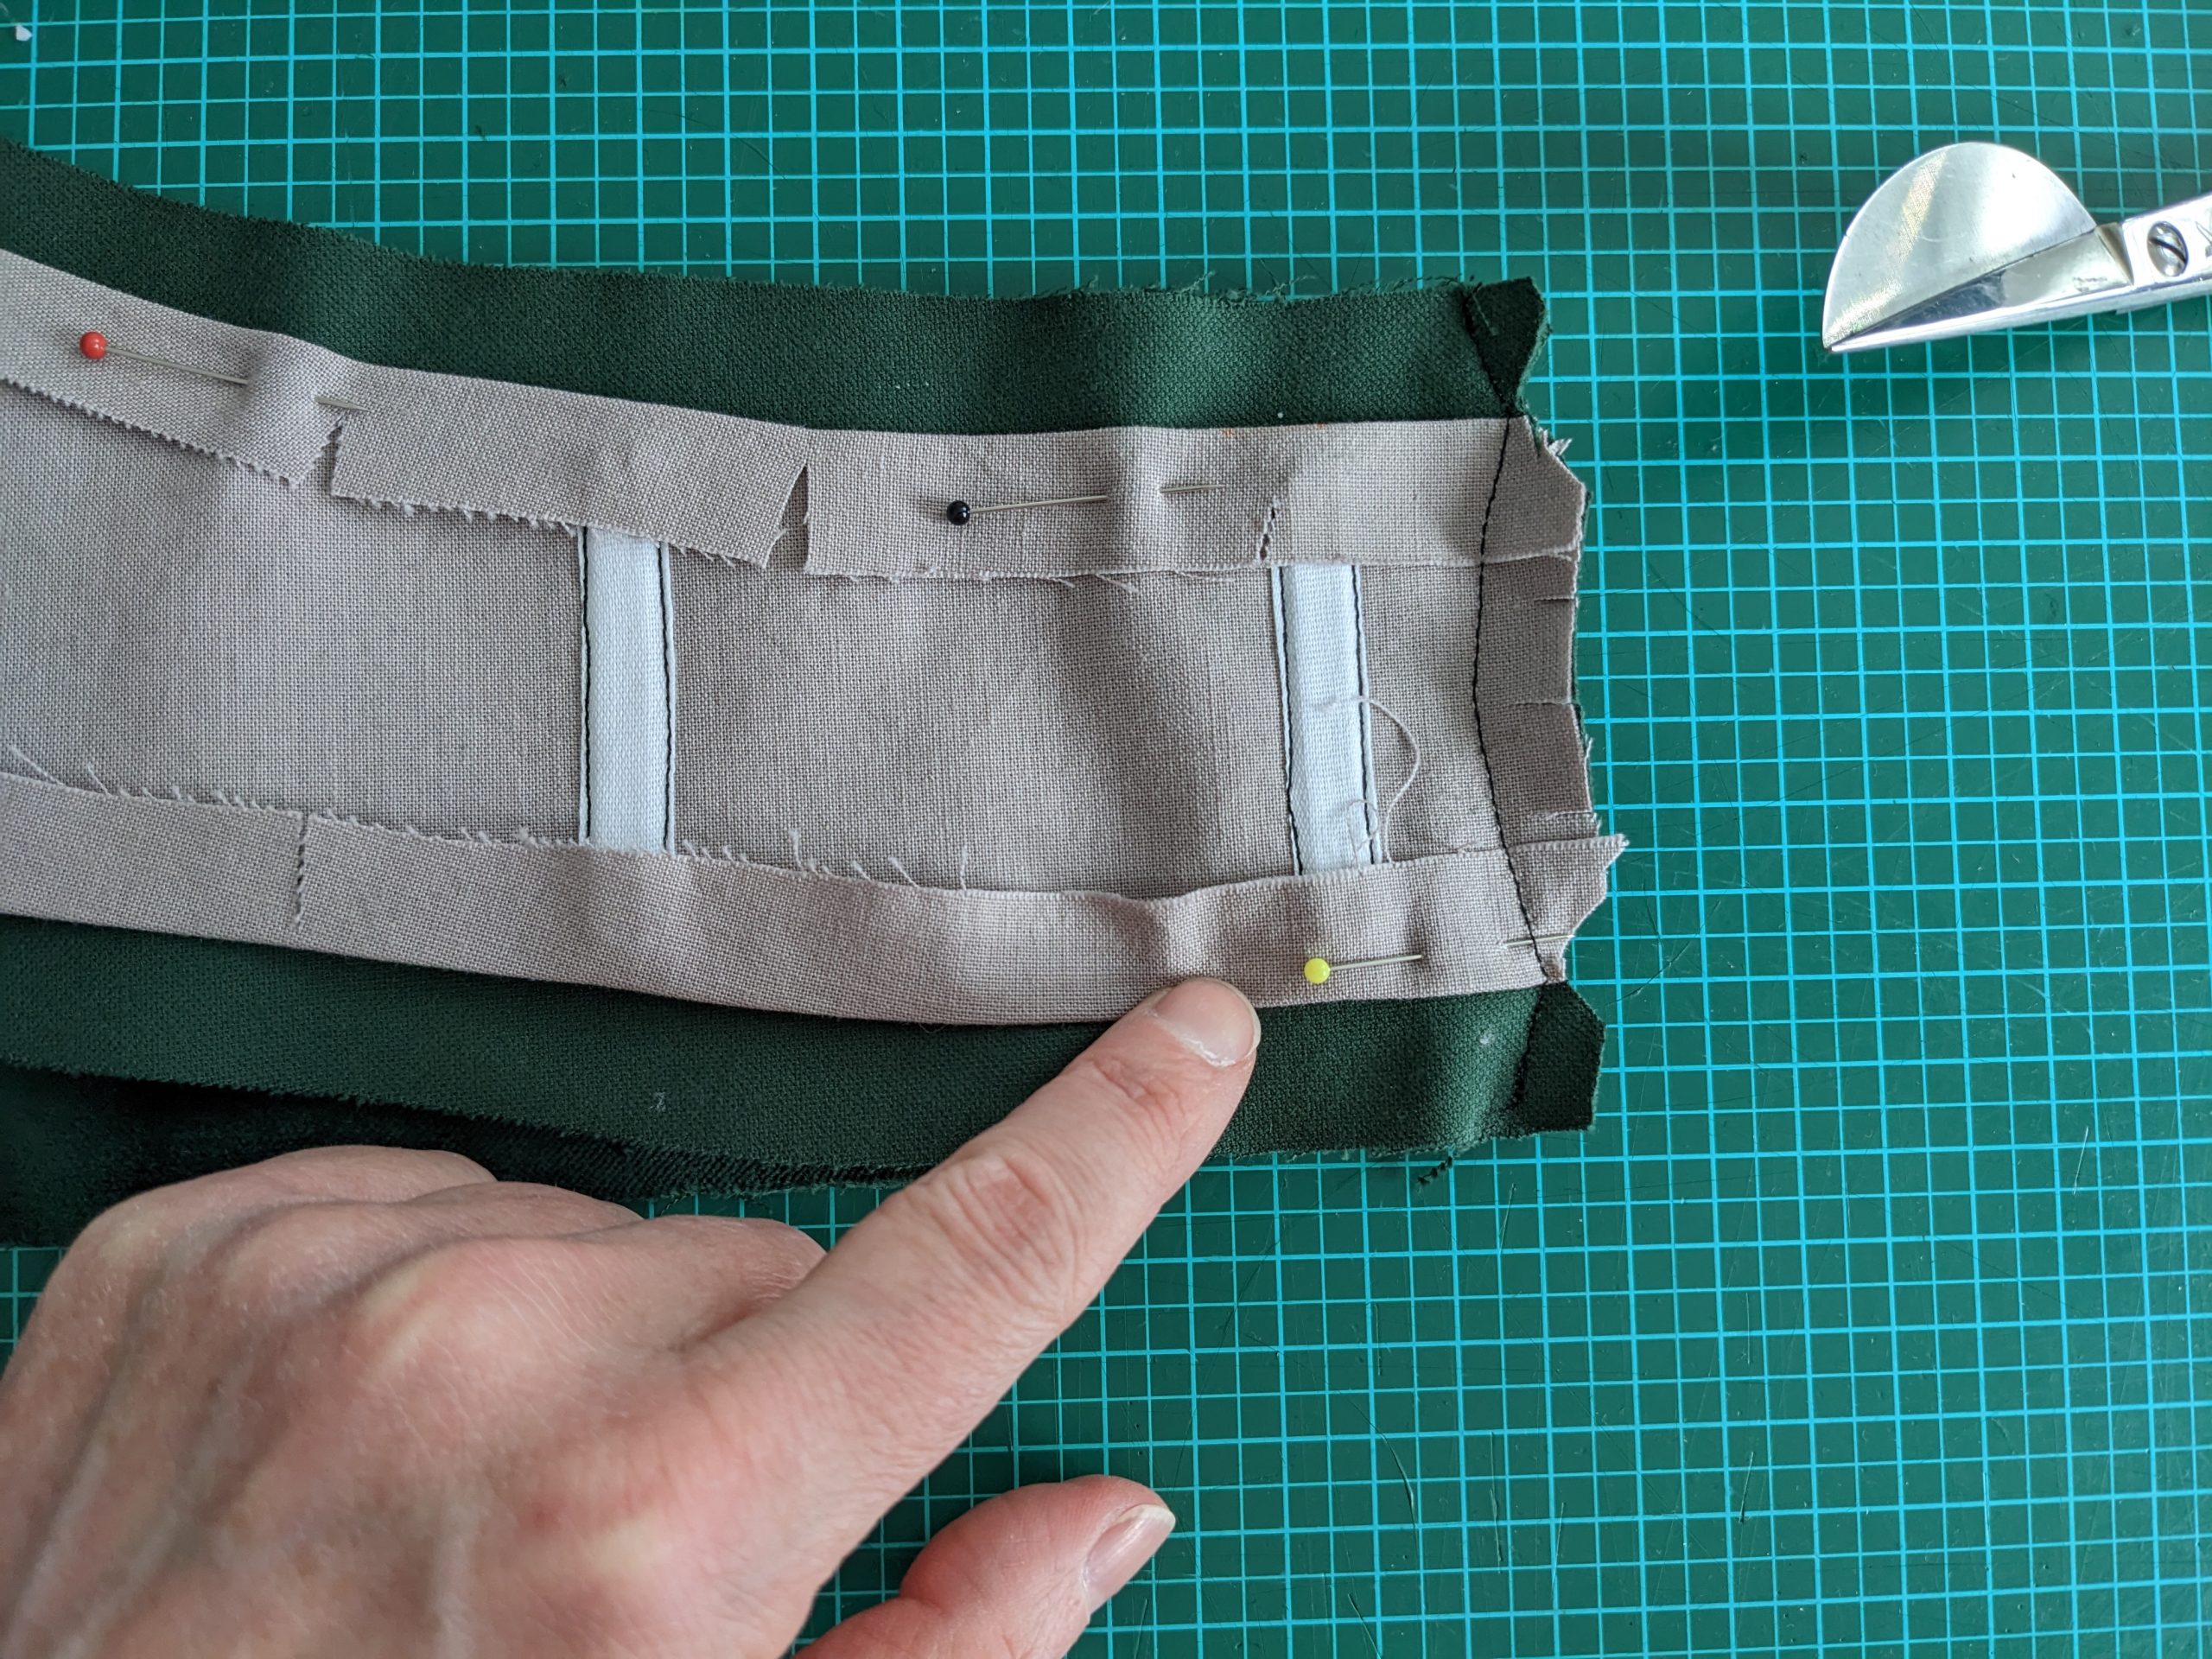
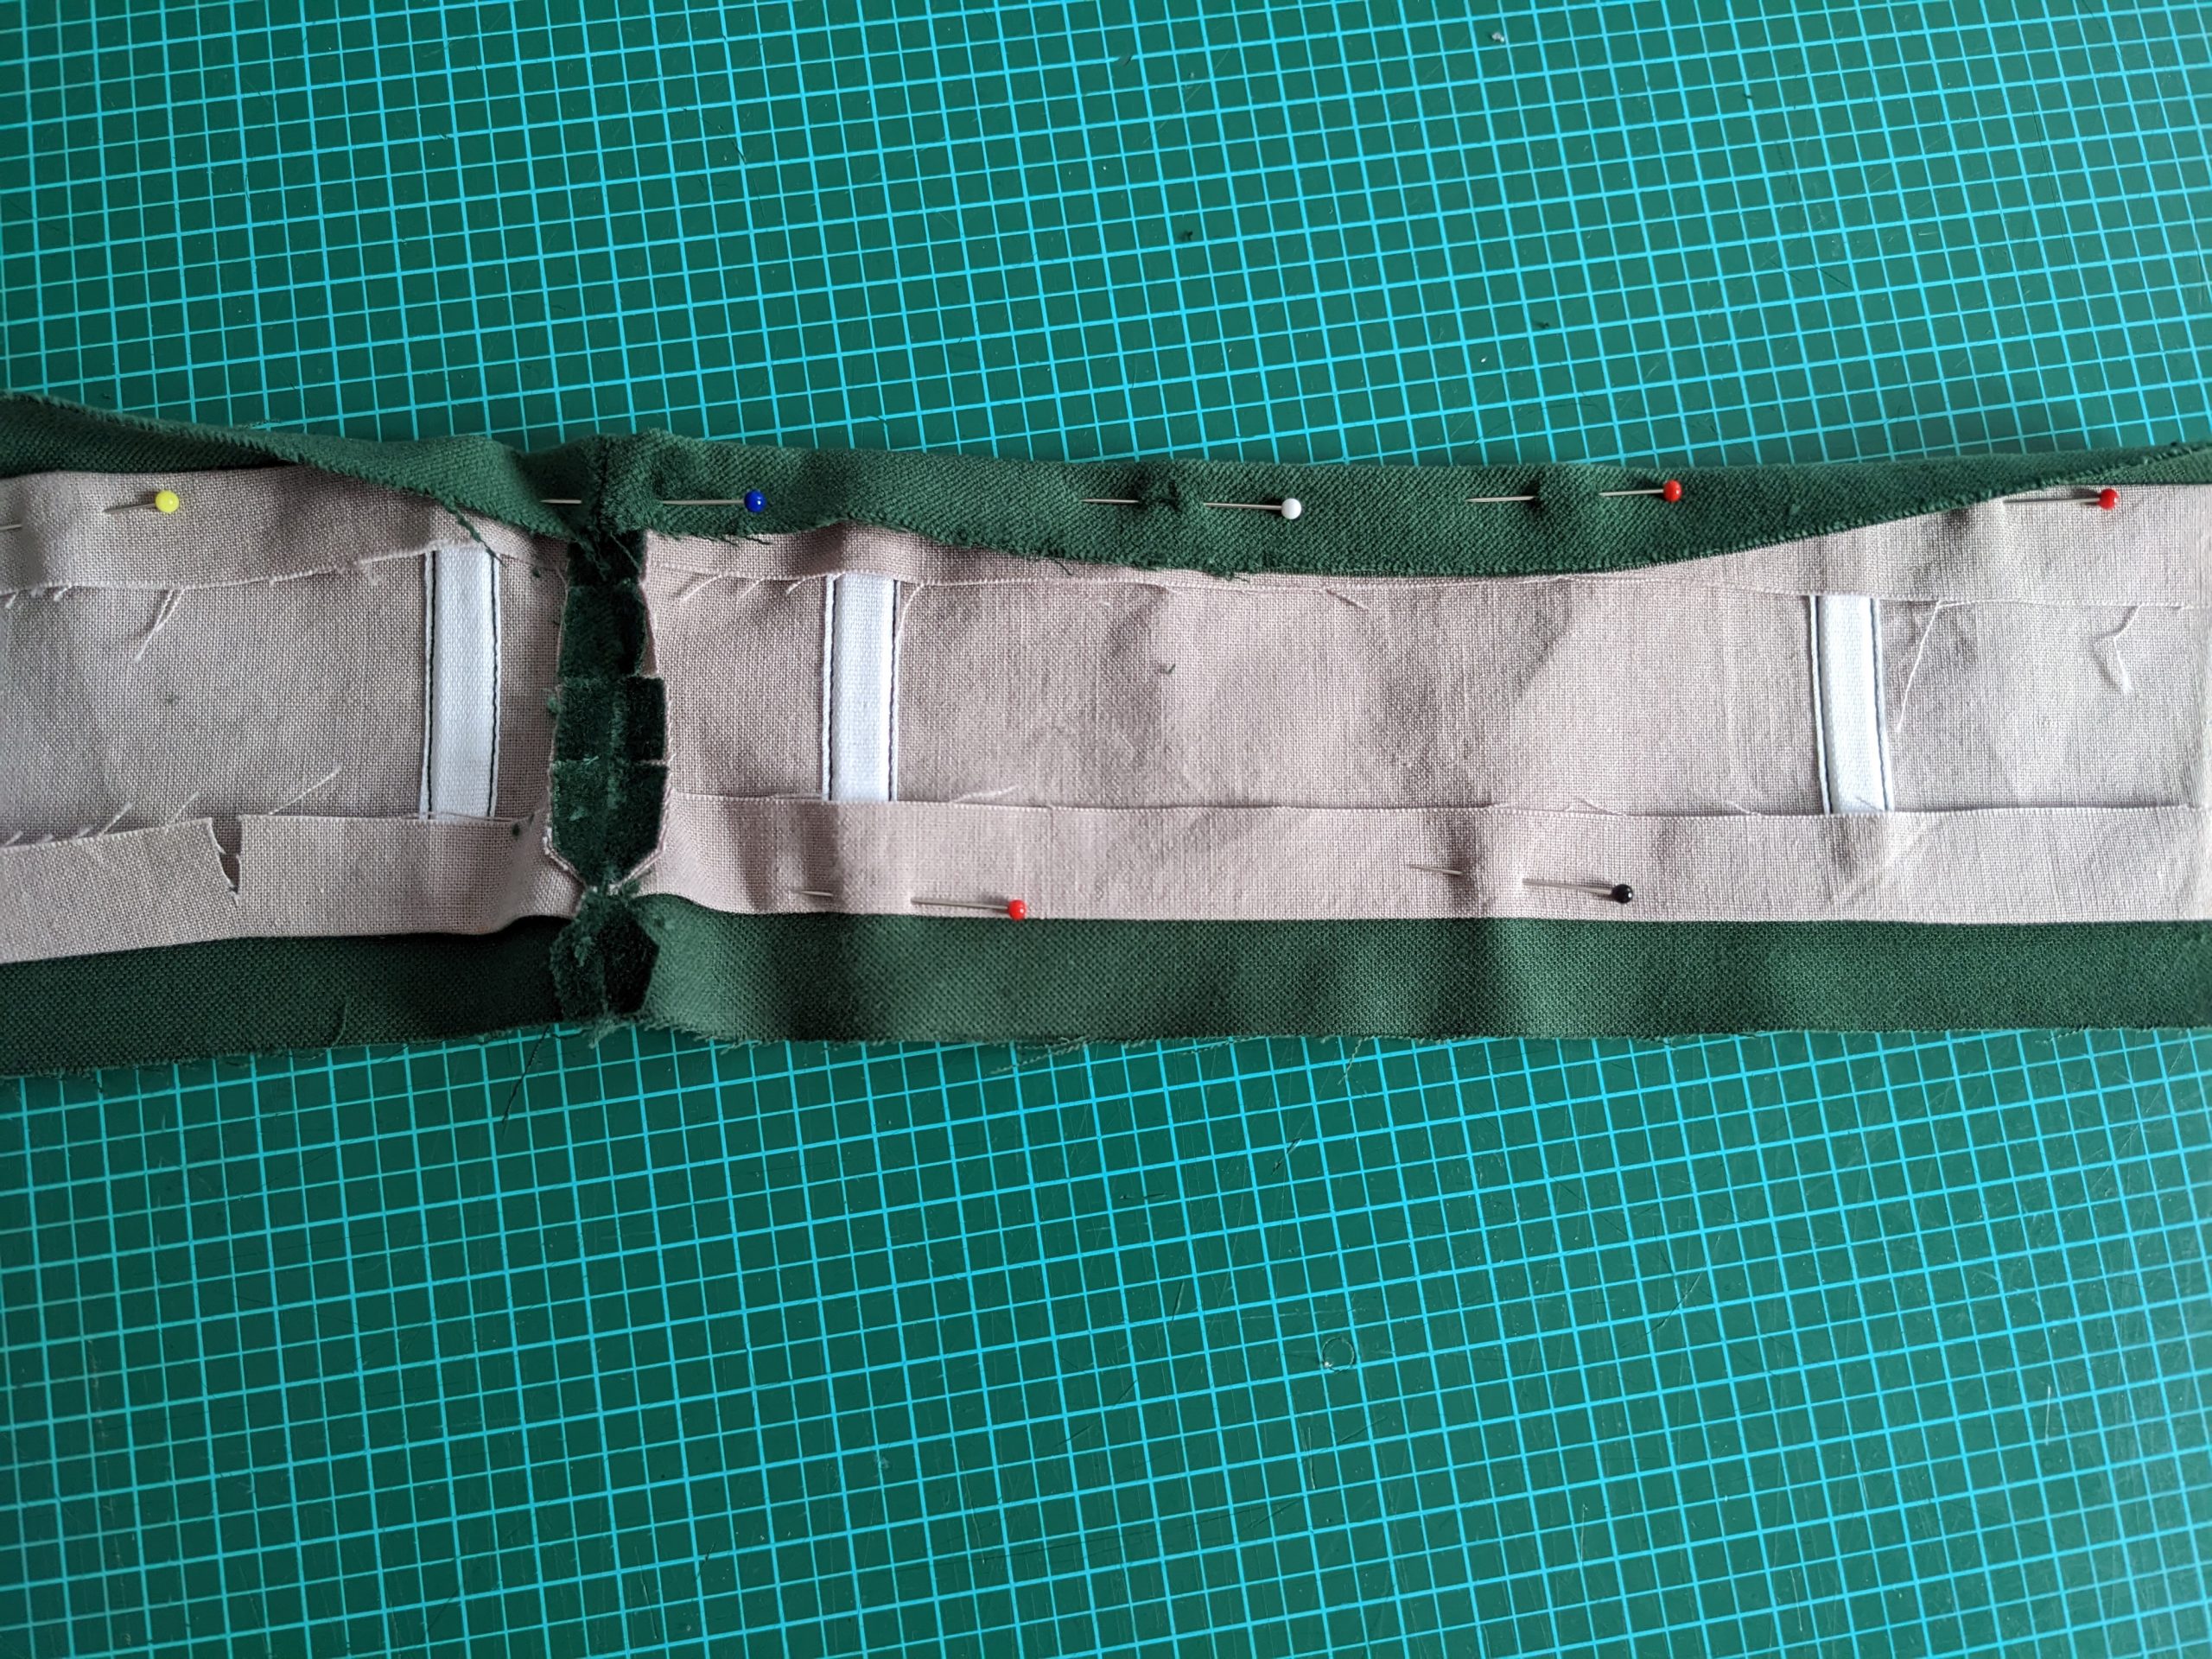
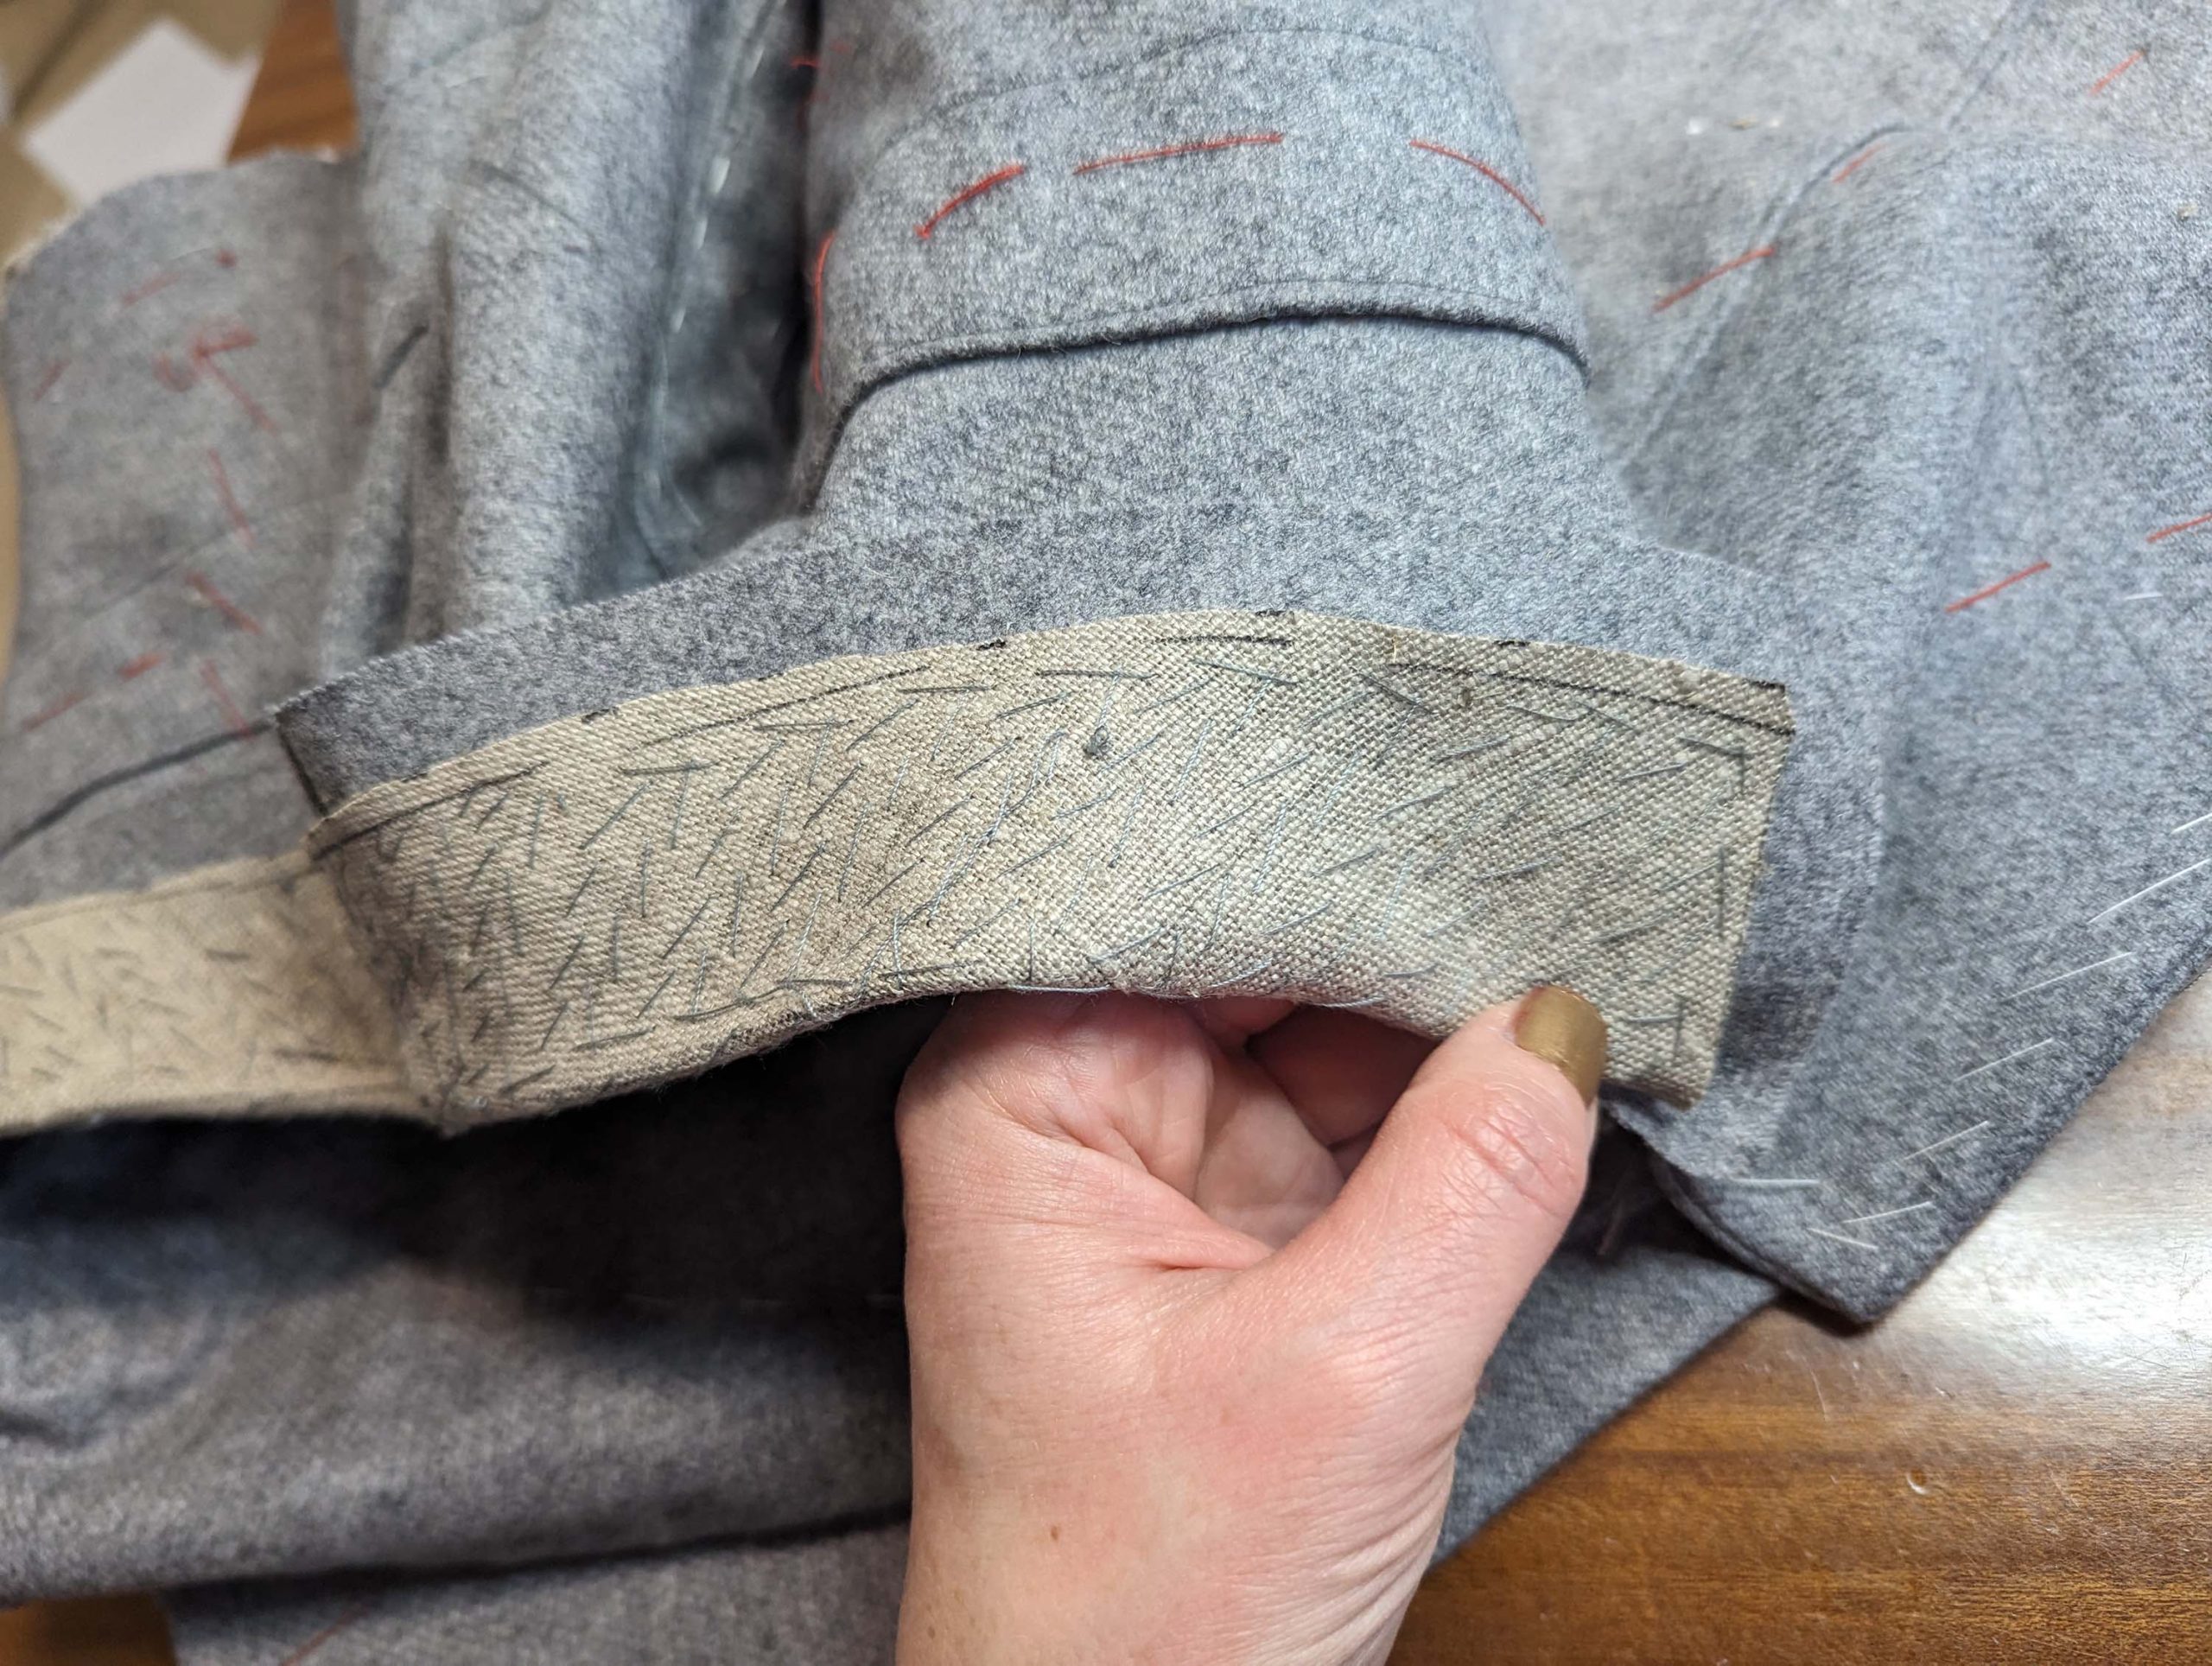
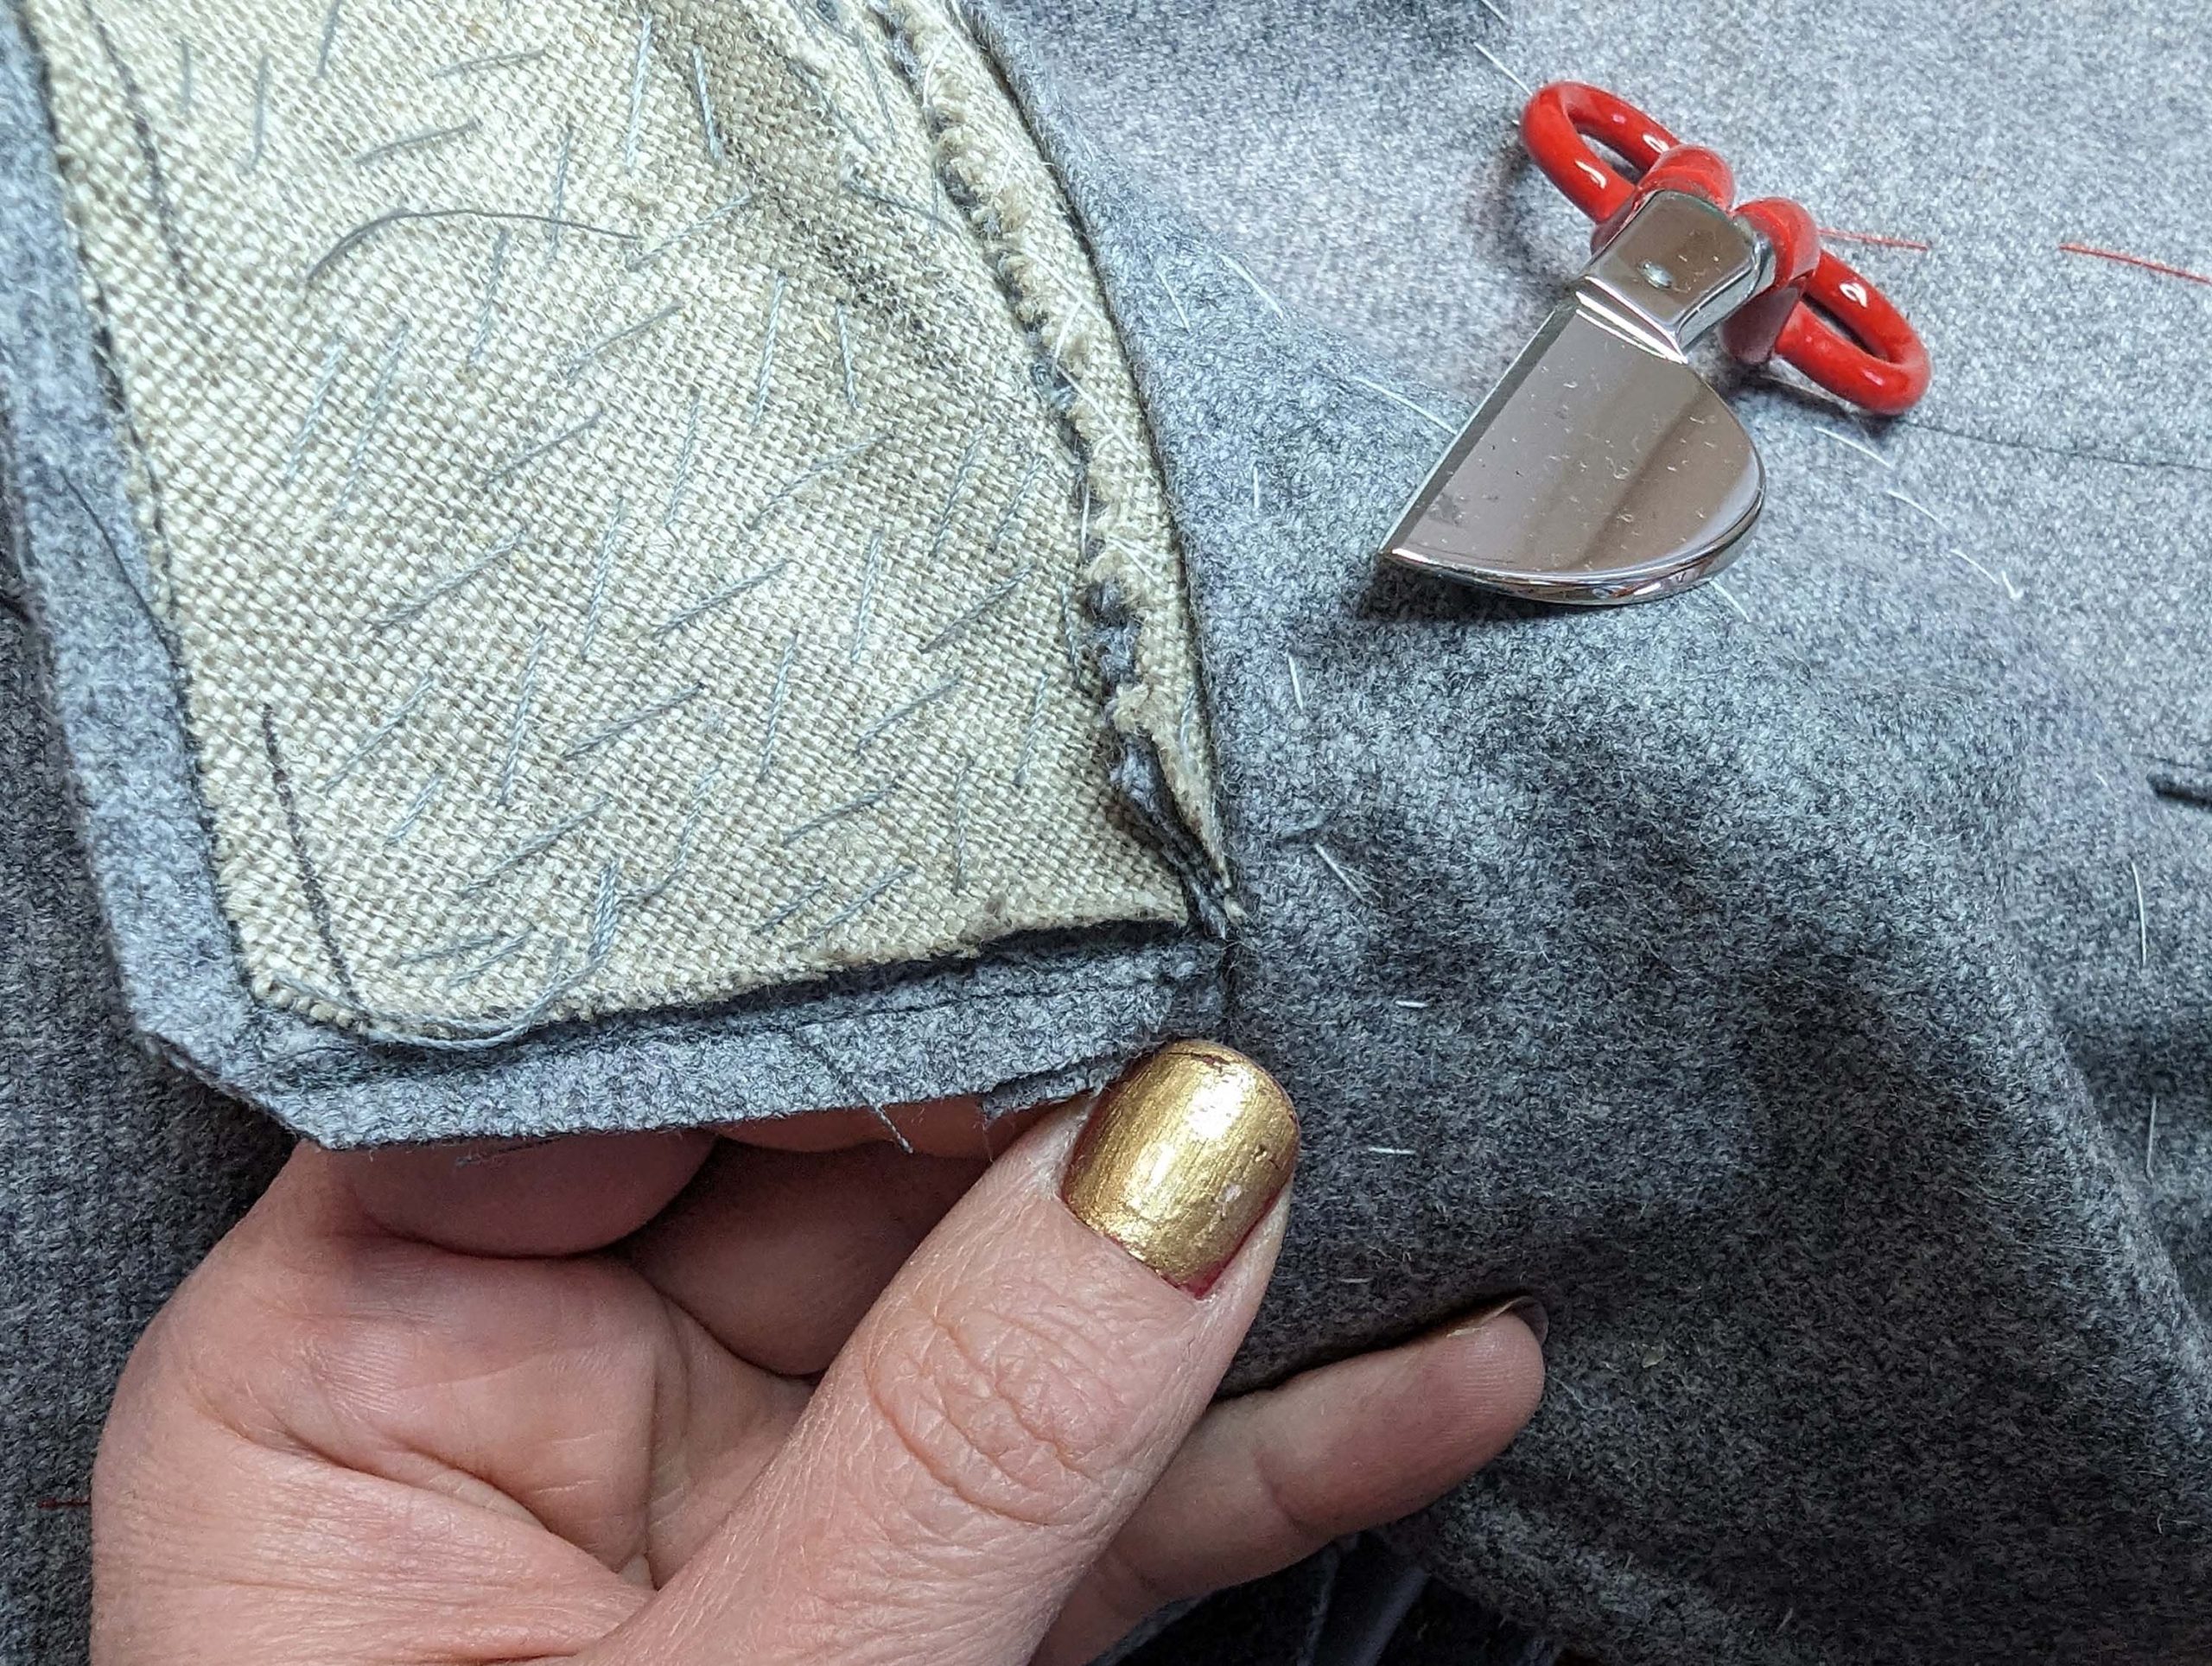
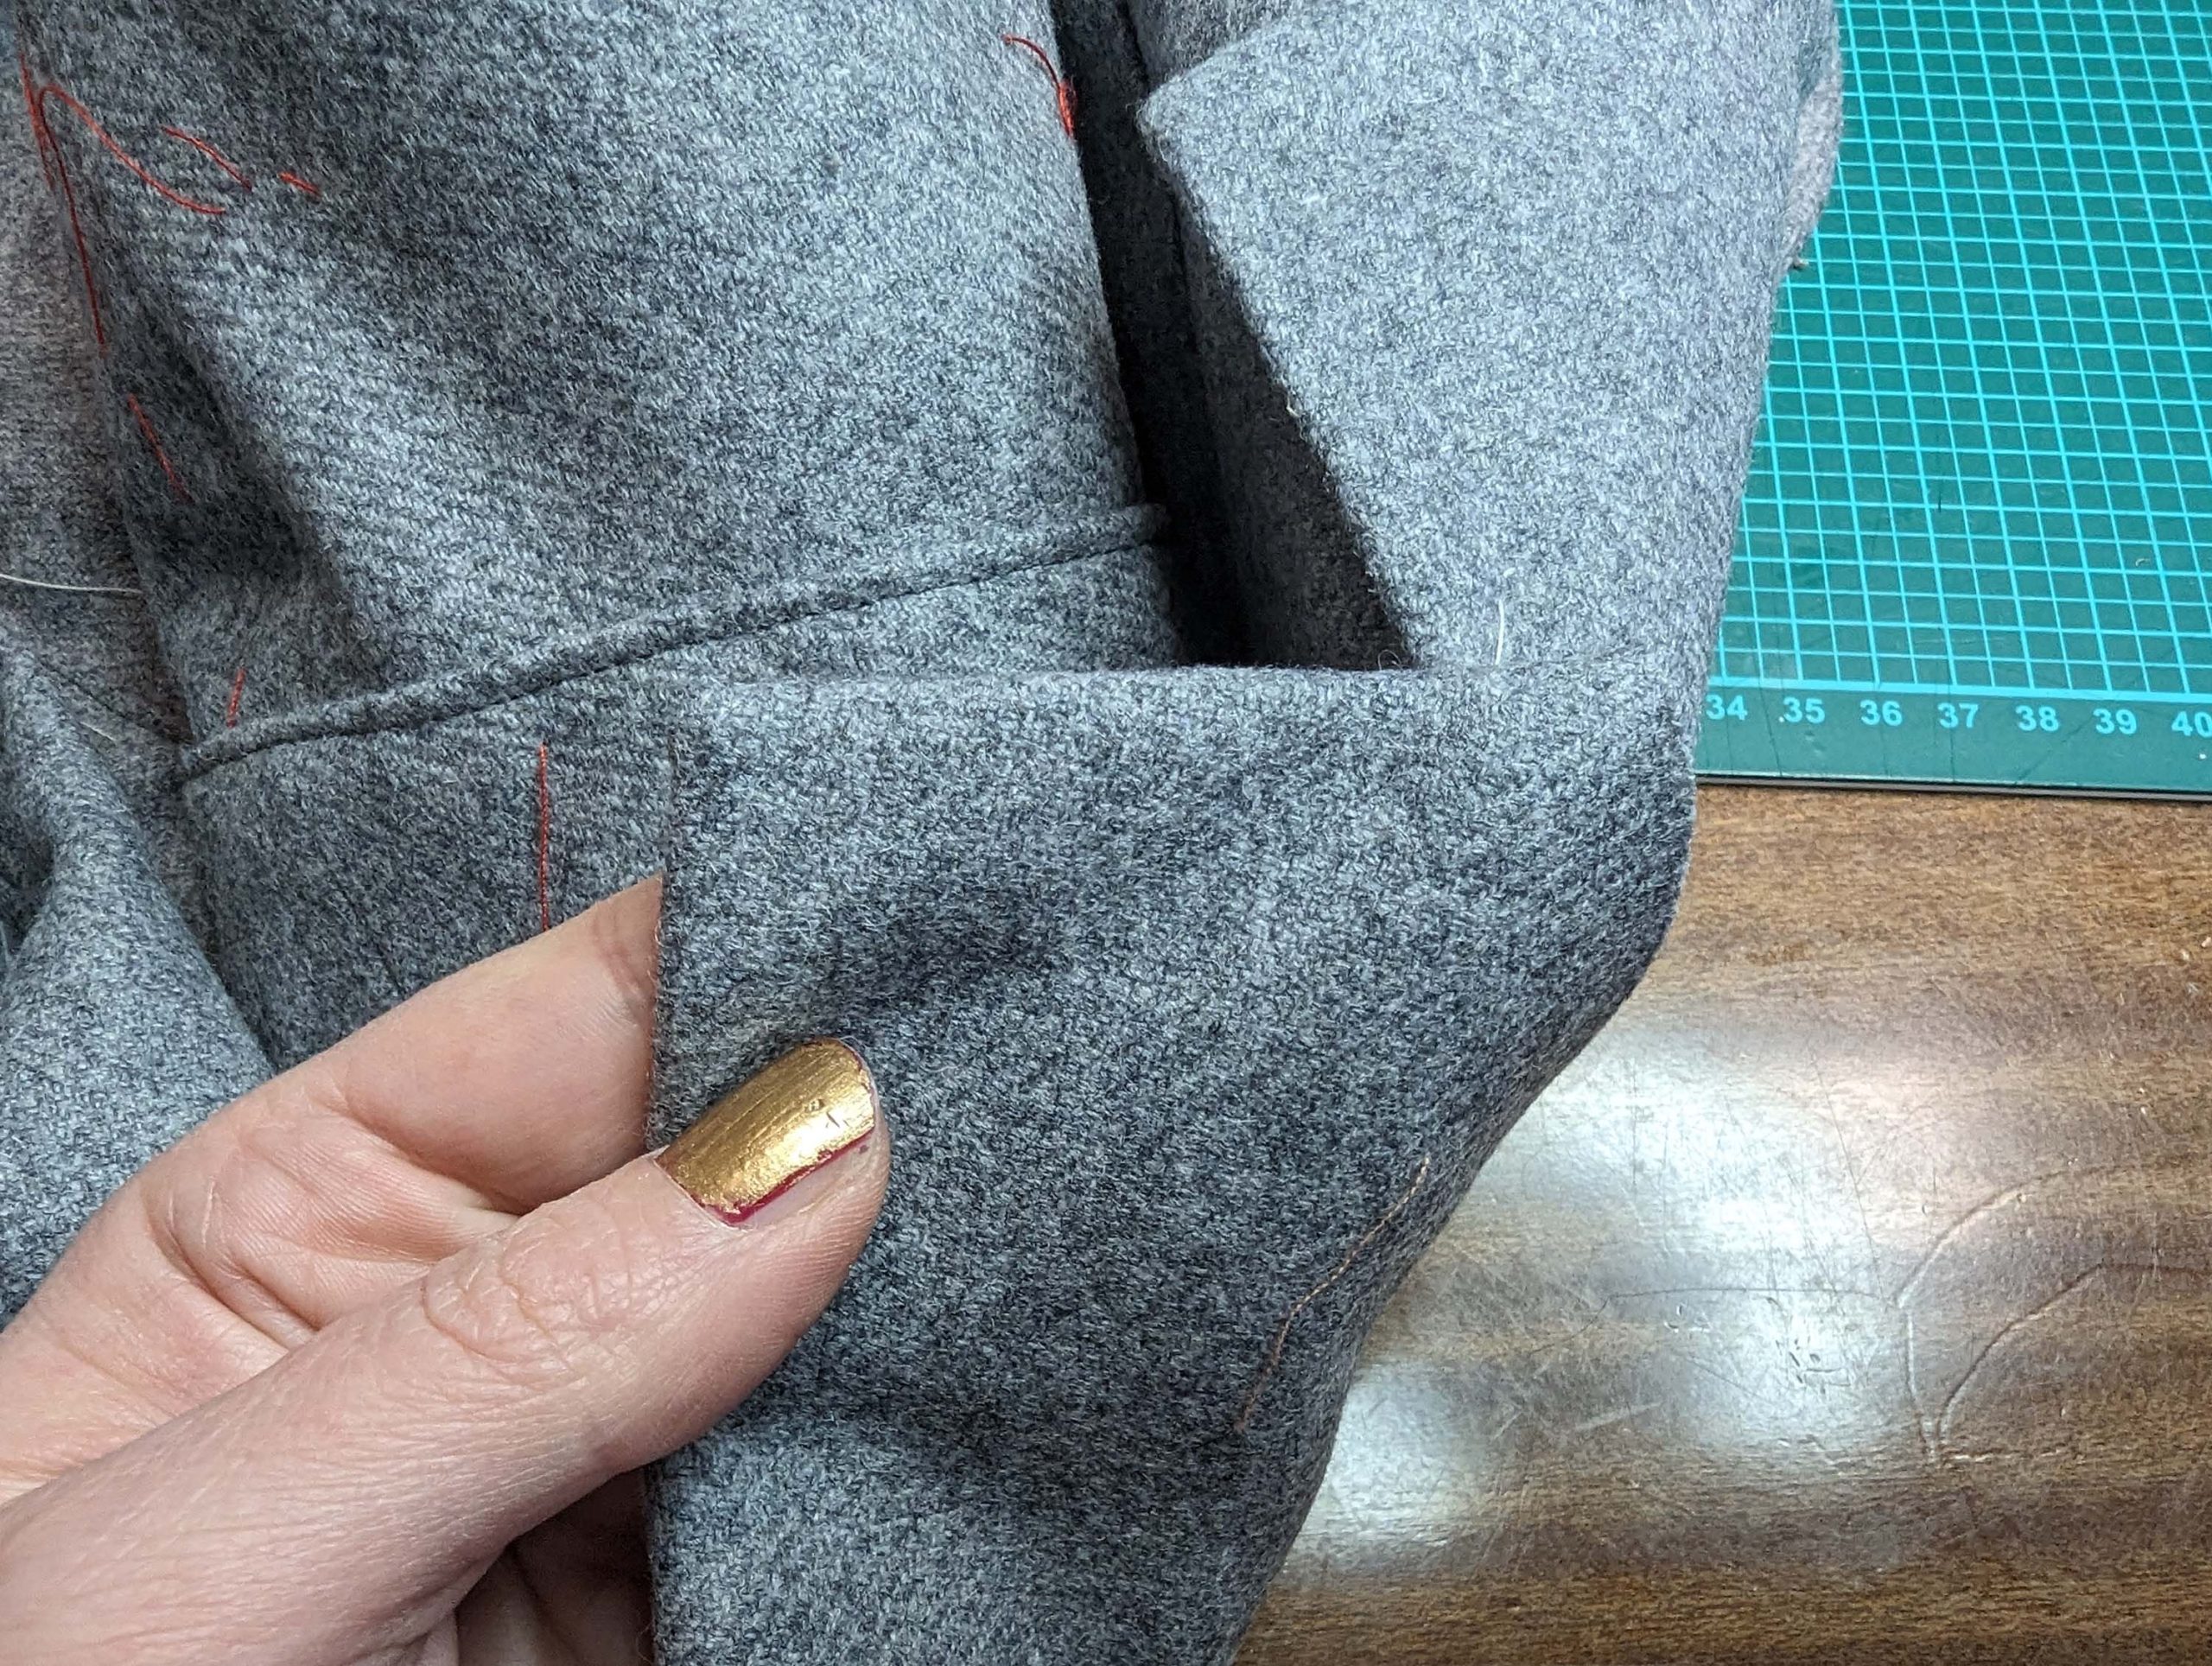
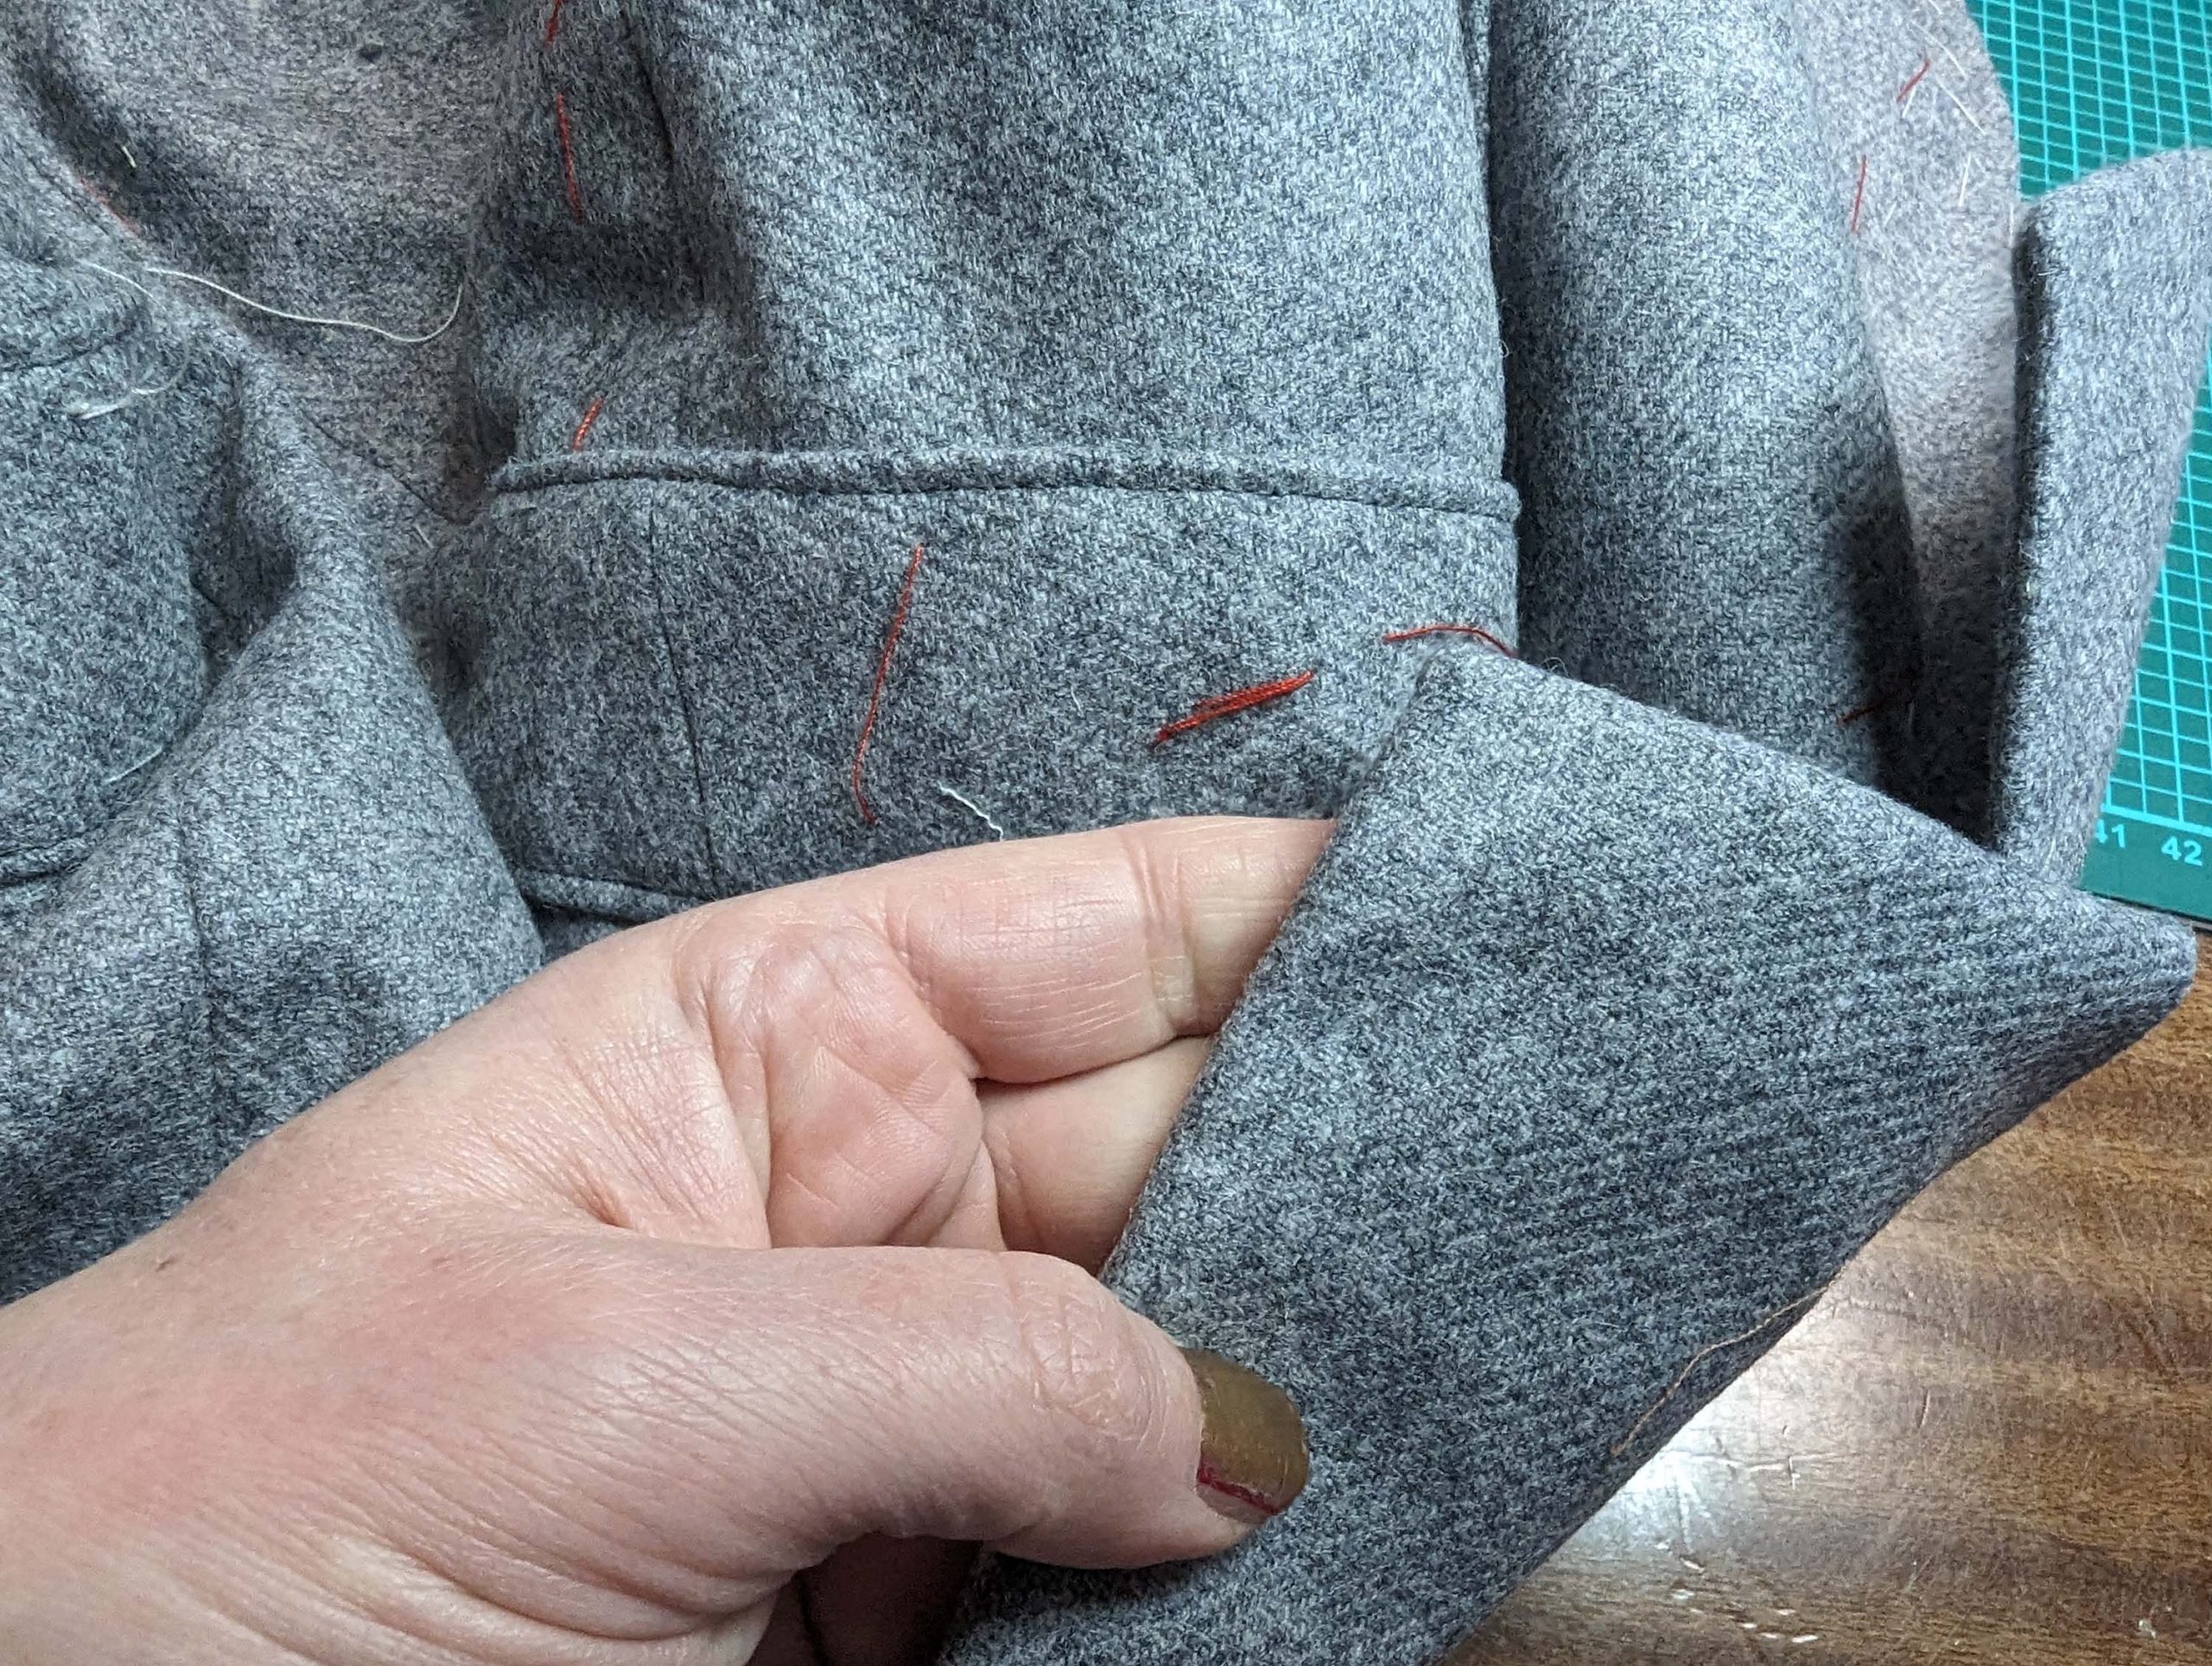
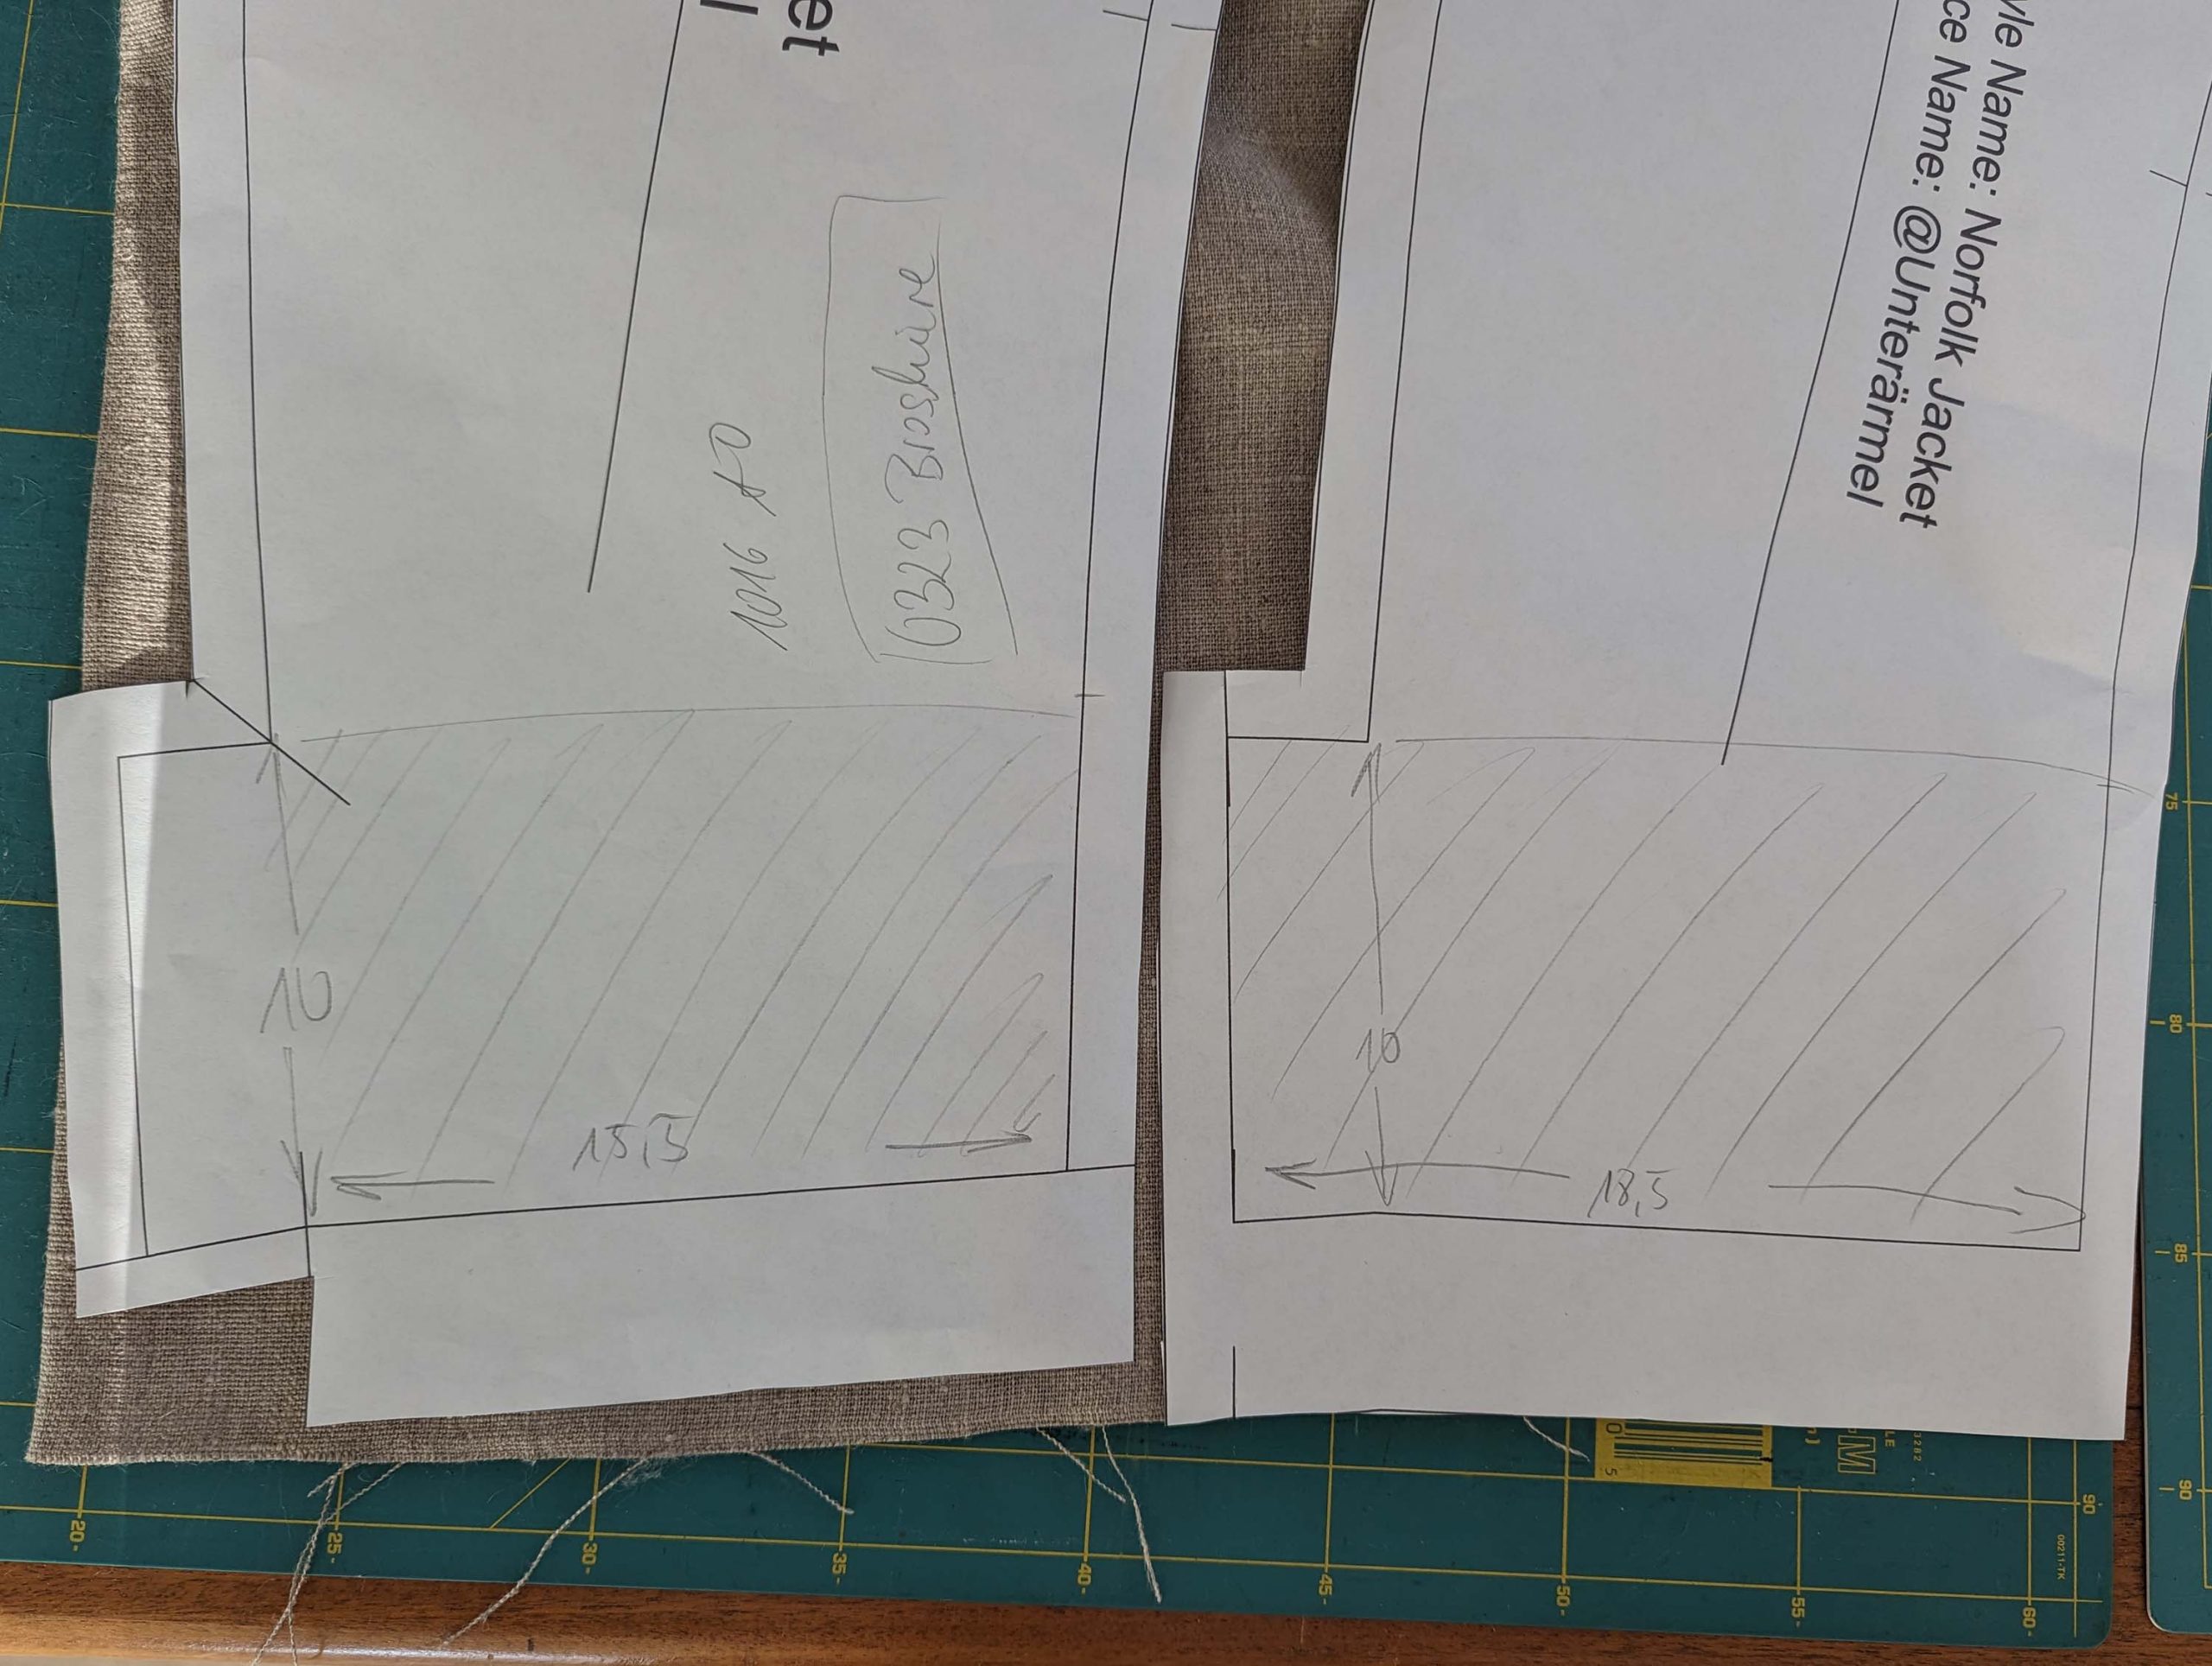
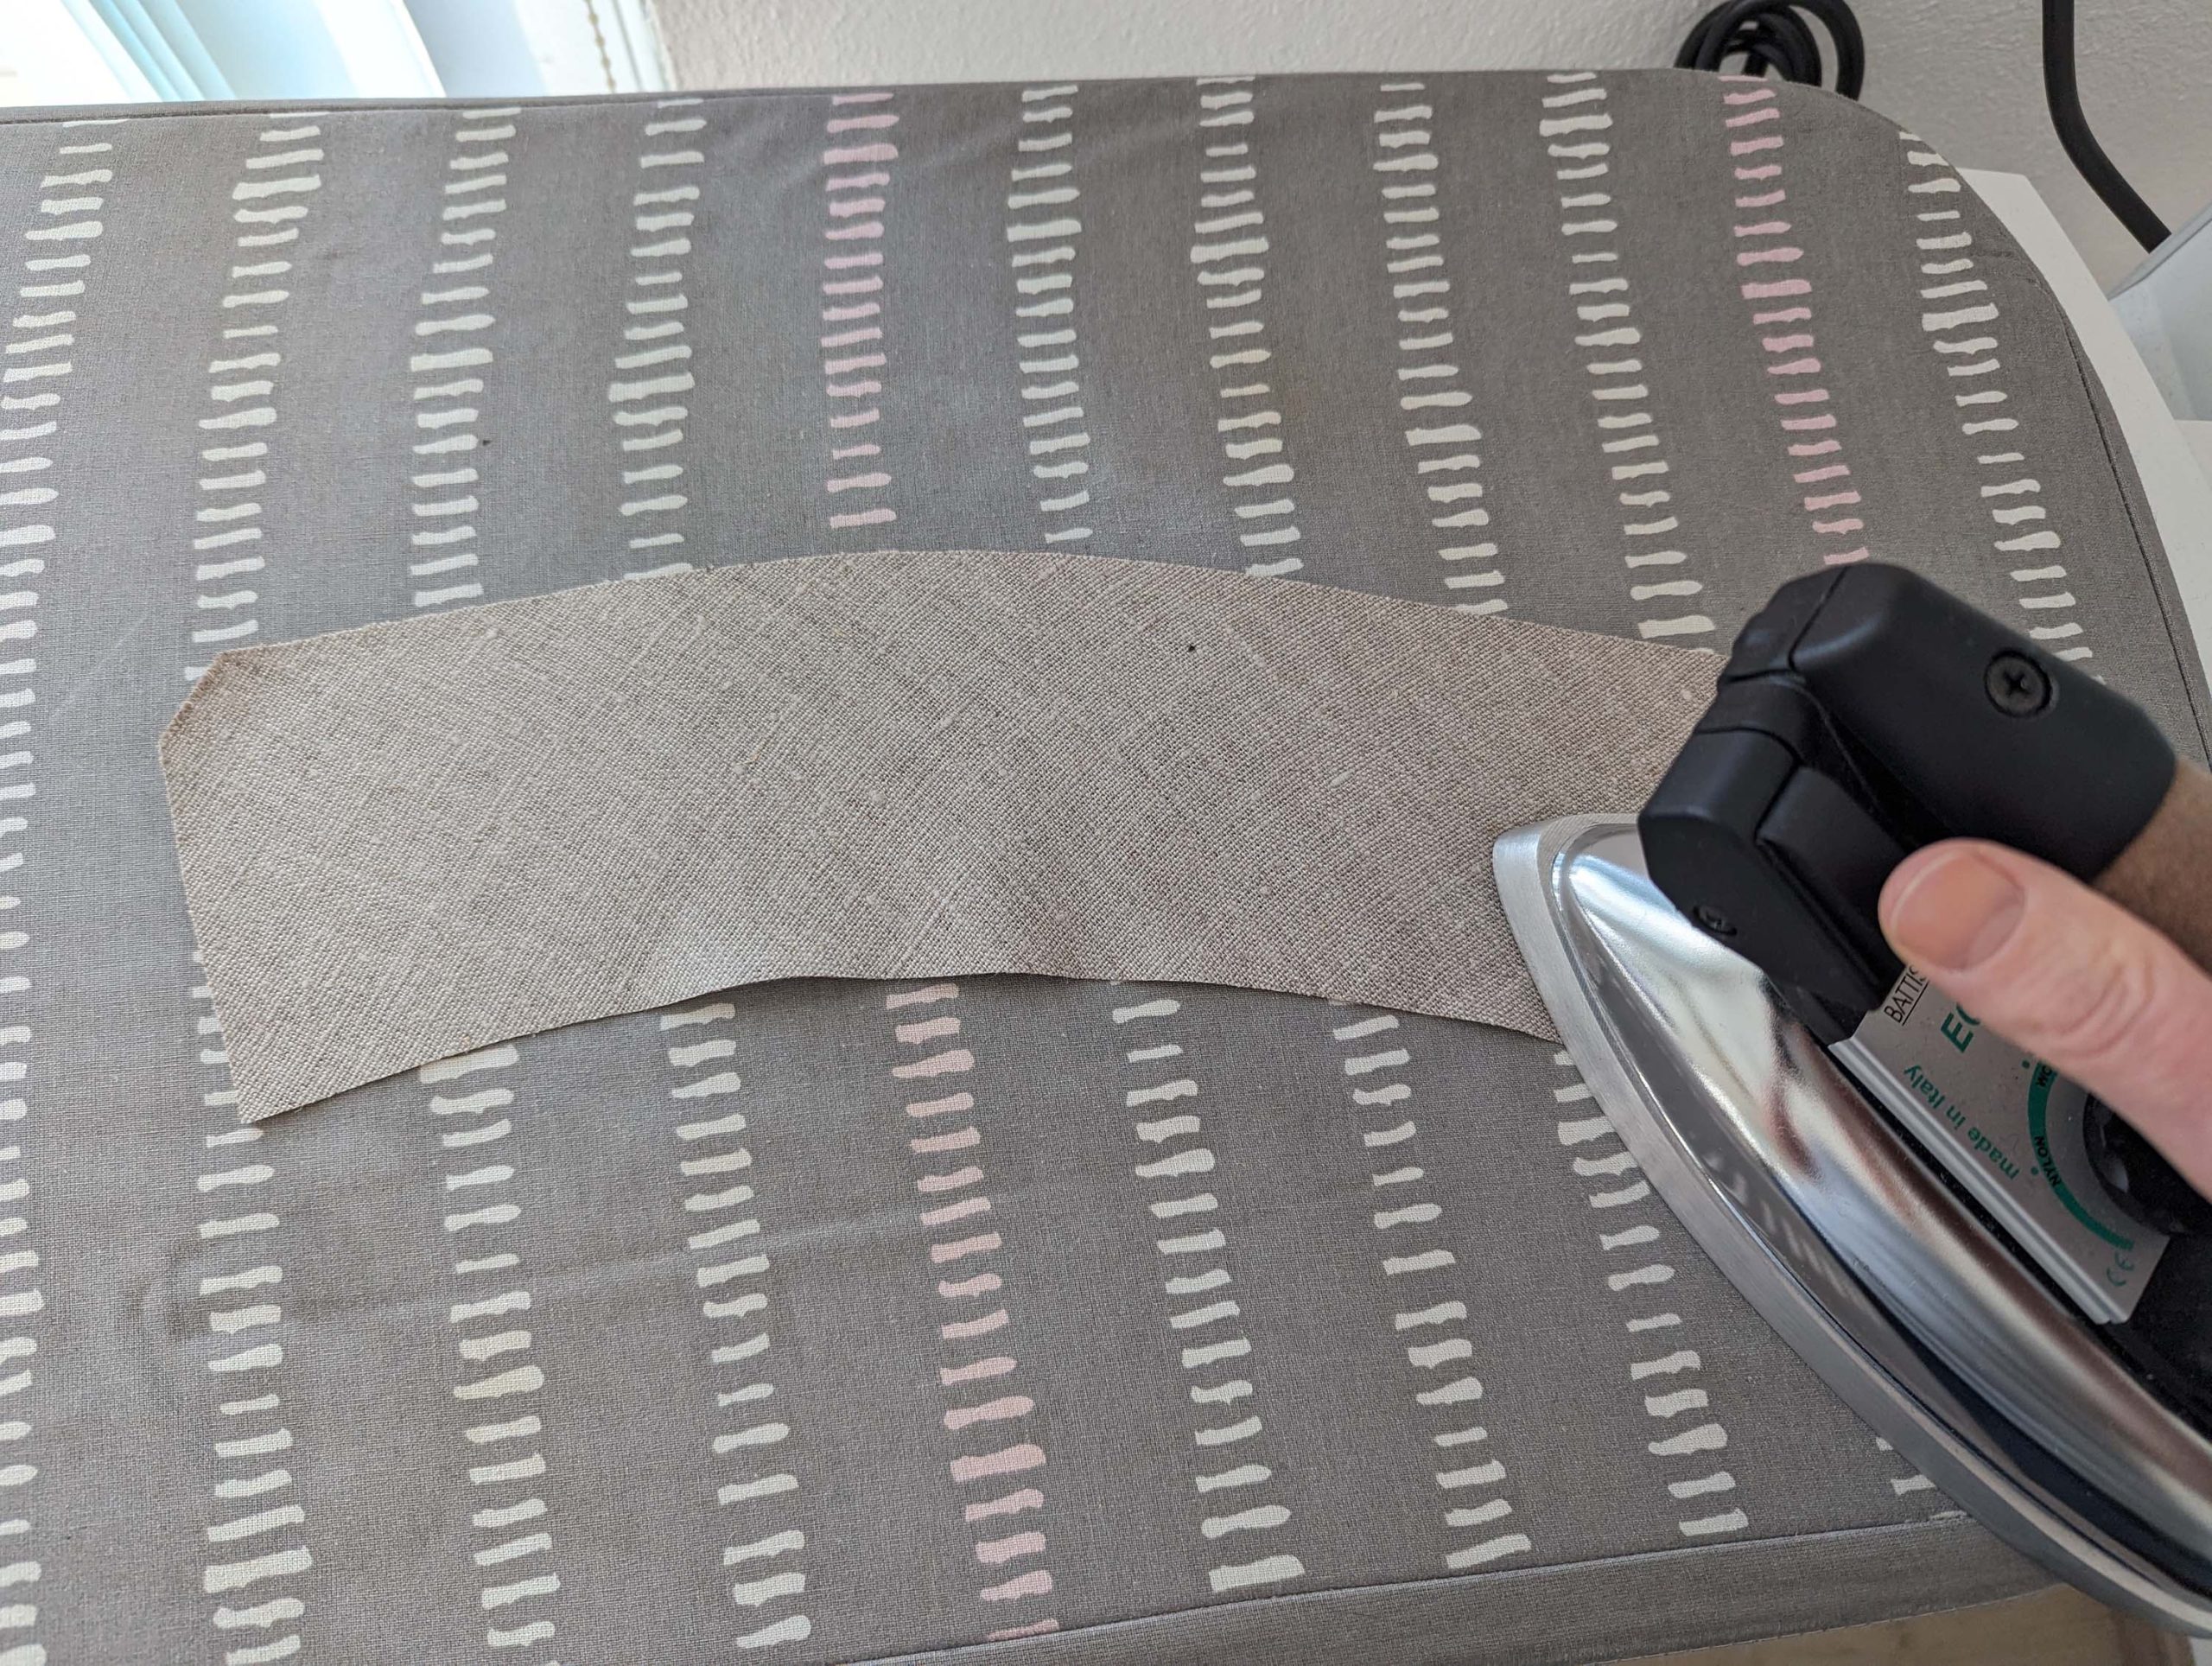
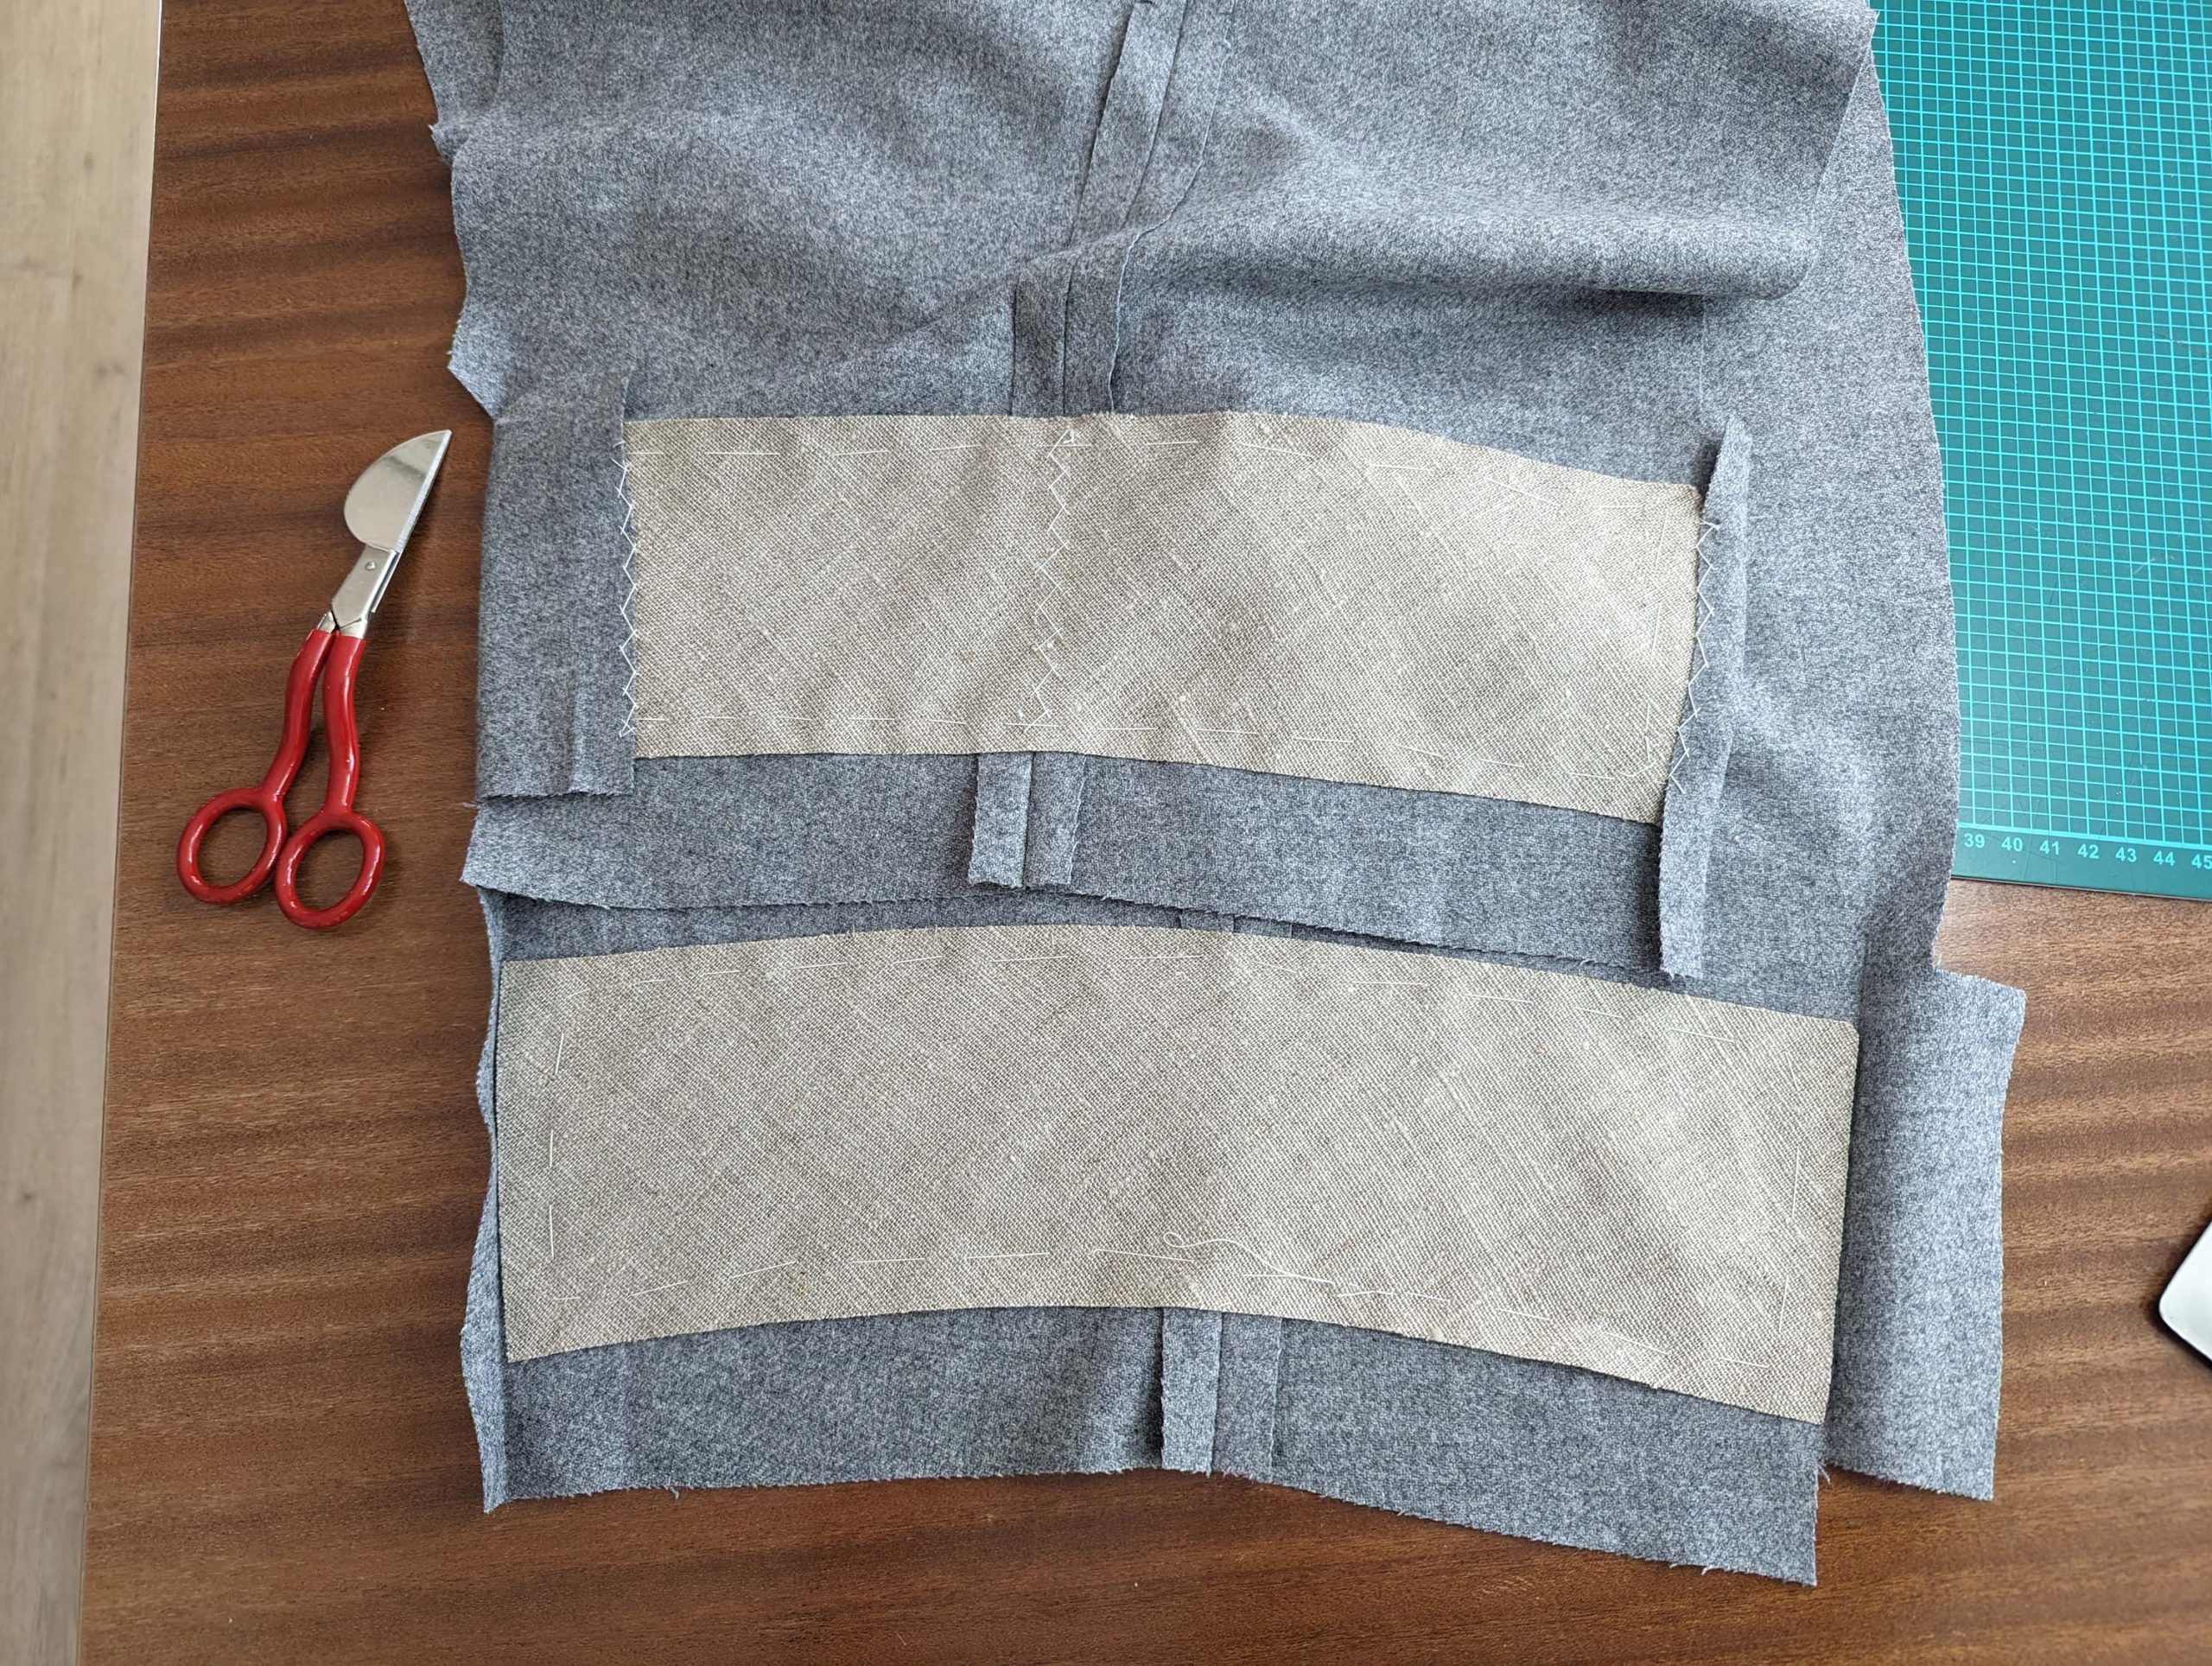
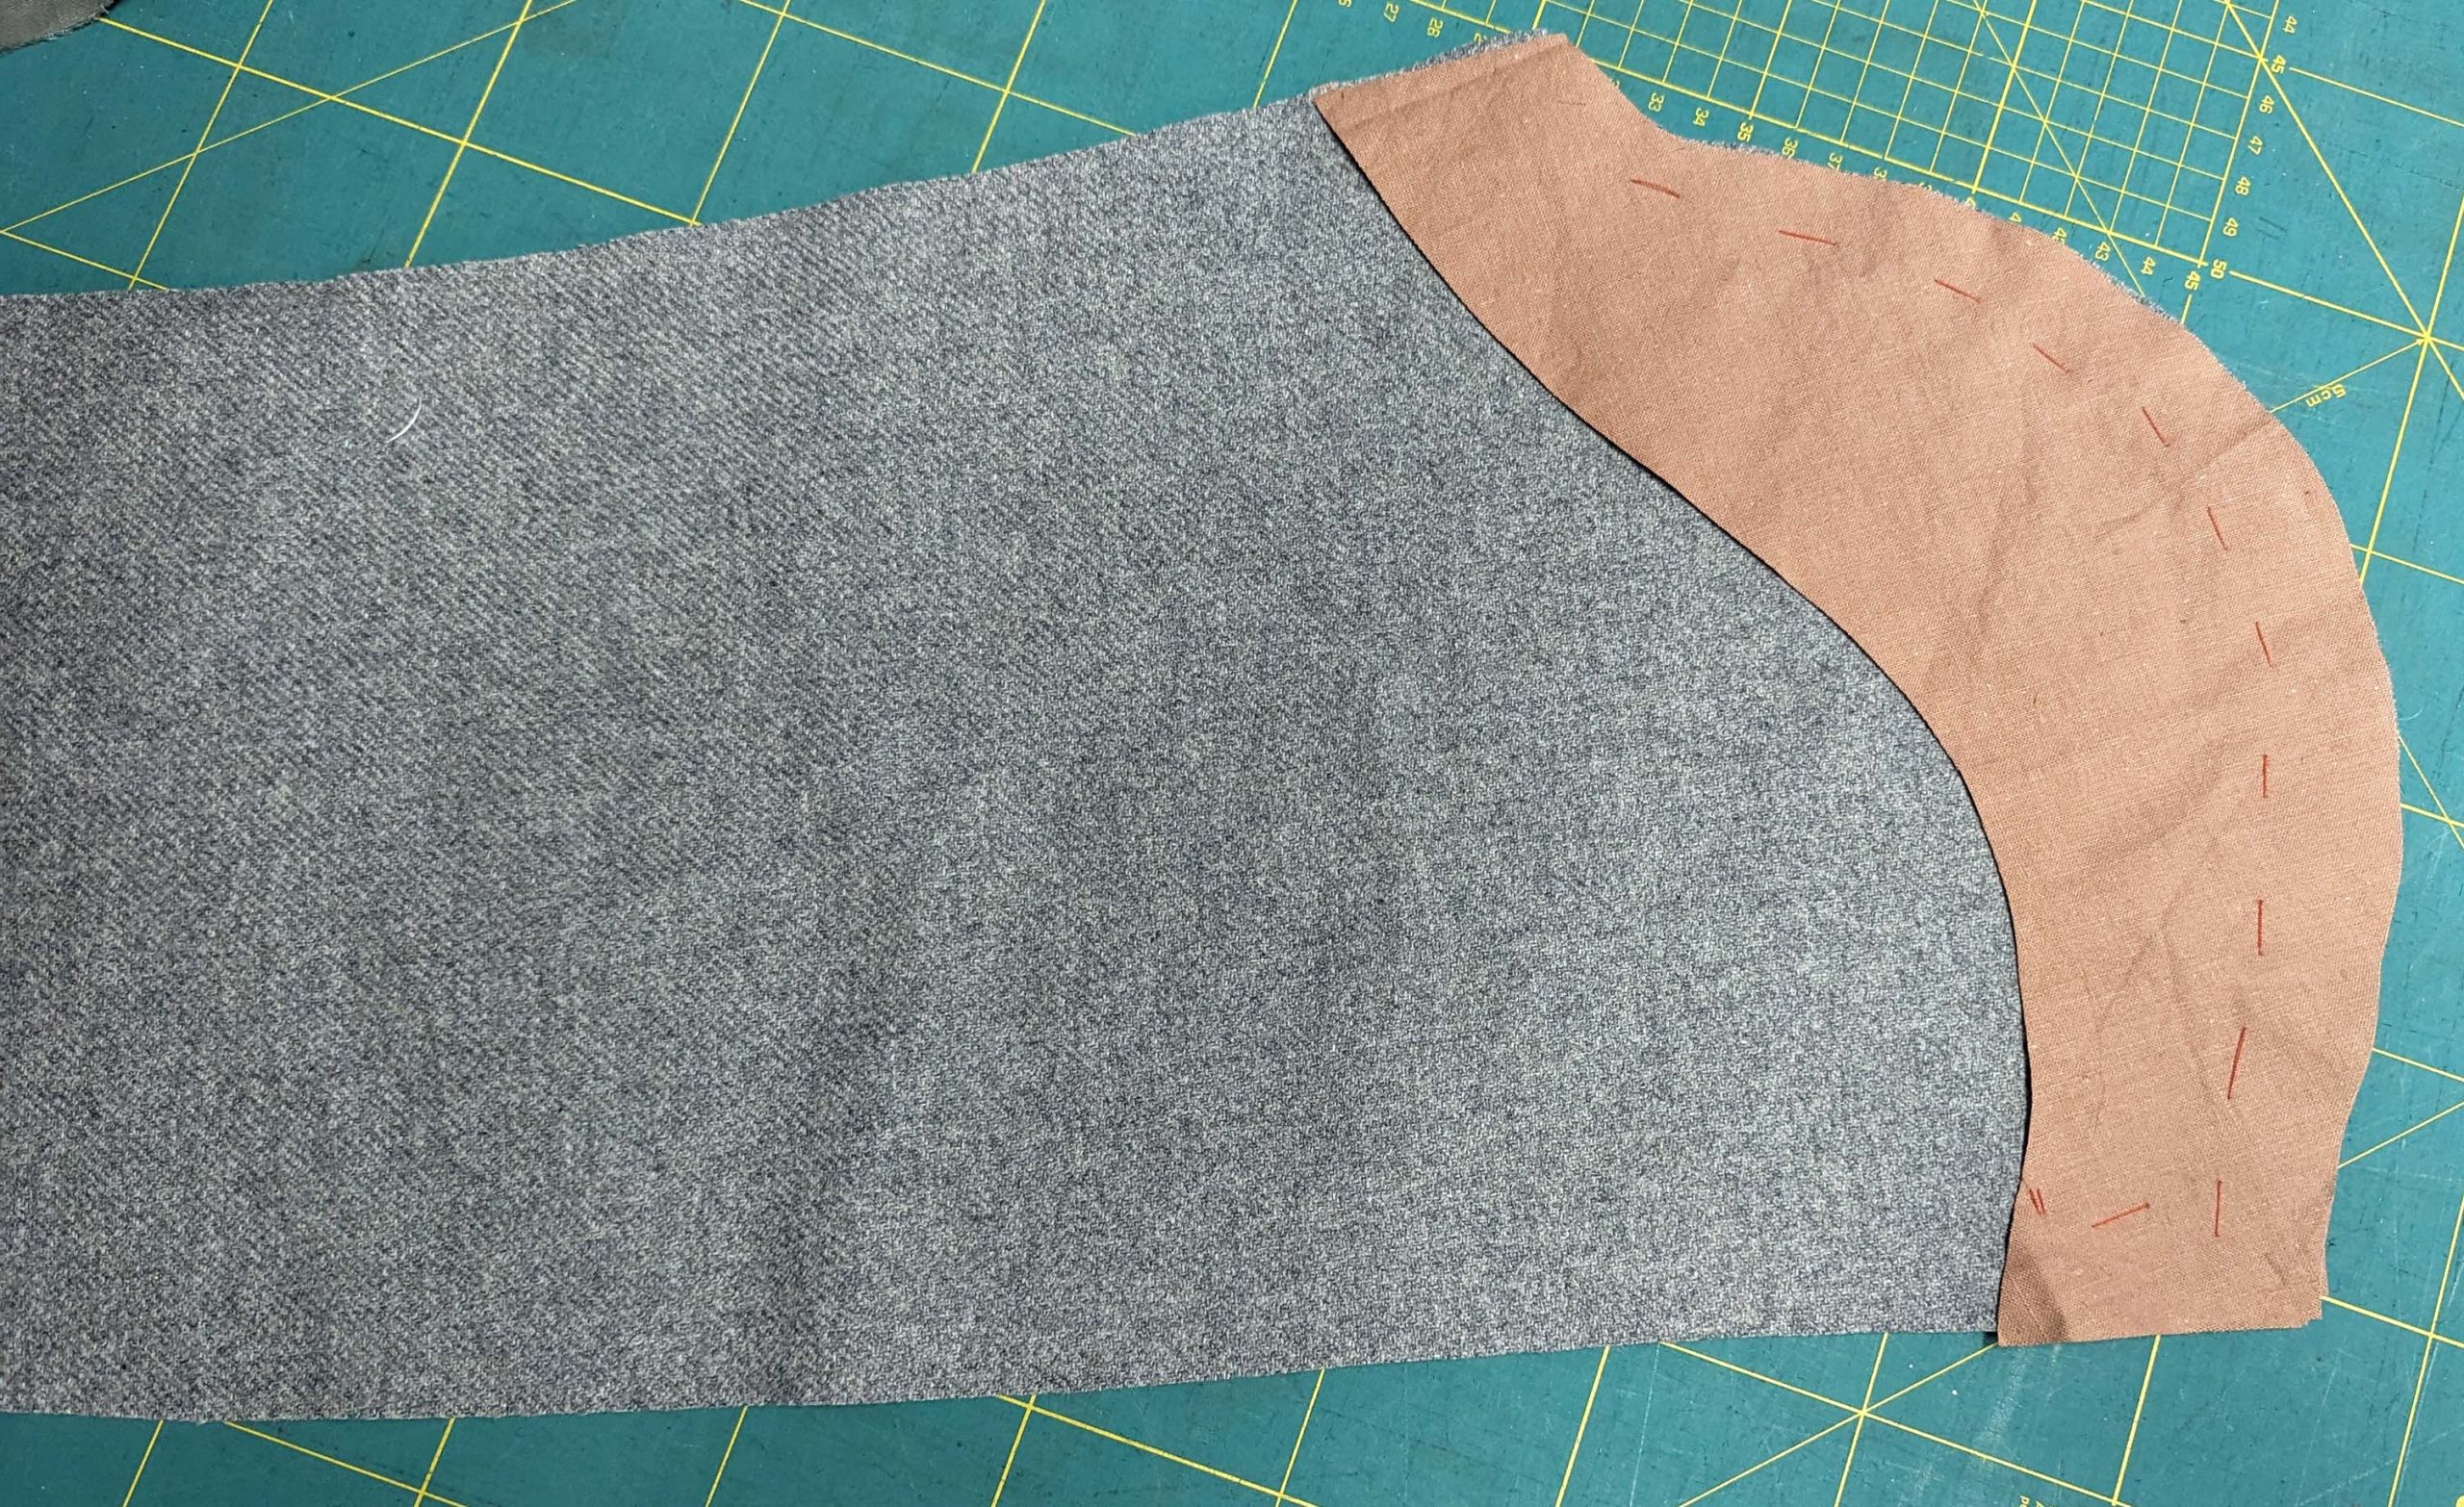
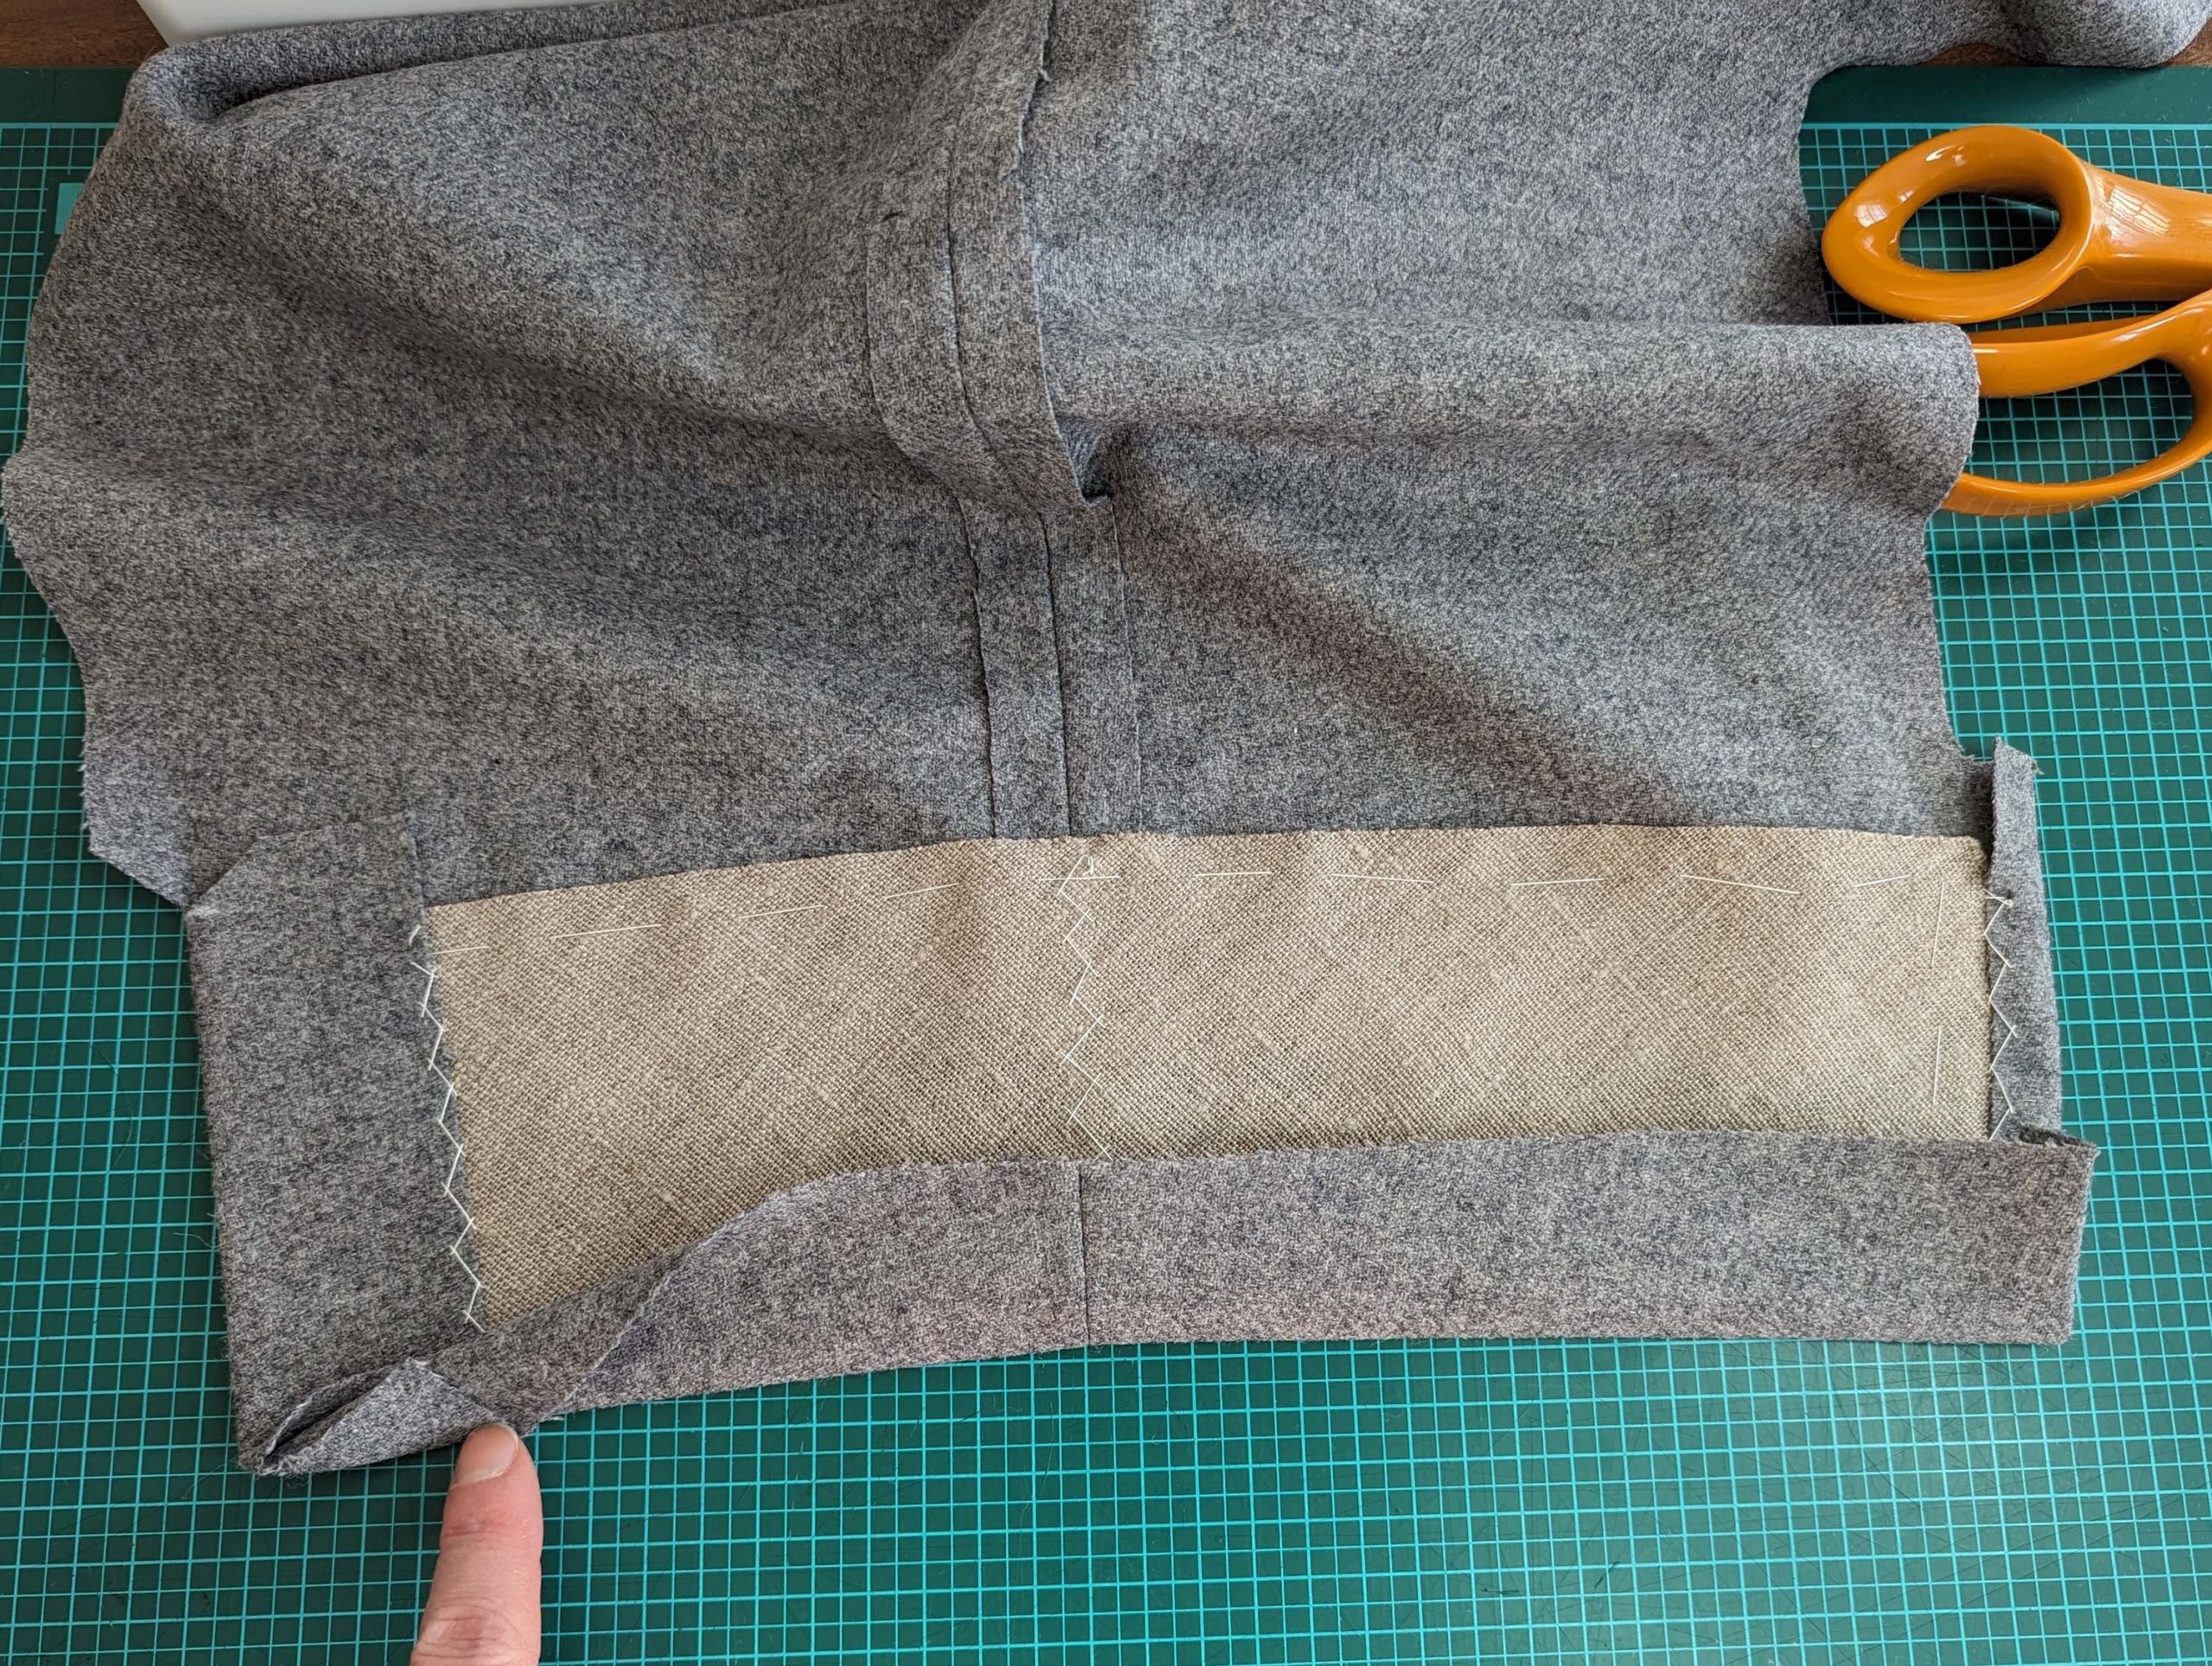
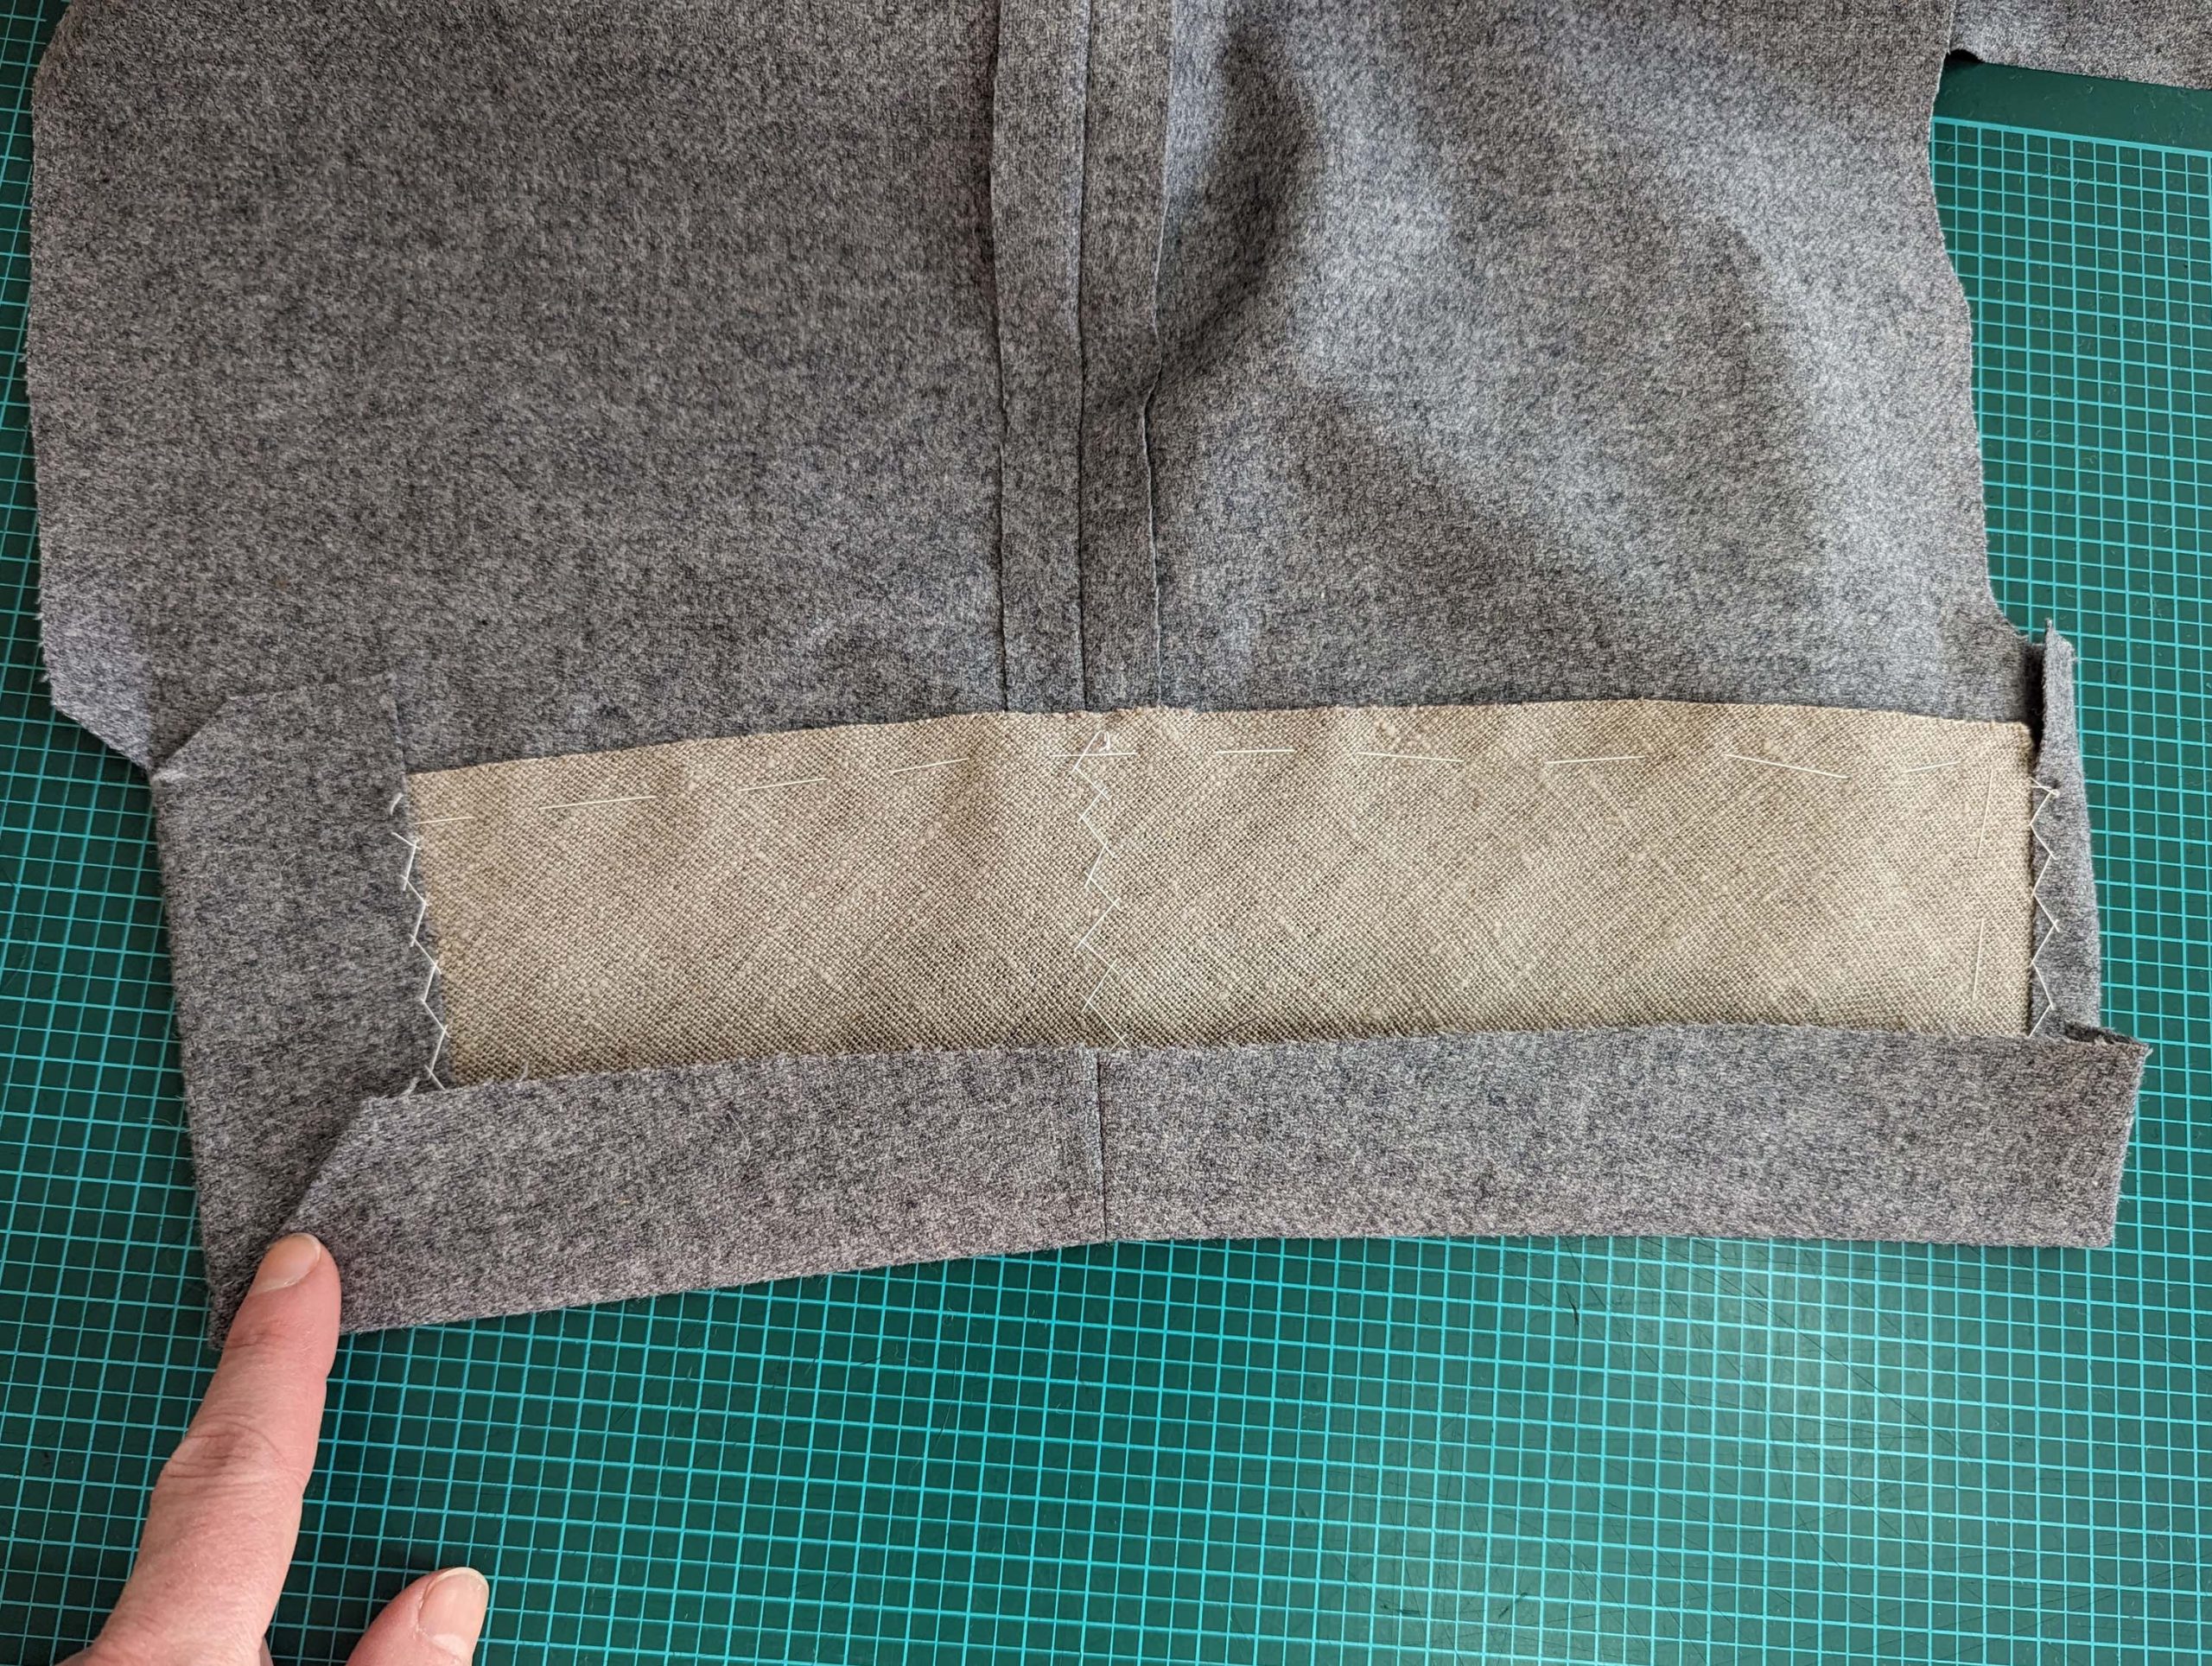
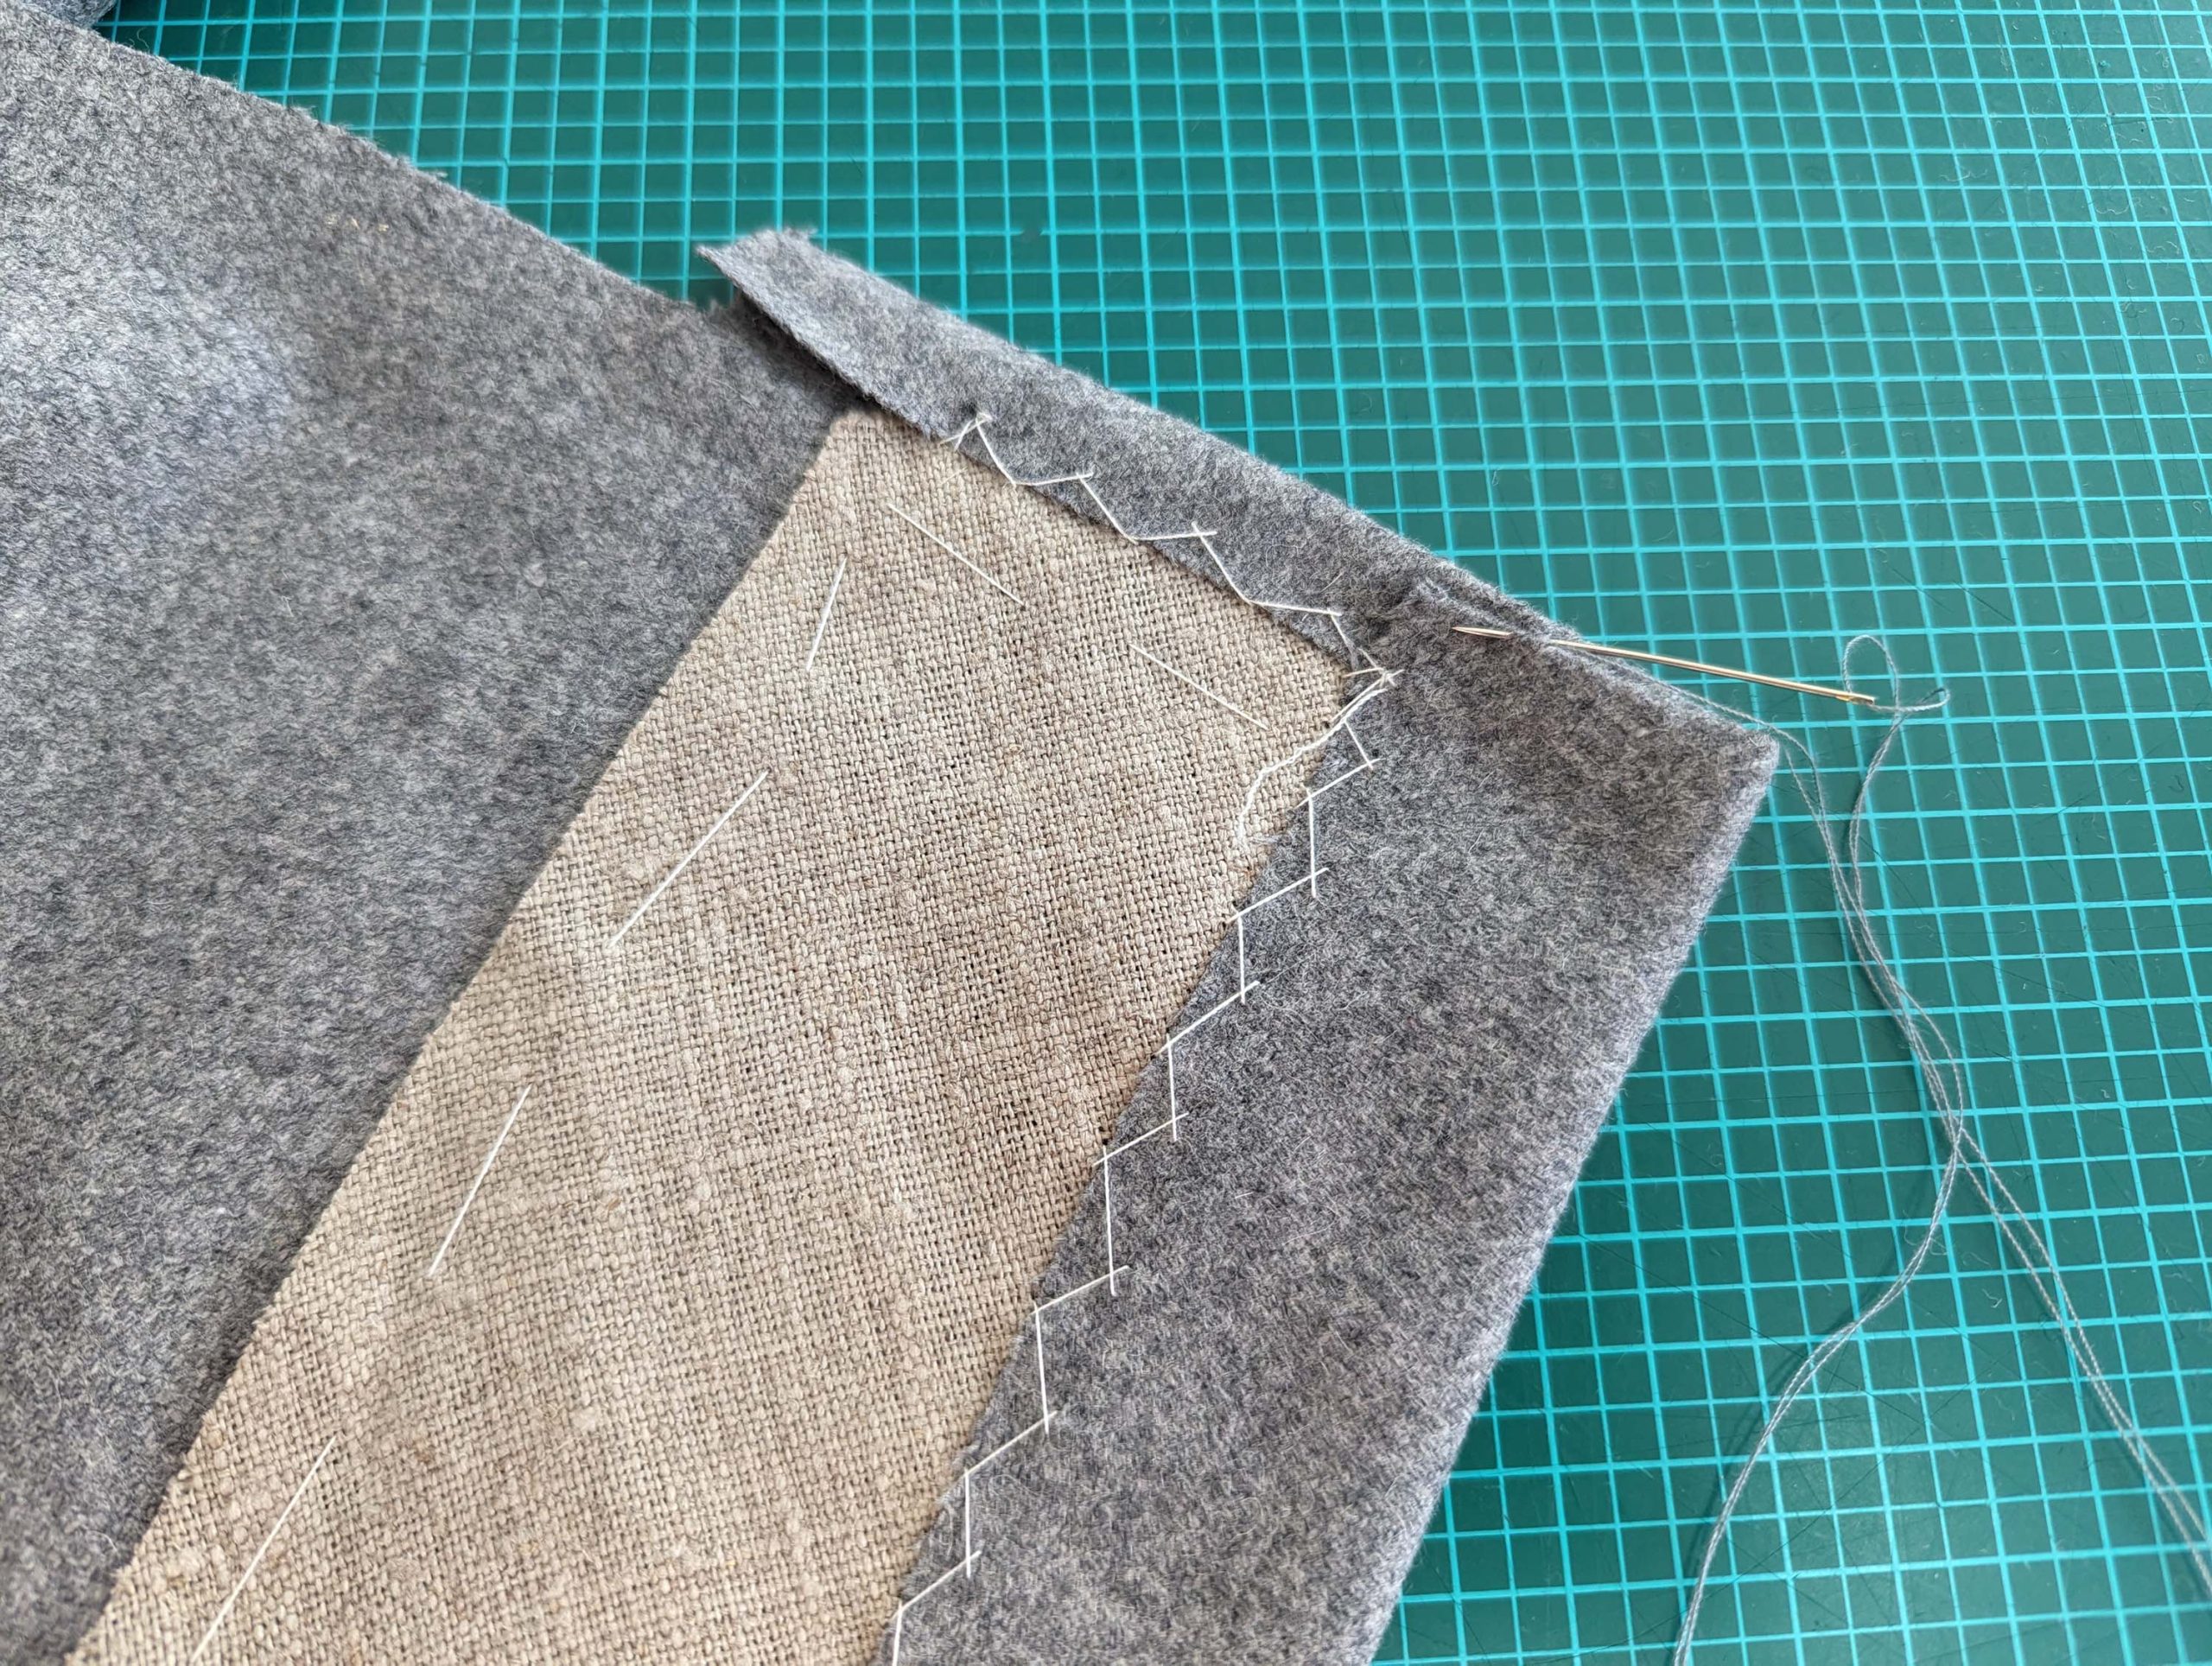
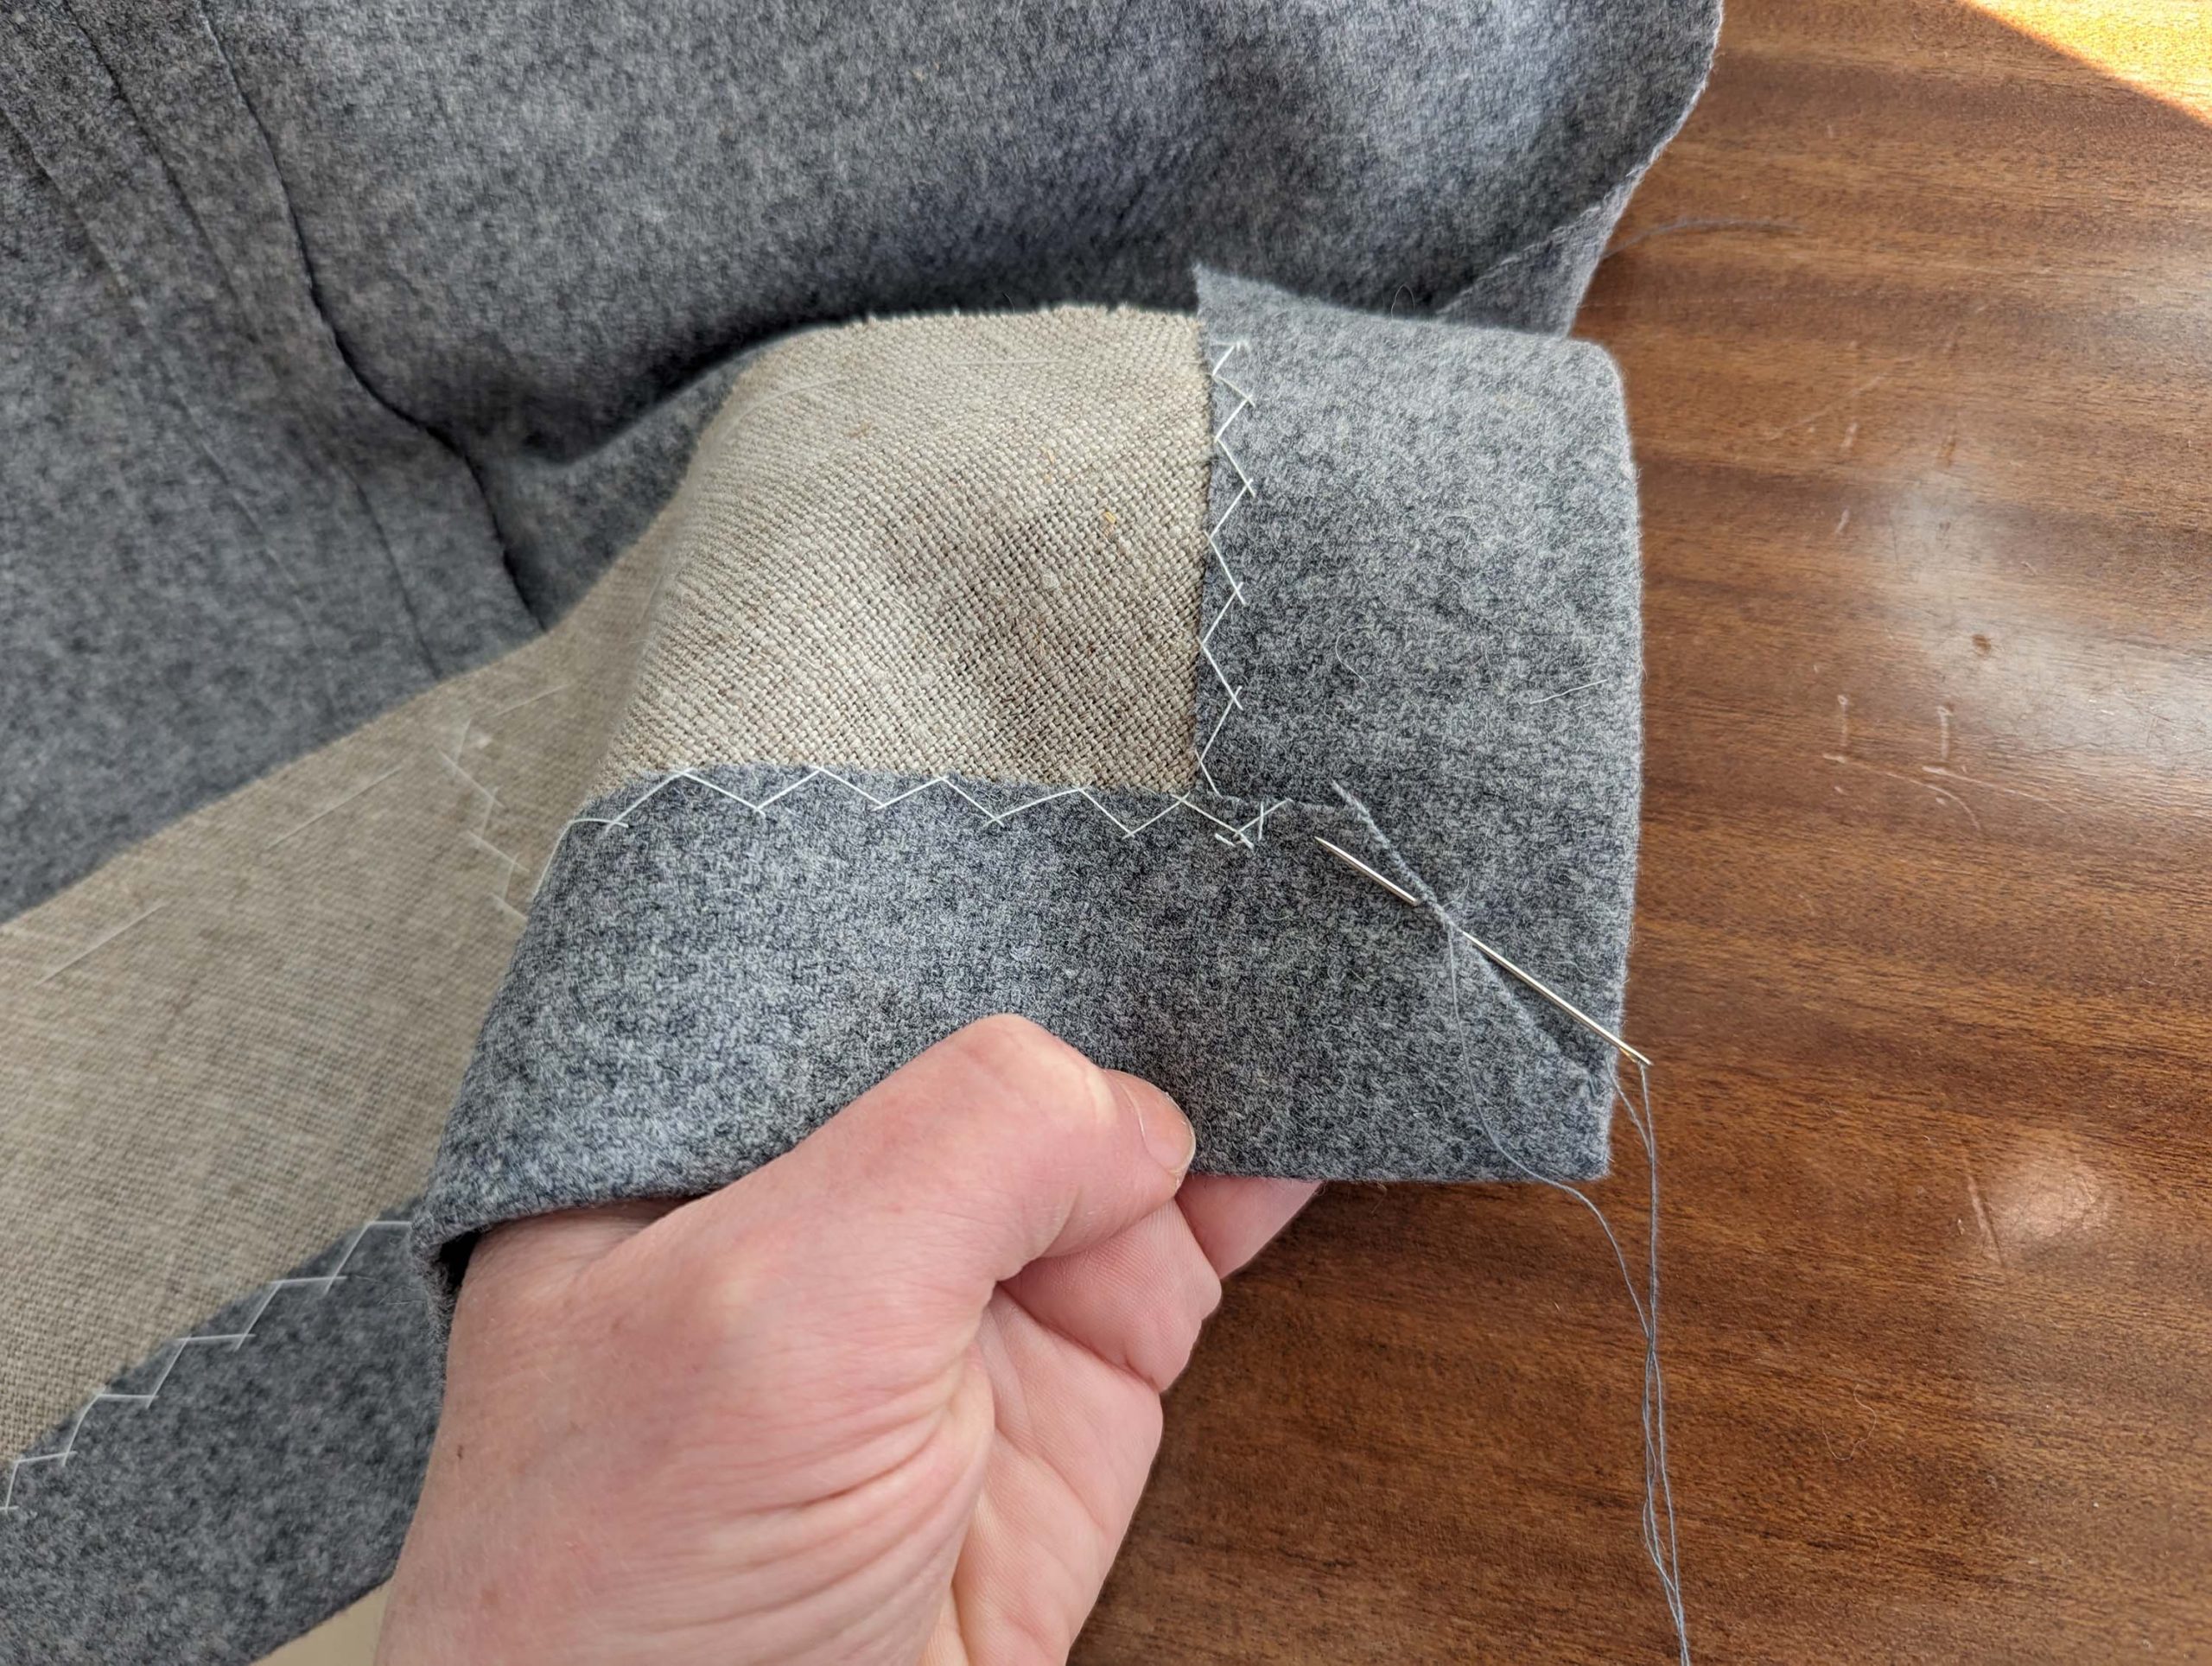
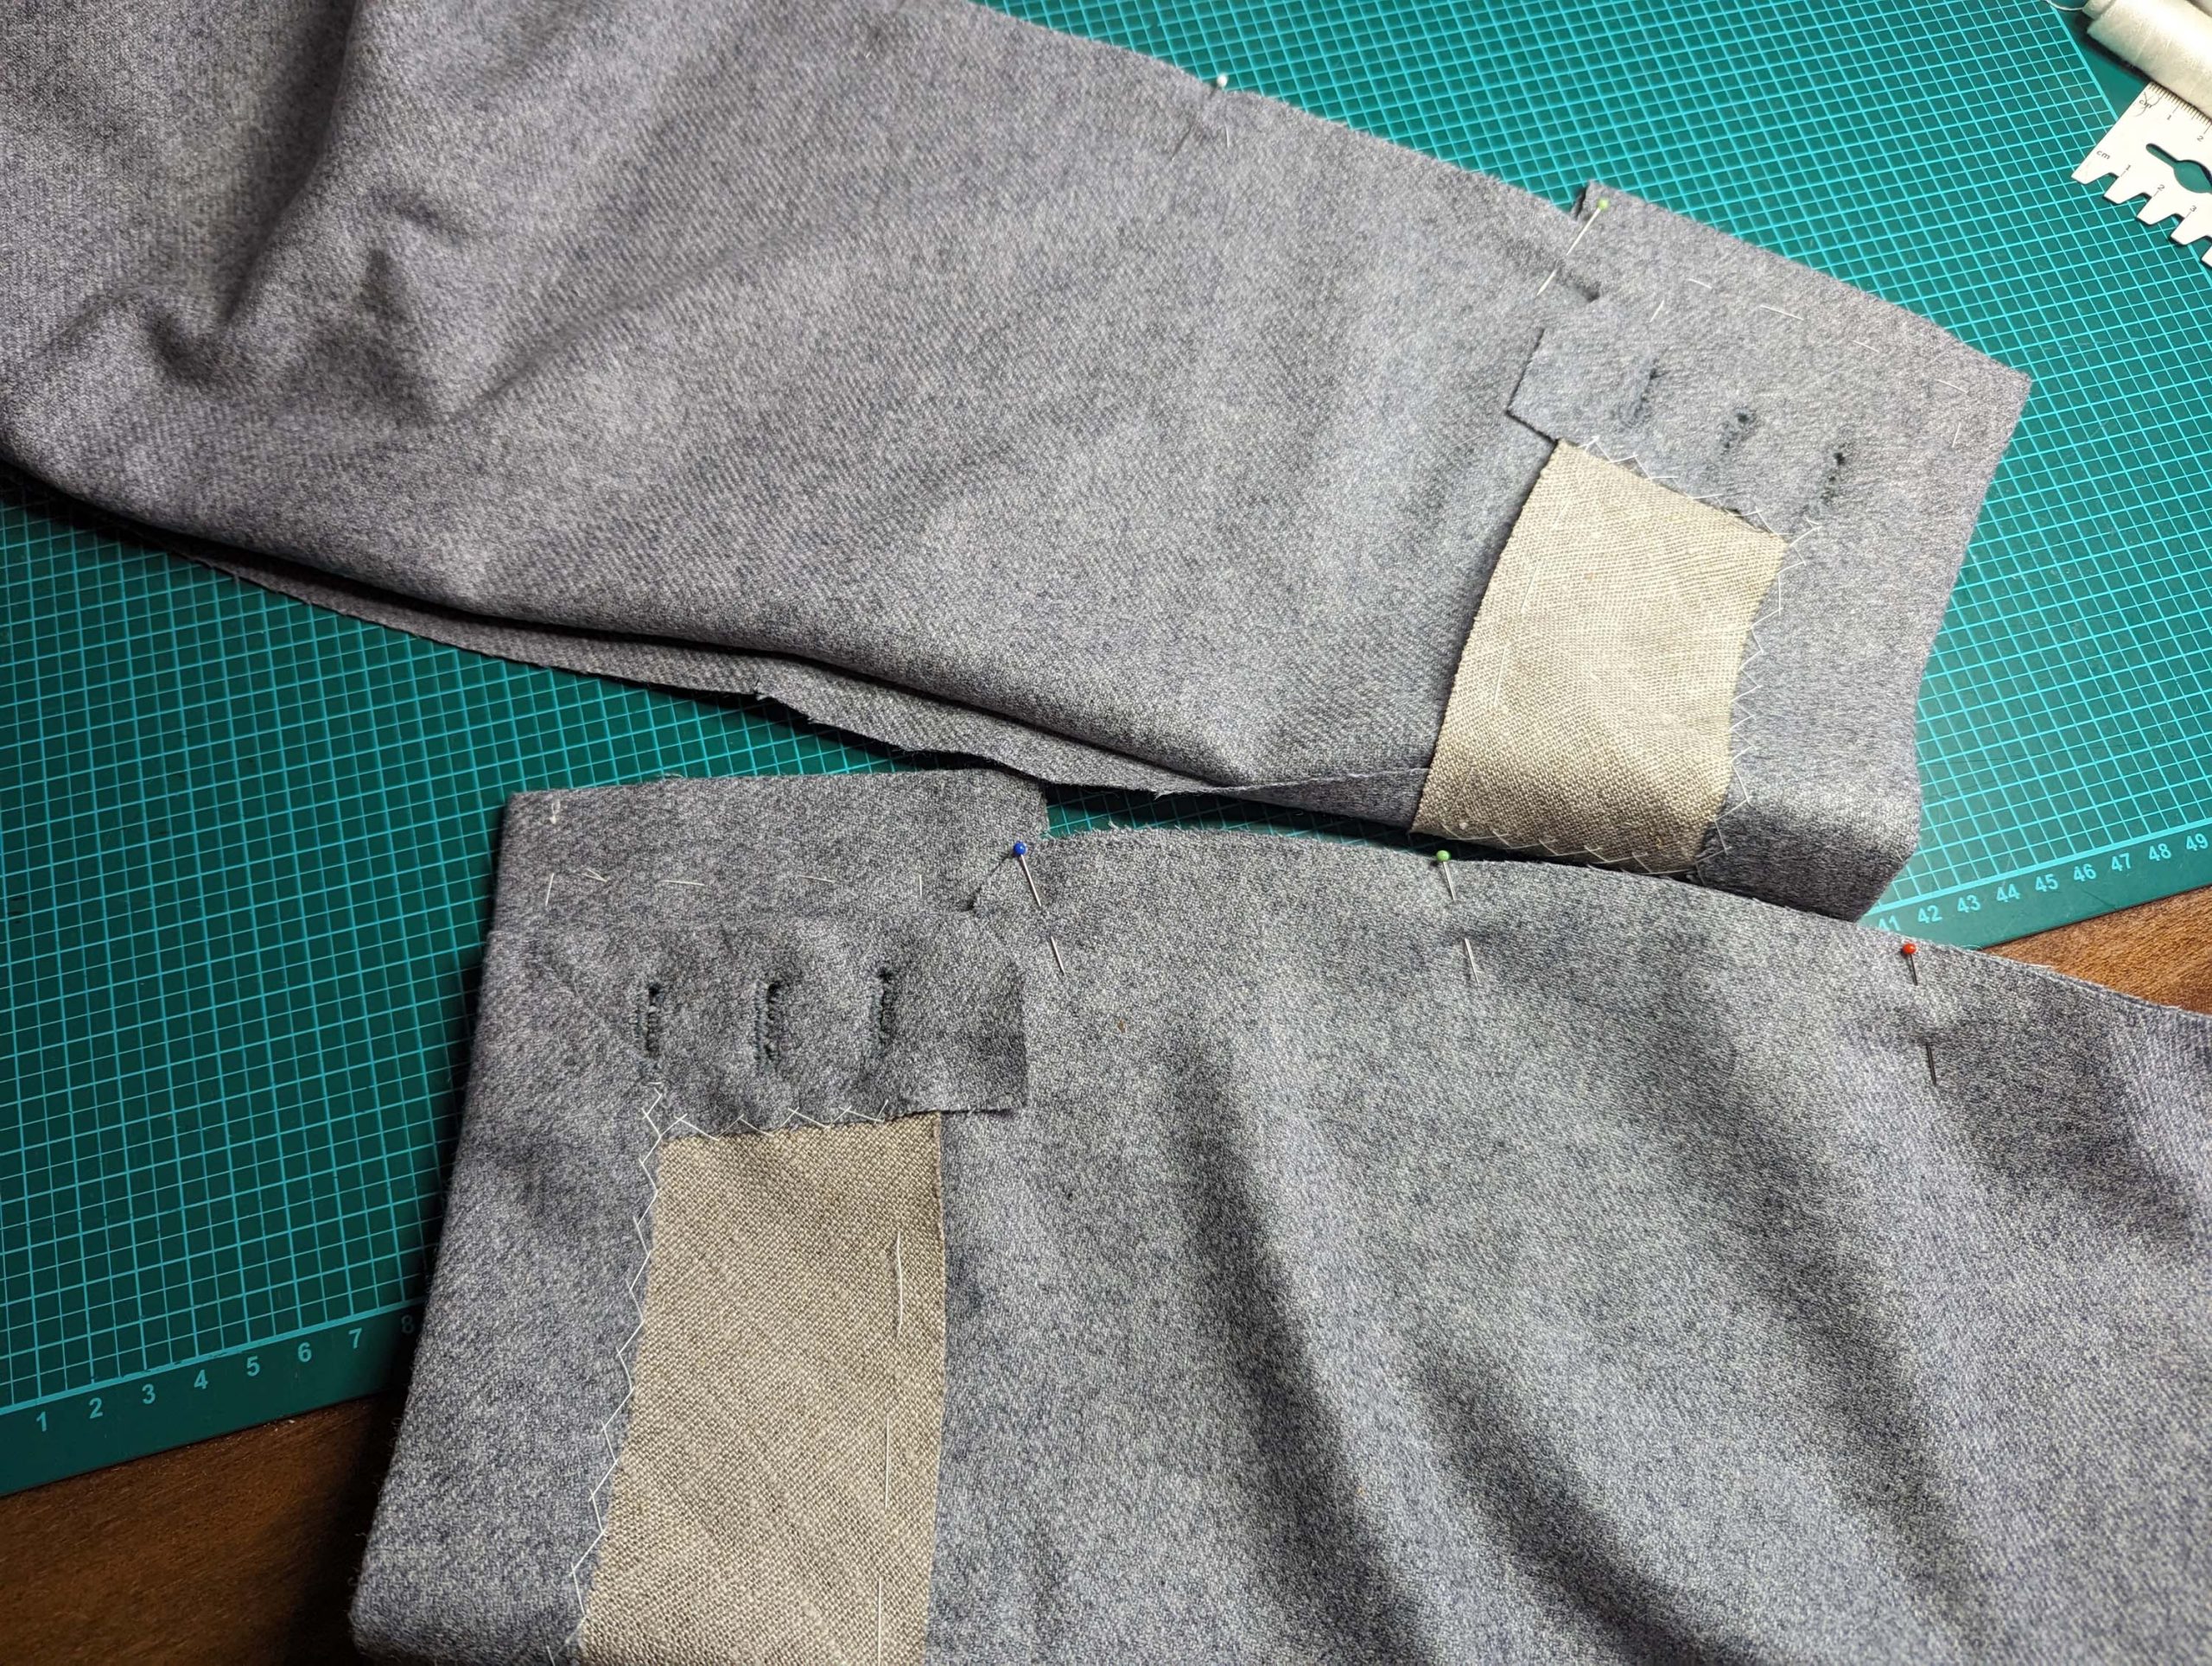
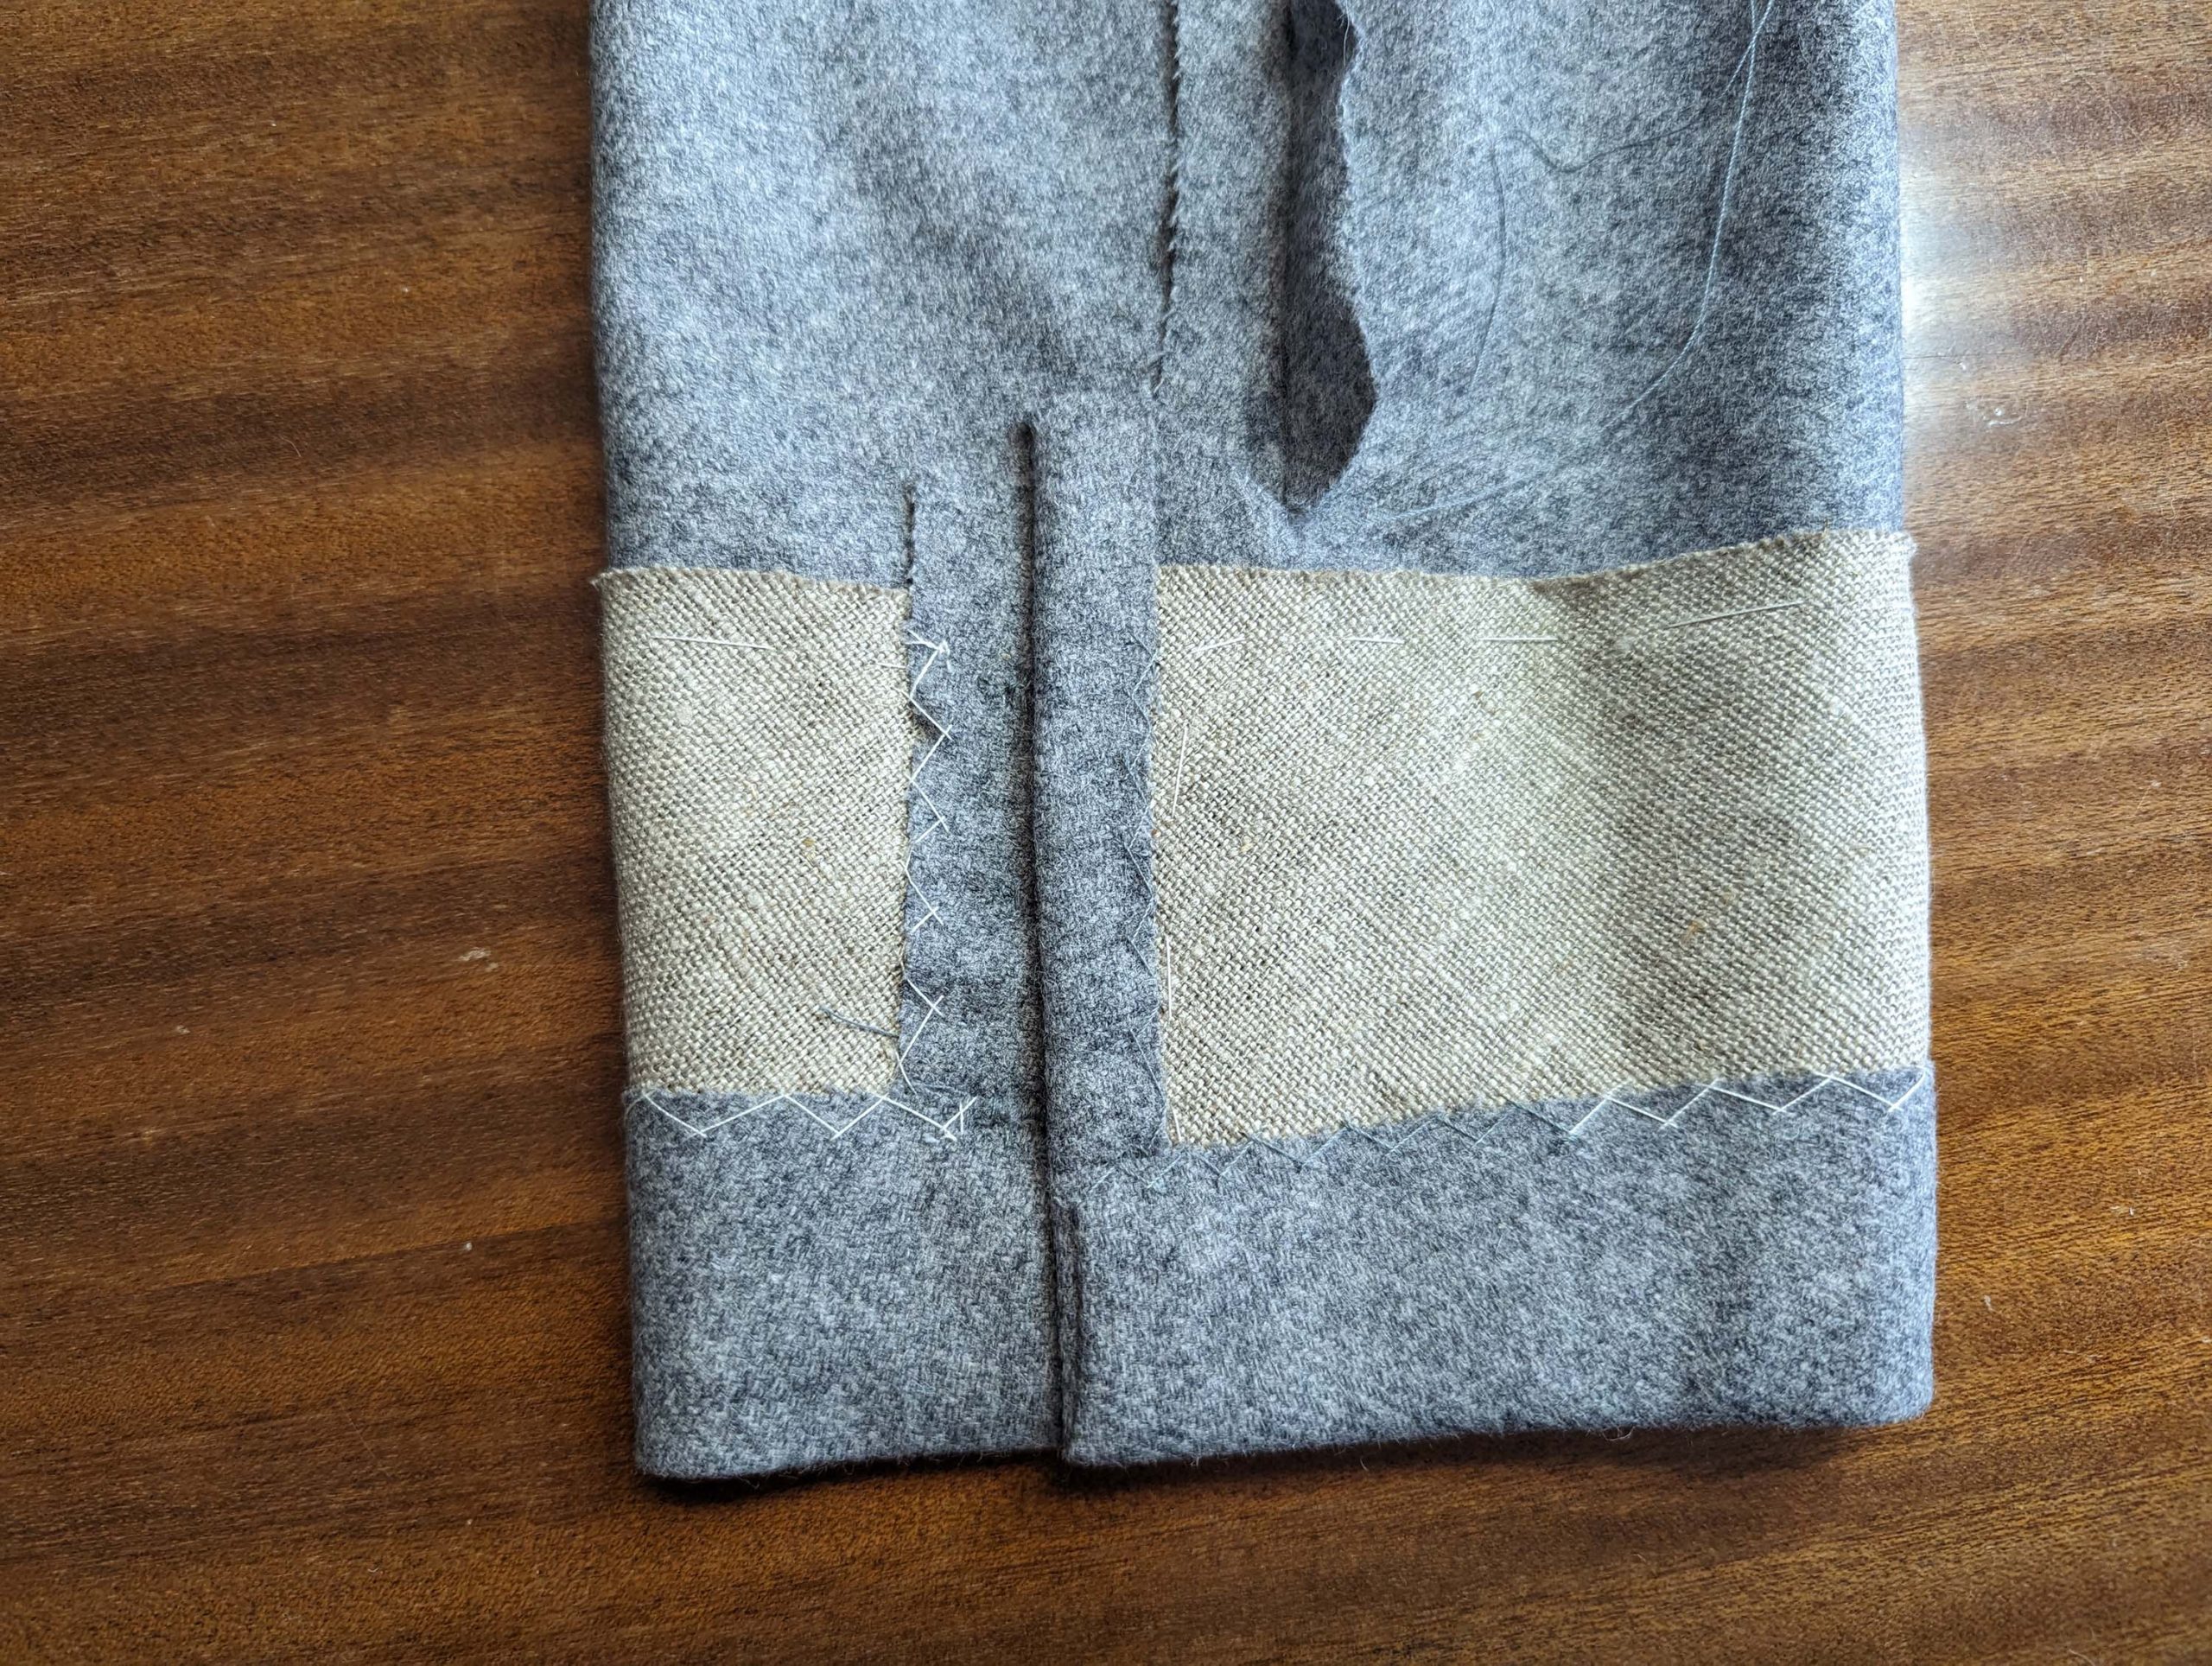
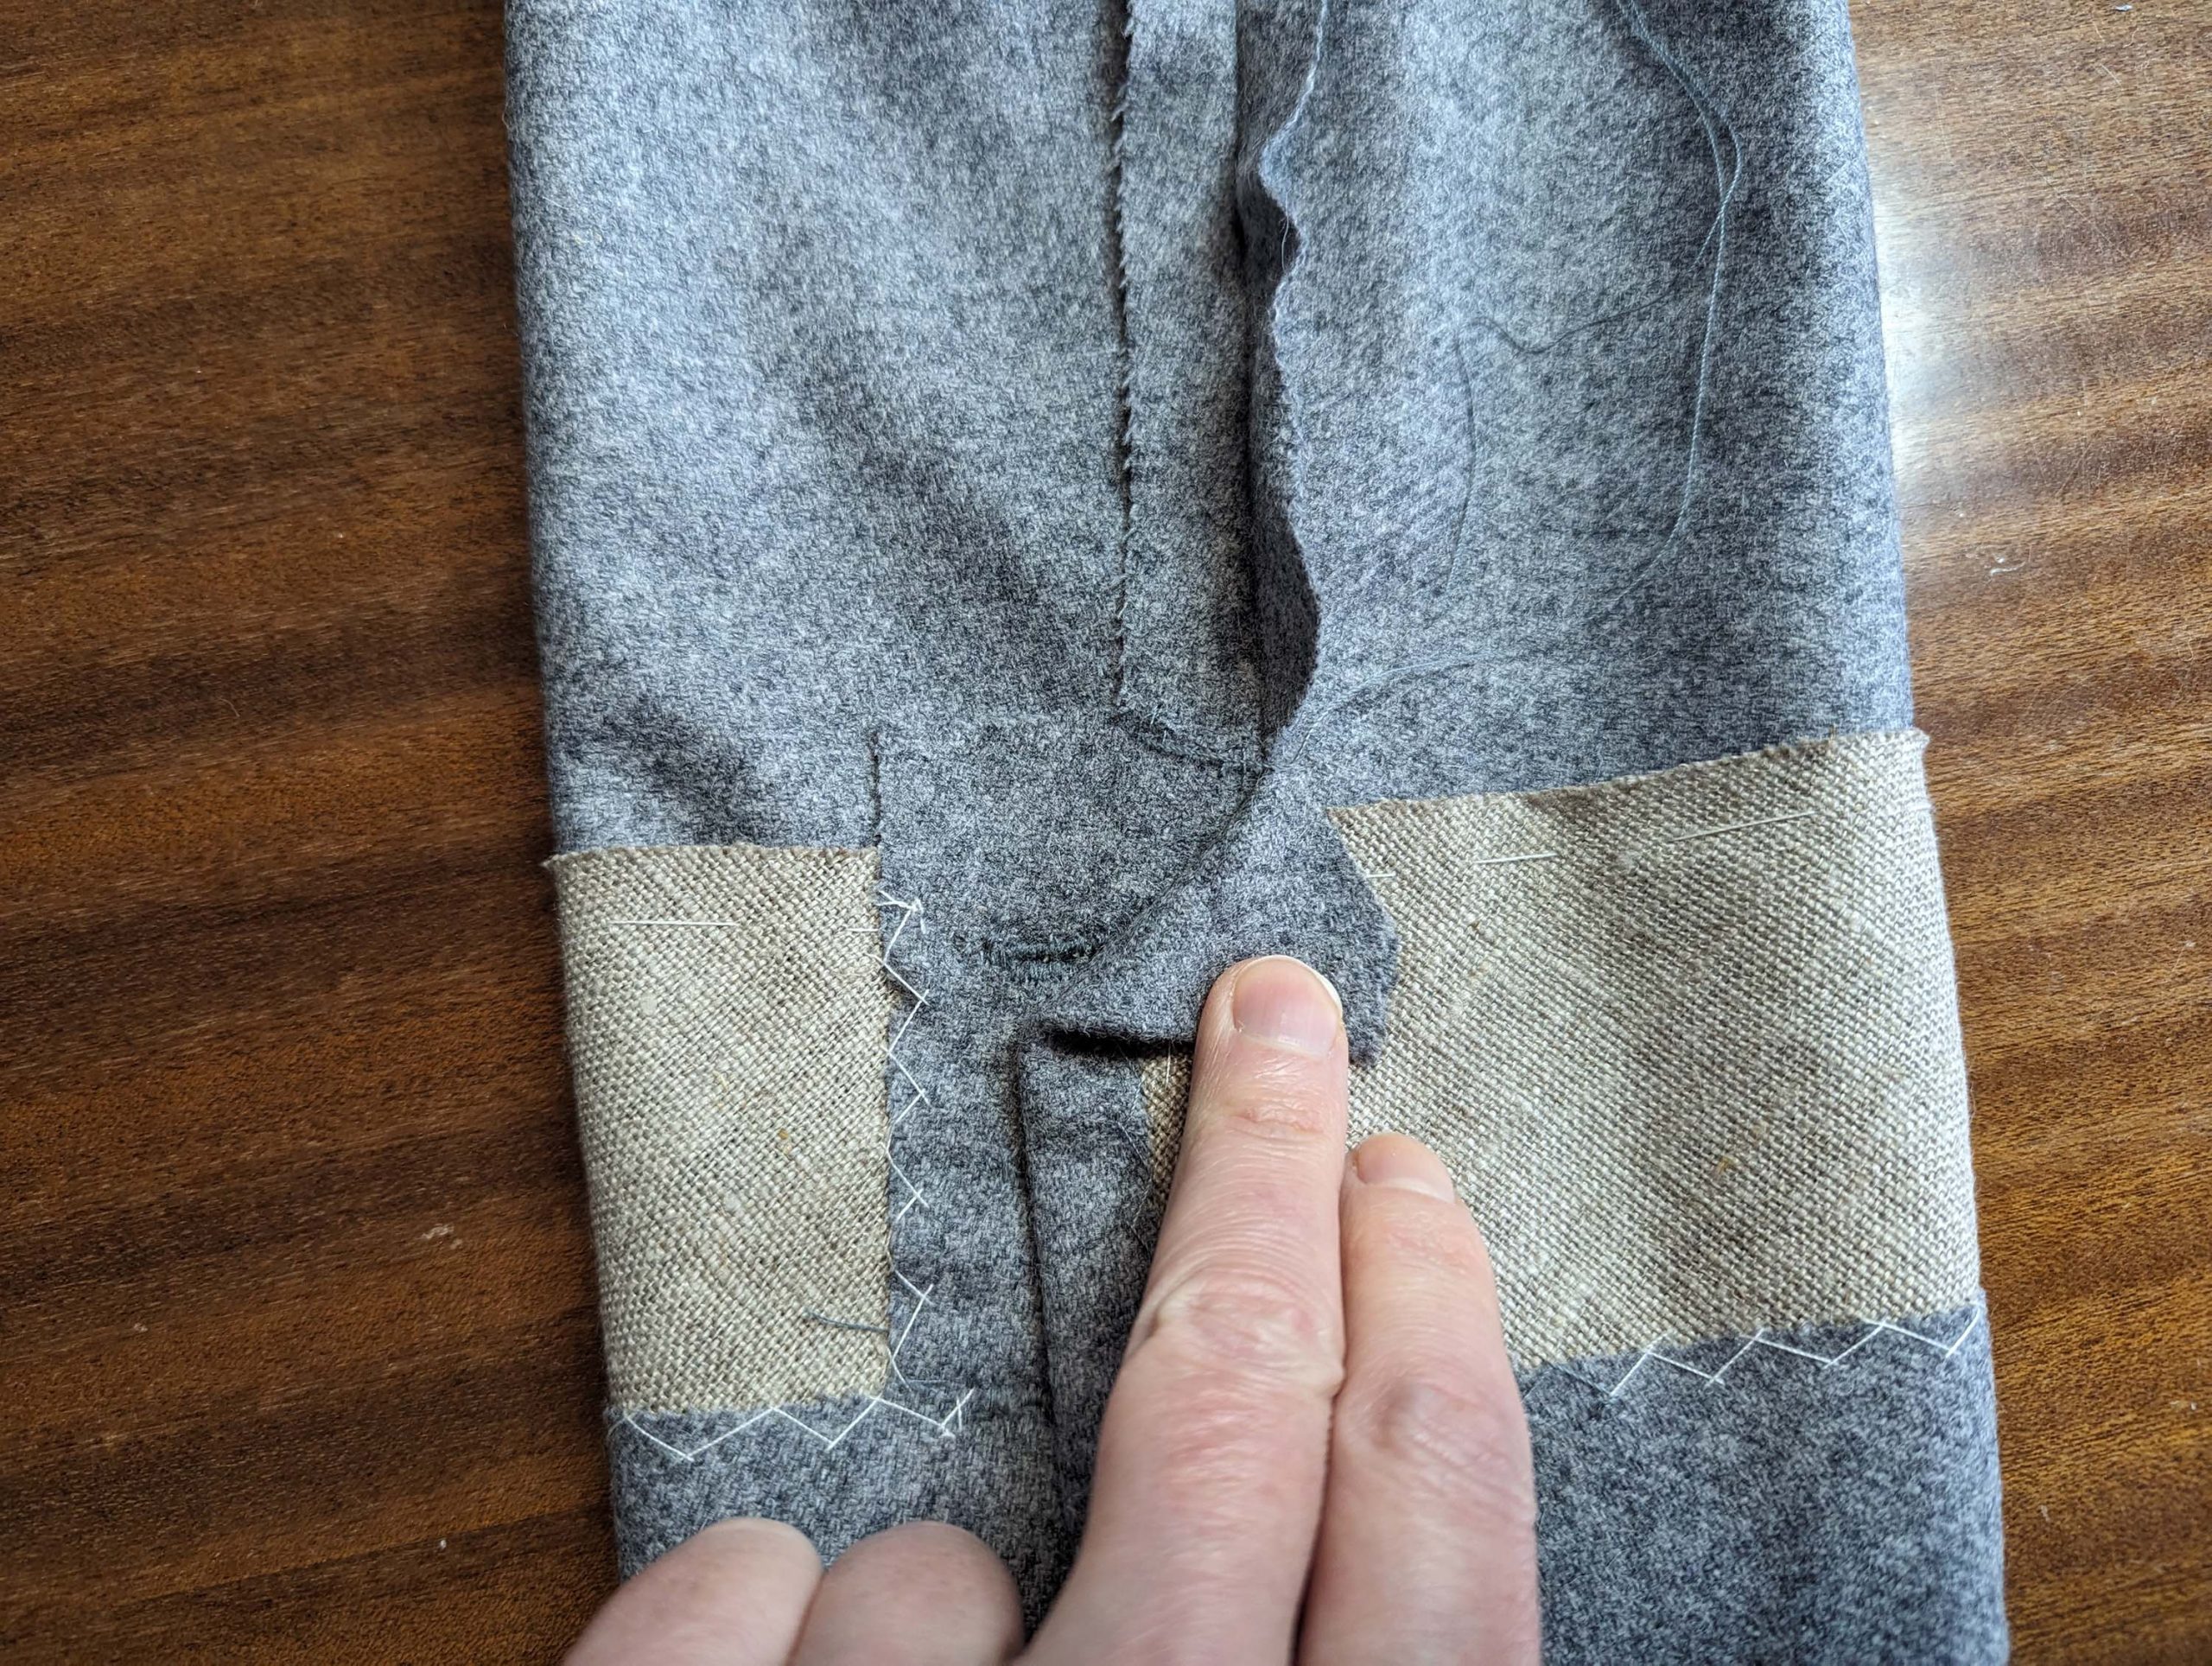
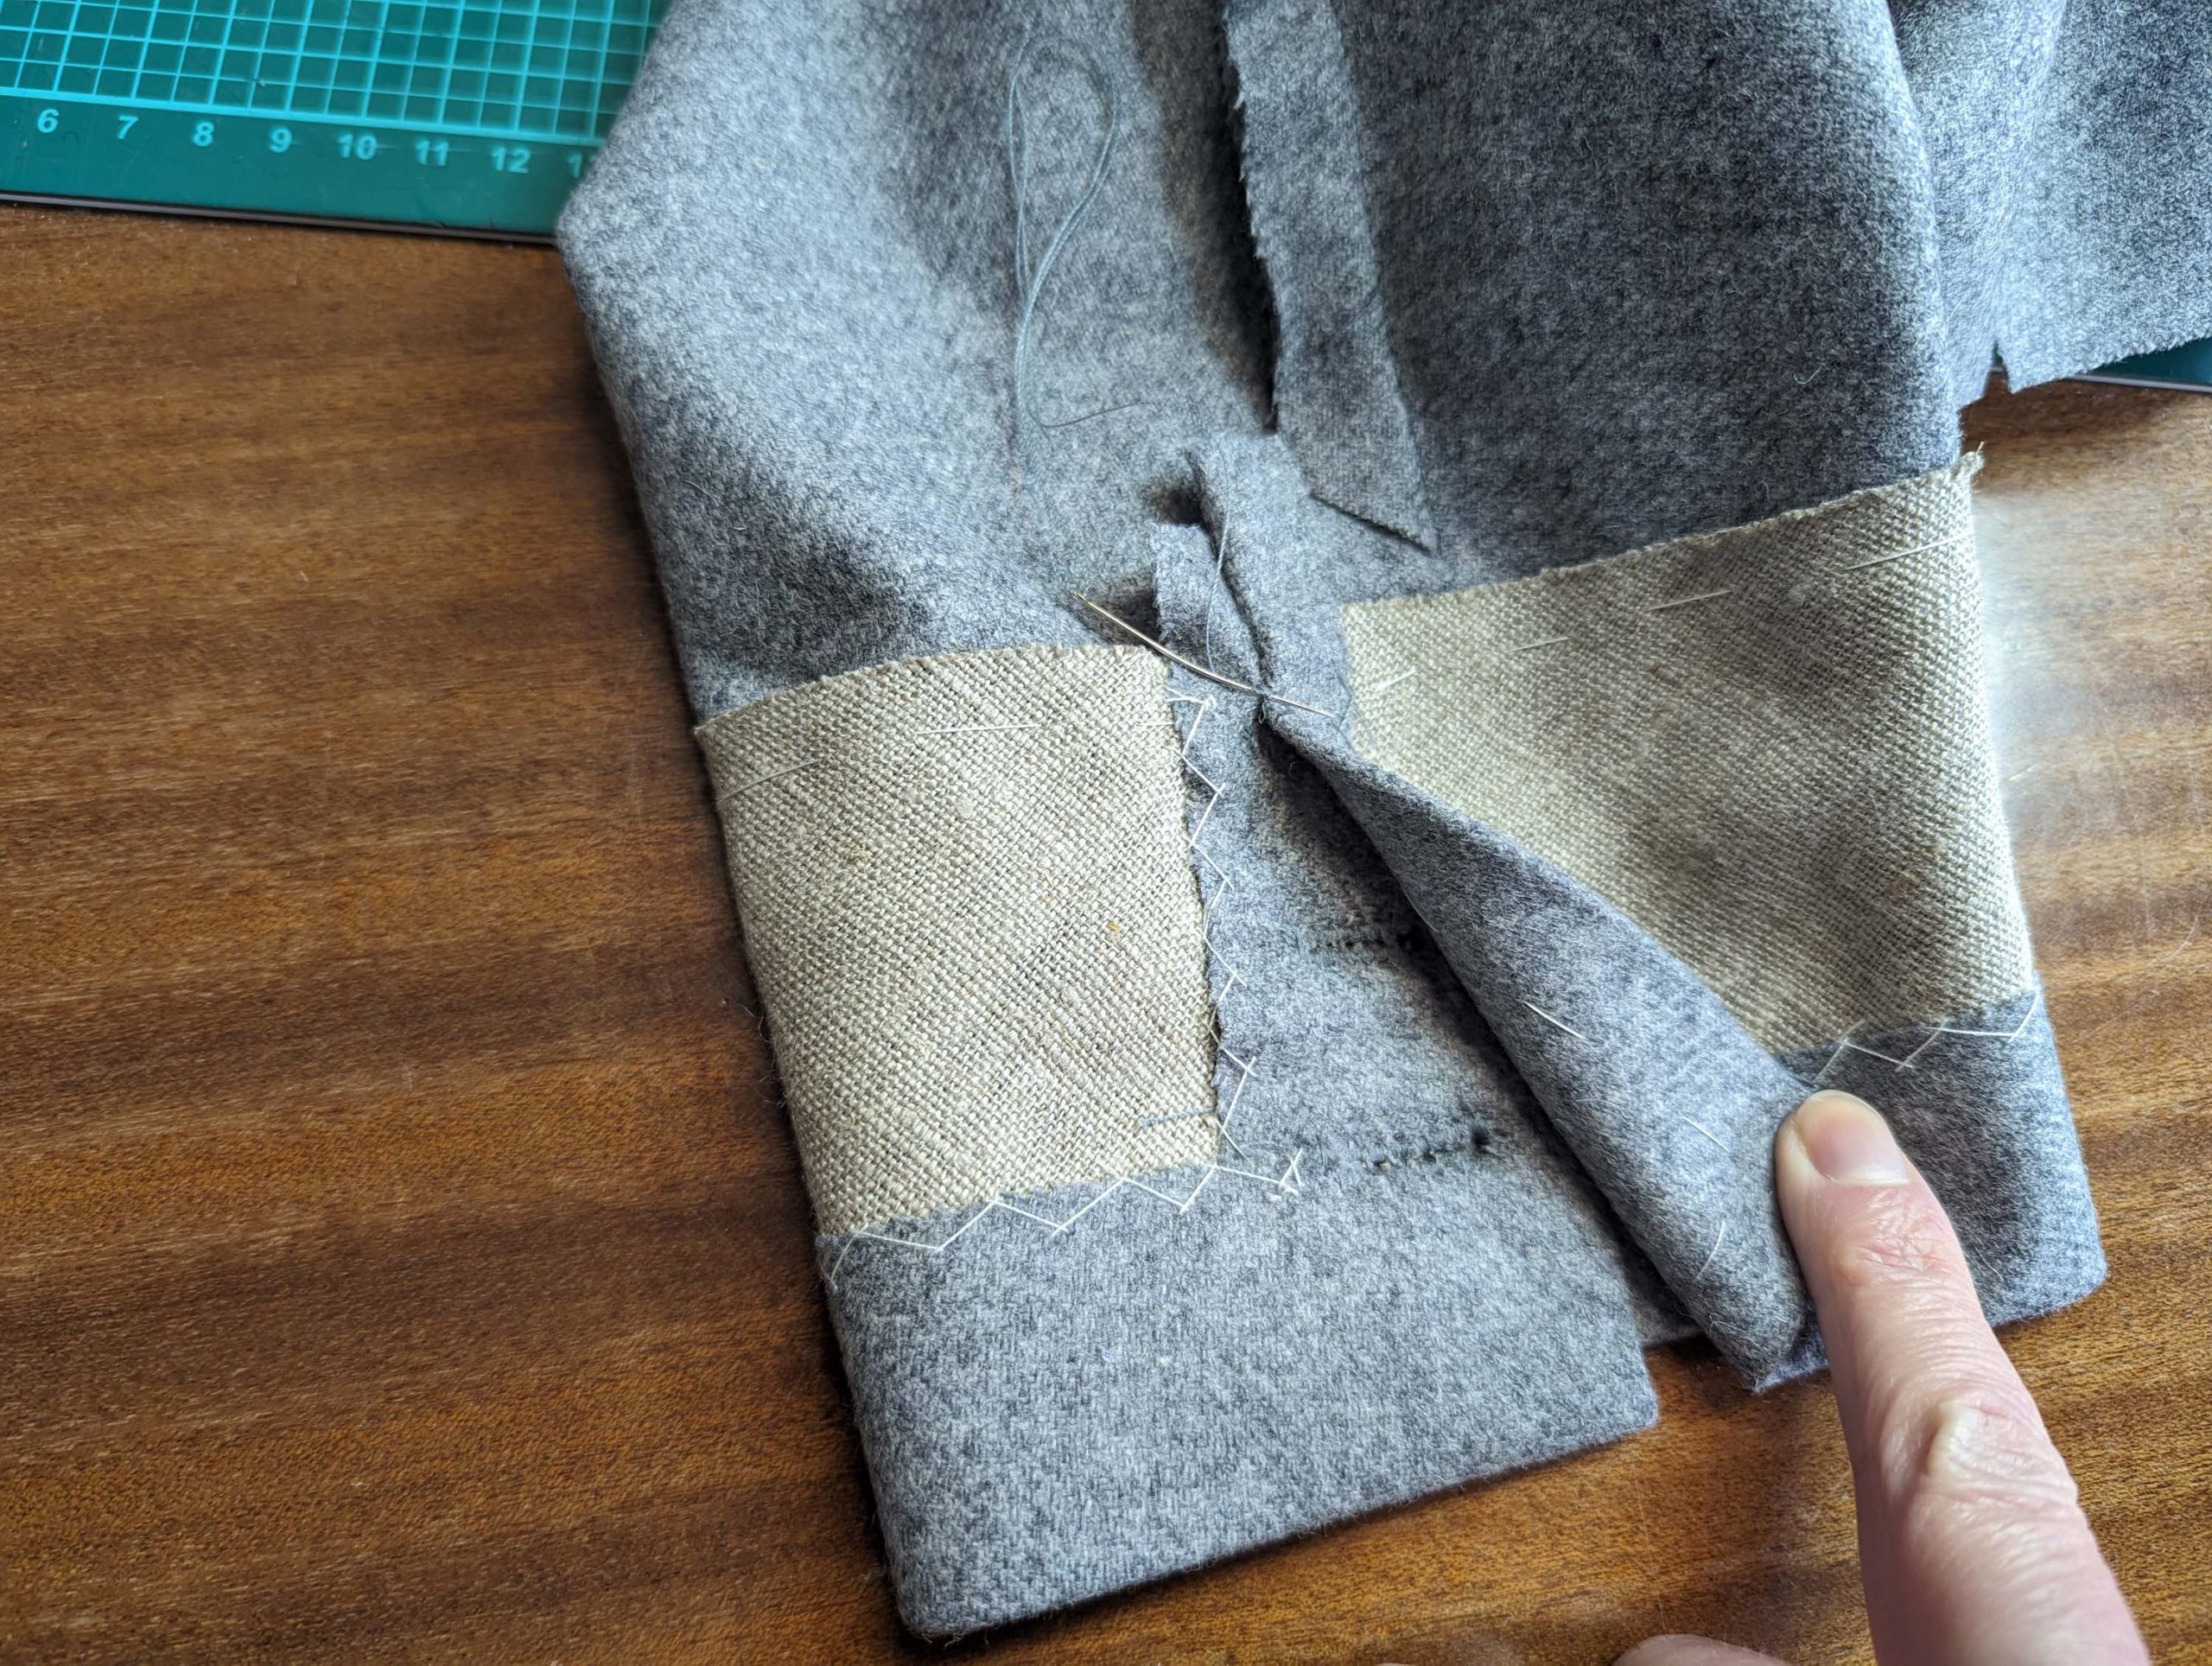
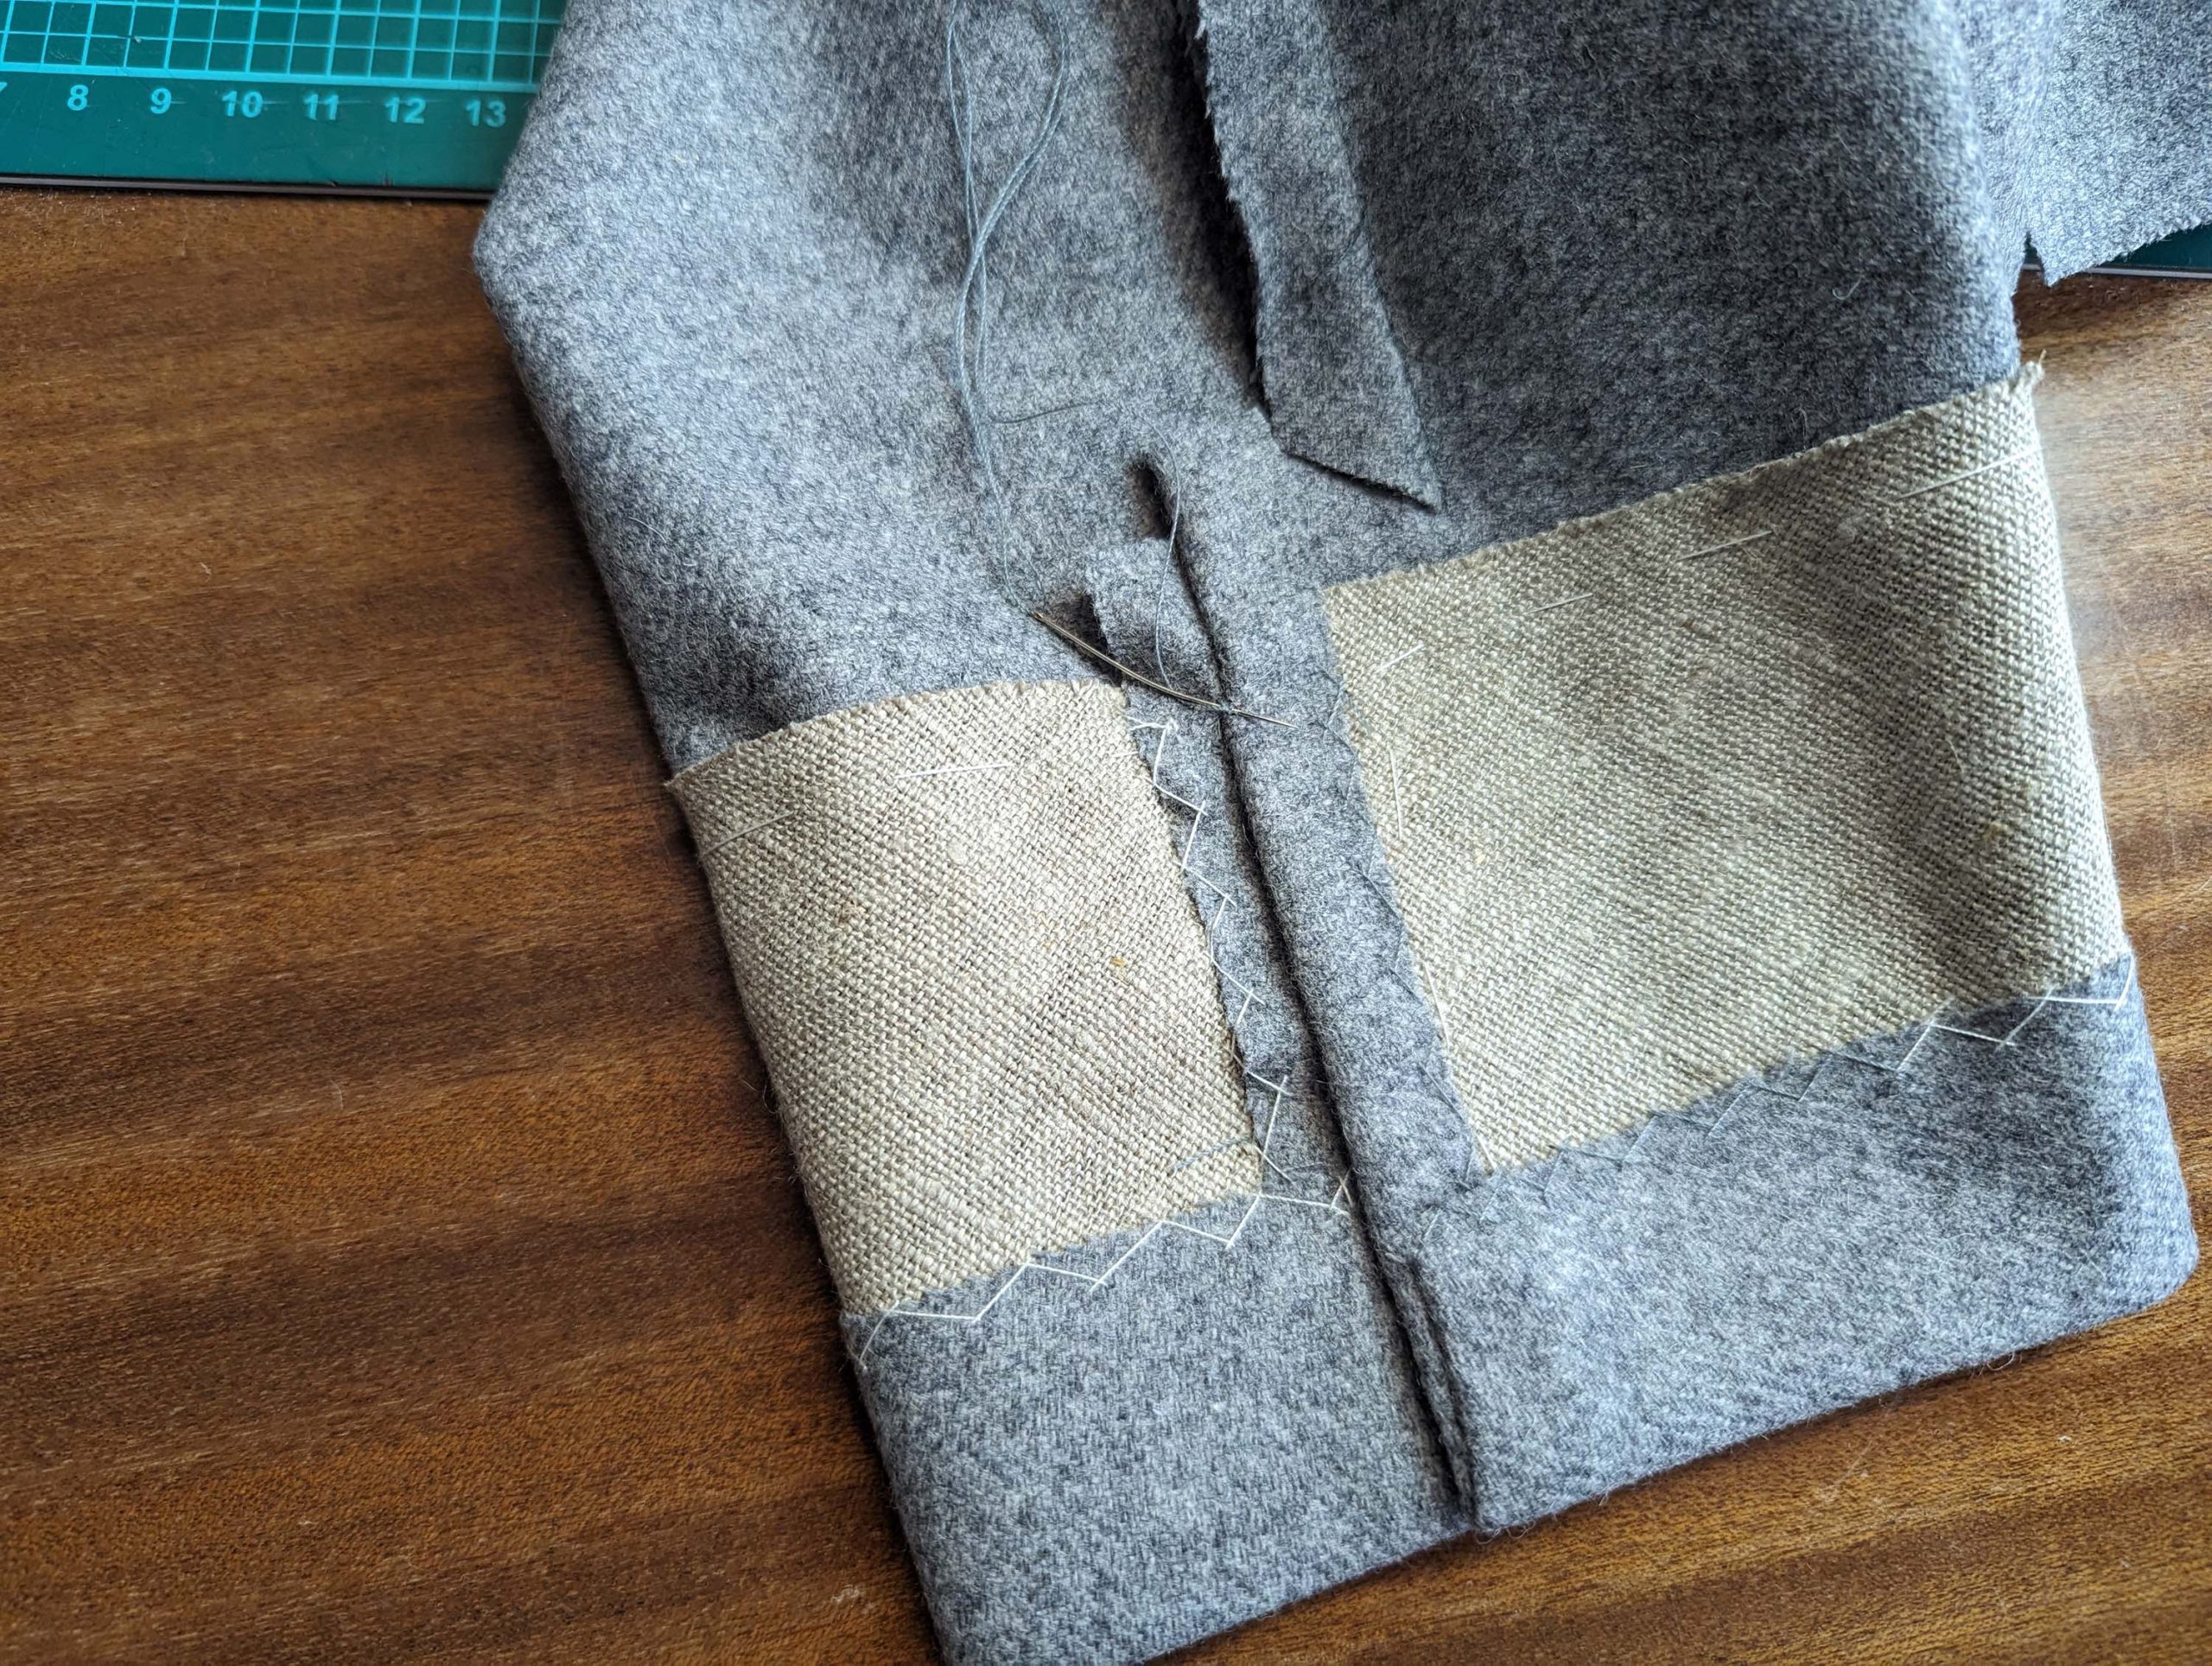
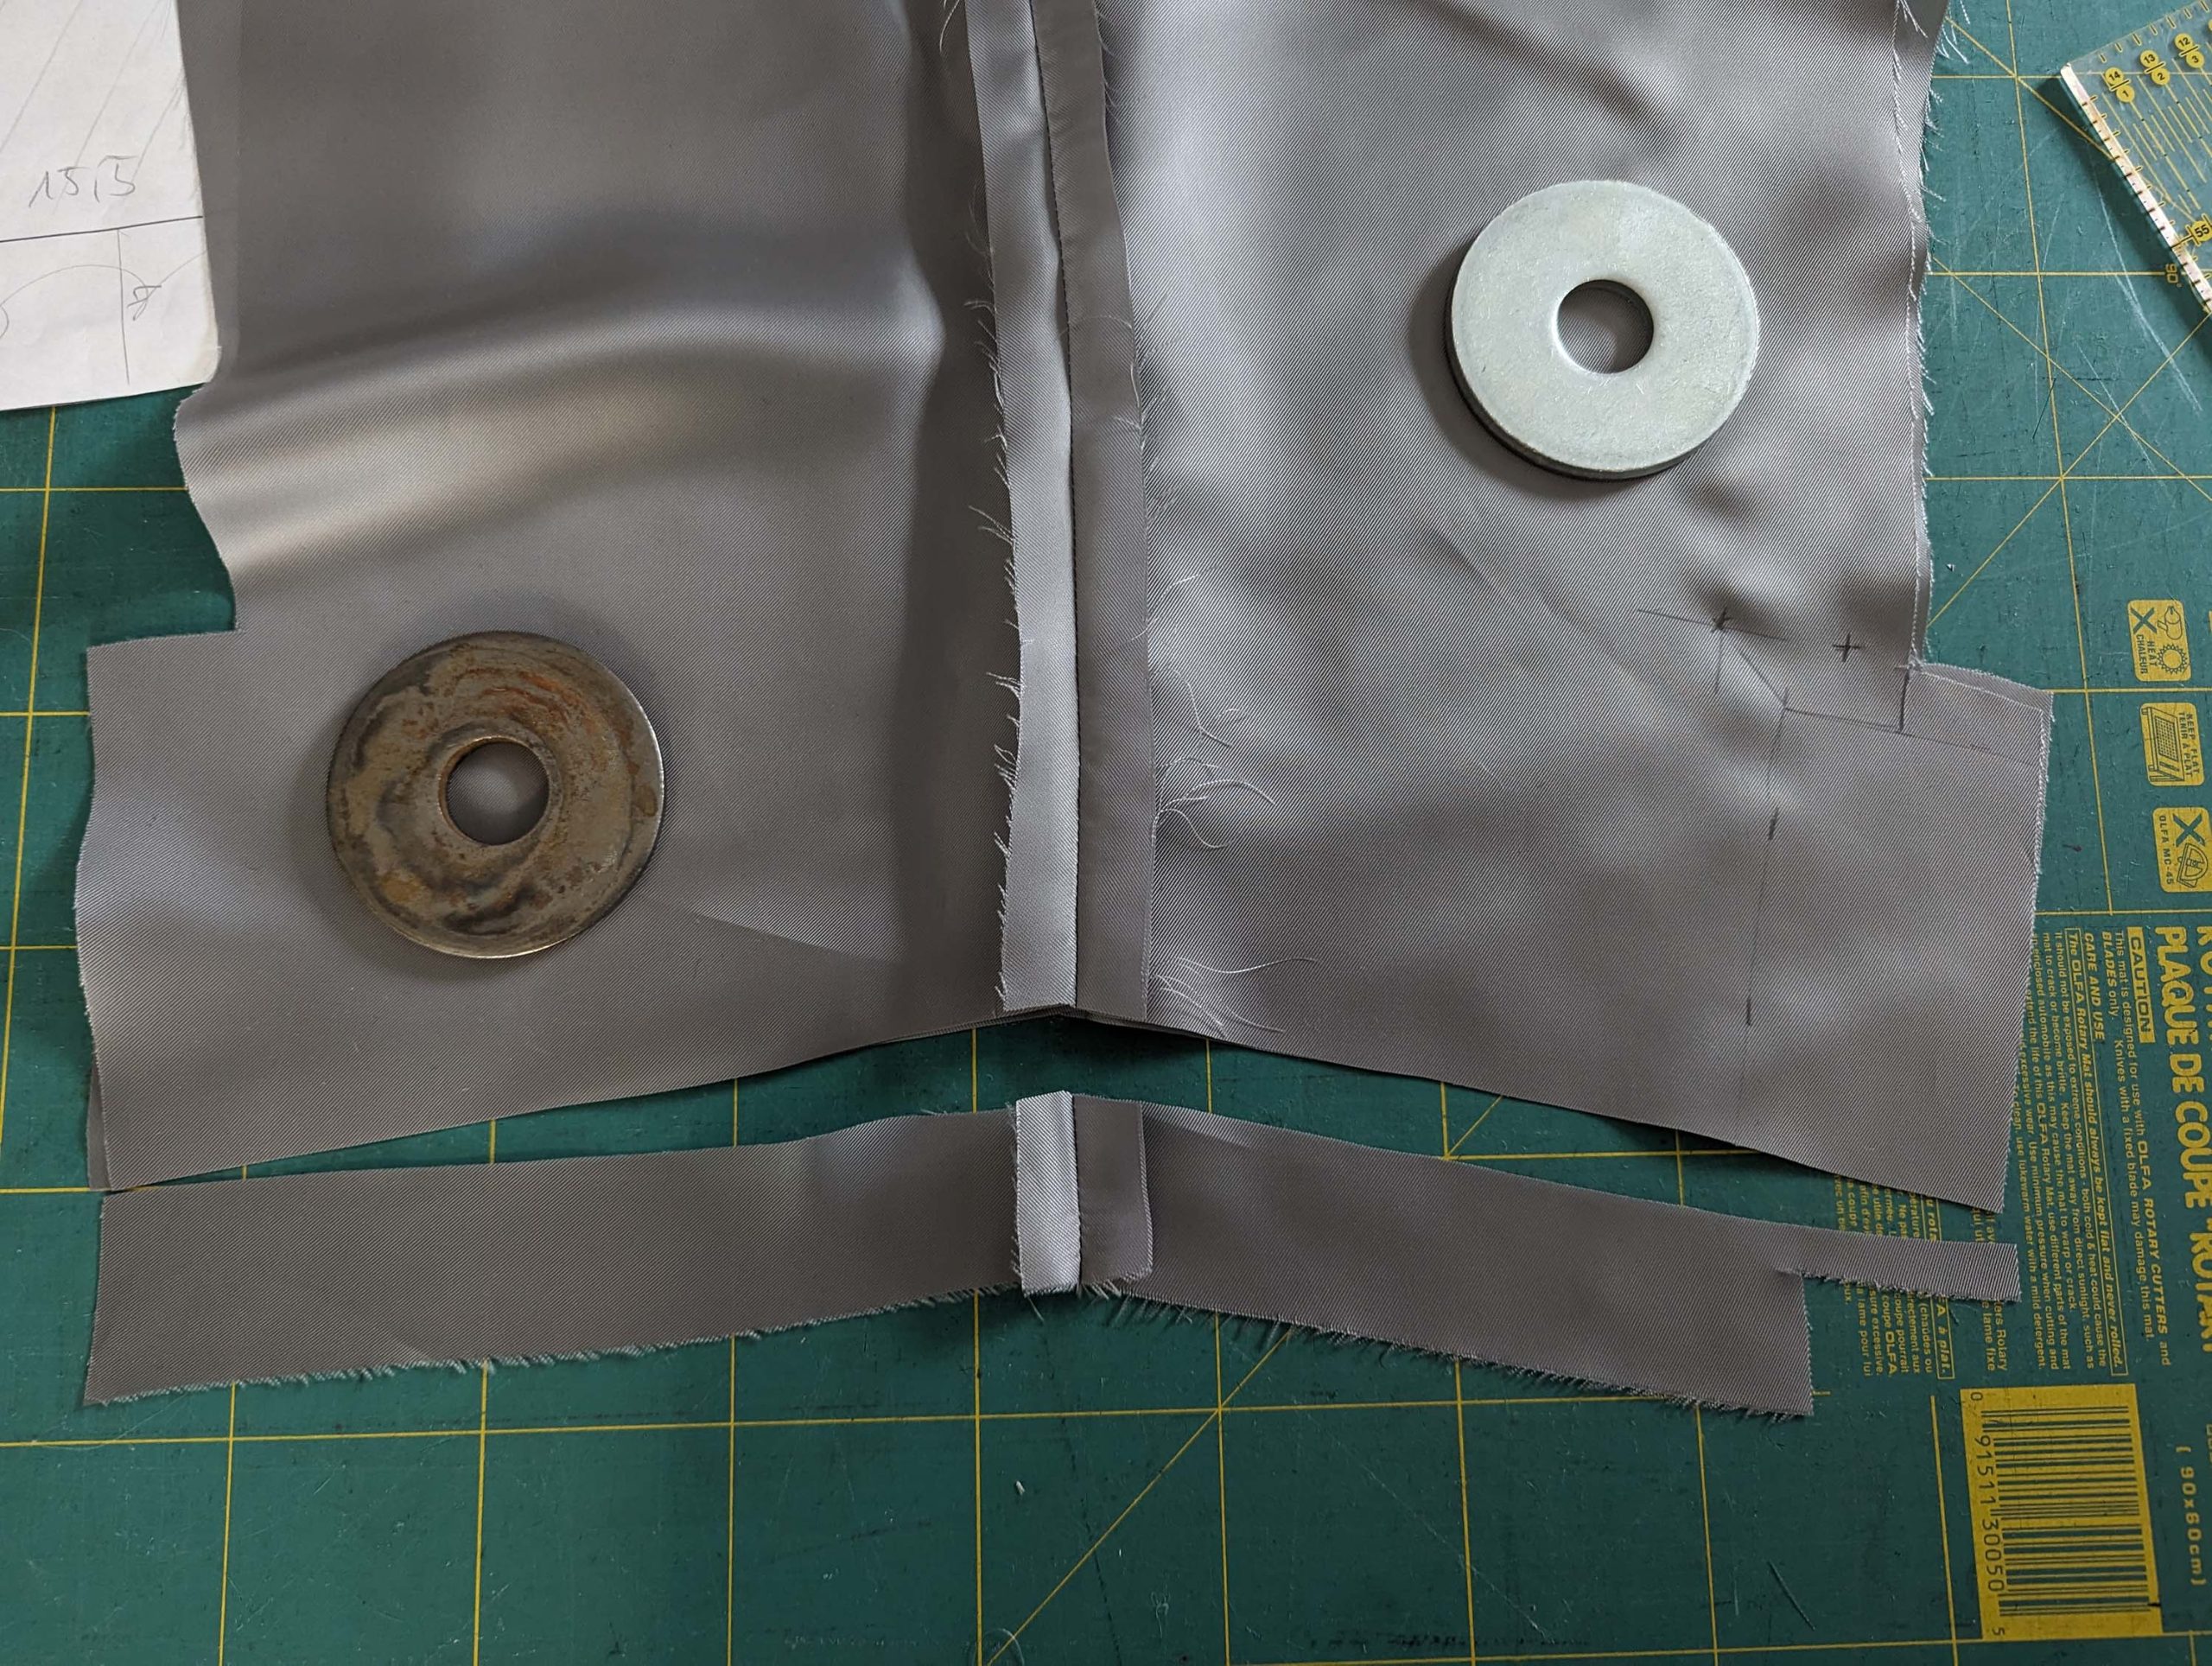
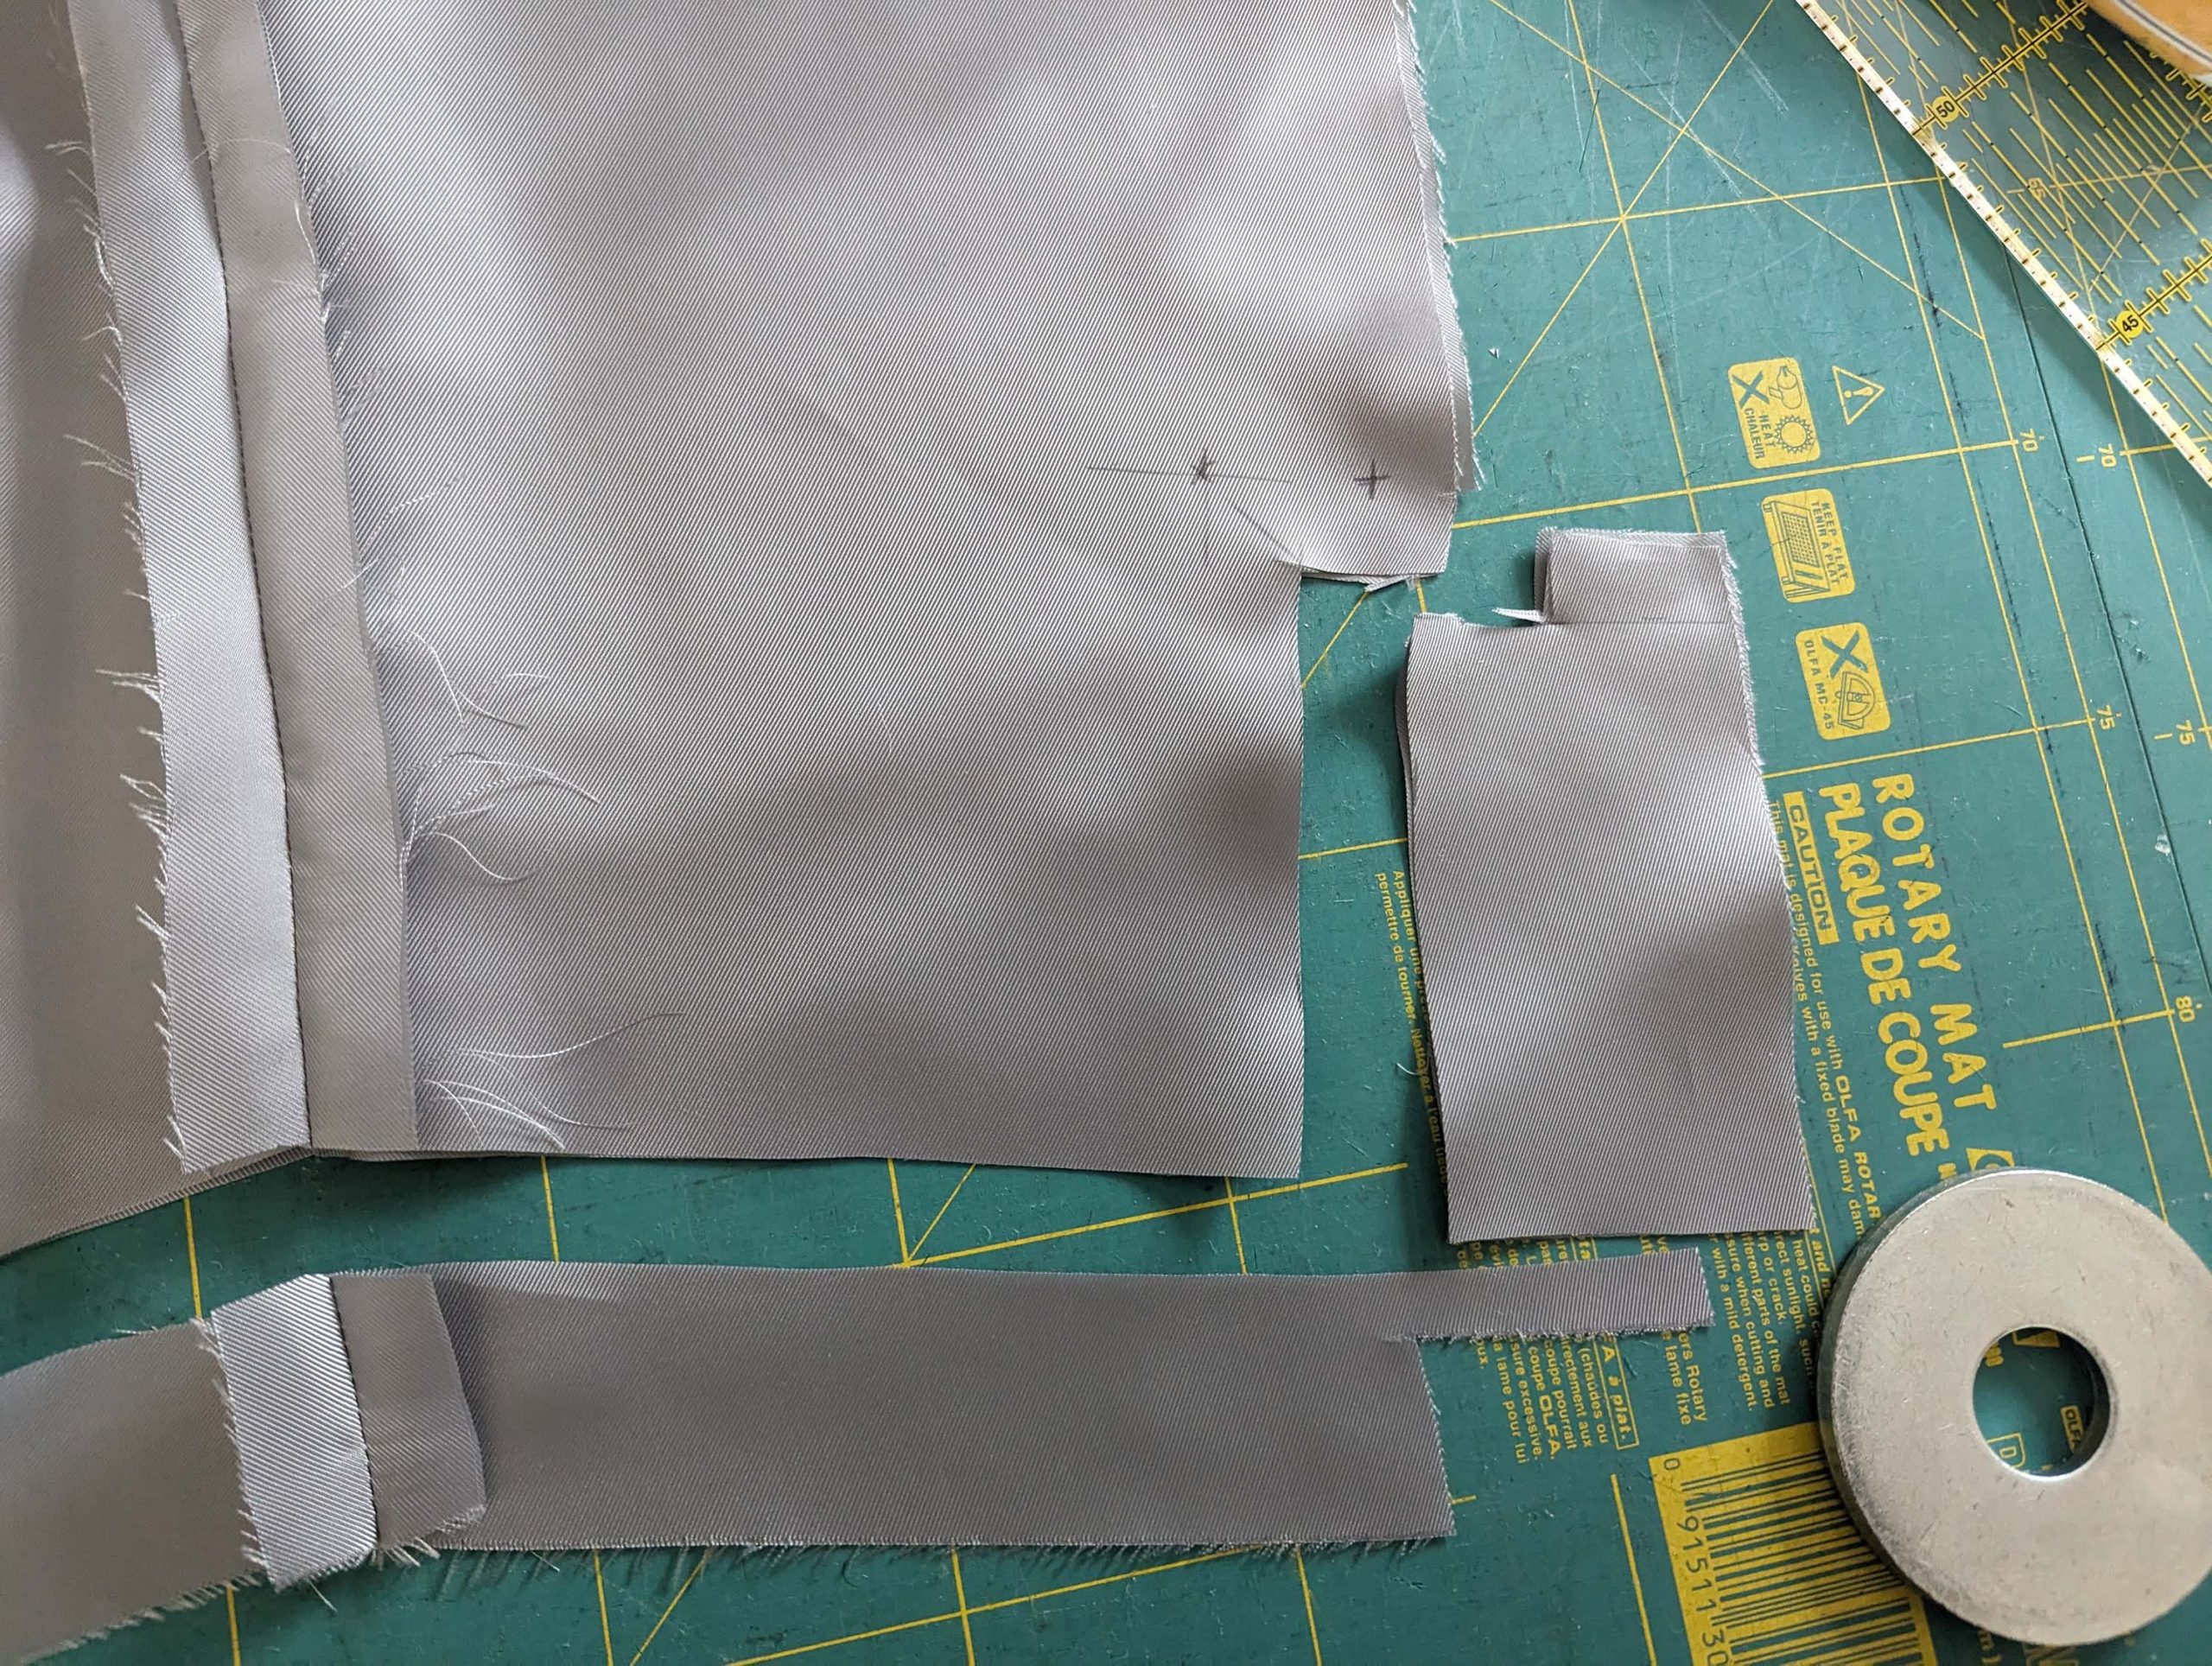
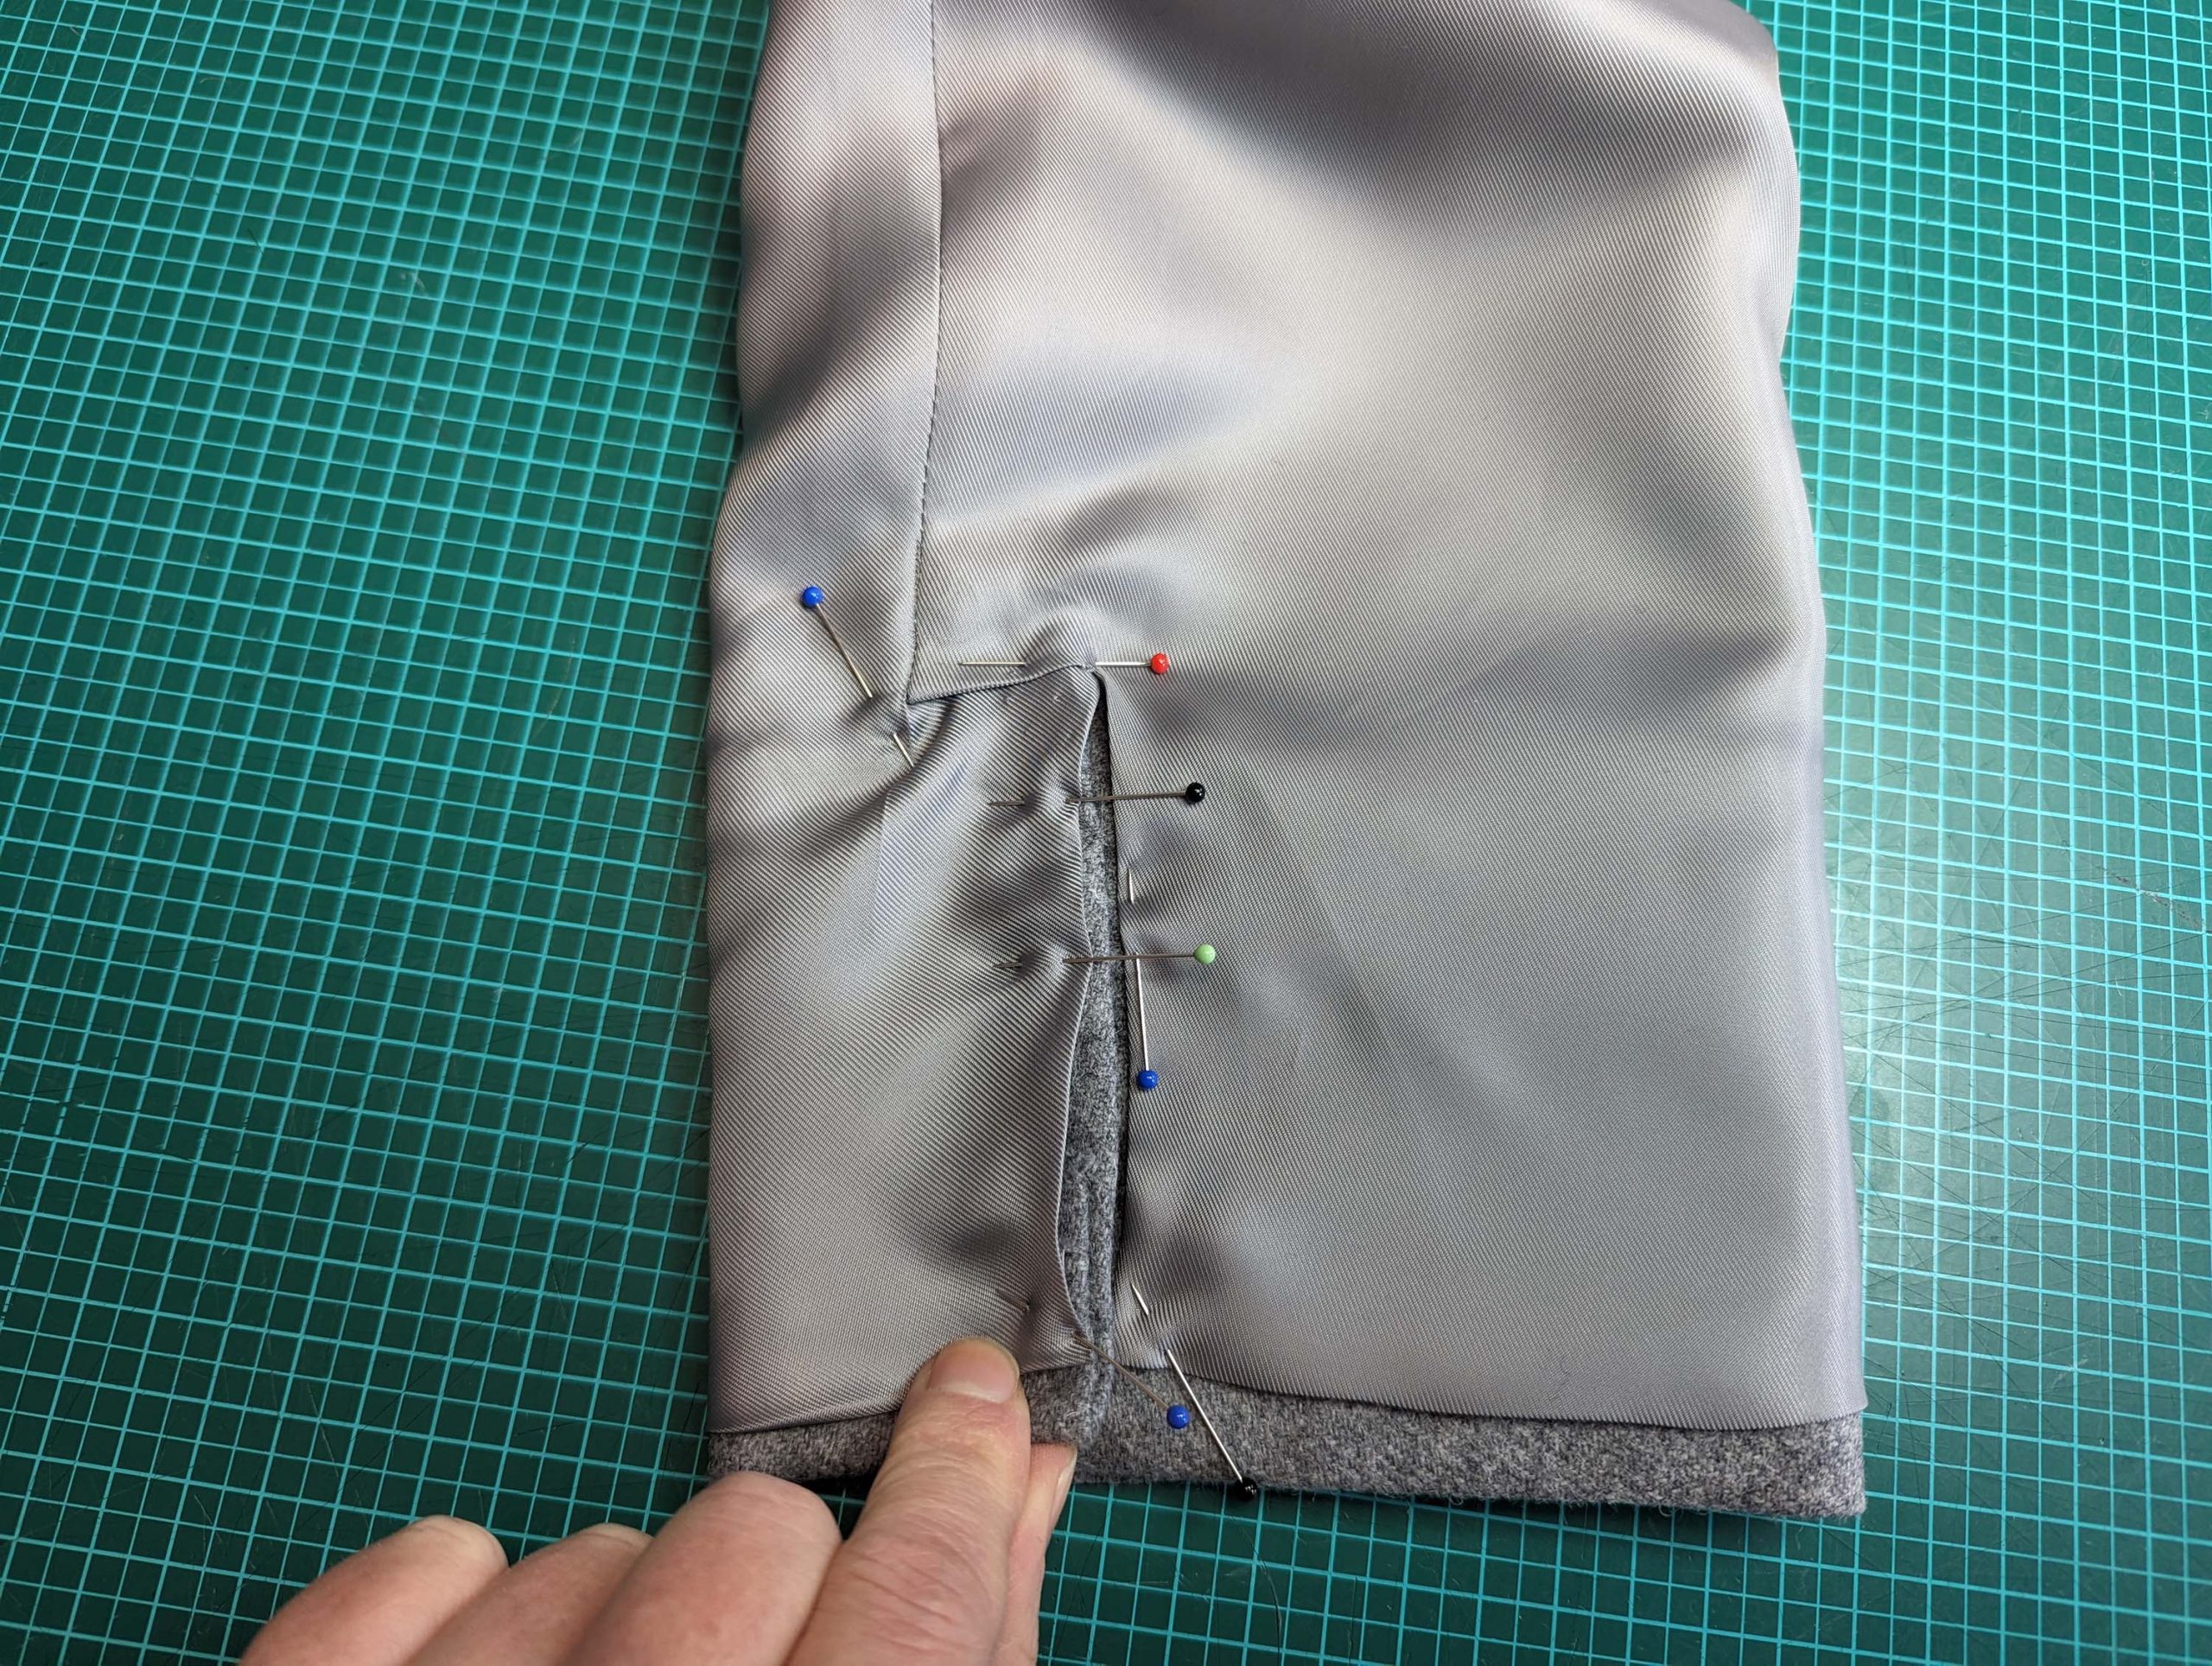
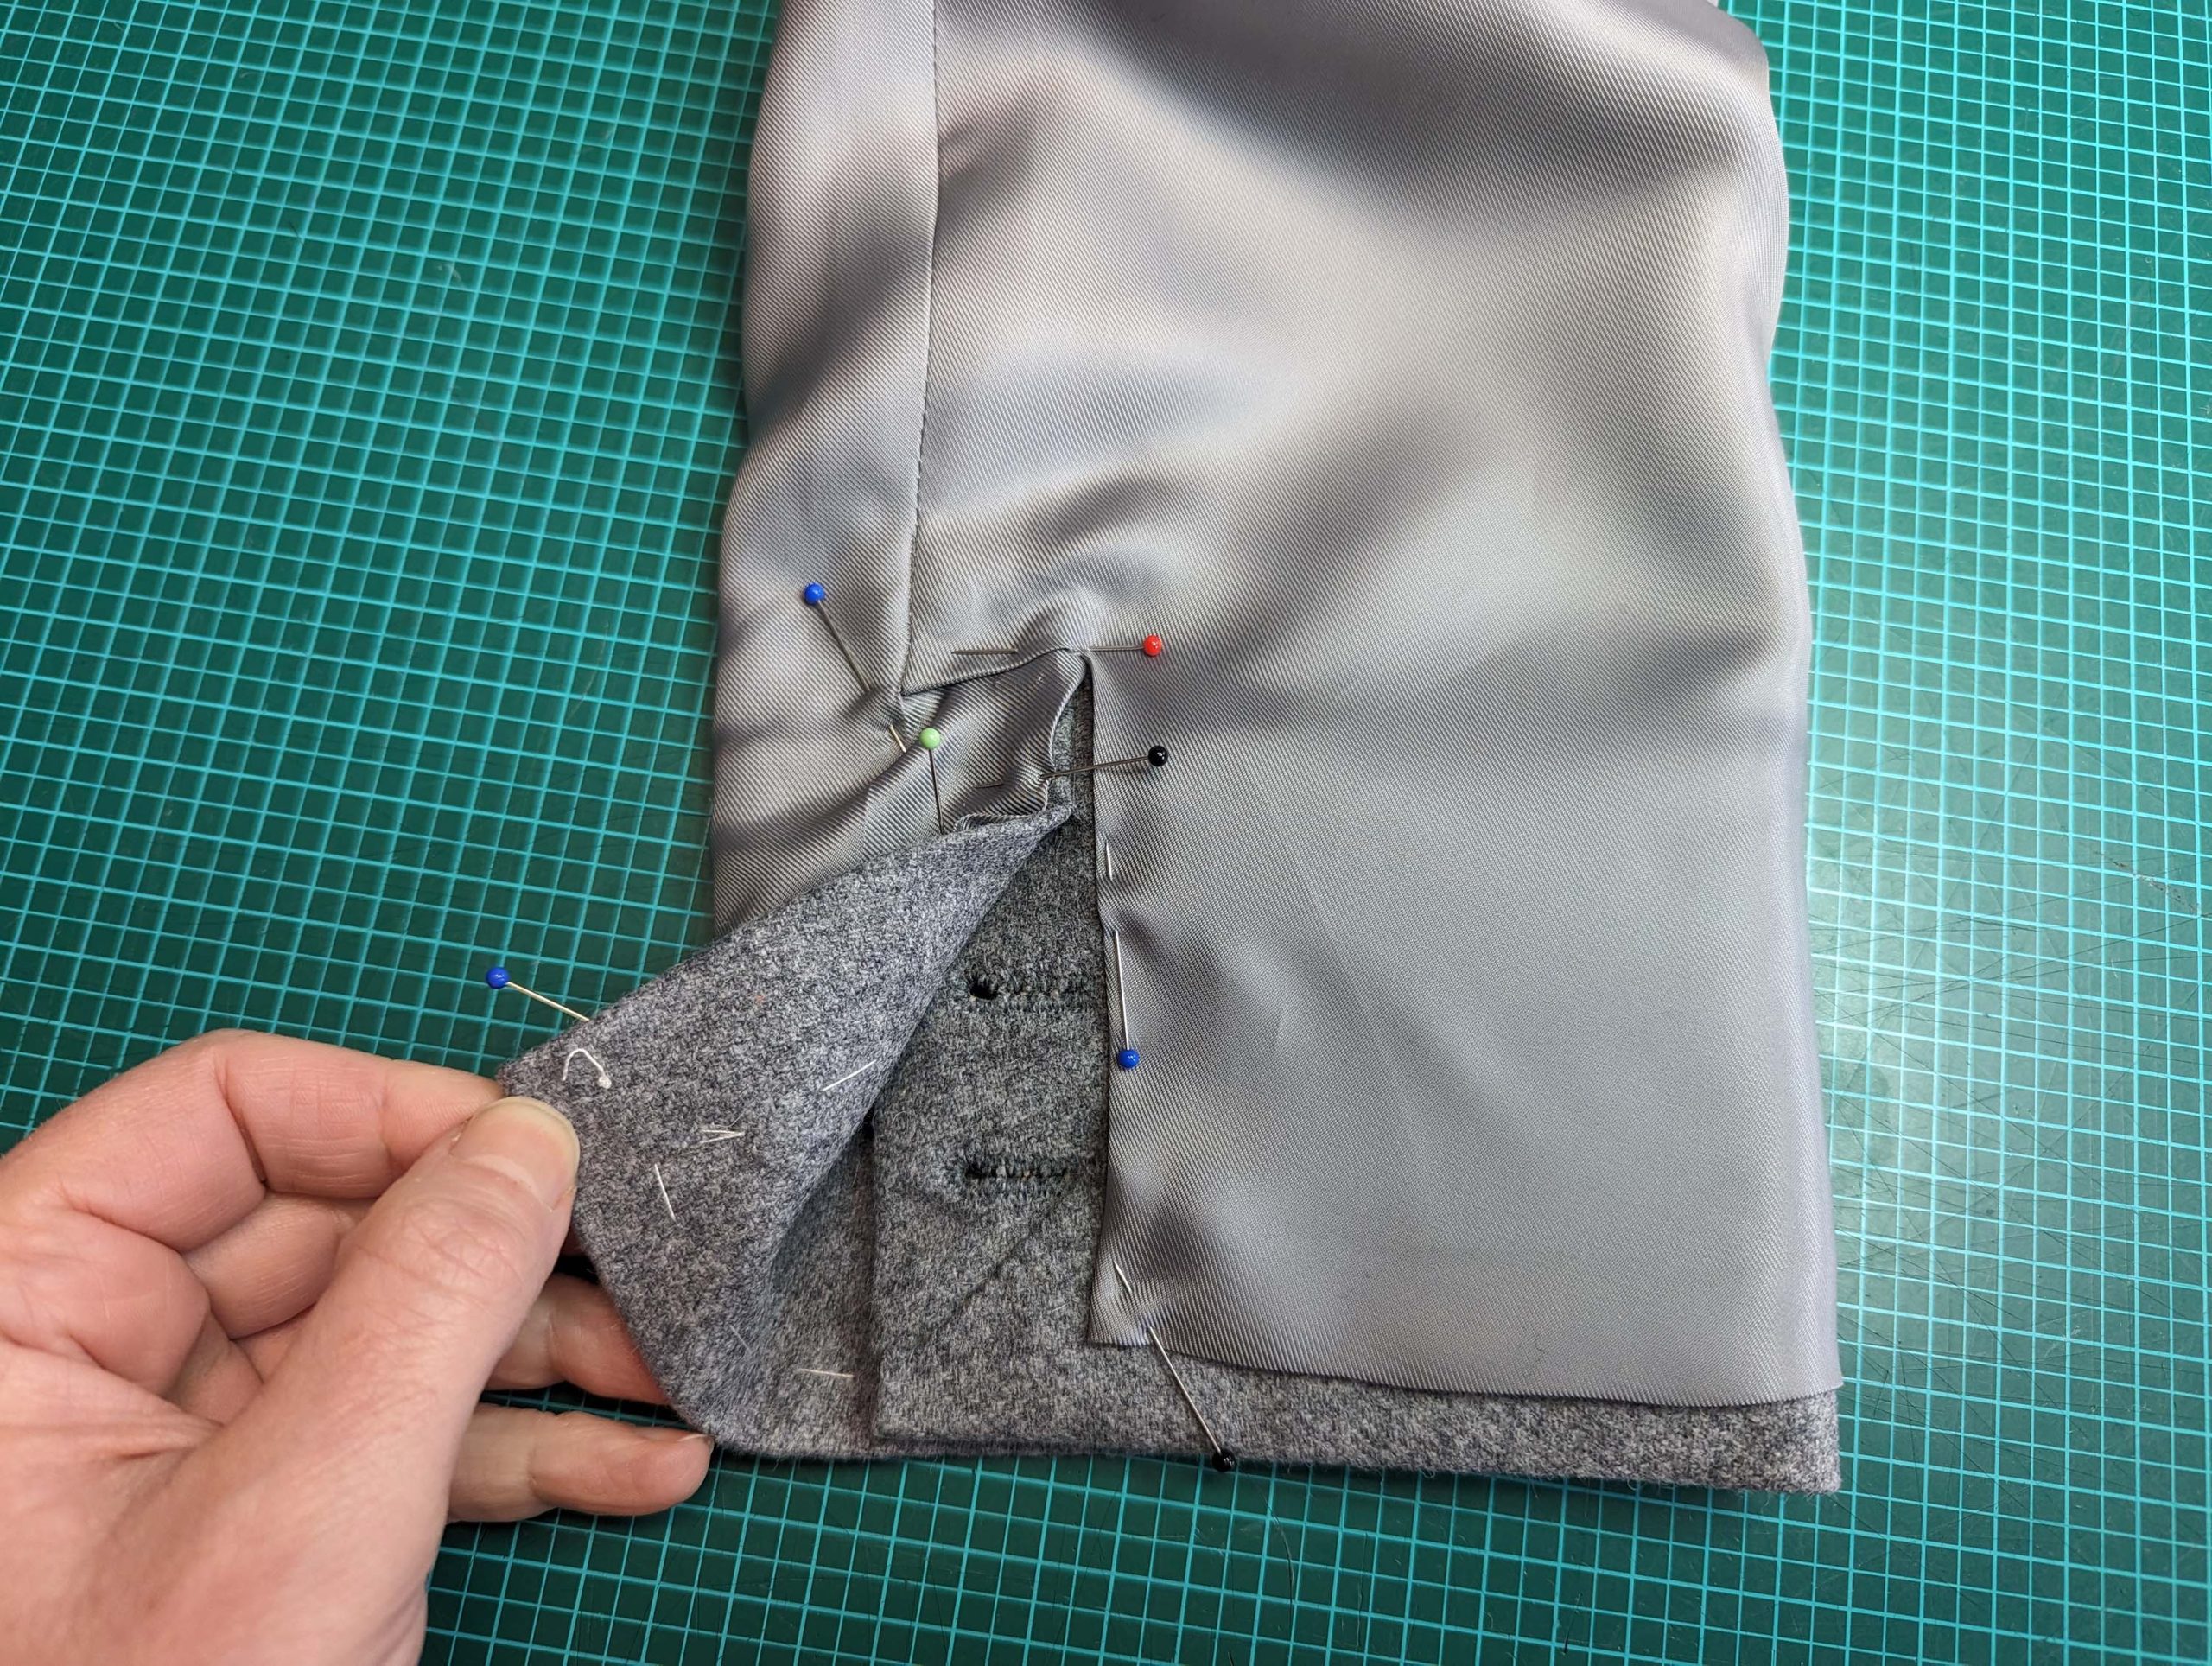
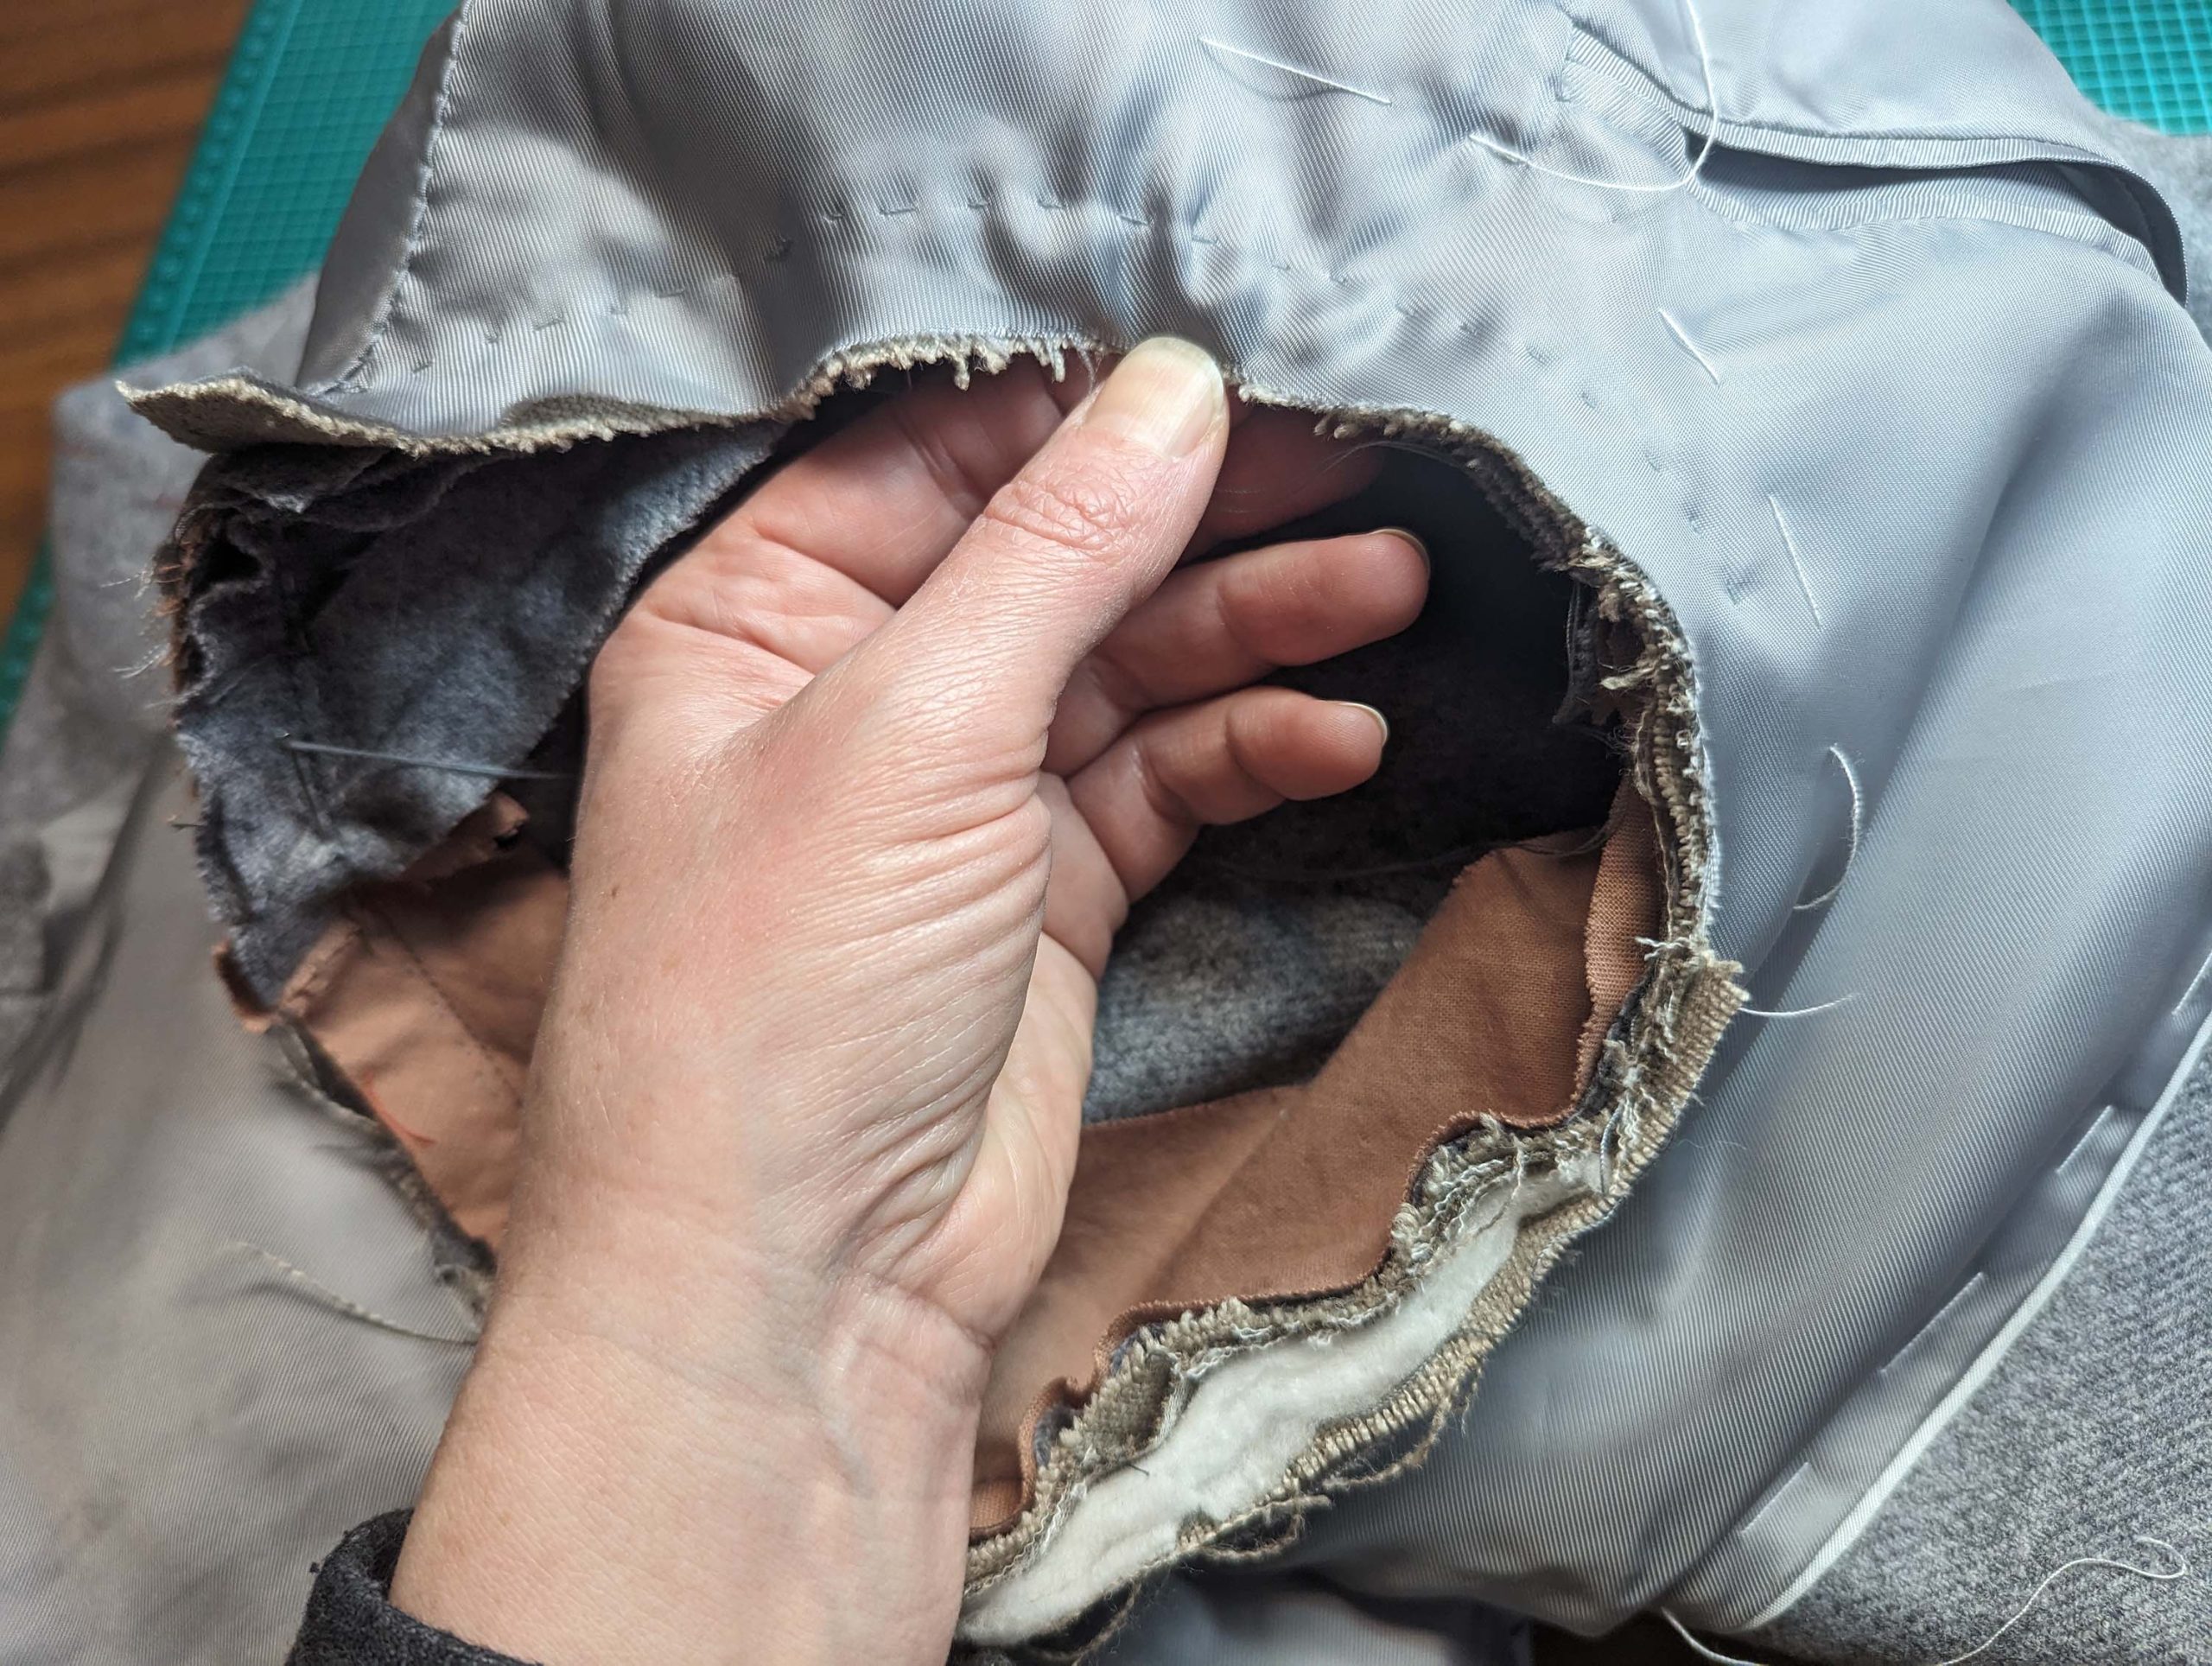
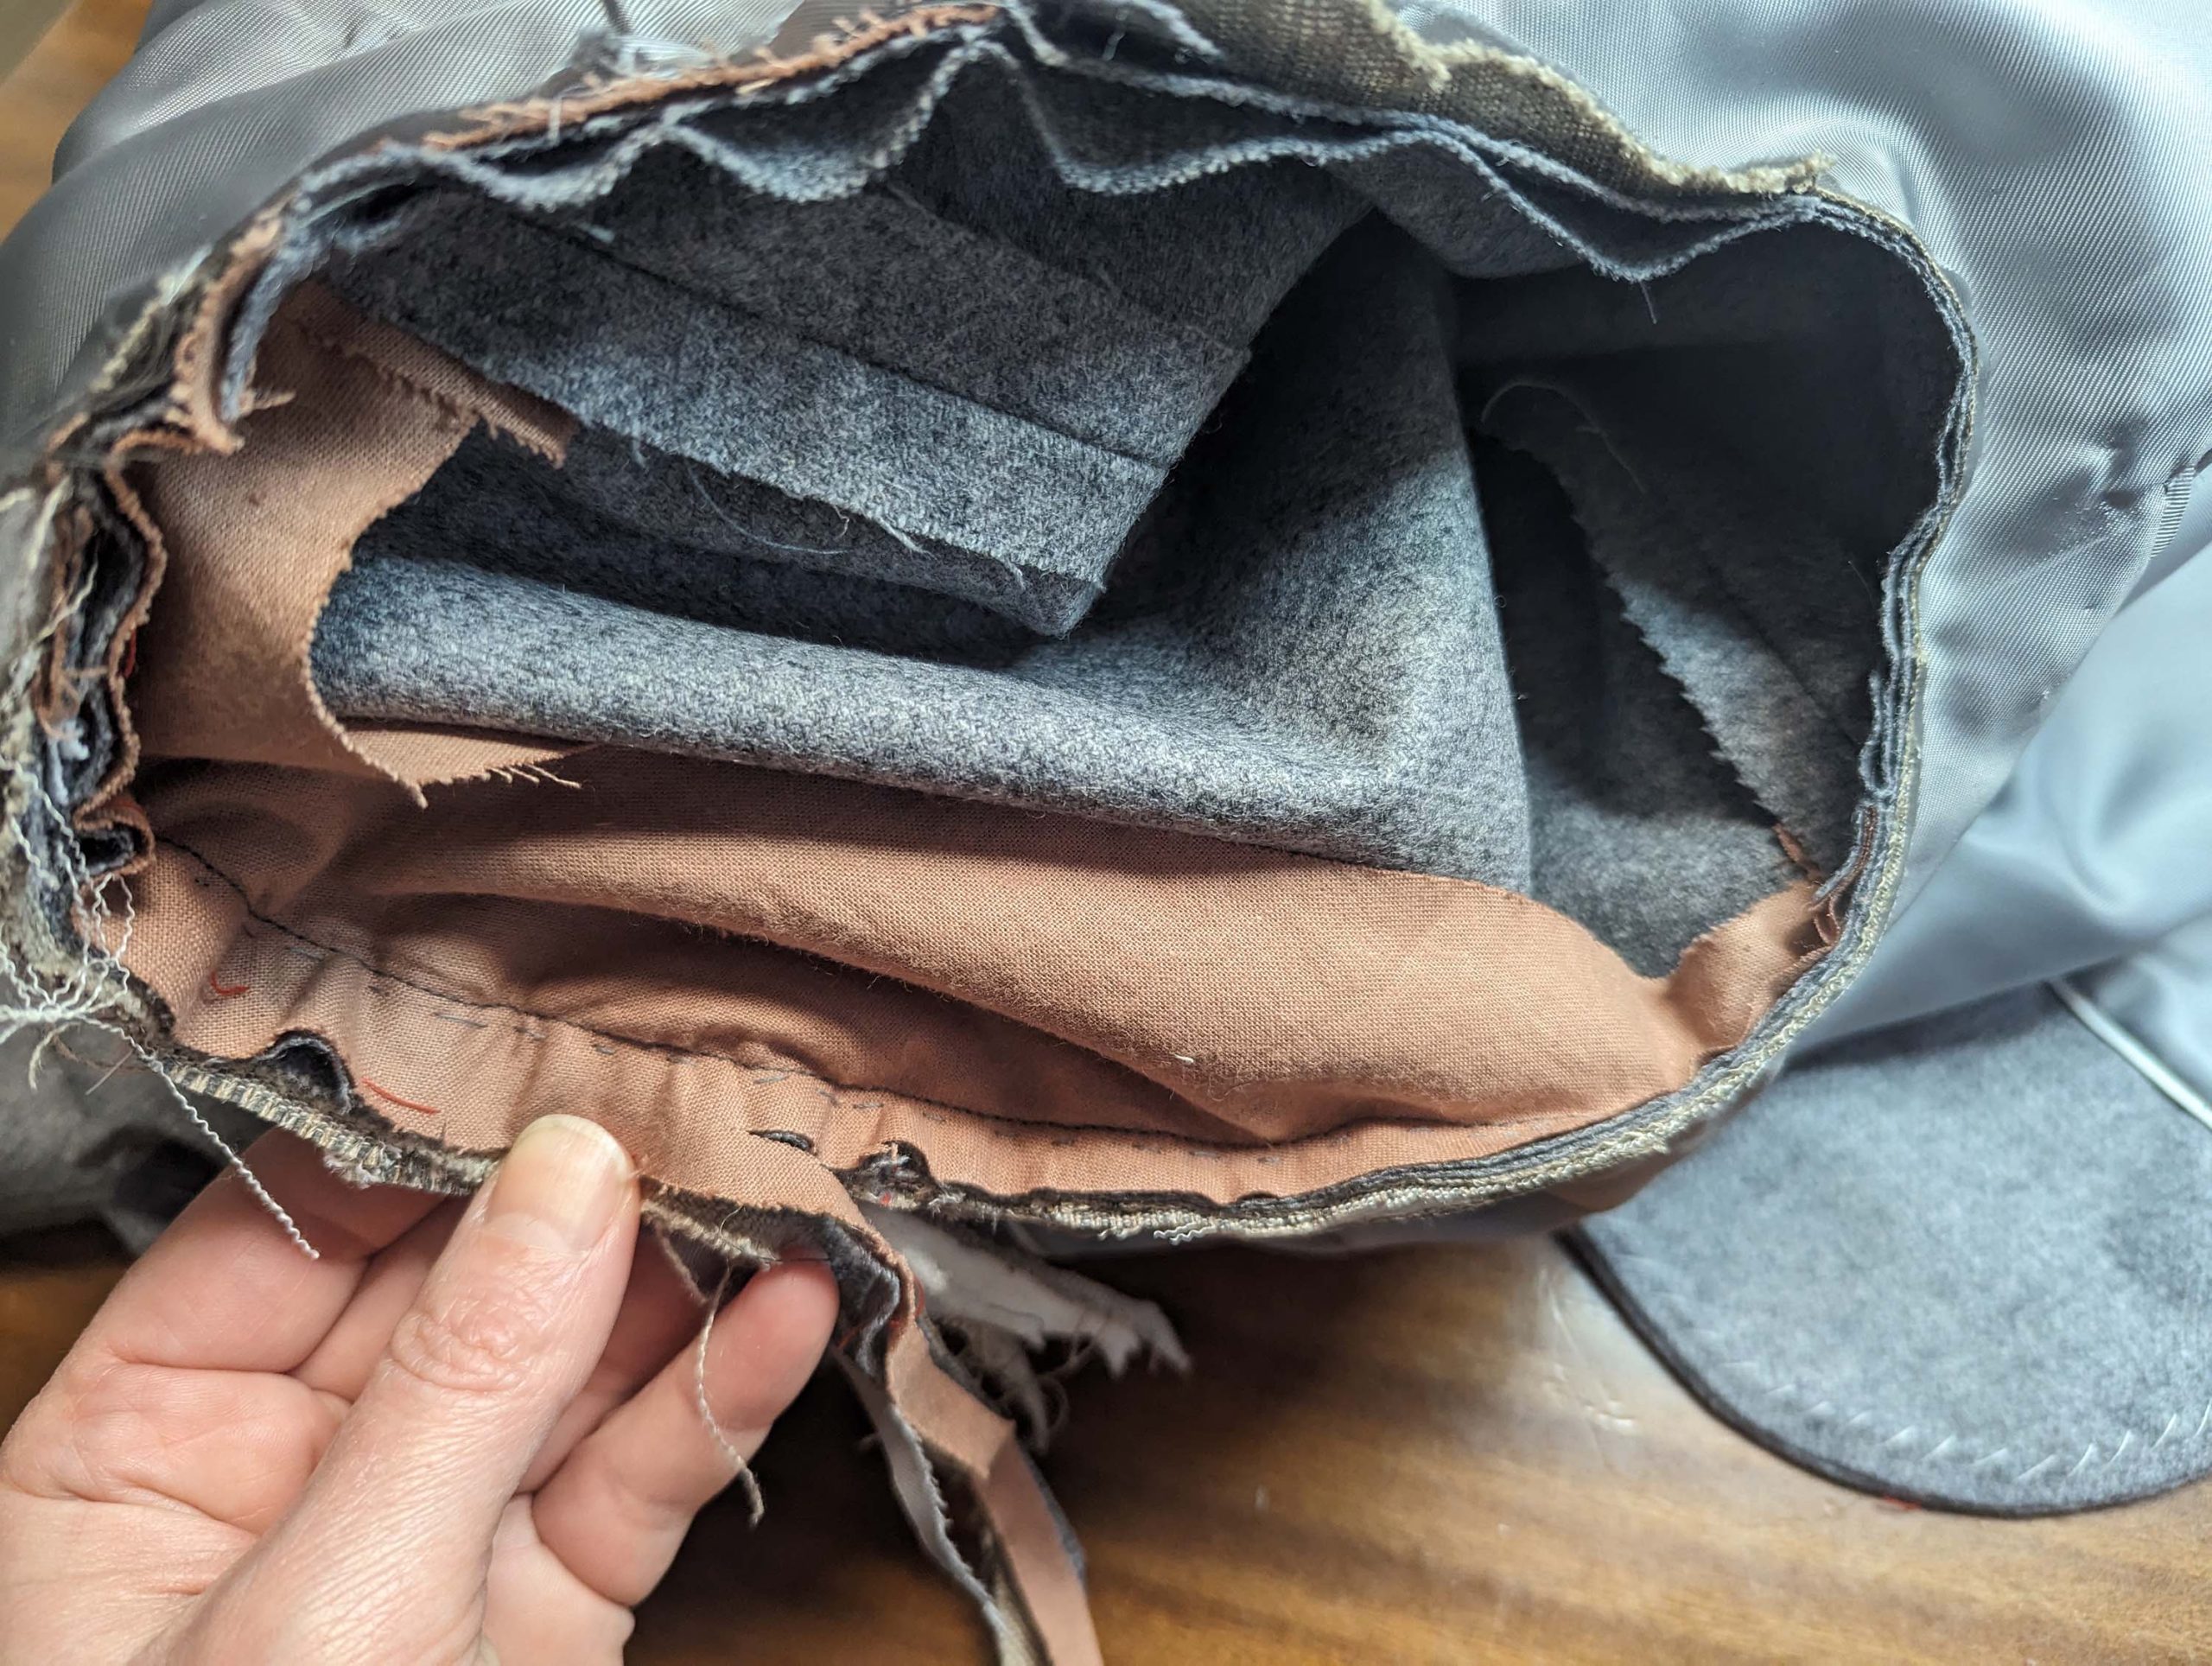
(18) Sew the front sleeve seam and press open the seam allowances. Take the 4” (10cm) wide strap from the canvas, cut on the bias, and press it into a curved shape. Line up with the hemline of the sleeve, baste in place. Catch stitch to the seam allowance of the sleeve seam. Notch the seam allowance of the top sleeve at mark (8) and turn in the vent facing, fell stitch to the canvas. Turn in the seam allowance of the placket and fell stitch to the canvas. Optionally, interface the sleeve head with a piece of cotton.

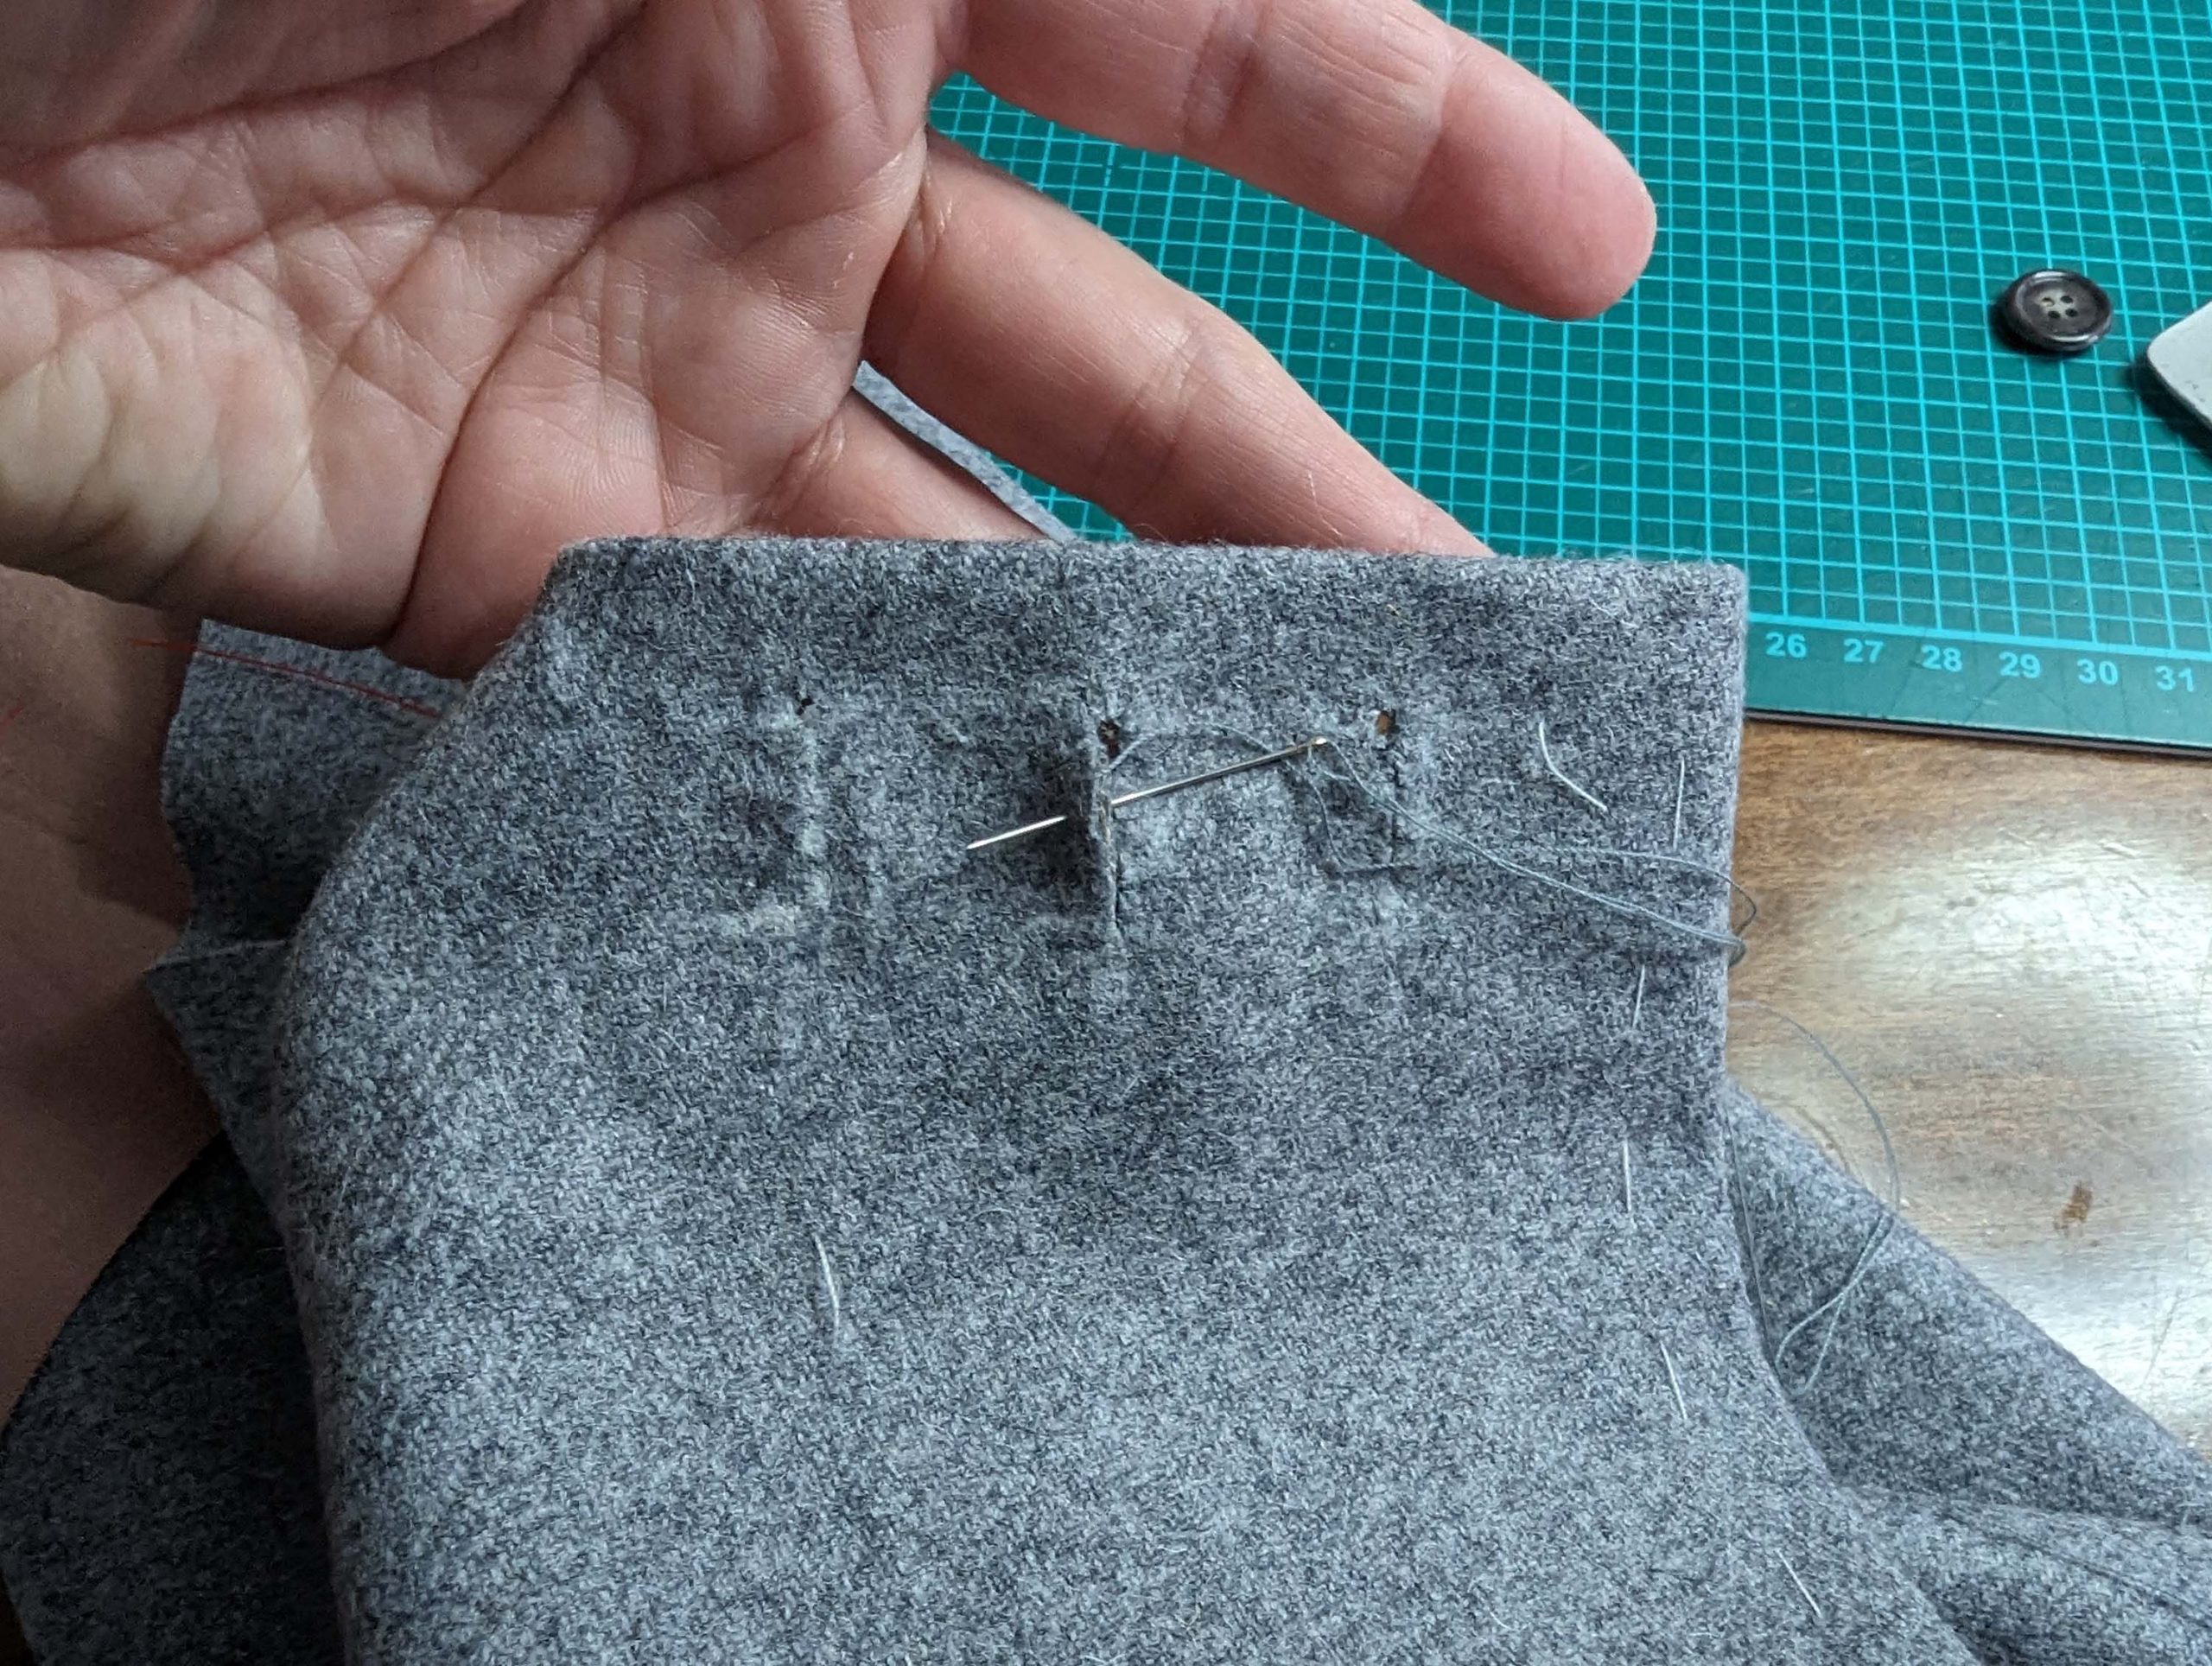
Turn in the hem allowance, stretch the edge, turn in the corner and catch stitch to the canvas, fell stitch along the short edges. Finally, press the hem, and sew the button-holes.

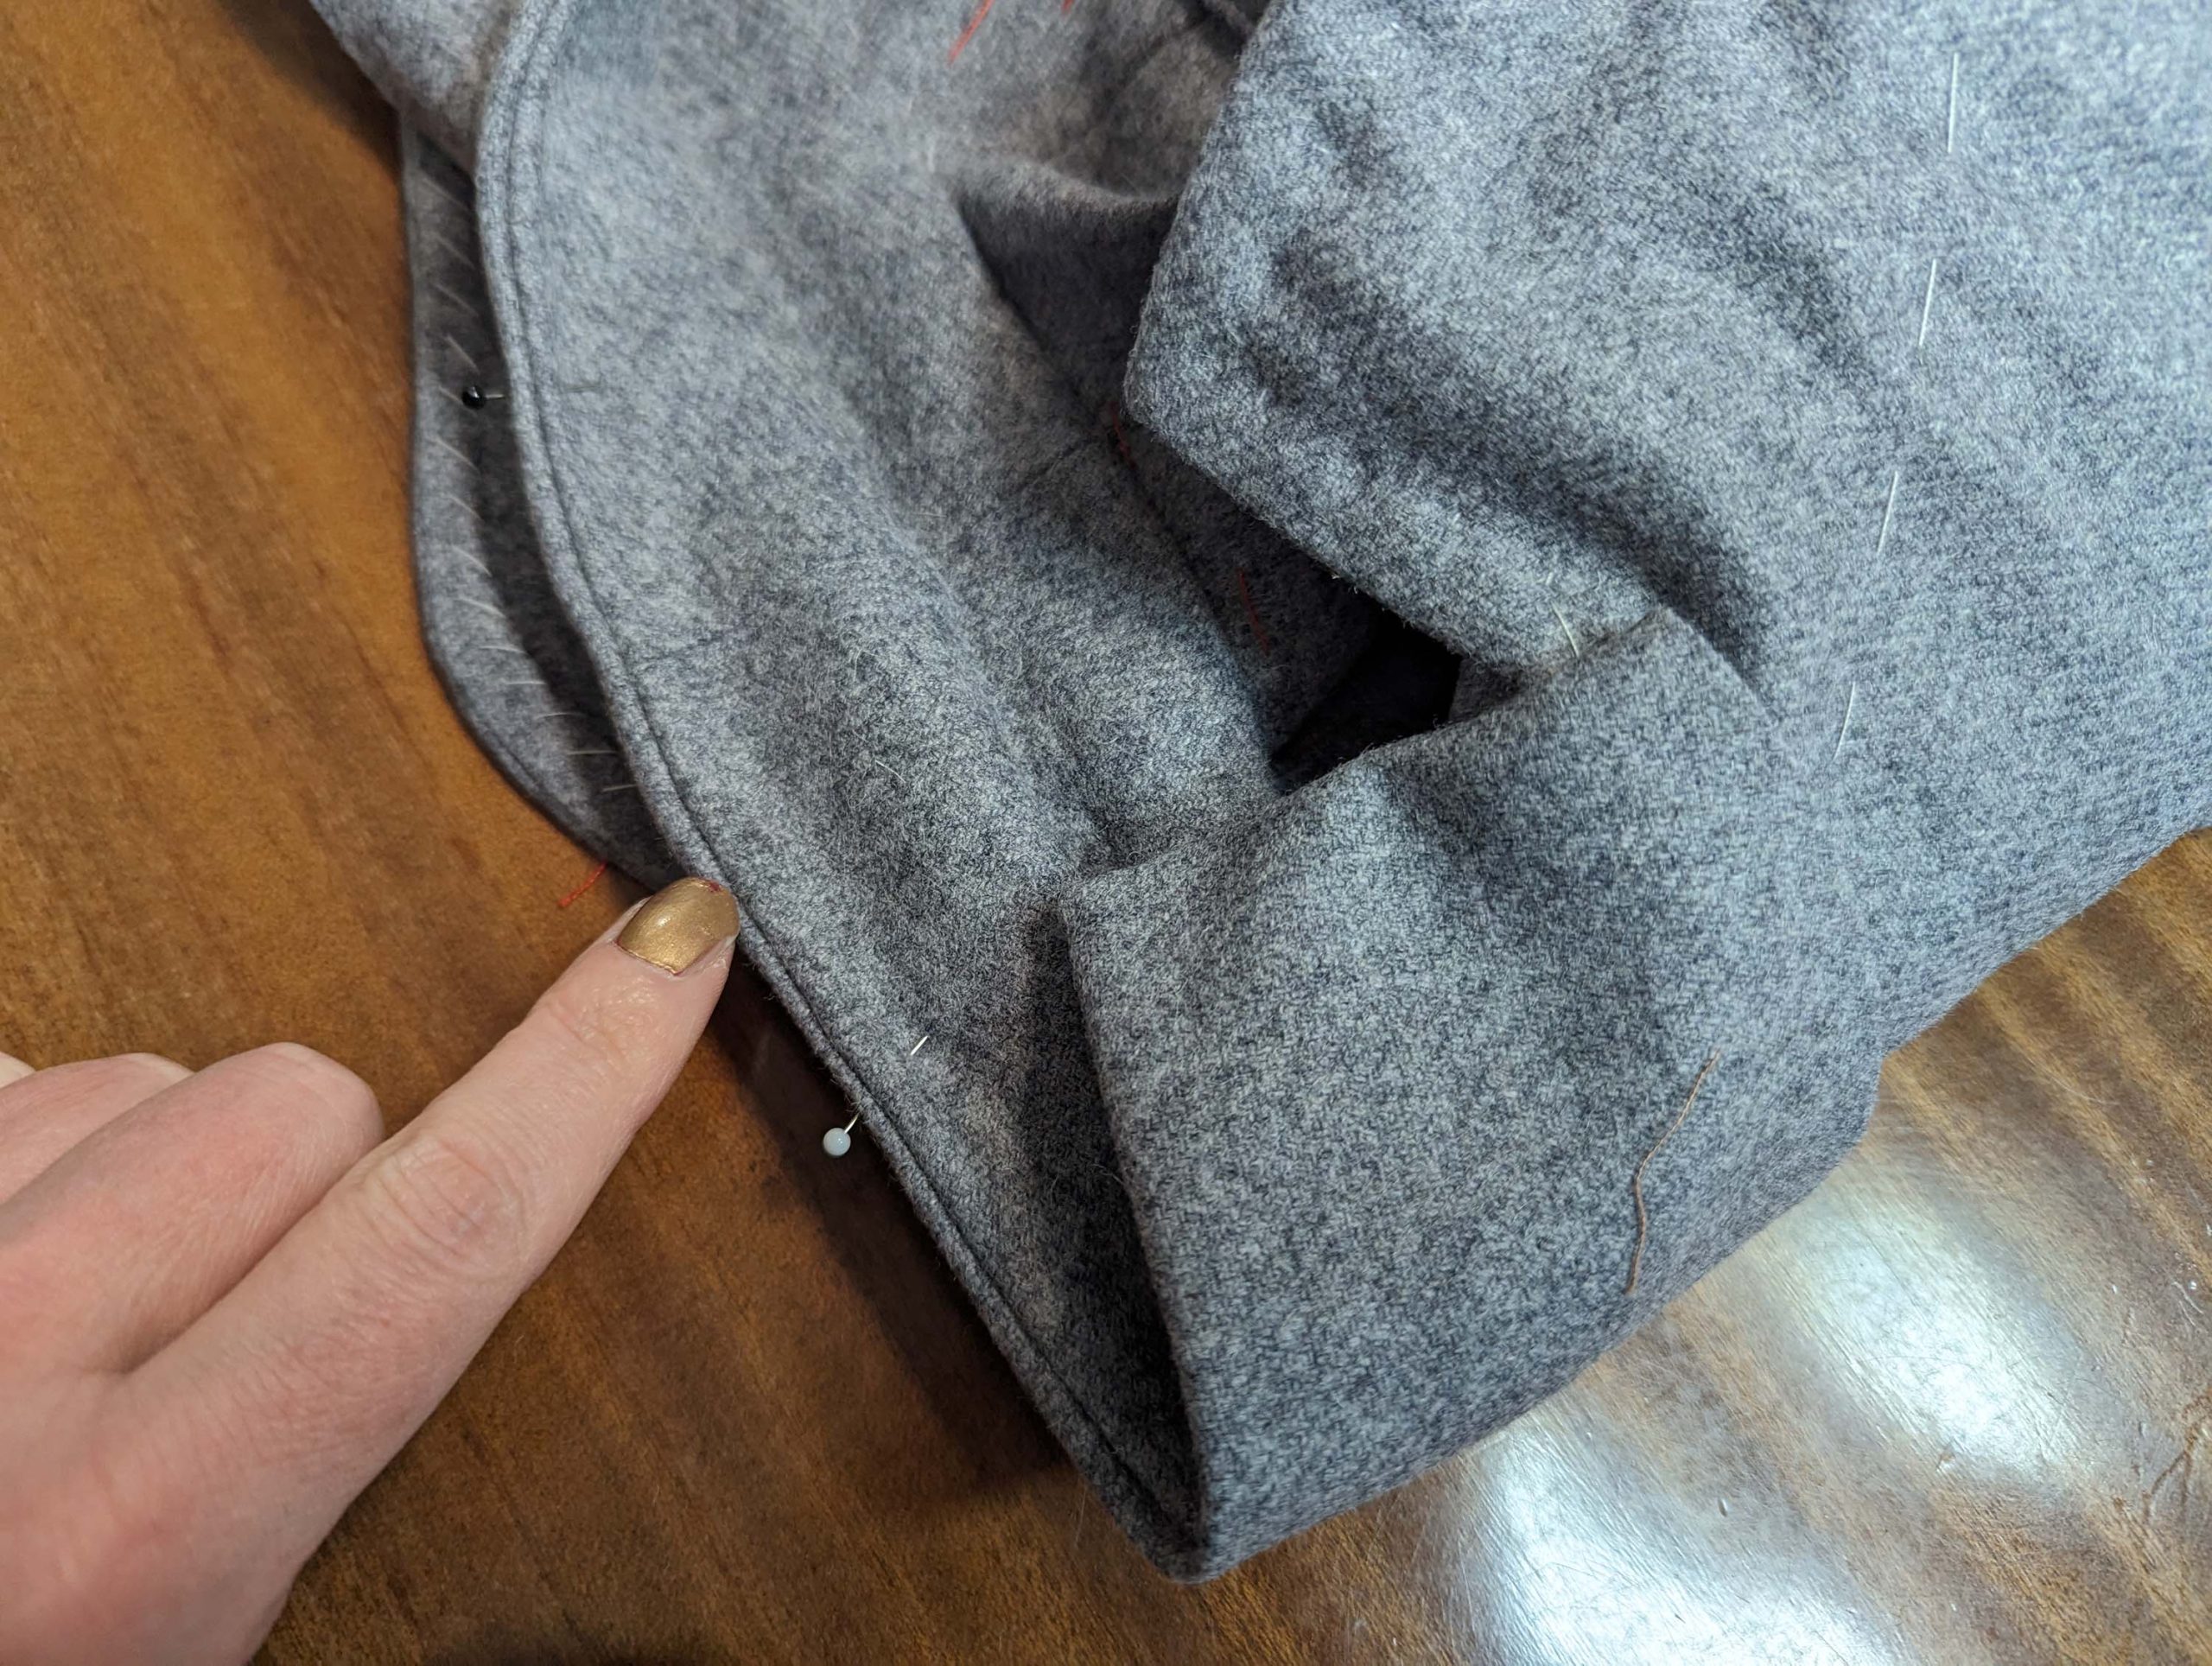
Sew the back sleeve seam, taking great care, that your vent edges are the same length. Notch the seam allowance of the under sleeve at mark (6) and press open the seam allowances of the back sleeve seam. Sew the top edge of the placket to the vent facing, and leave the sleeve turned the wrong side out.

Cut the sleeve lining as described on page 3 of the instructions. Sew the sleeve lining, leaving open the vent (stop at mark (6)). Turn in a seam allowance of 5/8” (1,5cm) along the hem. Turn the lining with the right side out. Pull over the sleeve from fashion fabric, wrong sides together, and match up all seams. Turn in seam allowances to fit the vent, and notch the lining at the corner. Fell stitch in place. Turn the sleeve with the right side out and pull down the lining a bit out of the way while inserting the sleeve.

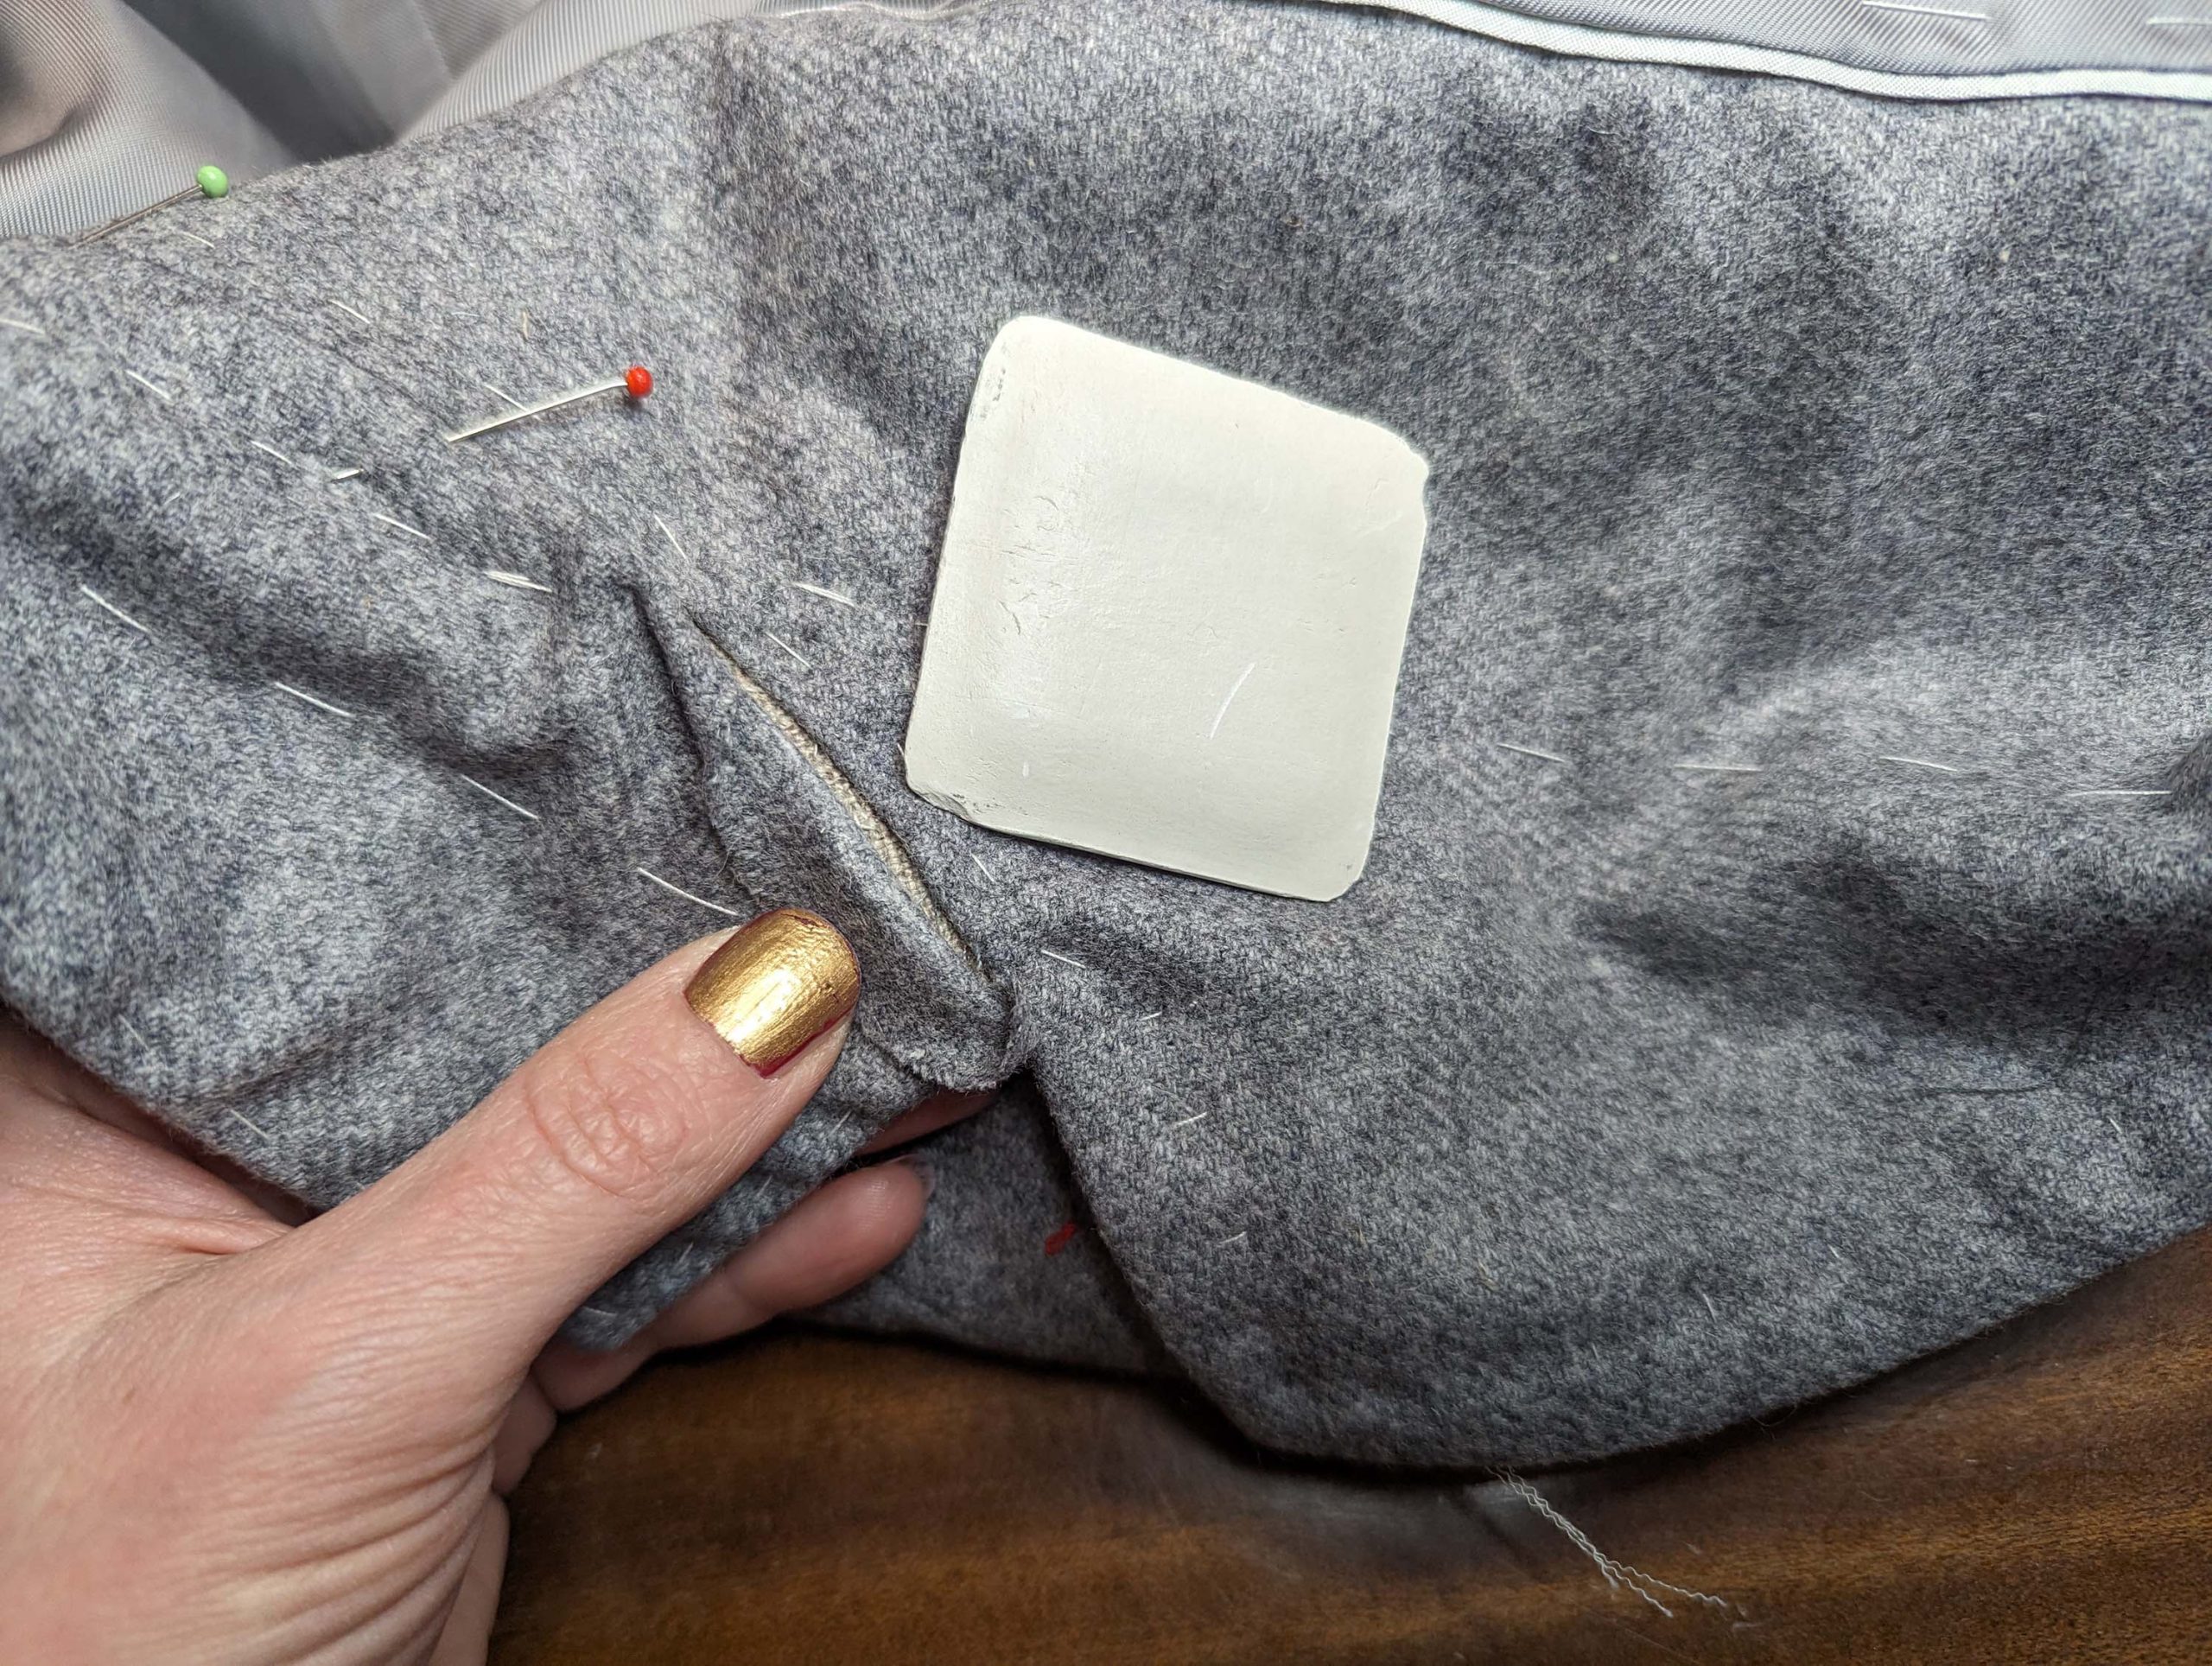
Before inserting the sleeve, check the right position of the shoulder pad and baste in place along the back edge.

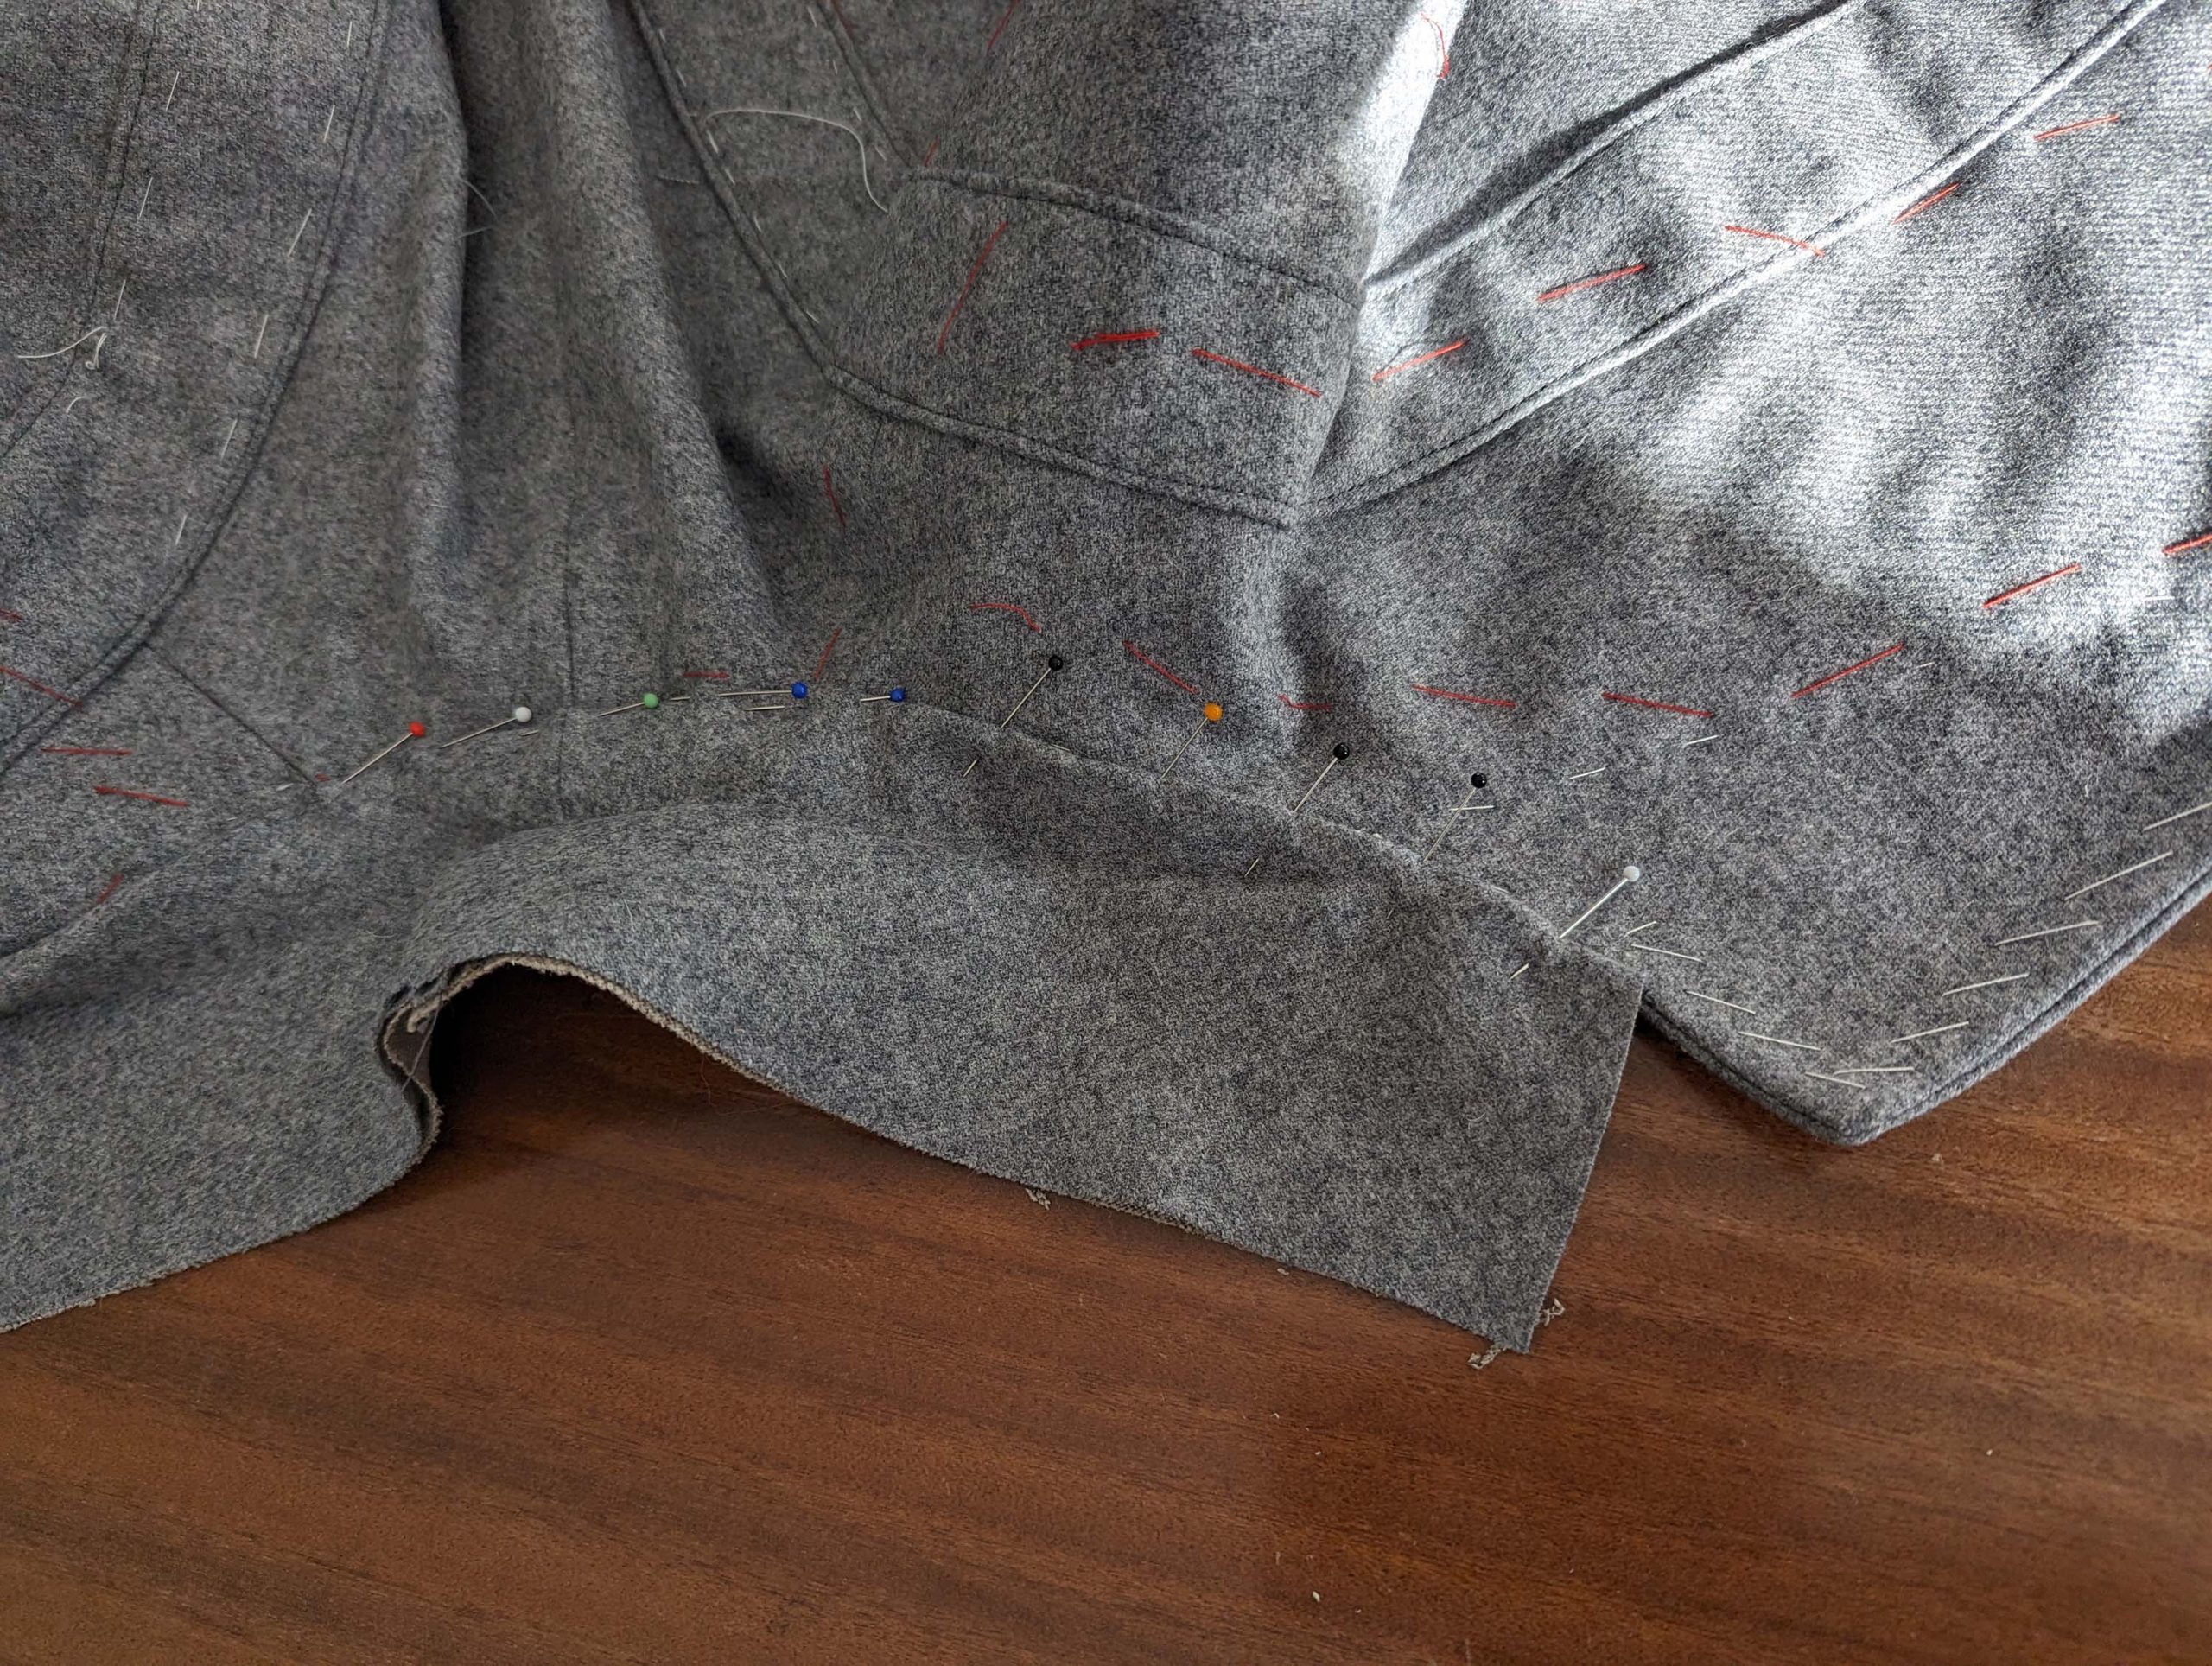
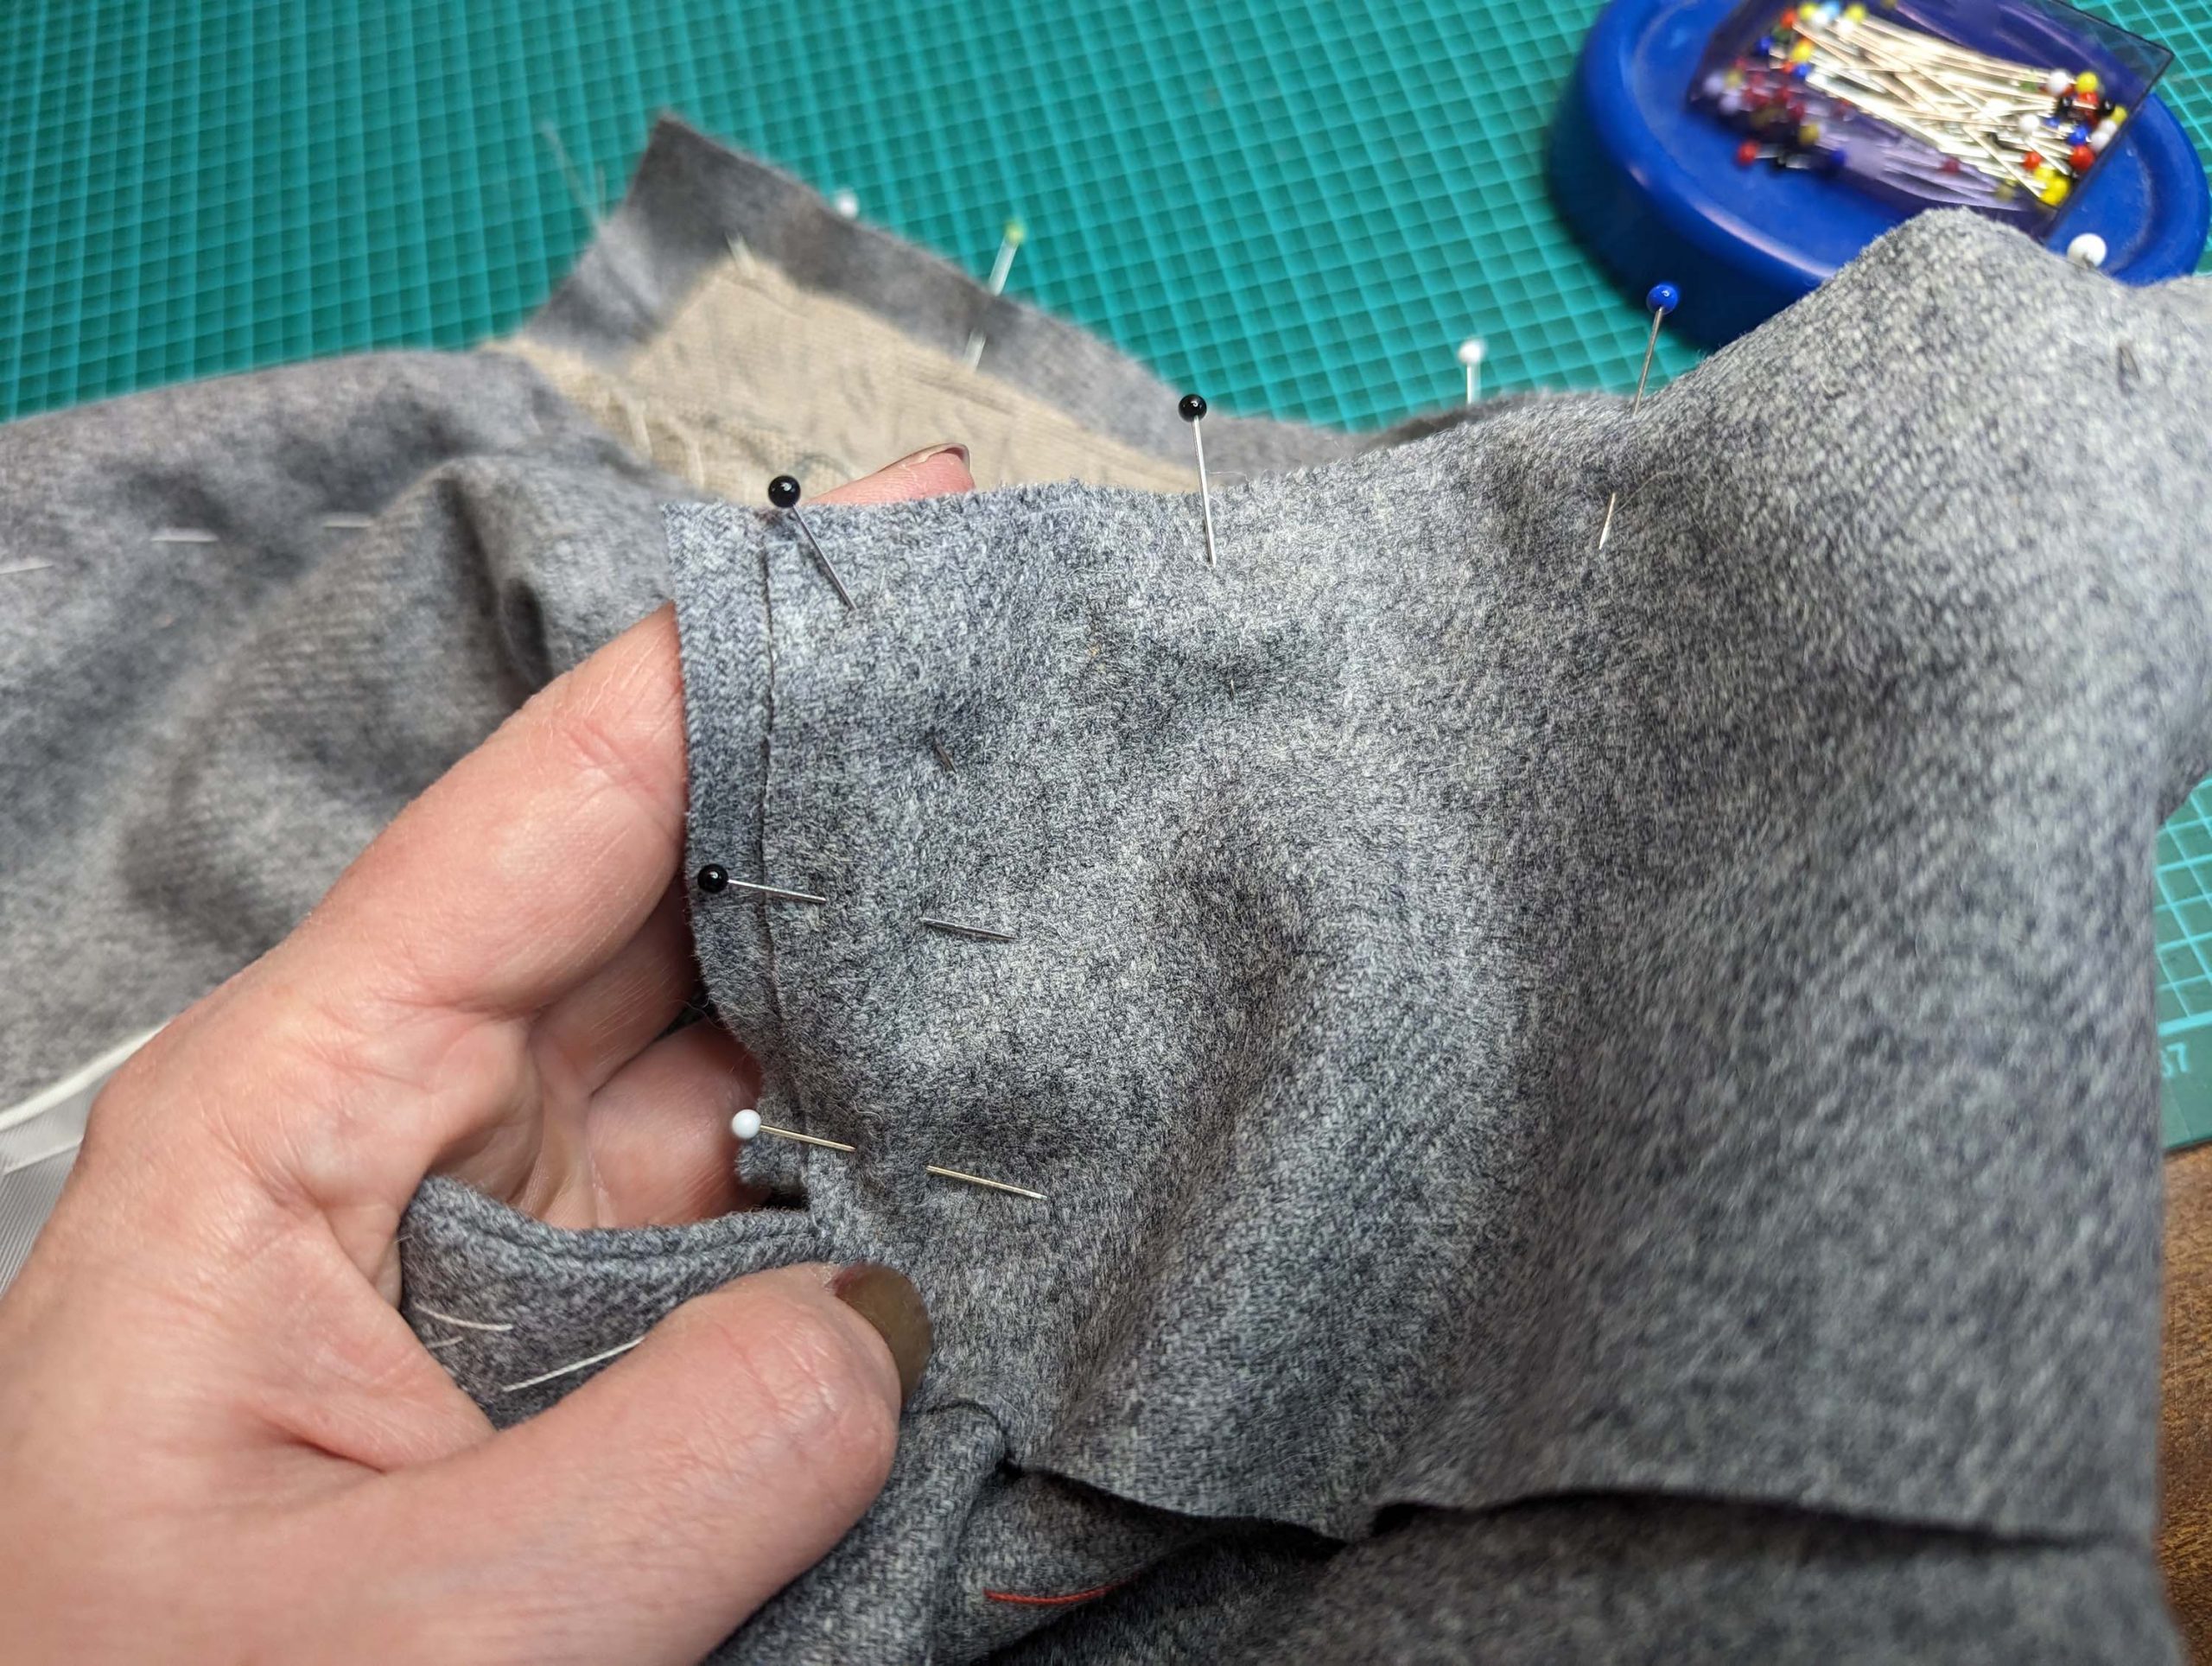
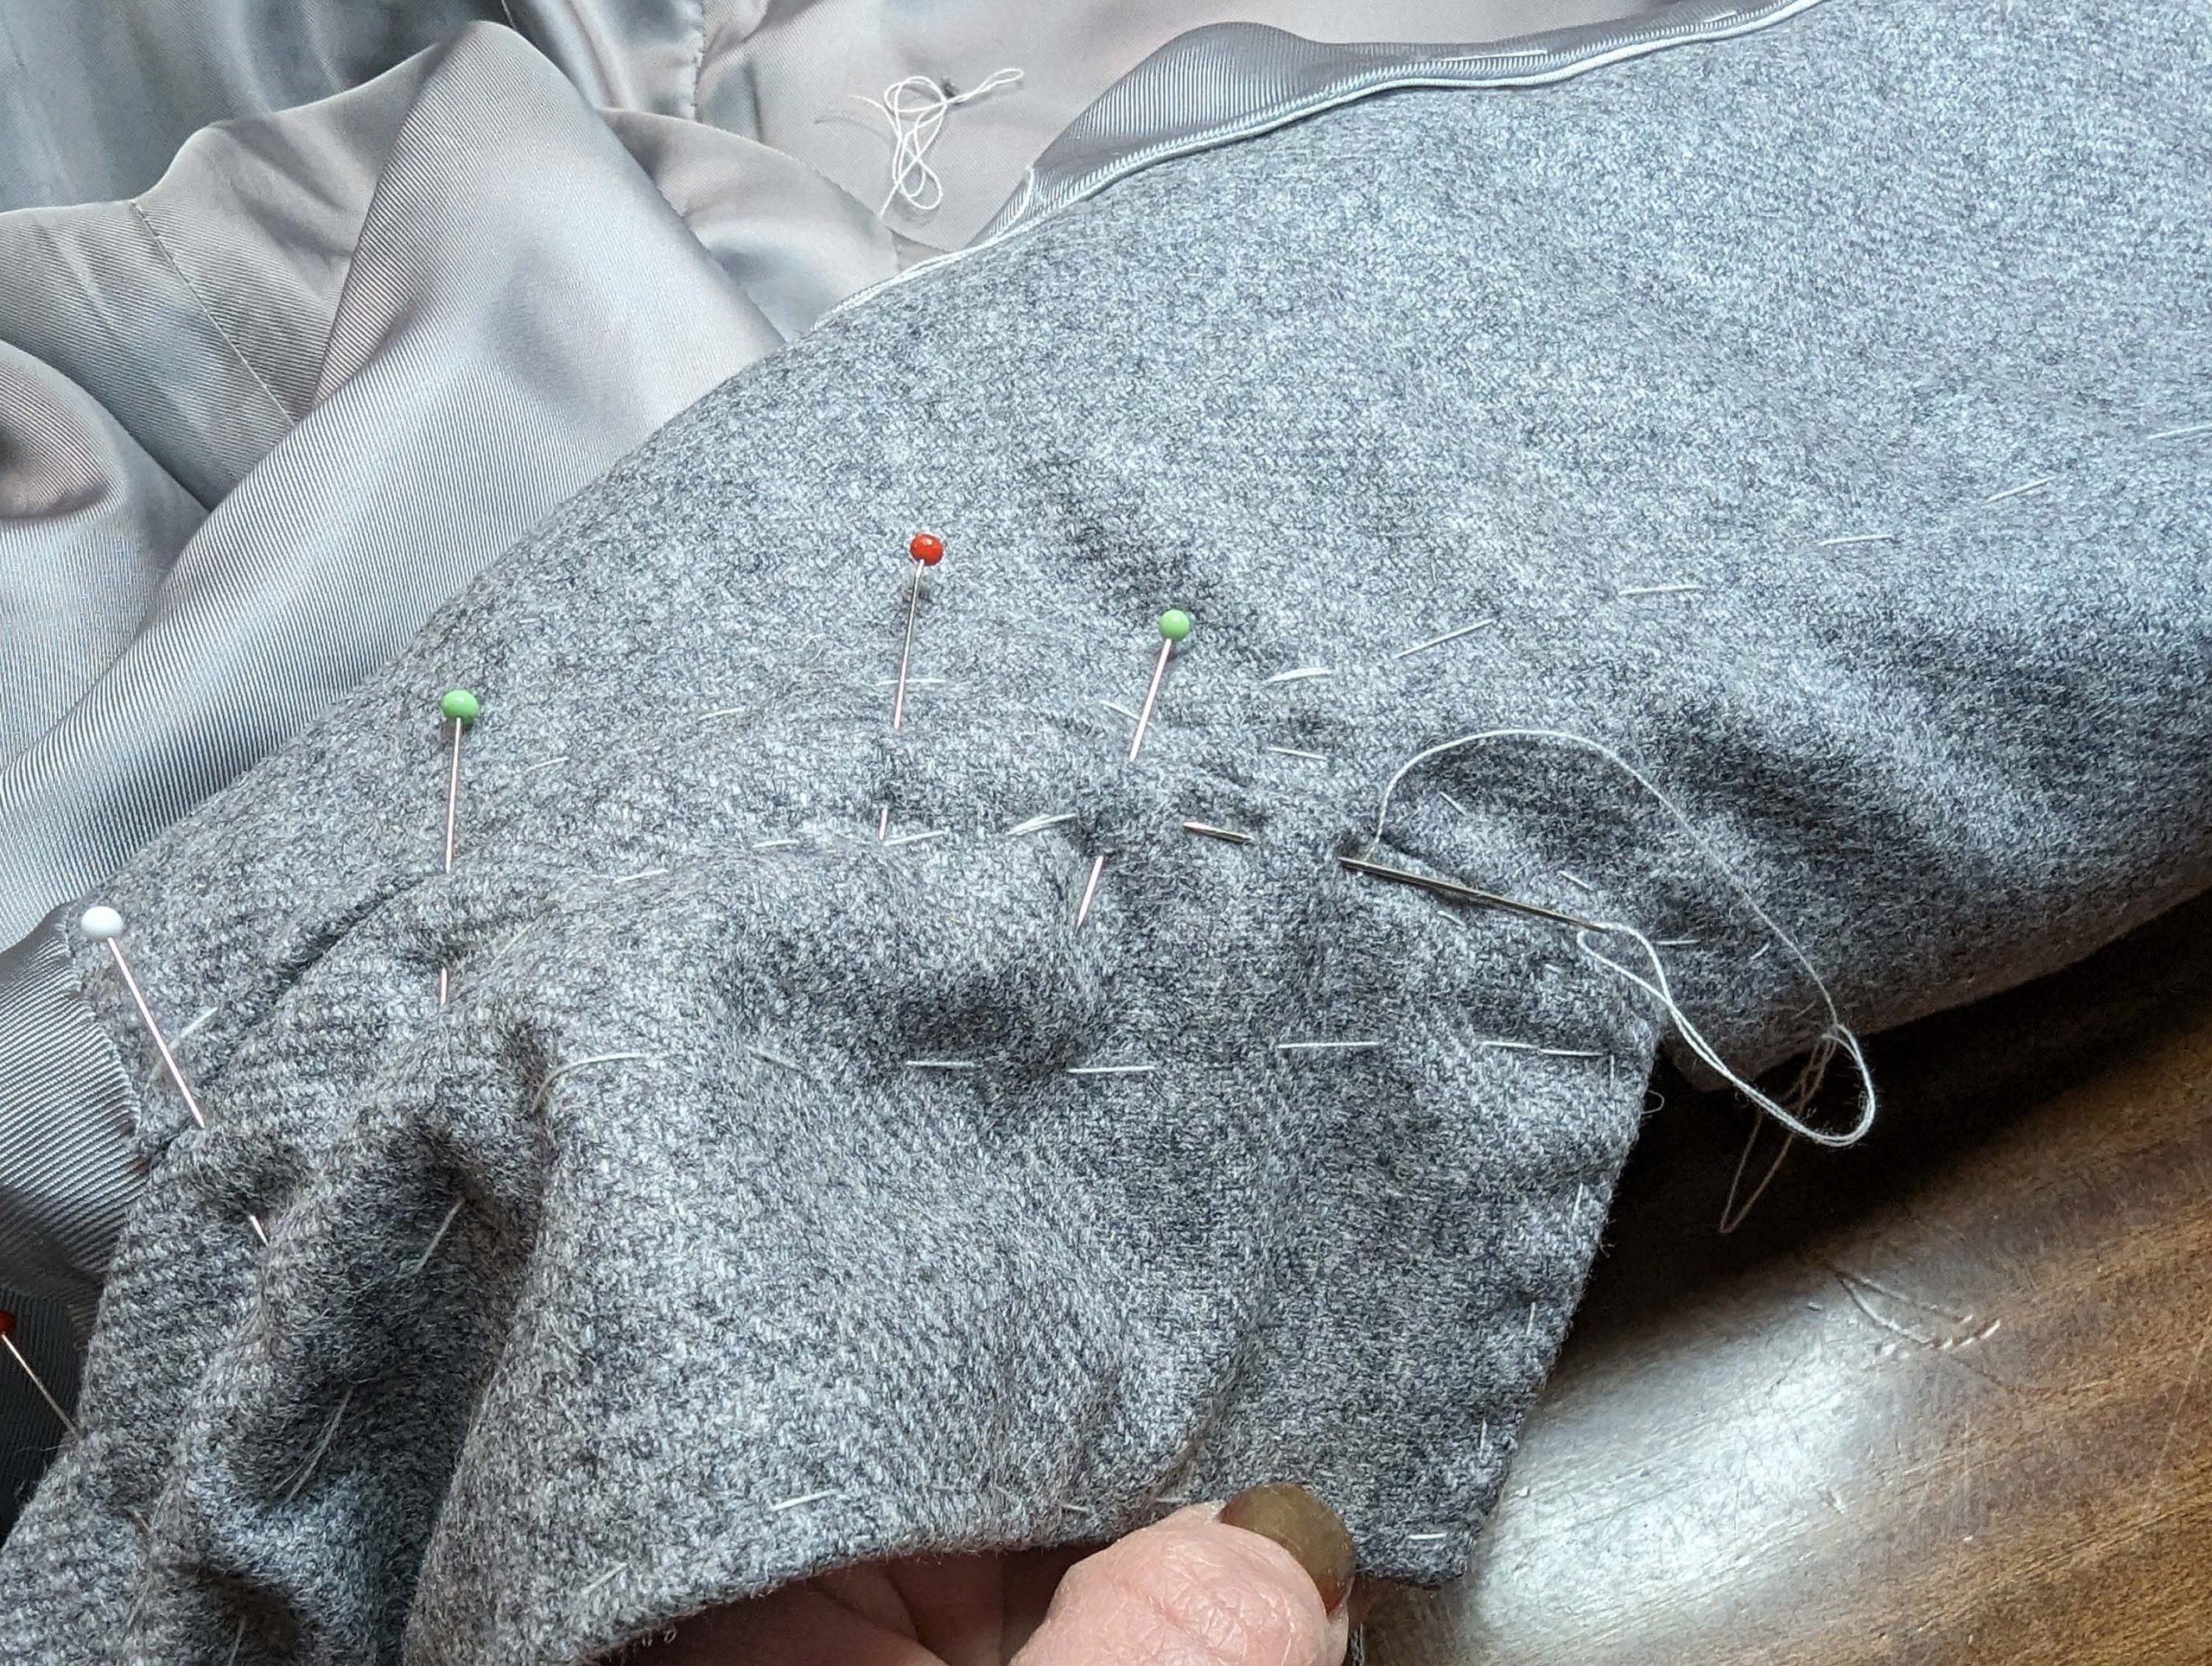
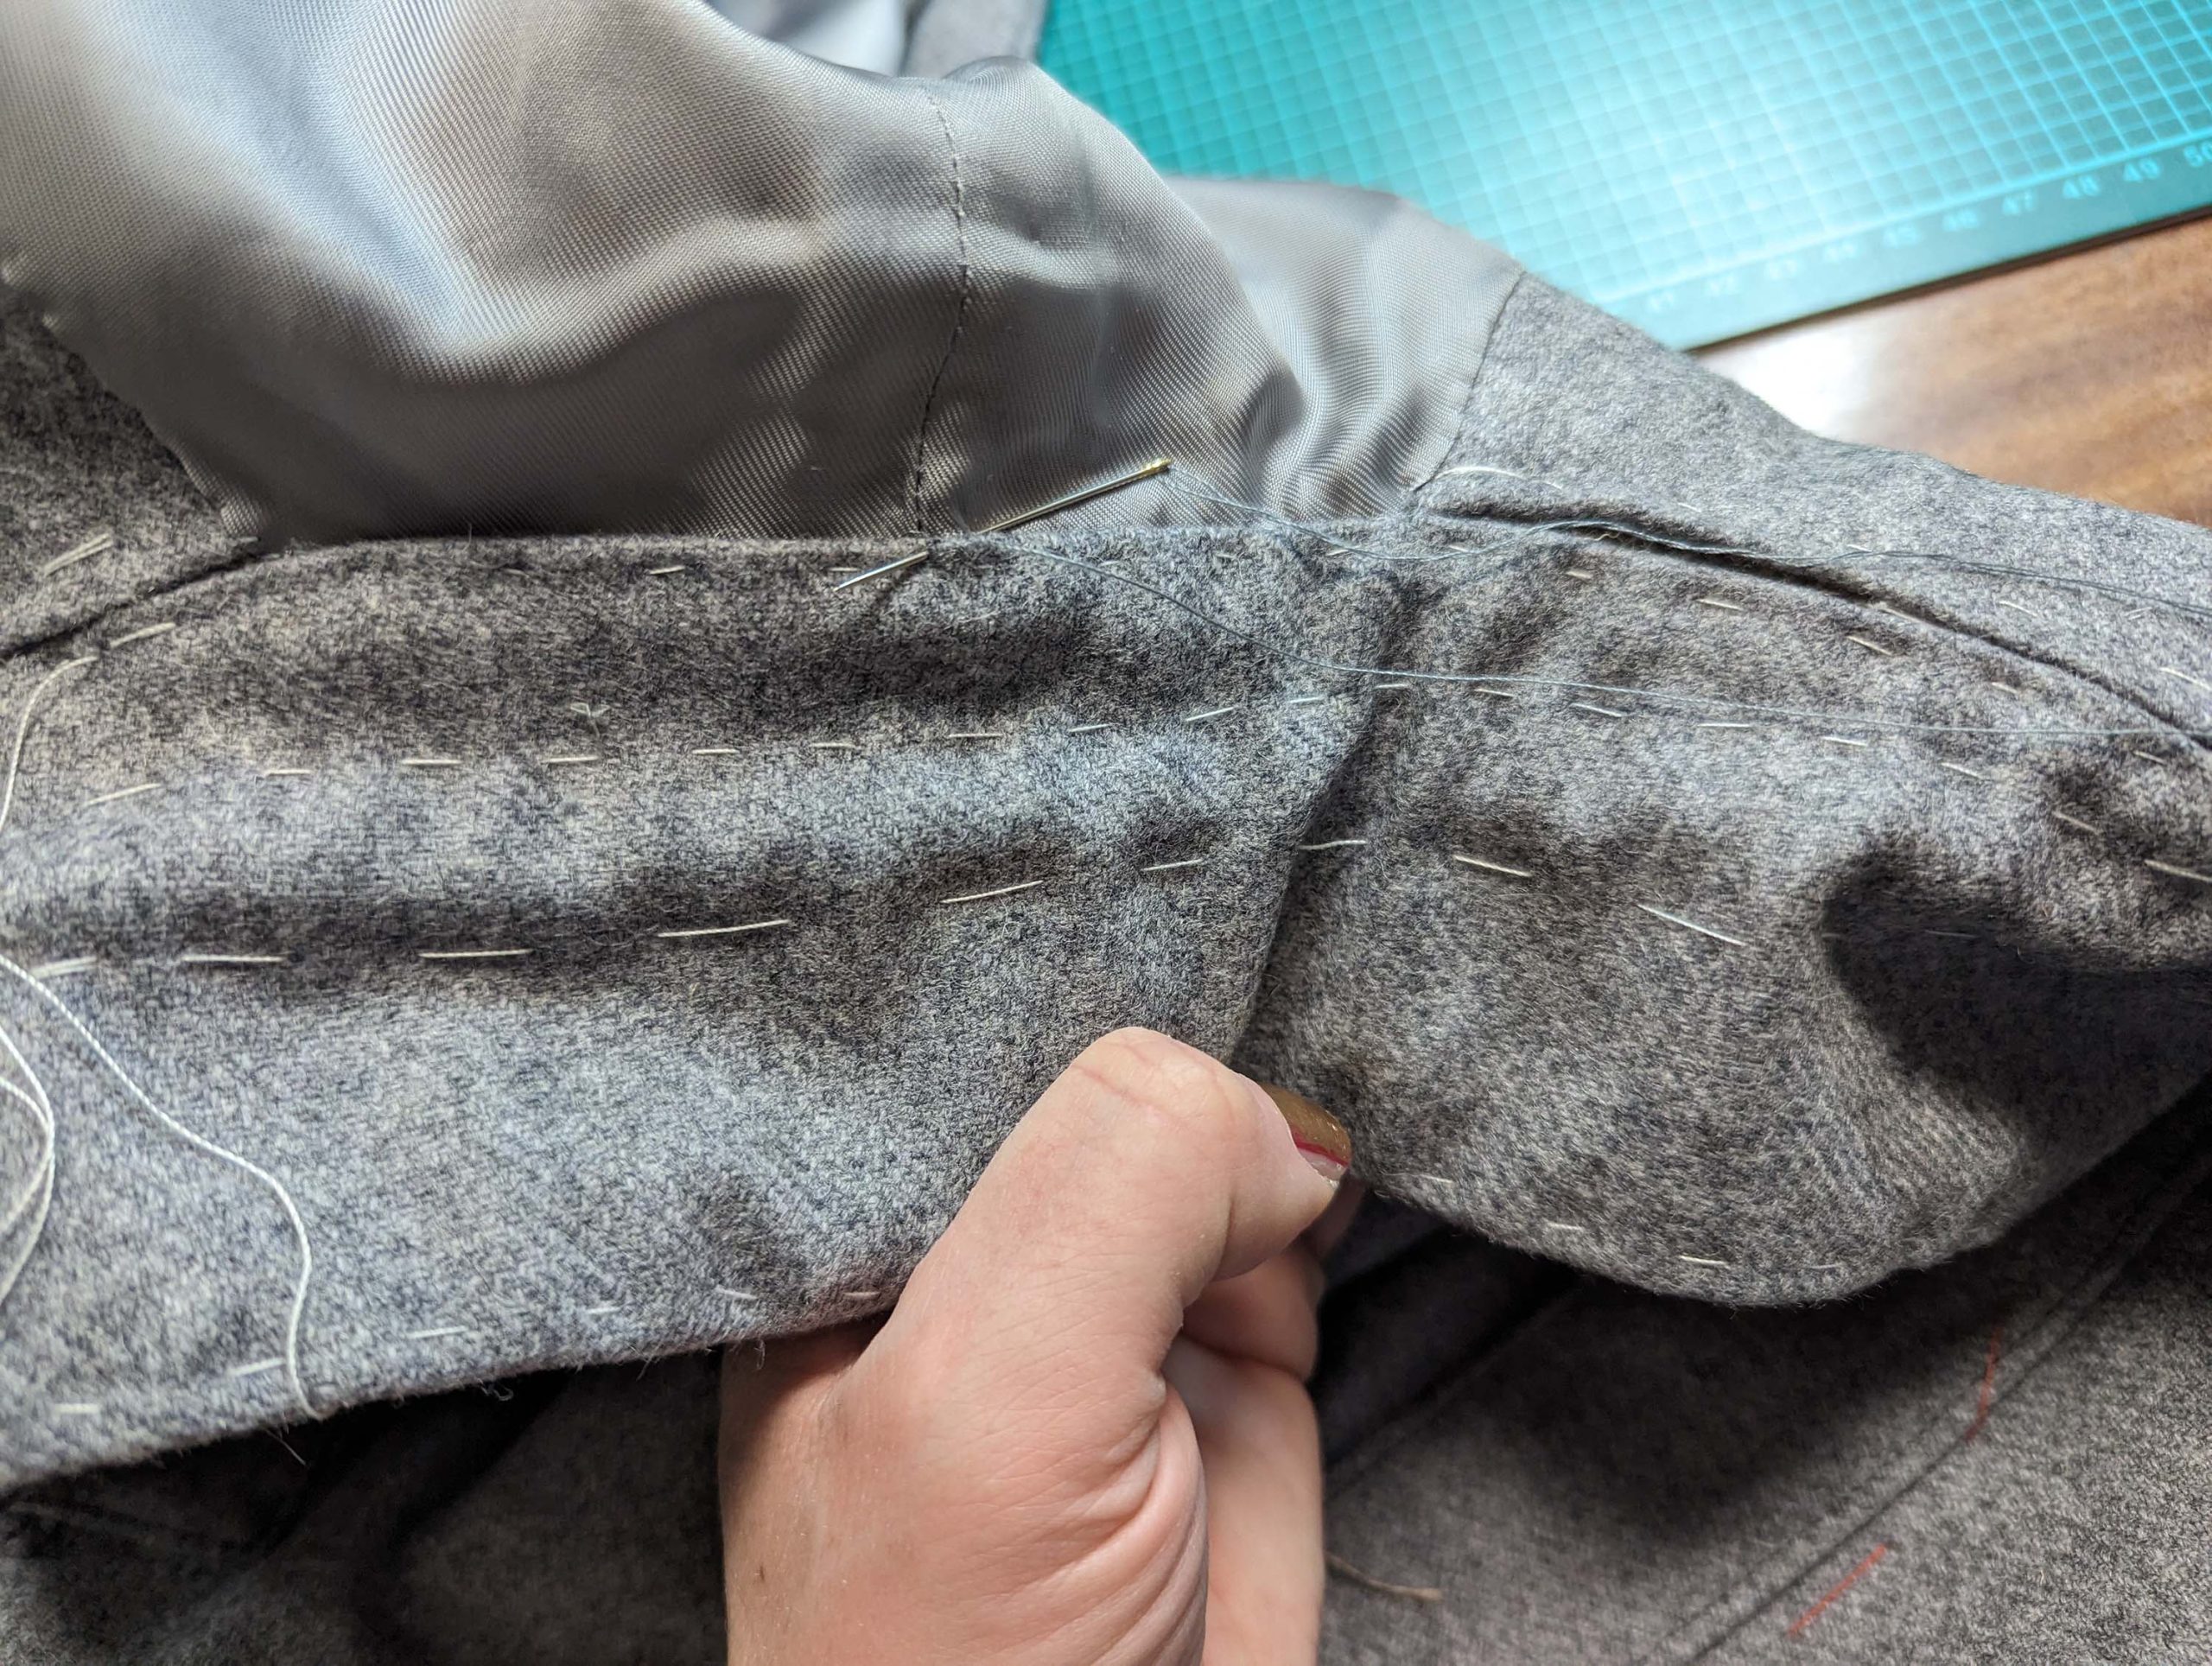
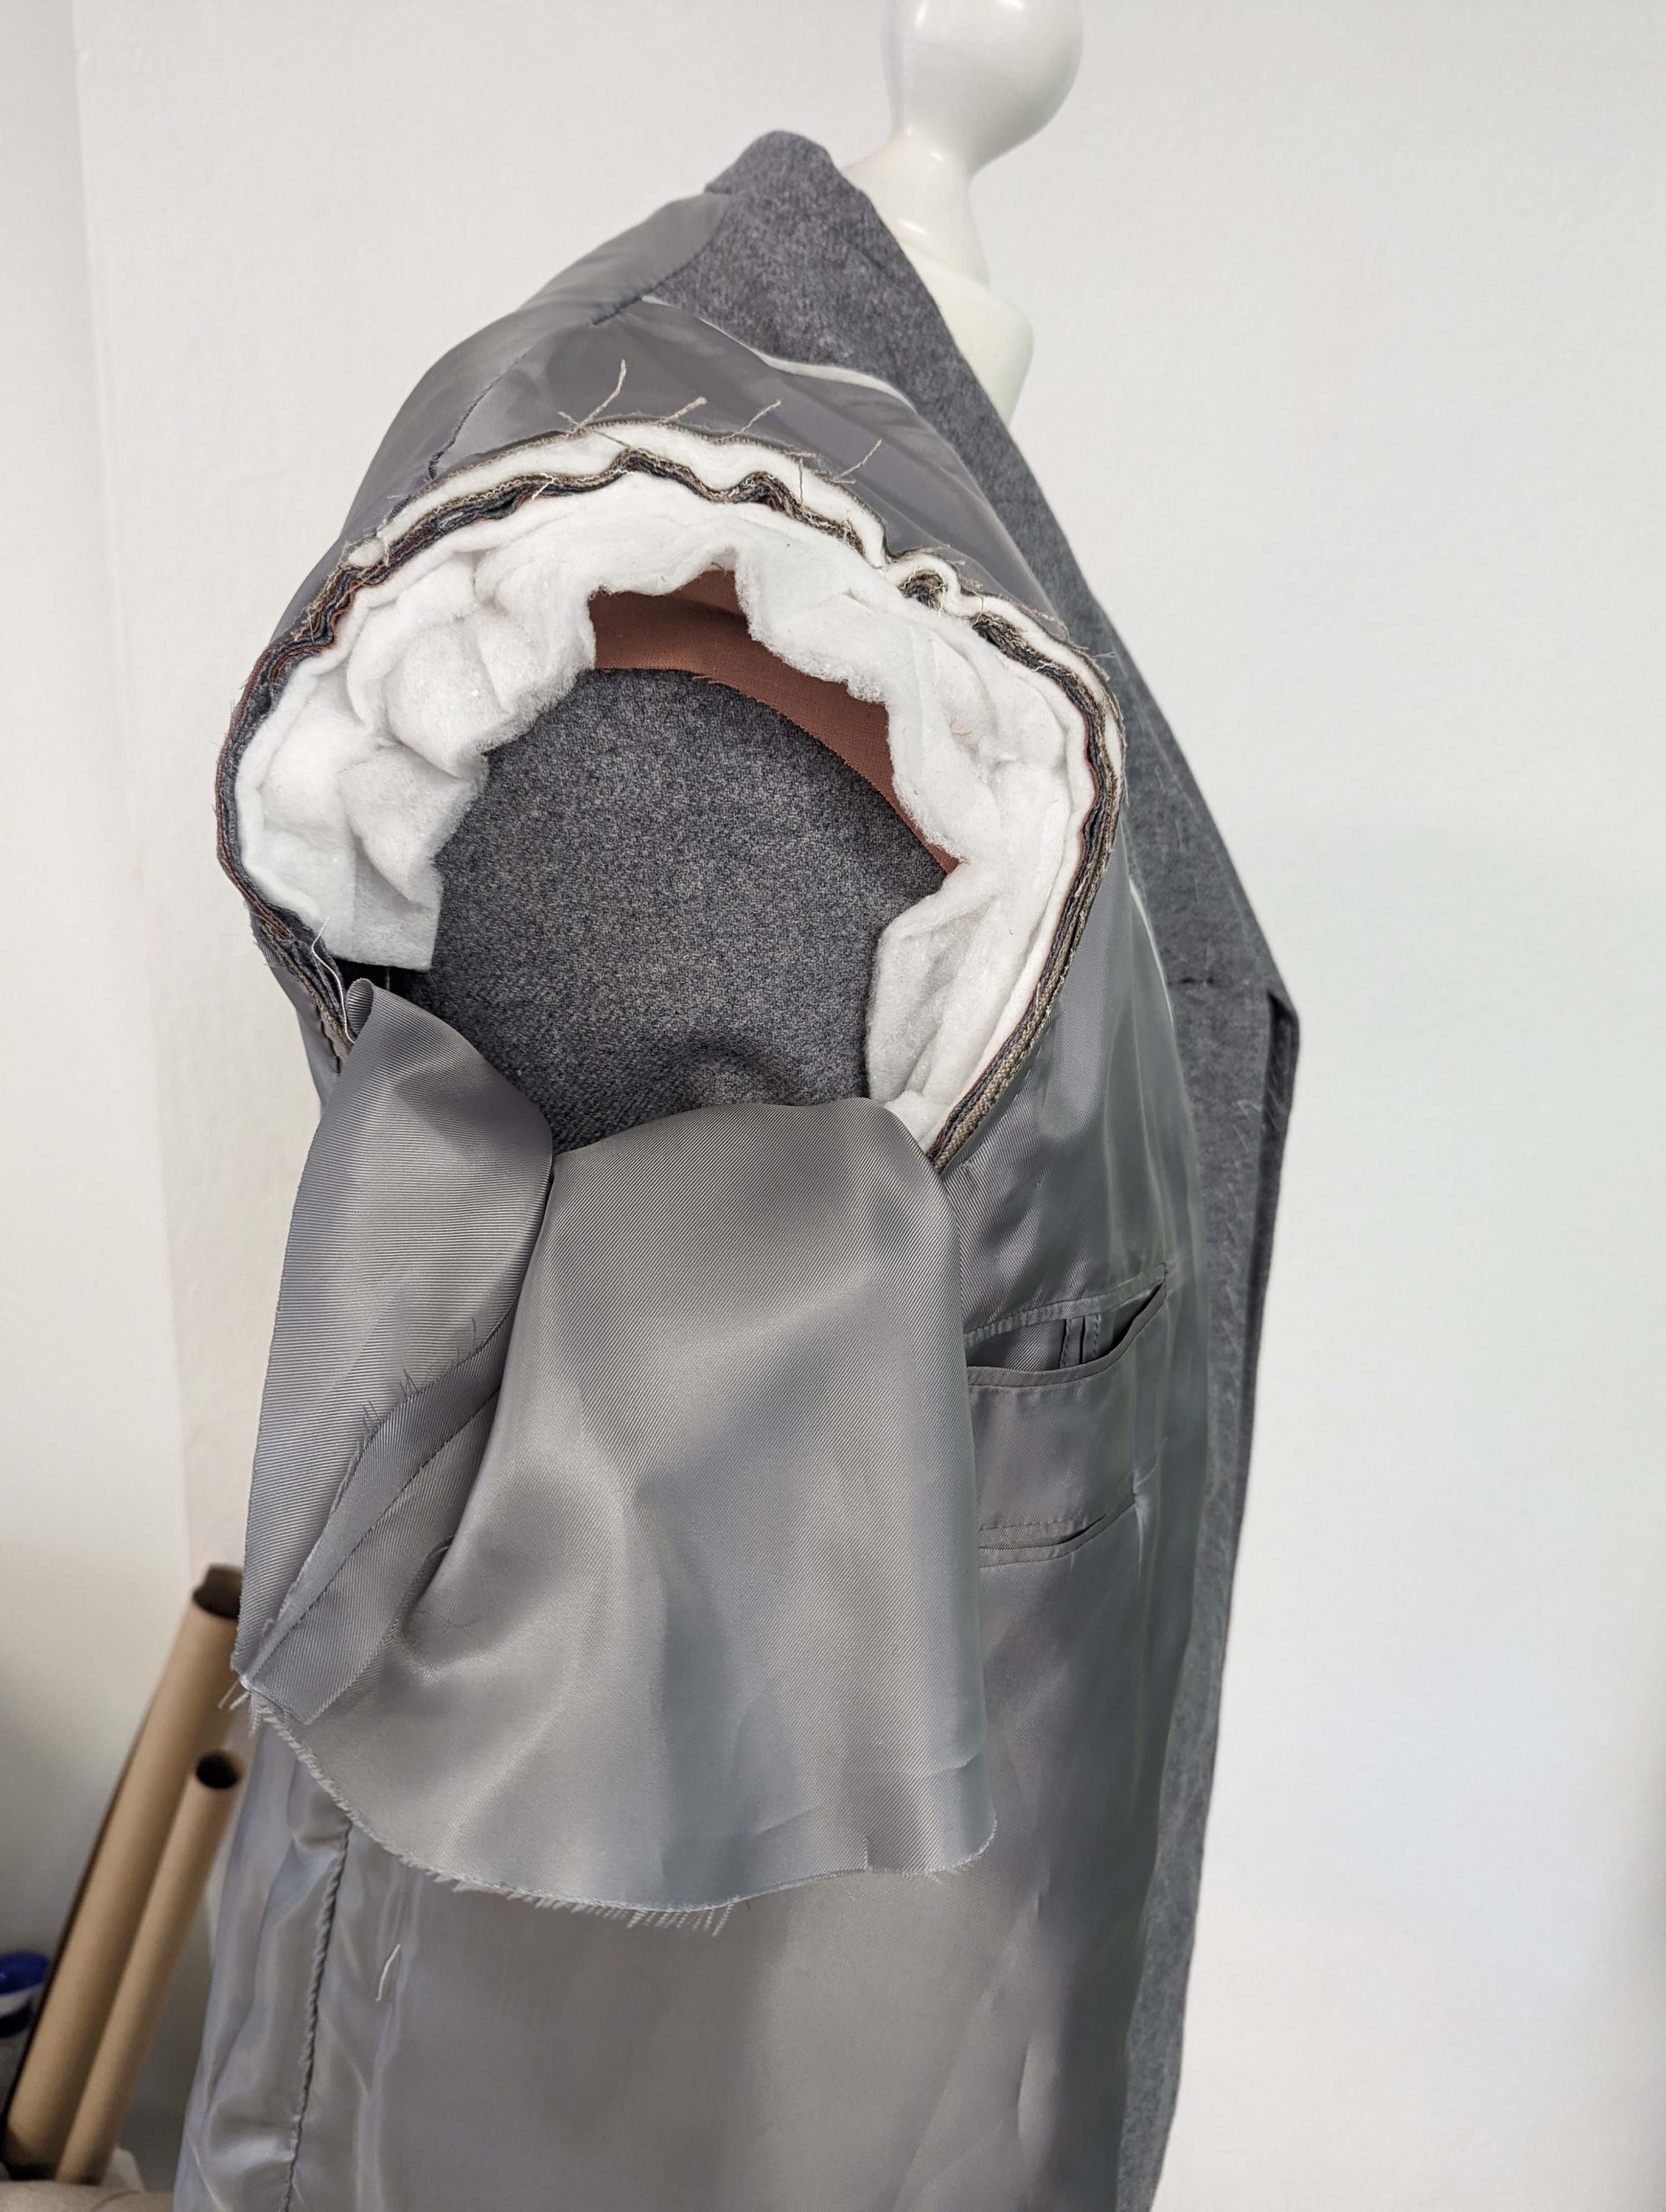
Pin the sleeve into the armhole, right sides together, matching all marks. Start at the front sleeve seam, follow the armpit to the back sleeve seam, and continue along the sleeve head. Pull the threads to ease in the excess fabric. First baste, then sew (I decided to stitch with the sewing machine – worked well) the sleeve to the fashion fabric only, folding the canvas and the shoulder pad to the side.

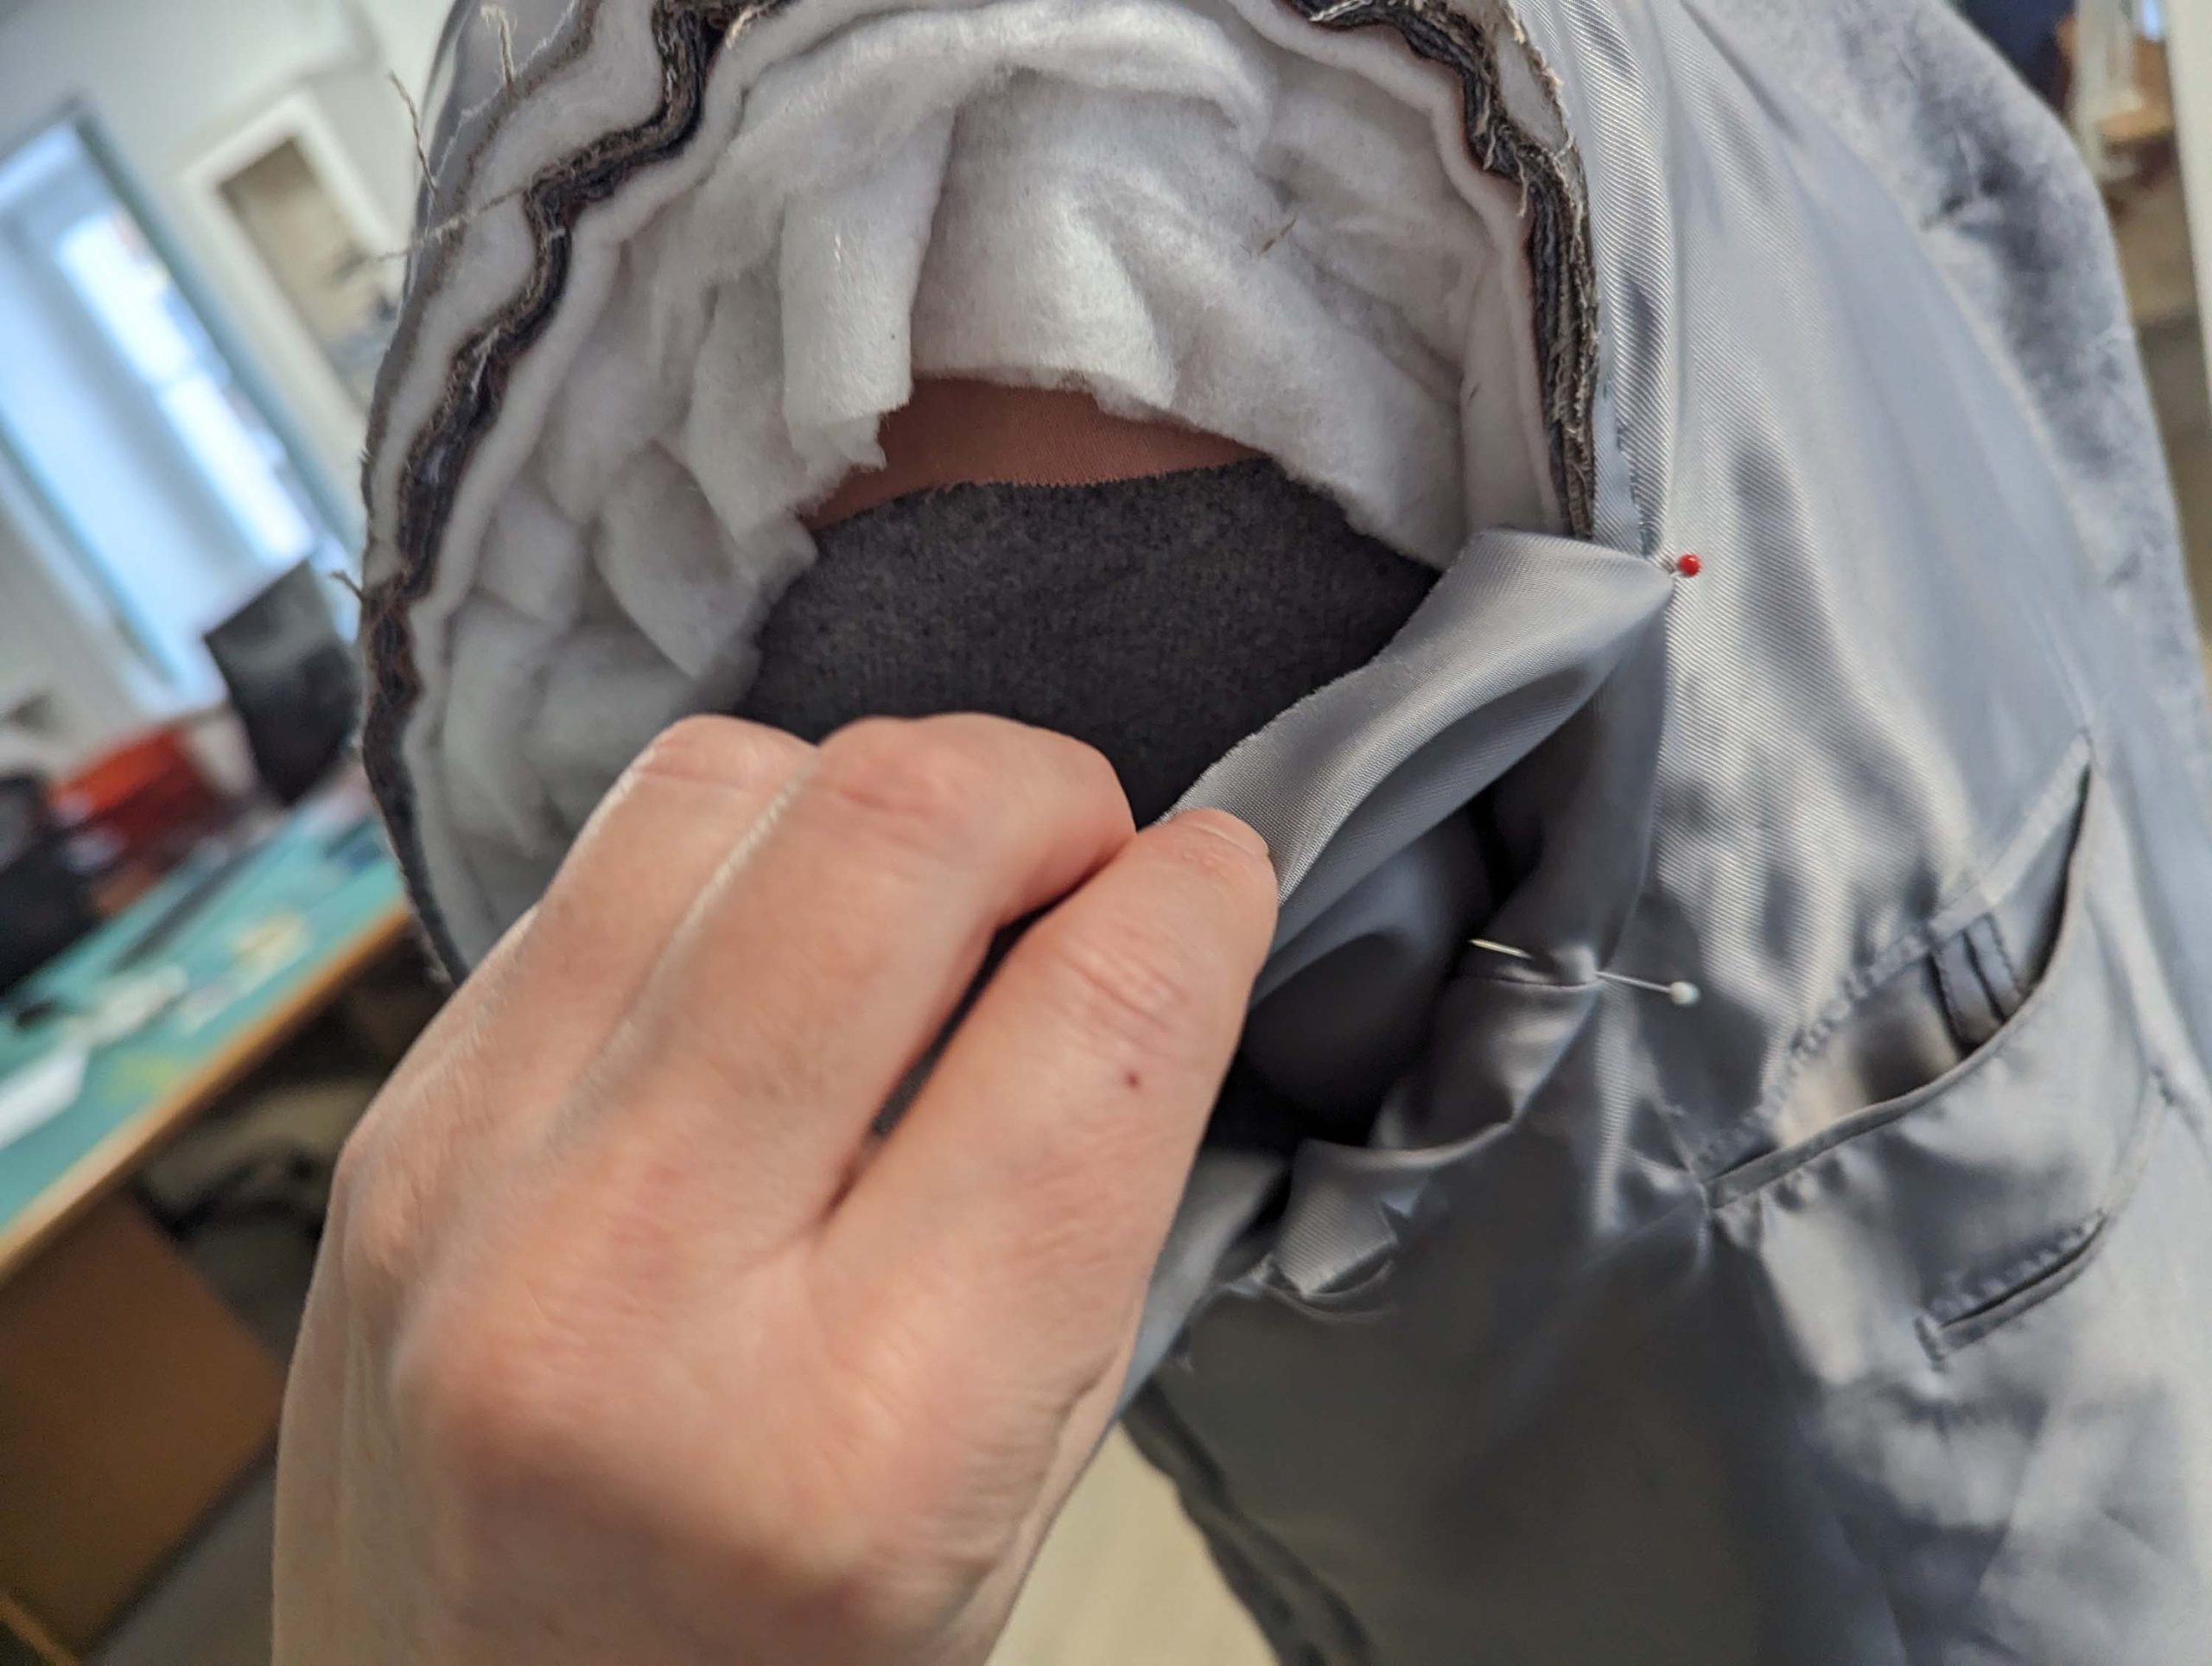
Next, baste together all layers (fashion fabric, canvas, shoulder pad, and the lining) right beside the sleeve seam inside the seam allowance. Trim back the seam allowance to 3/8” (1cm). Take a strip of padding (about 3”x15” (8x40cm)), turn in about 1/3 along one long edge, and line up with the seam allowance along the sleeve head, baste to the seam allowance.

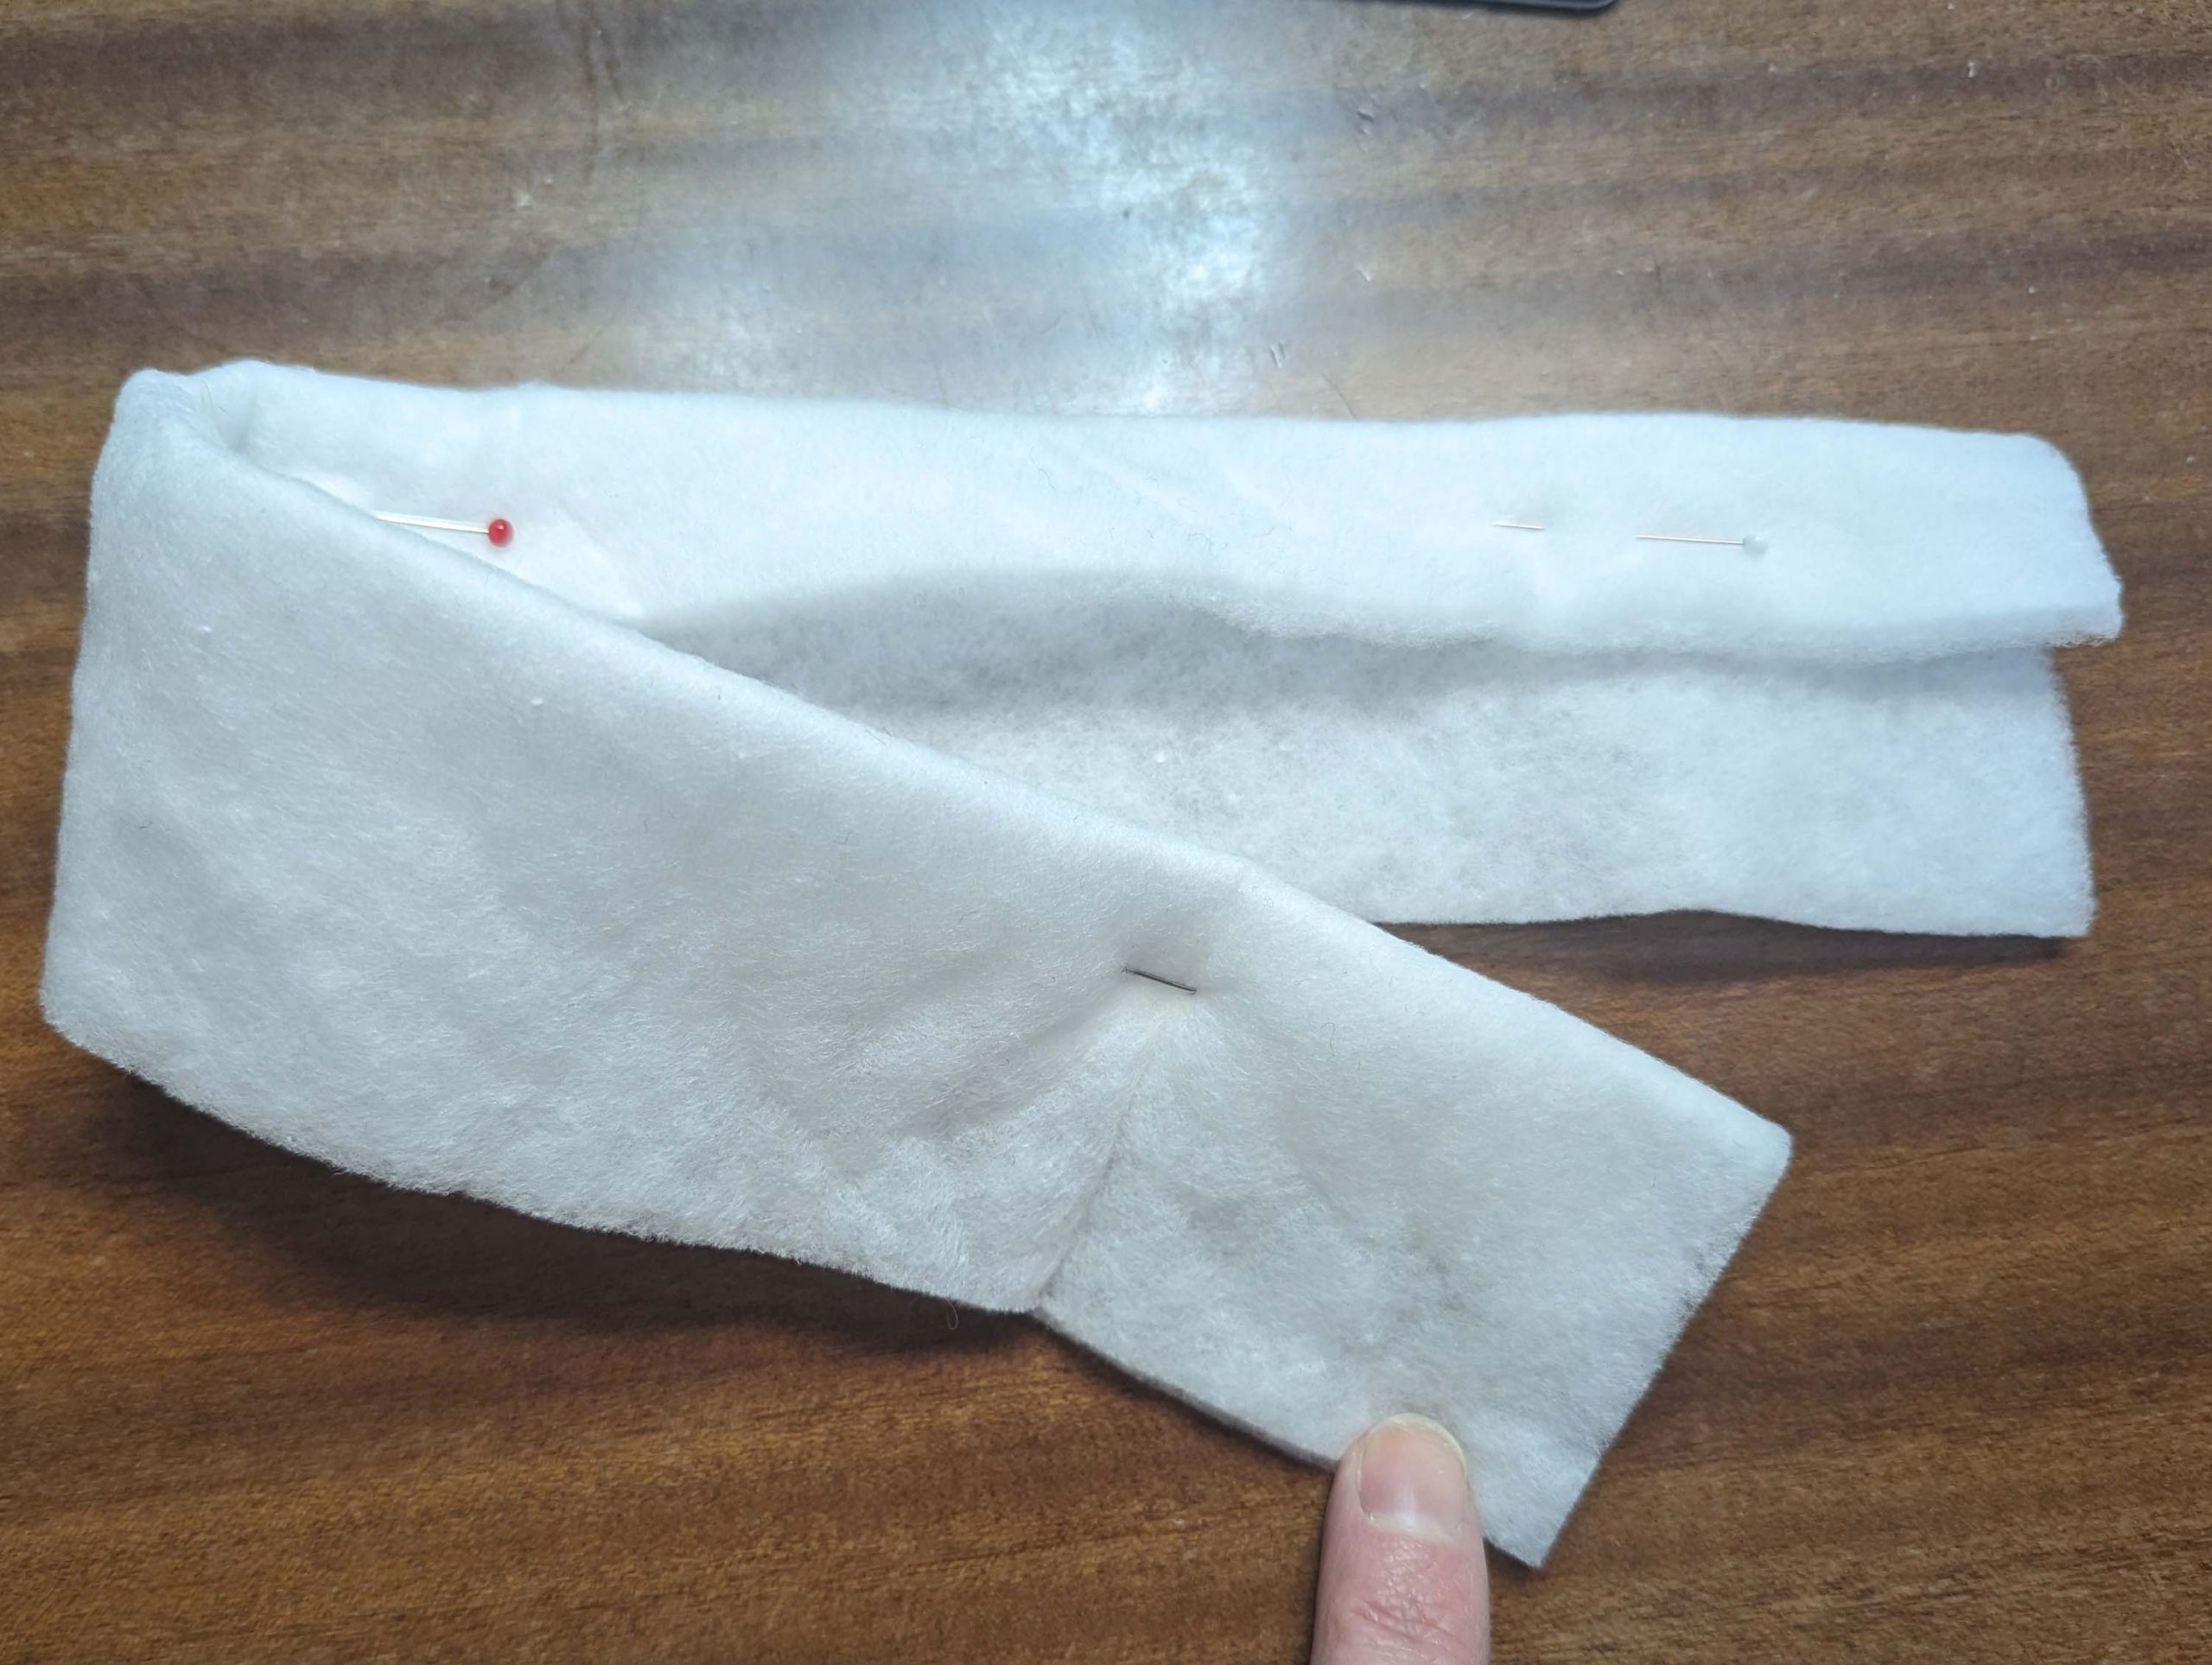
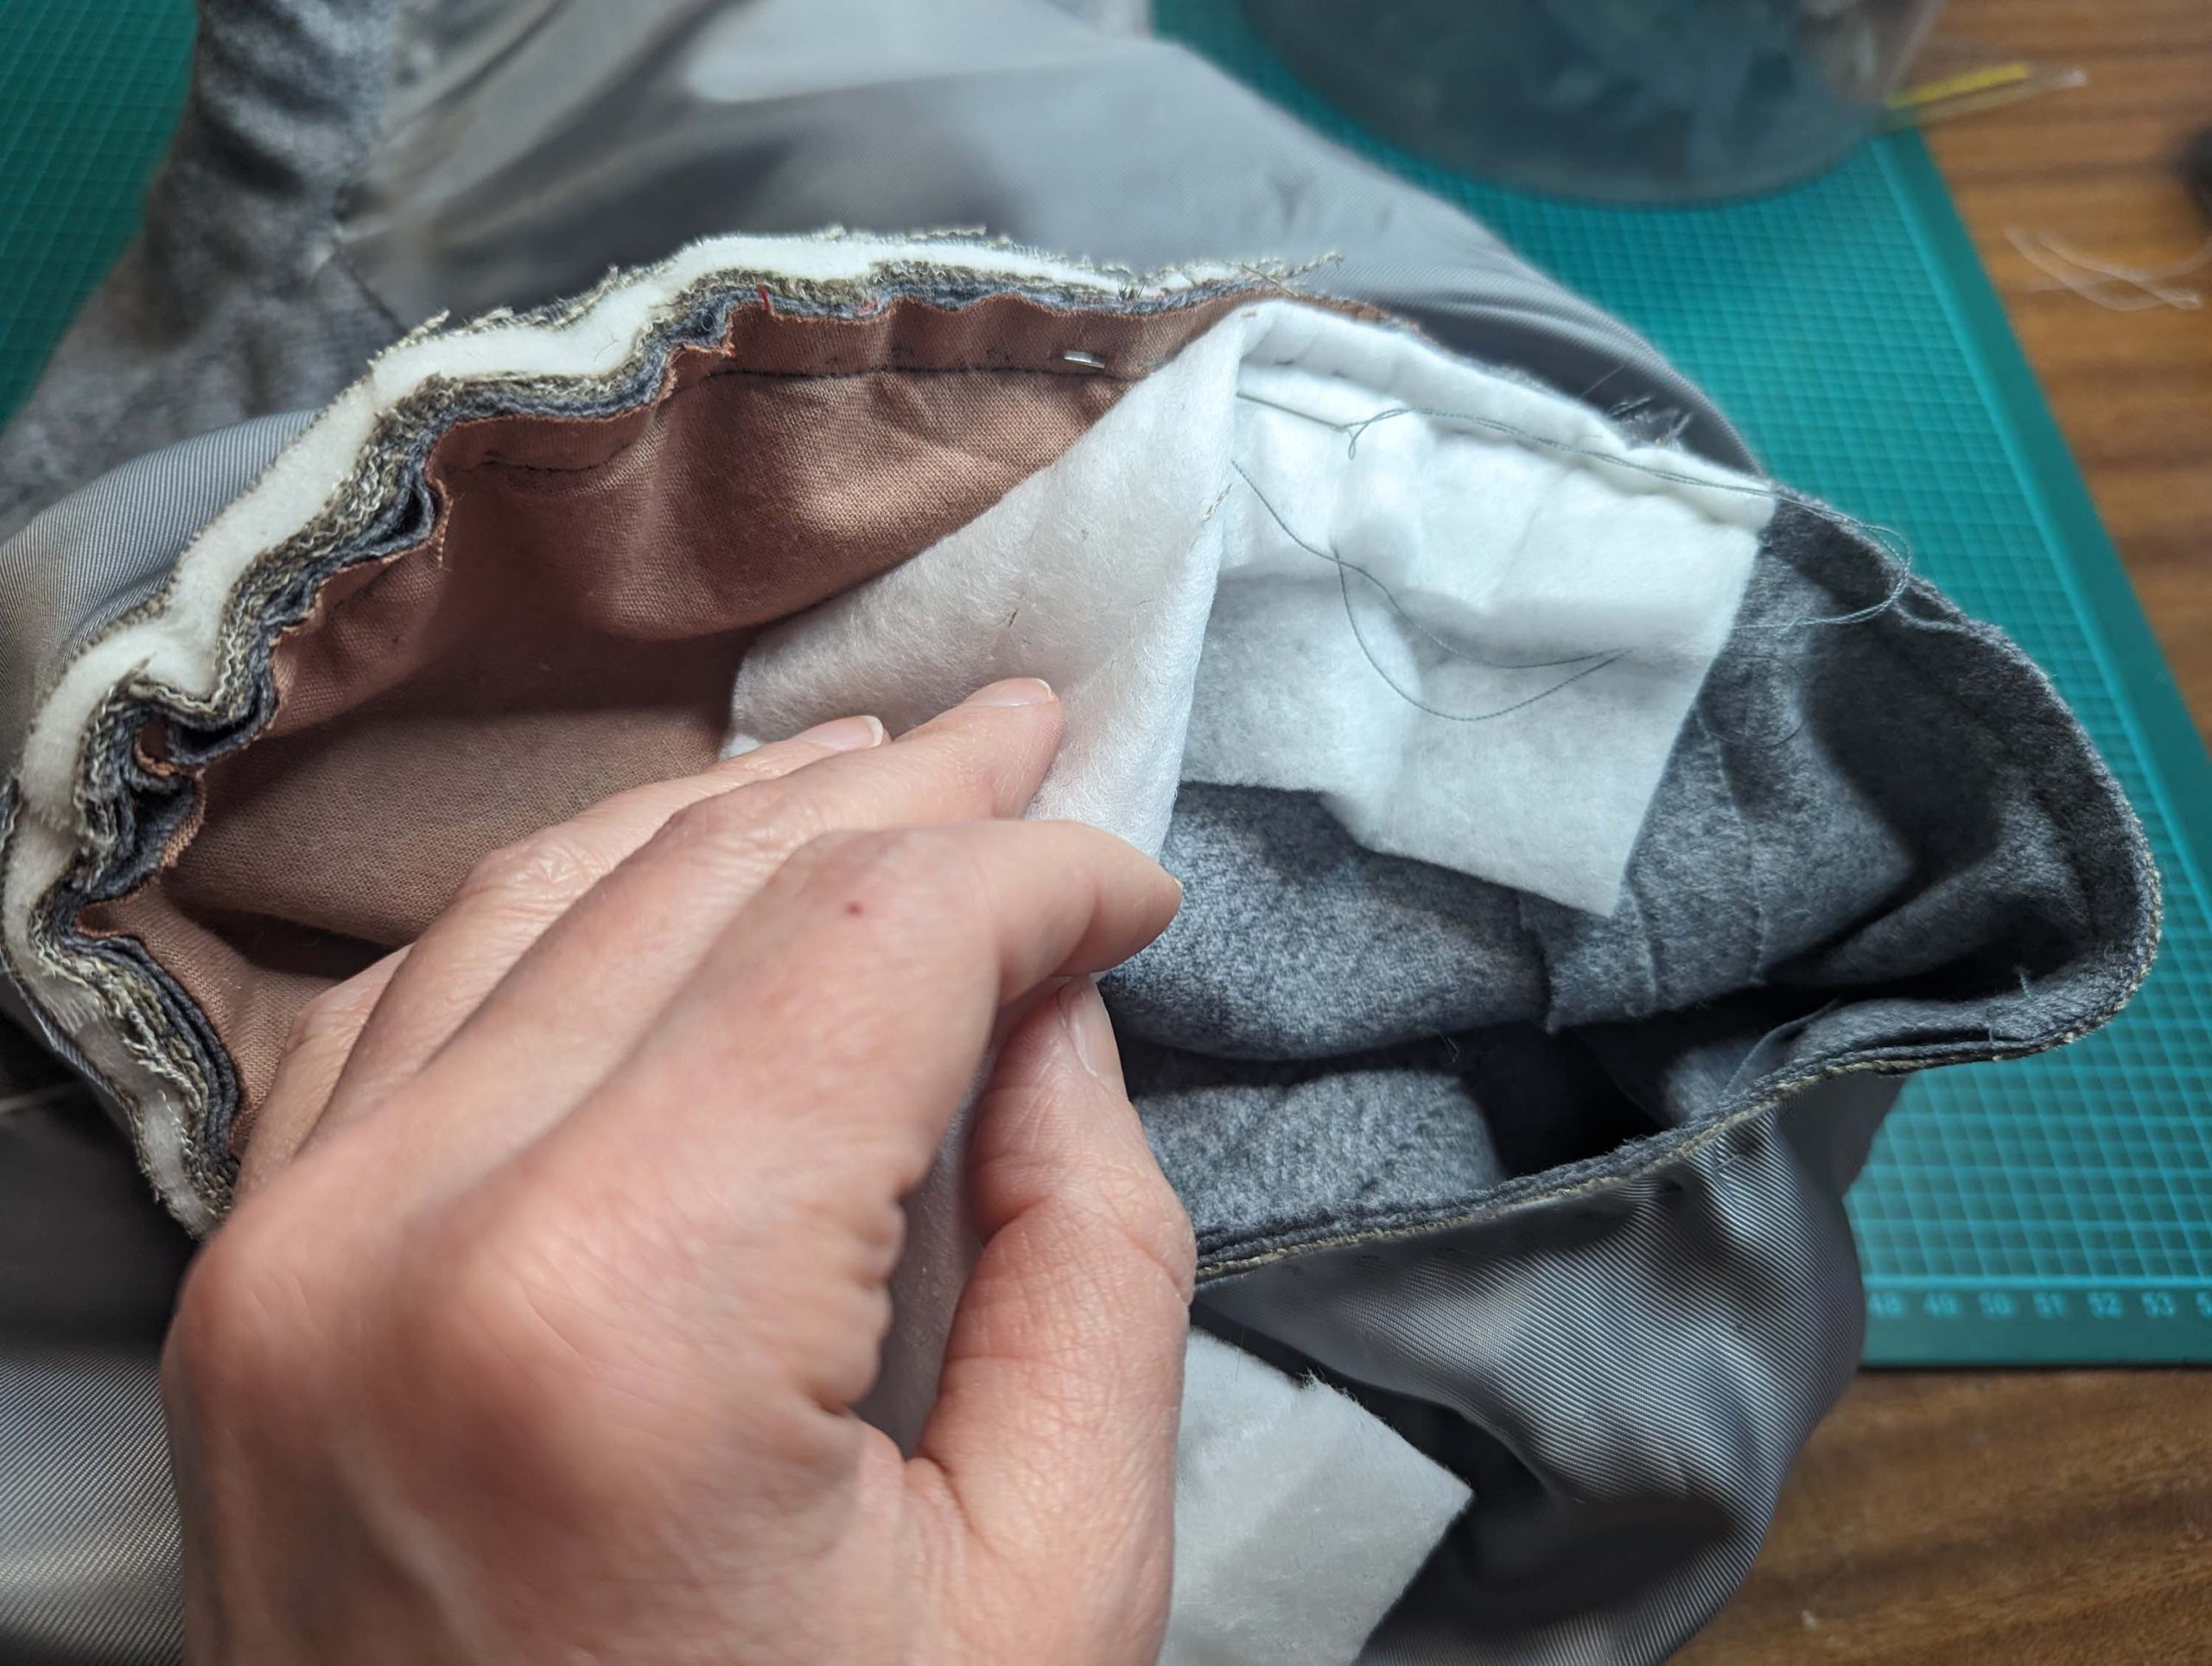
Is this strip of padding important? Yes it is, look at the difference it makes!

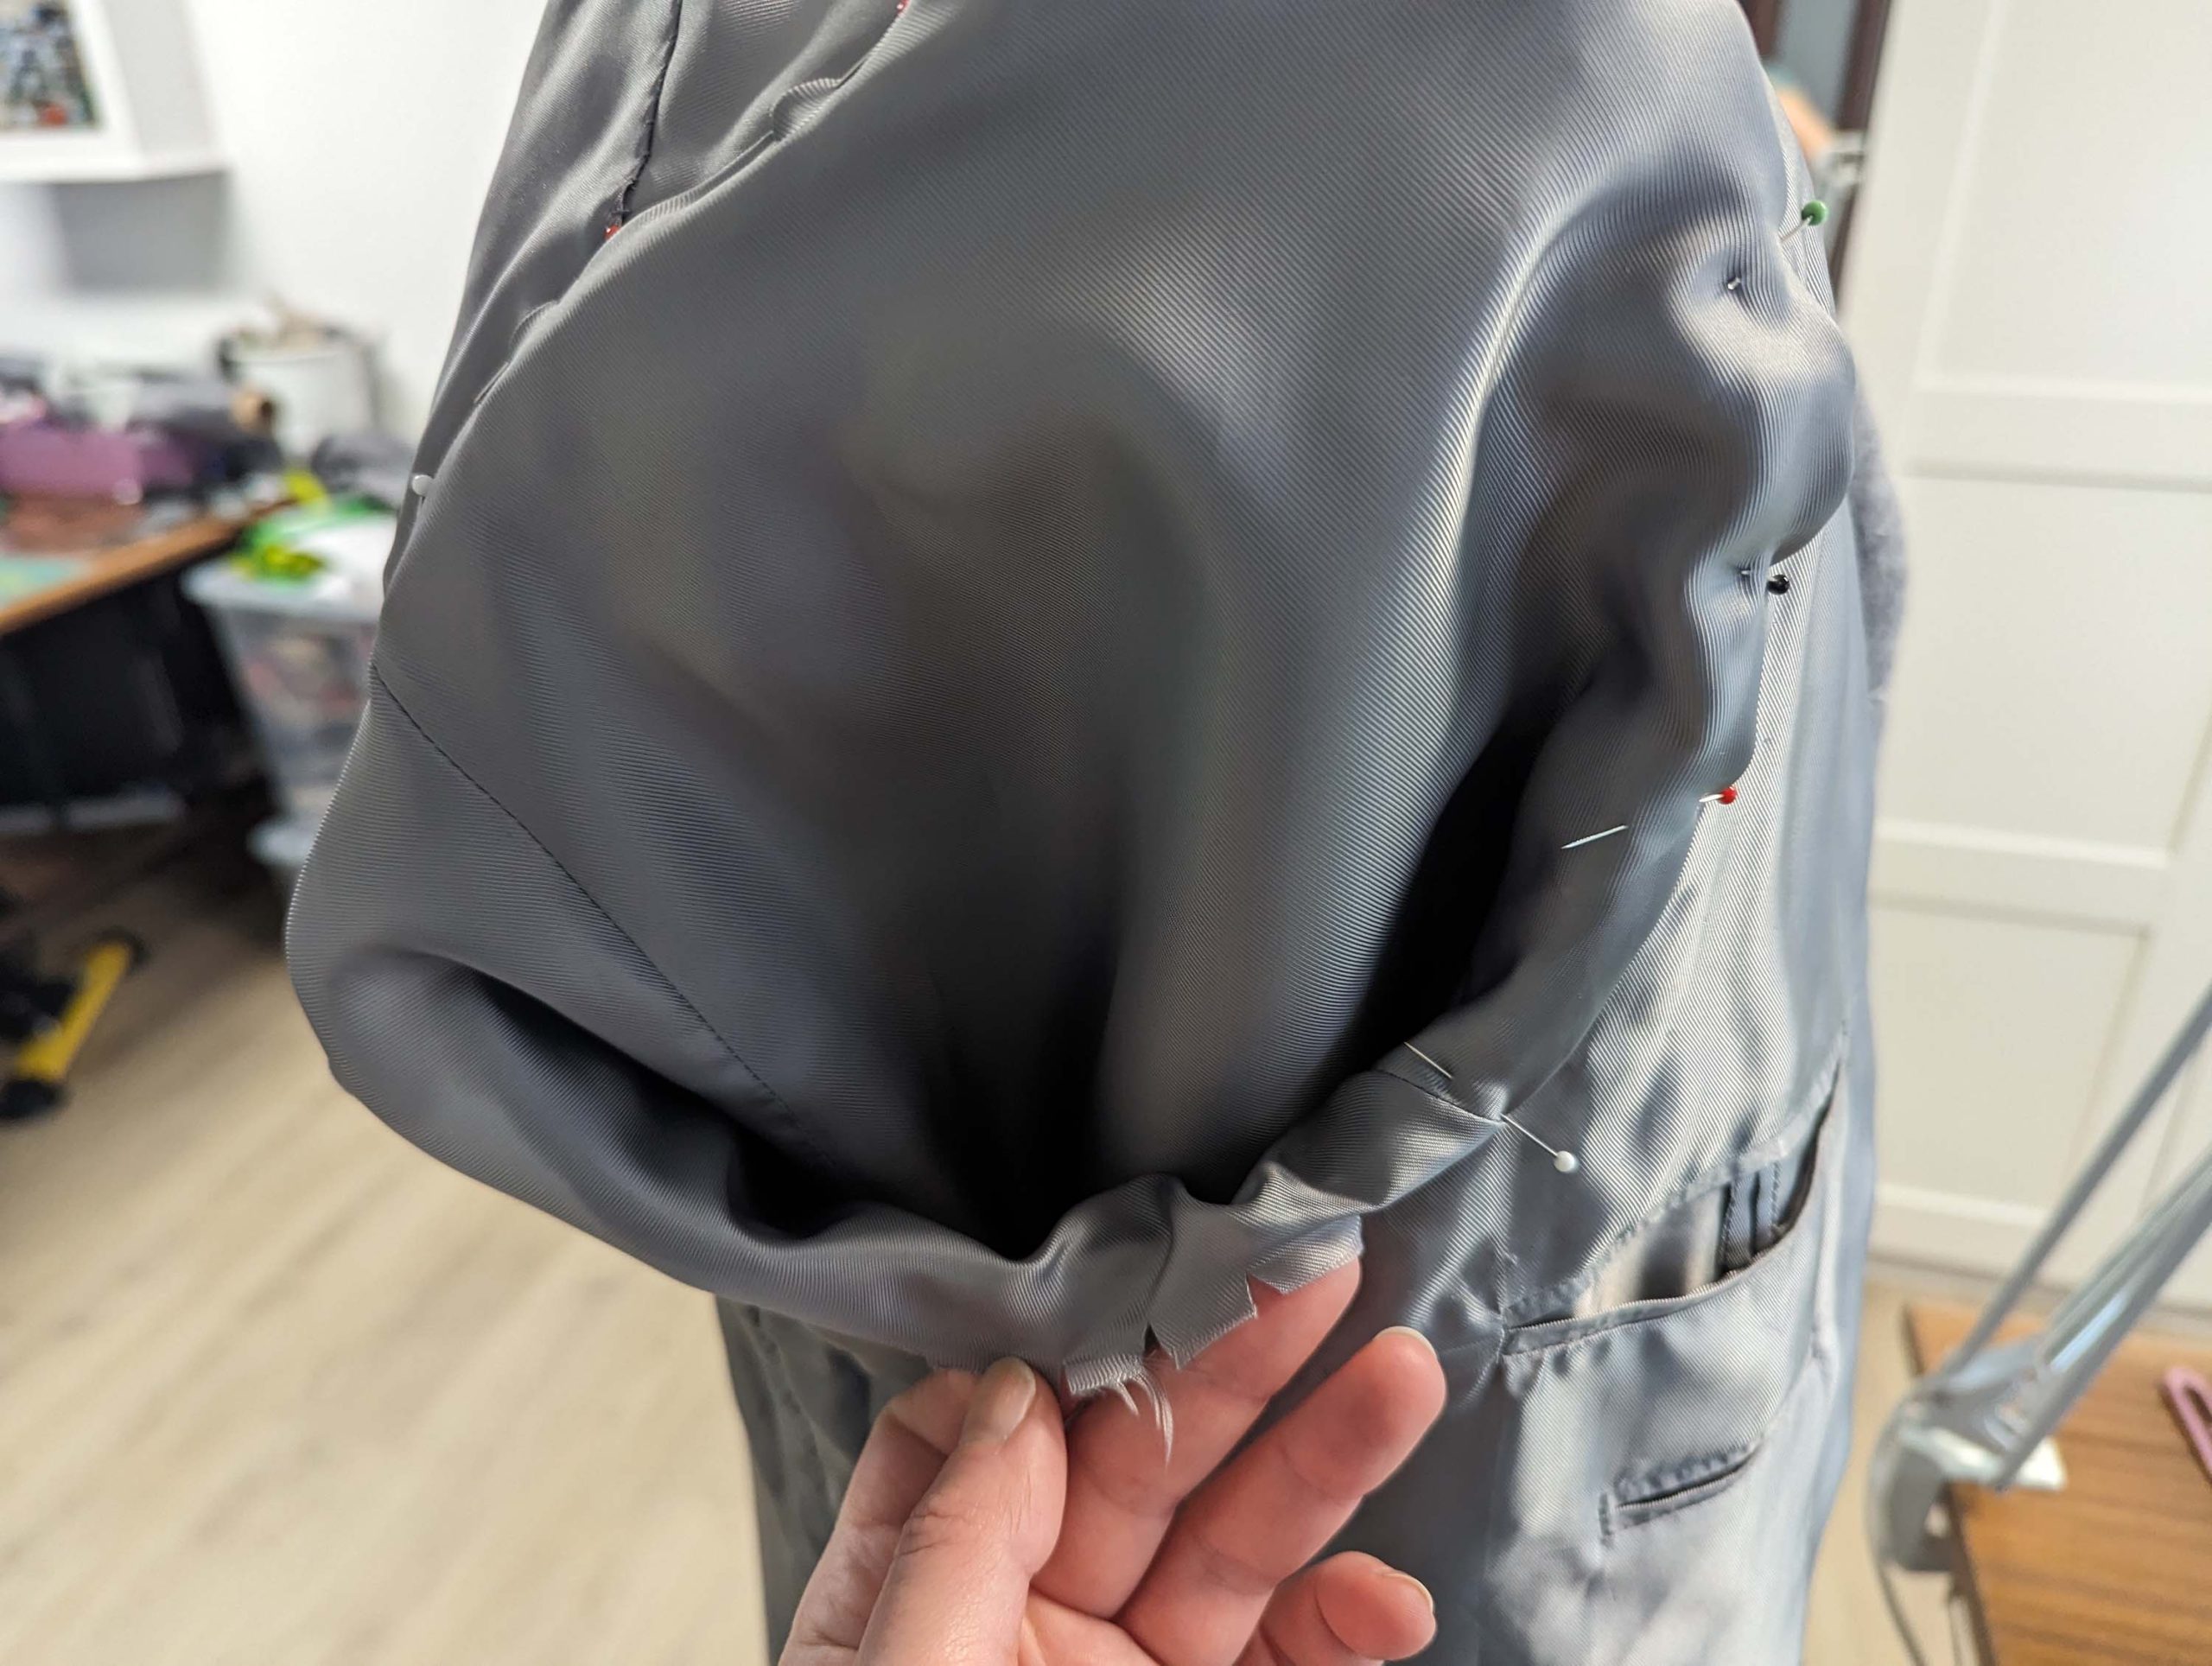
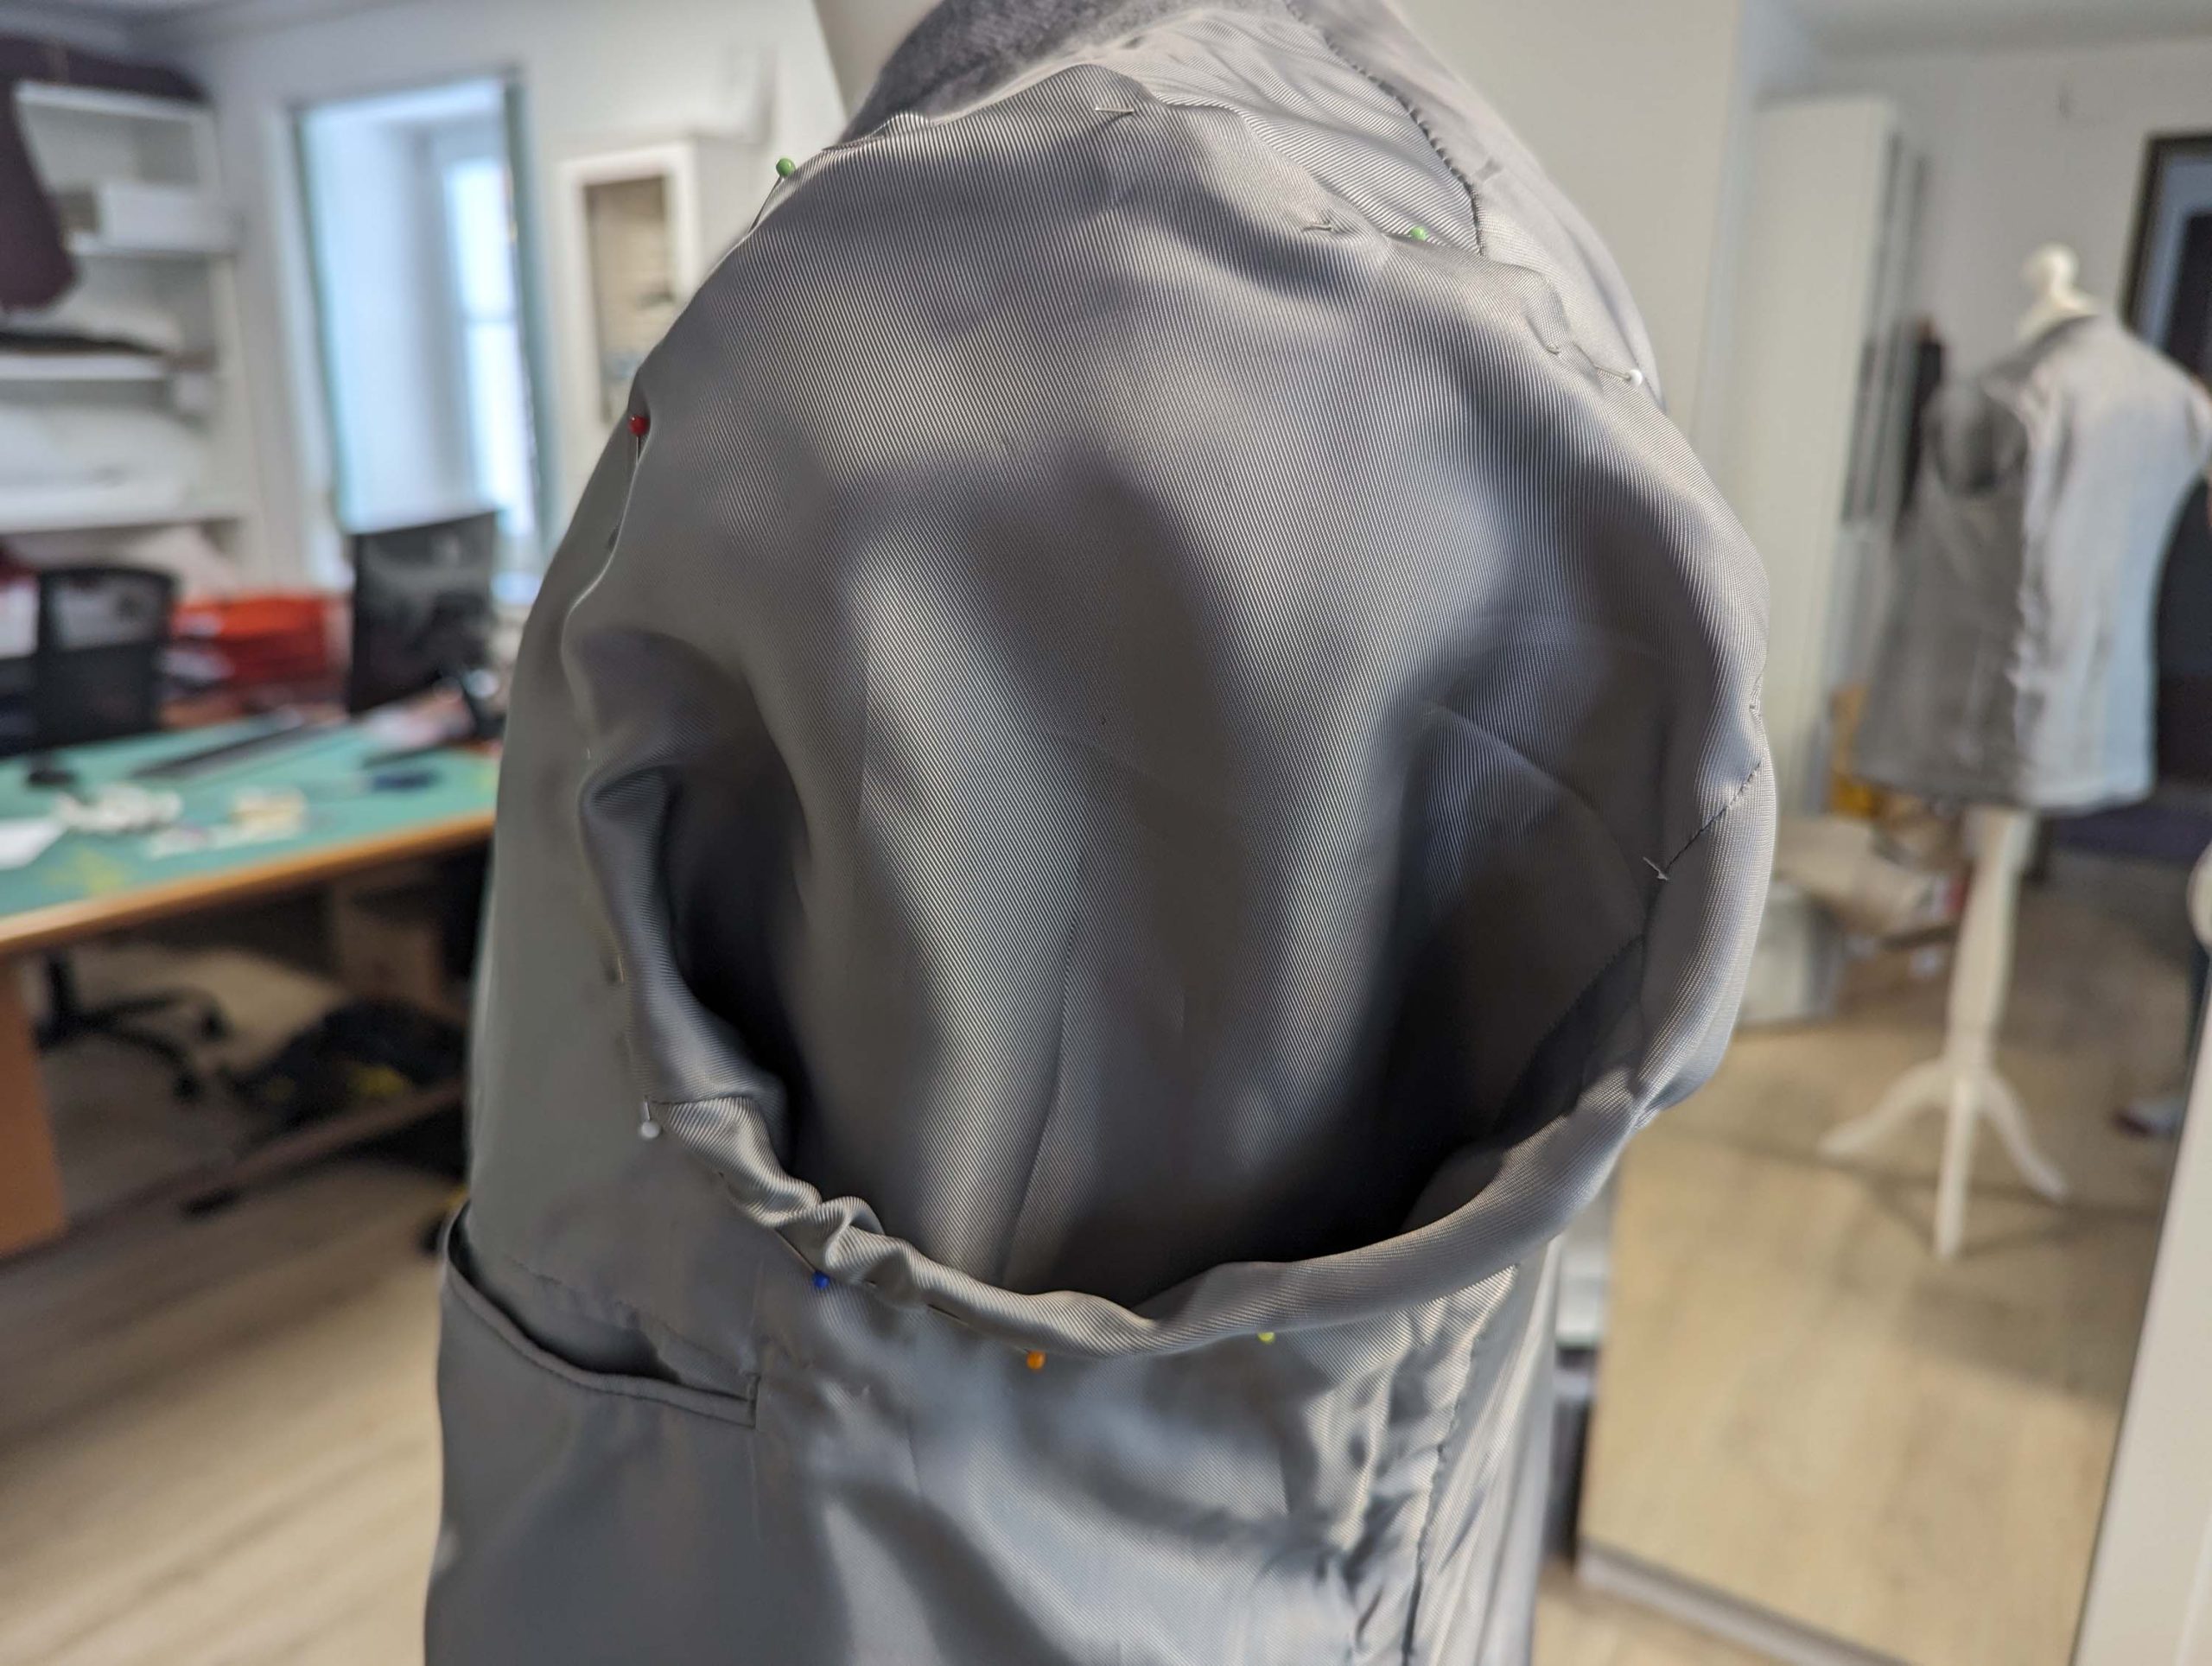
Pull the sleeve lining through the armhole and turn in the seam allowance. Line up with the armhole seam, covering the raw edges of the armhole, and fell stitch in place. Lay the excess width of the sleeve head into small folds if necessary.

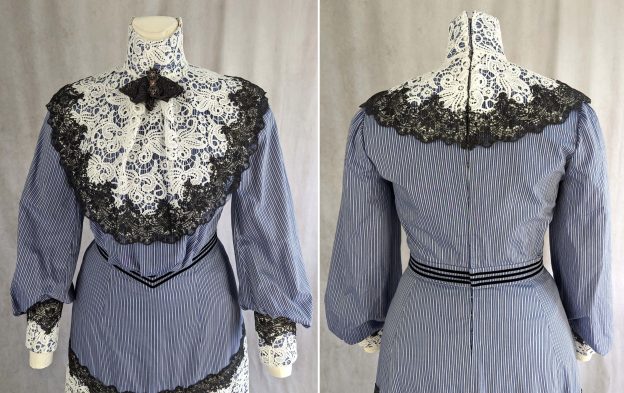
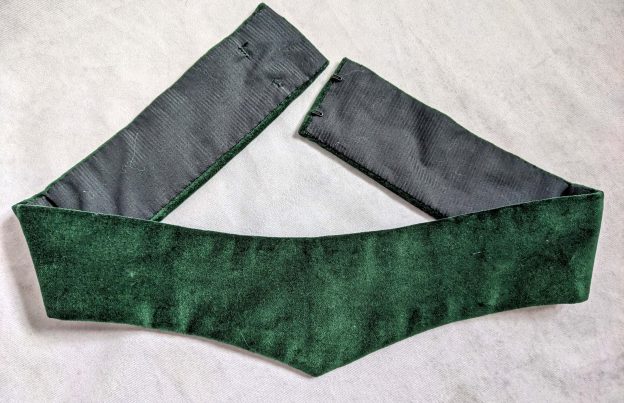
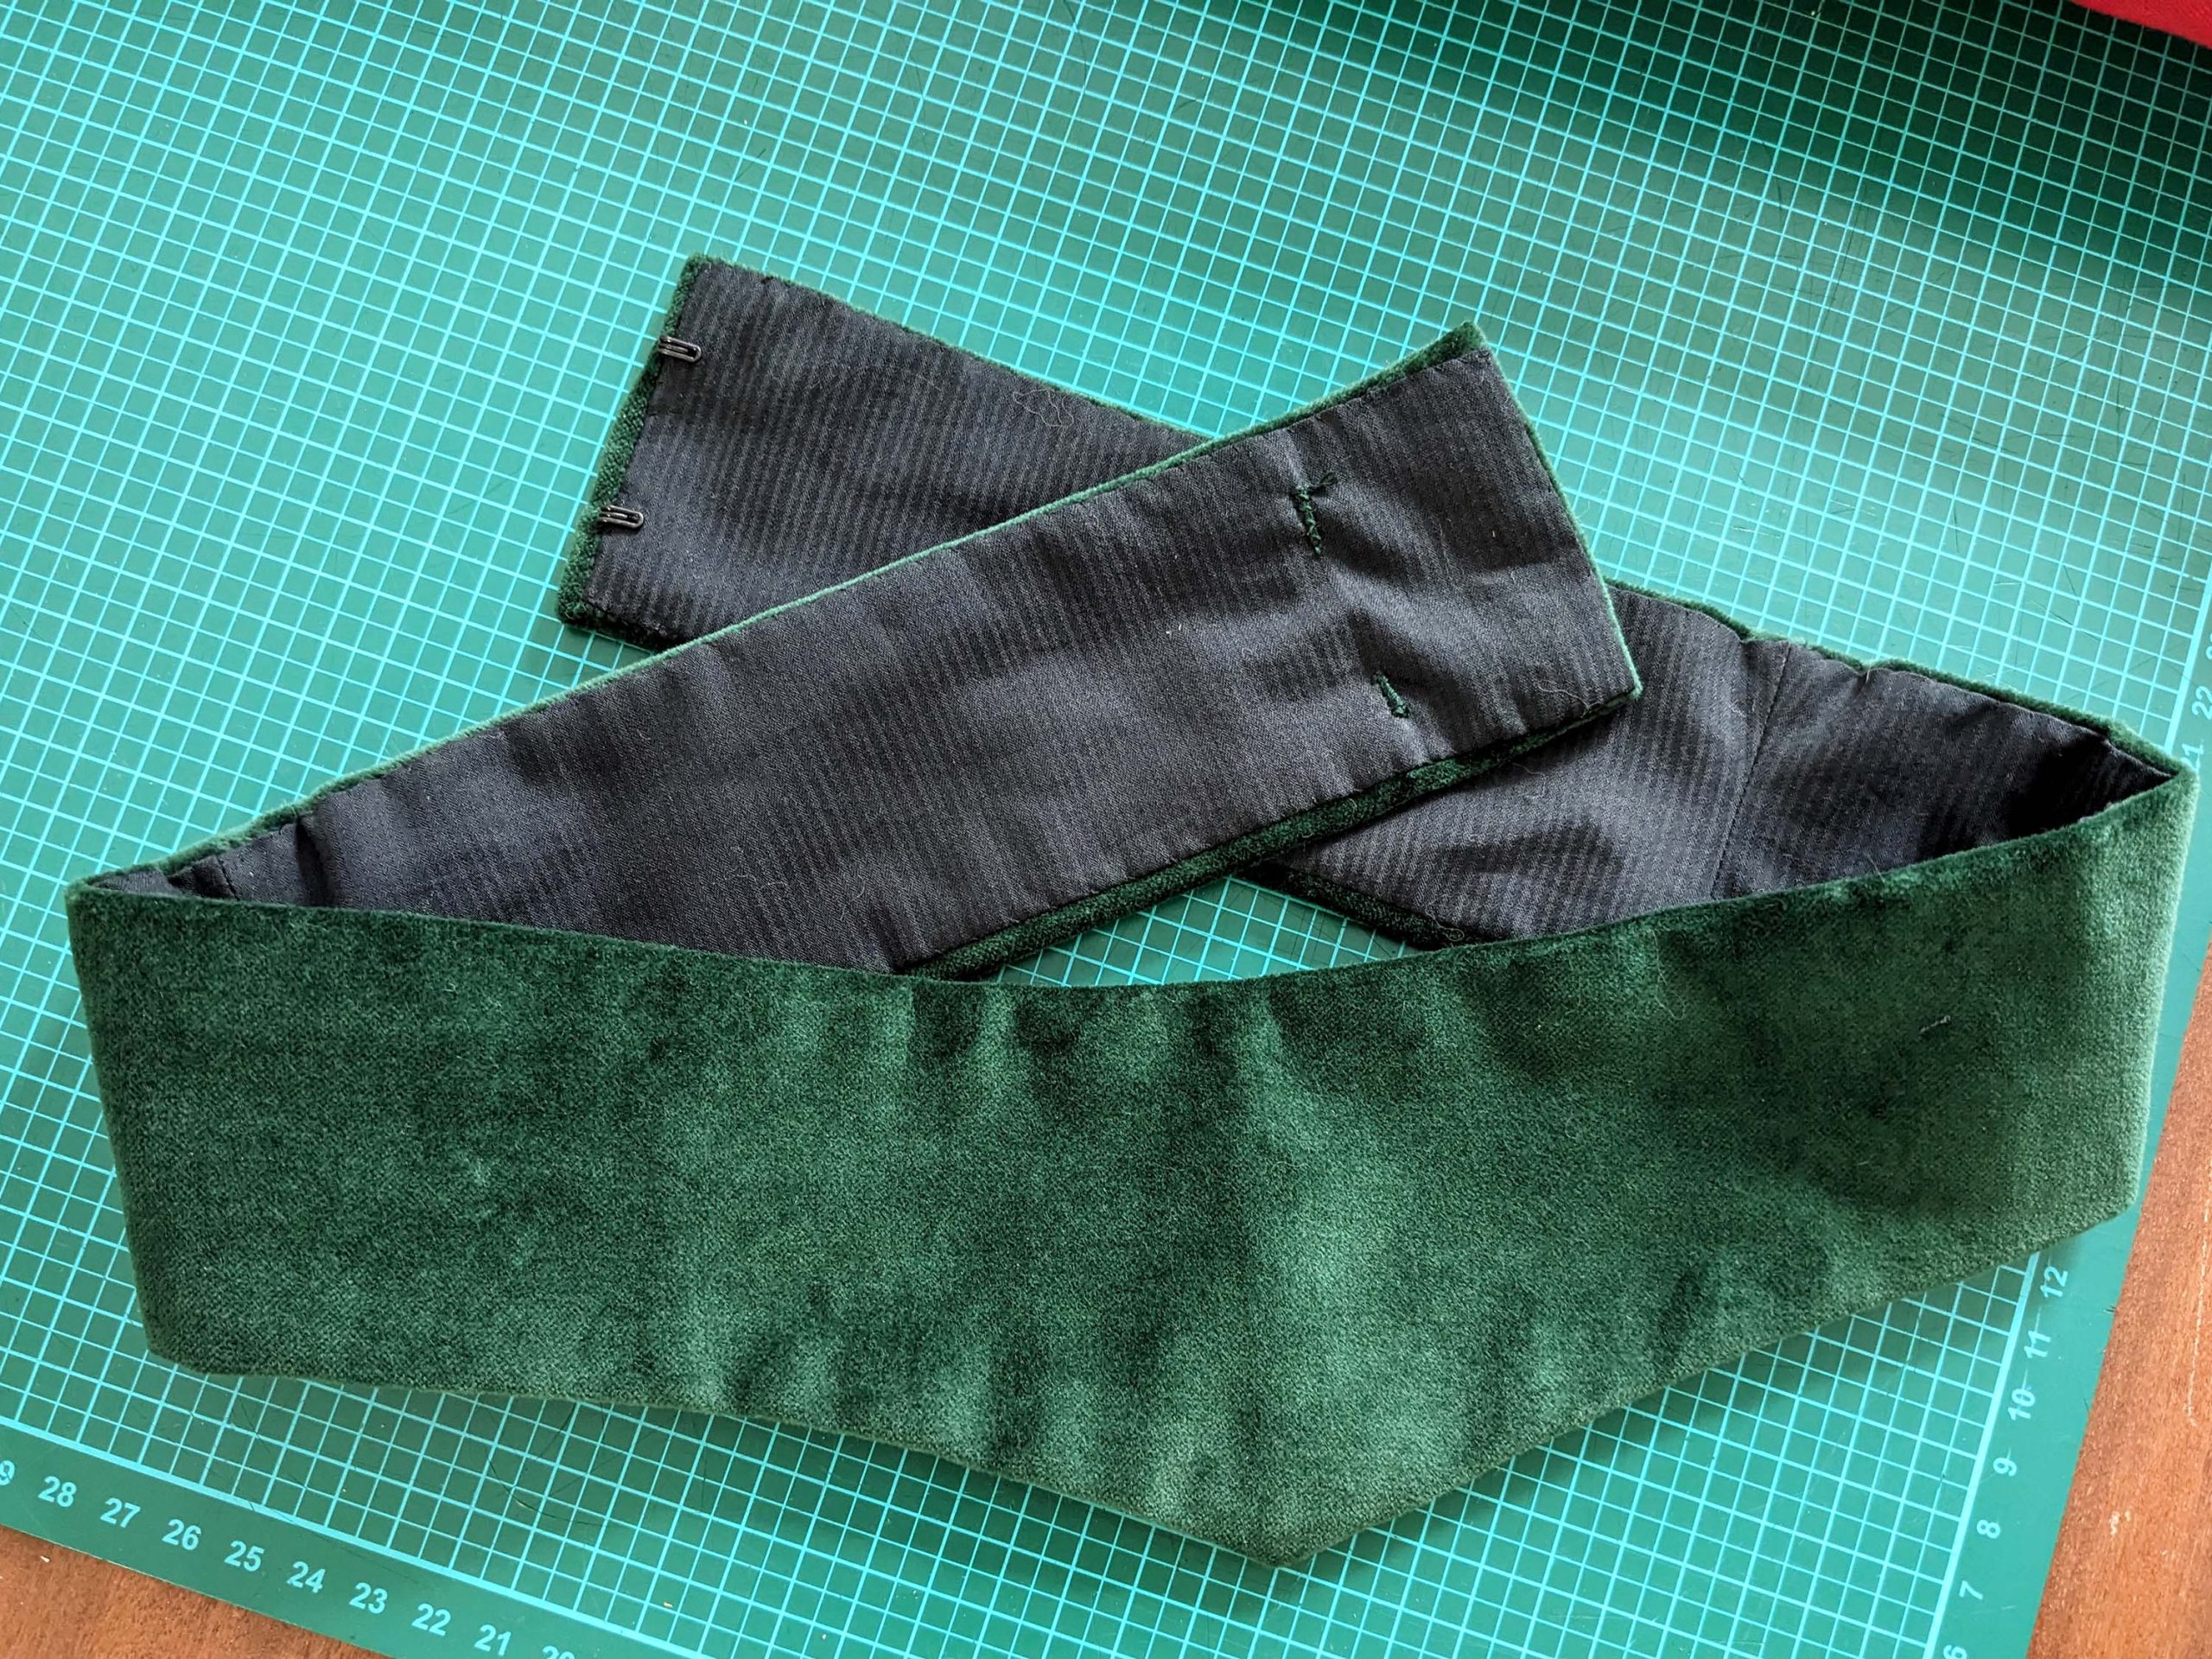
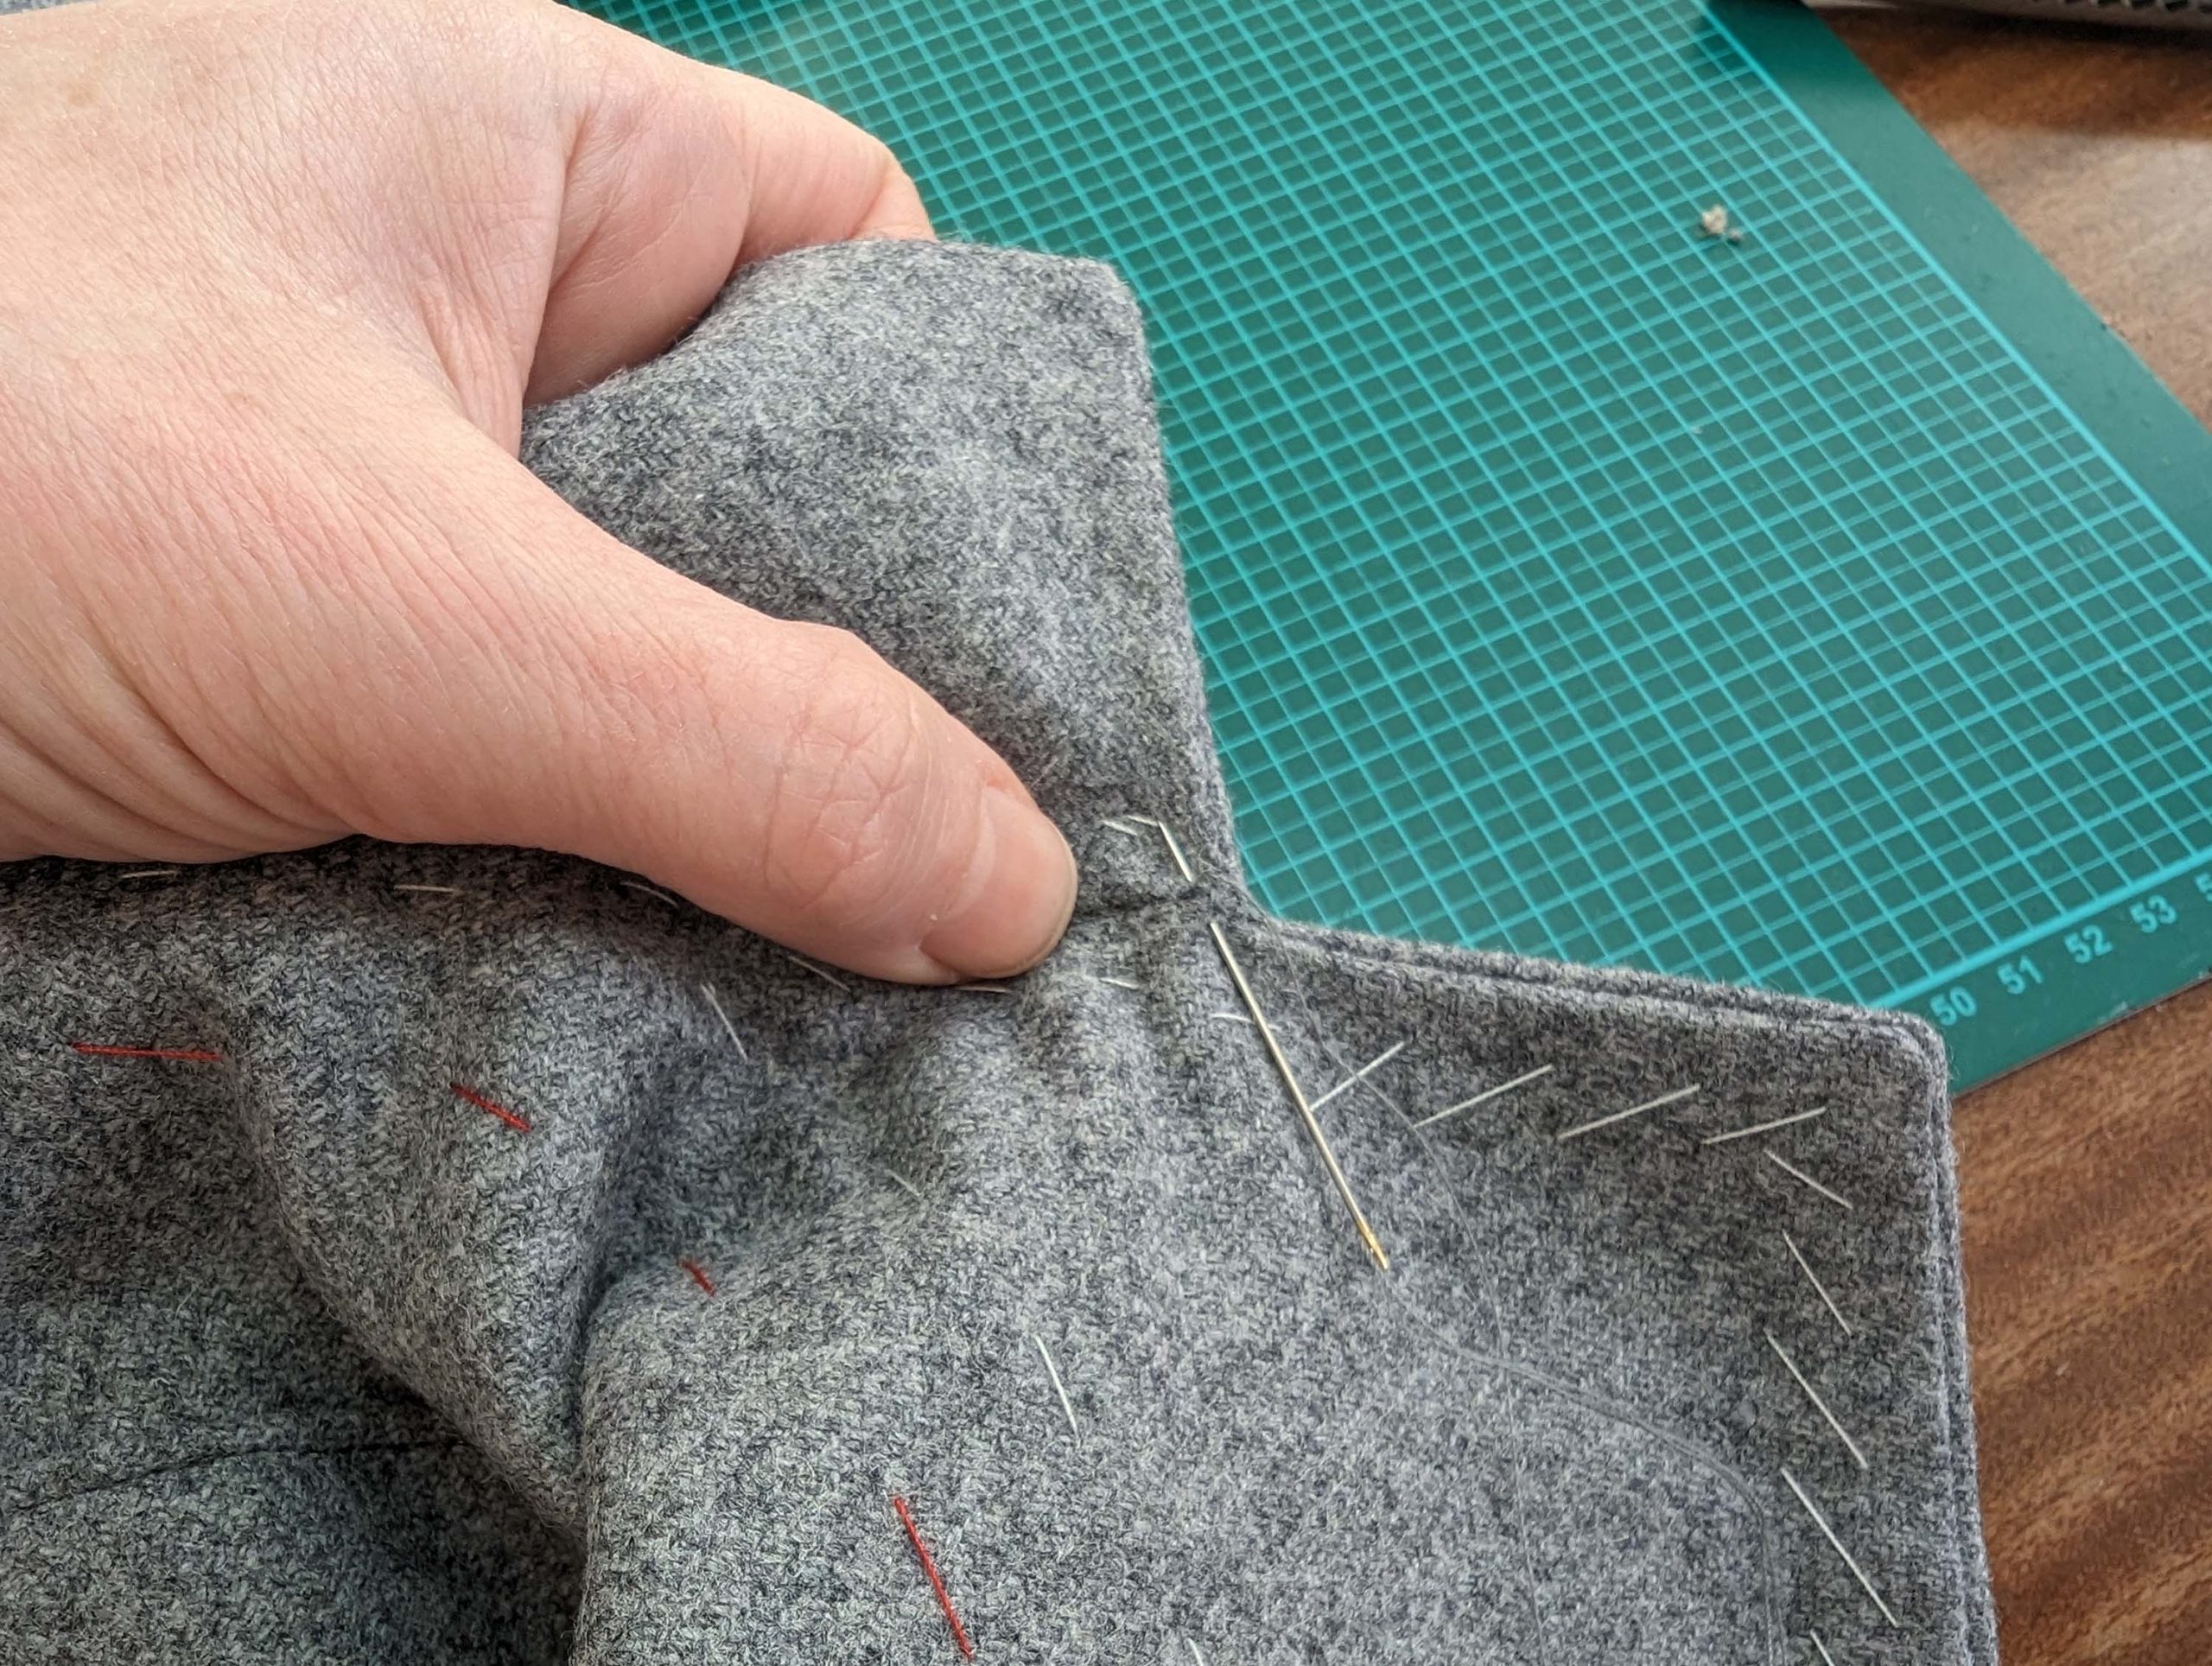
(20) Flatline one of the belt pieces and line up the strips, right sides together. Sew, leaving an opening, reduce the stitch length at the corners, and design the tips as desired, squared, pointed, or rounded. Trim back the seam allowances, and turn the right way out, press. Sew the opening with invisible stitches and edgestitch the belt as desired.

Elegance Continues: The Regency Spencer Jacket inspired by a TV Show – Pattern #0323

The pattern is coming soon….

In our journey through the world of historical fashion, we’ve uncovered the enchanting allure of Regency dresses. However, the story doesn’t end there. To complete your transformation into a character from a Jane Austen novel or the grand ballrooms of Bridgerton, we introduce a perfect companion piece – a Regency Spencer Jacket. This exquisite garment, like the dress, has been meticulously recreated with a historical nod, making it the ideal addition to your Regency-inspired ensemble.

Just as we ventured into the realm of the Empire dress, it’s time to explore the creation of this captivating Spencer Jacket. Following the same commitment to historical techniques and style, this piece embraces the authenticity of the Regency era while adding a modern twist. Whether you’re a seasoned seamstress or a budding costume enthusiast, this blog post will guide you through crafting this elegant jacket with step-by-step instructions and detailed images. So, as we delve deeper into the world of Regency fashion, prepare to embark on another sewing adventure, one that promises to bring the grandeur of Bridgerton and the Regency era to life in your wardrobe.

The time of the Empire/ Regency lasted from 1795 to 1820 and can be divided roughly into three subcategories of fashion styles.

Contrary to persistent fashion misconceptions, such as the ‘muslin disease,’ numerous period fashion illustrations depict an array of coats, jackets, and overdresses in a spectrum of colors and diverse materials, including silk, fabric, velvet, and fur.

A redingote, derived from the English ‘riding coat,’ is a full-length coat crafted from woolen fabric. Redingotes were frequently embellished with braids, imitating the style of hussar military jackets.

A pelisse, on the other hand, is a lightweight coat or overdress that ranges from calf-length to floor-length.

A spencer, a shorter jacket, could feature a peplum or not, depending on the design.

Additionally, individuals of the era often opted for colored pashmina shawls and tunics.

It’s worth noting that these terms were not consistently used in fashion publications of the time and have evolved over the years.

https://www.rijksmuseum.nl/en/search?q=Journal%20des%20Dames%20et%20des%20Modes%20&v=&s=&ondisplay=False&ii=0&p=1

Continue reading

1016 The new Turtleneck Bodice – View B front closure

Let’s proceed with the front closing bodice, as it´s naturally easier to wear and to put on and take off, only an Edwardian bodice requires a sophisticated multi-layered closure due to its construction technique.

(1) Same here, make a mock-up and transfer any changes to the sewing pattern. Cut all the pieces from the fabric and the lining, as indicated on the pattern and cutting diagram for the front closure, and transfer all marks exactly.

(2) Take the front from the lining, and line up the front-facing, right sides together. Stitch down the front edge, trim back, and understitch the seam allowances. Turn in the seam allowance of the facing along the loose edge.  On the right side, fold the facing and front wrong sides together, and stitch down the facing along the loose edge. On the left side, fold the facing right sides together, turn the seam allowances of the front edge towards the facing, and sew from the front edge until reaching the end of the facing b. Clip the seam allowance towards the end of the stitching and turn the right way out. Stitch down the loose edge of the facing. Sew the darts, and press towards the side seam, reducing the stitch length at the point.

Continue reading

1016 The new Turtleneck Bodice – View A back closure

The original design, named the Turtleneck Dress, pattern #0916, contained the skirt and the blouse. I think it gave the impression to be too complicated to be sewn easily. The fact was that few people were interested in that pattern, although it offered a lot. For some years I was thinking of just dividing the pattern into skirt and top, but I wanted to add something extra and new, especially since the skirt seemed too simple and the back closure of the top was not suitable to be dressed alone. So time flies and at some point, the ideas come by themselves.

The new pattern #0916 now offers the skirt in two variations and the top, now numbered #1016 with an extra option for front closure.

Let´s start sewing! Grab your pattern here in my shop.

First I´ll just start with the original bodice, closed at the back, the View A as shown in the title picture. I´m sorry to show fewer pictures of the sewing of that bodice as I made the dress back in 2015/16. Maybe I´ll do a remake of the back closing bodice soon, just running out of time as always…

Continue reading

1116 Edwardian Belt

Around 1901, fashions changed with the invention of the straight-front corset, thus a new silhouette developed. They pushed the body into a hollow back or S-bend accentuating the bust and hips. The illustrations of the artist Charles Dana Gibson immortalized the ideal look and can still be seen today.

The S-bend shape often was emphasized with wide belts. The belt pattern comes with the new pattern #0916 or can be downloaded here:

This is another illustrated instruction to supplement my sewing pattern. The belt pattern is available for free on my webshop: klick

(1) Take the belt pieces from the fashion fabric, interlining and lining (same fabric), and cut off the placket of ¾” (2cm) on the left back side only.

(2) Take the pieces for the interlining and mark the stitching line. Cut strips from fabric, twice as wide as the boning plus ¼” (5mm) ease for the bone casings. Turn in the edges the same way you´d prepare bias binding. Alternatively, use any narrow tape from your stock. Sew the casings to the right side of the interlining, where indicated on the pattern. The width of the casing should be as narrow that the boning can´t twist inside the tunnel. Insert the bones and close the casings carefully. Turn the seam allowances of the interlining towards the right side and press. Clip at the curves to lay flat. I decided to make the two belts, straight and the dip waist style.

(3) Line up the interlining with the belt pieces from the fashion fabric, wrong sides together, and baste in place. Sew the side seams, right sides together. Trim back, notch the seam allowances as shown, and press open.

(4) Turn in the seam allowances of the belt from the fashion fabric around the interlining and catch stitch to the latter.

(5) Take the lining, sew the side seams and trim back the seam allowances in the same way as you did with the belt, press open. Turn in a seam allowance of ¾” (2cm) all around and clip at the curves to lay flat. Line up the lining with the belt, wrong sides together, with the edge of the fashion fabric extending past the lining about 1/8” (2mm). Fell stitch the lining to the belt without any stitches showing on the right fabric side.

(6) Sew hooks to the right back edge and make thread bars along the left center back instead of metal eyes.