Do you know the 1830 dress from the LACMA? I´m talking about the pink evening dress with that amazing sleeves: 1830 Evening Dress
Fashion plates too show dresses with that kind of sleeves. But how to make them? The pictures from the LACMA really have a high resolution, but doesn´t show every detail to understand the sleeves.
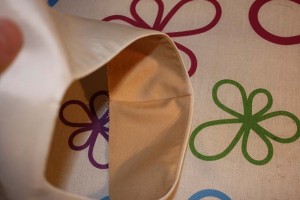
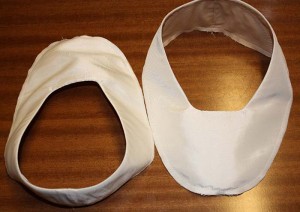
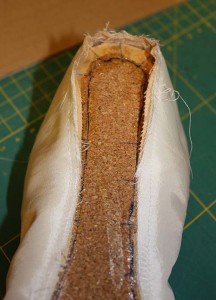
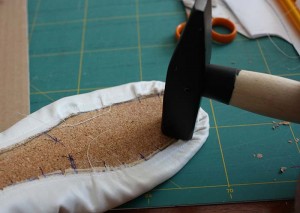
Finally I found this pictures: 1st 2nd
They gave me all Information I needed!
The fabrics used to make the original dress are silk sateen and silk organza. This are informations from the museum homepage. I think a silk georgette was used, because the fabric is less transparent than organza would be.
I think the sleeves are made from sateen covered with georgette, I´m not sure if the skirt is made the same way. For the bodice stripes of fabric, cut on the bias, are mounted. First I thought they where mounted on a cotton bodice, like later dresses would be, but it seems that the lower part of the bodice is just made from georgette. Neckline and armhole are piped.
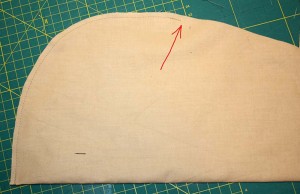
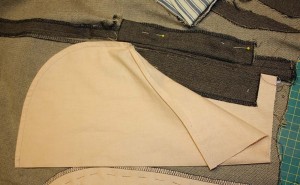
I decided to use a basic bodice made from glazed Cotton to mount the stripes. The pattern I took from my 1845 dress. The dress fits quite well so I didn´t had to made any alterations.
I decided to make the dress from sateen in ivory and burgundy. Why I didn´t used a georgette? Because I was a little bit under time pressure to finish the dress and there was no time left to find a matching georgette,
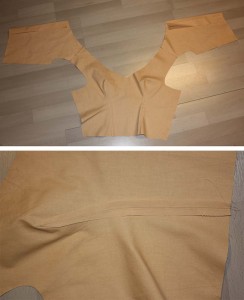
Let´s start sewing! Just close the darts and the shoulder seams. Cut the darts and press for less bulk. Turn in and topstitch facings at the center back, allow 2cm at the left side for a underlap.
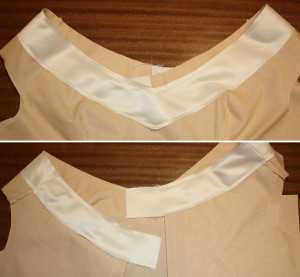
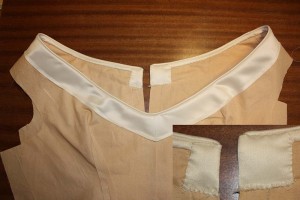
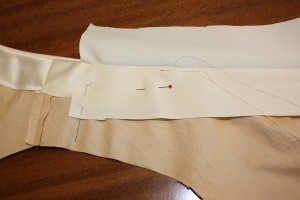
Wrong side up attach a 2″ wide facing around the neckline.
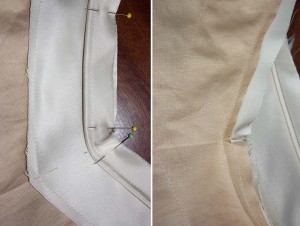
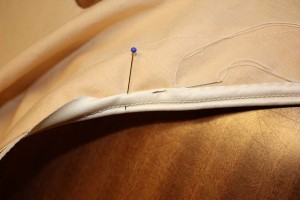
Sew your piping around the neckline. Trim the seam allowance of the bodice, the facing and the inner seam allowance of the piping. Nocht the seam allowances at the center front. Fold the upper seam allowance from the piping around and sew just to the cotton bodice. Fold over the facing at the back and stitch down.
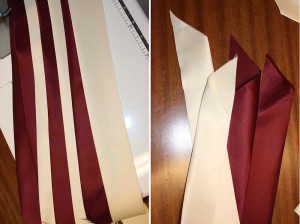
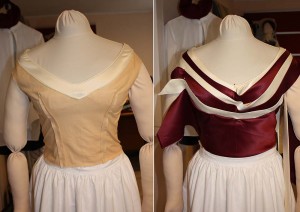
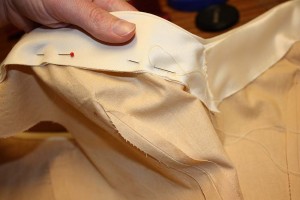
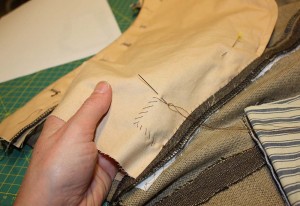
Prepared bias straps in ivoy and burgundy, folded lenghtwise, wrong sides togehter and pressed, width is now 5cm. The 2nd picture shows the straps pinned to the bodice to see how it looks like. Decided to make the straps 3cm at the shoulderand 2cm wide at the center front.
The first ivory strap is folded open and sewn to the bodice along the neckline. As you can see I shifted the shoulder point to the front, to the highest point of the shoulder. Then I sewed the strap along the bottom edge to the basic bodice.
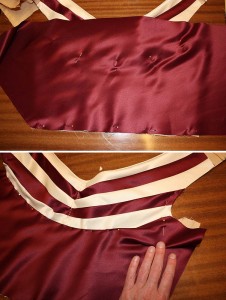
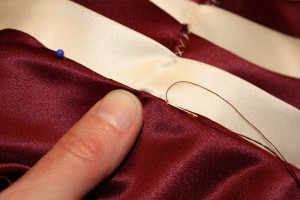
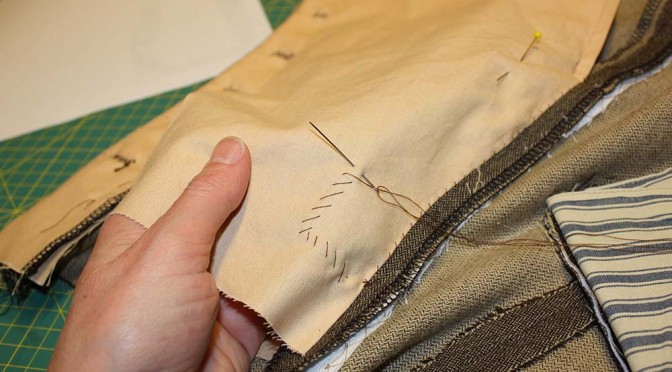
The 2nd strap in burgundy is sewn to the basic bodice just along the bottom edge. The top edge is left loose. Give the straps enough room for the breast. Don´t make thight stitches. At the center front fix straps with some stitches.
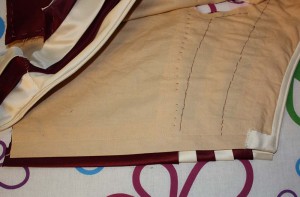
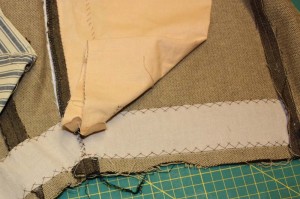
In the sam way sew the rest of the straps to the bodice. The lowermost piece is cut on the bias too, then pinned to the bodice. Draw the outline directly on the fabric incl. 1cm seam allowance at the top edge and cut out. Fold in the seam allowance at the top edge and sew to the 5th strap. Baste along the remaining edges to the basic bodice.
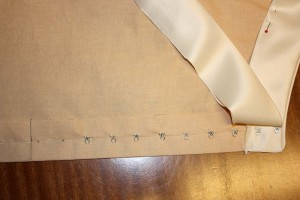
At the back sew straps to the bodice in the same way, overlap 1cm at the shoulders. At the left side mark center back (underlap is 2cm) and attatch eyelets first. At the right side form an overlap with the straps. Hooks can be attatched later. Sew along the right center back with small stitches through all layers.
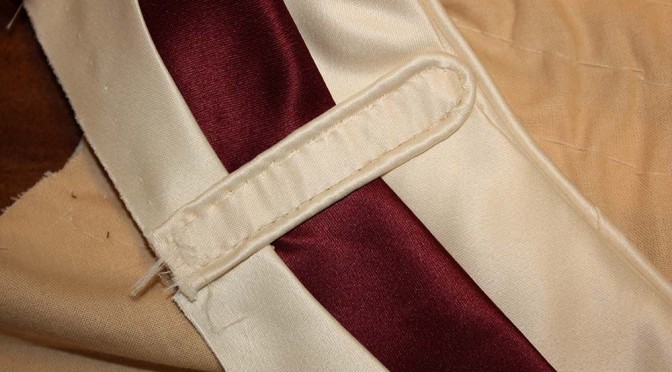
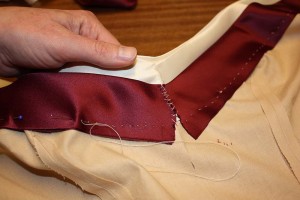
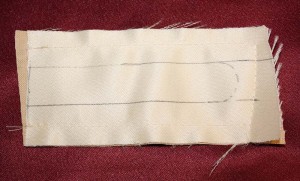
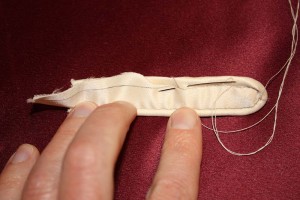
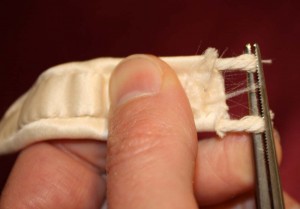
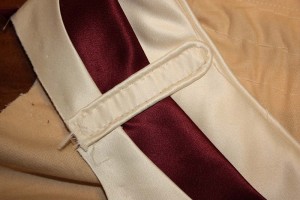
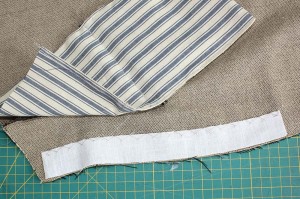
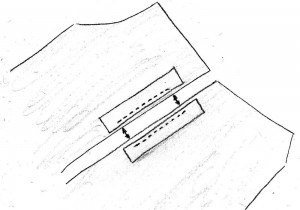
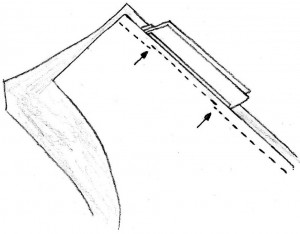
Sew piped epaulettes, 1cm wide. This is quite tricky and I have no idea to make it better then shown below. Before you sew the epaulettes to the shoulders pull out the piping and cut off the seam allowance to avoid bulk. Sew the epaulettes to the highest point of the shoulder covering the raw edges of the straps.
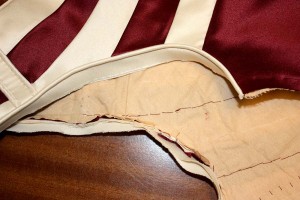
Before closing the side seams attatch a piping band to the armhole. Trim inner seam allowances, fold over the outmost and sew to the bodice like you did before with the neckline.
Next time I´ll show you the sleeves… Part 2

