Author Archives: Rotraut

Skirt fastening with hooks and eyes for sheer fabrics

To prevent showing casting stitches on the outside of the fabric French seams or flat felled seams are used to join sheer fabrics. I´ll show you a fastening for a skirt with a placket to be closed with hooks and eyes. Of course it can be used with heavier fabrics too.


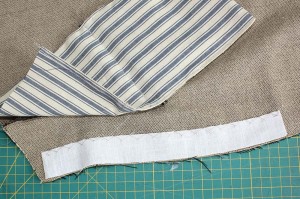
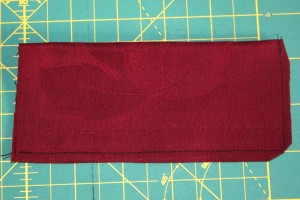
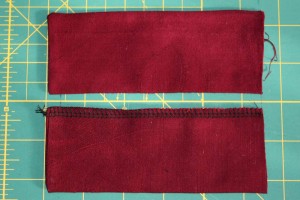
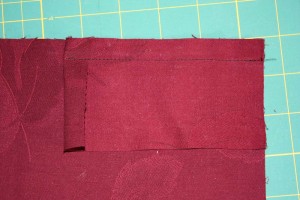
Fold the placket lengthwise right sides together. Sew along the bottom edge and along the long edge. Trim seam allowance, turn inside out and press. The width now should be the desired width of the placket e.g. 1 5/8” (4cm) + 5/8” (1,5cm). On the pic you see an overlock casted placket for comparison.


IMG_3141

IMG_3142


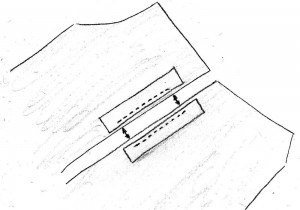
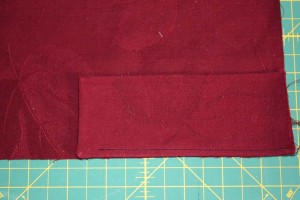
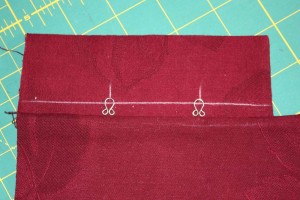
Mark seam allowance (5/8” (1,5cm)) at the right side of the placket and line up with the skirt edge, right sides together. Sew together close to the edge; stop about 5/8” (1,5cm) away from the bottom edge of the placket. Unfold the placket, mark position of eyes and sew them to the placket by hand so that they ride out just a little bit the sewing line.

IMG_3144

IMG_3146


Sew the facing to the other edge of the skirt. Line up with the edge, right sides together, fold up seam allowance of the bottom edge of the facing and sew.
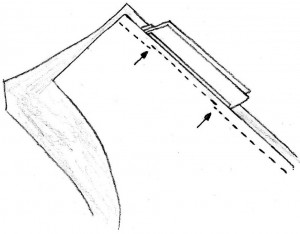
Close skirt seam, line up edges exactly and pin together, fold away placket and facing, sew. The seam ends a little bit above the facing seam, take care not to catch the placket of facing while sewing.
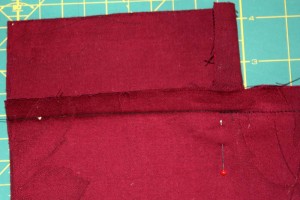
IMG_3148

IMG_3149


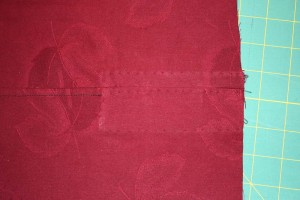
Press open seam allowance; clip on the placket side towards seam end. Trim seam allowance on the side of the facing to ¼” (0,5) cm. Fold seam allowance of the placket side over the trimmed seam allowance of the facing side to get a flat felled seam, sew.
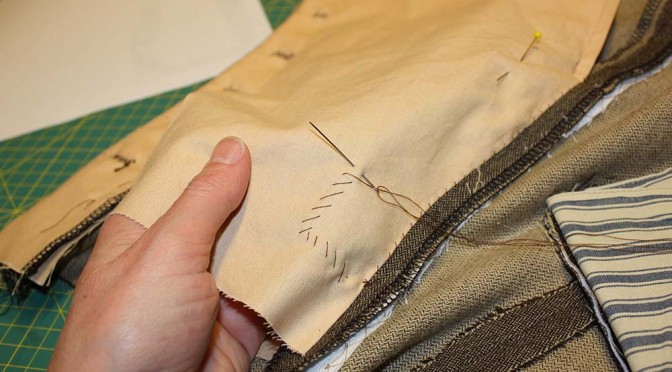
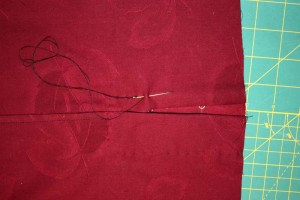
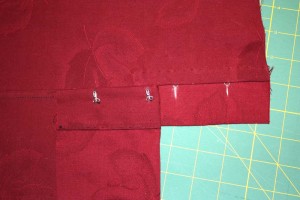
Fold skirt at the placket aside and mark position of eyes. Sew along the seam line. Skip eyes, lock seam before and after. If you want a continuous seam use your hand wheel for not breaking the needle. Press edge carefully.

IMG_3151

IMG_3152

IMG_3154


Fold in raw edge of facing. Sew facing, bottom edge and Seam allowance of placket through all layers with small pointed stitches.
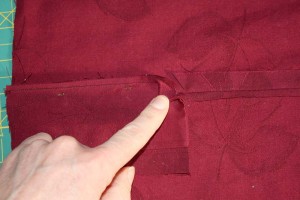
Mark position of hooks and sew only to the facing. If wanted sew along the facing edge with pointed stitches for more stability.
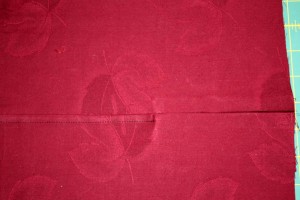
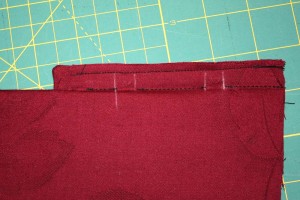
Sew waistband as usual.

IMG_3155

IMG_3156

IMG_3159

Reconstructions of Victorian Drawers

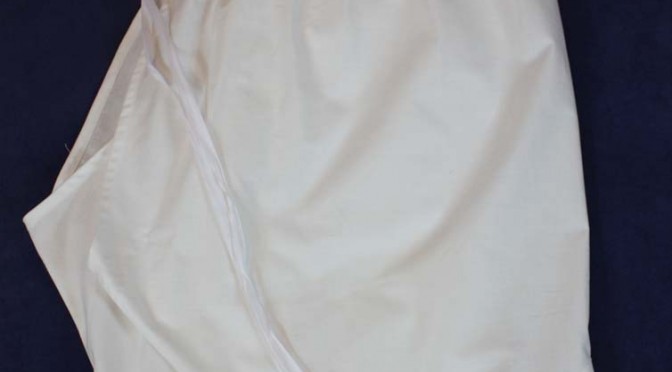
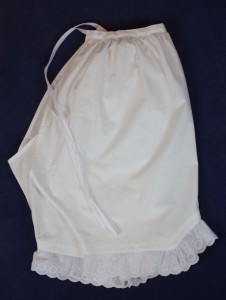
When I was a child I often visited flea markets with my mother. She loved grubbing though masses of bedclothes and all that old linen stuff. That times I knew nothing to do with that things. So we have a lot of hidden treasures like old victorian drawers at home. The drawers where overworked though the years, the crotch seam closed and an elastic waistband added.


After drawing the pattern and scaling down (the owner must have been quite corpulent) it´s time to sew.

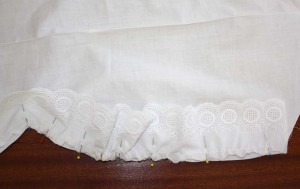
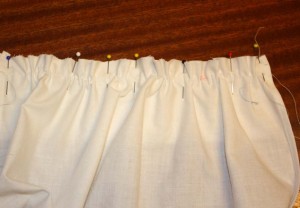
Gather the cotton lace and pin it to the lower edge of the pants legs left sides together. Gather a little bit more at the corners.

IMG_2973


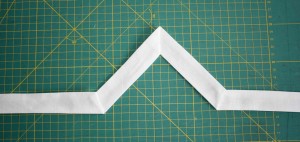
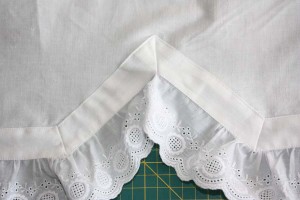
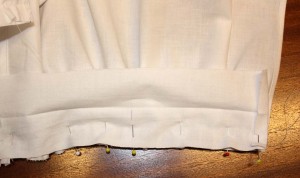
Trim seam allowance and press towards the pant. For casting the raw edges prepare a strip of fabric, fold in seam allowance. Width of the strap is about 1″. Mark edges and fold the strap according to the angle of the corners. Pin strap to the lower edge of the pant covering the seam allowance and topstitch.

Close pant legs with a French seam.

IMG_2976

IMG_2980

Lay pant legs on top of each other at the front edge and sew together at a length of 4″. Gather along the upper edge and sew to waistband. At the short edges of the waistband insert a twill tape for closing the drawers.

IMG_2981

IMG_2982

Drawers


Tutorial: How to sew bloomers Part2

Click here for the free sewing pattern


Sew with large stitches along the edge of the pant legs and gather.
Prepare knee straps. Fold pieces lengthwise, right sides together, sew along short edges, and turn in the seam allowance of inner part while sewing. Turn inside out, press. Sew knee strap to the pant legs, at the inside sew on straps by hand.

IMG_2751
IMG_2753

Close darts, close crotch seam, either as a flat felled seam or as French seam.
Prepare waistband: Fold in seam allowances and press, fold straps lengthwise, right sides together, and sew along short edges. Turn inside out. Pin the waistband to the trousers, fold all darts towards the center back, sew through all layers.

IMG_2754

Mark the position of buttonholes and sew, sew on buttons.

Tutorial: How to sew bloomers Part1

Klick here for a free sewing pattern


Days are becoming shorter, and the high summer temperatures of this year passed. Yes, it became October. Nevertheless, a little ride with my old bicycle was planned. The costume is nearly complete with a skirt, blouse, jacket, gaiters and hat, just fitting bloomers are missing.
Here comes a little tutorial for bloomers, loosely based on an original from the Metropolitan Museum: http://images.metmuseum.org/CRDImages/ci/web-large/CI55.41.5b_F.jpg
The bloomers have a closed crotch seam, they will be closed with buttons at the waistband. The knee straps are closed with buttons too.


Prepare button stays: Fold straps for the button stay lengthwise, right sides together. Sew along one of the short edges. Trim seam allowance, turn inside out, and press. Open the strap again and pin it to the back trouser, just with one layer, and sew. Clip seam allowance of back trousers at the end of the seam.
Fold inside the loose SM, fold the button stay over the seam, and pin it to the trouser so that the edge will overlap the seam a little bit. Sew from the right side exactly along the seam.

IMG_2746
IMG_2747
IMG_2748

Prepare straps for buttonhole facing: fold up seam allowance of the lower edge and sew to front trouser.
Close side seams respecting marks. Fold in the seam allowance of the buttonhole facing, fold over the edge and stitch down.
Perform the side seam as a flat felled seam. Trim back the seam allowance of the front trouser, fold over the seam allowance of the back trouser and stitch down. Line up button stays and buttonhole facing and stitch together at the end of the fly.
Sew the inner seams of the bloomers. Sew seam either as a flat felled seam or as a French seam.

IMG_2749
IMG_2750
Bild11

My Romantic Era Bonnet

I finished my Romantic Era dress already two years ago, but there was still something missing: a bonnet.

For the construction of the pattern take a wig head and build the form of the bonnet with paper. Then trim the paper where needed or ad paper with adhesive tape. If the bonnet has the desired shape, copy the pattern and adjust asymmetries. Build the bonnet once again from paper or board and do last adjustments if needed.

IMG_2208
IMG_2209

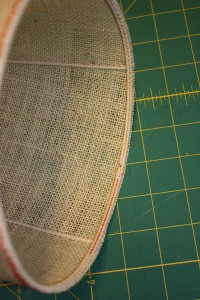
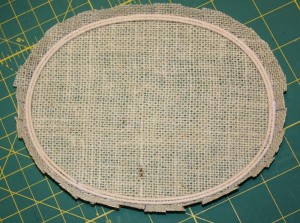
Now cut the pieces from buckram. I  use round reed instead of wire to strengthen the seams because I think it keeps the shape better.
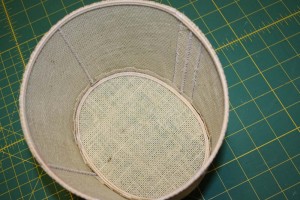
Sew the reed with a zigzag stitch at the edges, the brim is reinforced with additional bars of reed.
Now join all pieces by hand.


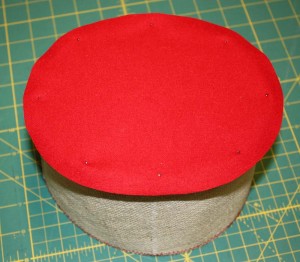
Cover the bonnet with flannel fabric, so later you won´t see the raw buckram through your top cloth.
Cover the hat with your desired top cloth e.g. Silk taffeta, and decorate as desired.

IMG_2220

Do you think constructing the pattern by yourself is quite complicated? Visit my Etsy-Shop, there you will find the pattern with detailed and illustrated sewing instructions. A pelerine collar which was popular during the Romantic era is included.

PDF Pattern #0615 Romantic Era Bonnet and Pelerine

.