

Last year I decided to make my own shoes, fitting to my 1840 cotton dress. So I searched the internet for sites about shoemaking. But nearly everywhere you would need a last for making your own shoes. At least I found a site about how to make ballerina shoes without one. After some try and error now I have a period accurate pattern for my shoes with a squared toe cap and the same pattern for the right and left foot.
My first shoes had just a cork sole, because I was quite under time pressure to finish the shoes and cork was at home. Nevertheless, the shoes survived a one hour walk and a dancing evening. They were more comfortable than my wedding shoes I took with me in the case the self-made shoes get broken.
This time I´ll show you shoes with a leather sole.
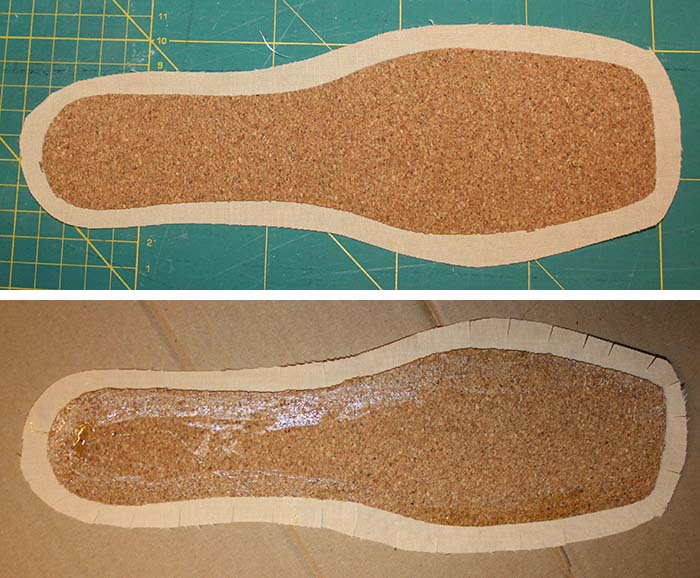
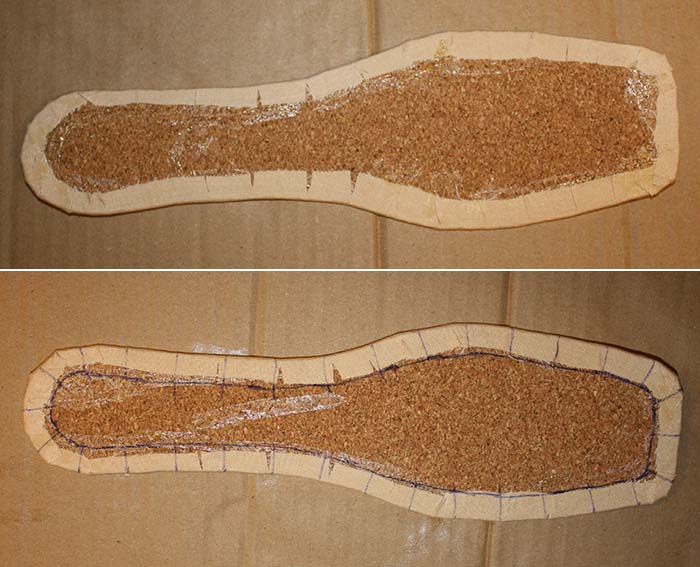
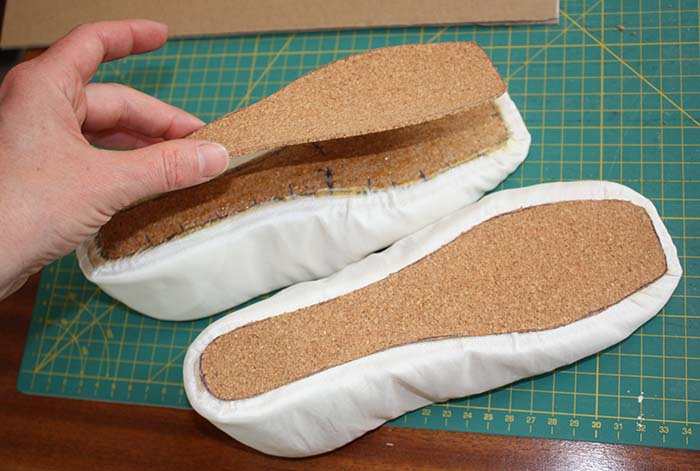
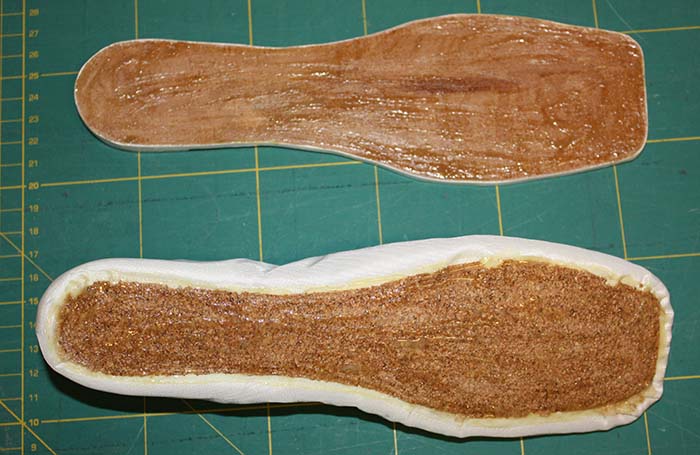
First prepare the inner sole. I made mine from cork (better would be leather) covered with cotton. Let your adhesive (I used a special adhesive for leather) dry well before attaching the cotton. Turn around and notch the seam allowance. Stick the notched seam allowance to the underside of the inner sole. After drying transfer the marks from the pattern to the underside of the inner sole and mark the seam allowance.

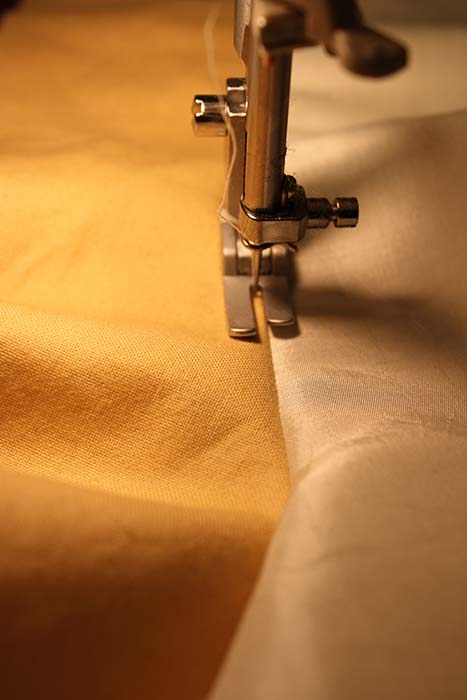
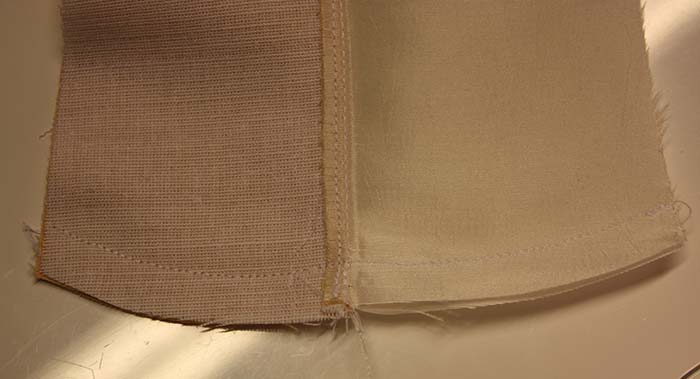
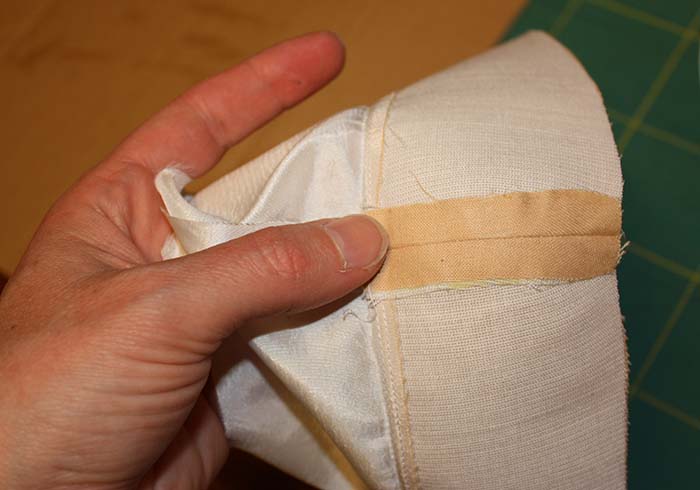
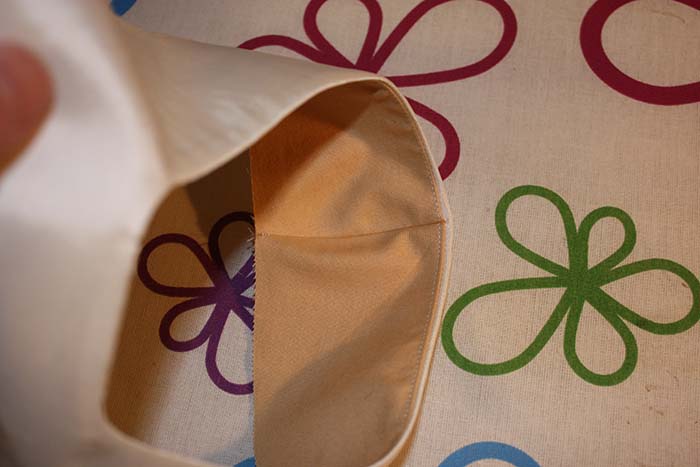
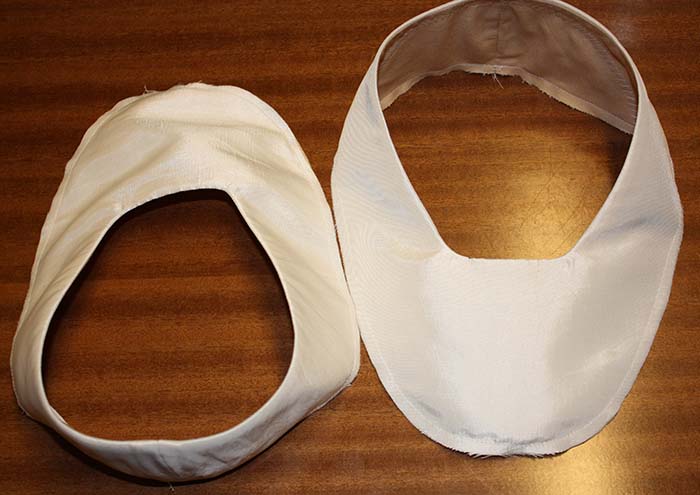
Prepare the upper shoe part. Cut two parts from upper fabric, linen and some stiff interlining. Transfer marks to the lining. Sew the pieces together along the inner edge, cut back seam allowance and fold the seam allowance towards the lining. From the right side topstitch along the inner edge on the lining, right beside the seam, catching the seam allowance. Close the heel seam and open the seam allowance with your fingernails. Glue the lining seam allowance to the interlining. Insert the heel support, glue or stitch with a zigzag to the interlining. Sew all layers together at the lower edge.

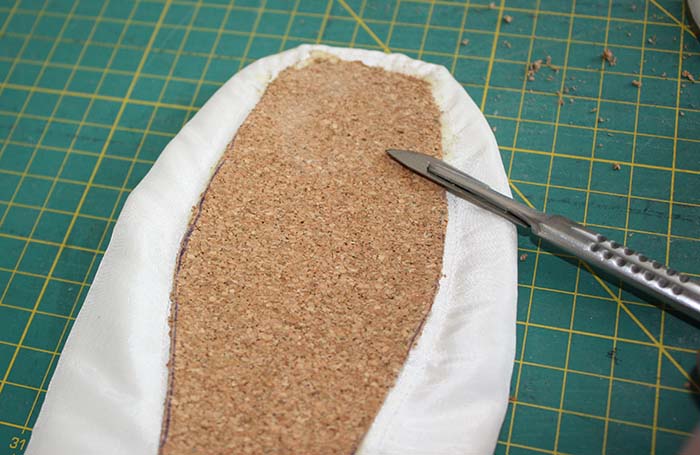
Sew again along the lower edge at the toe area and at the heel with a large gathering stitch. Now start to glue the upper shoe part to the inner sole. Start at the sides, respecting marks. At the toe and heel area gather the fabric a little bit. The edge of the fabric should stay within the line (seam allowance). Let the adhesive dry well before attaching the fabric. Hammer the edges to get permanent joint. Insert a piece of cork to the dimple on the underside of the inner sole. Bevel the edges with a knife, rasp the cork till the sole is flat again.


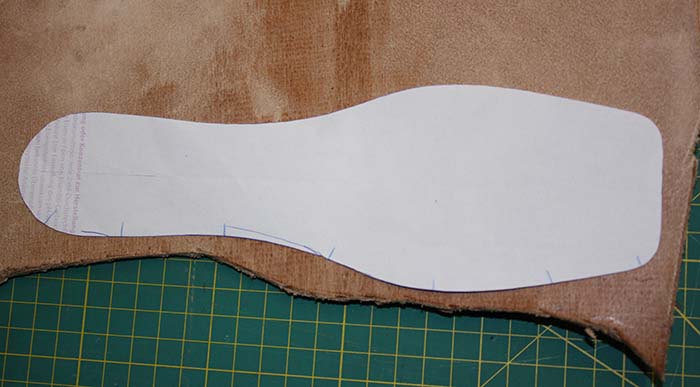
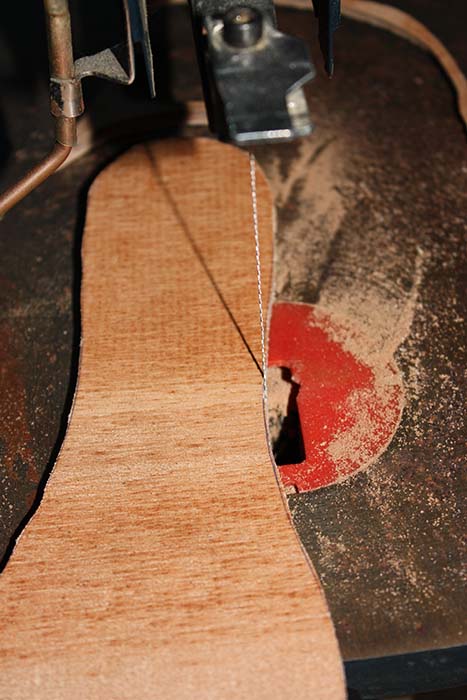
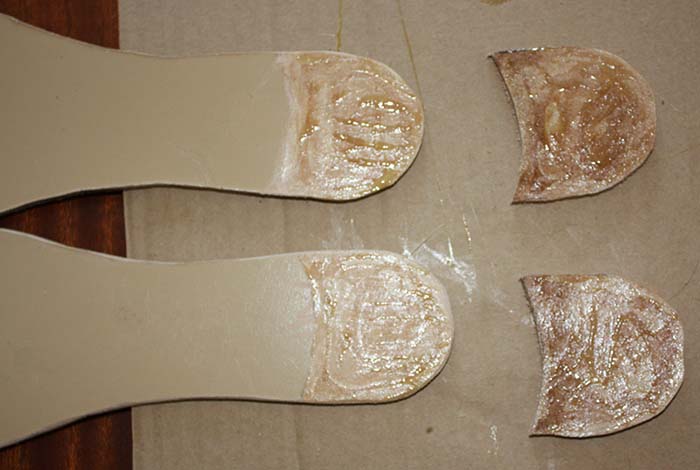
Transfer the sole and heel pattern to the leather. If your leather is very stiff like mine the best is to cut it with a jigsaw (thankfully I own an electric one). Roughen the heel area and the upper part with sandpaper. Stick the heel to the sole (again let the glue dry 10 min and hammer). Smooth the edges with sandpaper and dye in the desired Color.

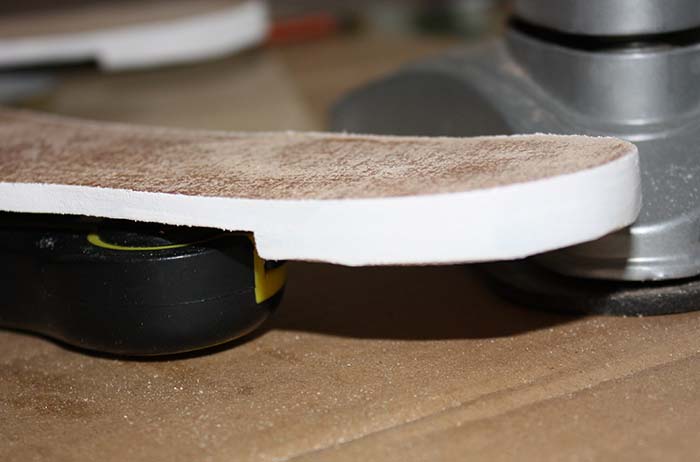
Mark the outline of the leather sole at the undersides.
Apply glue to the leather sole and to the upper shoe part, take care there is enough glue at the edges. Join and hammer. Let the glue bond several hours.
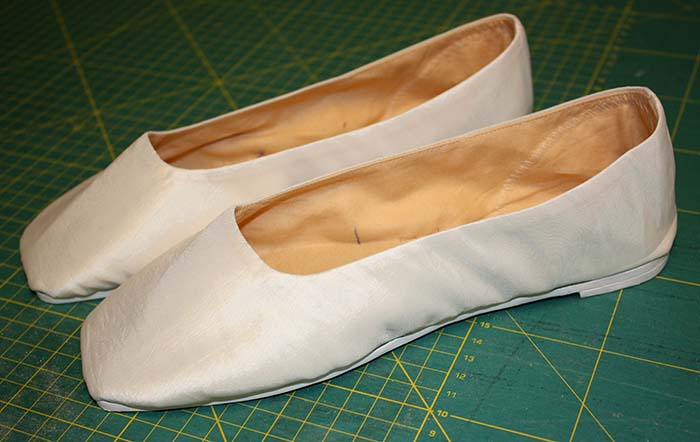
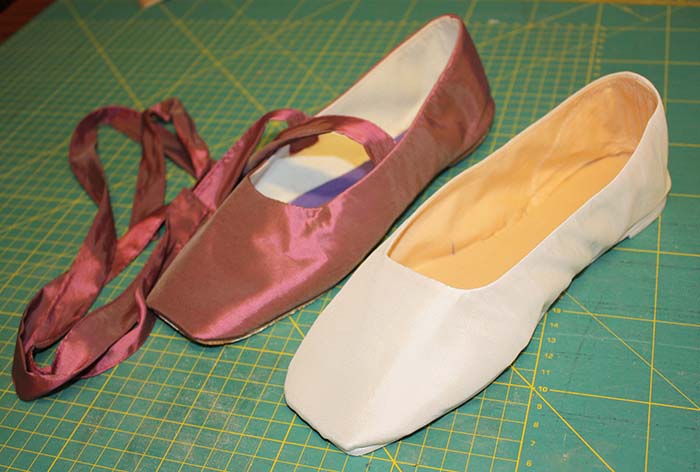
Sew ribbons to the shoe, attach some decorations if desired.
Download the pattern for size US 8 / EU 39 / UK 6
Thank you for the wonderful instructions. Any chance you will do a video instruction as well?
Hi, thanks a lot! At the Moment I´m not planning any video instructions. There´s no time left to do so.