The original design, named the Turtleneck Dress, pattern #0916, contained the skirt and the blouse. I think it gave the impression to be too complicated to be sewn easily. The fact was that few people were interested in that pattern, although it offered a lot. For some years I was thinking of just dividing the pattern into skirt and top, but I wanted to add something extra and new, especially since the skirt seemed too simple and the back closure of the top was not suitable to be dressed alone. So time flies and at some point, the ideas come by themselves.
The new pattern #0916 now offers the skirt in two variations and the top, now numbered #1016 with an extra option for front closure.
Let´s start sewing! Grab your pattern here in my shop.
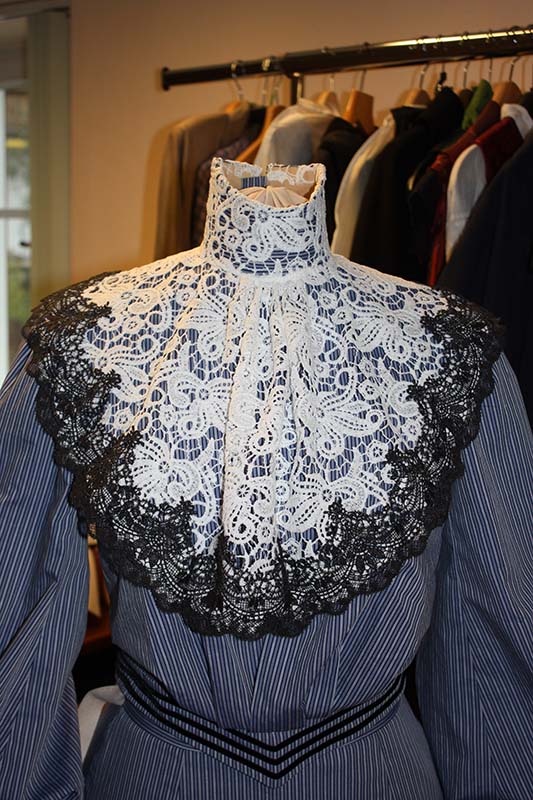
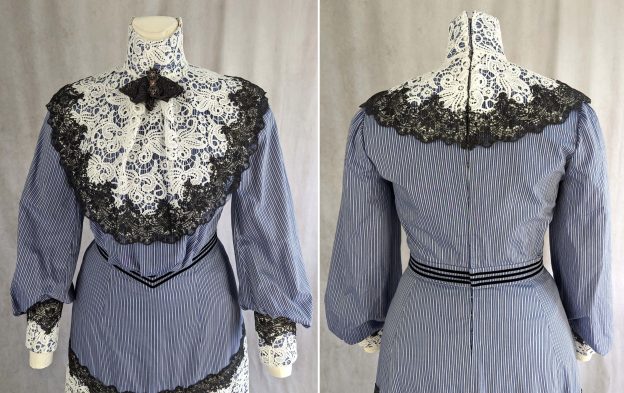
First I´ll just start with the original bodice, closed at the back, the View A as shown in the title picture. I´m sorry to show fewer pictures of the sewing of that bodice as I made the dress back in 2015/16. Maybe I´ll do a remake of the back closing bodice soon, just running out of time as always…
(1) As I always recommend, make a mock-up and transfer any changes to the sewing pattern. Cut all pieces from the fabric and the lining, and transfer all marks exactly.
(2) For the lining base, line up the fronts, right sides together, and sew along the center front (the front is curved as seen regularly in extant dresses). Press open the seam allowances. Sew the darts, and trim back the edges to 5/8” to press open just like you´d do with a seam allowance. Sew the back to the side back lining and sew the shoulder seams, all right sides together. Press open the seam allowances. I prefer to insert a zipper to put on and off my mock-ups and lining bases easily during the process of fitting. As one casting possibility, neaten all edges with overcasting stitches, attaching the raw edges of the seam allowances to the lining at the same time, similar to the fell stitch.
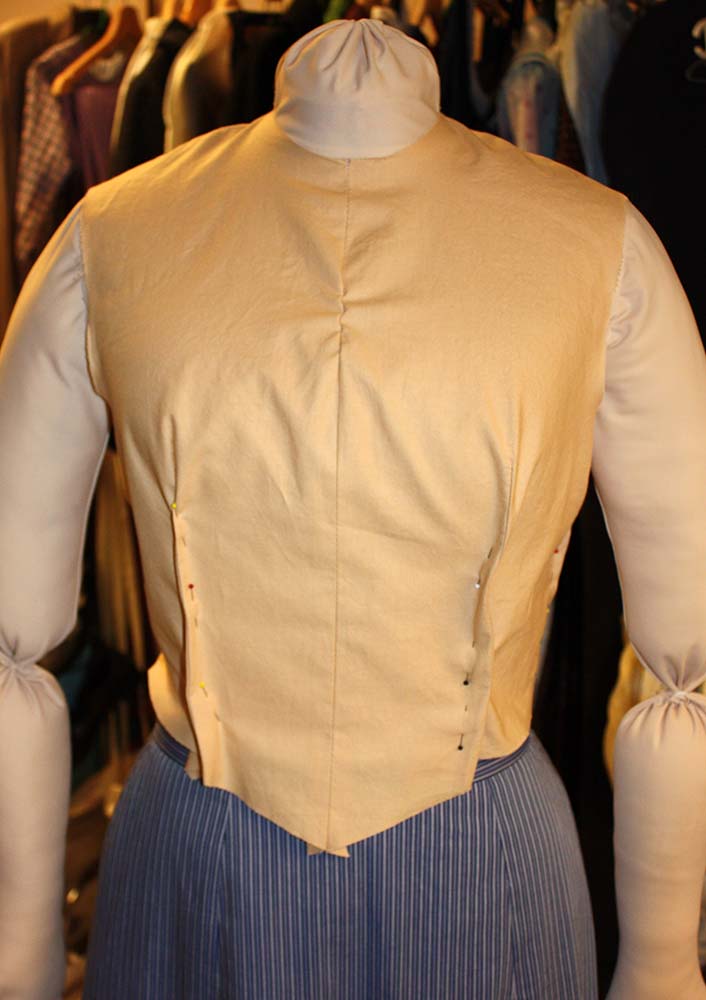
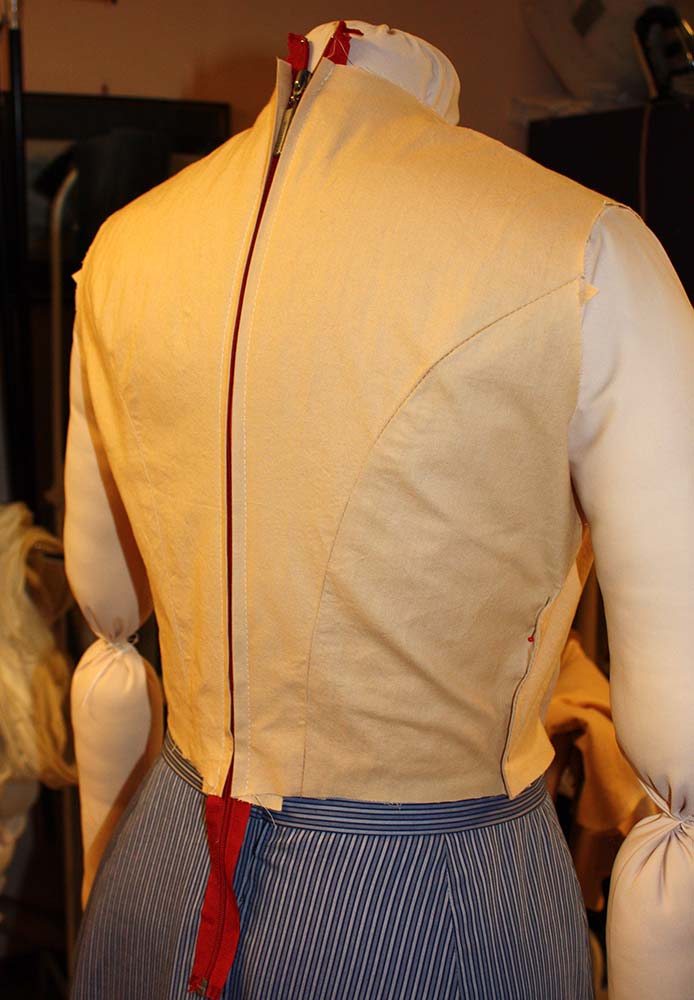
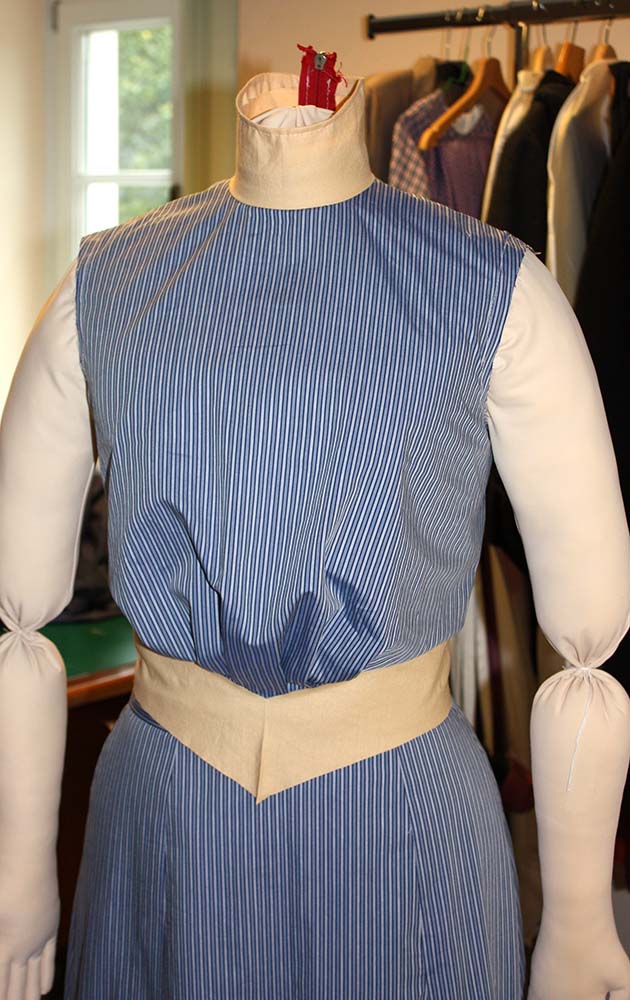
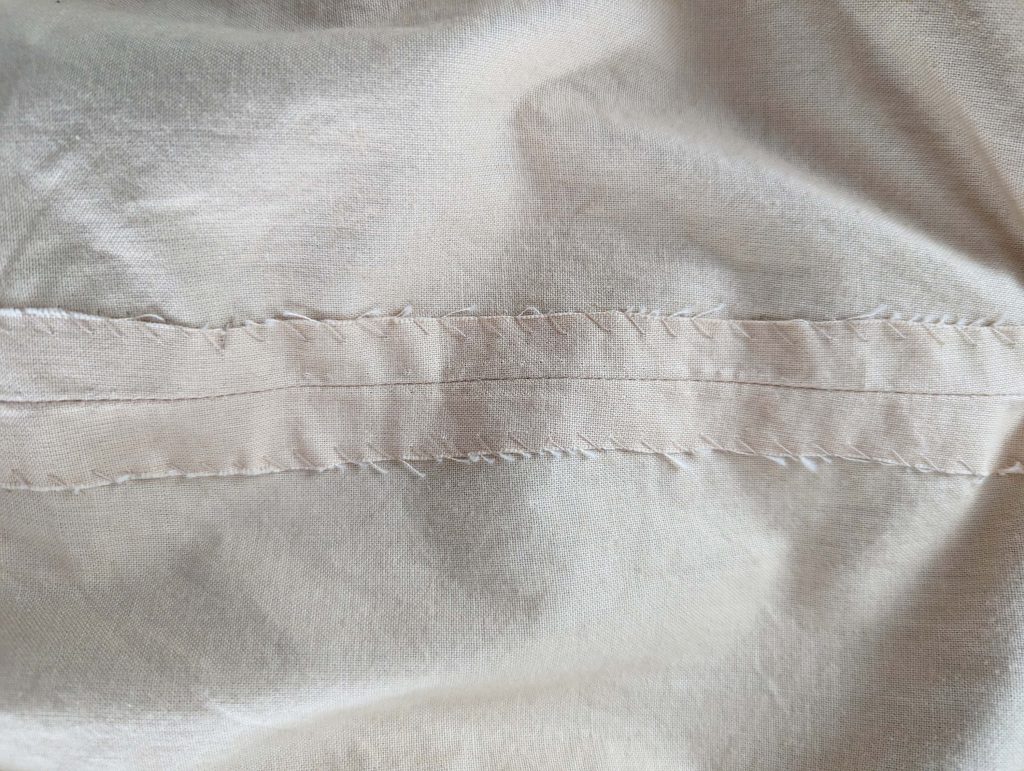

(3) Sew the shoulder seams of the fashion fabric, right sides together, and press open the seam allowances. Sew the collar to the neckline, right sides together, trim back the seam allowance, notch at the curves, and press towards the collar.
(4) Fold the placket lengthwise, right sides together. Sew along the top edge, trim back seam allowance, and turn the right way out, press. Baste along the placket’s stitching line and attach eyes at regular intervals. The eyes should slightly extend past the stitching line.
Pin the placket to the left back edge of the fashion fabric, right sides together. The top edge of the placket meets the mark at the collar. Sew with a 3/8” (1cm) seam allowance, about 3/16” (5mm) beside the actual stitching line. Sew that seam by hand or with the handwheel of your sewing machine, to prevent your needle from breaking. Sew a cotton tape, 3/8” (1cm) wide to the right-hand side of the center back edge of the bodice from the fashion fabric.
Fold the left back edge along the stitching line (center back), covering the eyes, and sew 1/8” (3mm) from the edge with a prick stitch through all layers.
Turn in the seam allowance along the right center back and sew with a prick stitch through all layers (f) about 3/8” (1cm) beside the edge. Sew hooks just to the seam allowance (cotton tape), matching the eyes. The hooks should just reach the center back edge, no stitches must be visible on the right side.
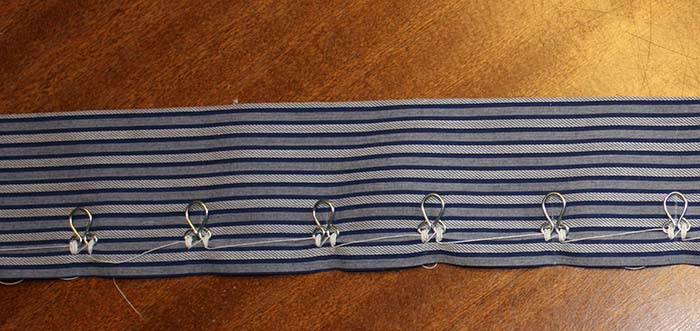
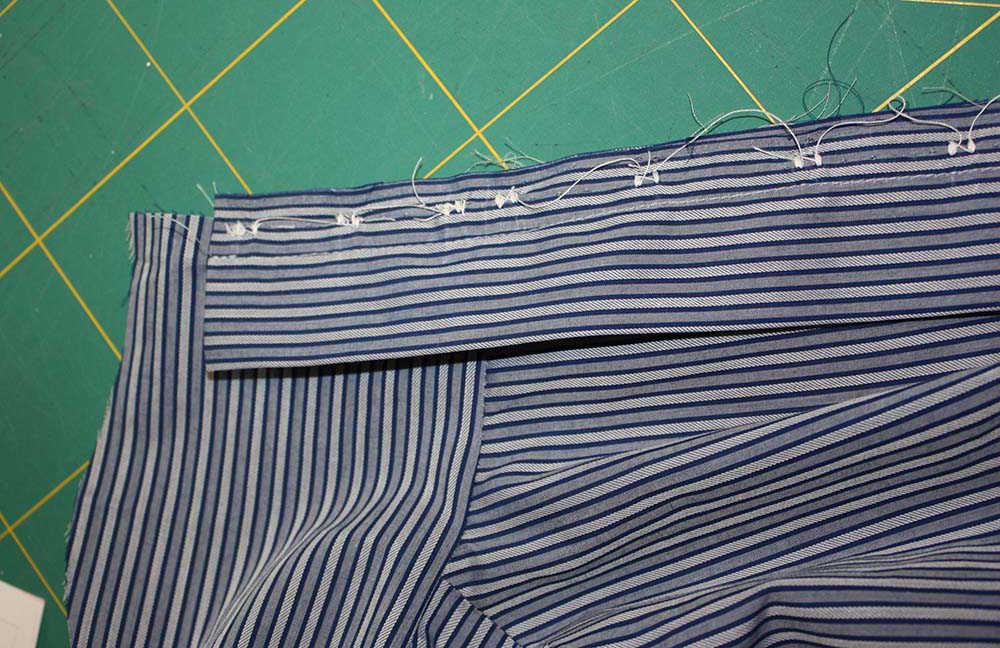
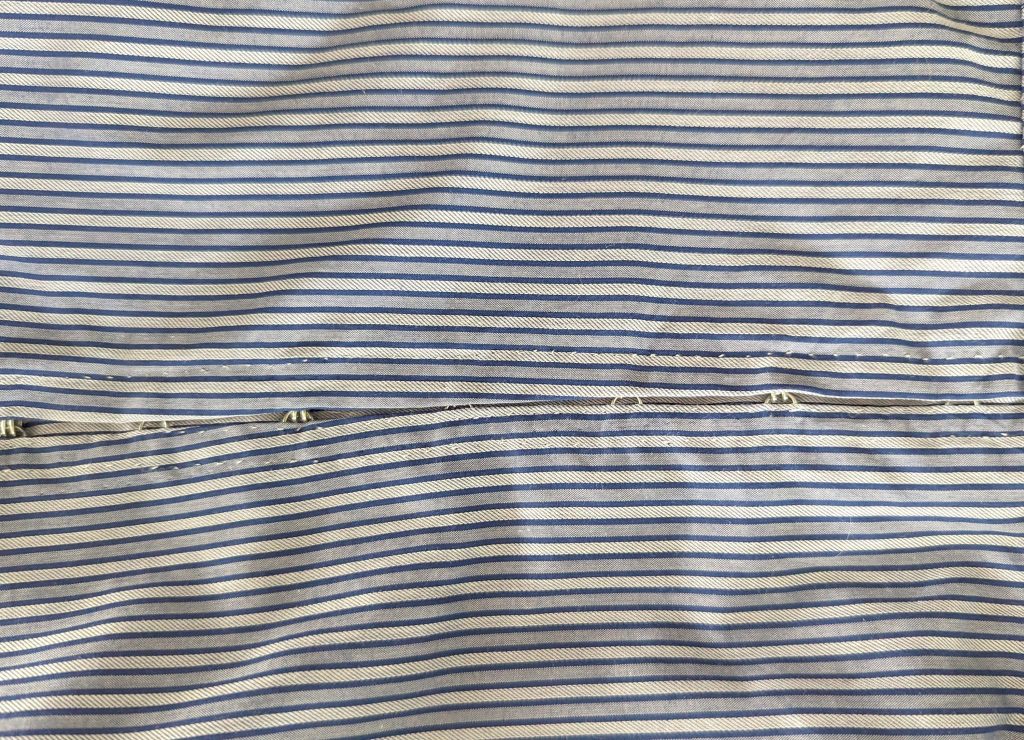
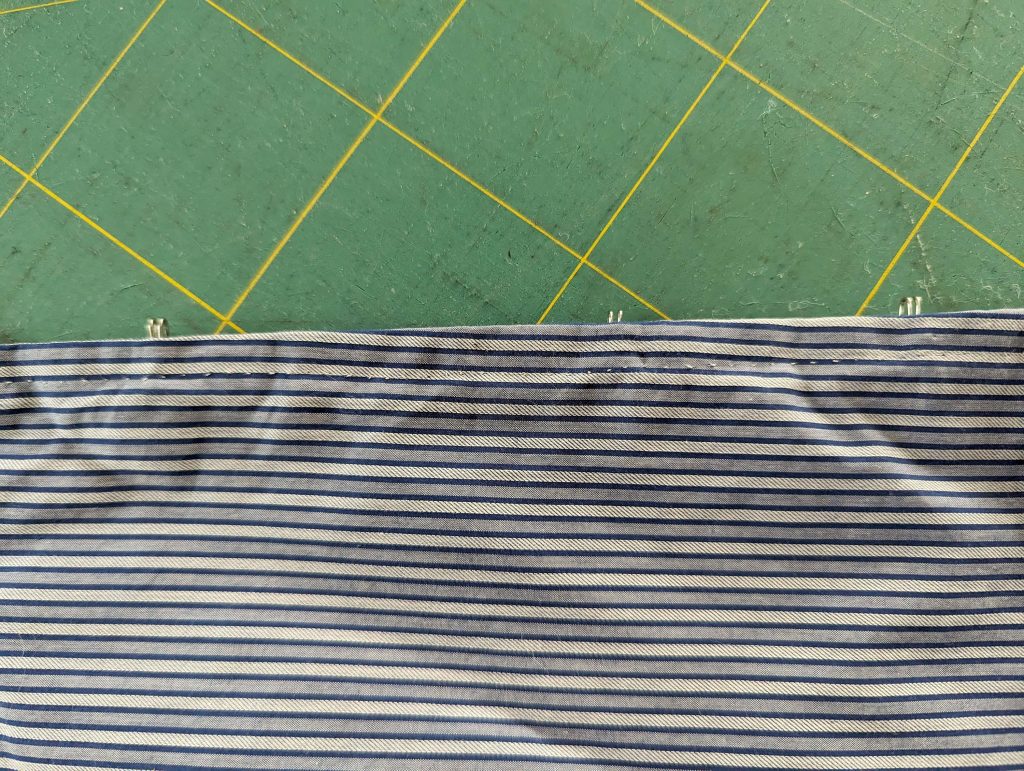
(5) Line up the bodice from the fashion fabric with the lining, the wrong side of the fashion fabric is facing the right side of the lining. (I´m sorry, the pictures are a bit different from the instructions as the pattern was developing back then in 2015/16). Baste along the neckline (clip the seam allowance) and armholes, as well as along the bottom edge, after folding the fashion fabric to match the lining, creating the typical pigeon breast of the era.
Turn in the seam allowances of the lining along the center back edge, with the edge of the fashion fabric extending past the lining about 1/8” (2mm), slipping the lining underneath the hooks on the right side, covering the raw edges of the placket on the left side. Fell stitch in place.
Baste together all seam allowances along the neckline, sewing right beside the stitching line. No stitches must be visible on the right side, this basting remains in the finished garment.
Take the collar lining and turn in a seam allowance of 3/4 “ (2cm) along the center backs.
Line up with the collar from fashion fabric along the top edge, right sides together. Sew, trim back, and understitch the seam allowances (m). Fold the lining inside the collar, wrong sides together, and turn in the seam allowance along the bottom edge, lining up with the neckline, and fell stitch in place.

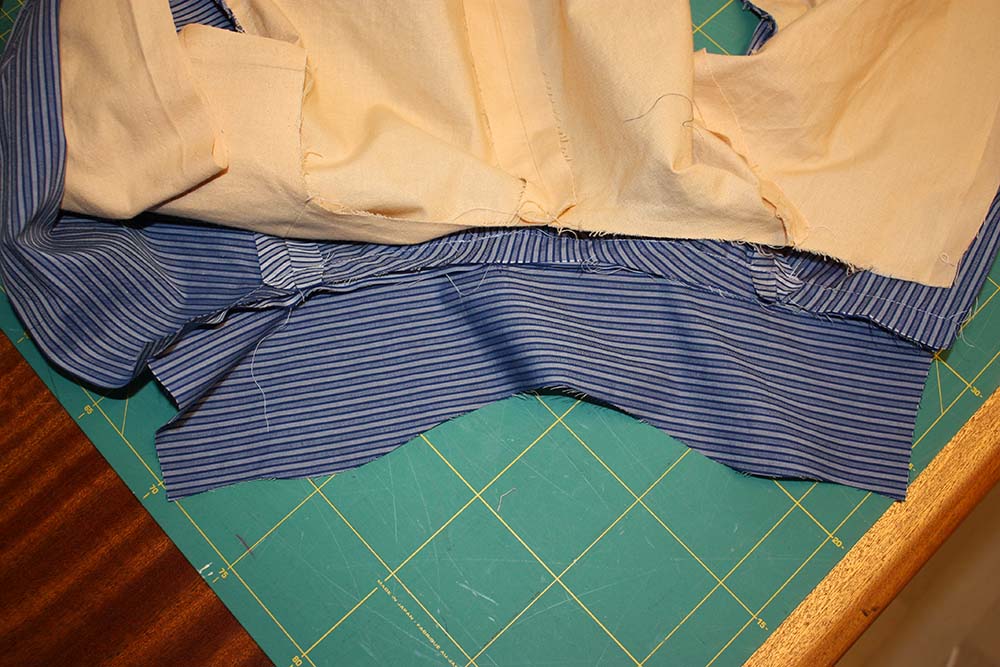
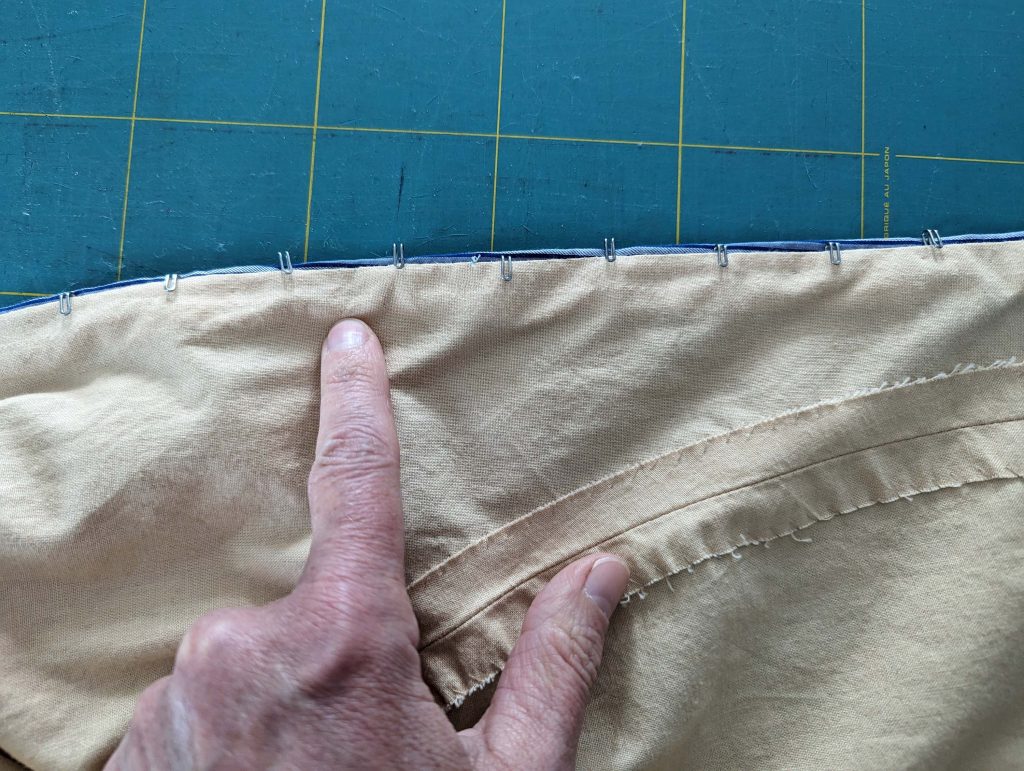

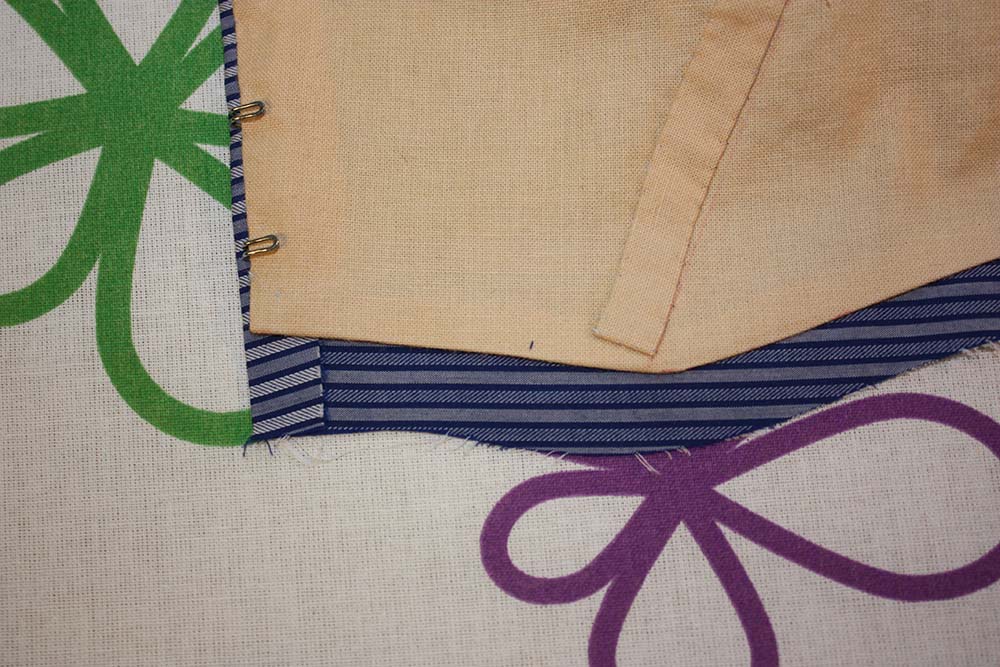
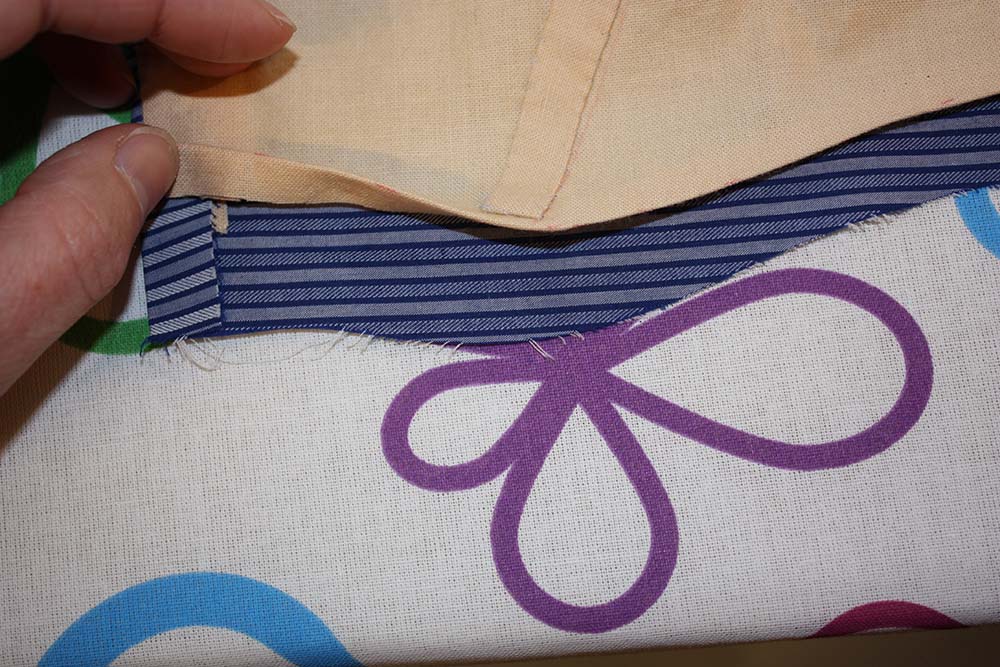

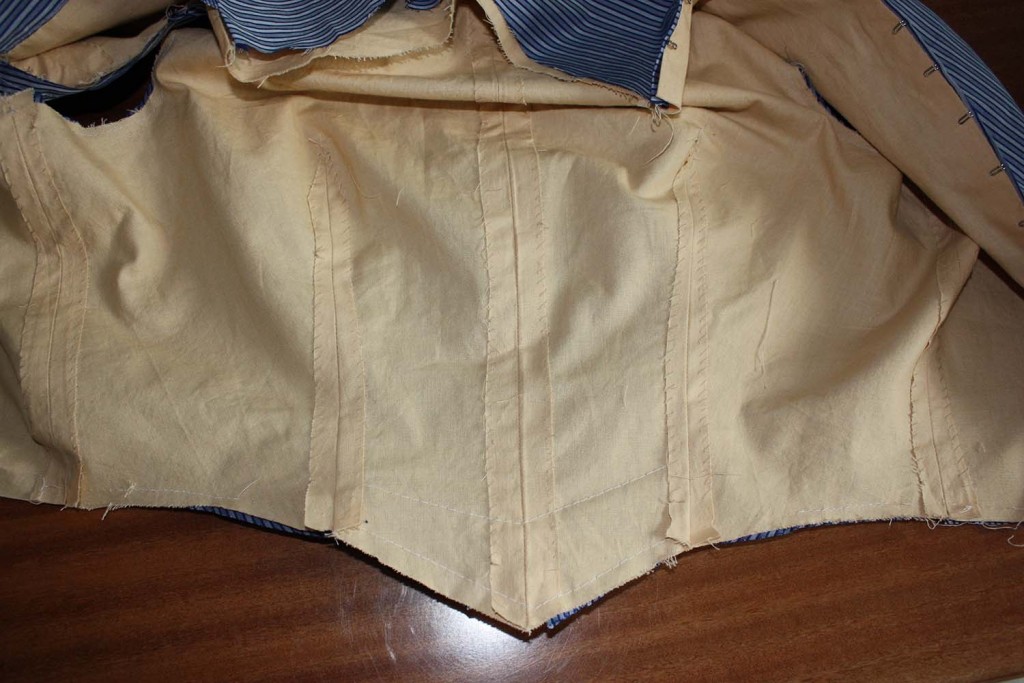
(6) Sew the side seam, right sides together, sew the fashion fabric and lining separated from each other, and press open and neaten the seam allowances.
(7) Please check my next blog post, View B – front closure, for more details about sewing the waistband.
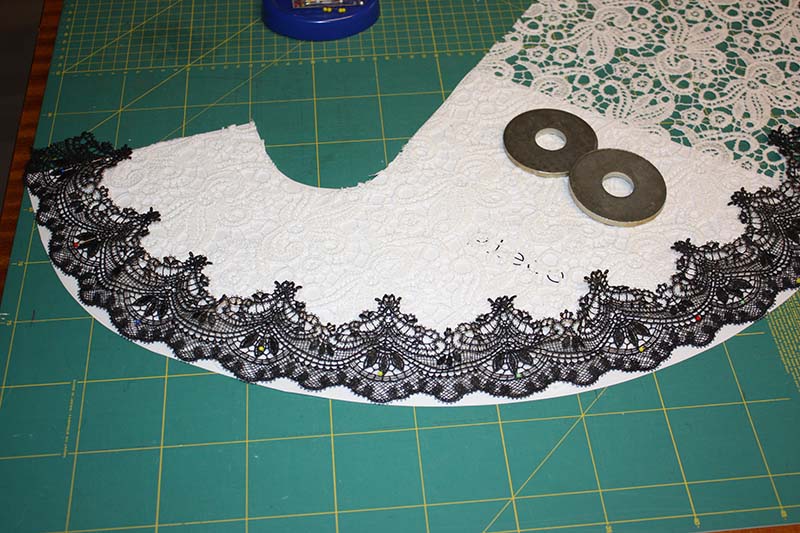
I decided to stitch on some of the trimmings before finishing the waistband to make things easier.
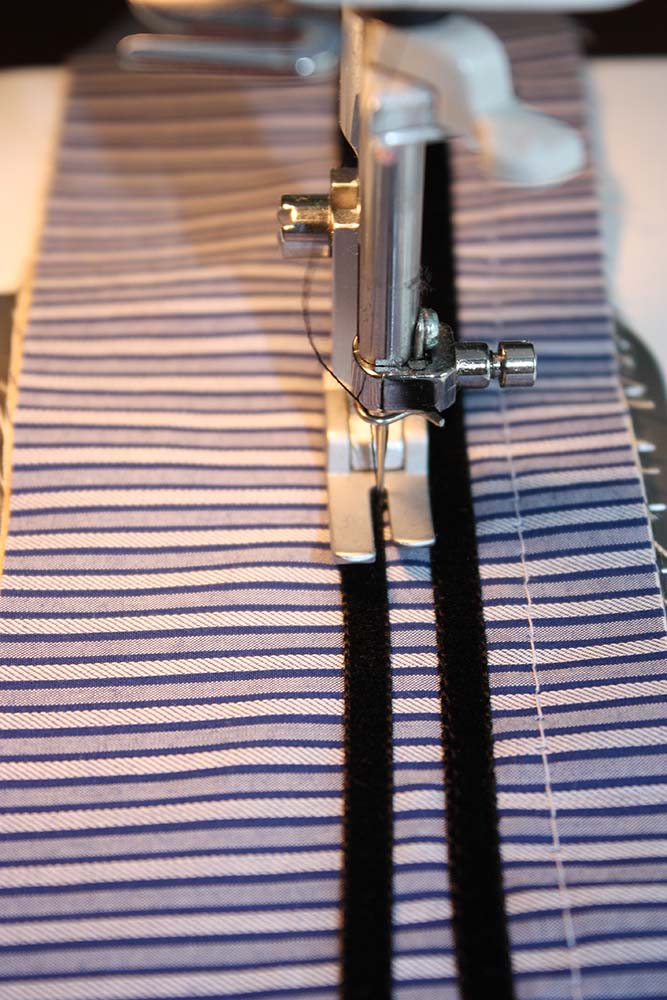
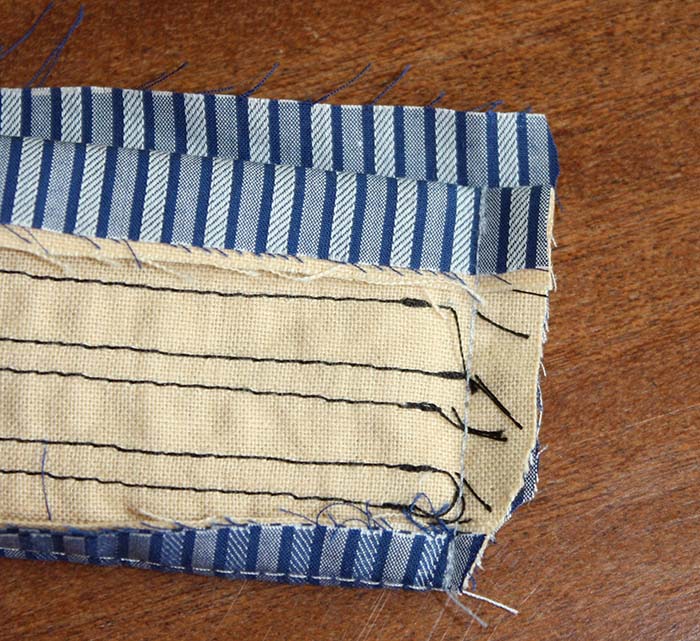

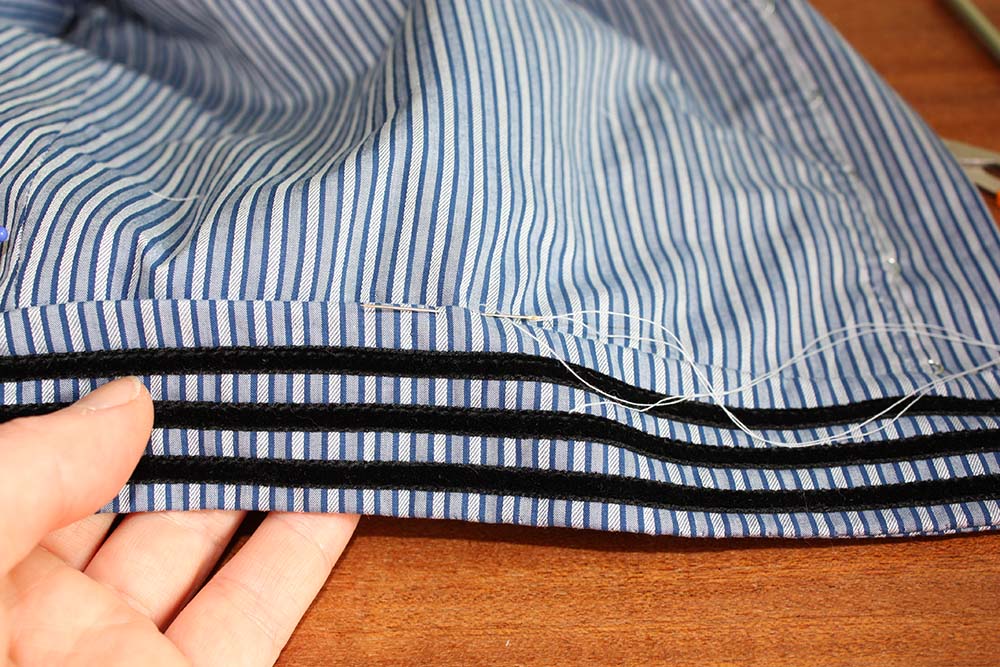
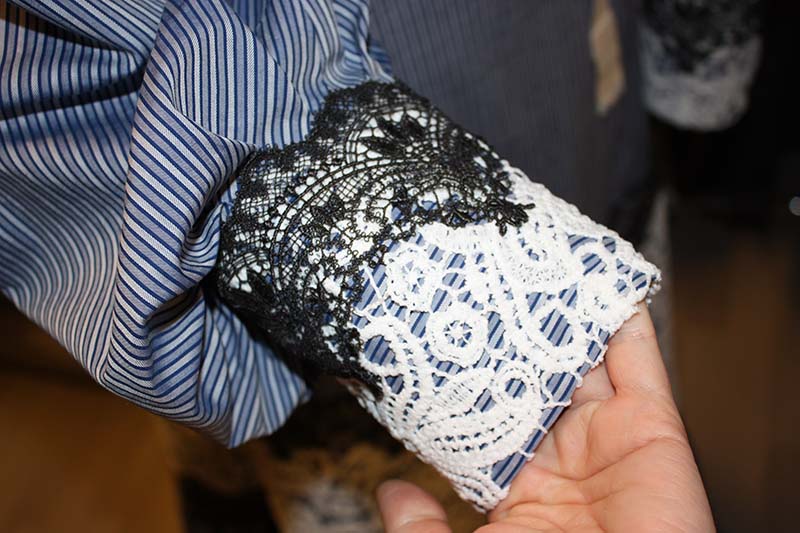
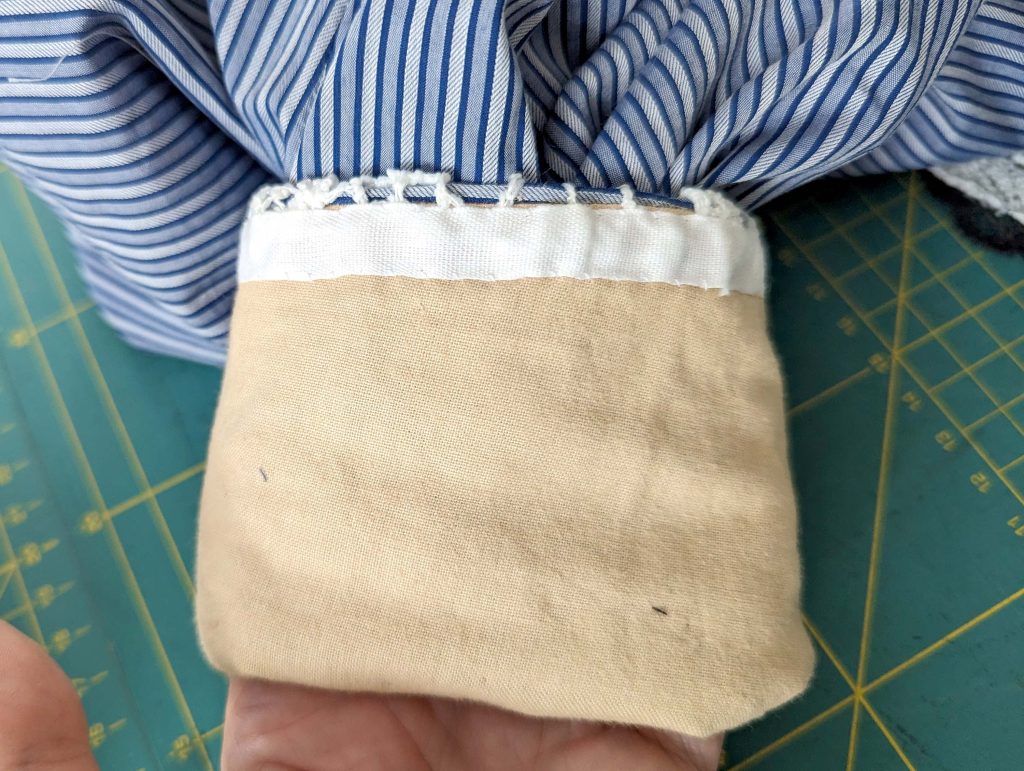
(8) The same for the sleeves, please check the next blog post for more details, here just some pictures showing the striped back closing bodice:
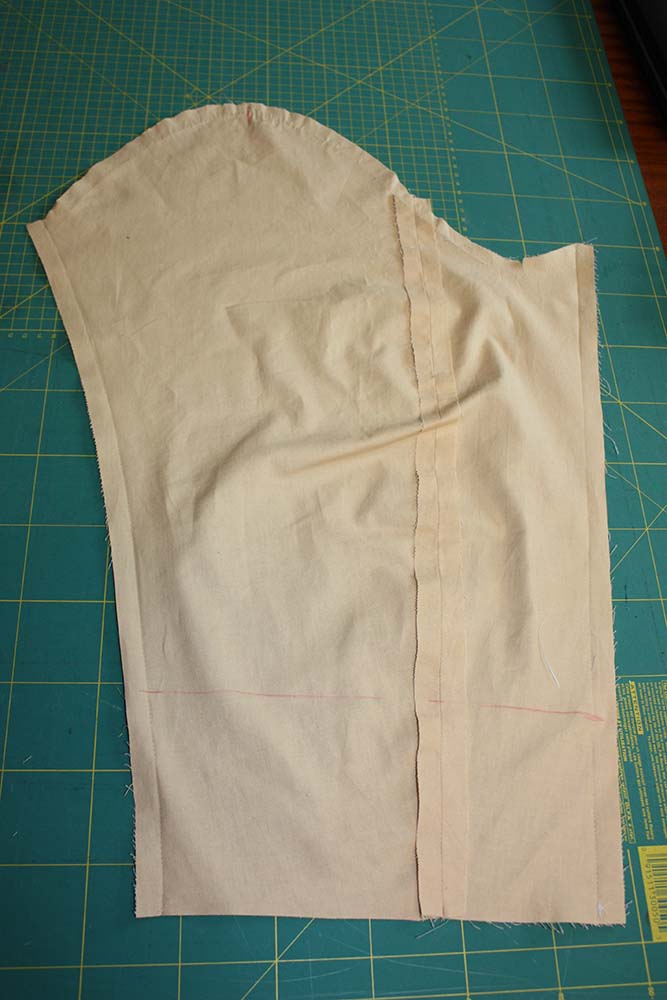
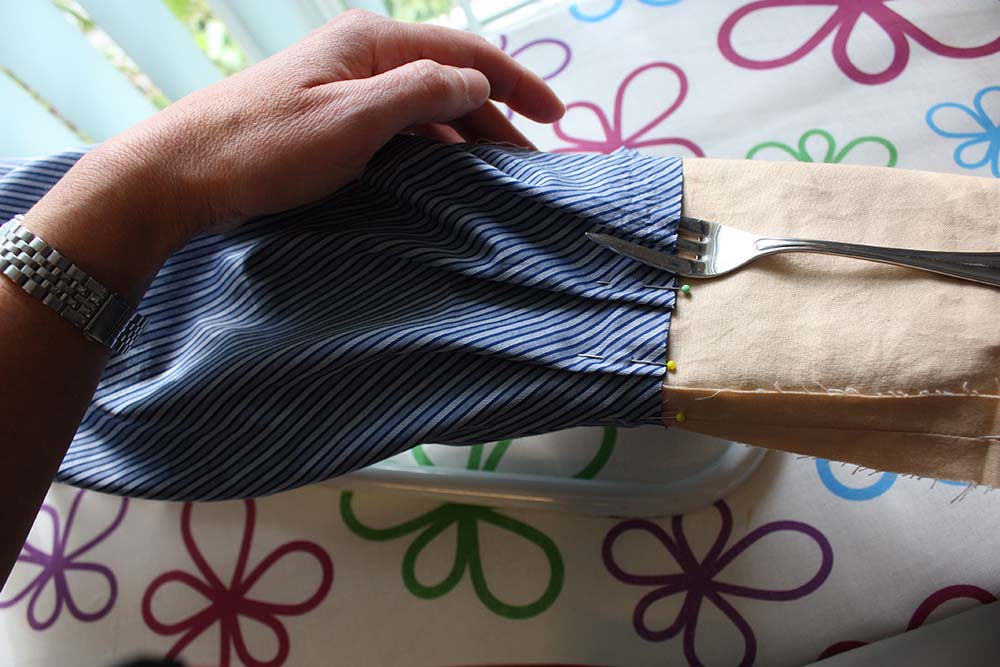
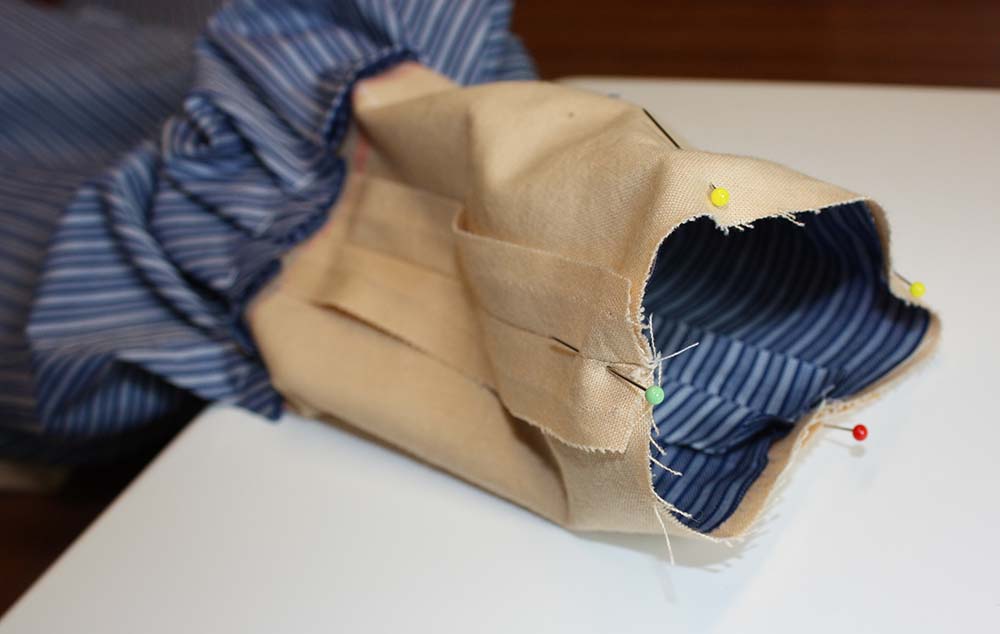
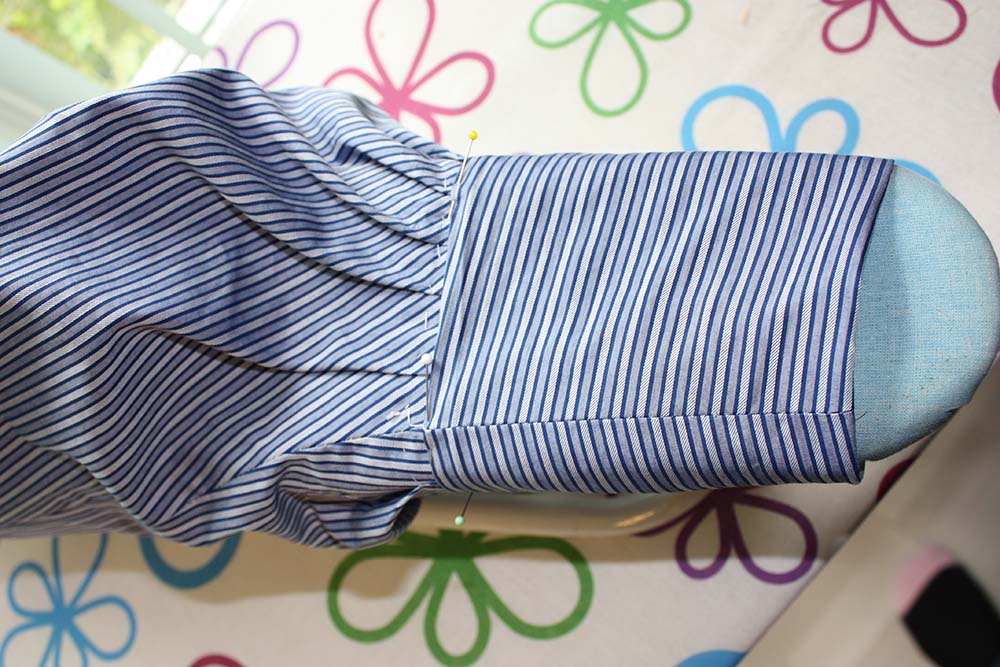
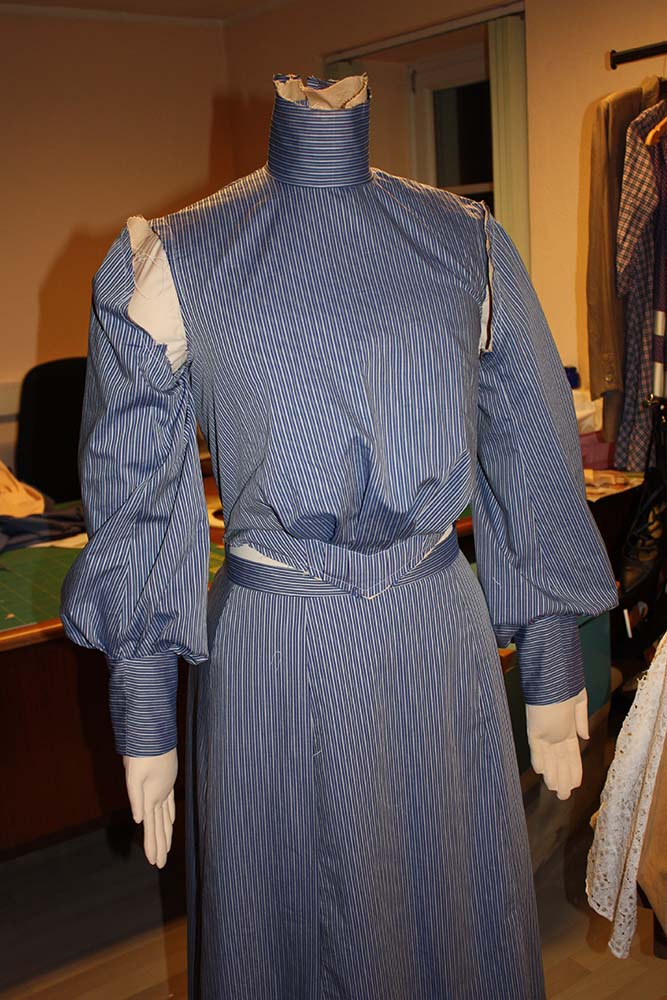
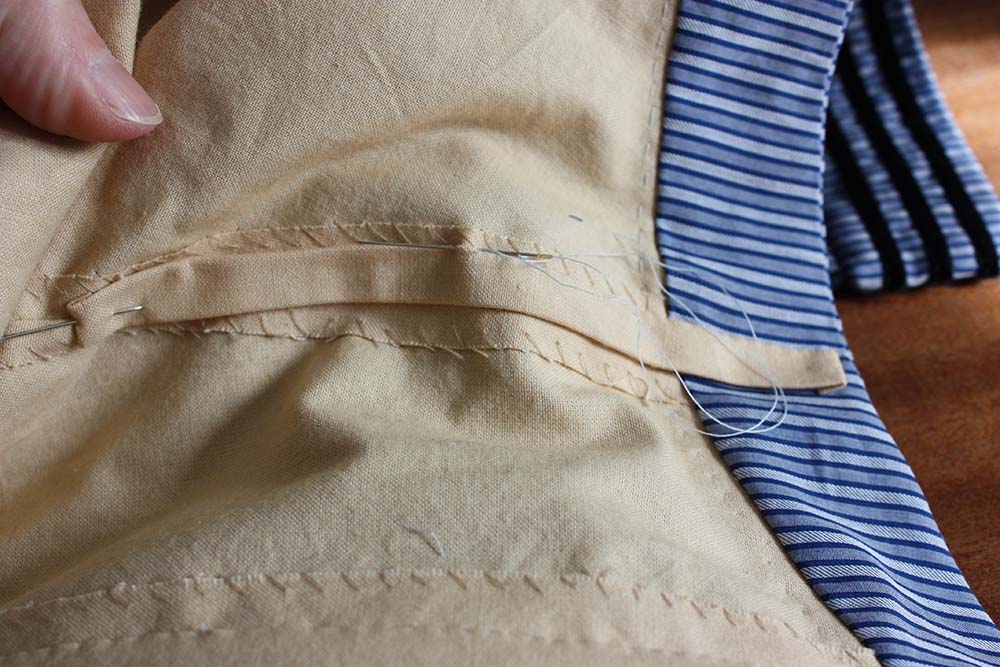
(9) Prepare bone casings and pin centered on top of the seam allowances of the center front seam, the darts, and the side seams. Fell stitch in place along both edges, catching just the lining, insert the boning, and close the opening carefully. Length of boning: see sewing pattern. Attach boning at the collar in the same way where indicated on the pattern.
(10) For the waistband, take a twill or grosgrain tape and wrap it firmly around your corseted waist. Add 1 ¼” (3cm) seam allowance to both ends and cut to the length needed. Turn that seam allowance, stitch in place, and sew on hooks and eyes. Mark the center front on the waistband and sew to the boning at the center front and darts along the waistline, optional to the boning at the side seam.


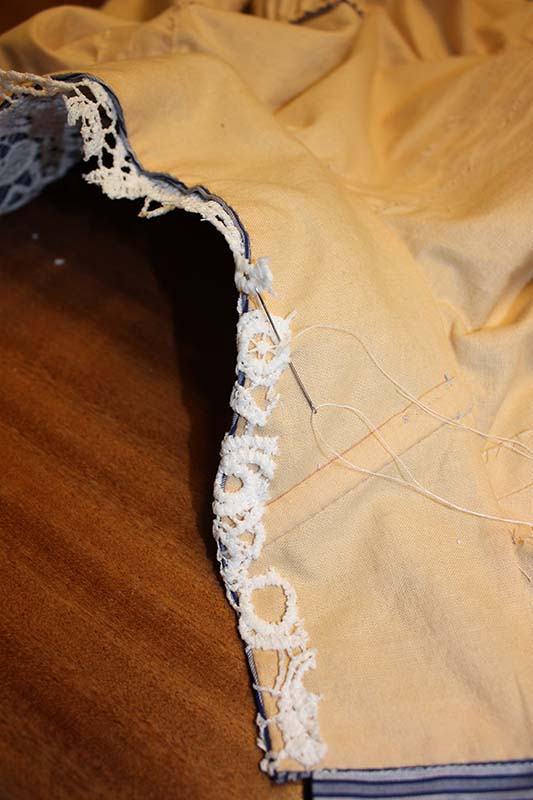
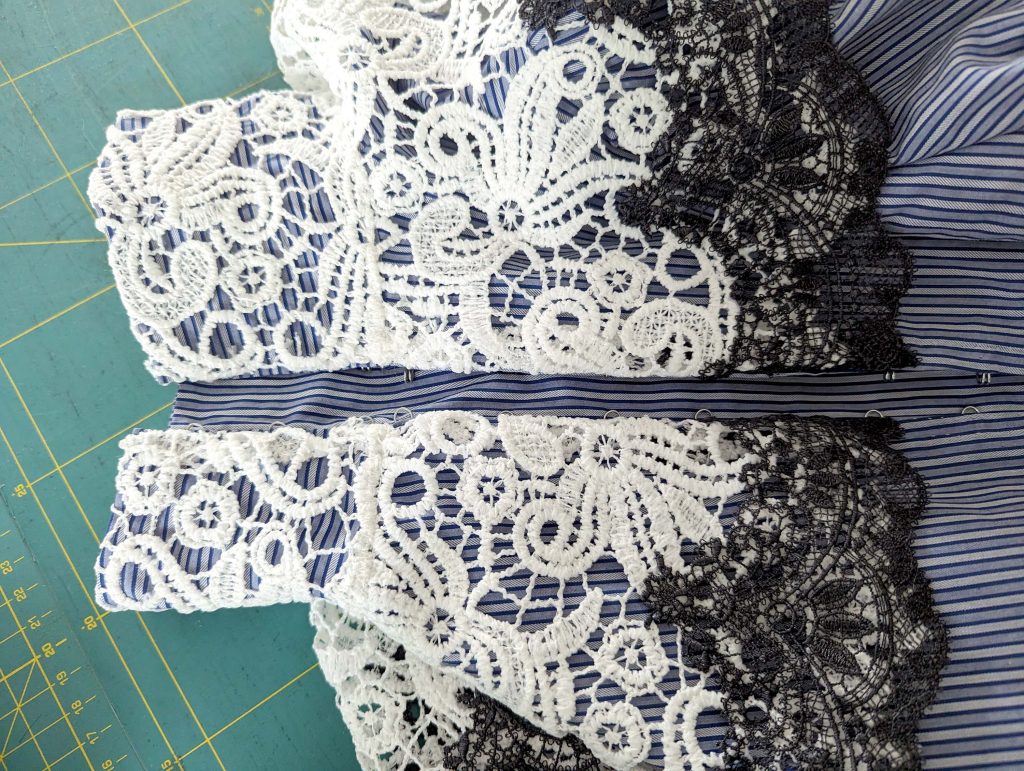
(11) Optional lace appliqué and jabot:
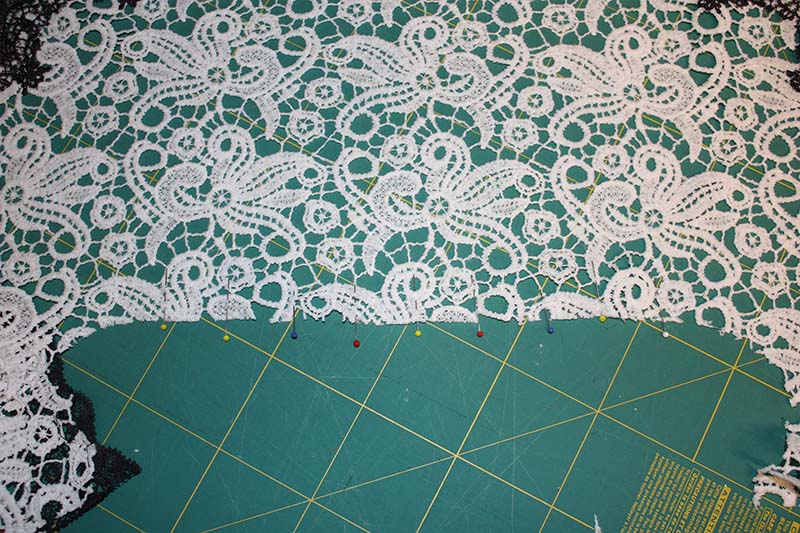
Just some pictures to get an idea, of how I added the lace to the bodice.
