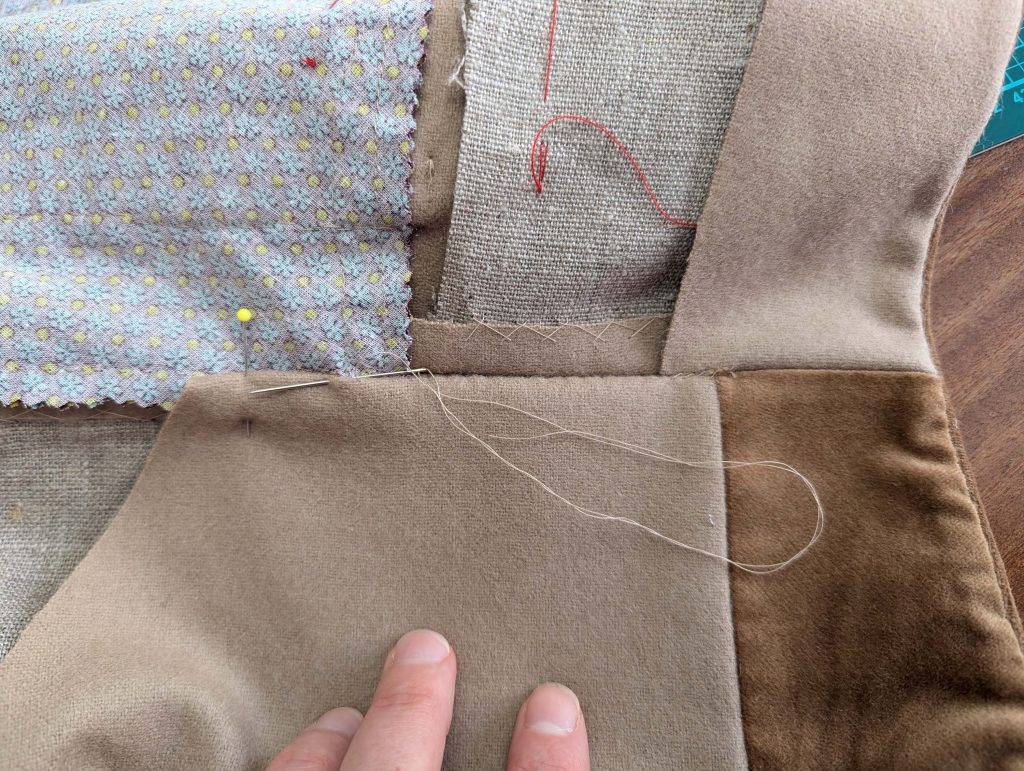
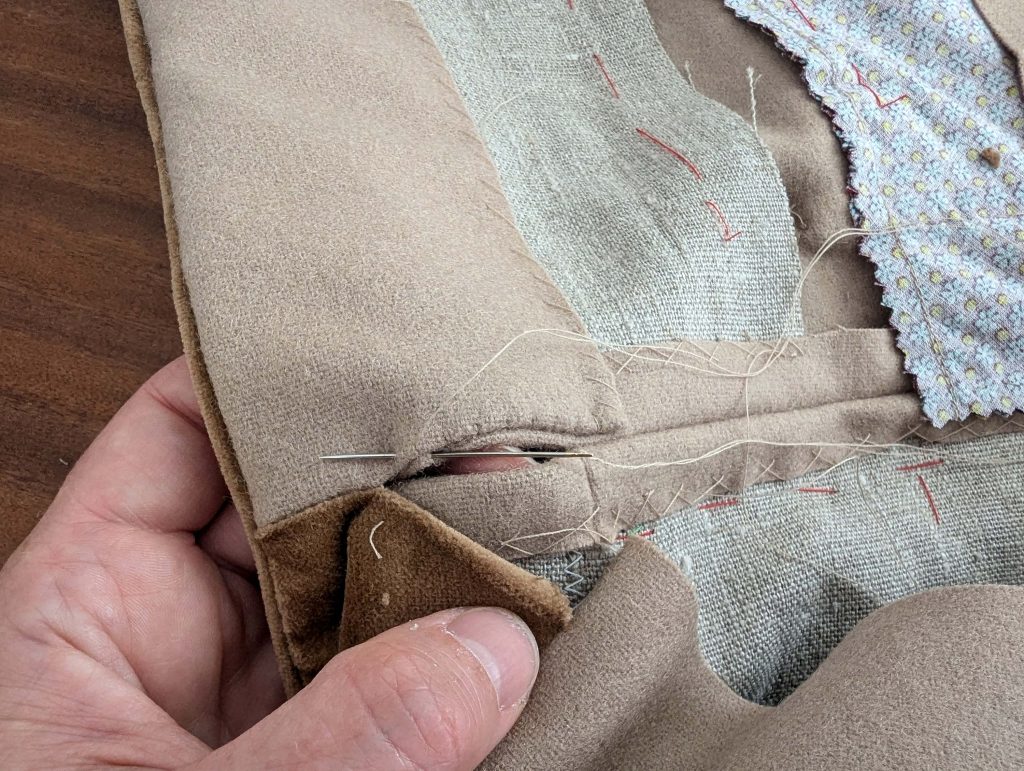
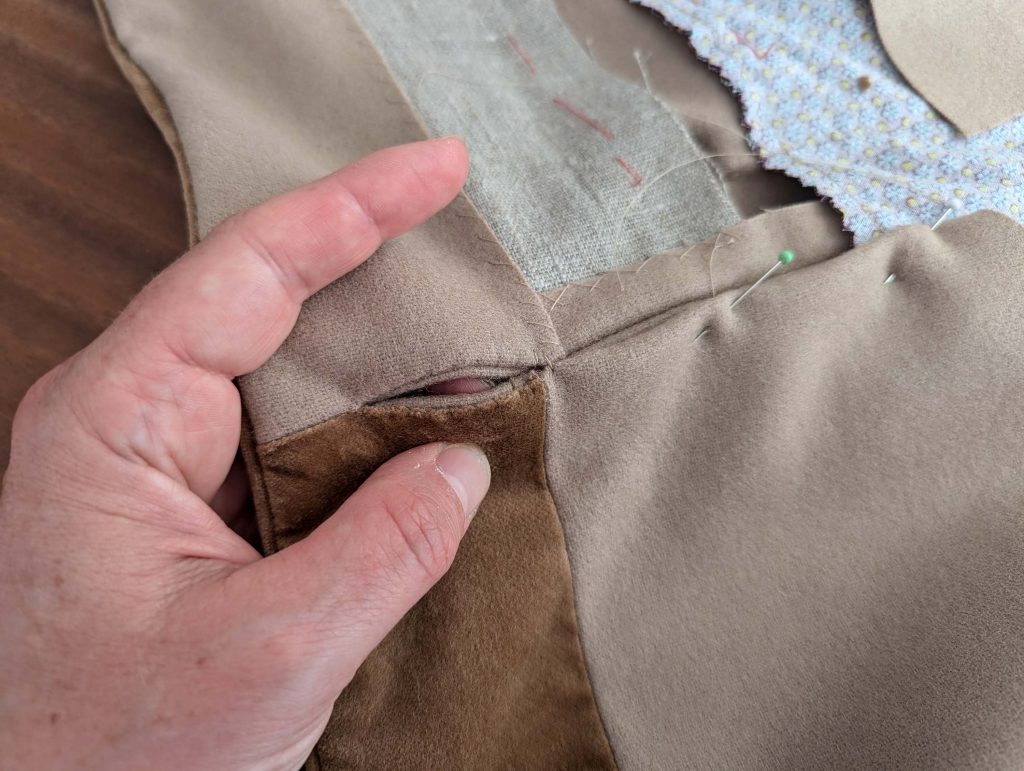
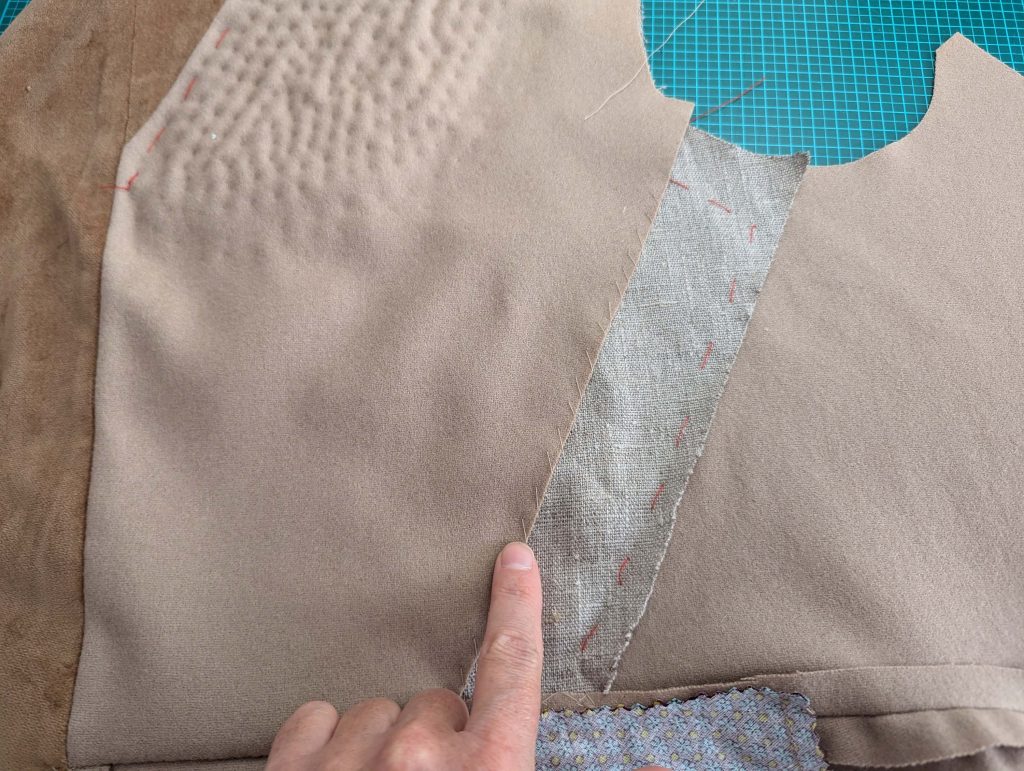
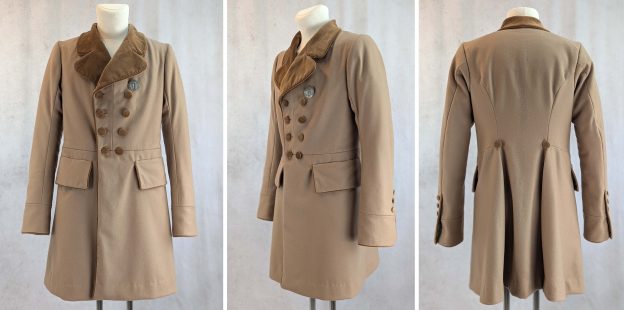
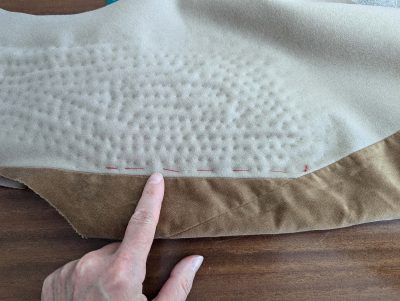
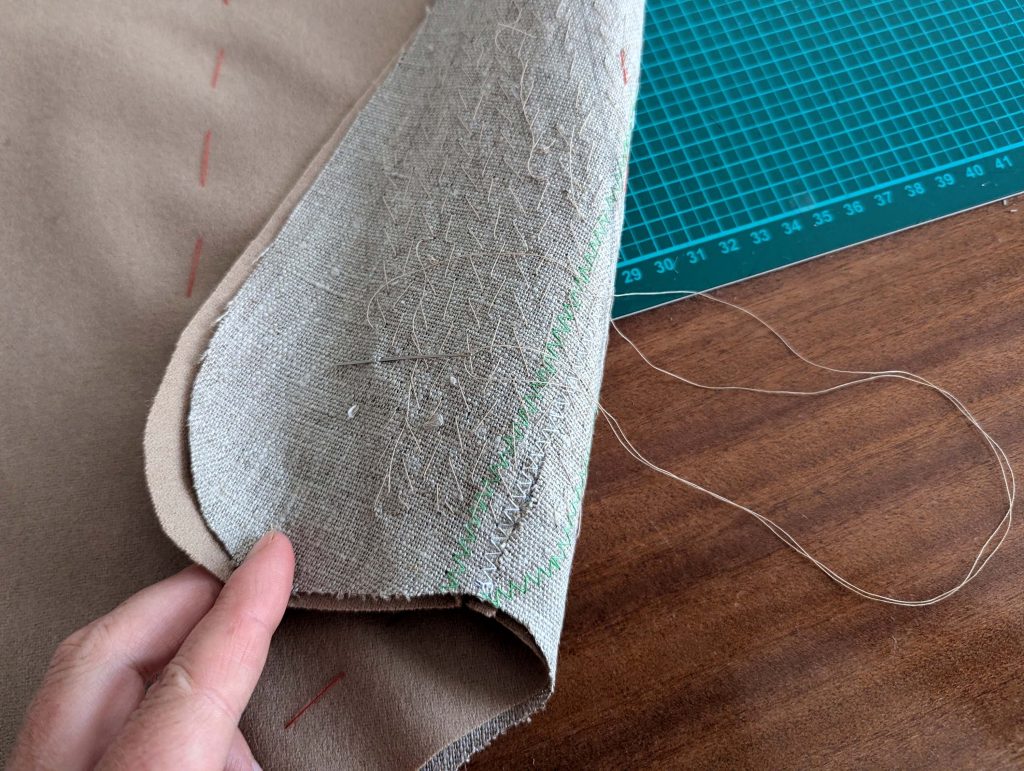
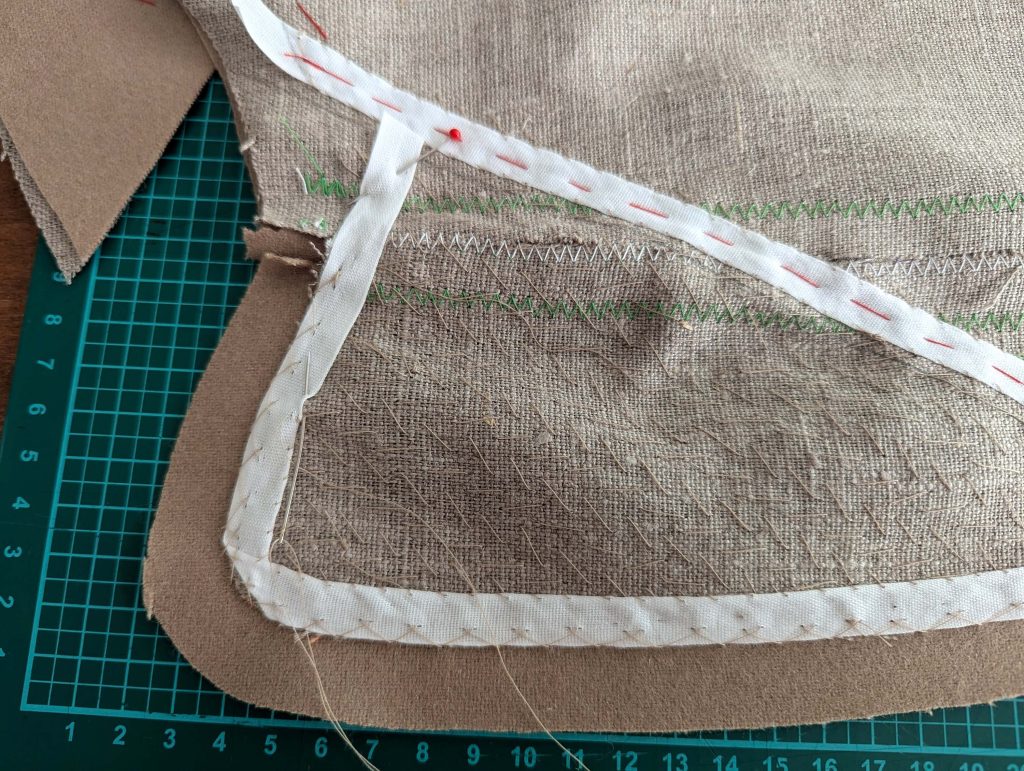
(5) Time to prepare the fronts: Take the canvas of the front and lapel, and trim back the seam allowances along the abutting edges, to sew together the pieces edge to edge, using a zig-zag stitch. Stop sewing exactly at the collar notch (x). Underlay the seam with a strip of bias tape (cotton). This method reinforces the joint and helps distribute stress across the garment.
Take the fronts from the fashion fabric and stretch the shoulder. Sew the lapel to the front, right sides together, and stop sewing exactly at the collar notch (x). Press open the seam allowances, and trim back the seam allowances at the collar notch.
Baste the front canvas to the wrong side of the front, lining up the edges. Start stitching centered down the front and continue along the front edge, following the roll line until reaching the shoulder. Give the front some ease while basting by stretching the chest slightly and simulating the body with a tailor’s ham or a pillow. Lastly, baste along the armhole and the side seam. Baste about 2” (5cm) from all edges.
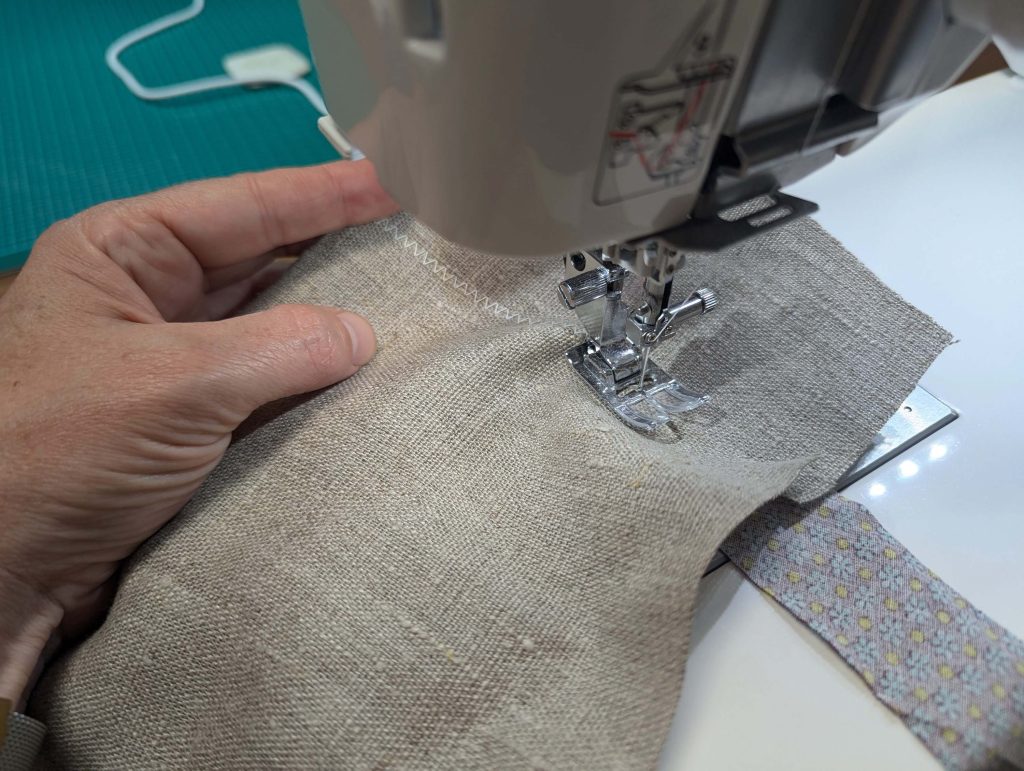
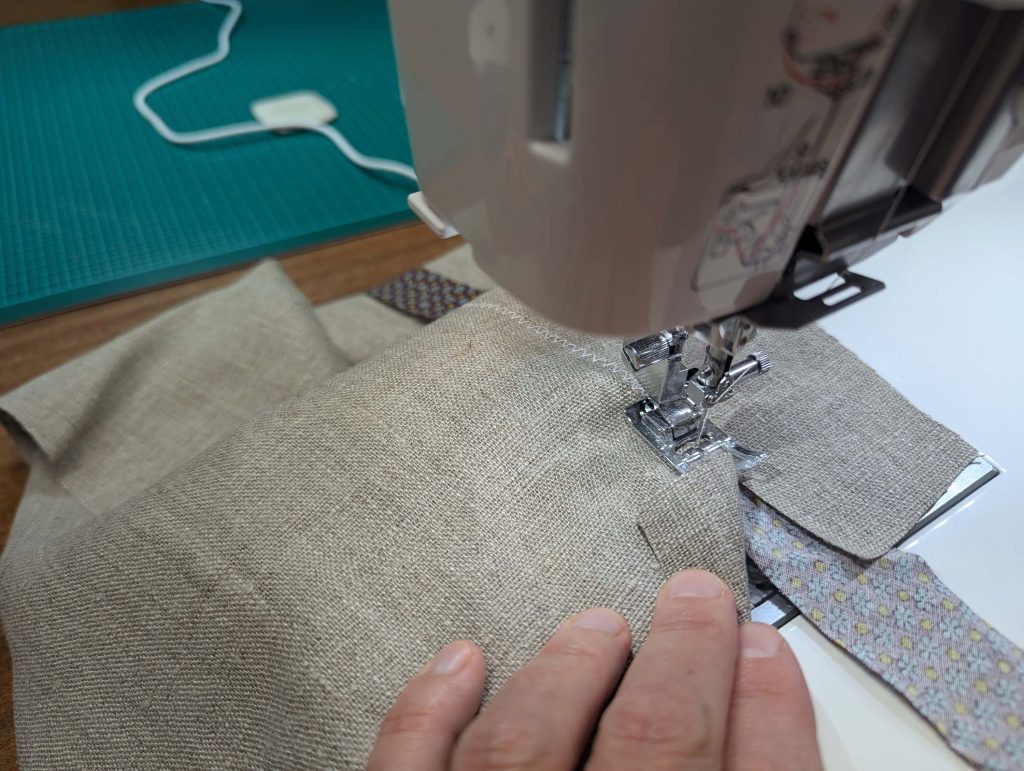
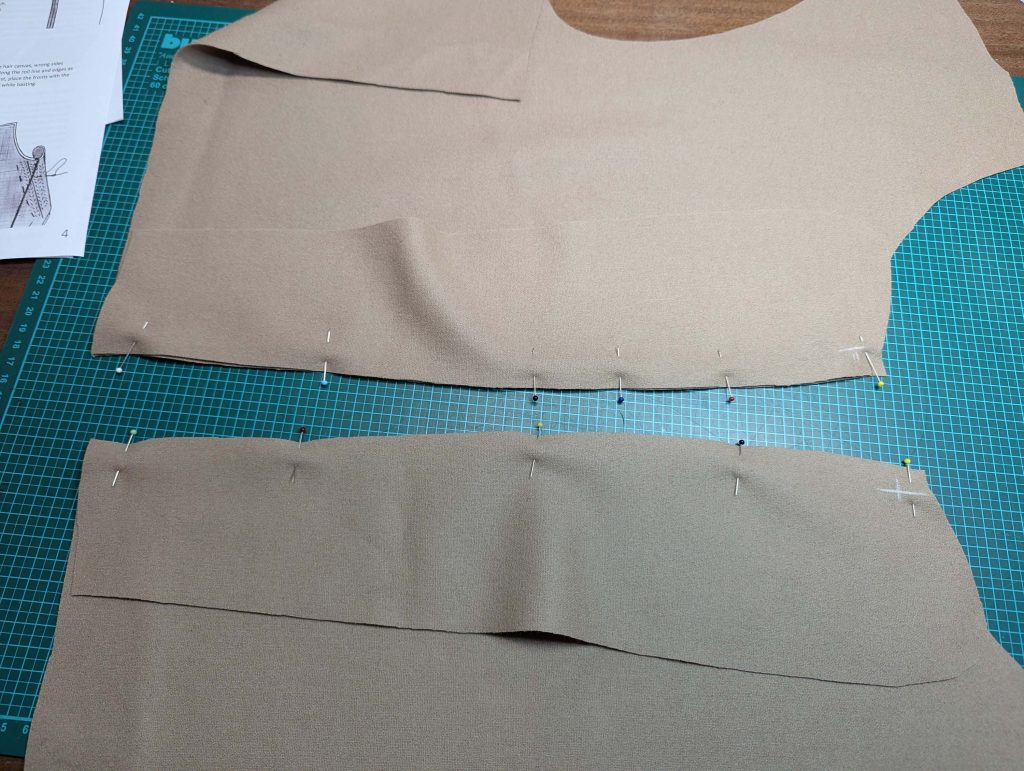
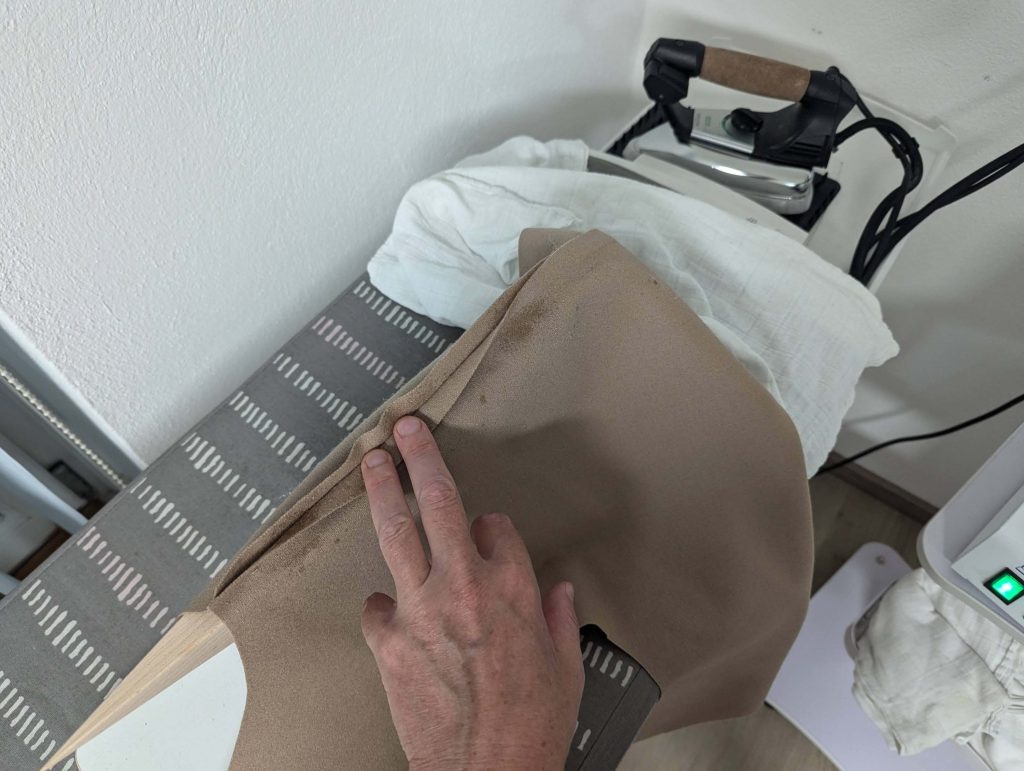
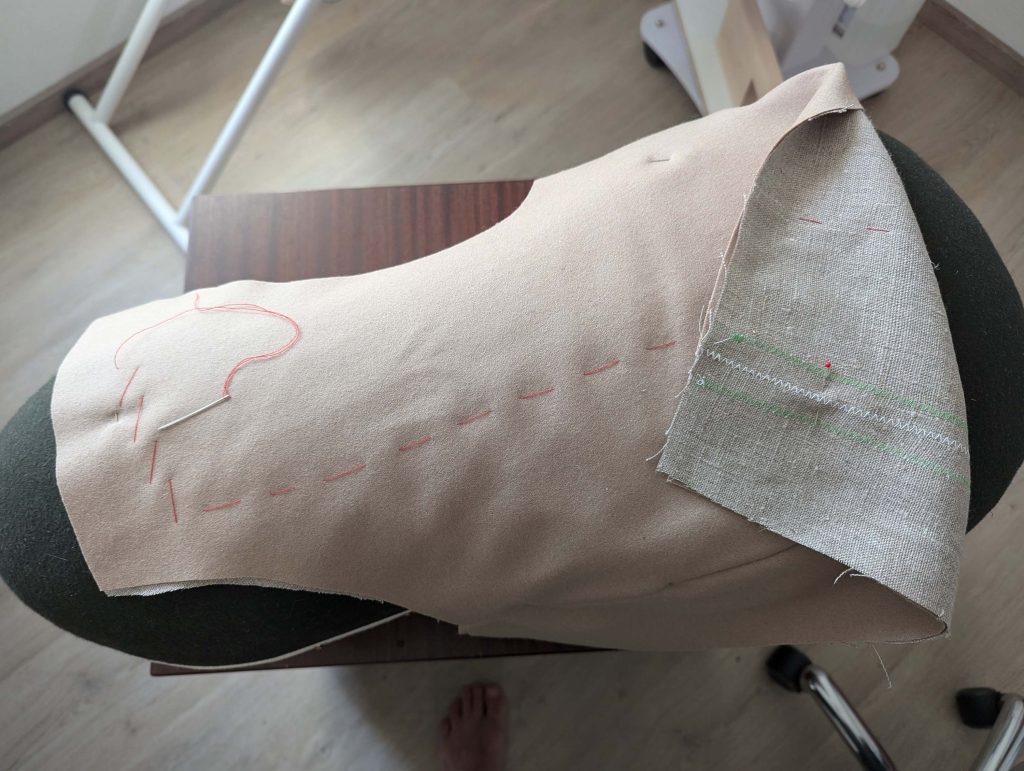
Turn with the wrong side up, and mark the seamline on the canvas along the neckline, front, lapel, and bottom edge. Mark the roll line.
Pad stitch the lapel, starting about ¾” (2cm) behind the roll line, folding the lapel over the hand’s edge to give it the right shape. Stop stitching just before reaching the marked seamline. Trim back the canvas only slightly behind the seamline. Start at the collar notch, and follow the lapel down the front, continue along the bottom edge.
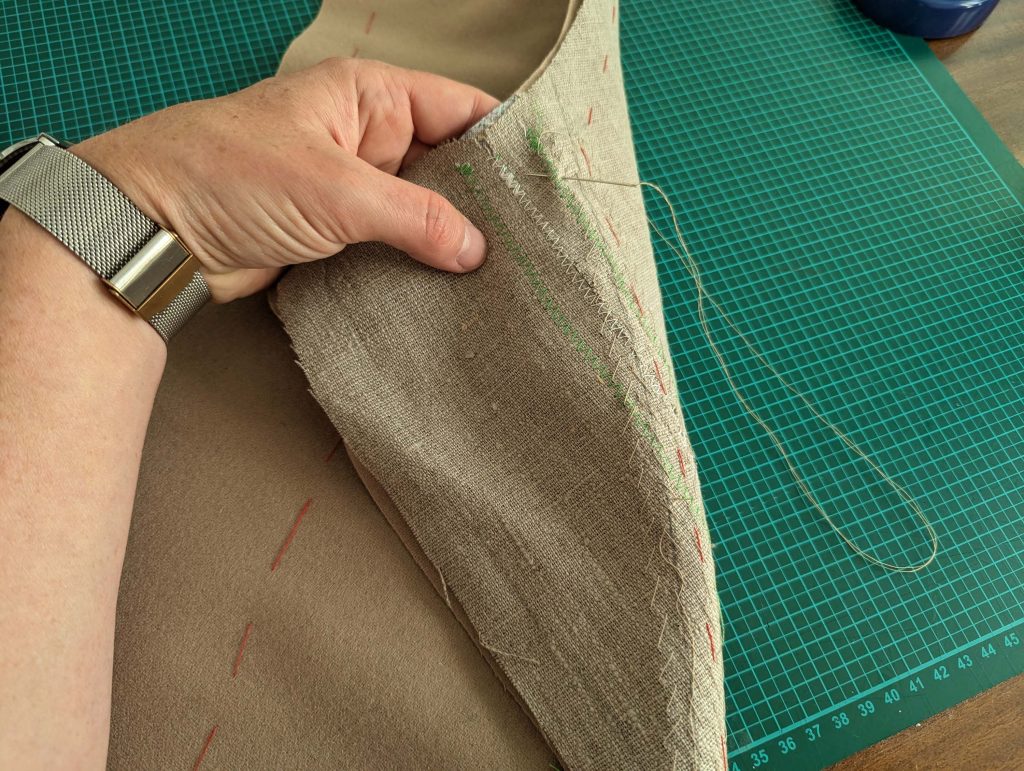
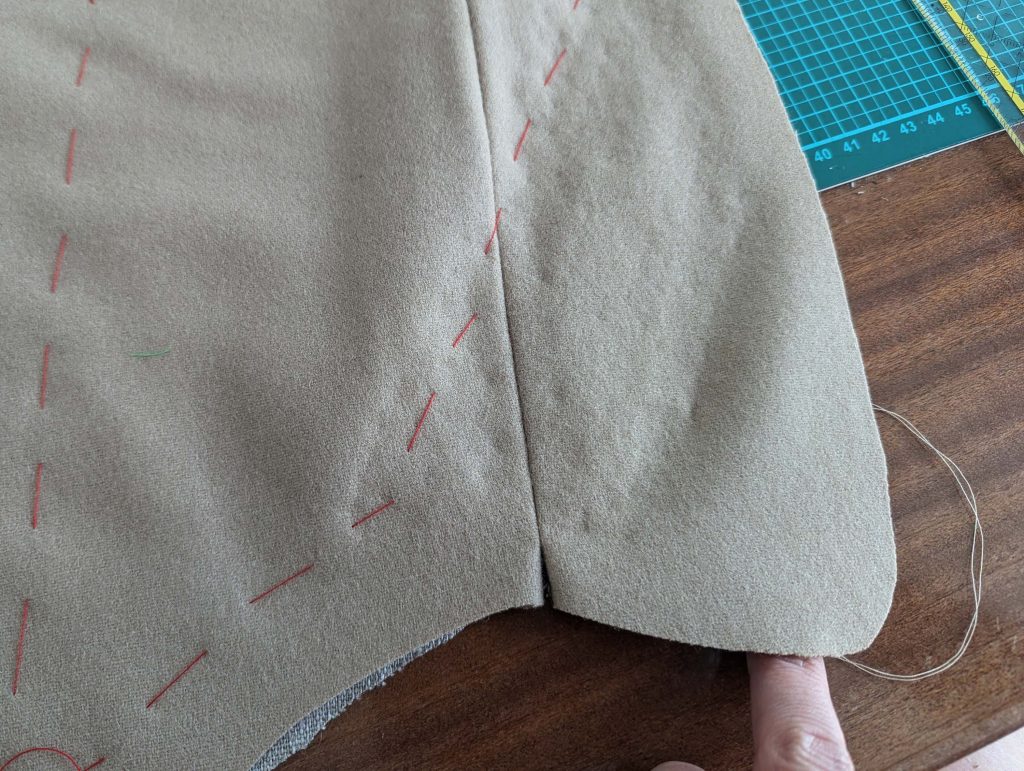
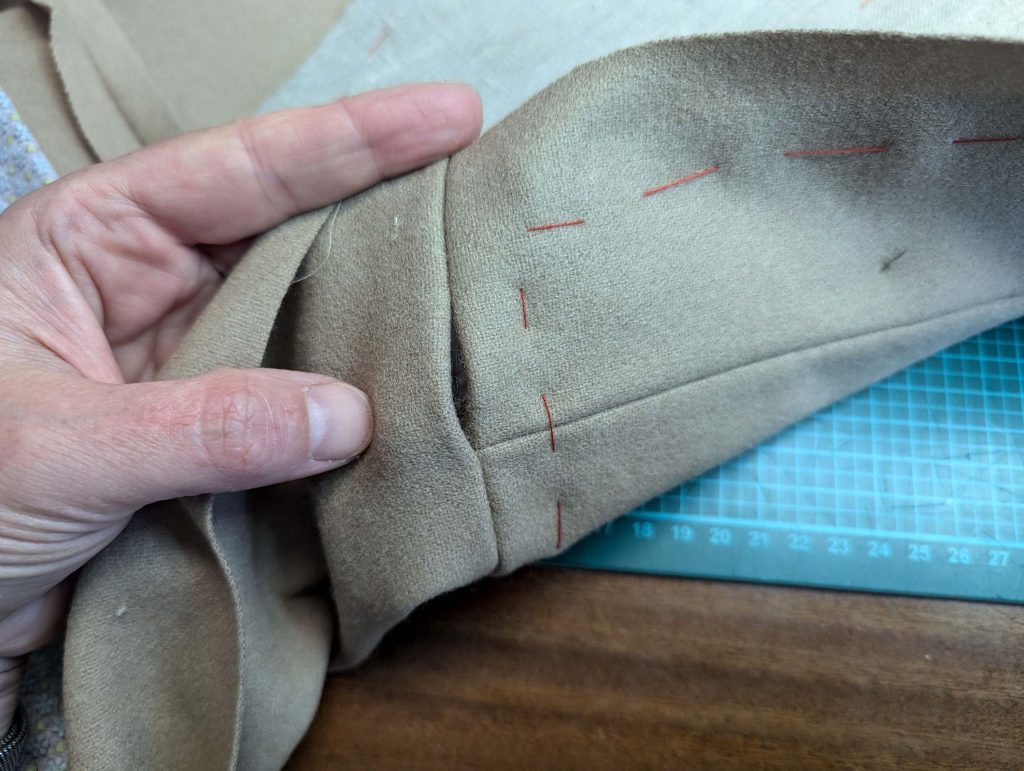
(6) Re-open the pleat and sew the front skirt to the front, respecting the marks, and easing in the excess fabric between marks (1) and (2). Leave open the buttonhole on the left side, start sewing exactly at mark (3), and don´t catch the canvas or the pocket. Notch the seam allowances at the seam crossings to avoid bulk, and press open.
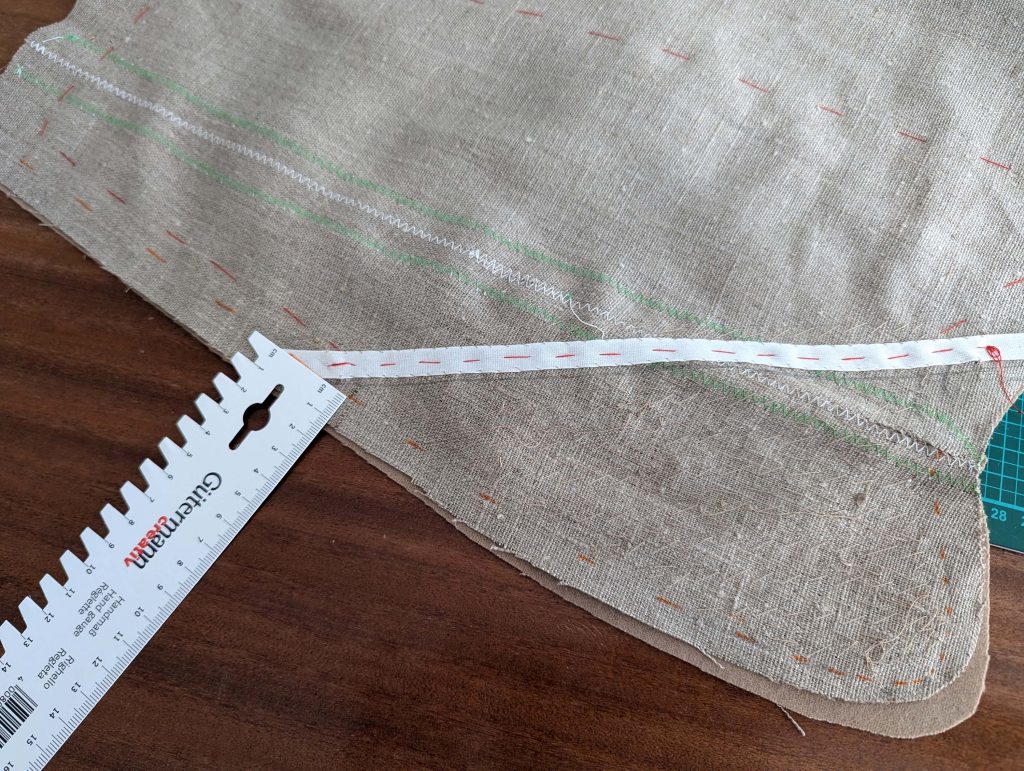
(7) Line up piece #5b from canvas with the stitching line on the front edge of the skirt, trim back the bottom edge to the hemline, and baste in place. Smooth the pocket bag flat and catch stitch its top edge to the waist seam allowance. Catch stitch the seam allowances of the waist seam to the canvas. Finally, baste both the pocket bag and flap to the skirt to prevent them from shifting and creating bulk during further construction steps. Notch the seam allowances of the waist seam to reduce bulk. Place the front on your table with the wrong side up and start to attach the stay tapes (ok, I started with the stay tapes earlier, before sewing the skirt to the bodice).
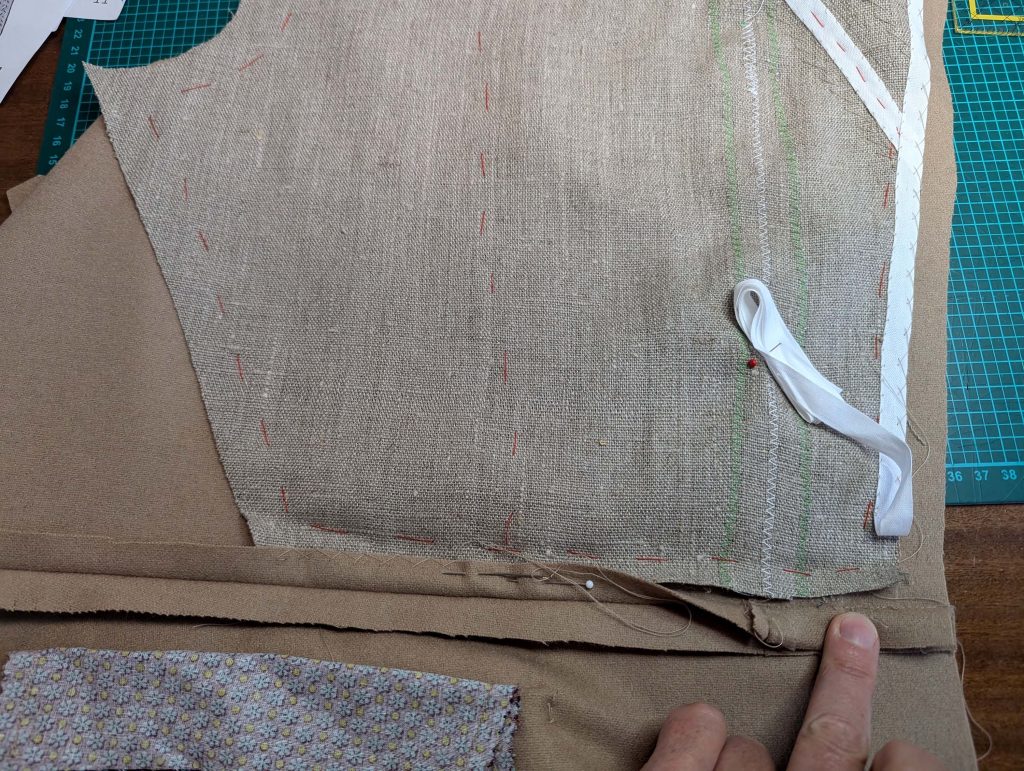
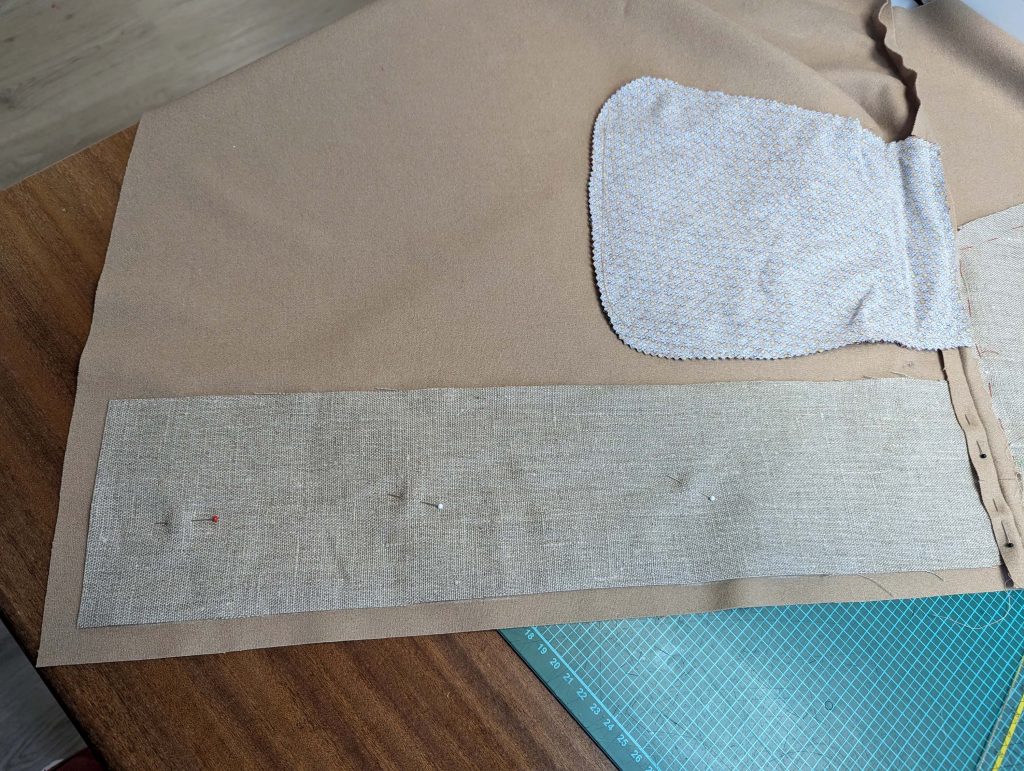
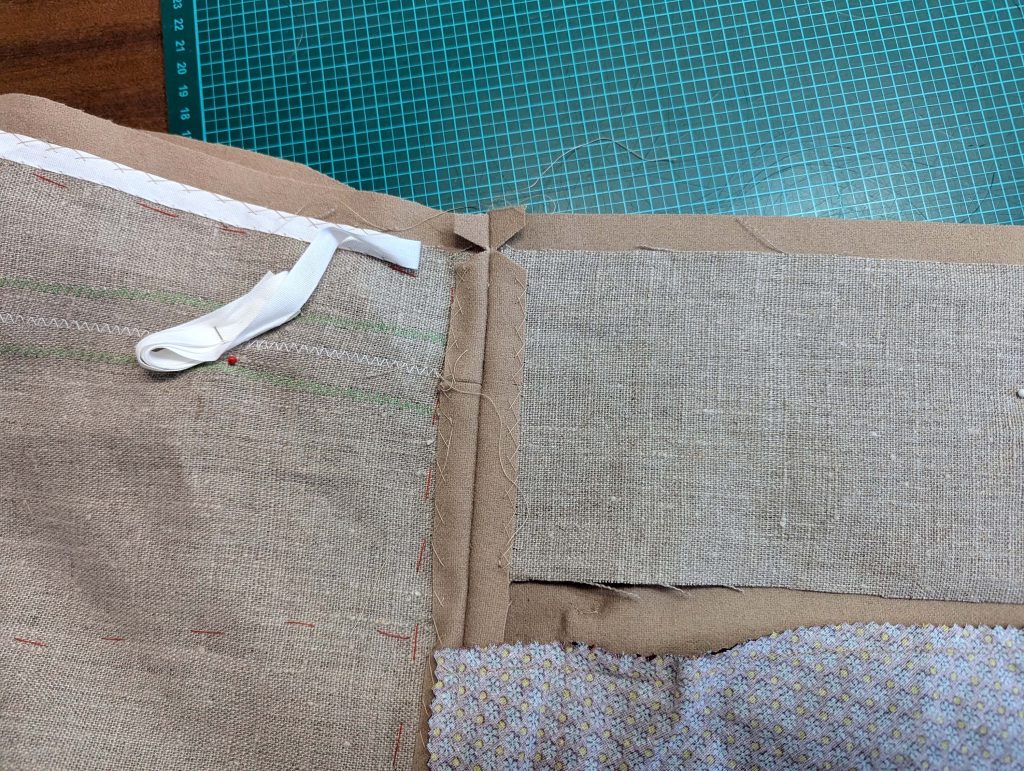
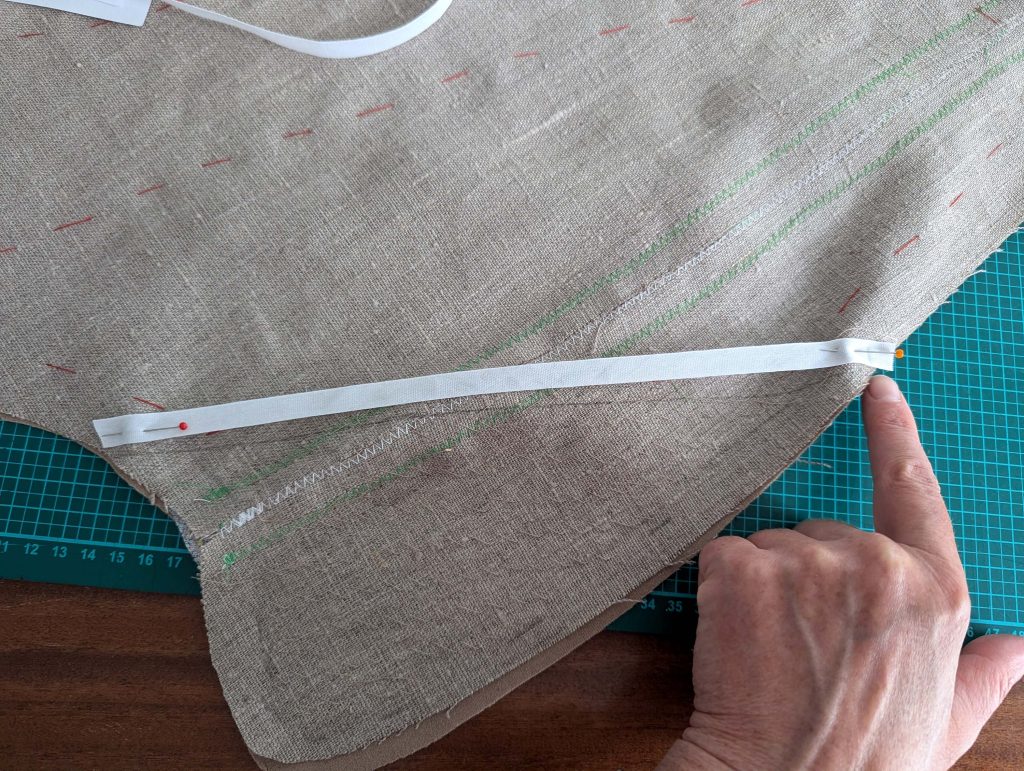
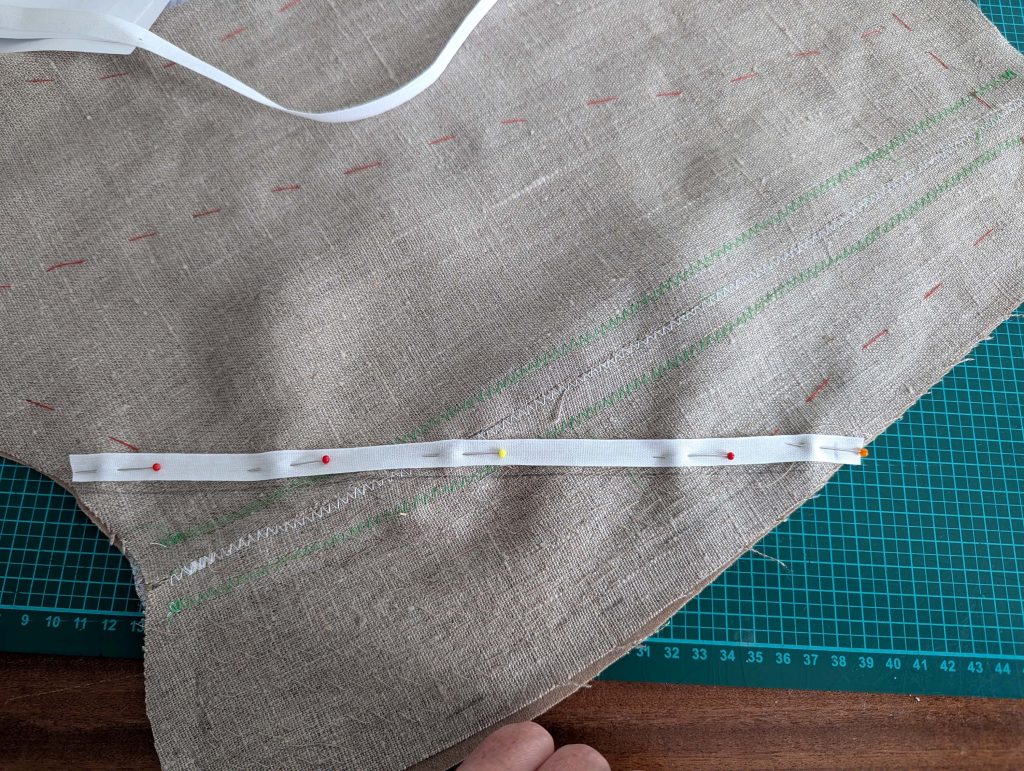
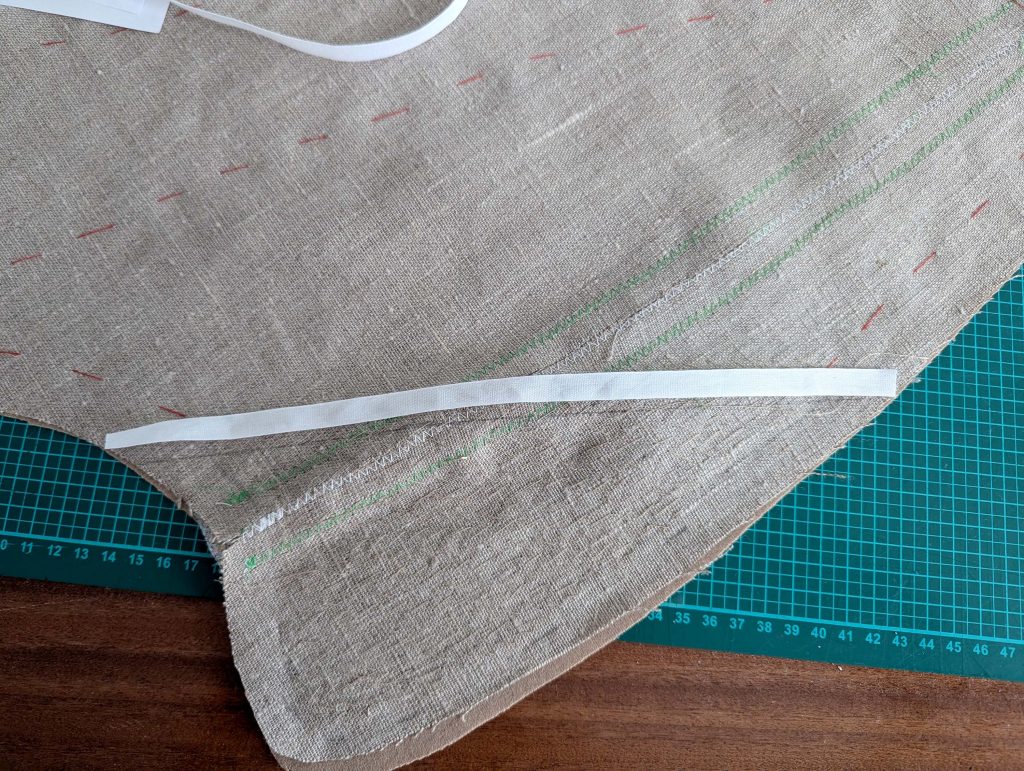
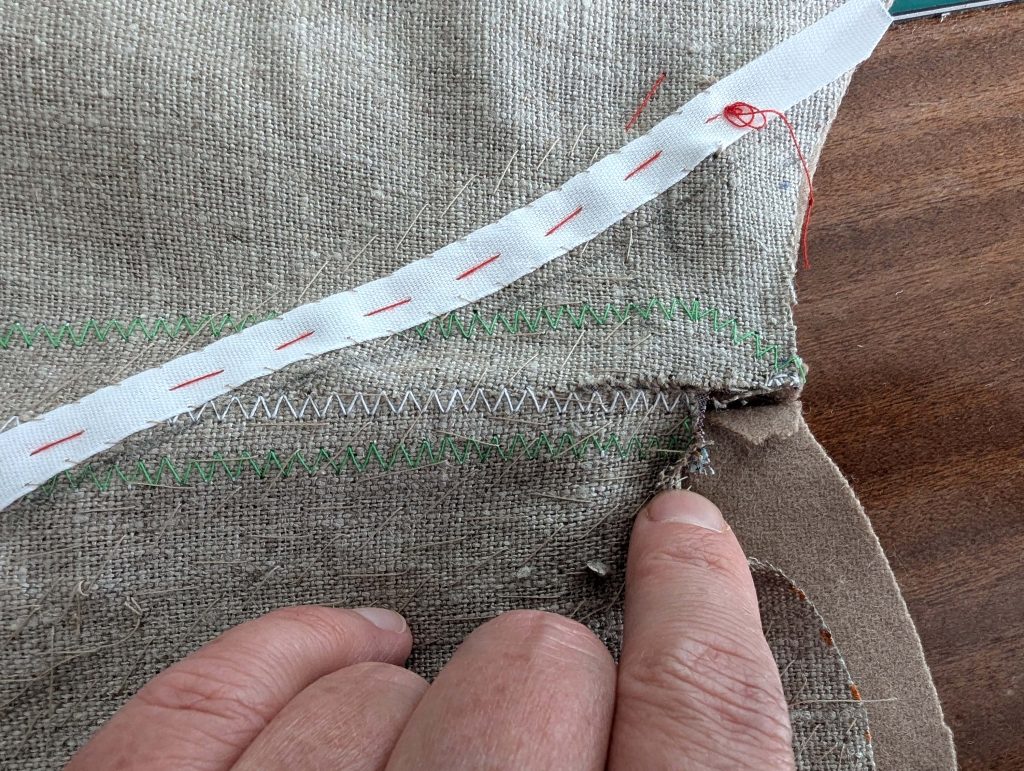
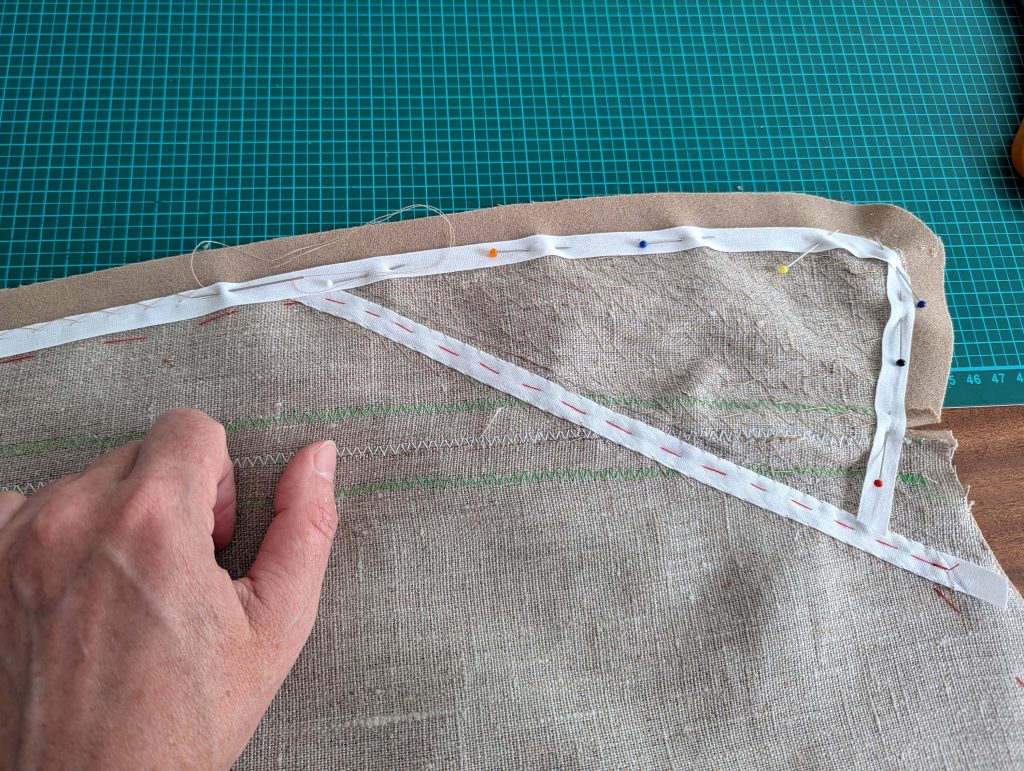
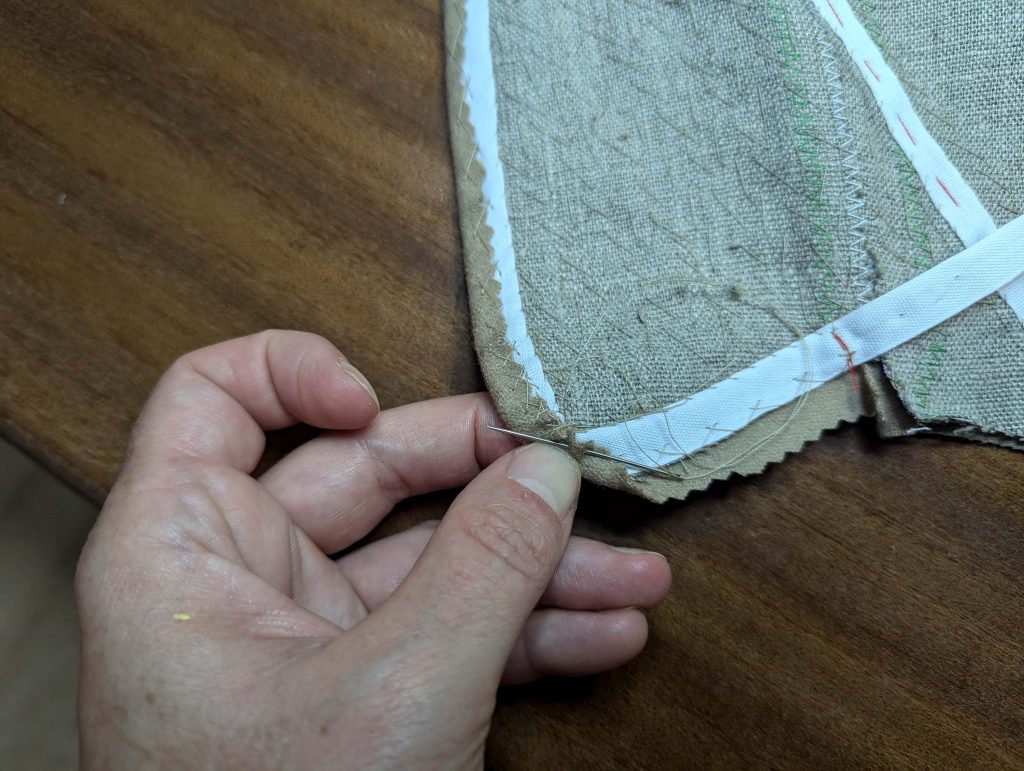
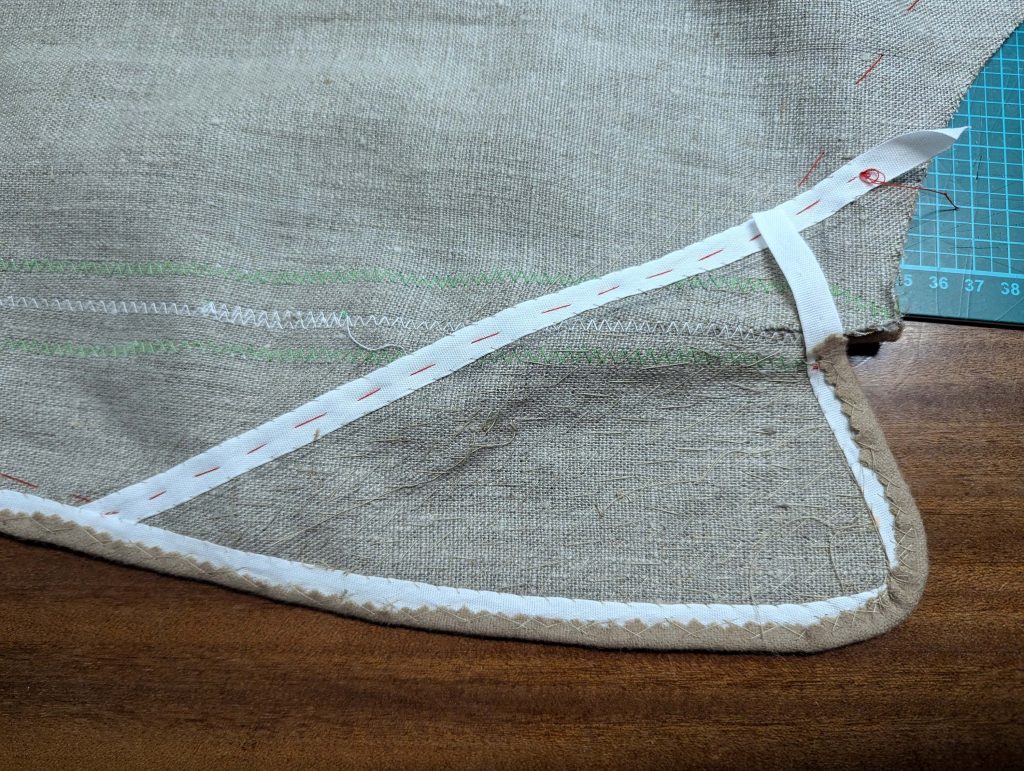
First, place a tape right behind the roll line, it should be quite tight, about ¼” (5mm) shorter than the roll line. Fell down along both edges of the tape, catching just a bit of the fashion fabric (similar to pad stitching). Starting at the collar notch, pin another tape loosely along the seamline, covering the edge of the canvas. Continue along the front until reaching the bottom, then rotate the tape at the corner and continue along the hemline to the end of the canvas. Fell or catch-stitch the tape carefully to the fashion fabric along the seamline (stitches should be nearly invisible from the right side) and the inner edge to the canvas only.
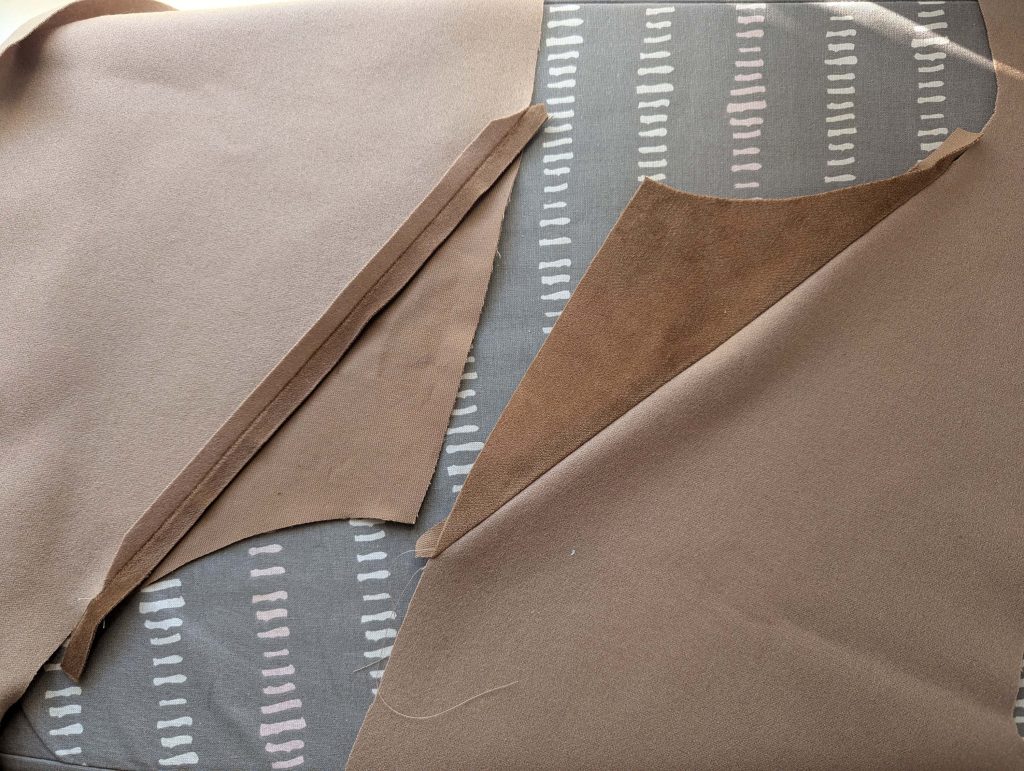
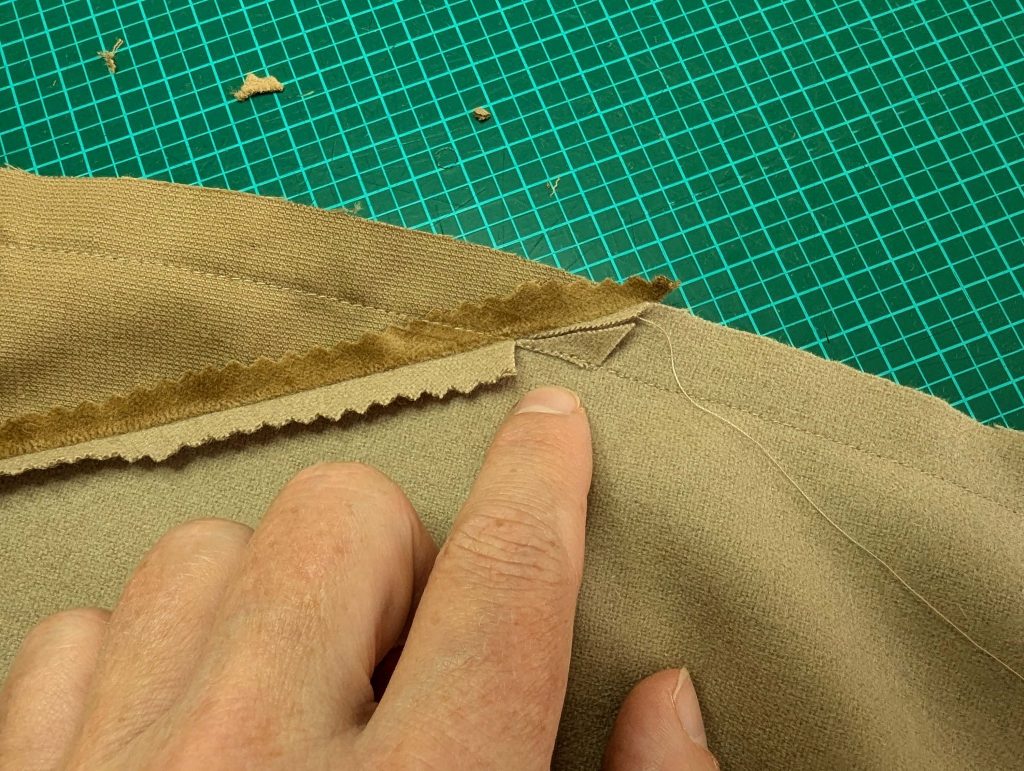
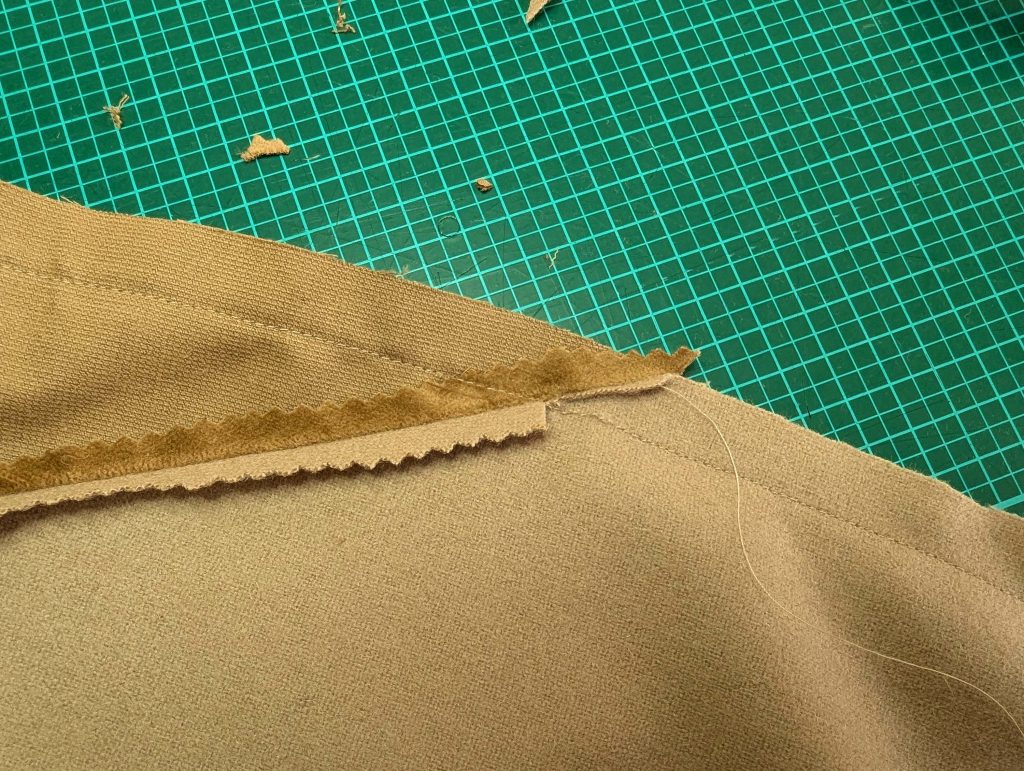
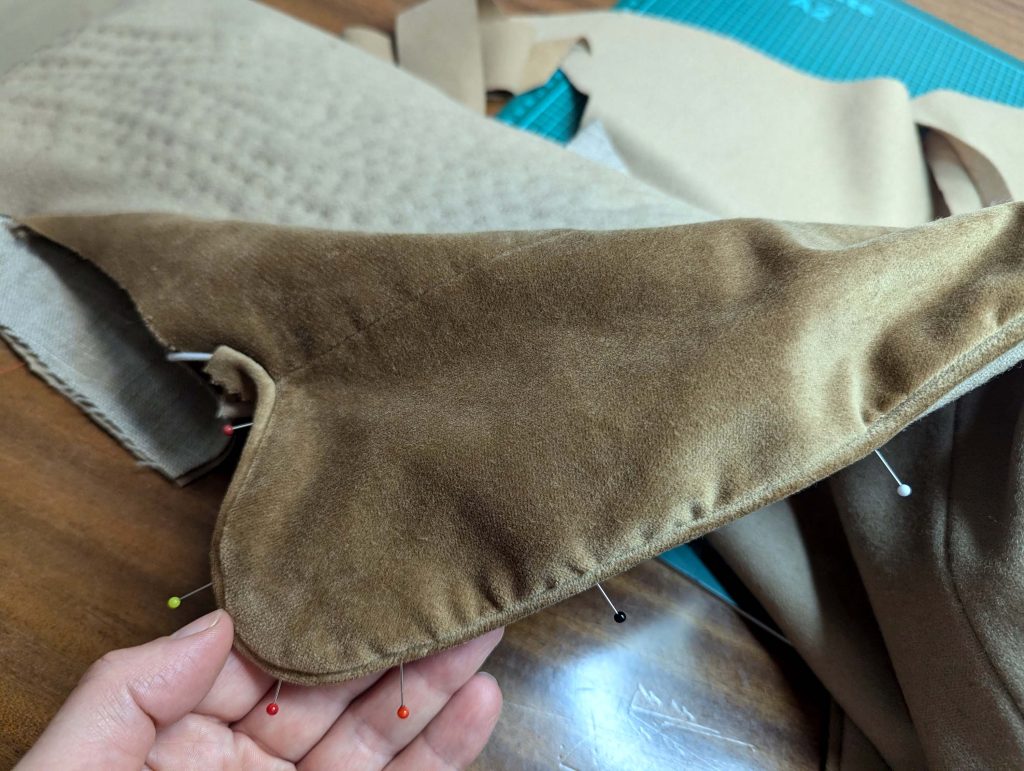
(8) Sew the lapel-facing (optionally from velvet) to the front-facing, right sides together, and press open the seam allowances. Again, start stitching exactly at the collar notch and trim back the seam allowances as shown. Sew the skirt-facing to the lapel-facing, right sides together, don´t catch the seam allowances of the previous seam, leave open the buttonhole on the left side, and press open. Again, notch the seam allowances as needed to reduce bulk at the crossing seams. I decided to use a velvet facing at that little triangle, visible at the lapel, so even more seams and notching are necessary.
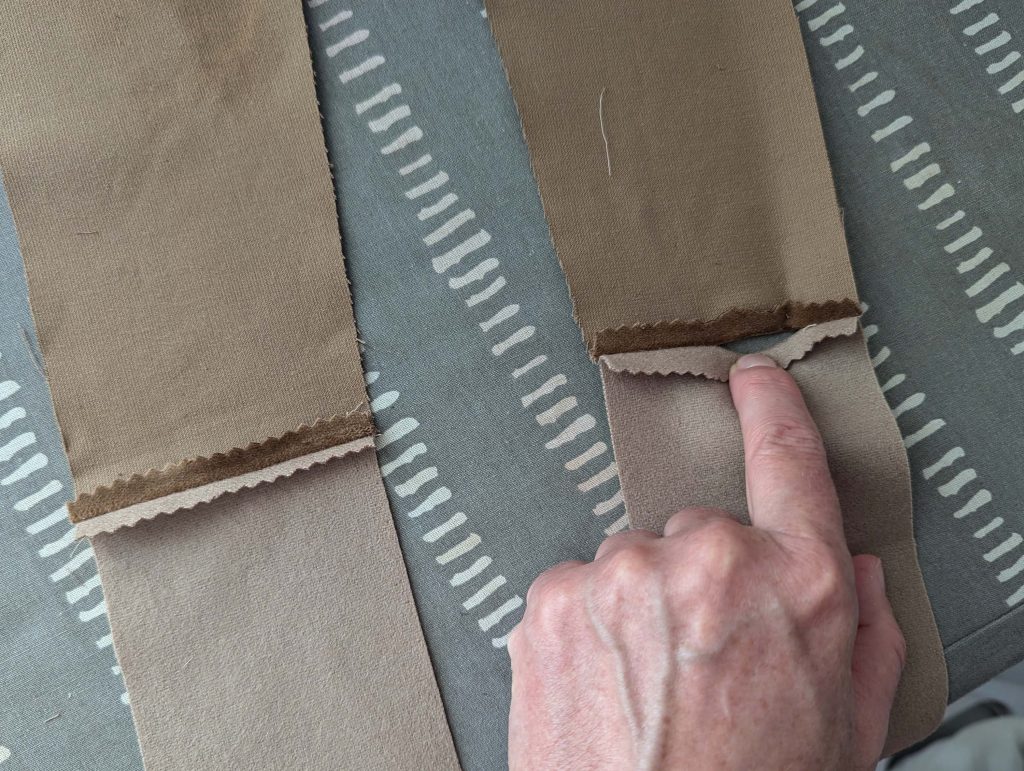
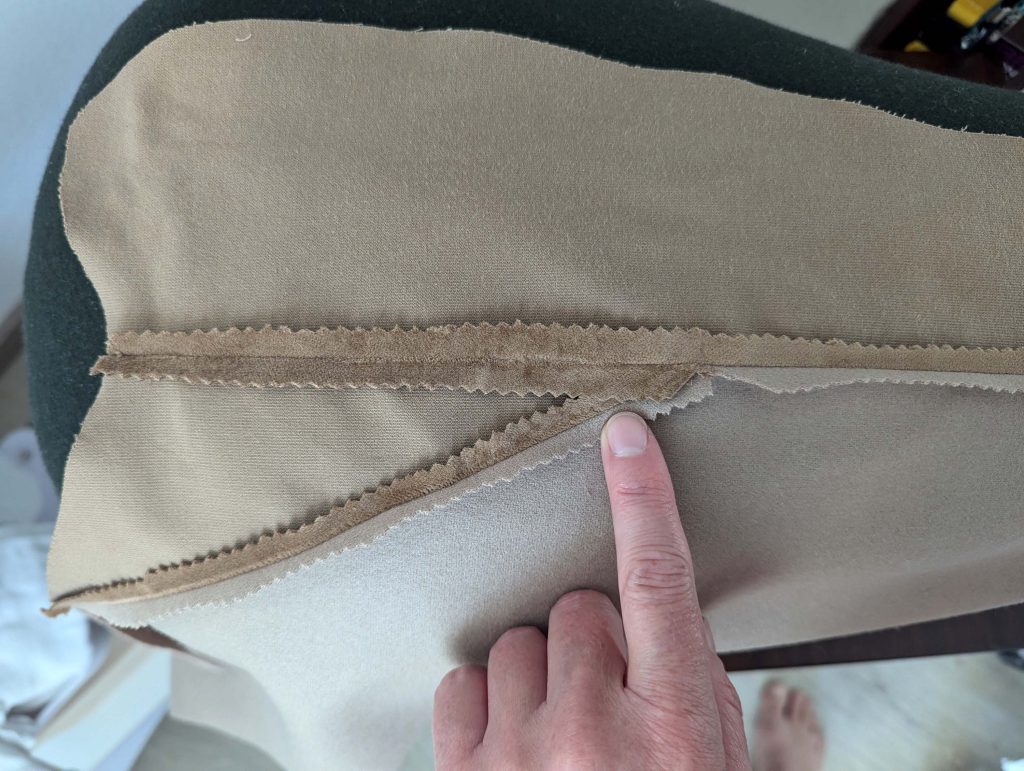
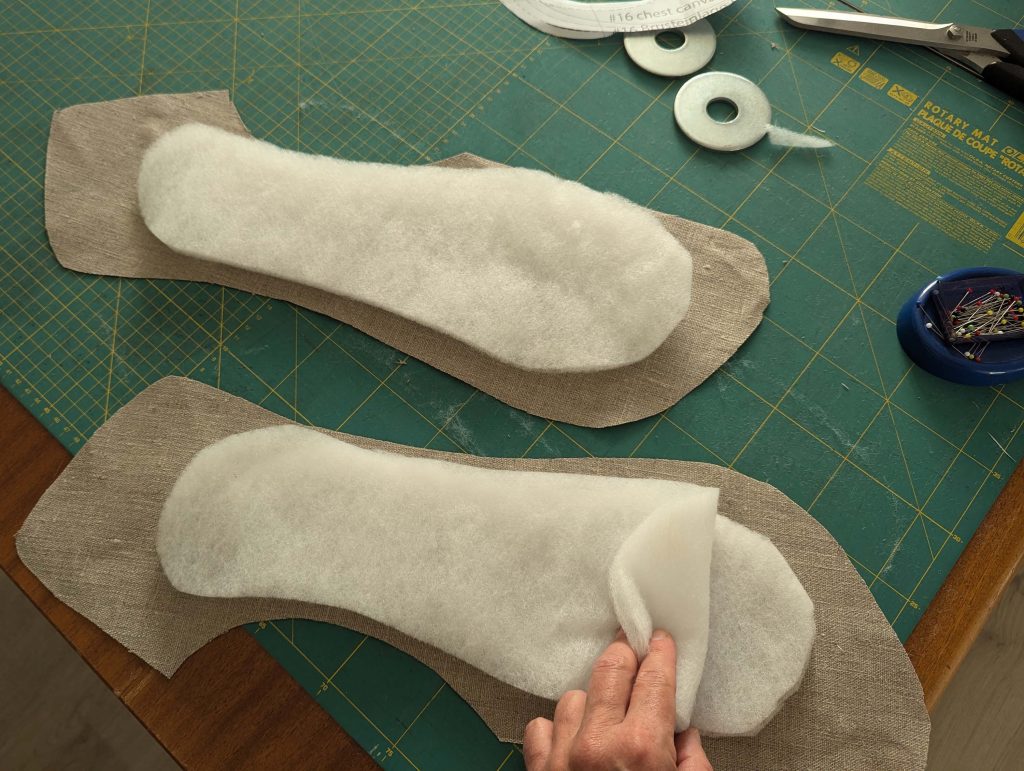
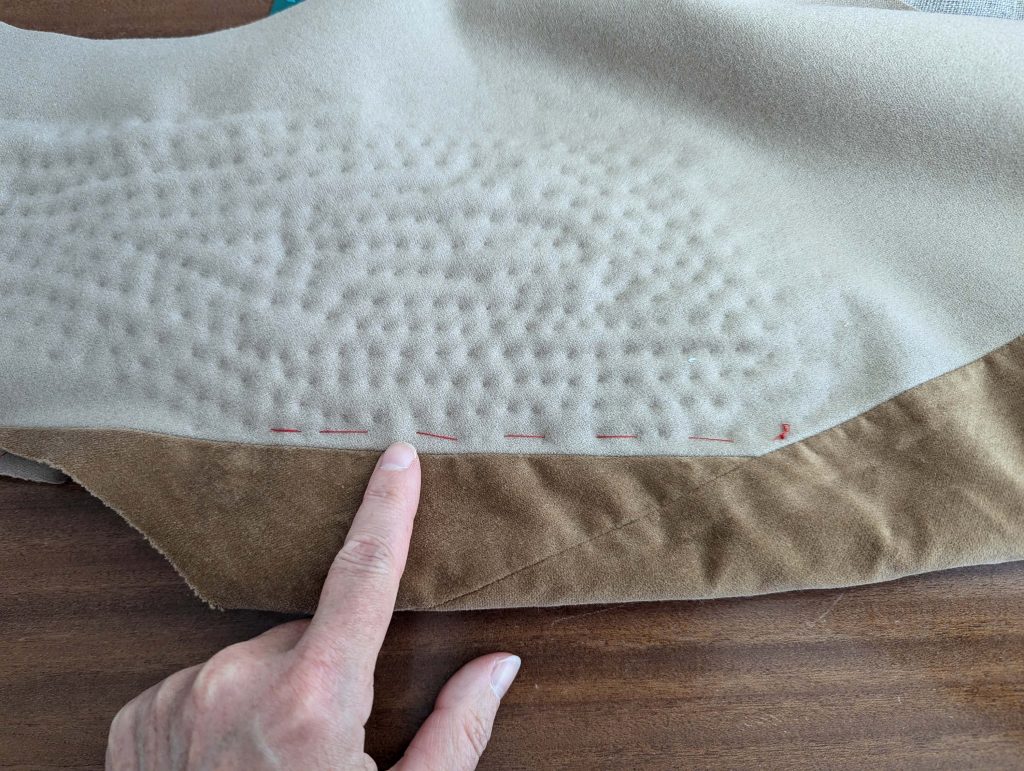
For the chest area, prepare 2-3 layers of padding and align them with the chest canvas. Position the chest canvas on the wrong side of the front-facing, matching the outlines marked on the pattern. The padding layers should be sandwiched between the canvas and the facing. Secure all layers together, using pad stitching through the canvas and front-facing. The results is this tiny, regular stitching pattern on the right side of your front facing.
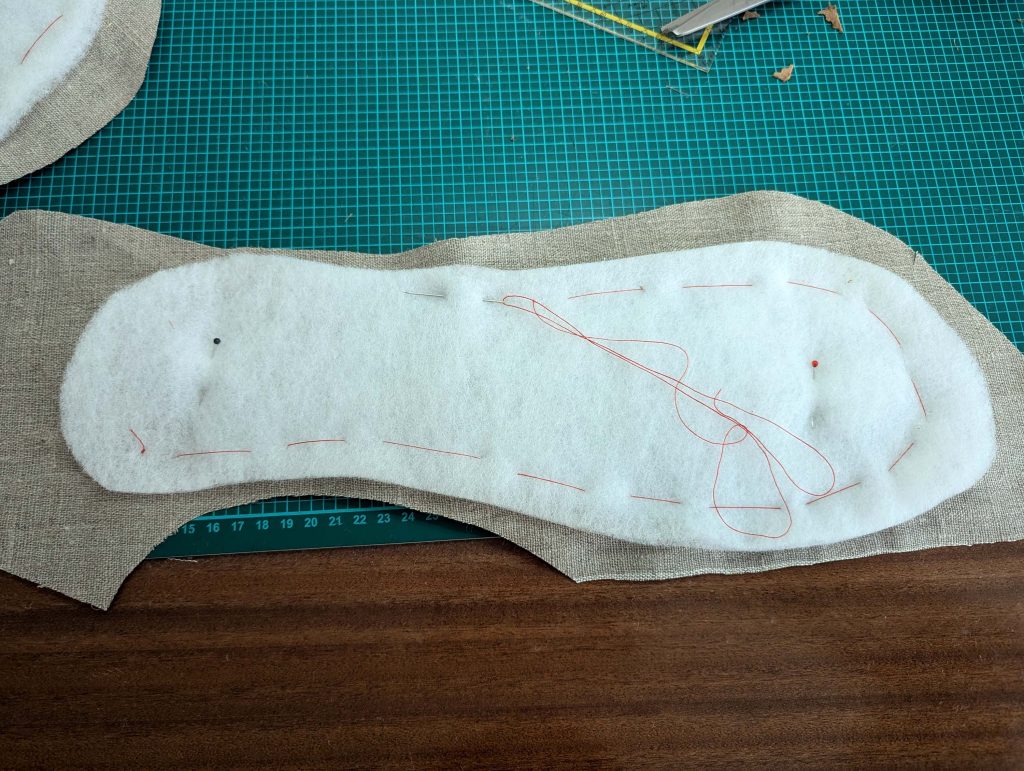
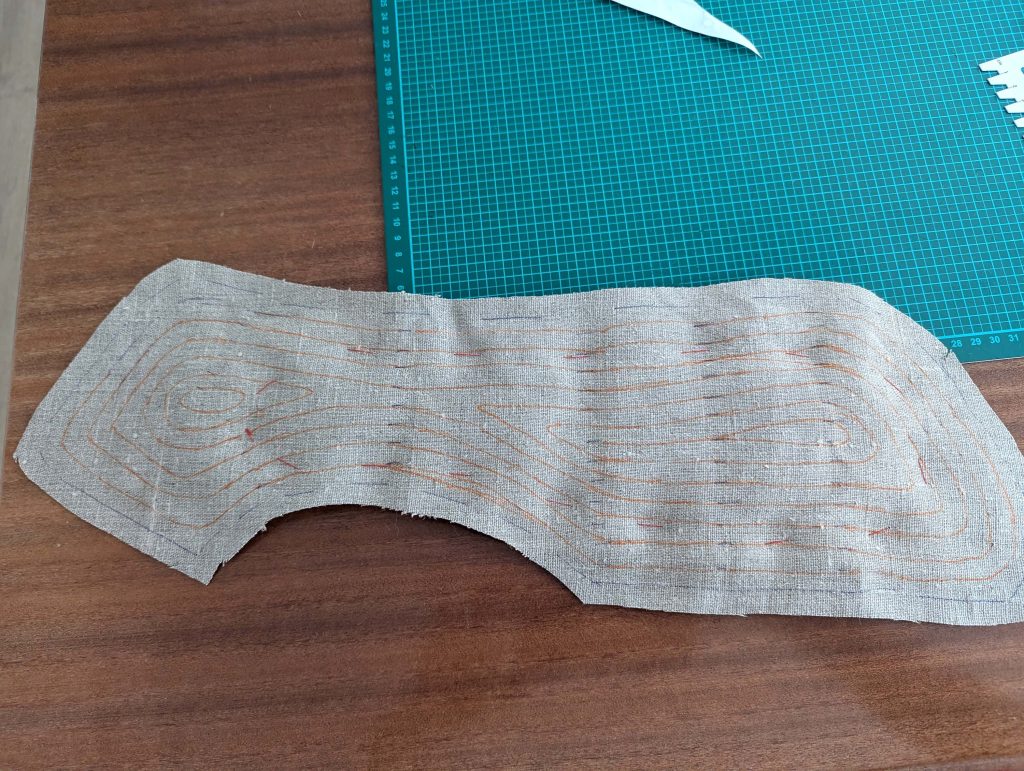
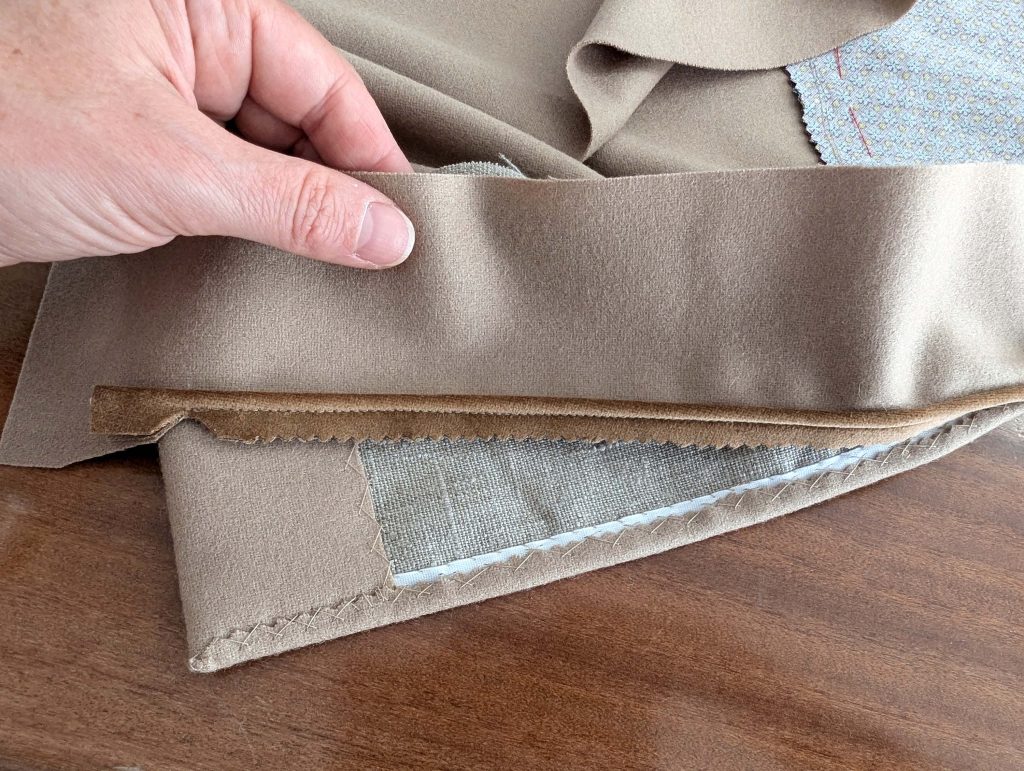
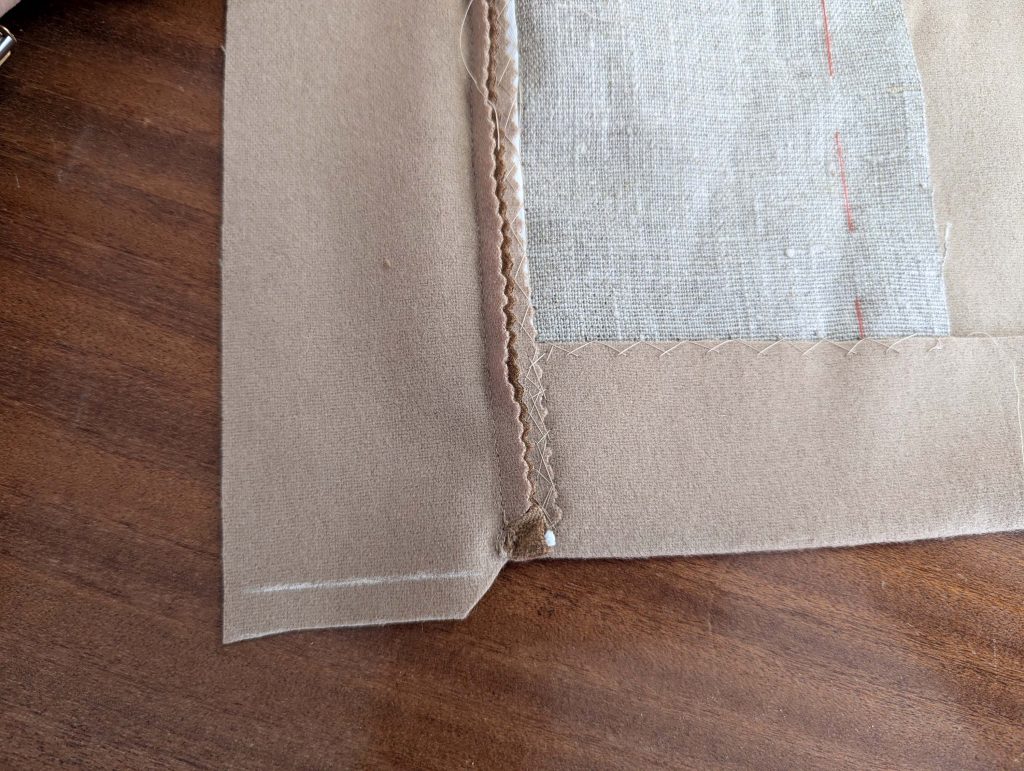
(9) Normally, the next step would be to ine up the facing with the front, right sides together, just that I decided, to pipe those edges as well. So, some extra considerations were necessary. First, was all that bulk, created because of the velvet piping. Second, stitching through all those layers would be hard work and the risk of uneven stitches was quite high, even when using the sewing machine. After some try and error, I´ll show you the best way to pipe your edges historically accurately (please apologize the machine stitching, I was in a hurry to finish the coat for the Munich Oktoberfest).
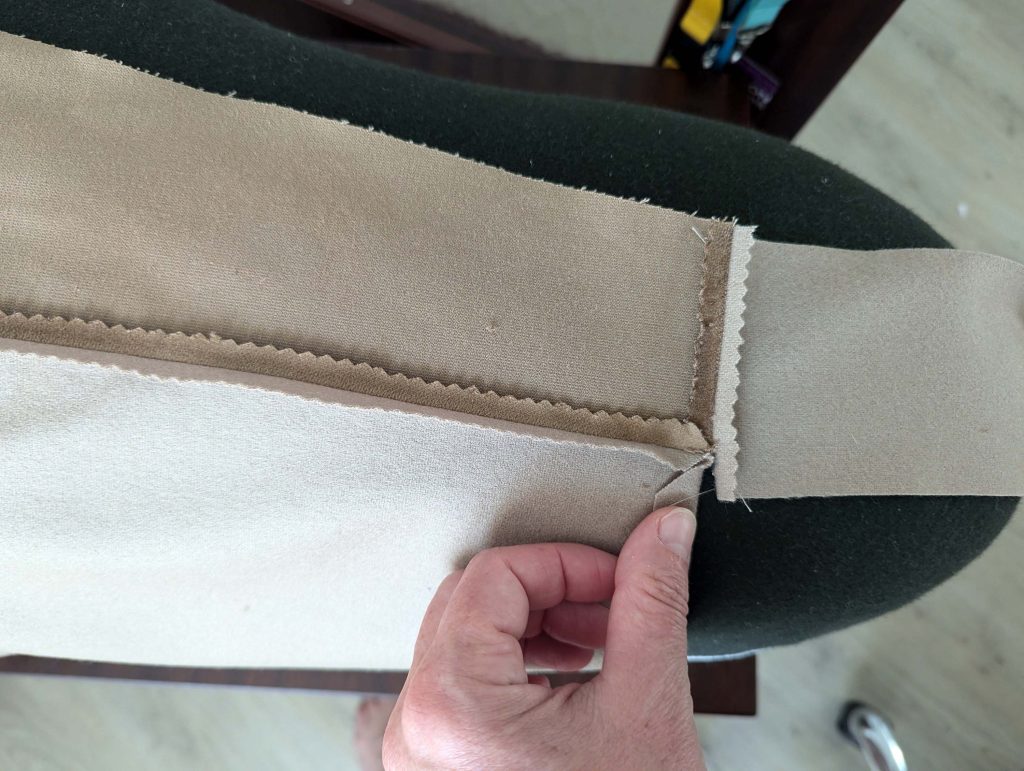
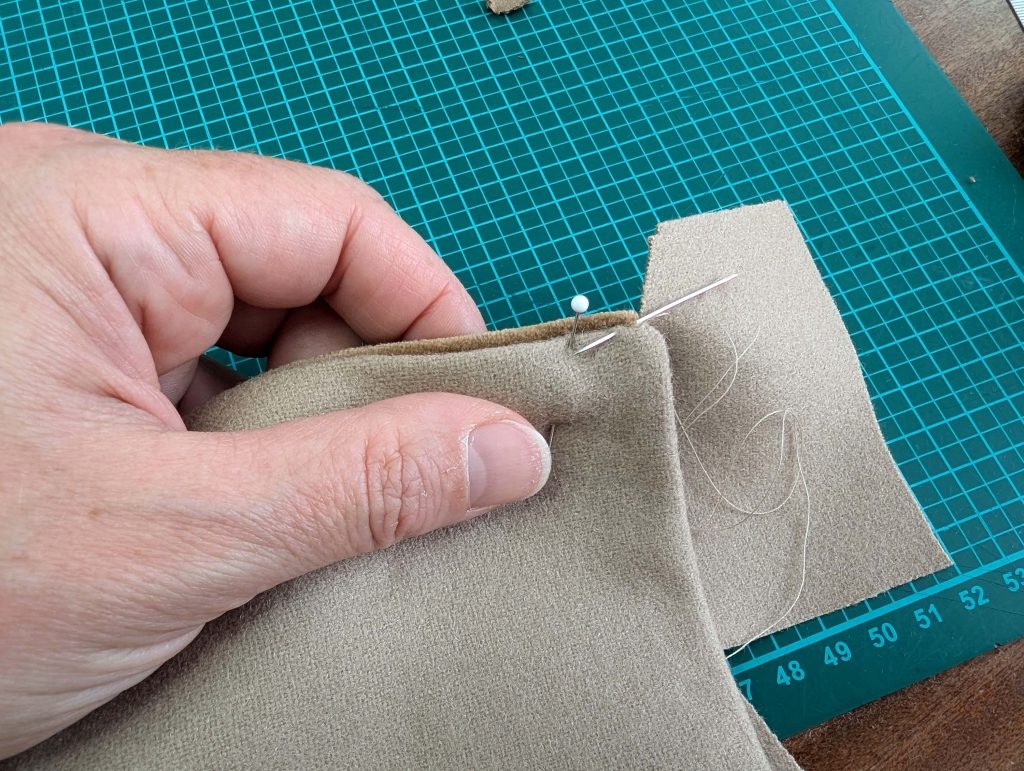
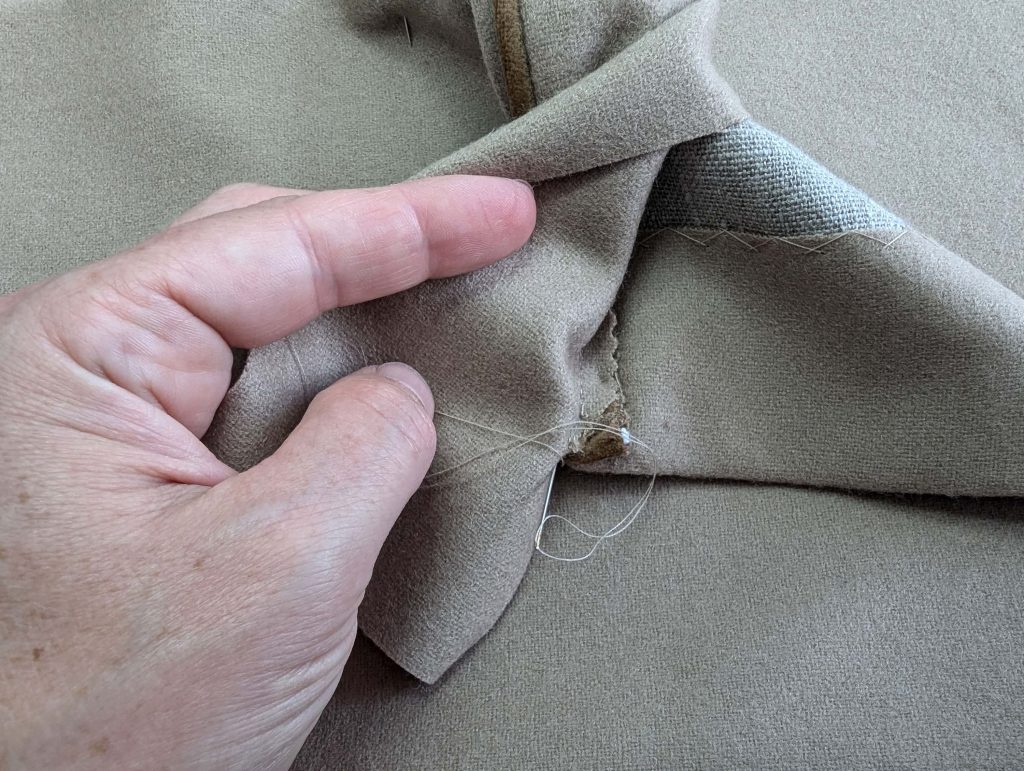
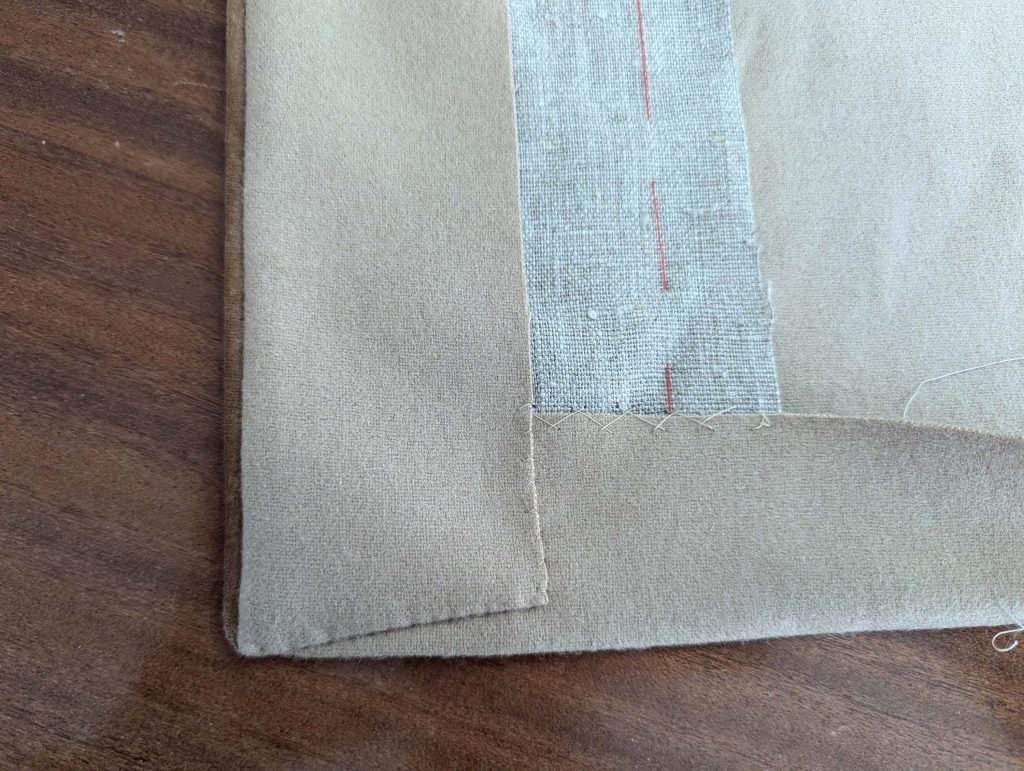
First, I turned in the seam allowances of the lapel and front edges of the front parts and stitched in place with a catch stitch, trying to get even and nice edges all the way down, even at the hem. At the lapel I trimmed back the seam allowance a bit more, trying to get around the curve nicely.
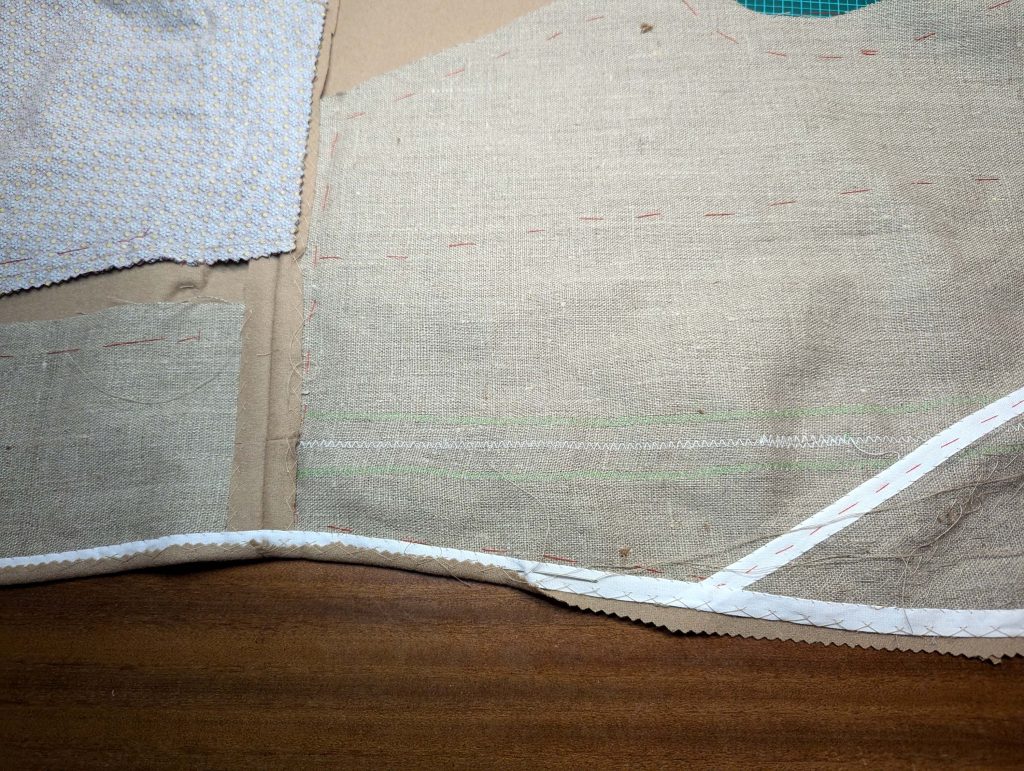
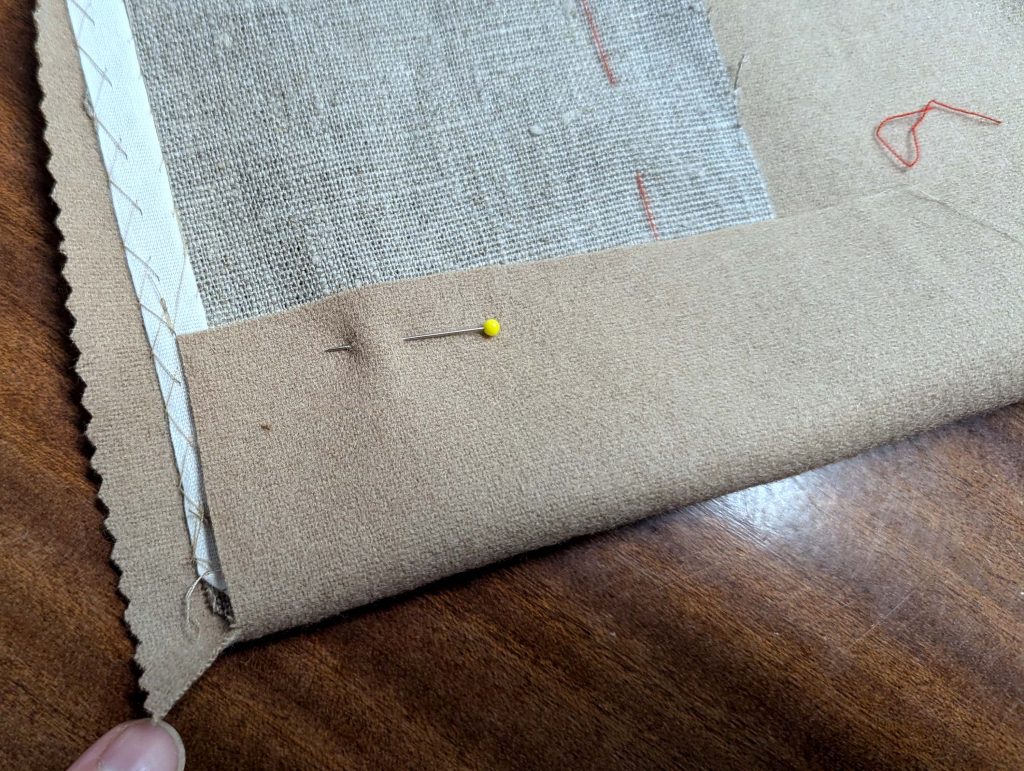
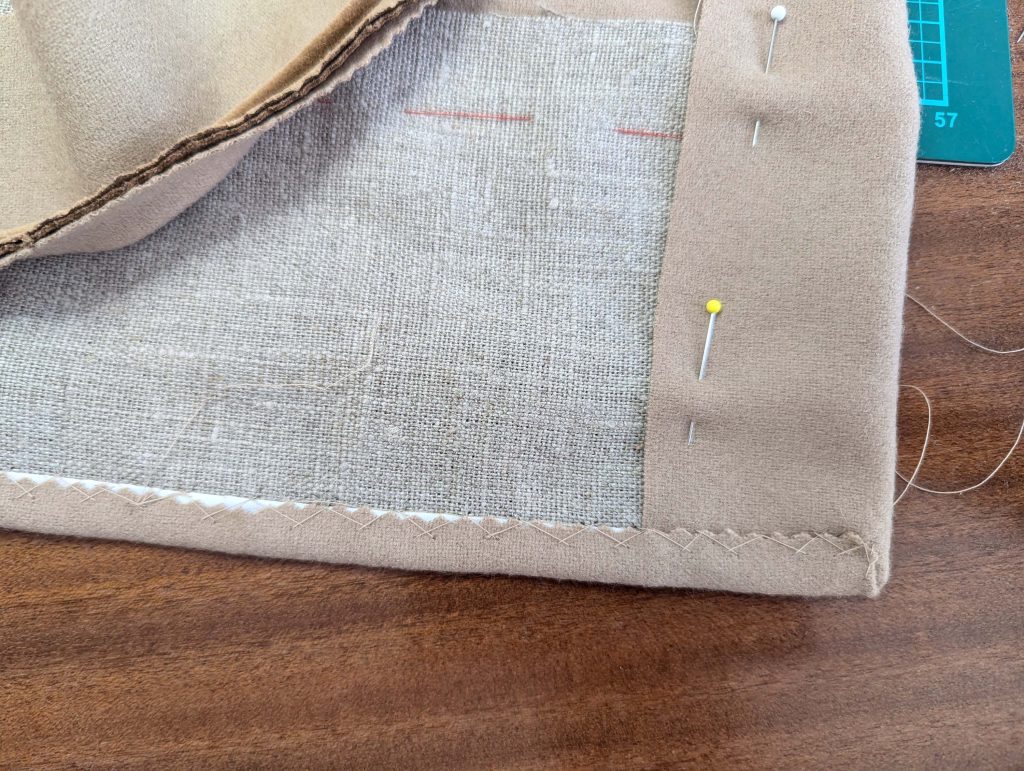
Second, I stitched the piping to the facing, again, trying to keep things even and nice at the curve of the lapel. To reduce bulk, I trimmed the seam allowances with pinking scissors. In this case, the extra width for the turn of cloth is included in the pattern (piece #3 – the lapel facing)!
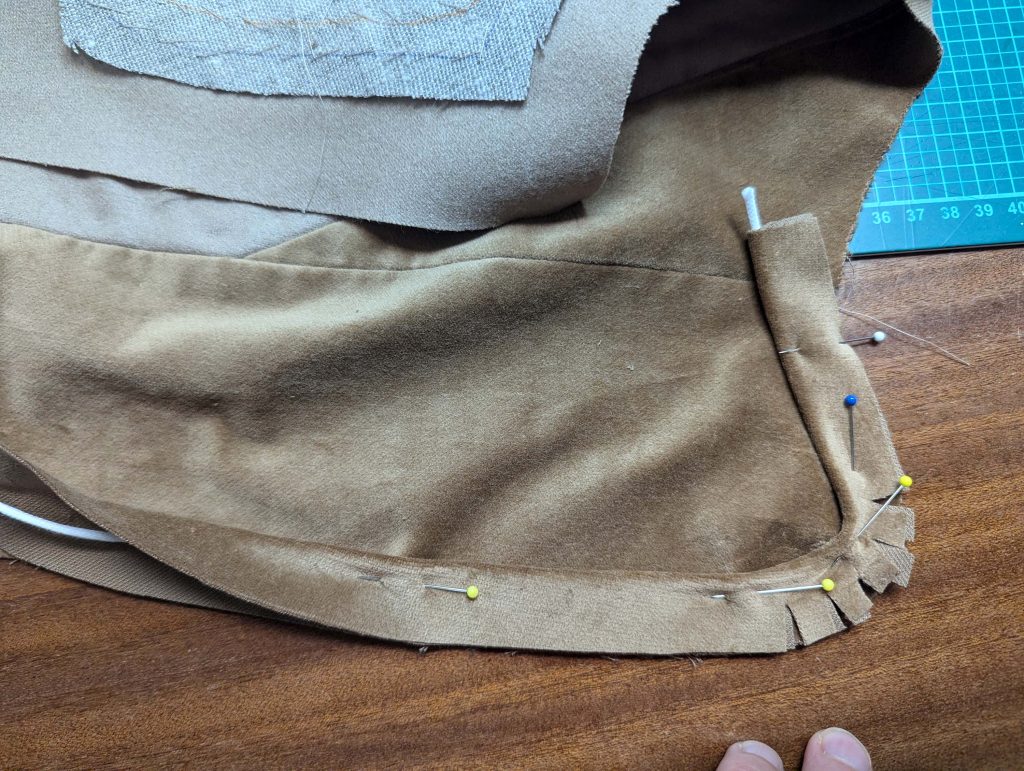
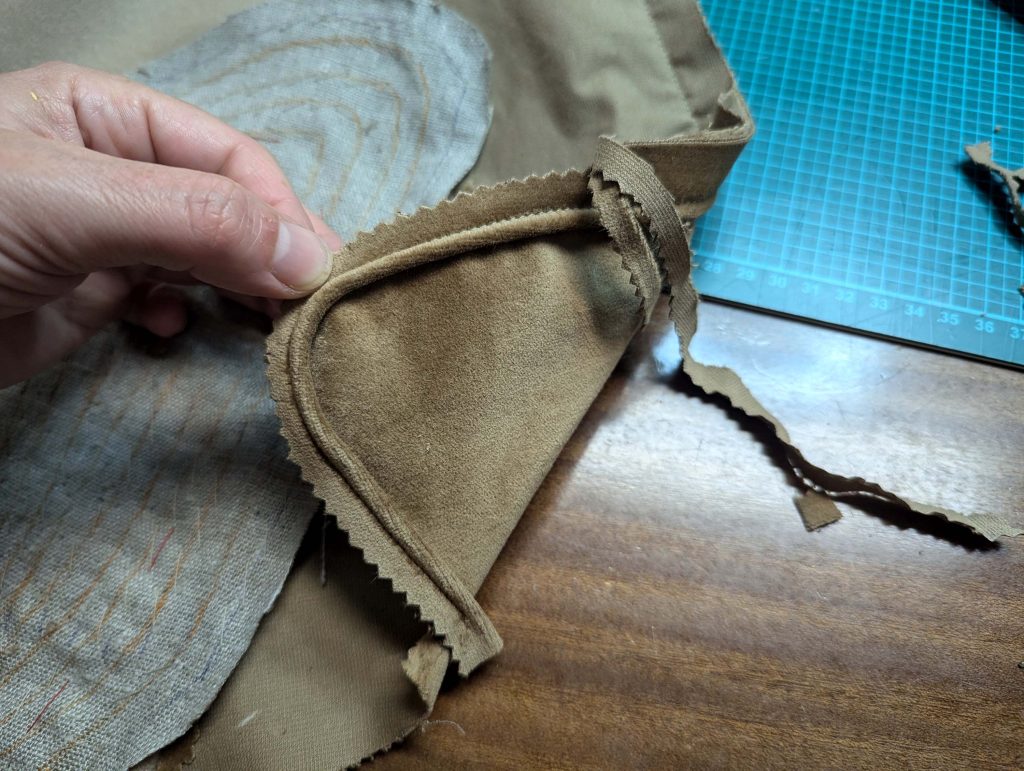
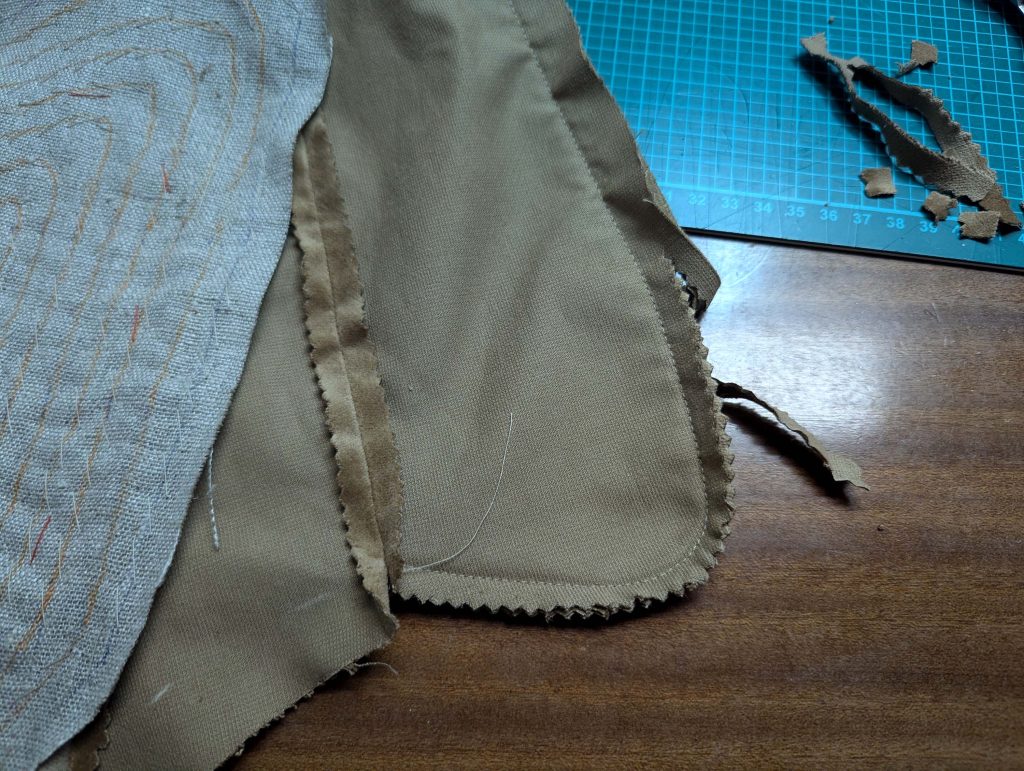
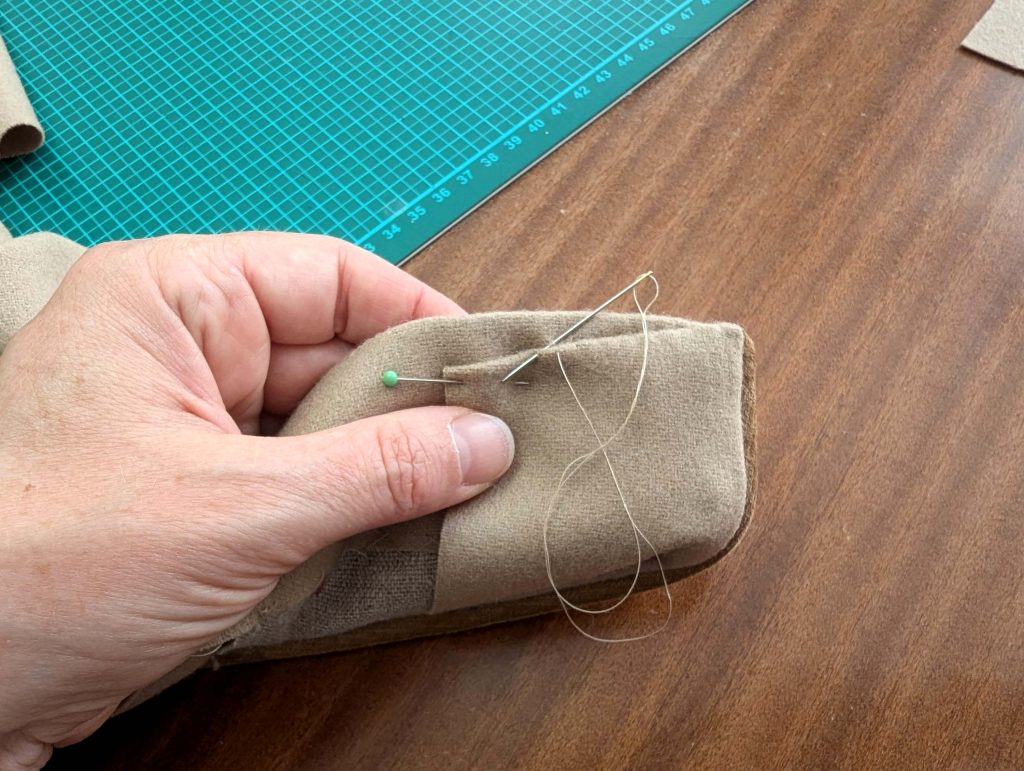
Now it´s time to bring things together, lining up the bodice and facing, wrong sides together. At this point there is no way for machine sewing, so all has to be done by hand, sewing the edge of the front to the facing in the ditch of the piping. Don´t be afraid, with a matching thread, all these stitches will be nearly invisible when finished. Focus on the hem, it´s crucial to work accurately here! When finished, press your edges carefully.
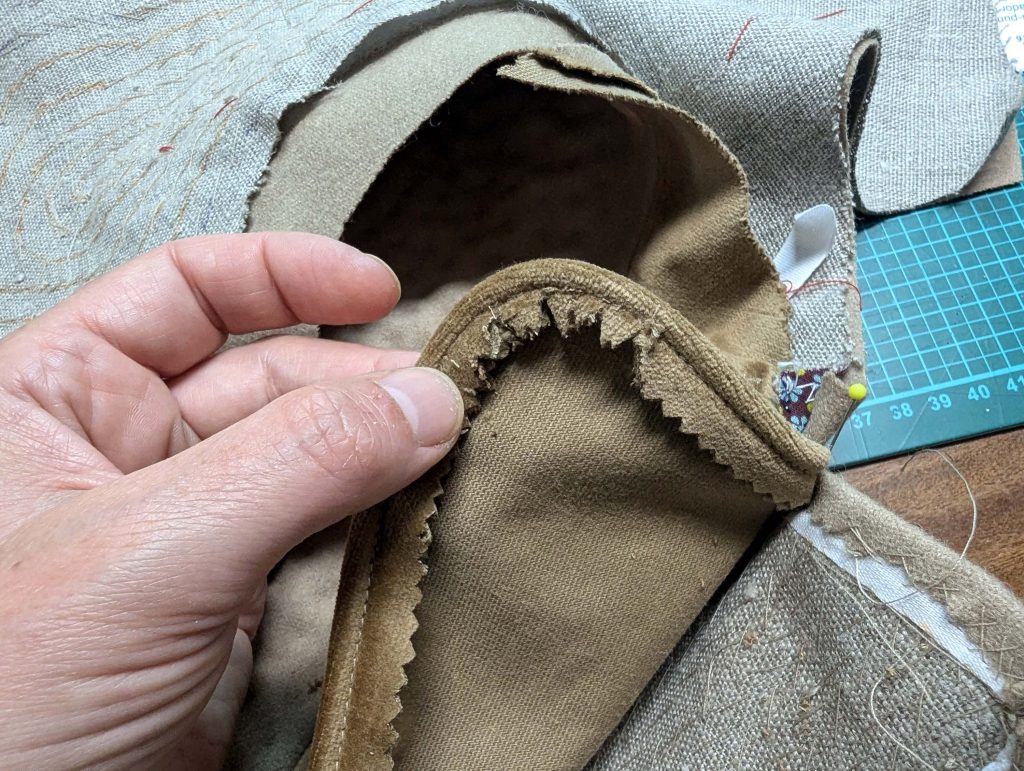
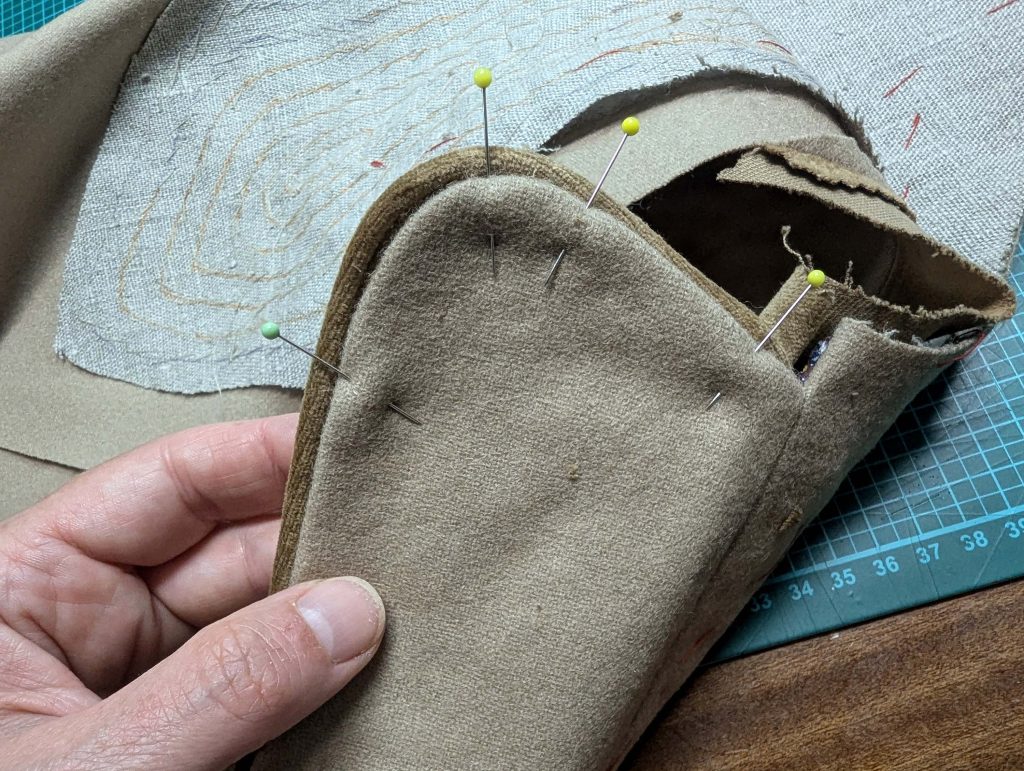
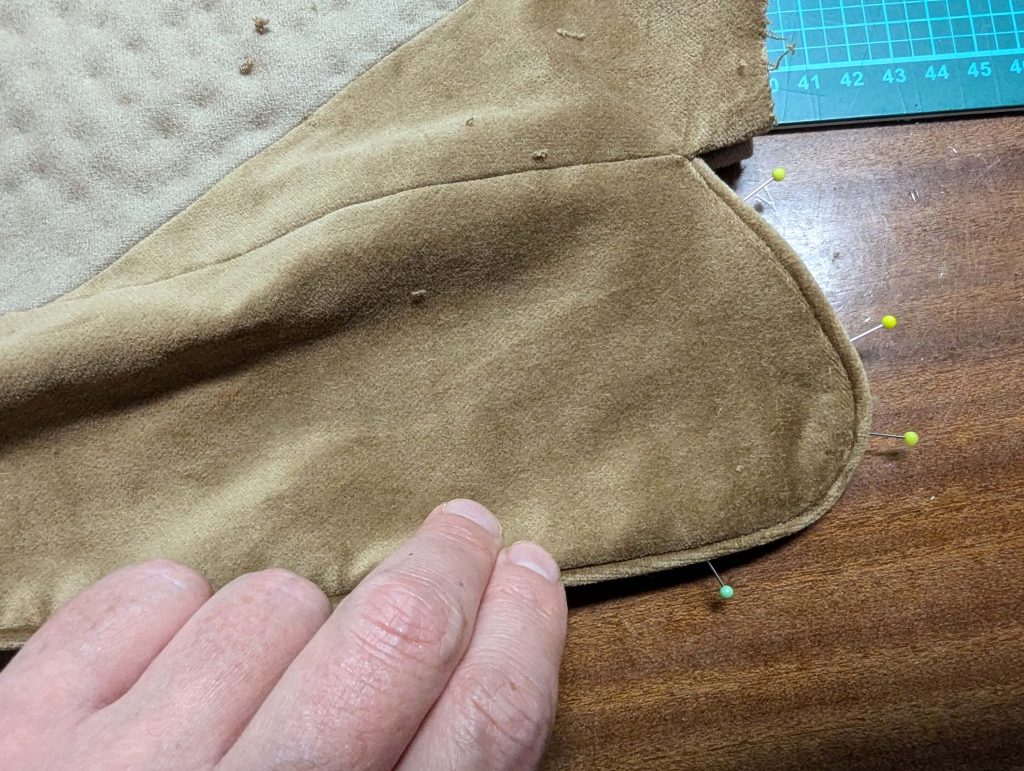
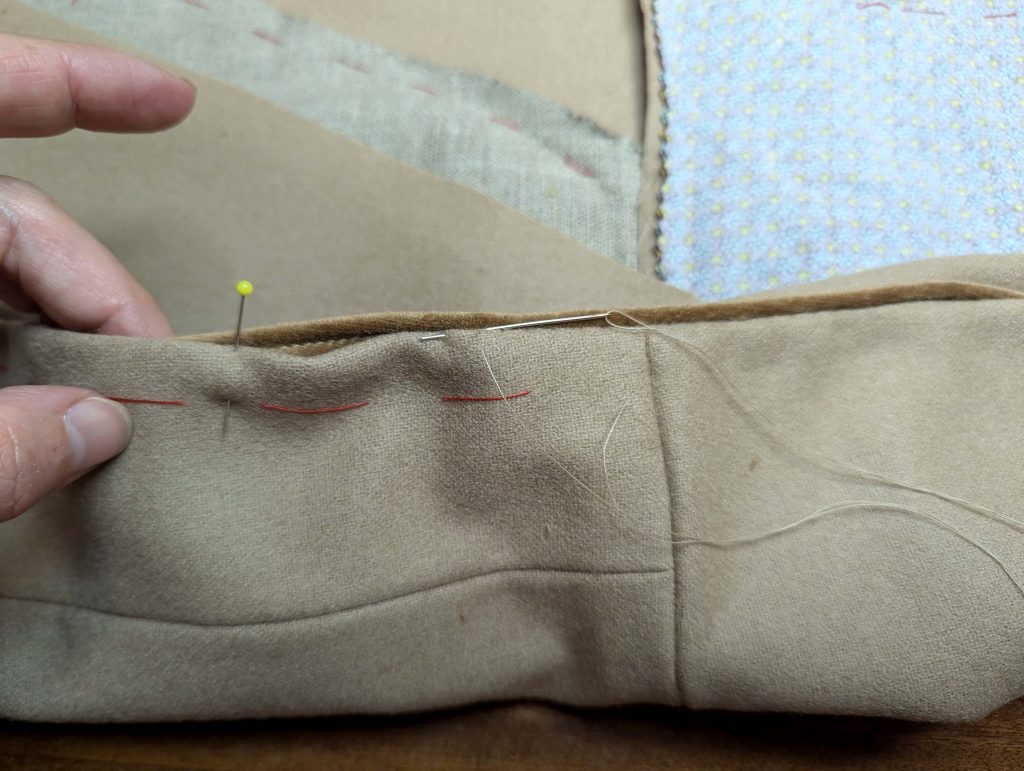
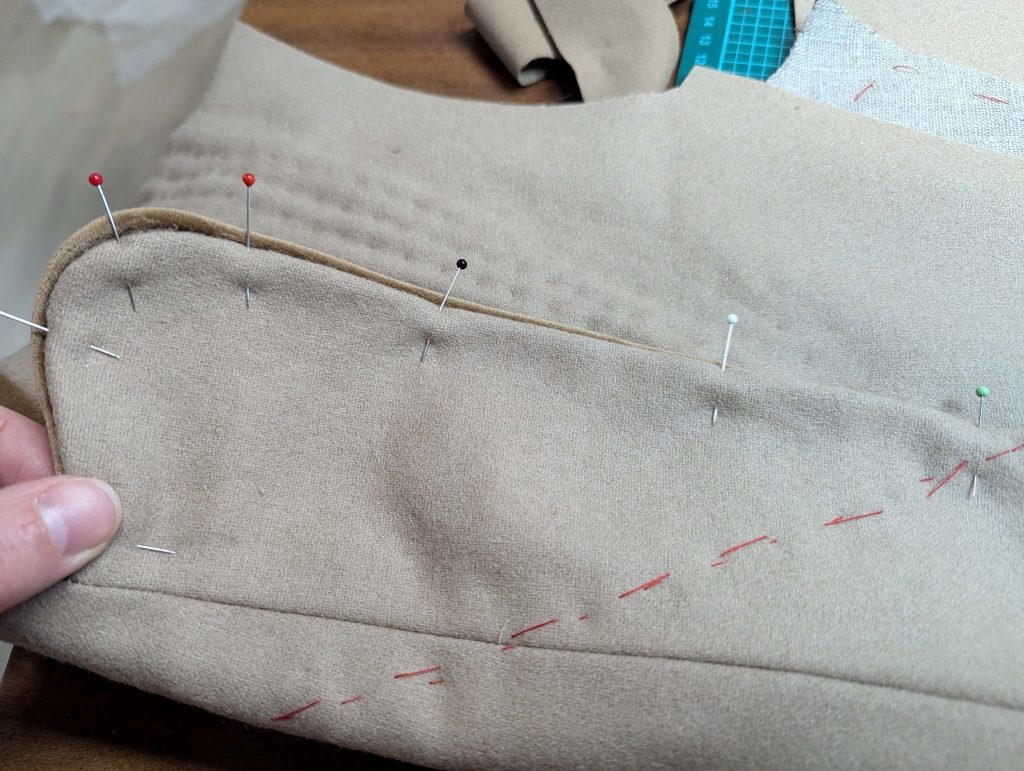
For the ease required at the lapel for the turn of cloth, turn down the lapel and baste together all layers right behind the roll line, then along all edges and of the front-facing, keeping a distance of about 2” (5cm) from the edges.
Turn the work the wrong way up. Fell down the front-facing along the waist seam, on the left side, and fell together the layers along the buttonhole. Finally, attach both the front-facing and skirt-facing to the canvas using loose stitches along their side edges. Ease baste along the hemline and turn in the hem (2” (5cm)), press, and baste in place.
