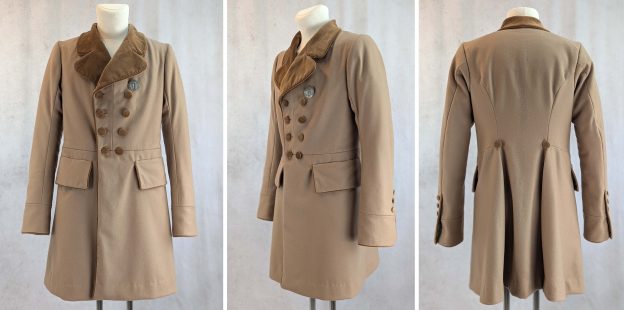
Hi there! Roti from Black Snail Patterns here. I’m thrilled to announce that we’re giving our popular 1830s Frock Coat sewing pattern a major upgrade. This classic garment has long been a favorite among historical costume enthusiasts, and now we’re making it even better.
We’ve listened to your feedback and enhanced the pattern with clearer, more detailed instructions. This is not a beginner sewing pattern. However, we tried to explain tailoring terminology in a way that, with sufficient motivation and enthusiasm, everyone could understand.
Get the completely updated pattern here:
In this post, I’ll walk you through the updates we’re making:
- Expanded step-by-step instructions
- New troubleshooting tips for common challenges
- Additional pictures for complex construction steps and period-accurate piped edges.
These improvements will help you achieve stunning results, whether you’re creating a historically accurate costume or adapting the Frock Coat for a contemporary twist.
Join me as we explore the refined details of this 19th-century classic and uncover the techniques that bring it to life. Let’s make historical sewing not just accessible, but truly enjoyable for everyone. Ready to dive in? Stay tuned as we delve into the fascinating details of this classic garment and the techniques used in its construction.
Let’s examine some extant frock coats from the 1830s, highlighting their key features:
All coats have a nipped-in waist, which creates the typical look of the romantic period. This silhouette was typically achieved with the help of men’s corsets or stays, which were commonly worn during this era to create the desired shape.
A Double-Breasted Design, typically fastened with large, often decorative buttons, usually made of thread-wrapped wood or metal, is prevalent in many examples, including:
Broad lapels and large Collars are often faced with silk velvet for a luxurious appearance, the lapels designed to roll to a low buttoning point. Piping accentuates seams and edges (London Museum), adding visual interest. The Coats were primarily crafted from fine wool, with full skirts hanging vertically in front, with pleats at the back and a vent at the center back.
After carefully considering the materials and design elements, I moved forward with sewing the coat. I selected a fine beige wool for the main fabric, complemented by contrasting velvet for the lapels, collar, and piping. To streamline the process and meet a looming deadline, I chose to use fabric-covered buttons. With these decisions made, I began cutting and sewing the pieces, ensuring that I took pictures of nearly every step.
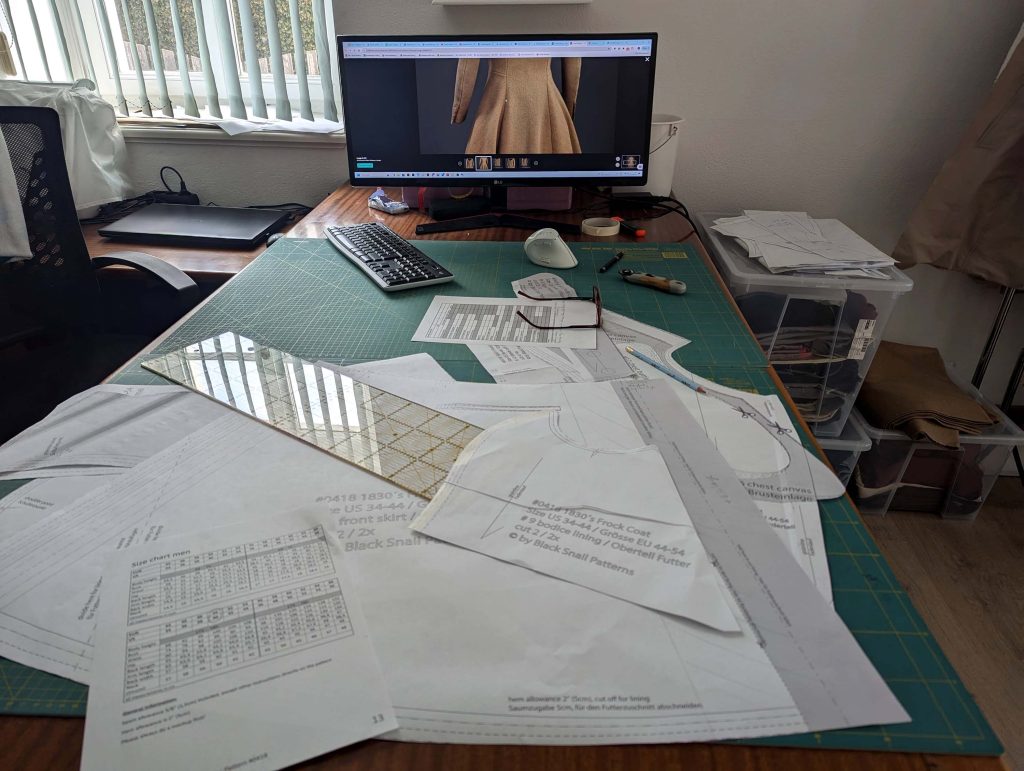
With all those considerations made before, let’s take our sewing instructions sheet and move on to step (1). Before making your first cut, ensure that you have a well-fitting mockup and that all your fabrics are well-prepared.
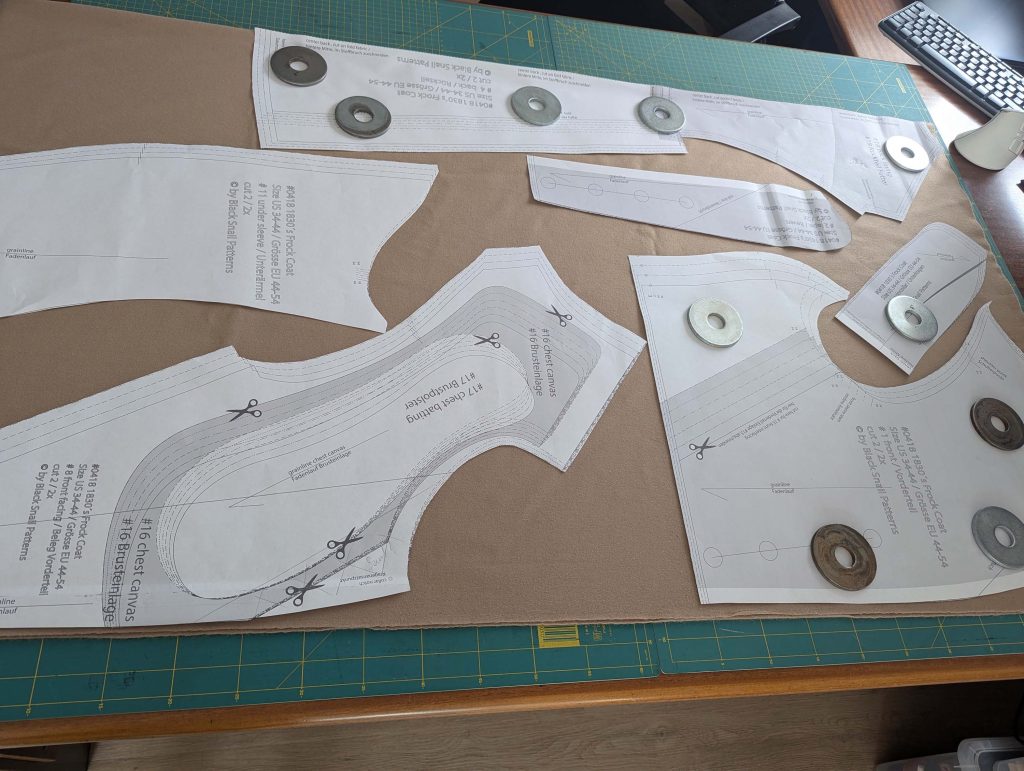
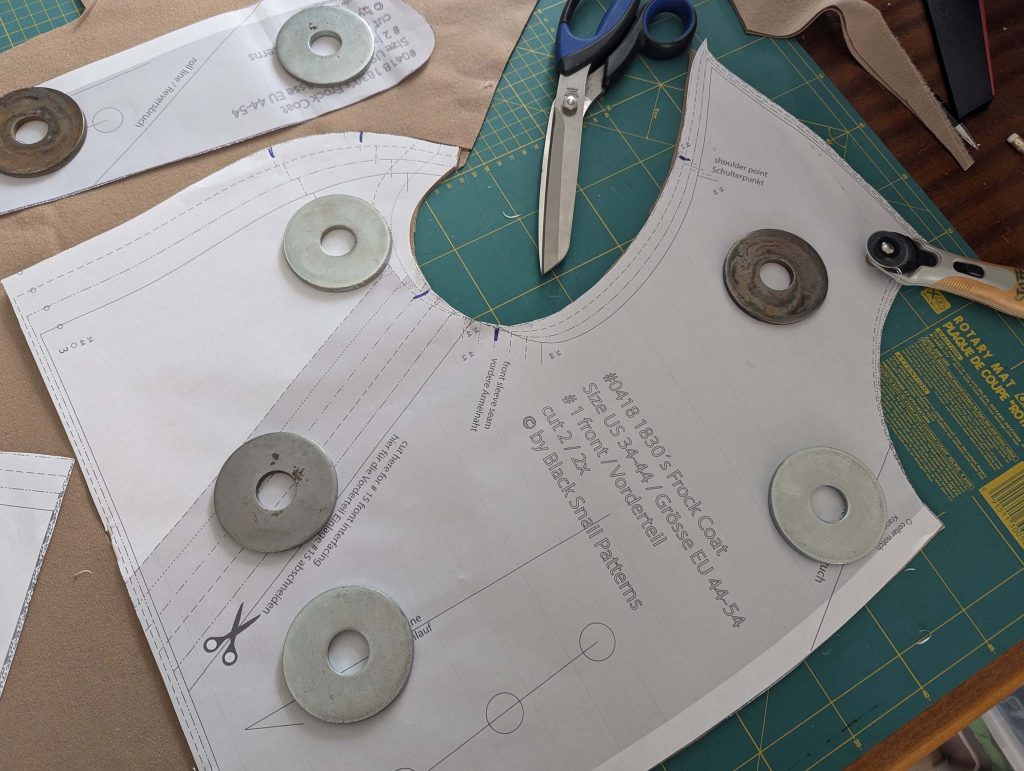
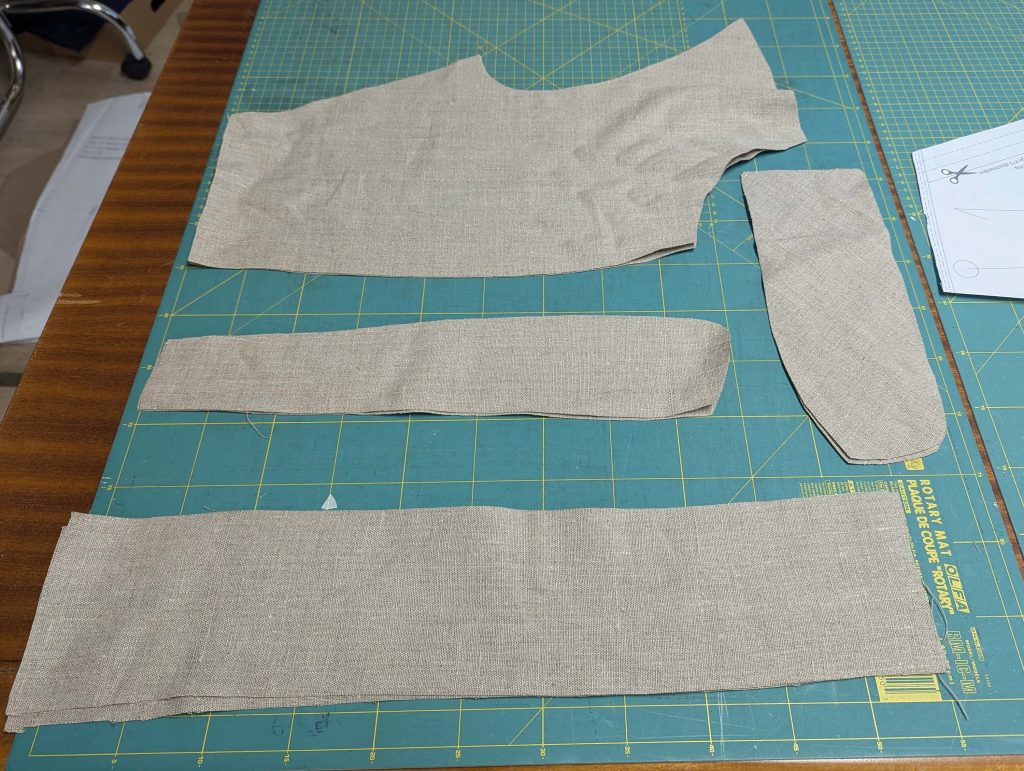
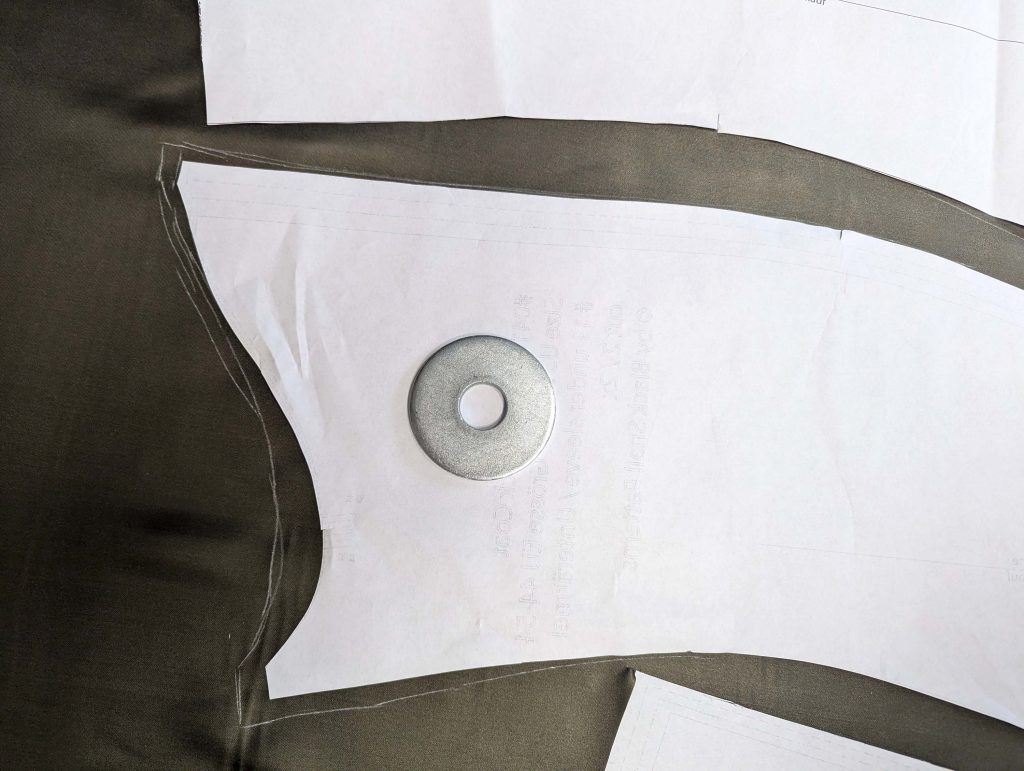
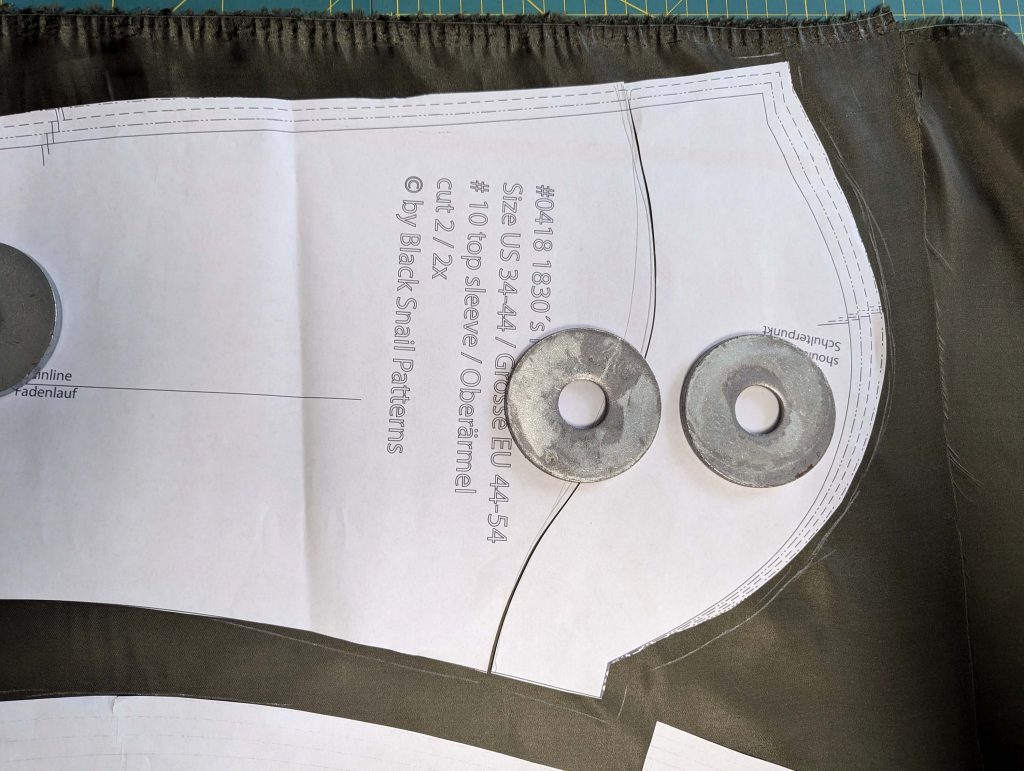
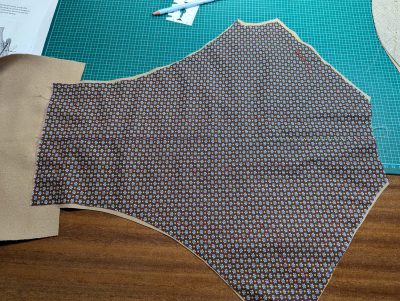
(2) Take the back and line up the back lining, wrong sides together, and baste the lining to the fashion fabric.
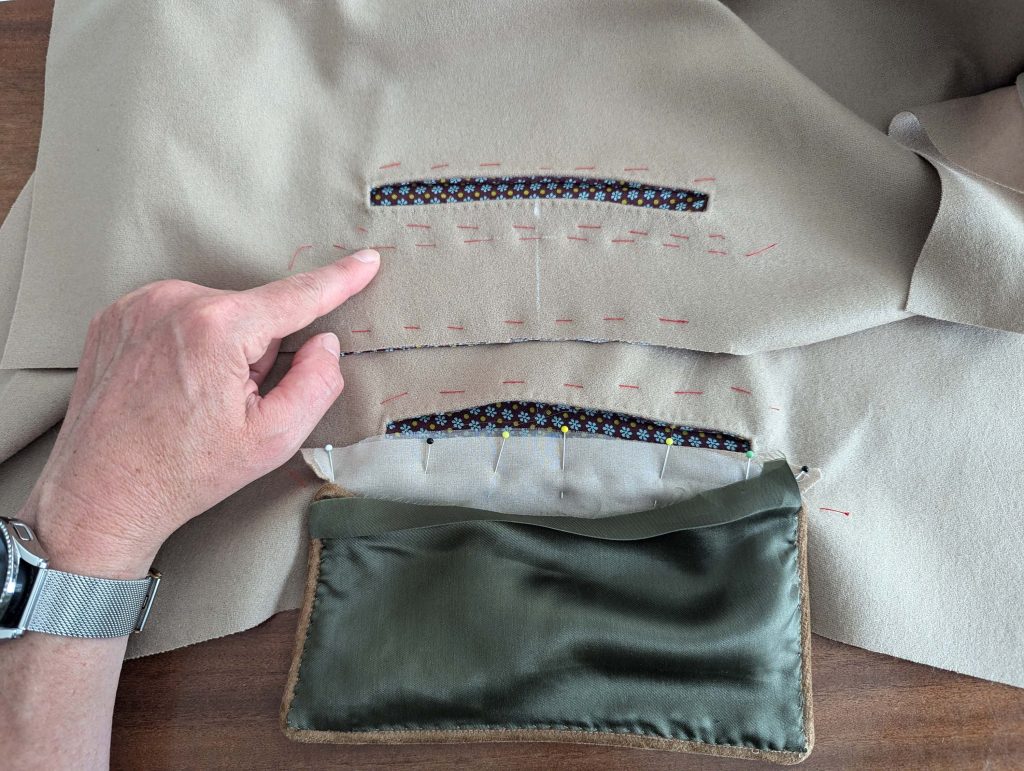
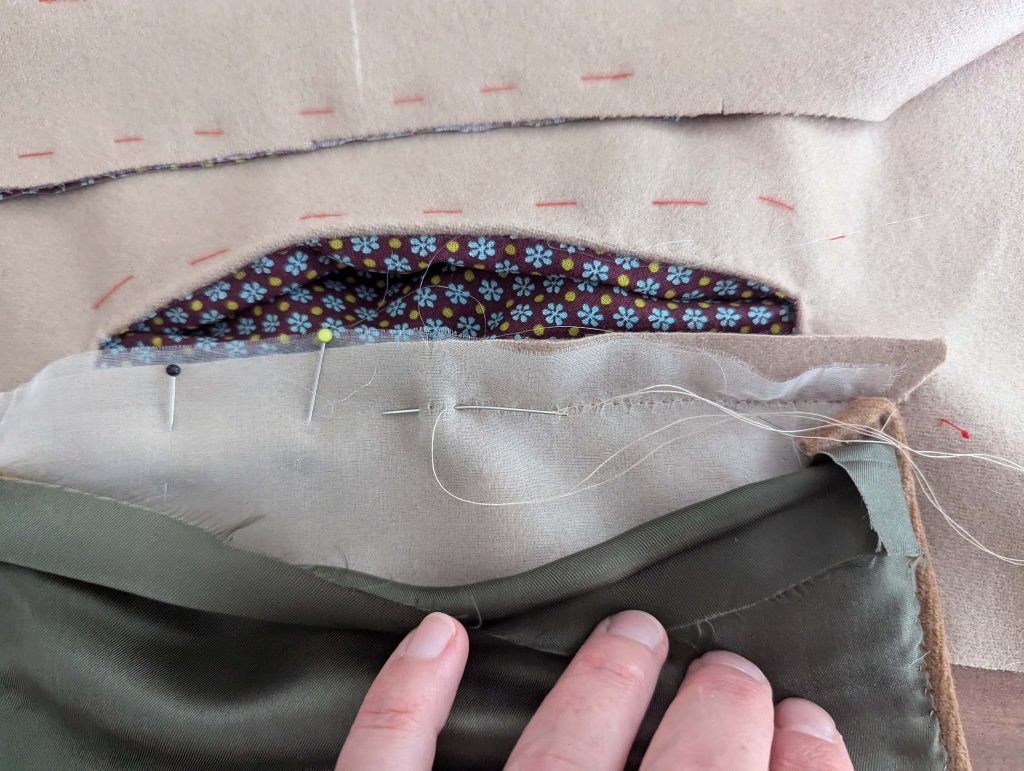
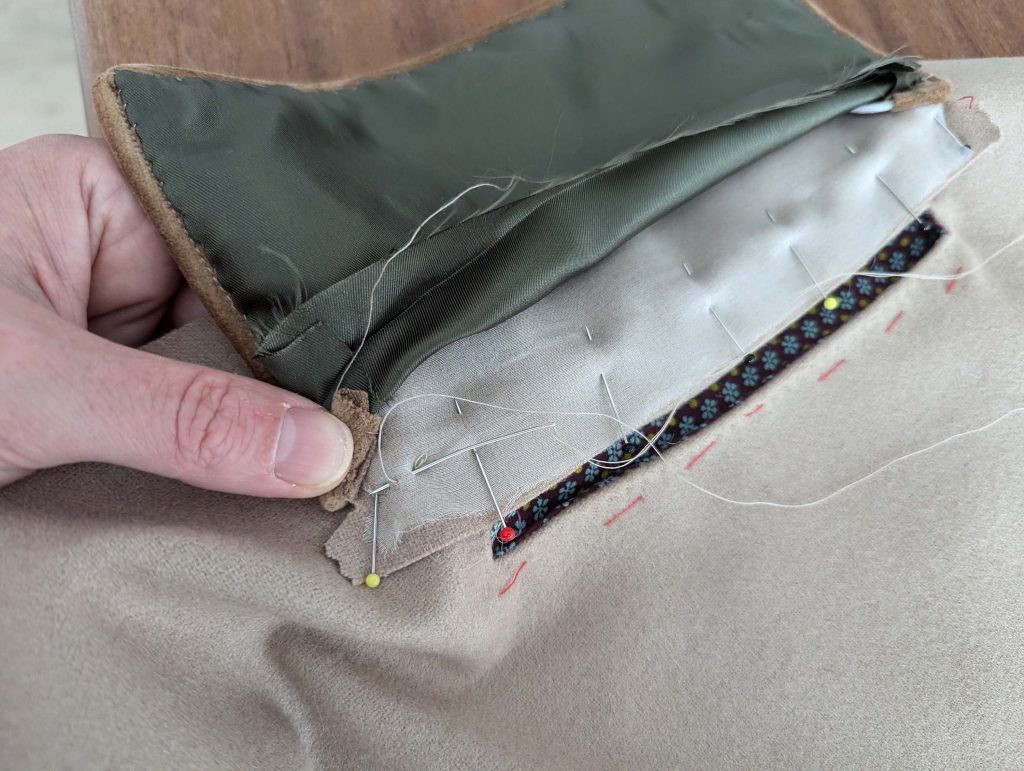
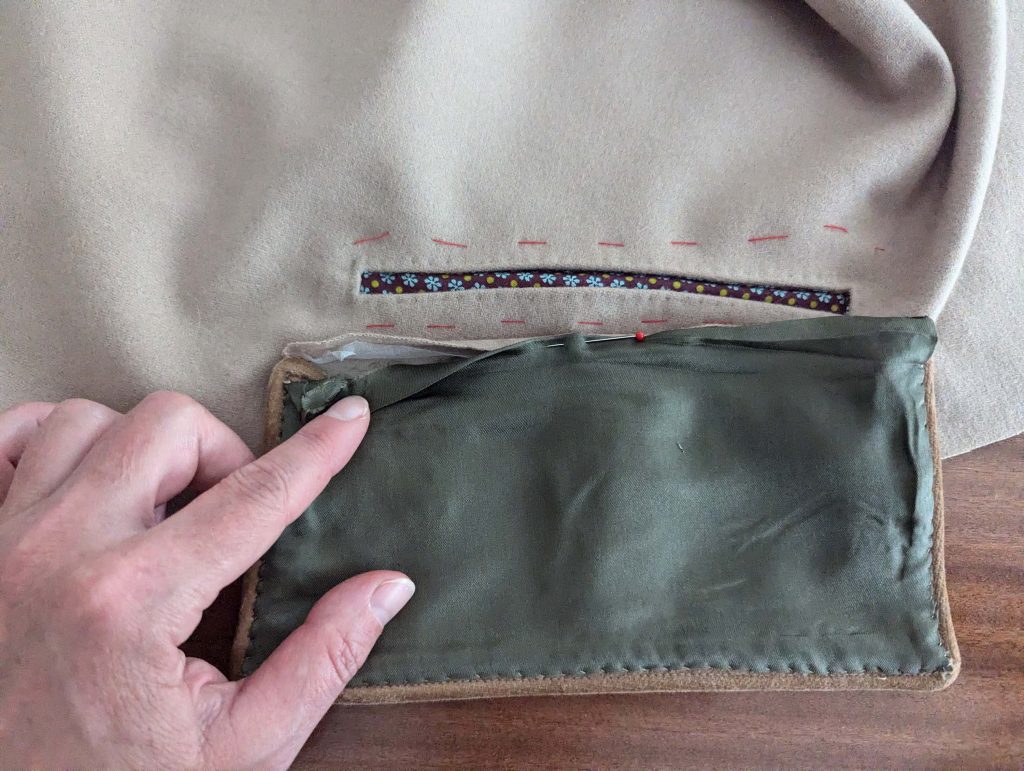
(3) To prepare the front skirt, reinforce the pocket opening with a piece of cotton or linen on the wrong side. Place the front pocket on top of the front skirt, lining up the pocket openings, right sides together. Stitch around the pocket opening, reducing the stitch length at the corners. Cut open Y-shaped and pull the pocket to the wrong side through the opening. Press, rolling the stitching line slightly out of sight toward the garment’s wrong side. Sew around the opening with a regular prick stitch, to hold in place. Line up the back pocket with the front pocket, right sides together, first baste, then sew, closing the pocket bag. Trim back the seam allowances and neaten the edges with an overcasting stitch. Smooth out the pocket towards the top edge and baste in place along the top edge.
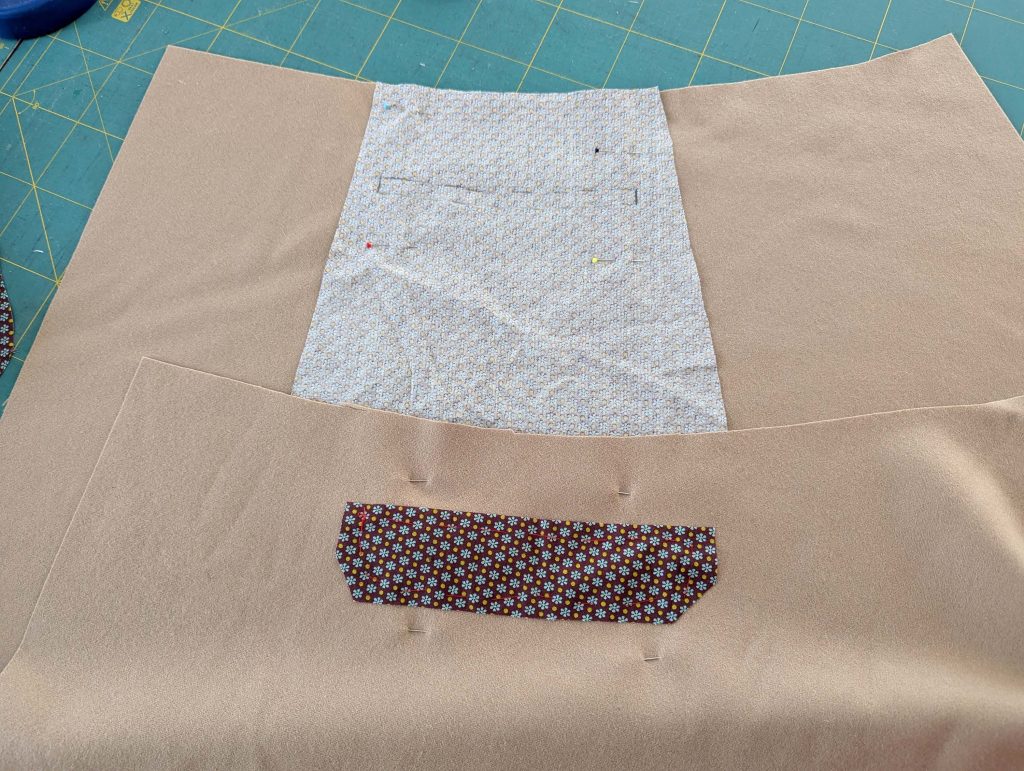
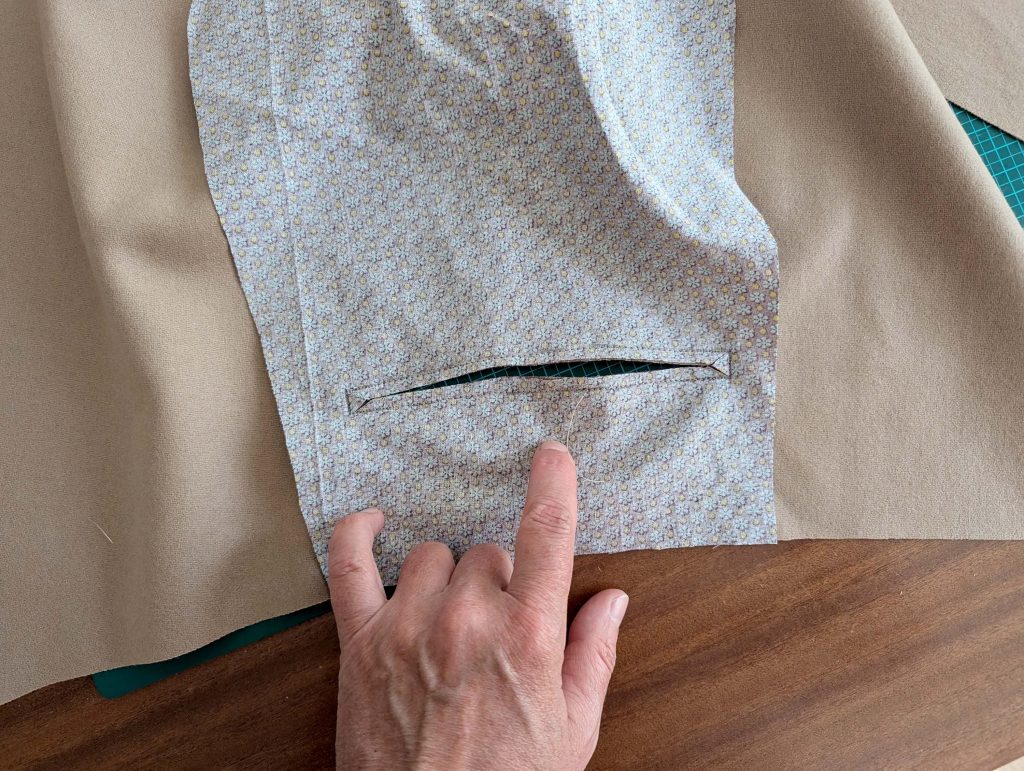
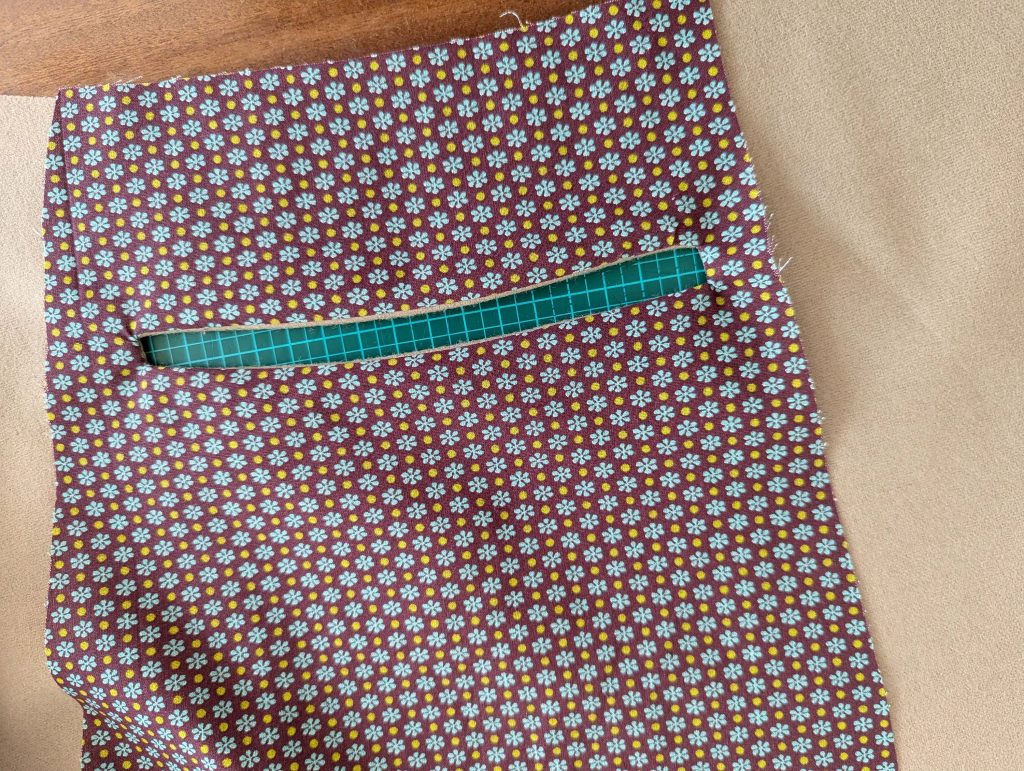

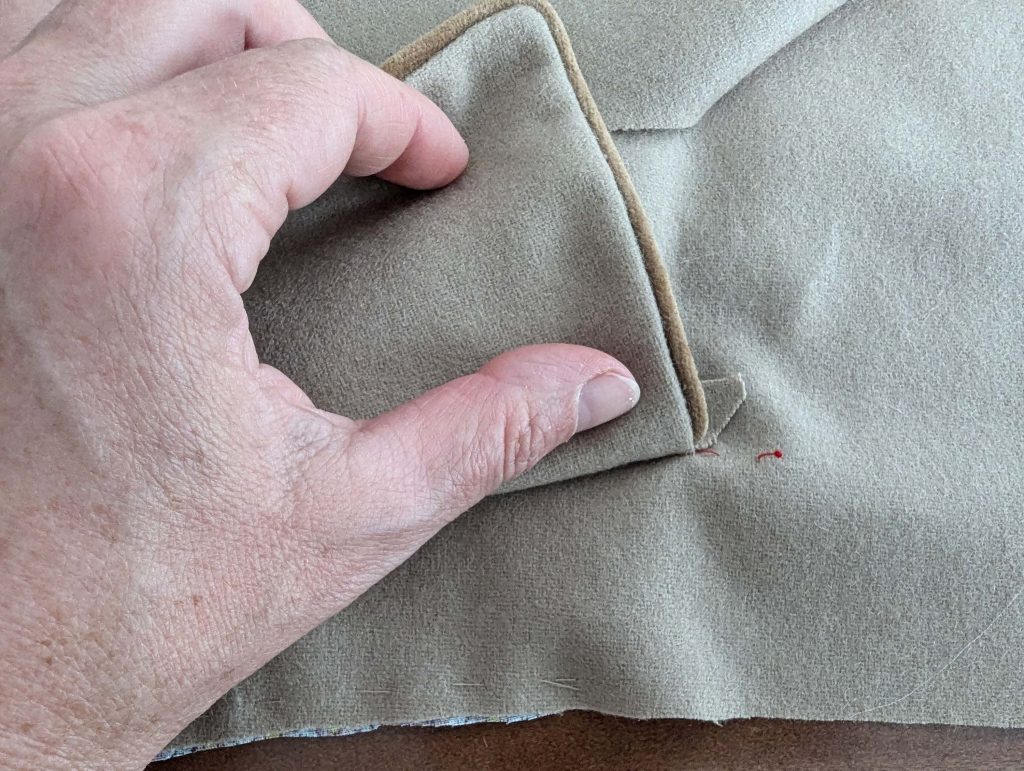
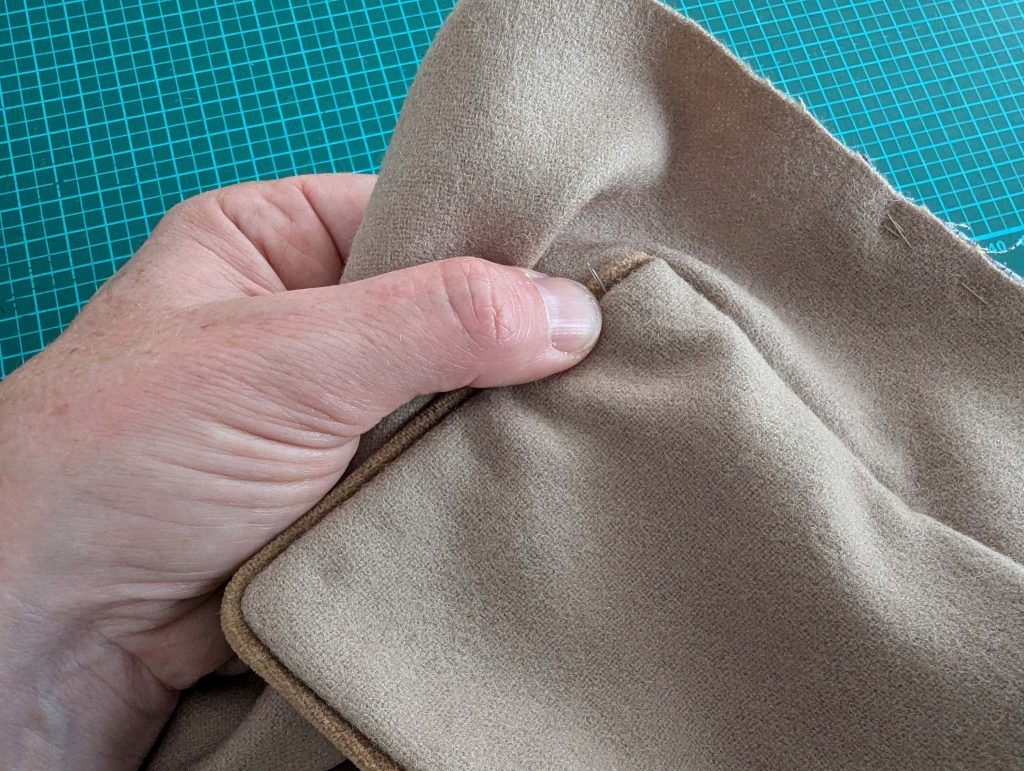
(4) At this point, I took a slightly different approach, as I wanted to add piping to all edges, including the pockets. It quickly became apparent that working with velvet piping would be challenging, as it created considerable bulk at every edge and corner.
To manage this, I made an important preparatory decision: before adding any piping, I flatlined my fashion fabric with silk organza. Don’t worry if you can’t source silk organza – any lightweight but crisp cotton fabric will work just as well for this purpose.
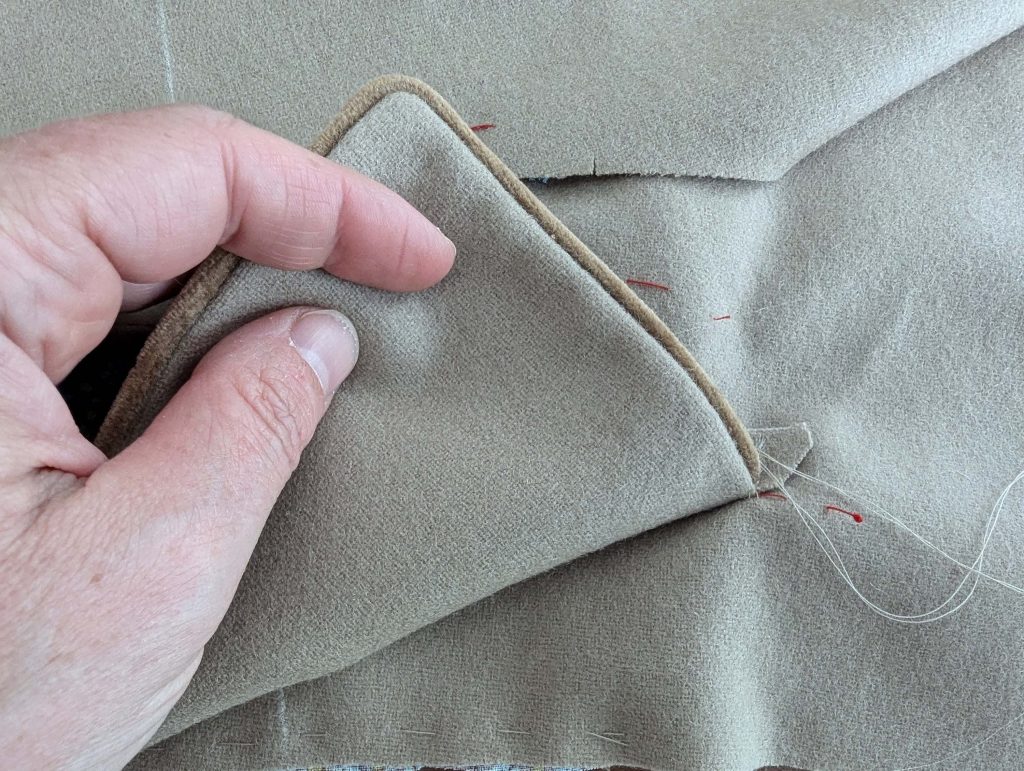
Once the piping was sewn in place, I carefully trimmed back the seam allowances using pinking shears, then catch-stitched these allowances to the flatlining. This step requires particular attention – you’ll need to work meticulously to ensure no stitches show through to the right side of the fabric. One detail: I made sure to notch the seam allowances at the points where the flaps would later be attached to the skirt.
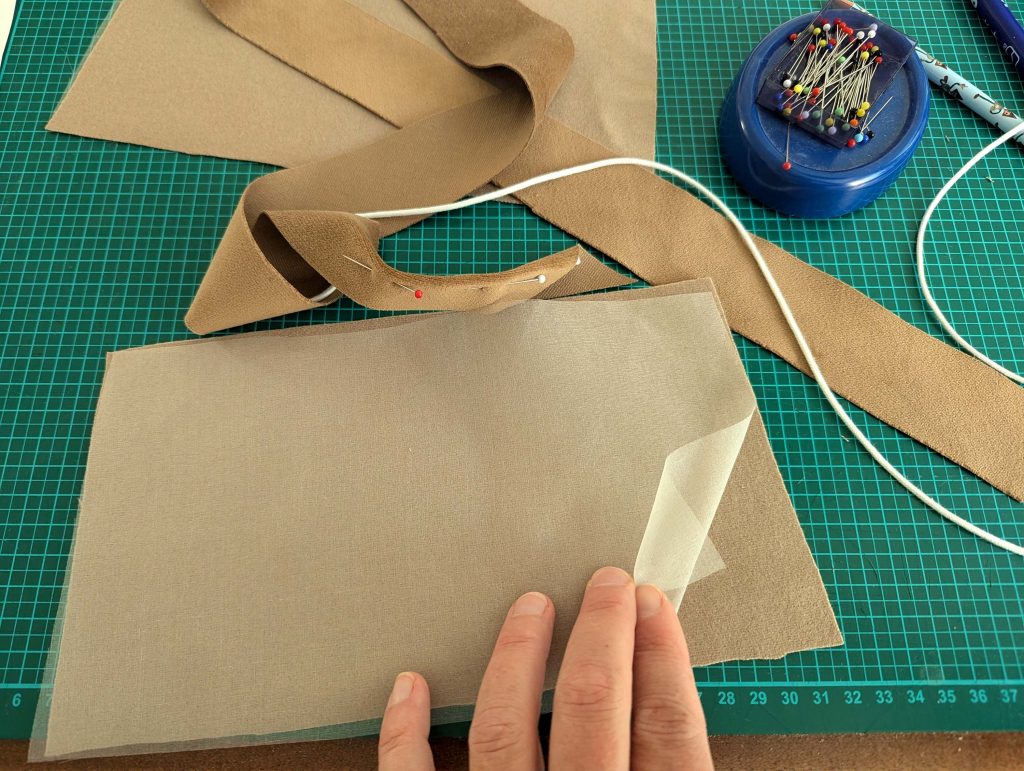
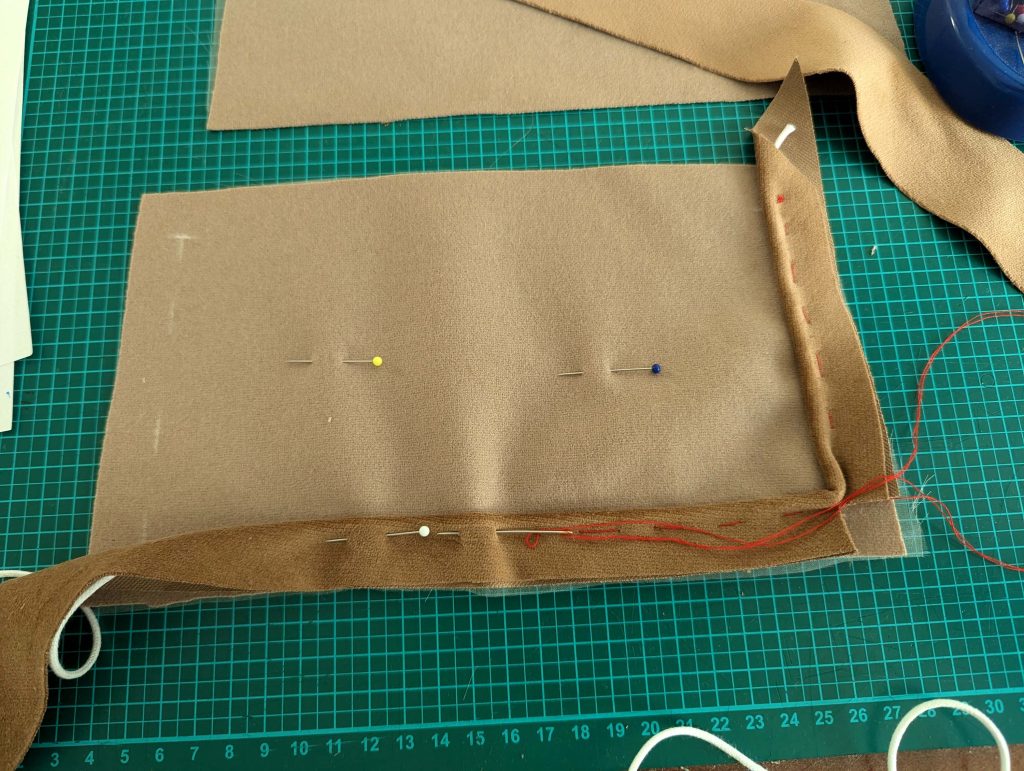
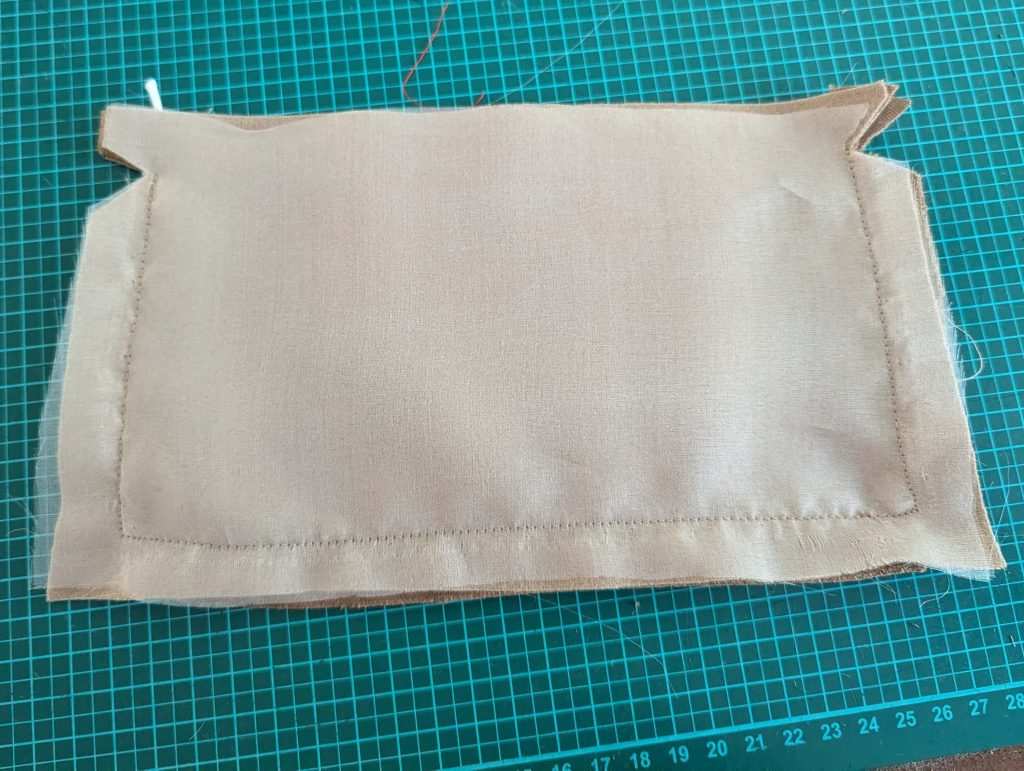
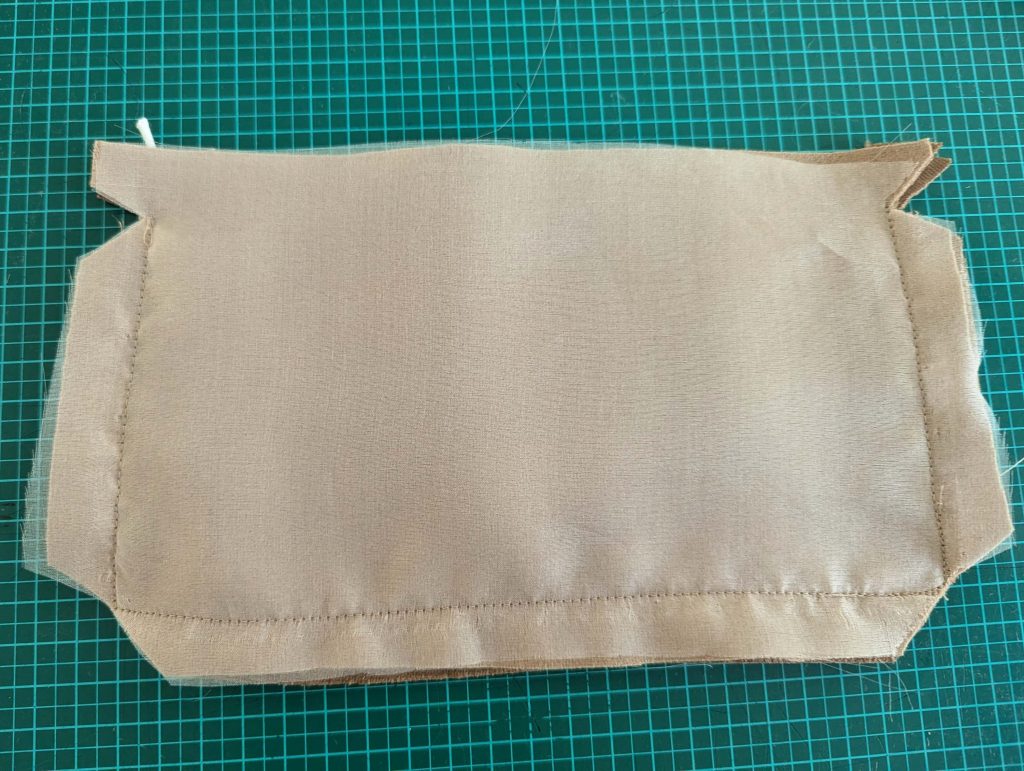
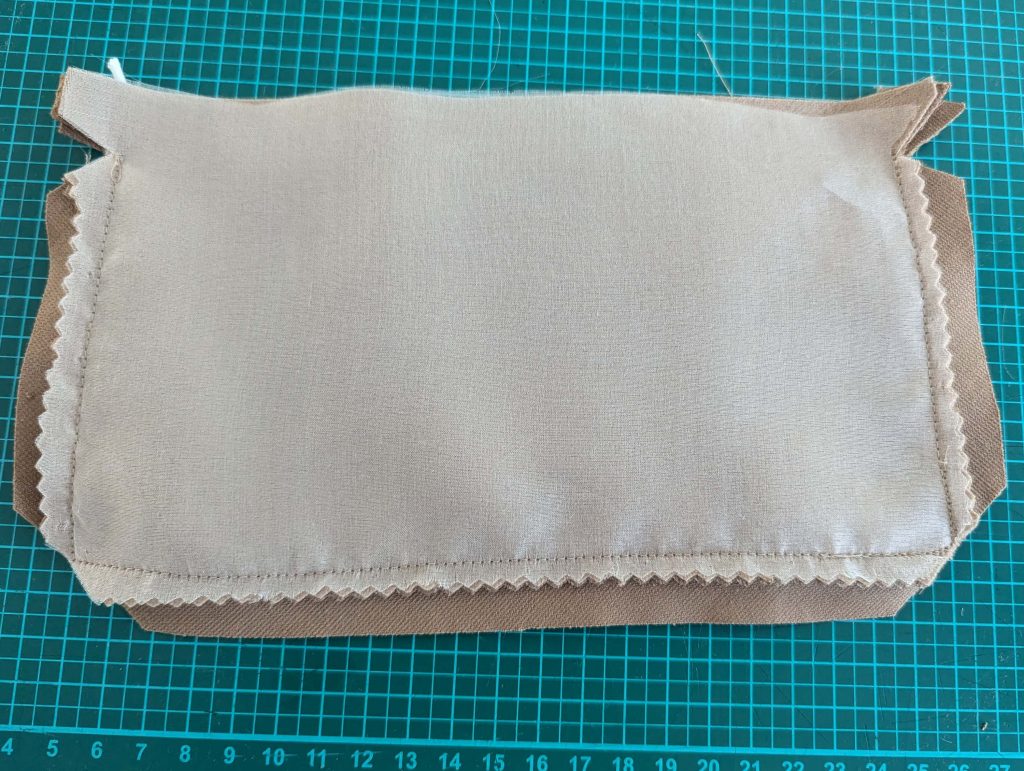
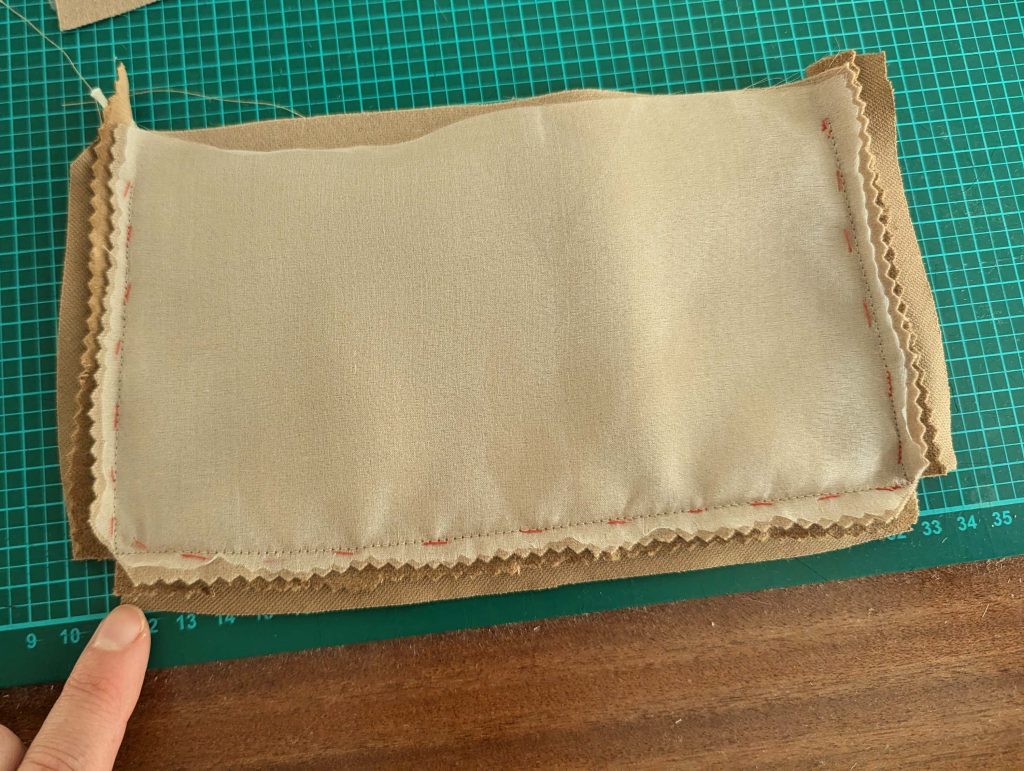
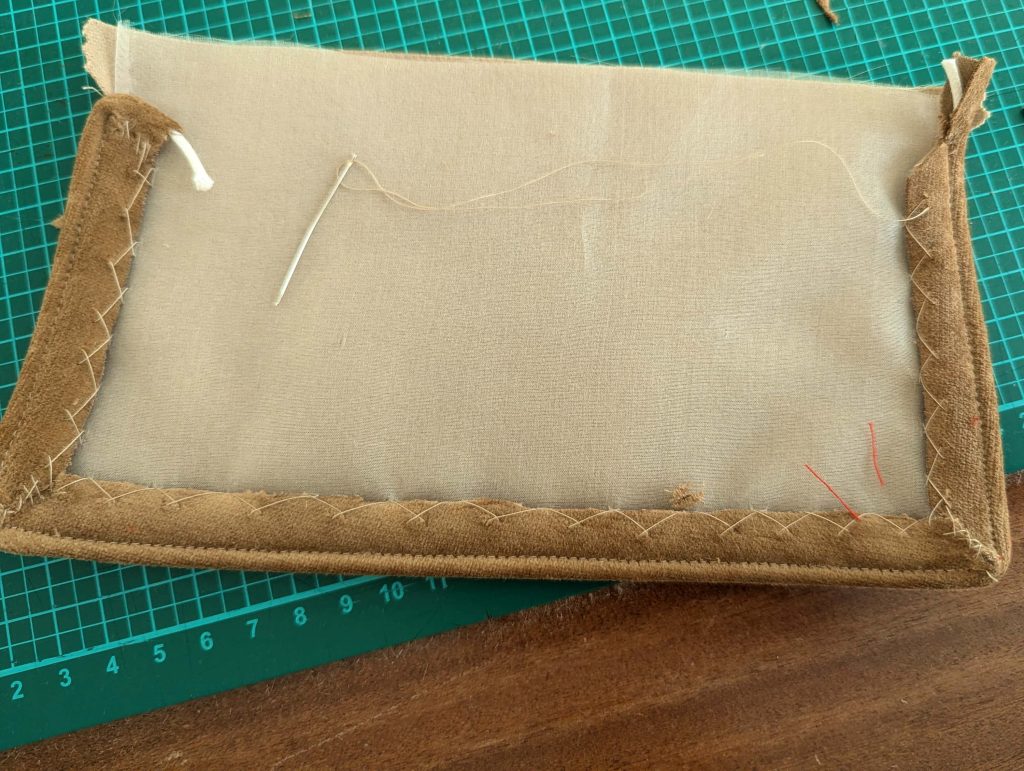
Take the lining and turn in all the seam allowances. Line up with the flap, wrong sides together and fell stitch along the side and bottom edges. Leave open at the top.
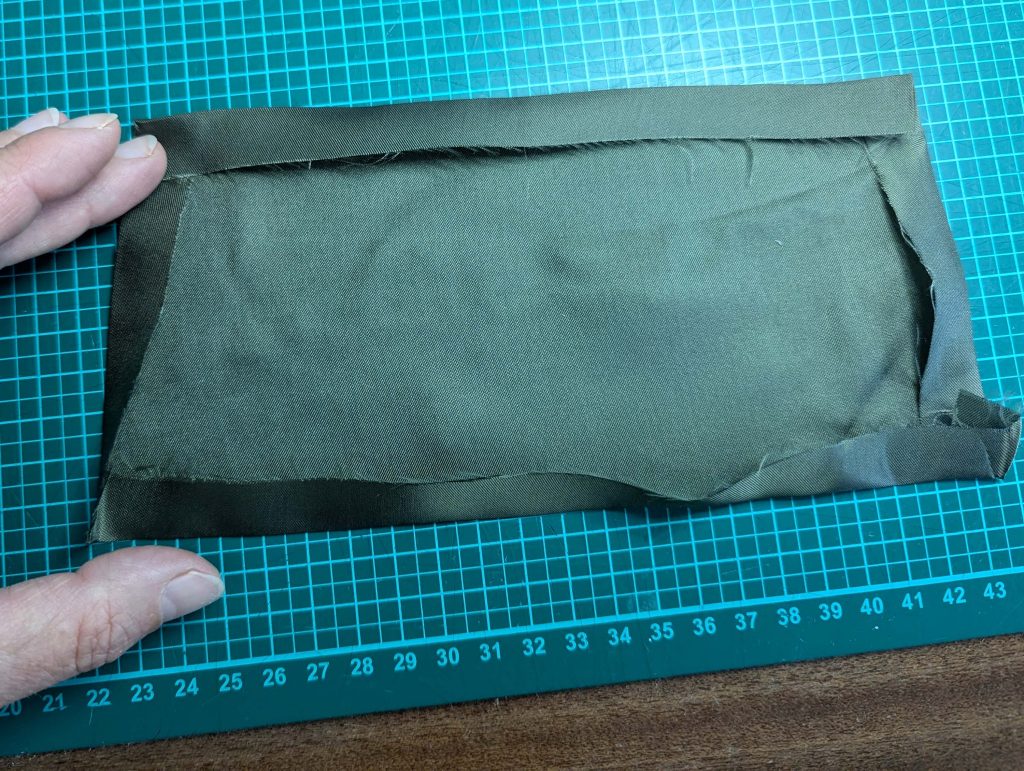
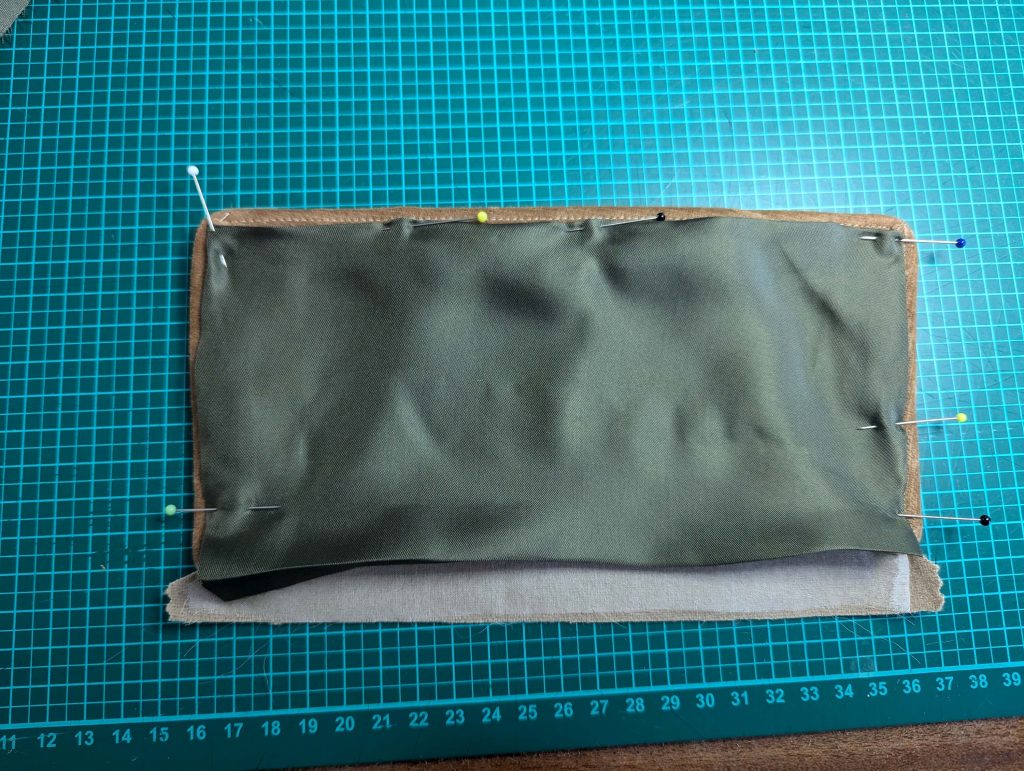
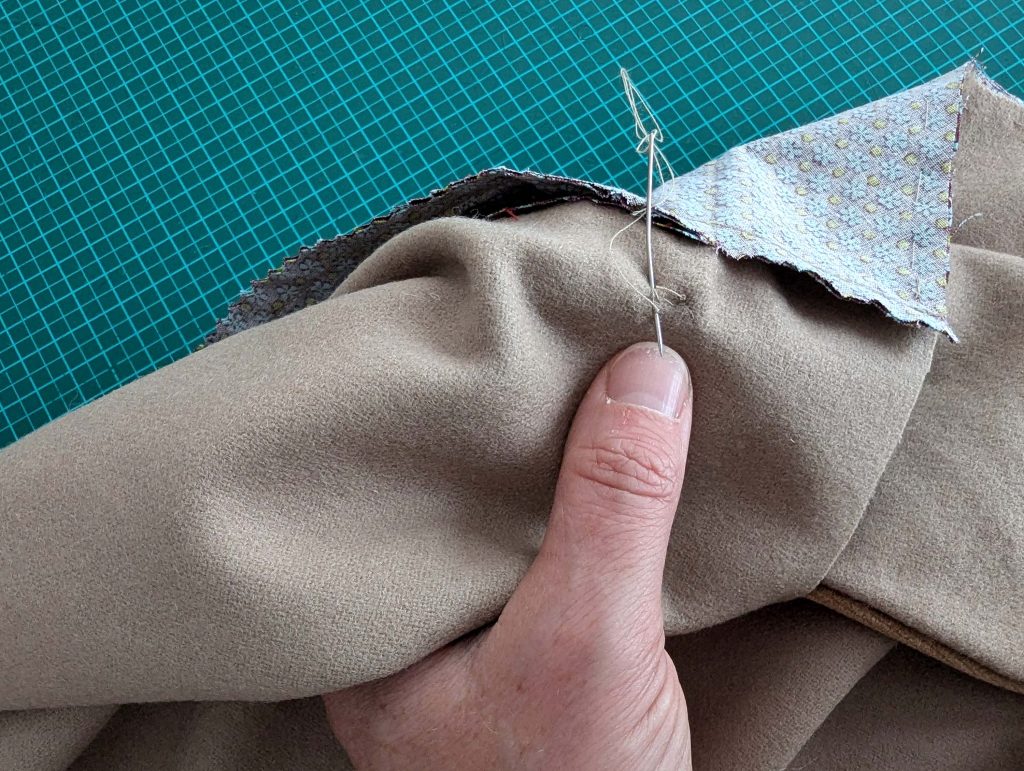
We continue as described in our instructions, and line up the stitching lines of the skirt and flap, right sides together. I hardly recommend sewing by hand for better control, catching the pocket back on the wrong side. Trim back the seam allowance angled as shown, clip when needed, and push under the lining. Fell stitch the lining to the seam allowance and fold down the pocket flap. Press, and, bar tack the flap to the skirt from the wrong side, with invisible stitches (easy with the piping, using the ditch). Ease baste the top edge of the front skirt between marks (1) and (2), and shrink the fabric edge to fit the front bodice. Turn in the back edge along the line, indicated for the pleat, and press in place (sorry, no pics).
