
The original skirt is made from georgette, I don´t know if there is a sateen layer underneath, but it looks like.
For the skirt panels I took three times my waist plus 2cm for the underlap at the back. If you are quite thin (thinner than me, my waist measurement with the corset is 78cm) you should take more to reach the desired diameter of the seam.
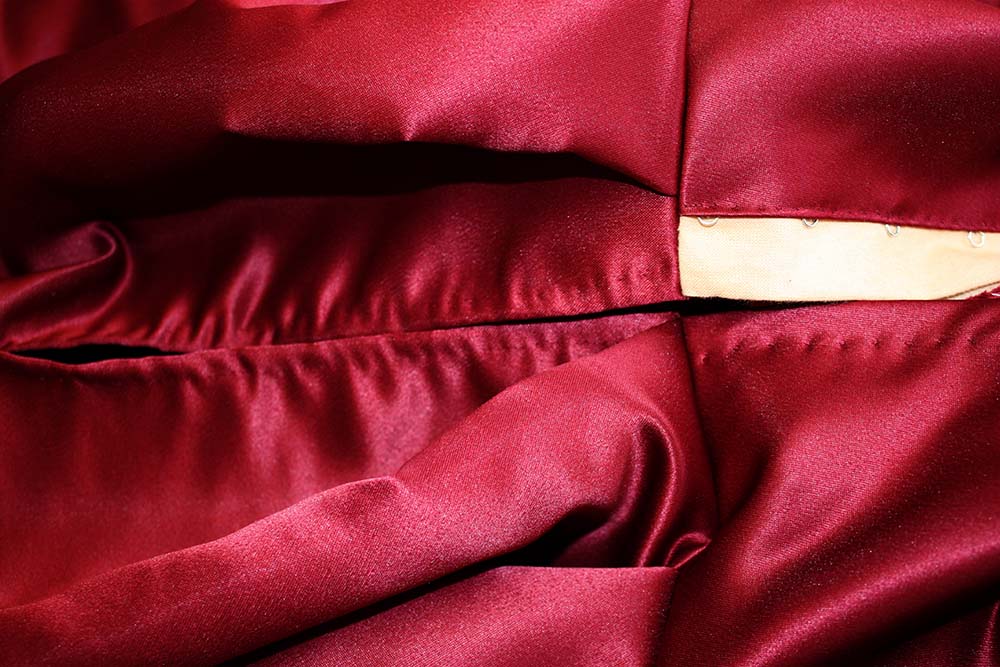
I sewed togehter the skirt panels first and made a slash at the center back, folded in the raw egdges and stitched them down. Why I didn´t used a seam at the center back? Because so I would have a visible seam at the front side.

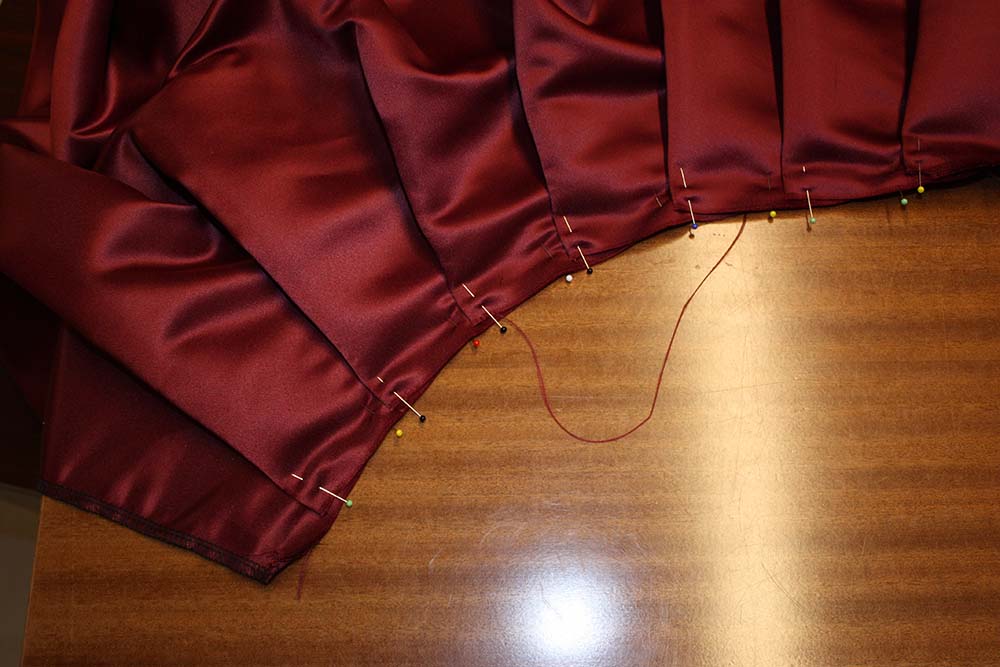
I made 7 folds each side, opening to the back, shift the edges to form a curved waistline

Sew the skirt to the bodice. The picture shows how it looks like at the center back.
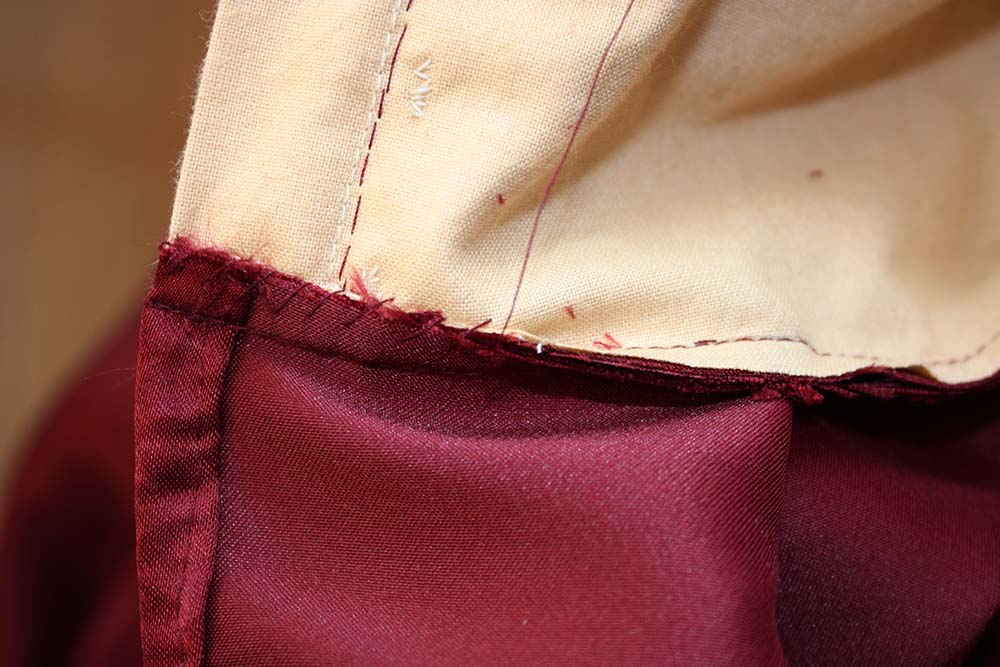
Trim the seam allowance at the waistline, fold it into the bodice and stitch down, catch only the lining.
Fold in the fabric along the hemline. The skirt should end about 10cm from the floor at the ankle. You would wear ballerina shoes with that dress. I decided to sew my hem with small stitches from the right fabric side, because the original dress has a visible hem stitching line, not even tried to be covered with the trimmings and I was aware the sateen fabric doesn´t tolerate a hem stitch.

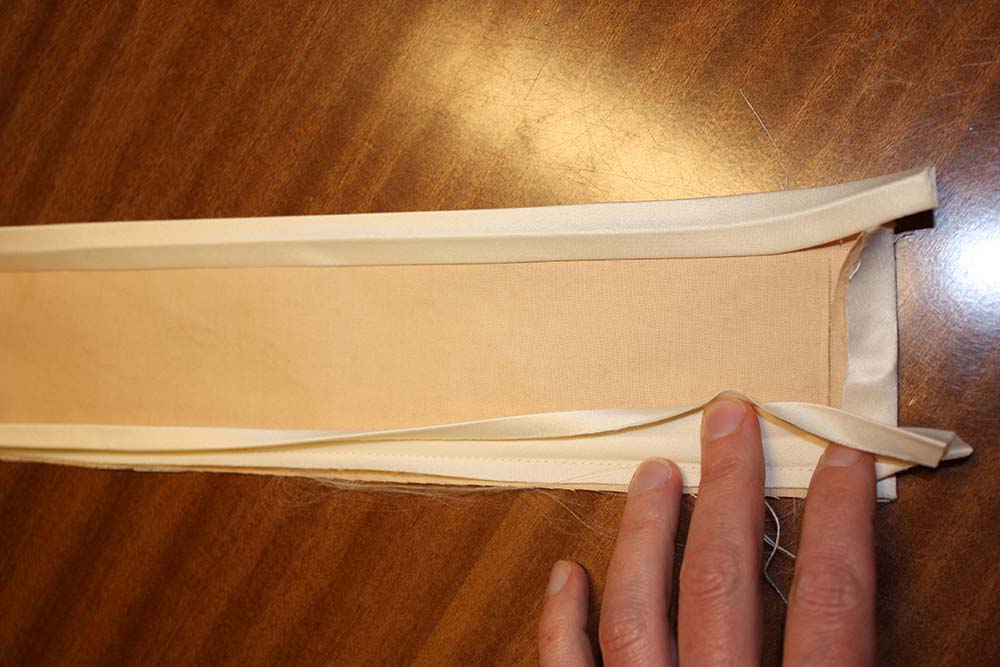
For the belt I took one layer of sateen and one layer of cotton fabric, the edges neatend with bias binding. The belt is closed with hooks and sewn eyes. Finally a large bow is attatched.

That´s the finished dress. Excuse the picture but the dress doesn´t fit the dress form quite well and I just made a quick picture of the finished dress to show you.
