
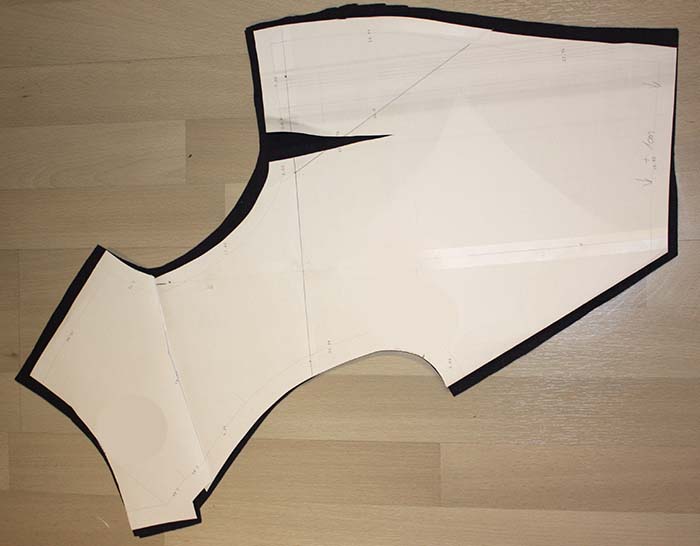
Let´s continue with the front facing. For the pattern I joined the pattern piece of the front and the back. At the back piece I drew a curved line from the center back to the side seam and cut. Placed on top of my fashion fabric and cut with some more seam allowance at the neckline. I didn´t close the dart at the facing. Now the facing will reach to the center back as you can see on this tailcoat: https://www.augusta-auction.com/component/auctions/?view=lot&id=4509&auction_file_id=8
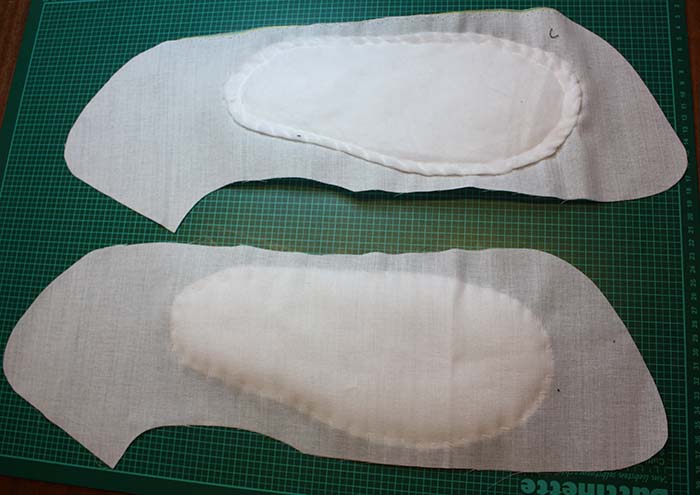
The facing still needs some preparations. It got an interlining and in between some padding.

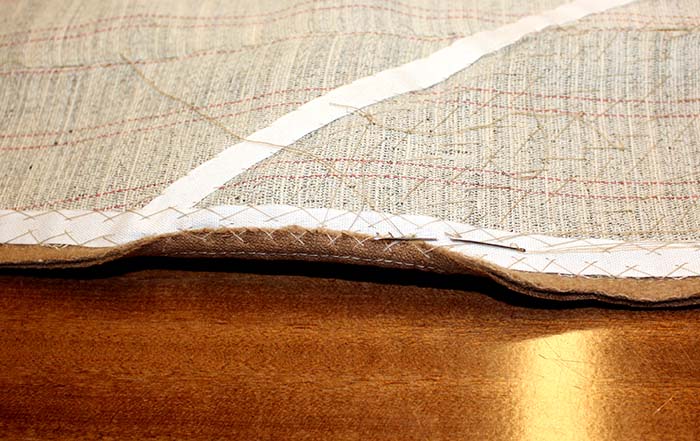
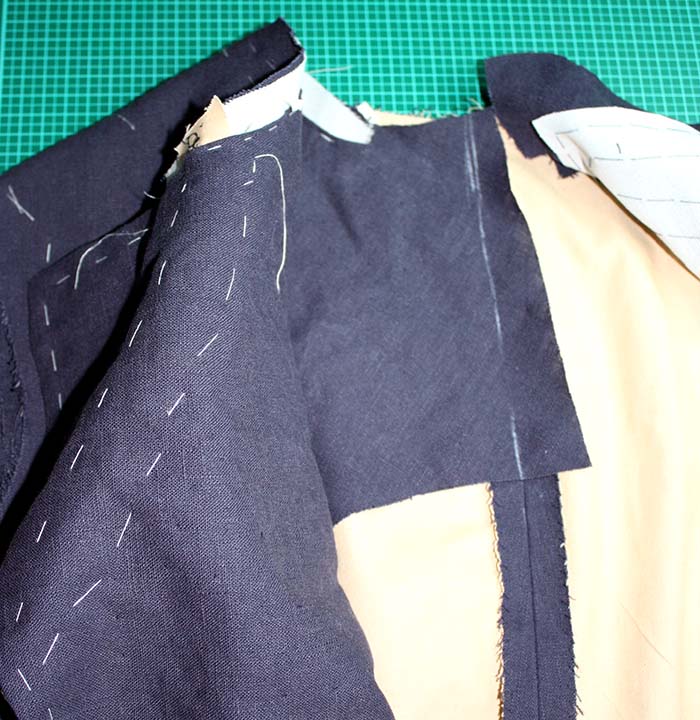
I didn´t made pictures of the tailcoat joining the fronts with the facings, but I made some pictures when sewing the Frock Coat. Principle is the same. I lined up the front with the facing, right sides together, and sewed right beside the cotton tape along the front edge and the lapel. I stoped at the collar notch and clipped the seam allowance of the front. I trimmed the seam allowances, at the lapel i turned them towards the fronts and catch stitched them to the interlining.
I turned the lapels inside out, pressed and basted along the front edge. Next was to fold the lapel along the roll line and baste, so you have extra width for the lapel to lay flat on the finished Tailcoat. Then I turned in the seam allowance along the bottom edge (along waistline) and basted in place. The loose edge of the facing is then sitched to the interlining. Sorry, again a picure of the Frock Coat. 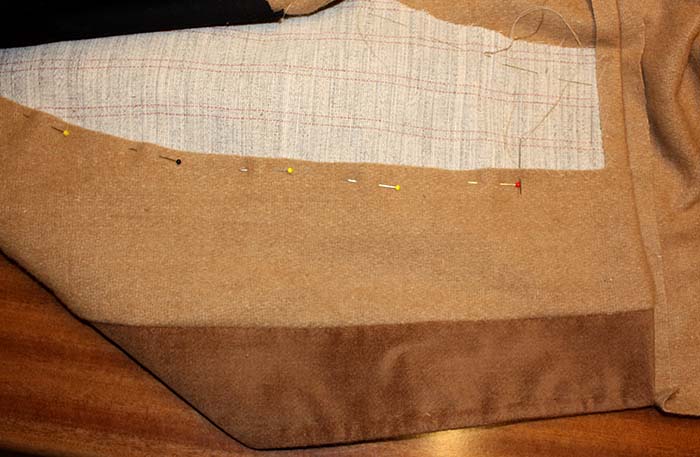
Before you continue with the front facings you have to join back and front parts along the shoulder line.
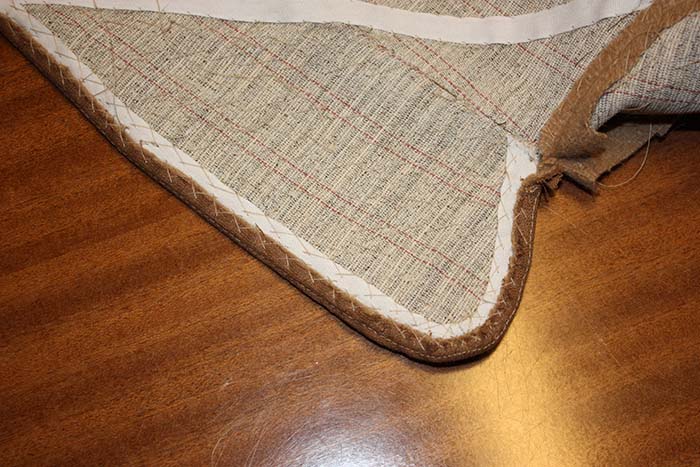
Along the neckline I trimmed and turned in the seam allowance of the facings and basted down the edge along the stitching line. Where the facing meets the center back I marked the stitching line on both sides and sewed together. This is like a cape on the inside.
Next time I´ll Show you the tails.