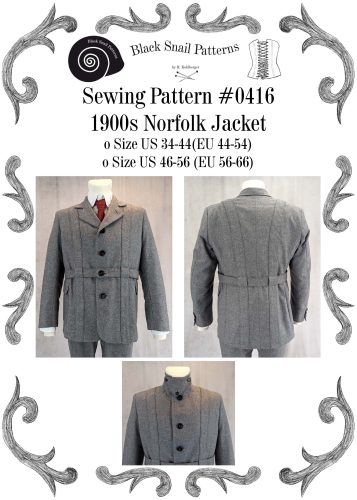
We are thrilled to announce that we’ve revealed our revamped sewing pattern, #0416 – The Norfolk Jacket! Get ready for an in-depth showcase as we share detailed instructions and everything you need to know to master the art of creating tailored men´s garments. Whether you’re a seasoned stitcher or a sewing enthusiast embarking on a new project, the Norfolk Jacket promises a captivating journey into historical men’s fashion.
Find printable patterns for the lining pockets here: Small / Large
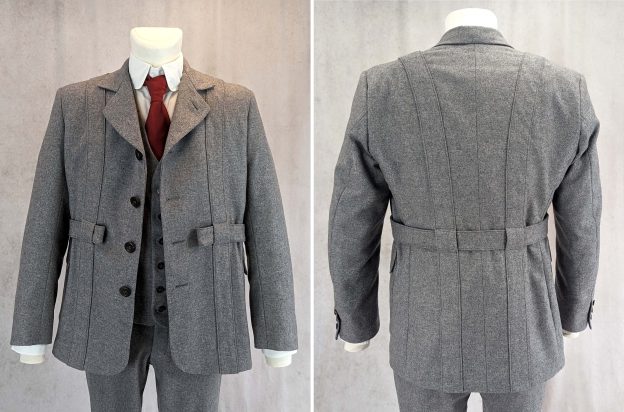
In the world of classic men’s clothing, the “Norfolk Jacket” occupies a special place as a jacket for many occasions. Originating as a young men’s jacket in the 1860s, it gained early popularity within the Rifle Corps of the Volunteer Movement and later became a symbol of comfort for country sports like riding and hunting.
As the jacket transcended social classes, it evolved into a versatile garment that was popular with cycling enthusiasts at the turn of the century. Advertising at the time highlighted the jacket’s adaptability, allowing for customization in terms of style and fabric, from tweed to linen.
In the future, we will release an updated version of this pattern, addressing previous shortcomings and offering a more comprehensive guide for sewing enthusiasts. This release will seamlessly blend historical charm with contemporary craftsmanship.
Now that we’ve laid the groundwork with considerations and preparations, let’s seamlessly transition into the practical aspect of bringing your Norfolk jacket to life. Part 2 and further, focuses on the step-by-step sewing process, where we’ll meticulously guide you through each stage.
As you progress through the project, you may come across some minor adjustments or deviations when looking at the pictures. These small changes are a part of the pattern-making process, when choosing a better option for you later.
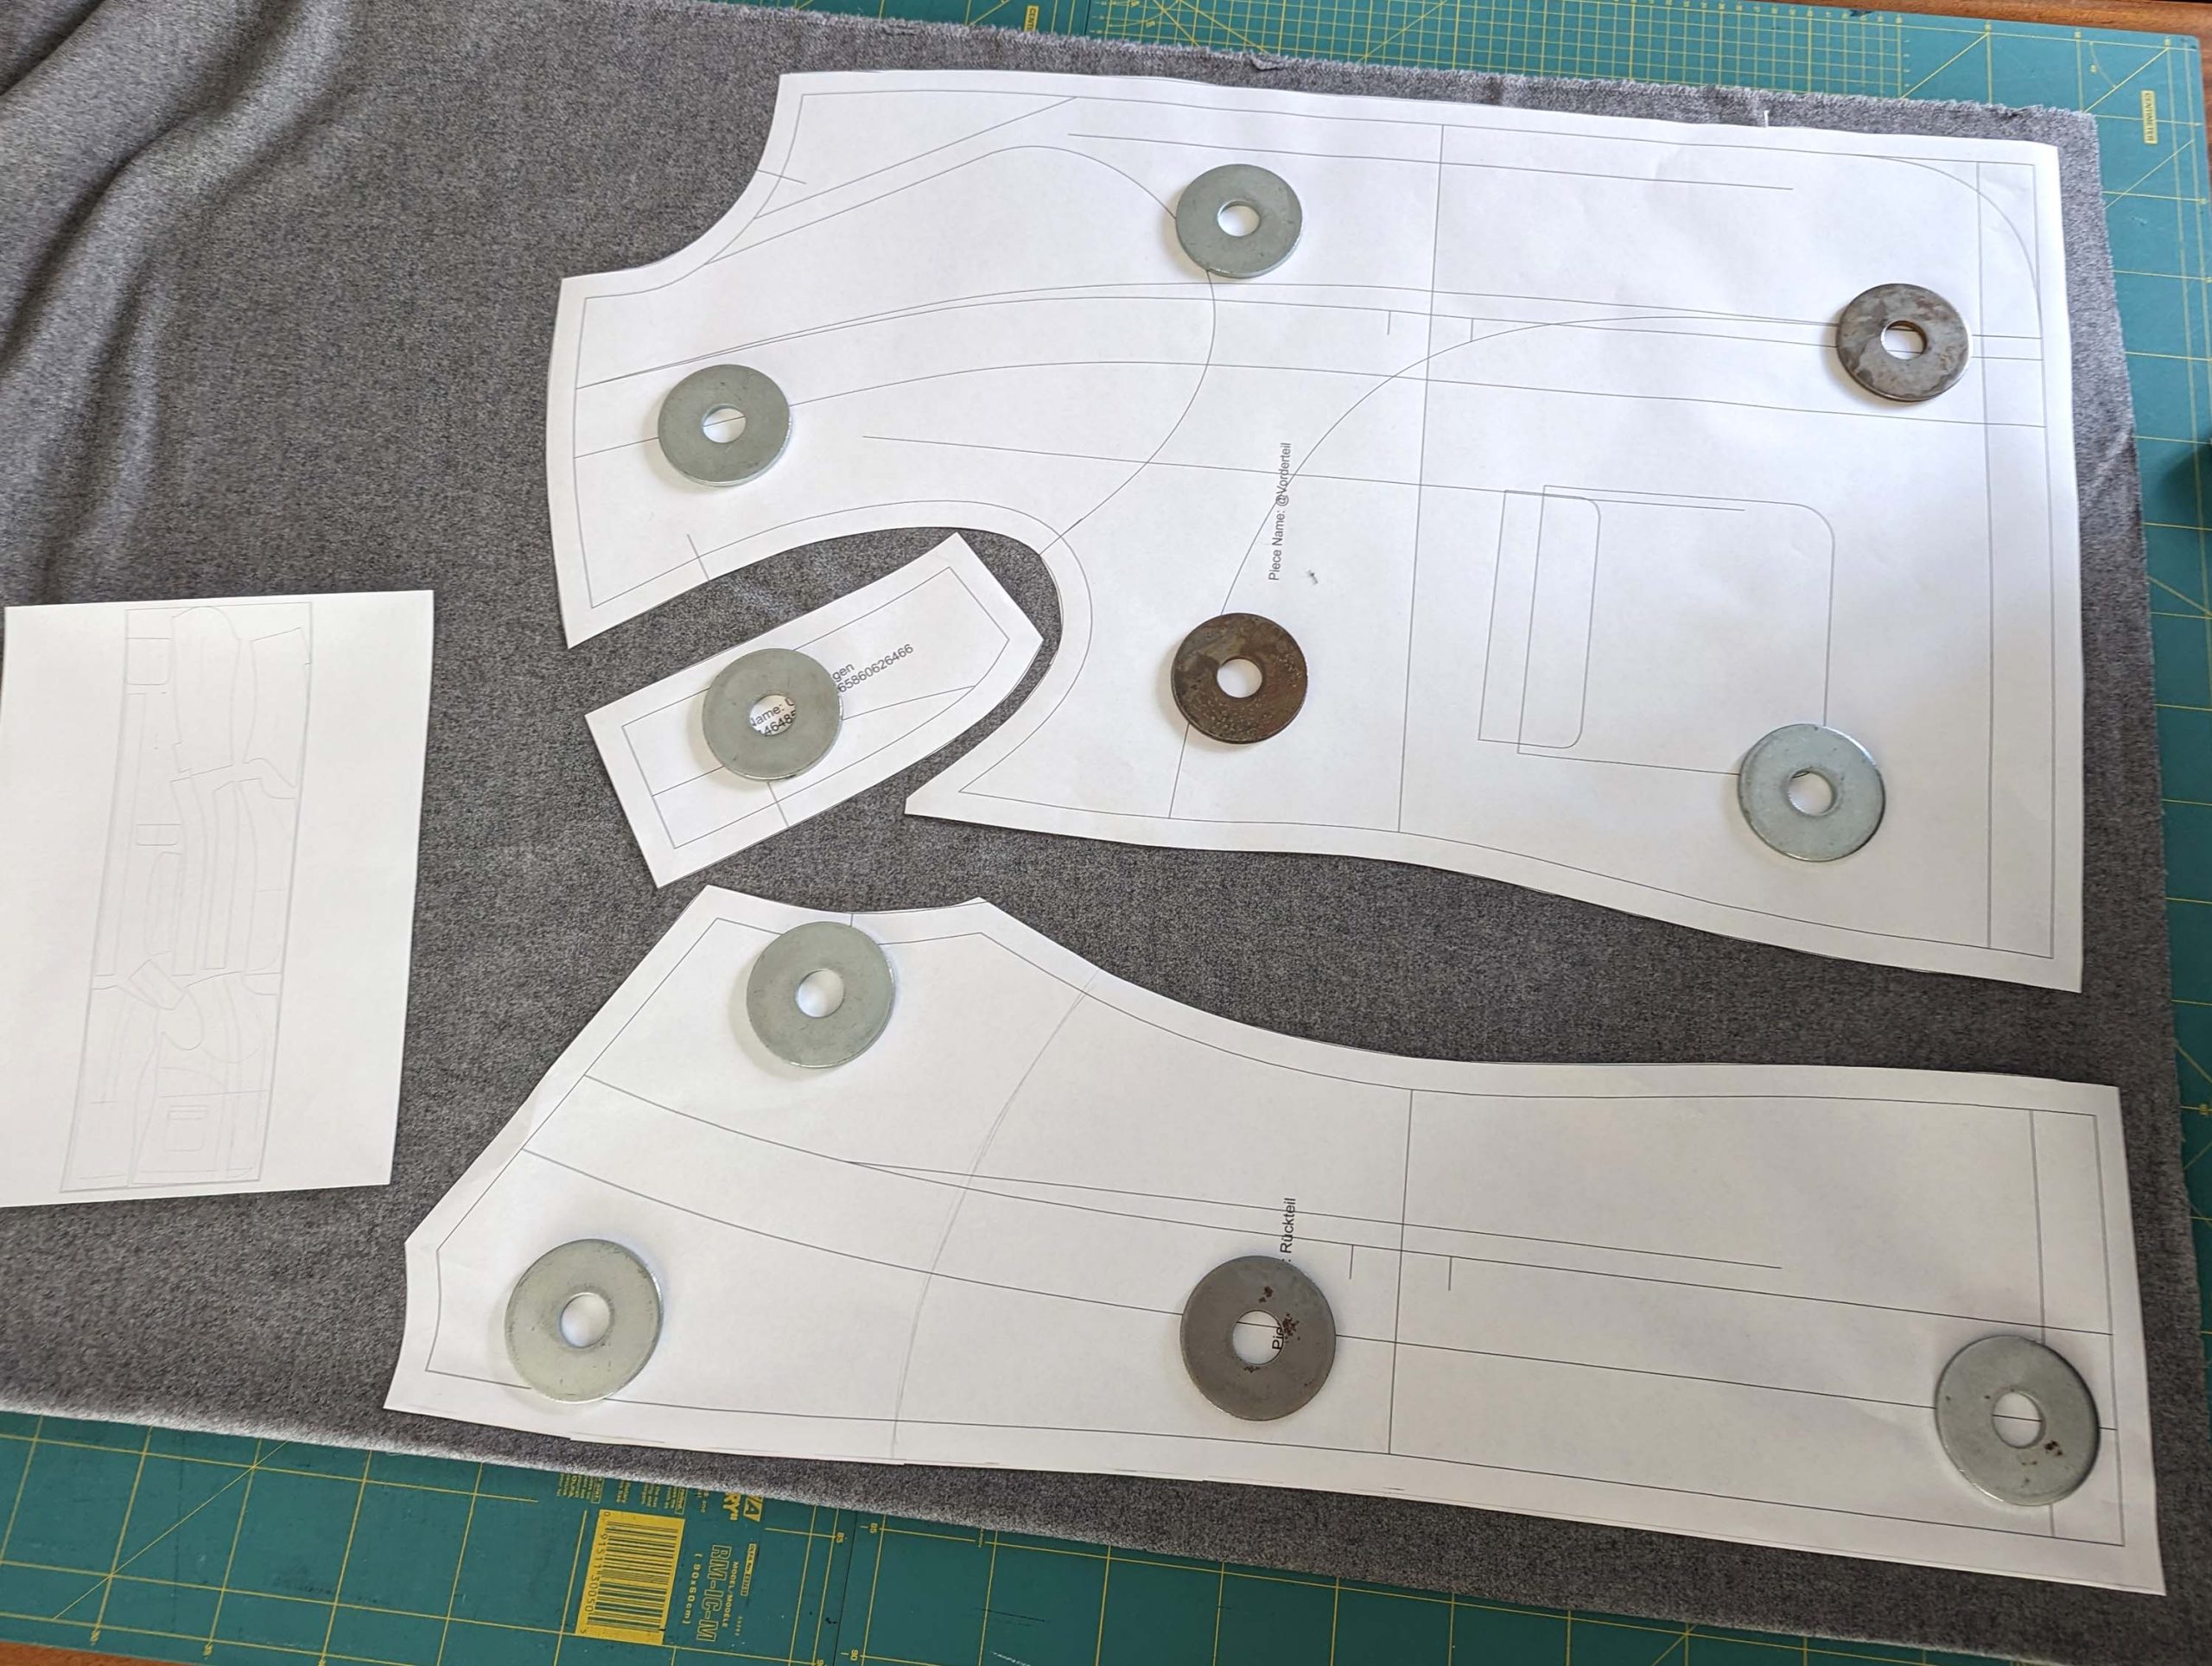
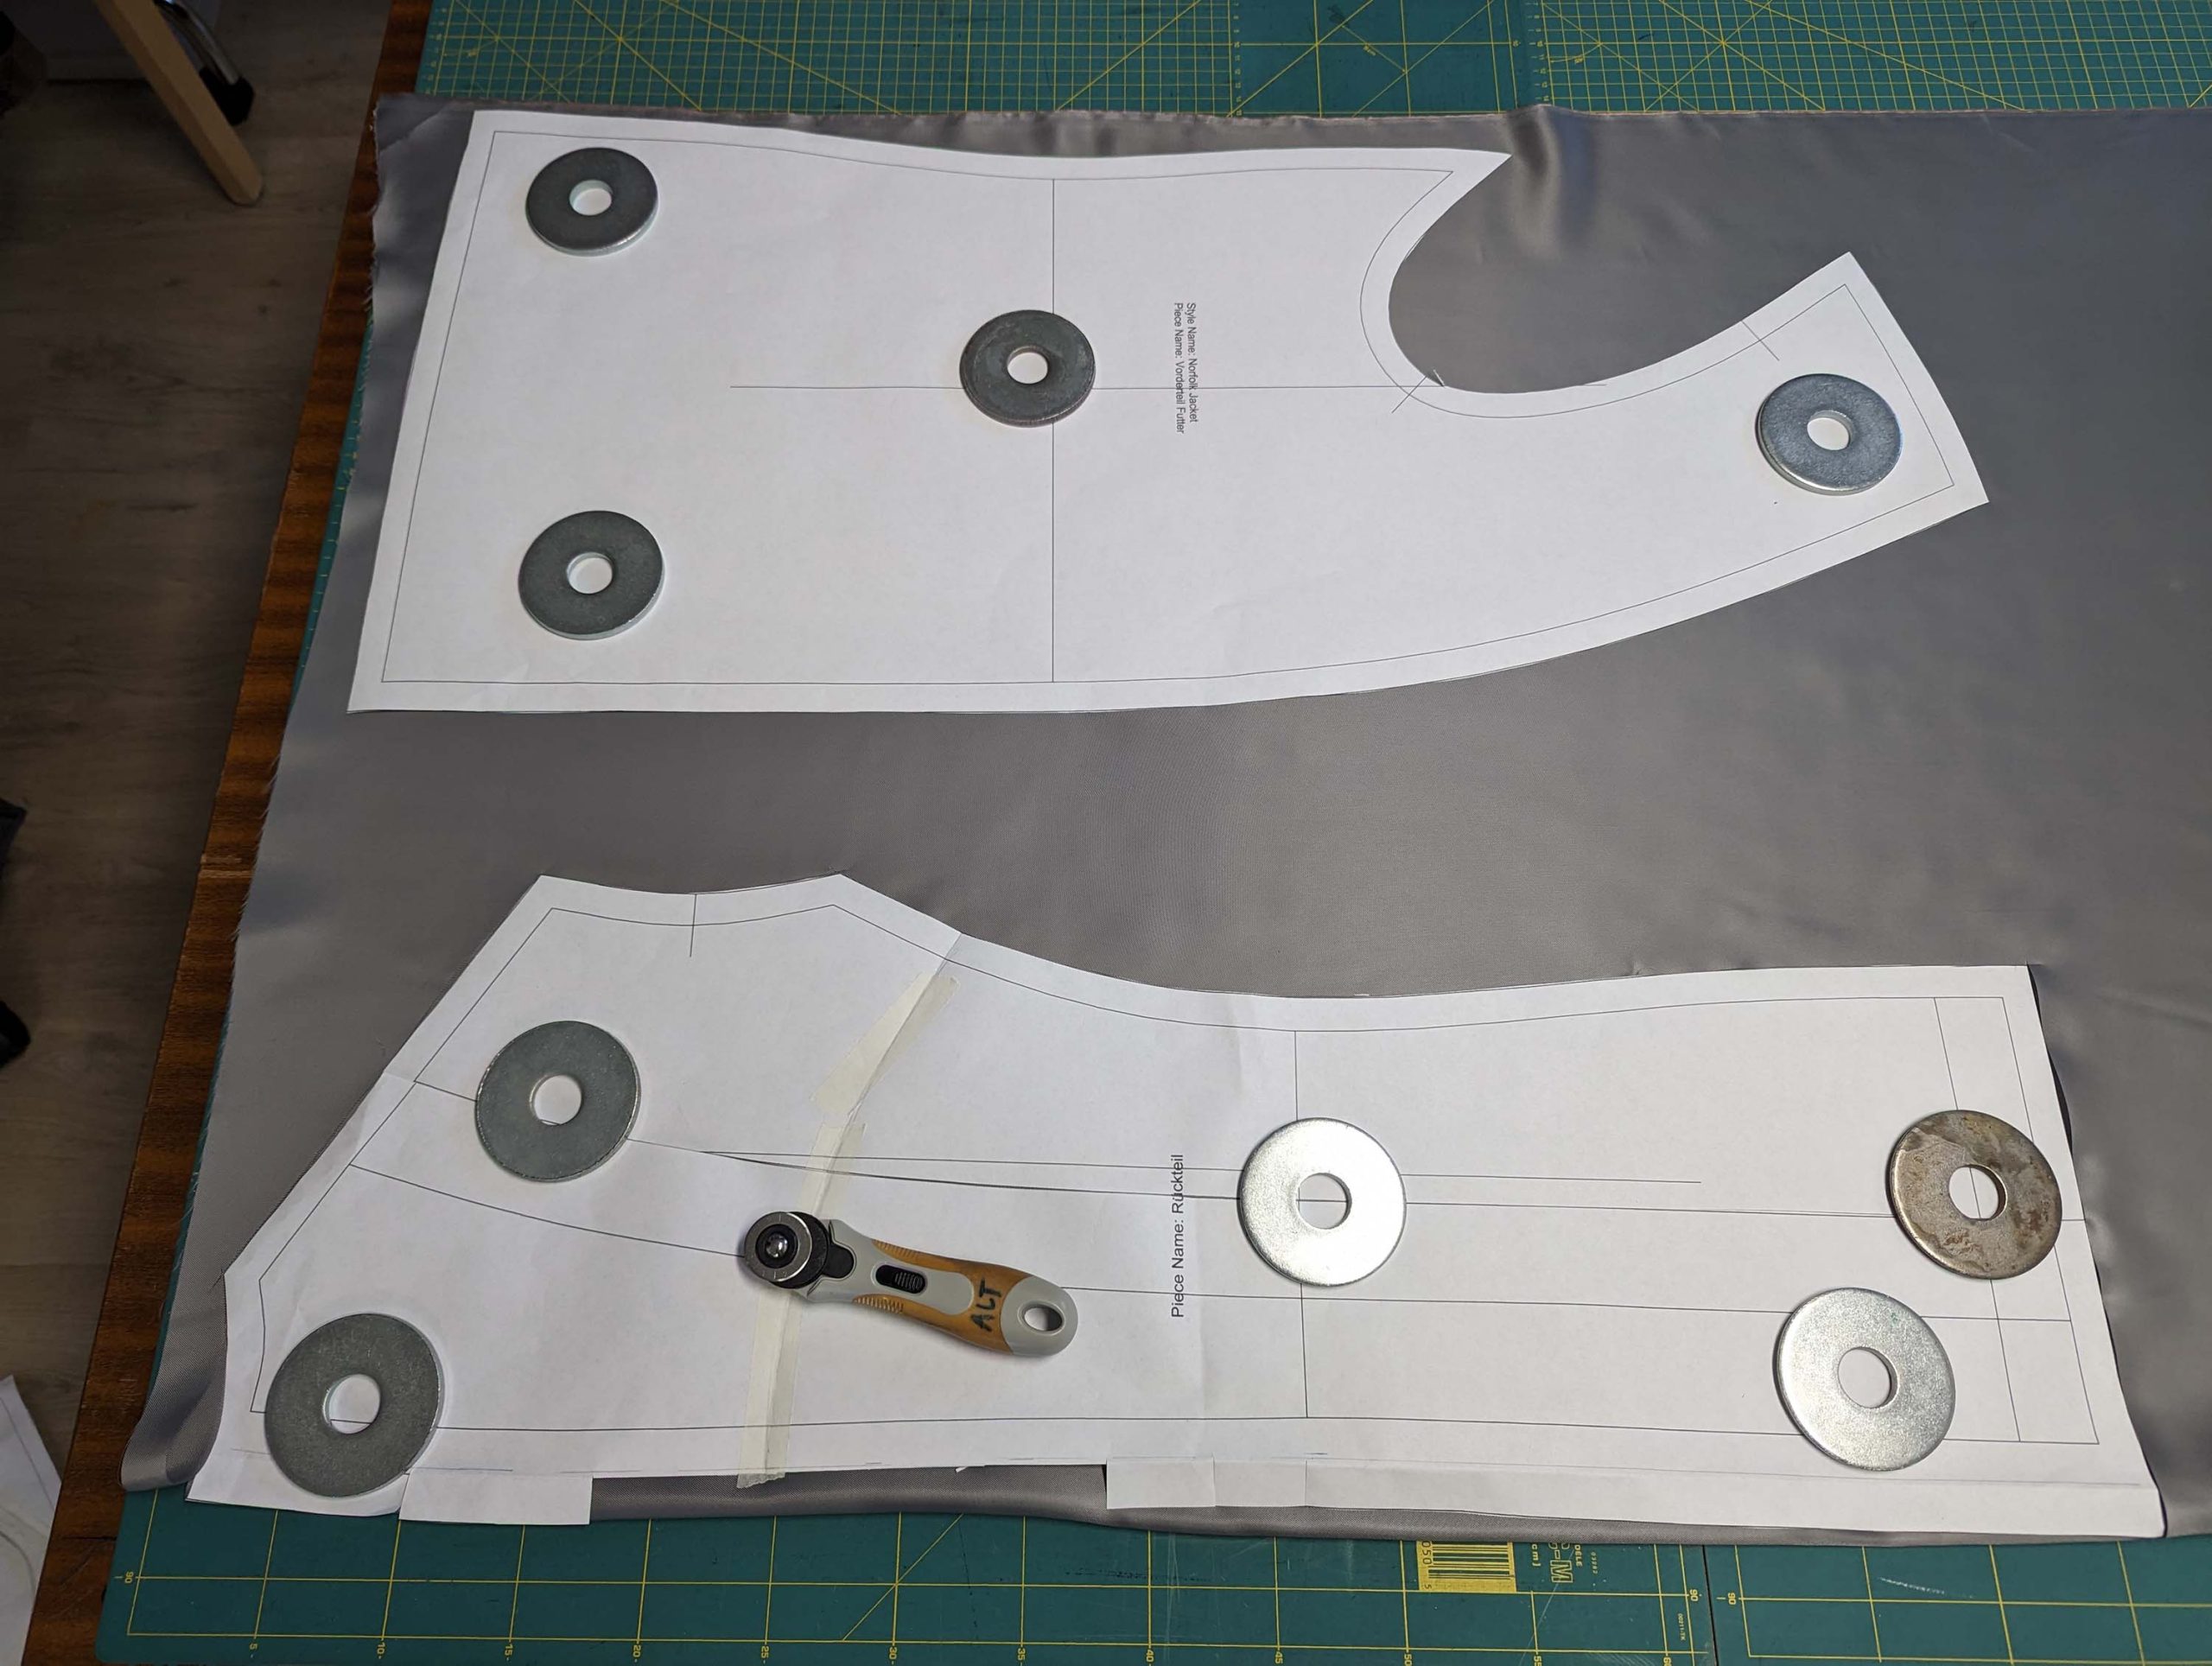
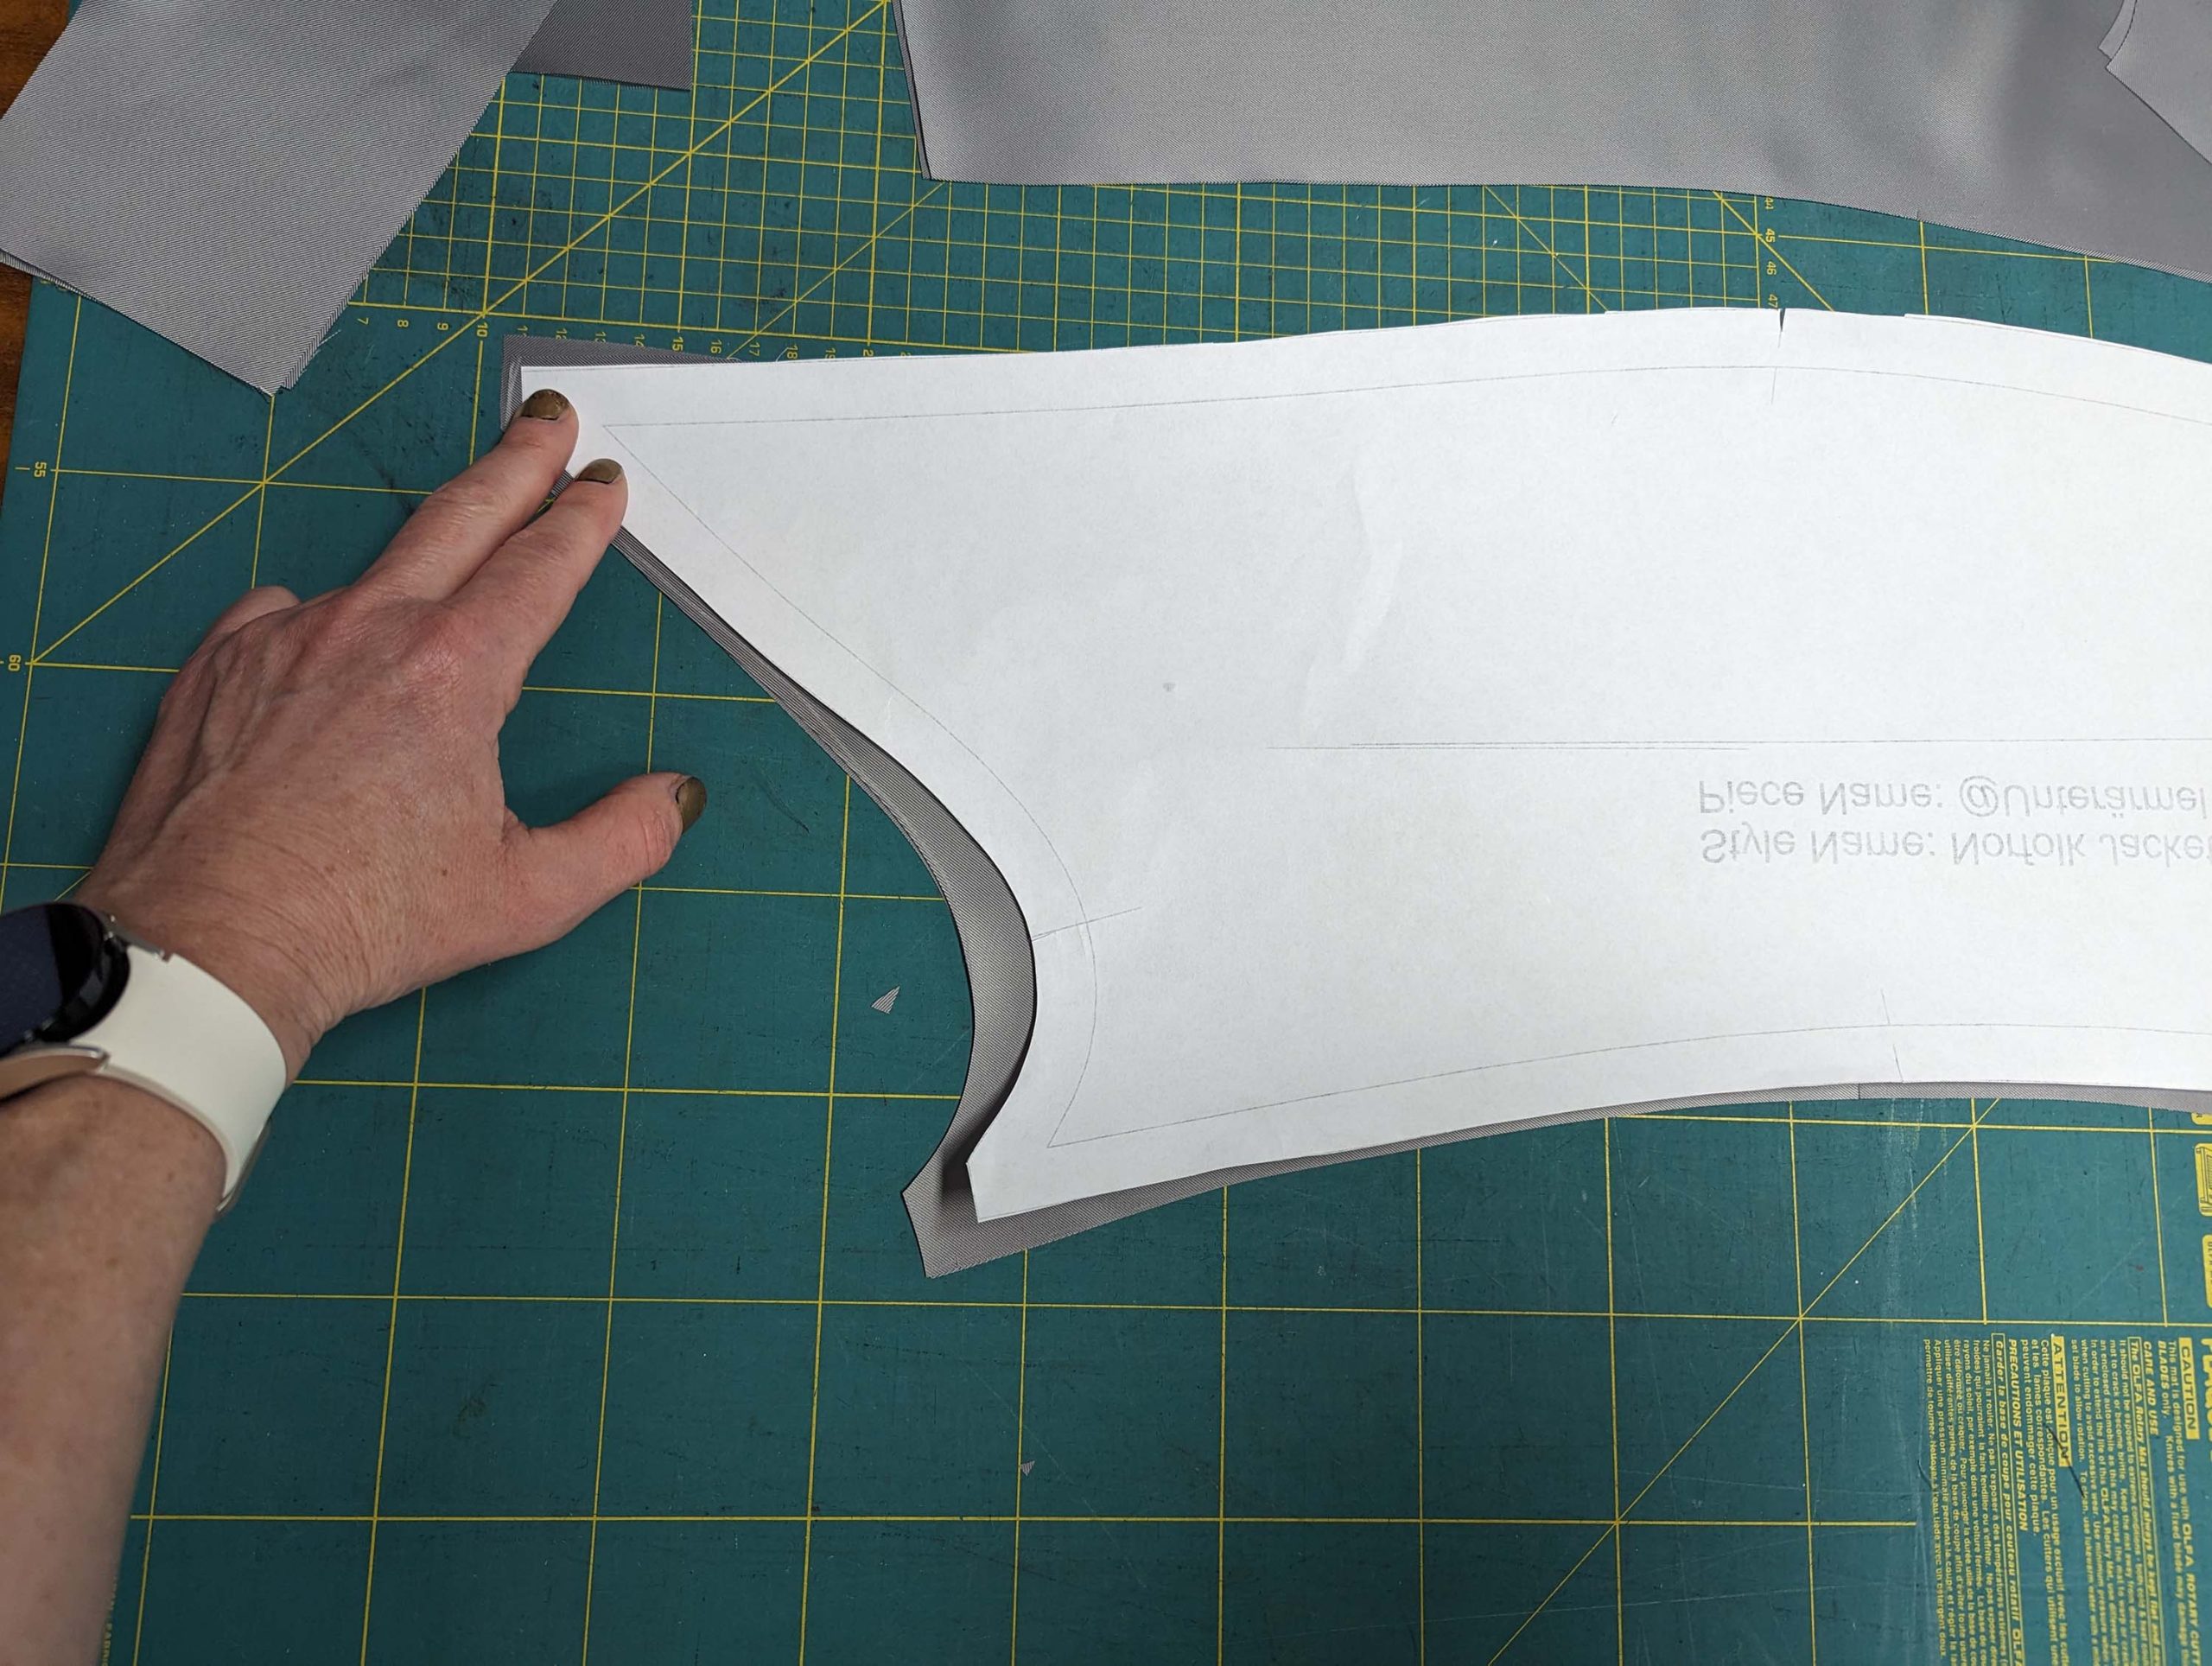
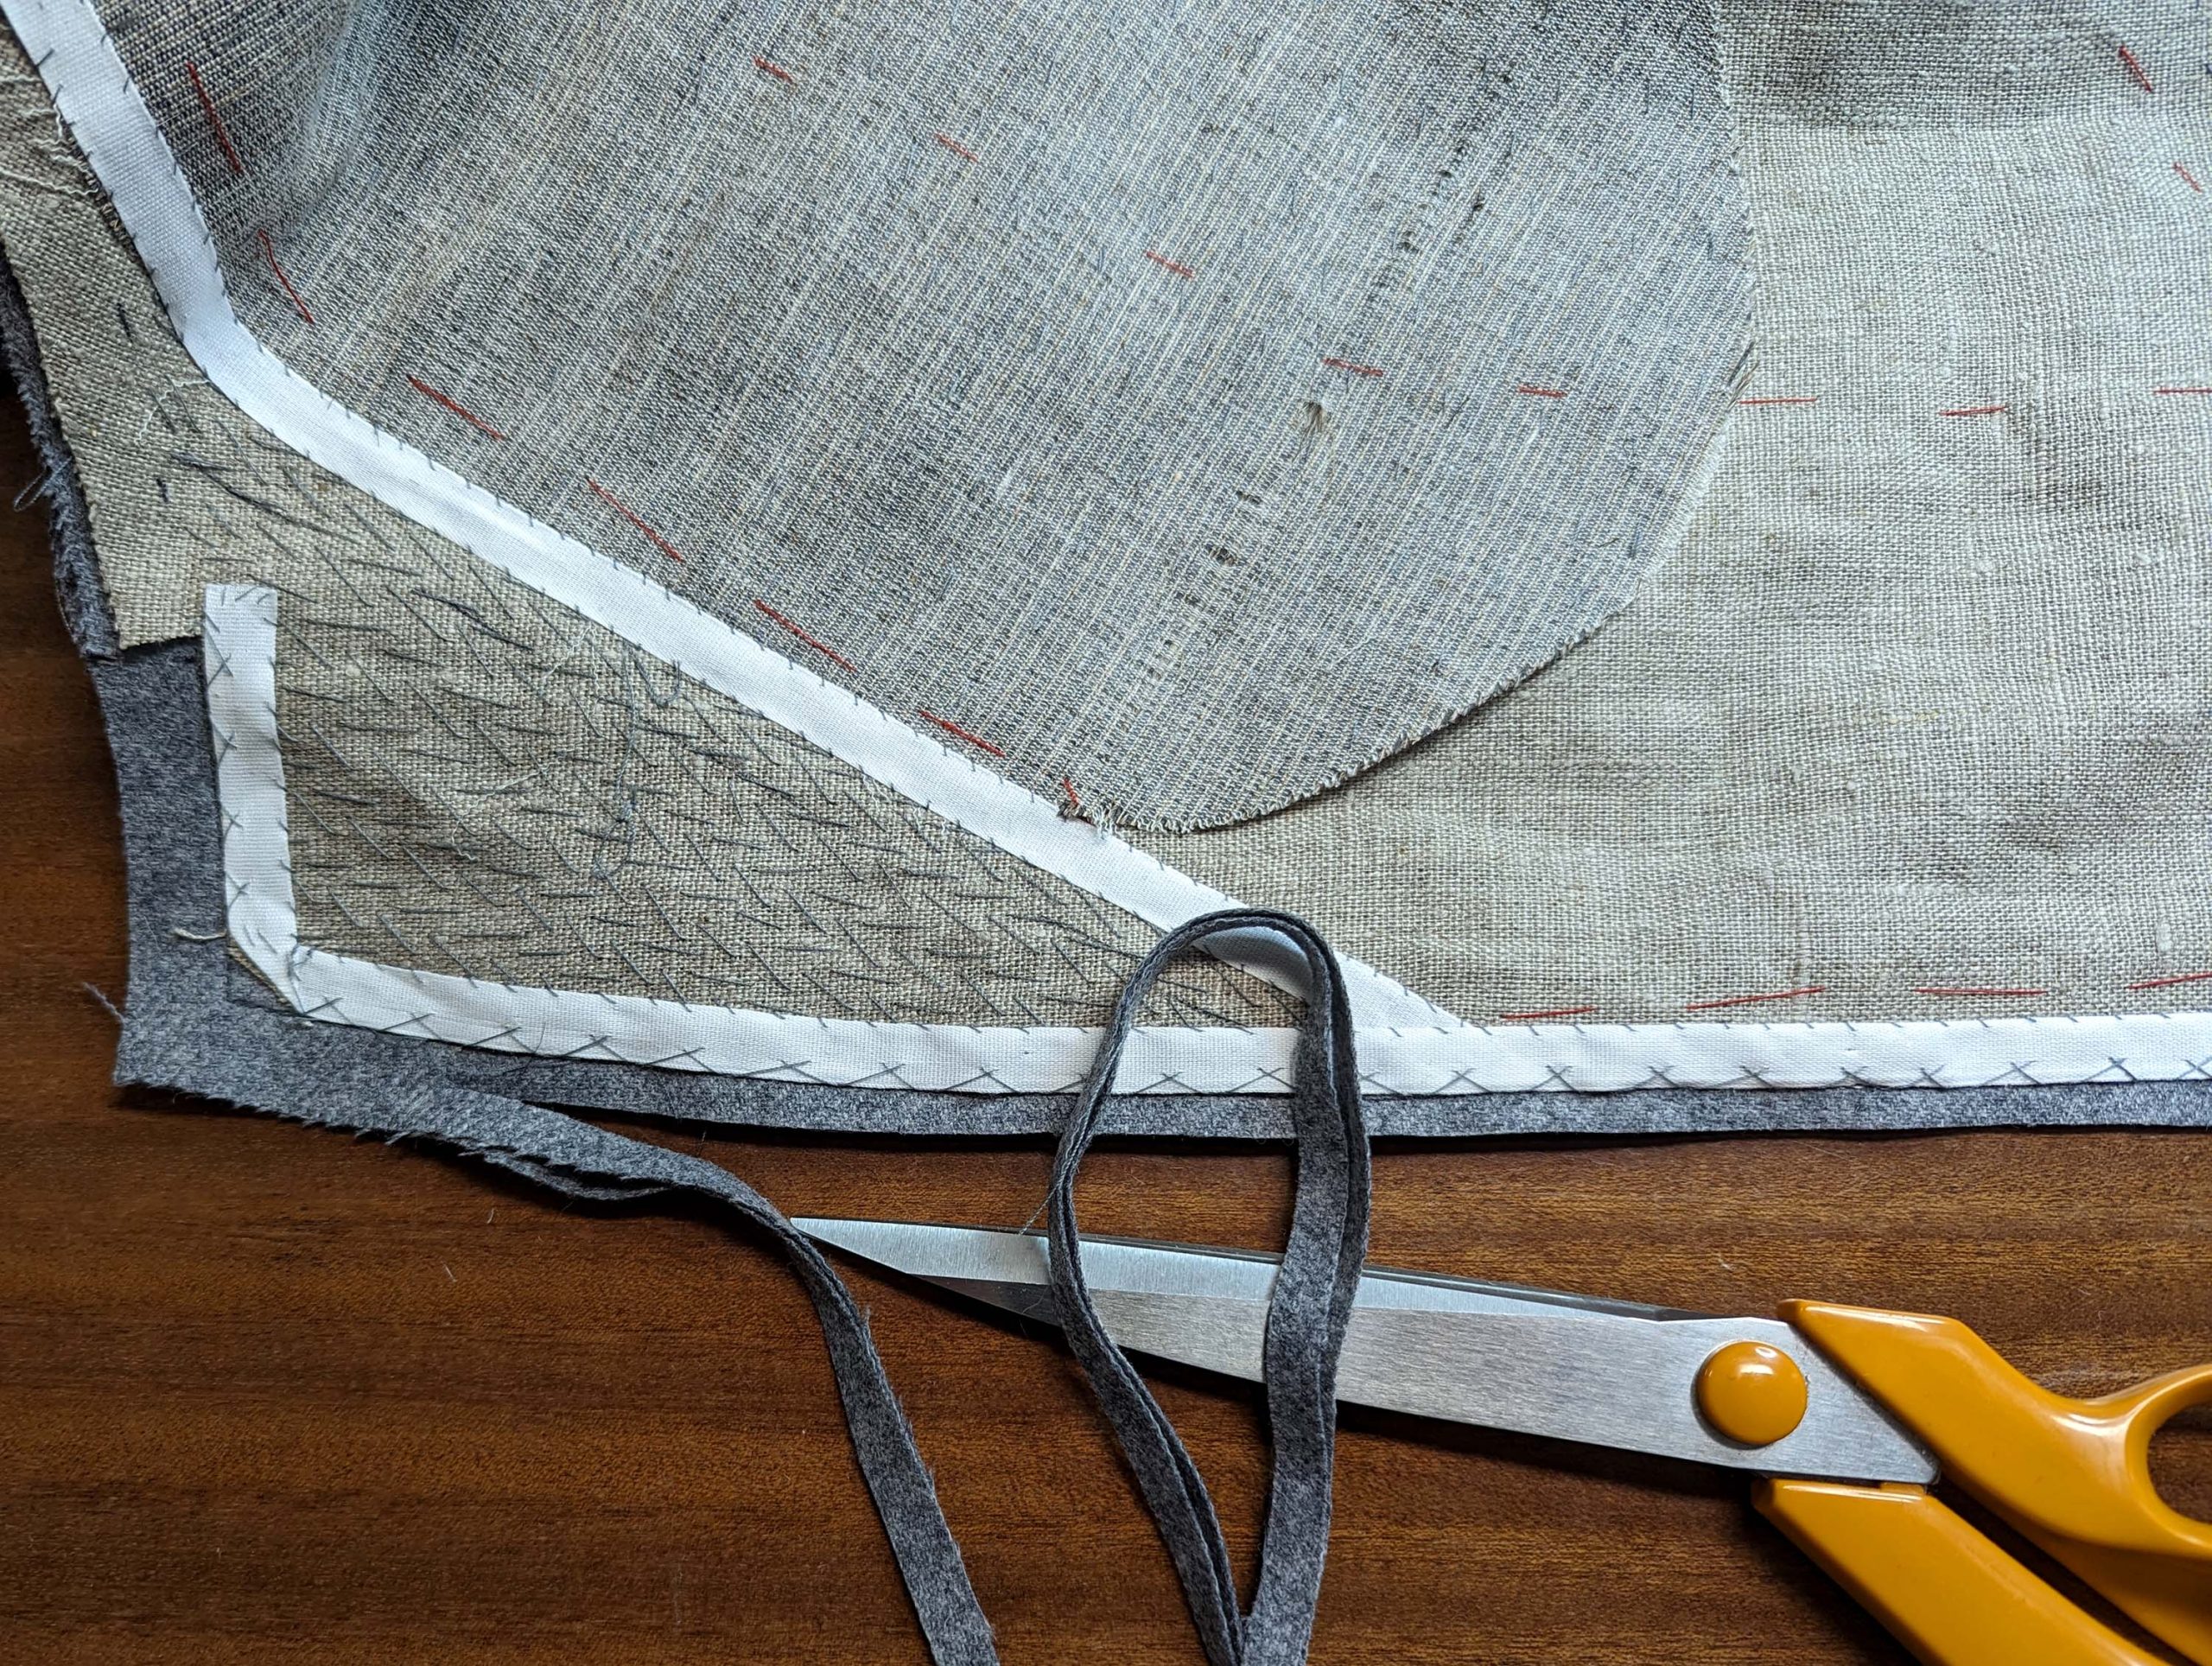
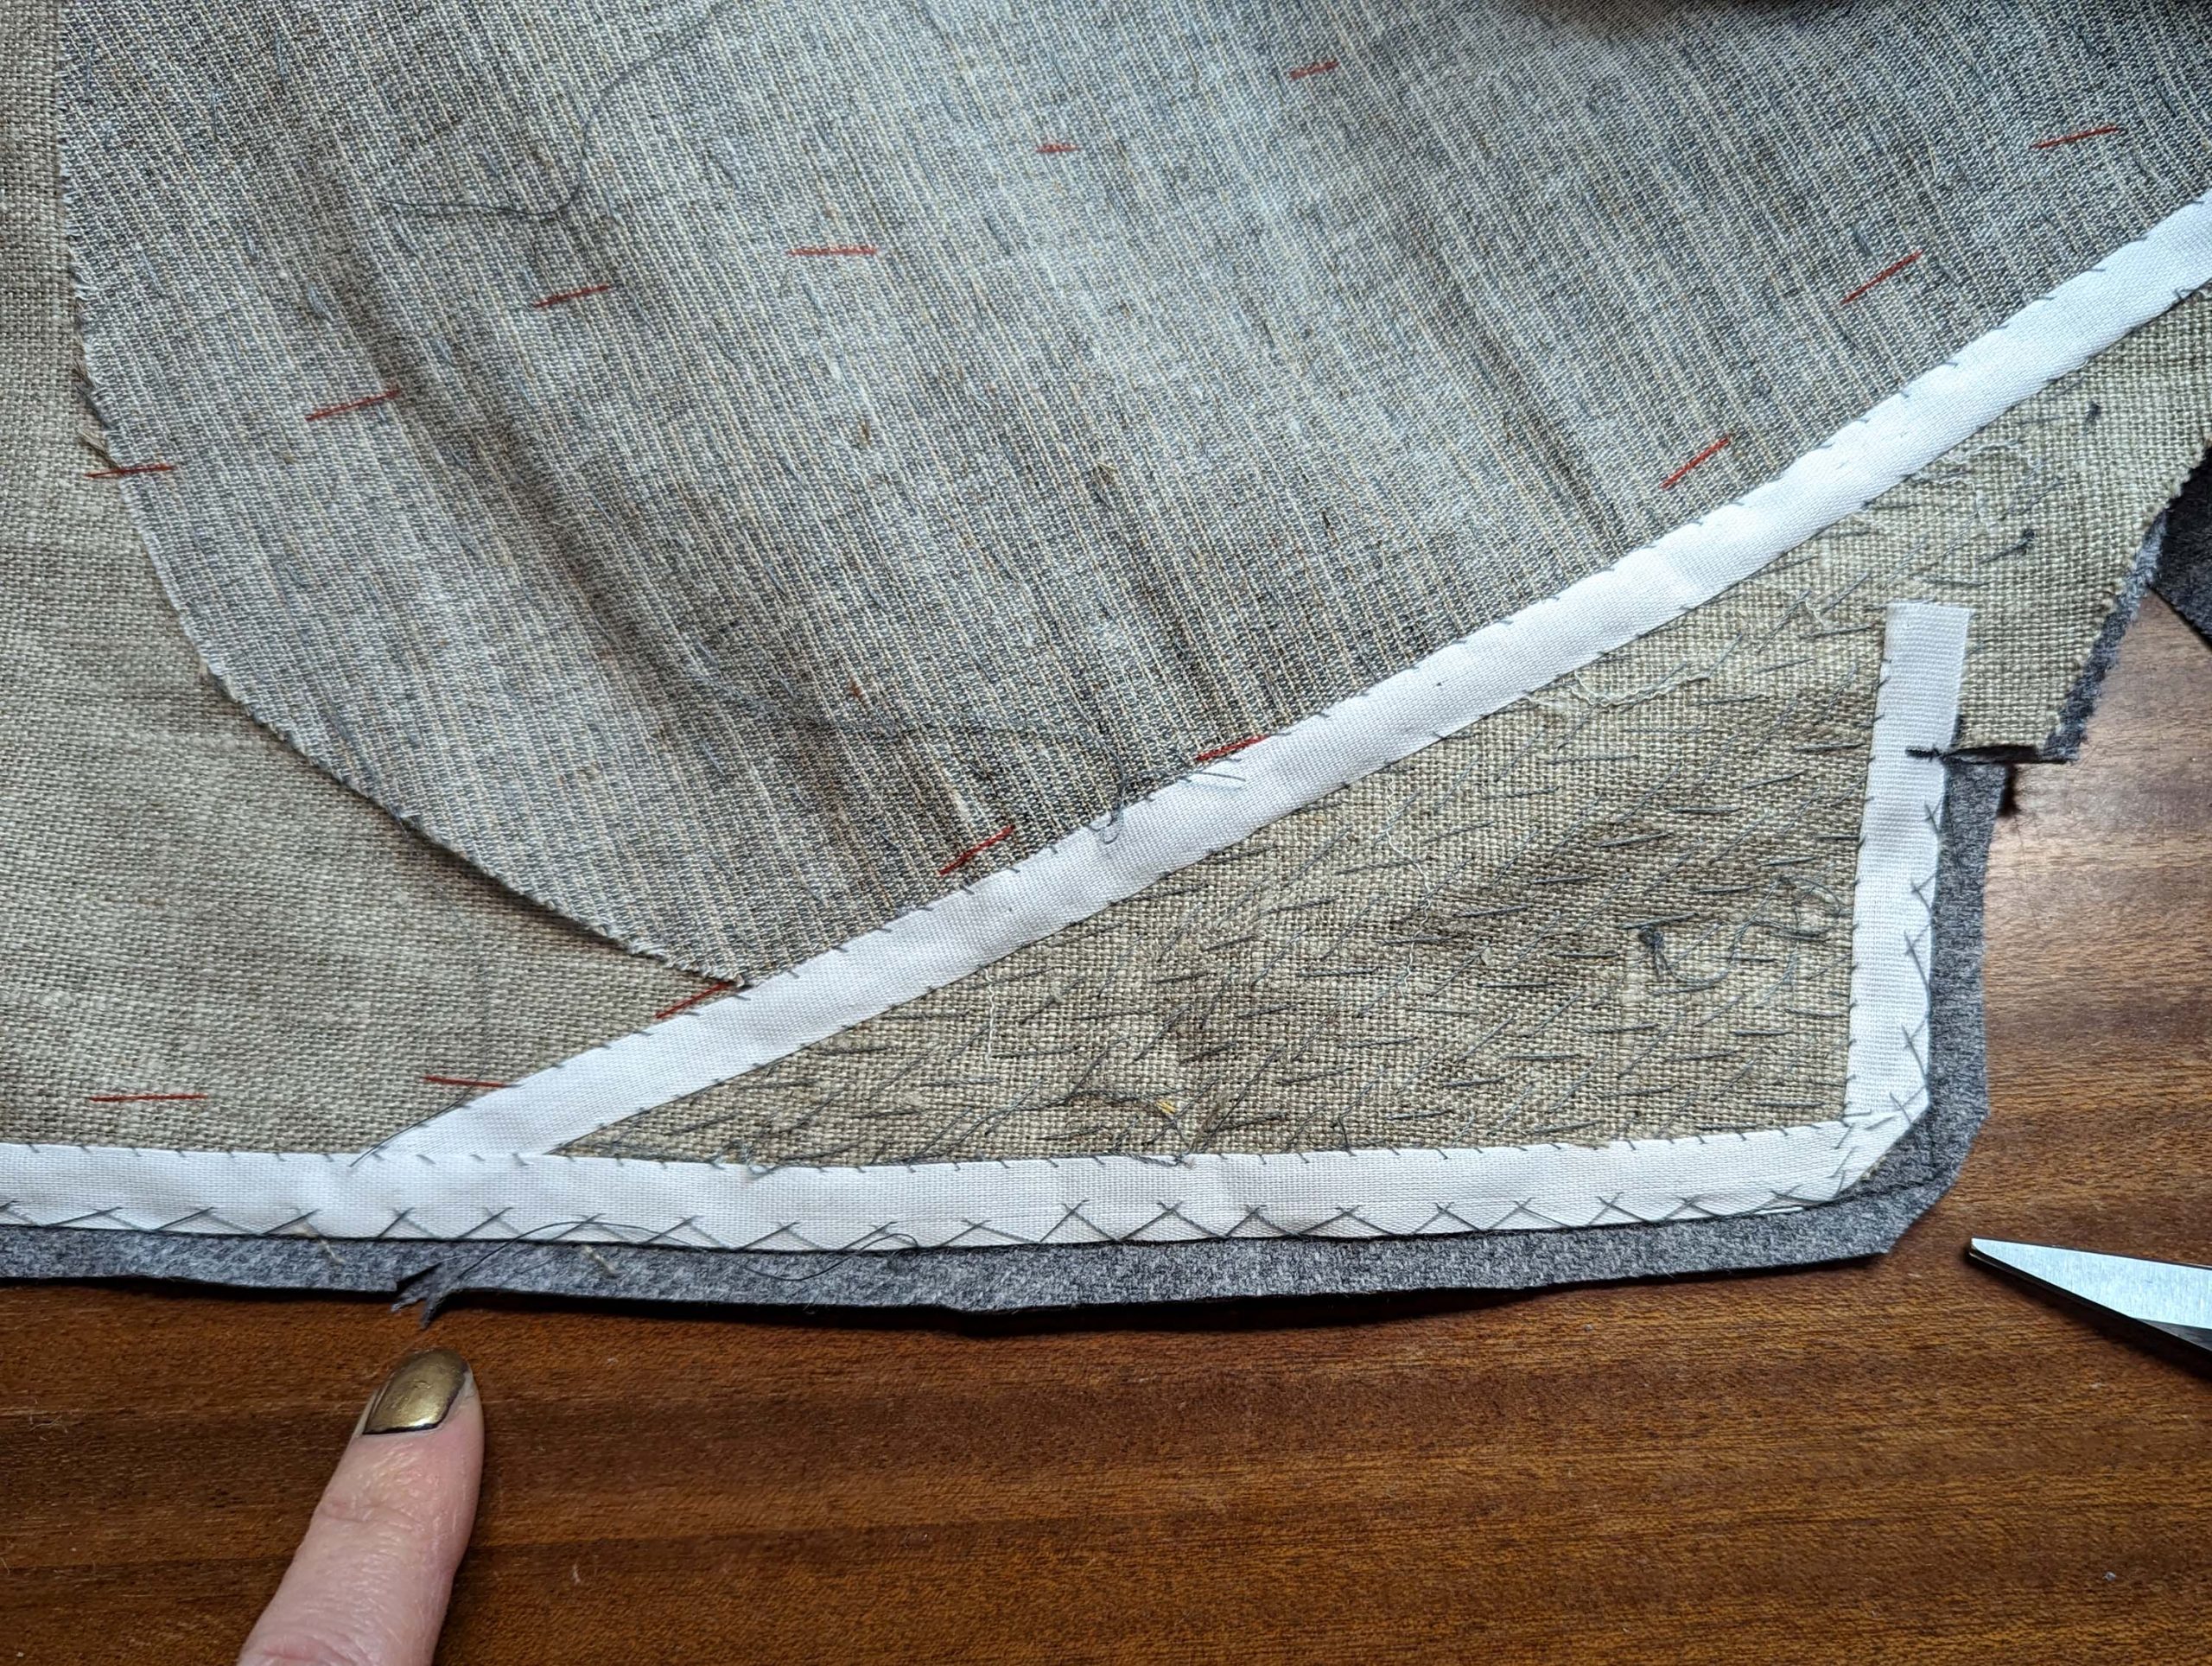
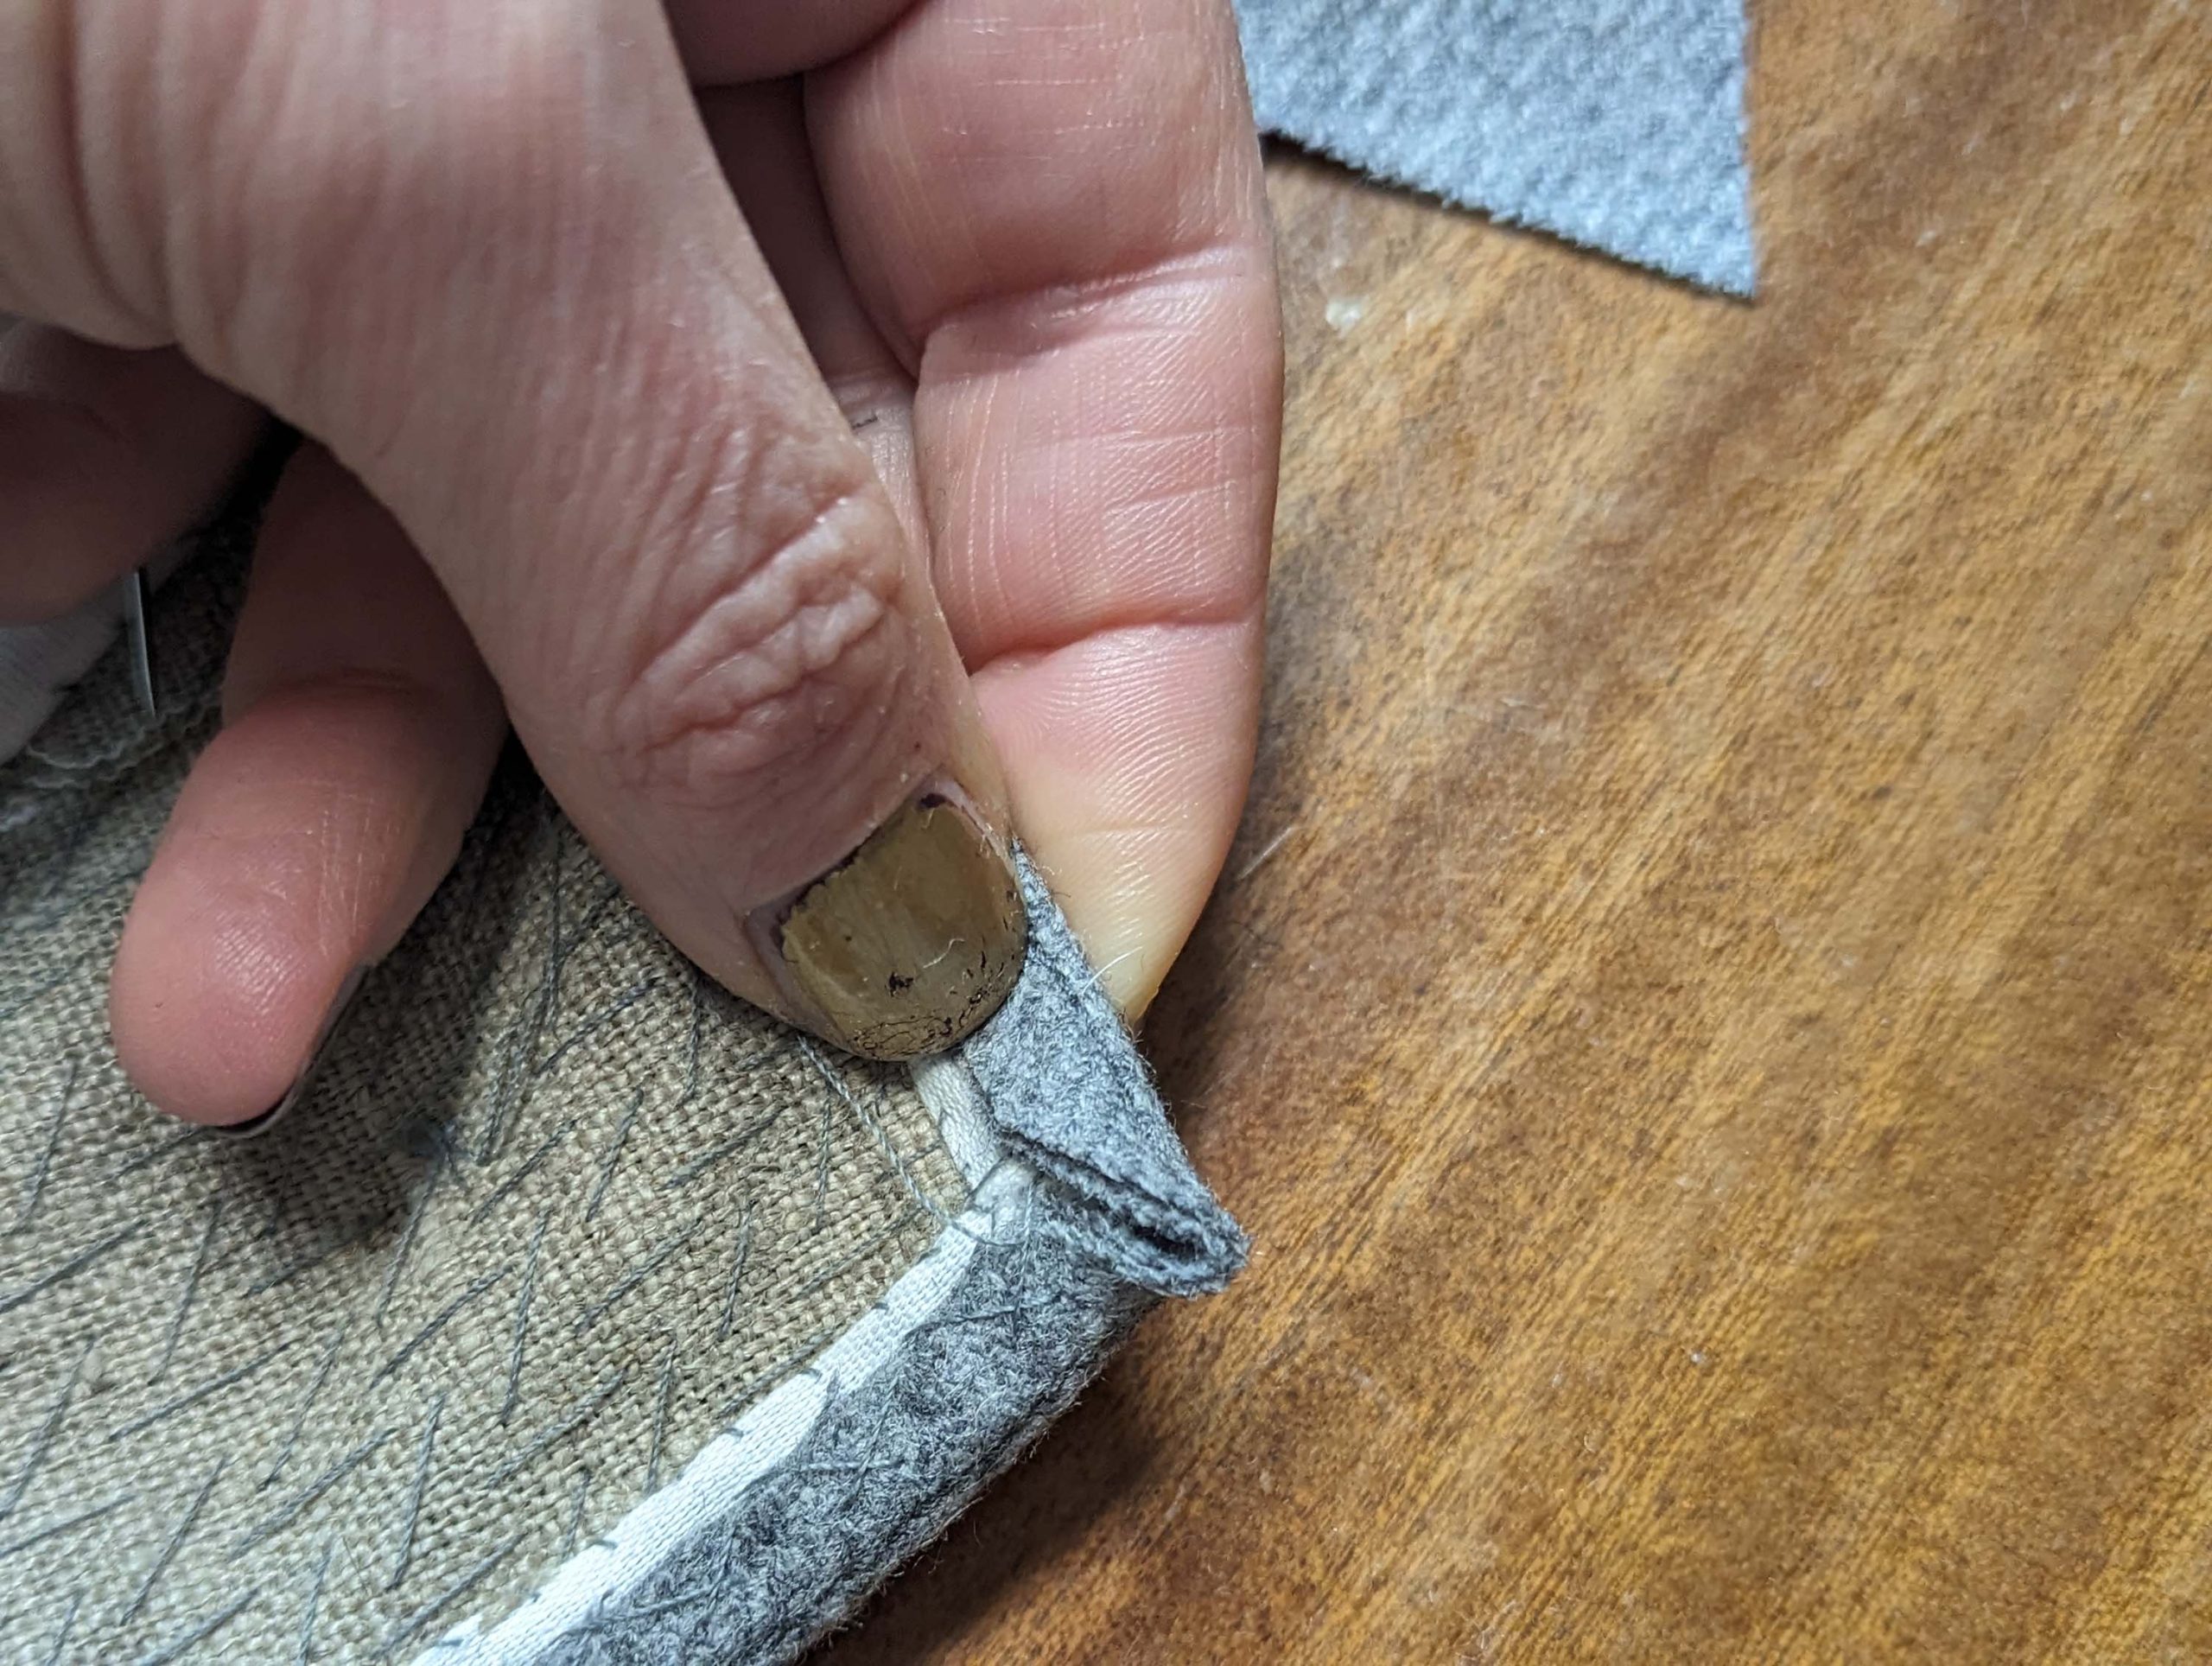
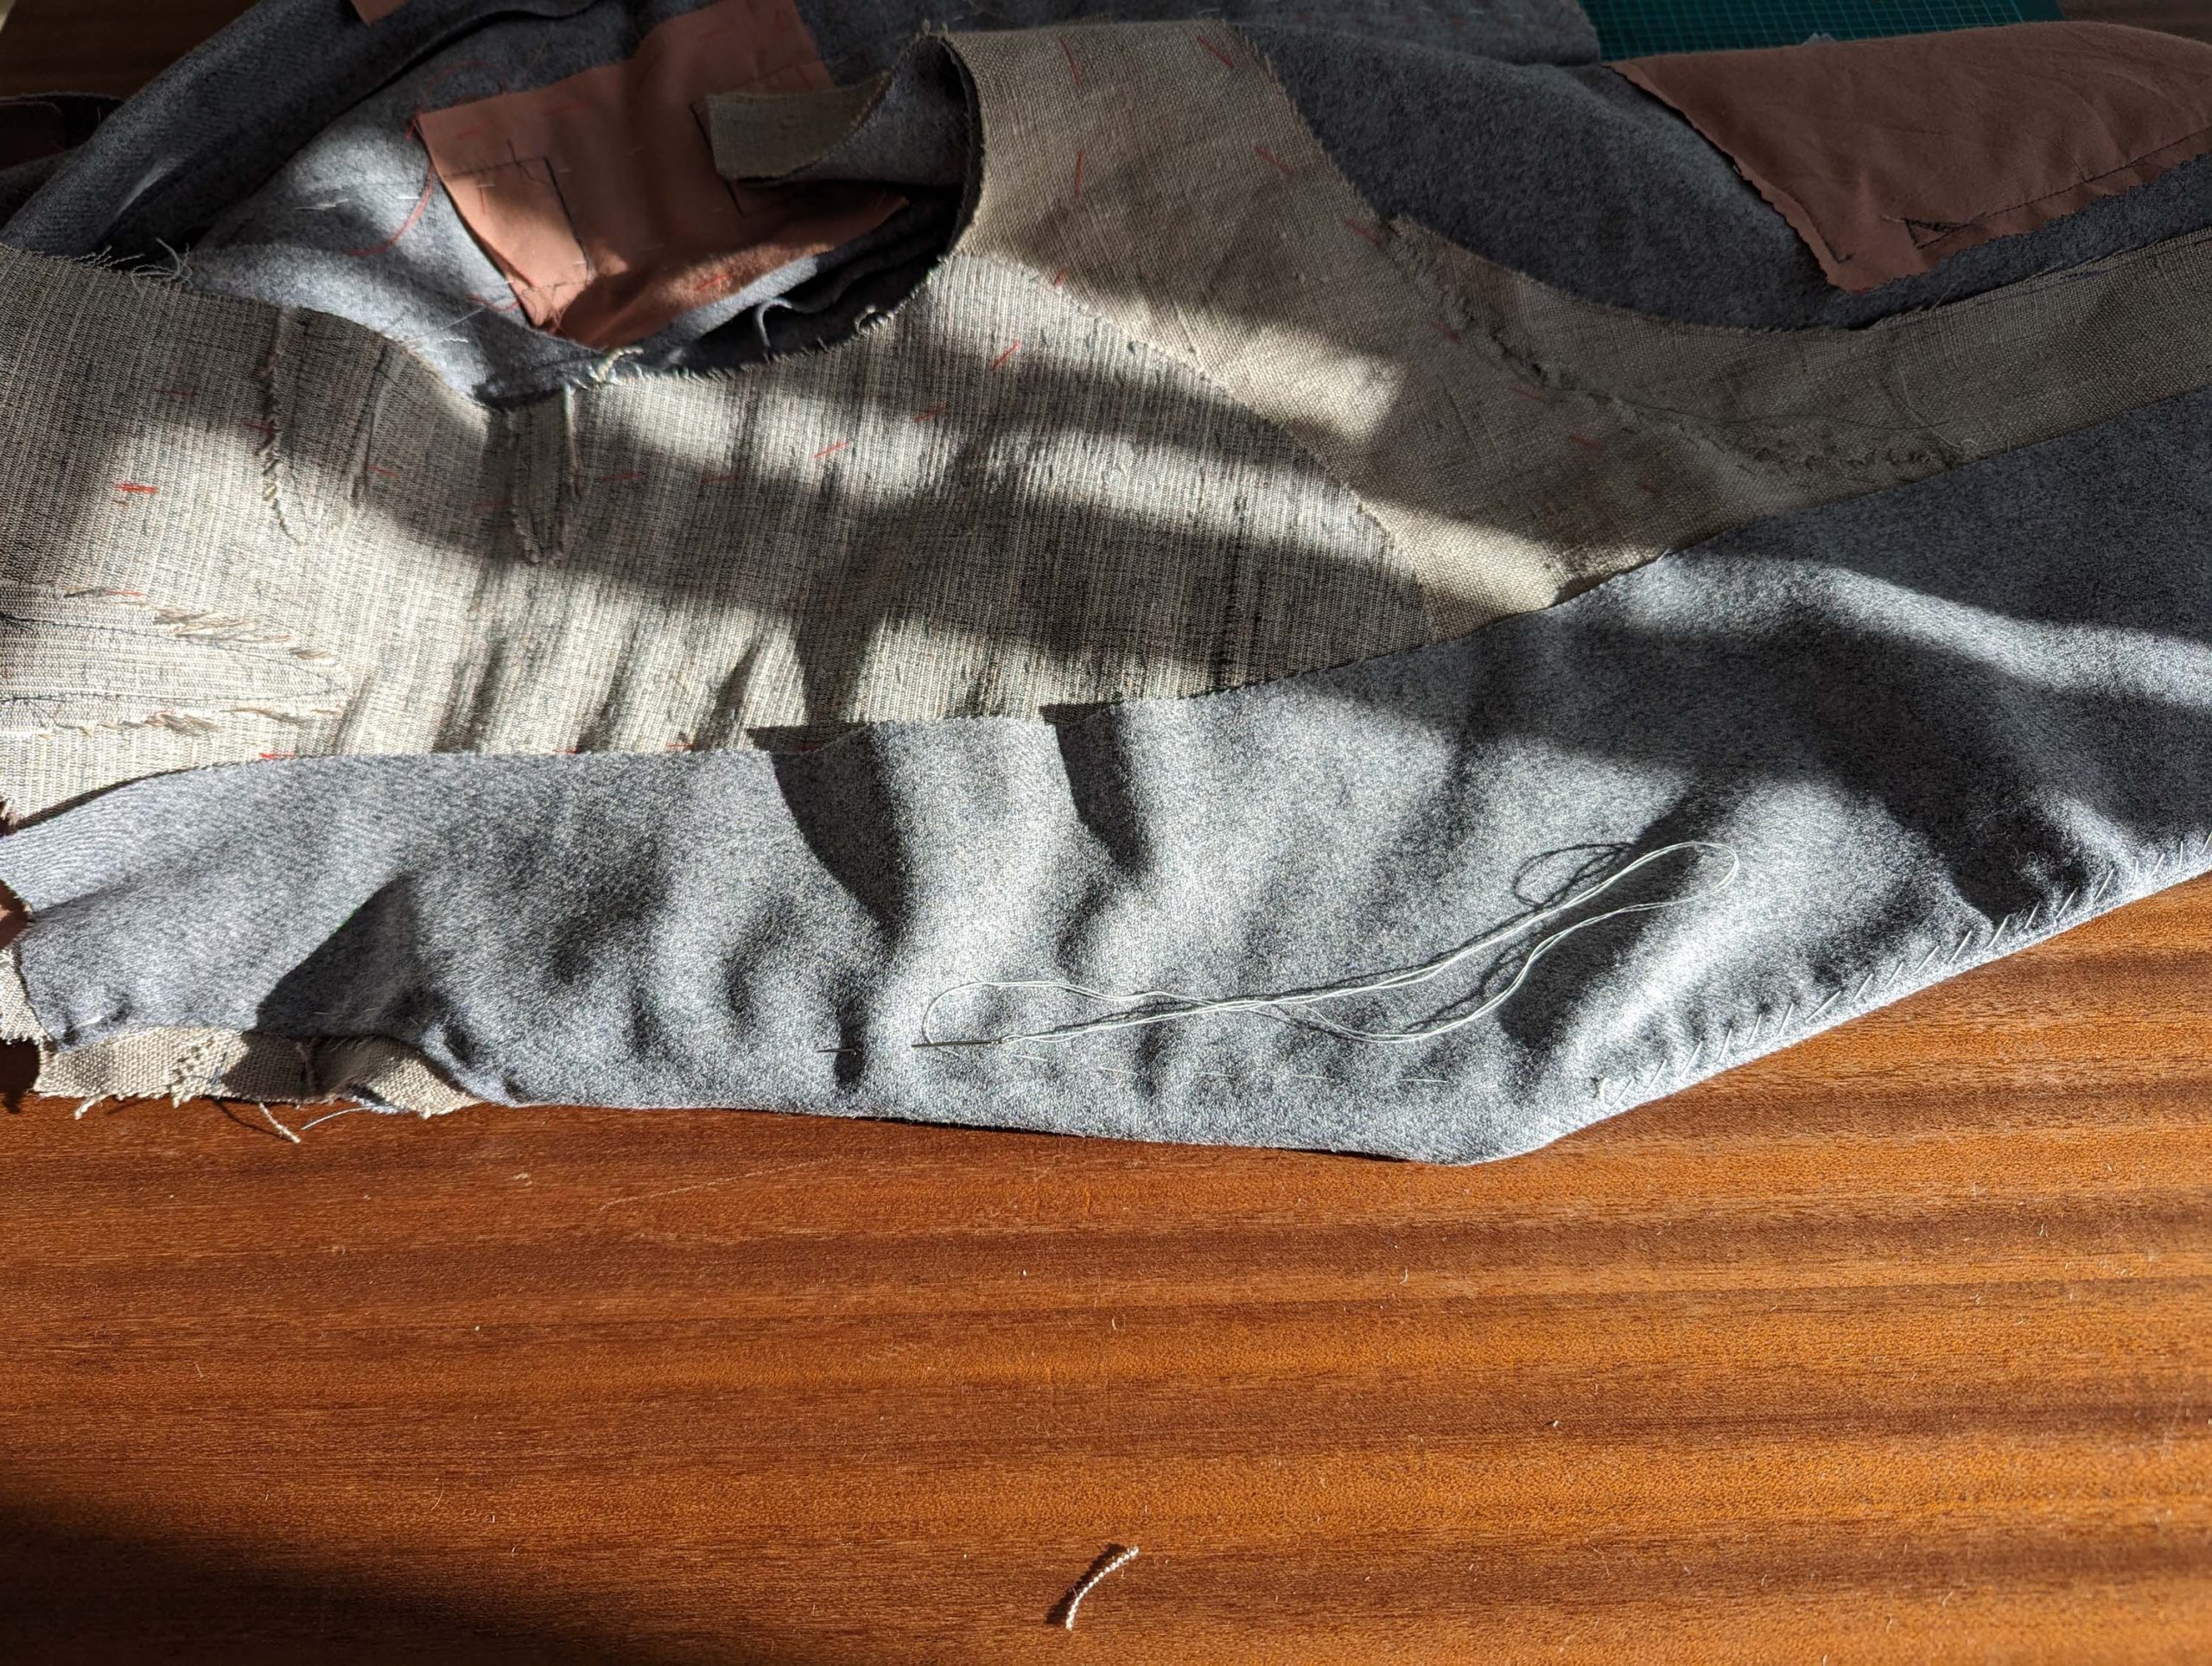
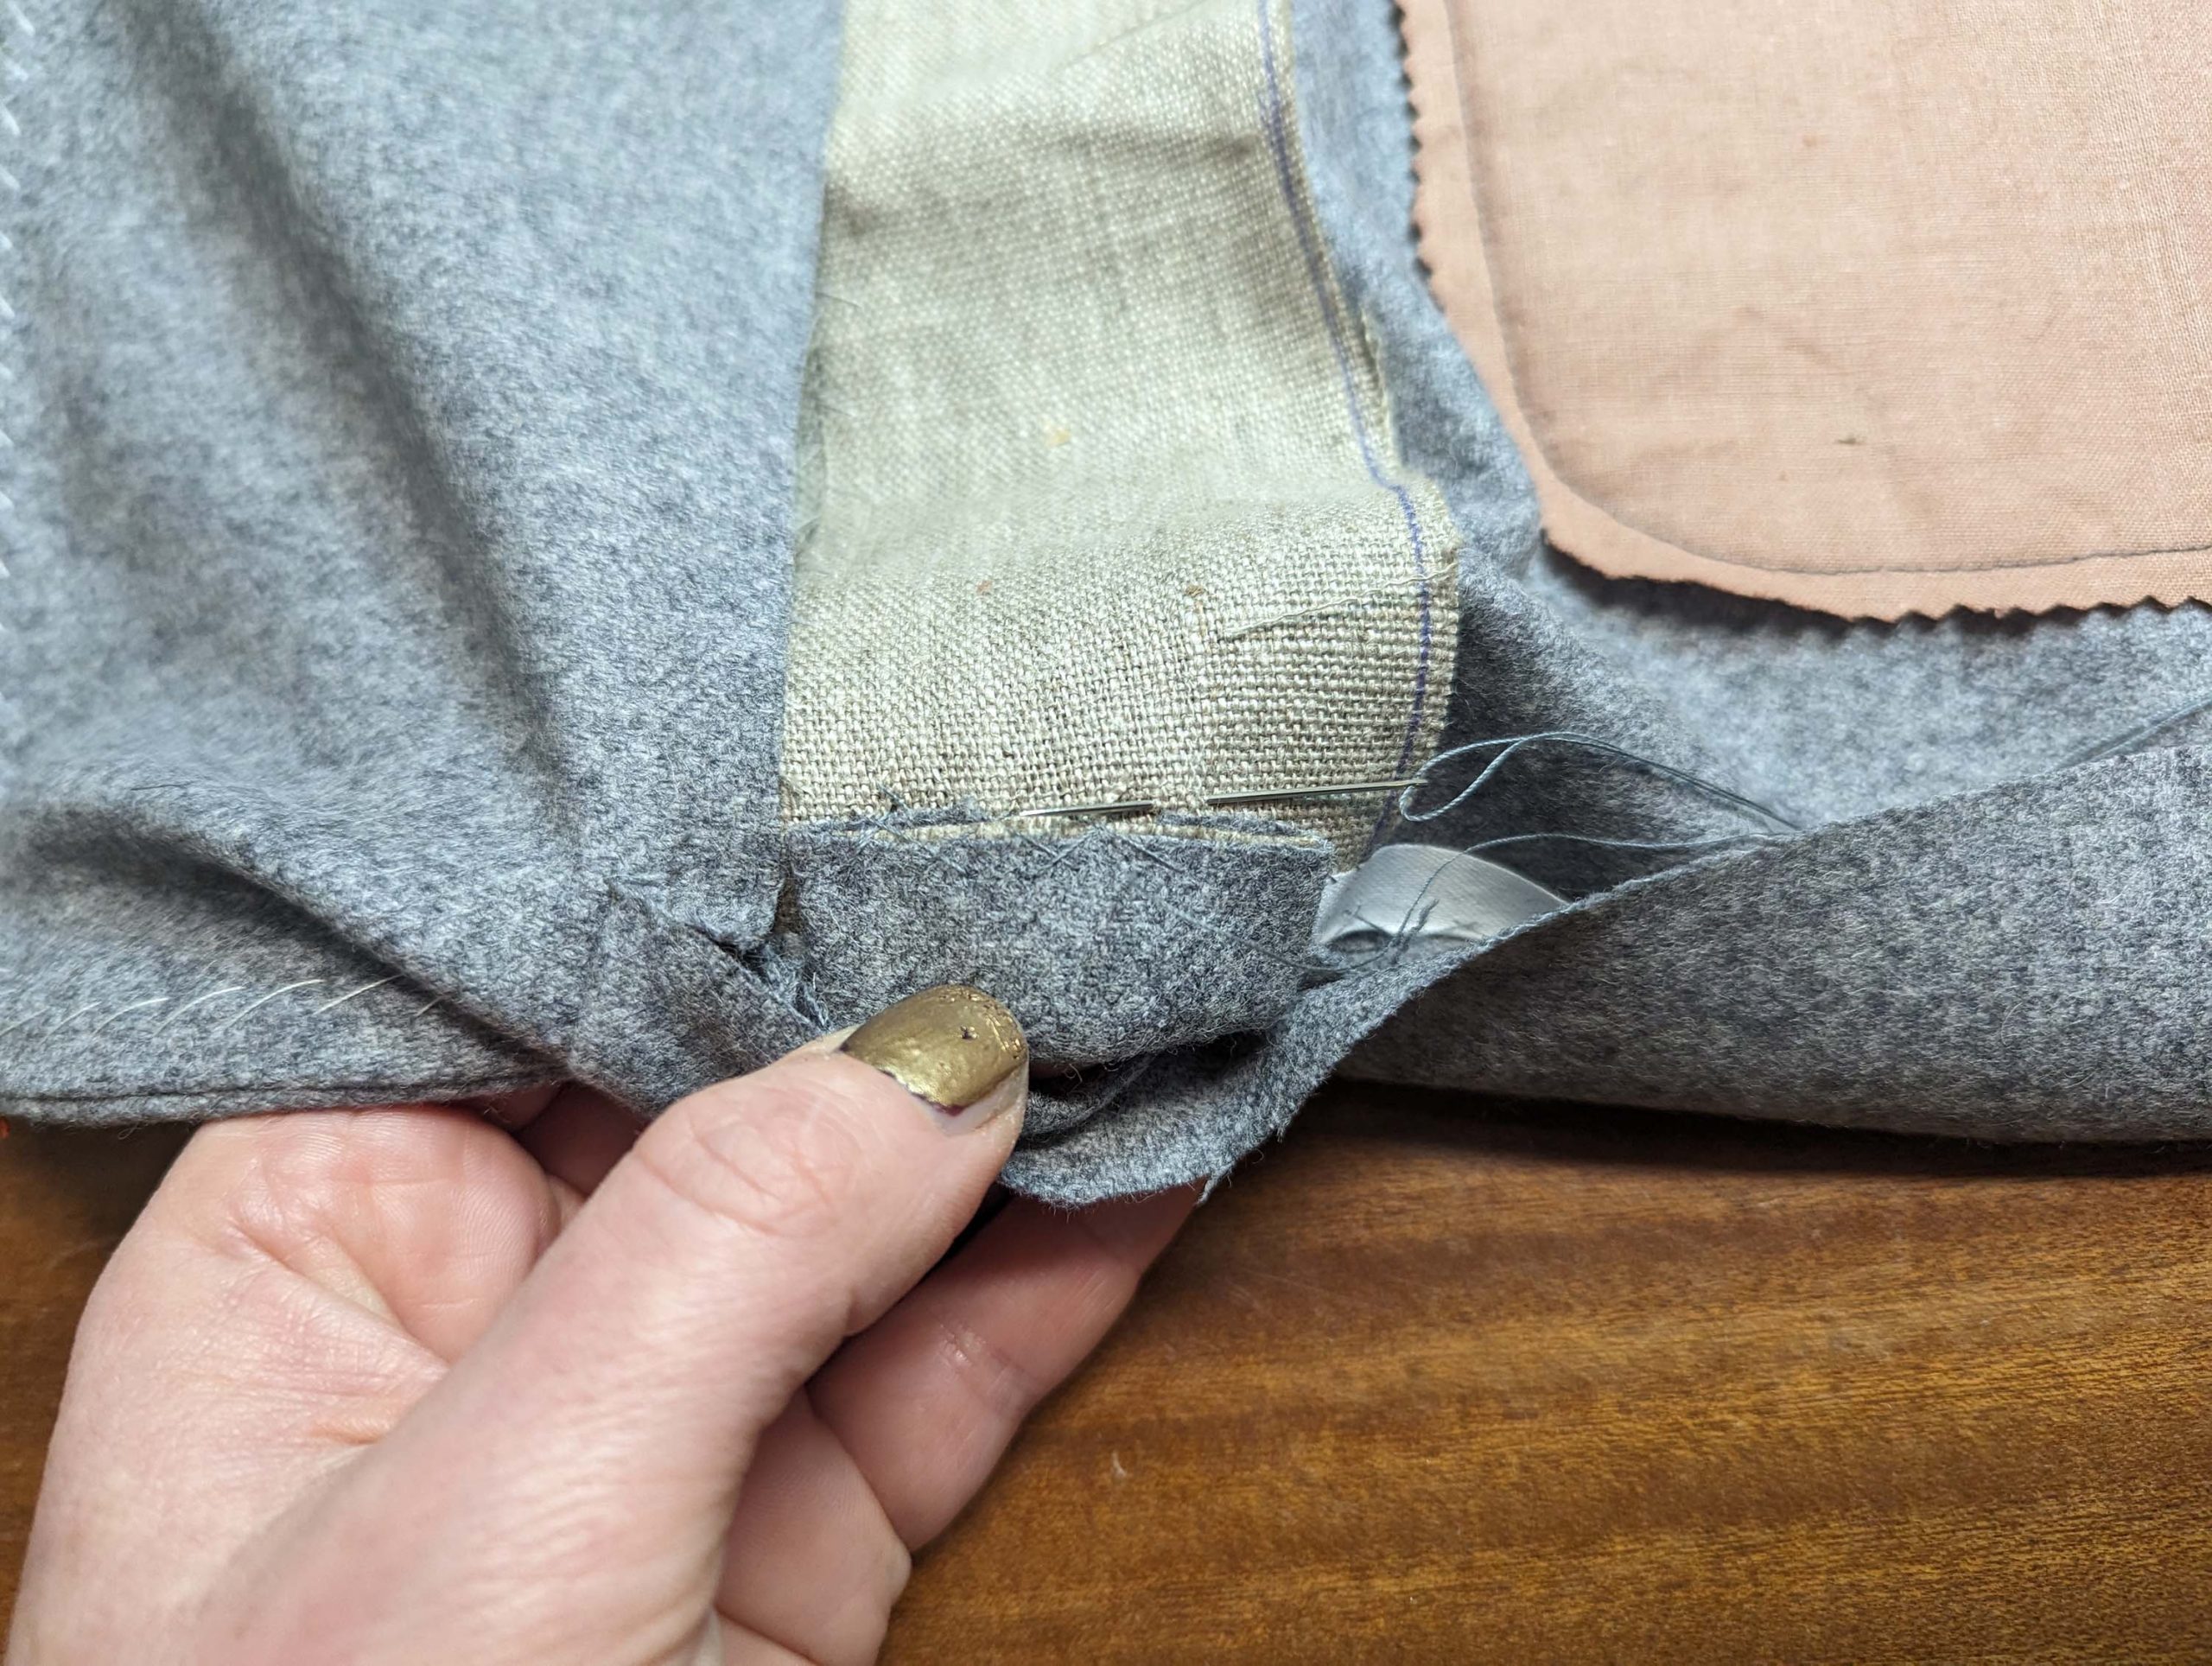
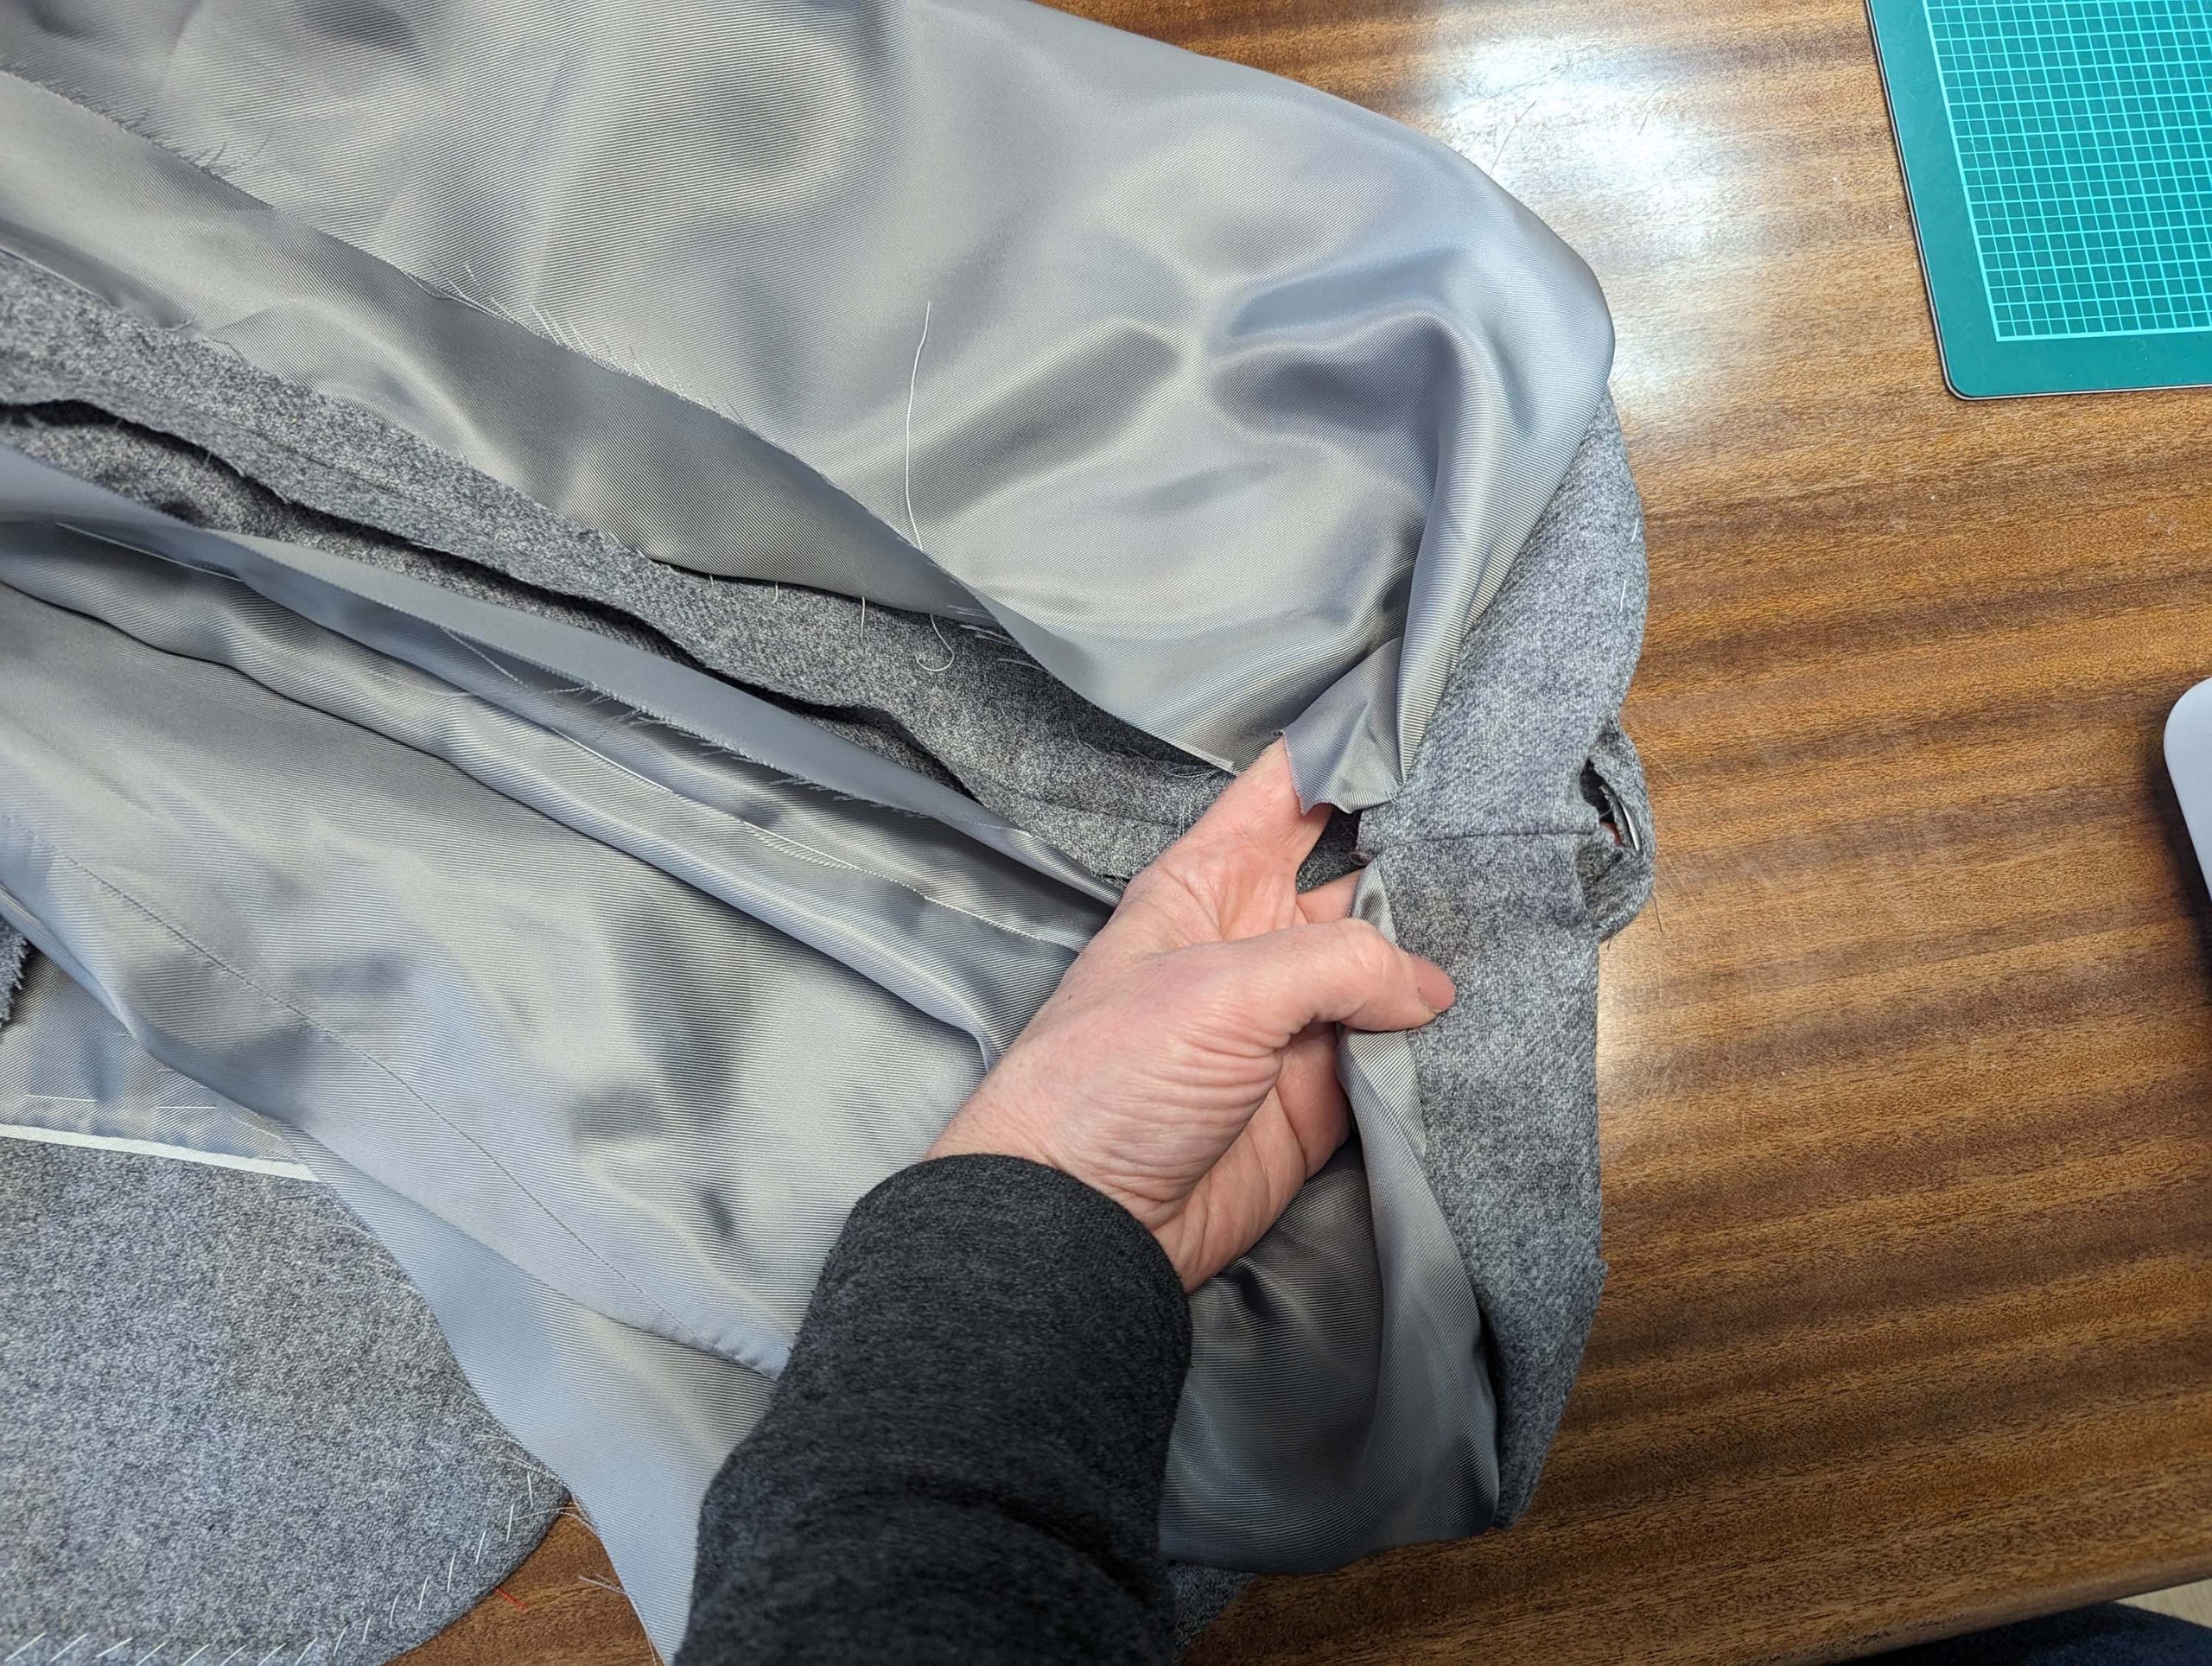
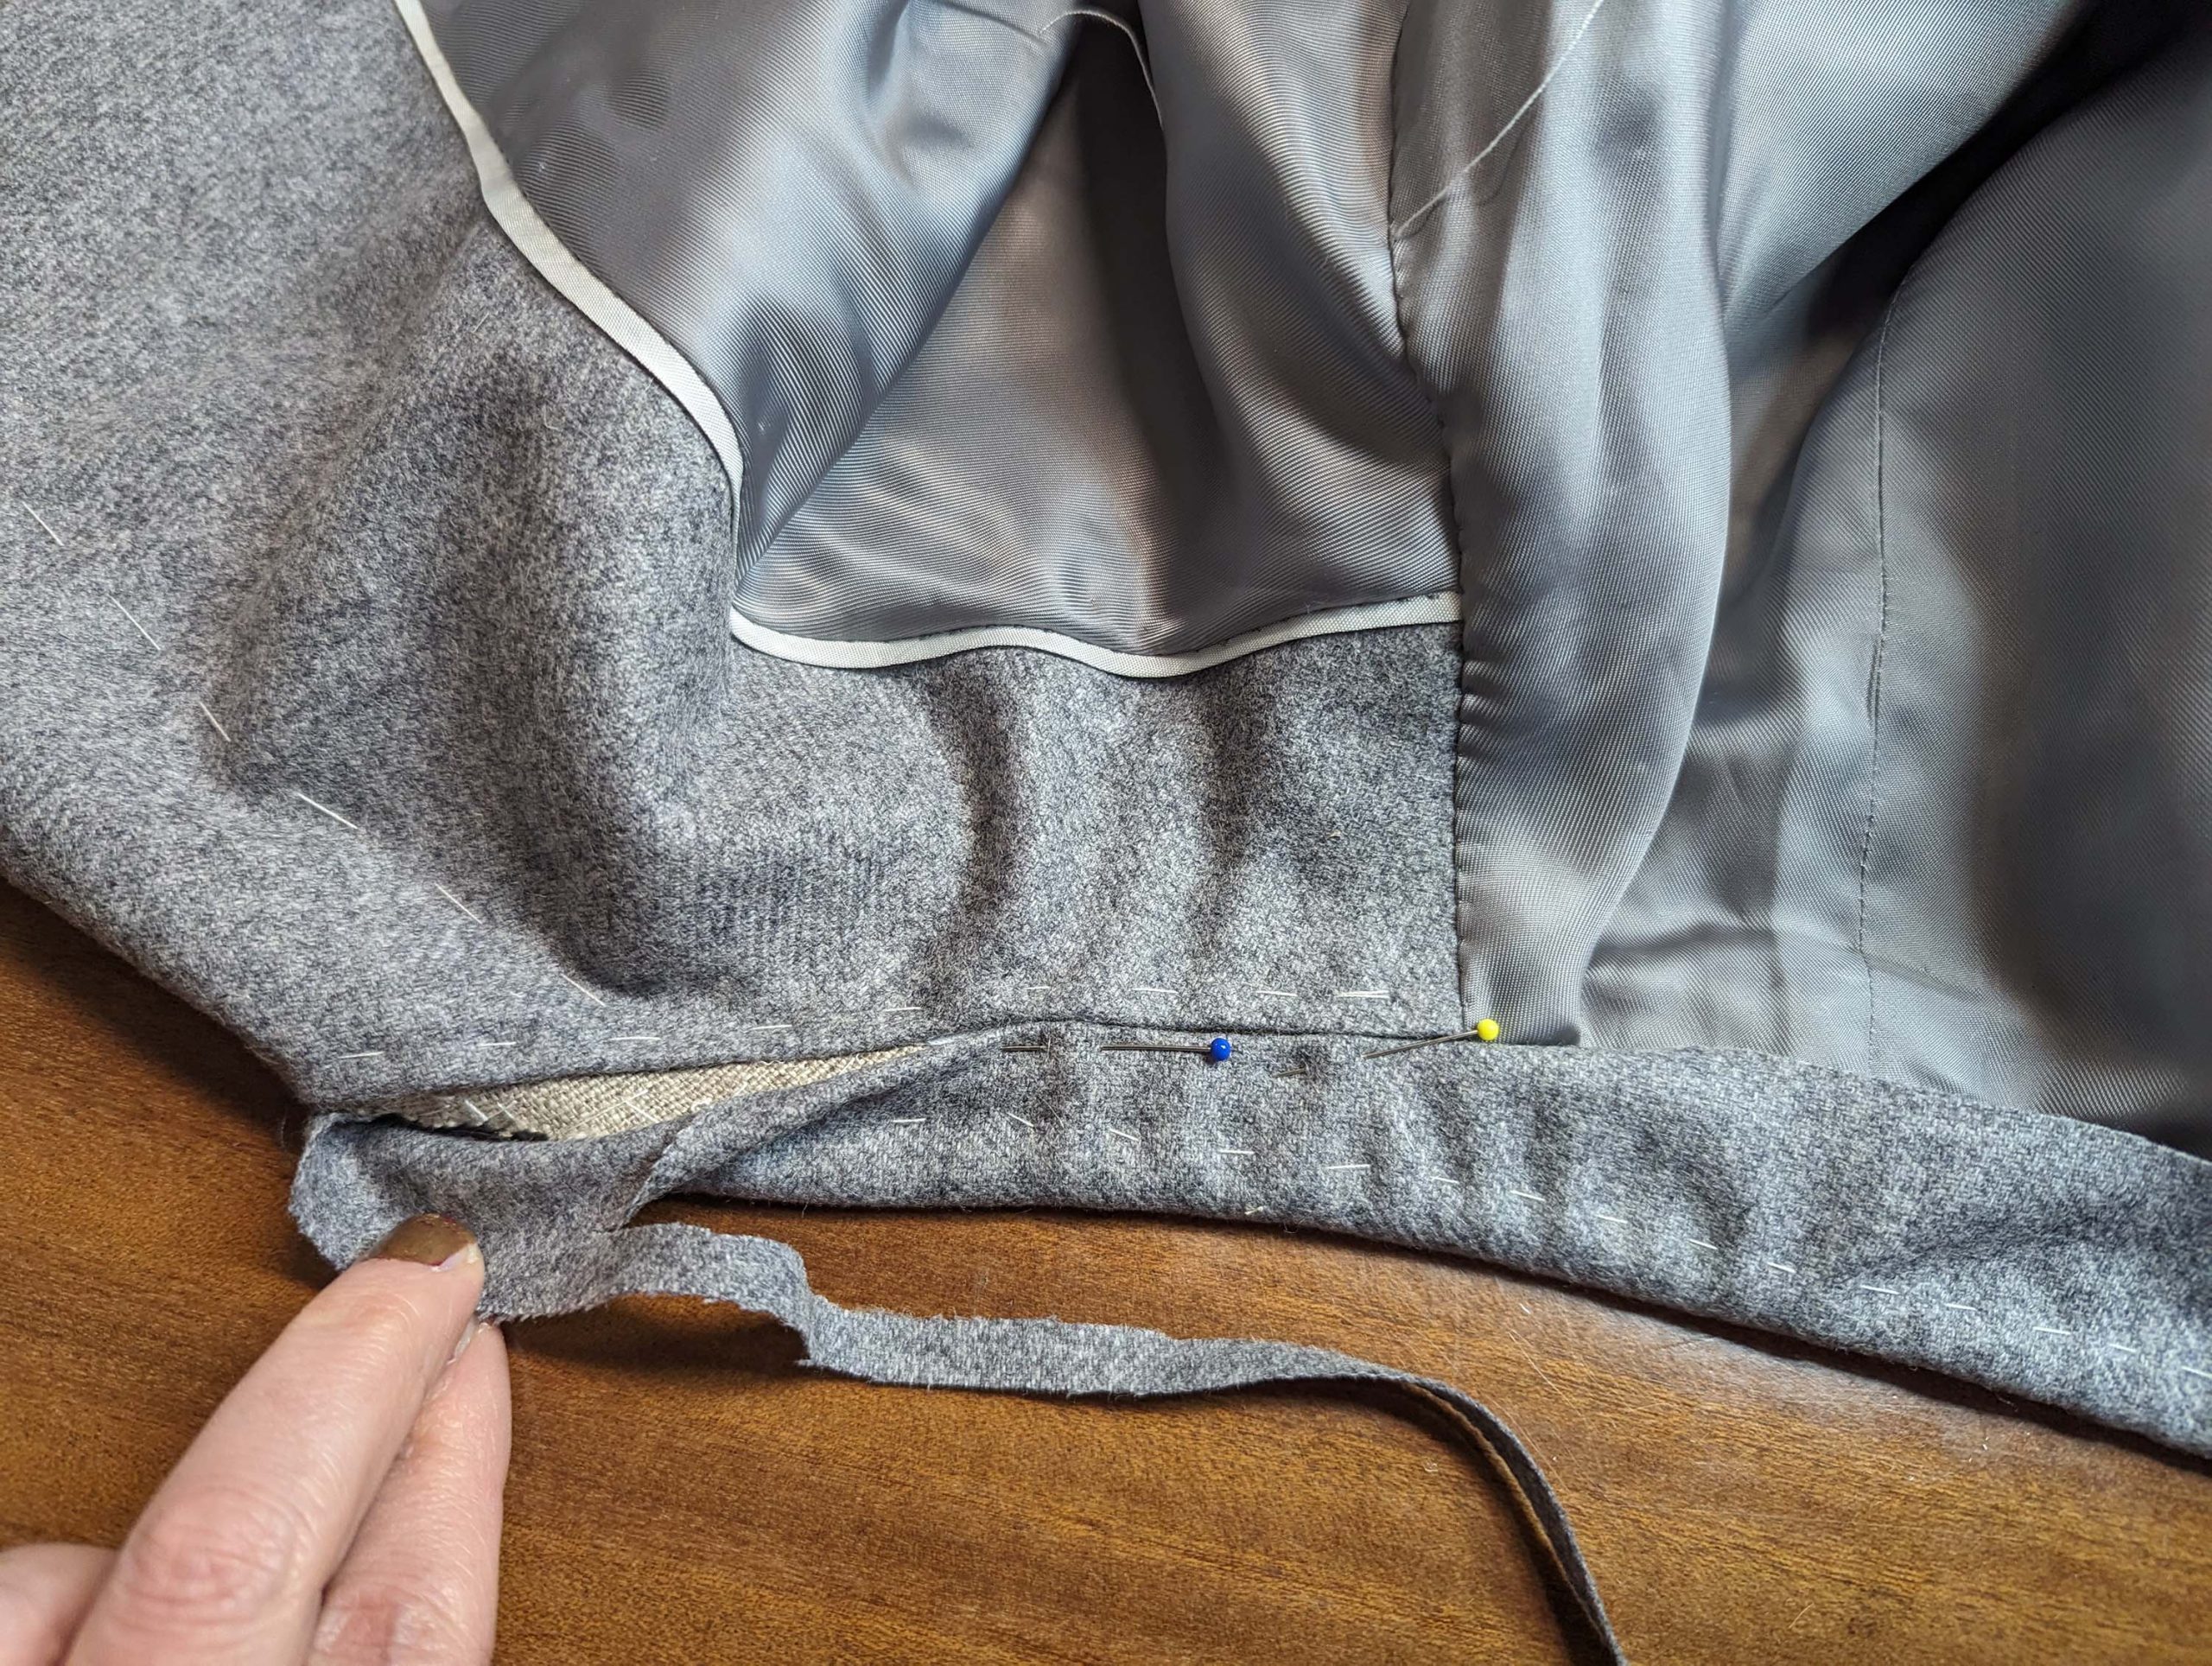
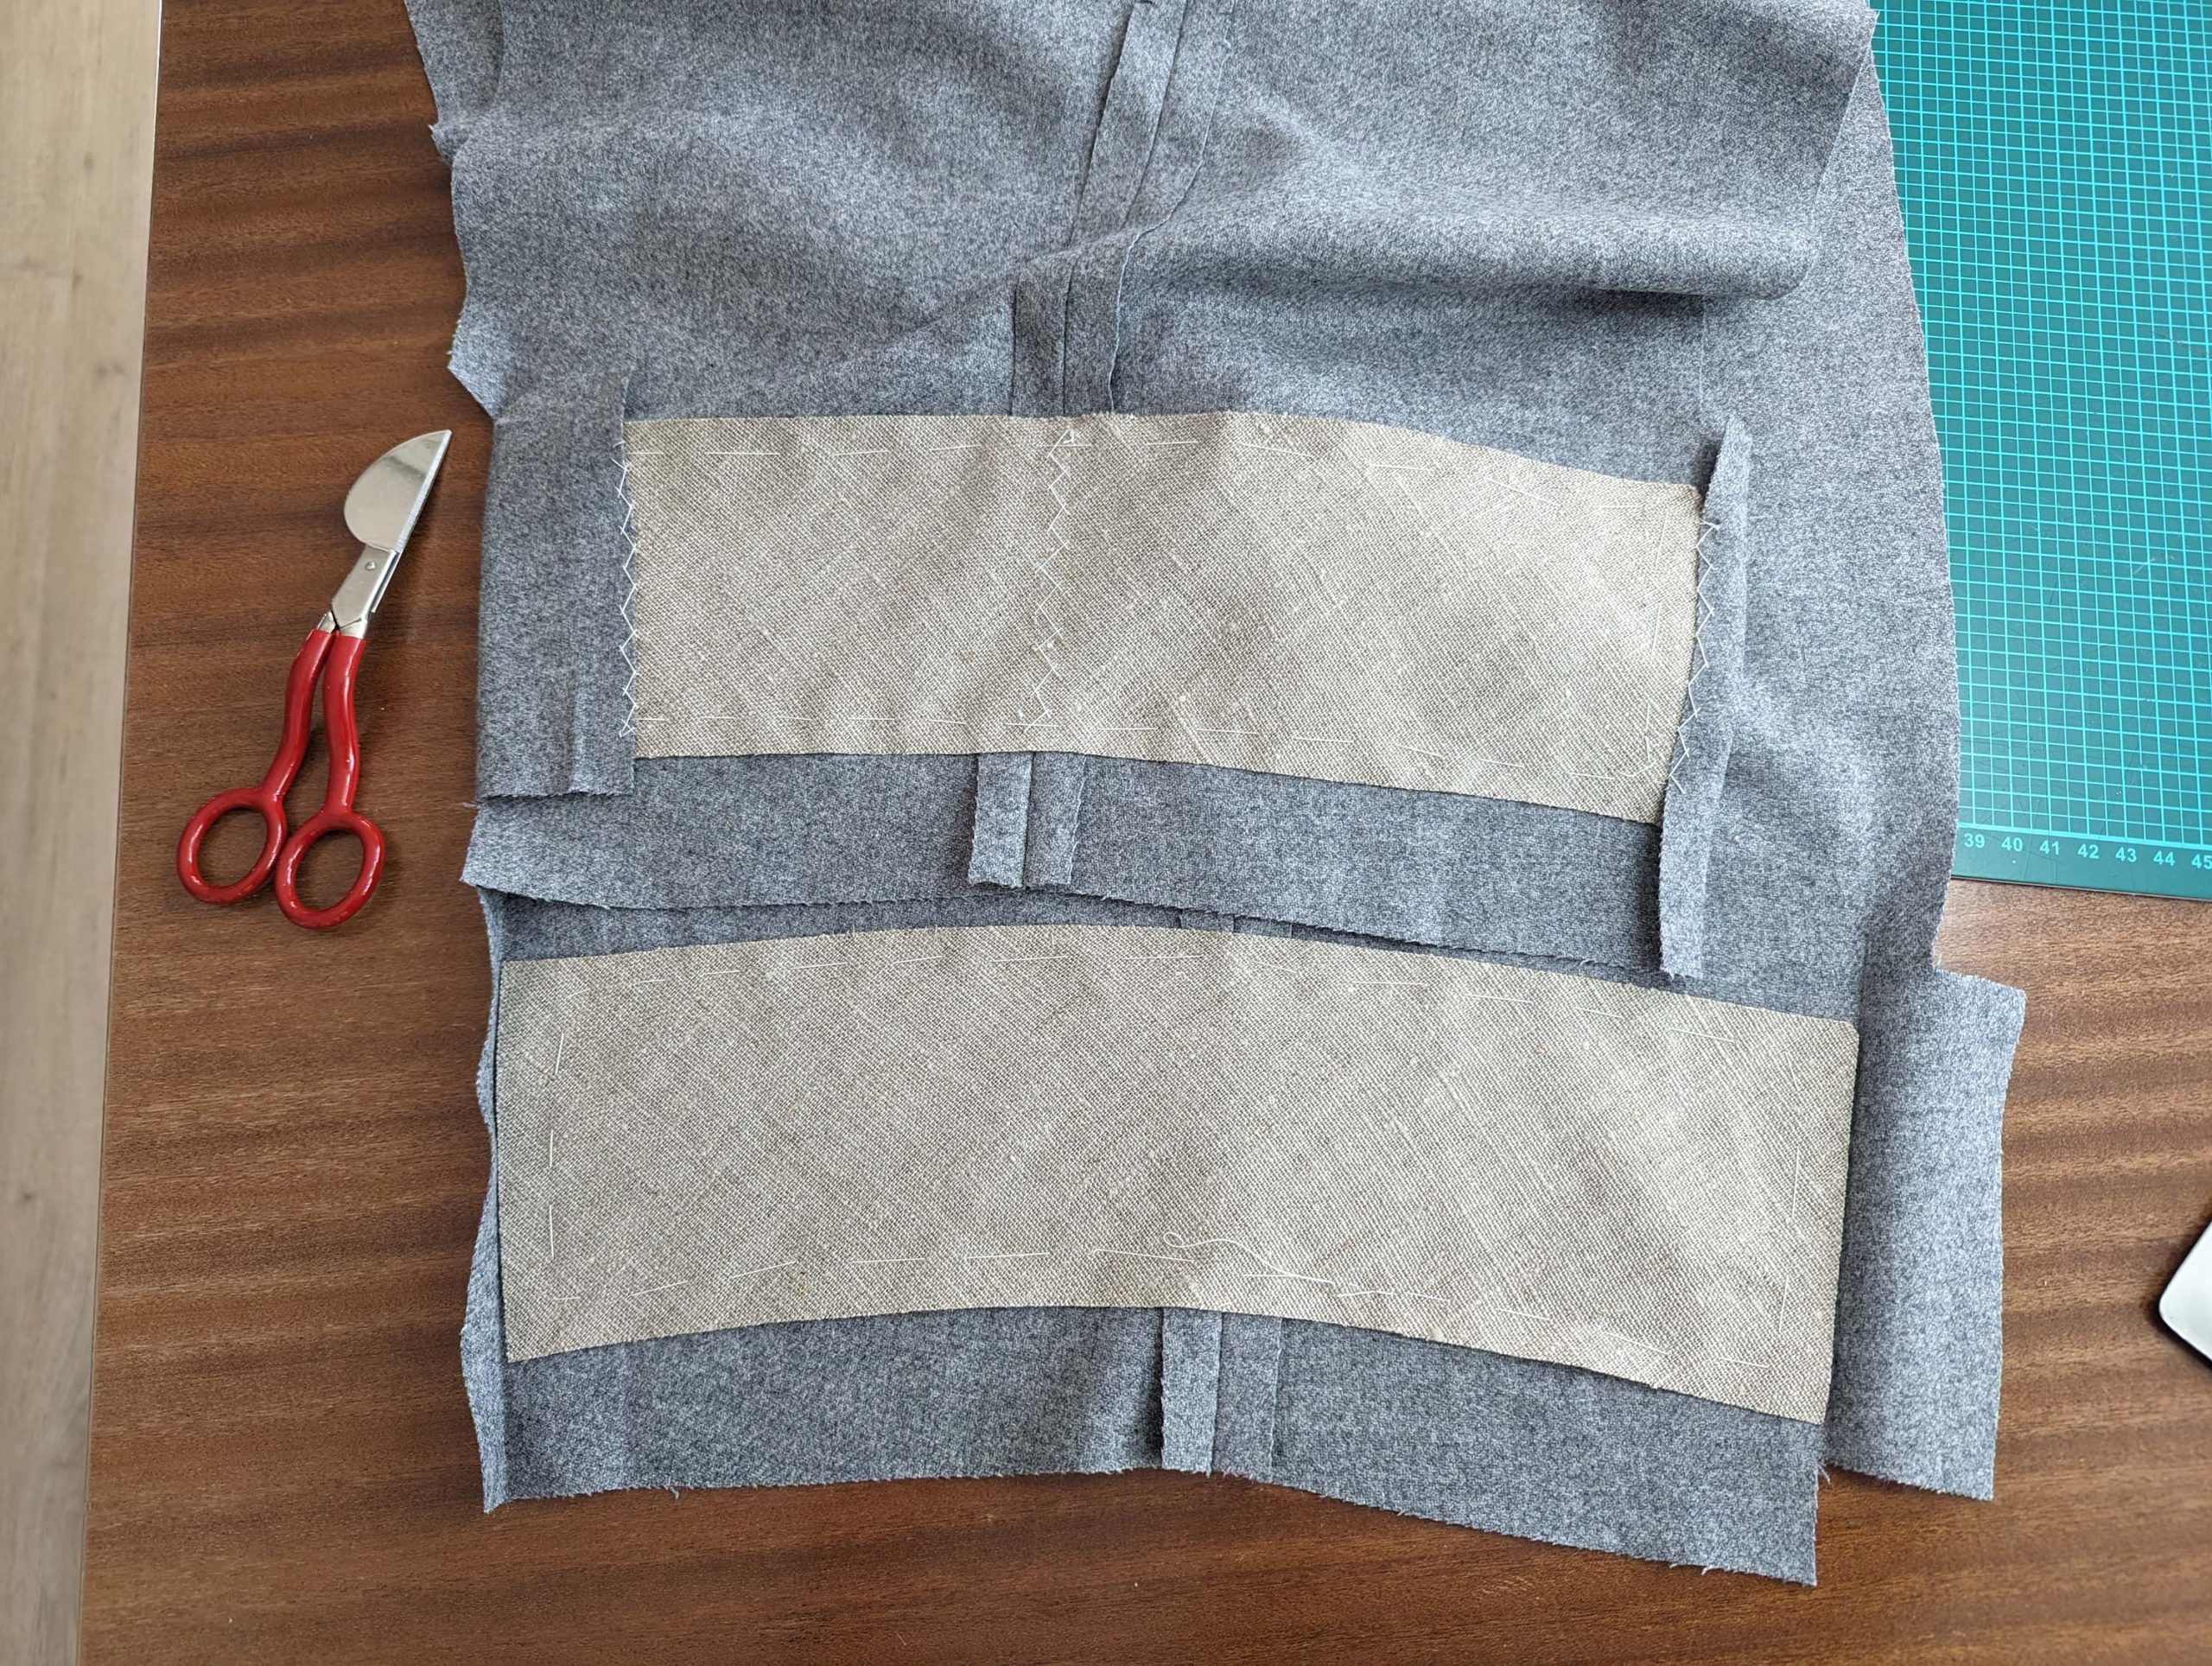
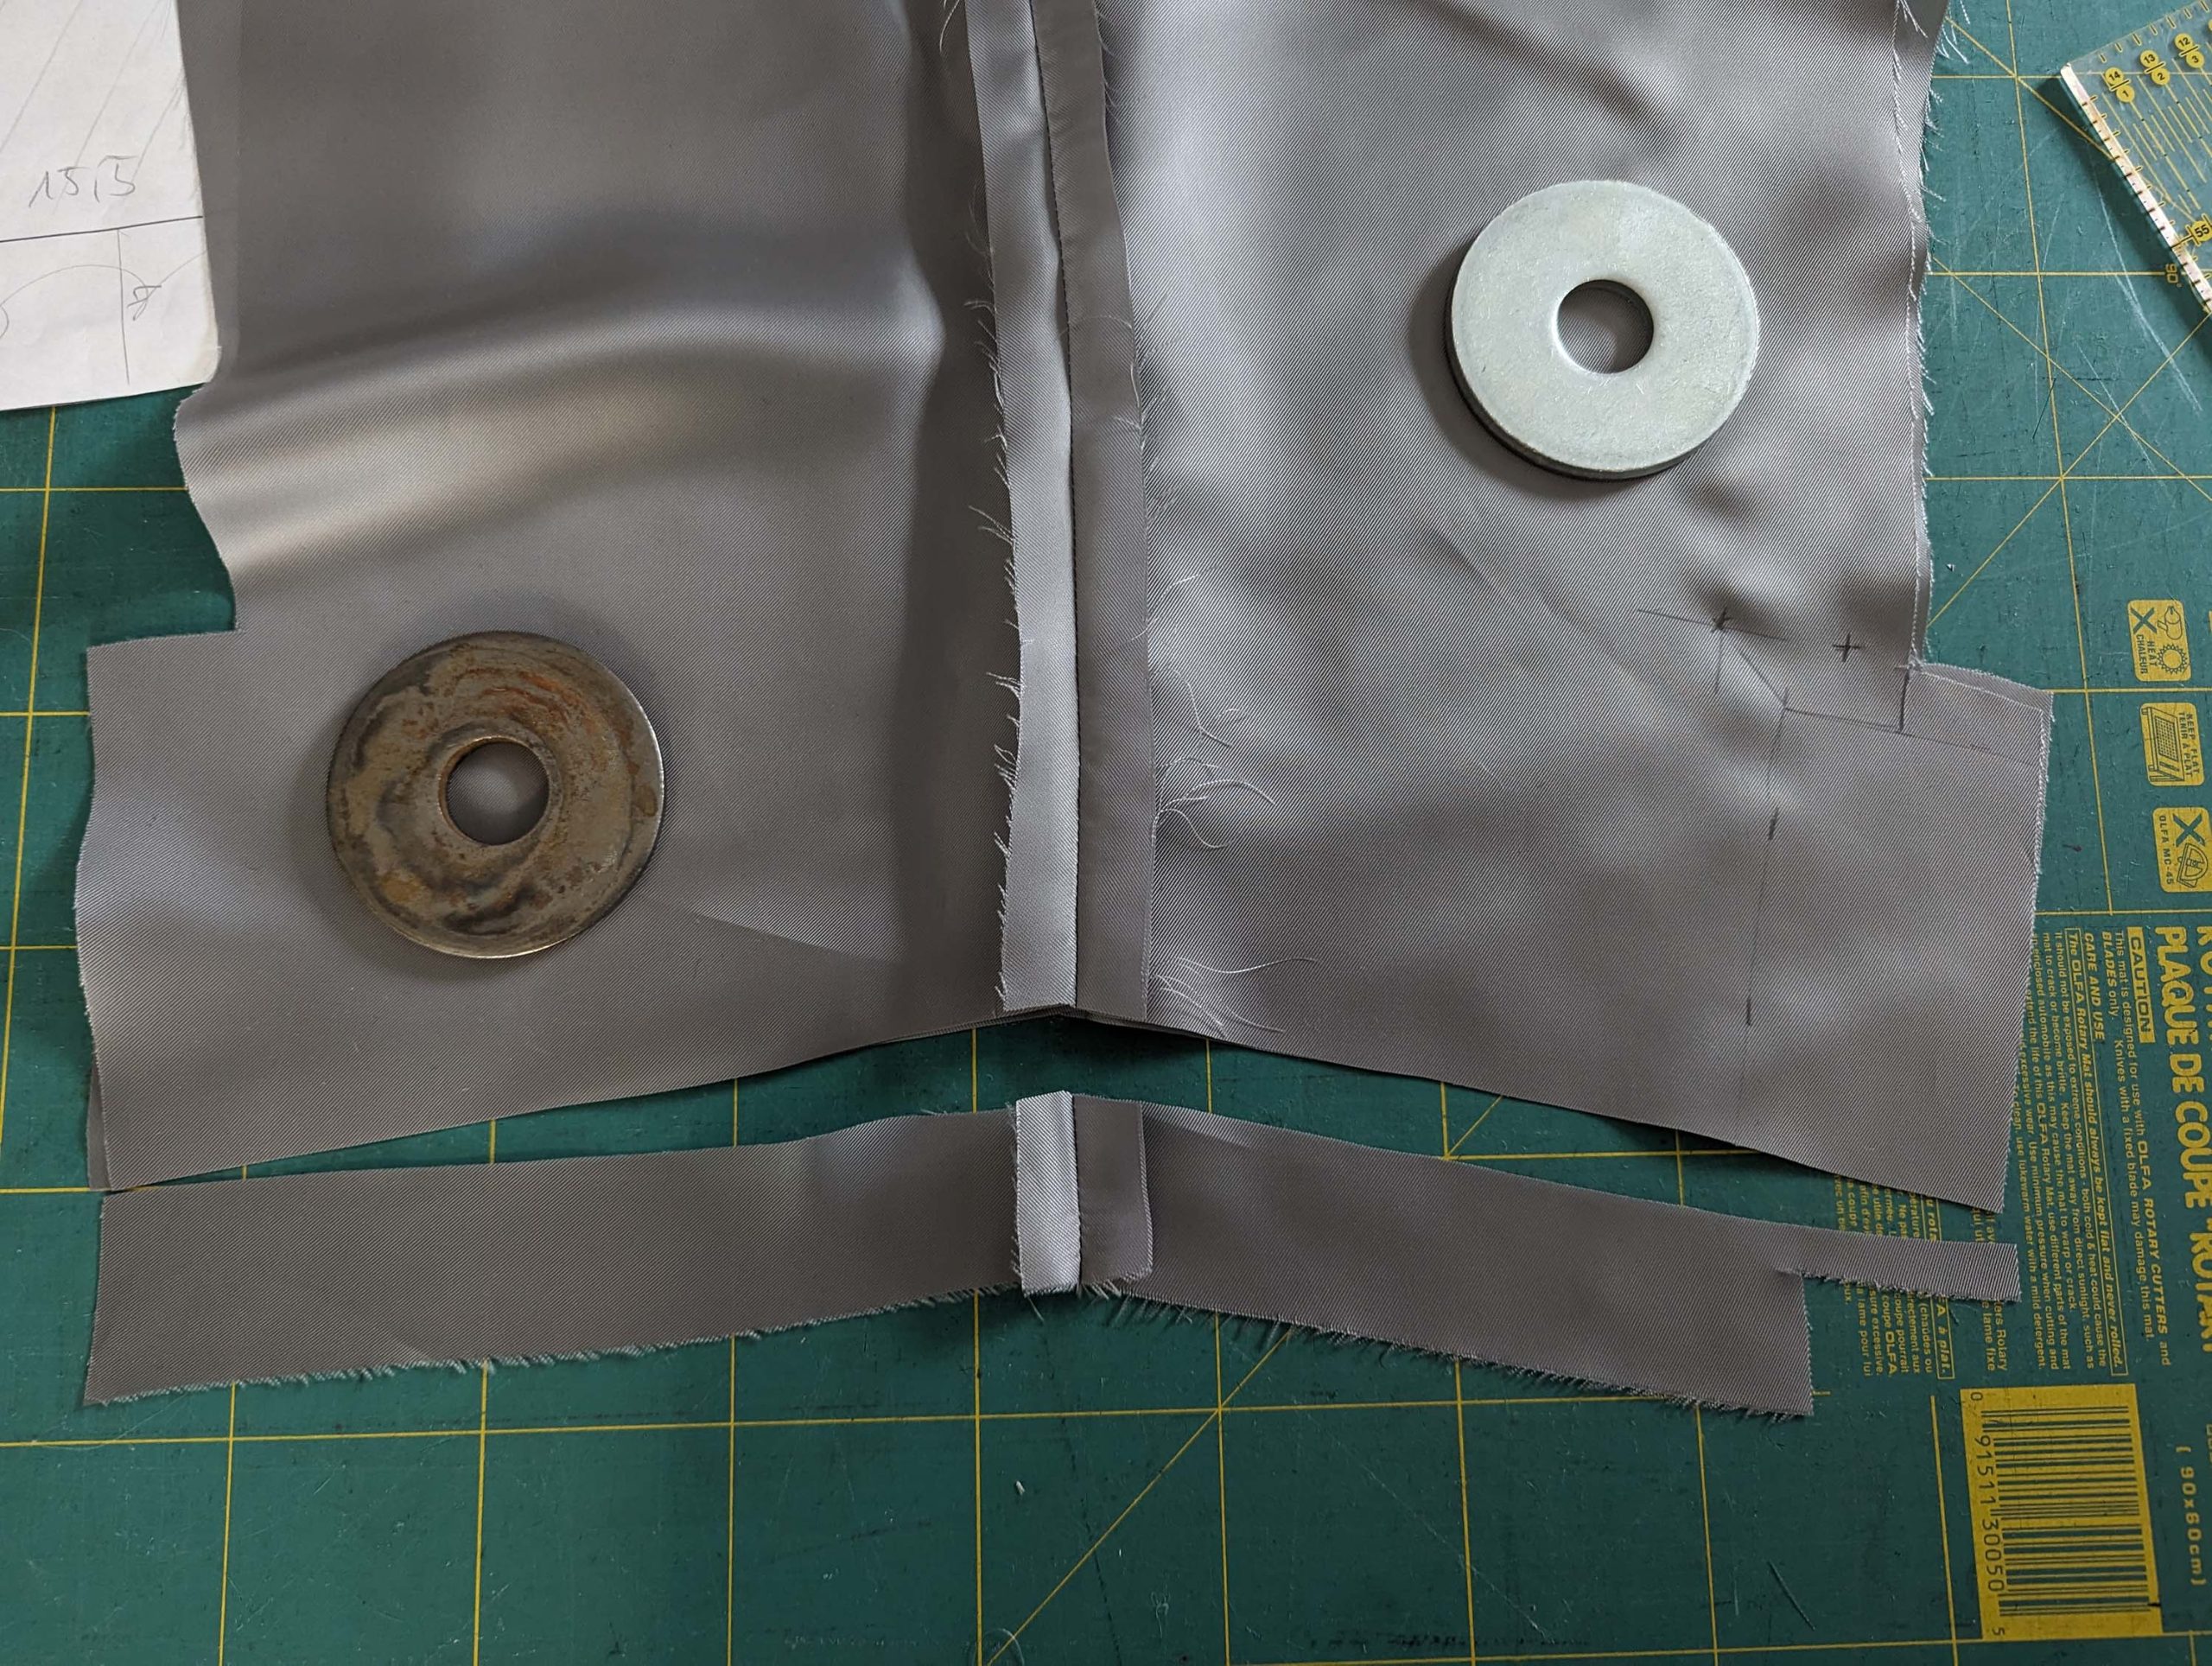
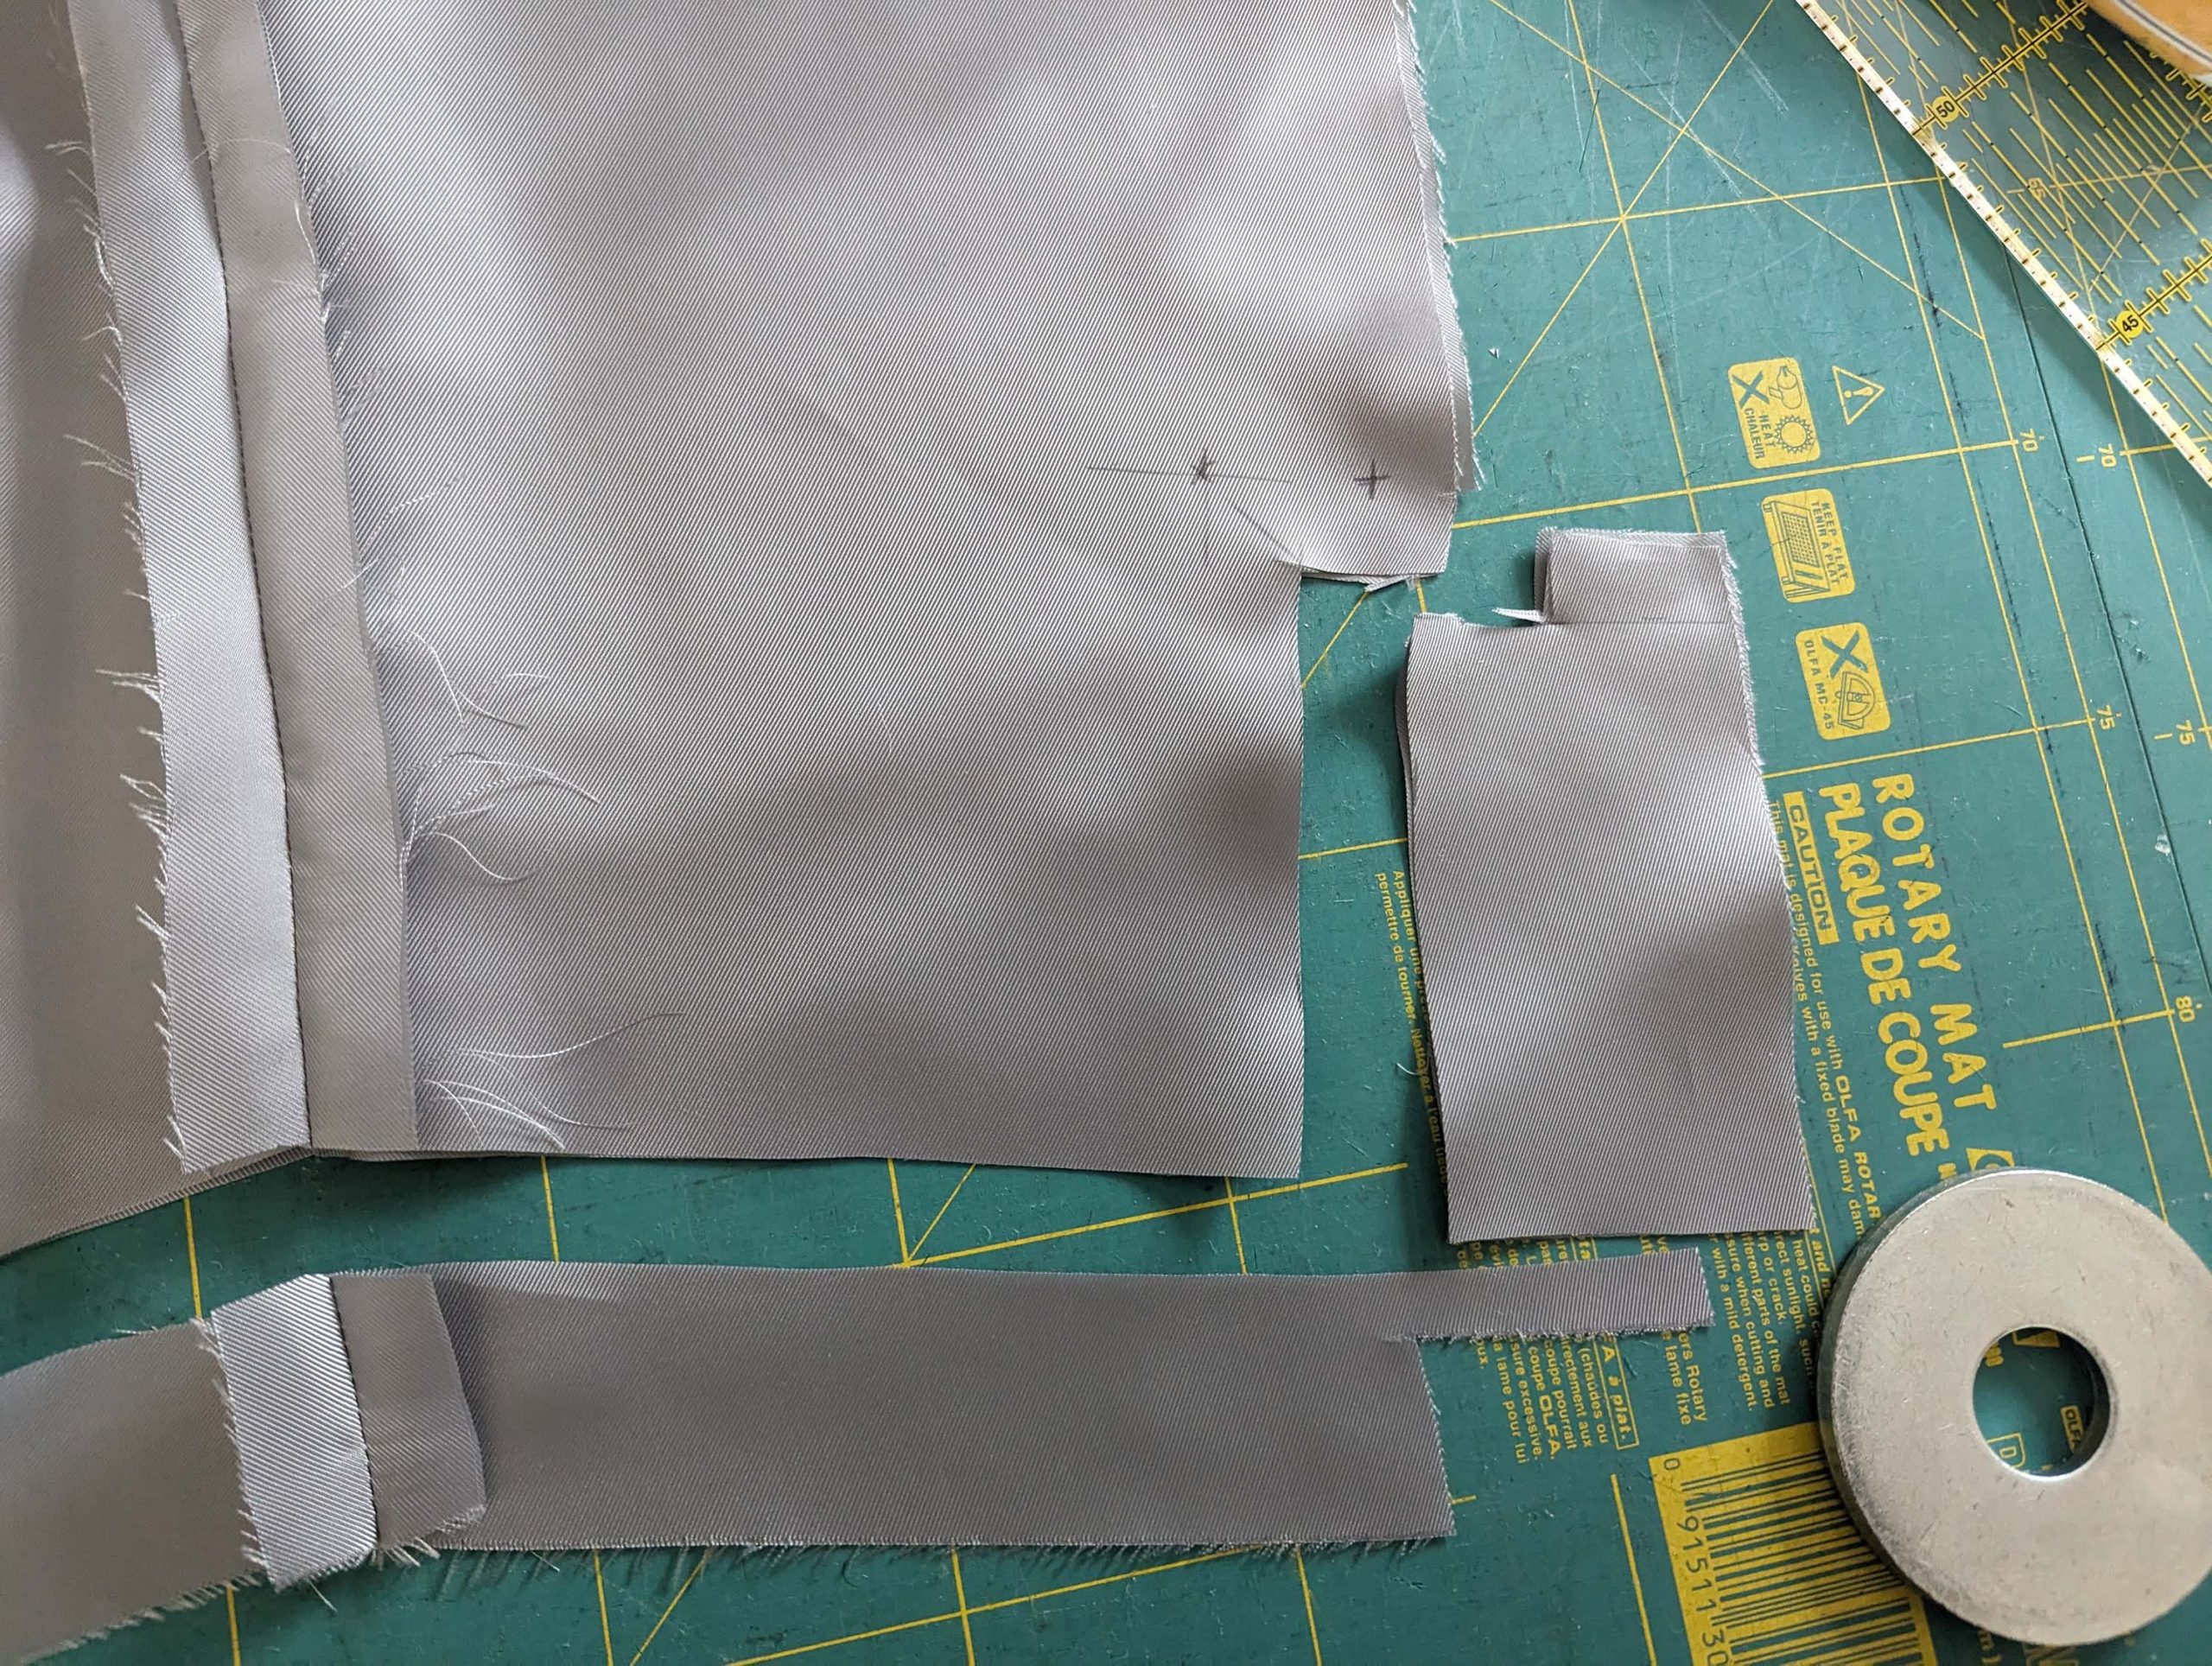
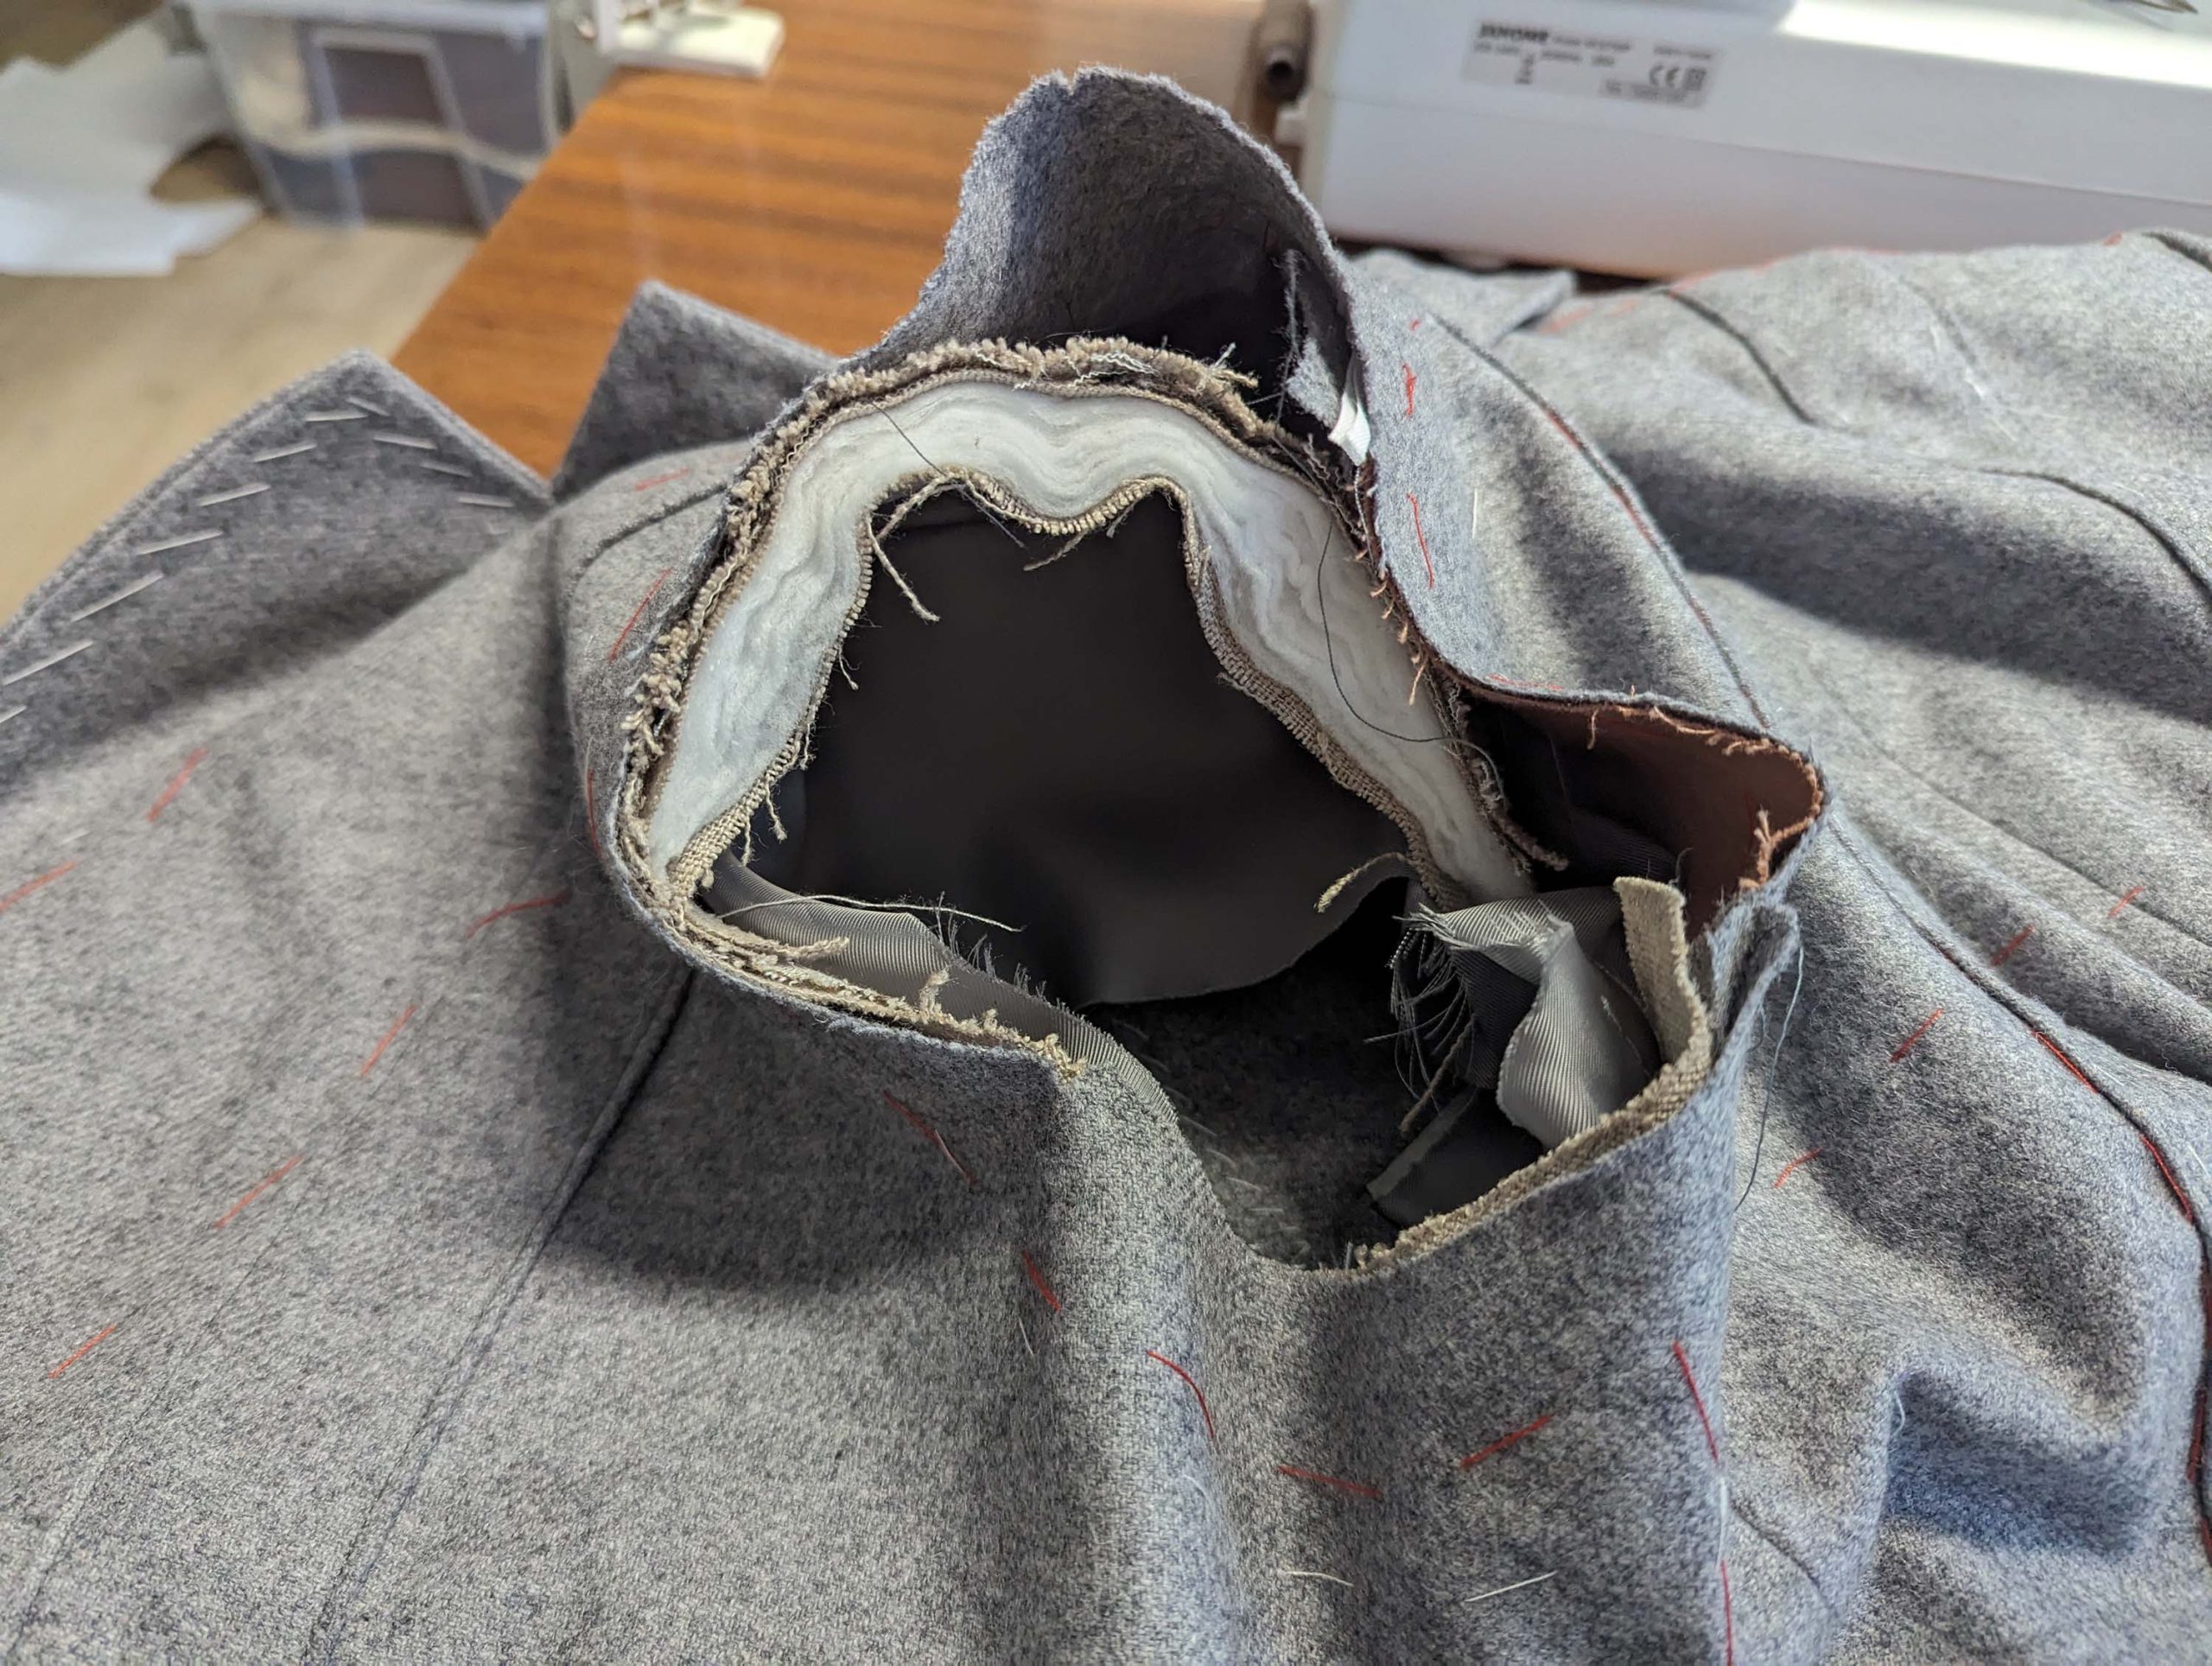
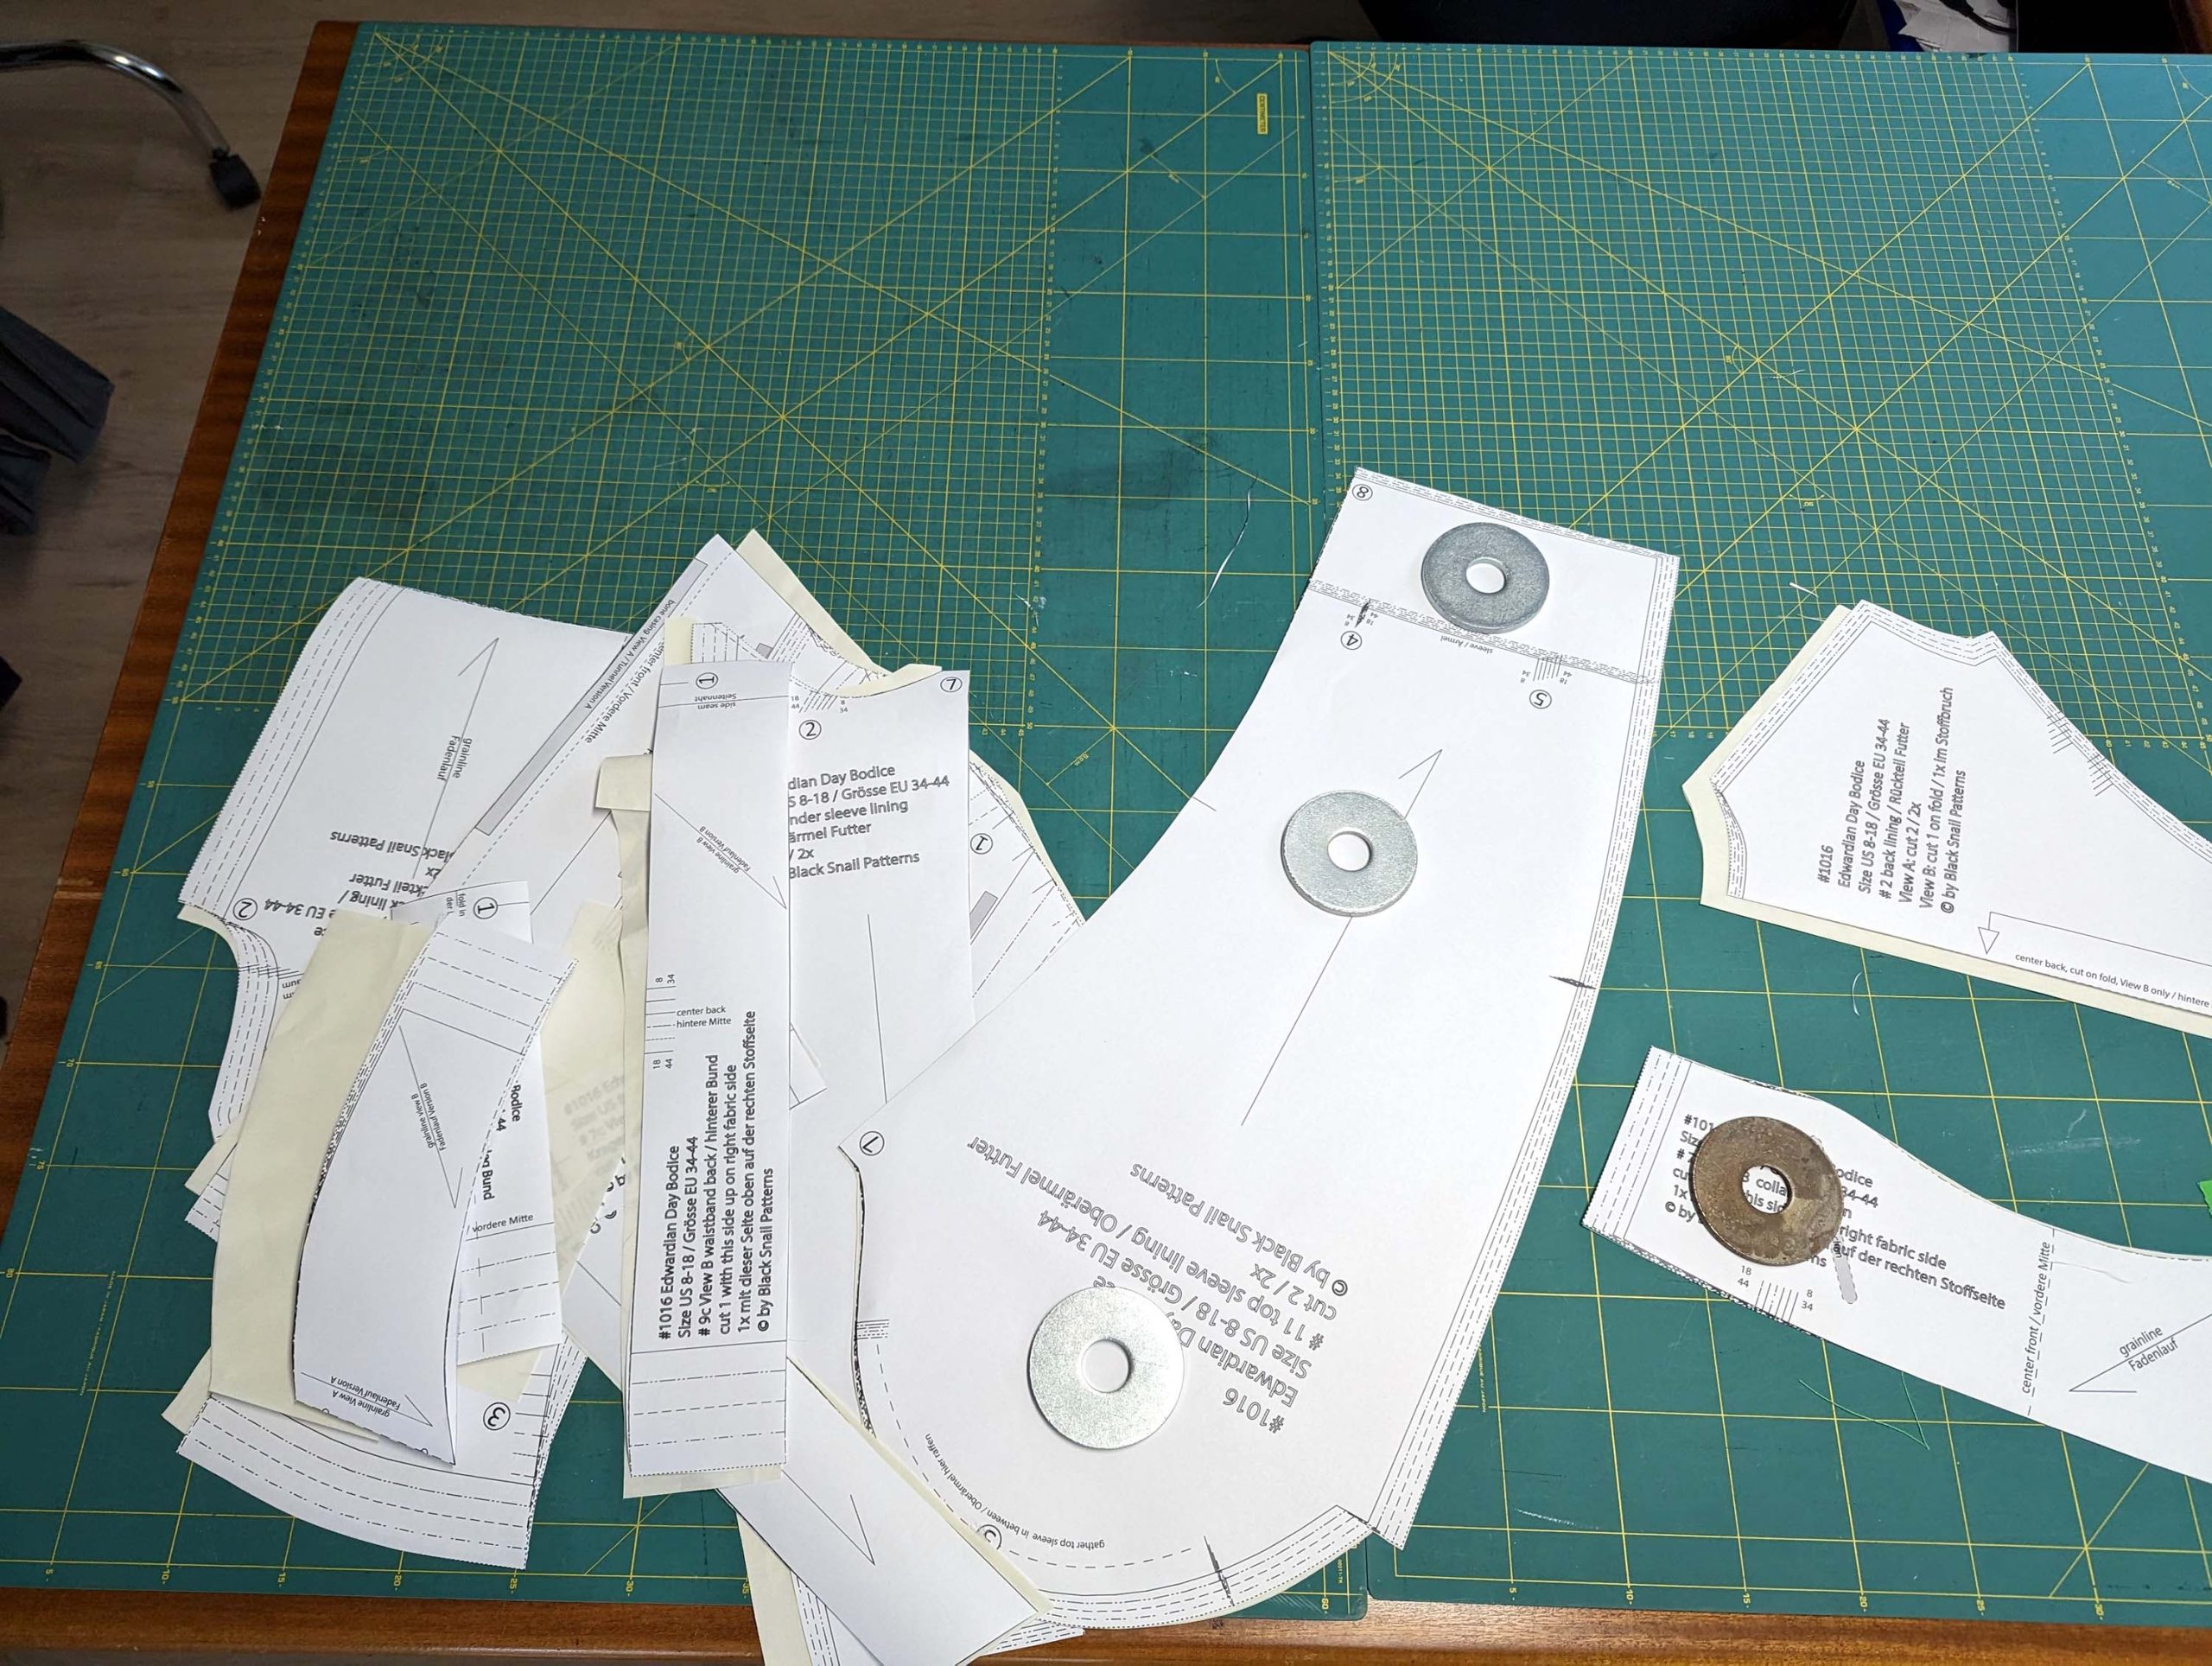
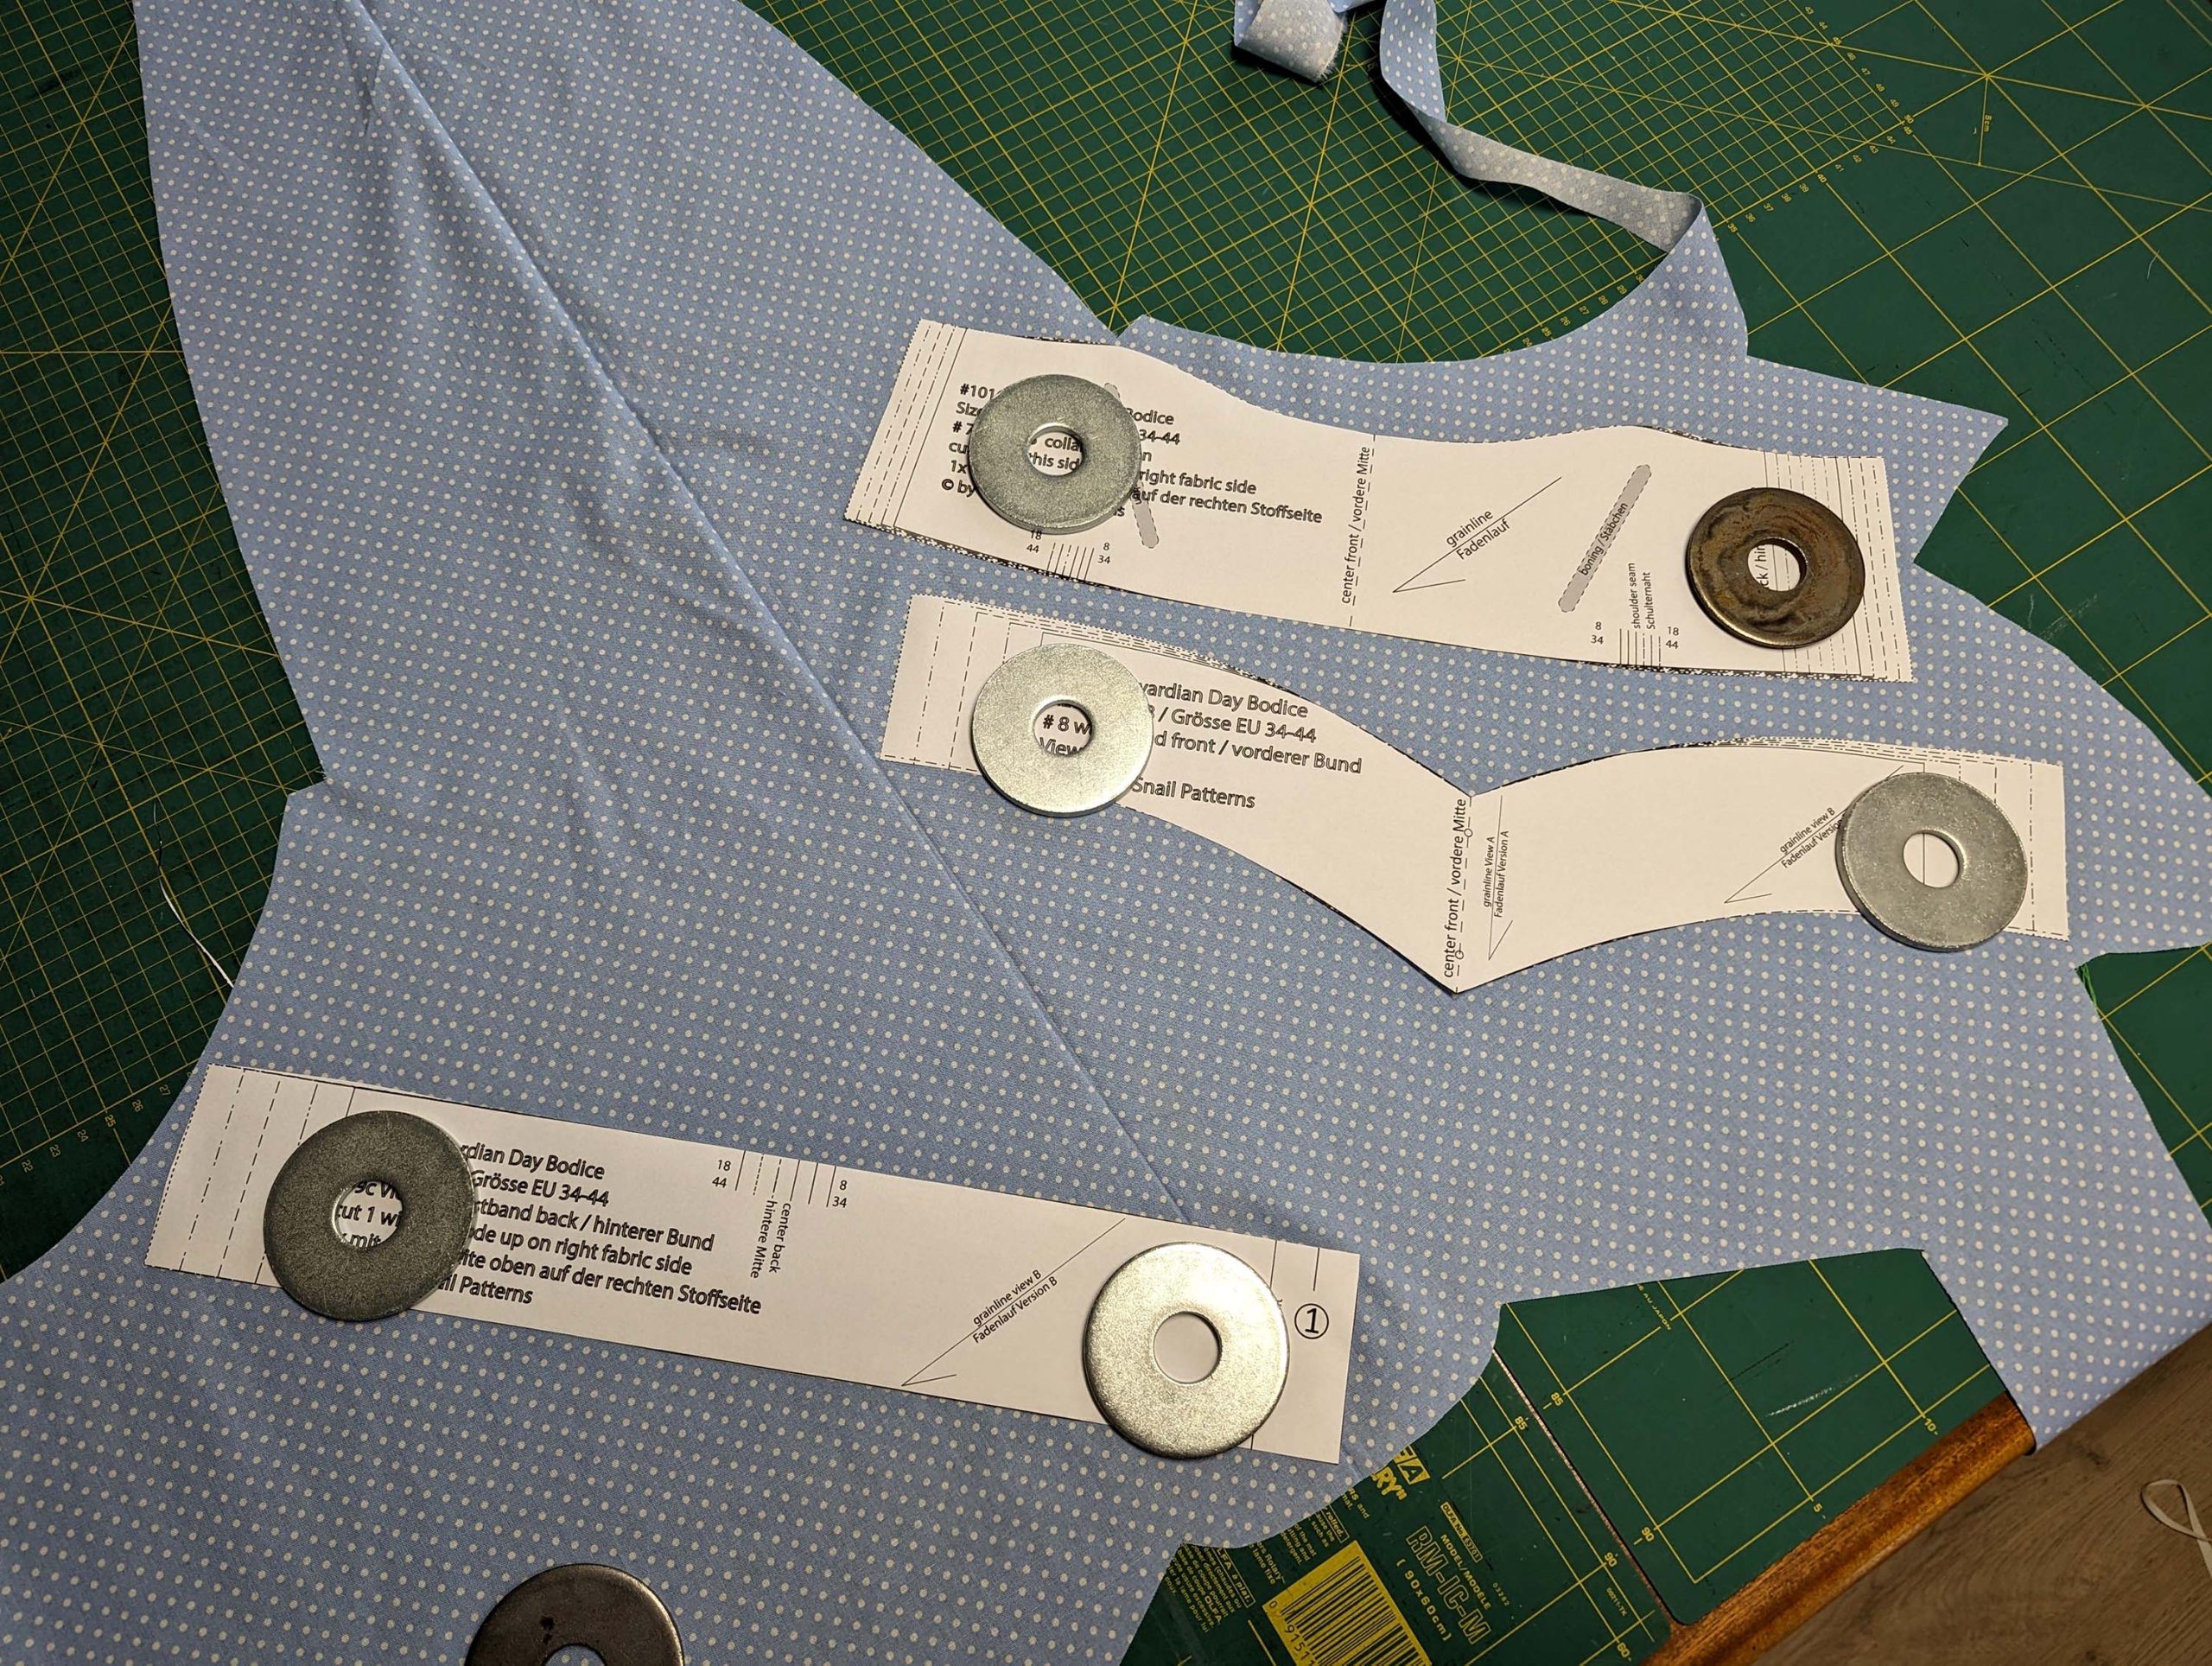
(1) After you´re satisfied with your mock-up, cut all pieces from fashion fabric, lining, and canvas. Cut the lining as described in the instructions, the back on fold with the grey strip added and some extra width at the sleeves.
Cut the back lining on foldAdd some extra width at the sleeve lining
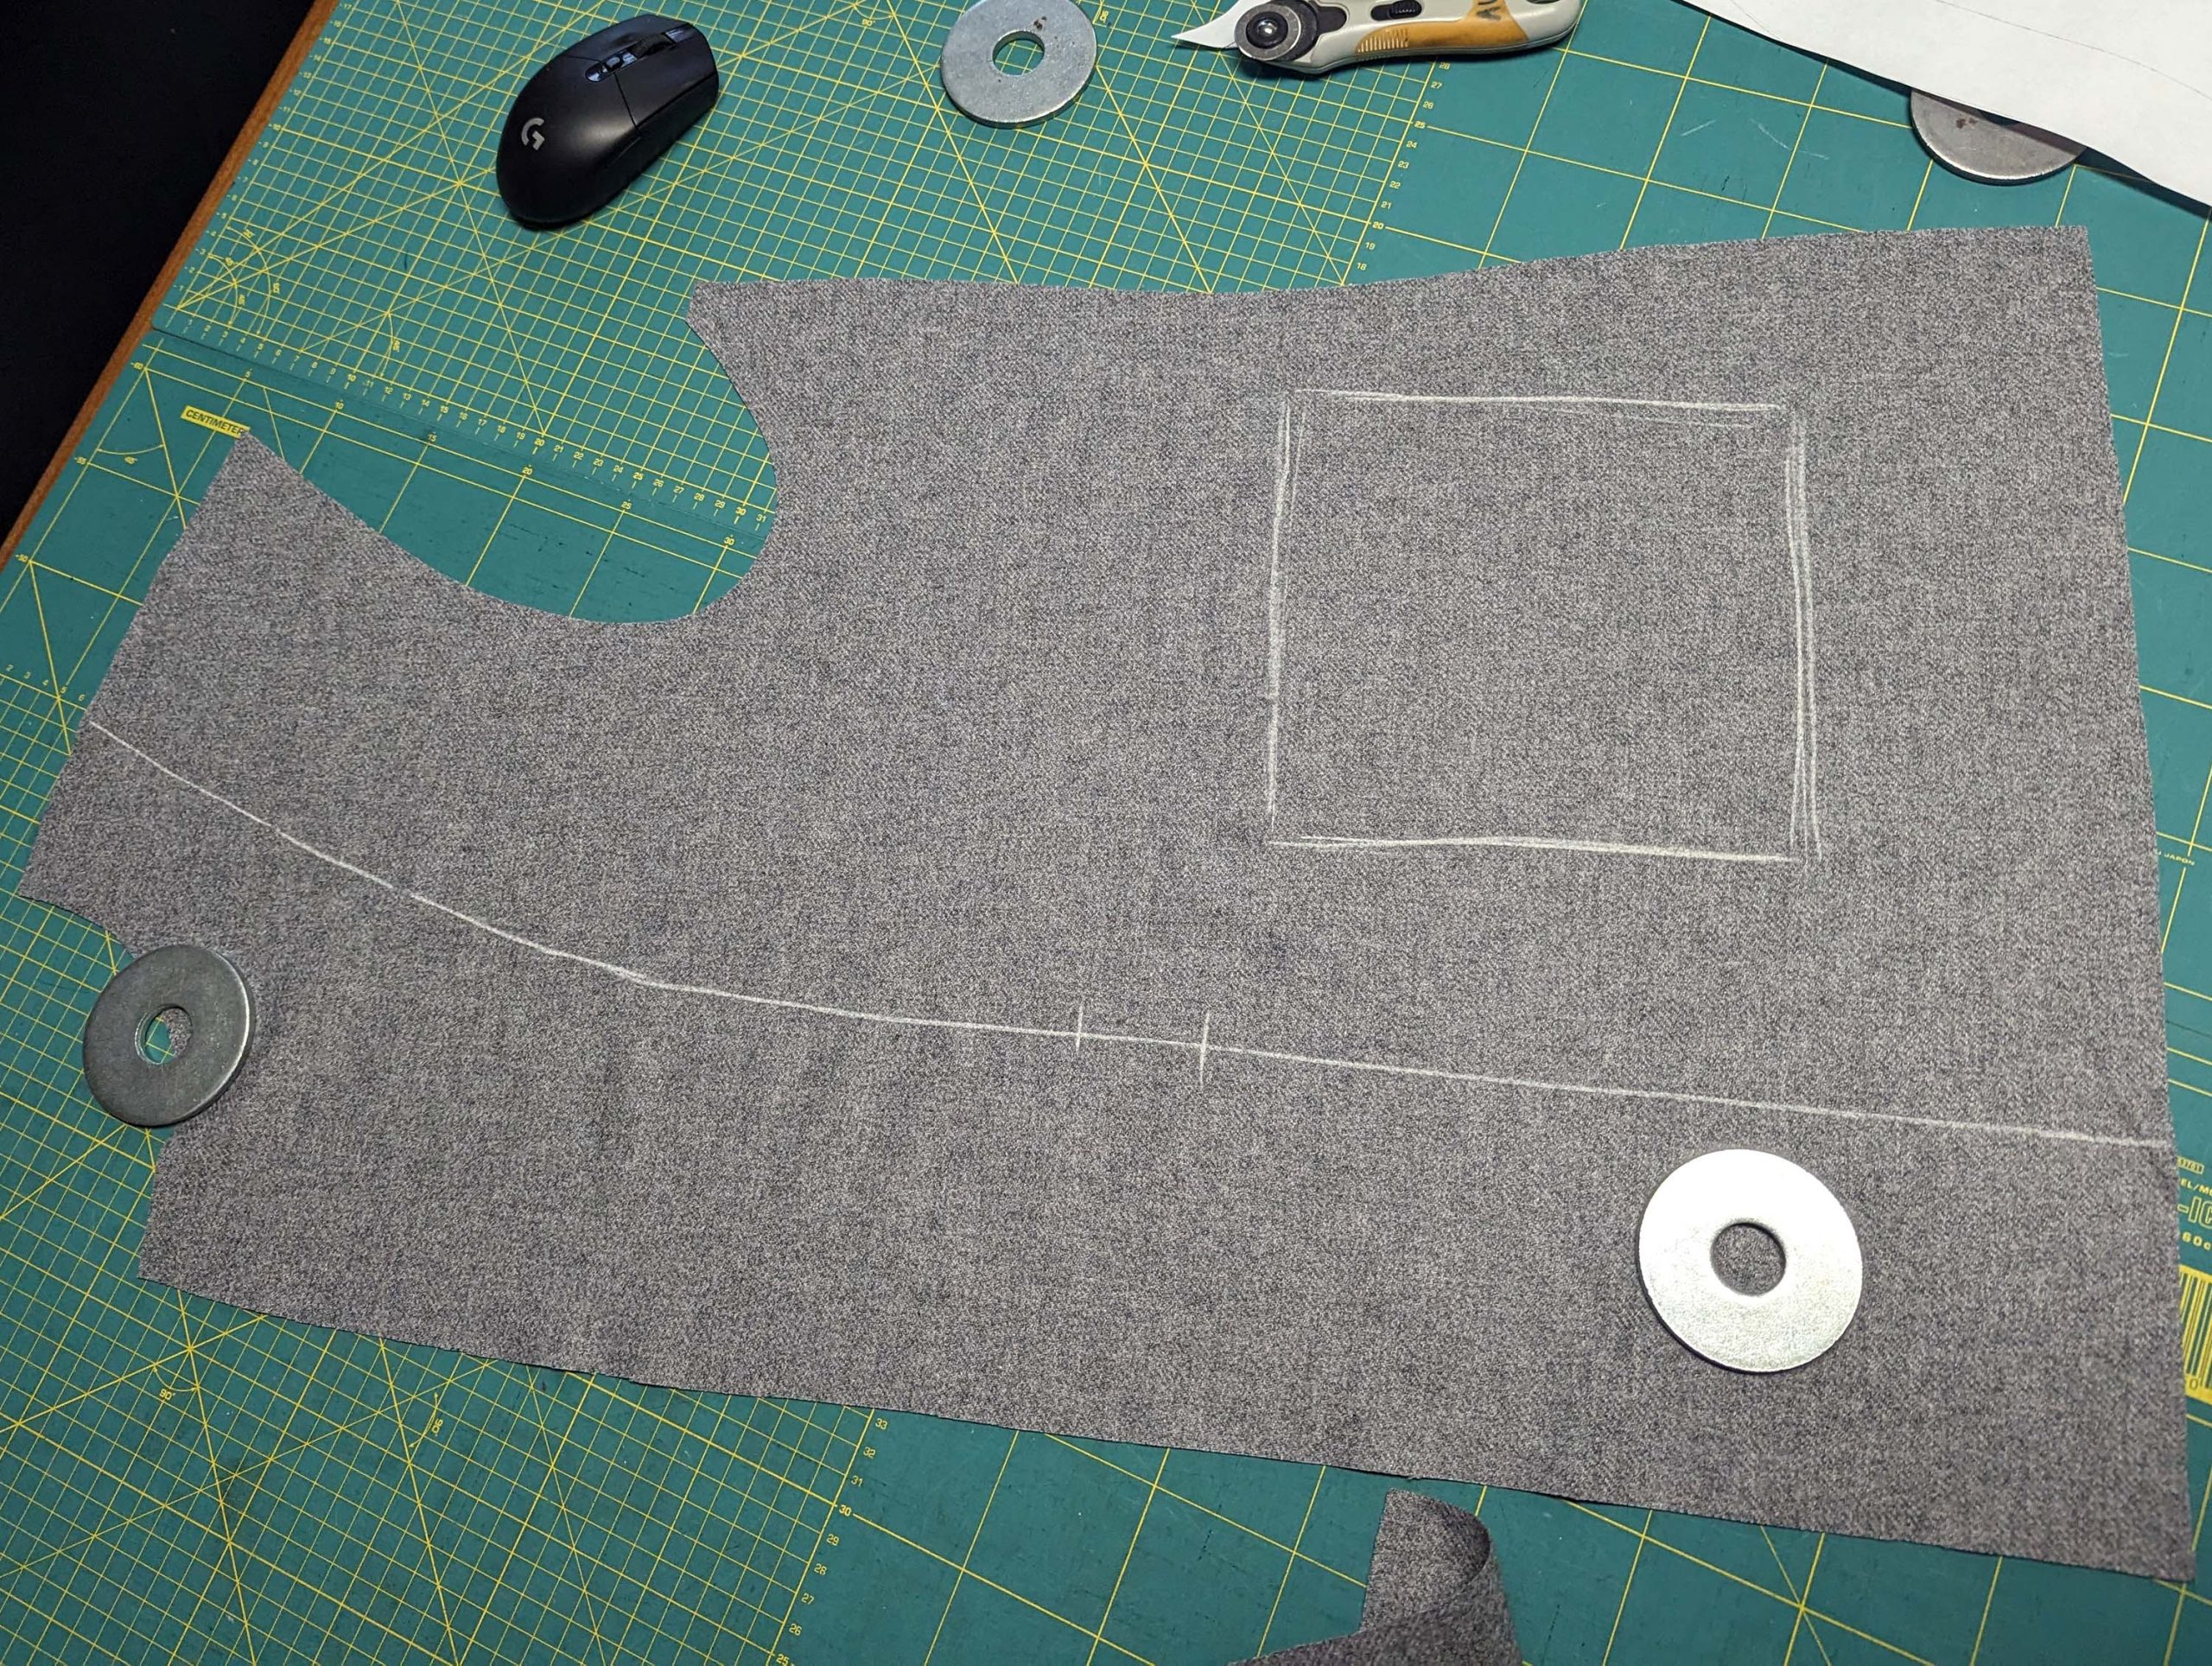
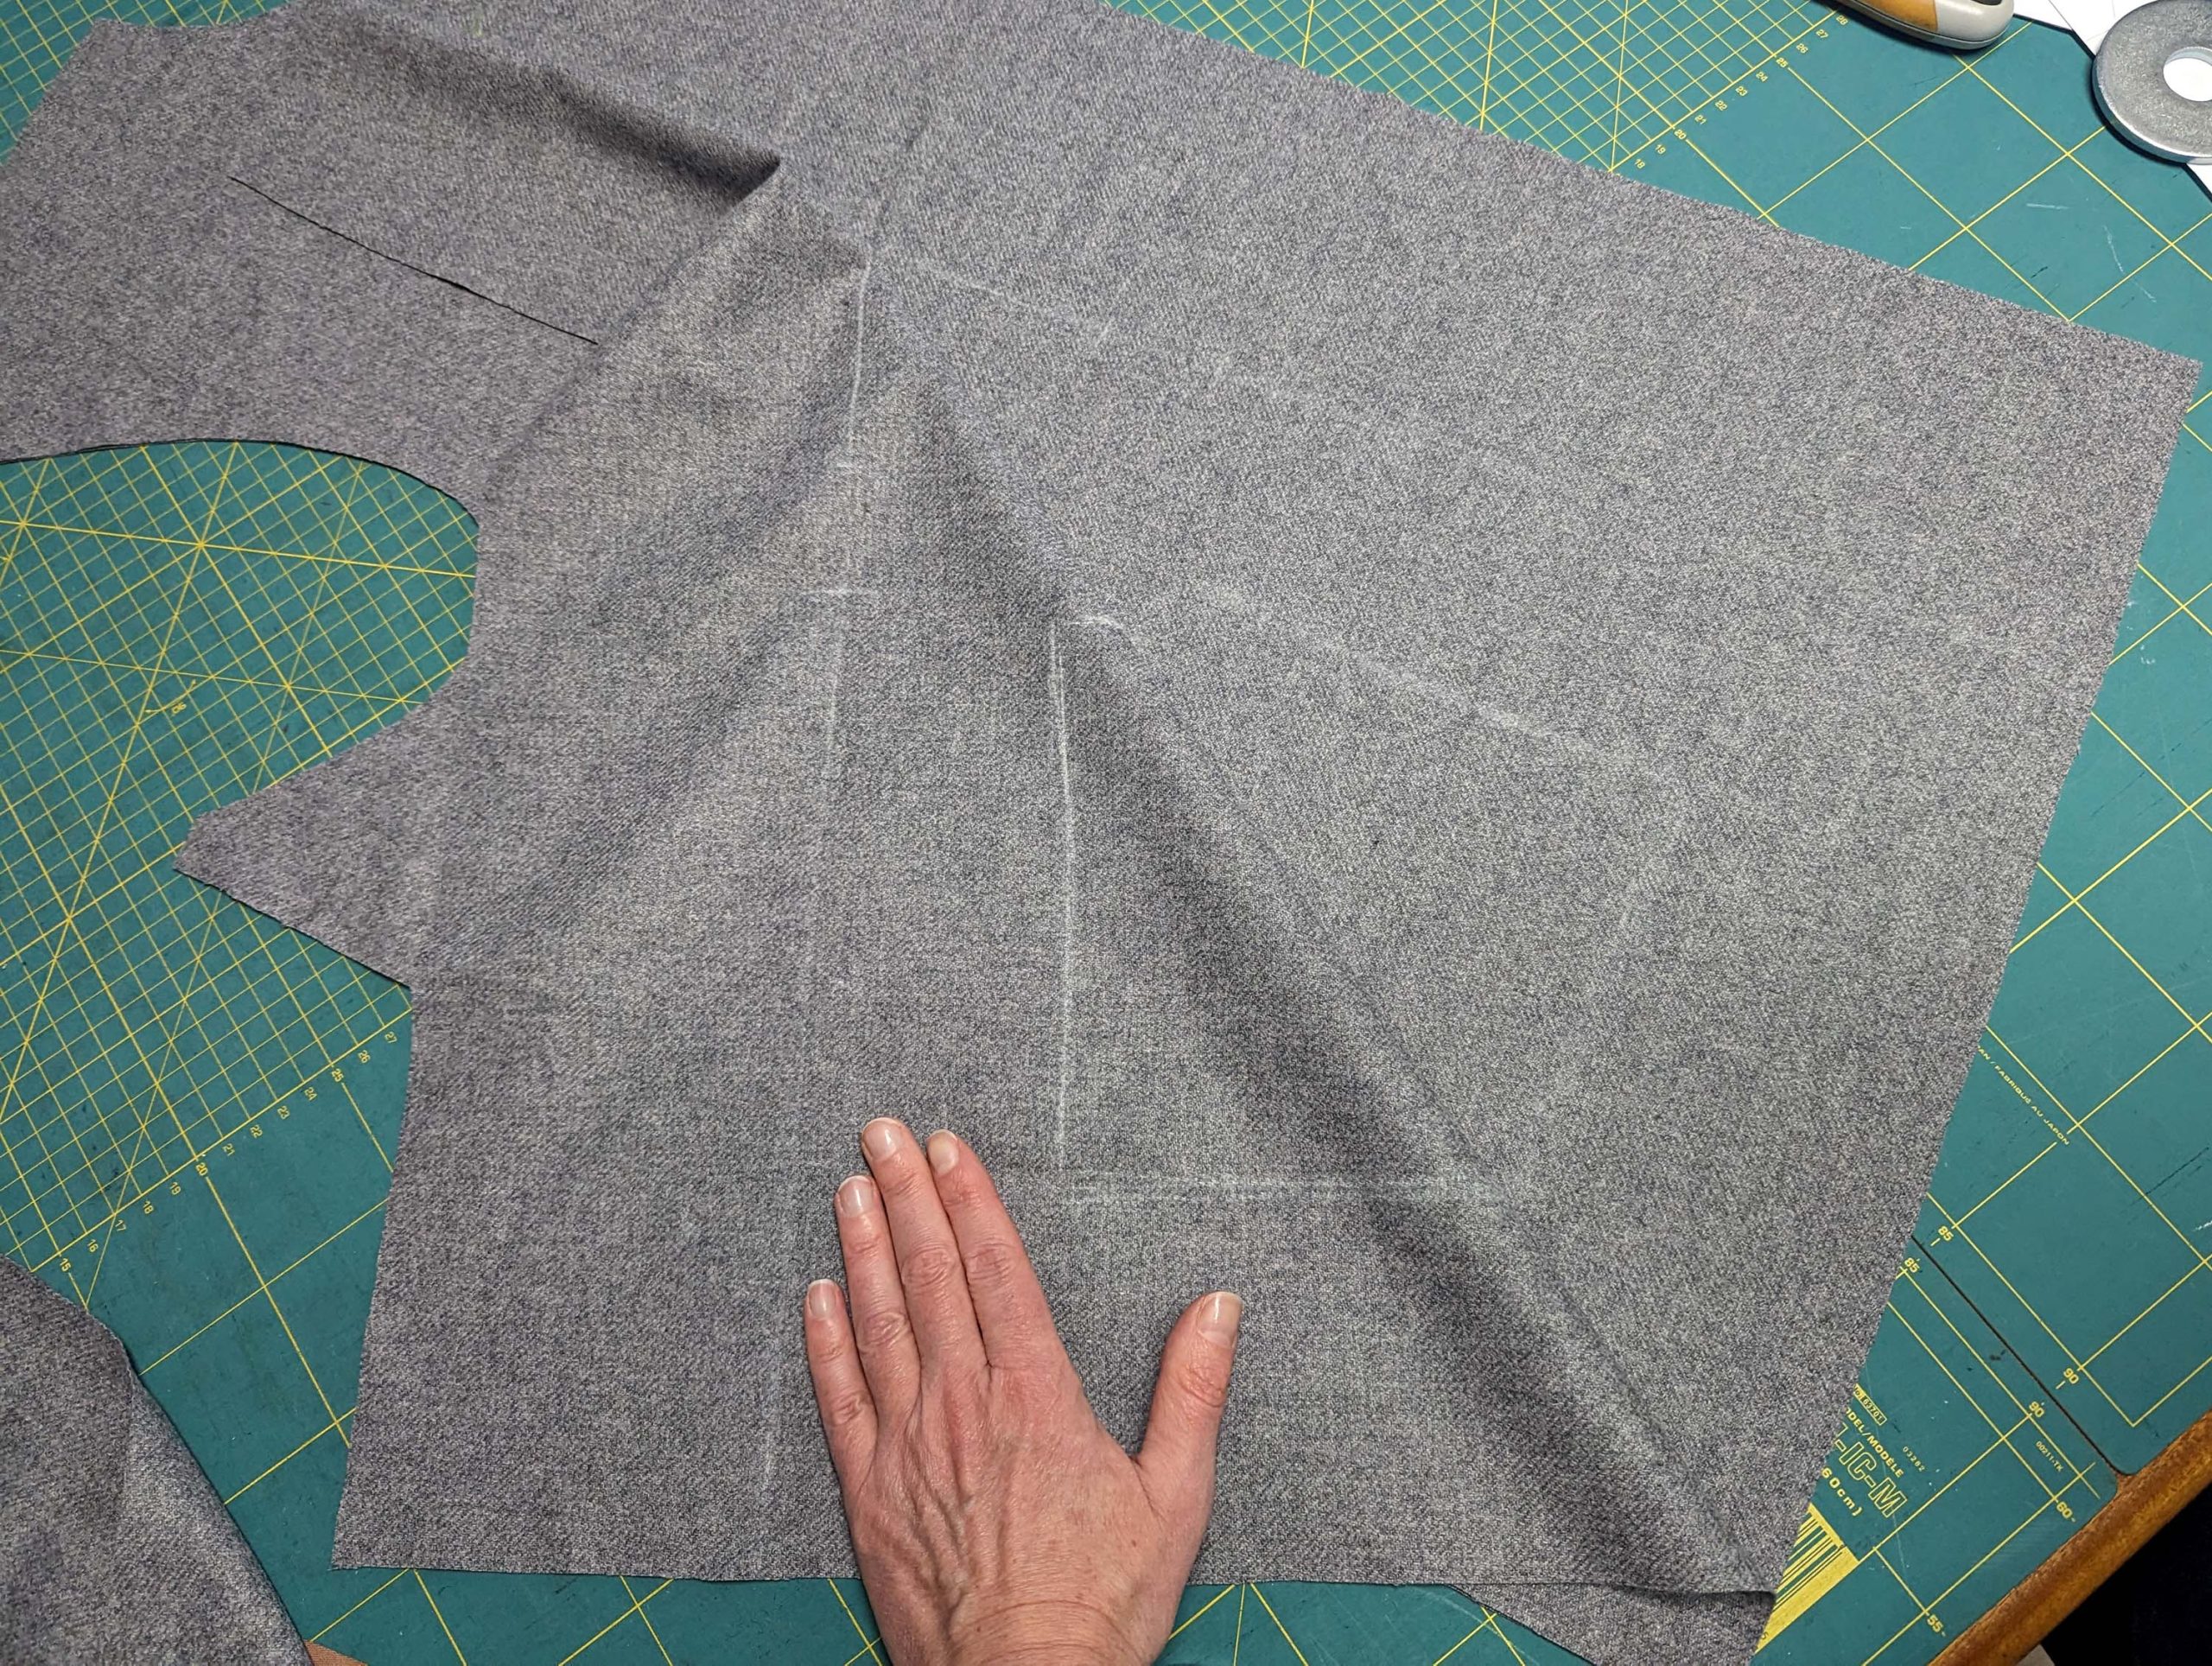
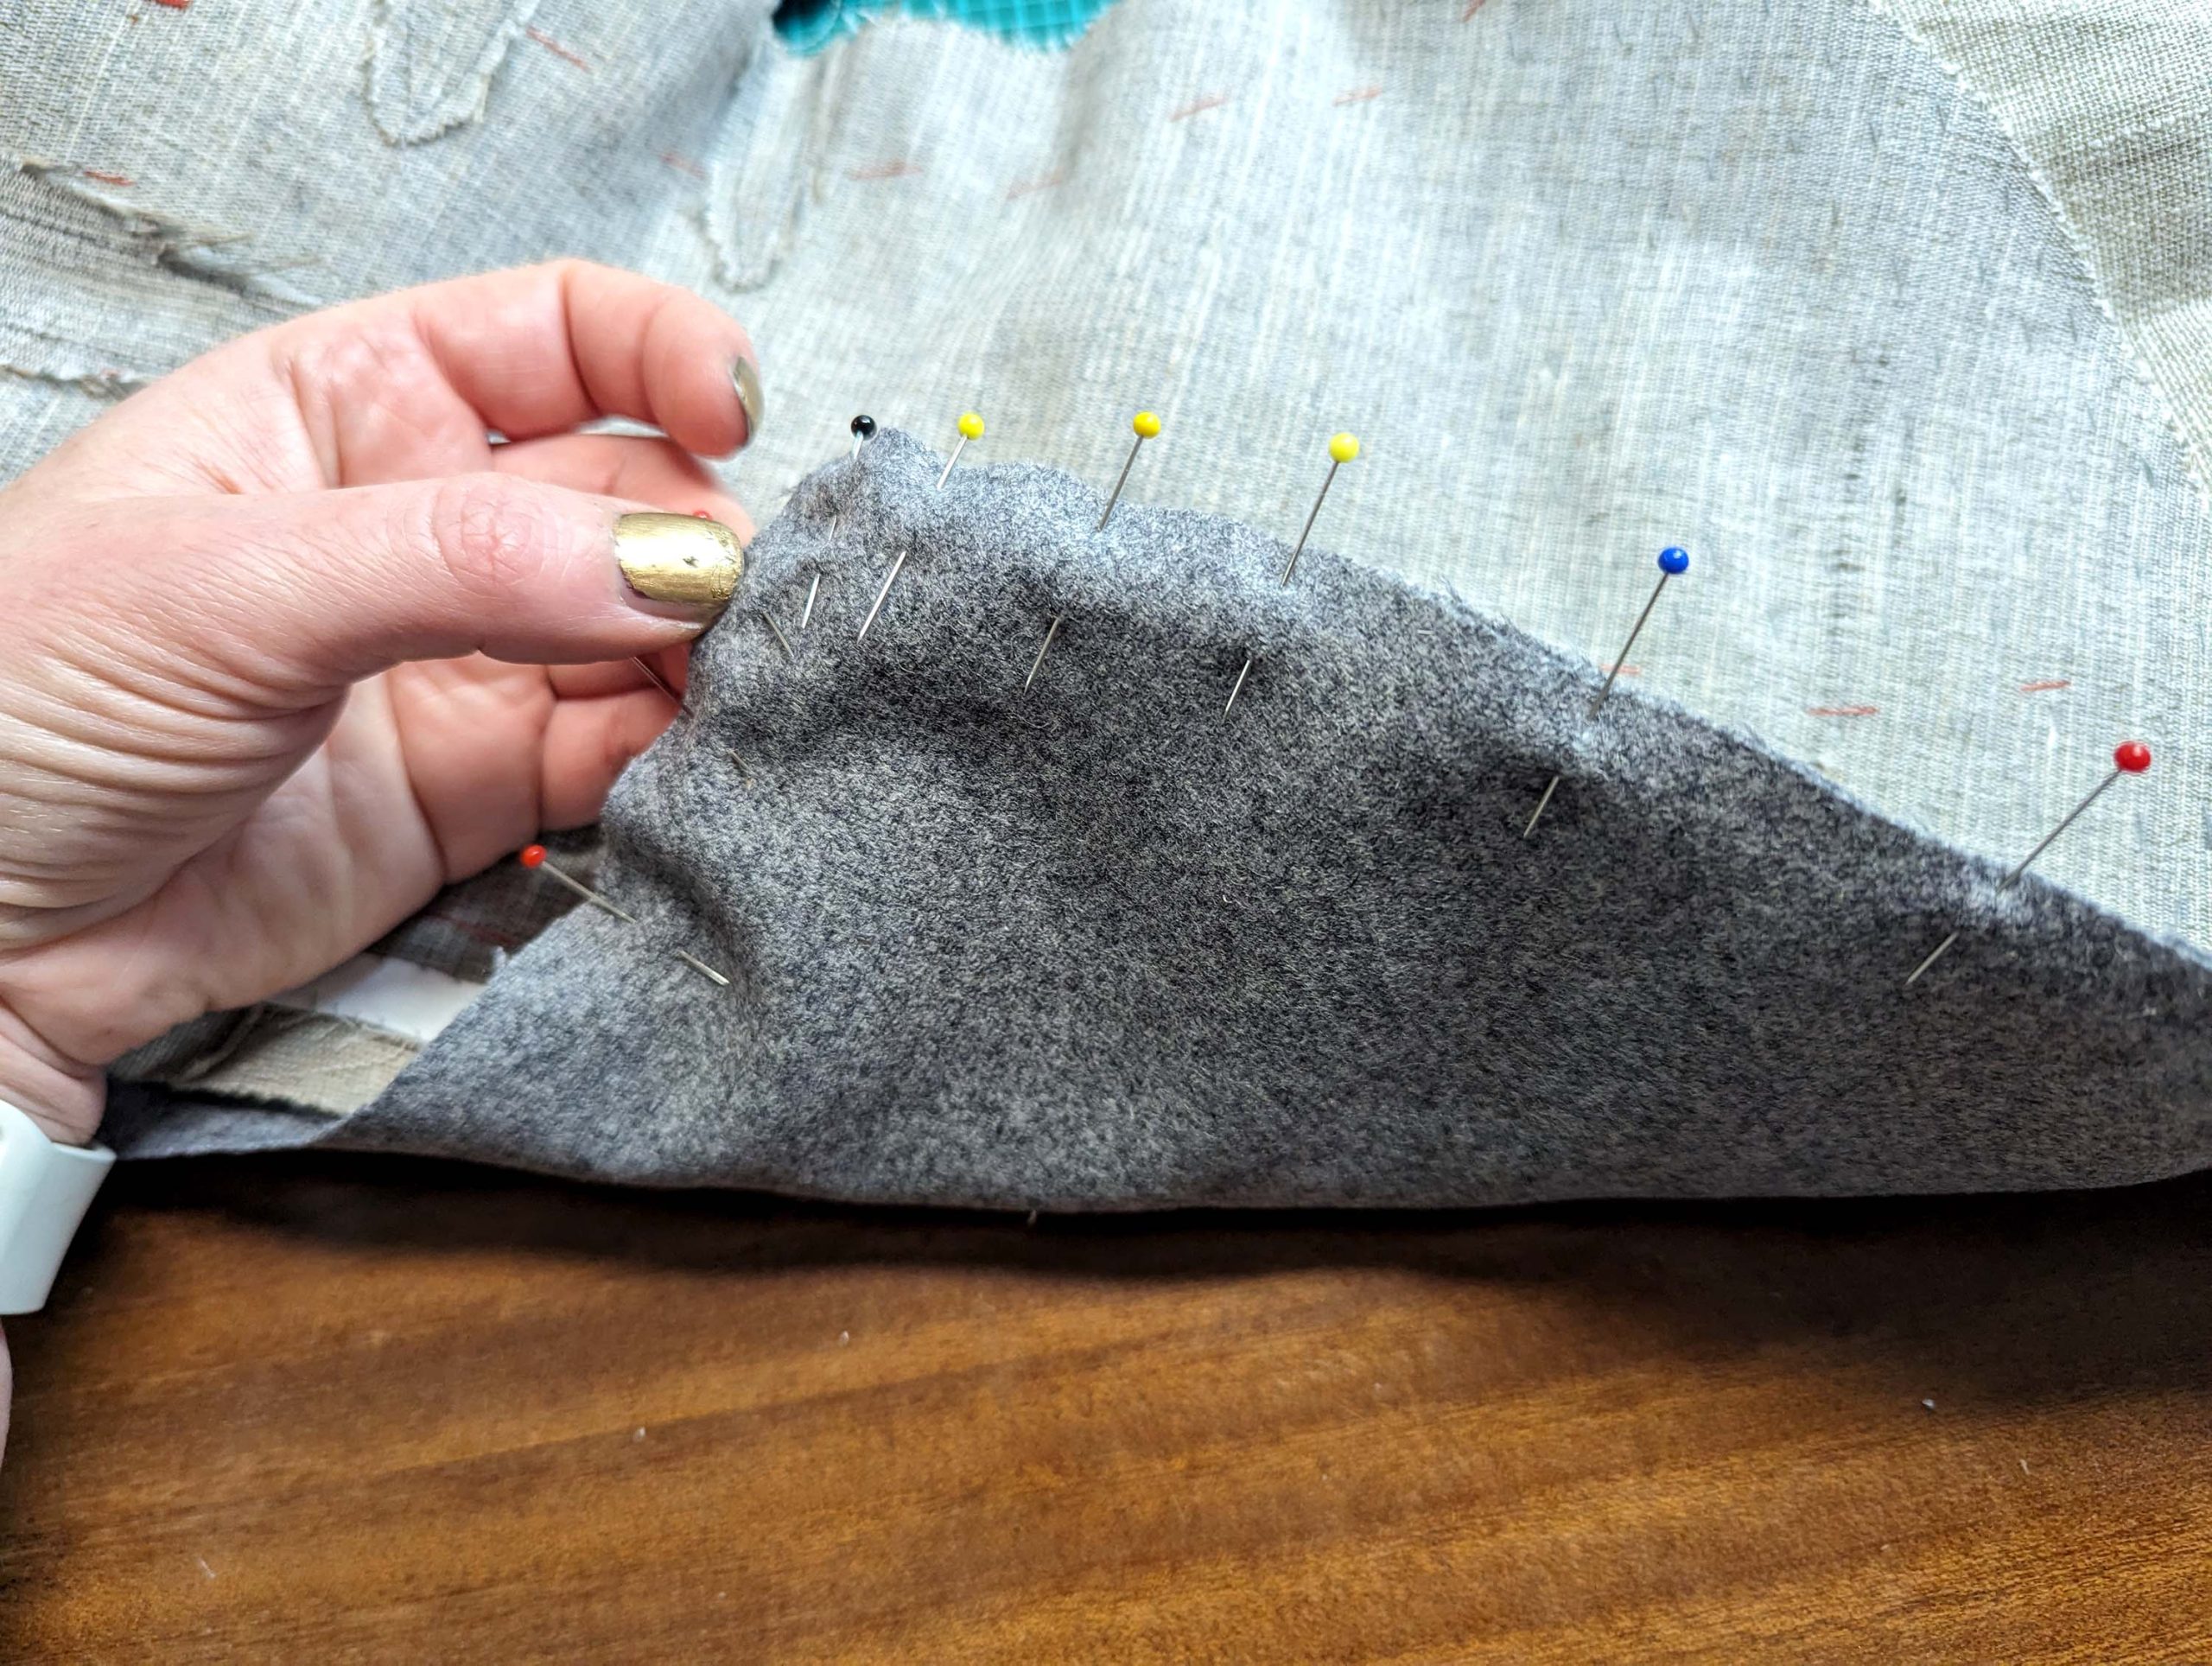
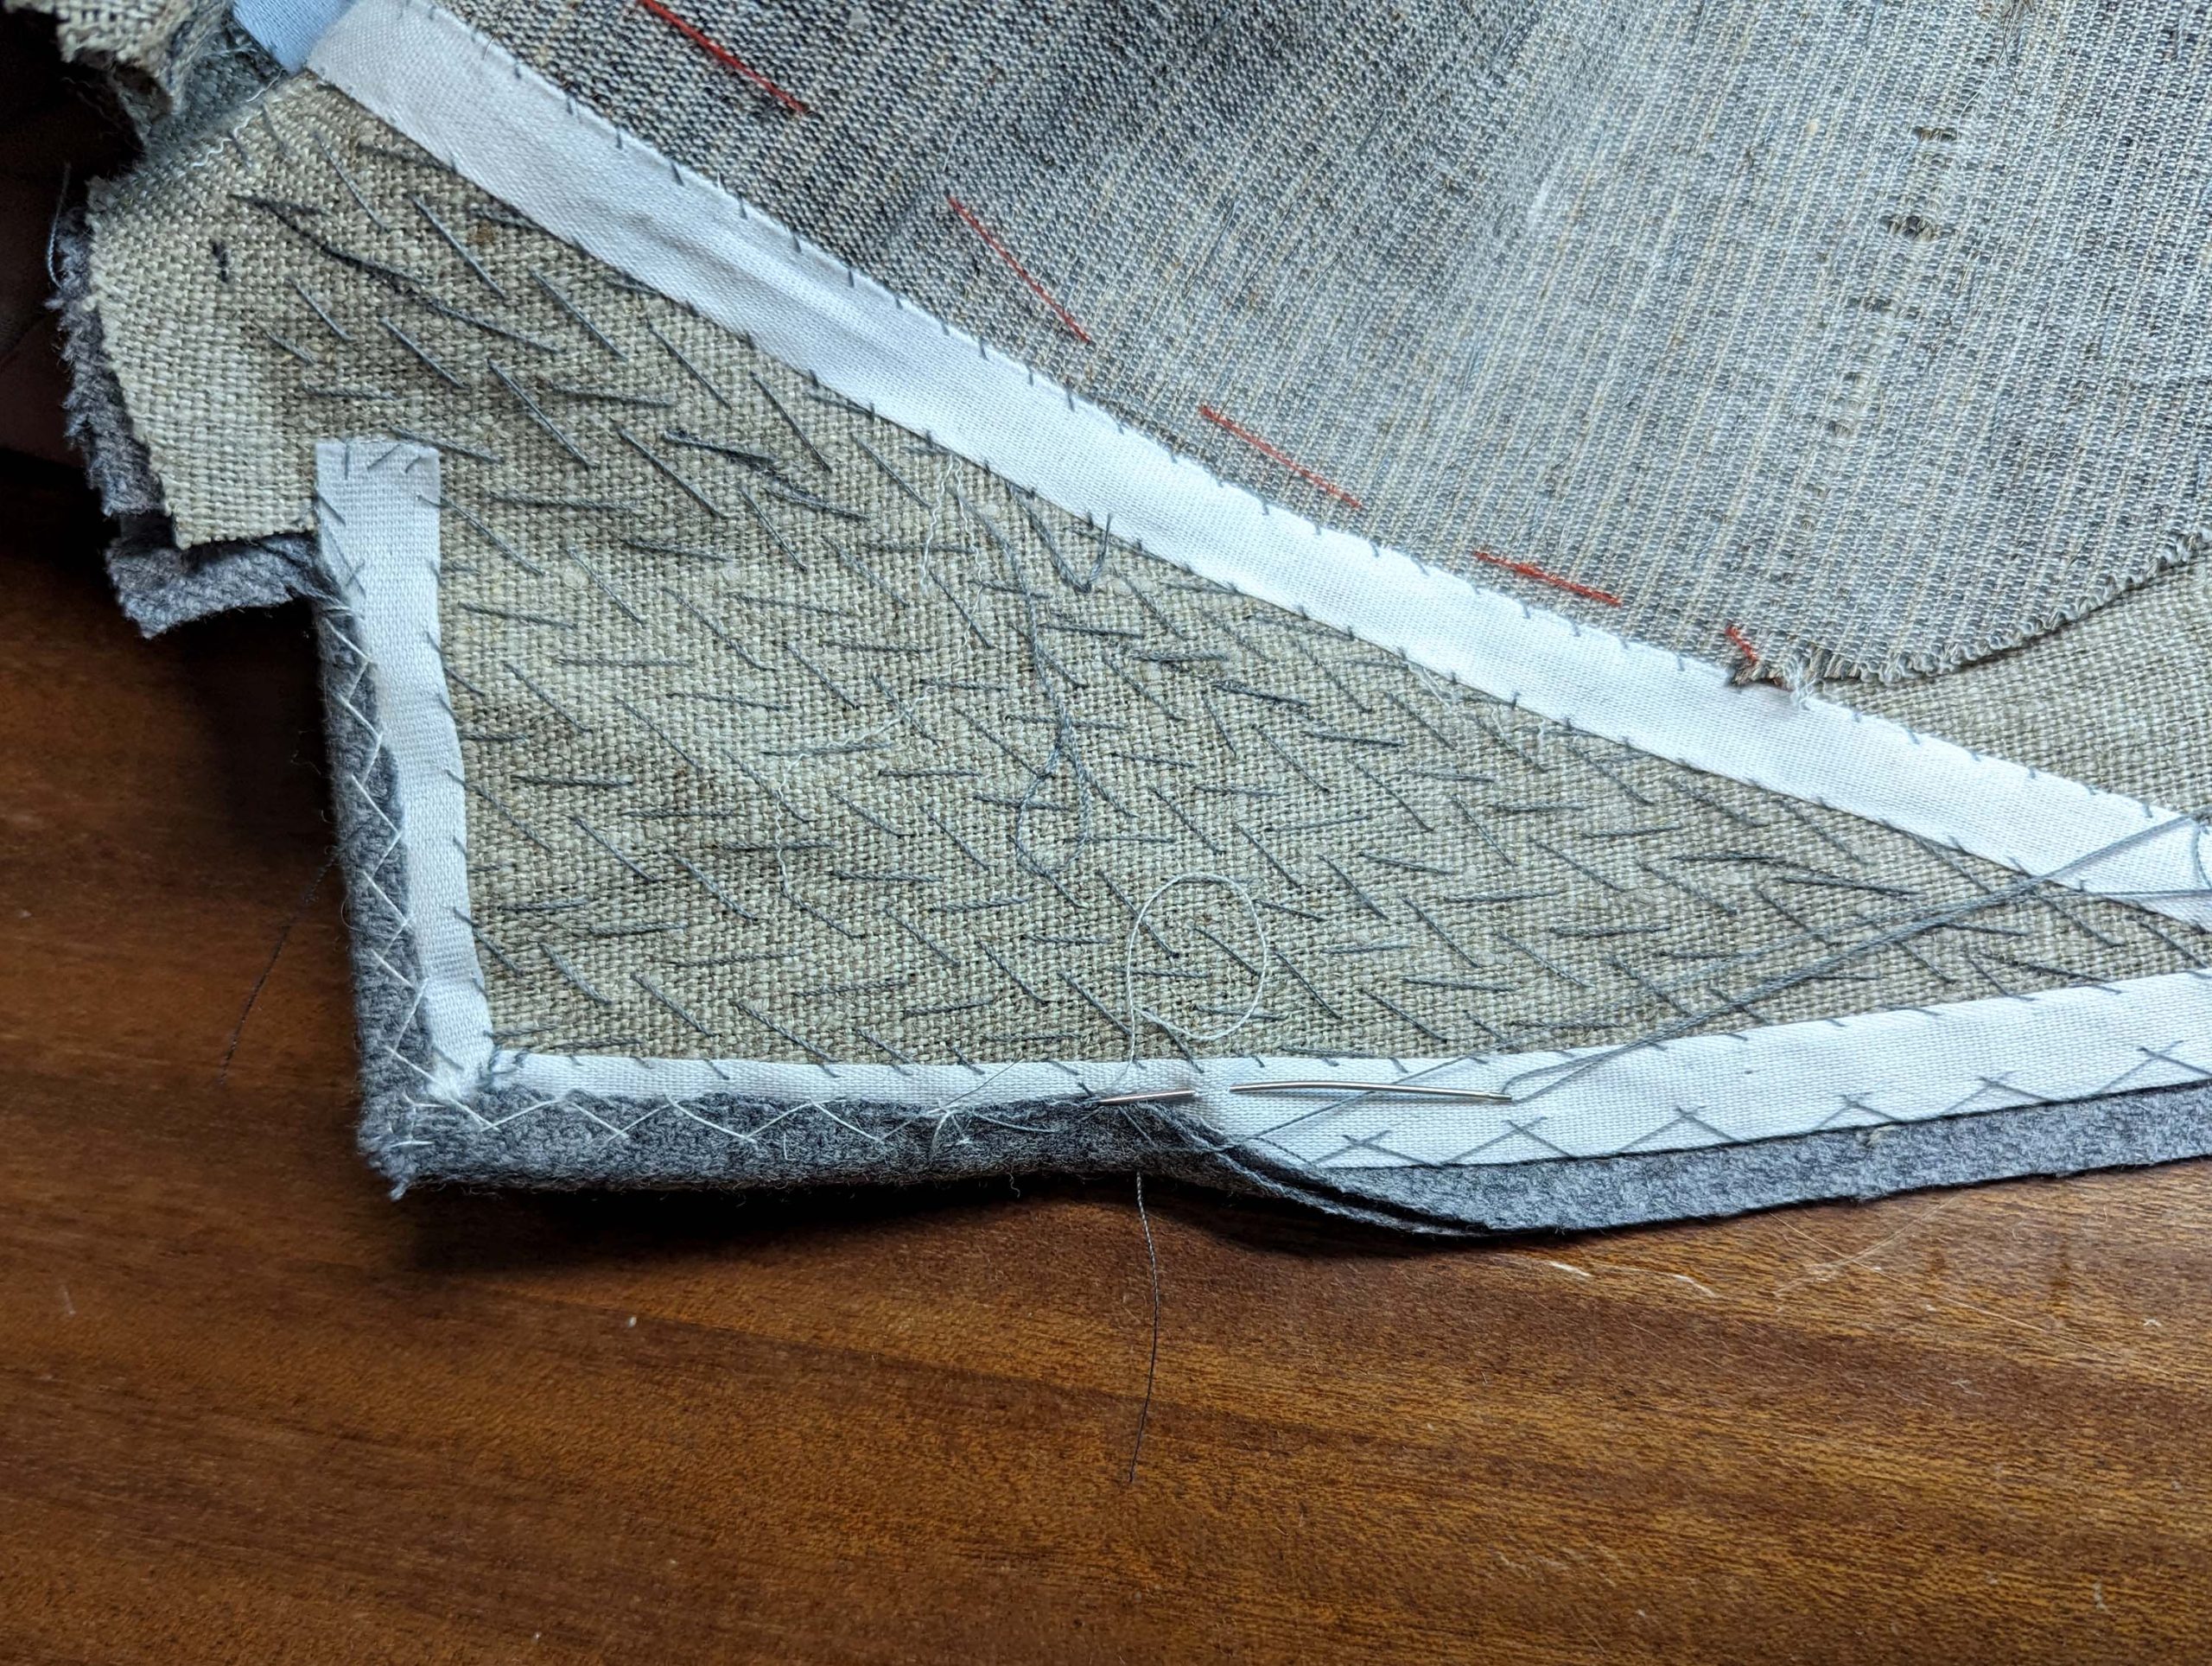
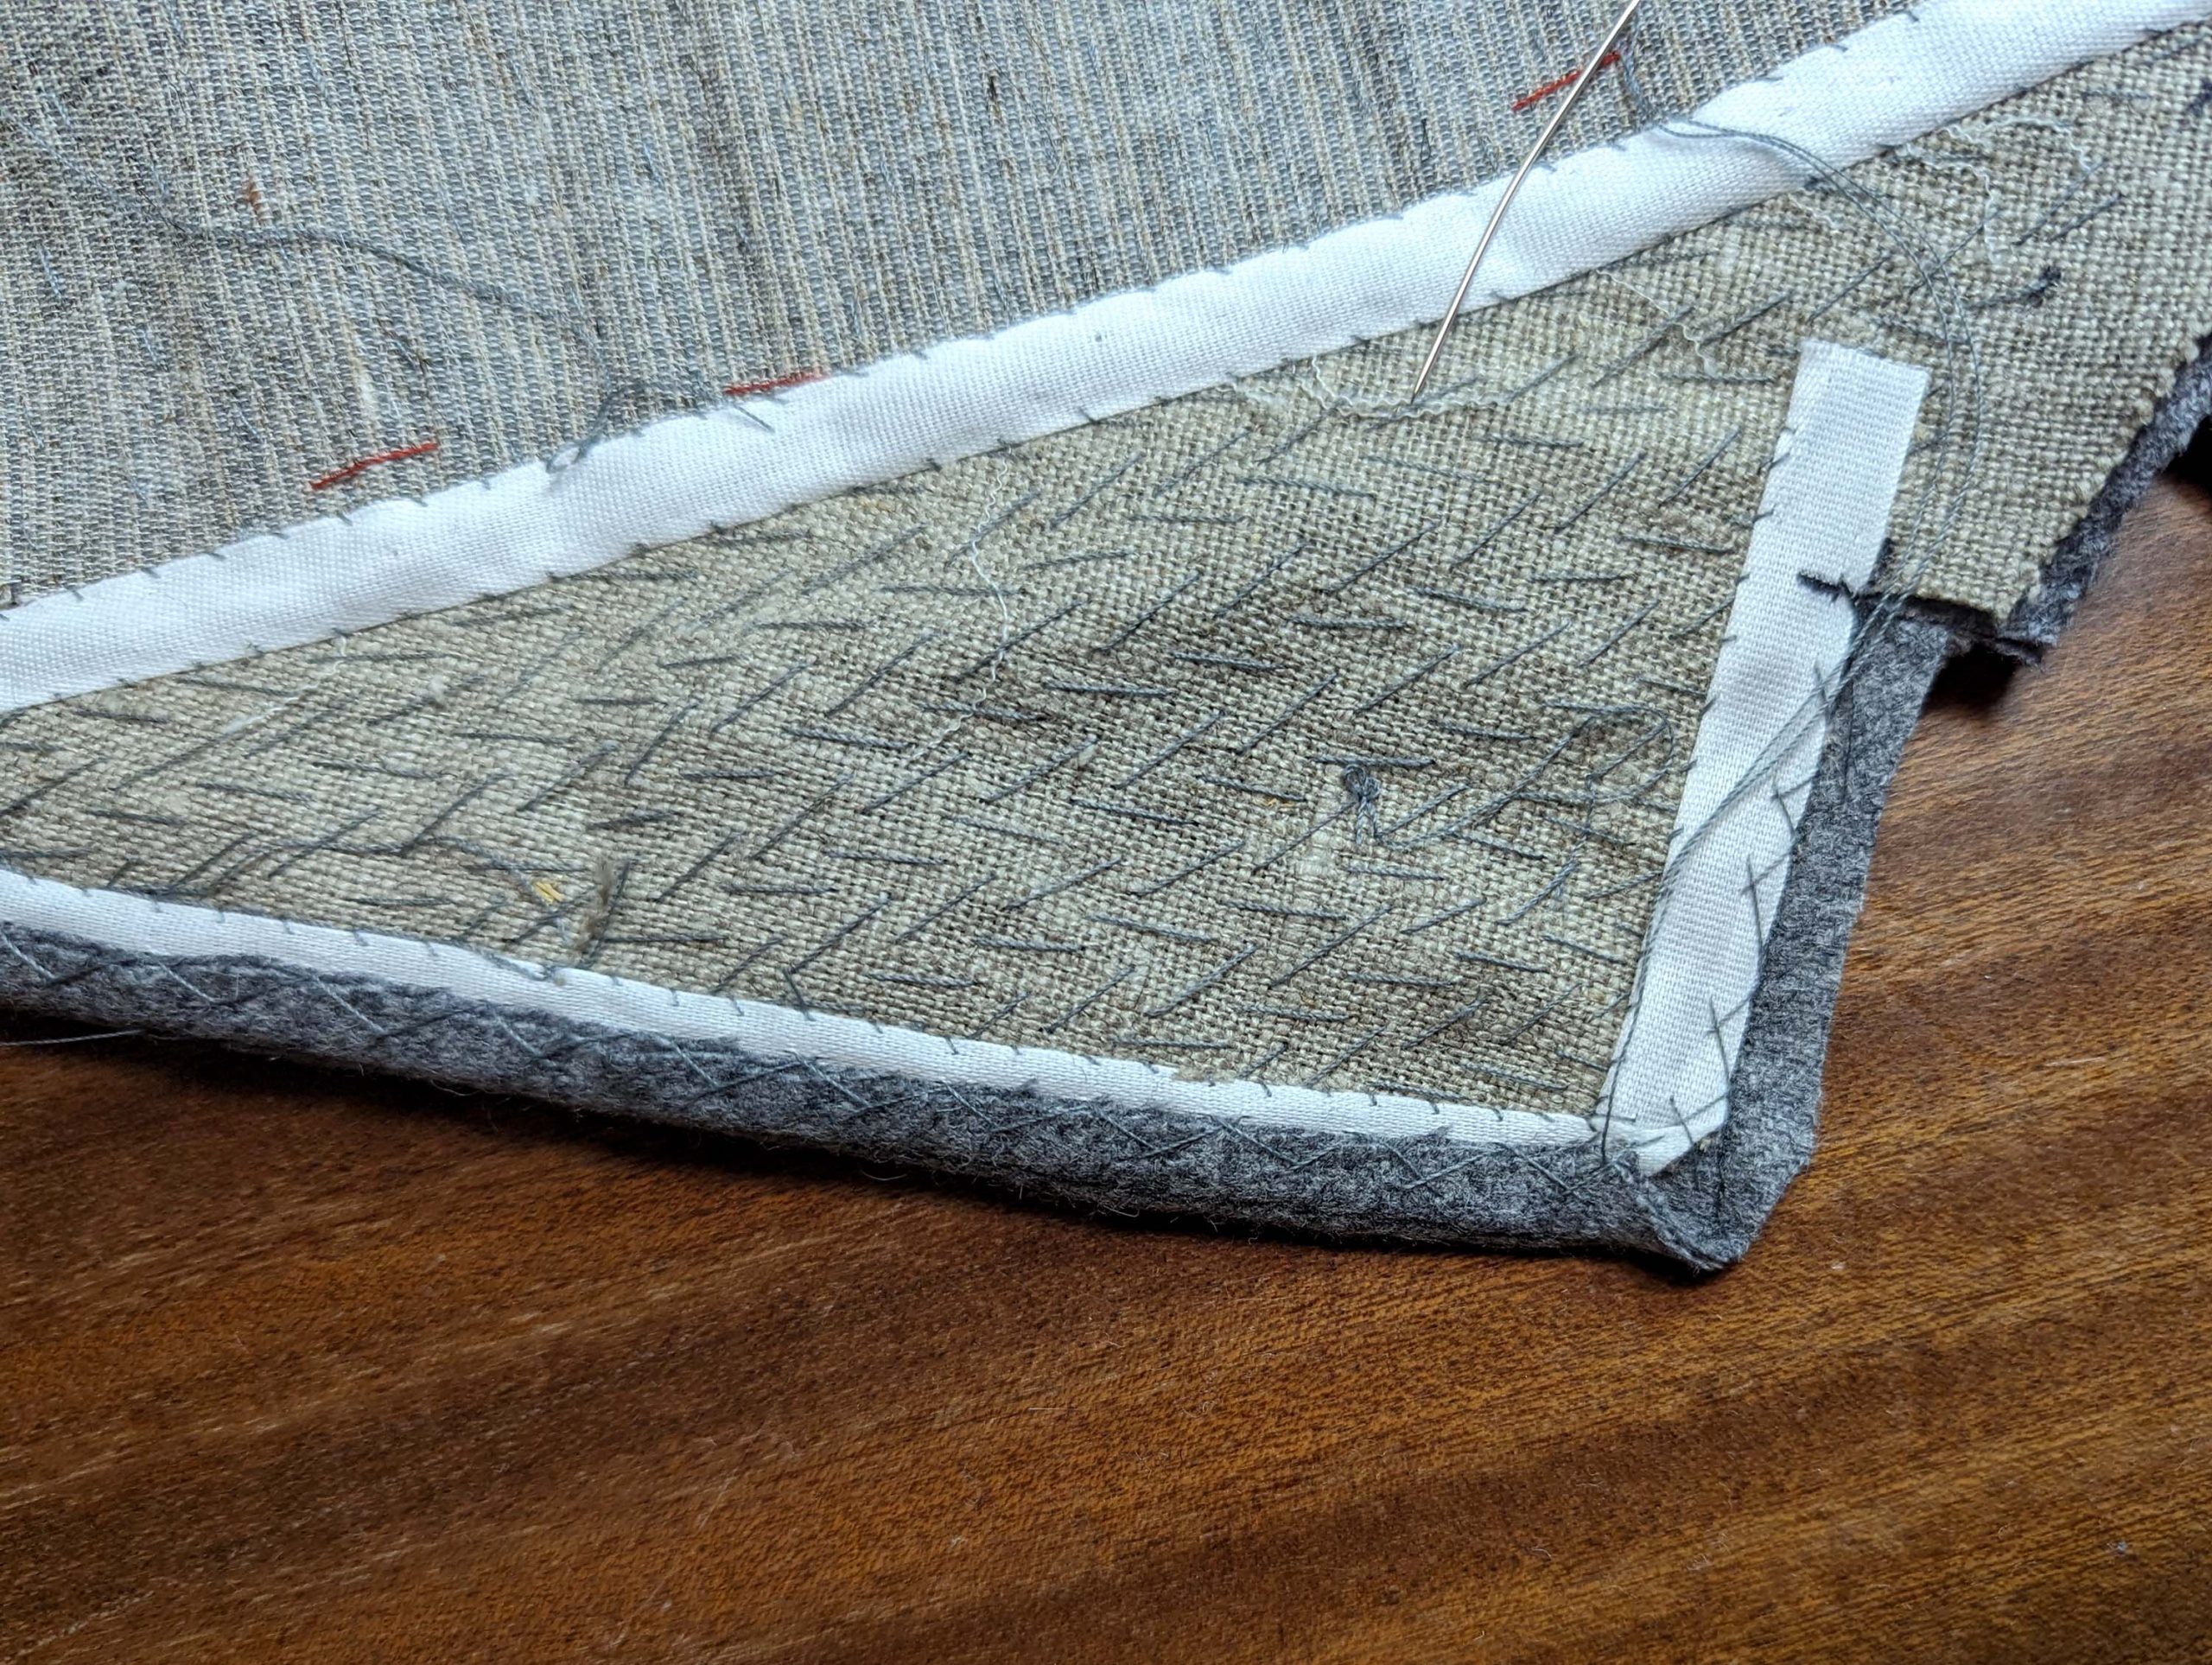
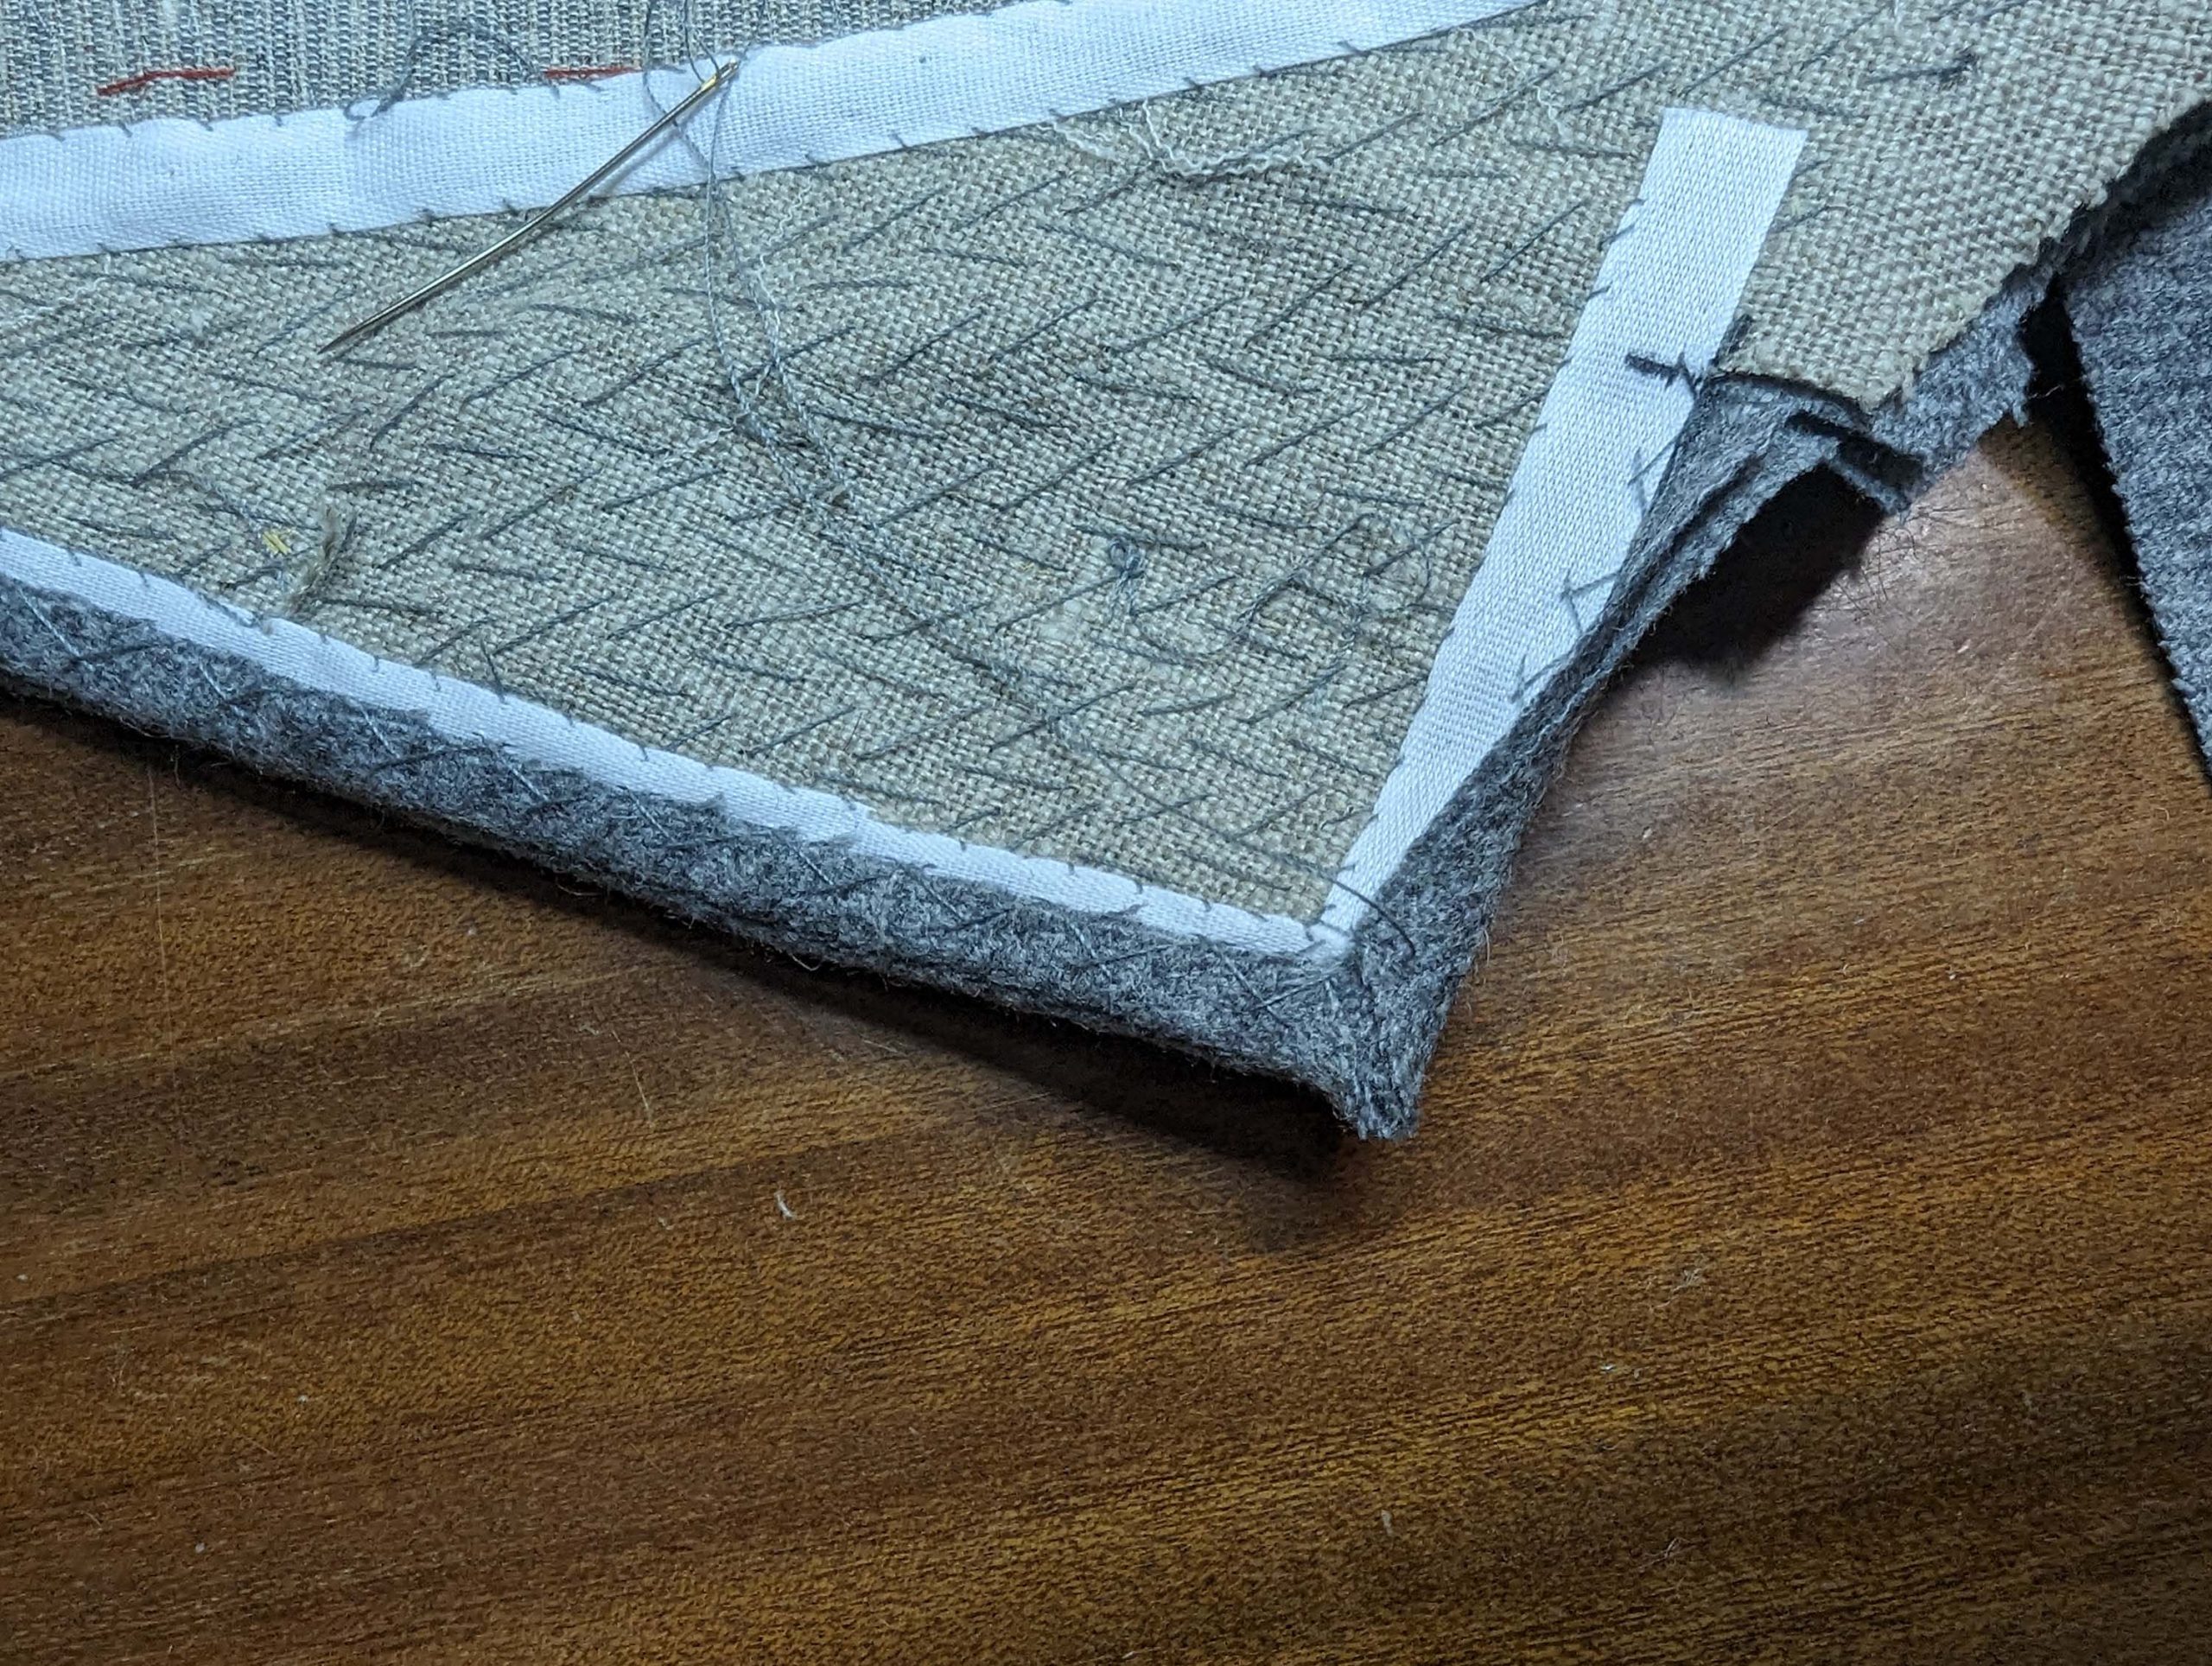
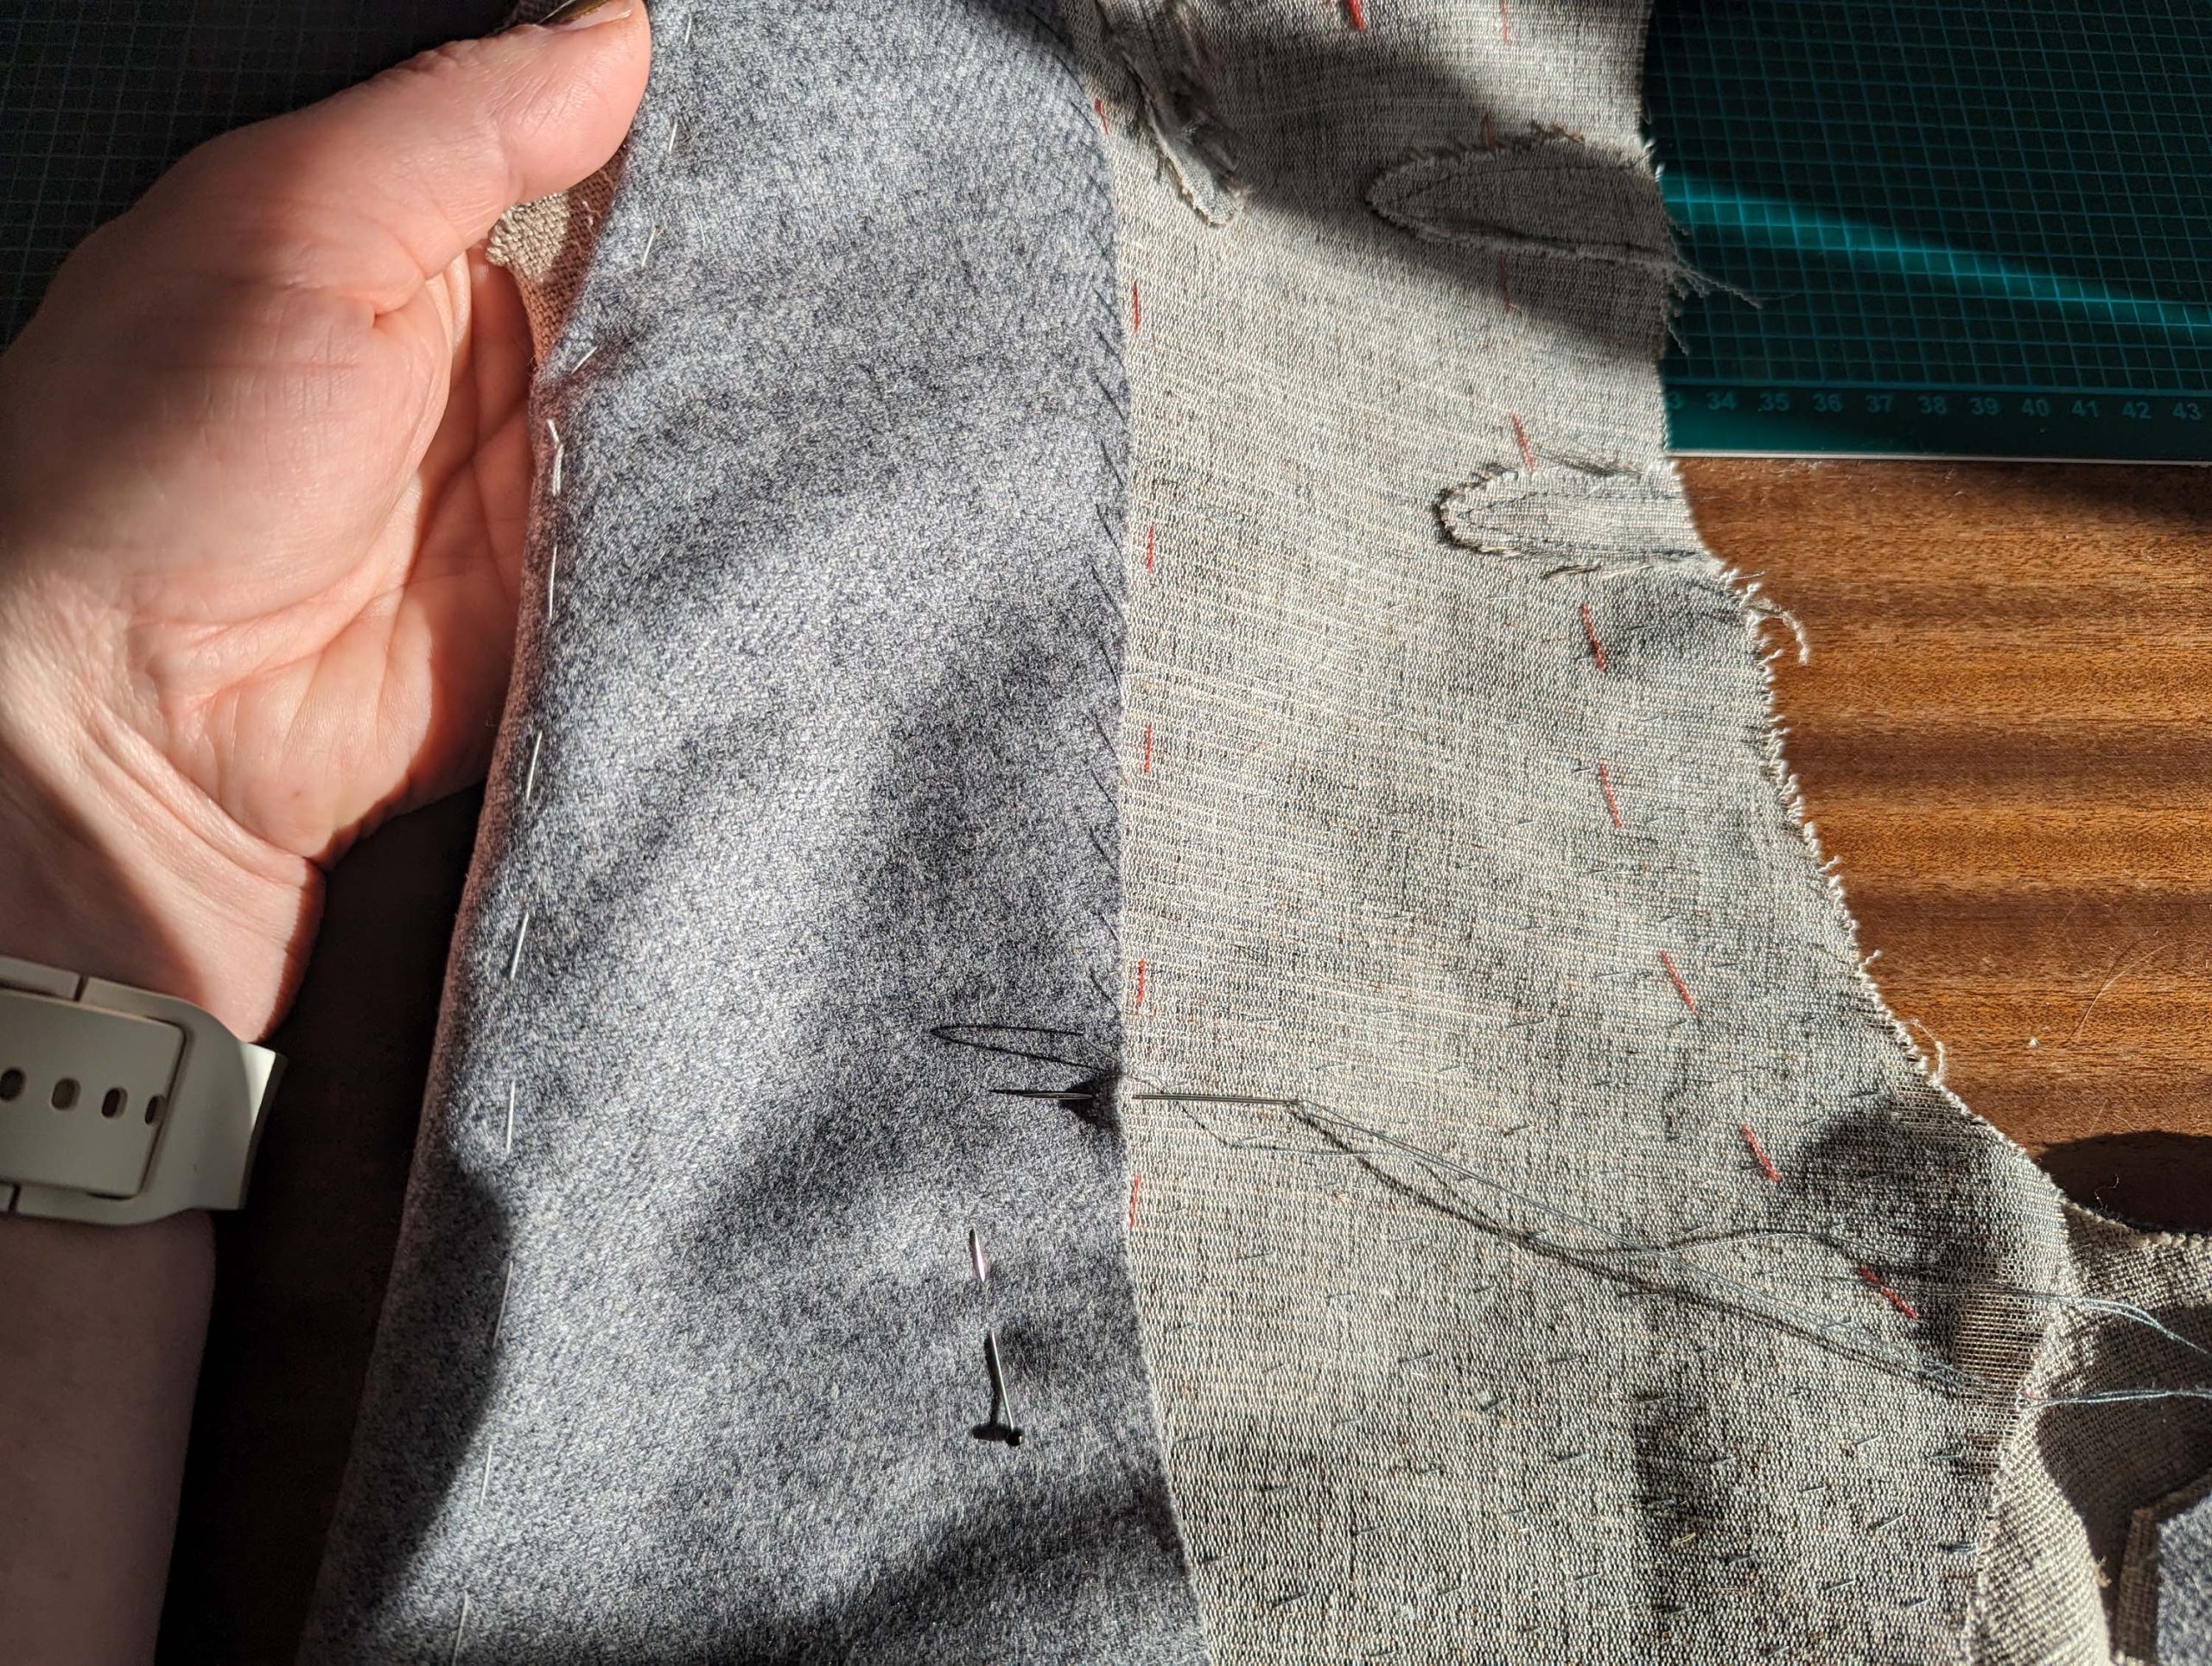
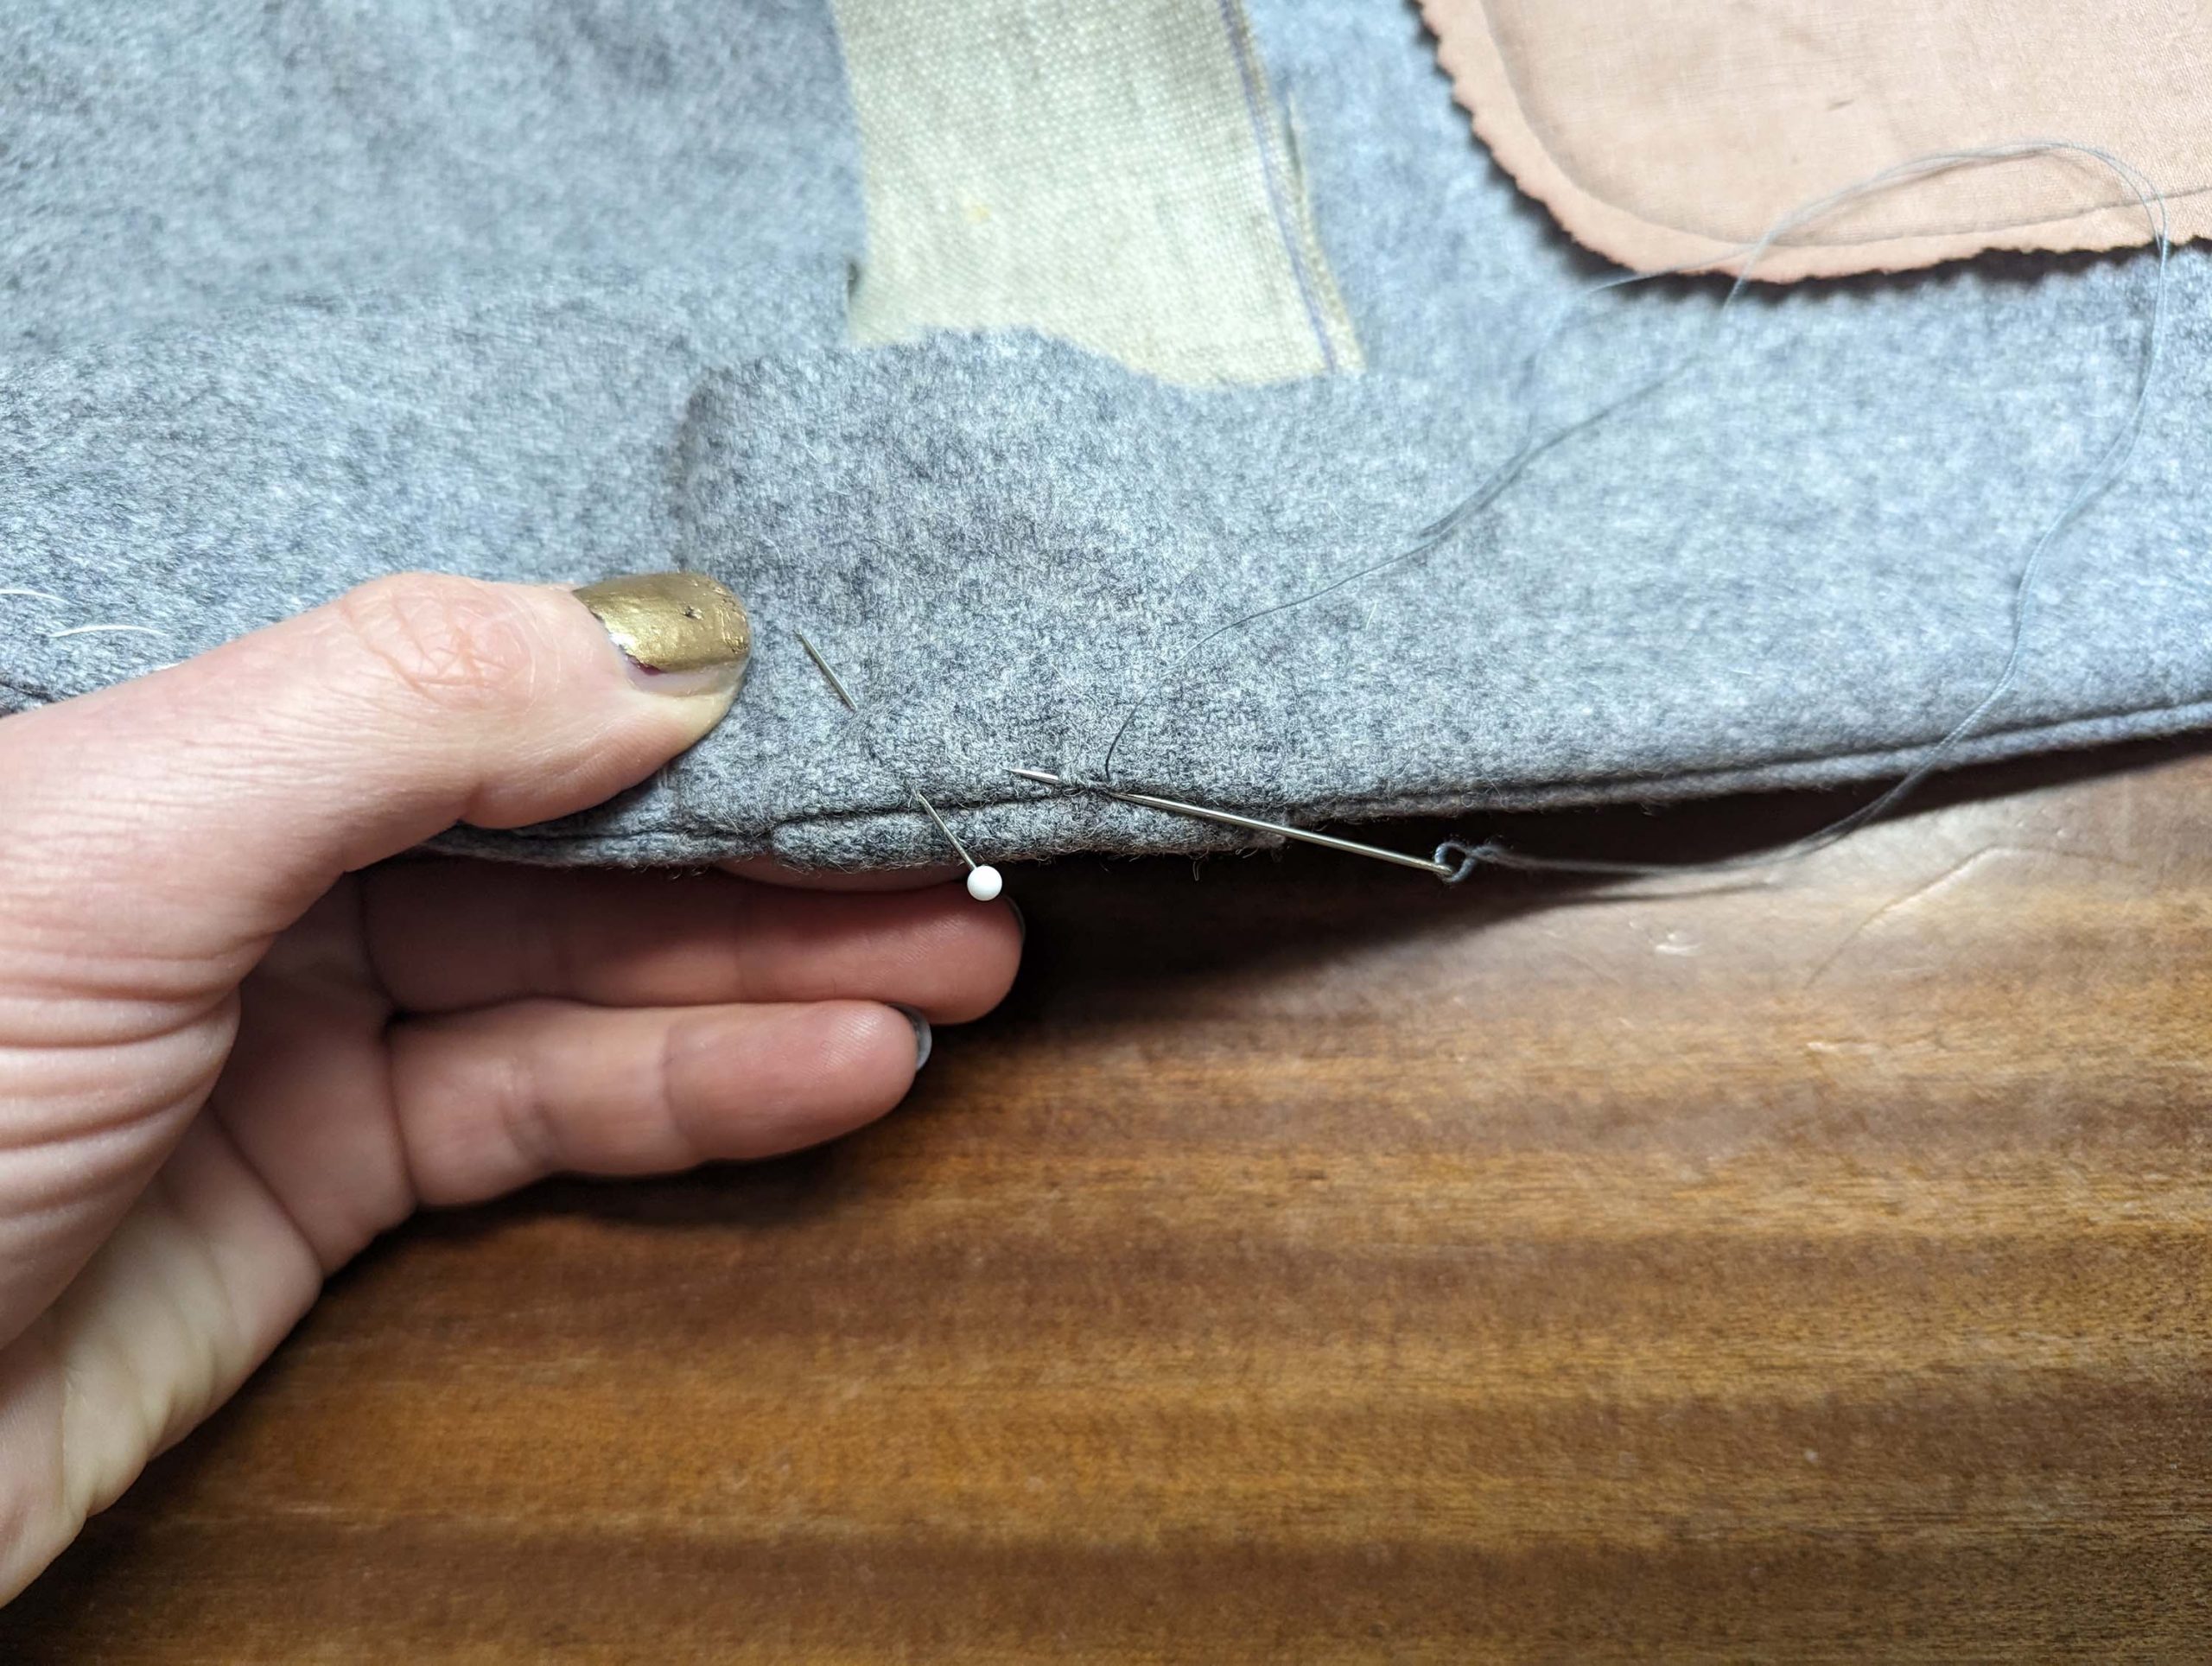
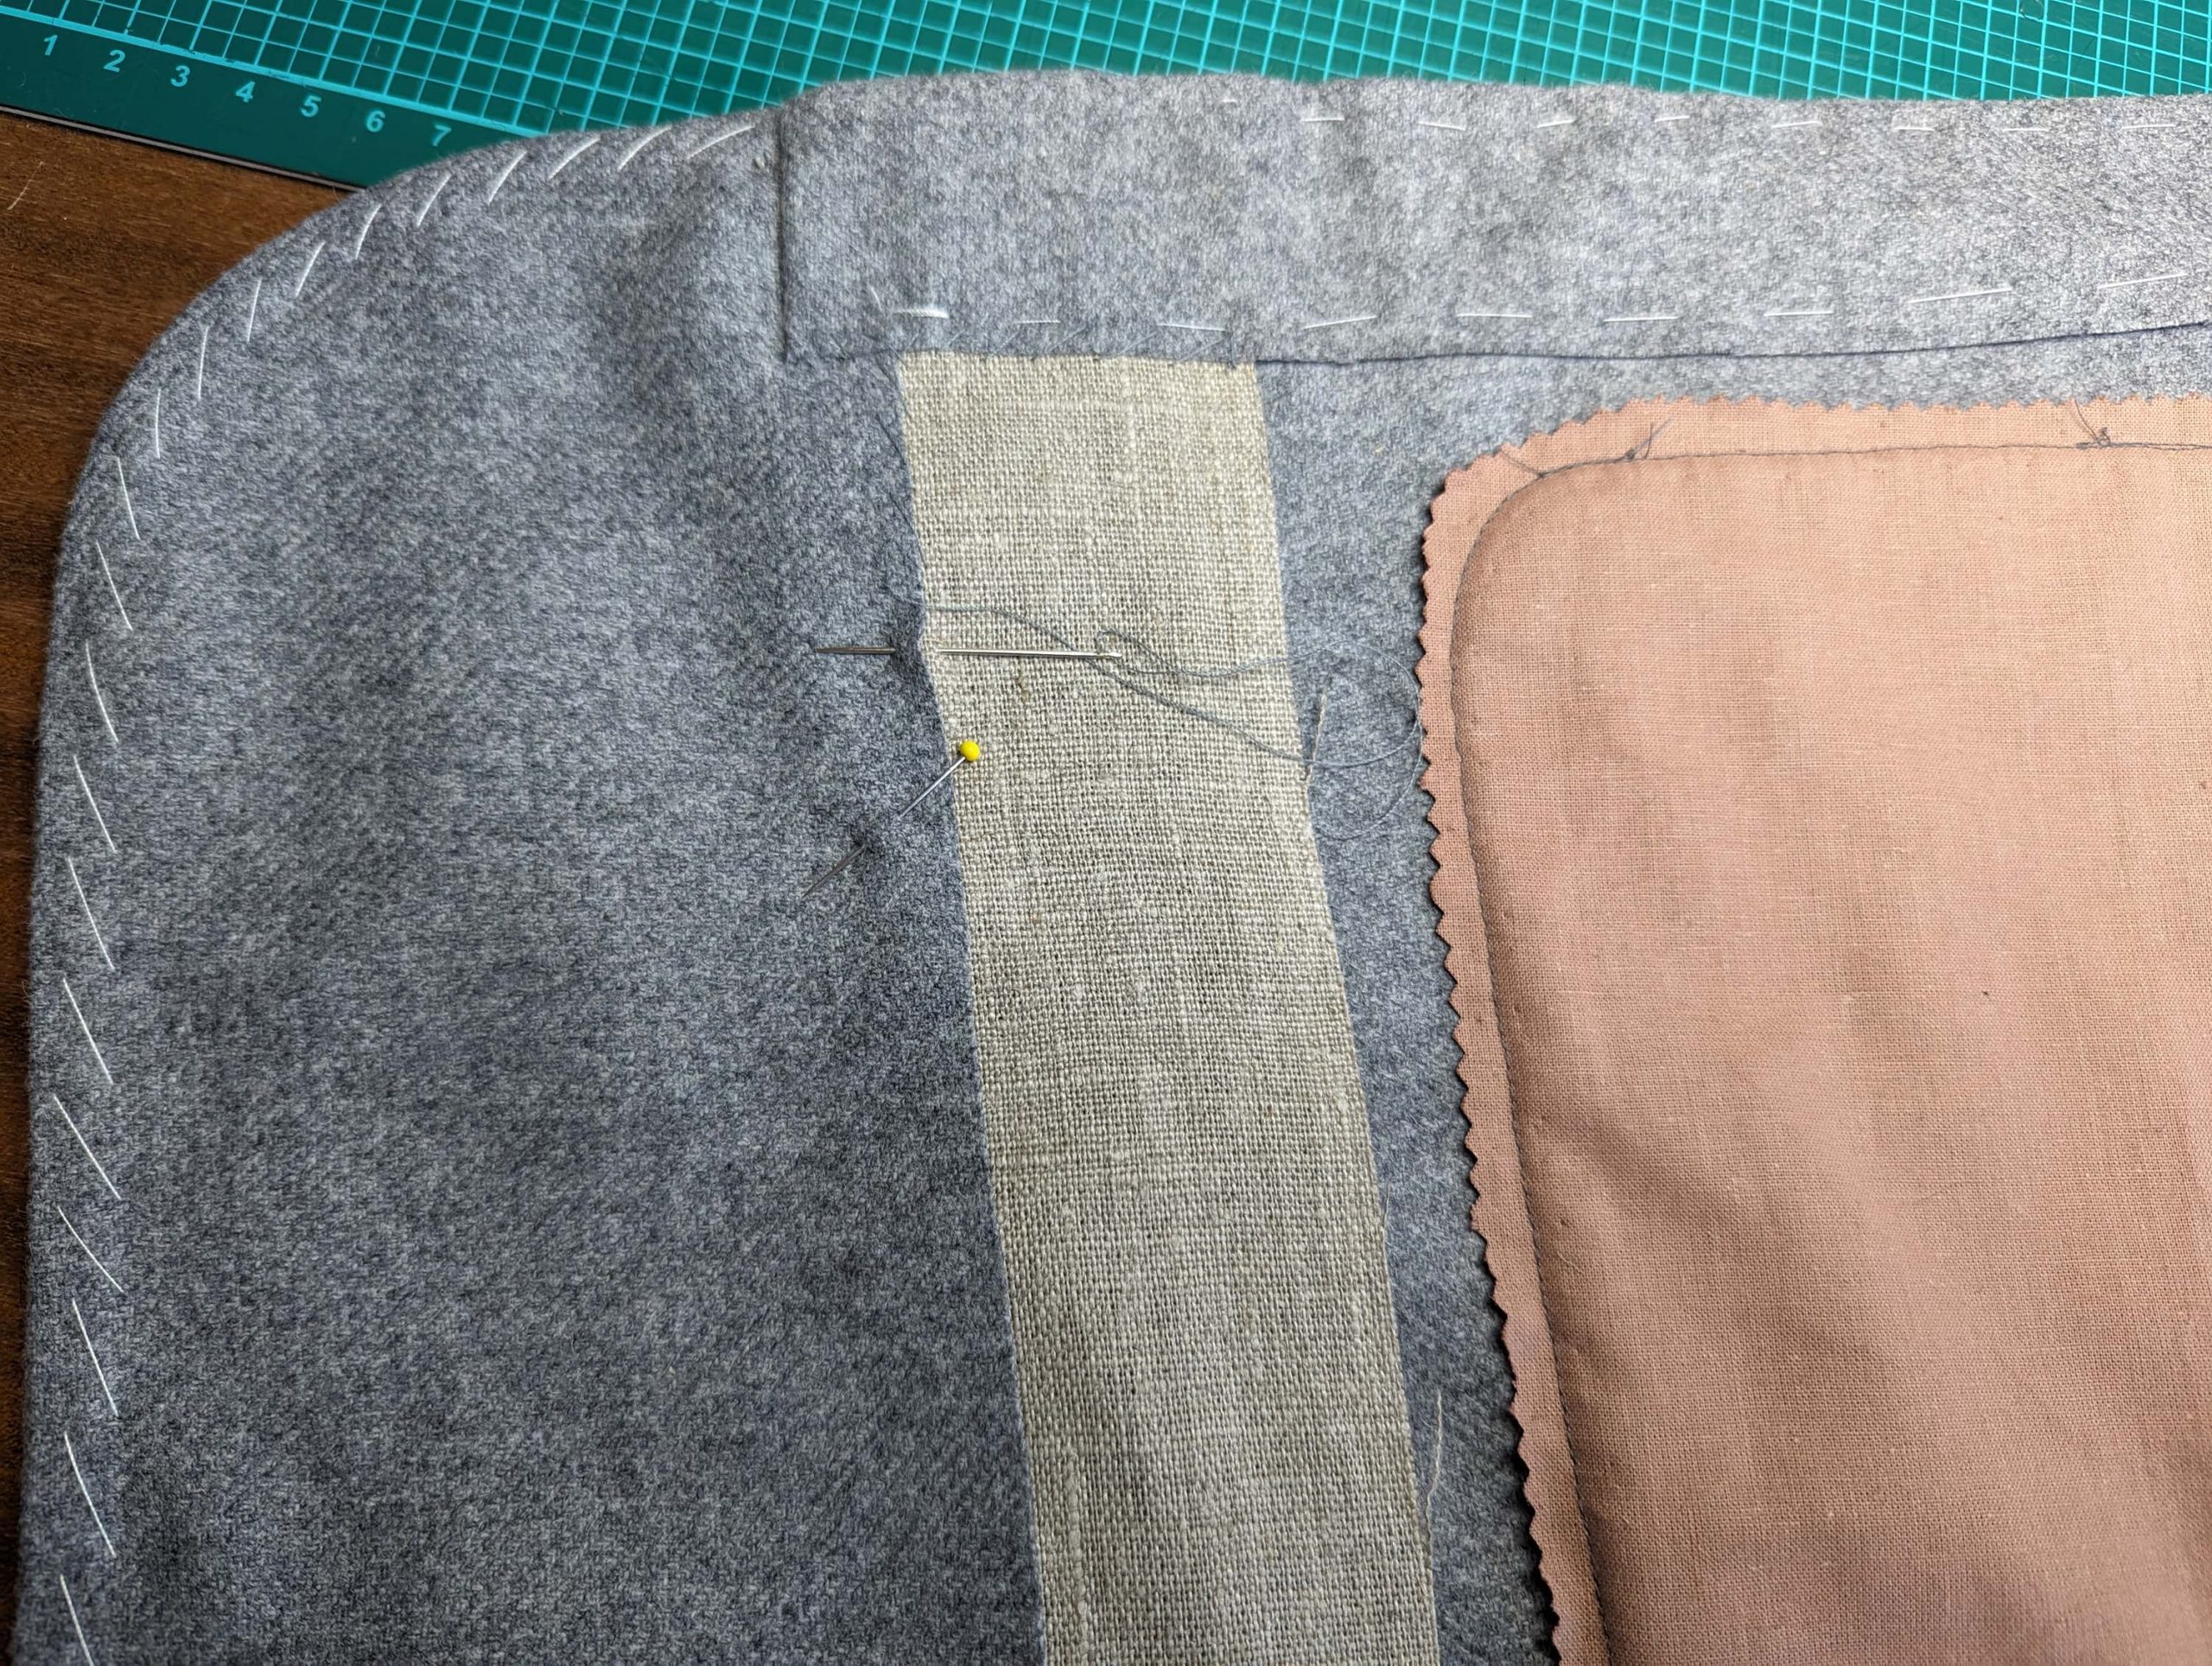
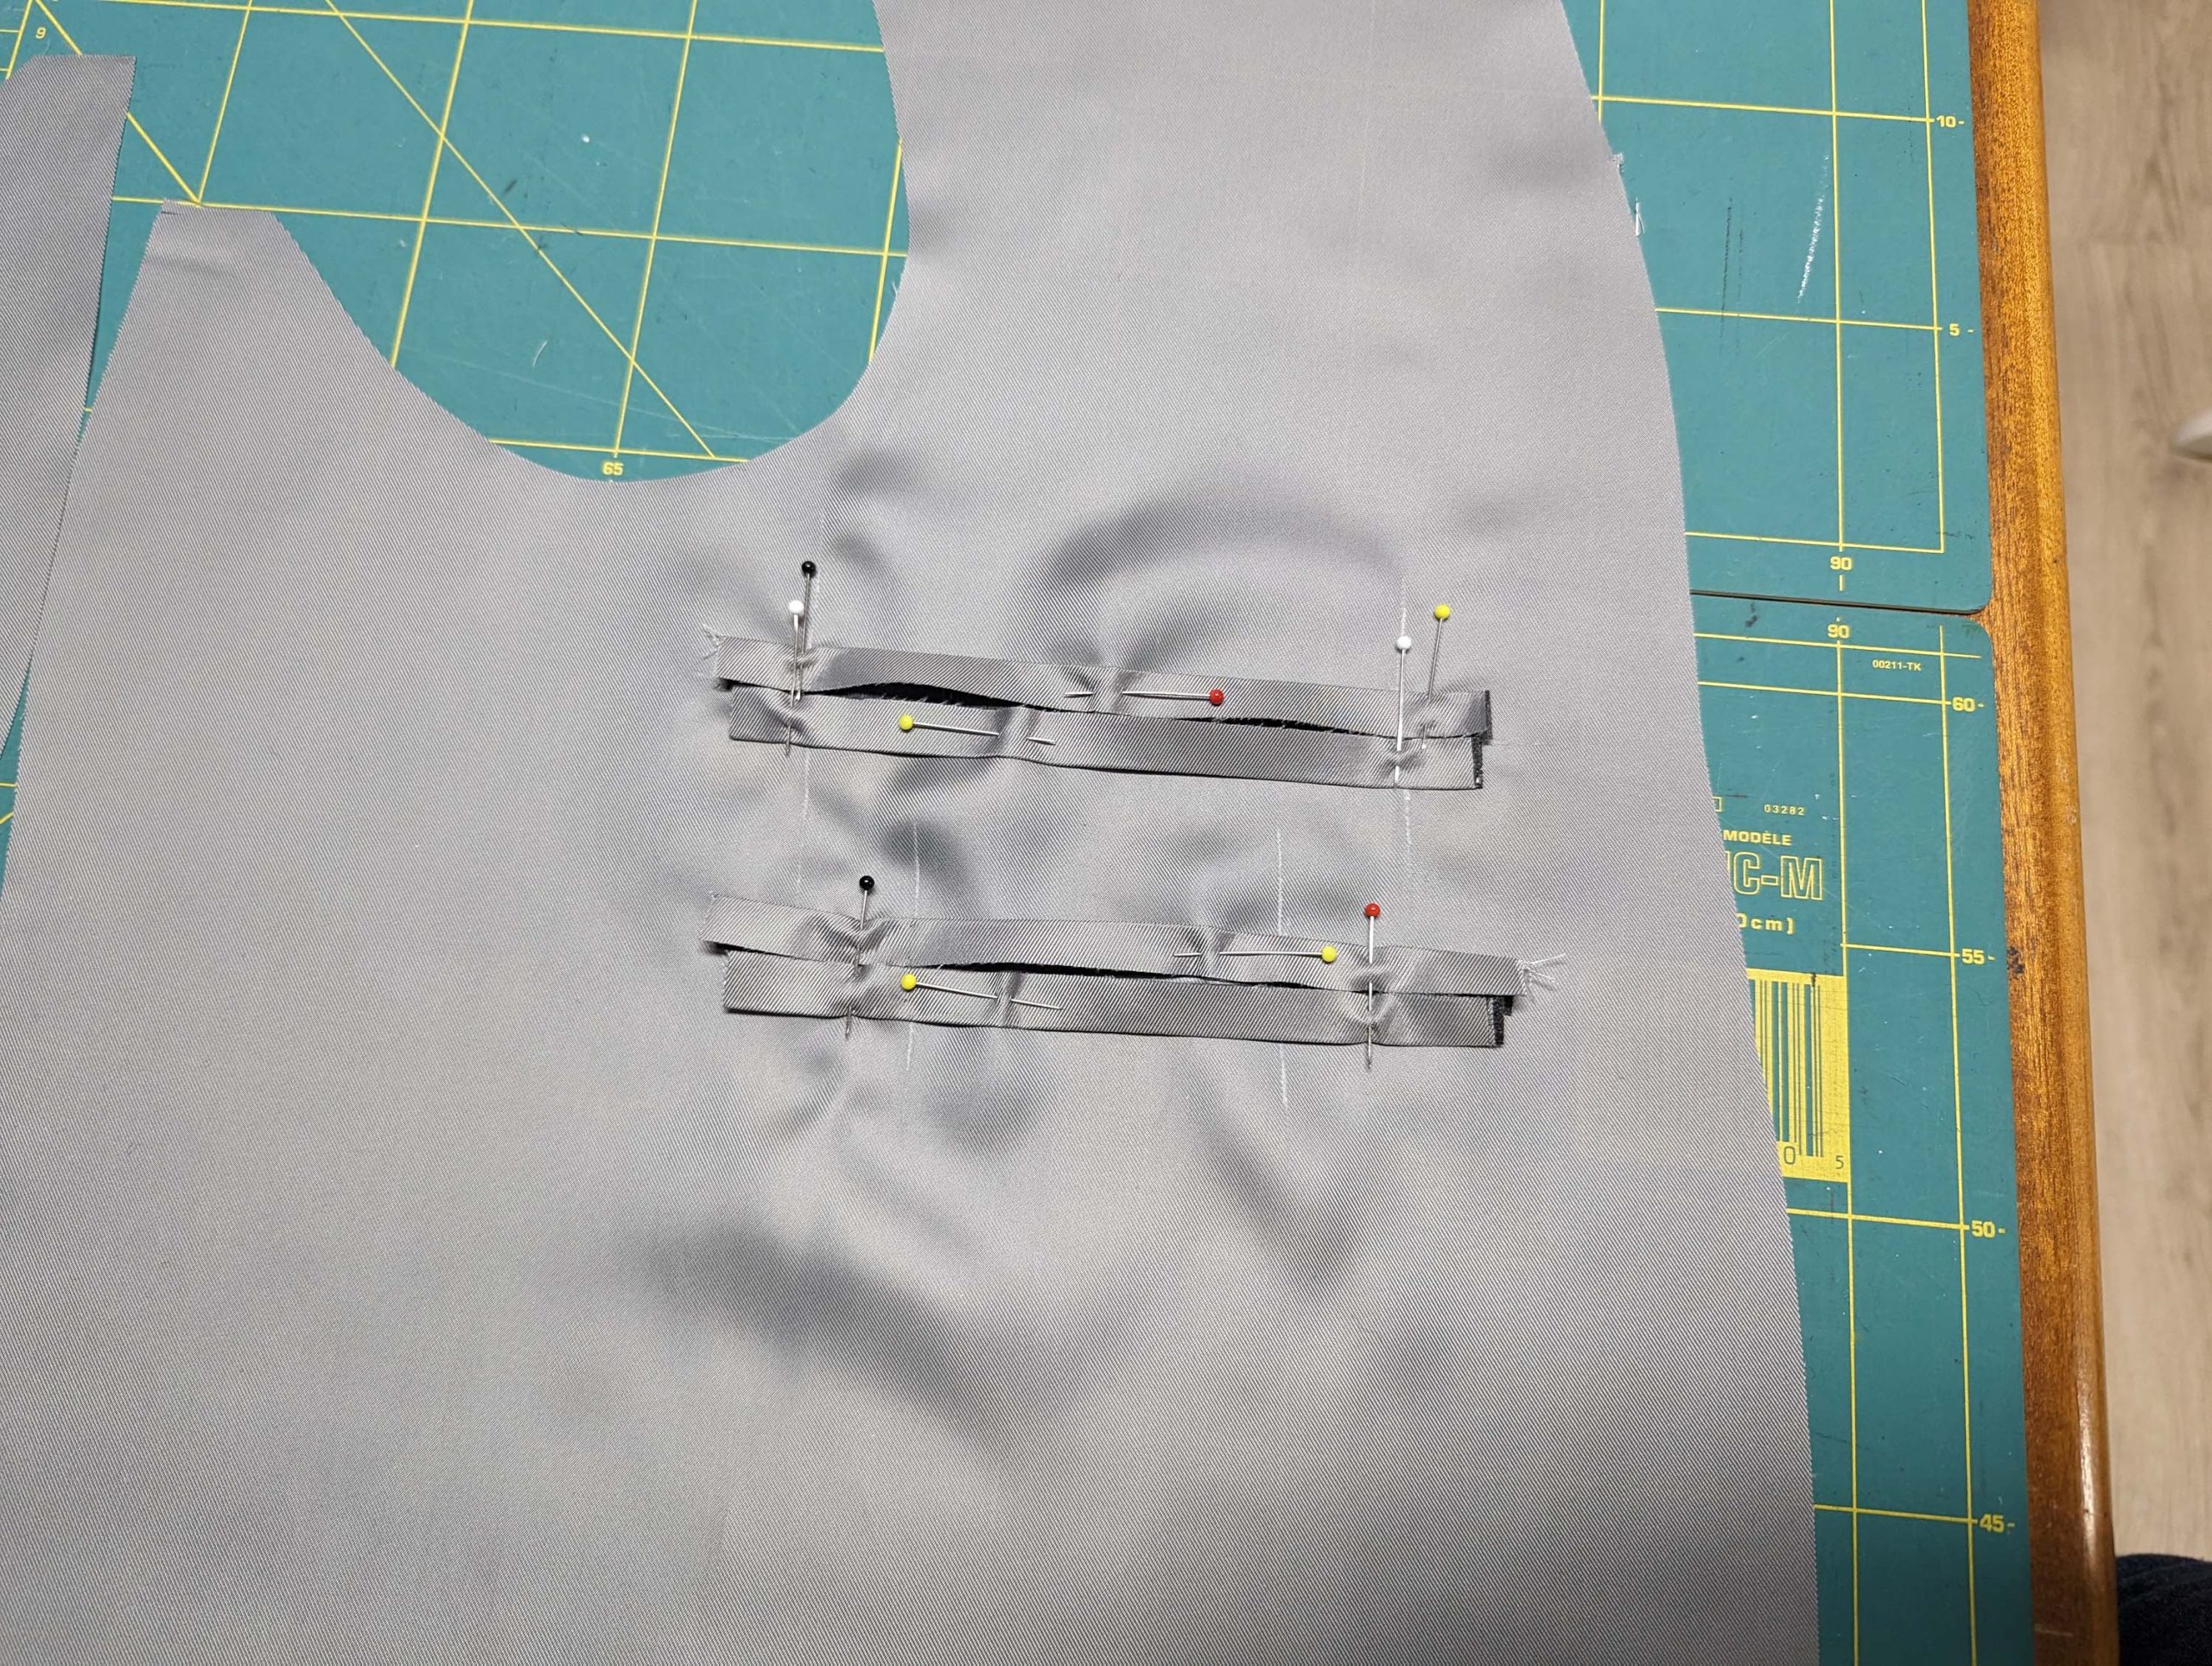
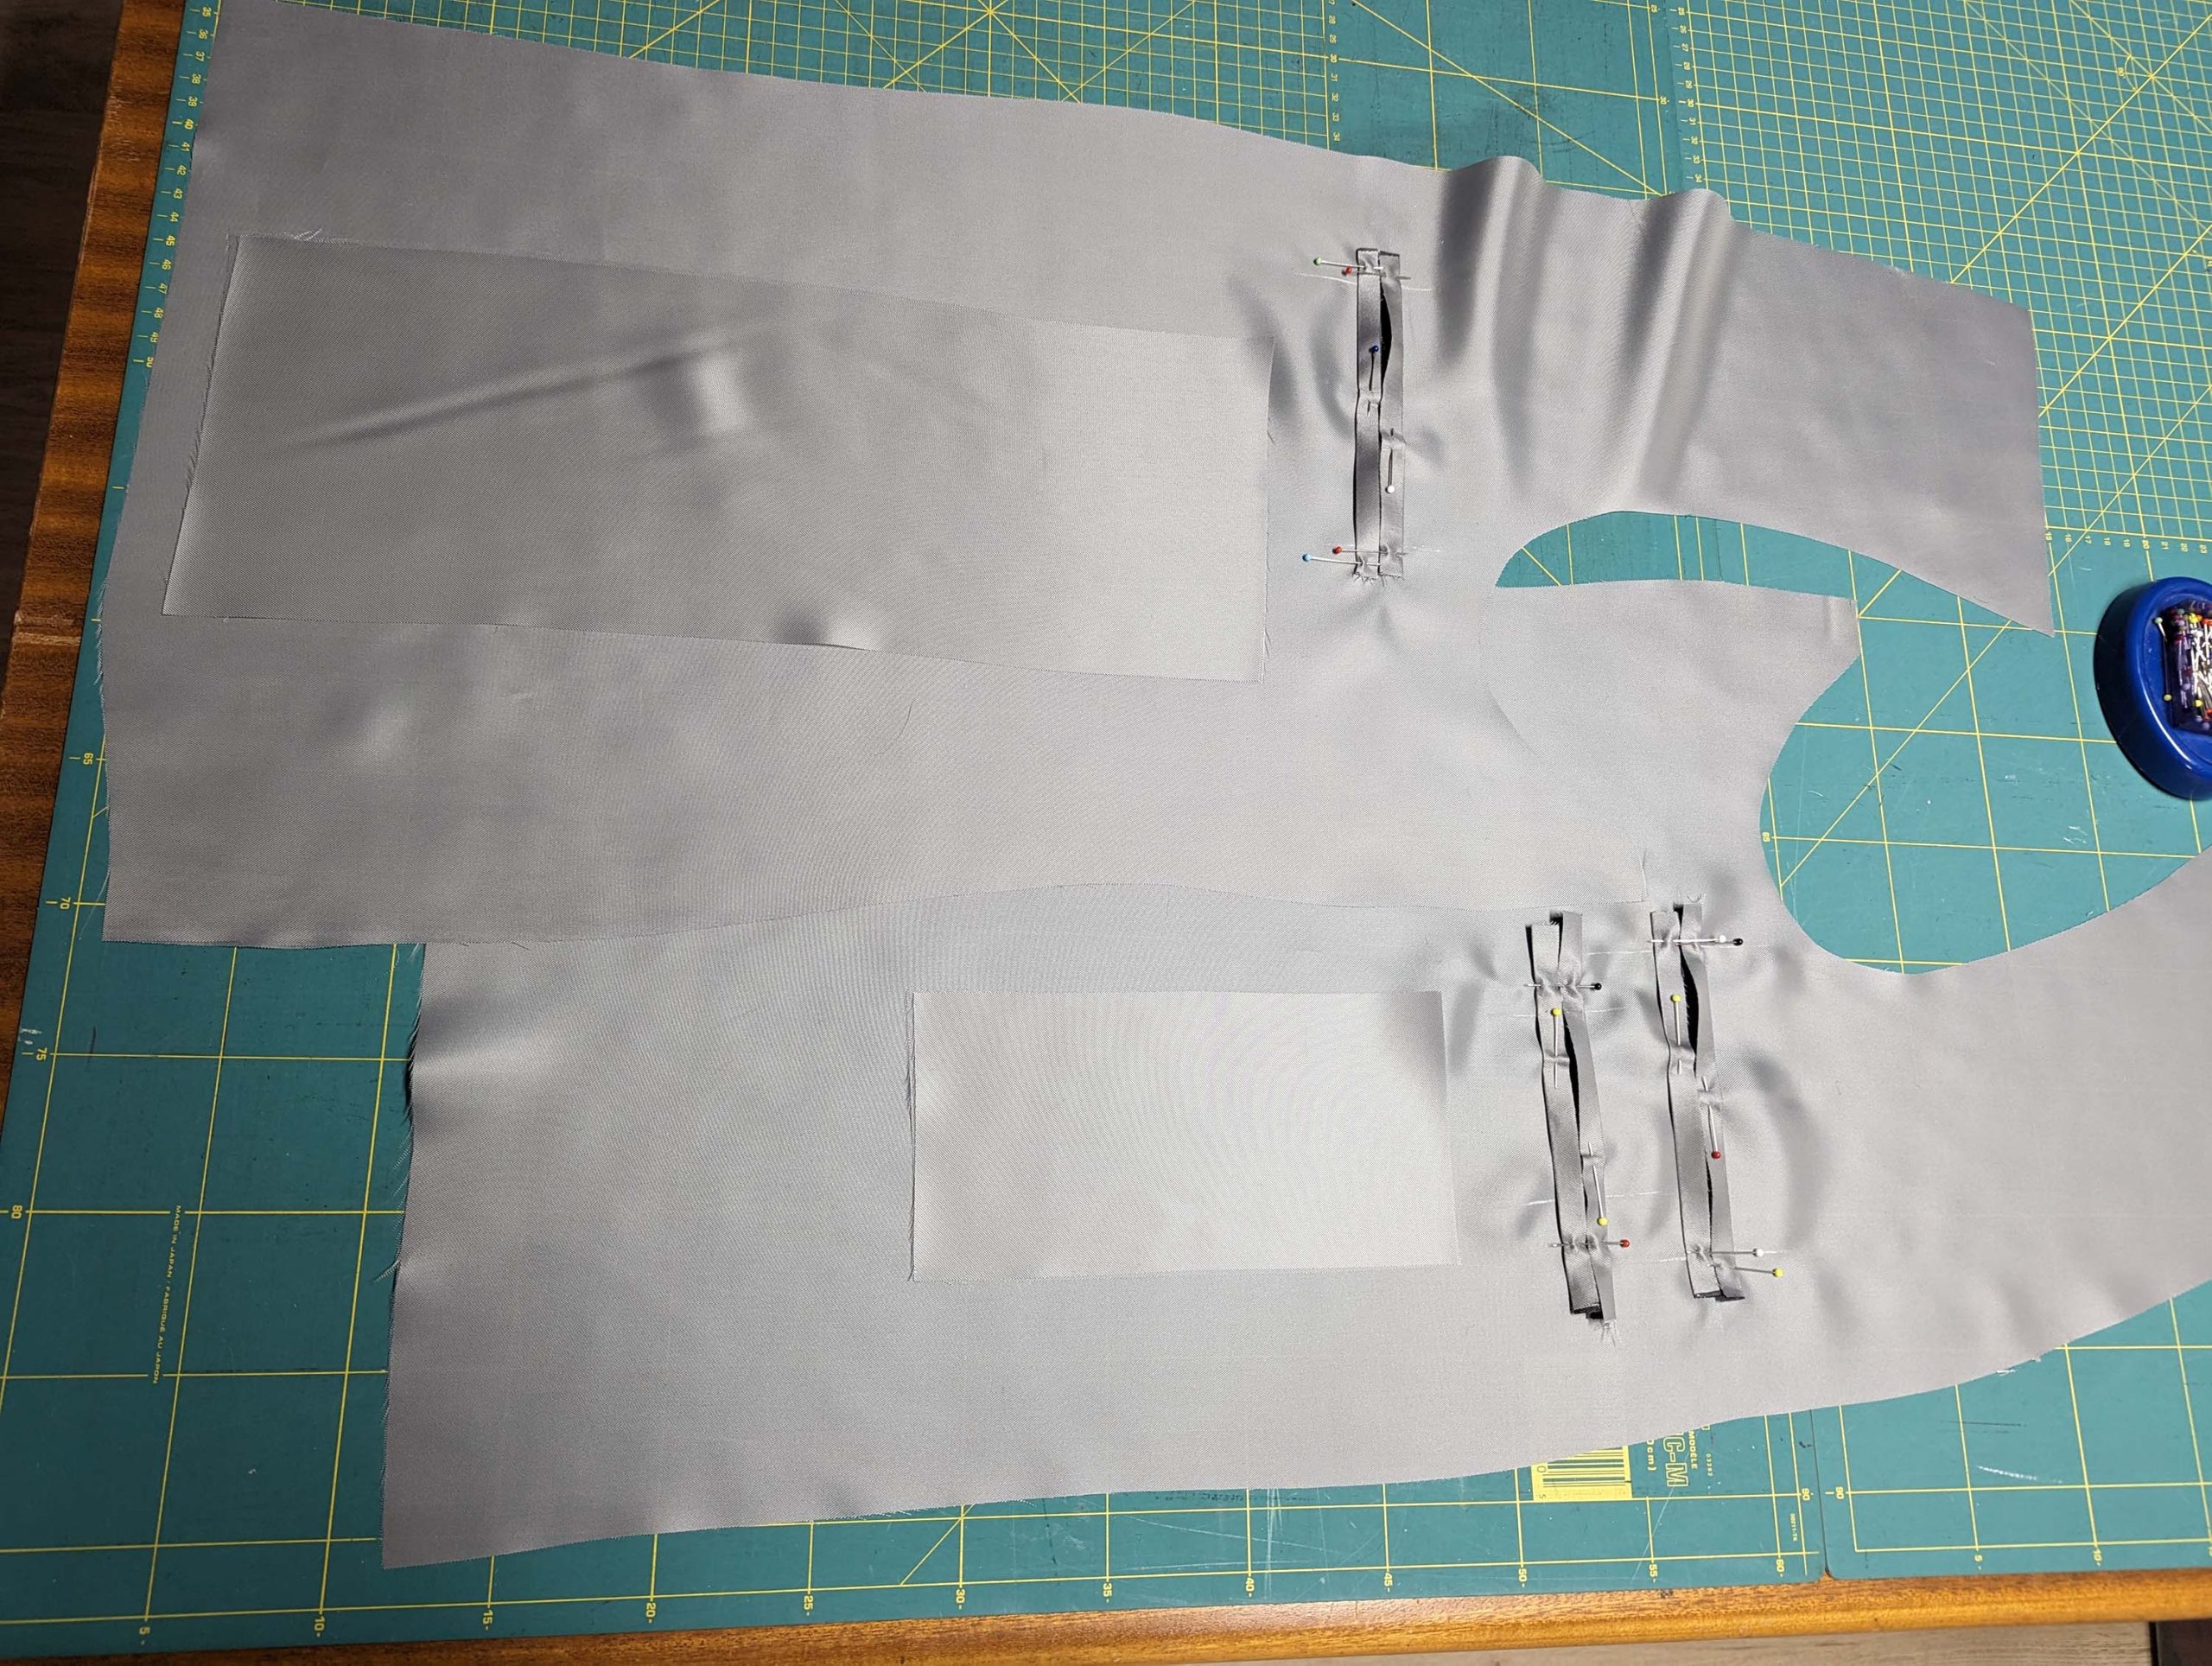
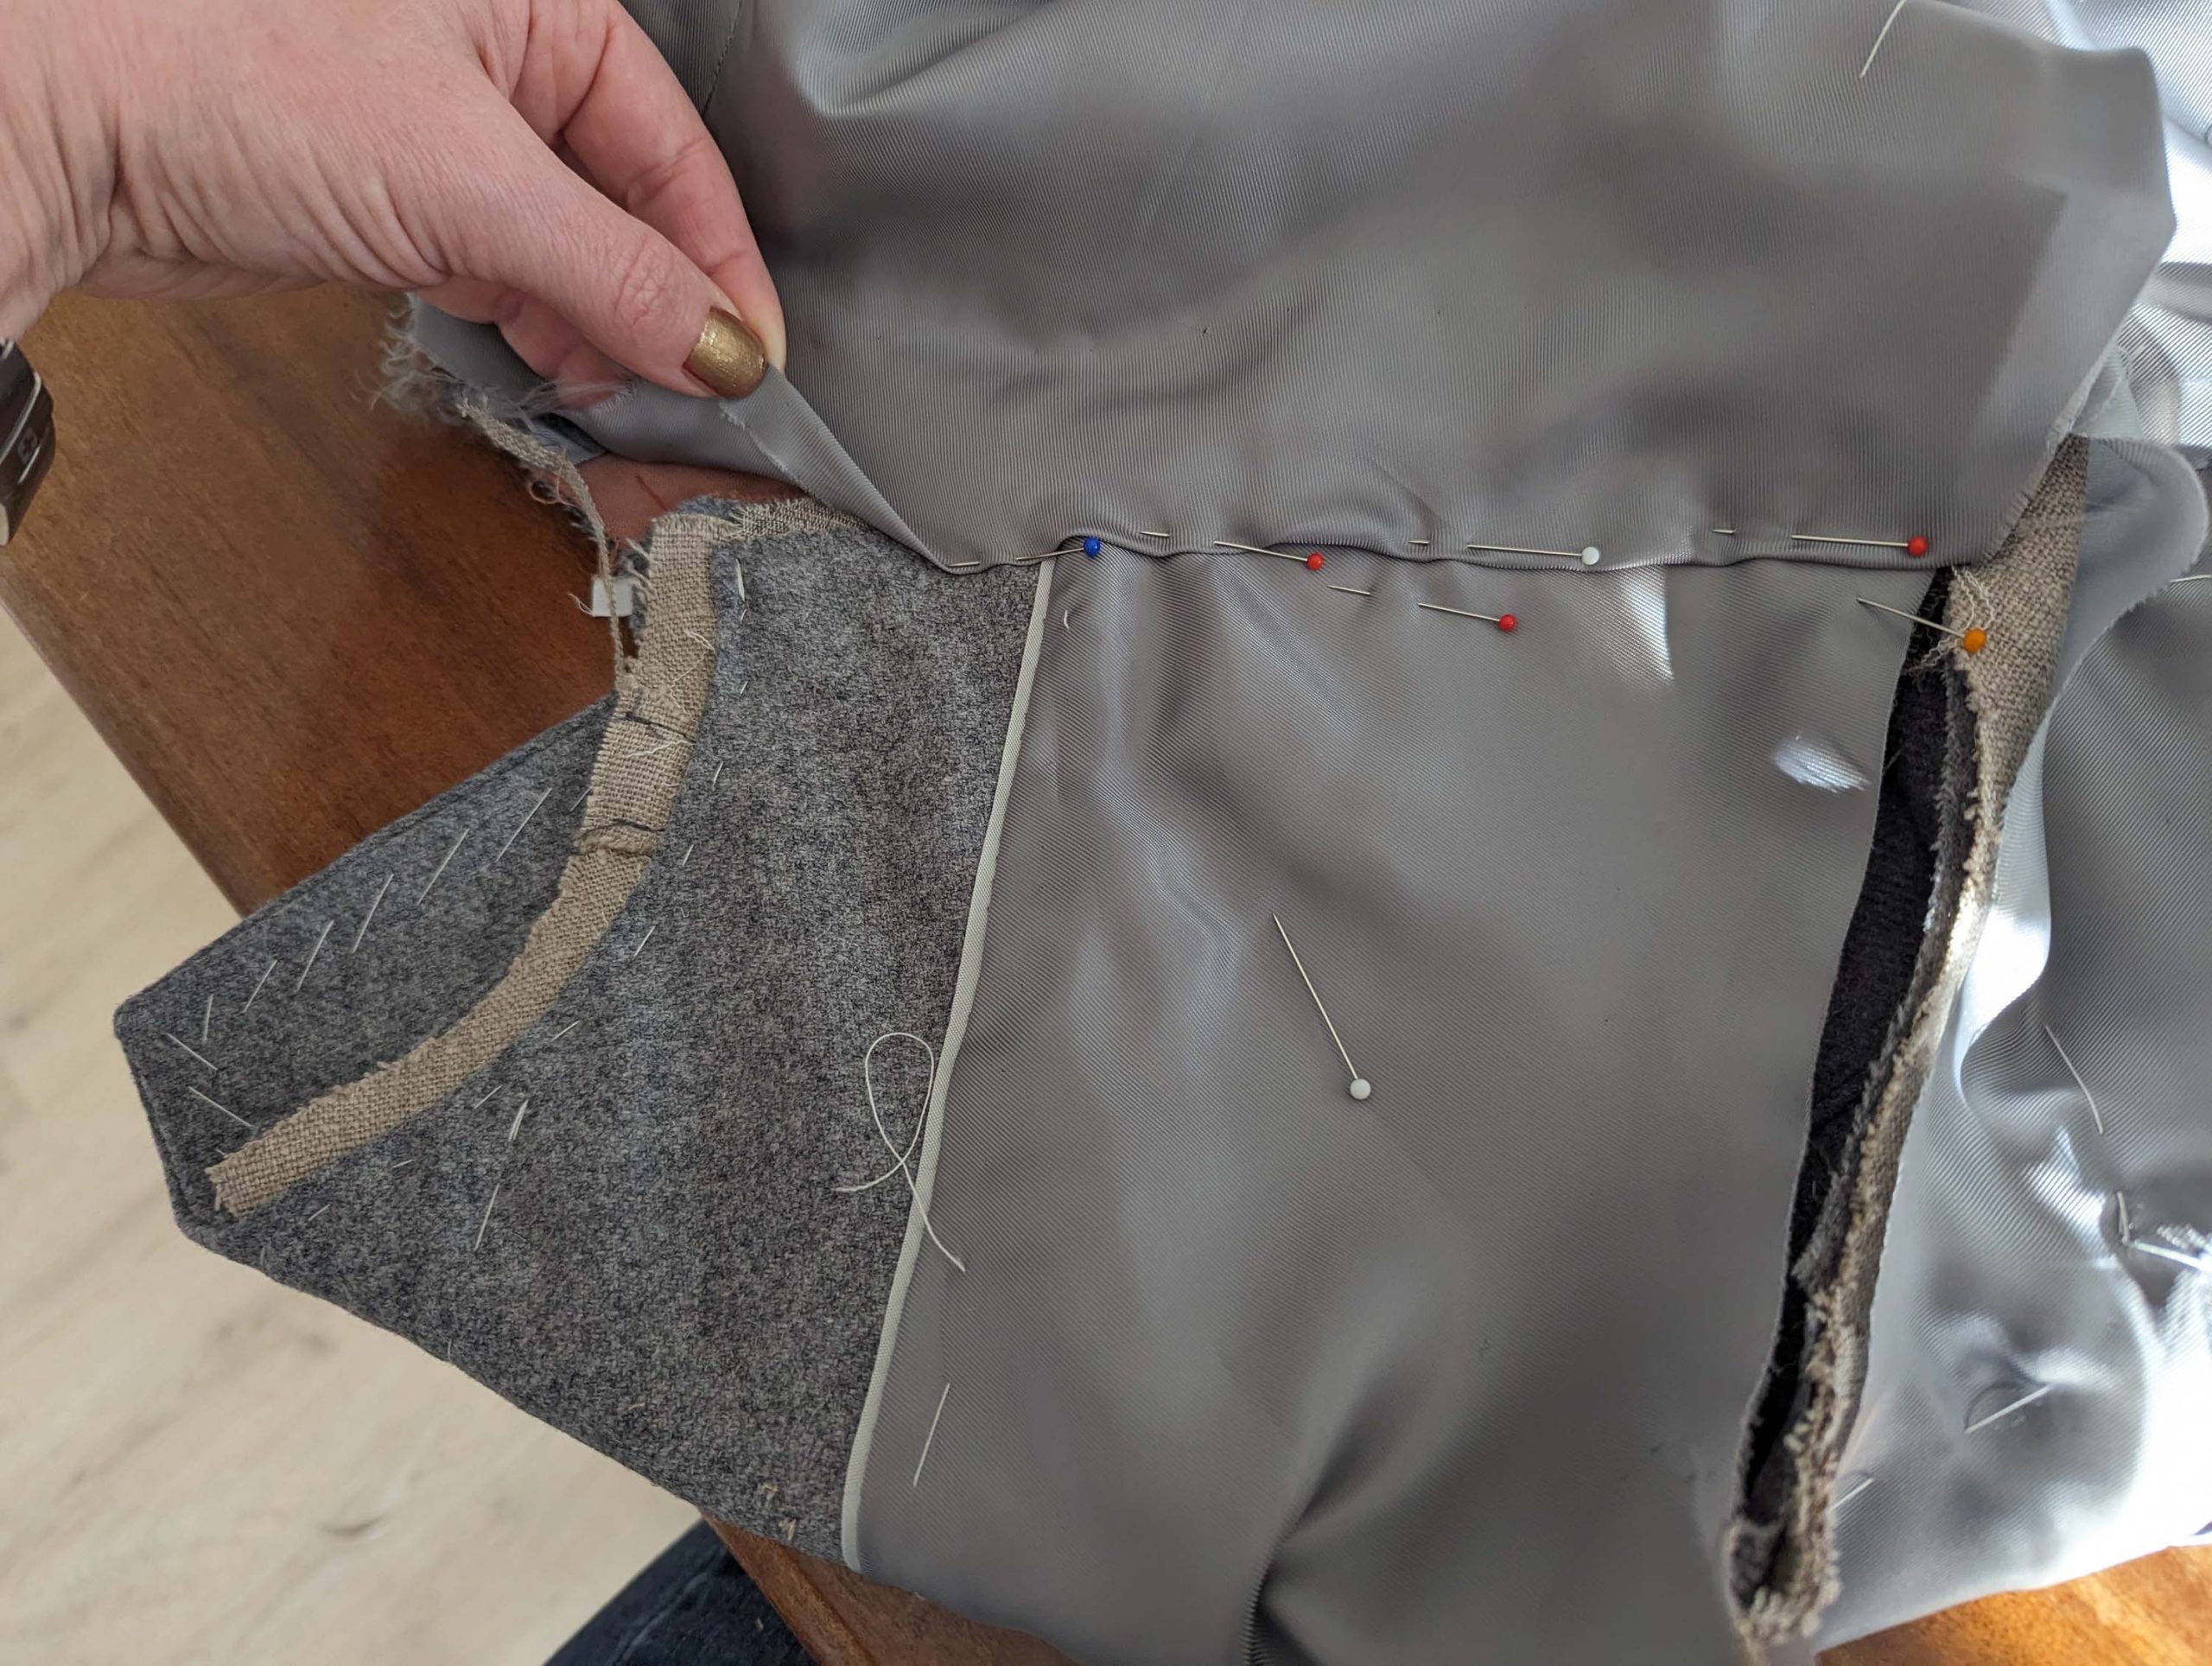
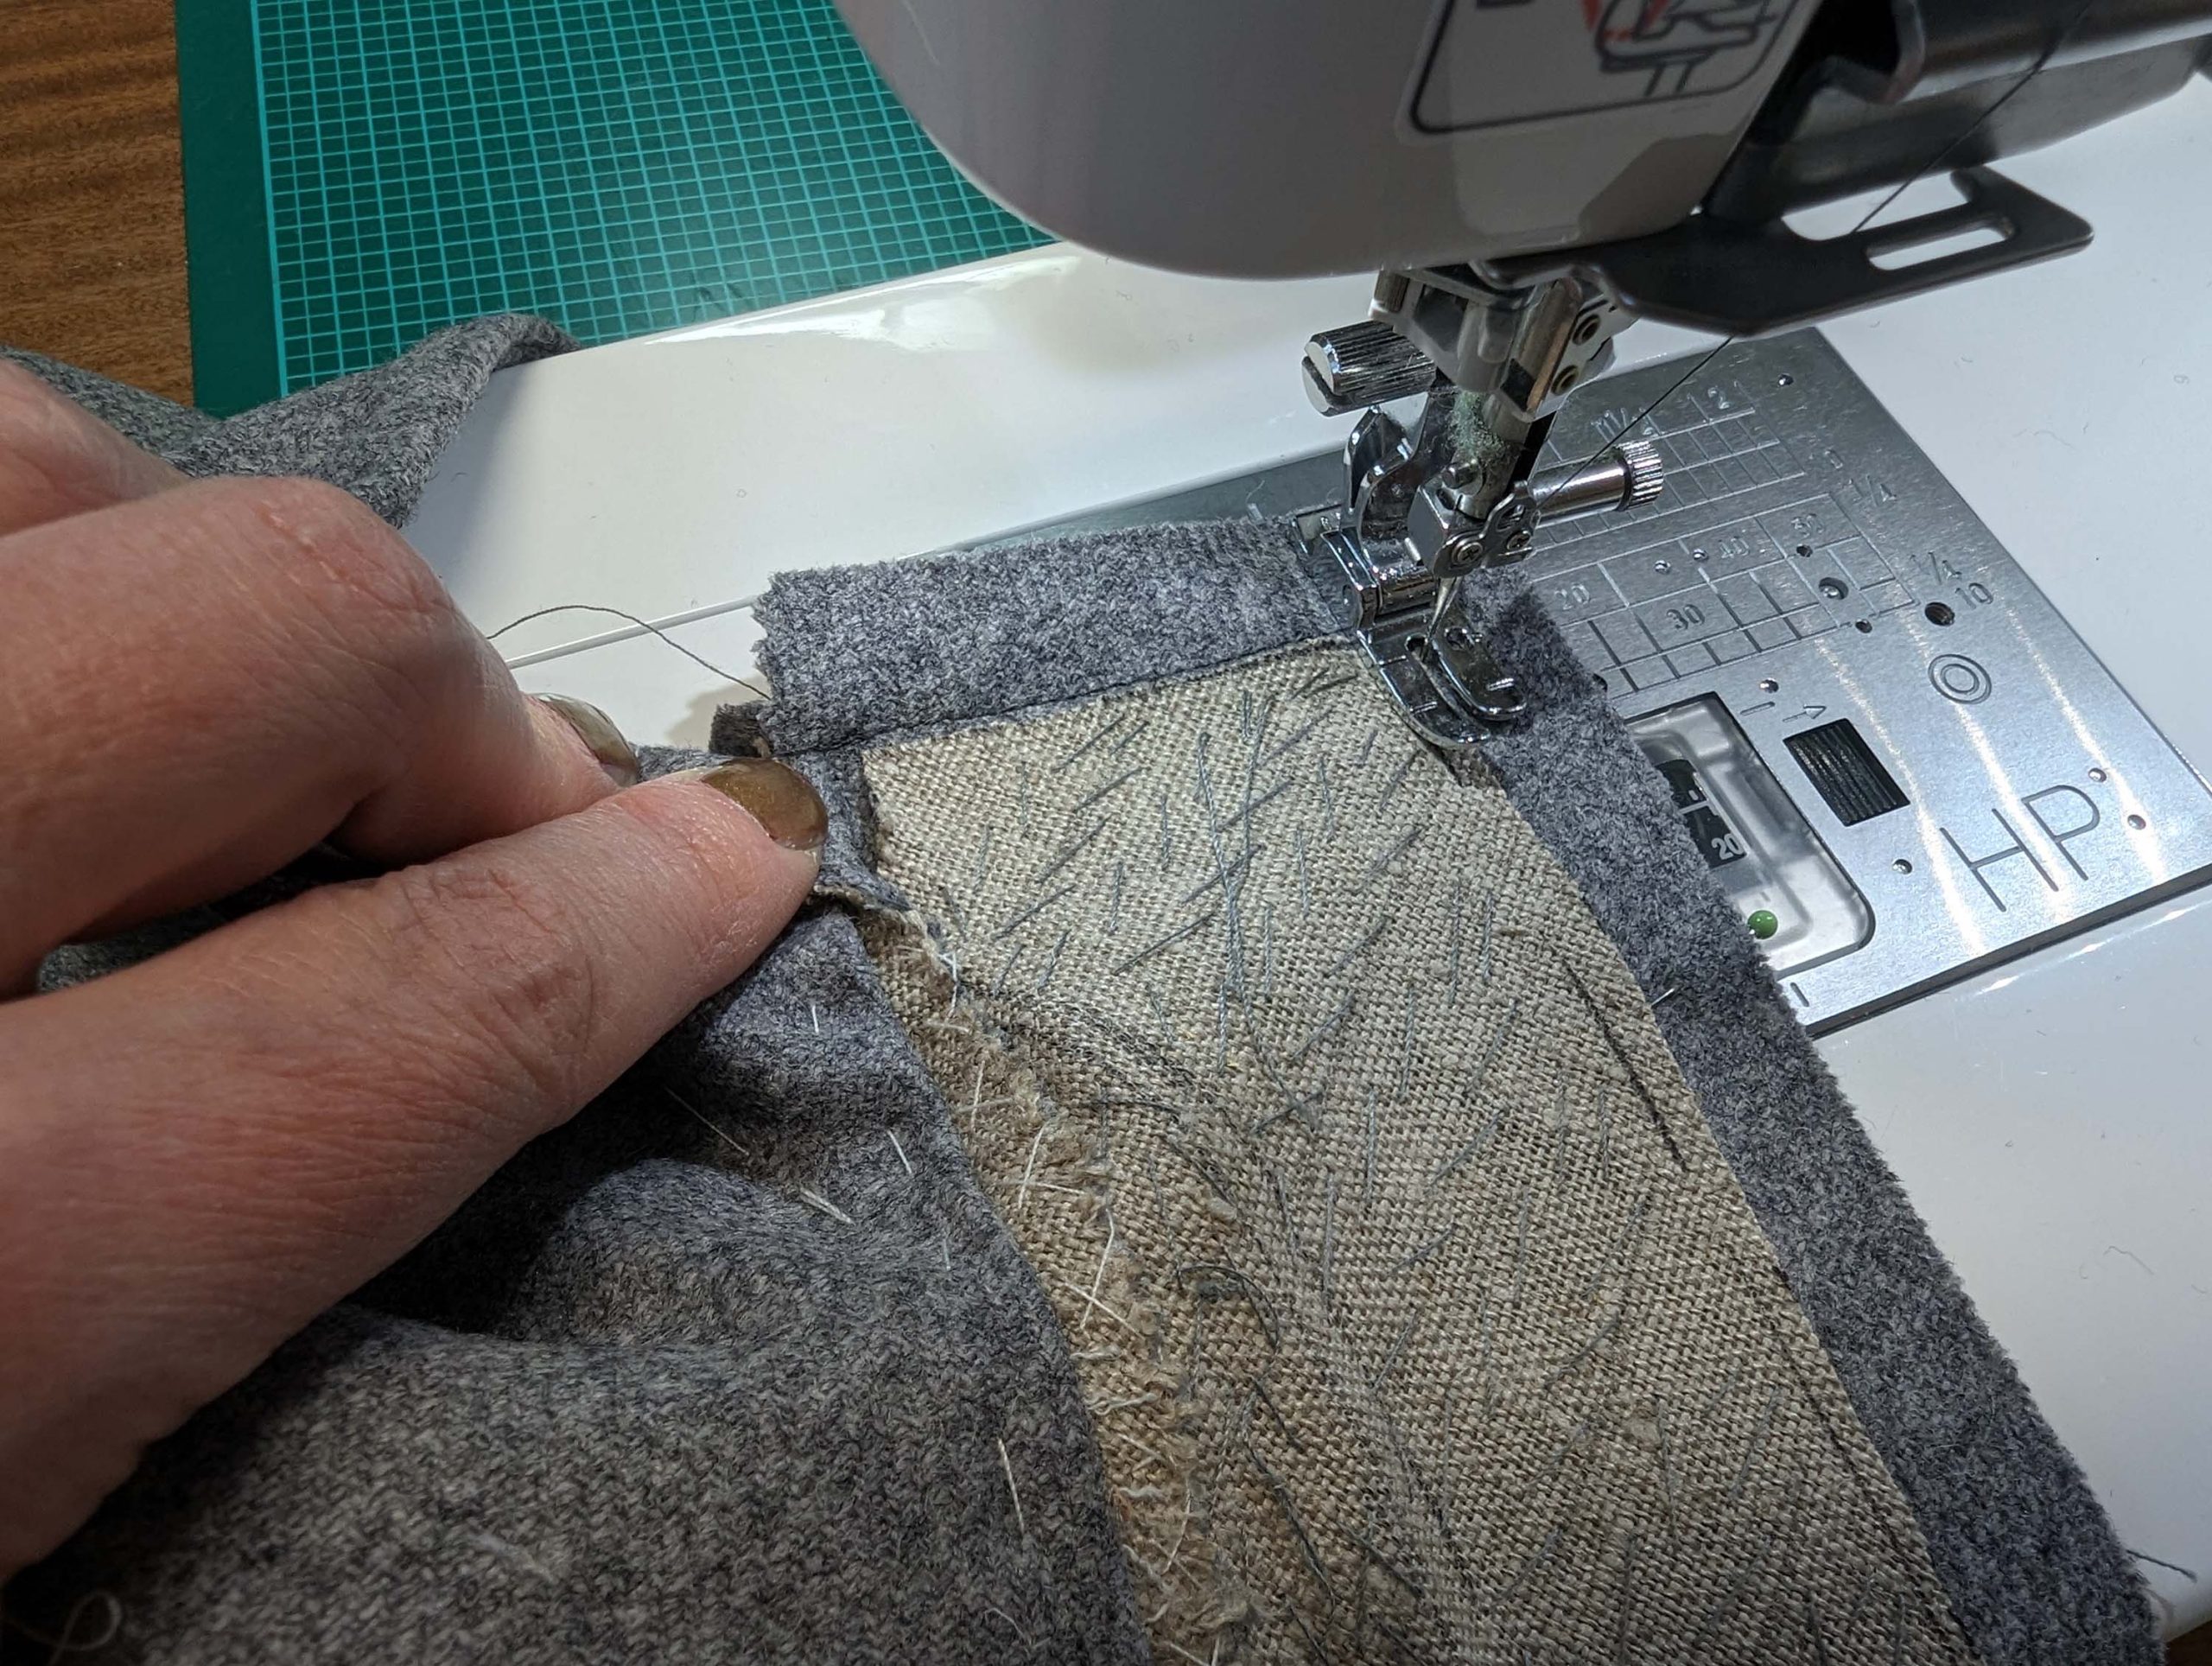
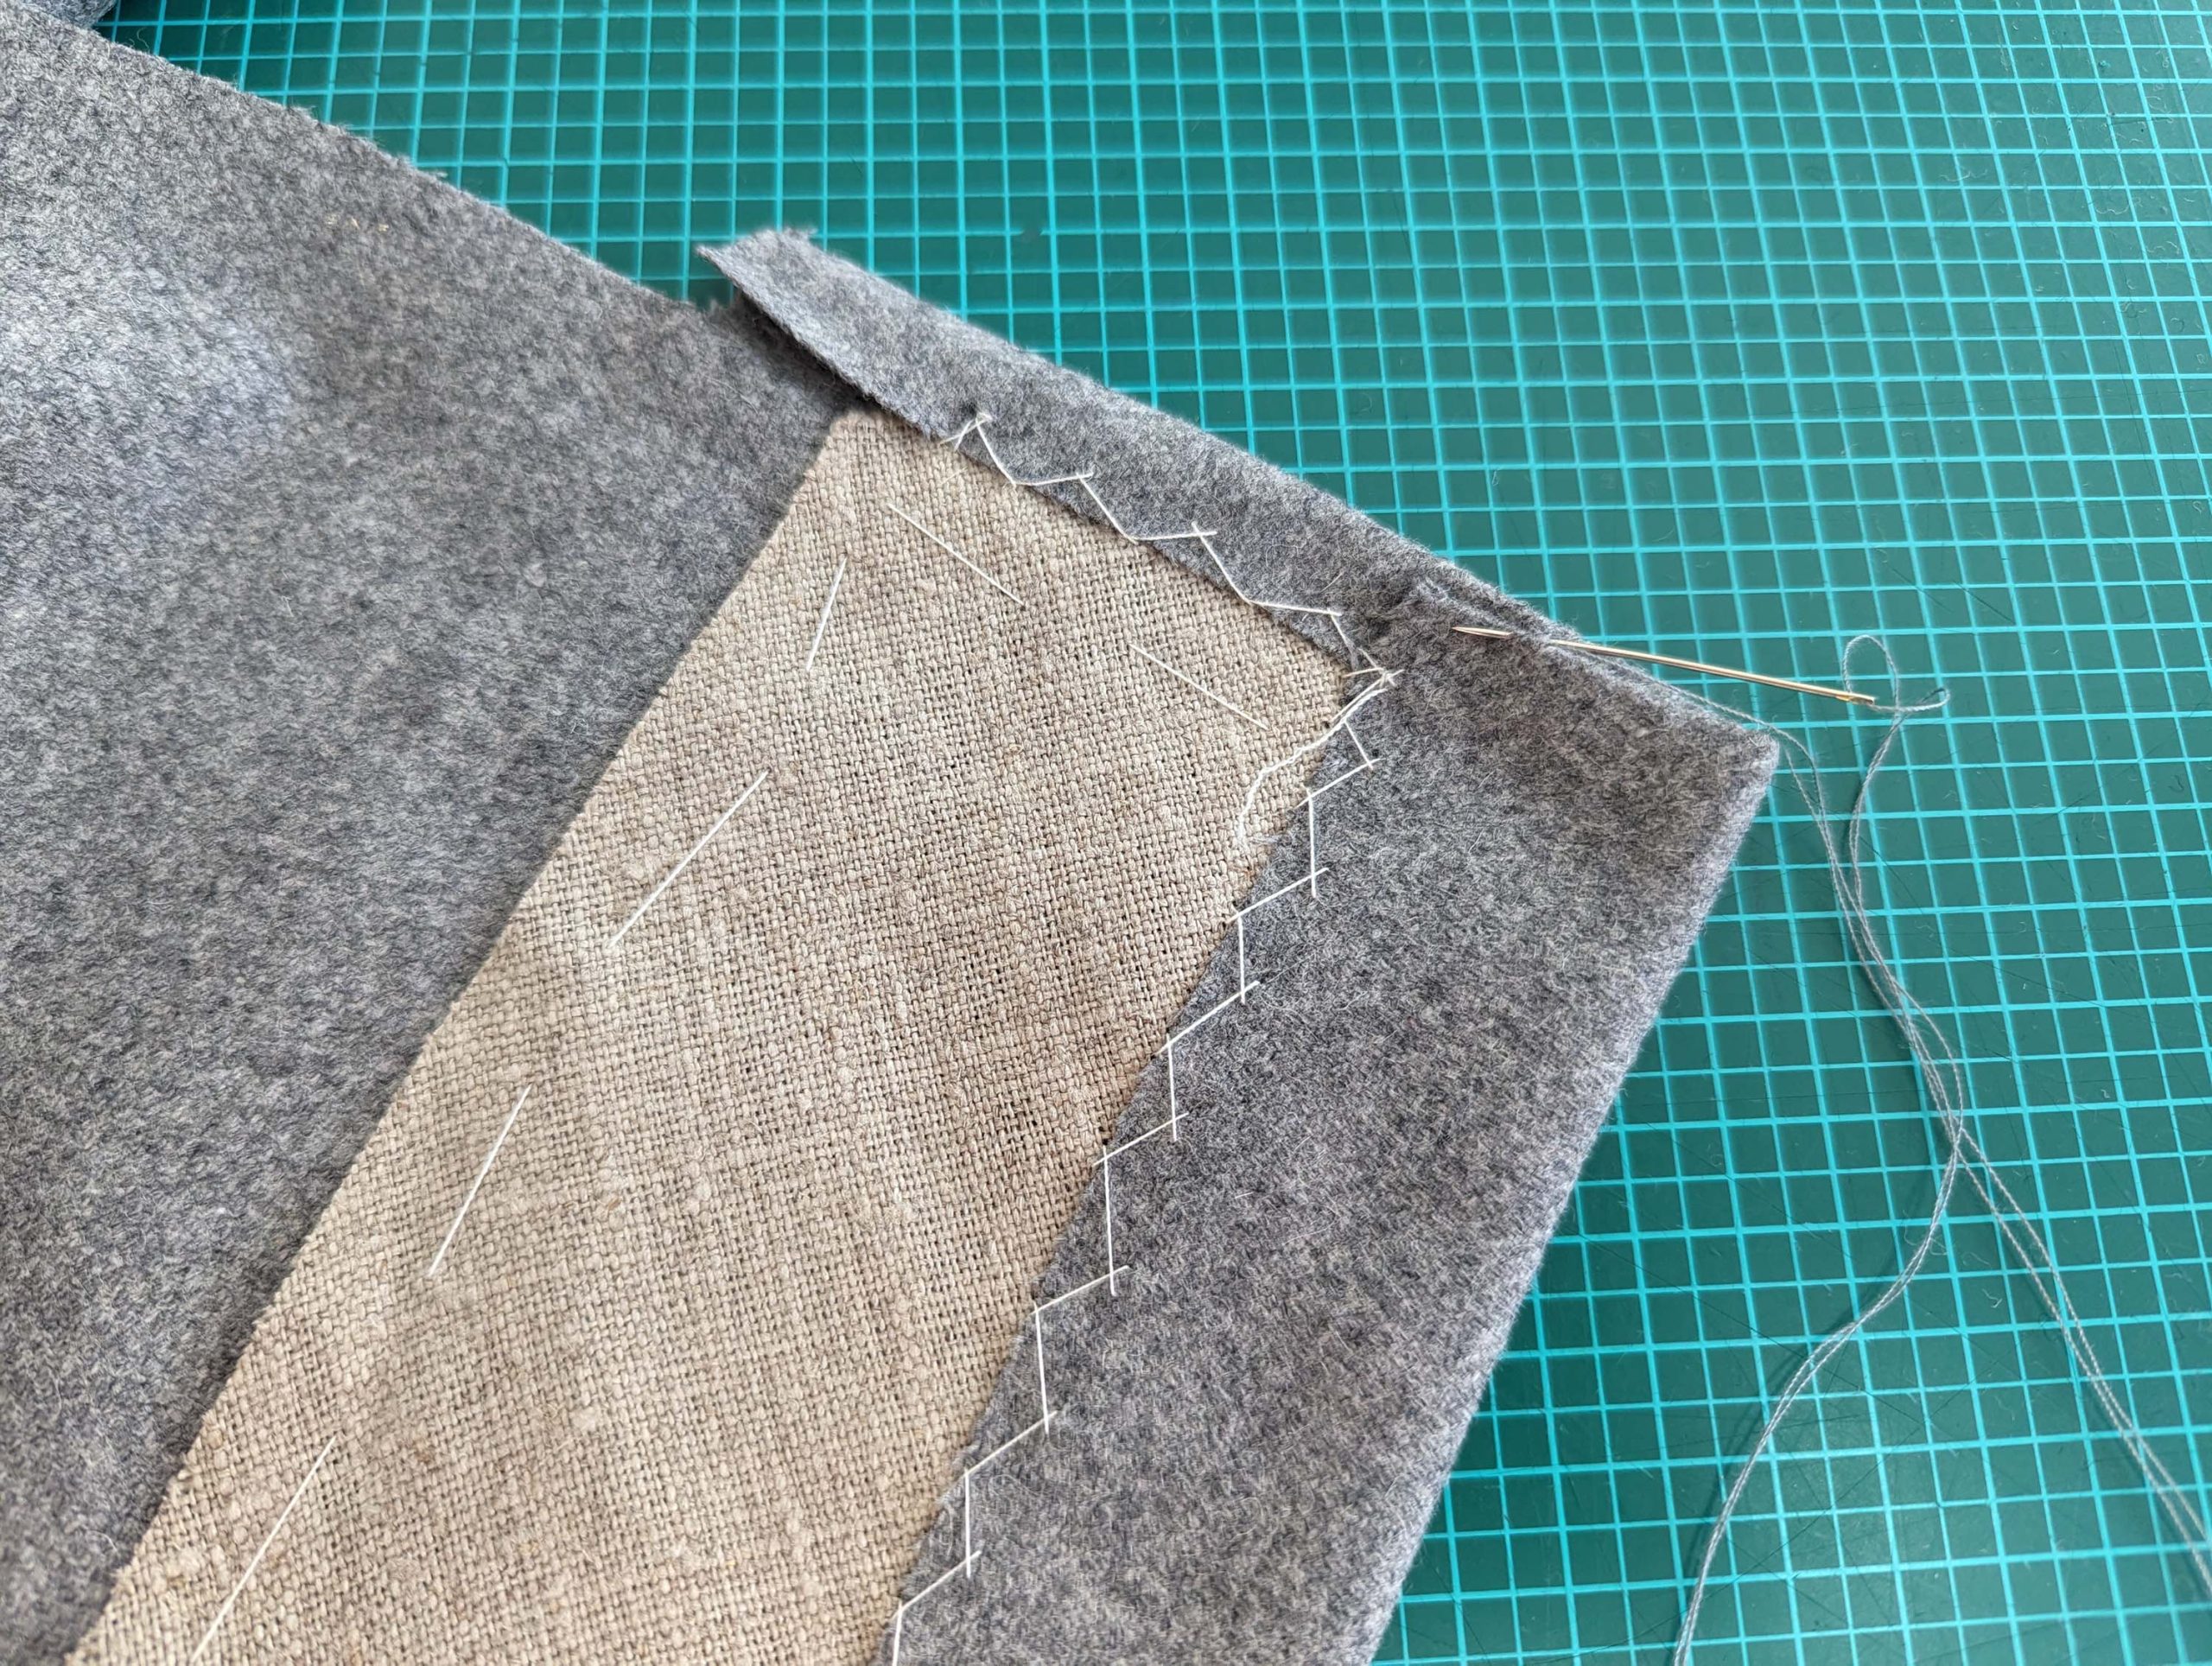
(2)Transfer all the marks and notches, mark with chalk on the wrong side, and “copy” the lines to the mirror piece. Baste along the lines to mark the position of the pocket and strips on the right side.
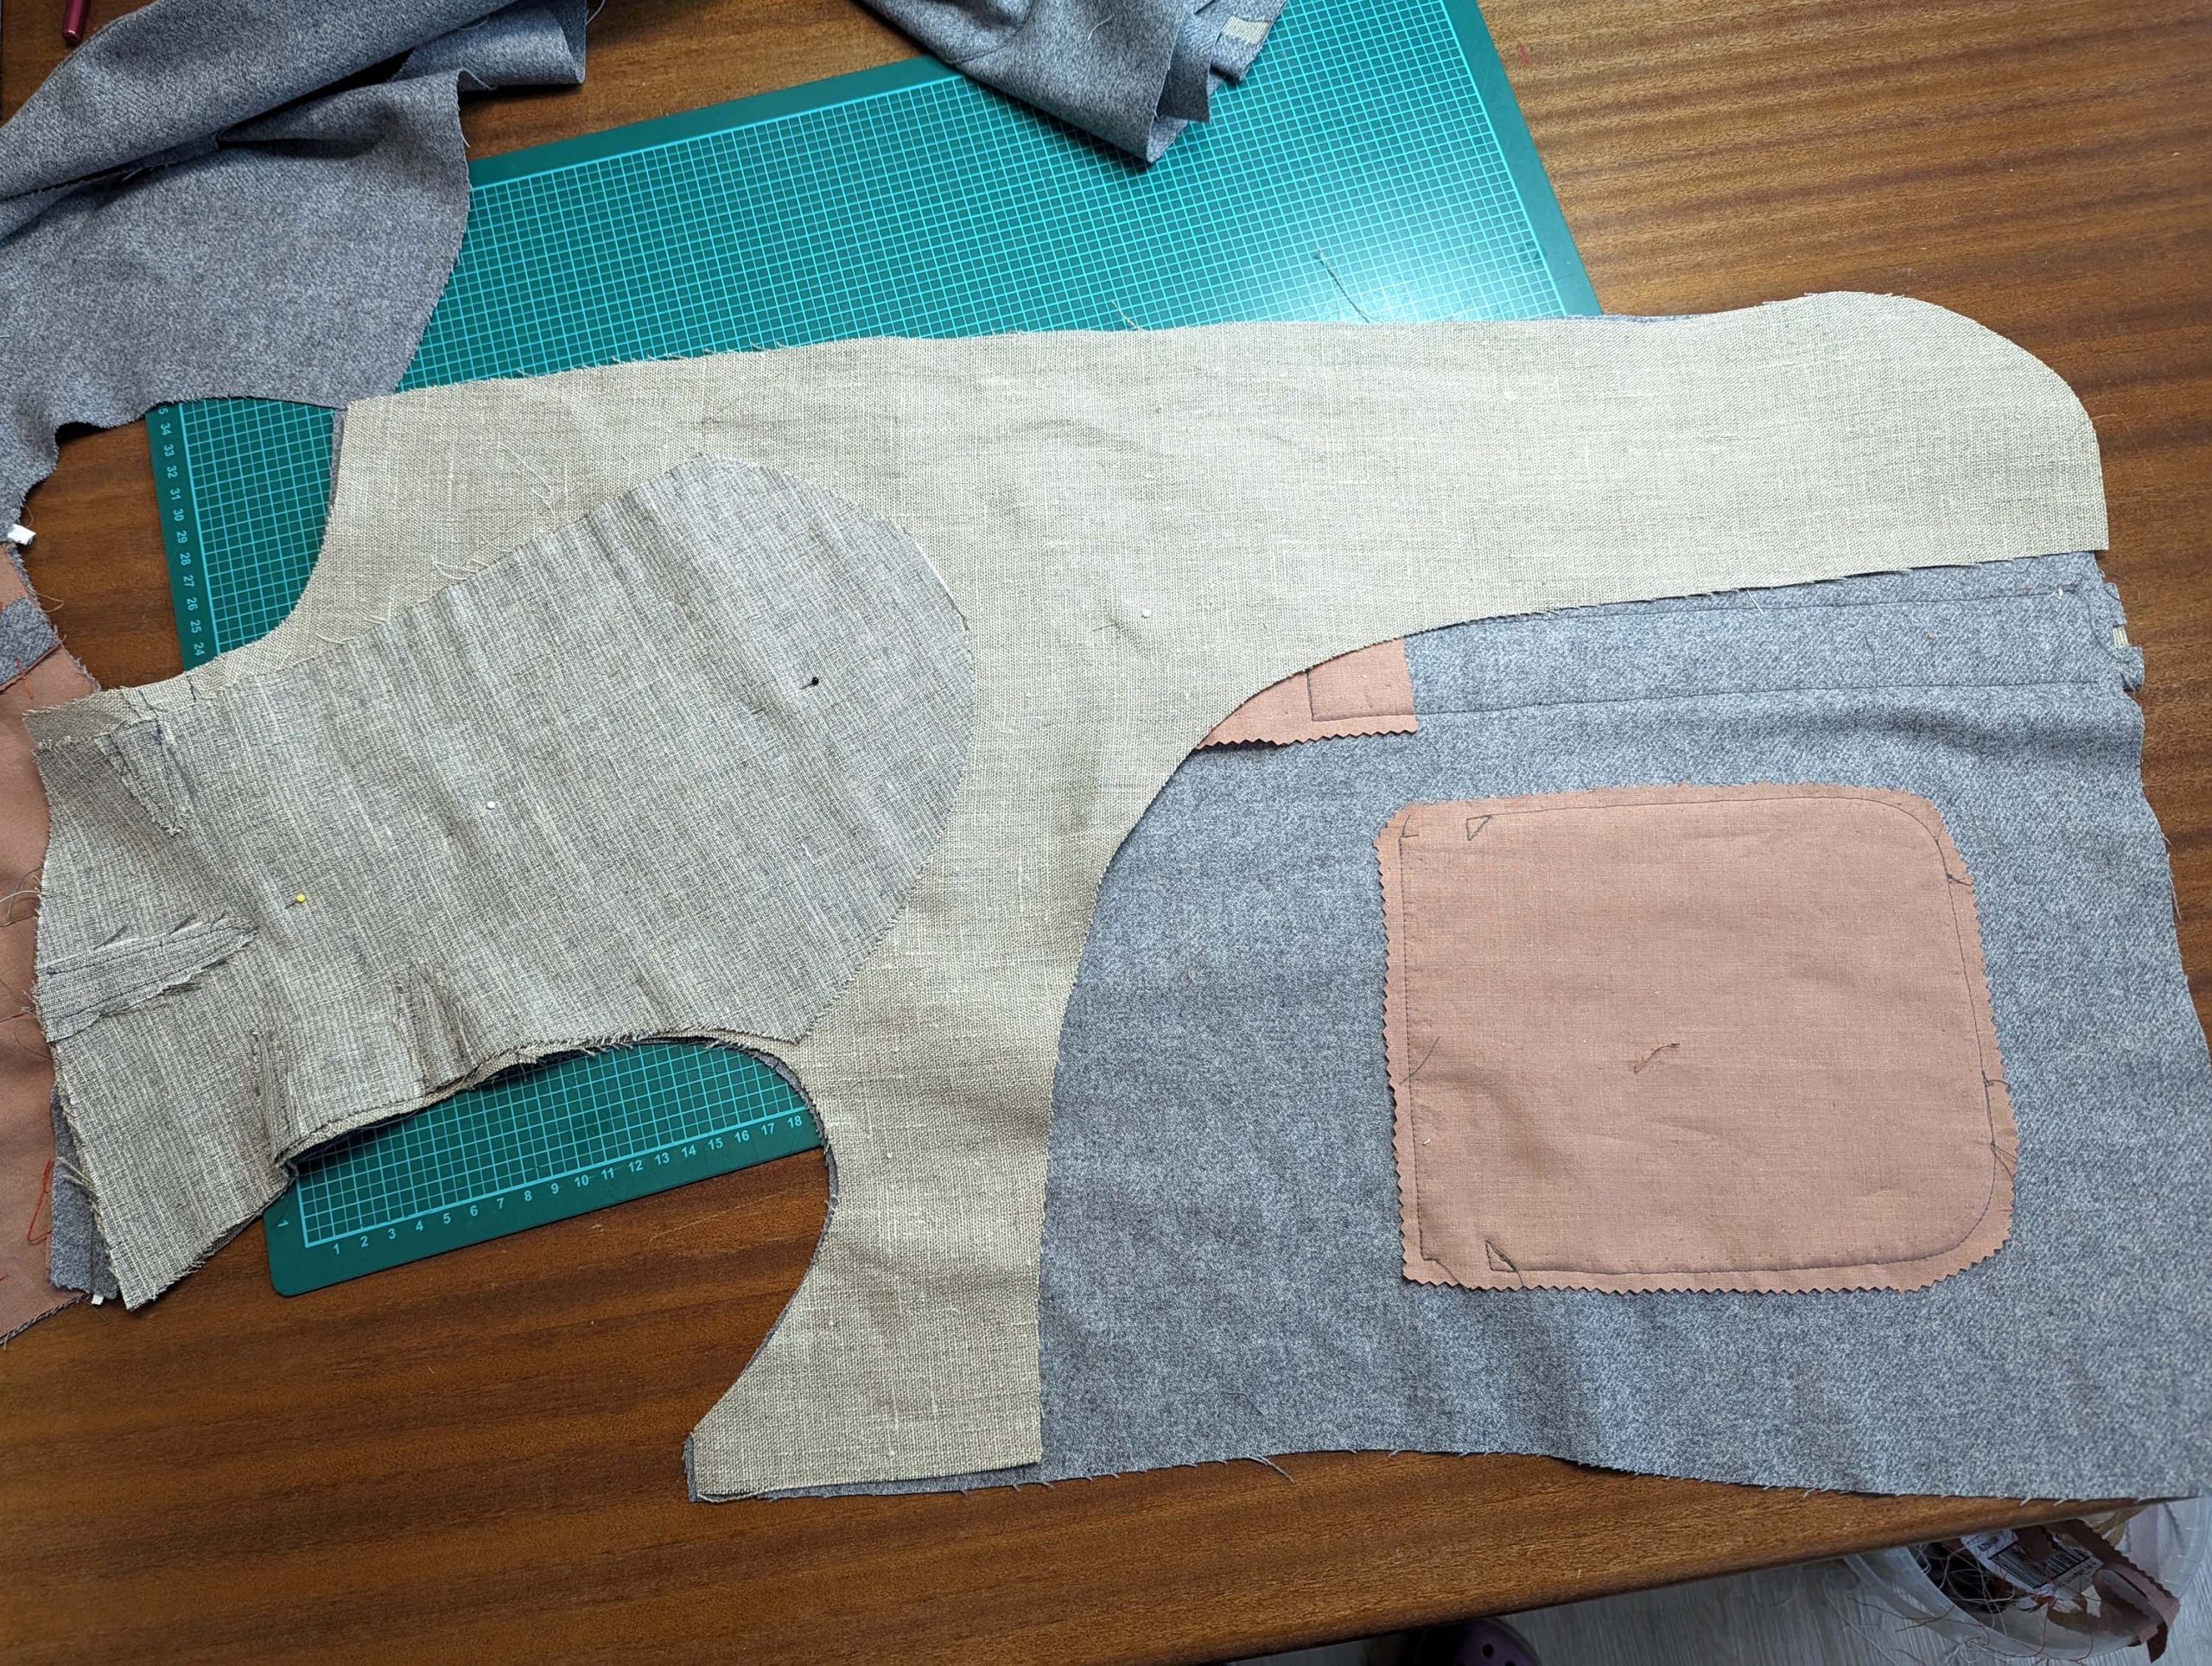
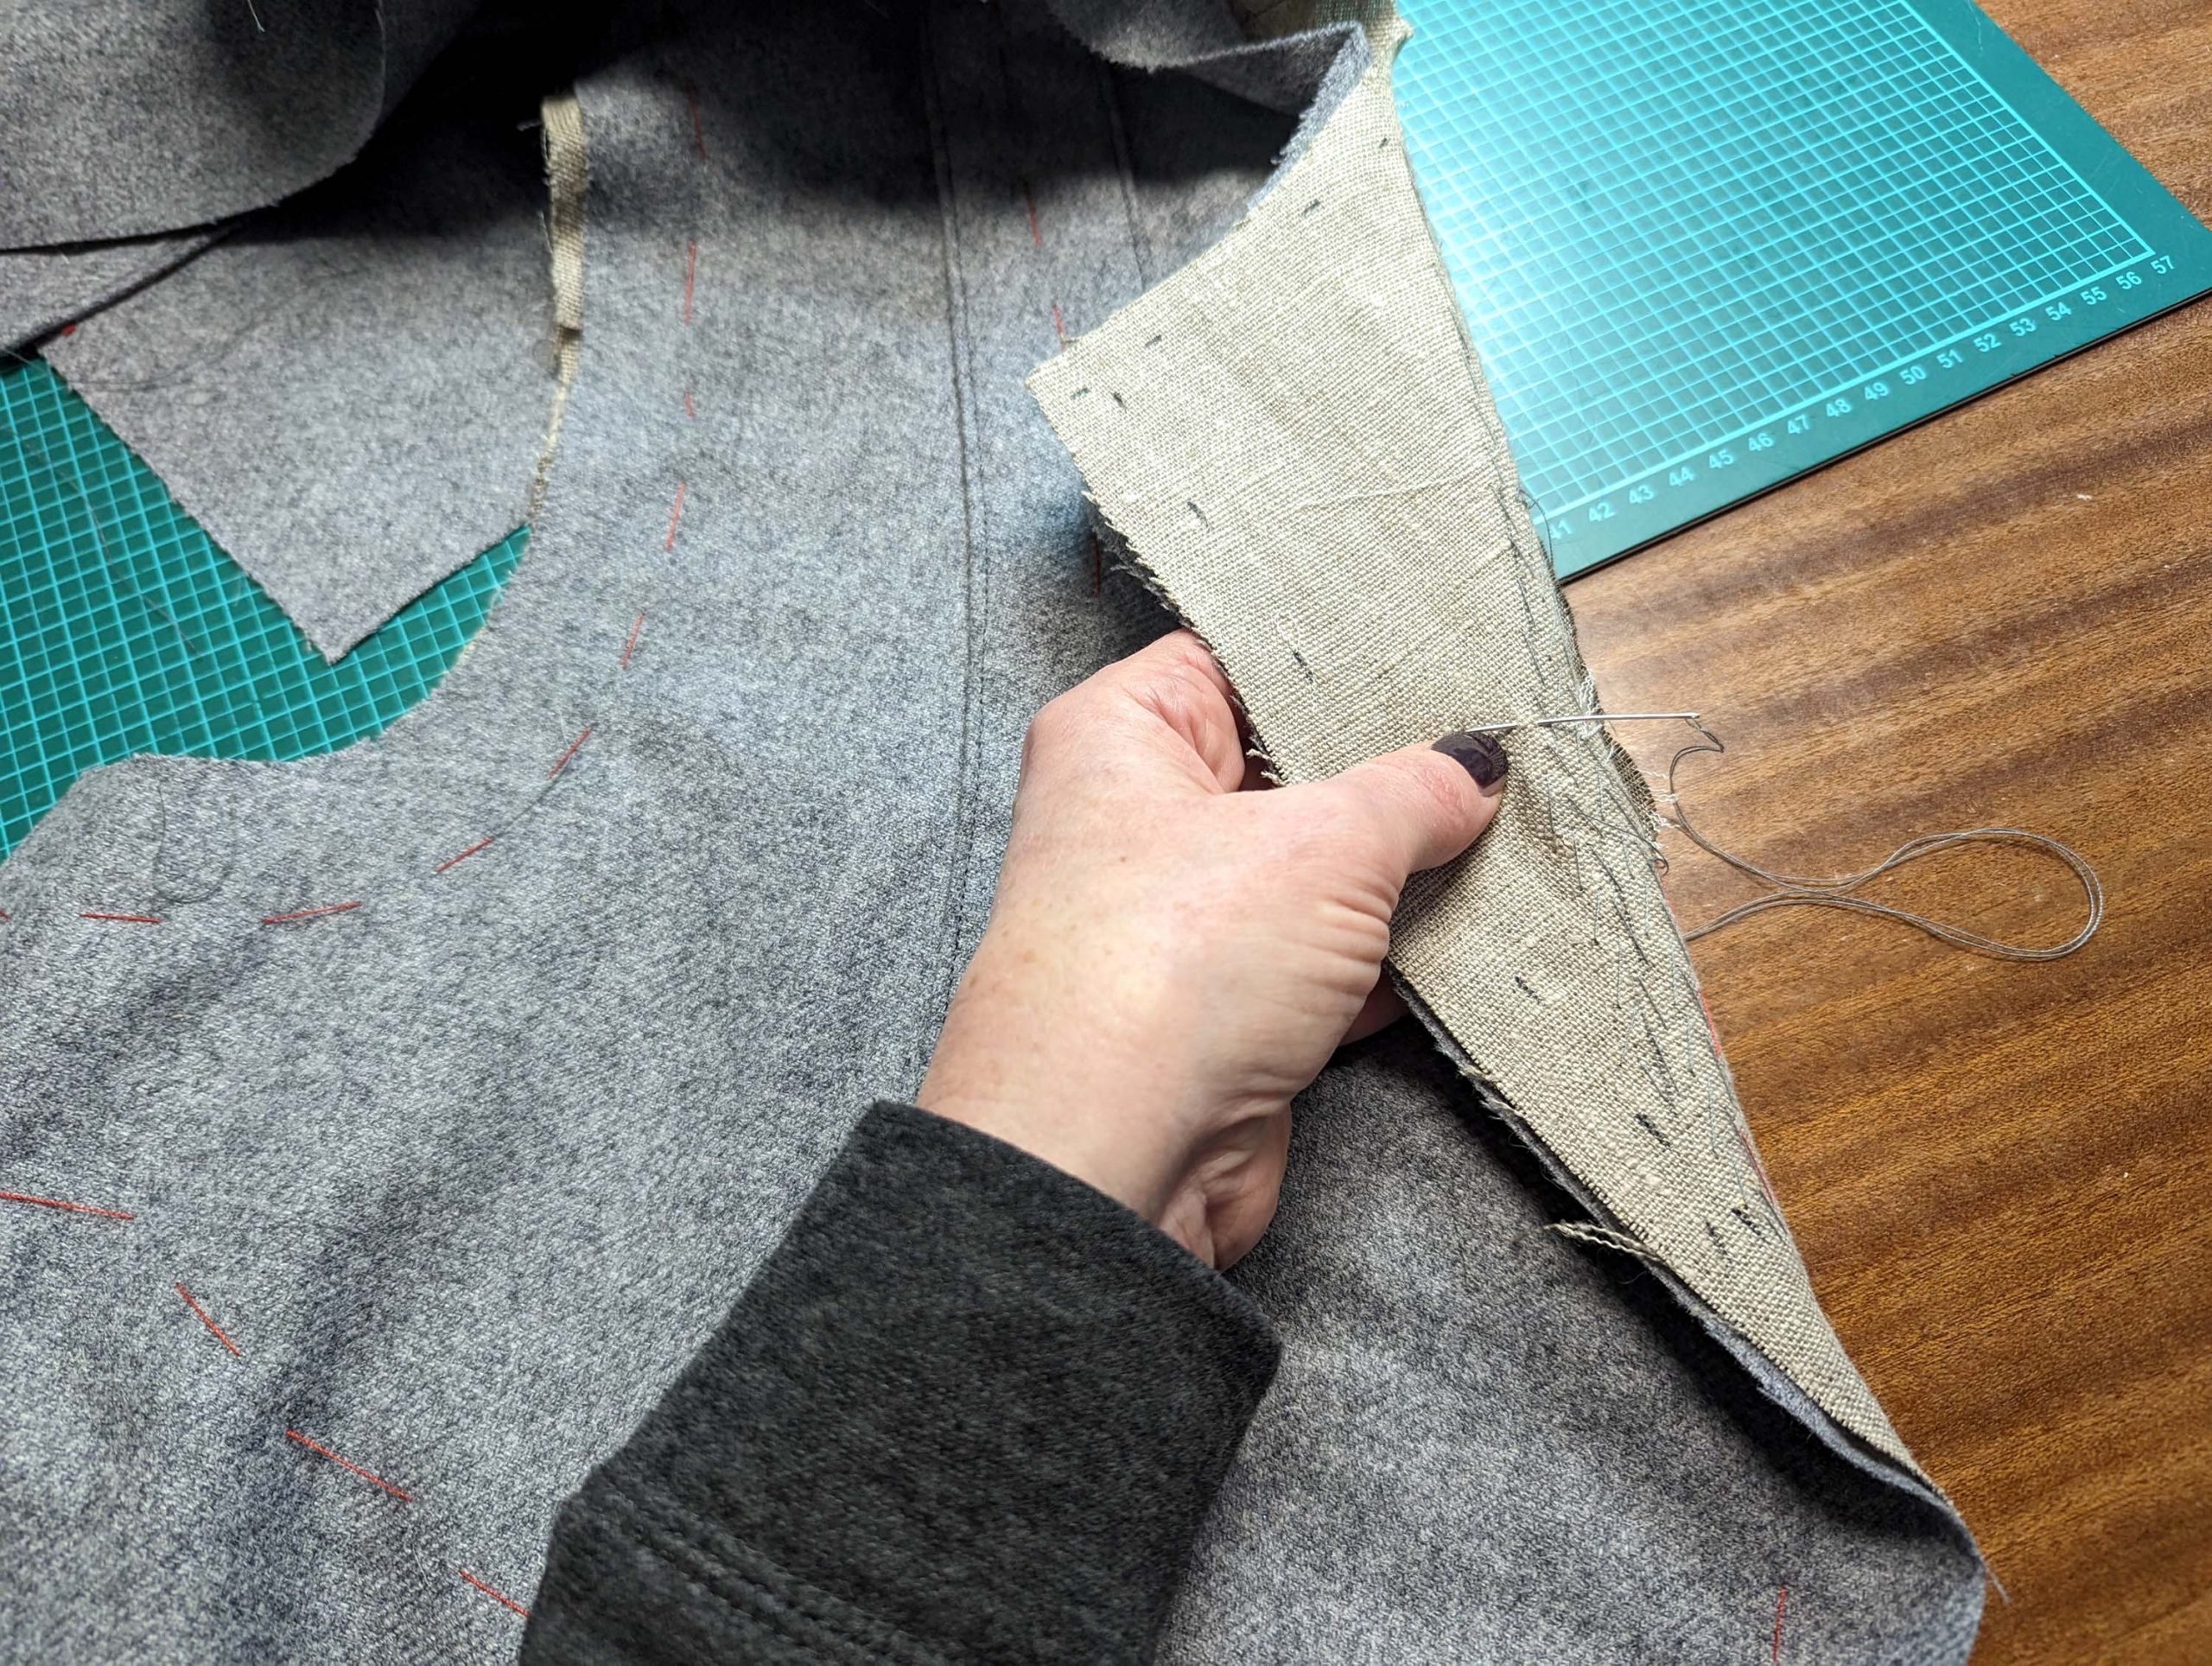
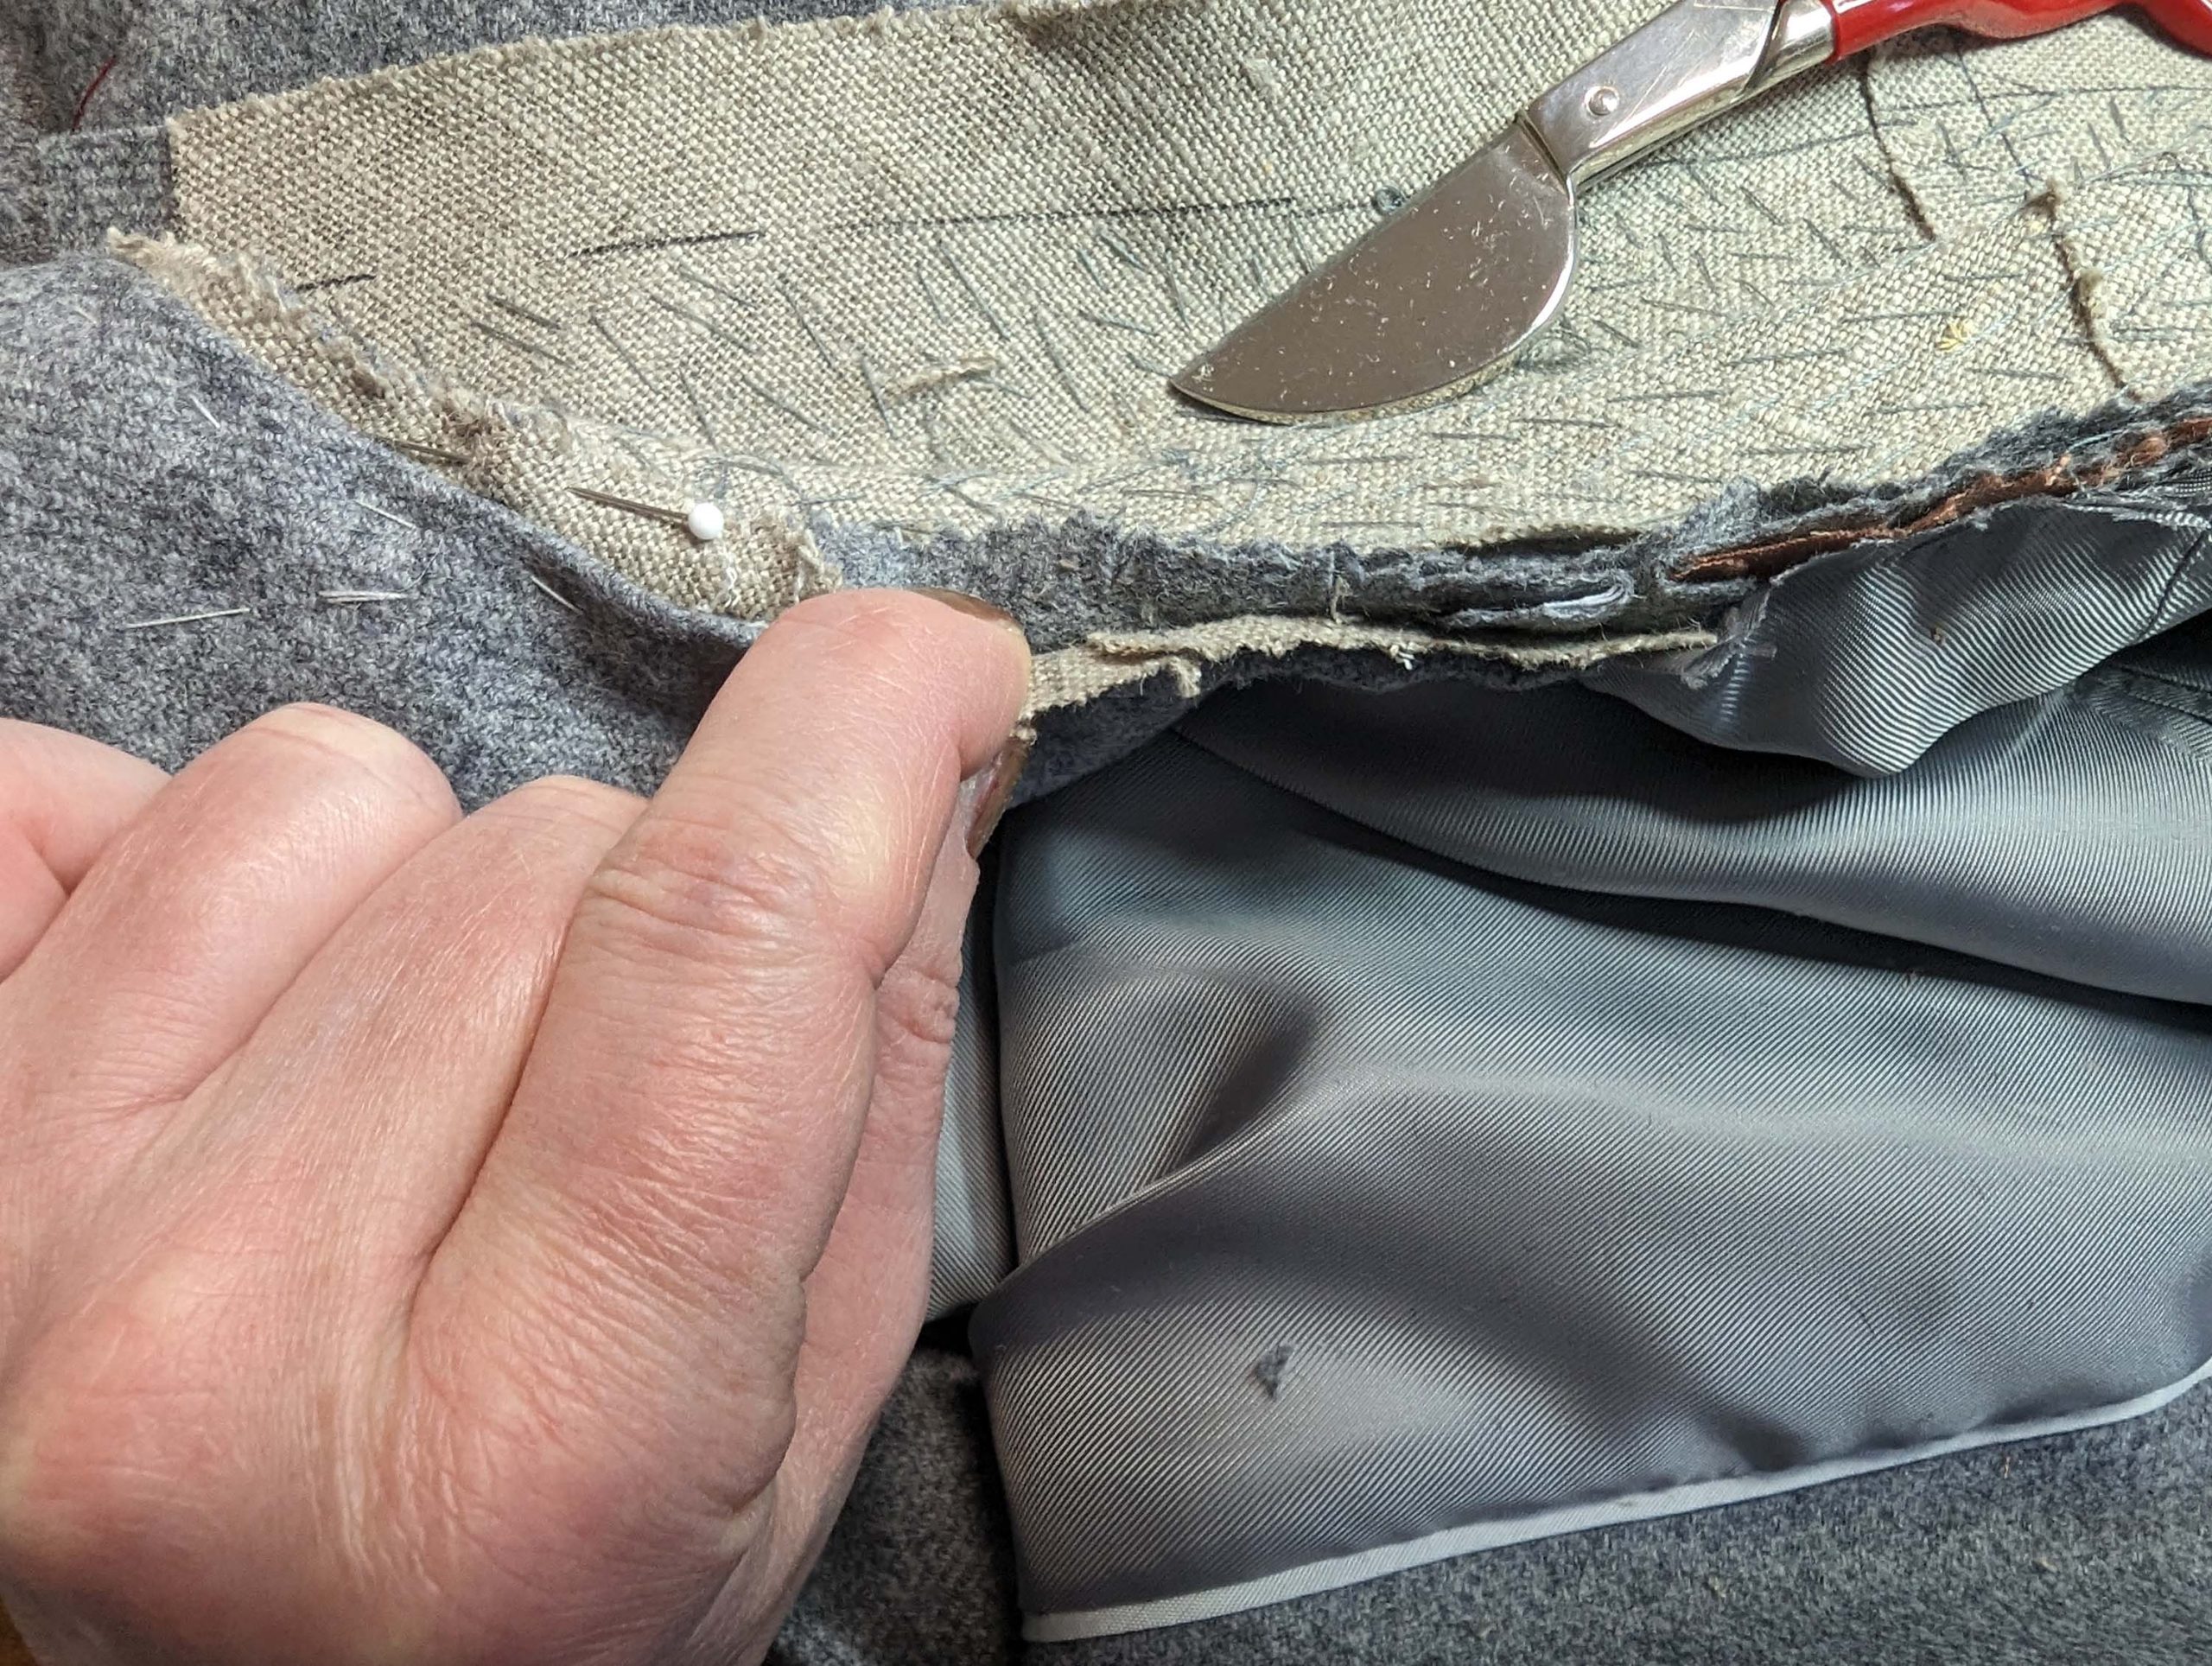
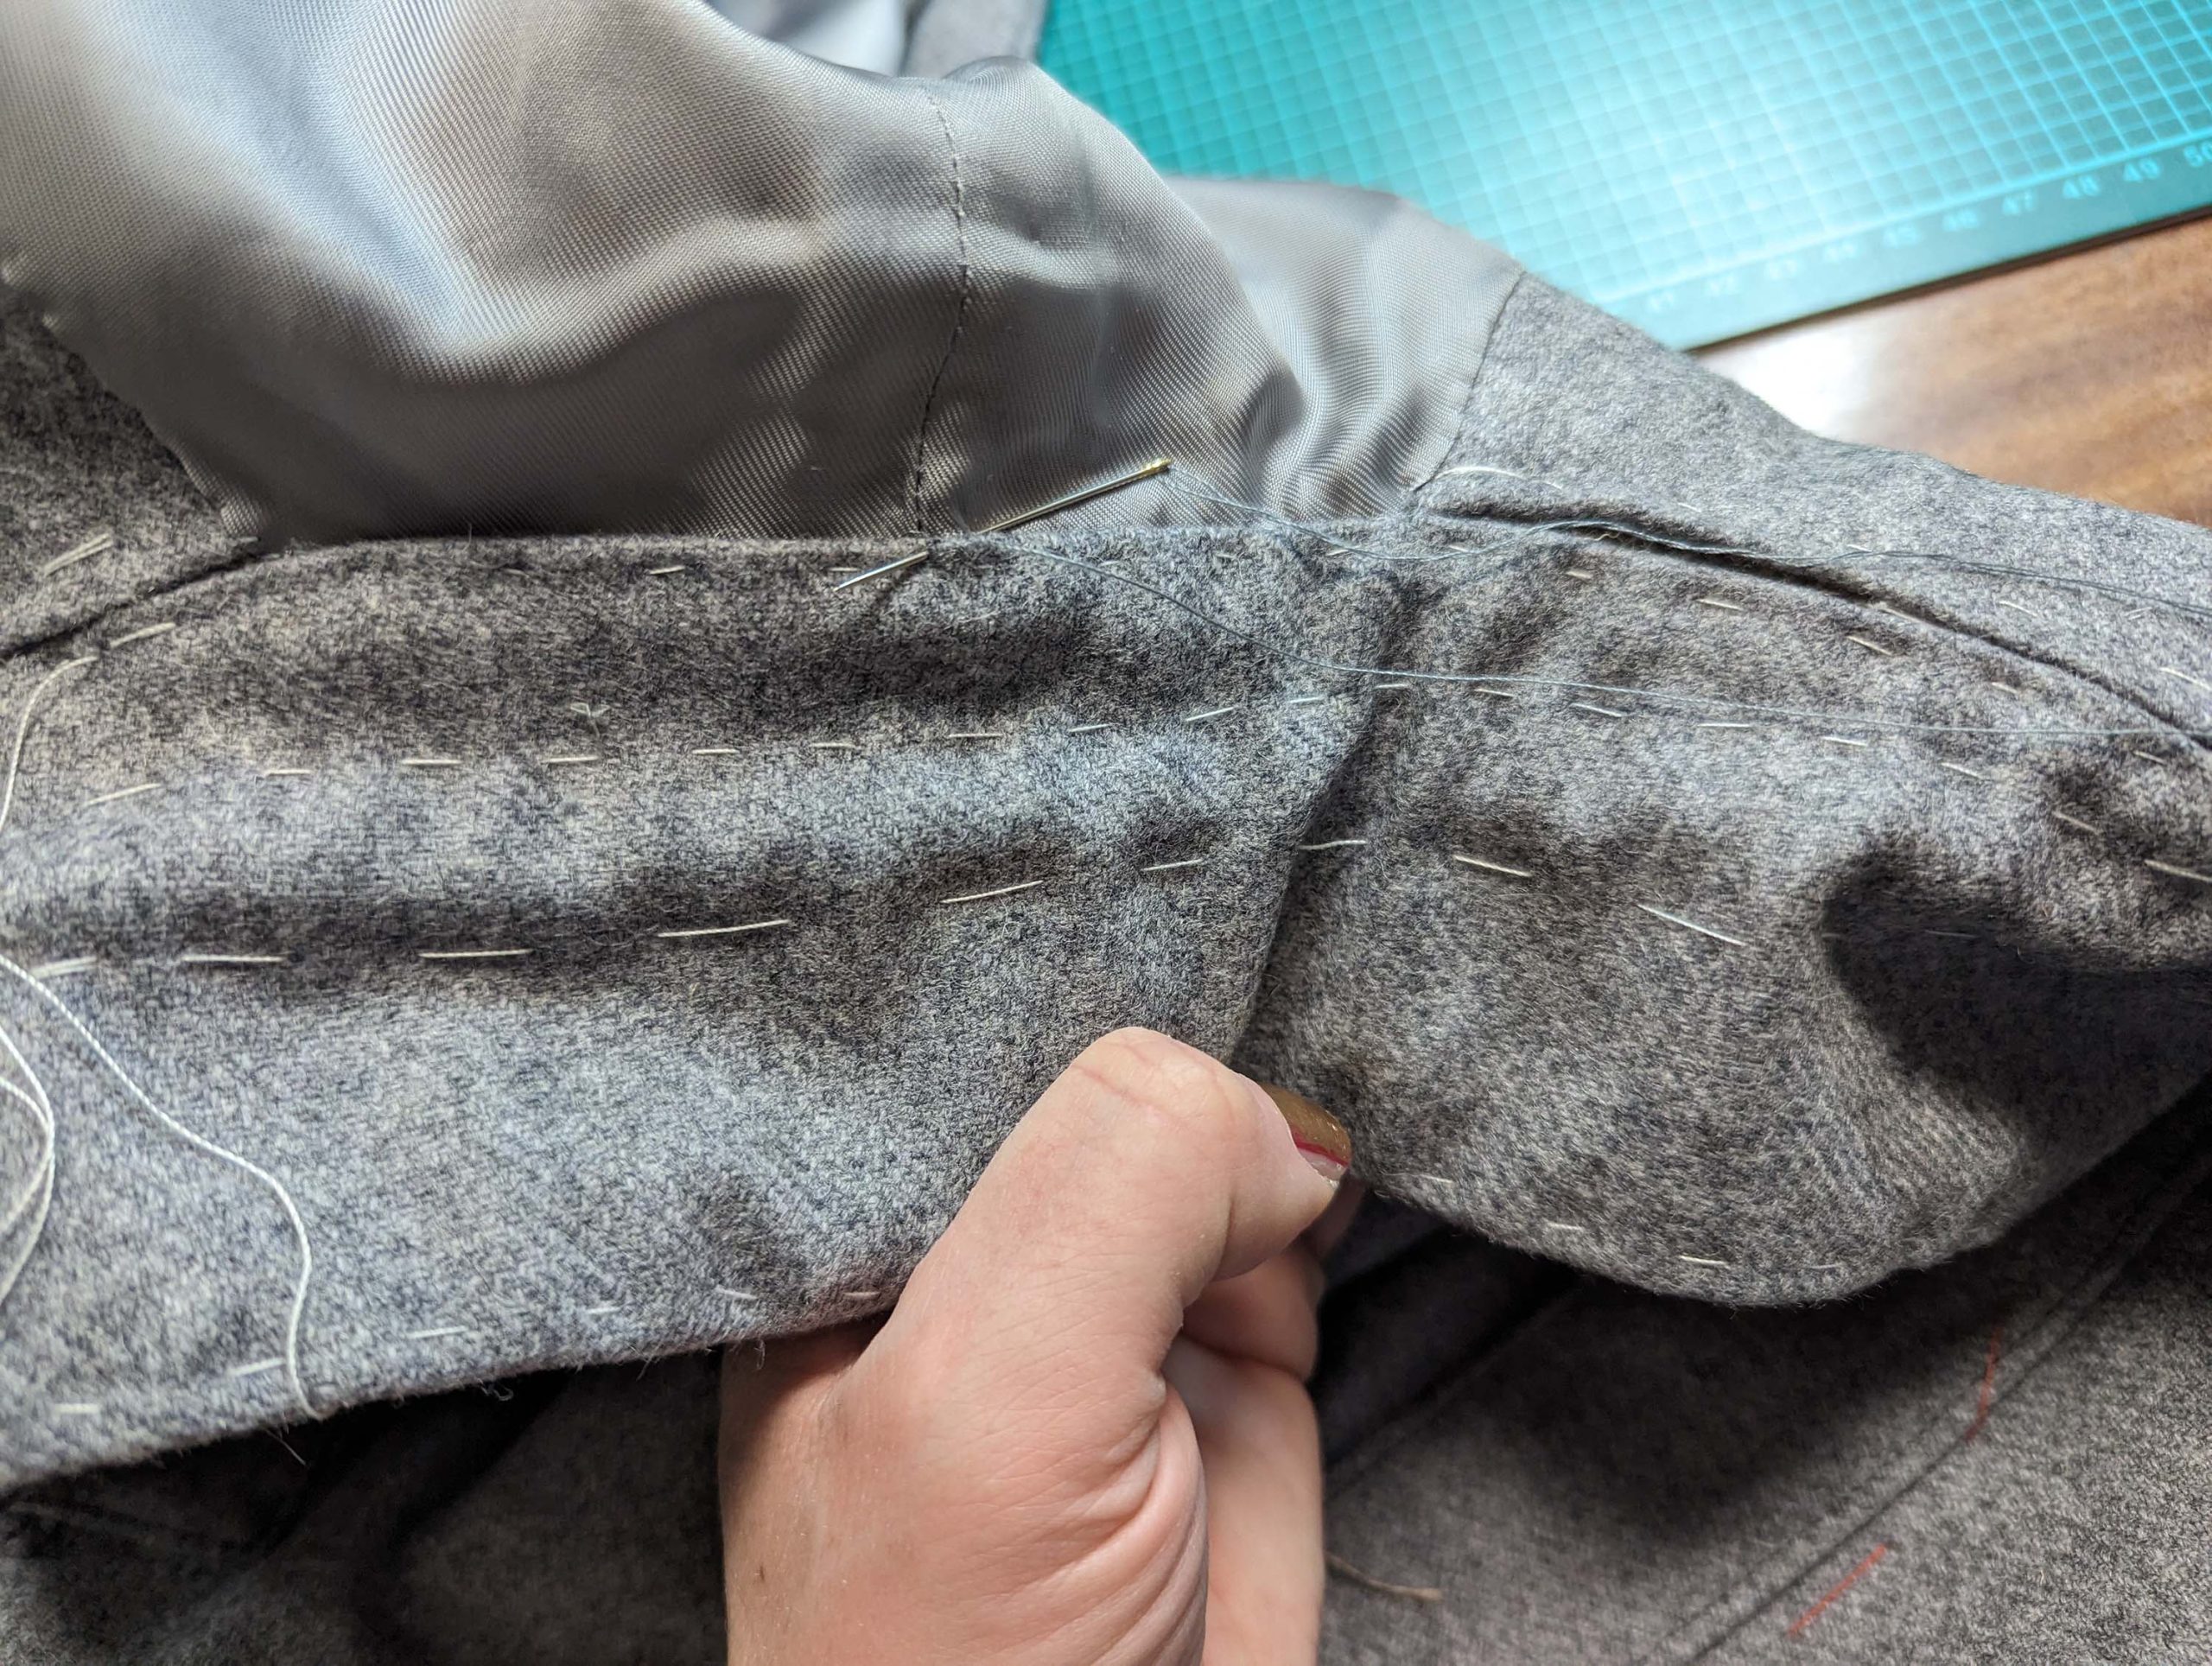
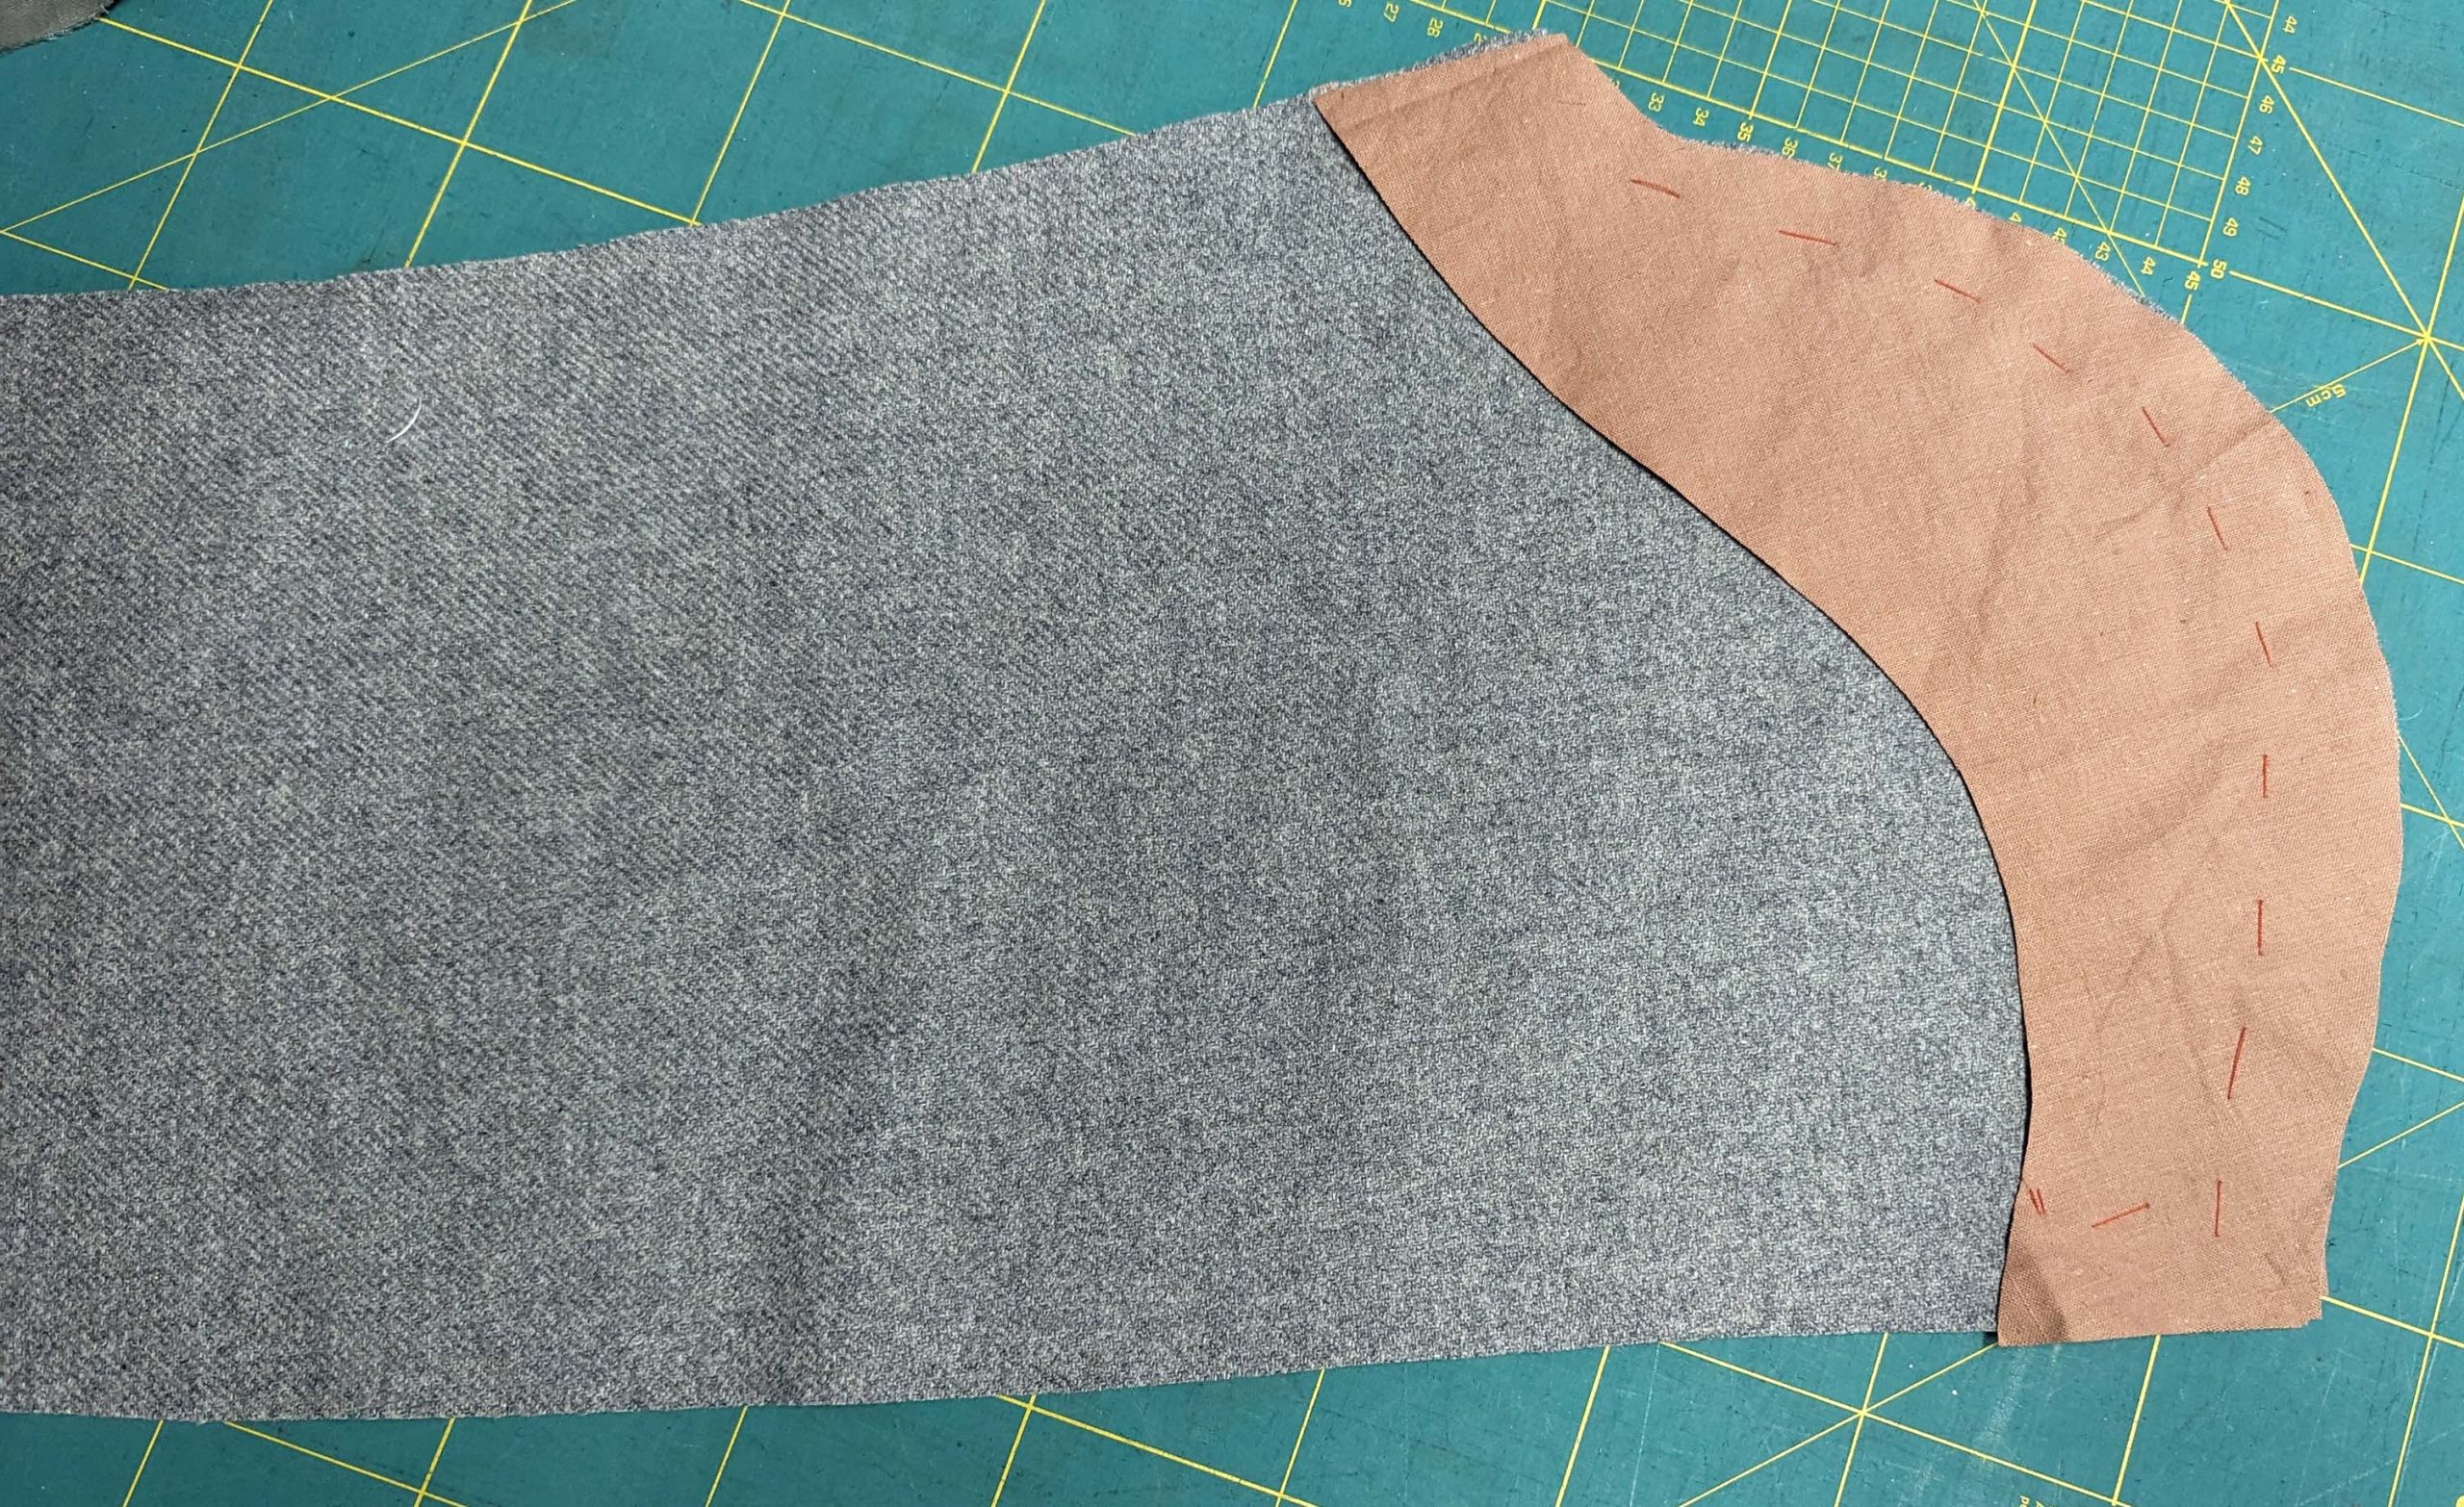
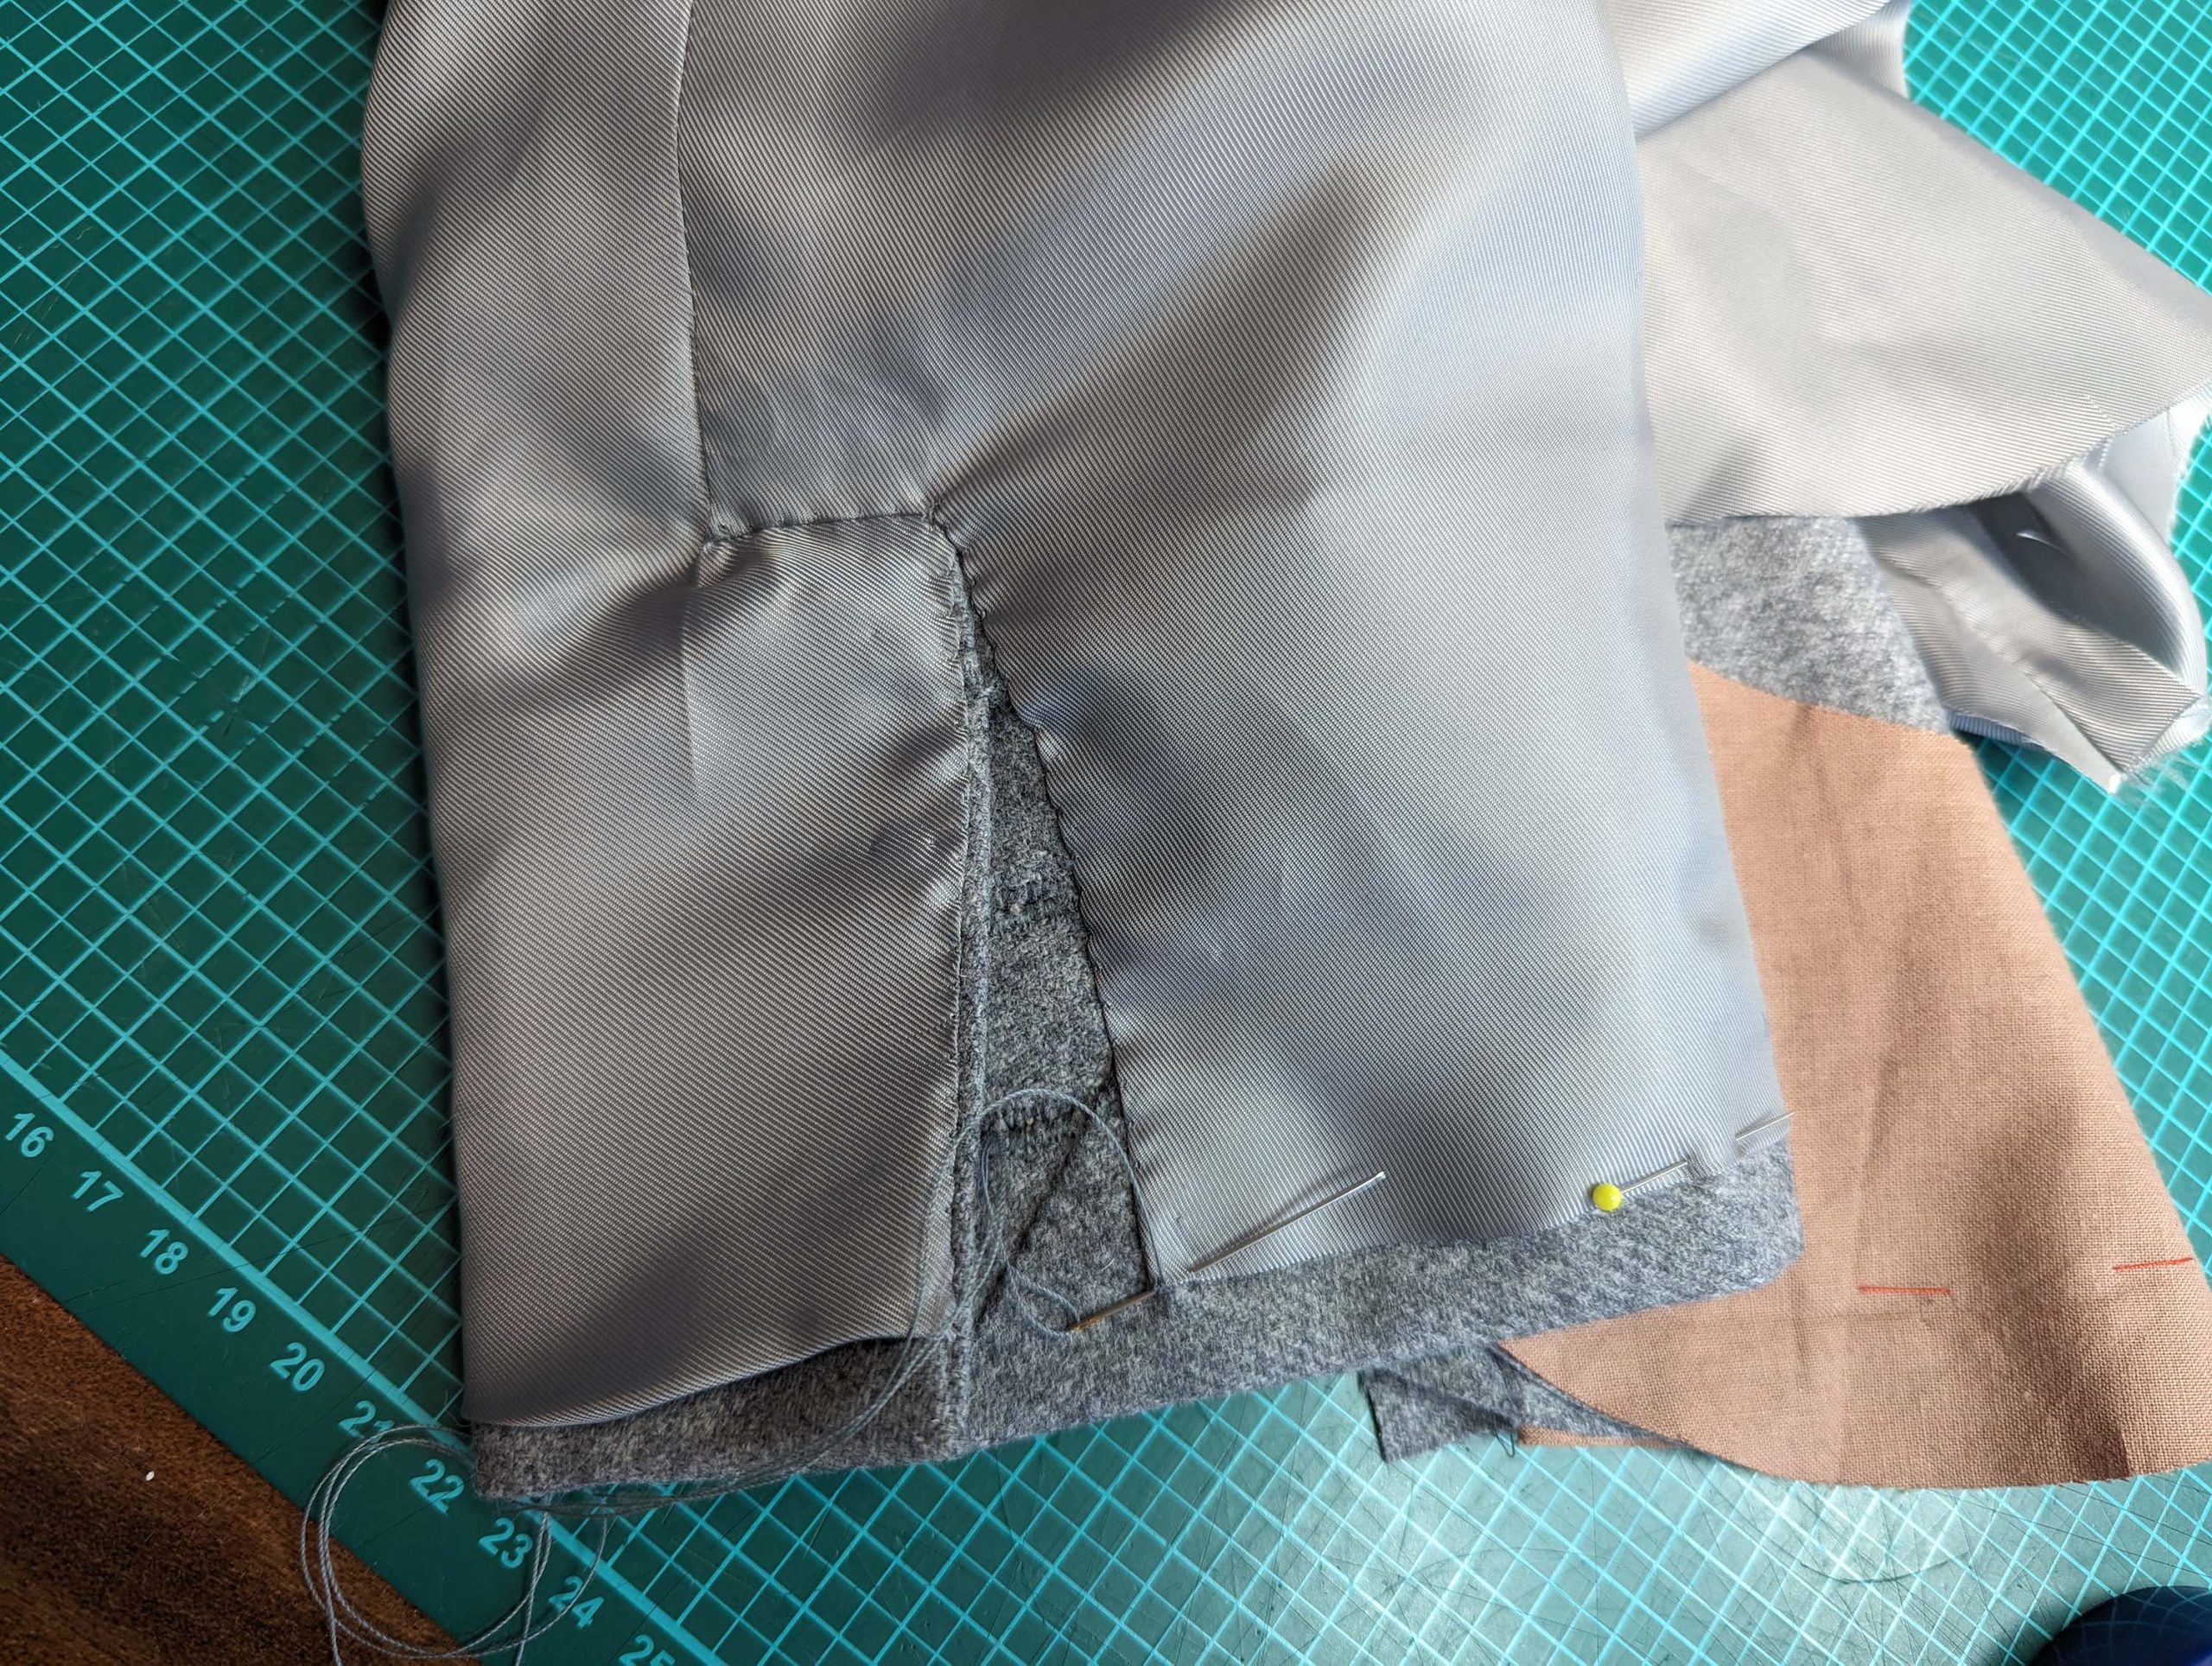
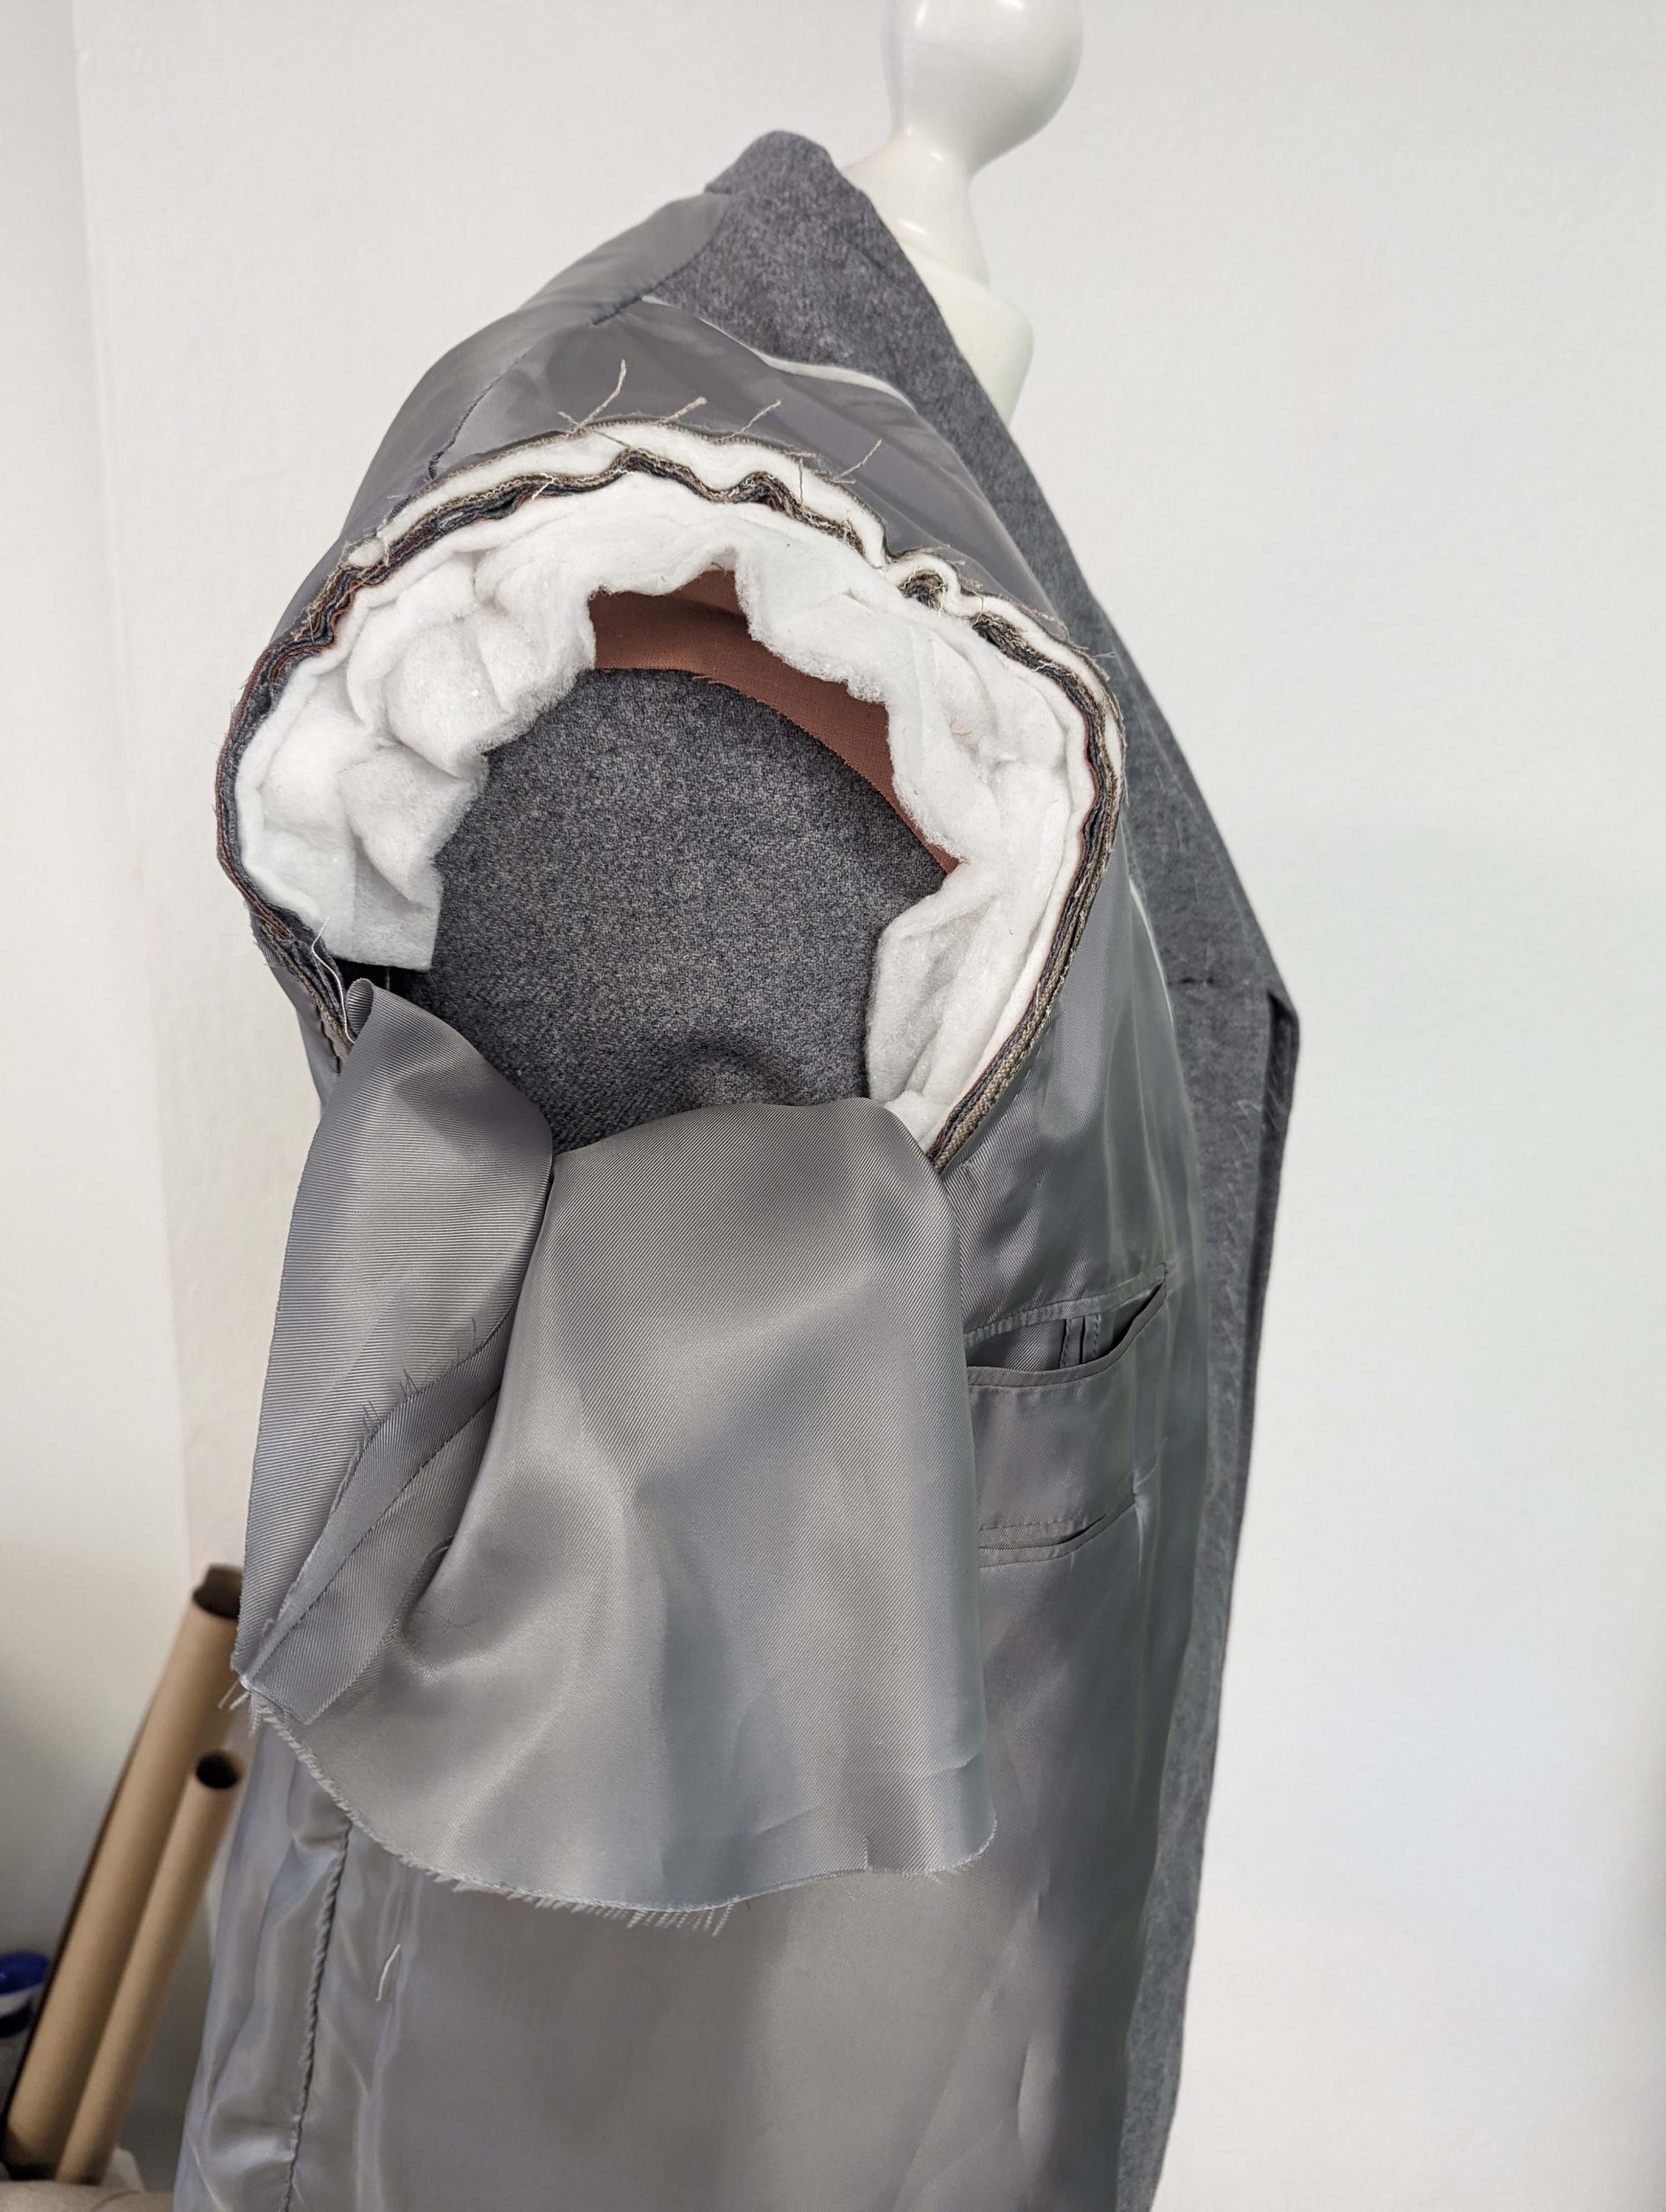
(9) Line up the prepared canvas with the wrong side of the front, while simulating the round of the chest with a tailor´s ham or a pillow, again, I used my bedsheet. Baste the canvas to the front from the right side down the center. Stay with your basting about 2” (5cm) from all edges.
(10) Mark the seamline on the canvas along the bottom and front edge, as well as along the lapel. Pikiere den Revers,, start about ¾” (2cm) behind the roll line, and fold the lapel over your hand’s edge to give it the right shape.
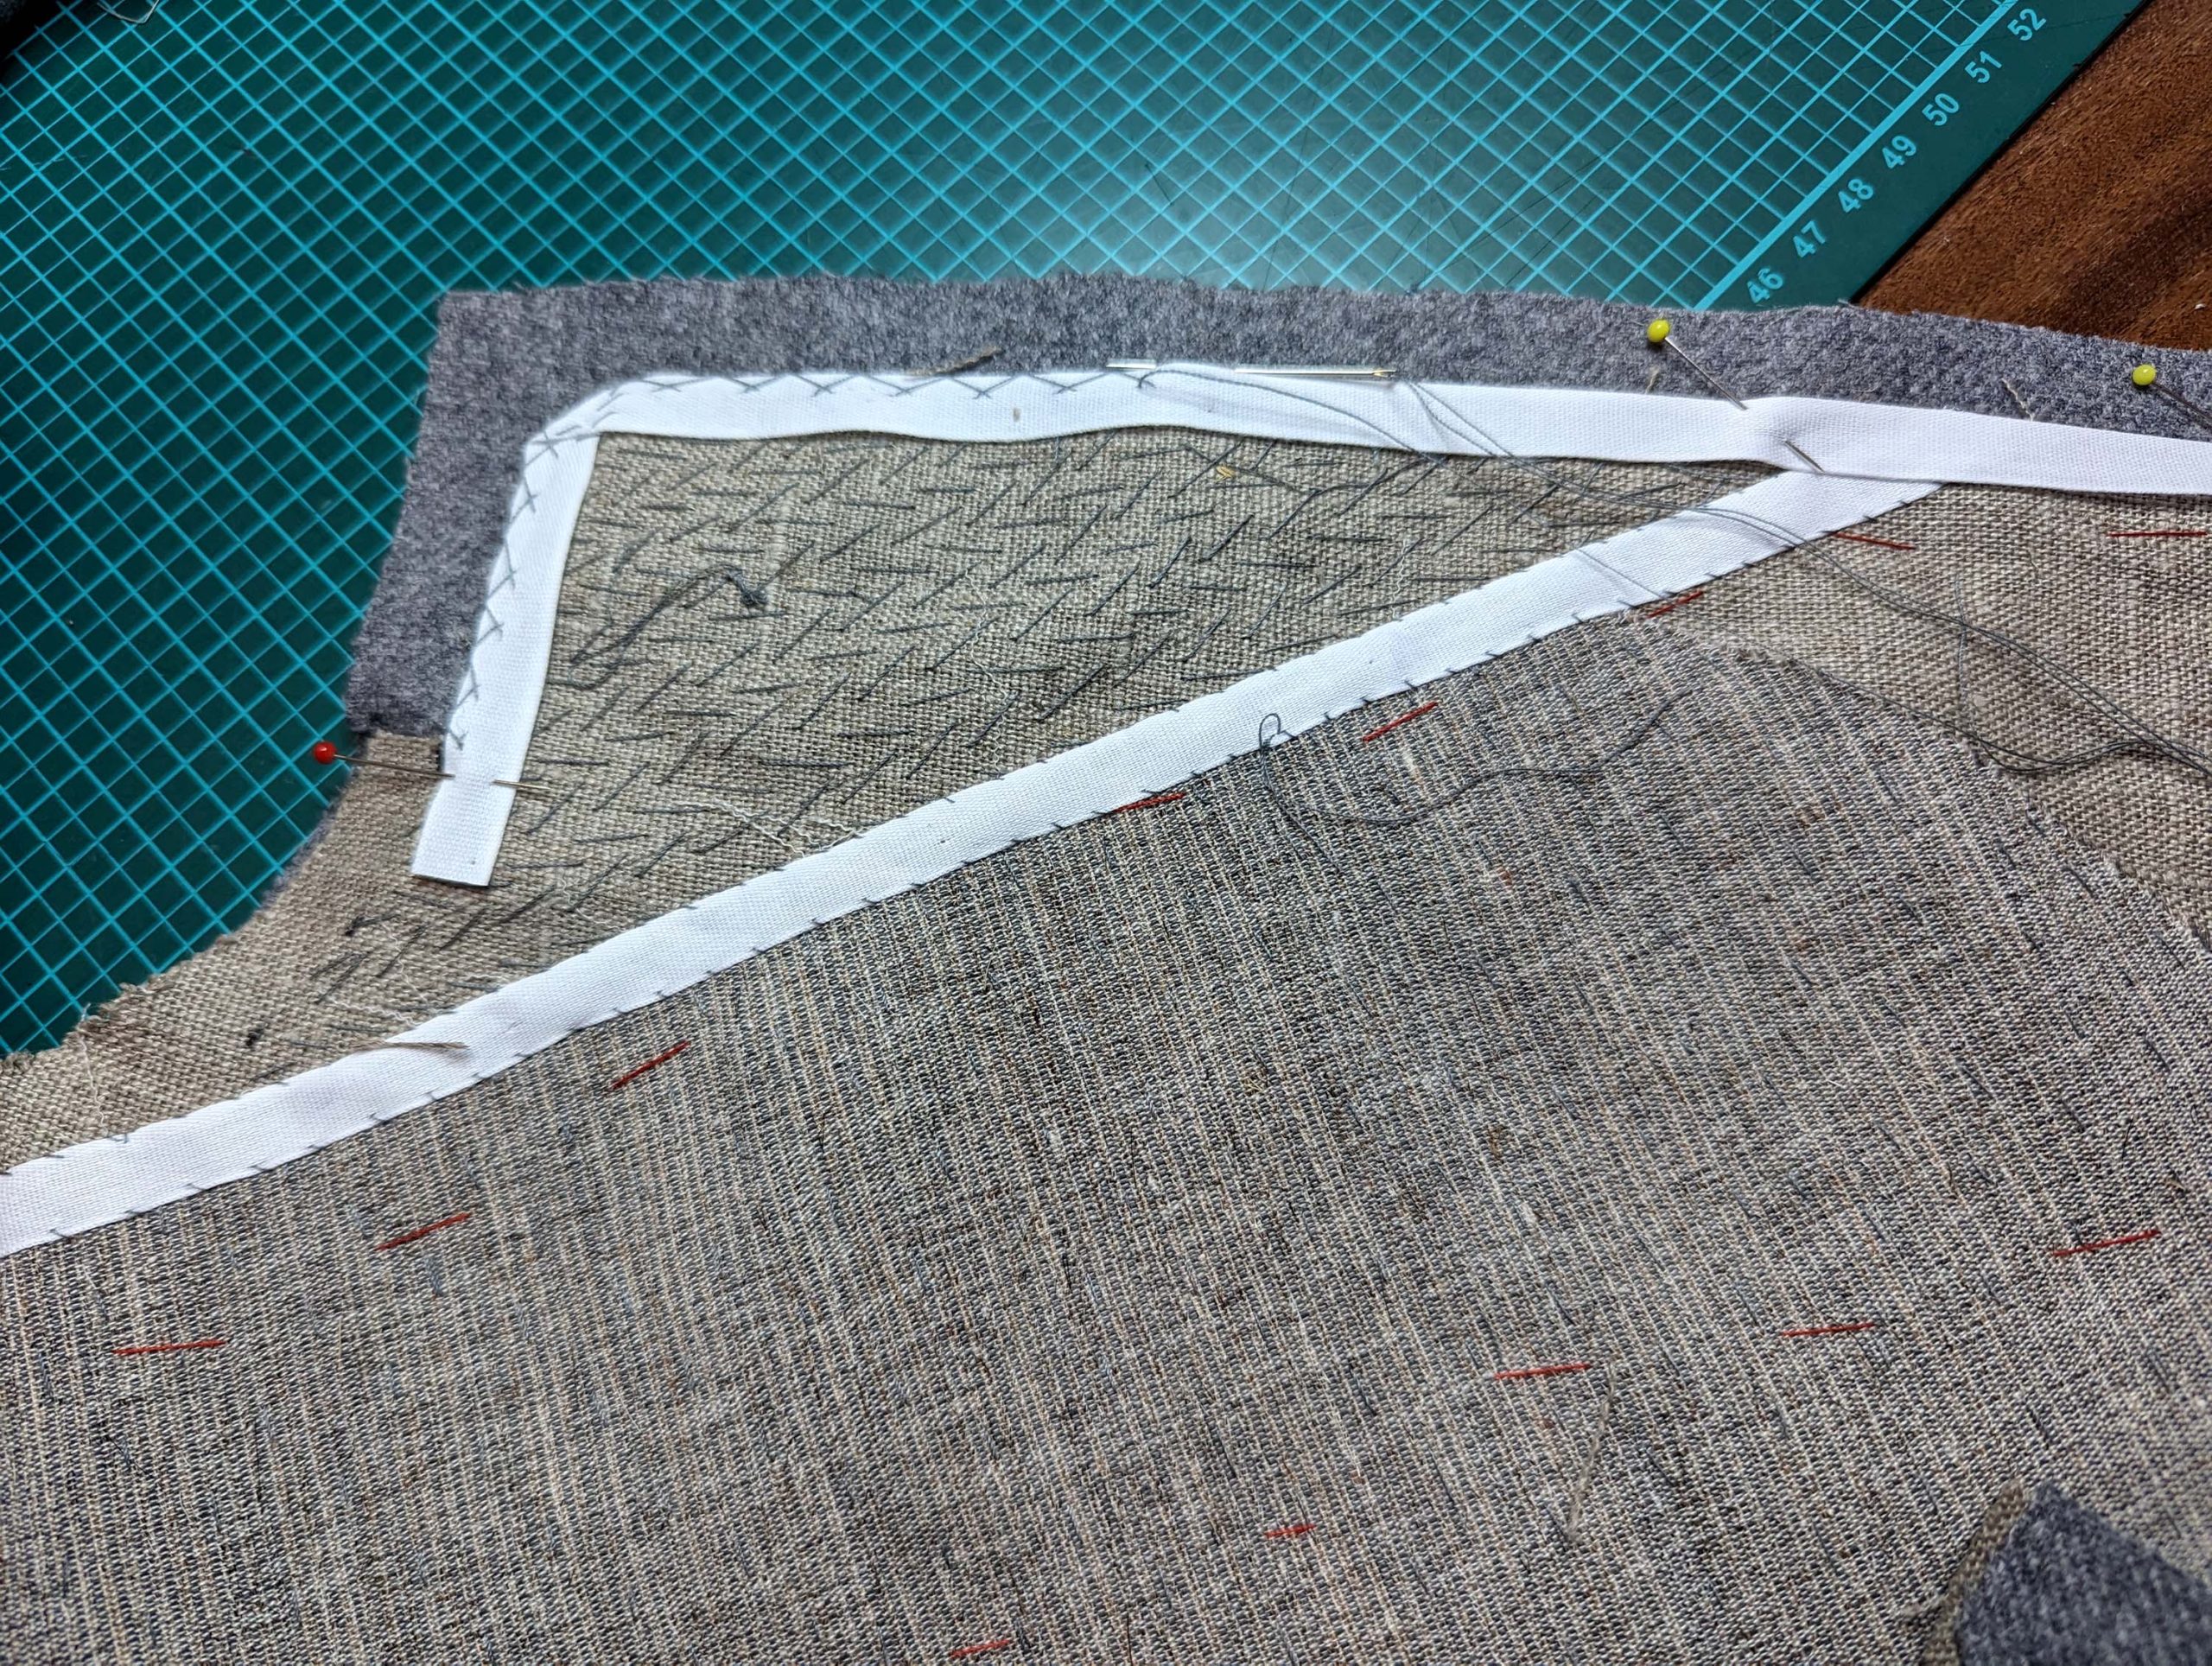
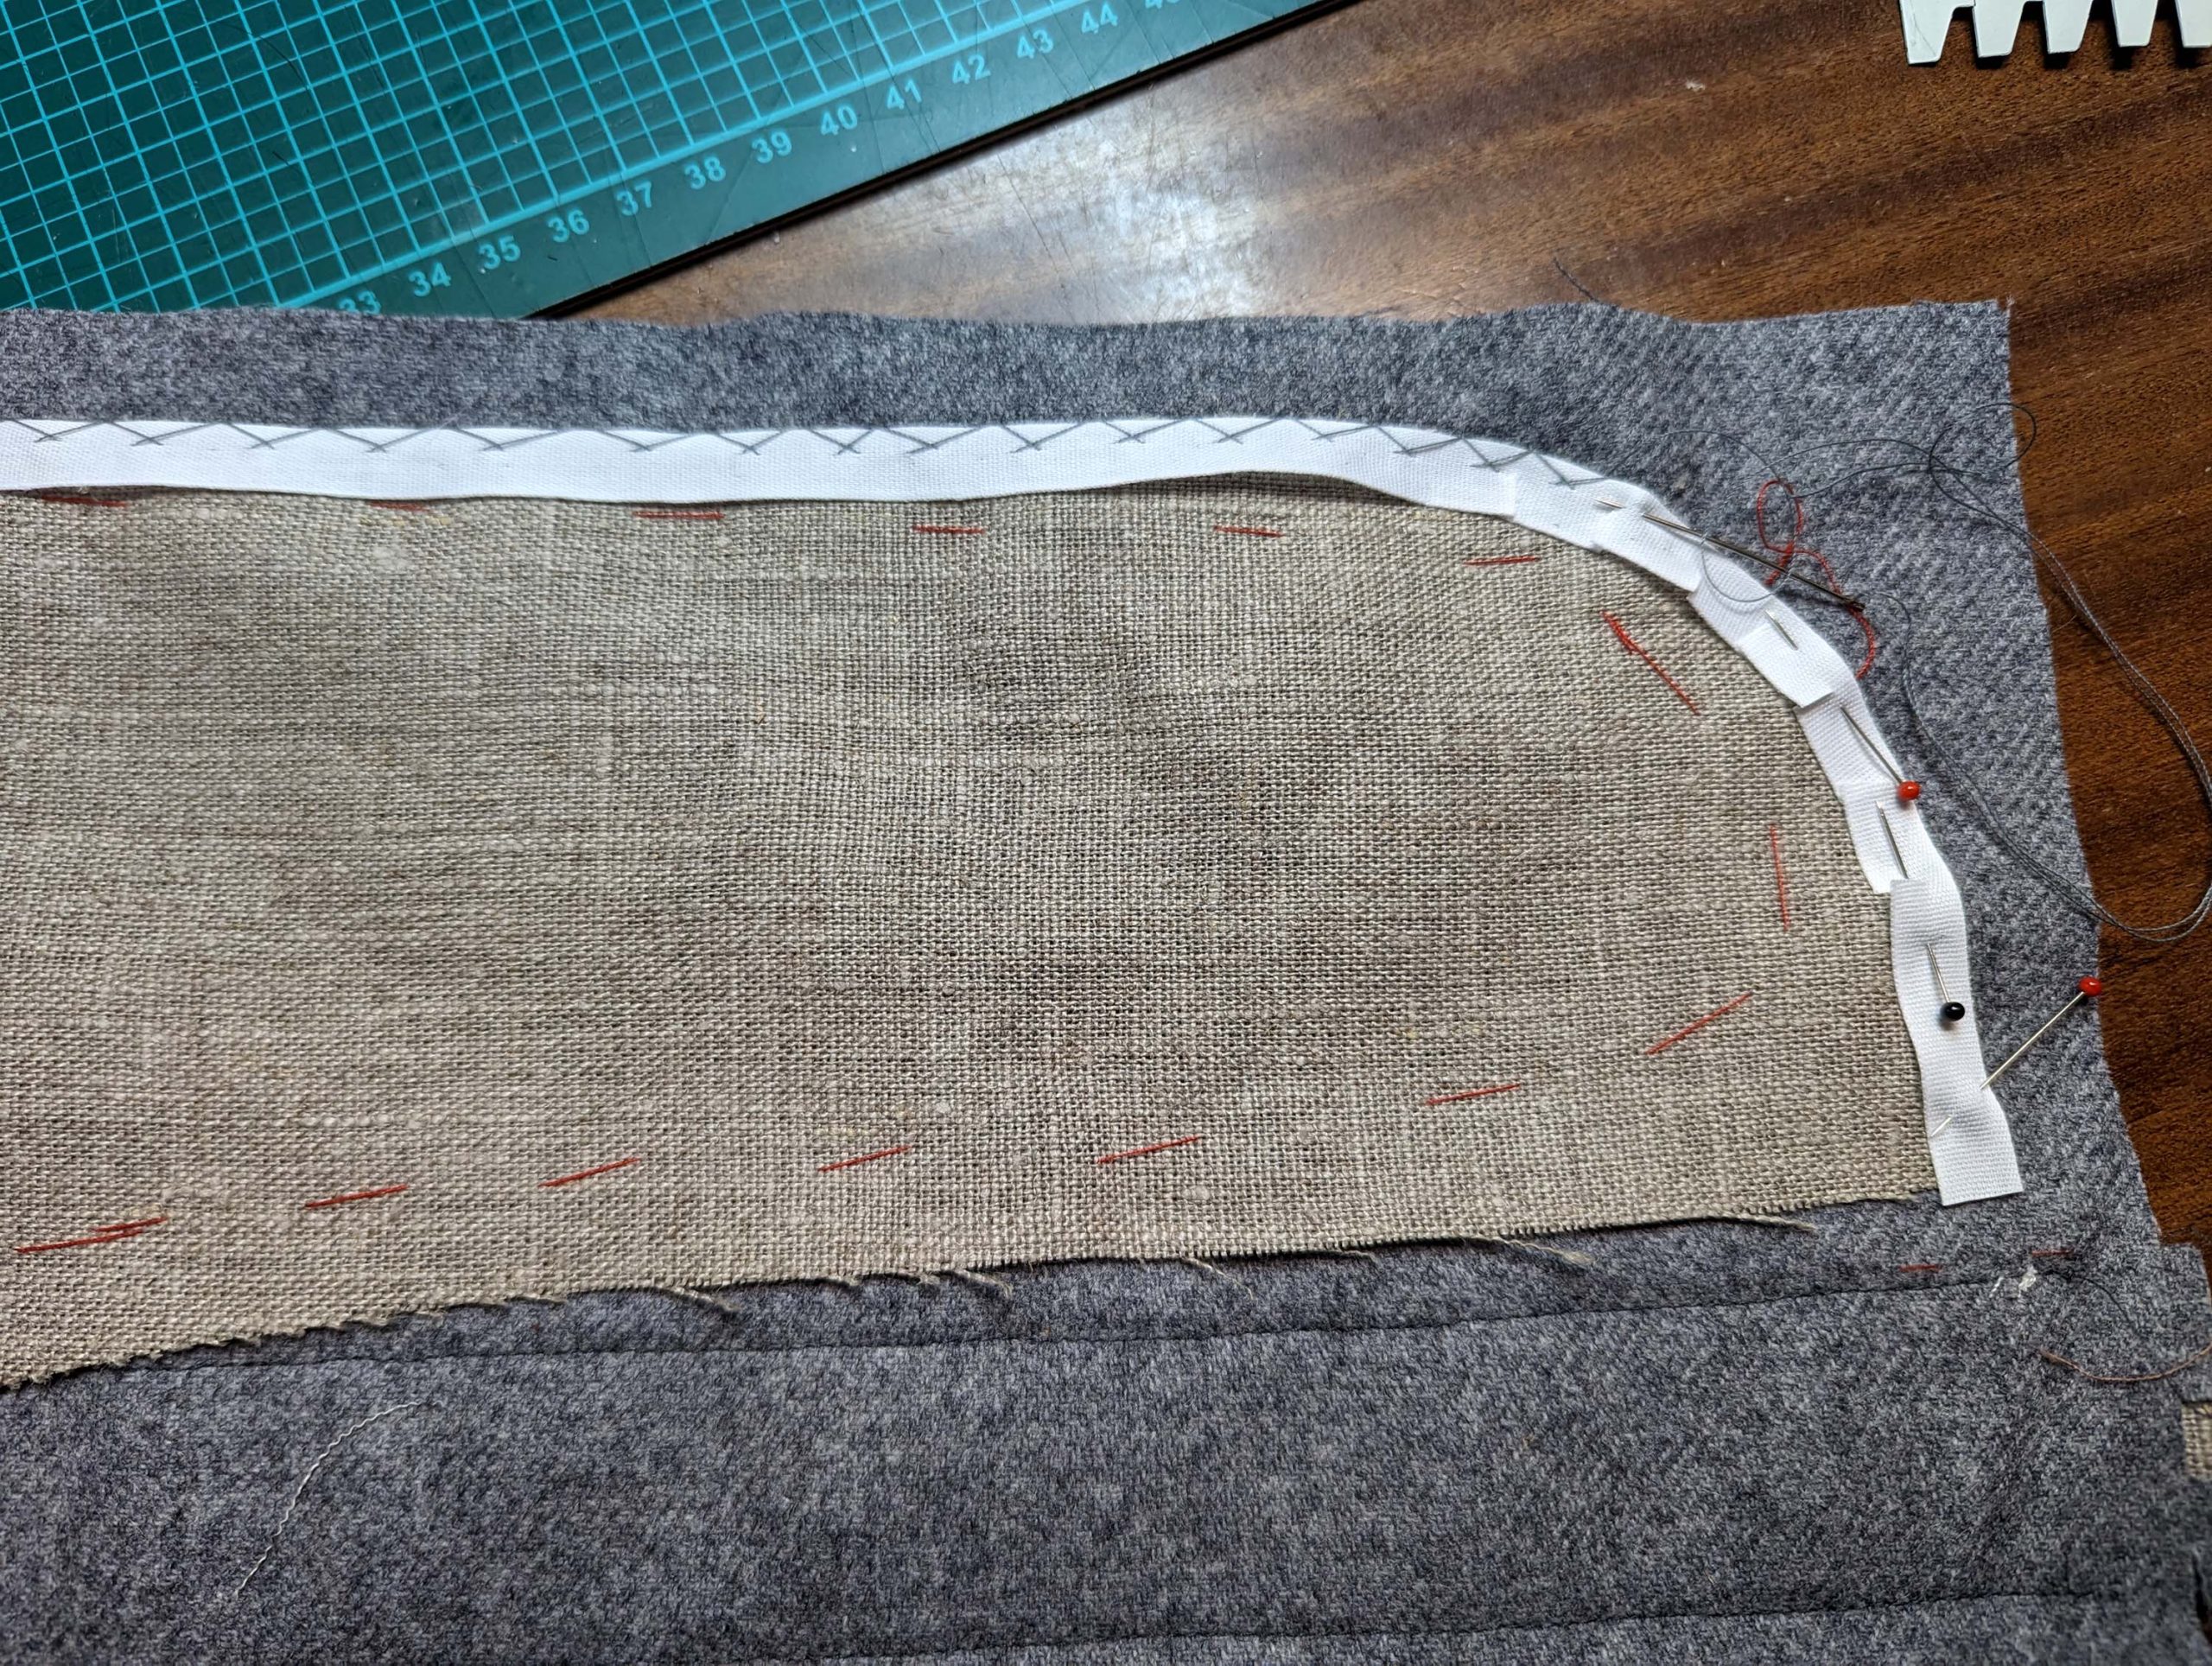
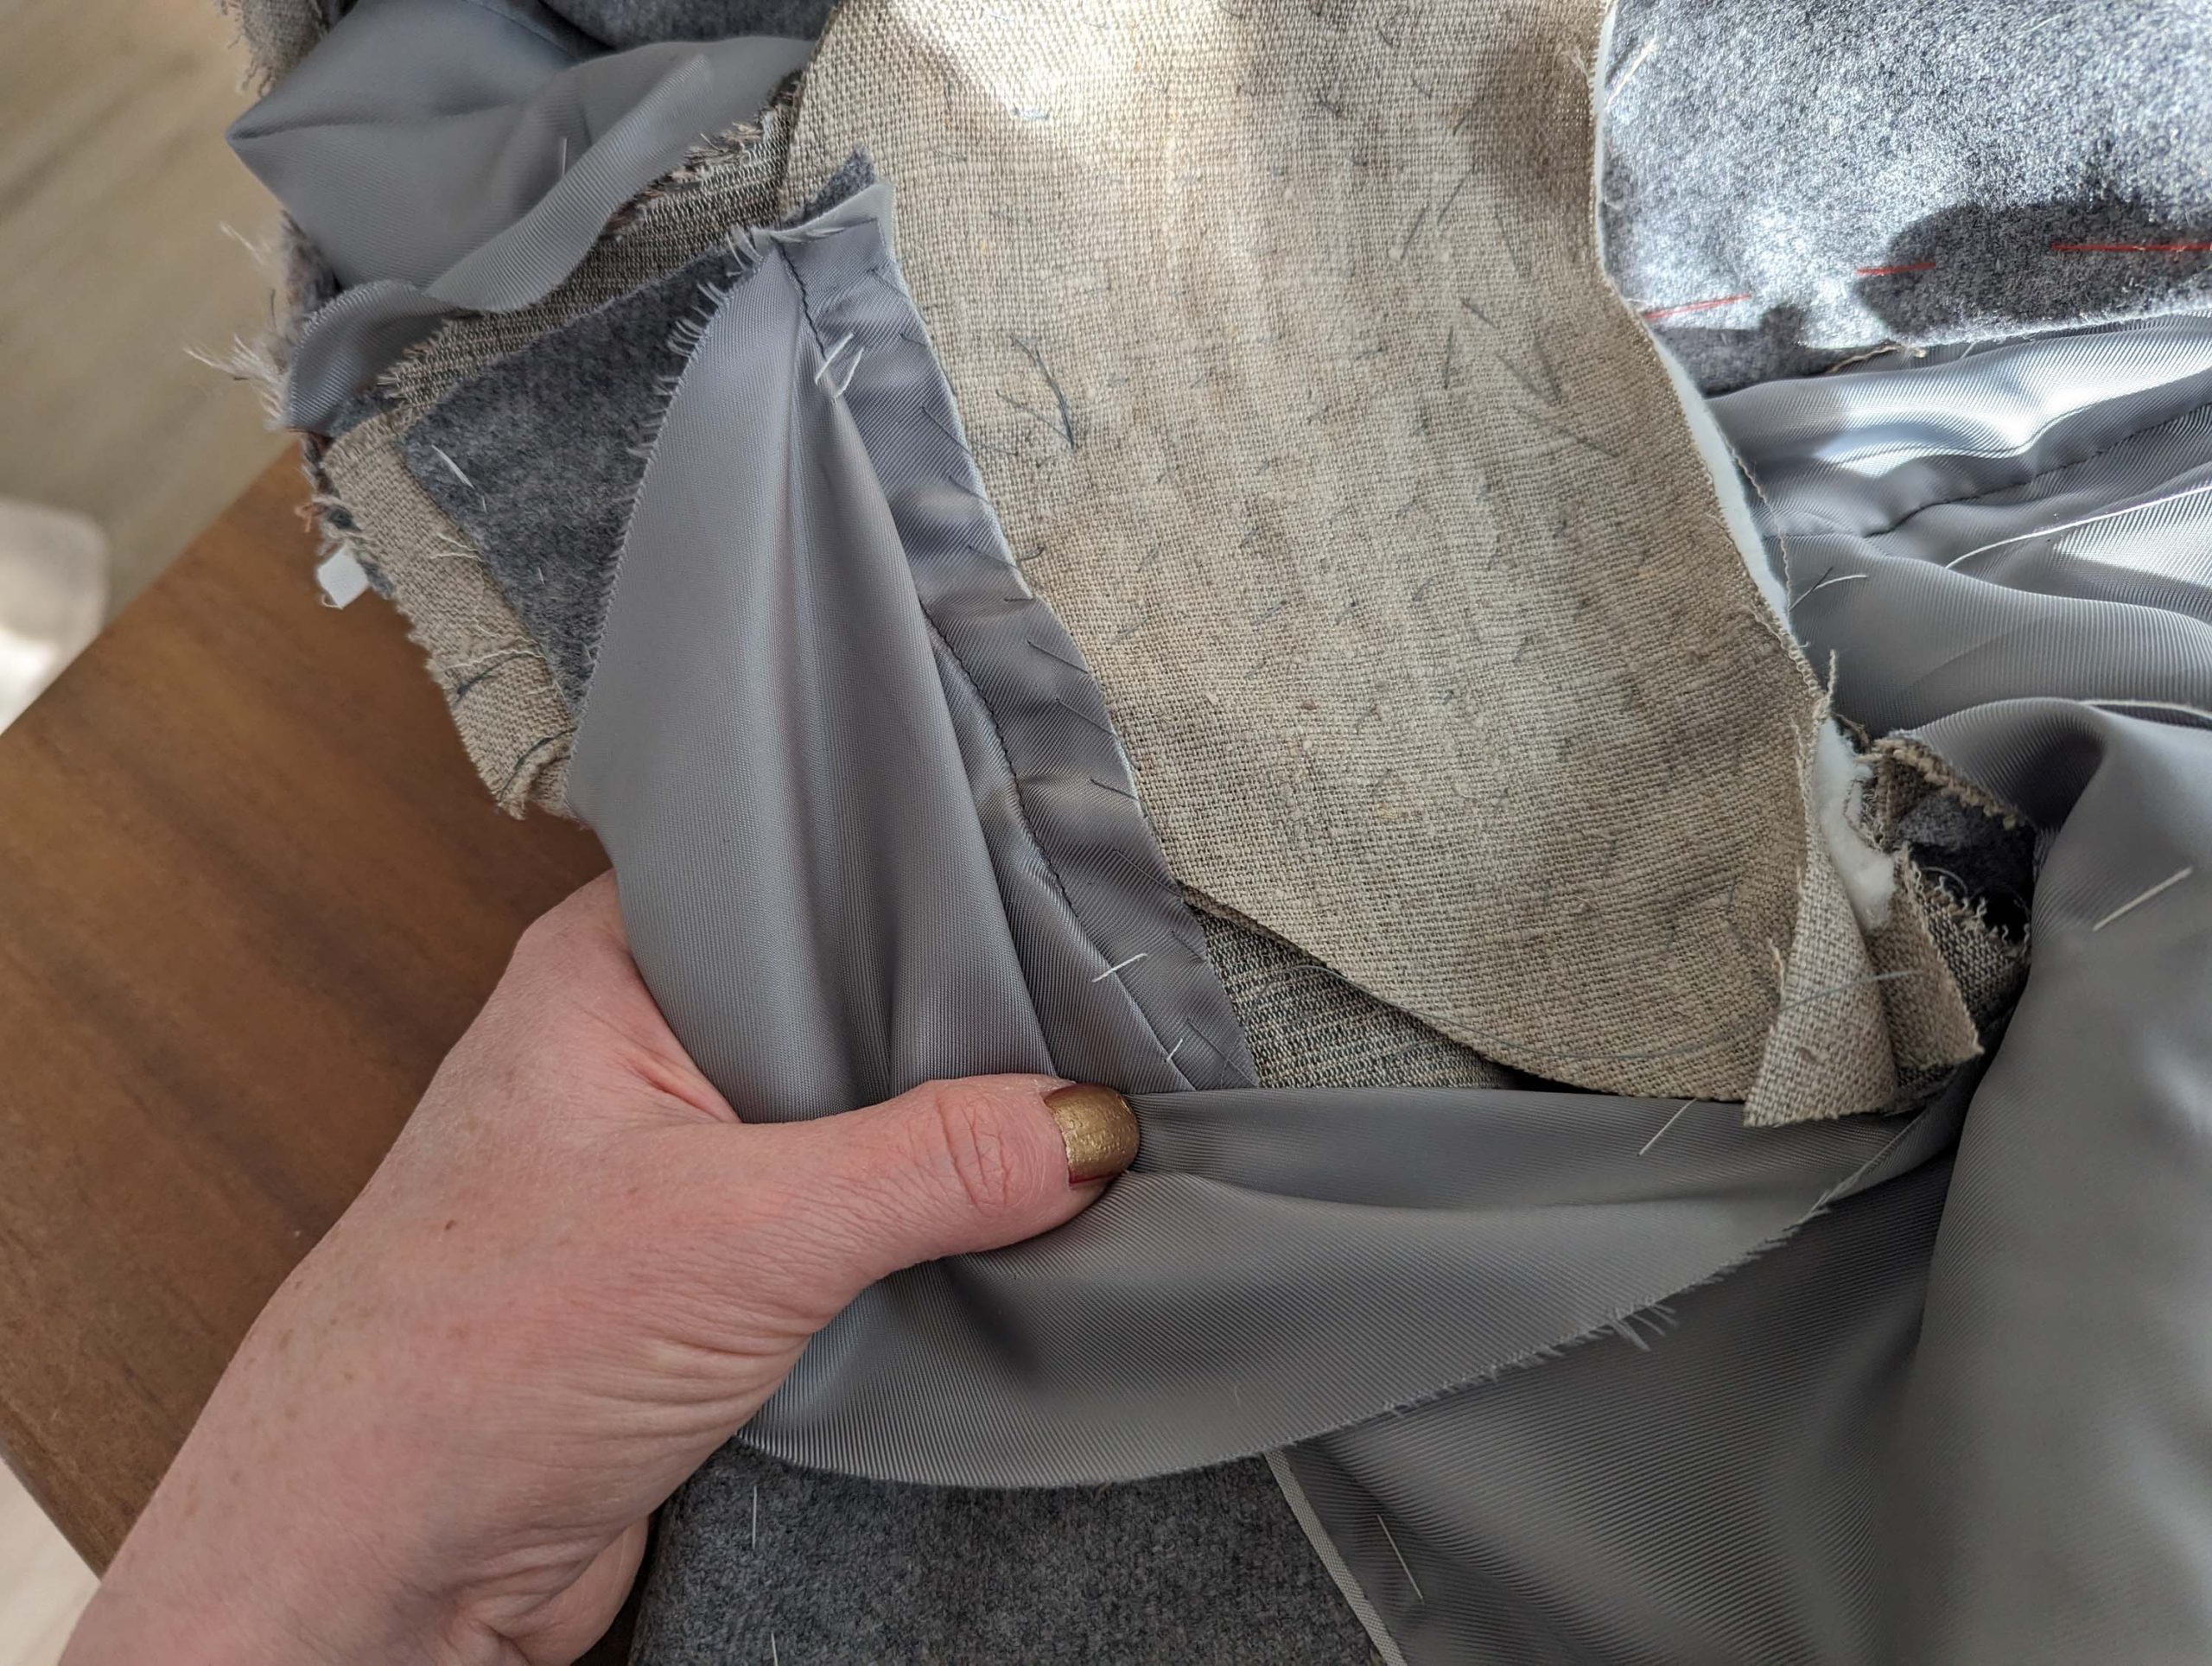
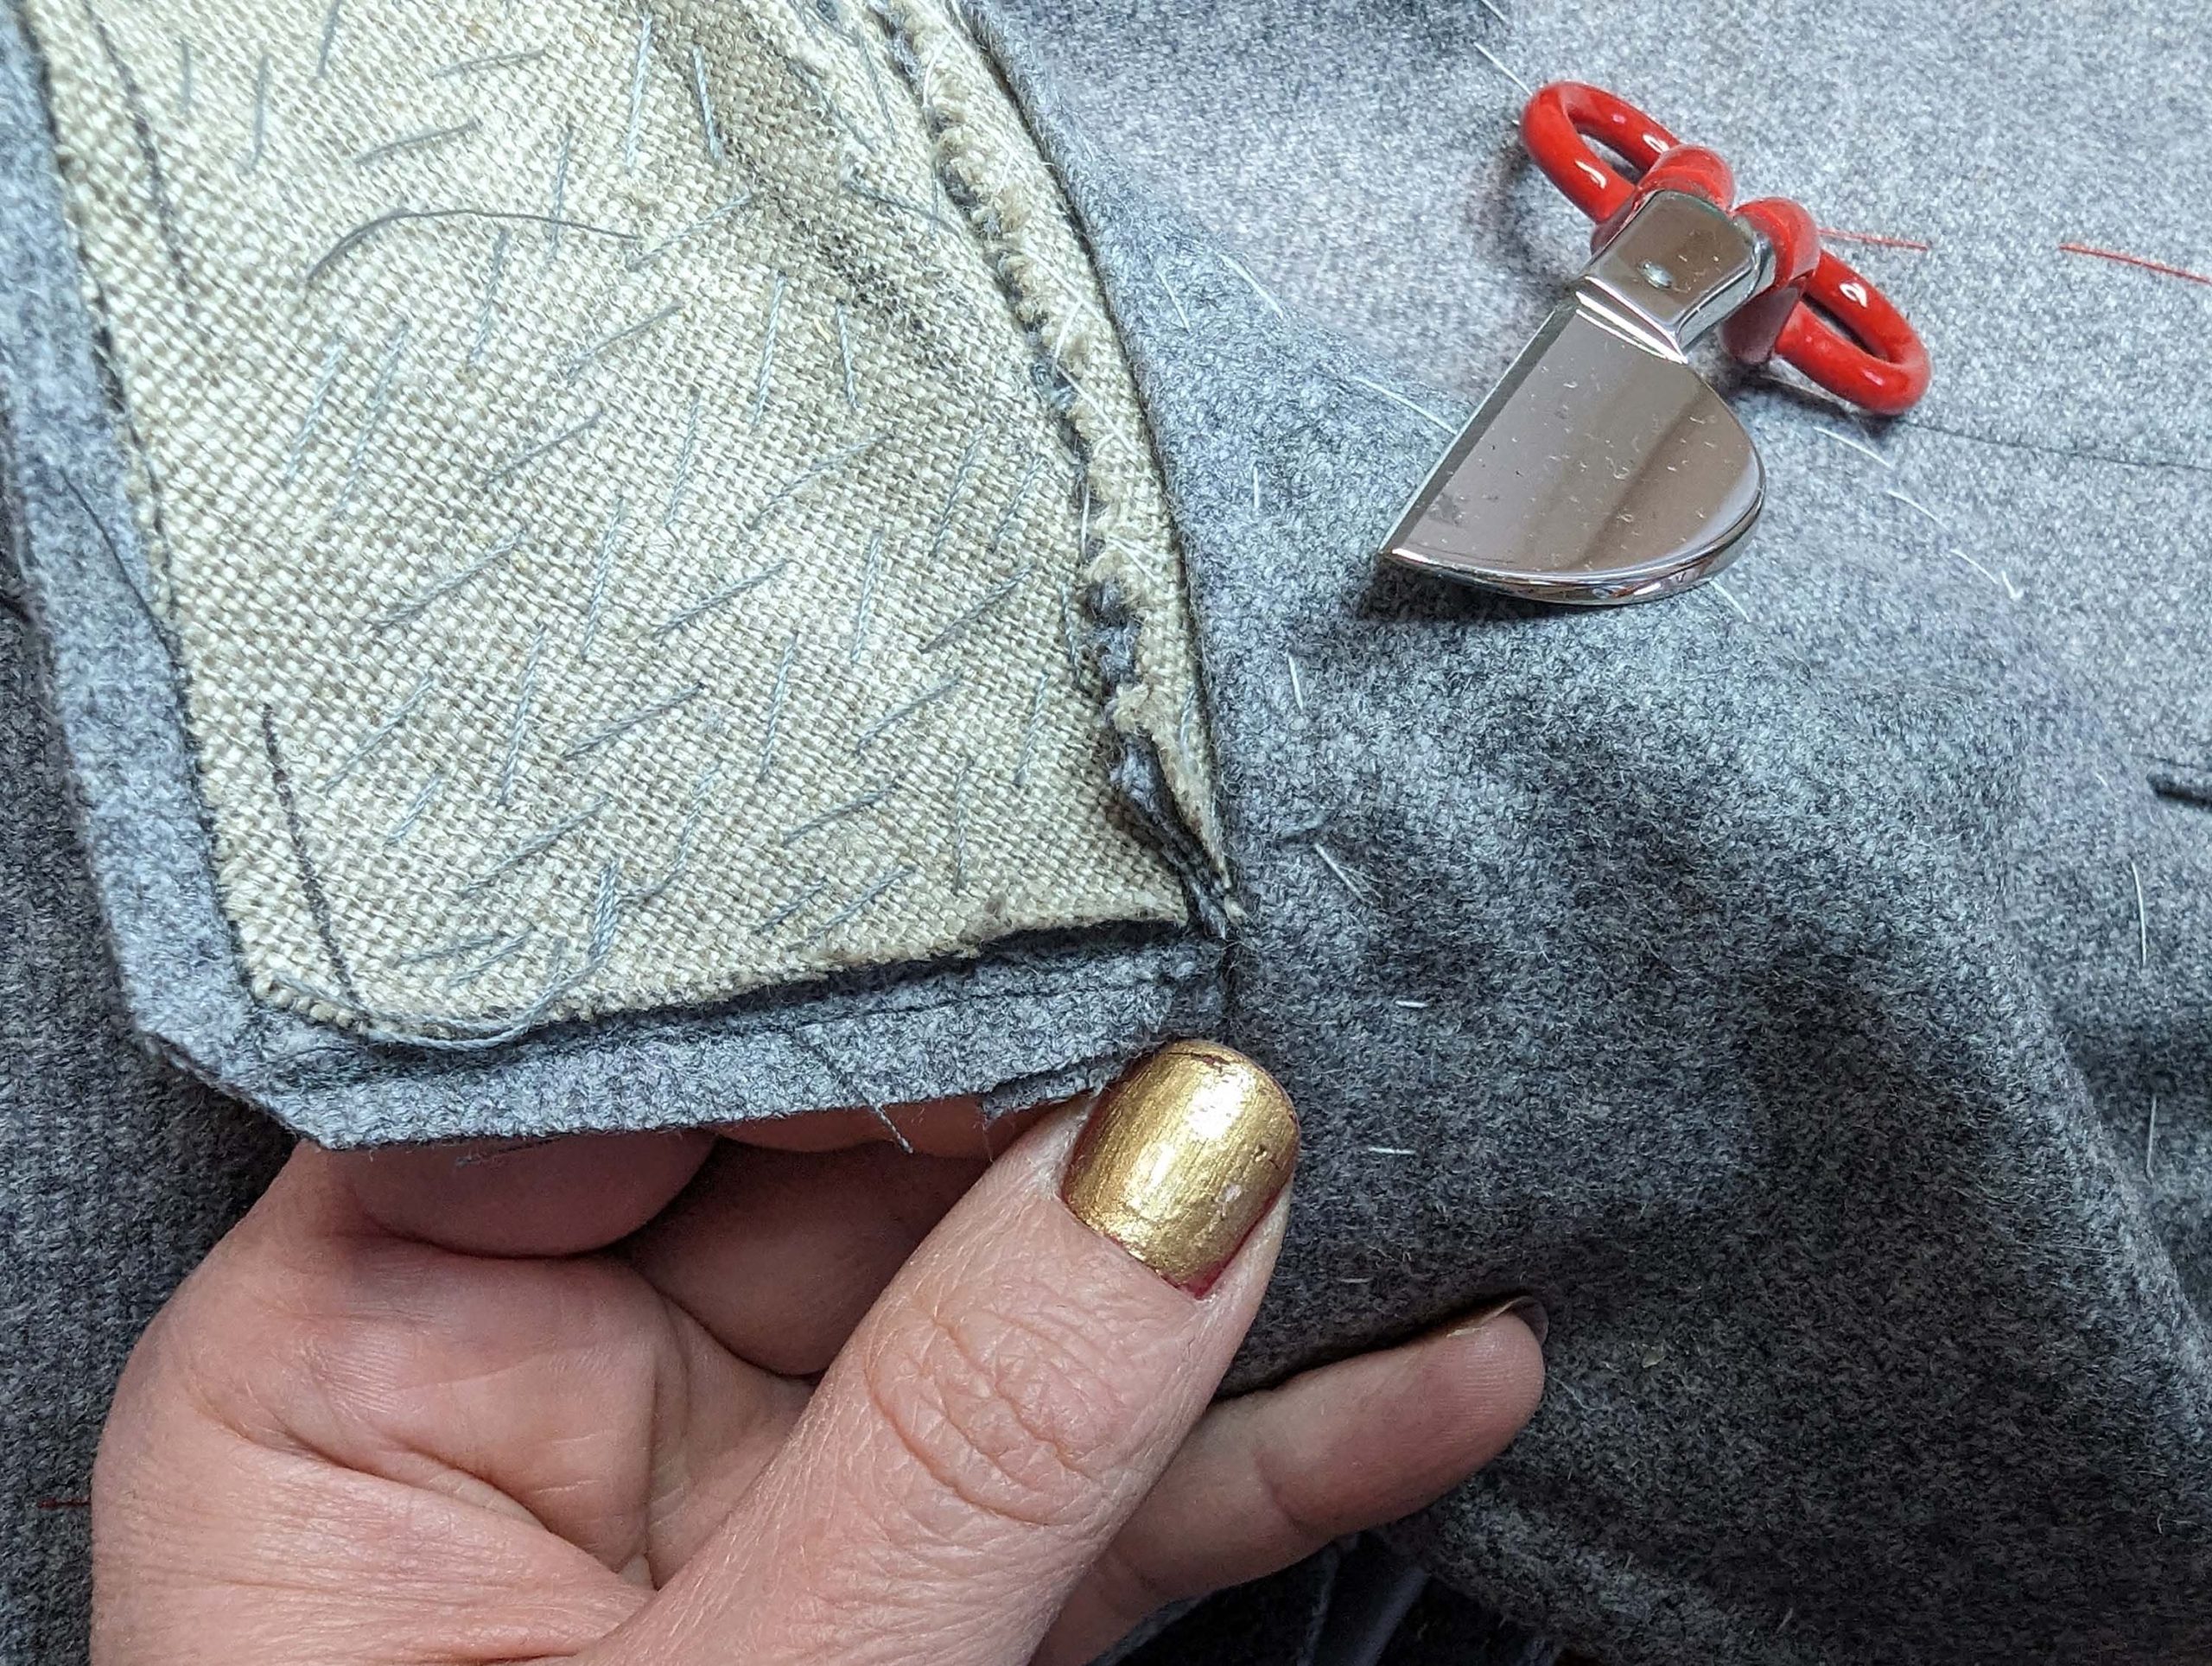
Trim back the canvas only slightly behind the seamline along the front and bottom edge, and along the lapel, ending at the collar notch. Place a stay tape right behind the roll line, covering the edge of the chest canvas. Attach the tape tightly, making it about 3/8” (1 cm) shorter than the line itself.
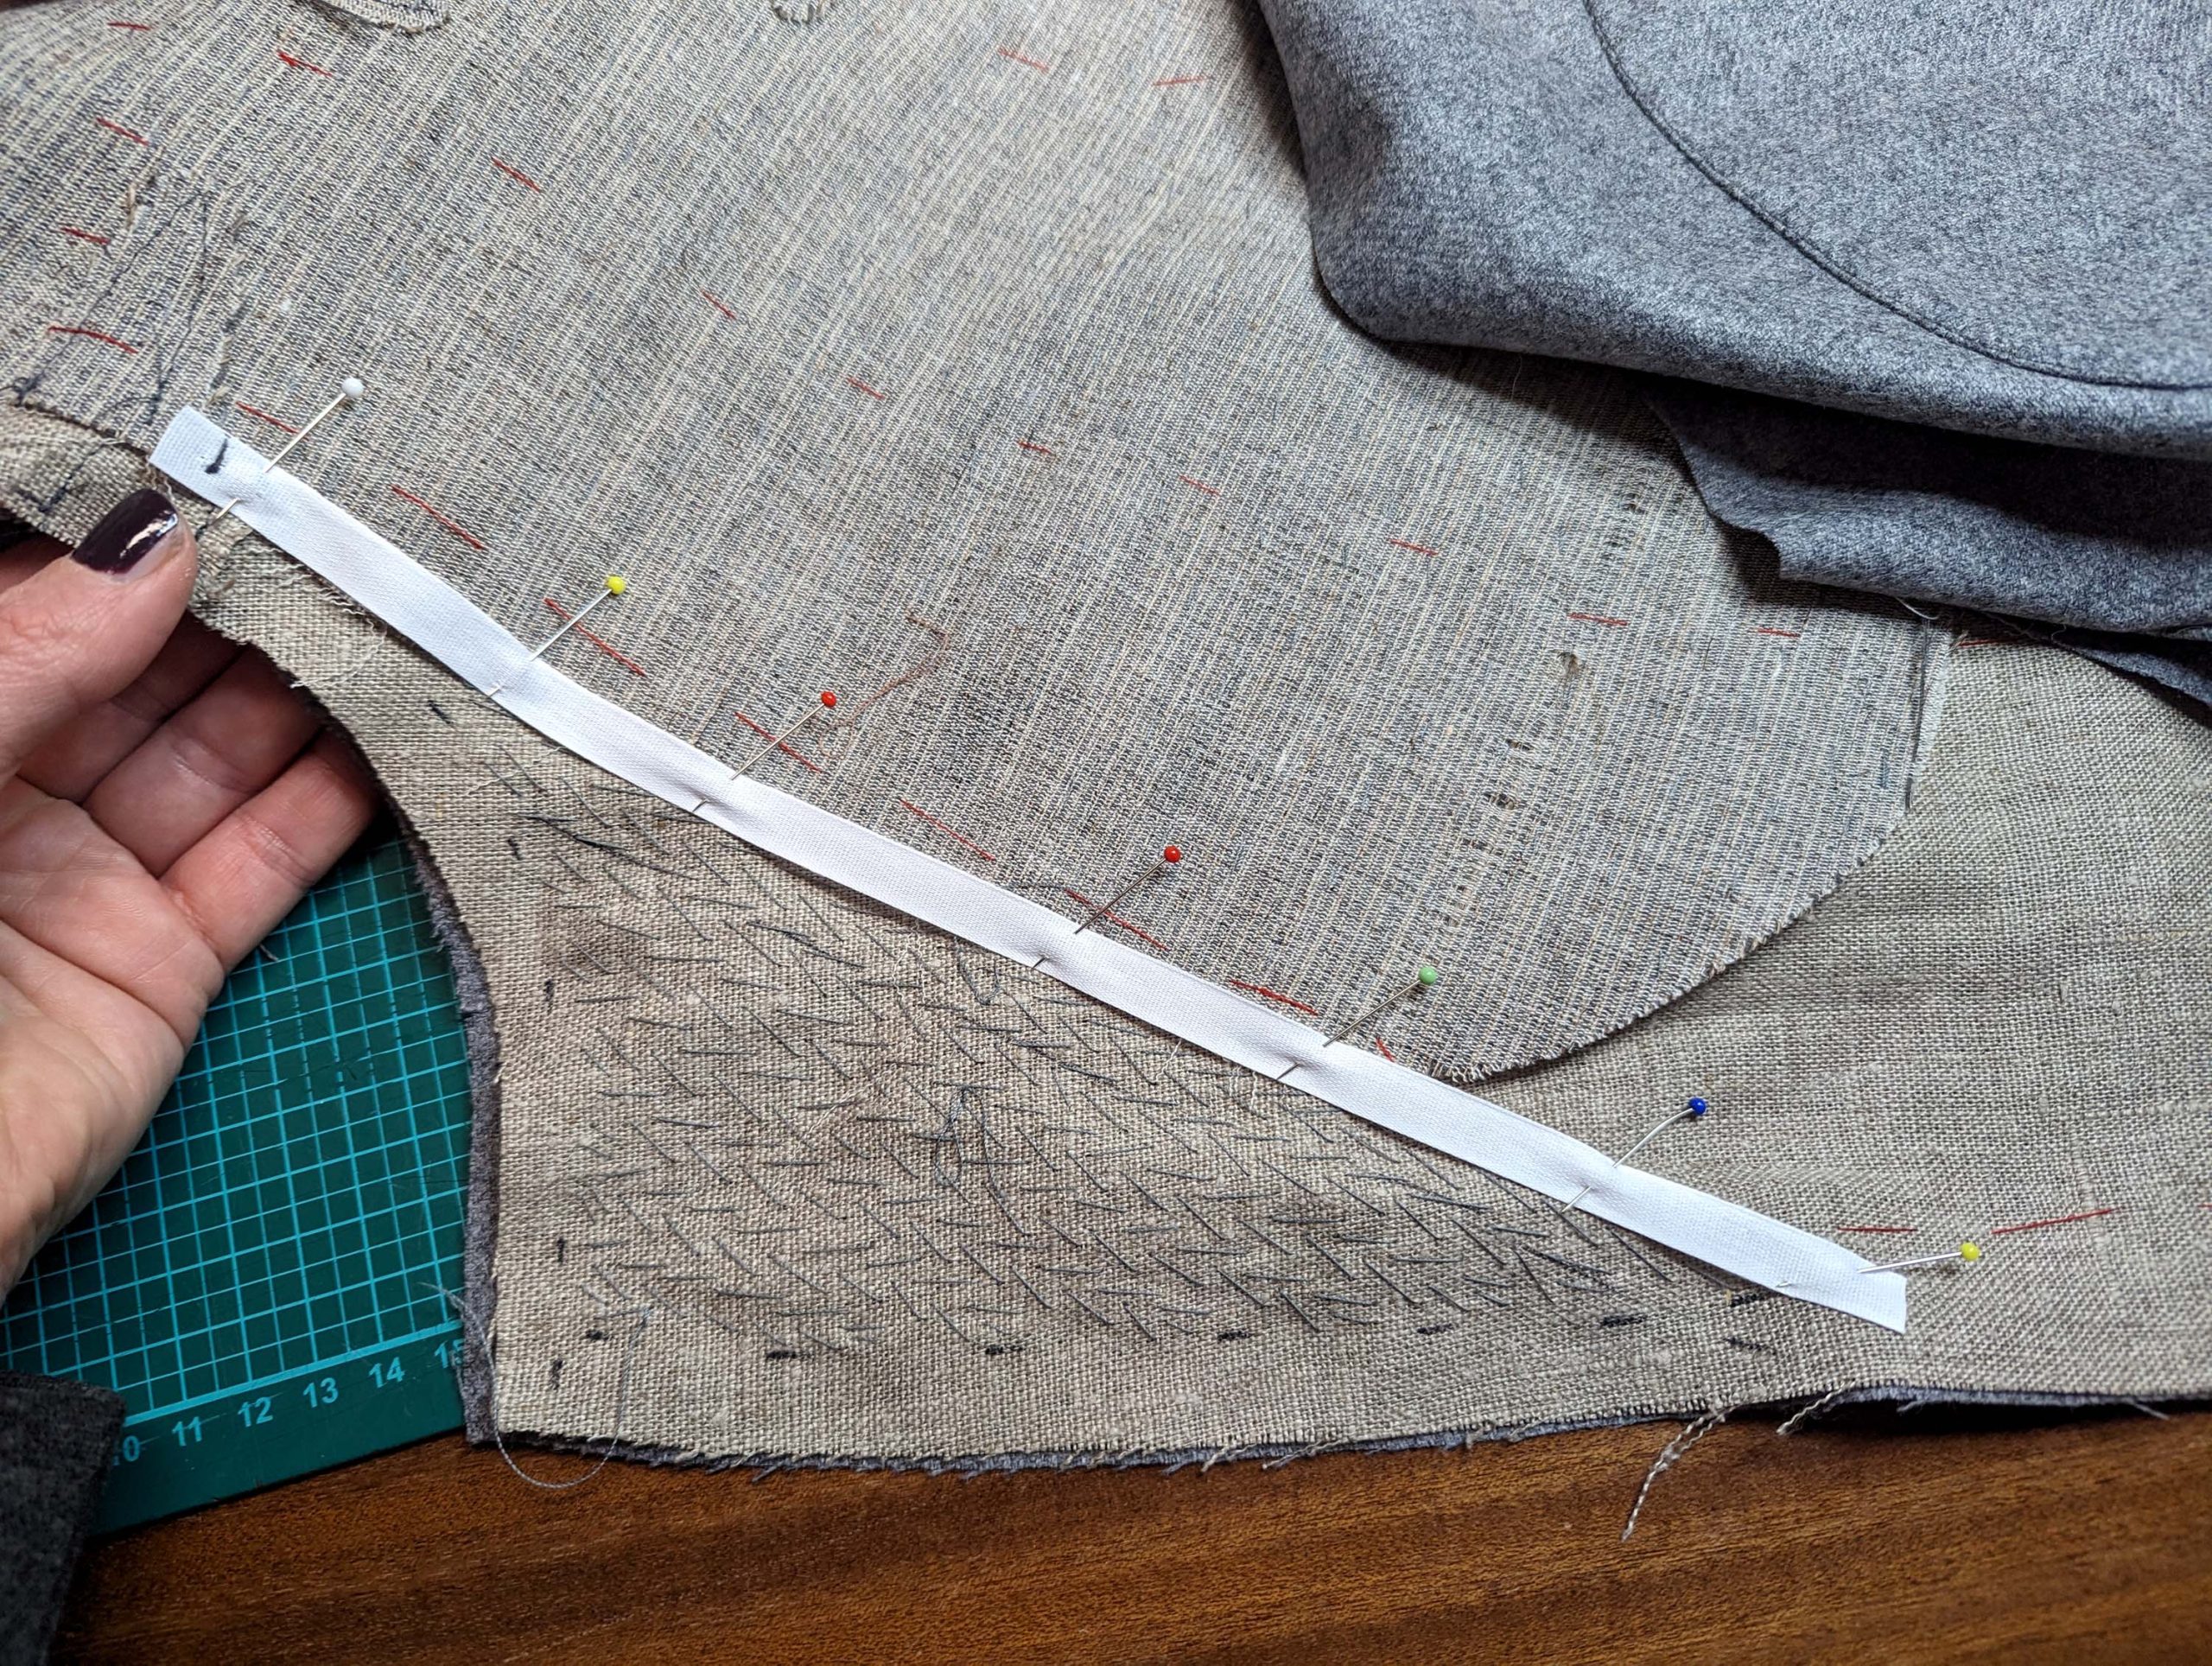
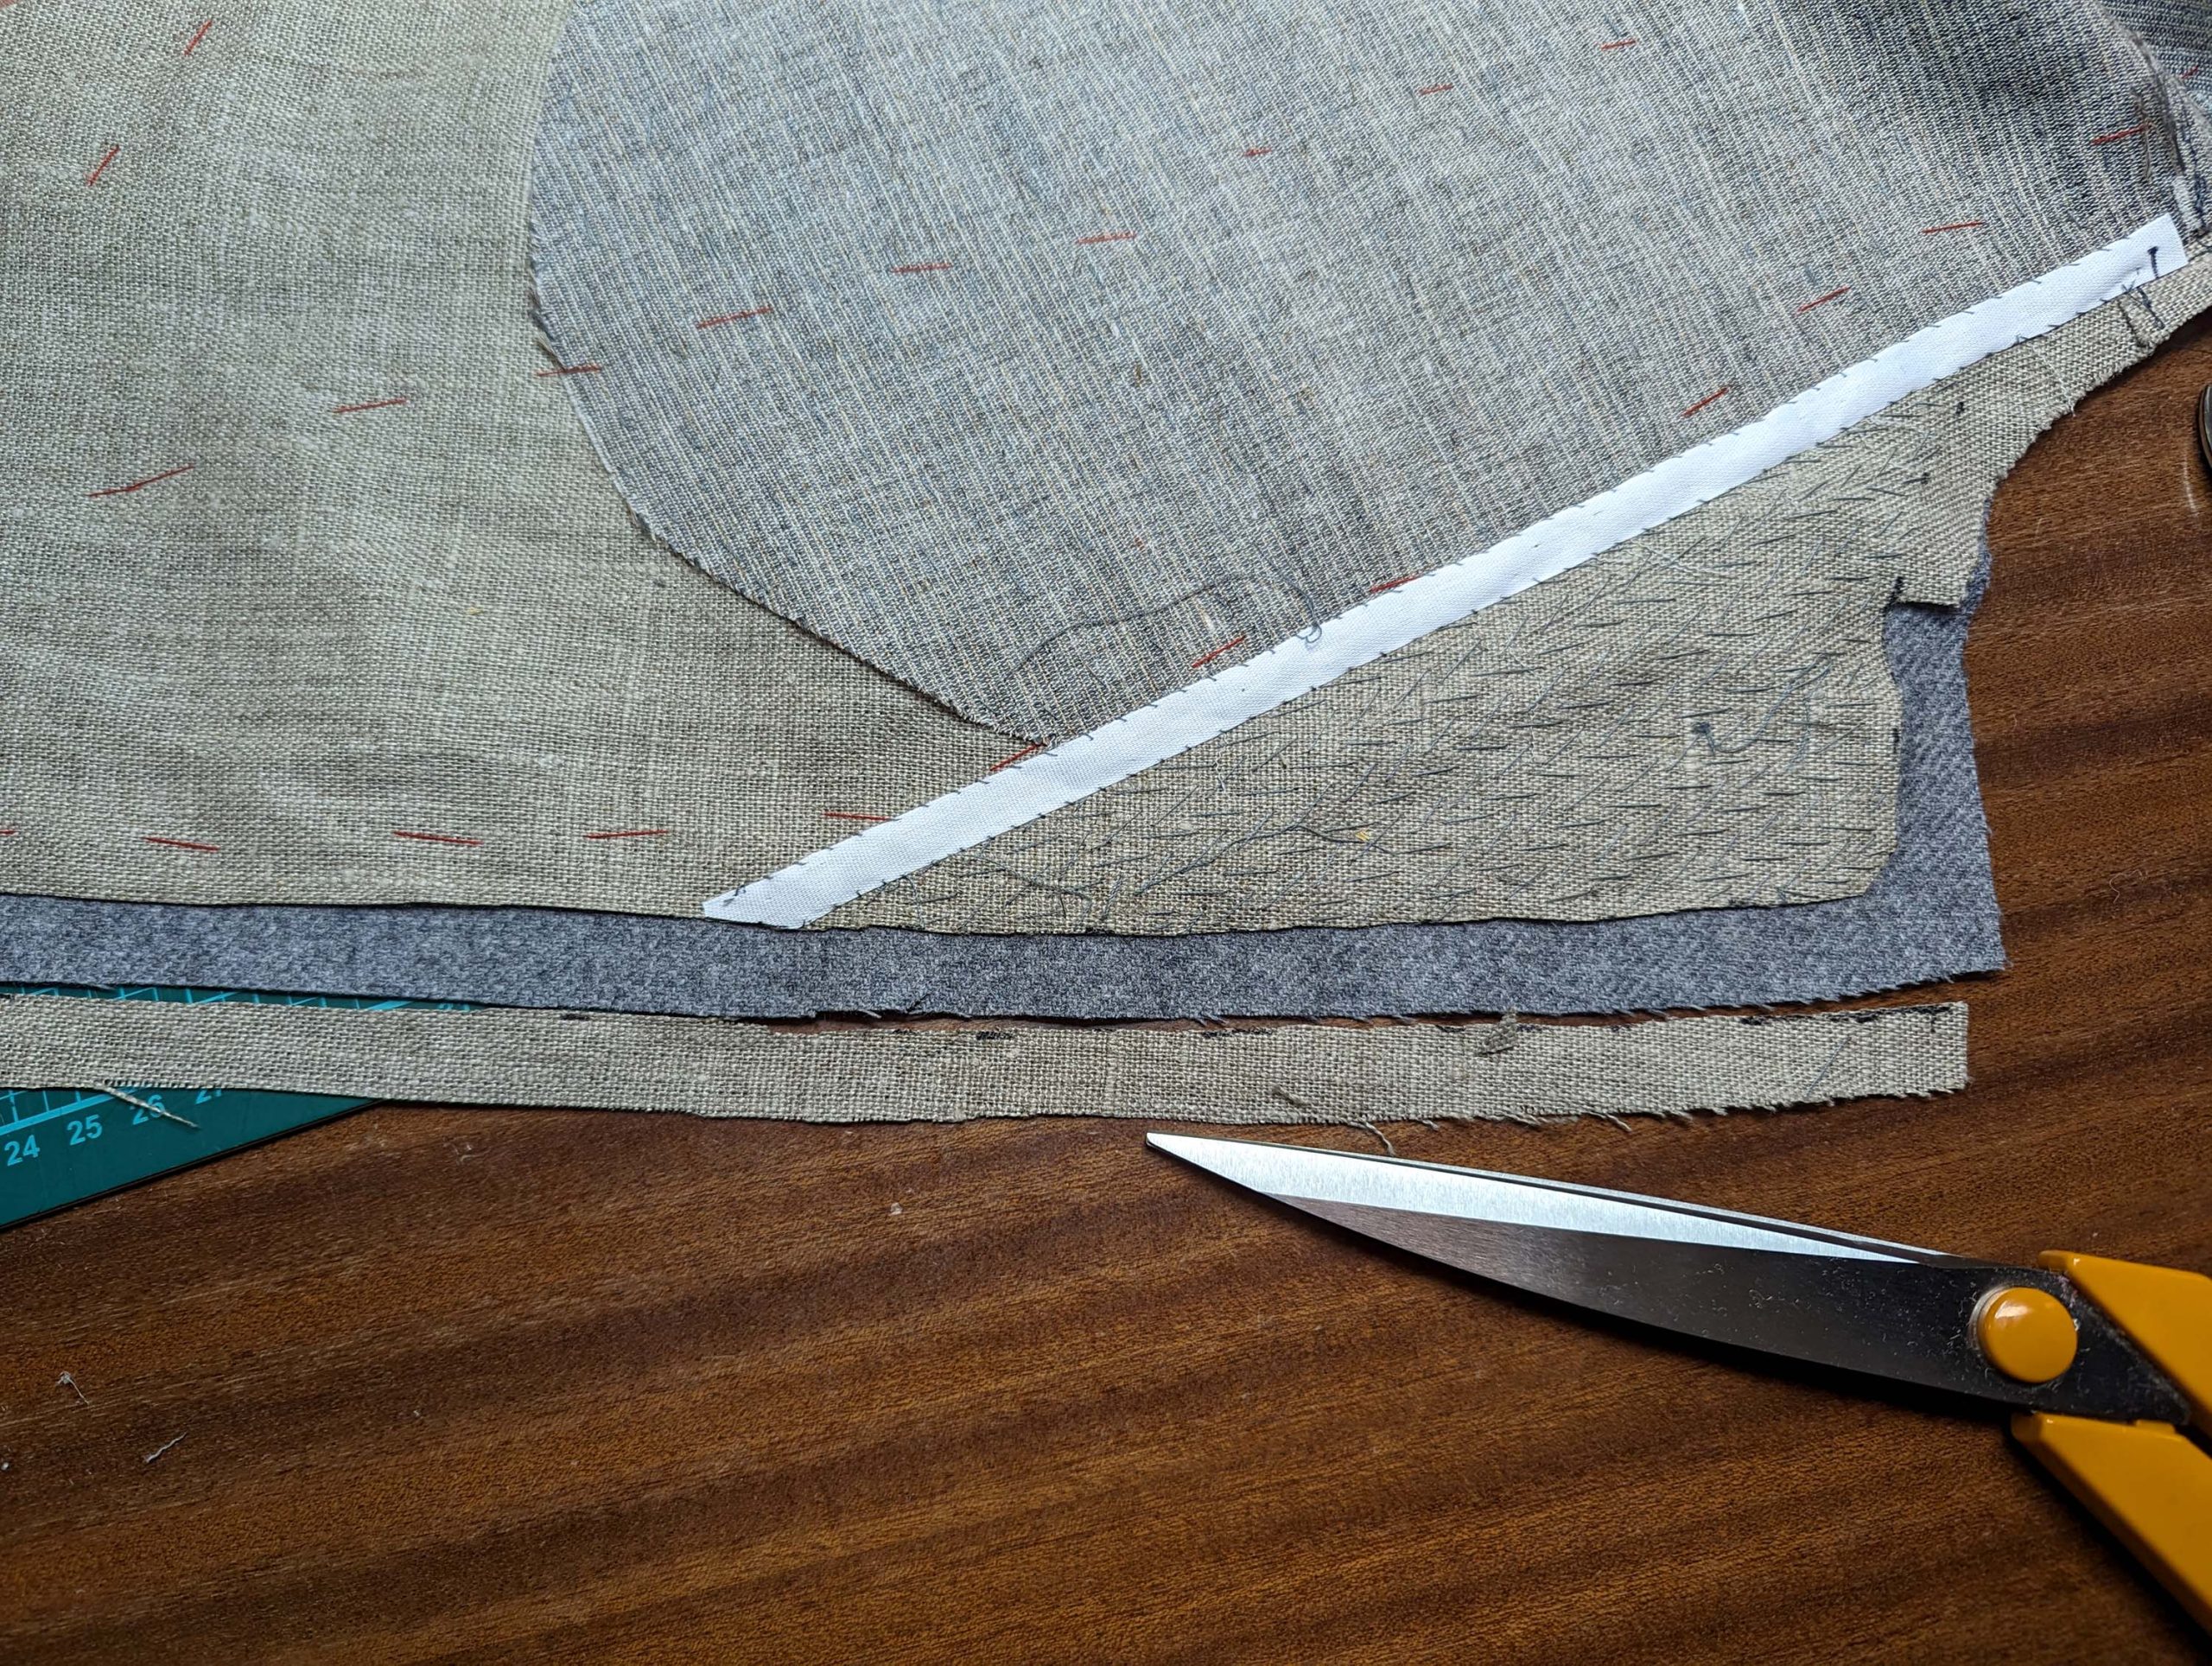
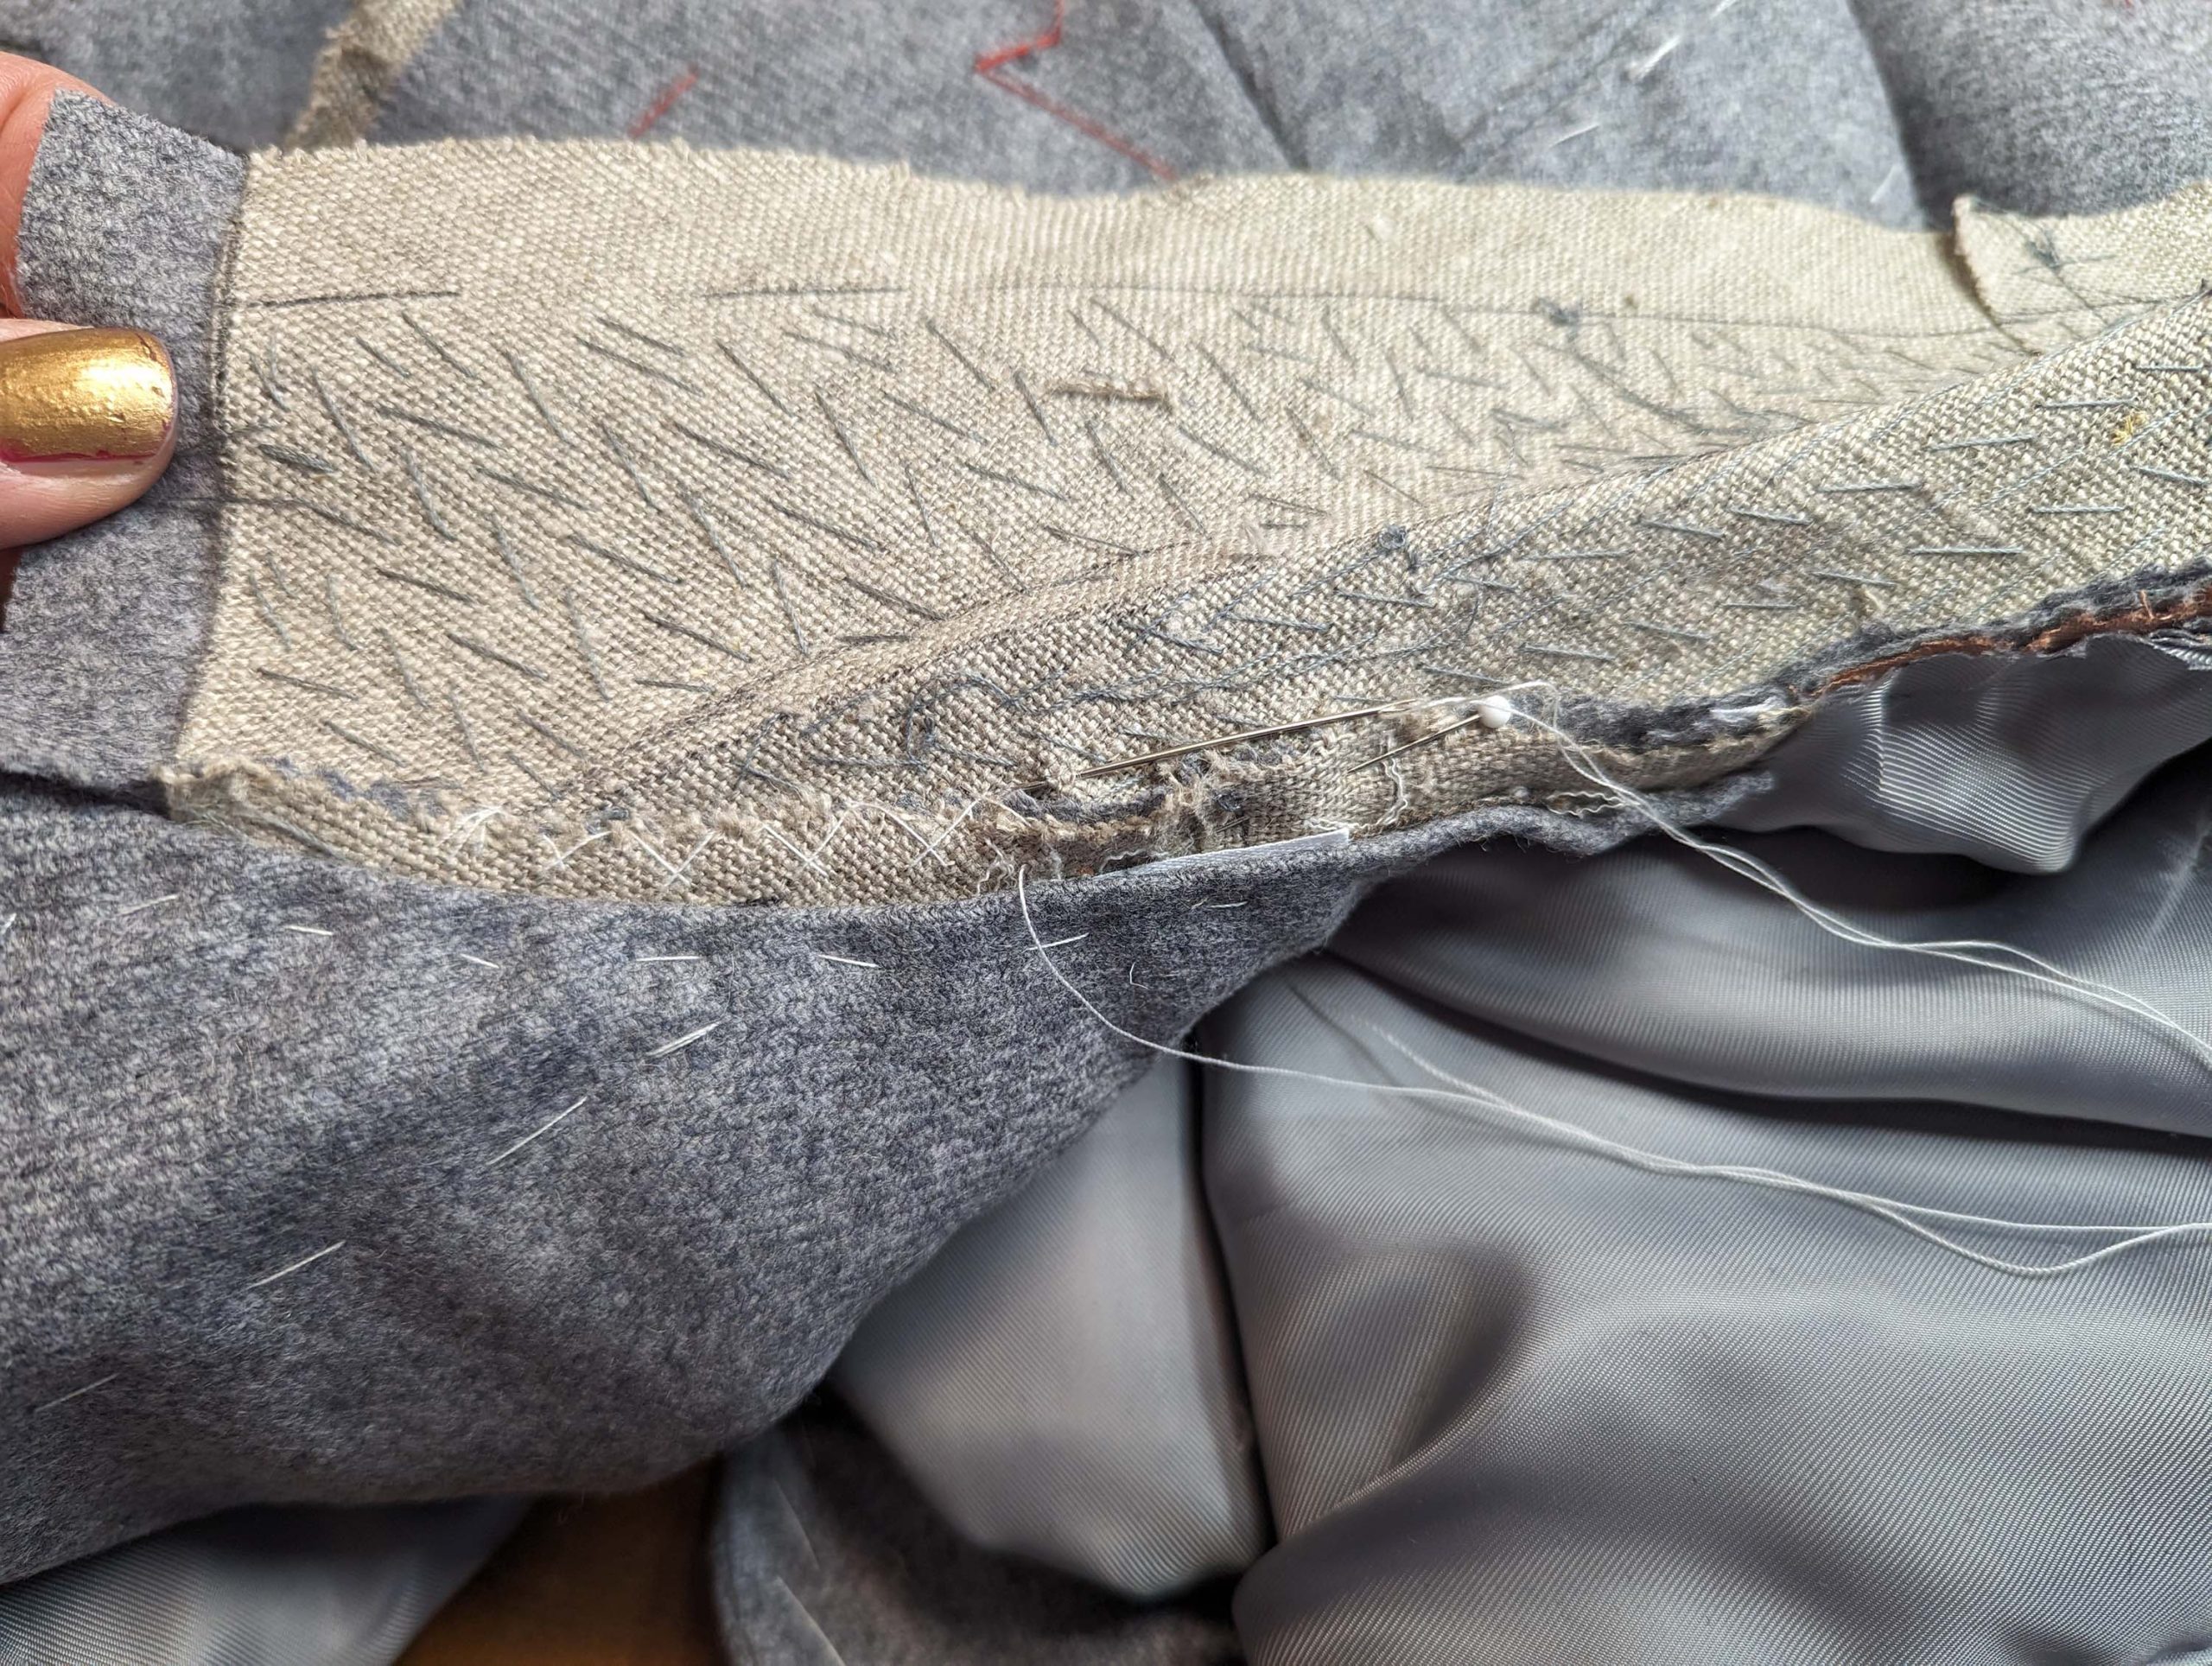
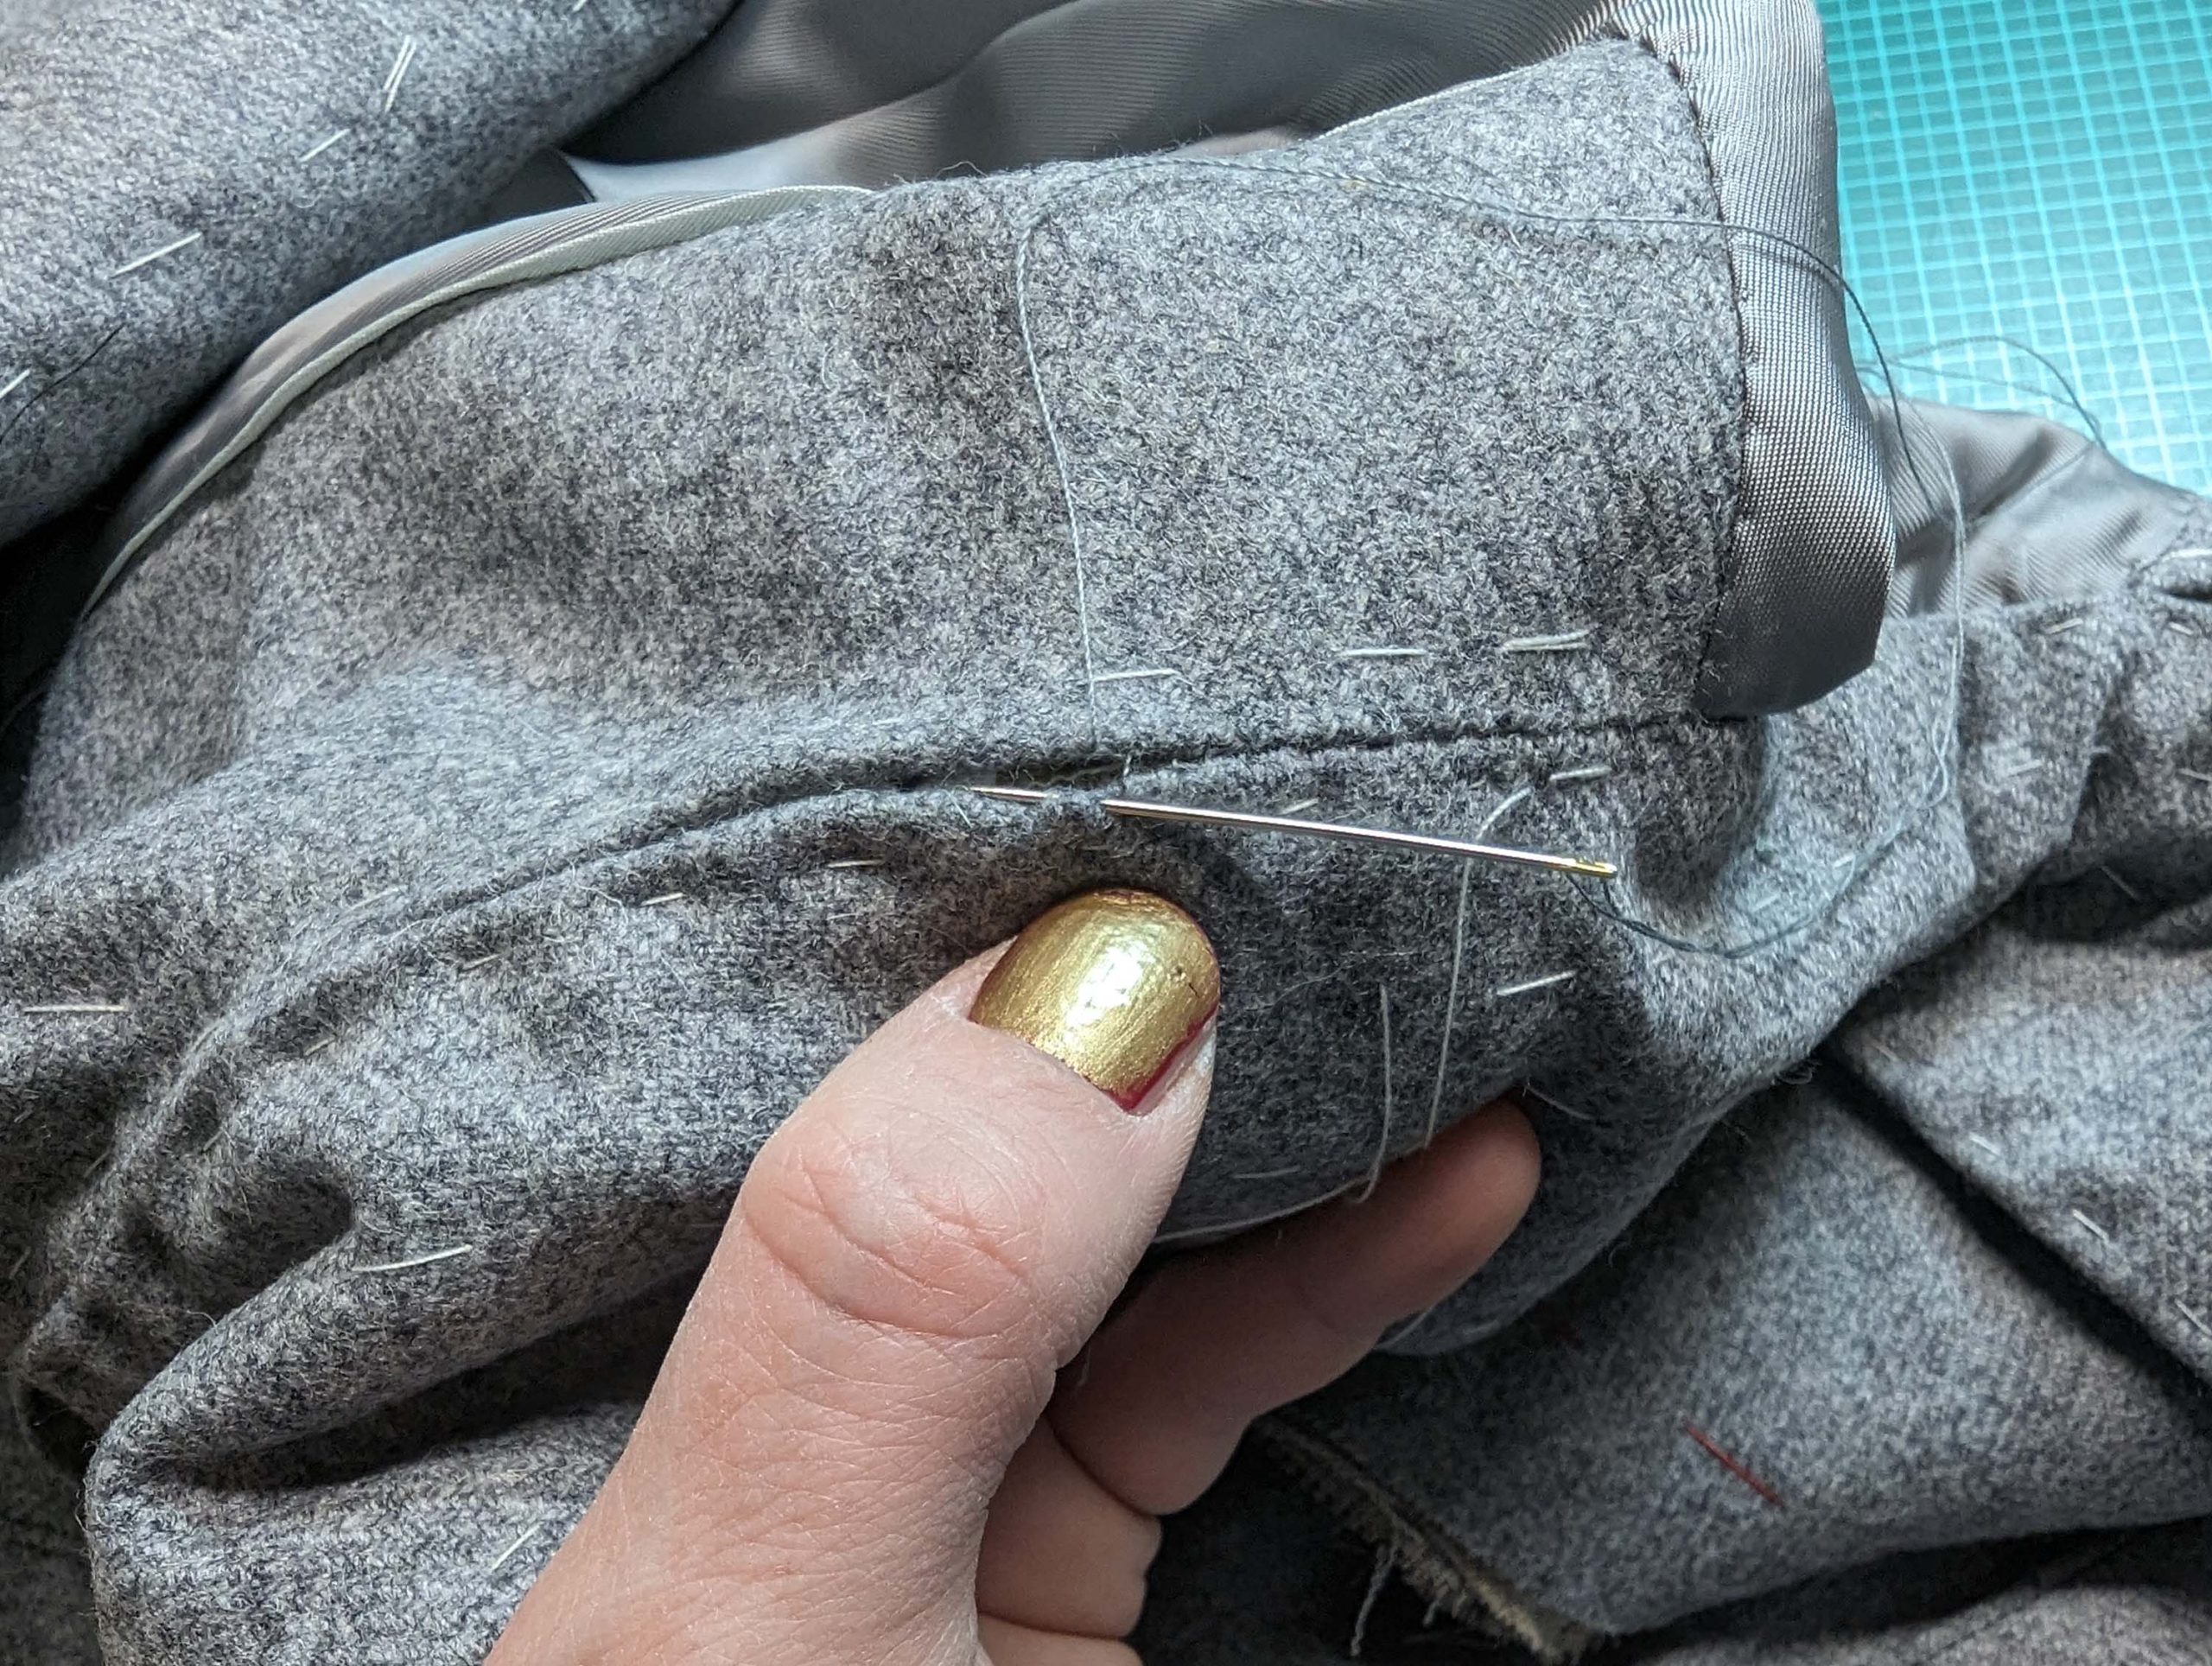
Pin another stay tape loosely along the seamline, covering the edge of the front canvas. Start about 5/8” (1,5cm) before the collar notch (mine is too short here), and continue along the front and bottom edge, stop at the side seam. Rotate the tape at the corner for a neat result, and trim back the very corner of the canvas. Notch at the curve when you´ve chosen the round bottom. Catch stitch the tape carefully to the fashion fabric along the seamline (stitches should be nearly invisible from the right side), and fell stitch the edge vis-à-vis to the canvas only, leaving loose where the canvas ends.
(11) Näh das Vordertteilhem facing rechts auf rechts auf das Vorderteilbeleg, right sides together, matching the mark (4). Press the seam allowances towards the hem facing. I had to trim back the seam allowance to match the strap. In your version of the pattern, it will fit better in the gap.
Richte die front and hem facing with the front, right sides together, ease in the extra width at the lapel, considering, that the turn of cloth had already been taken into account during patterning.
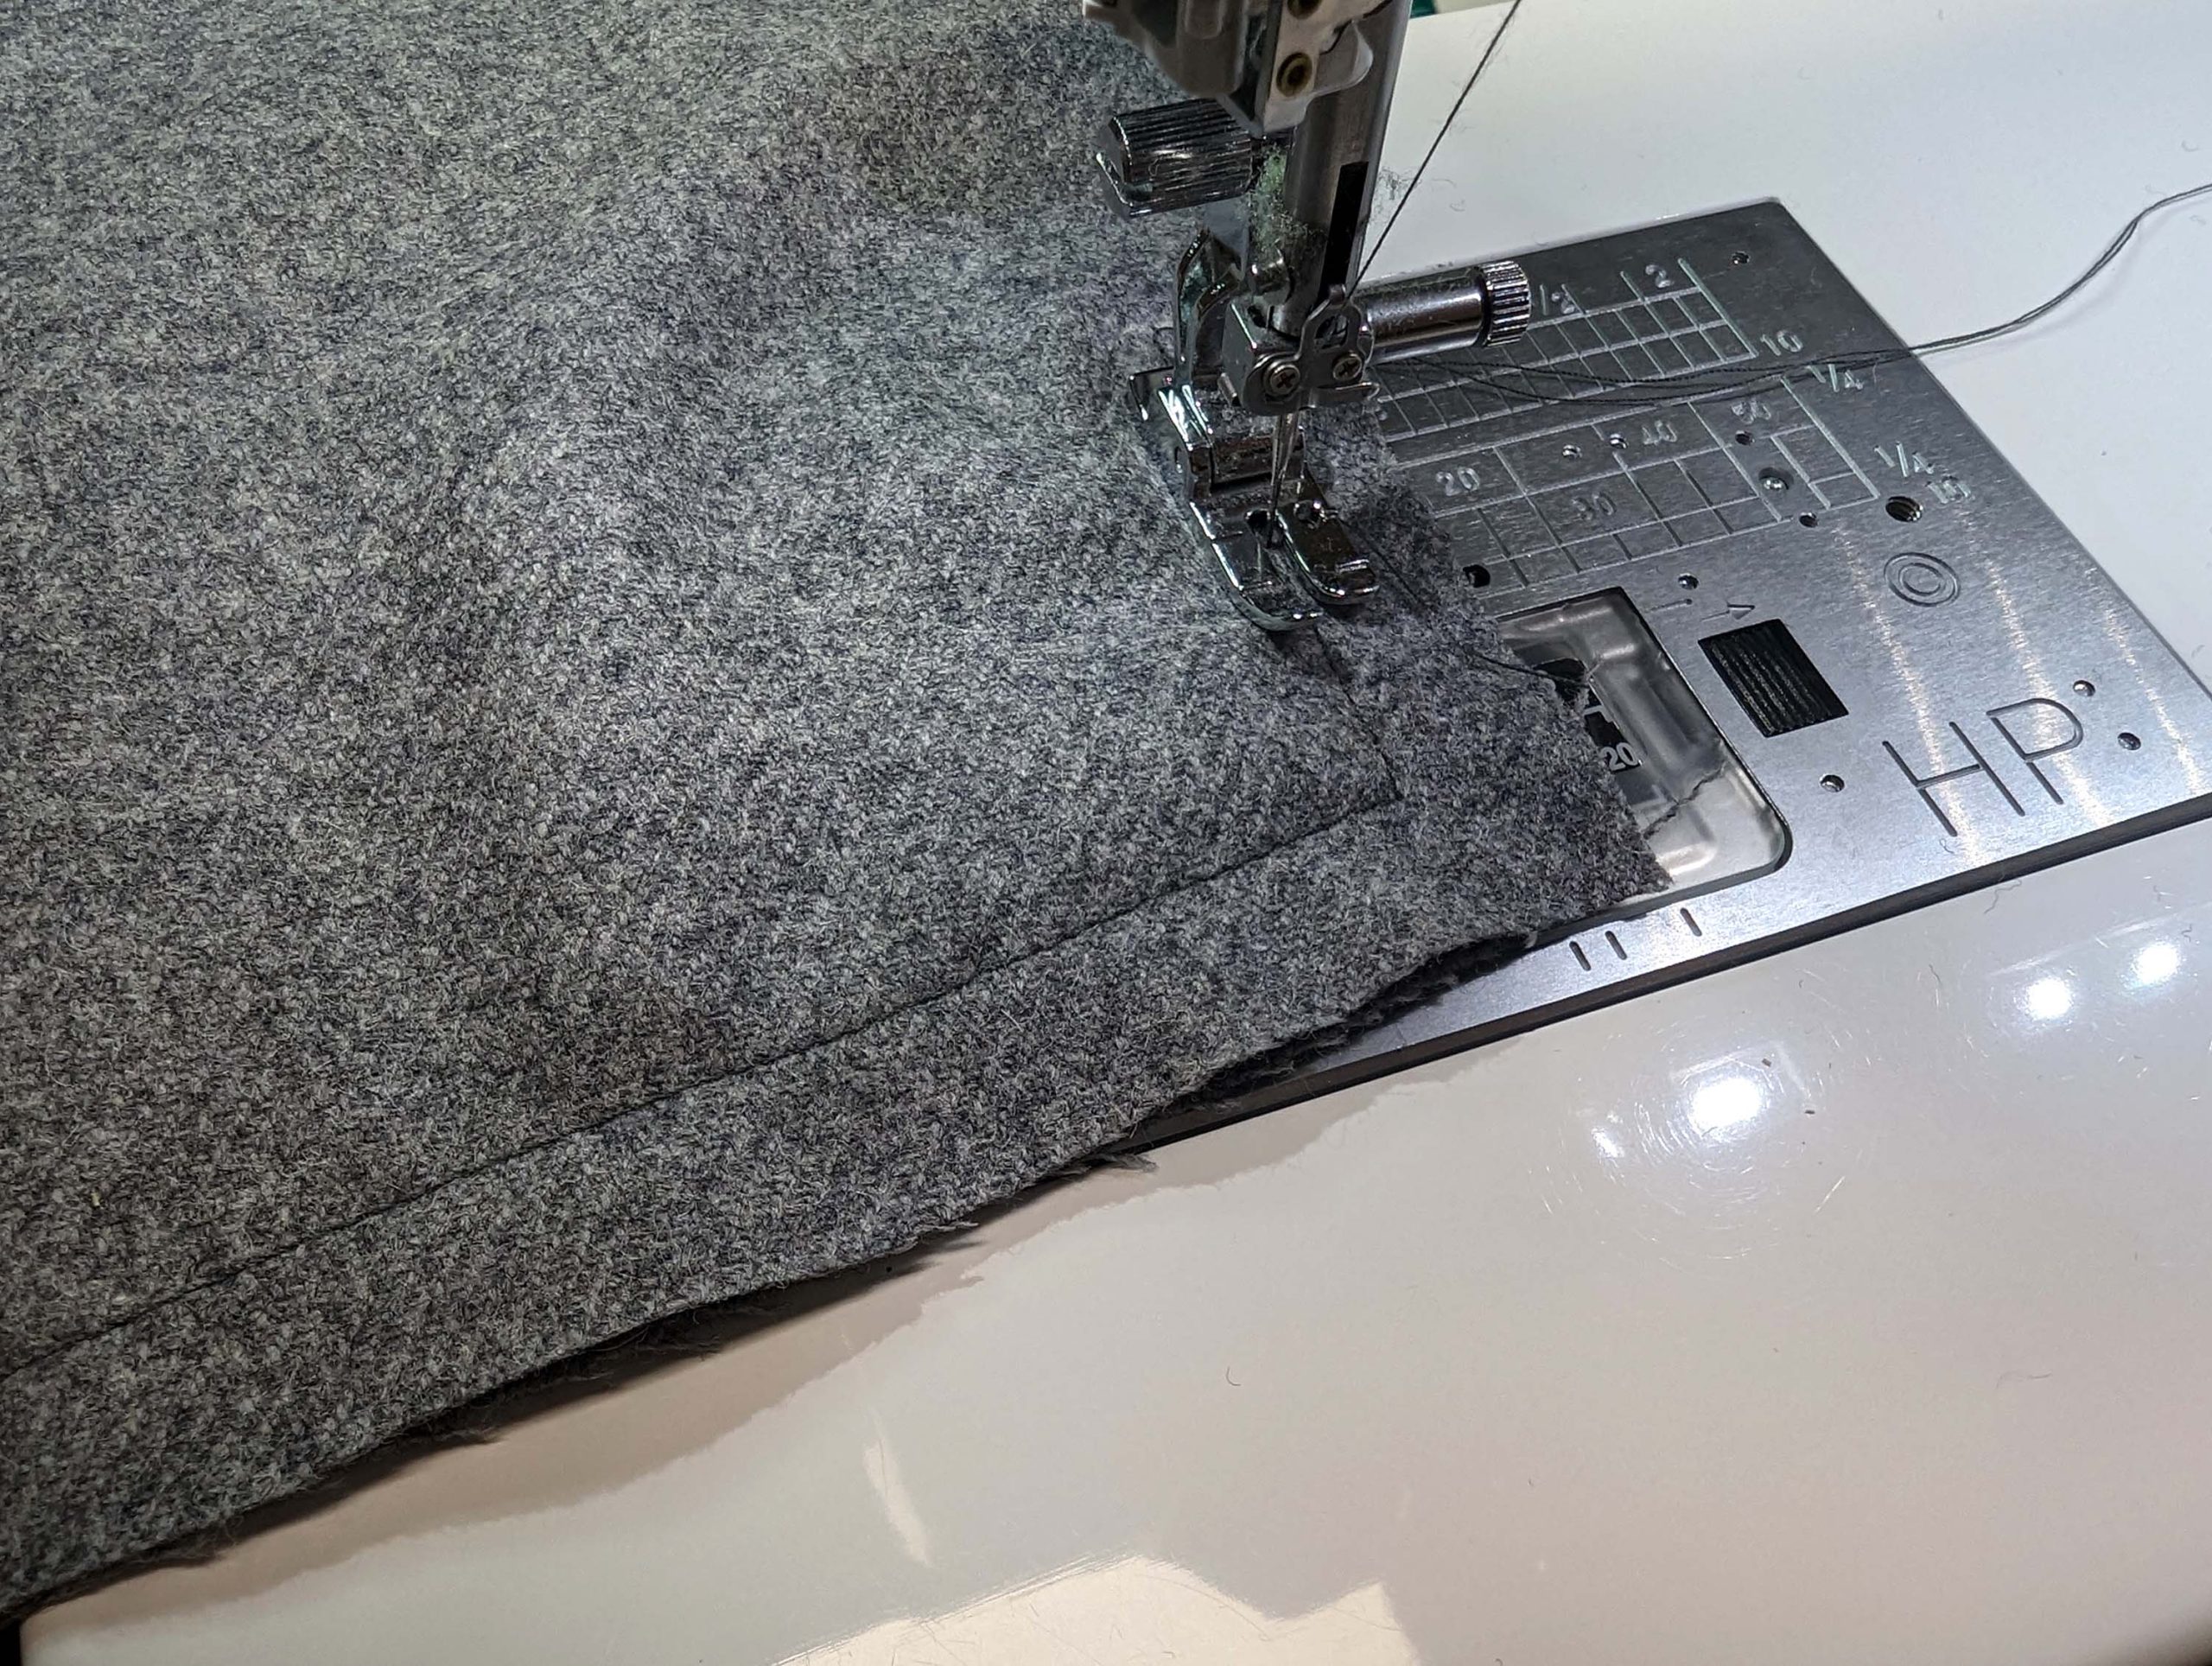
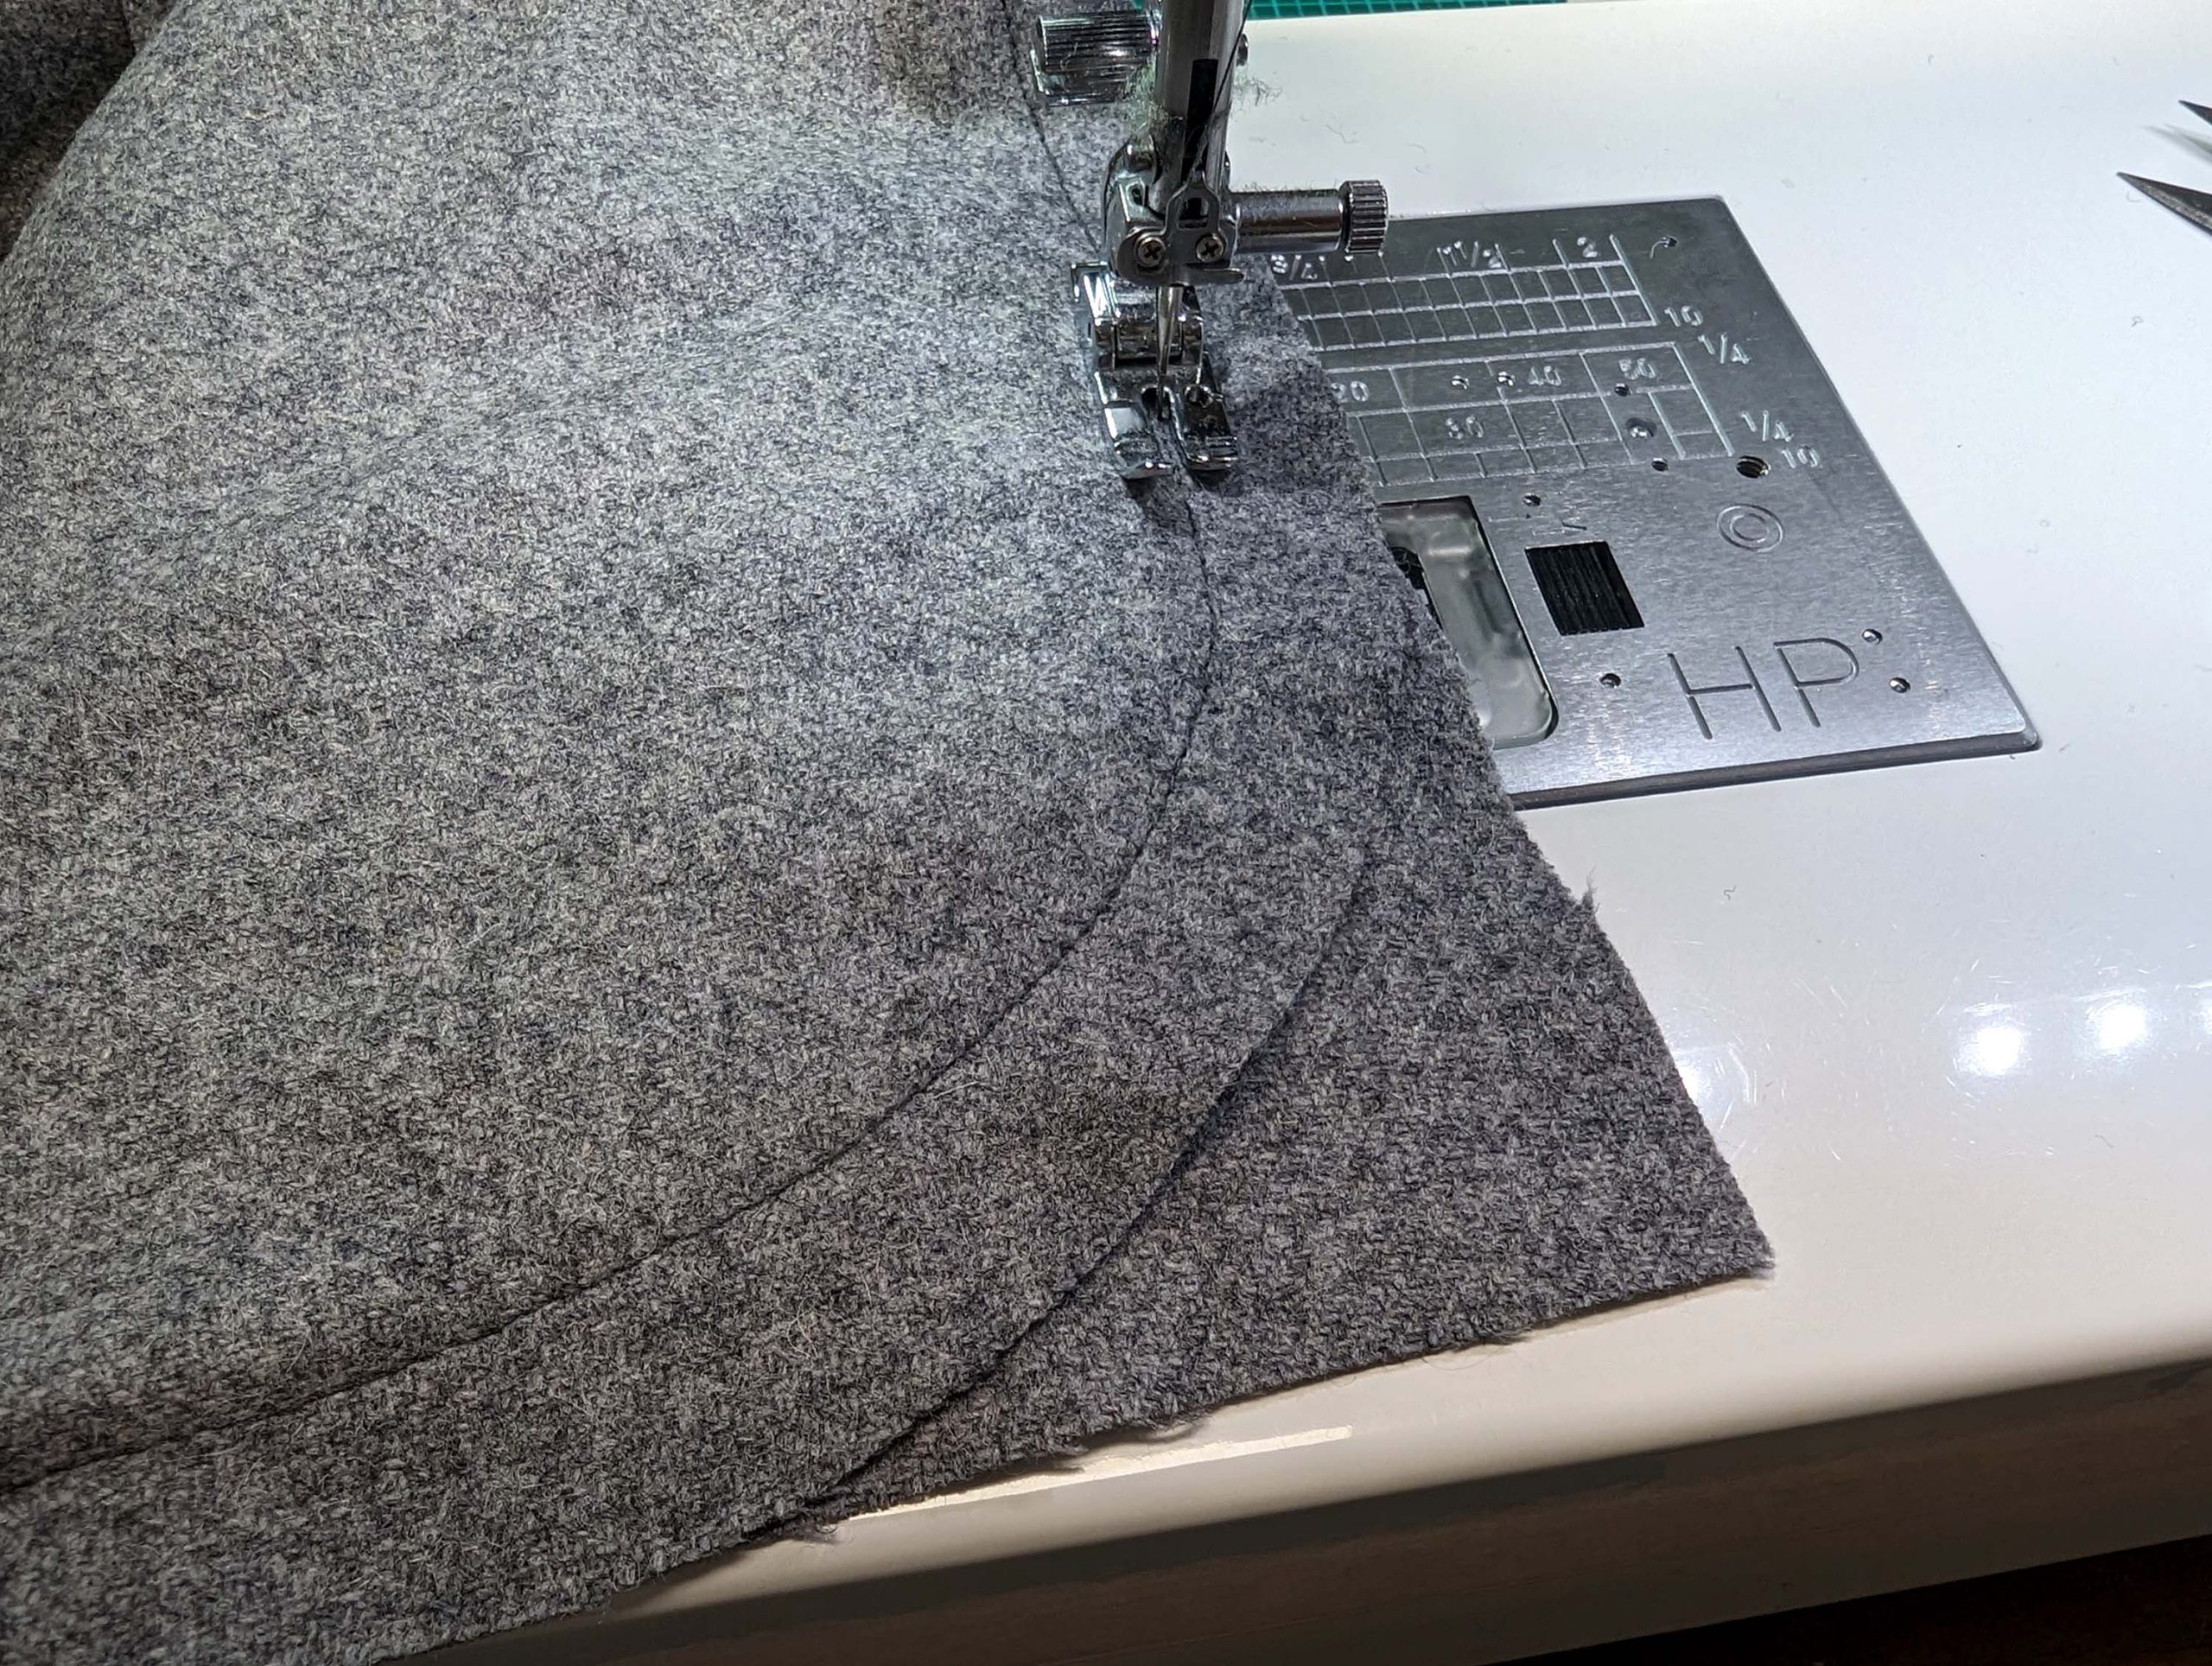
First, baste, then sew, starting exactly at the collar notch, and continue along the lapel, down the front and bottom edge until reaching the strap. Skip the strap and continue sewing along the bottom, stopping about 2” (5cm) before the side seam. Reduce the stitch length at the corners, and bar tack before and after the strap. Sew with the canvas up for the first time, and sew a second time with the facing up to correct any uneven stitching. I was making the round bottom version, as you can see.
Trim back the seam allowance, and clip the seam allowance of the front piece only at the collar notch – not the facing. Clip the seam allowances at the roll line. Turn the seam allowance of the lapel towards the canvas and catch stitch to the canvas, starting at the collar notch, and stopping at the roll line.
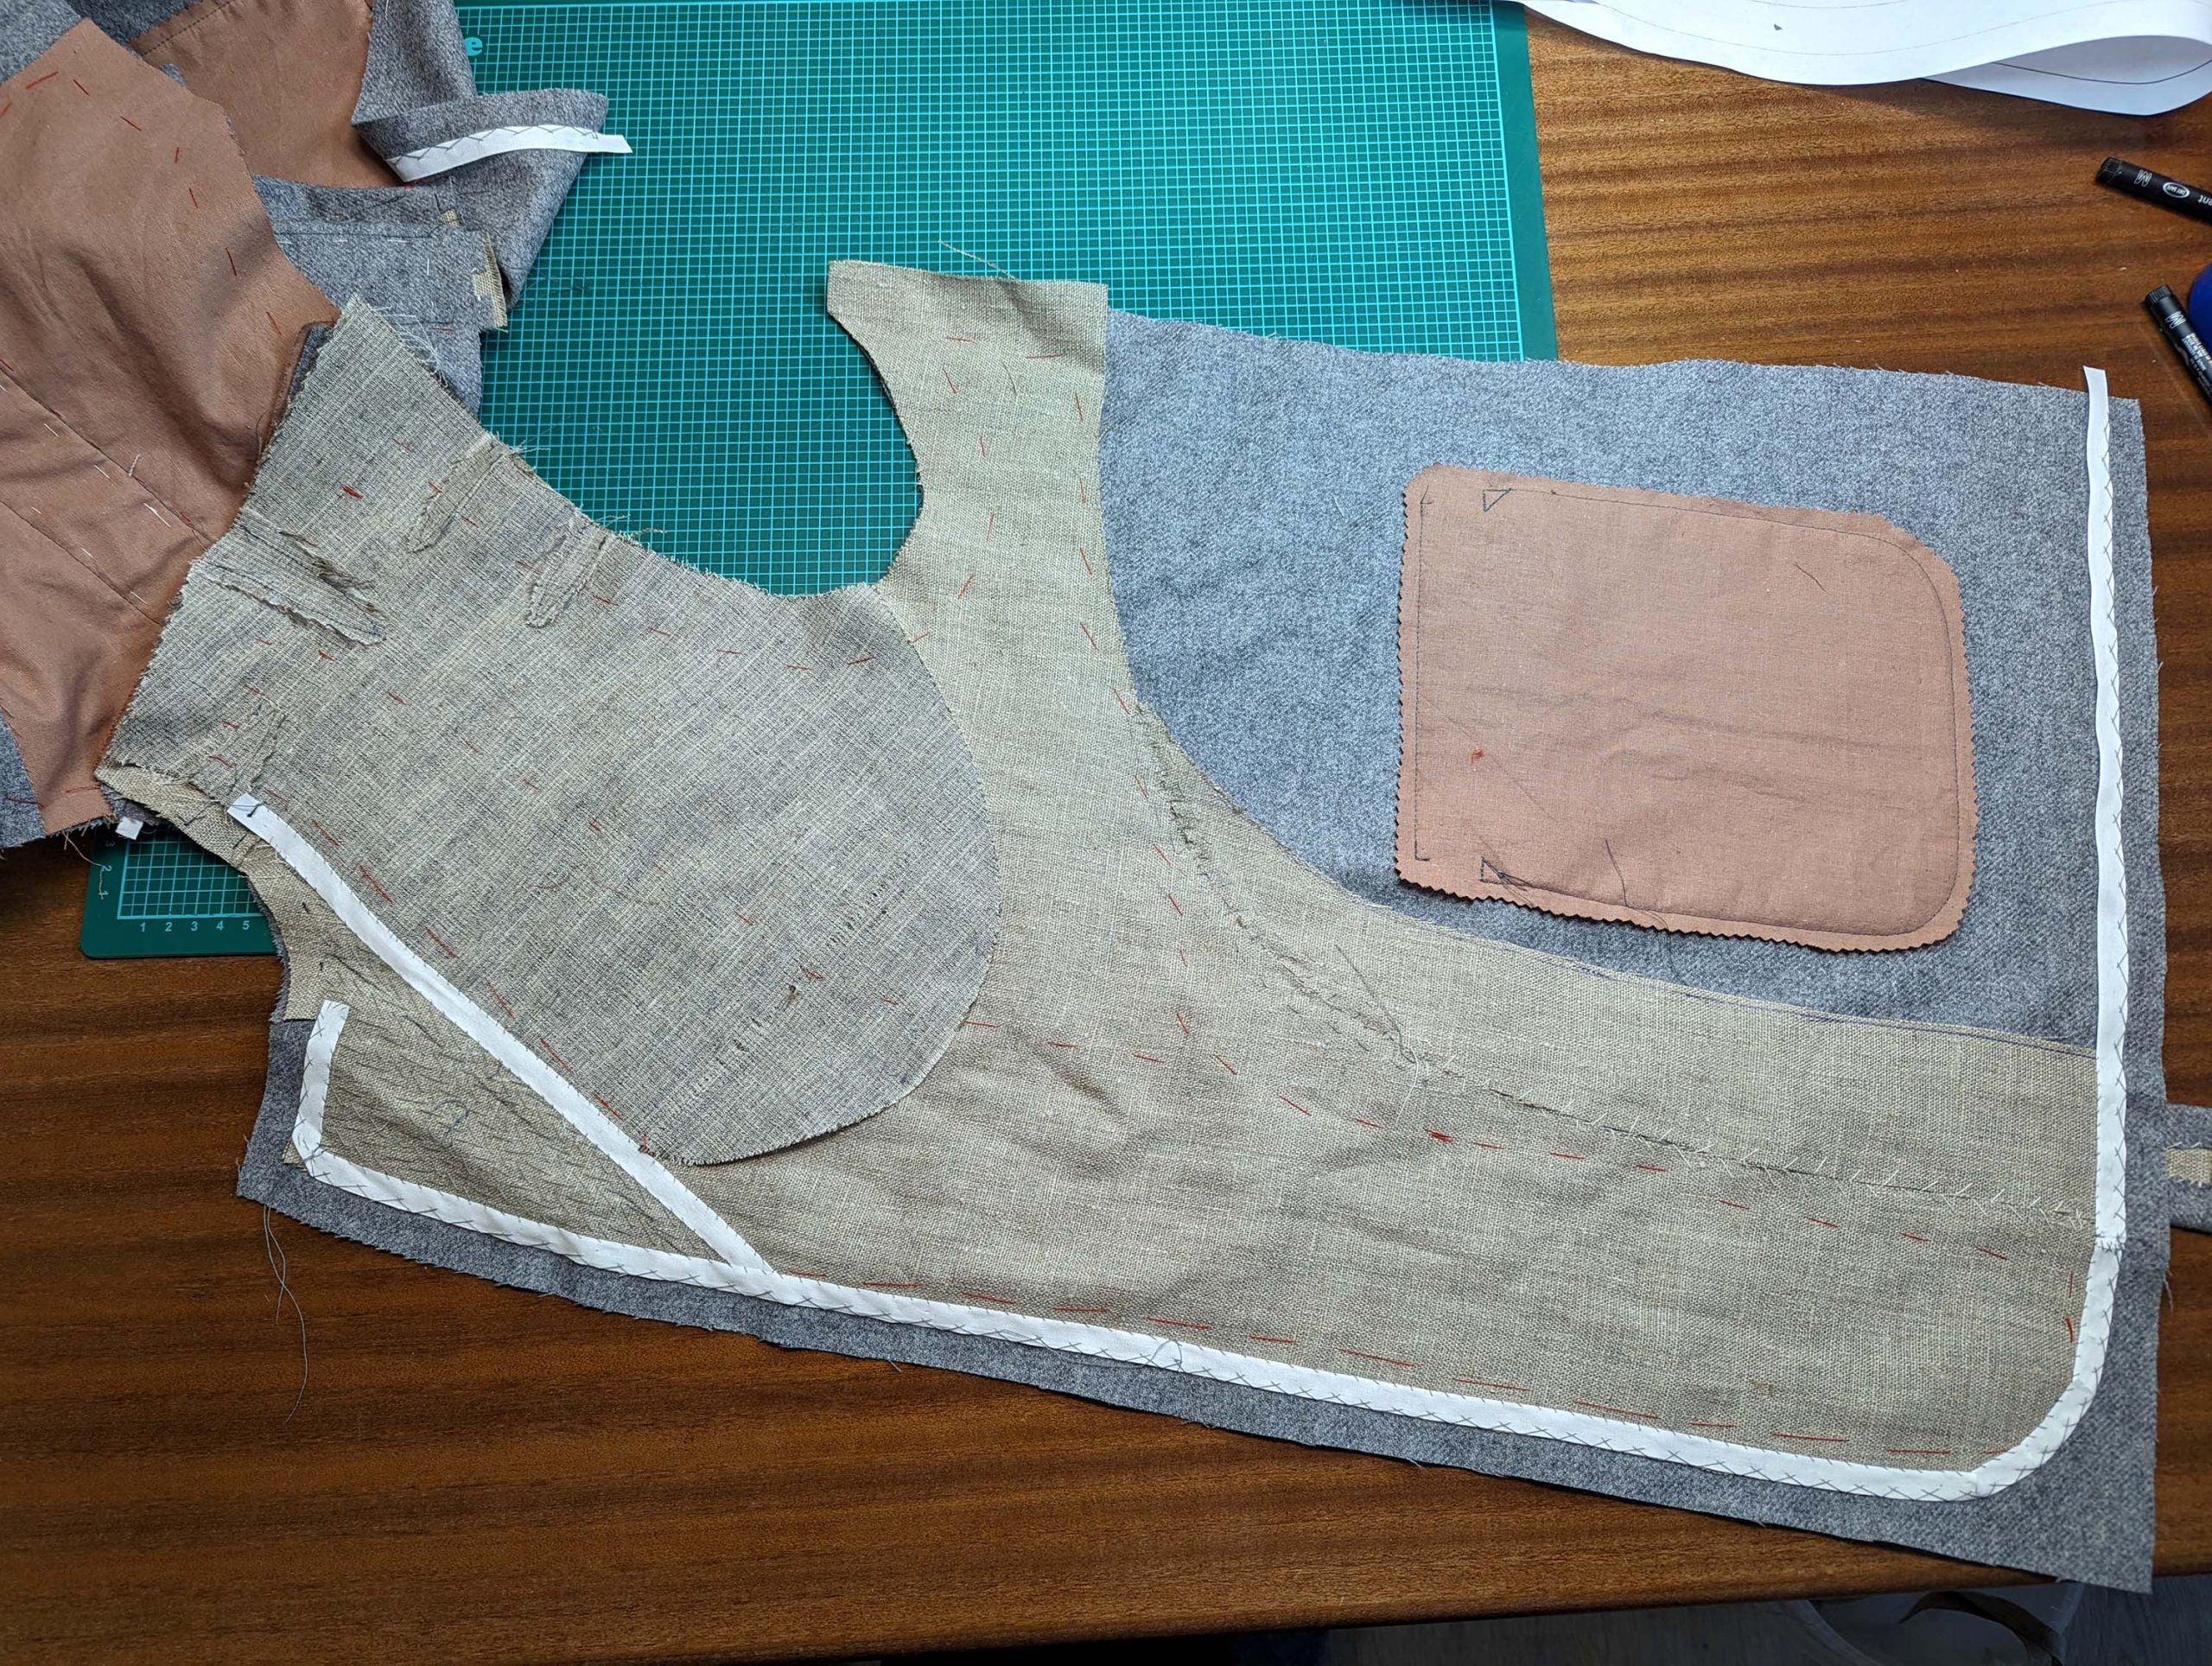
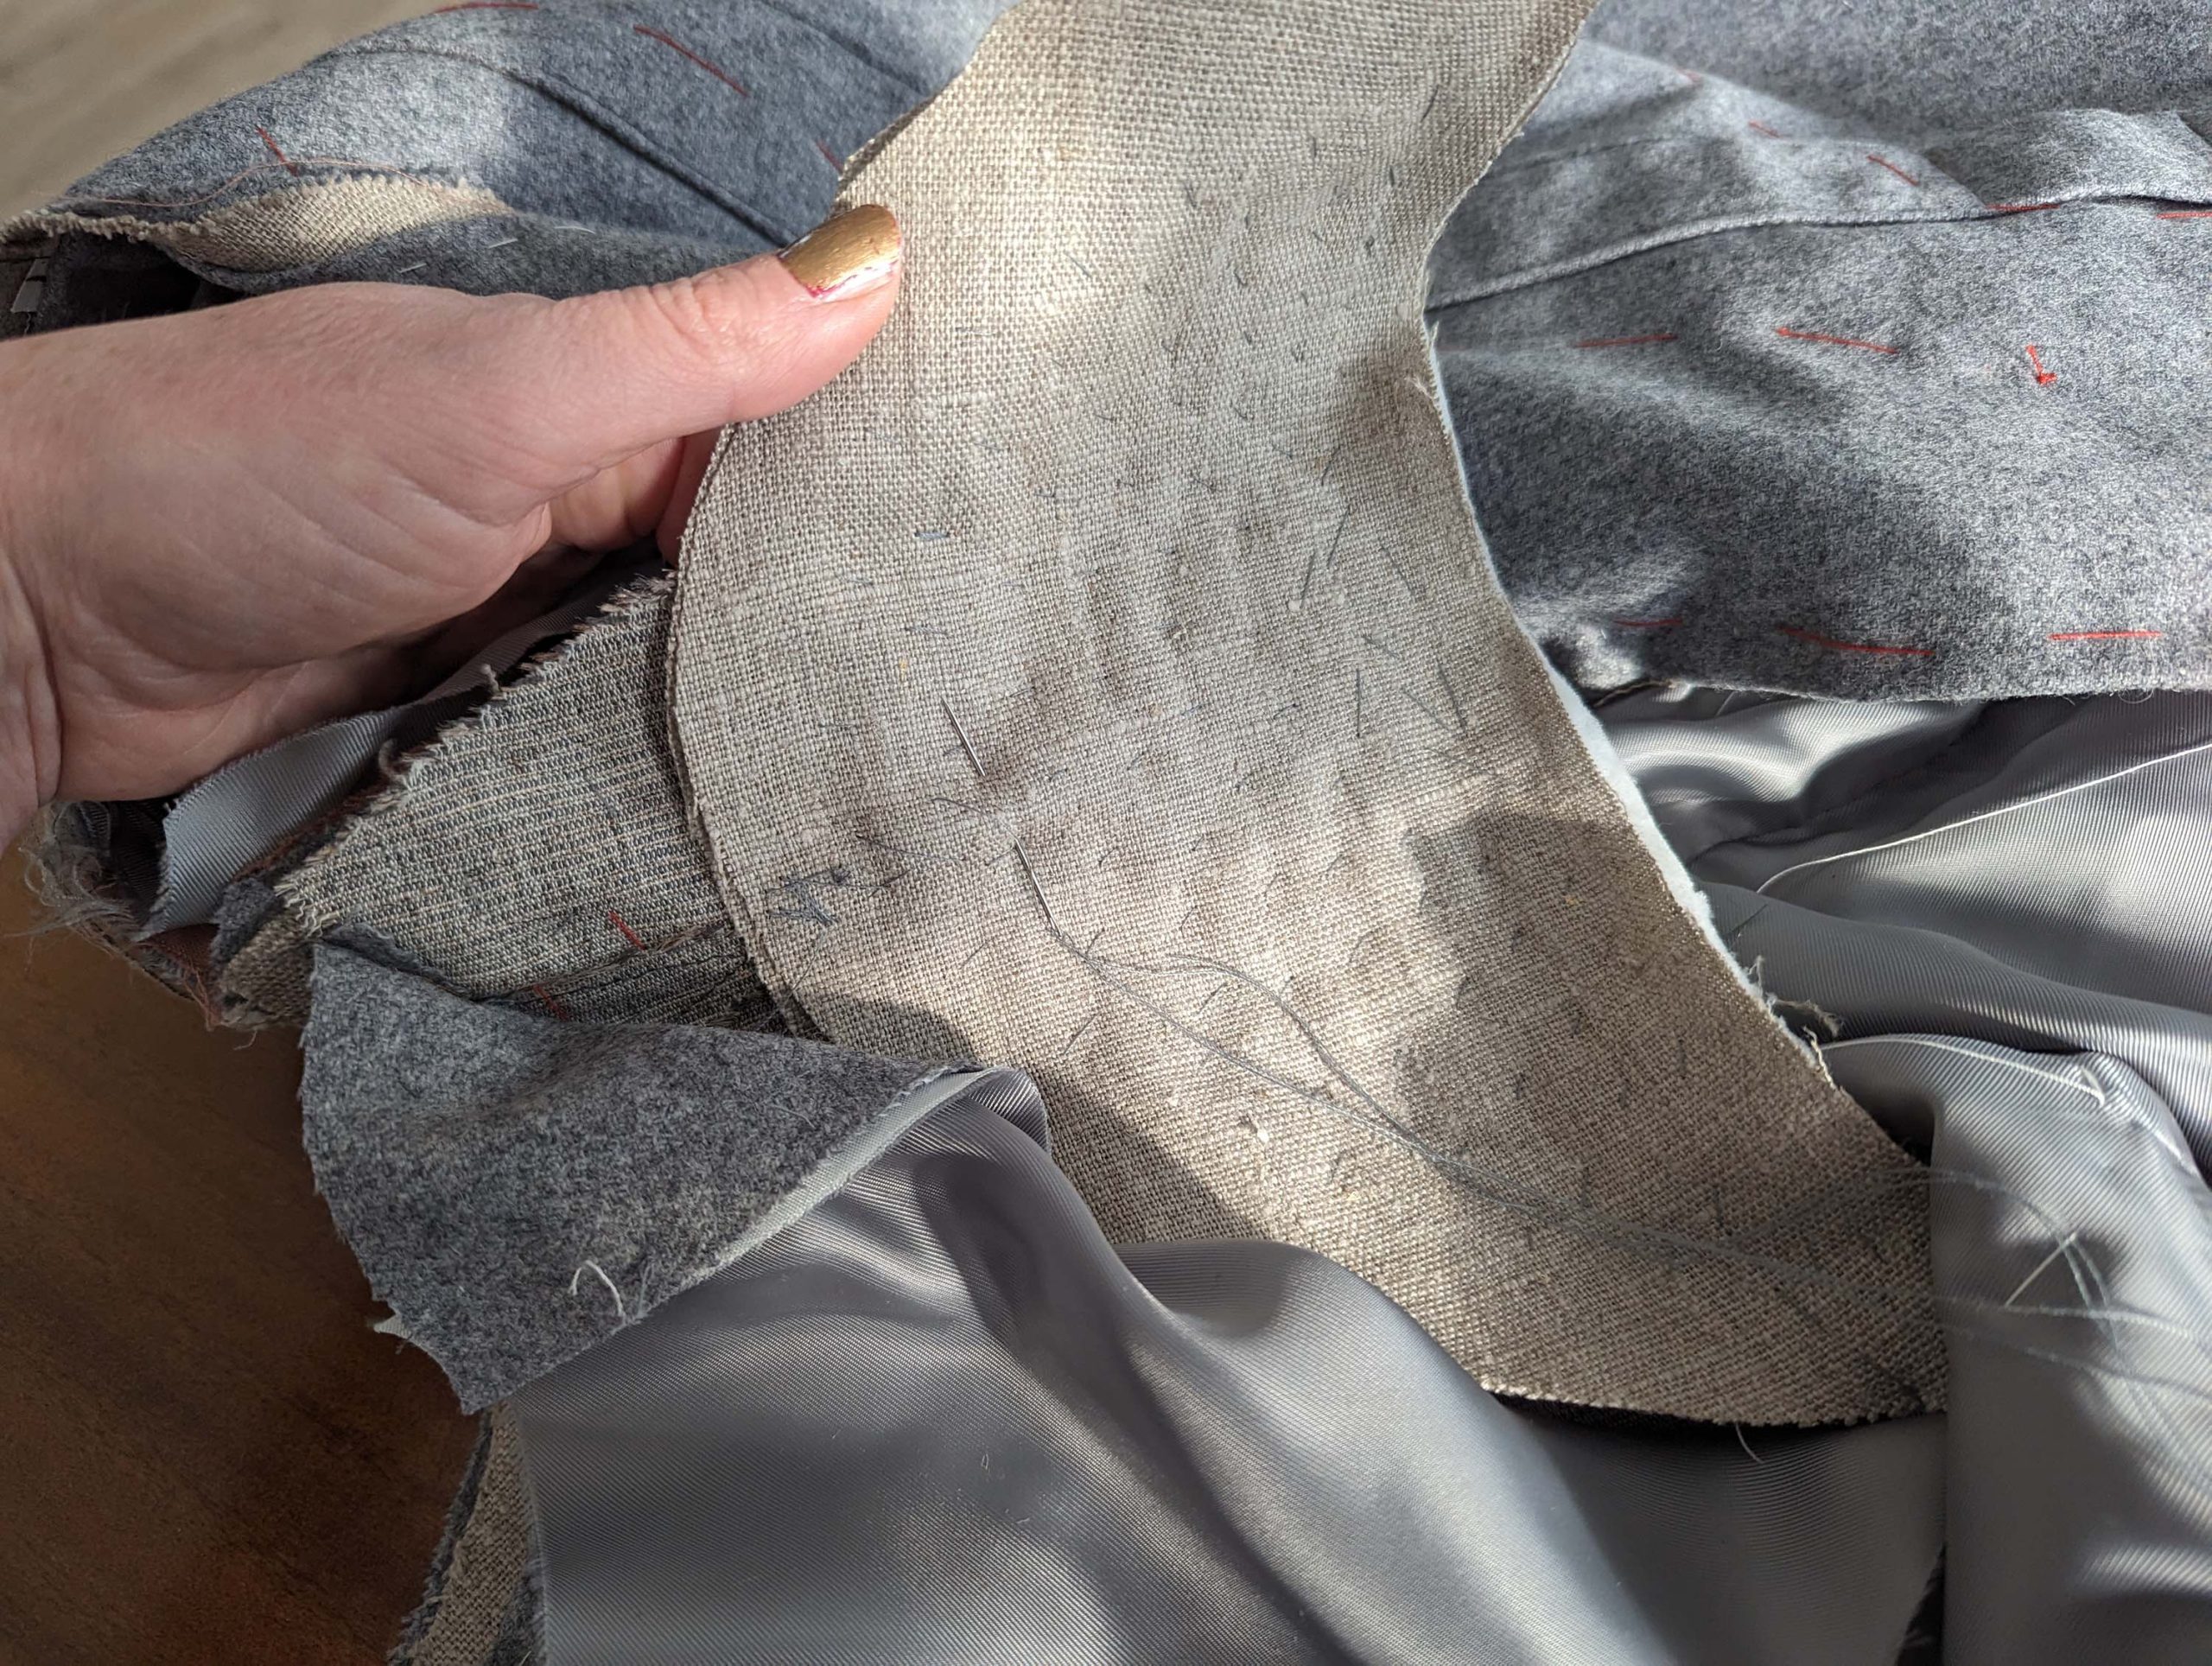
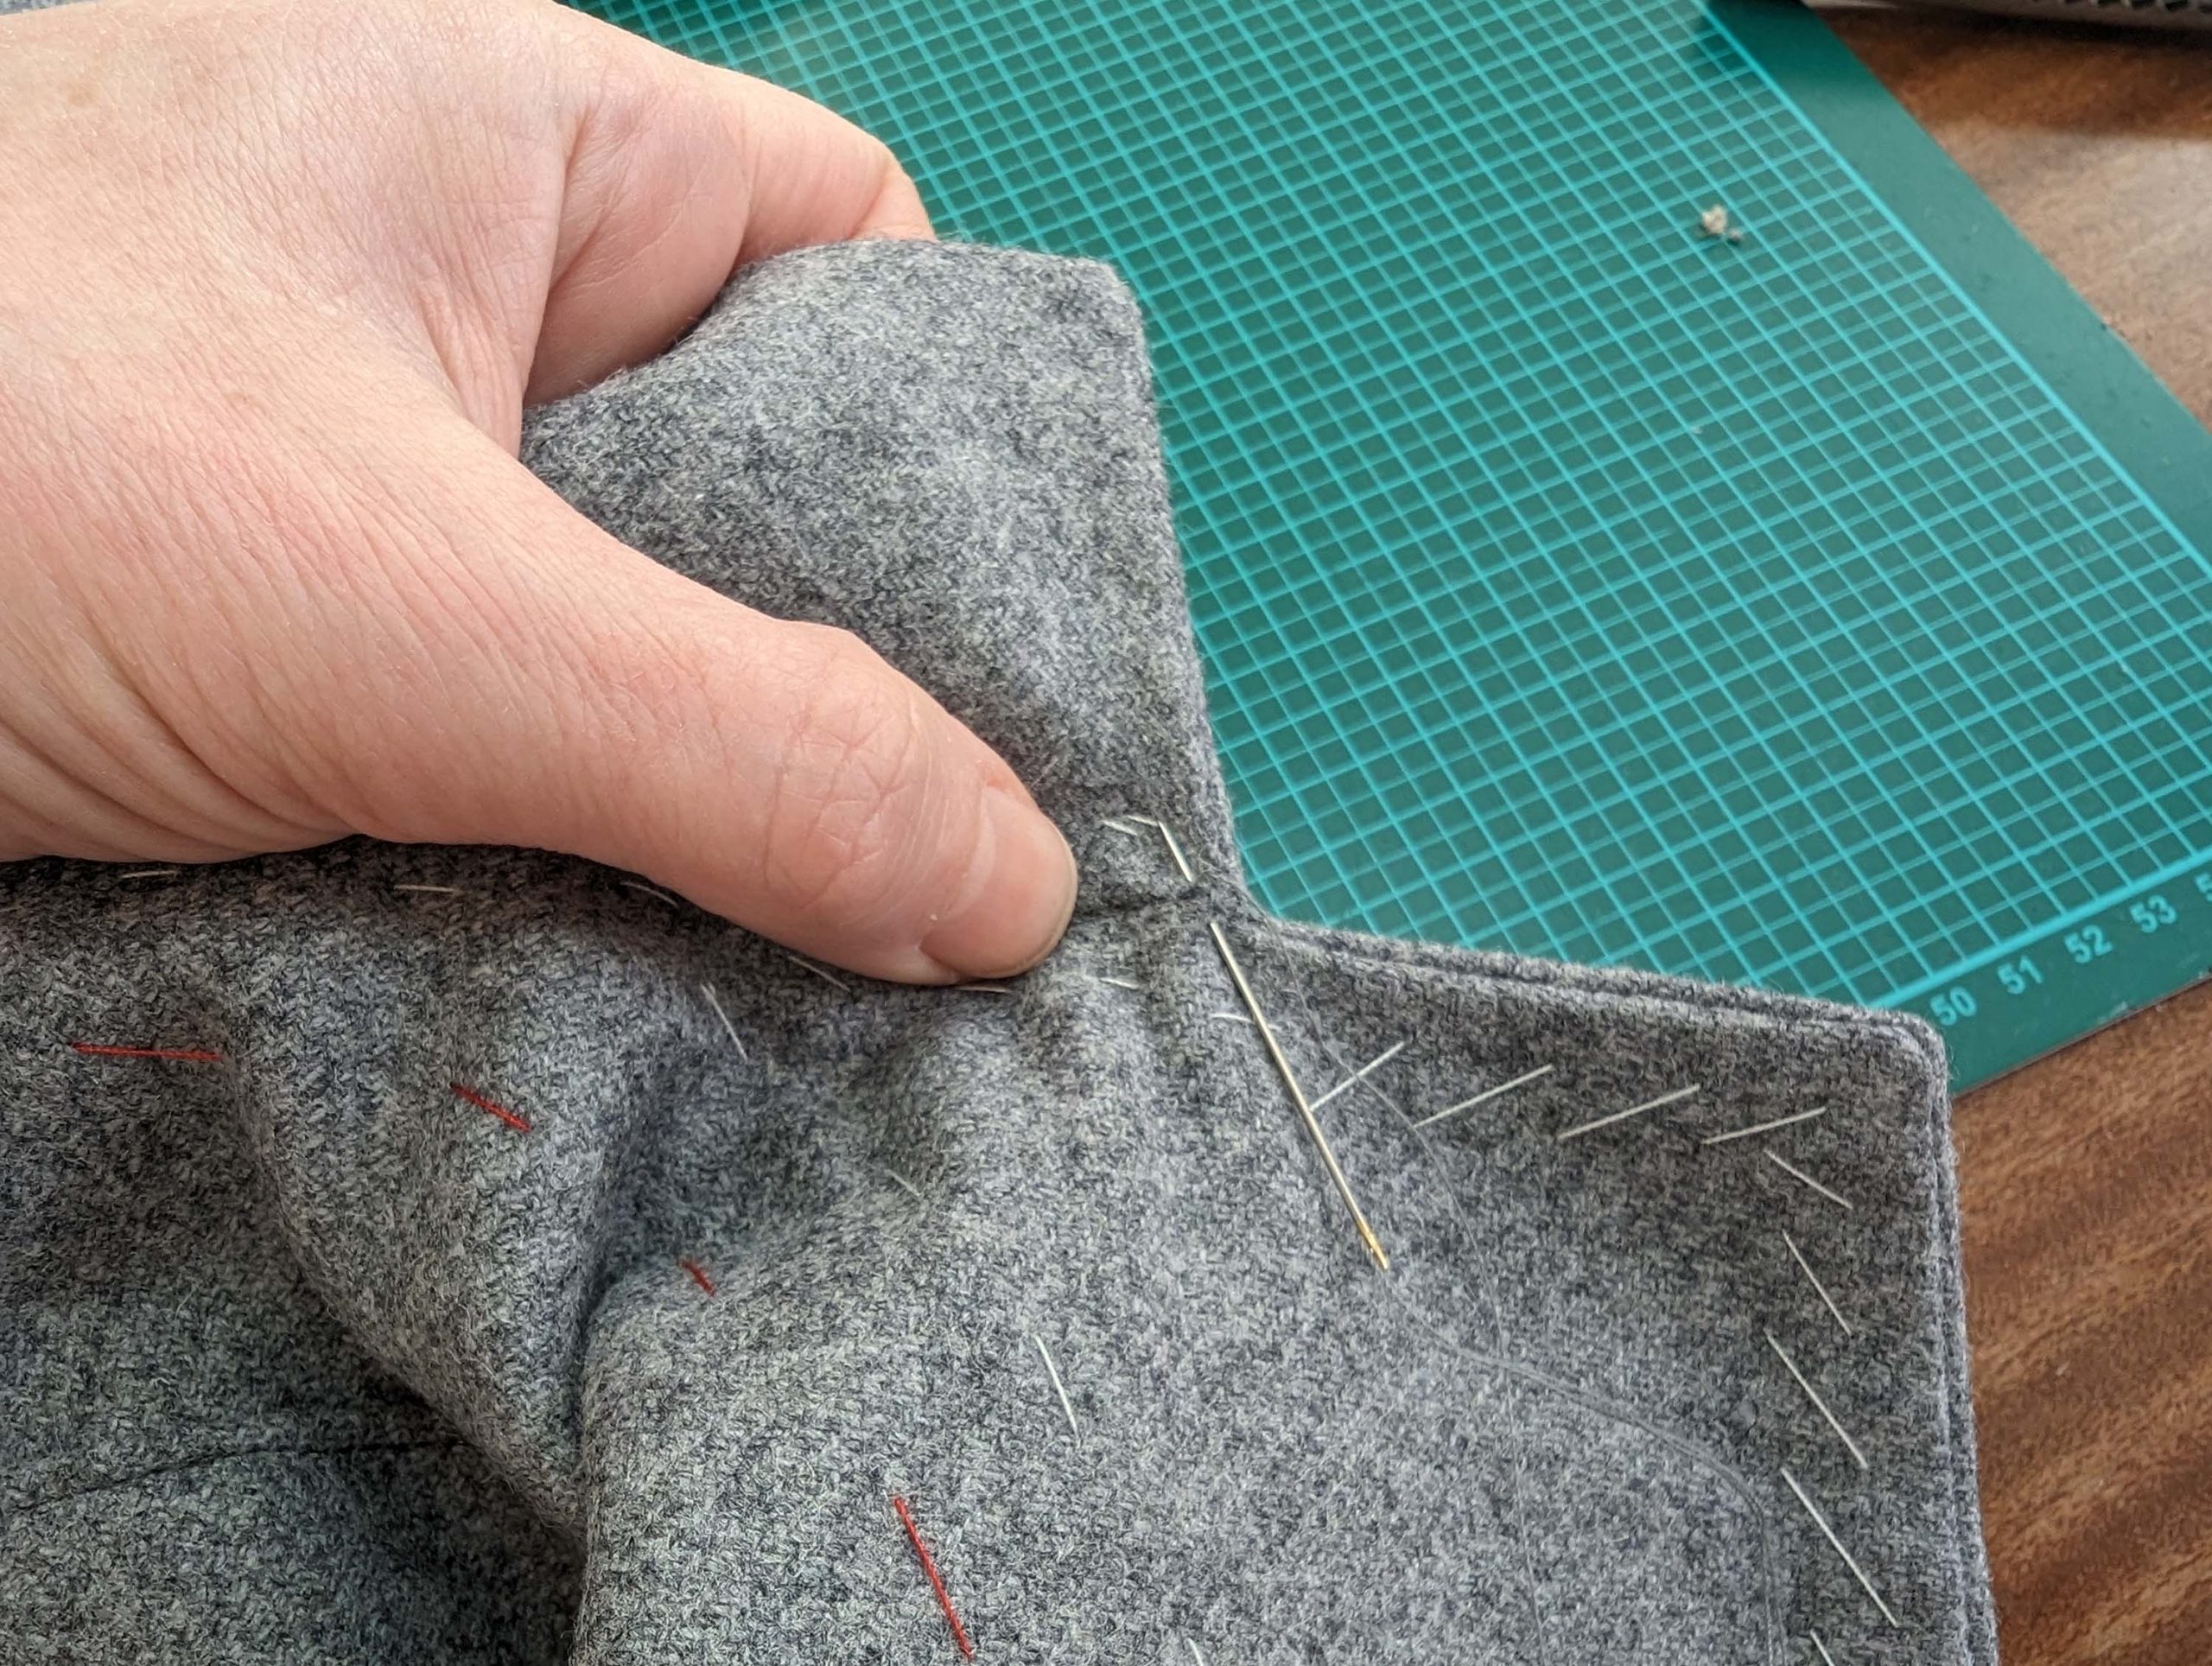
(12) Turn the Revers the right way out and press the edge. Roll the seam slightly out of sight toward the garment’s wrong side while pressing. Change the sides at the point, where the lapel turns. Baste along the edge of the lapel and front to hold the pressed edges in the right place. Fold the Revers along the roll line and baste through all layers about 1” (2,5cm) behind the roll line to give the ease needed for the turn of cloth. Turn in the seam allowance of the front-facing along the neckline and baste in place along the stitching line, trim back as needed, and notch at the curves. Take the shoulder pad and place it on top of the canvas at the highest point of the shoulder, where indicated on the pattern, matching the point (2), and sew to the canvas along the center with loose stitches. Fell stitch the loose edge of the front-facing to the canvas only, don´t catch the fashion fabric.
I inserted the shoulder pad a step later, and had to unravel some stitches!
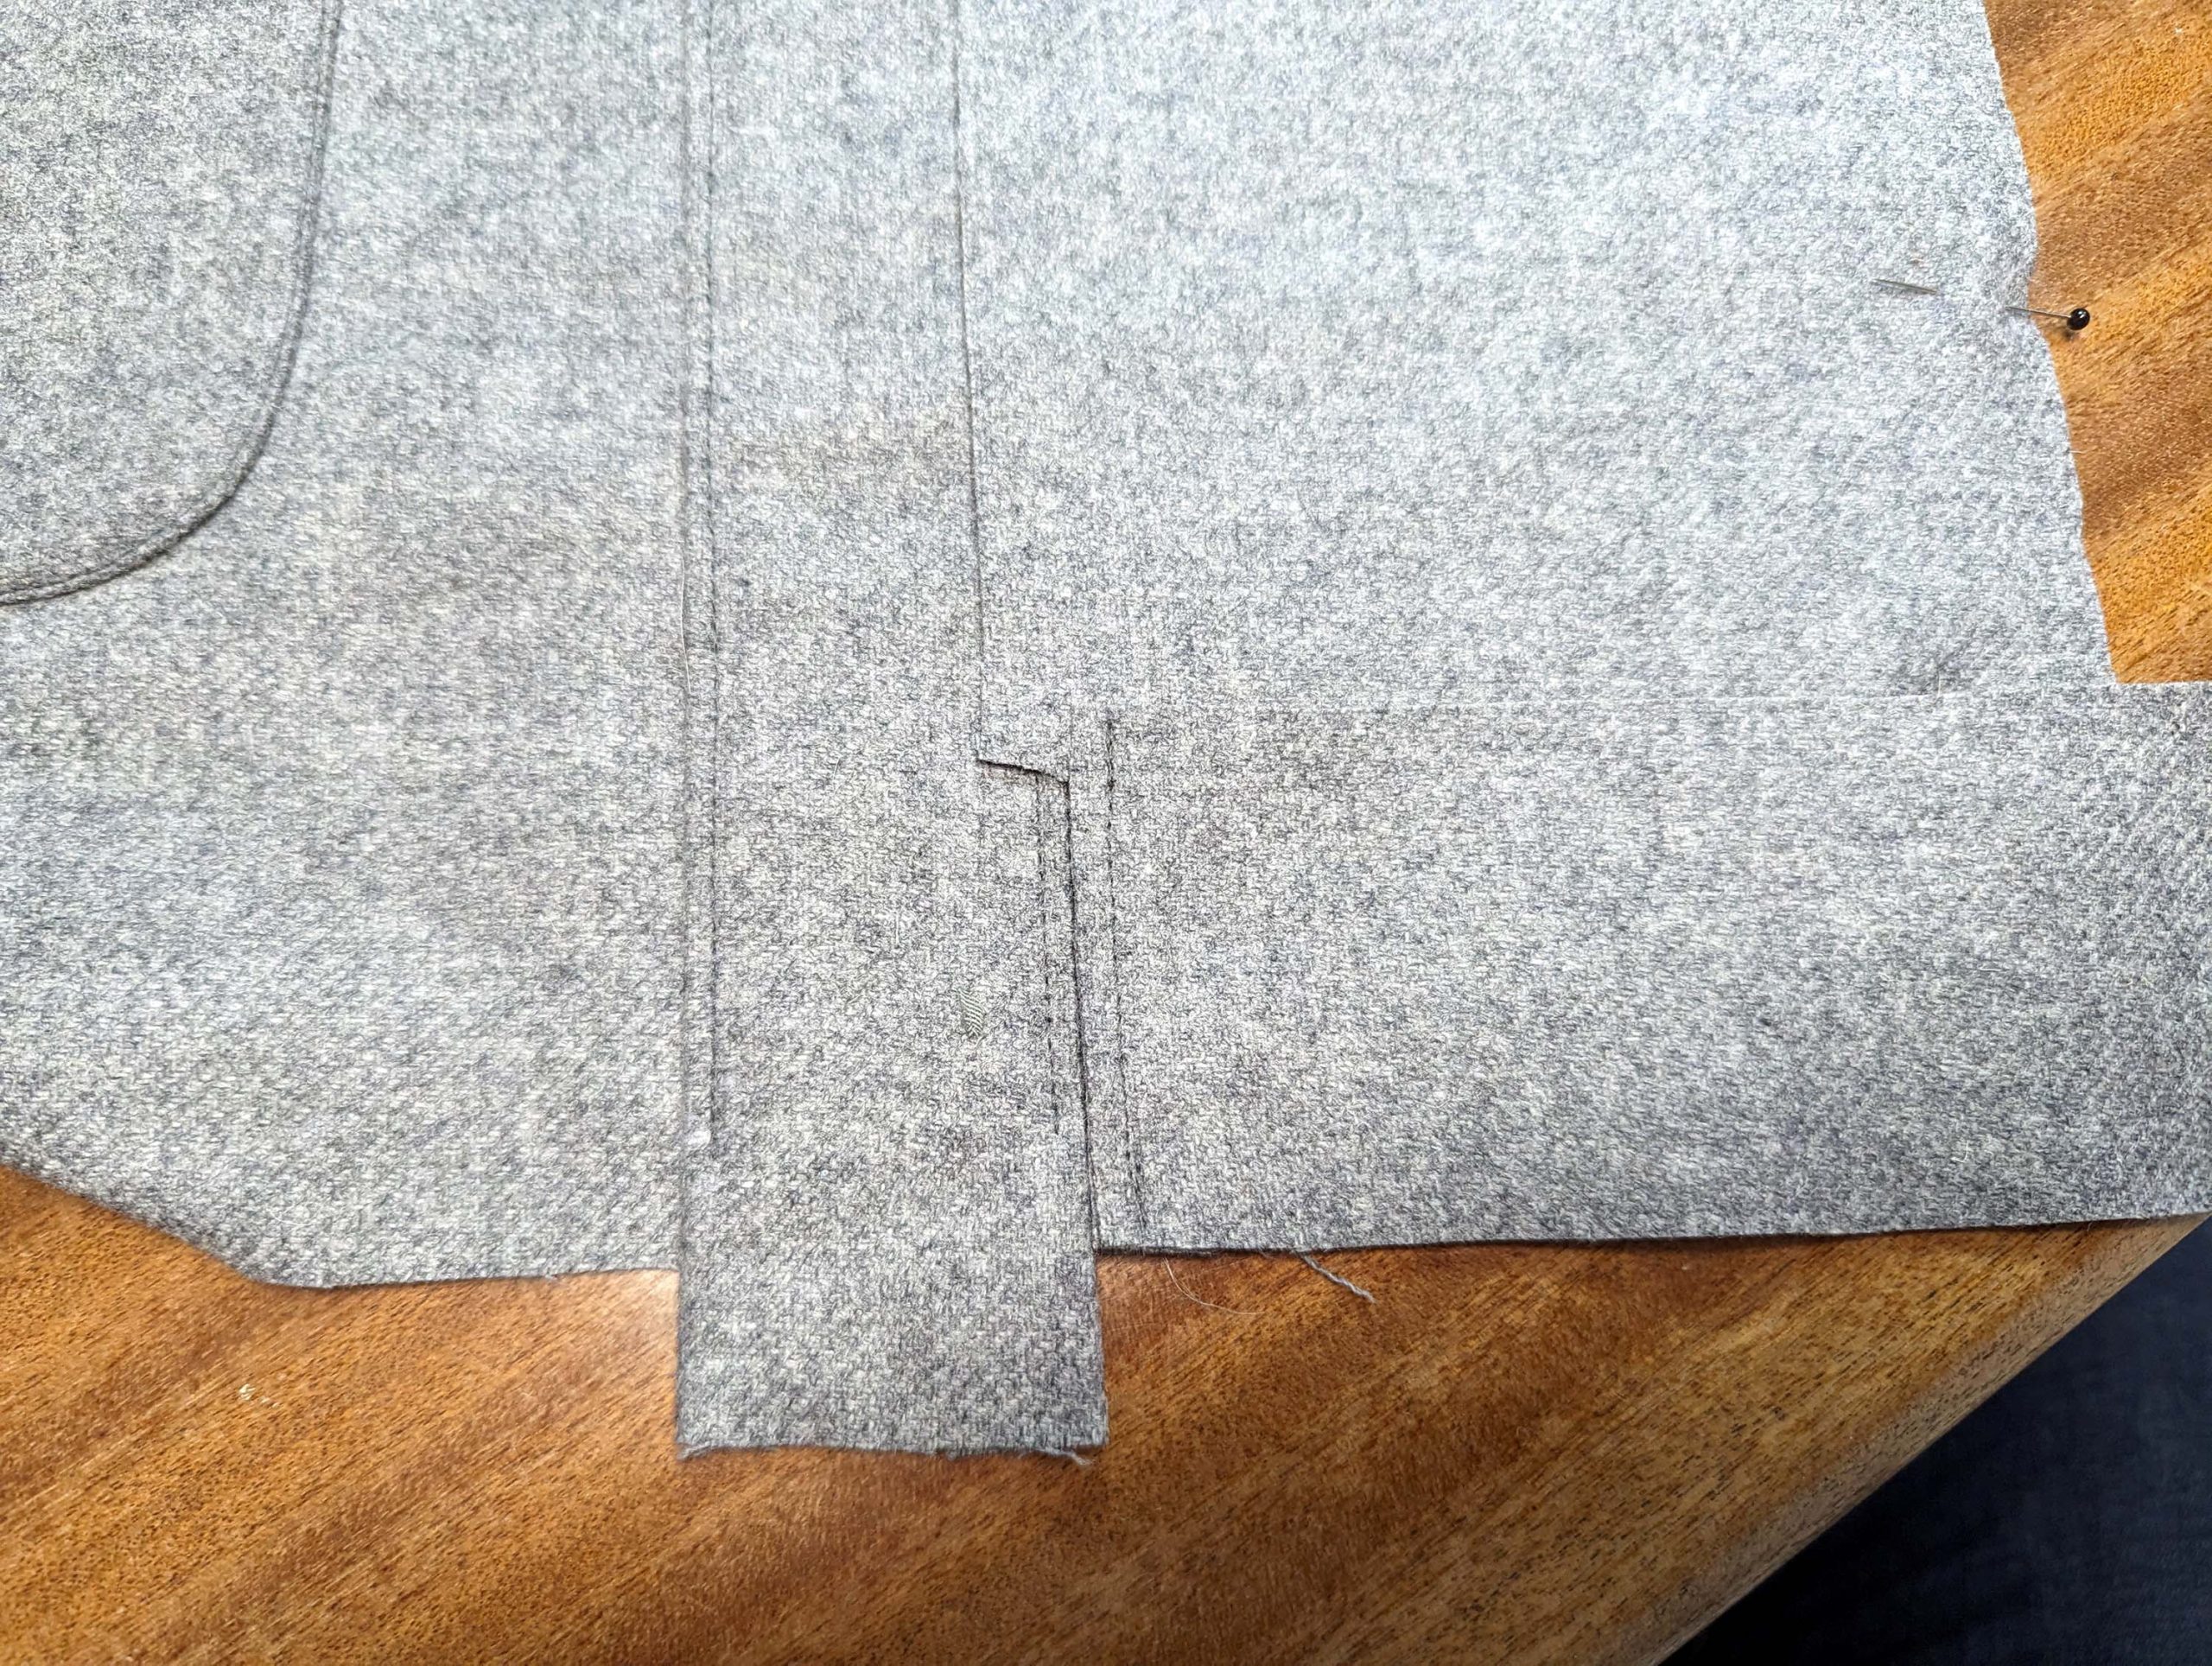
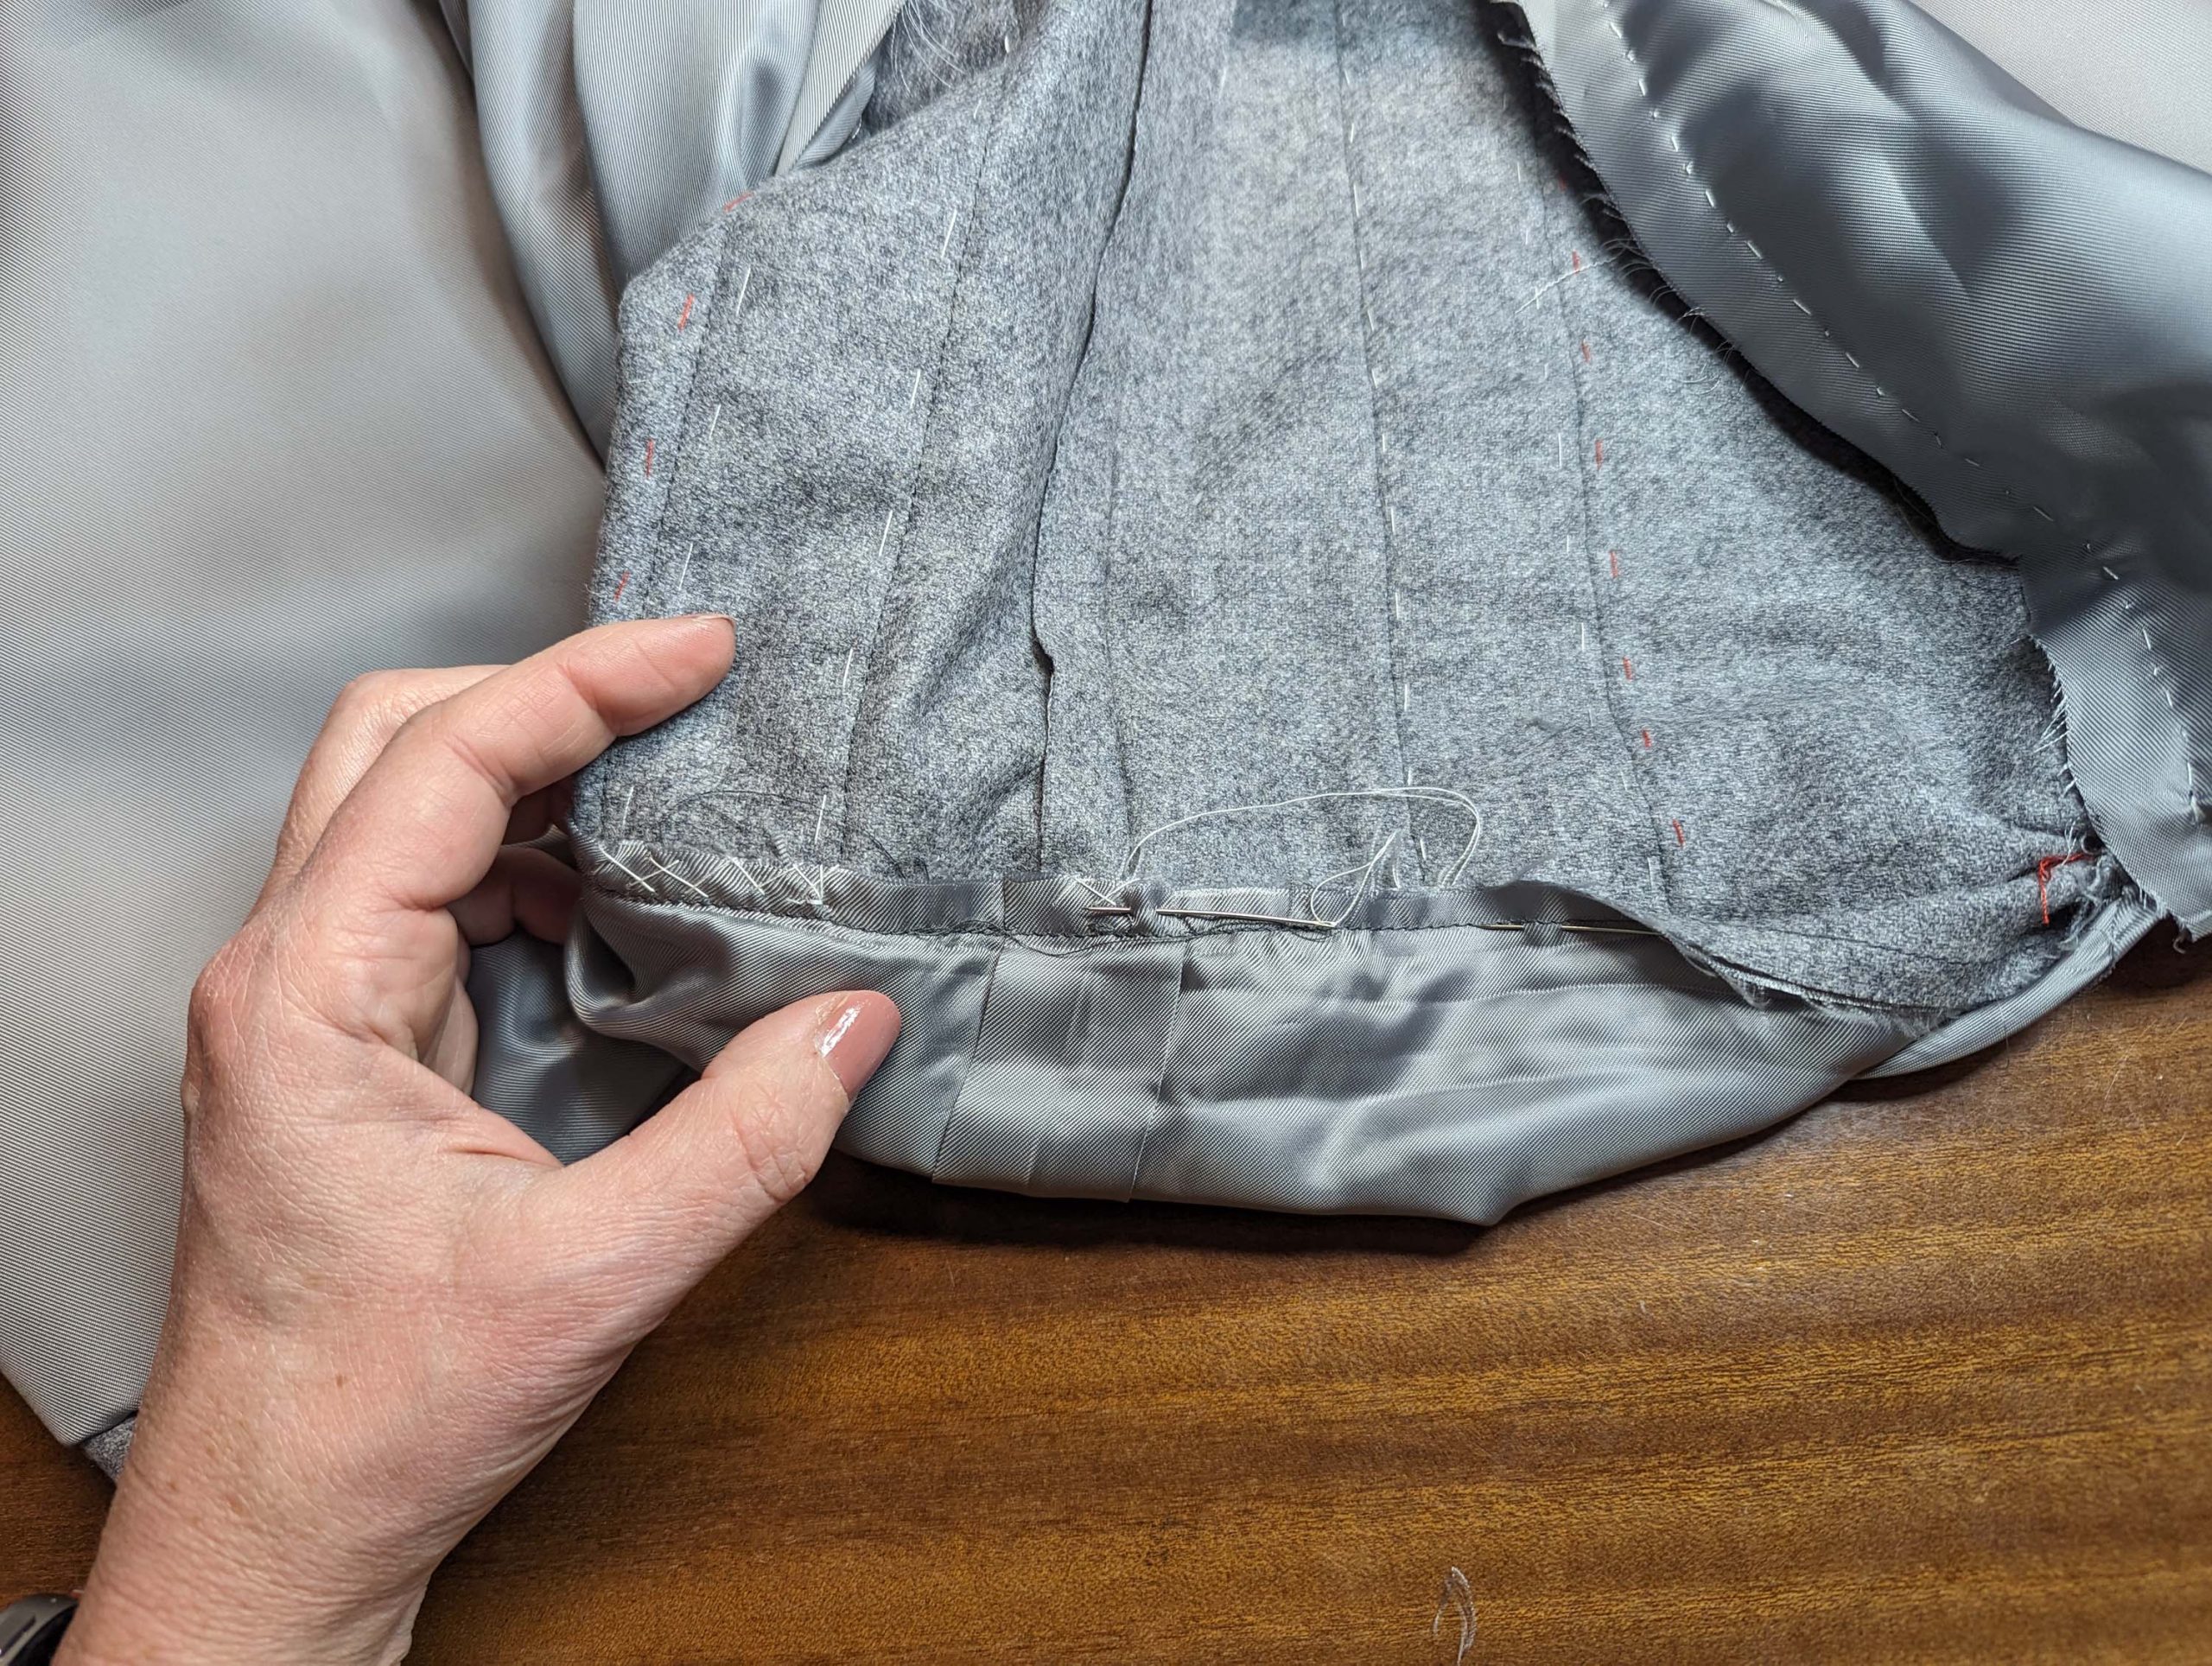
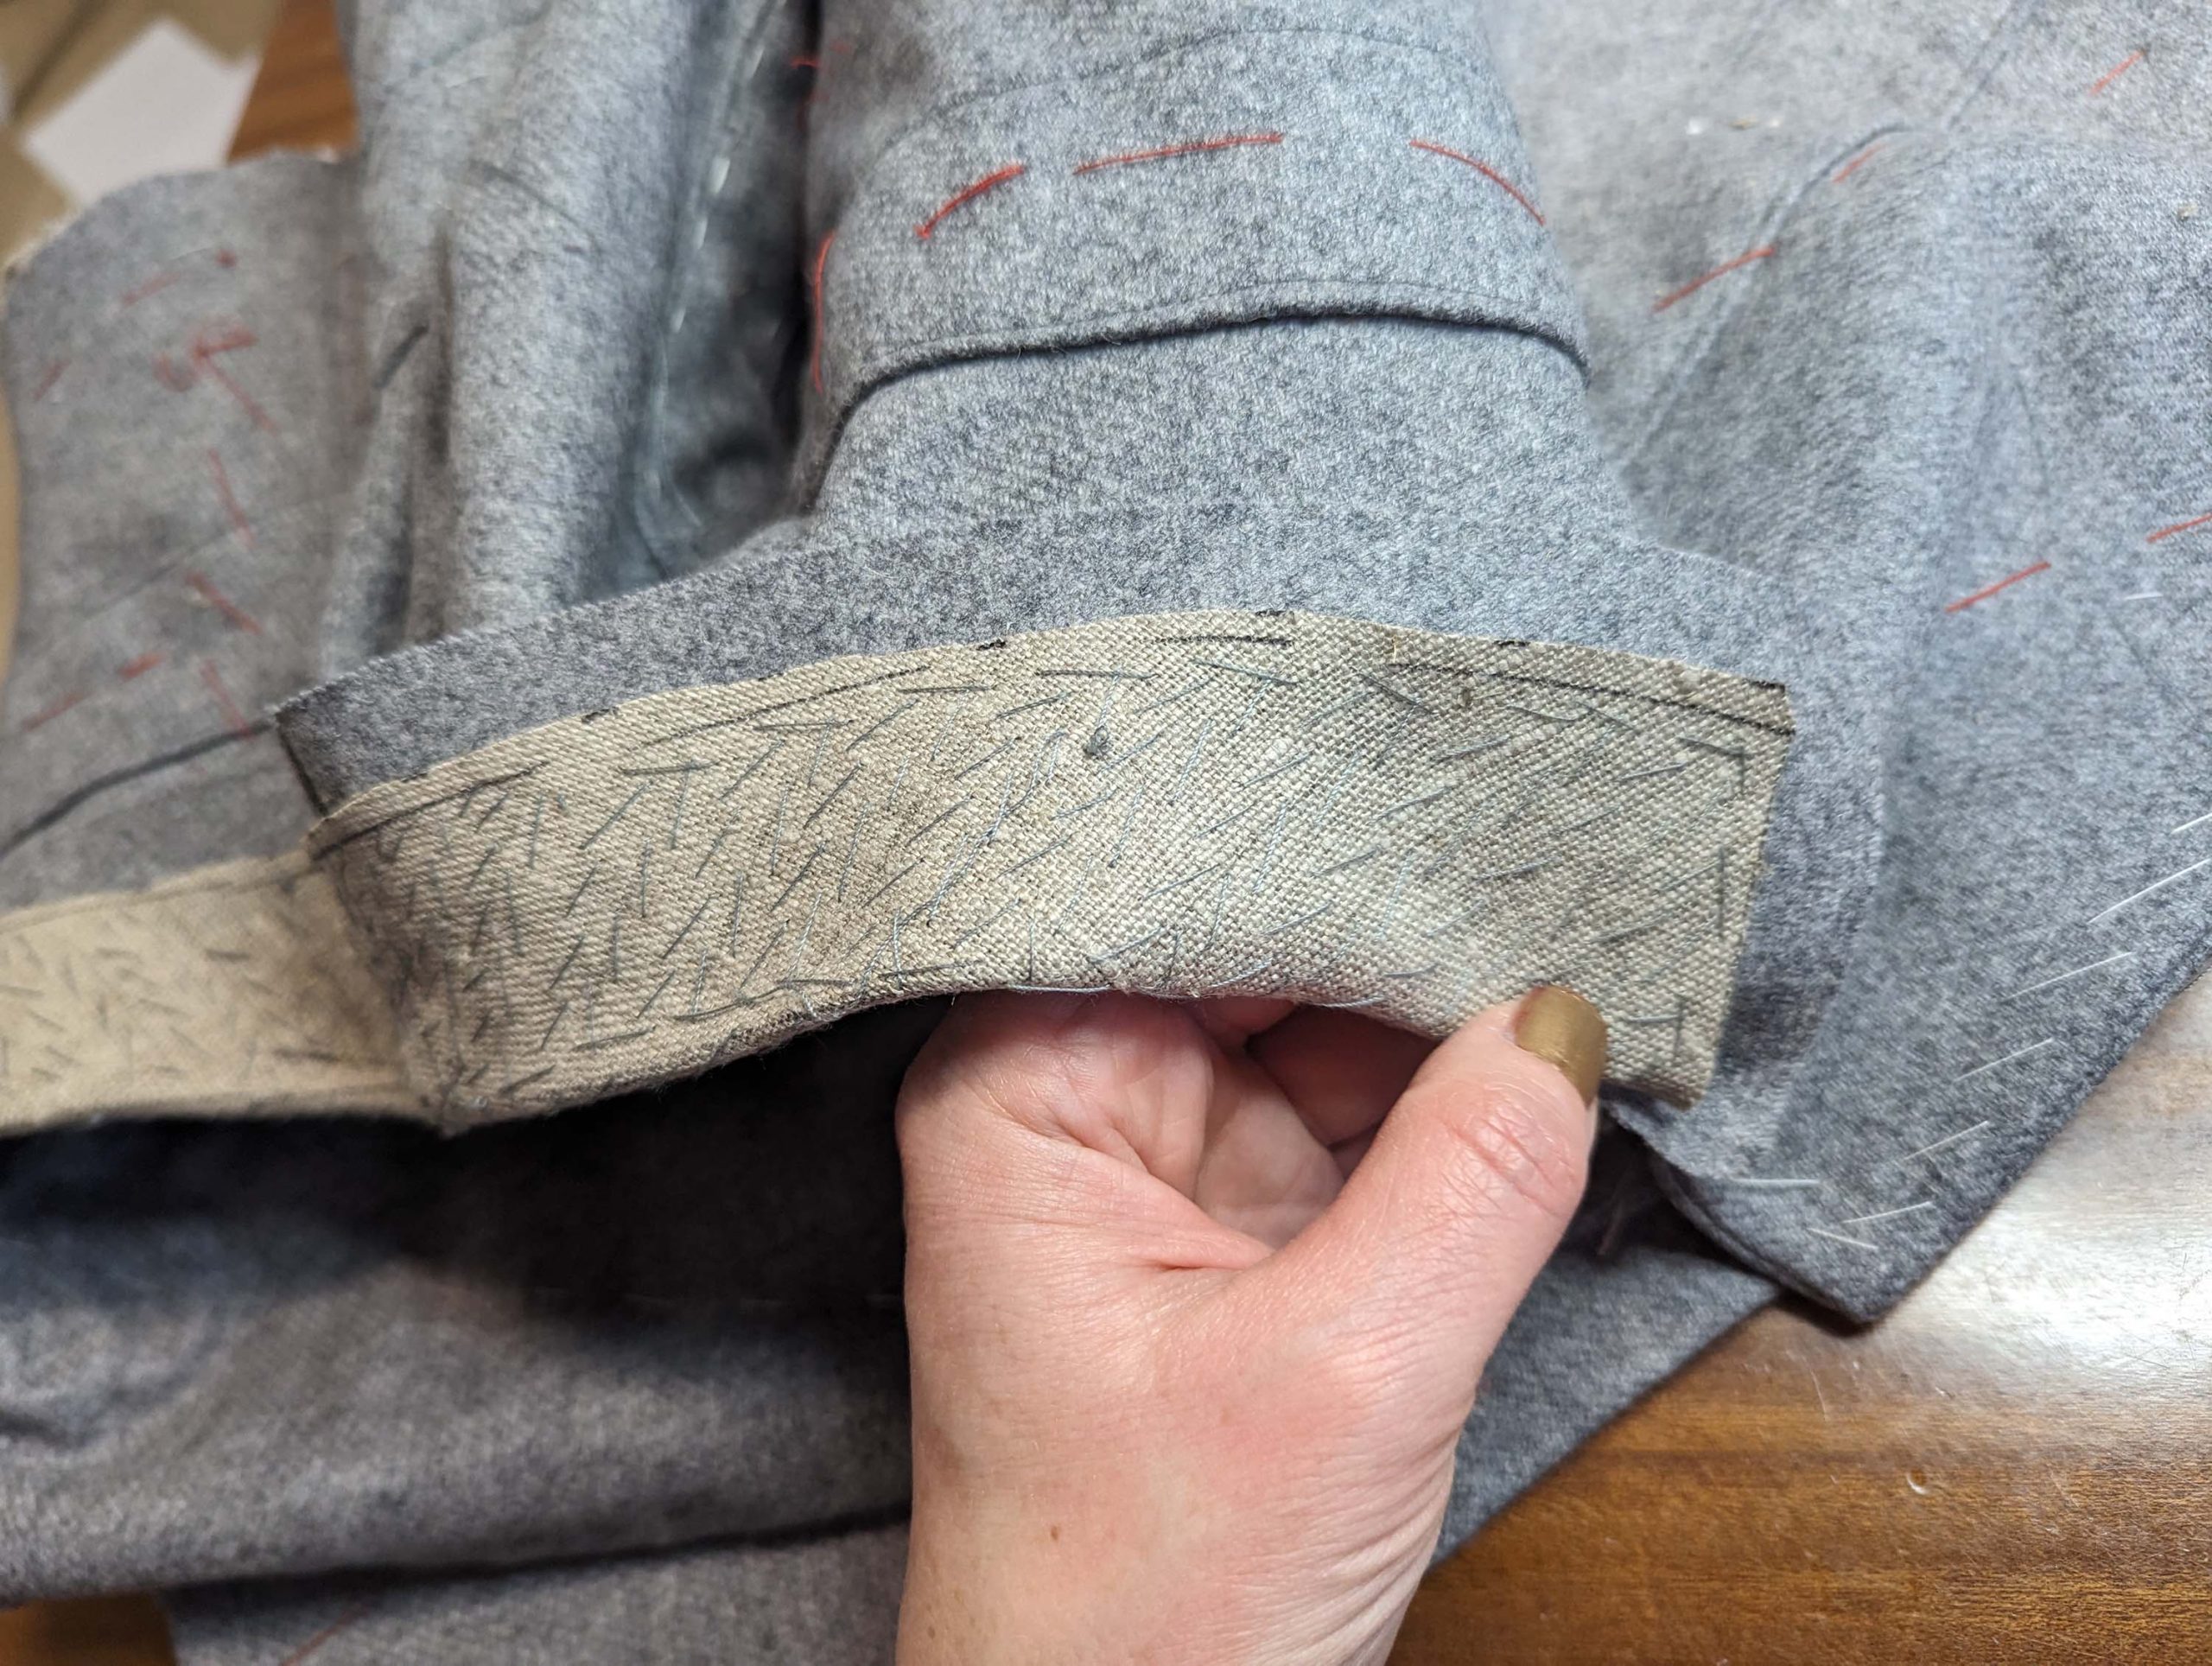
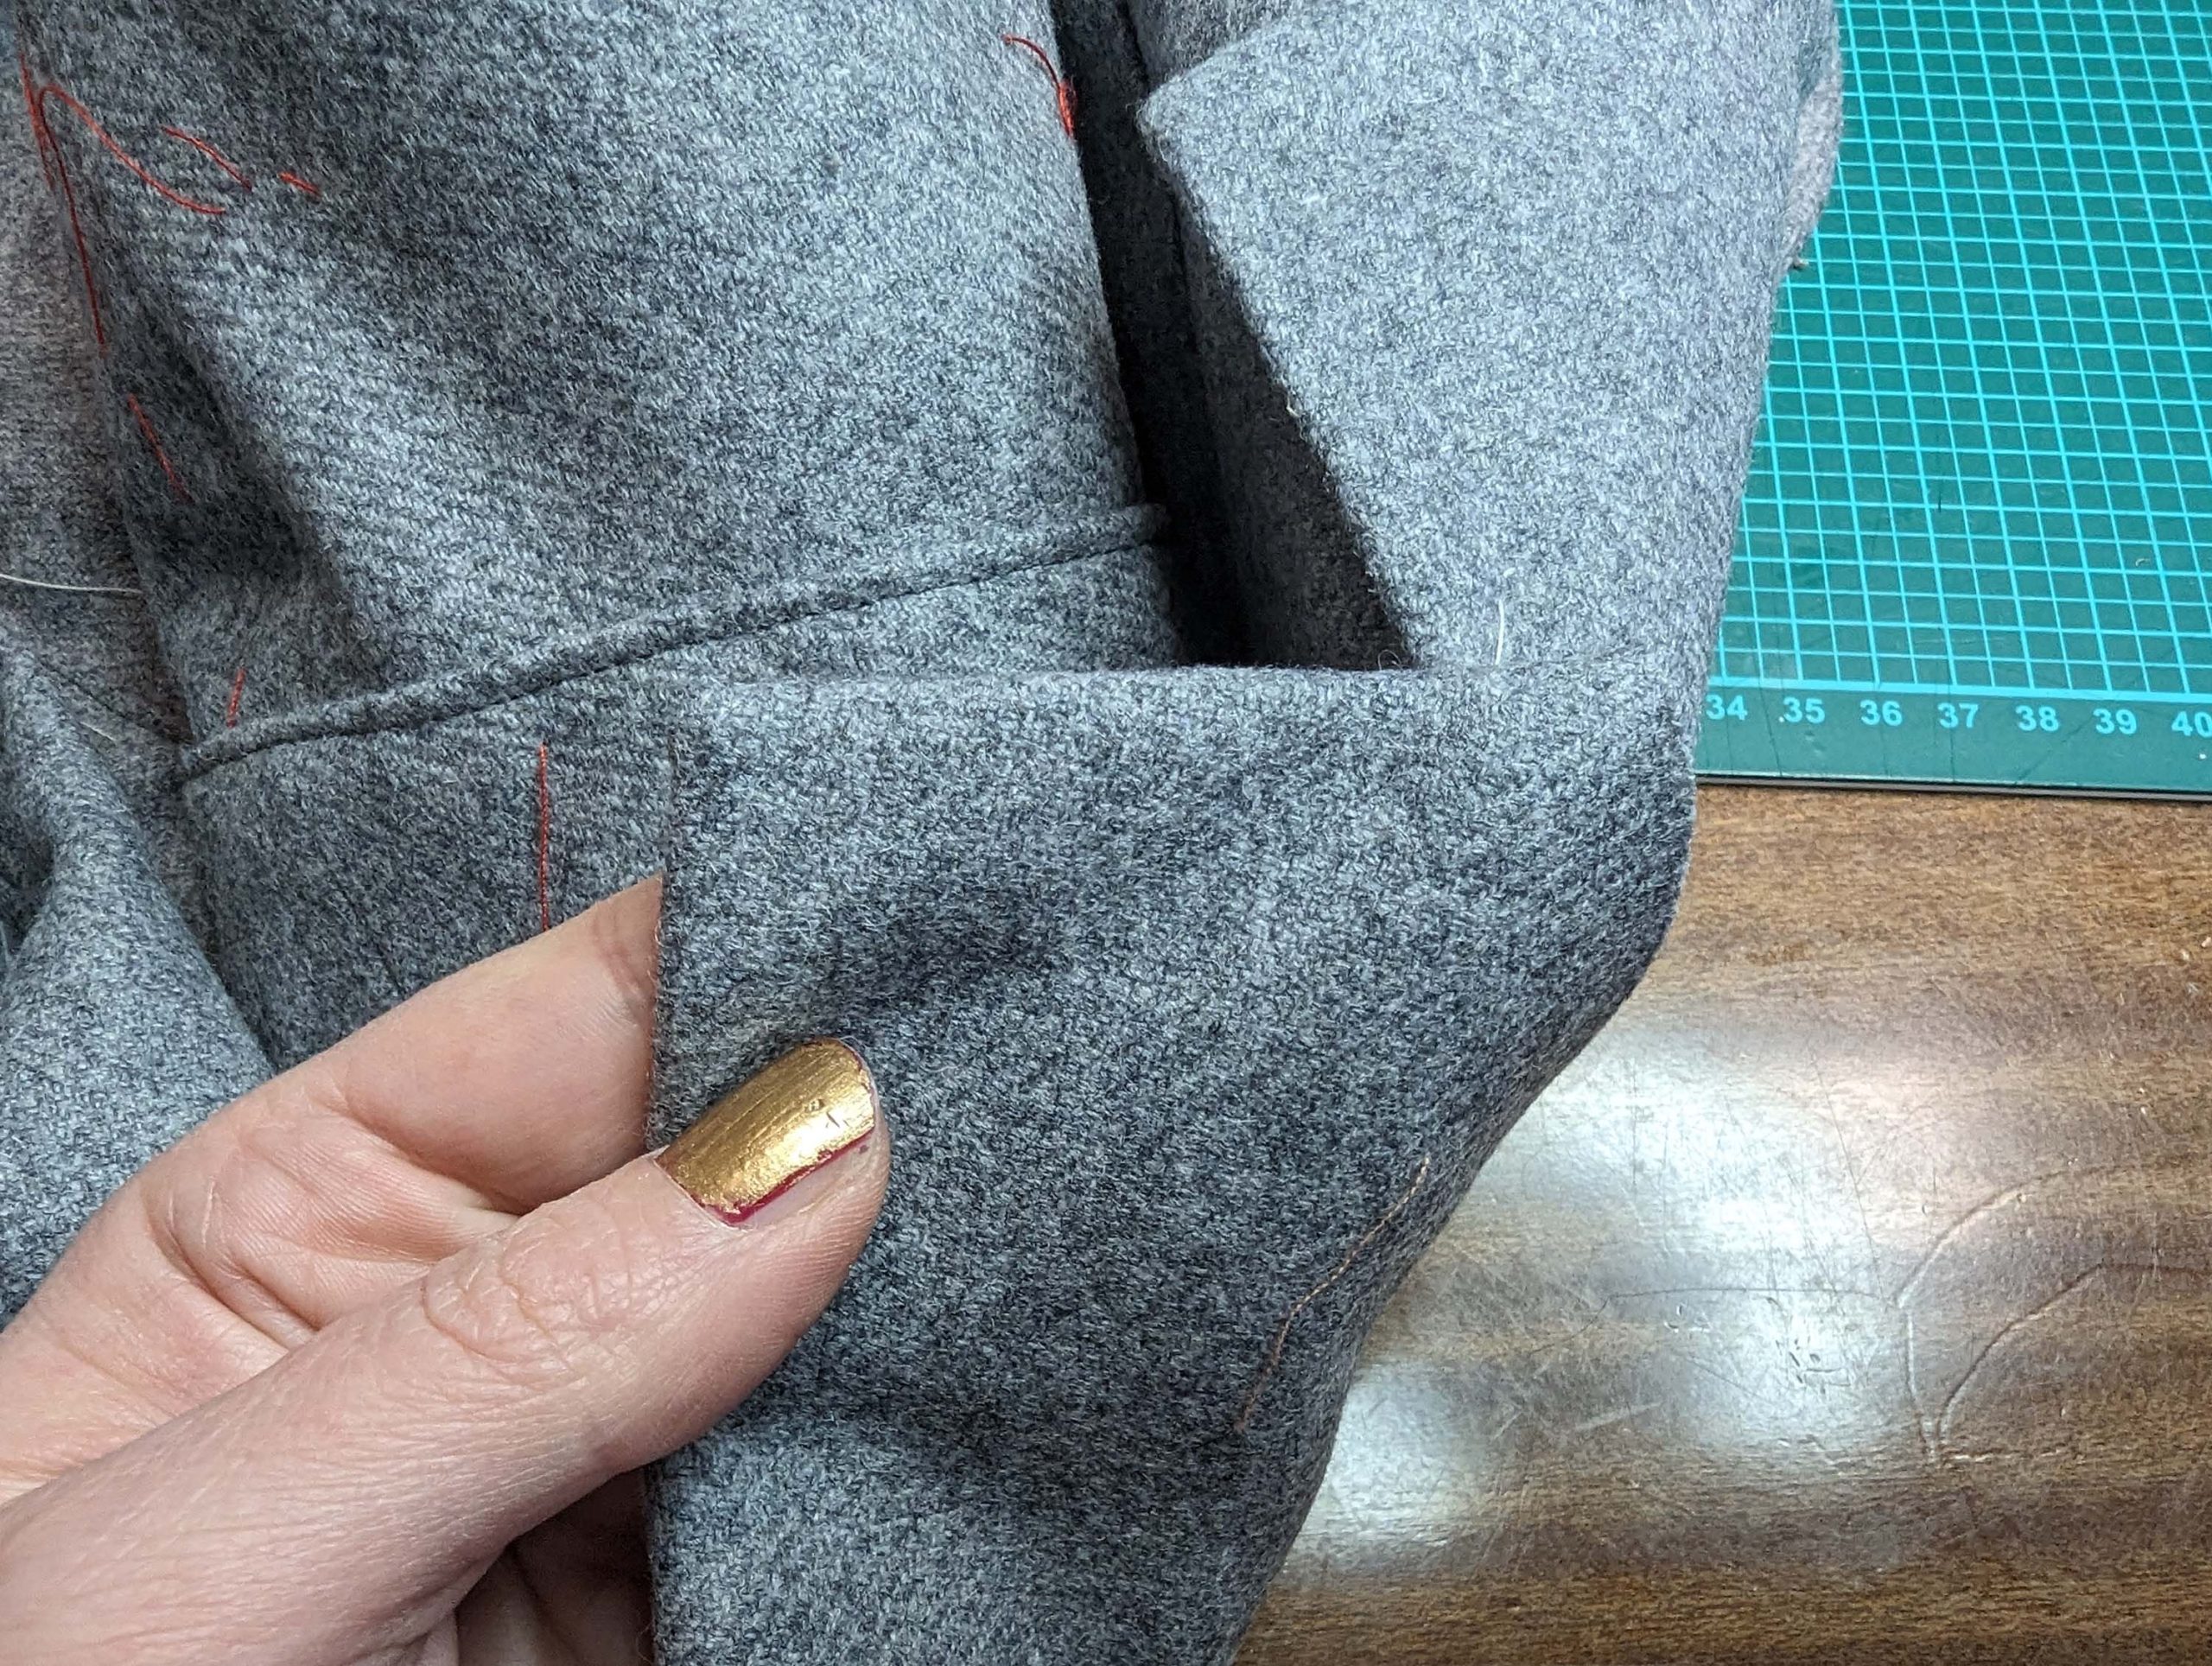
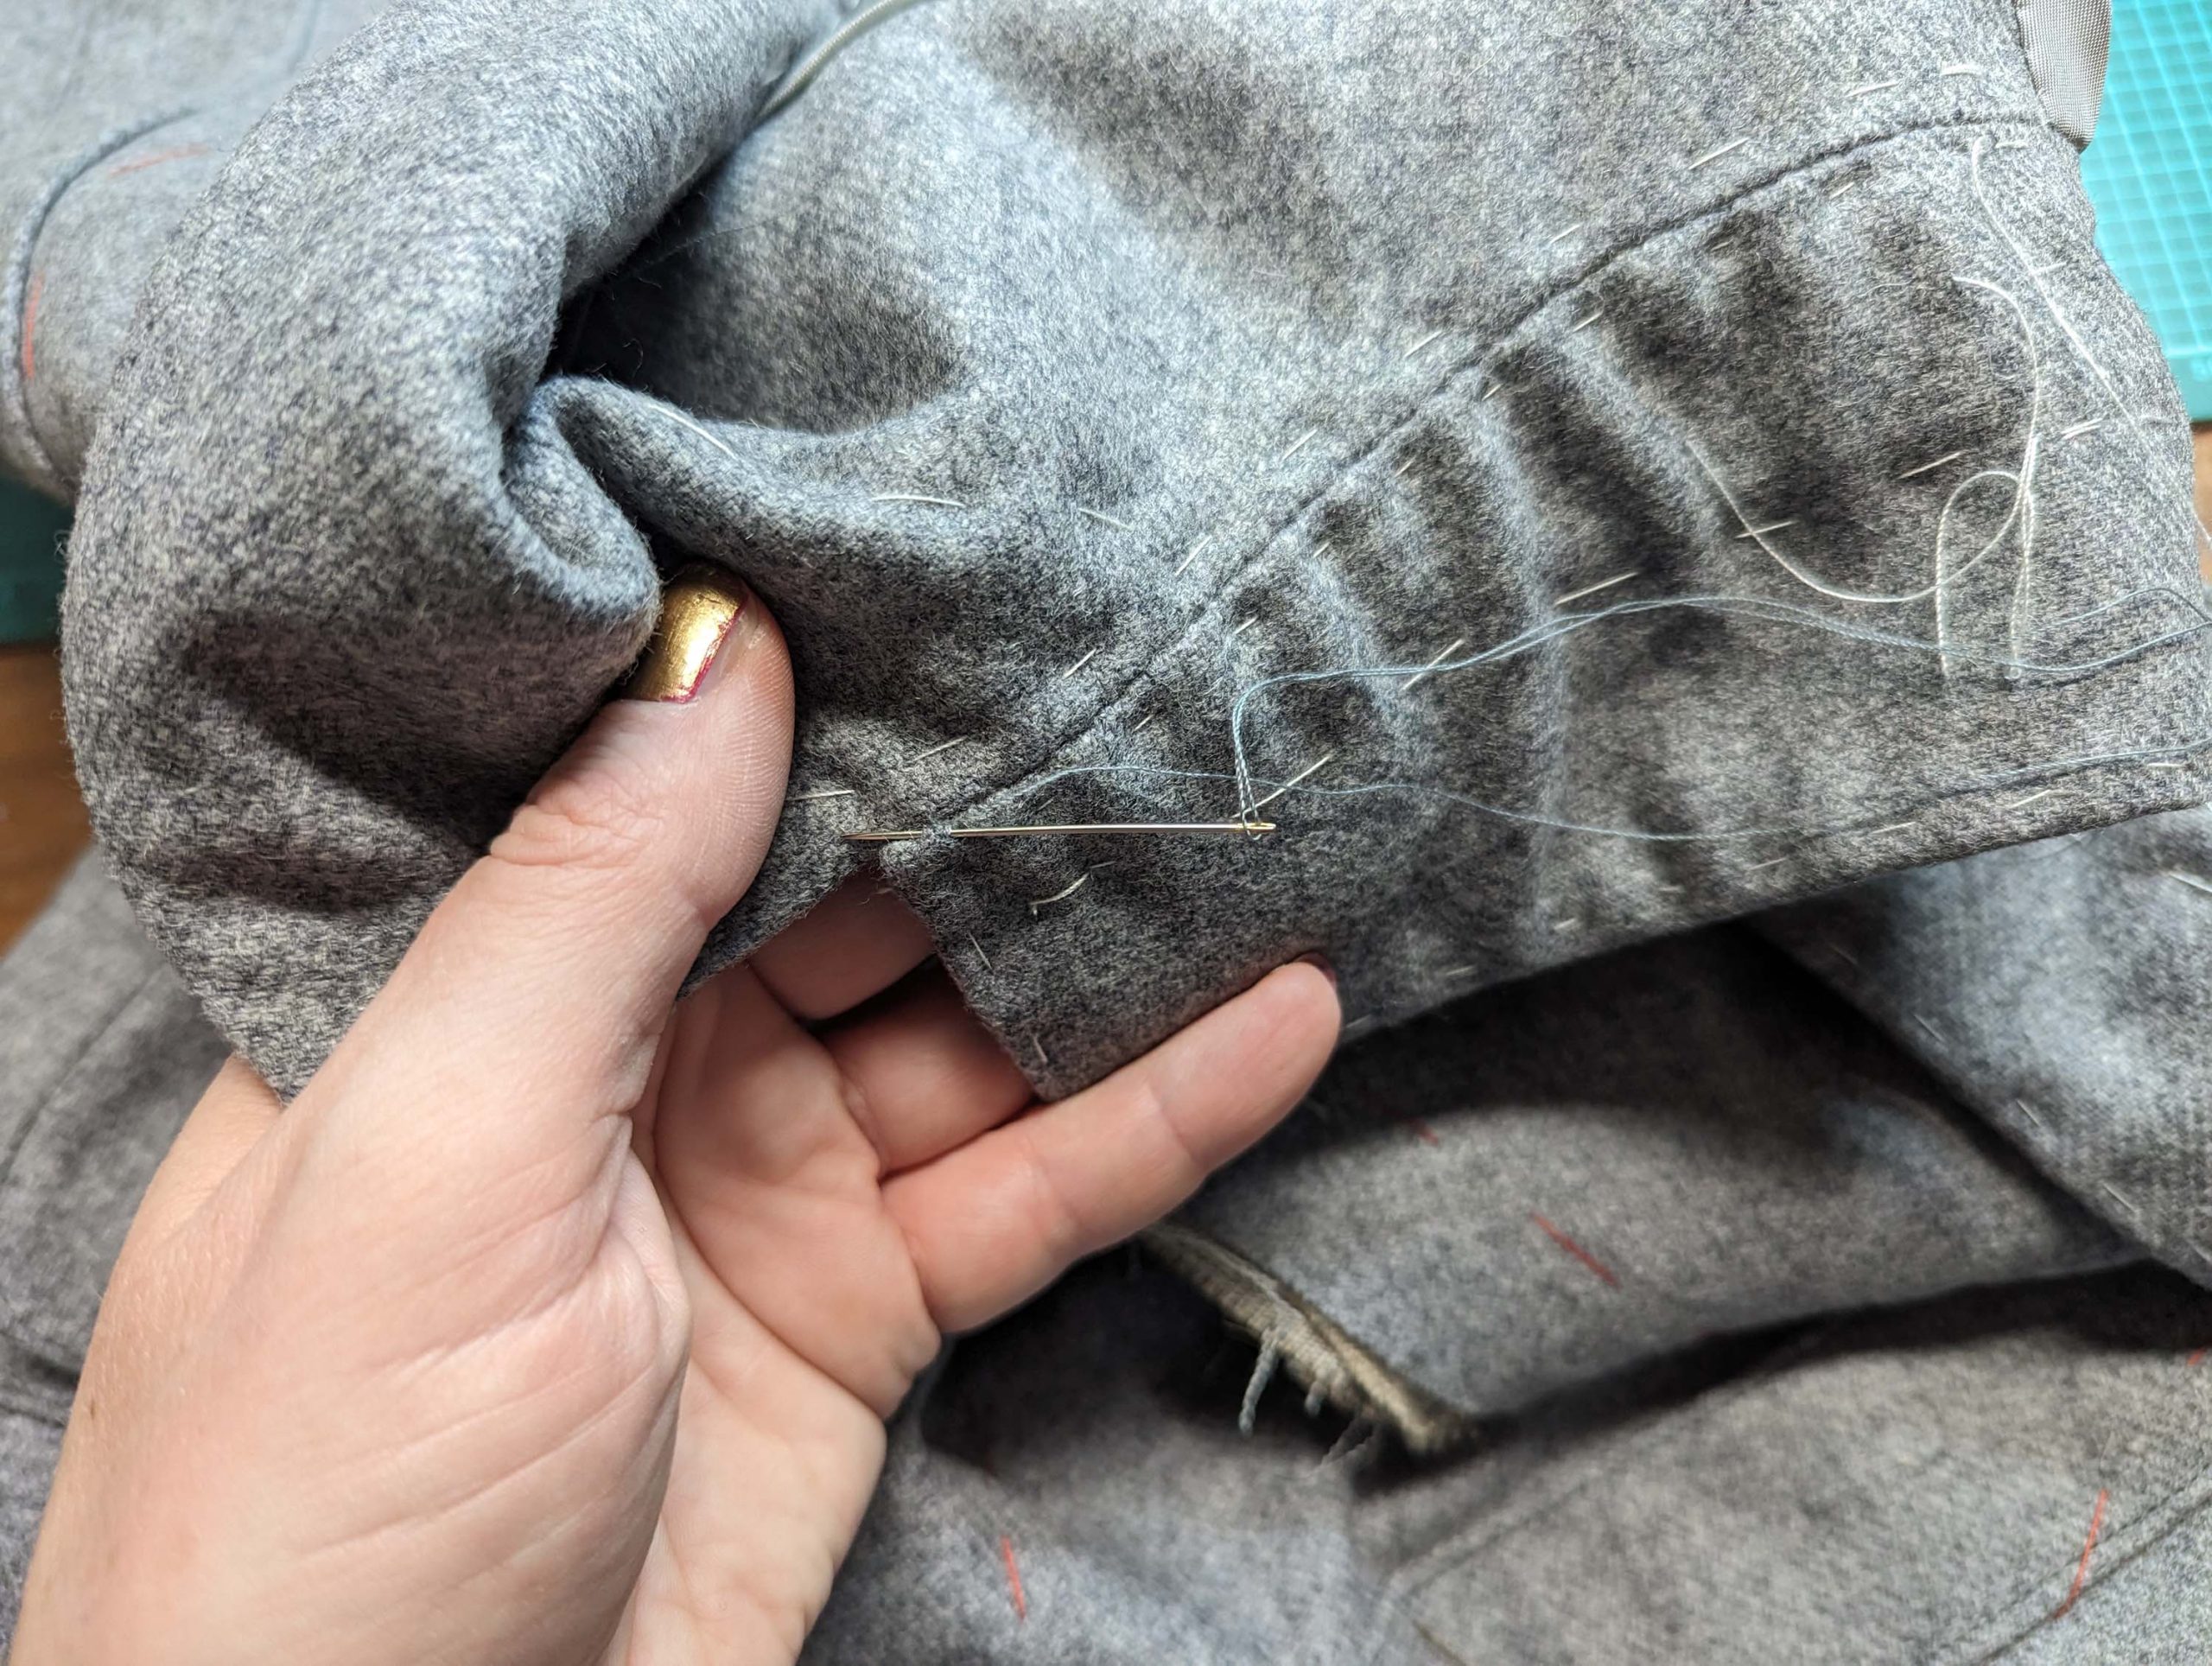
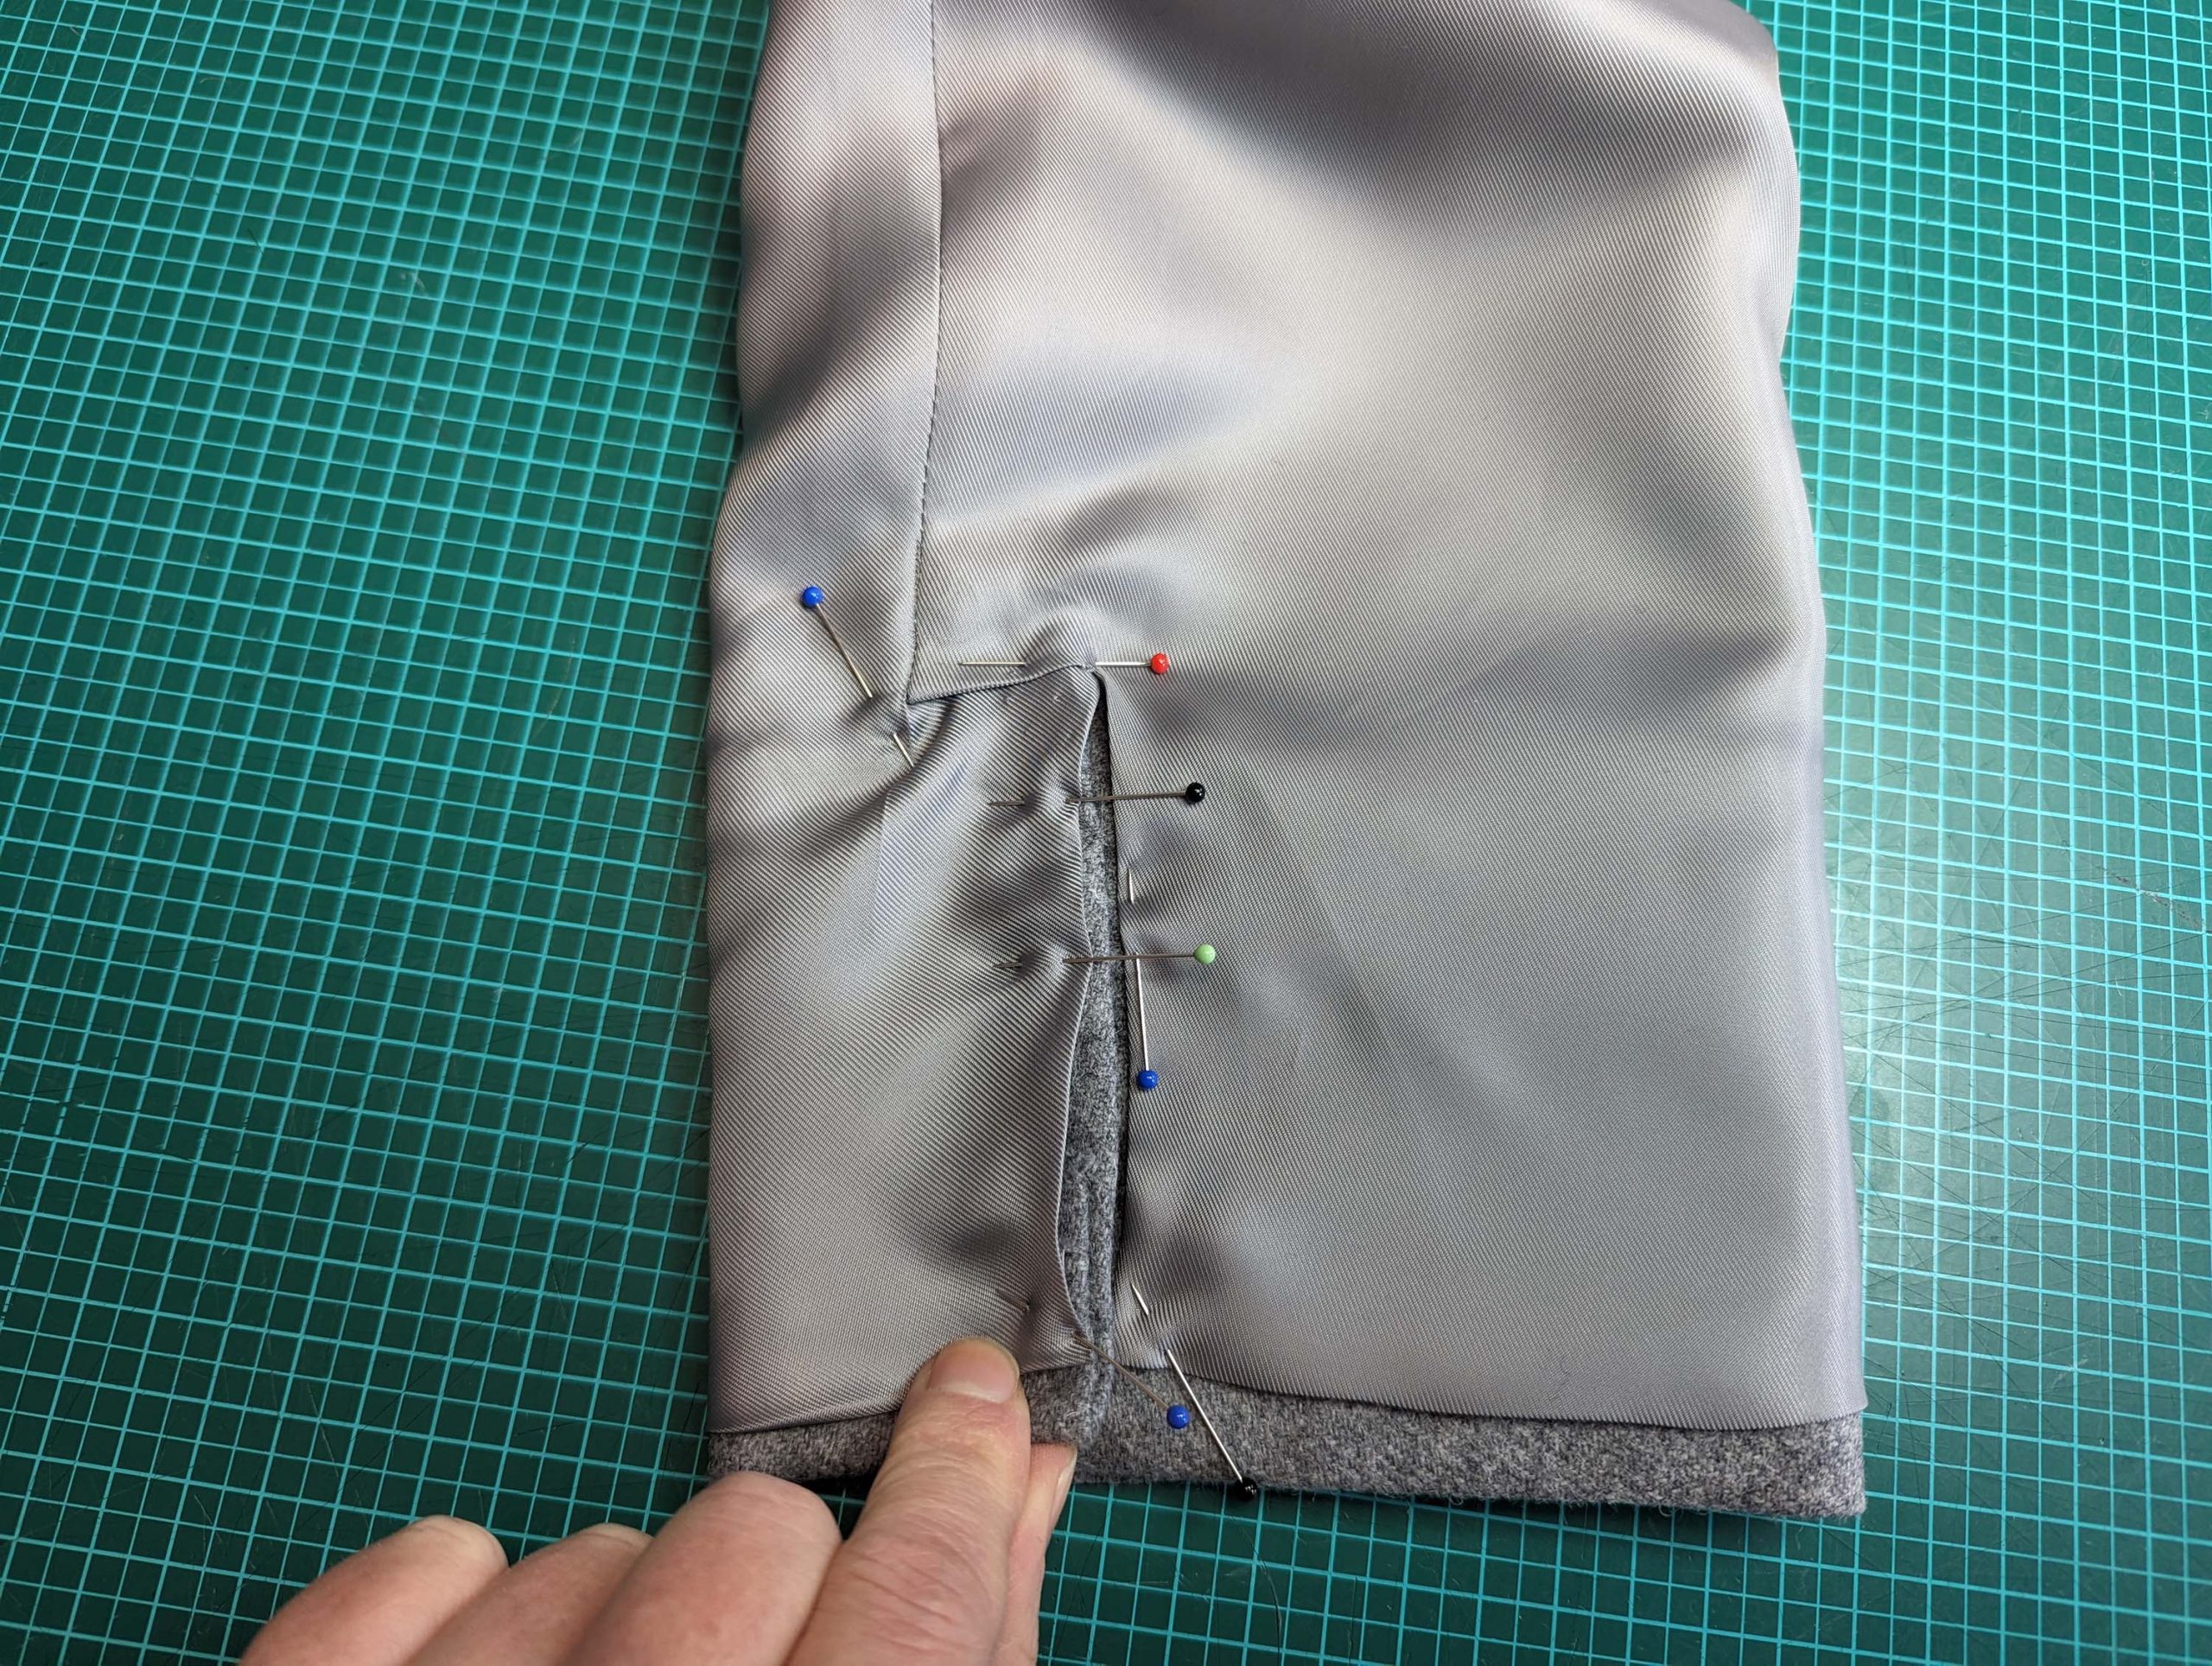
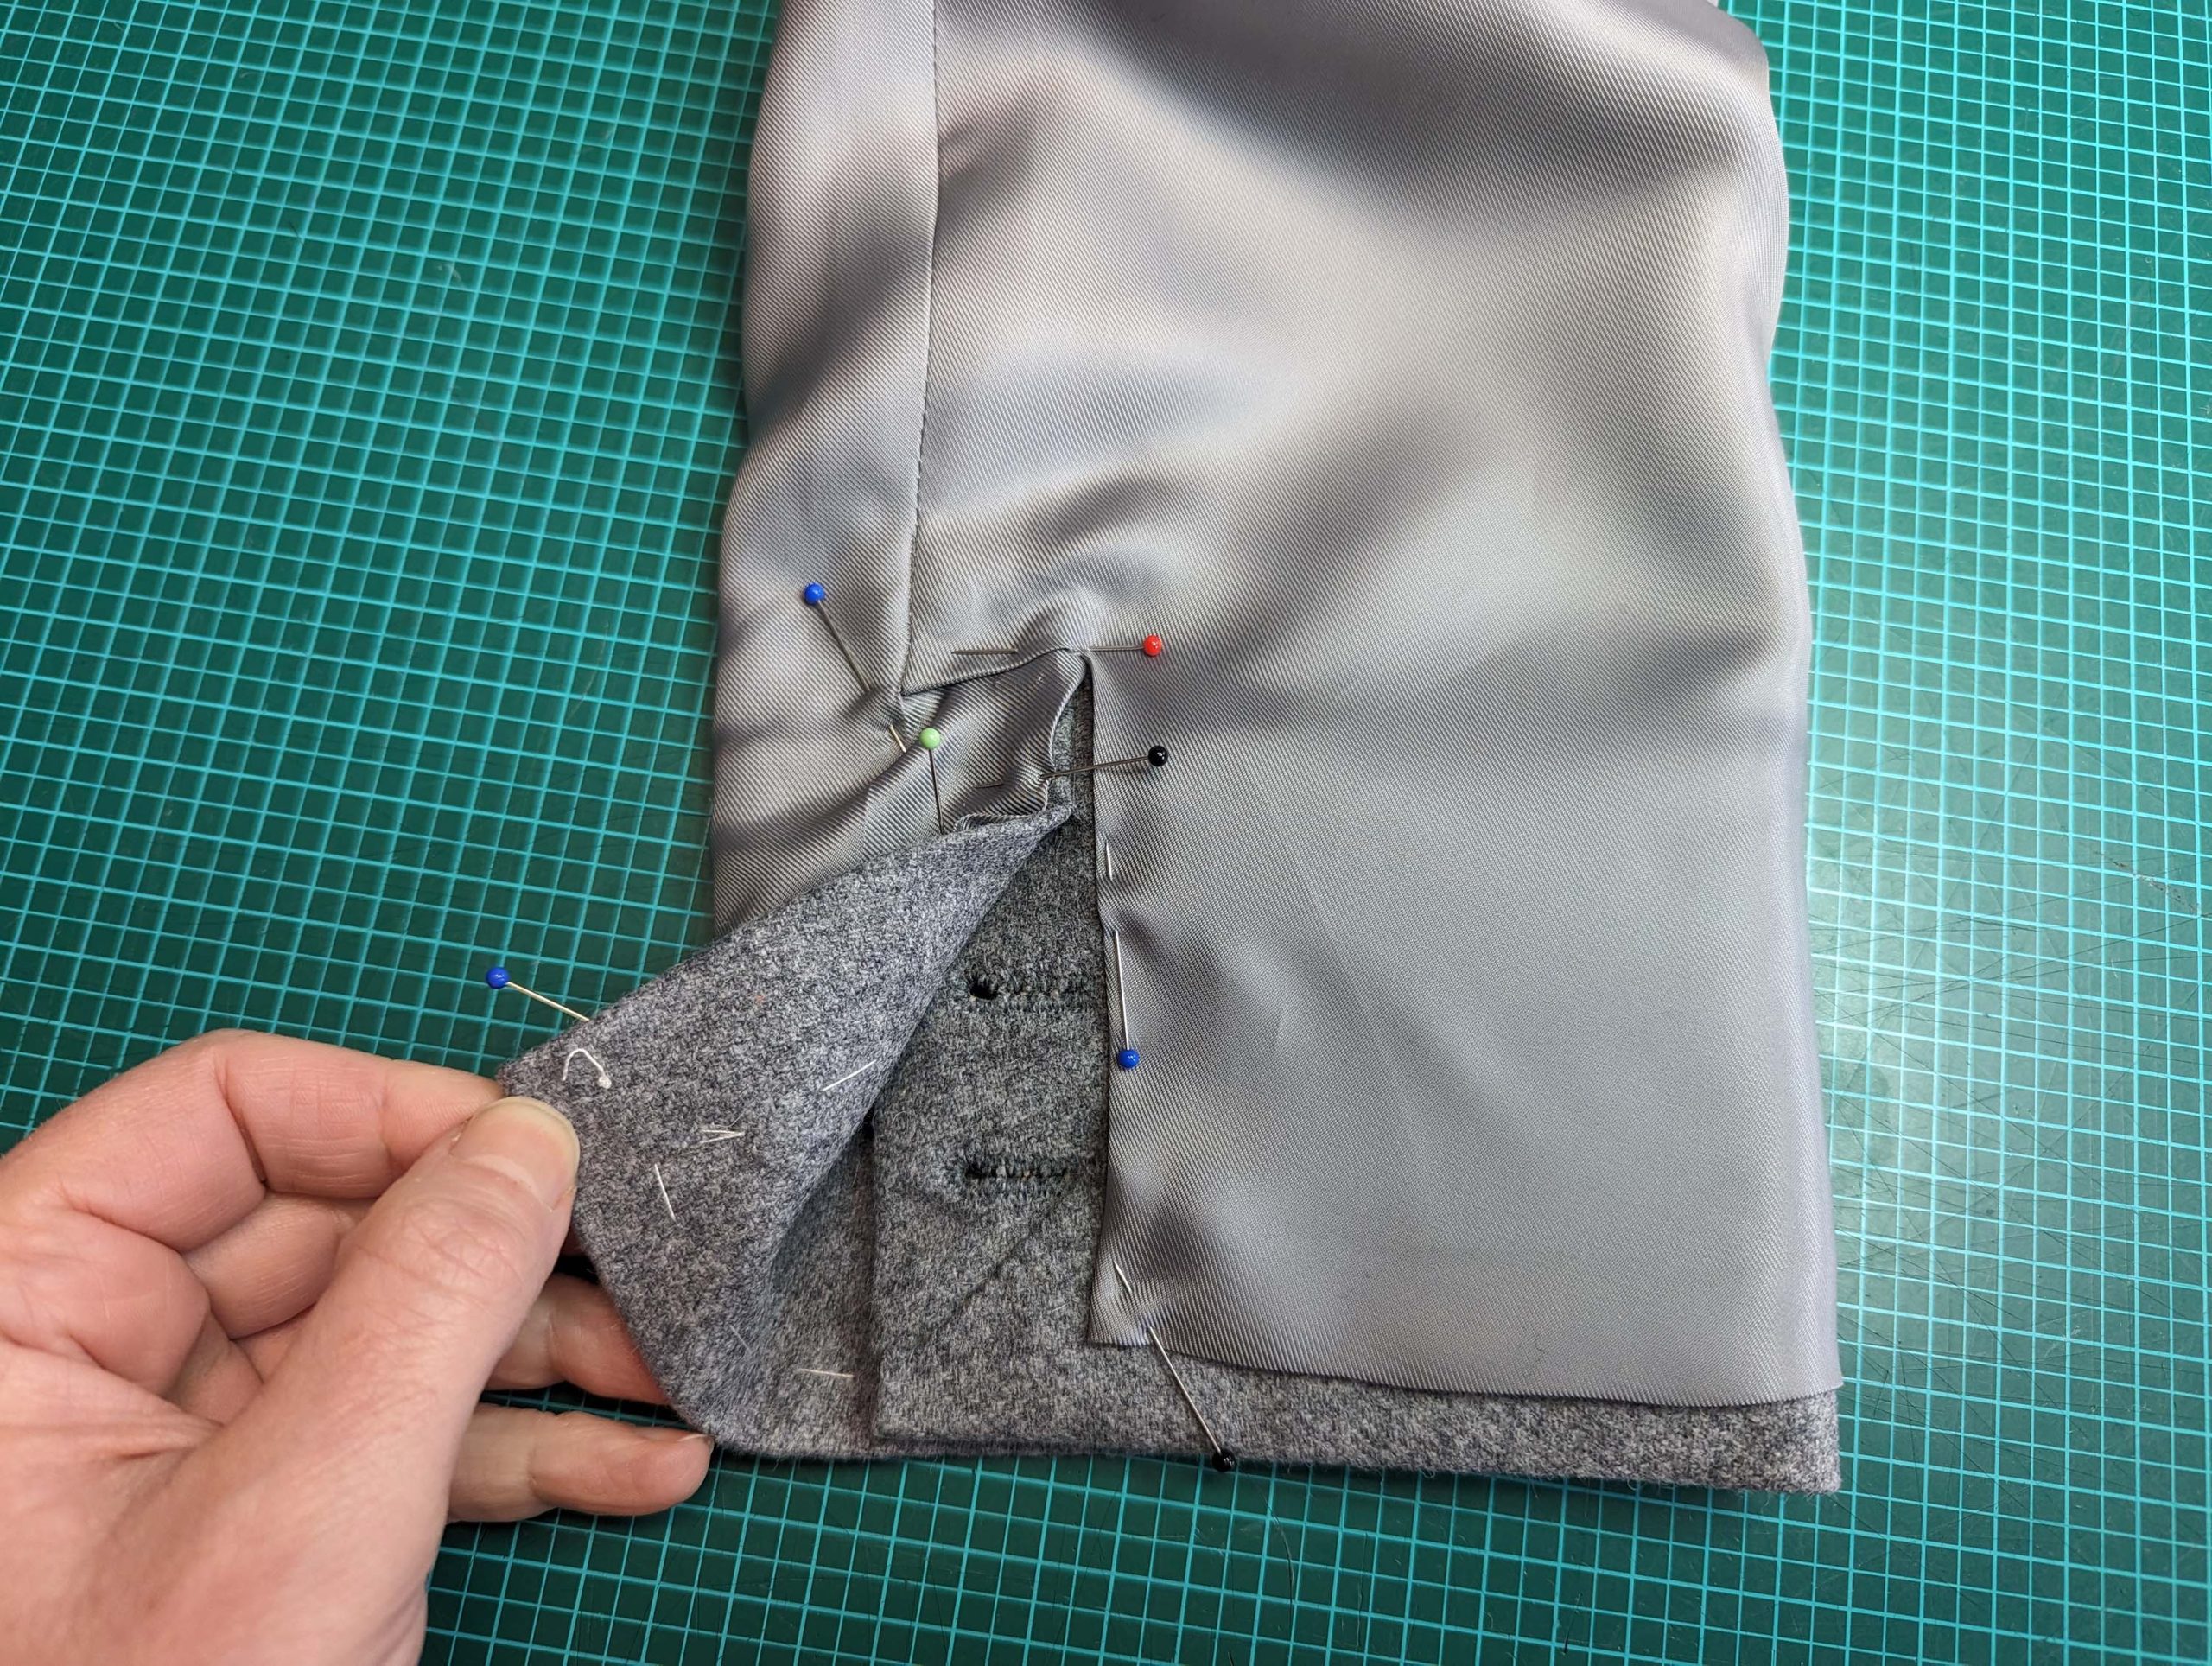
(13) At the hem, fold the hem facing downwards and catch stitch the loose end of the strap to the front canvas, giving enough room for the turn of cloth around the bottom edge. Fell stitch the facing to the strap to close the section left open until now.
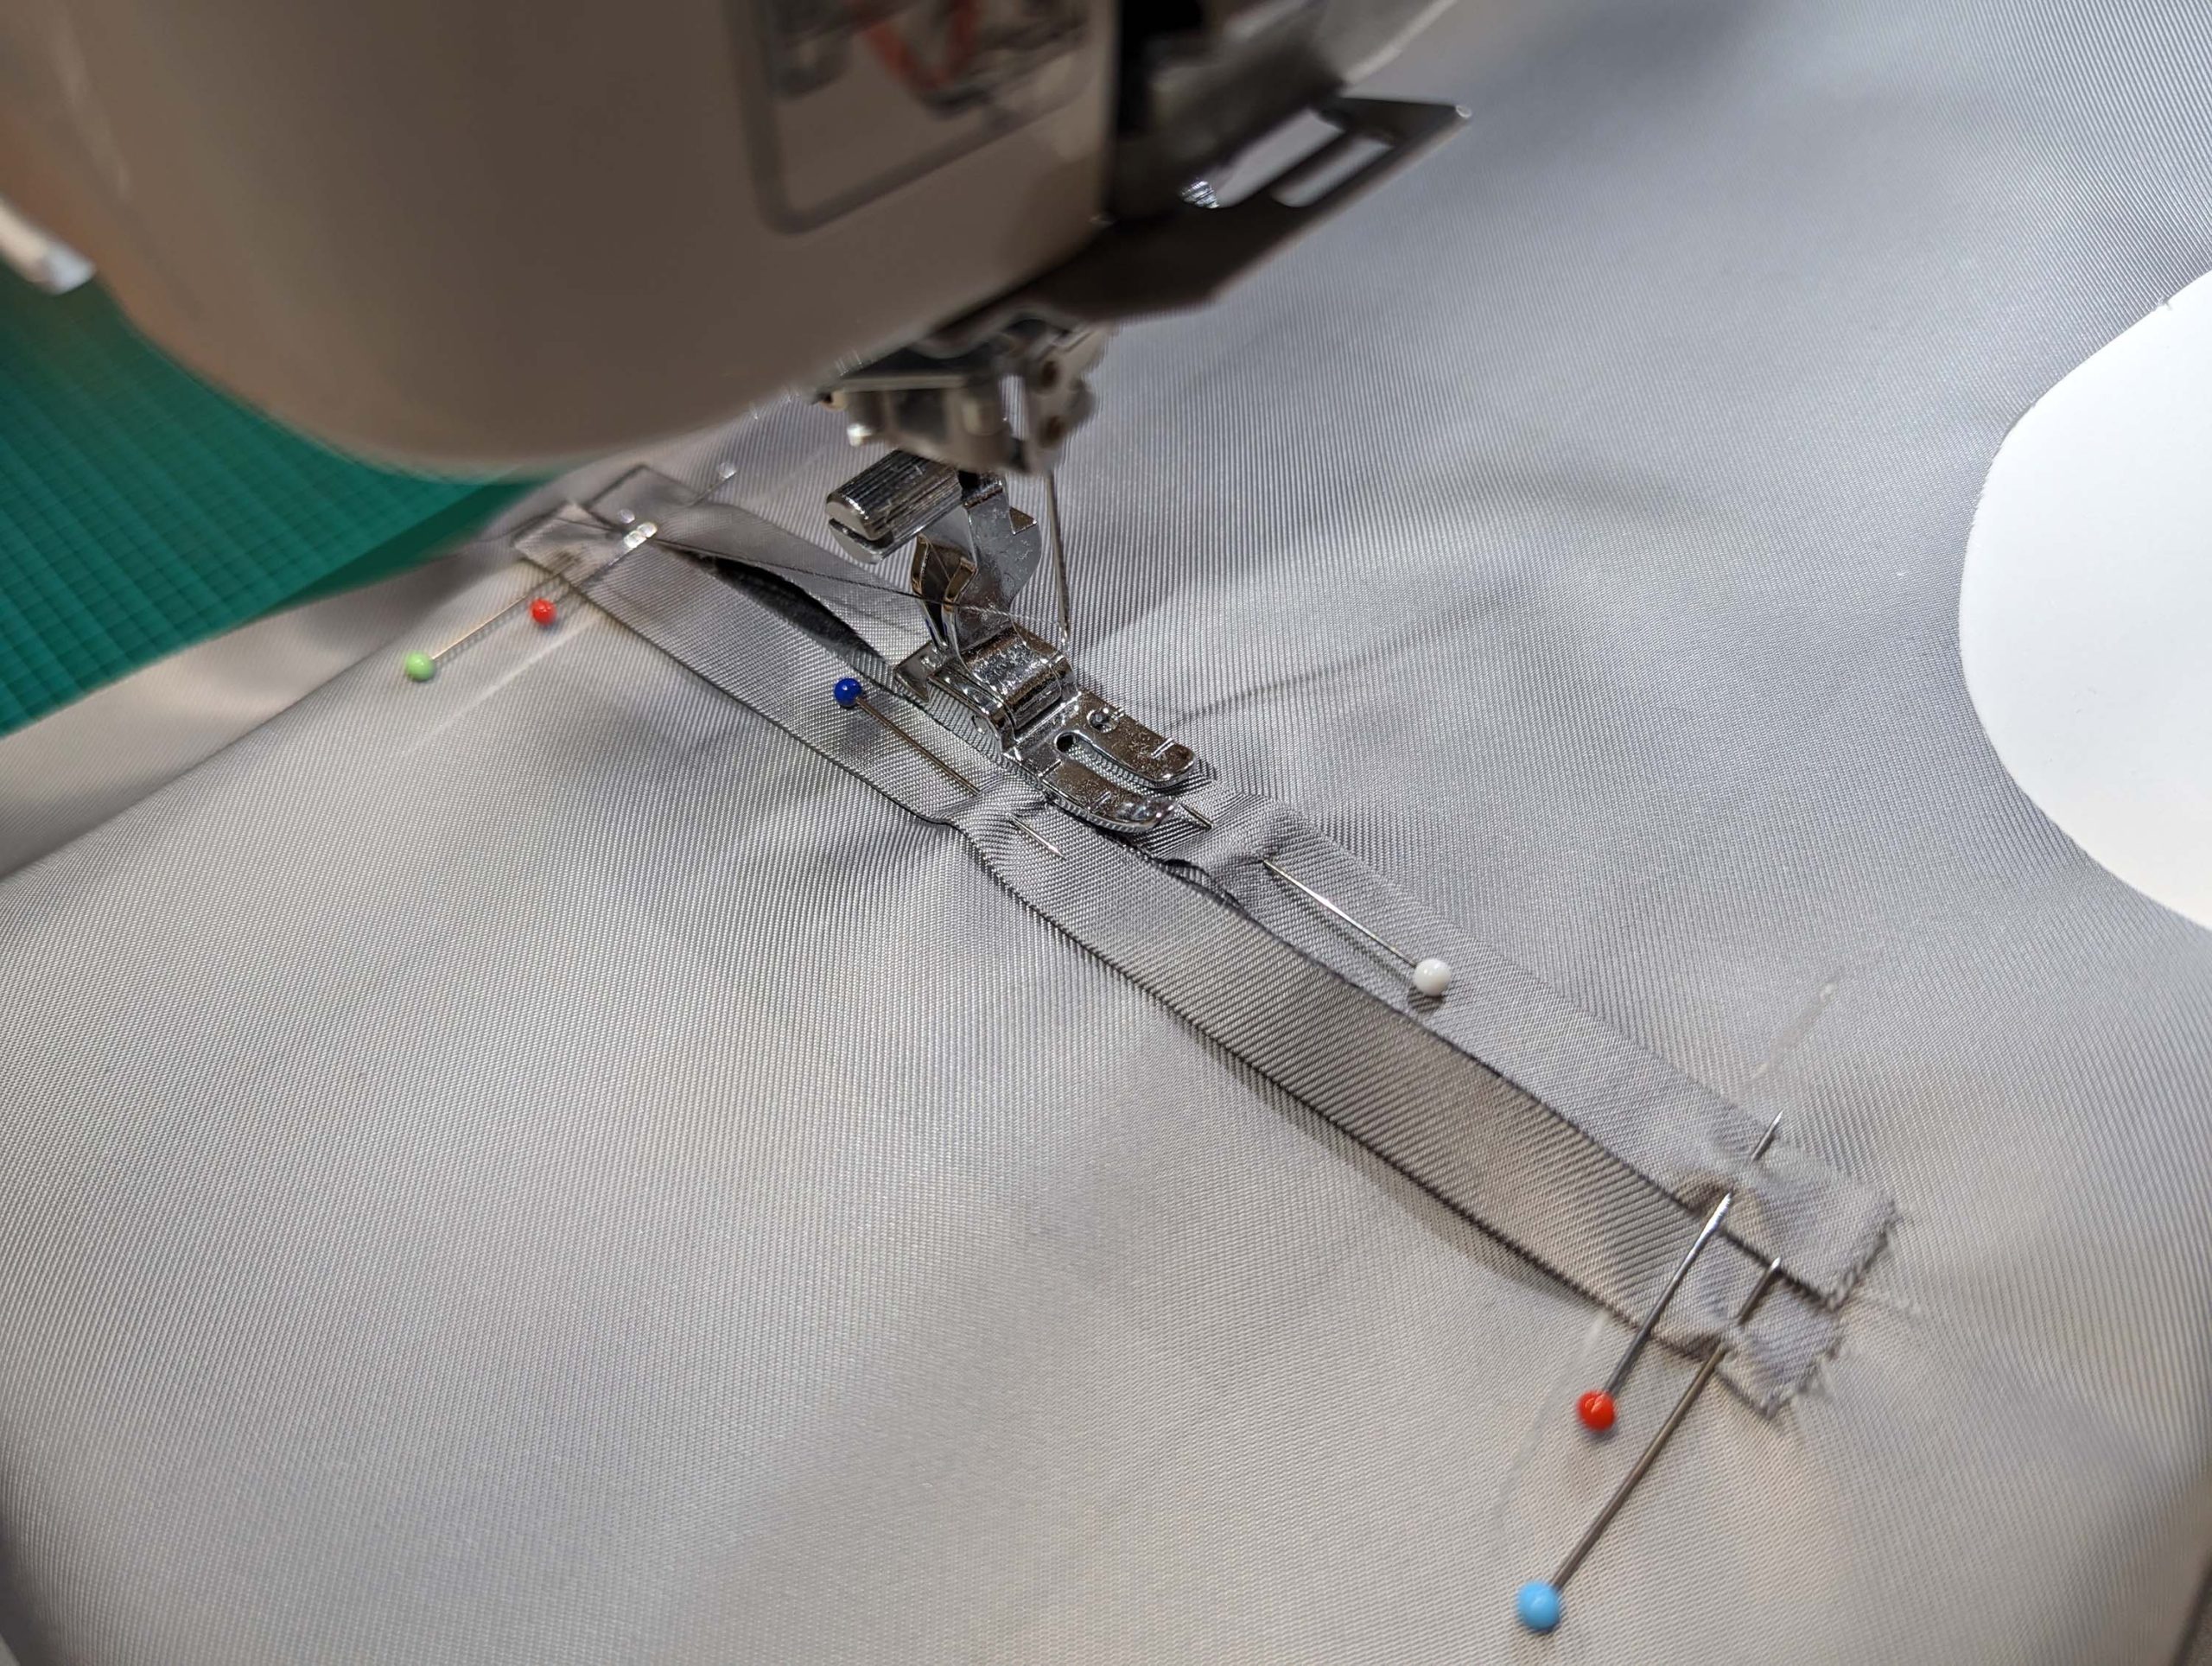
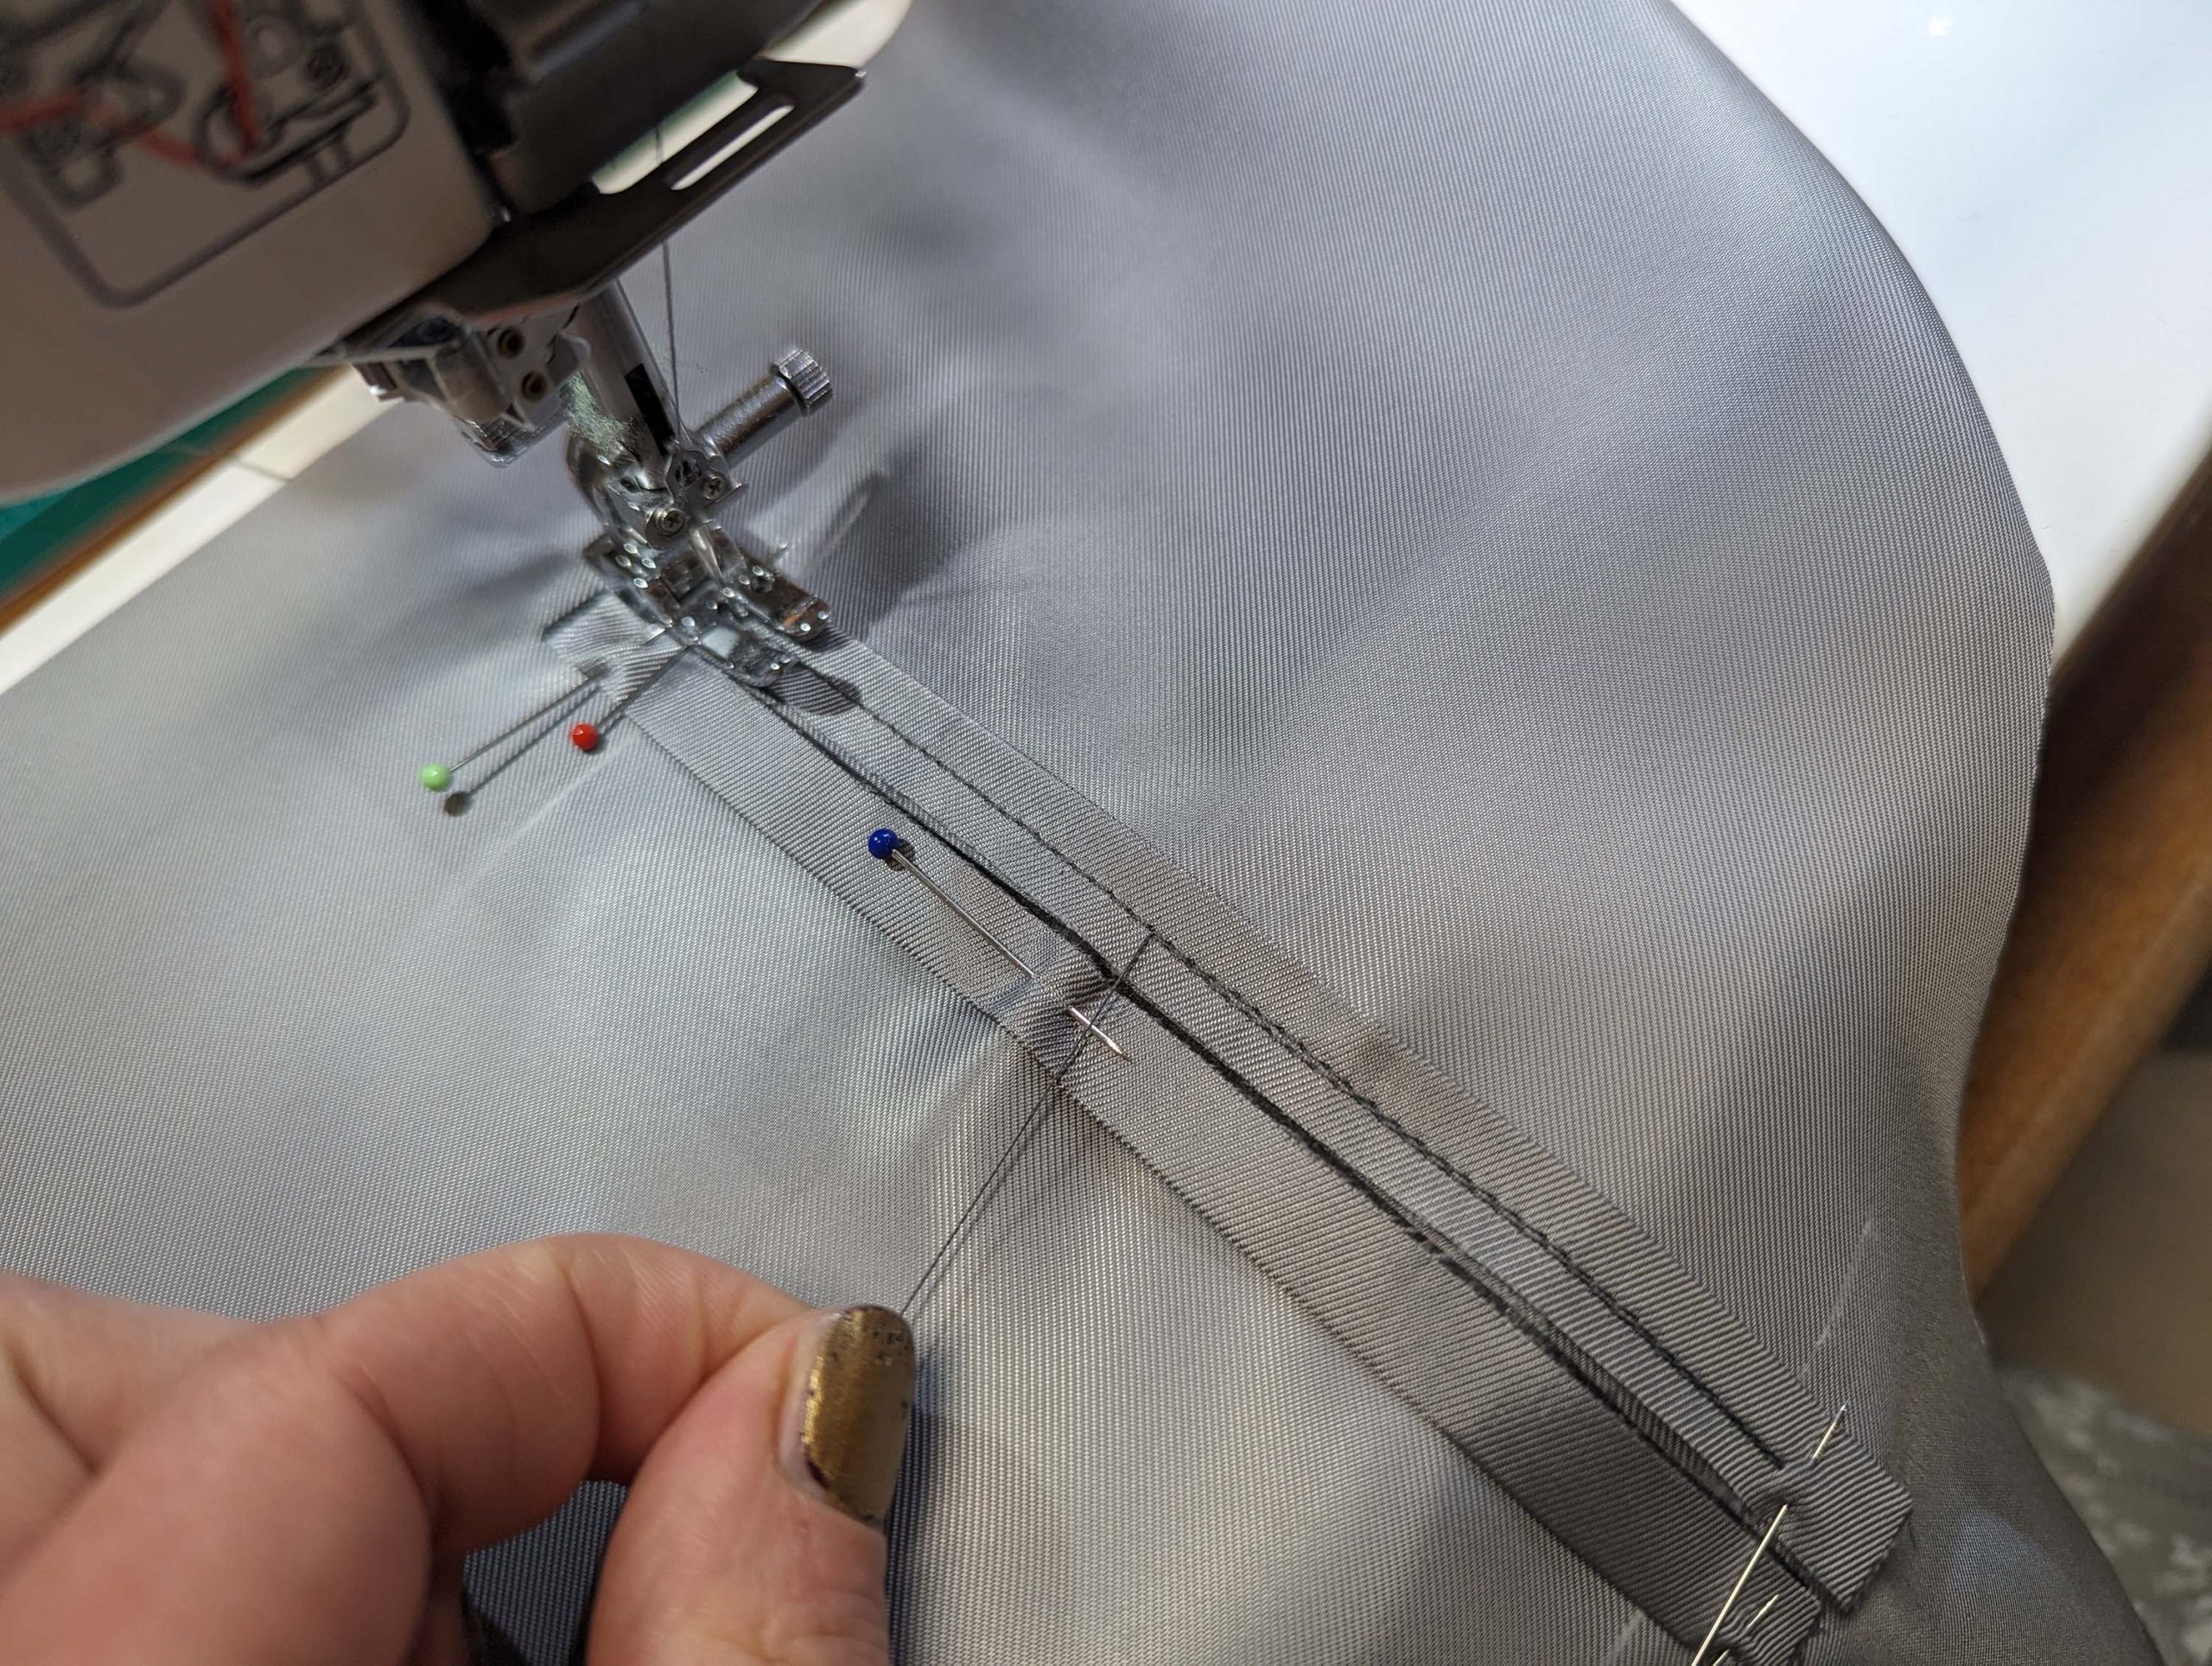
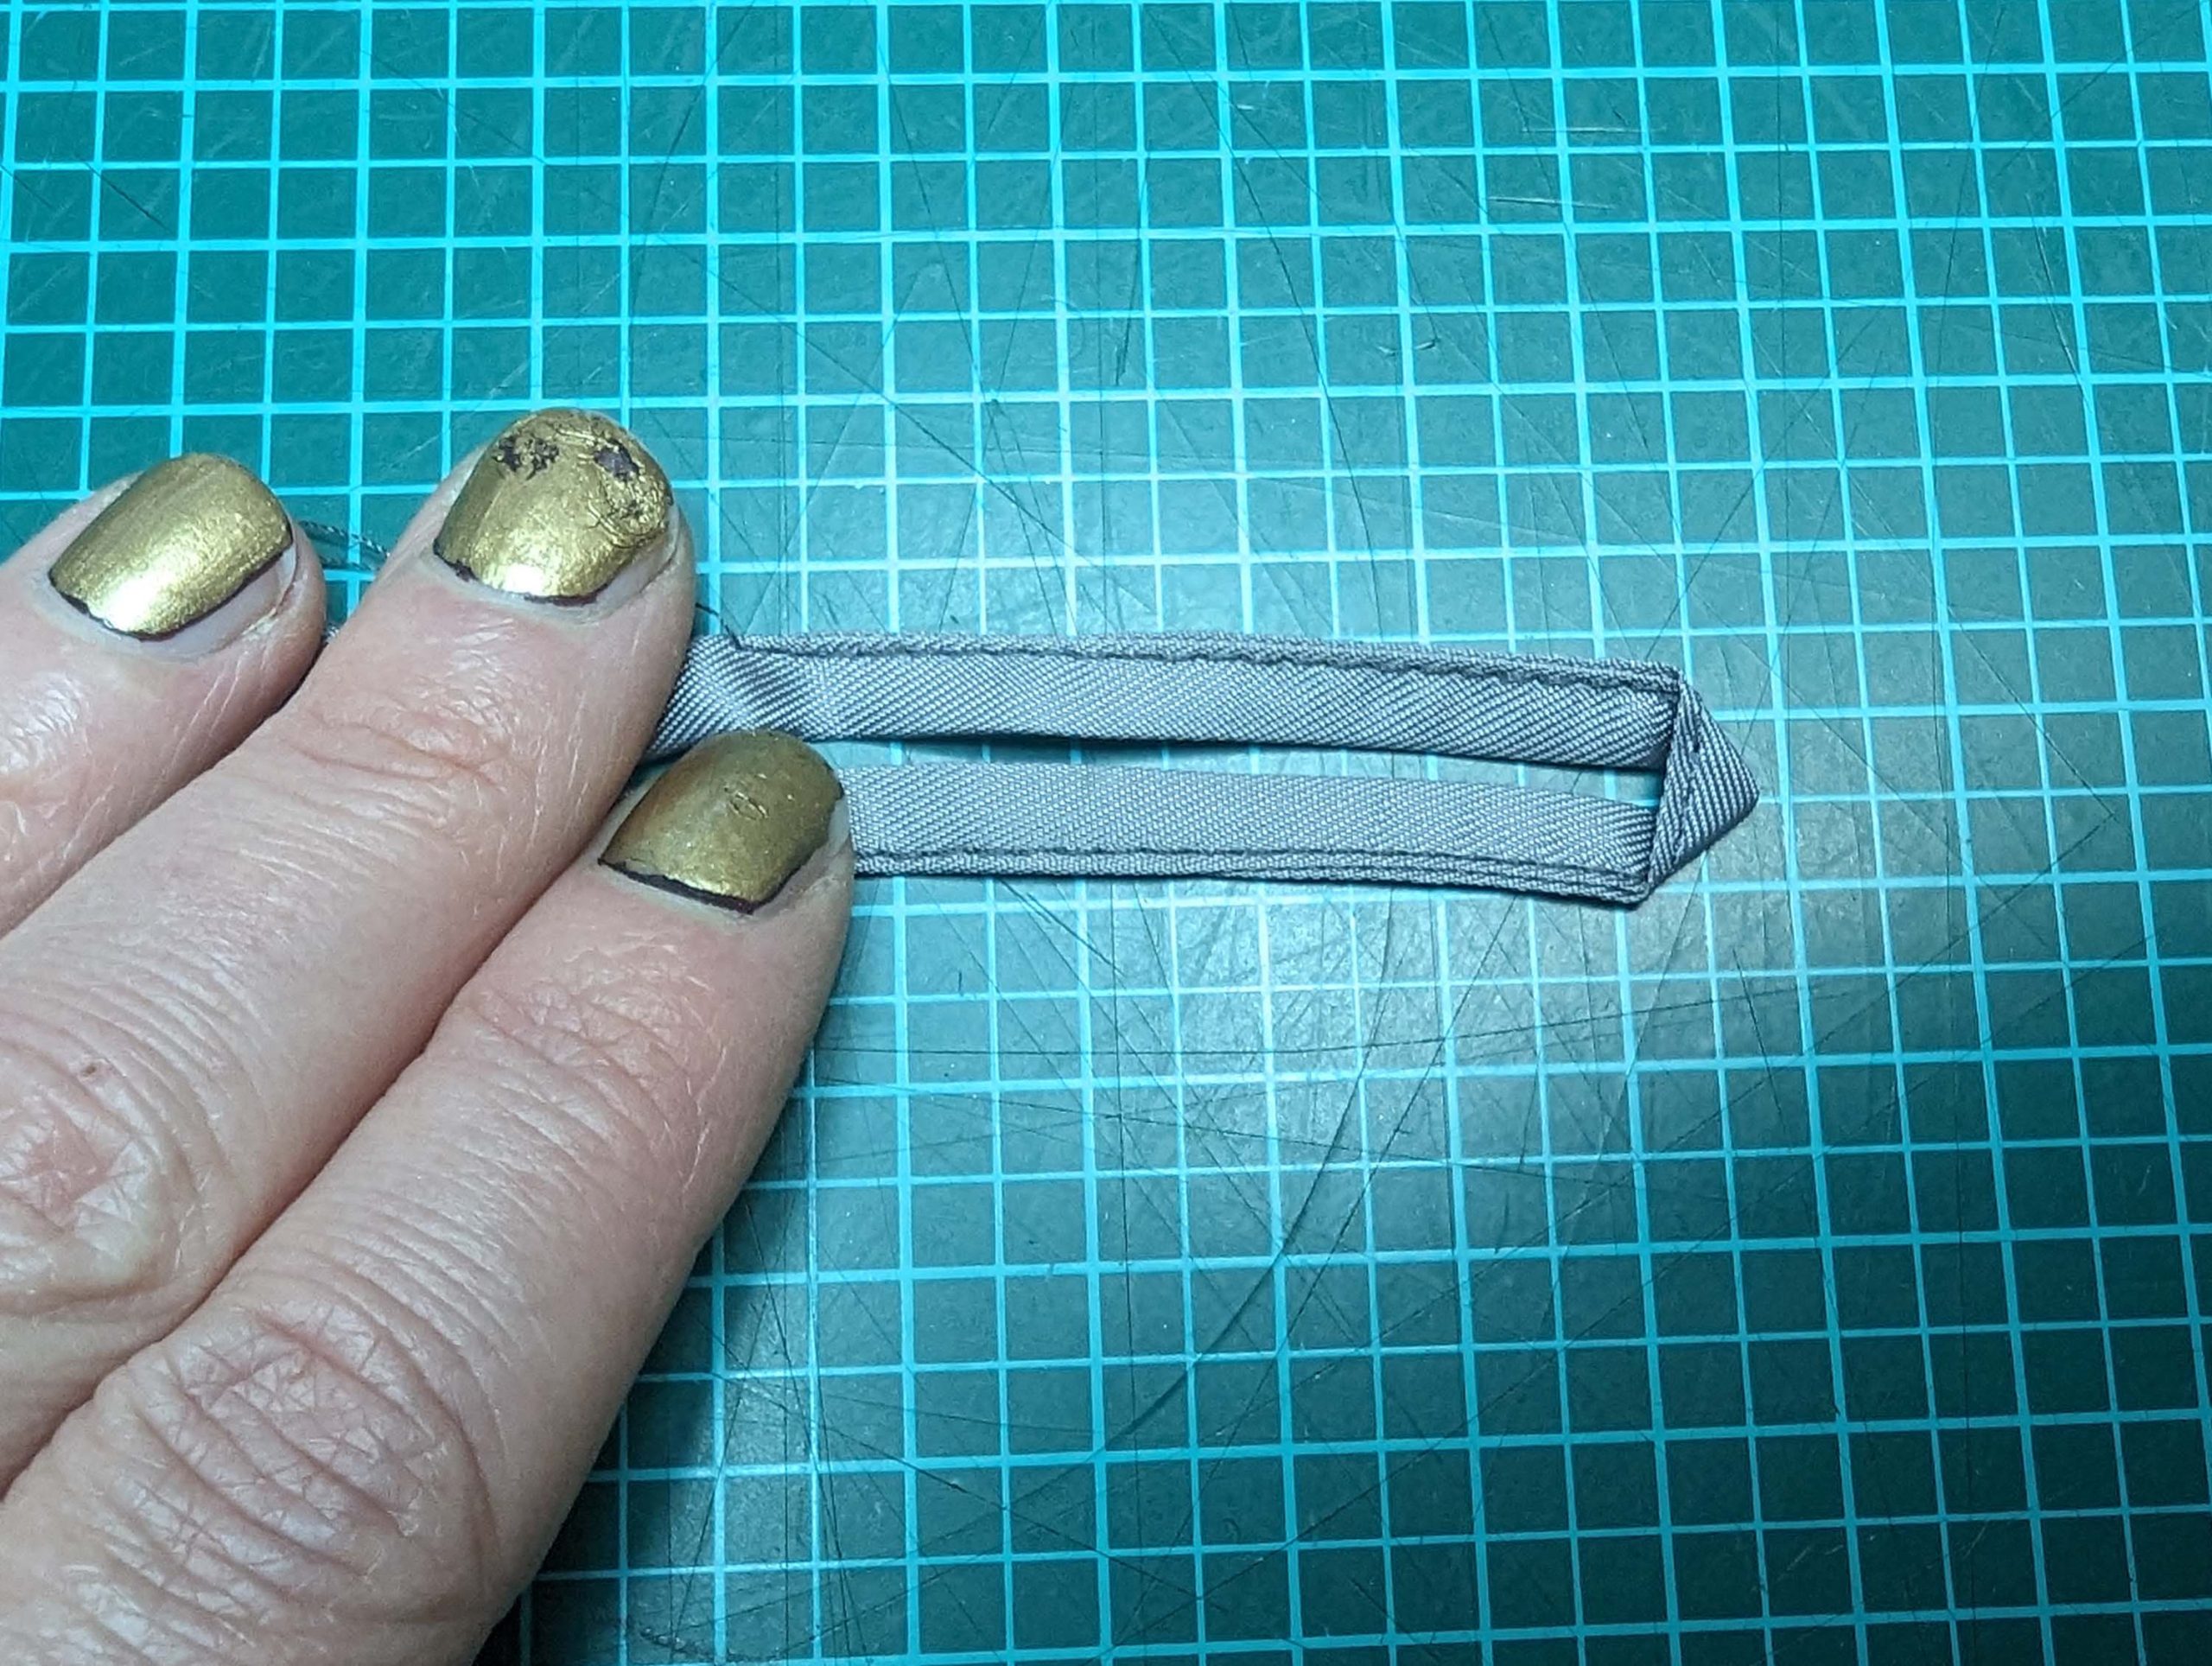
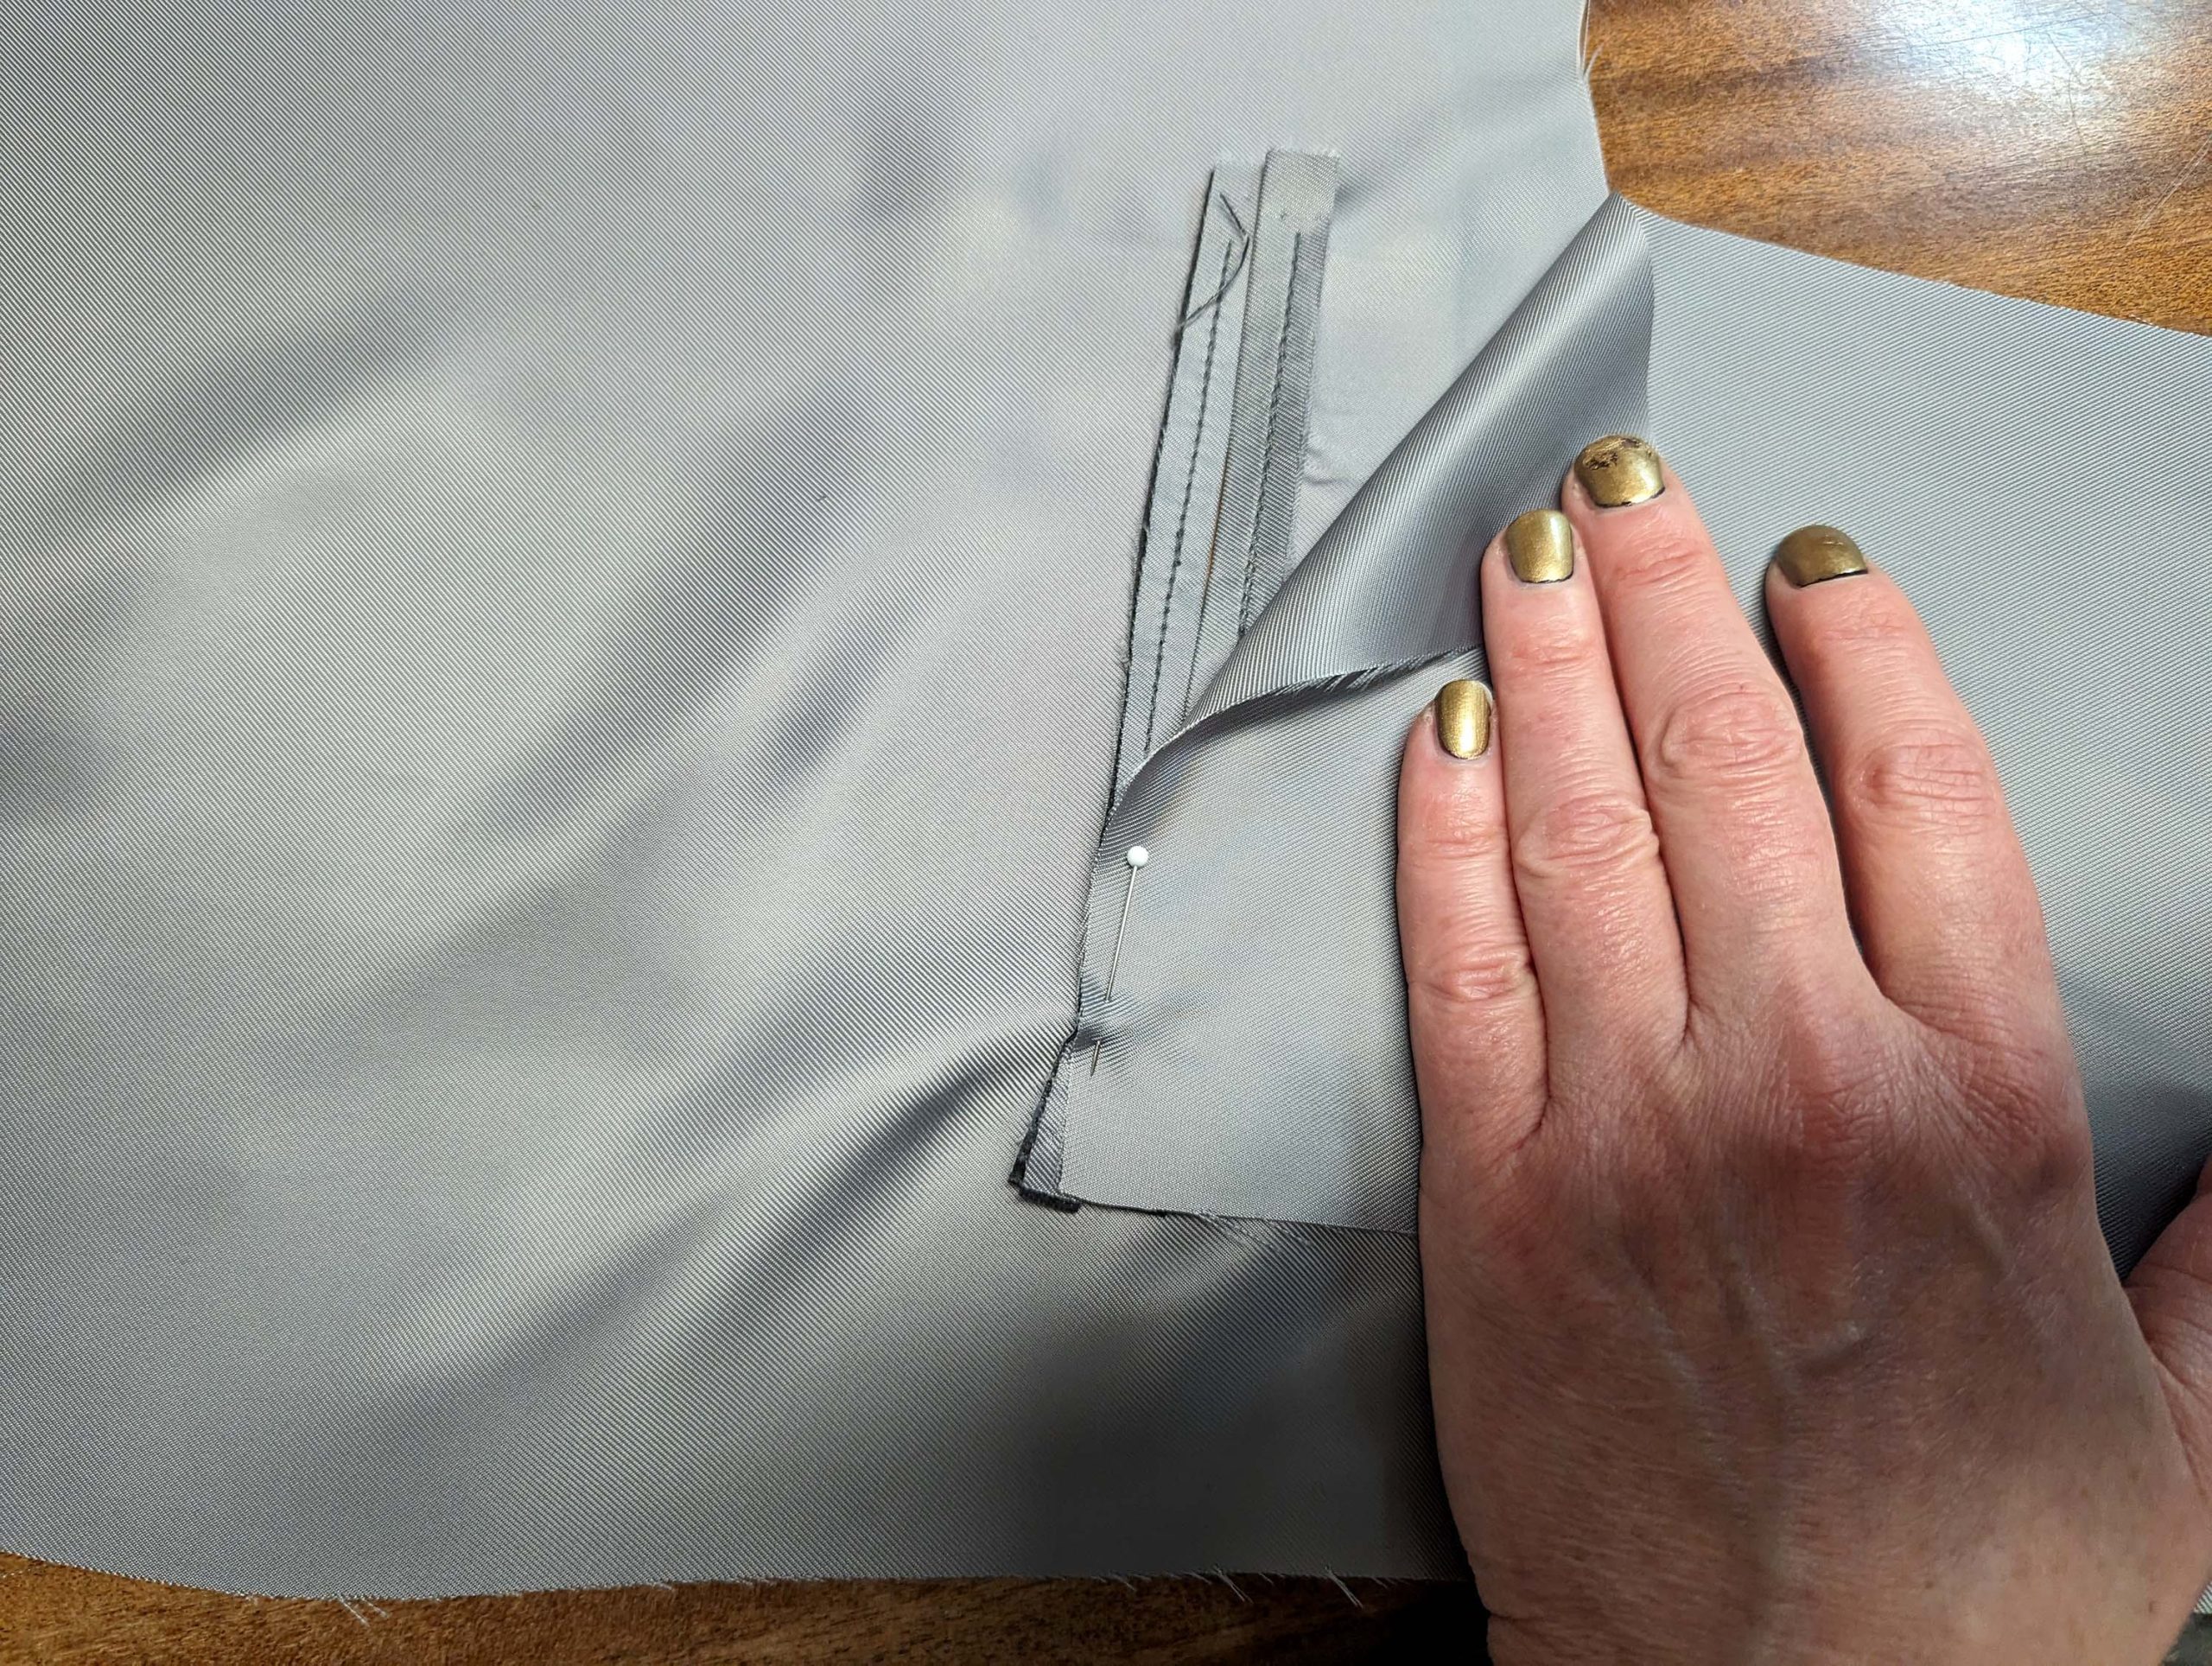
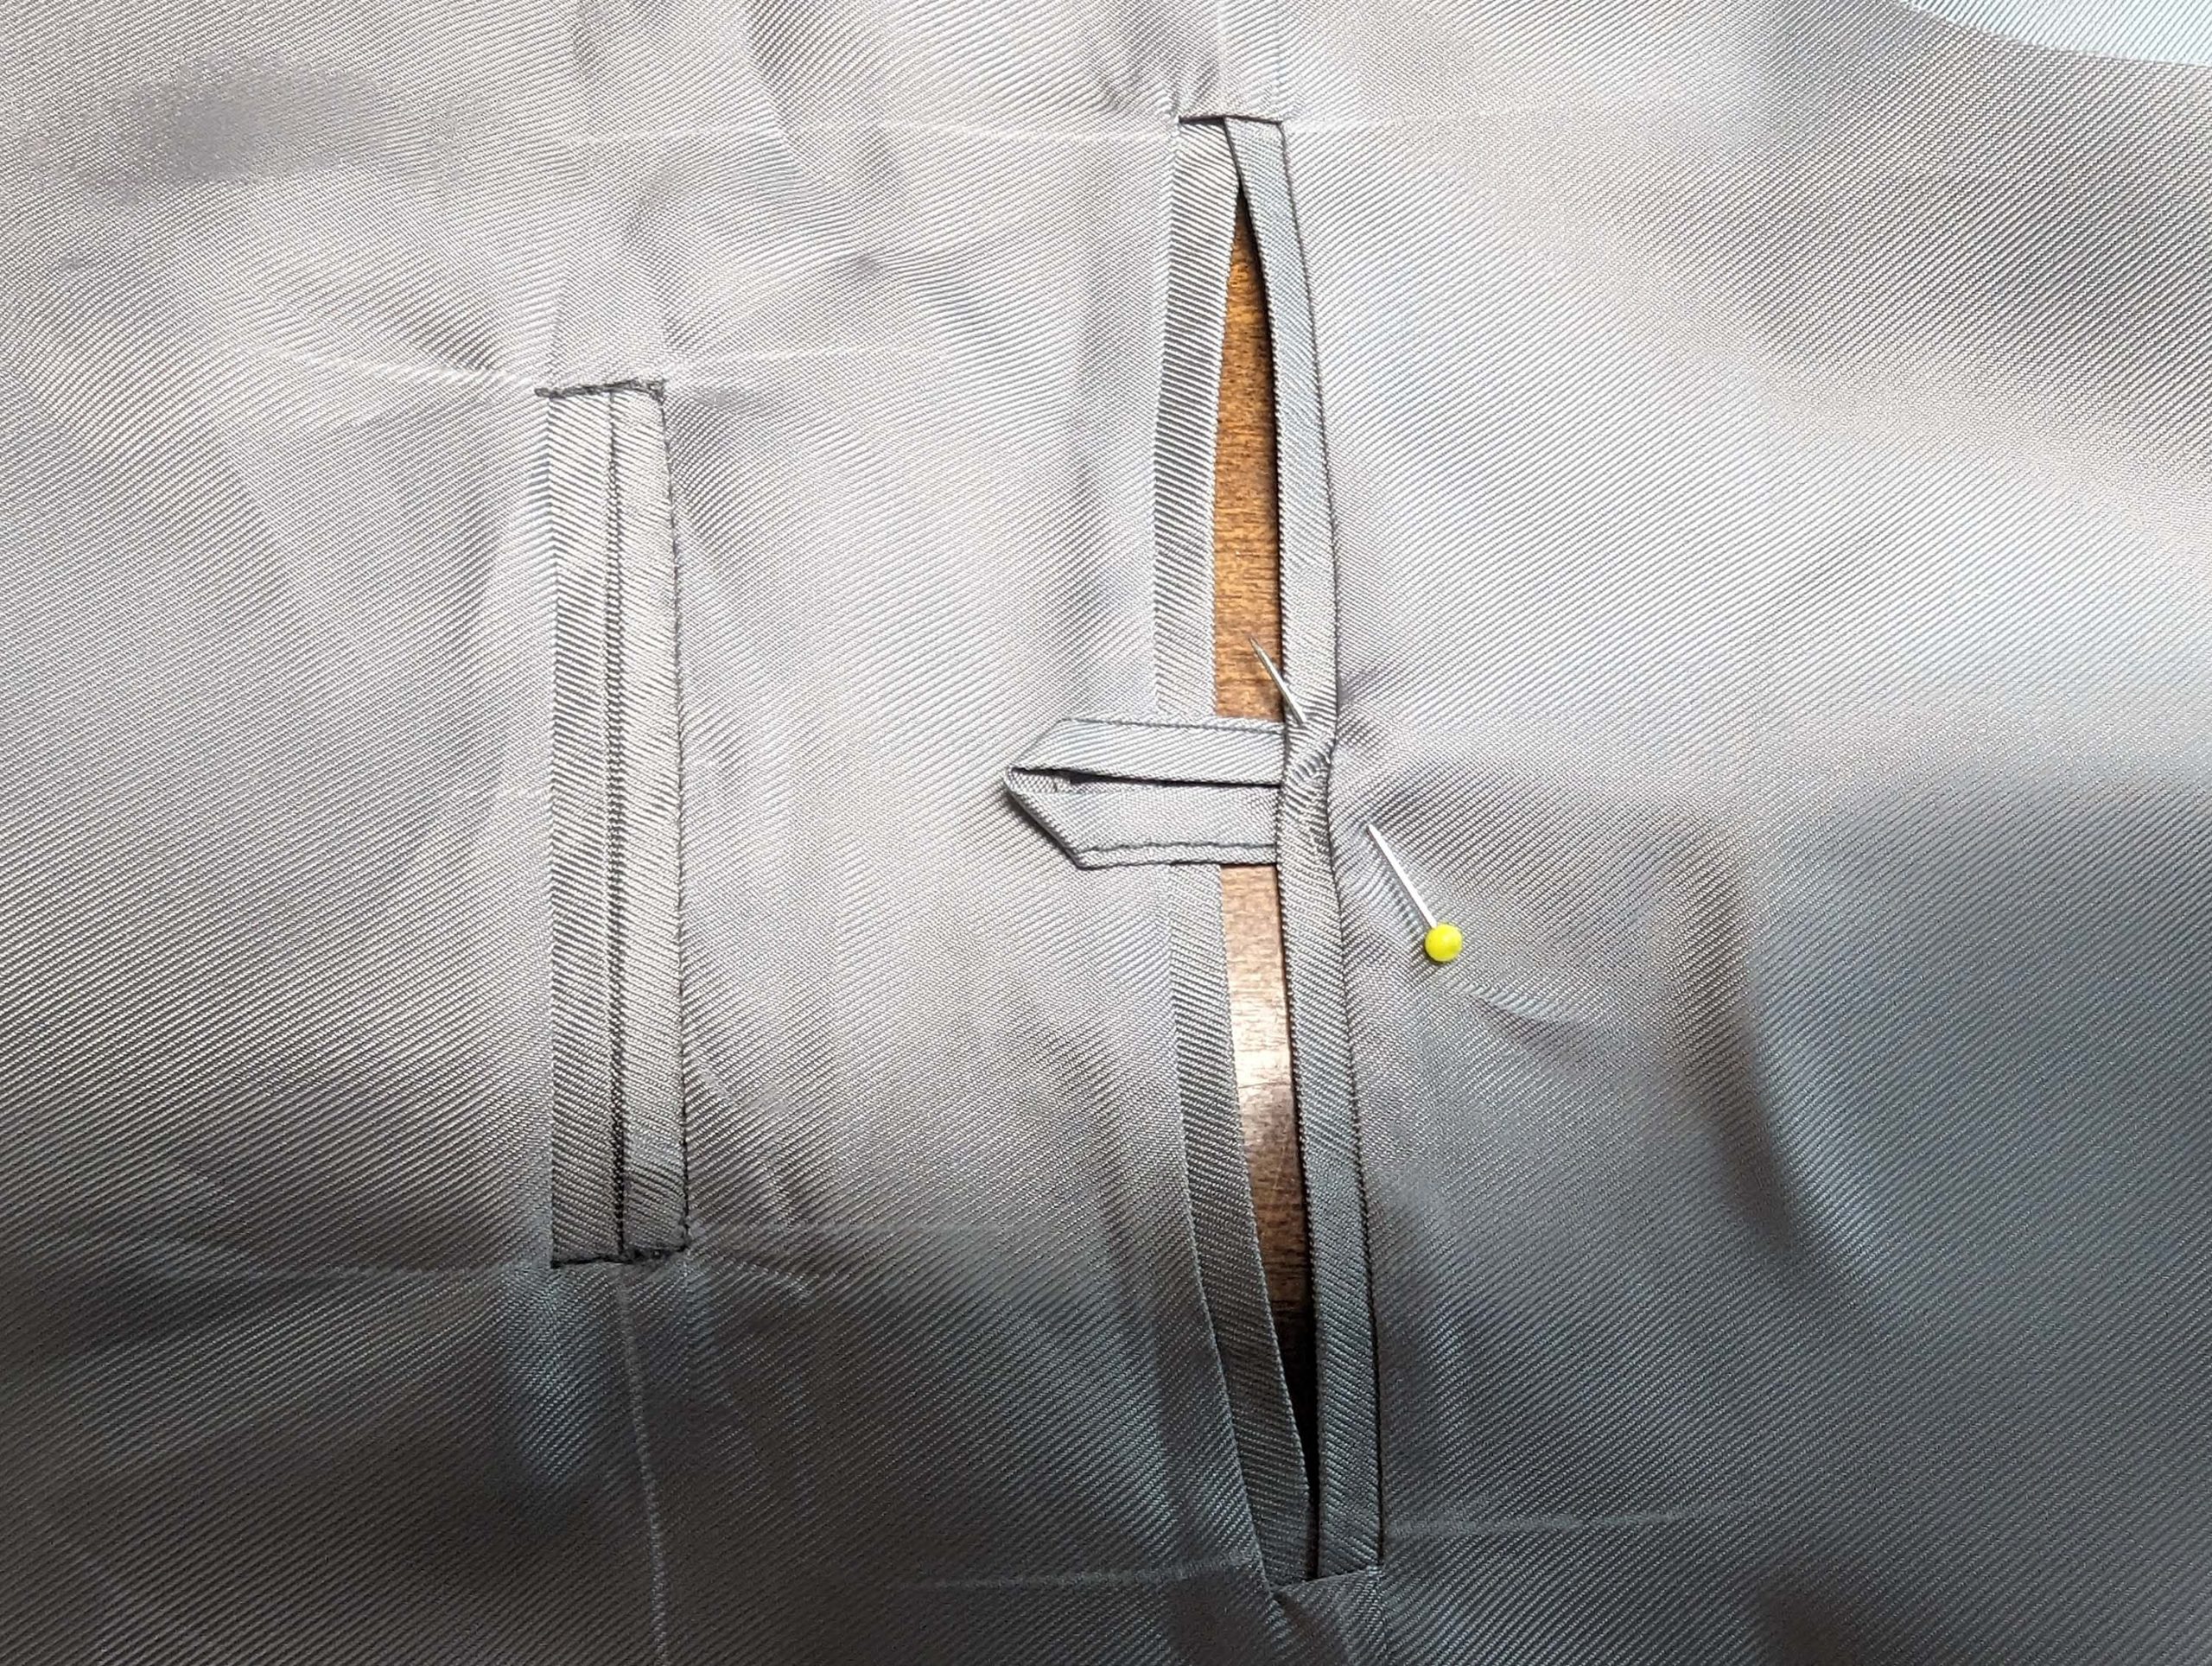
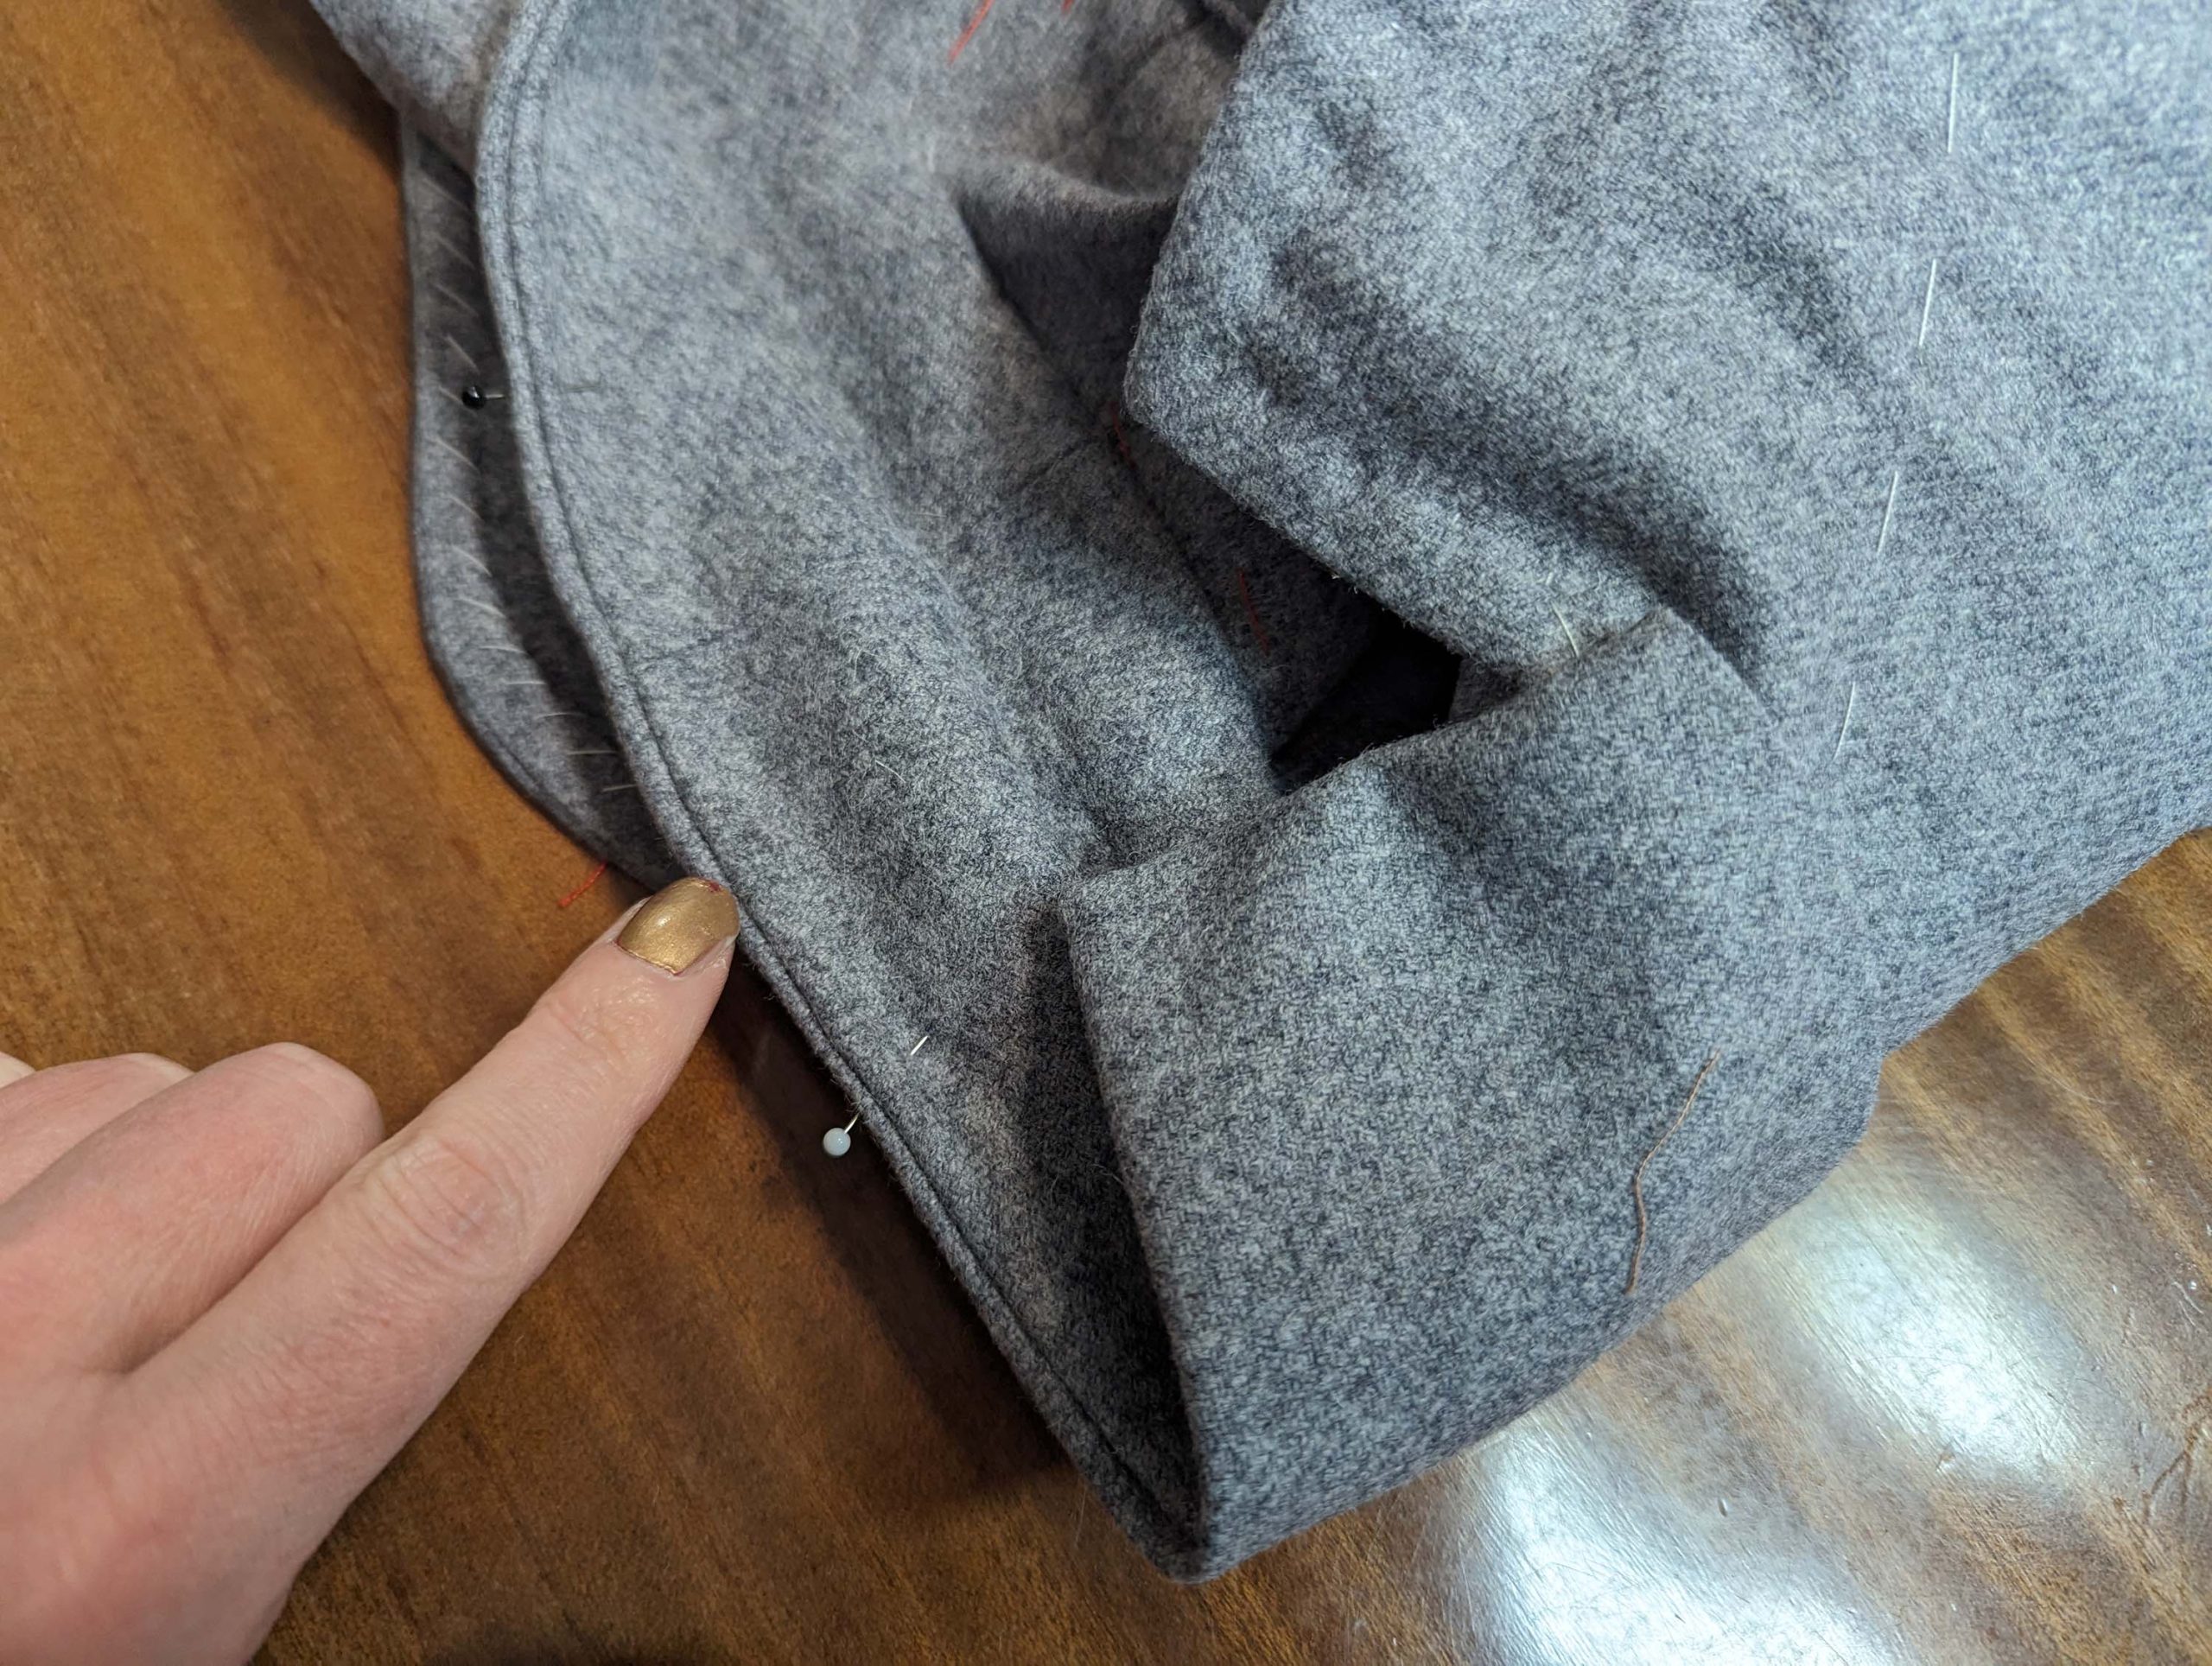
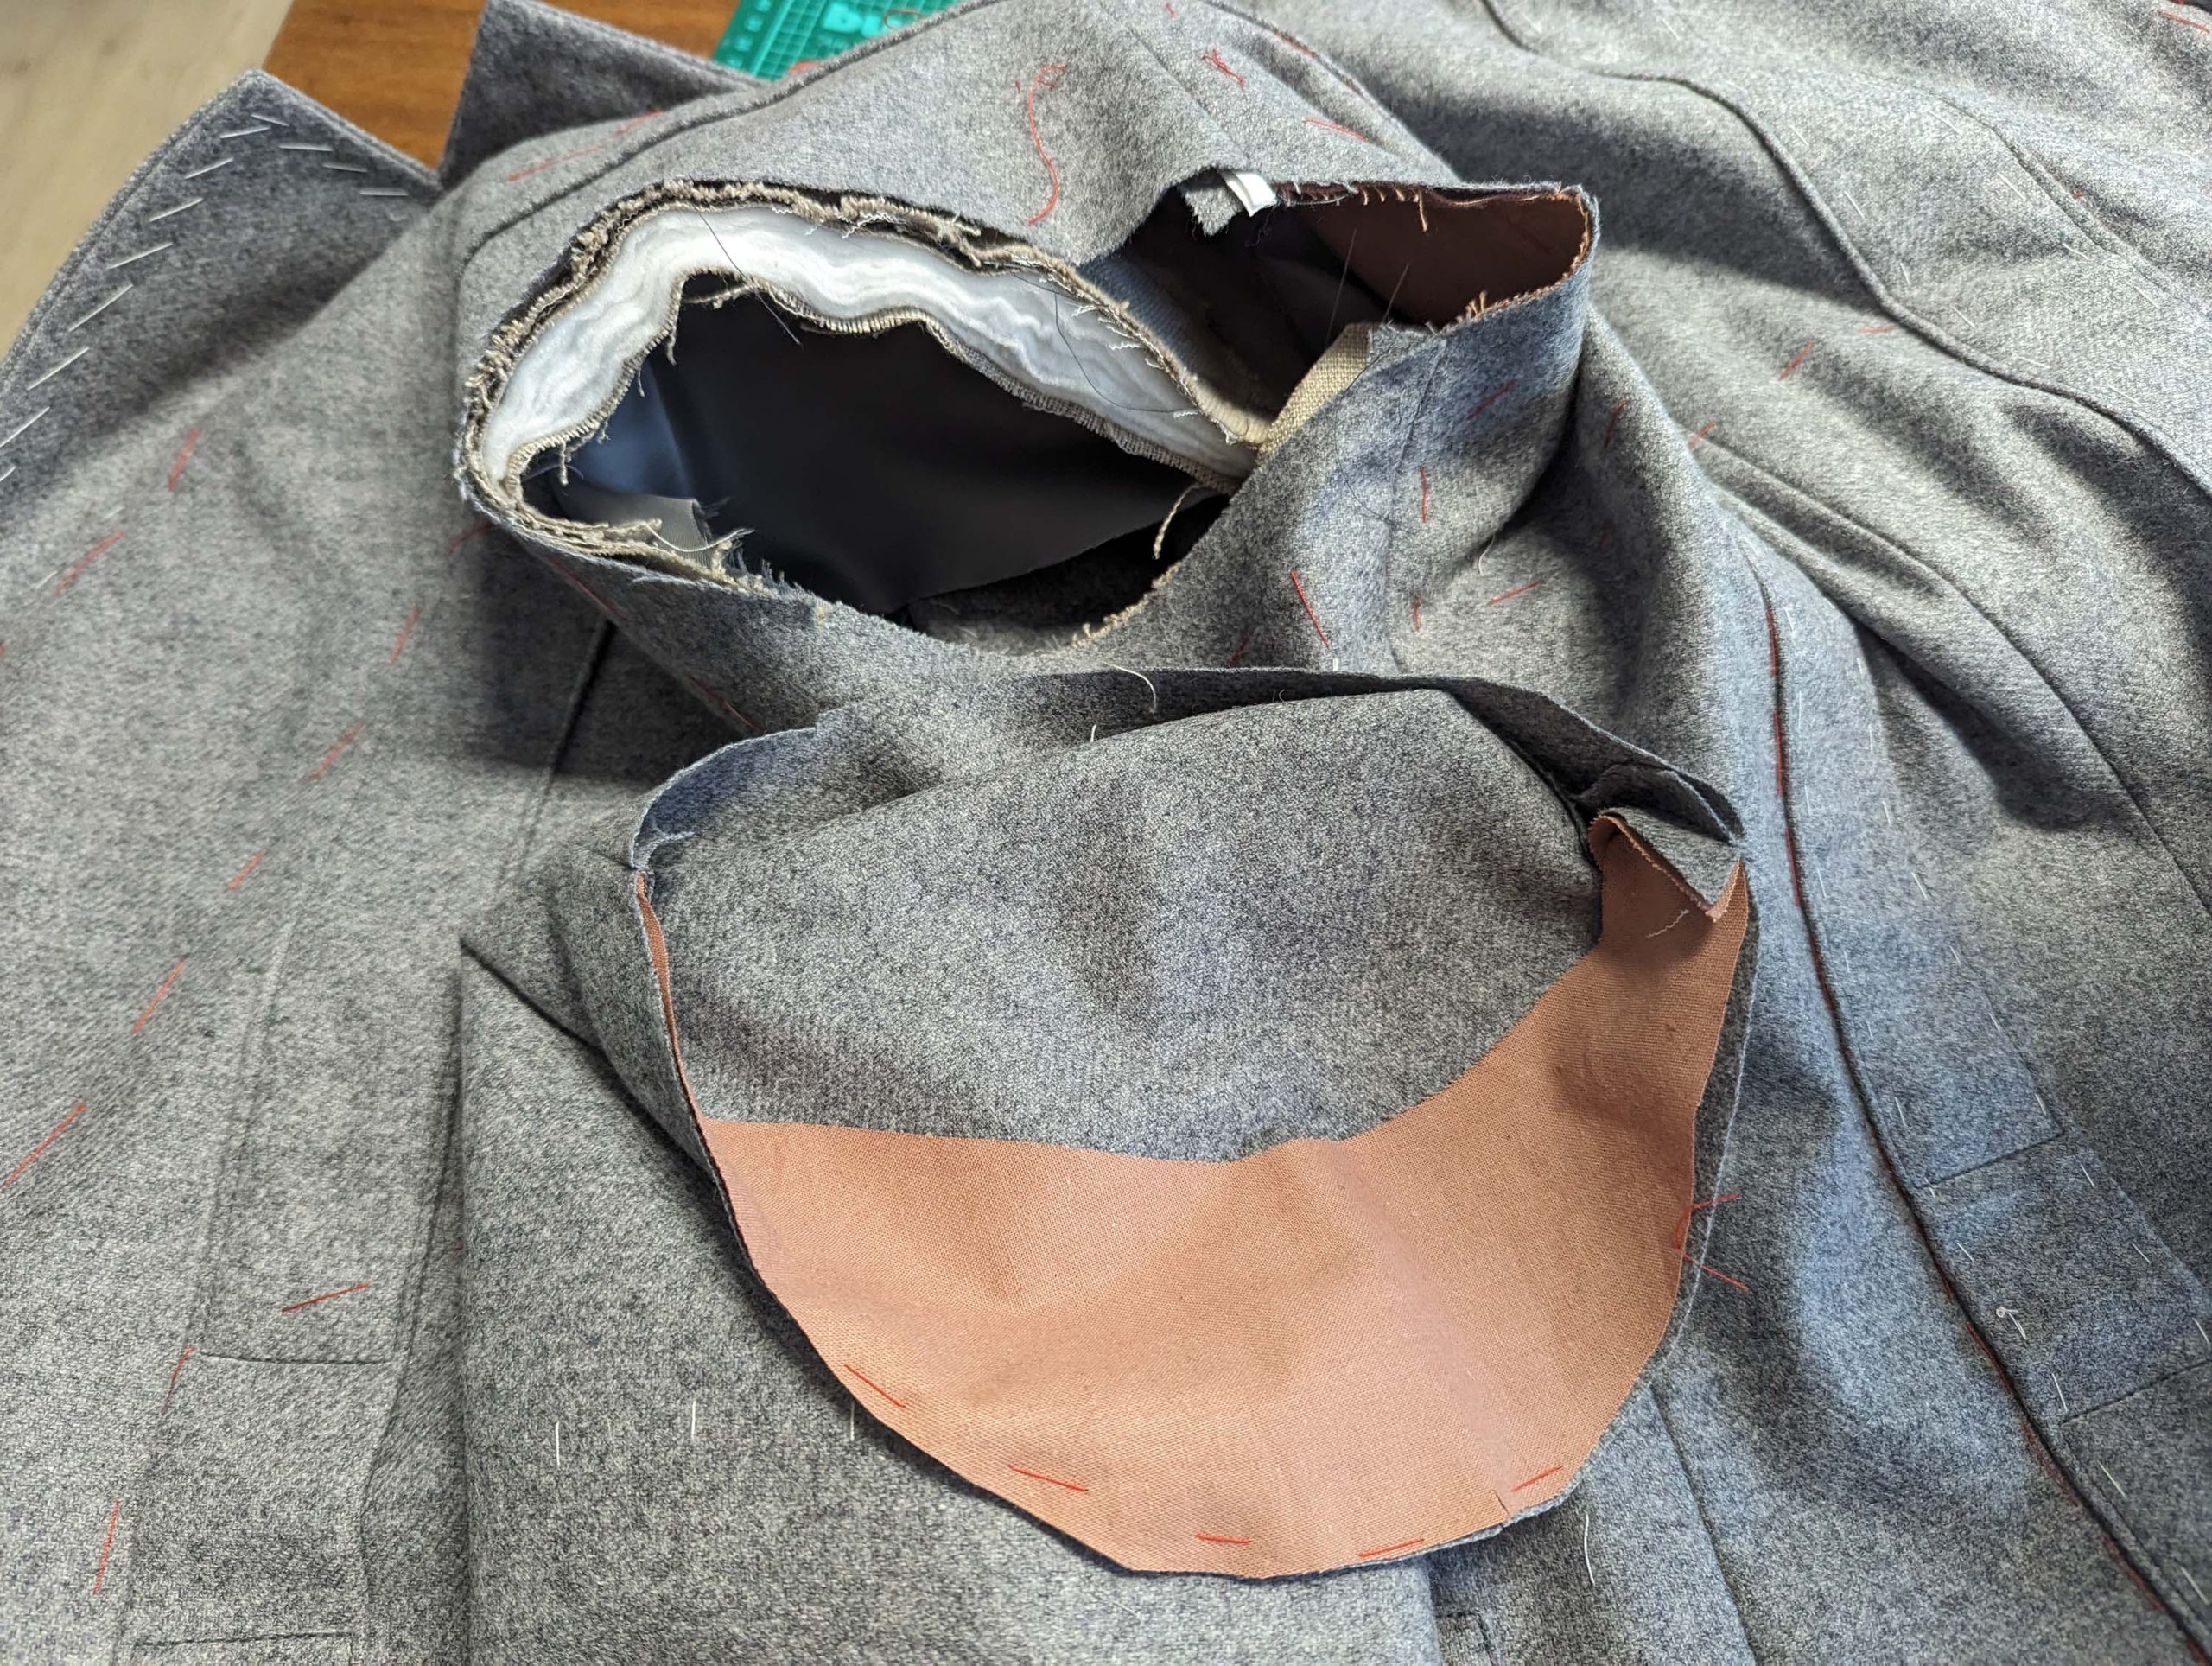
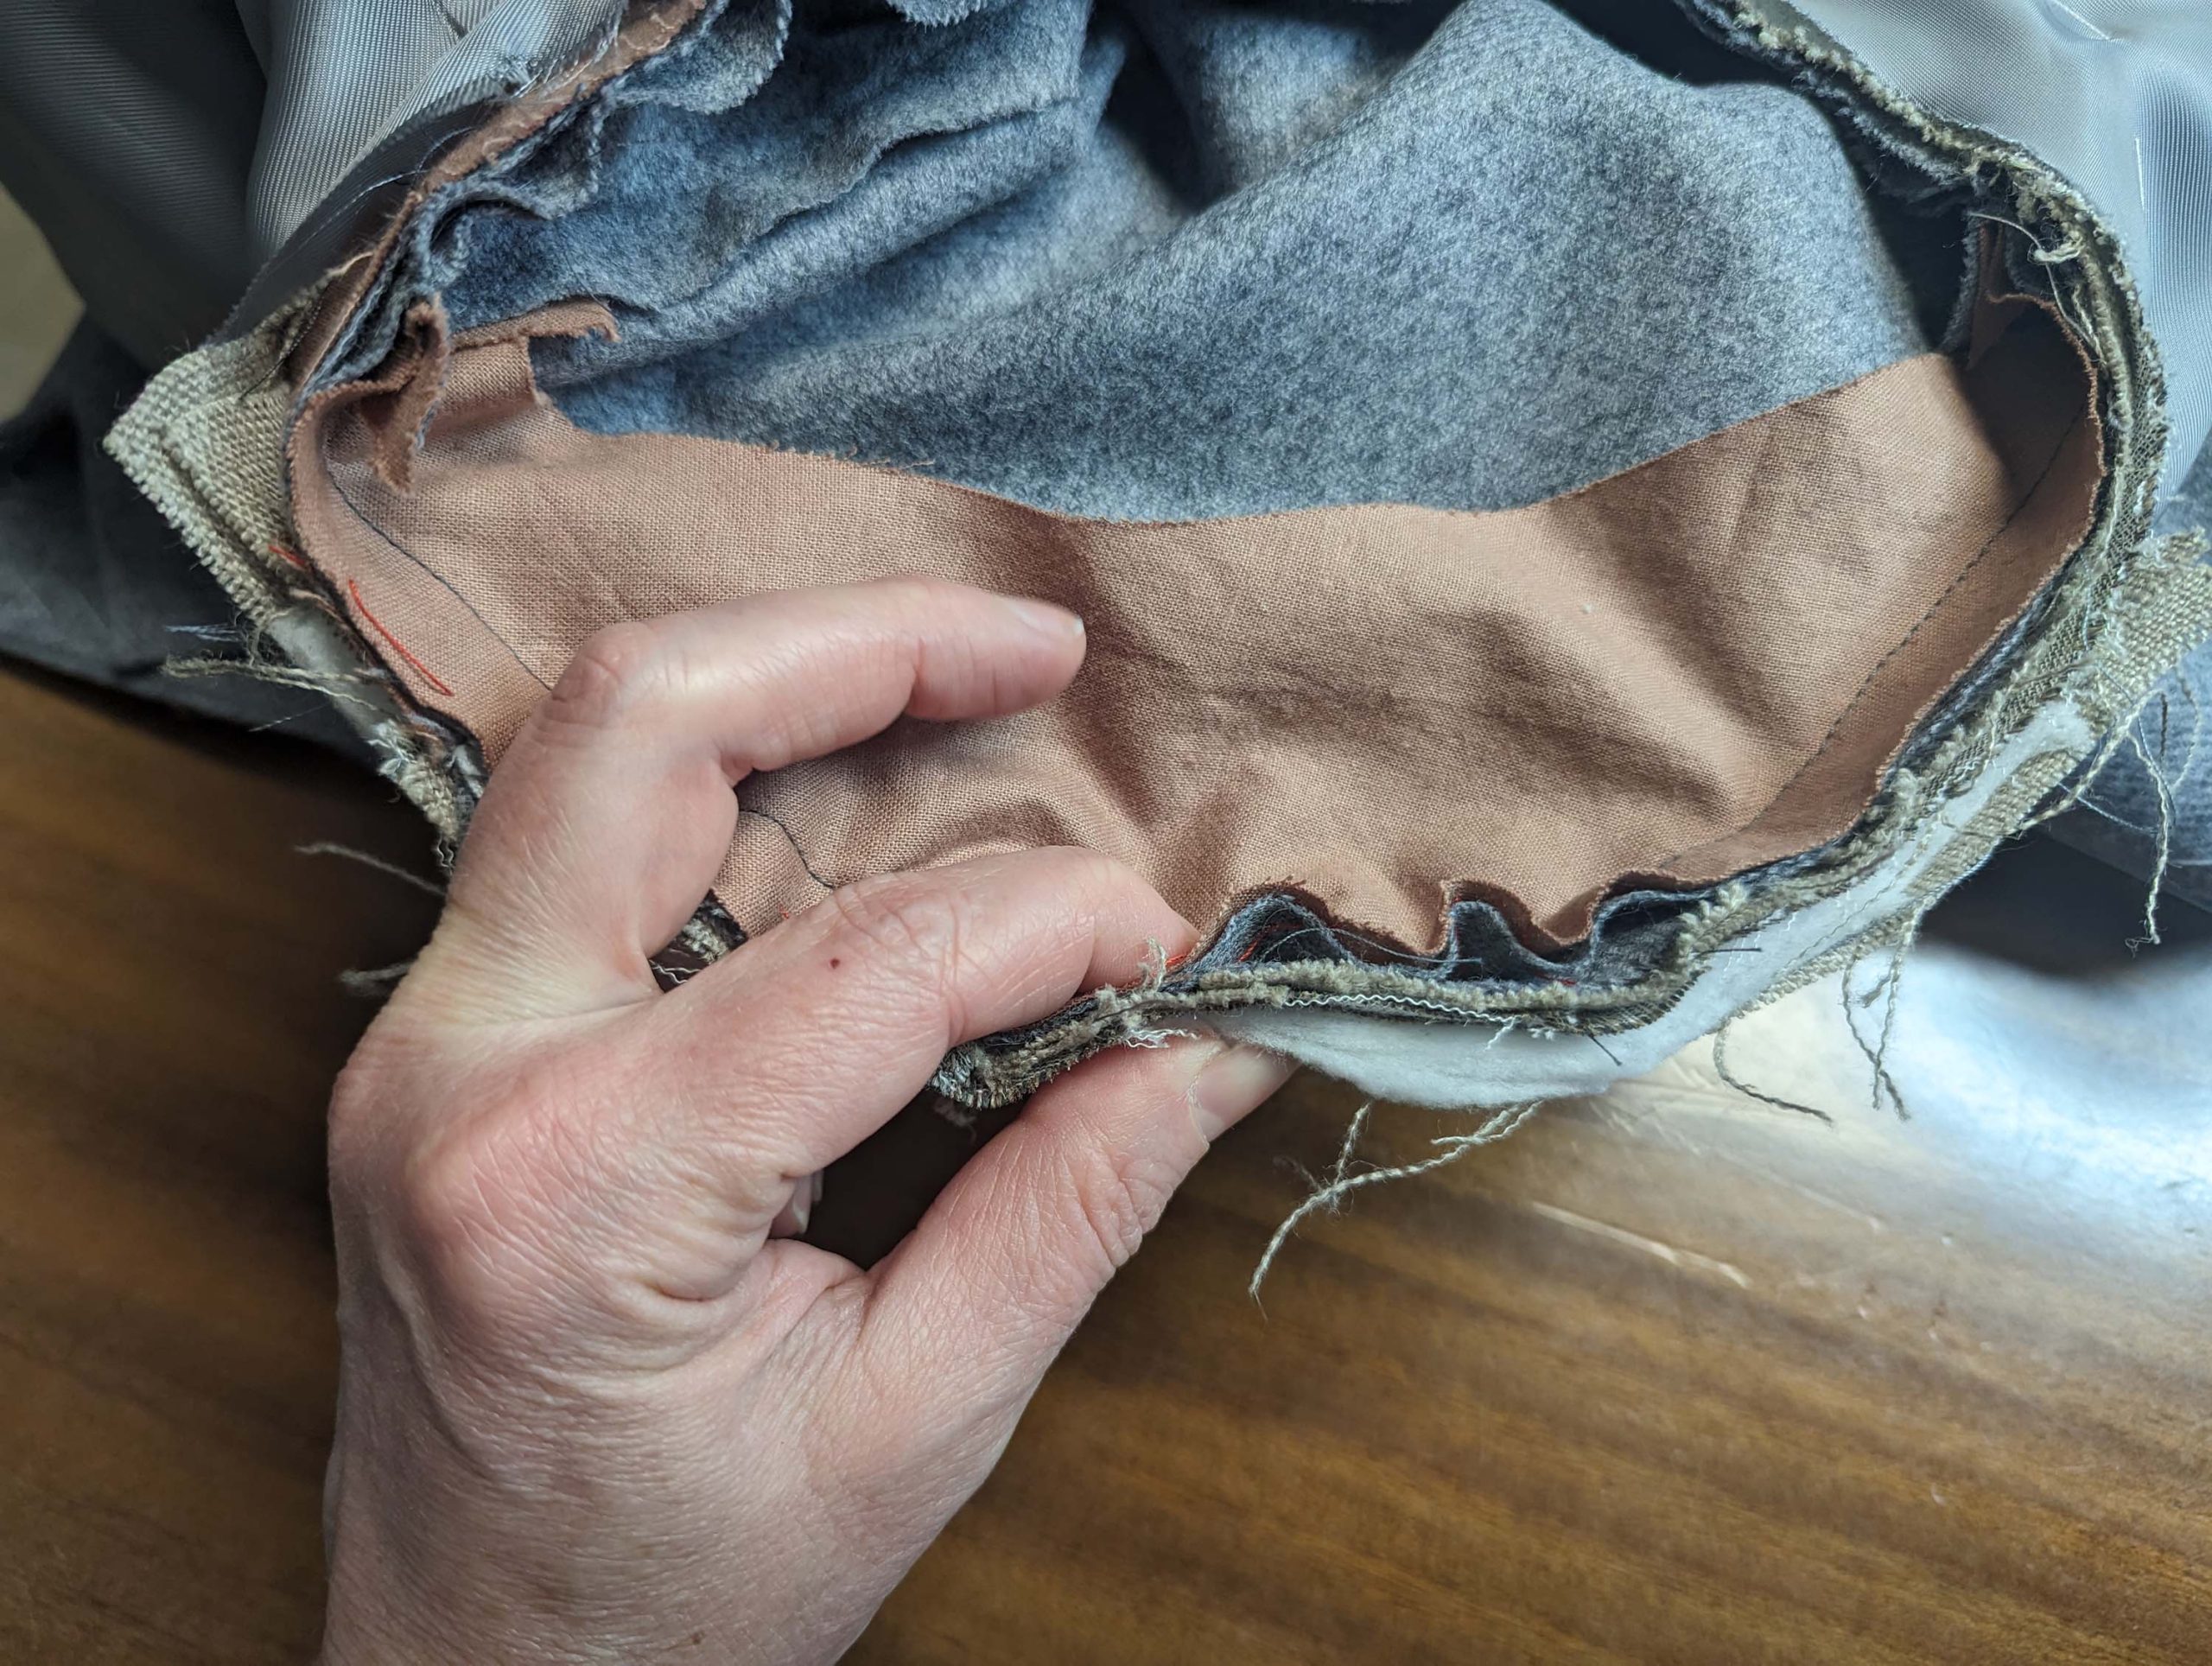
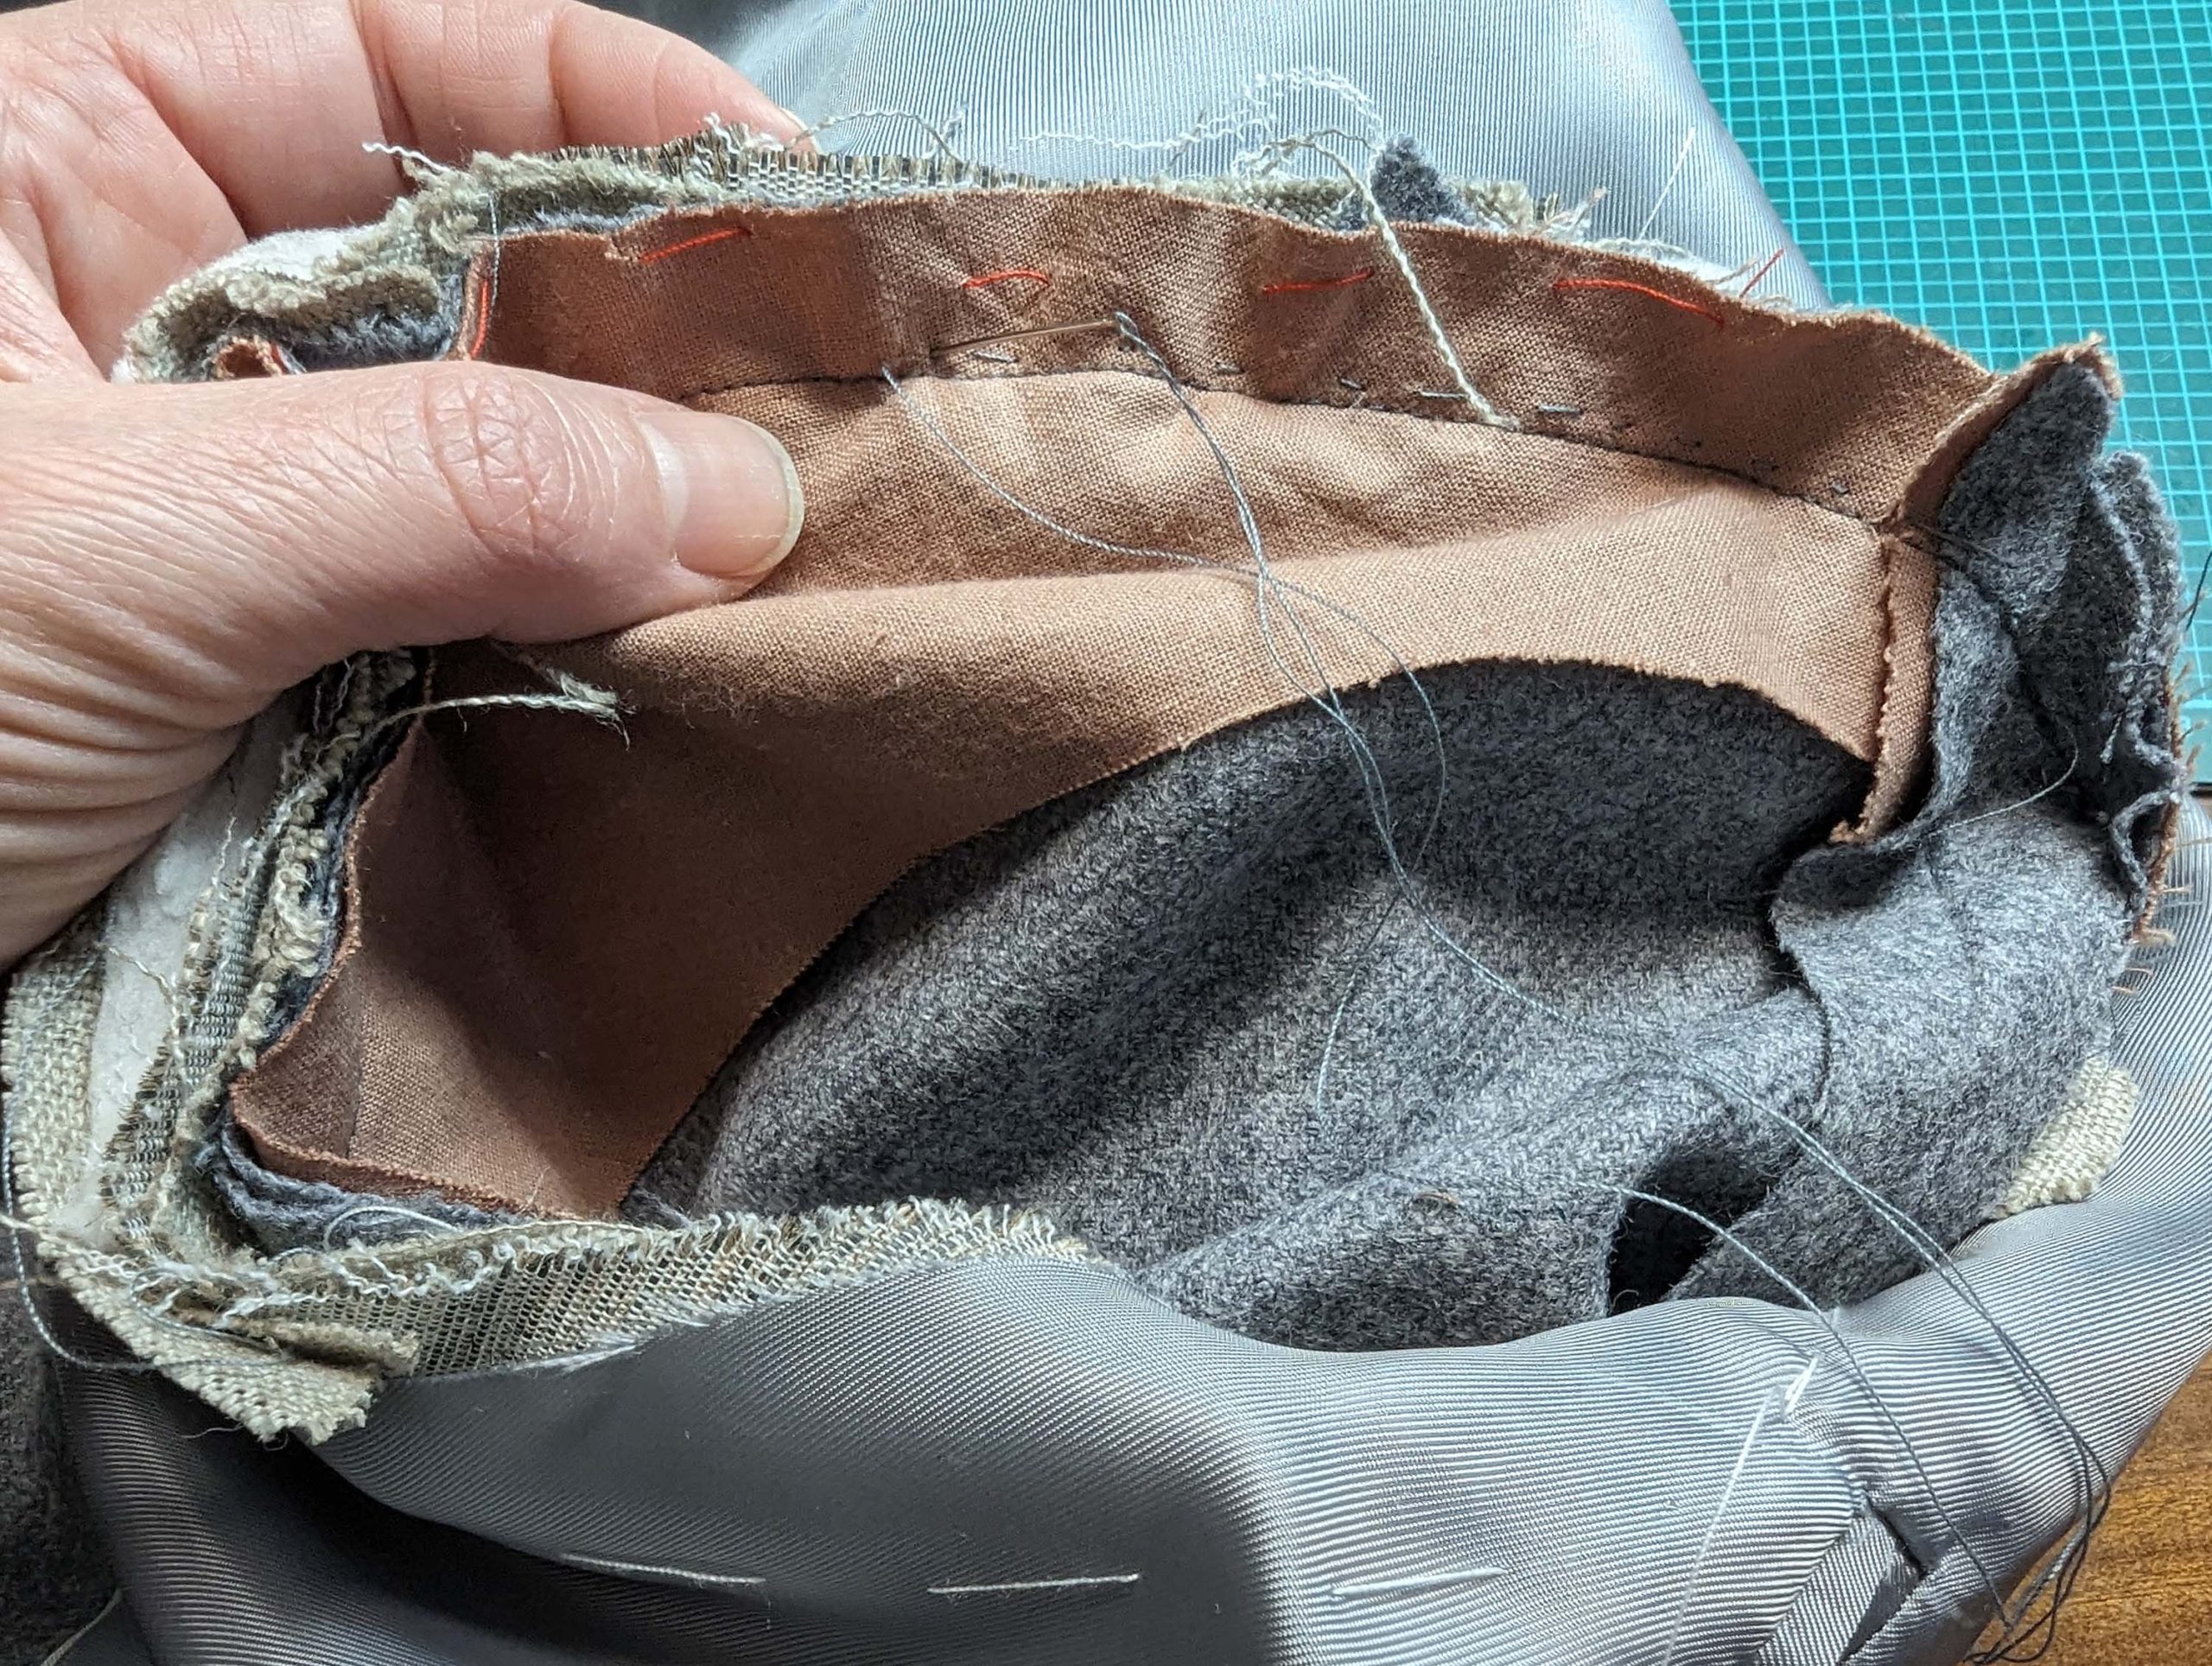
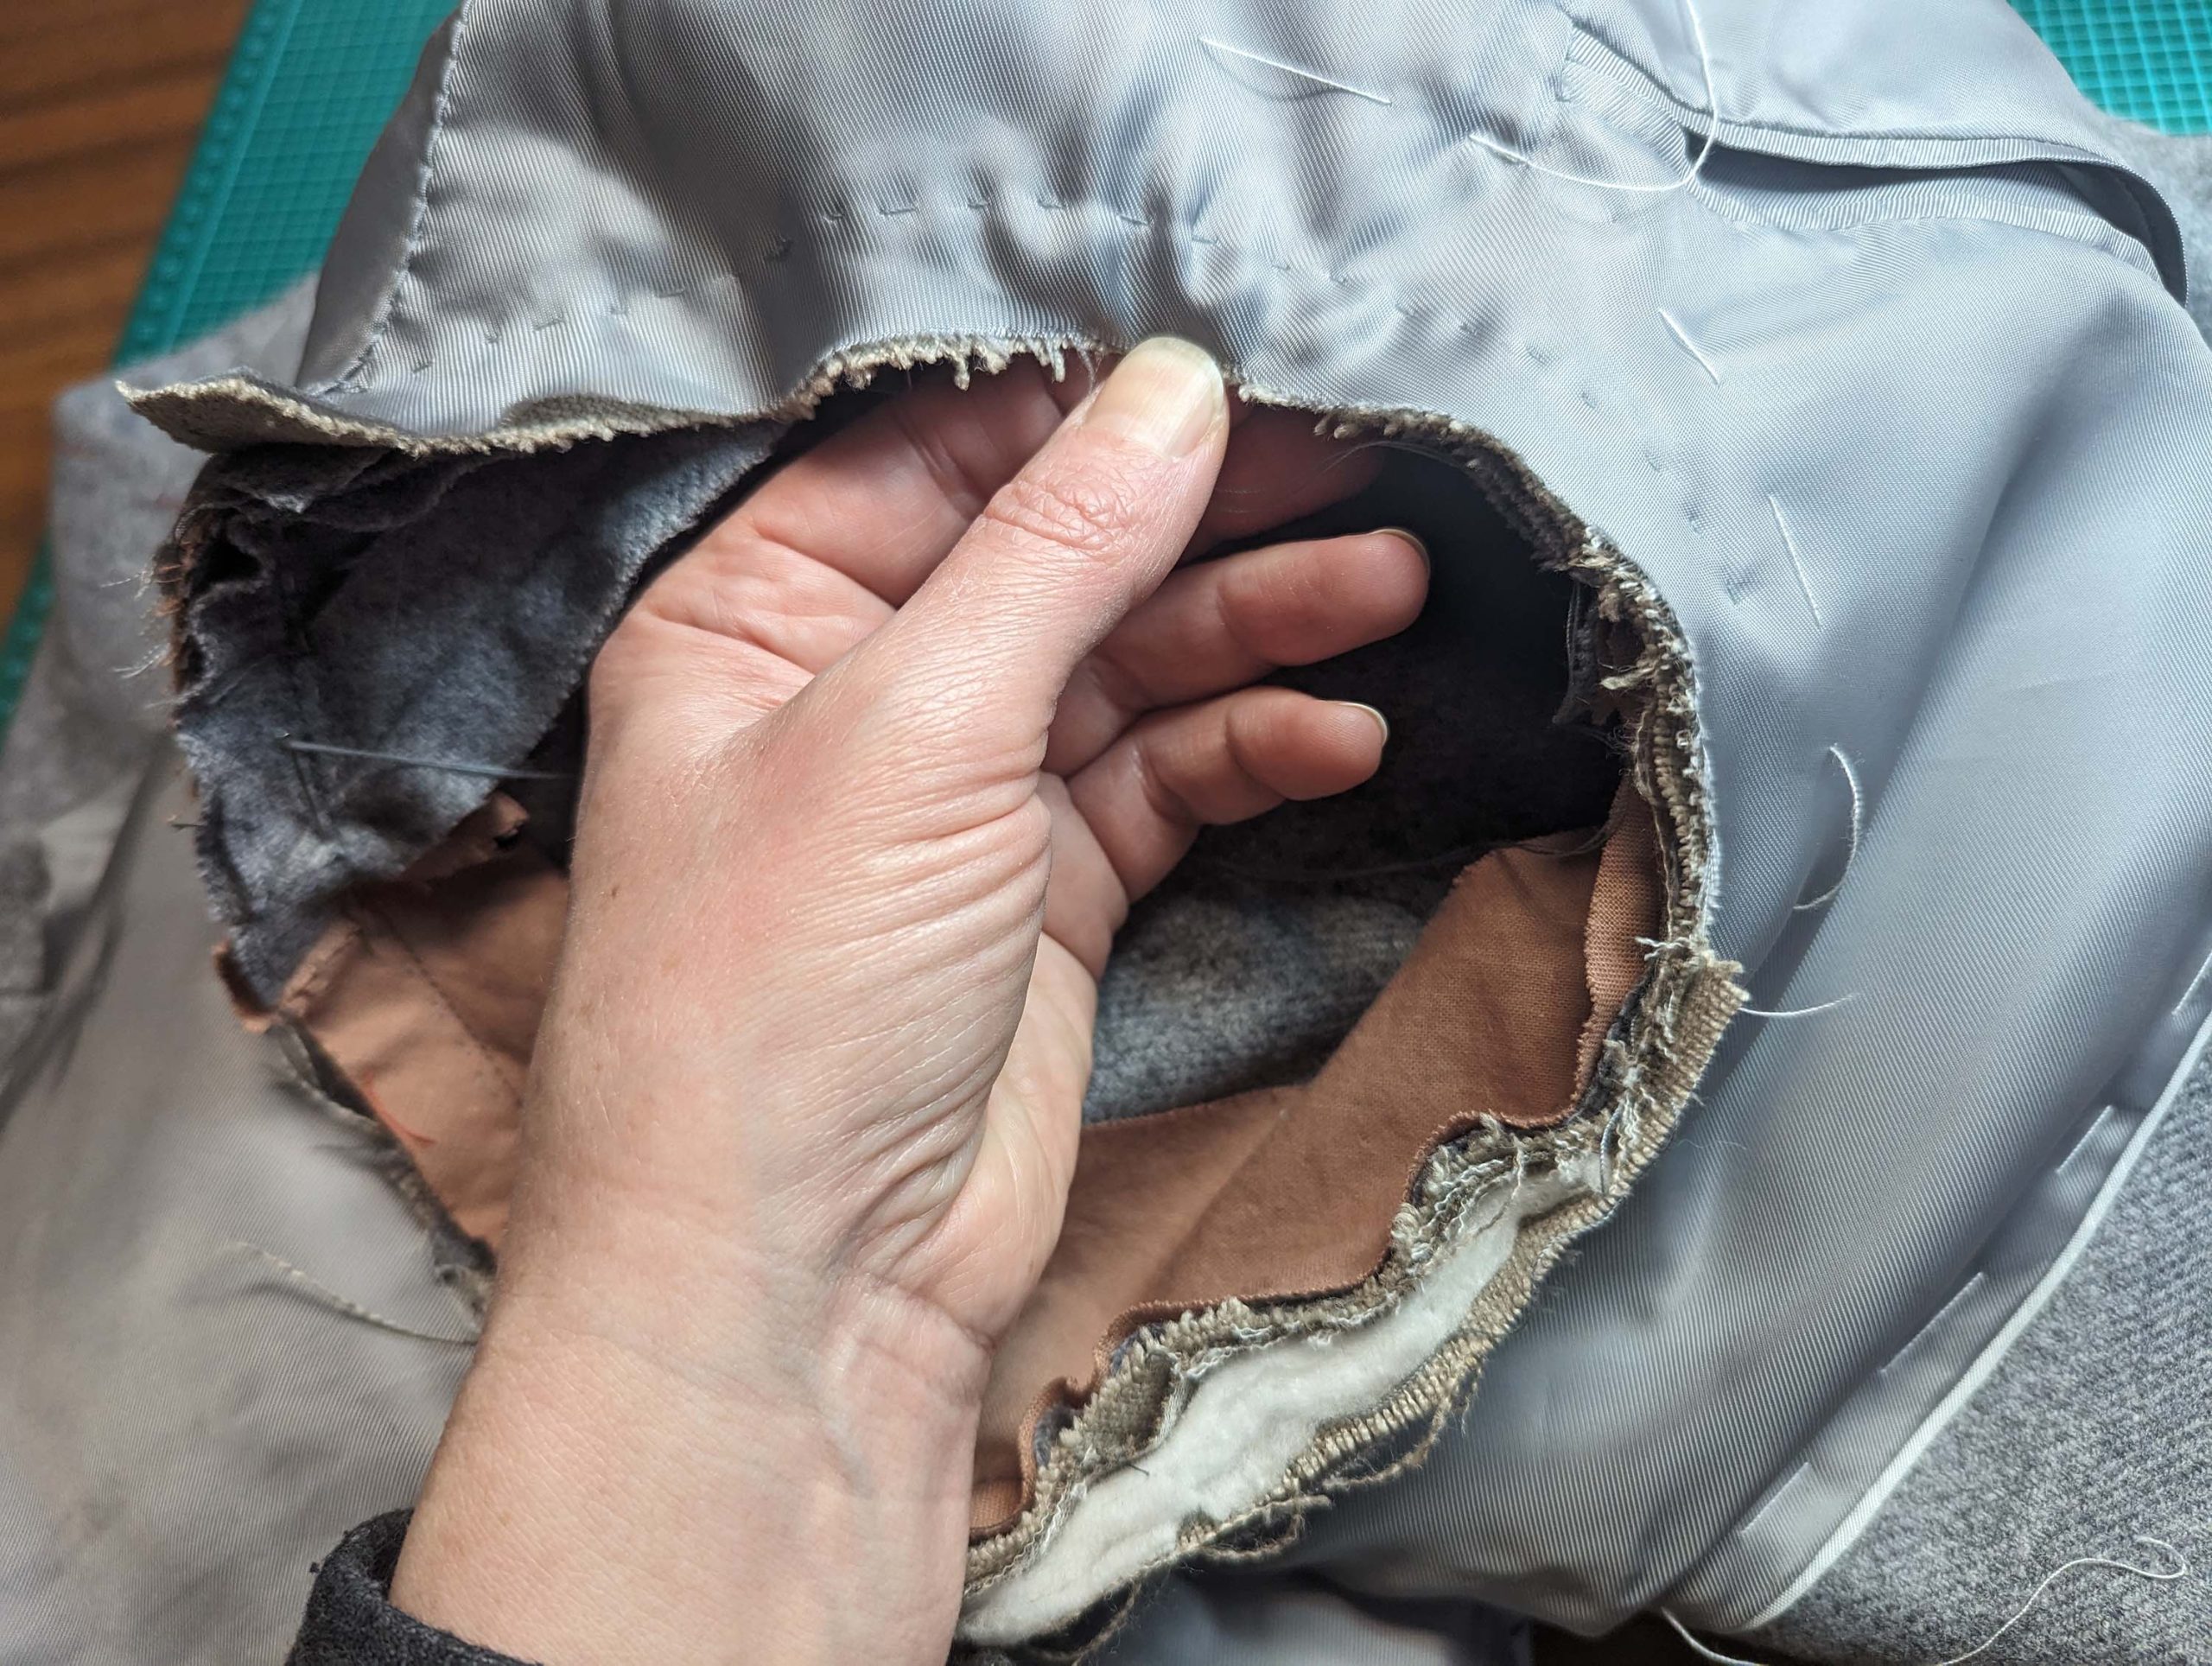
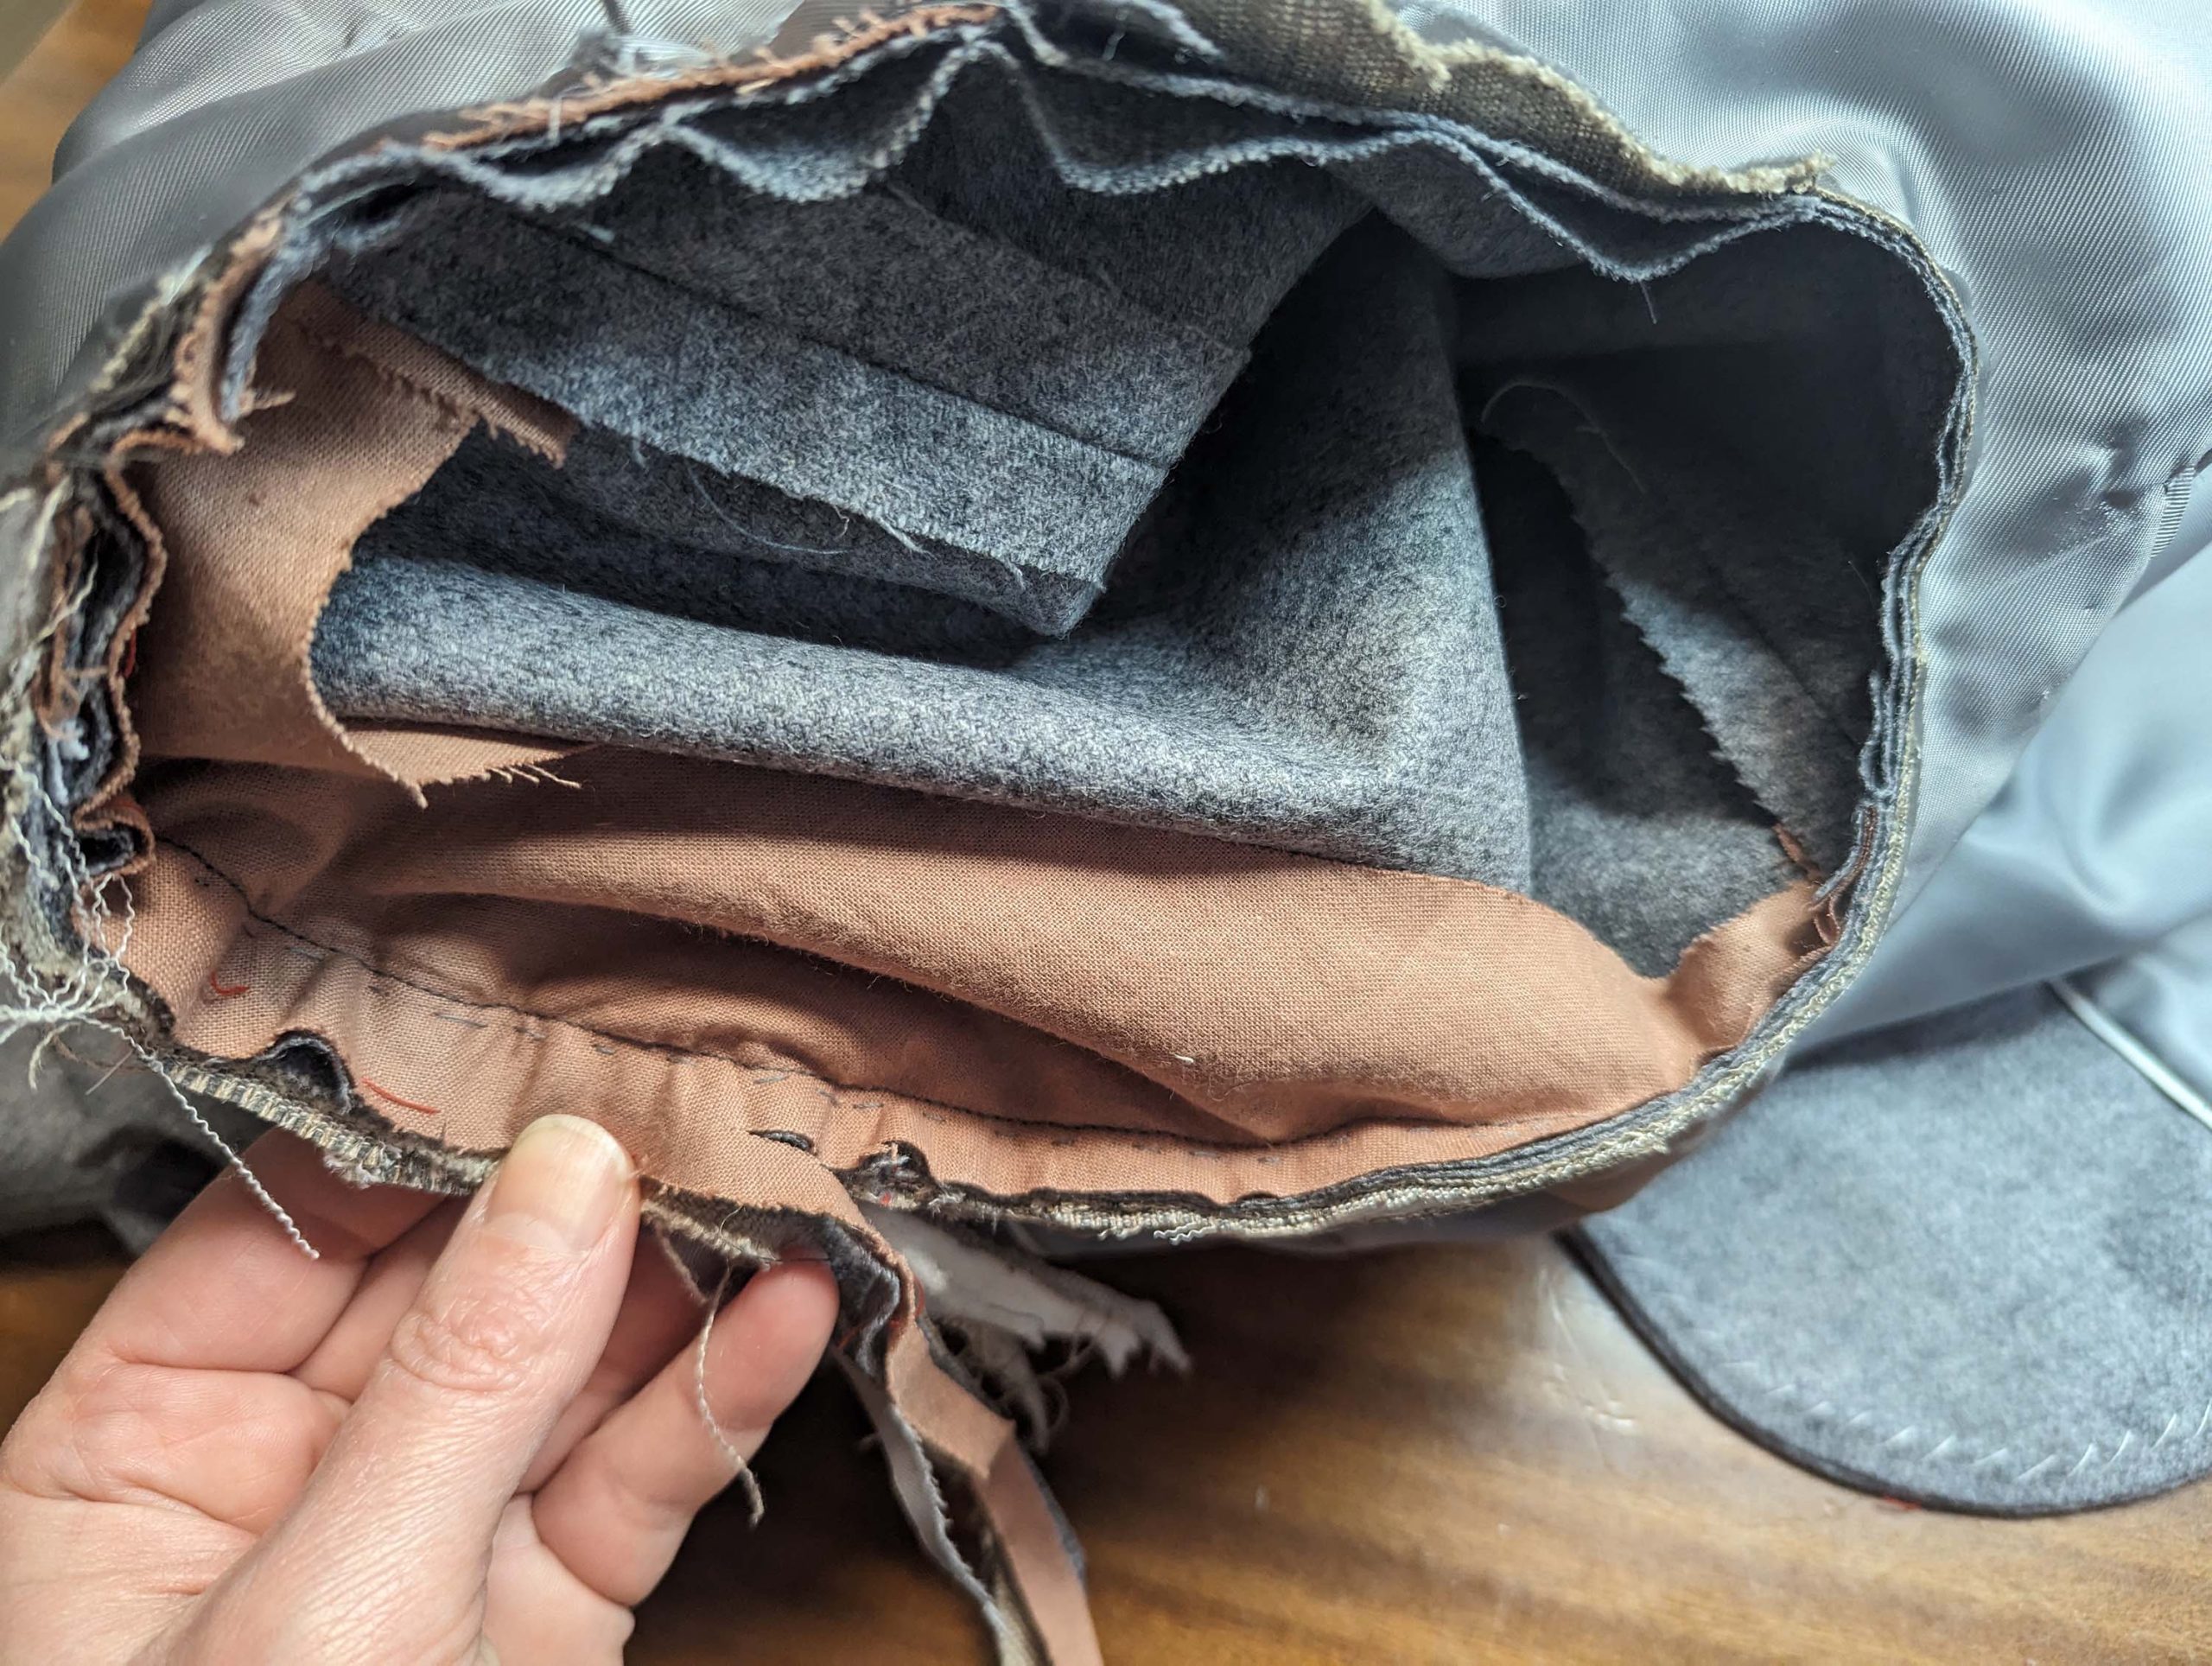
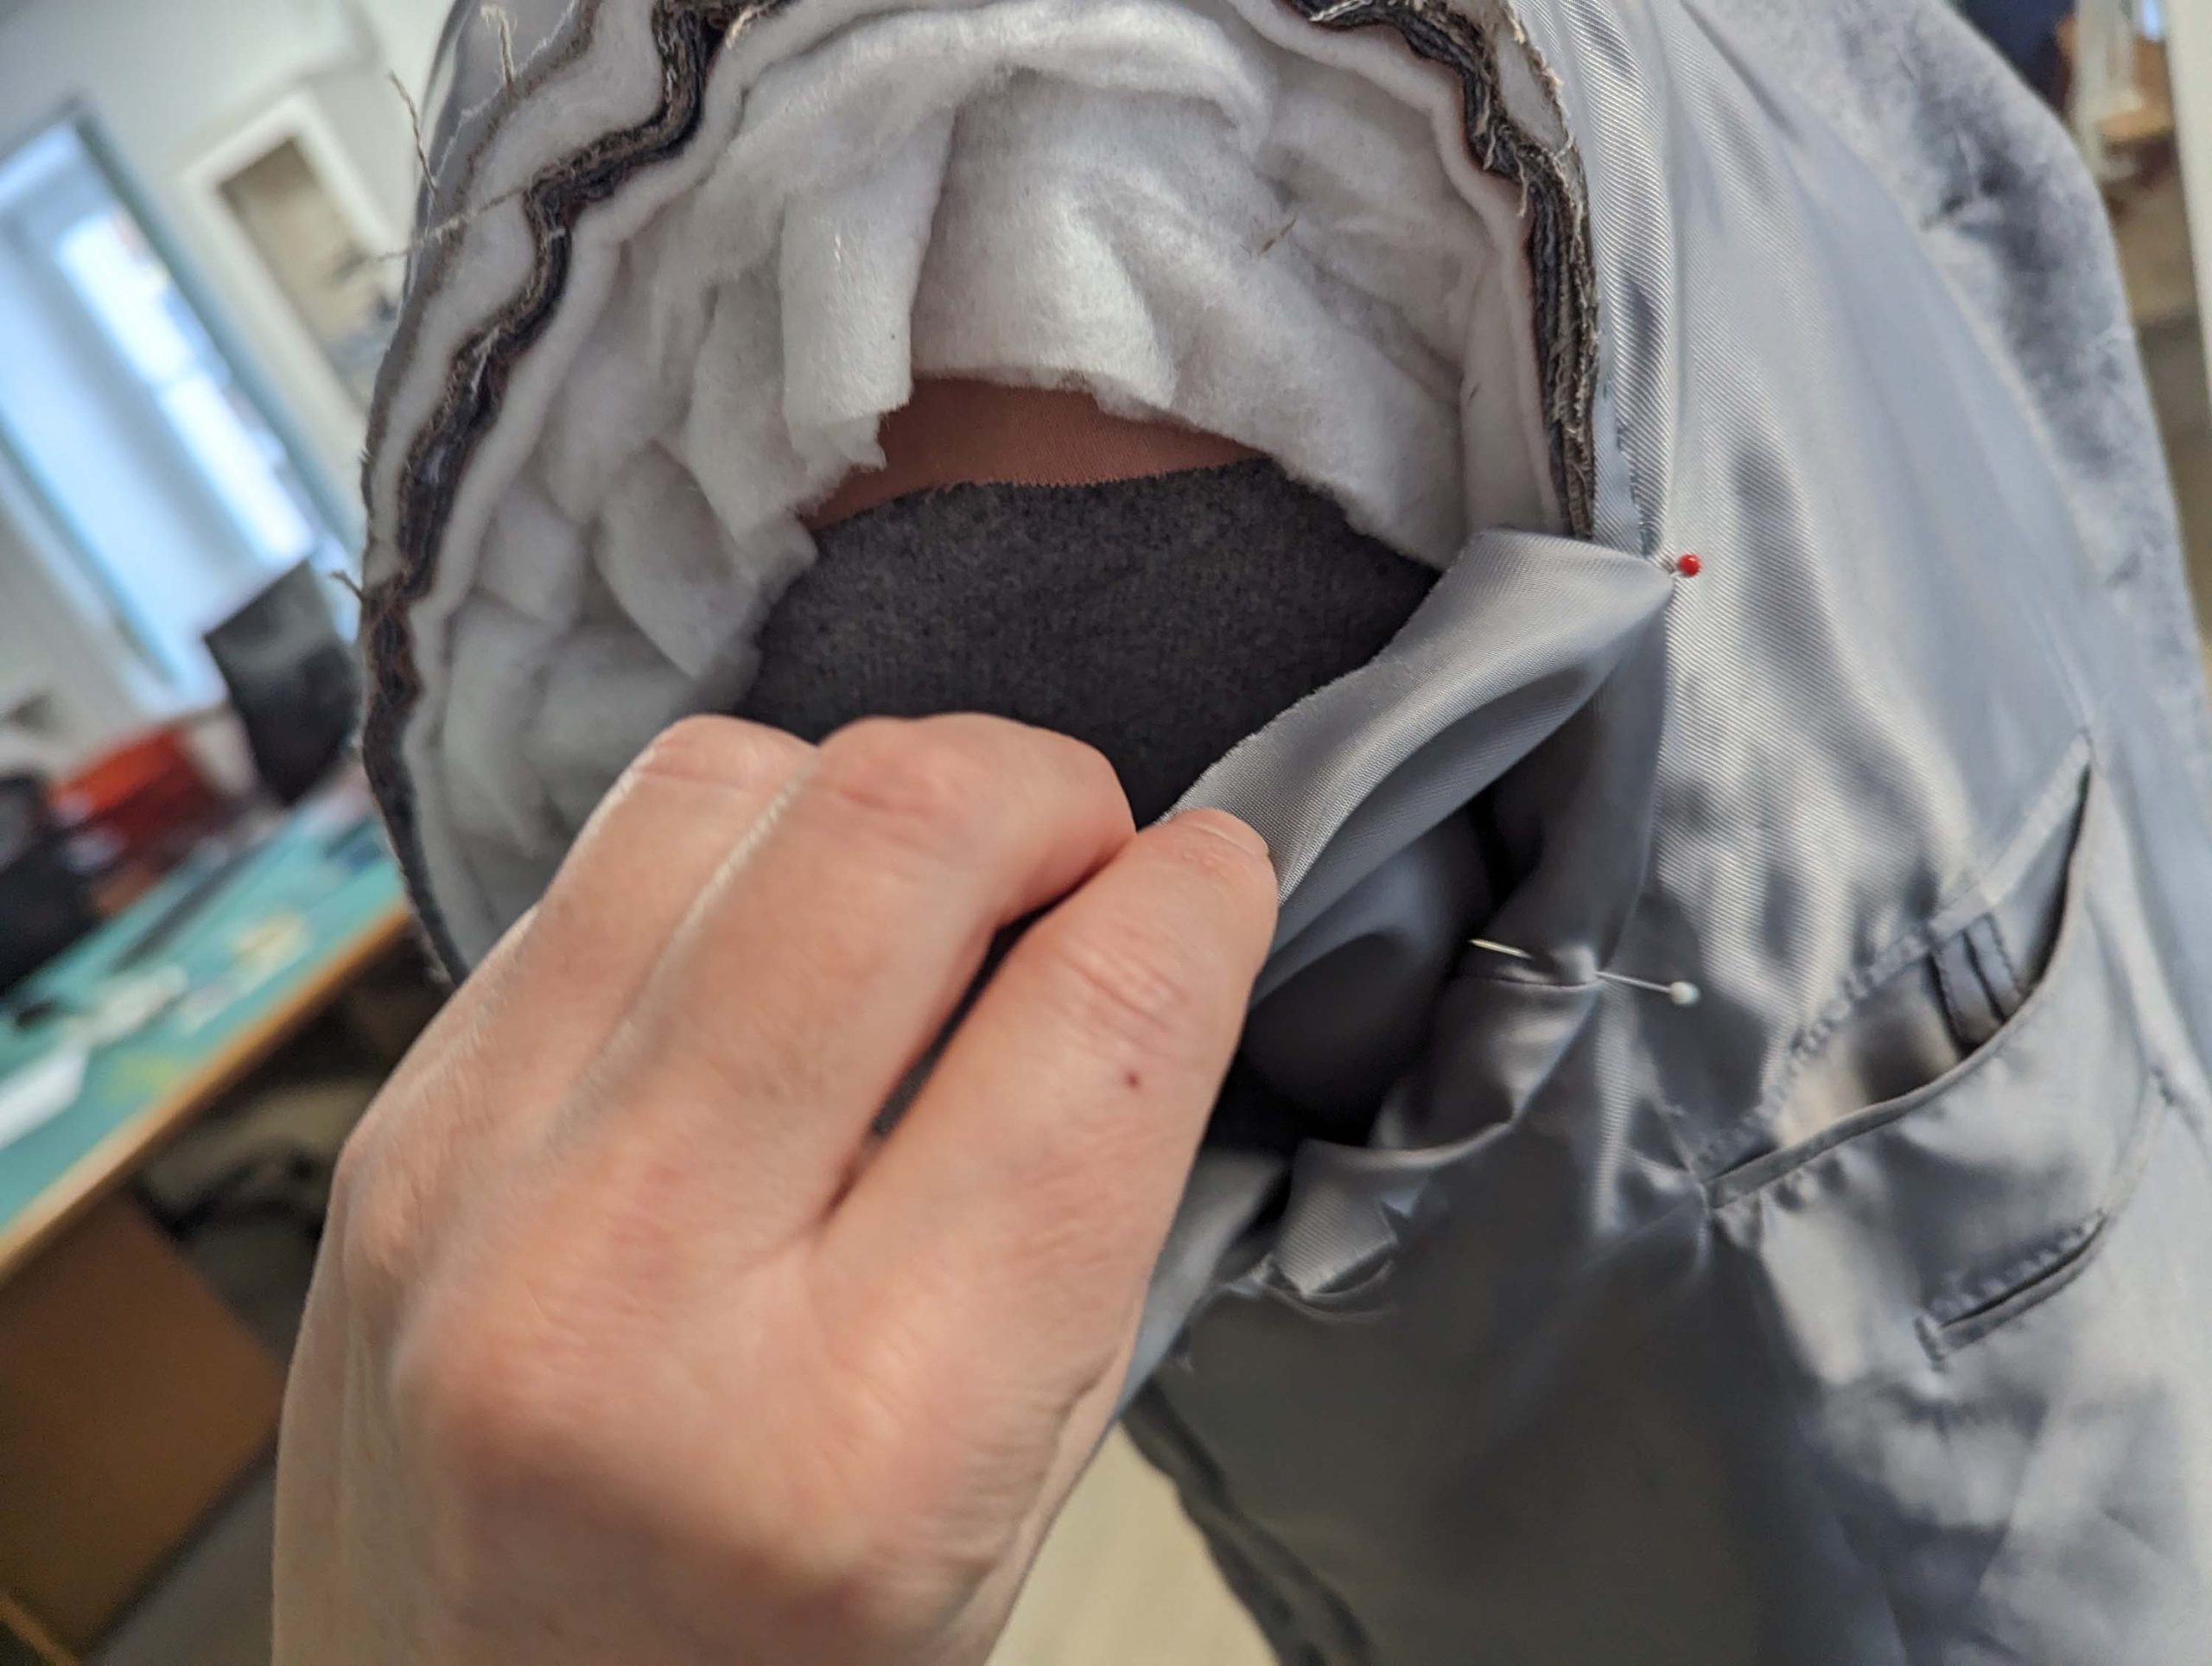
(14) Nimm das vordere Futter und schließe die double welt pockets as desired, the small one just on the left side. Reinforce the welts with fusible and sew as shown. The loop is just an option.
Here you can download the sewing patterns for the lining pockets: Small / Large
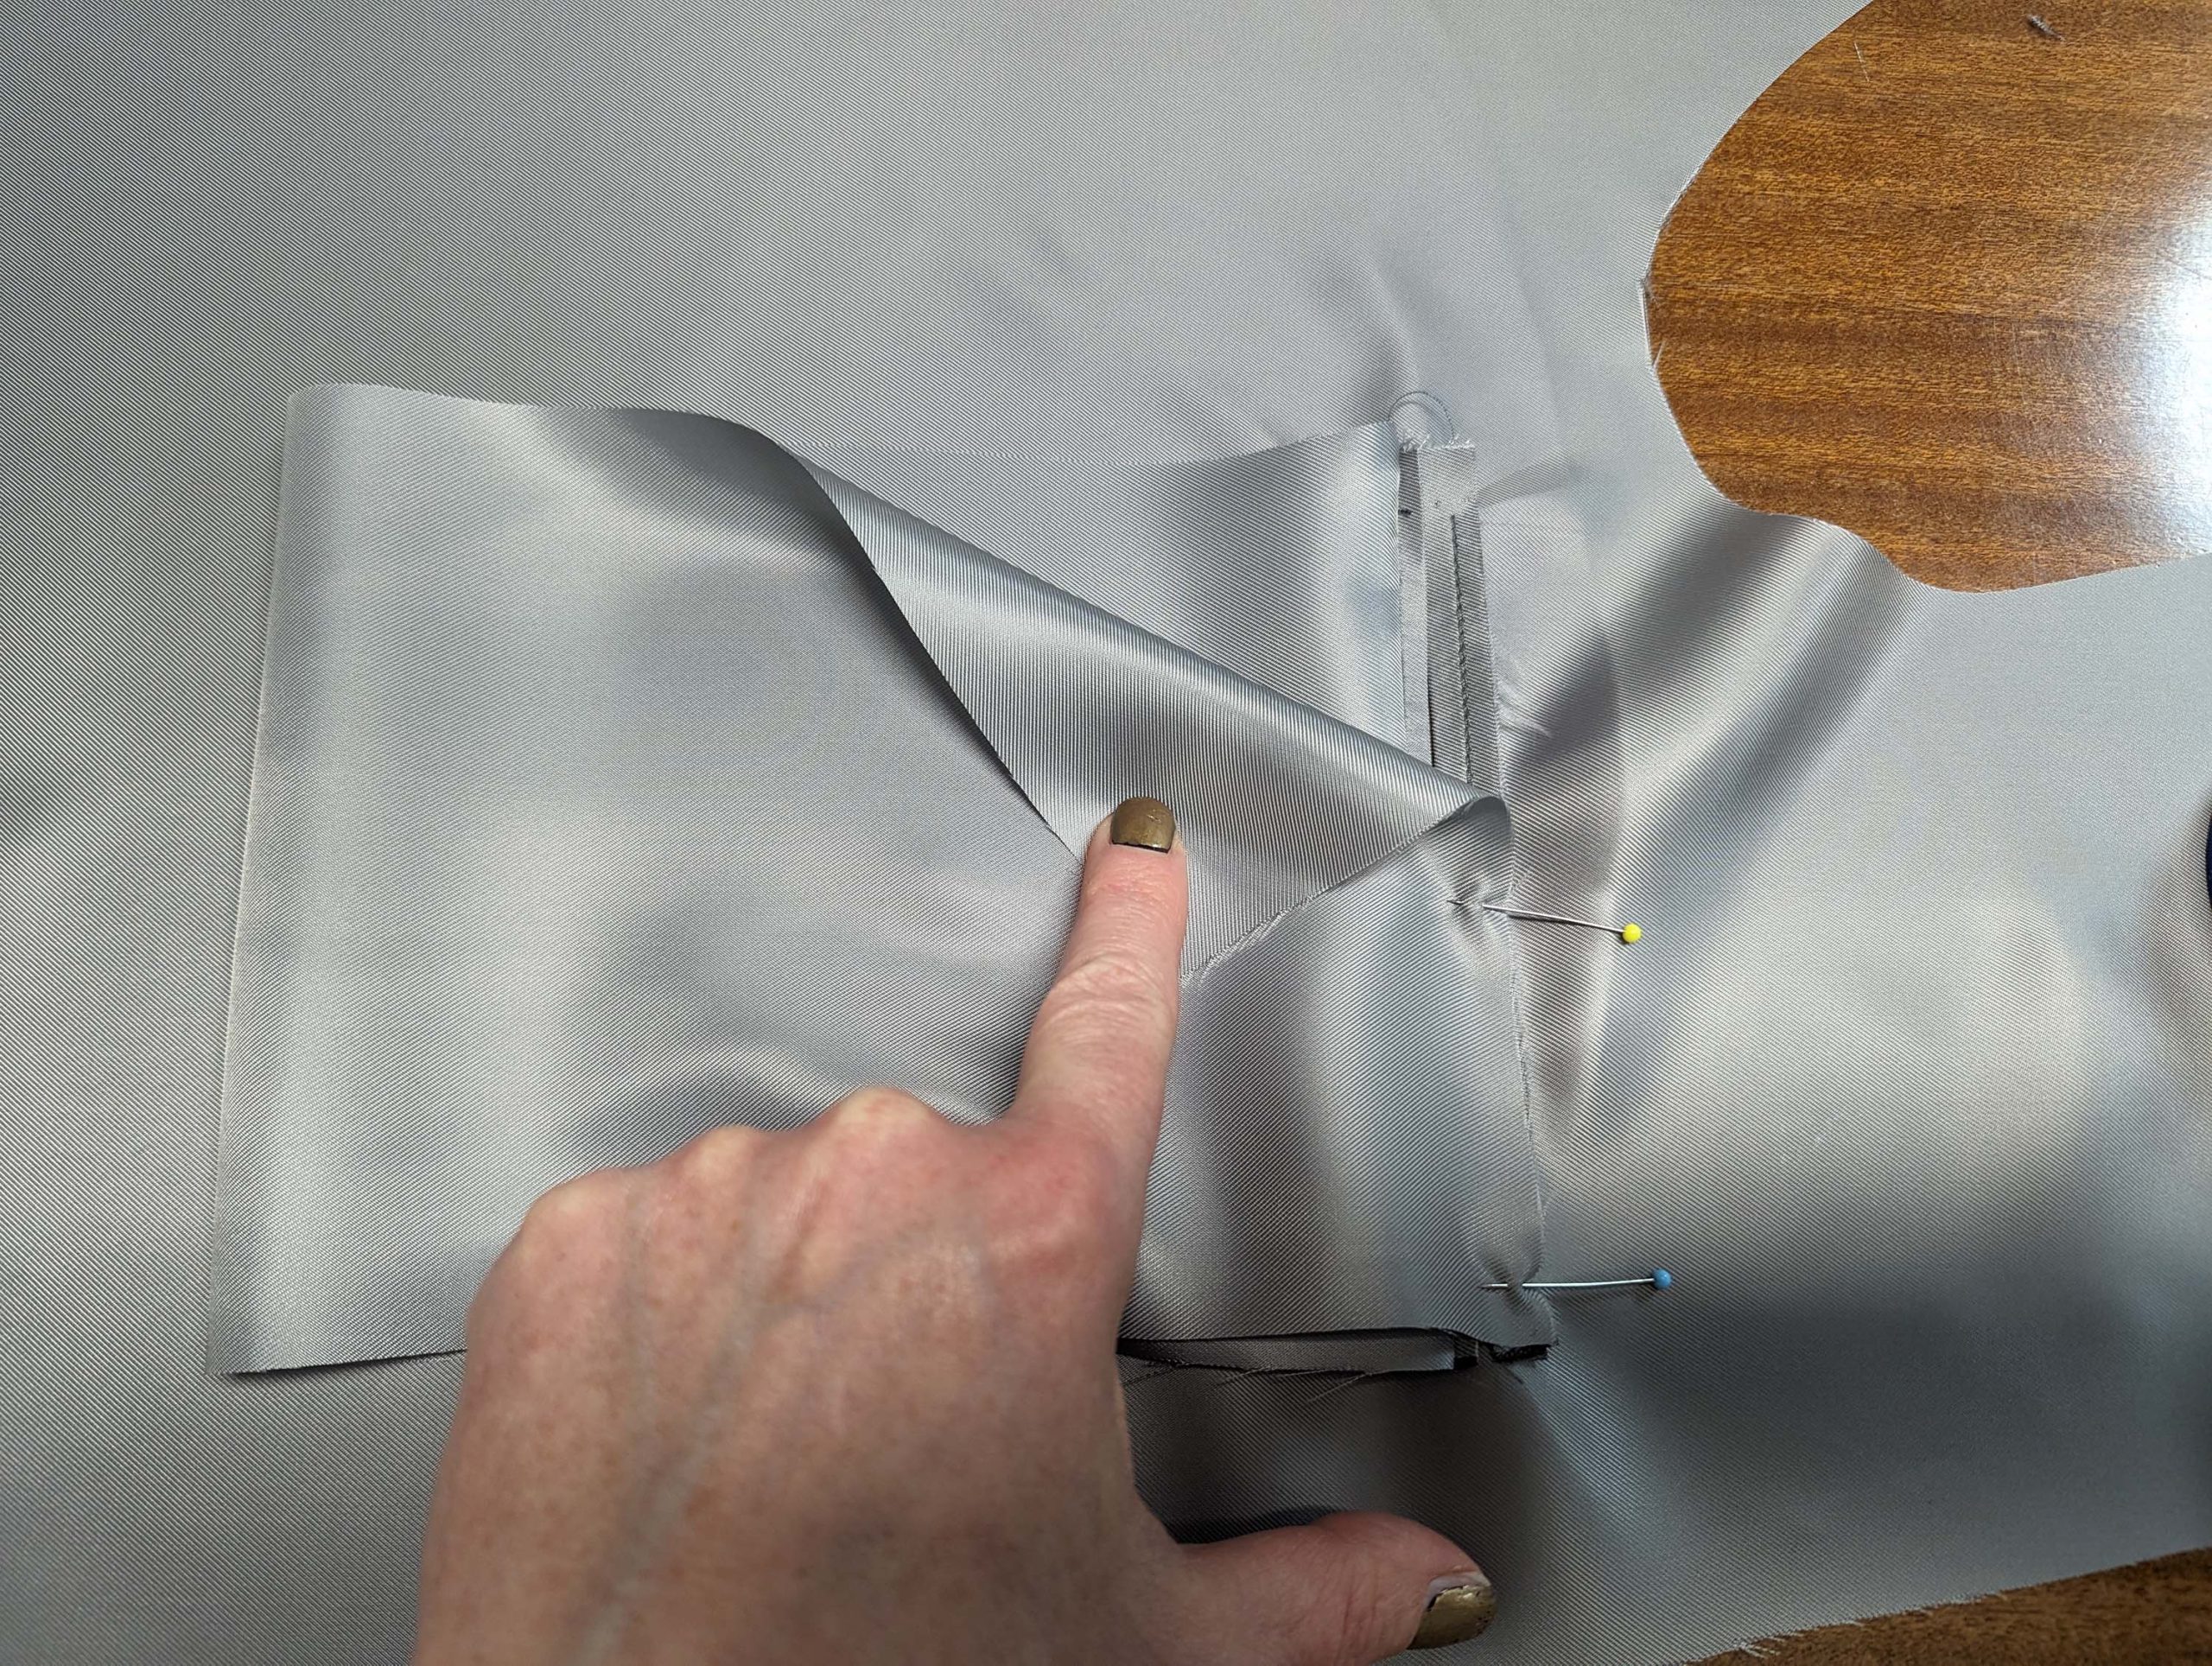
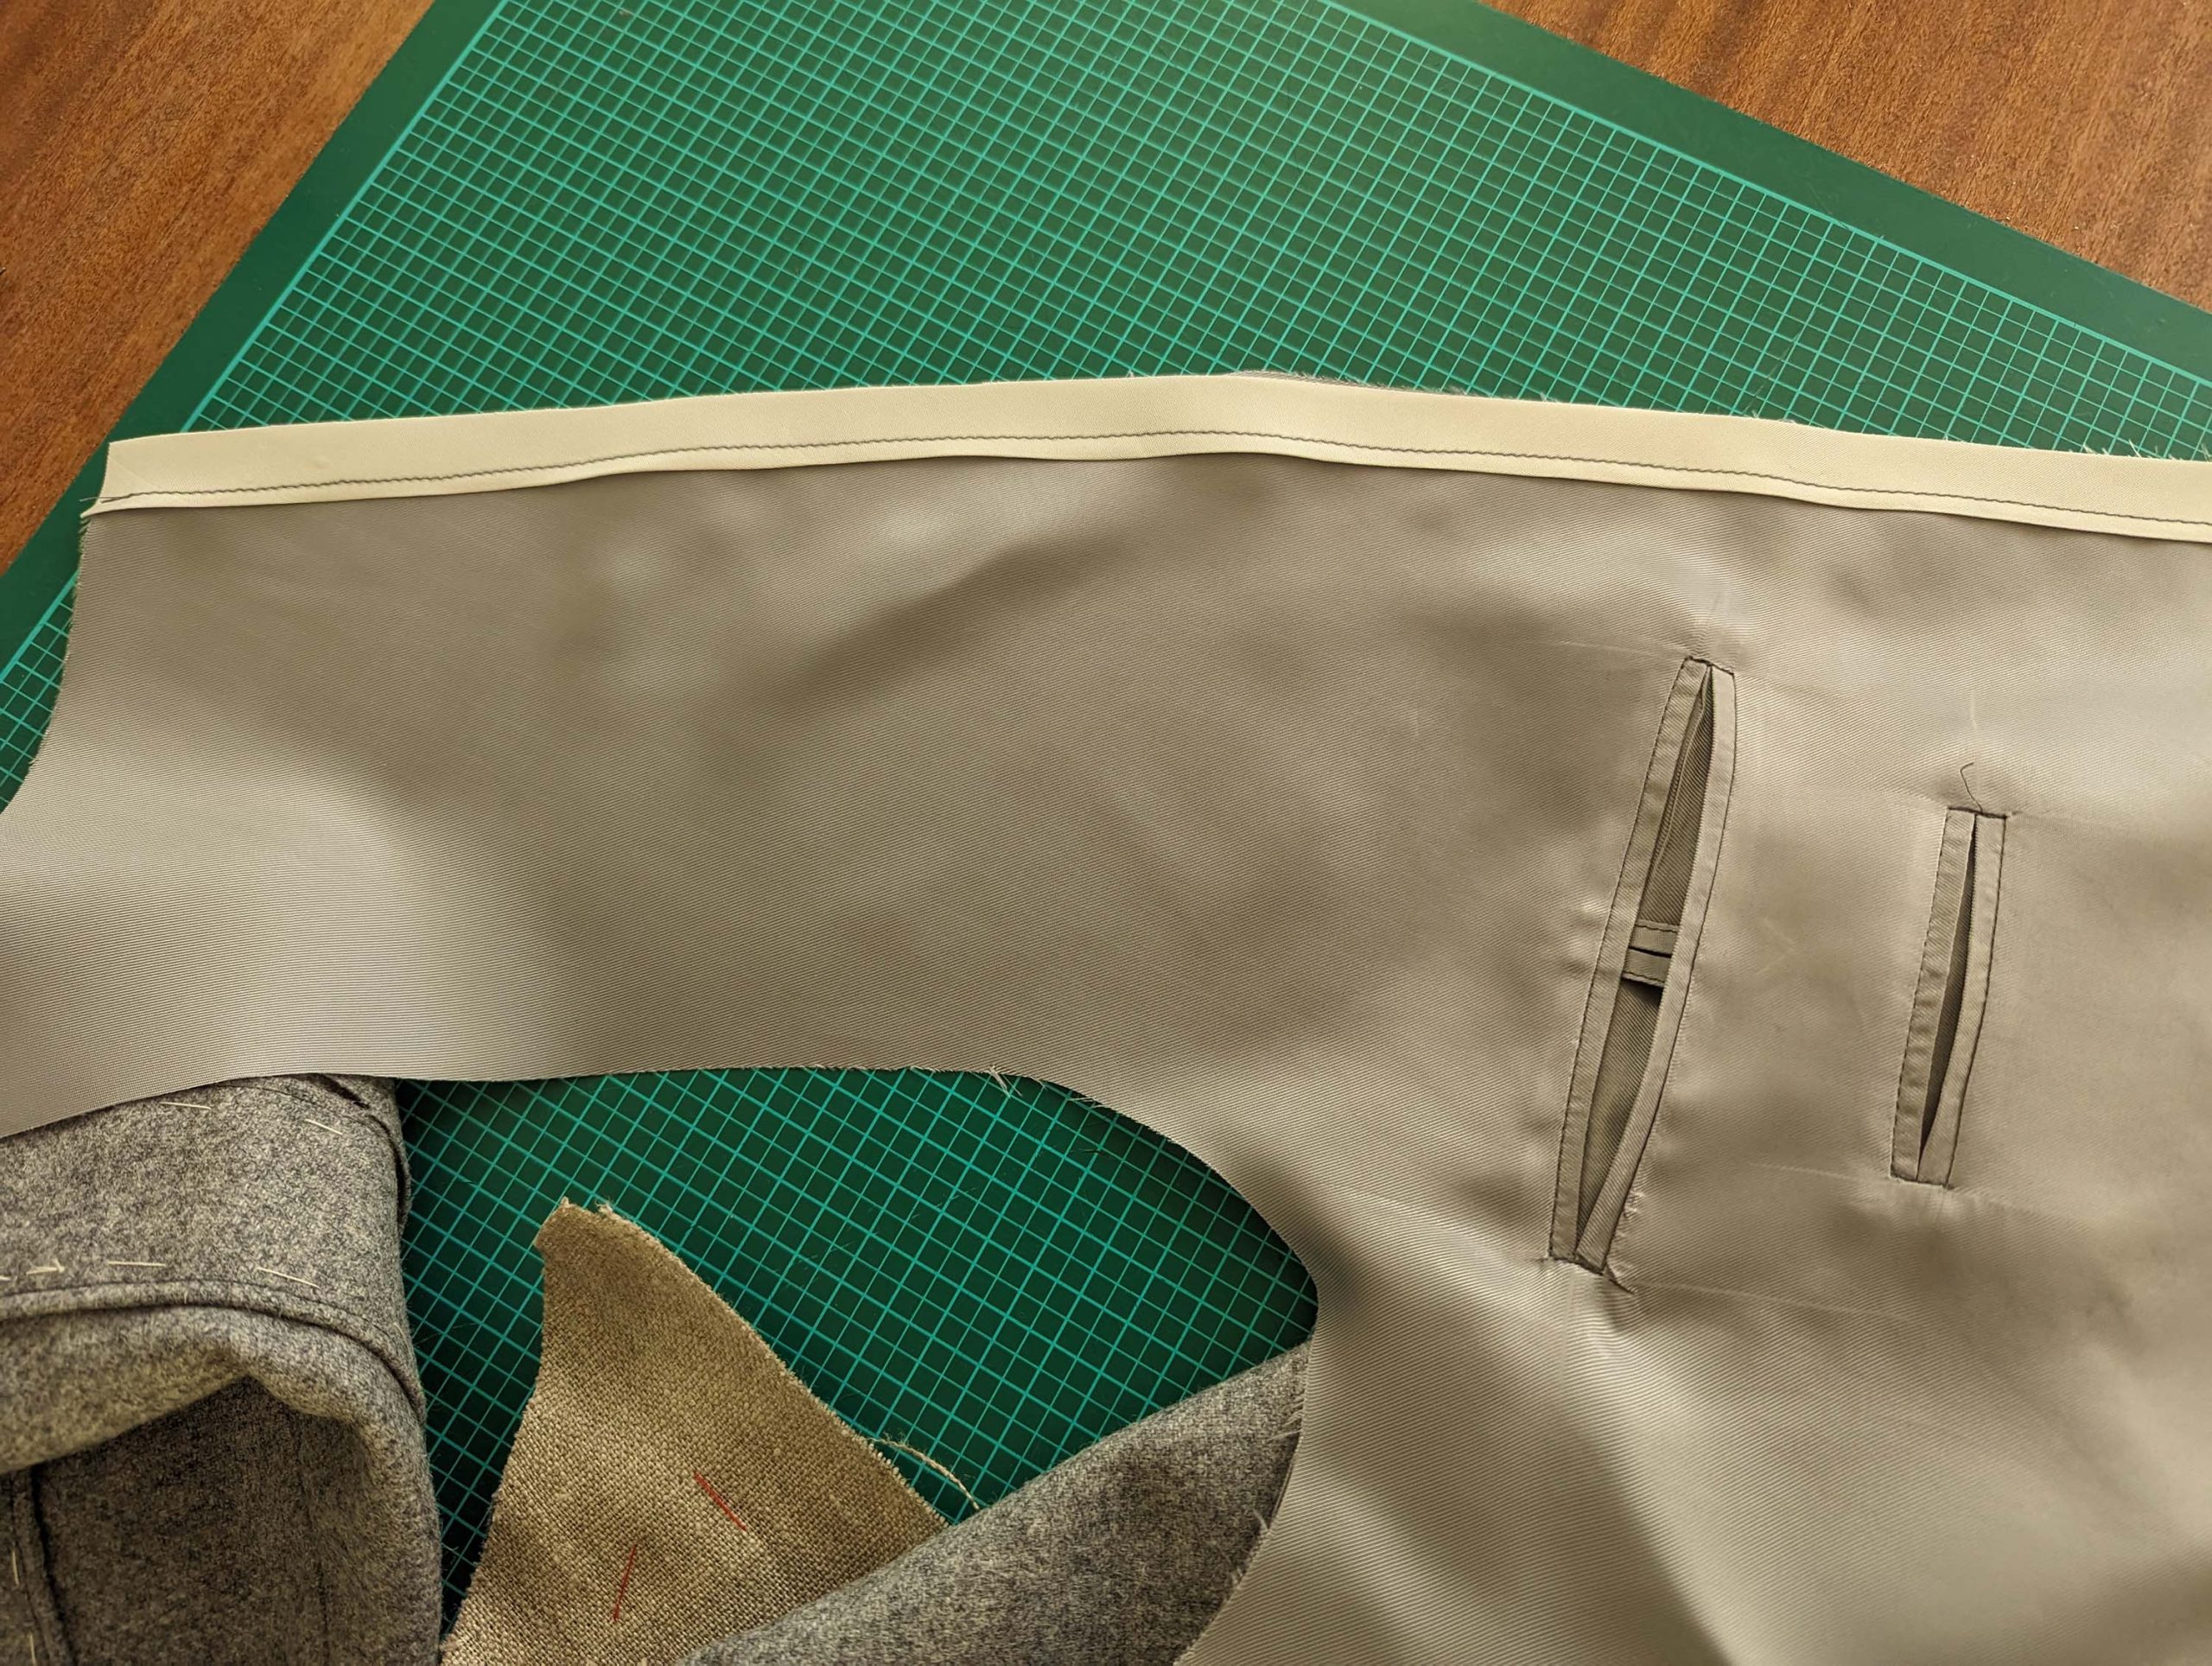
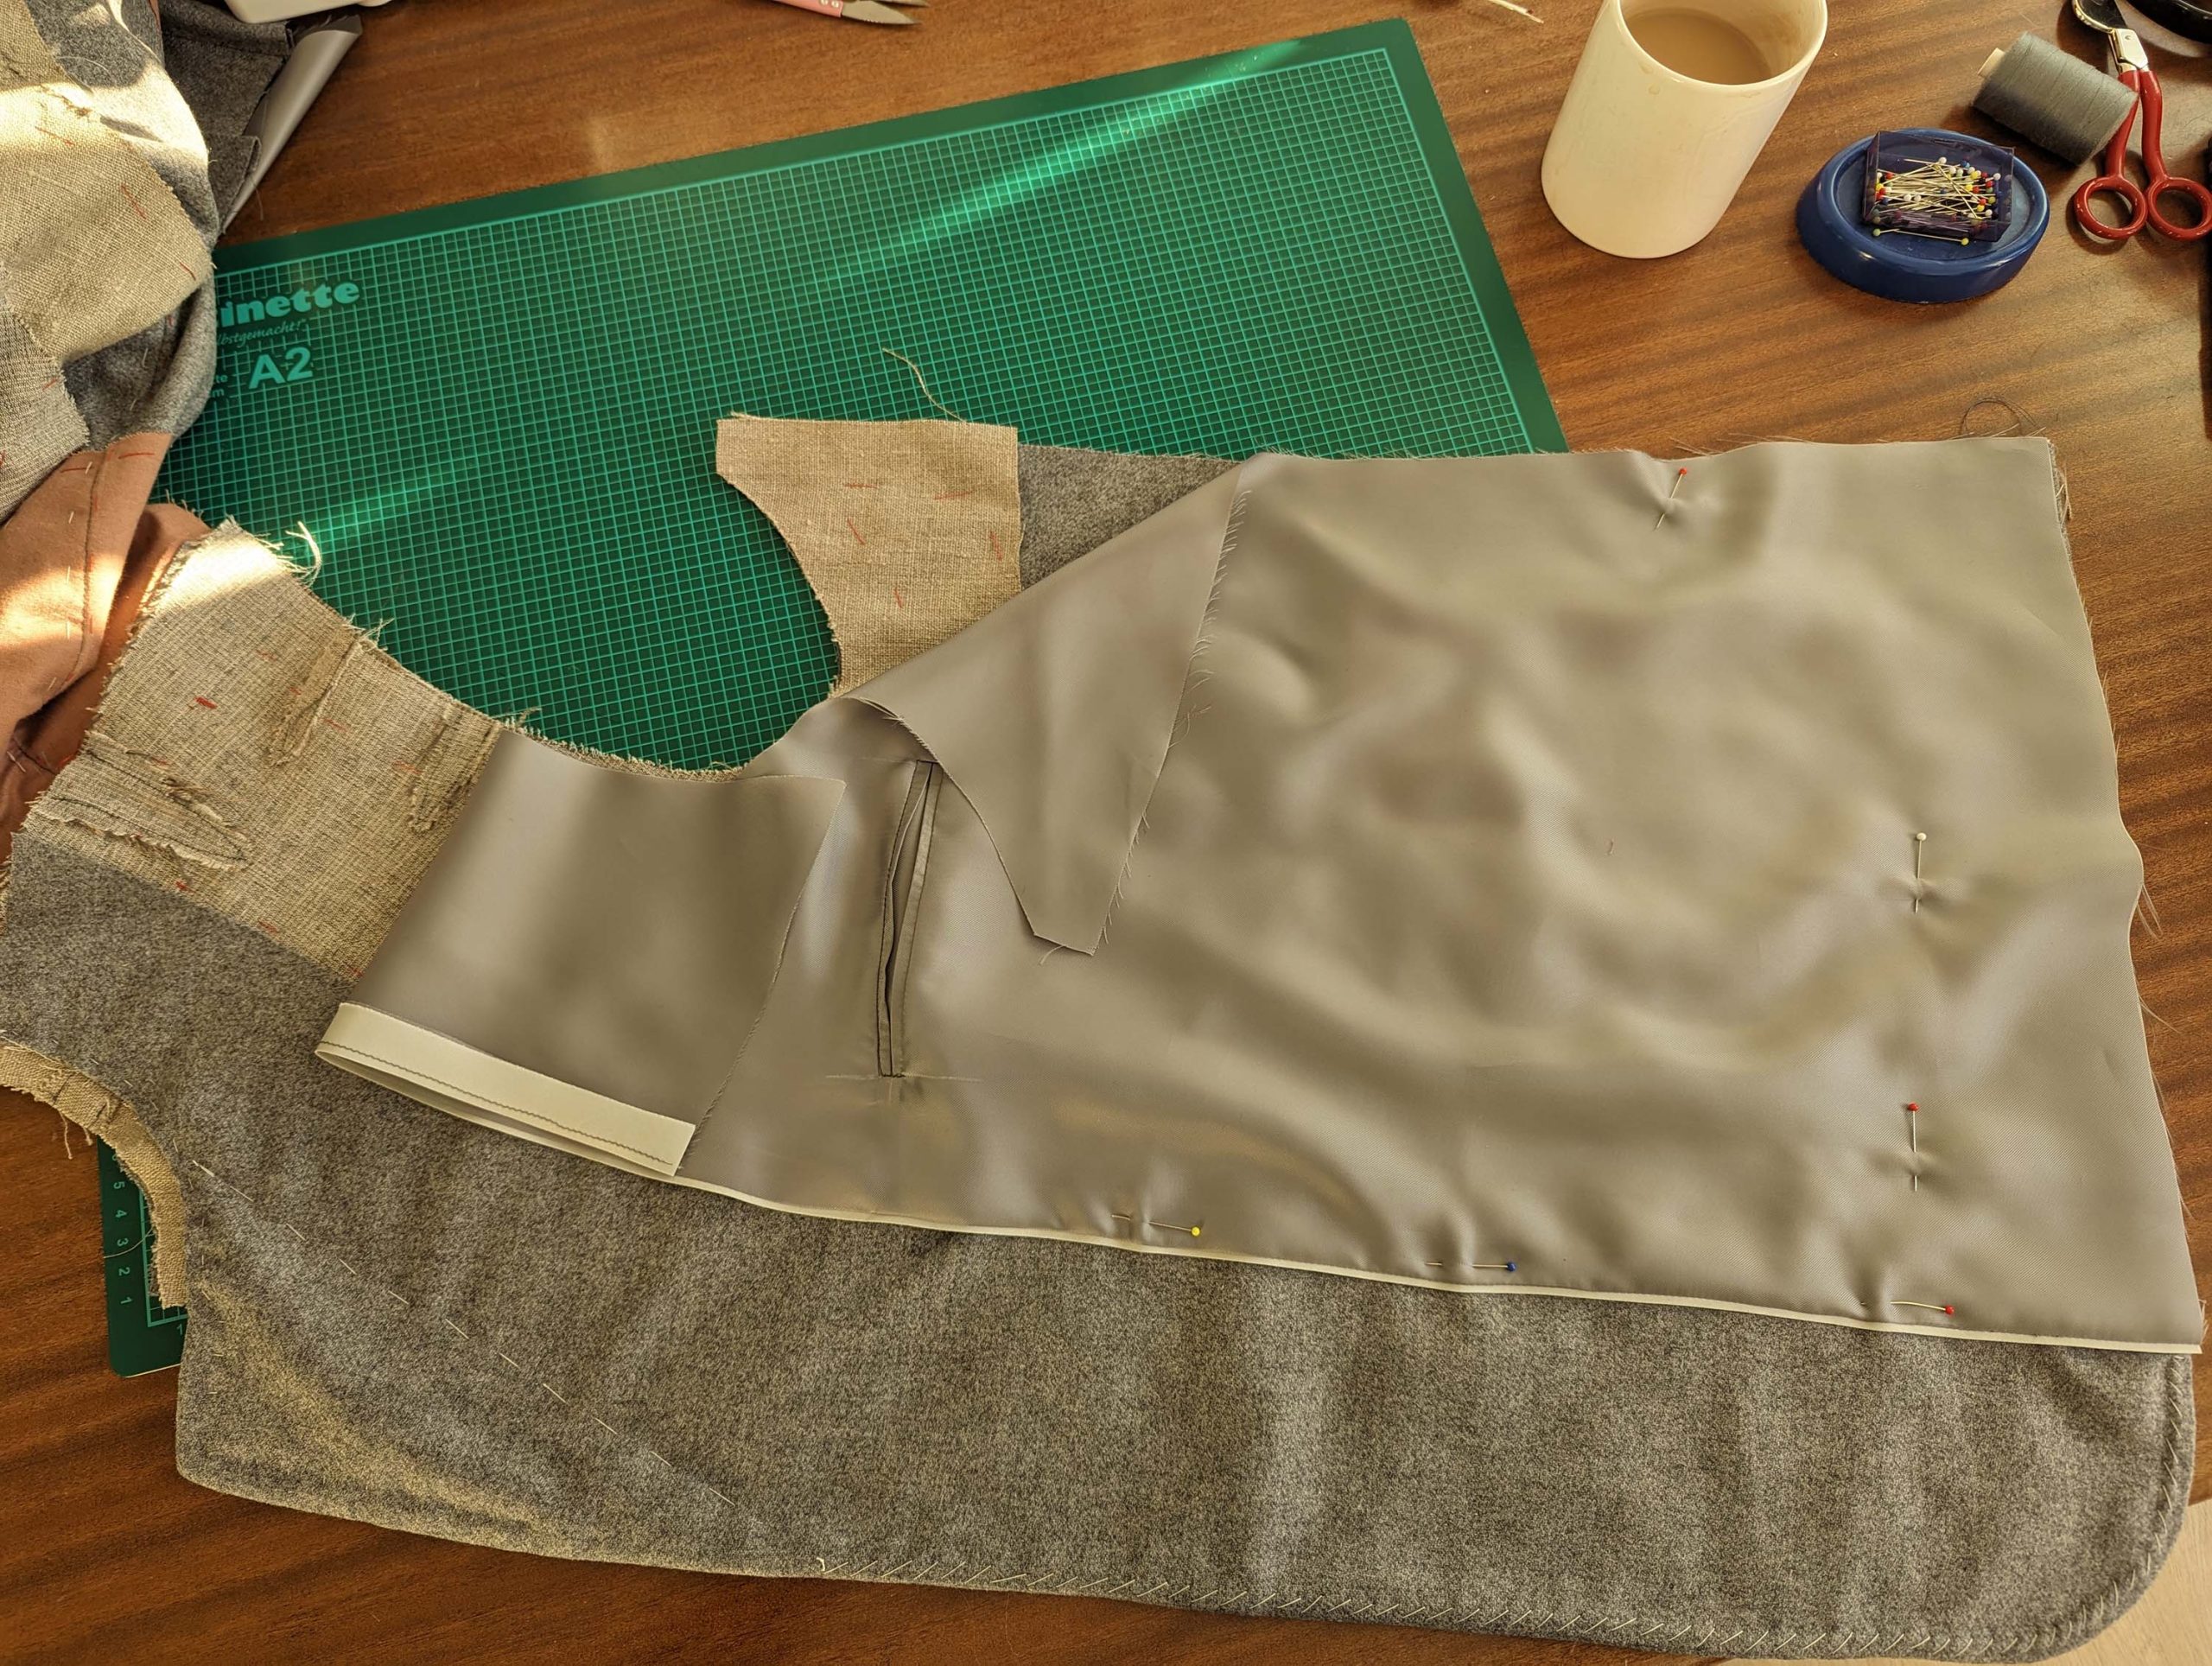
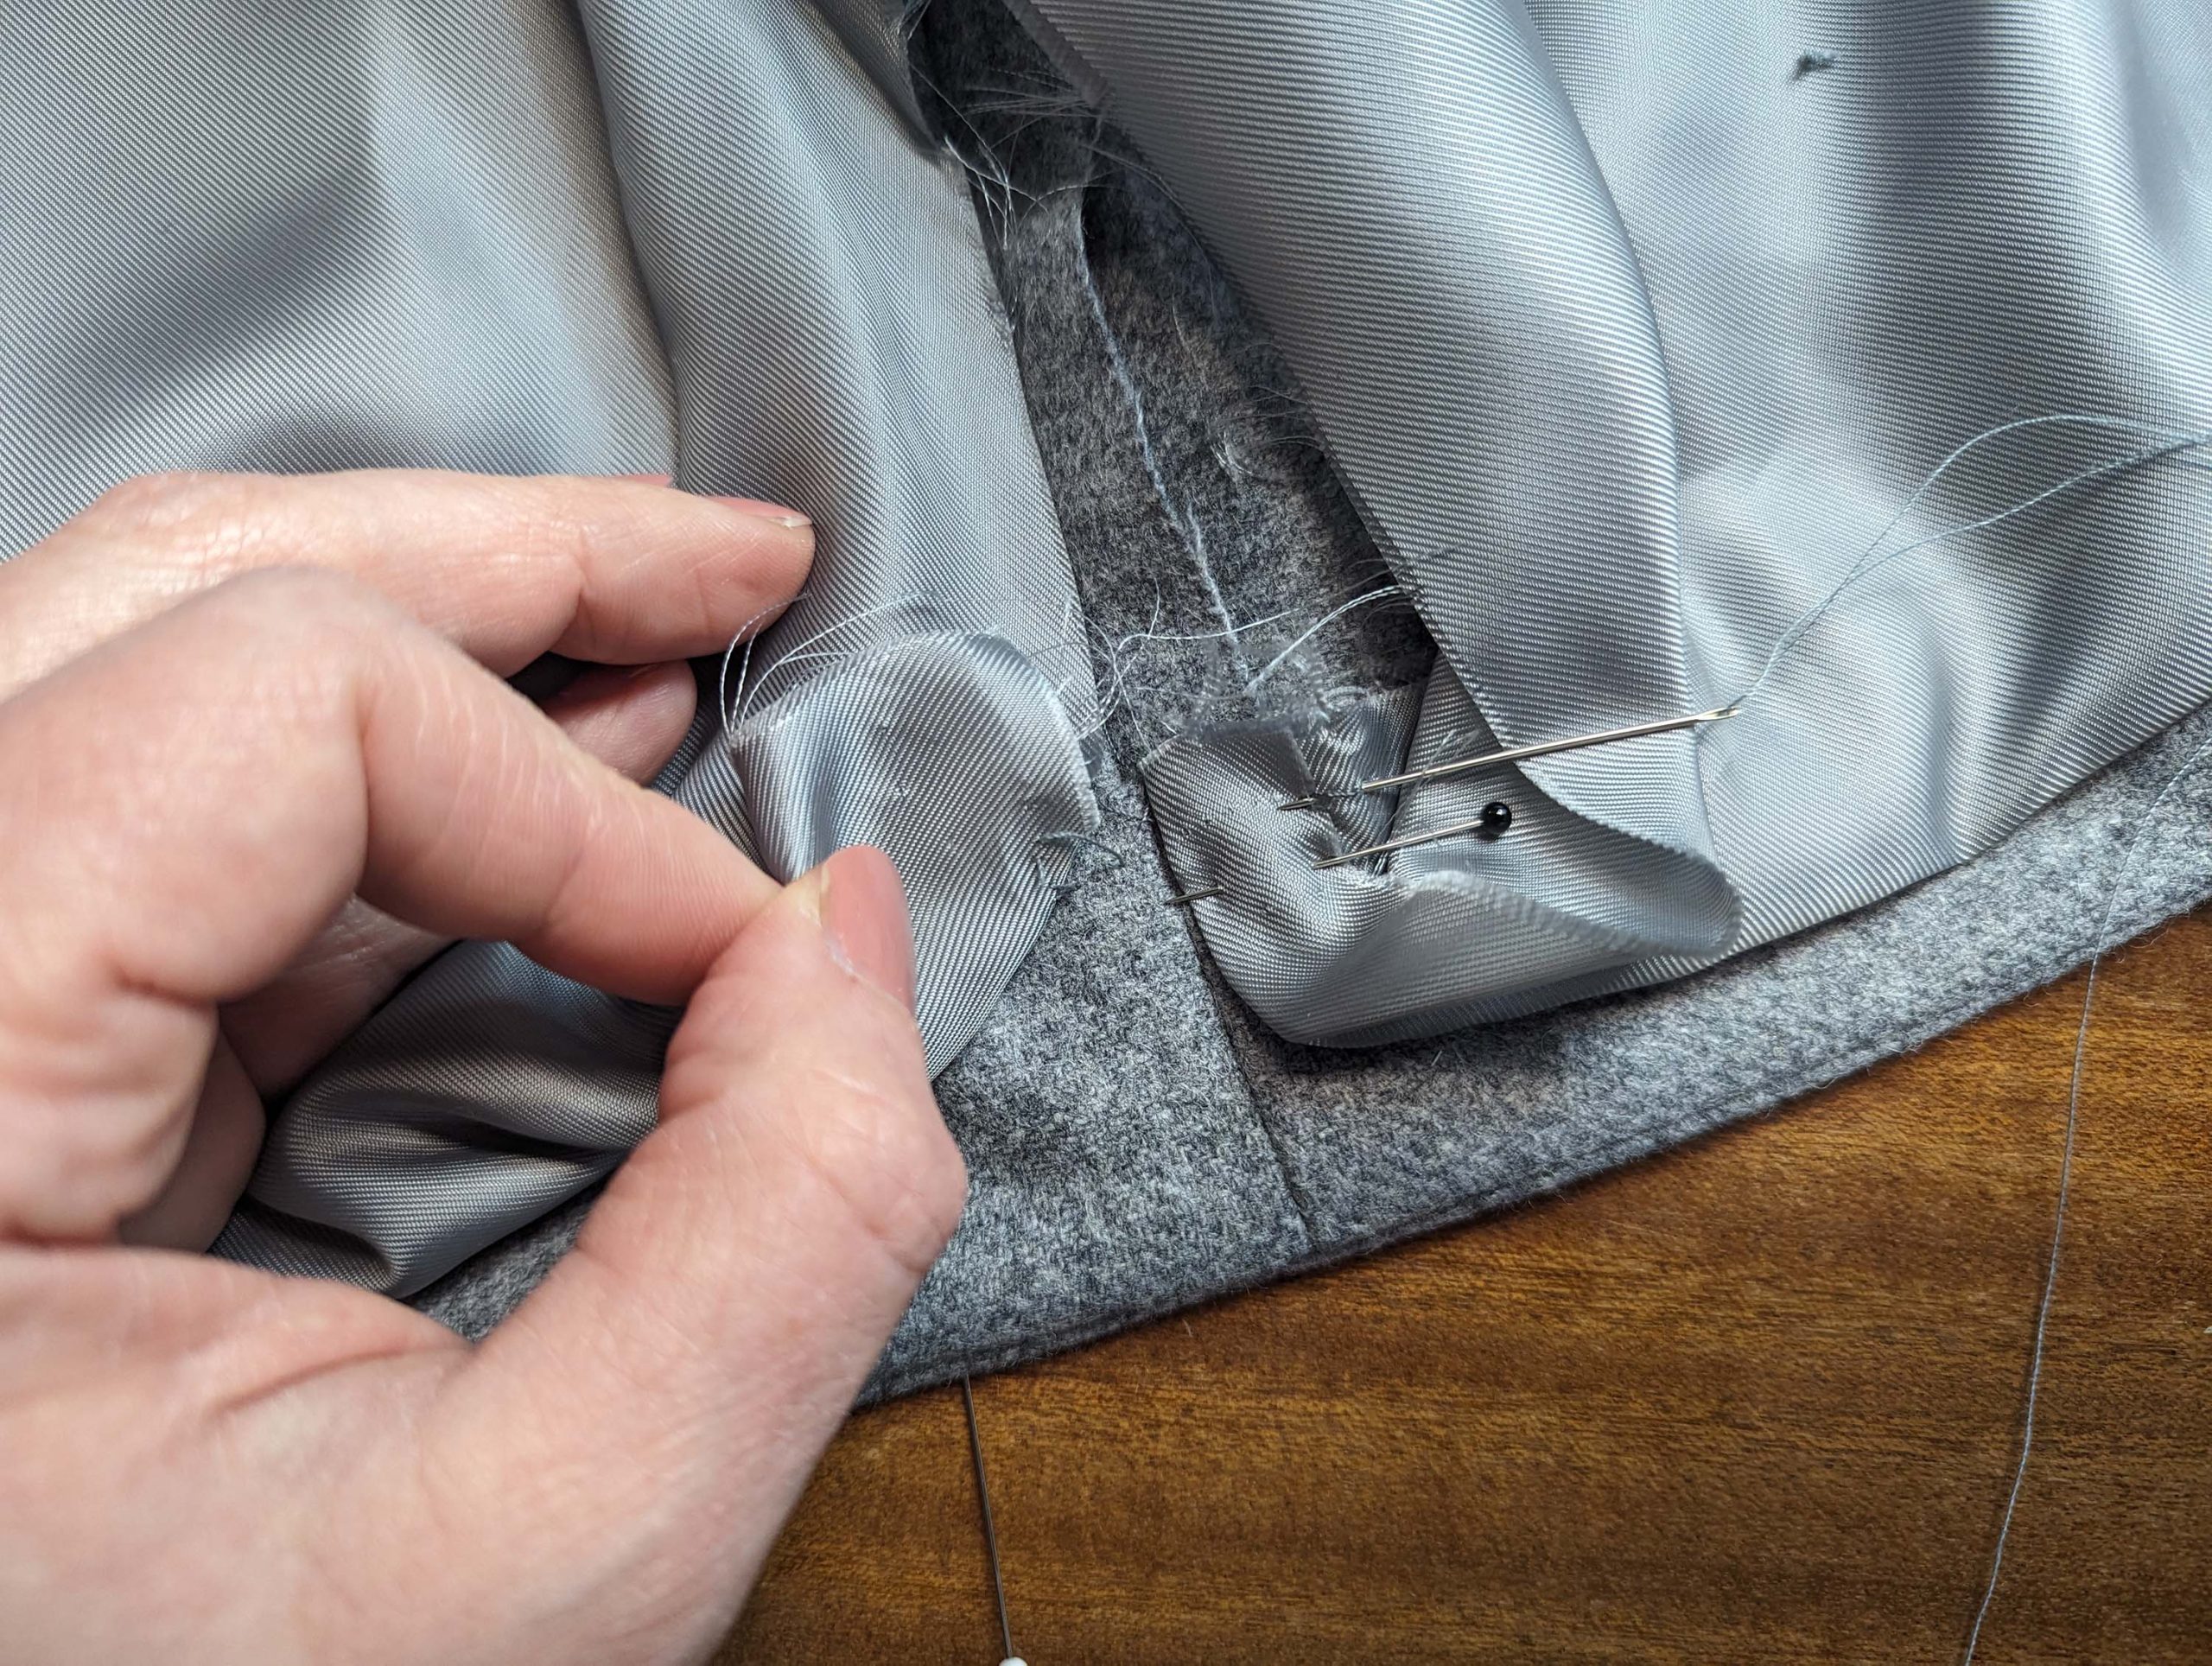
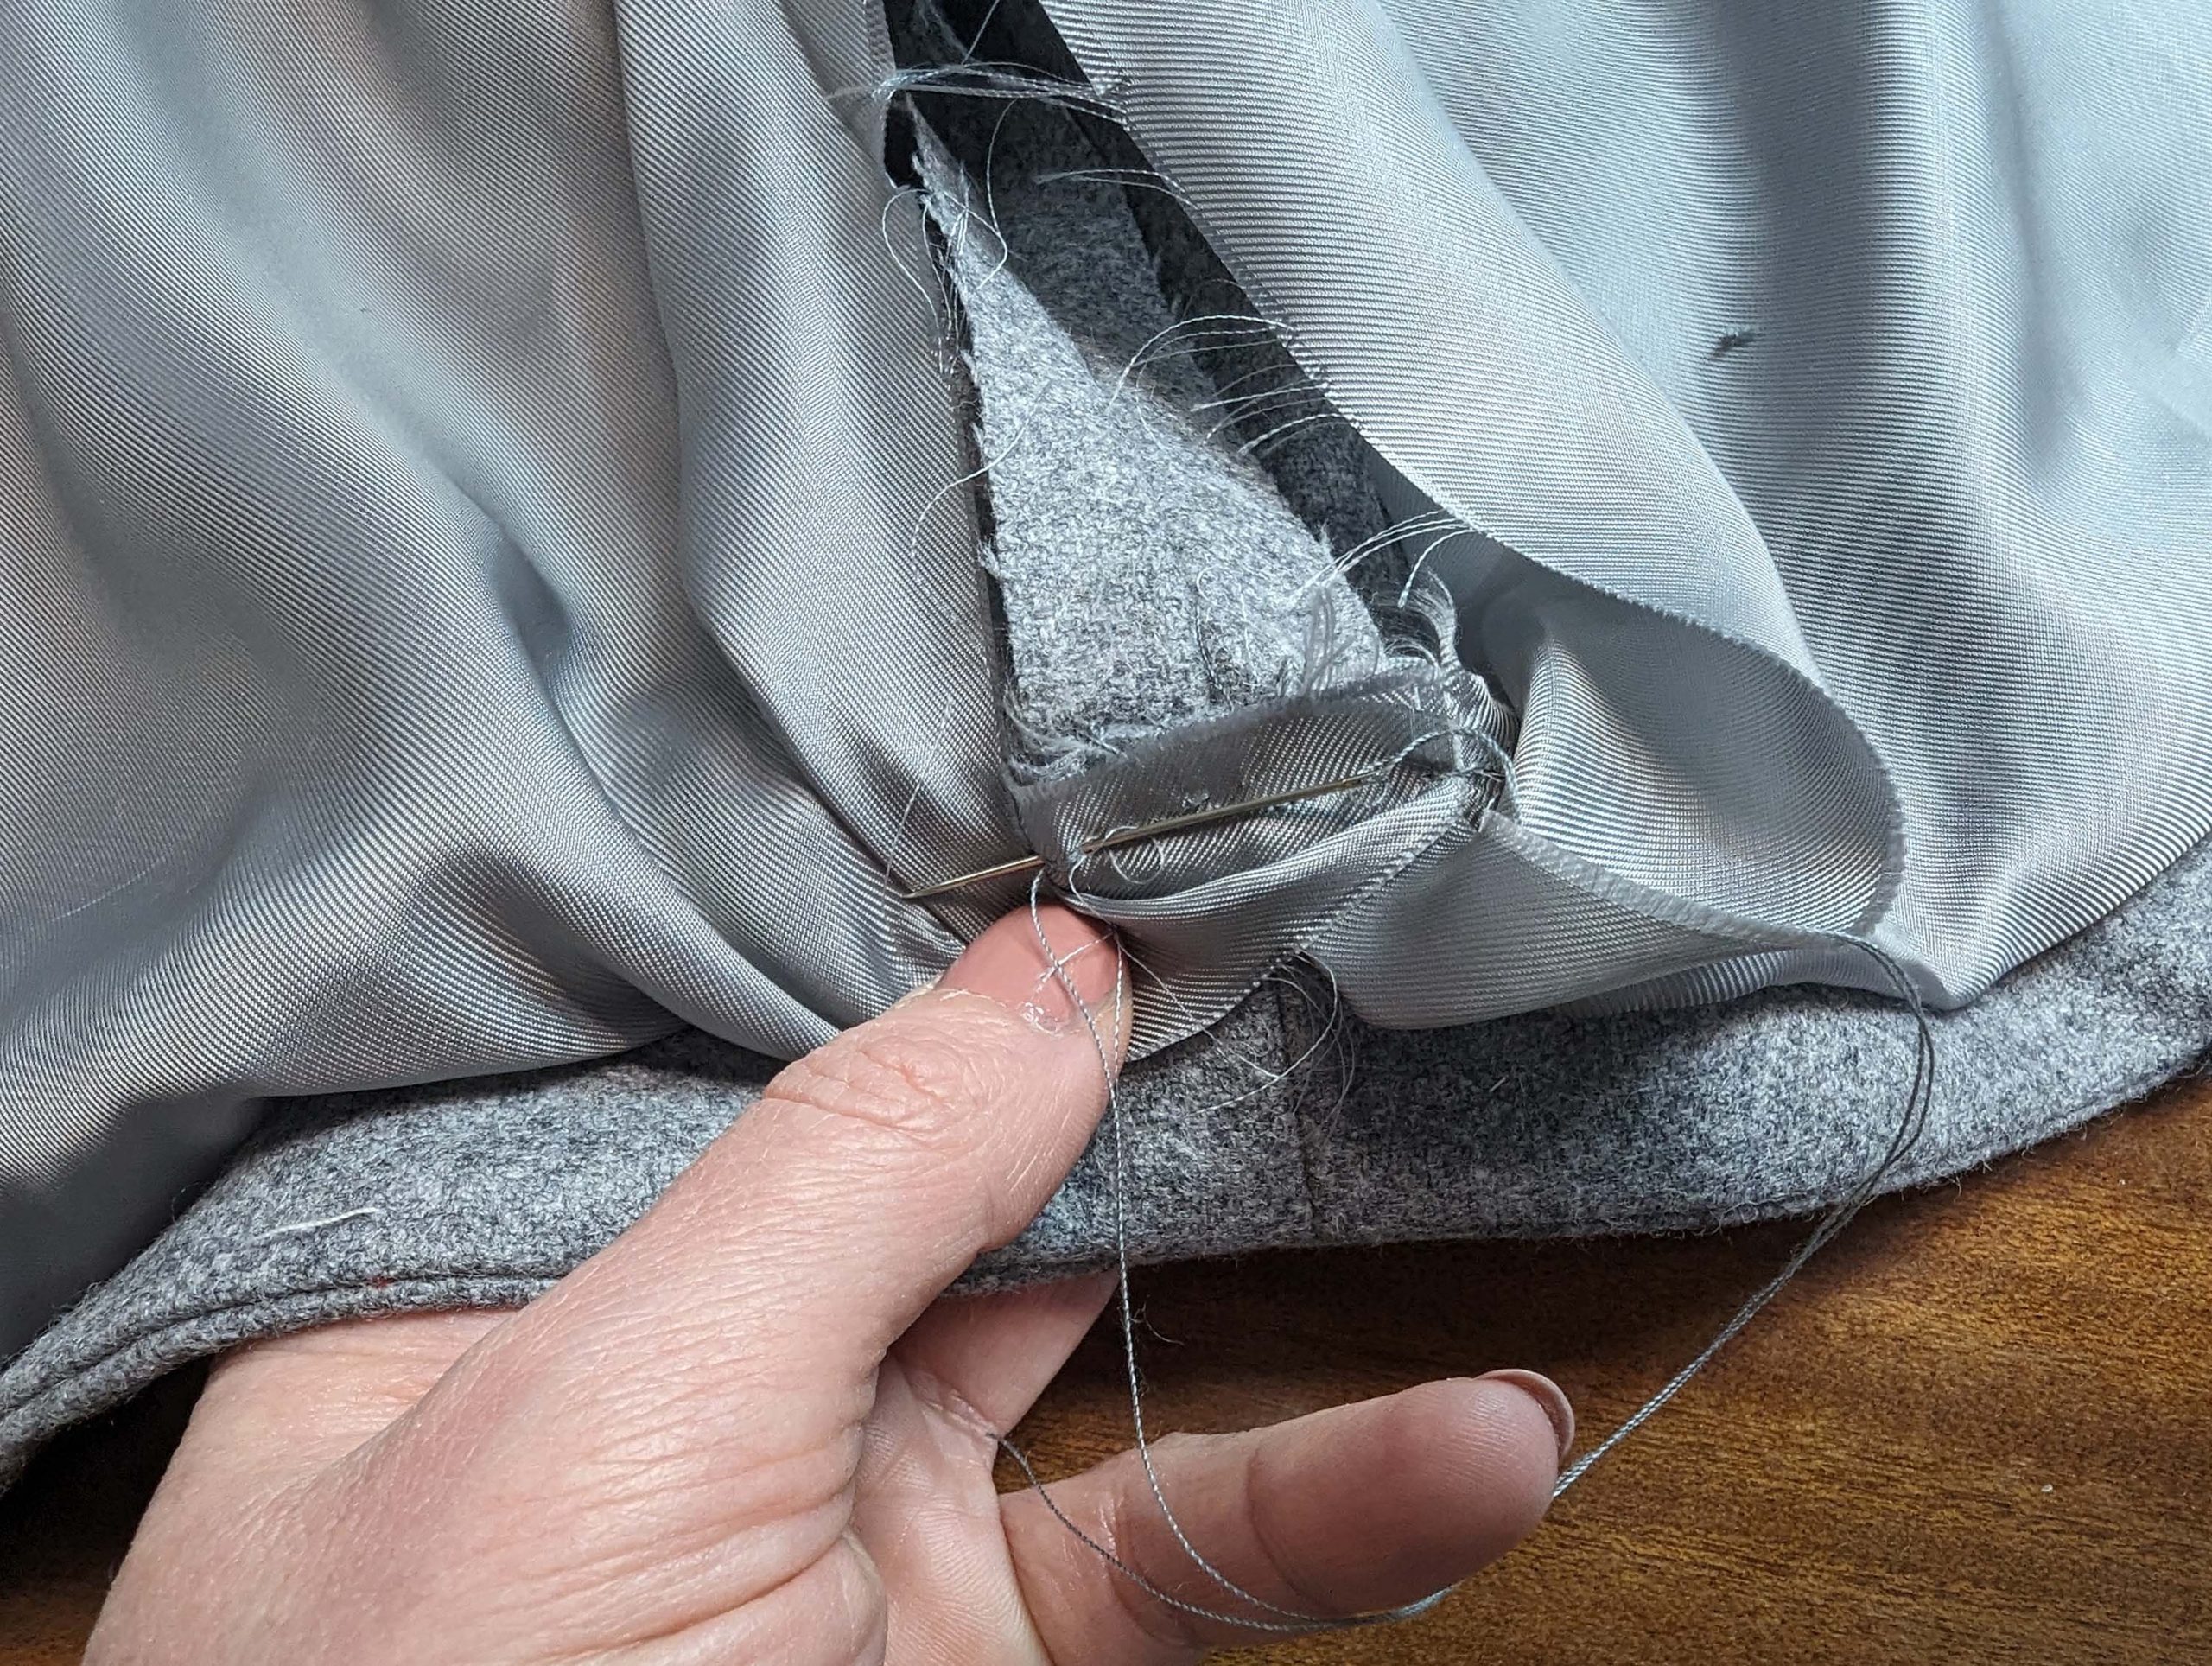
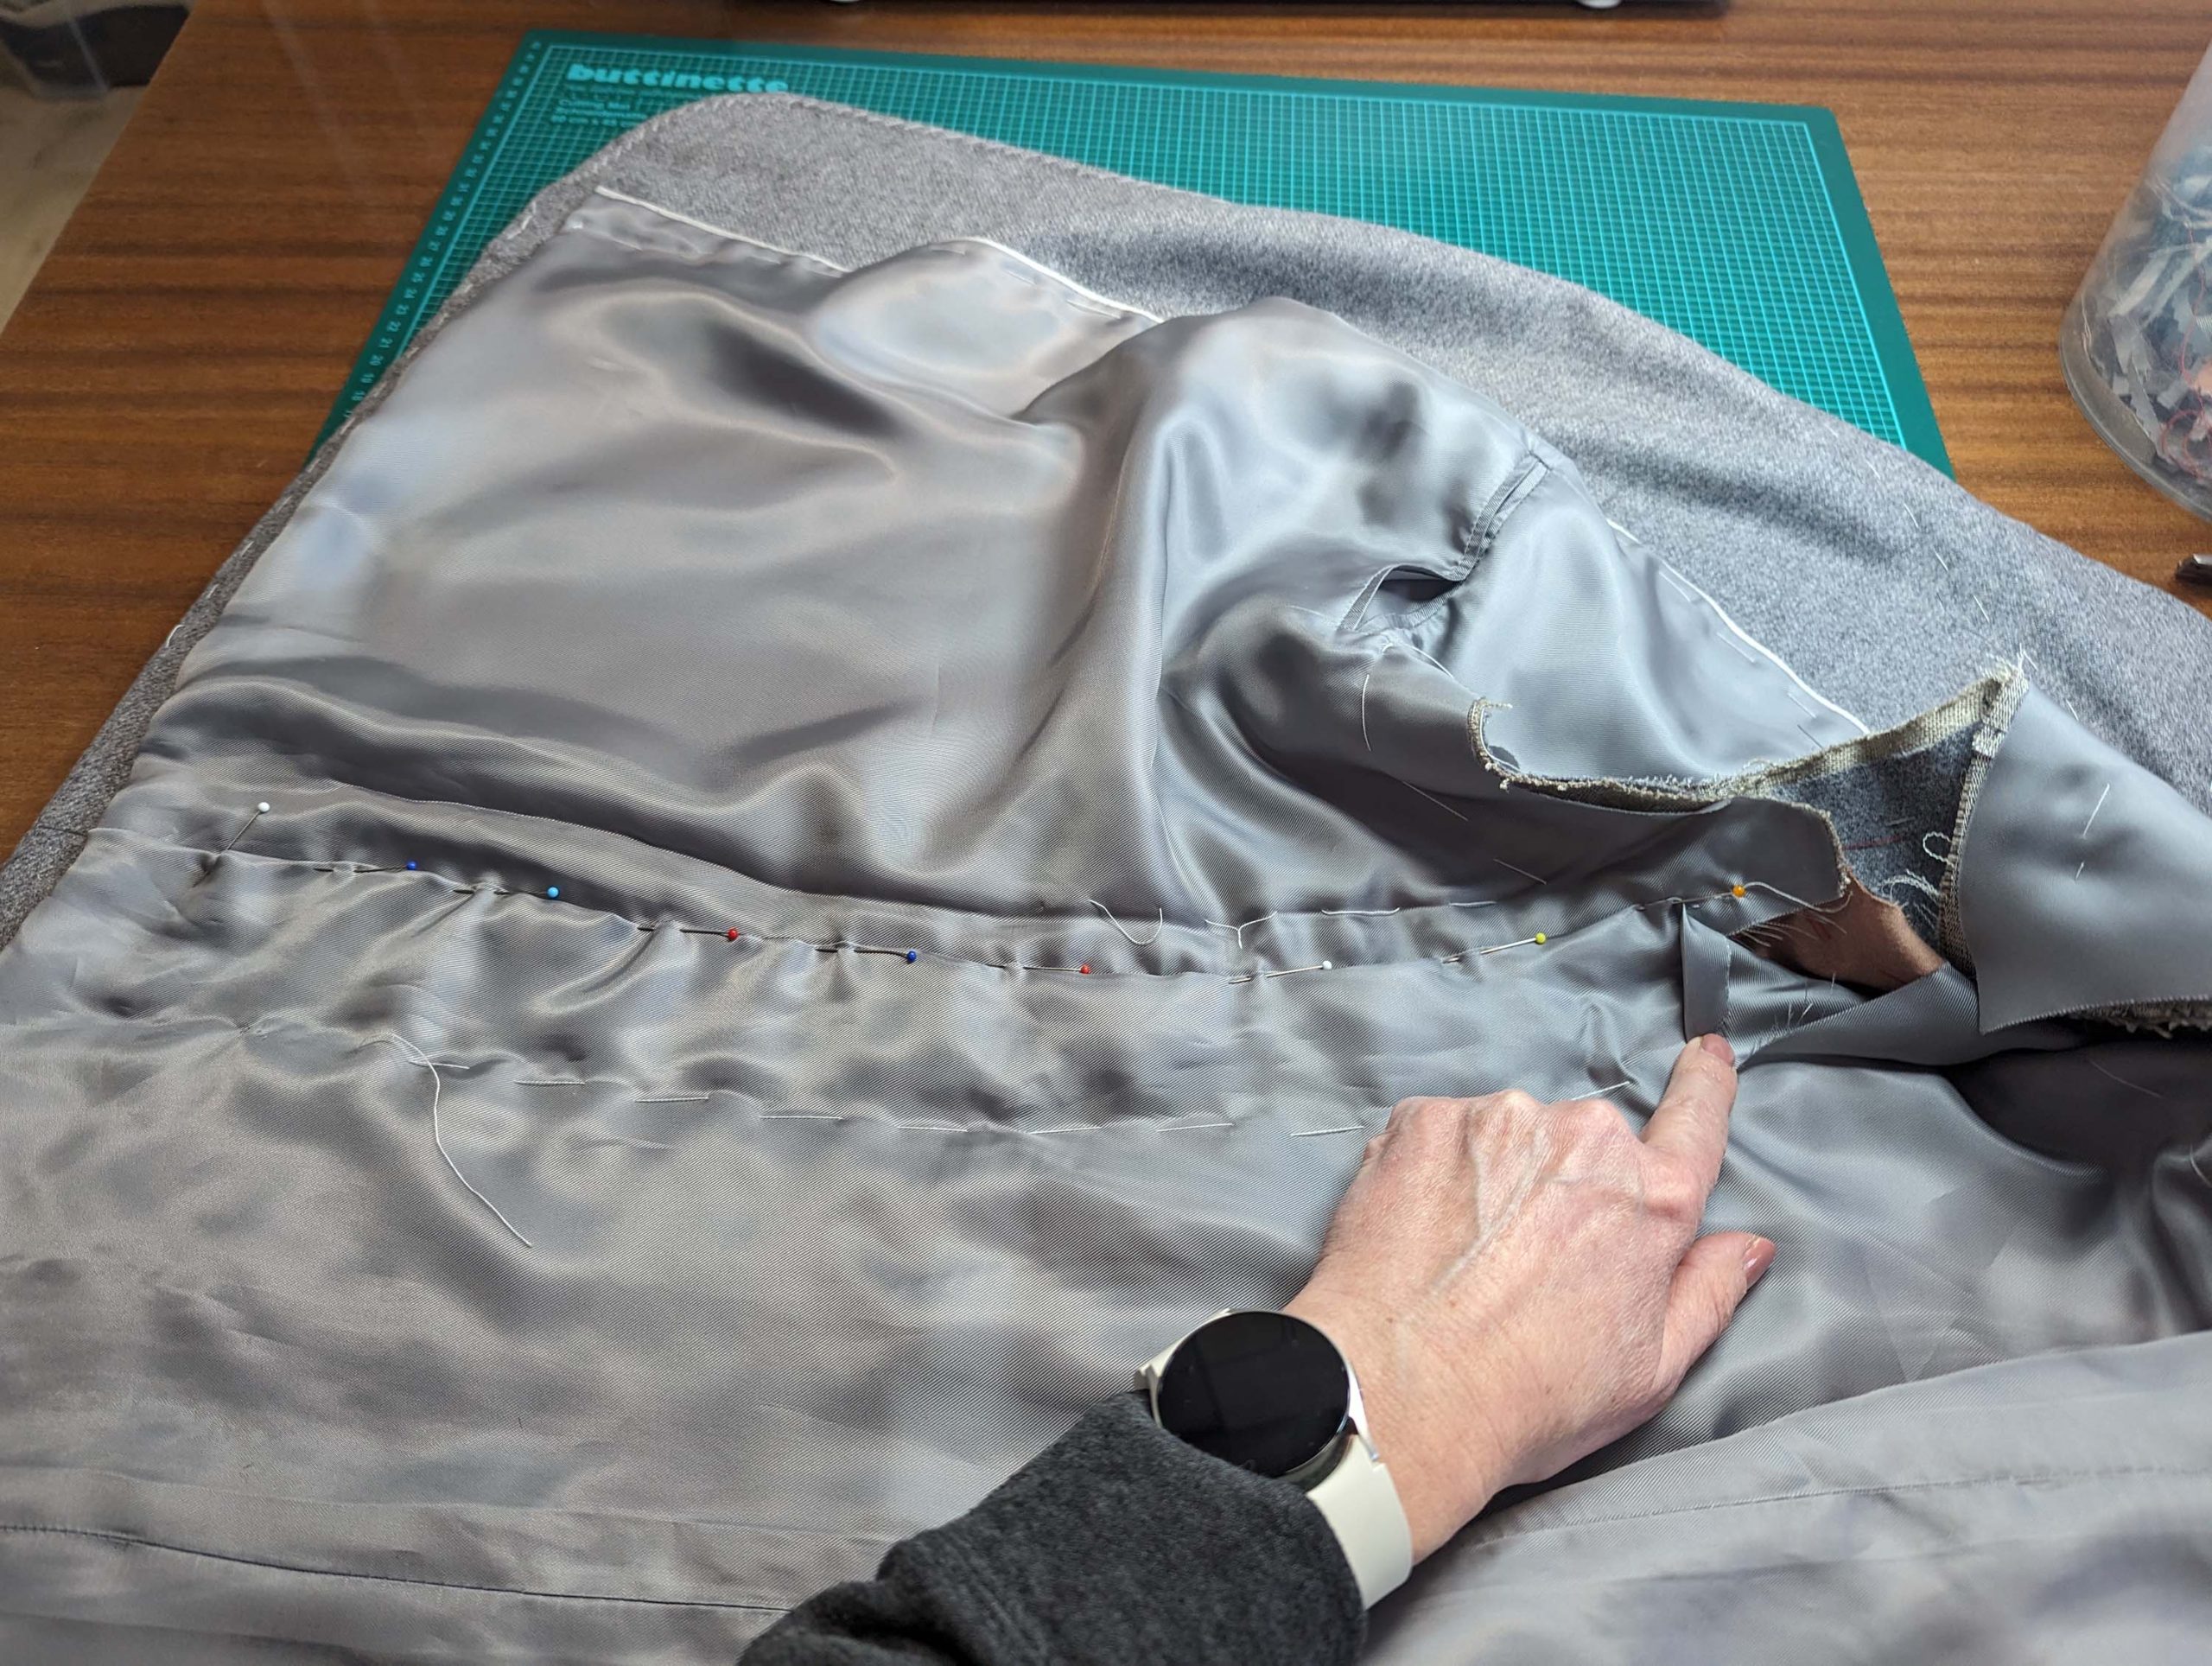
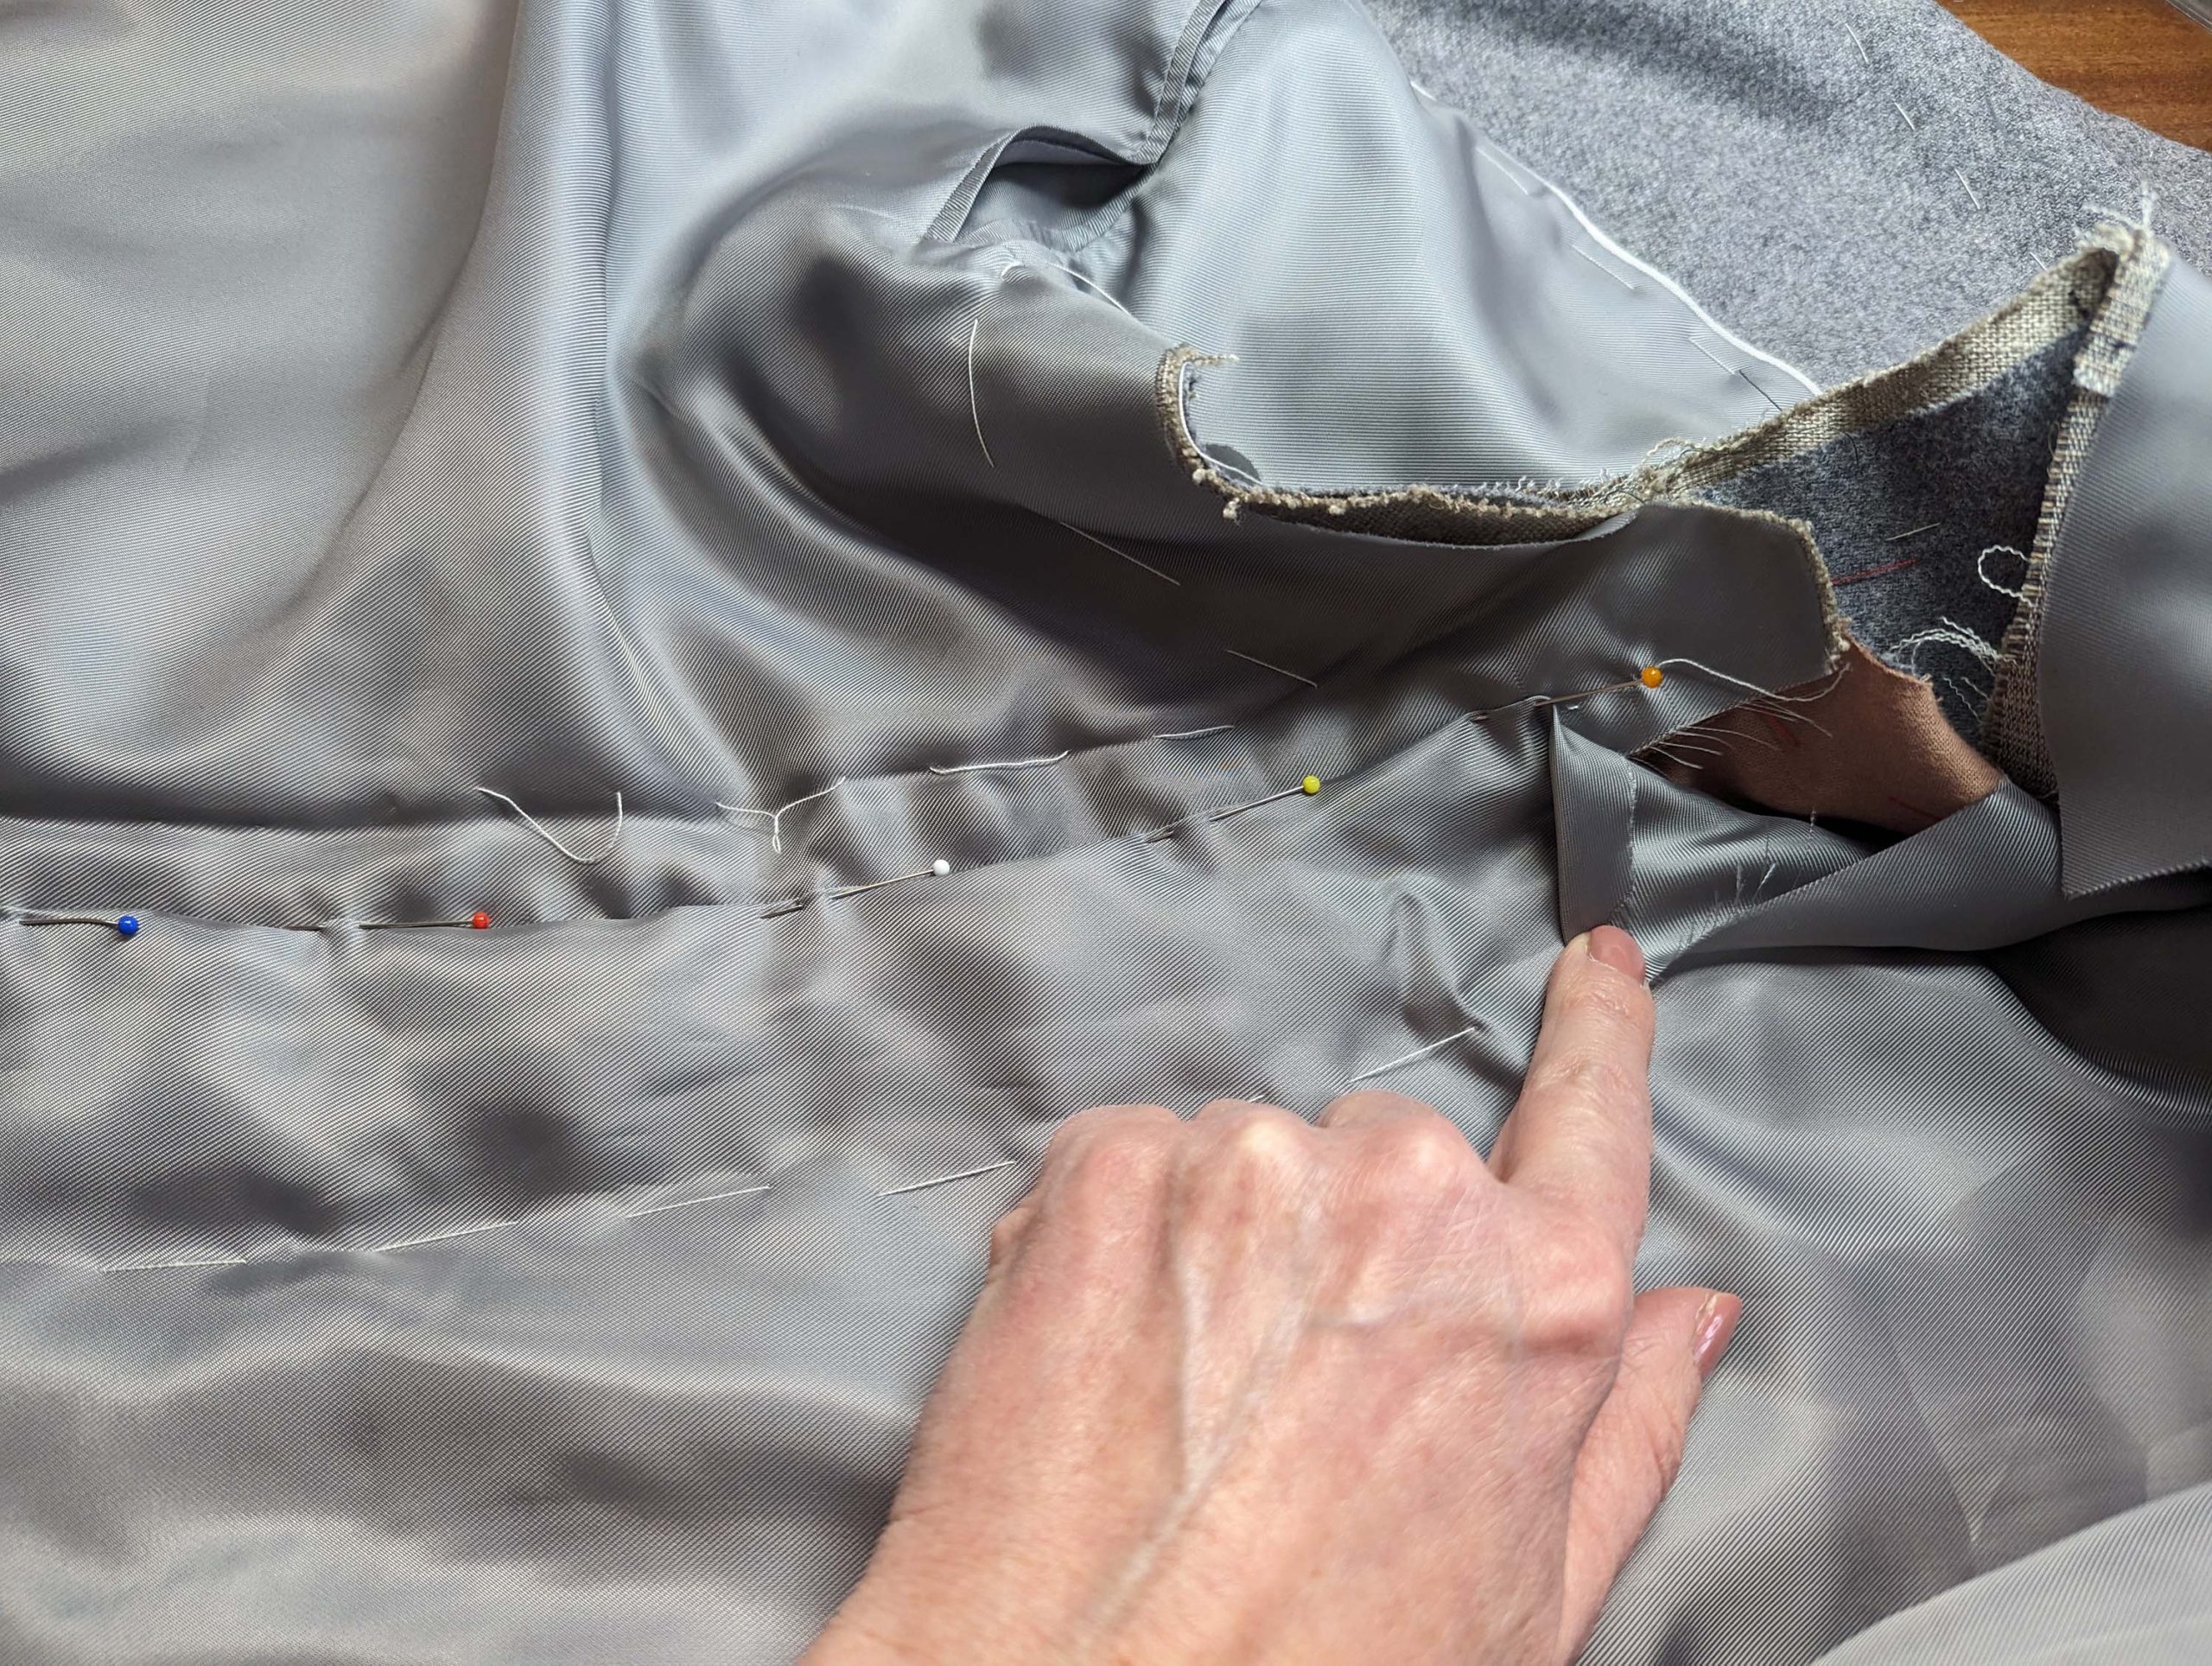
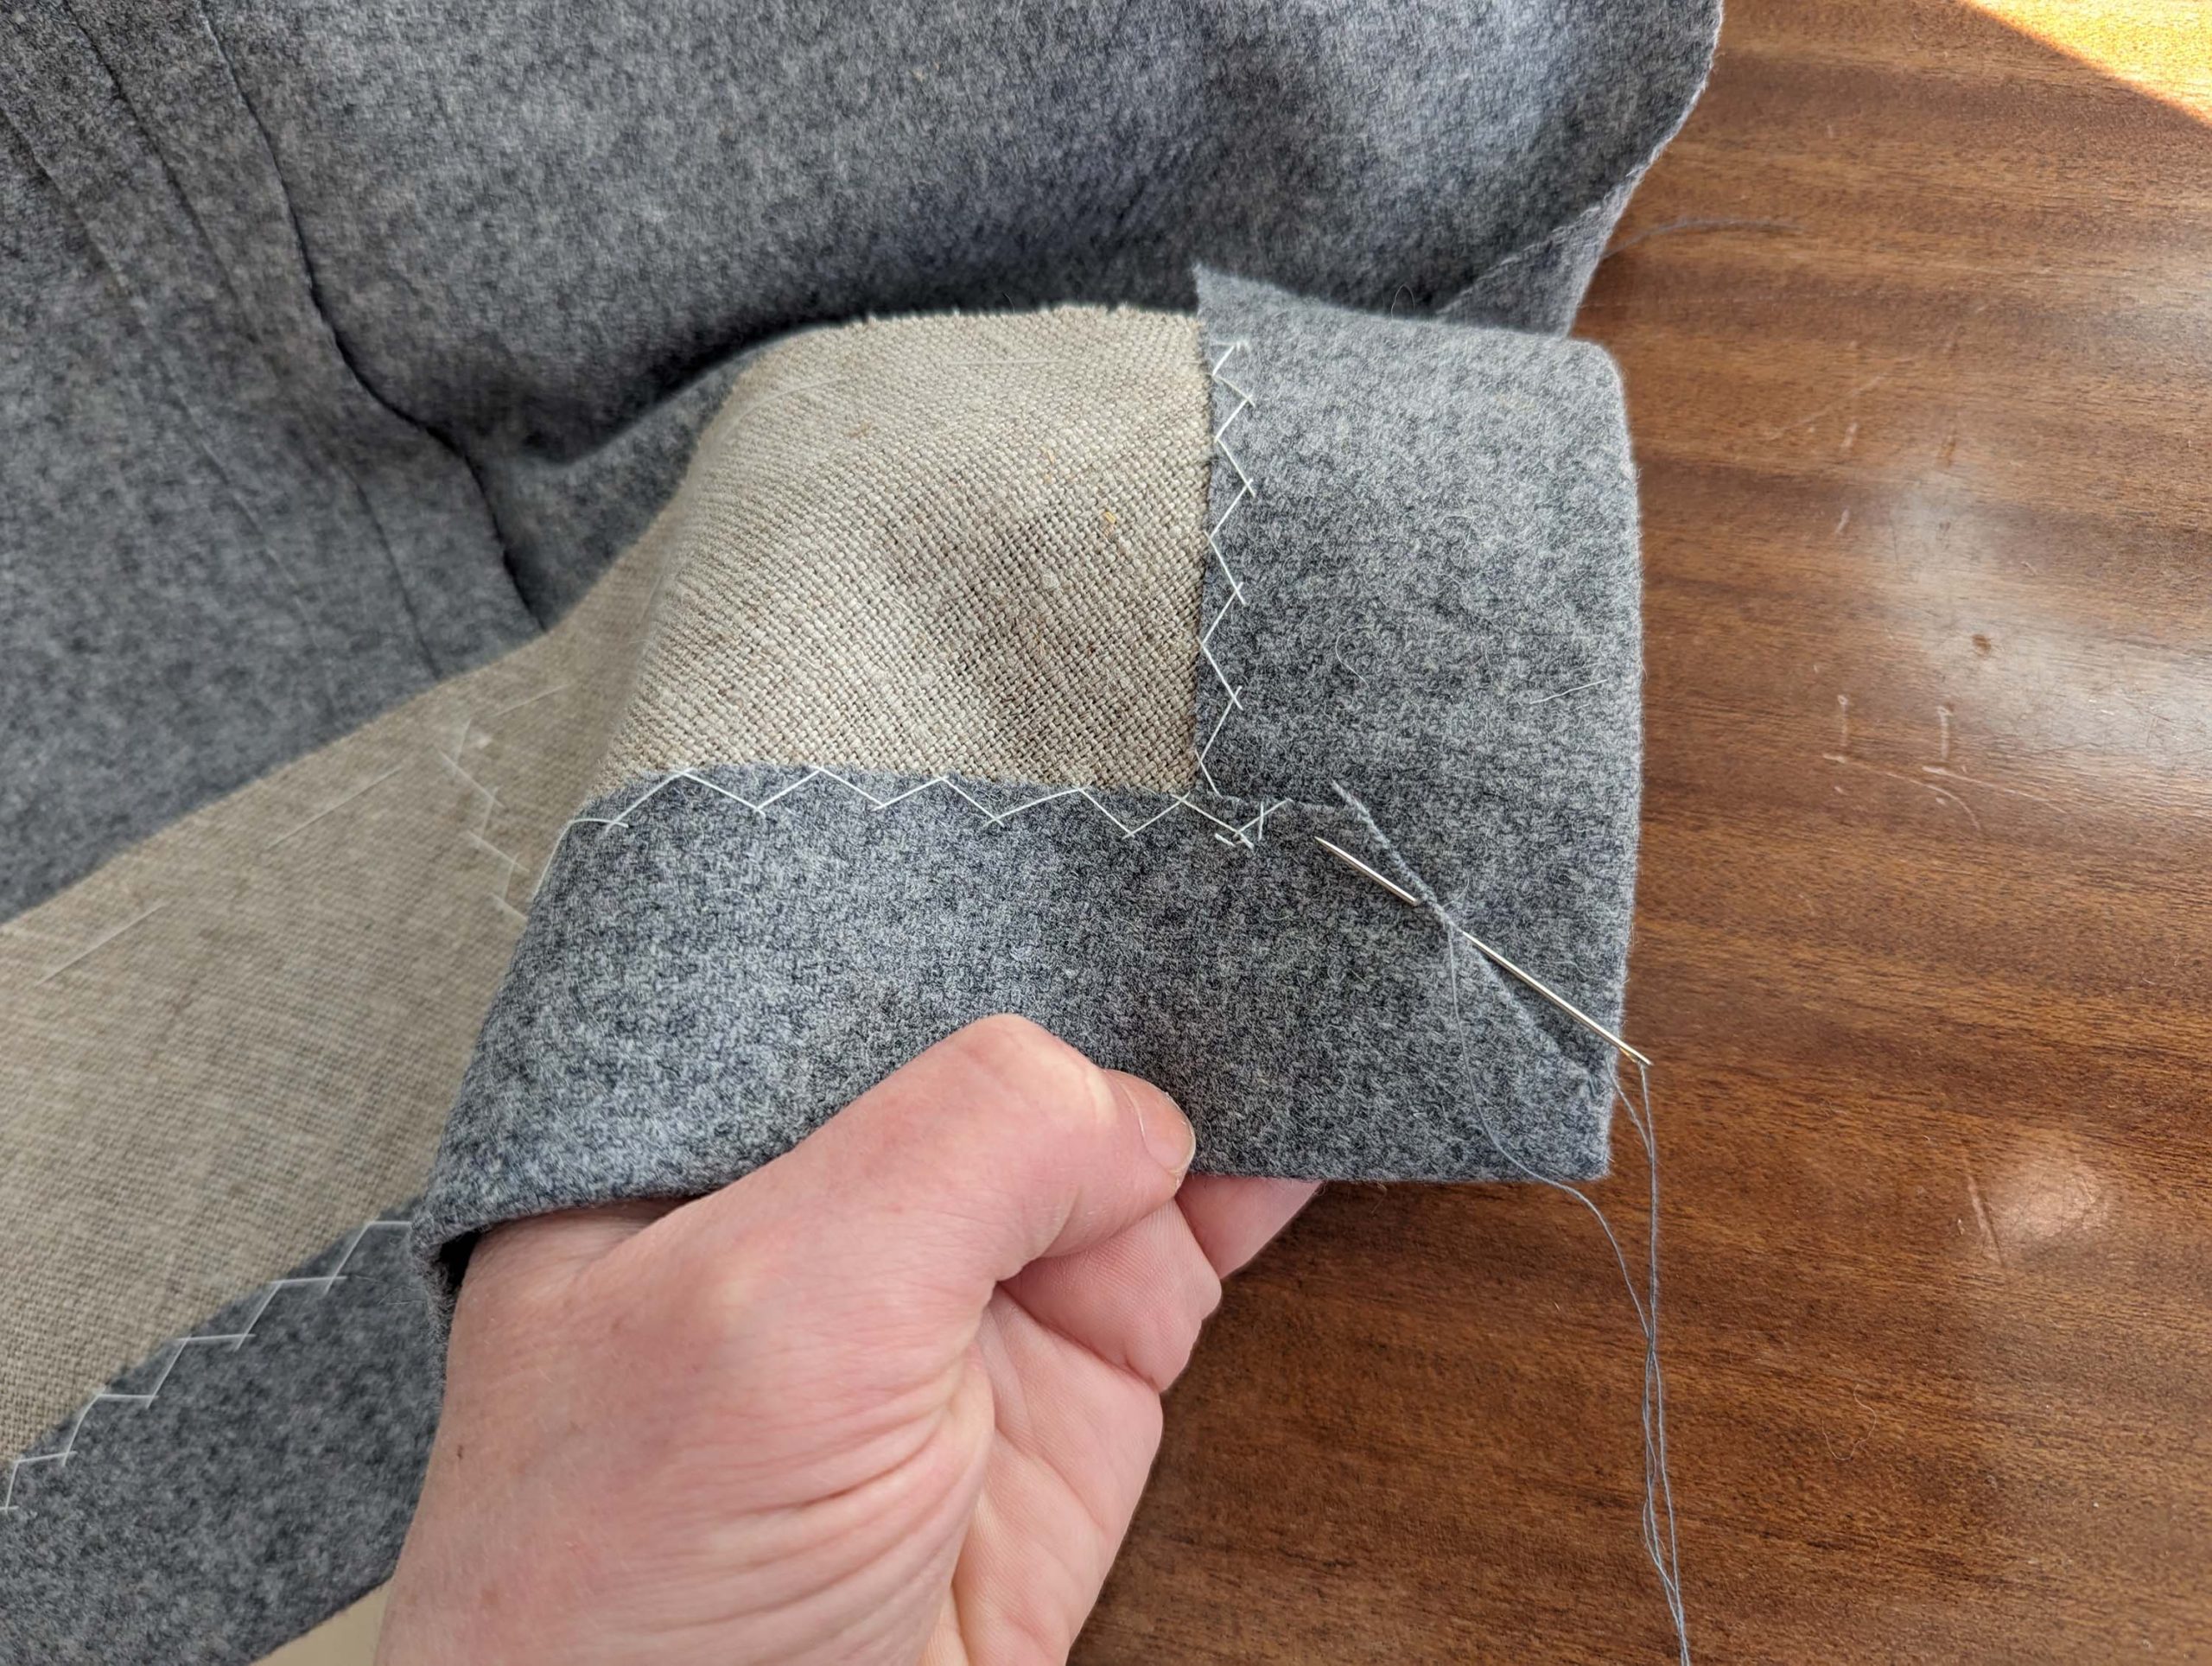
Attach a bias tape along the front edge and turn the seam allowances towards the lining. Line up the lining with the front, wrong sides together. First, baste the lower part of the lining to the front, and fold down the lining along the pocket line – up´s that’s missing, I found that hint later: Catch stitch the seam allowances of the pocket to the canvas. Fold the lining back again and baste the remaining edges. Stay with your basting stitches about 3” (7cm) from the edges to allow sewing later easily. Along the front edge baste right beside the edge. Smooth out the front lining over the shoulder.
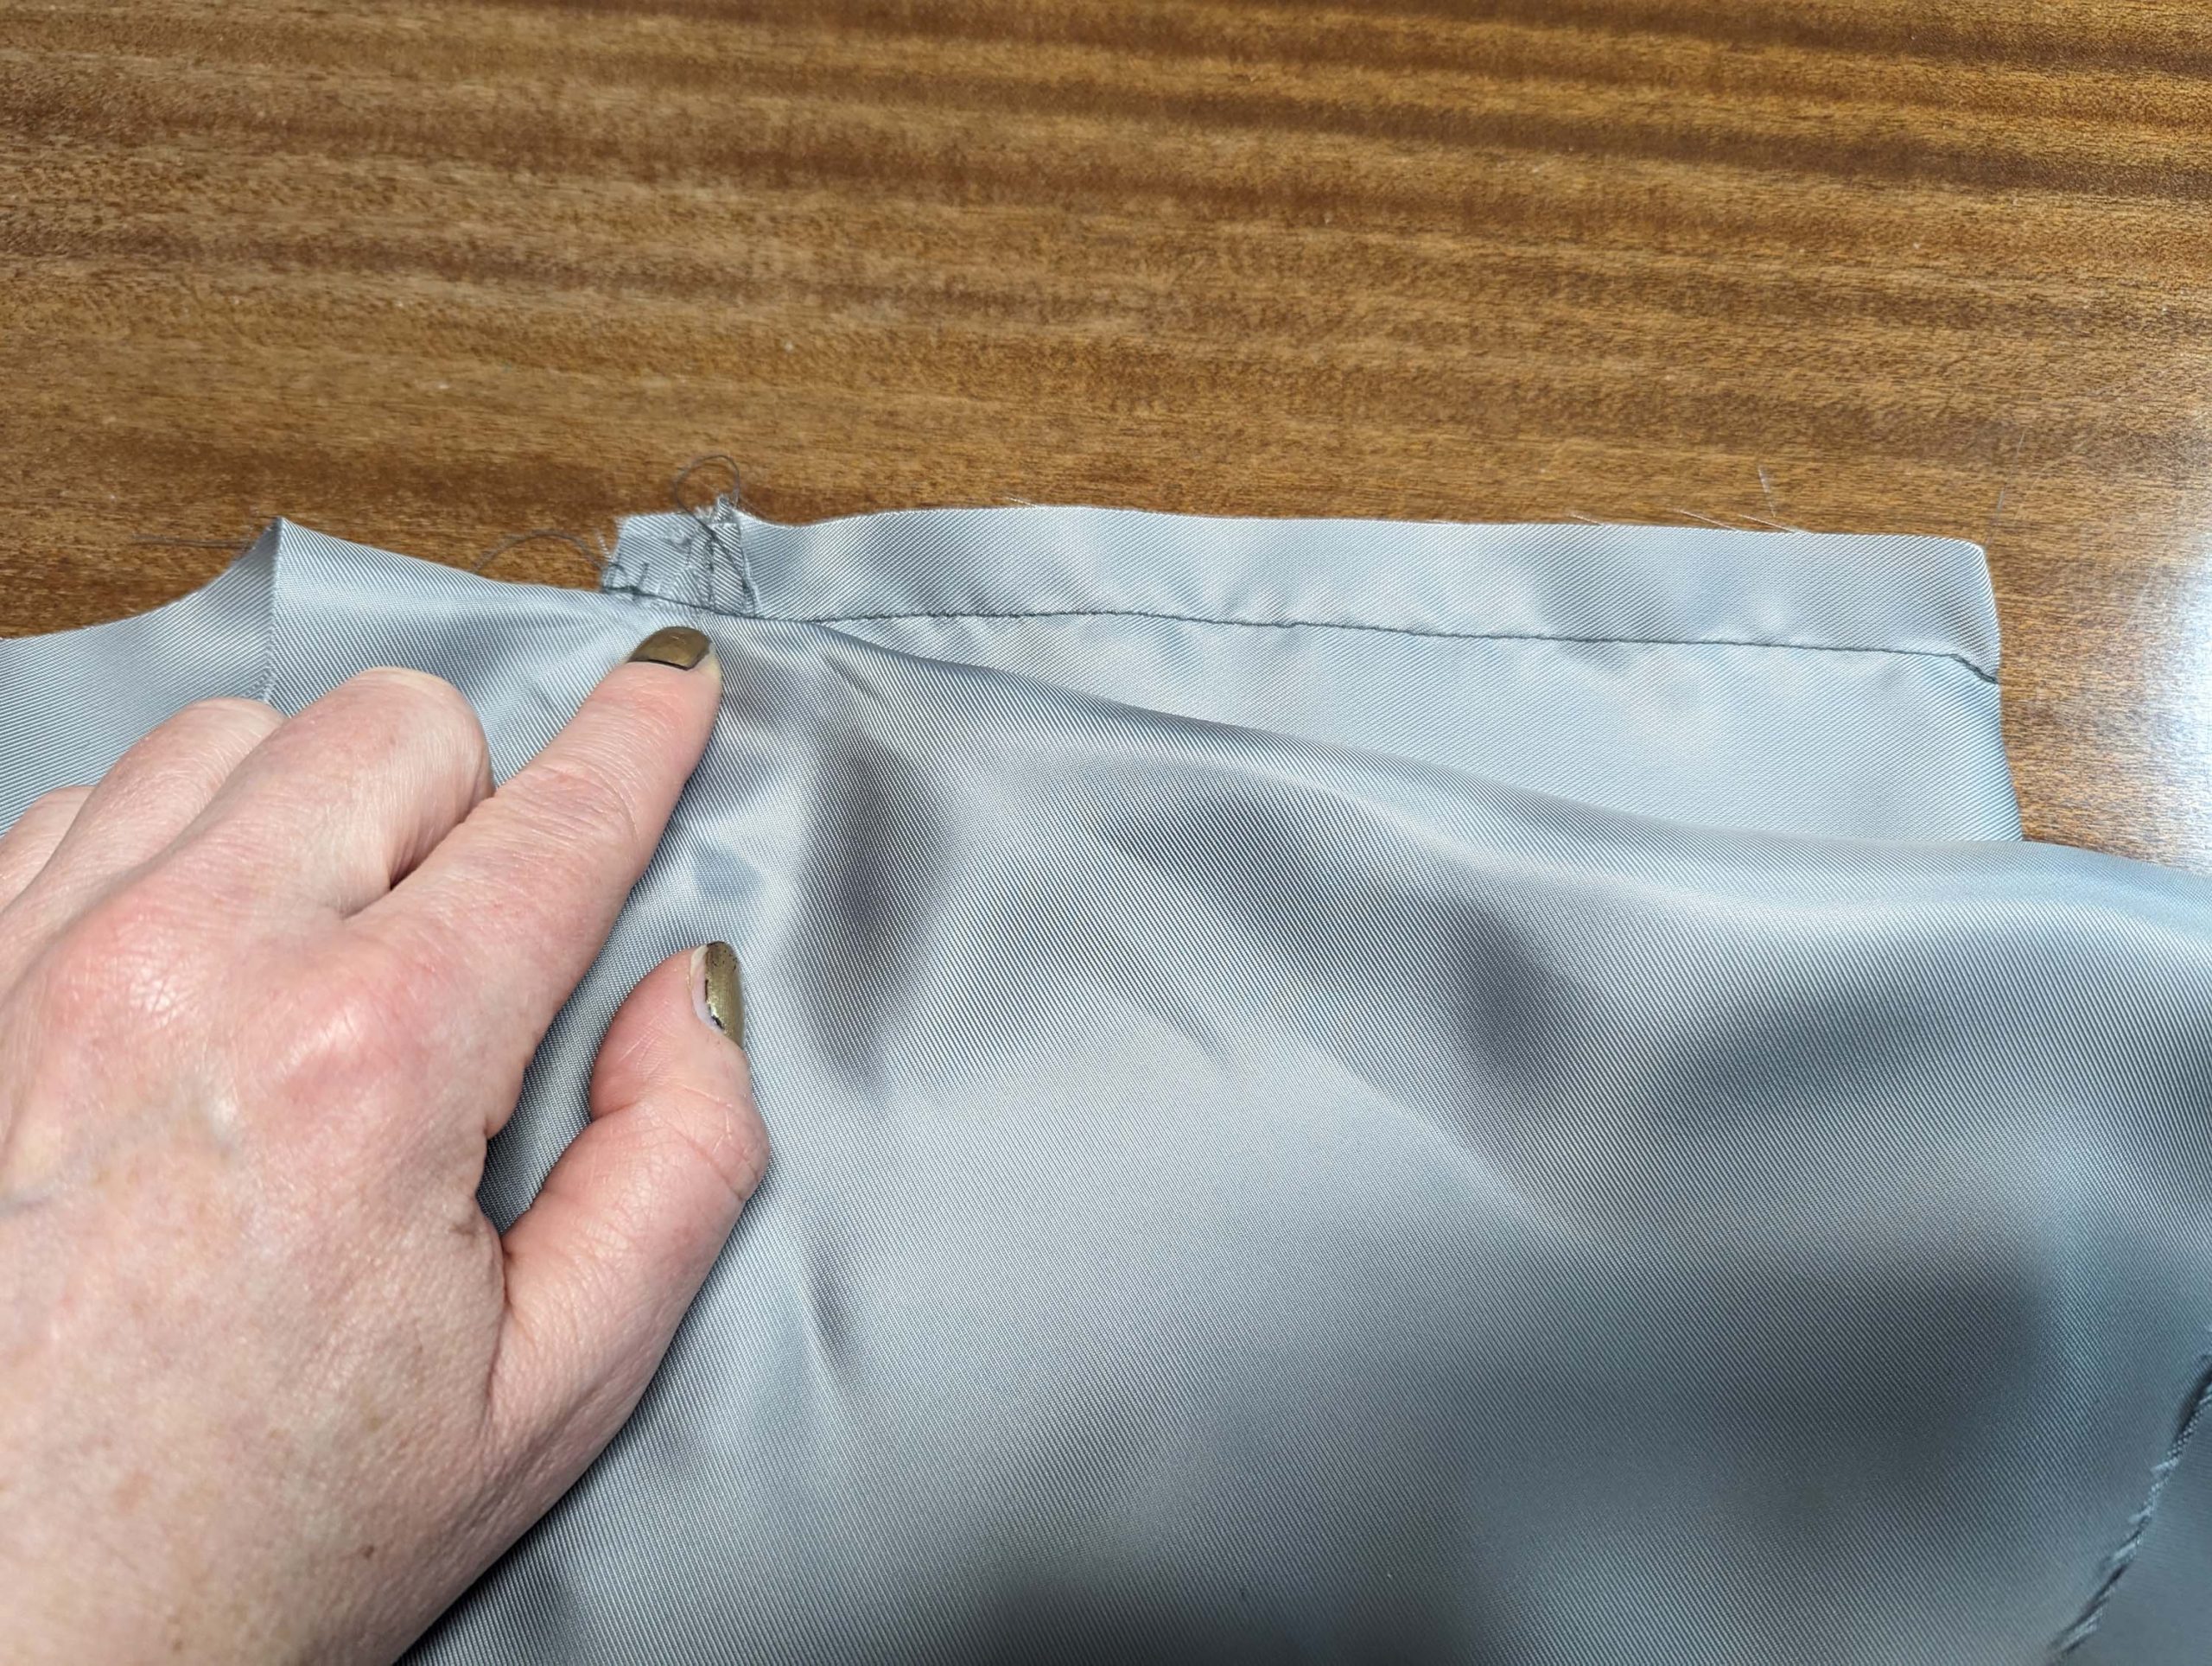
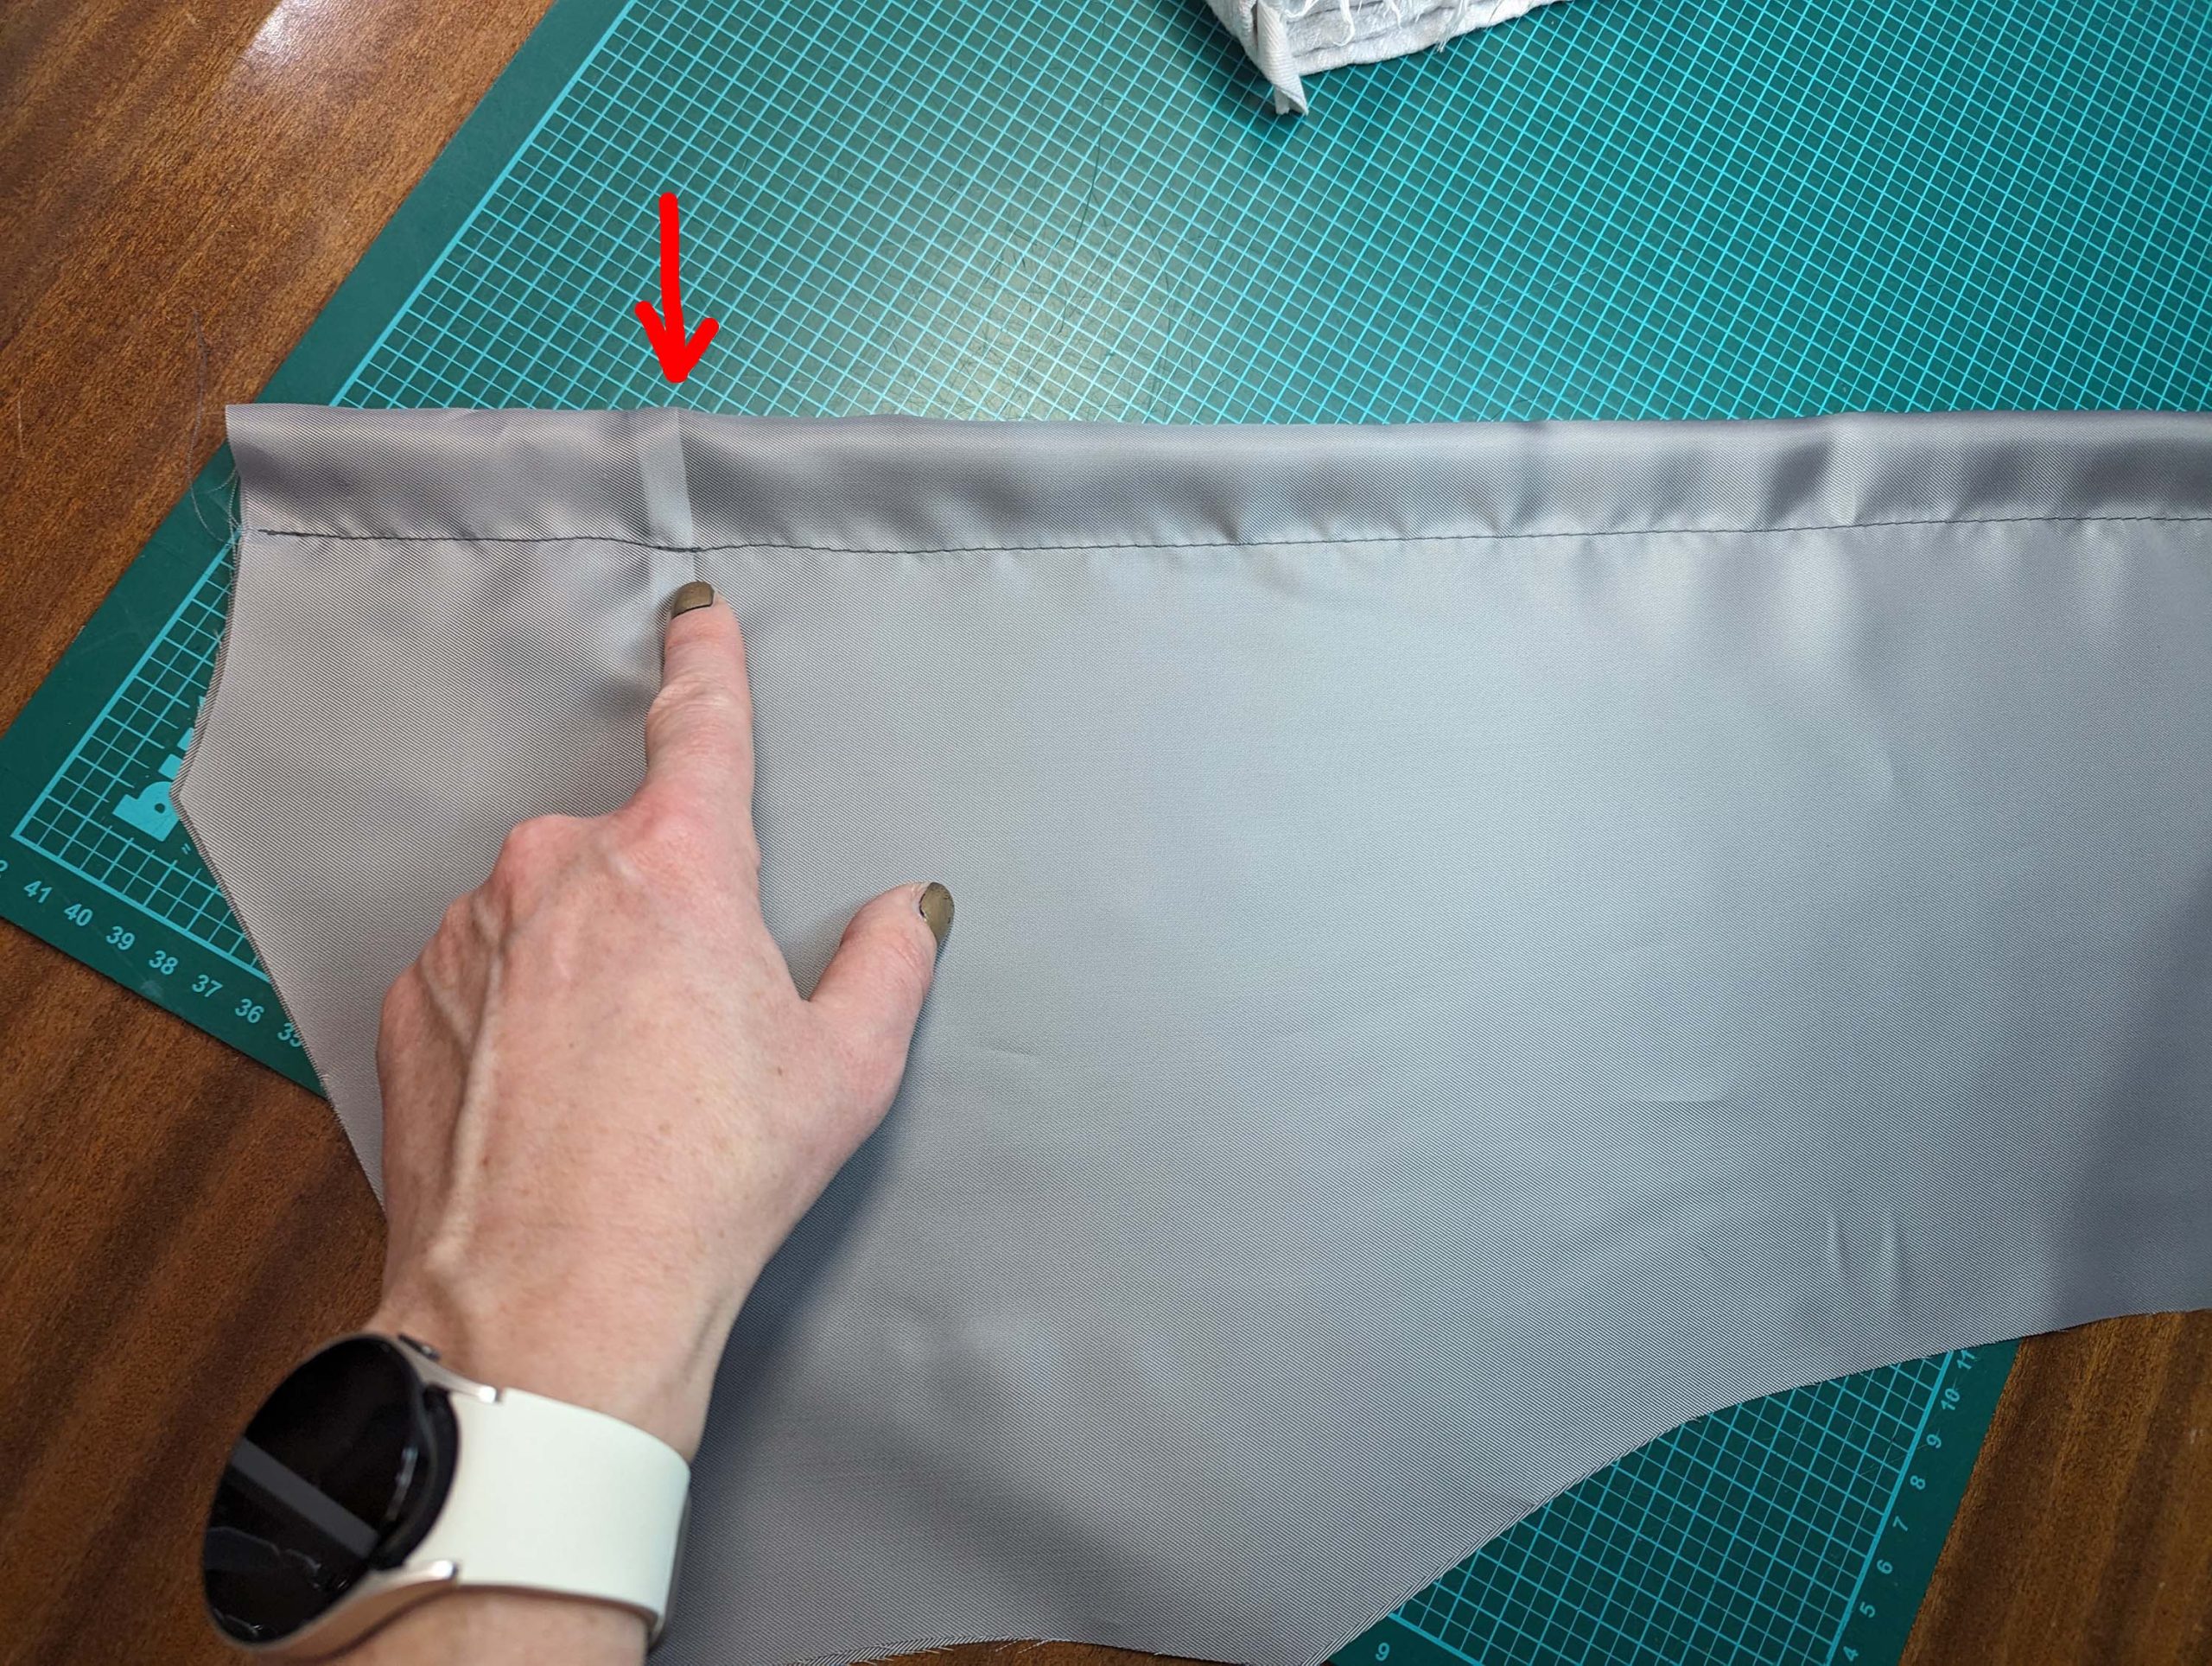
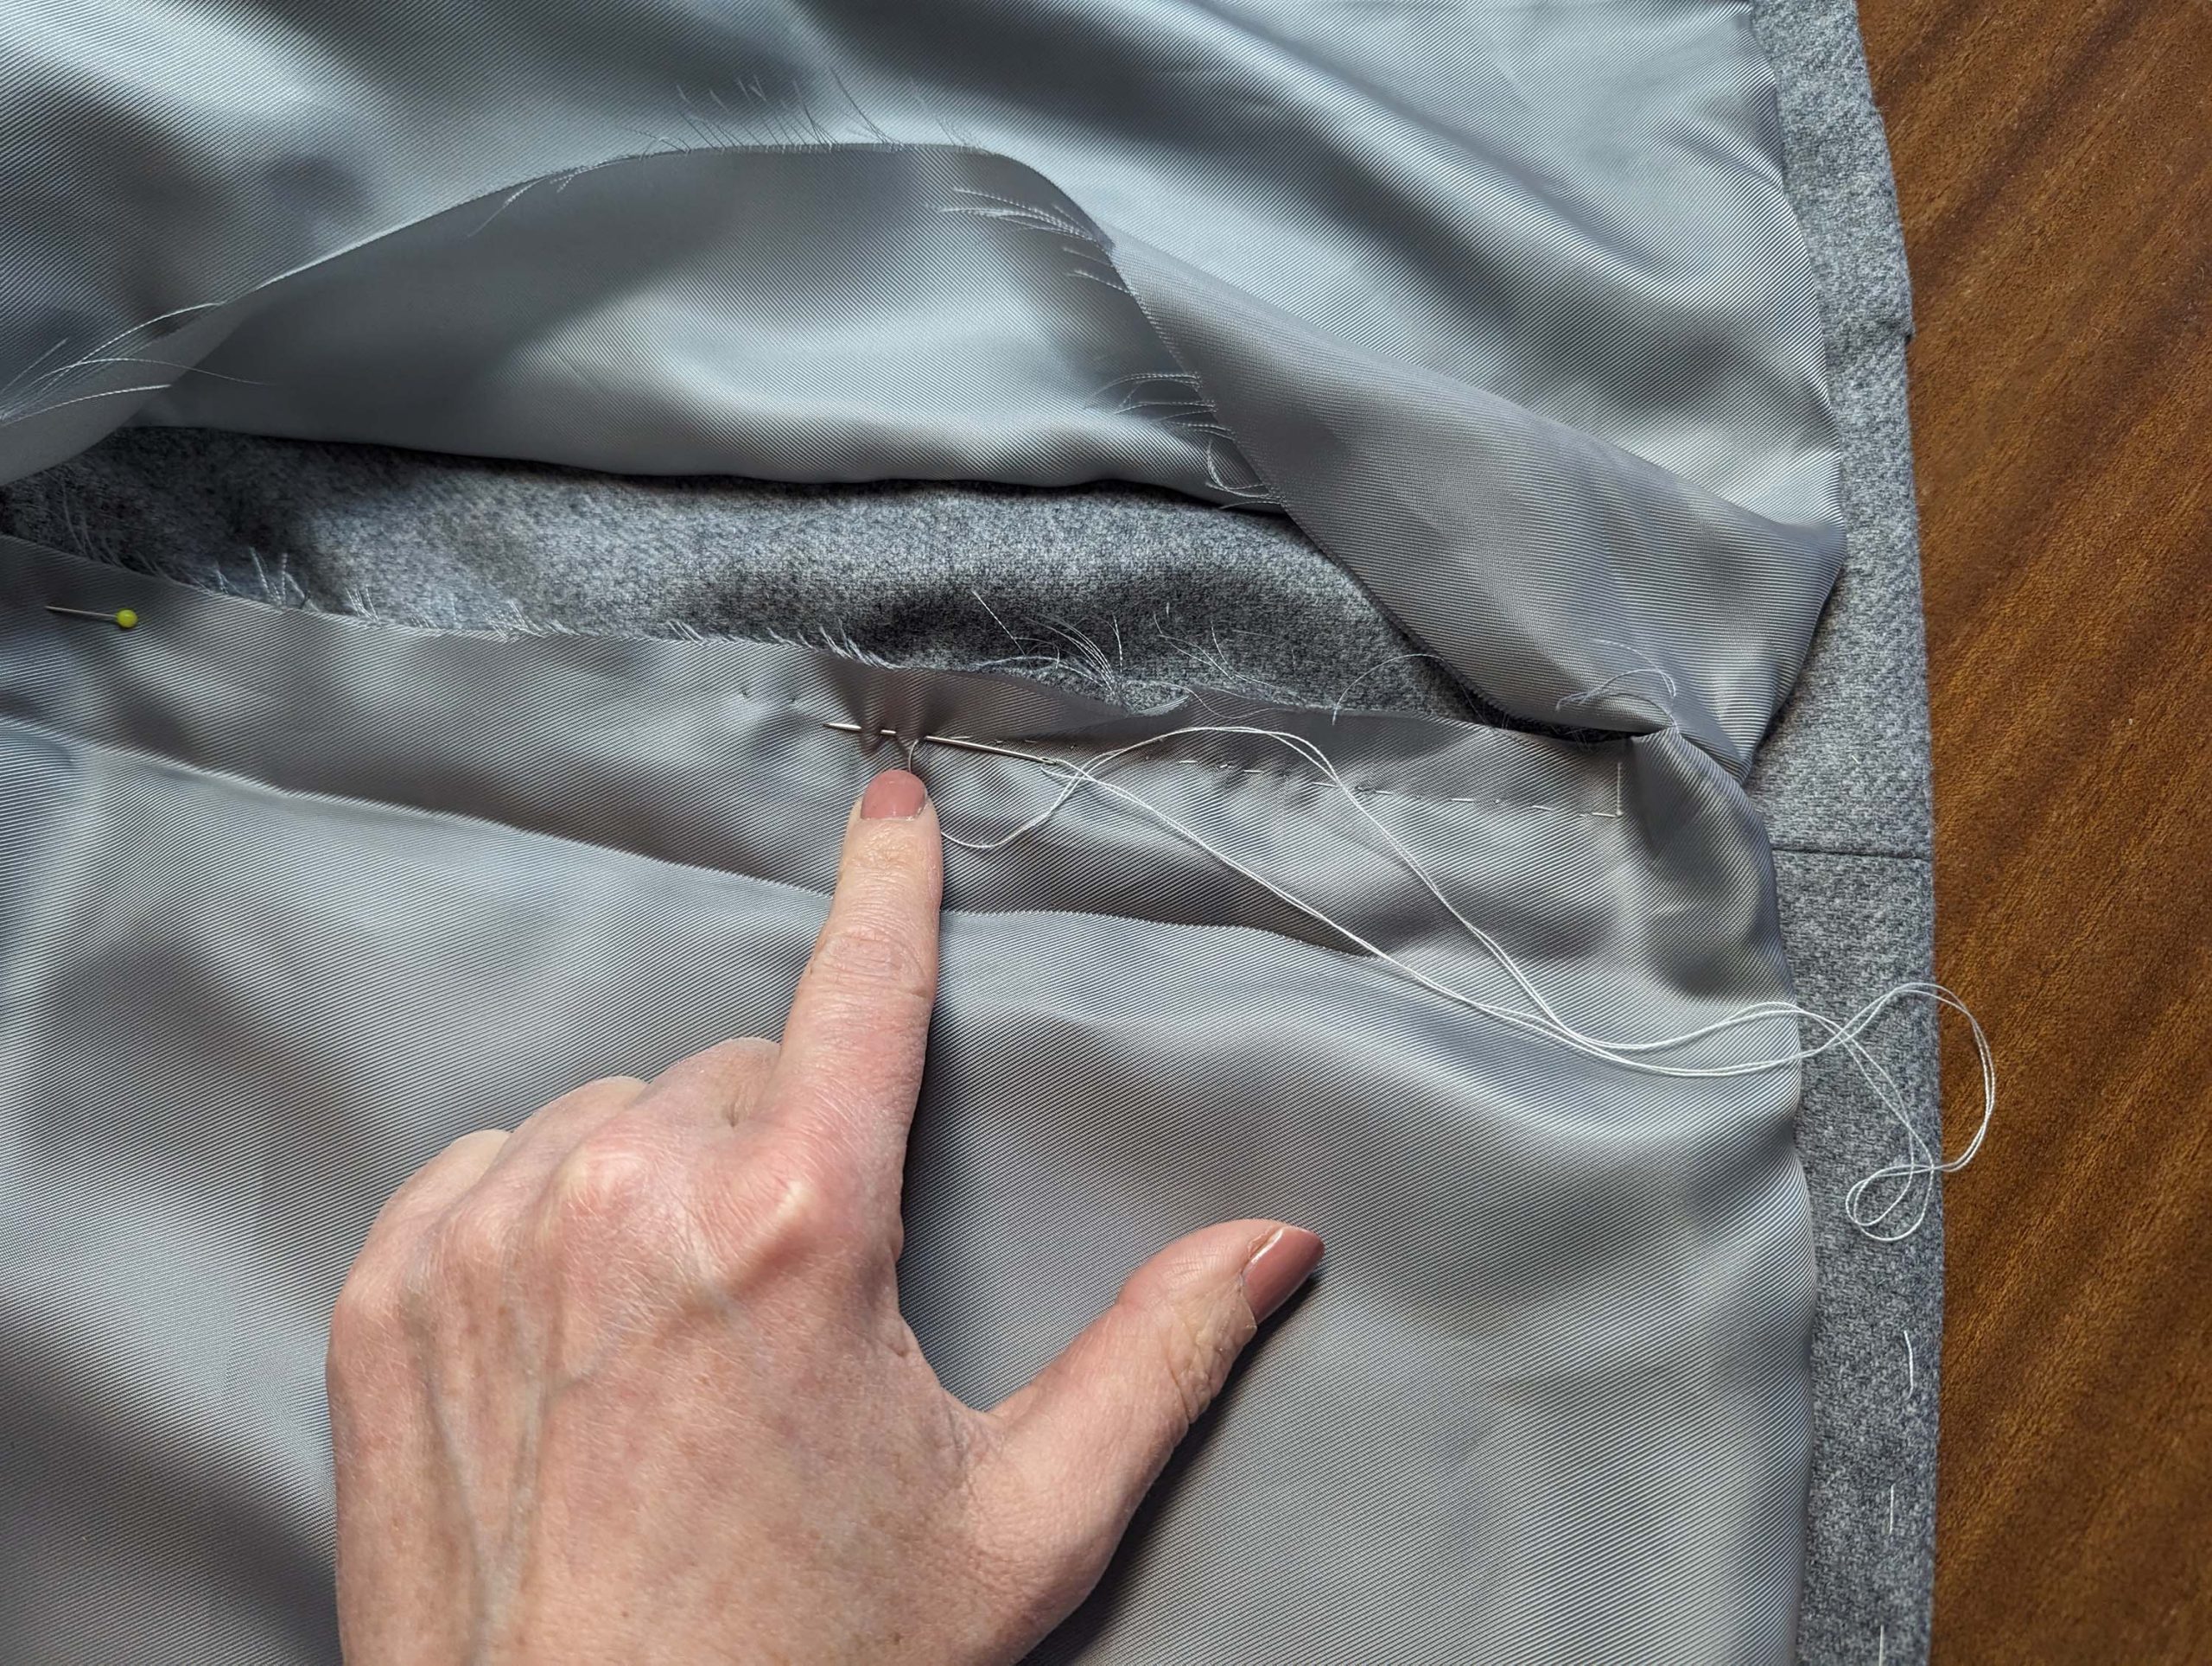
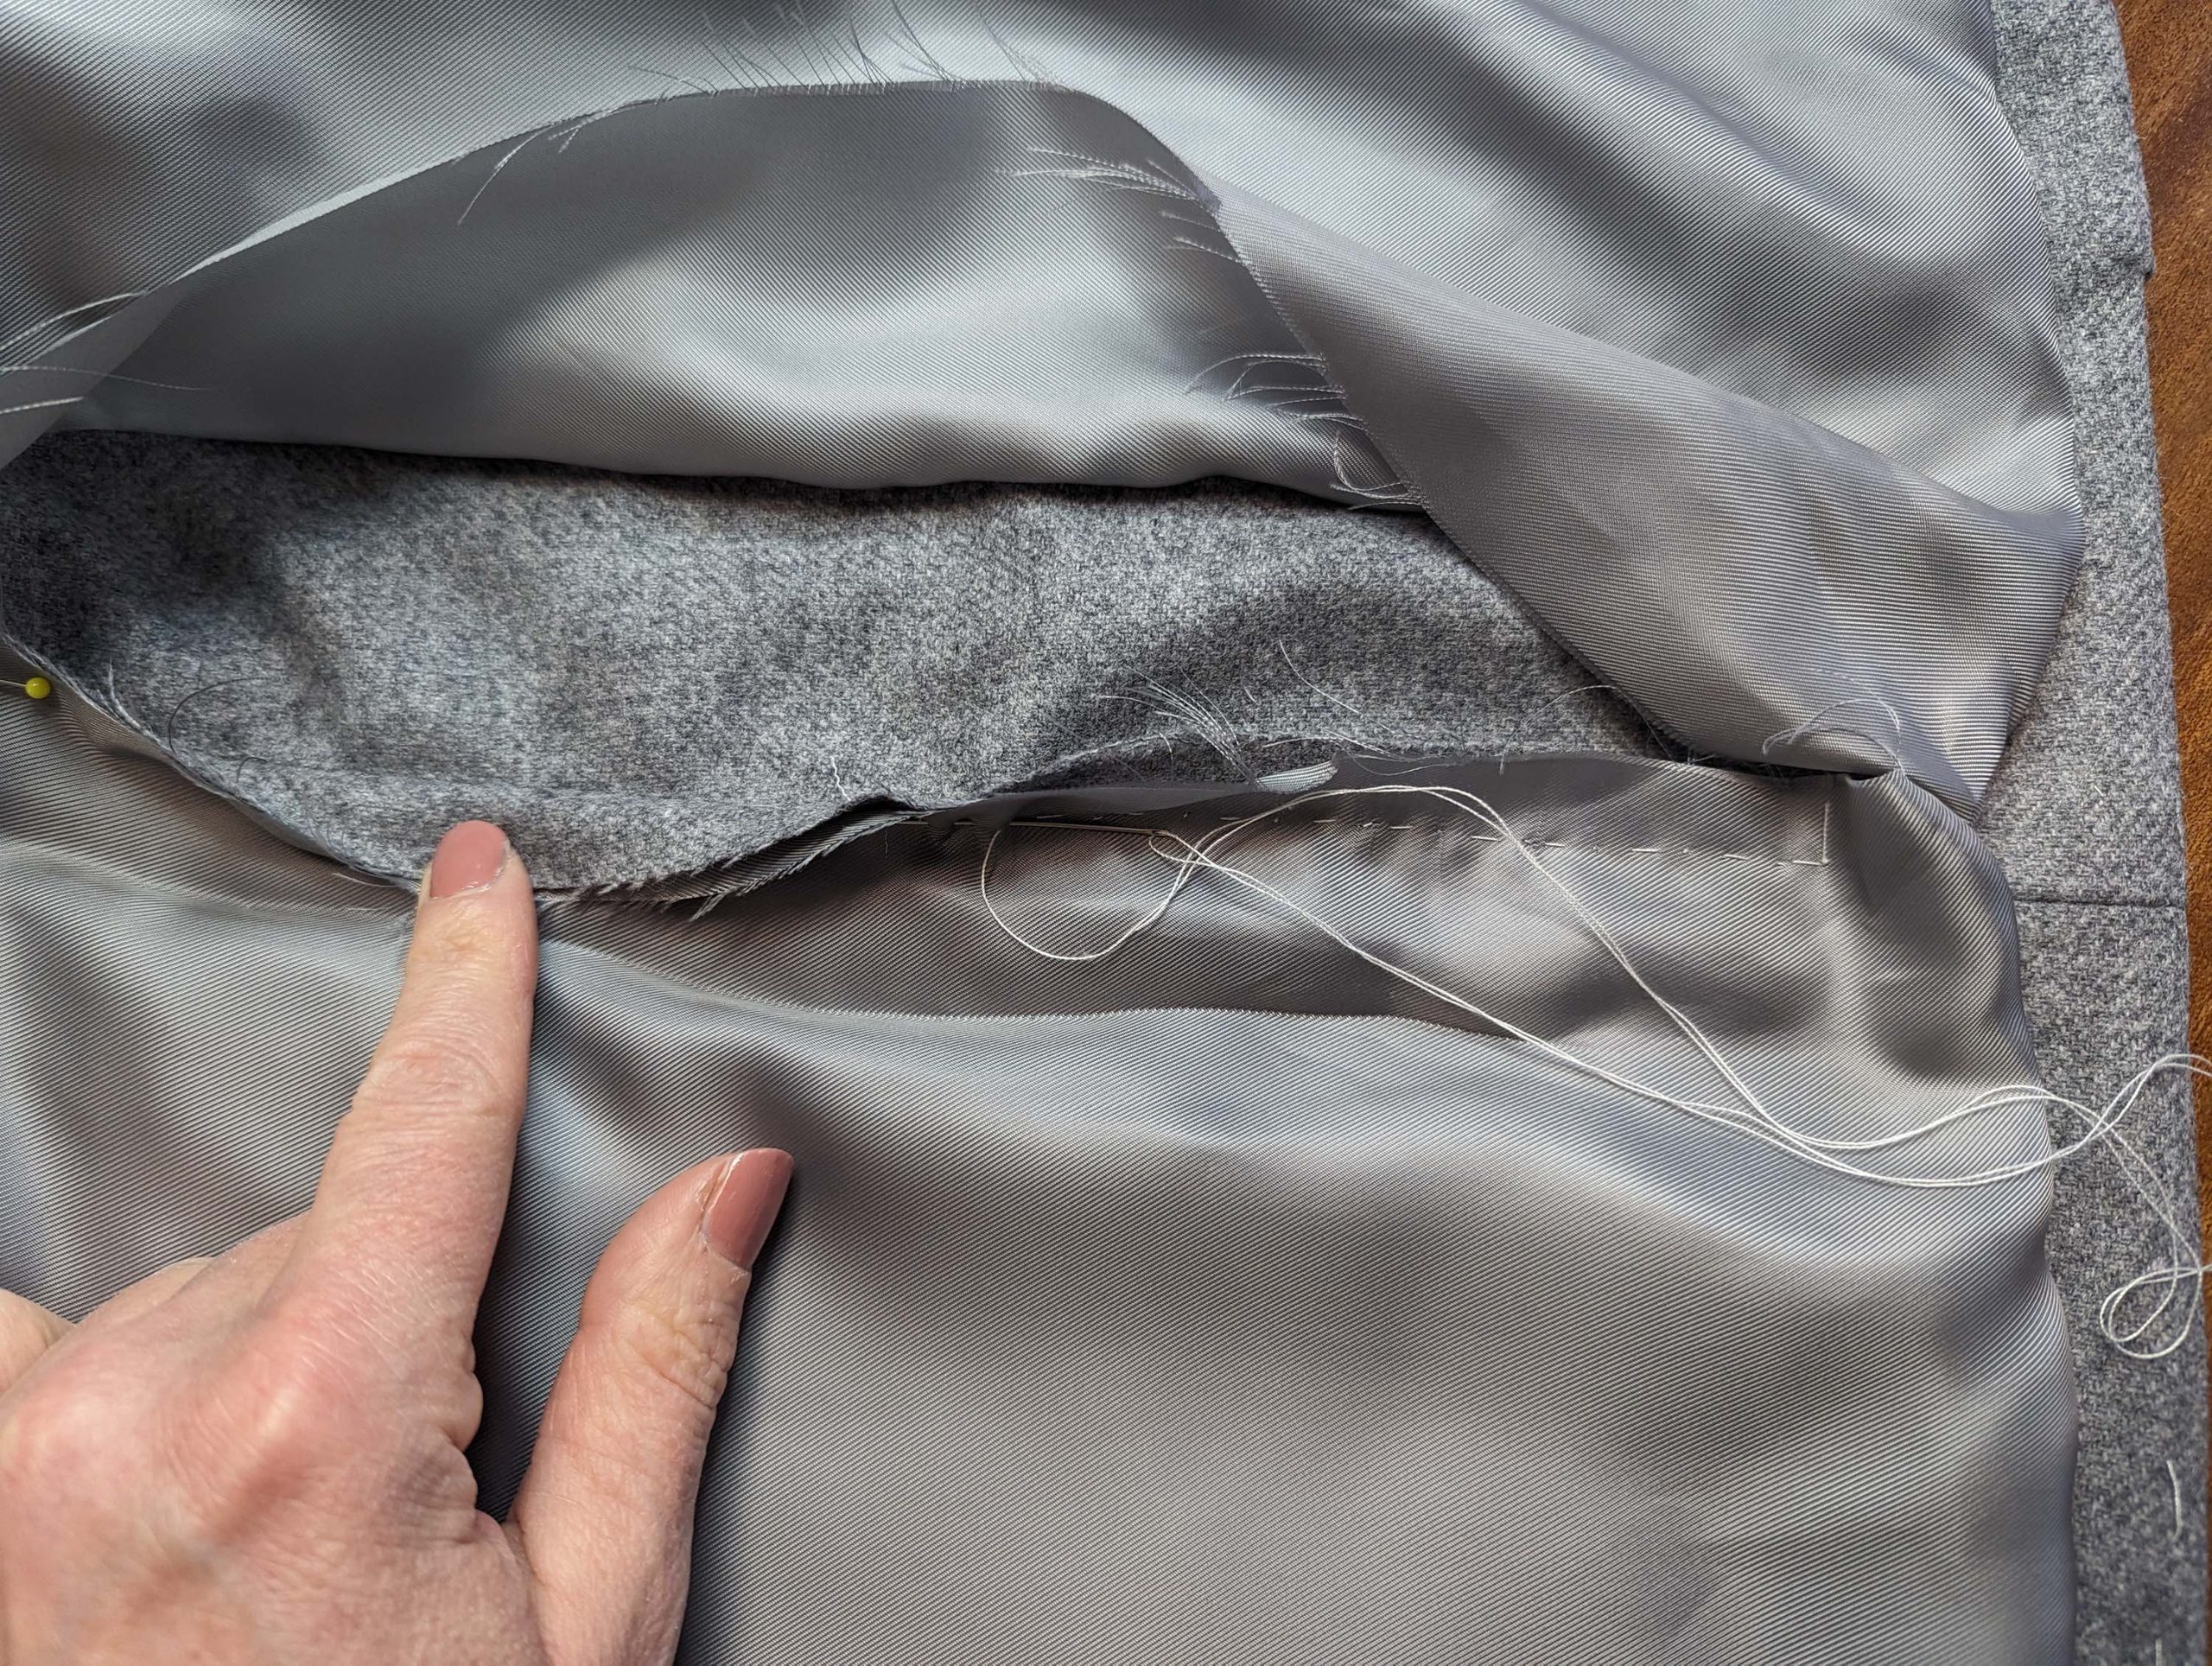
(15) Näh das centerback seam and press open the seam allowances. Take the Rückenfutter and fold in half along the center back, right sides together. Stitch down along the line, indicating the center back. Just baste stitch between the marks. This basting will be removed later to provide some extra width in the lining.
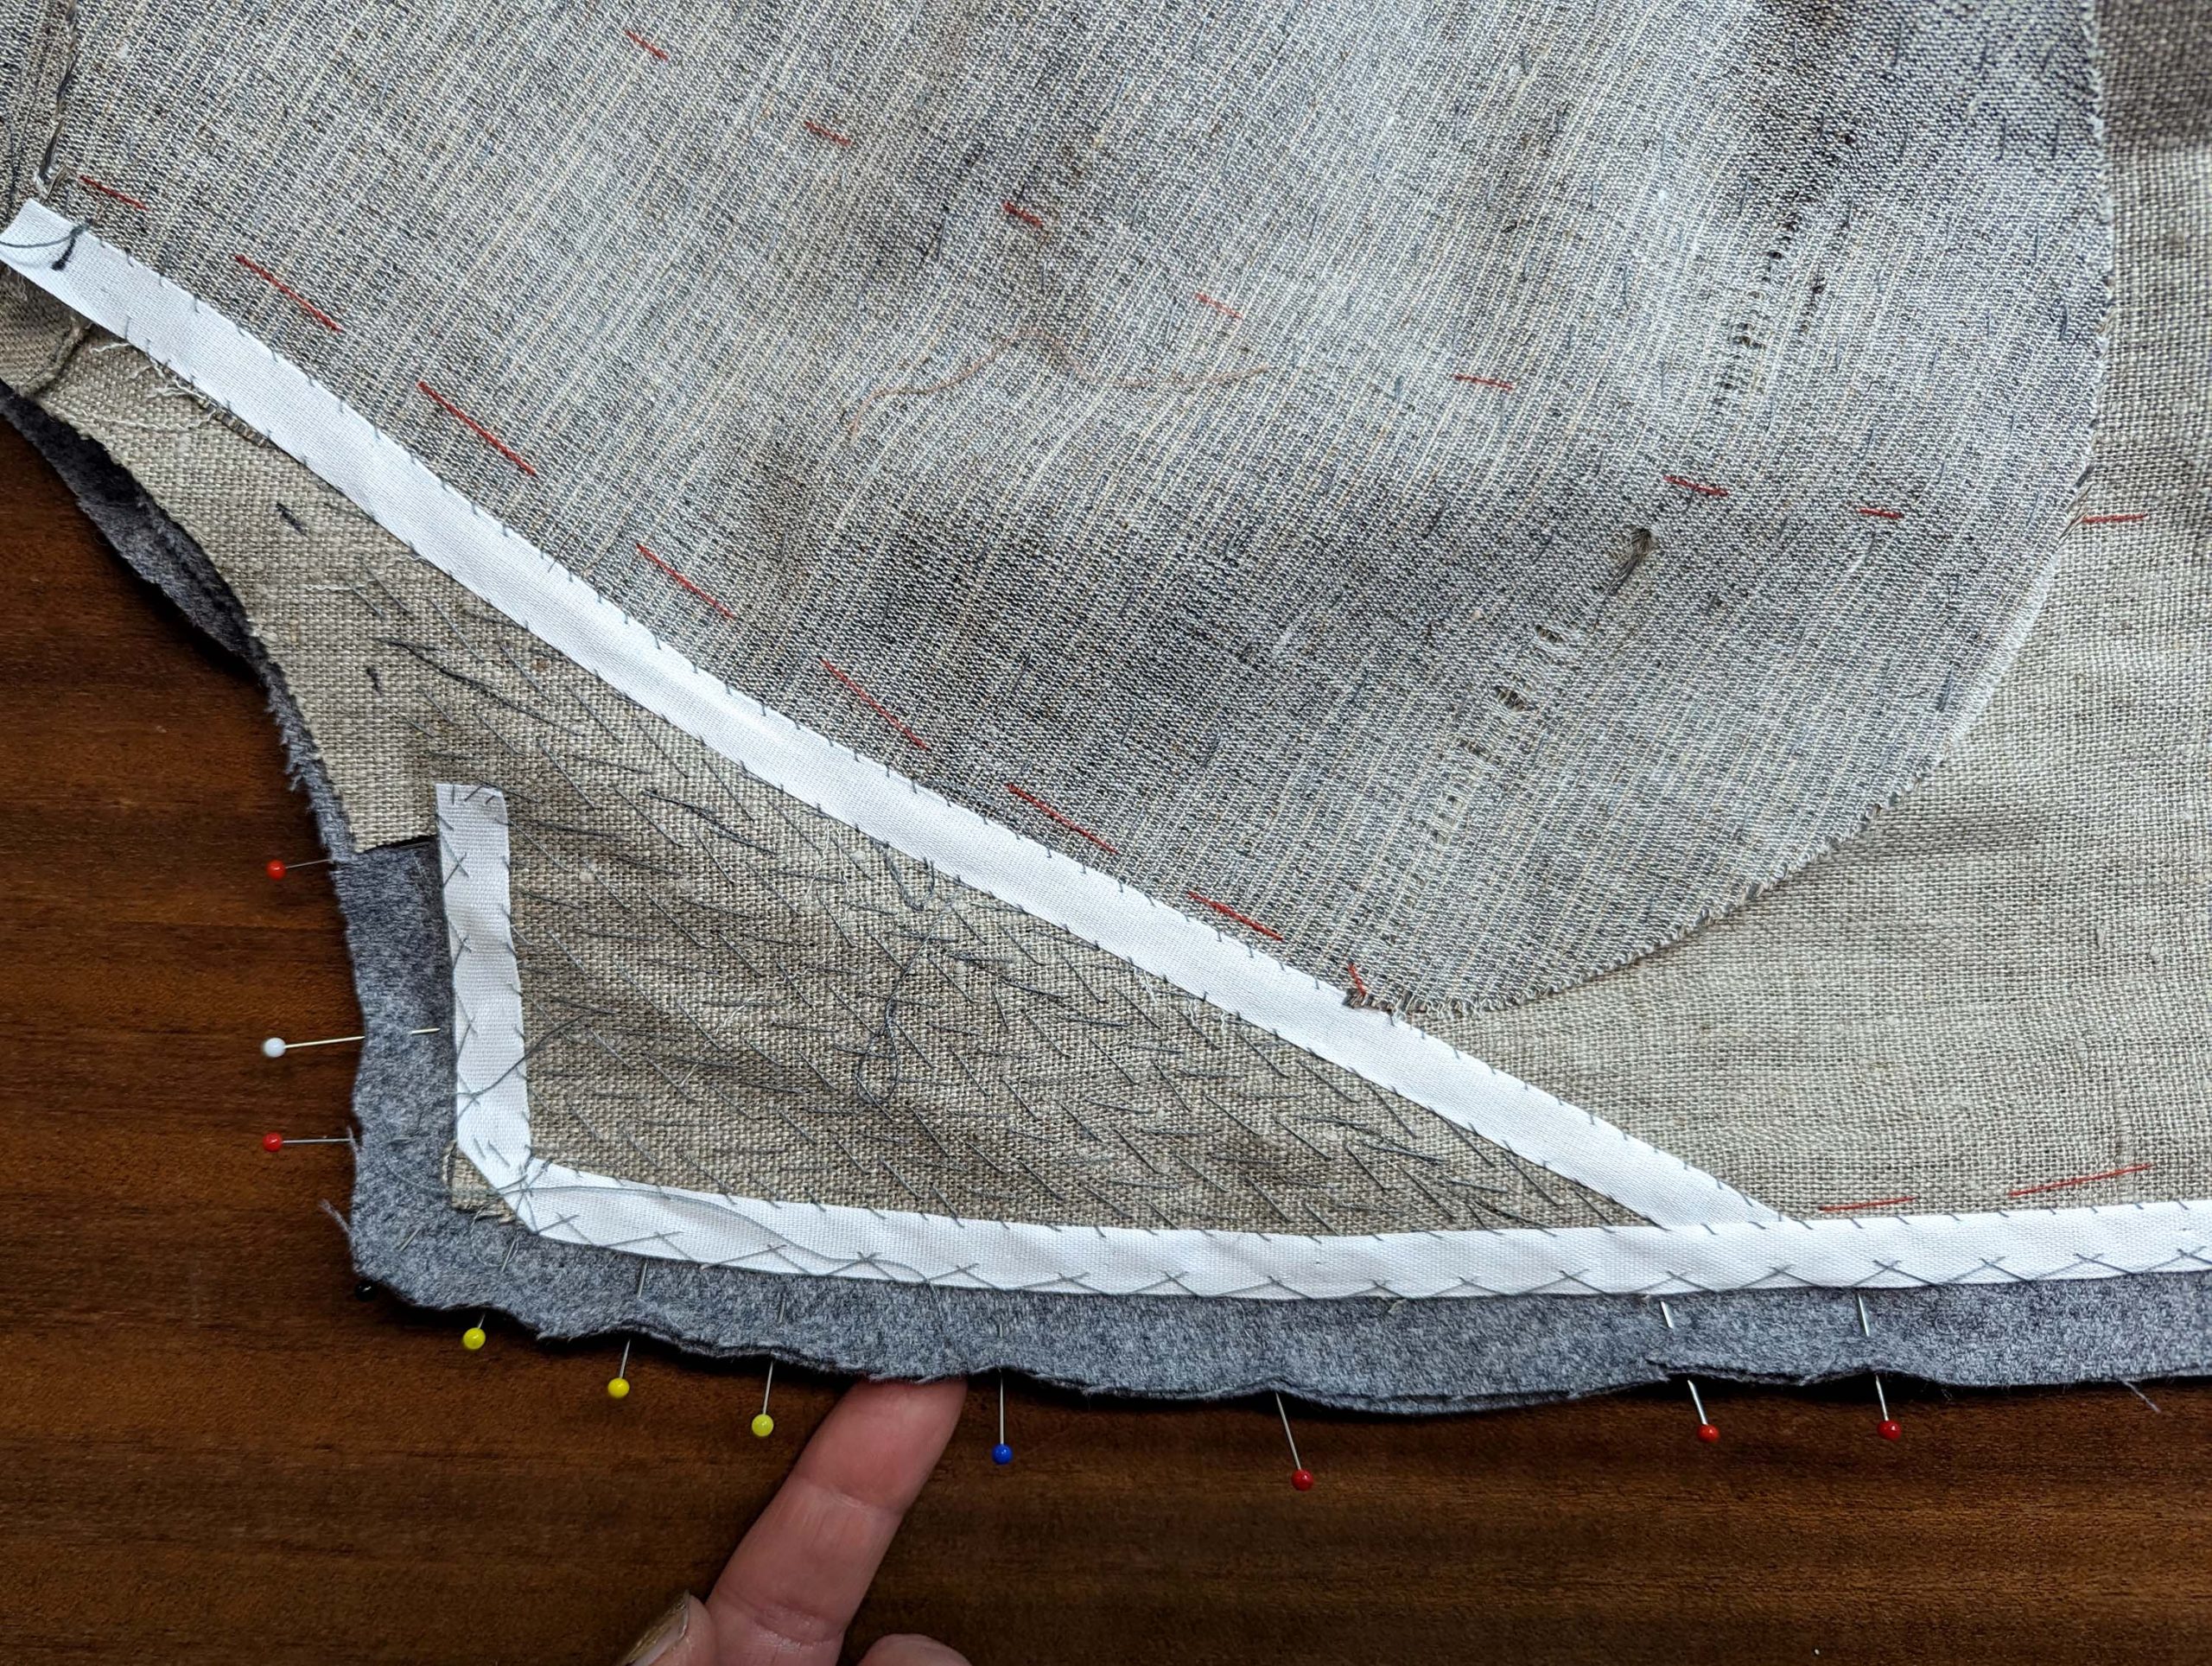
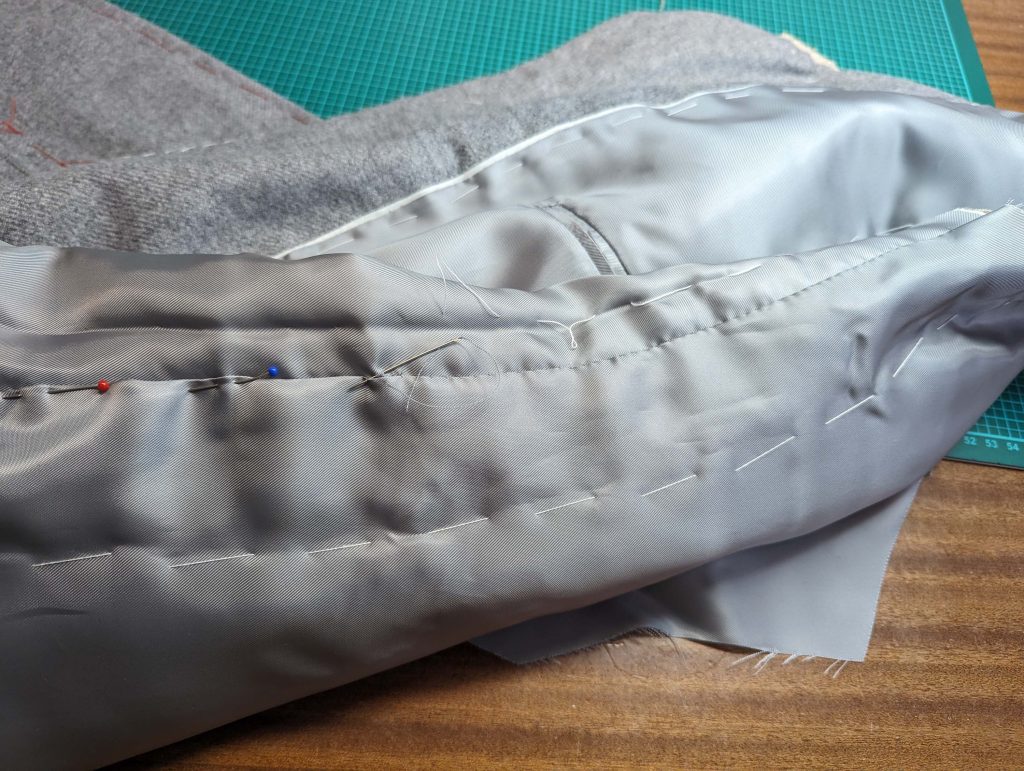
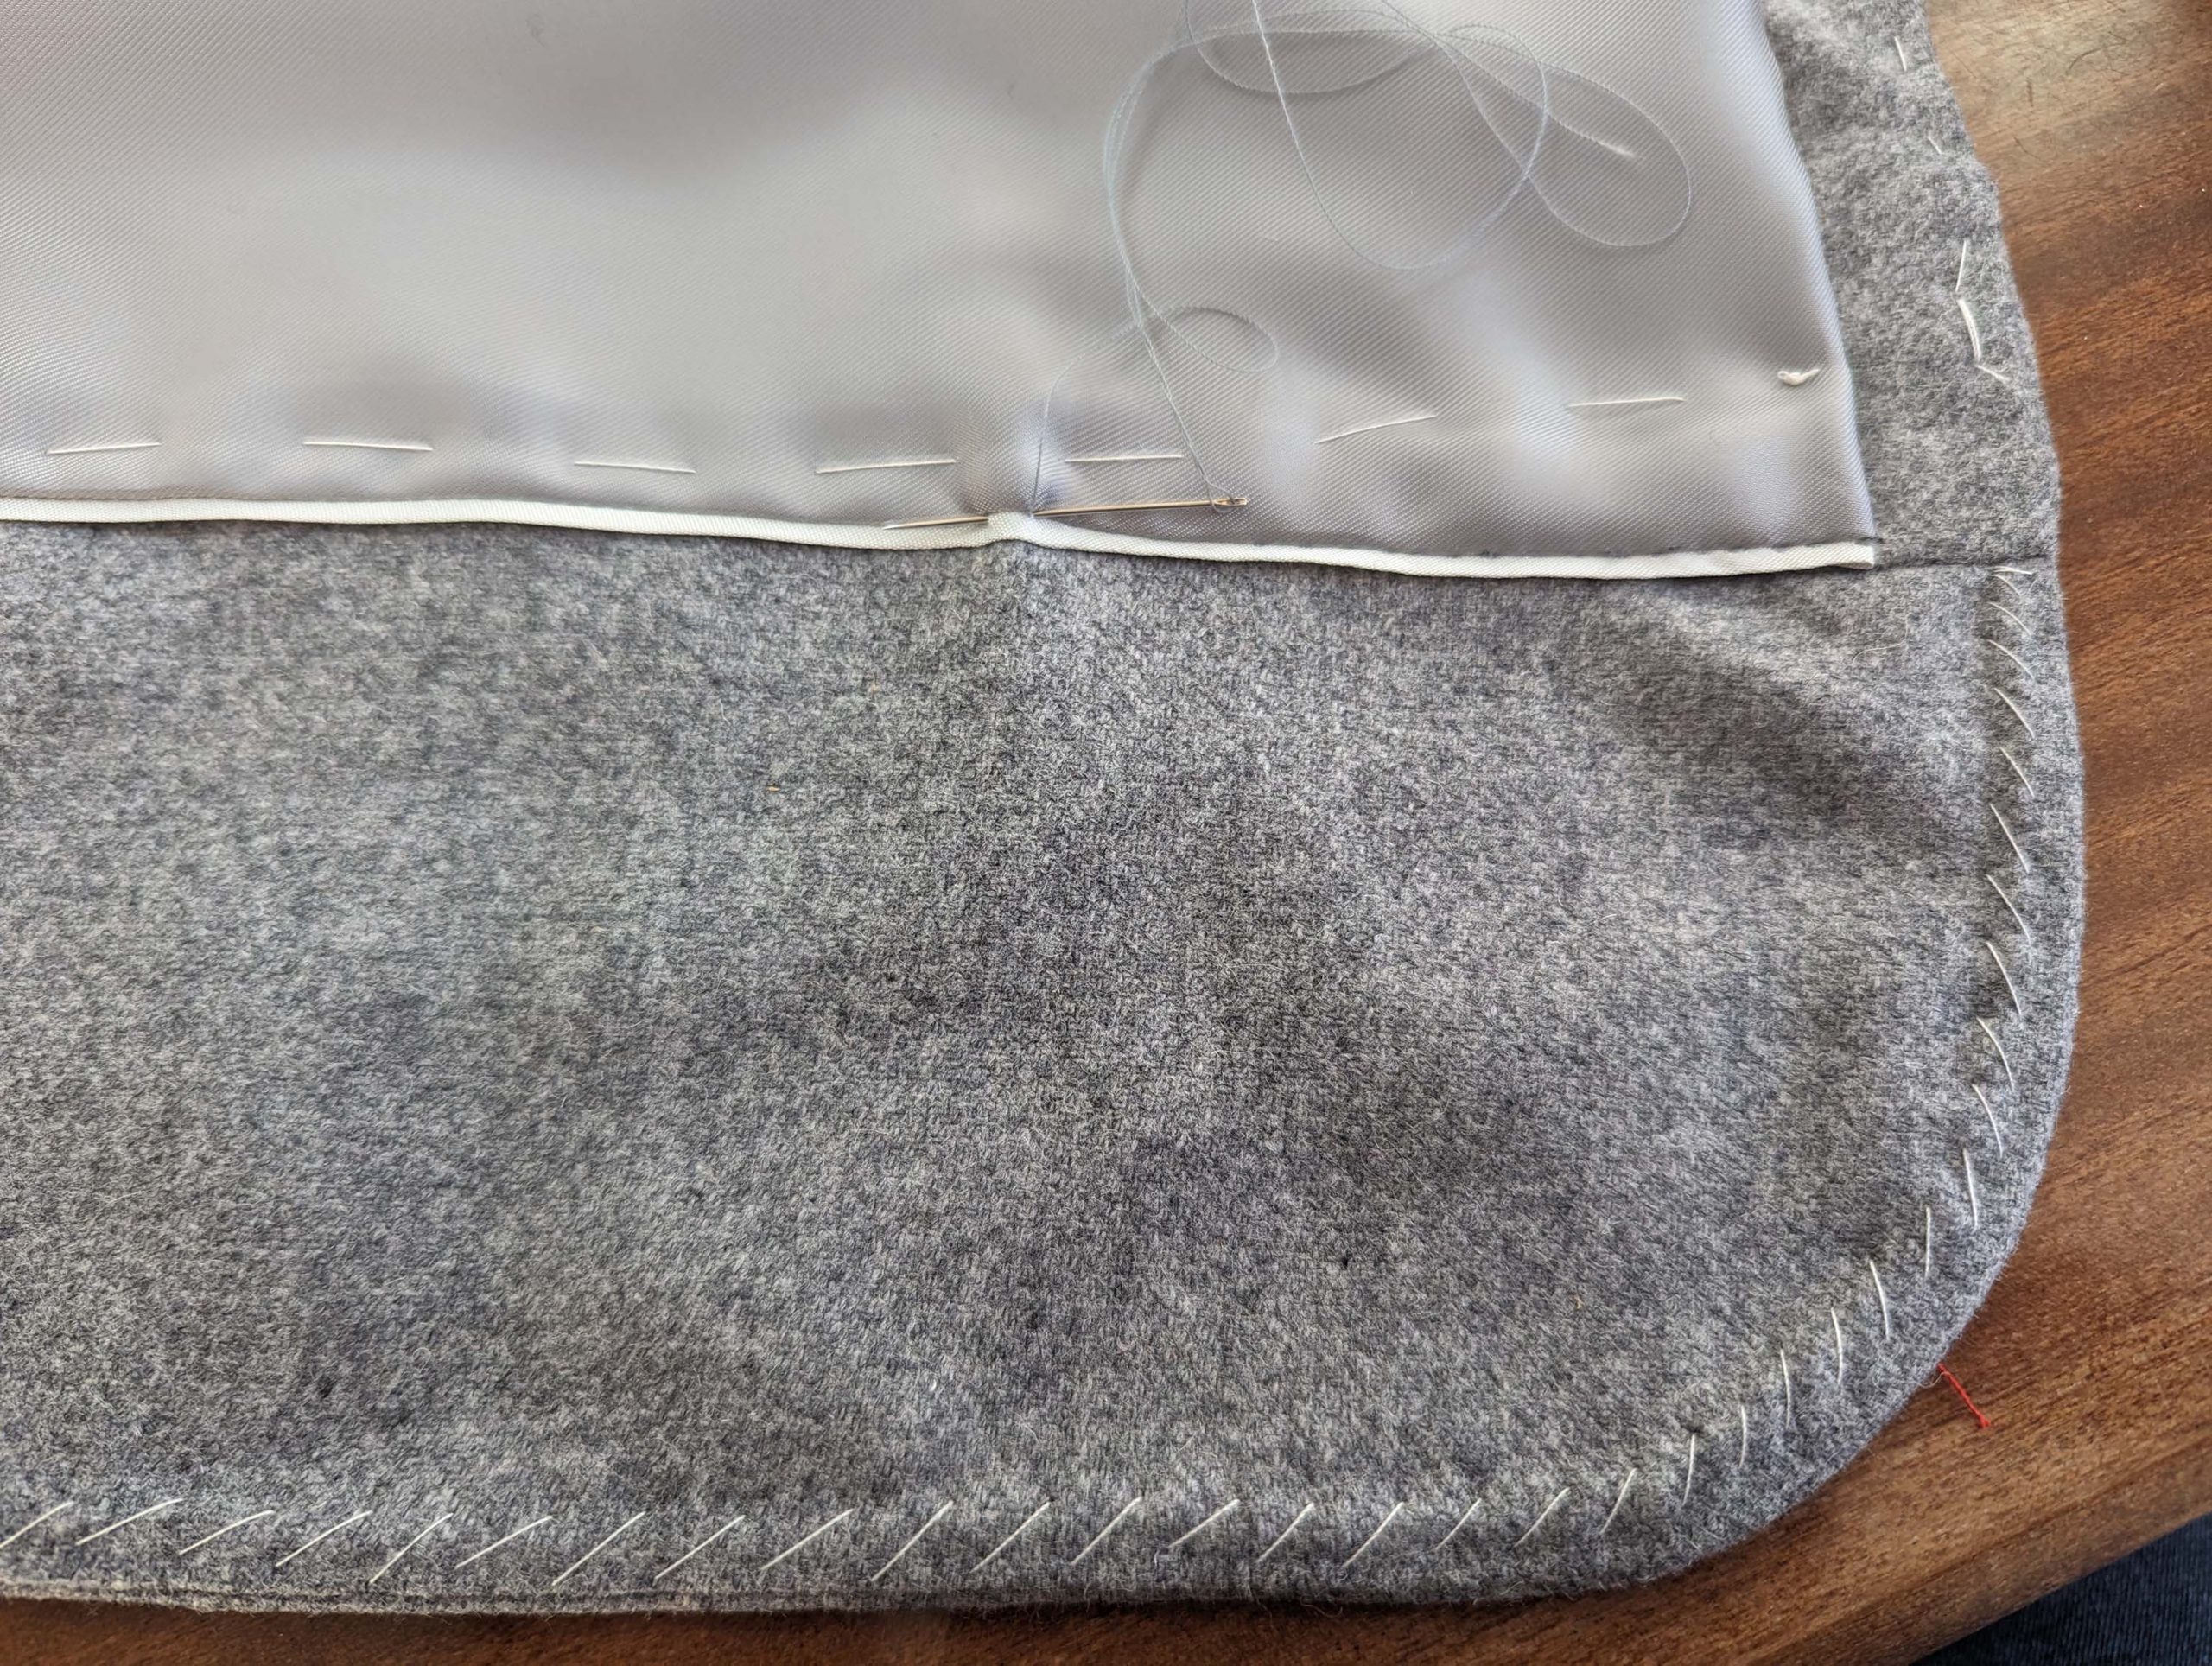
Line up the lining with the back, wrong sides together. Baste the lining to the back, smooth out over the shoulder, and turn in the seam allowance. First, baste, then fell stitch the back lining to the front along the shoulder. Along the Halsausschnitt, baste together fashion fabric, canvas, and lining. Trim back the seam allowance to 3/8” (1cm).
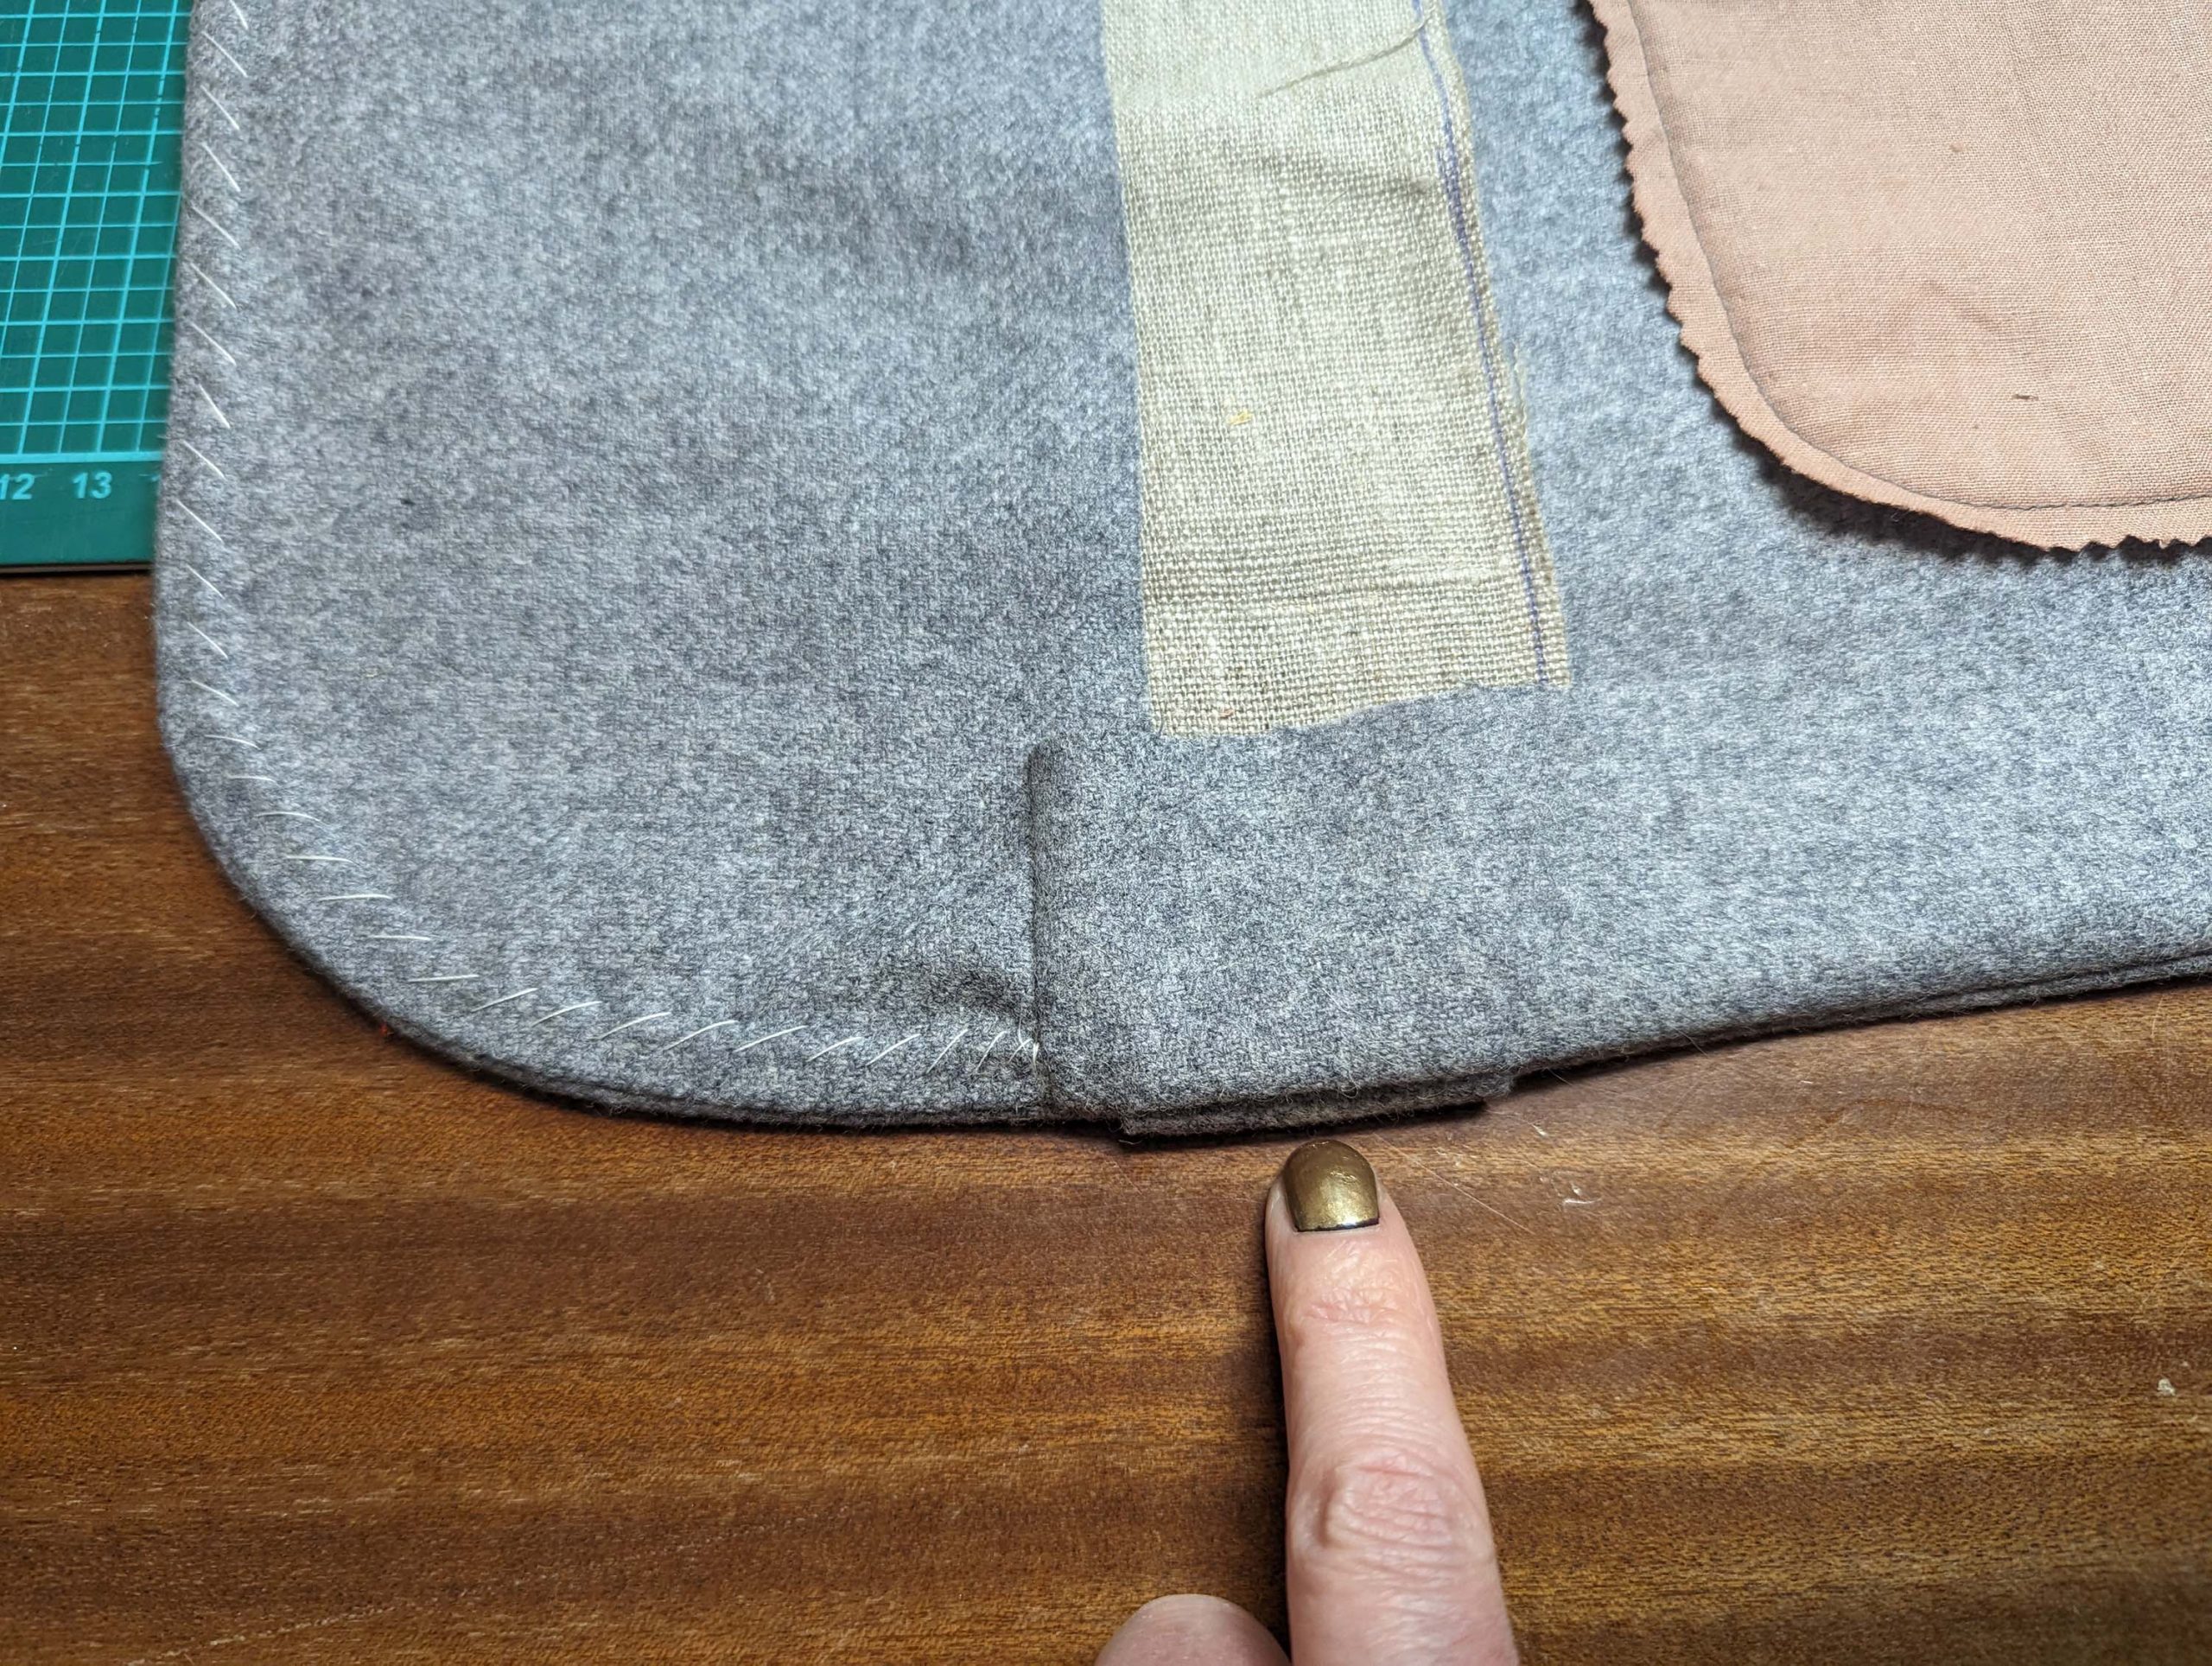
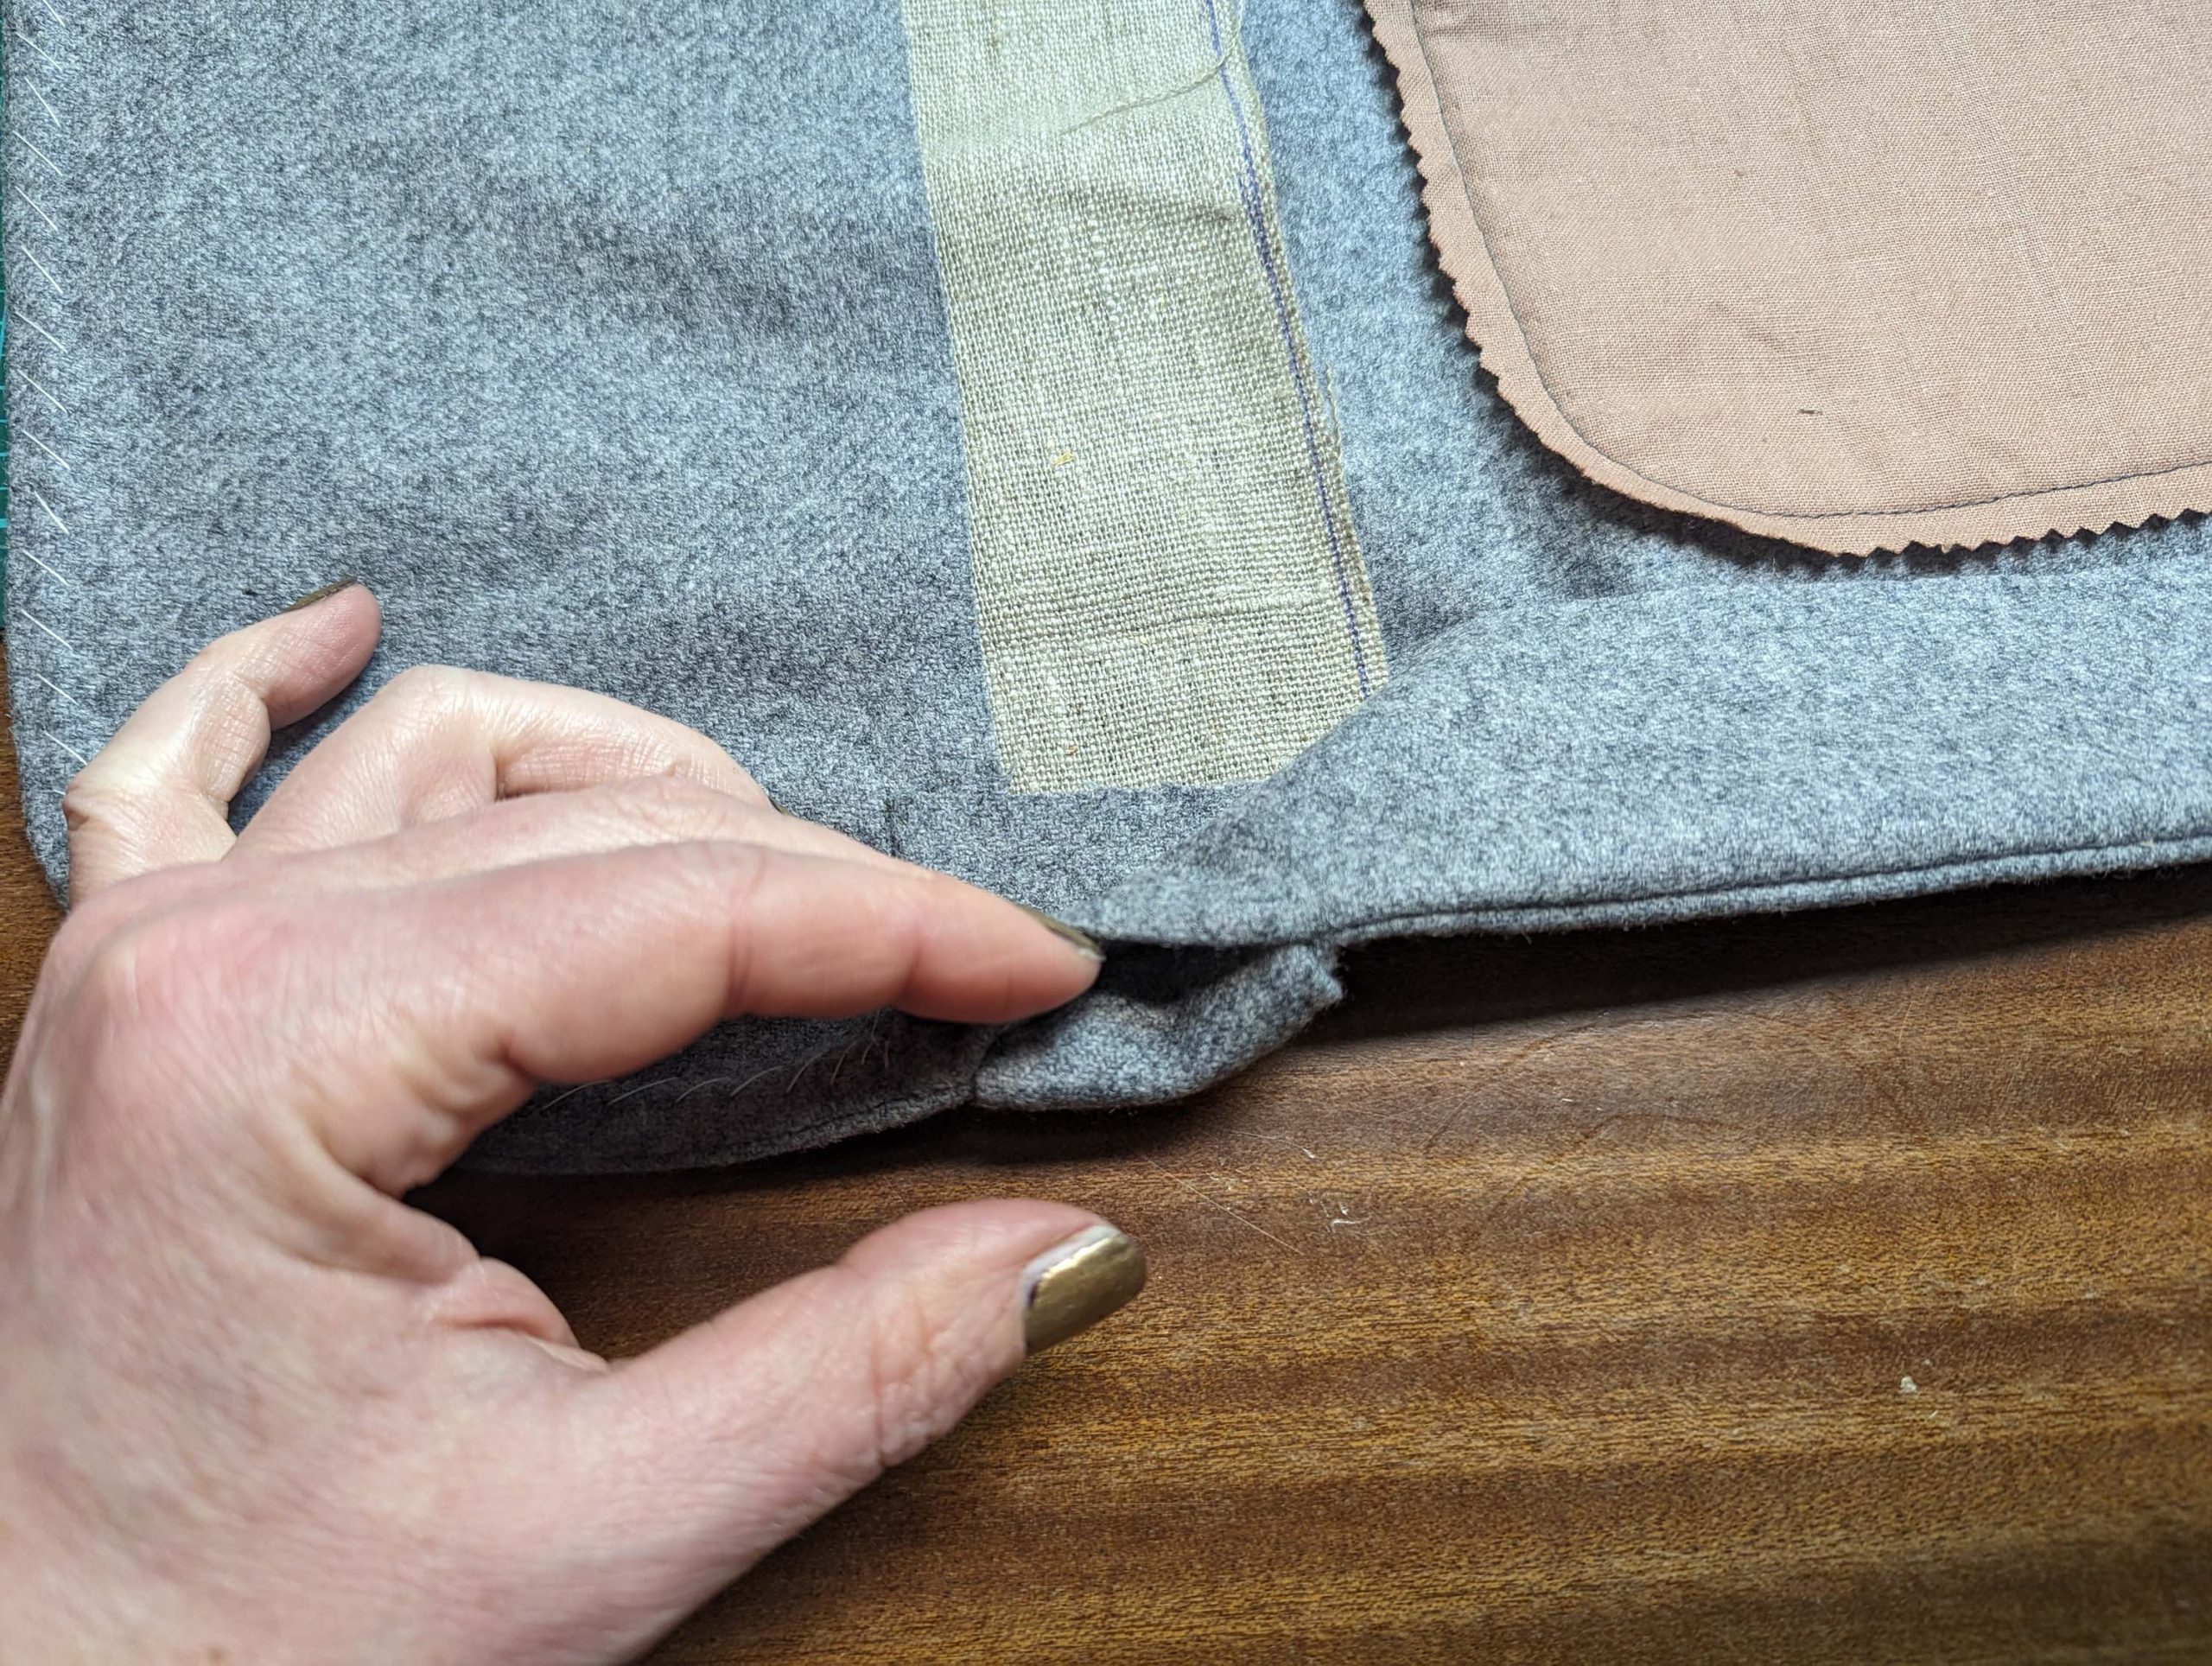
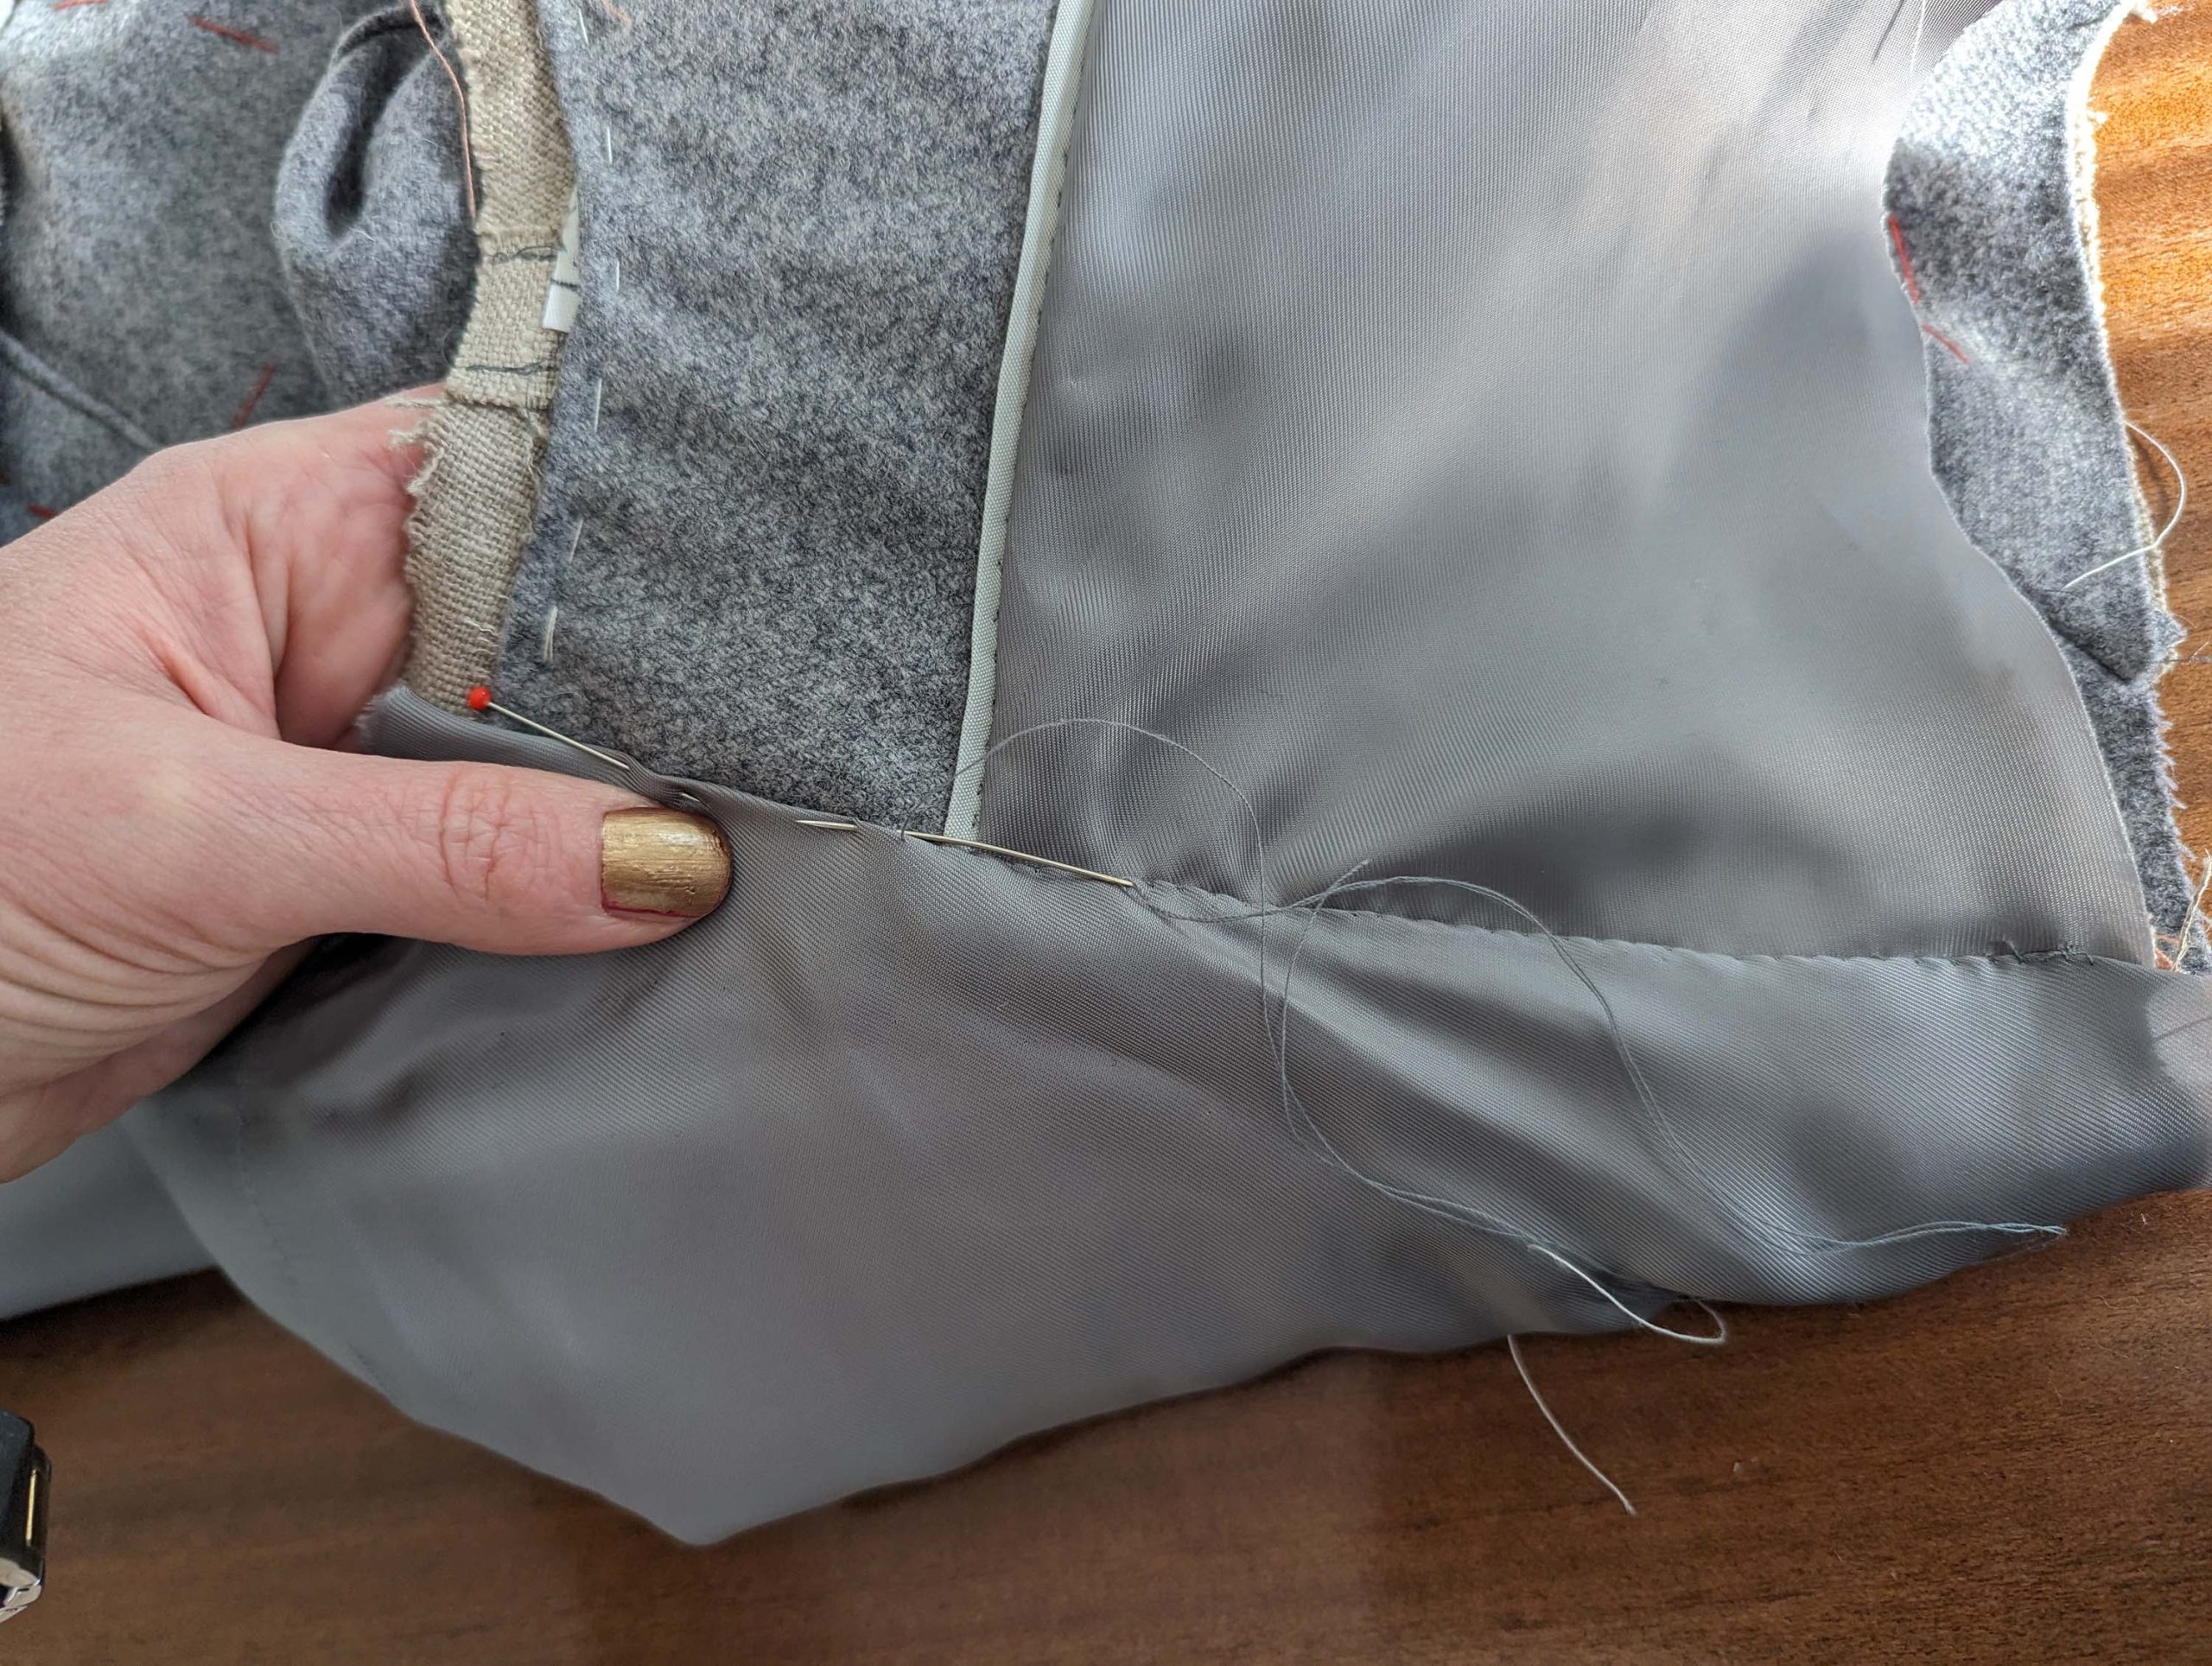
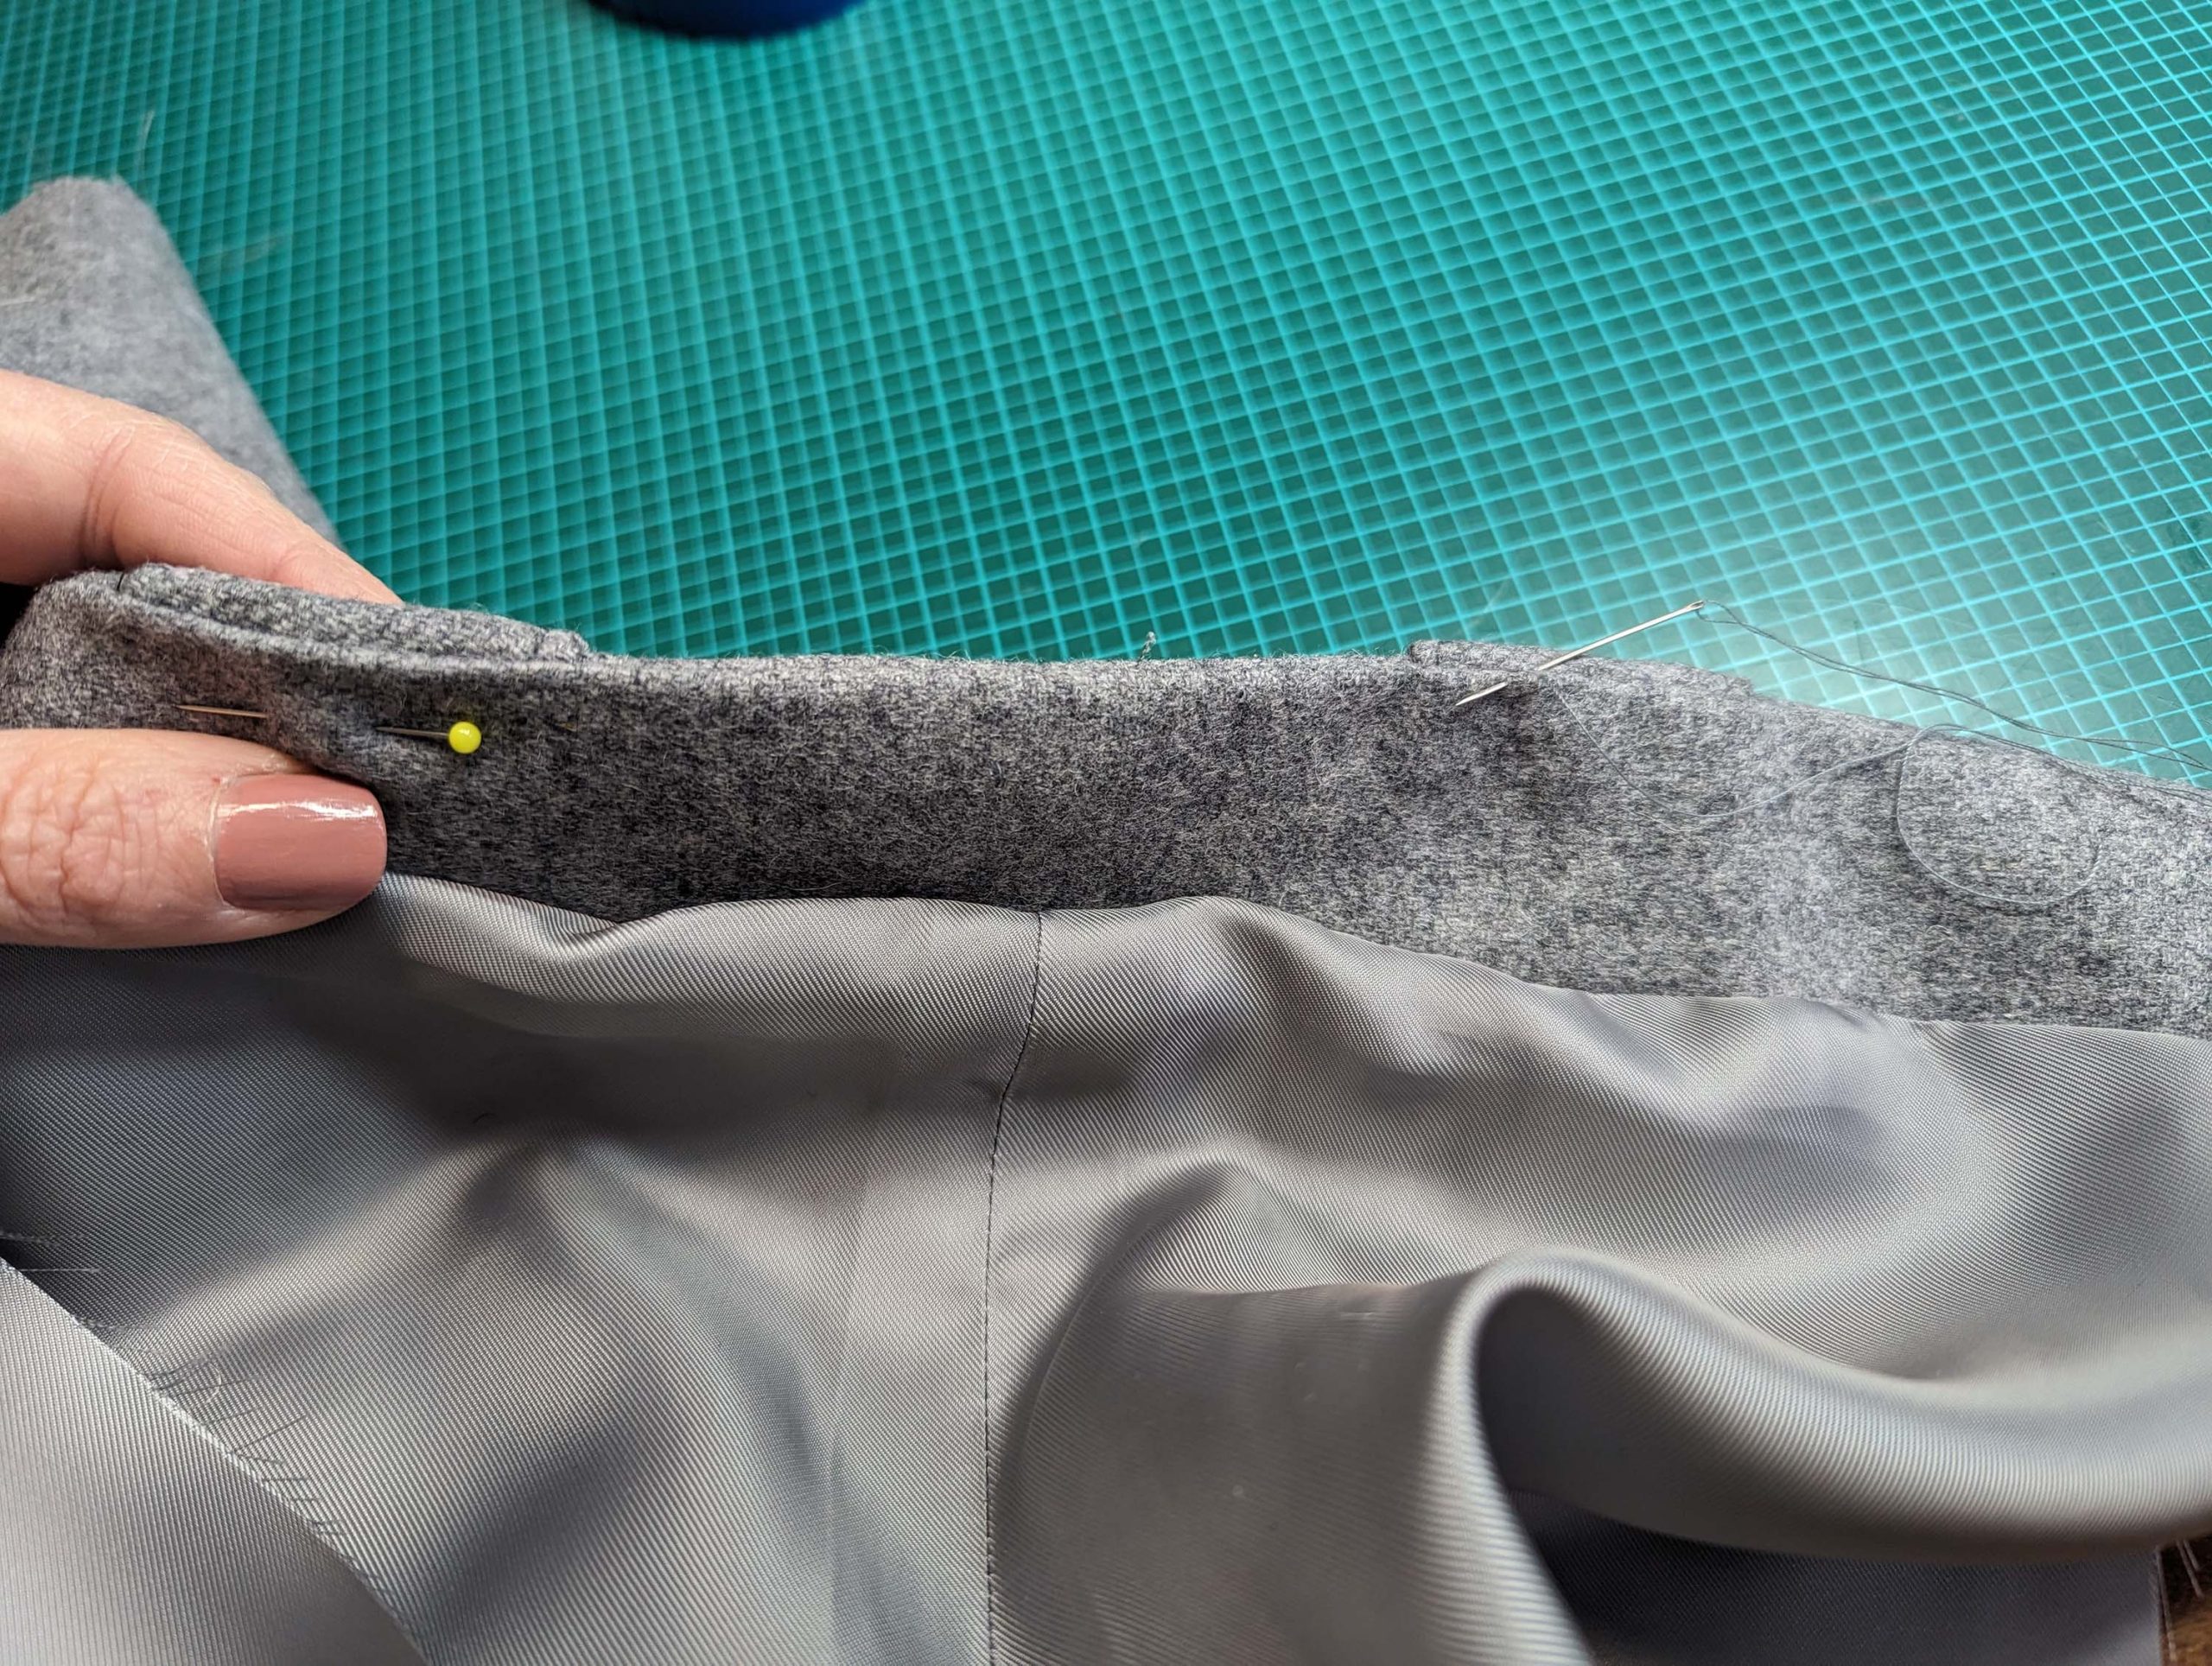
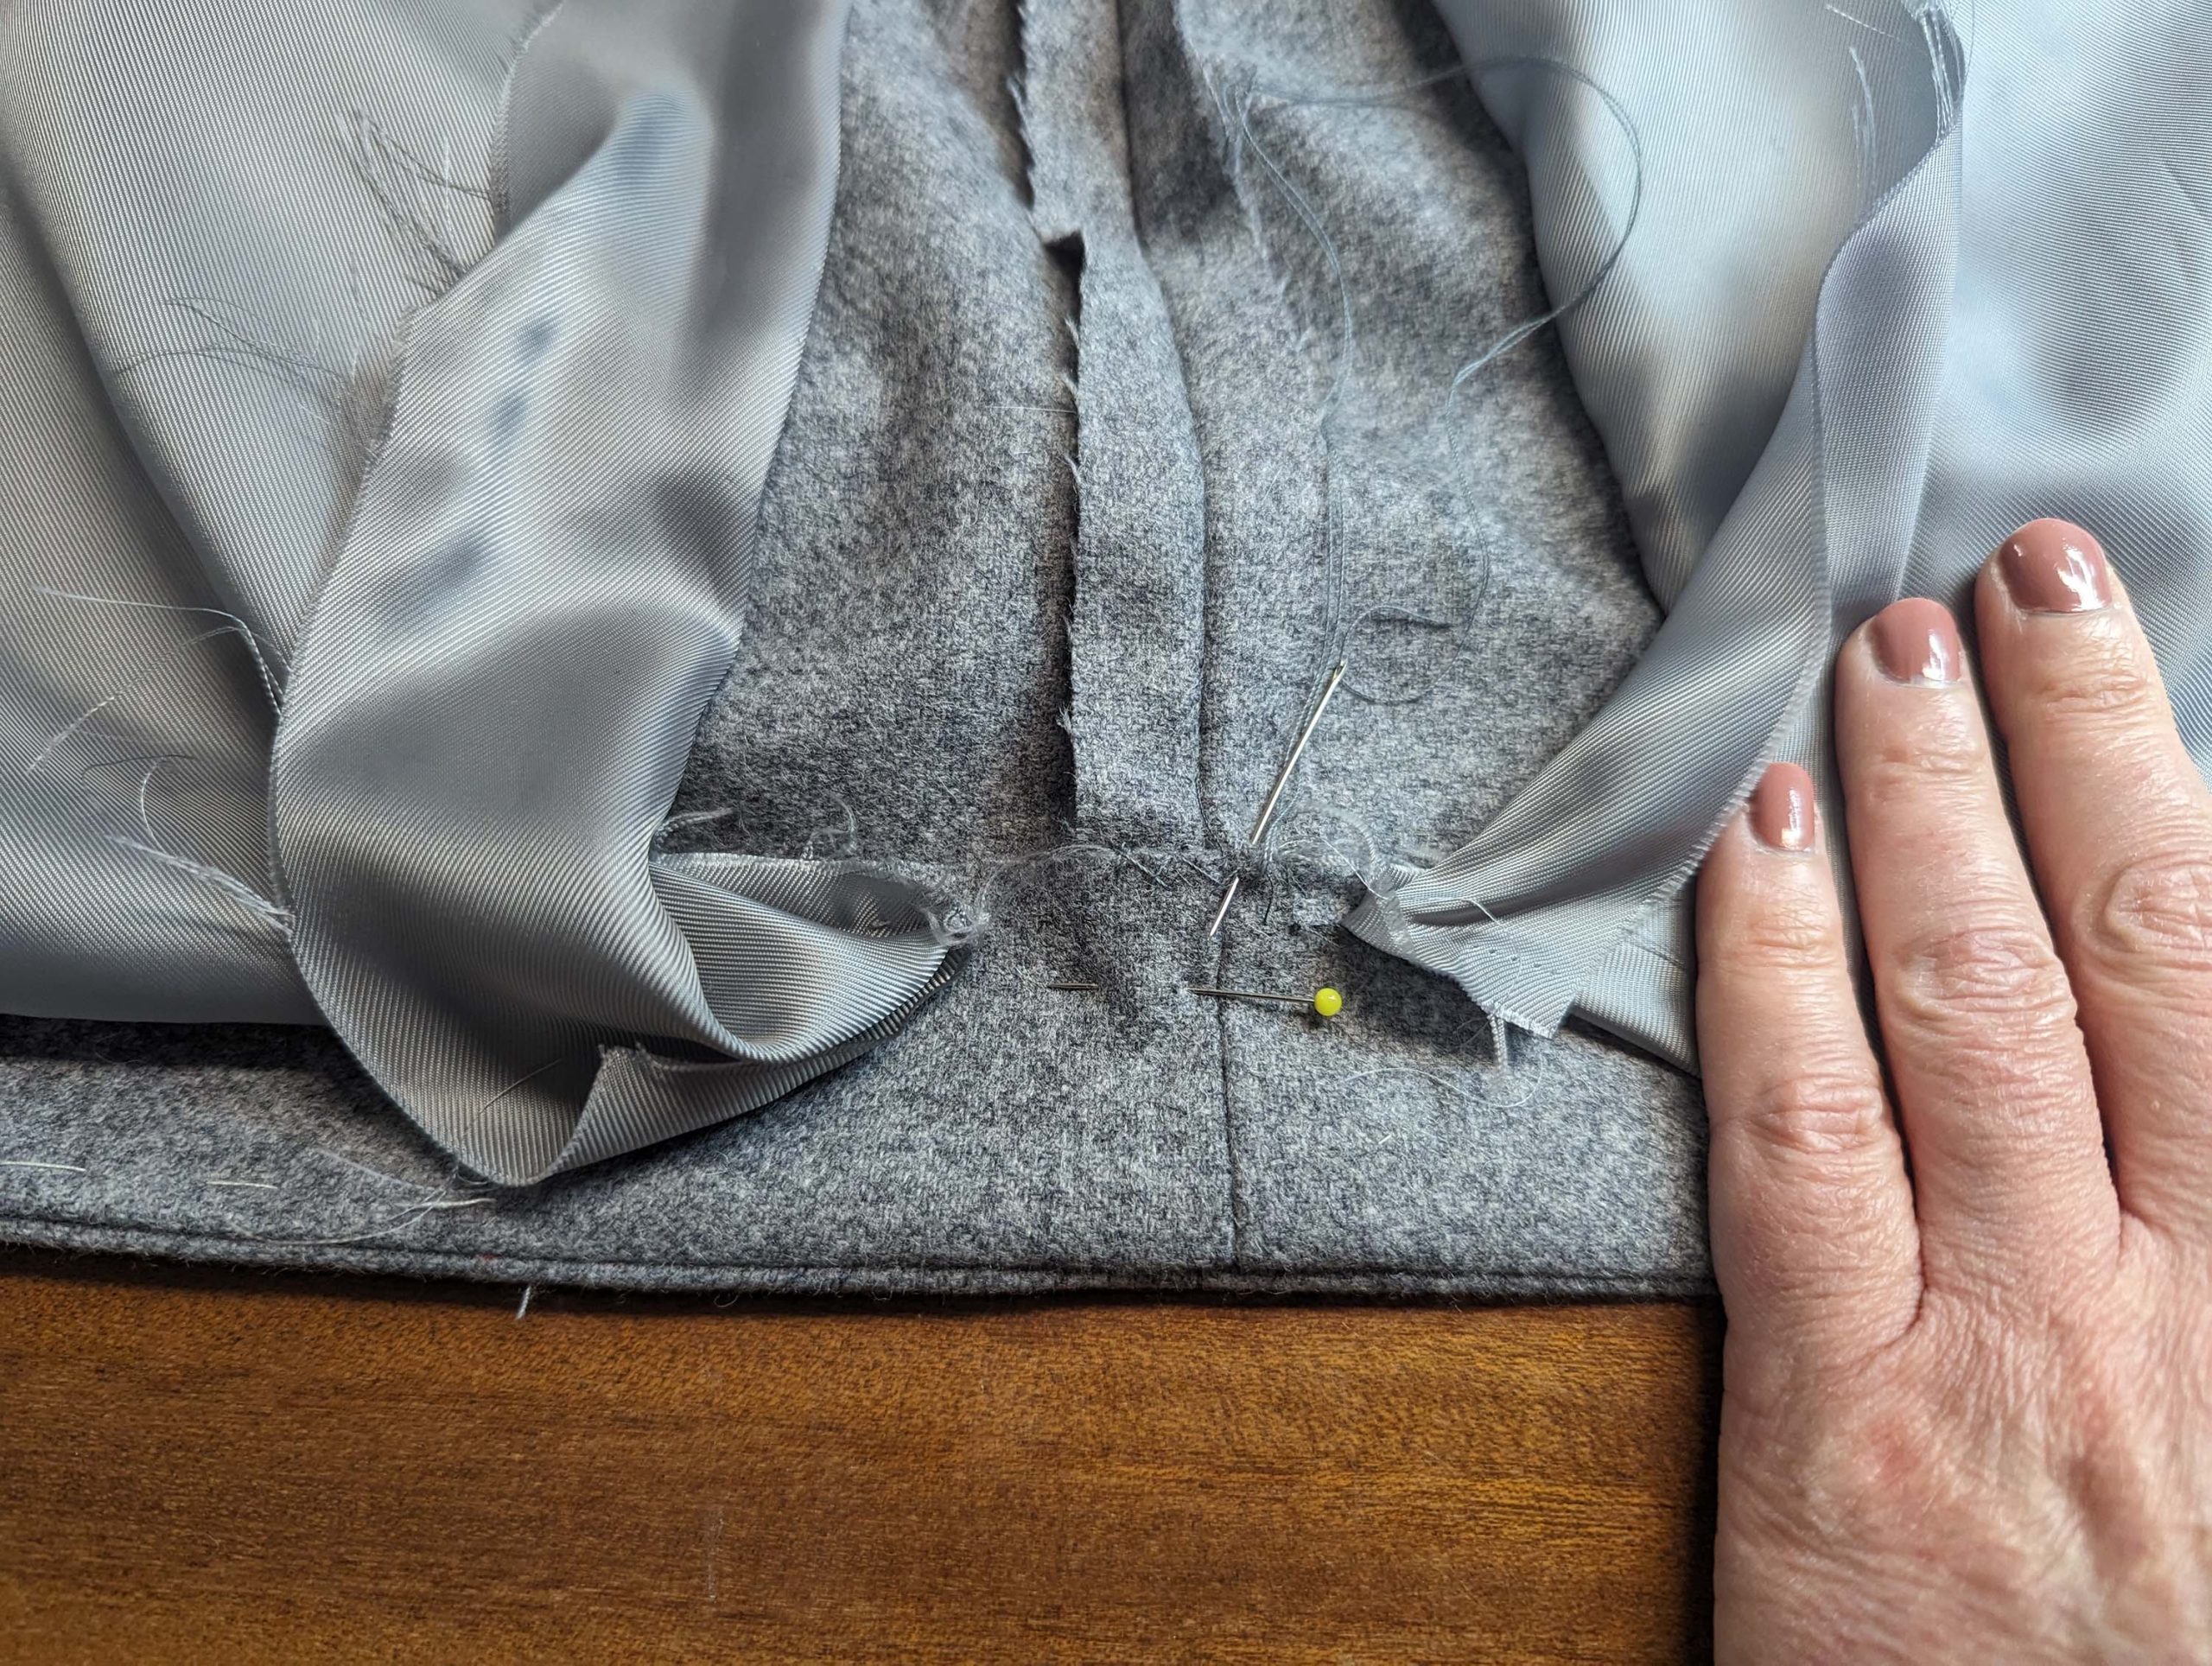
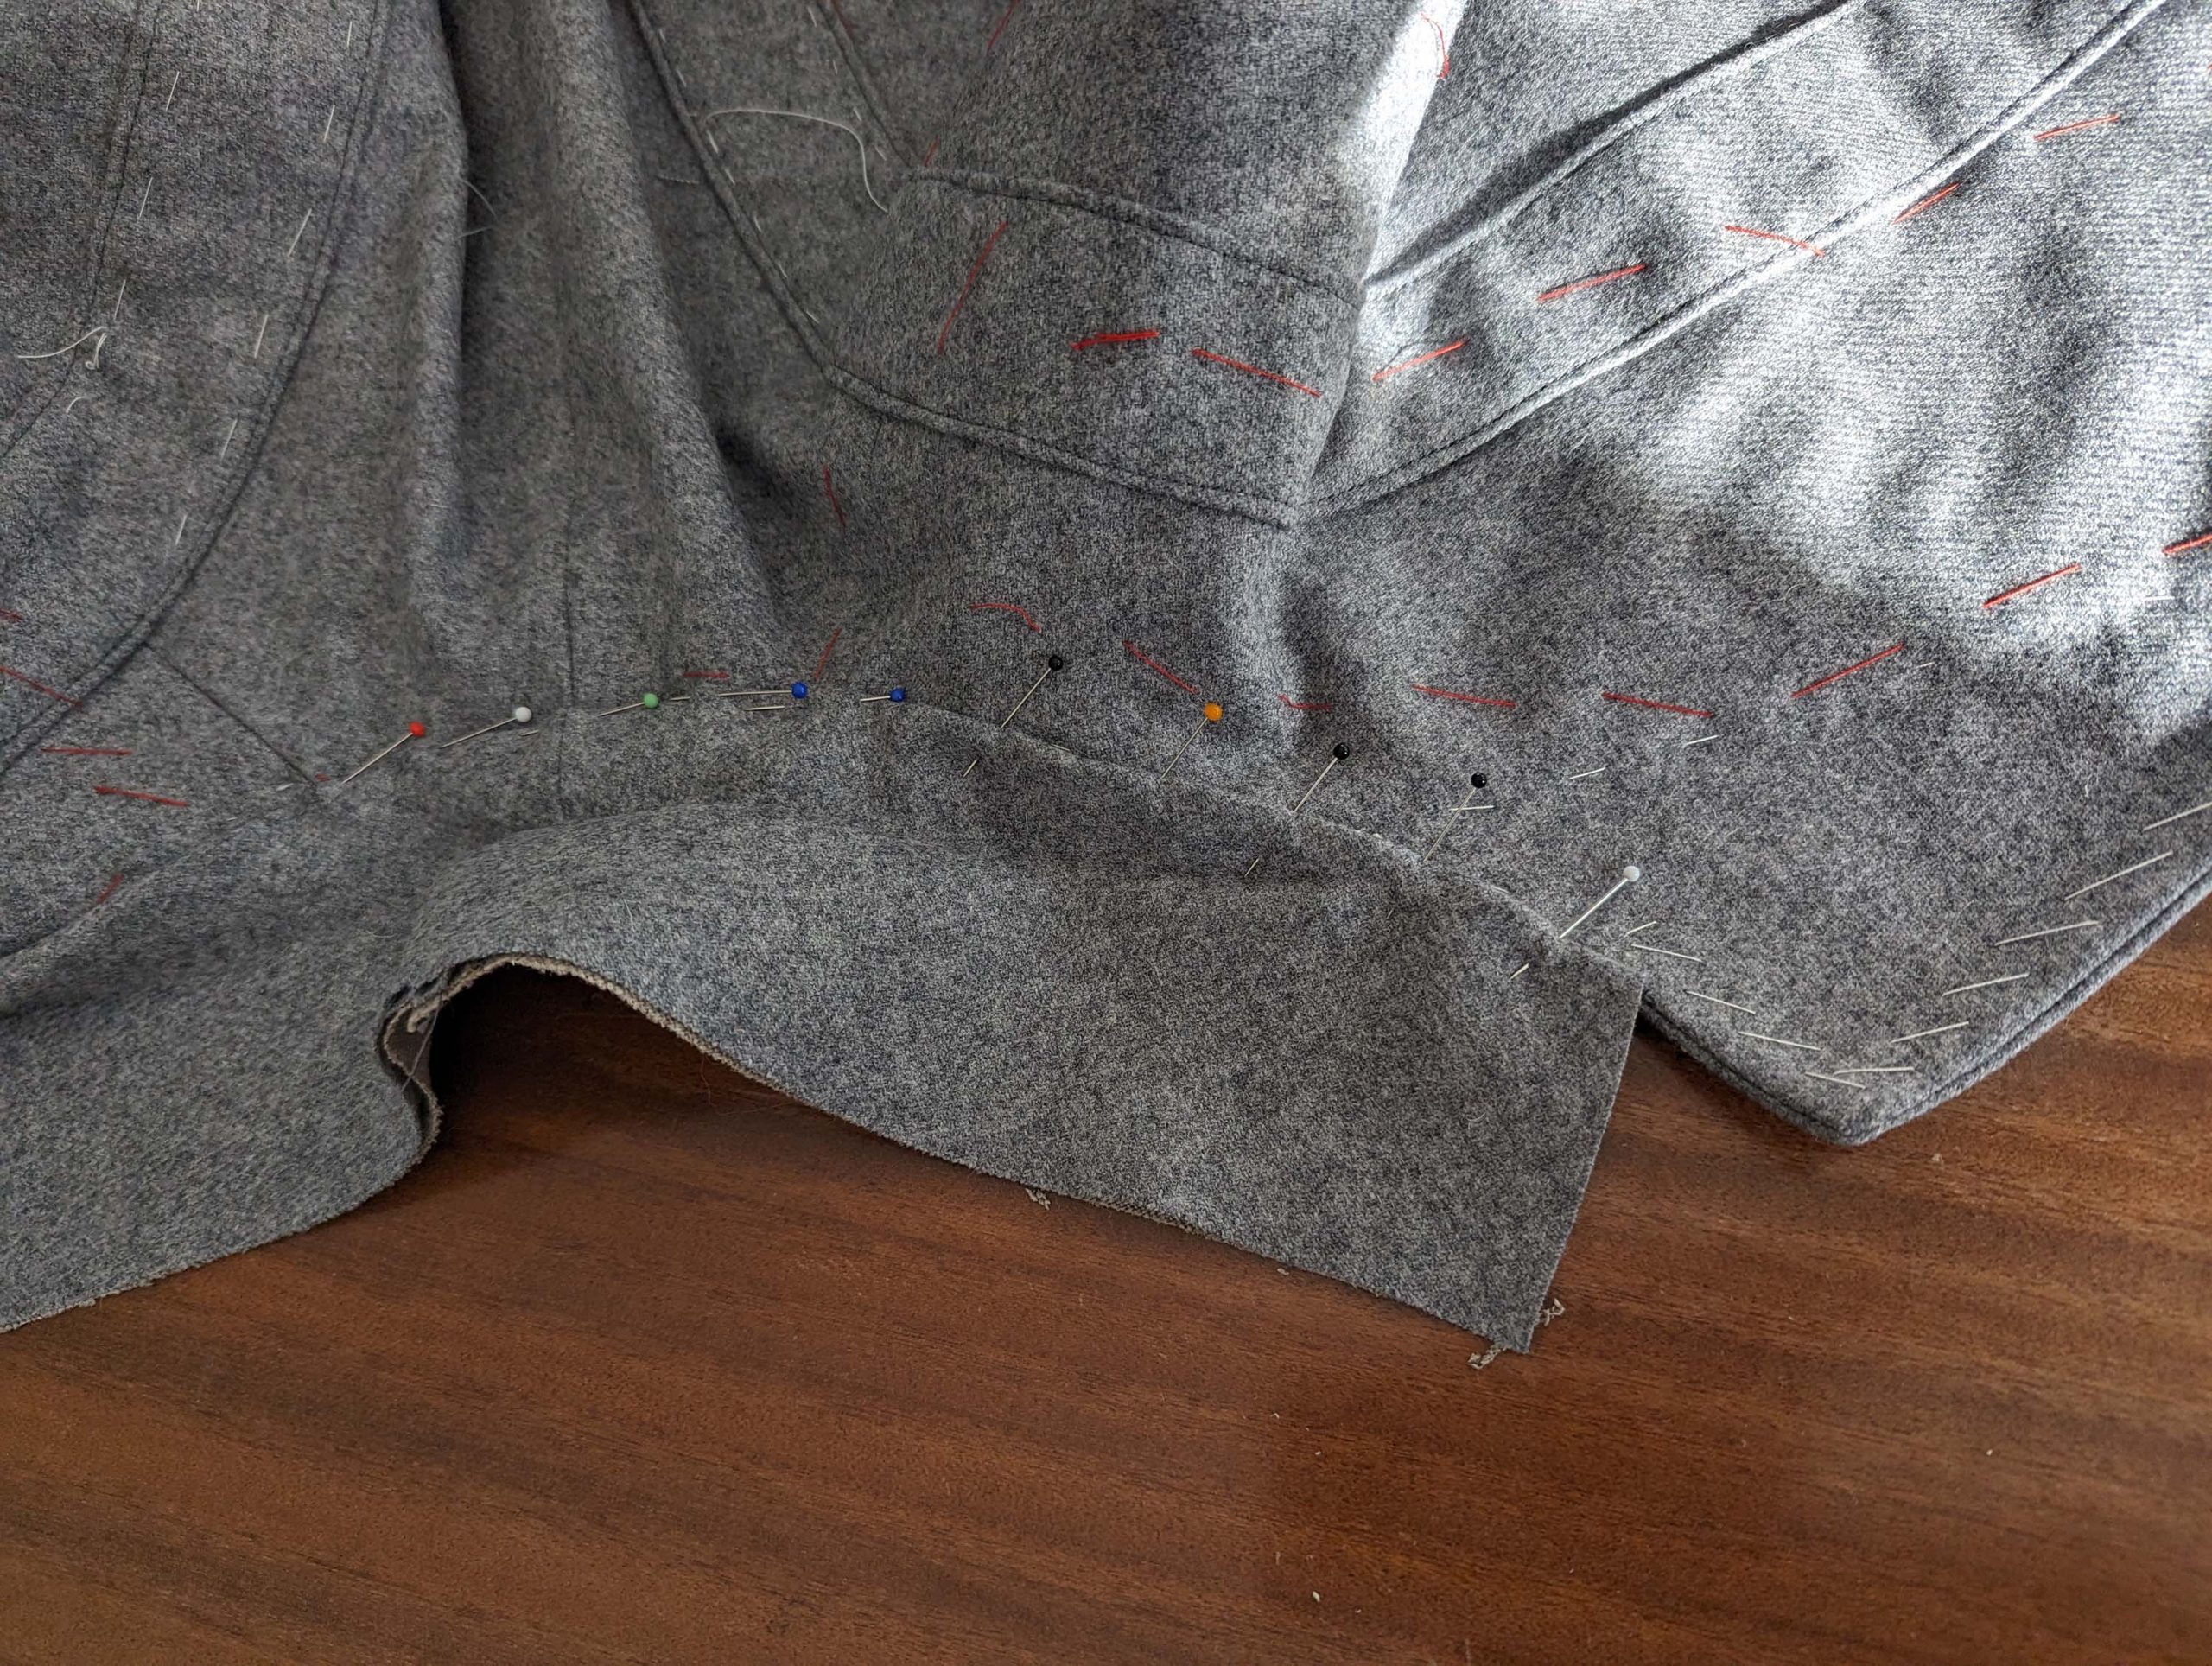
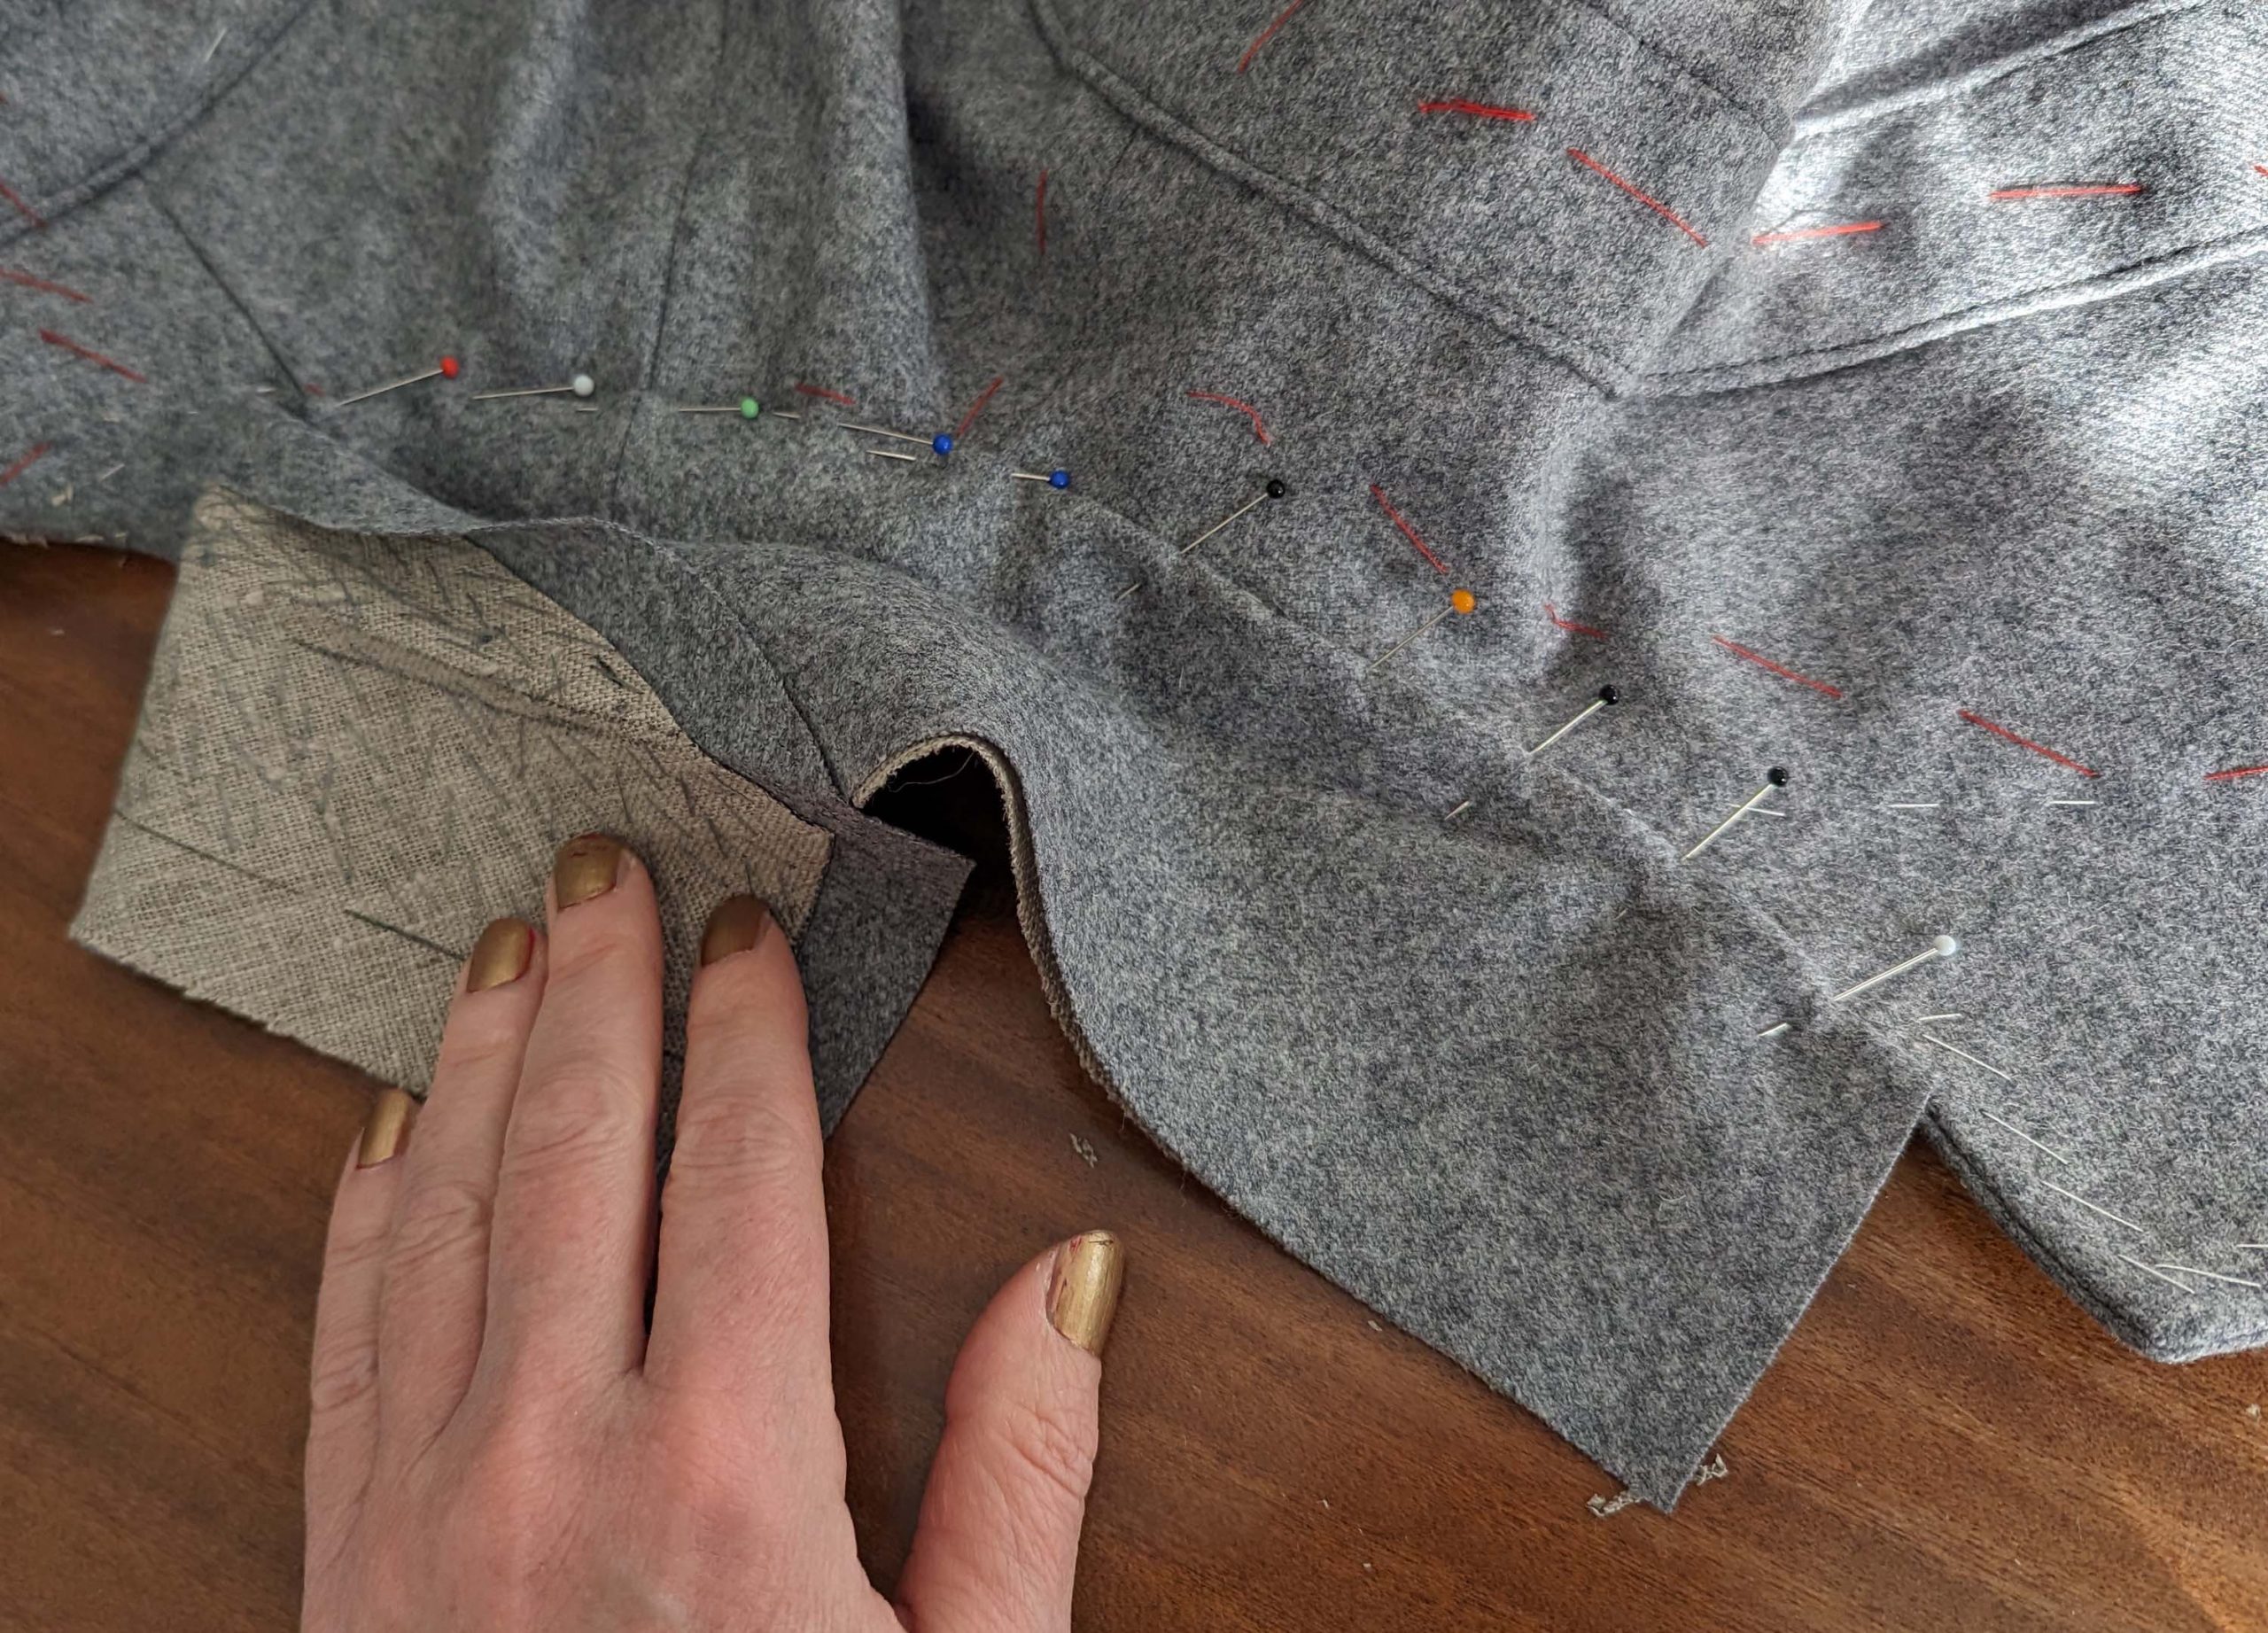
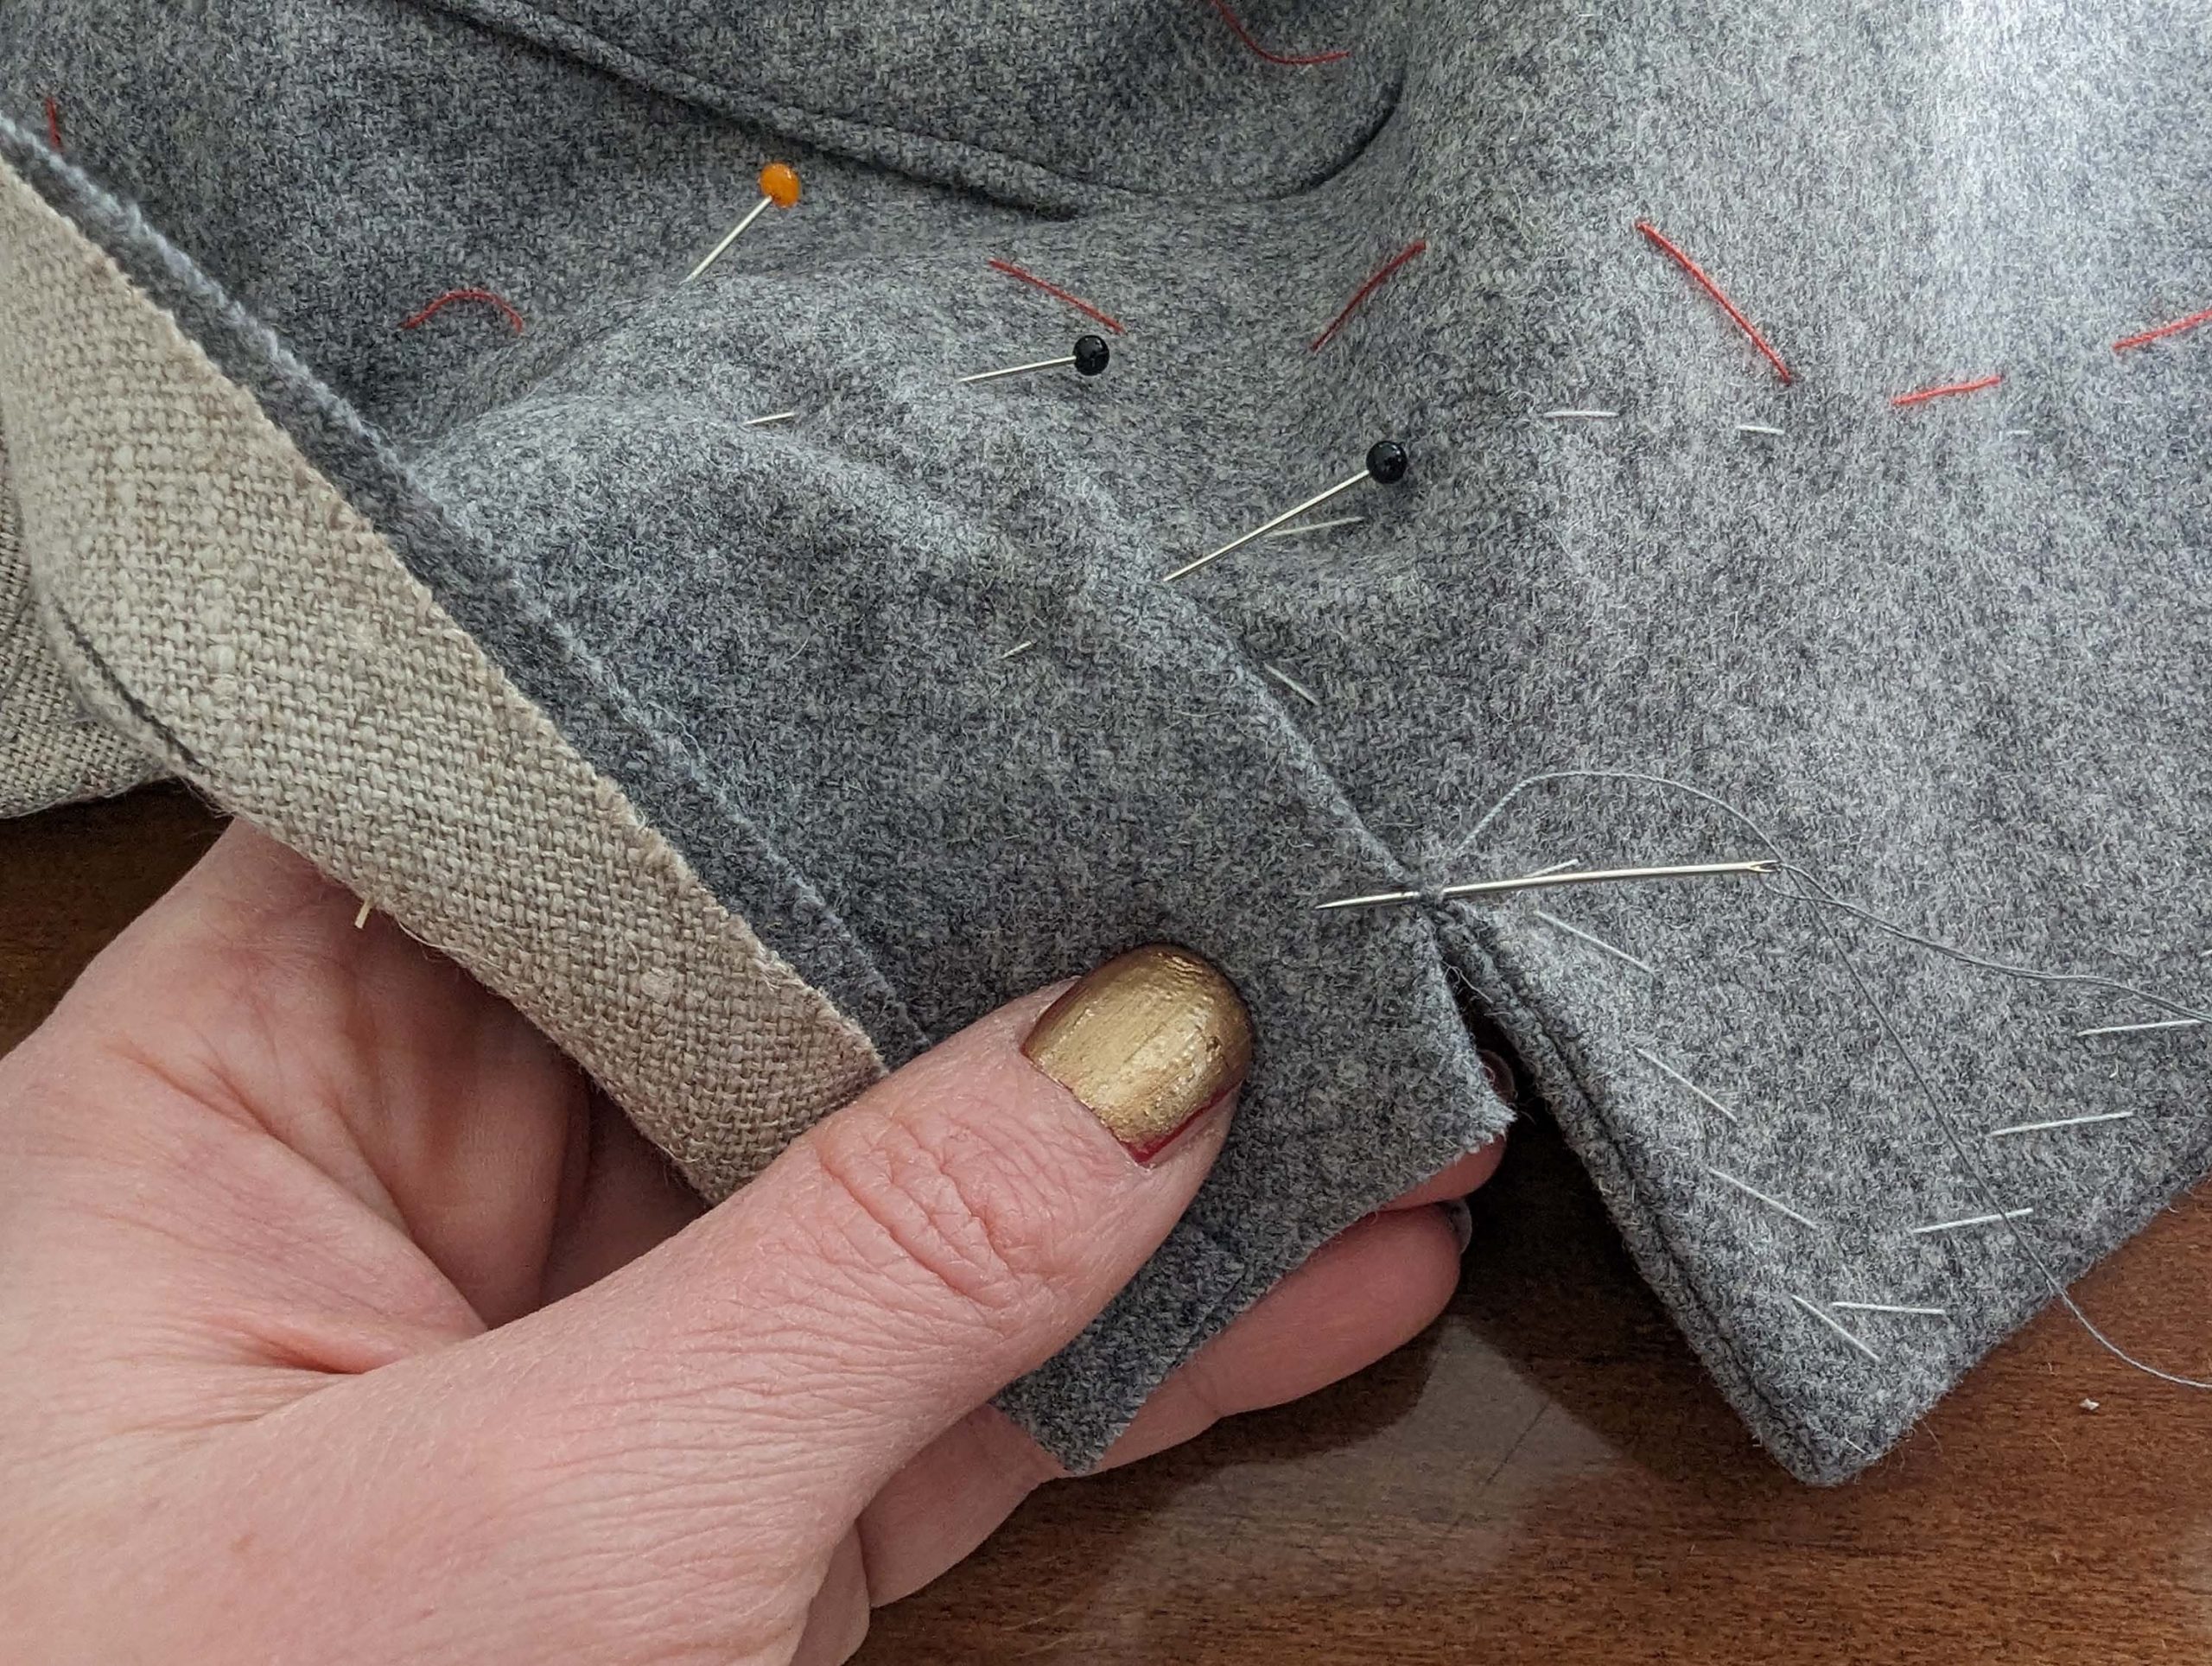
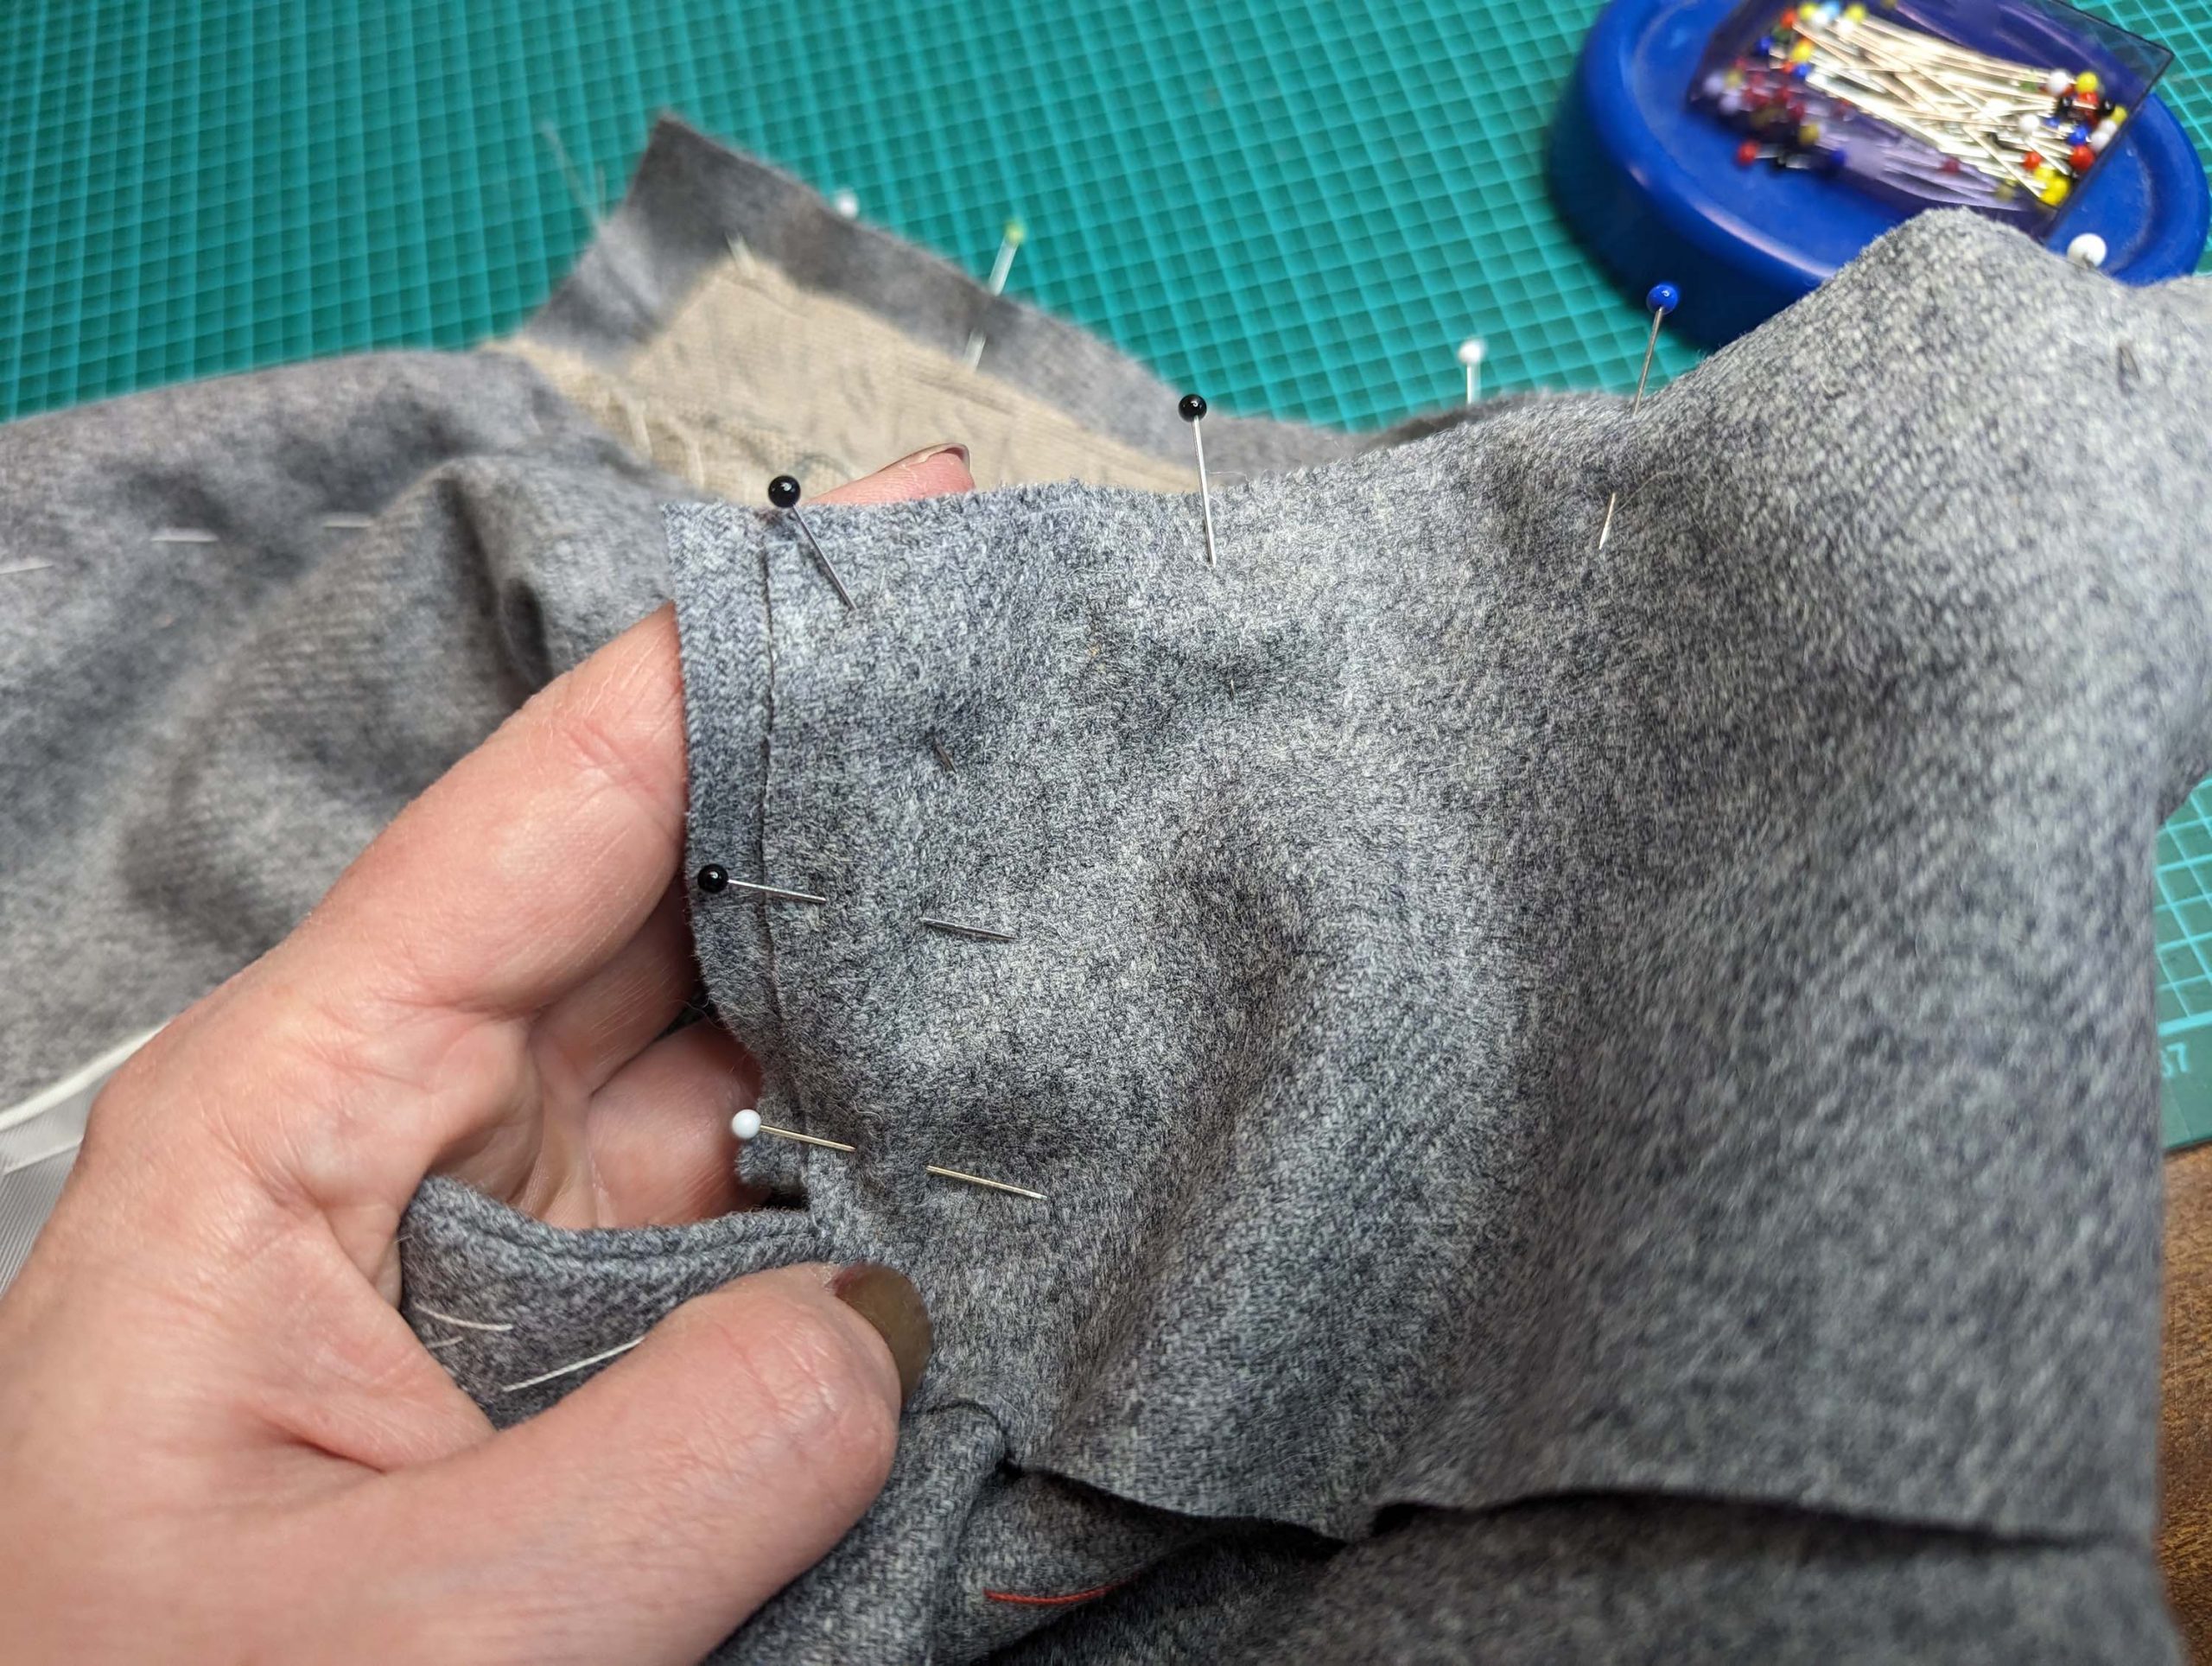
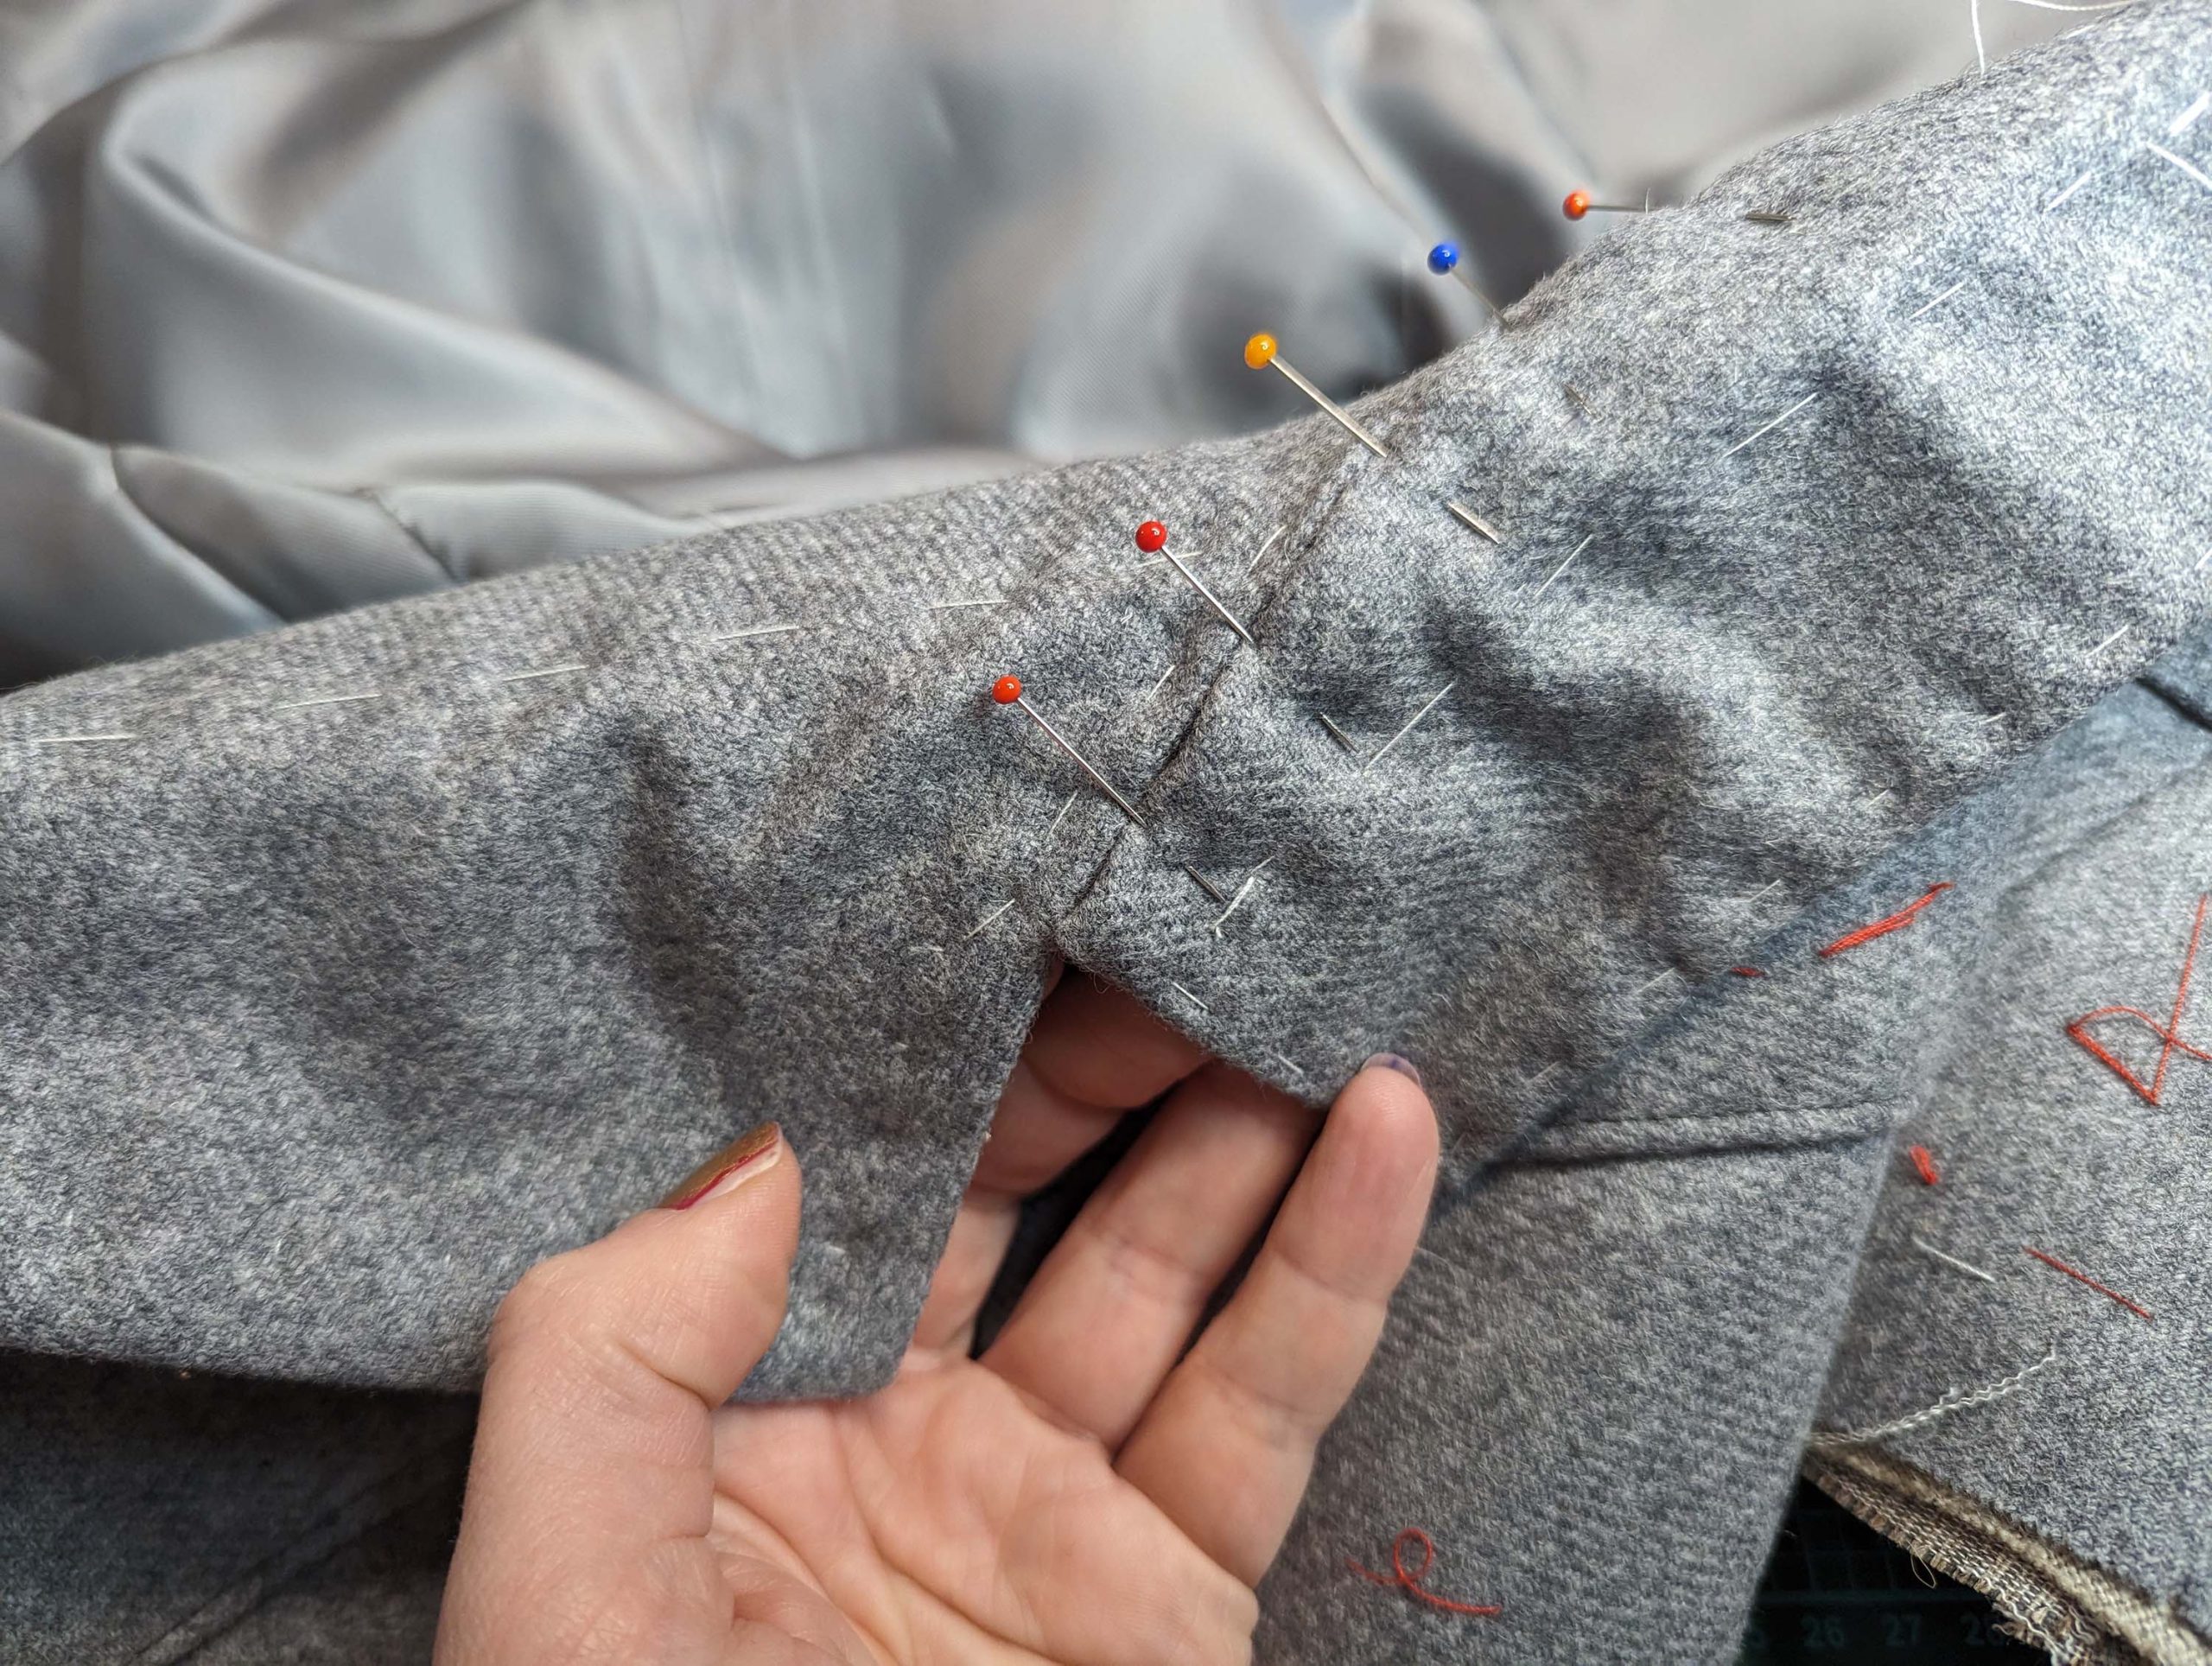
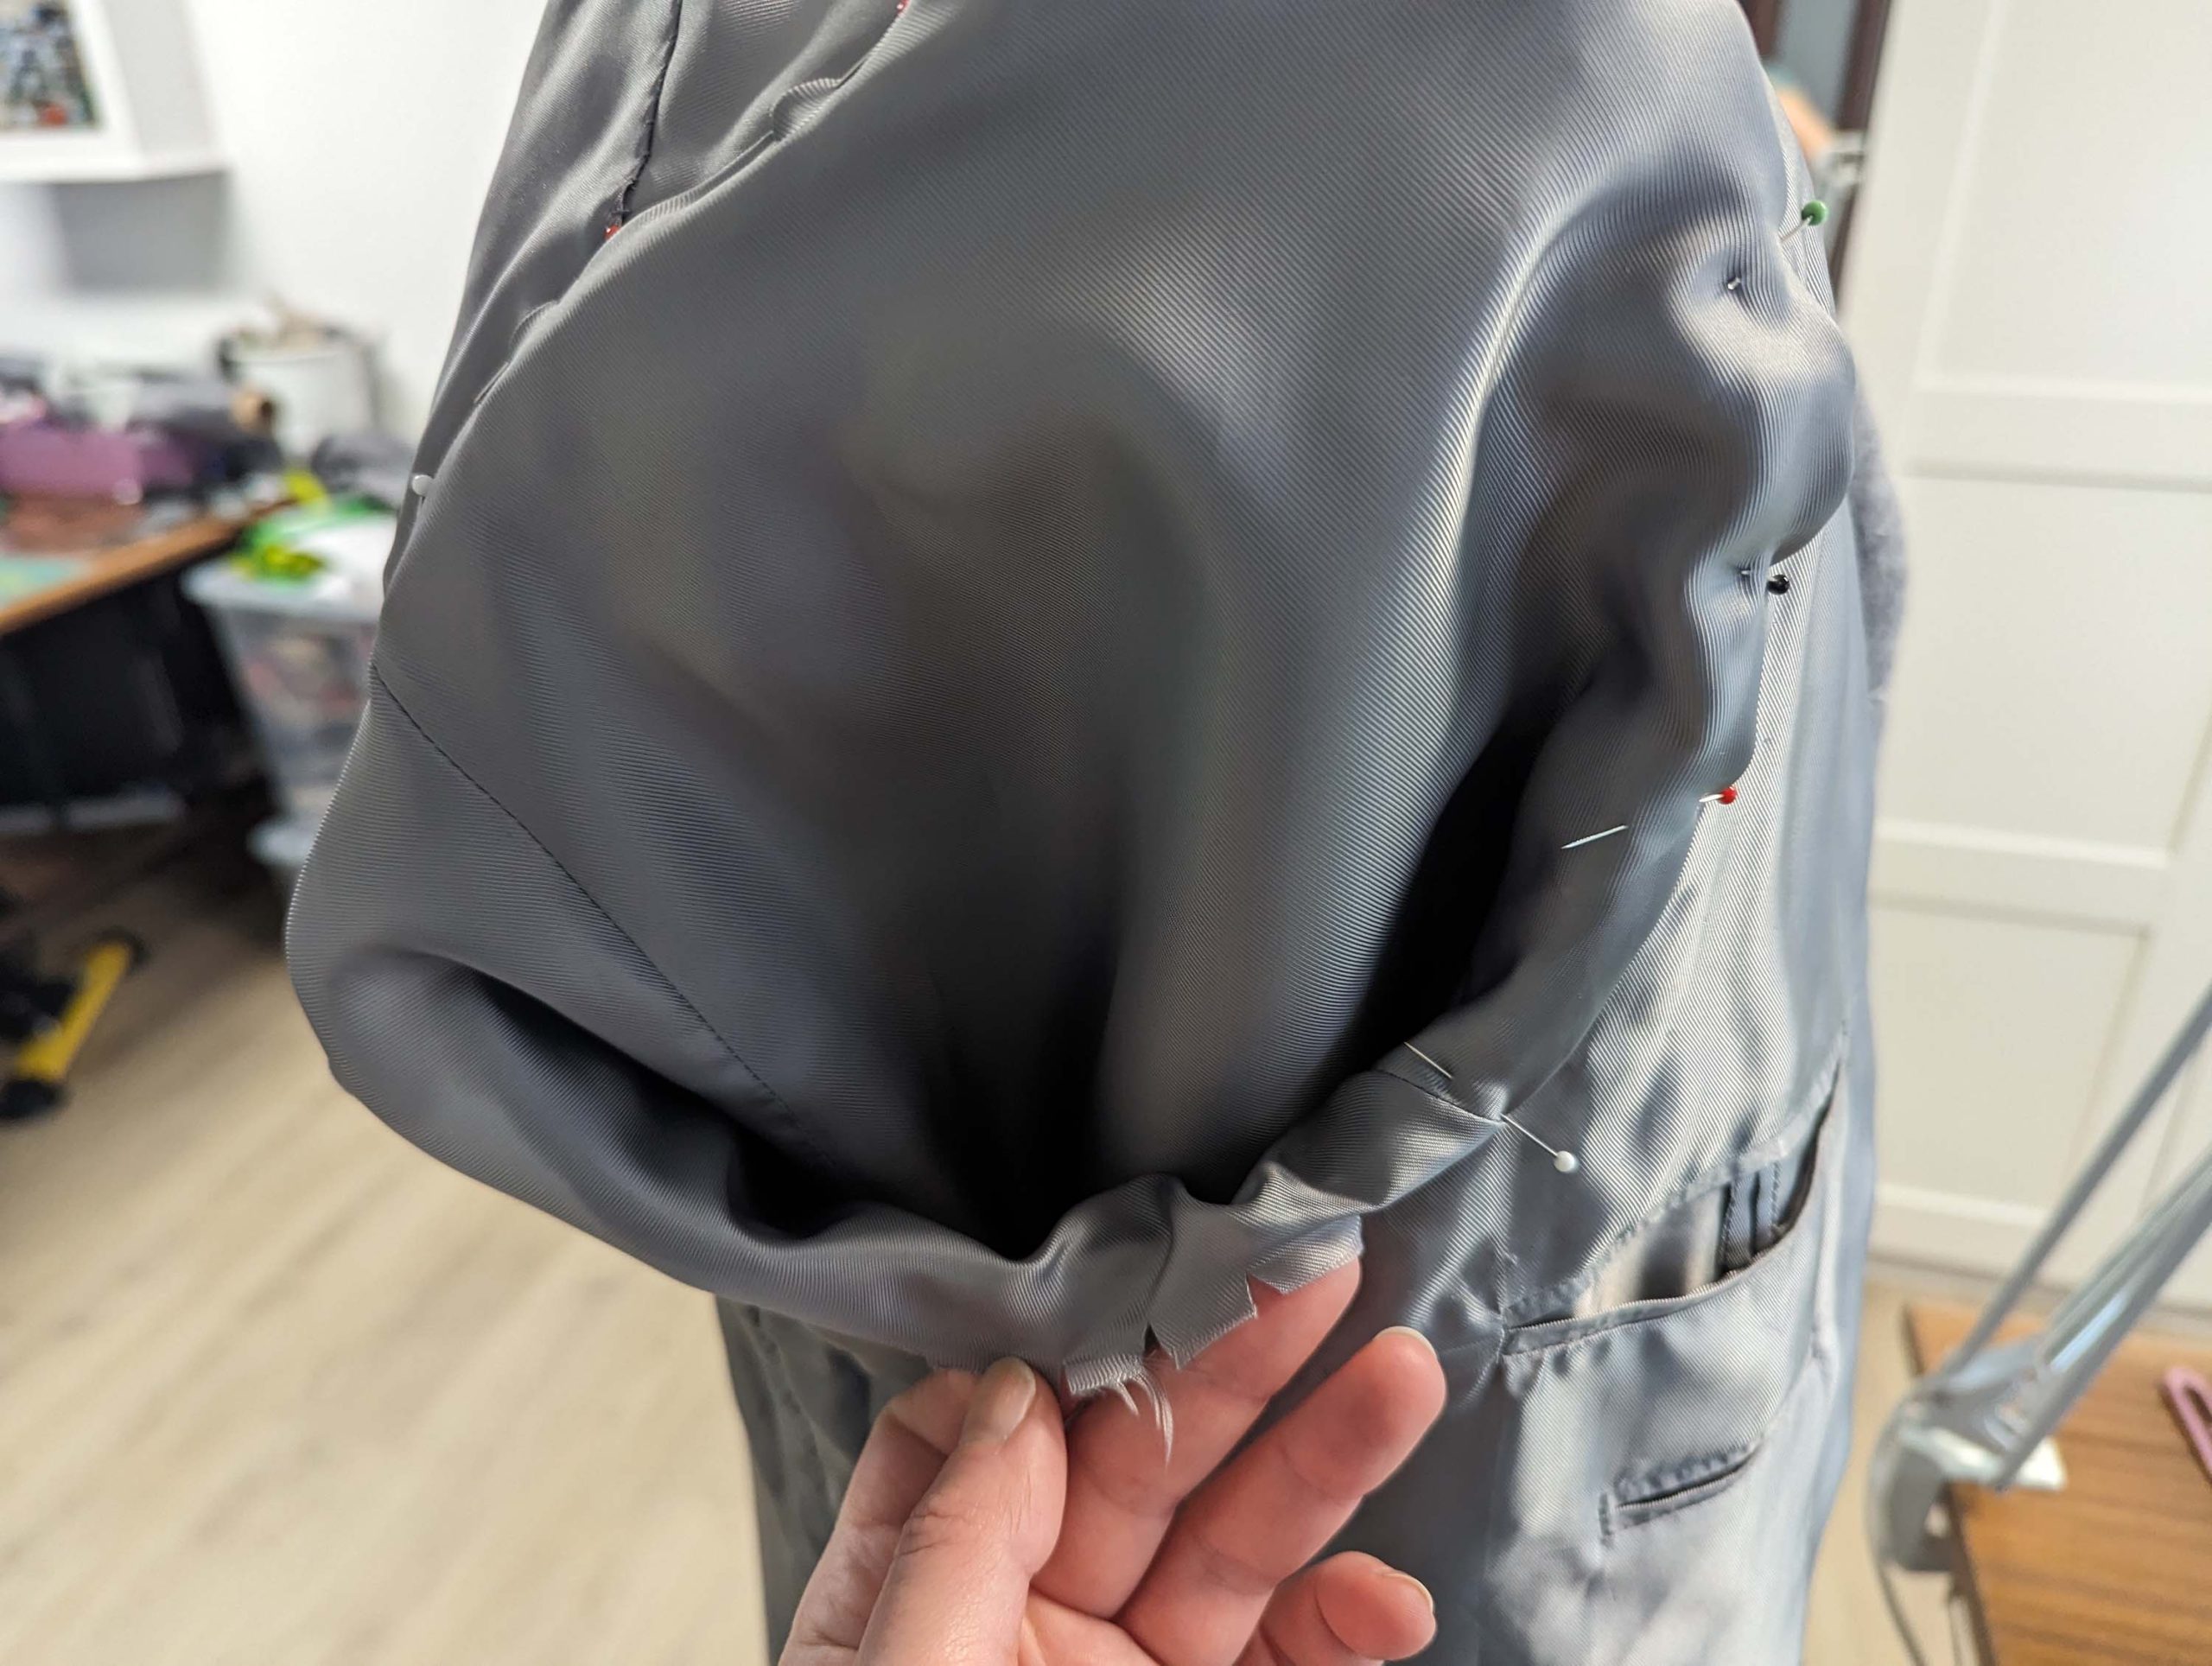
(16) Näh das side seam, right sides together, without catching the lining or the canvas, and press open the seam allowances. Sew the side seam of the hem facing, right sides together, and press open the seam allowances. Sew the remaining part of the front hem facing and the back hem facing to the jacket, right sides together, and matching seams and marks. Skip the straps at the back and finish the hem/straps as described in point (13). This step can be a bit tricky, stay patient! Tack the loose edge of the hem facing to the jacket at the seam allowances and on the back of the straps, where no stitches will be visible on the right fabric side.
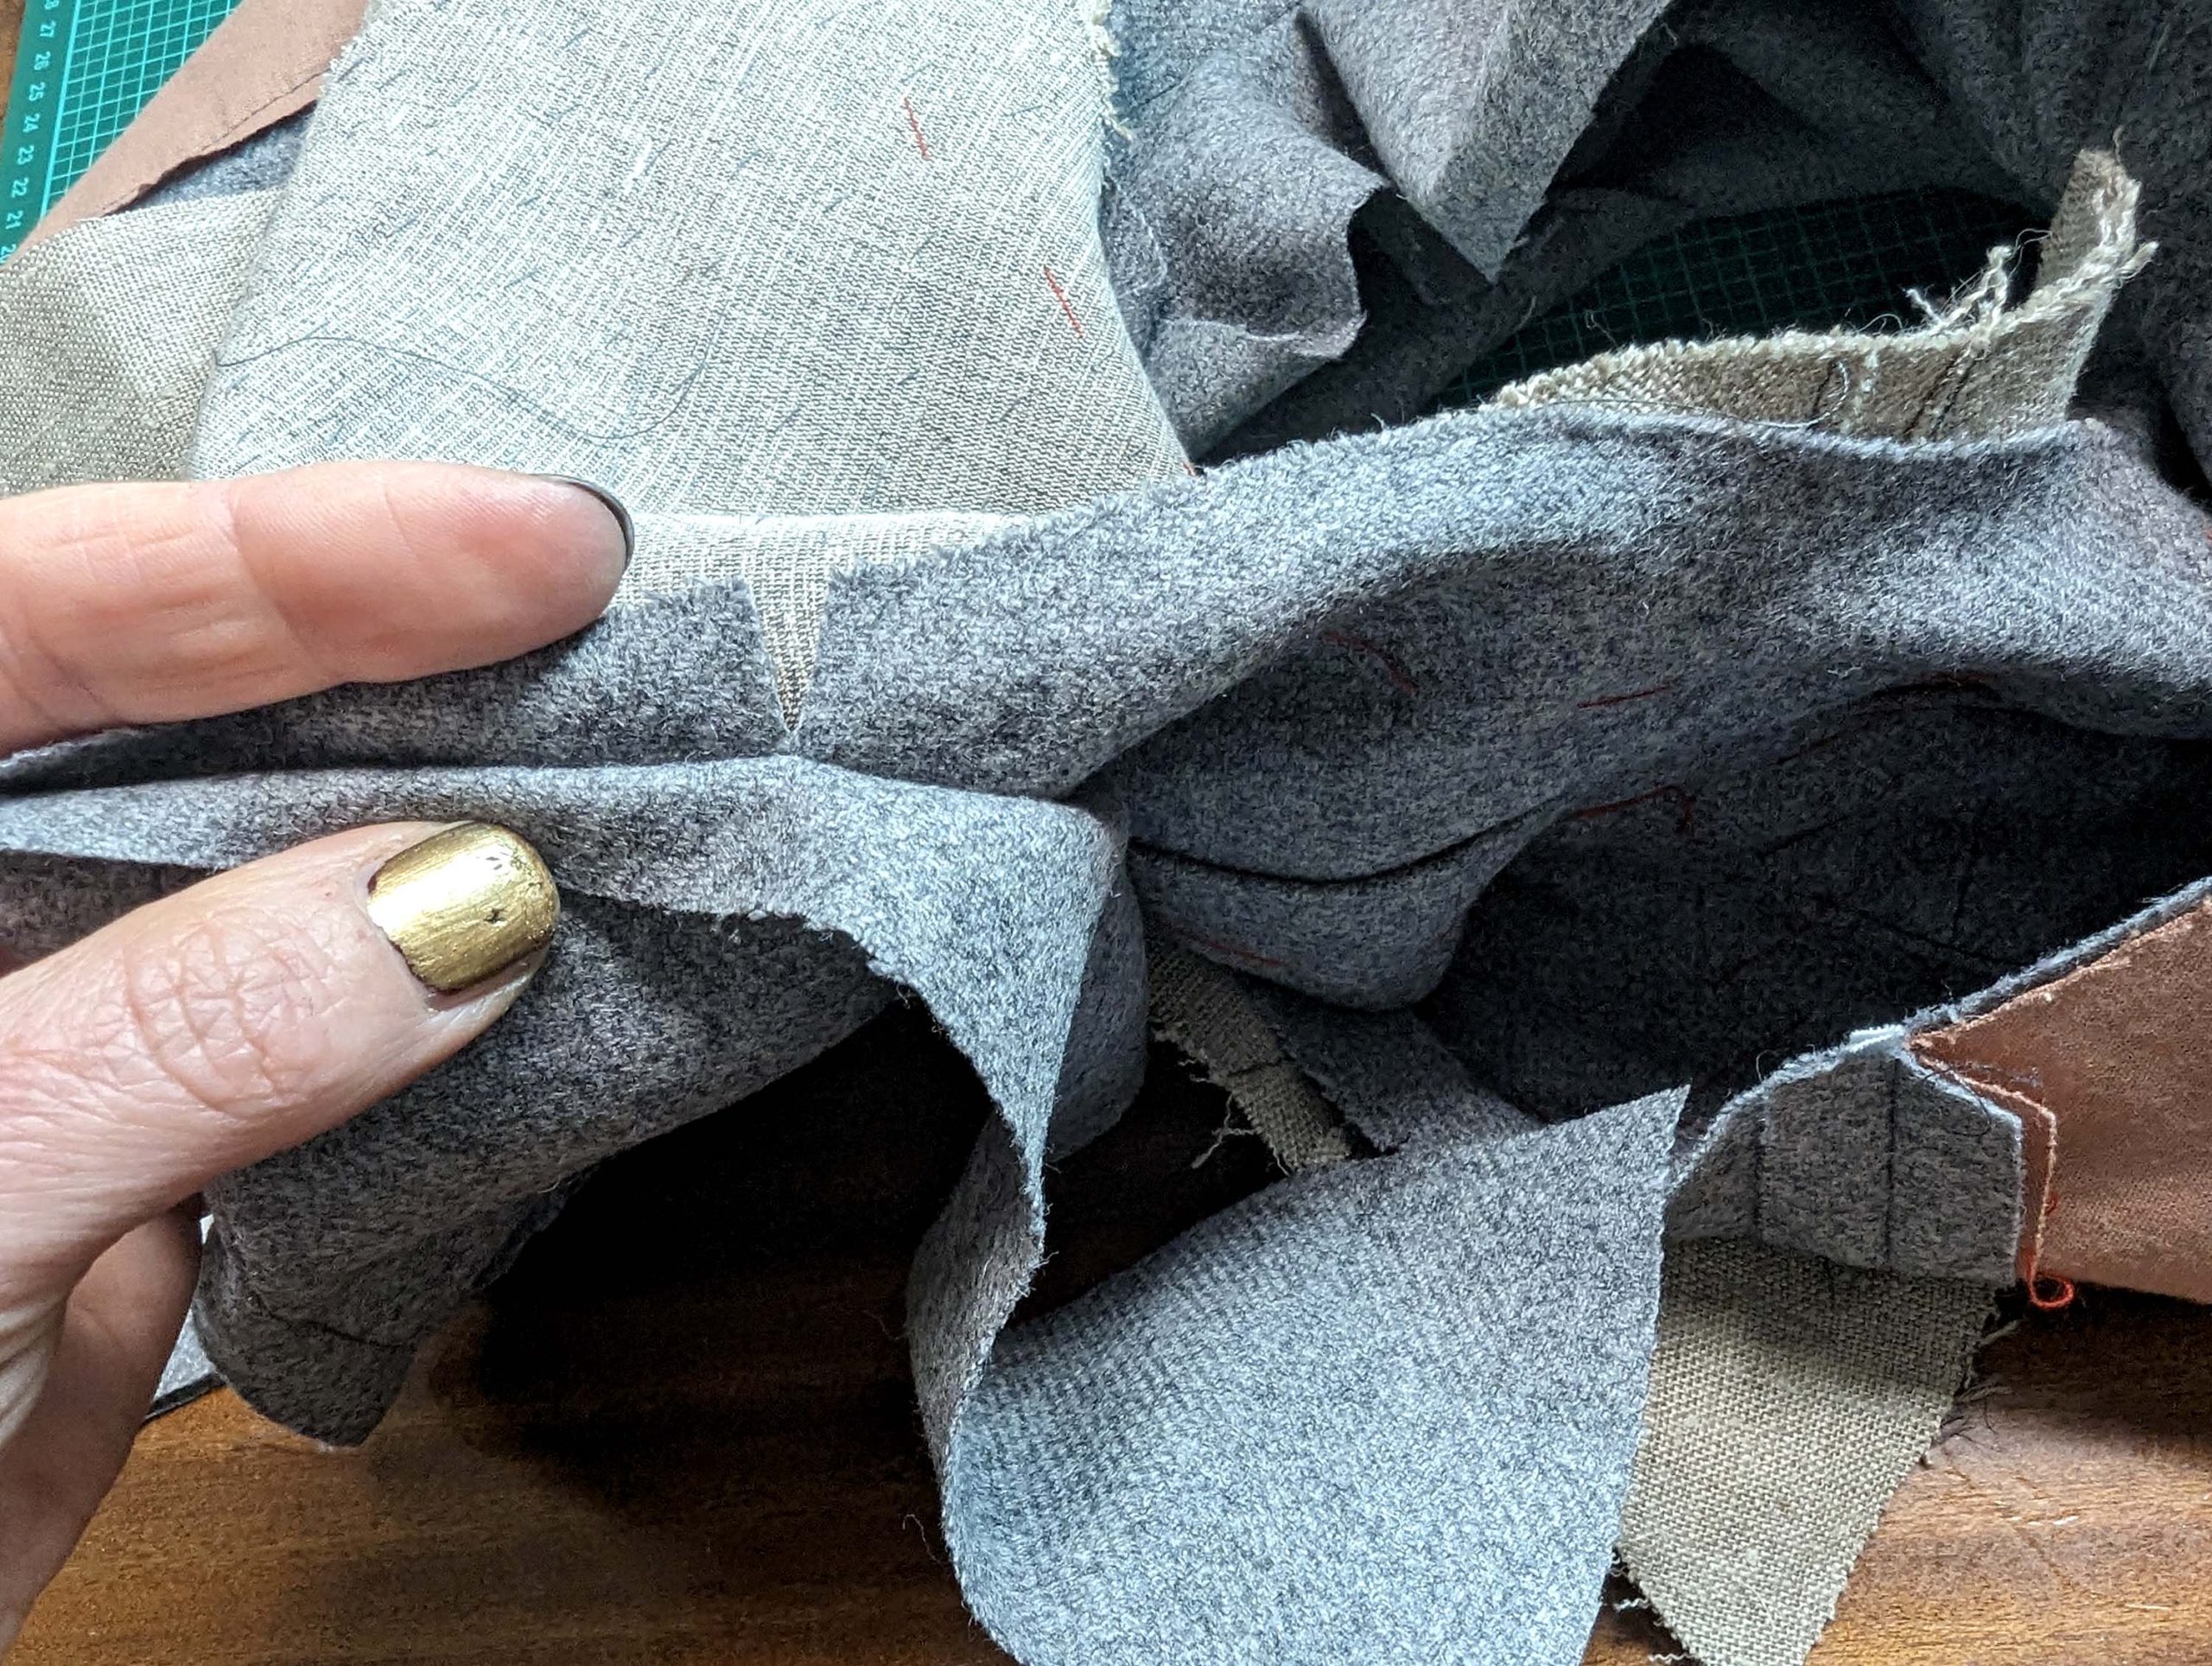
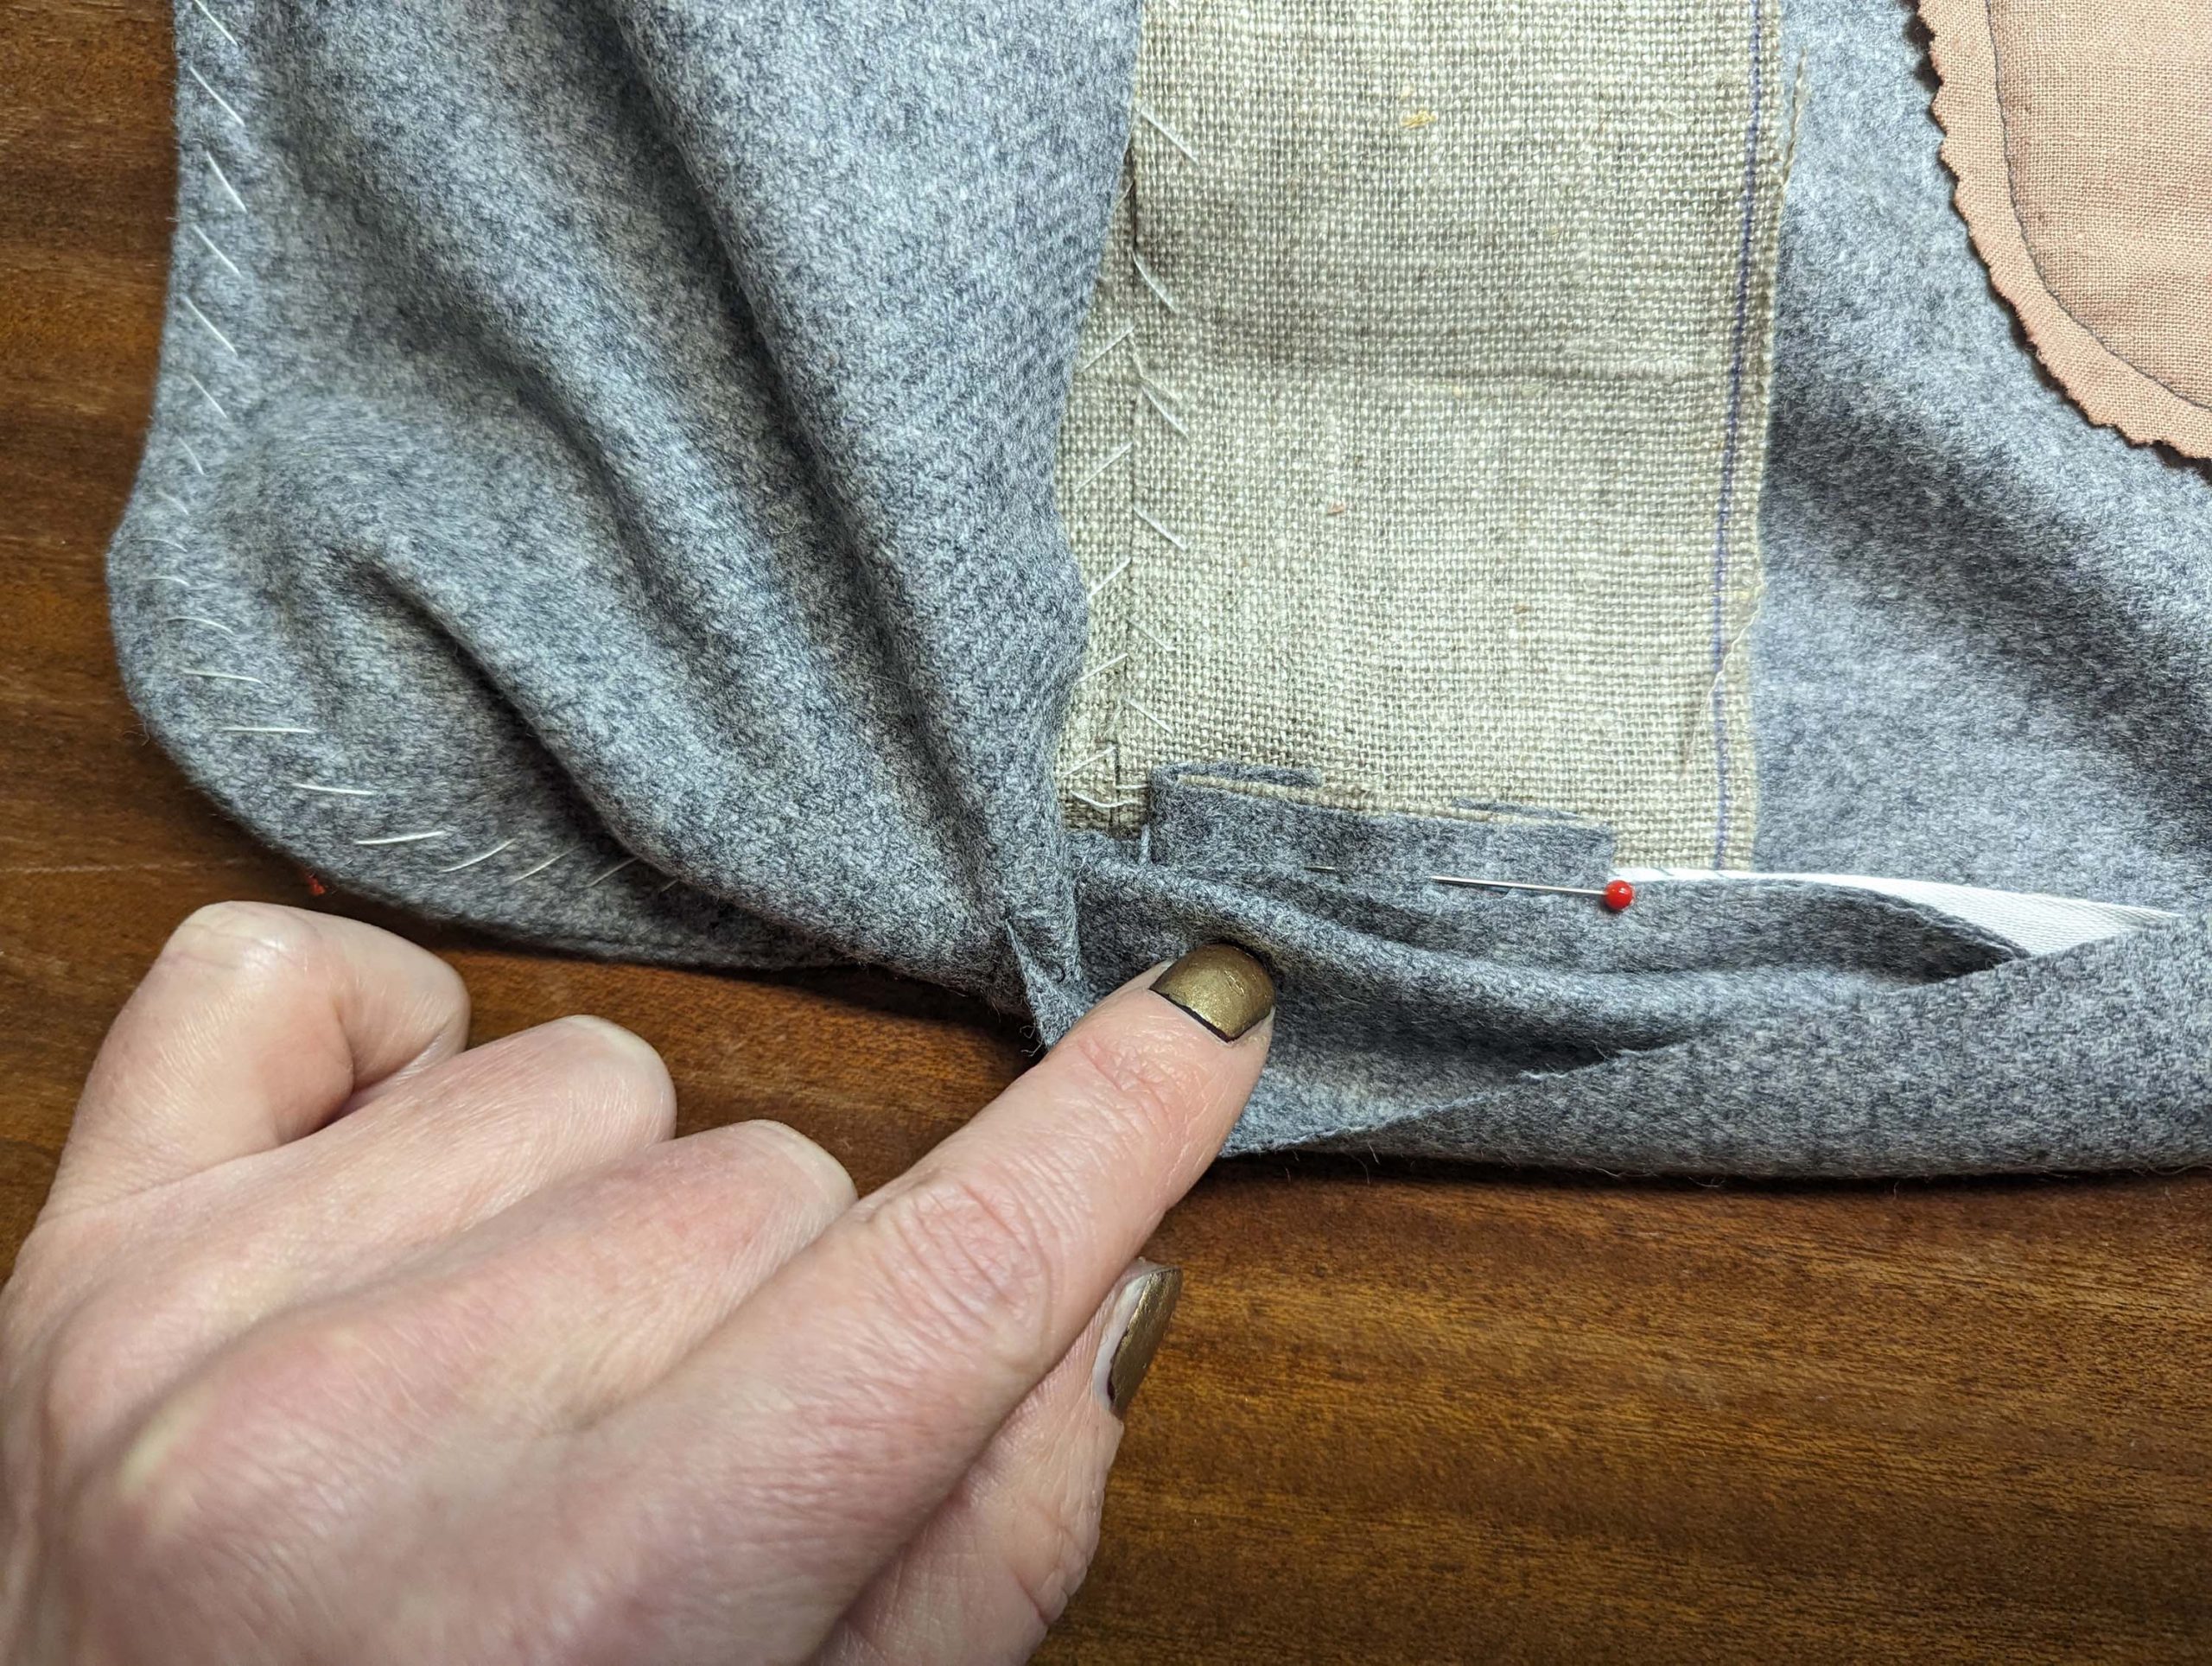
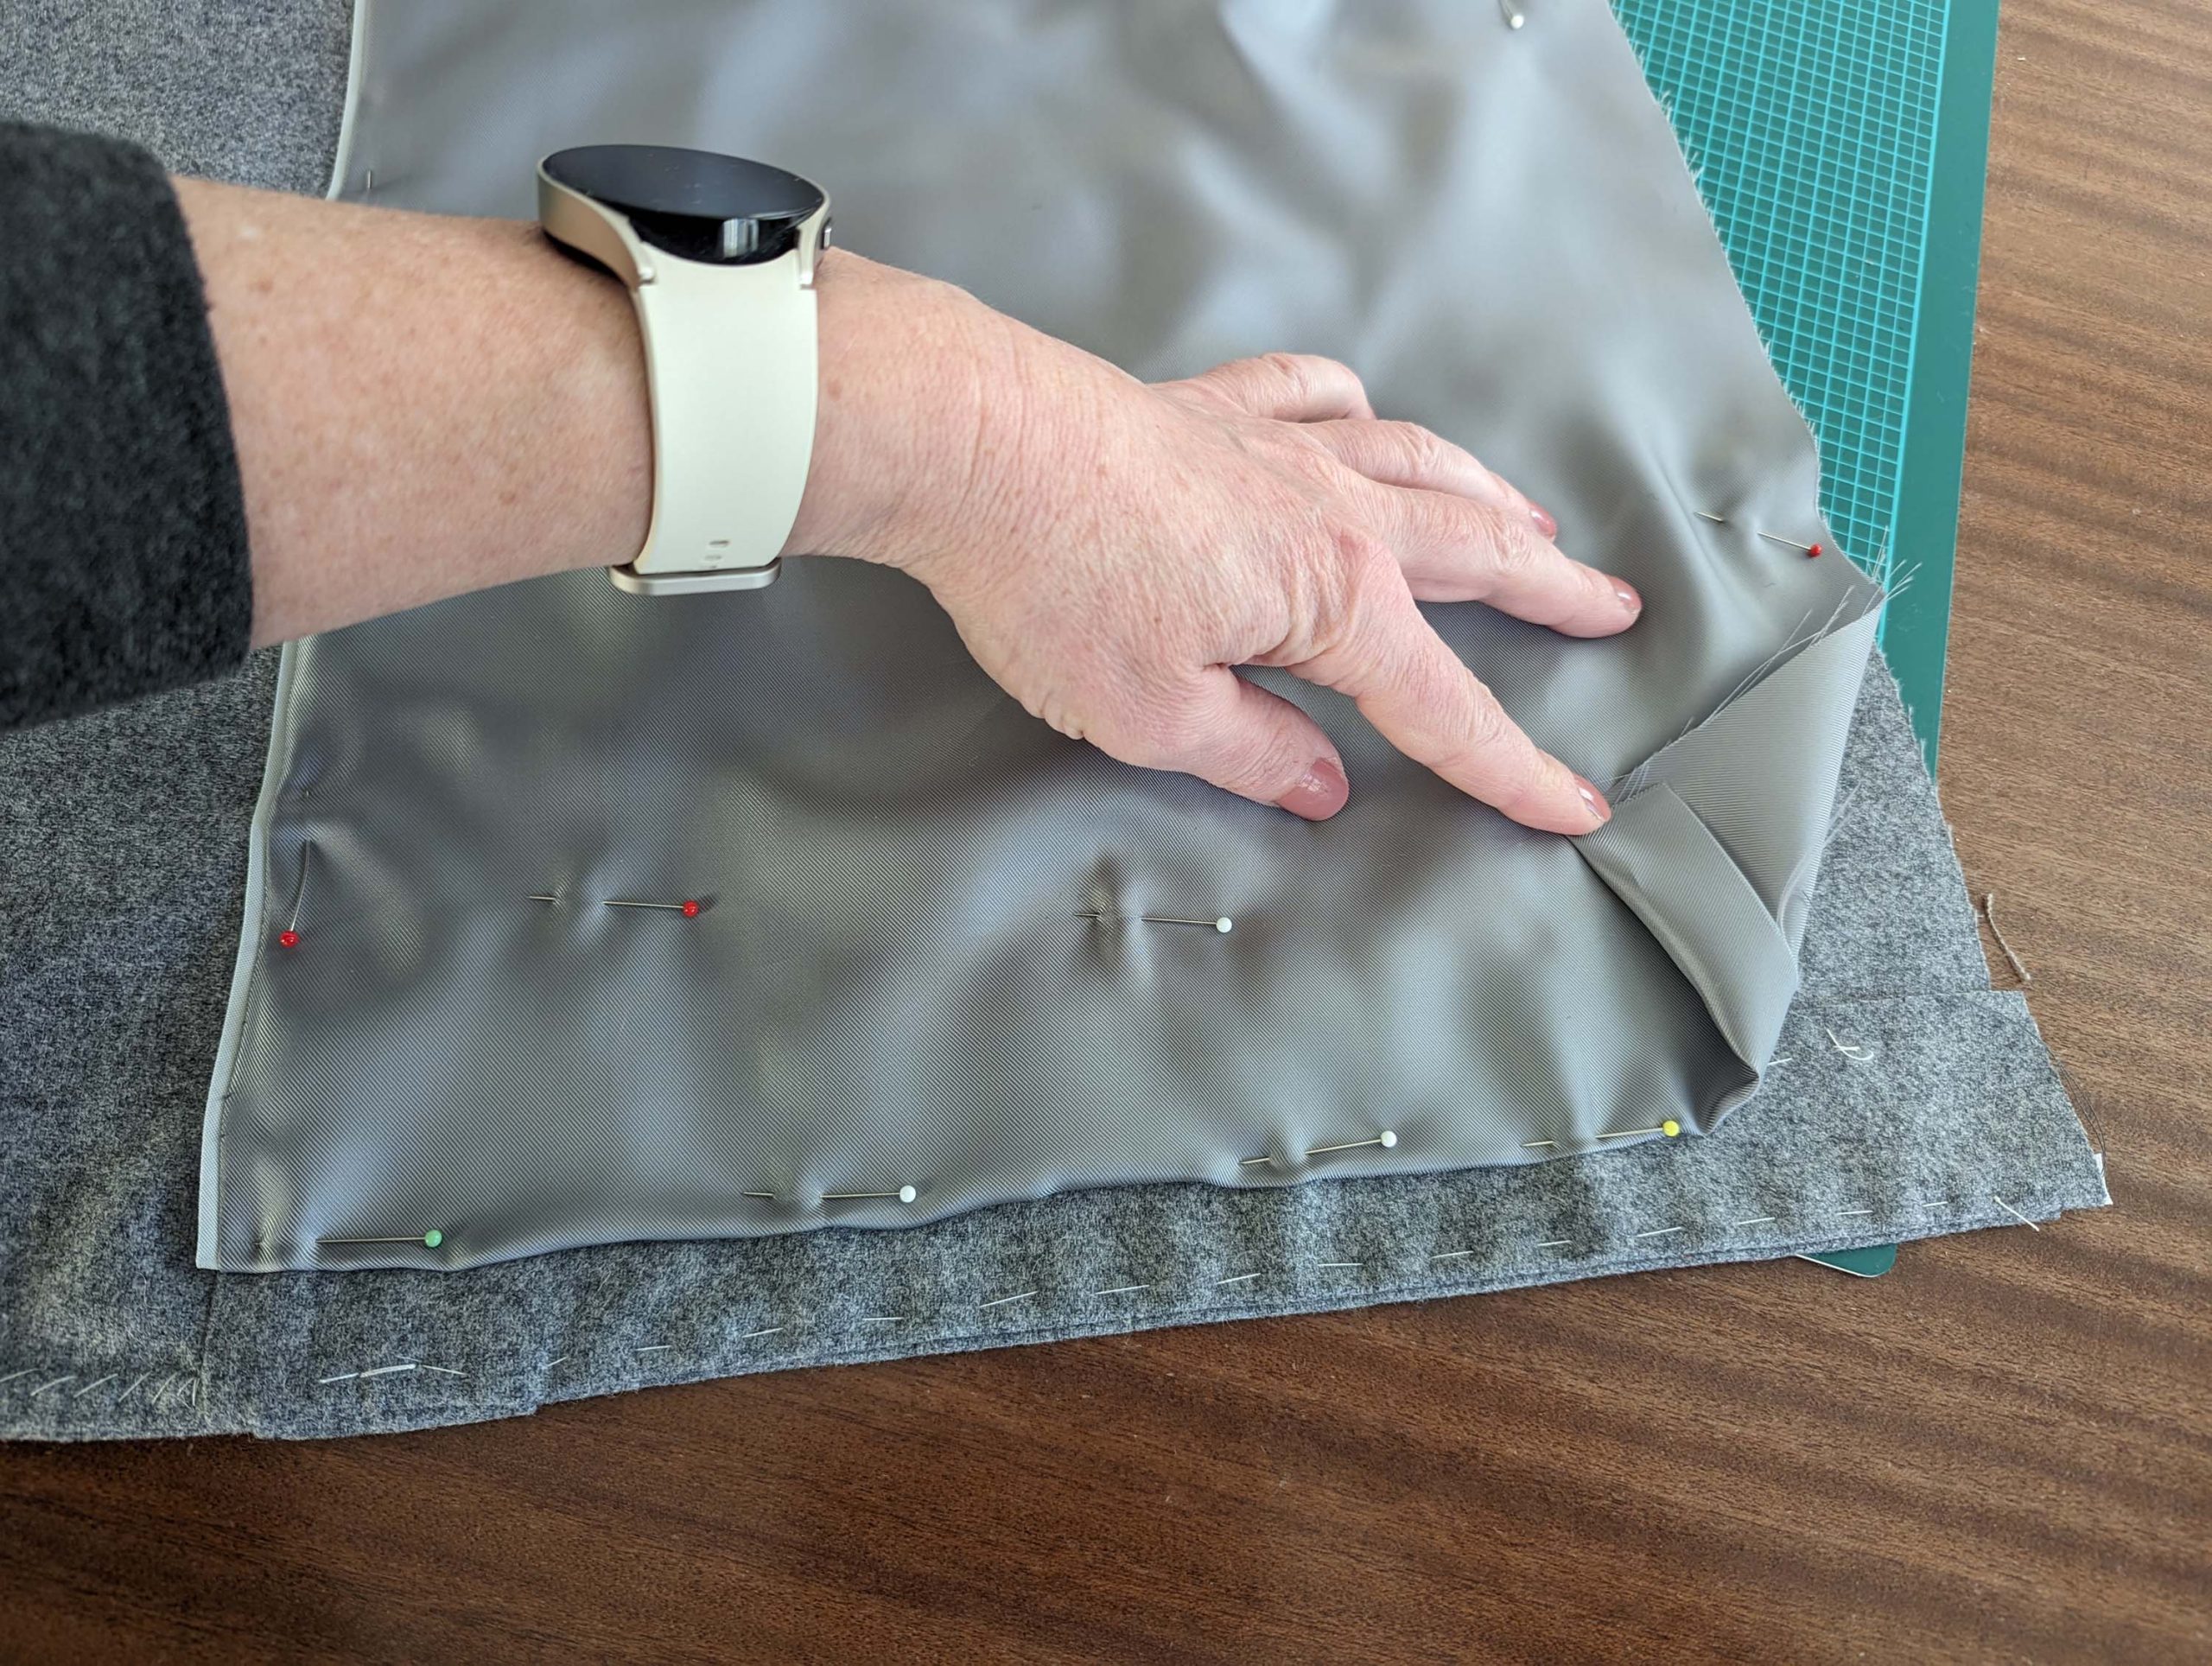
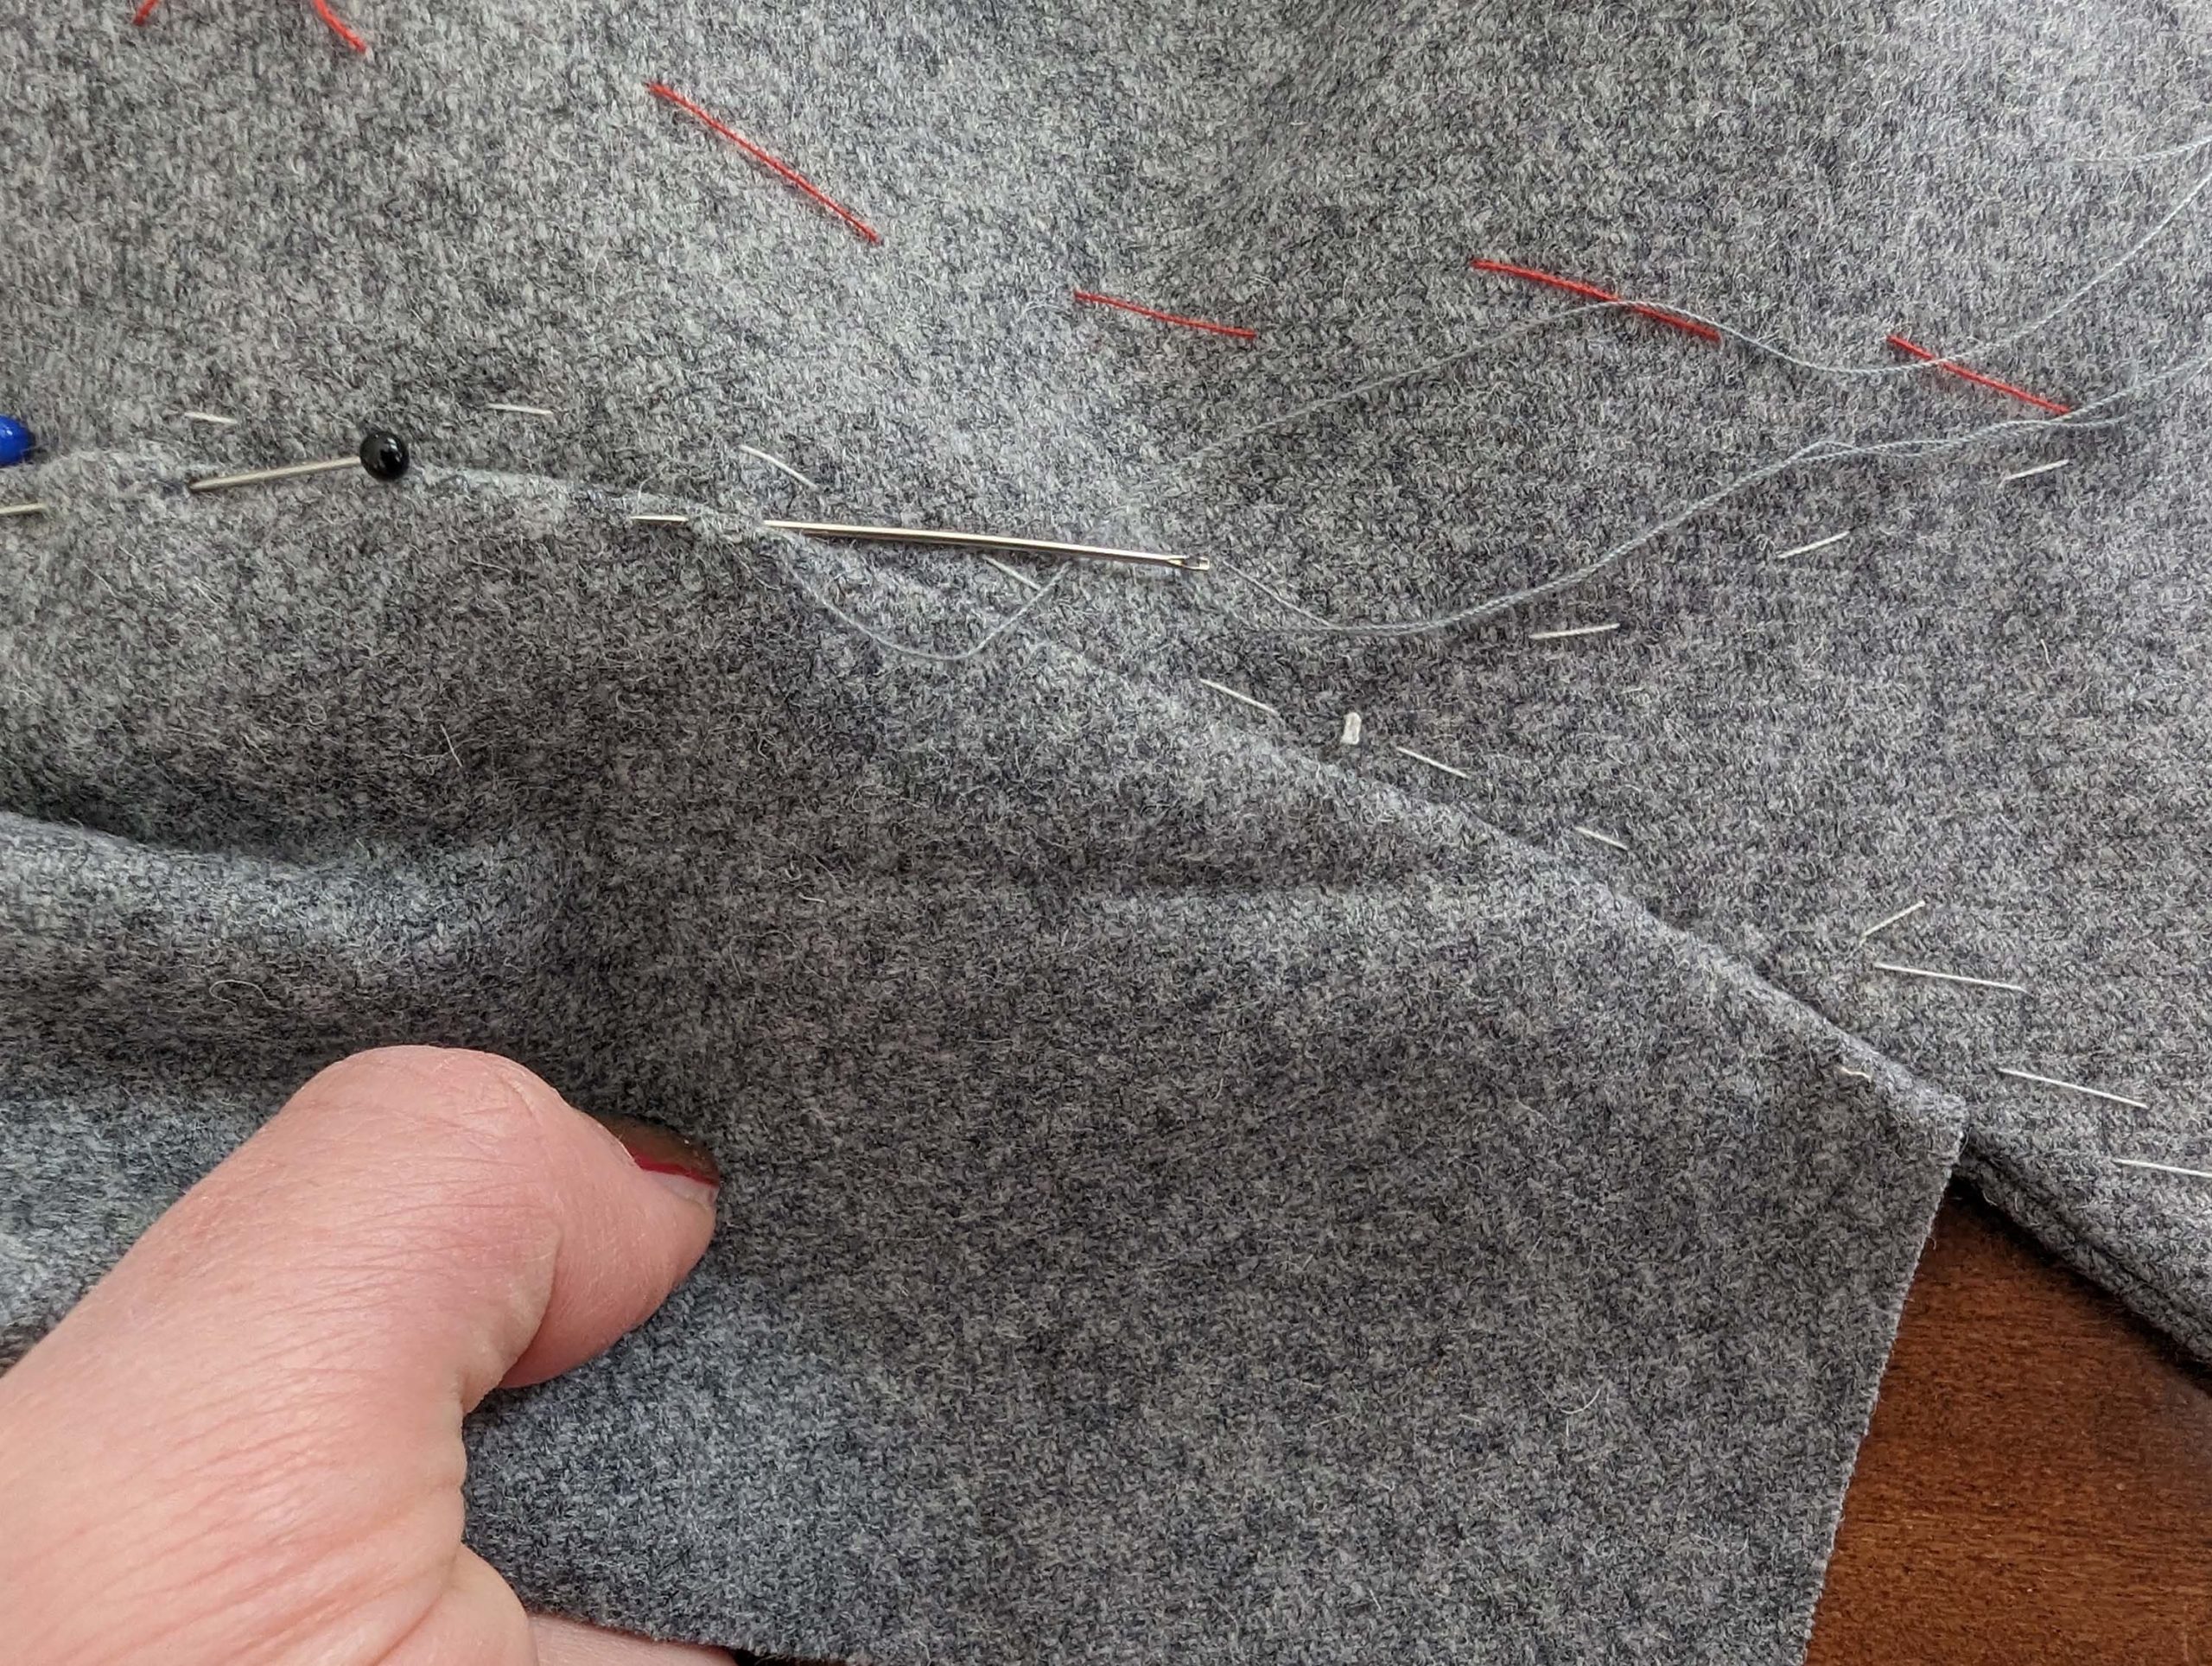
Take care, the pictures are a bit different than the instructions, as the pattern was still developing. Smooth out the canvas and the front lining over the side seam. Baste the lining to the seam allowance of the back, without any stitches visible on the right fabric side. Stop about 3” (7cm) before reaching the bottom edge. Turn in the seam allowance of the back lining along the side edge and line up with the side seam. Fell stitch in place. Along the portion of the front lining, where it was left loose, just fell stitch the lining together, without catching the fashion fabric. Turn in a seam allowance of 5/8” (1,5cm) along the bottom edge and line up with the top edge of the hem facing, creating a fold for the ease needed. Sew the front lining to the front-facing in the ditch of the bias tape.
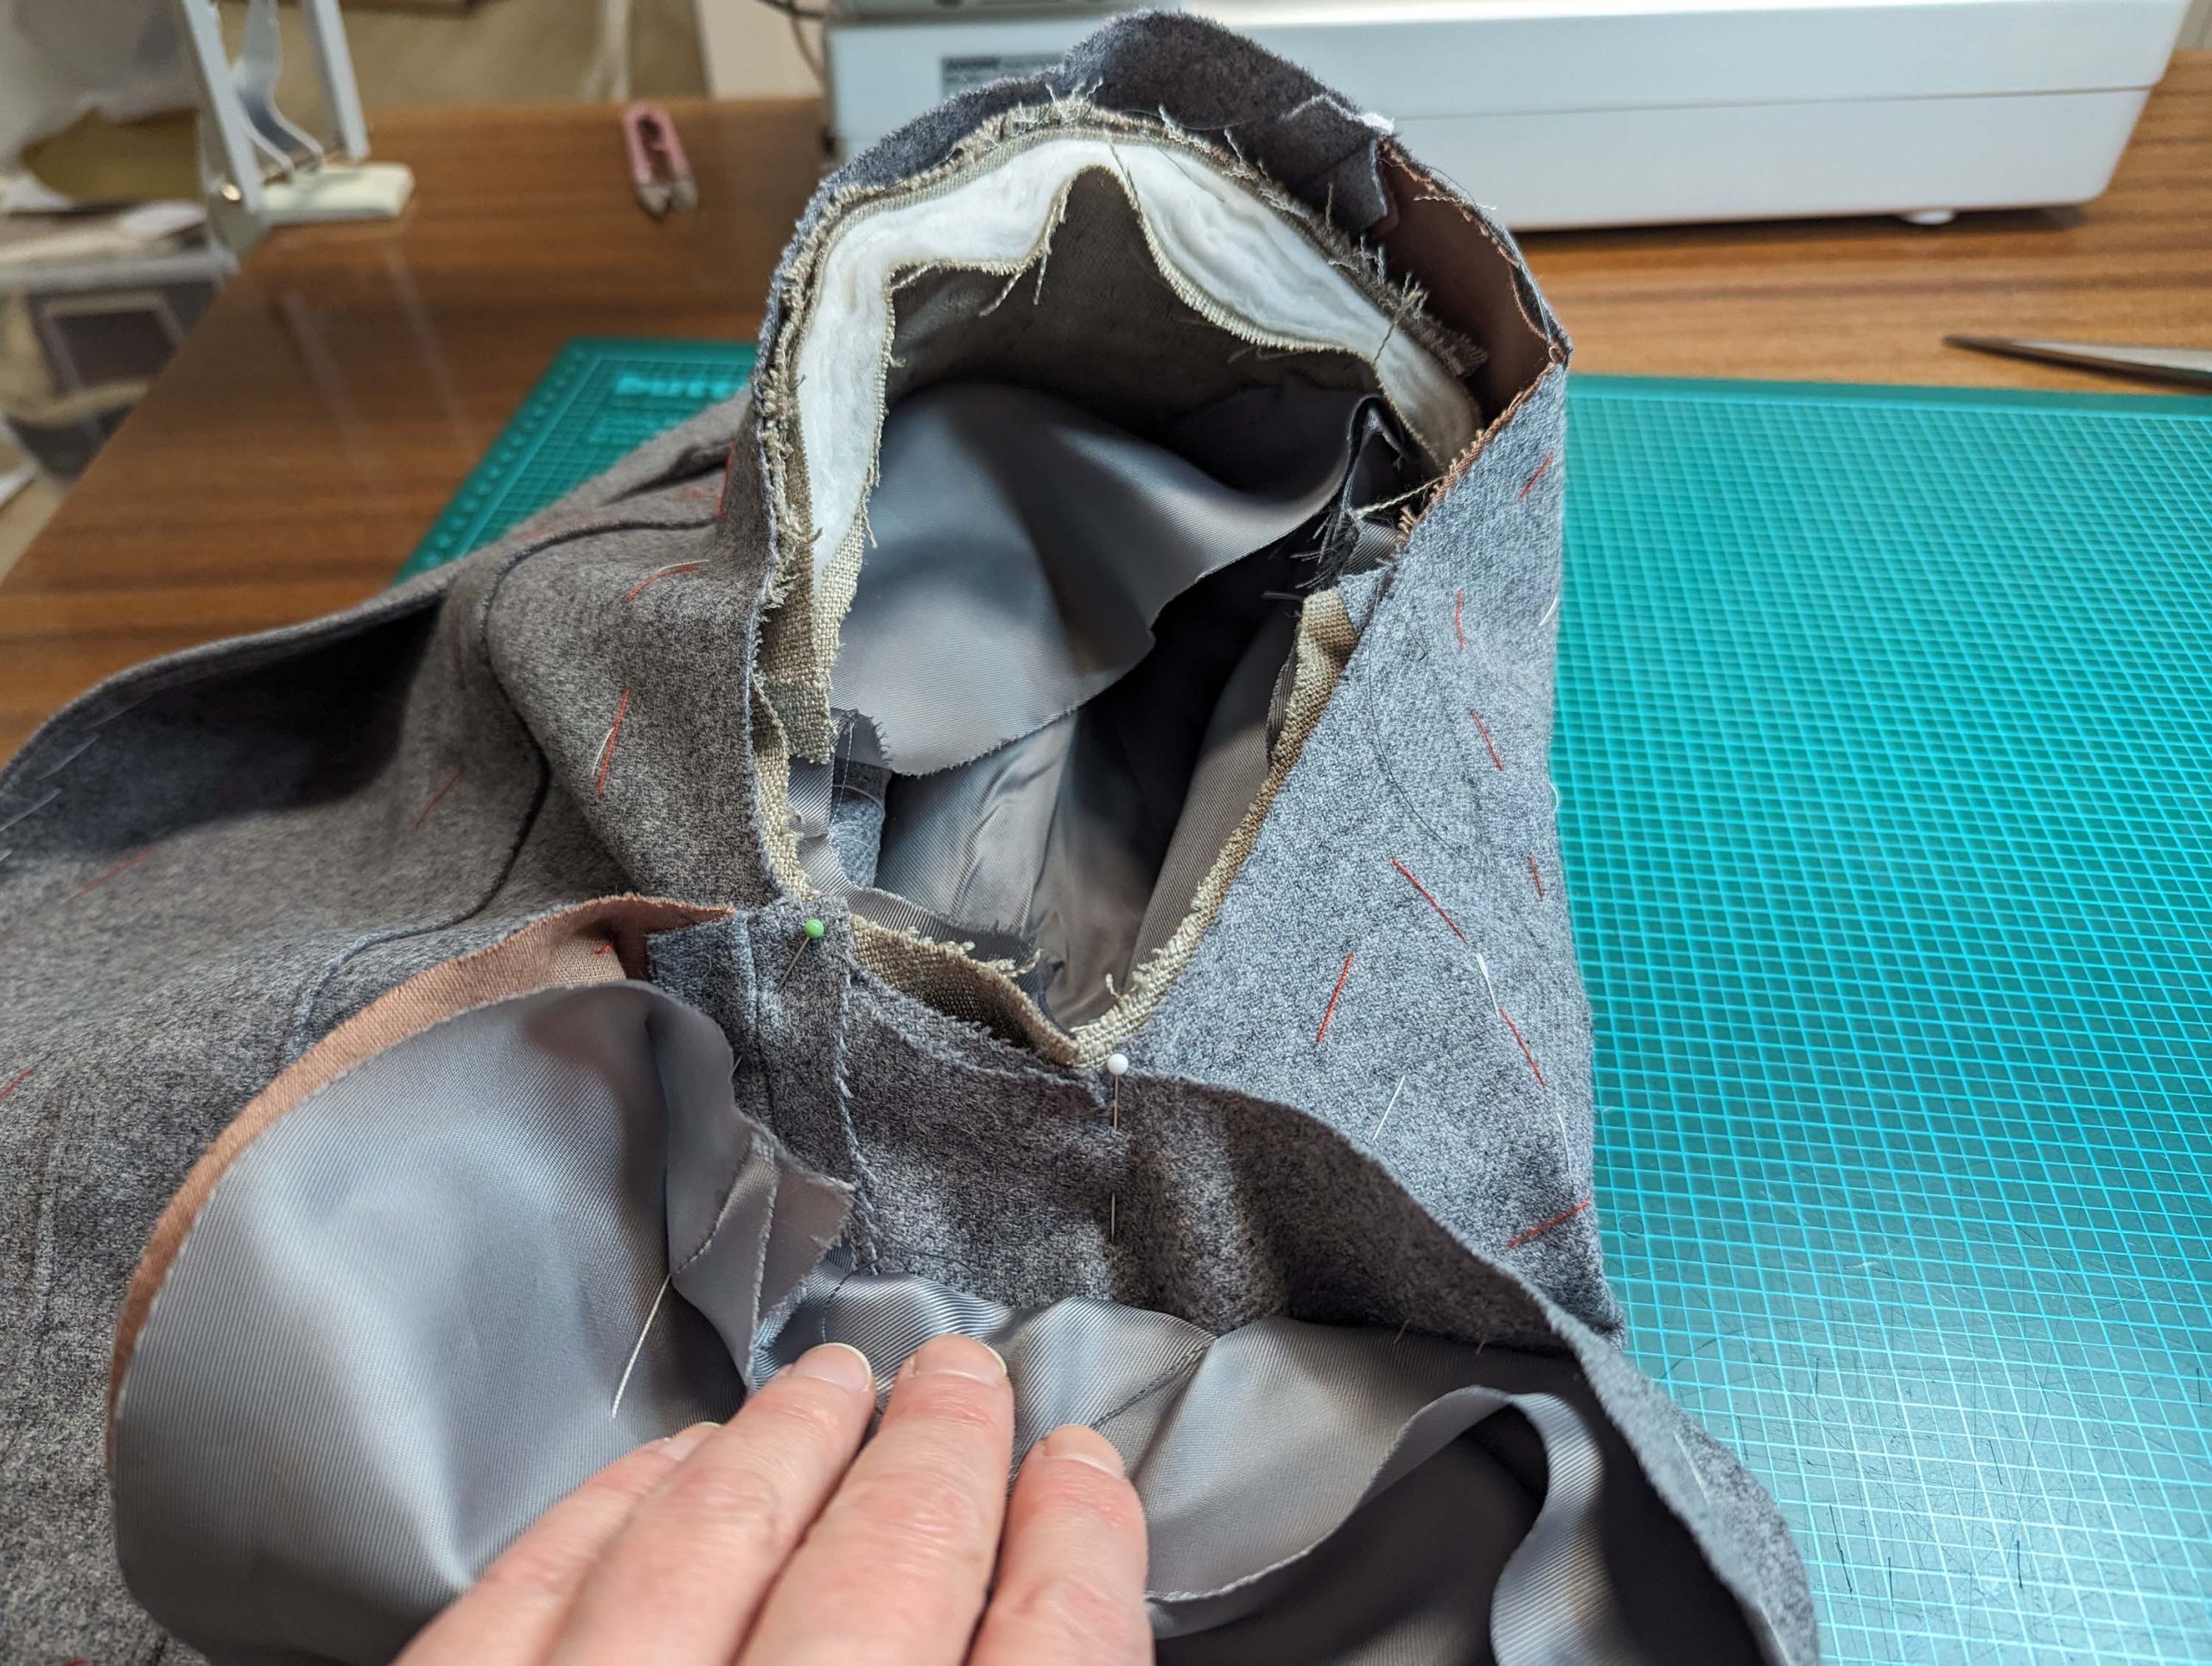
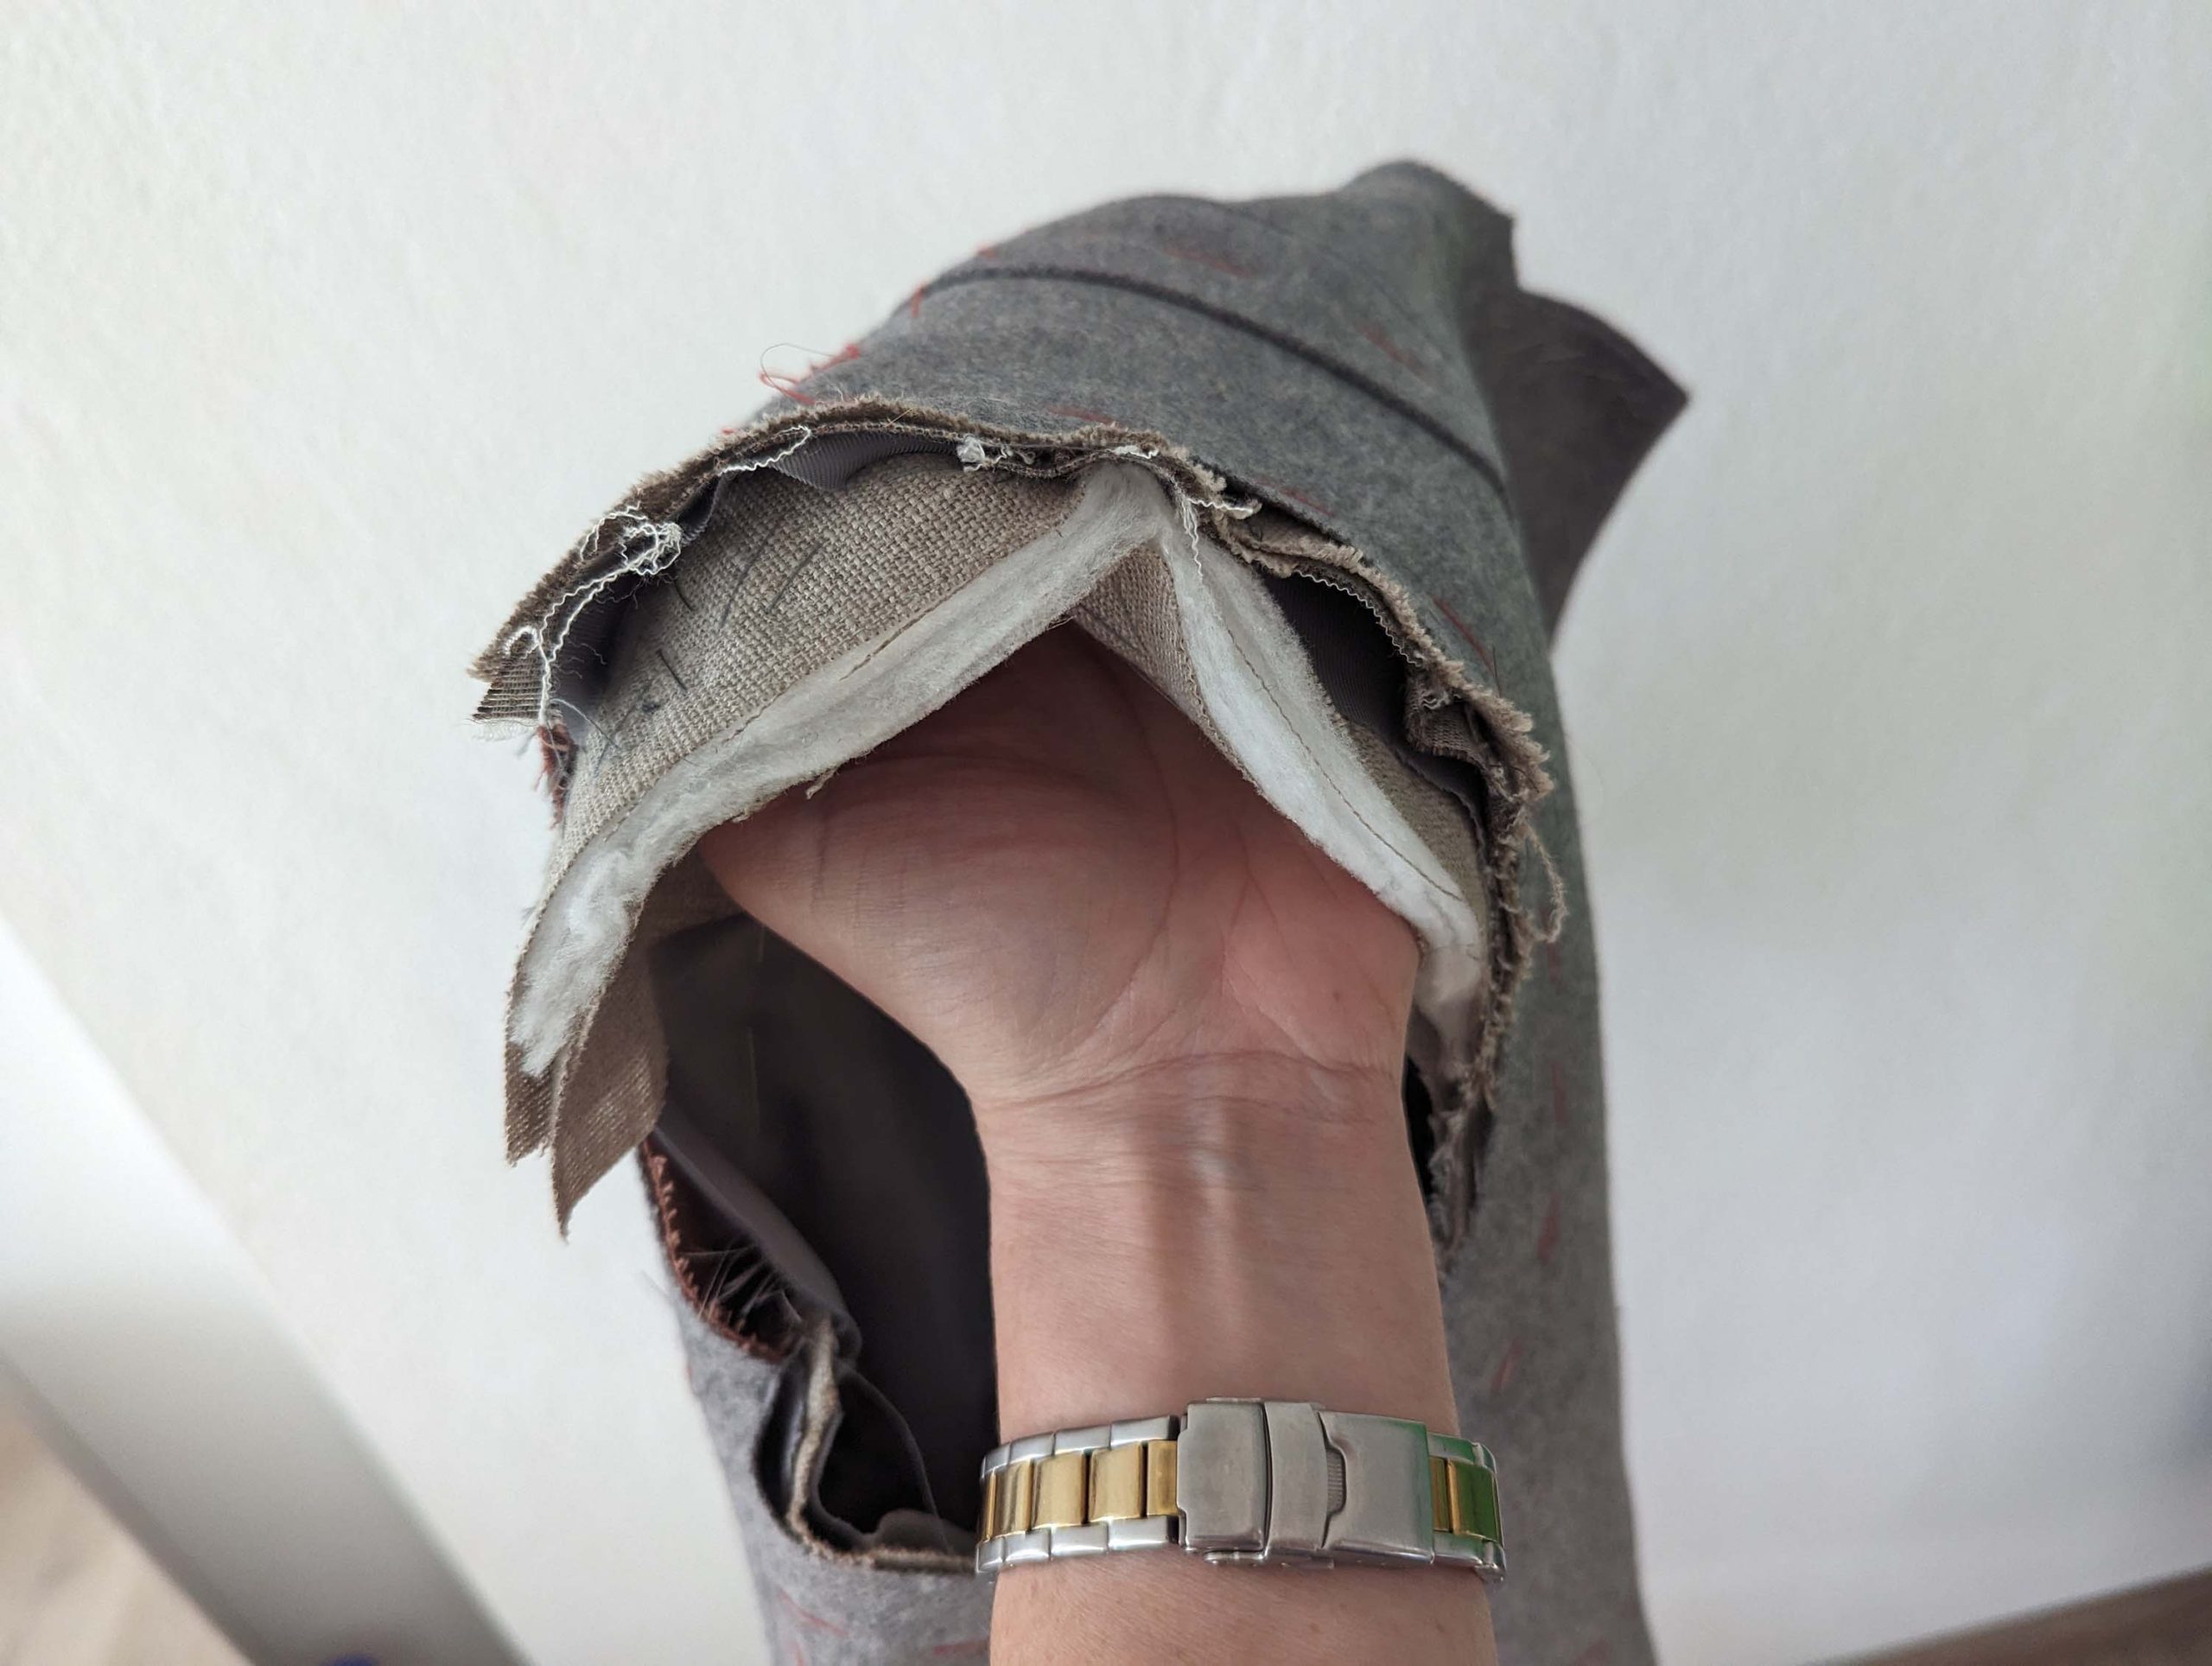
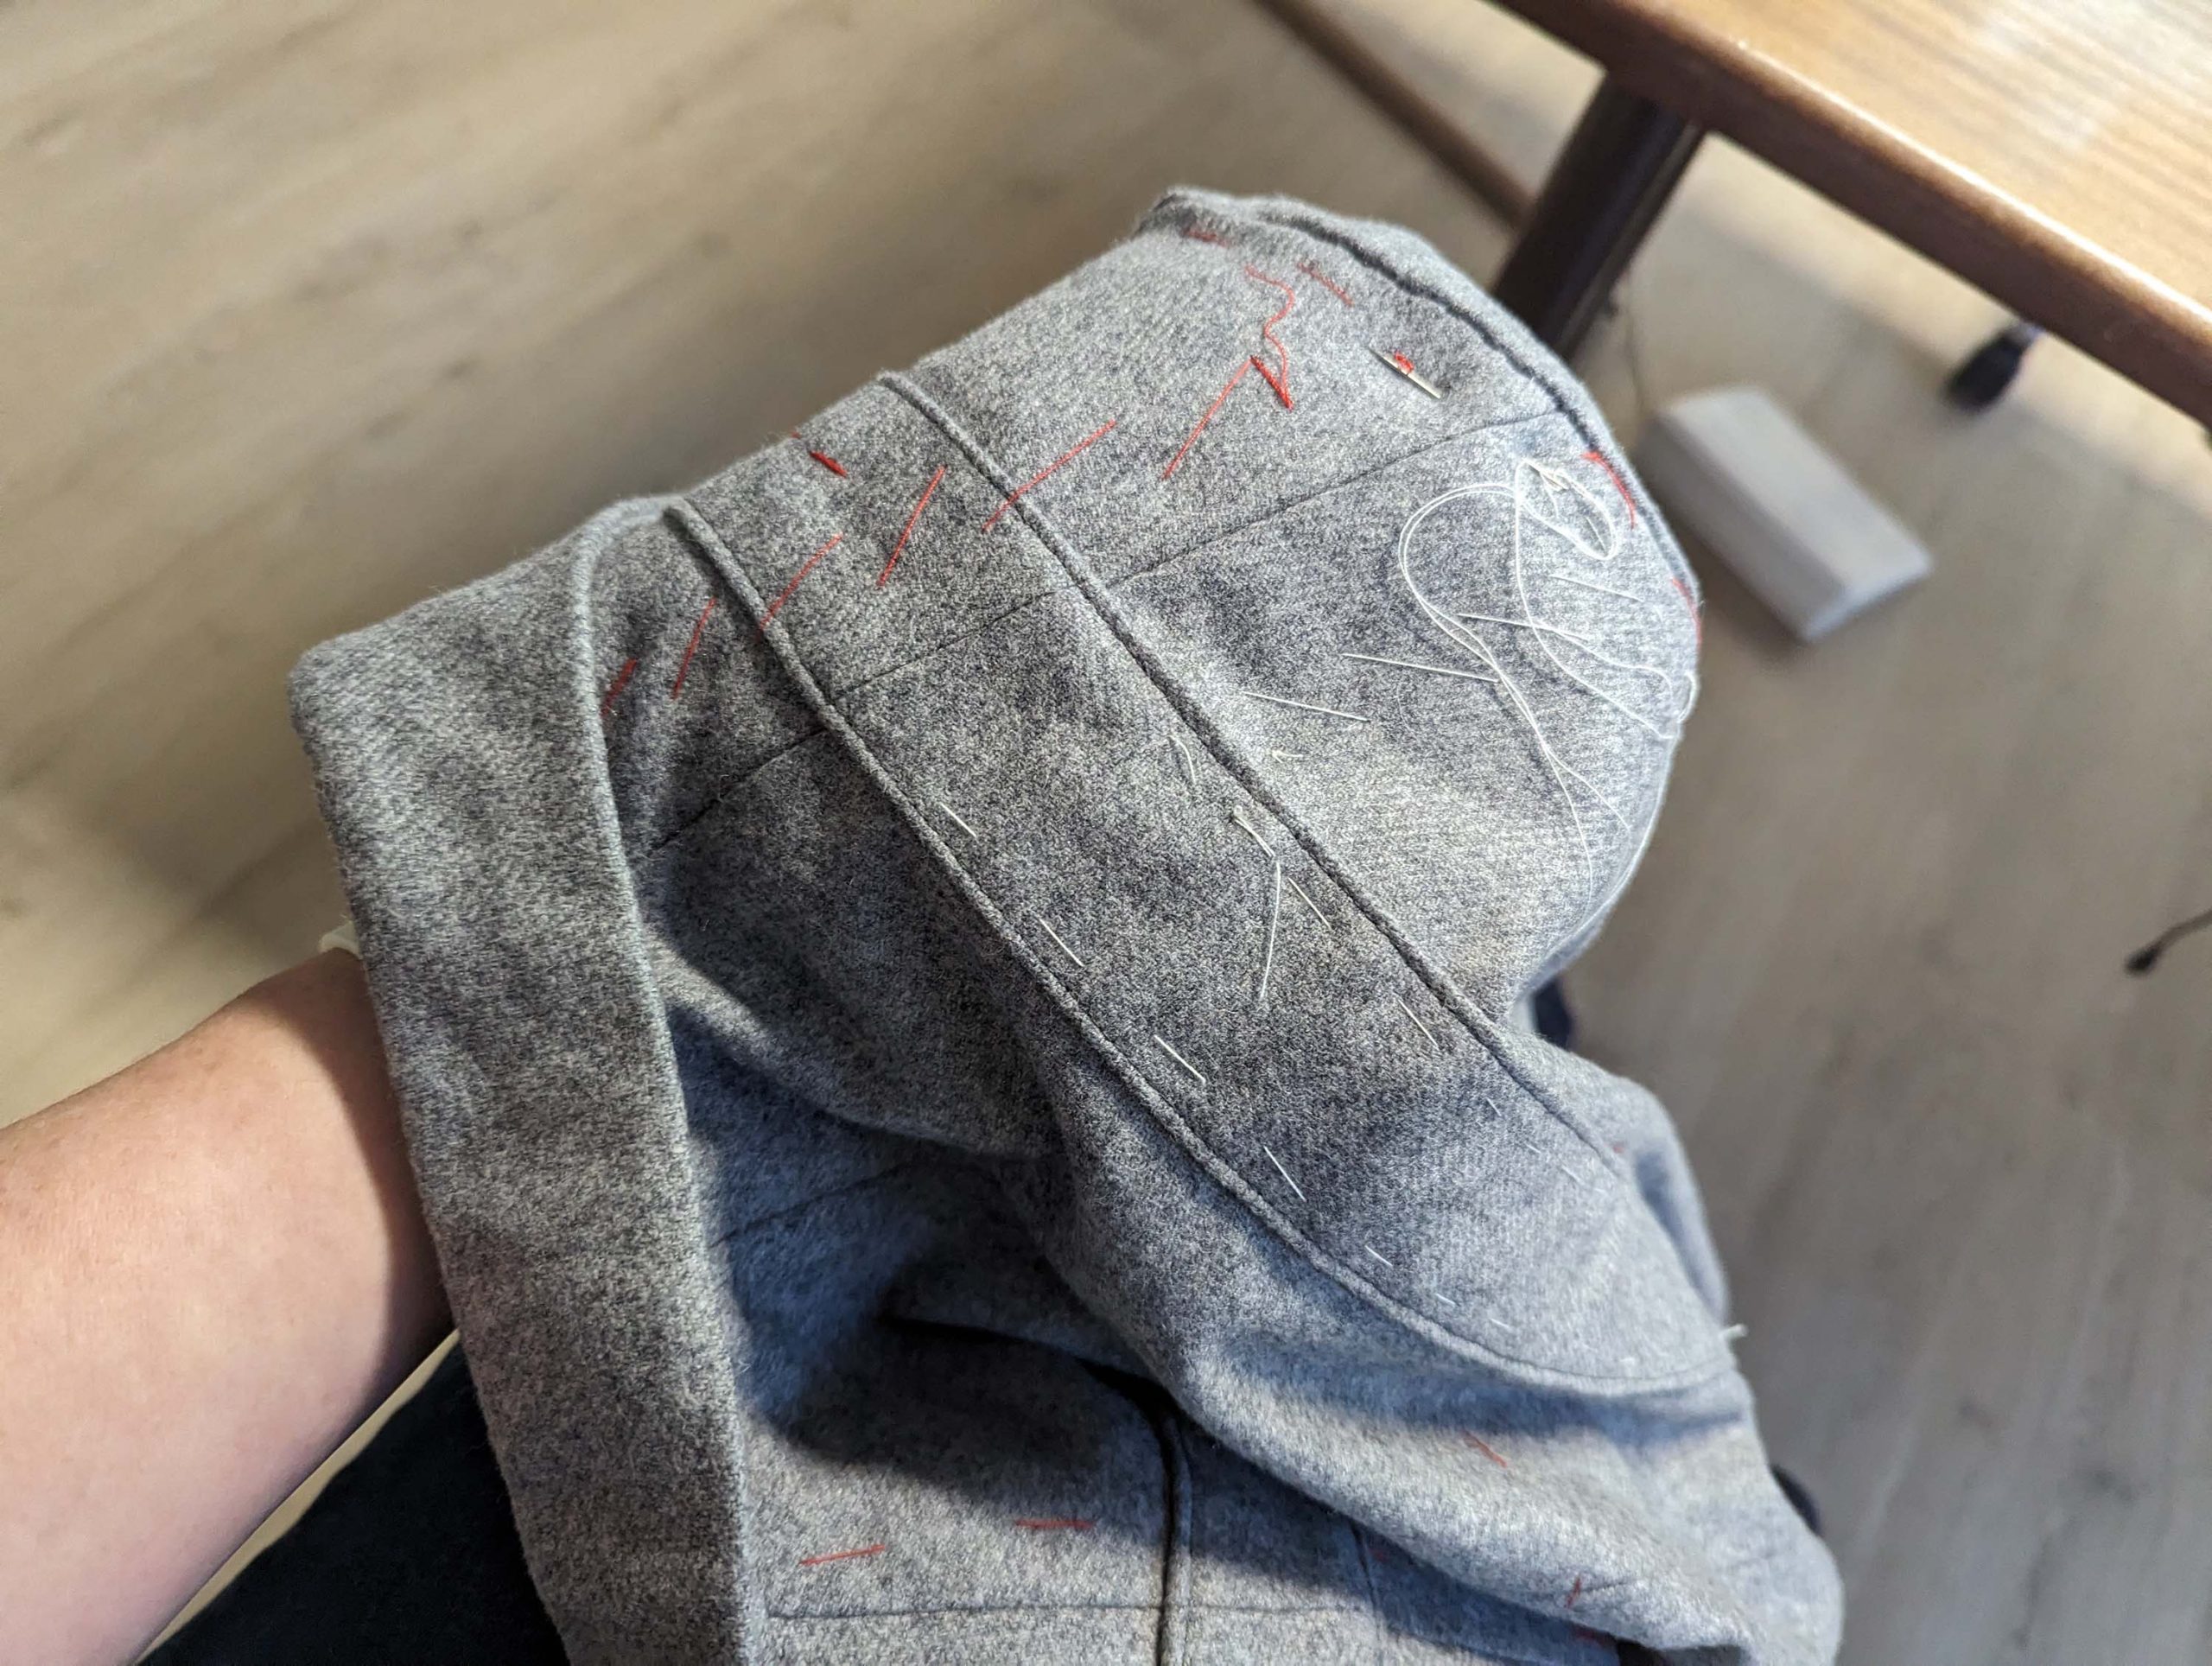
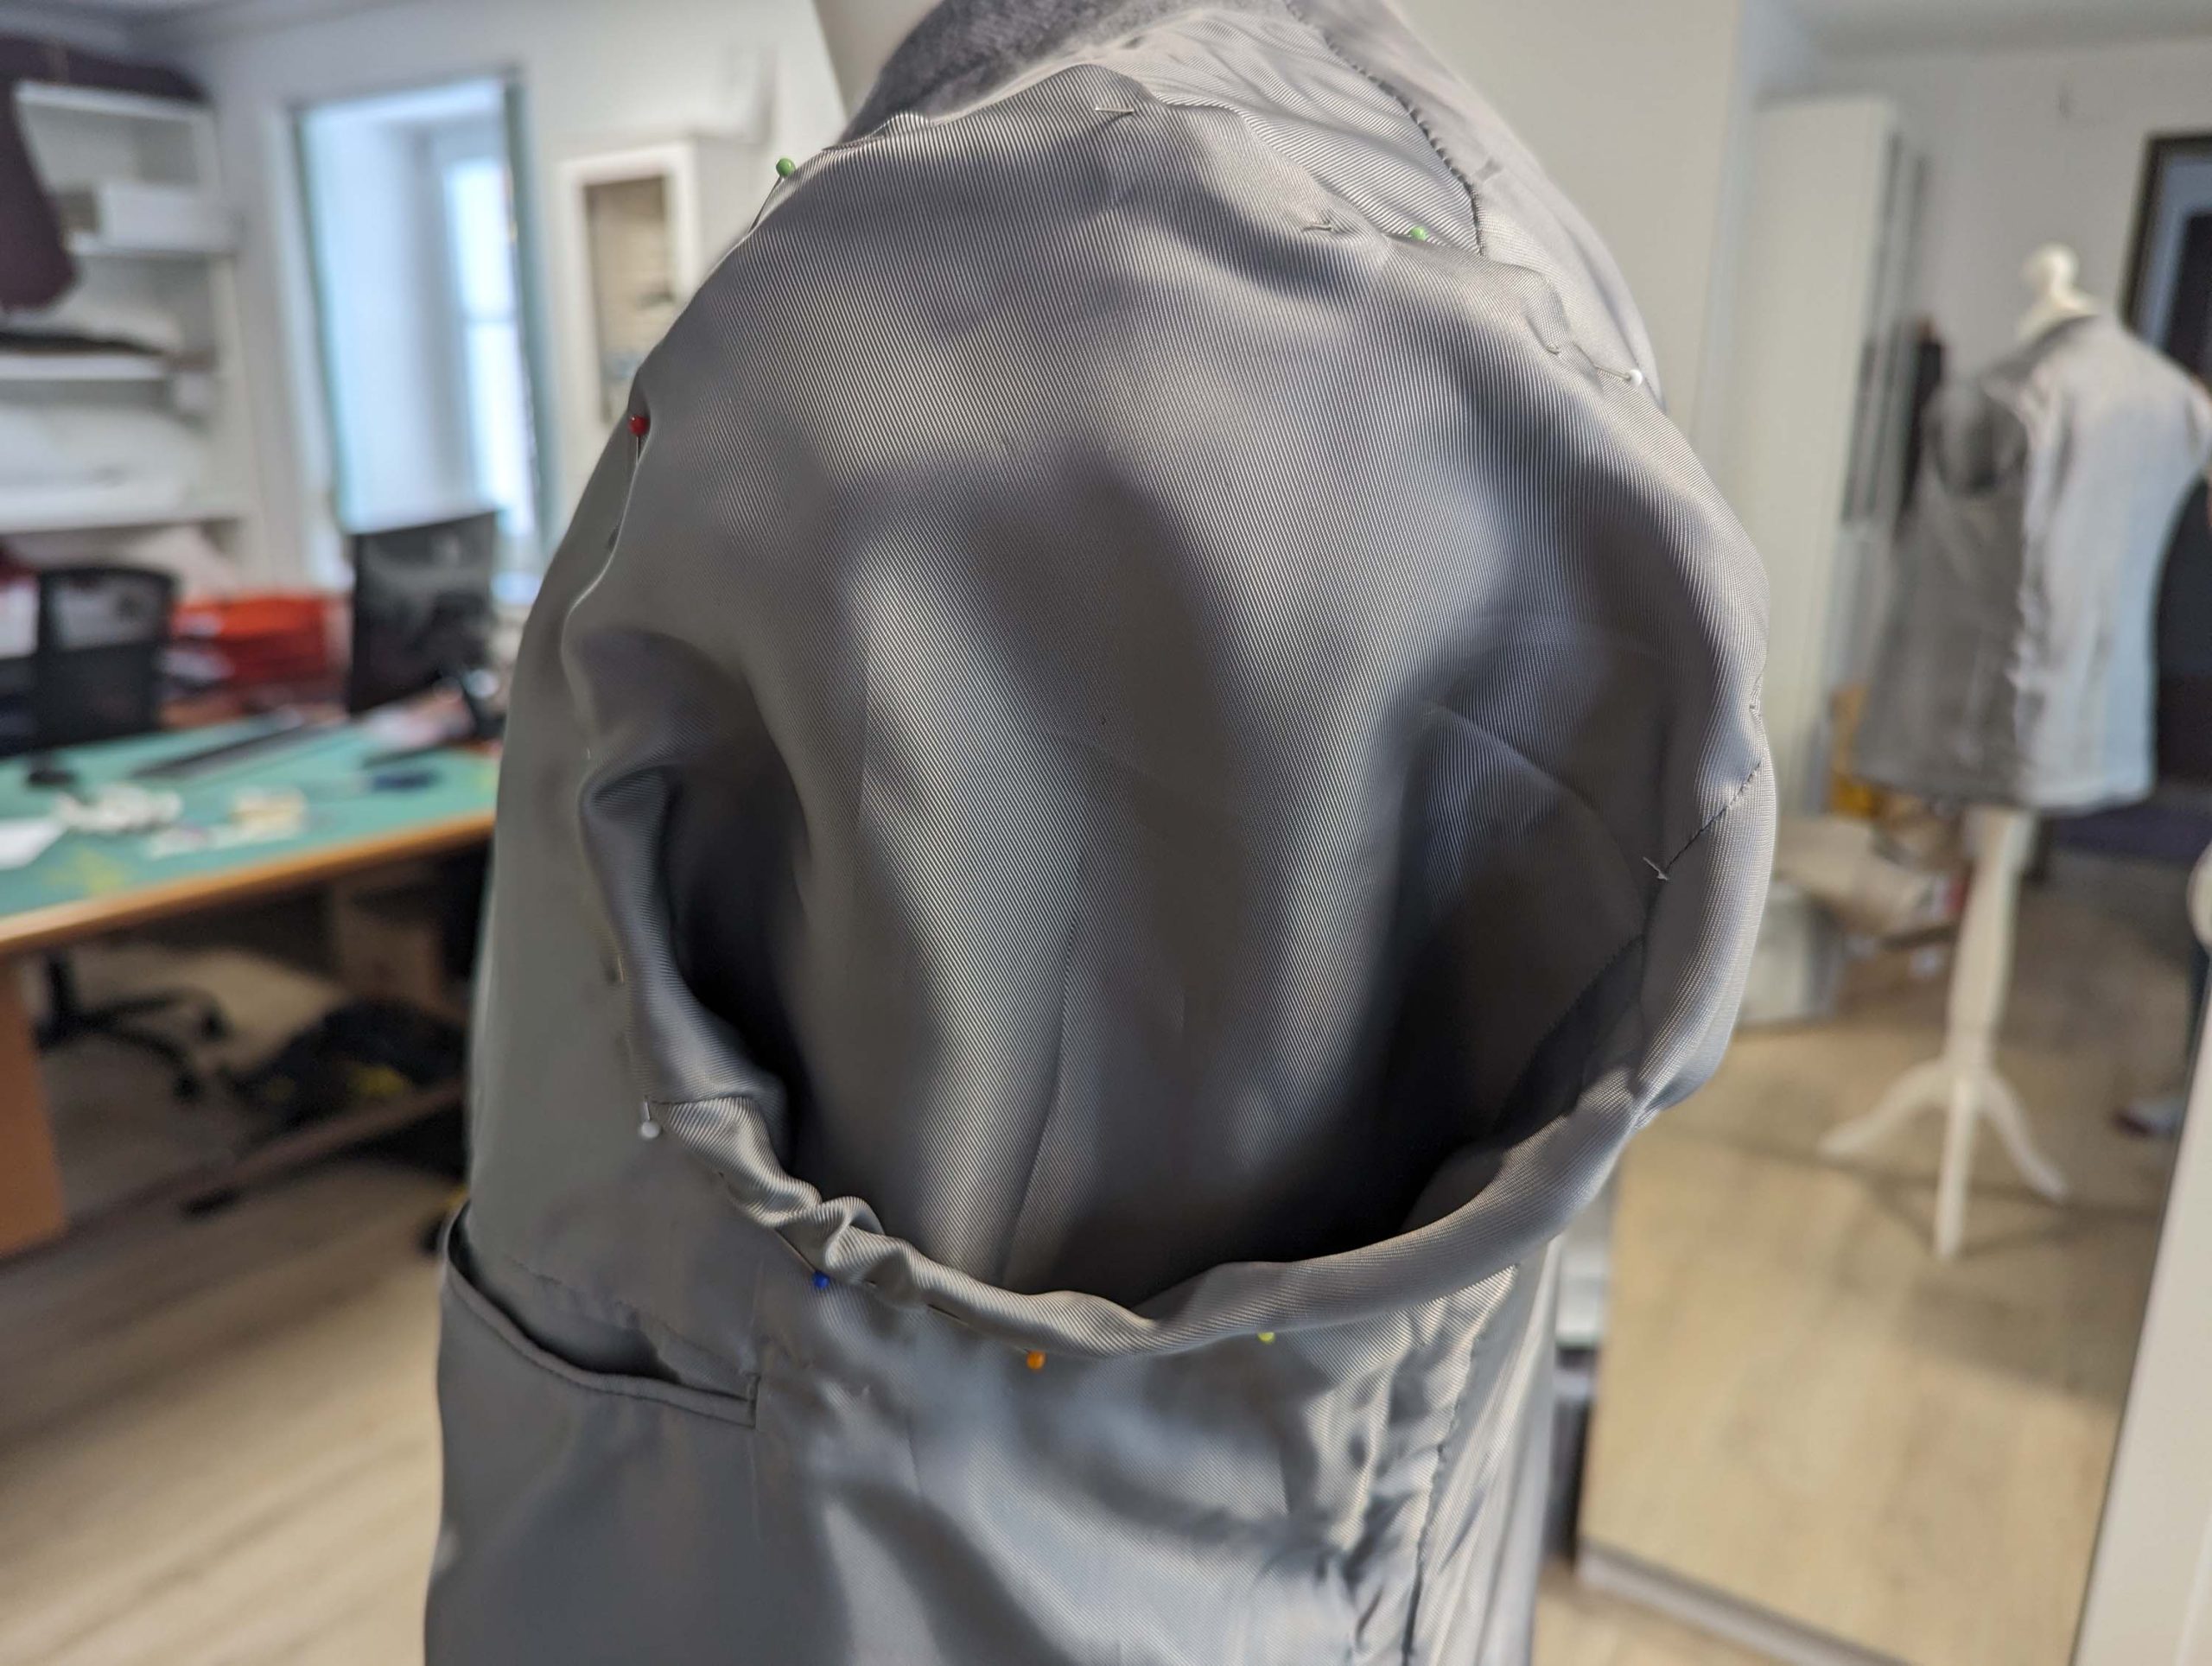
(17) Richte die underKragen pieces, right sides together and sew along the center back. Trim back the seam allowances and press open. Place the canvas on top of the wrong side of the collar. I made my canvas from two pieces, better would be one as described in the instructions. Mark the seam and roll lines on the canvas. Start pad stitching in longitudinal rows below the roll line. Continue above, as shown while shaping the collar over your hand´s edge. Press the under collar, stretching the top and bottom edge while pressing. Fold and press along the roll line.
Trim back the canvas slightly behind the seamline, turn in the seam allowance along the bottom edge, and press, baste in place, and mark the collar notch.
Pin the undercollar to the jacket along the neckline, matching seams and collar notches and easing in the excess width. Baste in place, and fell stitch the collar to the jacket, starting and ending exactly at the collar notch.
Place the jacket on the table with the wrong side up and catch stitch the seam allowances of the Halsausschnitt to the collar canvas, clip and trim back the seam allowances if necessary to lay flat.
Nimm das topKragen and stretch it along the top edge, giving that edge a bit of a curved shape. Let it cool down before you line up the top collar with the under collar, right sides together. The turn of cloth had been taken into account when patterning, just take care, that the undercollar was stretched as well and cut on the bias. So, you´d maybe need a bit more ease, simulating the rounding of the neck, and turning down the points while pinning. I needed some more width than given in the original pattern piece.
With the undercollar up, sew from collar notch to collar notch, without catching the seam allowances. Reduce the stitch length at the corners and sew a second time with the top collar up, correcting any uneven stitches.
Trim back the seam allowances to ¼” (7mm), and notch only the seam allowance of the under collar at the collar notch. Fold the seam allowances towards the canvas and catch stitch to the canvas in the same way as you did at the lapel. Turn the right way out and press, rolling the seam slightly out of sight toward the garment’s wrong side. Baste along the edges to hold in place.
While simulating the curve of the neck and the width needed for the turn of cloth at the roll line, baste along the roll line. Turn in the seam allowance along the bottom edge, and trim back to about 3/8” (1cm), baste in place. Sew the crotchet seam (between the collar and facing) with an invisible ladder stitch. At the back portion of the neckline, stitch down the collar with a felling stitch.
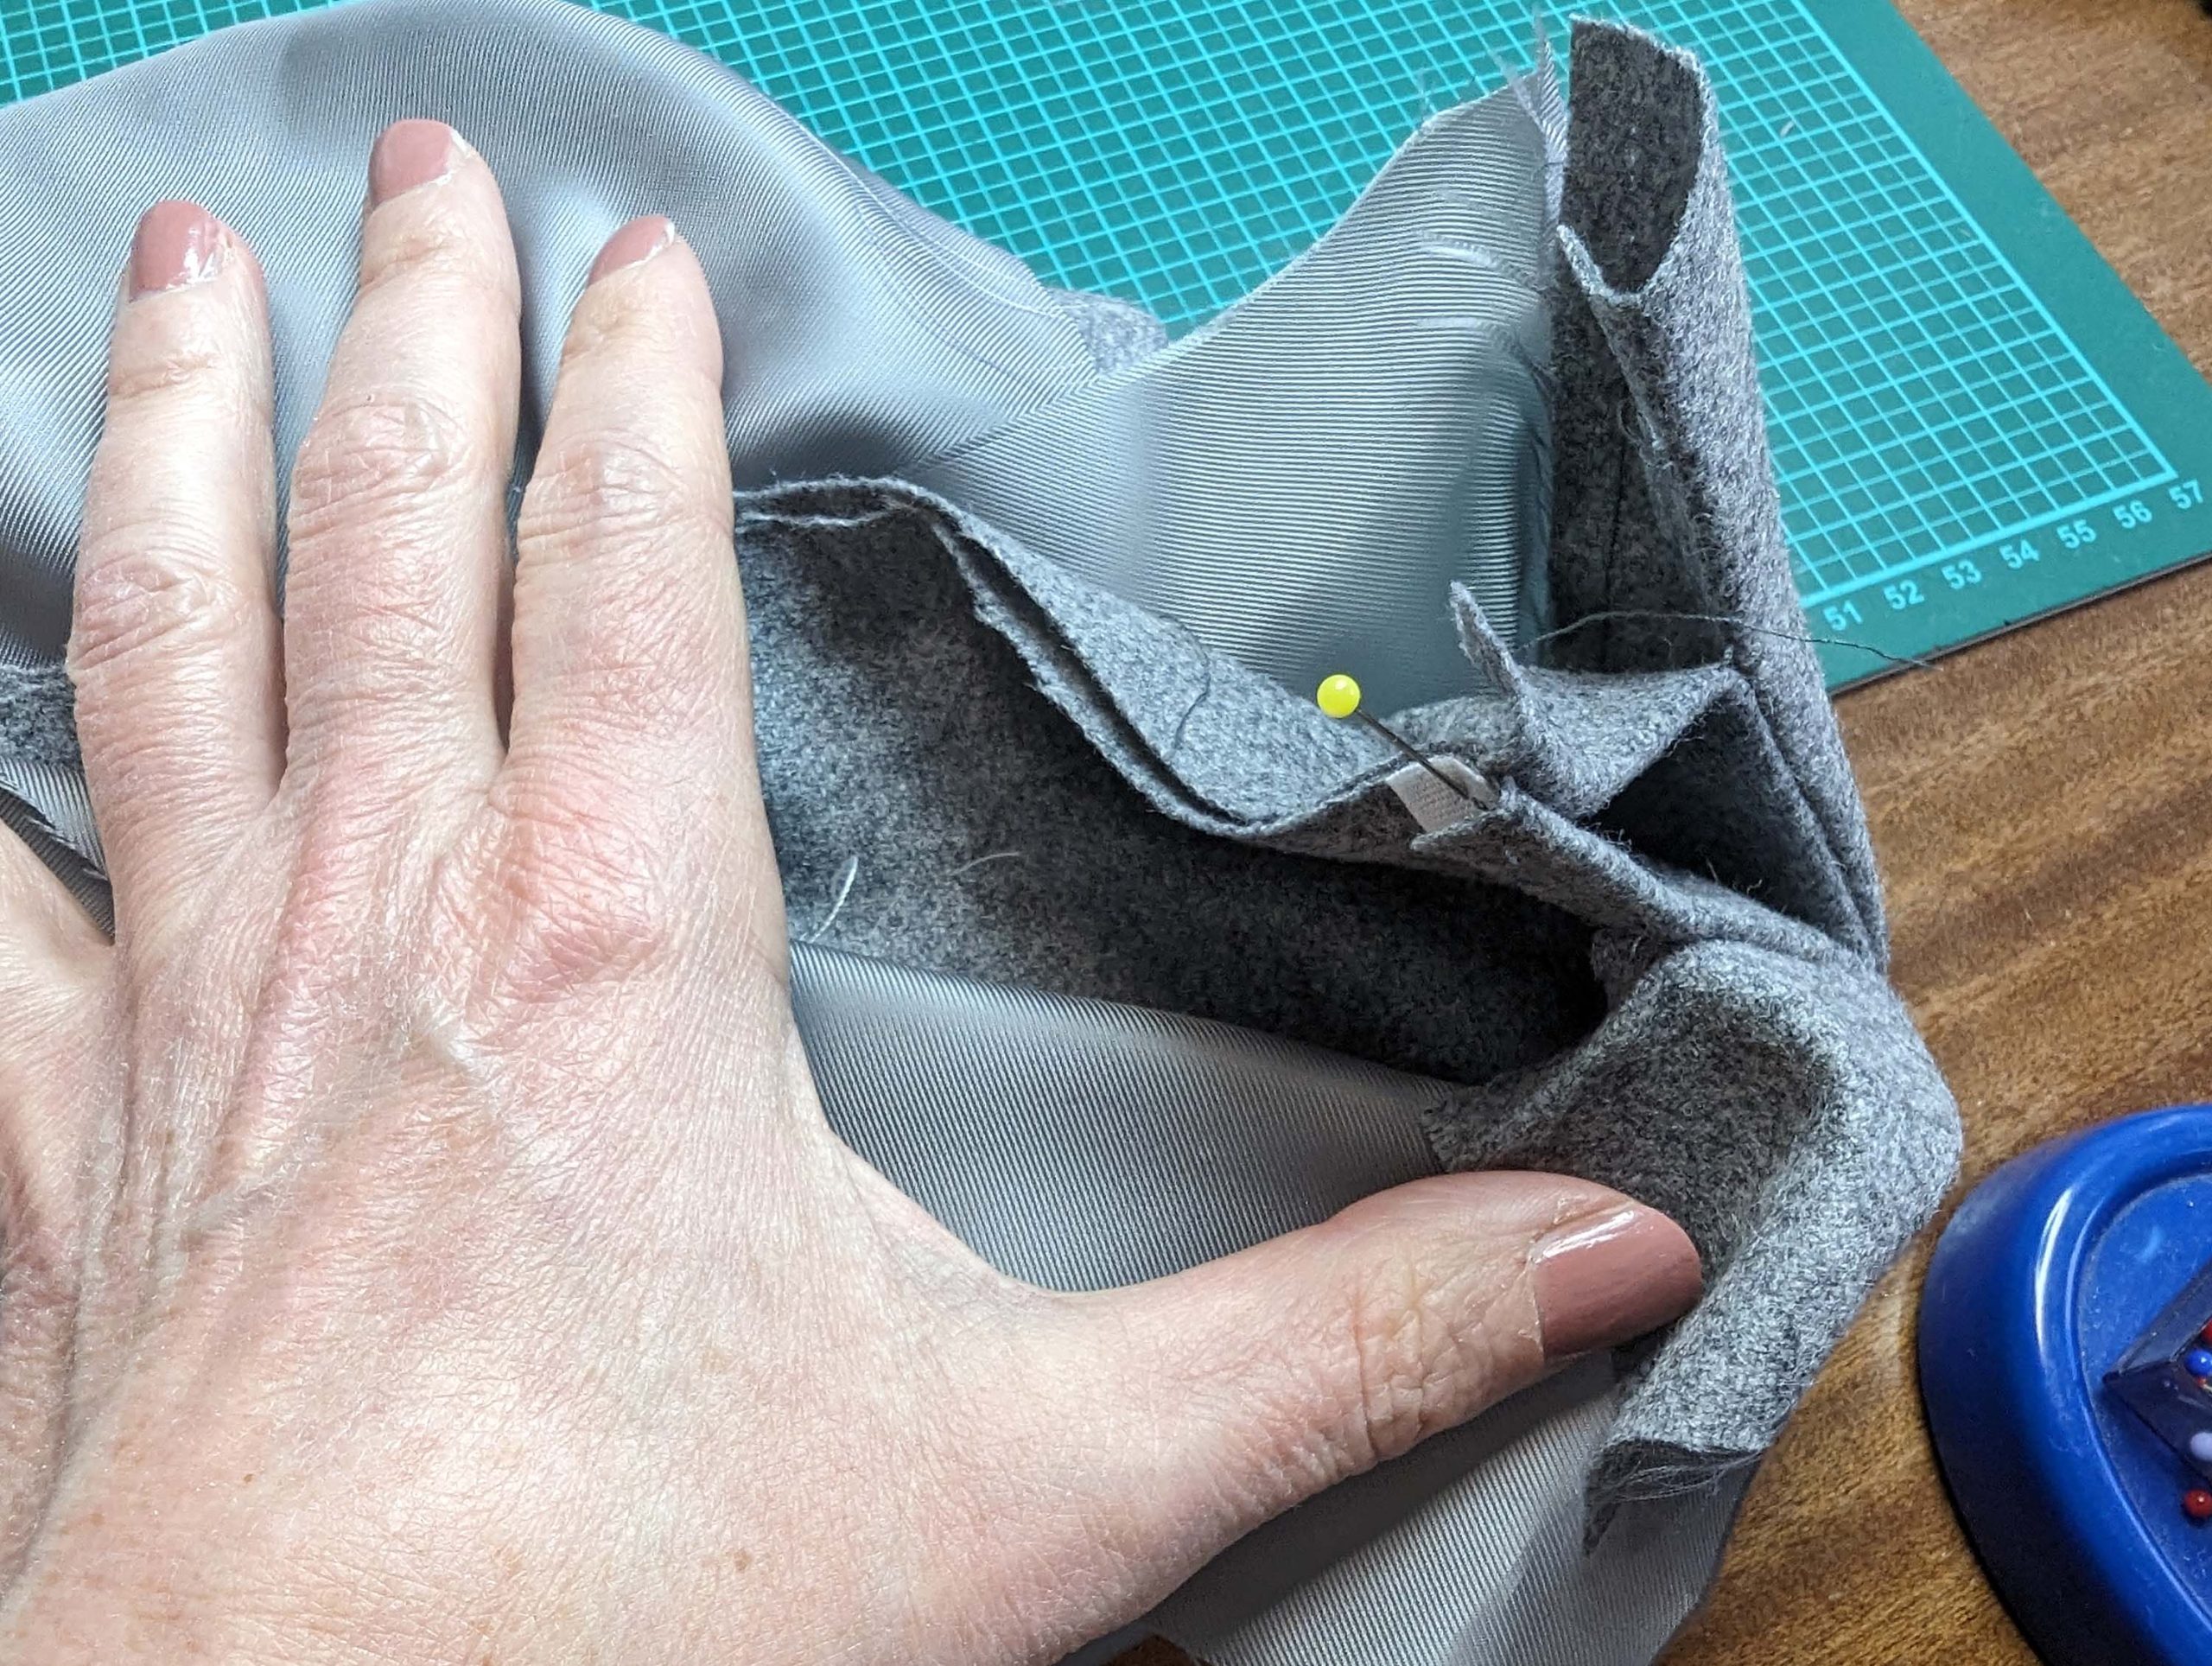
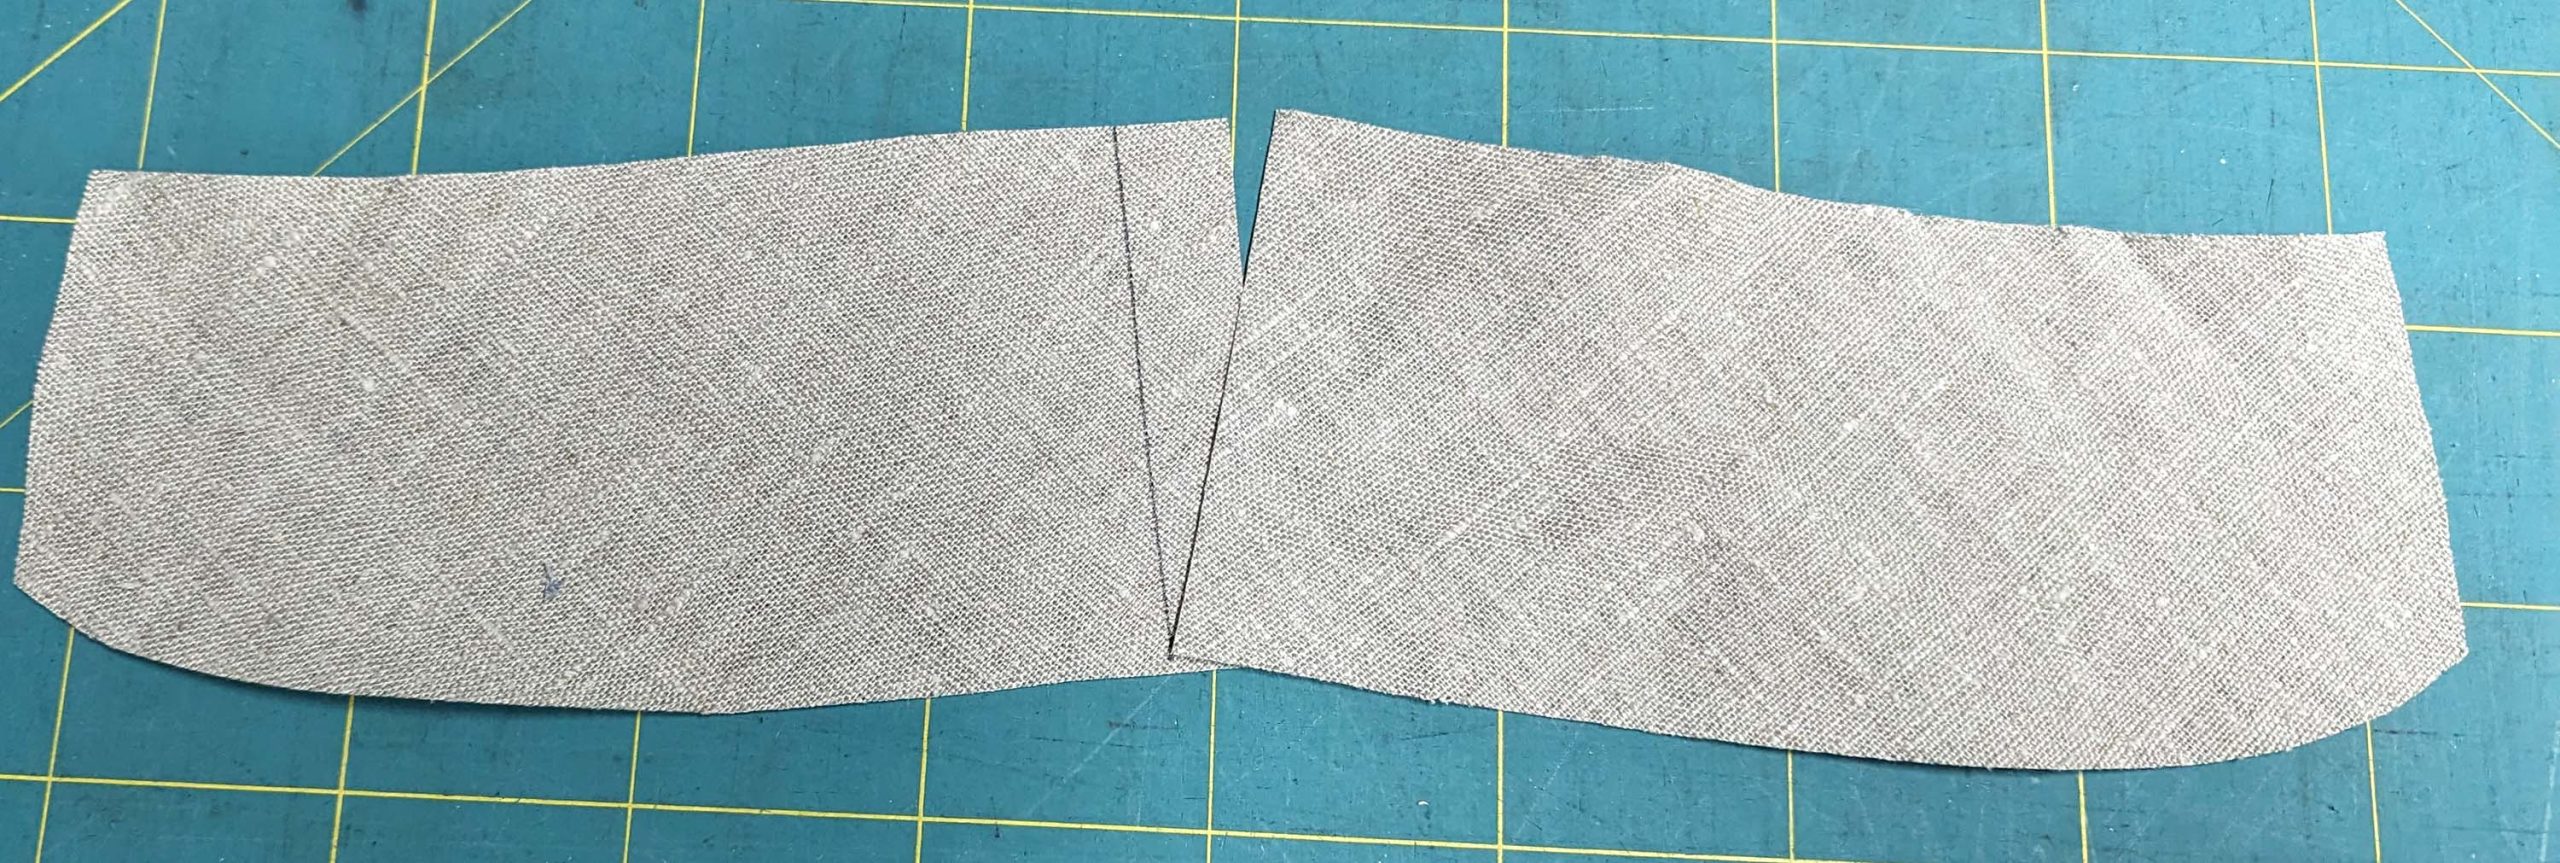
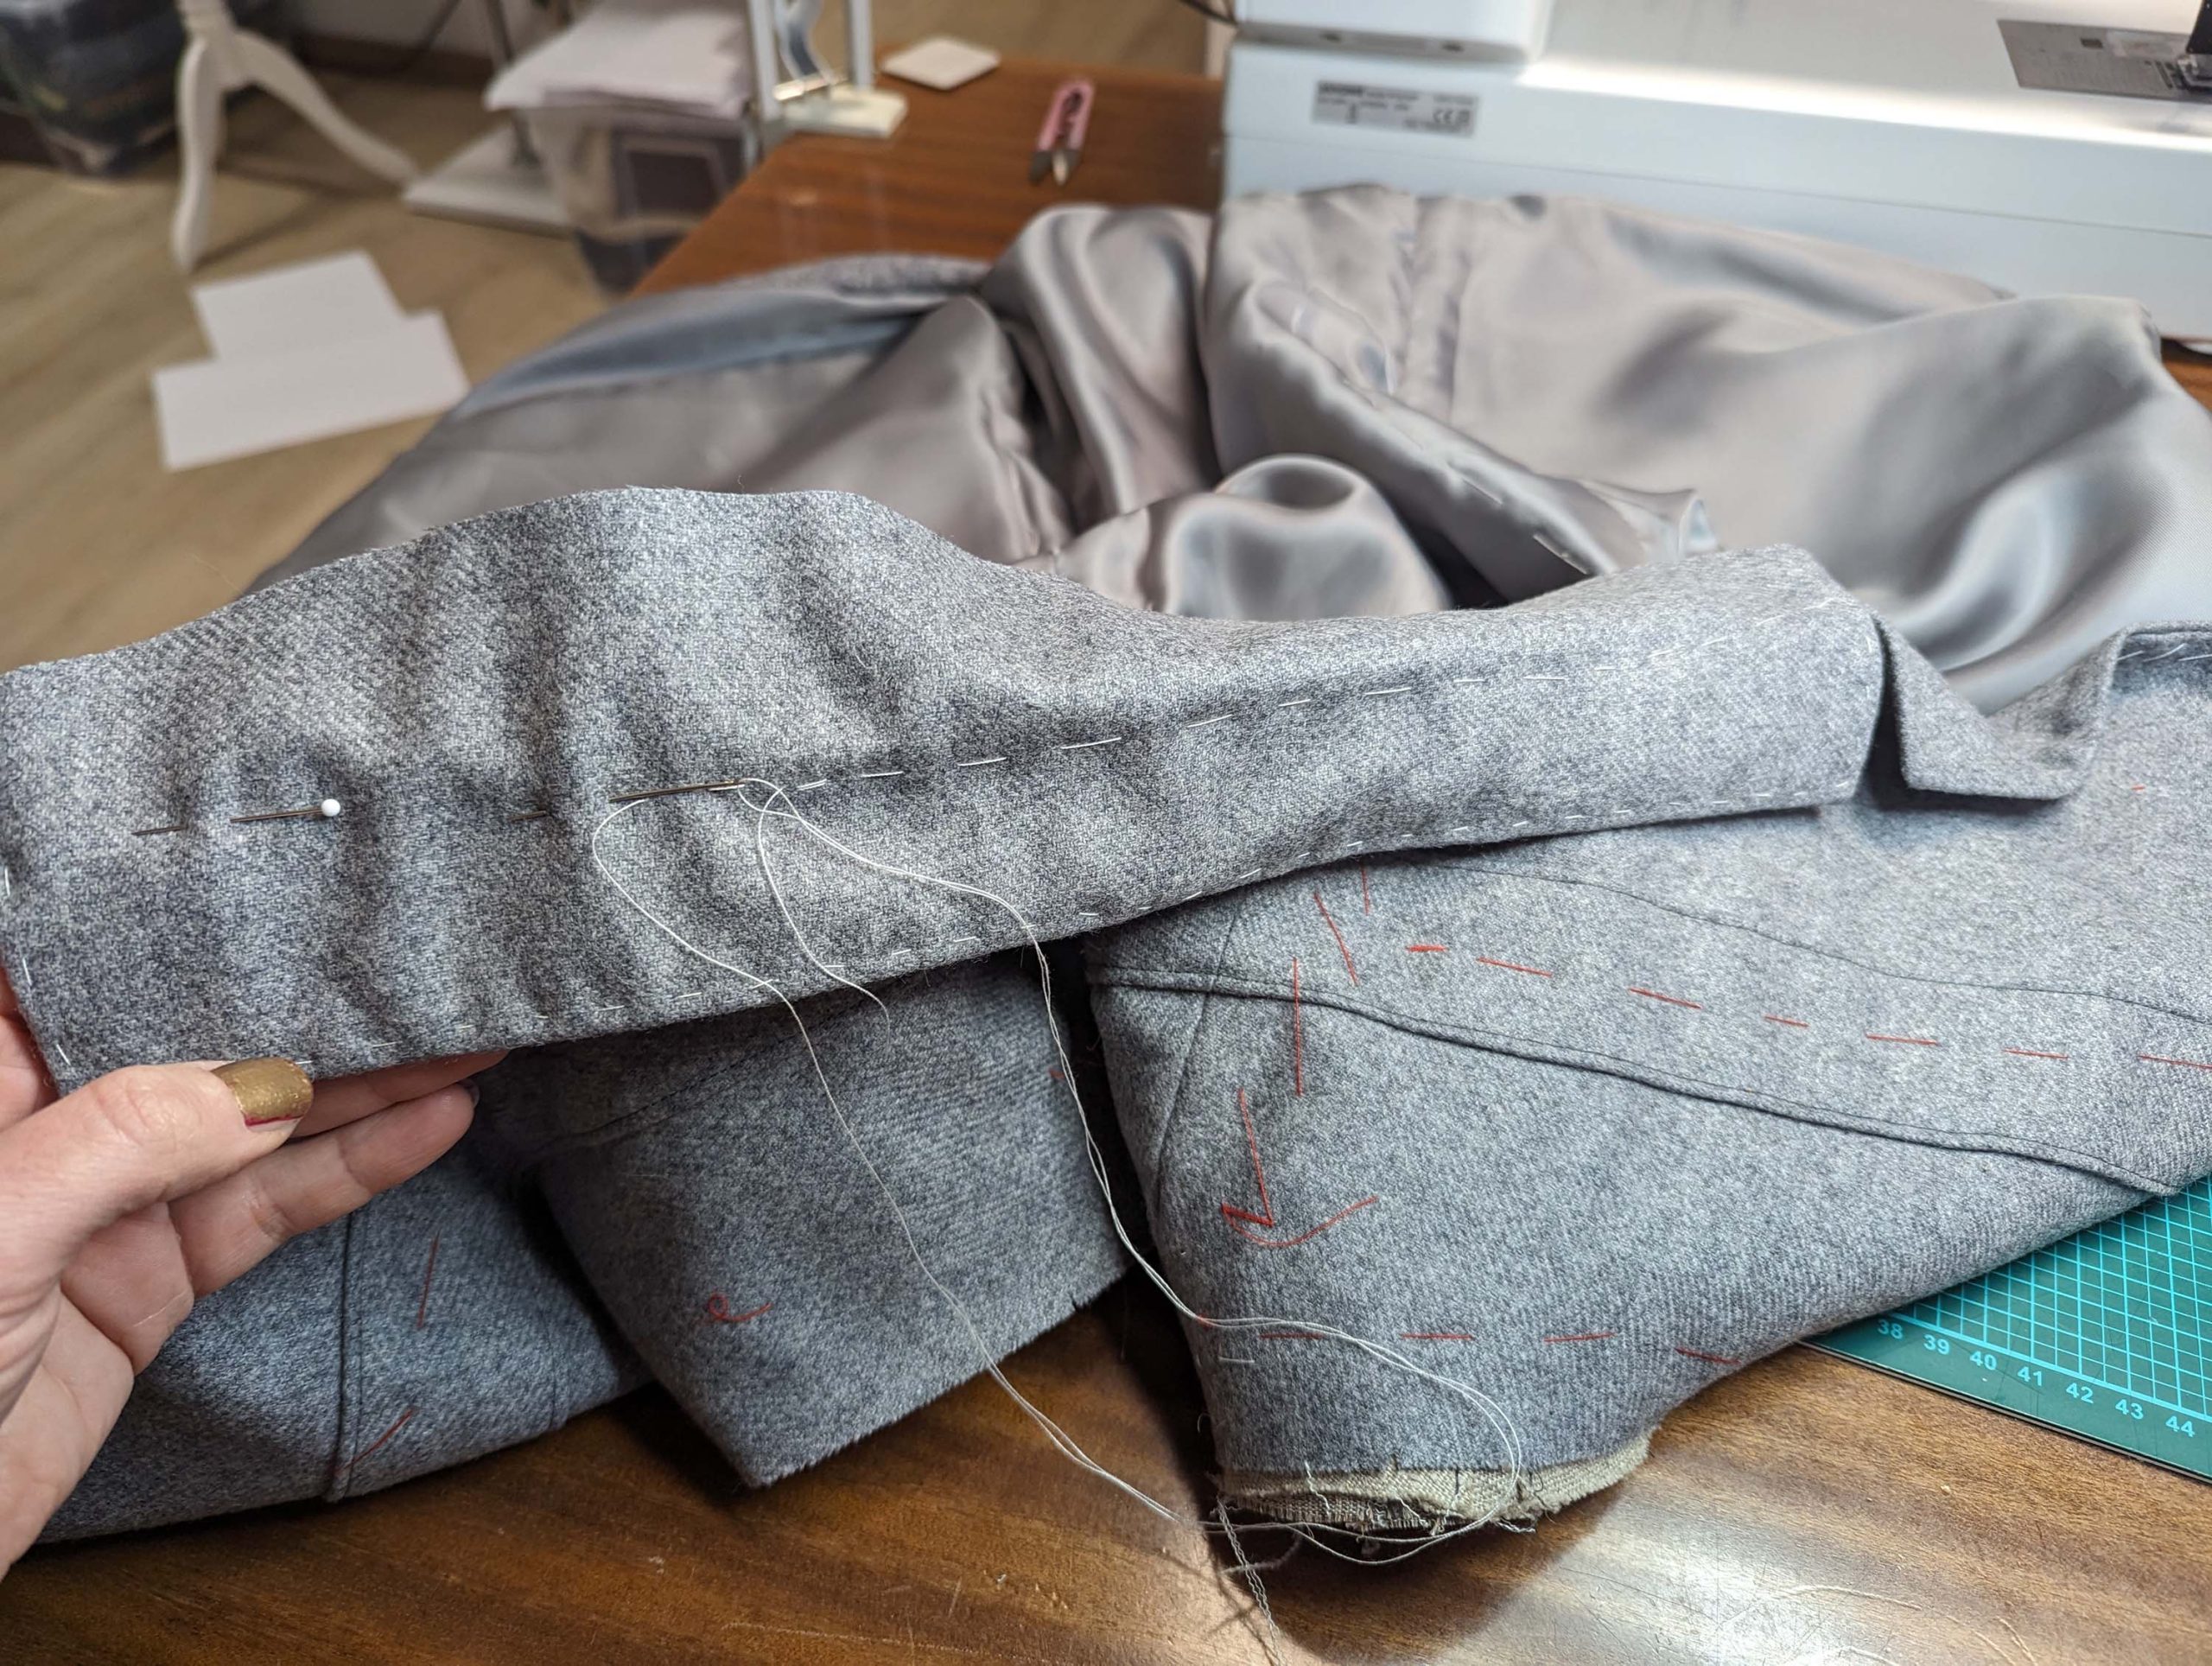
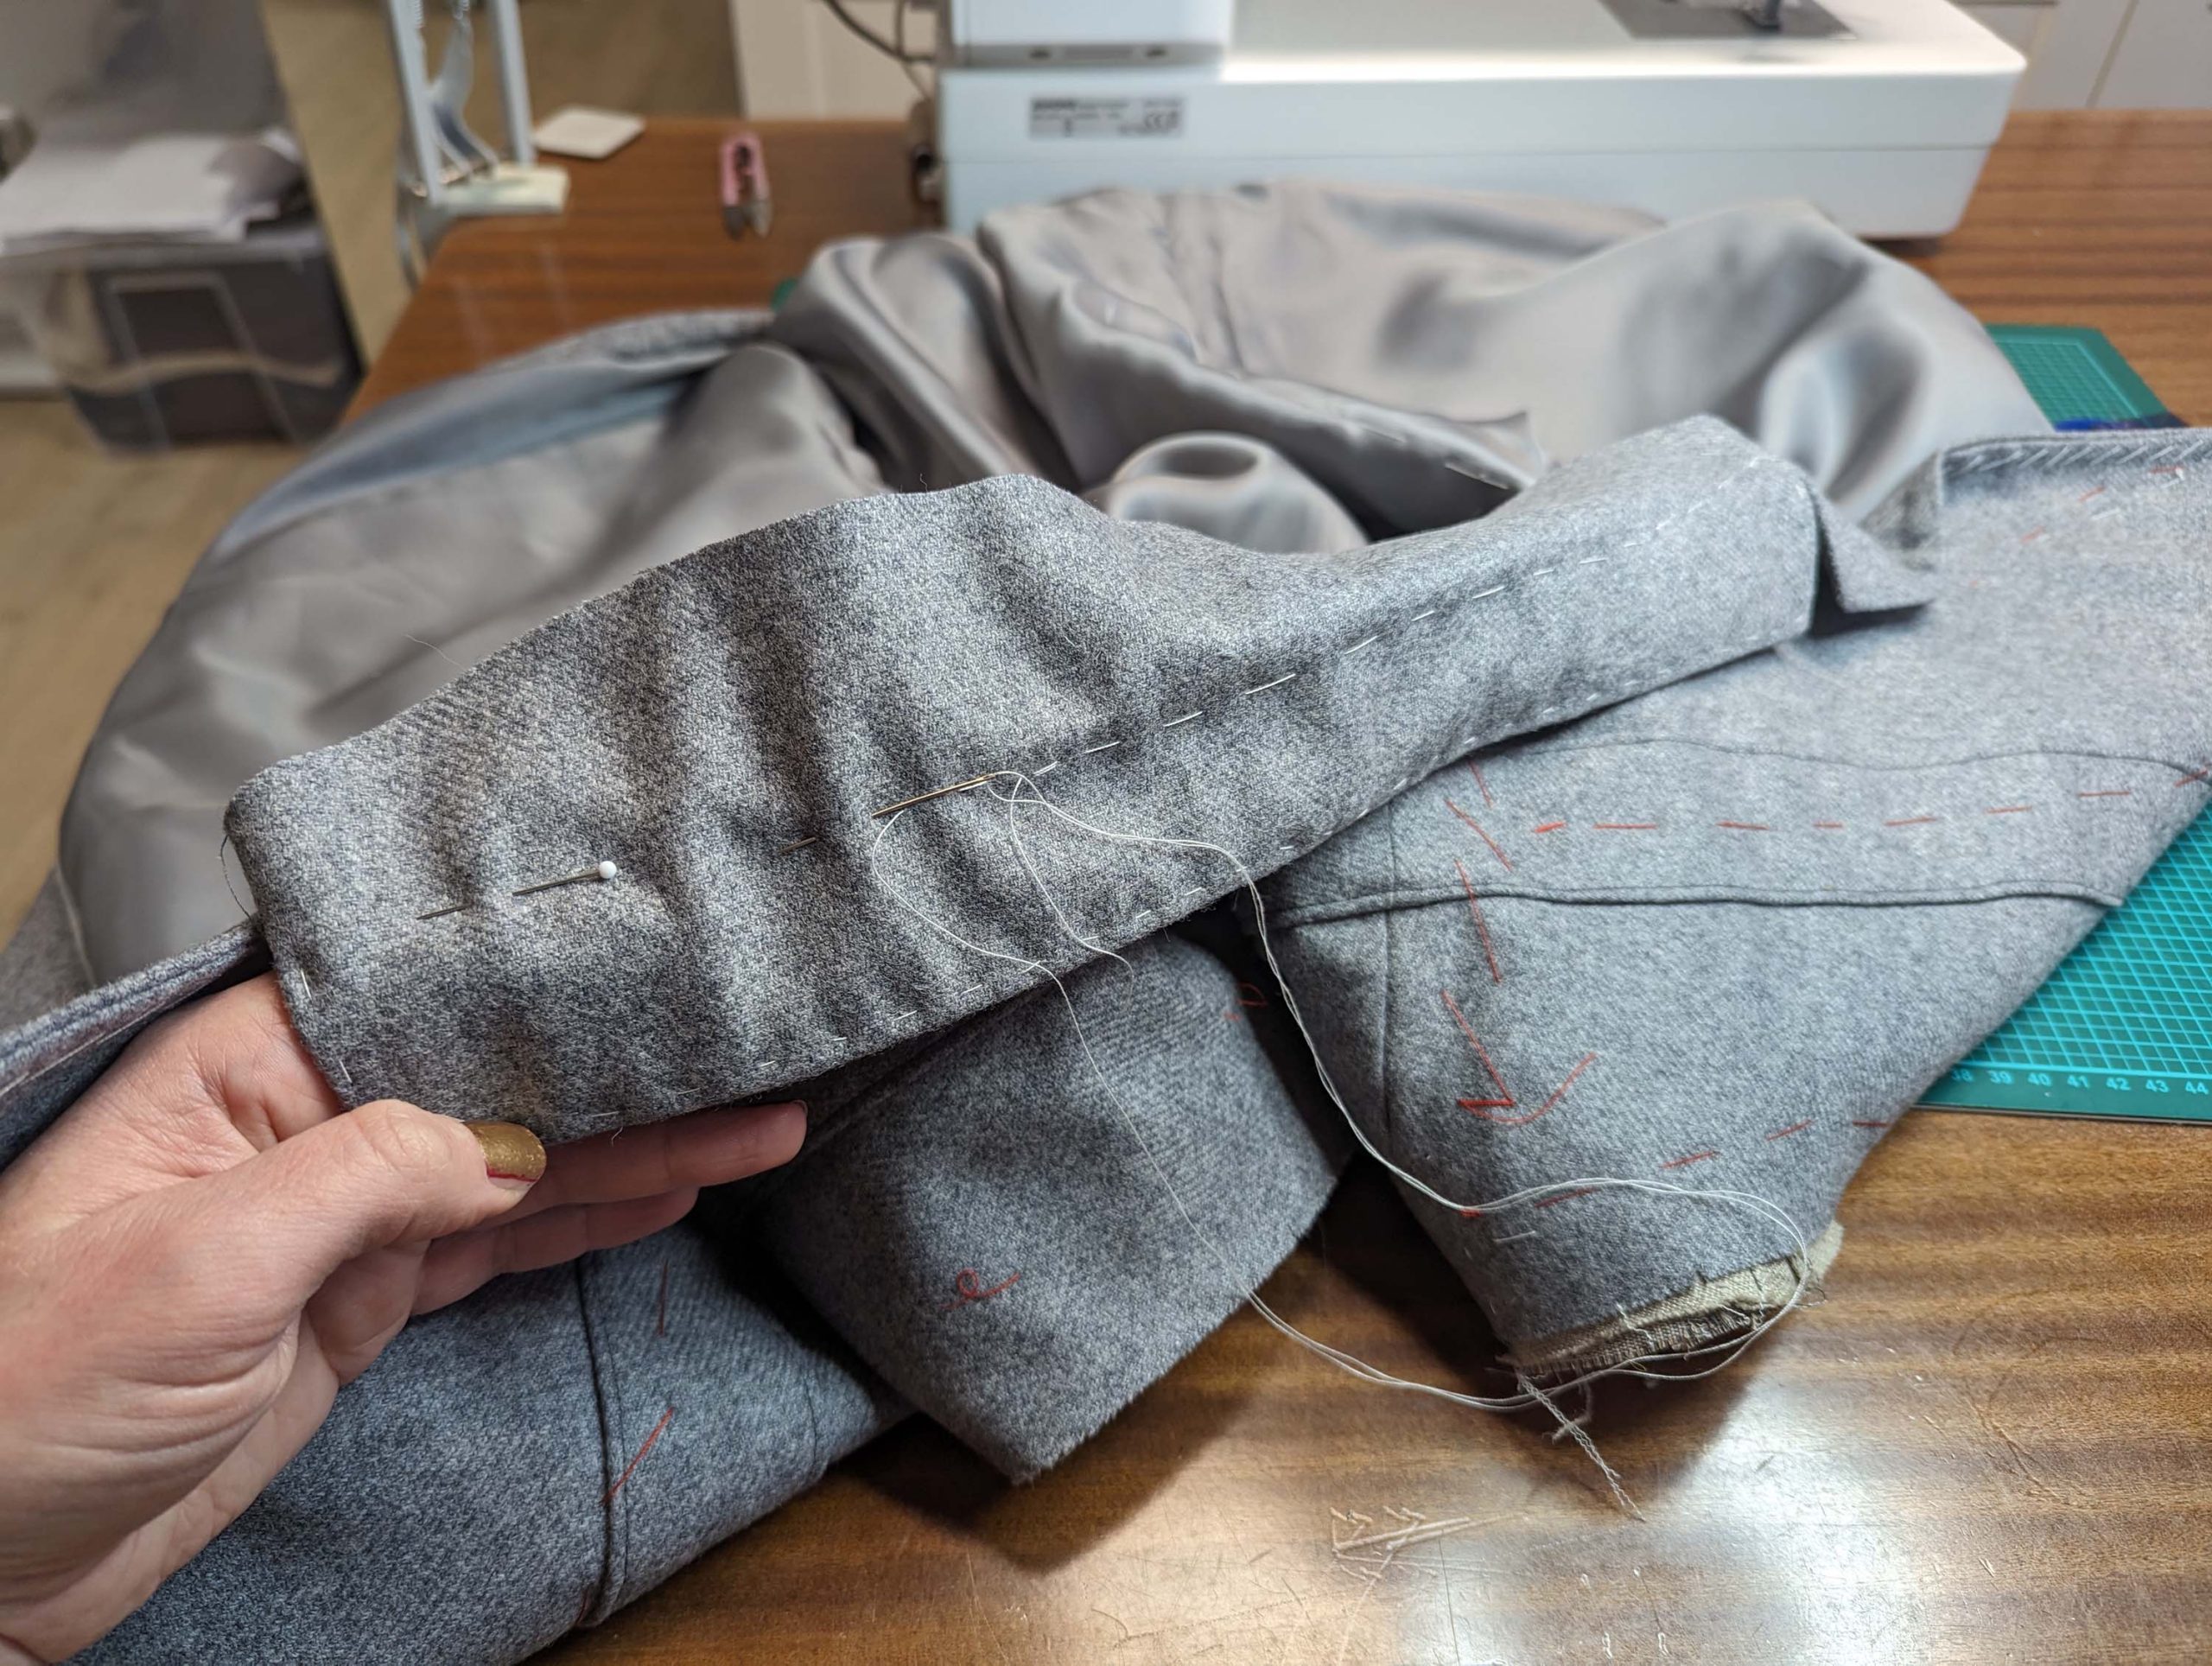
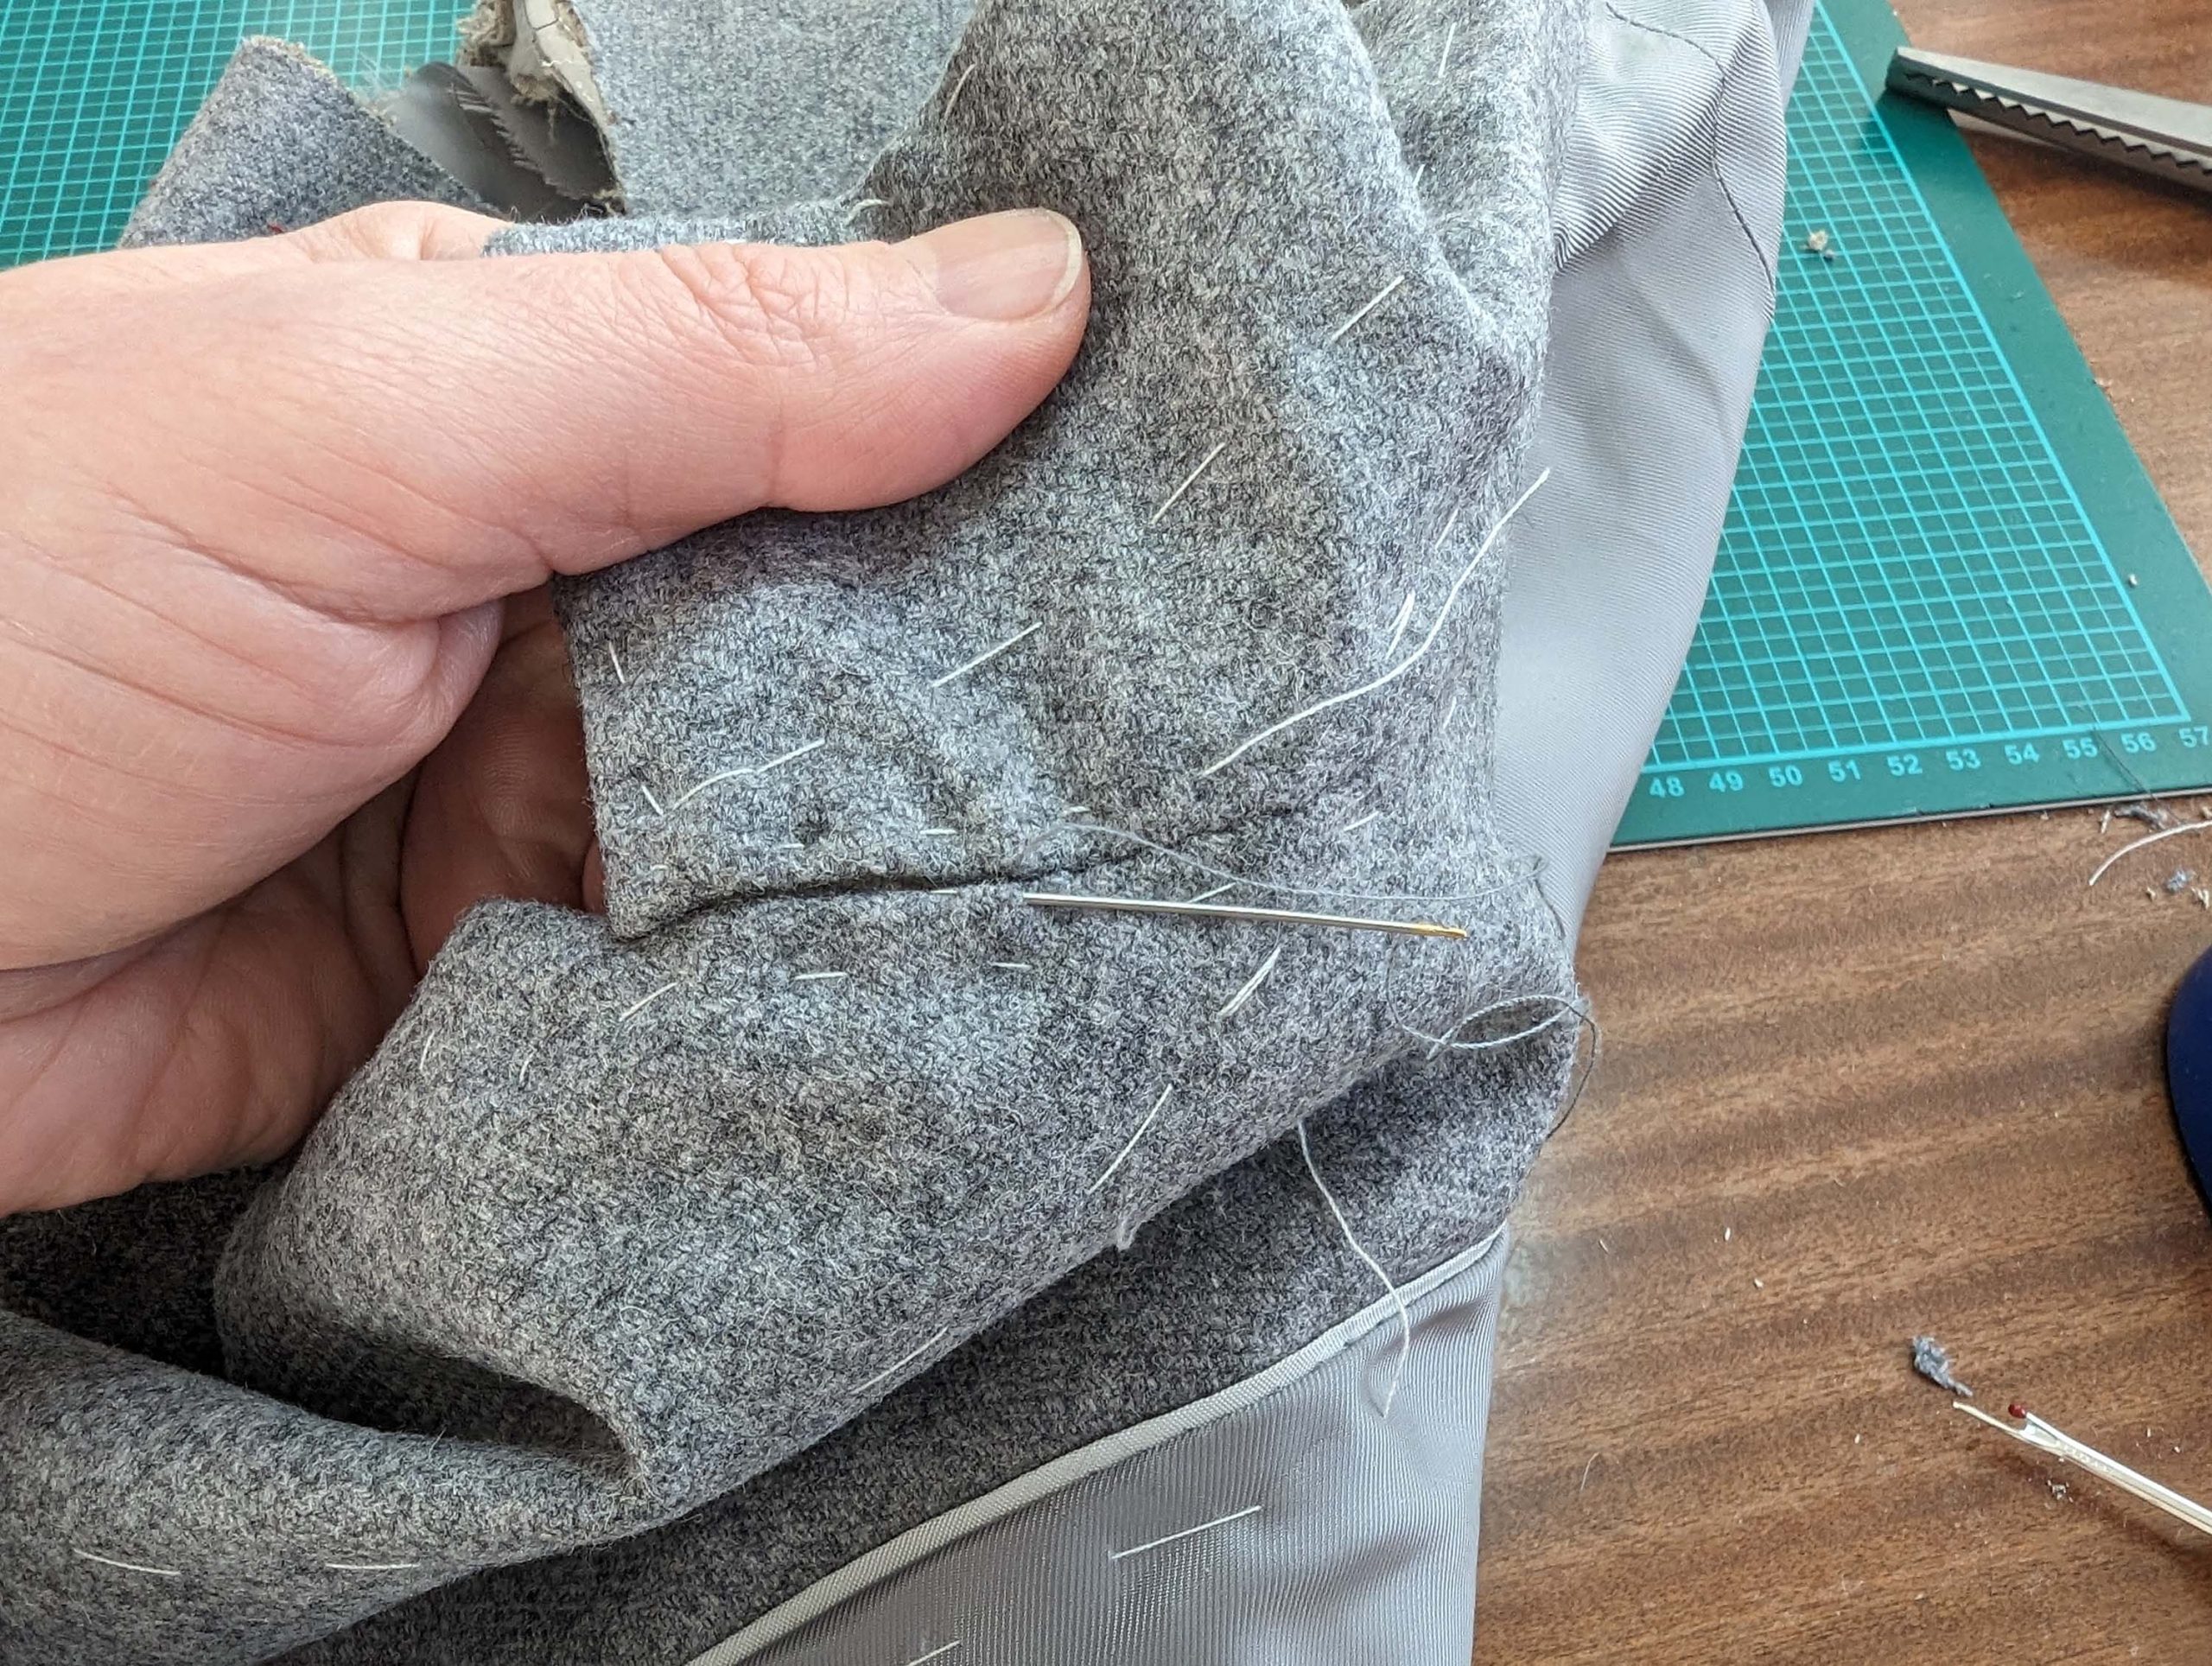
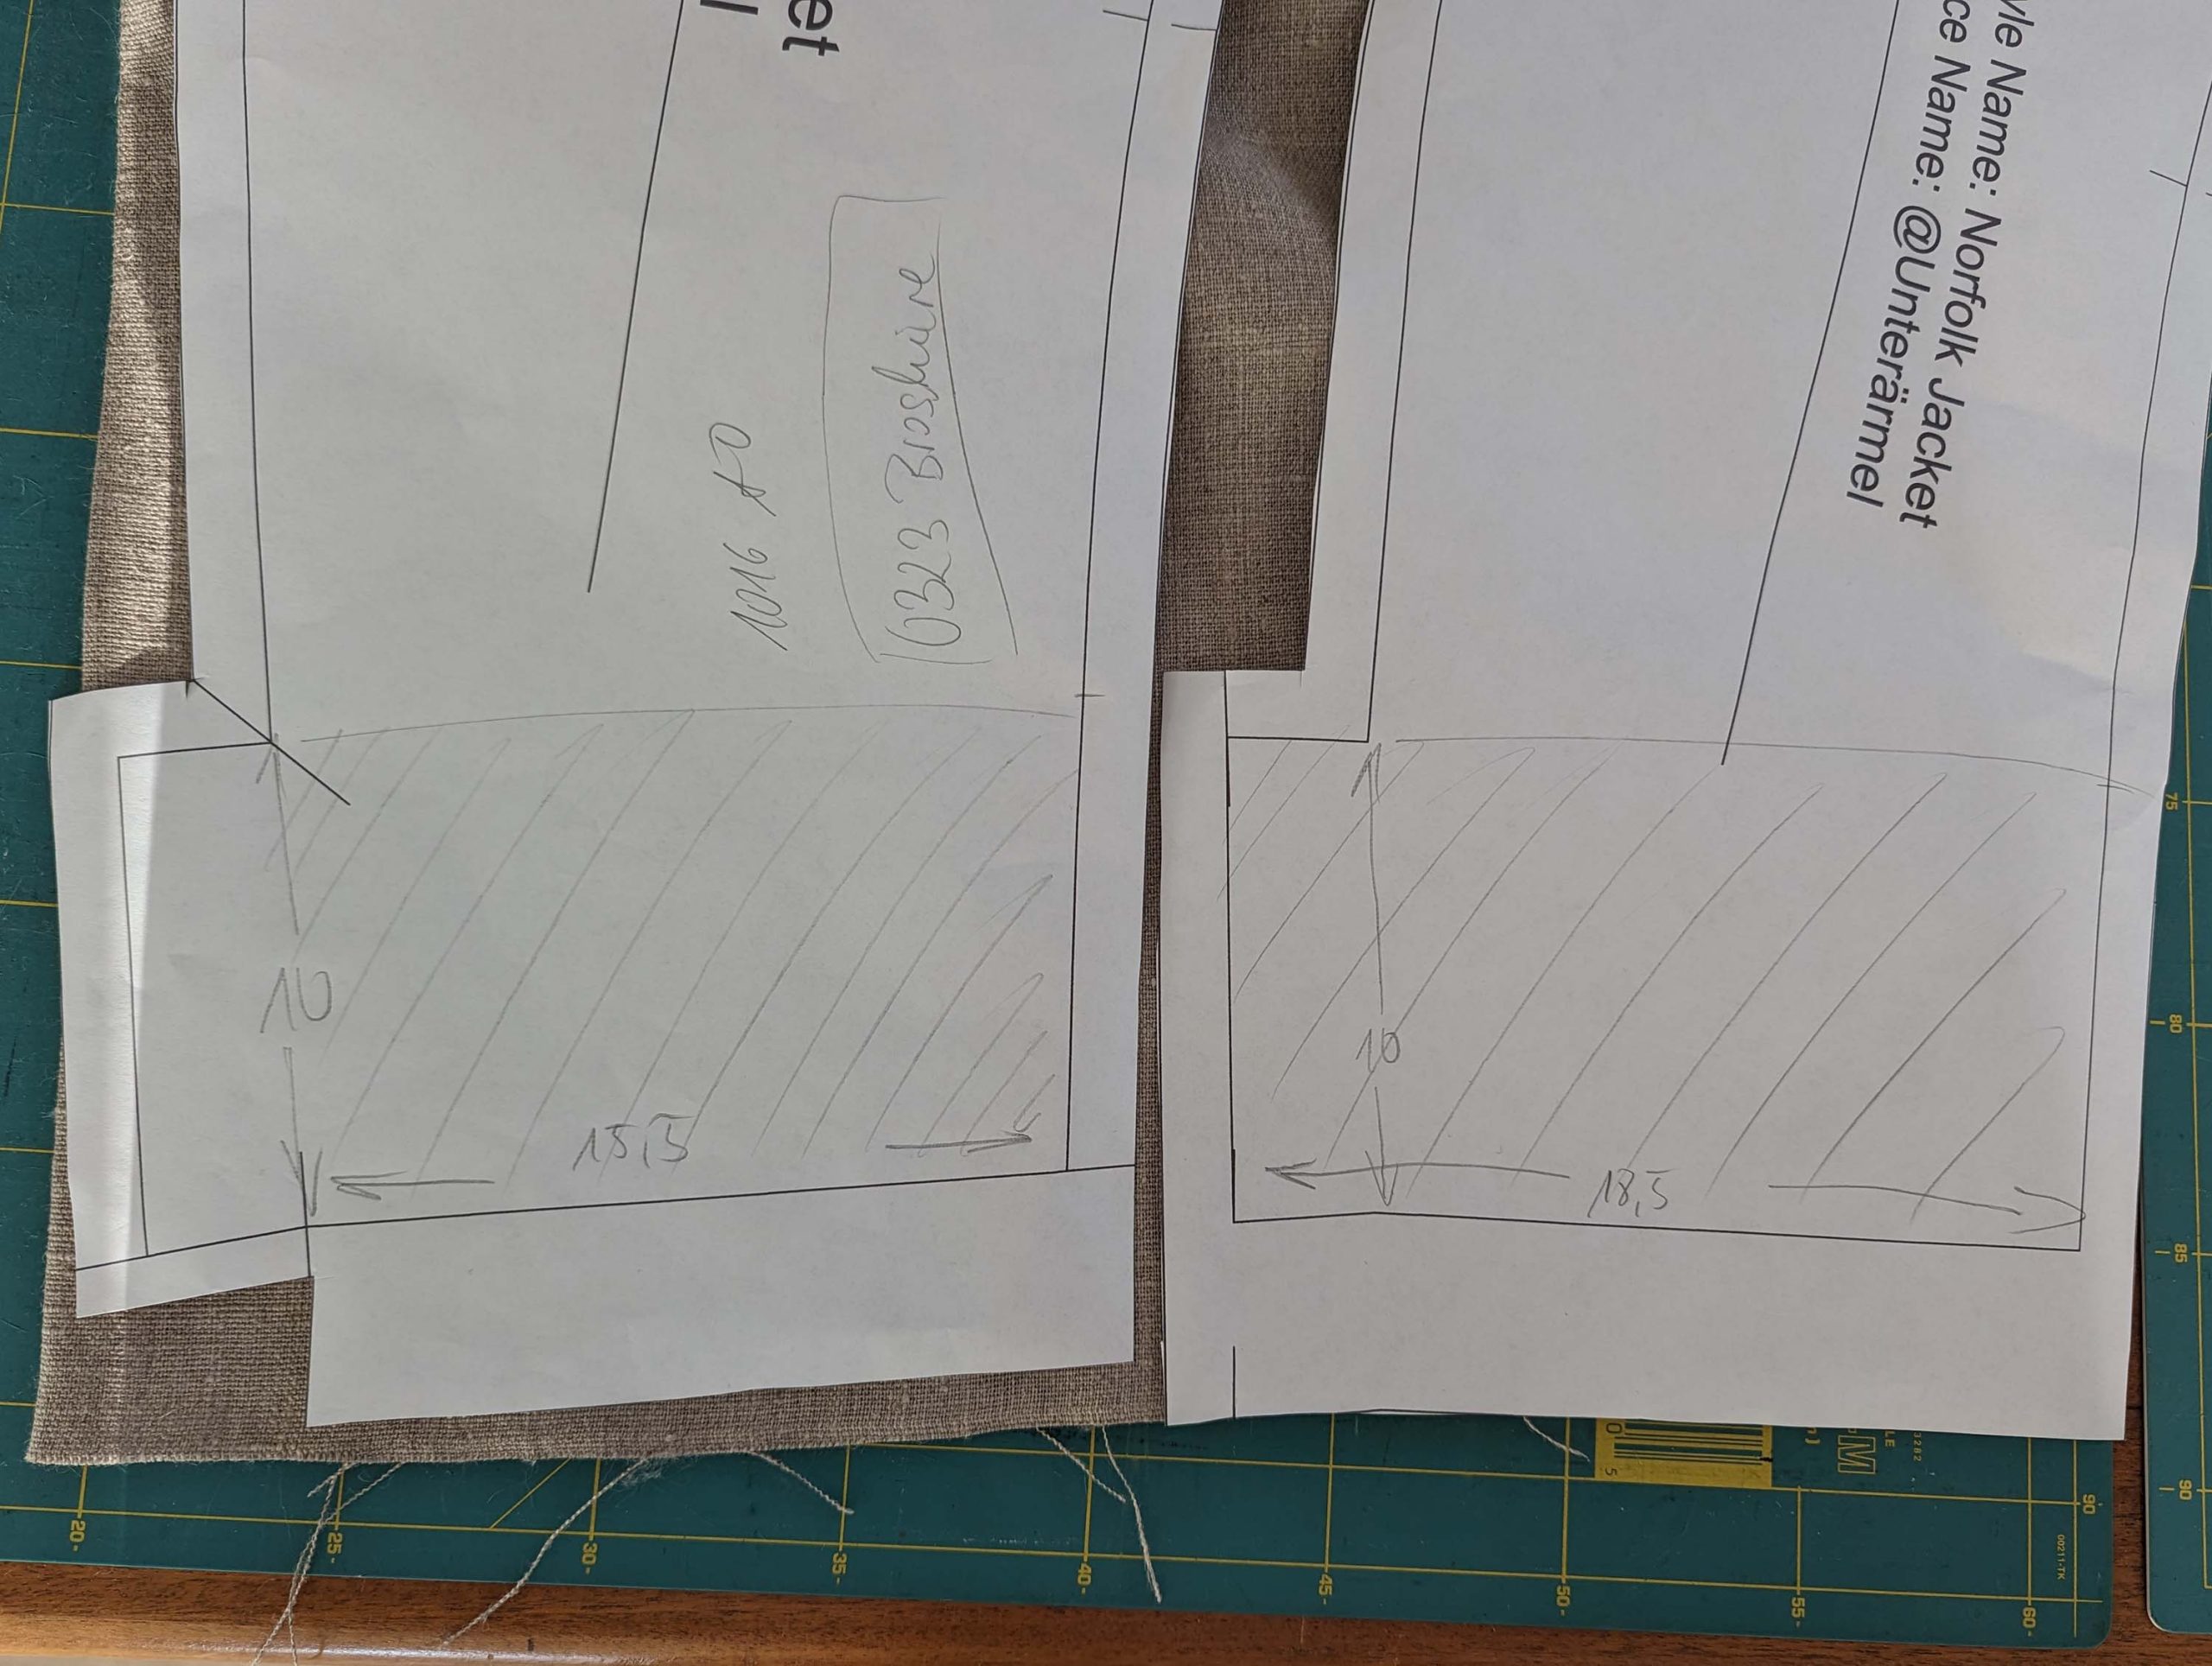
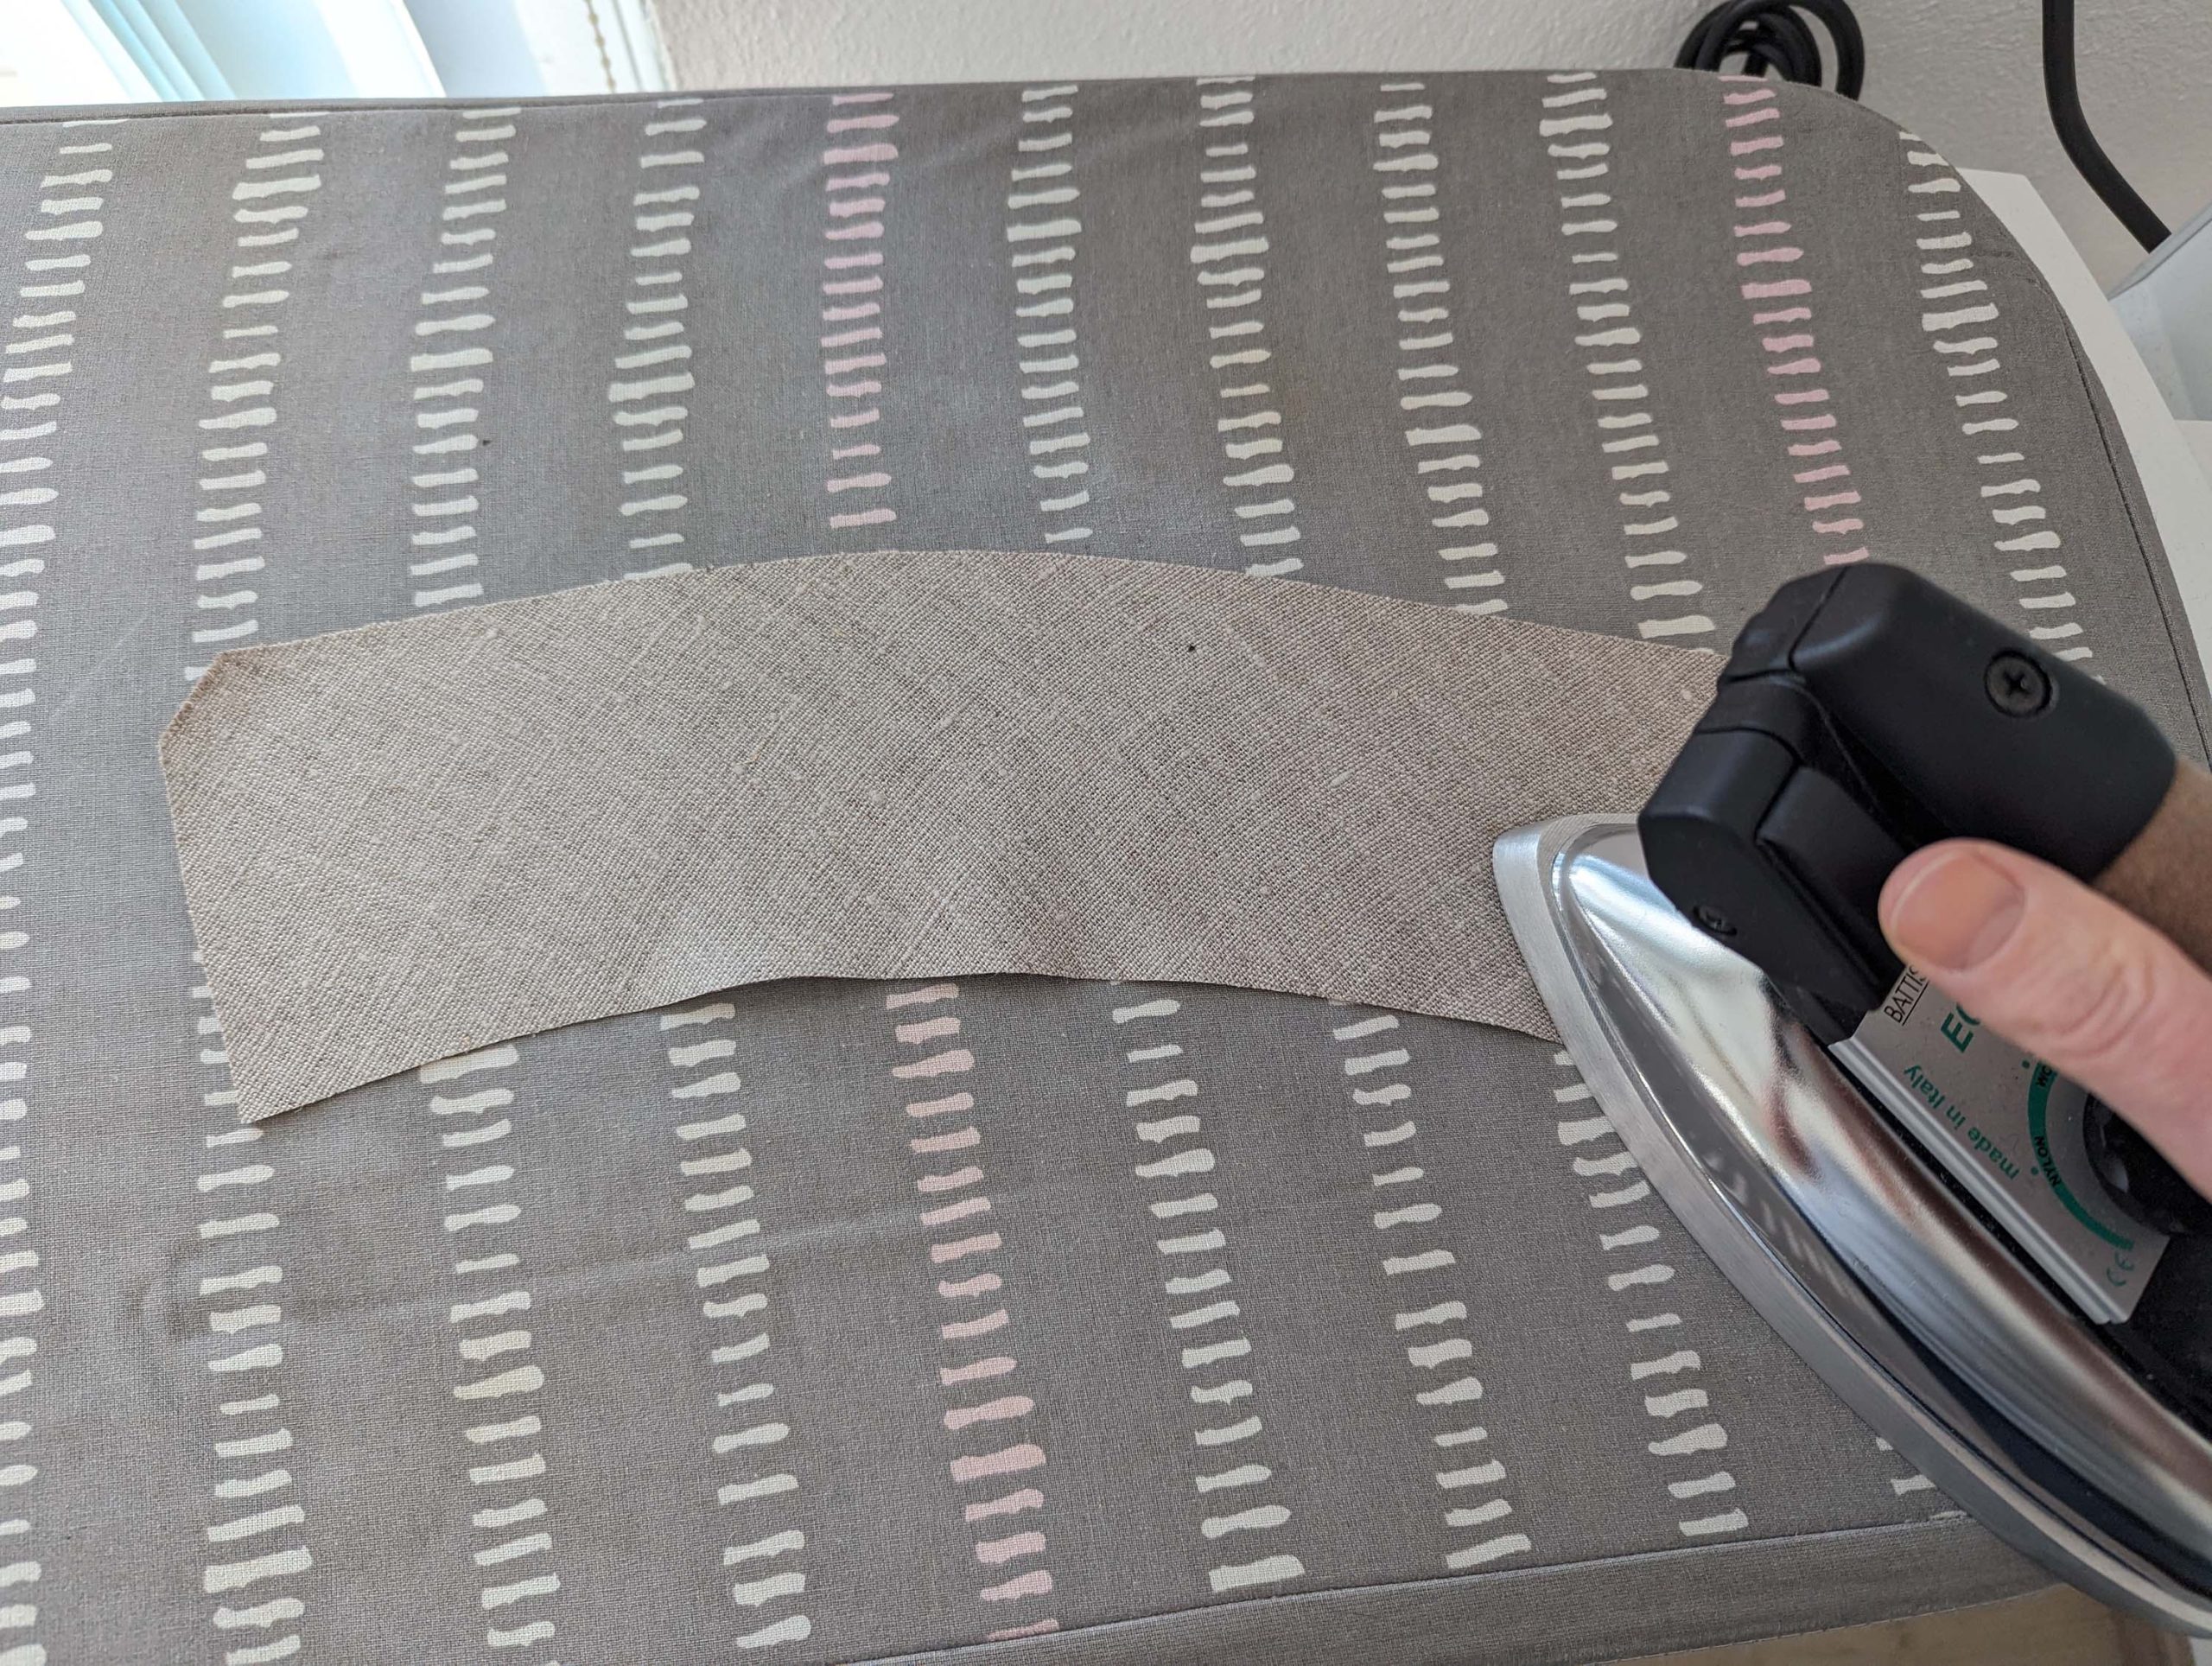
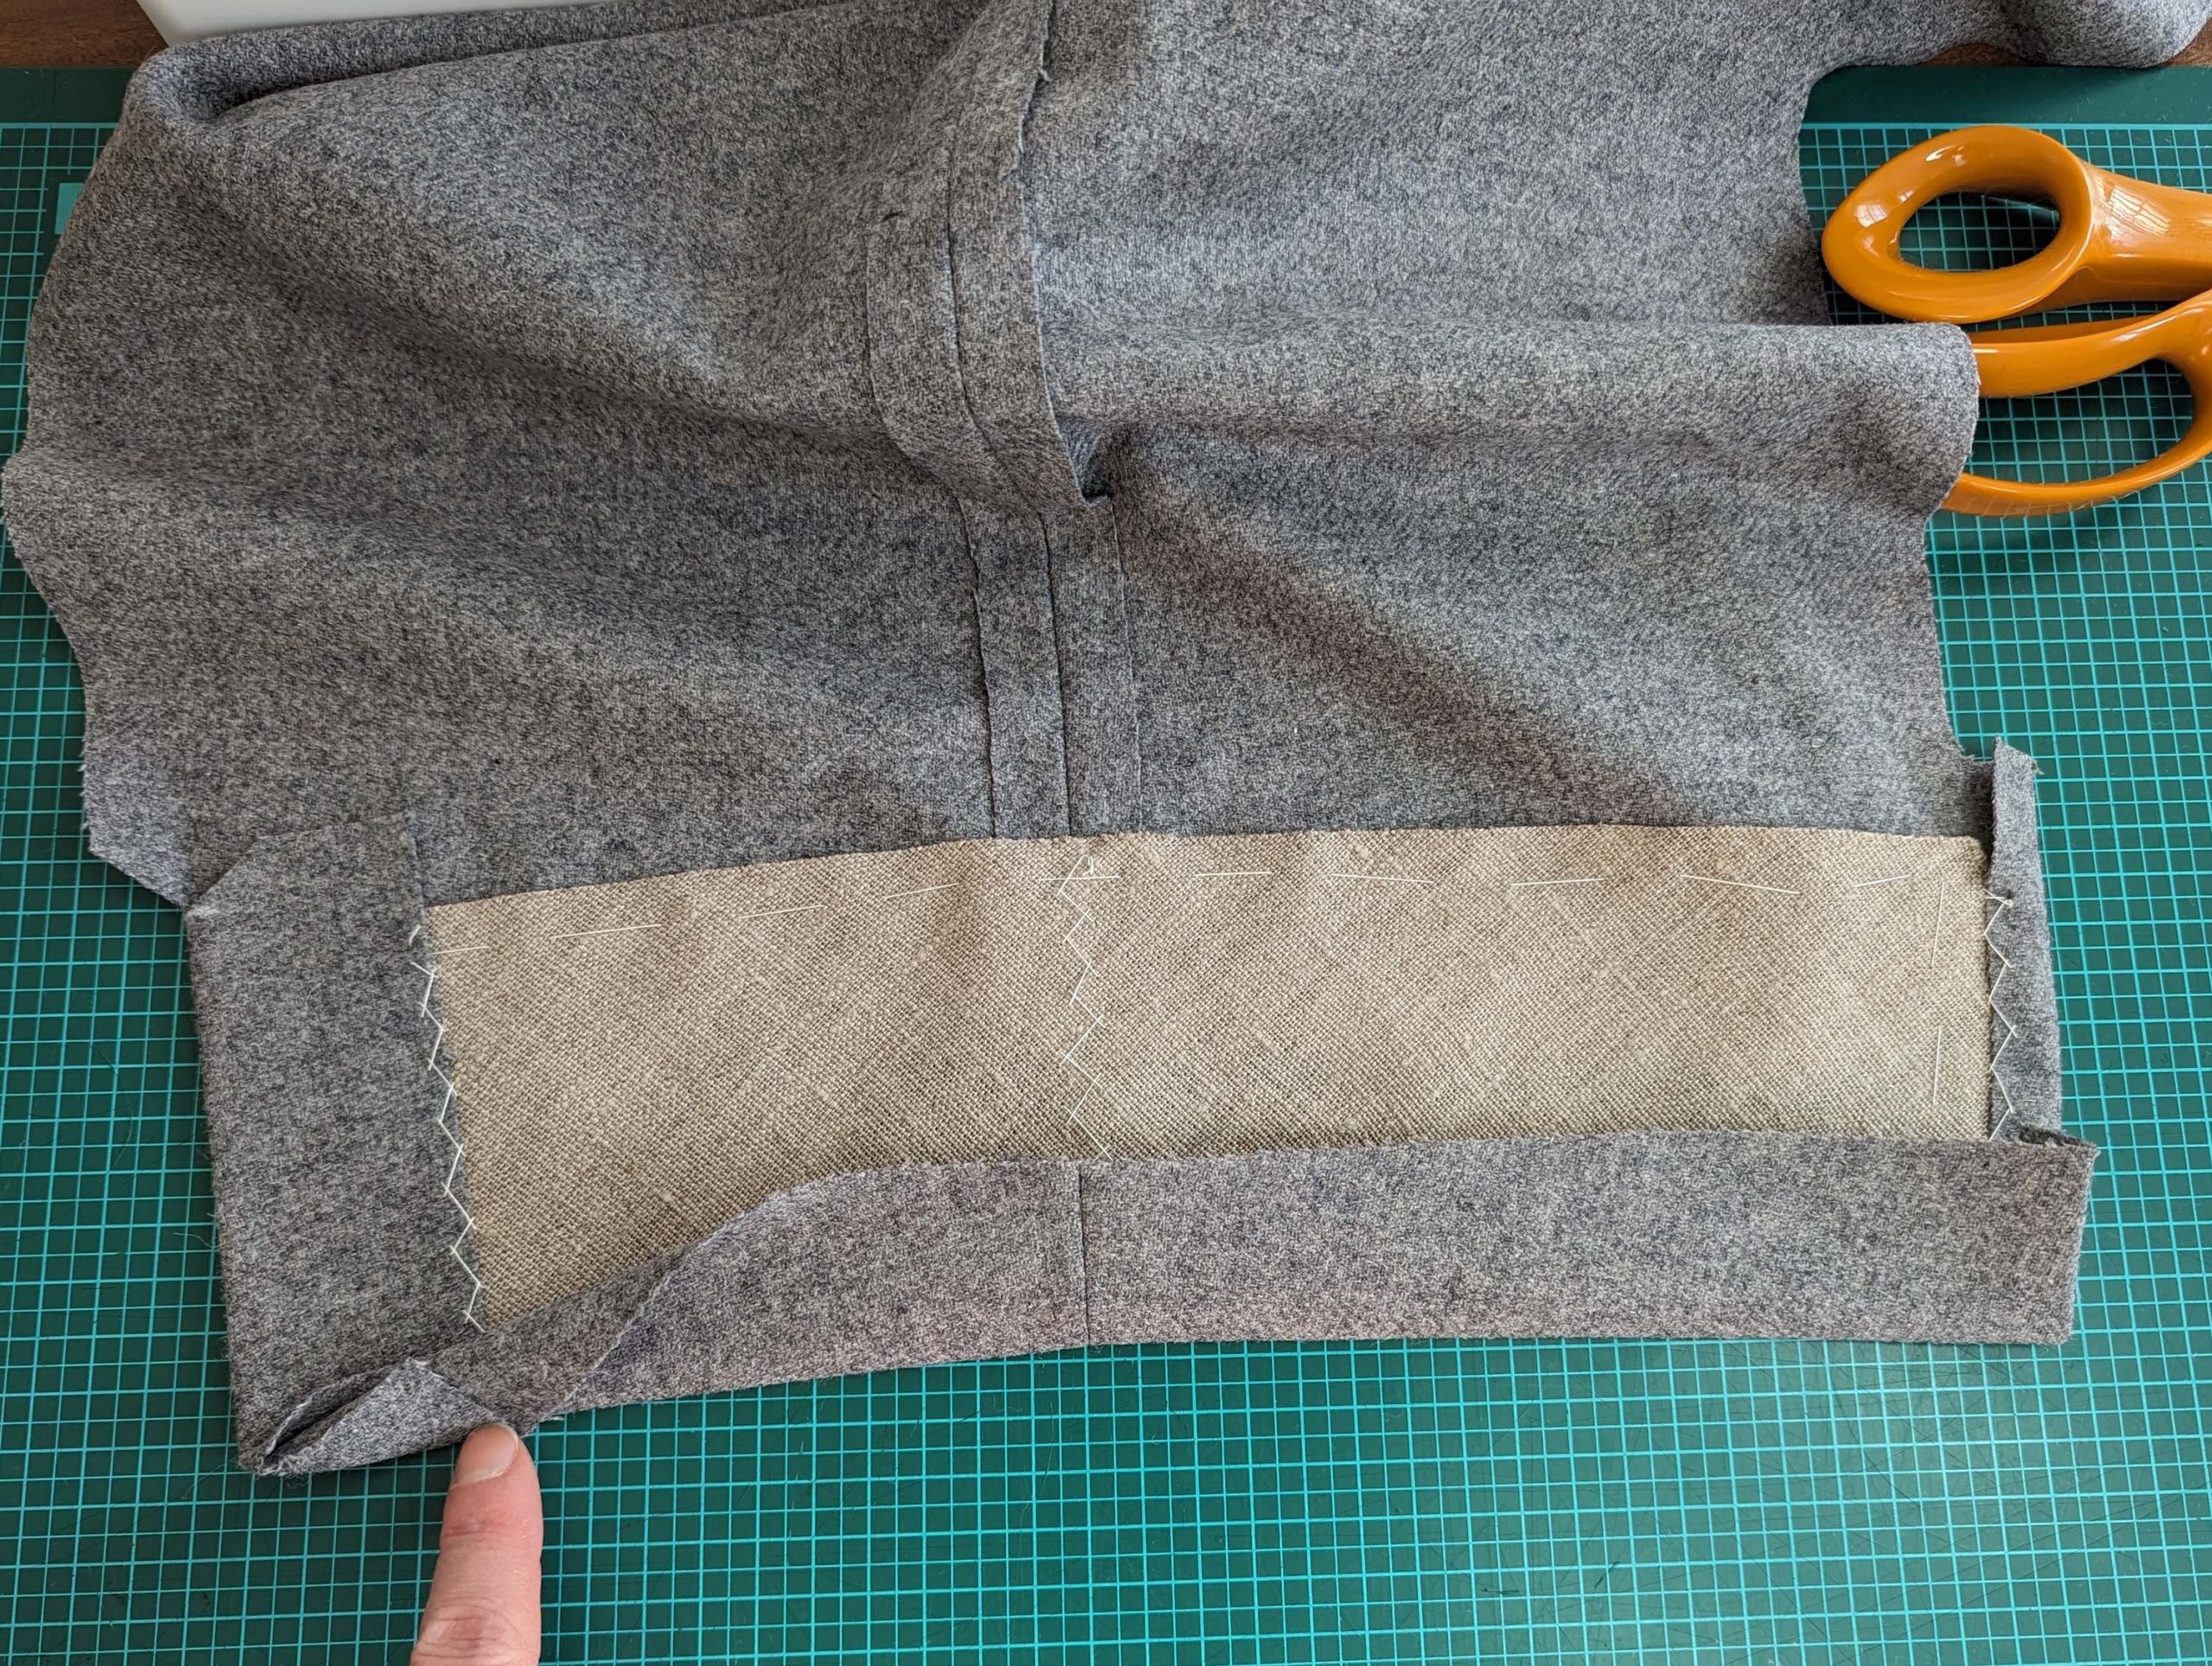
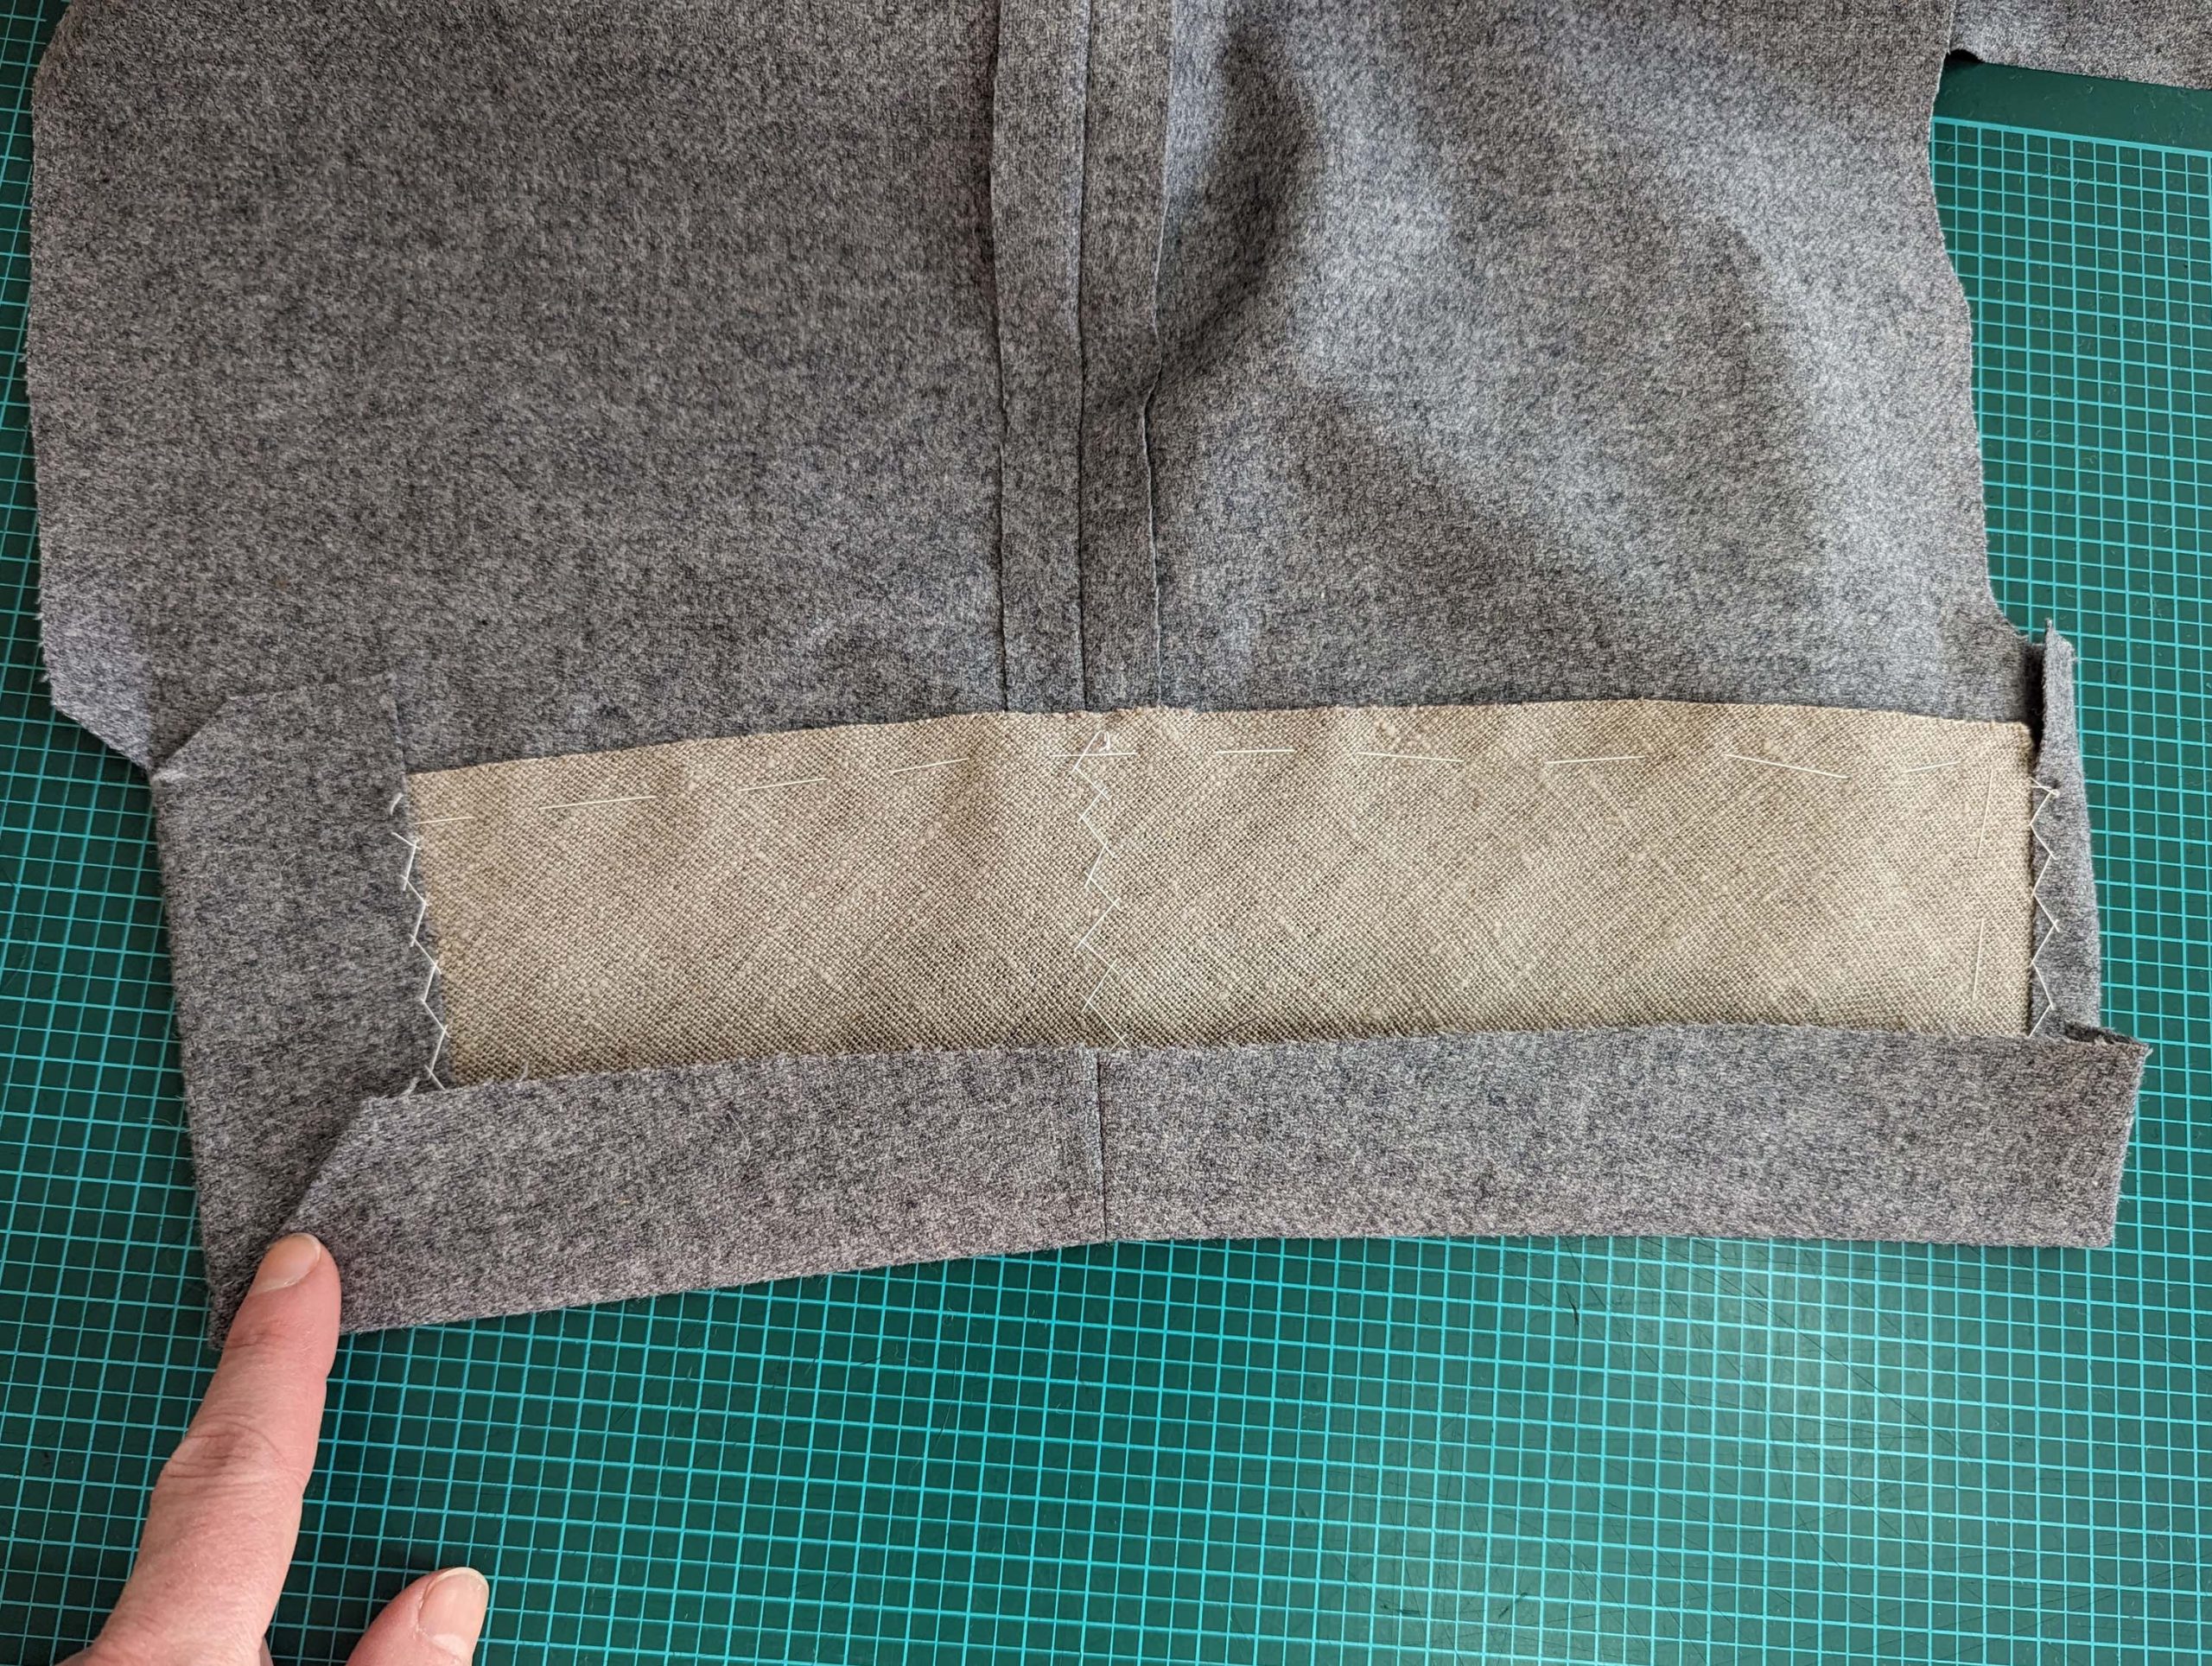
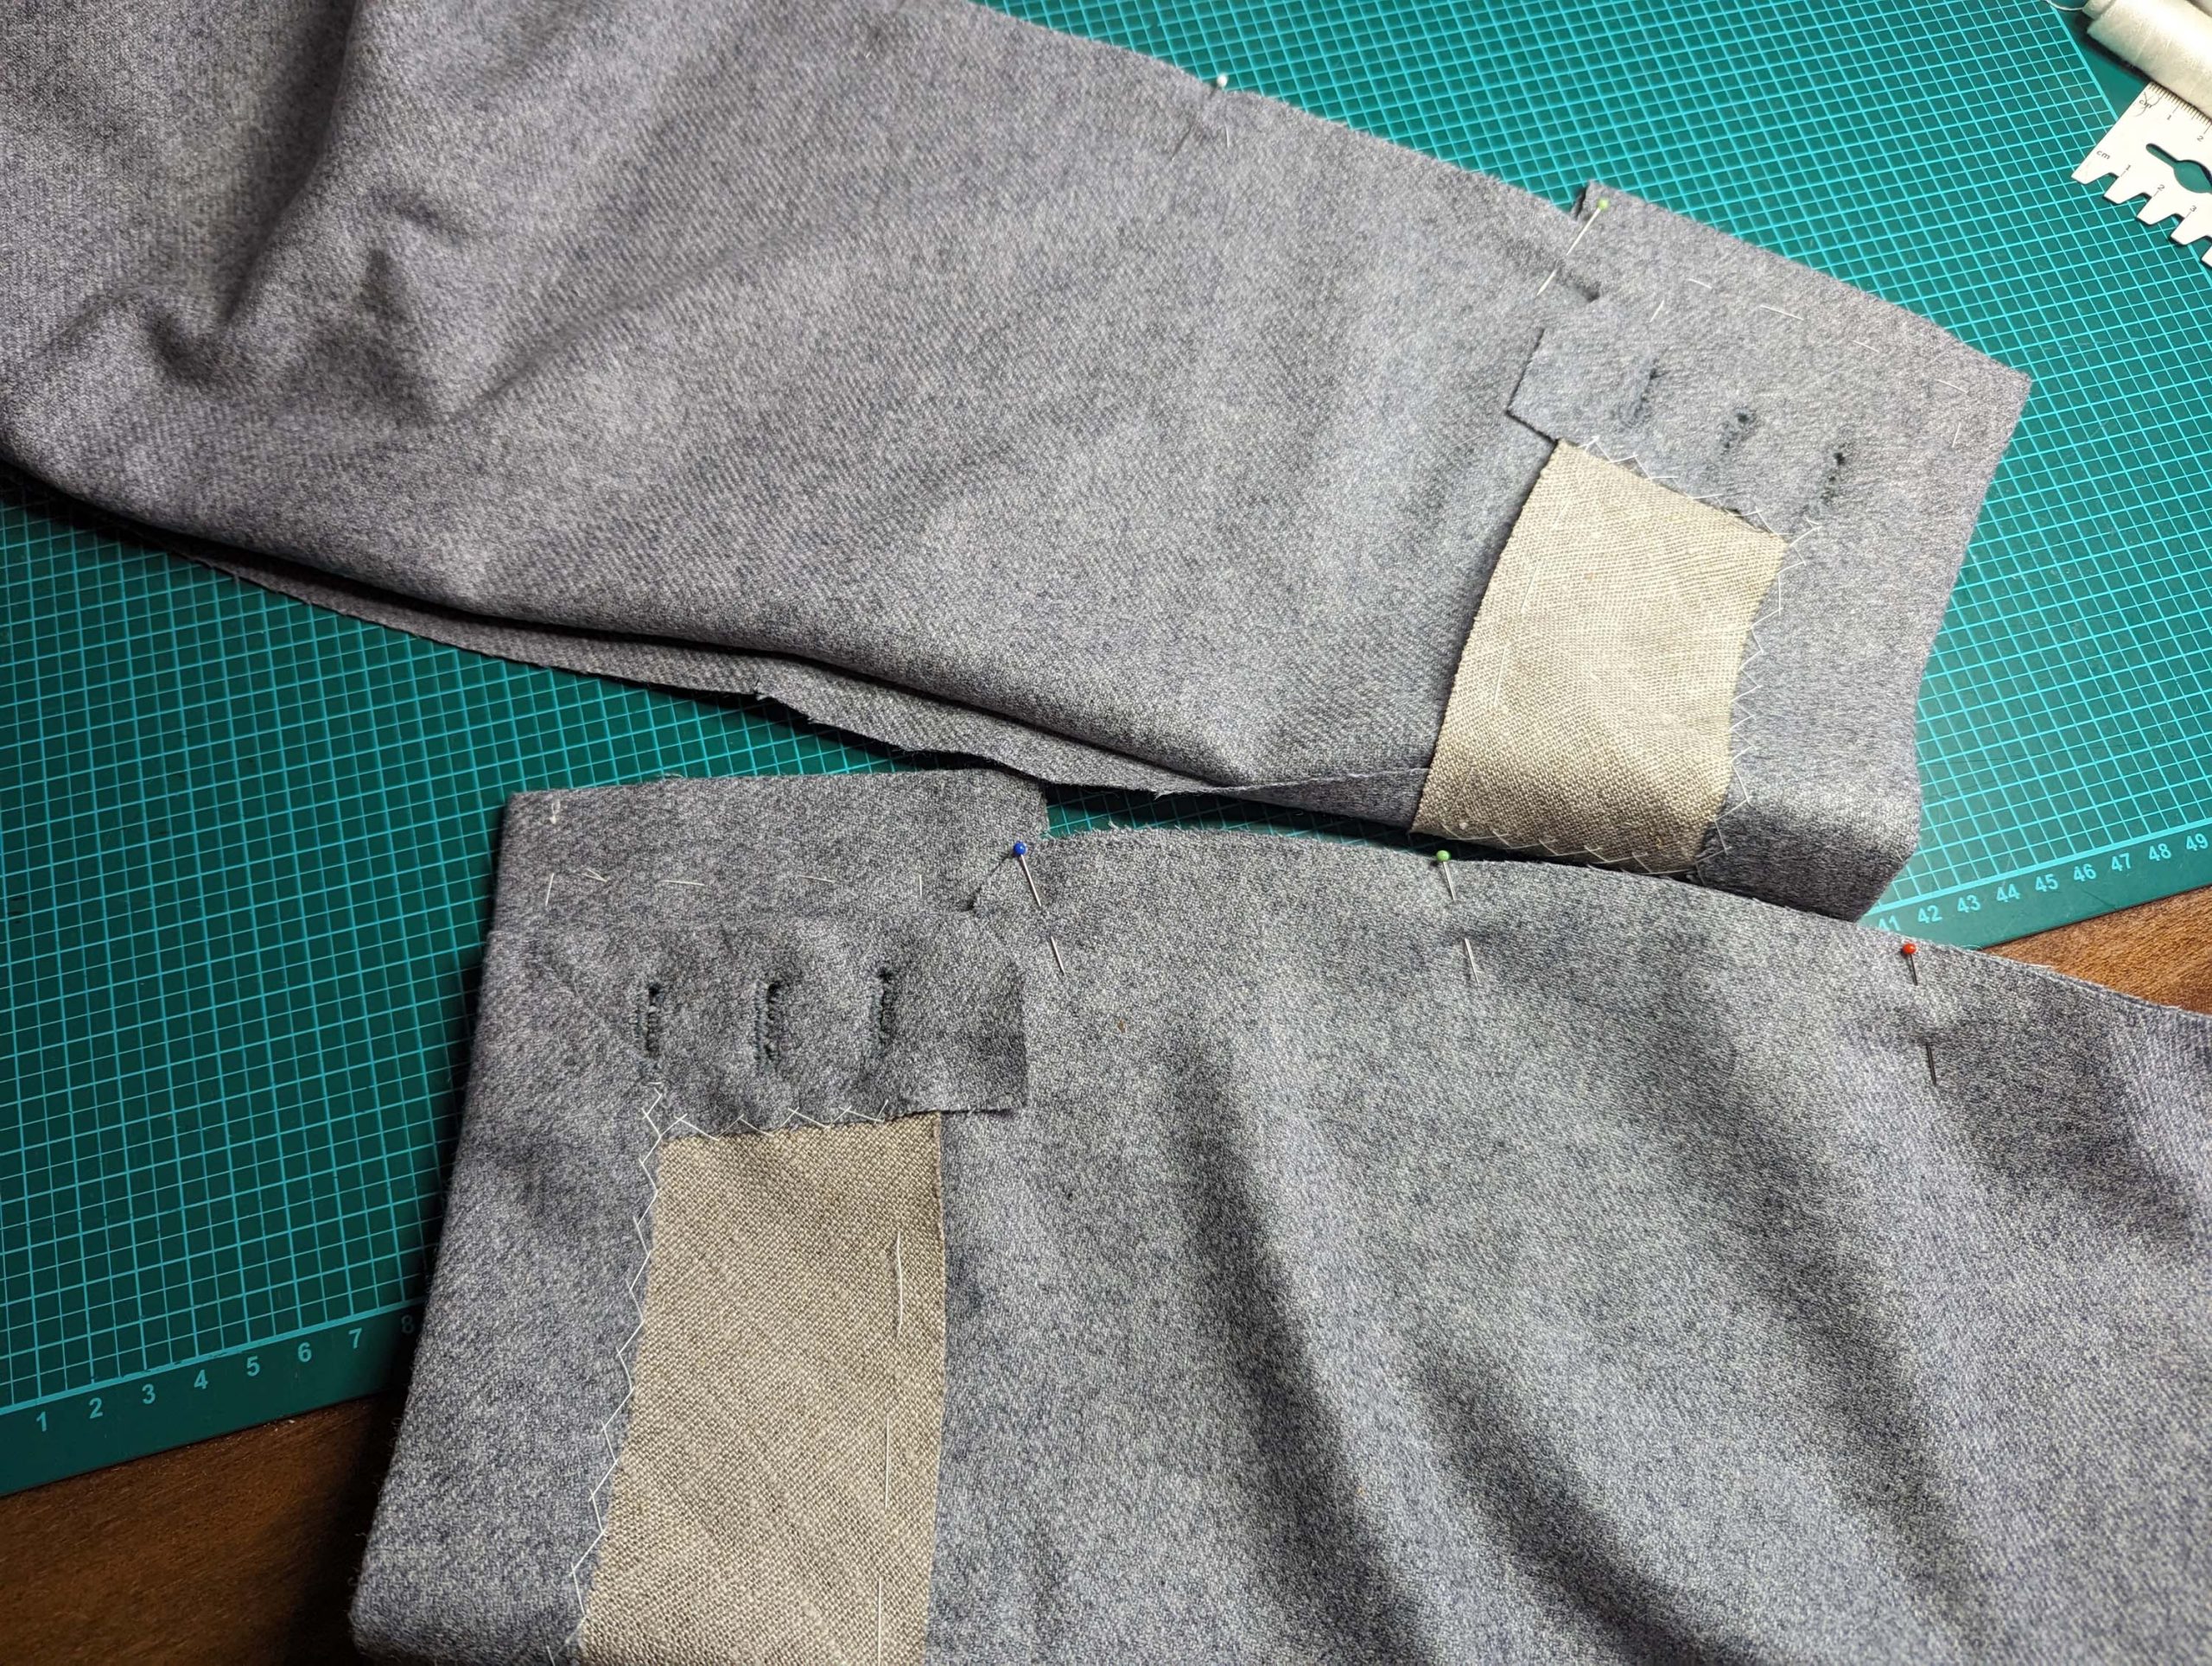
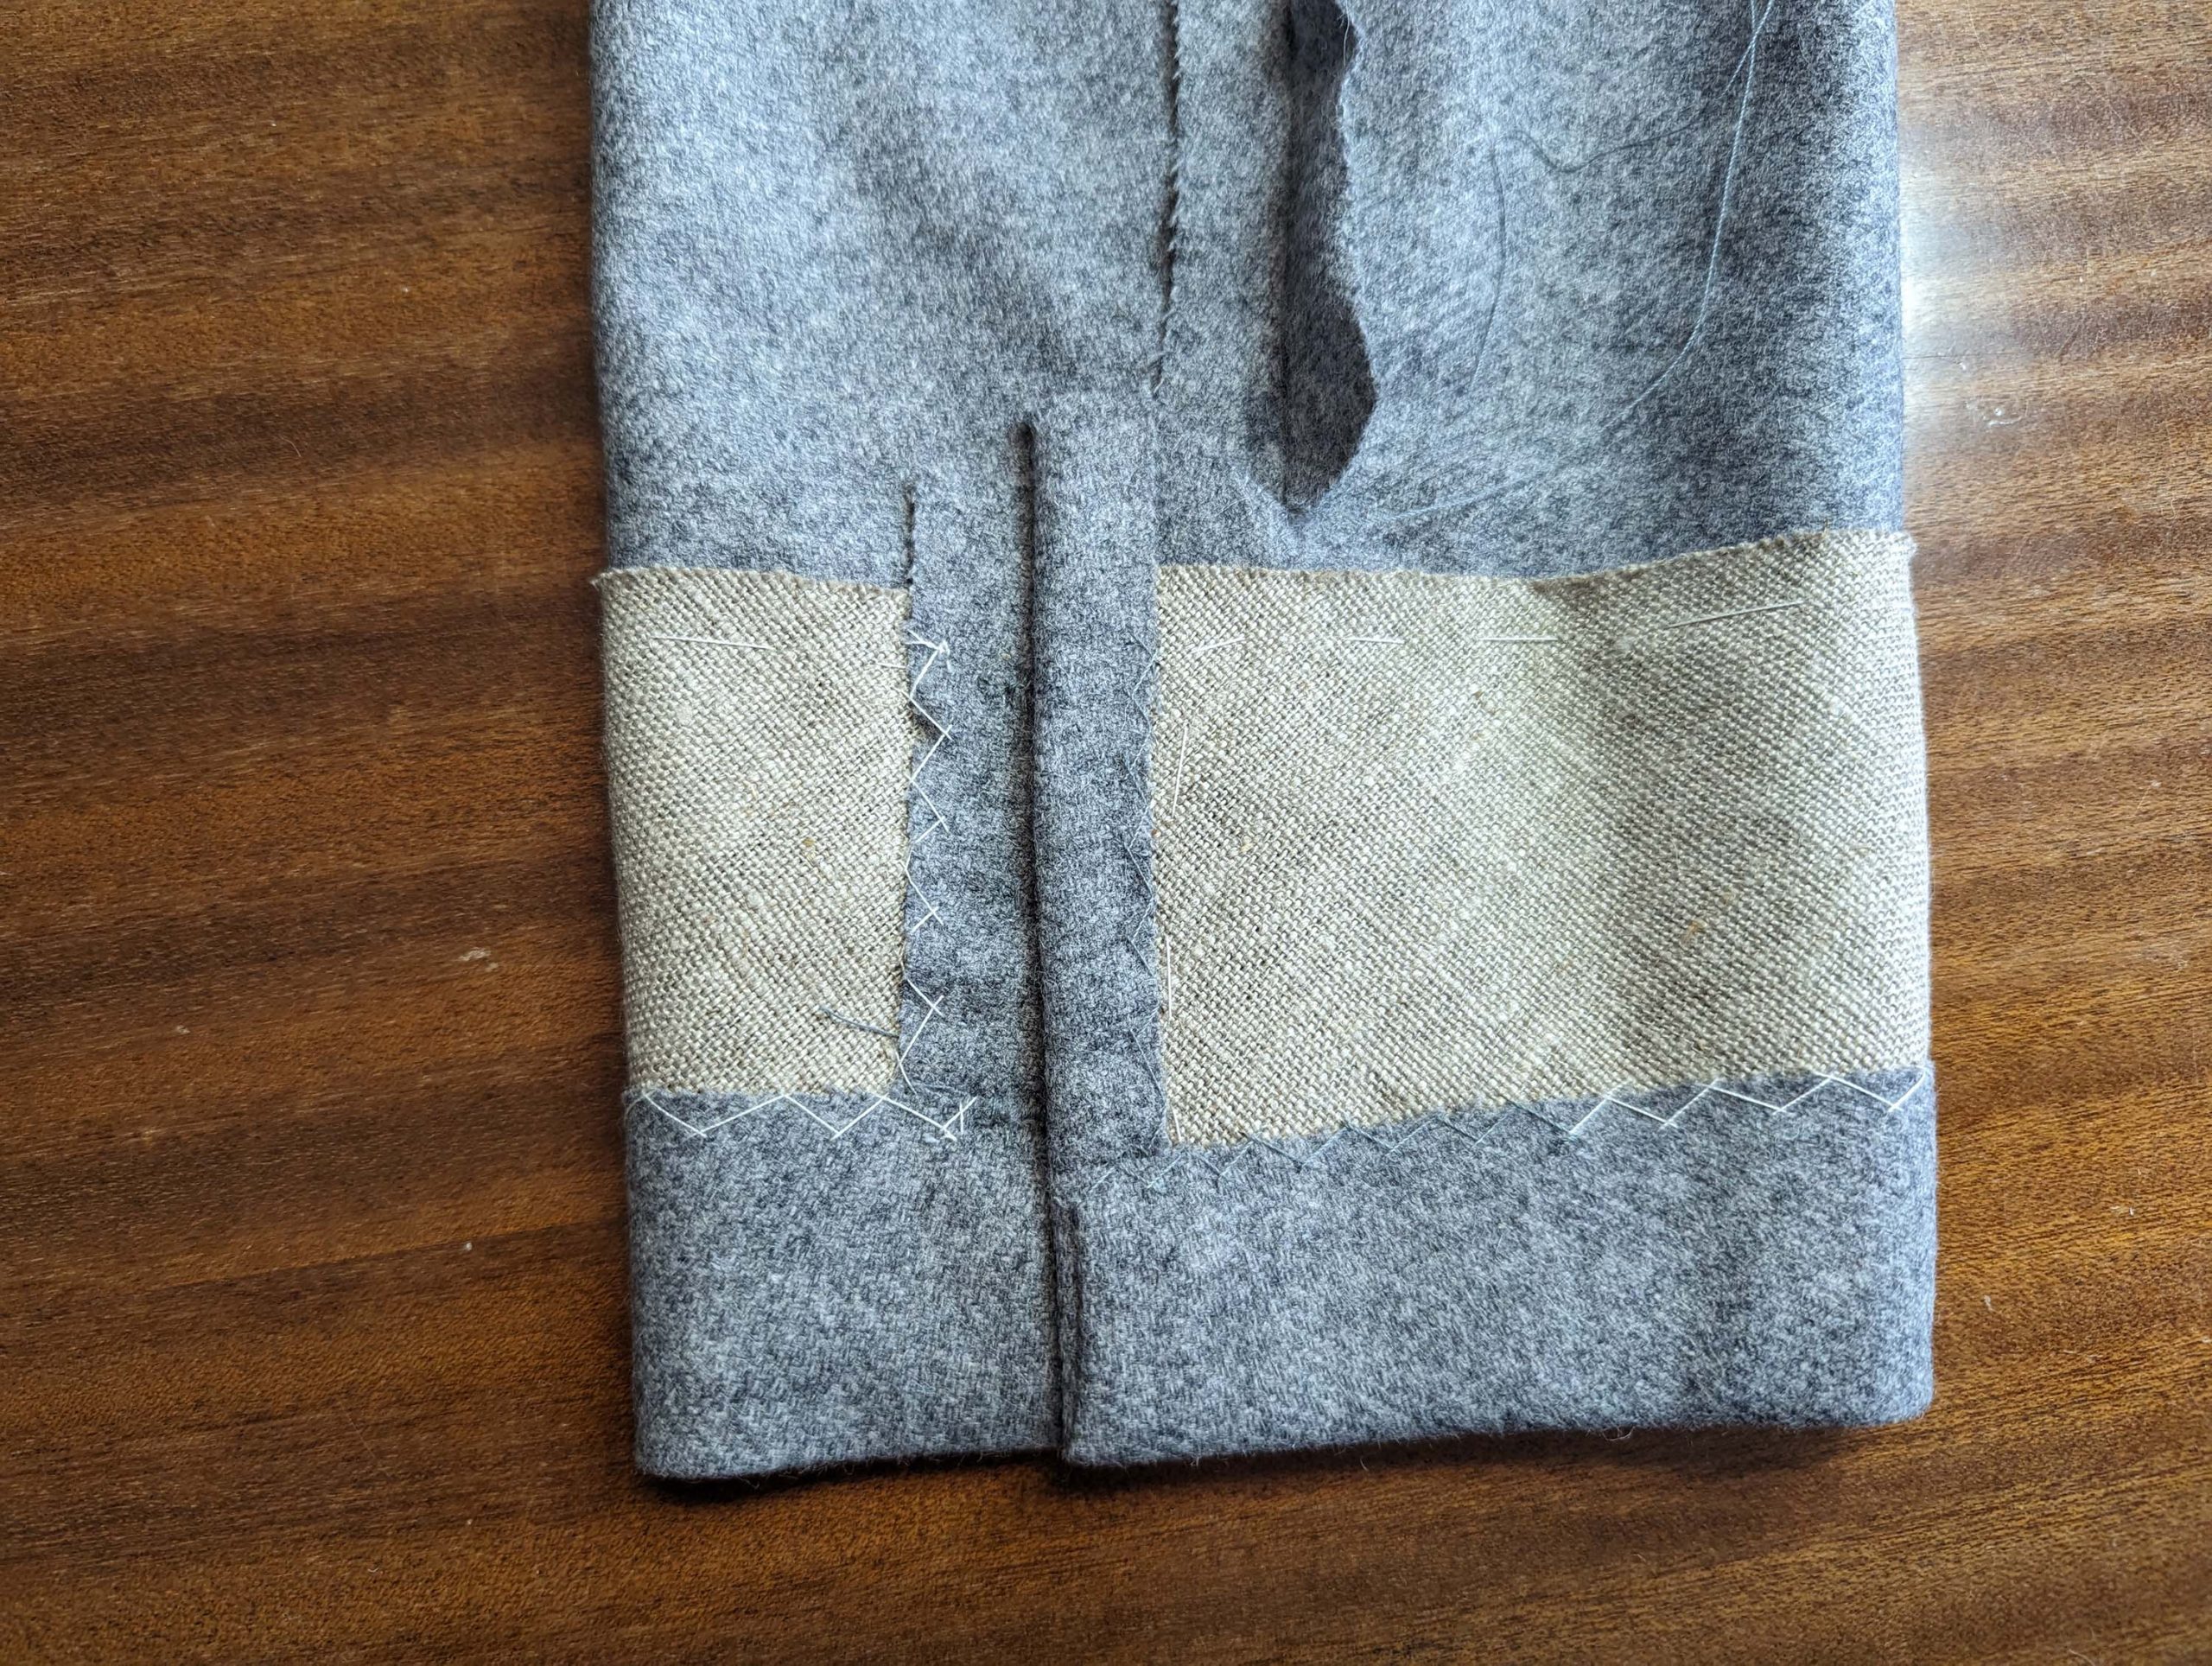
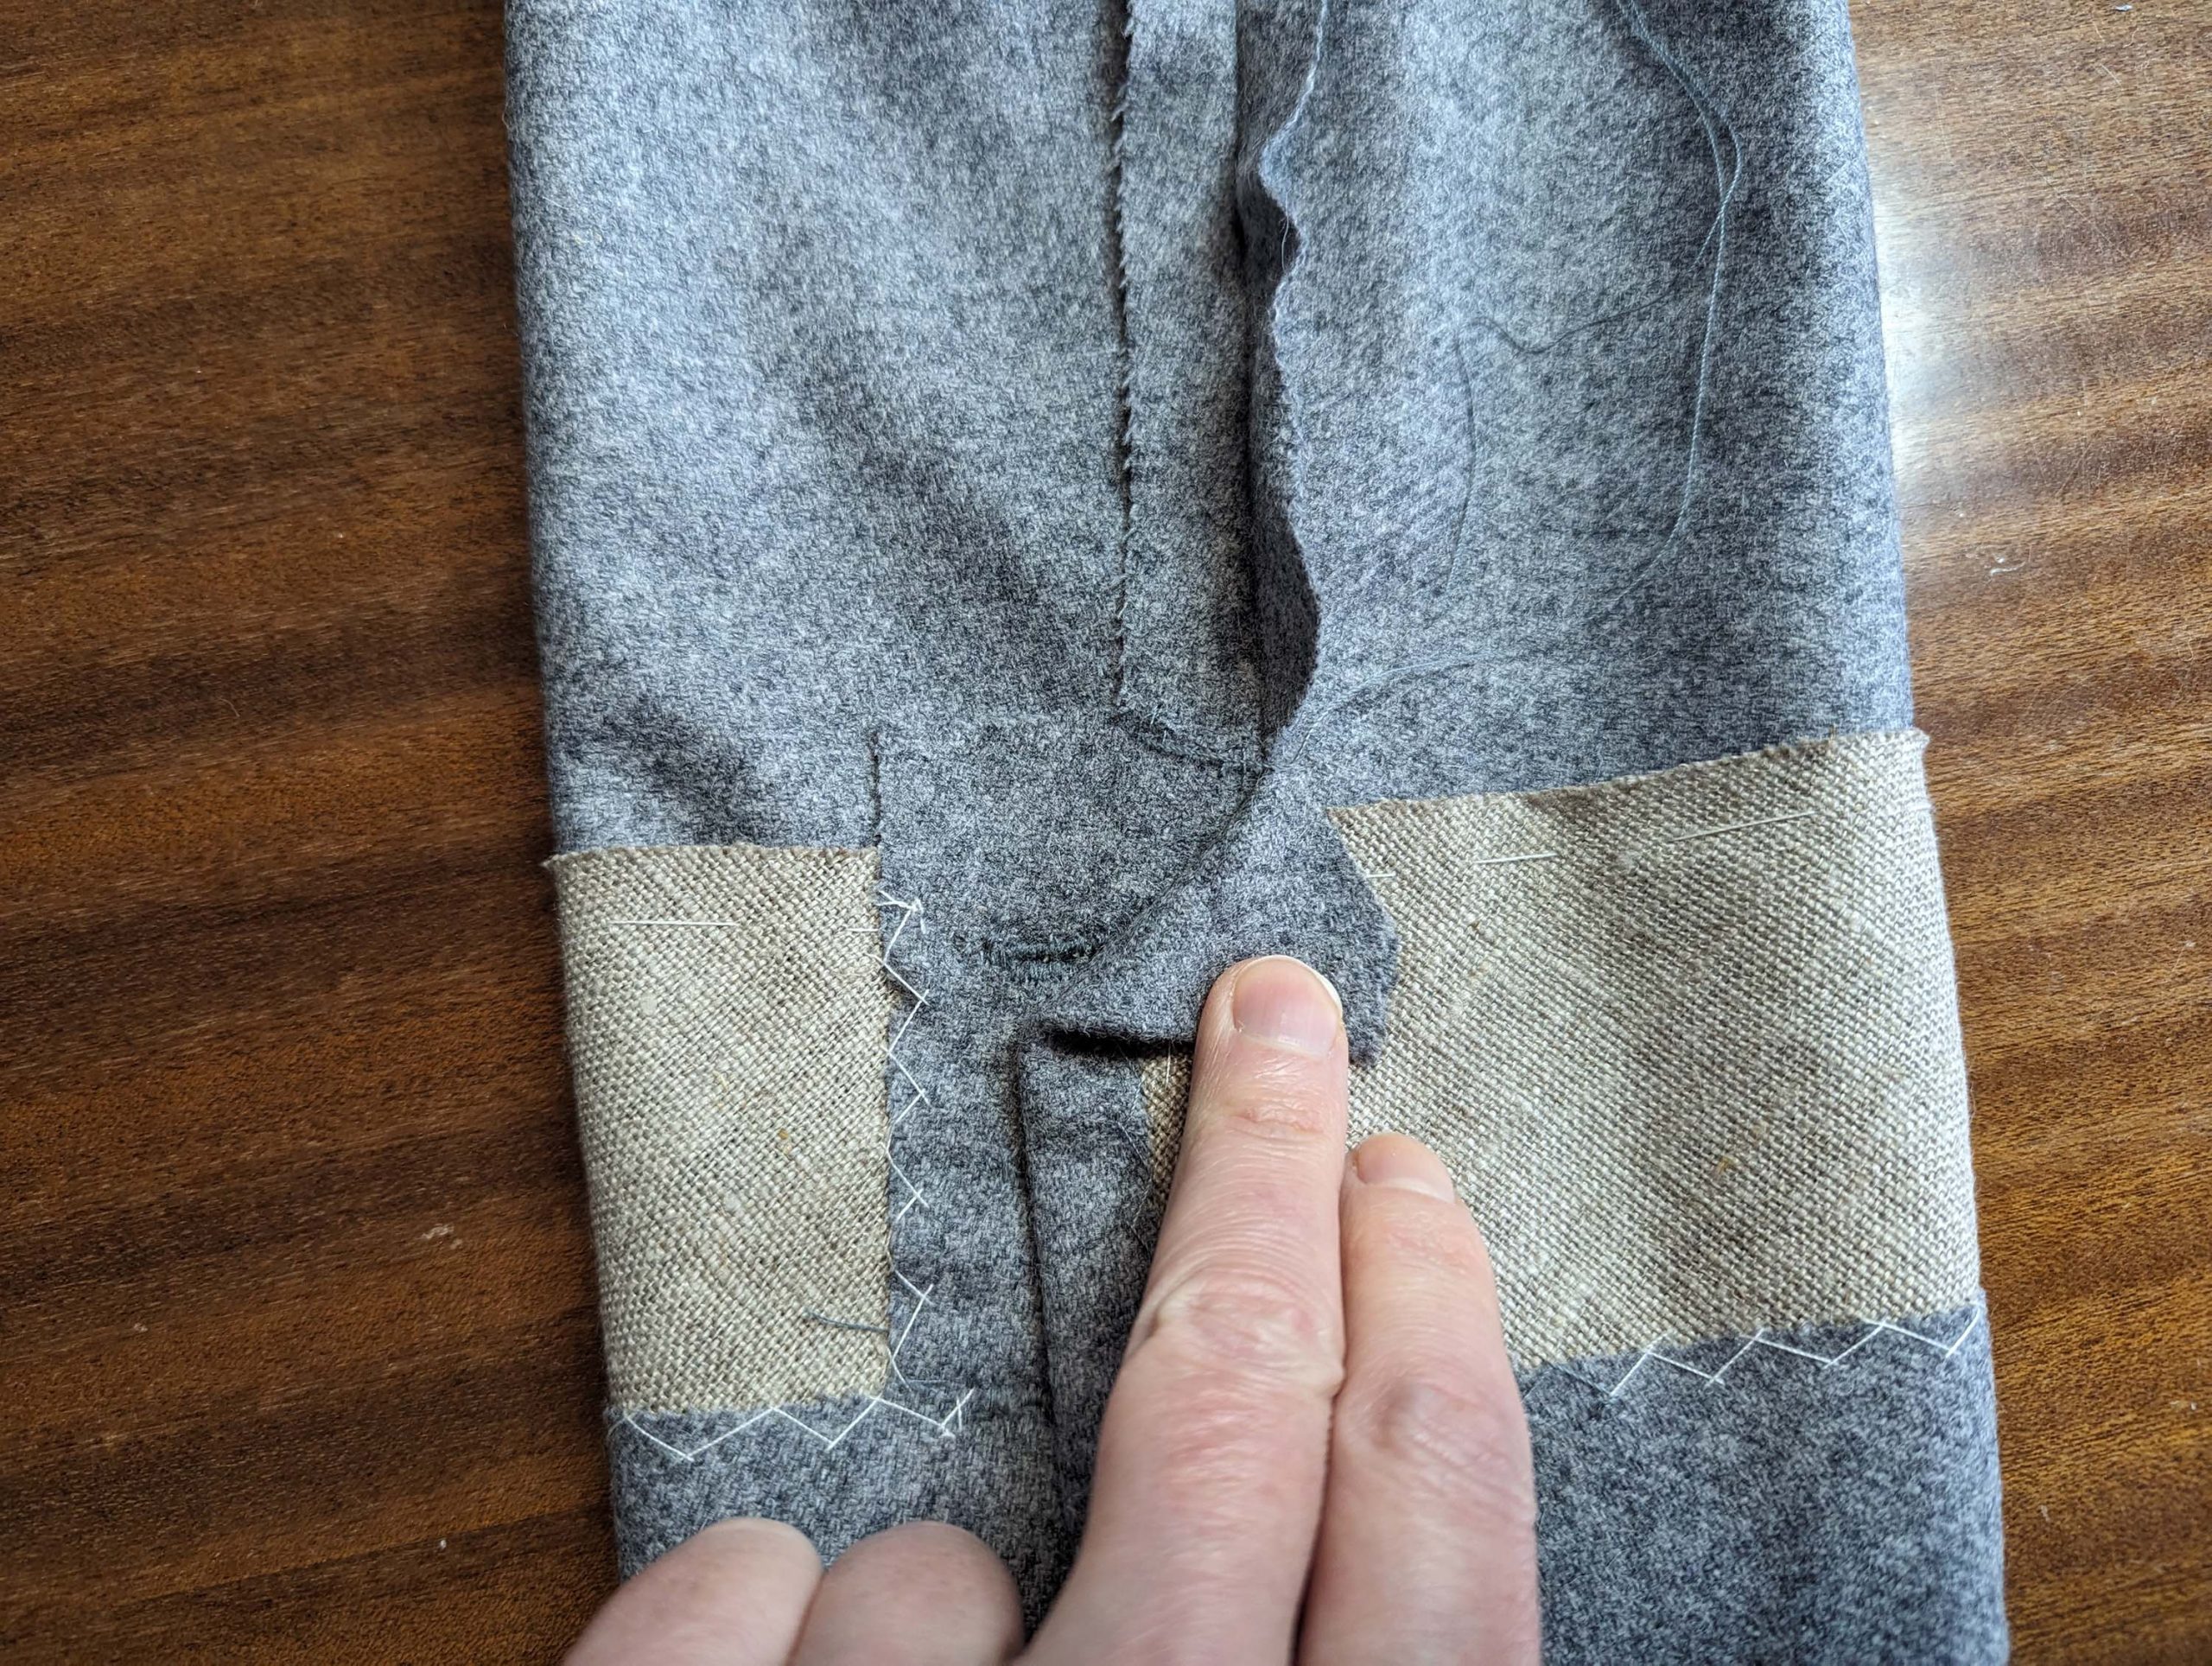
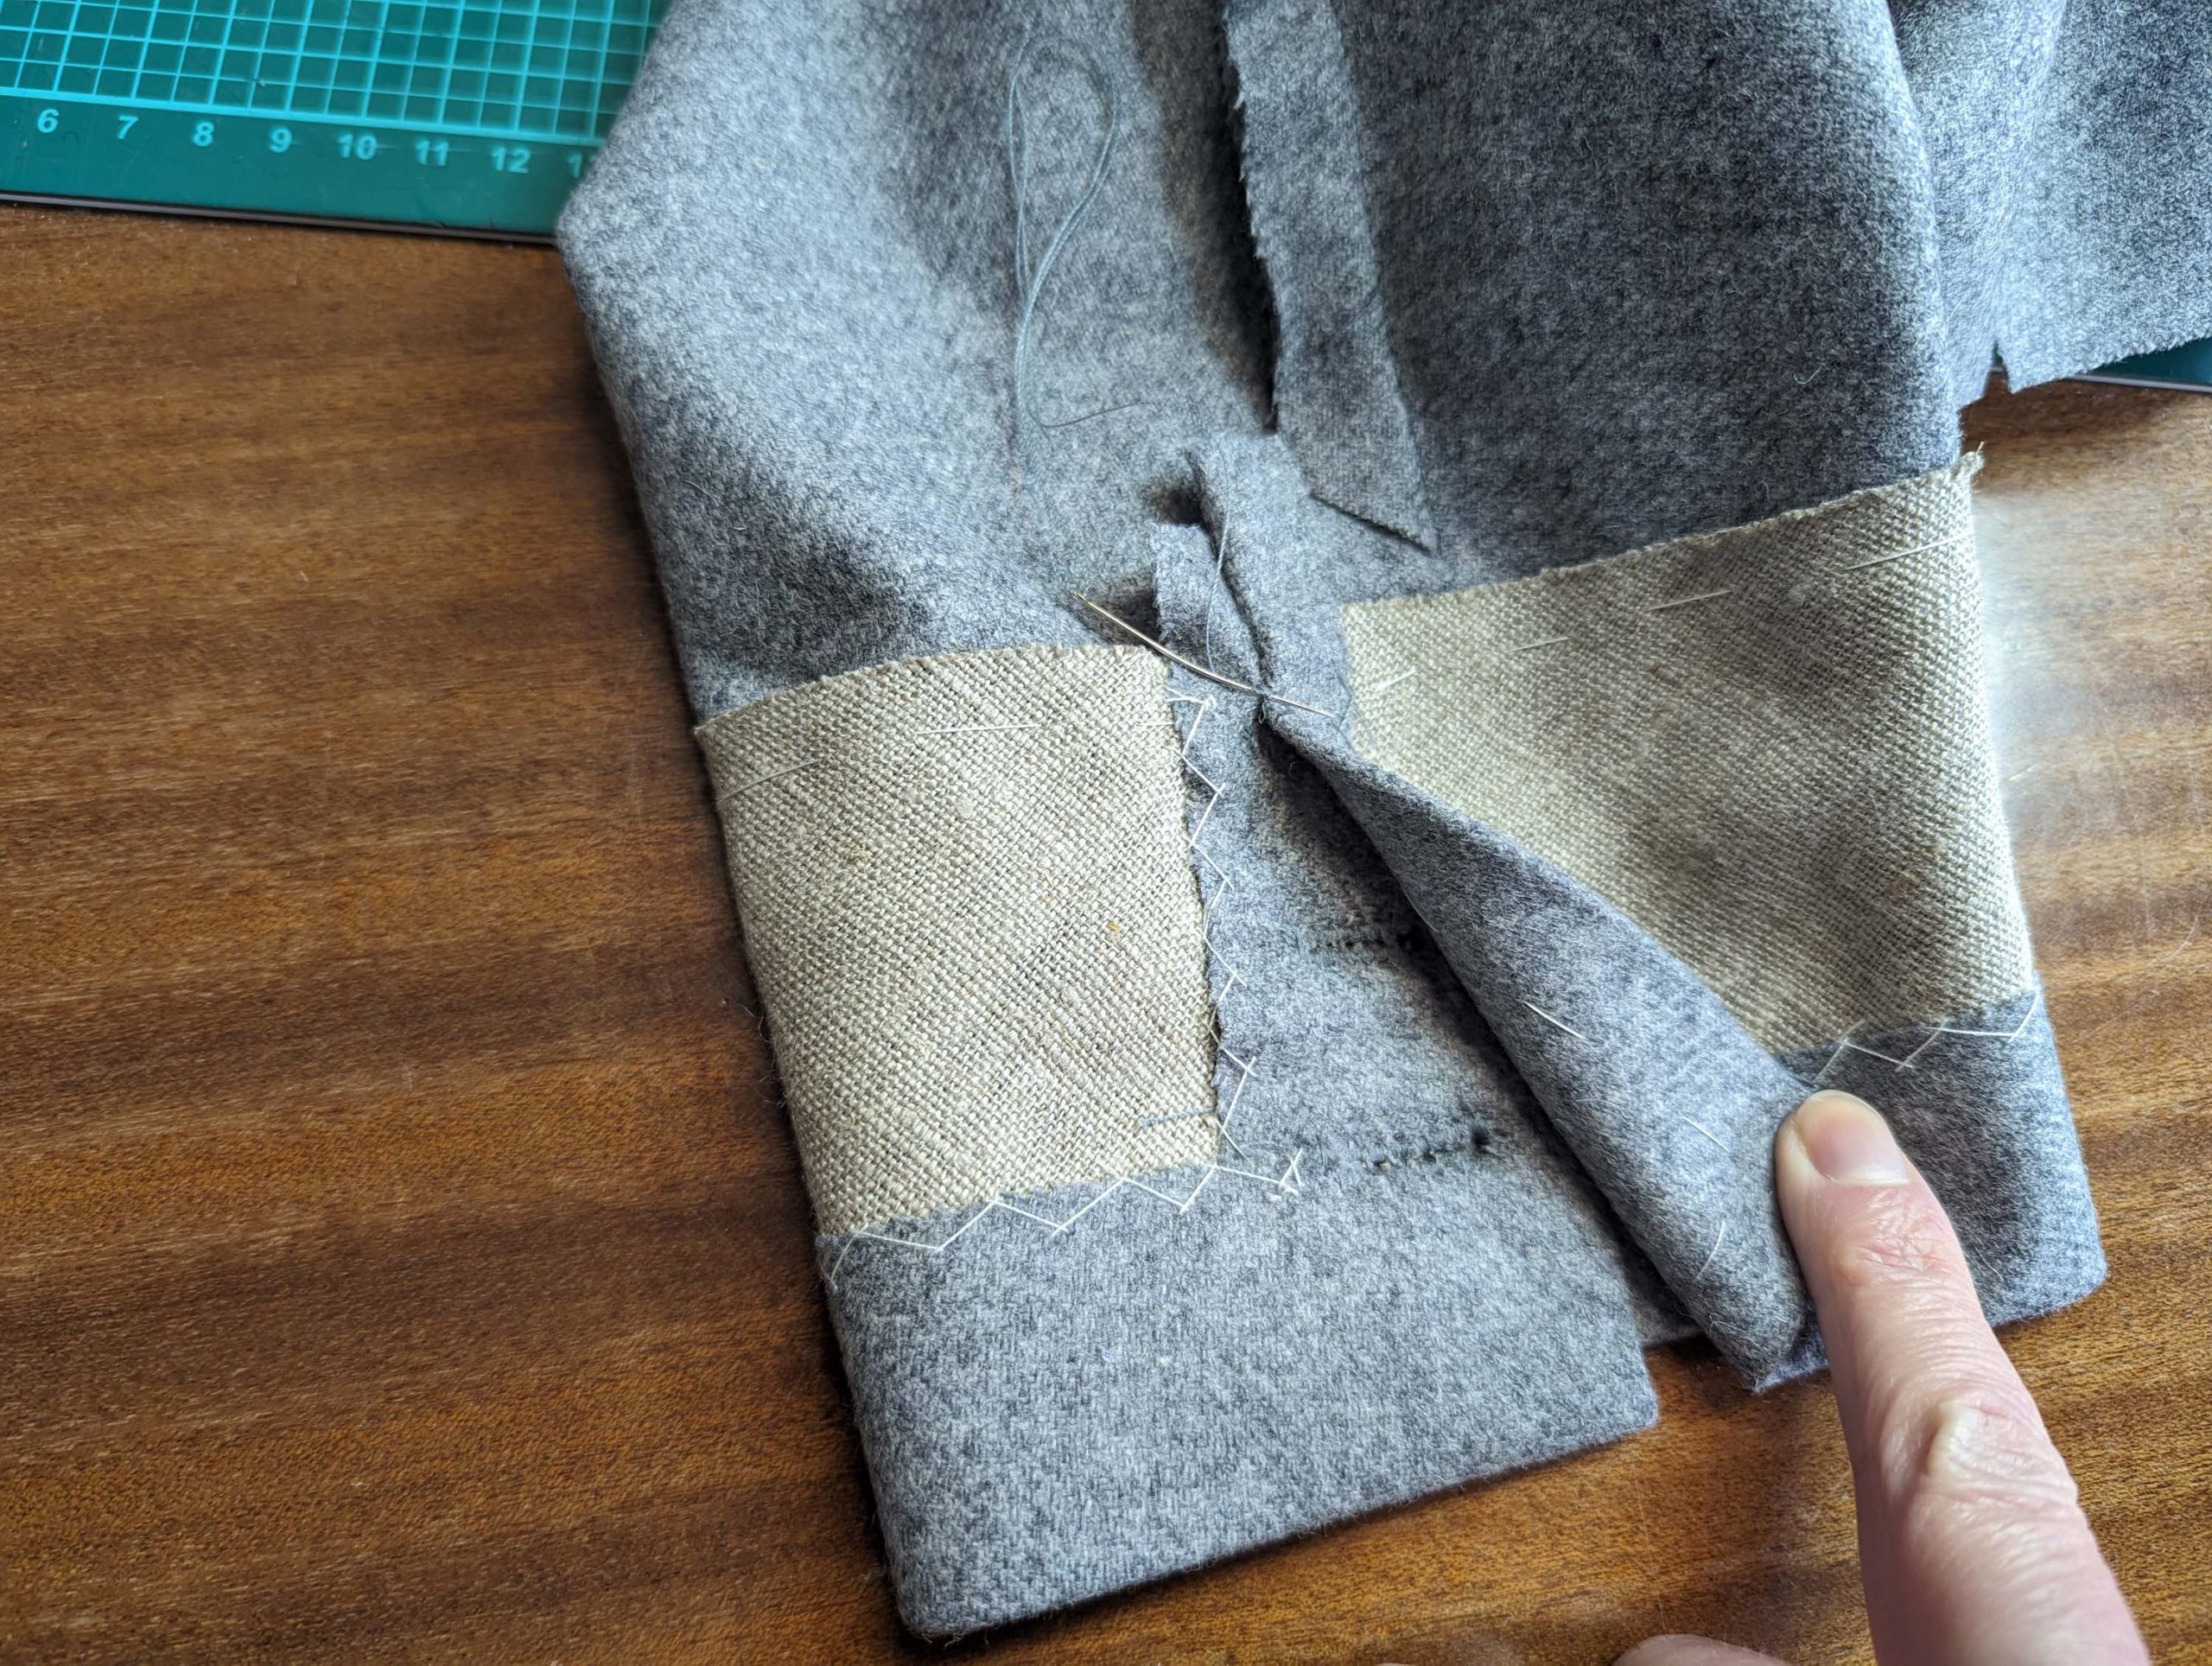
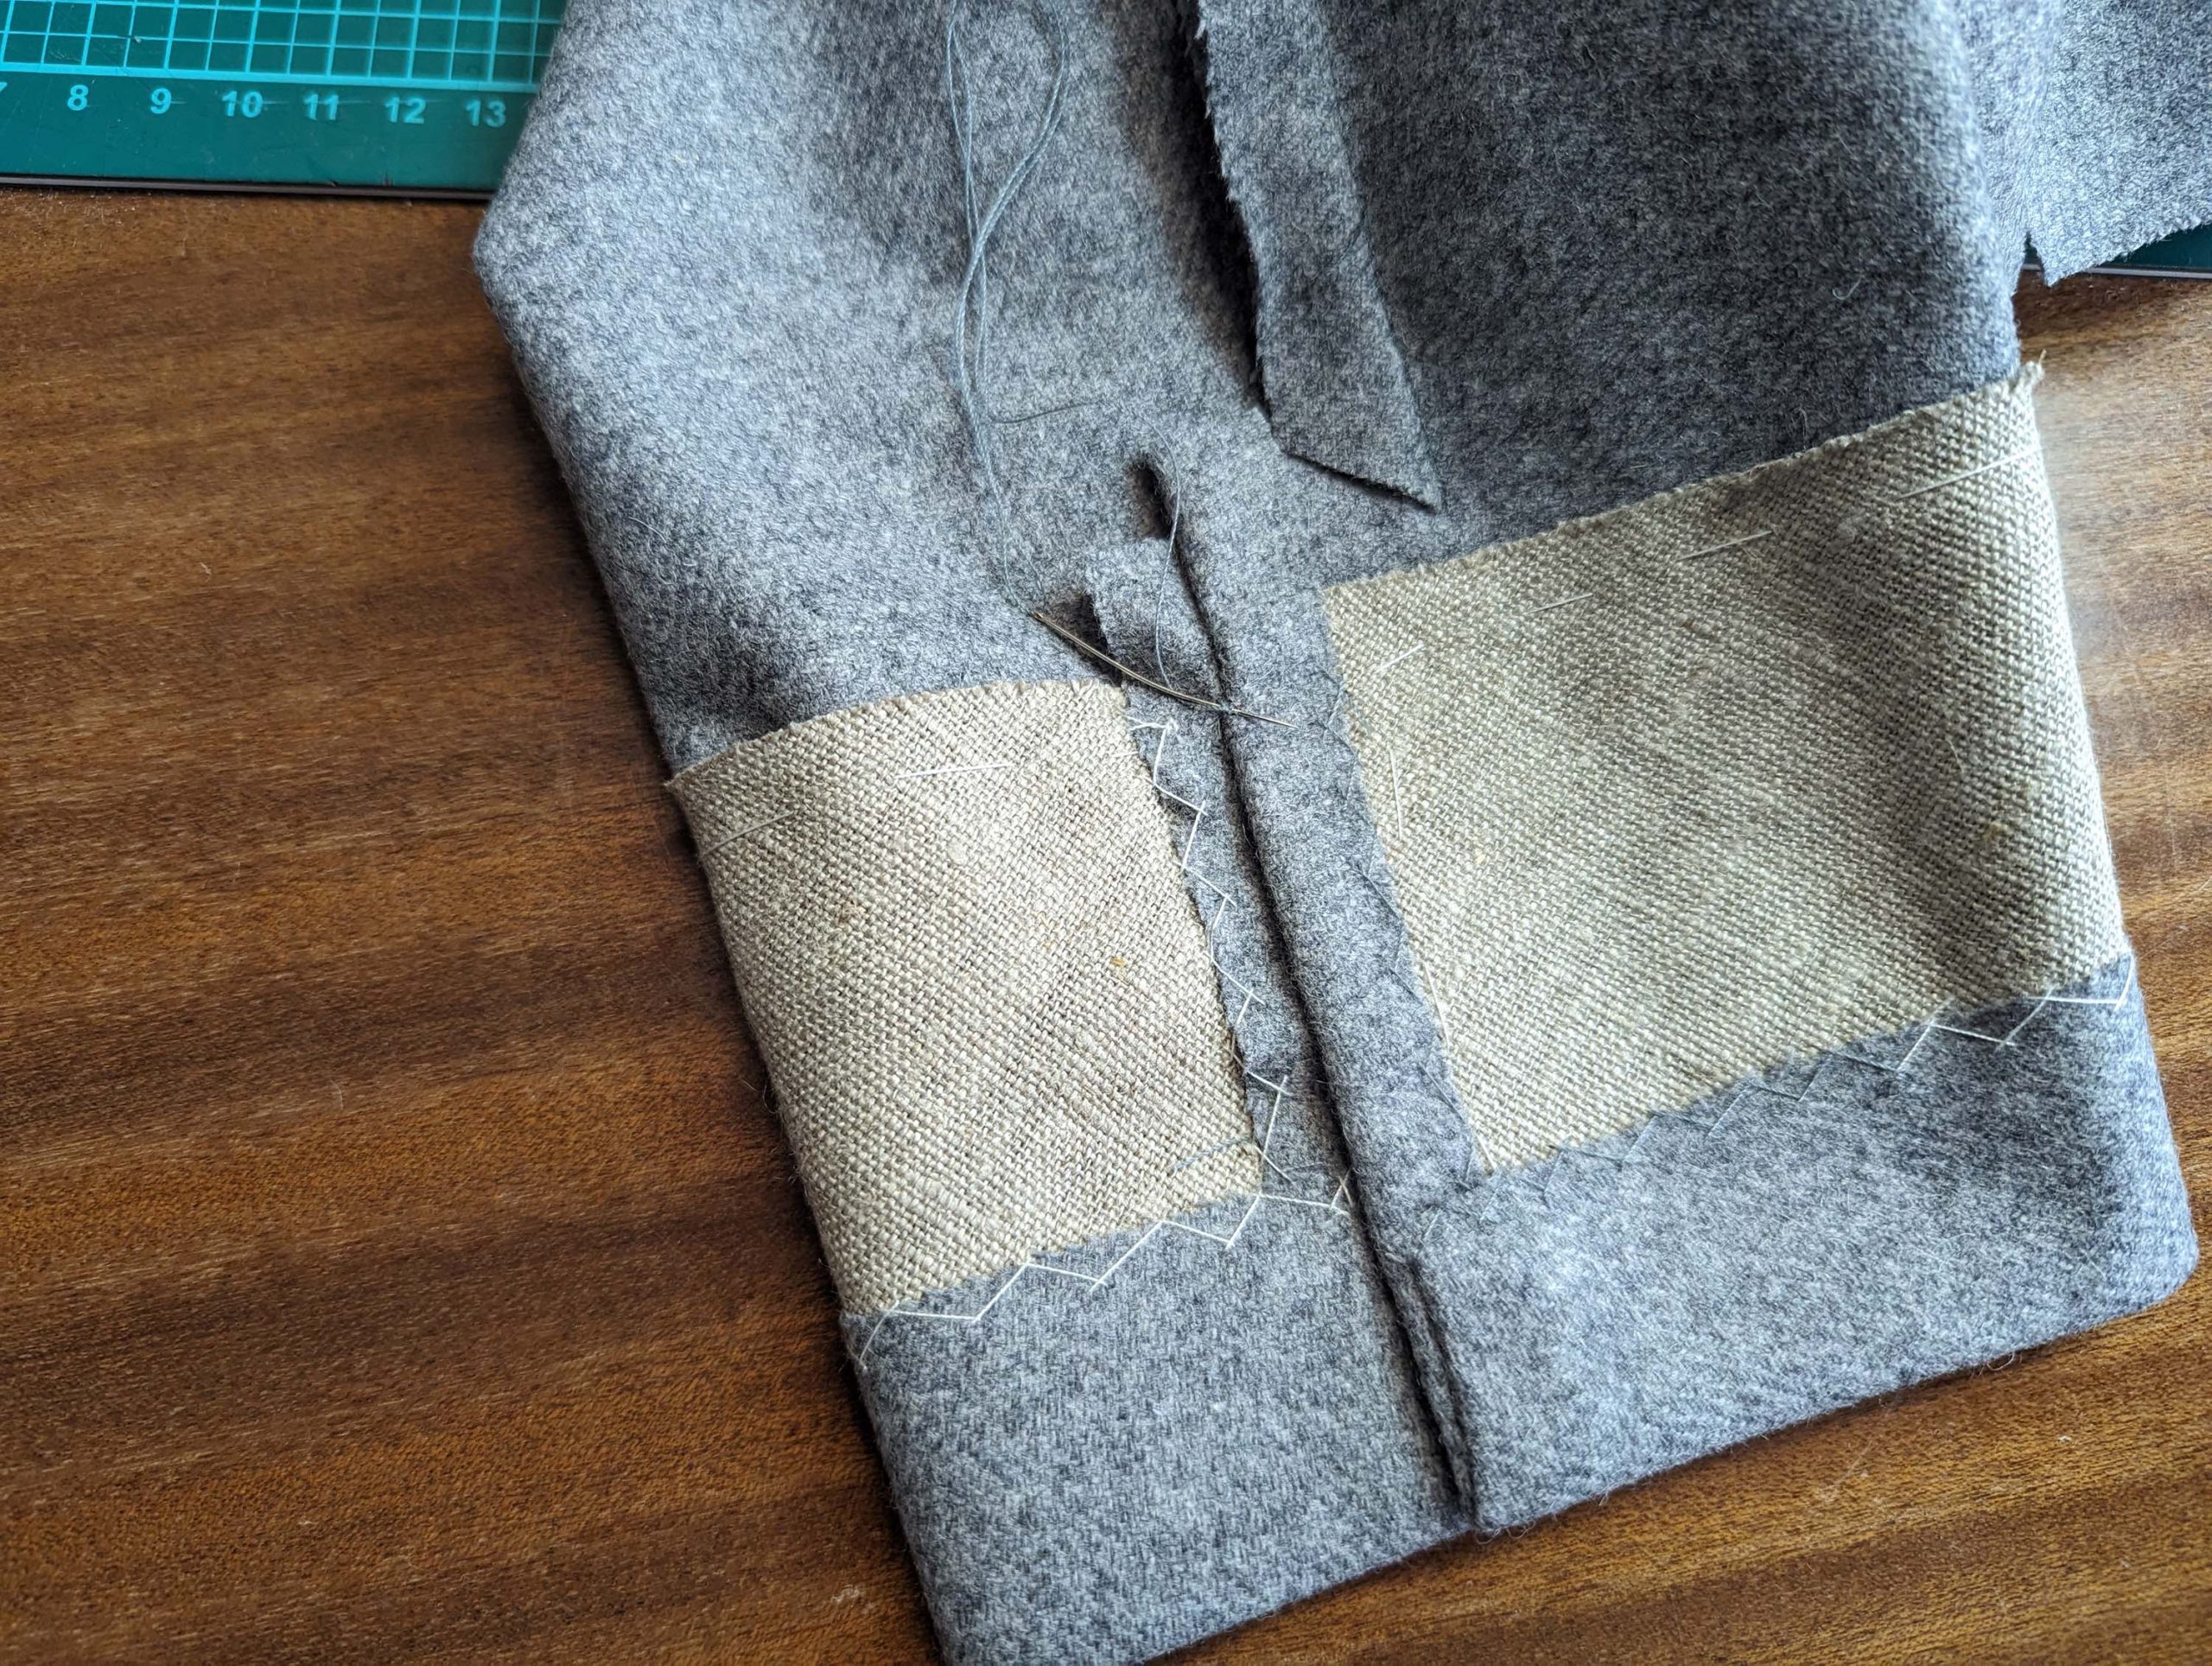
(18) Sew the front Ärmel seam and press open the seam allowances. Take the 4” (10cm) wide strap from the canvas, cut on the bias, and press it into a curved shape. Line up with the hemline of the sleeve, baste in place. Catch stitch to the seam allowance of the sleeve seam. Notch the seam allowance of the top sleeve at mark (8) and turn in the vent facing, fell stitch to the canvas. Turn in the seam allowance of the placket and fell stitch to the canvas. Optionally, interface the sleeve head with a piece of cotton.
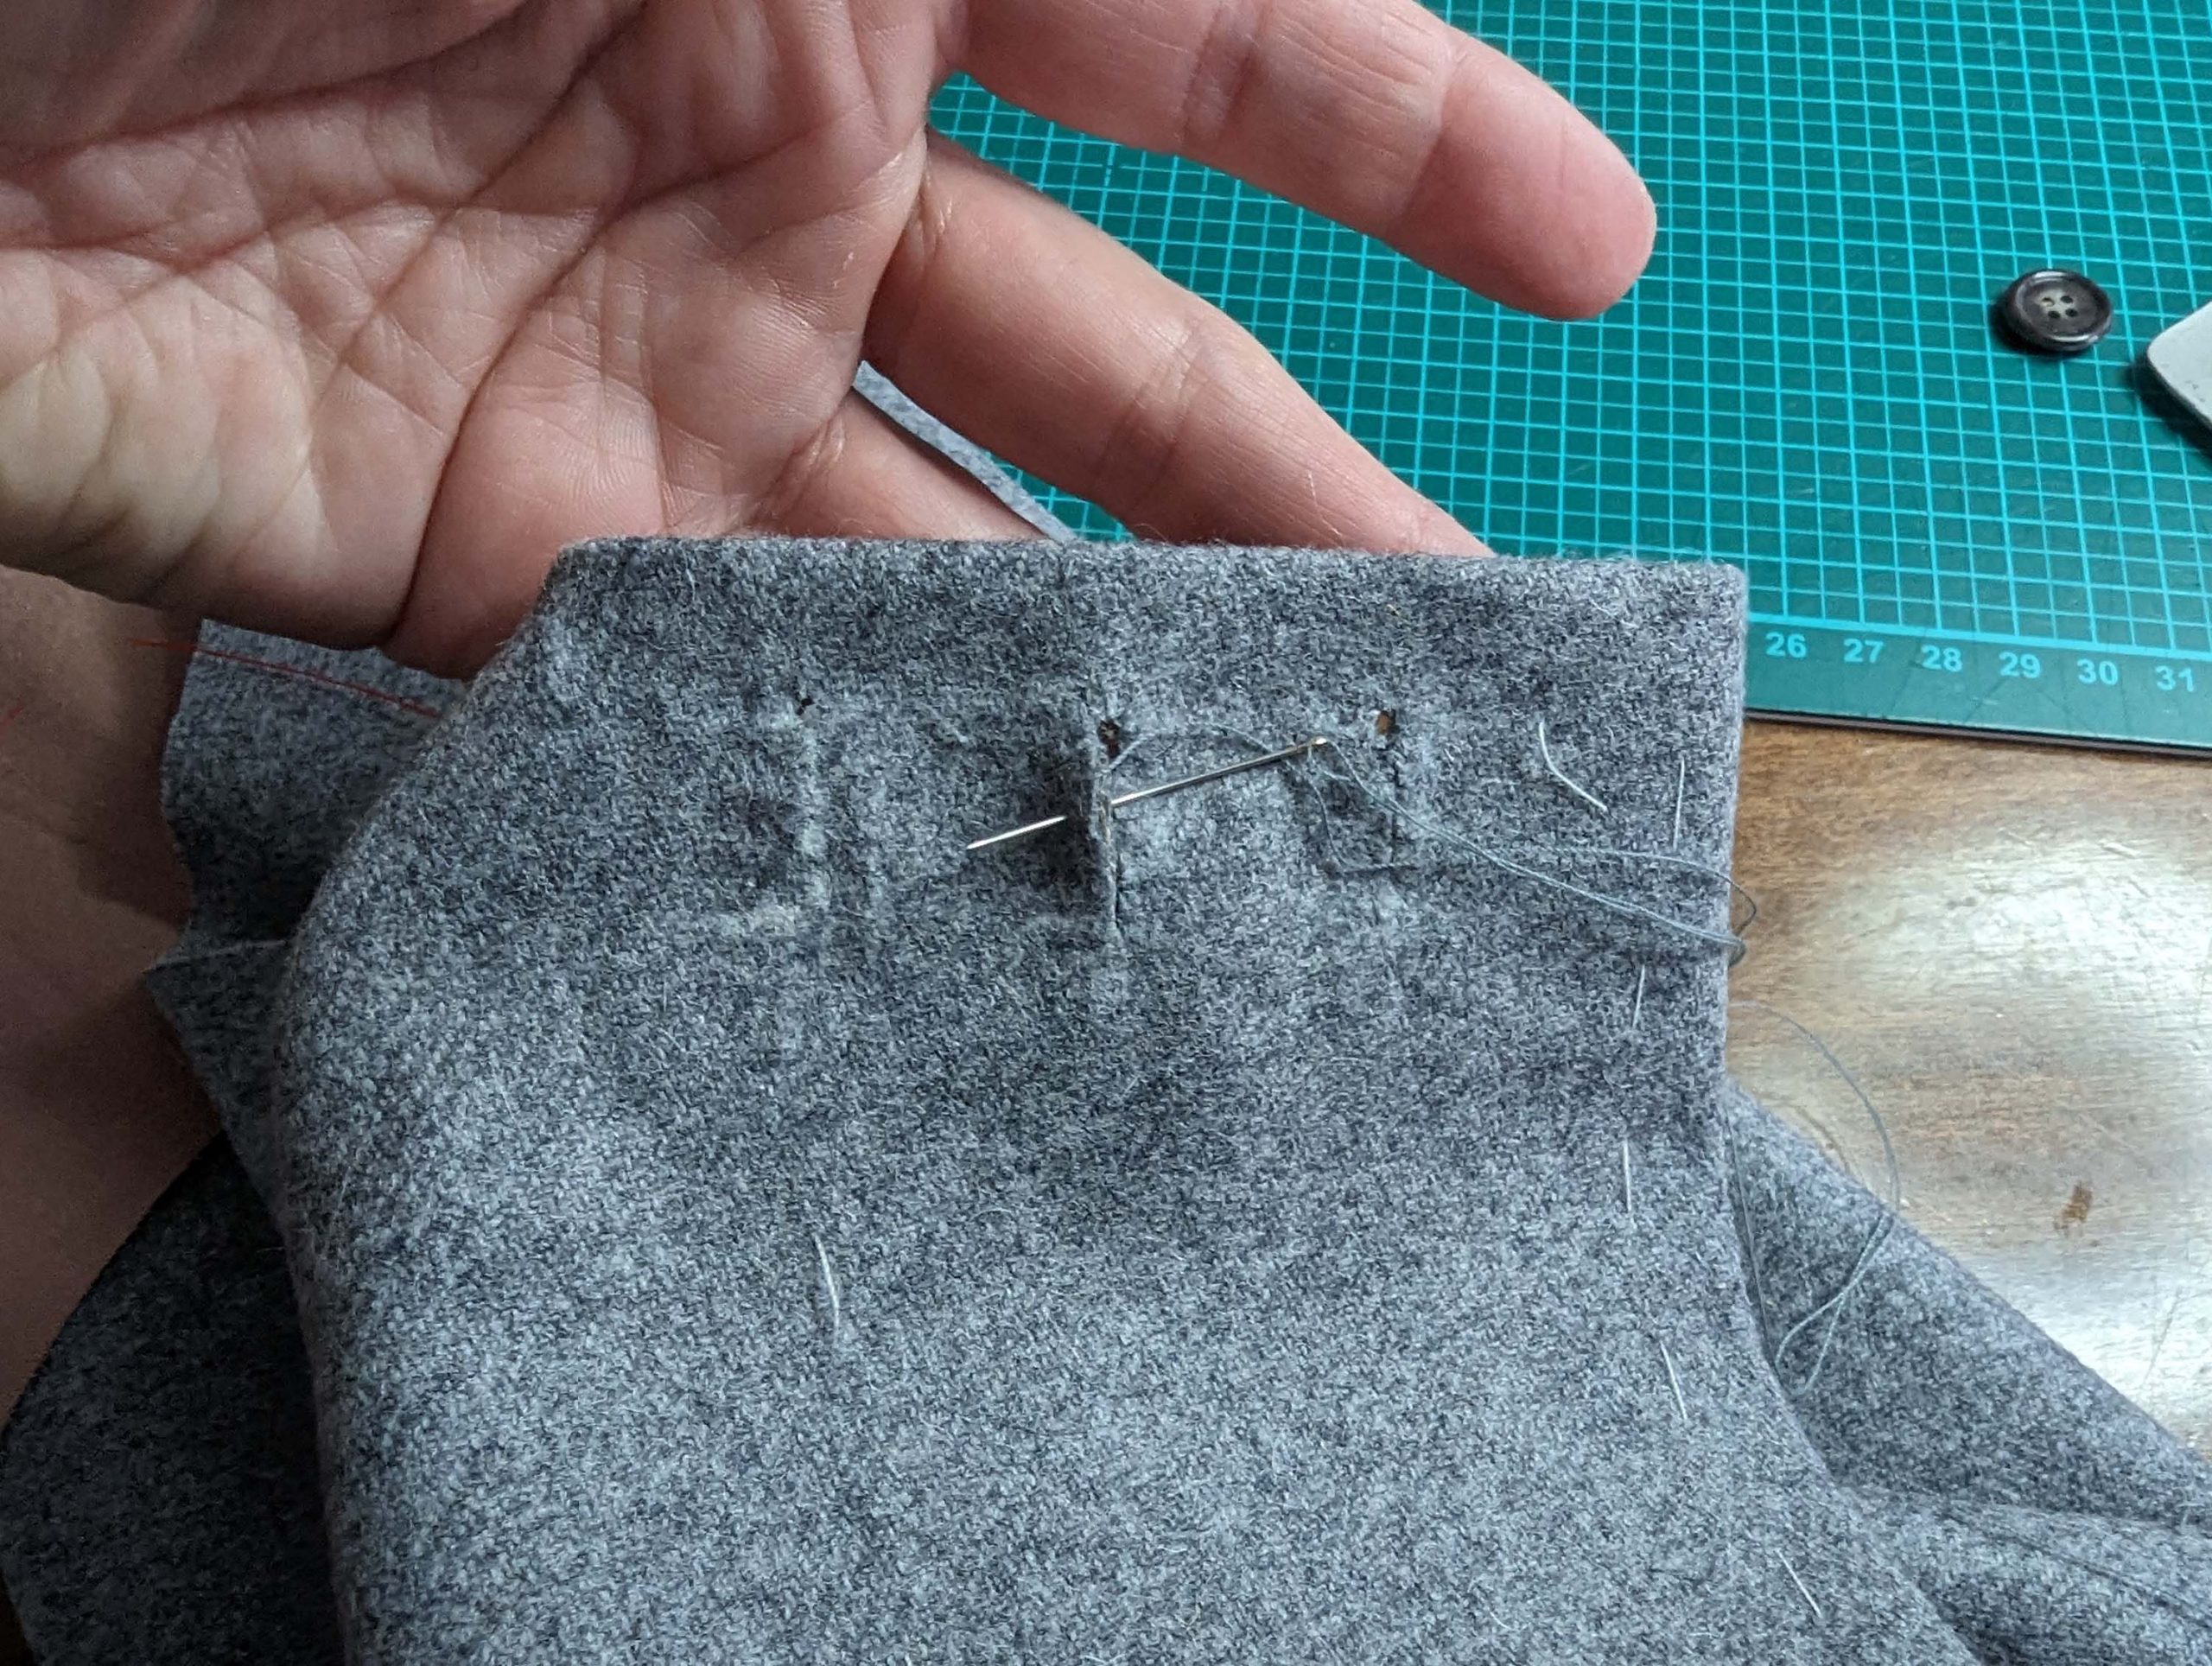
Turn in the hem allowance, stretch the edge, turn in the corner and catch stitch to the canvas, fell stitch along the short edges. Finally, press the hem, and sew the button-holes.
Sew the back sleeve seam, taking great care, that your vent edges are the same length. Notch the seam allowance of the under sleeve at mark (6) and press open the seam allowances of the back sleeve seam. Sew the top edge of the placket to the vent facing, and leave the sleeve turned the wrong side out.
Cut the sleeve lining as described on page 3 of the instructions. Sew the sleeve lining, leaving open the vent (stop at mark (6)). Turn in a seam allowance of 5/8” (1,5cm) along the hem. Turn the lining with the right side out. Pull over the sleeve from fashion fabric, wrong sides together, and match up all seams. Turn in seam allowances to fit the vent, and notch the lining at the corner. Fell stitch in place. Turn the sleeve with the right side out and pull down the lining a bit out of the way while inserting the sleeve.
Add some extra width at the sleeve lining
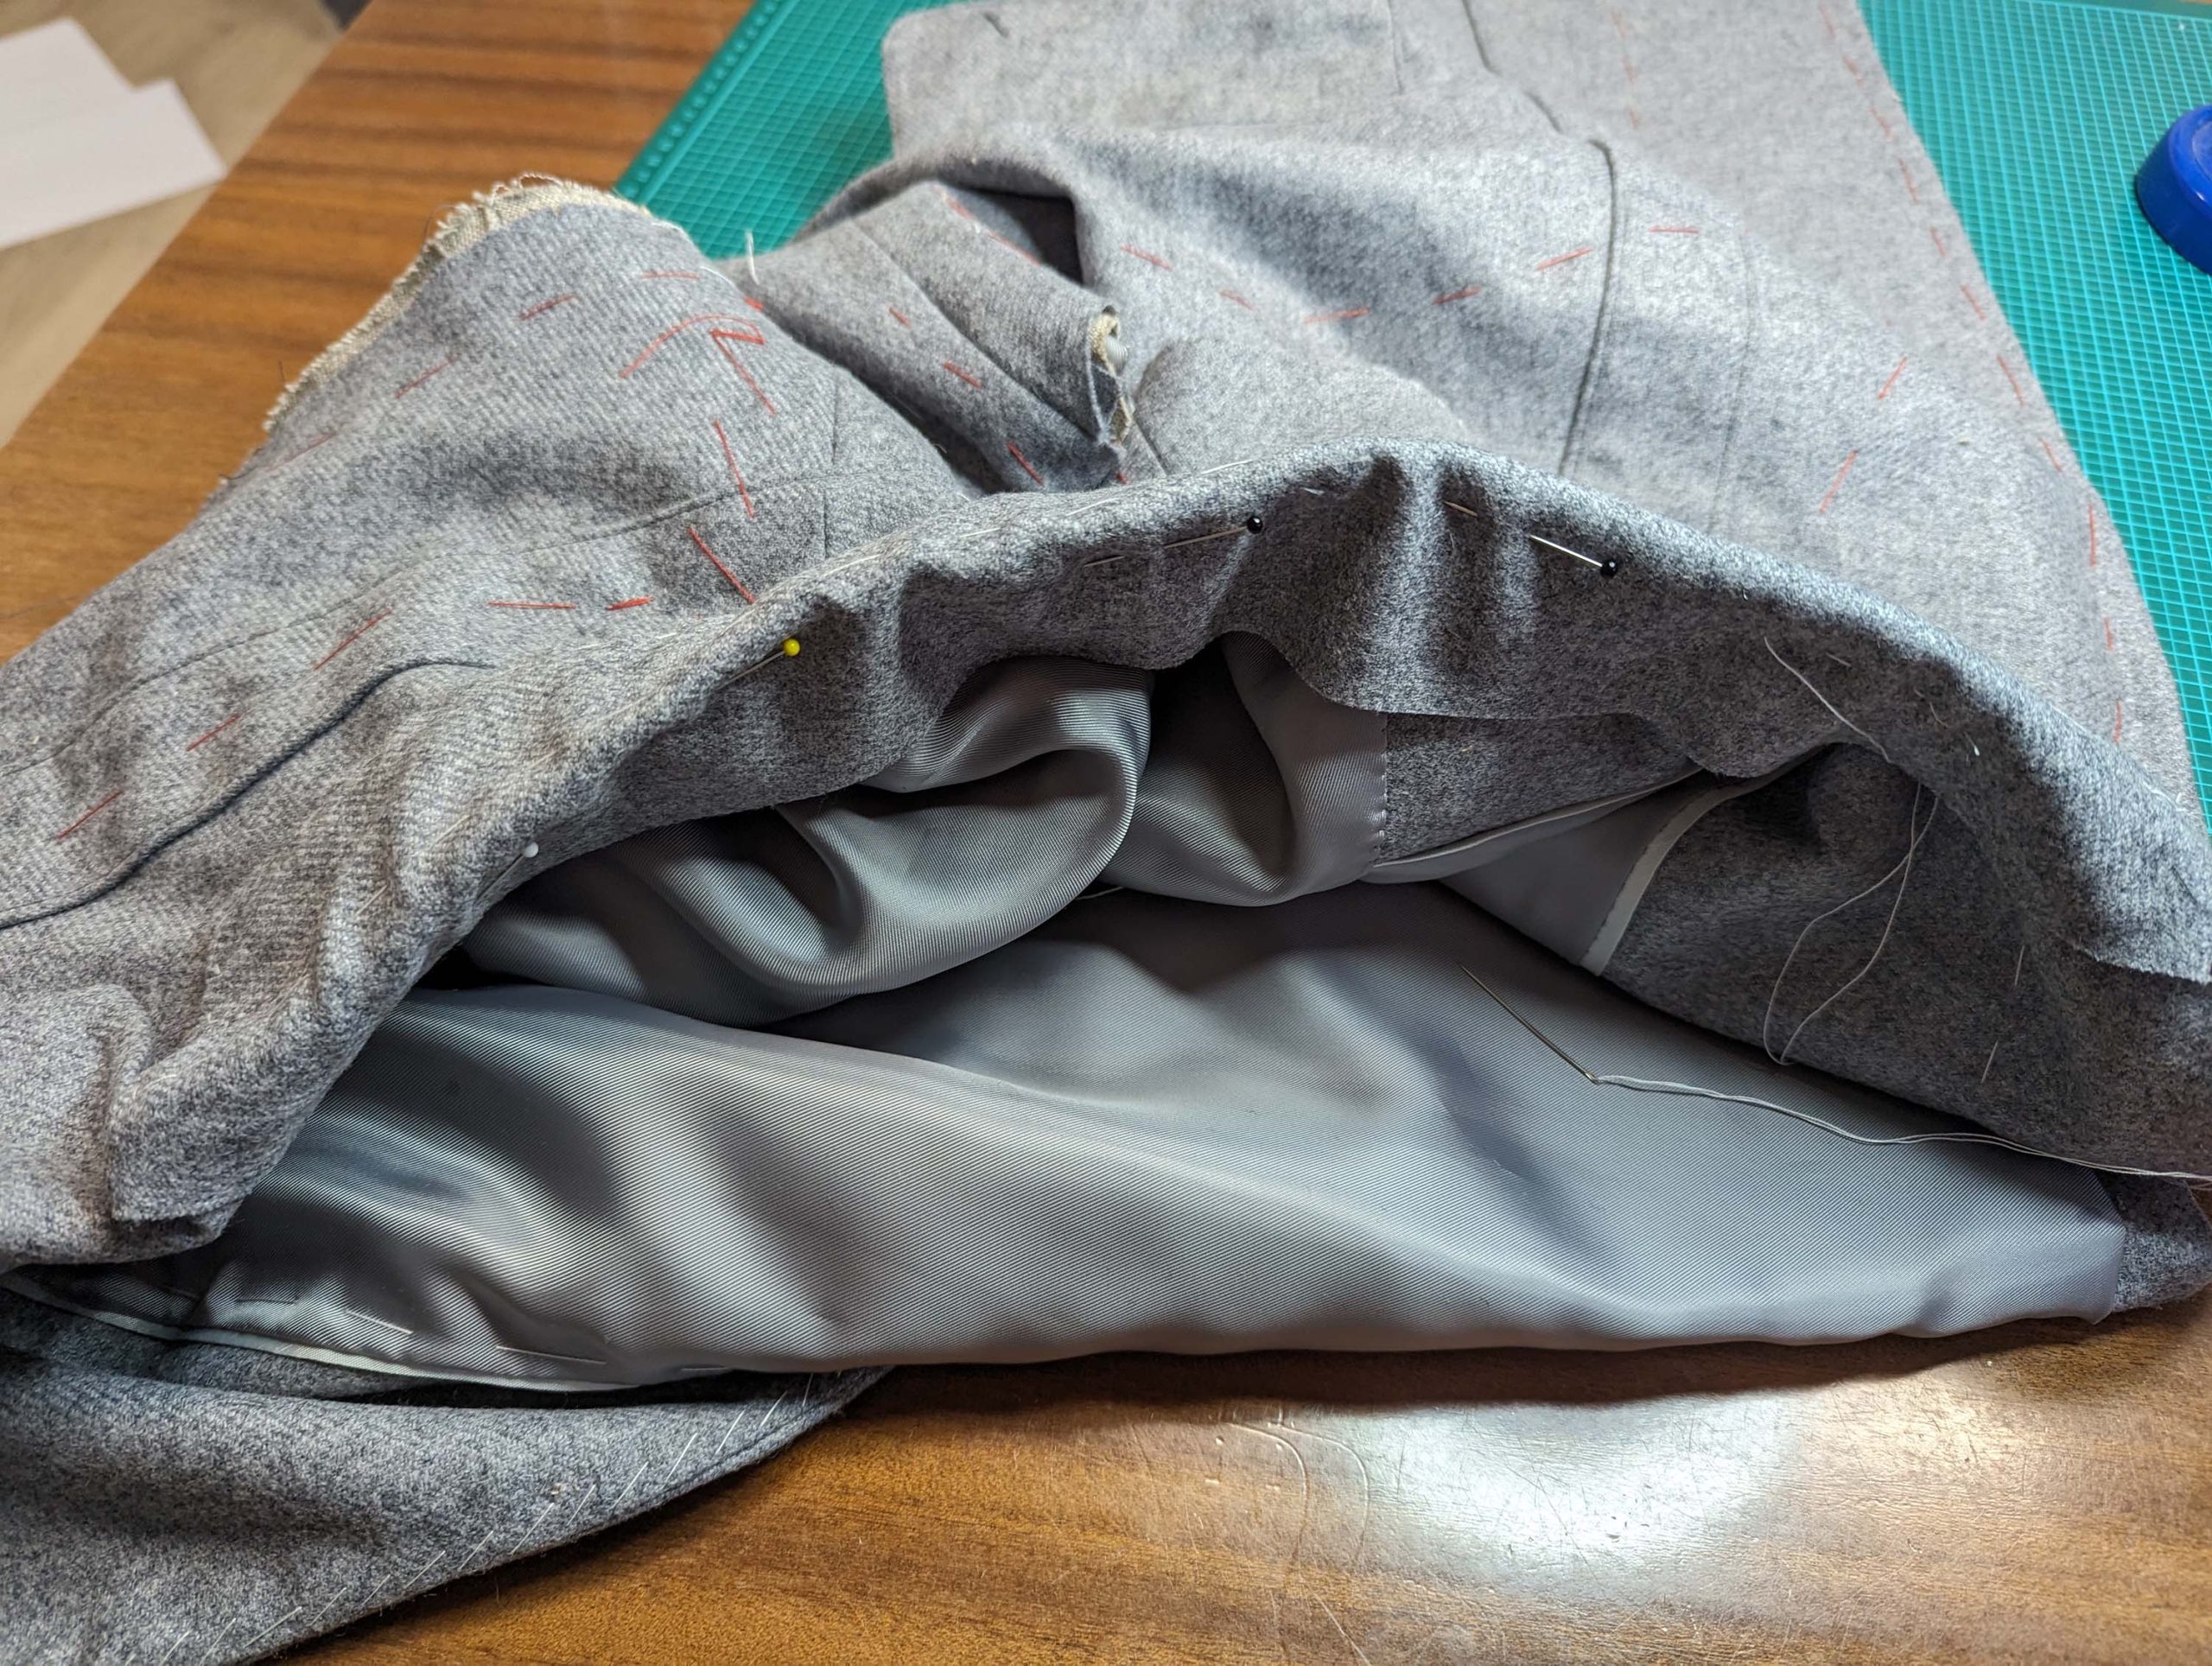
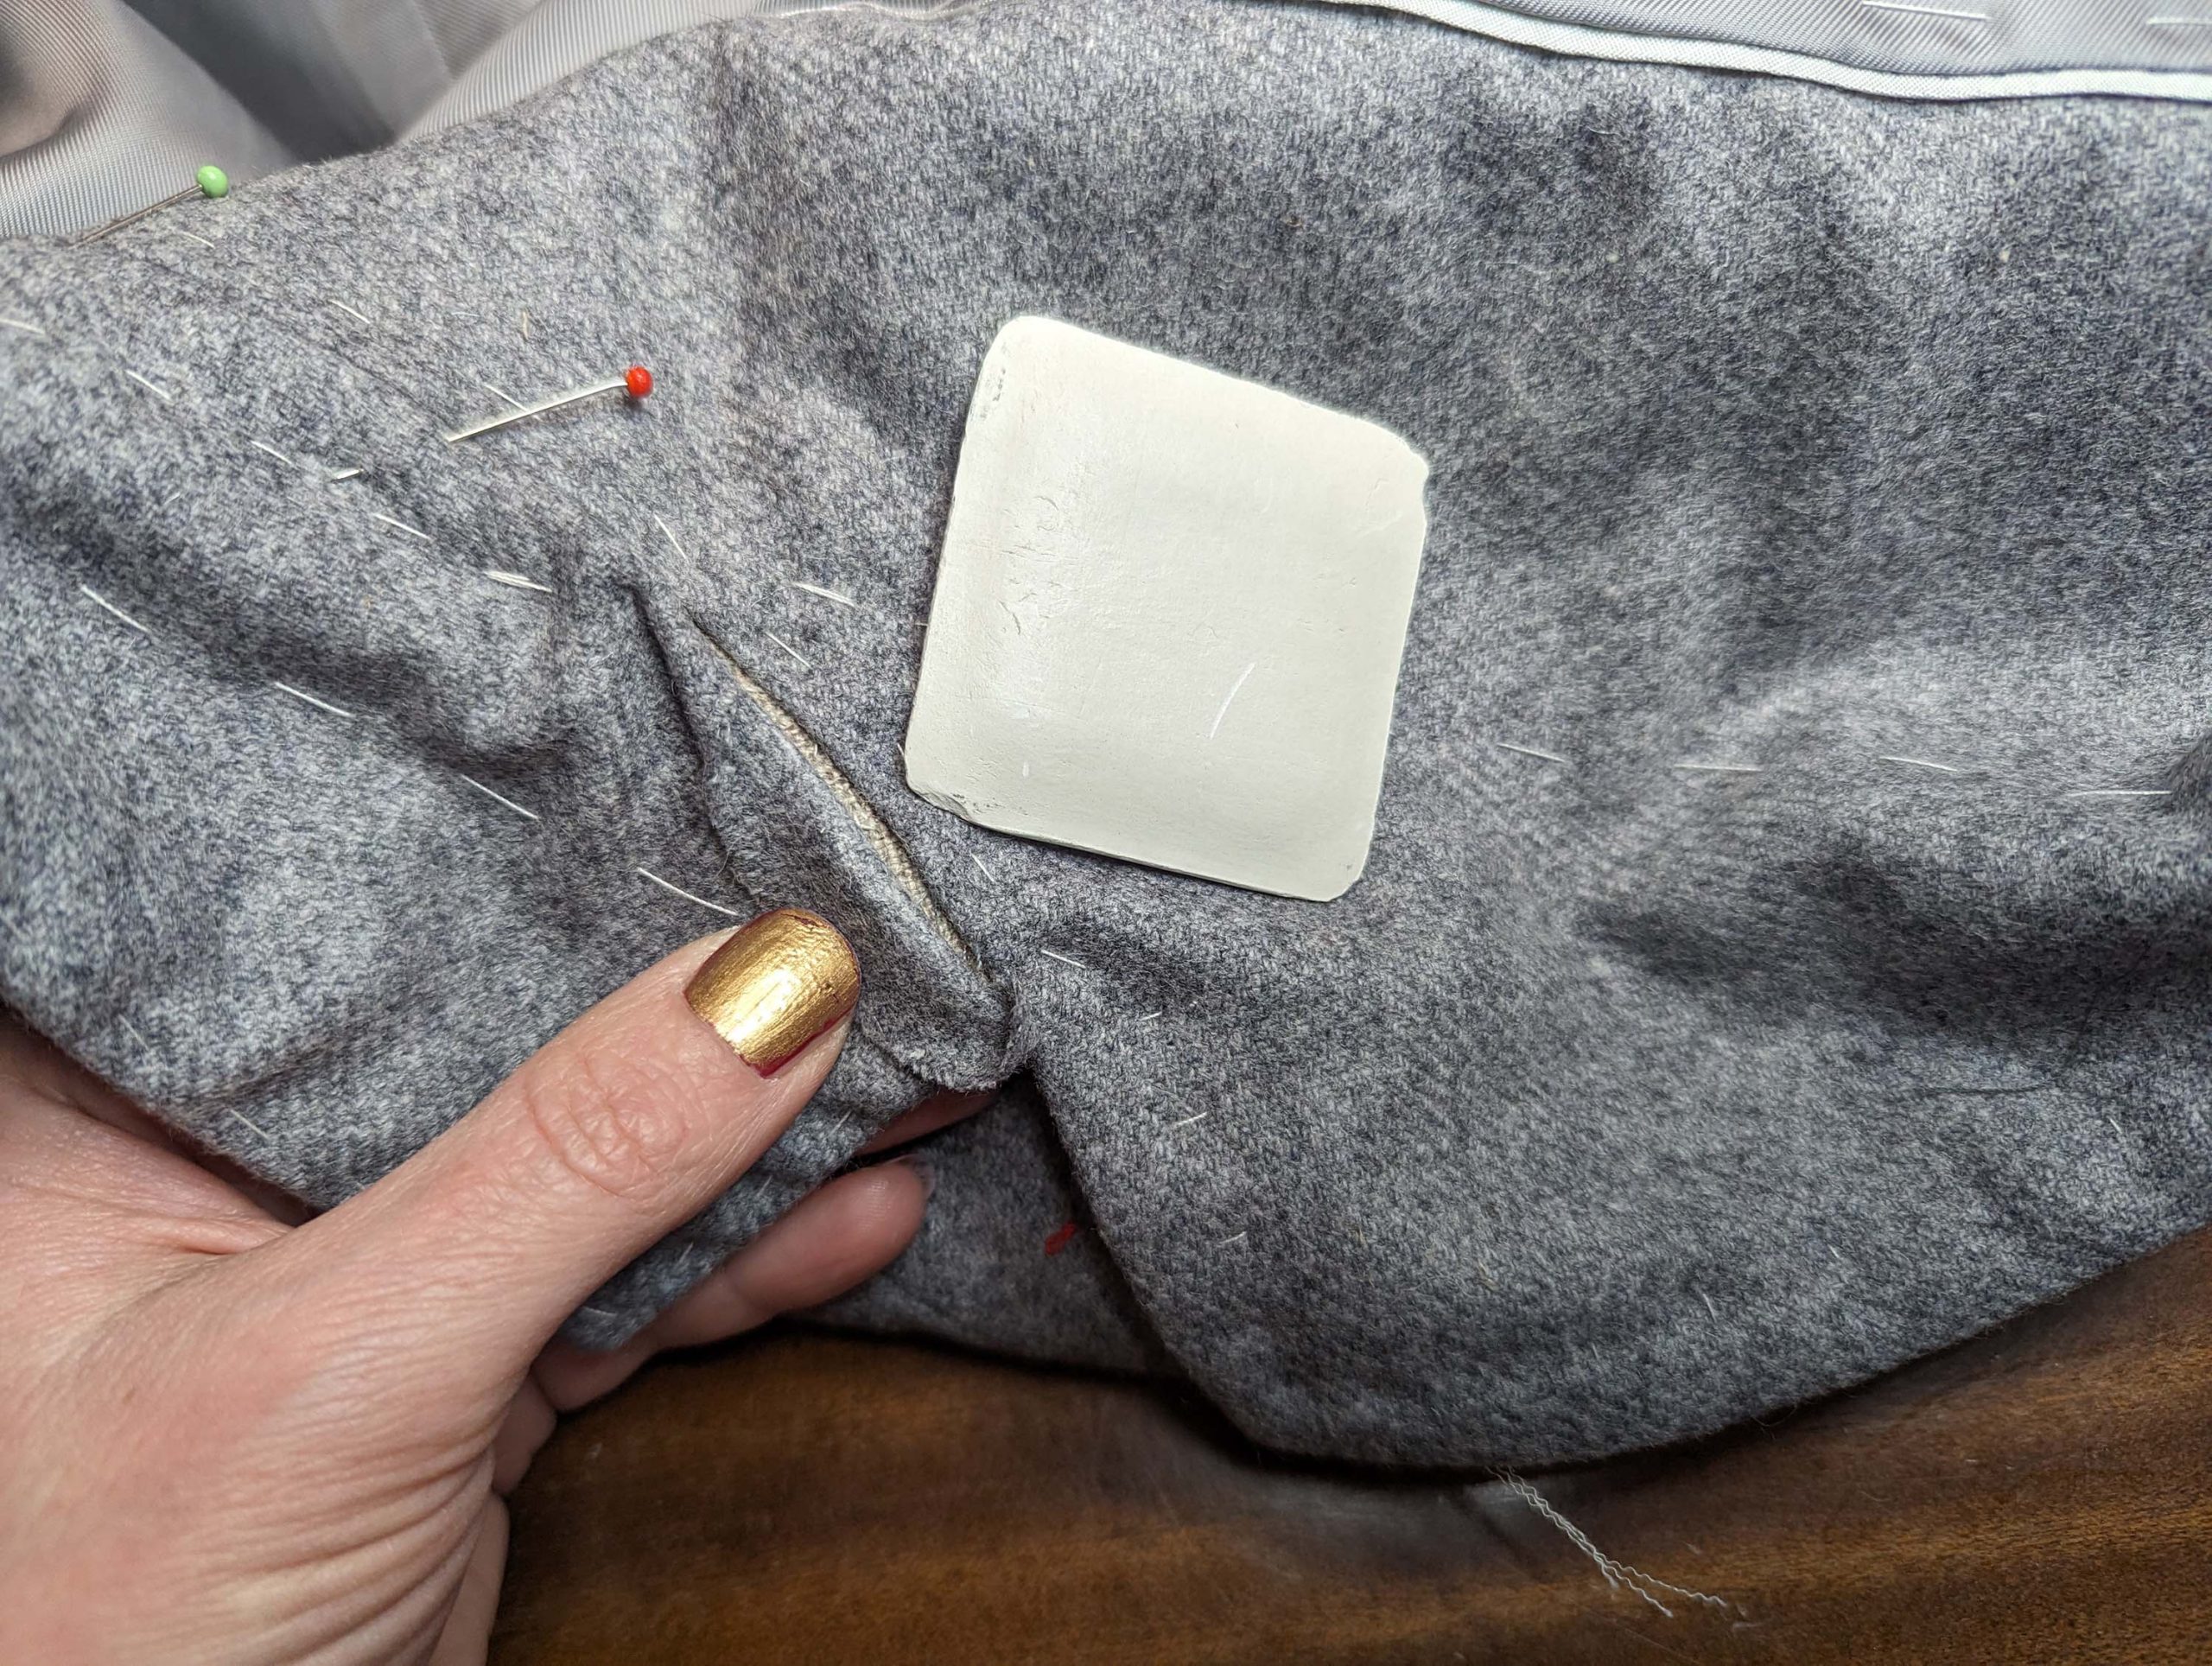
Before inserting the sleeve, check the right position of the shoulder pad and baste in place along the back edge.
Pin the sleeve into the armhole, right sides together, matching all marks. Start at the front sleeve seam, follow the armpit to the back sleeve seam, and continue along the sleeve head. Pull the threads to ease in the excess fabric. First baste, then sew (I decided to stitch with the sewing machine – worked well) the sleeve to the fashion fabric only, folding the canvas and the shoulder pad to the side.
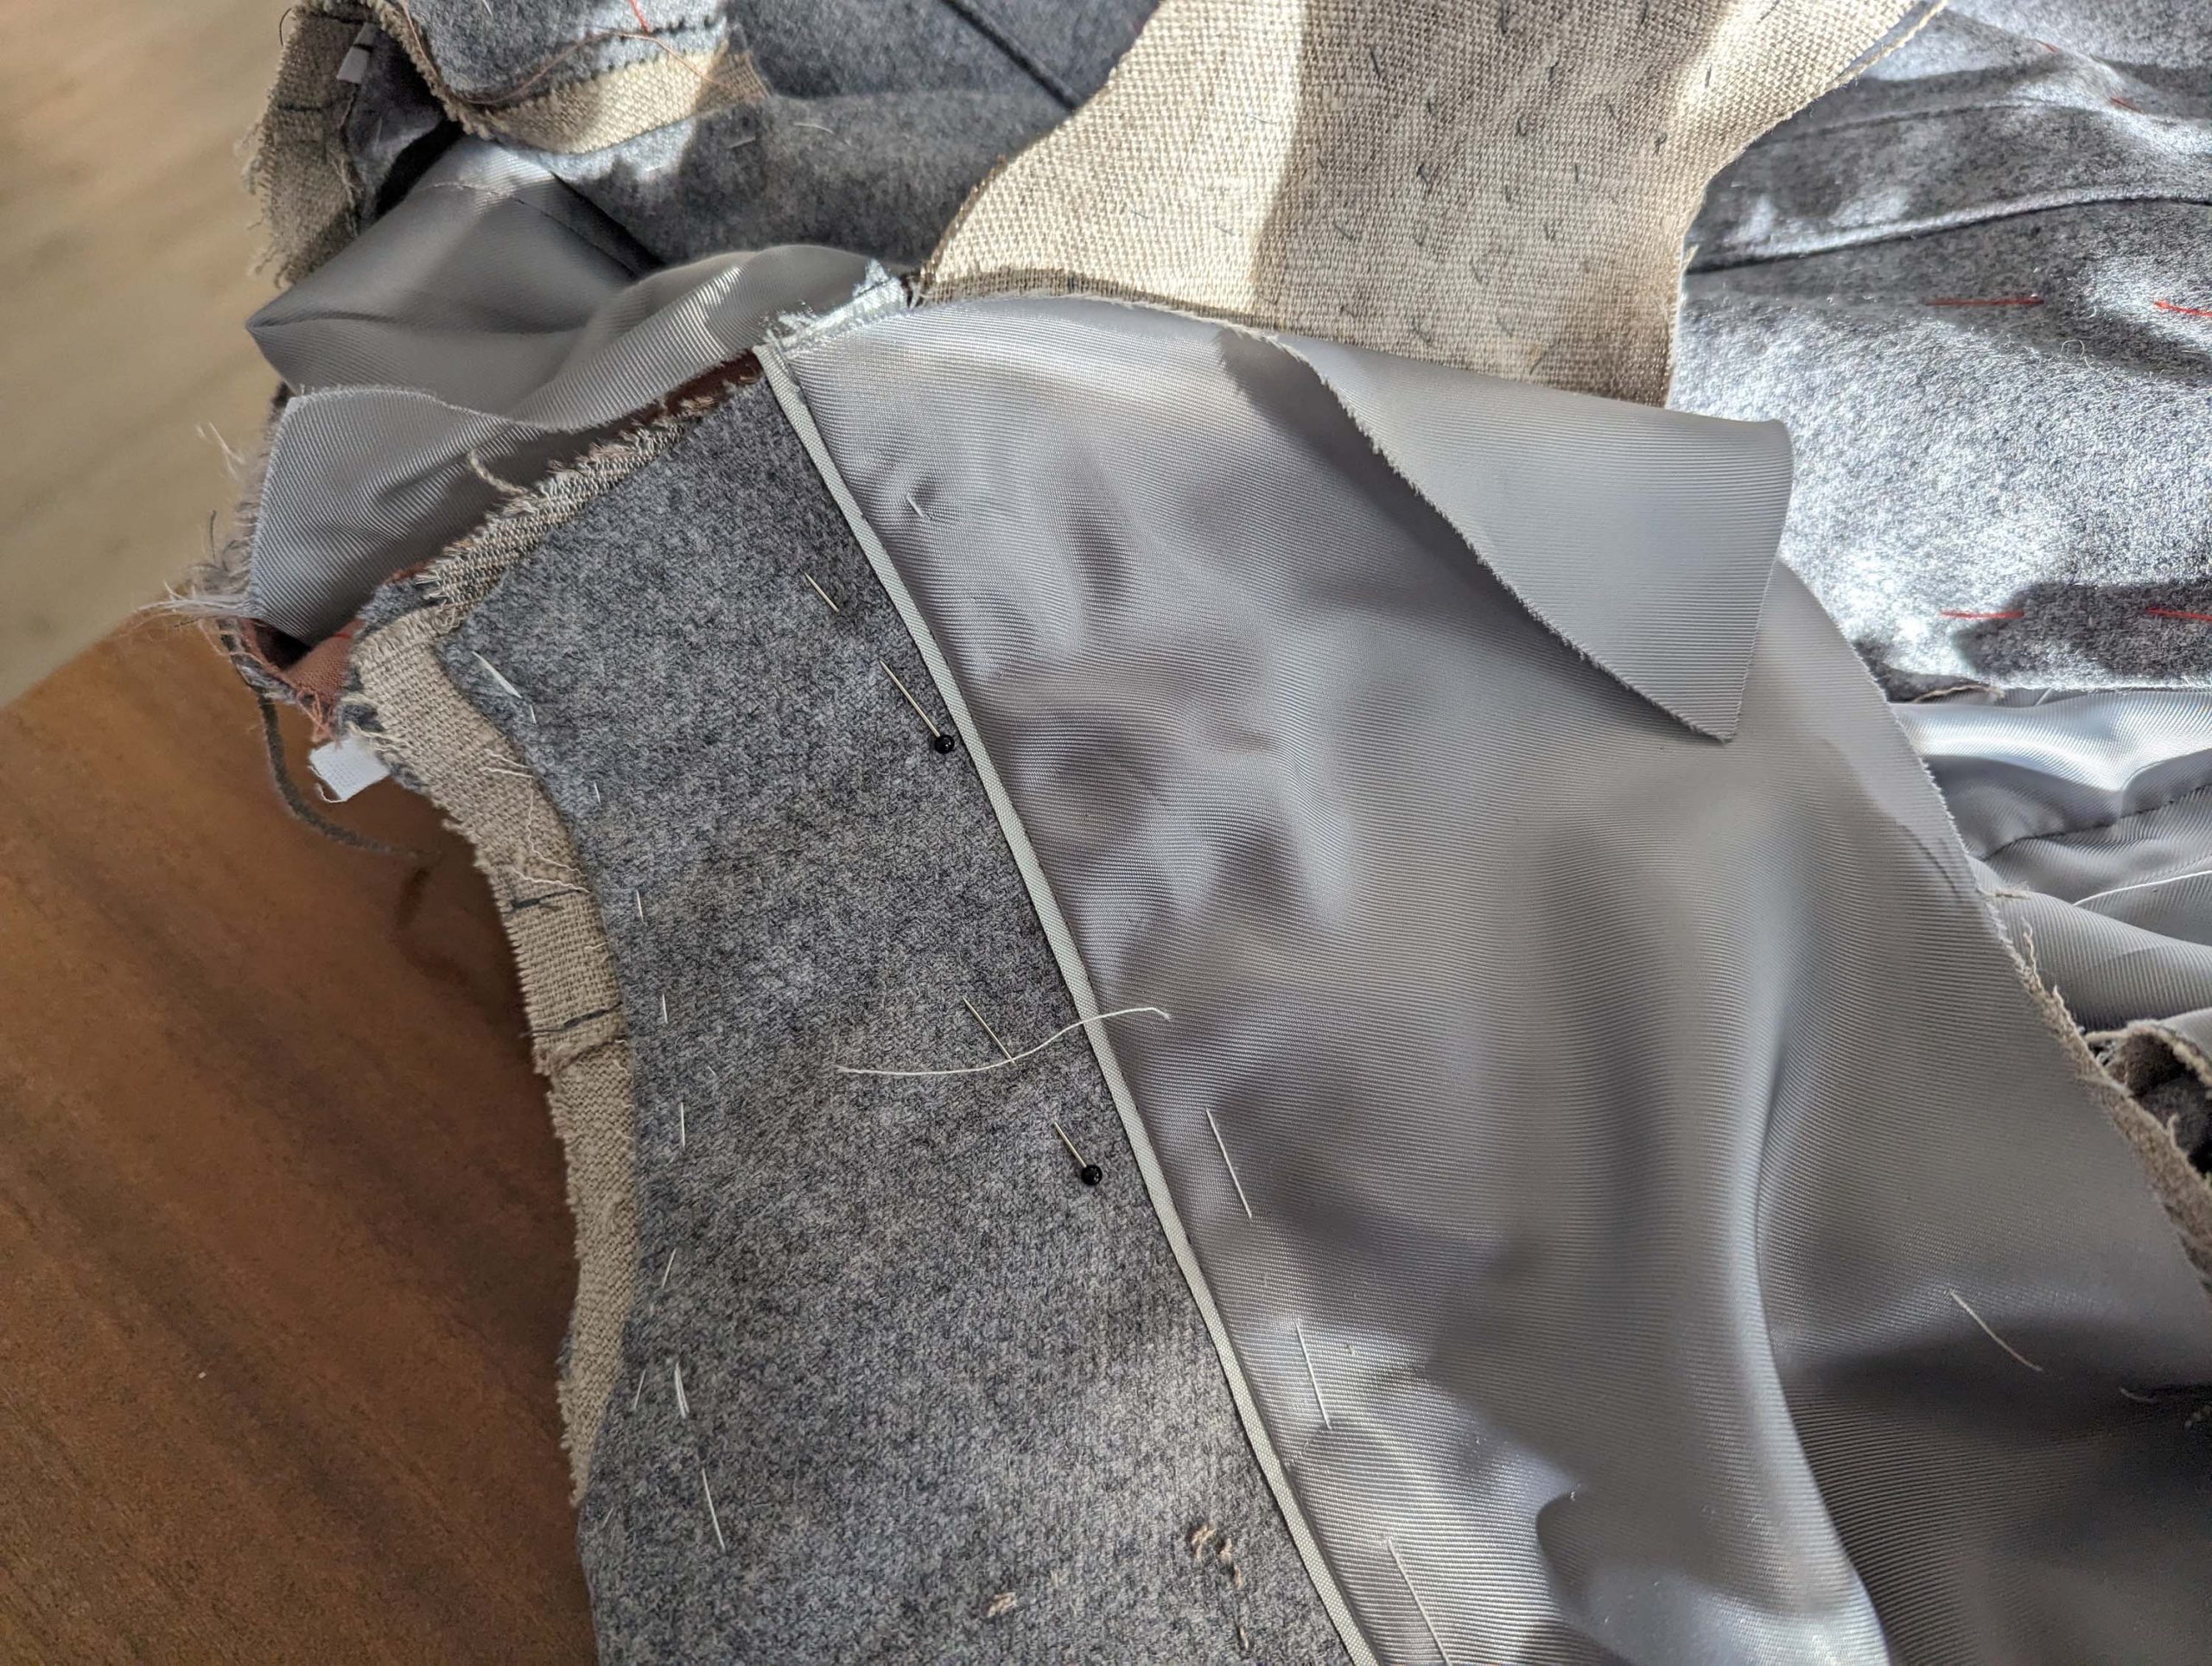
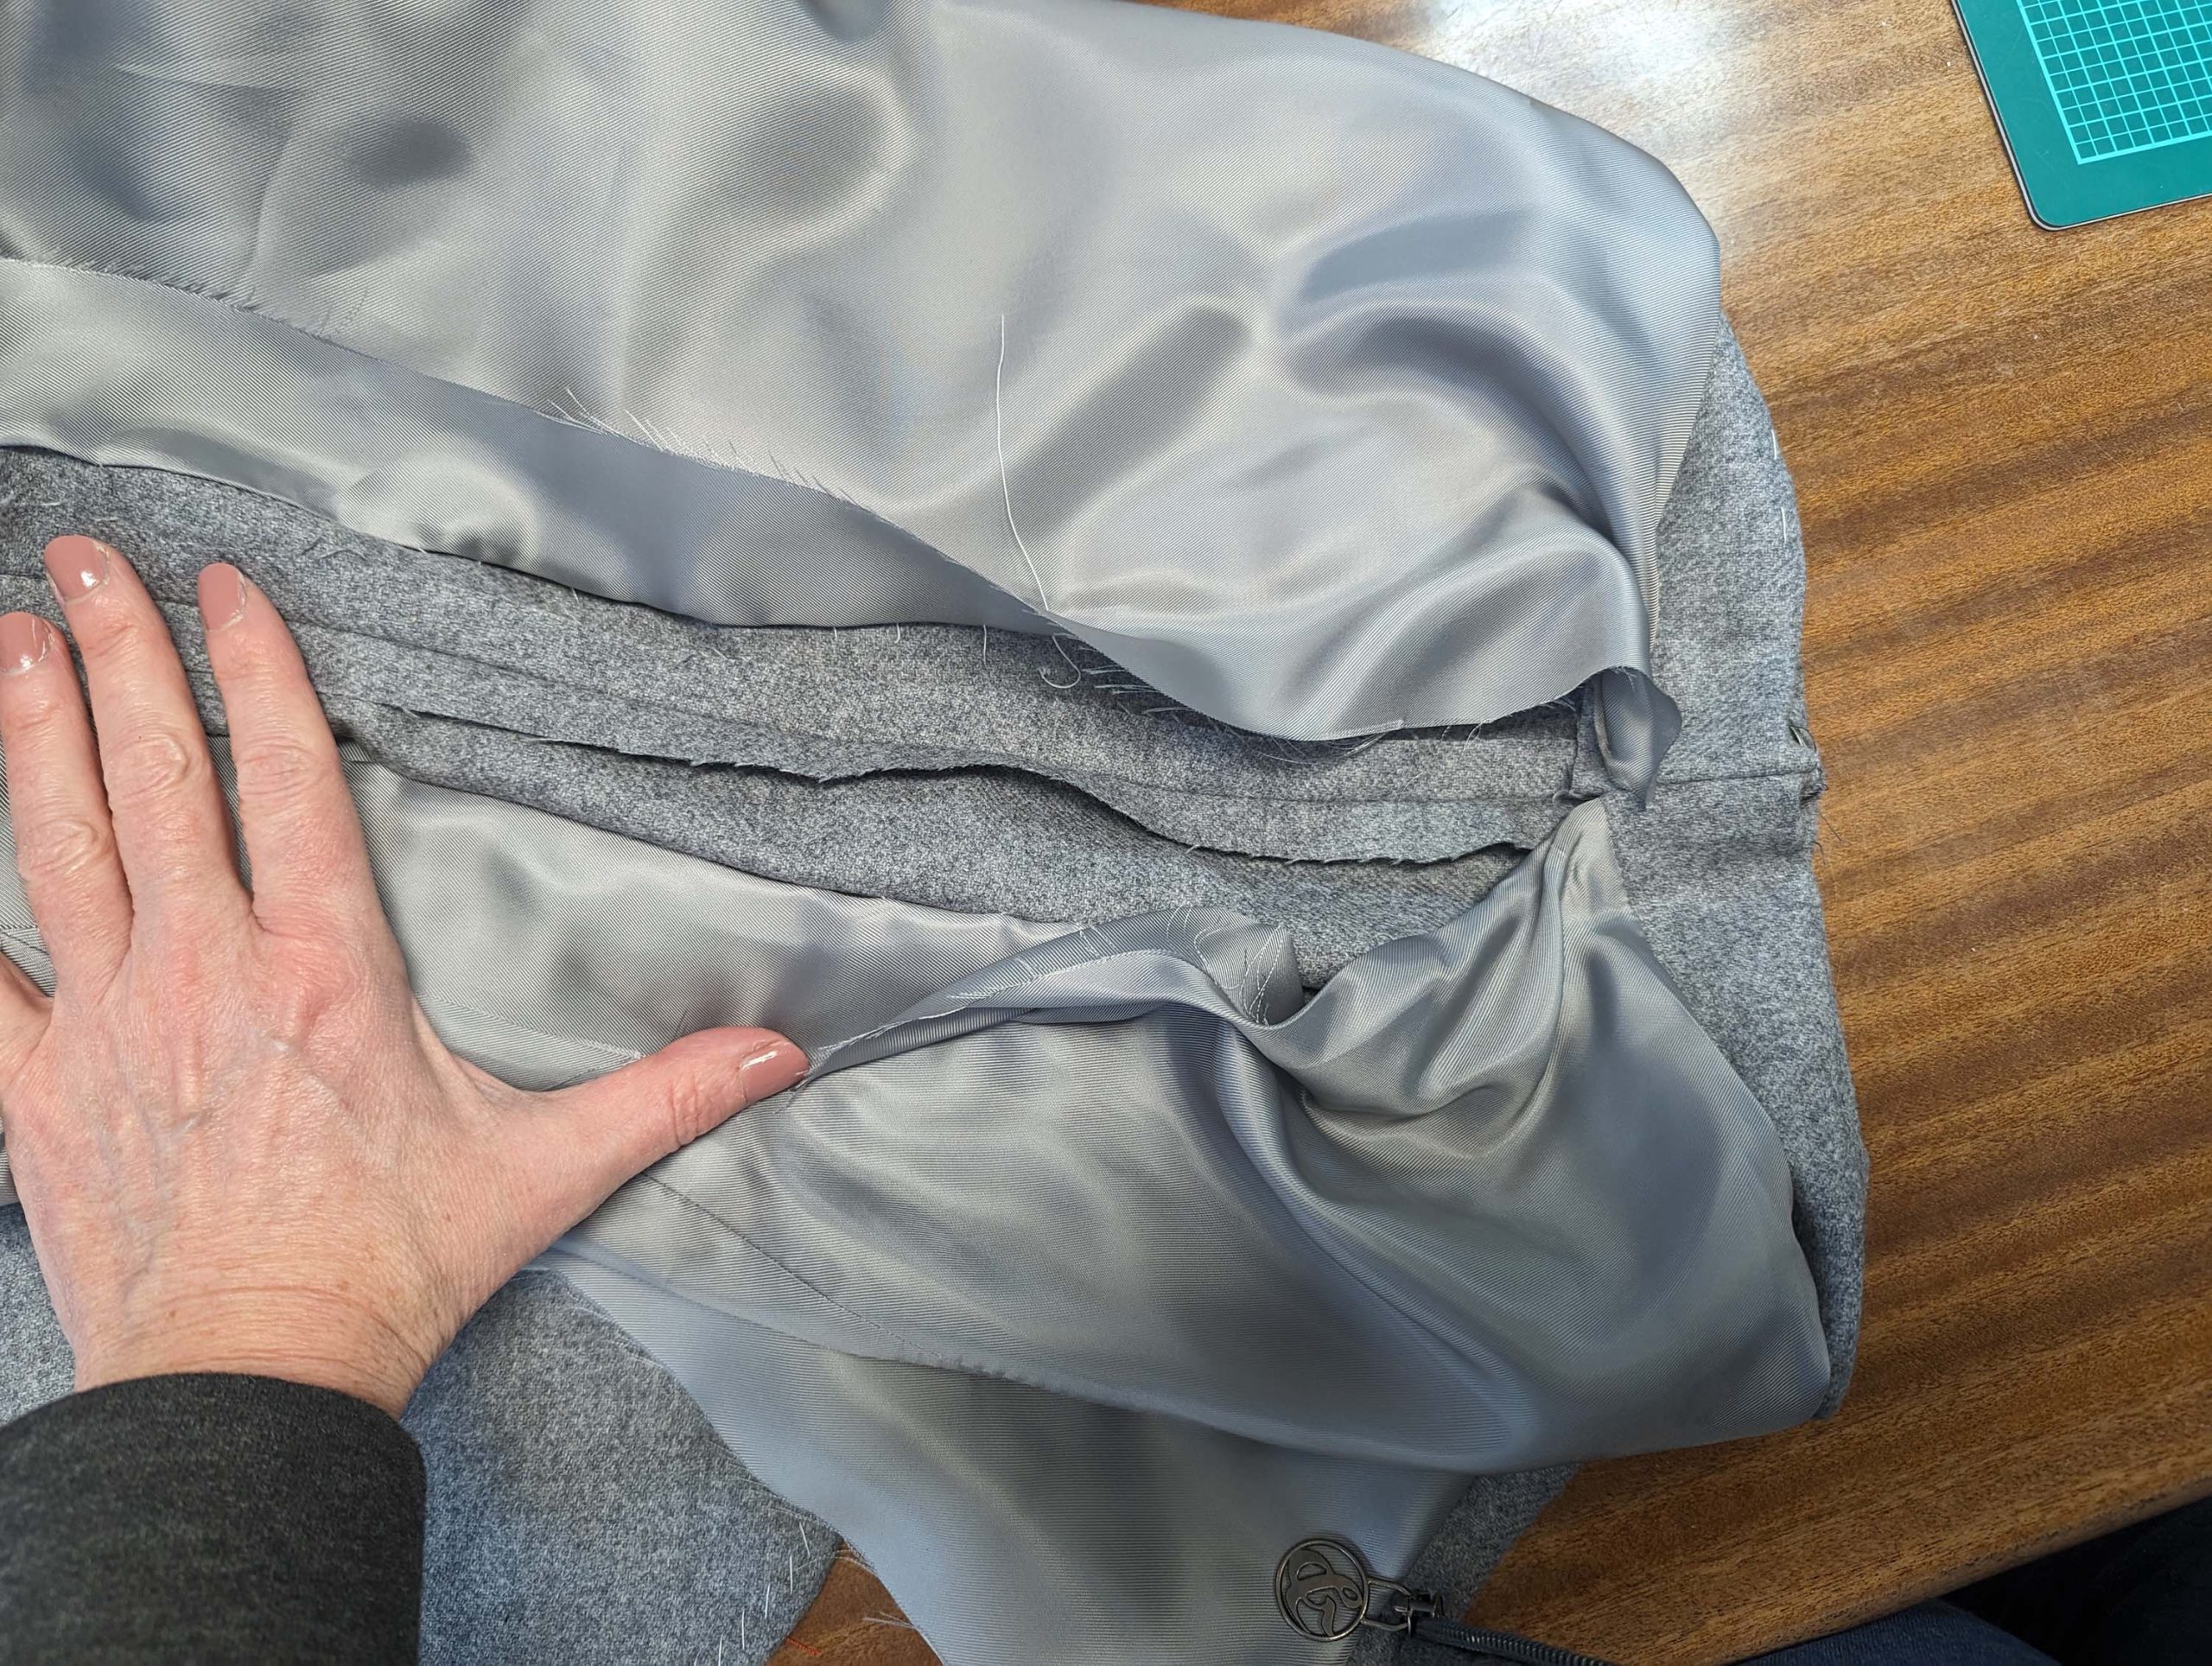
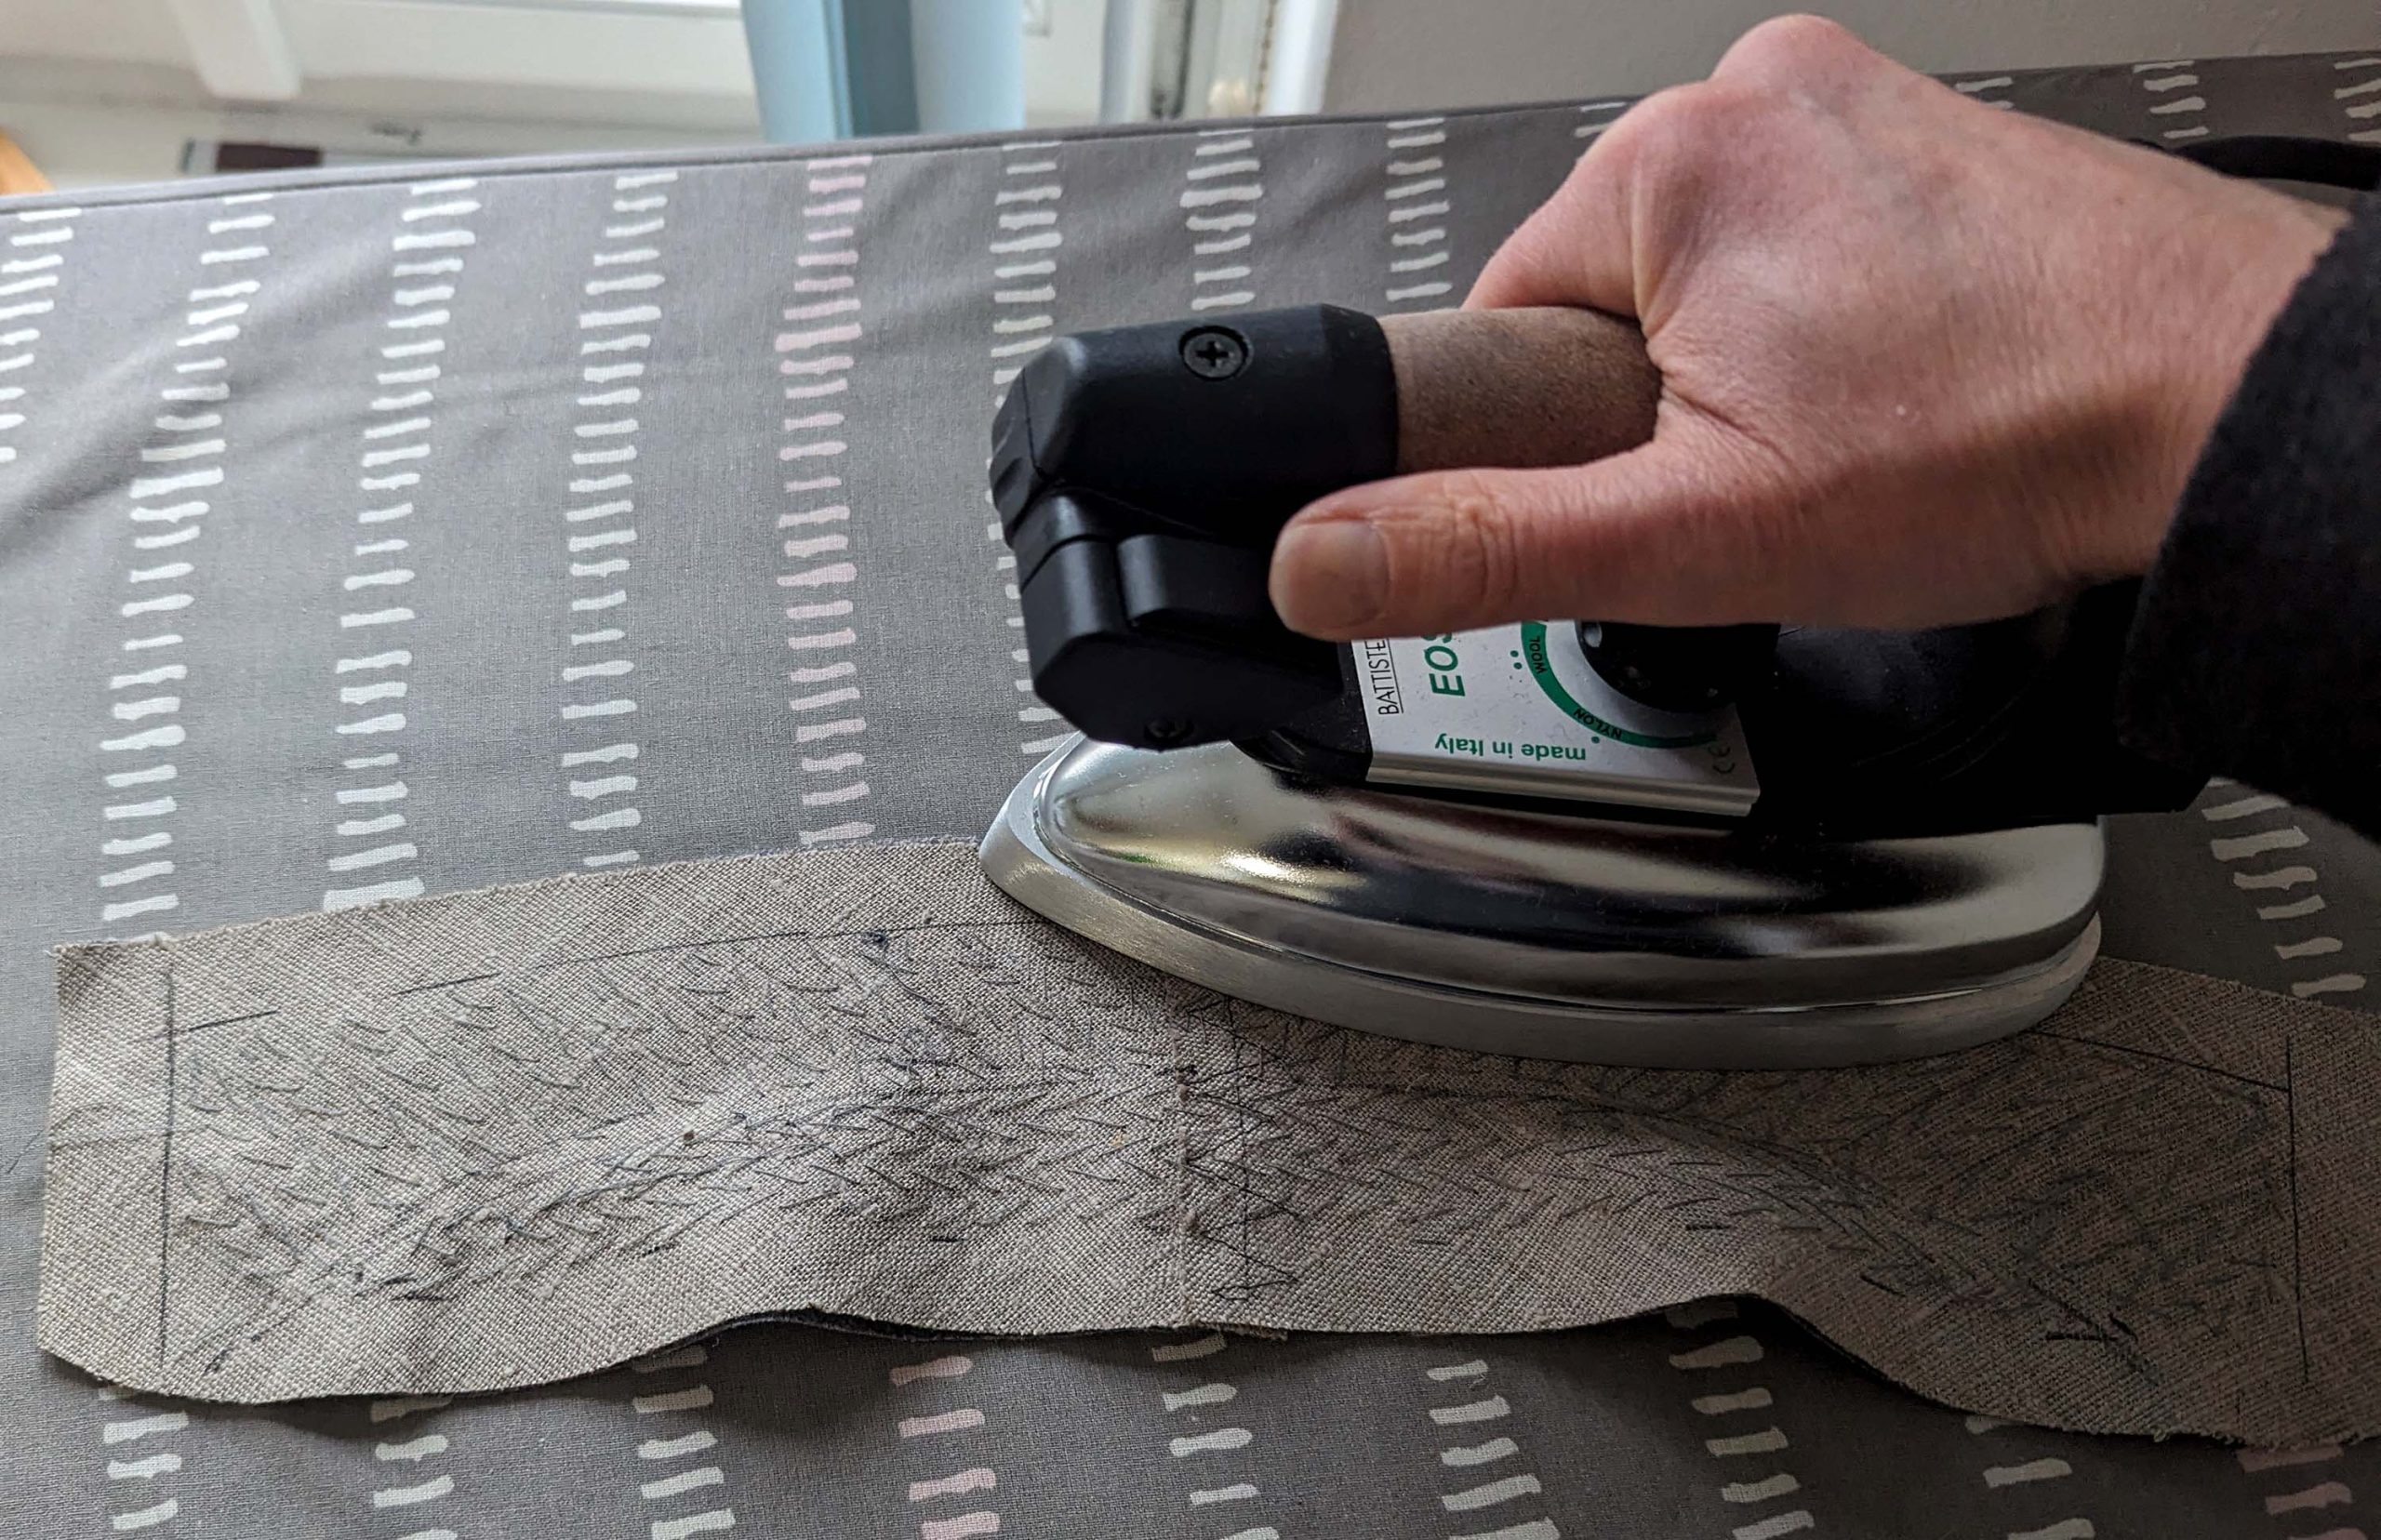
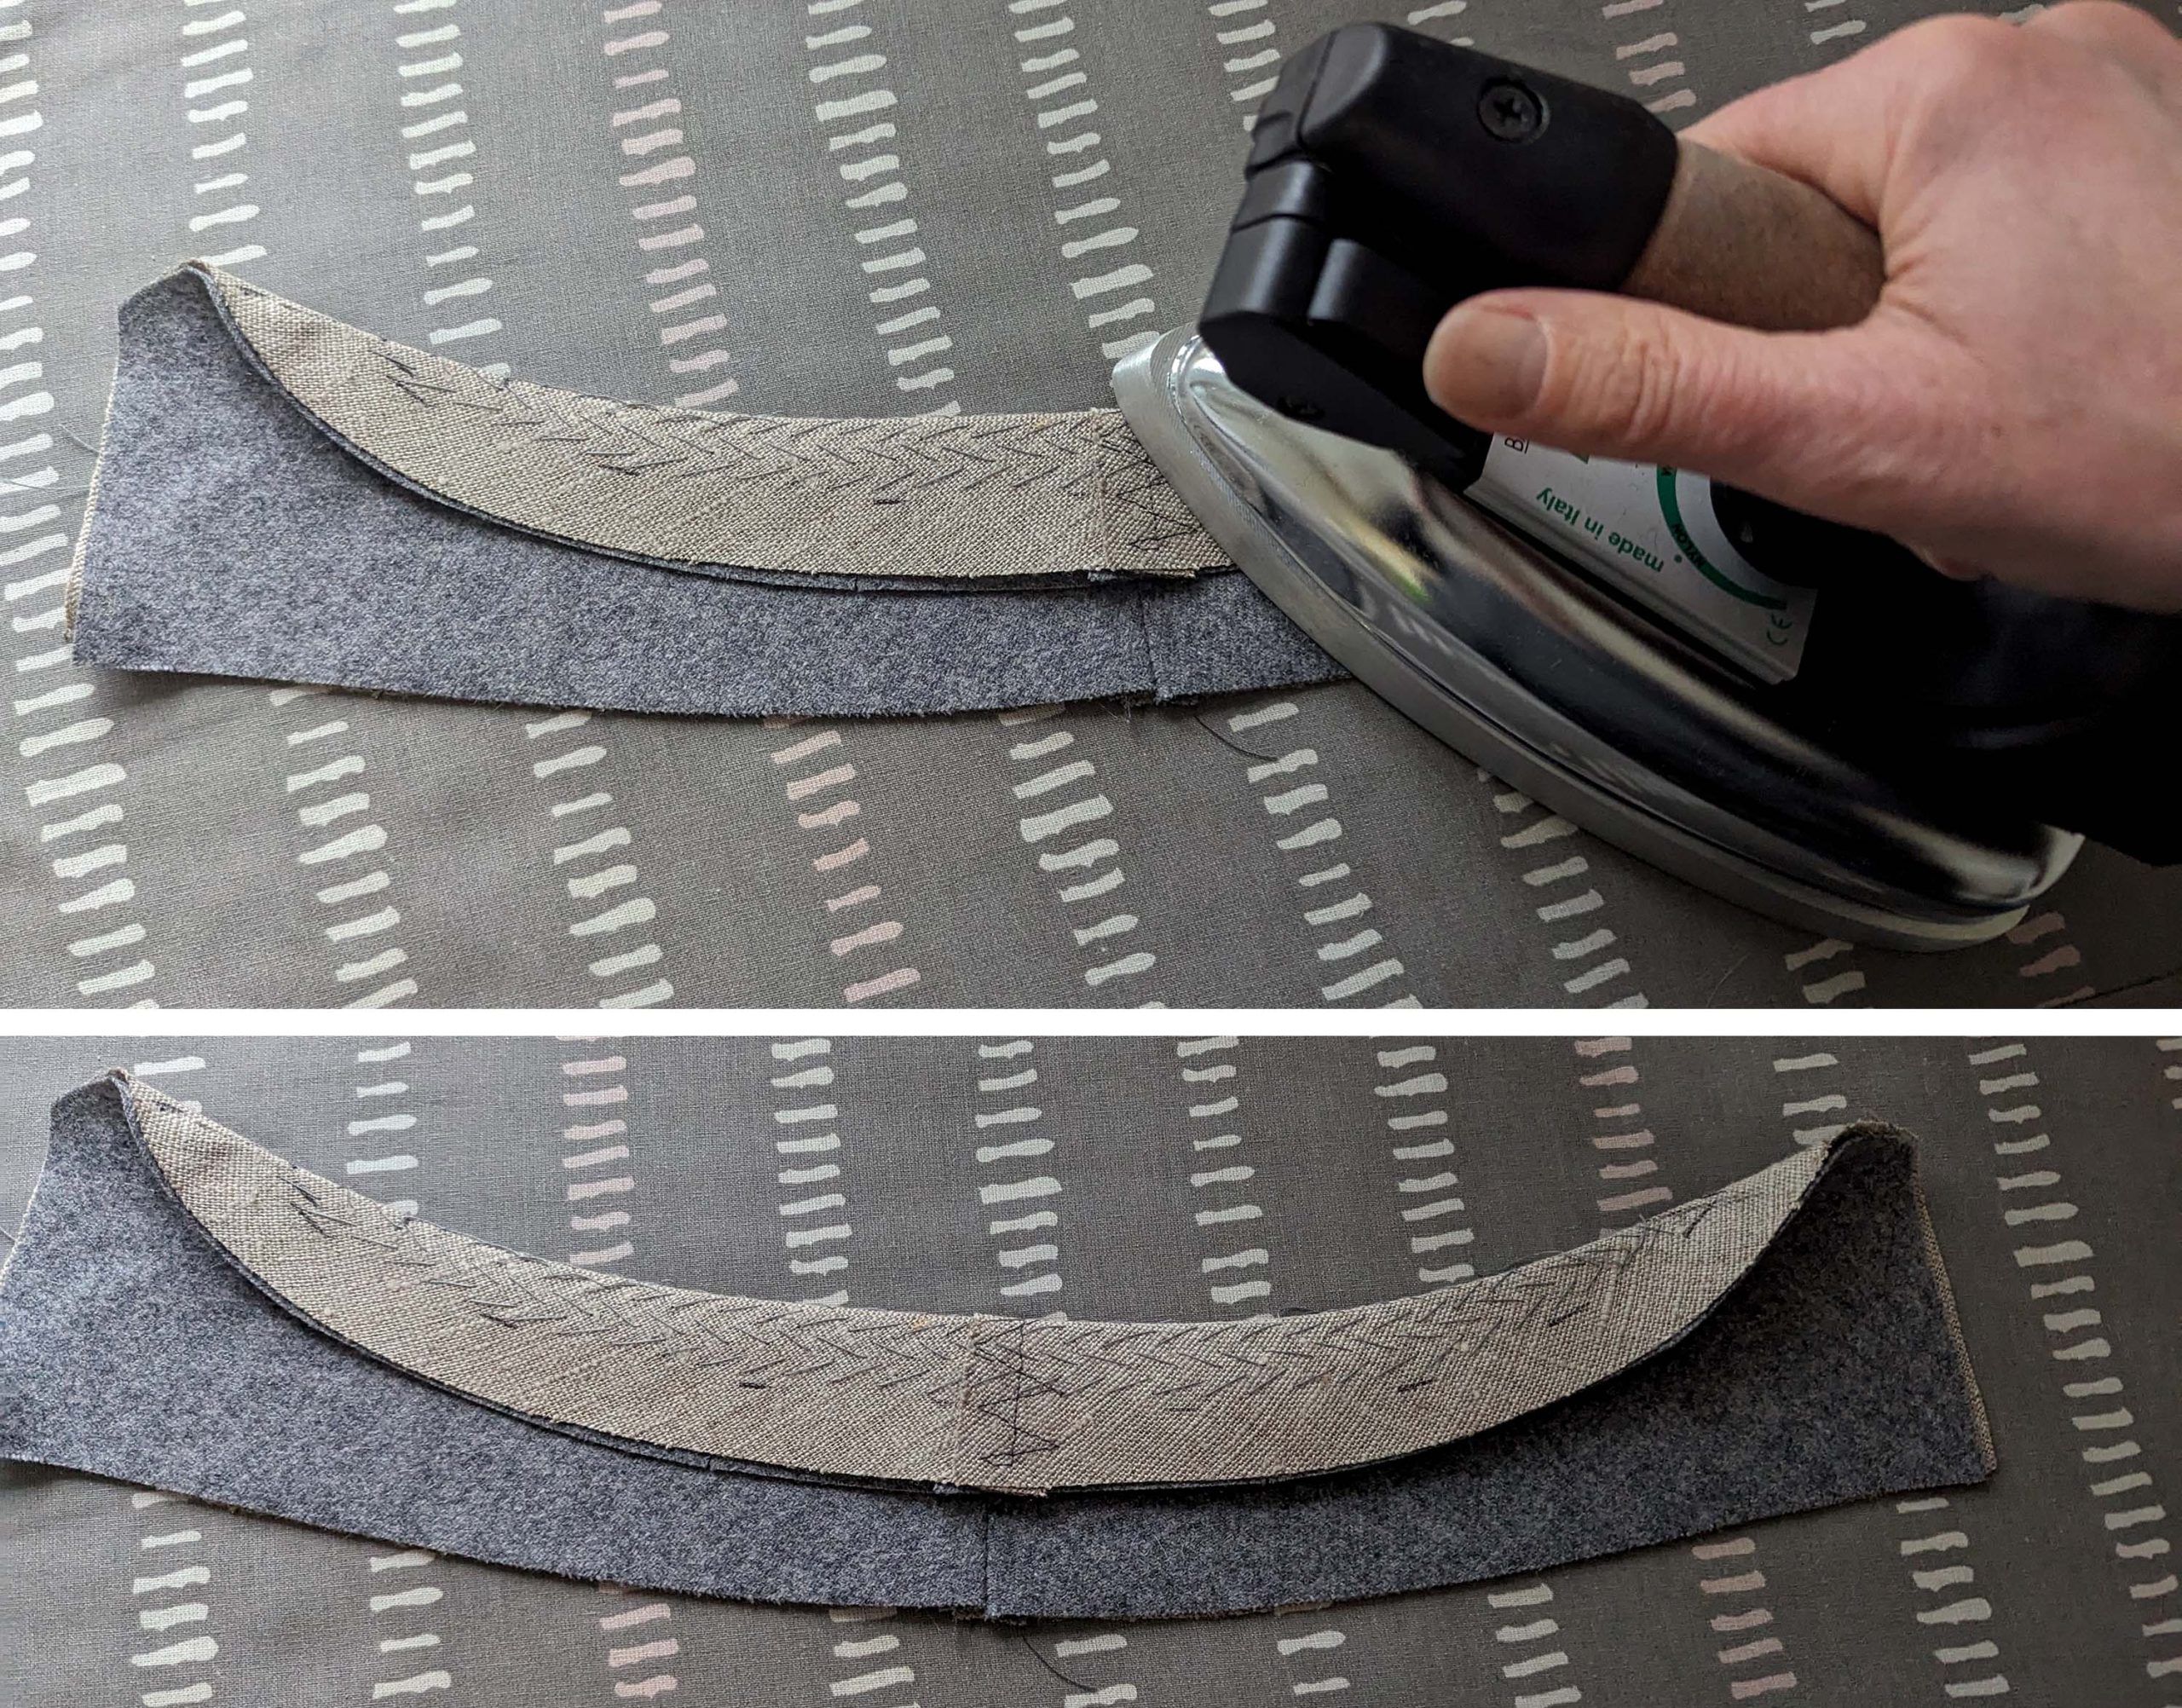
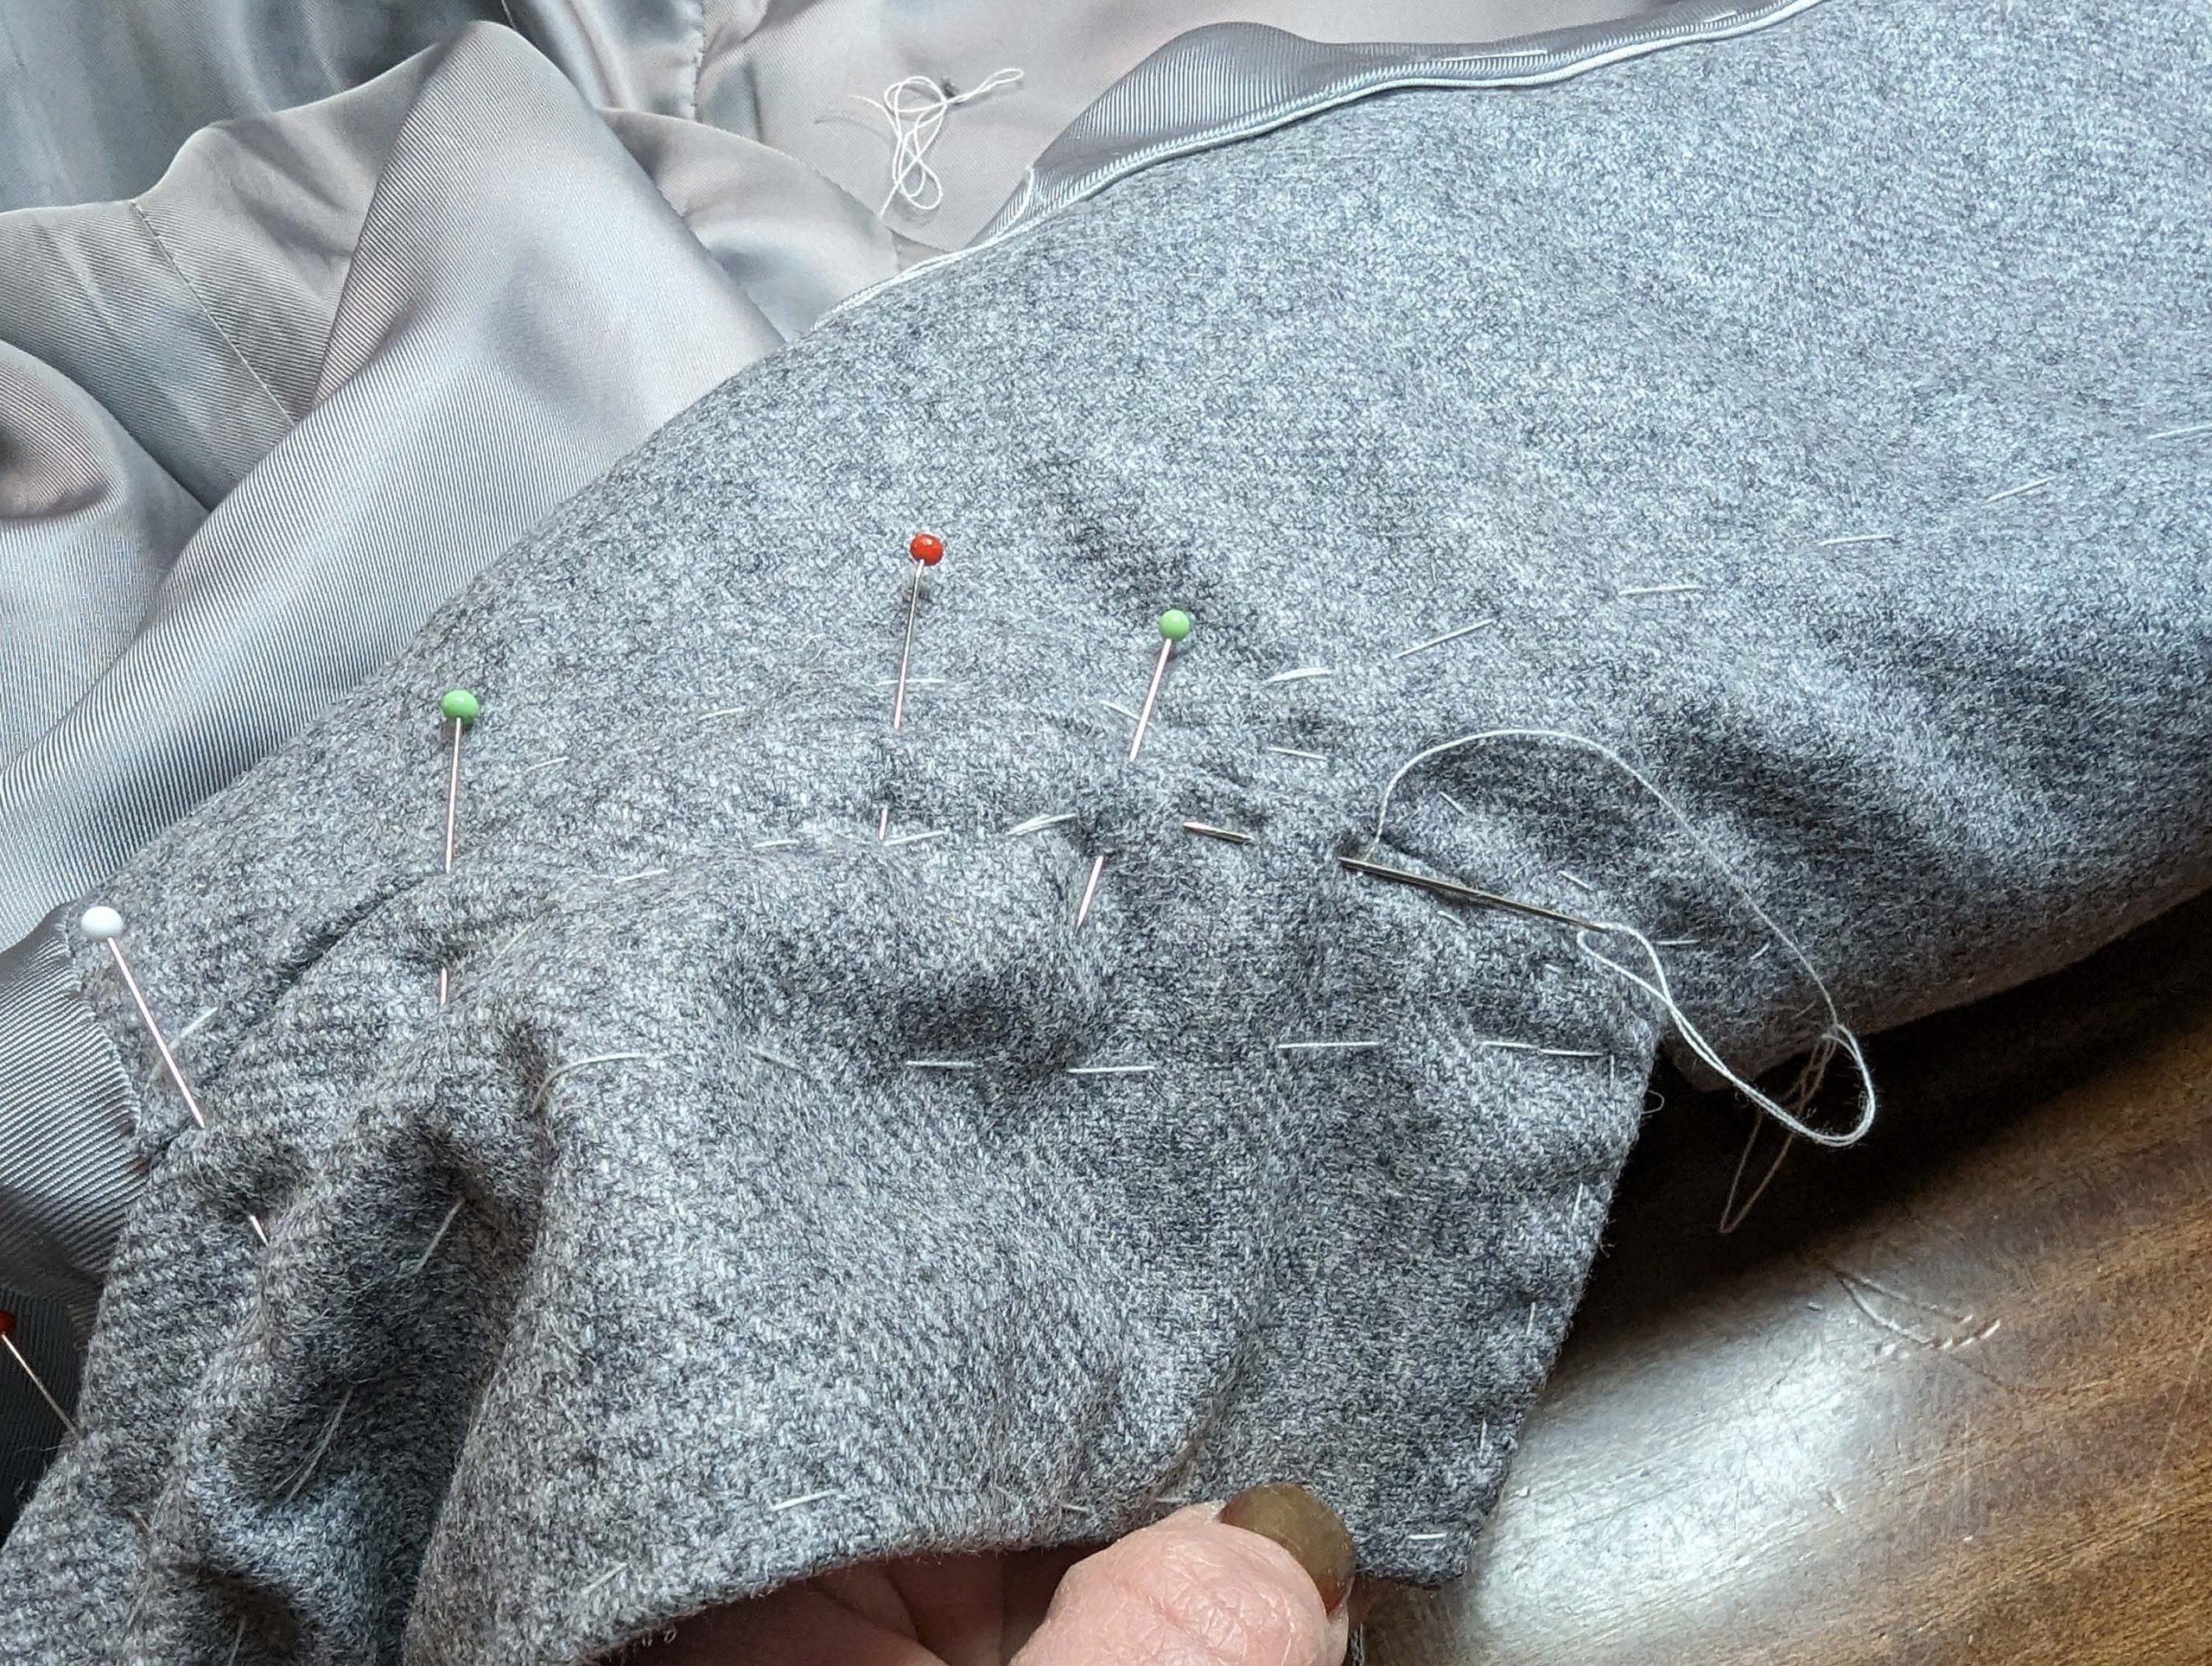
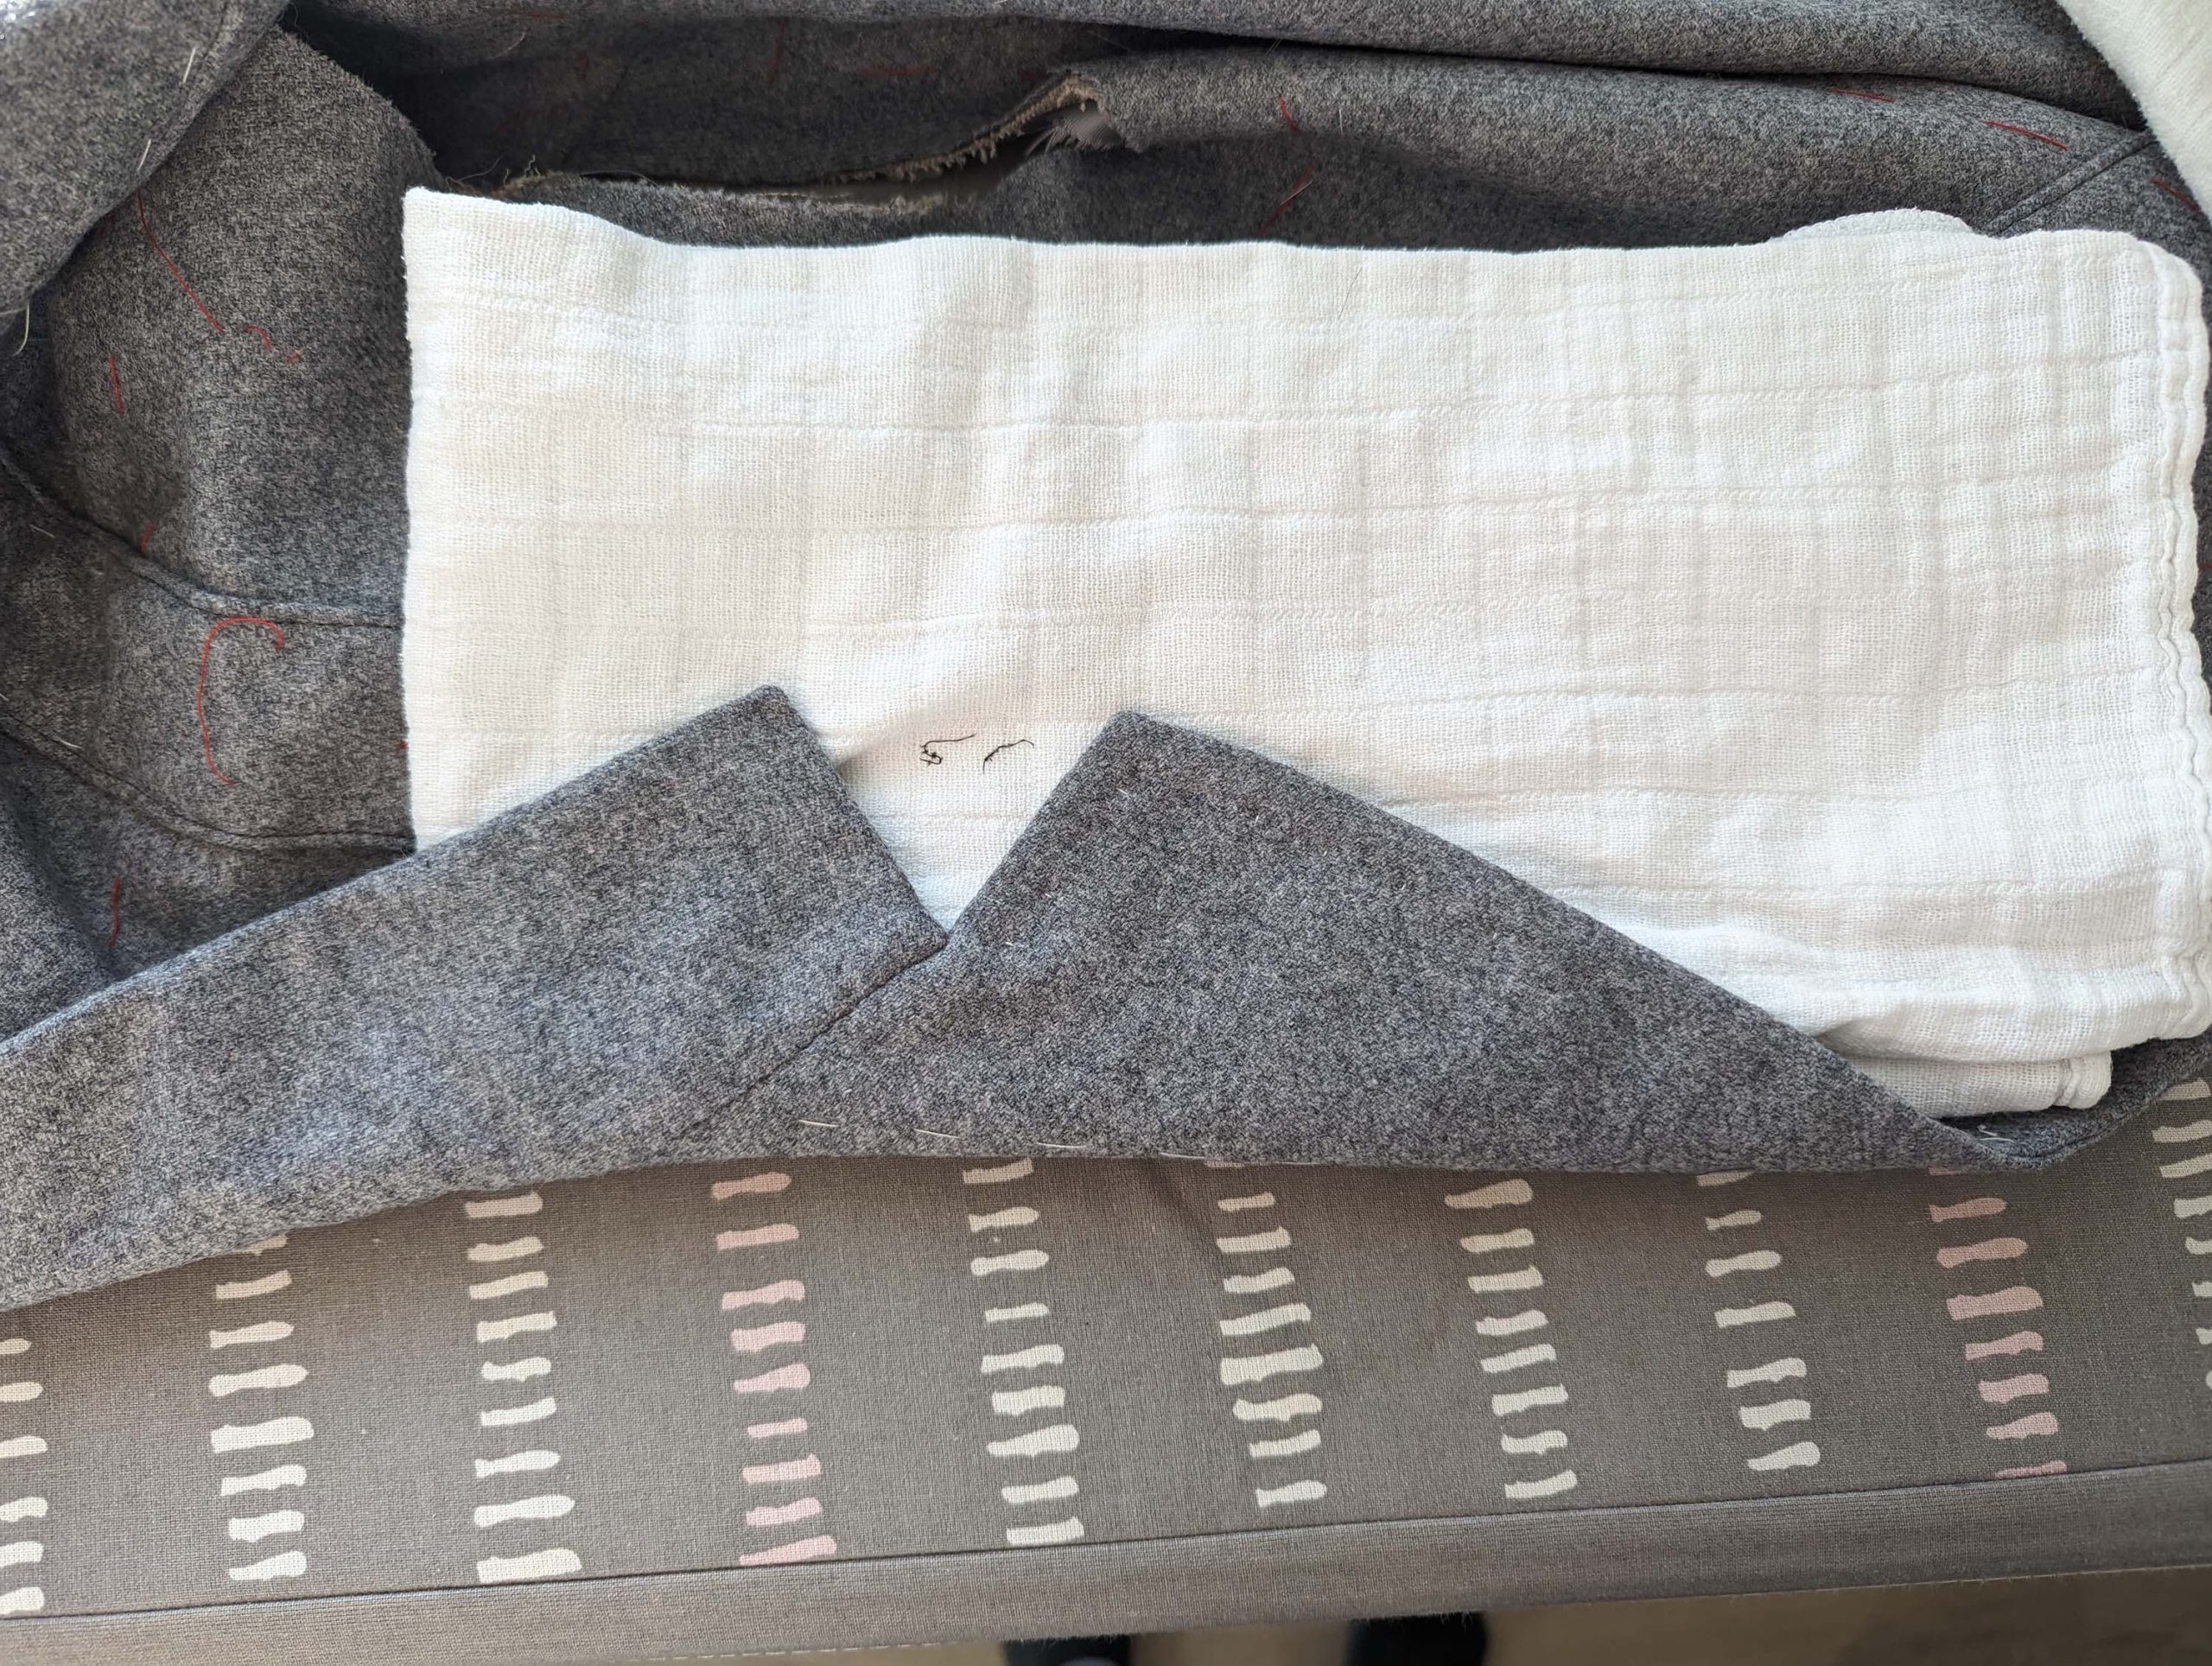
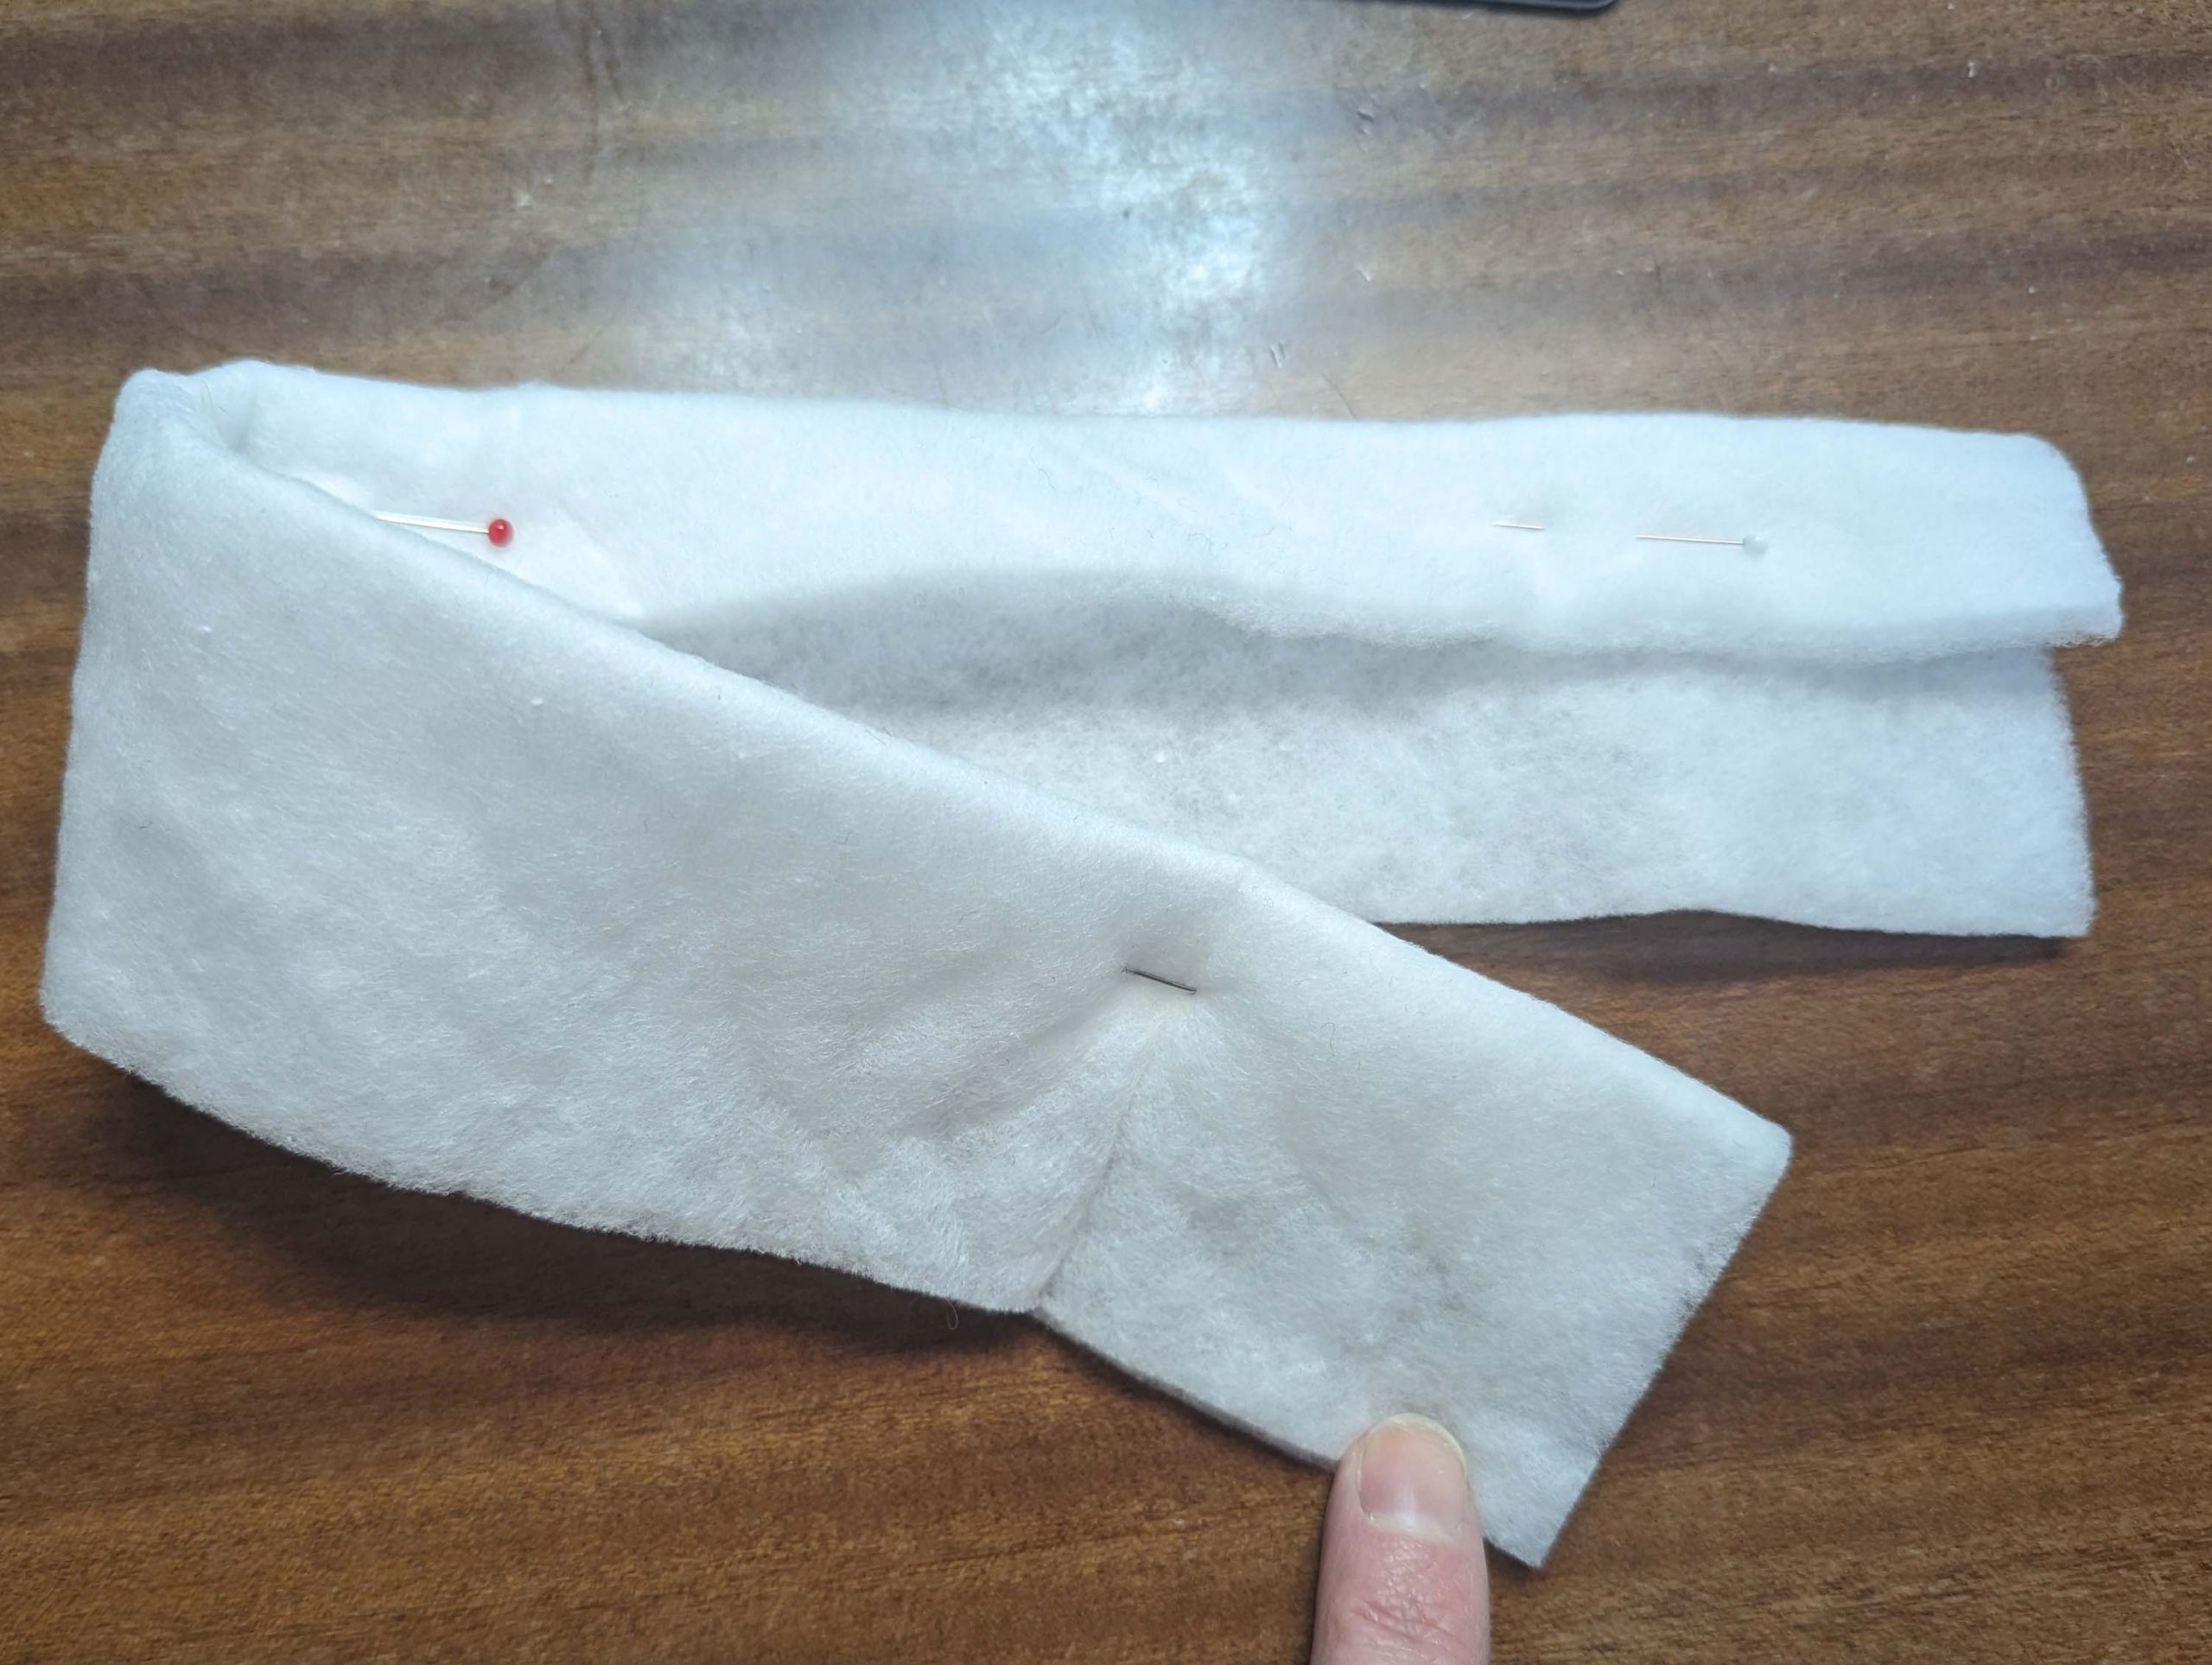
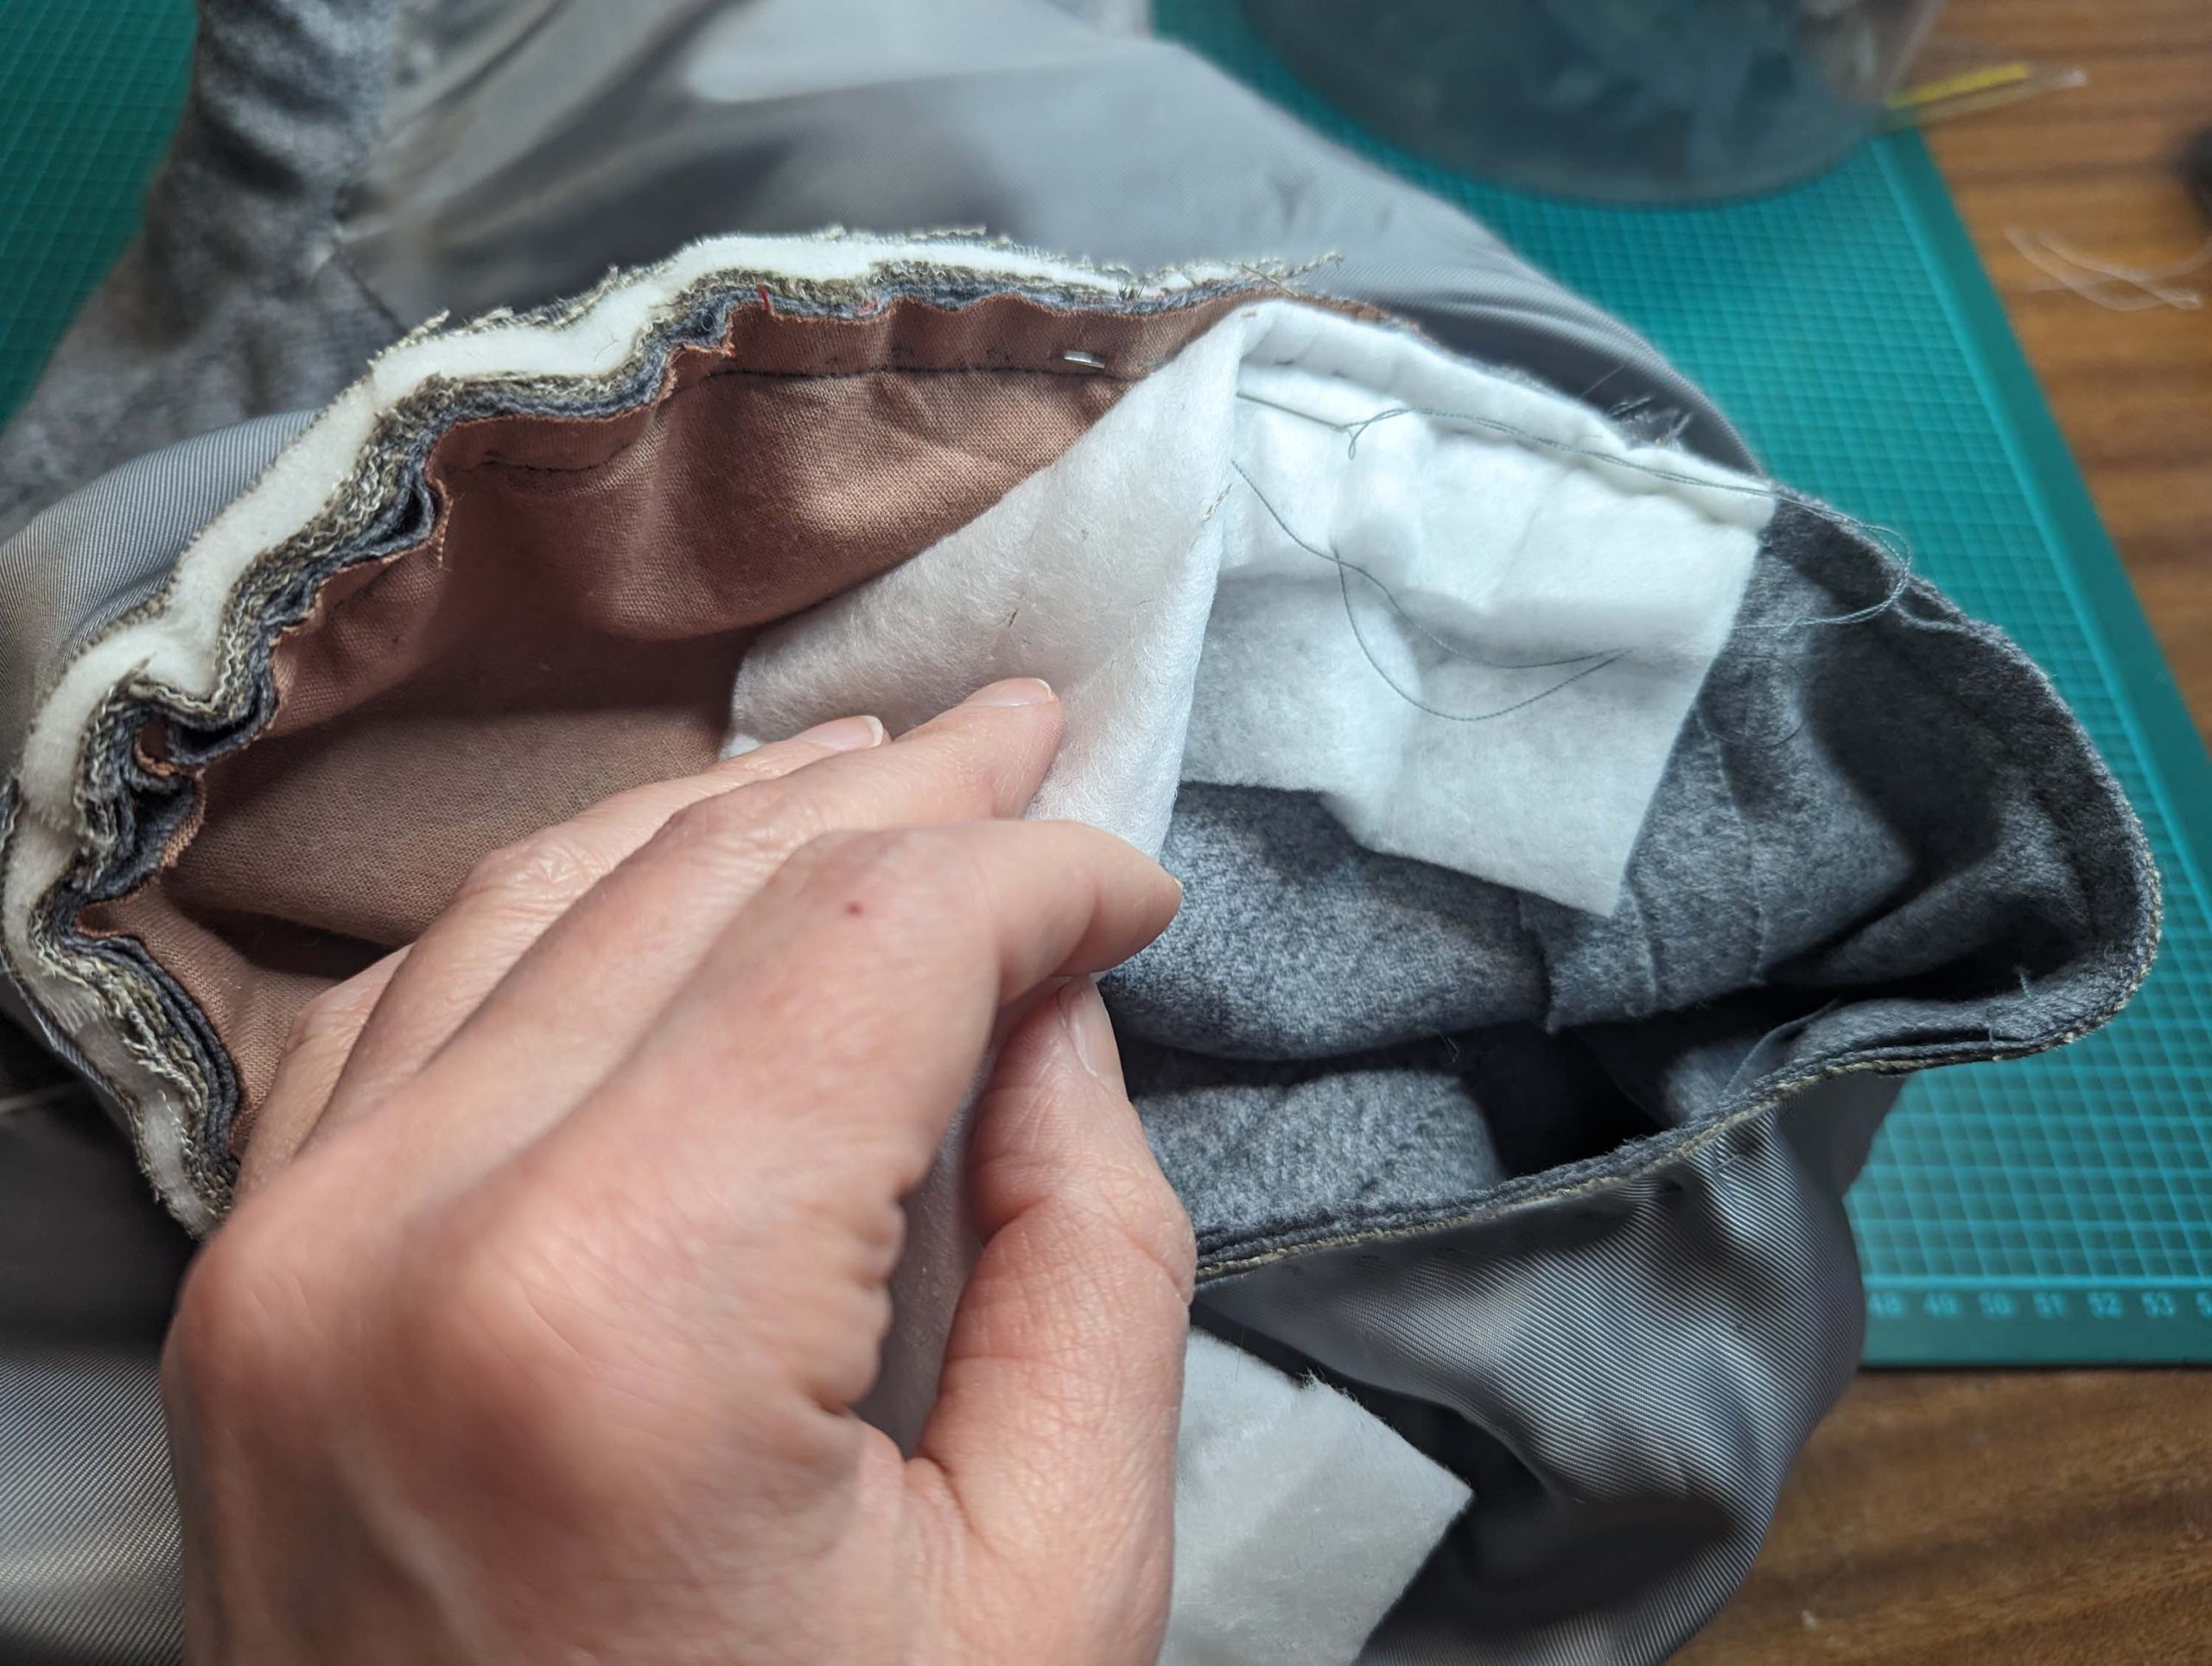
Next, baste together all layers (fashion fabric, canvas, shoulder pad, and the lining) right beside the sleeve seam inside the seam allowance. Trim back the seam allowance to 3/8” (1cm). Take a strip of padding (about 3”x15” (8x40cm)), turn in about 1/3 along one long edge, and line up with the seam allowance along the sleeve head, baste to the seam allowance.
Is this strip of padding important? Yes it is, look at the difference it makes!
Pull the sleeve lining through the armhole and turn in the seam allowance. Line up with the armhole seam, covering the raw edges of the armhole, and fell stitch in place. Lay the excess width of the sleeve head into small folds if necessary.
(20) Flatline one of the Gürtel pieces and line up the strips, right sides together. Sew, leaving an opening, reduce the stitch length at the corners, and design the tips as desired, squared, pointed, or rounded. Trim back the seam allowances, and turn the right way out, press. Sew the opening with invisible stitches and edgestitch the belt as desired.
Fahren wir fort; mit dem vorne zu schließenden Oberteil, da es von Natur aus einfacher zu tragen und an- und auszuziehen ist. Lediglich ein edwardianisches Mieder erfordert aufgrund seiner Konstruktionstechnik einen raffinierten mehrschichtigen Verschluss.
(1) Gleiches hier, mache ein Probeteil und übertrage alle Änderungen auf das Schnittmuster. Schneide alle Teile aus Oberstoff und Futter, wie auf de Zuschnittdiagram für den Vorderverschluss angegeben, alle Markierungen exakt übertragen.
(2) Nimm das Vordertteil aus Futterund richte den Vorderteilbelegrechts auf rechts, entlang der vorderen Mitte am Futtervorderteil aus. Nähe die Vorderkante ab, schneide die Rückseite ab und steppe die Nahtzugaben unter. Die Nahtzugabe des Besatzes entlang der losen Kante einschlagen. Falte auf der rechten Seite den Besatz und die vordere linke Seite zusammen und nähe den Besatz entlang der losen Kante fest. Auf der linken Seite den Beleg zuerst auf rechts falten, die Nahtzugaben der Vorderkante zum Beleg falten und von der Vorderkante bis zum Ende des Beleges nähen . Schneide die Nahtzugabe am Ende der Naht ab und wende sie auf die richtige Seite. Nähe die lose Kante des Belege fest. Die Abnäher nähen und zur Seitennaht bügeln, dabei die Stichlänge an der Stelle verkürzen.