
After all that hand-sewing of the first part, let´s do some machine sewing on all the long seams. Remember, the sewing machine had already been invented by then, so there’s no need to feel guilty about using it!
(3) Sew the bottom facing to the front-facing, right sides together, matching all marks. Trim back the seam allowance and press towards the bottom facing. Understitch if desired.

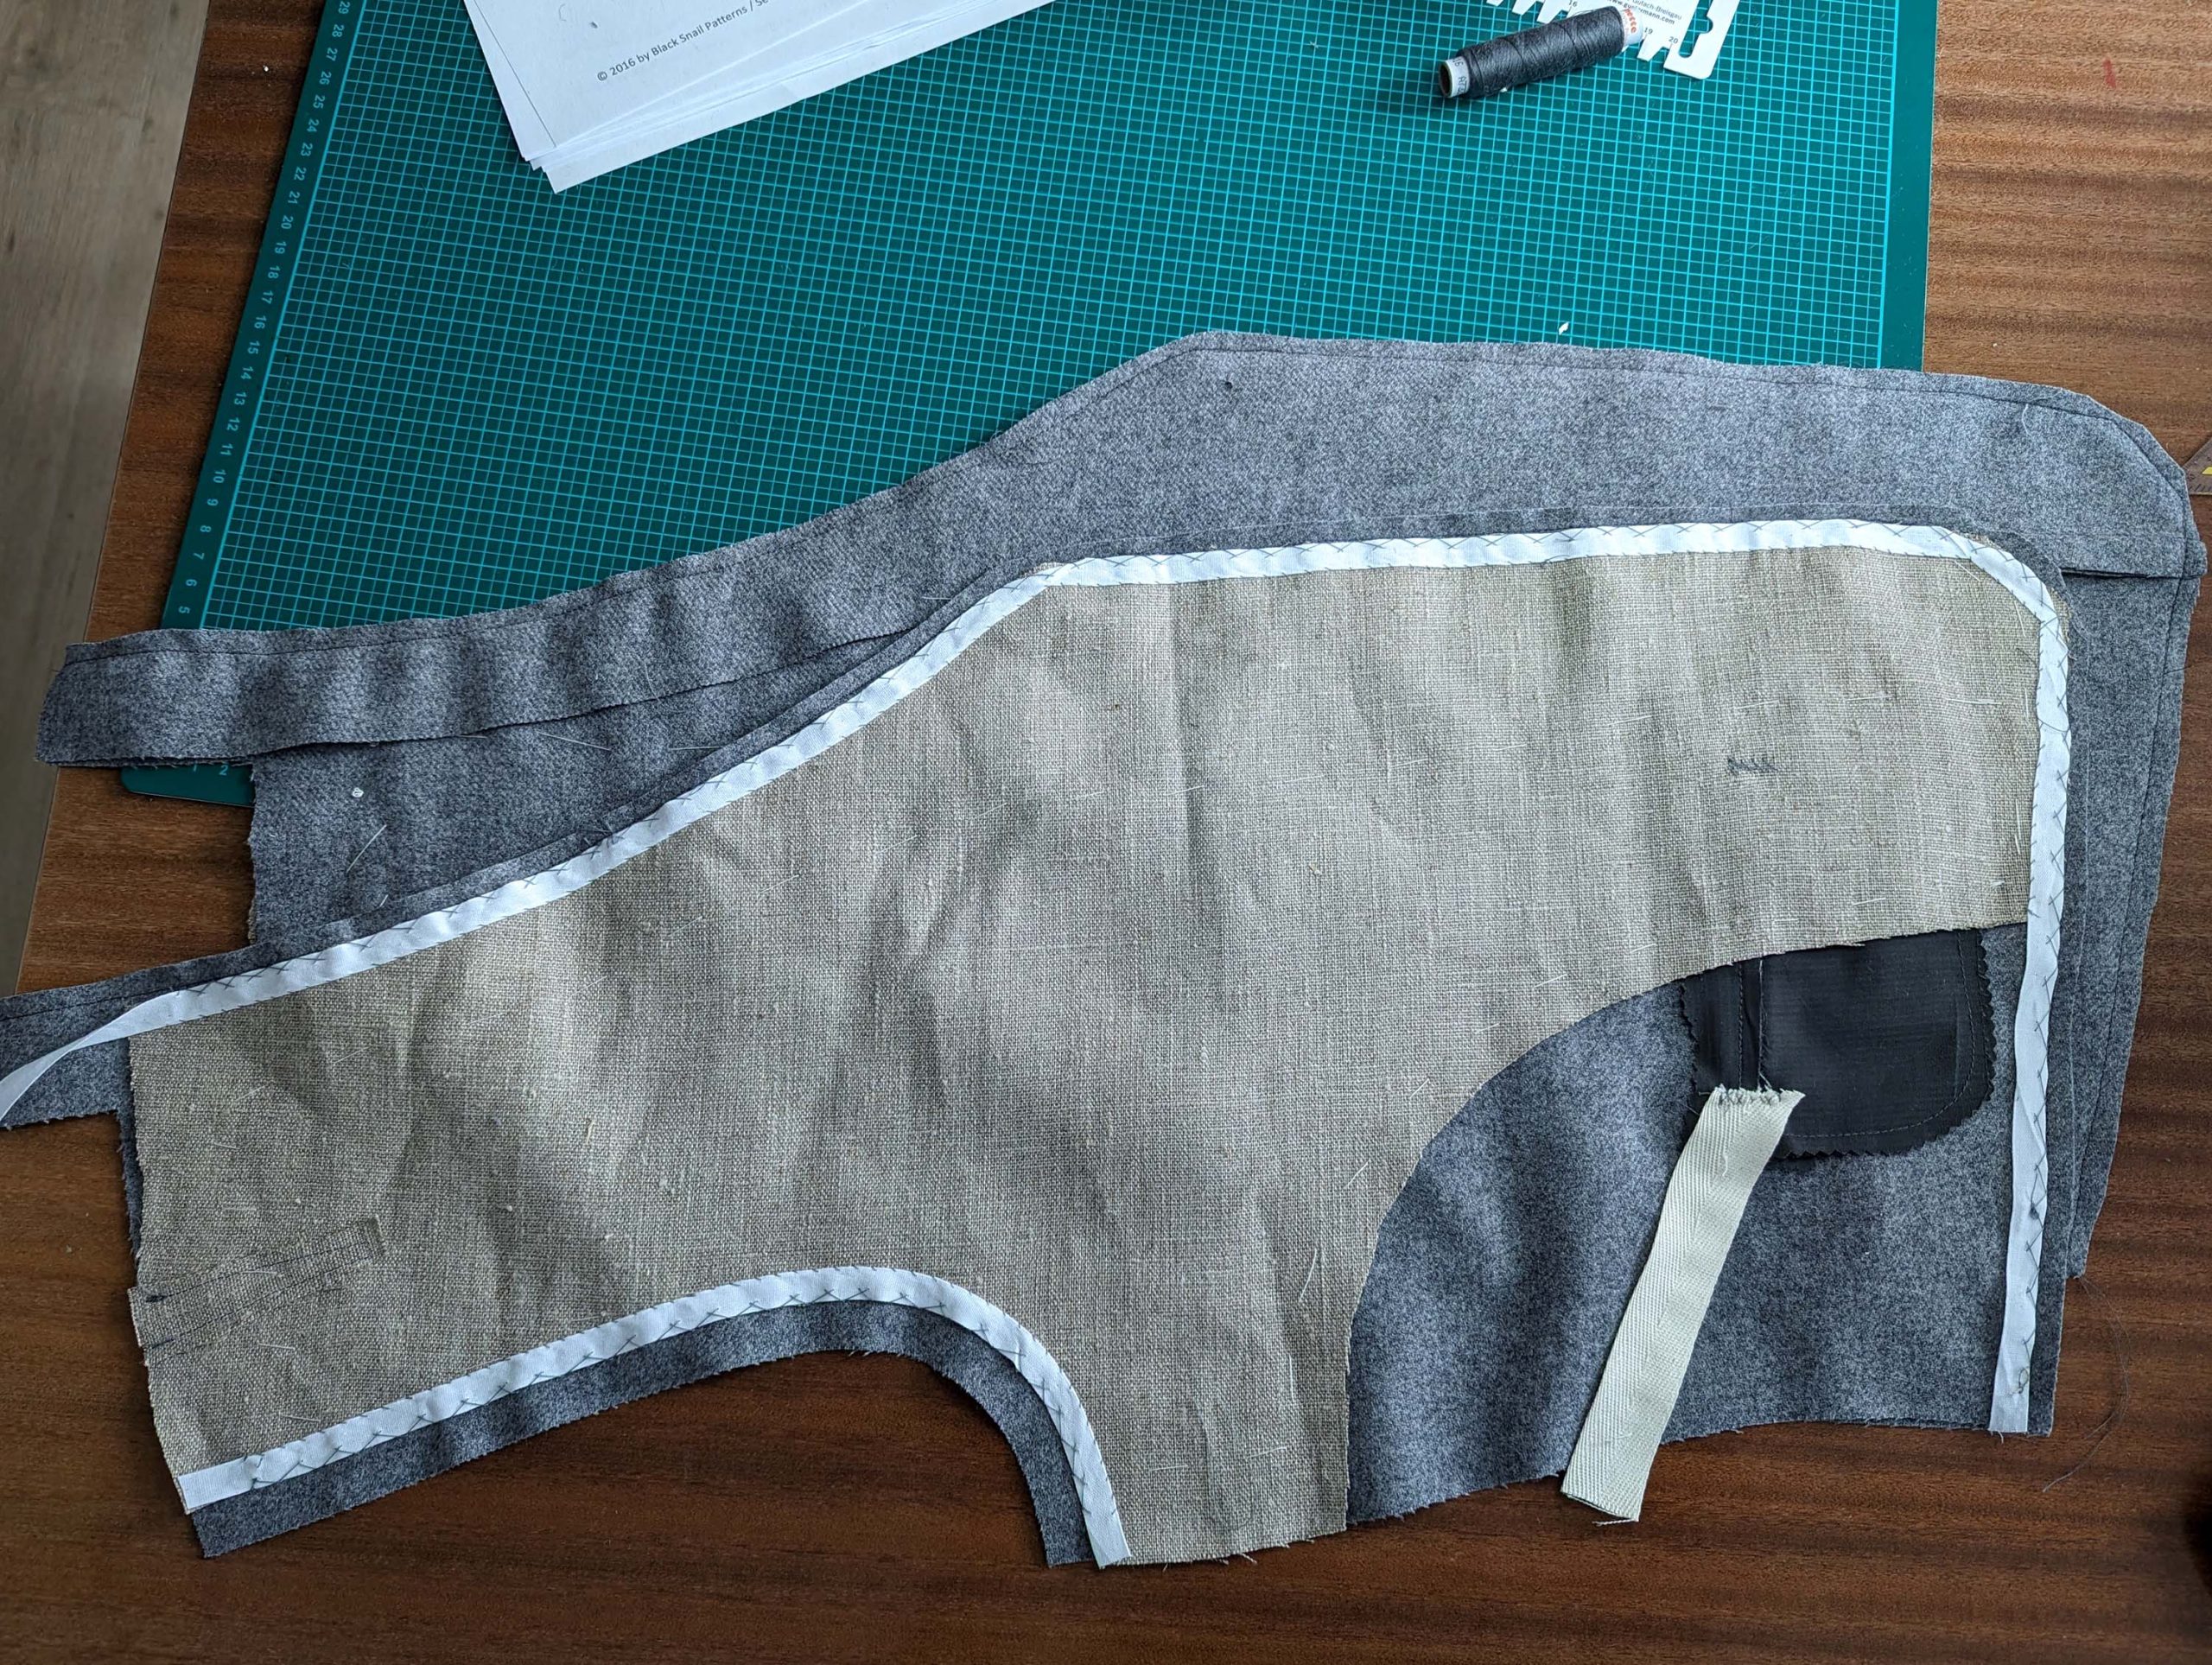
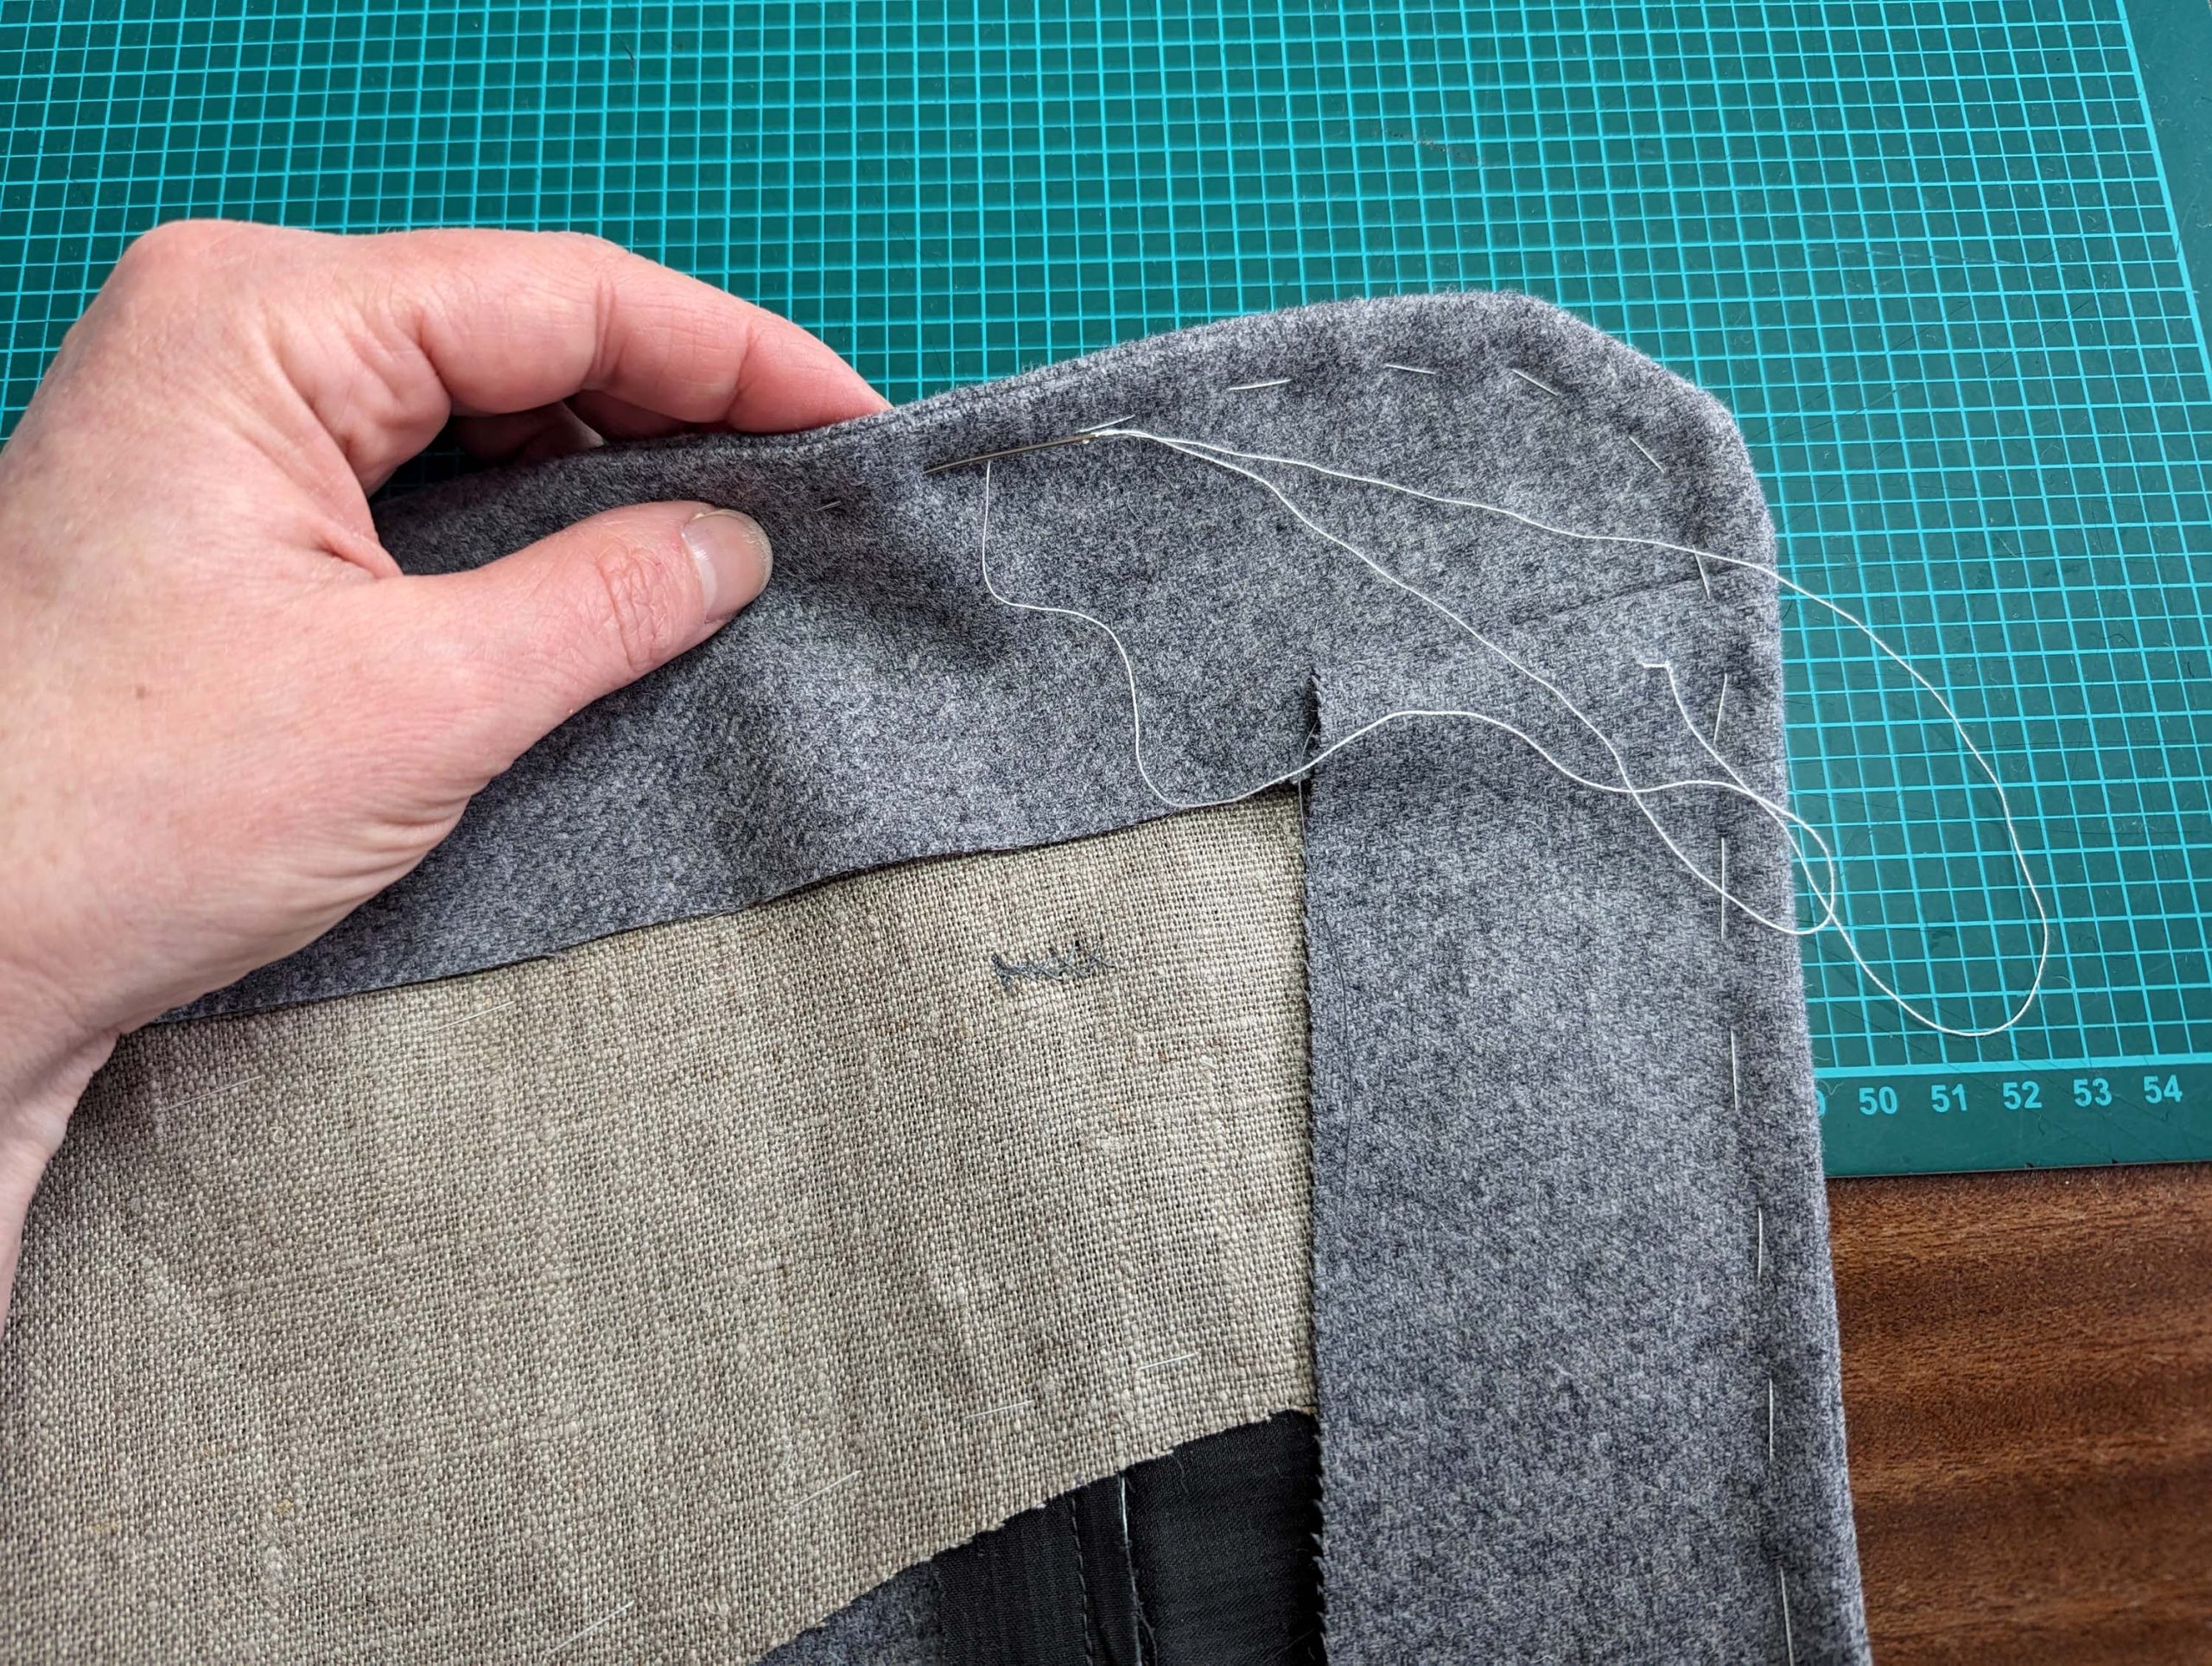
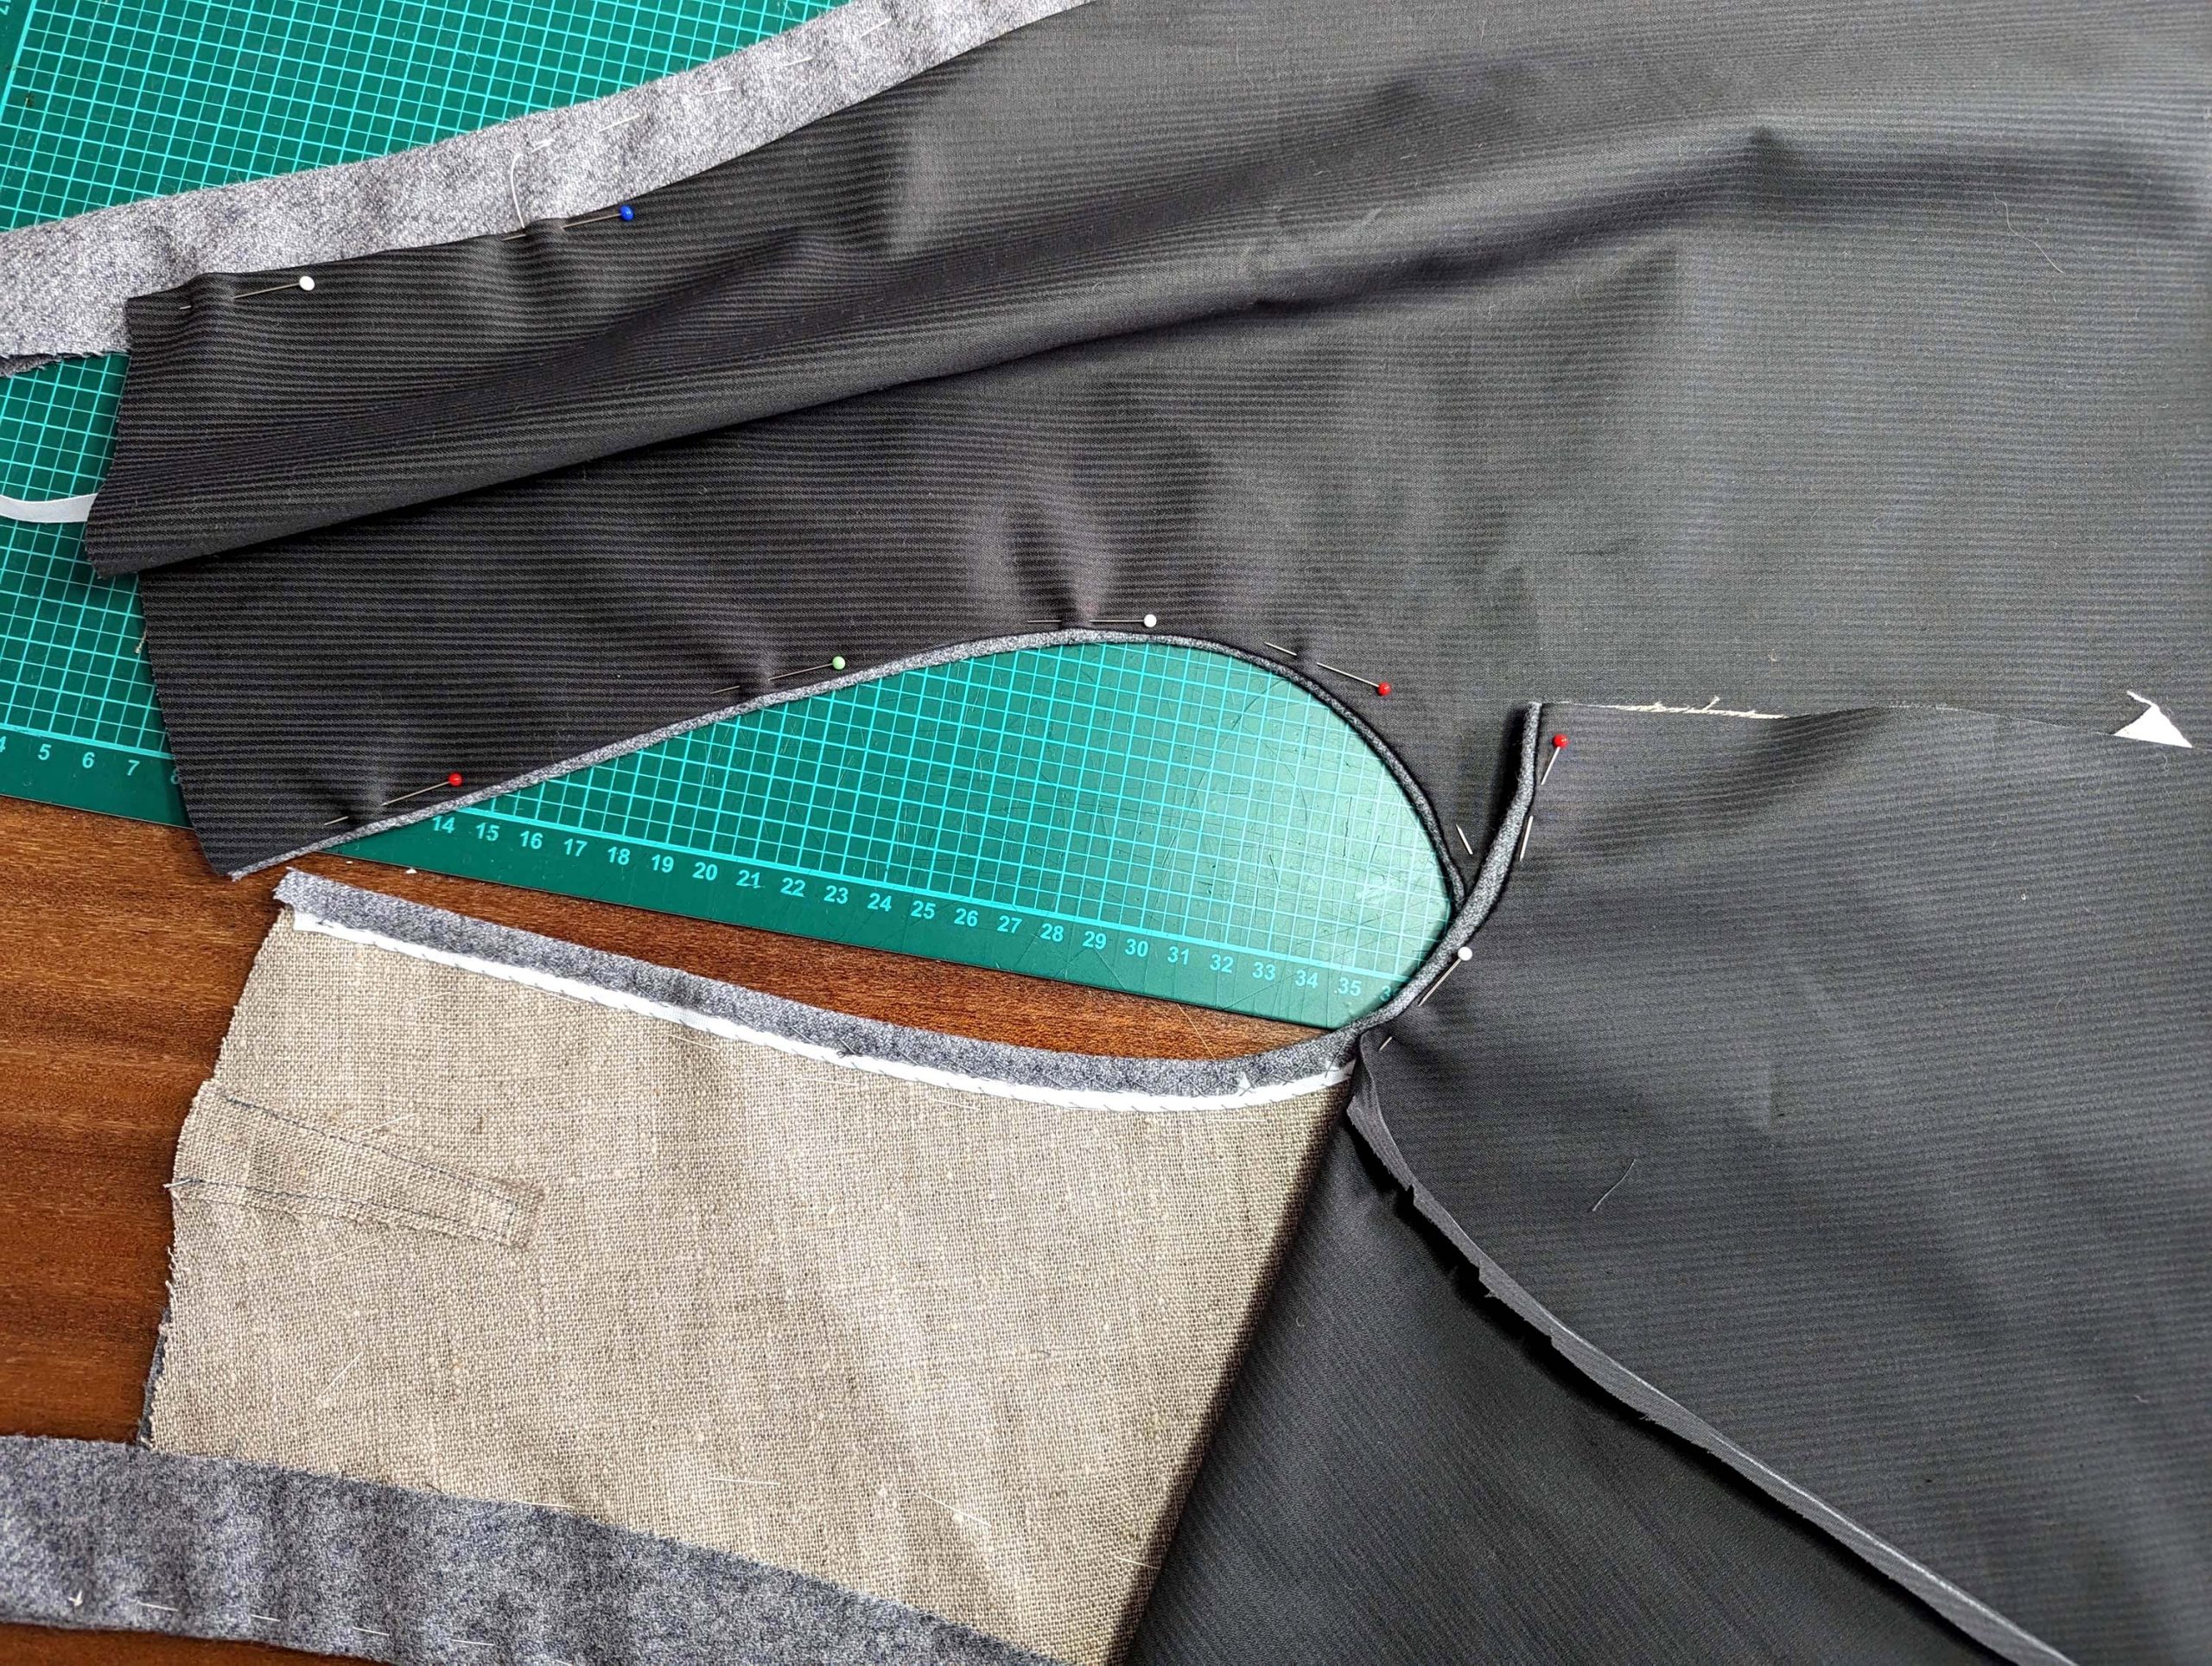
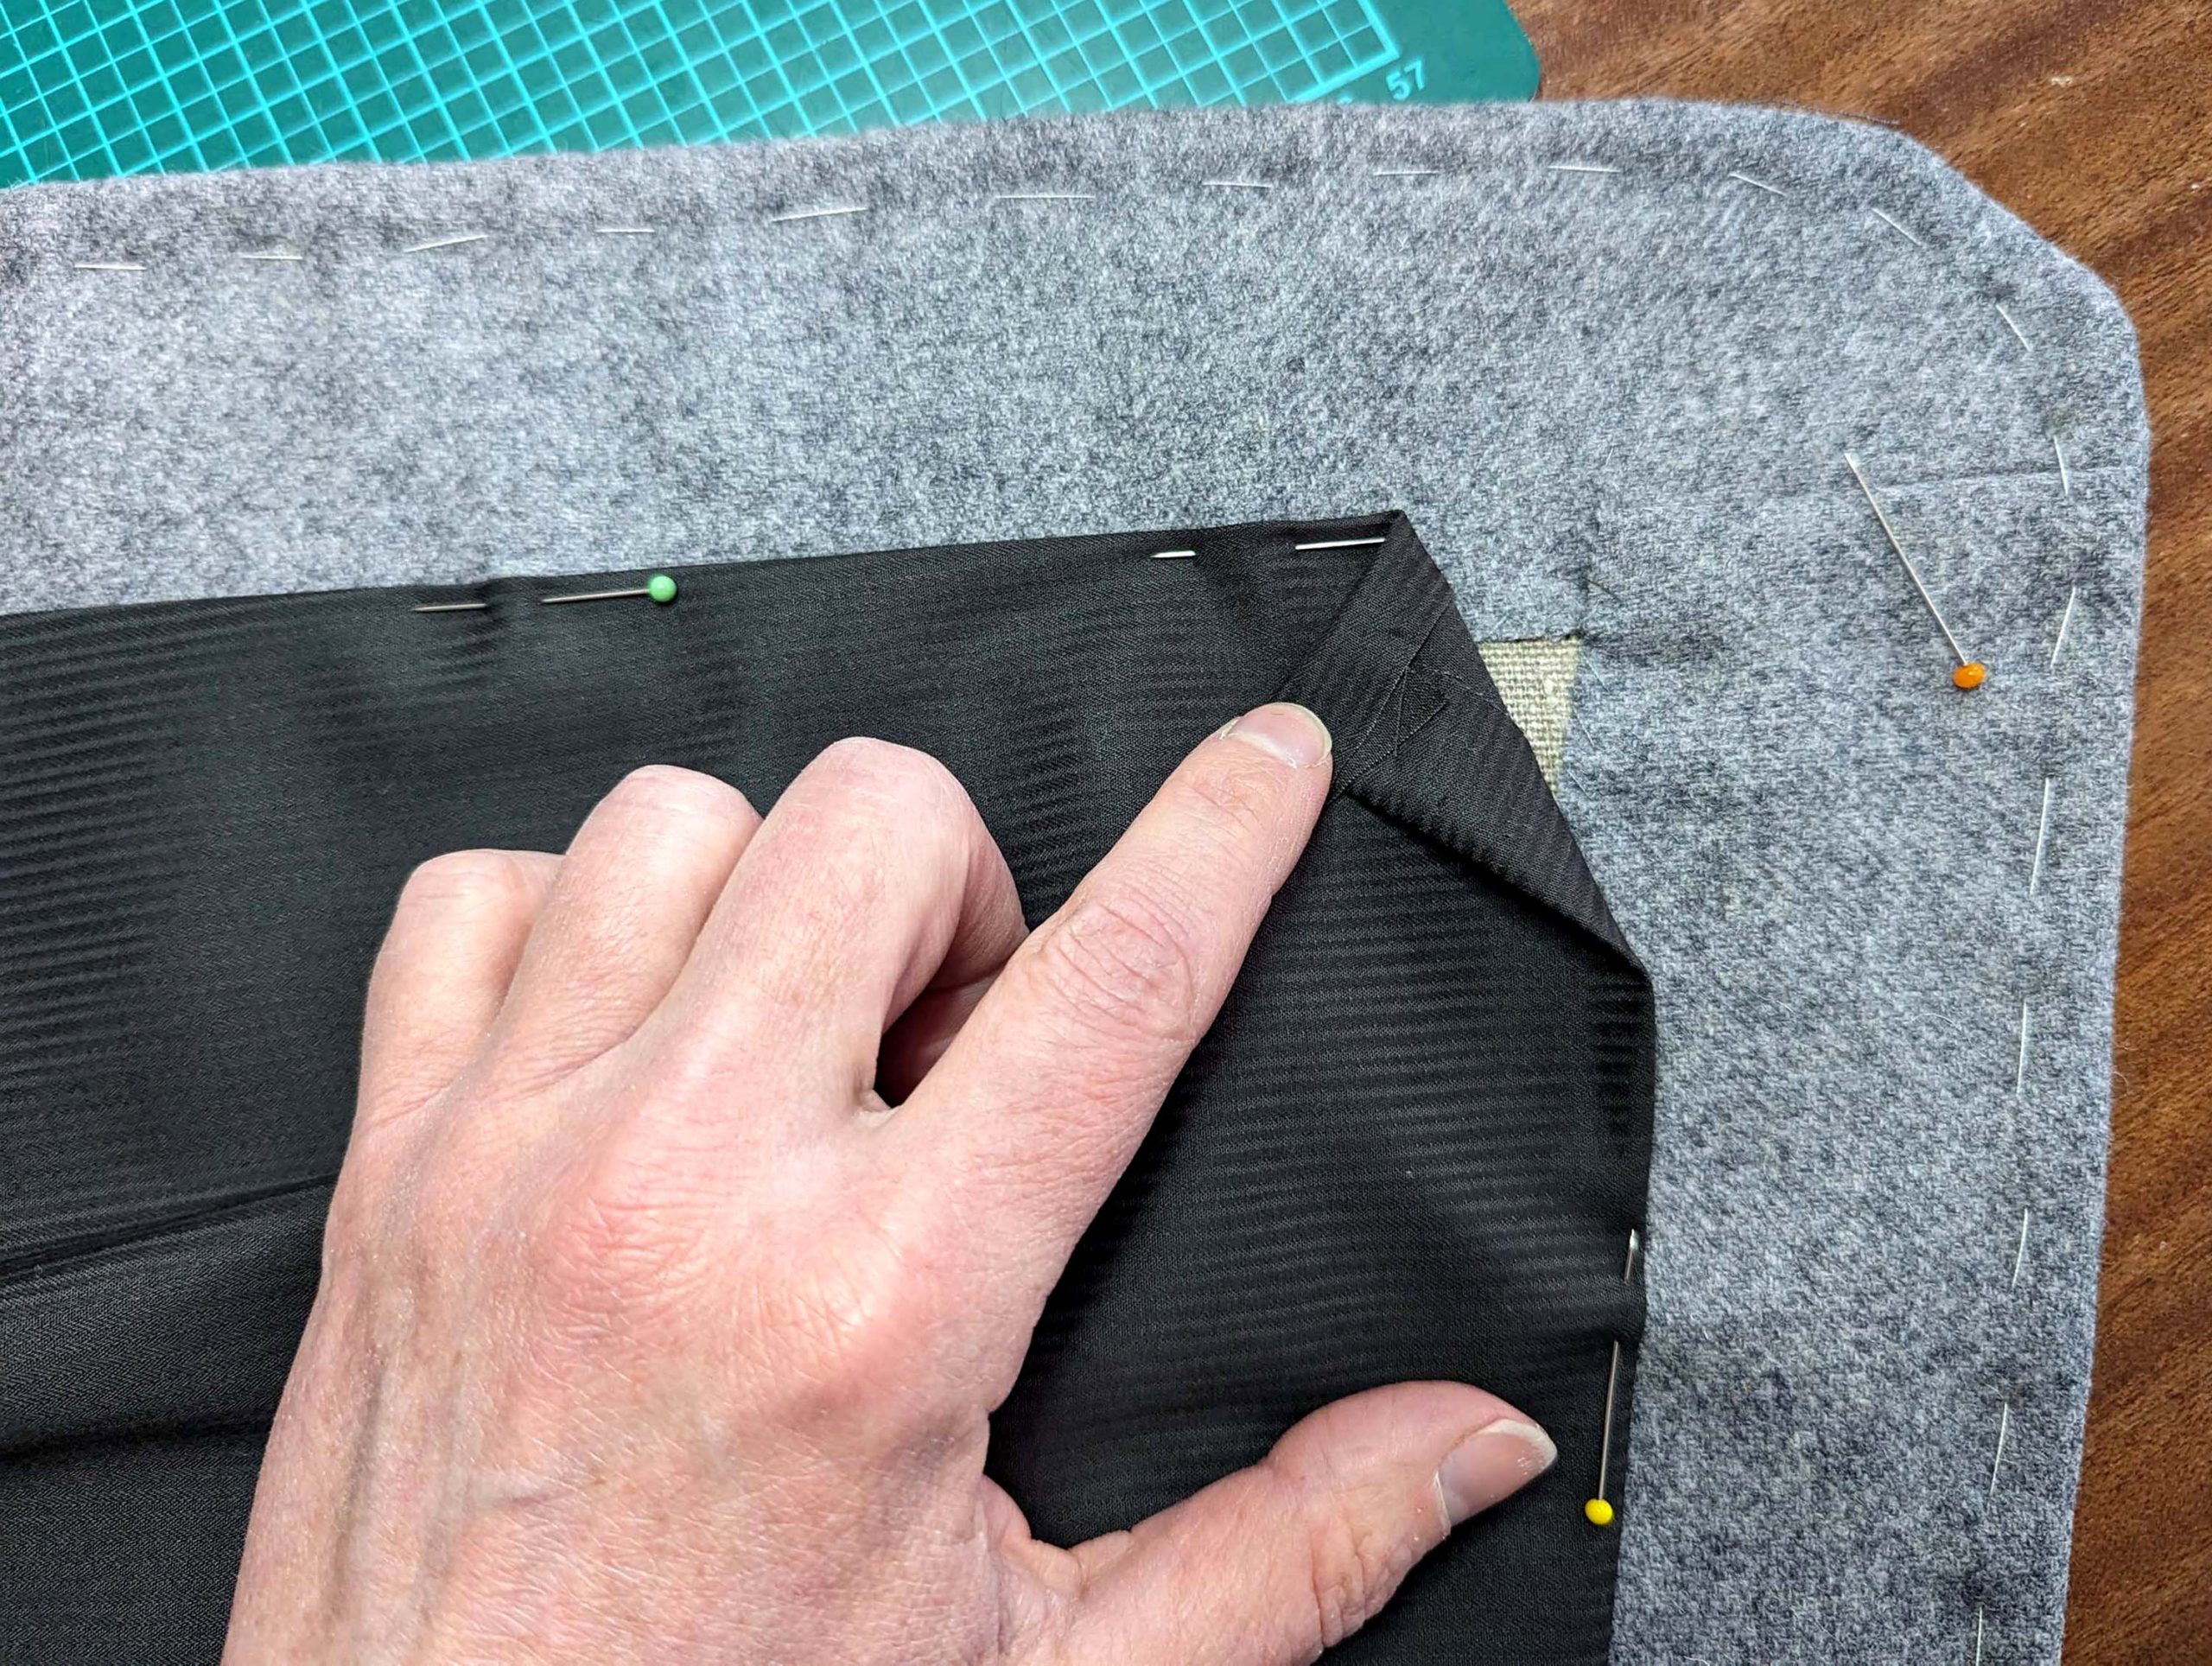
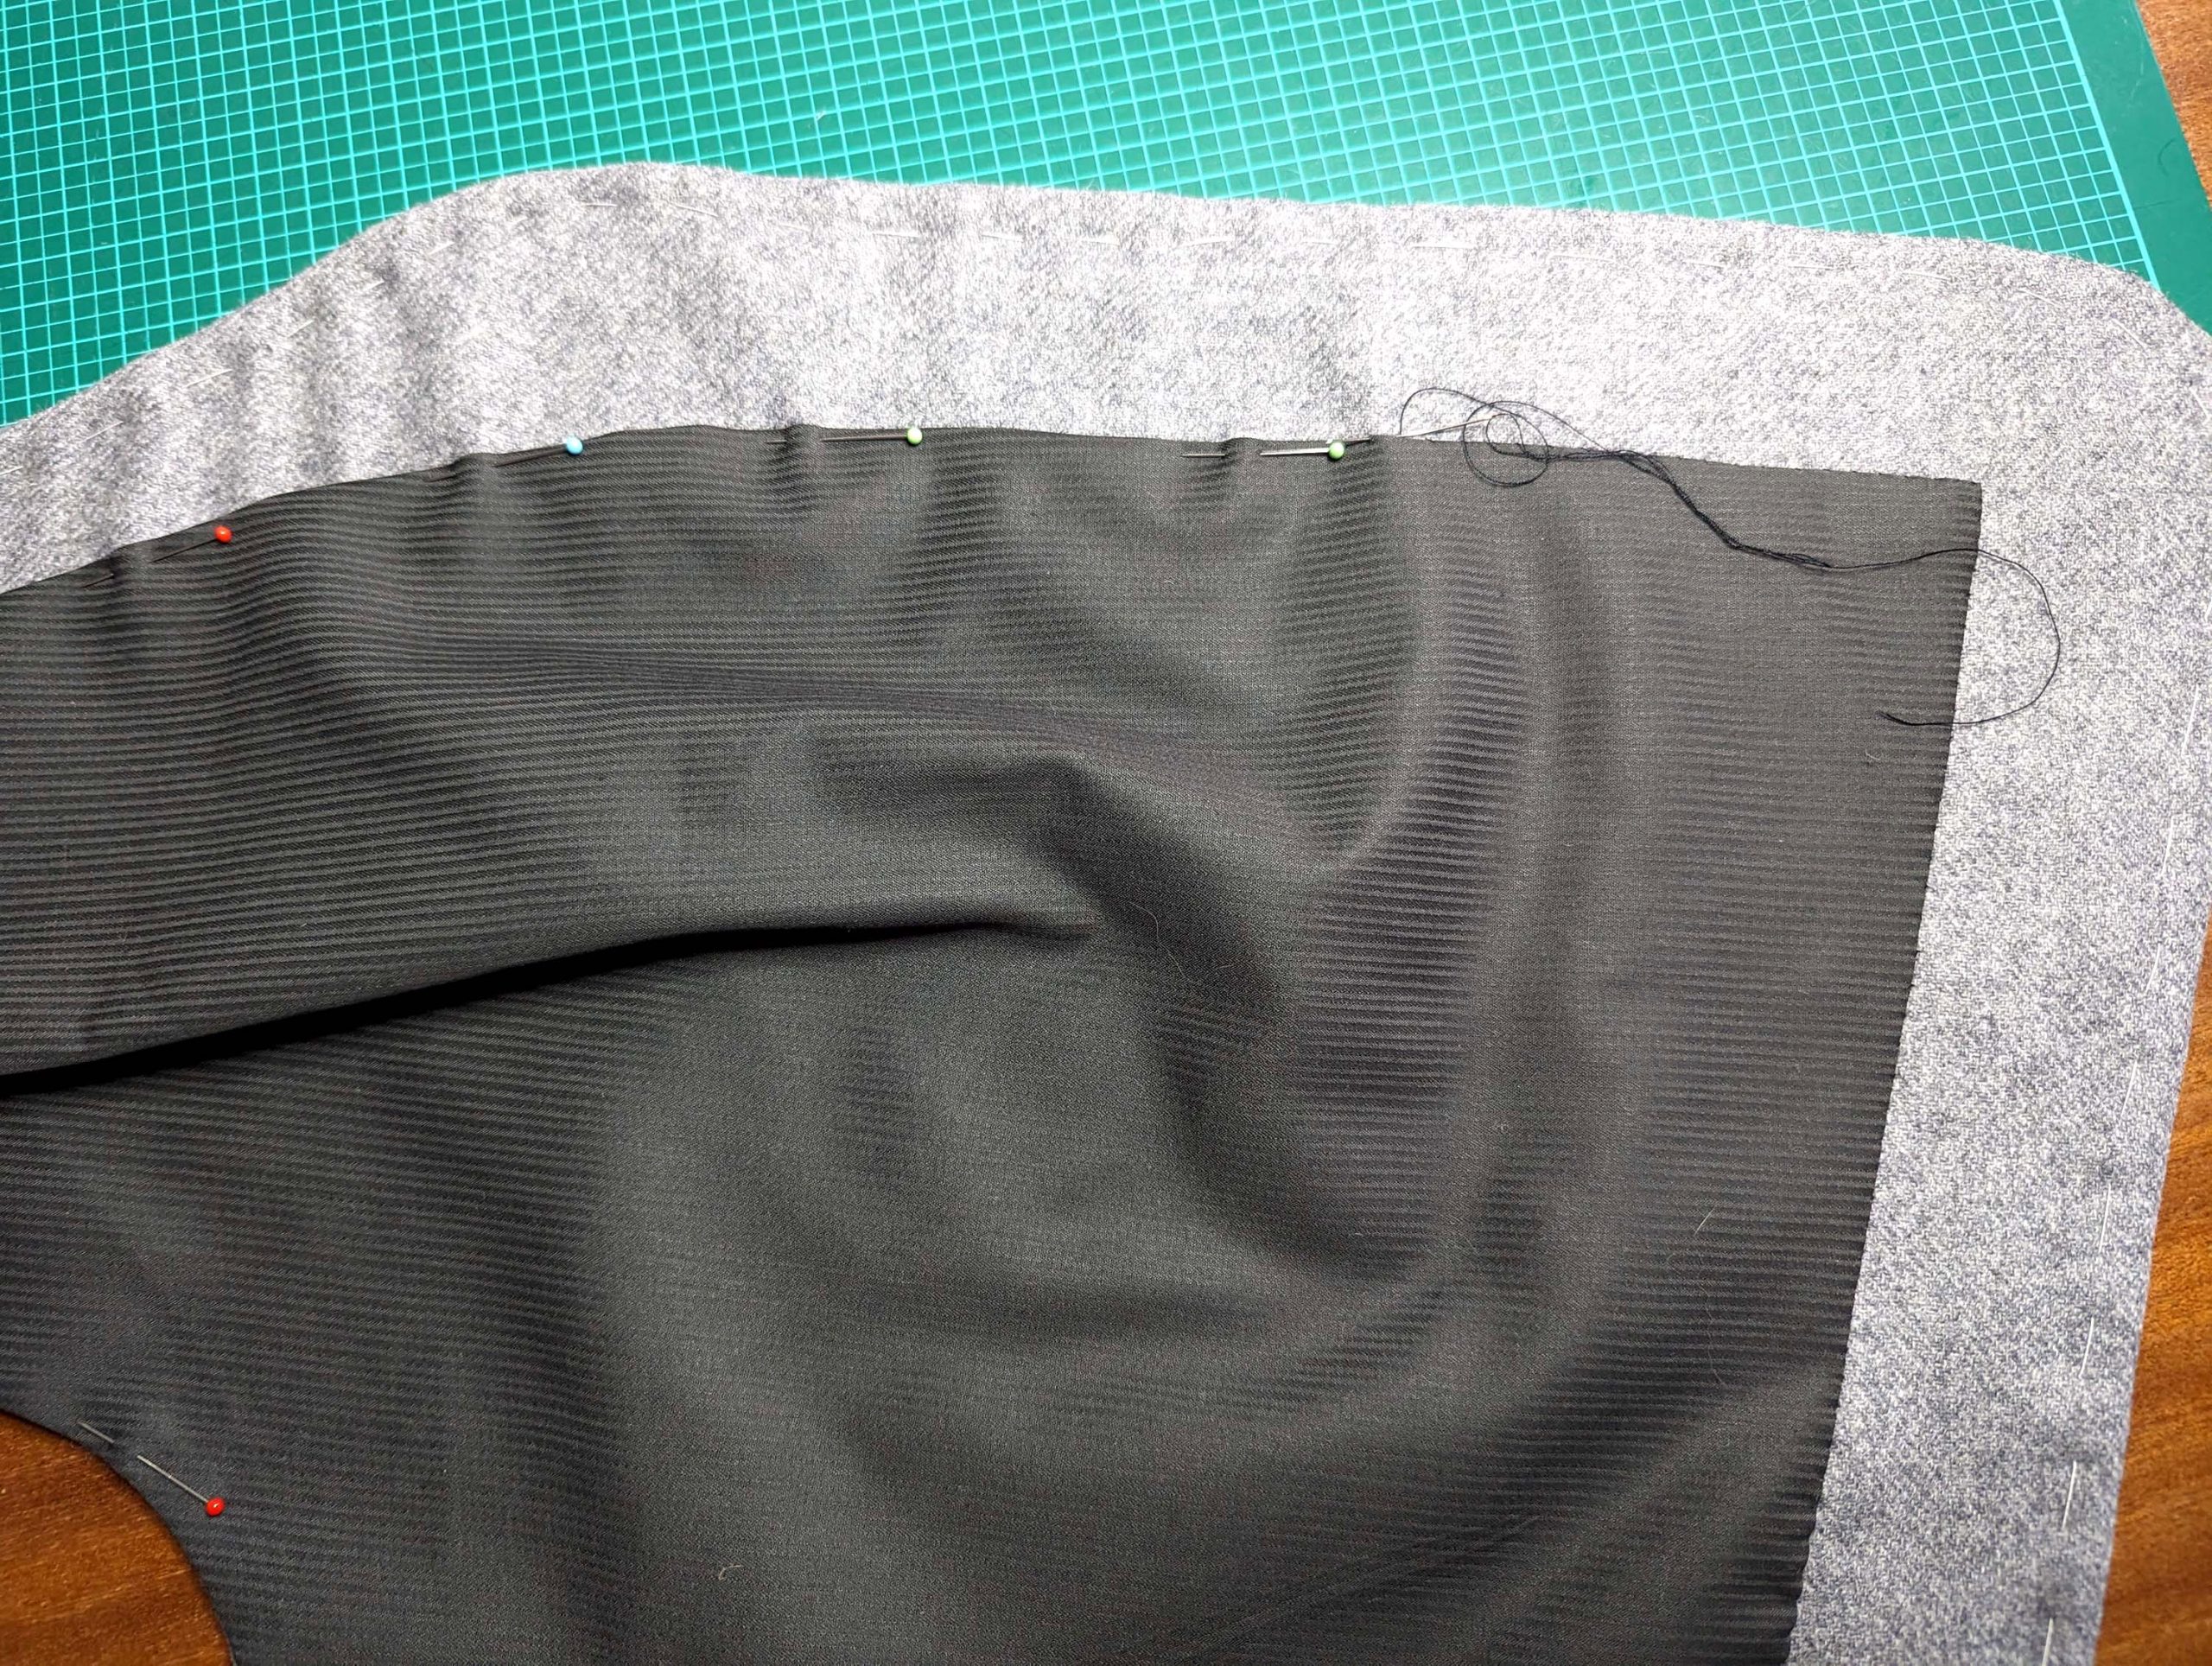
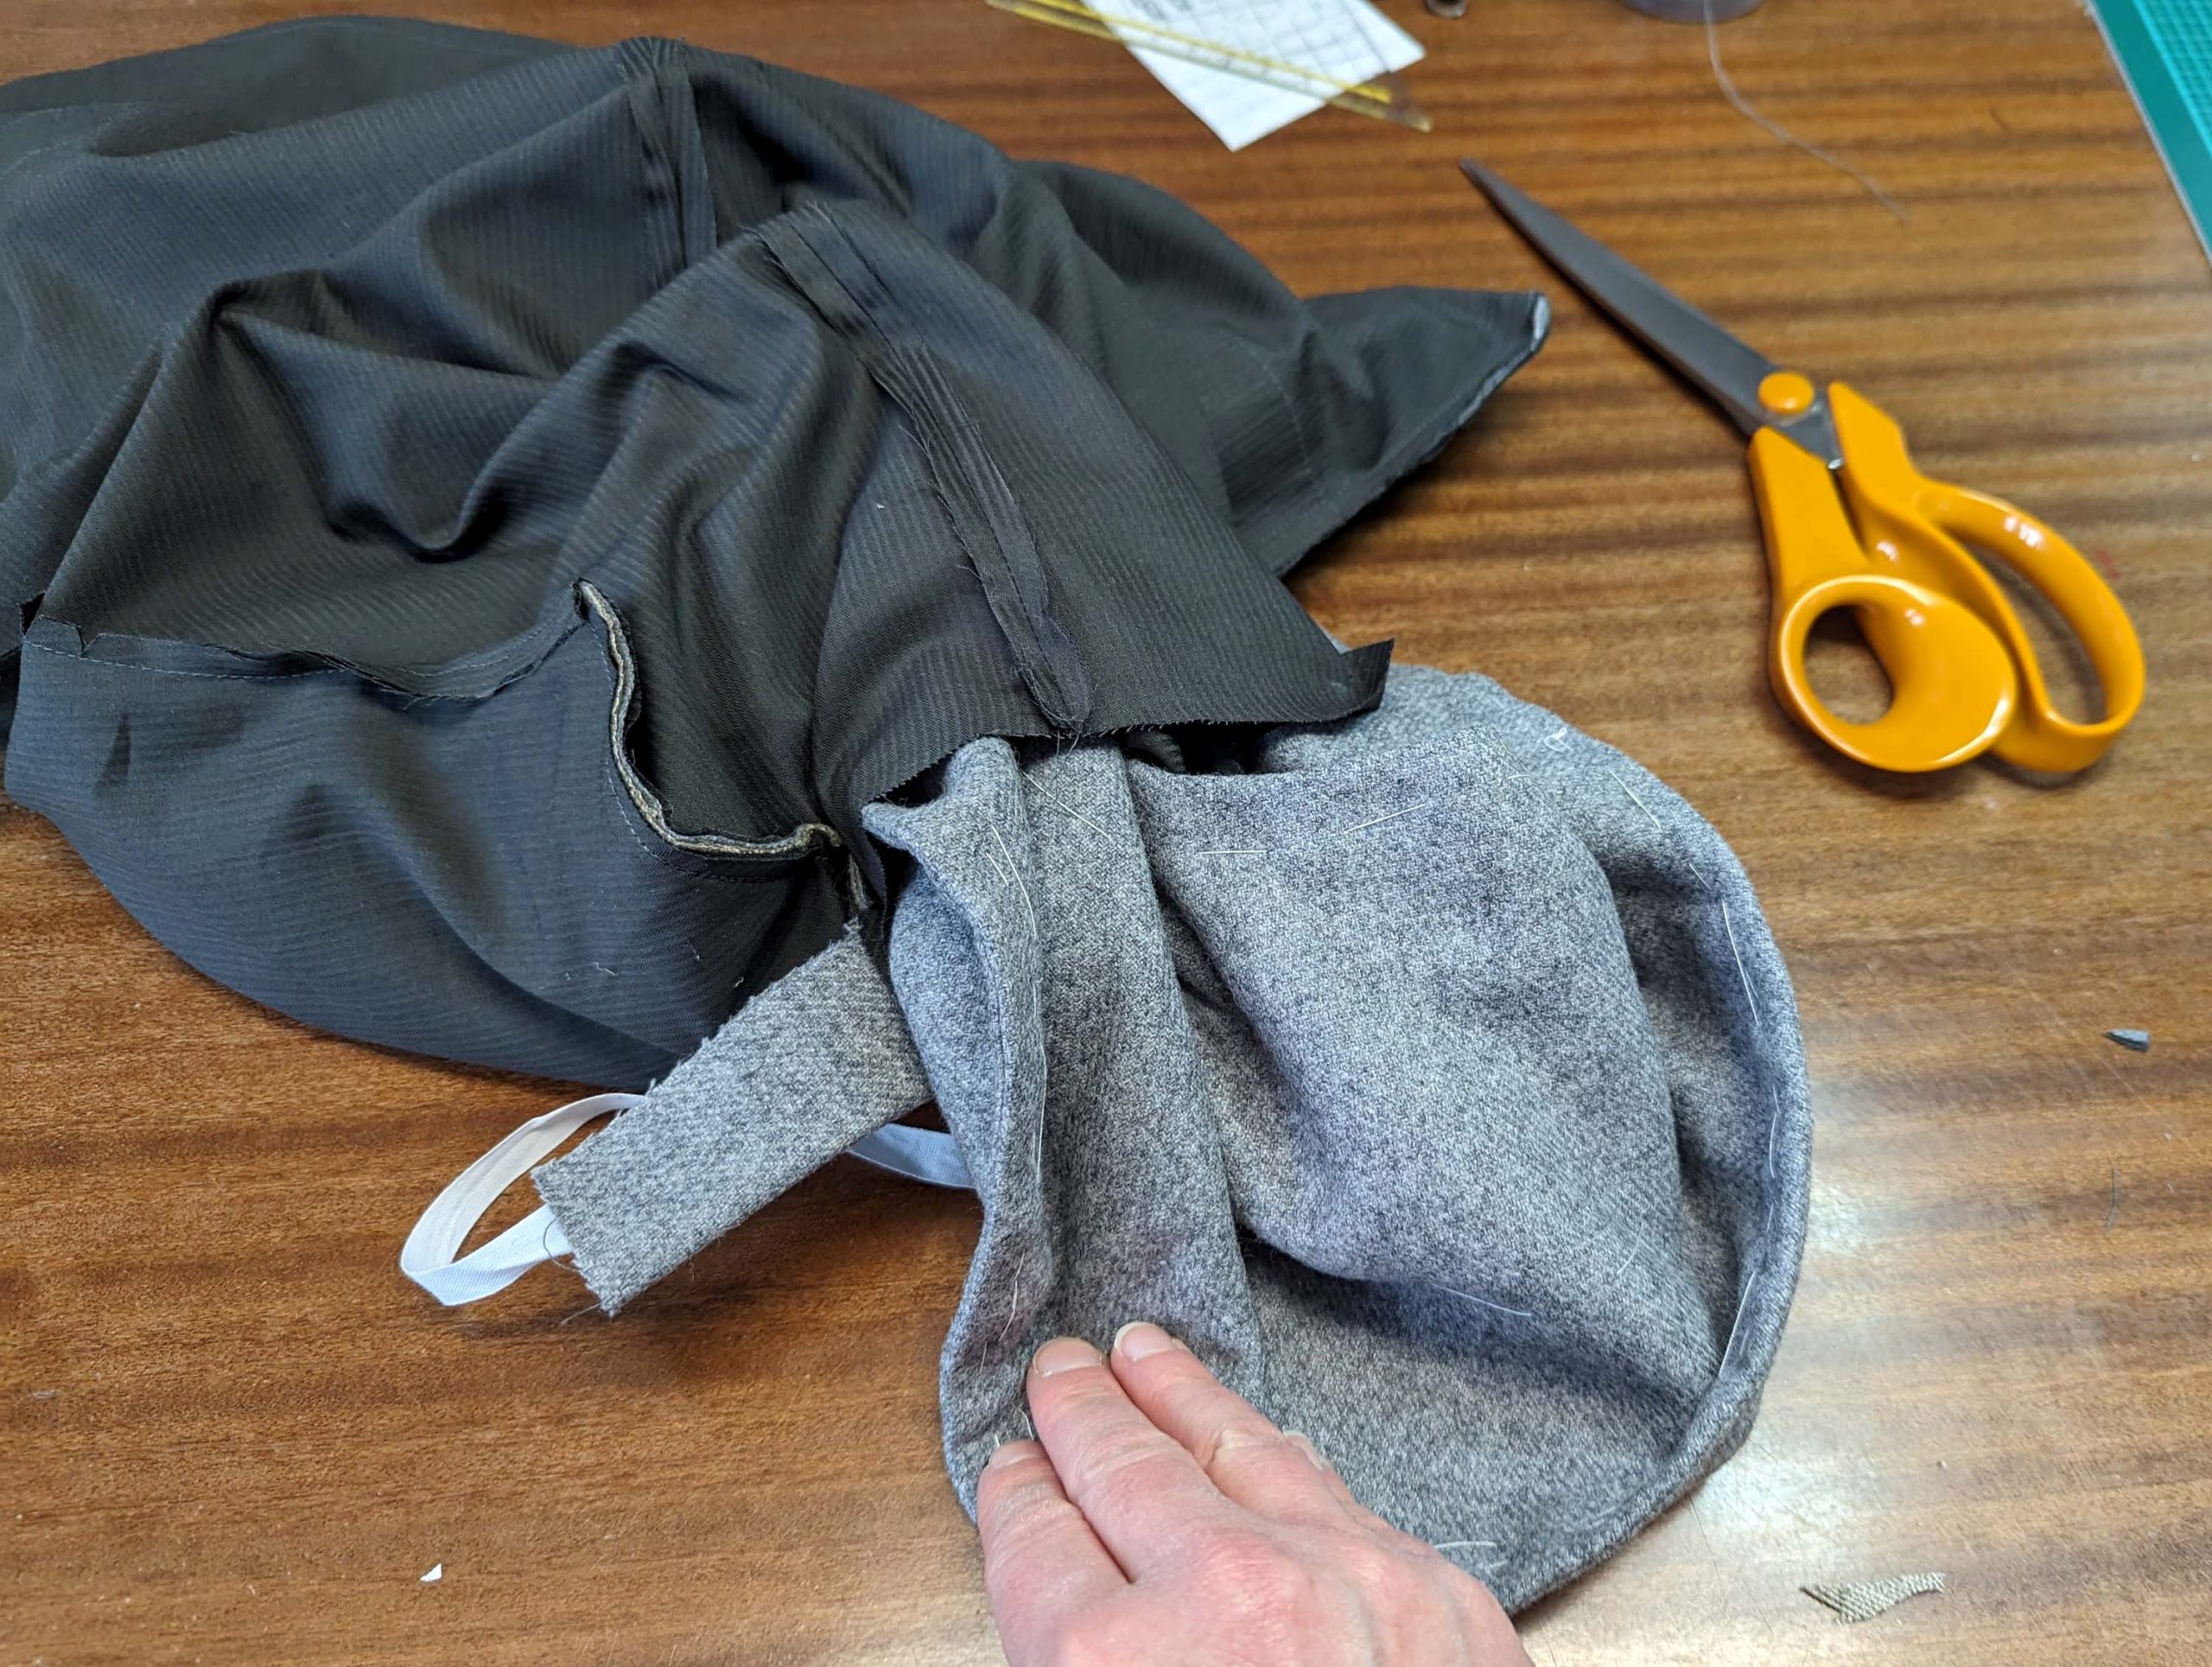
Line up the facing with the front, right sides together, and stitch right beside the bridle tape. Trim back the seam allowances and turn the right sides out. Press the edges, rolling the seam slightly out of sight towards the garment’s wrong side. Baste along the edges to hold the pressed seam in place. At the armscye trim back the seam allowance to 3/8” (1cm) and fold around the bridle tape. First, baste, then fell stitch the seam allowance to the interfacing/bridle tape. Fell stitch the loose edges of the facing to the interfacing, stop 2” (5cm) before the collar notch.
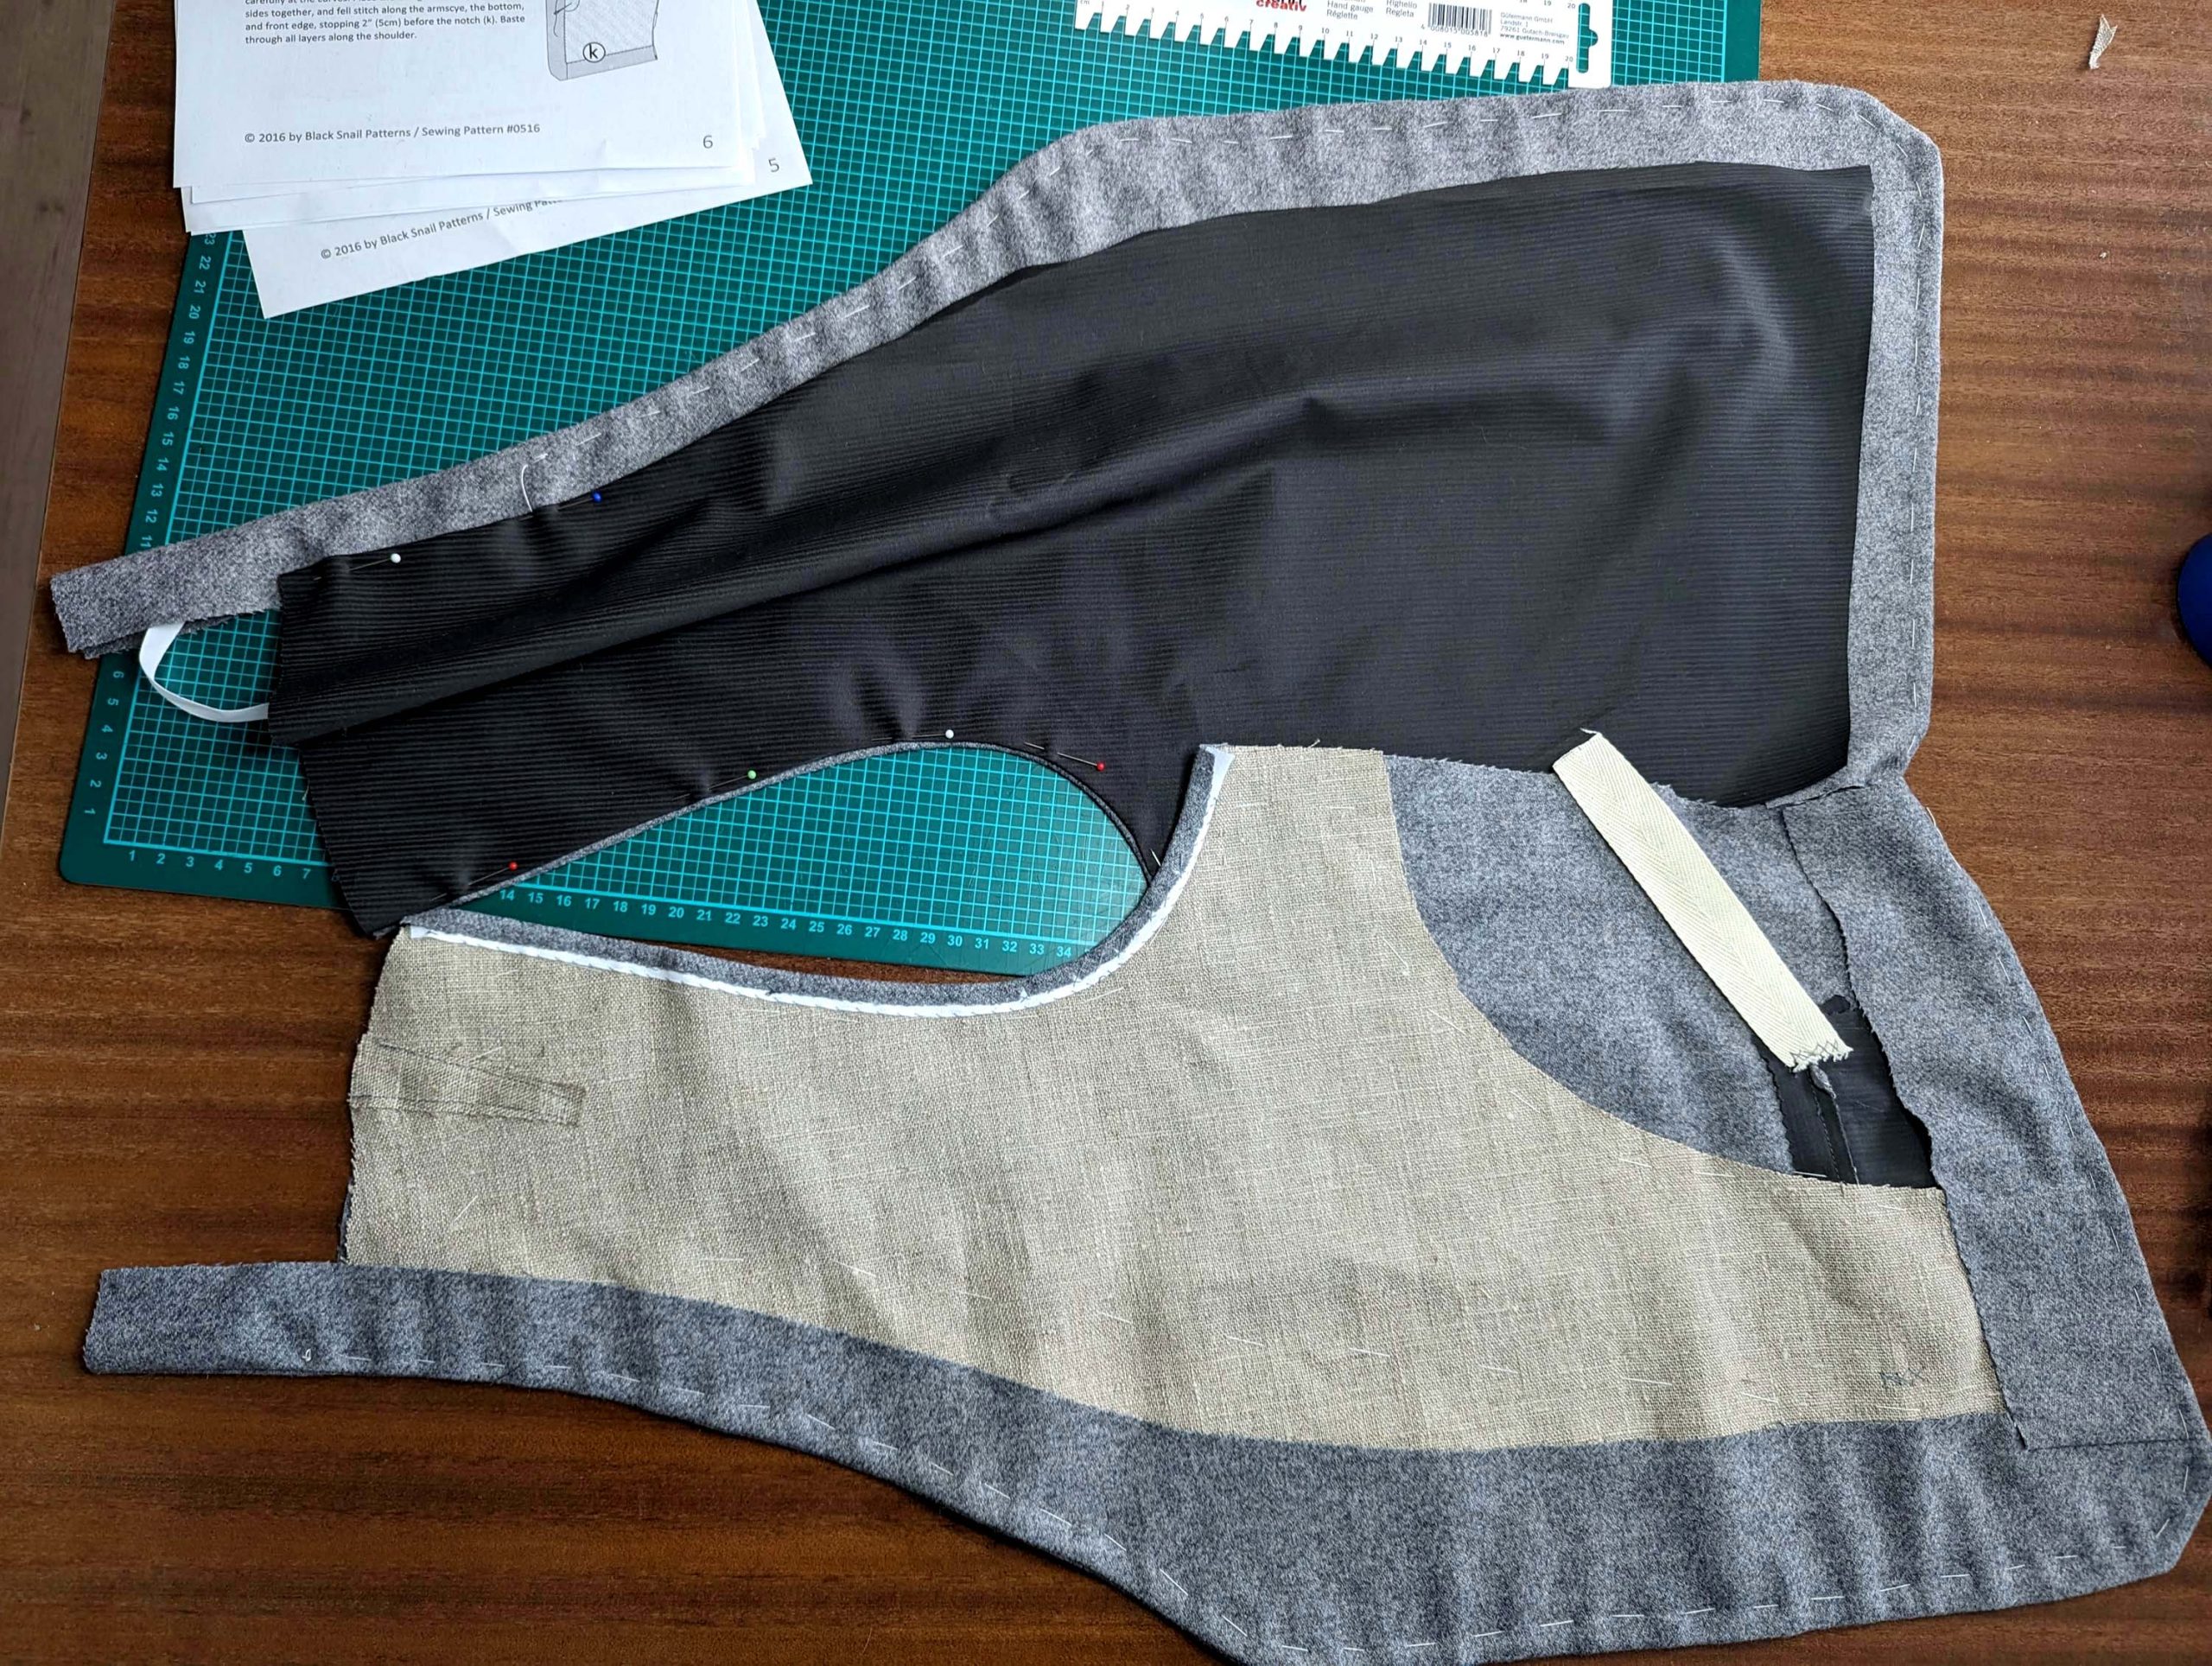
(4) Nimm das front lining, baste, and press the dart. The Basting will be removed later to get a fold for ease. Turn in the seam allowances along the bottom, front, and armscye, and notch carefully at the curves. Place the lining inside the fronts, wrong sides together, and fell stitch along the armscye, the bottom, and front edge, stopping 2” (5cm) before the collar notch. Baste through all layers along the shoulder.
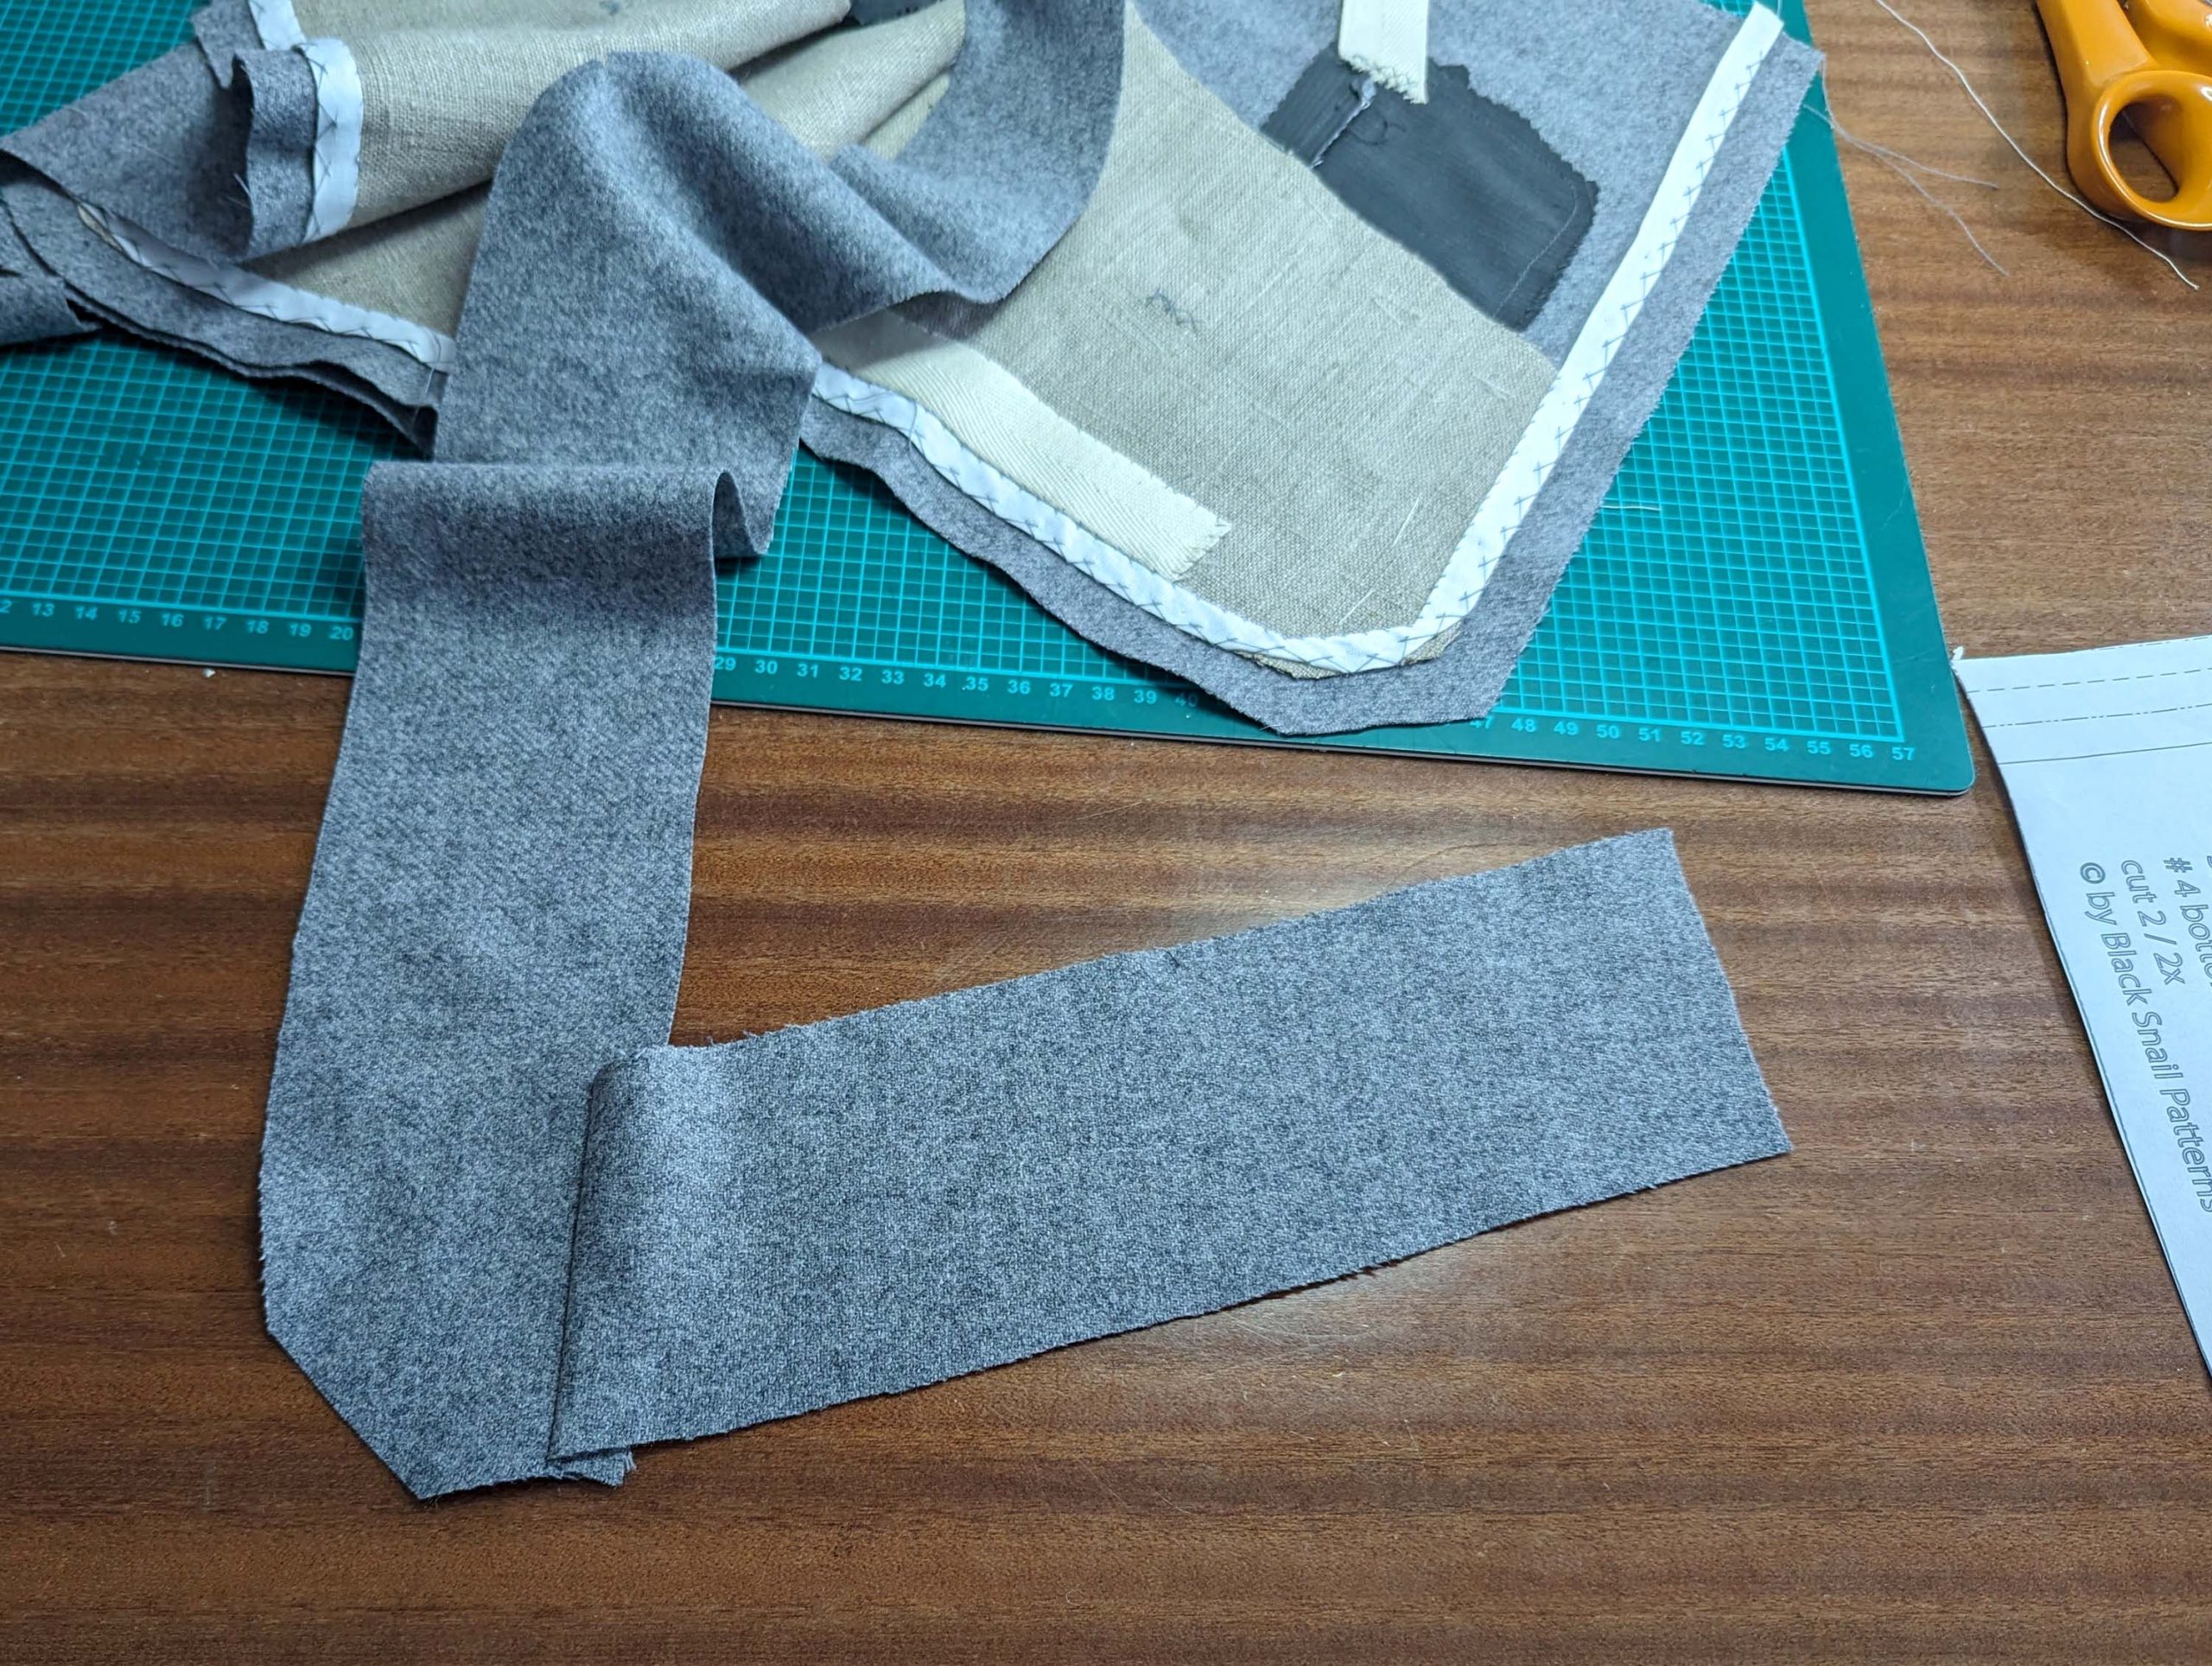
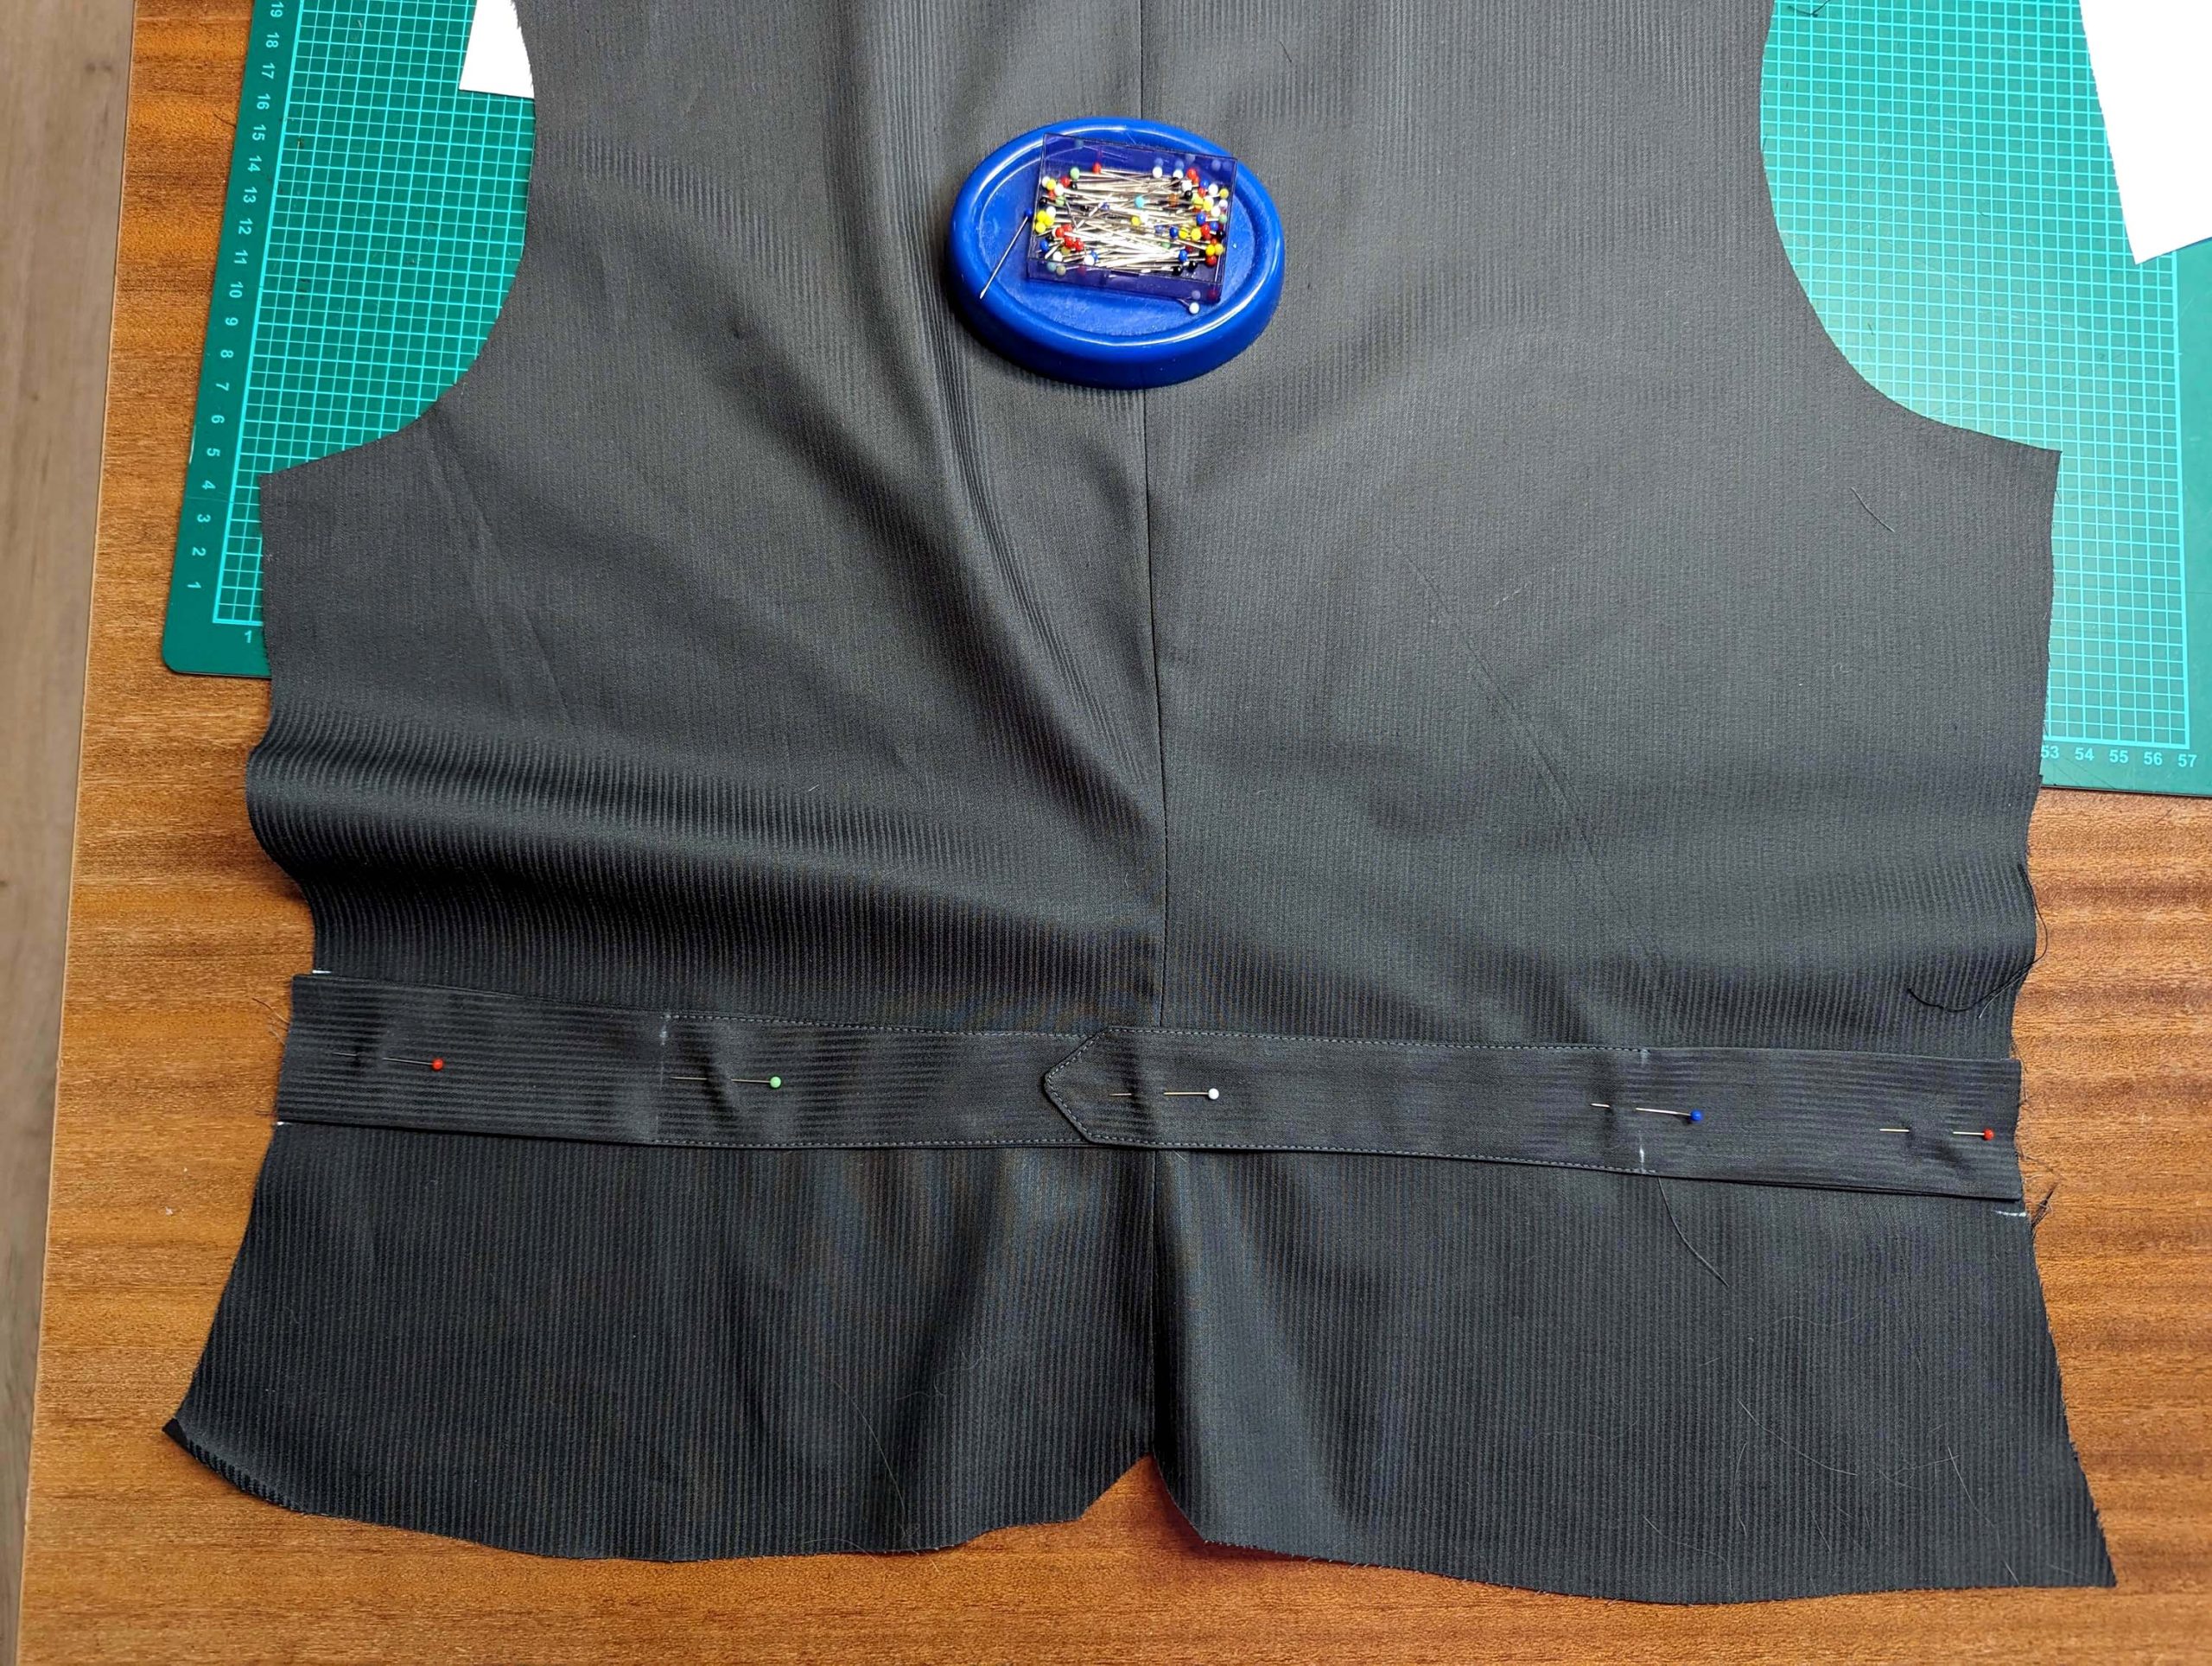
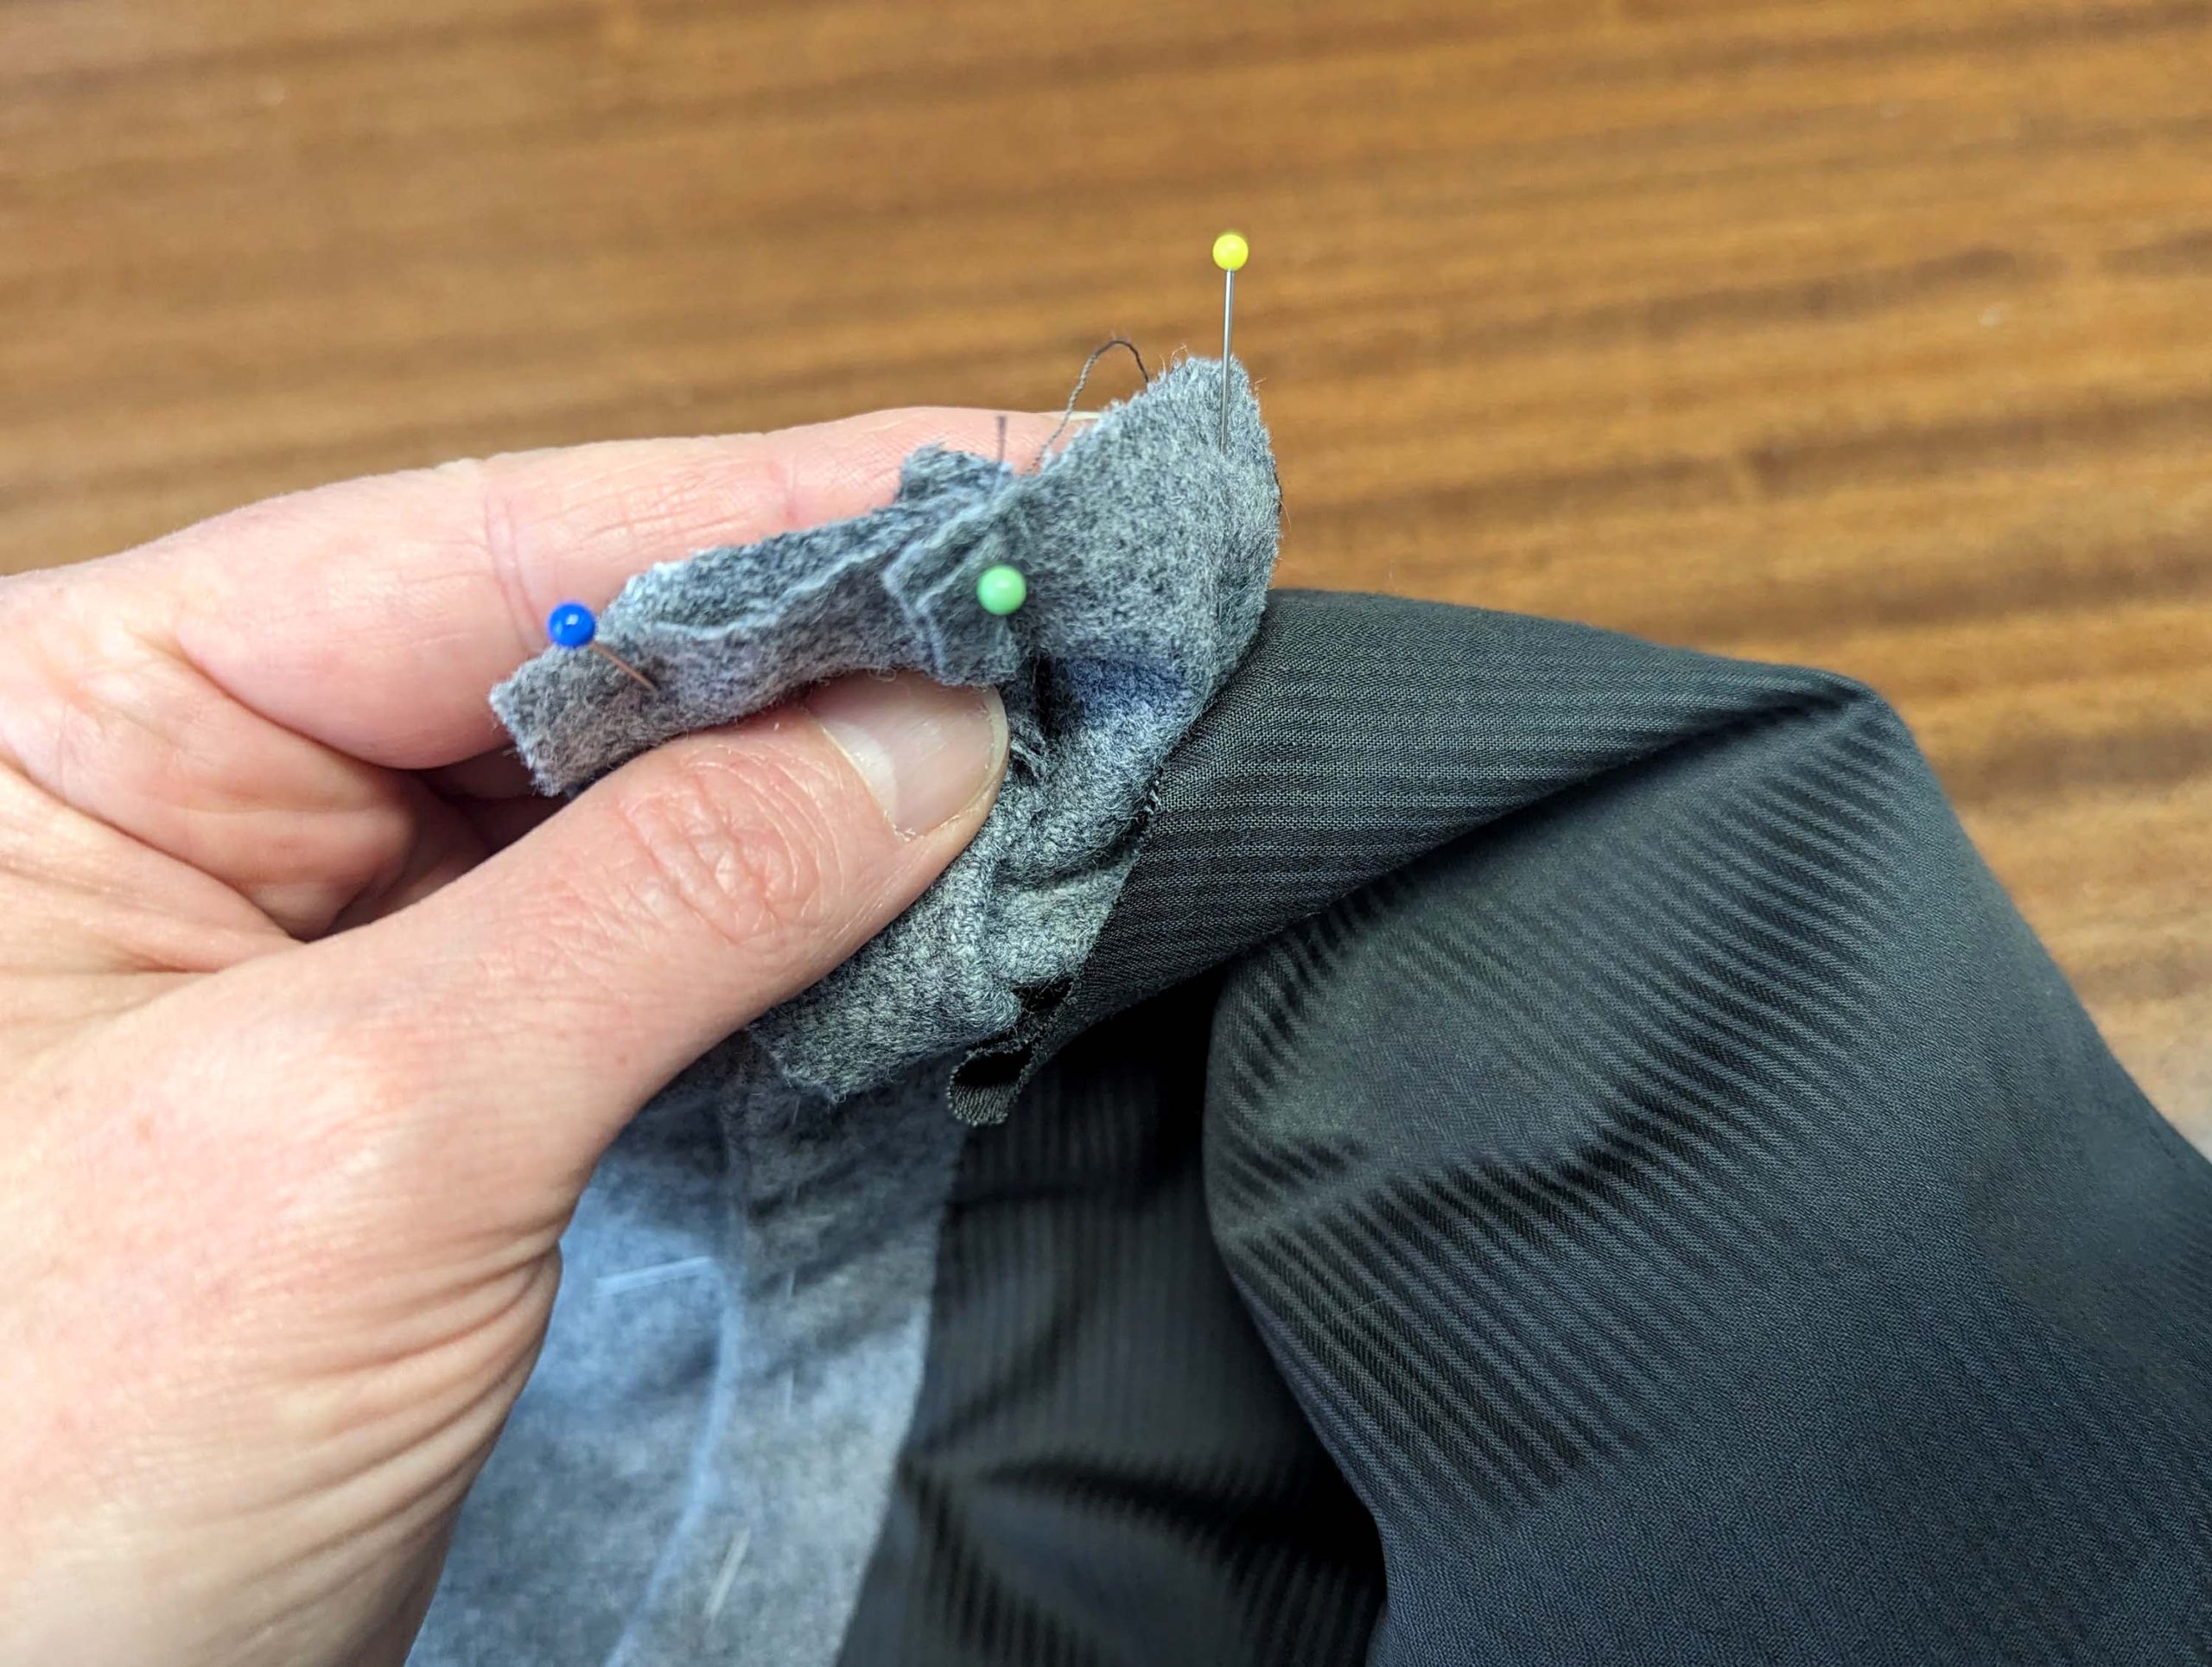
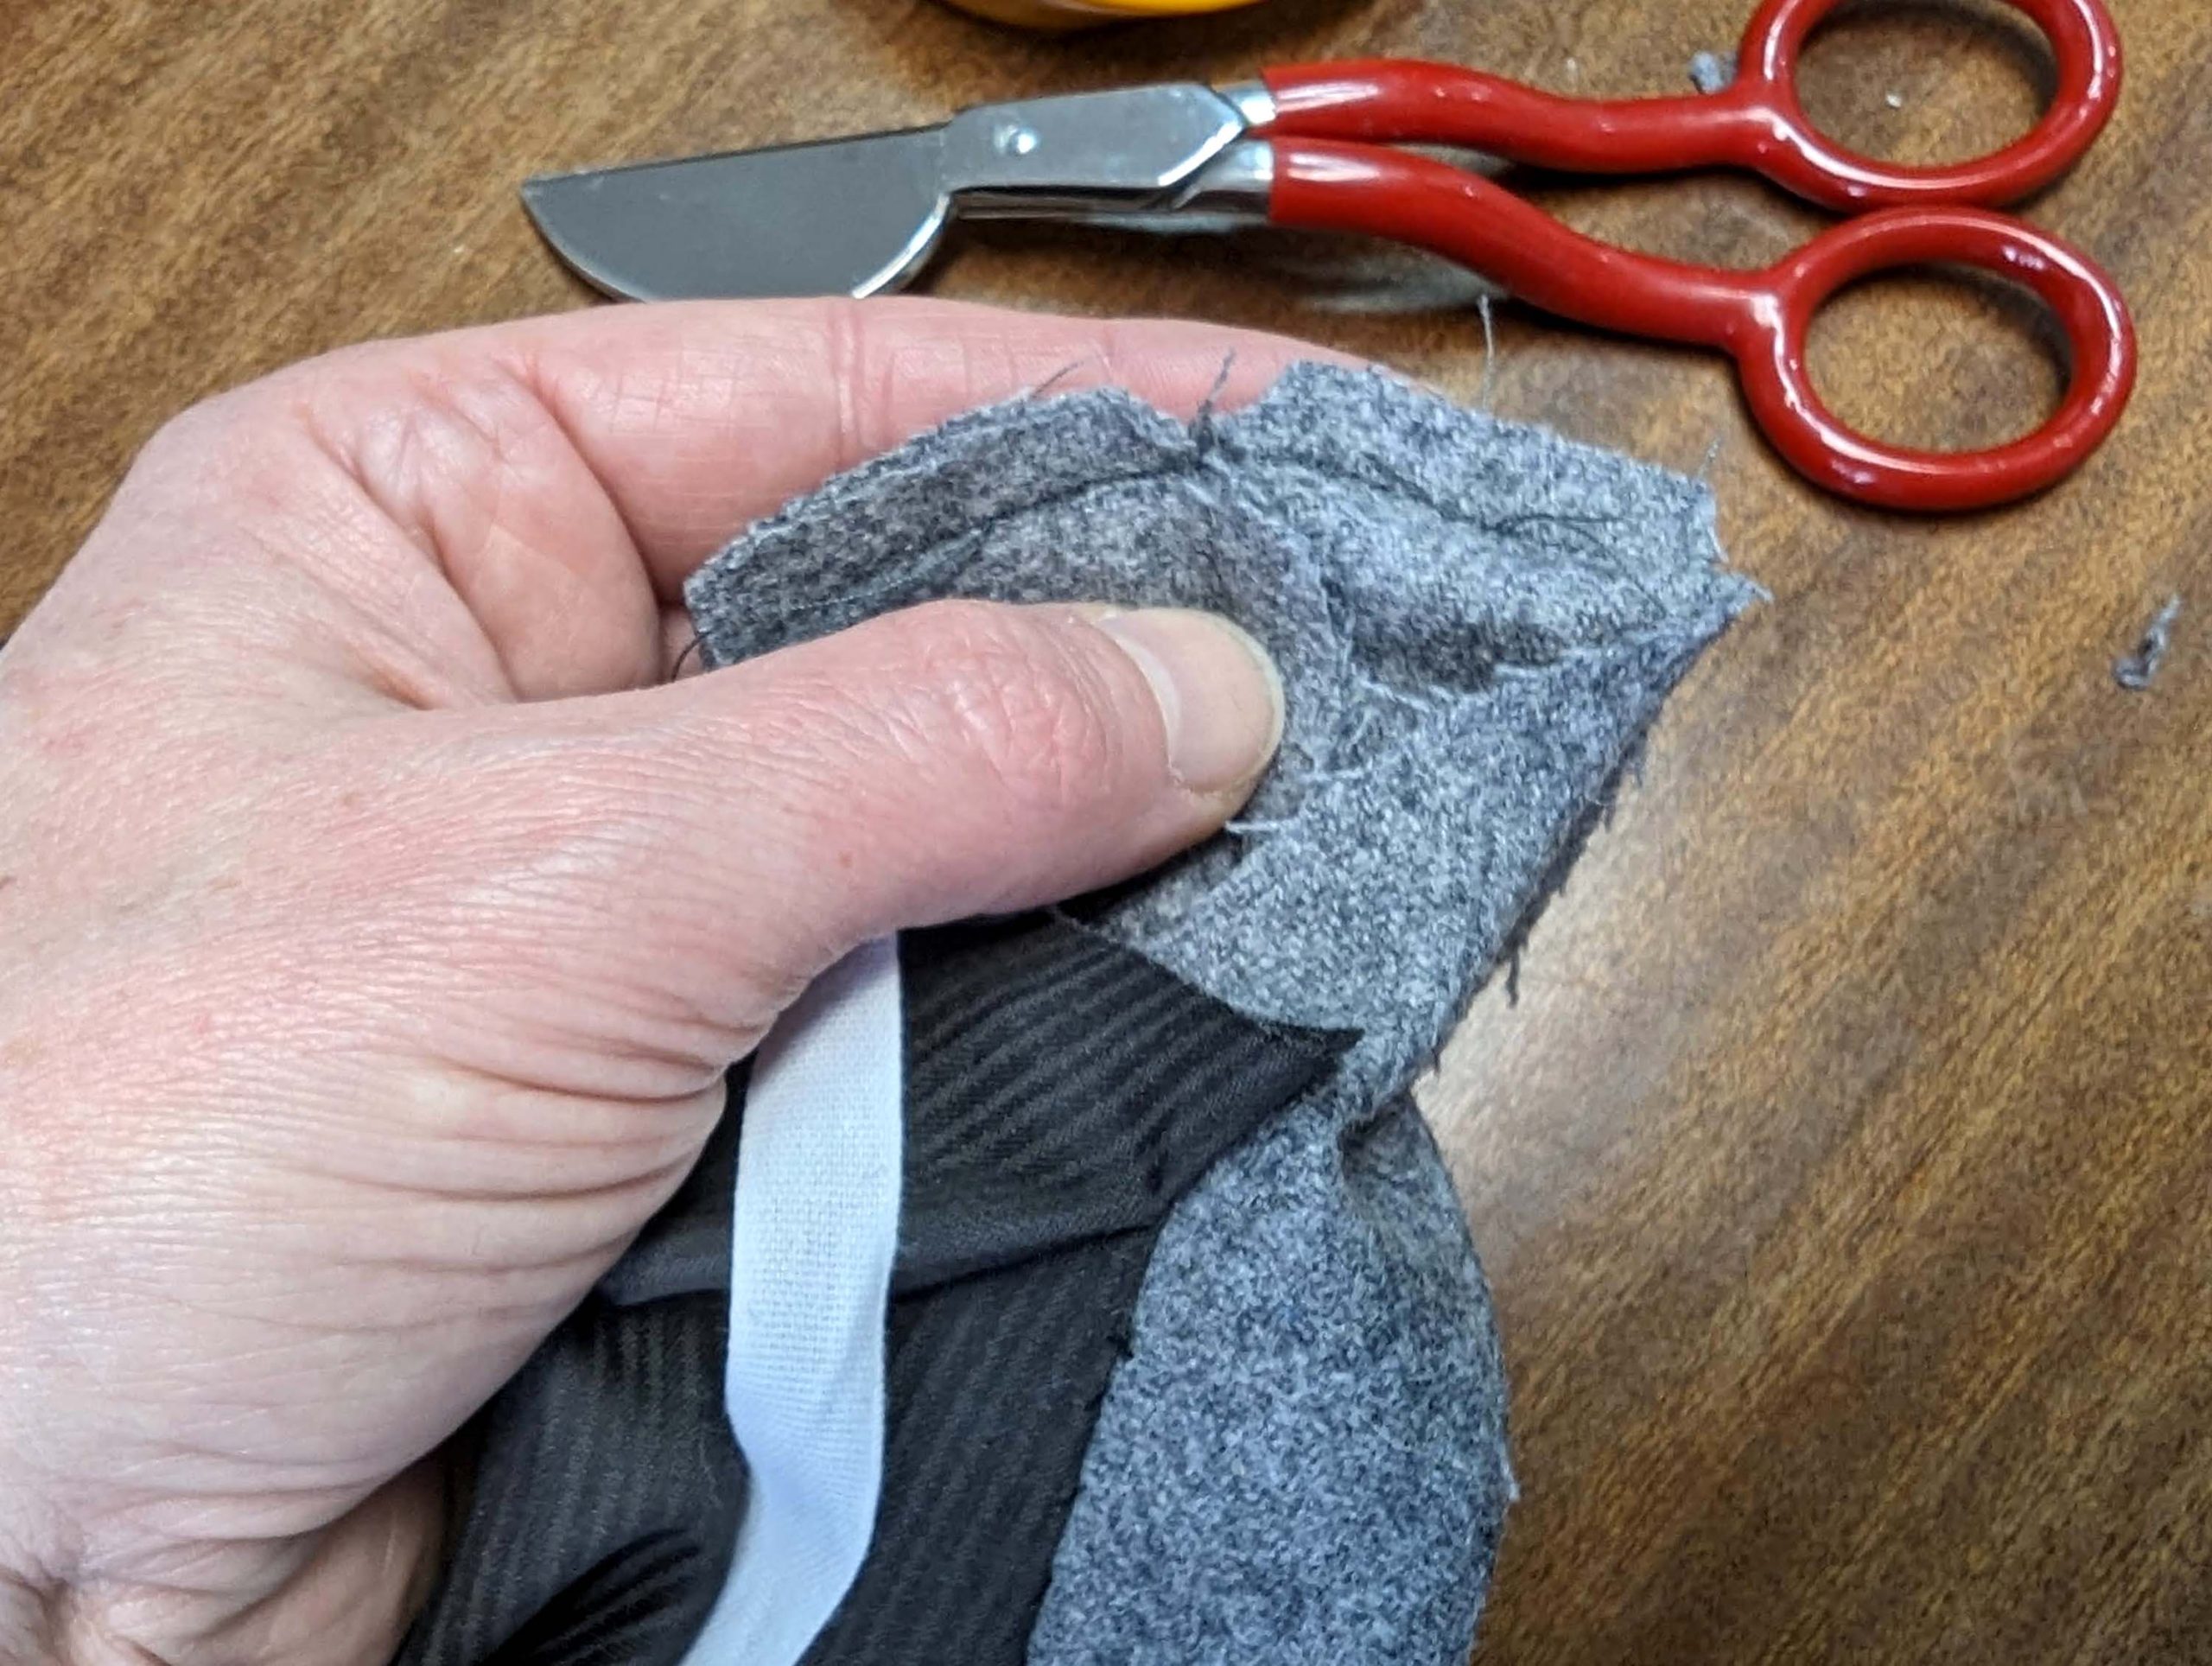
(5) Nimm das back pieces from the lining and line up one set of two and then the second set of two, right sides together, and sew along the center back. Press open the seam allowances. For each buckle strap, line up two strap pieces, right sides together. Stitch, leaving the sides open, reducing stitch length at corners. Trim back the seam allowances, slope at the corners to remove bulk, and turn the right way out. Press and topstitch the loose portion that will not get sewn down to the vest back.
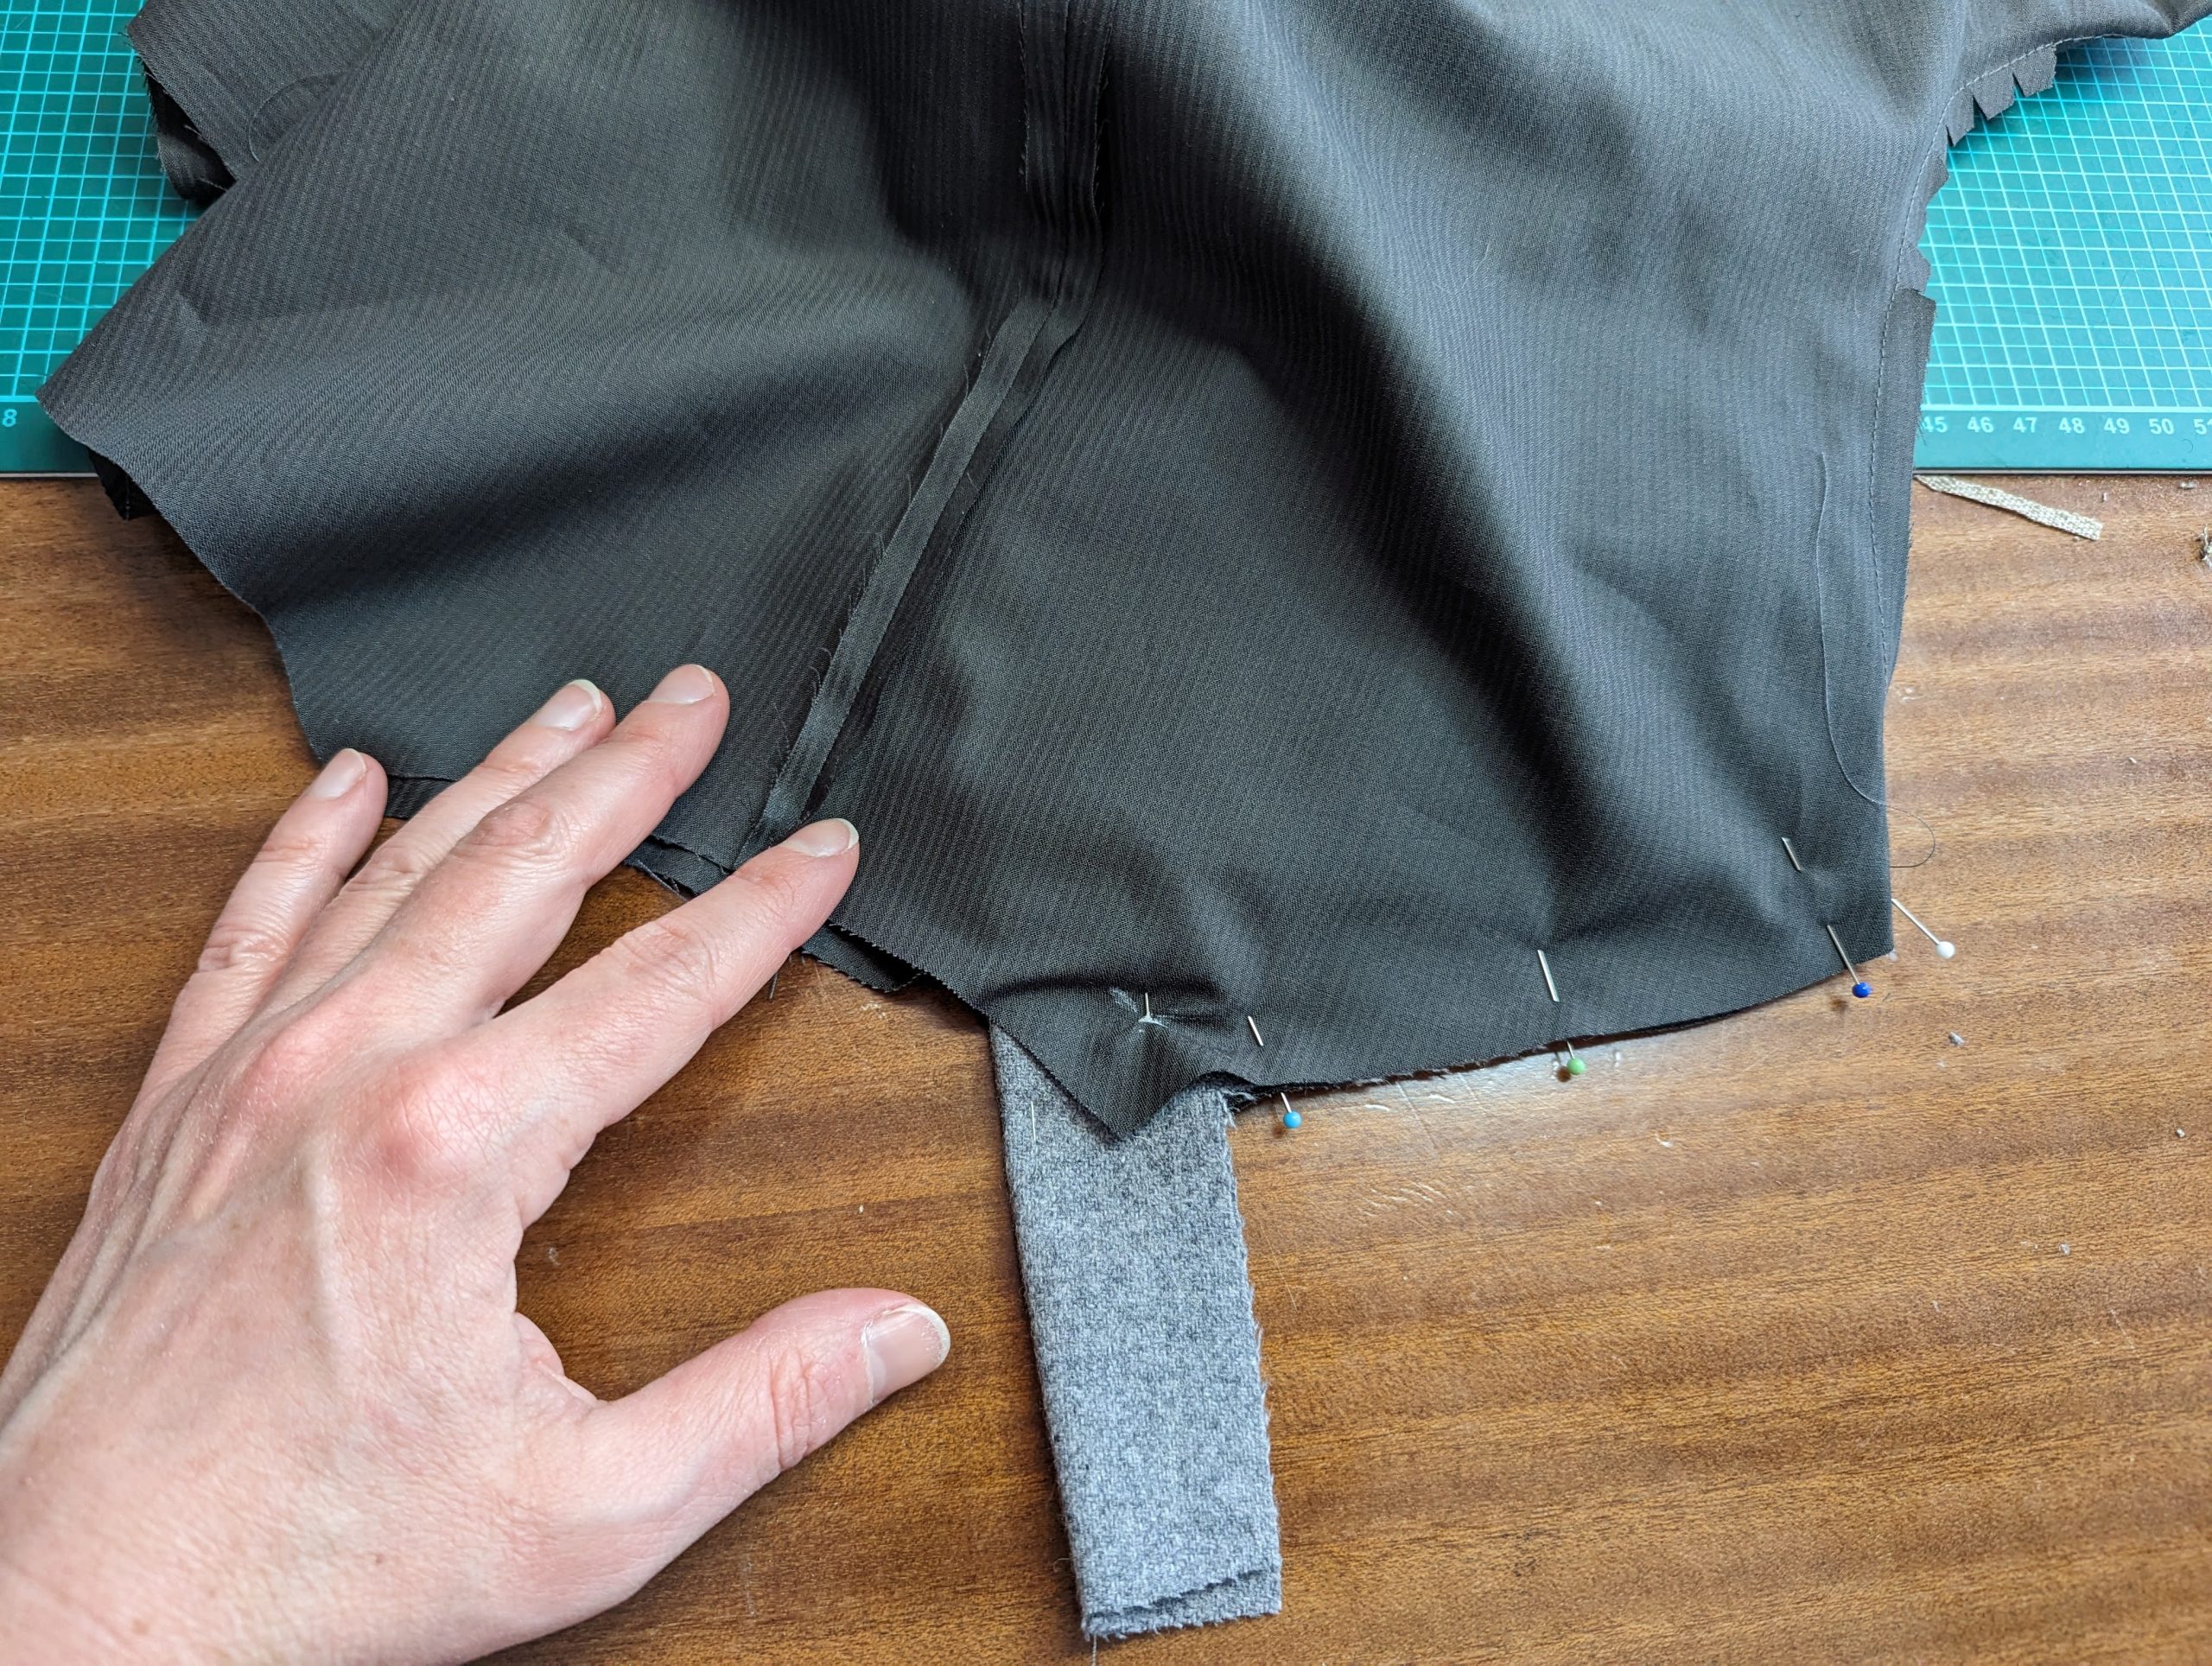
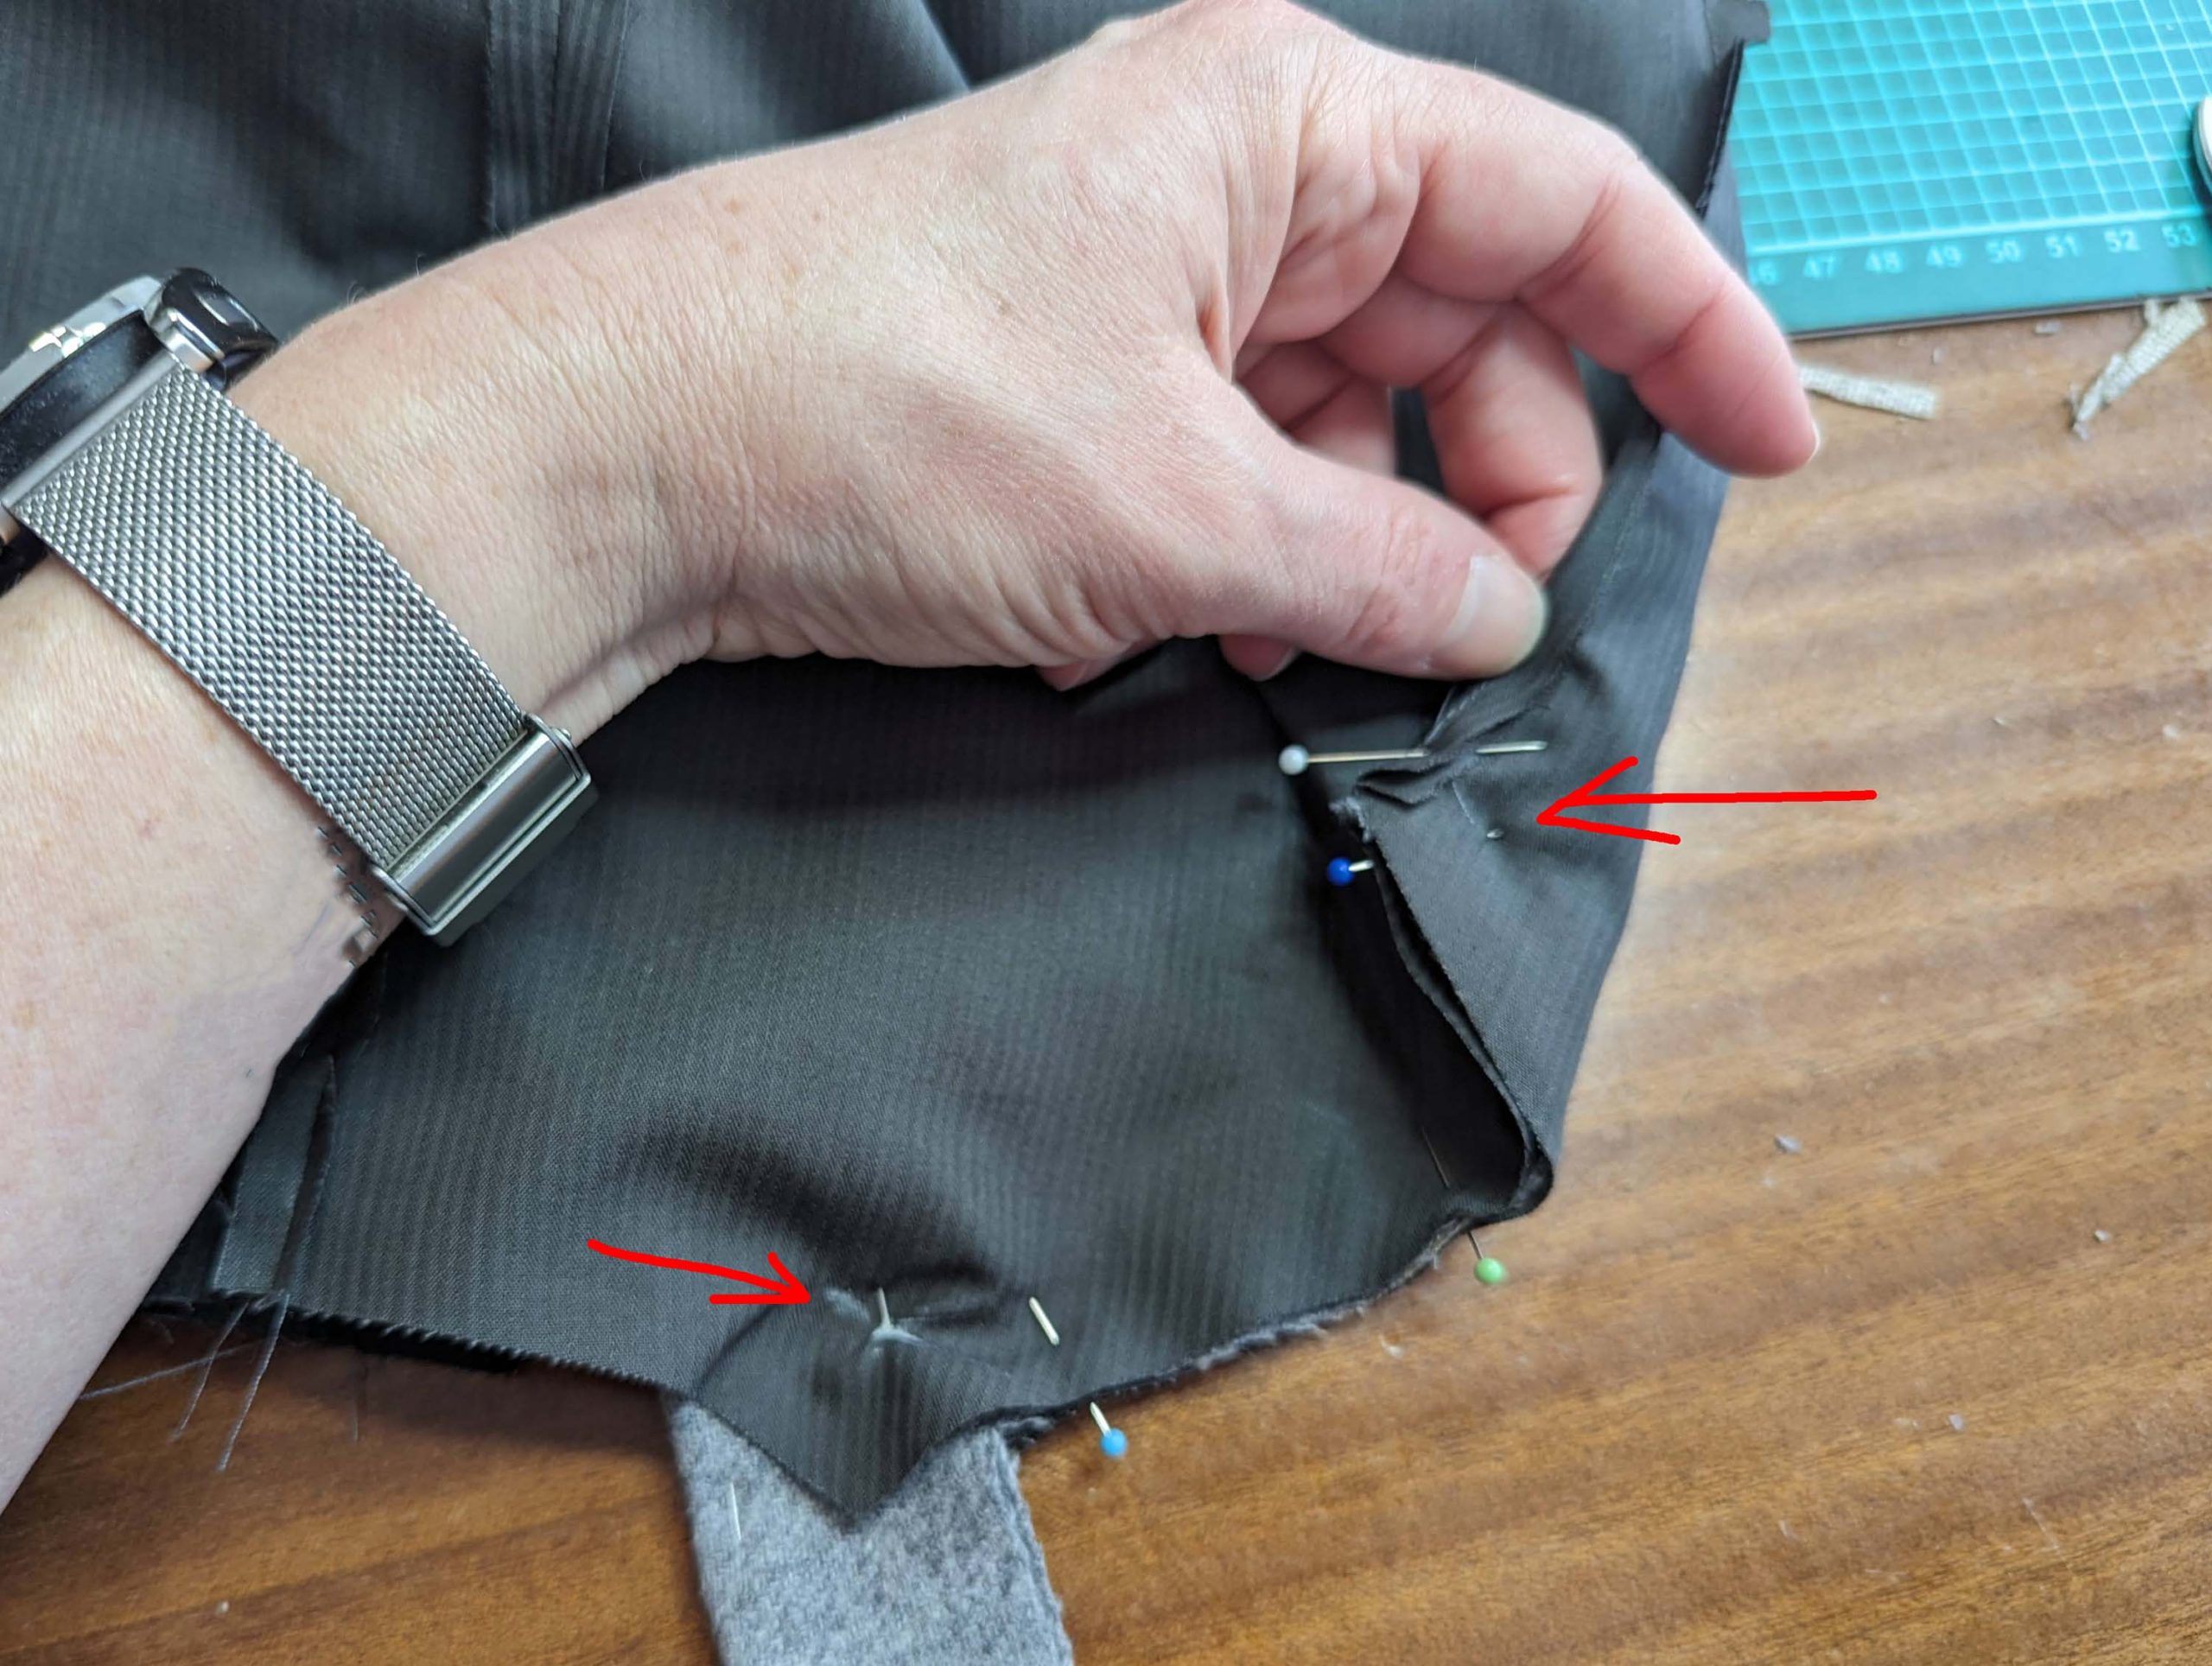
Take one of the backs that will be the garment´s right side later, and place the straps on top of the right side, matching all marks and baste in place. Sew the side portion of the straps to the back. Baste the loose ends of the straps to the back to prevent them from getting caught while sewing.
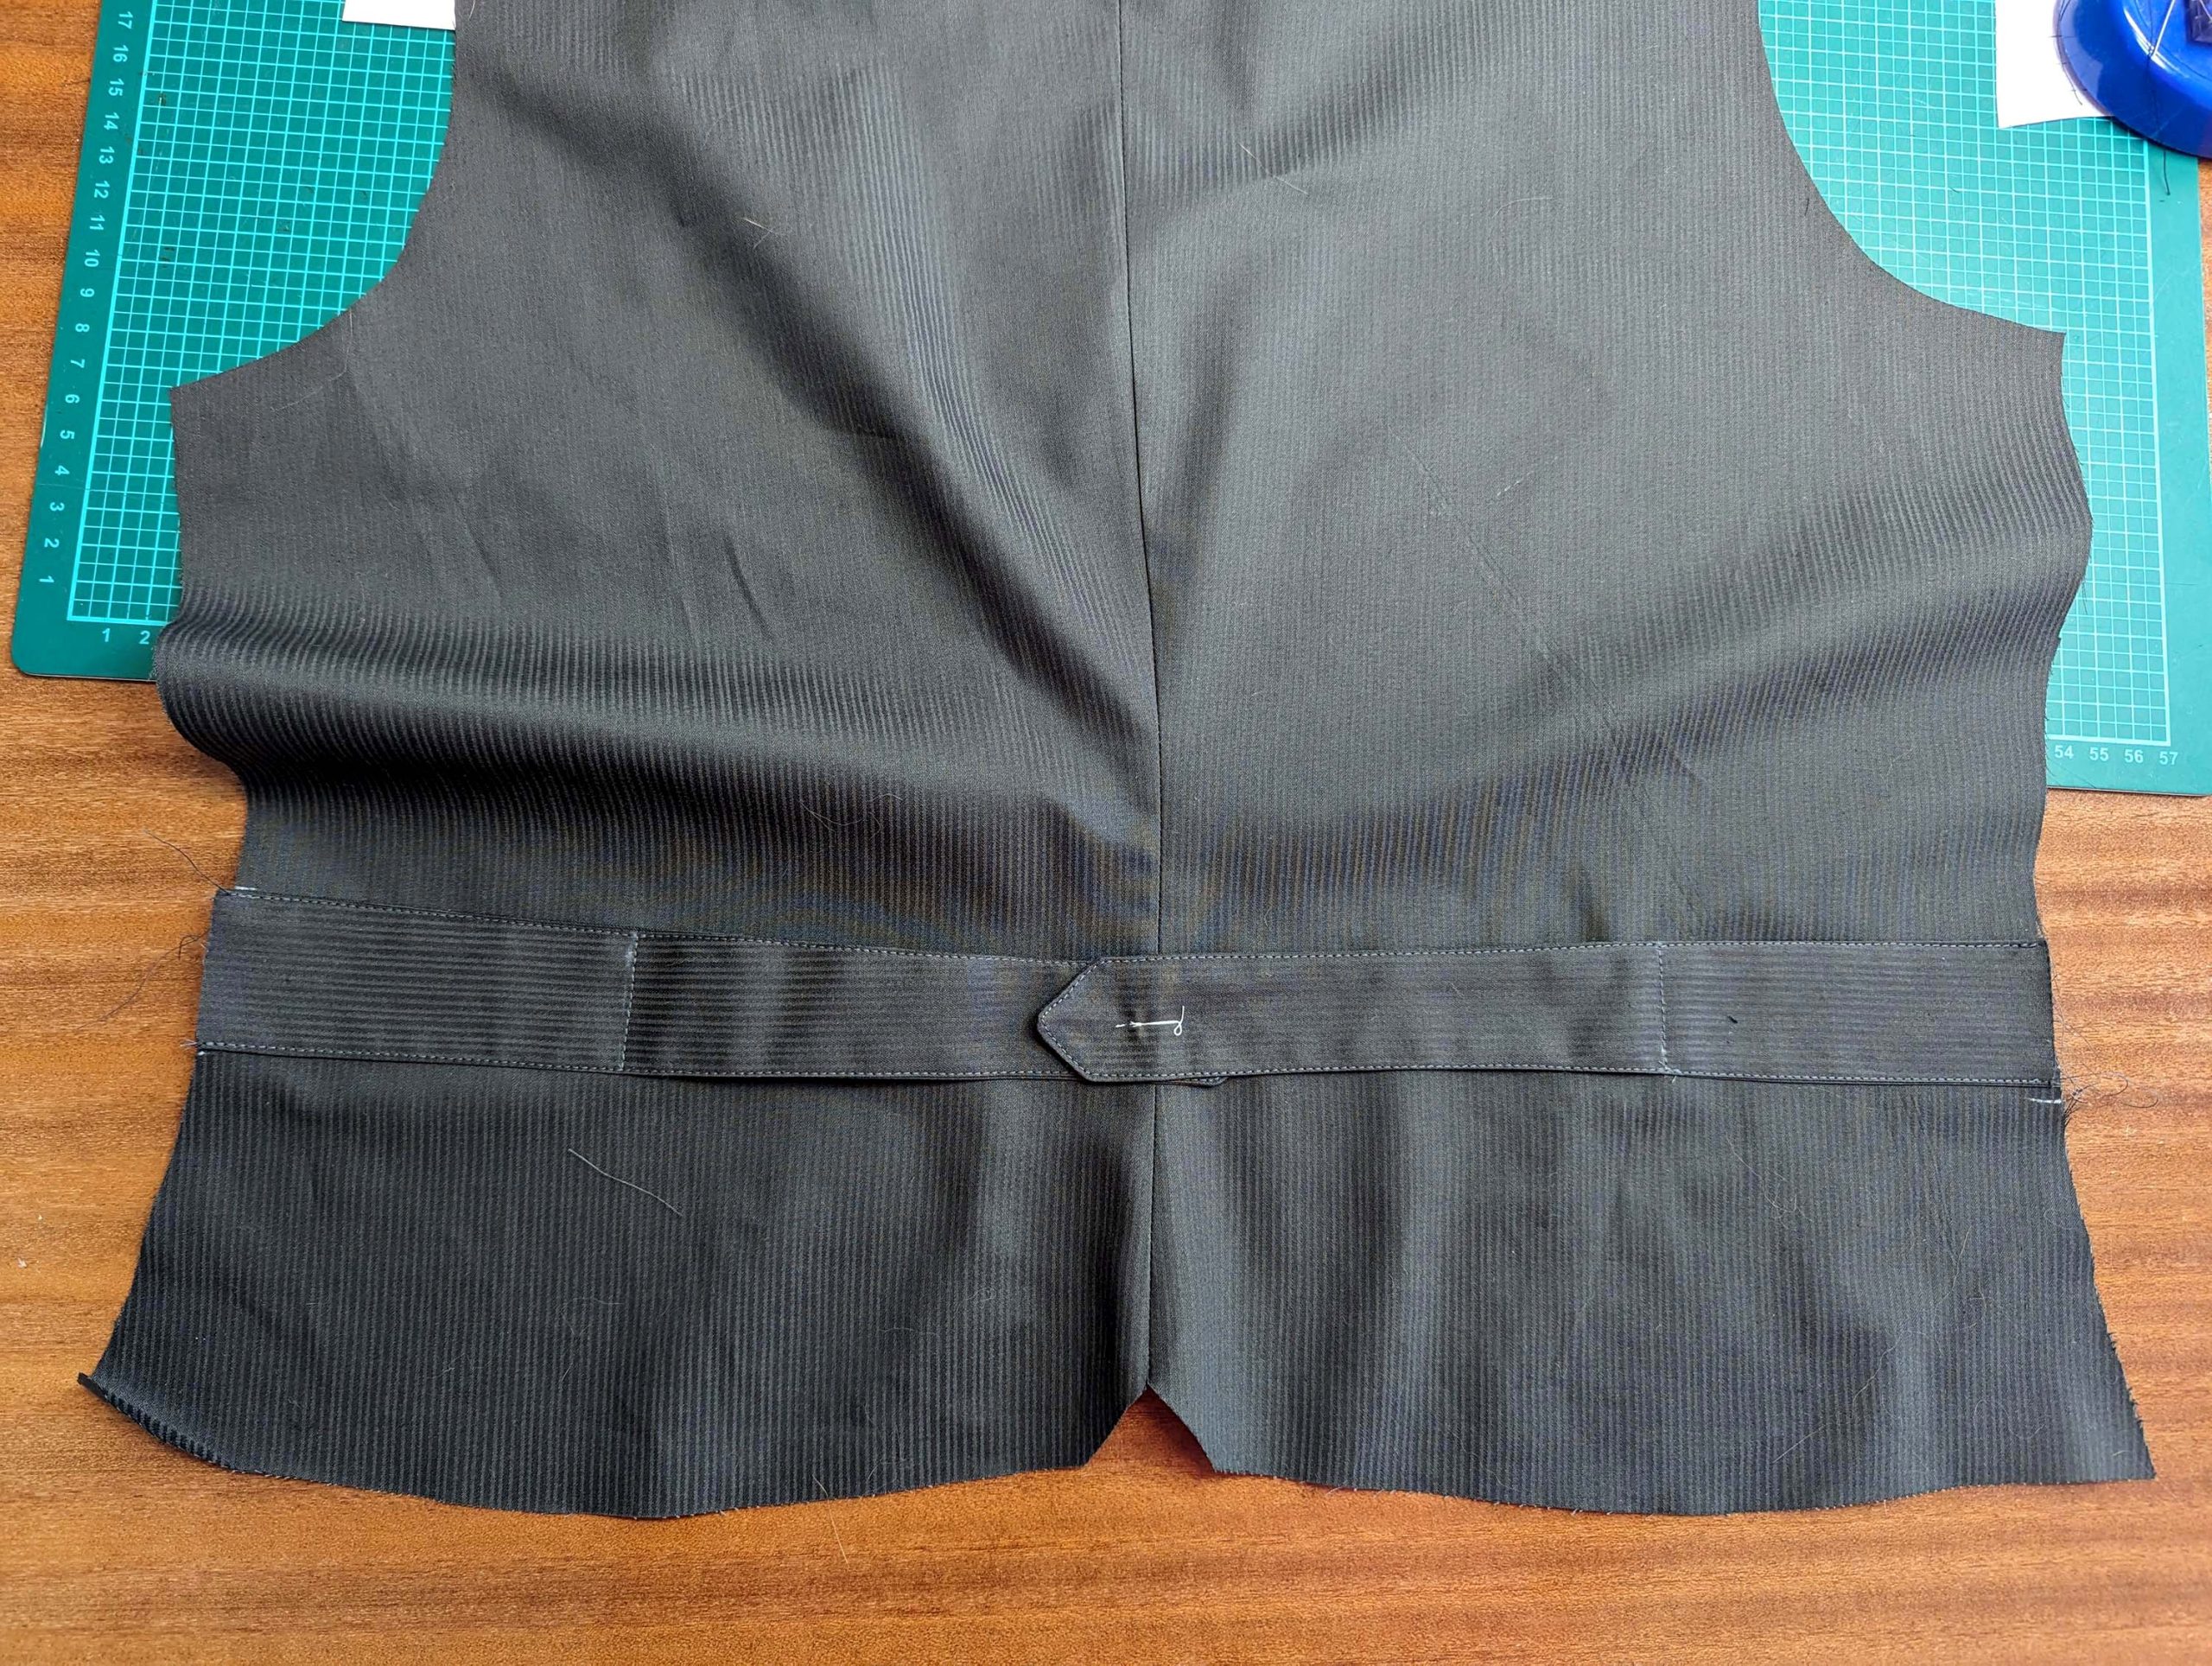
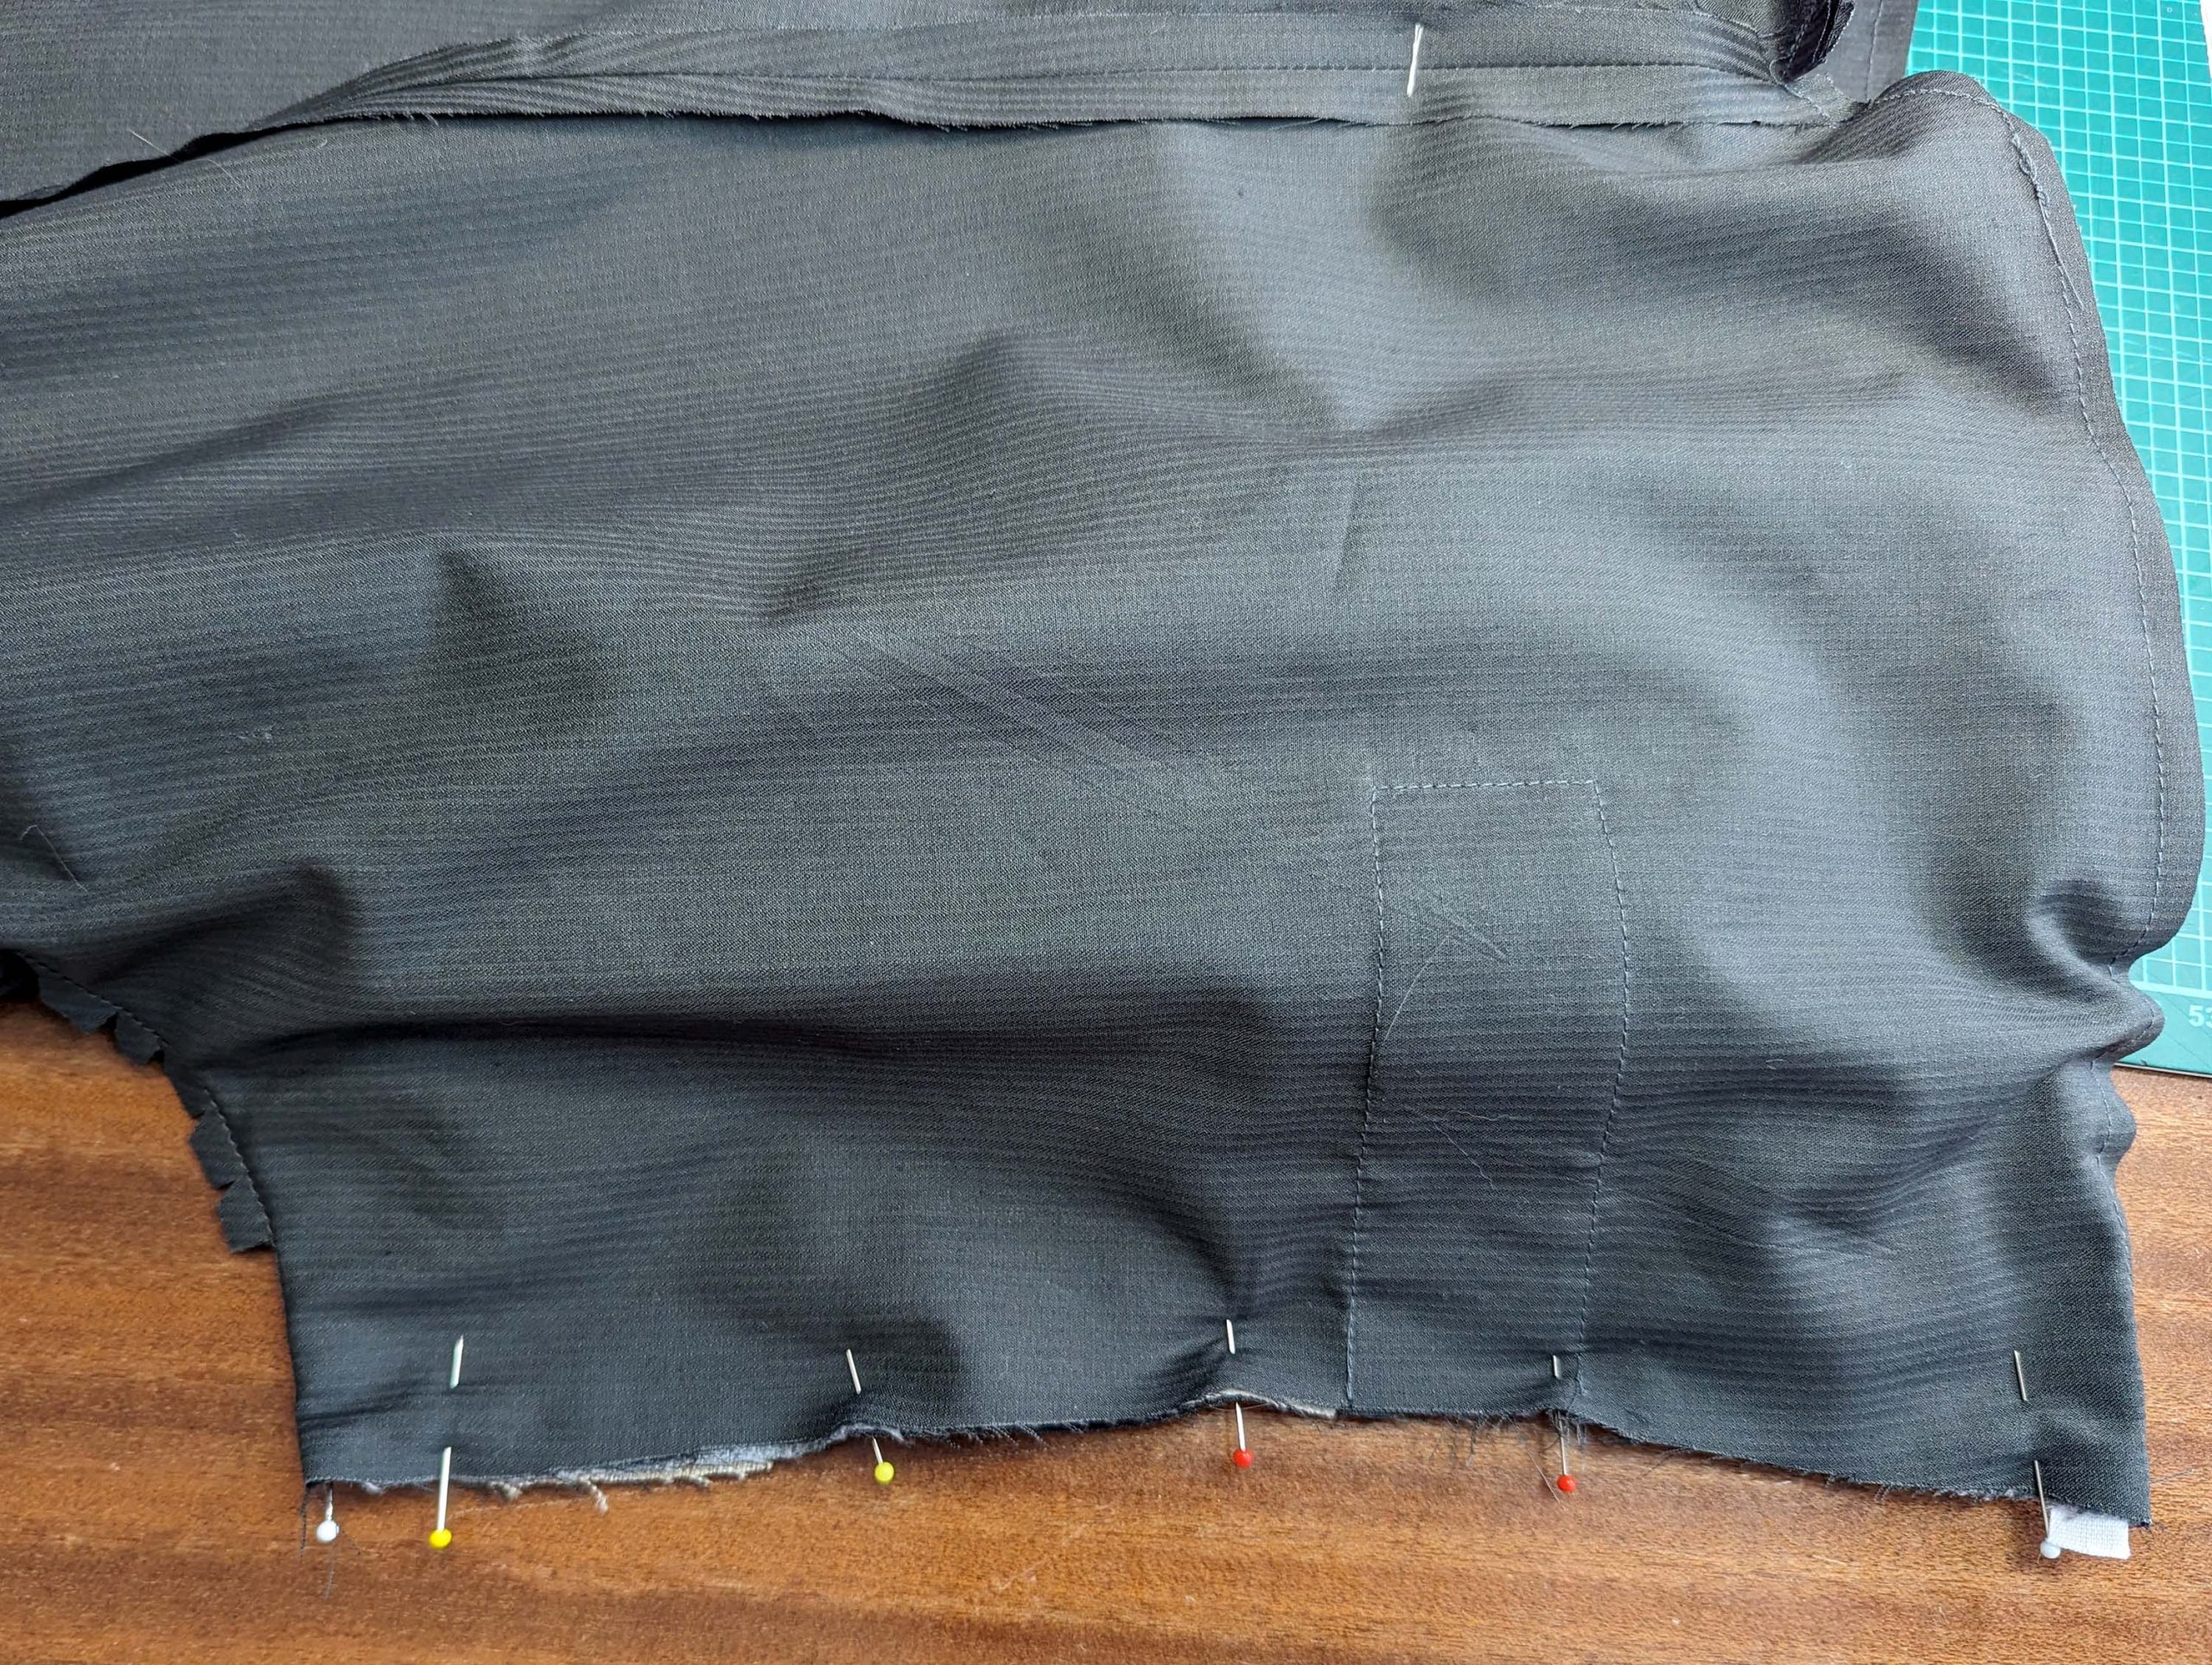
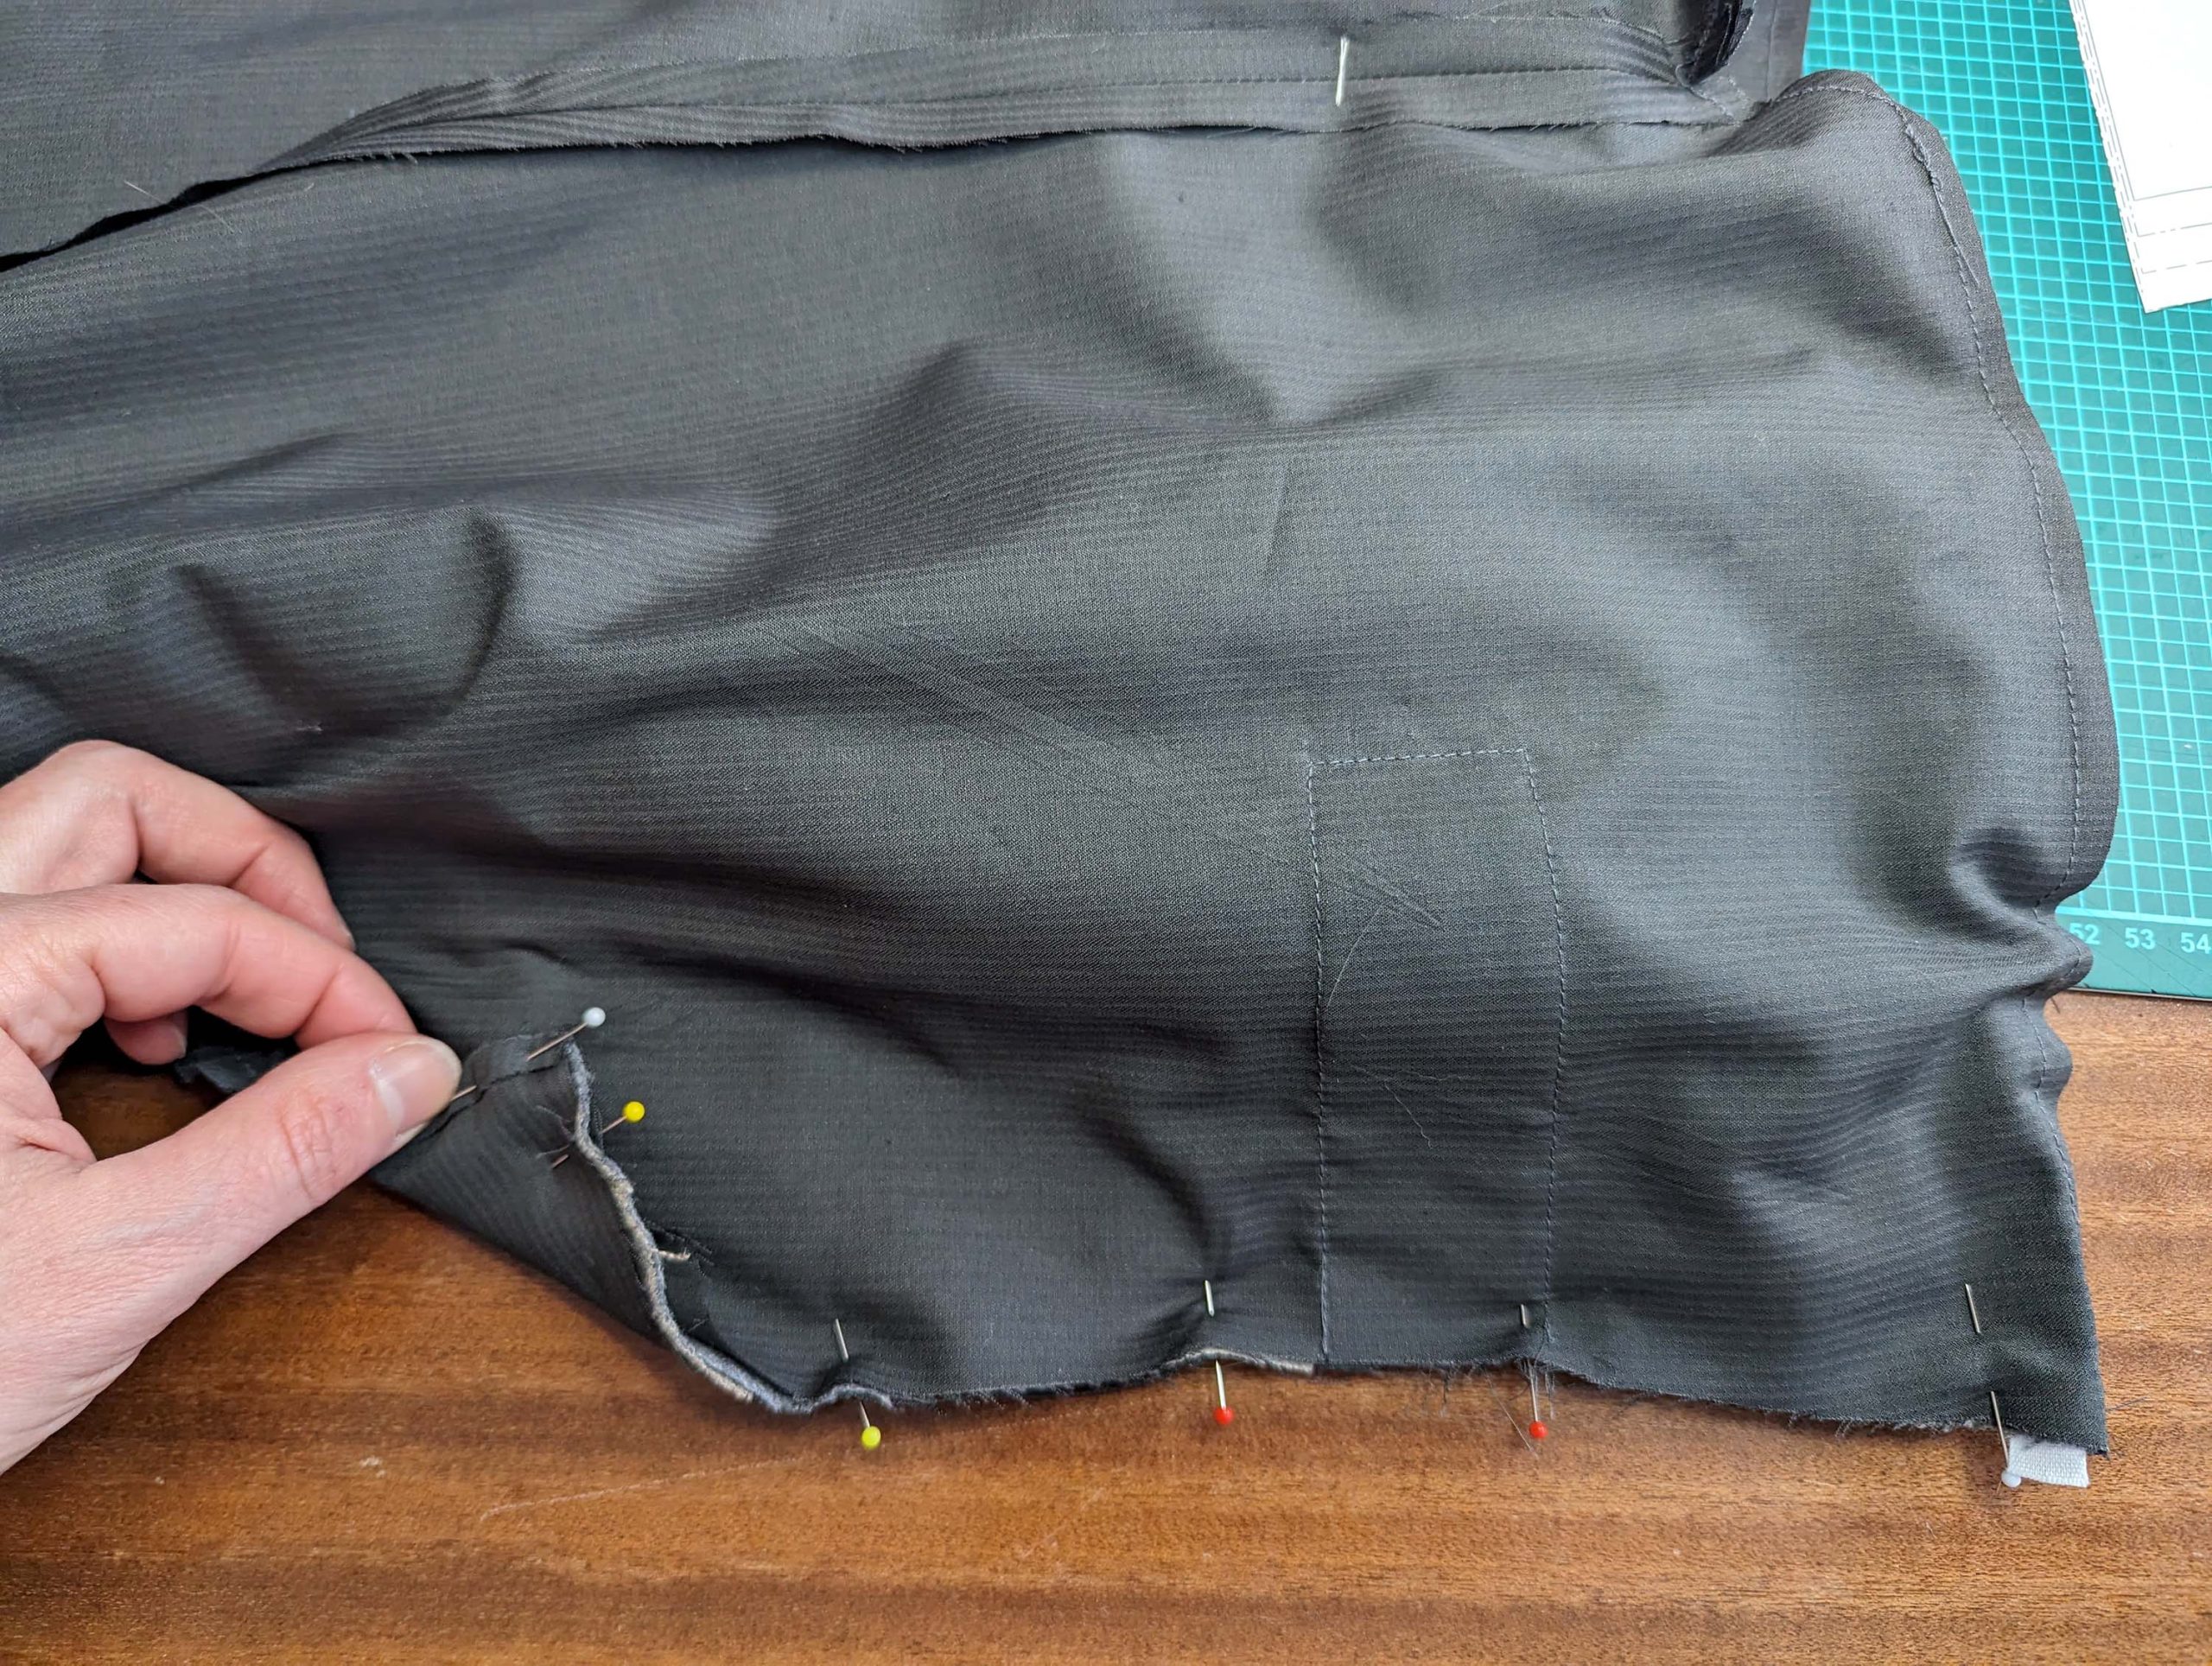
Line up the two back pieces, right sides together, and sew along the bottom edge and armscyes. Trim back the seam allowances and notch at curves and corners.


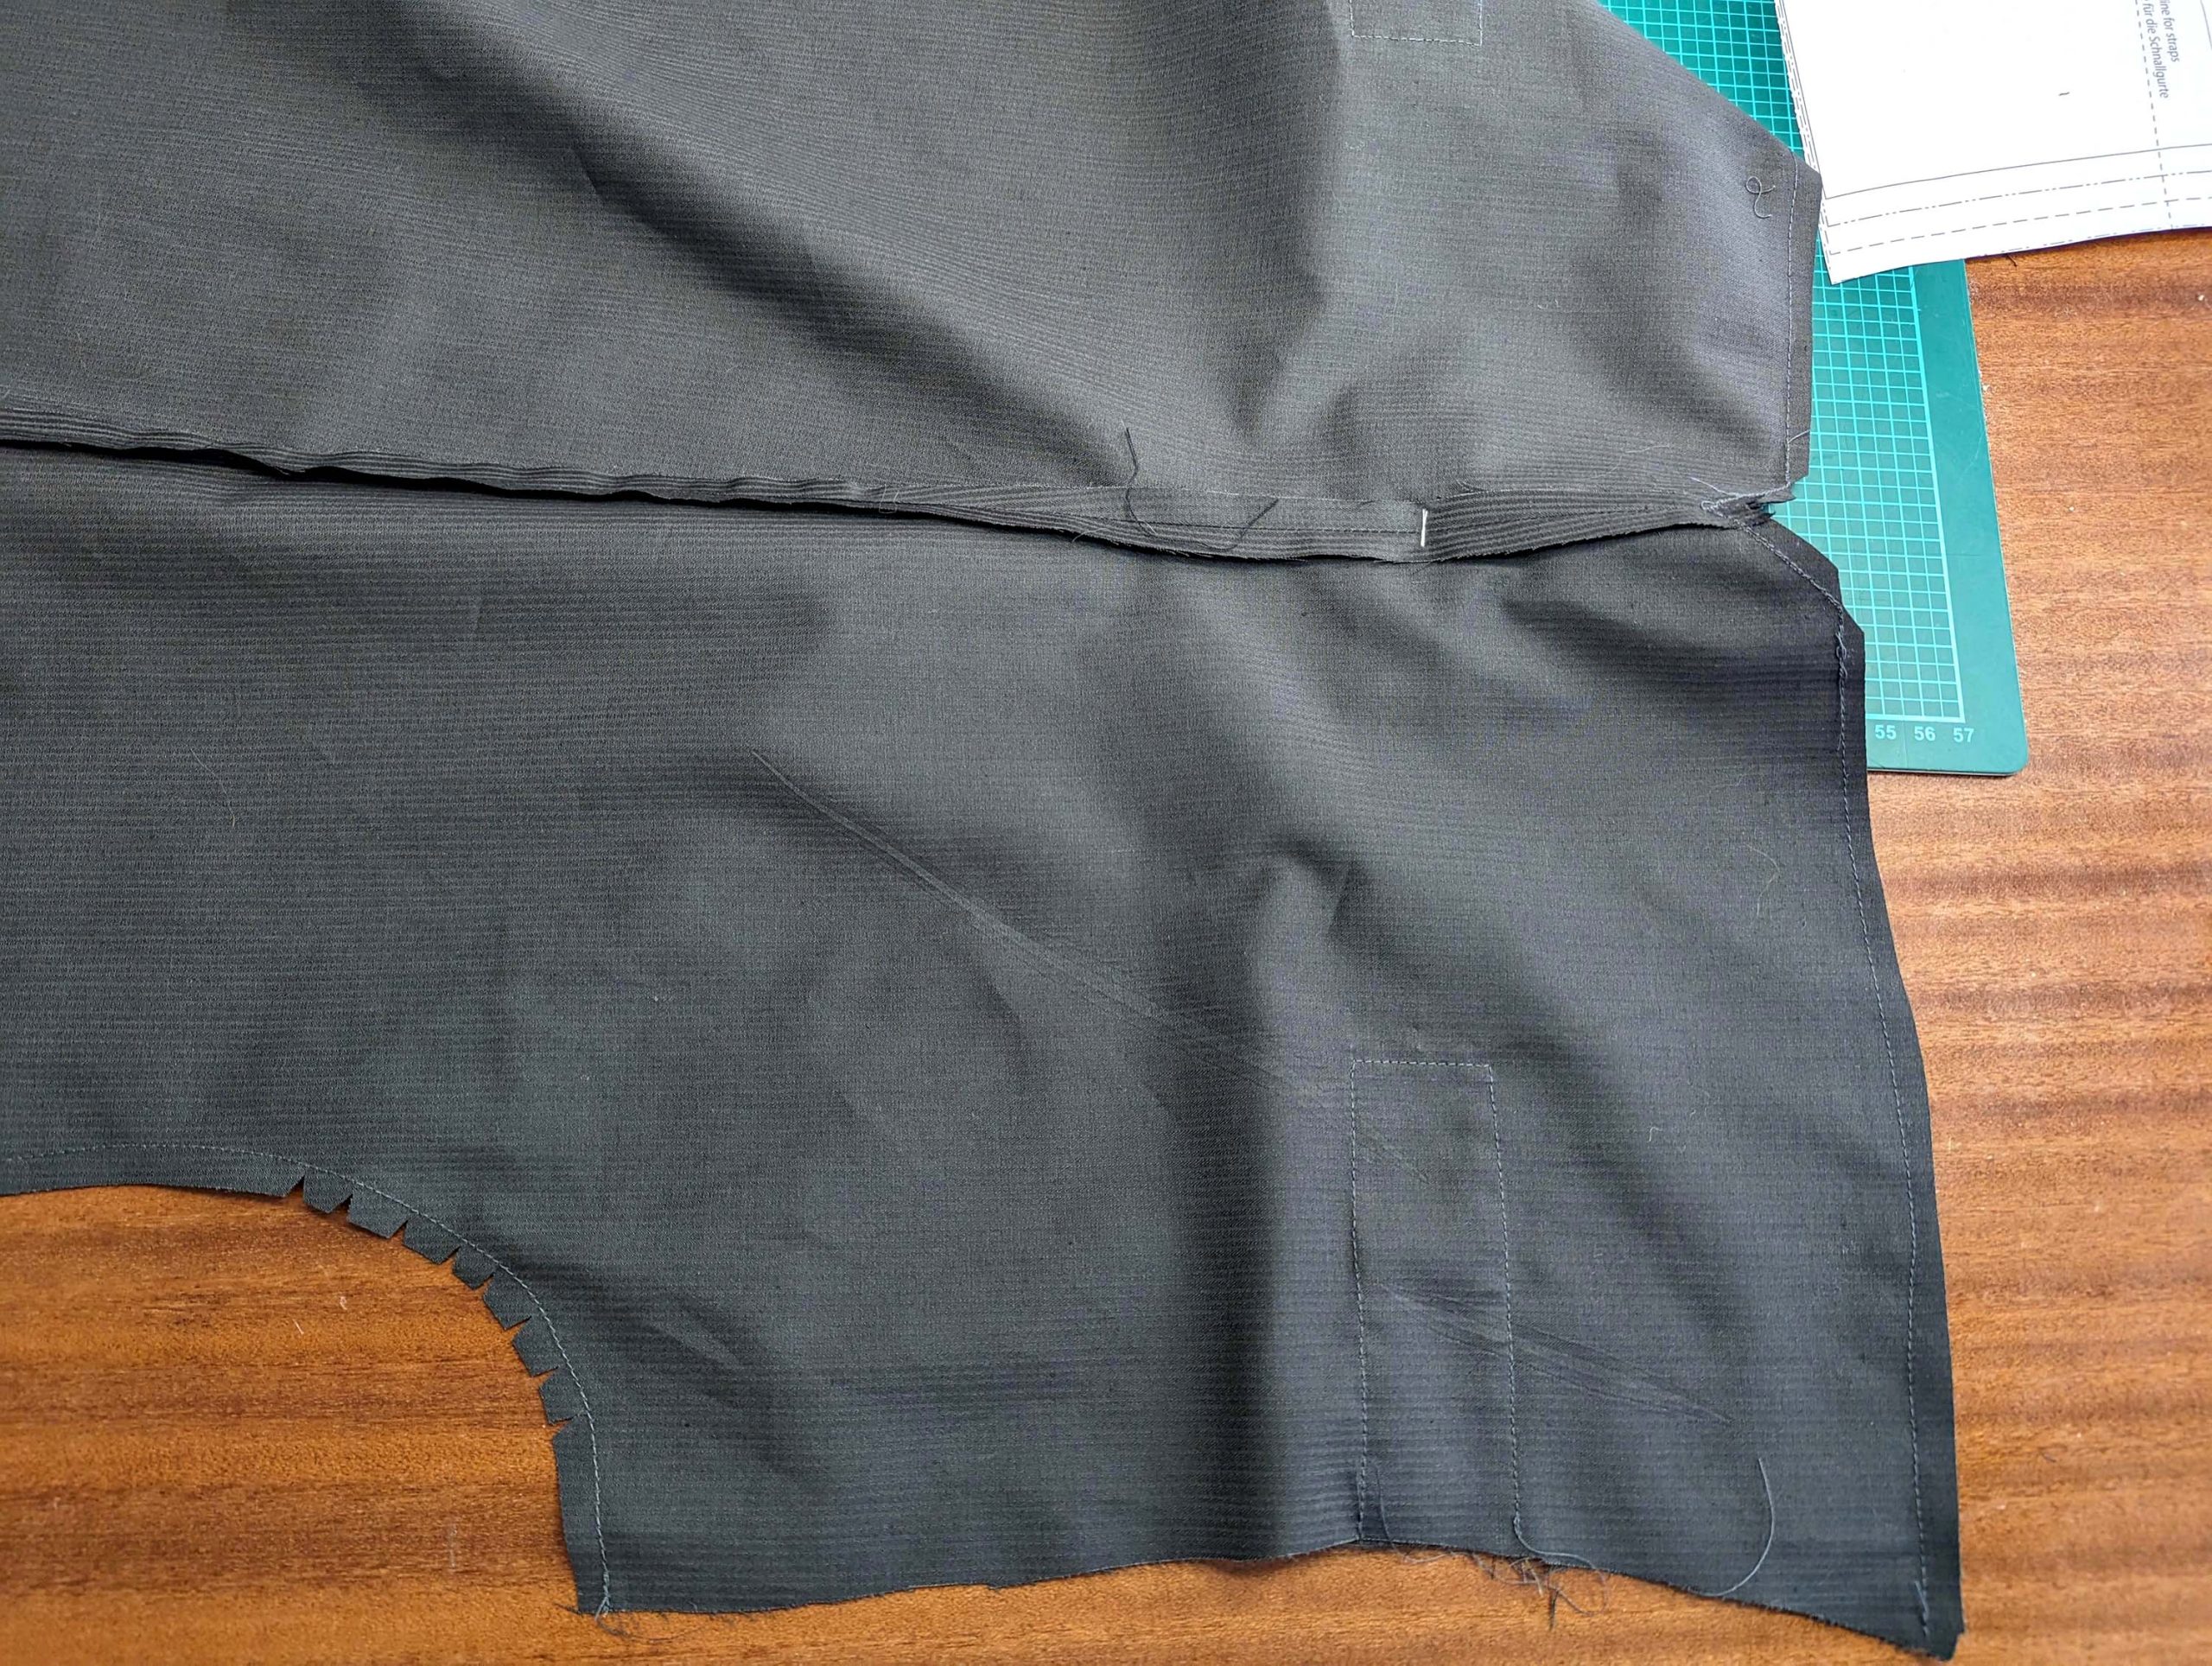
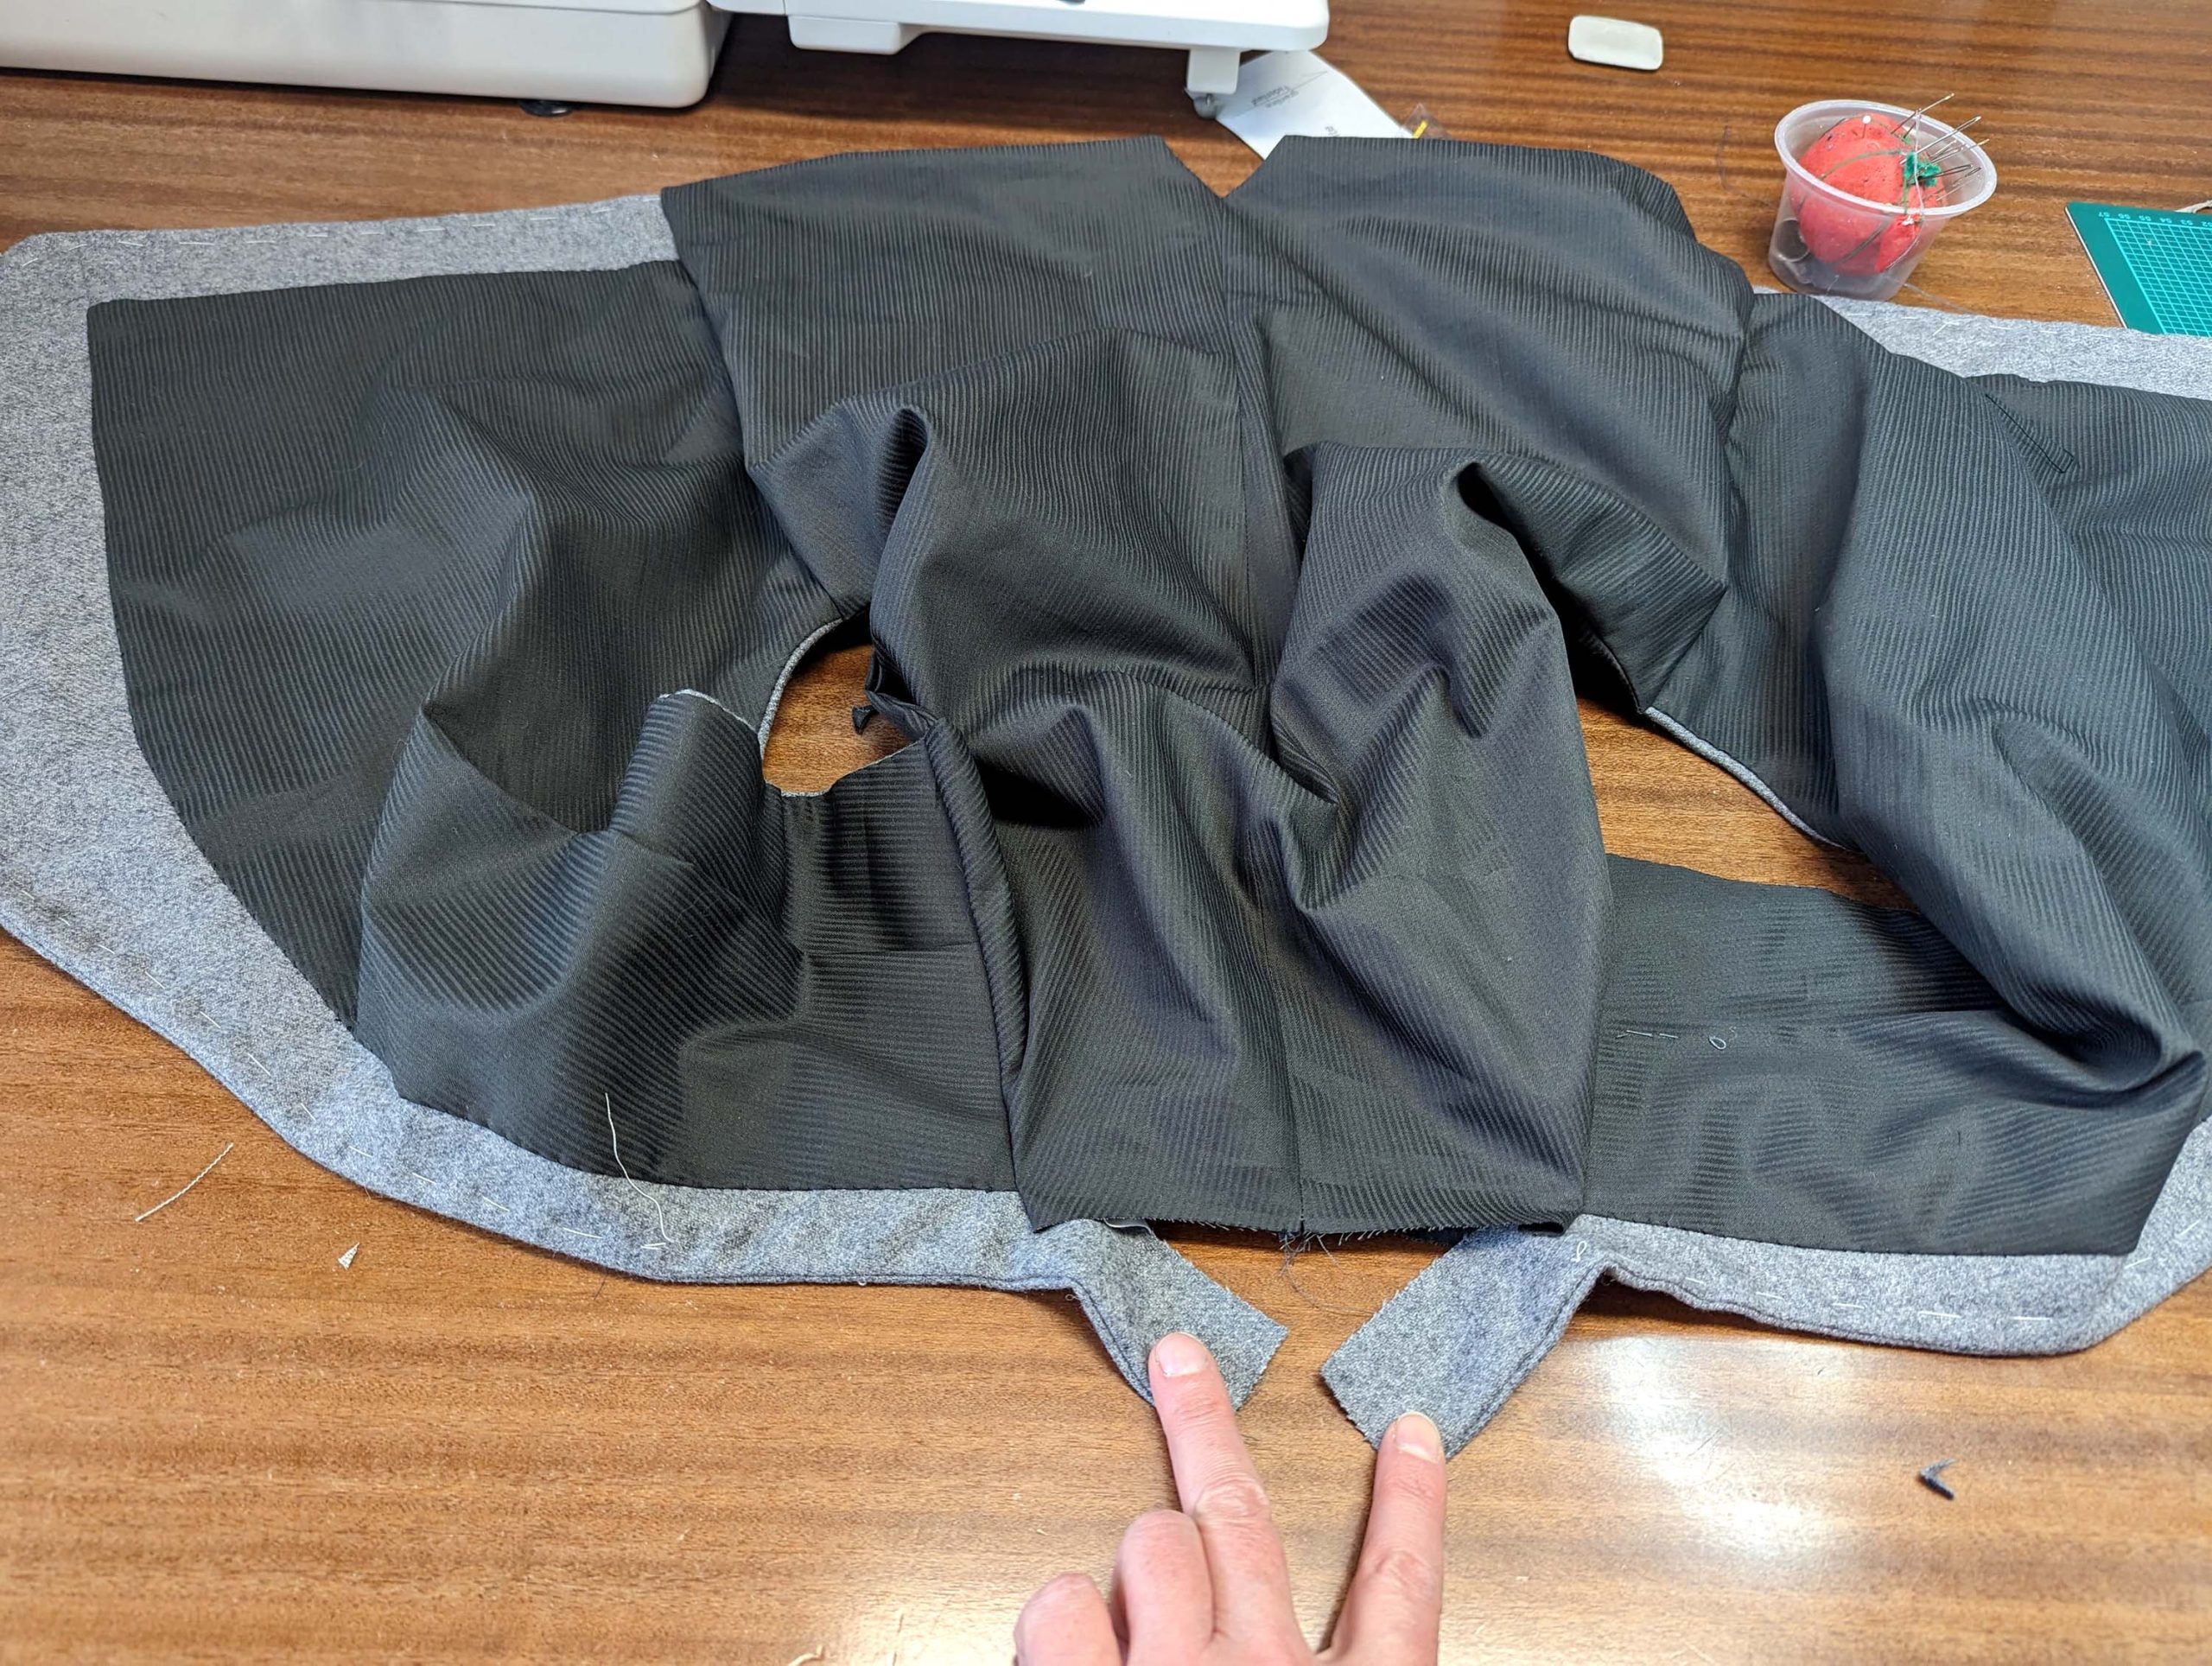
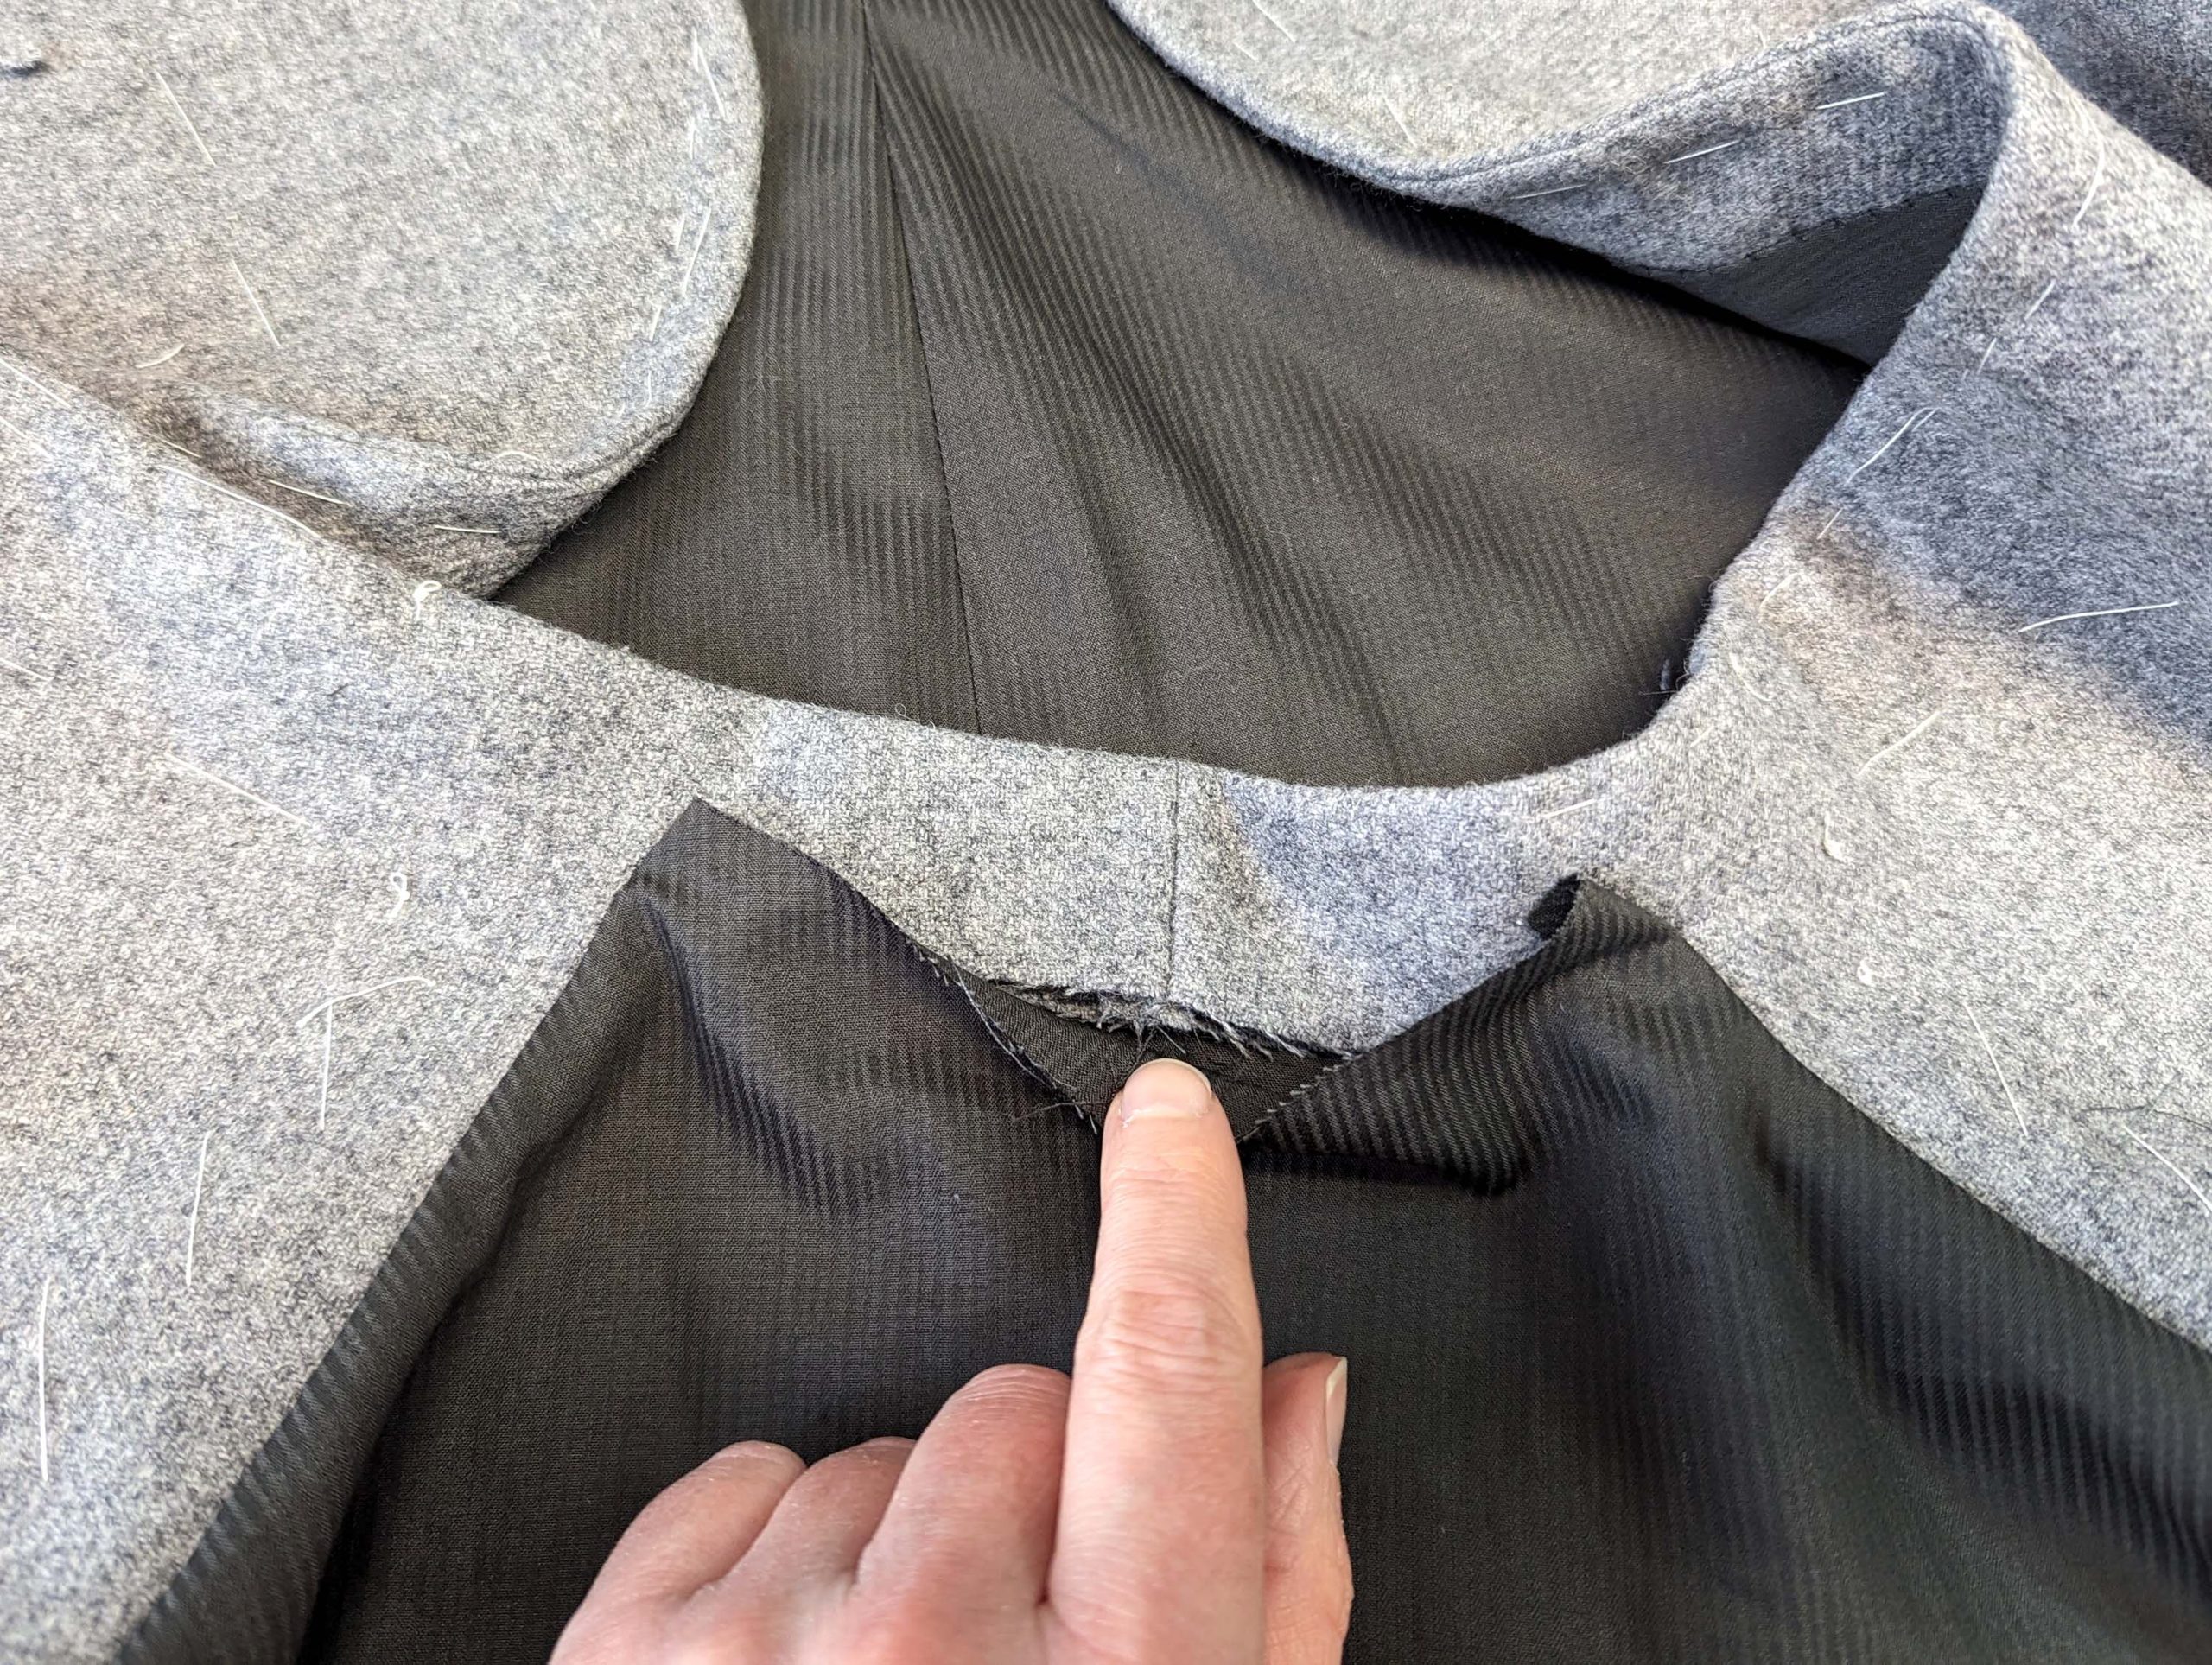
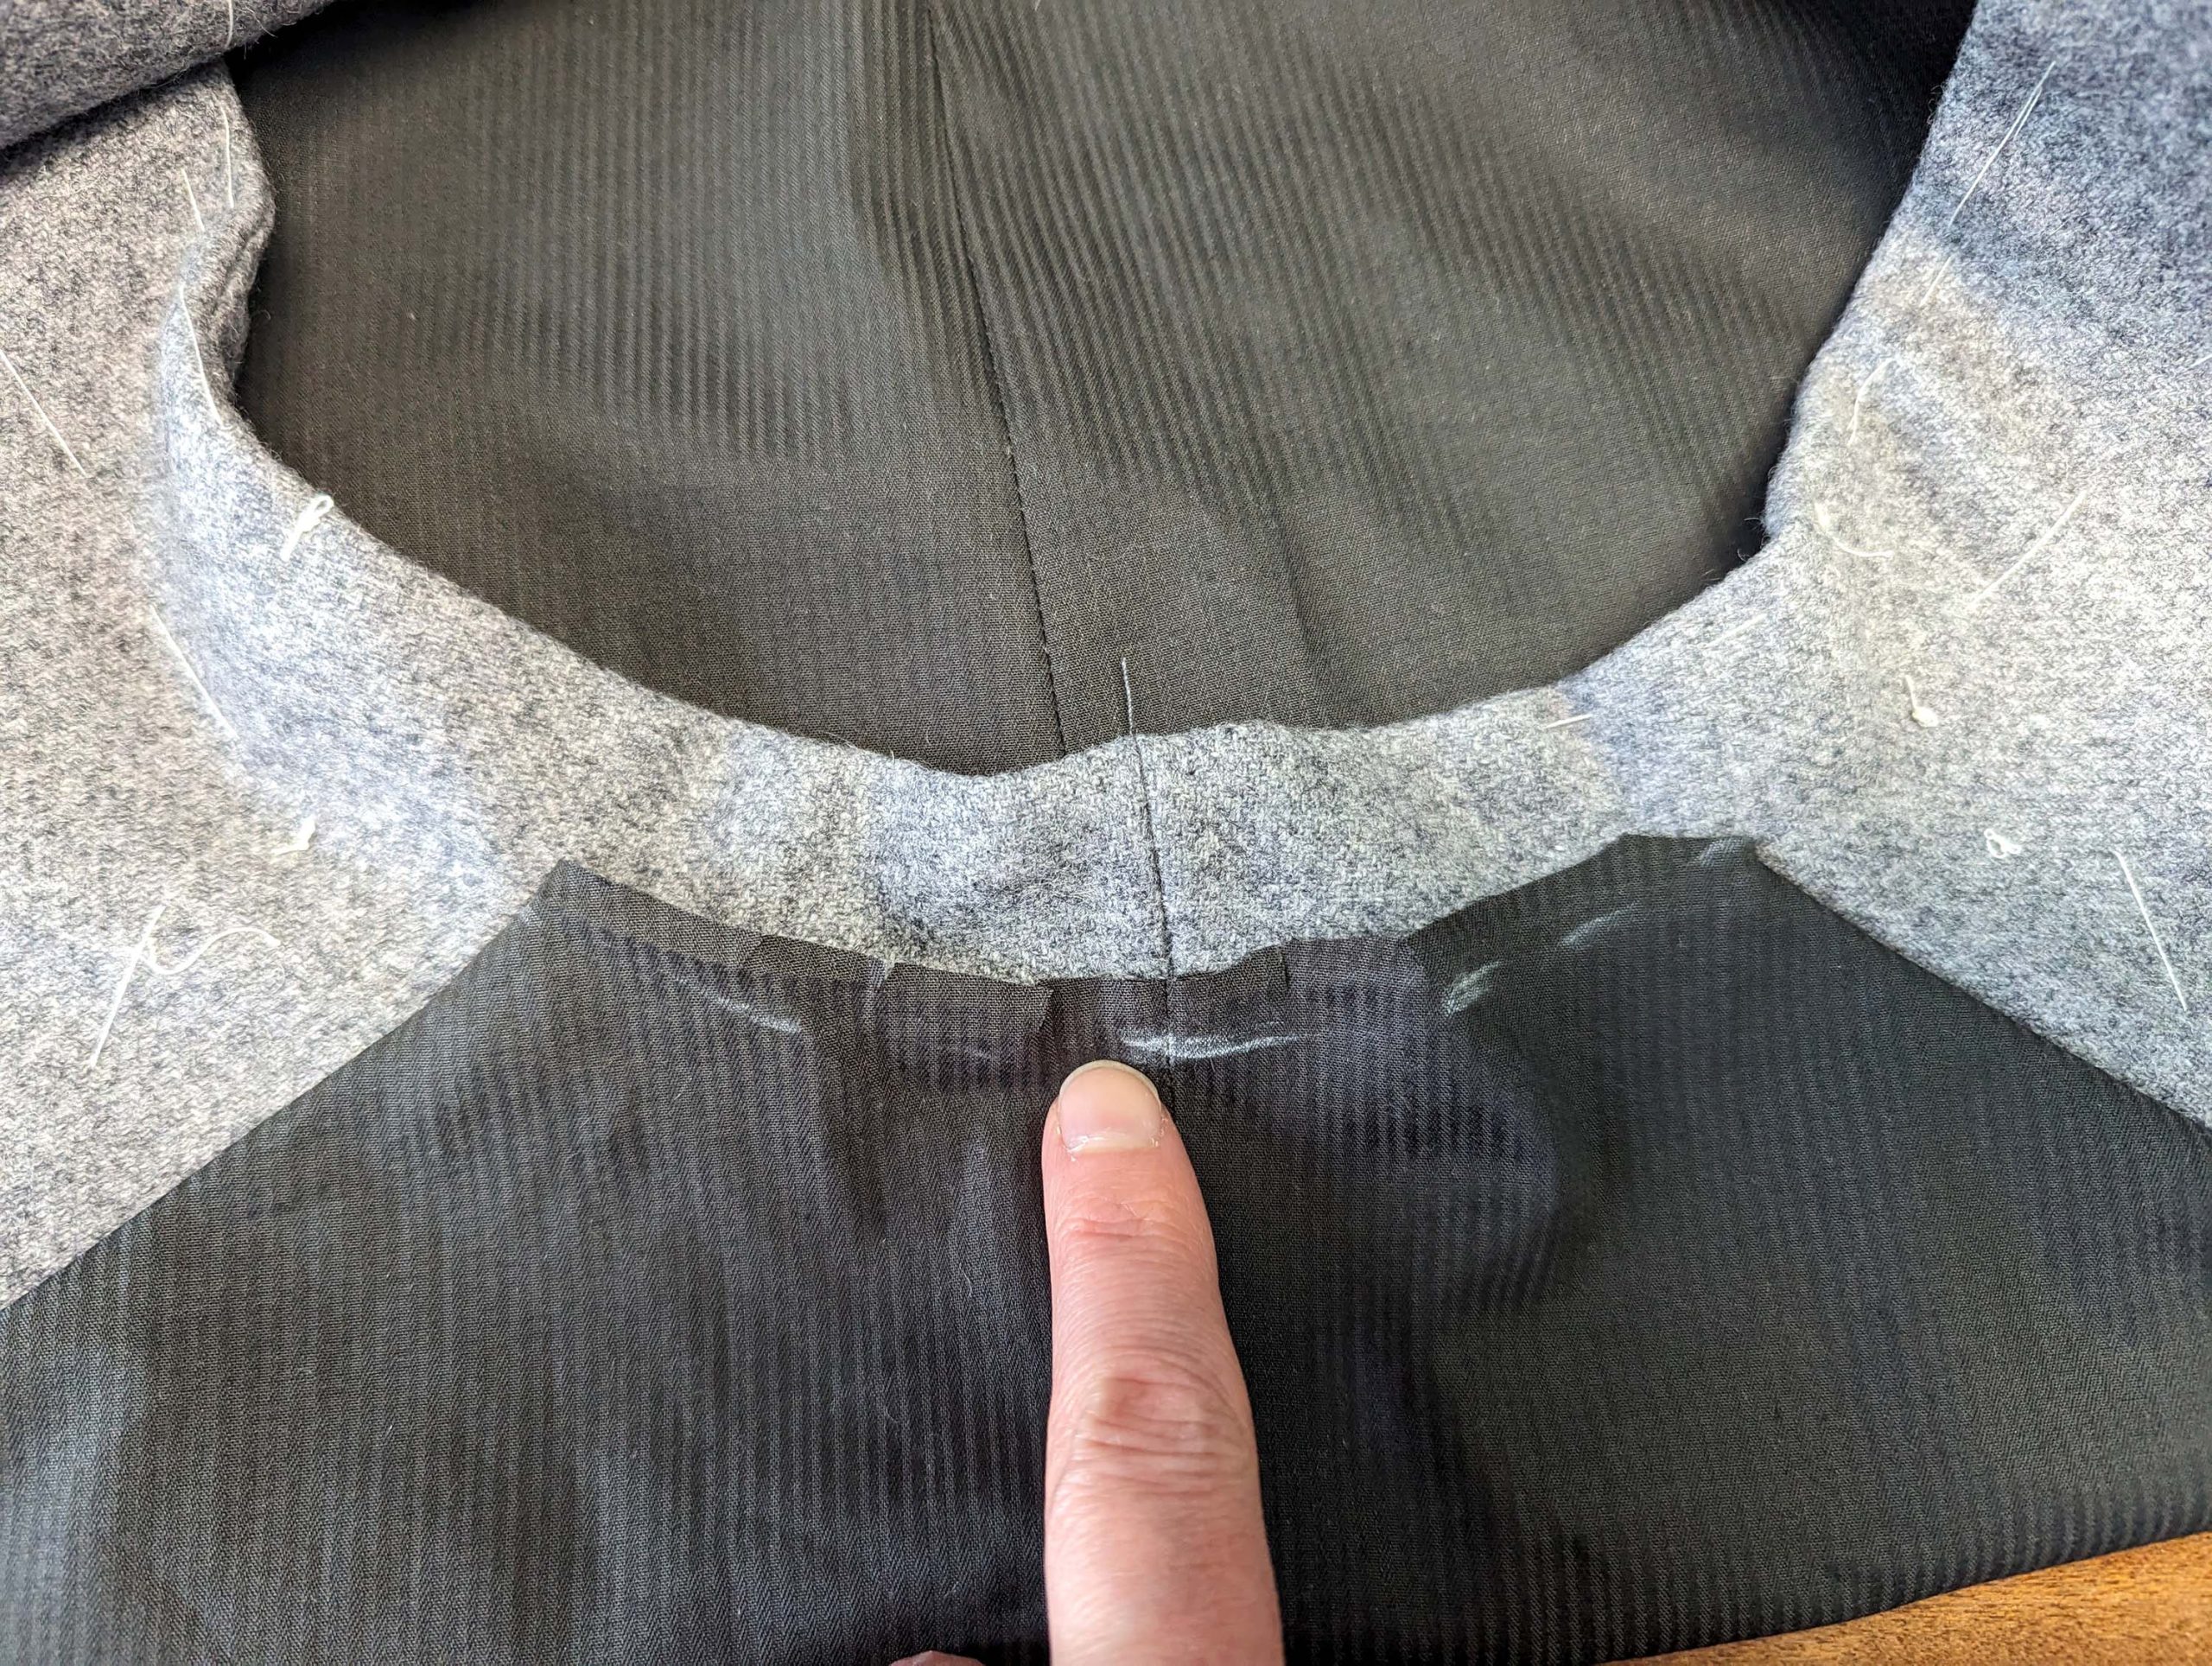
(6) – The point to which most questions come: Place the fronts between the two back layers, lining up side and shoulder seams. The right side of the front faces the right side of the back with the buckle straps. Turn the seam allowances of the bottom edge and the armscye towards the back wrong side and sew the side seams. Turn the seam allowance of the armscye towards the back wrong side and sew the shoulder seam. At the neckline stop at the collar notch.
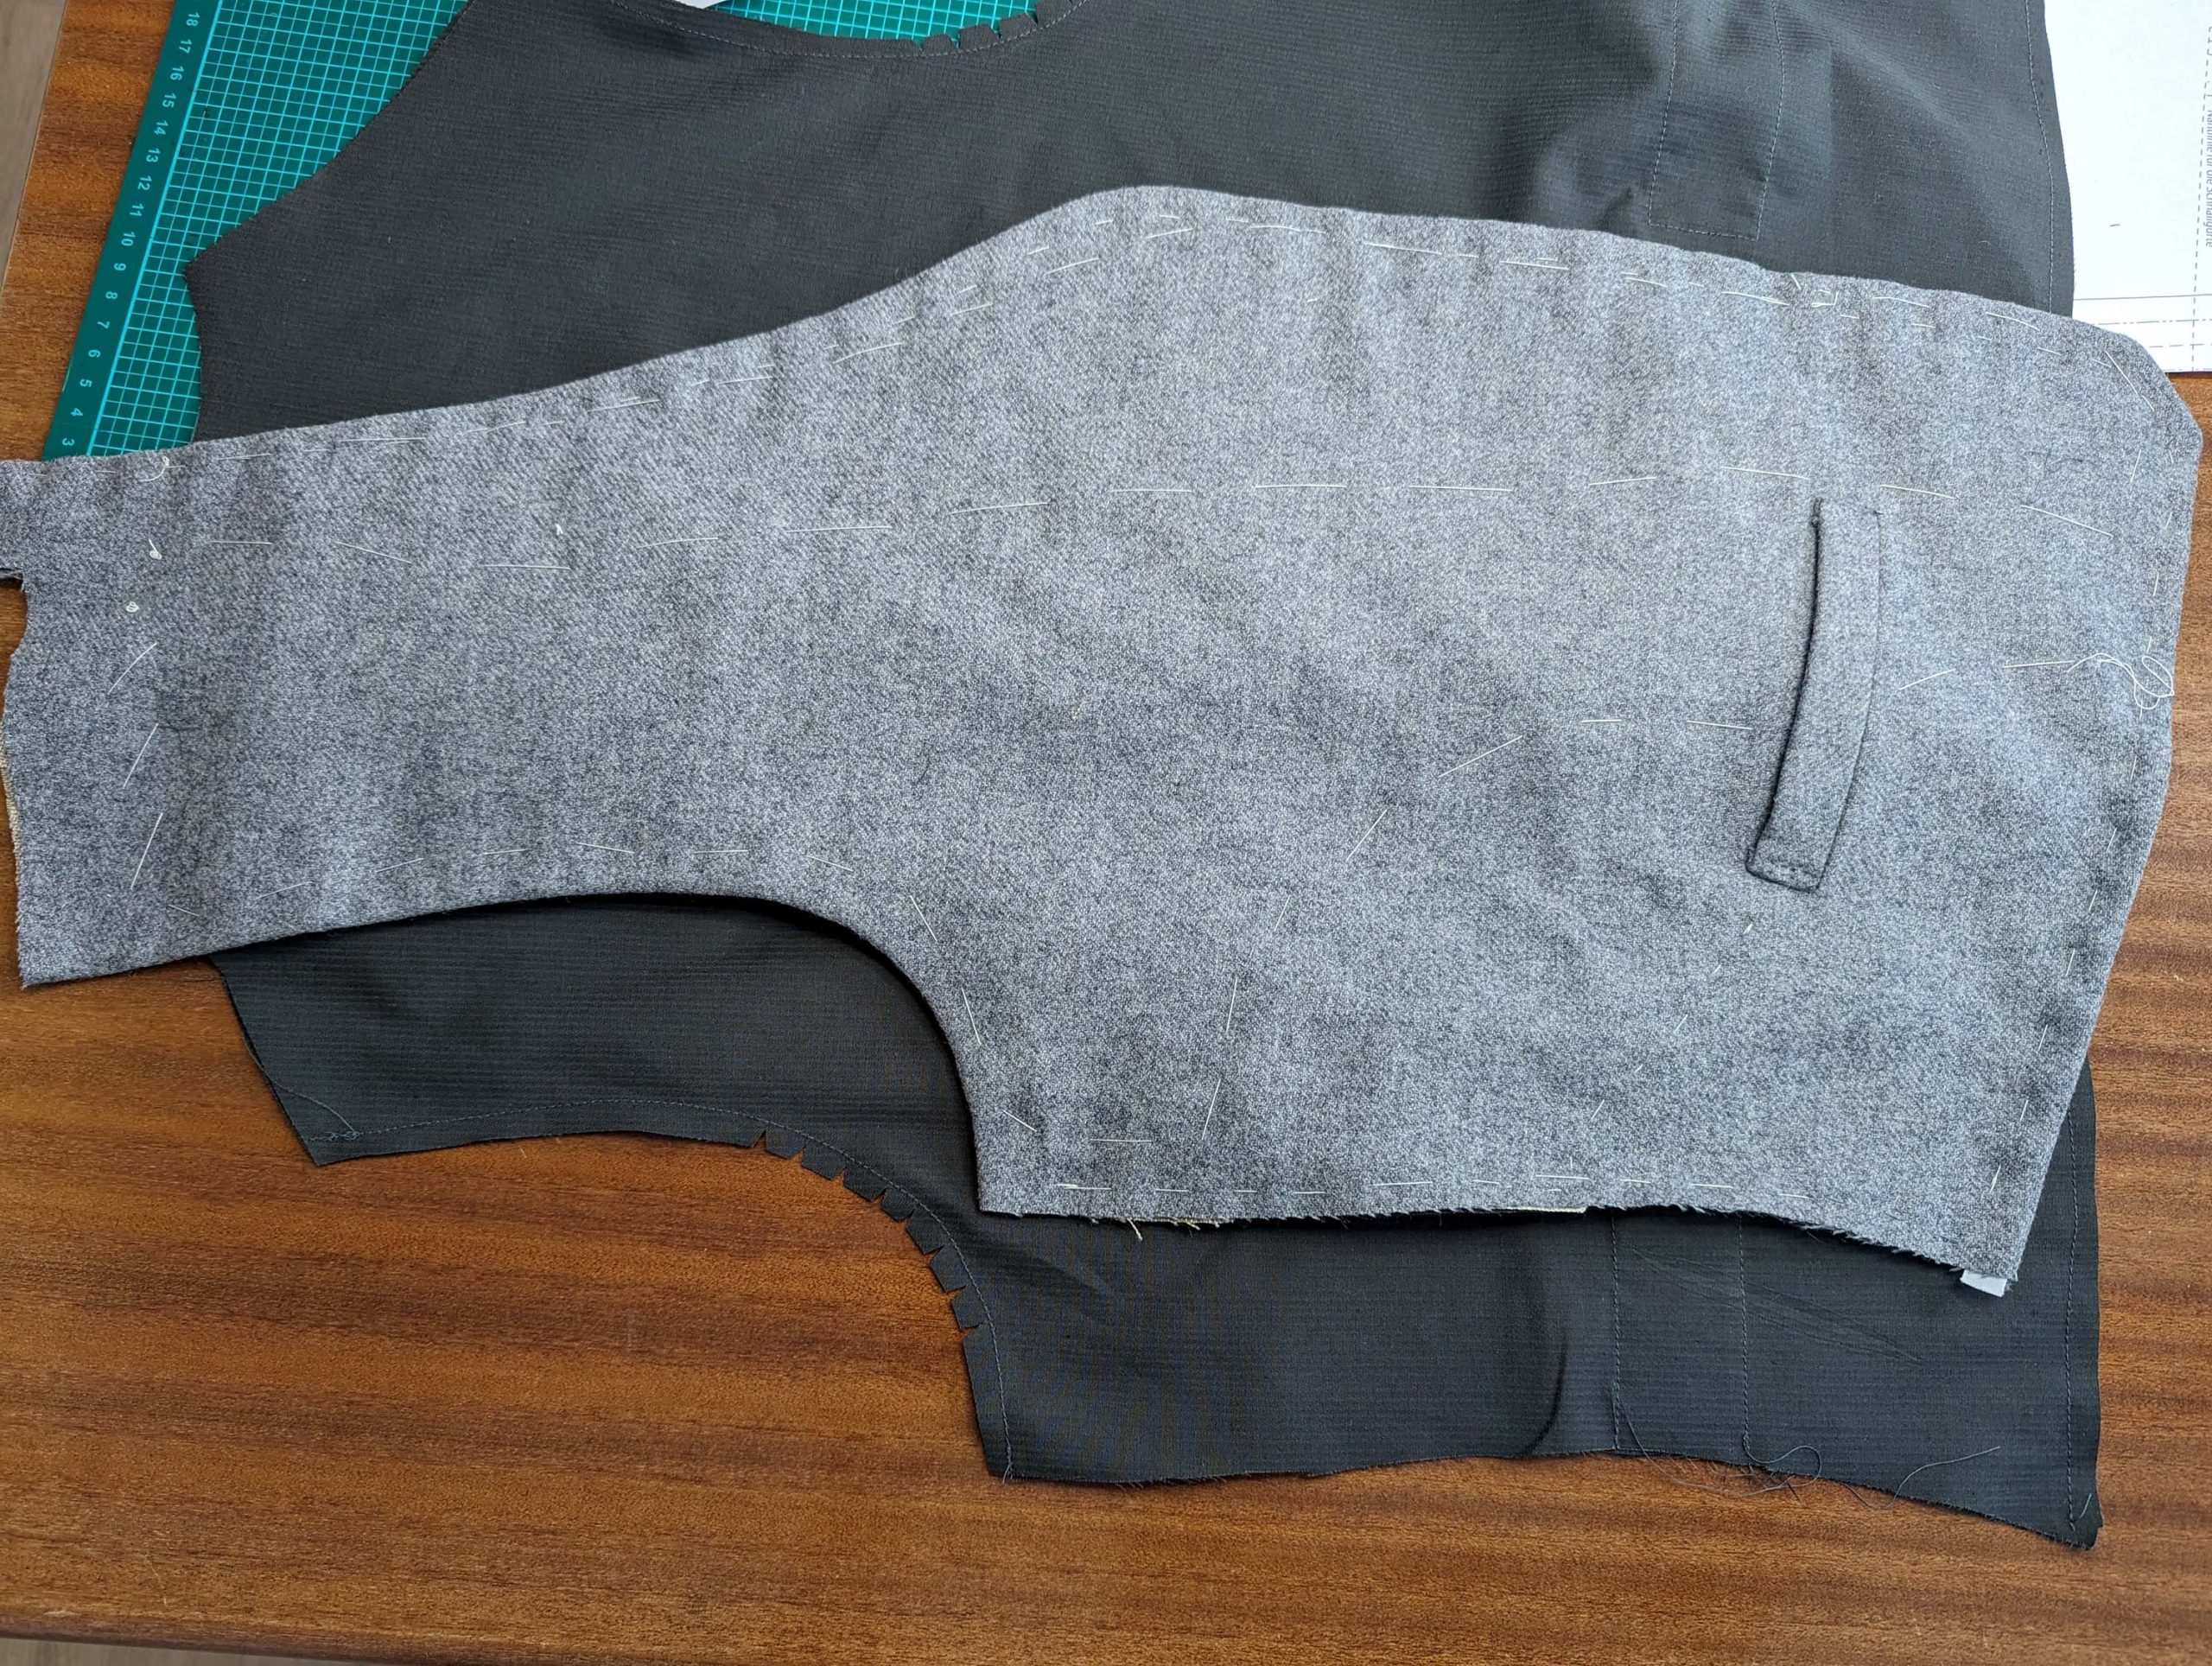

Trim back the seam allowances of the shoulder to 3/8″ (1cm), and angle towards the armhole. Pull the fronts through the neckline and turn the right side out. Press all edges of the back, rolling the seams of the armscye and bottom edge slightly out of sight towards the garment’s wrong side.

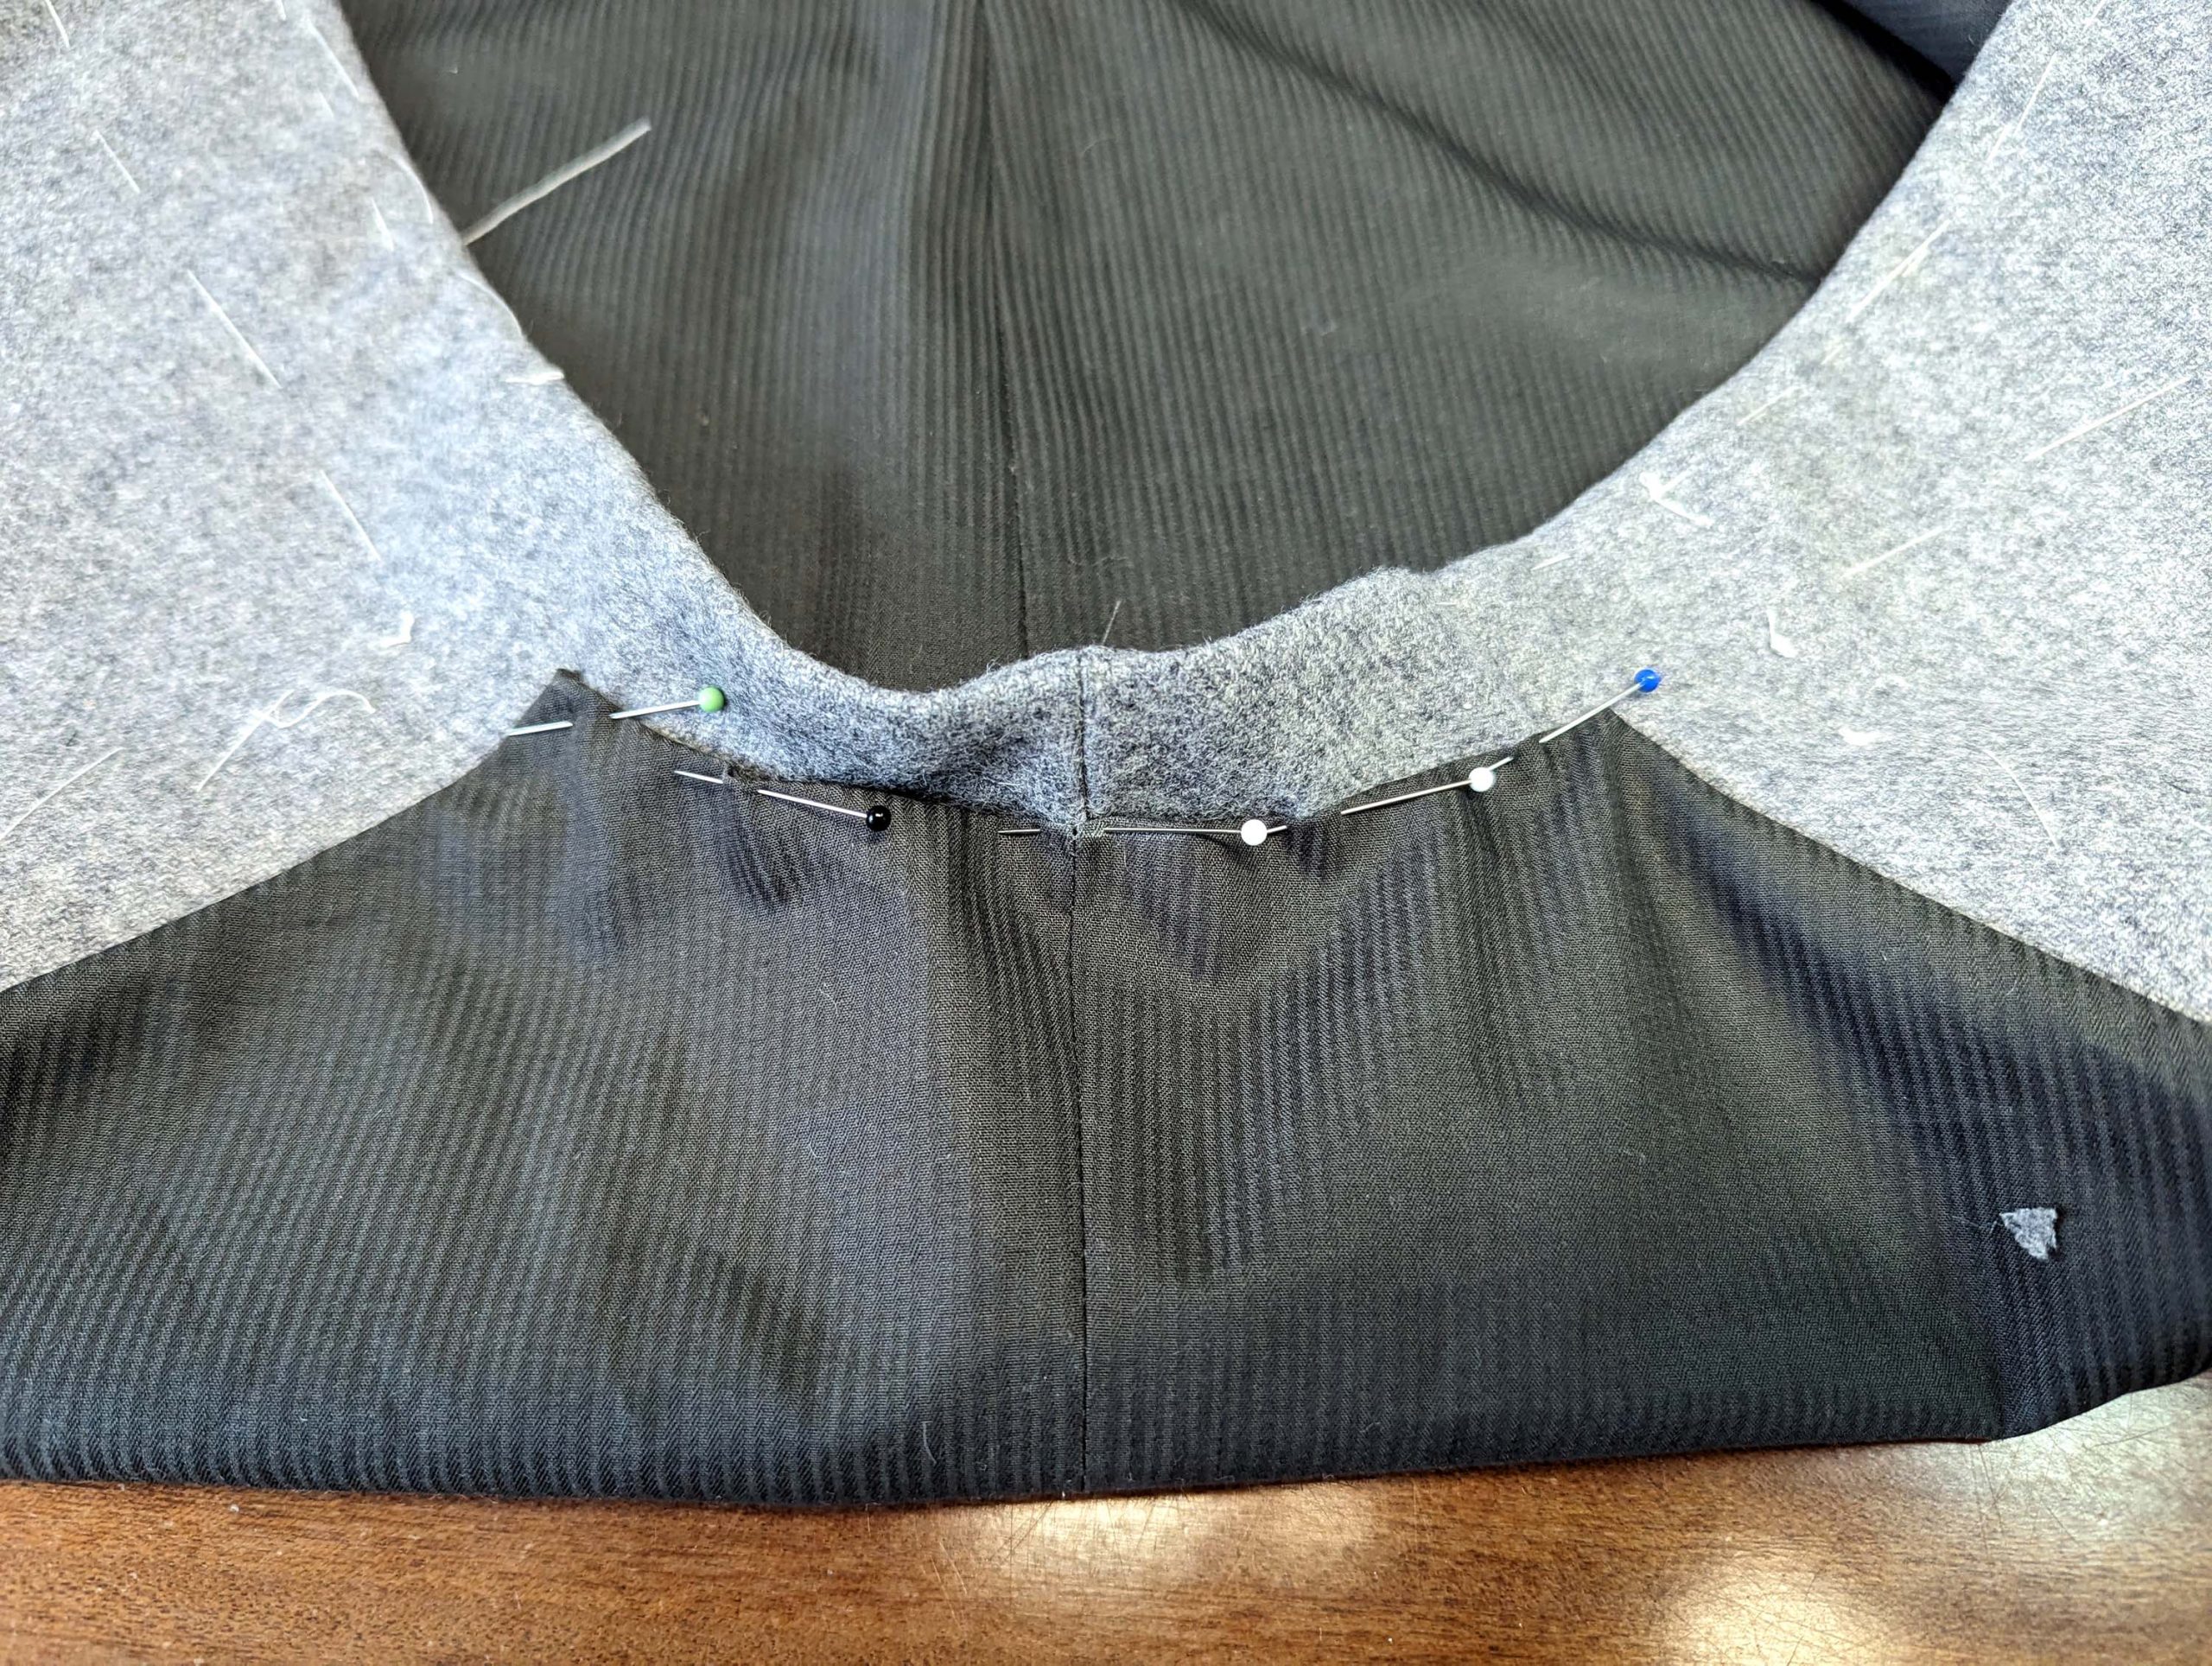
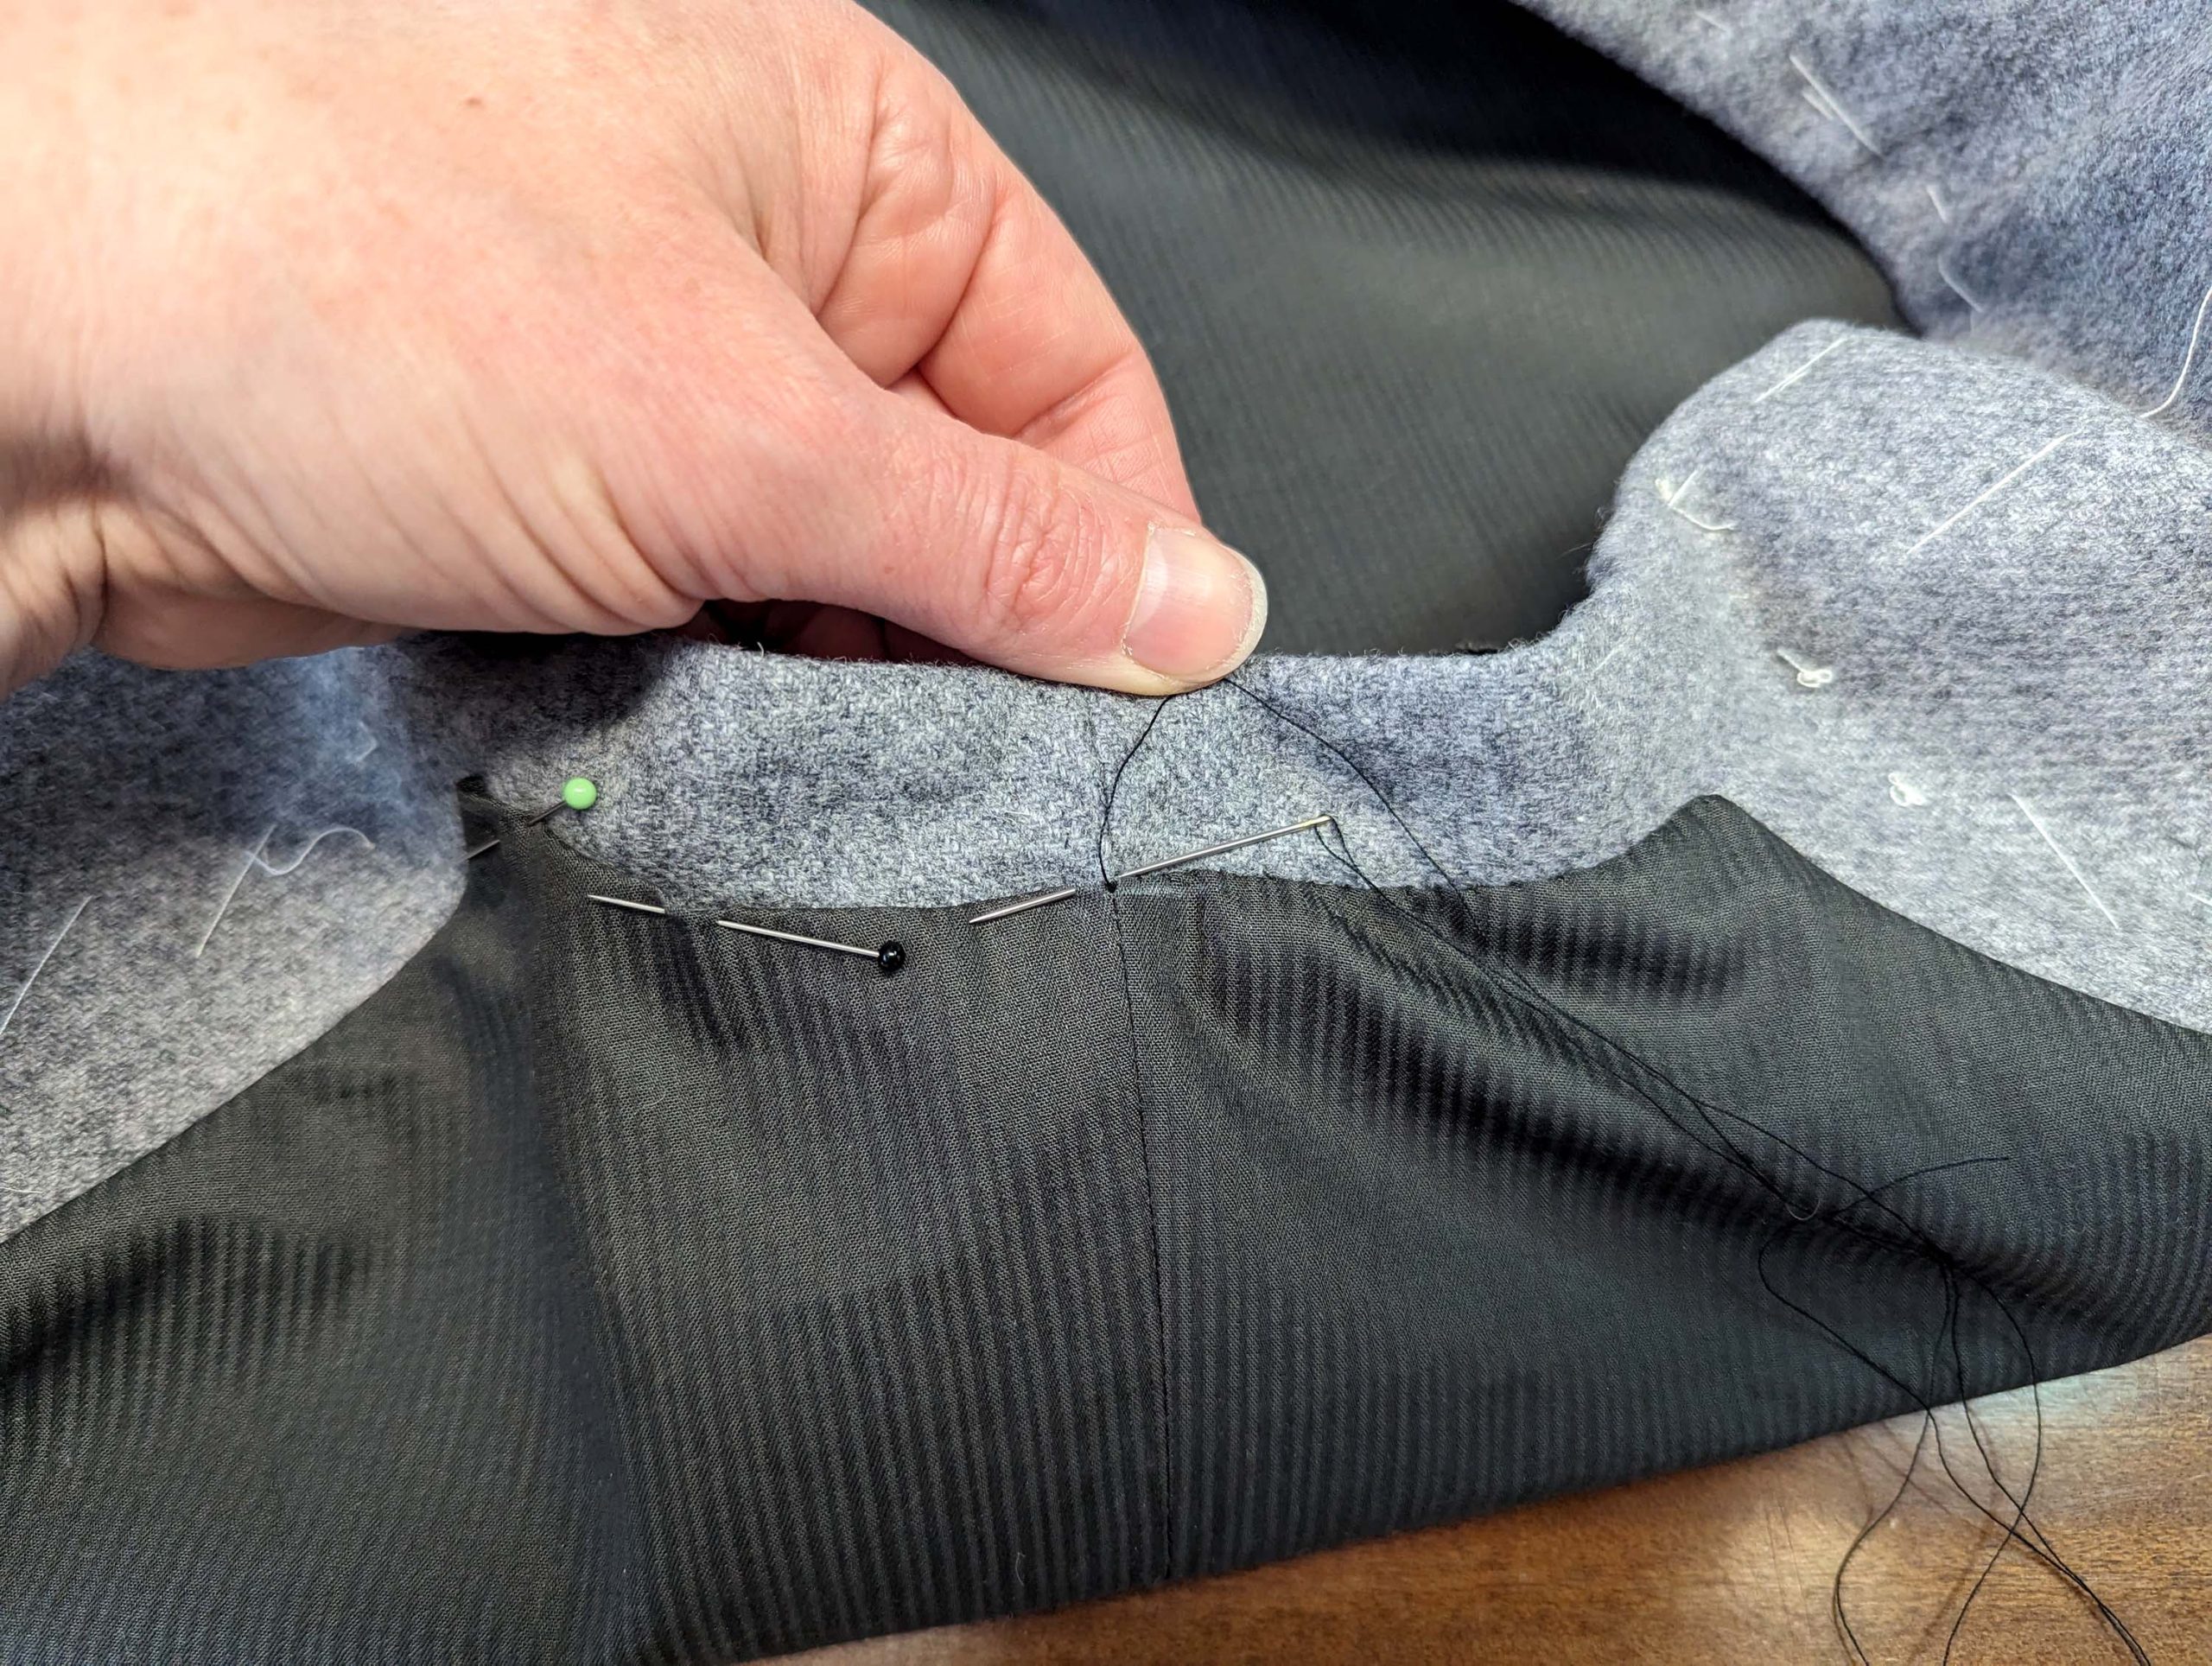
(7) Unfold the fronts and facings at the Kragen stand, removing some basting stitches if needed. Line up both sides along the center back, right sides together, and sew along the center back. Trim back the seam allowances and press open. Refold the collar stand, wrong sides together. Press the edge, and baste along the edge as well as along the raw edges of the neckline.


Turn in the seam allowances of backs along the neckline with the collar in between, and trim back as needed. Fell stitch in place at both sides.
(8) Mark the position of the buttons und Knopflöcher. Sew six eyelet buttonholes along the left front edge and sew on buttons.

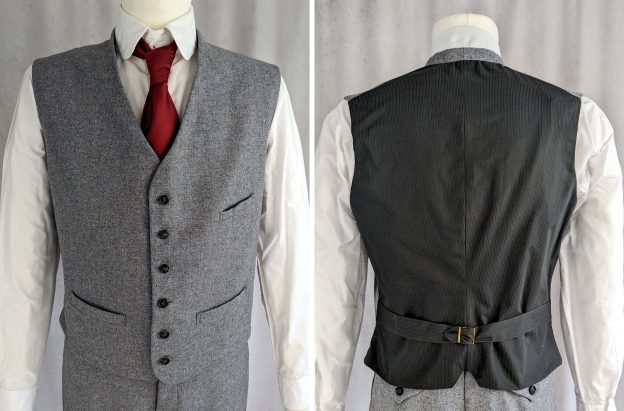
(9) Remove all basting threads press the waistcoat one last time and mount the buckle.
