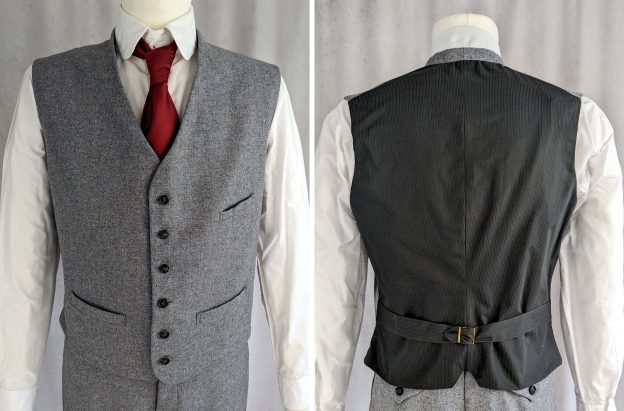
After the Norfolk jacket and the breeches, we’re now focusing on another essential garment in the men’s wardrobe: the waistcoat.
Similar to the patterns mentioned before, this one also originates from my early days as a pattern maker, marking my initial exploration into men’s tailoring in the 19th century. The waistcoat pattern represented my first endeavor in digital illustration, departing from my usual hand-sketching method. Despite the learning curve, it marked a significant milestone in my journey of pattern-making.
However, despite its age, a detailed blog post and sewing guide for the waistcoat was missing. That’s where this upcoming blog post comes in, especially focusing on the pockets. Join me as I delve into the nuances of constructing the waistcoat, offering practical insights and step-by-step instructions to help you bring this timeless garment to life.
Choosing the materials: A waistcoat, typically worn with trousers and a coat or jacket, evolved in material and style throughout the 19th century. At the start of the century, waistcoats were often crafted from contrasting materials. By the century’s end, they matched the trousers and jacket for informal occasions, forming a three-piece suit as we recognize today.
Similarly to modern practices, the back of the waistcoat was typically made from lighter materials. Polished cotton or fine twill/satin was commonly used for the back, straps, and lining.
Let´s dive into sewing, step by step as usual!
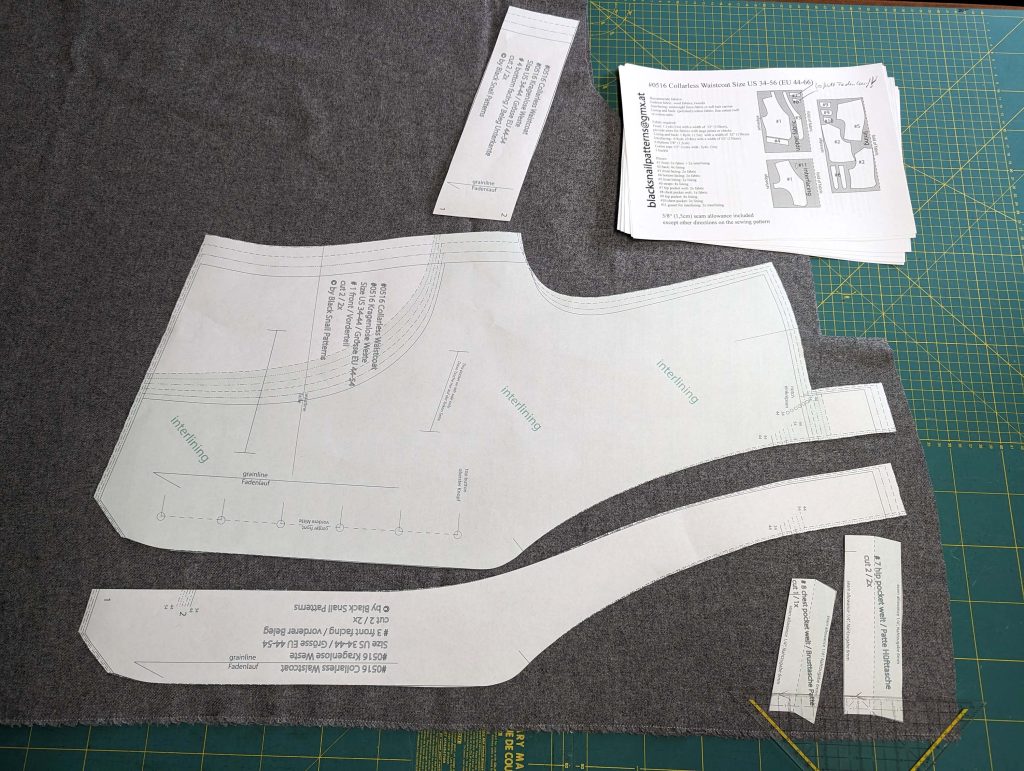
(1) As usual, start with dem Zuschnitt all the pieces from fashion fabric, interfacing, and lining, and carefully transfer all marks and notches, especially the little corner marks on the collar. The waistcoat is called collarless, but that´s not quite true, it´s kind of a shawl collar, just with a collar stand.
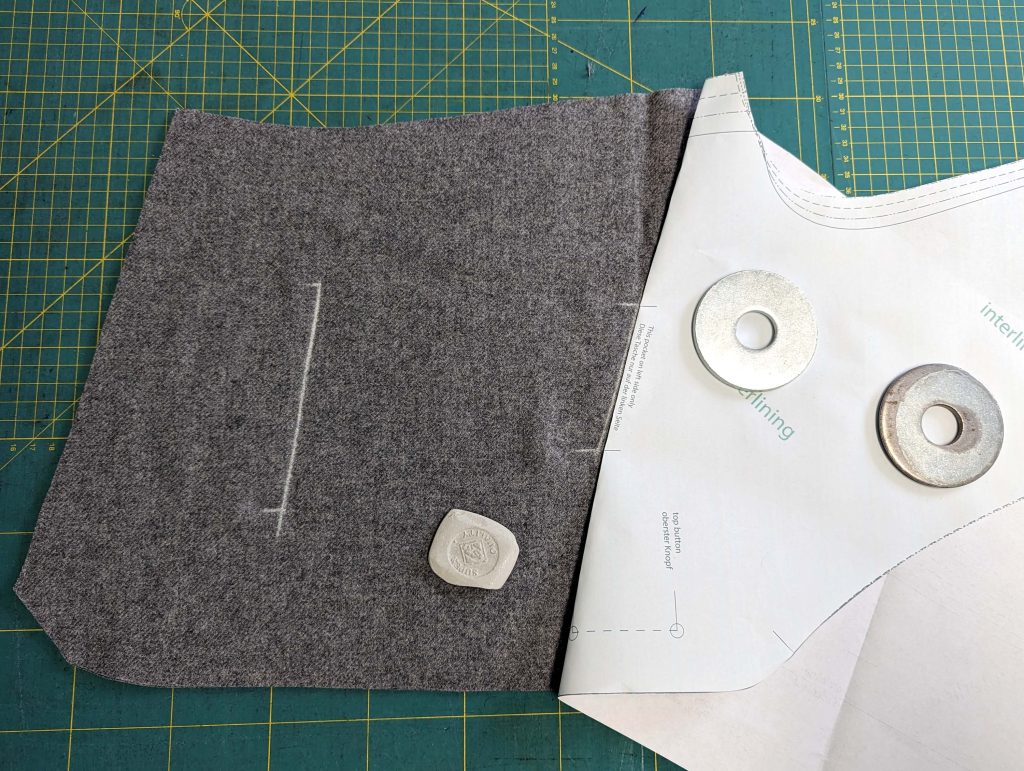
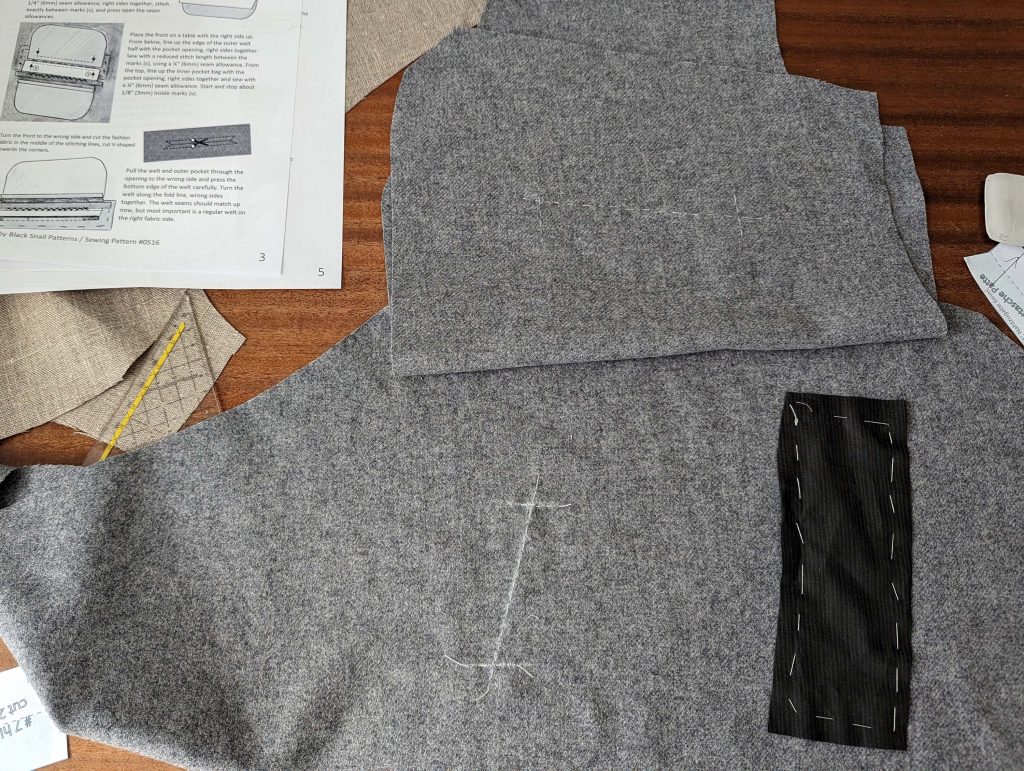
Now, let’s proceed straight to the intricacies of pocket sewing. I encountered some challenges with the 19th-century method, especially when working with thick wool fabric. The more angled breast pocket posed significant issues with bulk, therefore, I decided to change this pocket in the pattern to a less angled one. Also the pictures are not the waistcoat, to show you improved instructions, without all the mess I made with my first attempt on this wool fabric.
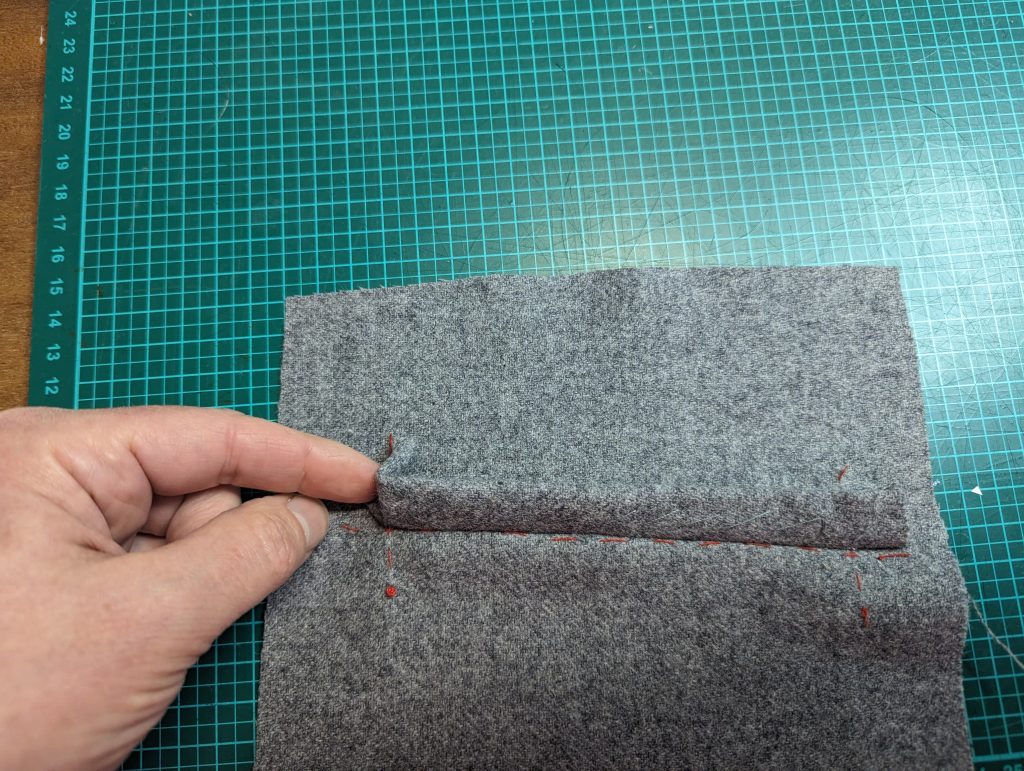
First, baste a piece of linen or cotton to the wrong side of the front, covering the pocket opening. Mark the pocket opening with a basting thread, clearly visible on the right side of the fabric.
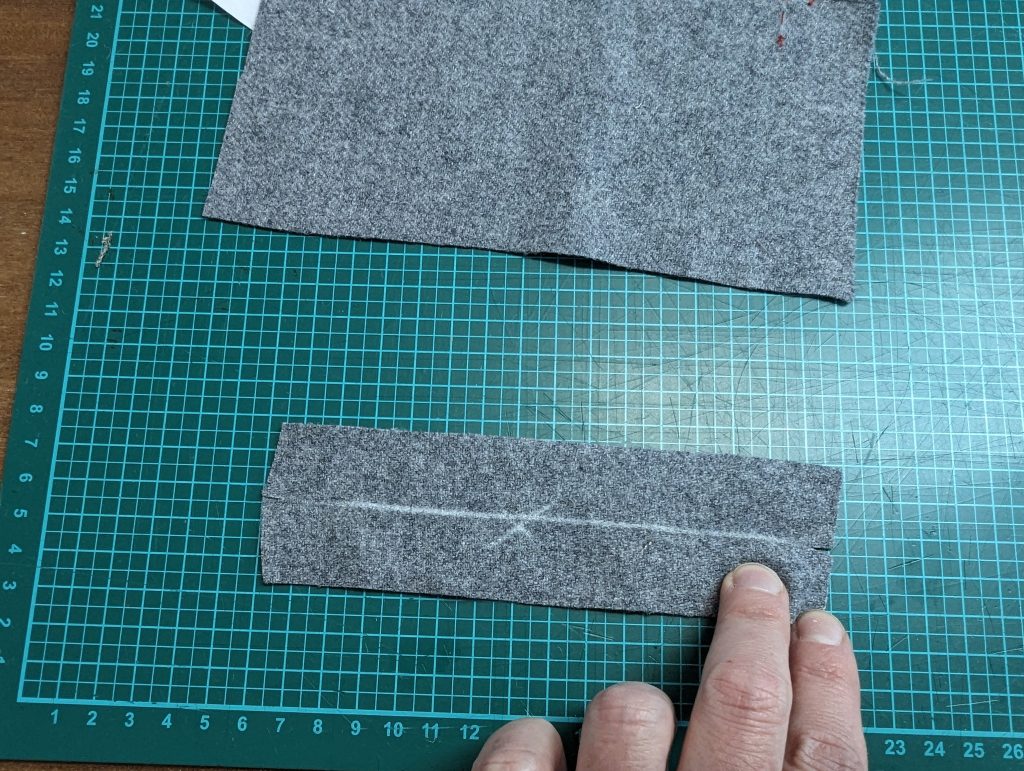
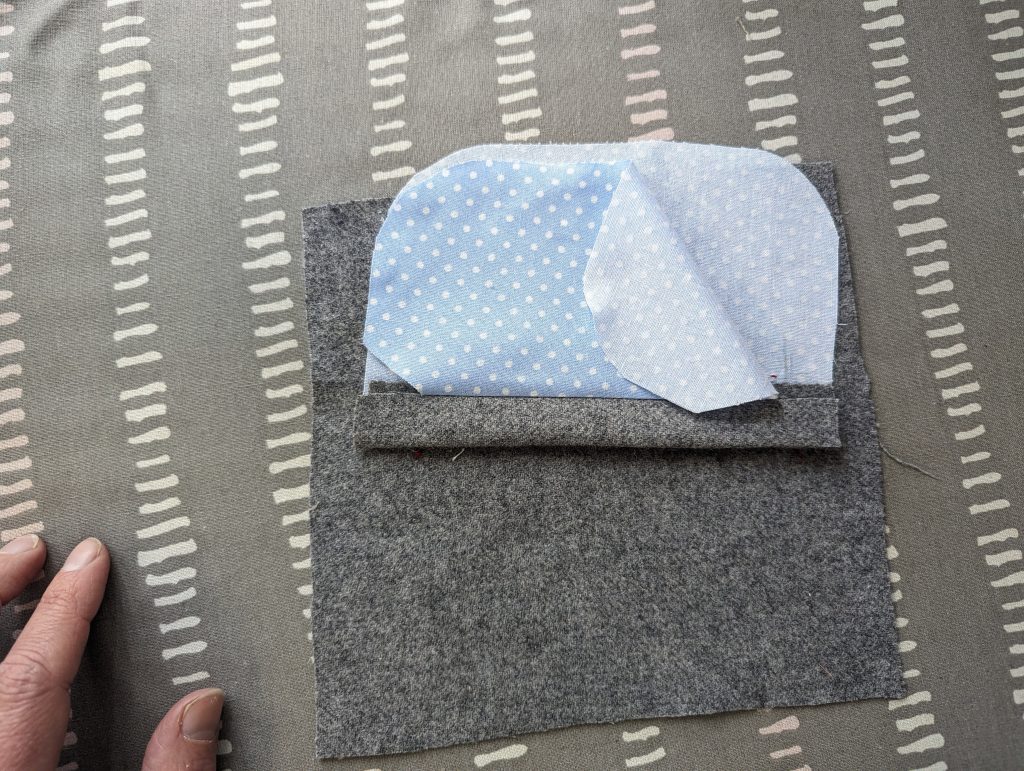
Fold the welt in half lengthwise, wrong sides together, and press. Reopen and mark the inside, as well as the half line. Sew the outer pocket bag to the inner half of the welt using a 1/4” (7mm) seam allowance, right sides together. Re-check before sewing, and stitch exactly between marks (x). Trim back the seam allowances as shown and press towards the pocket.


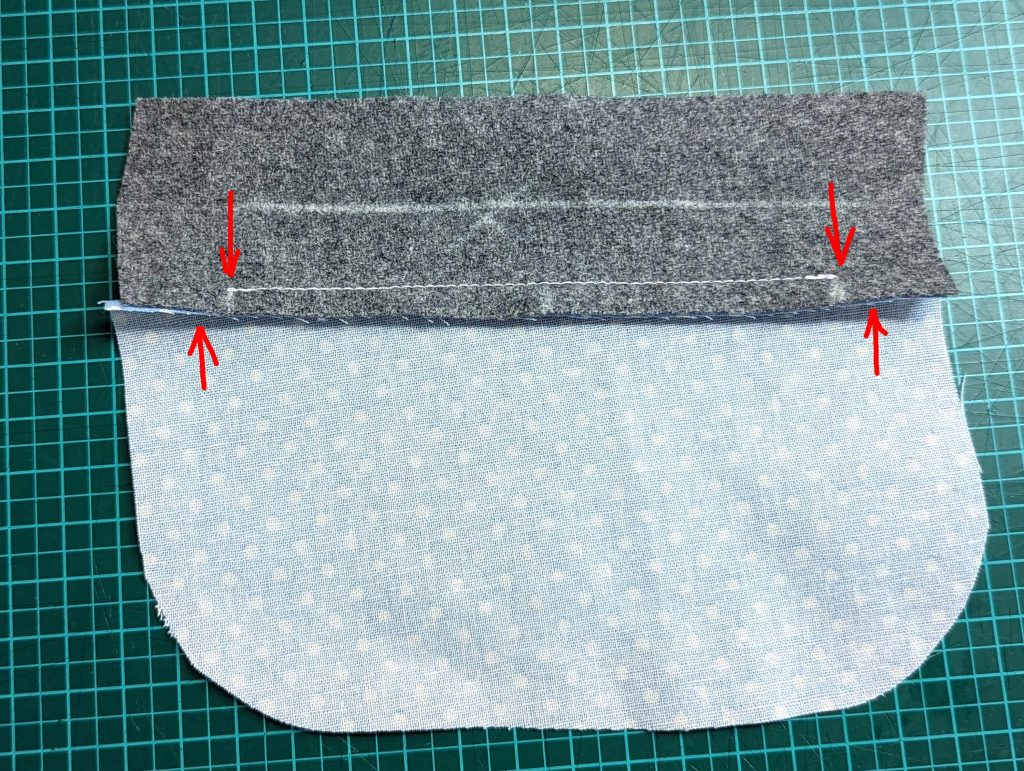
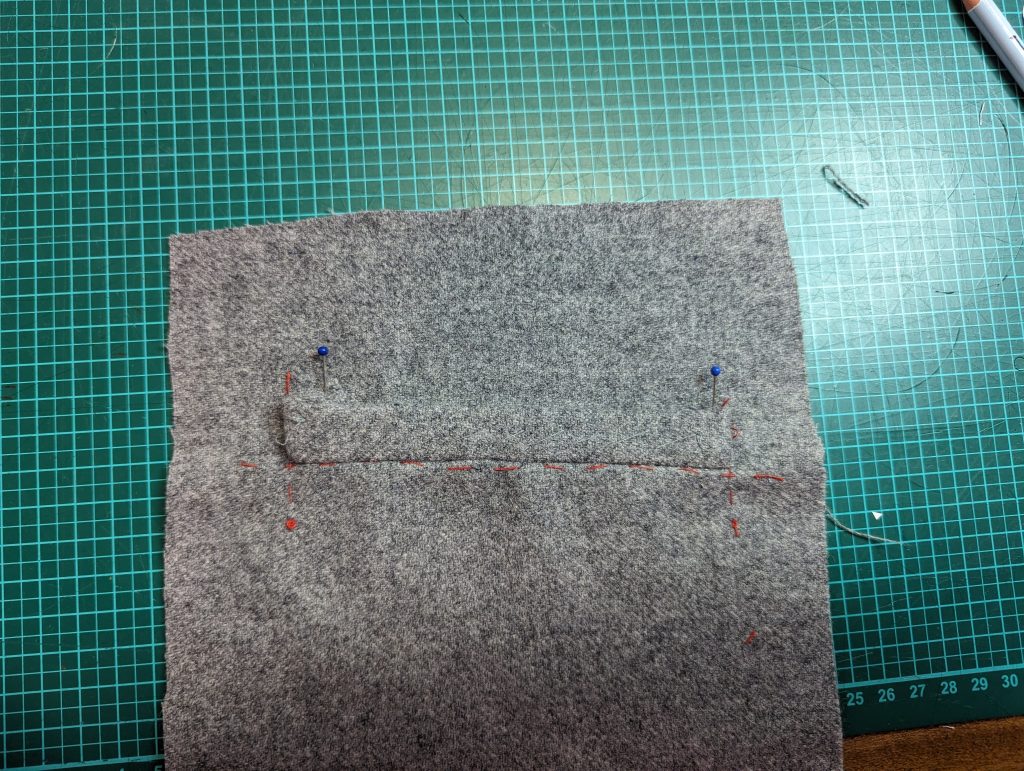
Place the front pieces on a table with the right side up. From below, line up the stitching line of the outer welt half with the stitching line of the pocket, right sides together. Sew with a reduced stitch length between the marks, using a ¼” (7mm) seam allowance. I prefer hand-sewing at this point to keep better control.
From the top, line up the top edge of the inner pocket bag with the stitching line of the pocket, right sides together, and sew with a ¼” (7mm) seam allowance. Start and stop about 1/8” (3mm) inside the marks.


Line up a piece of interlining, cut to the shape of the welt, with the wrong side of the outer welt, and baste in place. Fold the welt in half, wrong sides together and press the edge again.


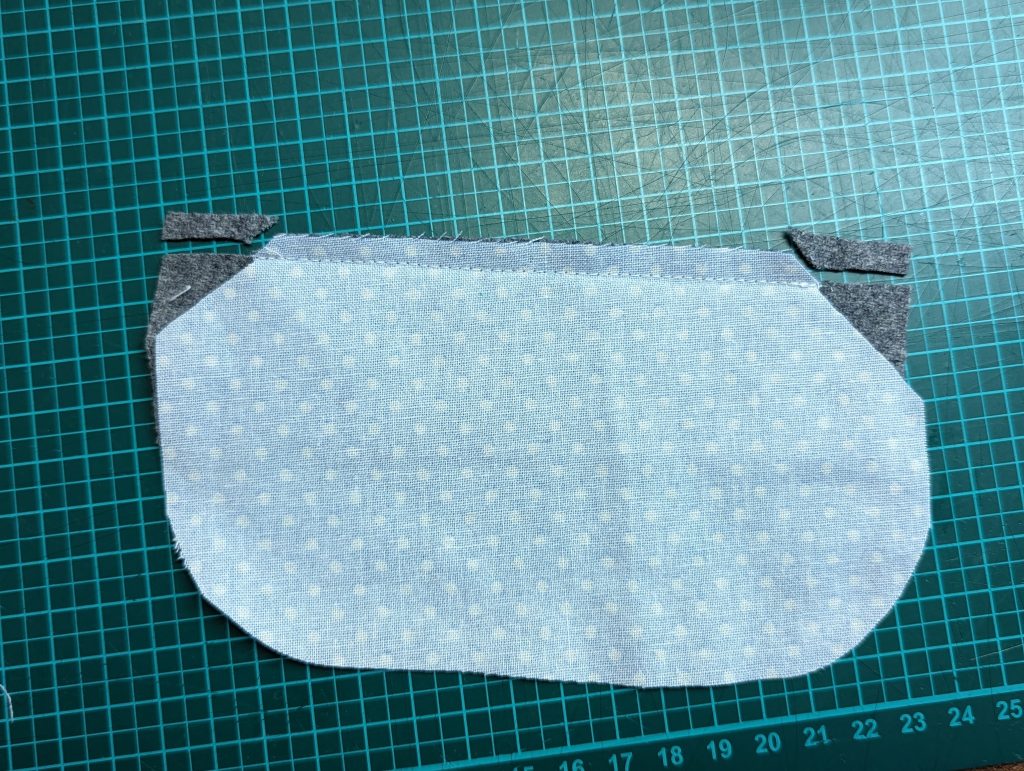
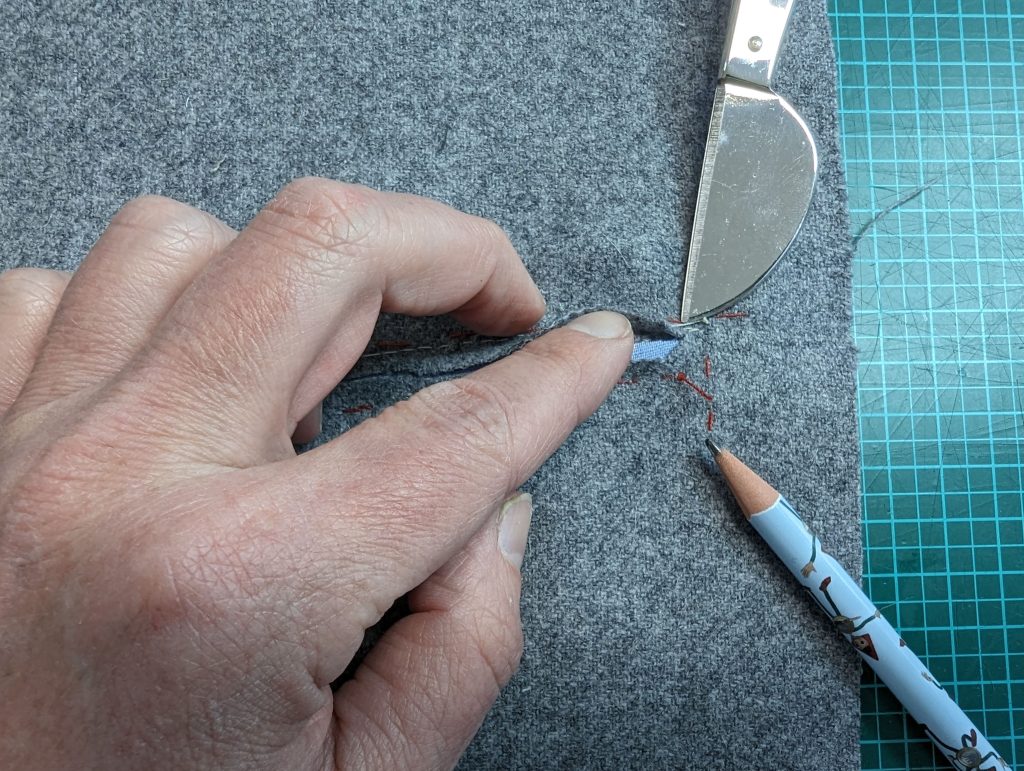
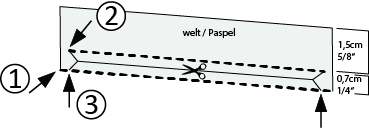
Turn the to the wrong side and cut open as shown in the pictures. That means, on the bottom, we keep a distance of about 1/4″ (7mm) (3) to the end of the stitching (1), at the top, we cut V-shaped towards the end of the stitching (2)


Pull the inner pocket through the opening and press. Press open the seam allowance along the stitching line of the welt and catch-stitch the seam allowances to the interfacing.
Fold the welt in half, wrong sides together, and baste together the two layers, creating a regular welt. Pull the outer pocket through the opening and stitch (invisible) in the ditch of the welt seam, joining the layers.
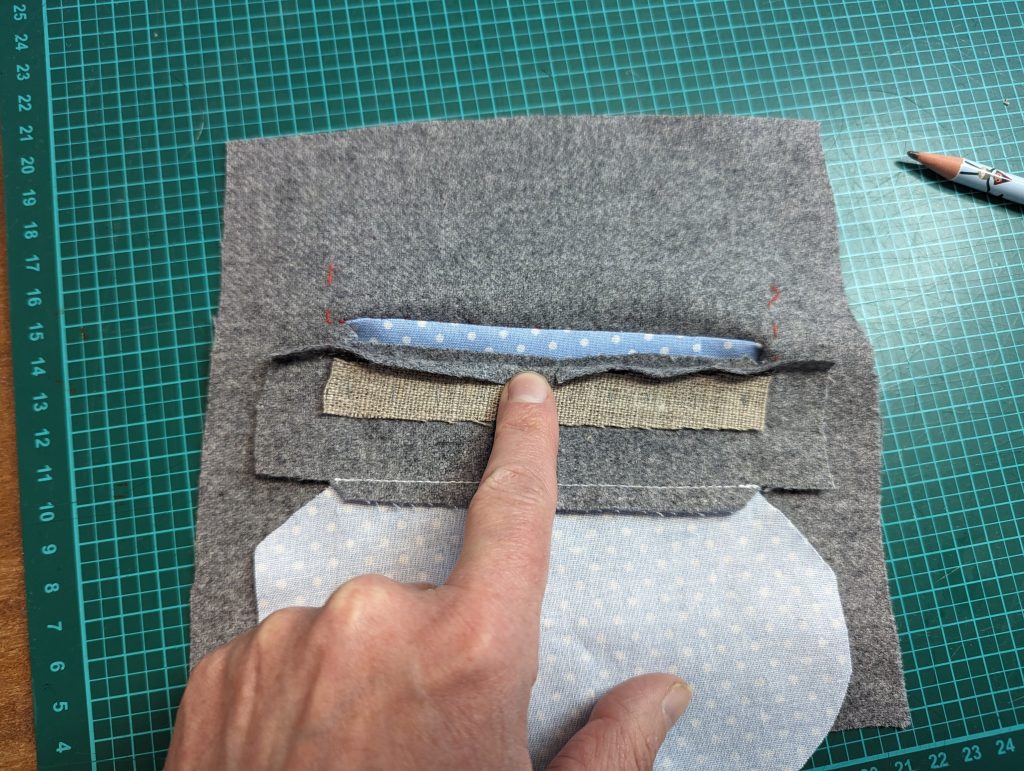
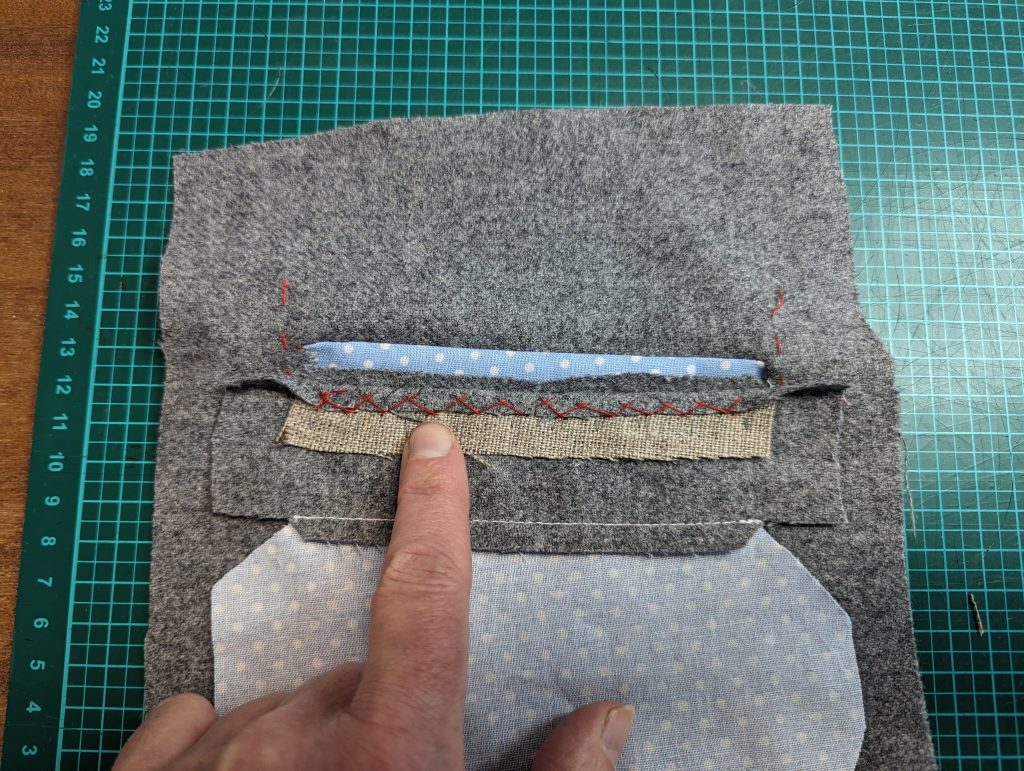
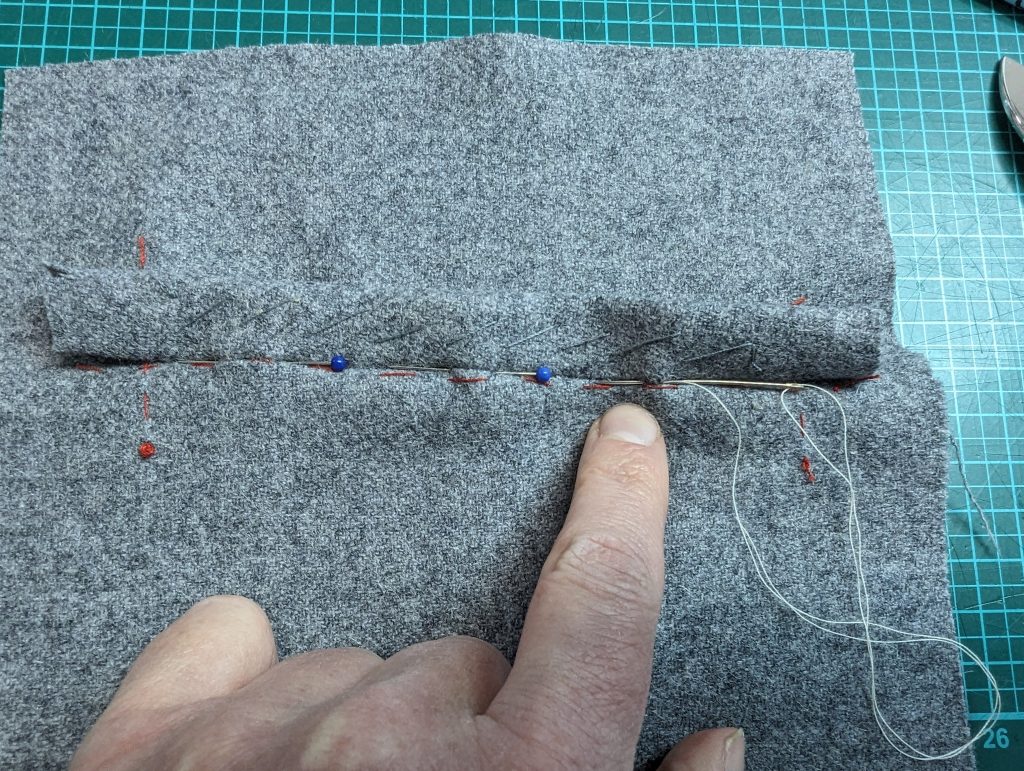
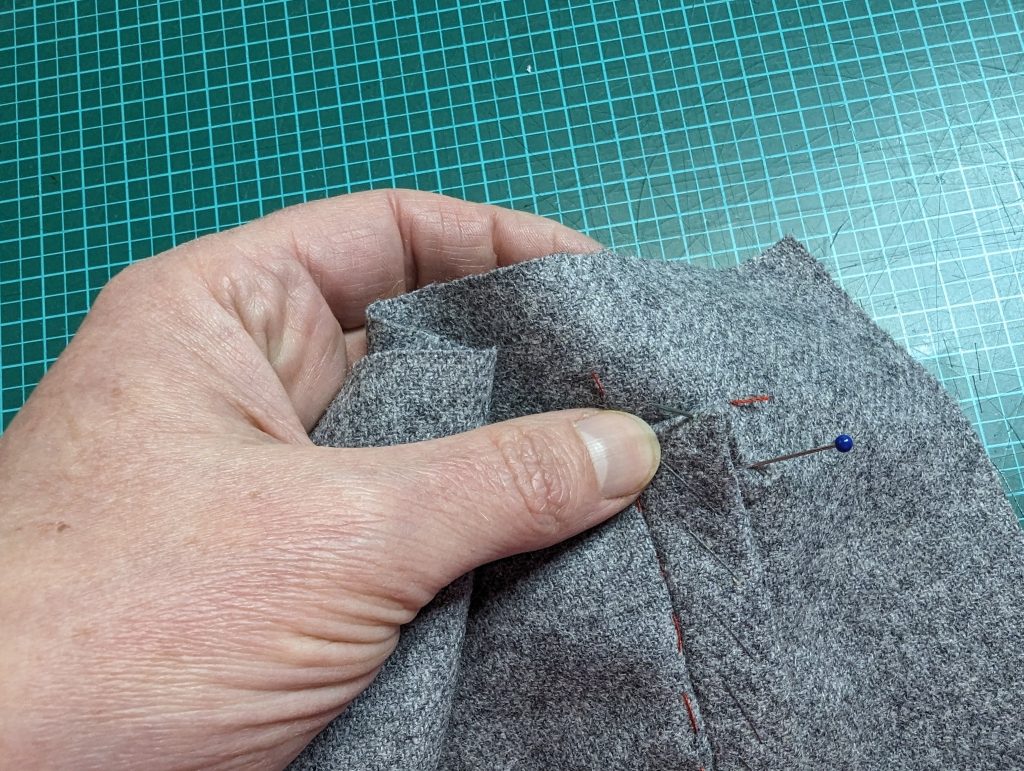
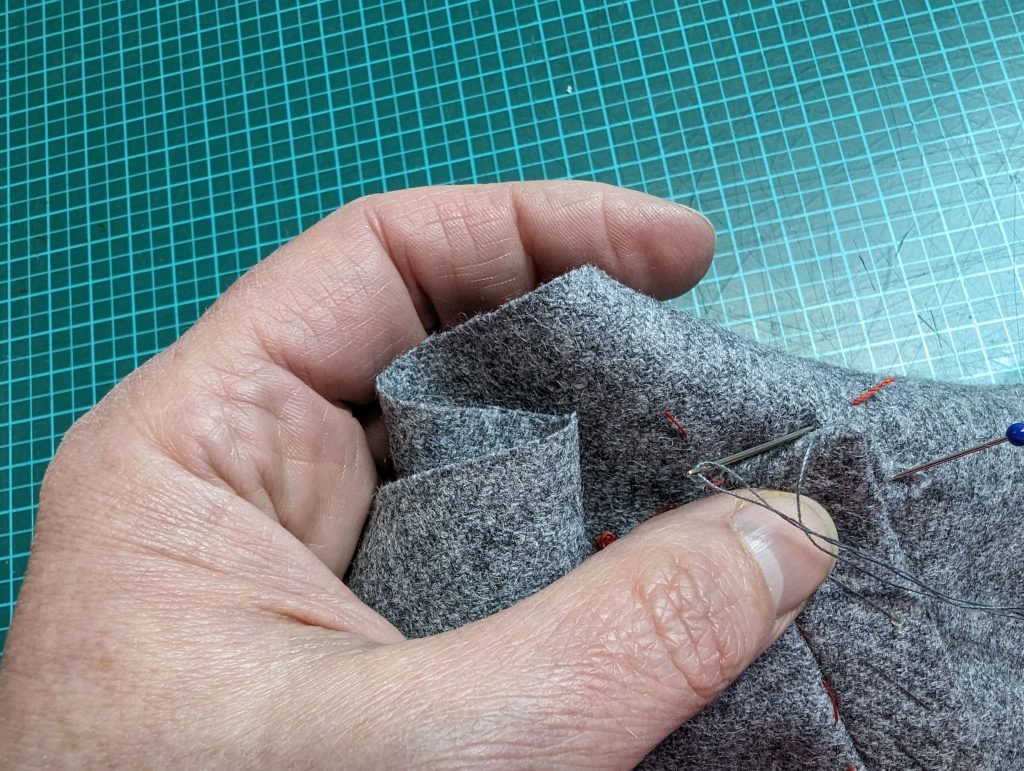
Fold the fronts to the side and stitch the small triangles to the pocket. Continue sewing the pocket and trim back the excess fabric (the both layers will not line up exactly).
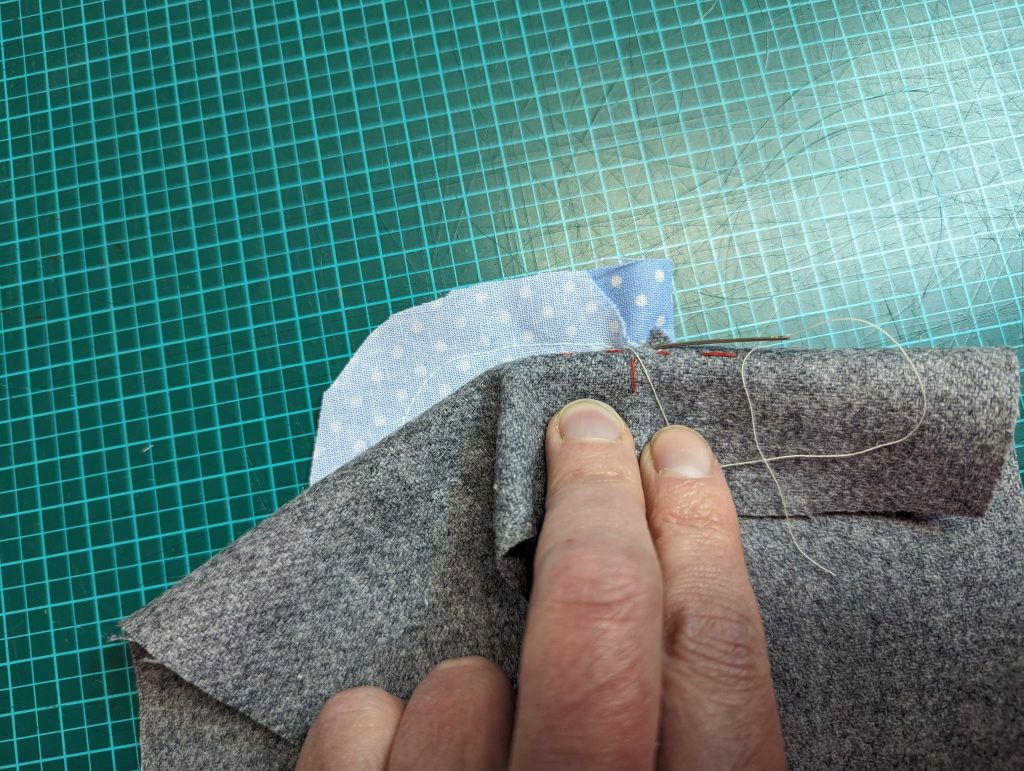
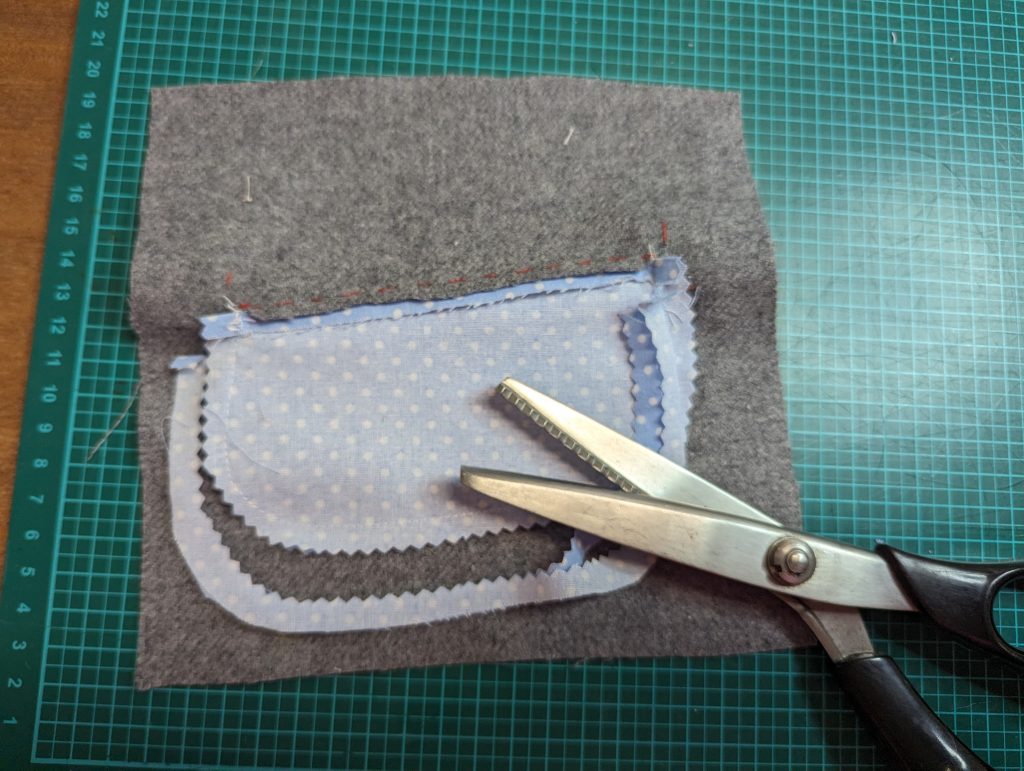
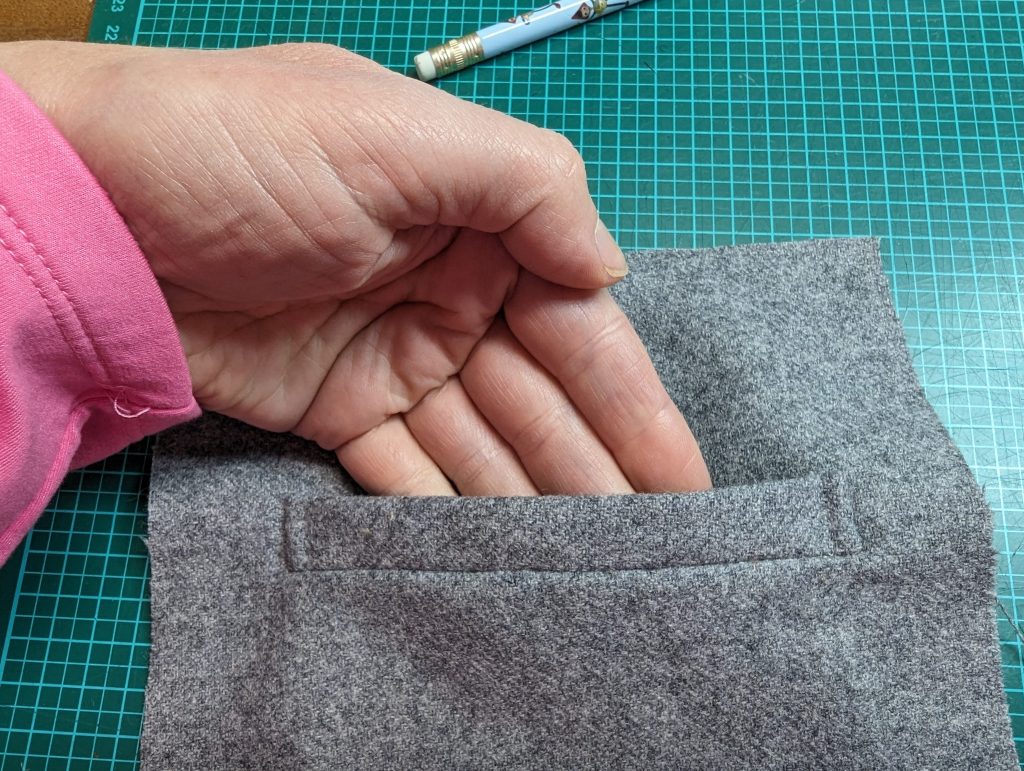
Place the front on your table with the right side up and turn in the loose ends of the welt, press. Stitch down the short edges of the welt as invisible as possible. When reaching the top edge bar tack the thread and trim back the seam allowance, angled towards the top edge. Stitch down from the inside. Last step is to topstitch the ends about 1/8″ (3mm) parallel to the edges. Finally, bar tack the welt ends from the wrong side invisible.


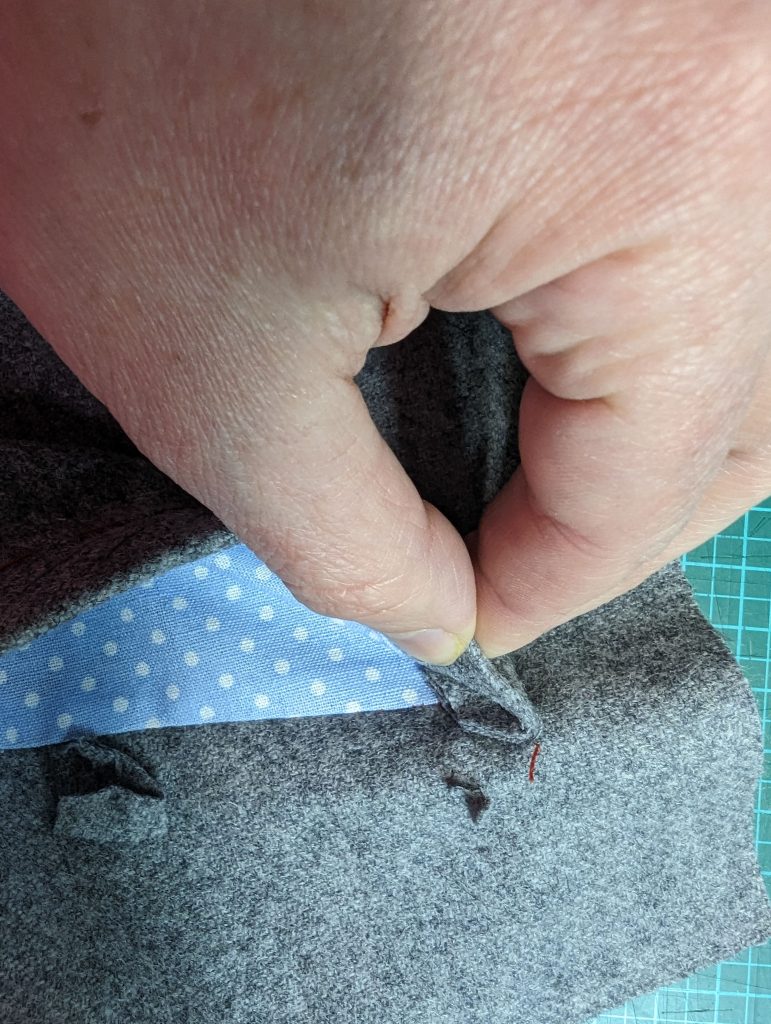


Repeat all steps at the other side.

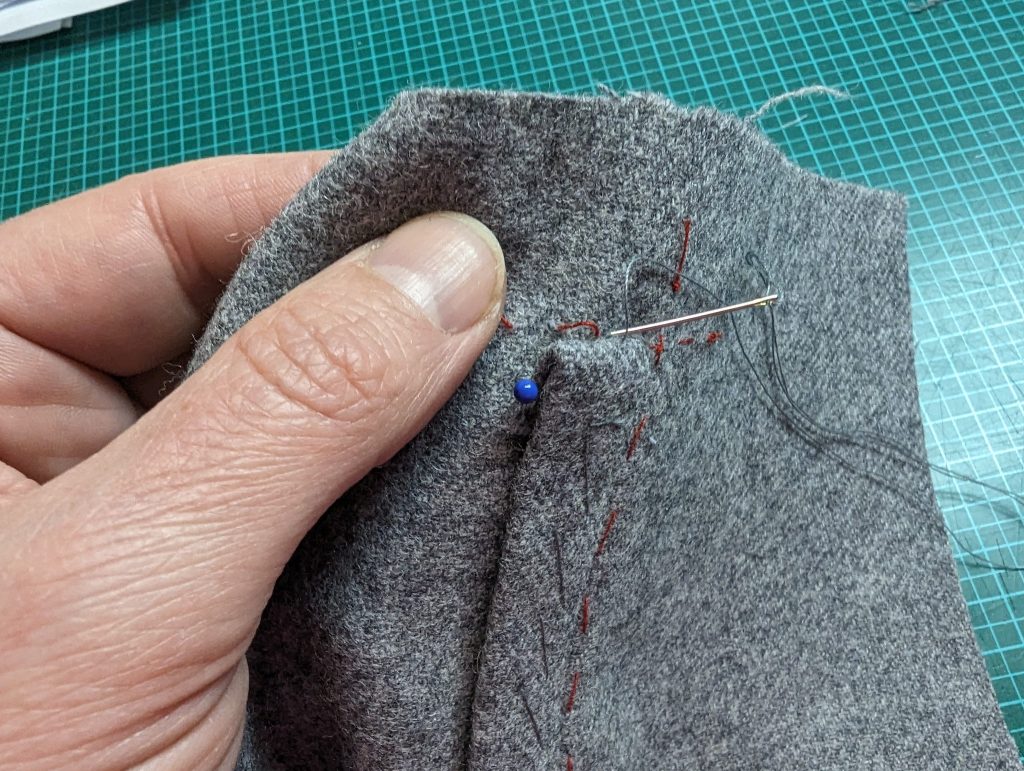
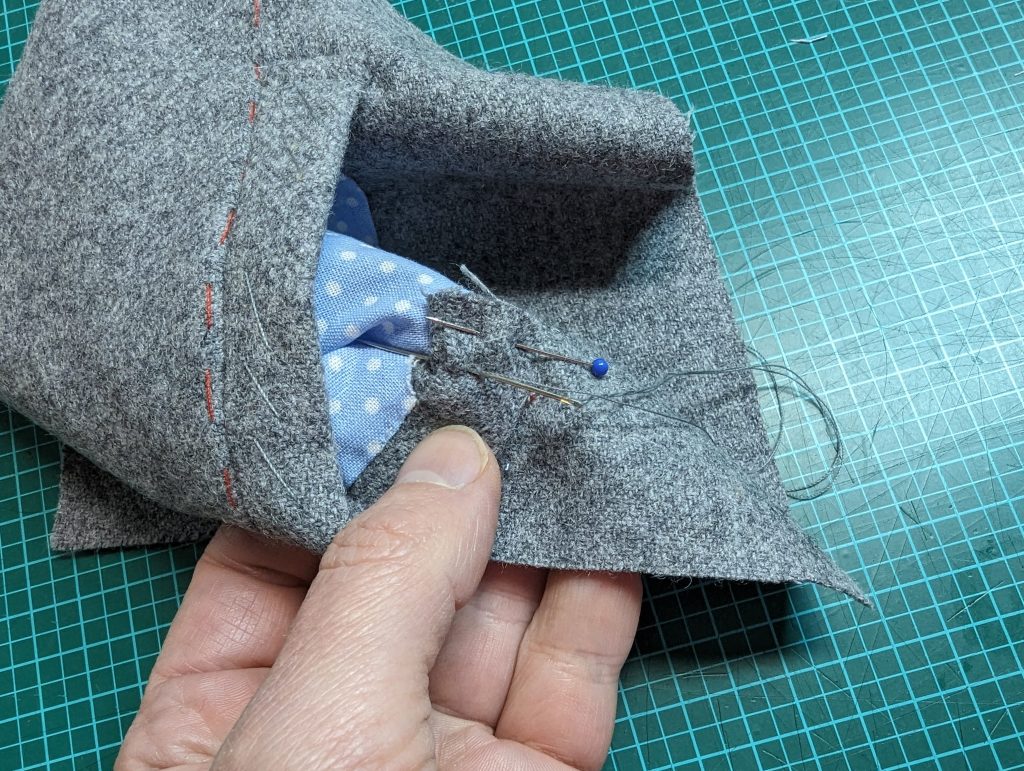
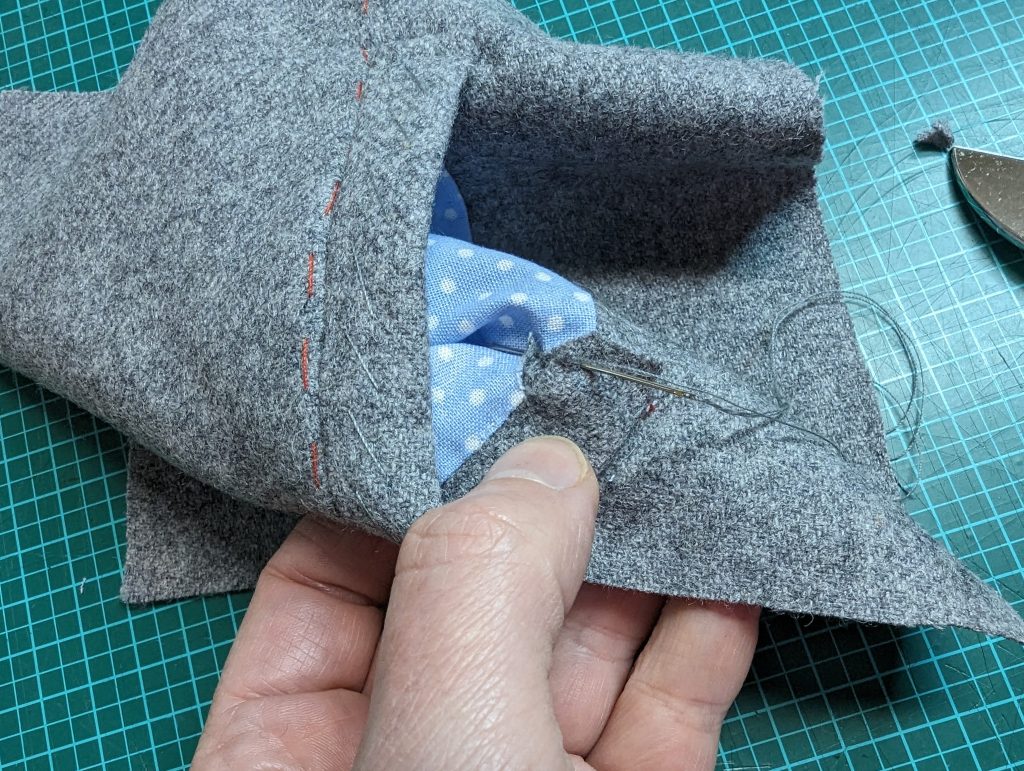

(2) Slash the interfacing about 2 ½” (7cm) deep at the shoulder and insert the small, V-shaped piece, with a zigzag. Stretch the shoulder seam from the fashion fabric correspondingly to the gusset with the help of your iron. With the shoulder seam, shifted to the back, this will give the ease needed for the shoulder blade.
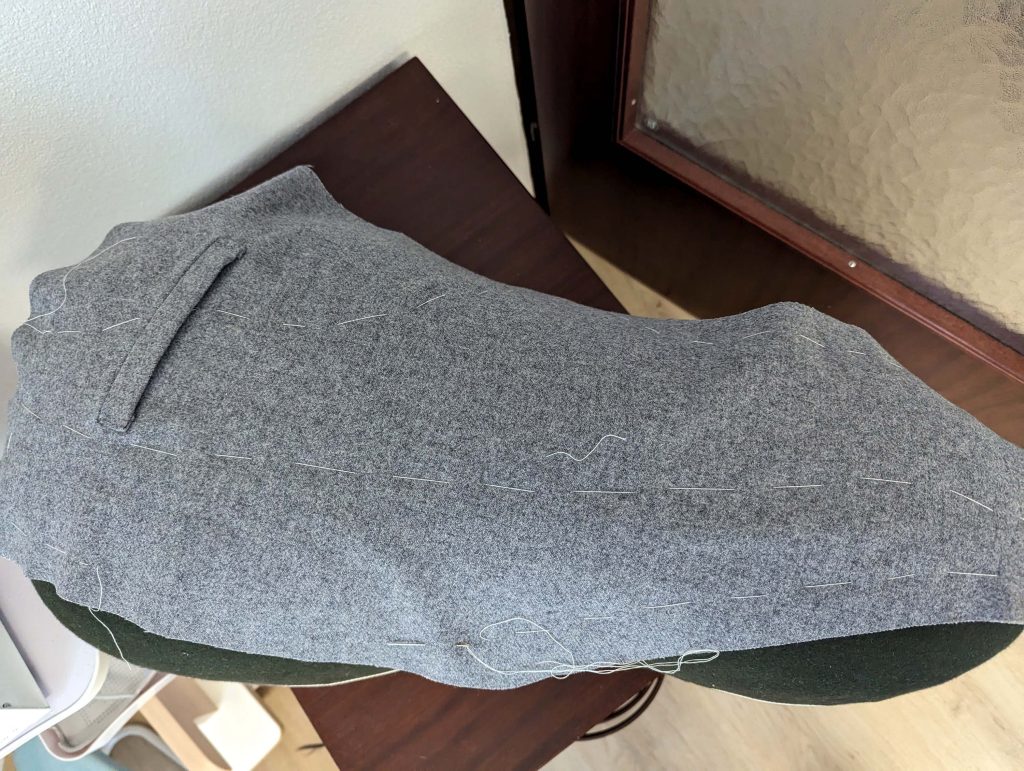
Baste the interfacing to the wrong side of the fronts, lining up the edges, and use a pillow or tailors’ ham to mimic the rounding of the chest. Place fonts on a table, wrong side up. Mark the sewing line on the interfacing along all edges, and trim back the interfacing 1/16” (2mm) behind the sewing line.
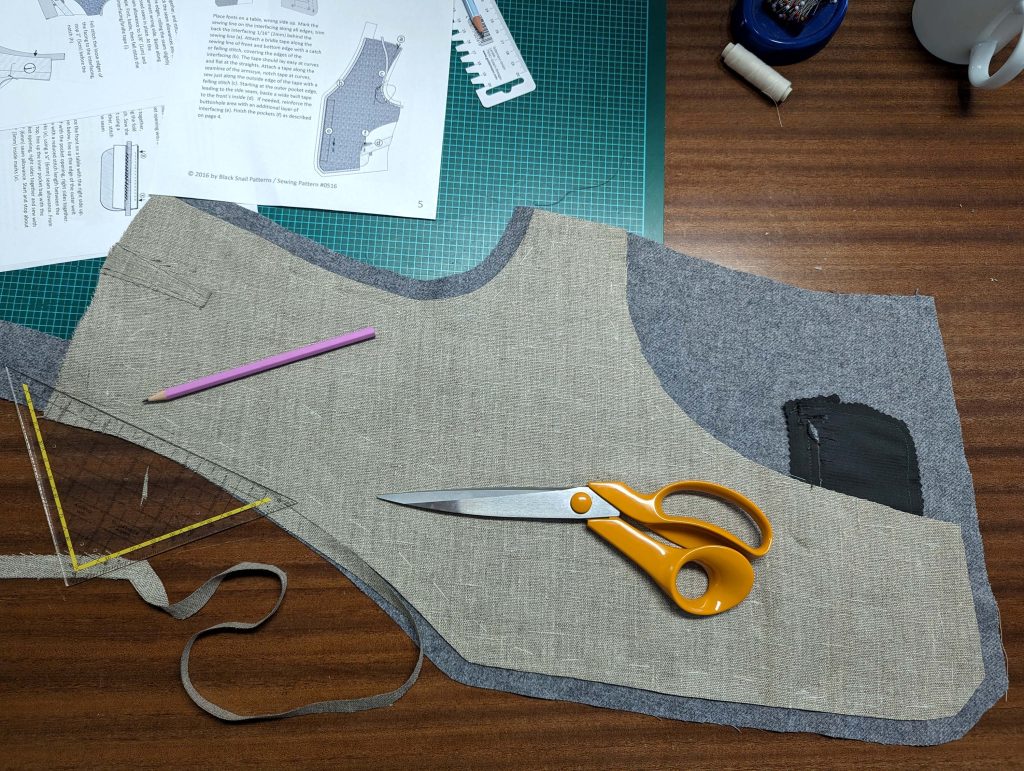
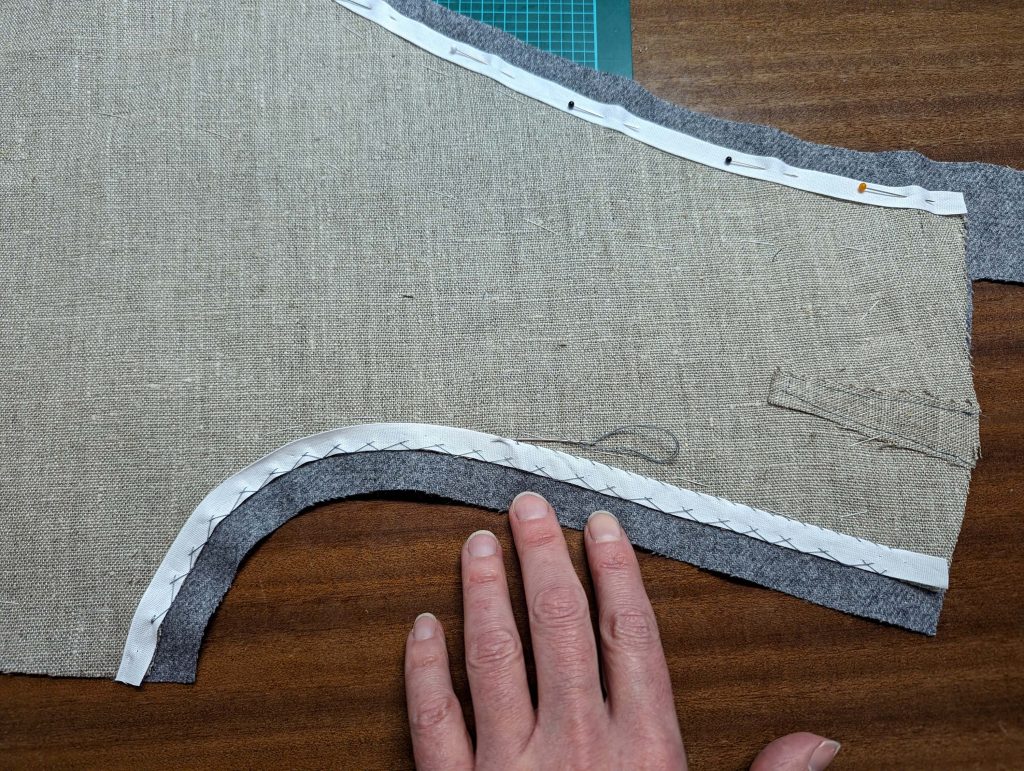
Attach a bridle tape along the sewing line of the front and bottom edge with a catch or felling stitch, covering the edges of the interfacing. The tape should lay easy at curves and flat at the straights. Attach a tape along the seamline of the armscye, notch the tape at the curves, and sew just along the outside edge of the tape with a felling stitch.
Lead a twill tape from the side seam towards the side edge of the pocket, as shown in the pictures. Bar tack the twill tape to the welt invisible, and bar tack the front end of the welt to the interfacing in the same way. If needed, reinforce the buttonhole area with an additional layer of interfacing.
