Fahren wir fort; mit dem vorne zu schließenden Oberteil, da es von Natur aus einfacher zu tragen und an- und auszuziehen ist. Lediglich ein edwardianisches Mieder erfordert aufgrund seiner Konstruktionstechnik einen raffinierten mehrschichtigen Verschluss.
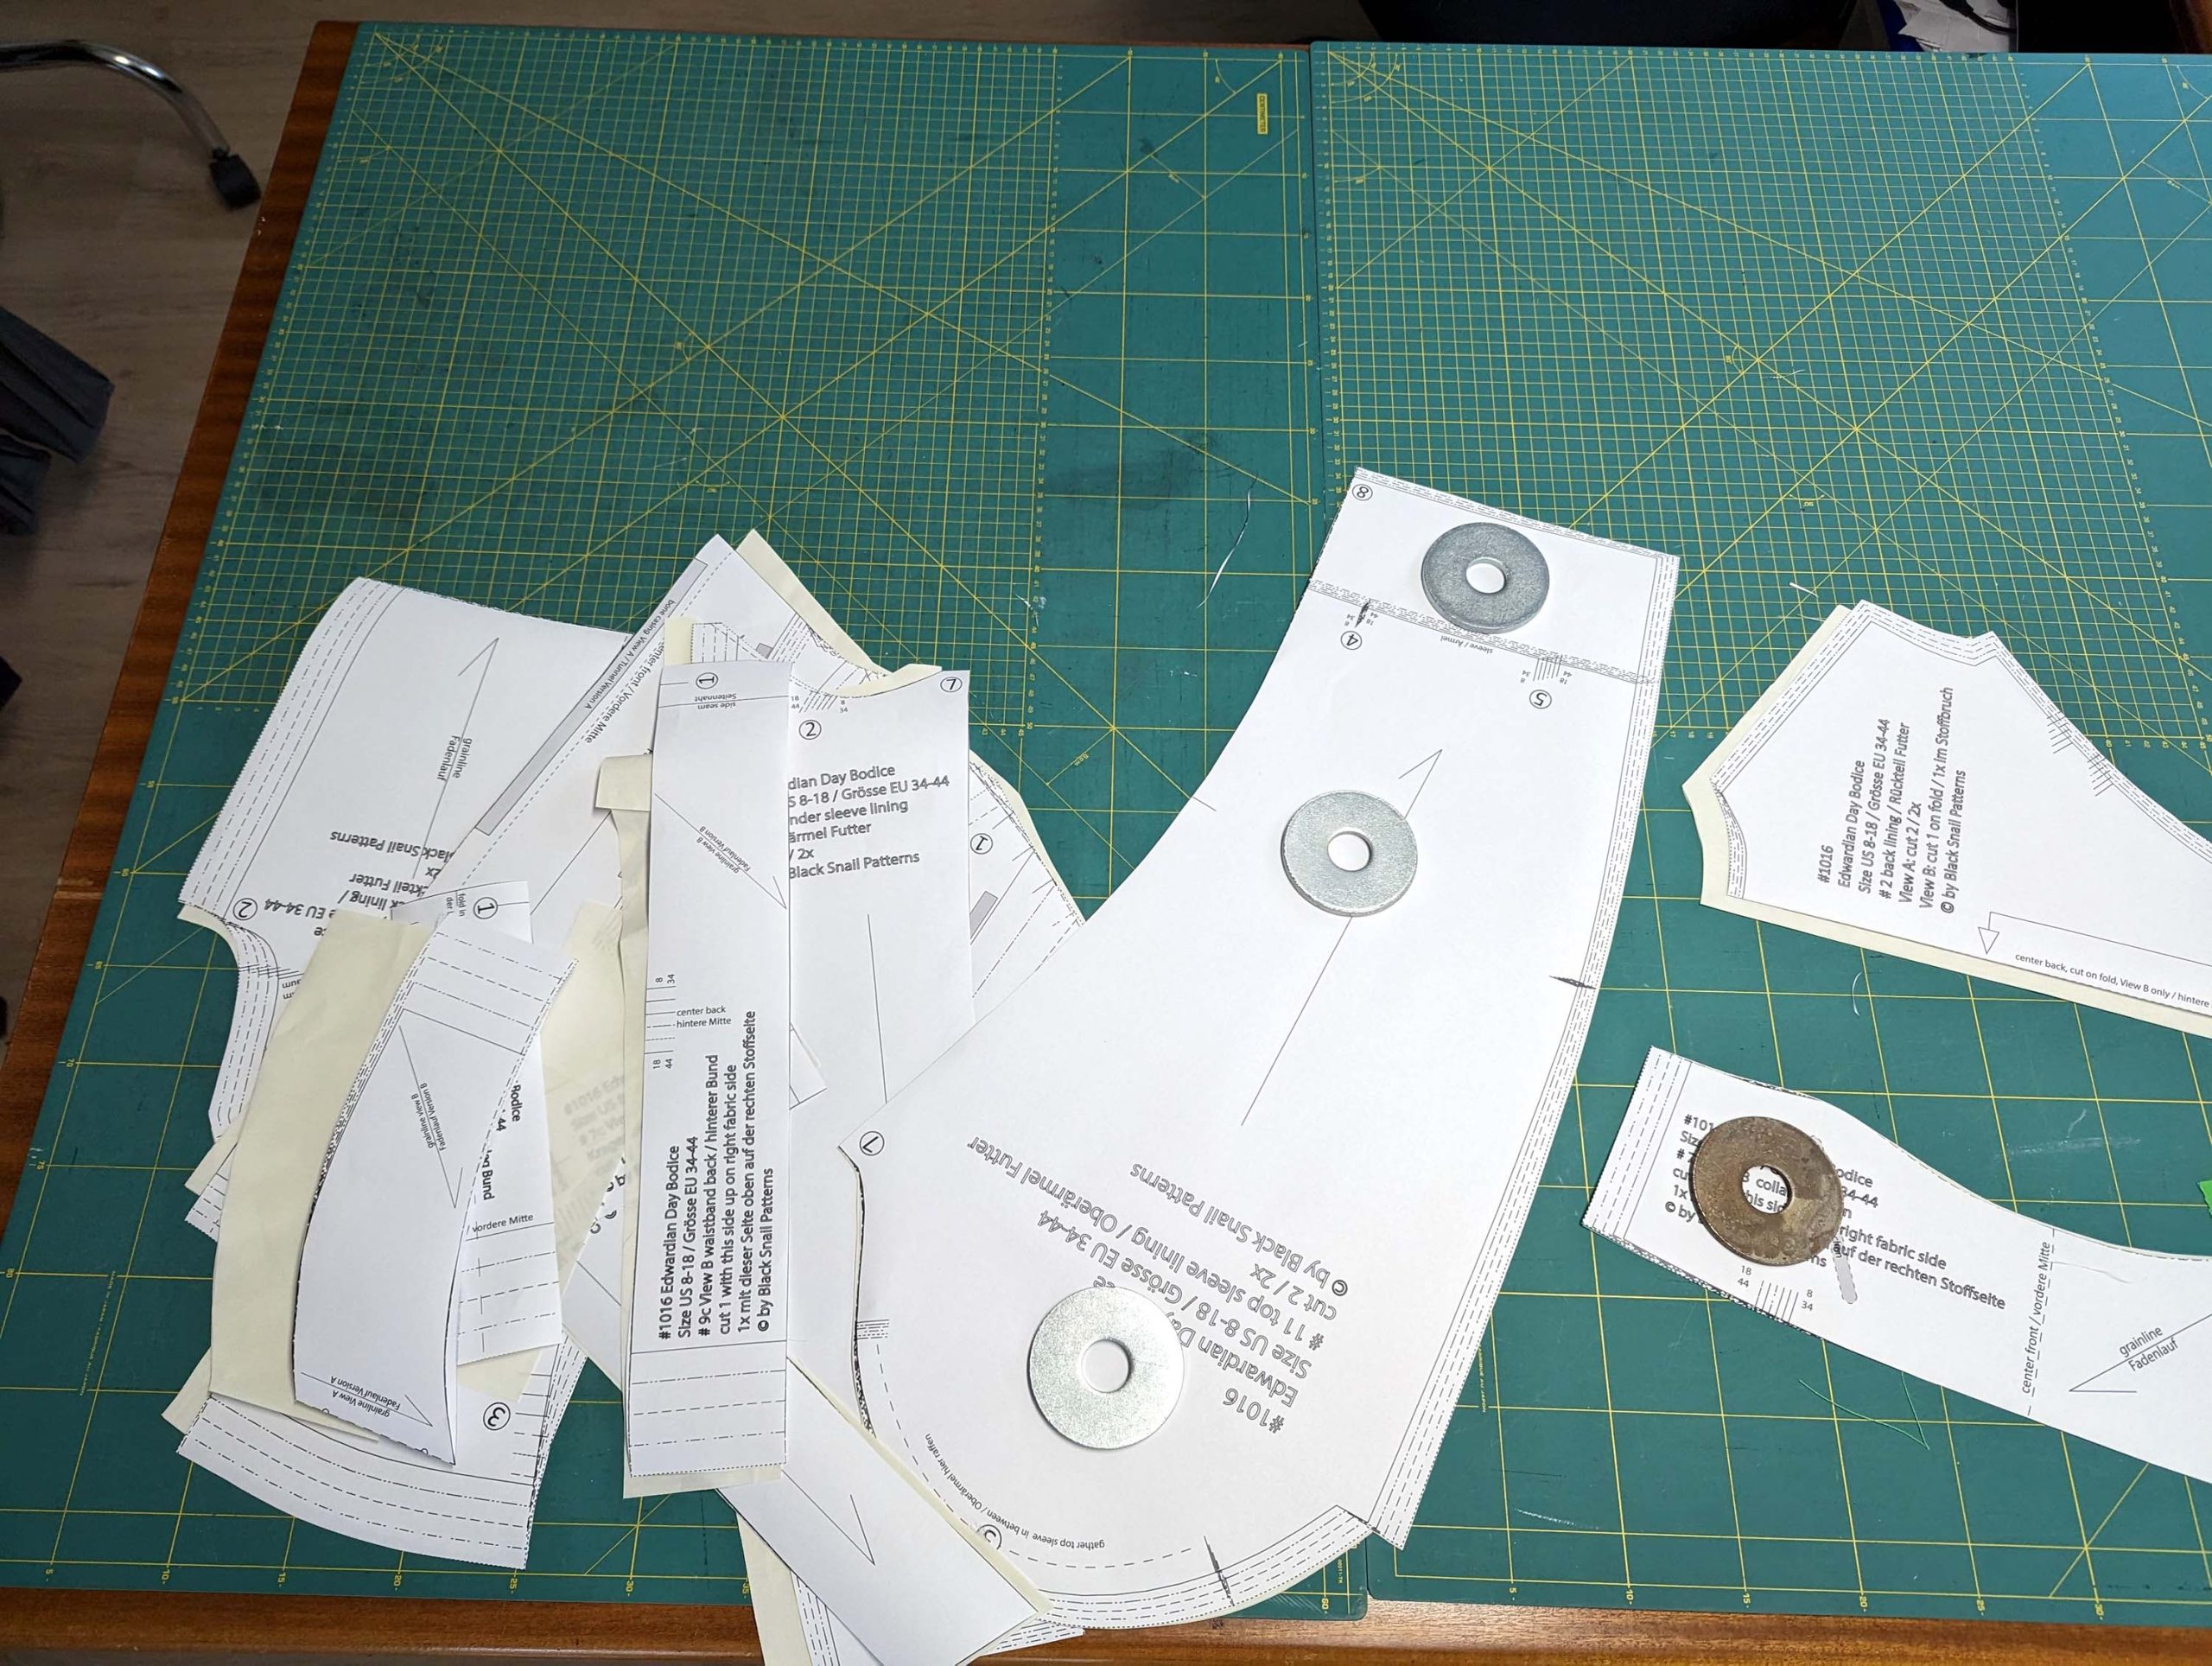
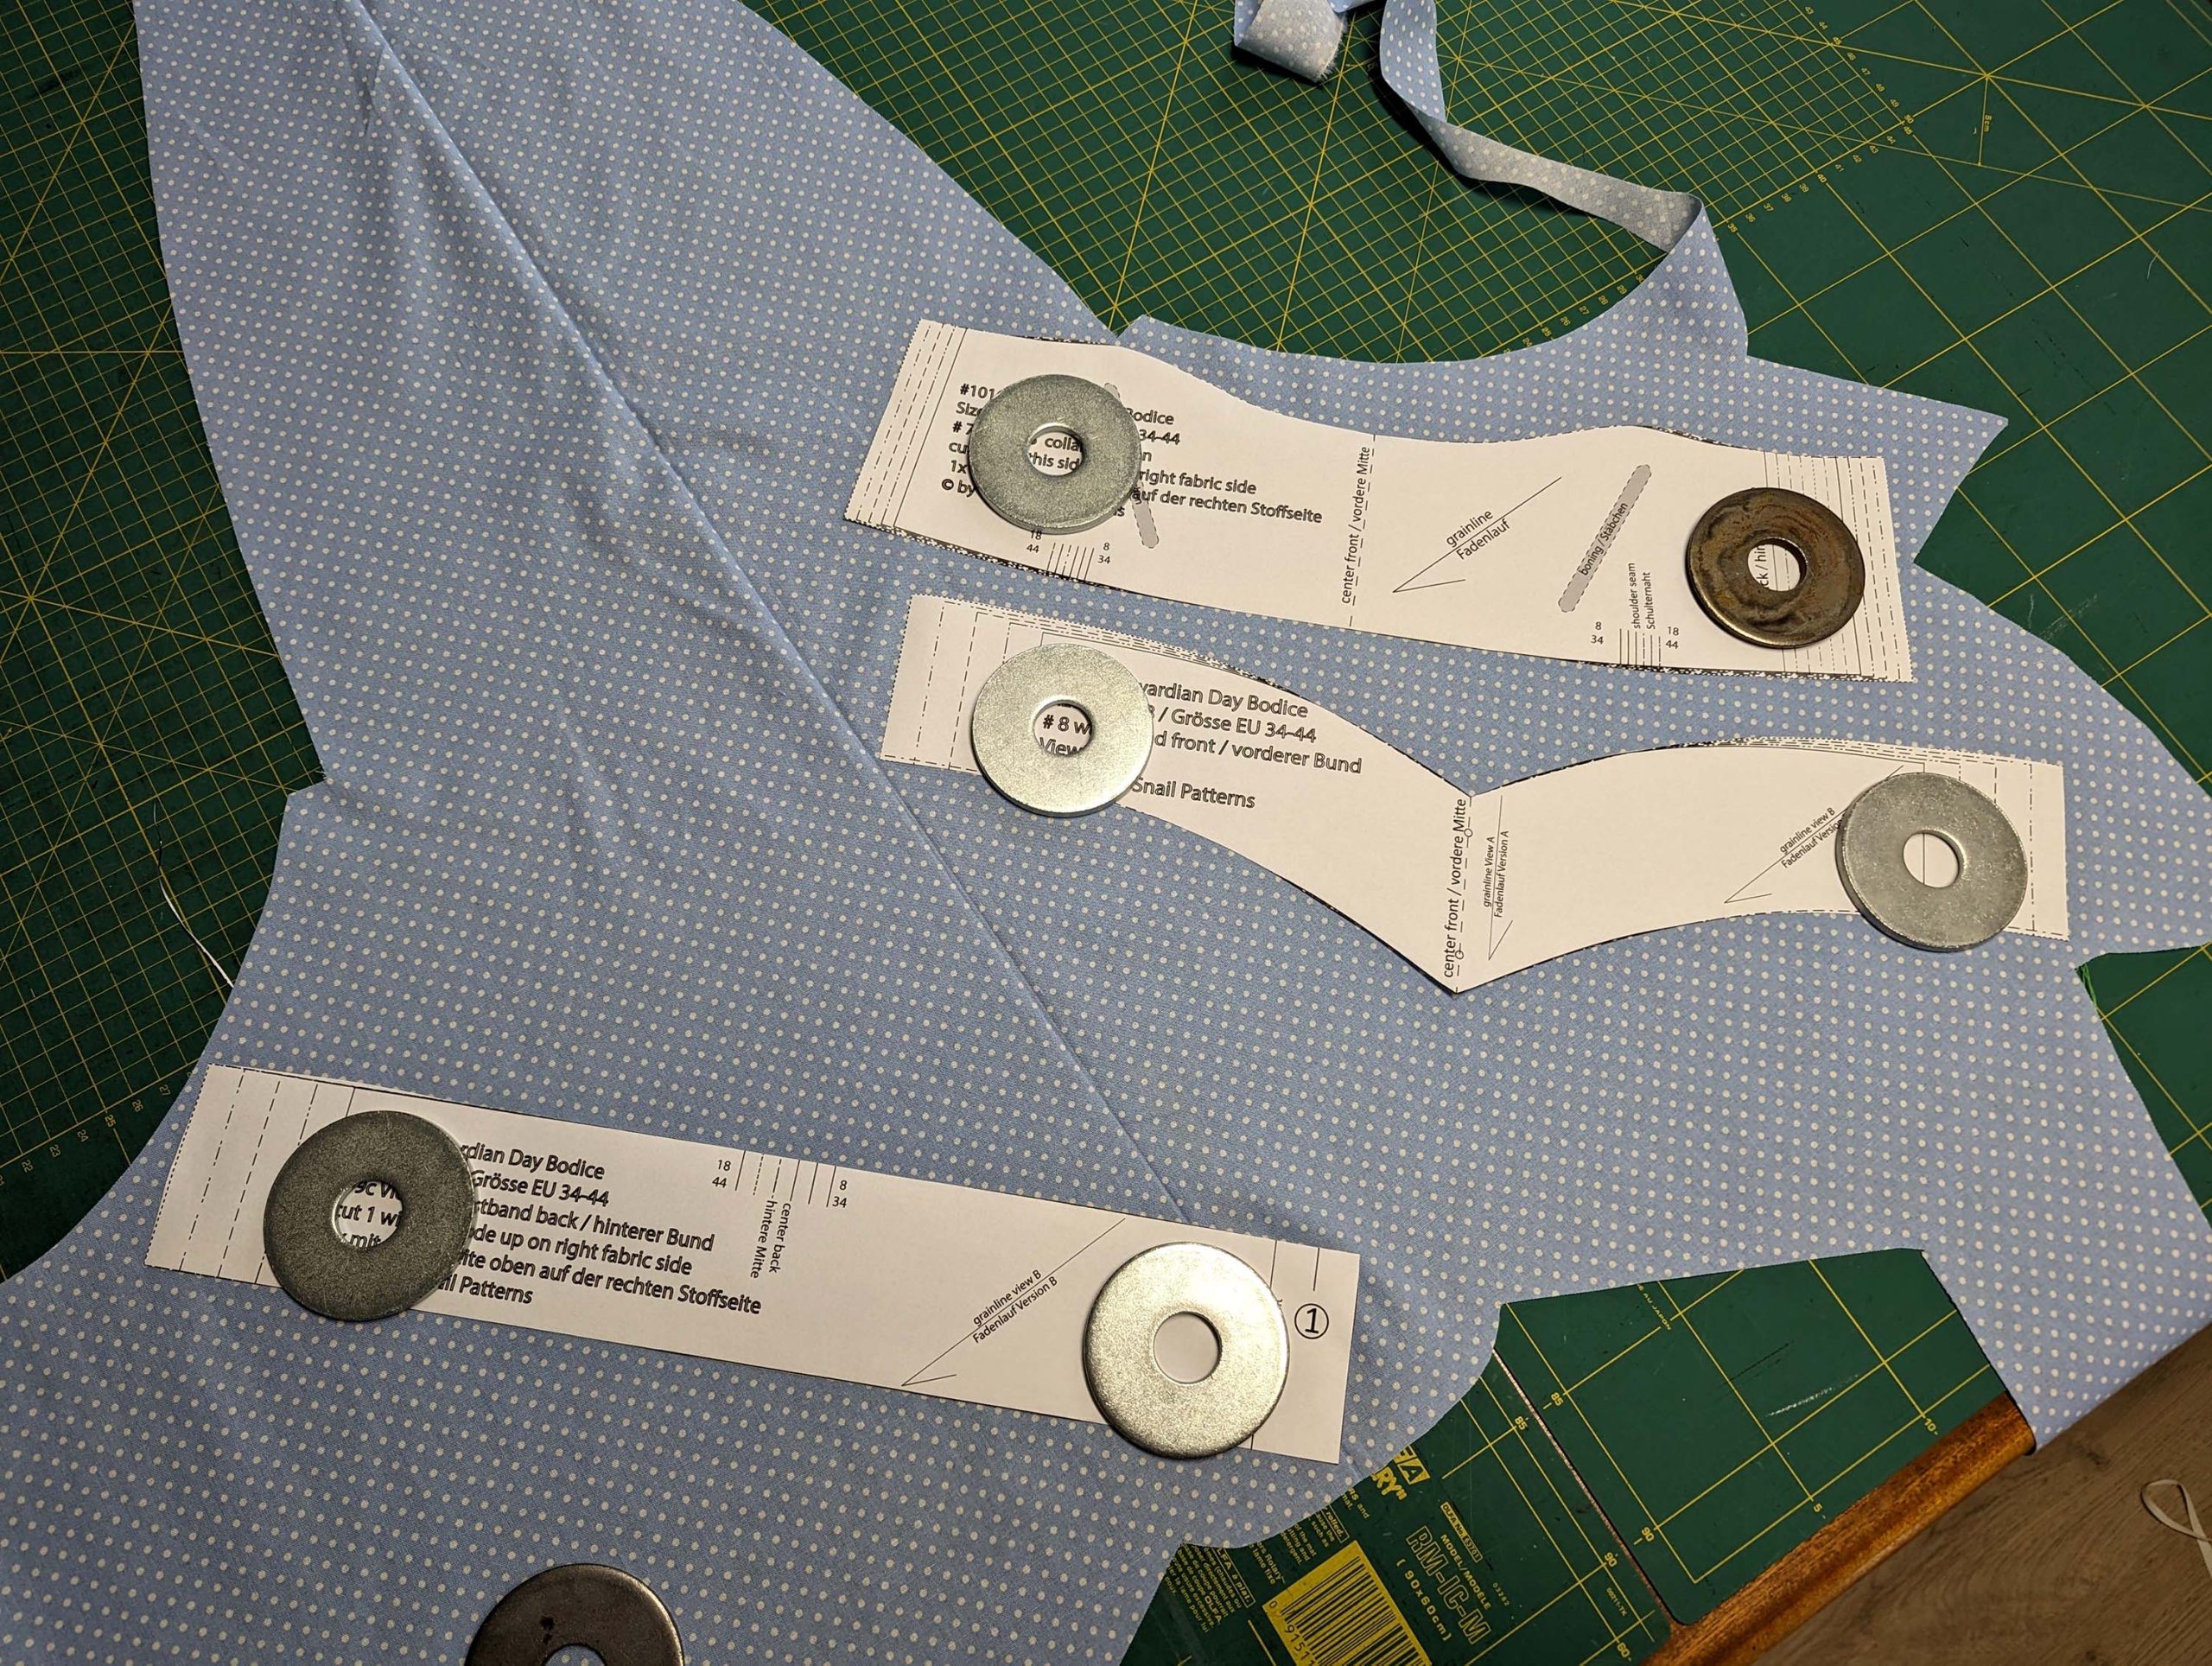
(1) Gleiches hier, mache ein Probeteil und übertrage alle Änderungen auf das Schnittmuster. Schneide alle Teile aus Oberstoff und Futter, wie auf de Zuschnittdiagram für den Vorderverschluss angegeben, alle Markierungen exakt übertragen.
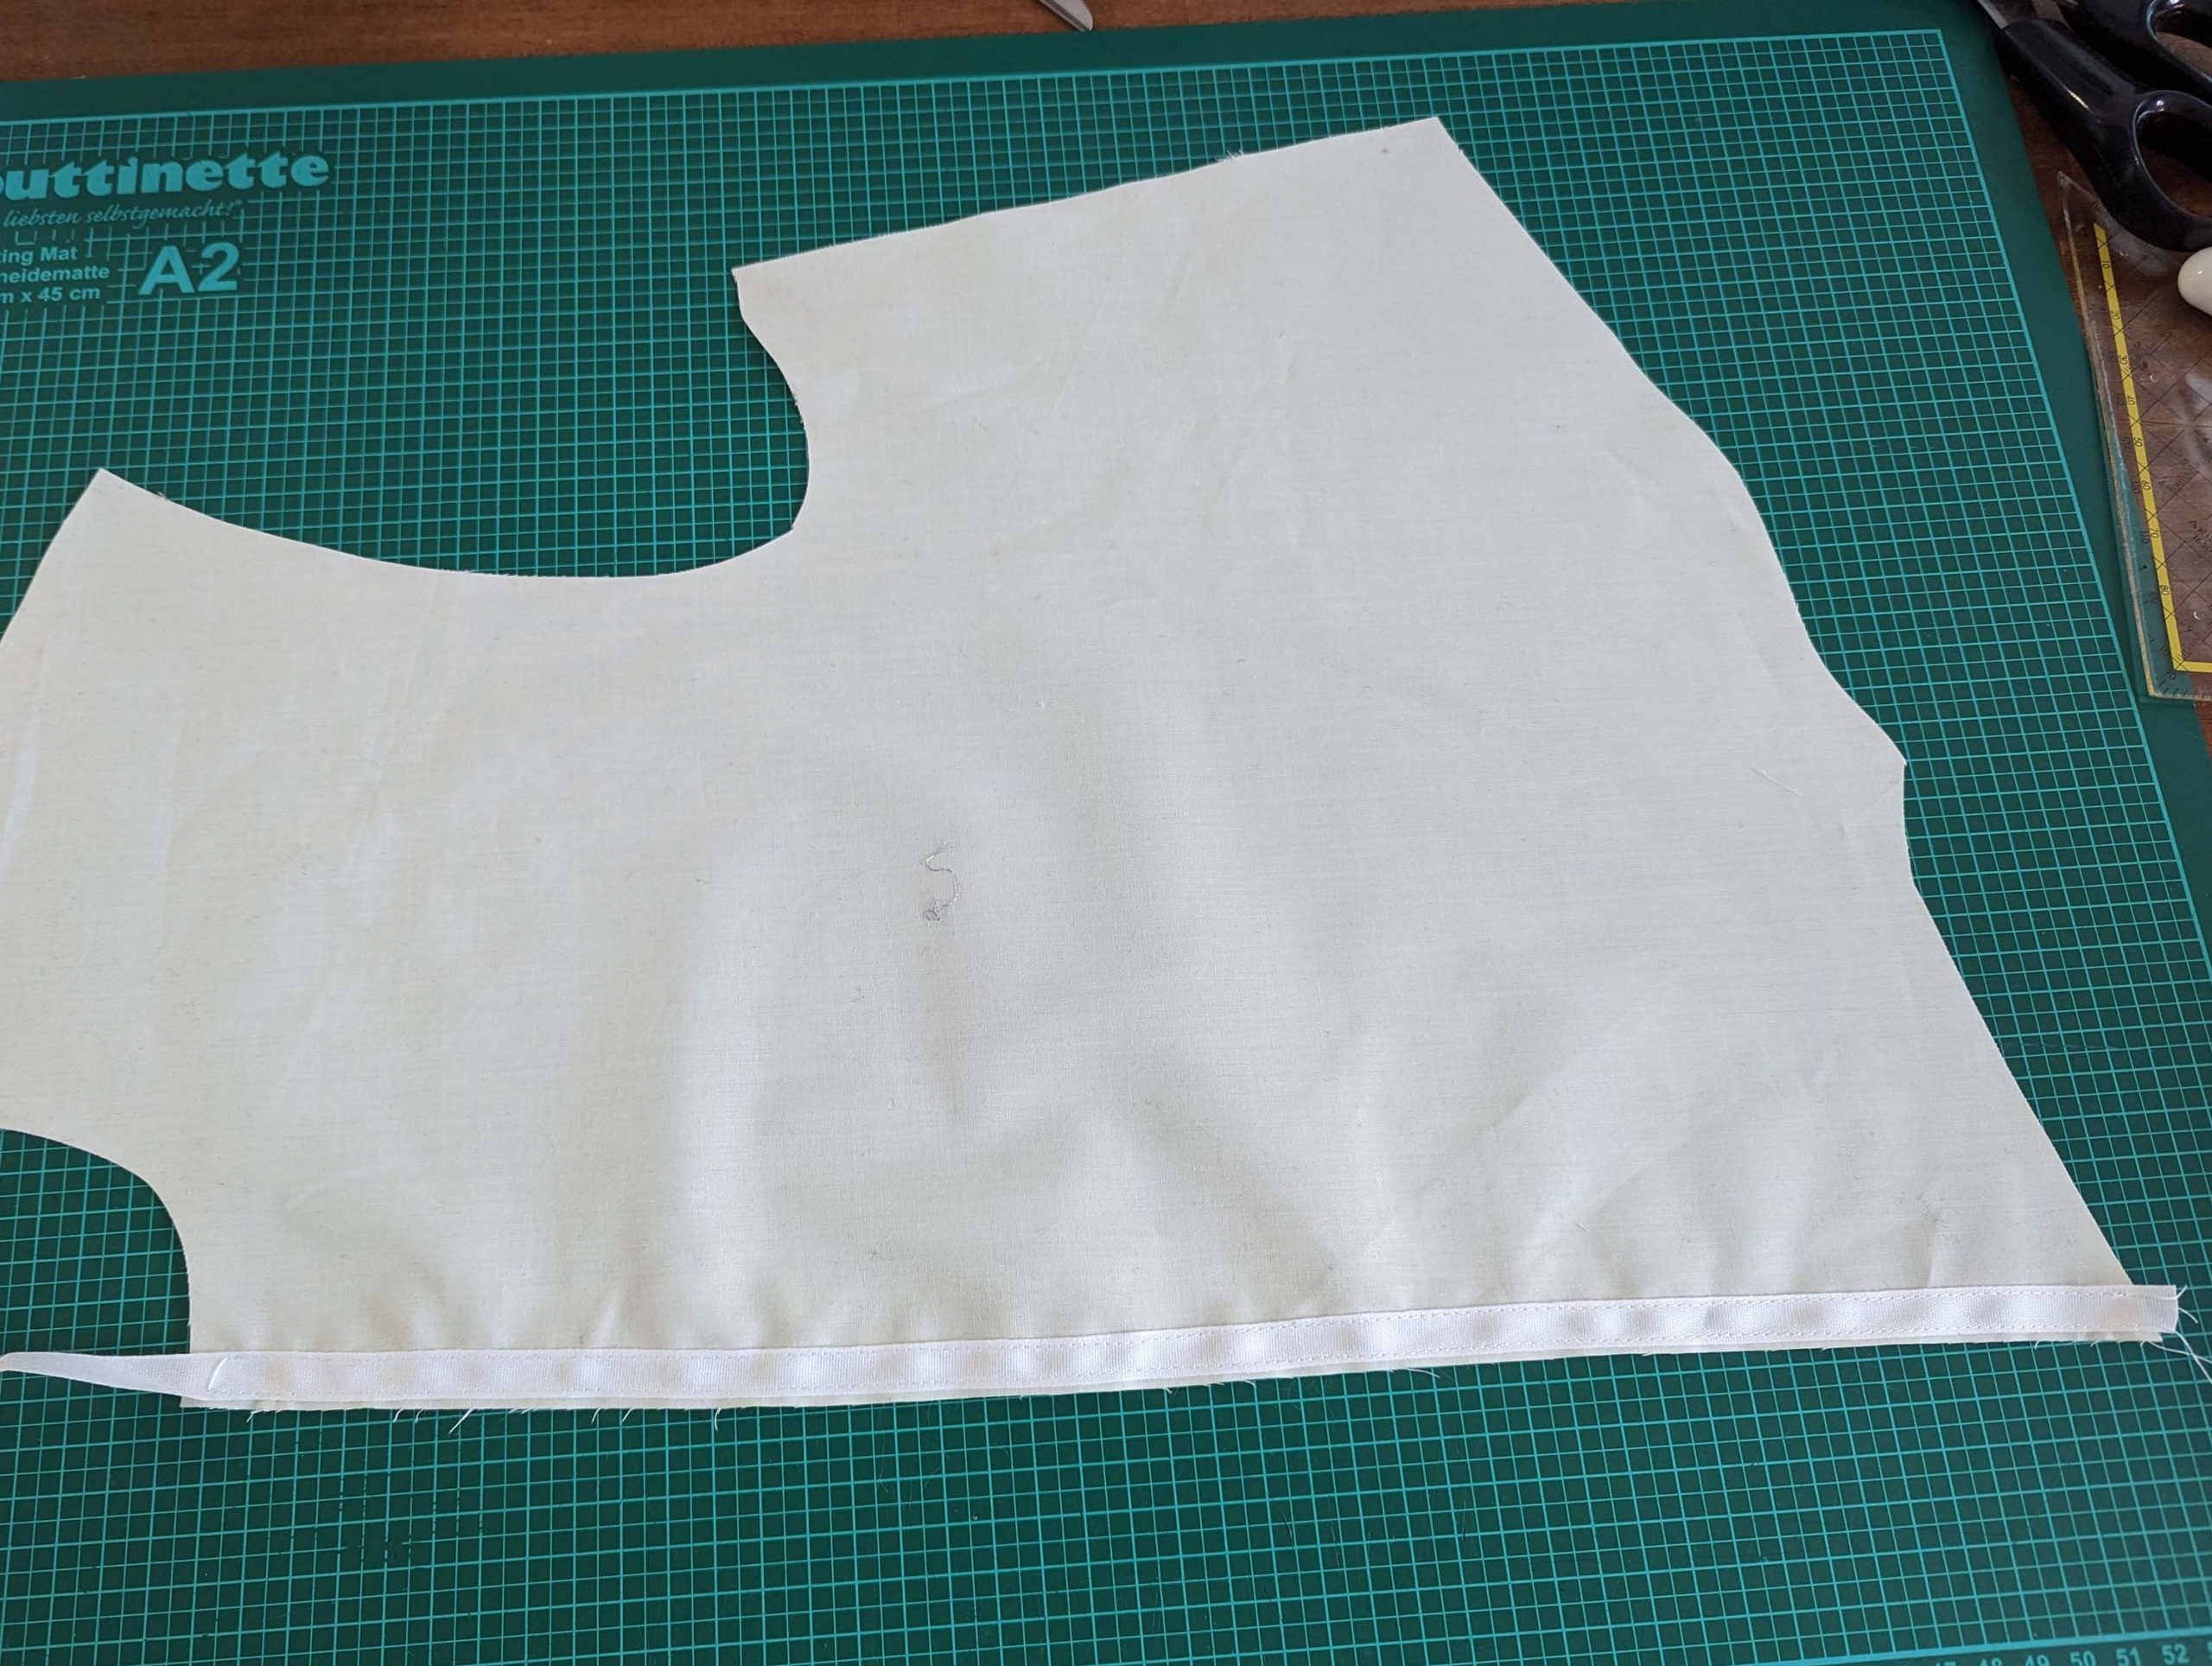
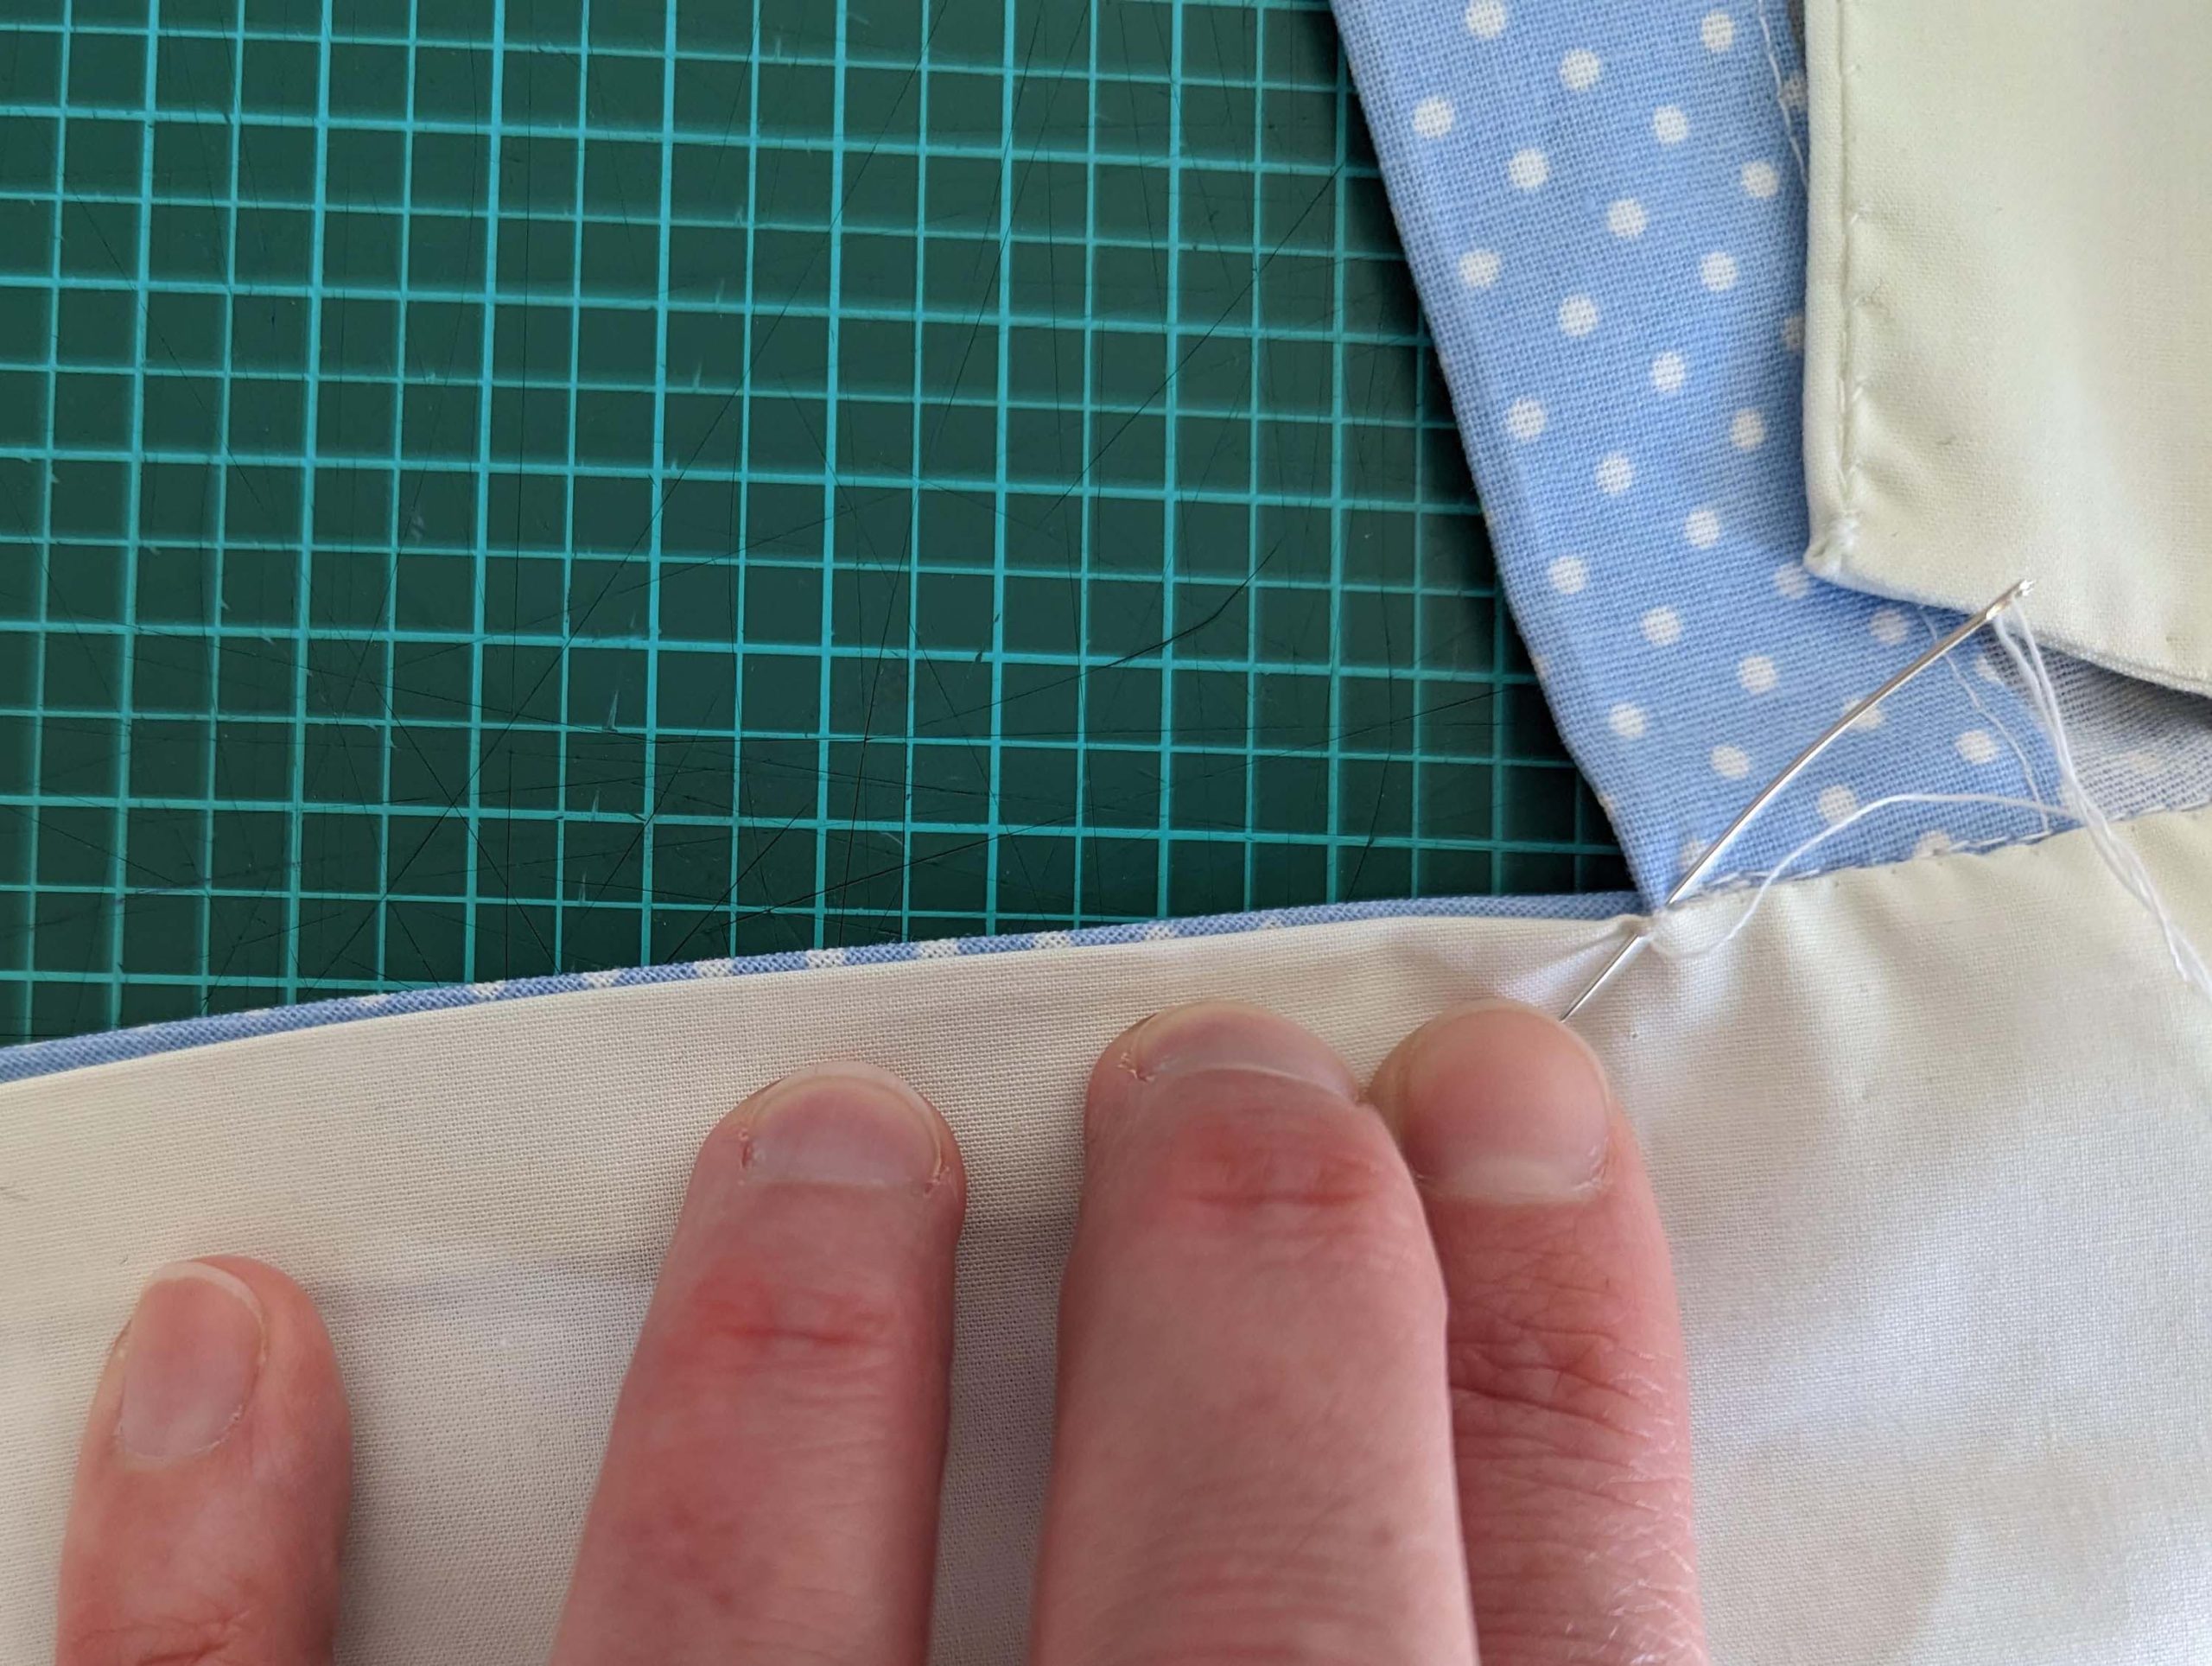
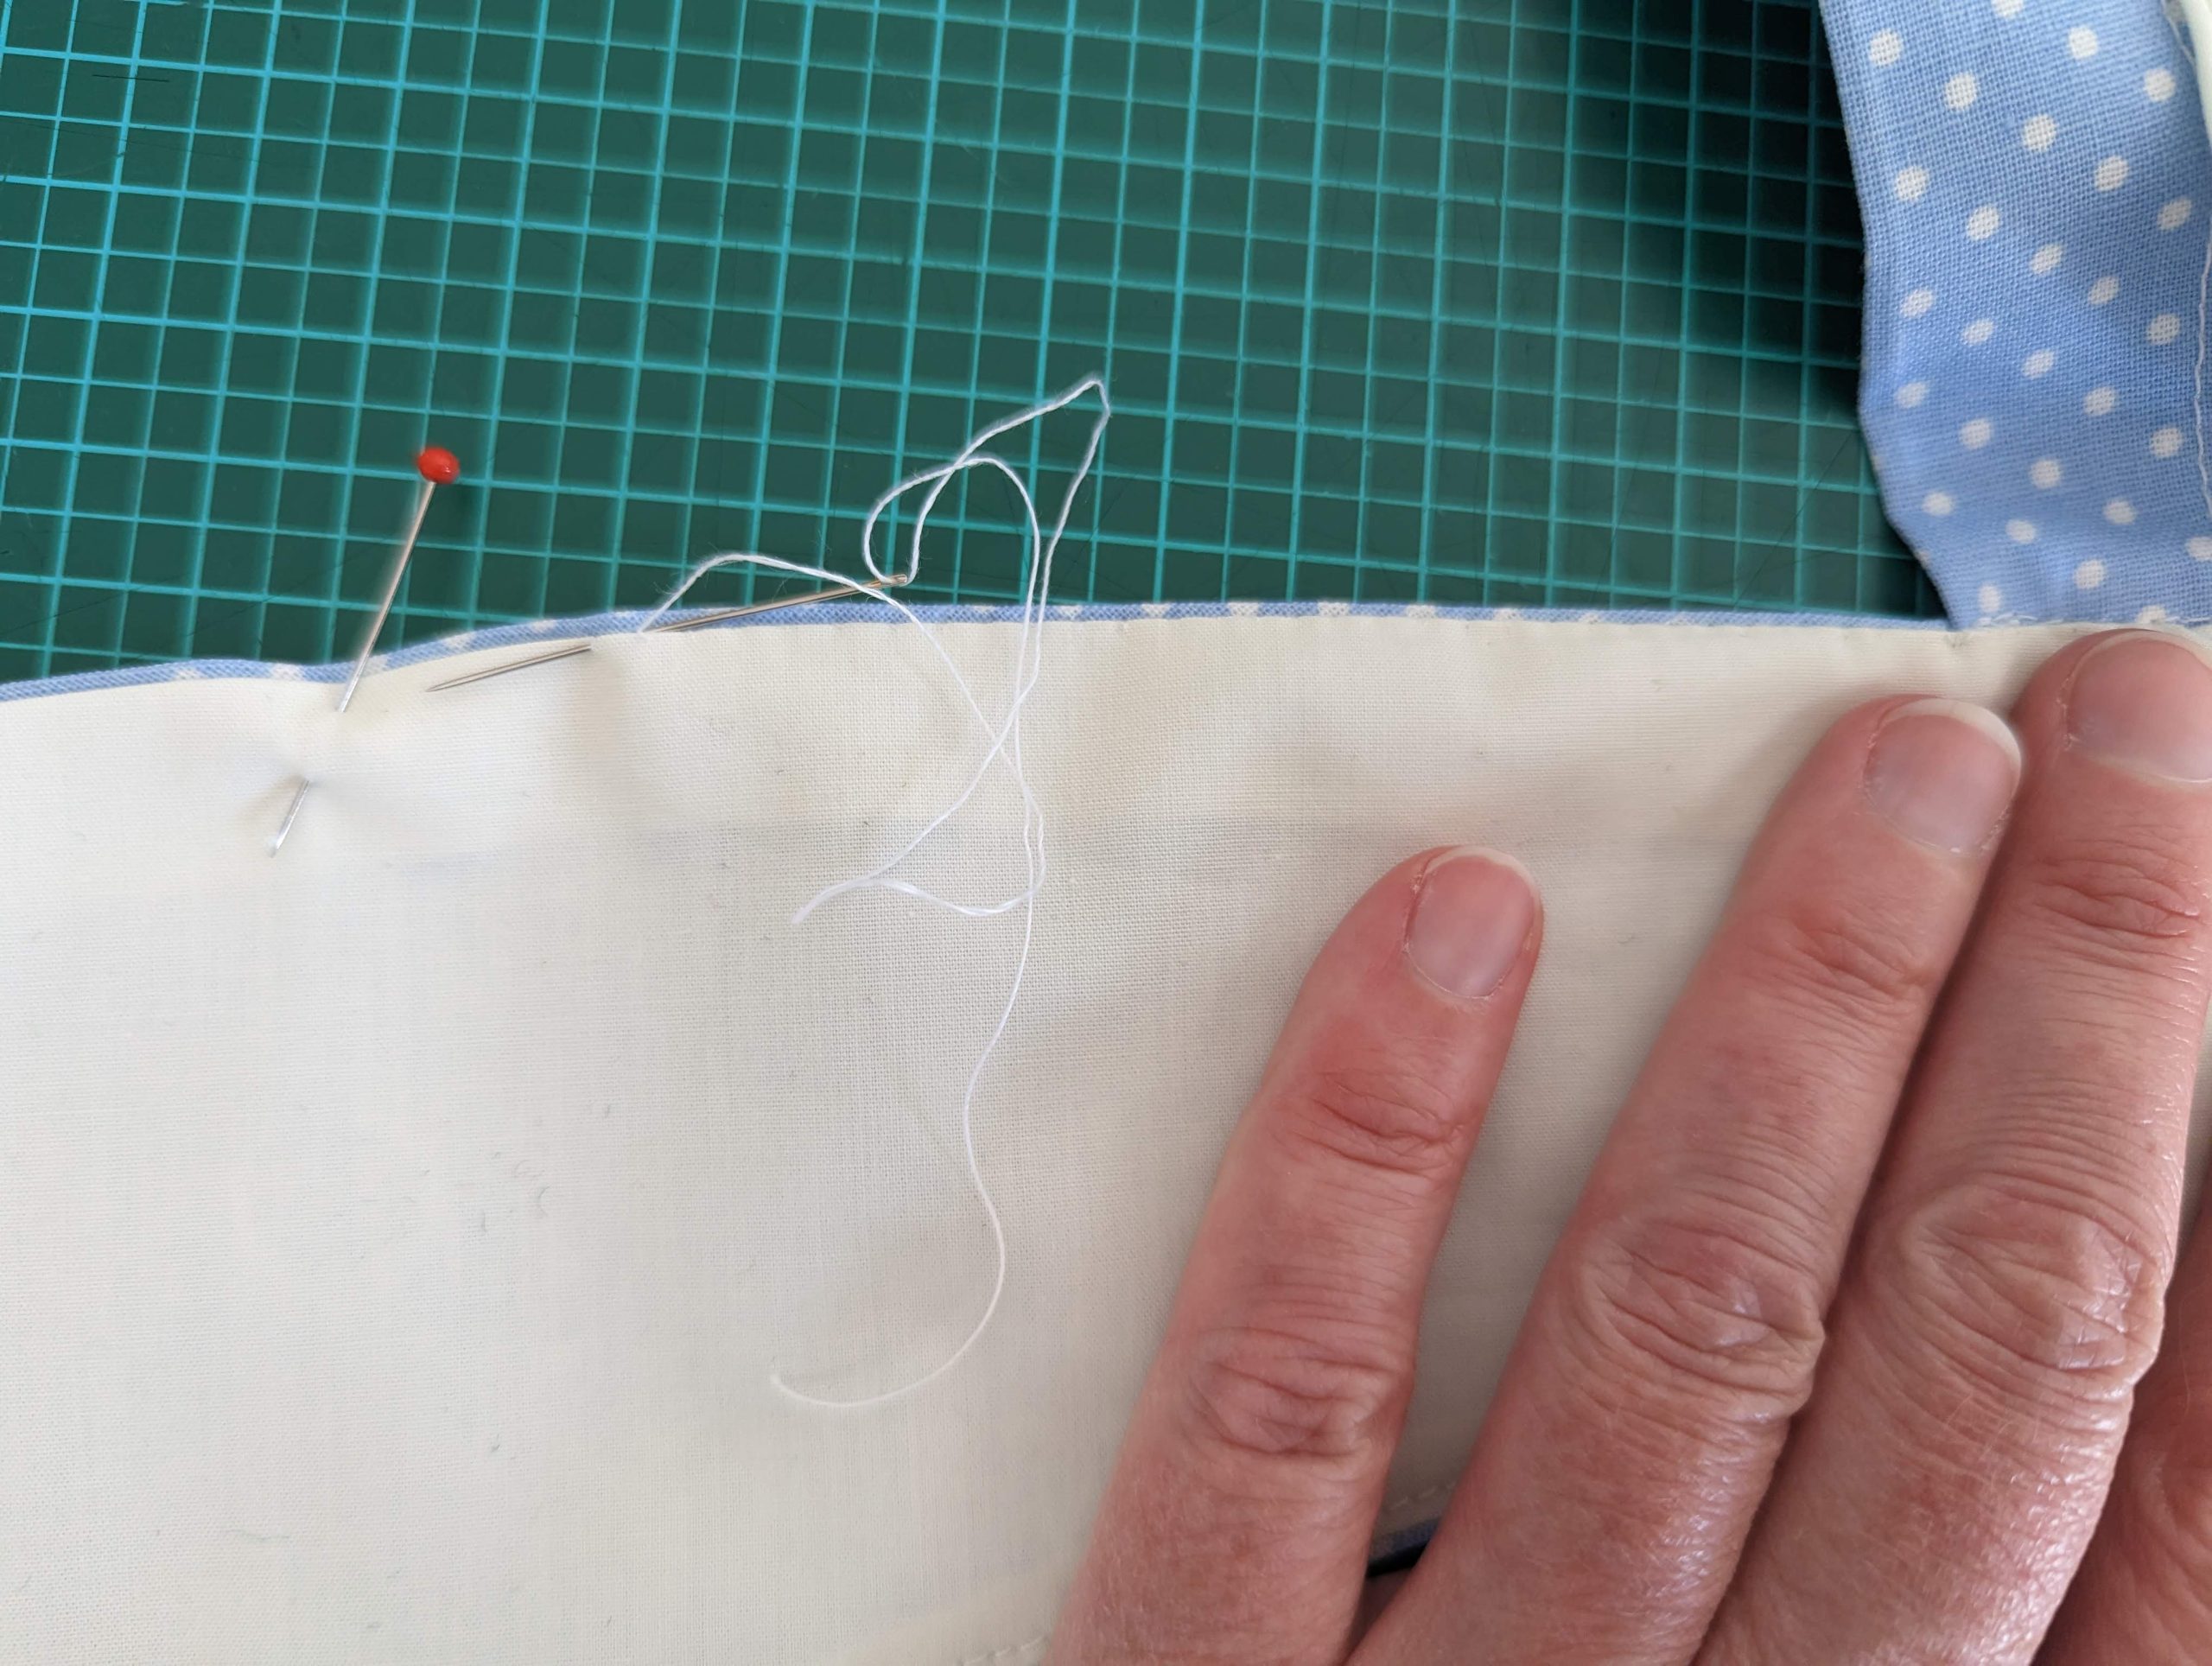
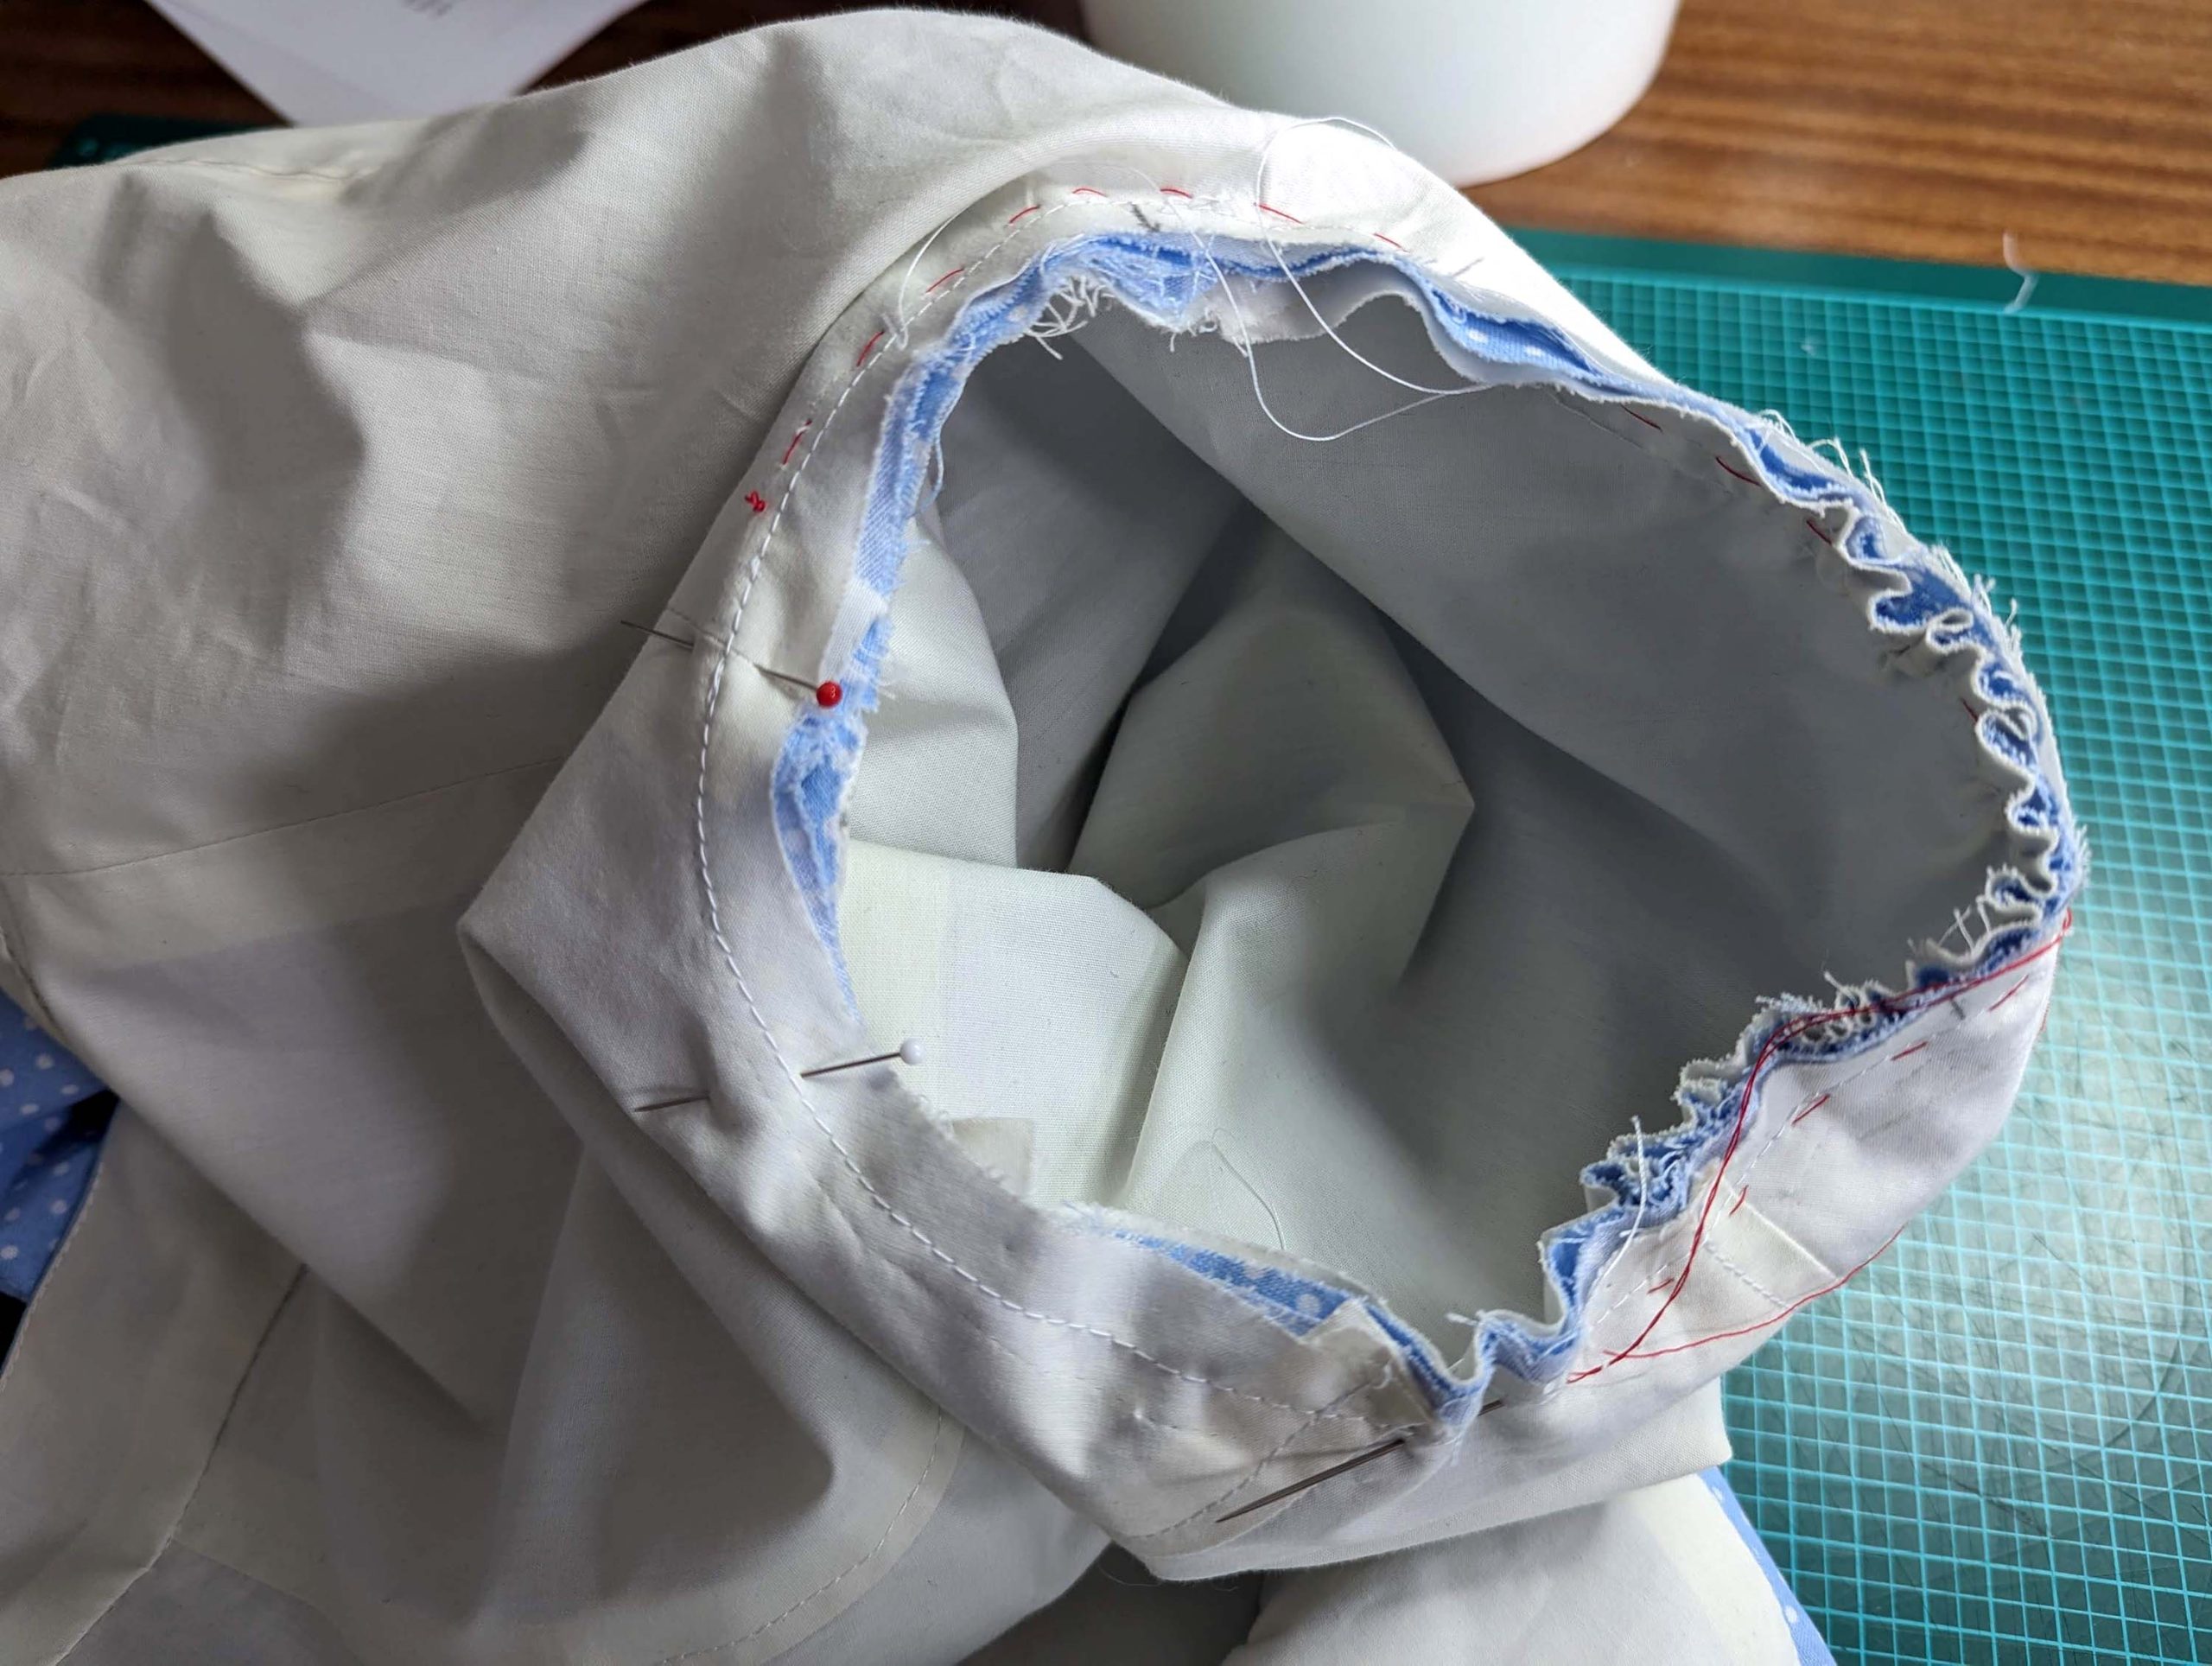
(2) Nimm das Vordertteil aus Futterund richte den Vorderteilbelegrechts auf rechts, entlang der vorderen Mitte am Futtervorderteil aus. Nähe die Vorderkante ab, schneide die Rückseite ab und steppe die Nahtzugaben unter. Die Nahtzugabe des Besatzes entlang der losen Kante einschlagen. Falte auf der rechten Seite den Besatz und die vordere linke Seite zusammen und nähe den Besatz entlang der losen Kante fest. Auf der linken Seite den Beleg zuerst auf rechts falten, die Nahtzugaben der Vorderkante zum Beleg falten und von der Vorderkante bis zum Ende des Beleges nähen . Schneide die Nahtzugabe am Ende der Naht ab und wende sie auf die richtige Seite. Nähe die lose Kante des Belege fest. Die Abnäher nähen und zur Seitennaht bügeln, dabei die Stichlänge an der Stelle verkürzen.
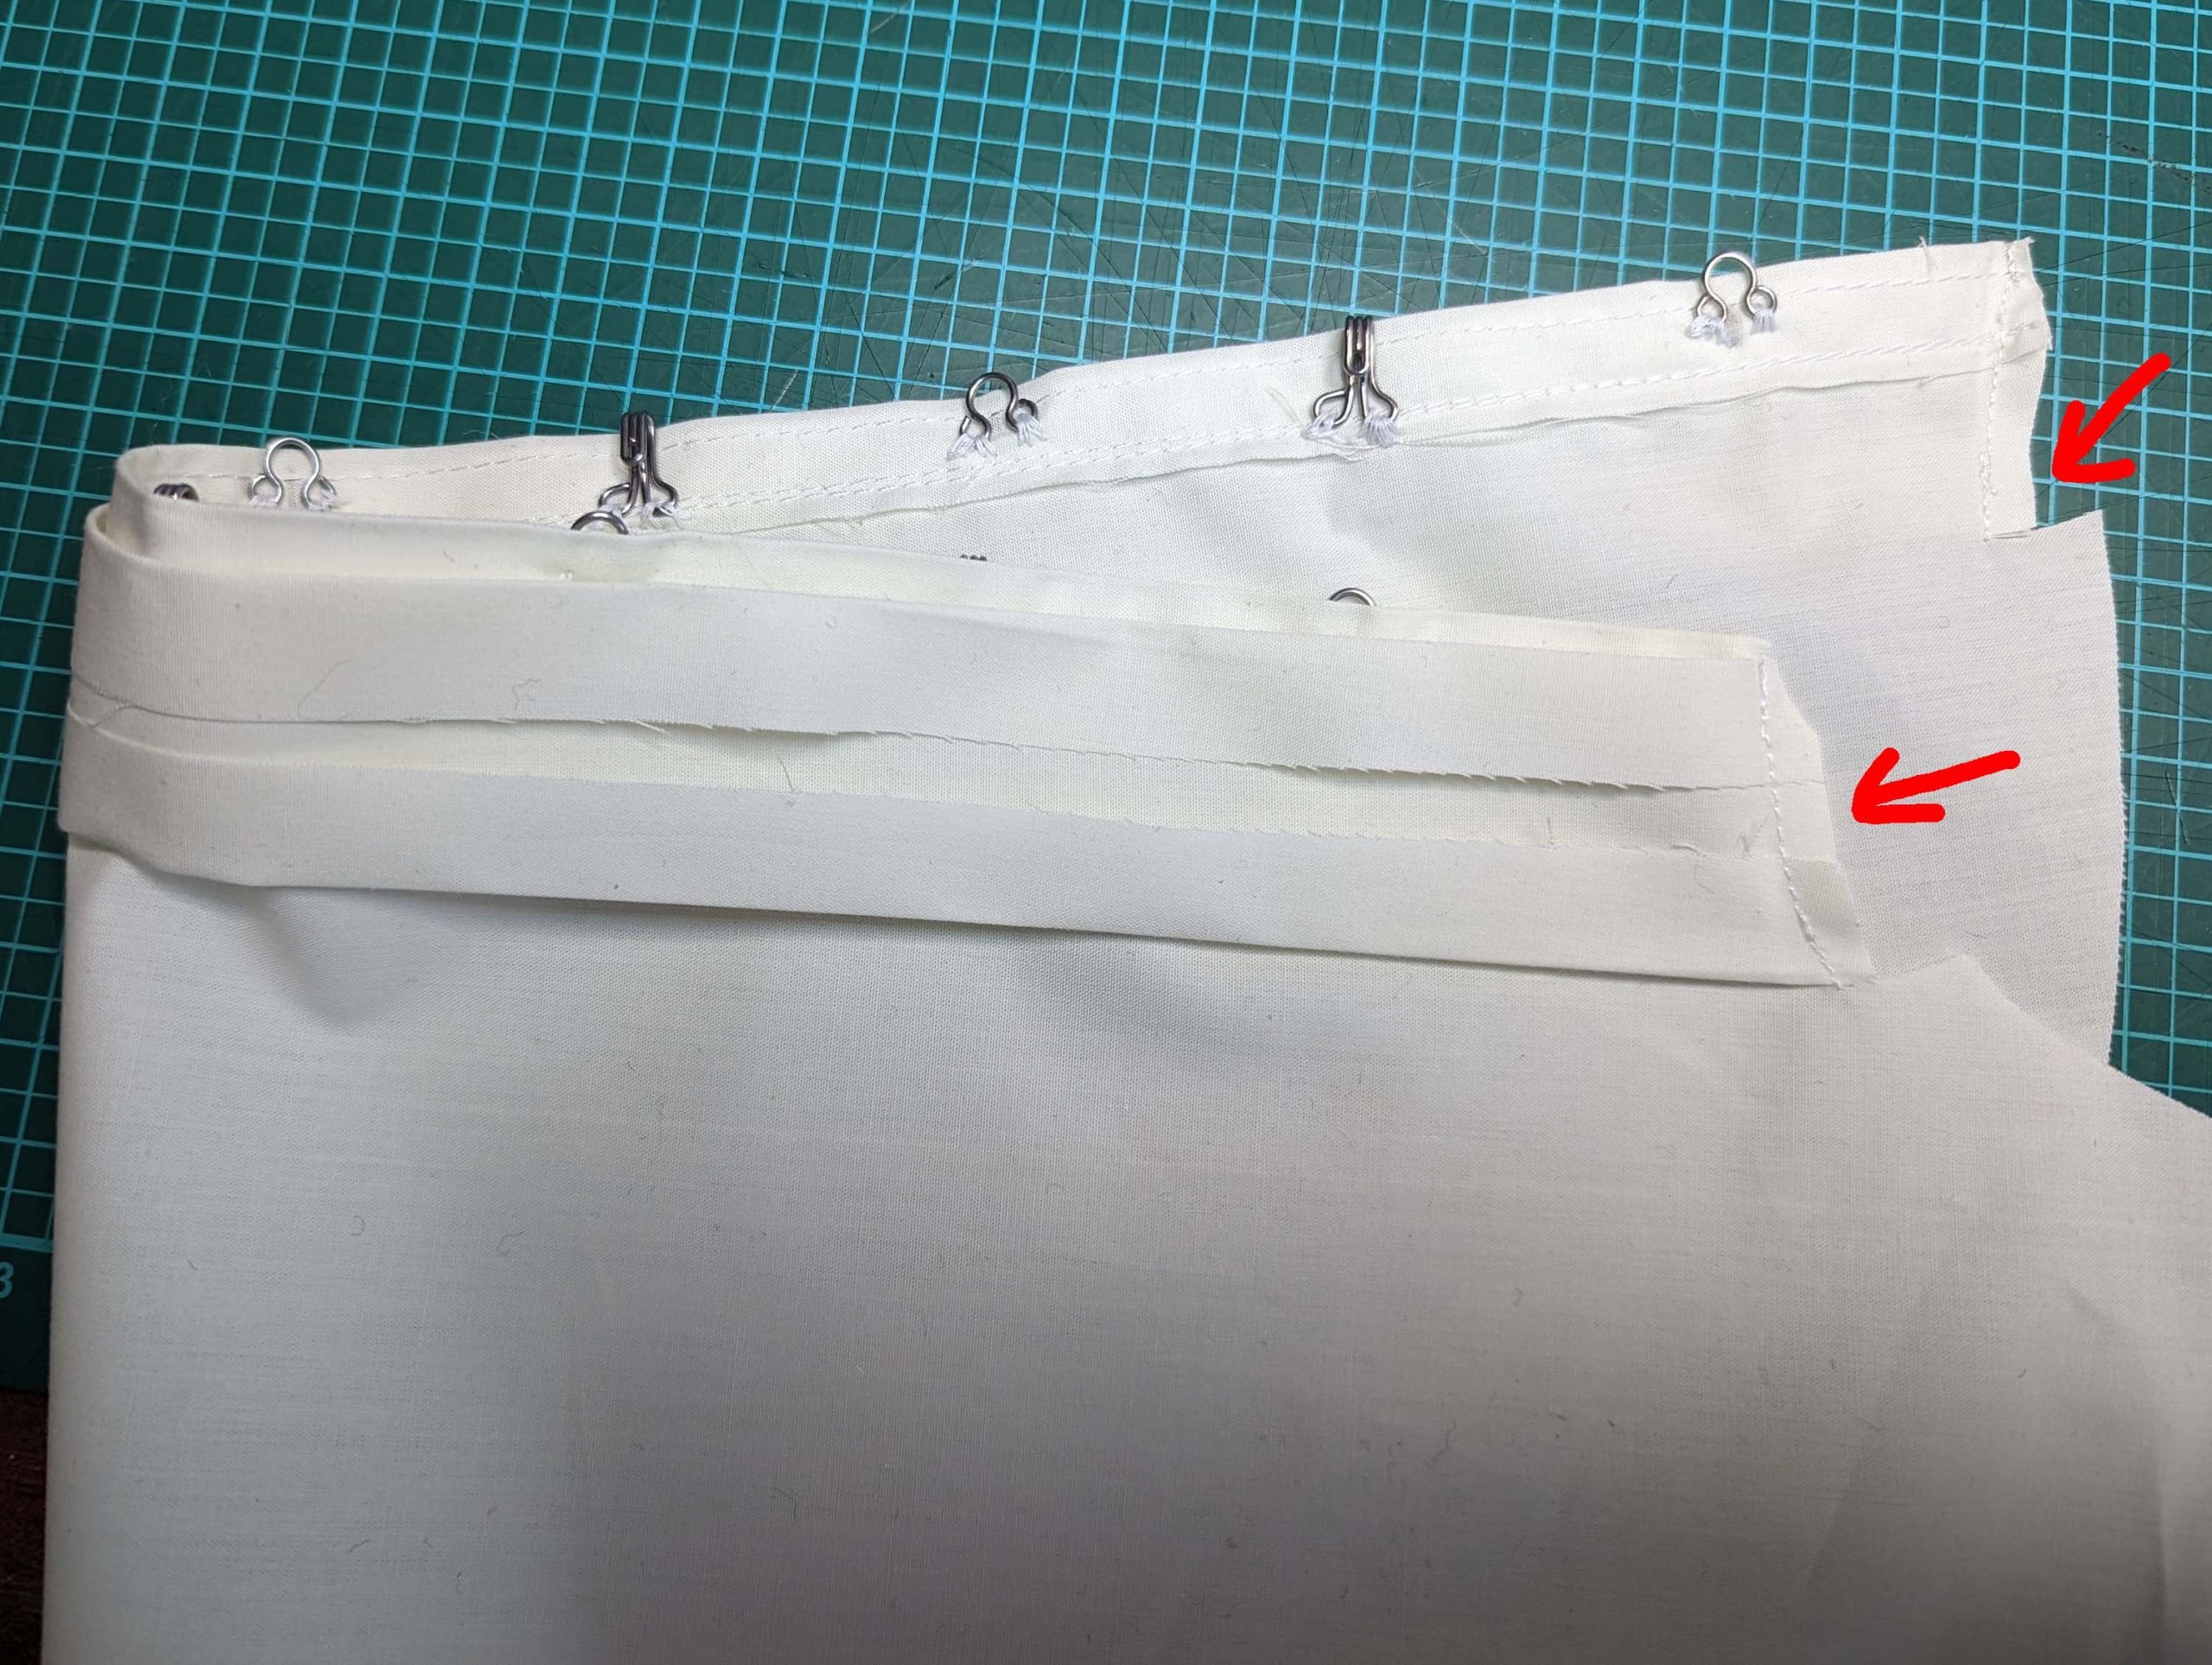
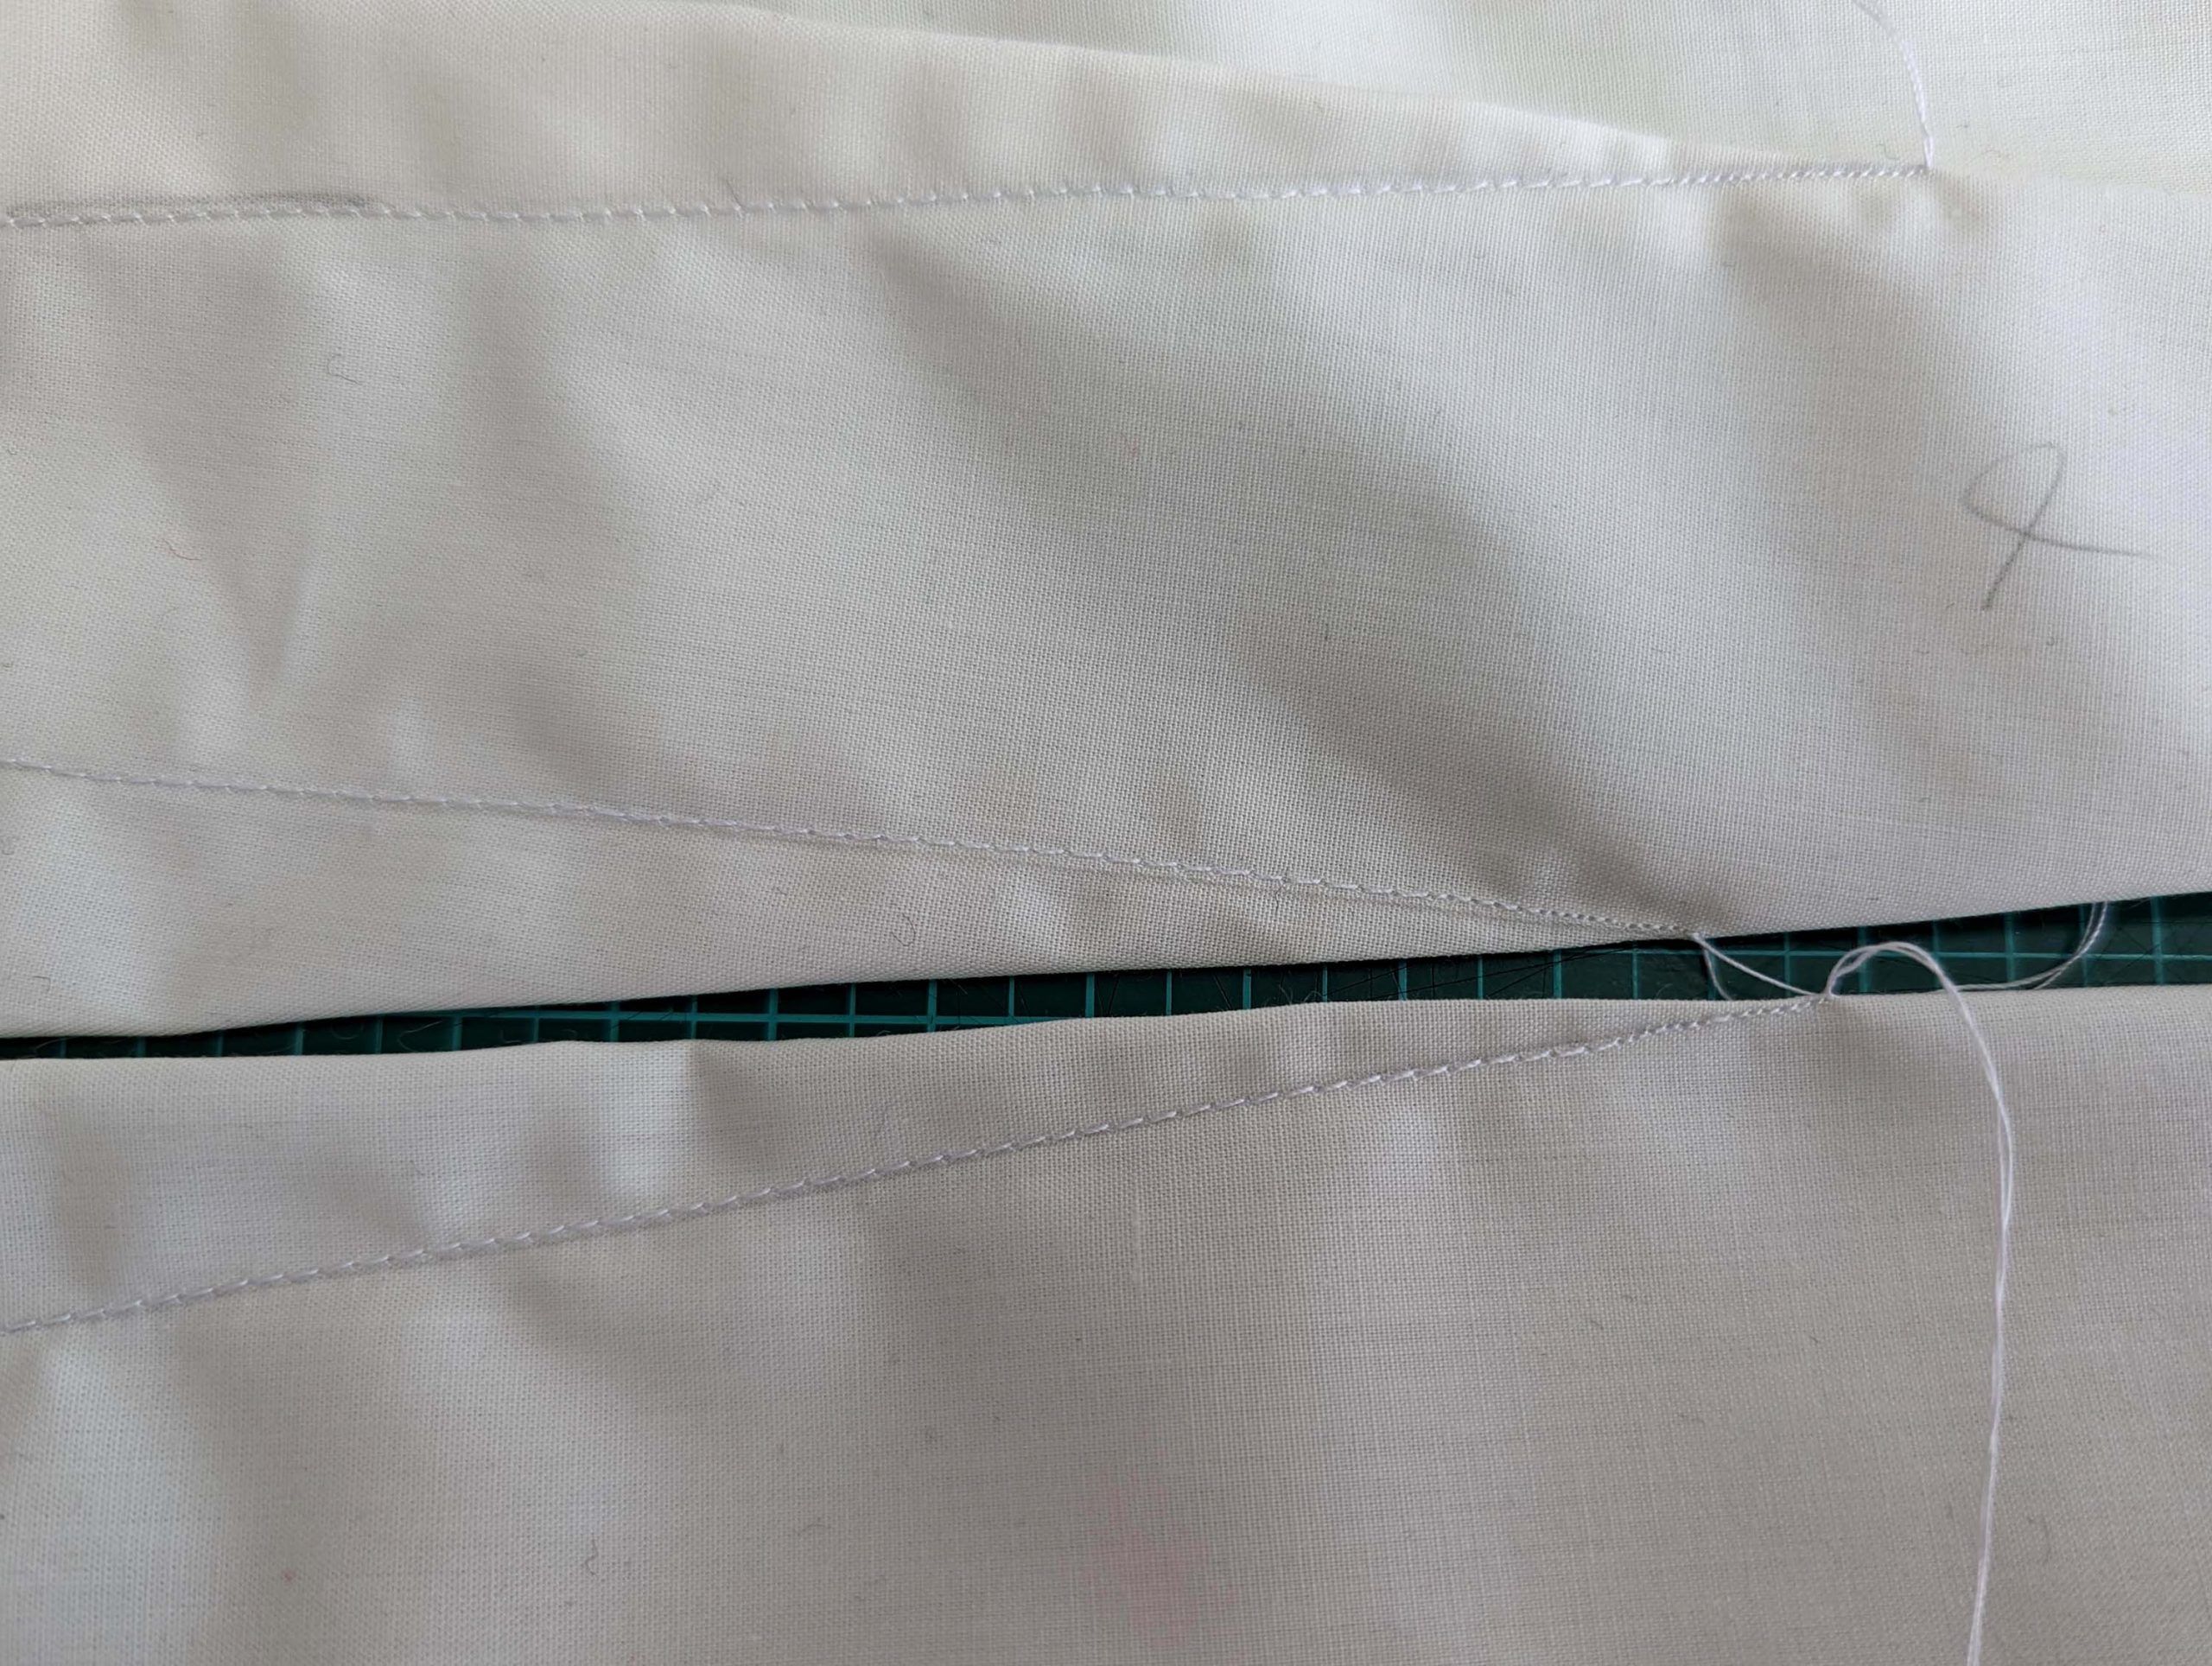
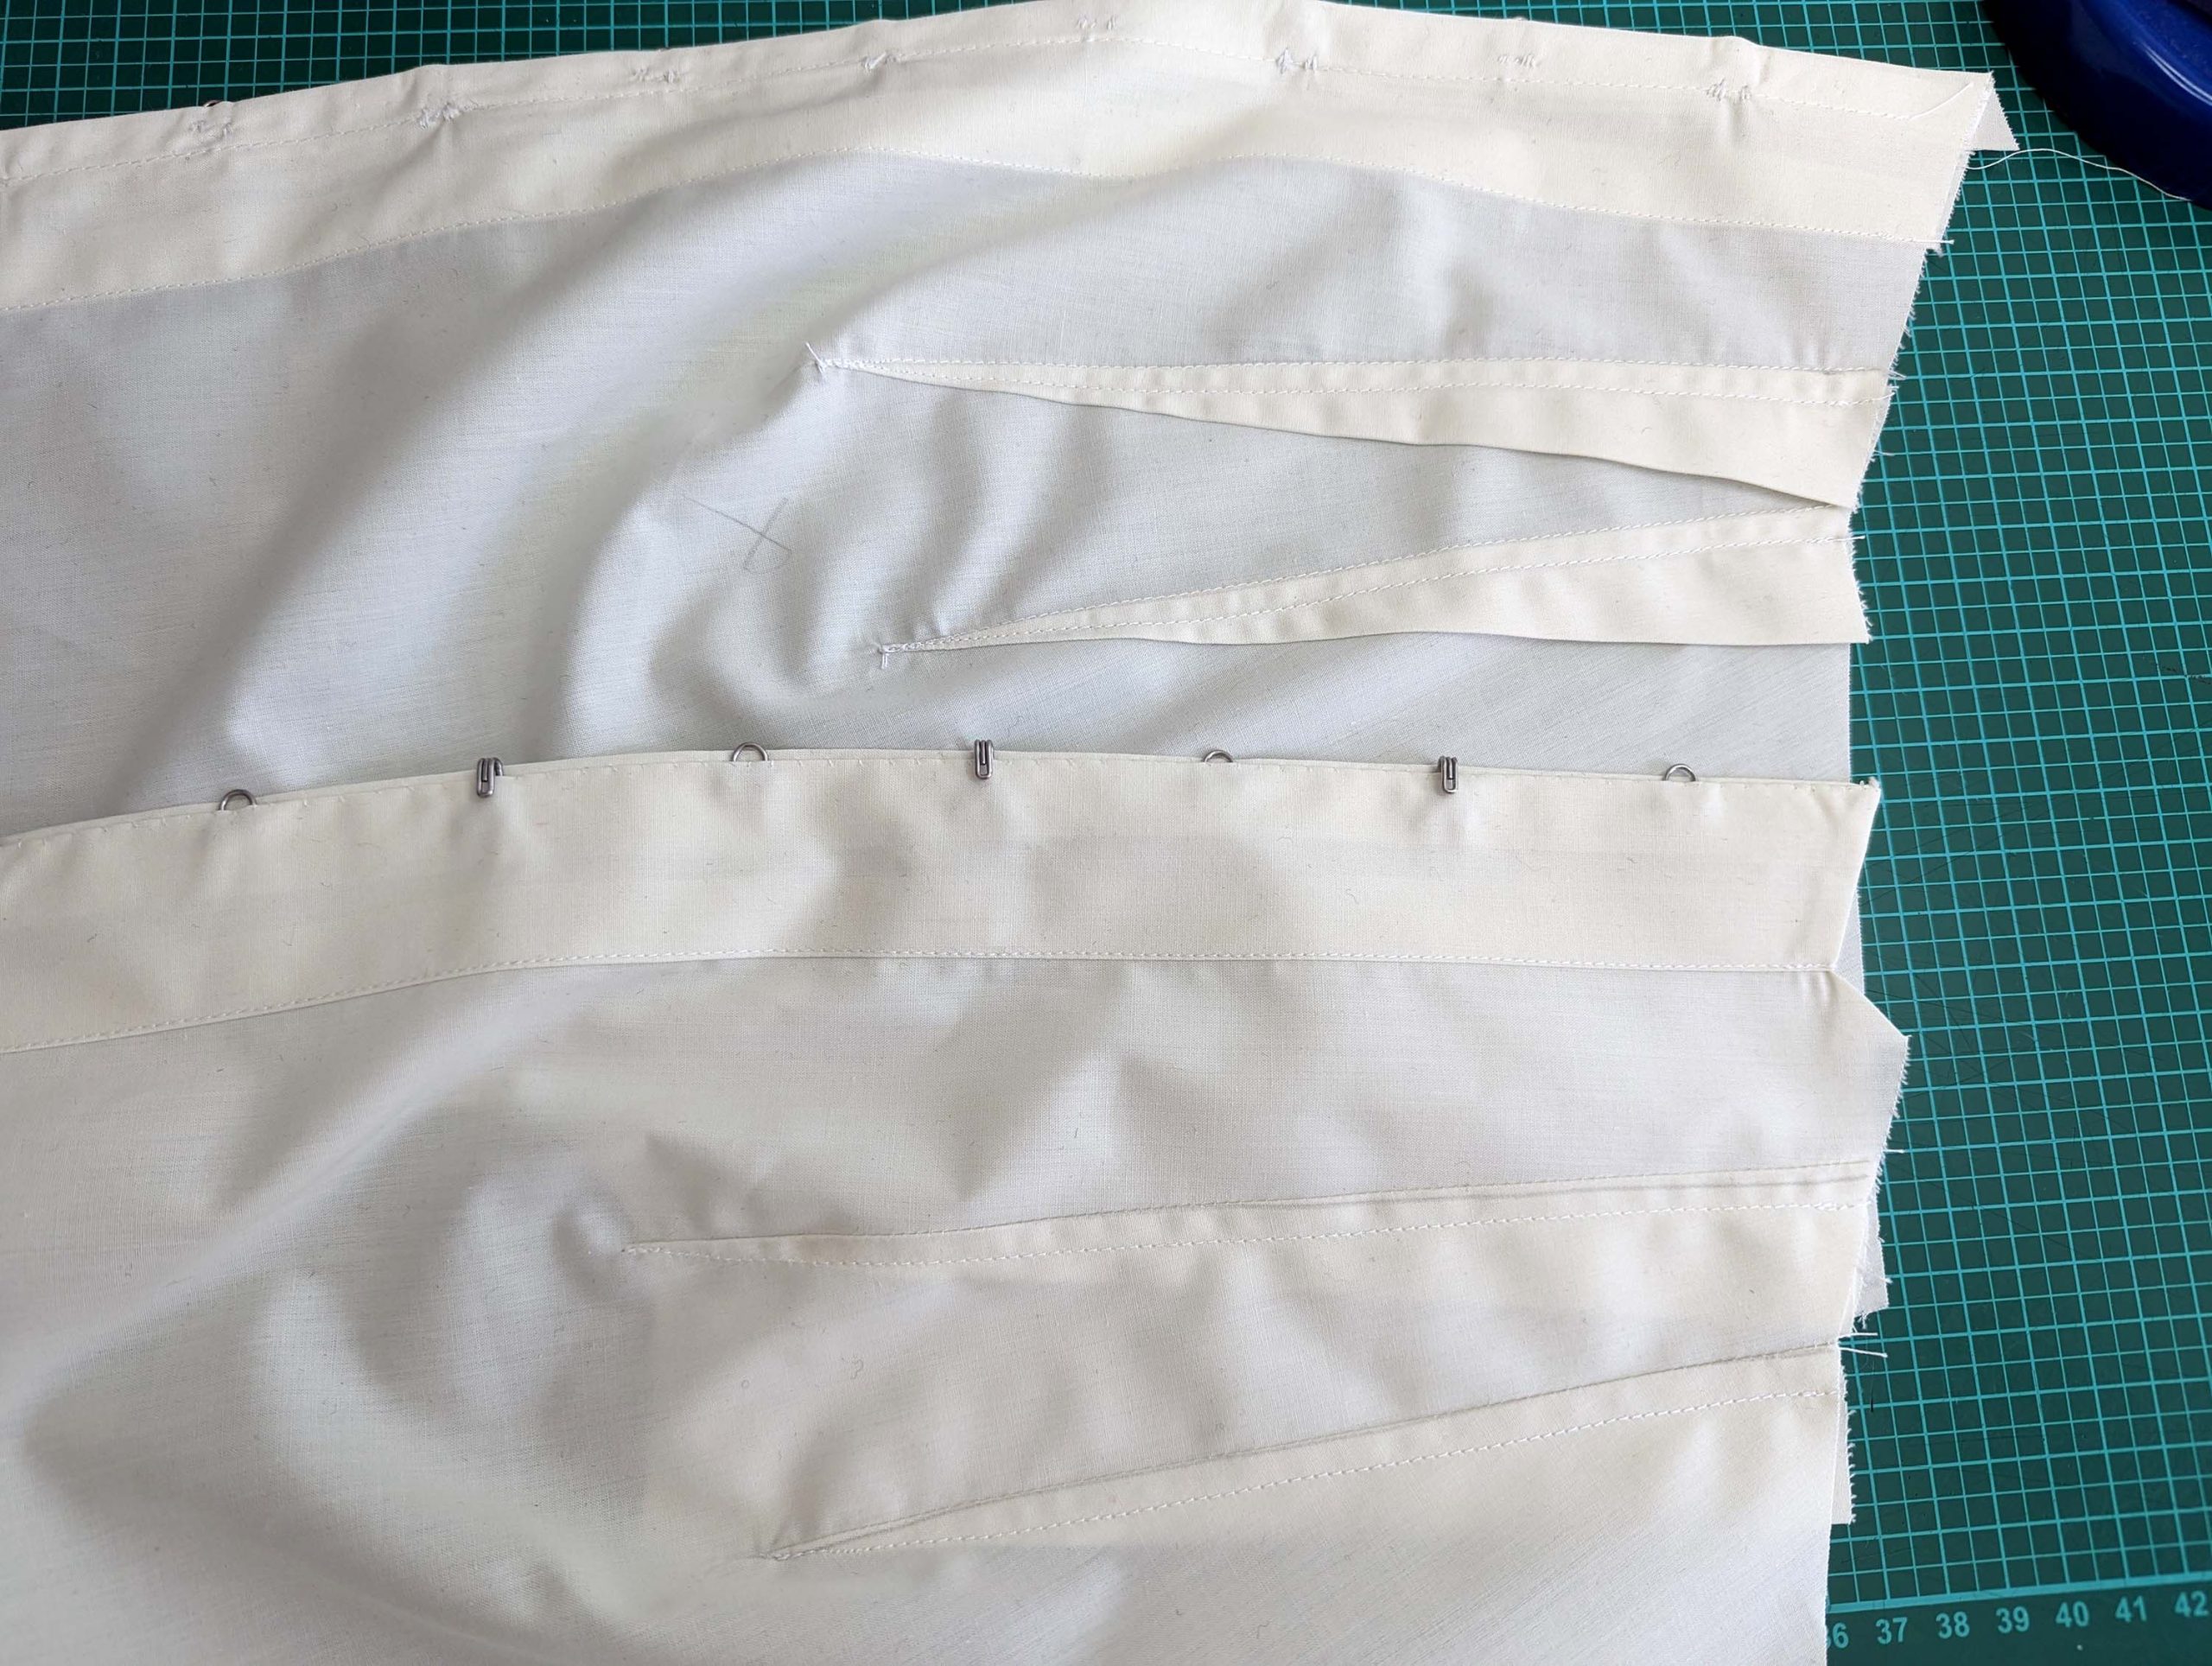
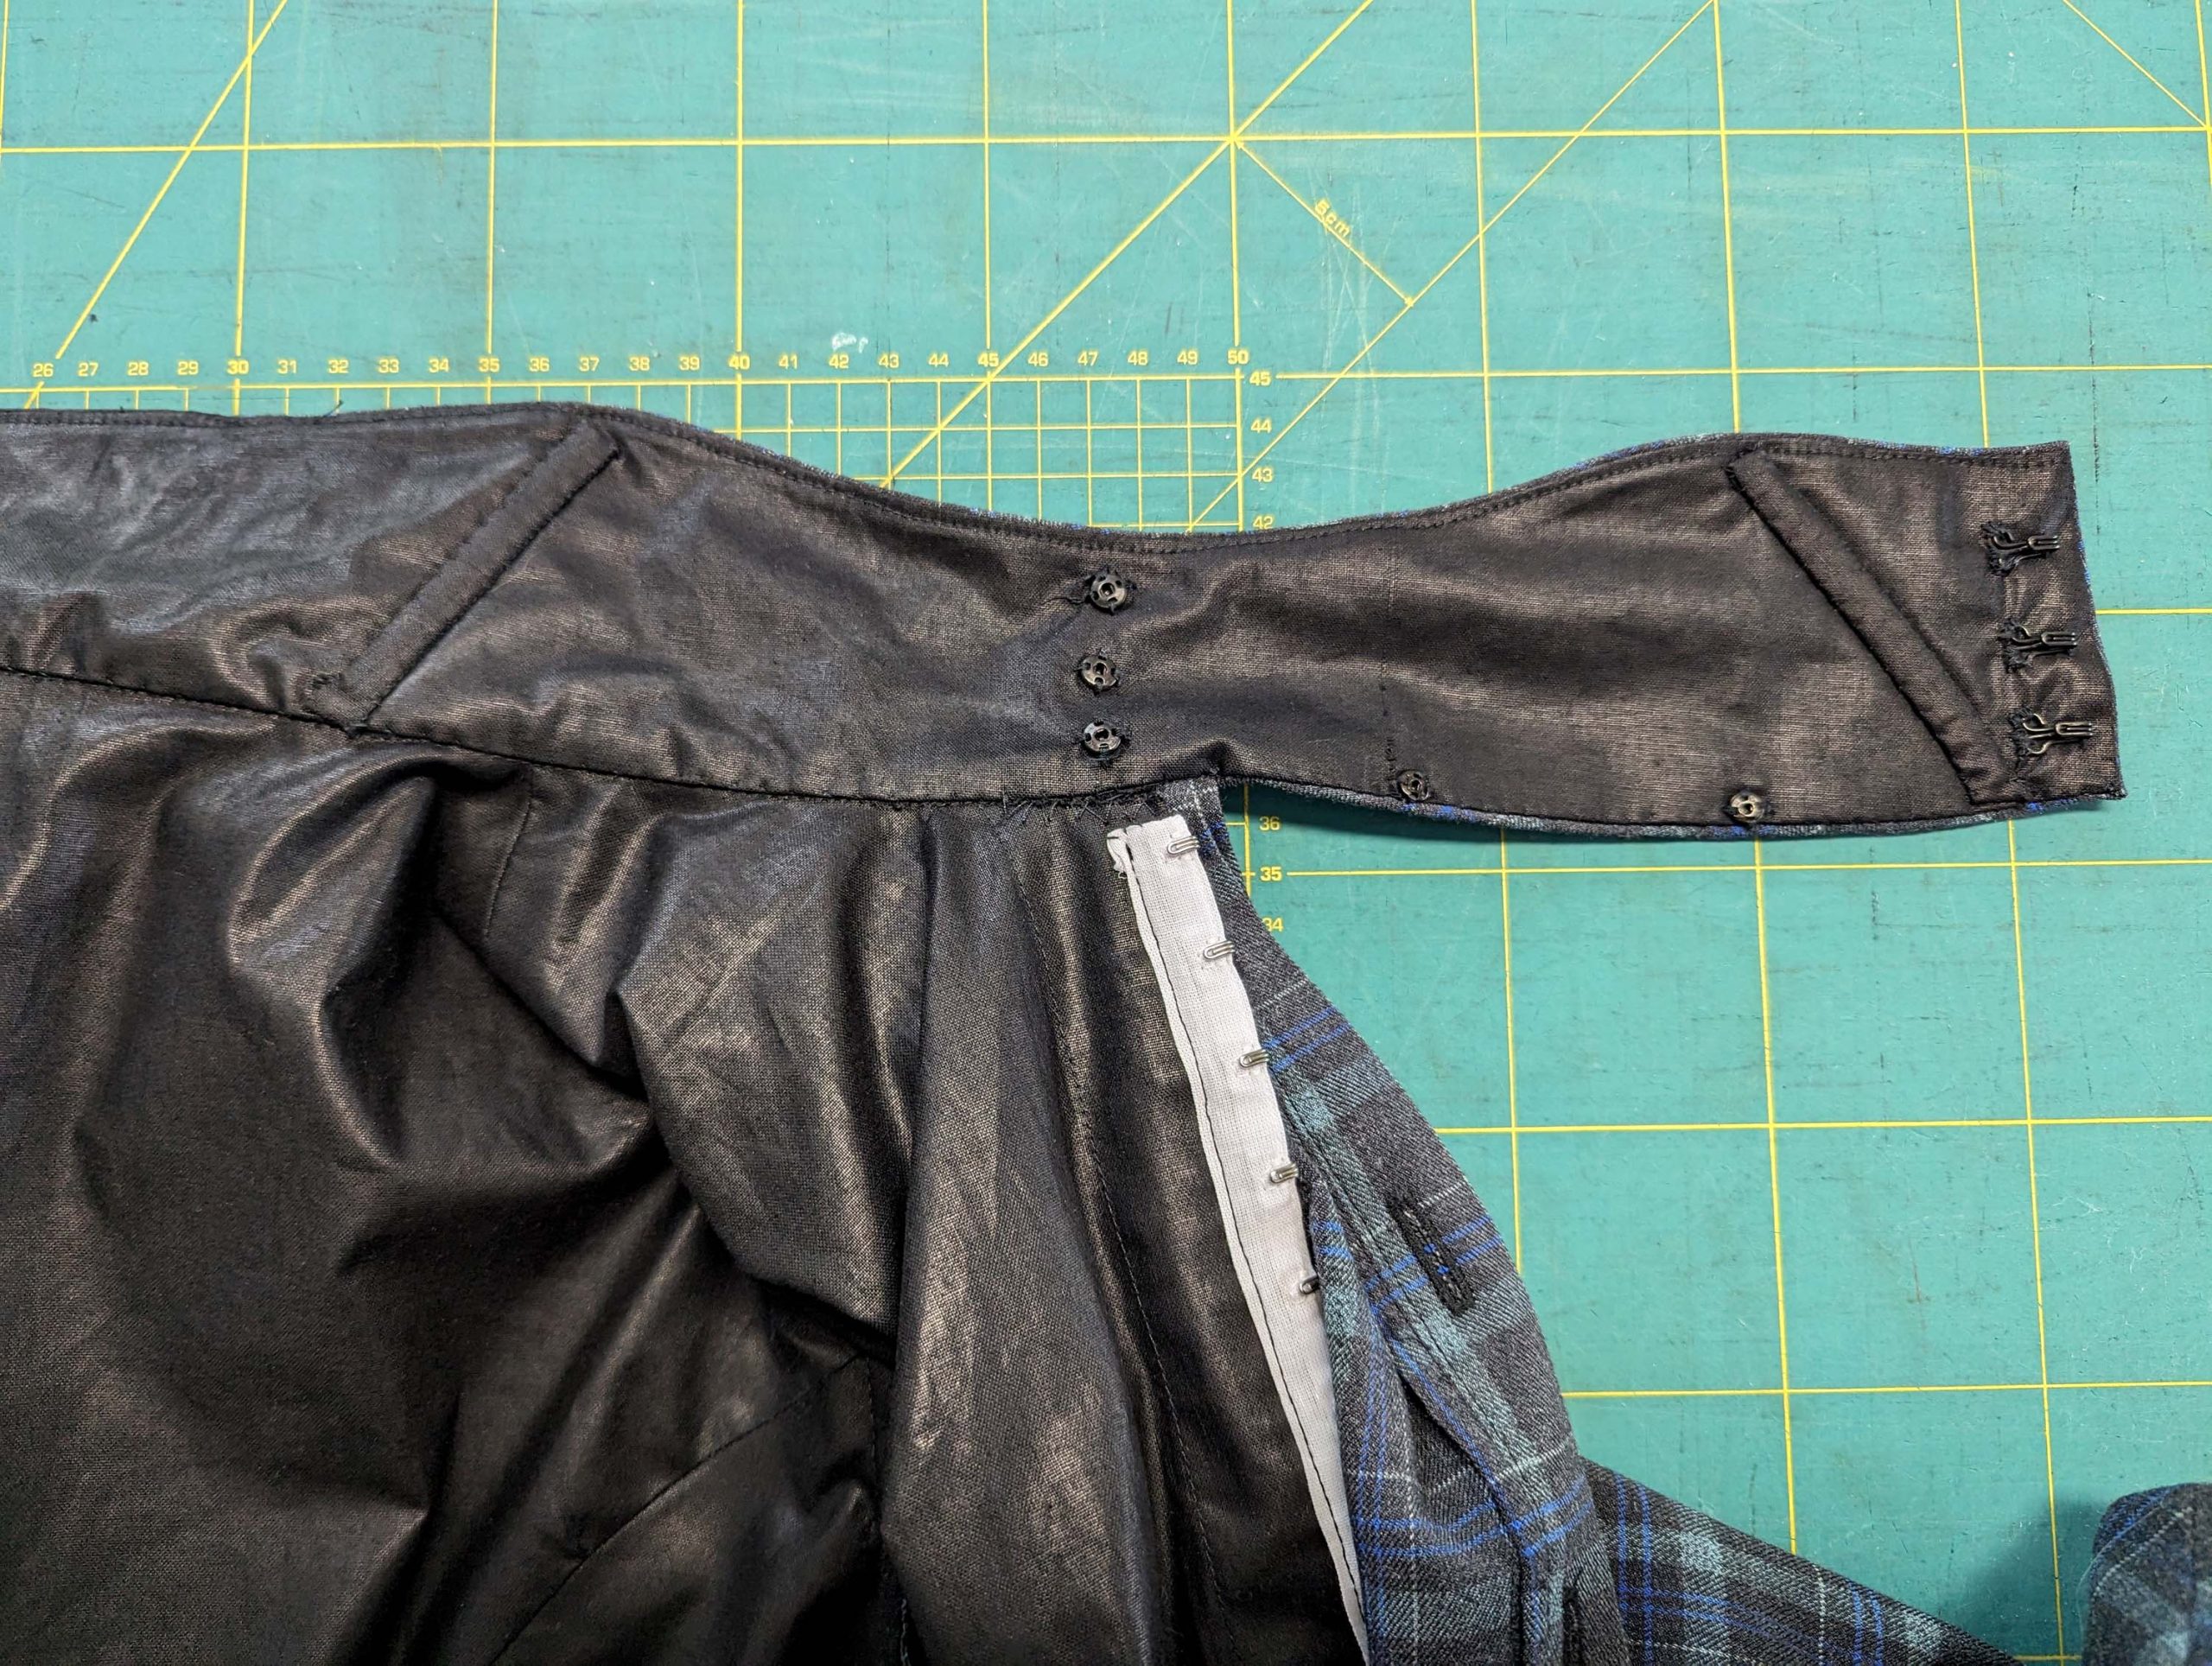
An erhaltenen Kleidungsstücken sieht man oft die Haken und Ösen, die zwischen den beiden Schichten eingeklemmt und zusammengenäht sind. Zur Verstärkung ist am Futter ein zusätzliches Band angebracht.
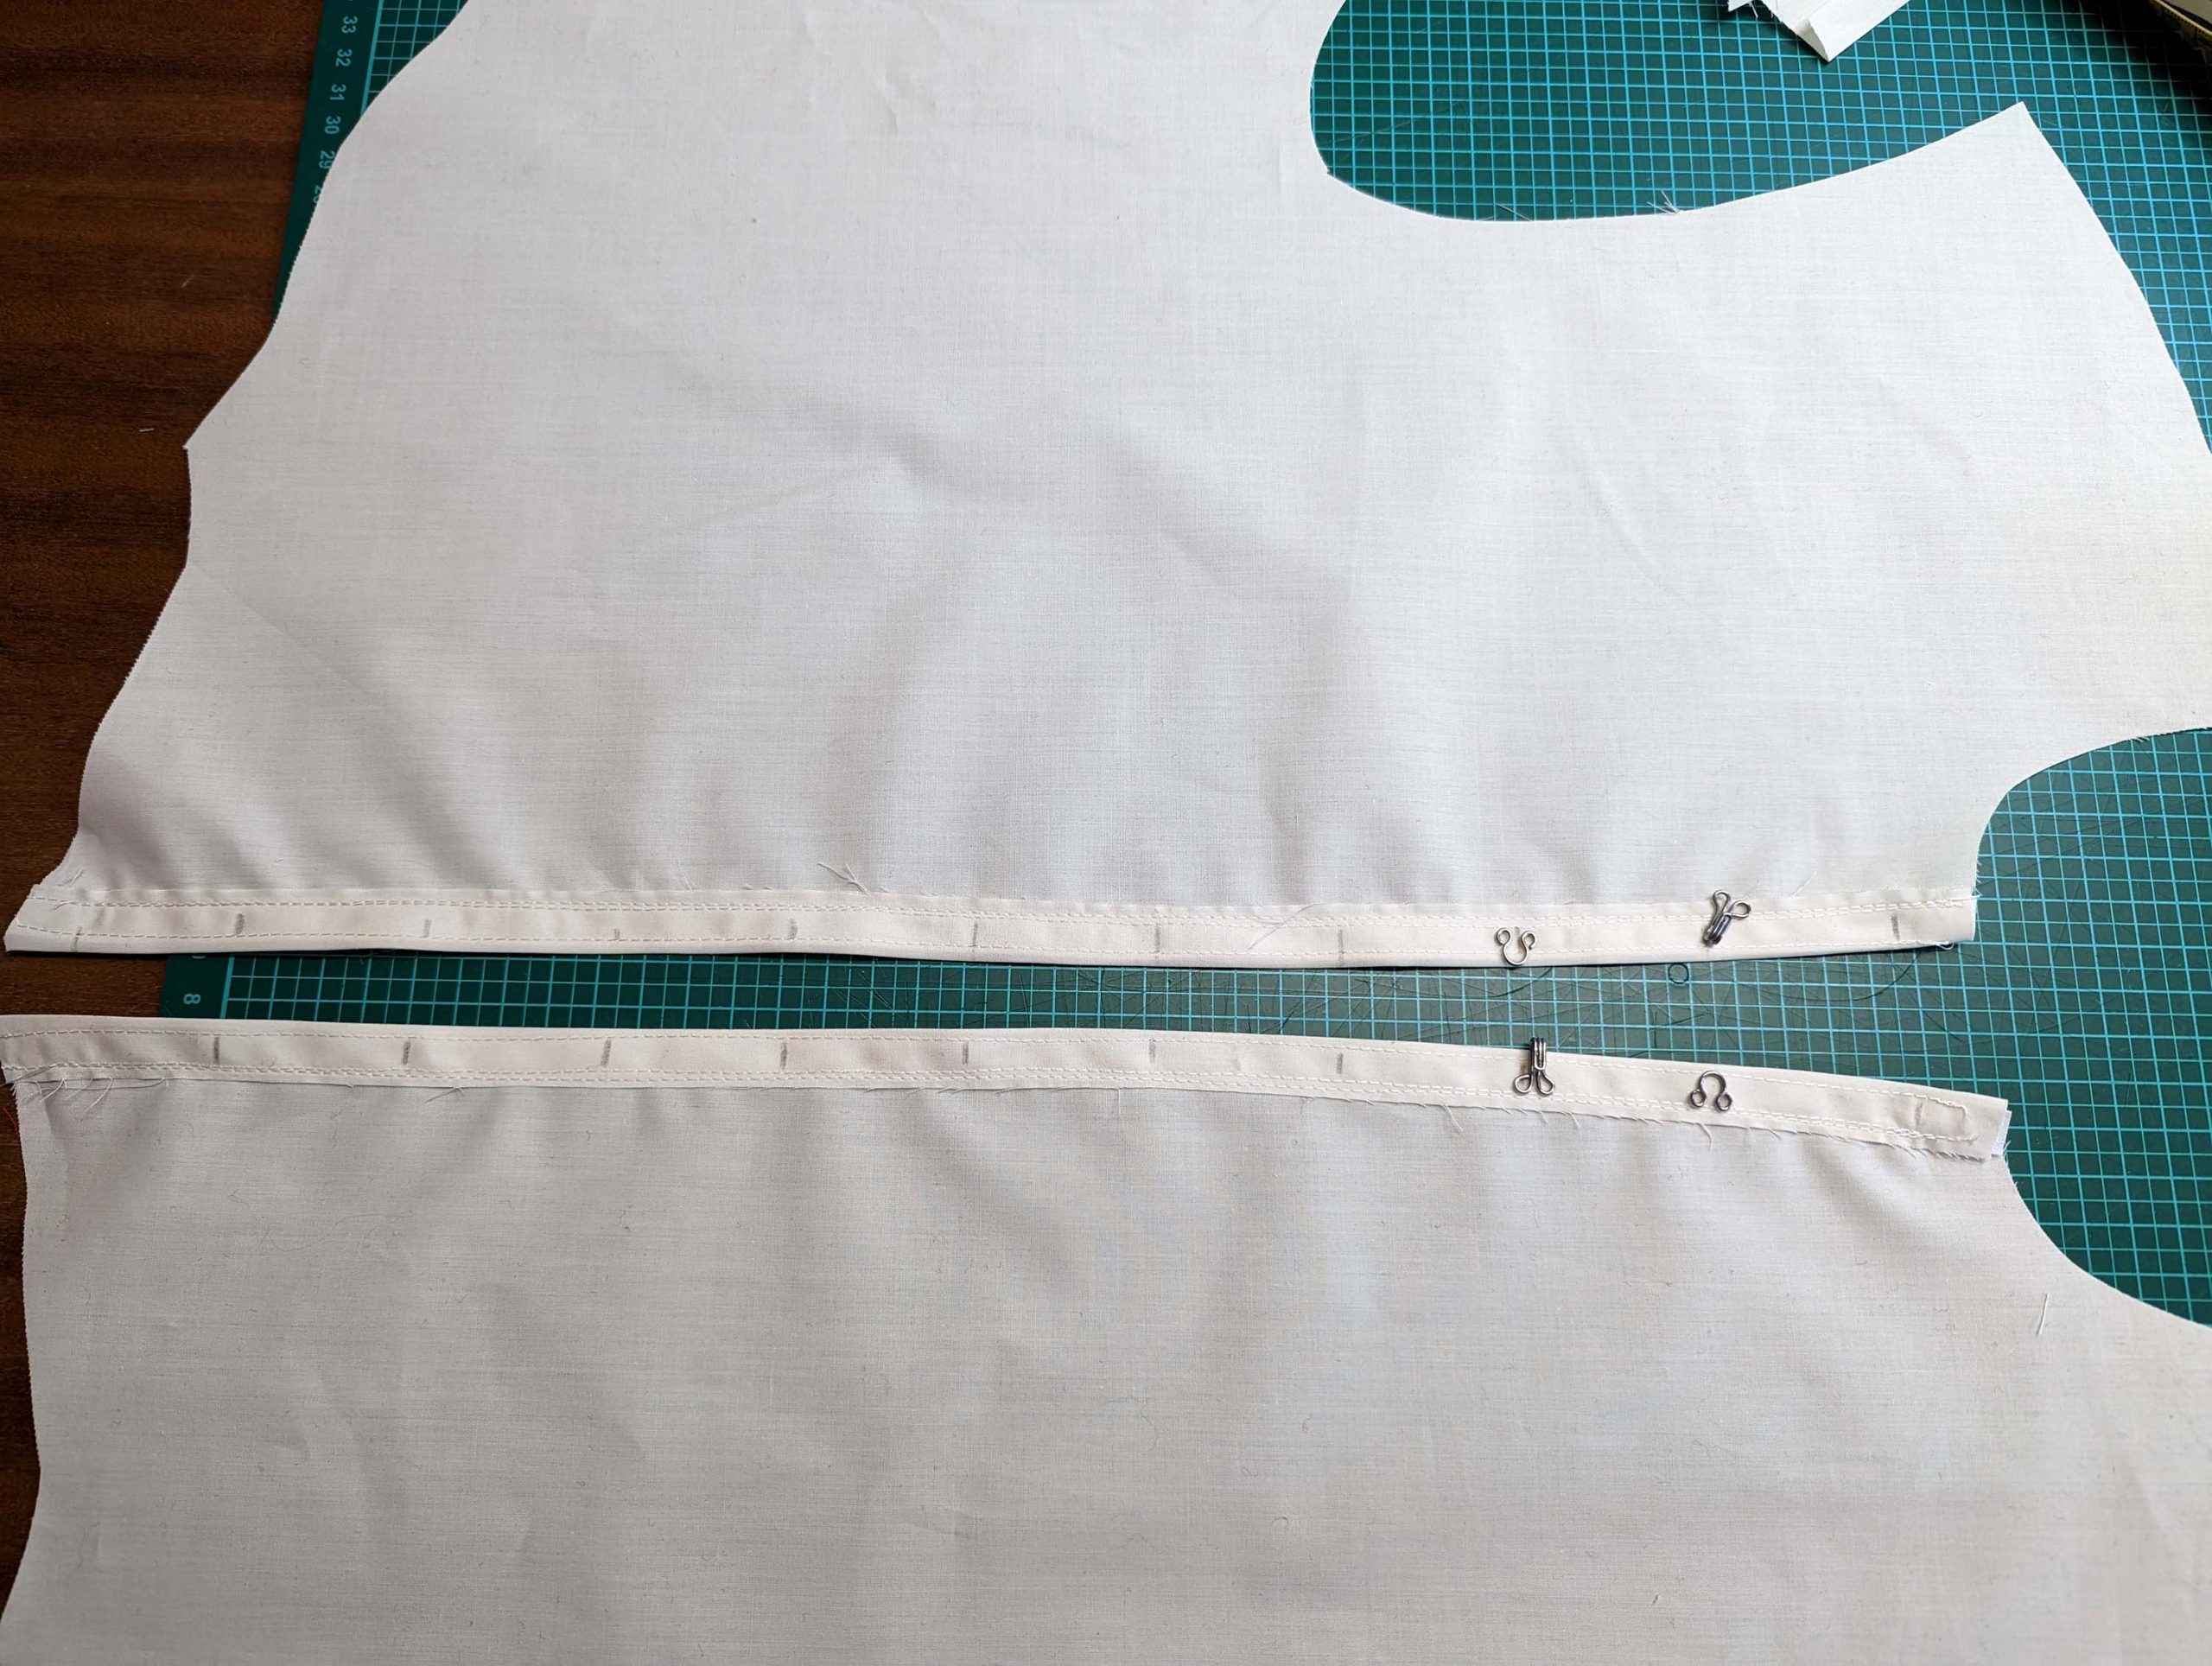
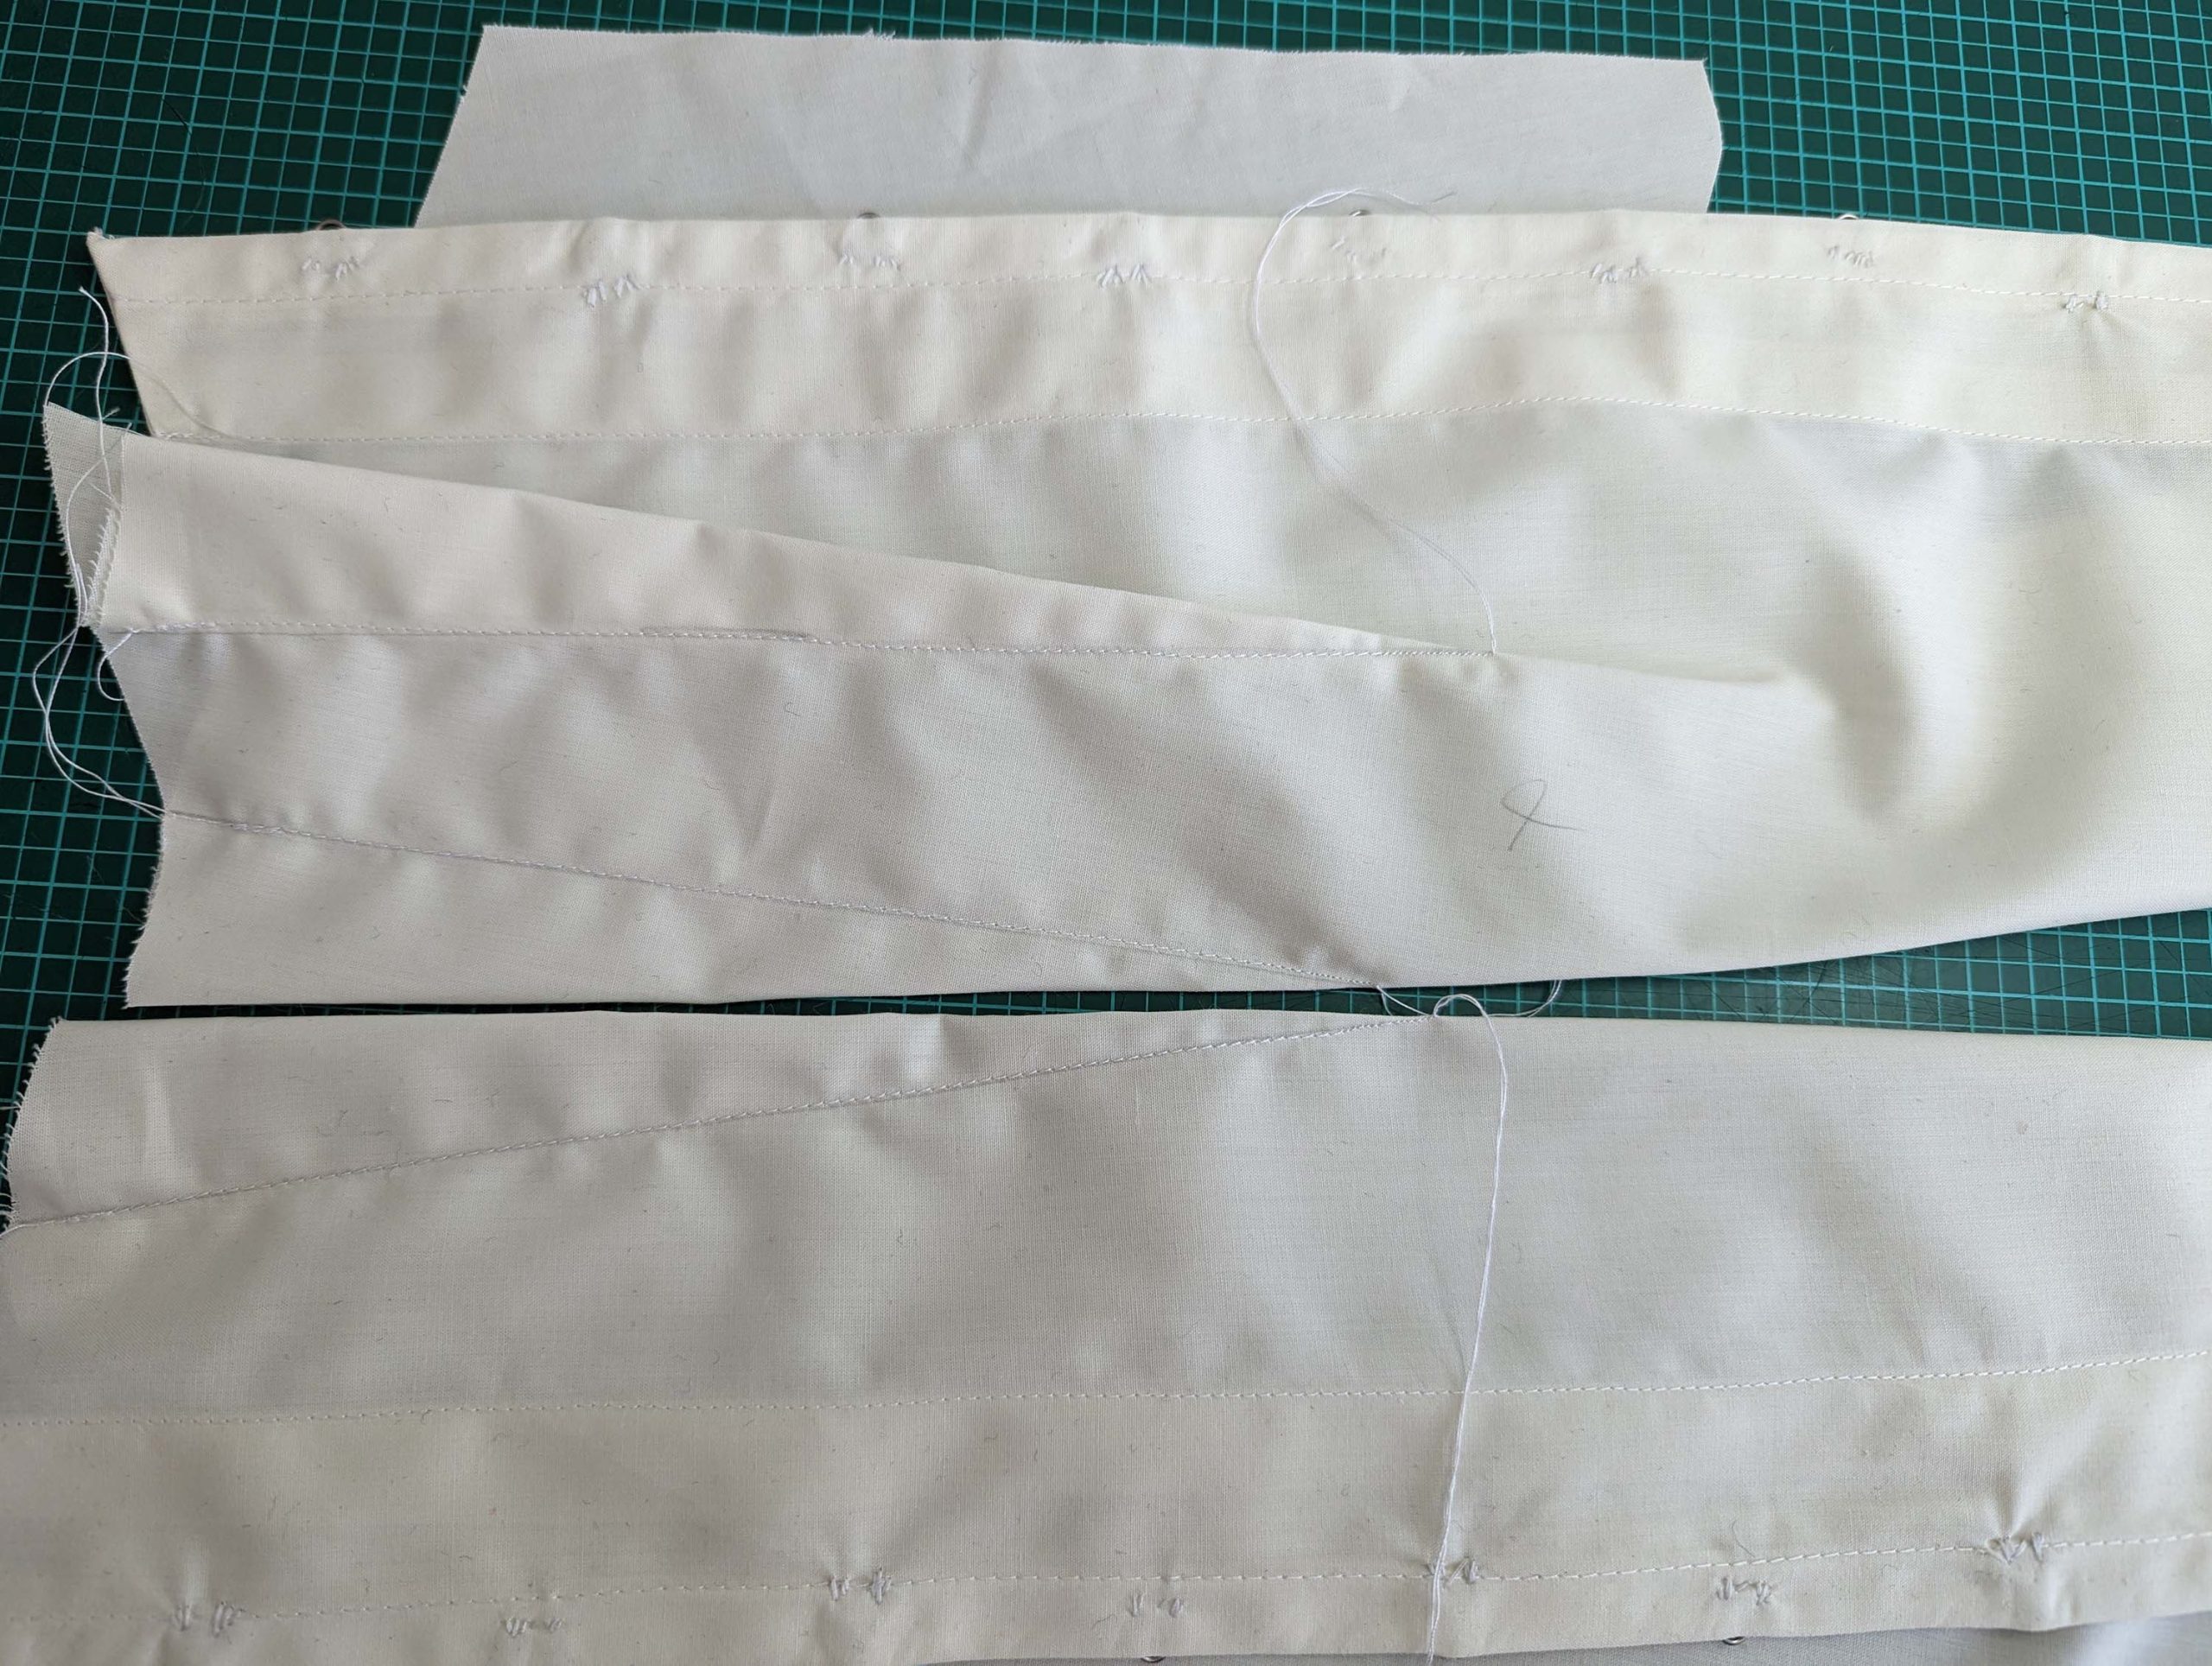
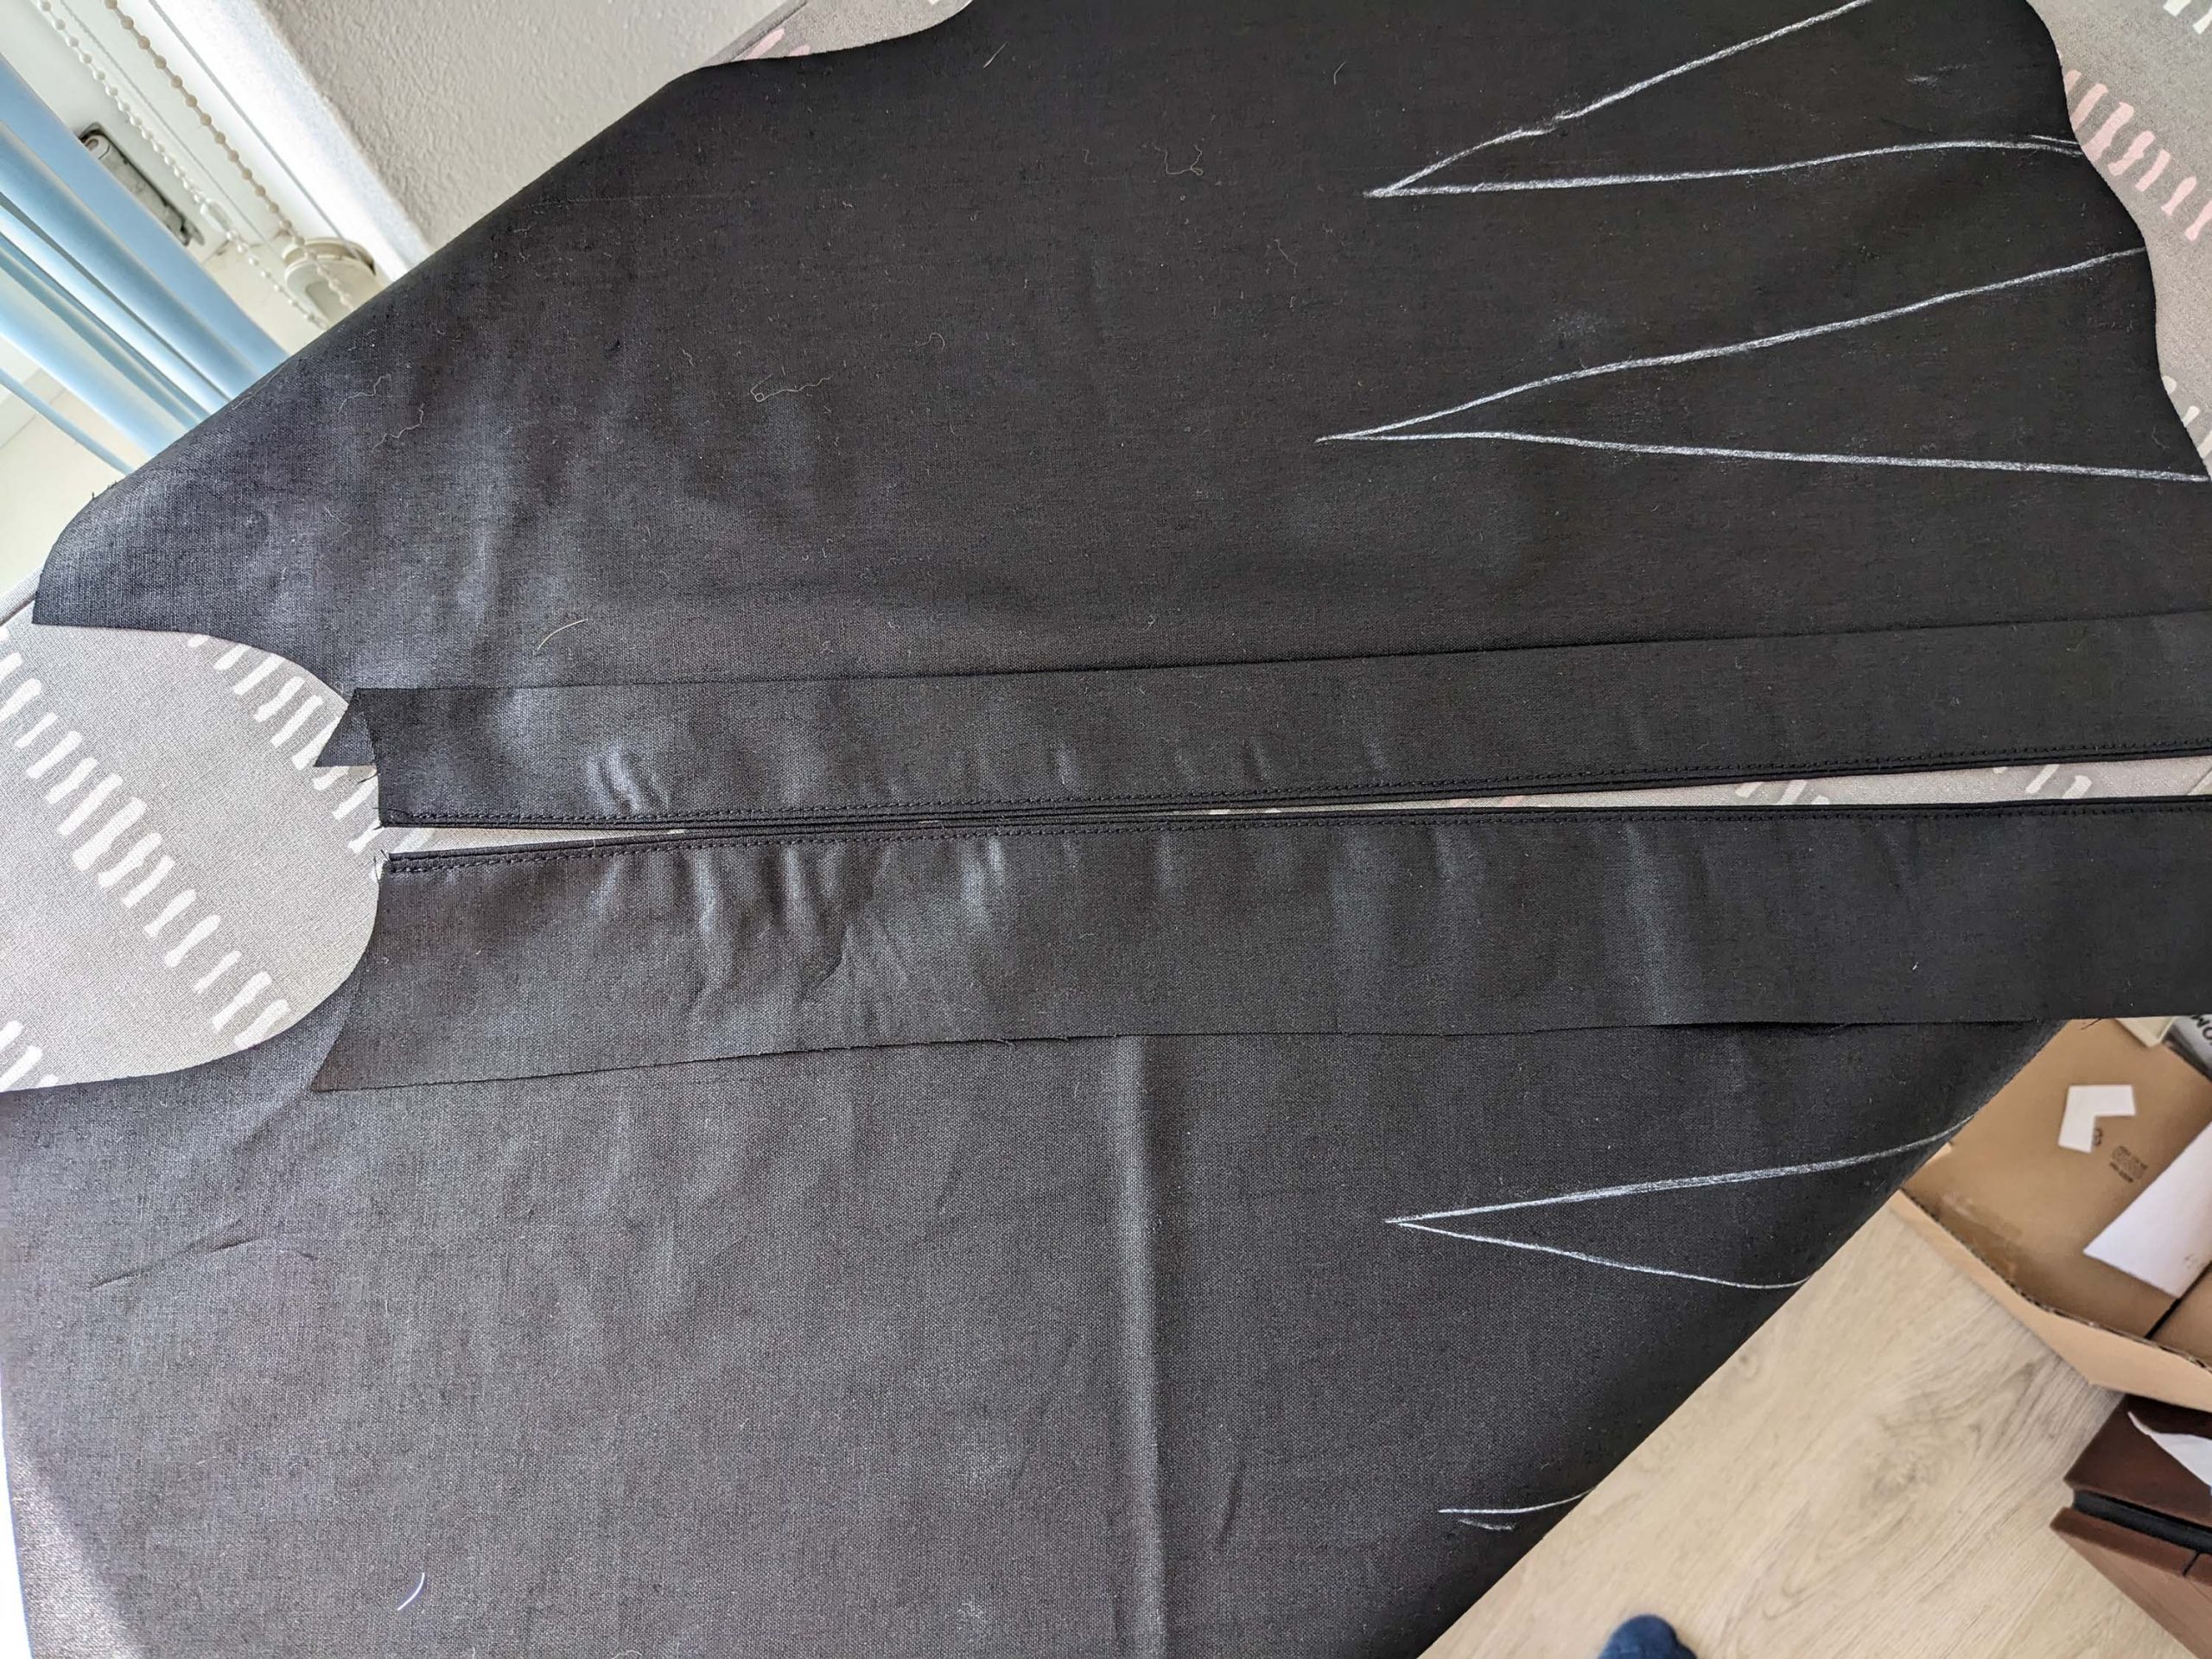
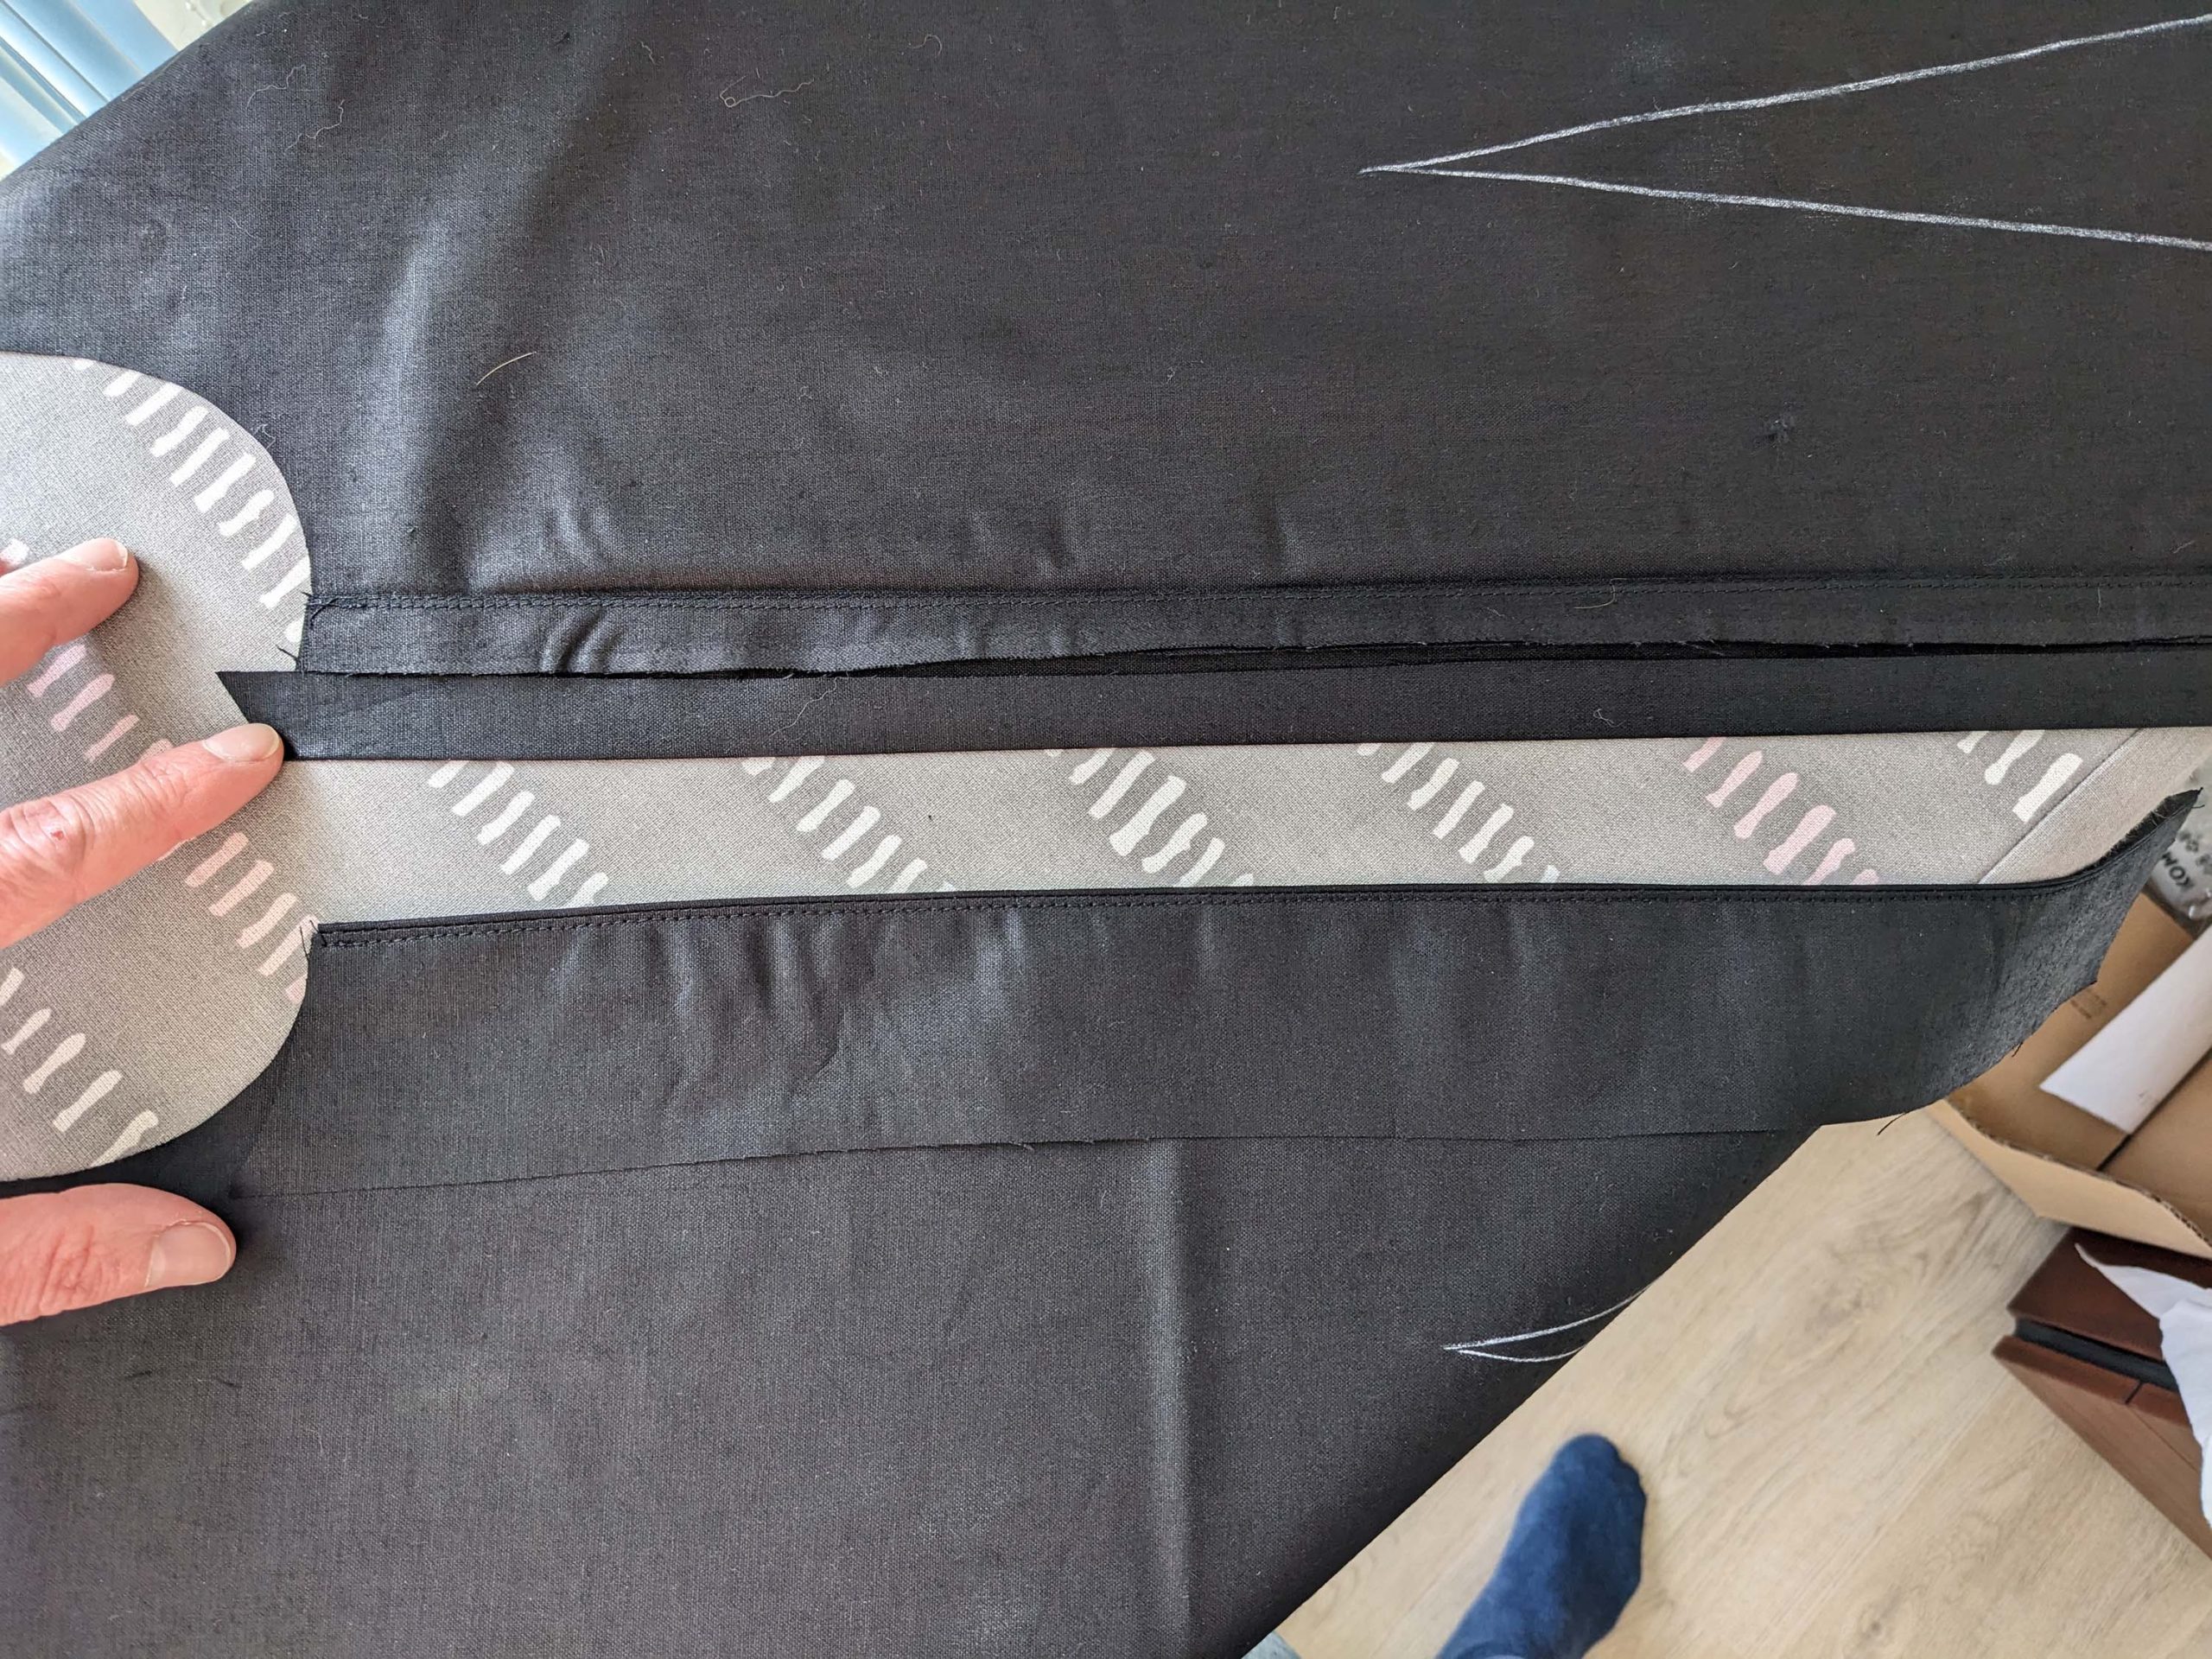
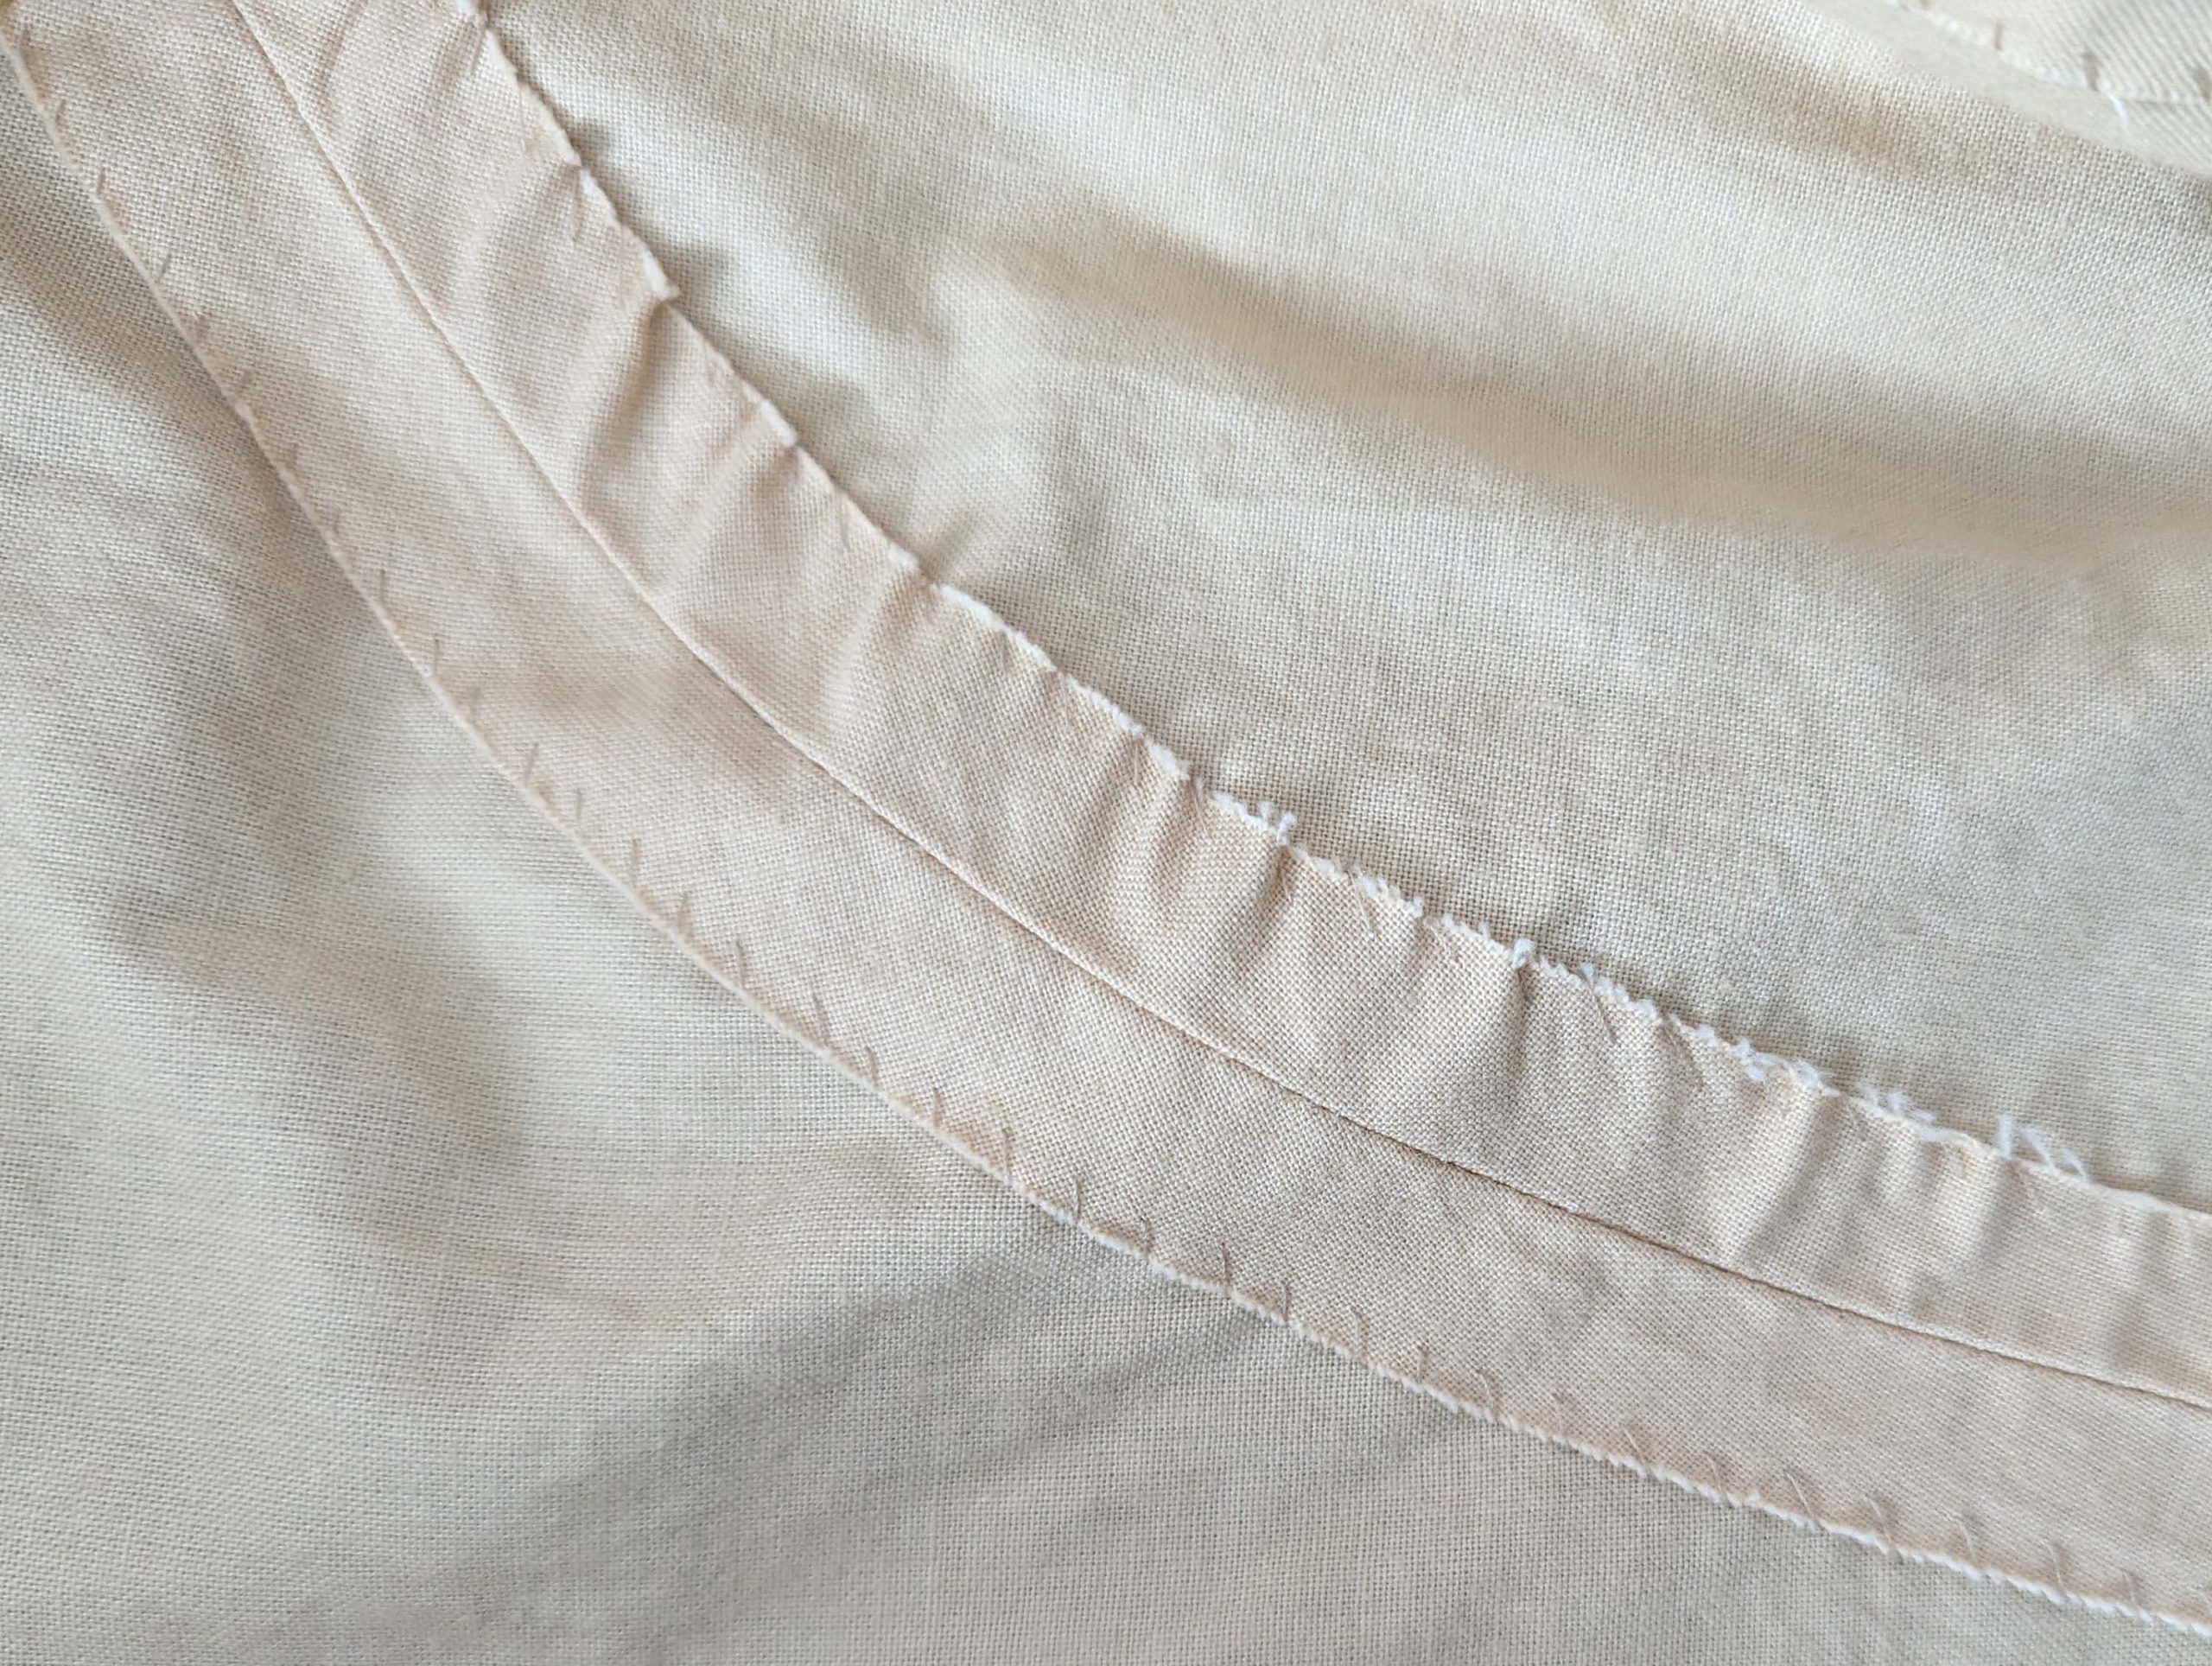
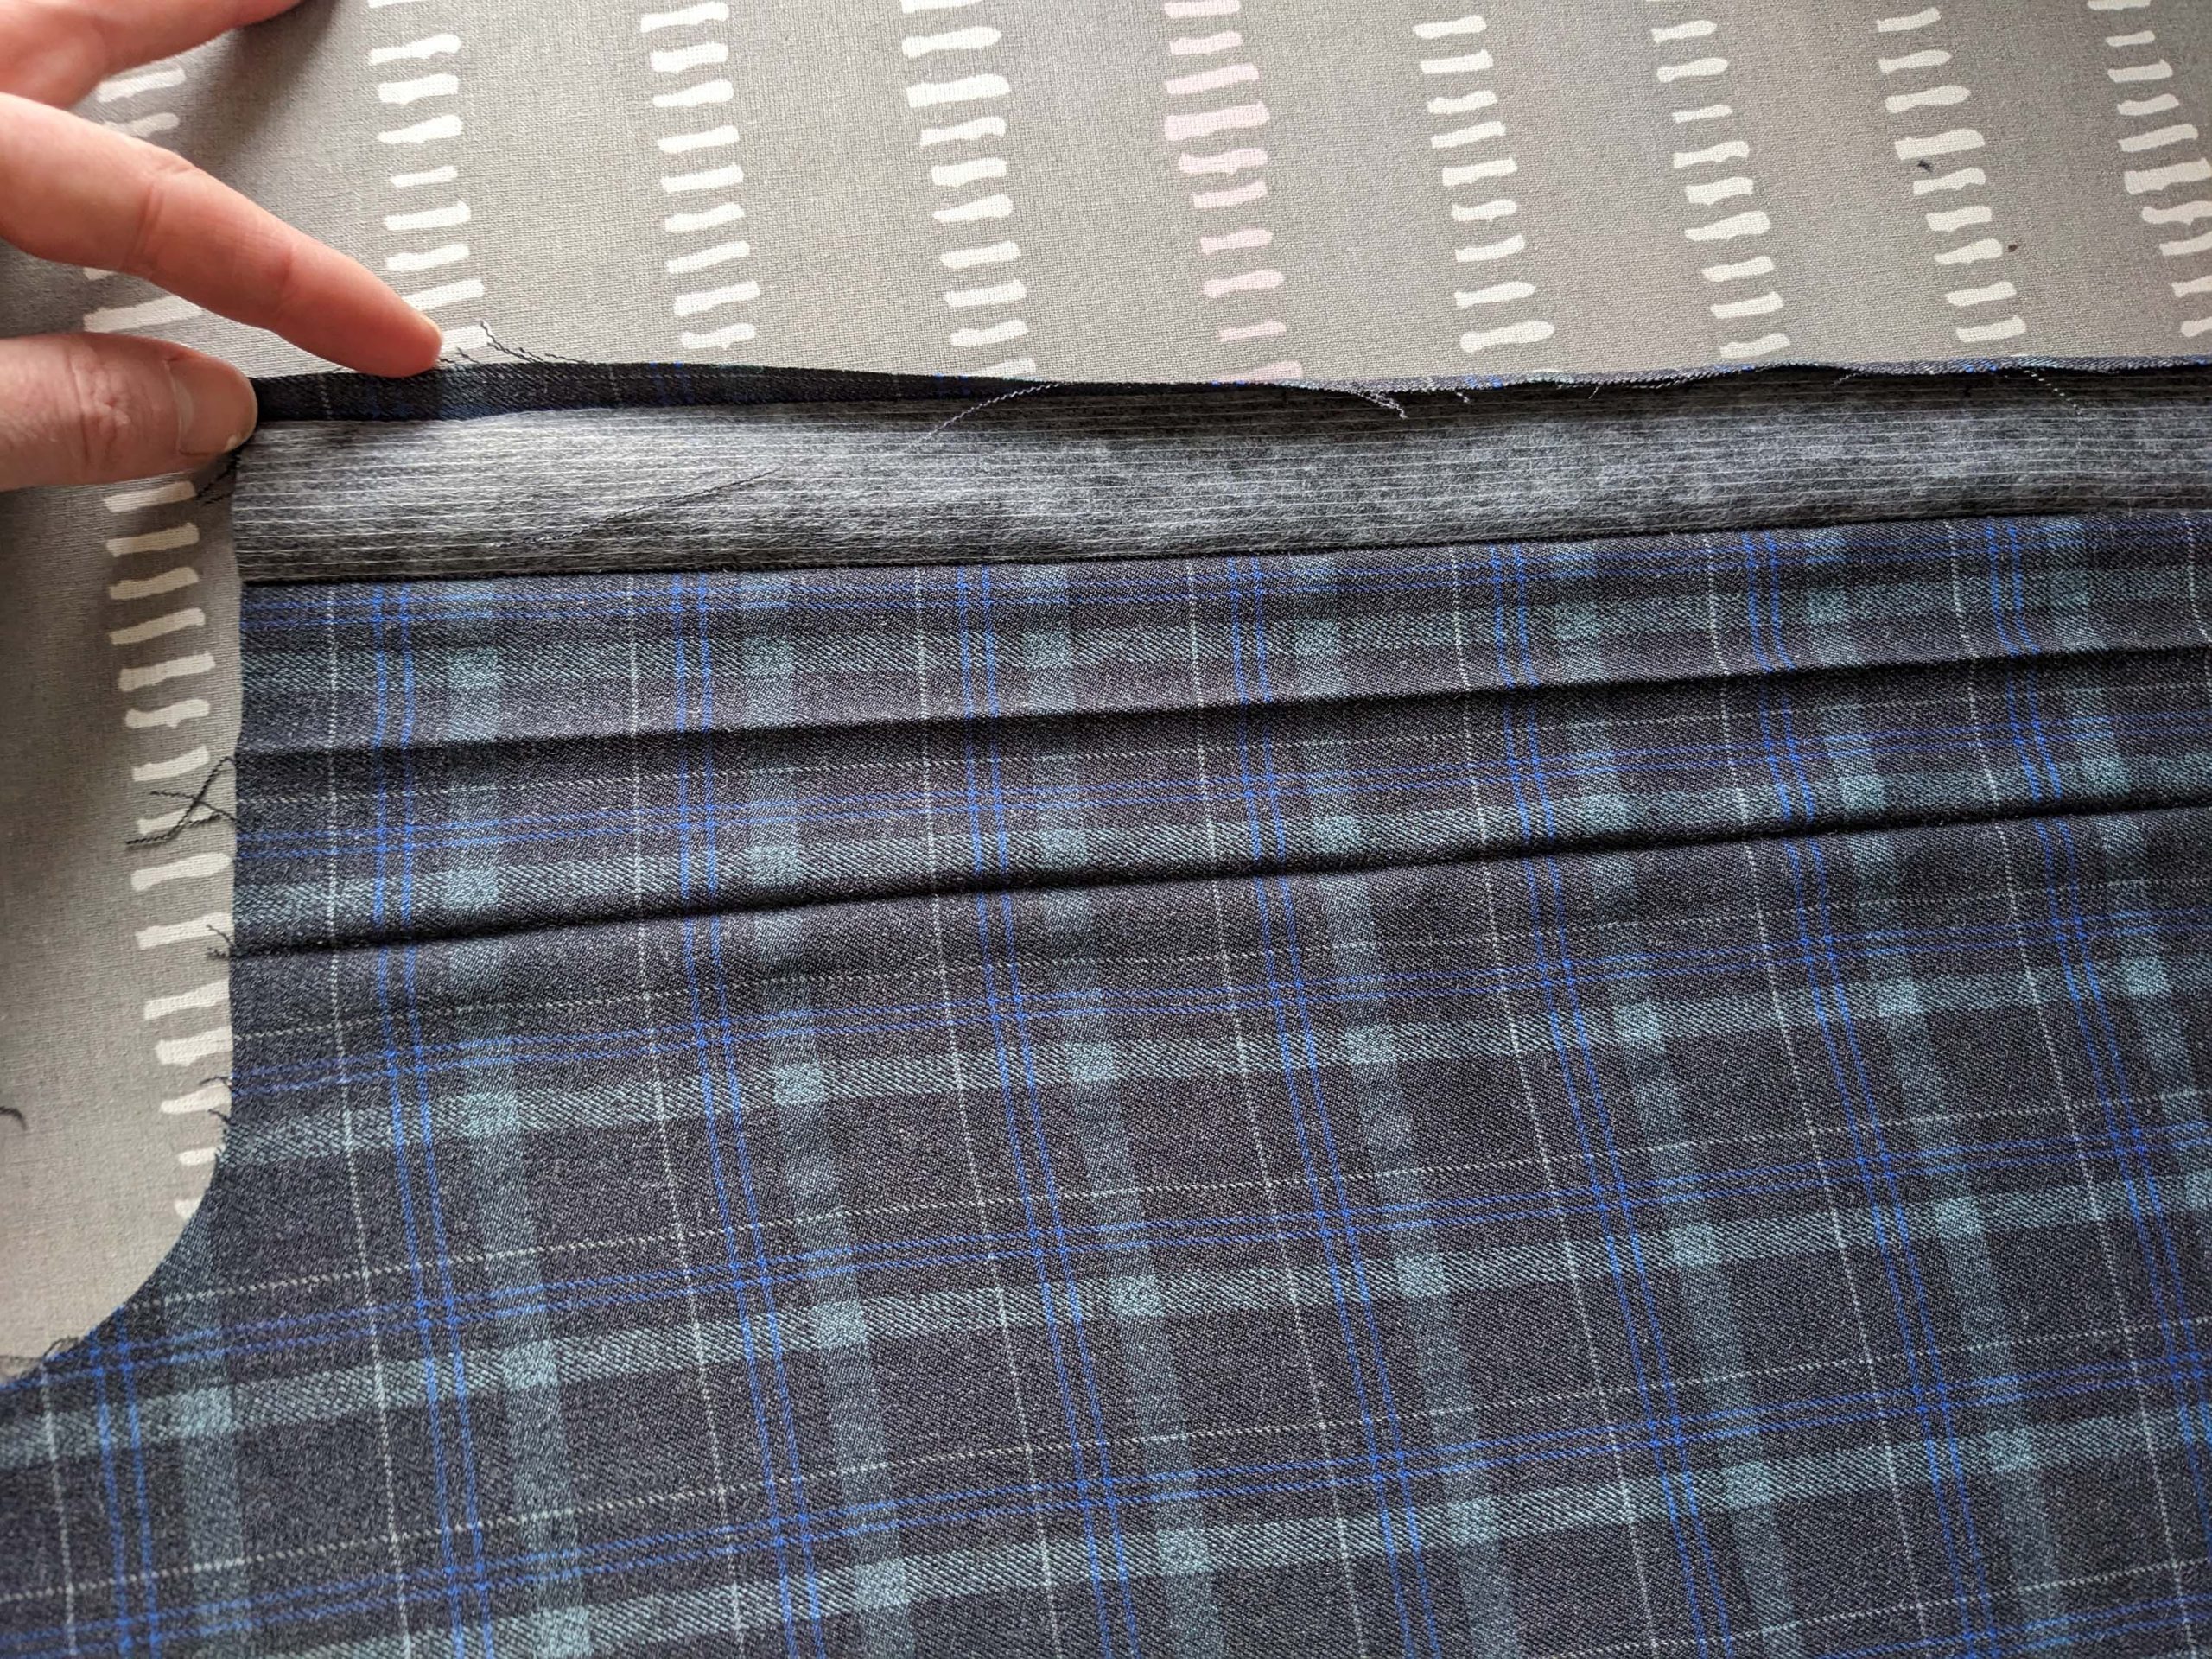
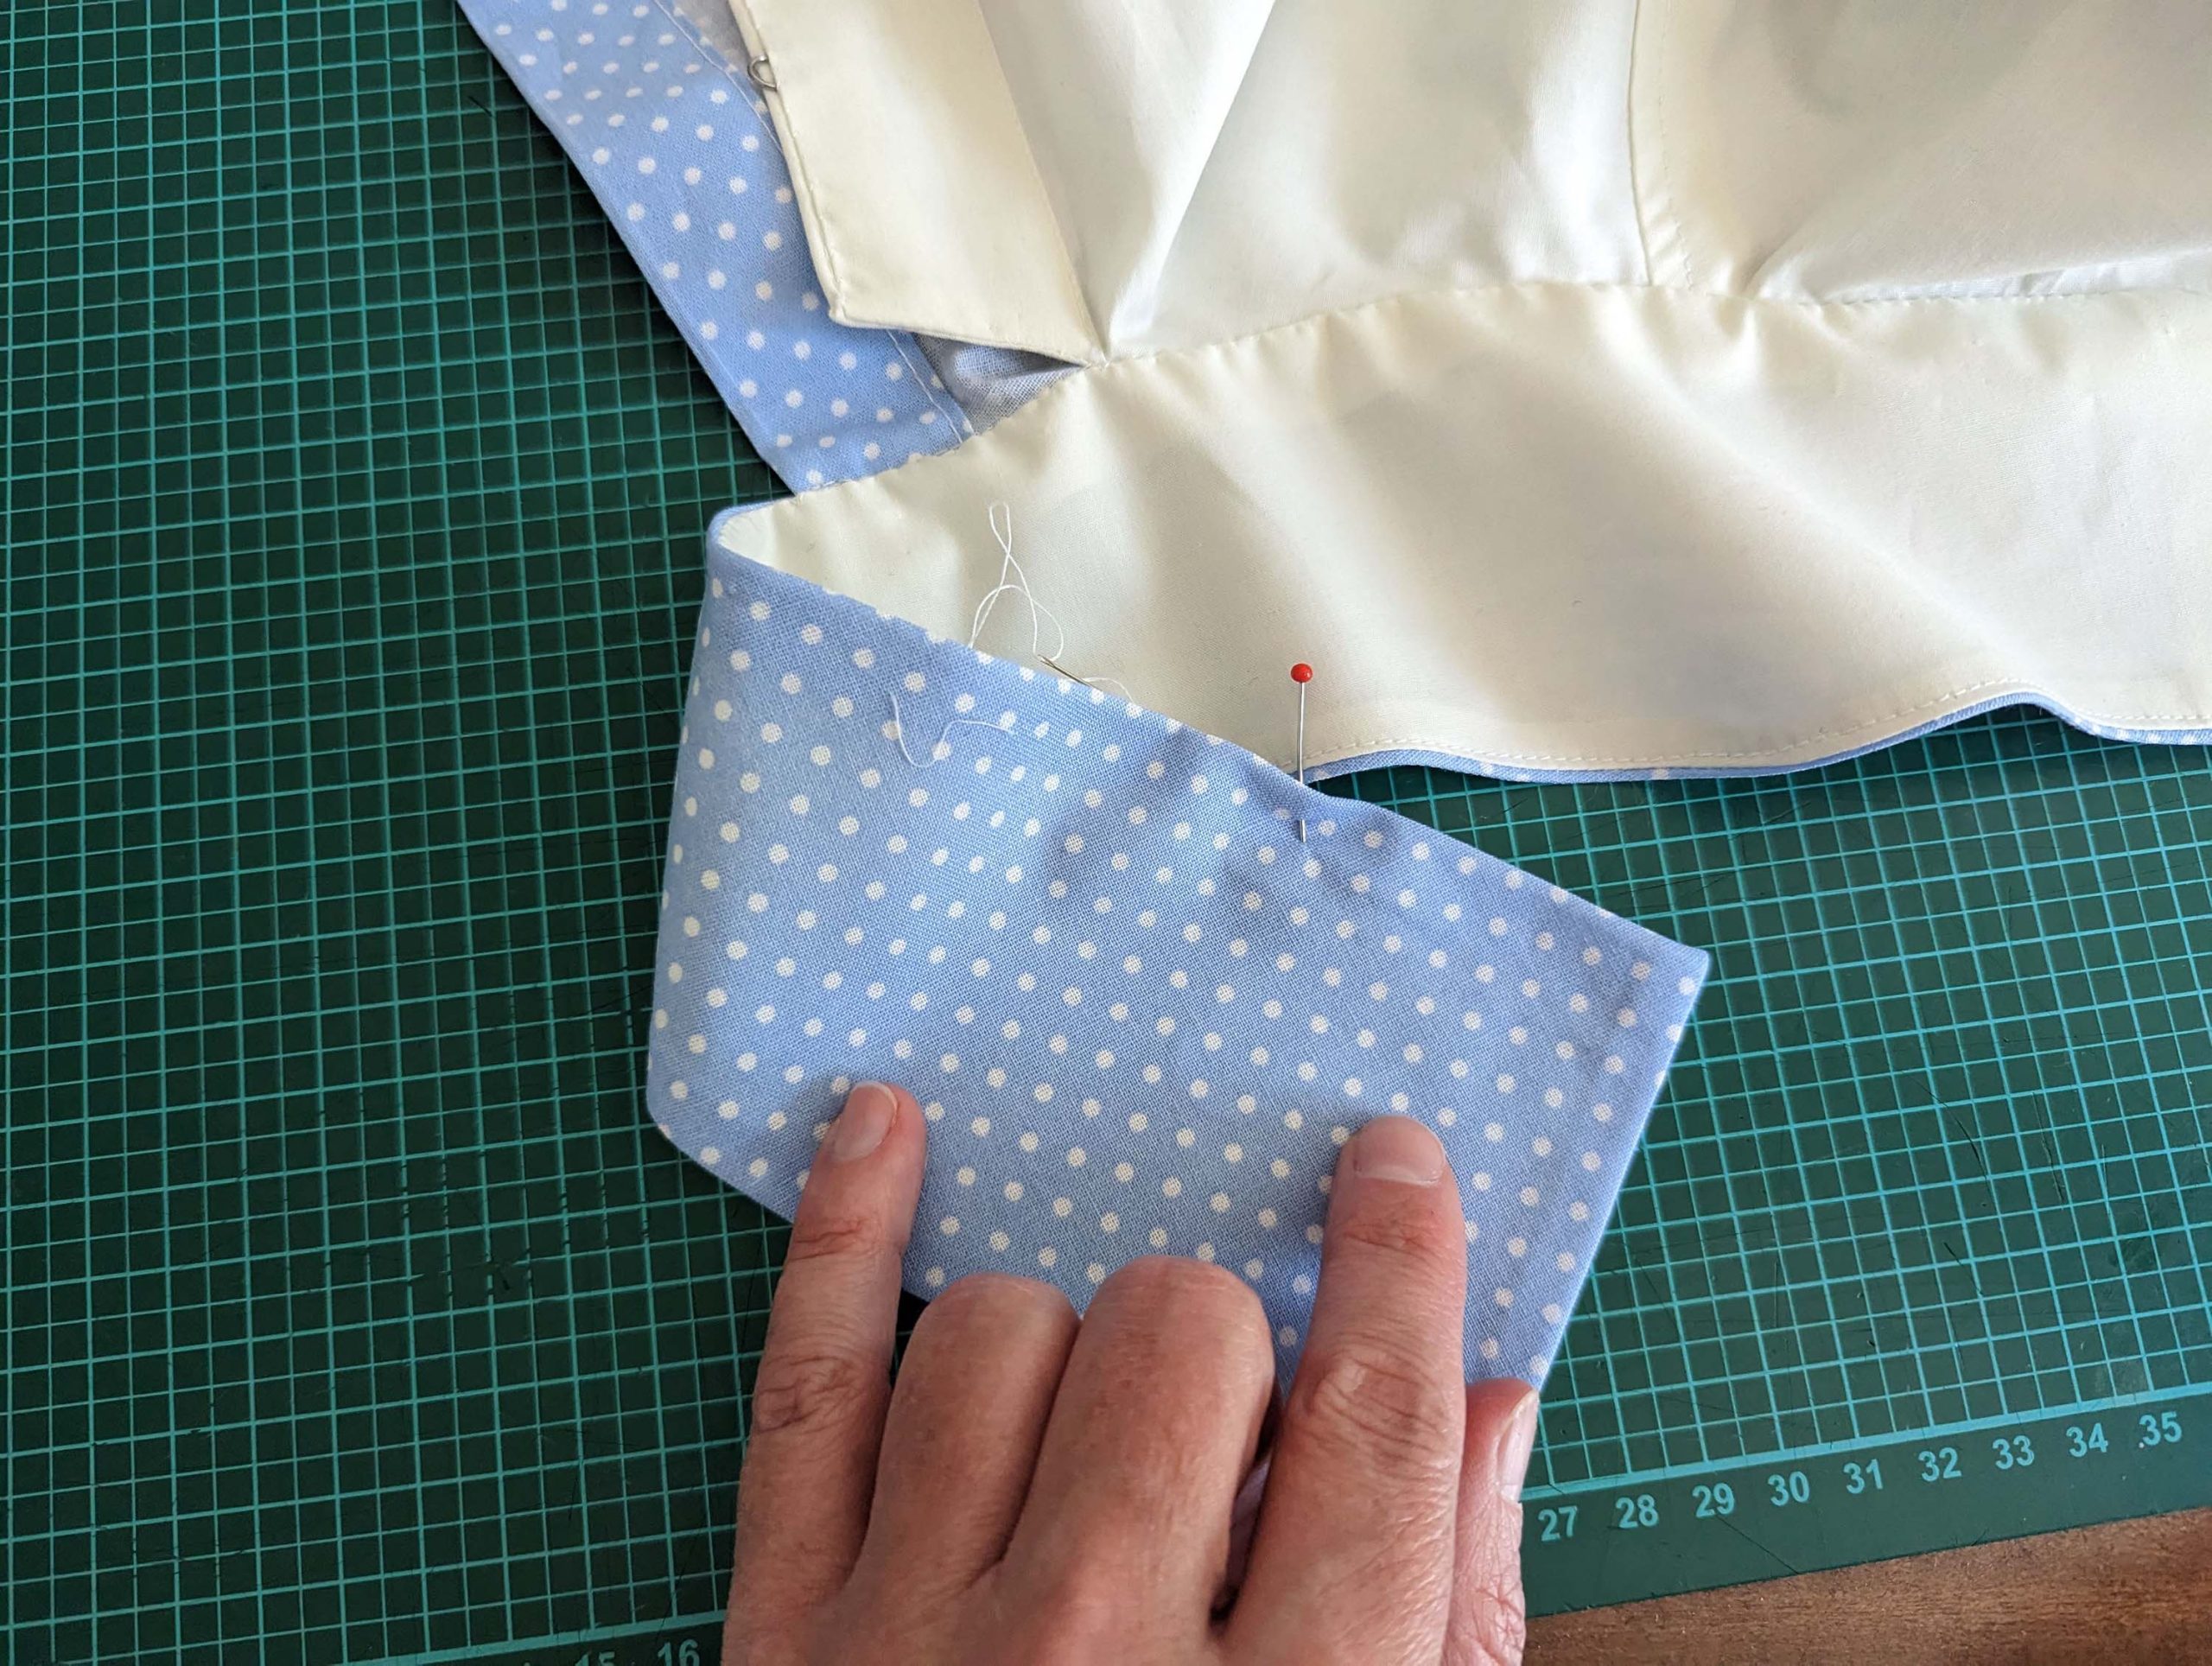
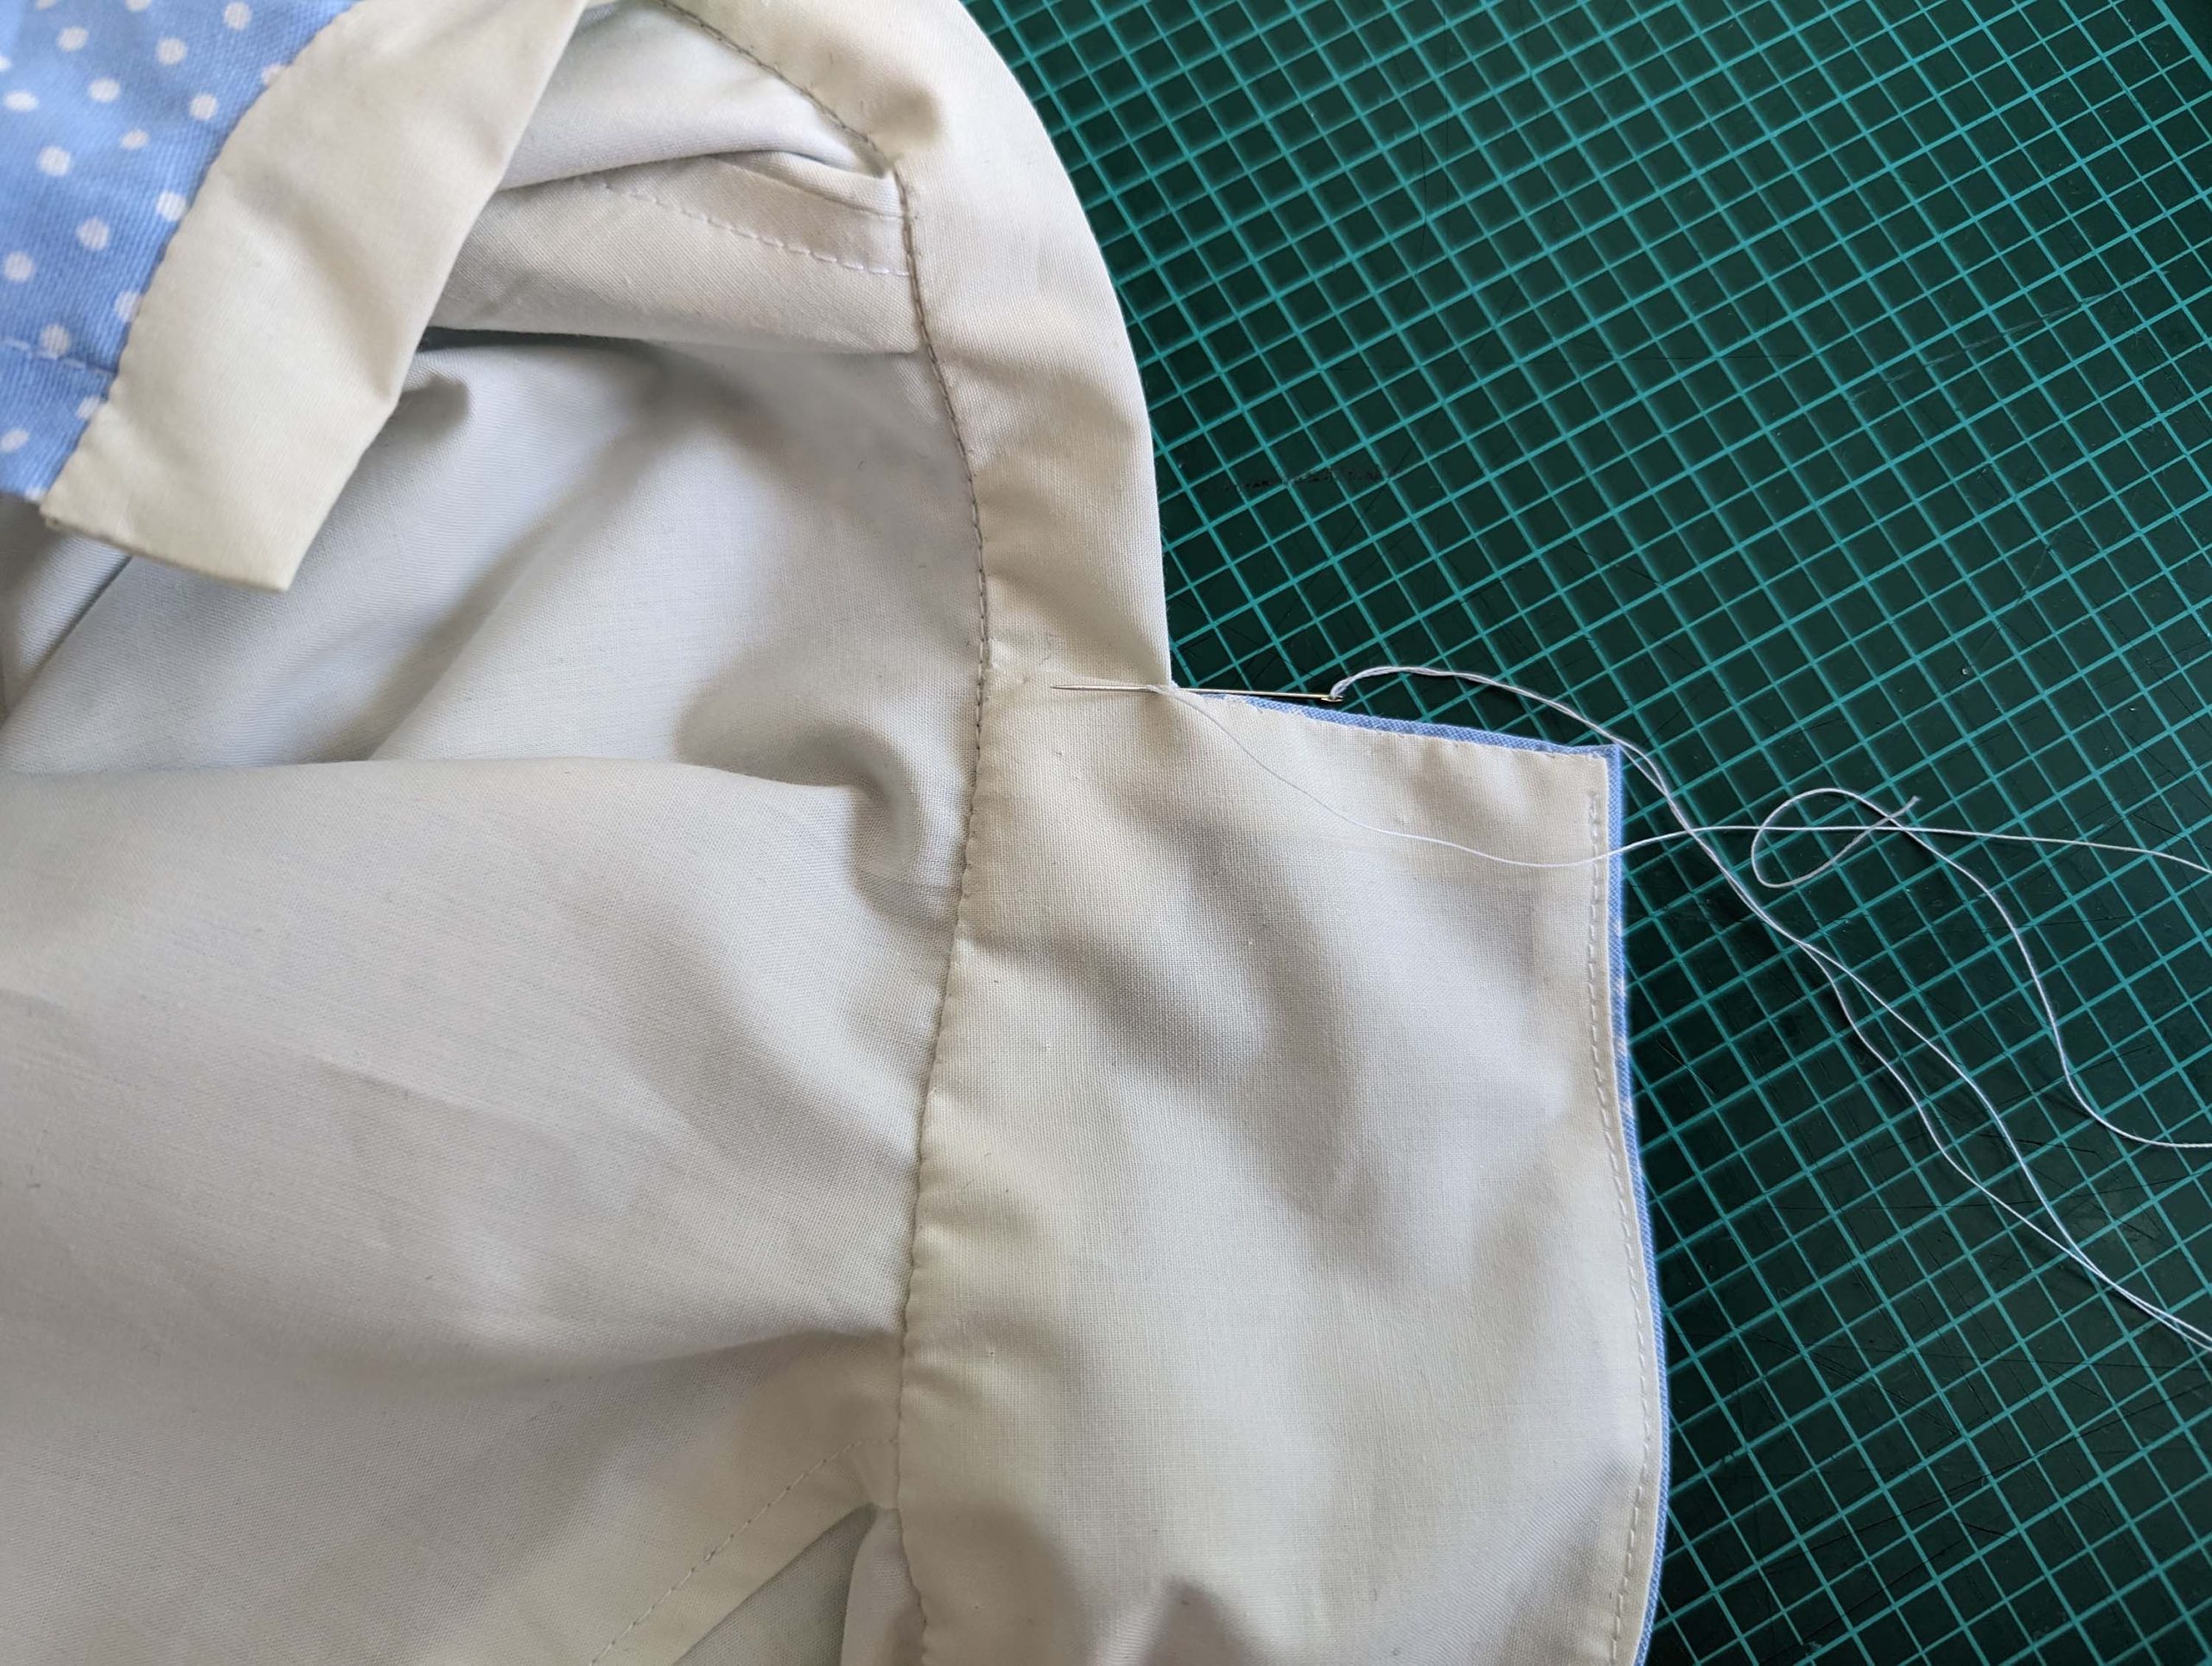
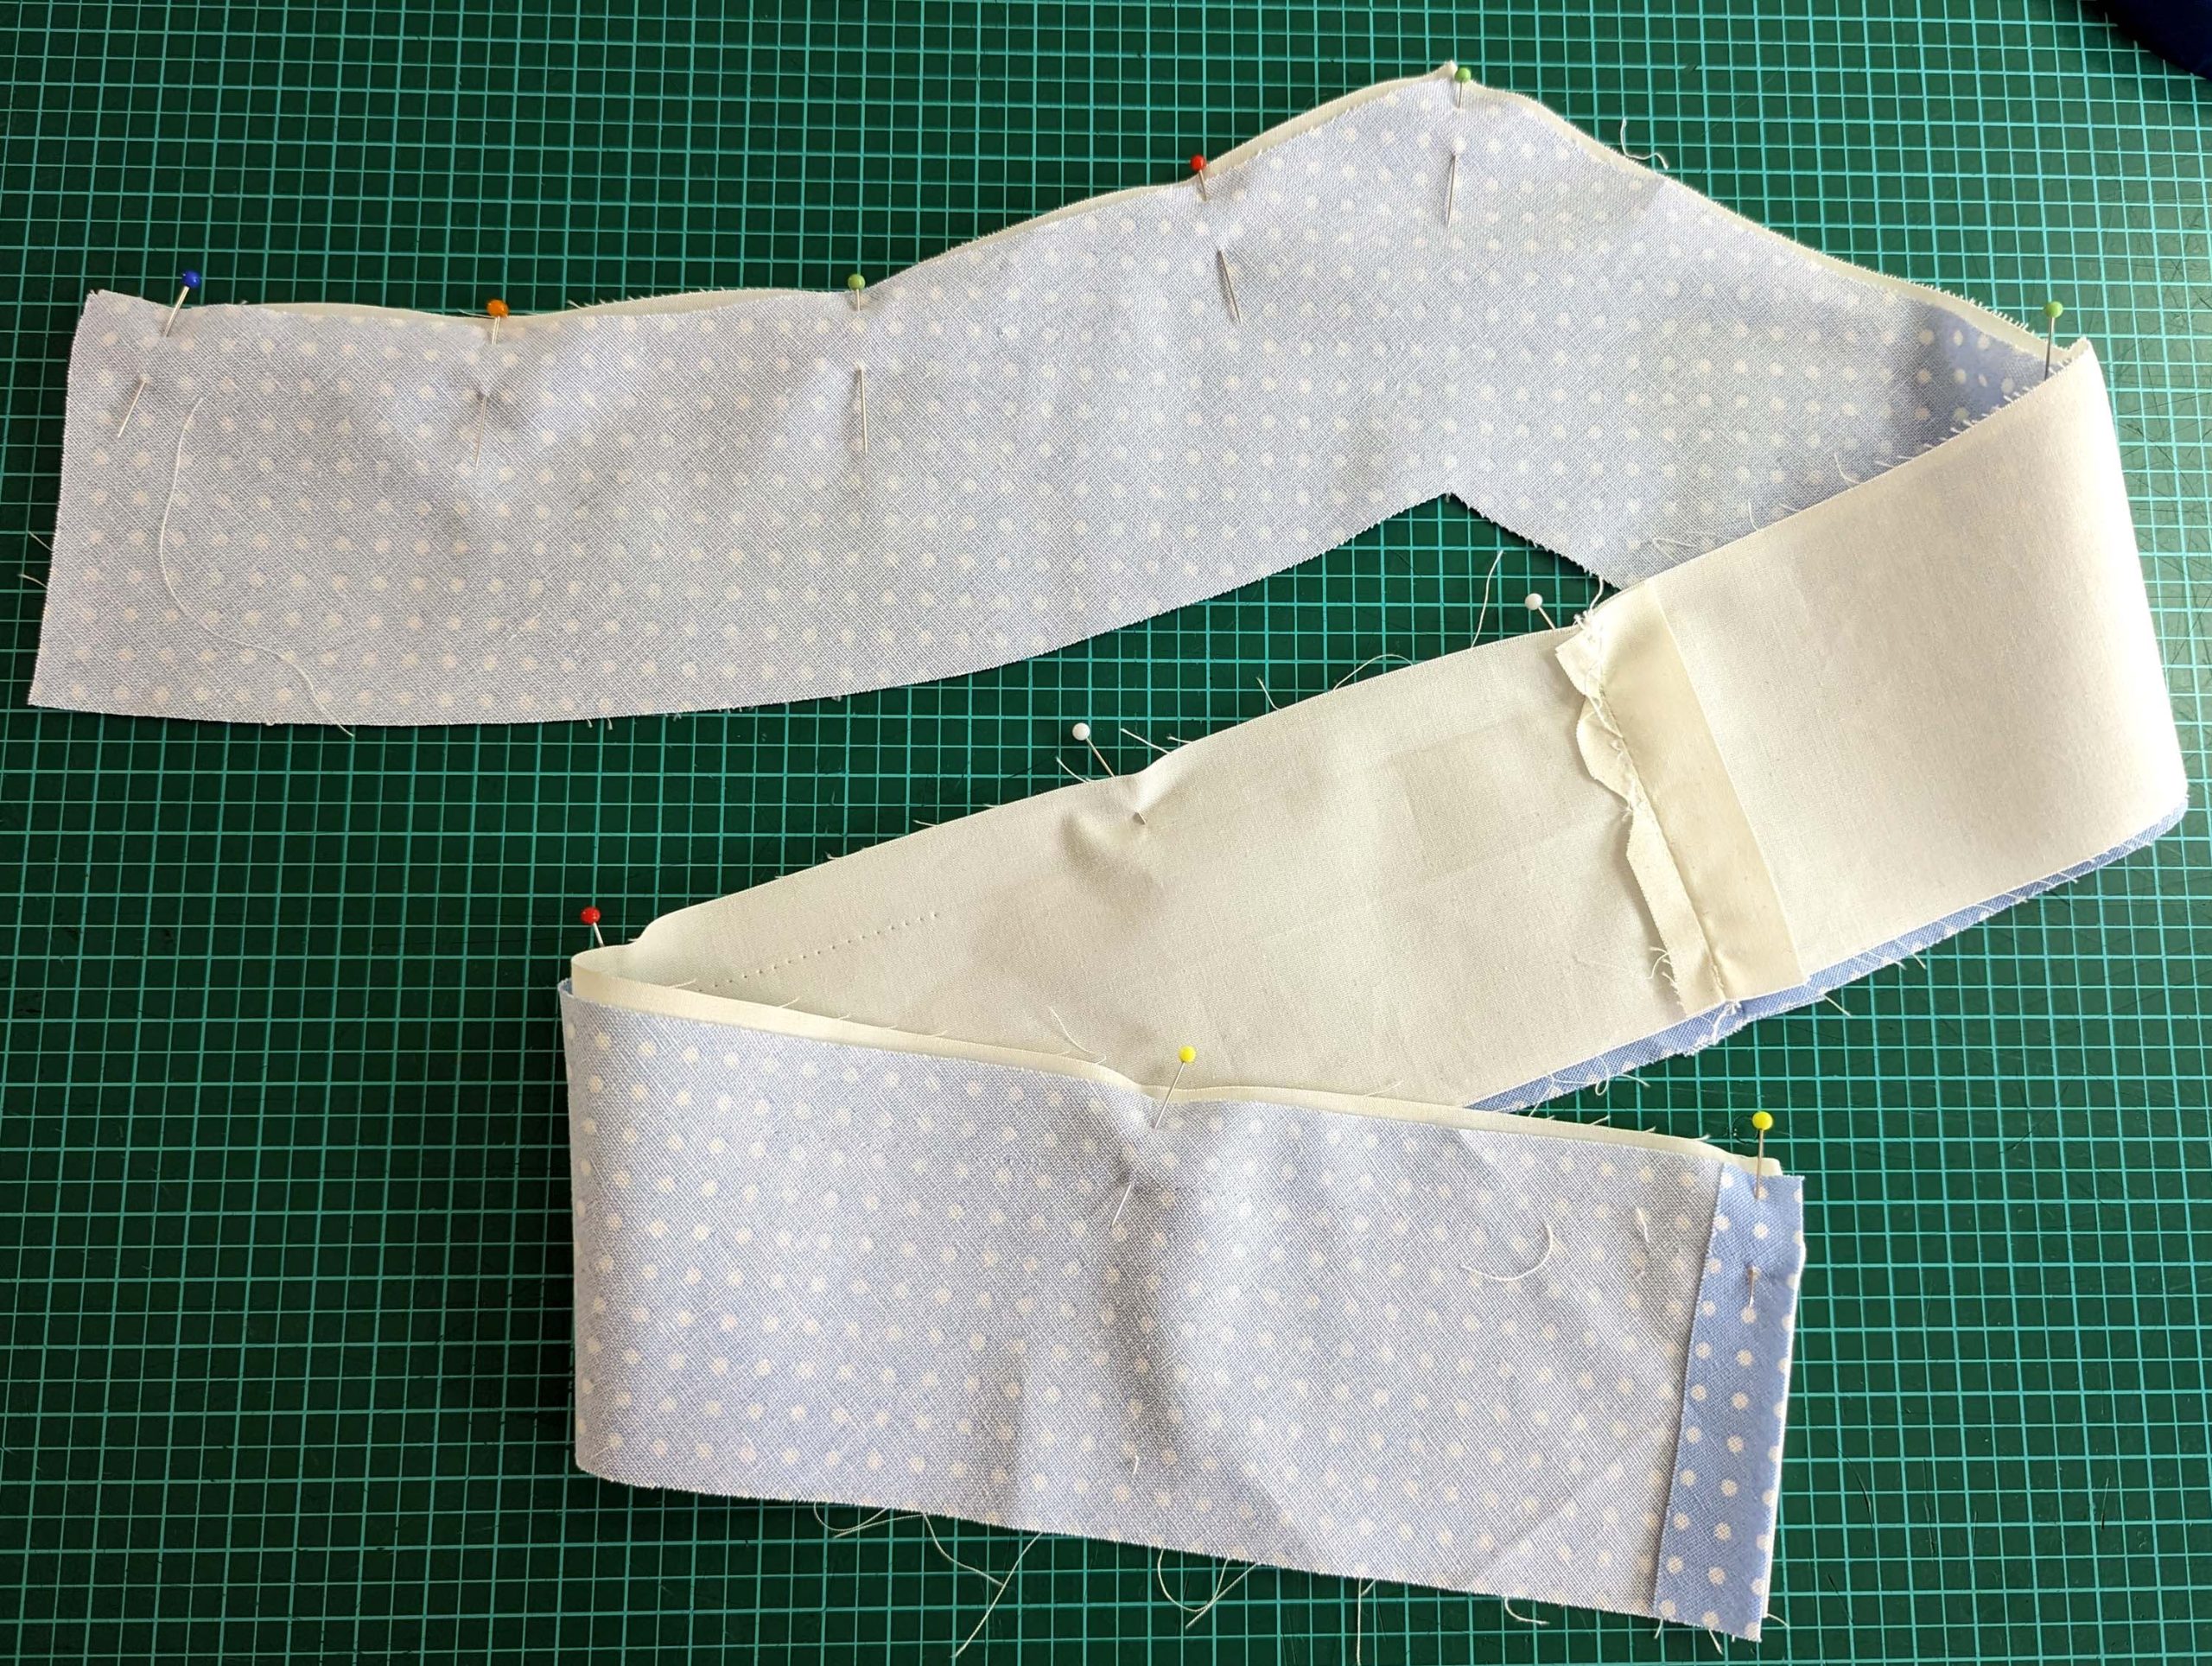
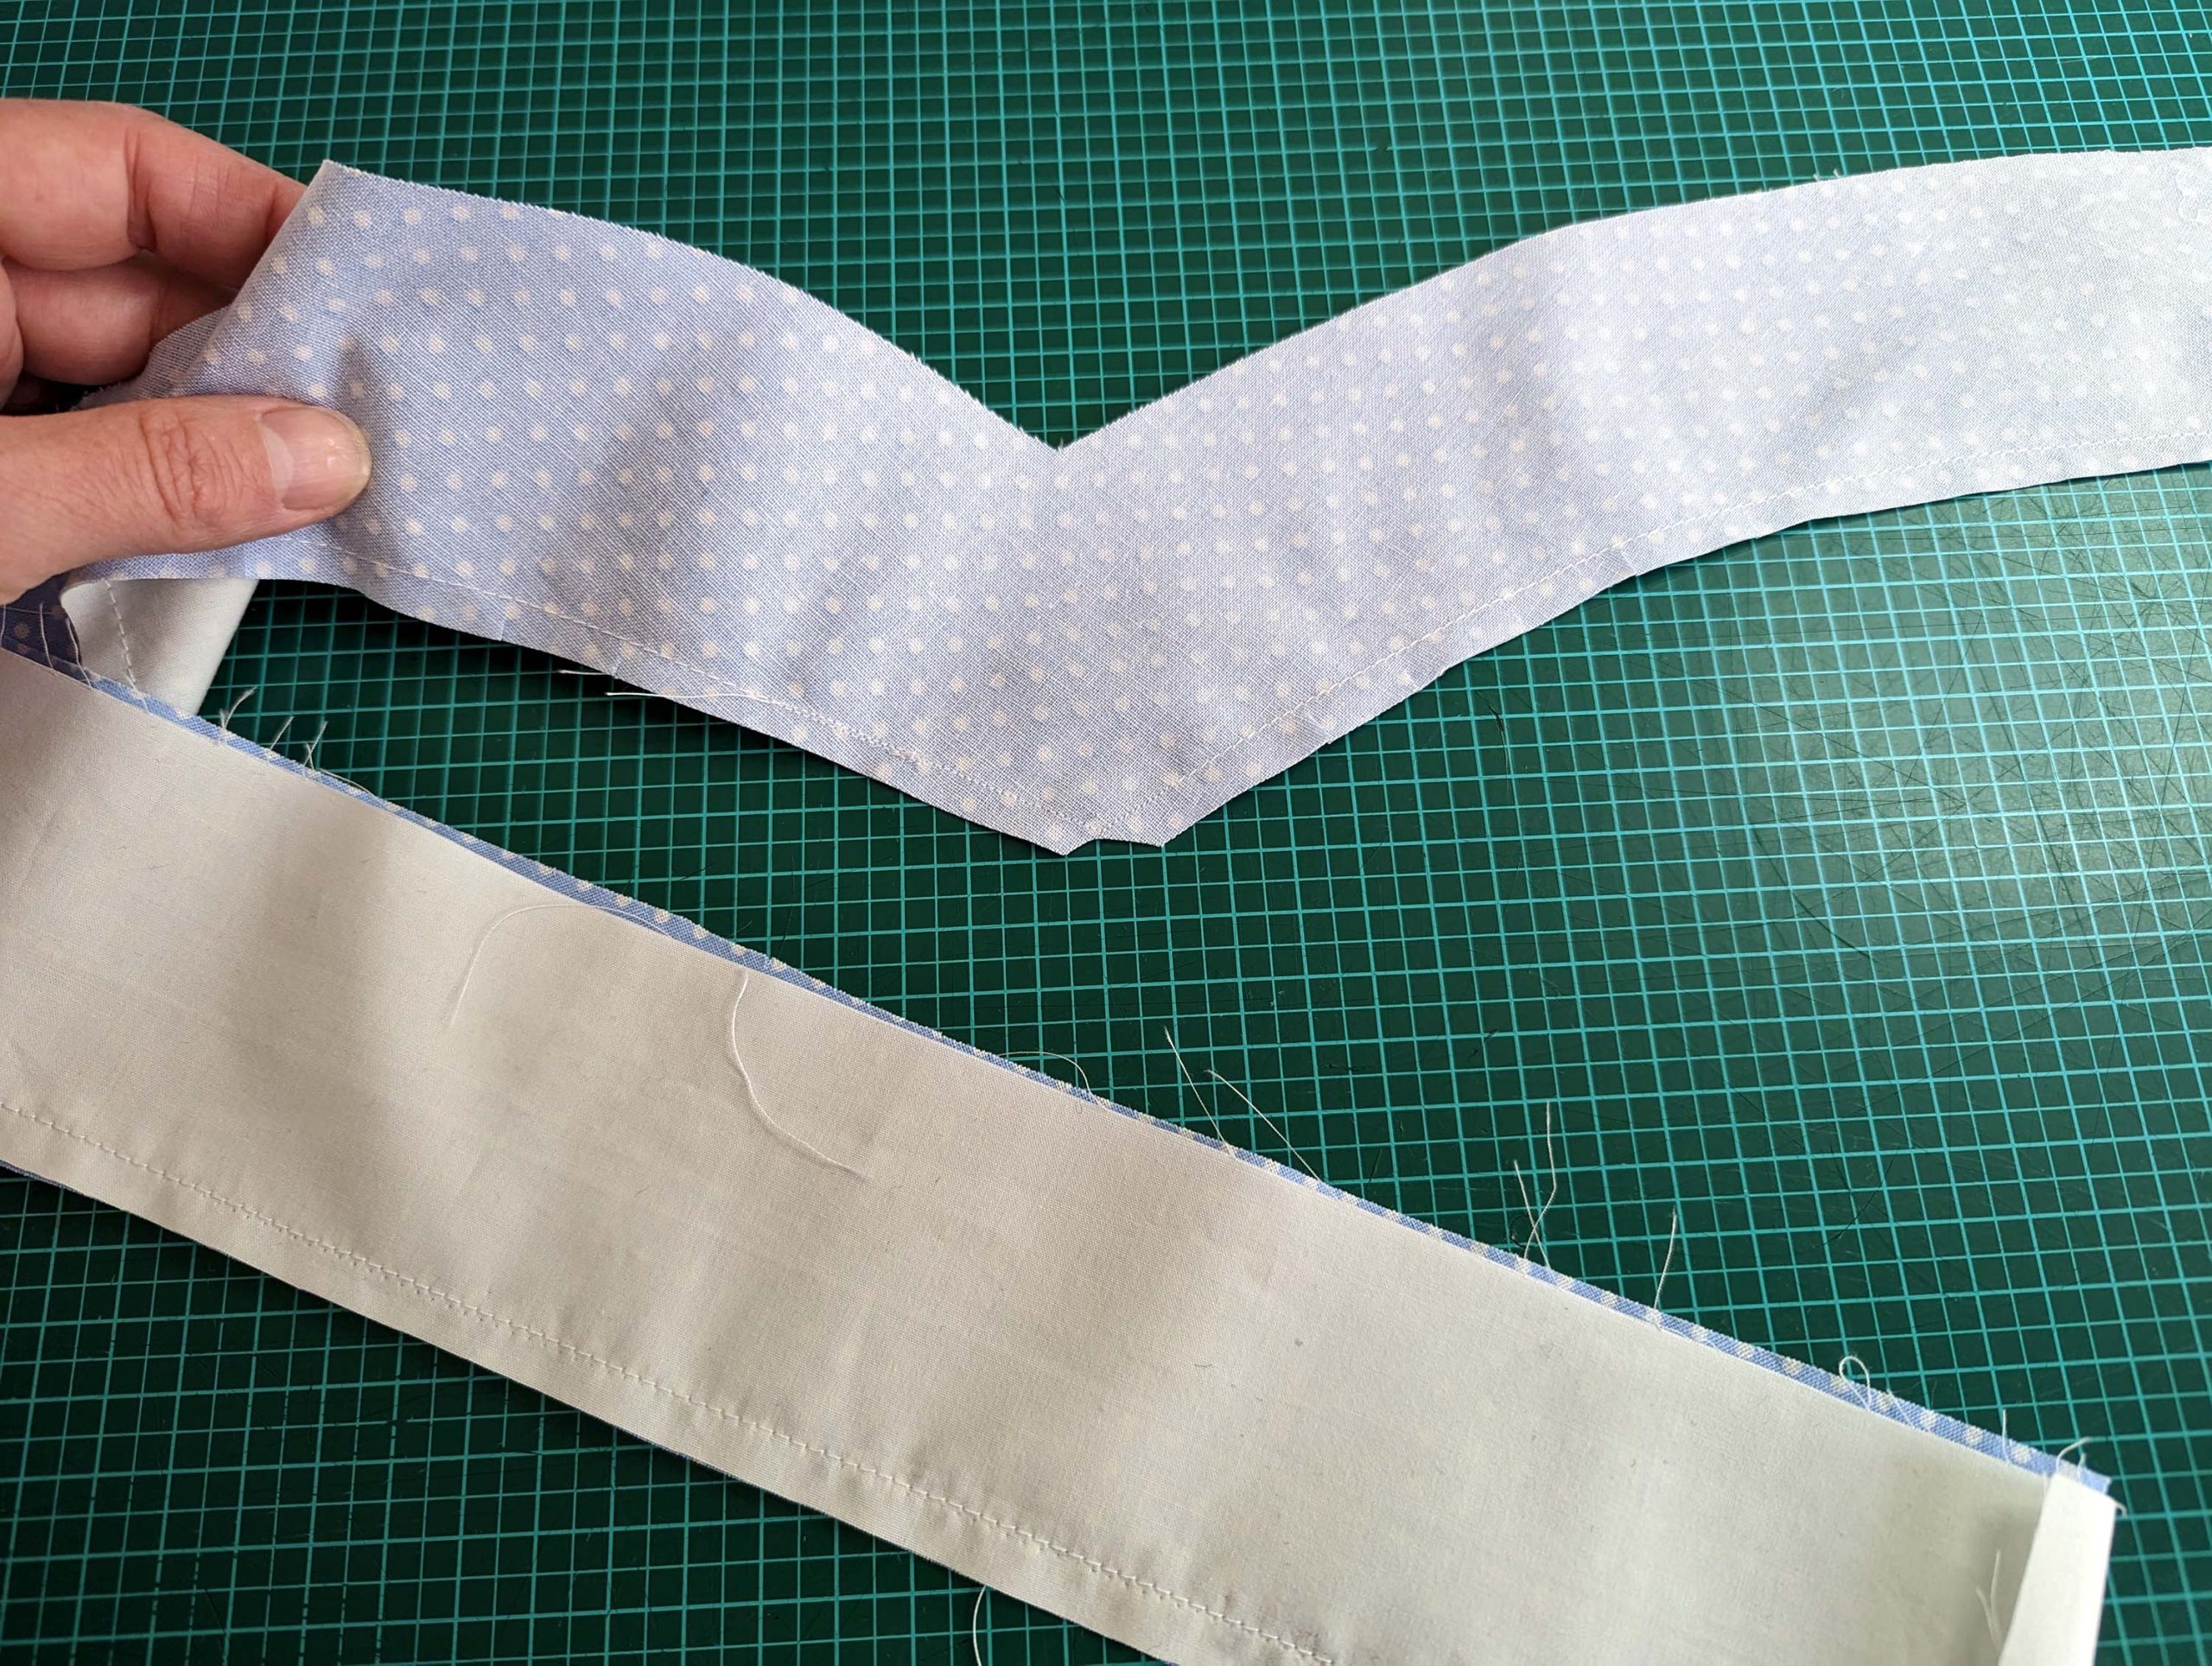
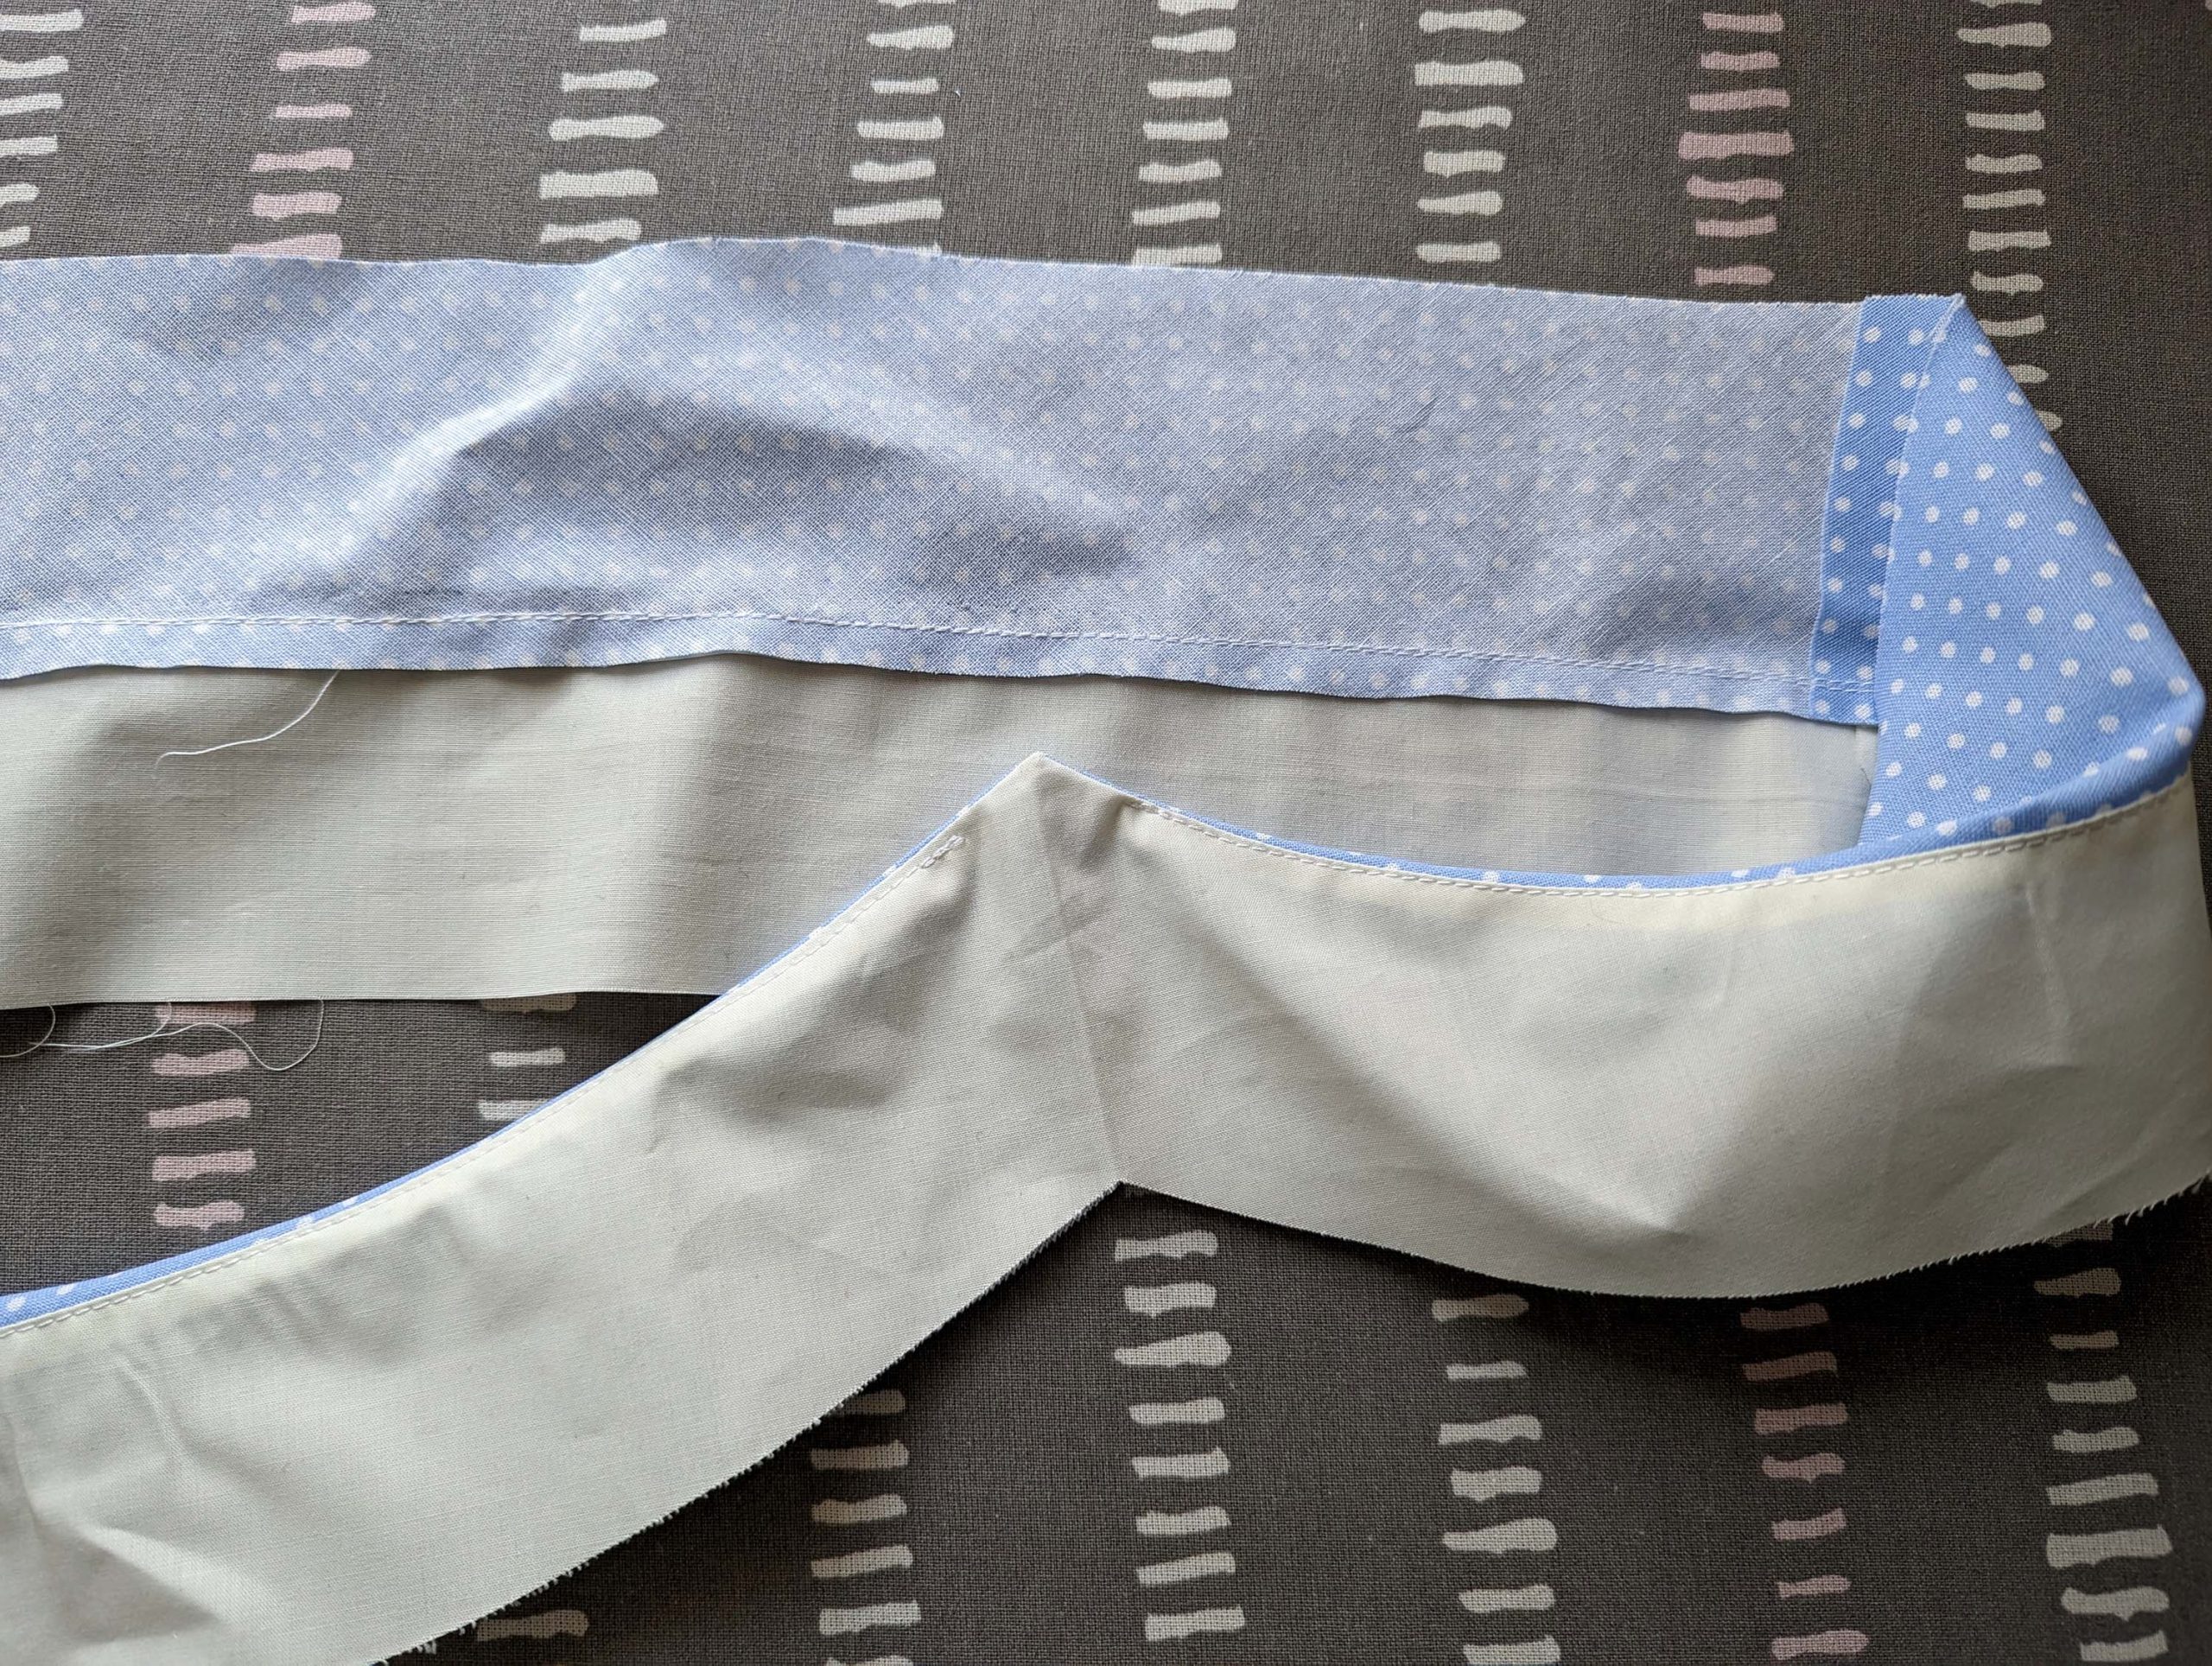
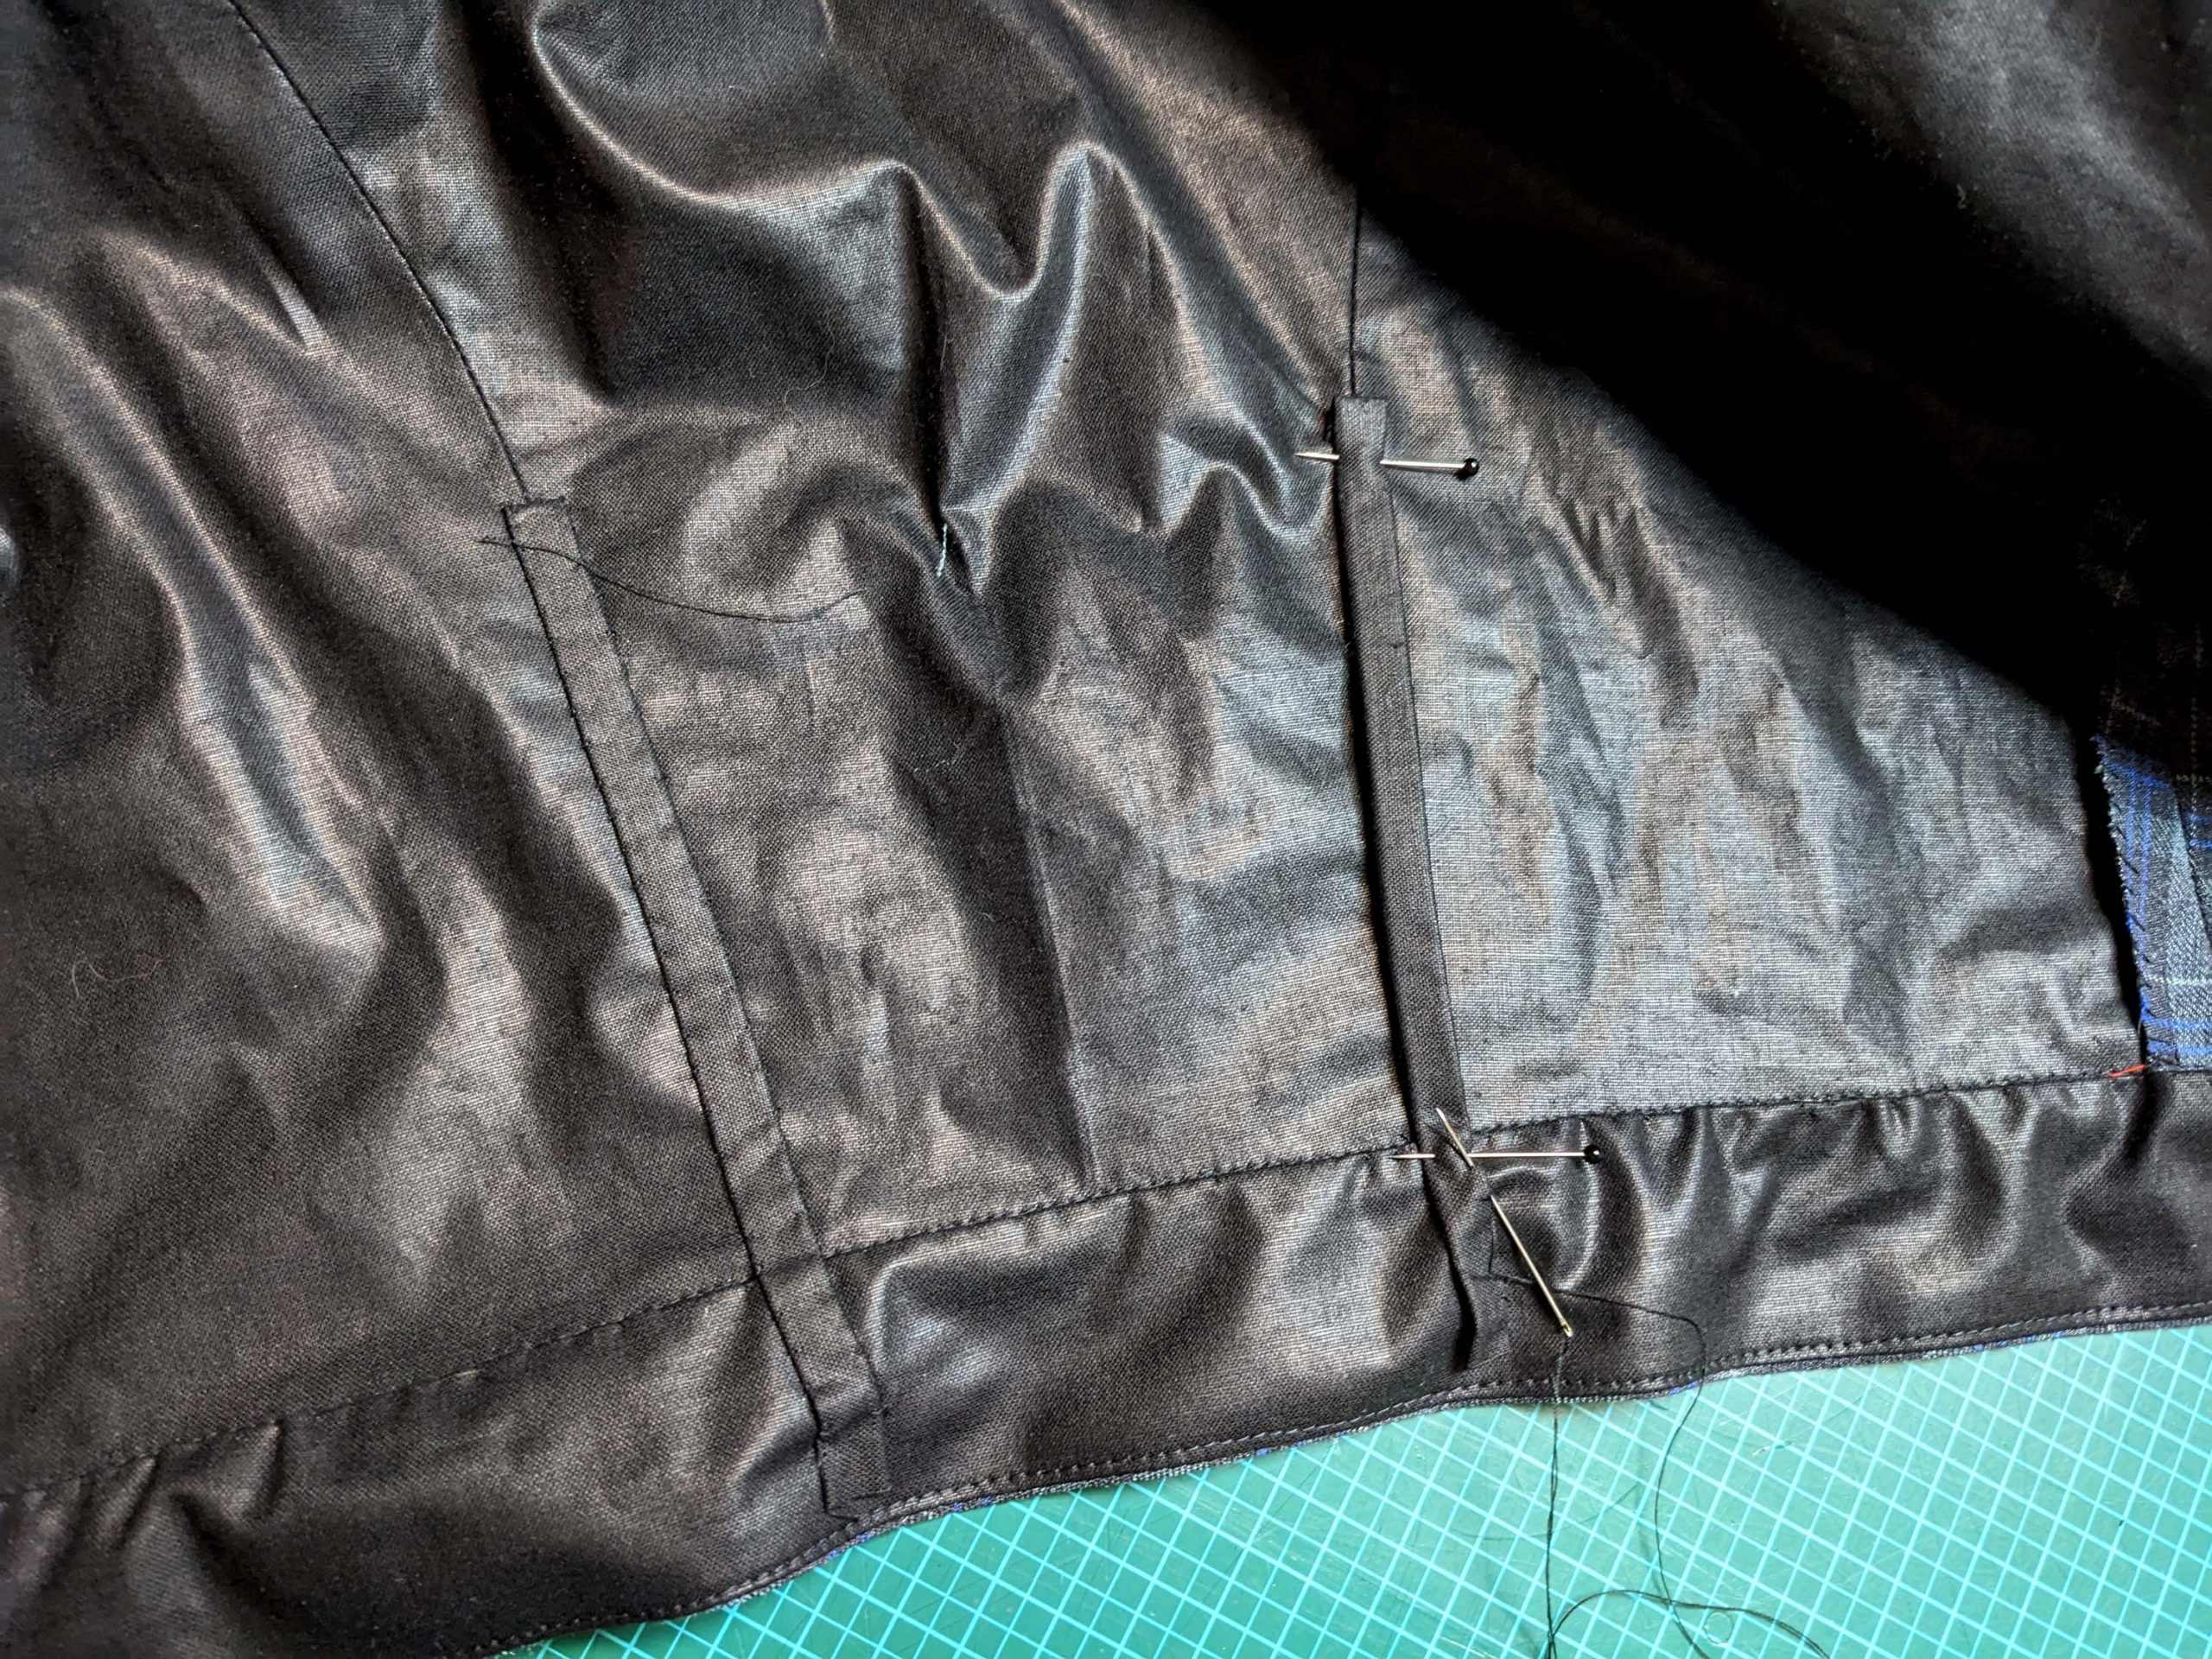
Näh das Rückenfutter rechts auf rechts auf das seitliche Rückenteil aus Futter und schließe die Schulternähte. Bügel die Nahtzugaben auseinander. Versäubere alle Kanten. Wie man an den erhaltenen Kleidern sehen kann, wurden manchmal große Anstrengungen unternommen, um alle Nahtzugaben auf viele verschiedene Arten genau zu versäubern, und manchmal nicht, sie wurden einfach so belassen oder mit einer Zickzackschere geschnitten. Die Anleitung kann nur eine Möglichkeit geben. Eine Alternative wäre das Anbringen von (falschen) flachen Kappnähten am Futter. Die Bilder zeigen zwei verschiedene Optionen:
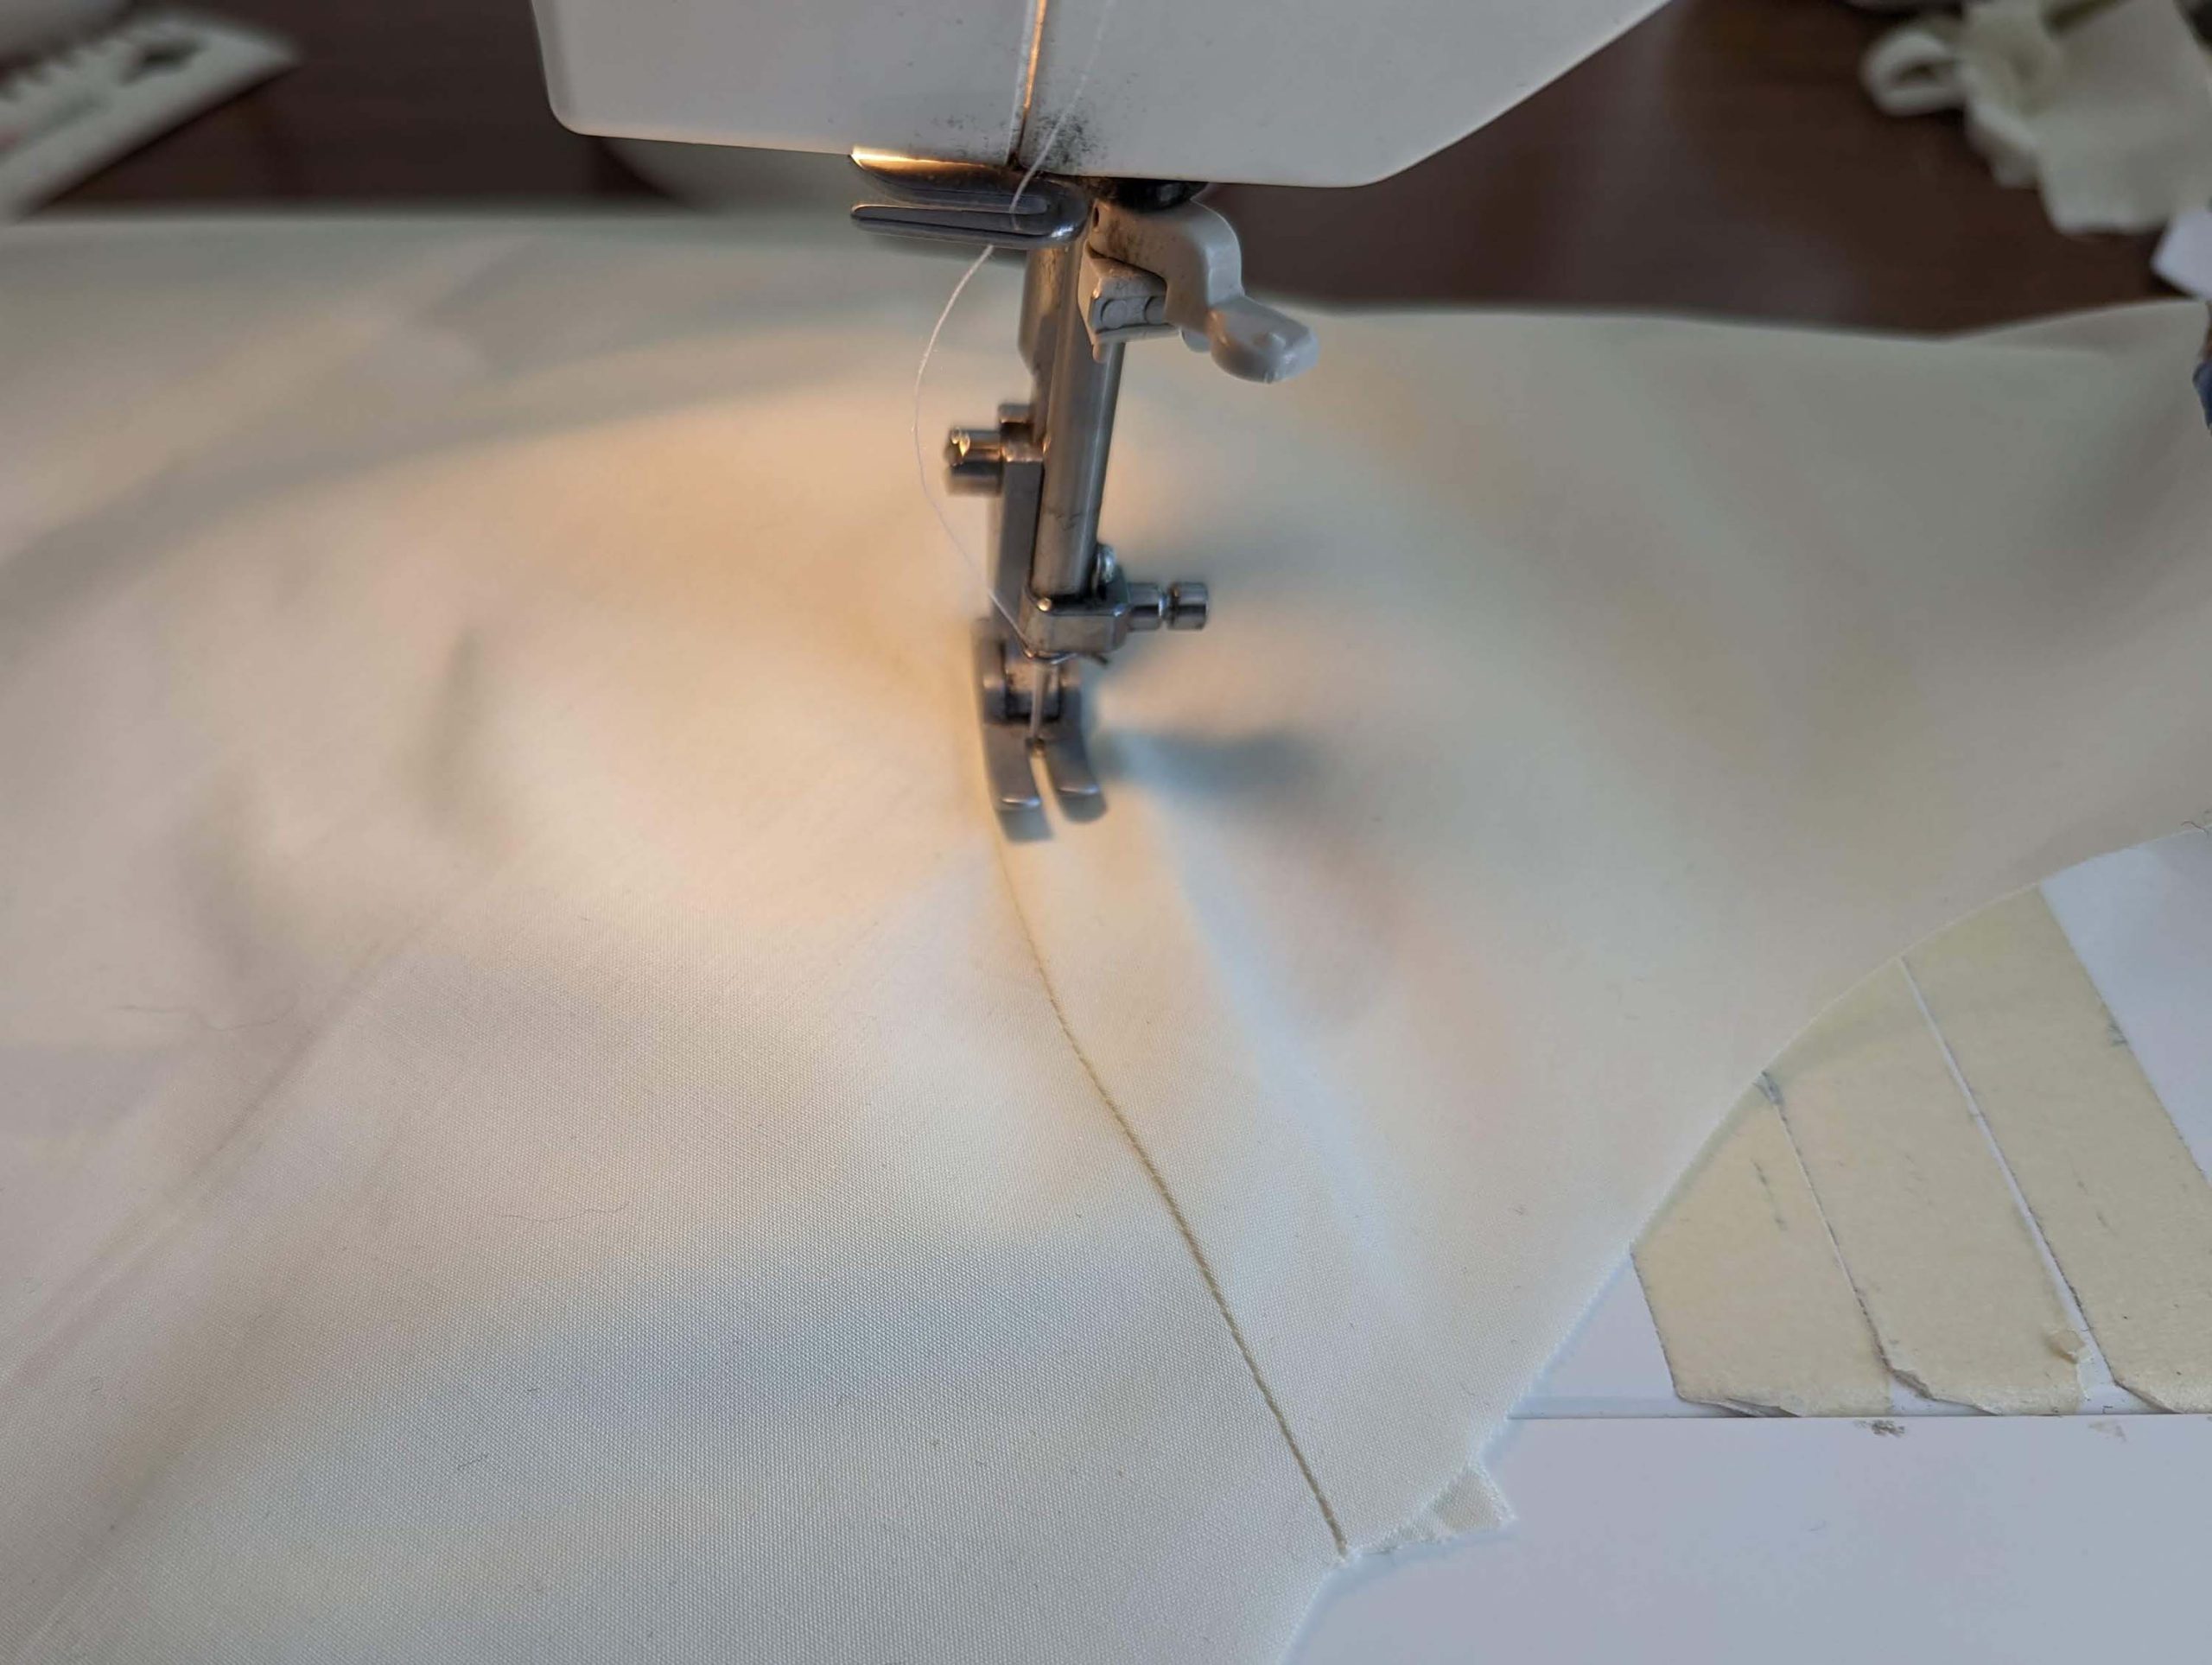
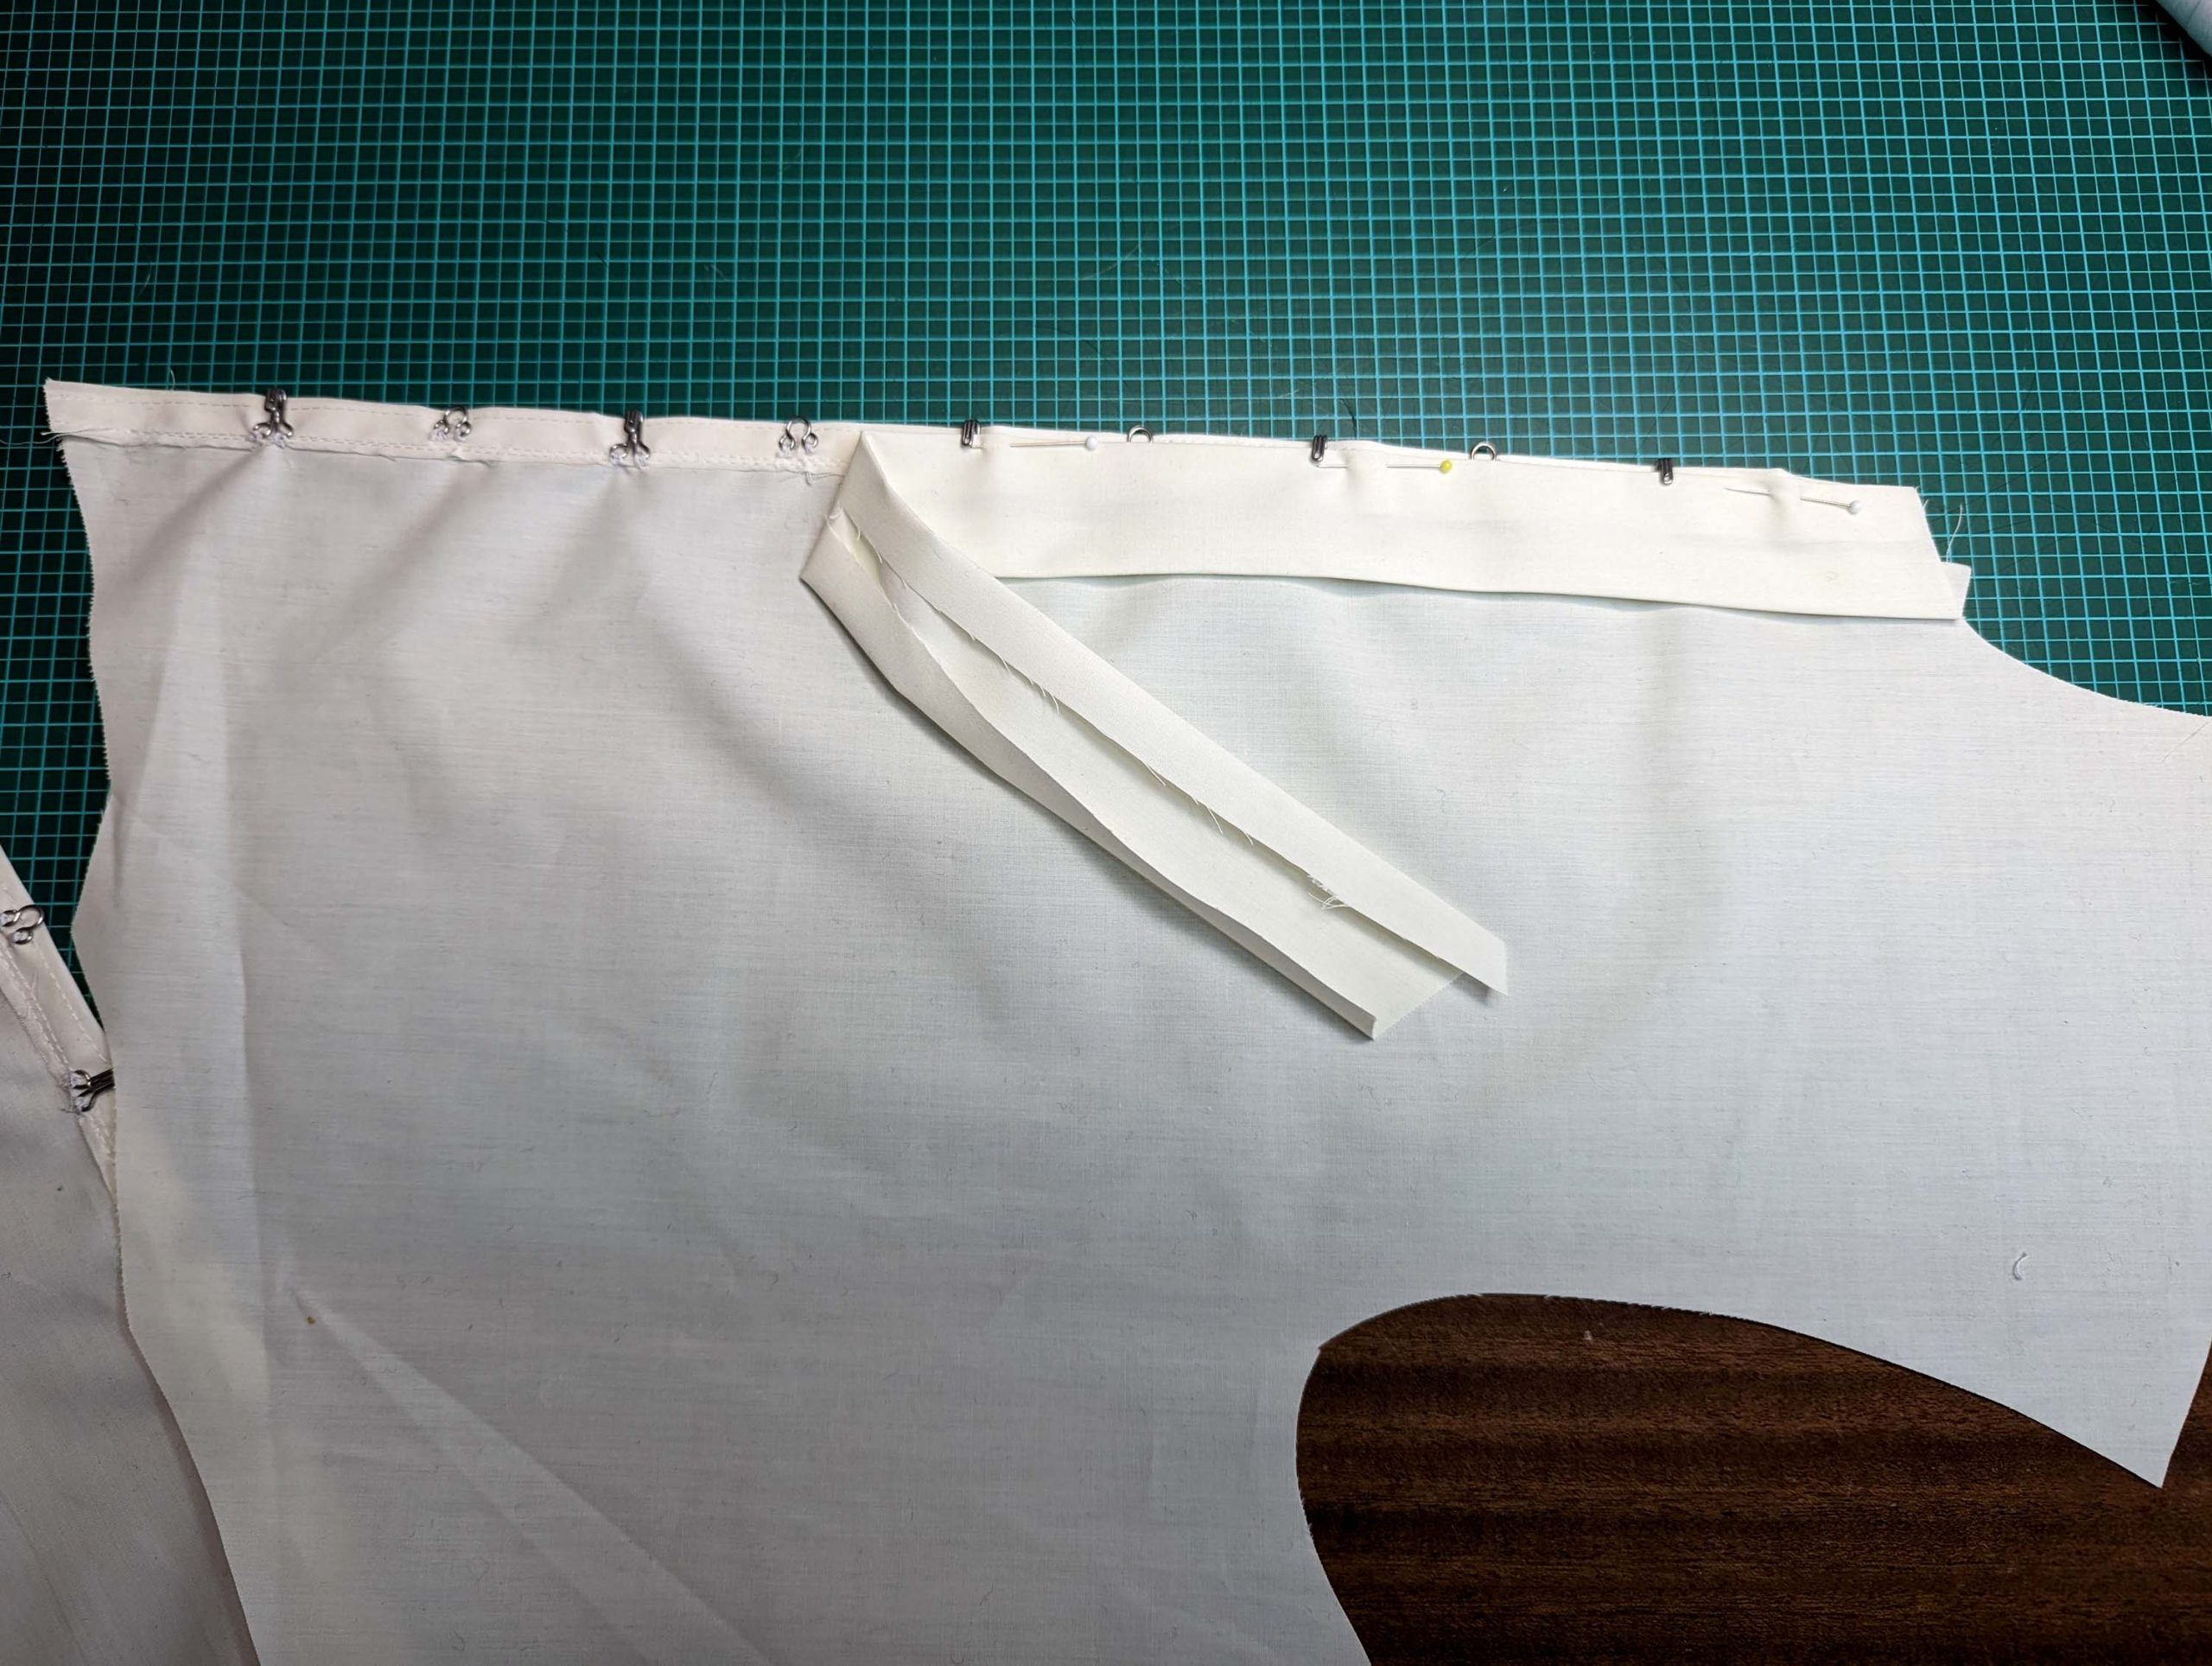
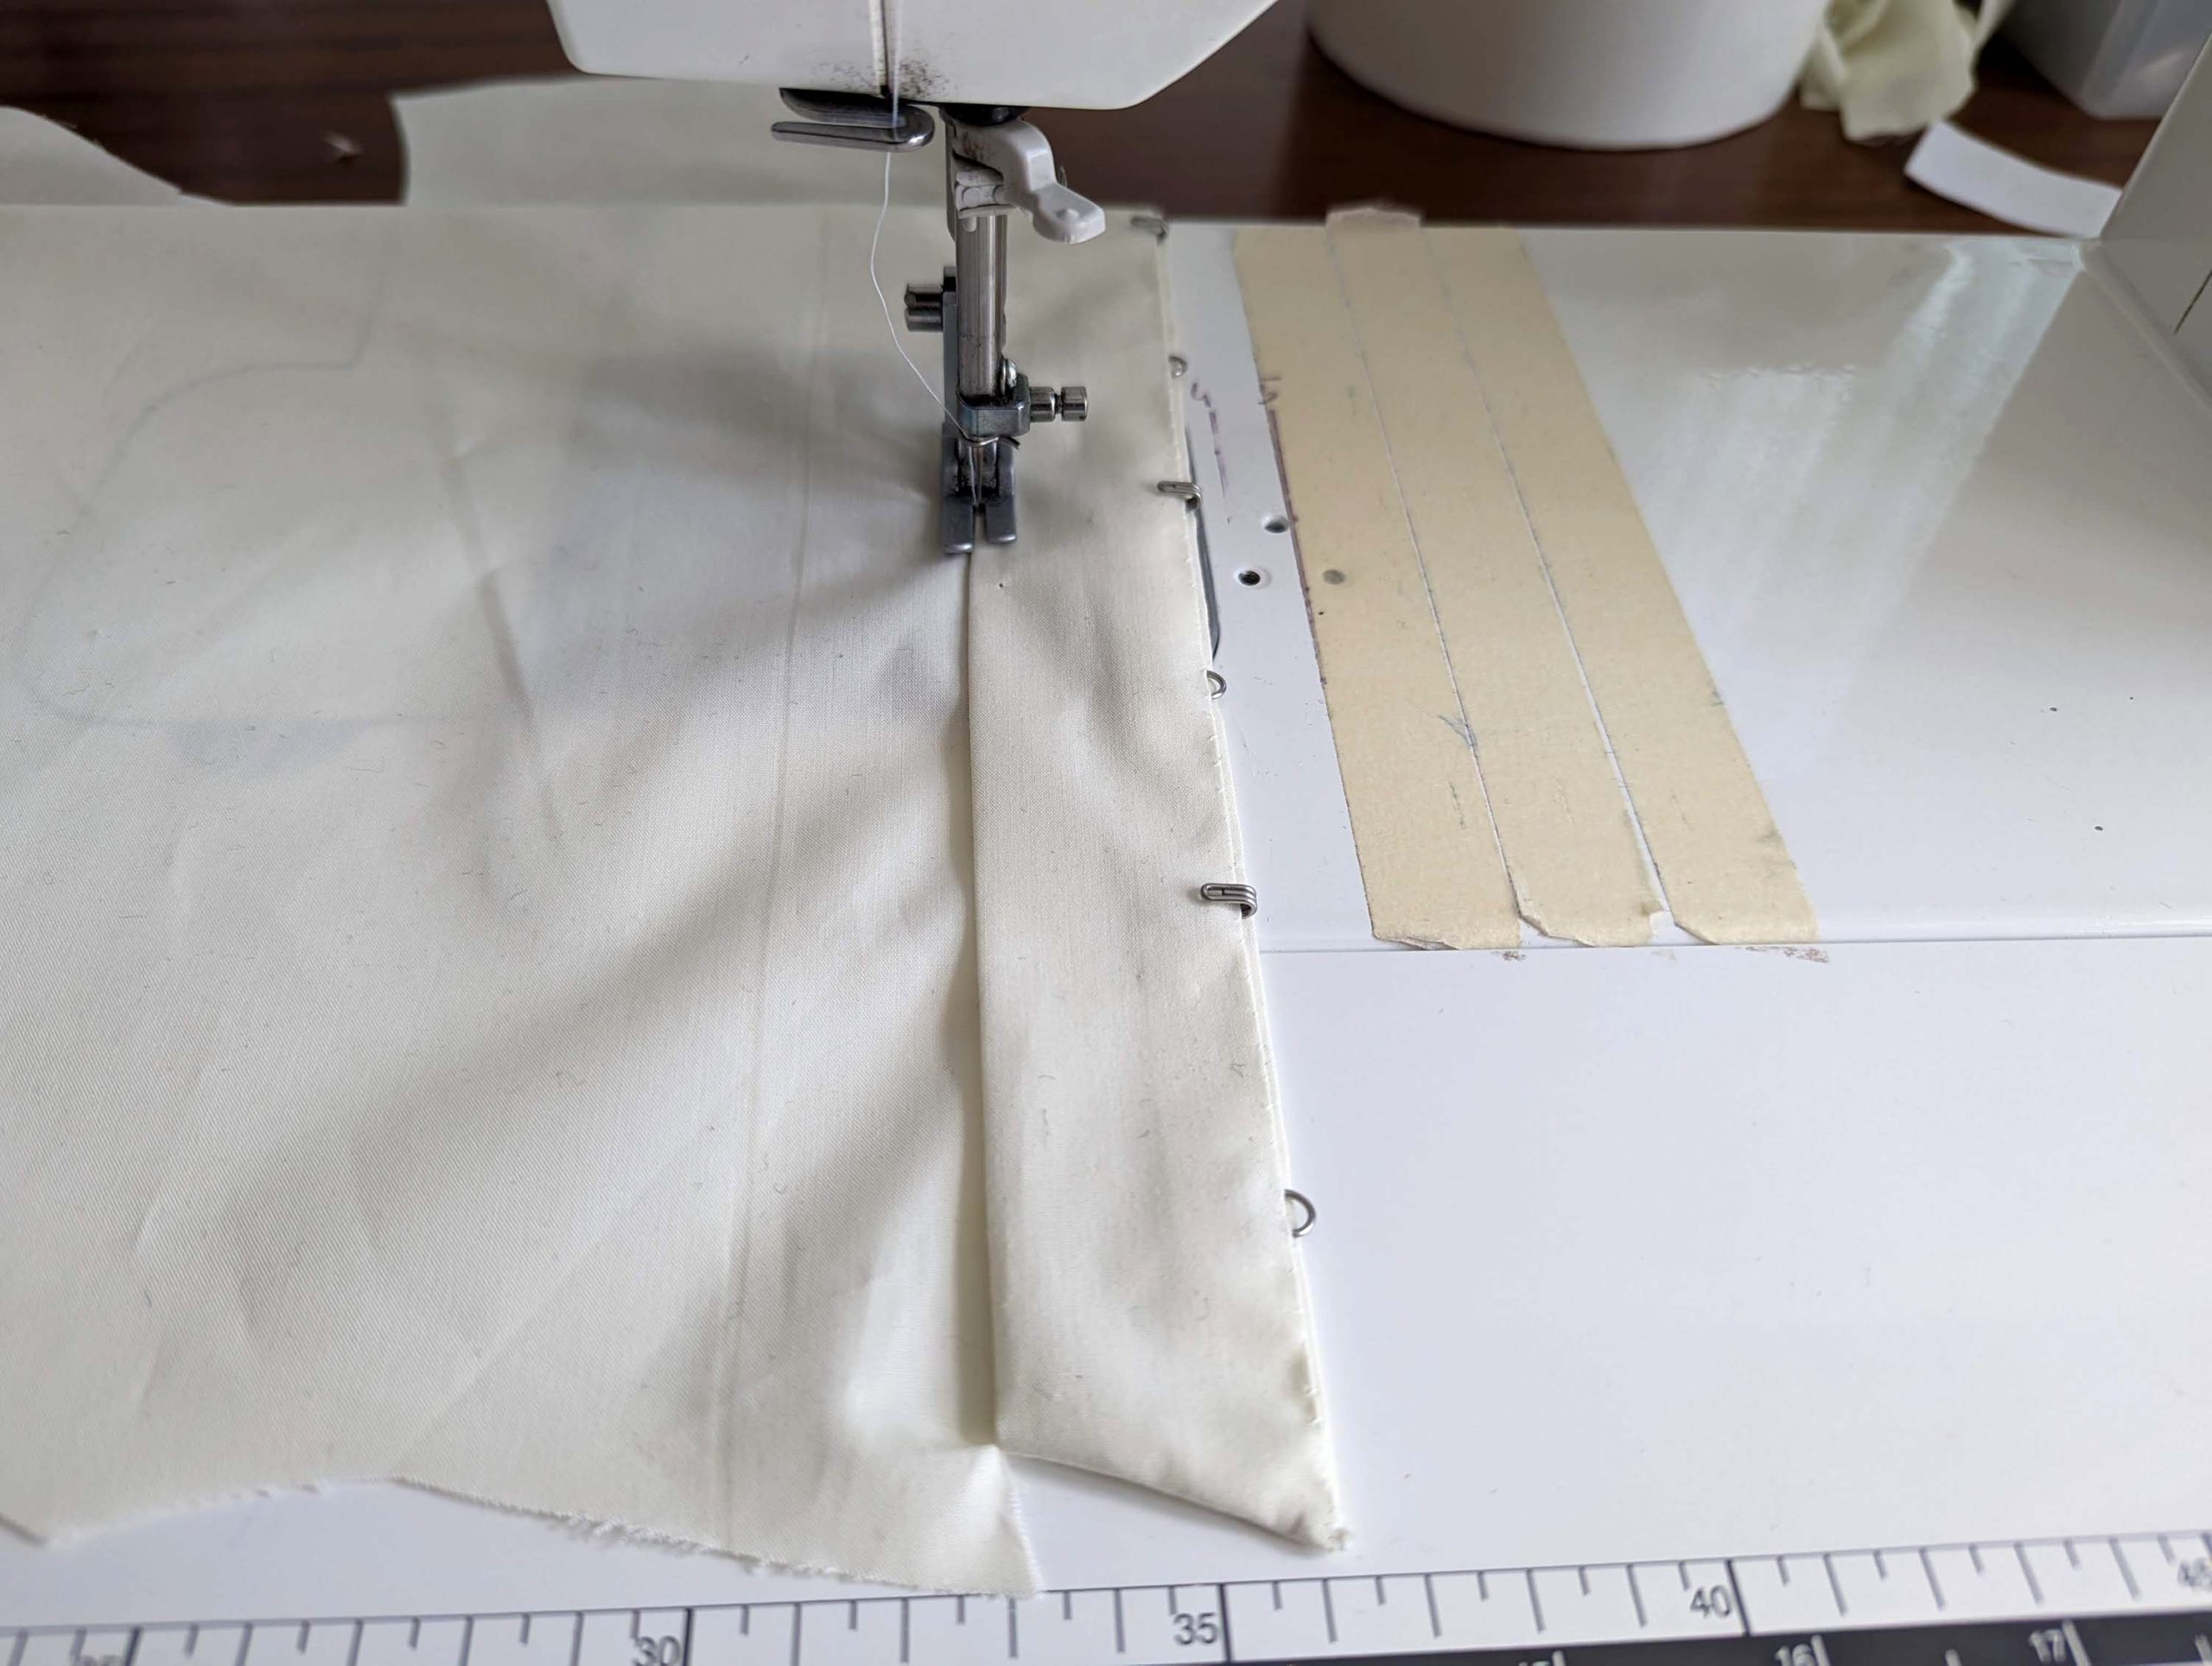
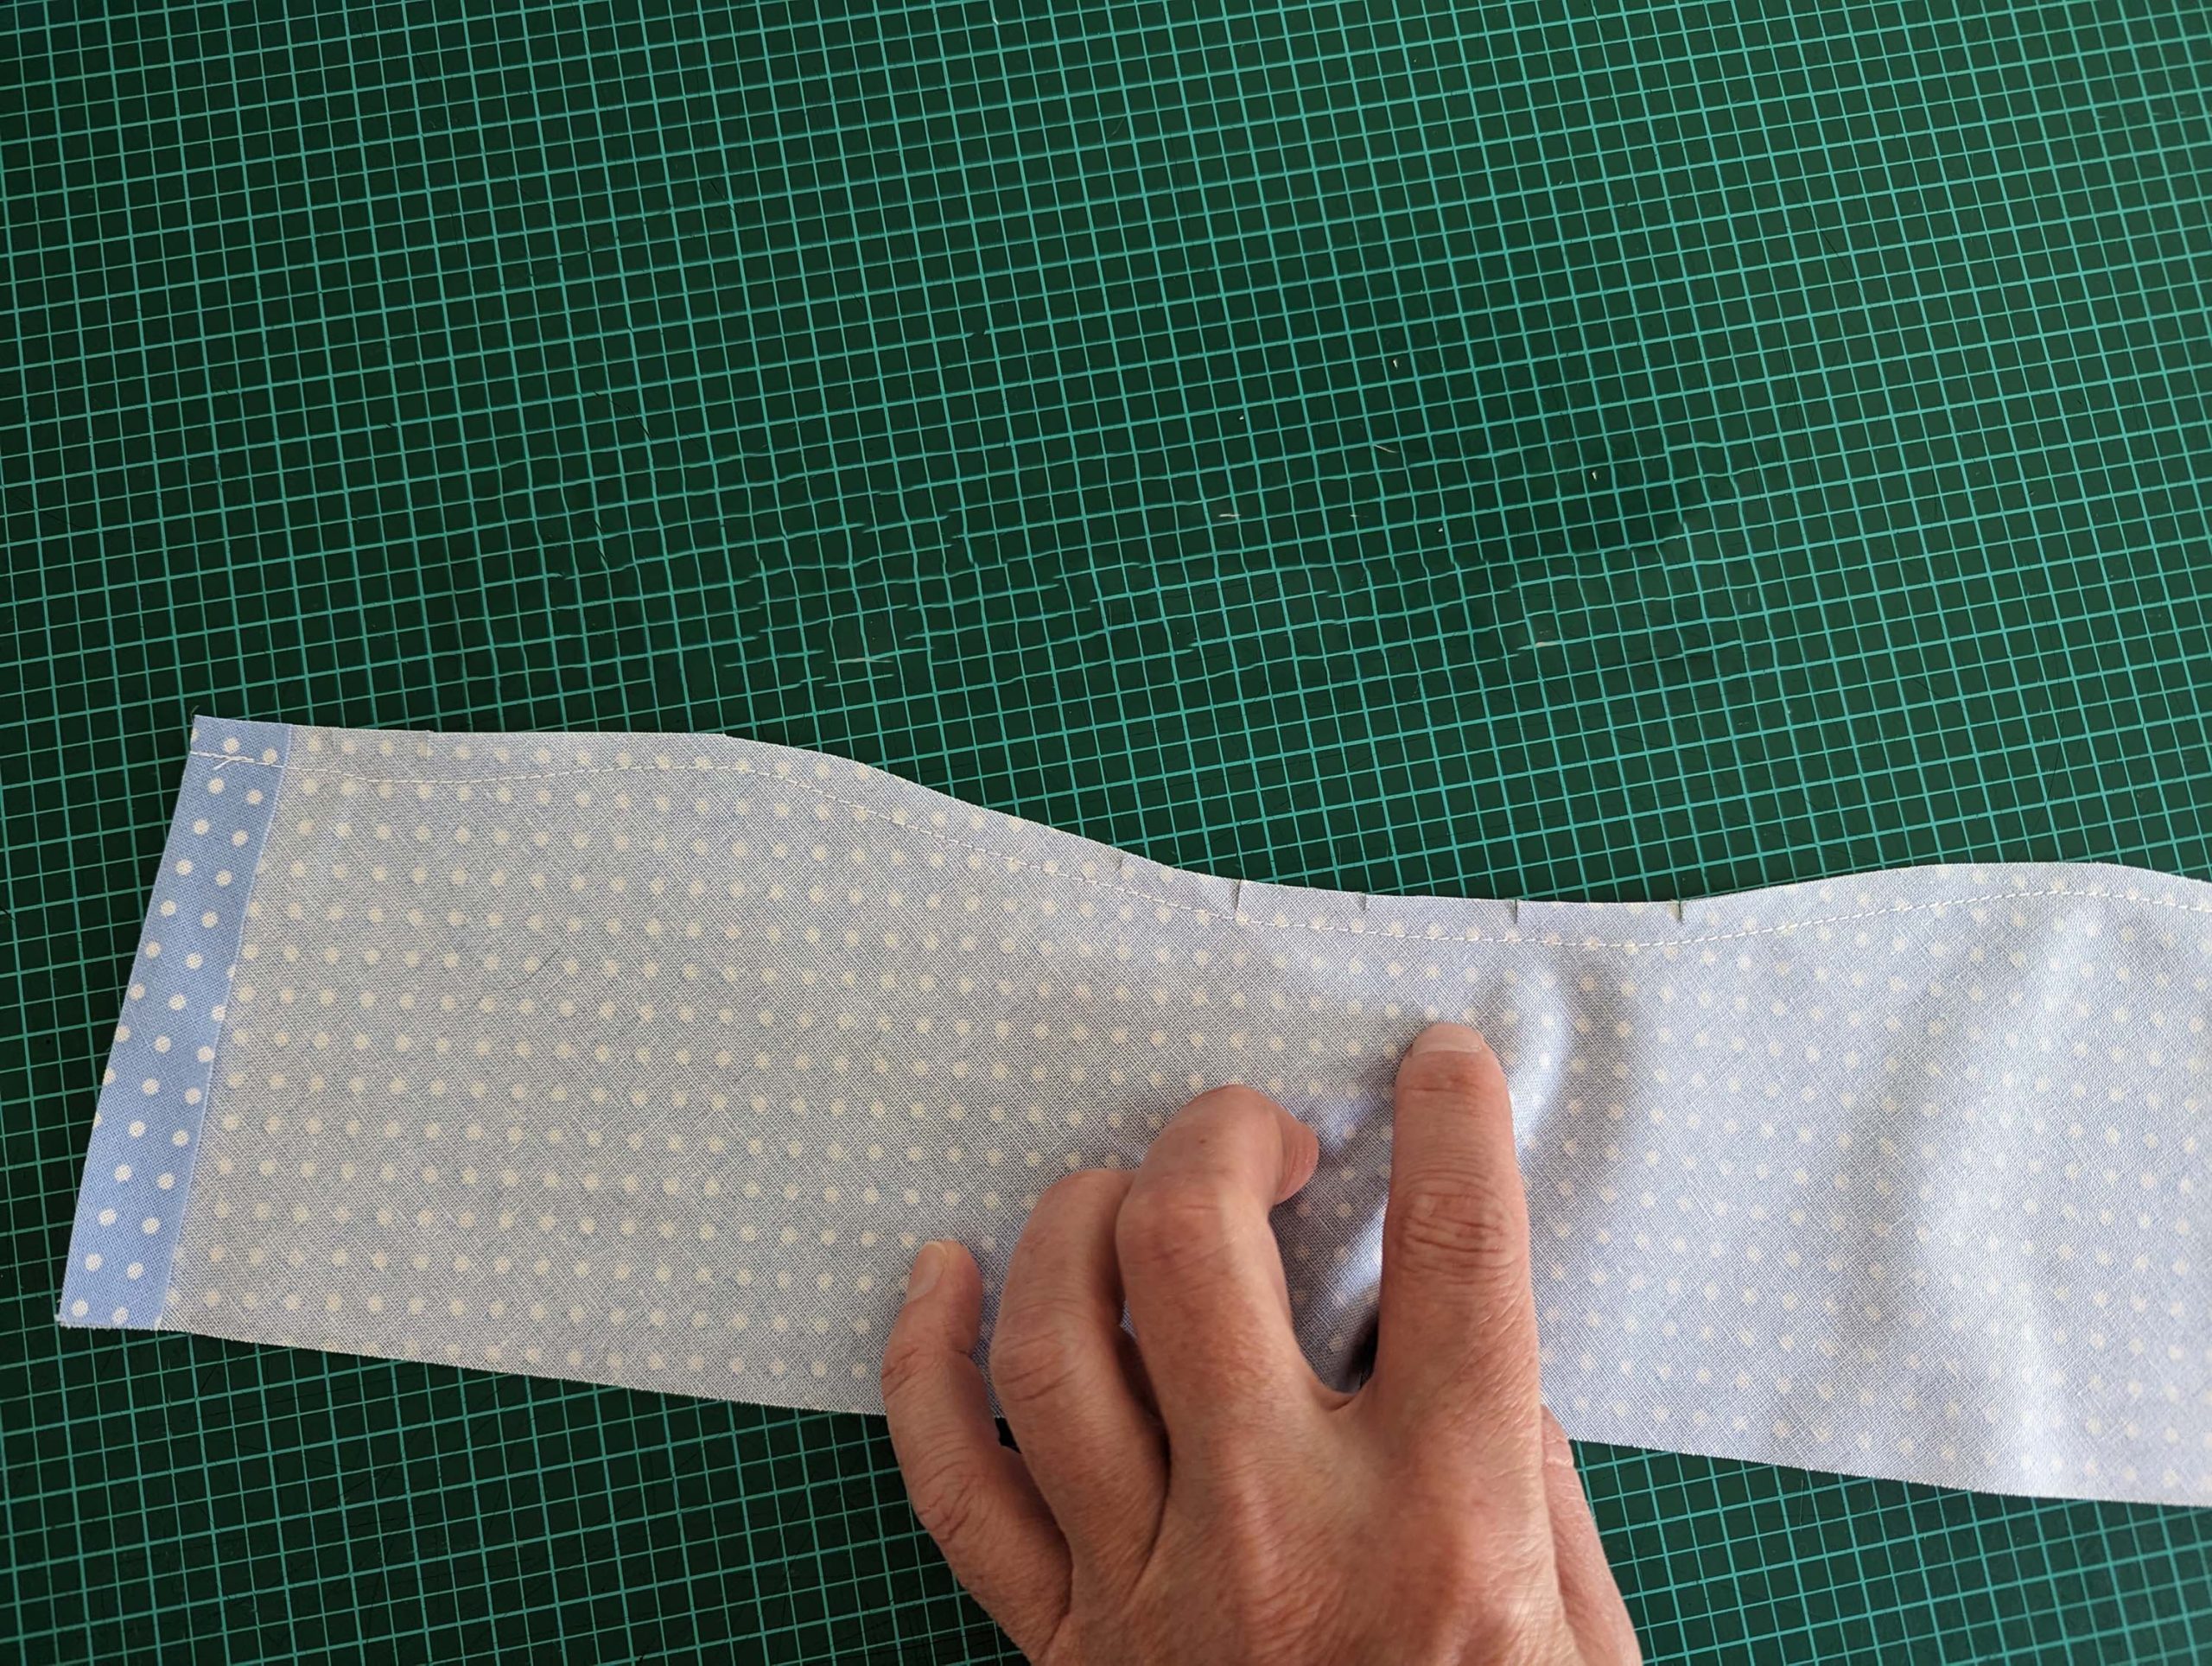
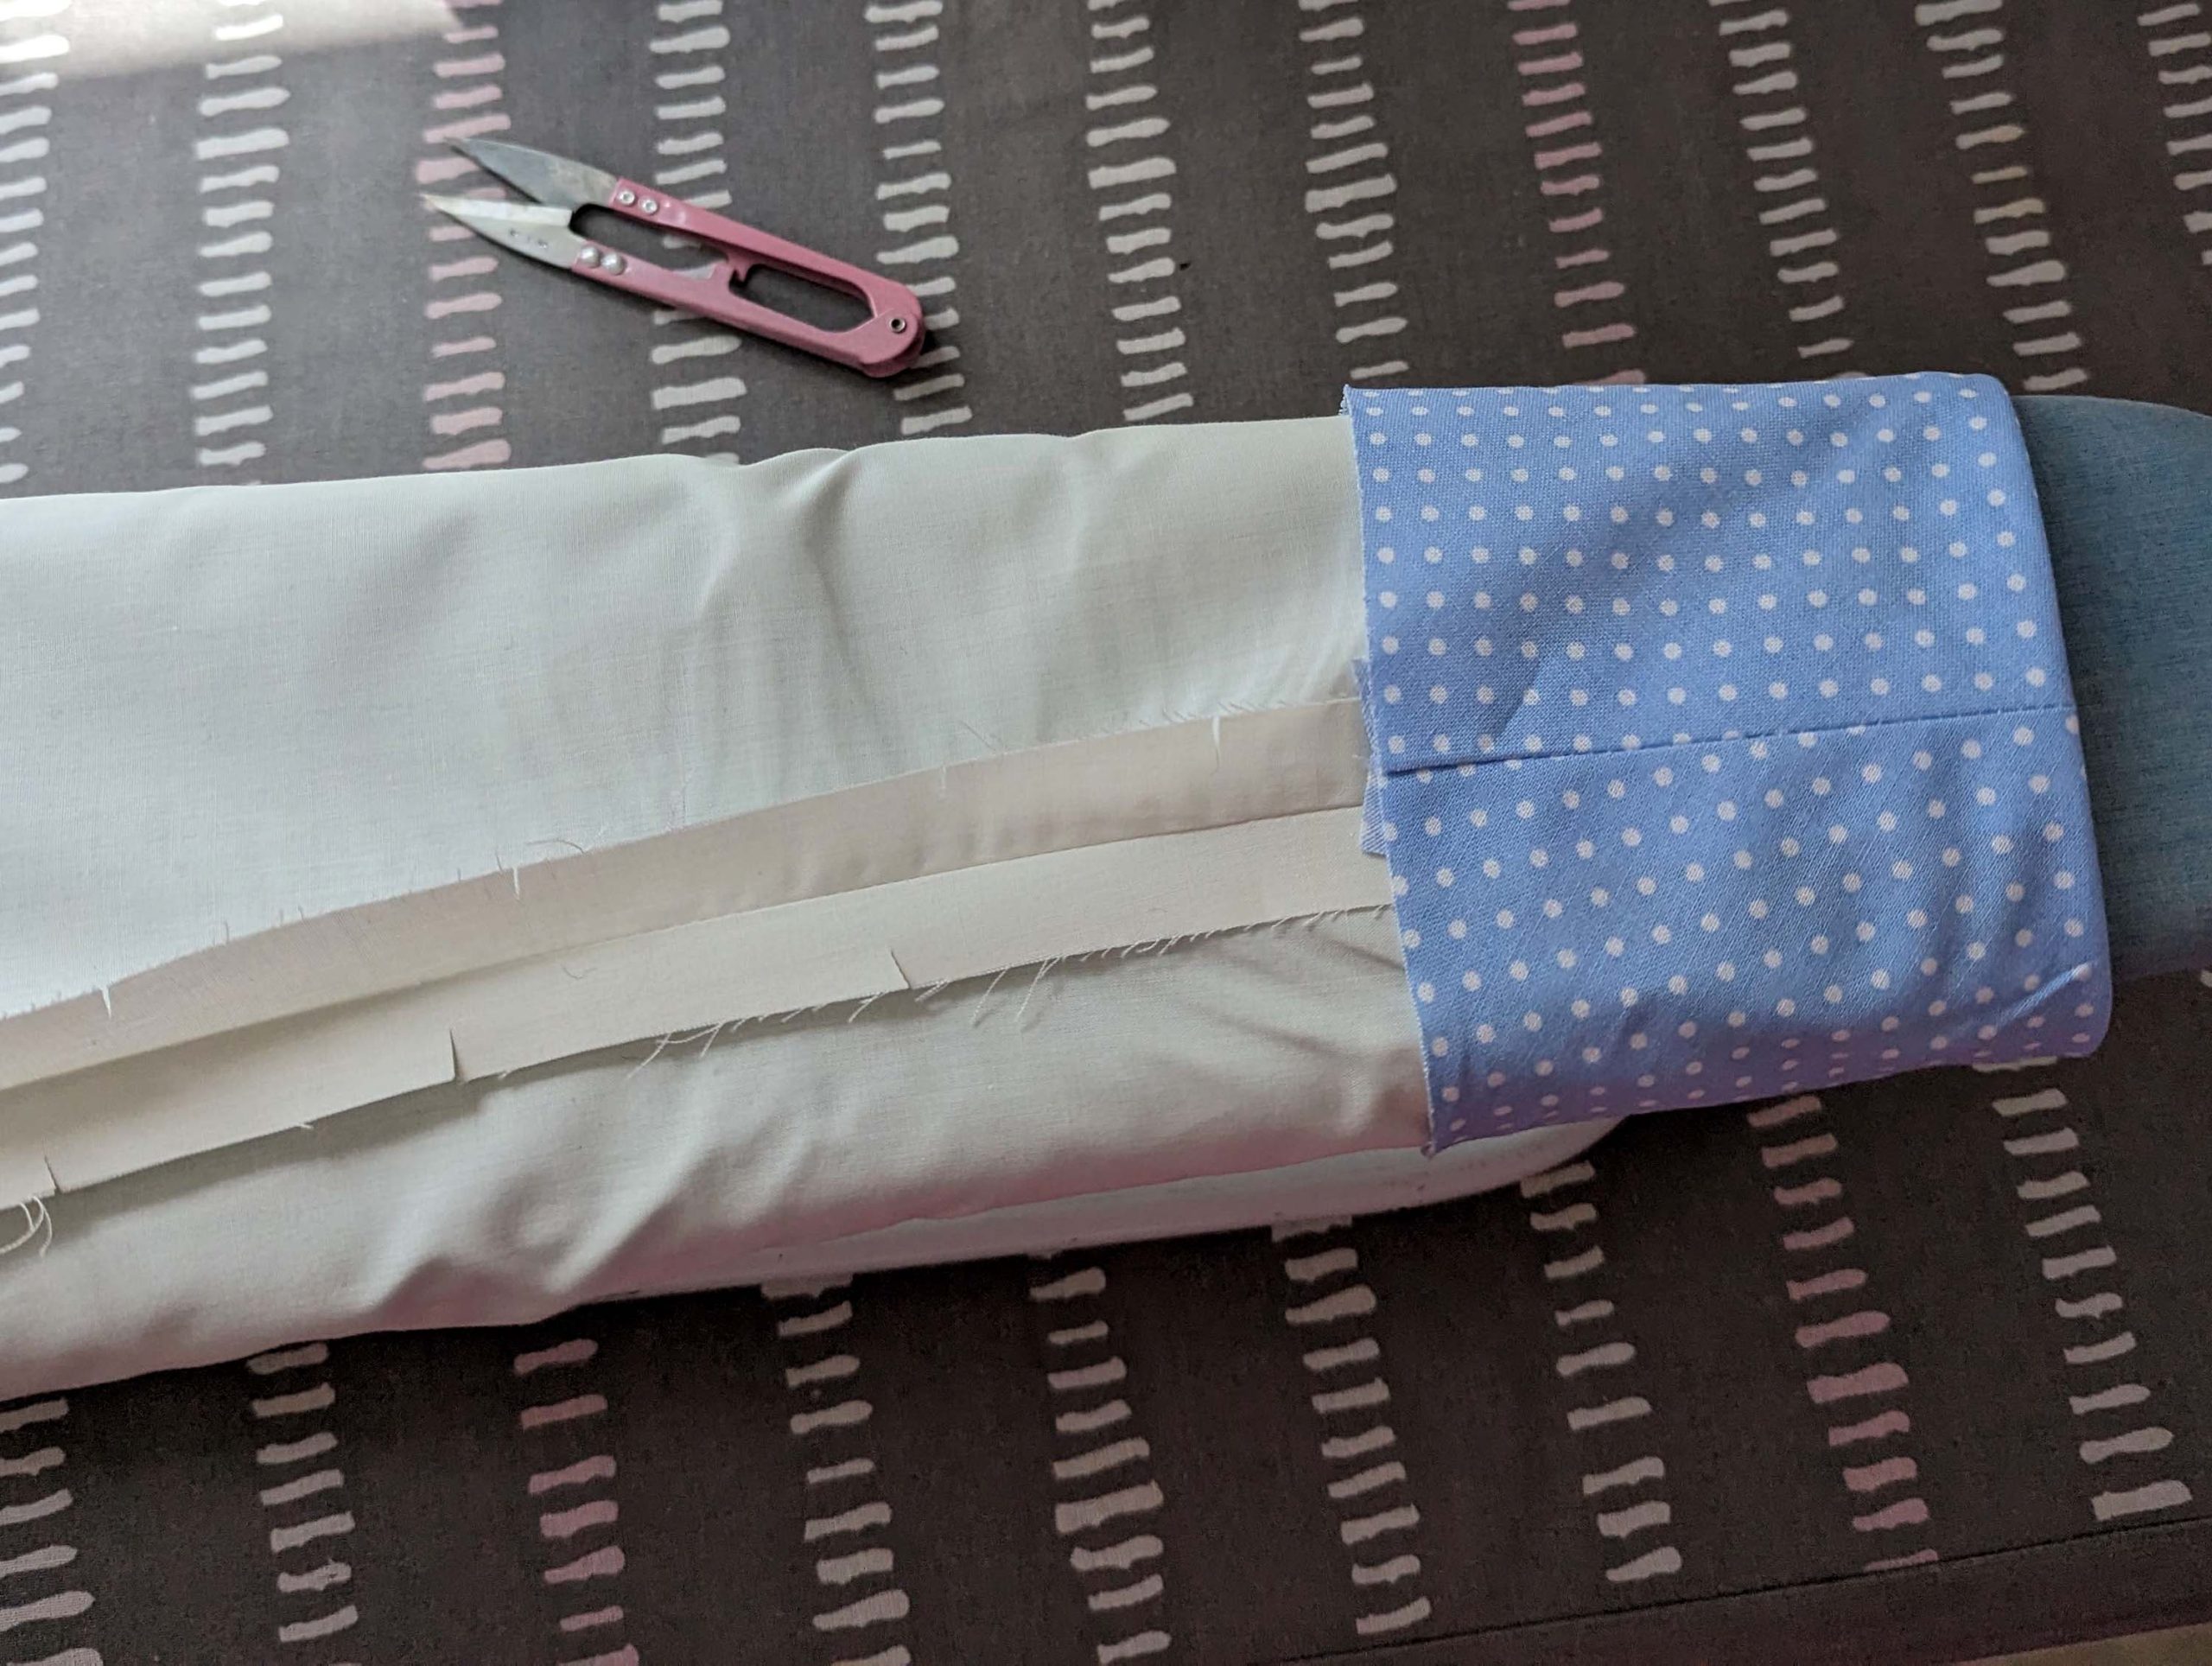
(3) To form the button band, take the front from the fashion fabric and double-turn in the center front along the dotted lines as indicated on the pattern. On the right side, stitch in place the button band along the center front, and on the left side topstitch along the edge. The width of the finished button band is 1” (2,5cm). Reinforce with fusible before if wanted – ok, this is not HA. (The second picture shows a doubled placket to hide buttons underneath.)
Näh das Schulternaht, right sides together and press open the seam allowances.

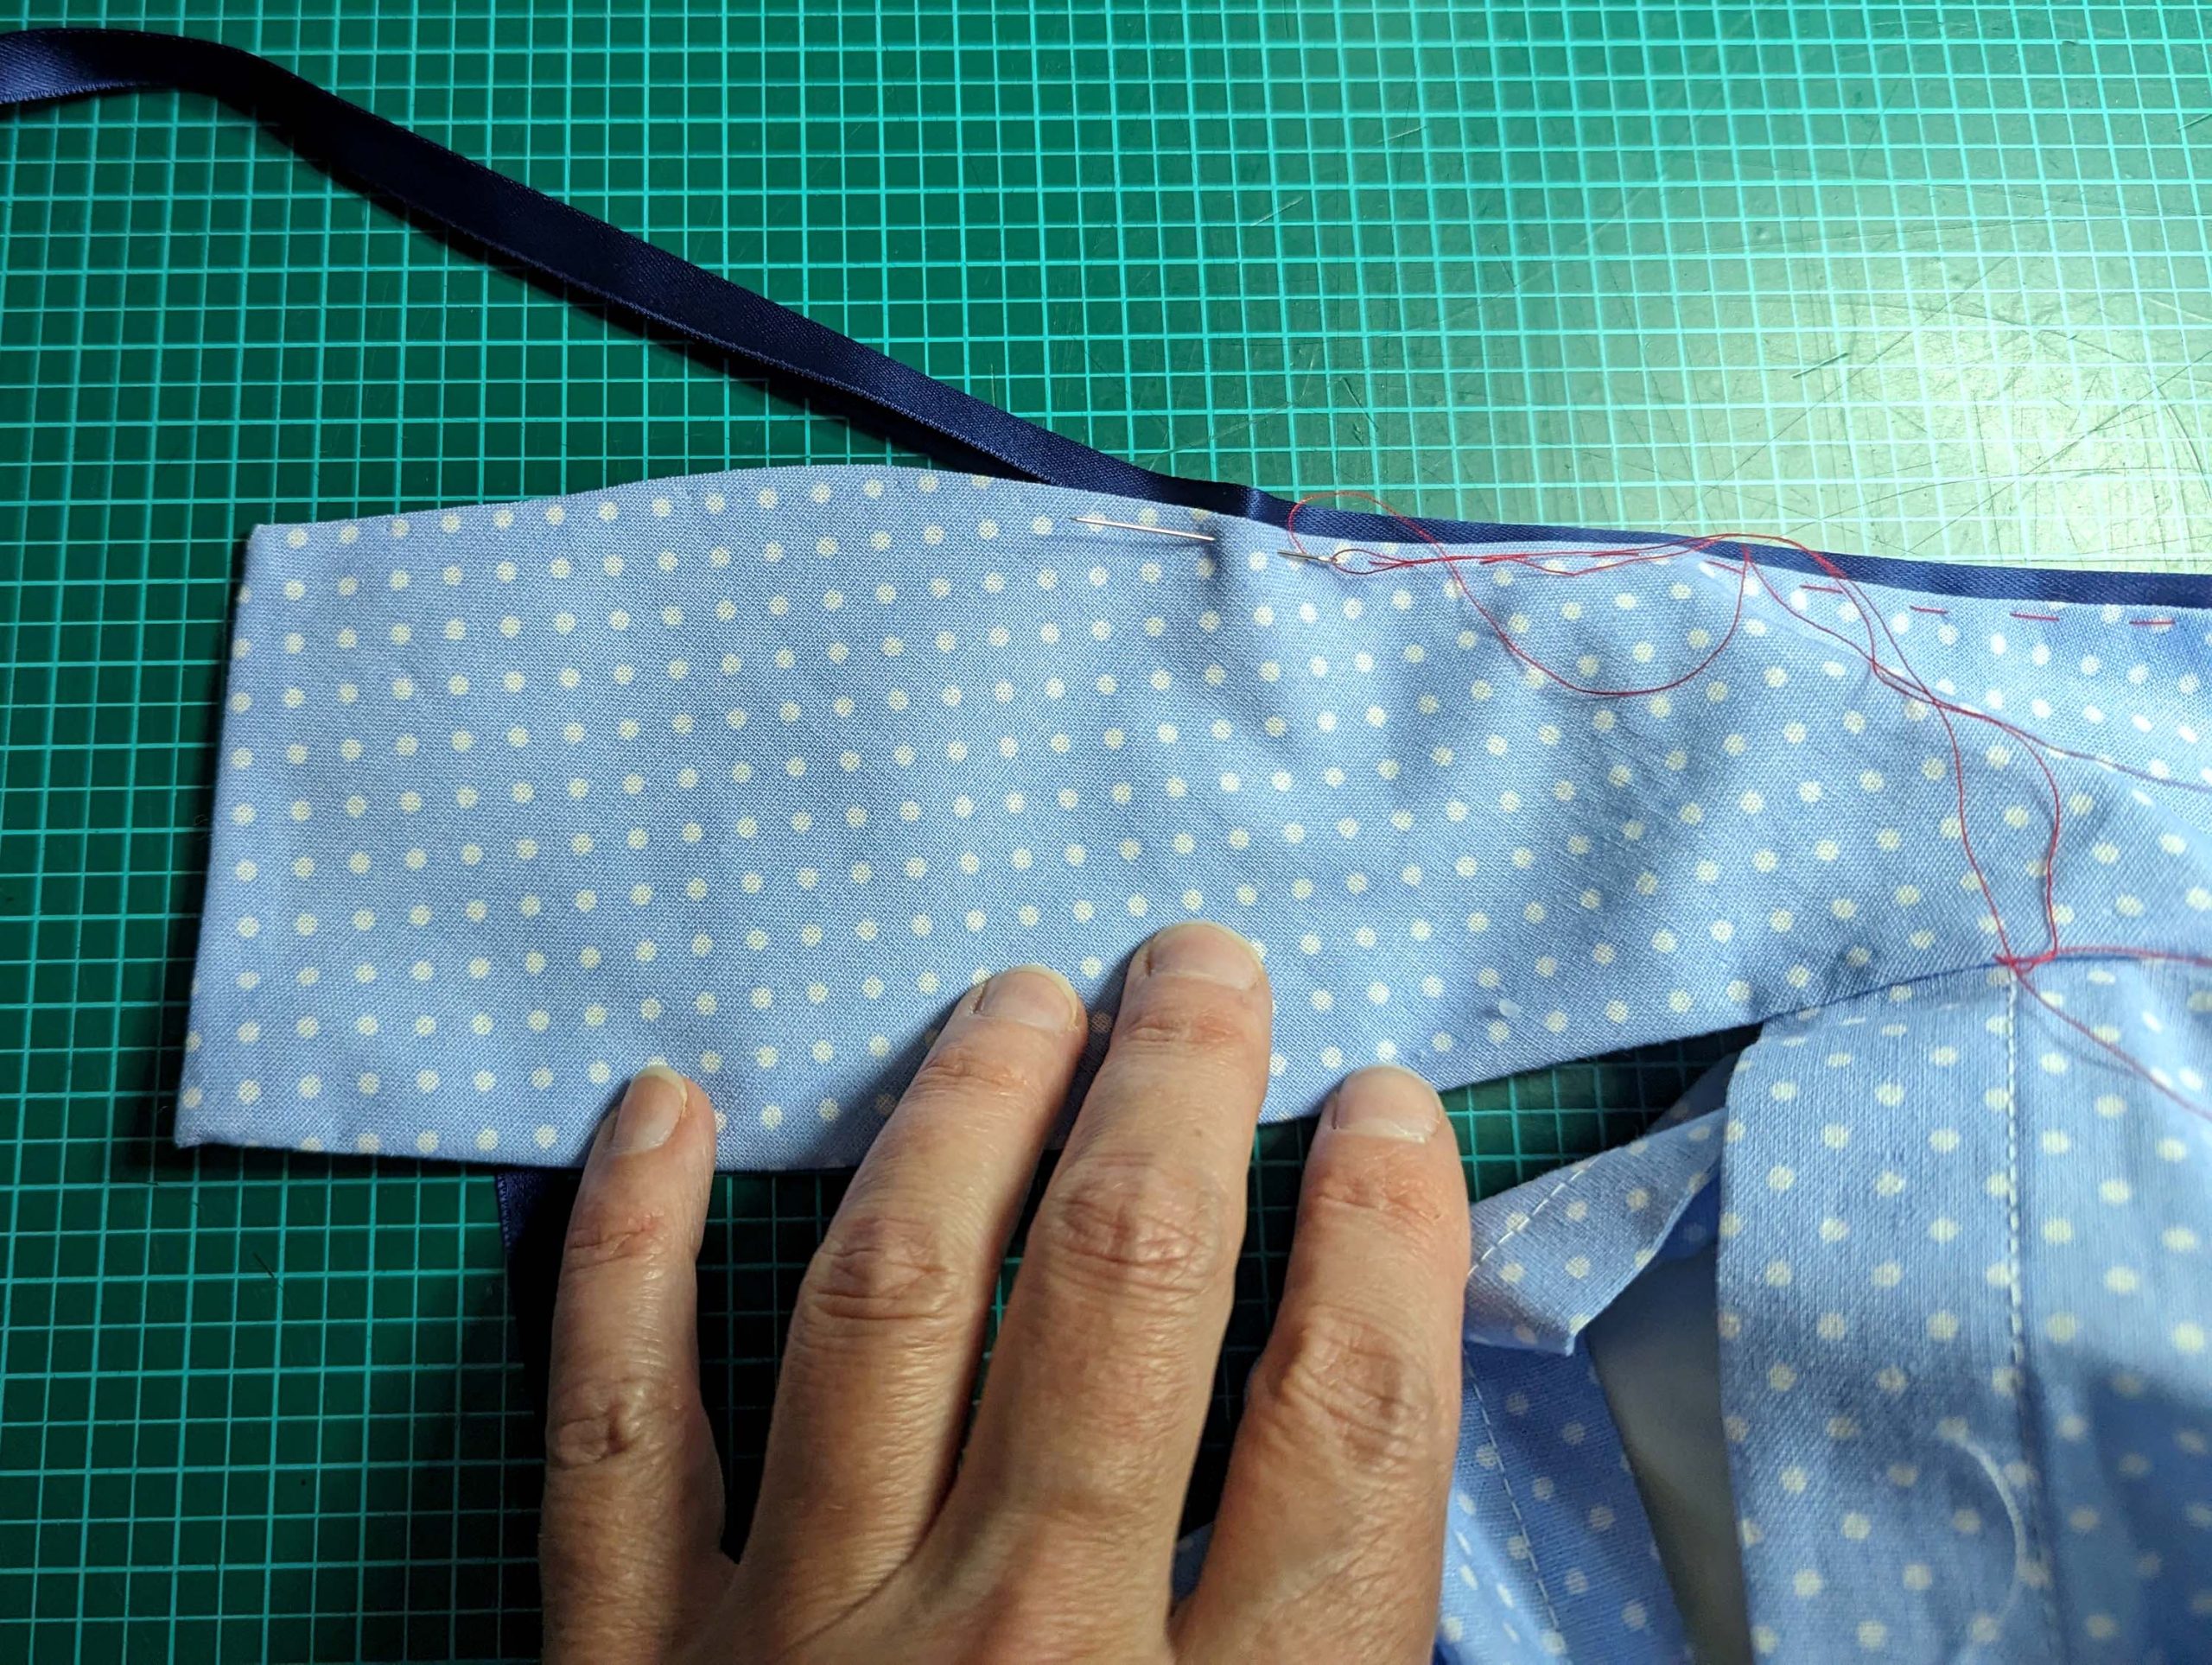
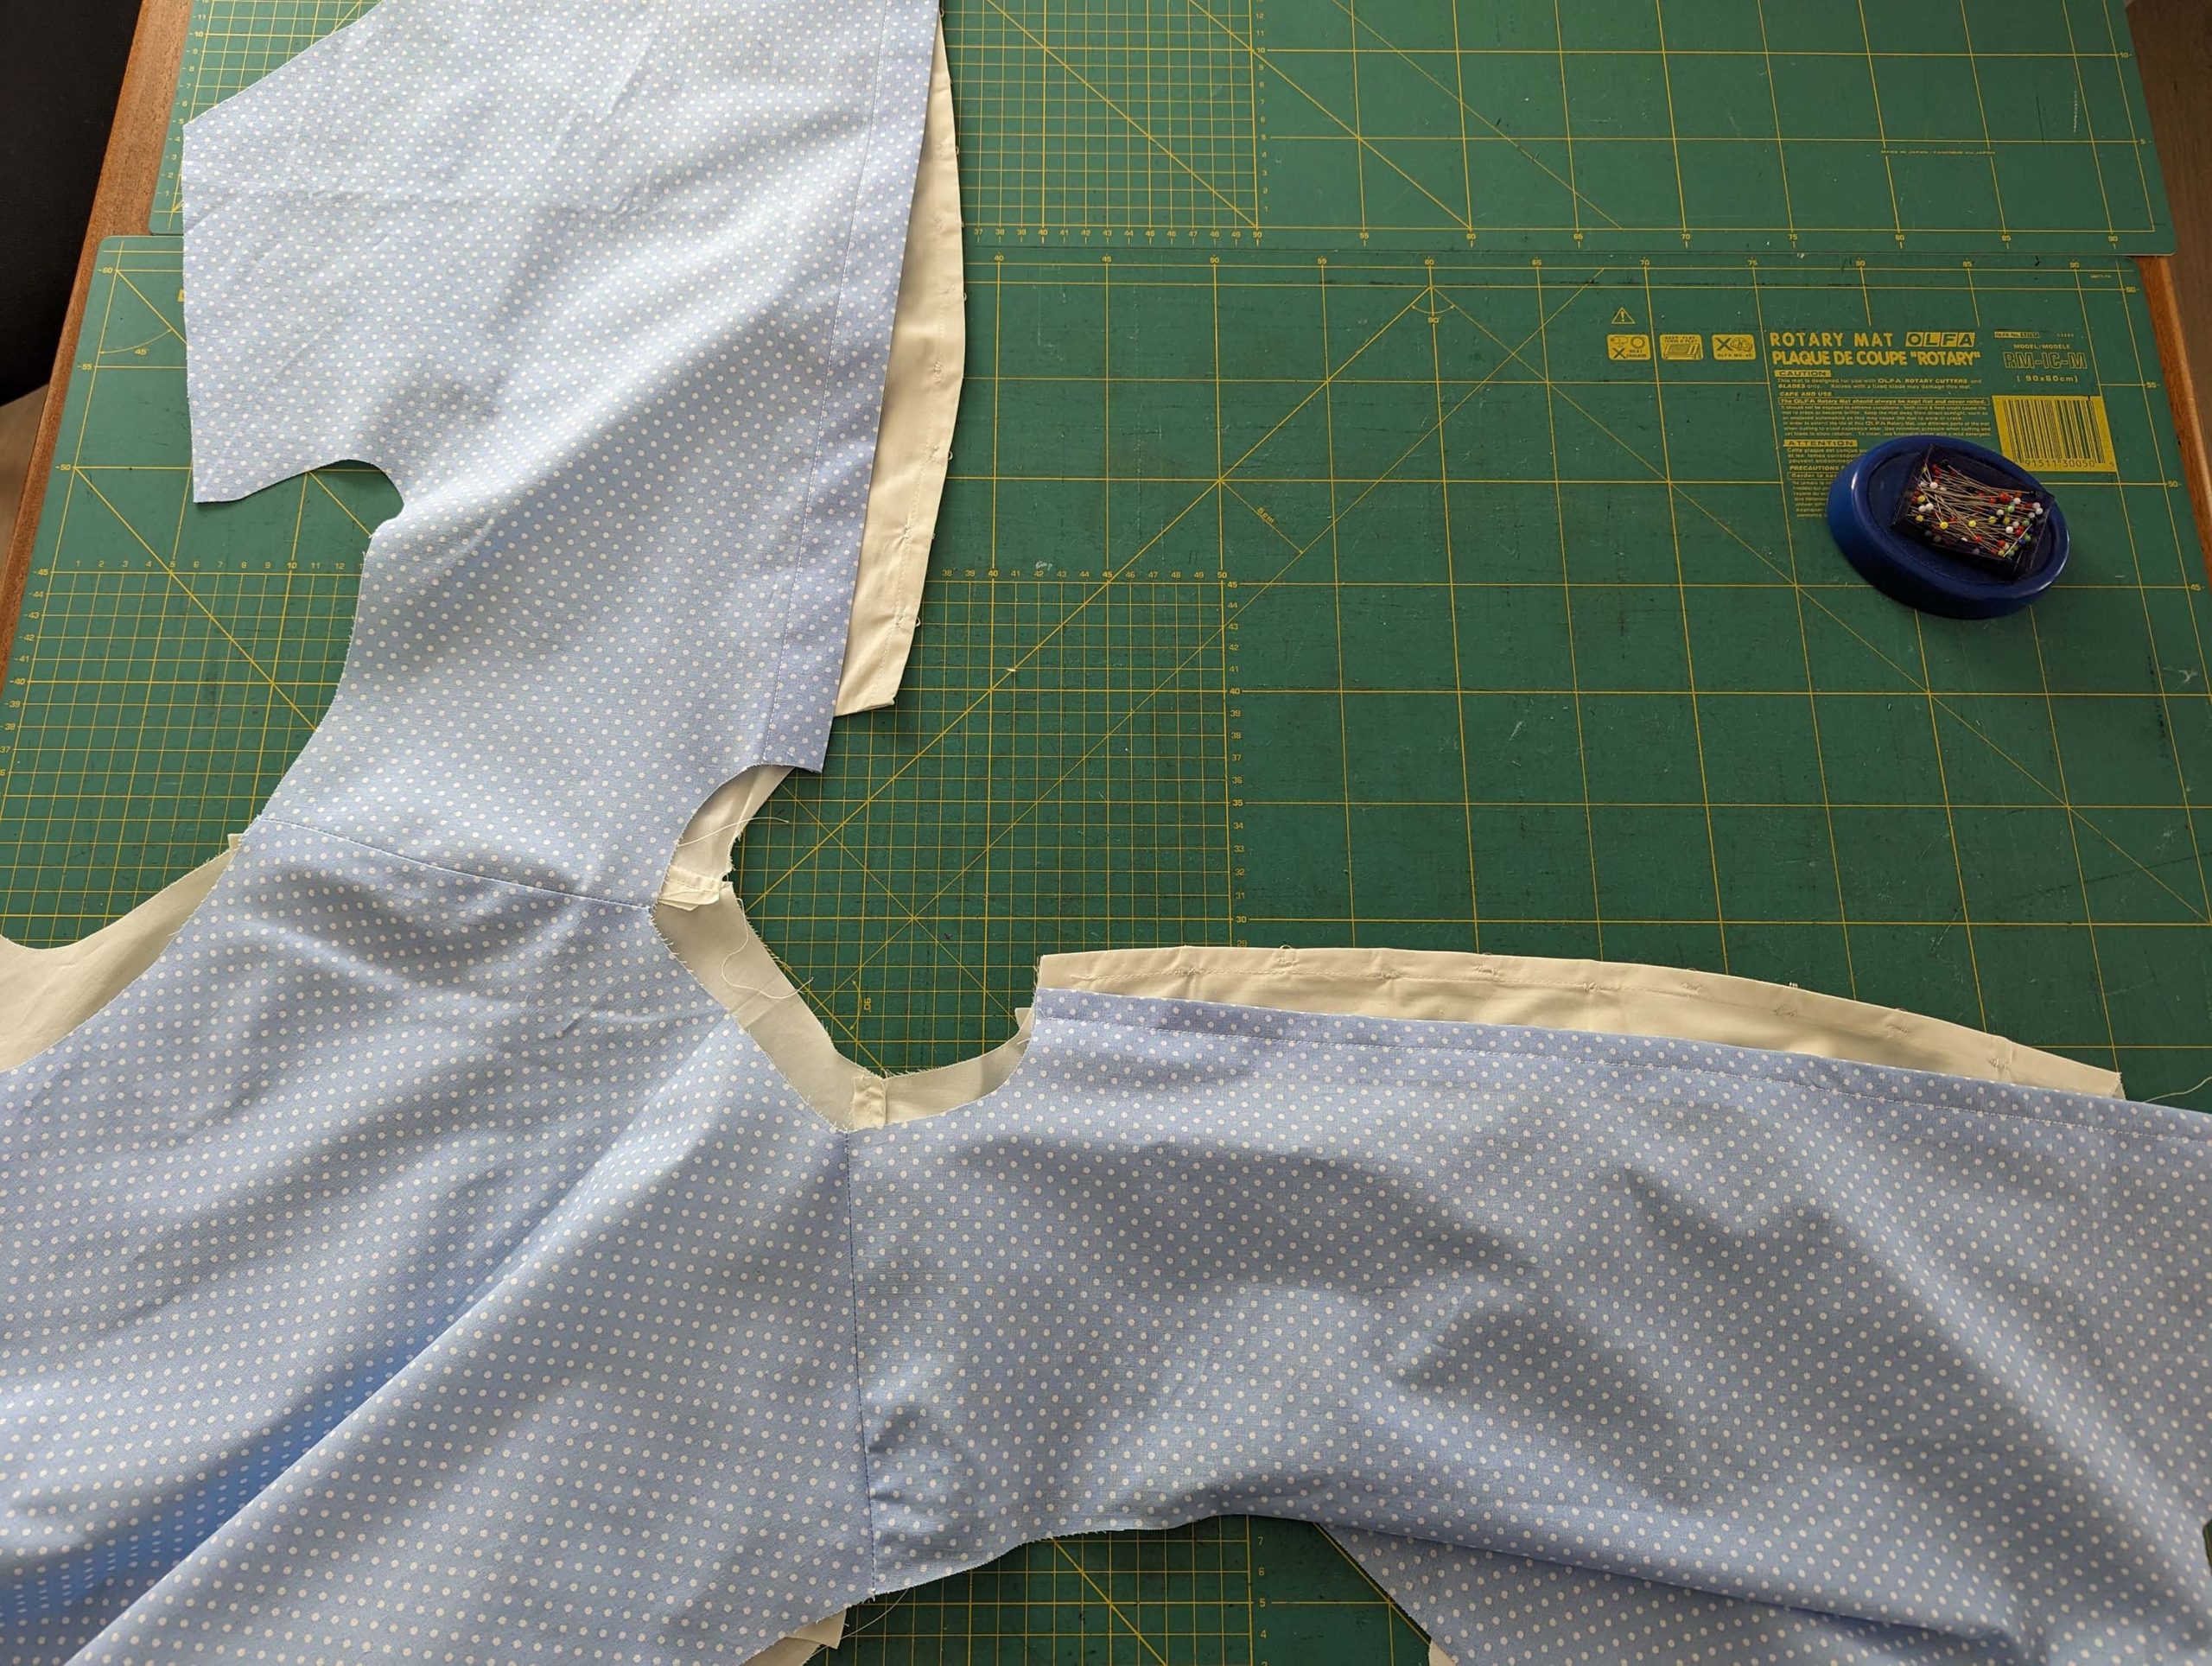
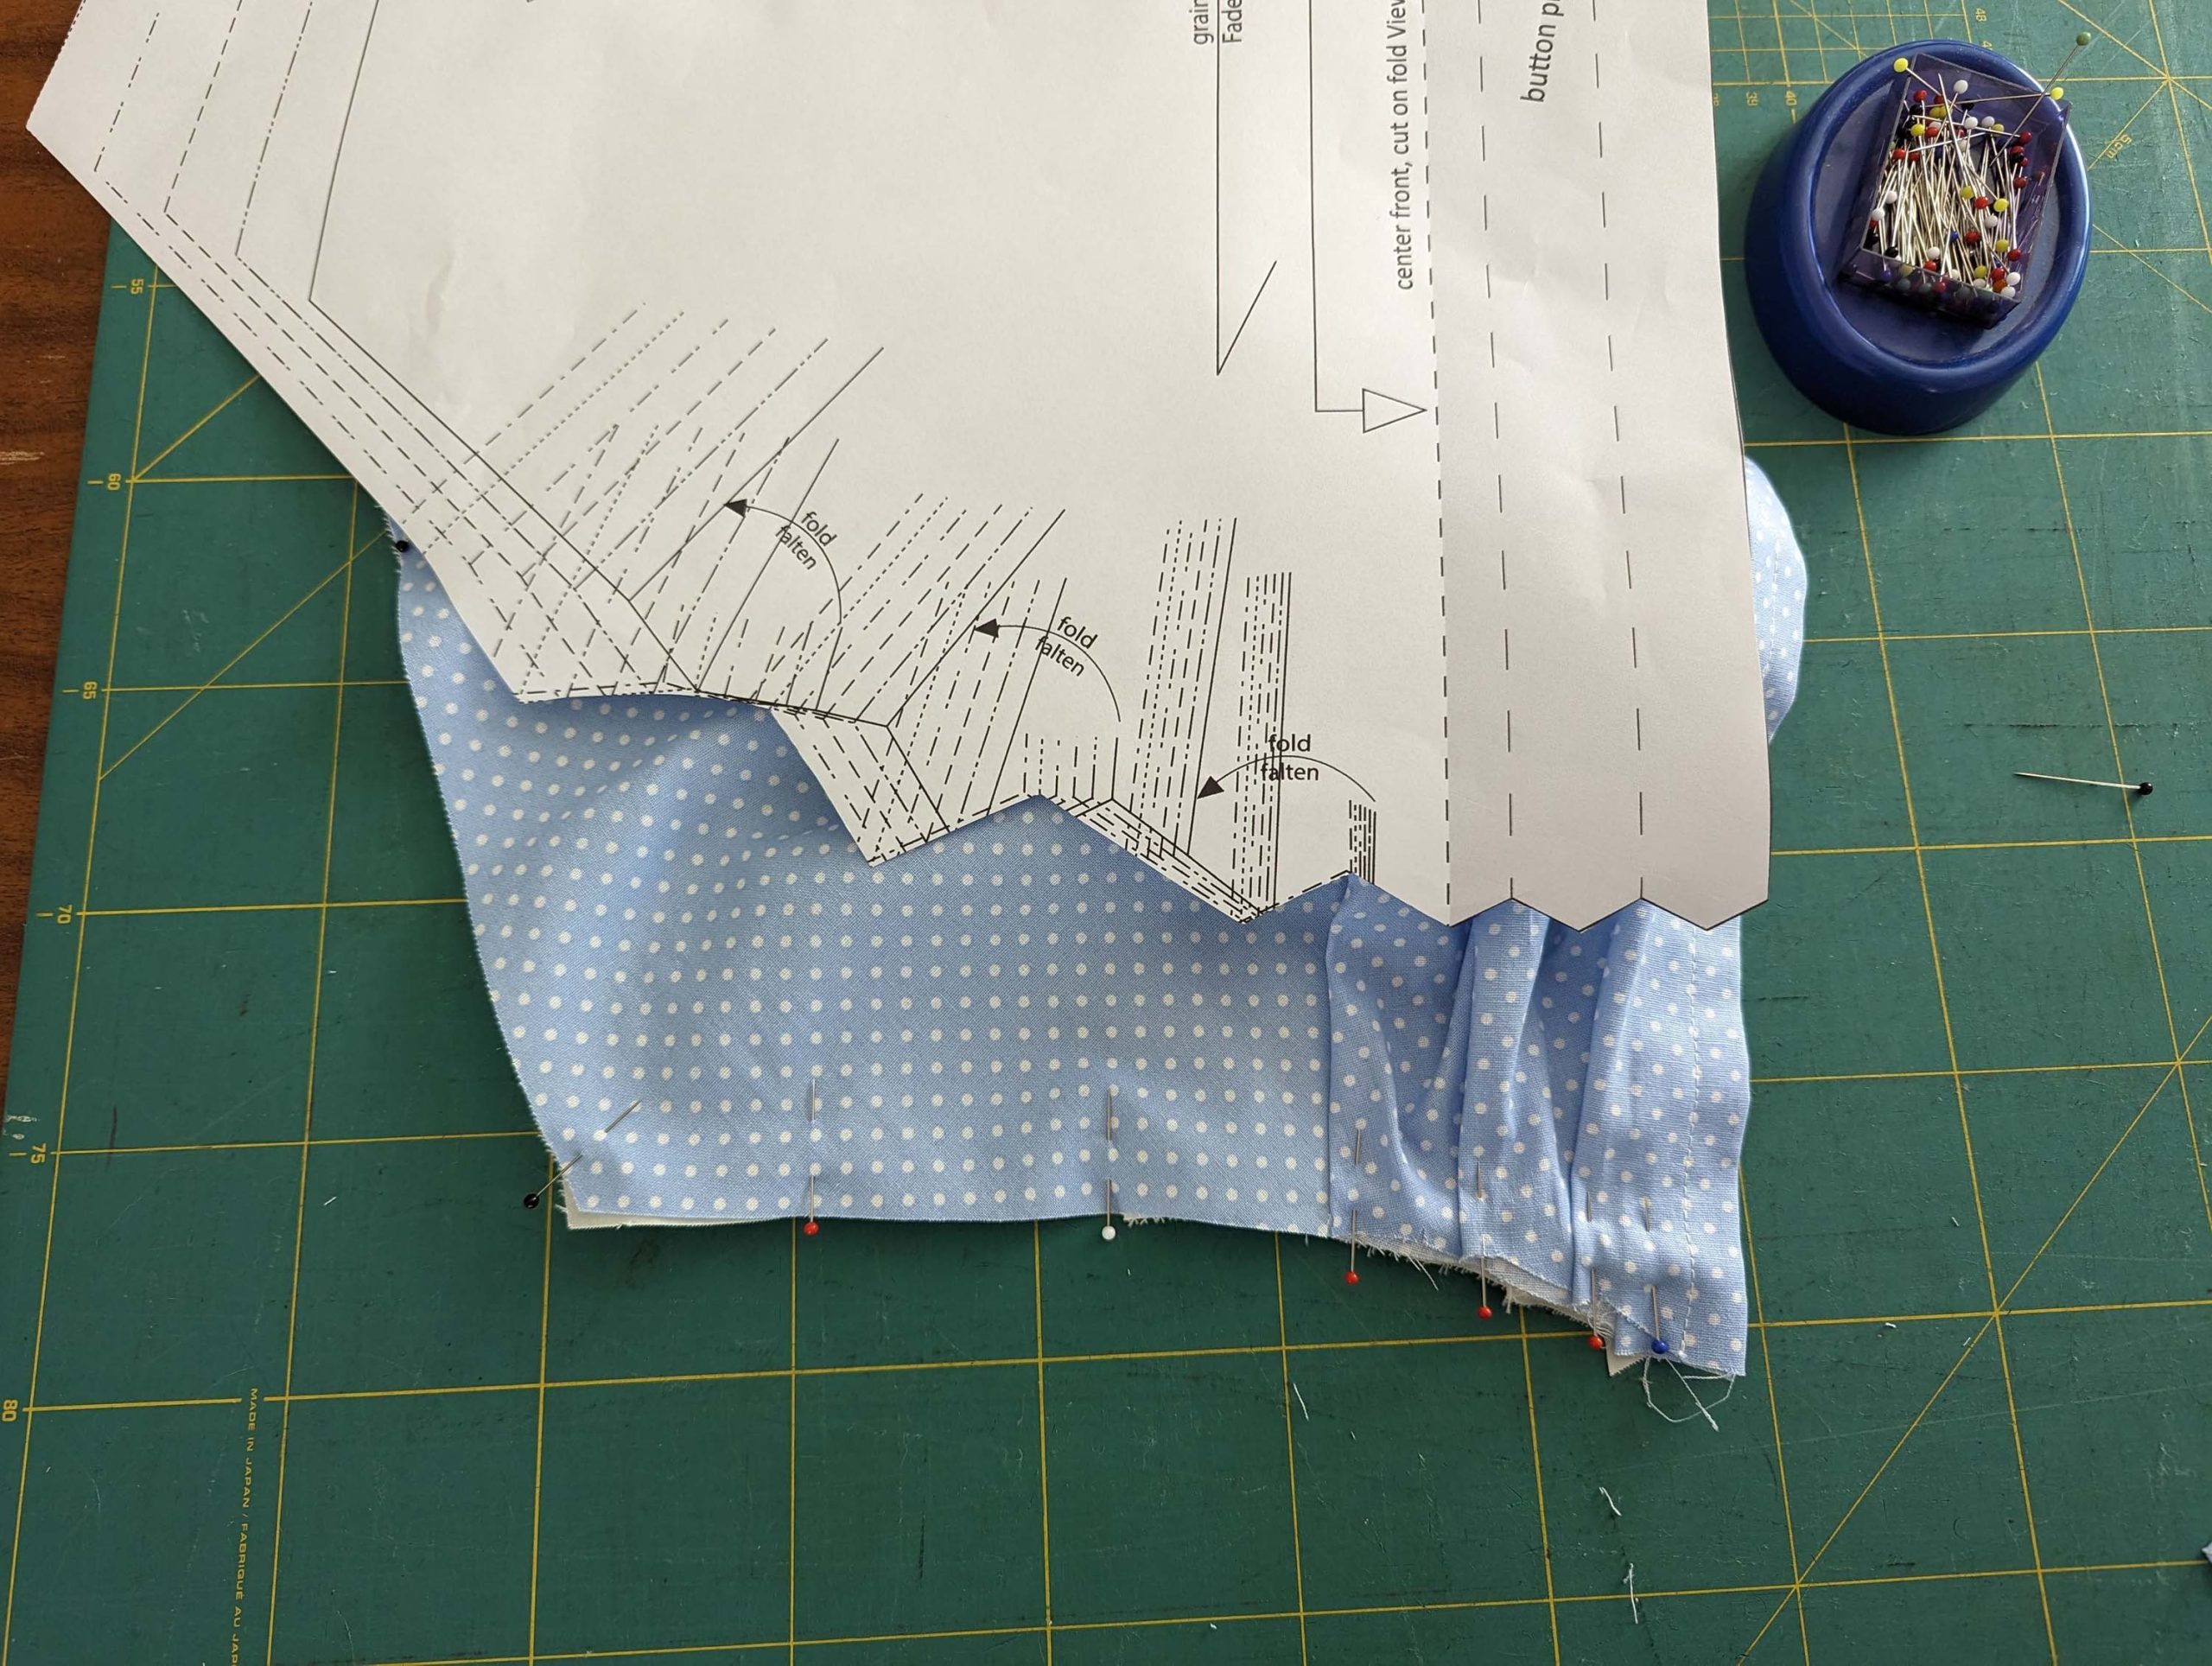
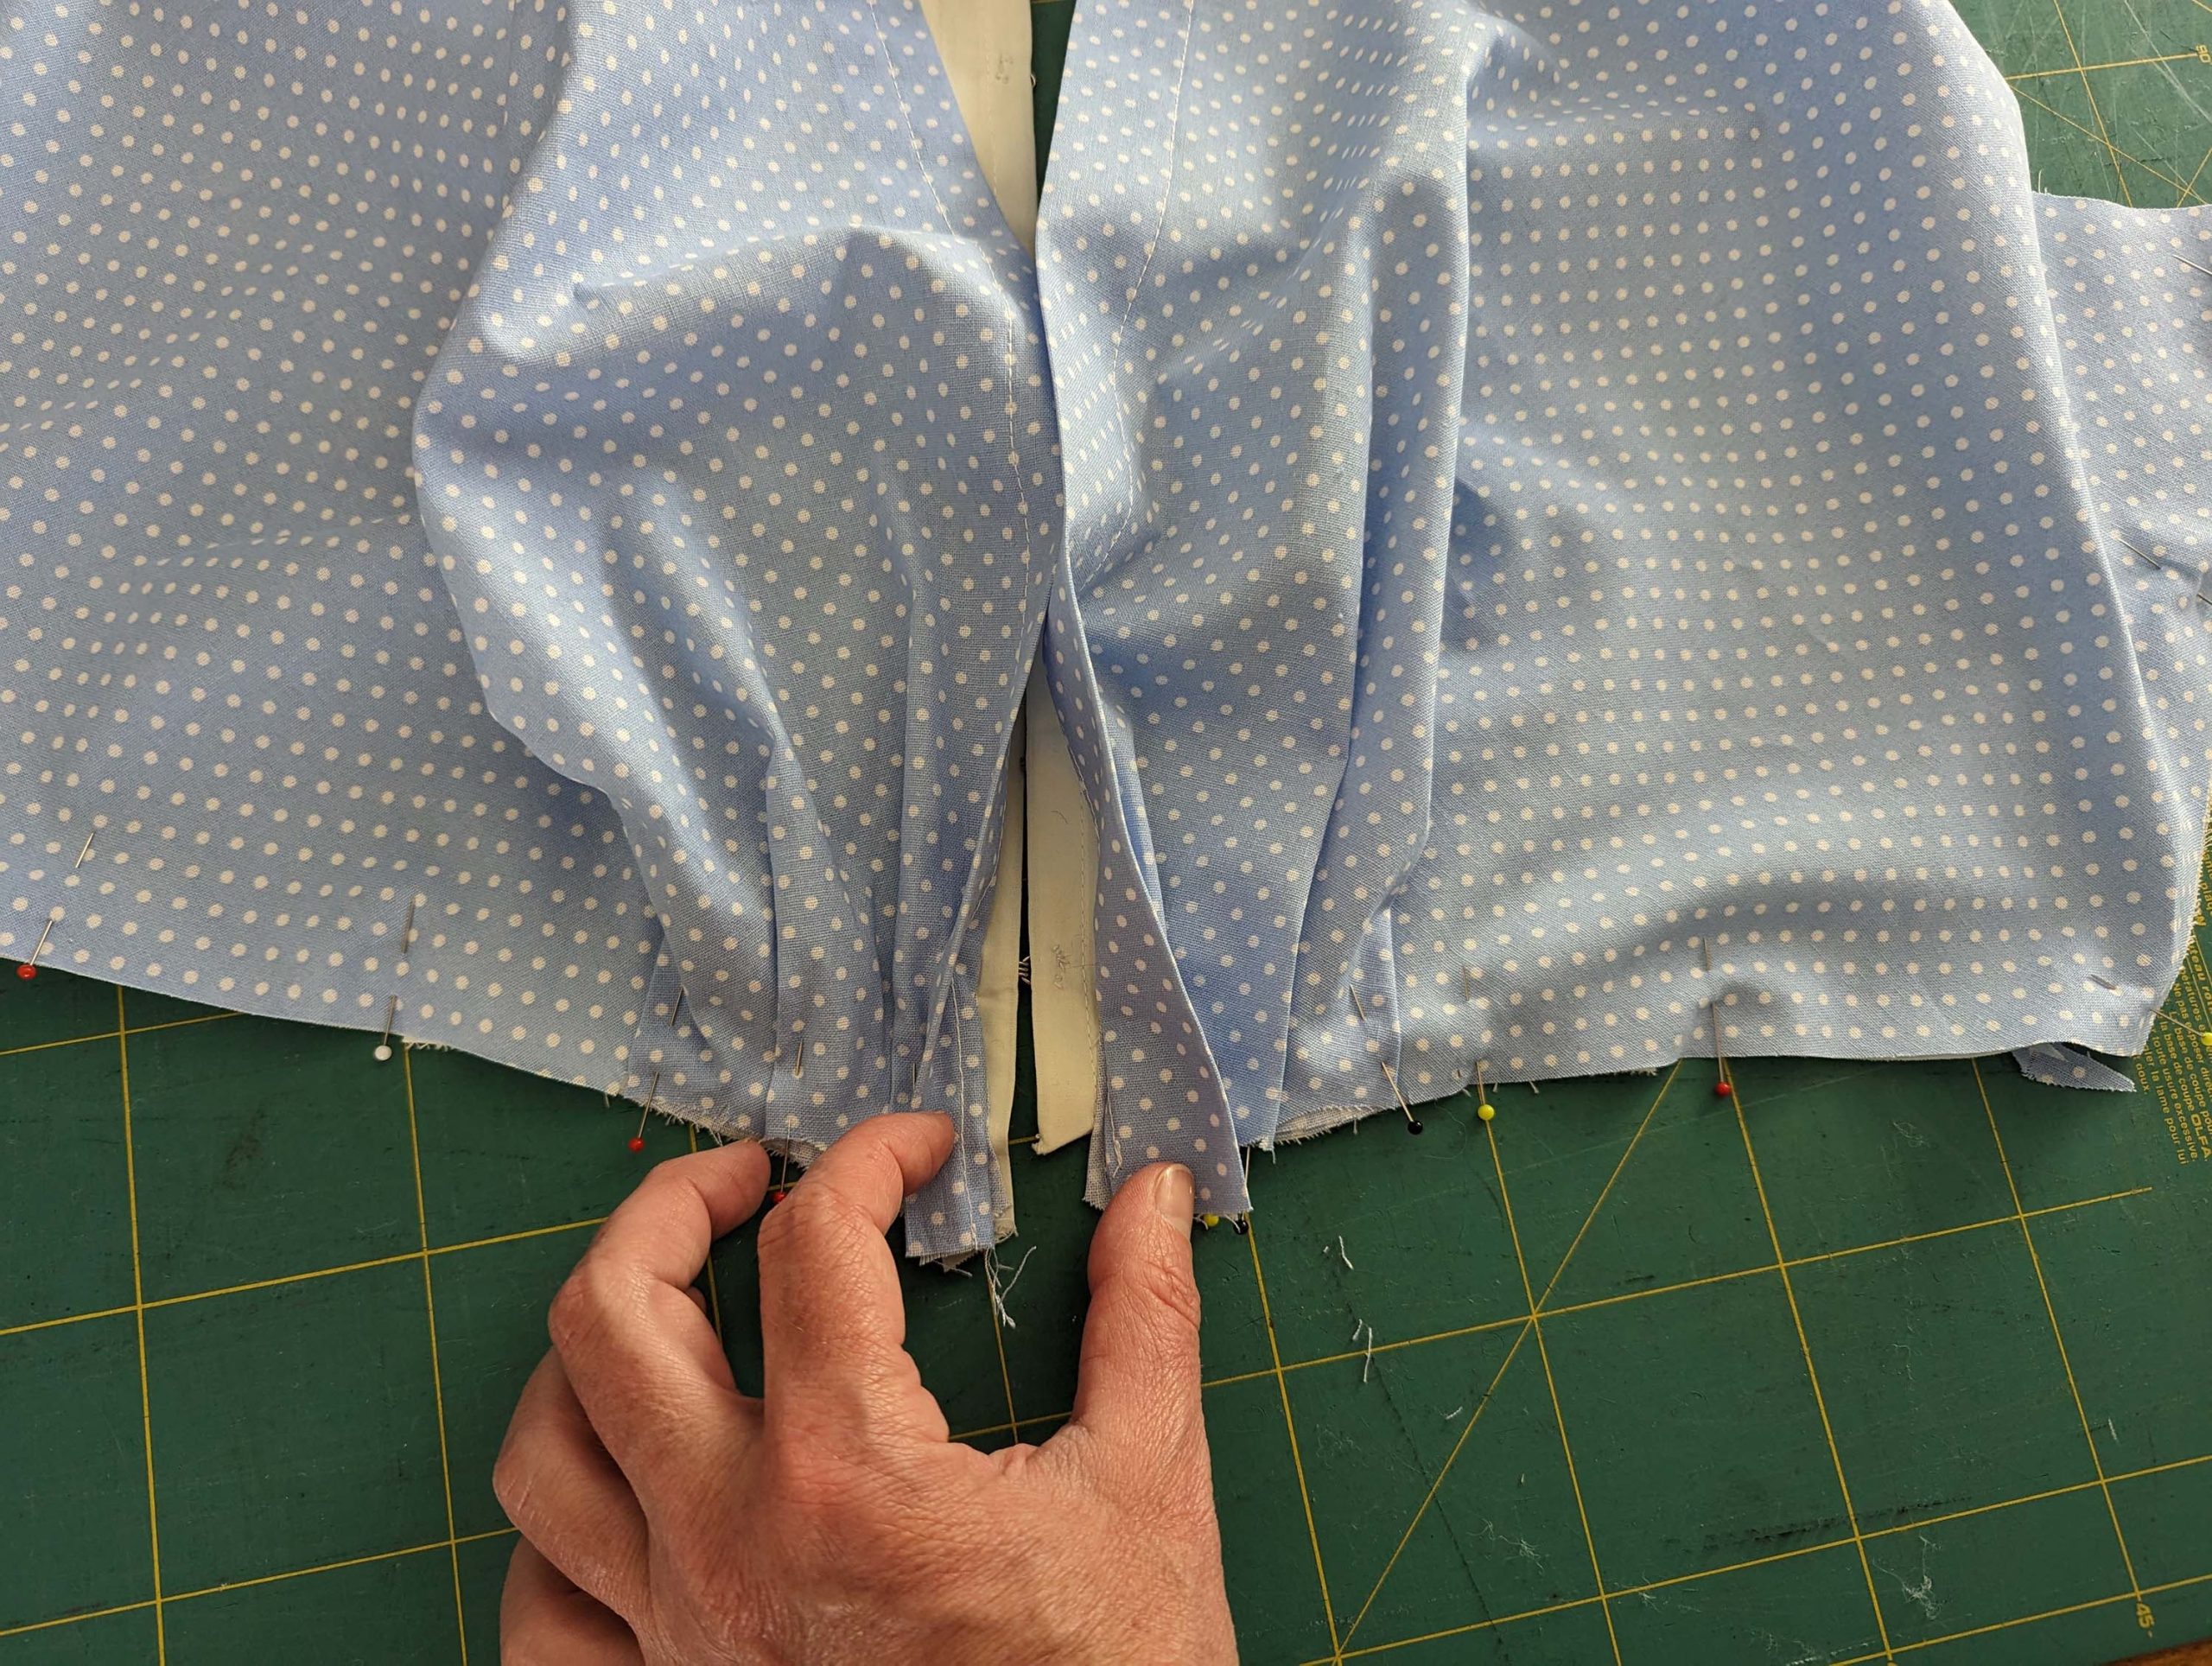
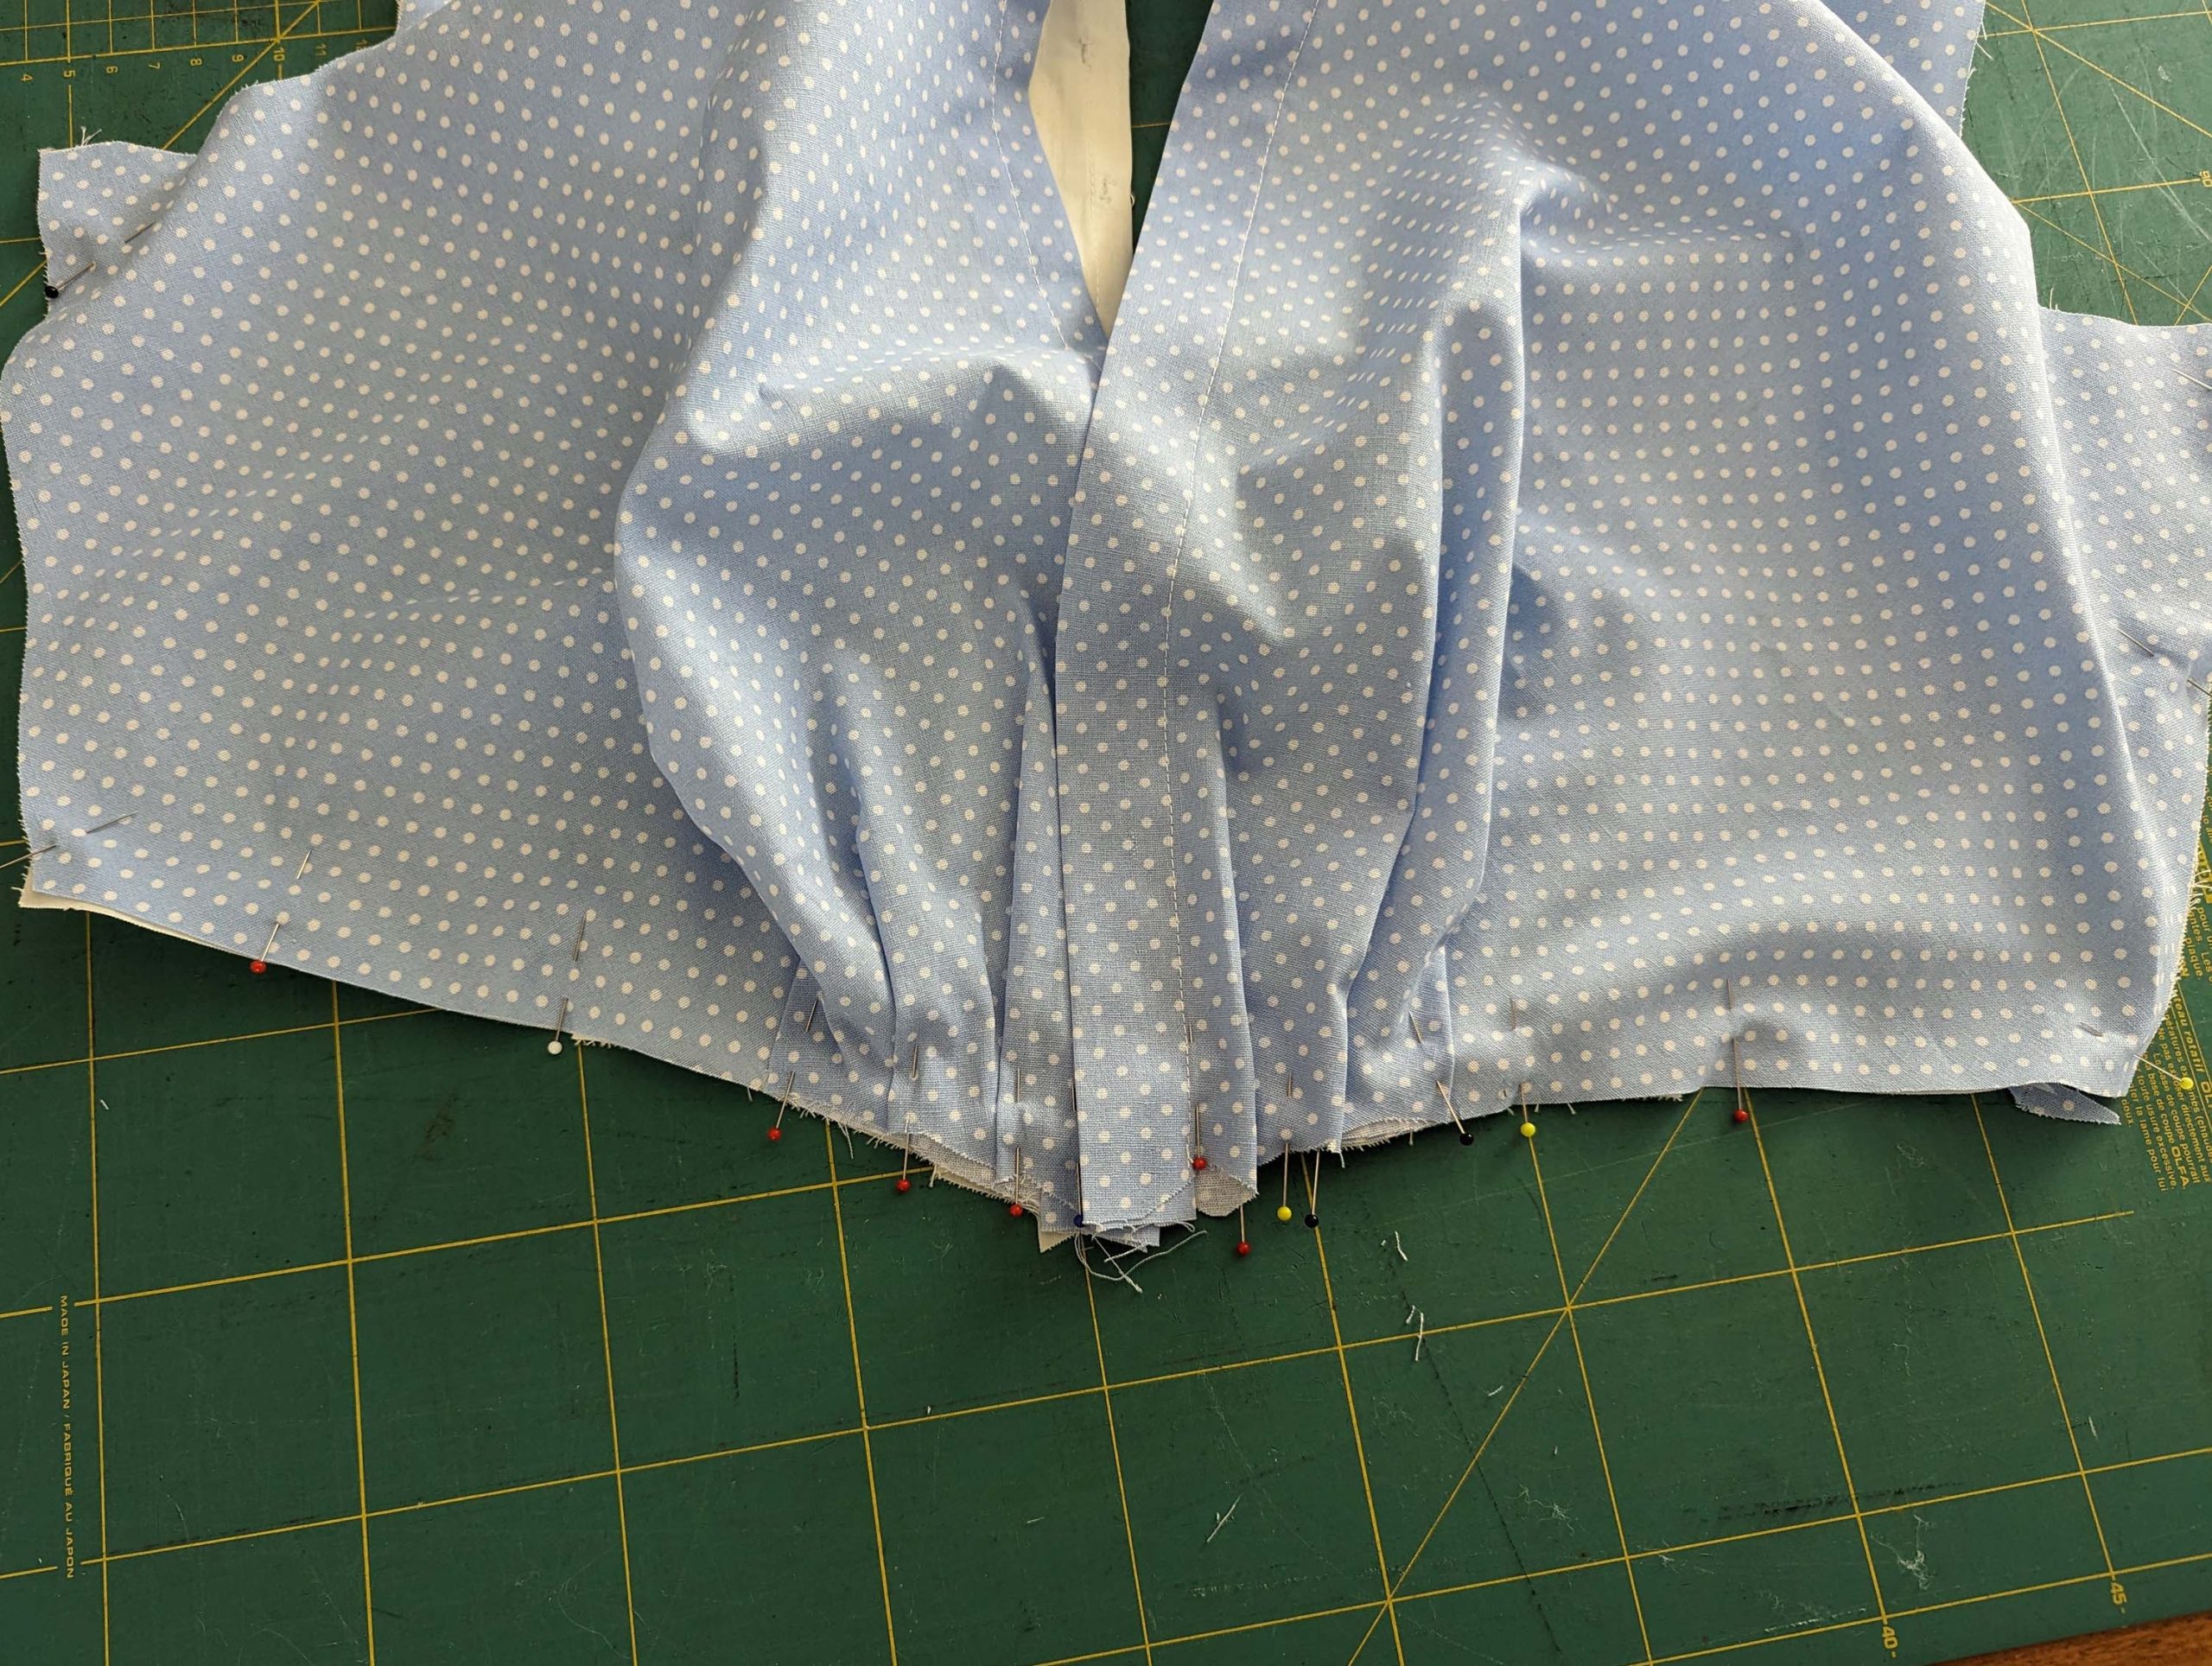
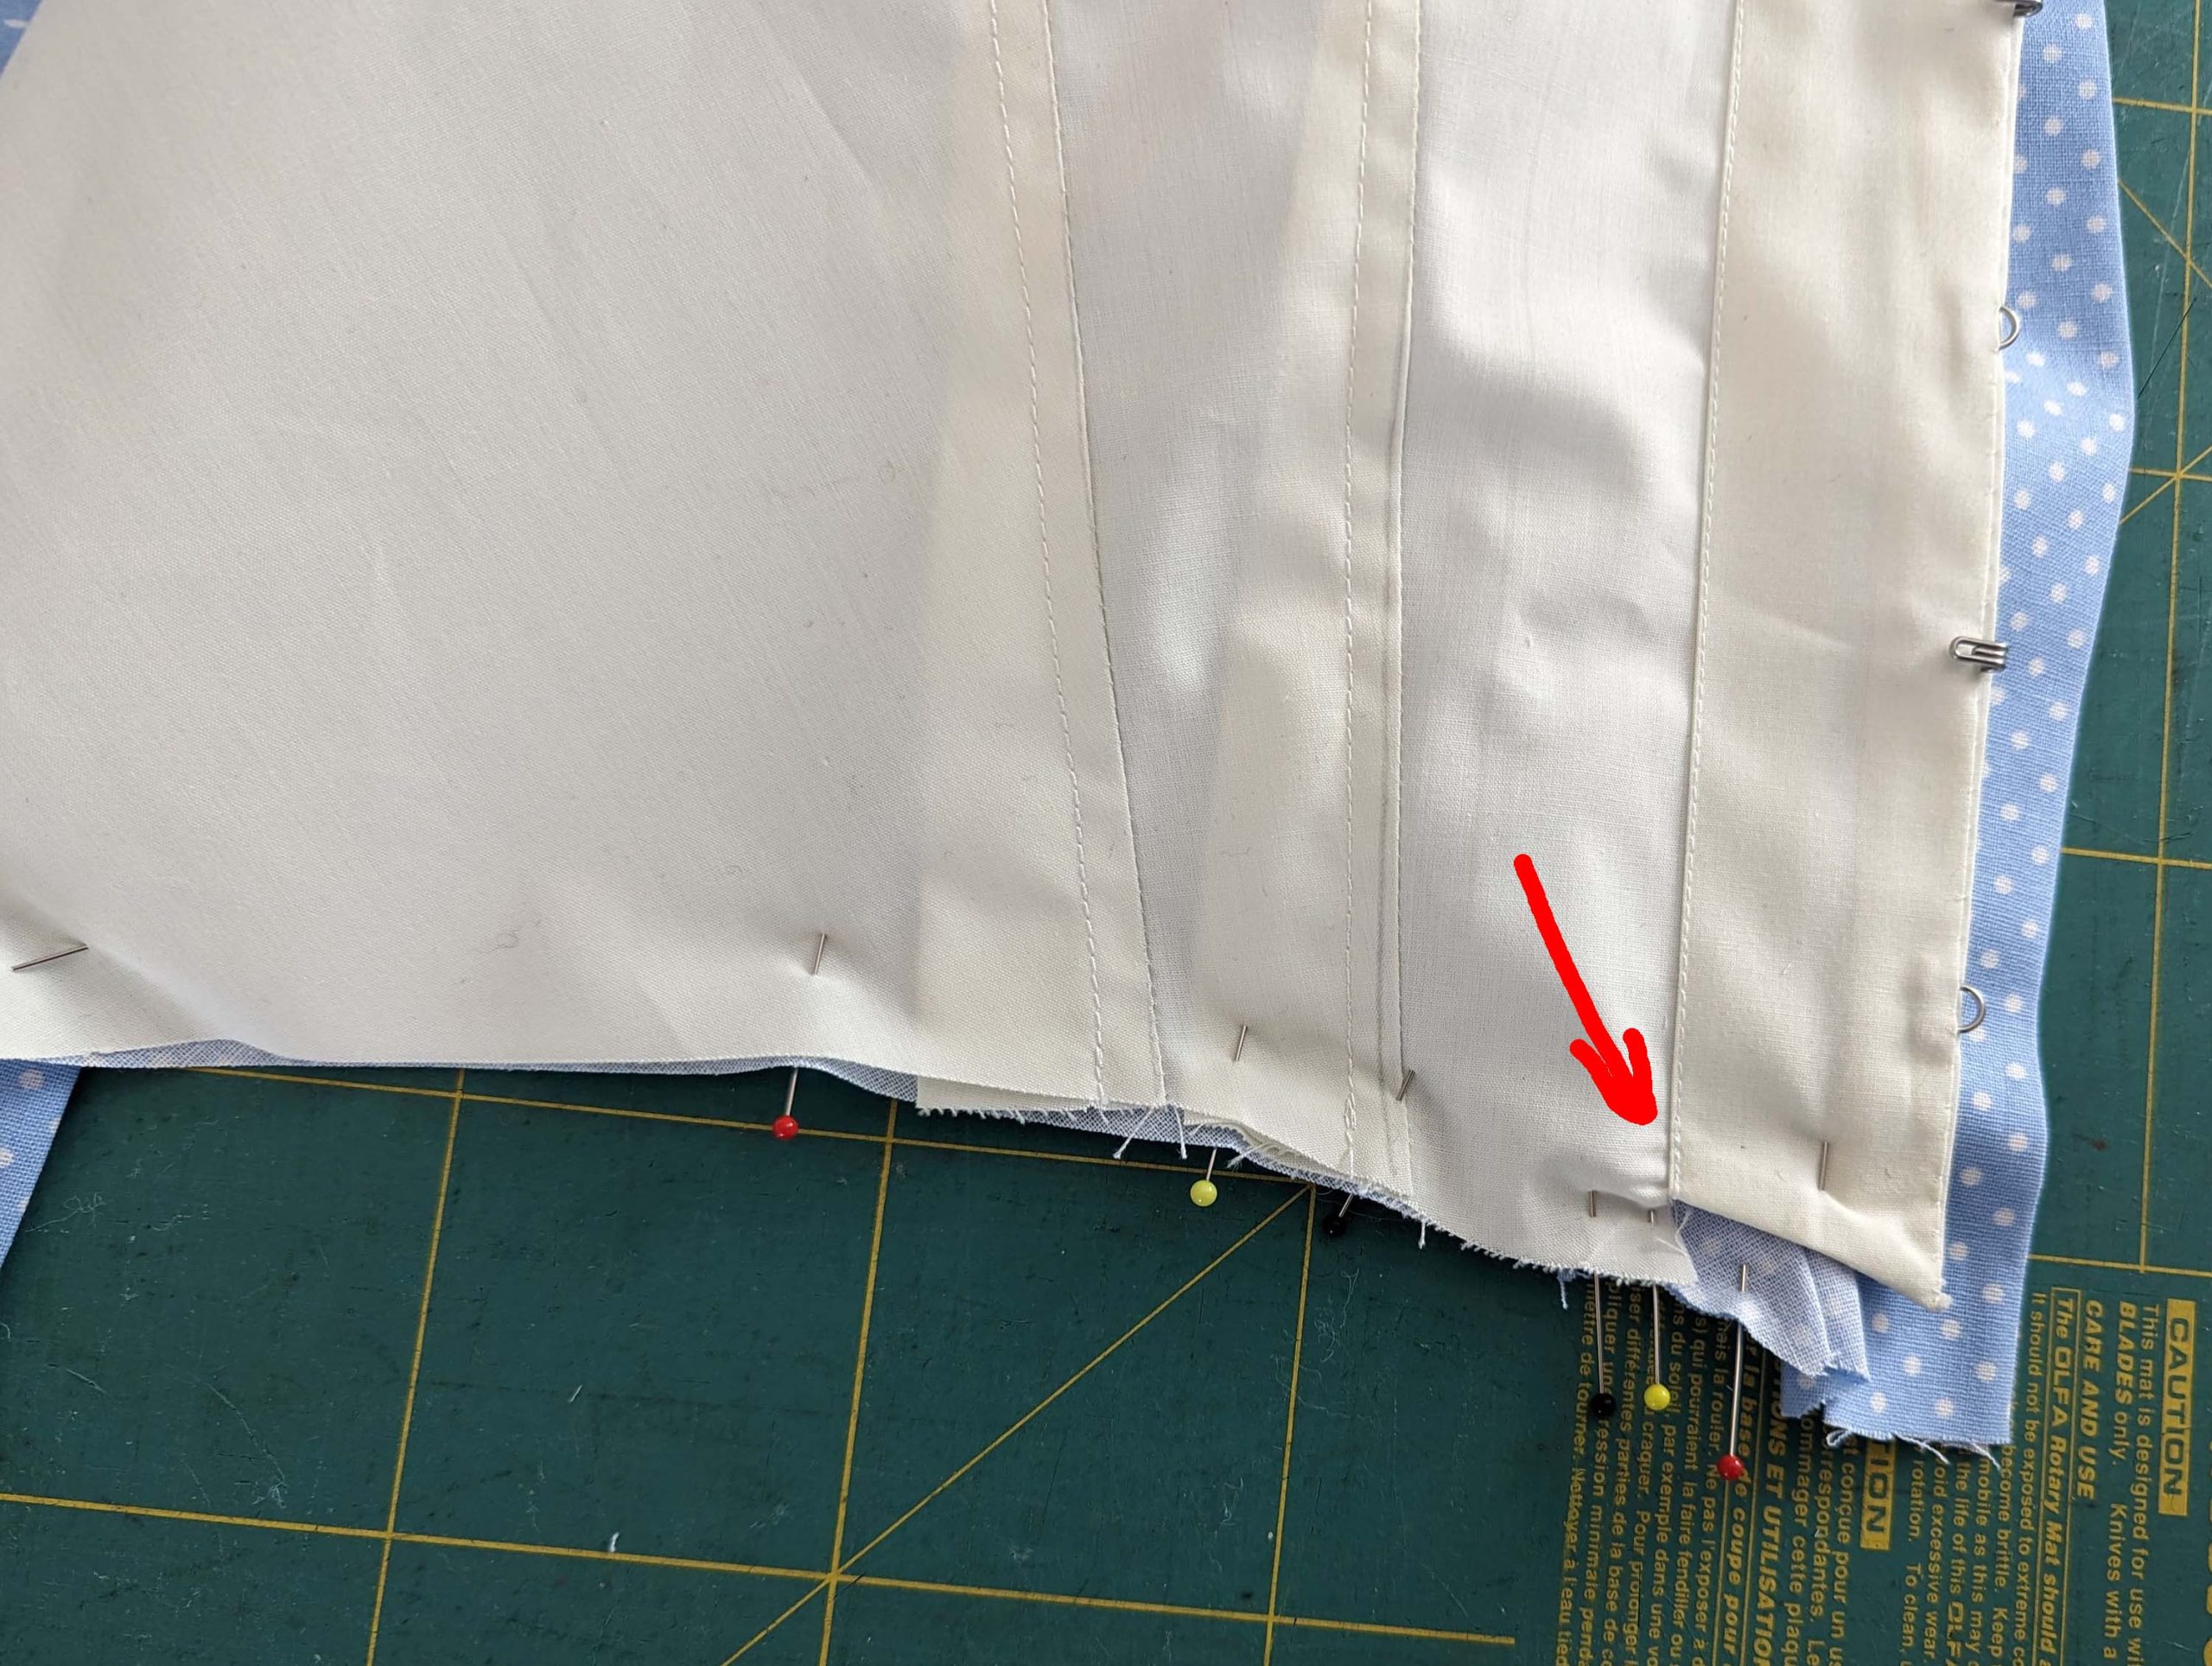
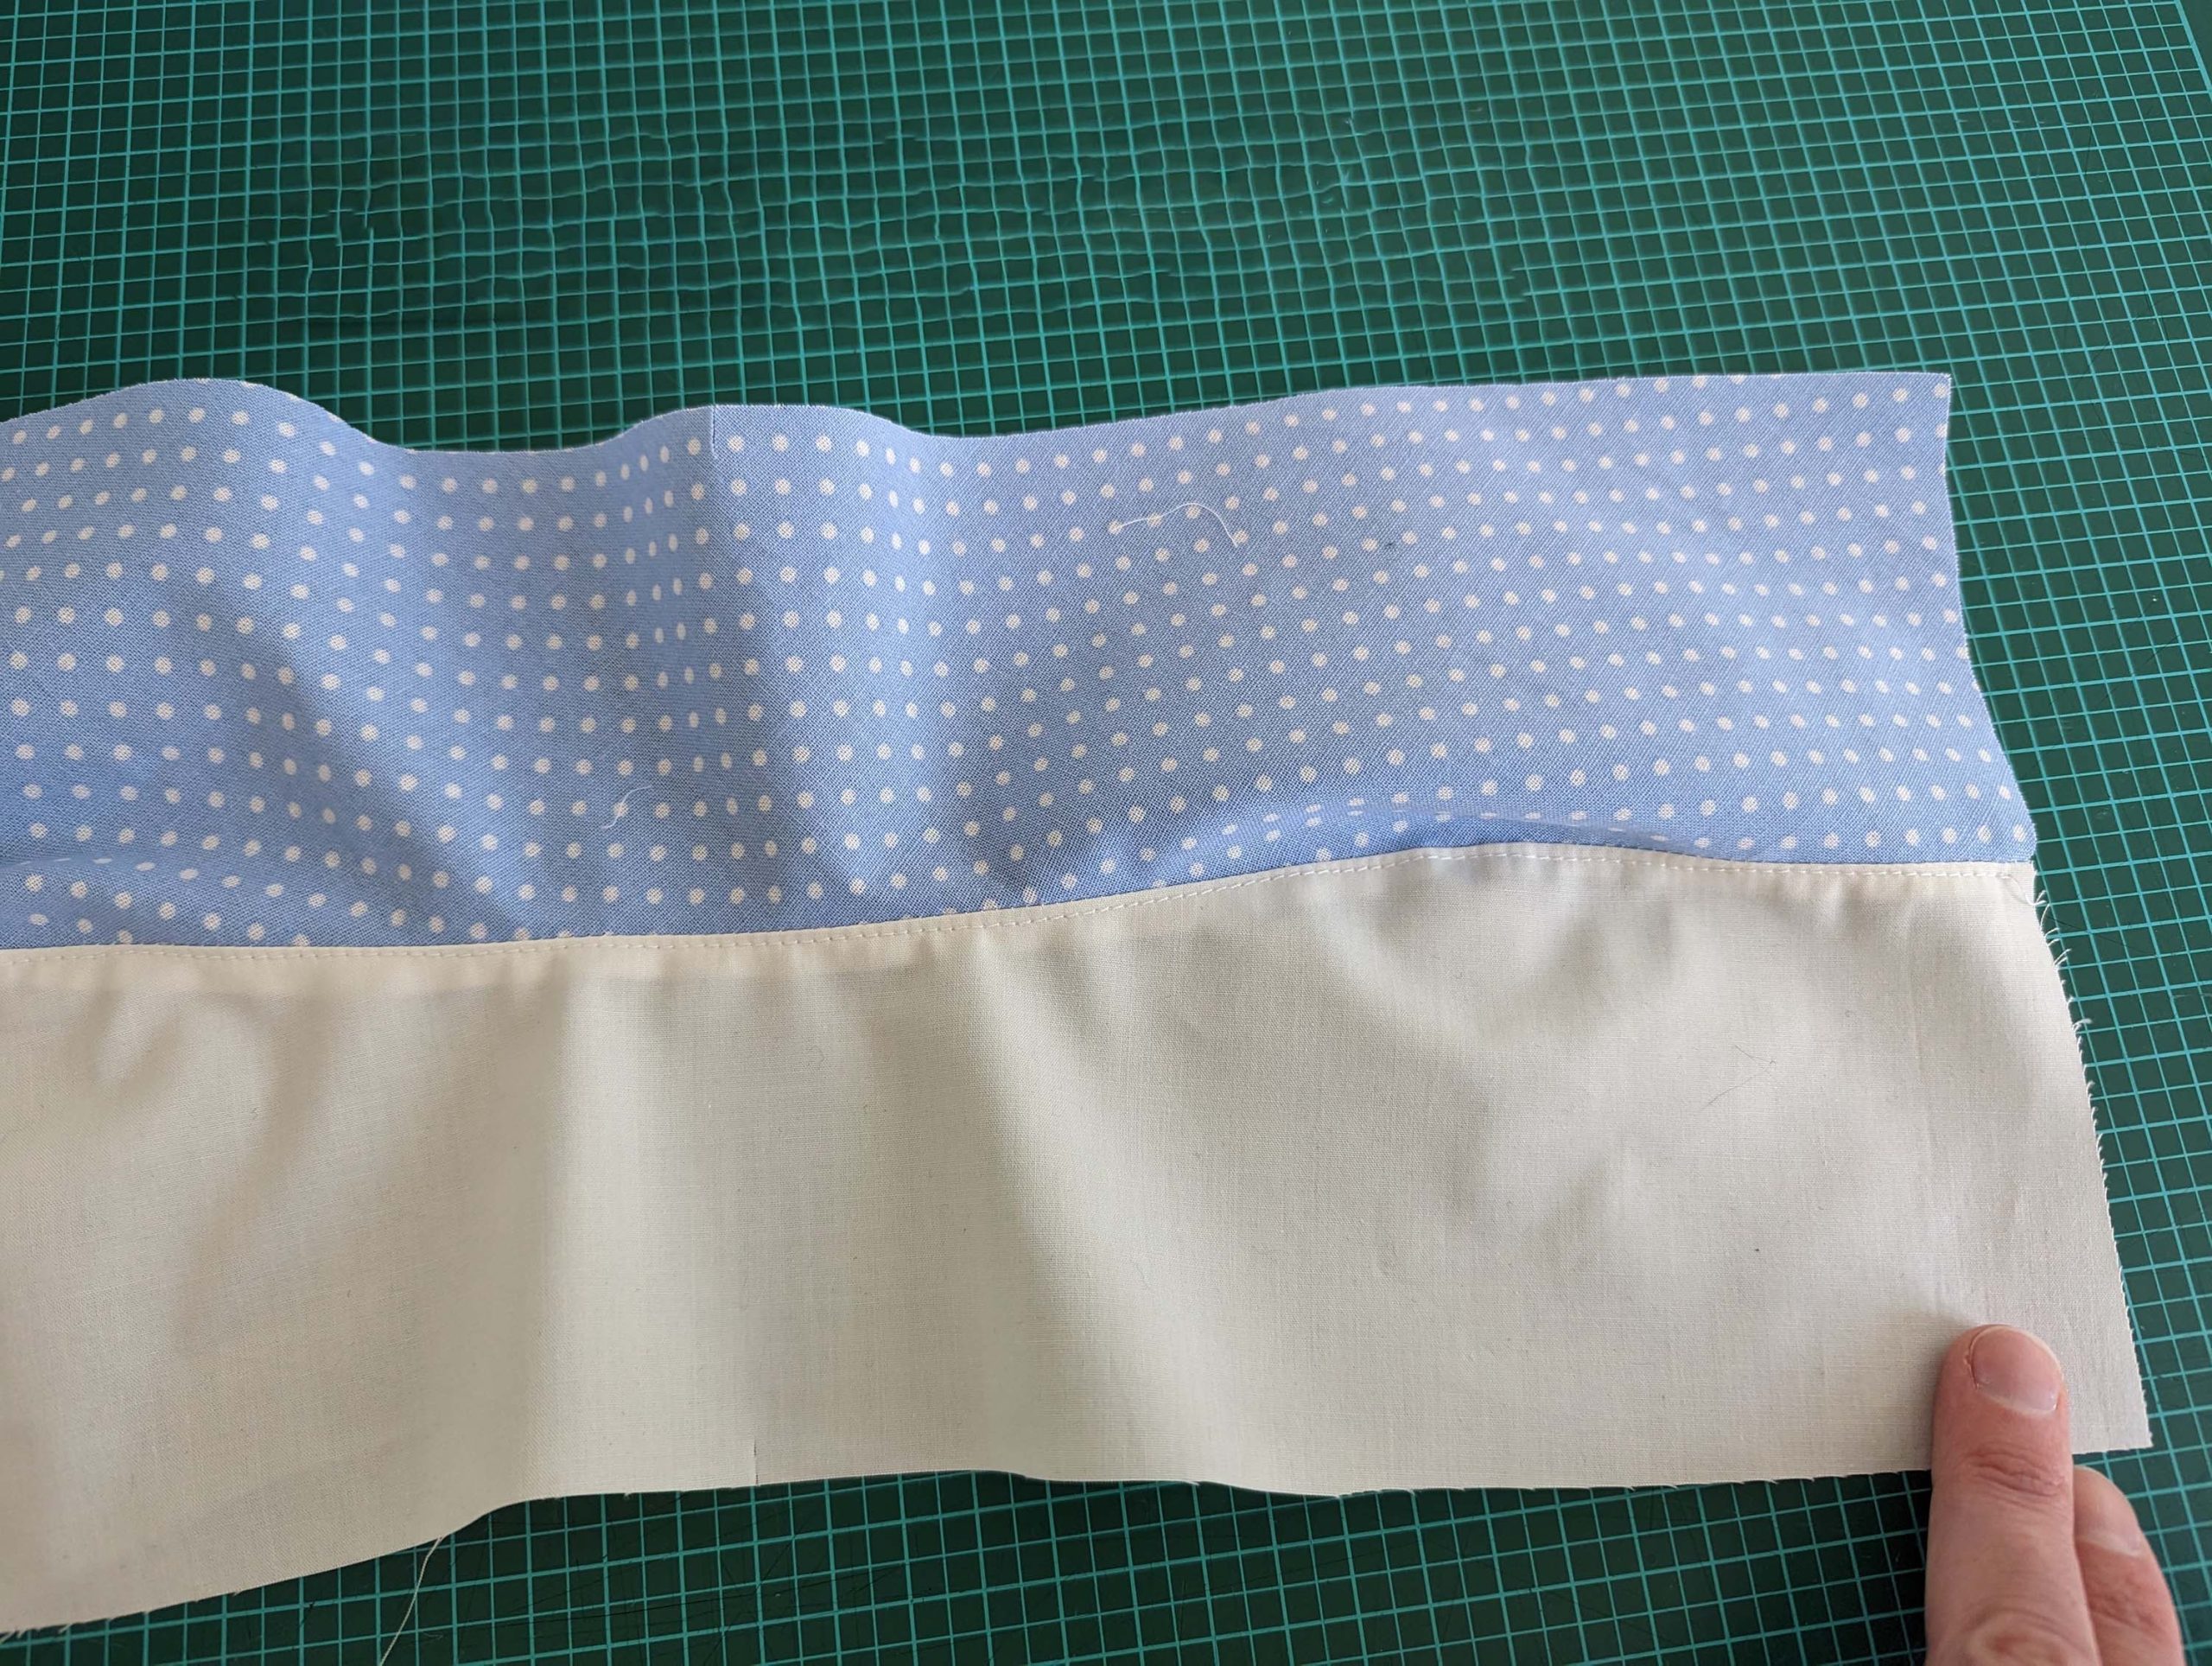
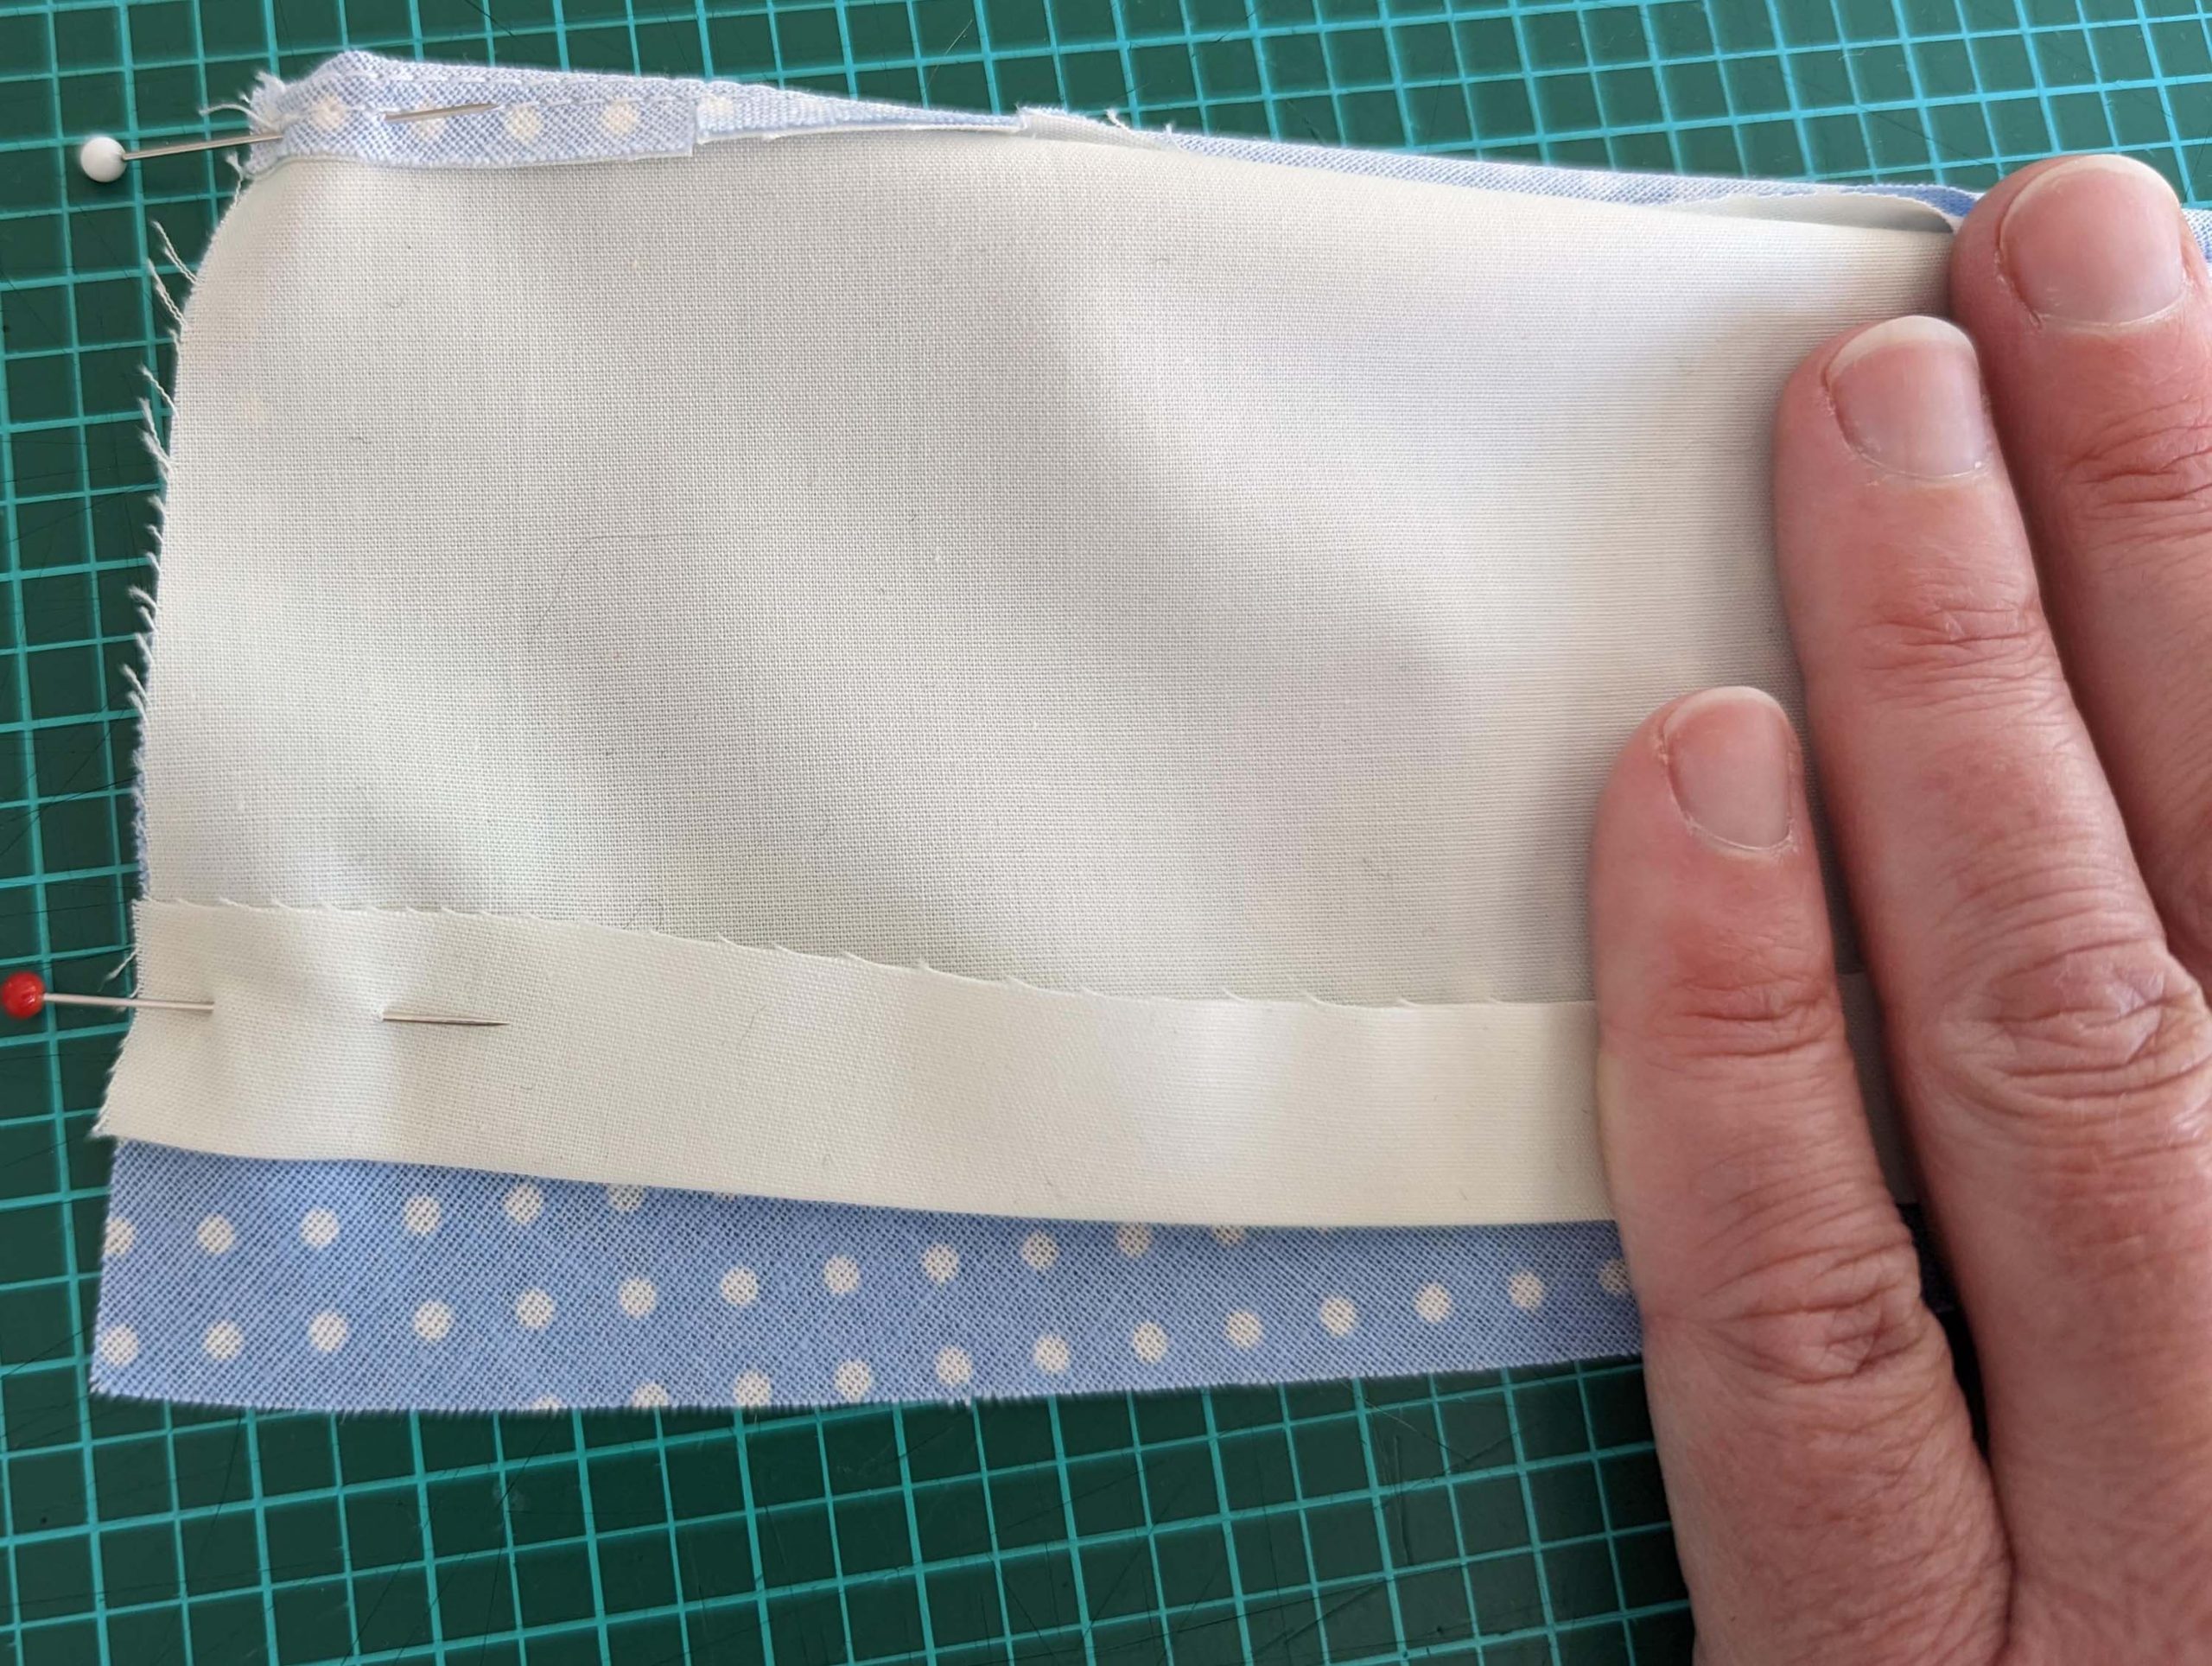
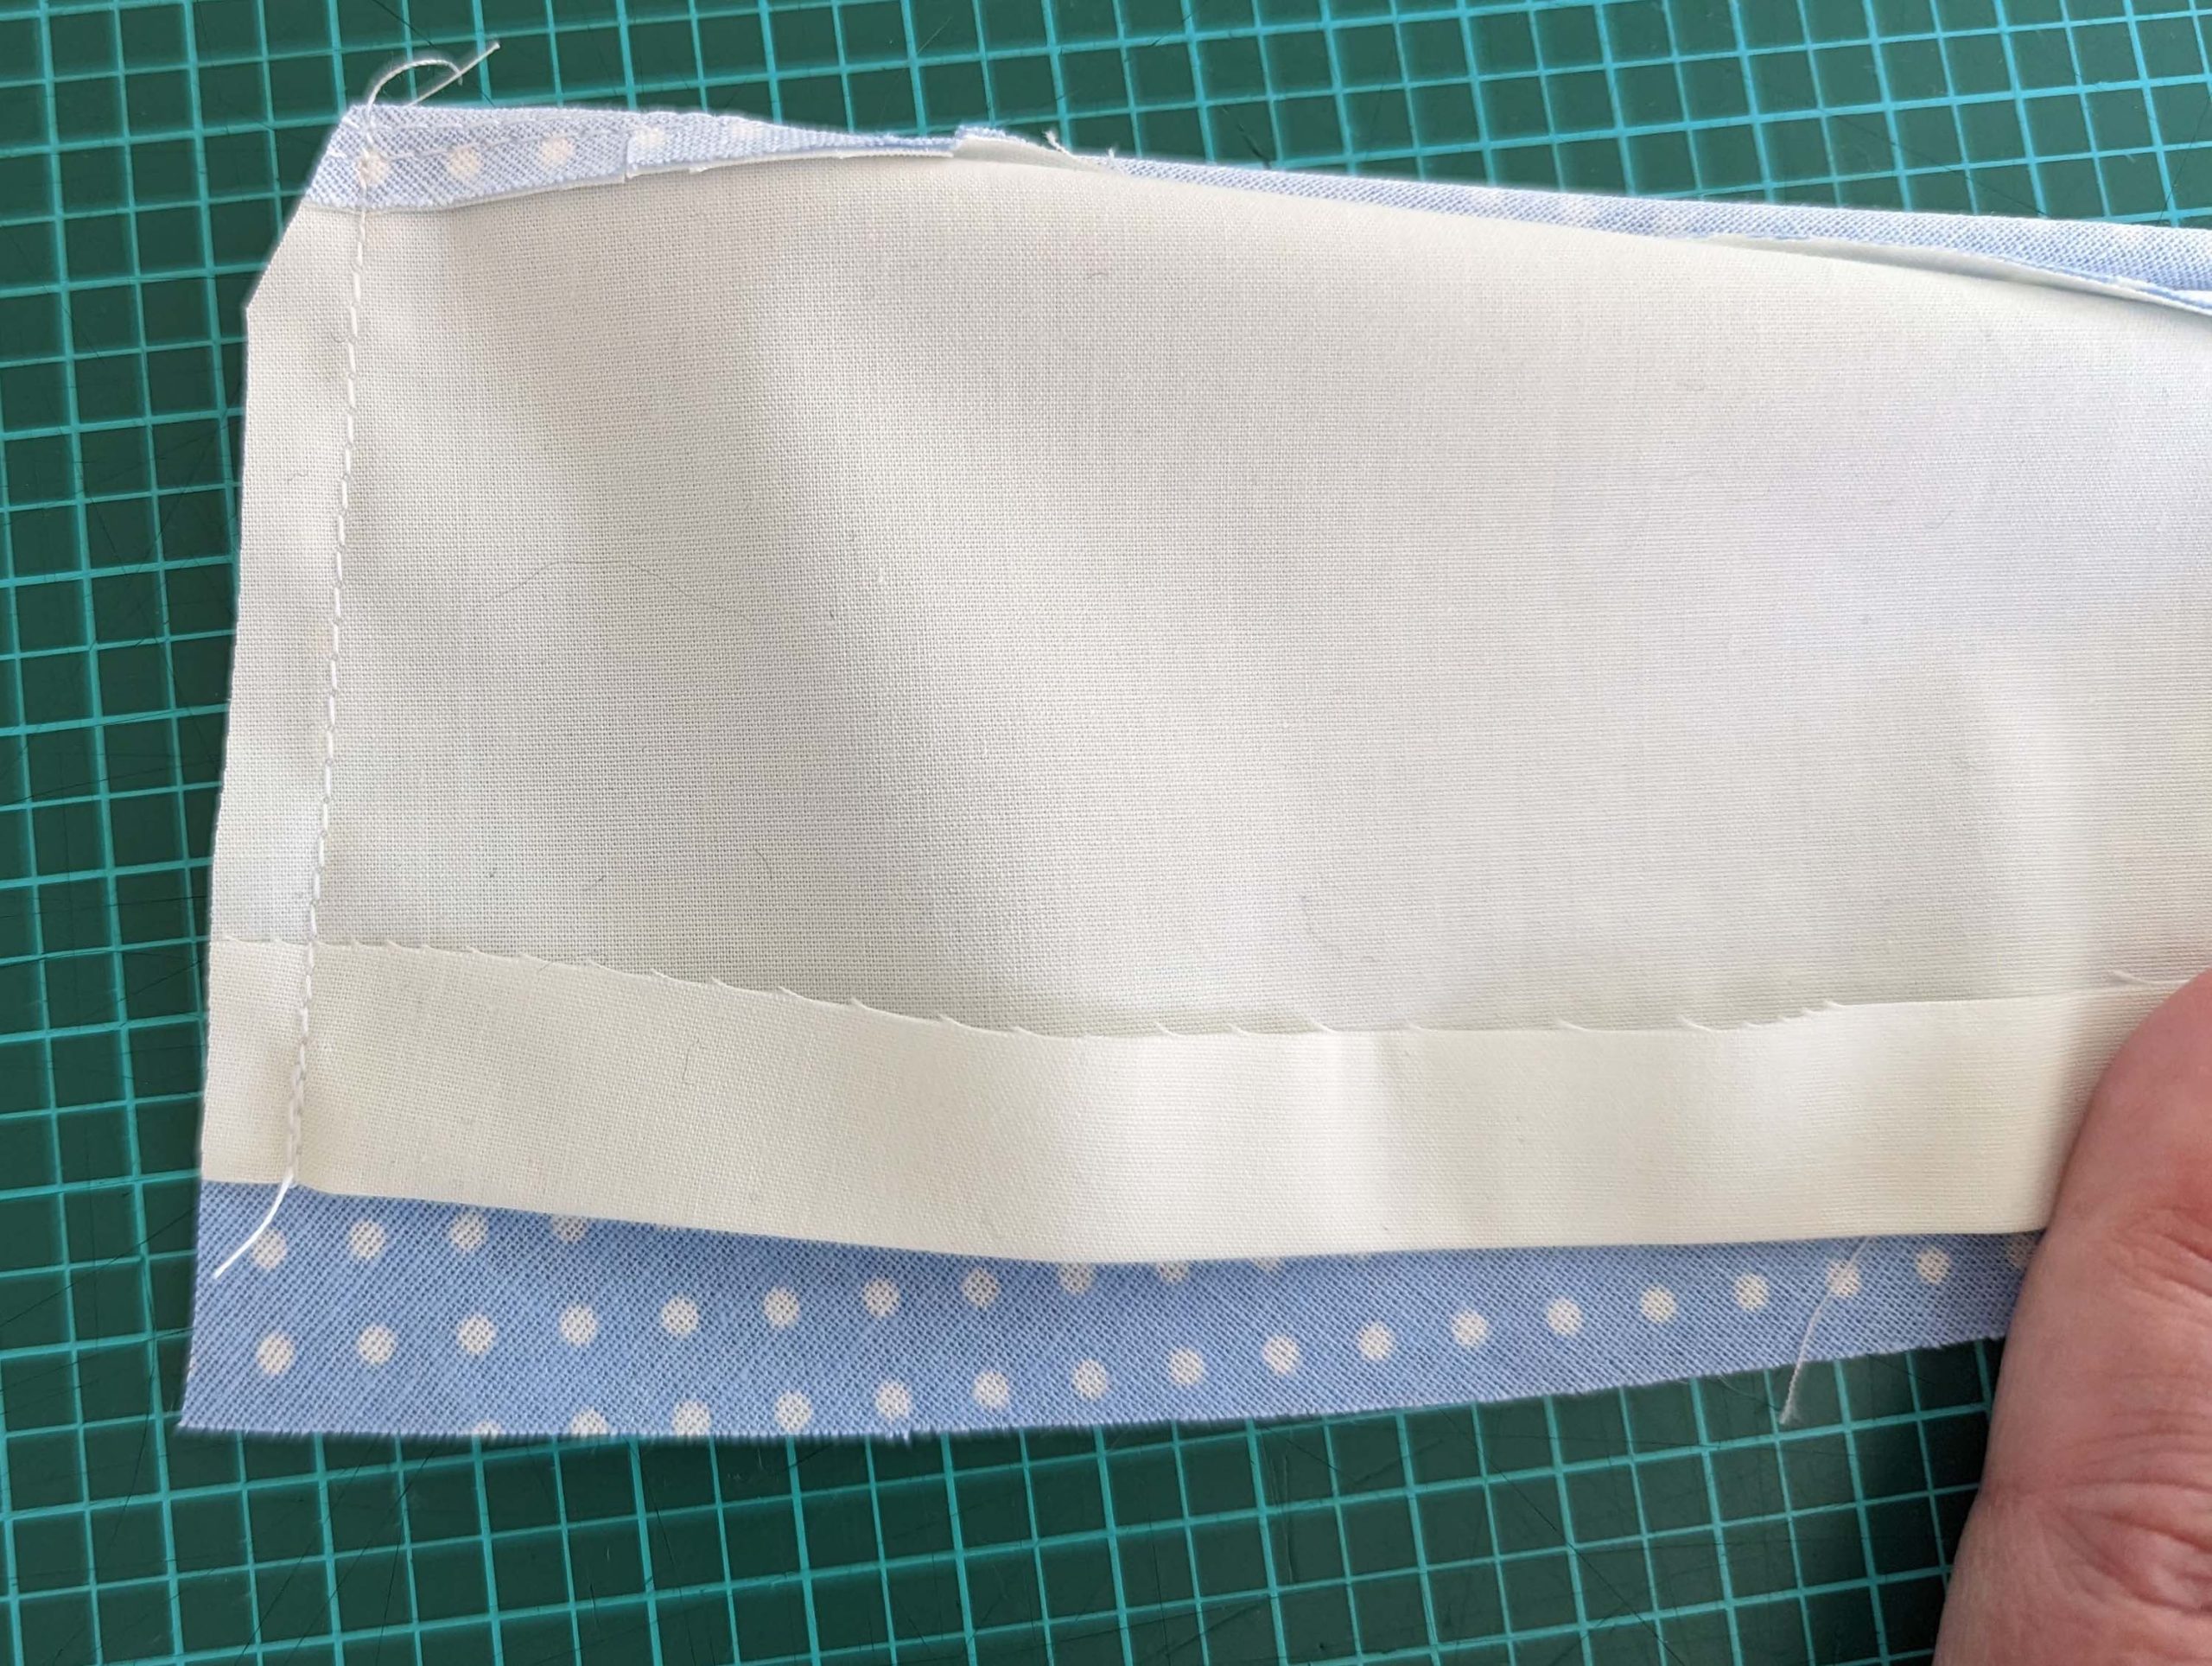
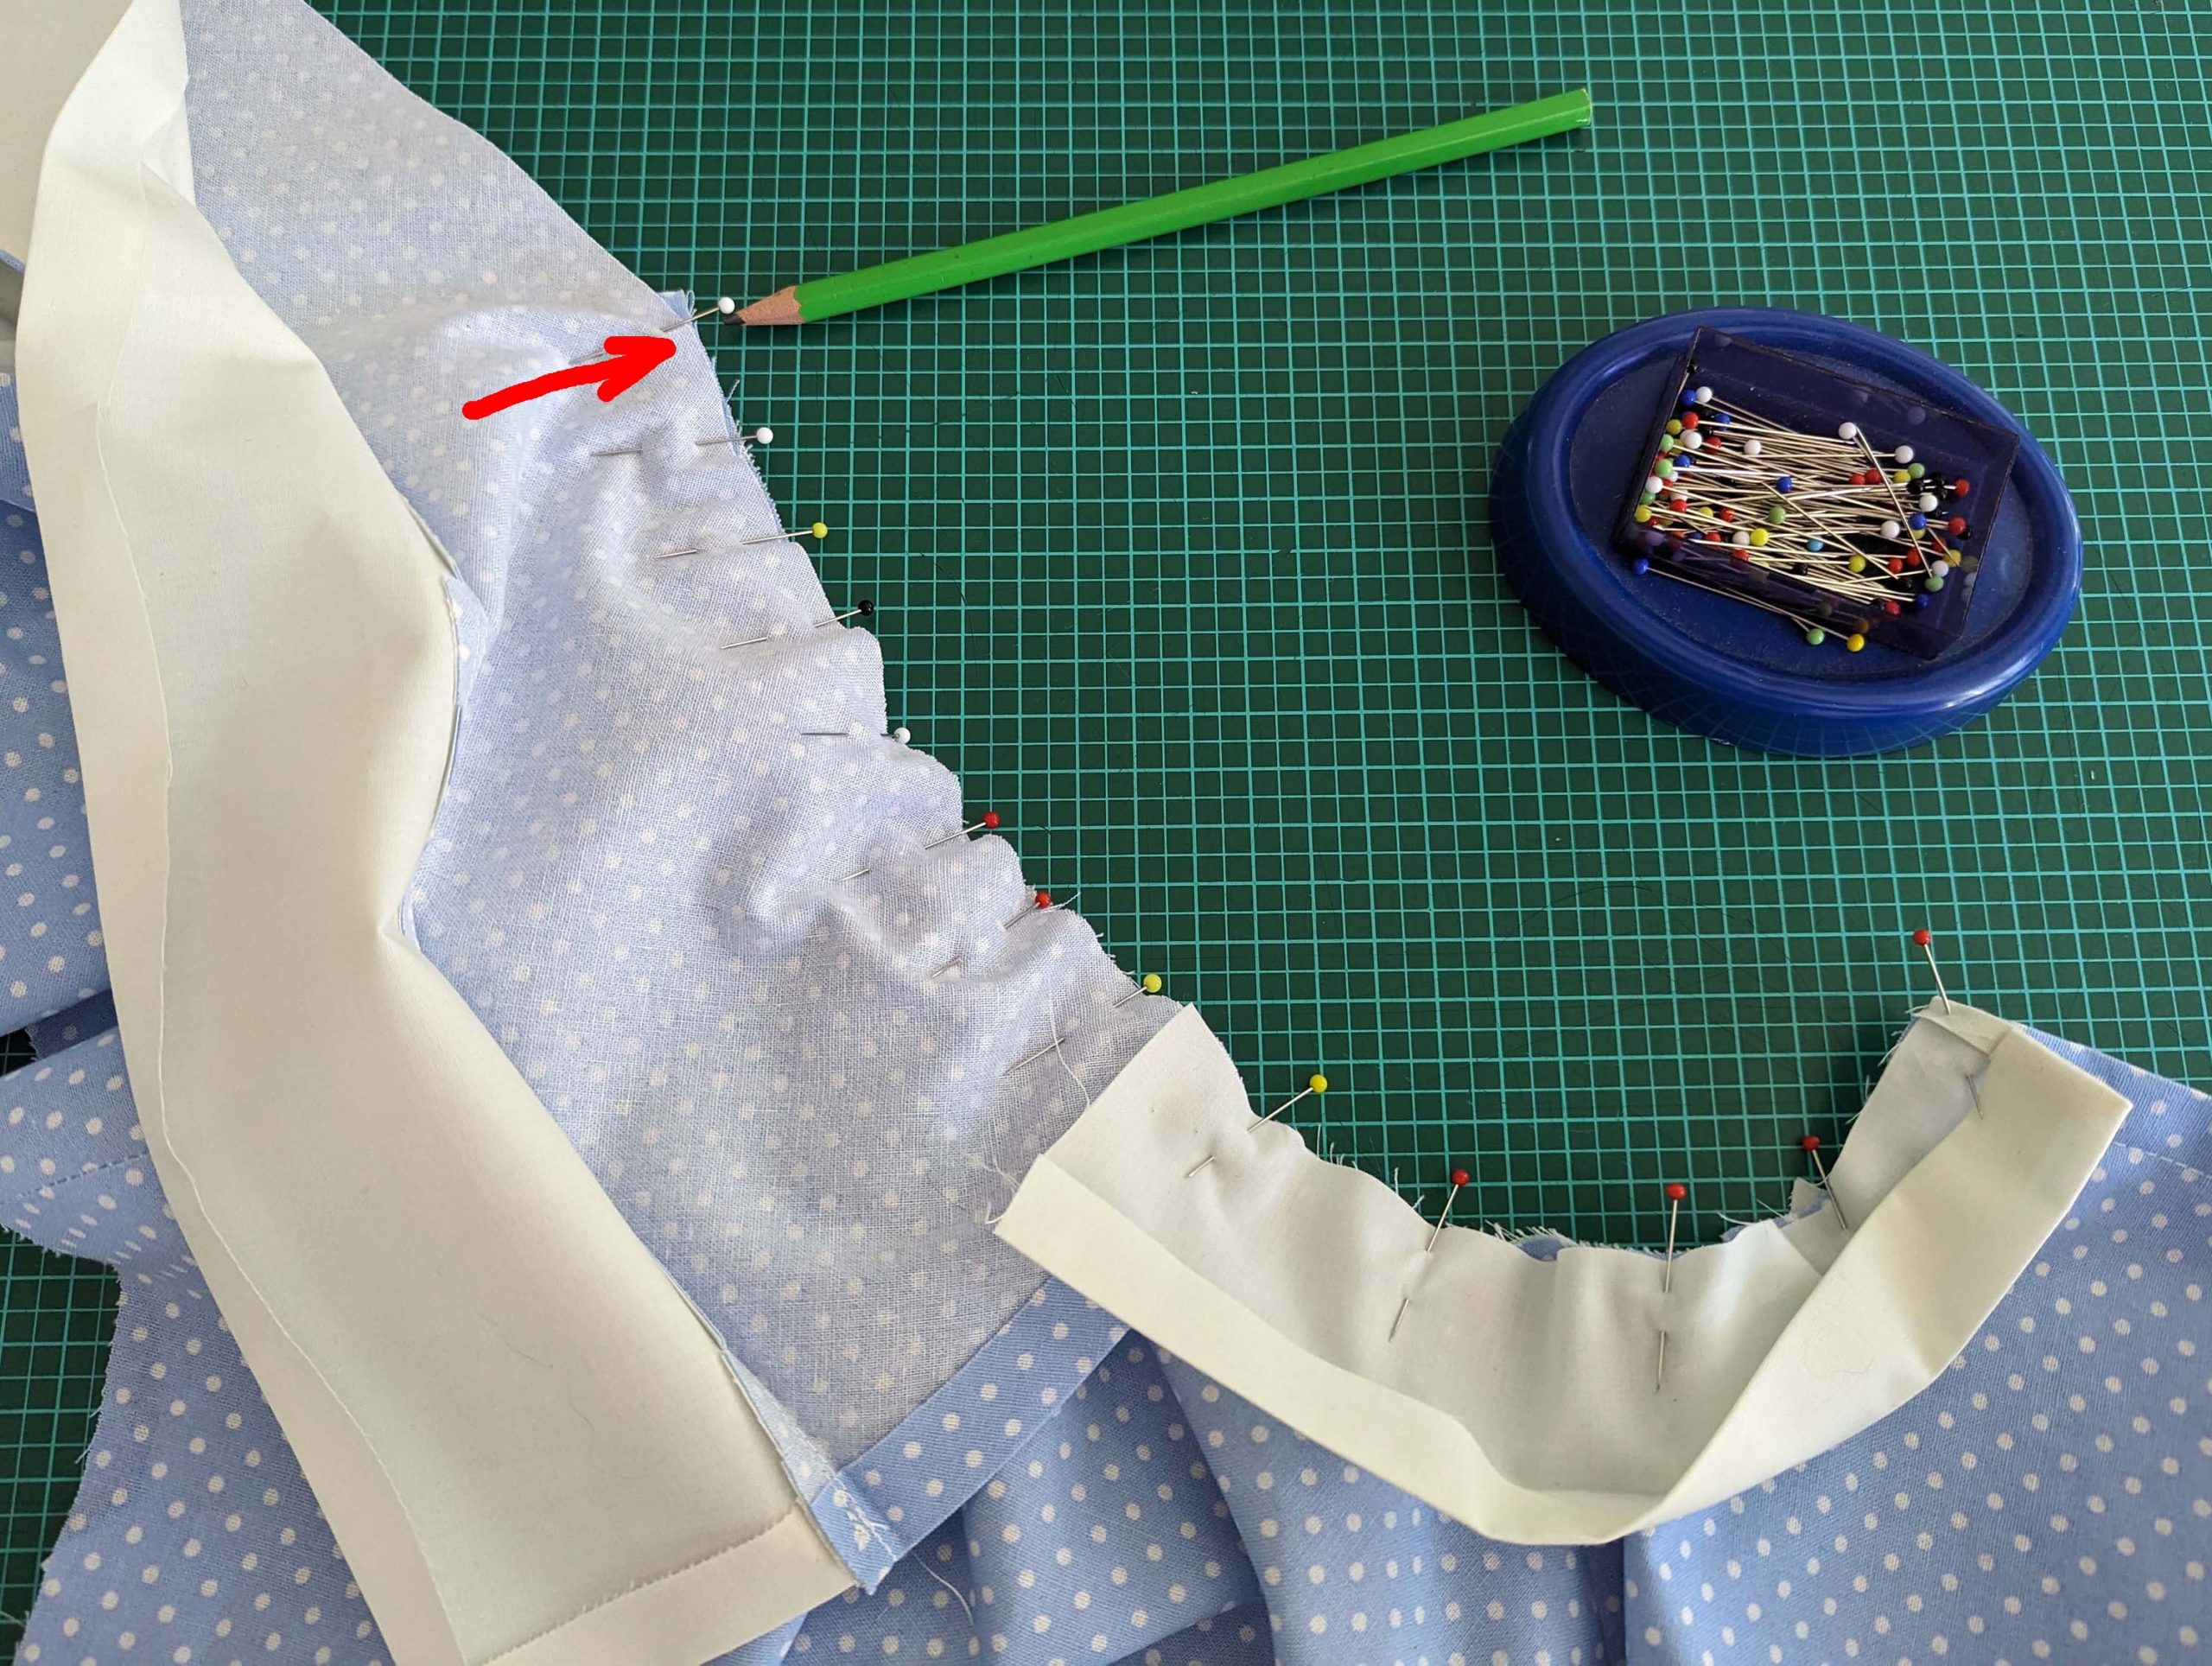
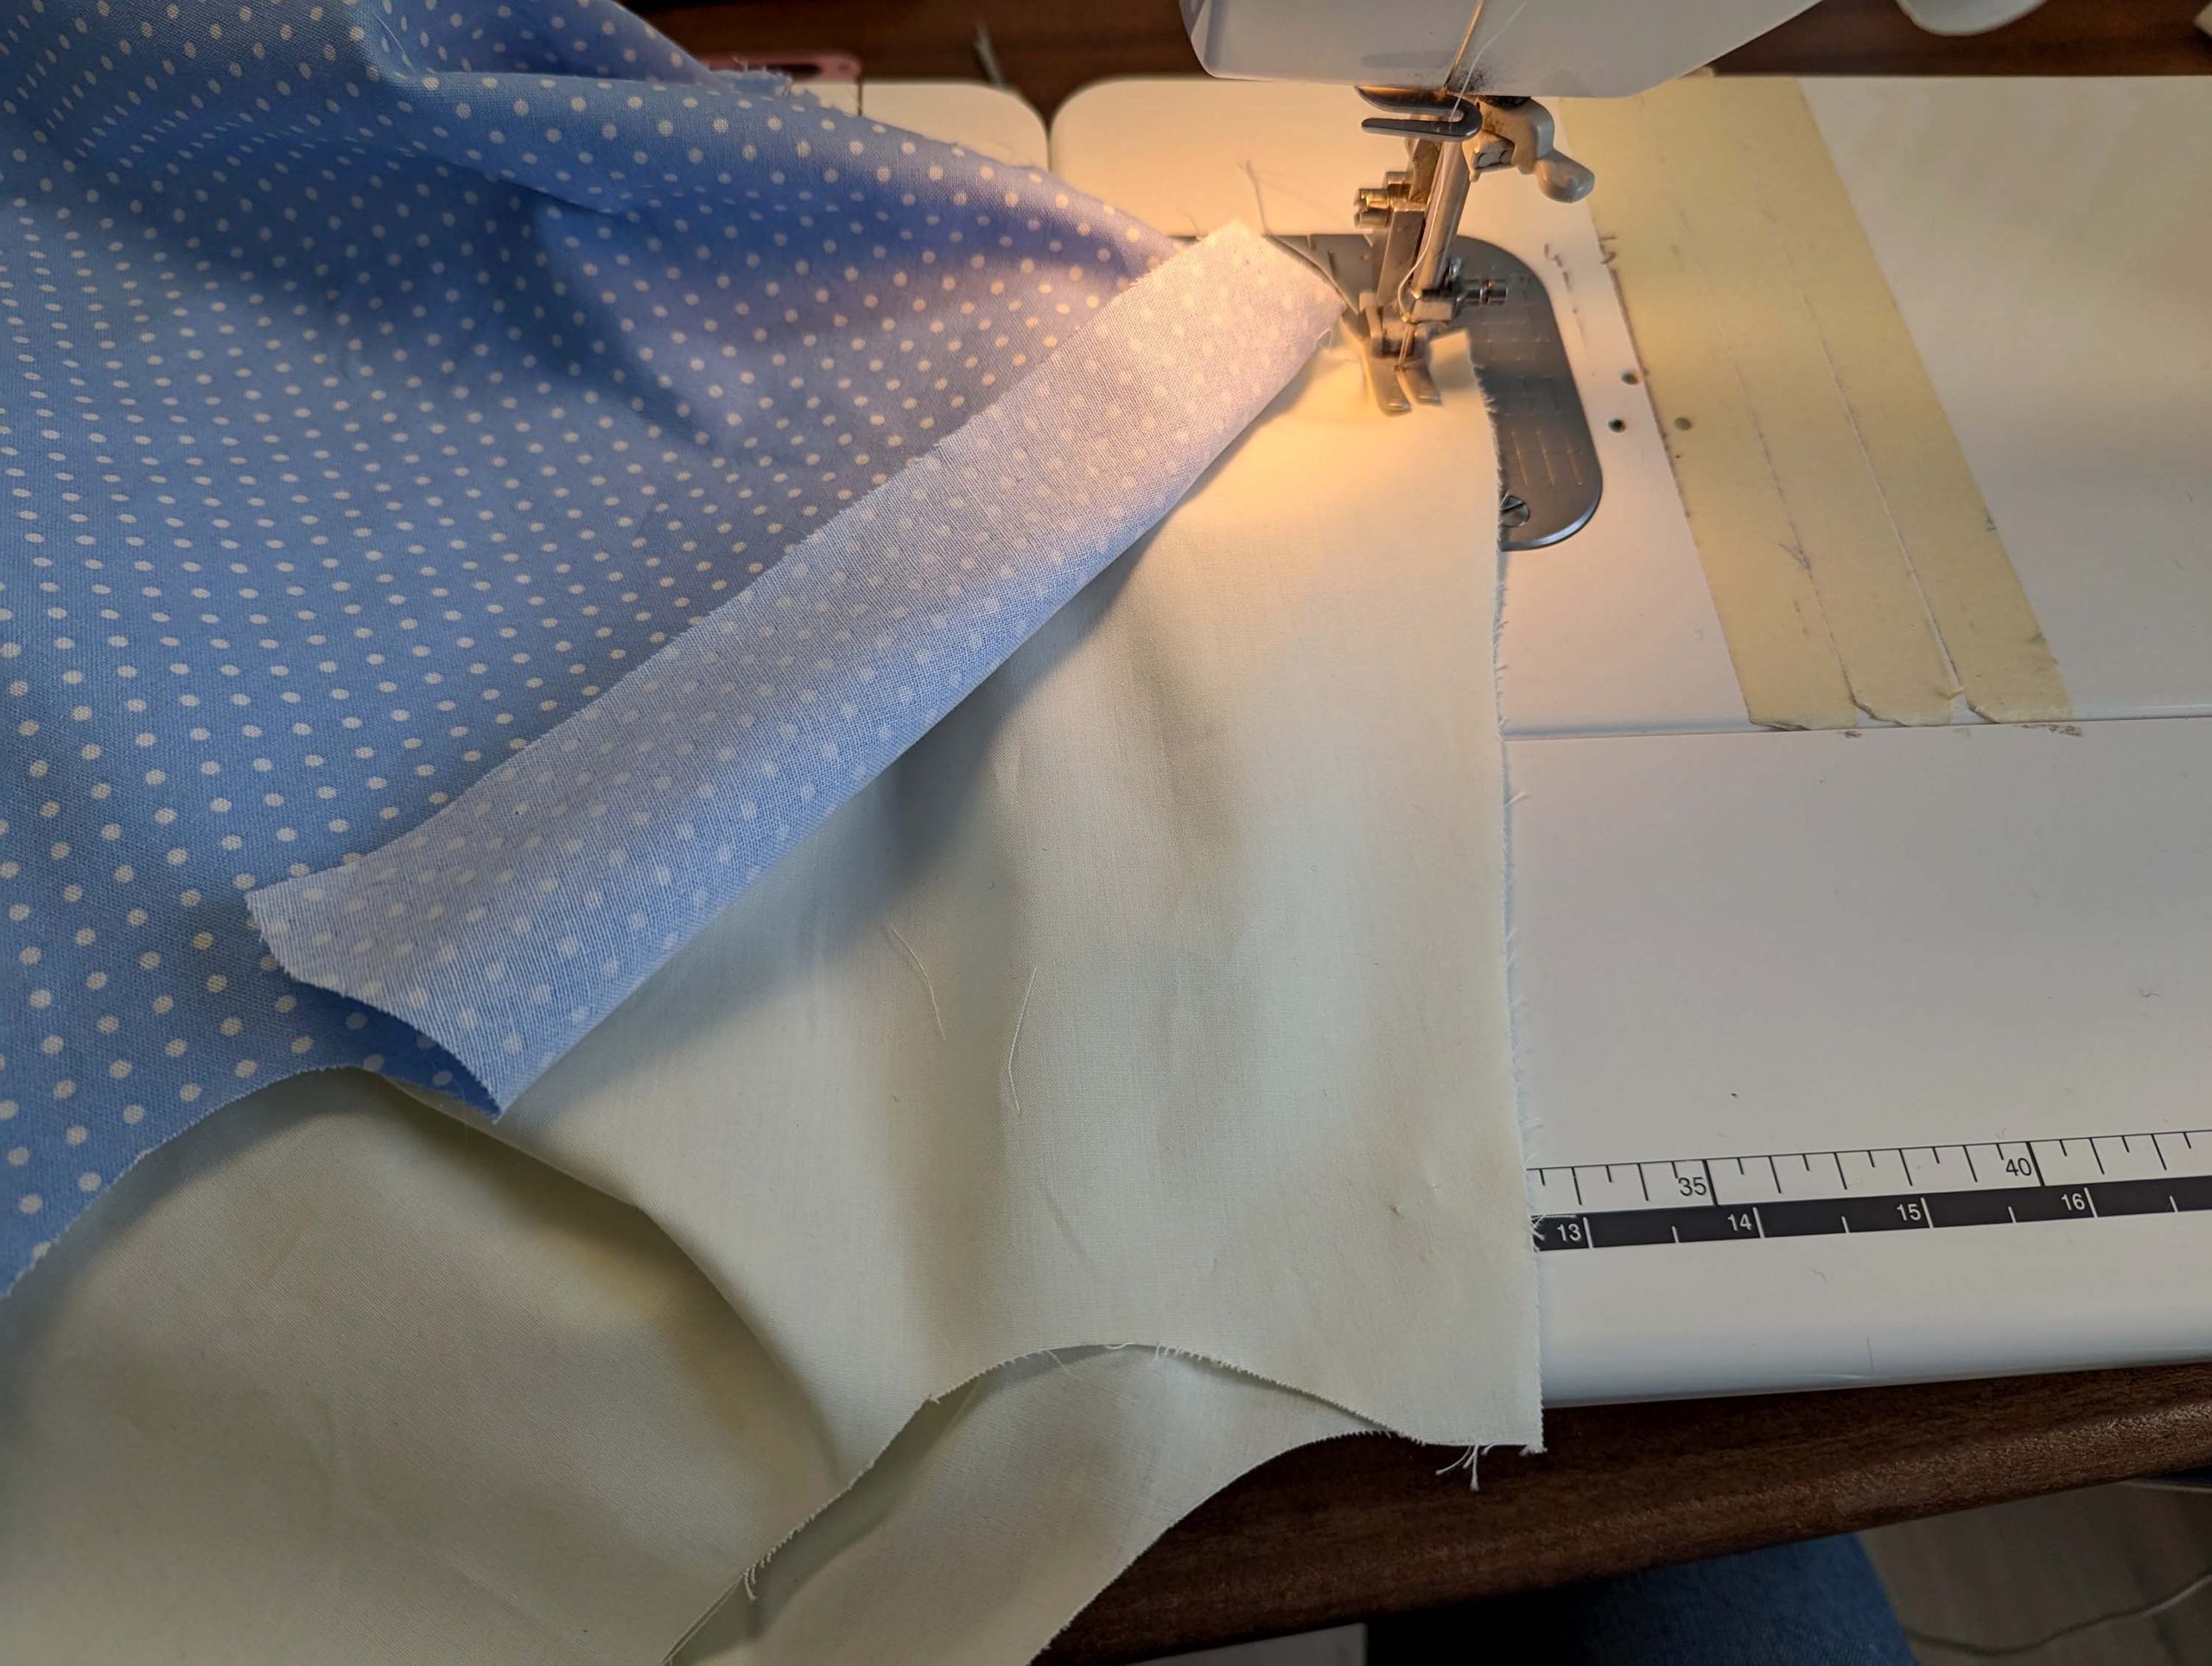
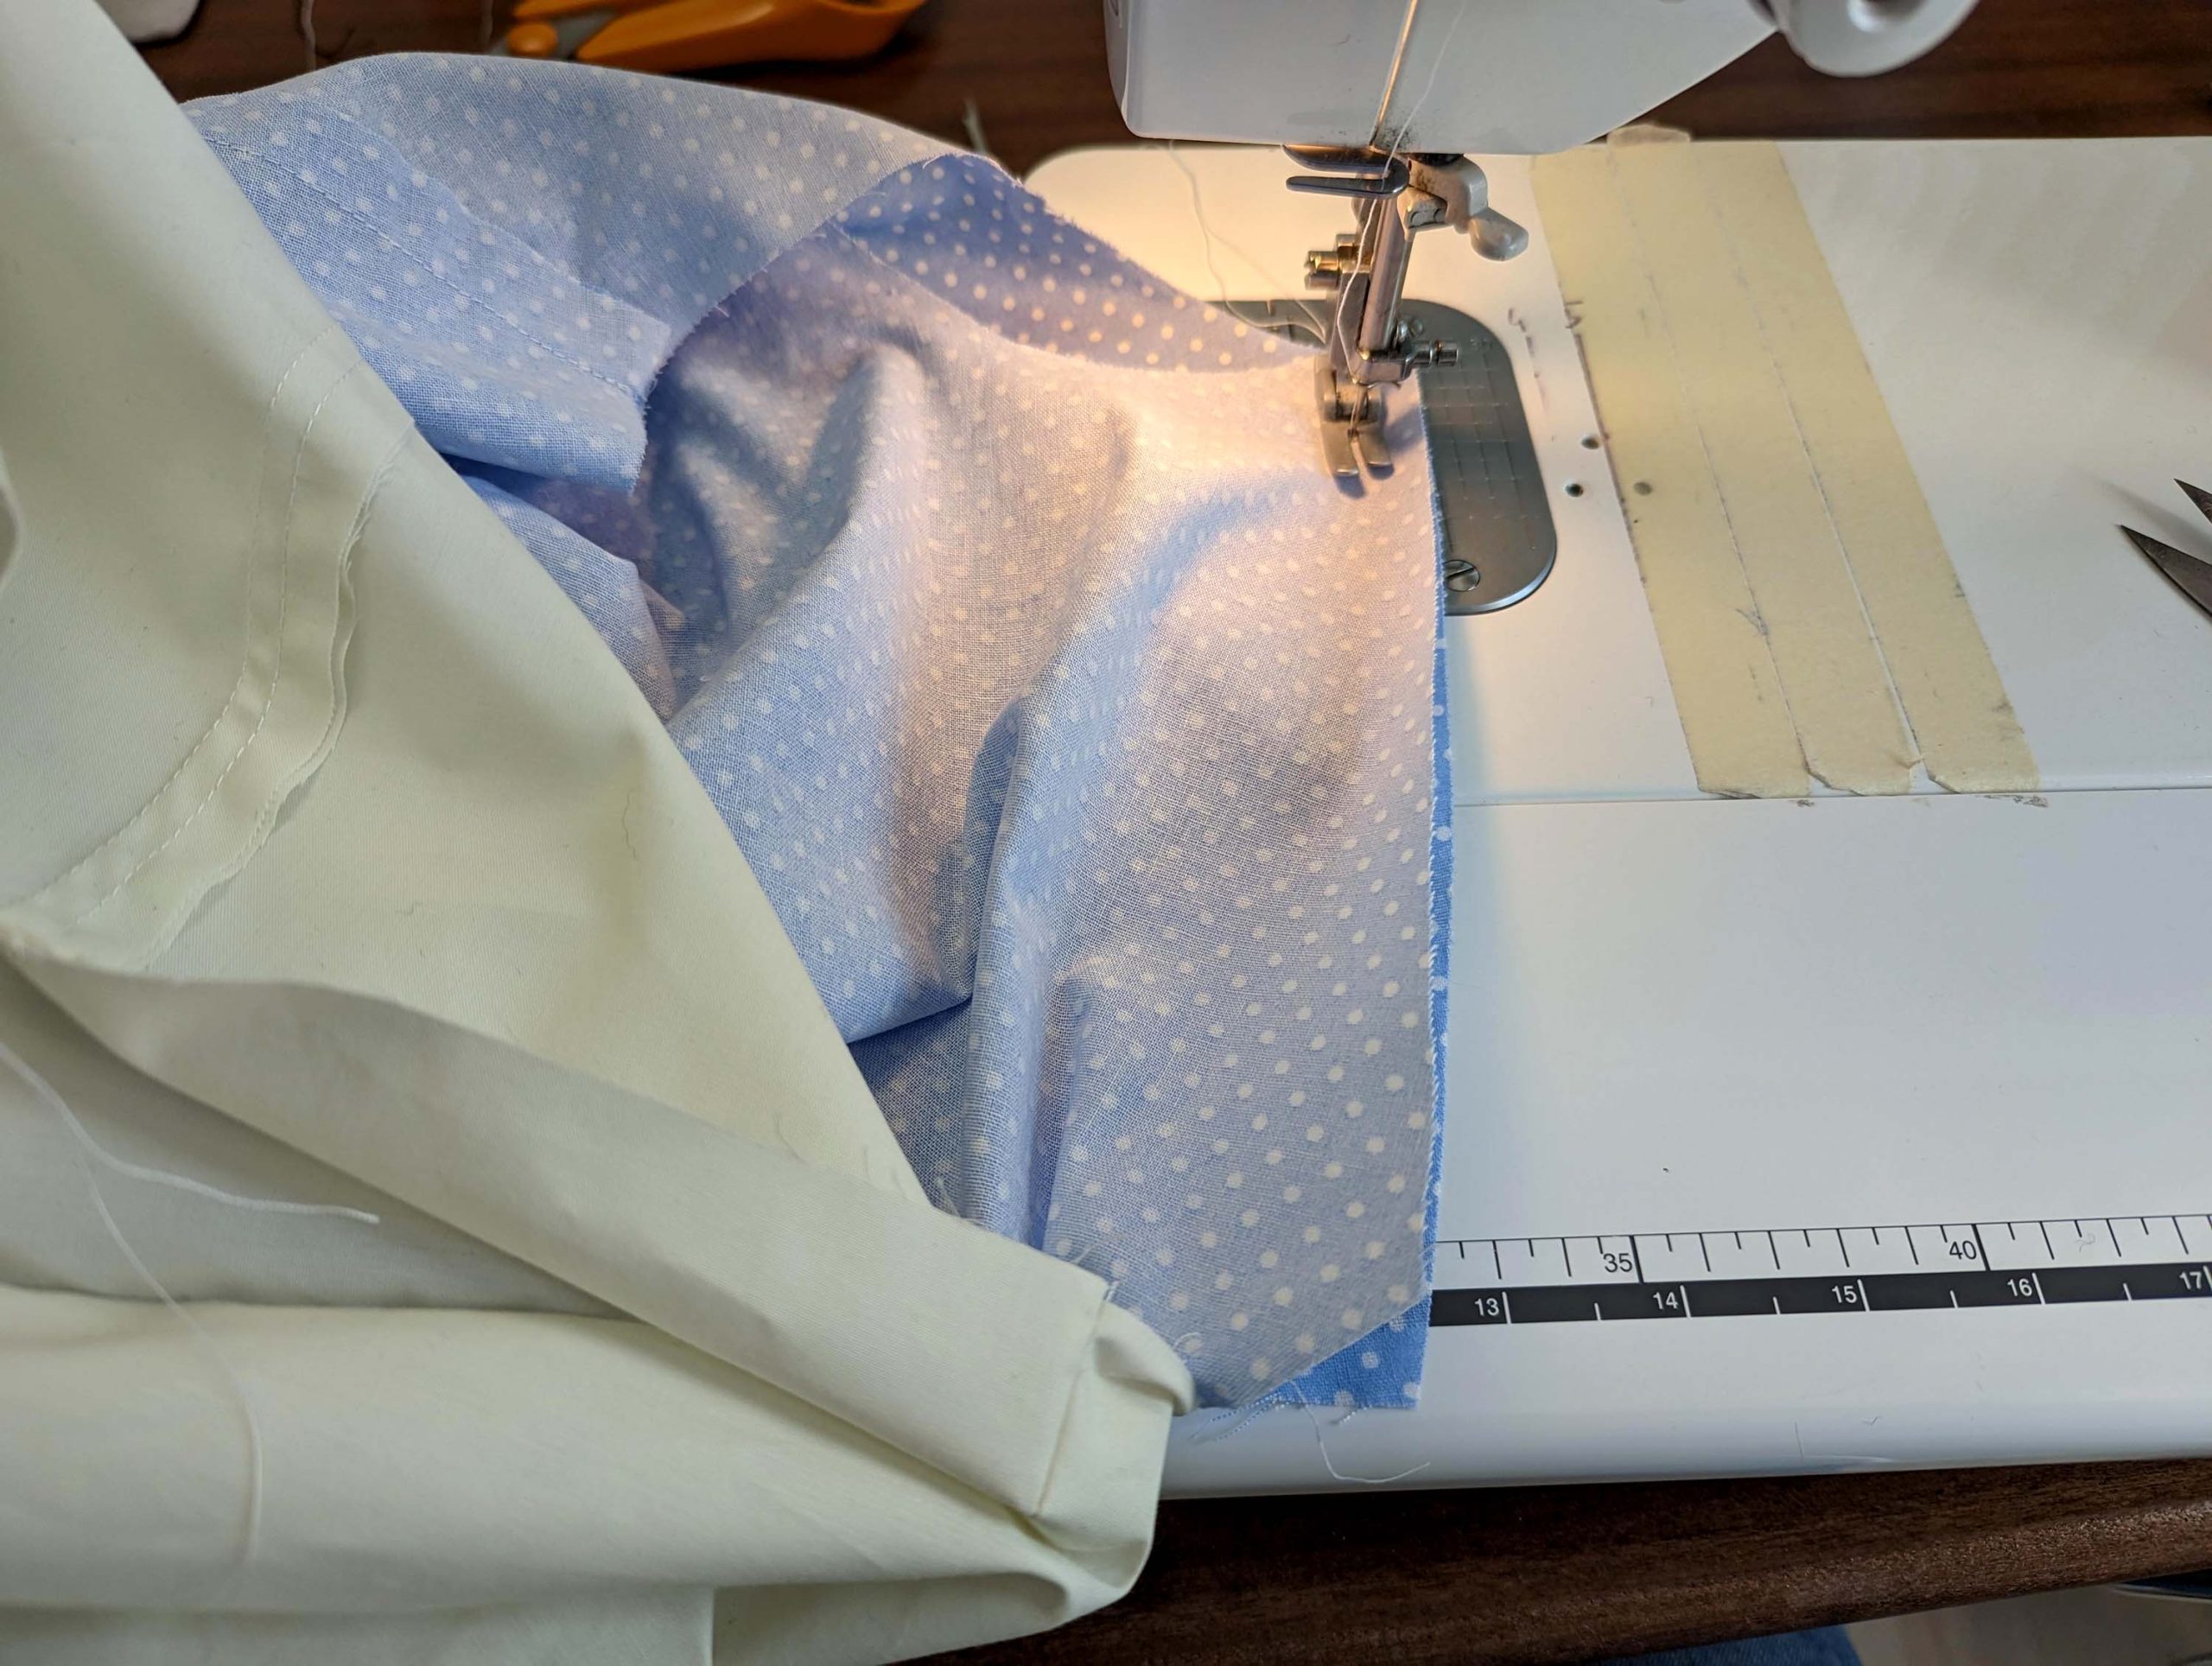
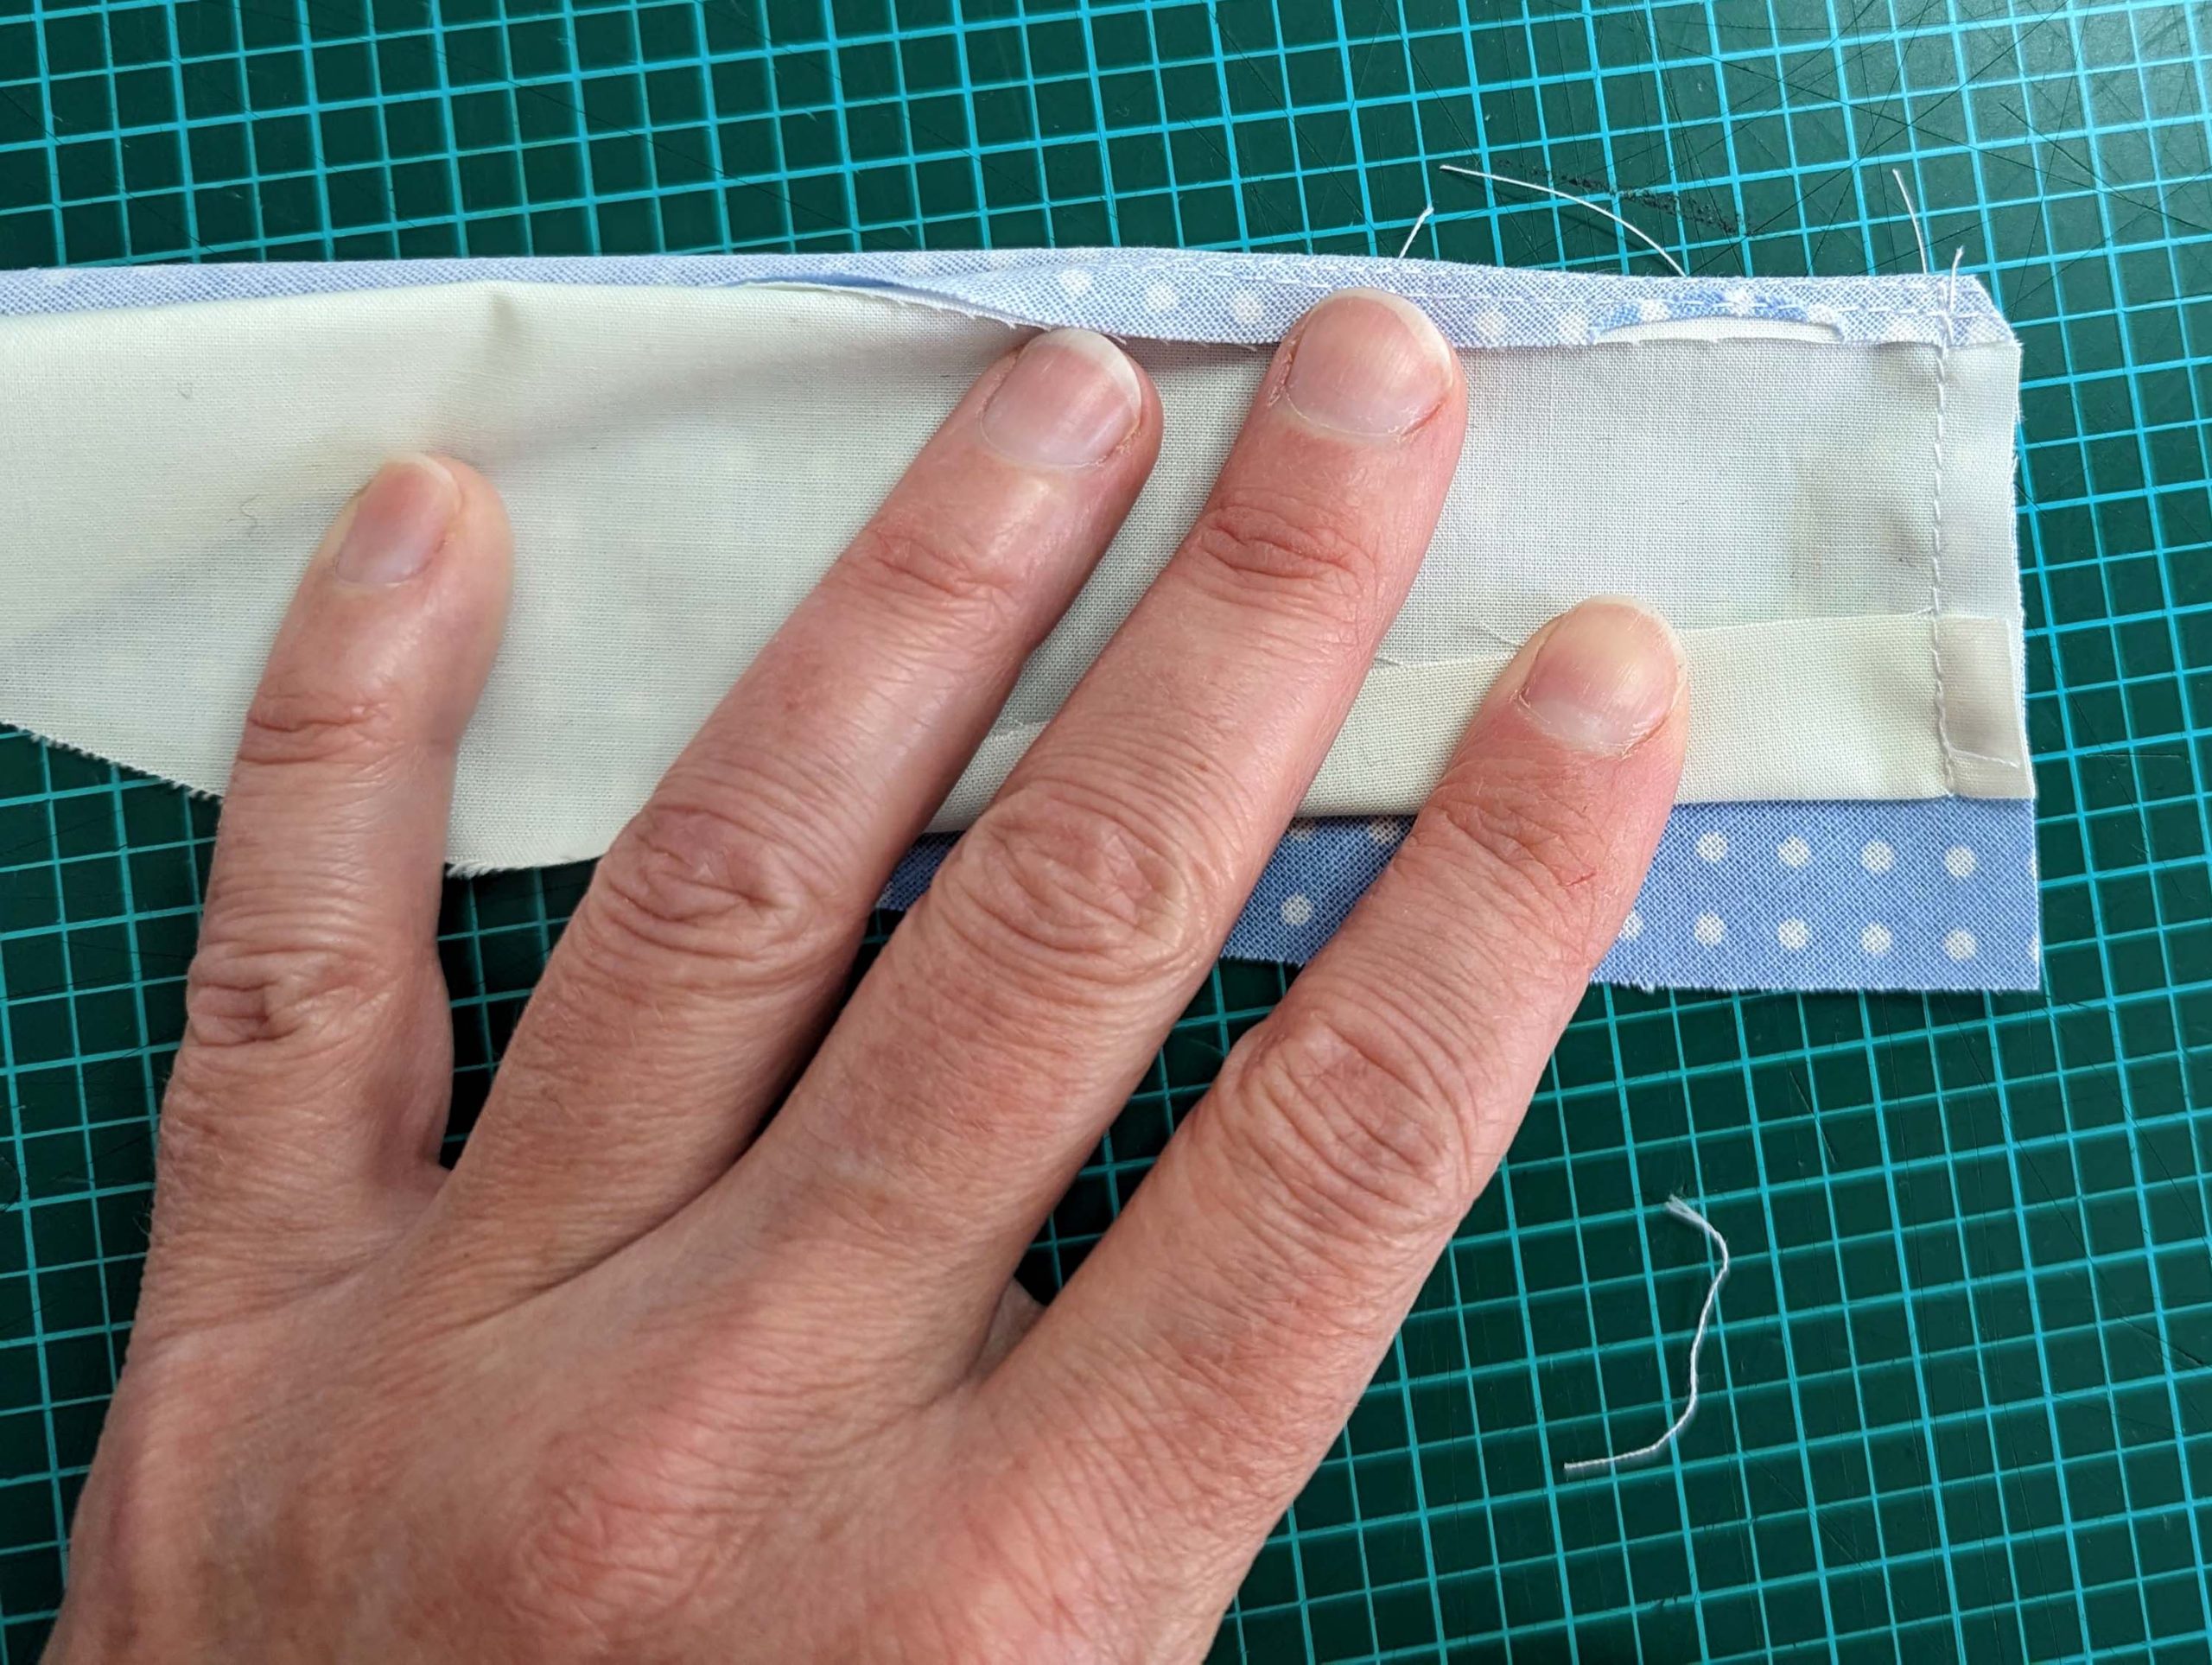
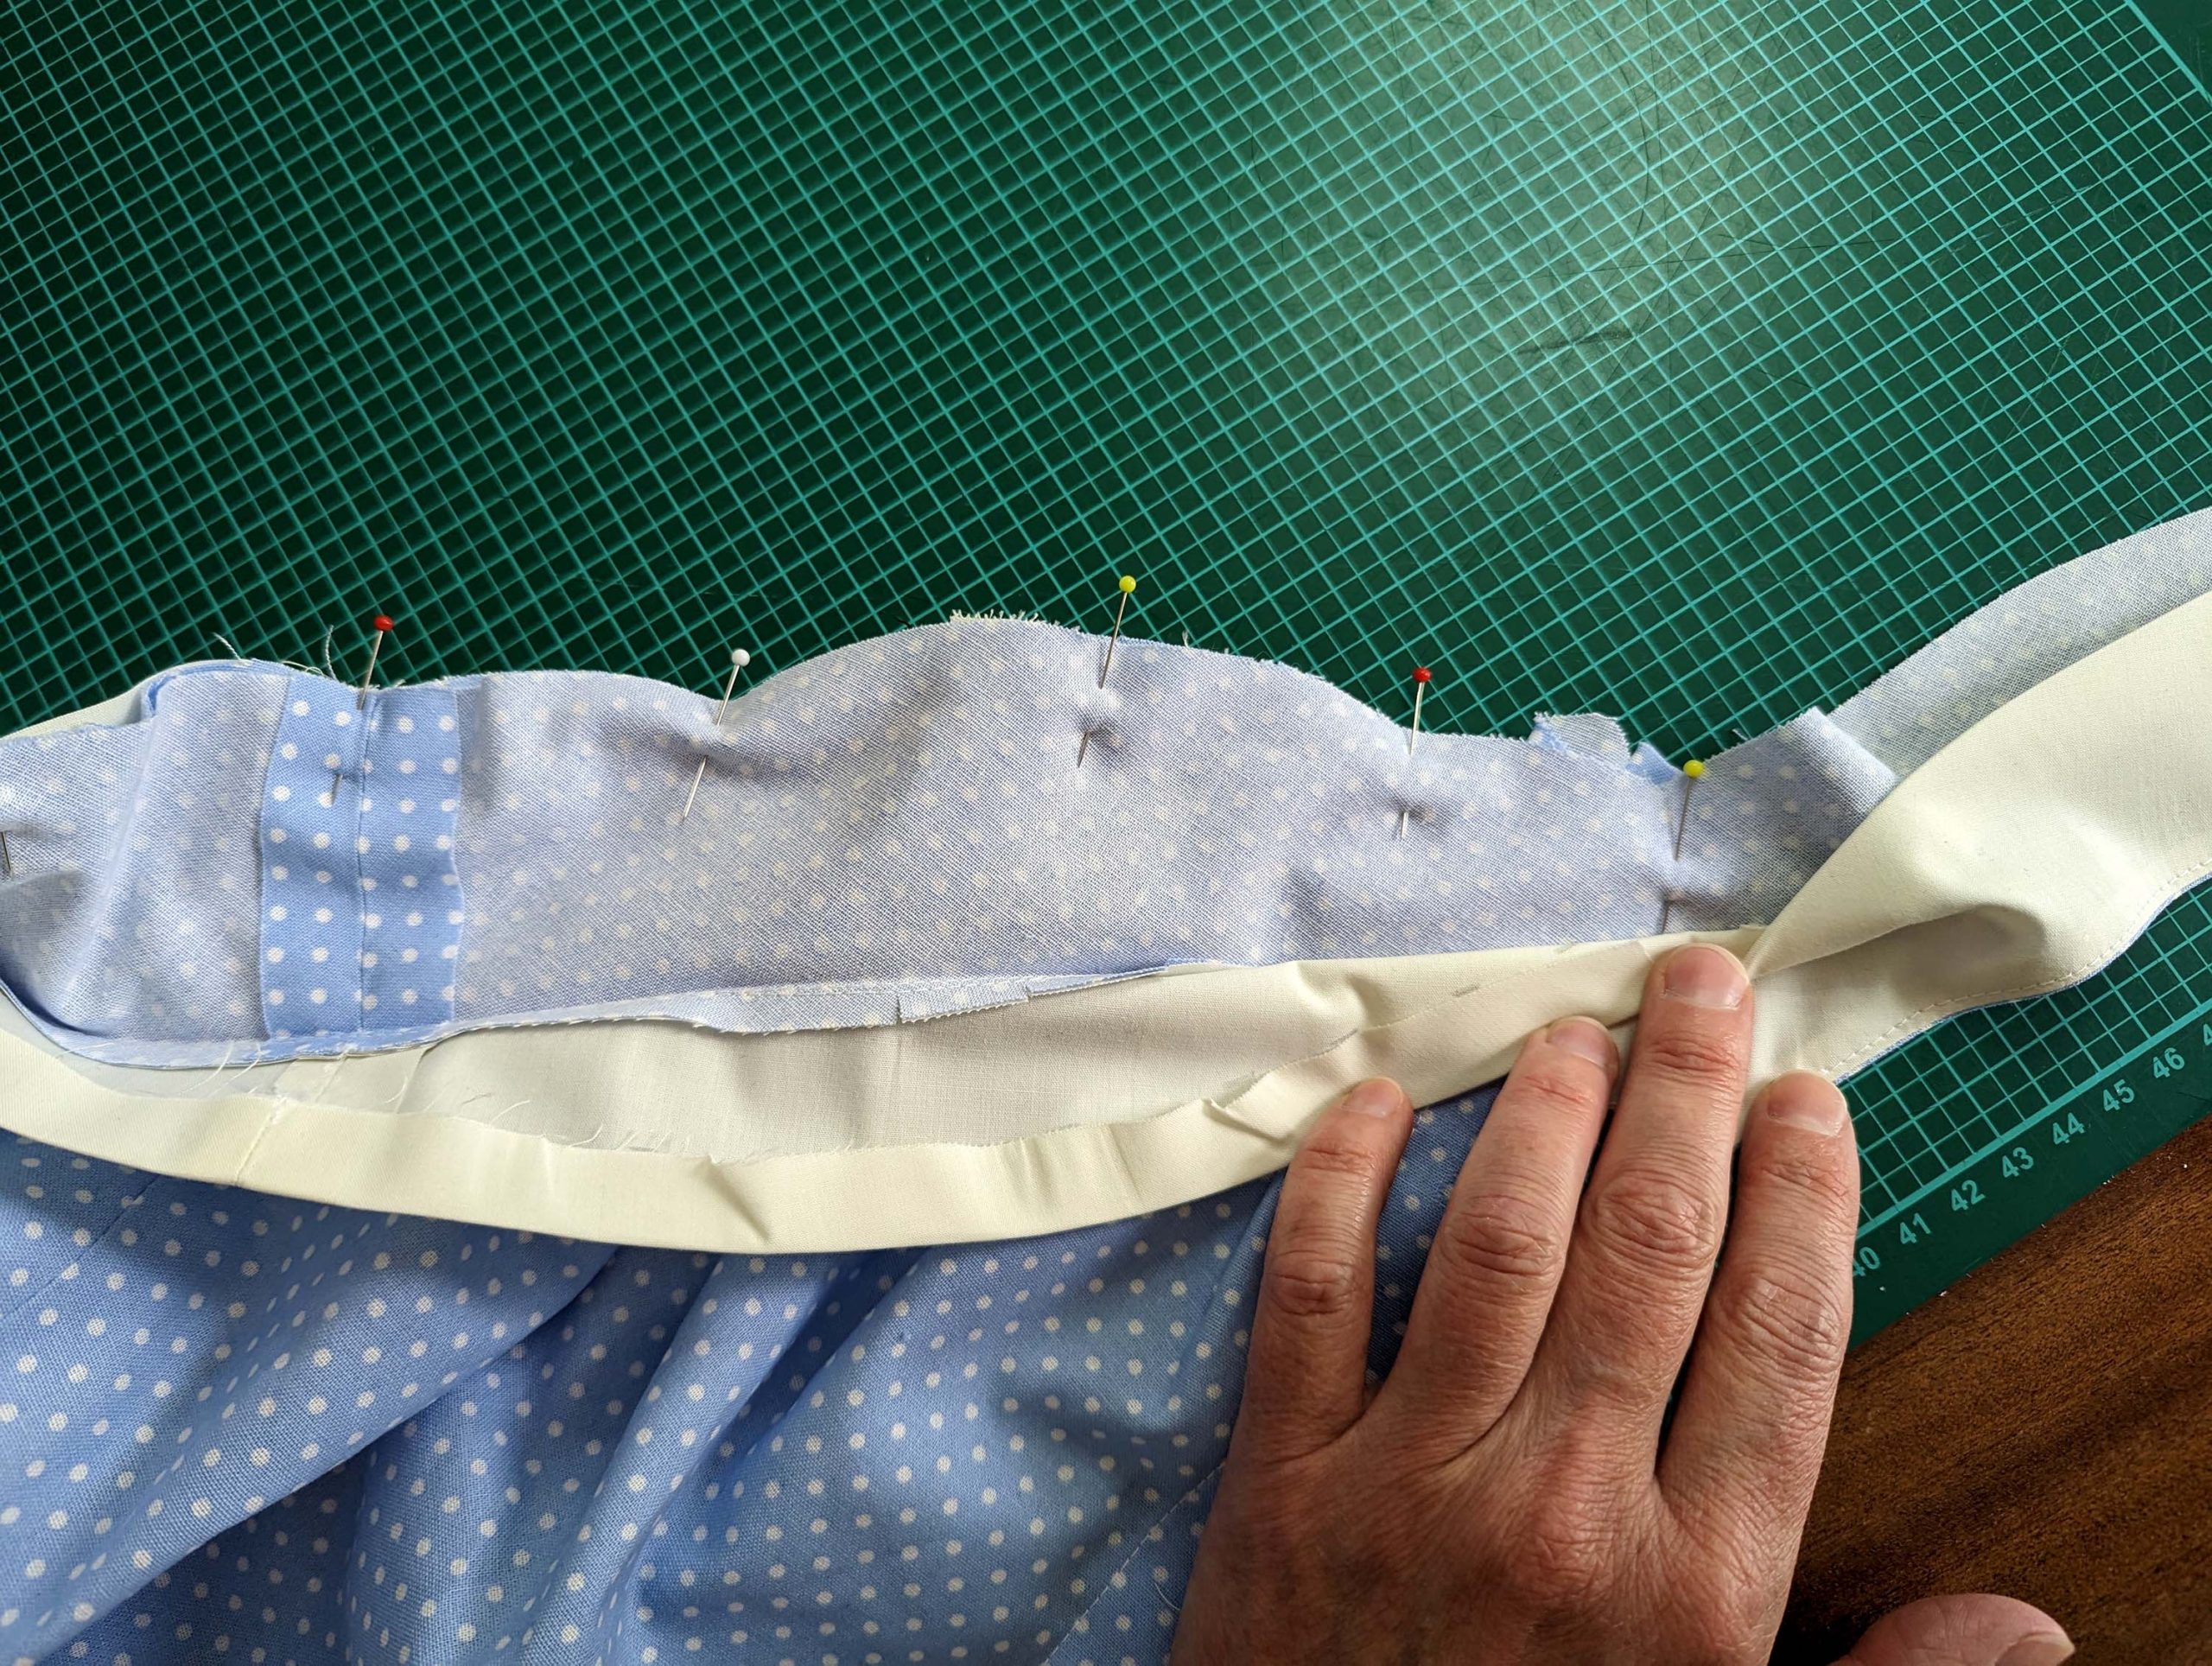
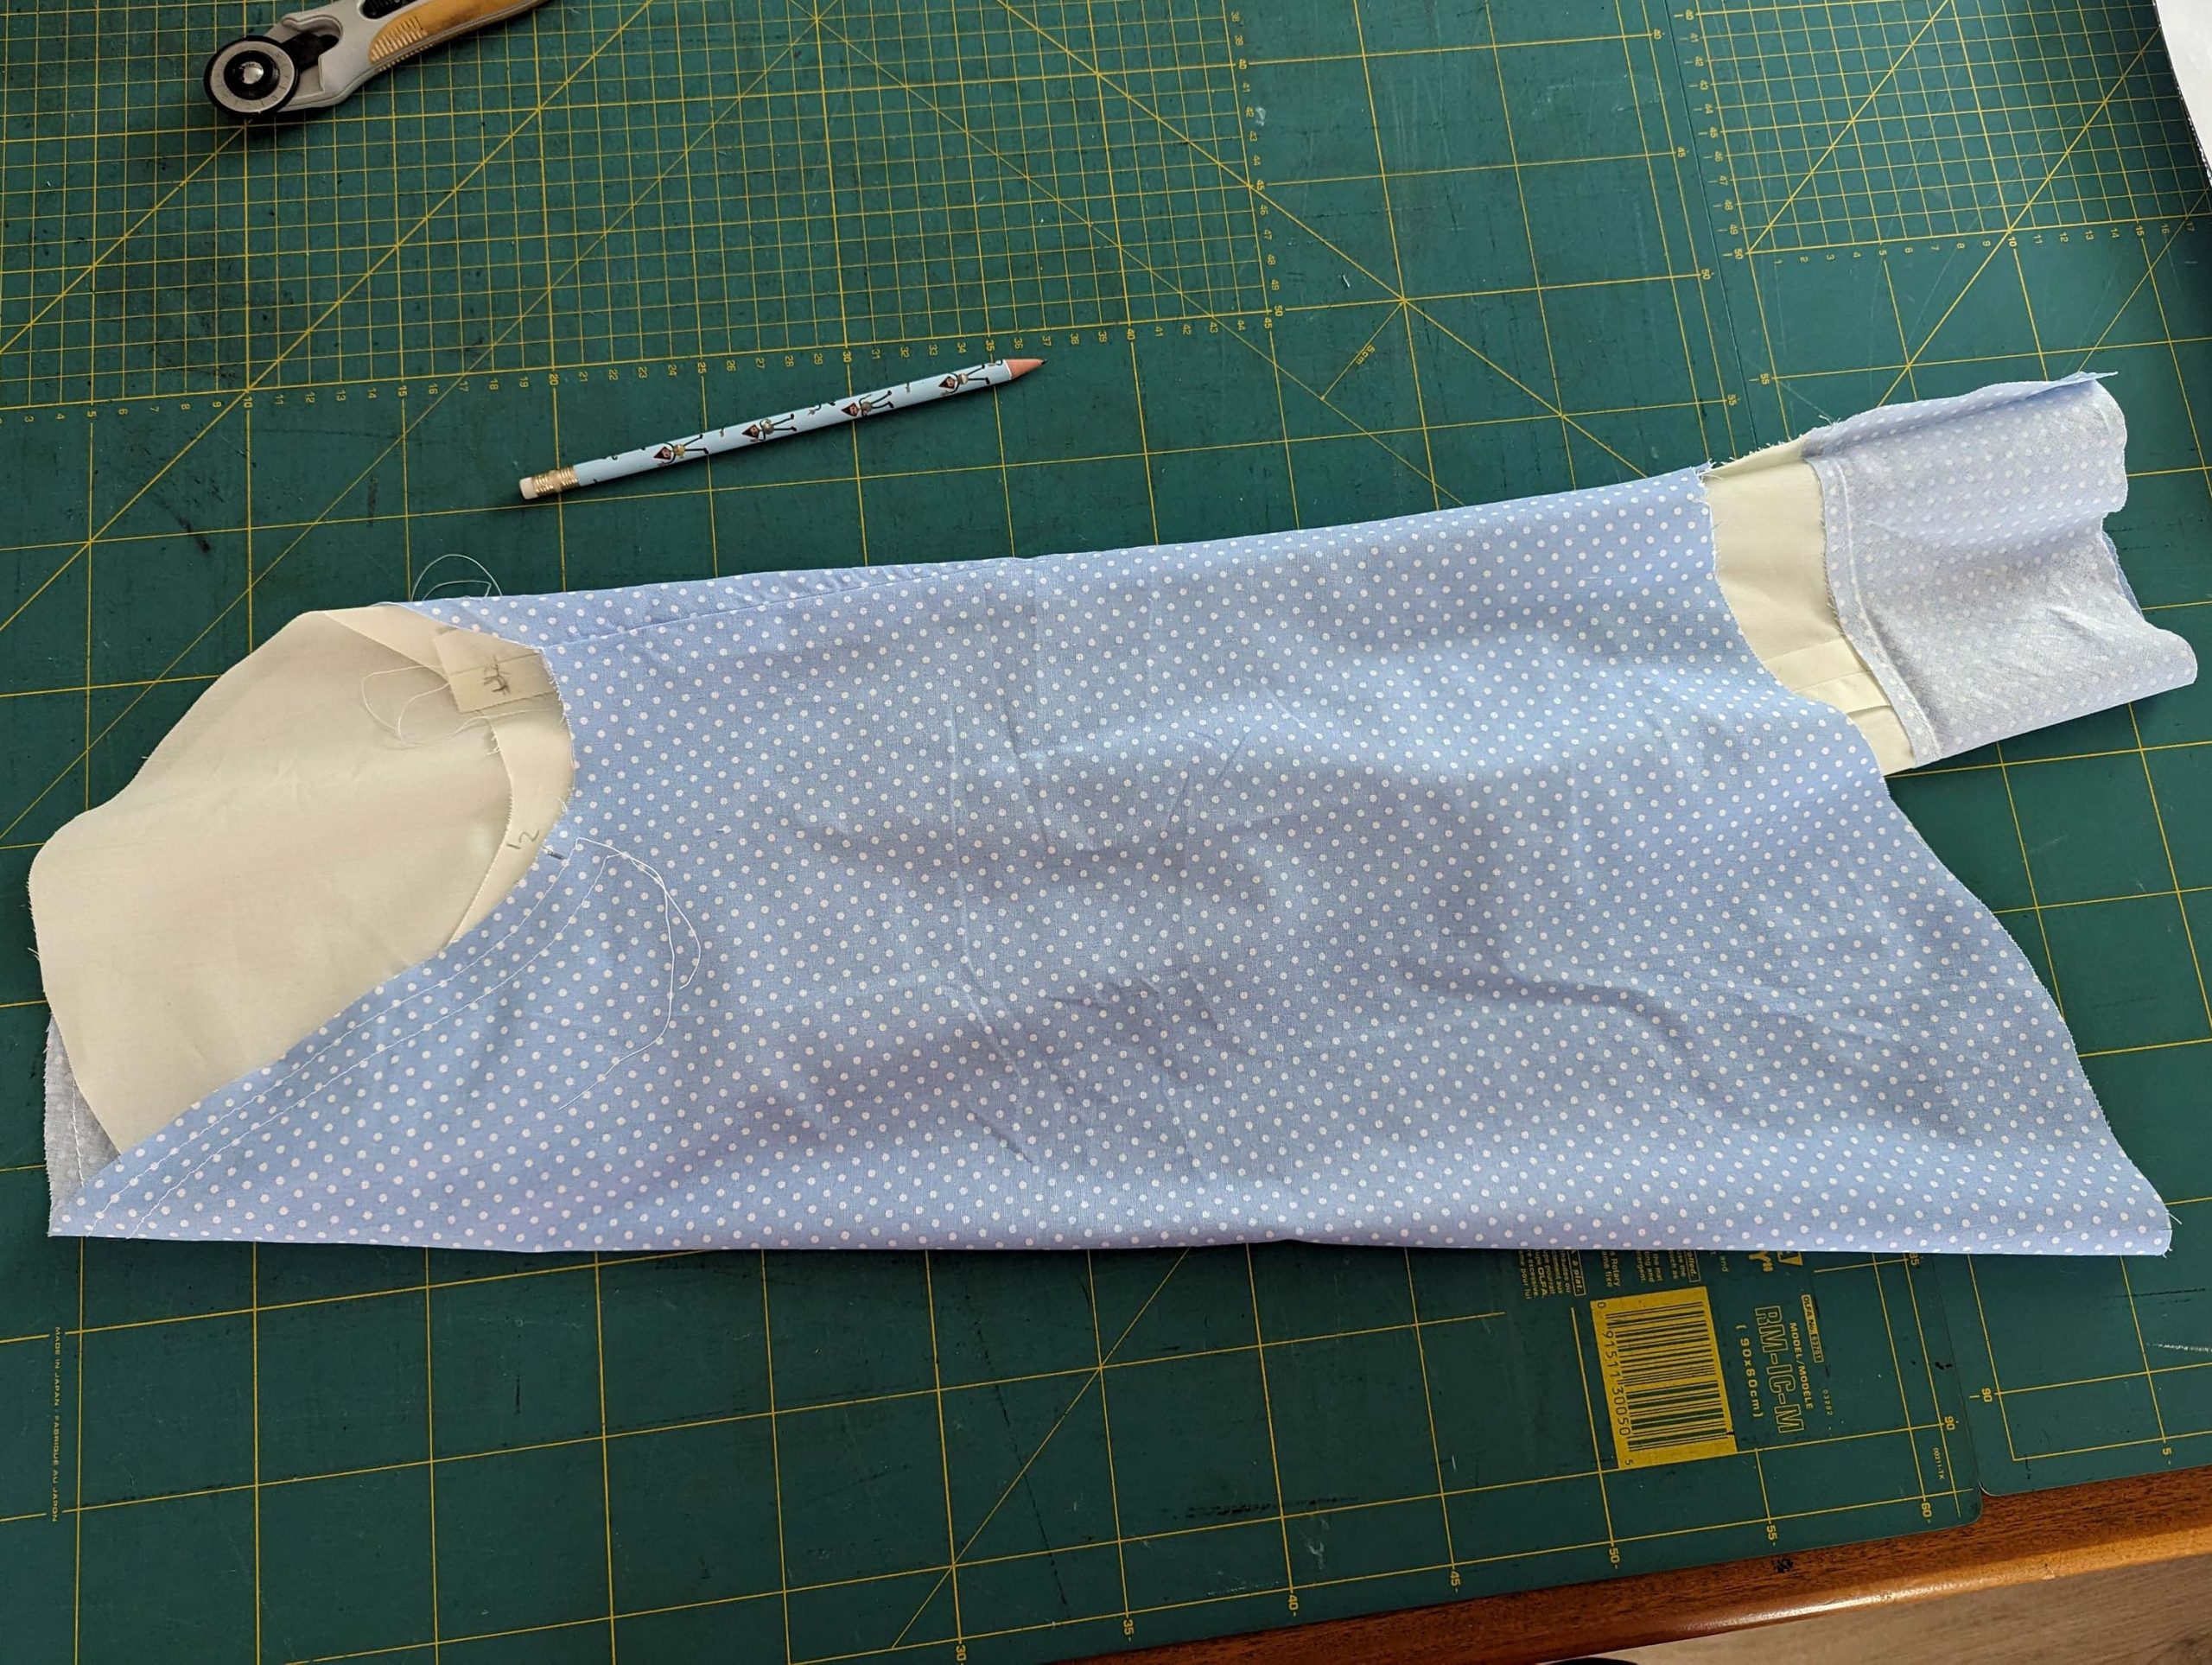
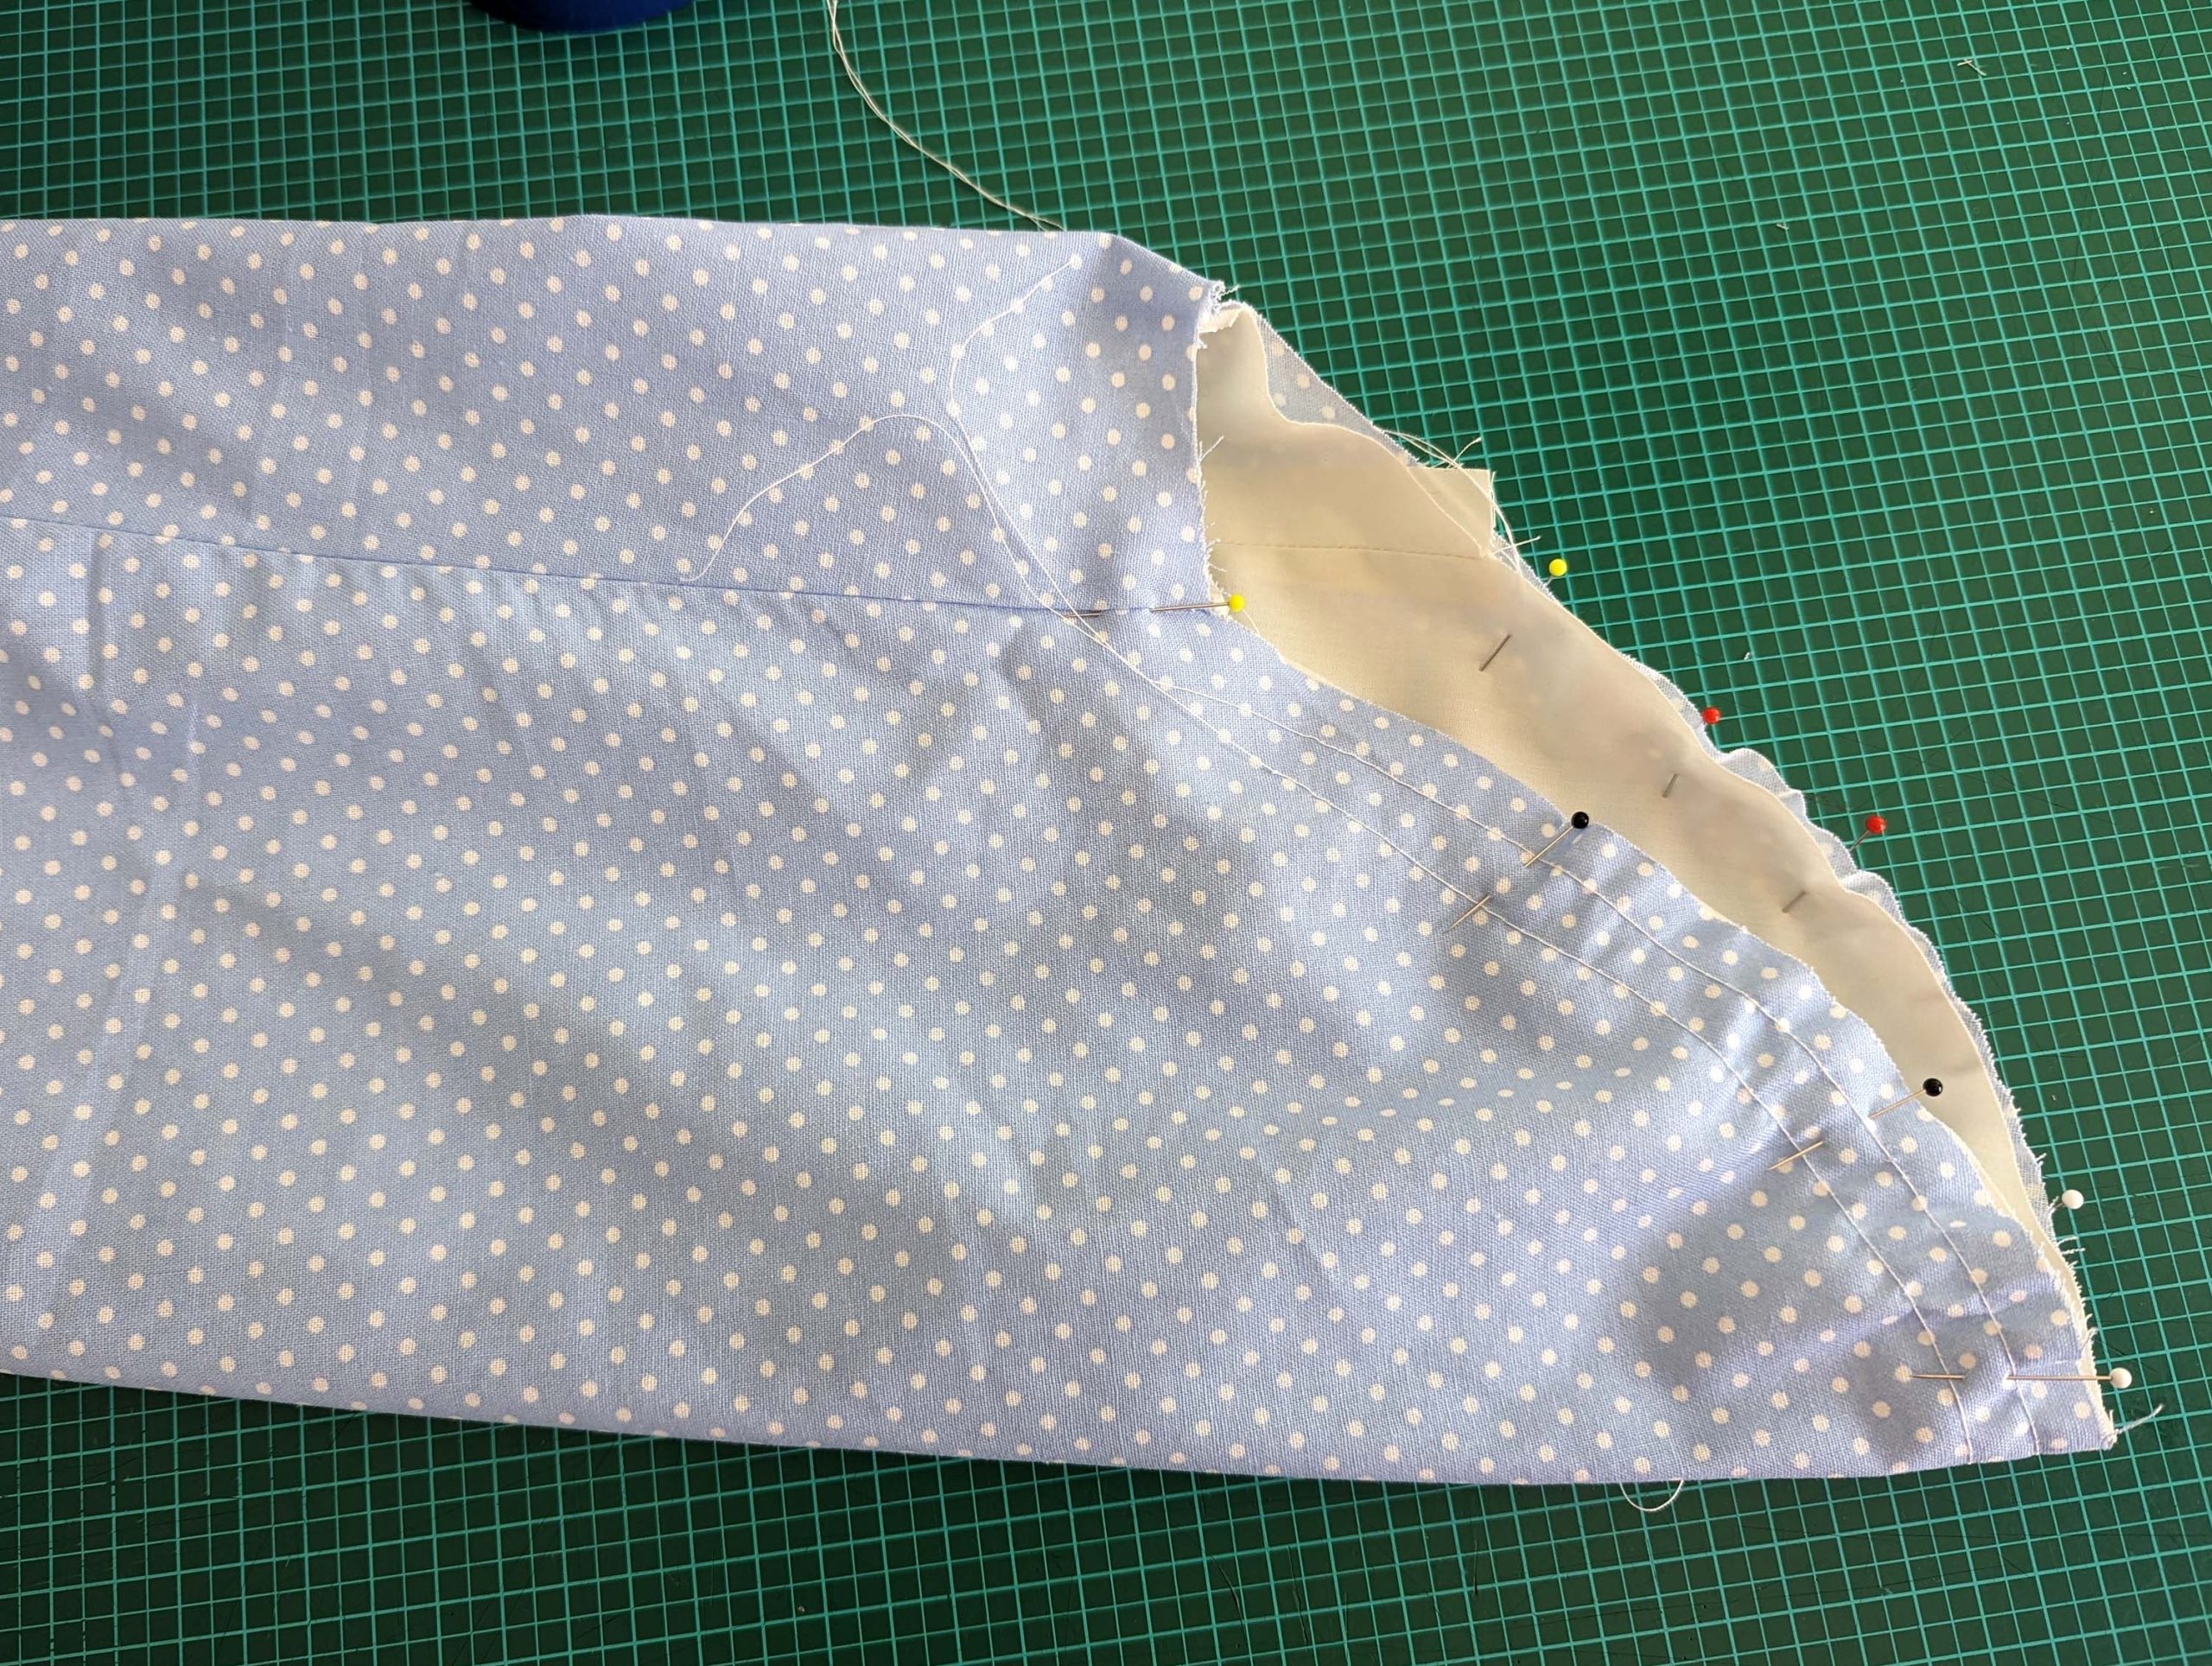
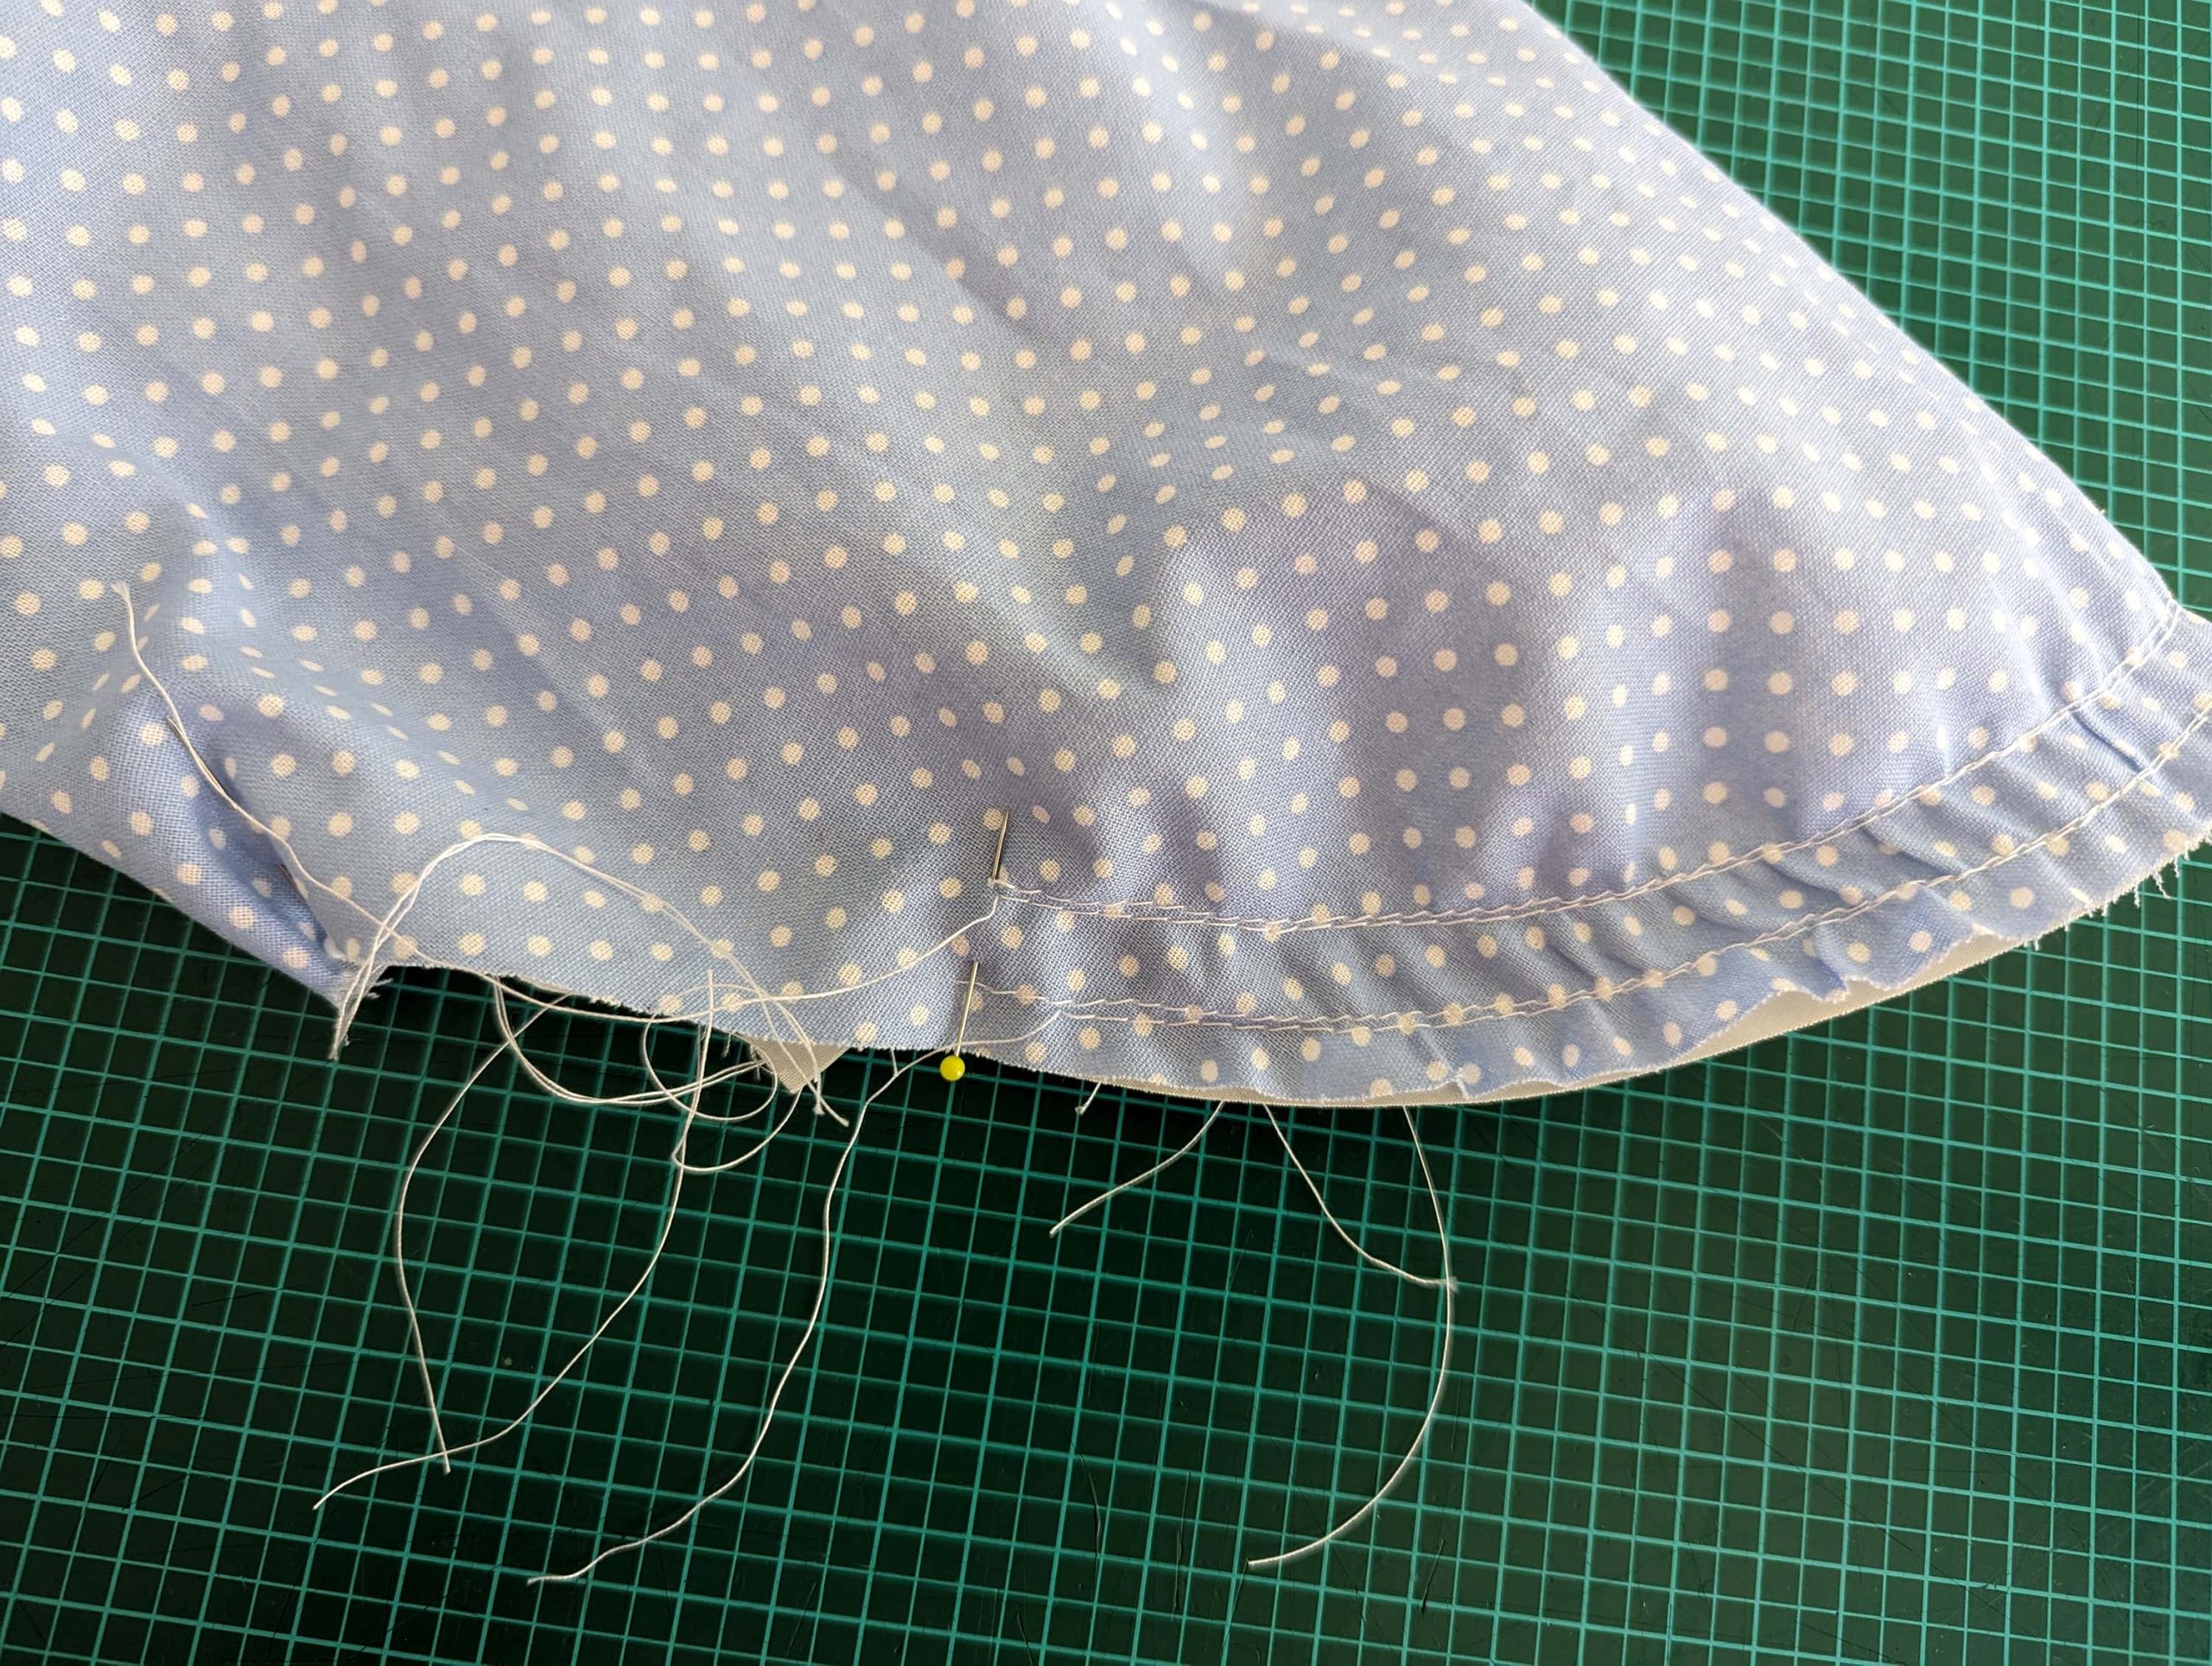
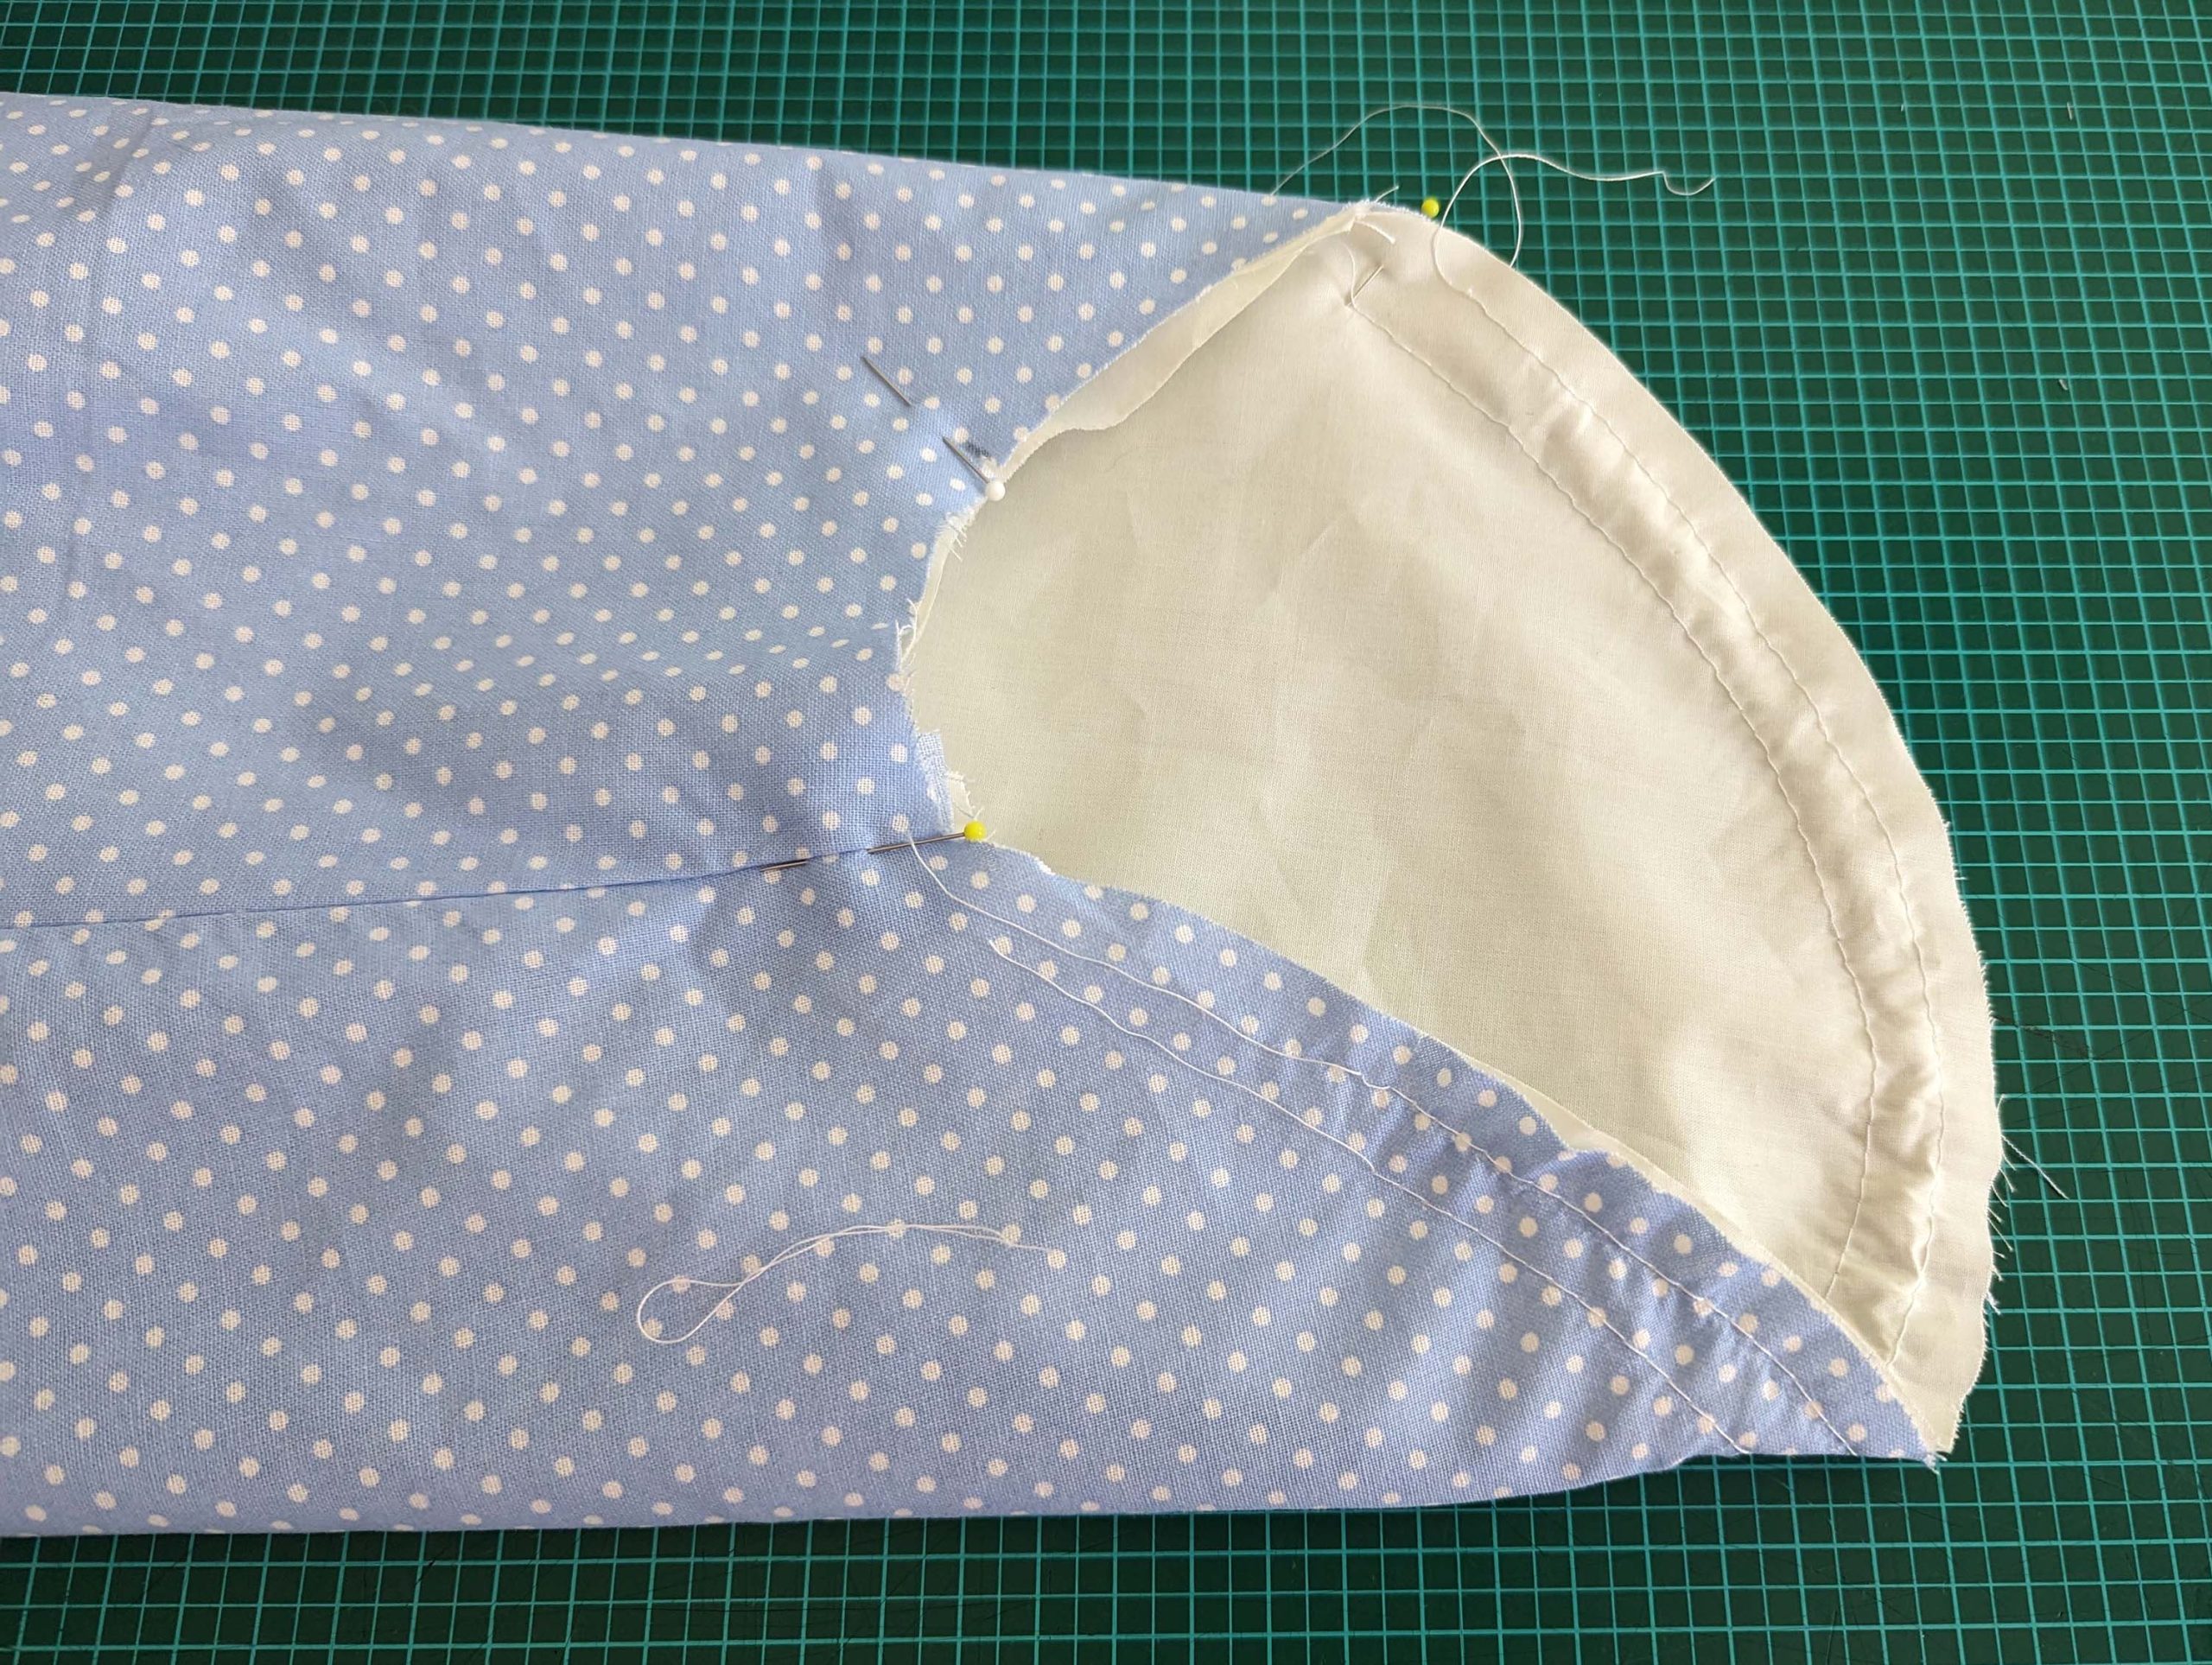
(4) Richte das Oberteil aus Oberstoff am Futter aus, the wrong side of the fashion fabric is facing the right side of the lining (wrong sides together would be a possibility as well). Baste along the neckline and armholes, as well as along the bottom edge, after folding the fashion fabric to match the lining as shown in the illustration, creating the typical pigeon breast of the era.
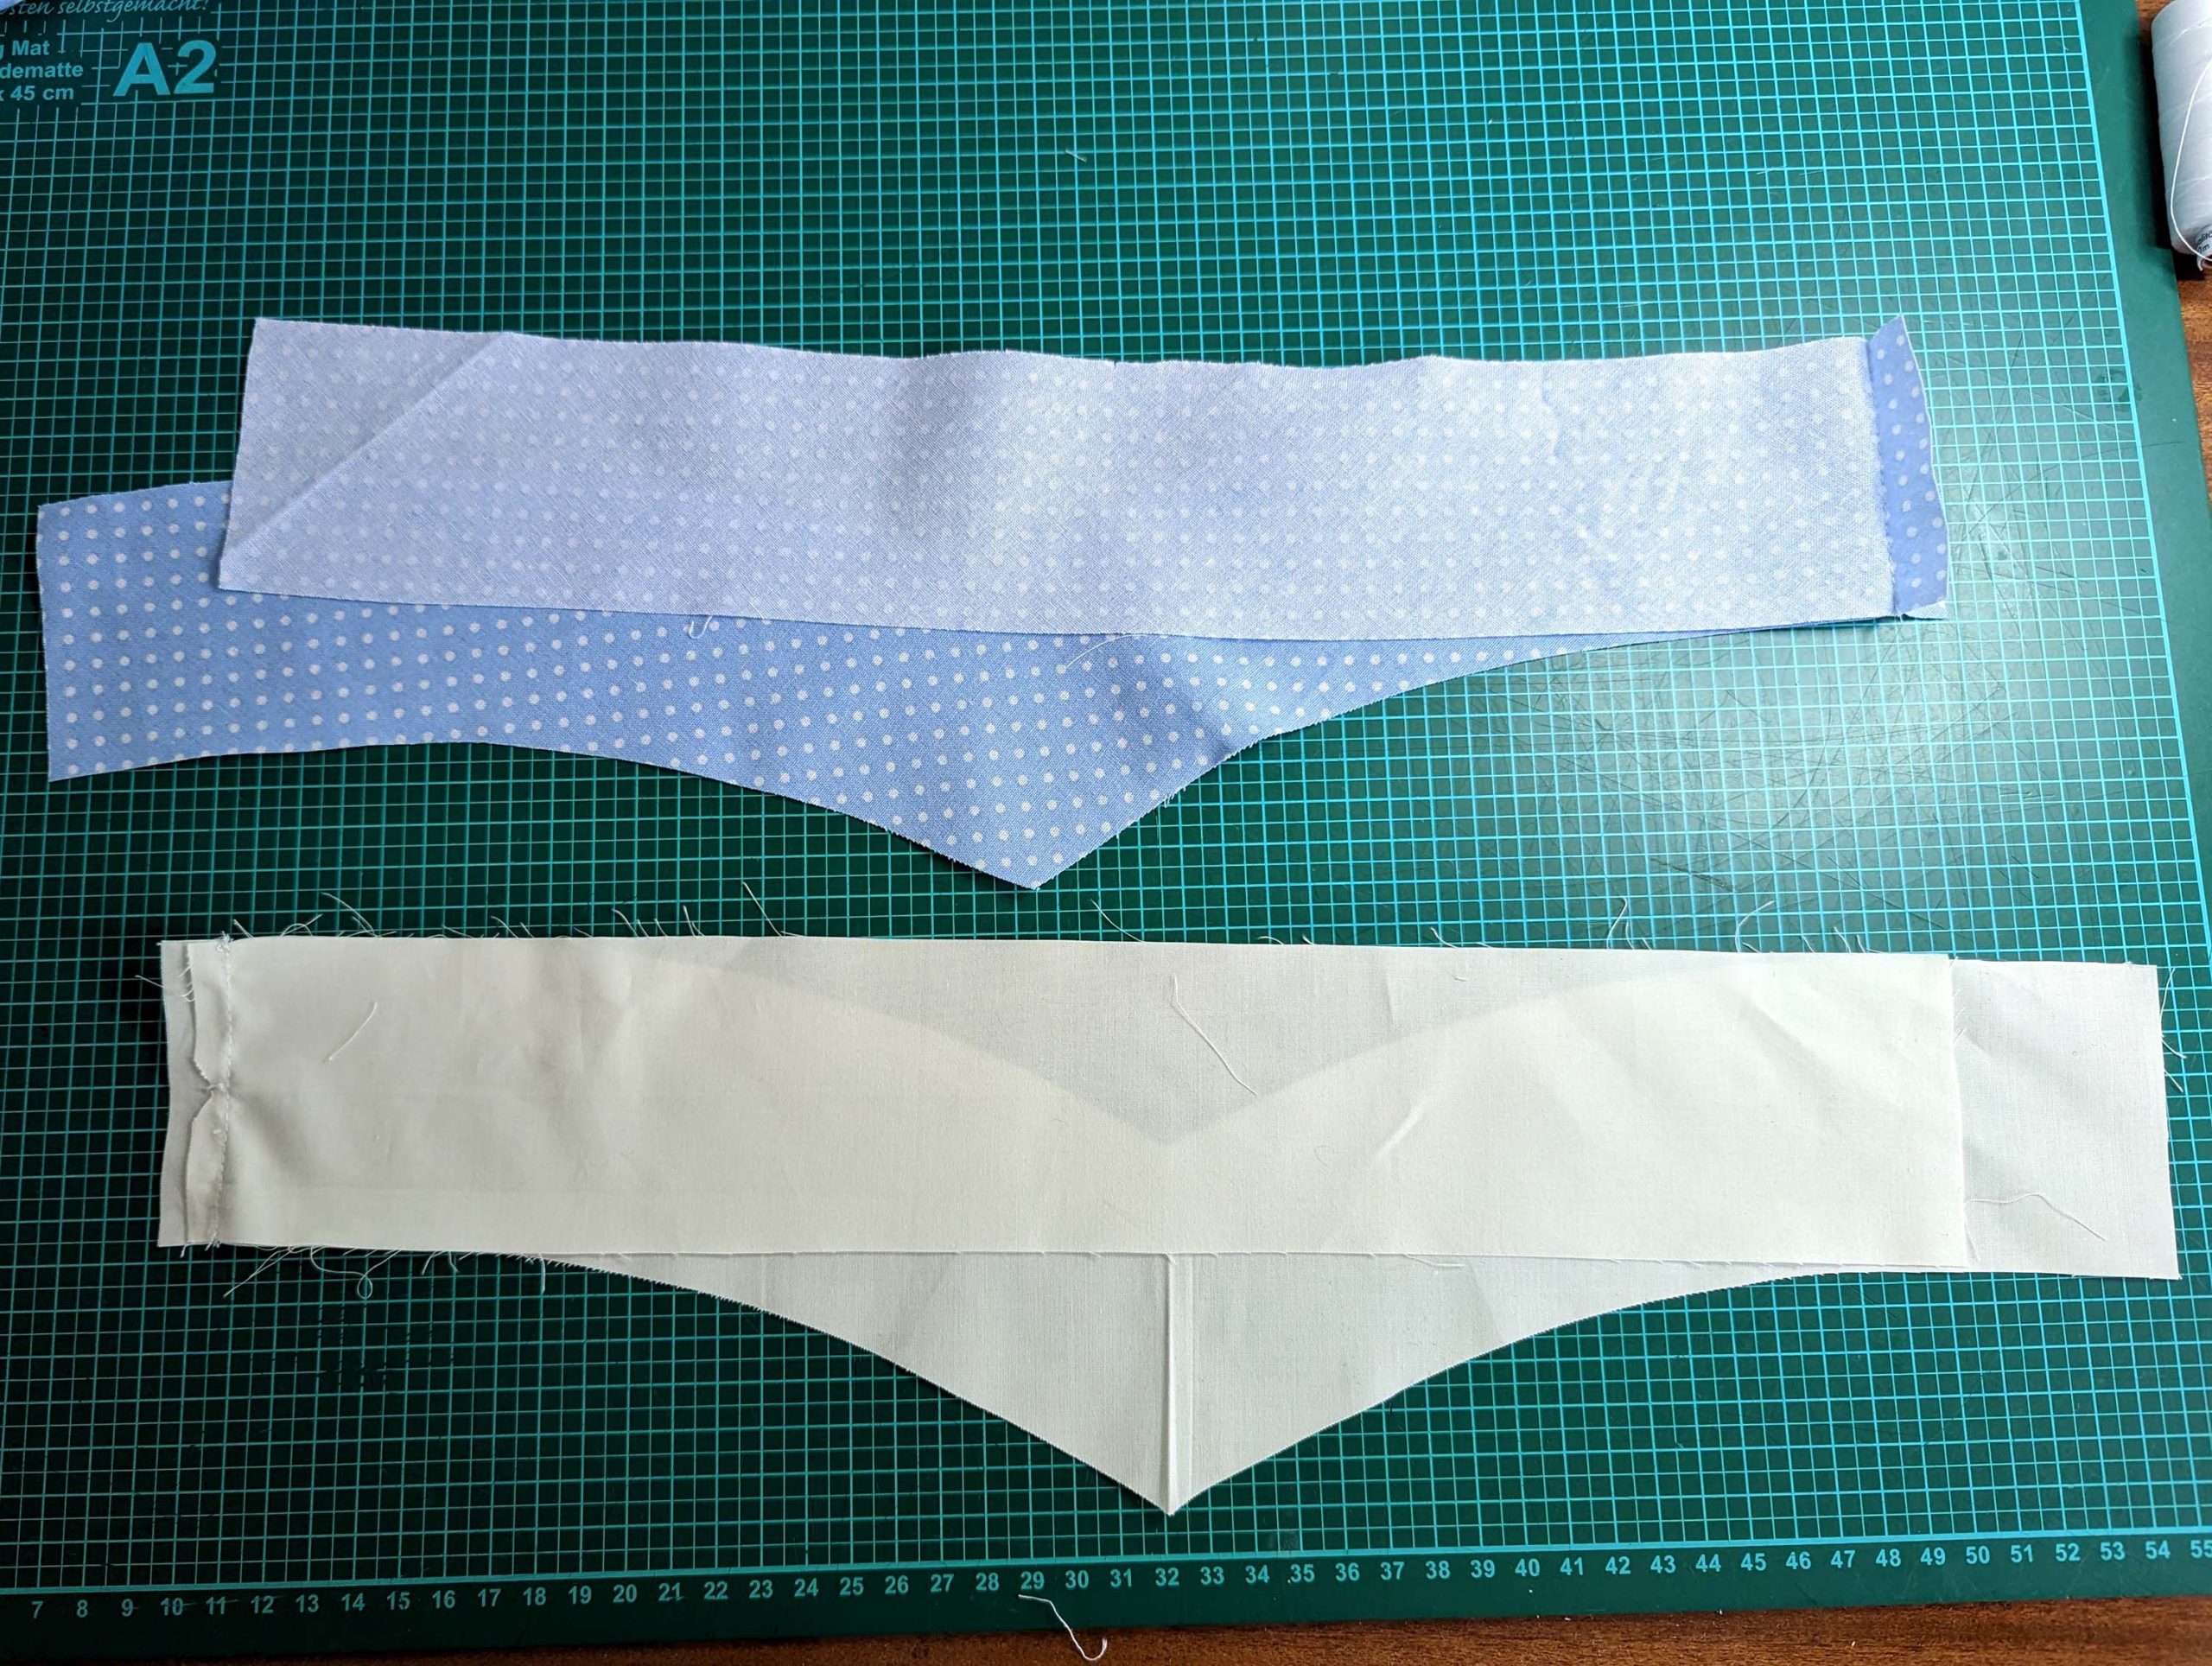
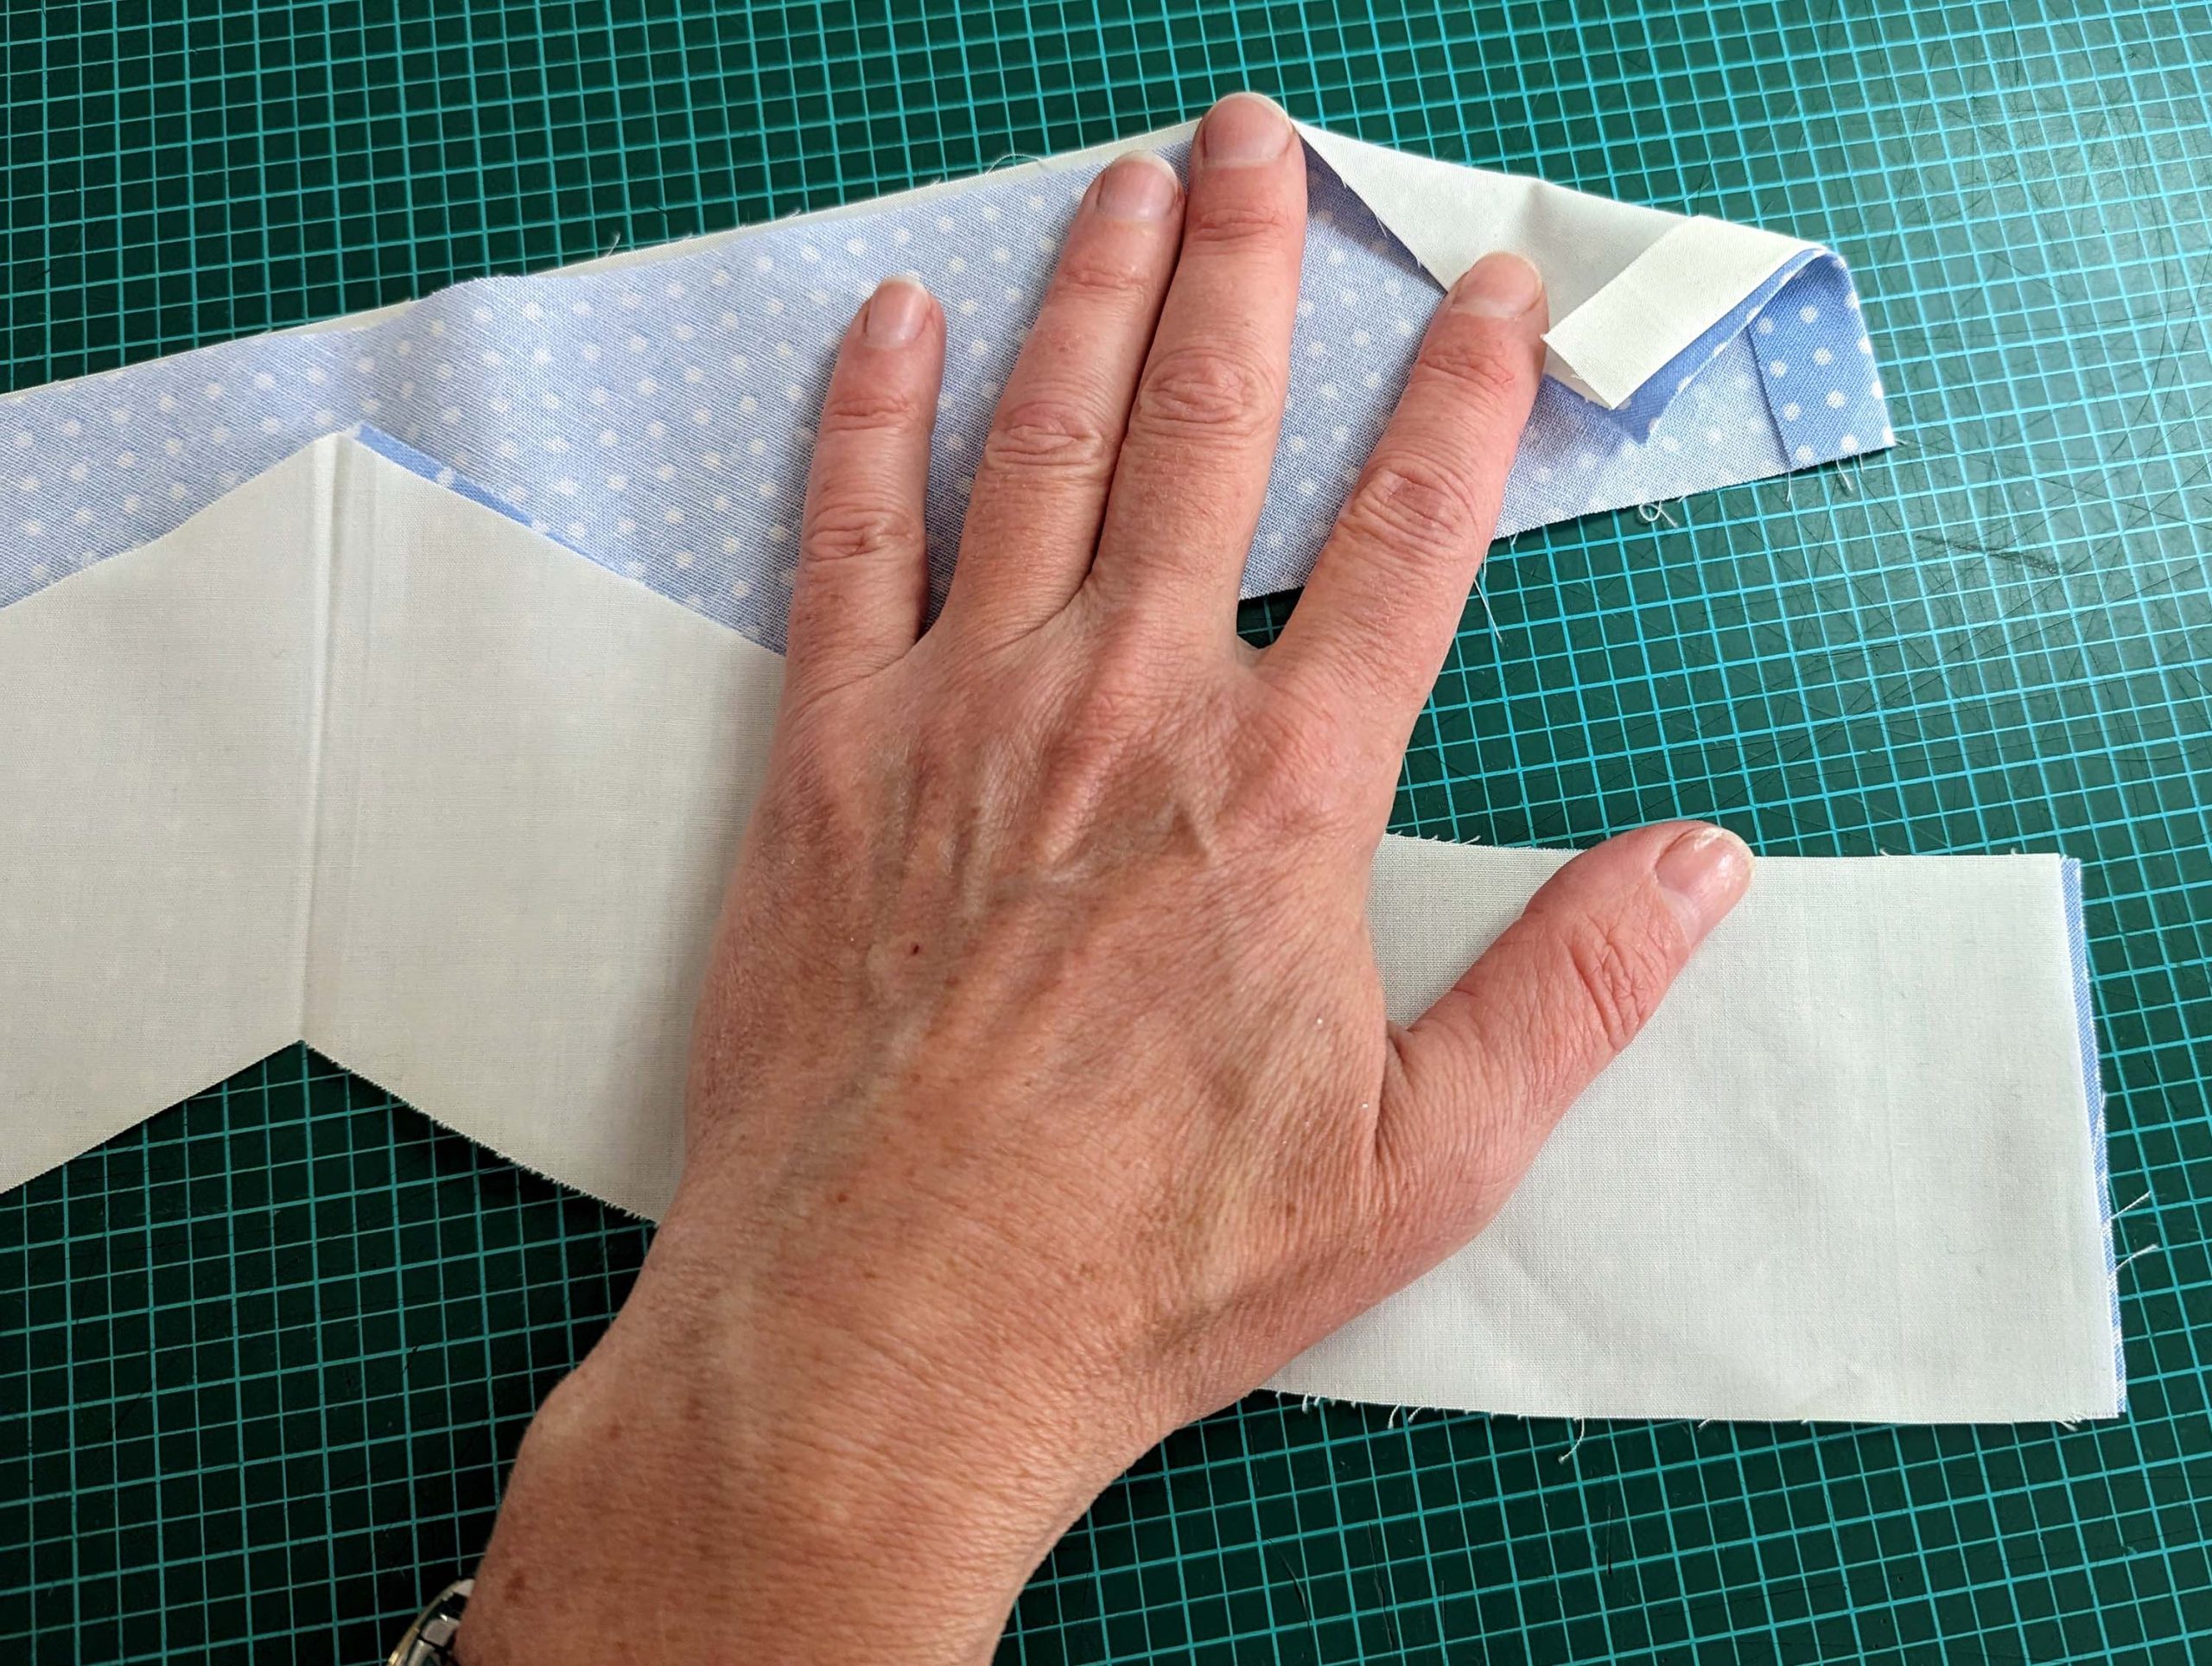
Double-check if everything is correct, especially on the left side (red arrow)!
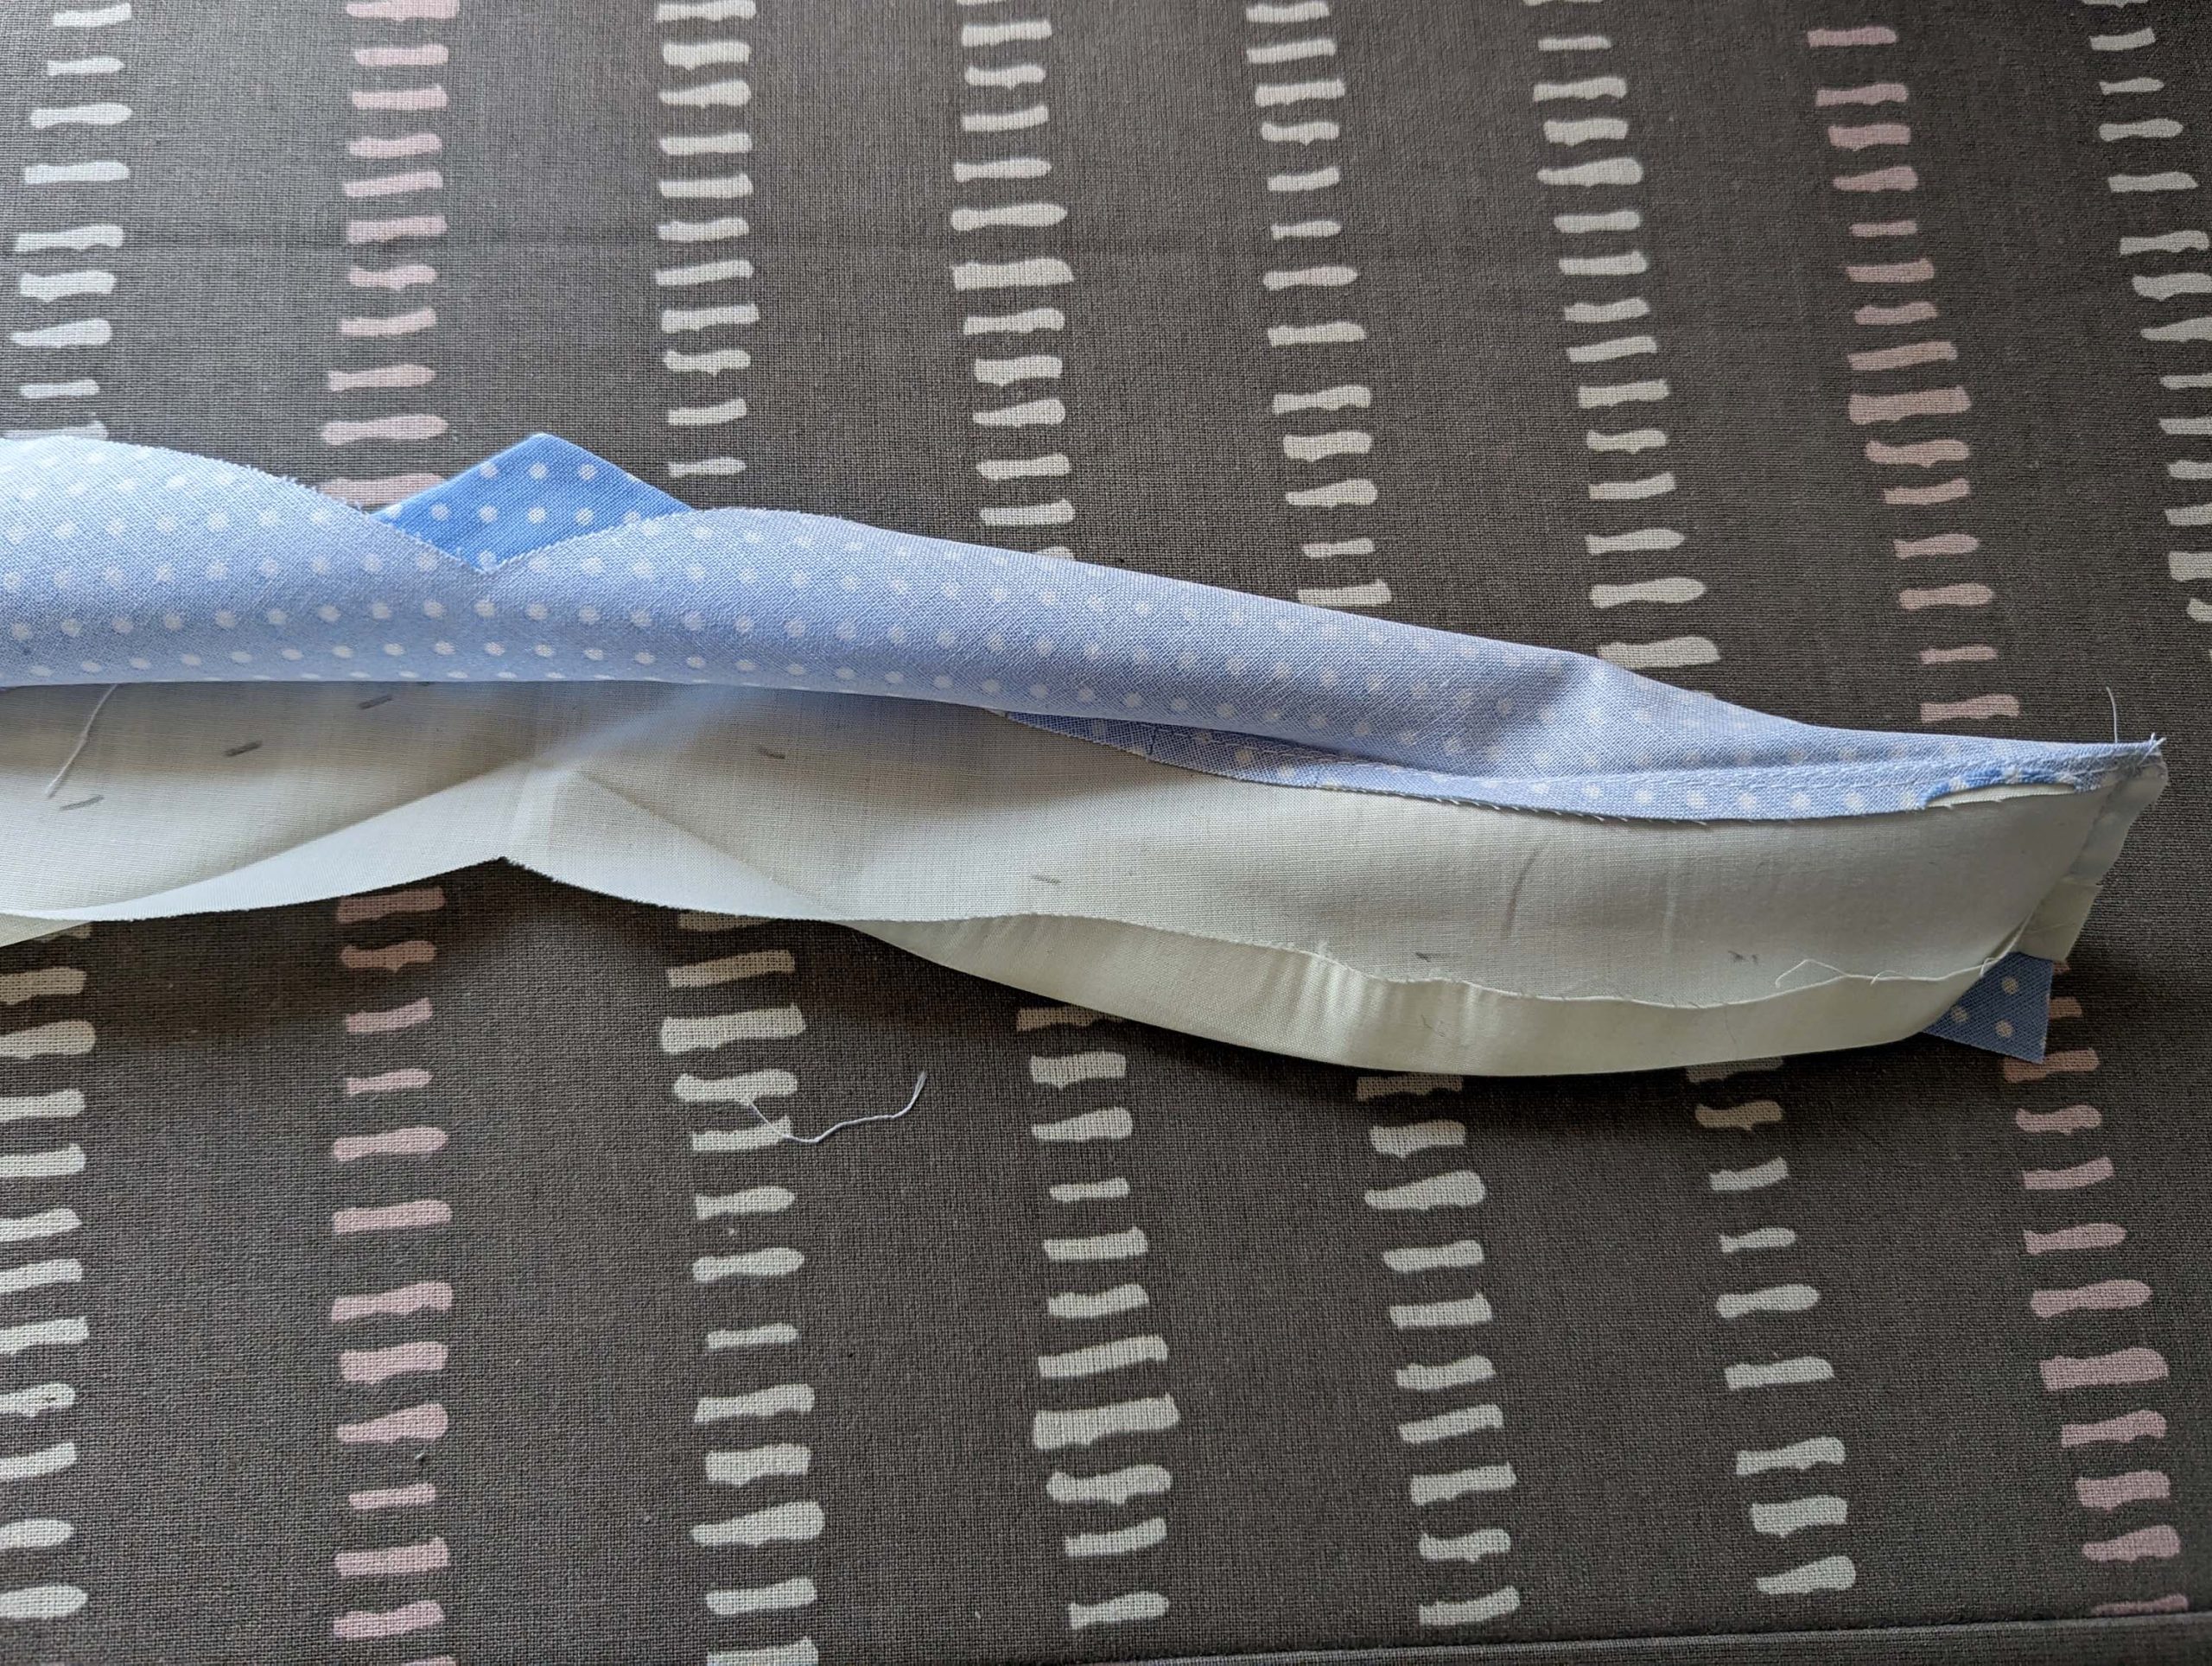
(5) Nimm das Kragen facing and fold in half lengthwise along the dotted line, right sides together. Turn in the seam allowance along the bottom edge of the inner layer and sew along the front edge. Trim back the seam allowance and turn the right way out.
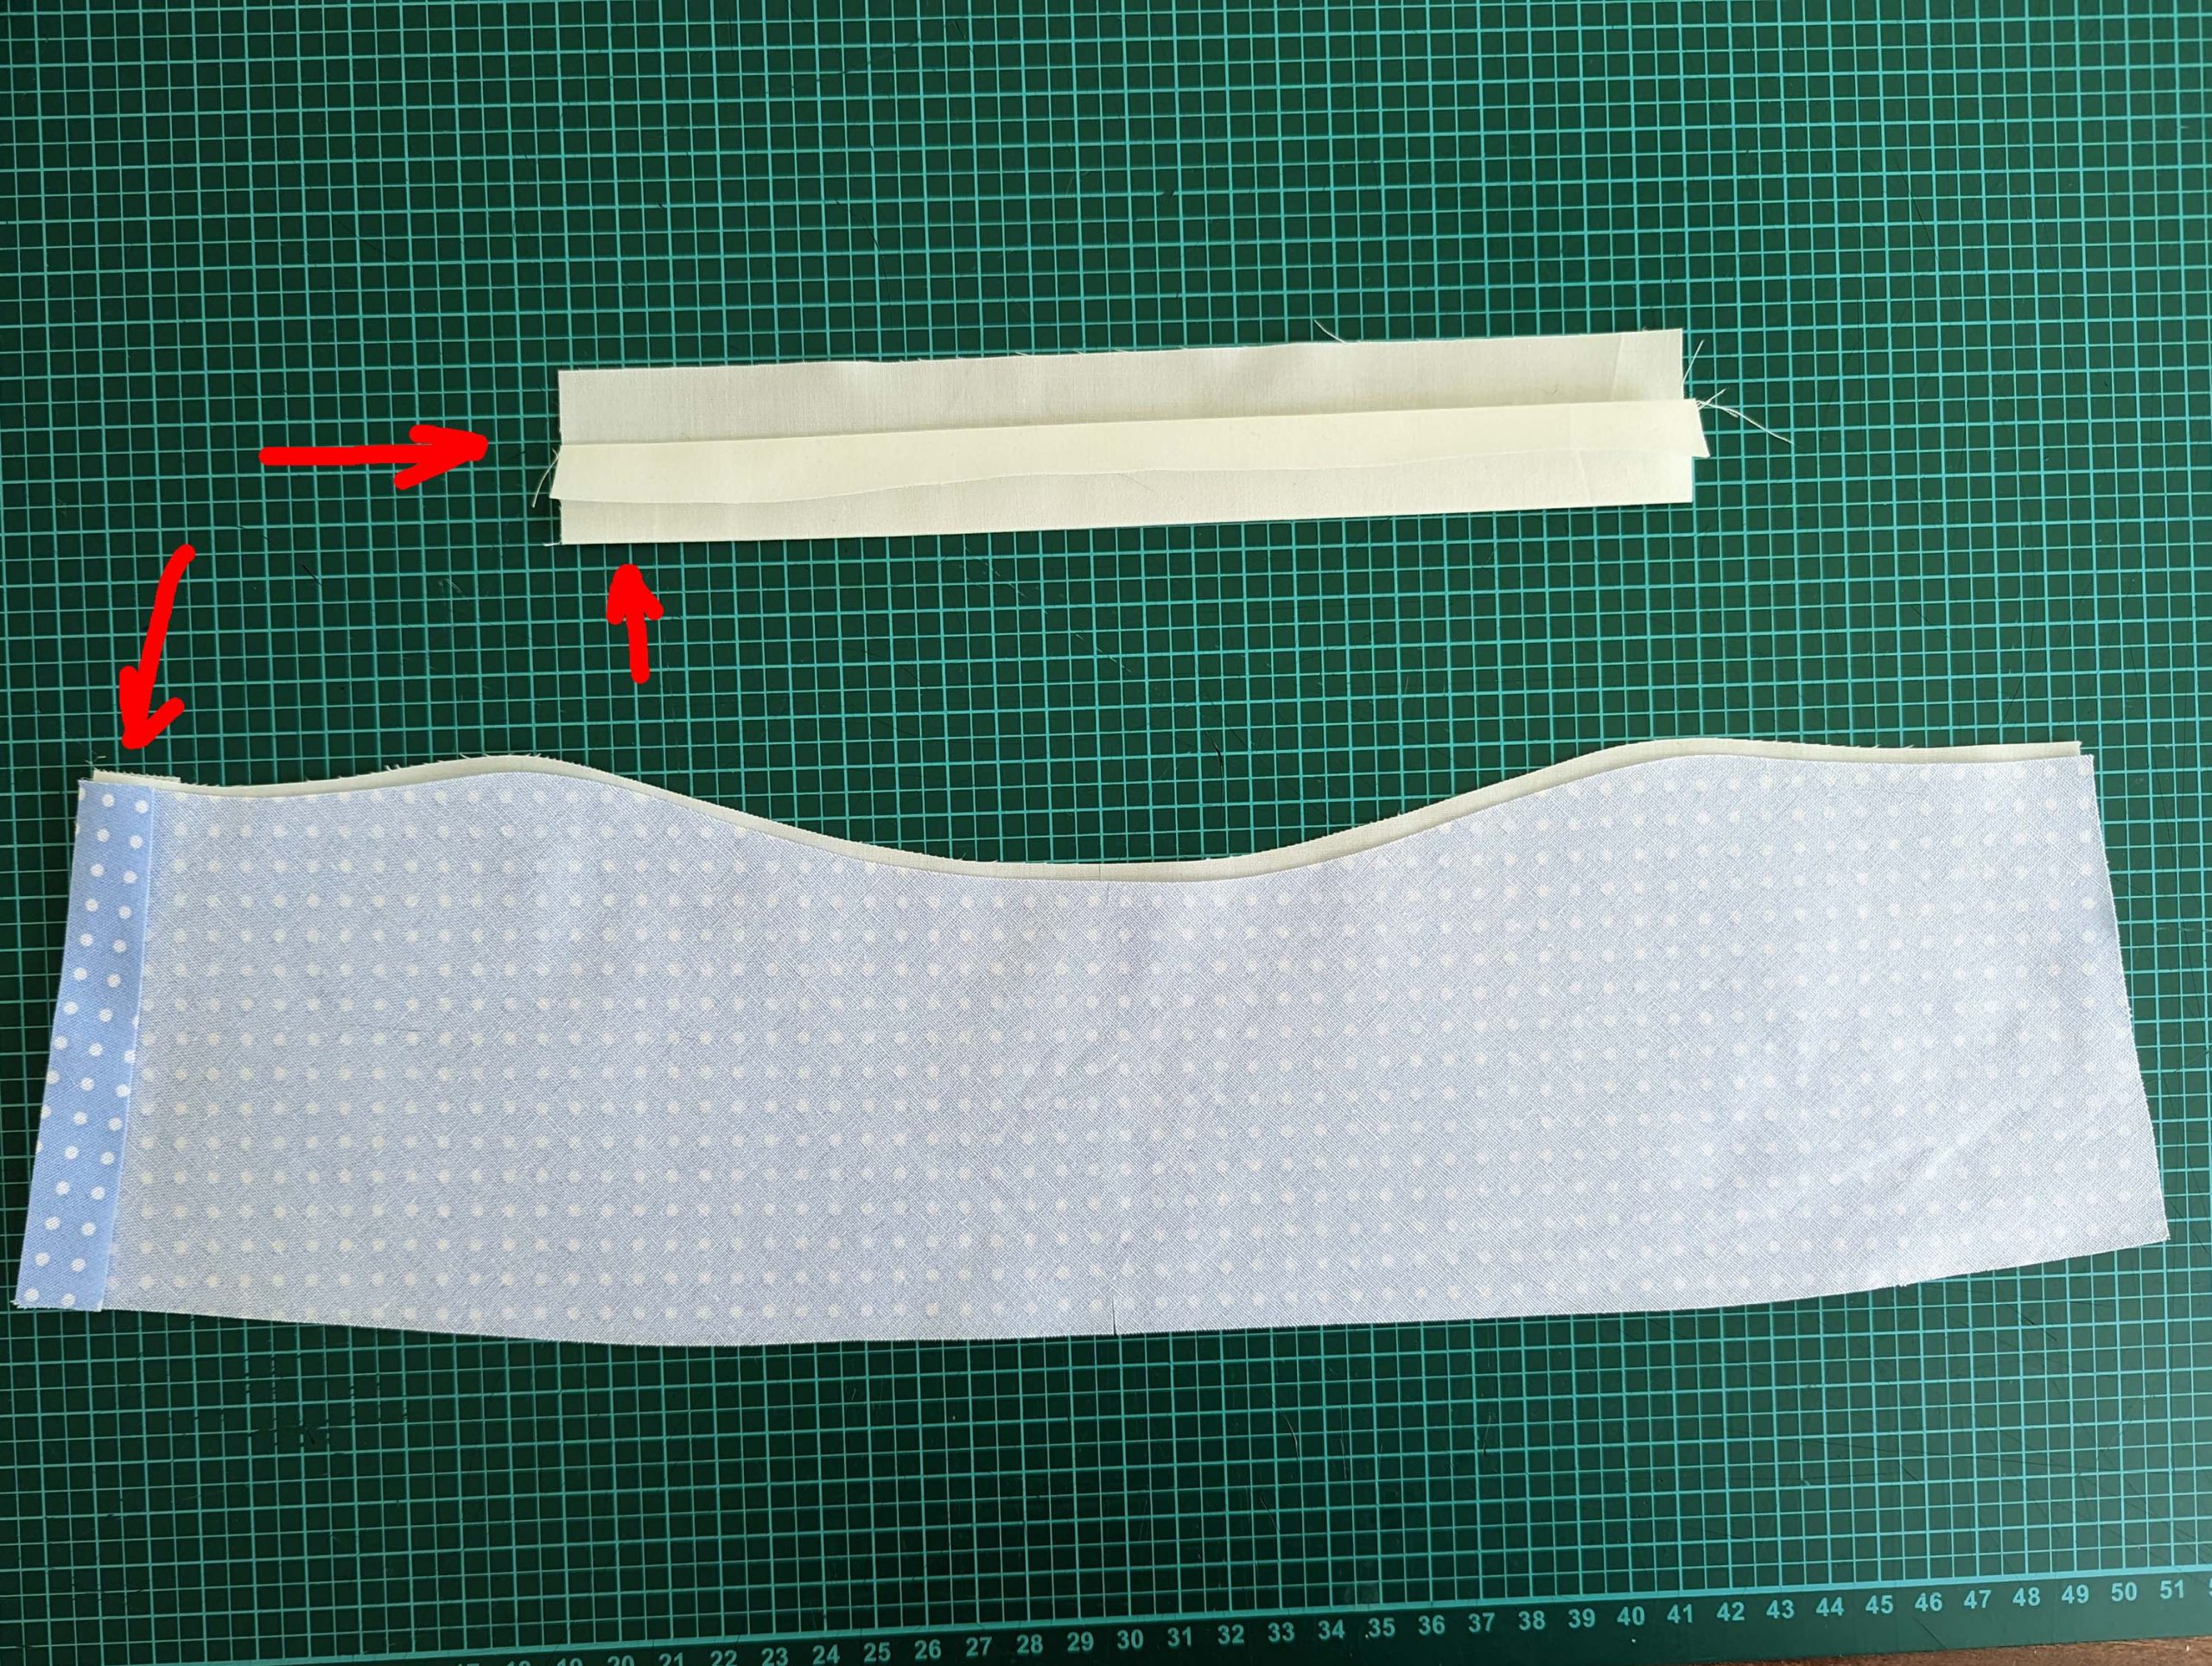
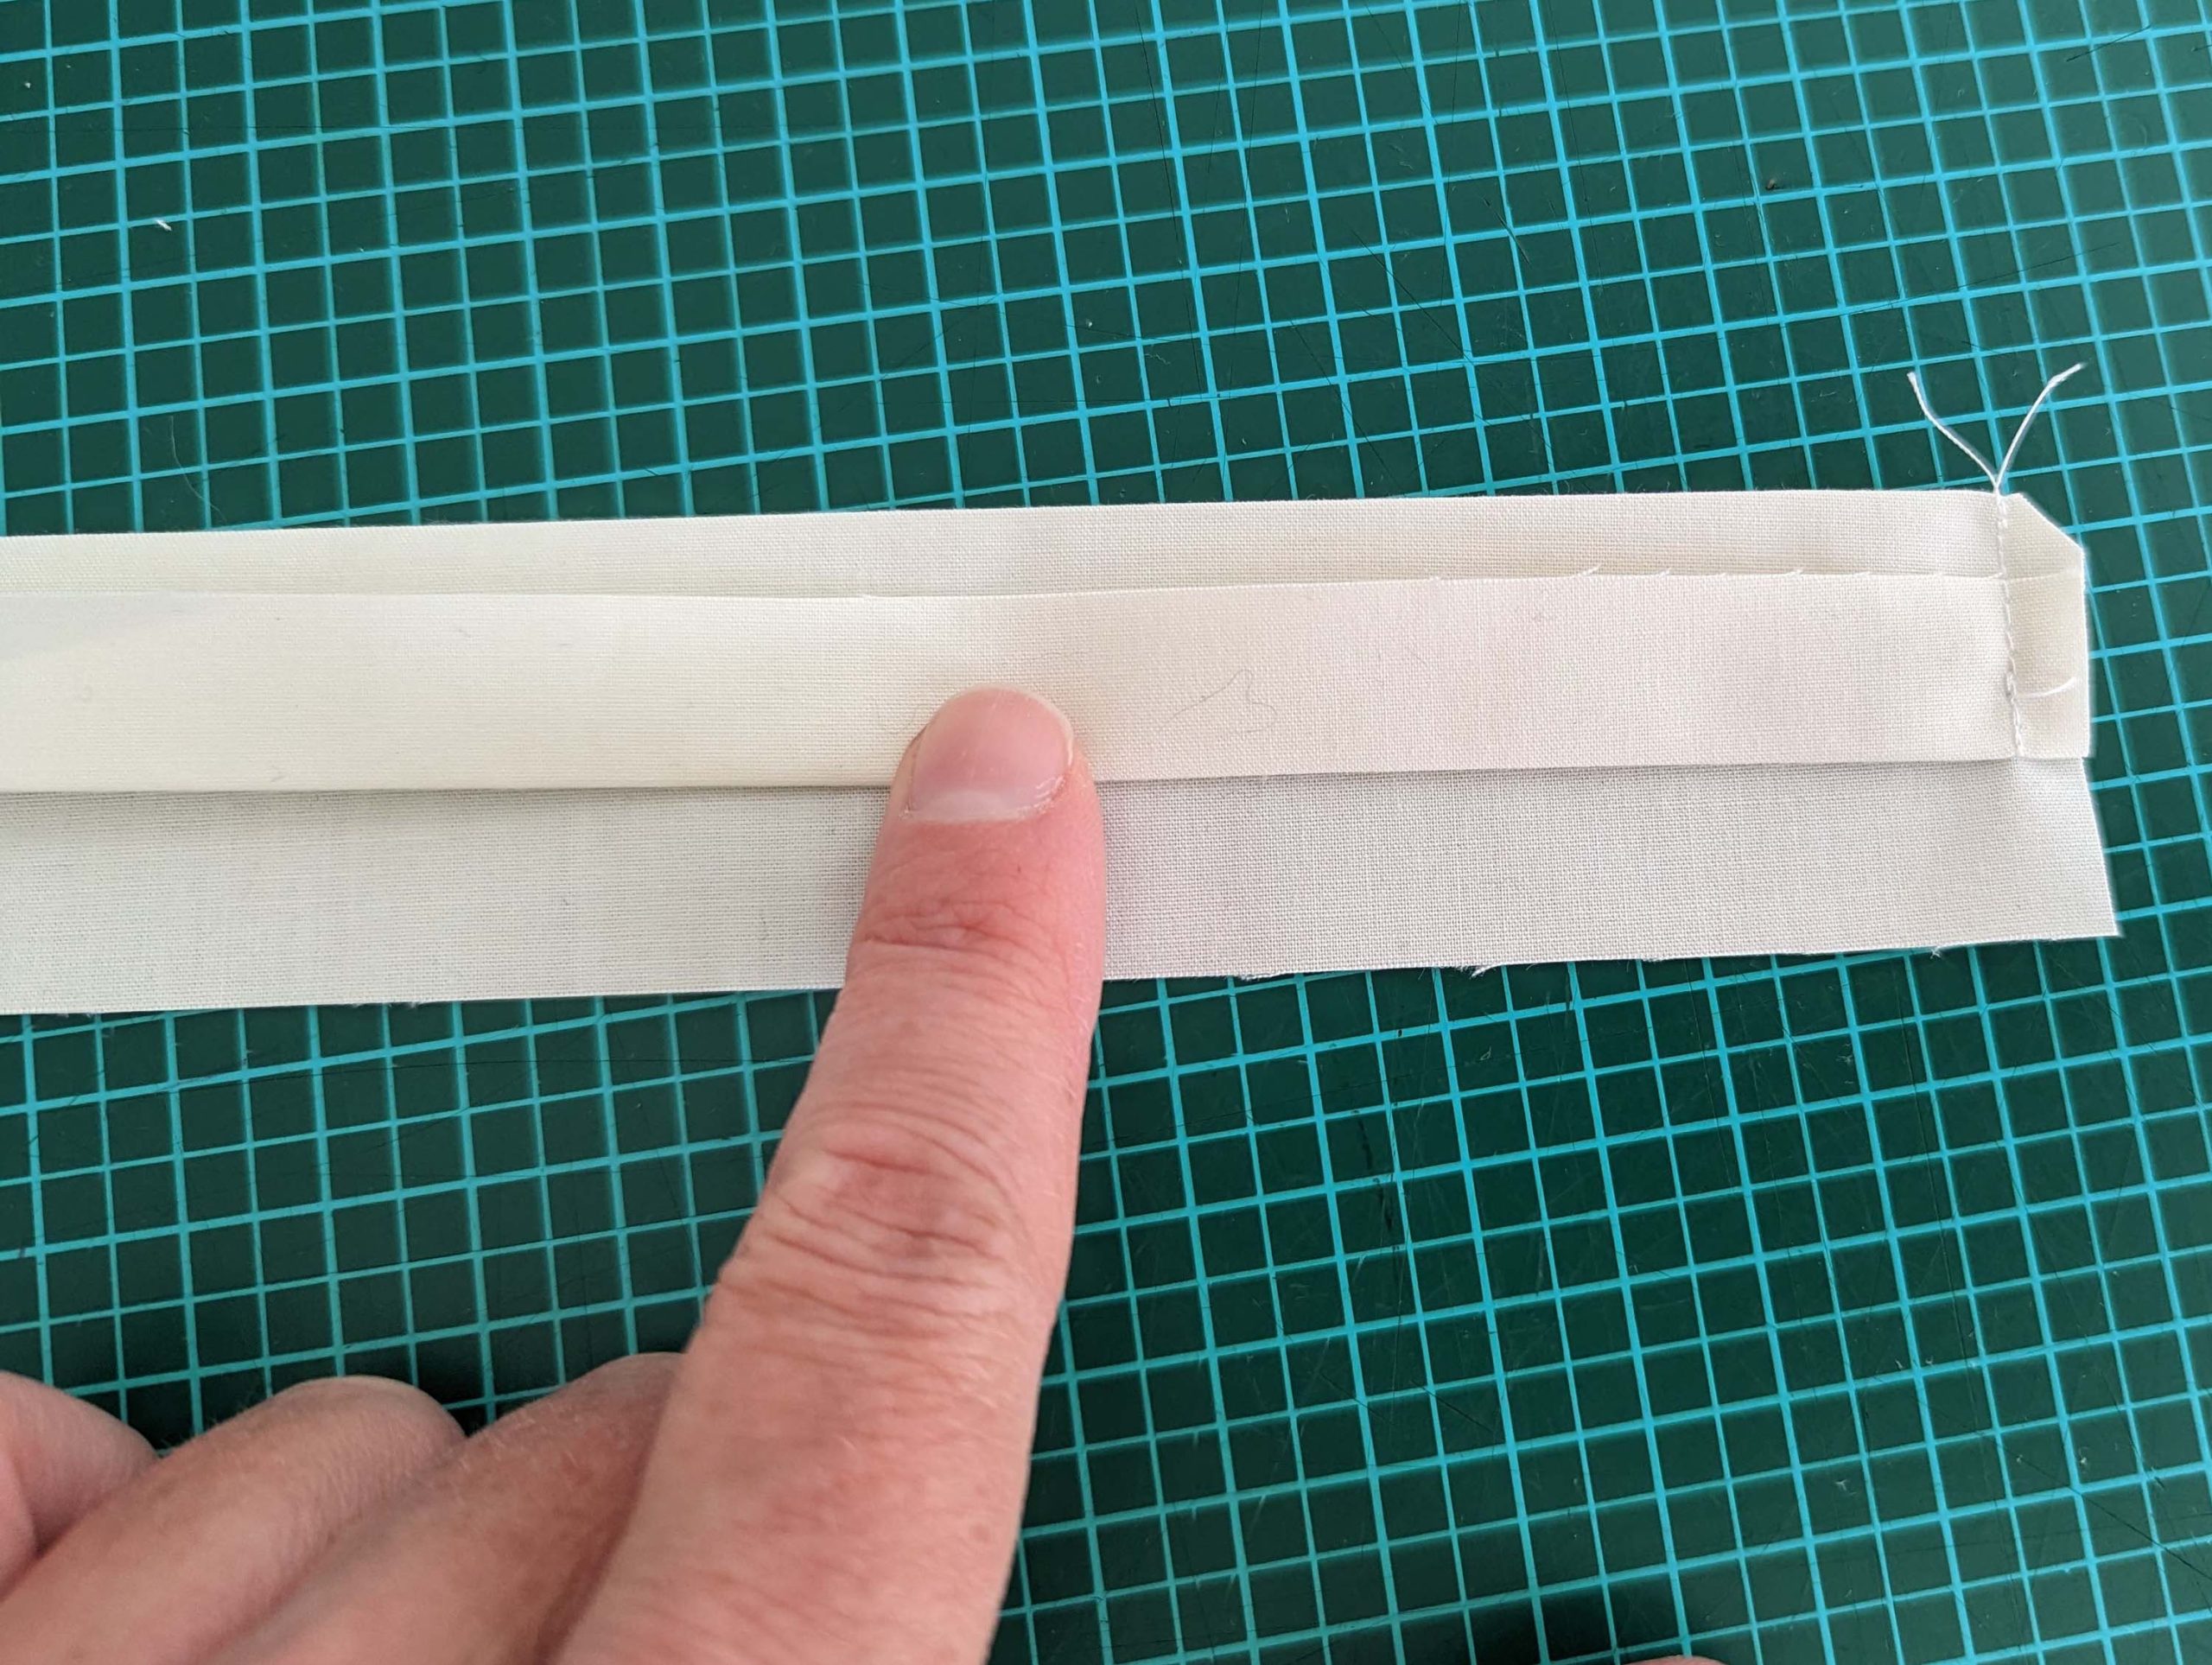
Richte die Kragen aus Futter an dem Kragen aus fashion fabric, right sides together, with the lining protruding past the fashion fabric 1/8” (2mm) along the top edge to give some extra width for the turn of cloth. Turn in the seam allowances along the back edge on the left side only . Sew along the top edge with a seam allowance of 5/8” (1,5cm), trim back the seam allowances, and understitch.
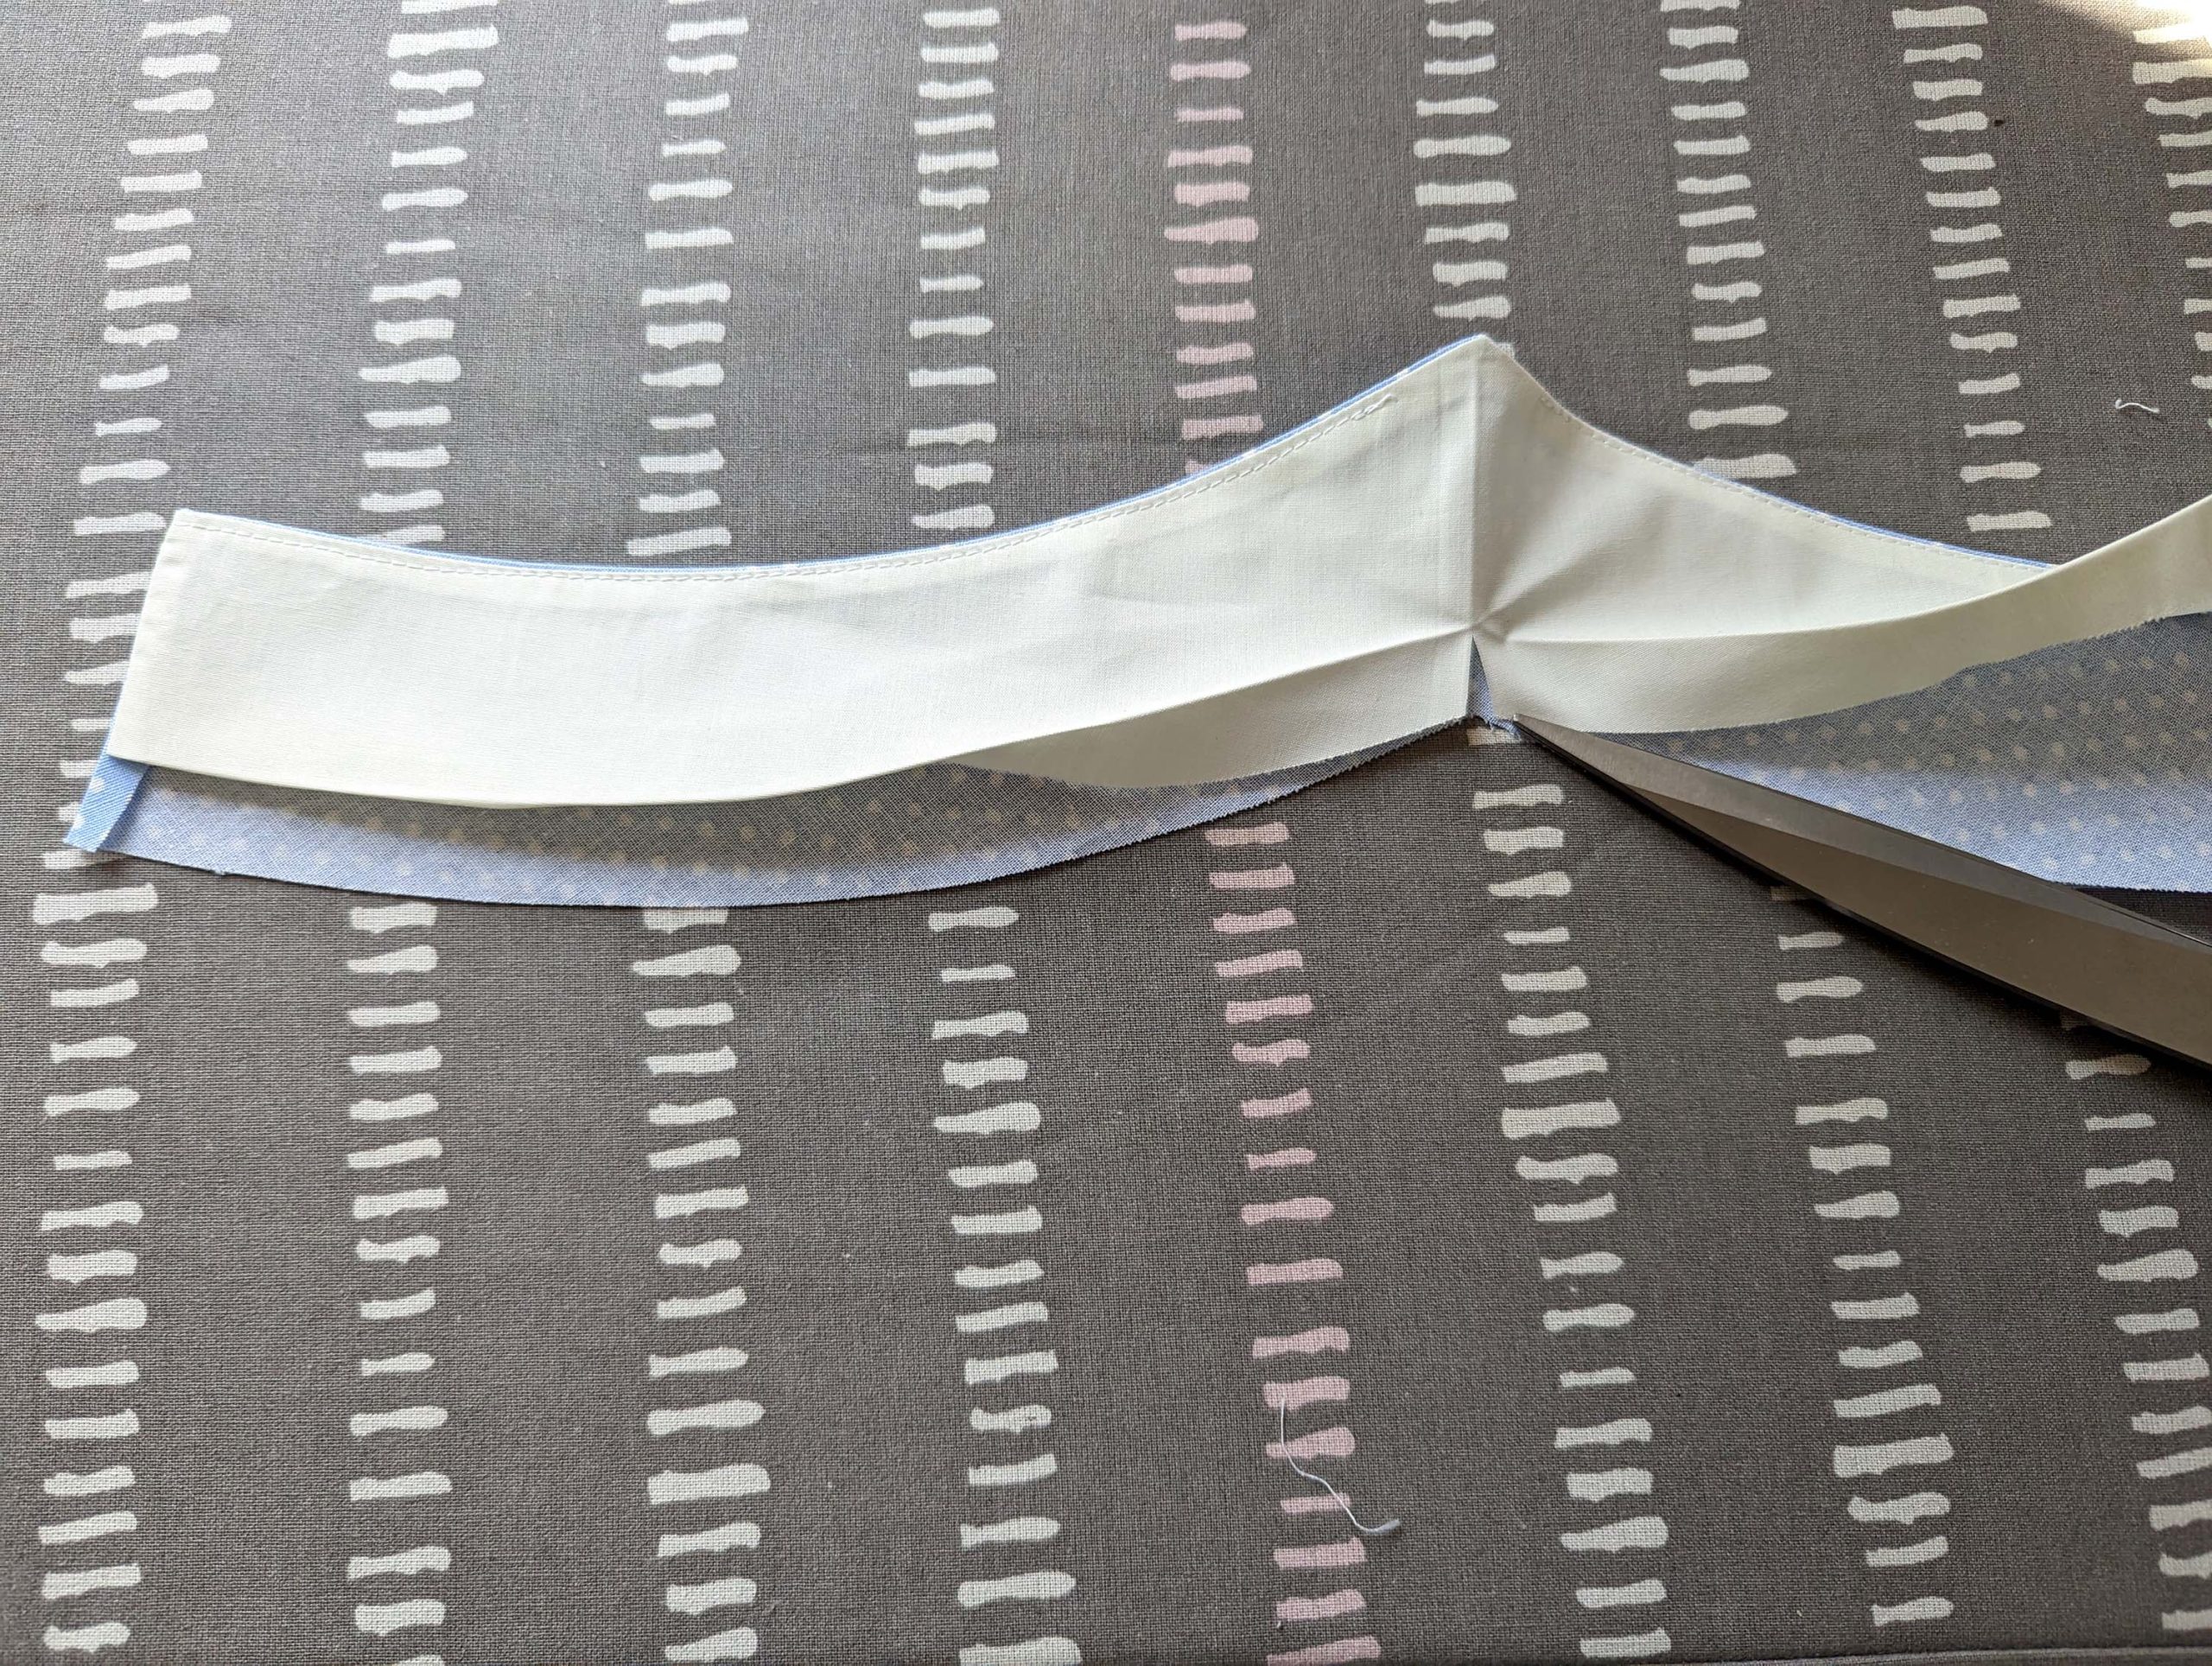
To sew the right back edge, fold the layers with the right sides together again, fold the seam allowances of the top edge towards the lining, and turn in the seam allowance along the bottom edge of the lining. Stitch down the right back edge, trim back the seam allowance, and turn the right way out. Mark the stitching line on the collar along the turned-in edge of the lining.
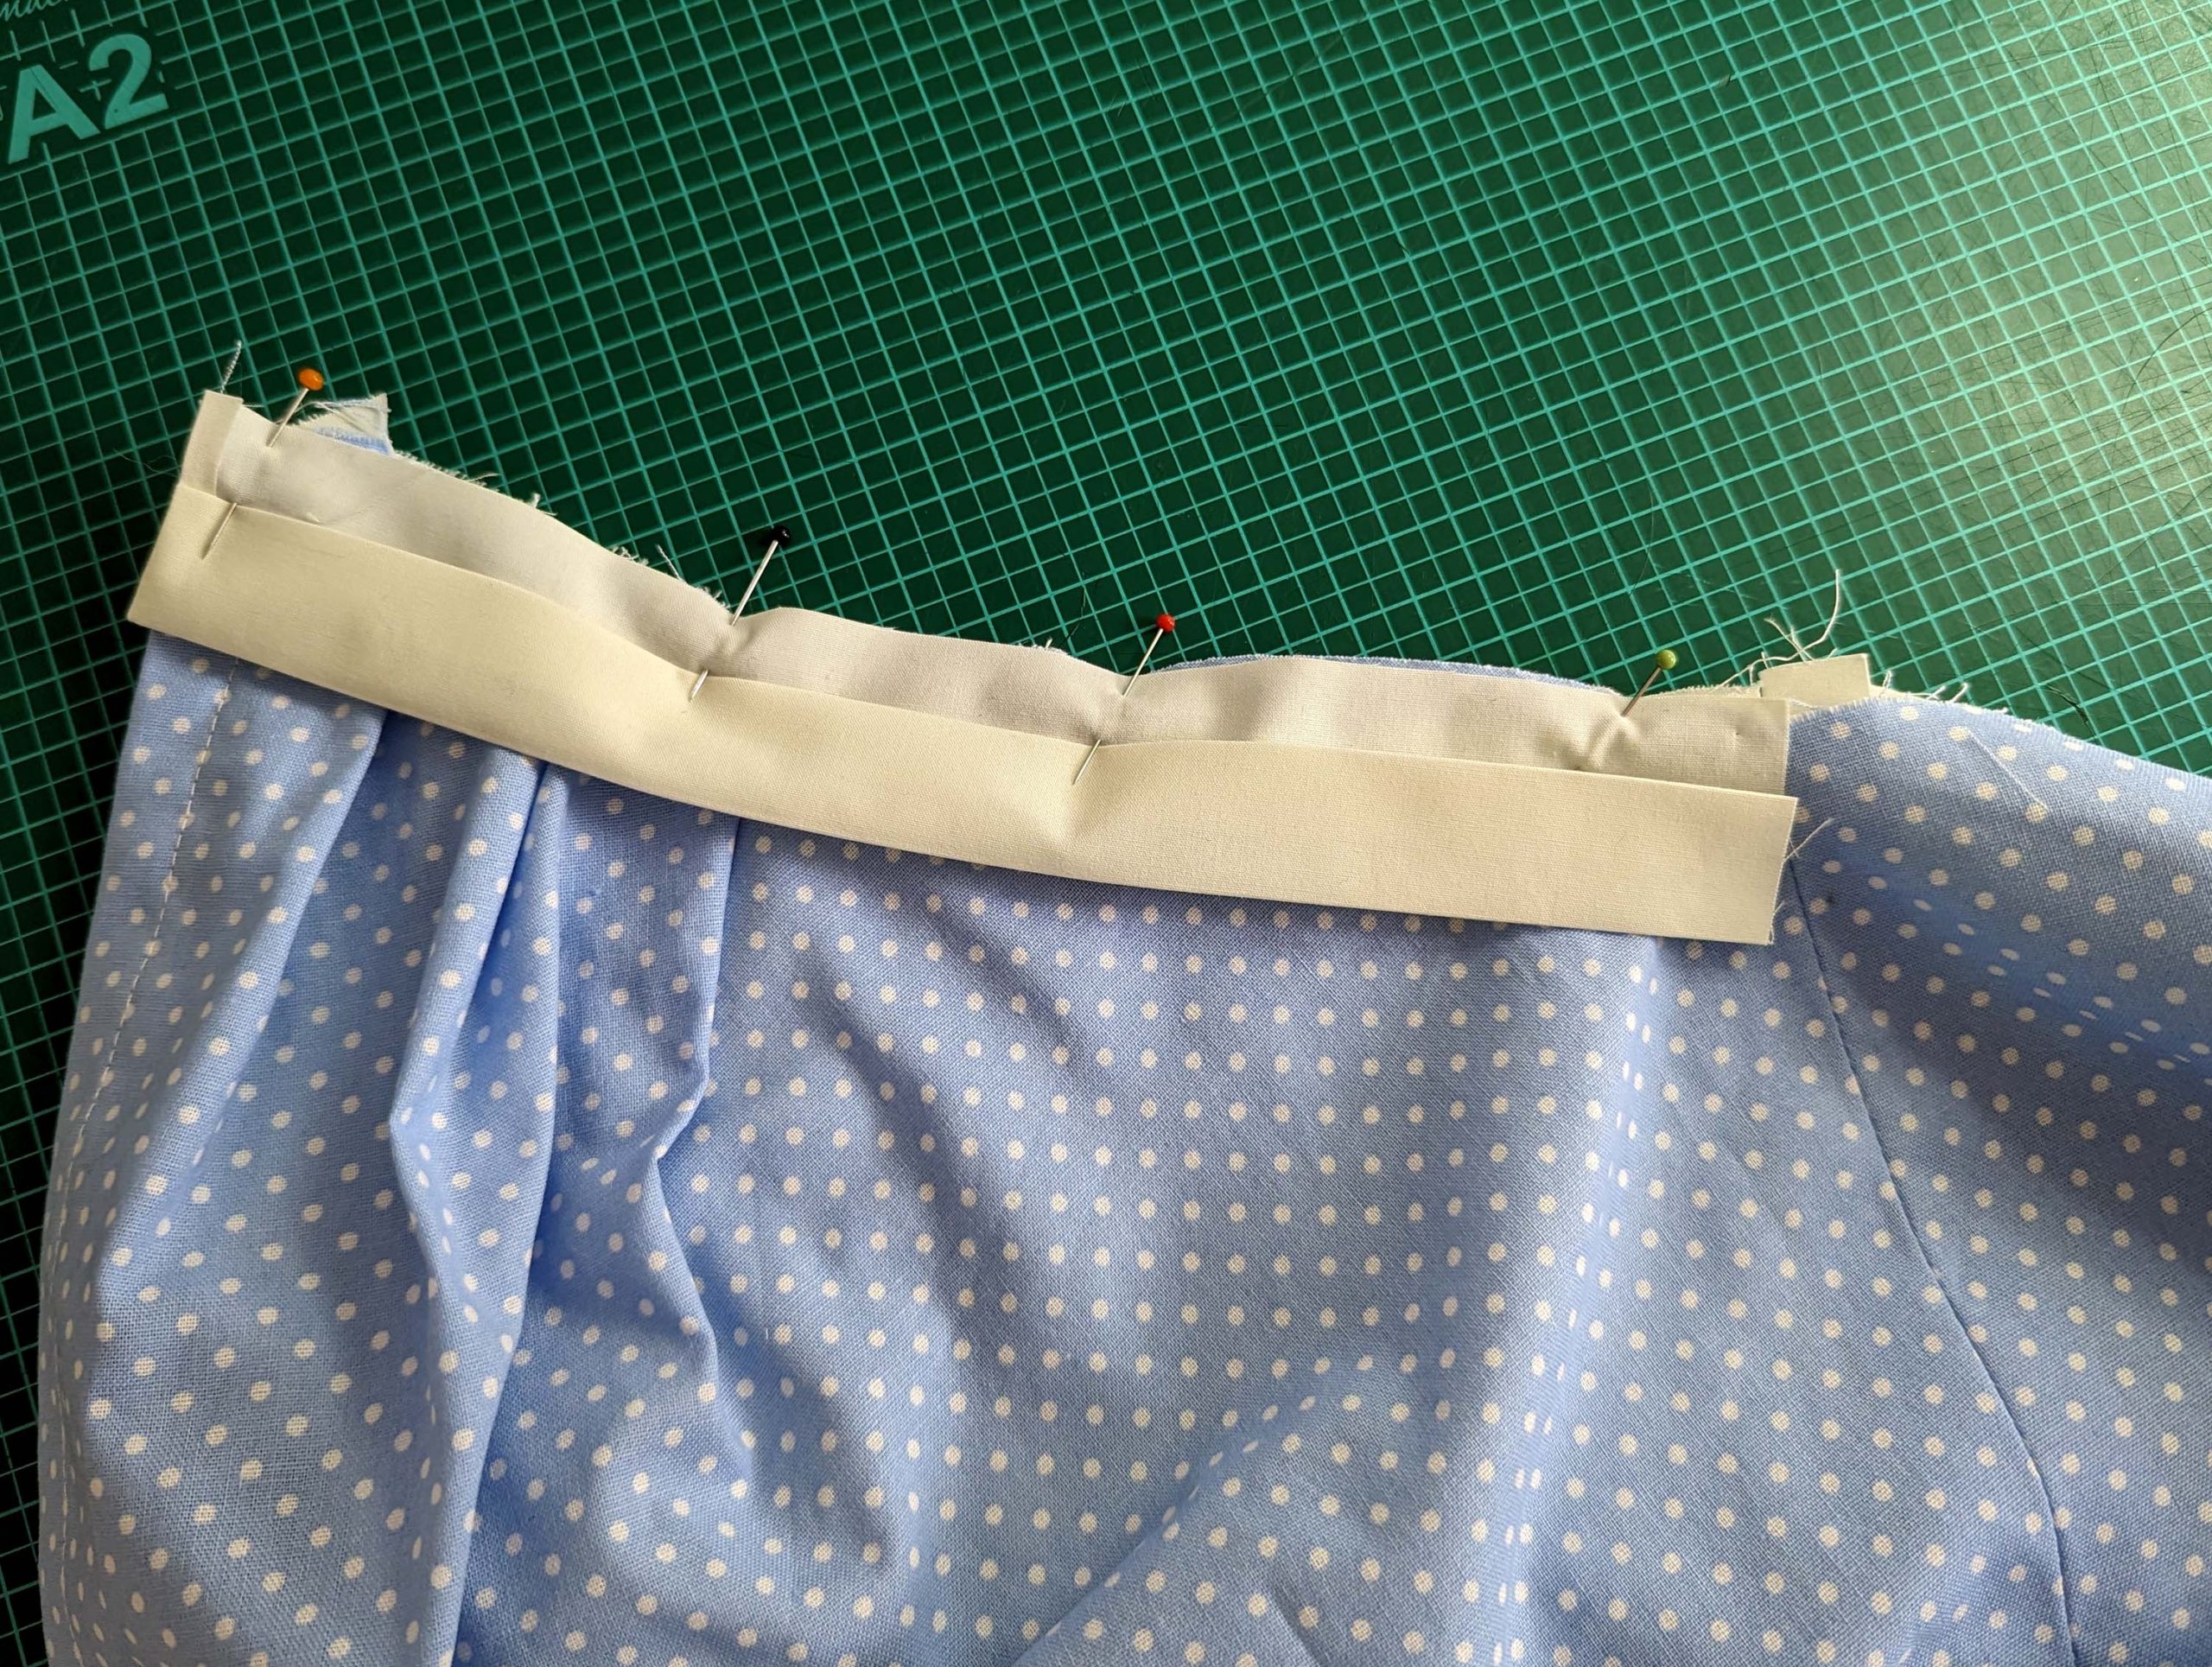
Starting at the center back (arrow), line up the collar with the left side of the neckline, right sides together, and match all marks. Line up the collar facing with the right side of the neckline, right sides together, placing the facing on top of the collar at the center back. Stitch along the neckline, trim back, and clip the seam allowances, press towards the collar.
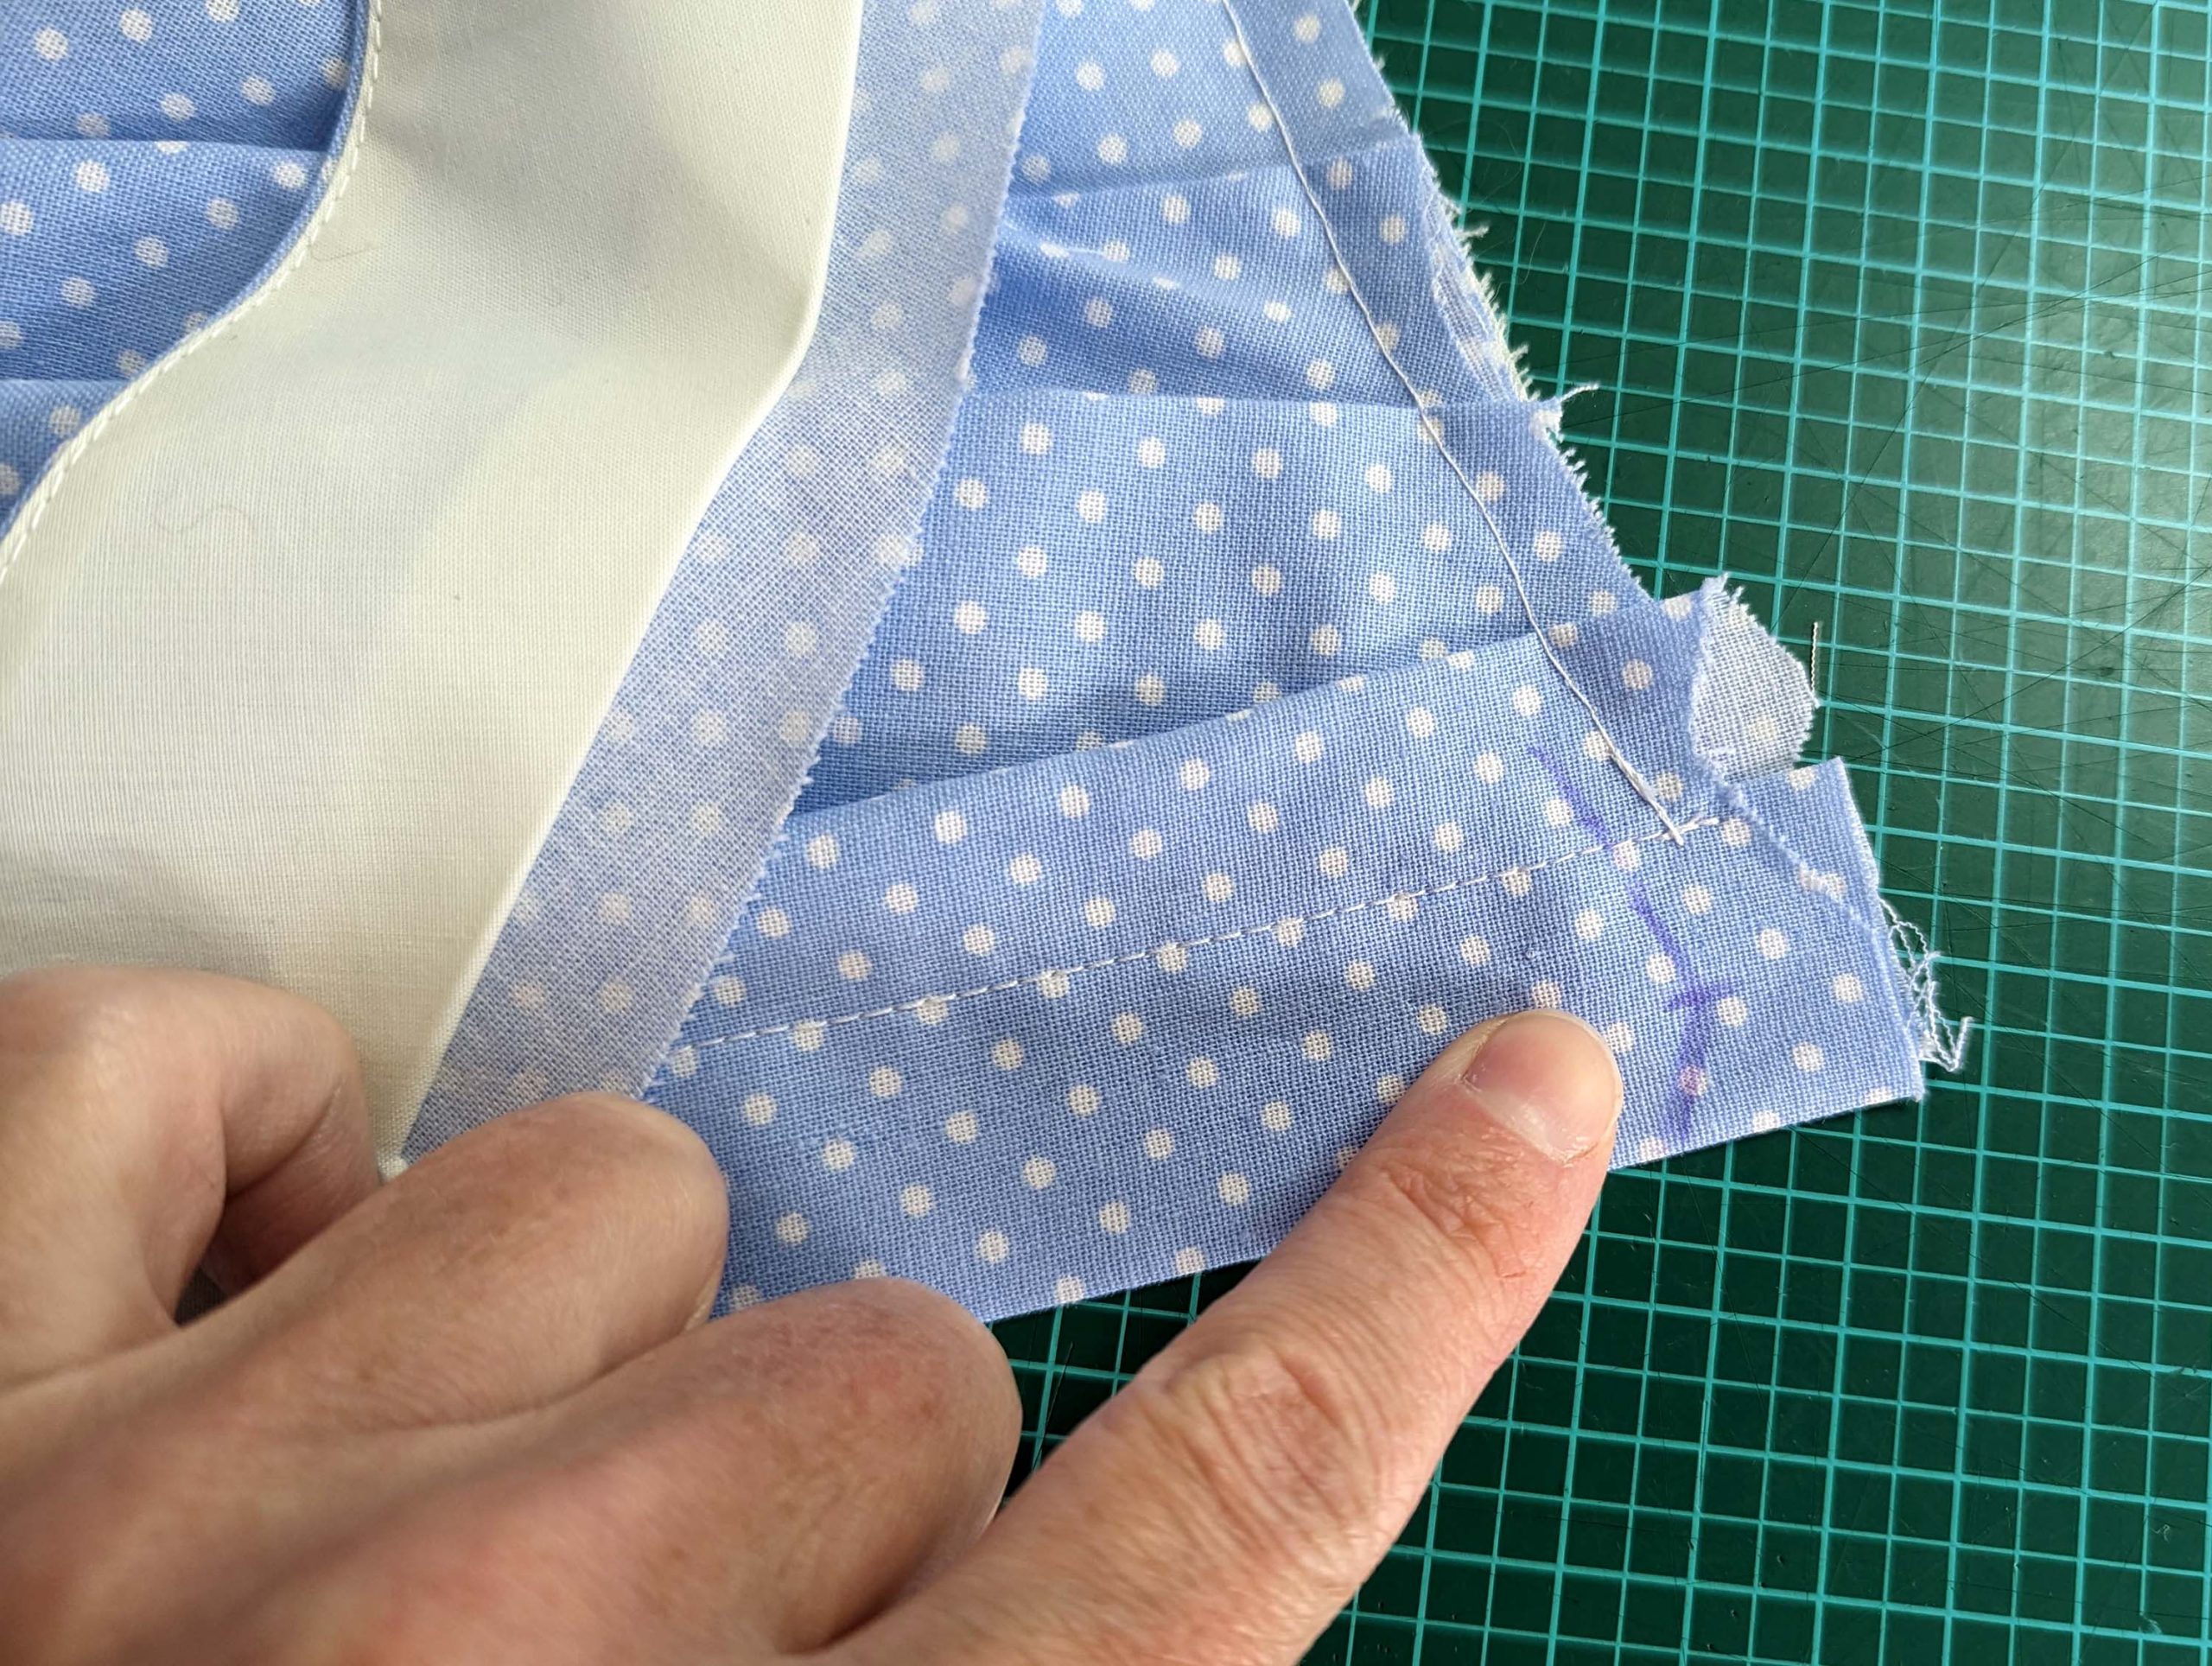
Line up the inner/lining edge of the facing/collar with the stitching line and fell stitch in place. Along the loose portion of the collar (right side of the collar), turn in the seam allowance along the bottom edge, with the fashion fabric protruding past the lining about 1/8” (2mm), and fell stitch the lining to the fashion fabric without any stitches visible on the right side. Don’t catch the loose edge of the front-facing. Line up the collar and lining along the back edge and fell stitch in place in the same way.
Sew on snap fasteners.


(6) Schließe die Seitennaht rechts auf rechts. Oberstoff und Futter getrennt nähen. Die Nahtzugaben auseinander bügeln und versäubern.
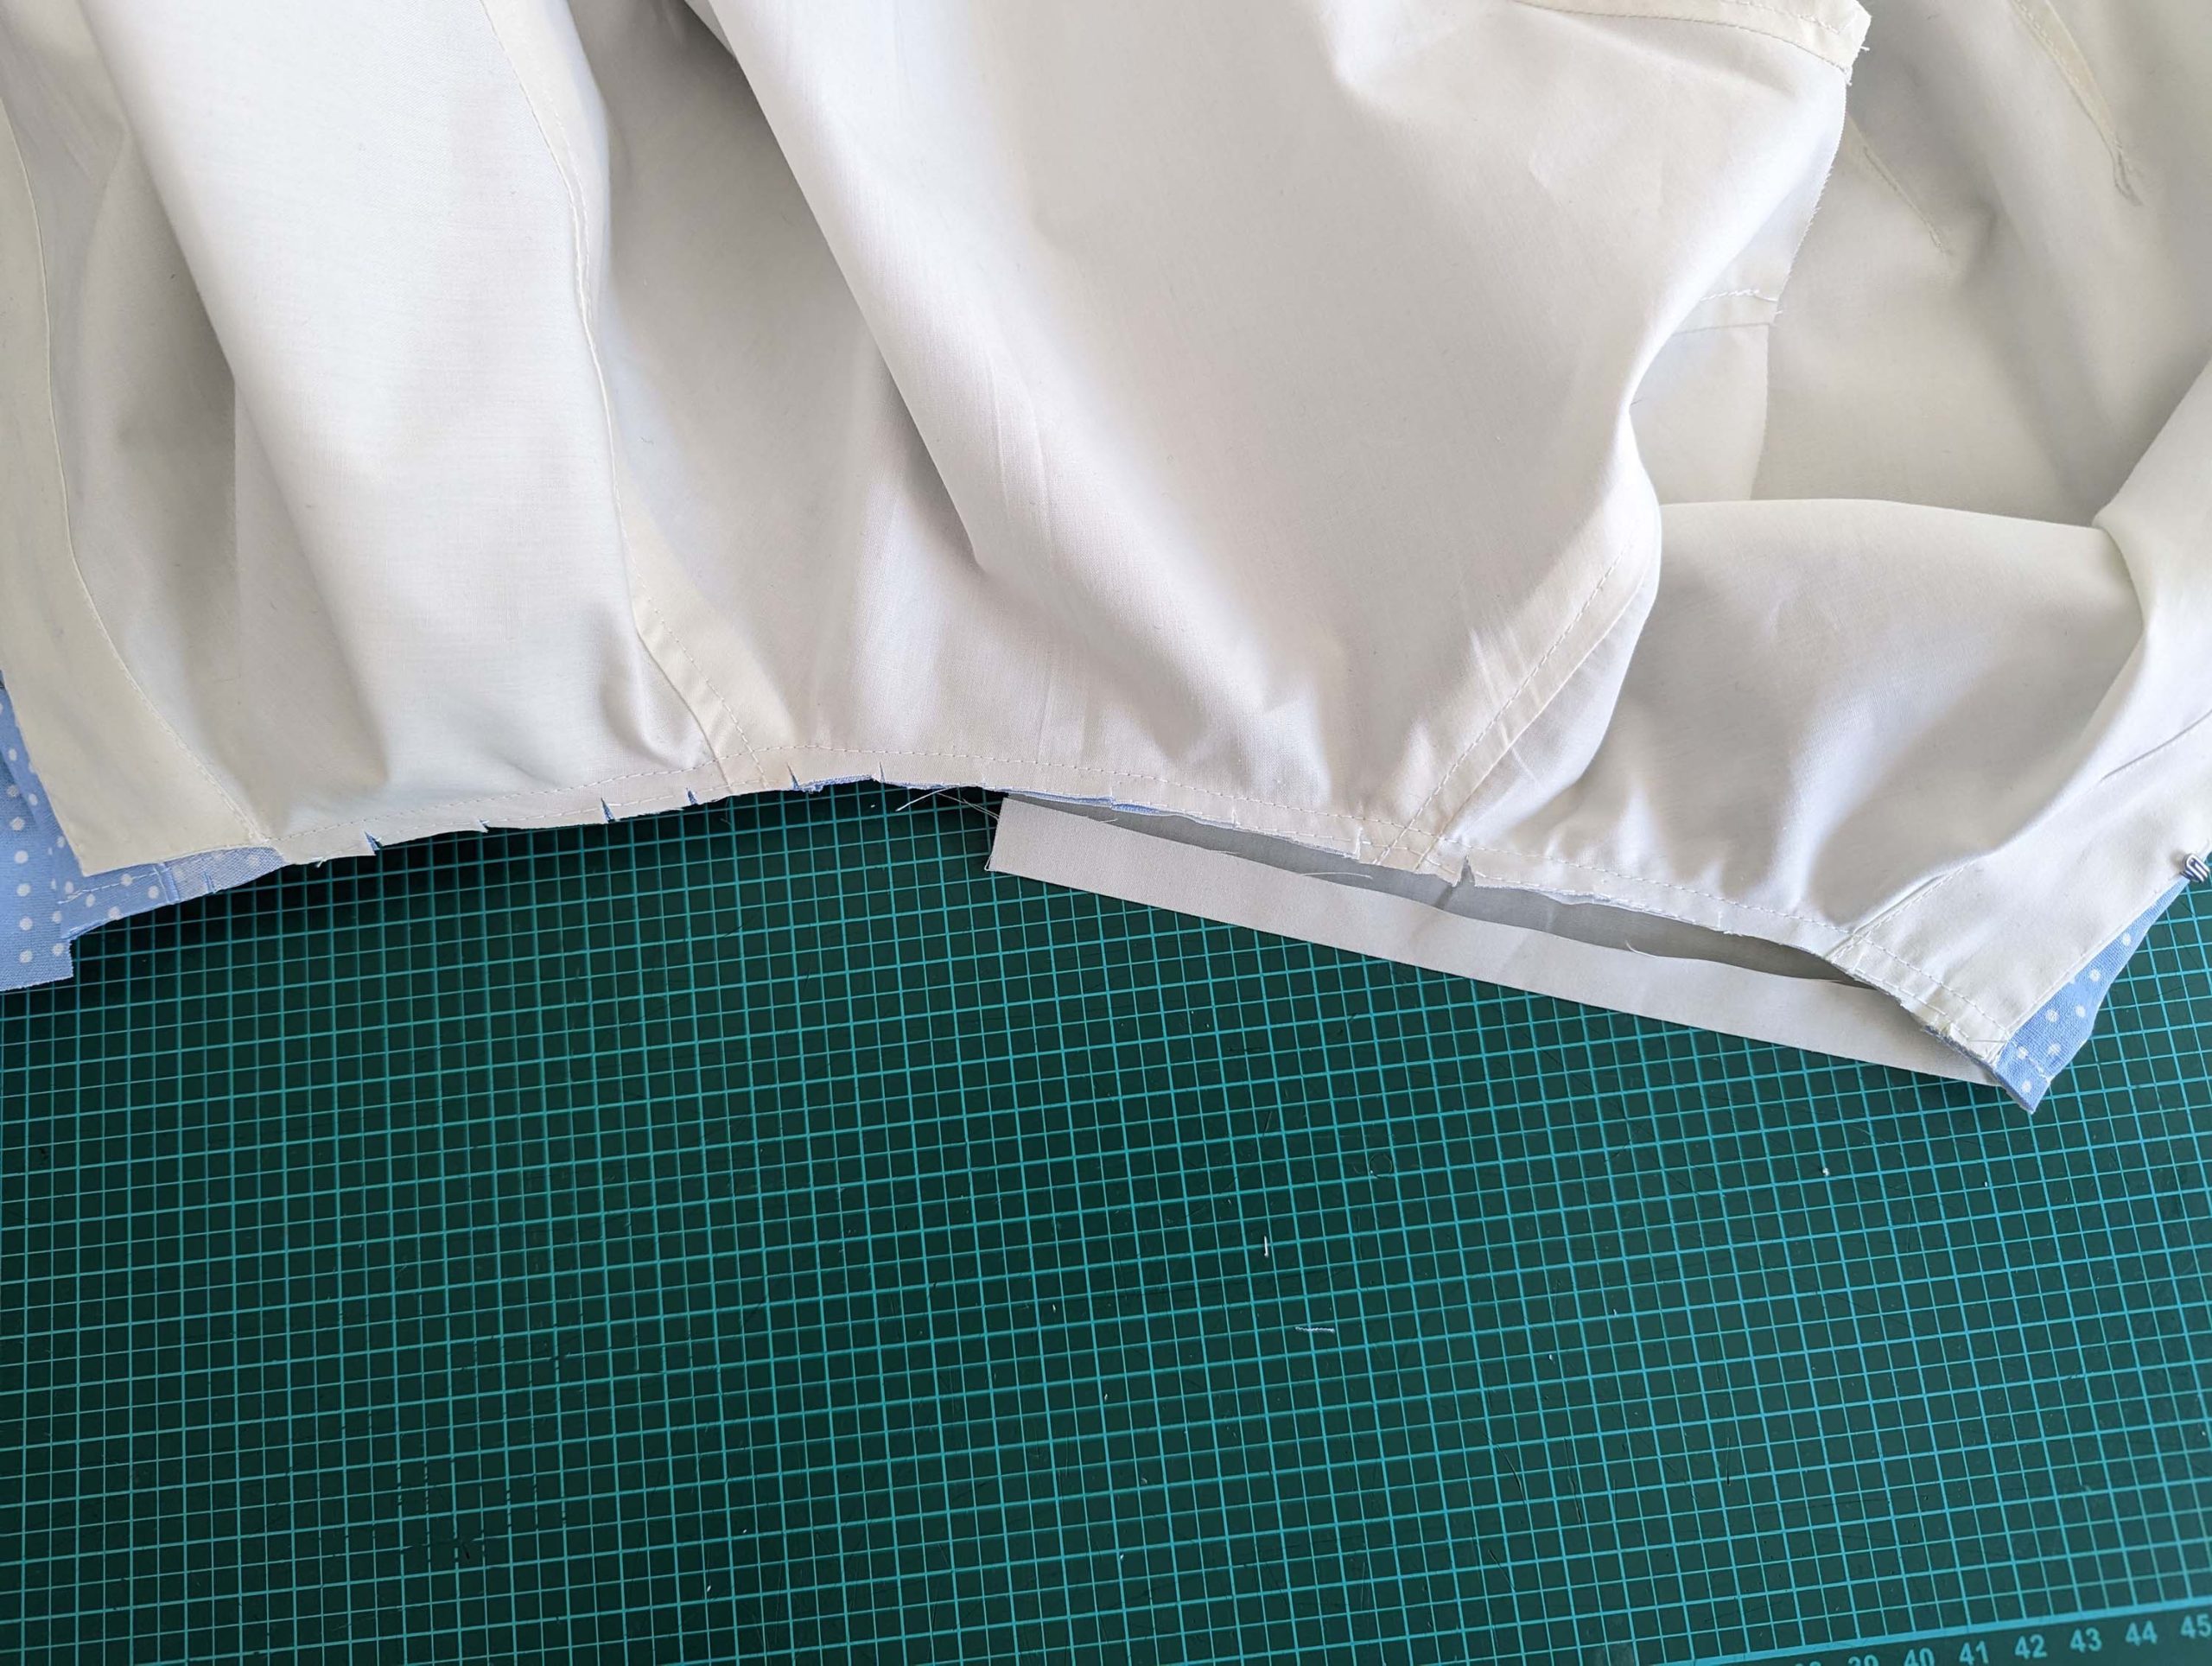
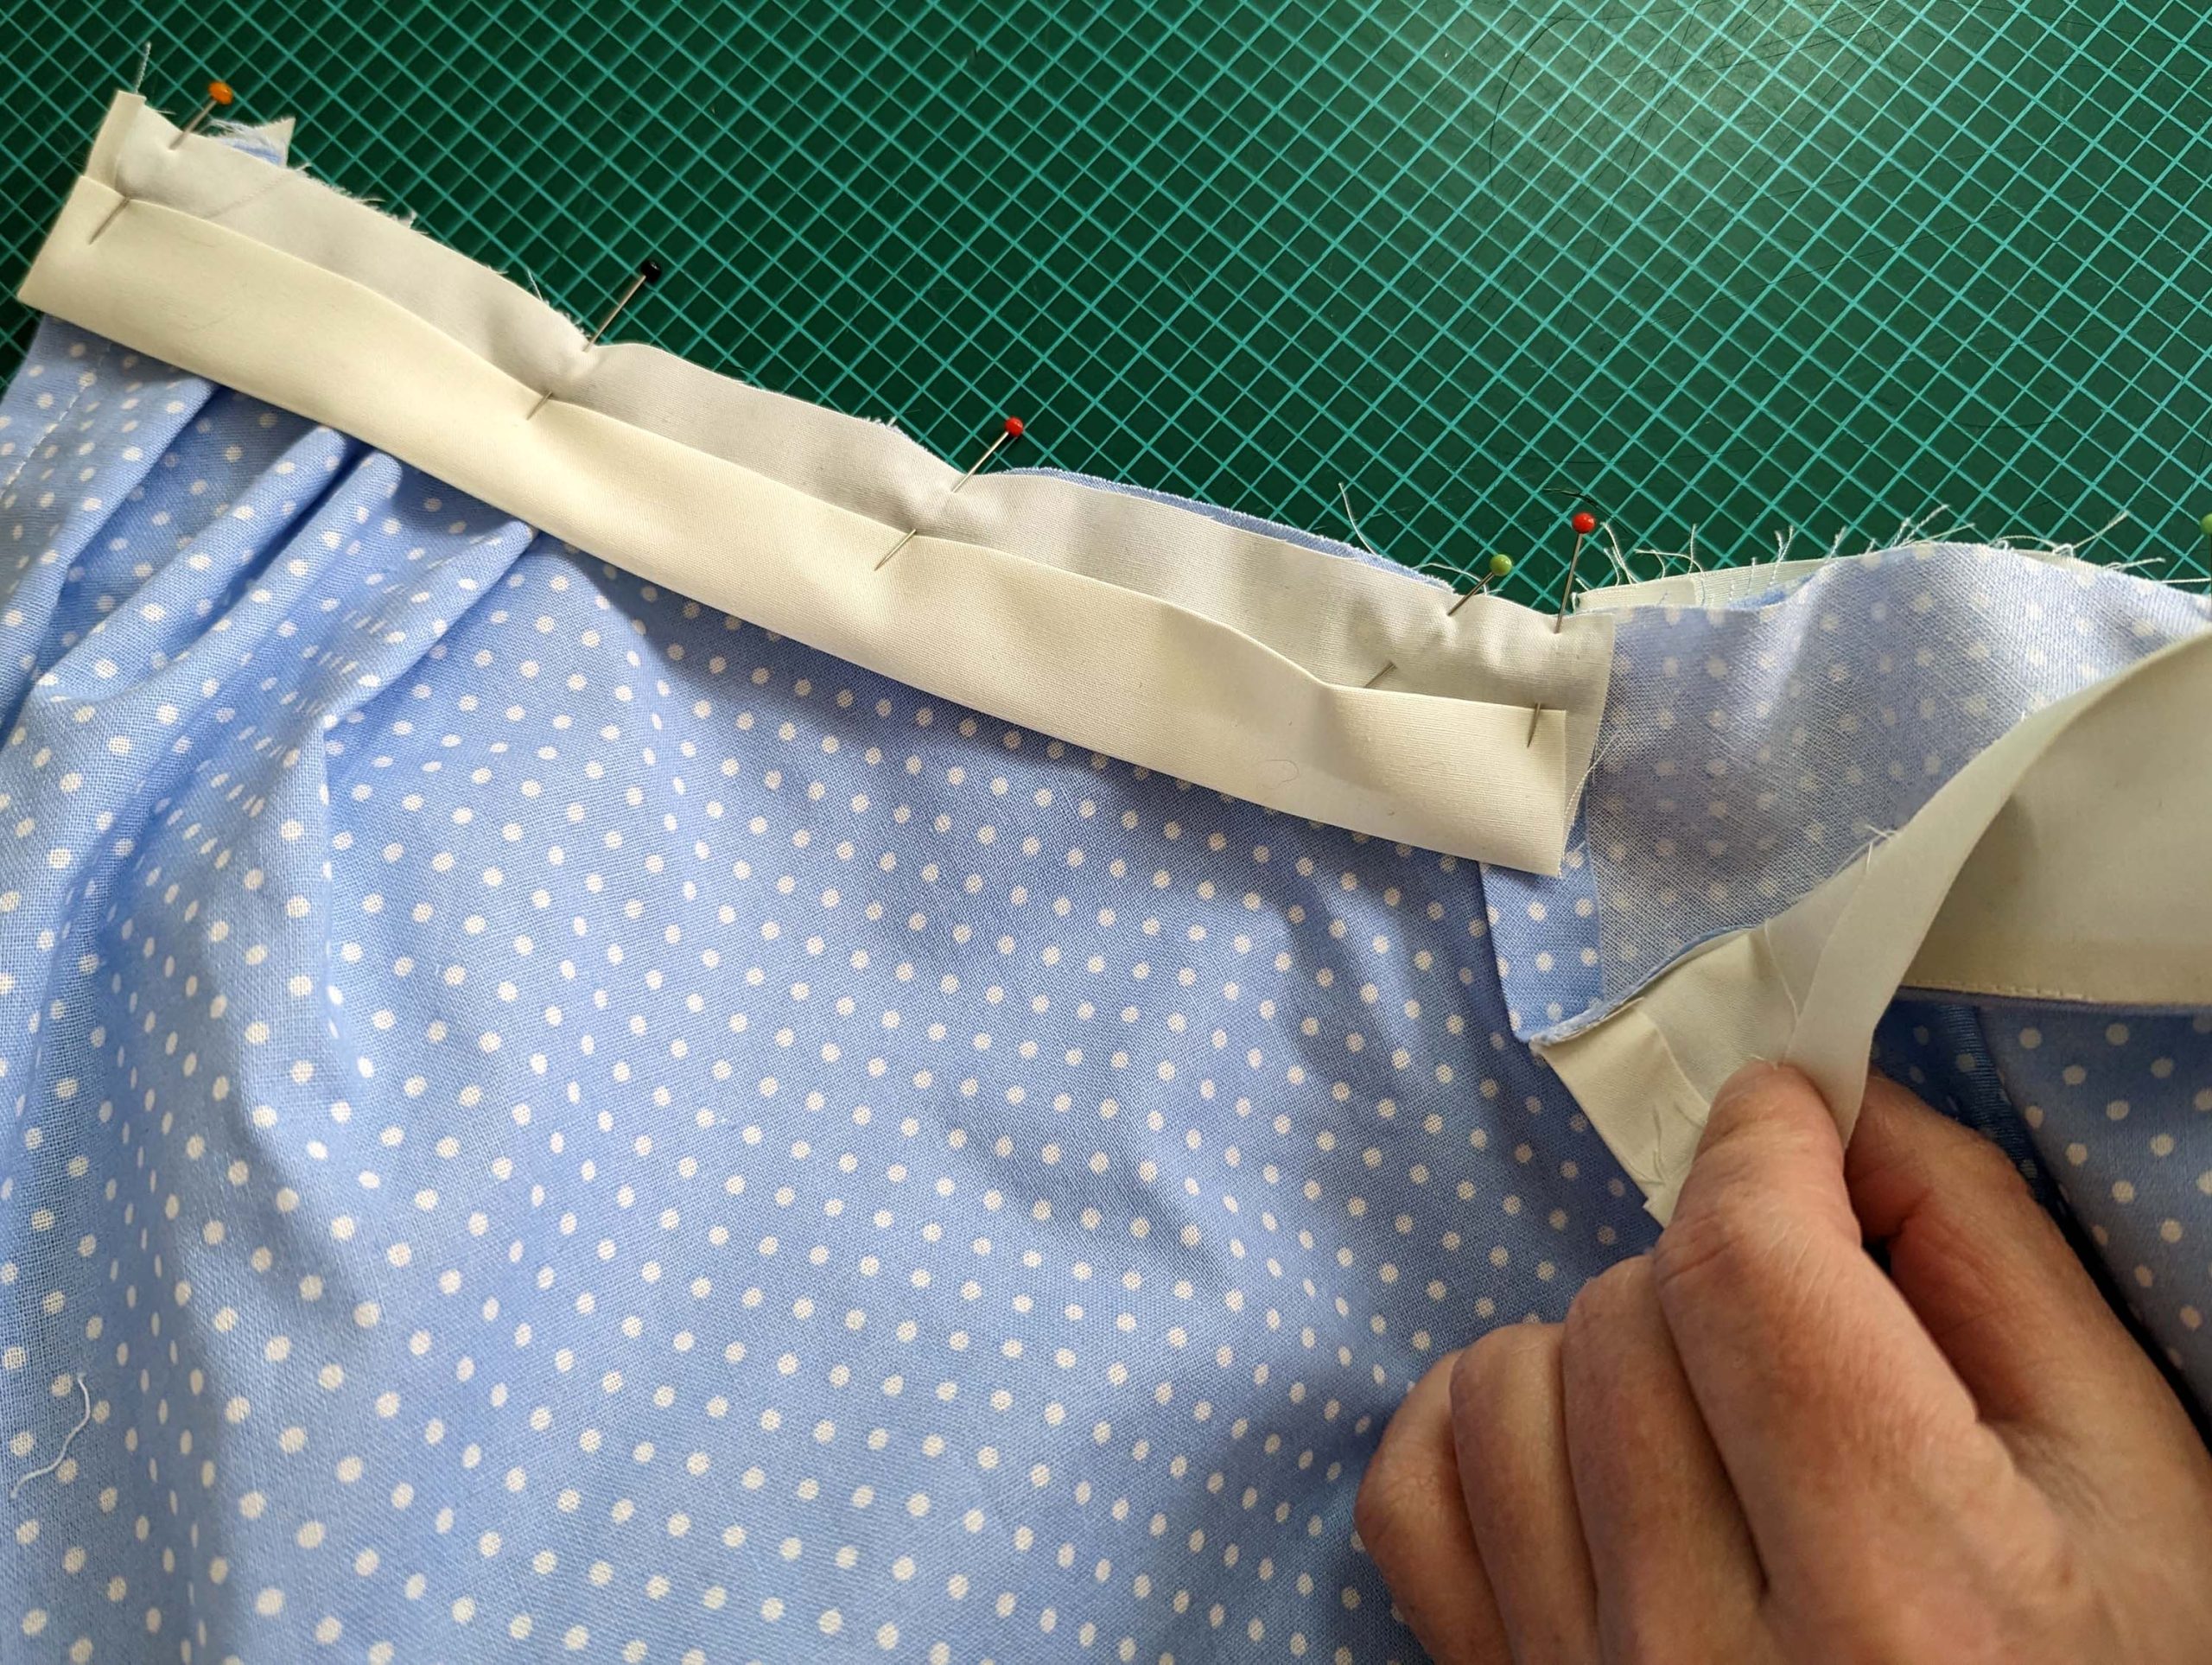
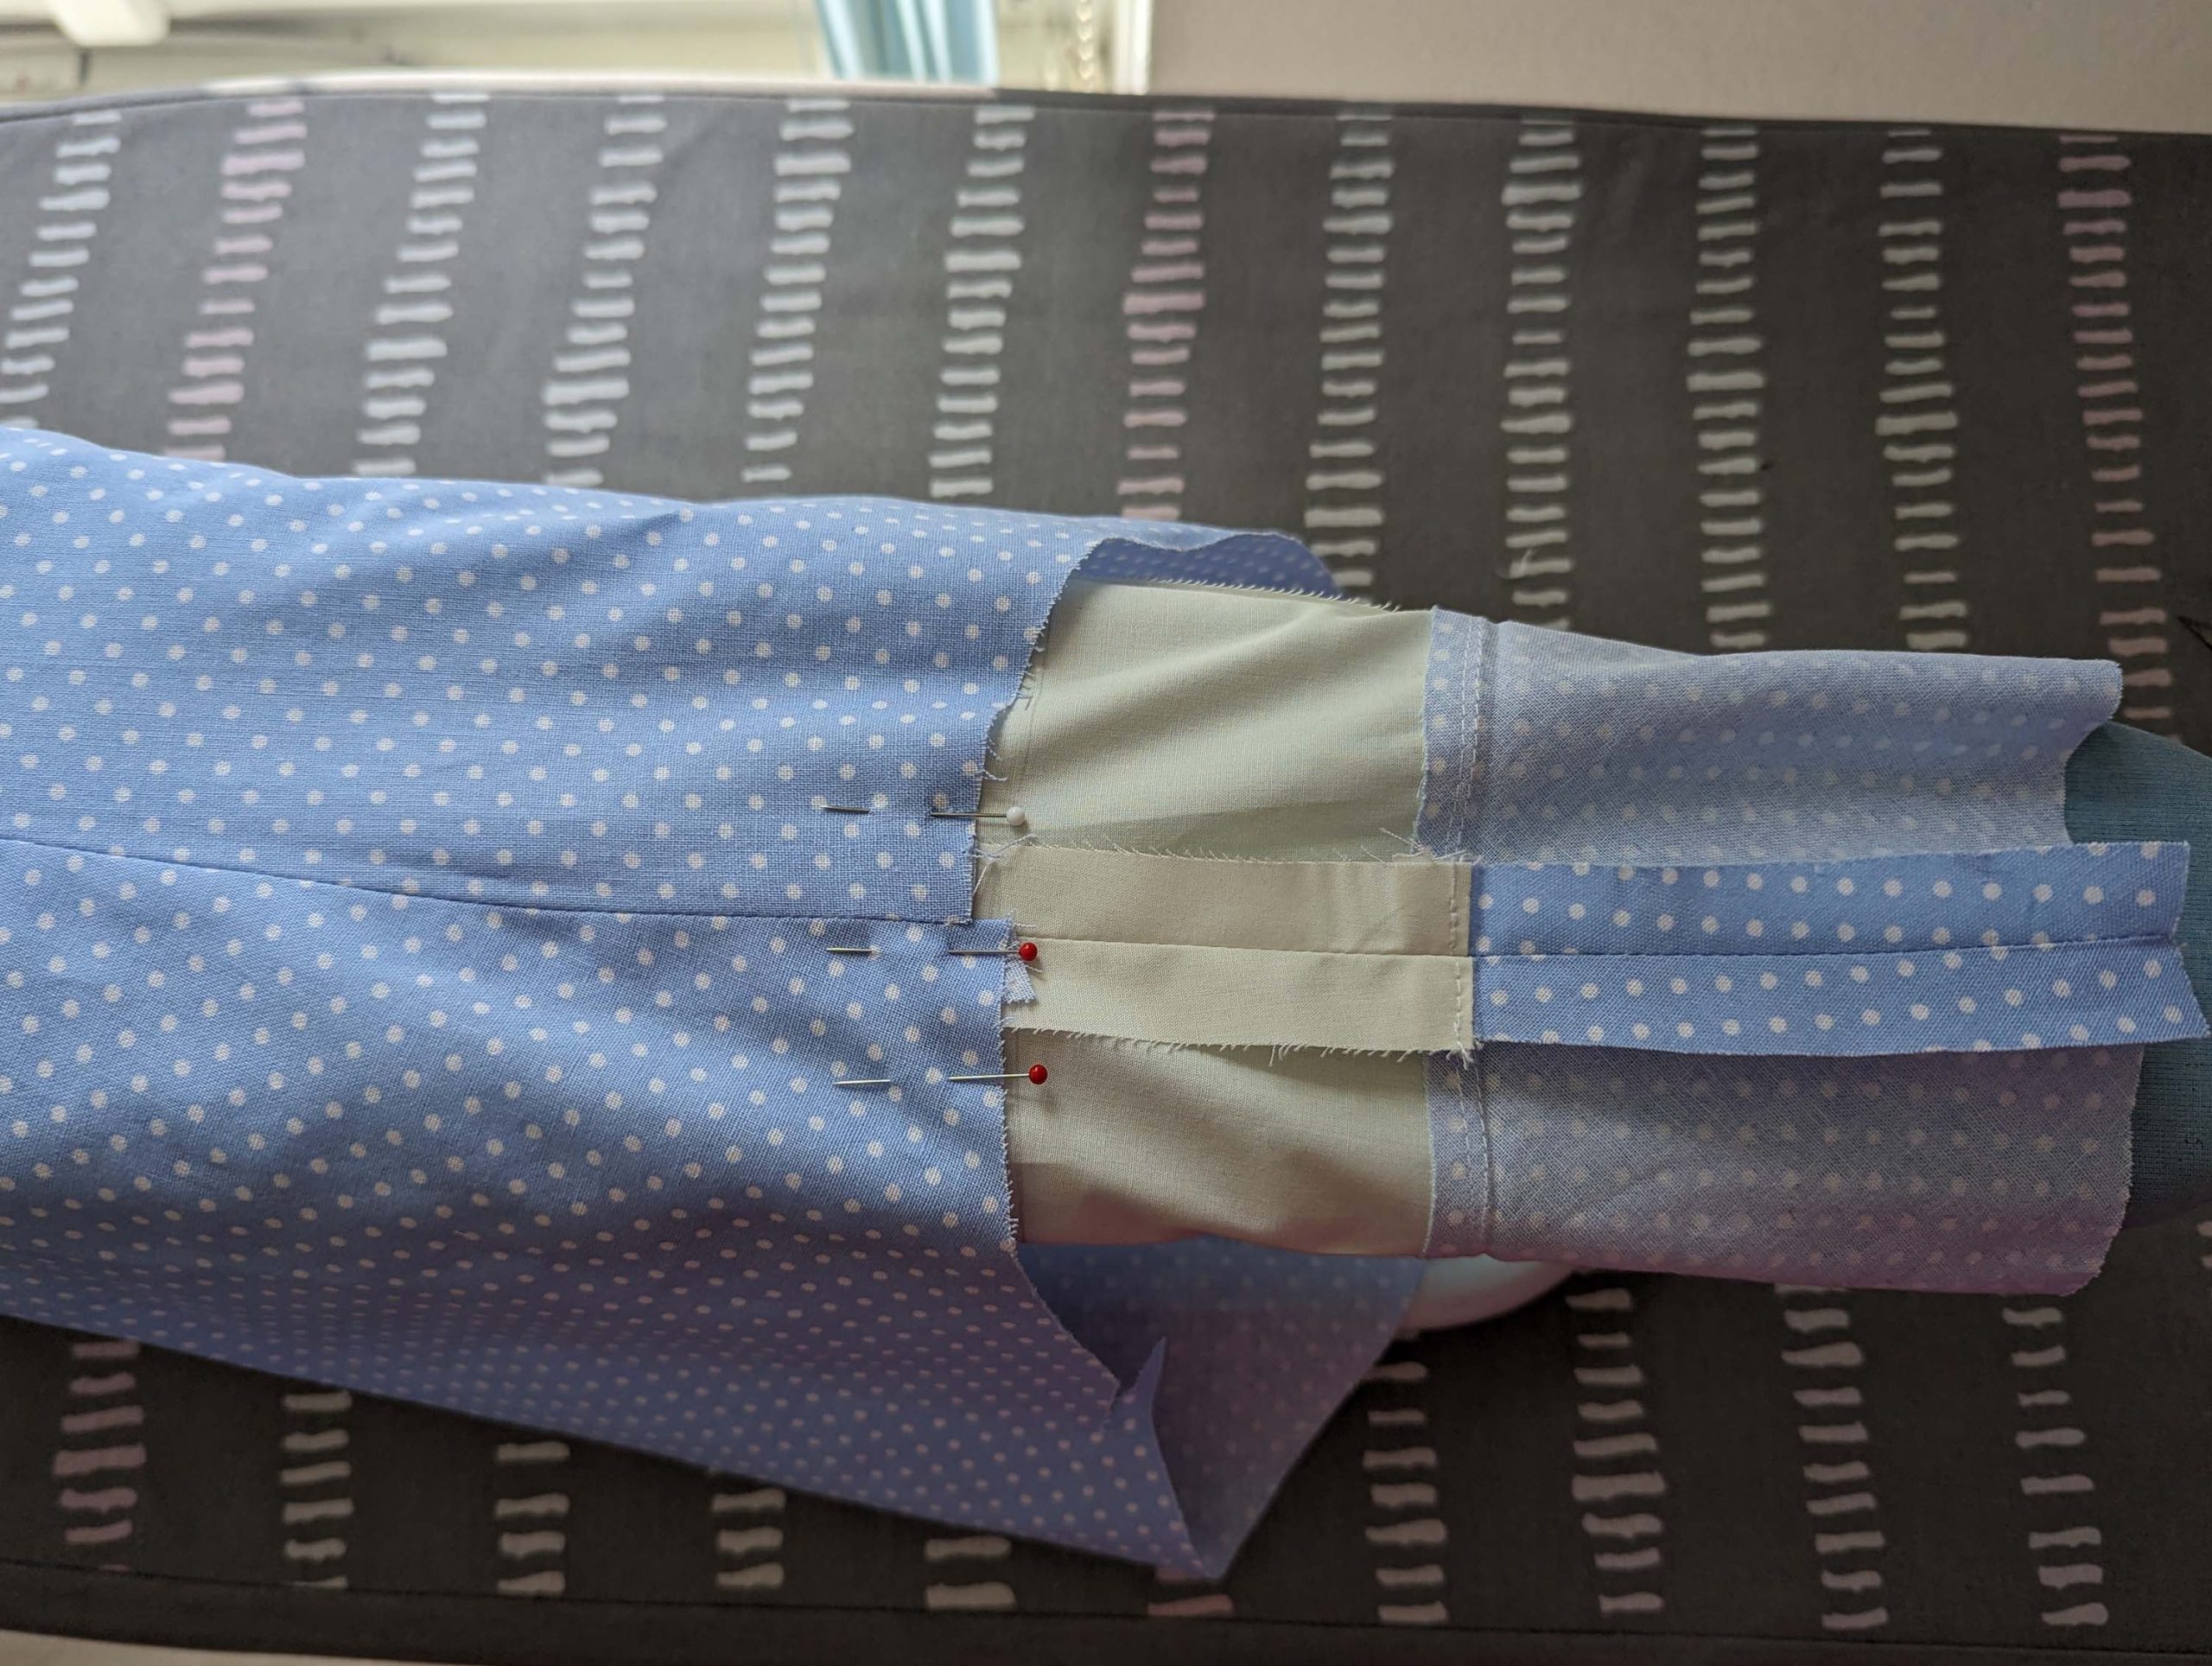
(7) Basically for the waistband, all the steps are the same as described at the collar, just that the waistband closes at the right side seam, not at the center back.Take the waistband facing and prepare in the same way as the collar facing, just mirrored.
Sew the waistband back to the front waistband along the left side seam, right sides together, and press open the seam allowances. Repeat with the waistband lining. Line up the waistband with the lining, right sides together, with the lining protruding past the fashion fabric 1/8” (2mm) along the bottom edge for some extra width for the turn of cloth. Turn in the seam allowances along the short edge of the back waistband. Sew along the bottom edge, reducing the stitch length at the point, trim back the seam allowances, and understitch – sew towards the point as far as possible. To finish the short edge on the front, fold the waistband layers with the right sides together again, fold the seam allowances of the bottom edge towards the lining, and turn in the seam allowance of the lining along the top edge. Stitch down the edge, trim back the seam allowance, and turn the right way out. Turn in the seam allowance along the top edge of the lining, and clip at the point.
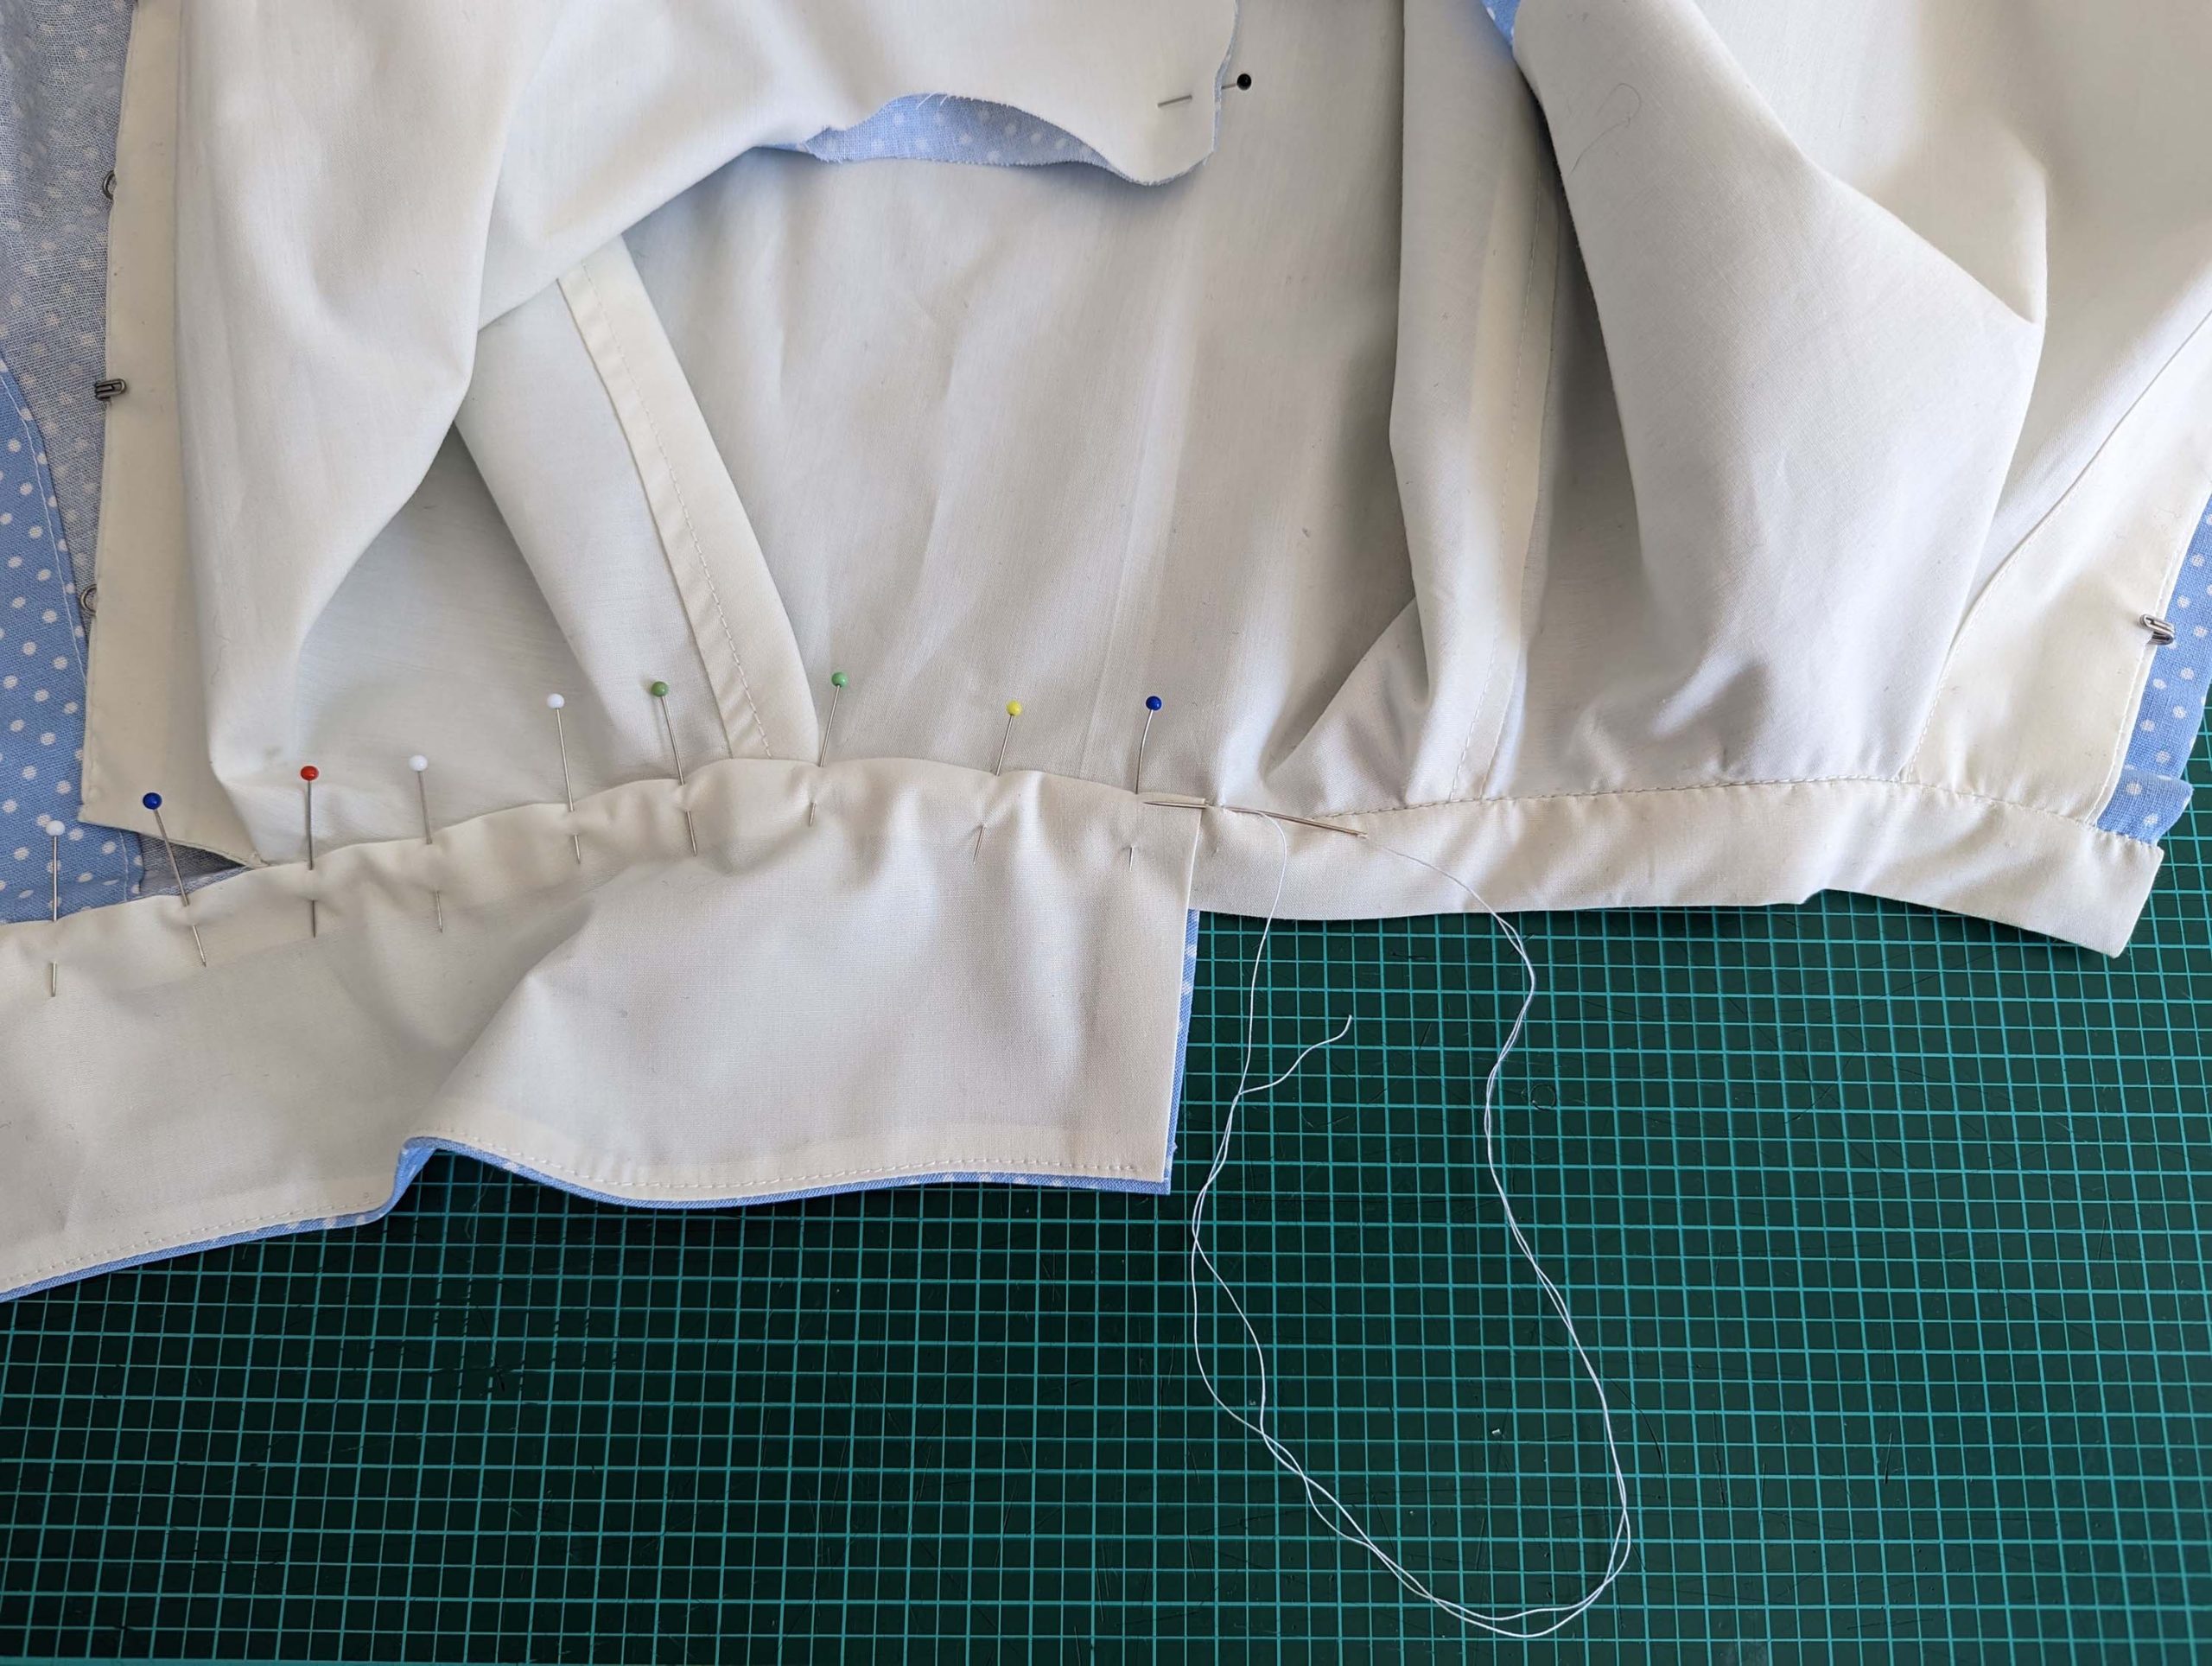
Starting 5/8” (1,5cm) in front of the right side seam at mark (1)richte die waistband with the back, right sides together, and continue with the left front until reaching the center front mark. Line up the facing with the right front, right sides together, placing the facing on top of the waistband at the left side seam.
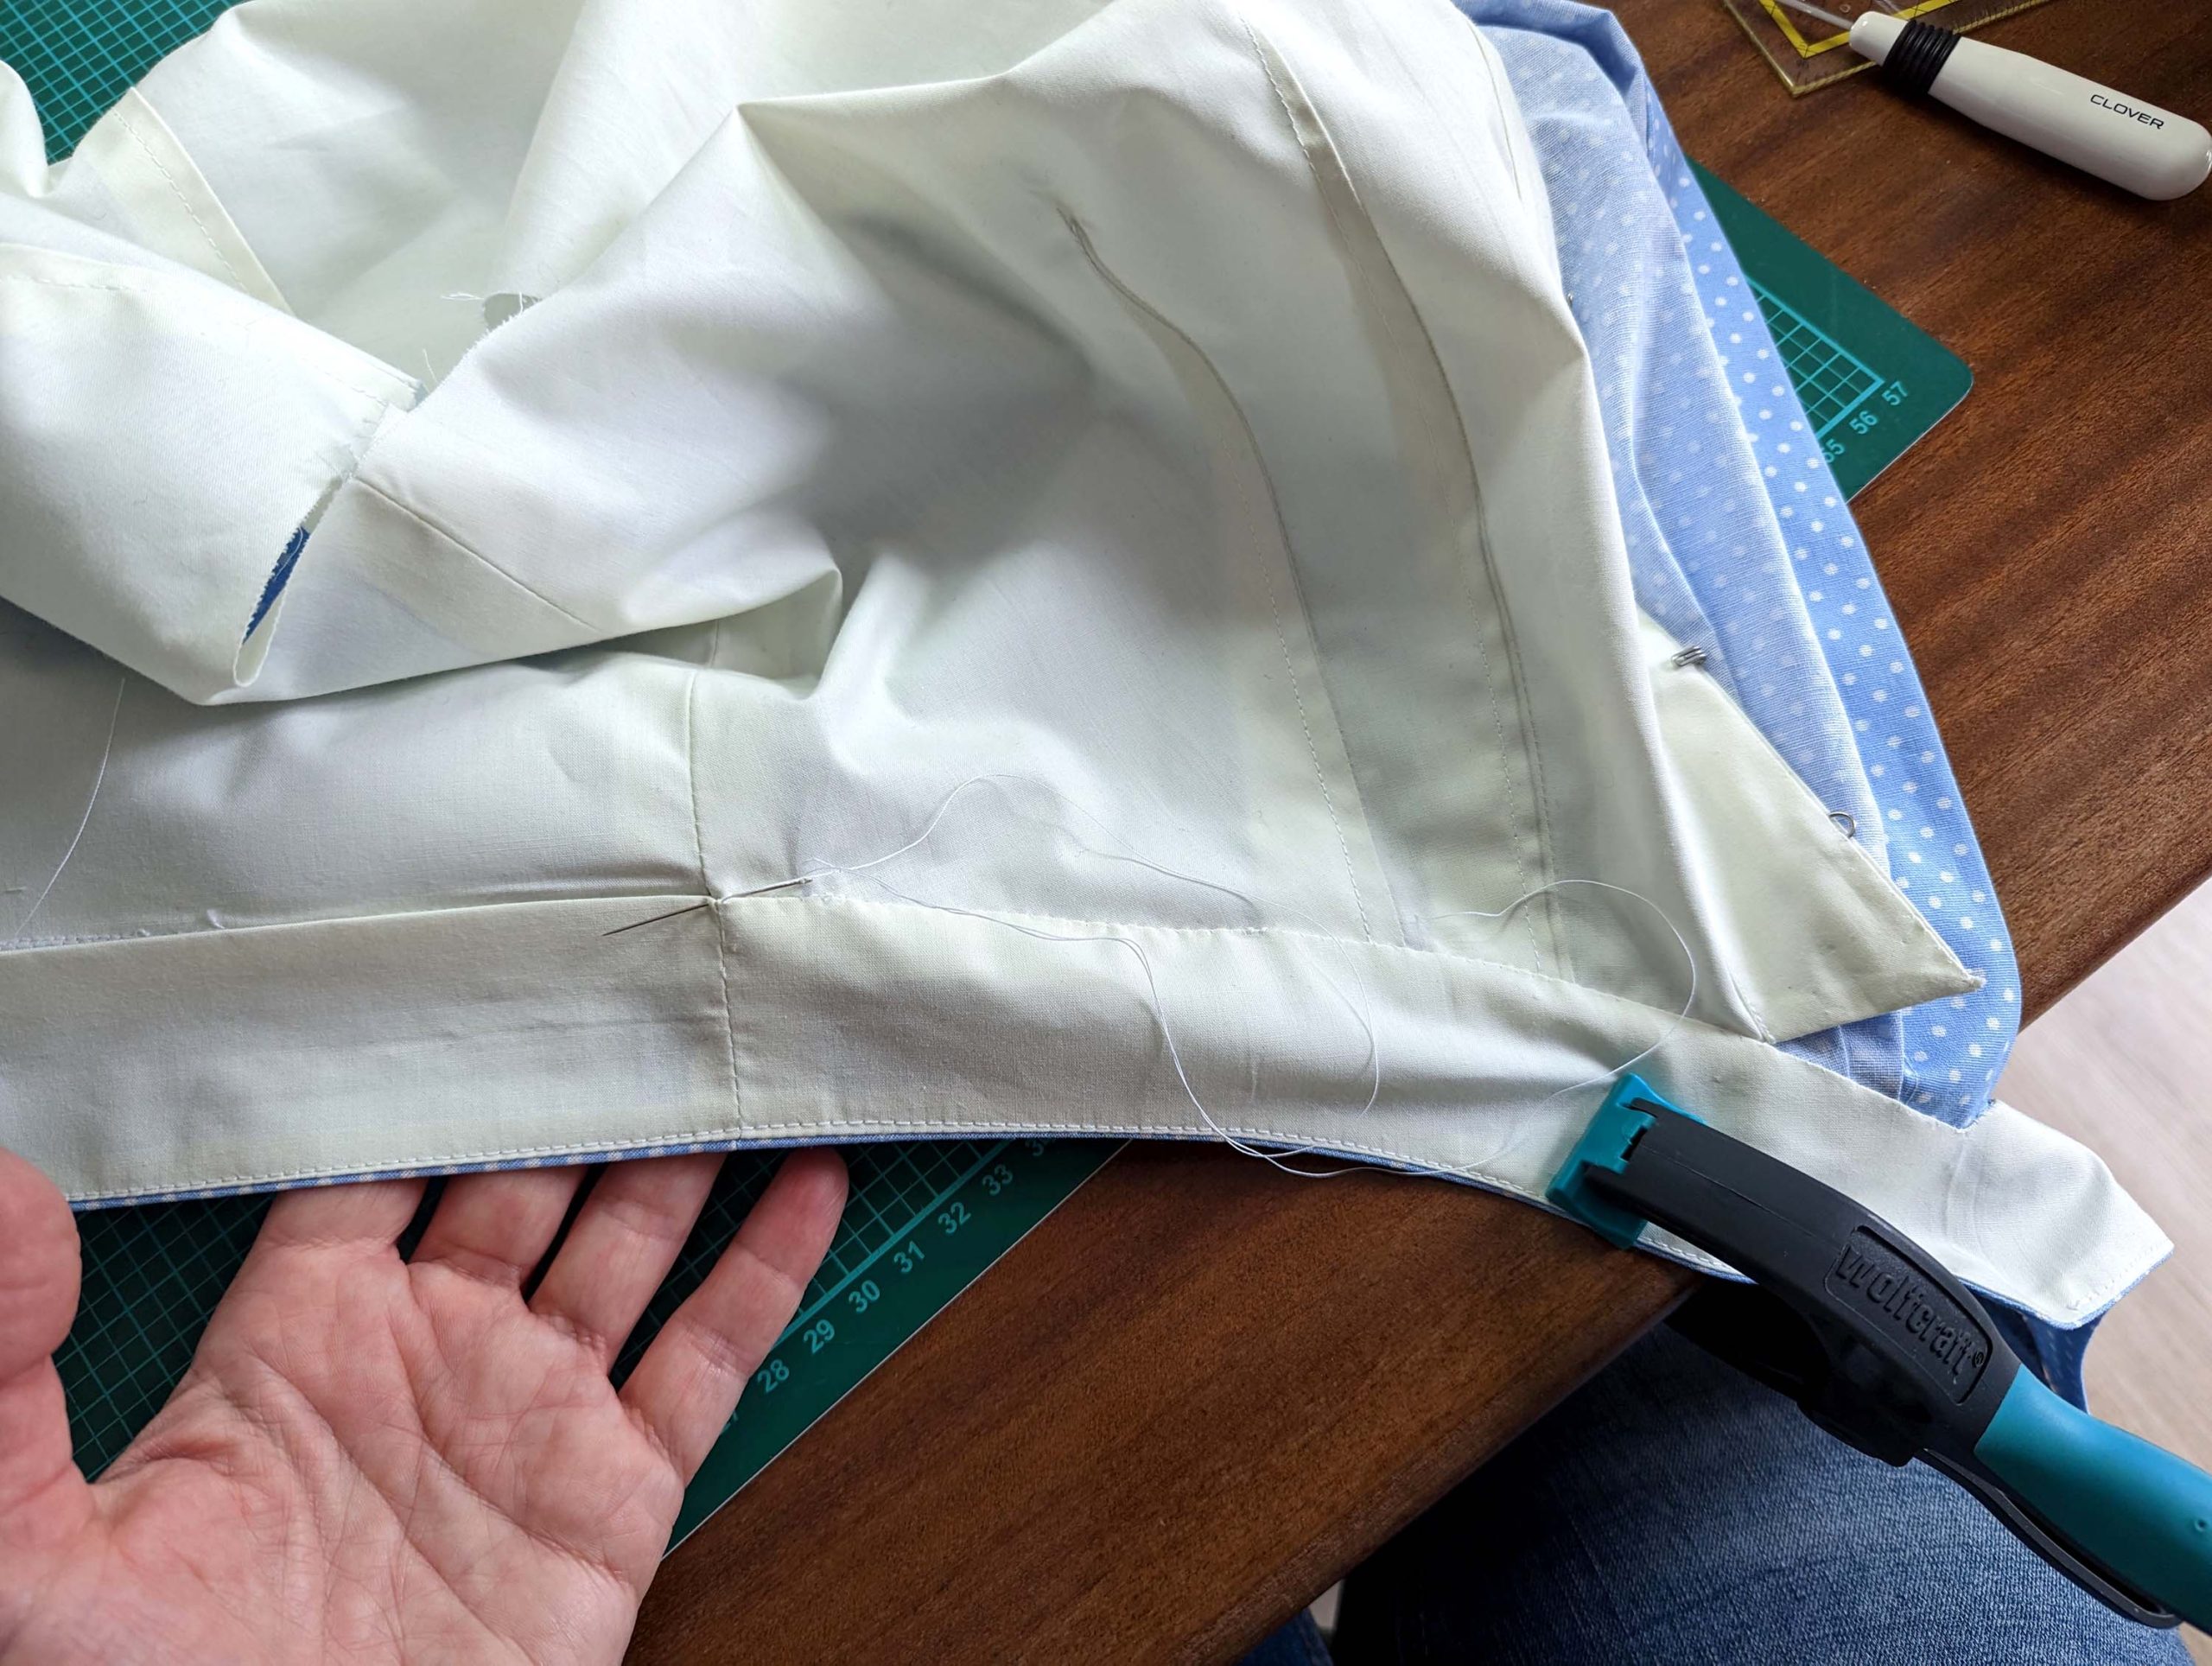
Sew the waistband to the bodice, when reaching the center front, leave the needle down, clip the seam allowance, pivot, and continue sewing until reaching the front edge. Trim back and clip the seam allowances, and turn towards the waistband.
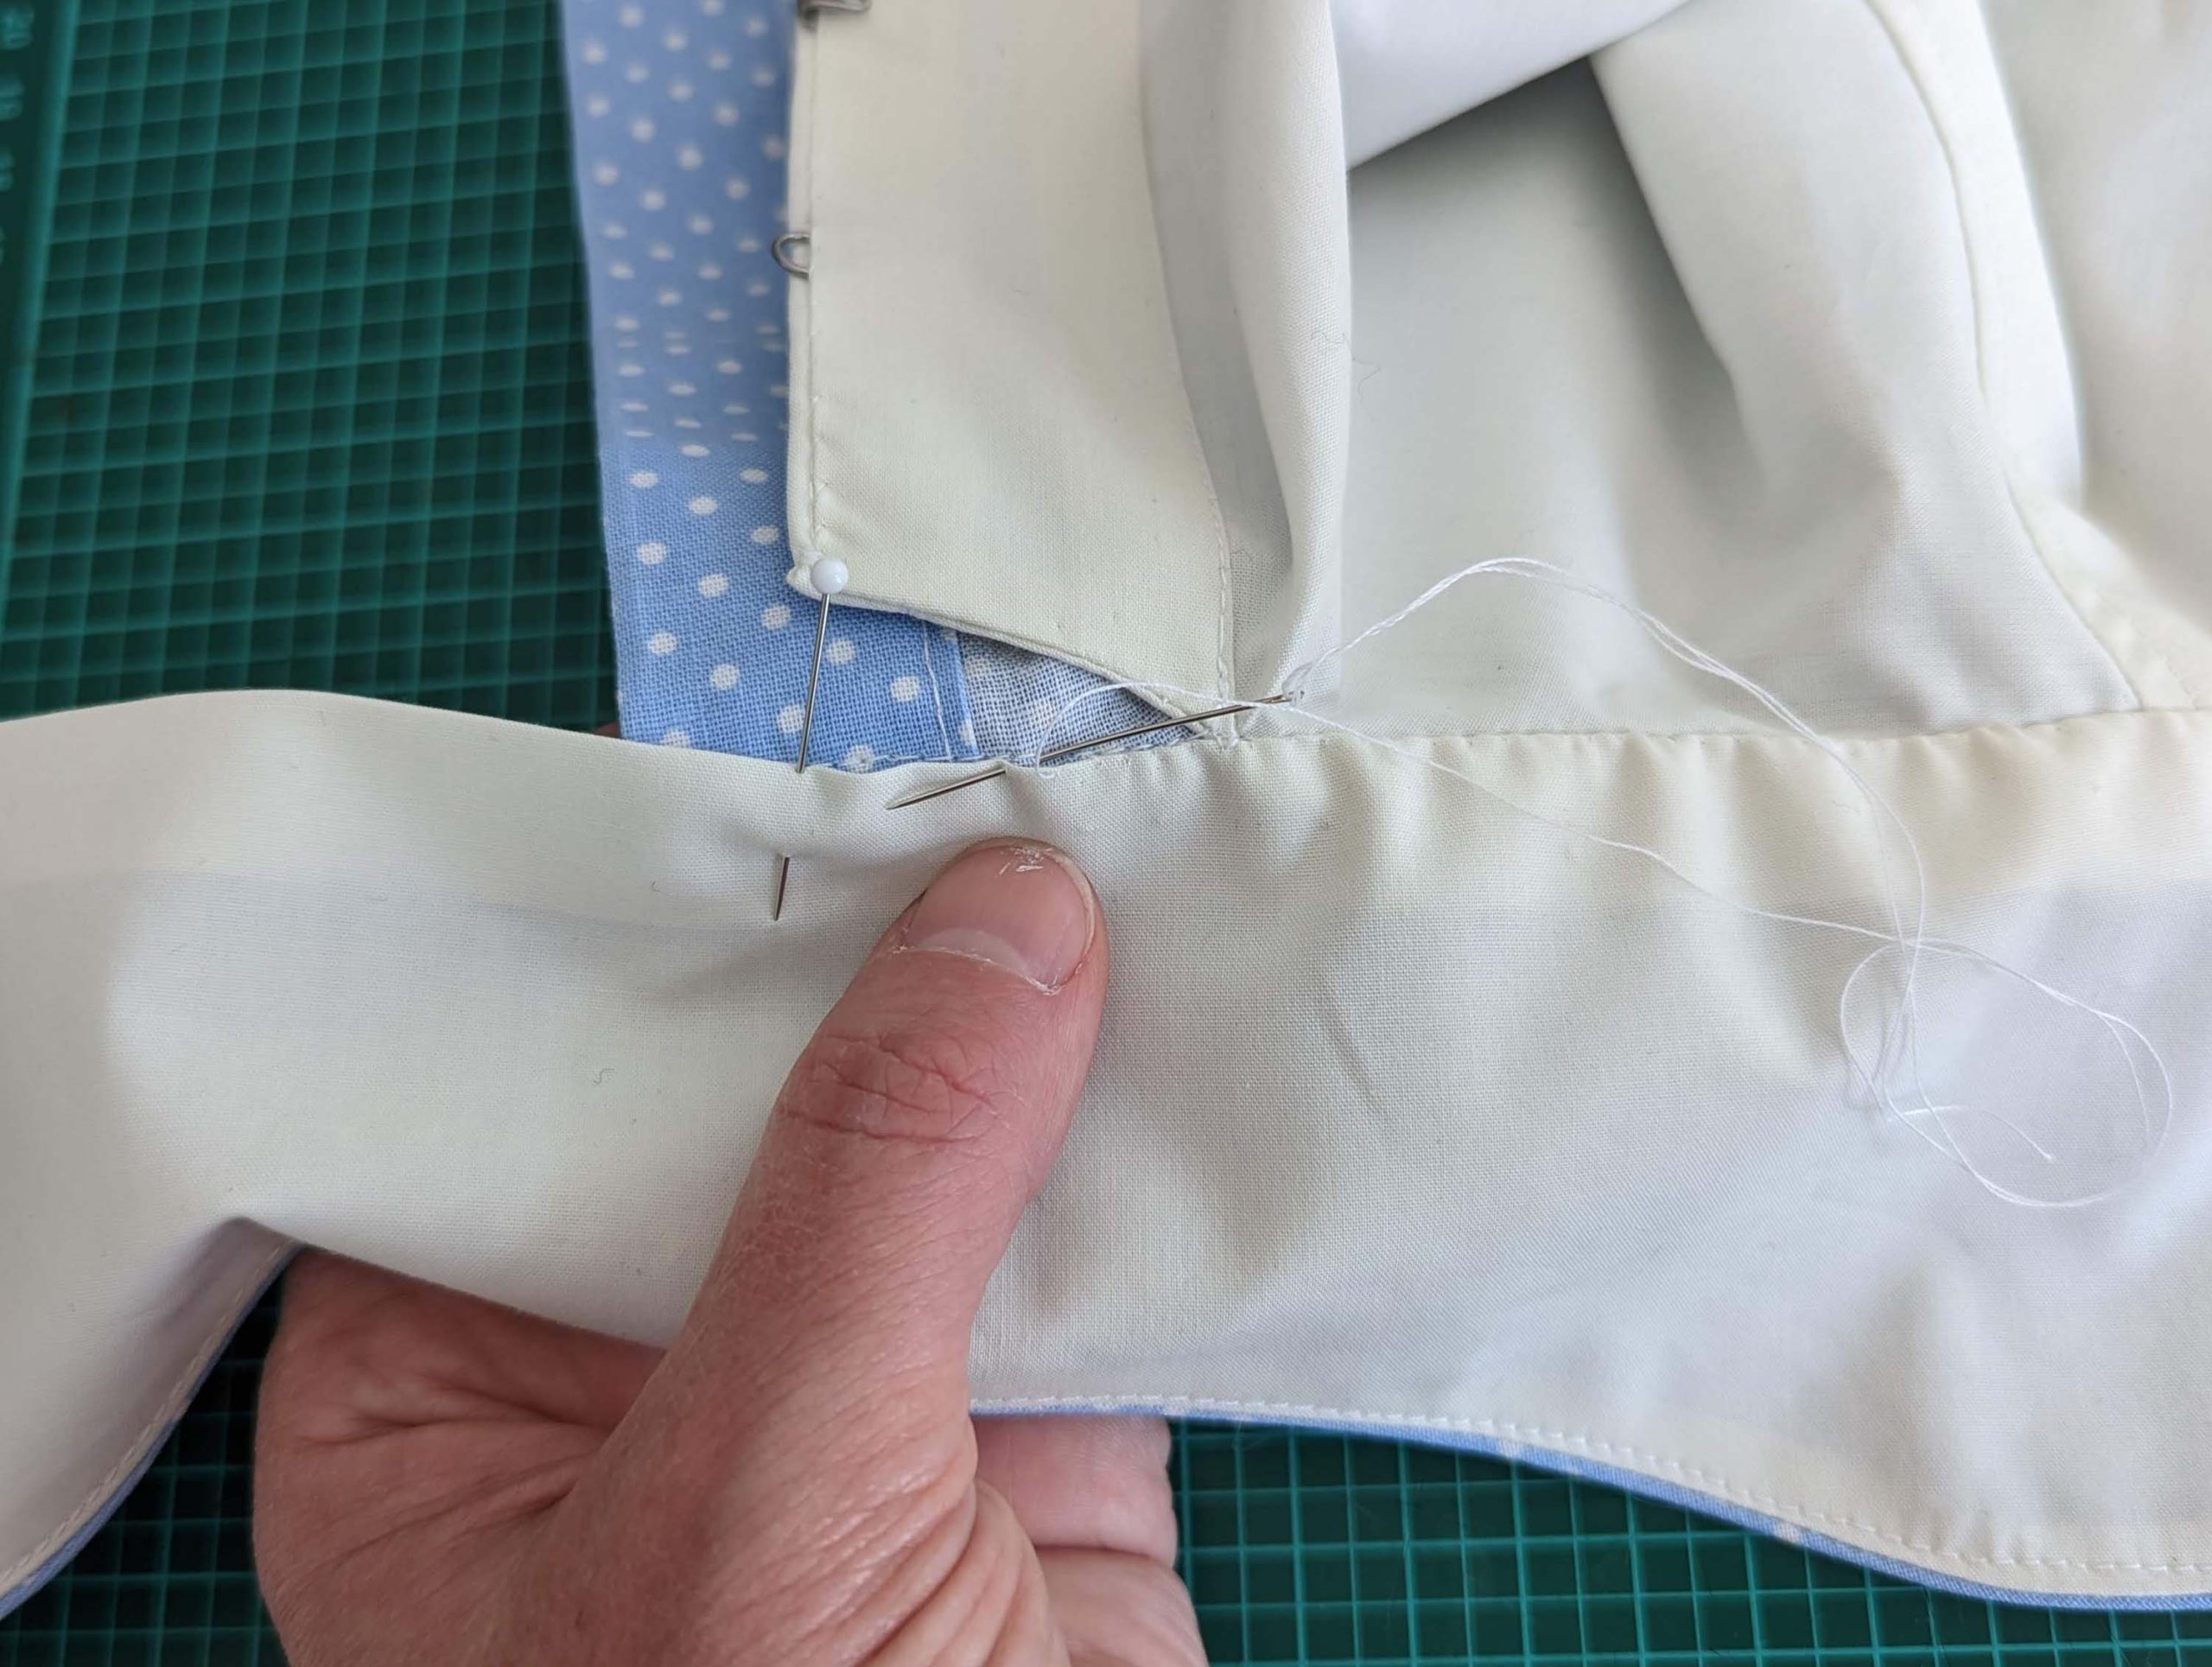
Line up the inner/lining edge of the facing/waistband with the stitching line and fell stitch in place. Along the loose portion of the waistband (right front), turn in the seam allowance along the top edge, with the fashion fabric protruding past the lining about 1/8” (2mm), and fell stitch the lining to the fashion fabric without any stitches visible on the right side. Don’t catch the loose edge of the front-facing. At mark (1), line up the waistband and lining and fell down in the same way.
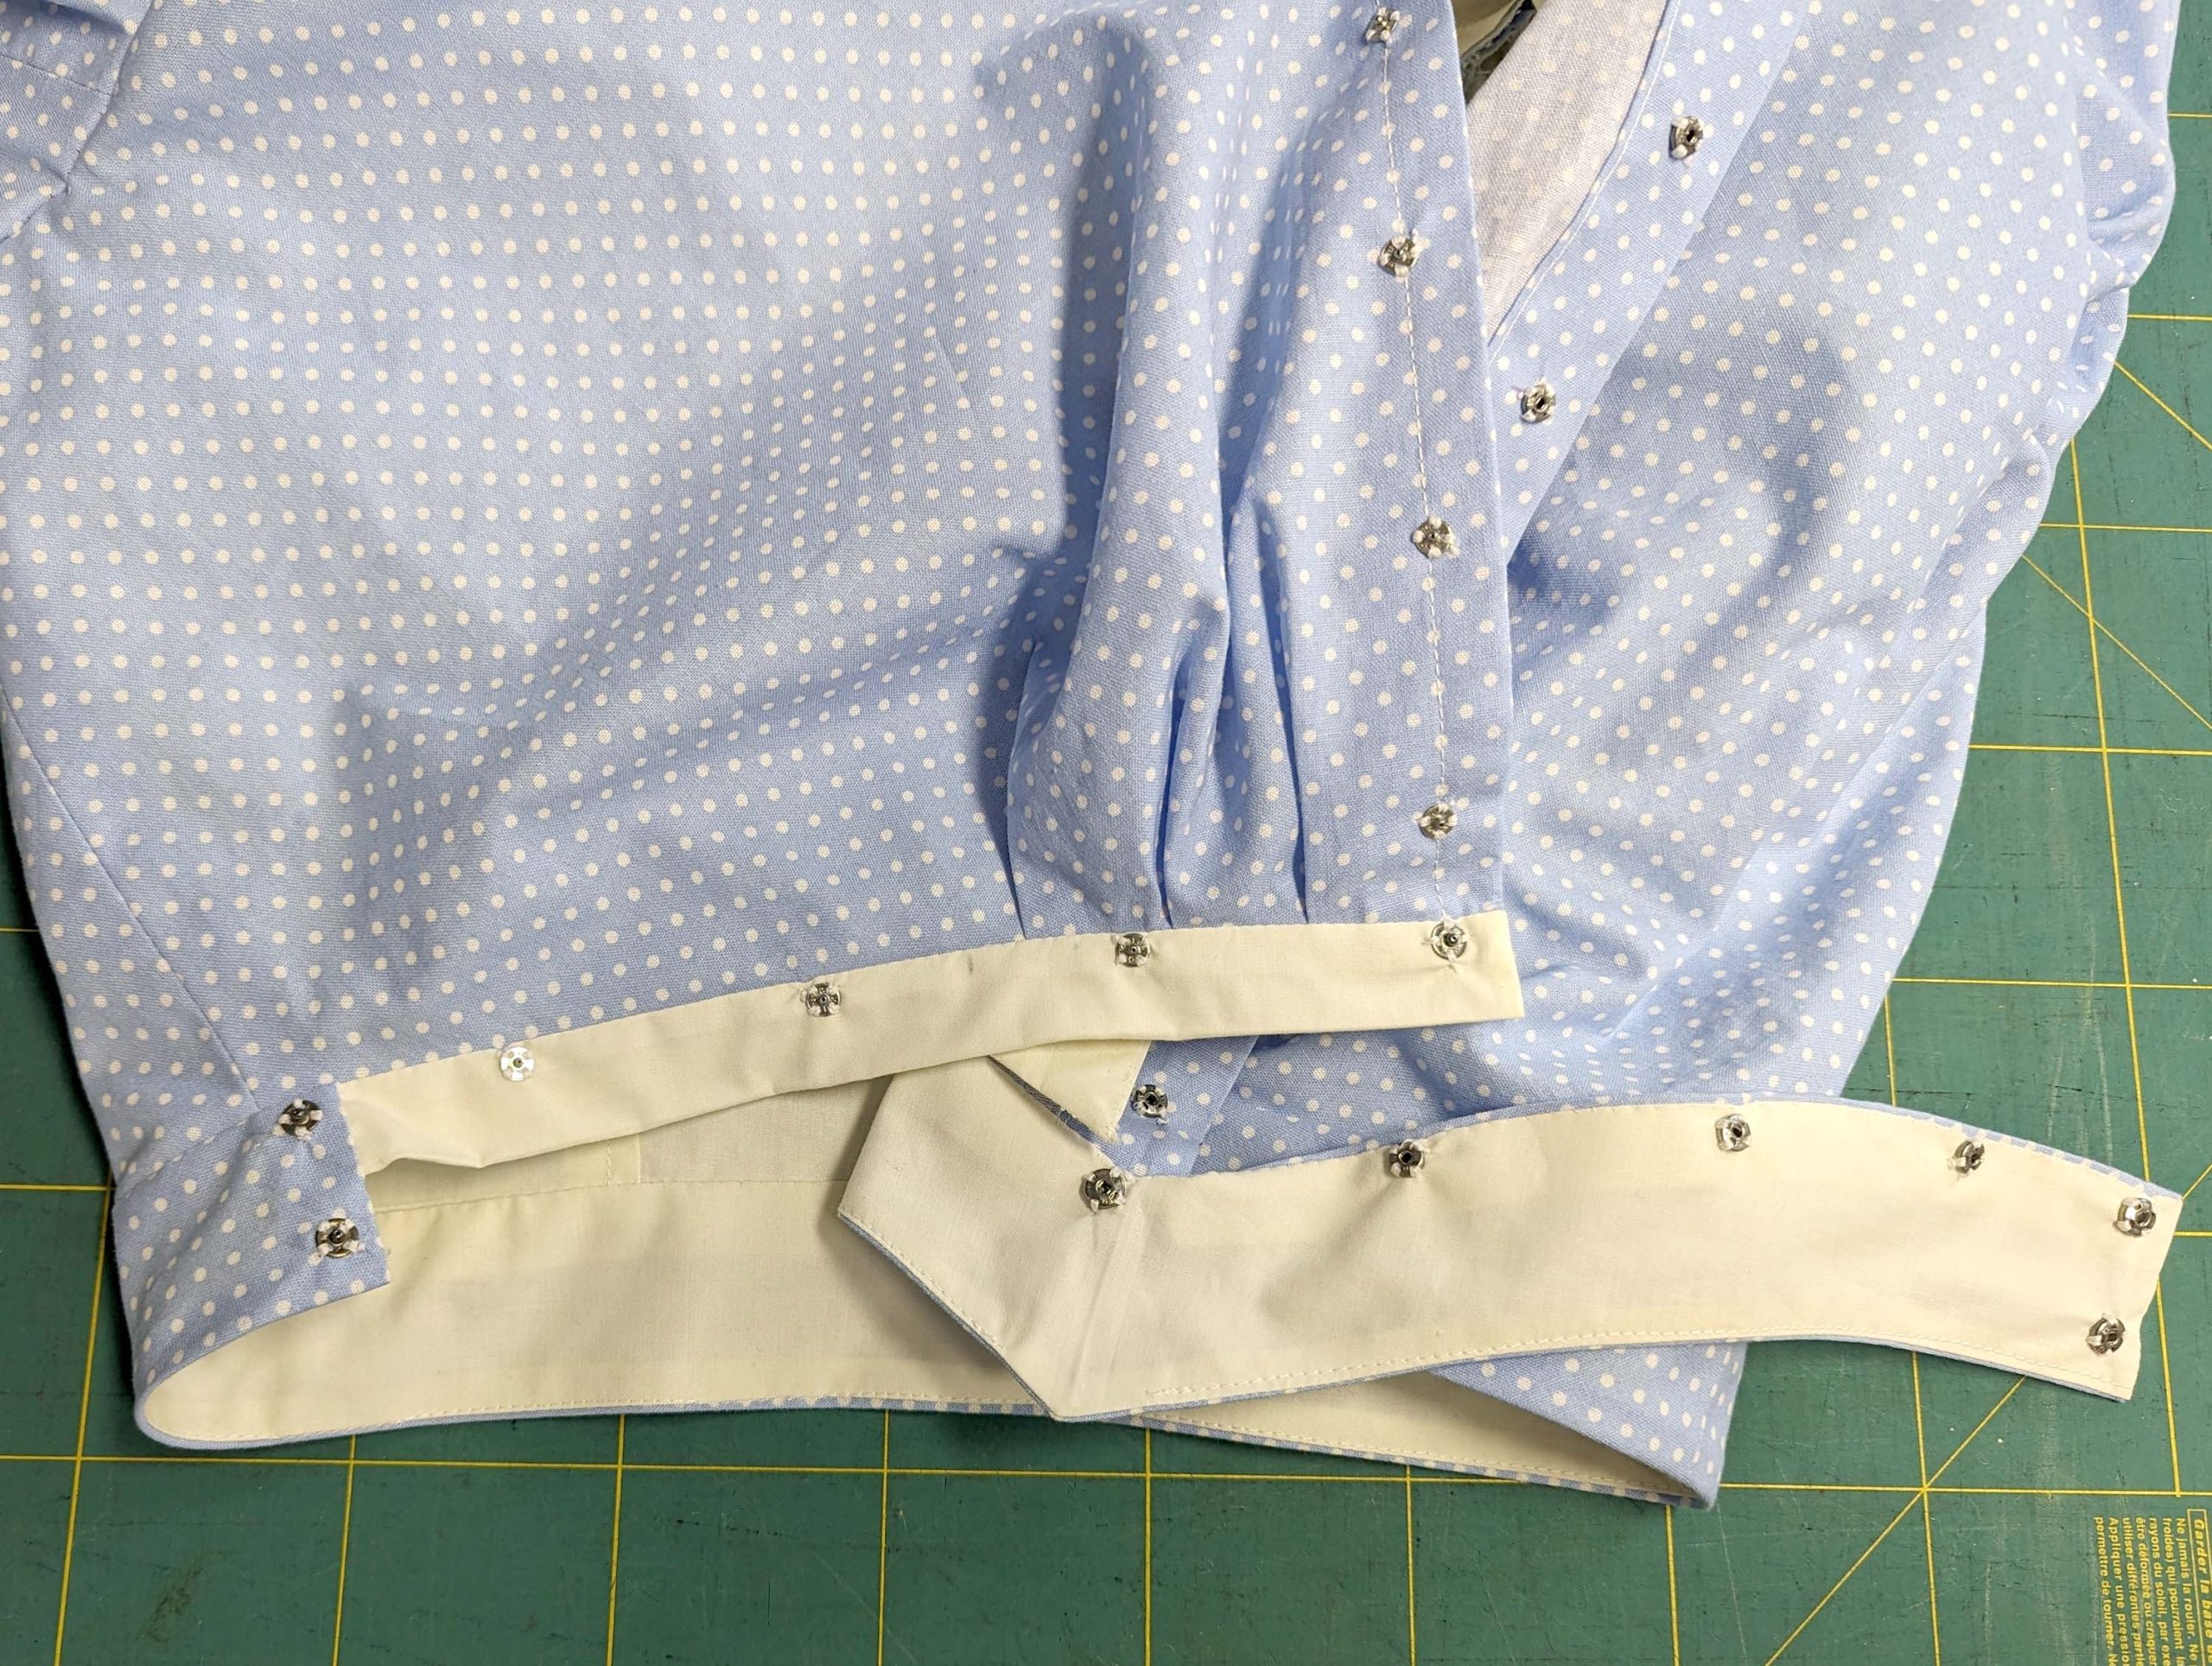
Sew on snap fasteners.
If not done before (see point 2), sew hooks and eyes to the center front of the lining, alternating the sides as usual during the Edwardian Era. Sew snap fasteners to the center front of the fashion fabric without any stitches visible on the right side. (Alternatively, close the bodice with small mother-of-pearl buttons.)
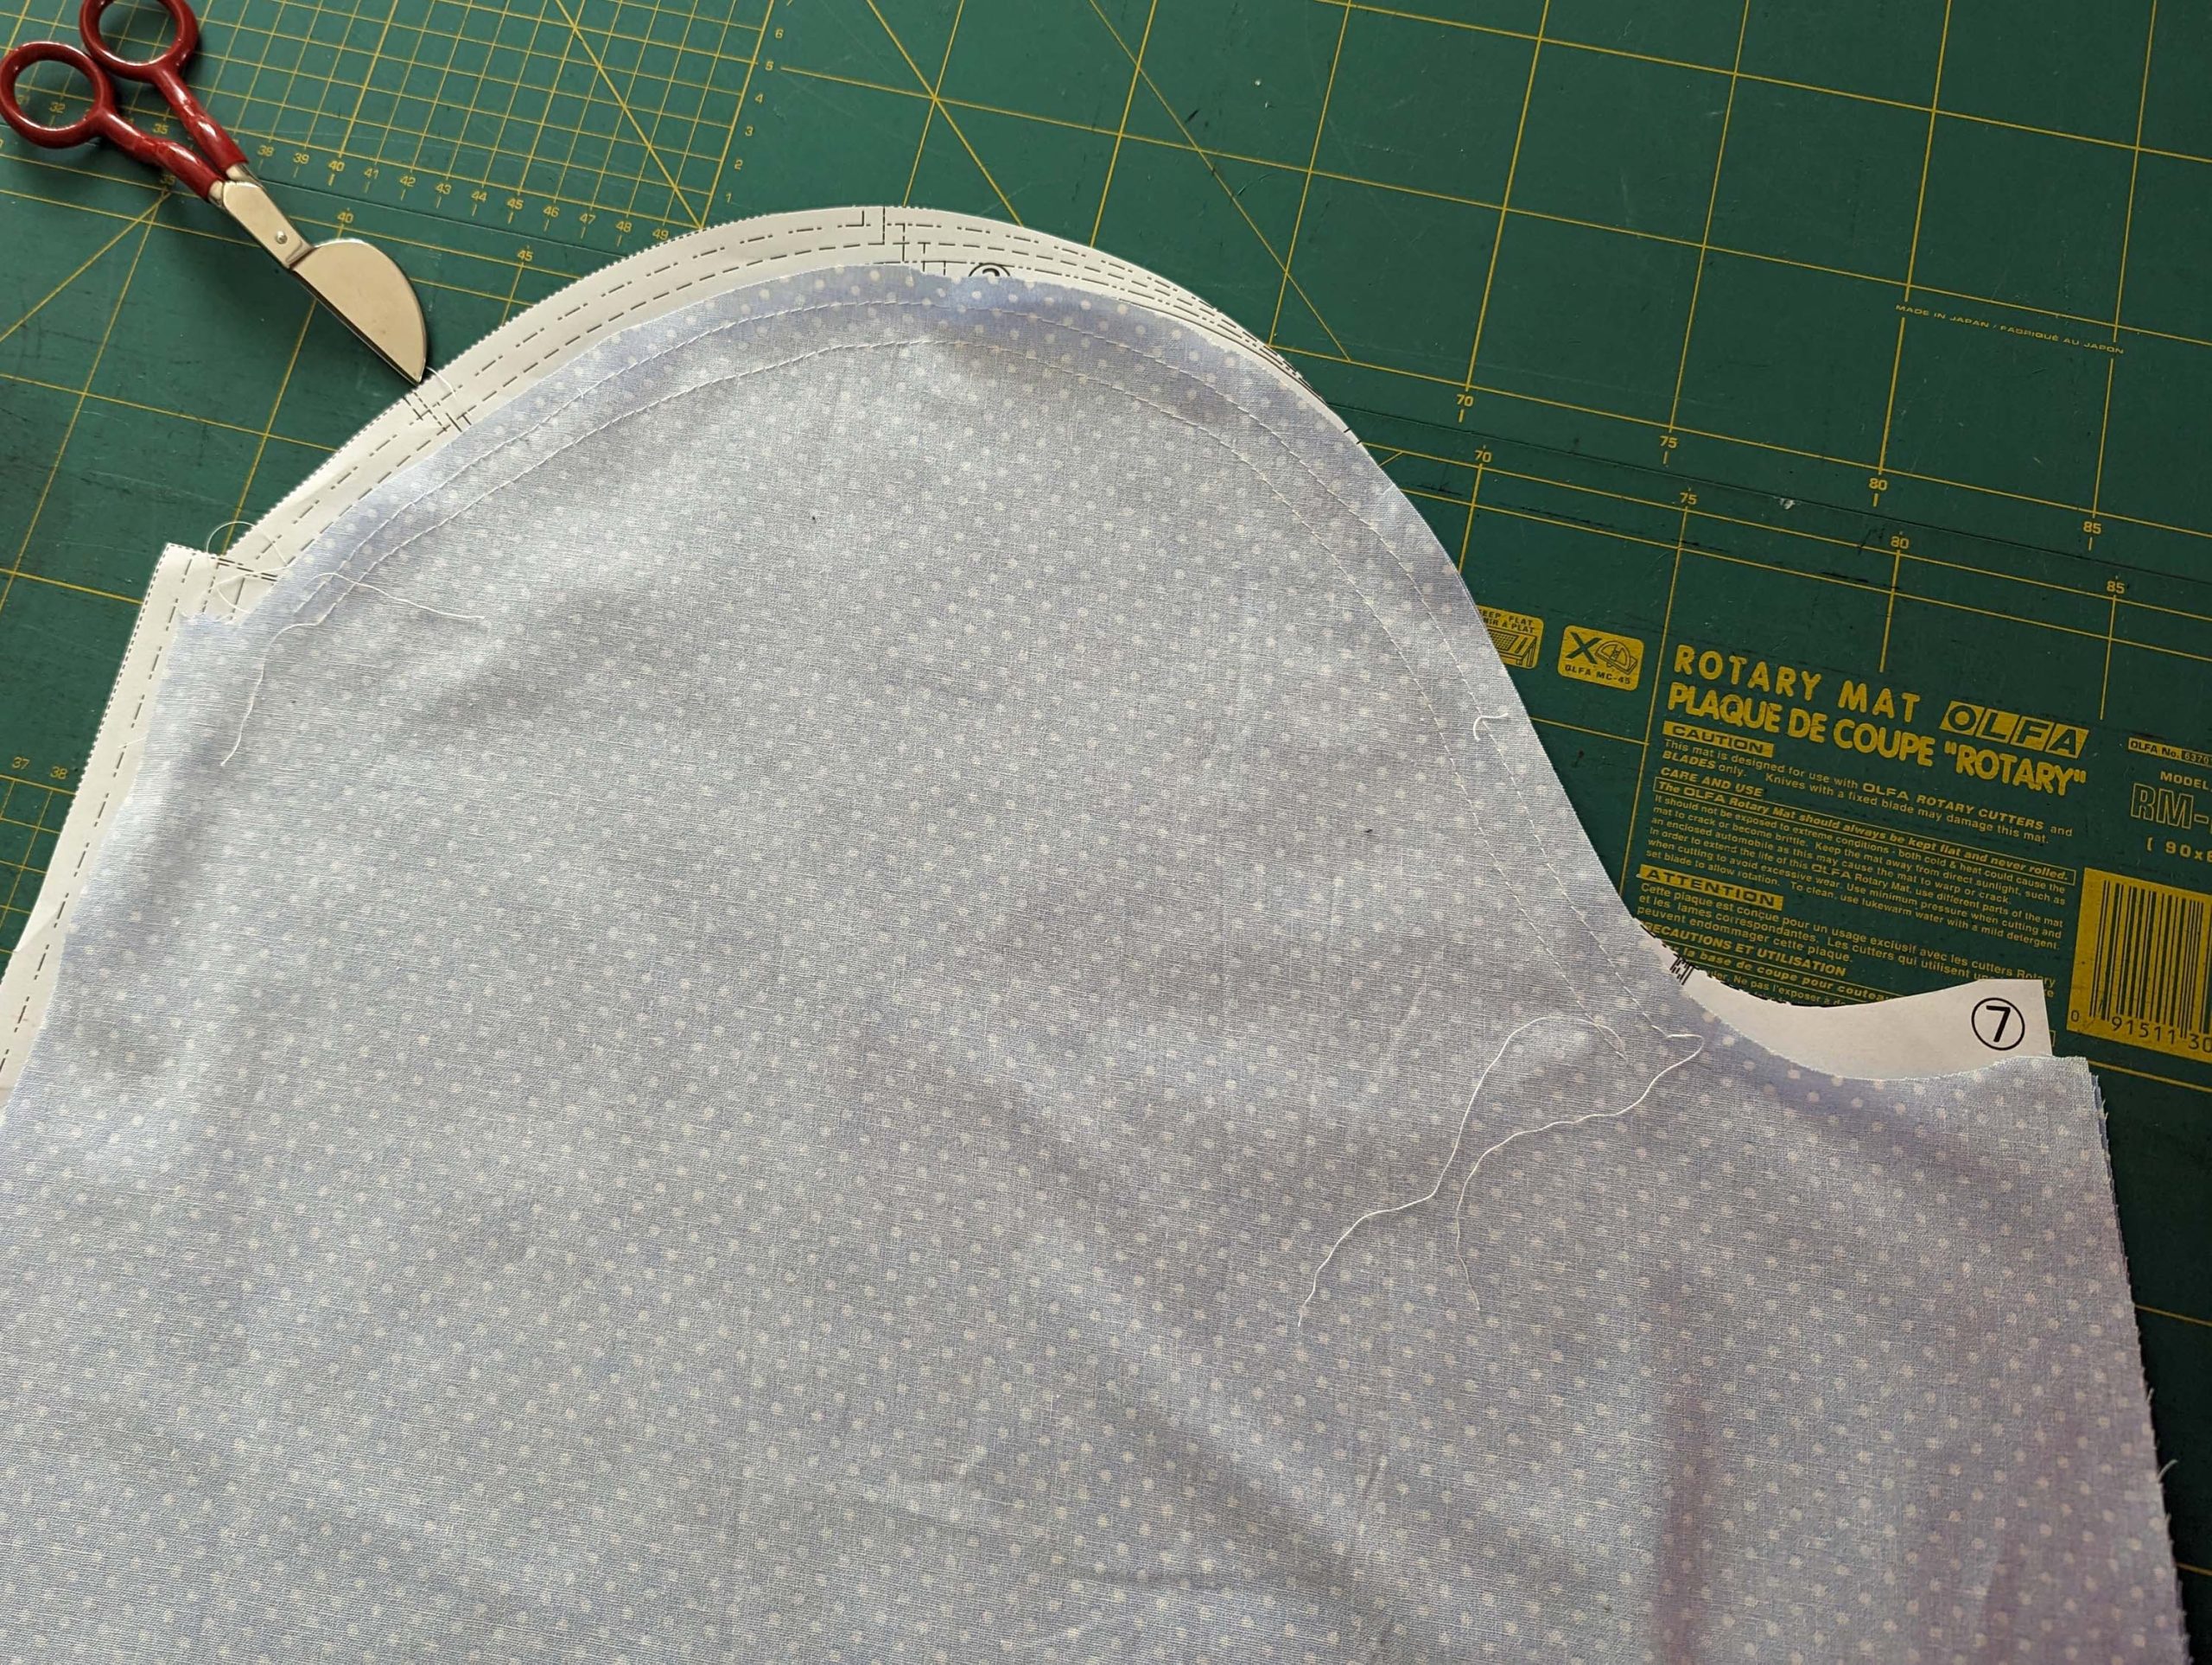
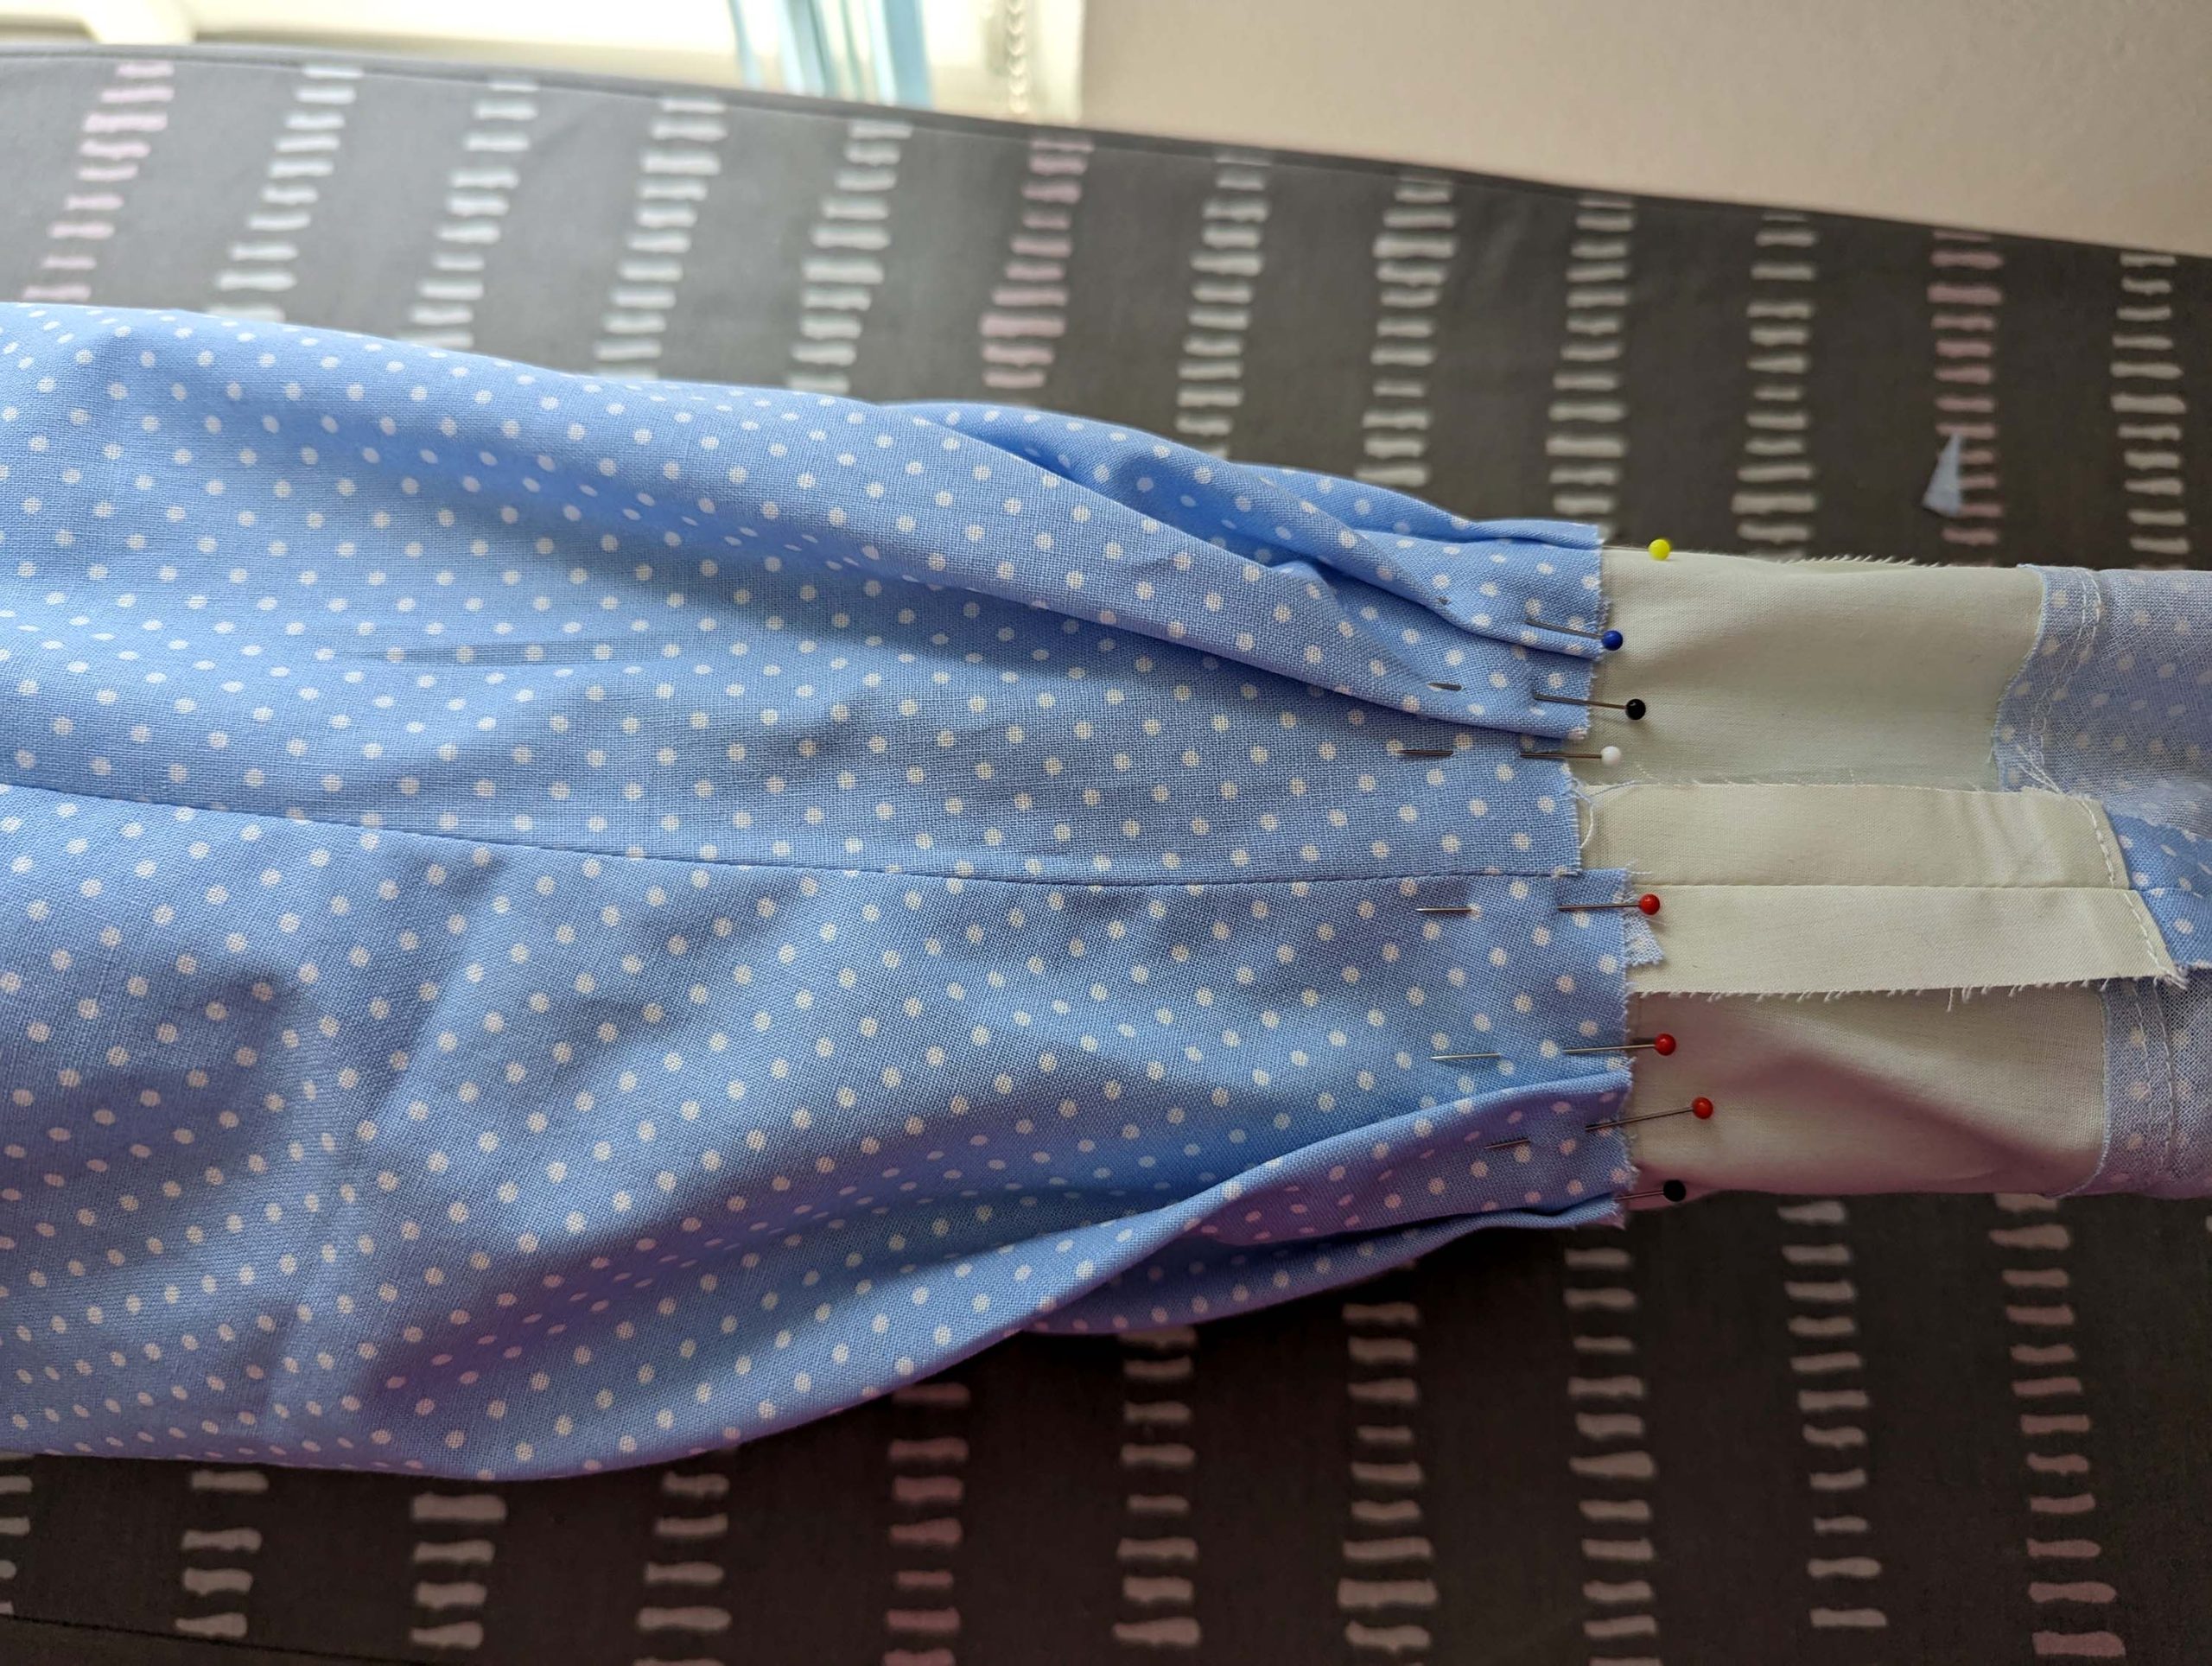
(8) Nimm das sleeve from the fashion fabric, and sew two rows of gathering stitches along the sleeve head (w). Sew the sleeve seam, right sides together, and press open the seam allowances.
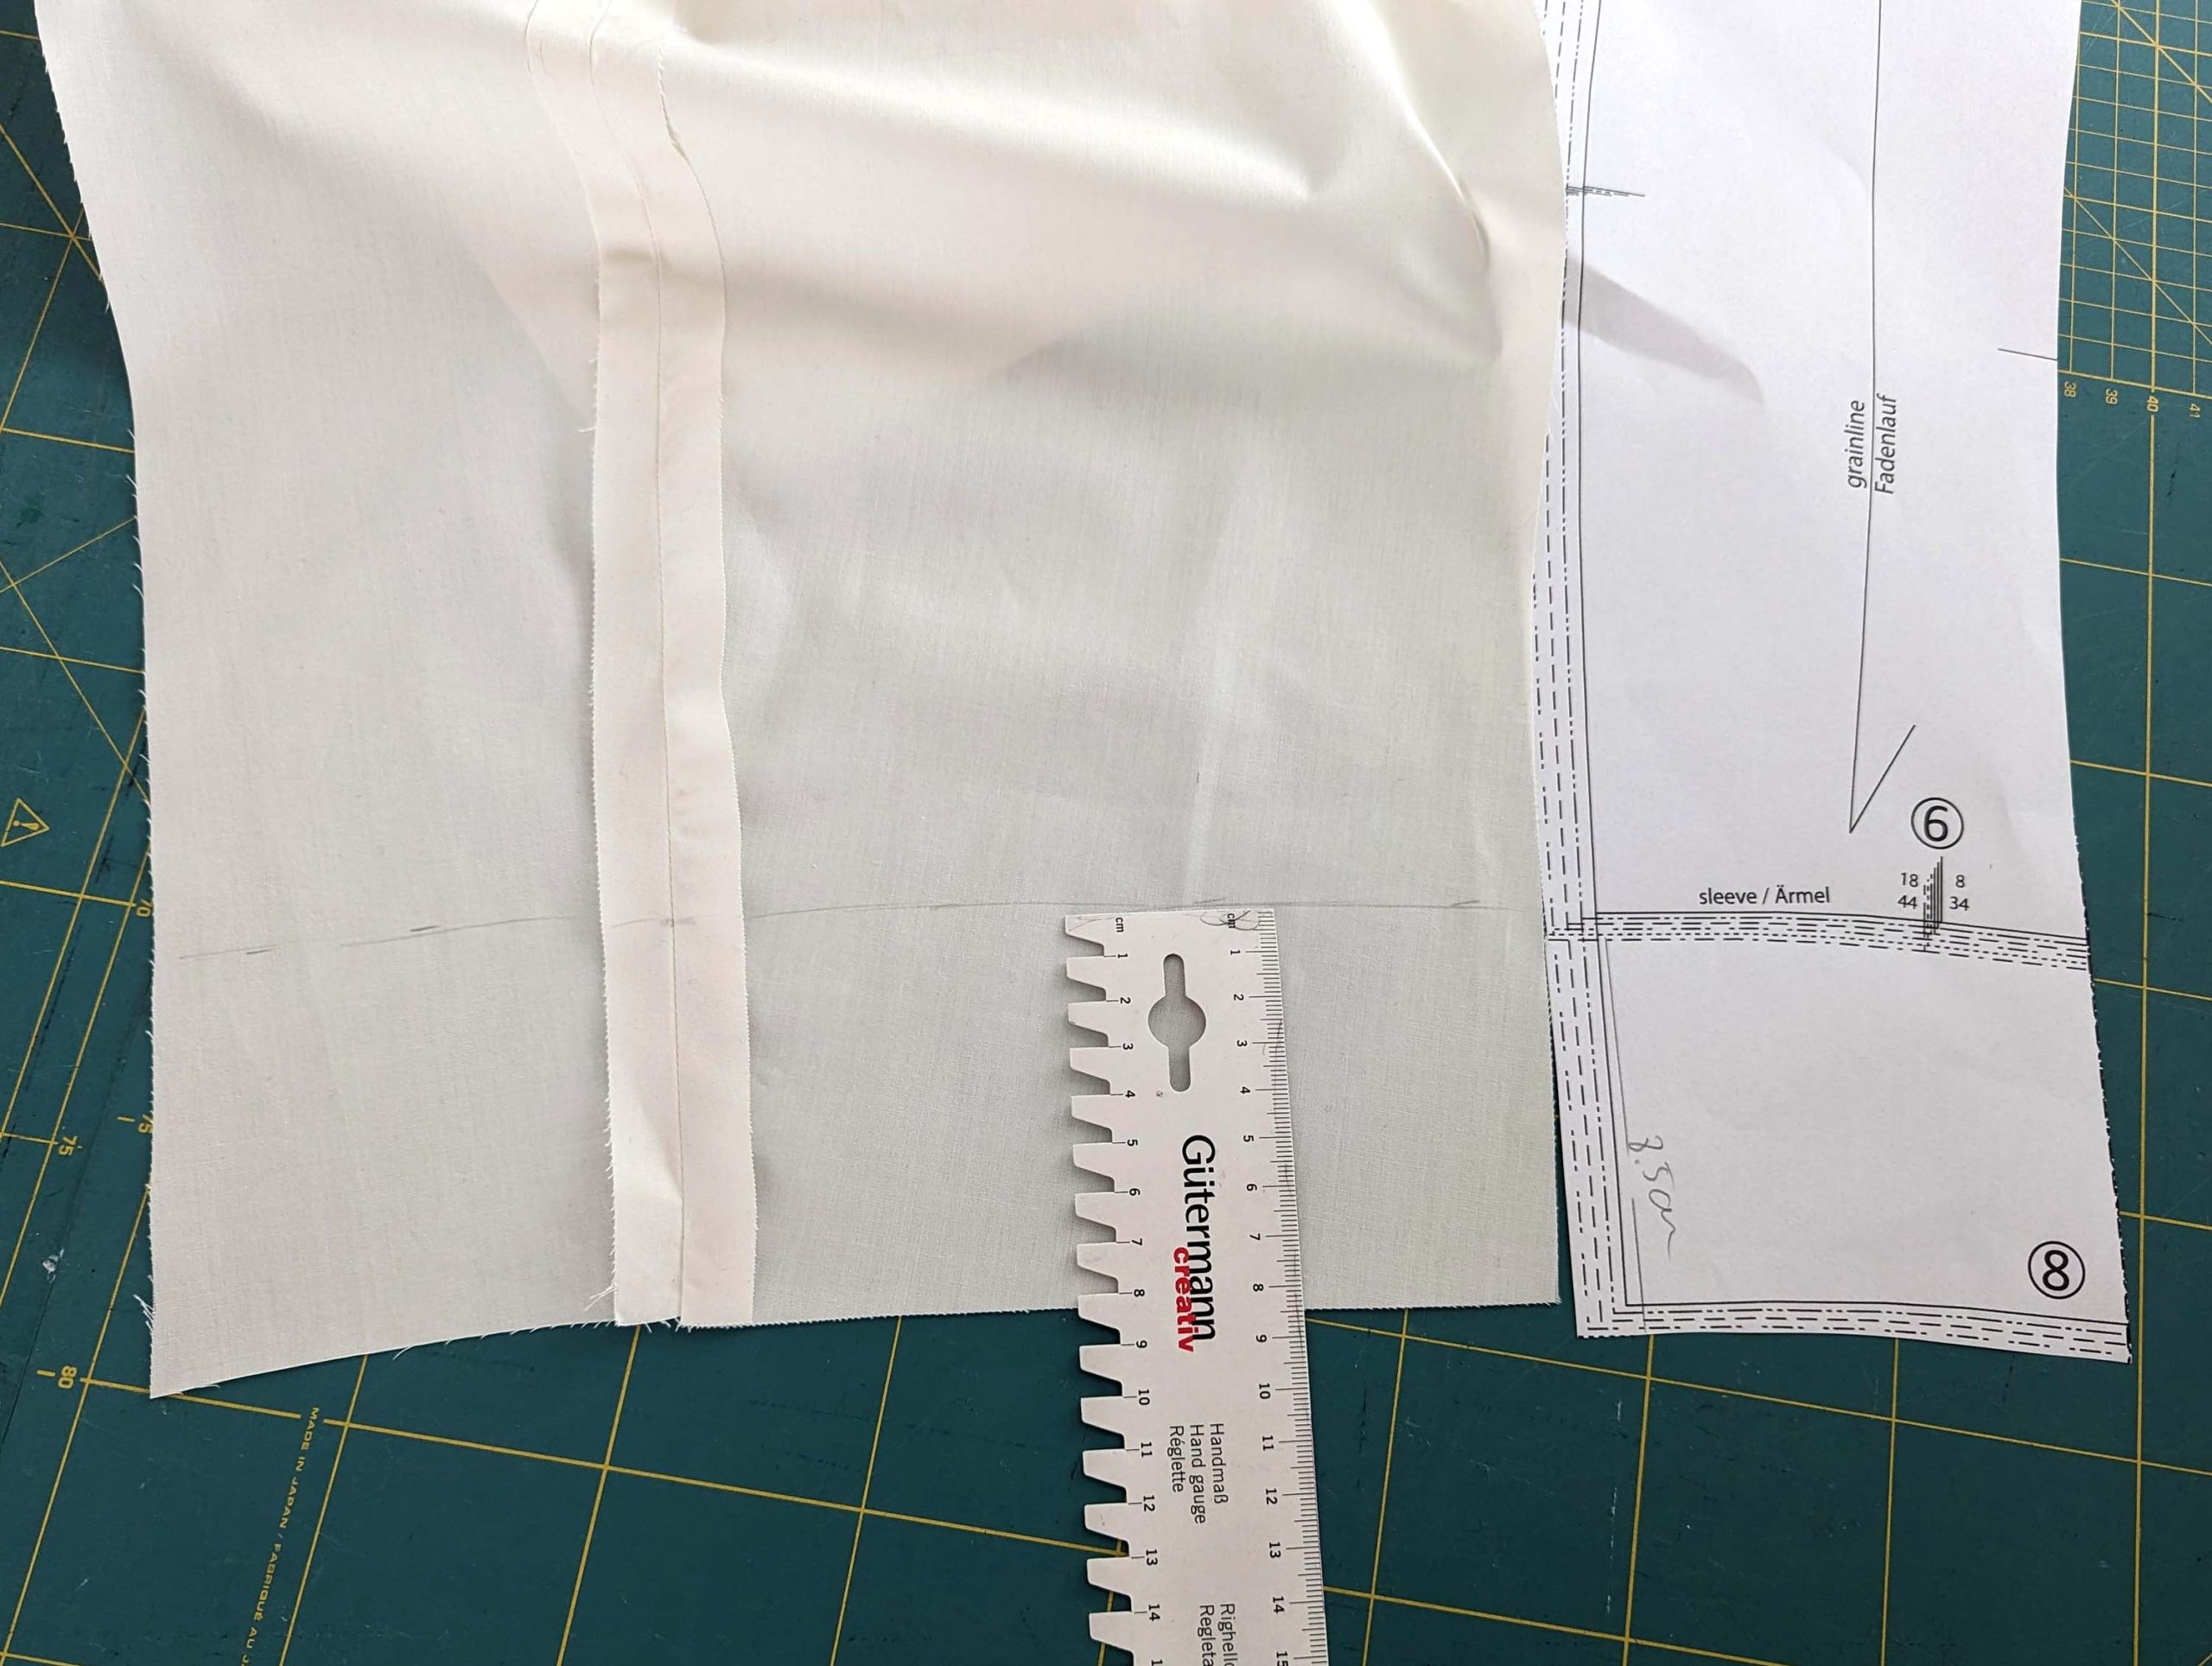
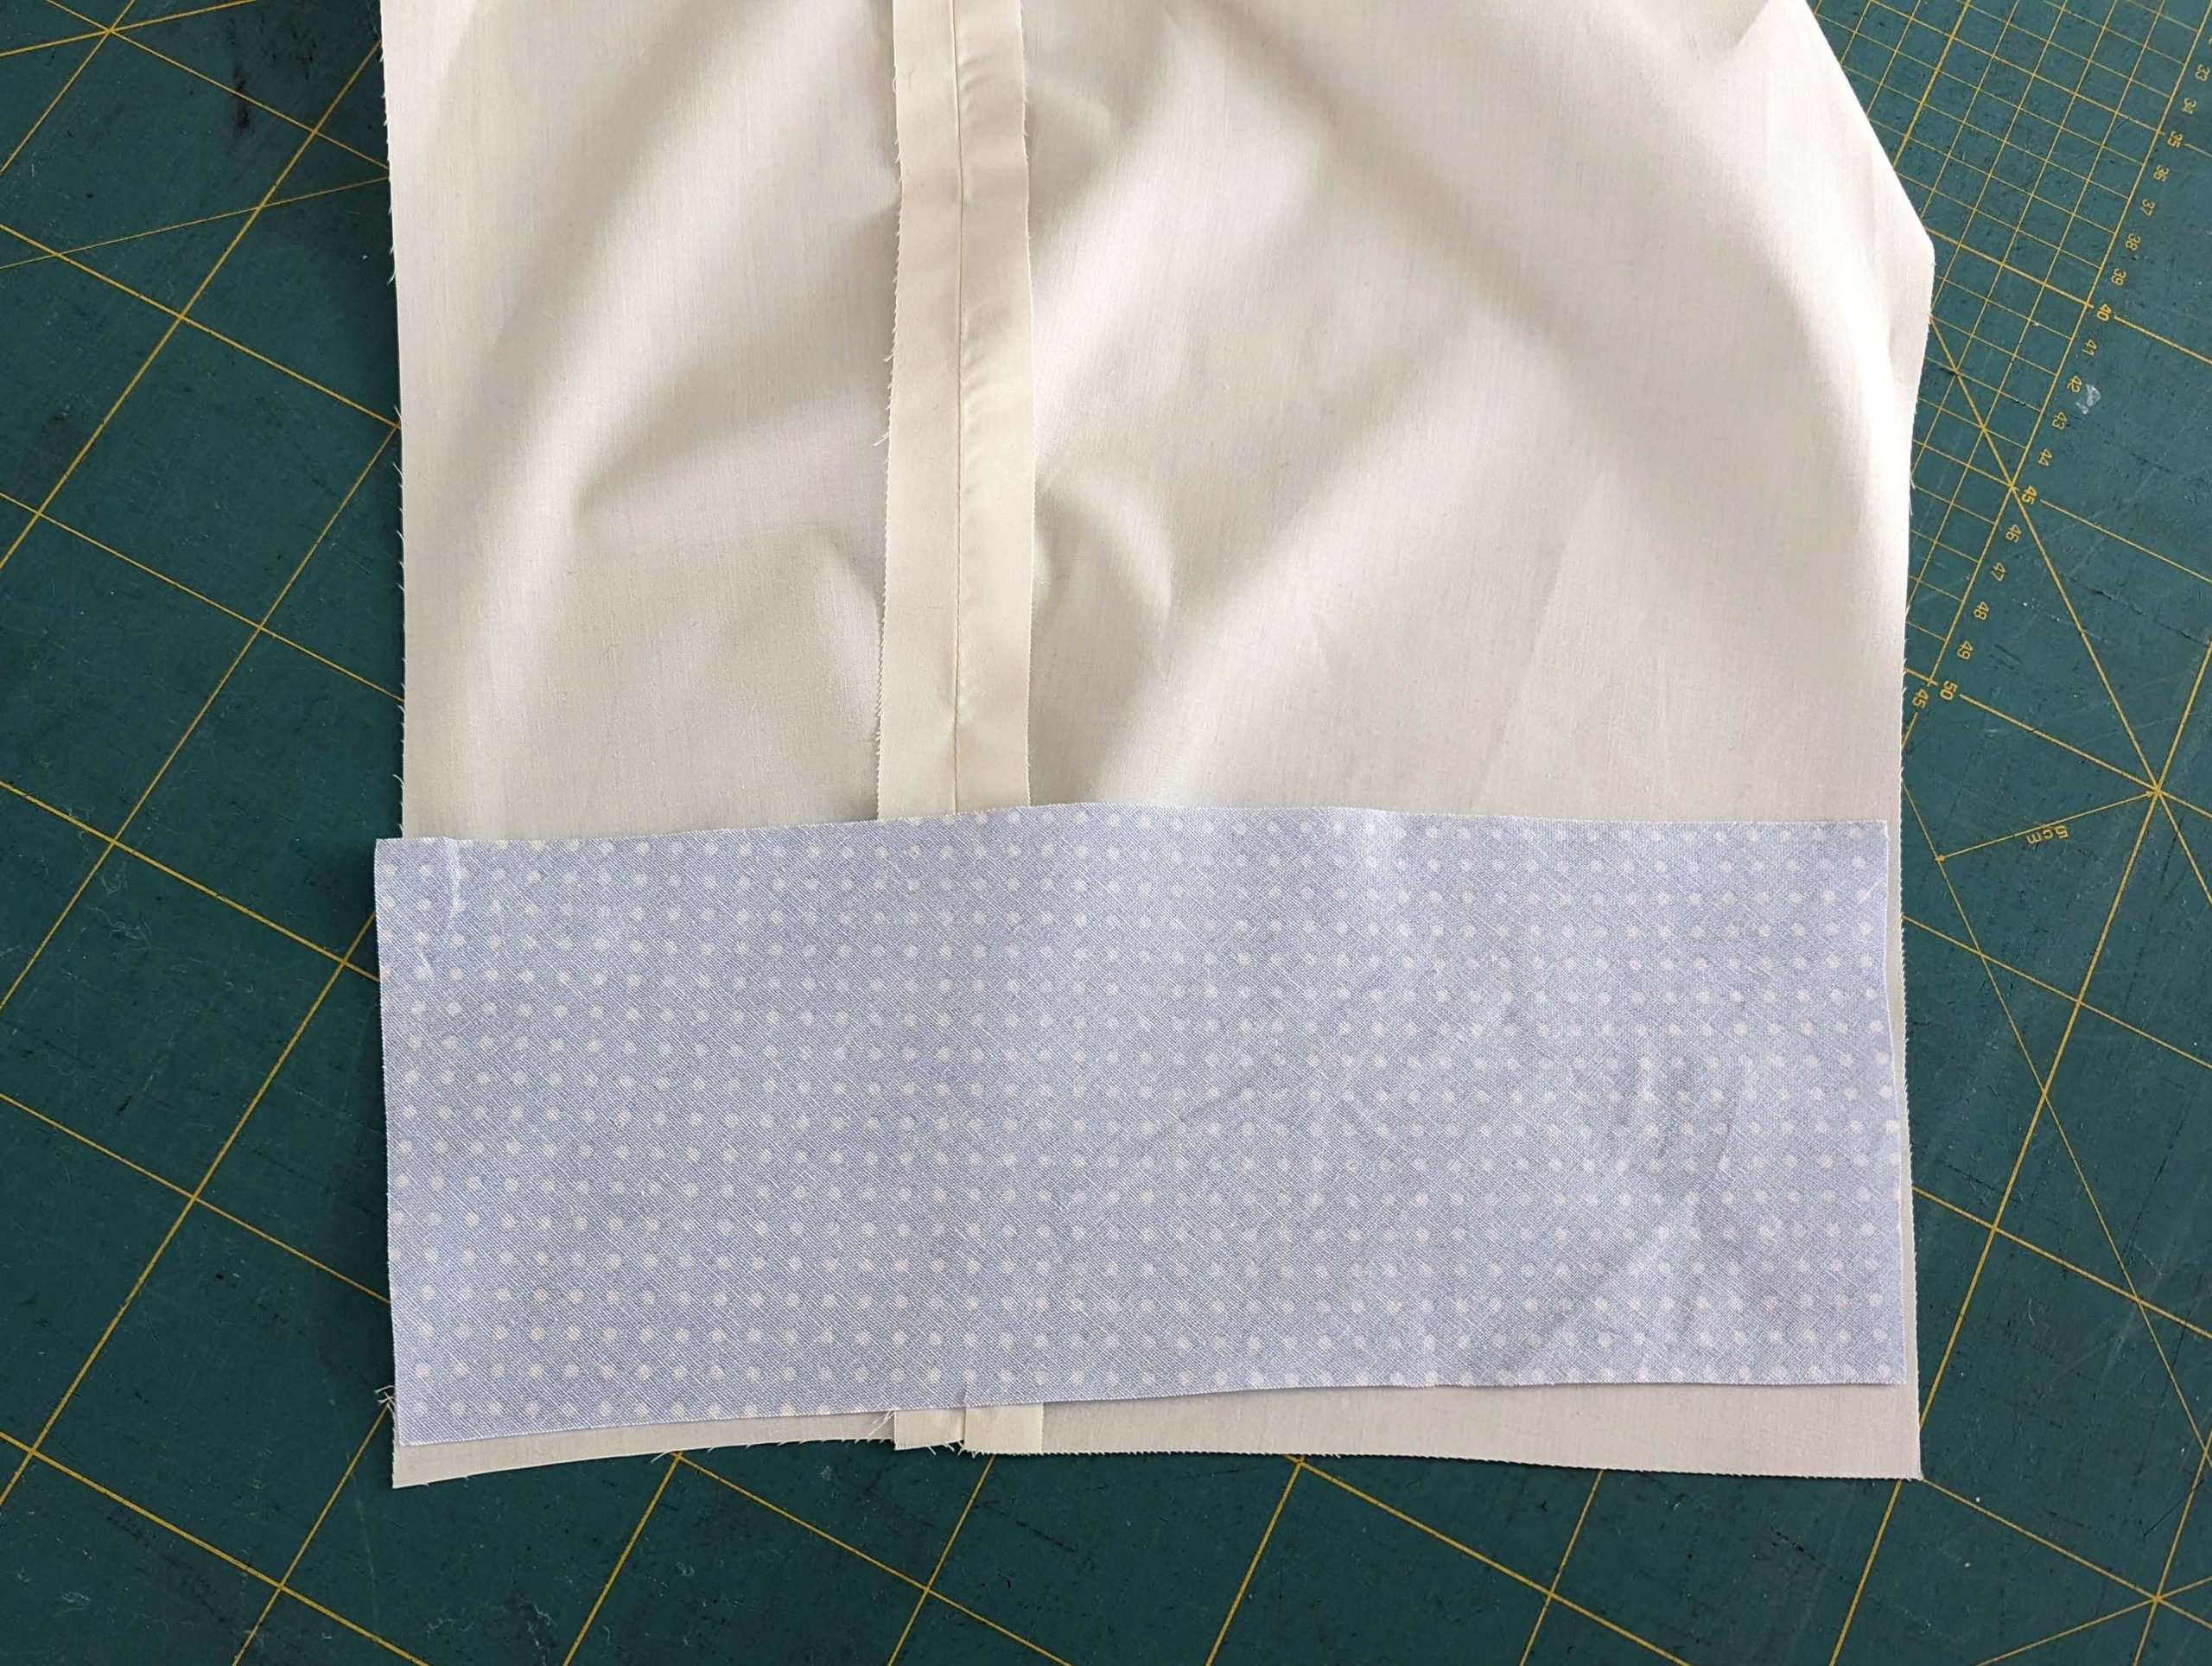
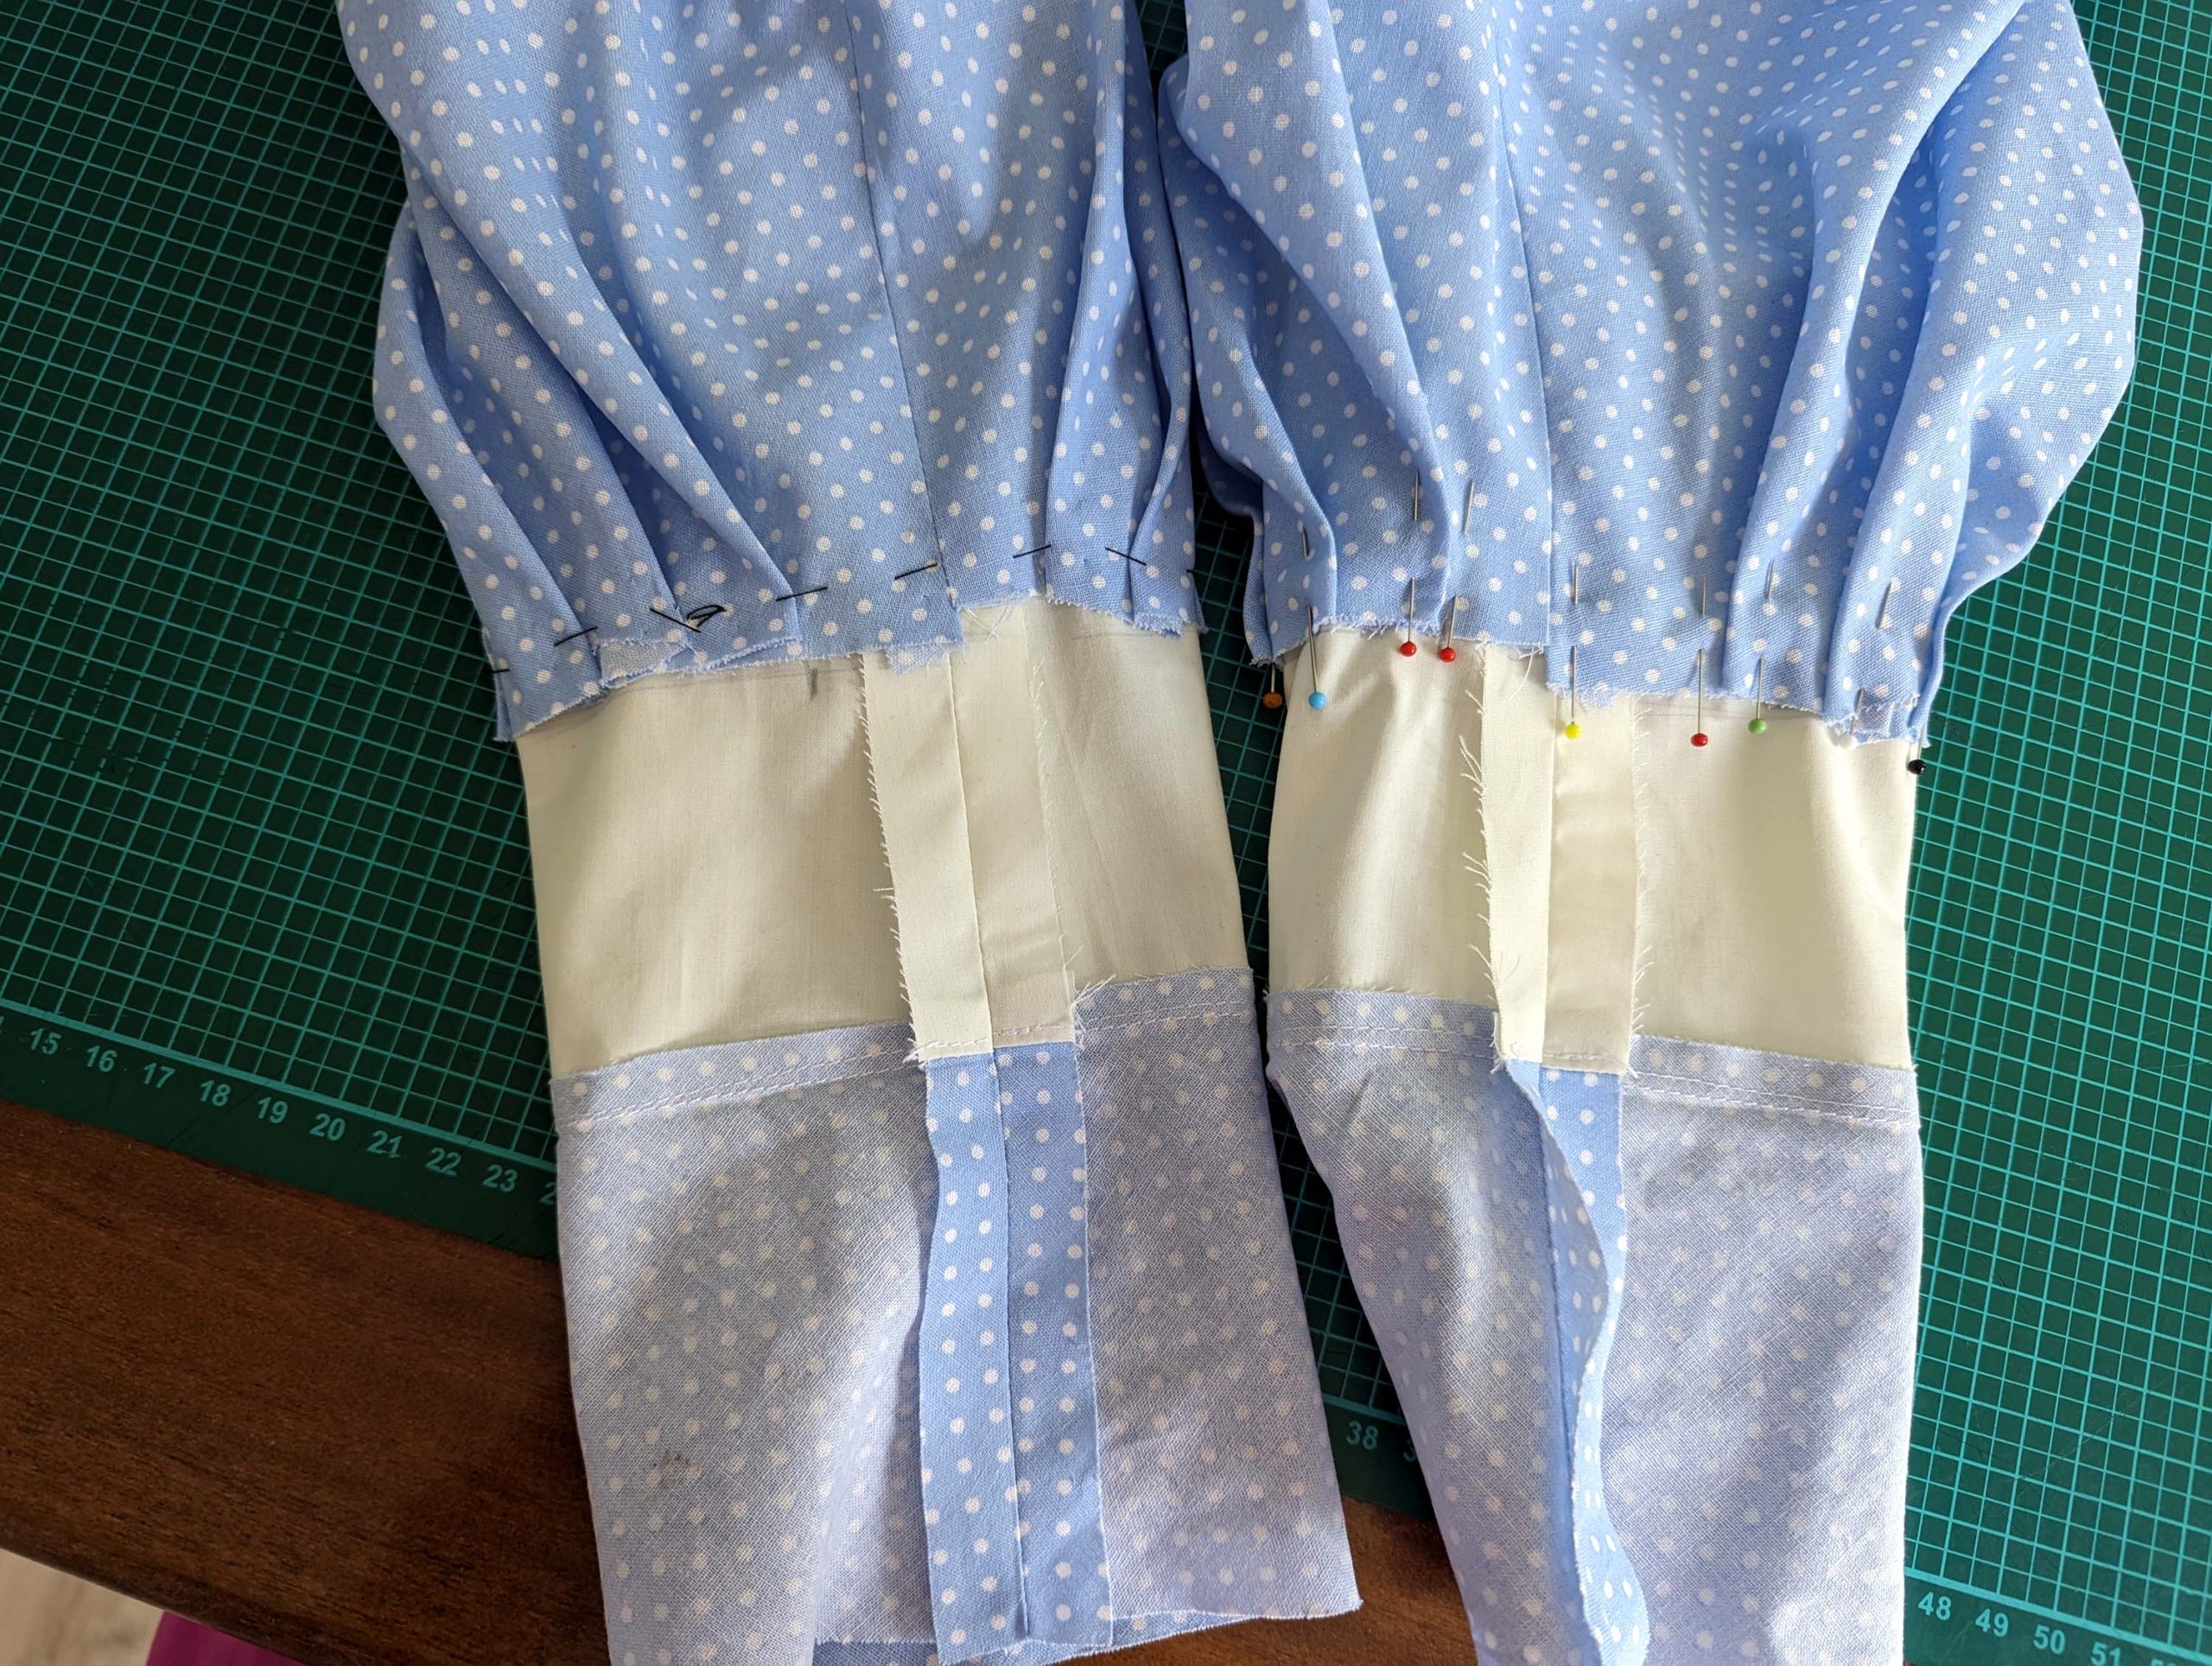
Nimm das sleeve lining and sew the back sleeve seam, right sides together, press open the seam allowances. Mark the line for the top sleeve on the wrong side. Line up the Manschette from fashion fabric with the bottom edge of the sleeve lining, the right side of the cuff faces the wrong side of the sleeve, and matching all the marks and seams. Sew and press the seam allowance towards the lining, and understitch the seam allowances from the right side. Sew the front sleeve and cuff seam, right sides together and, press open the seam allowances.
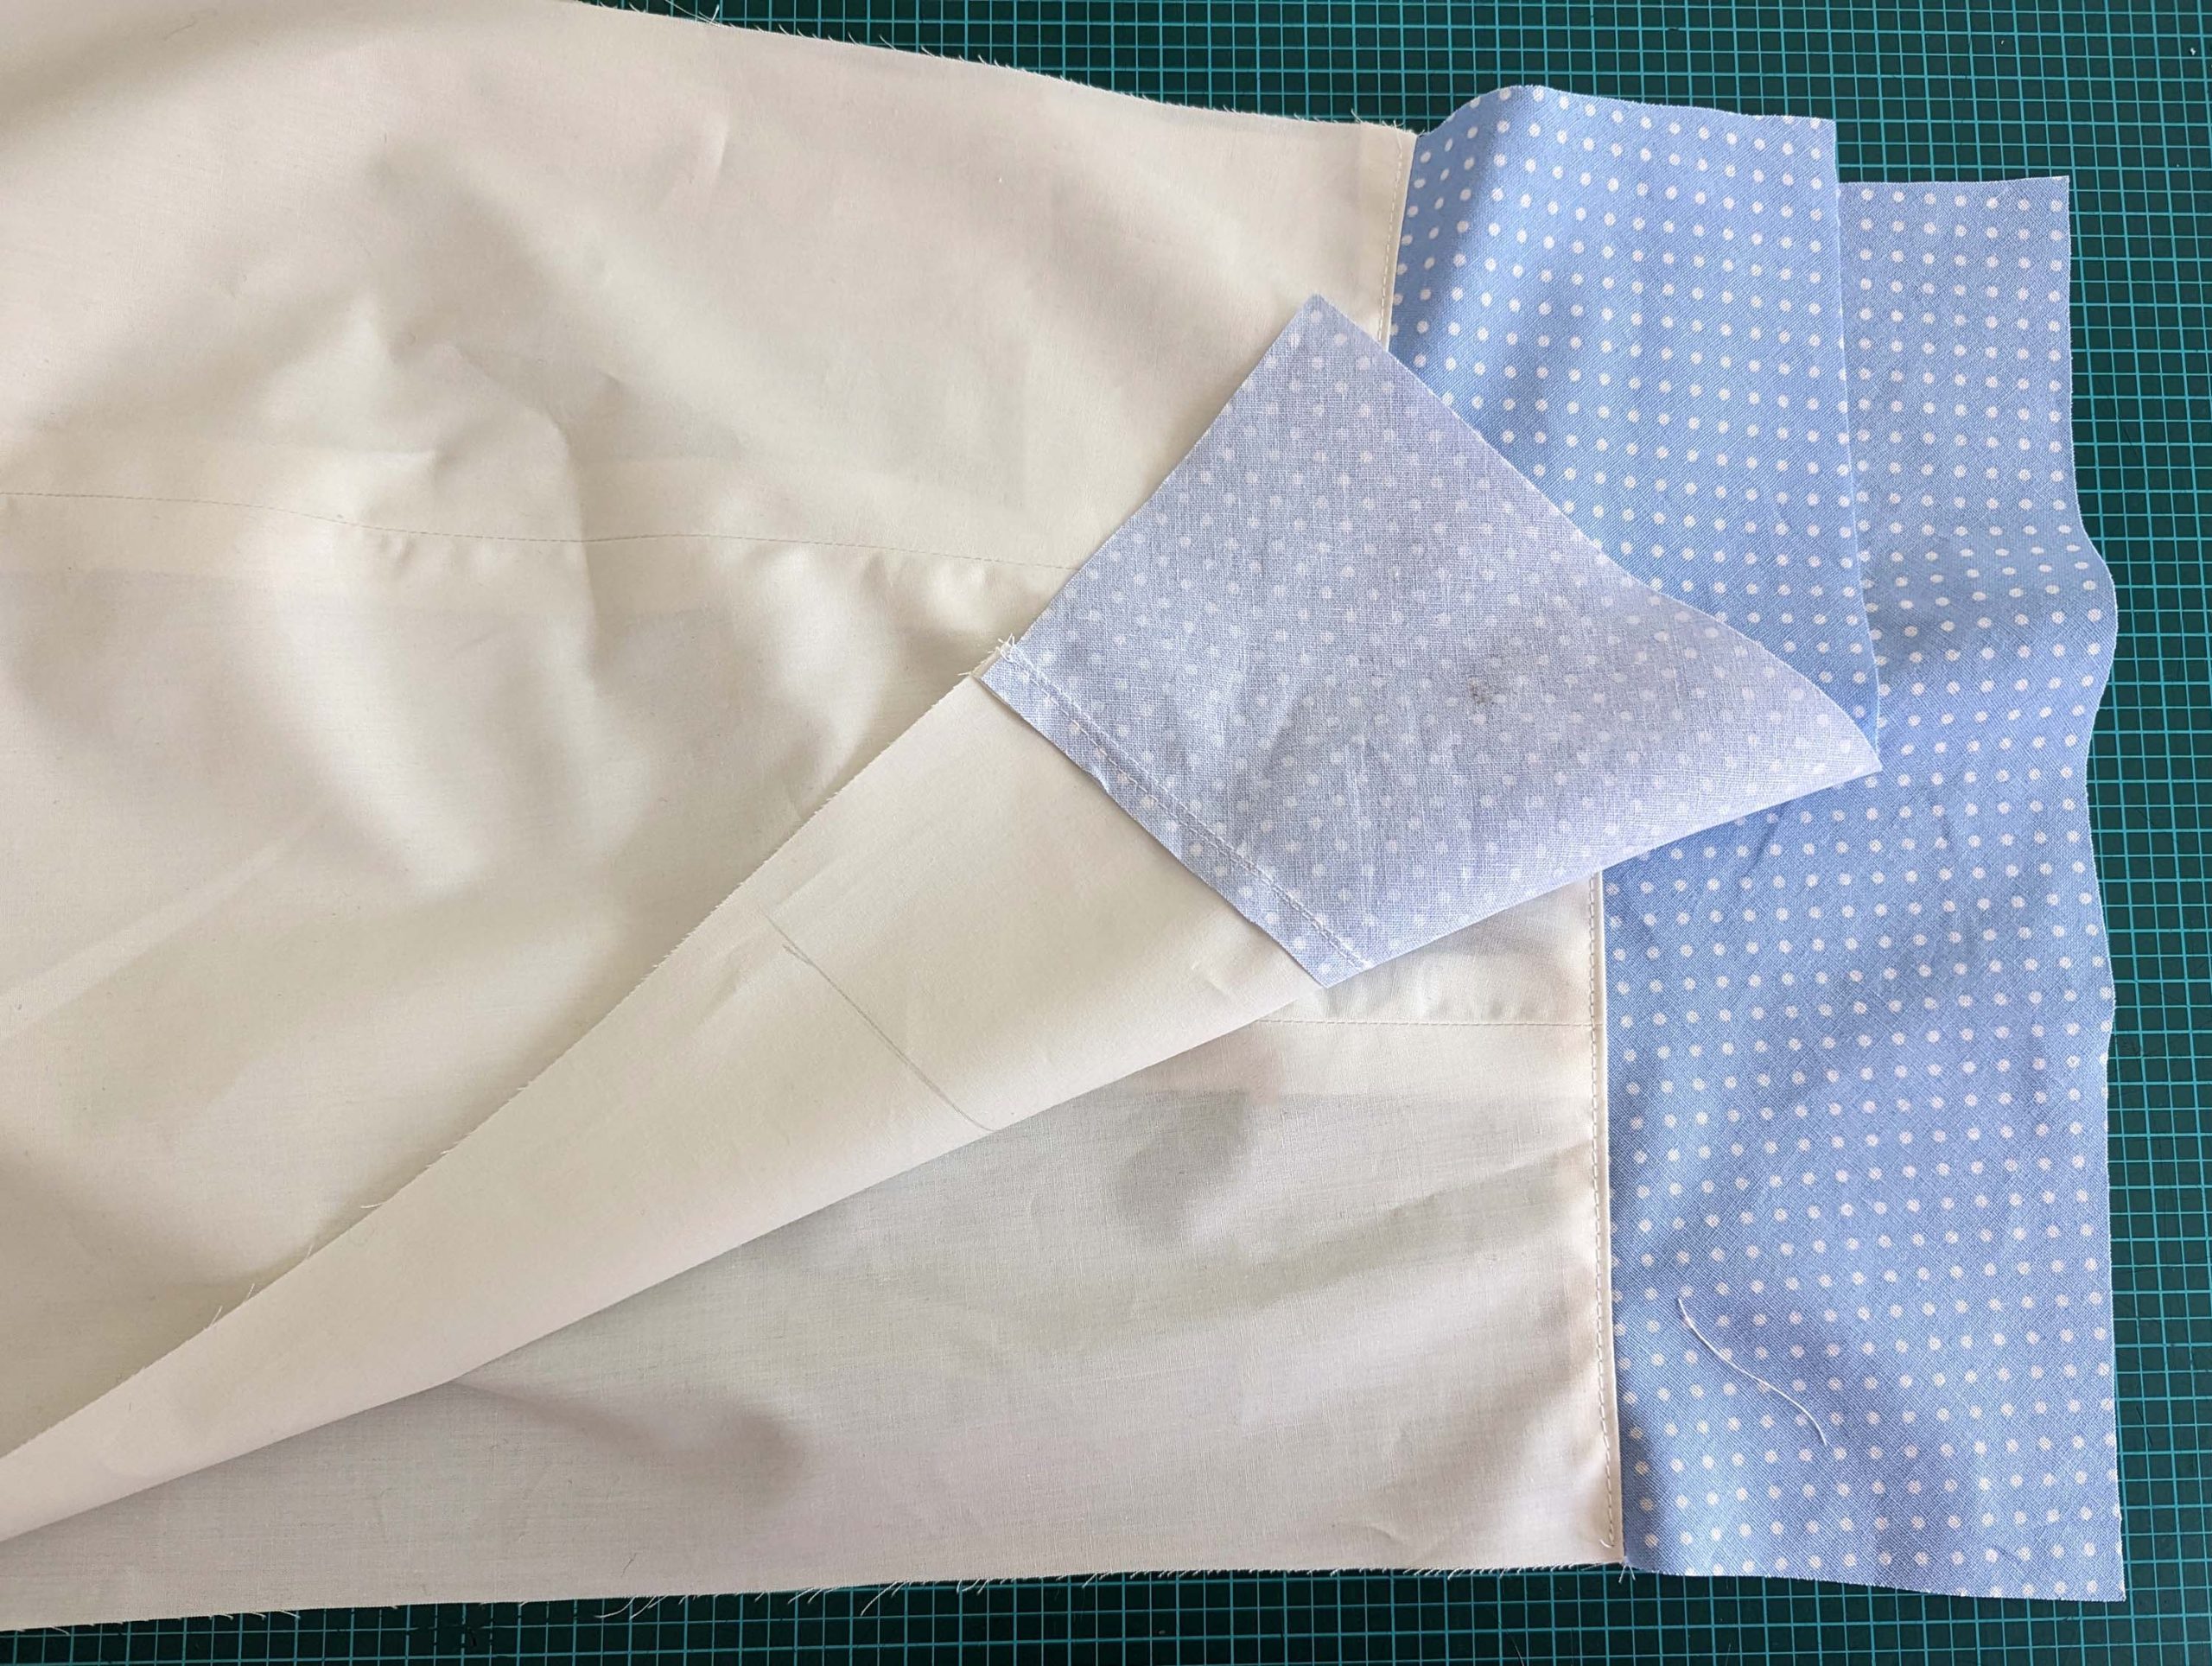
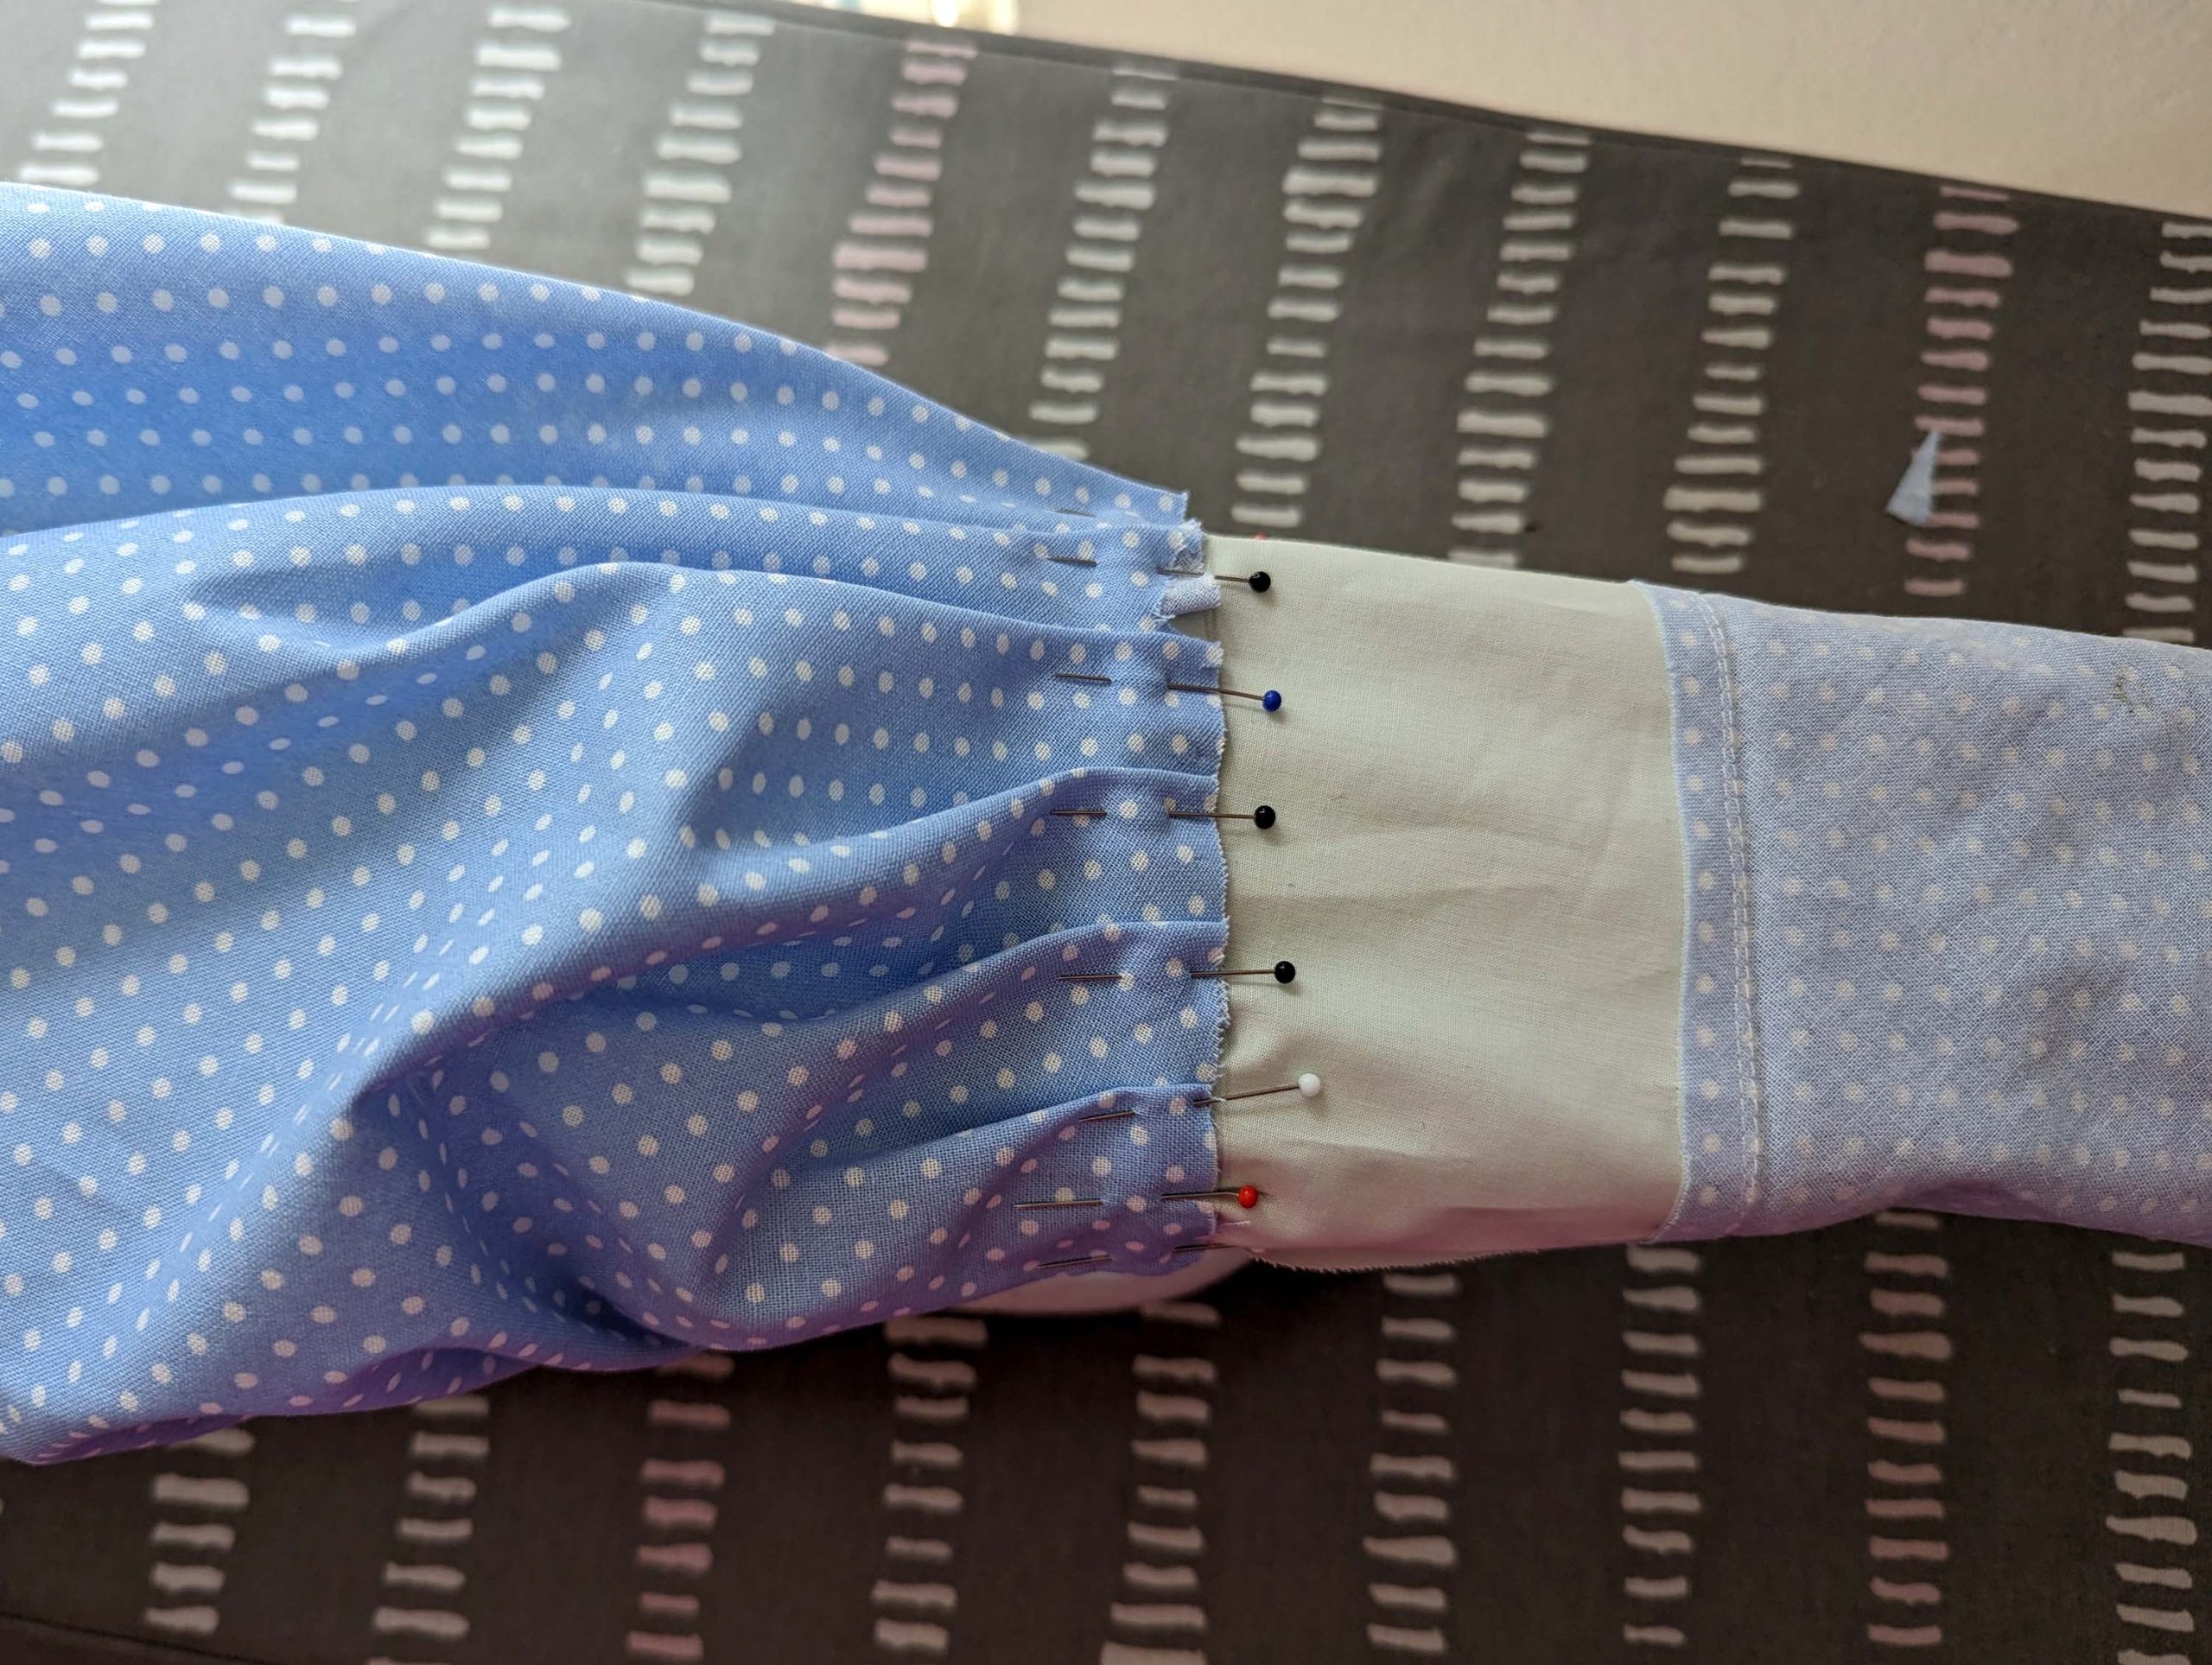
Pull the sleeve from fashion fabric over the sleeve lining, wrong sides together. Gather the sleeve head to match the lining and spread the width evenly between the marks. Again, sew two rows of gathering stitches along the sleeve head through all layers and remove the unneeded threads of the first gathering.
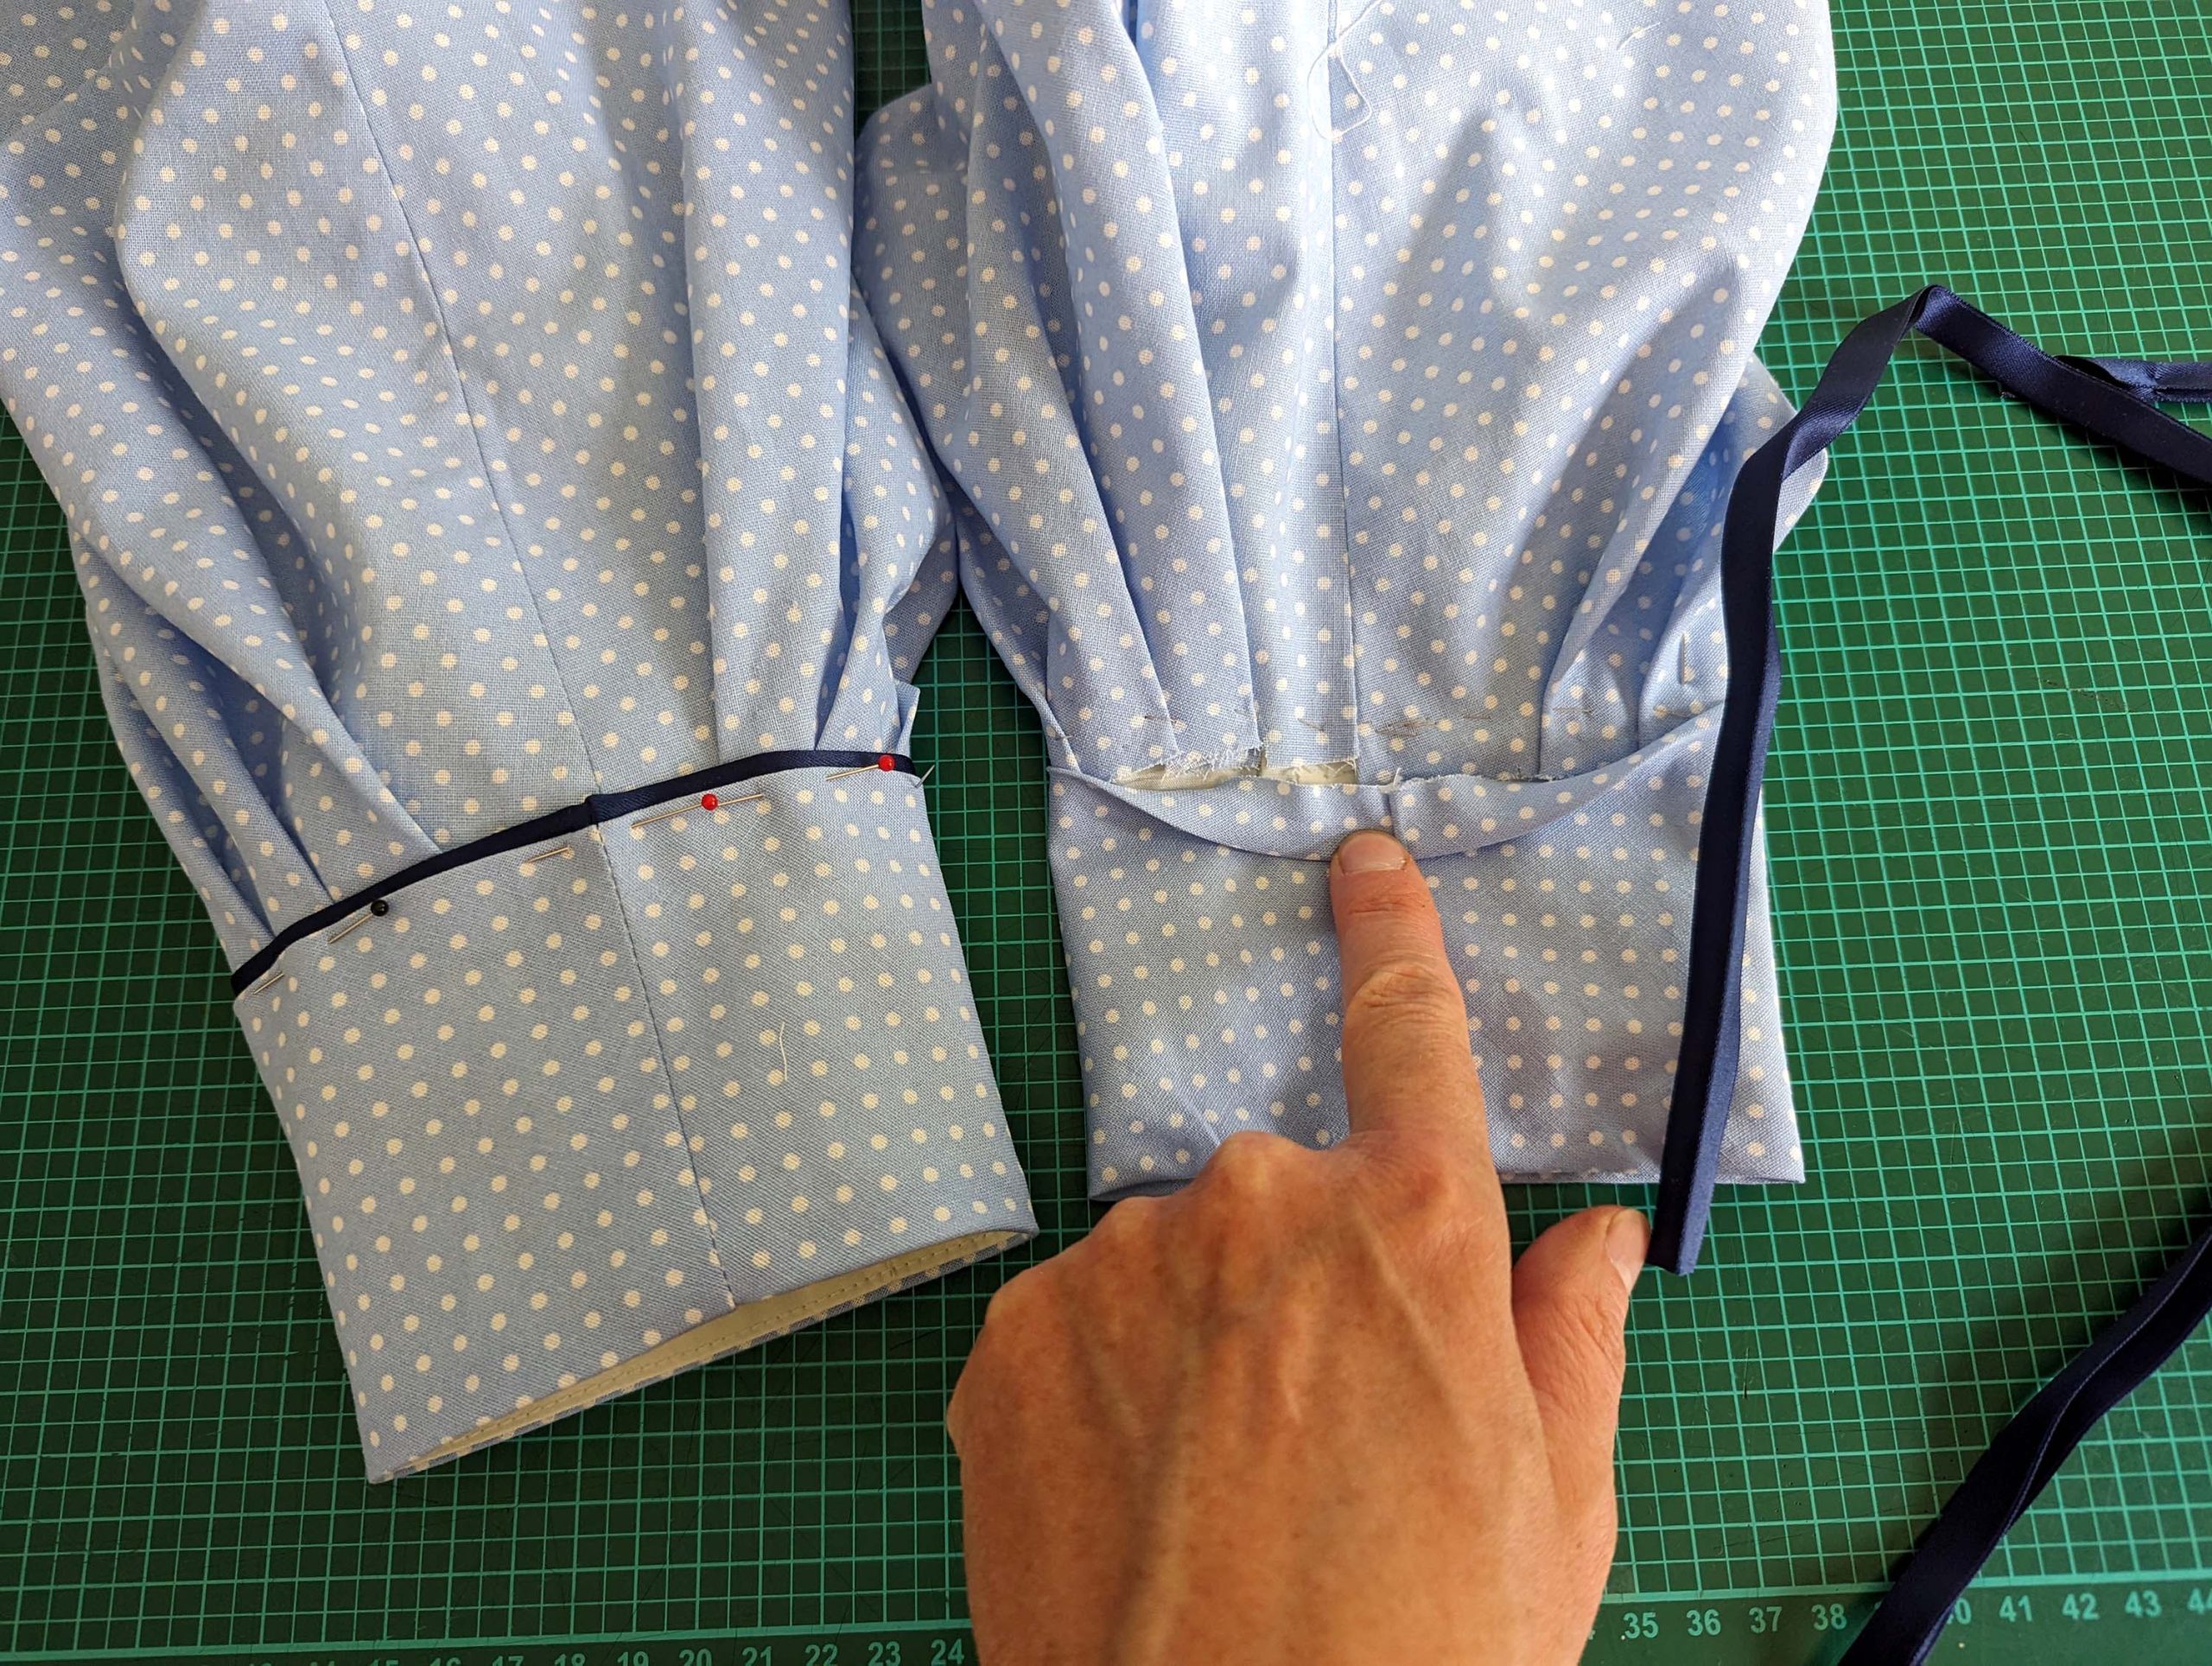
Line up the bottom edge of the top sleeve with the marked line, making regular folds on each side, start at mark (3) until reaching mark (4) on one side and (5) on the other. Baste in place.
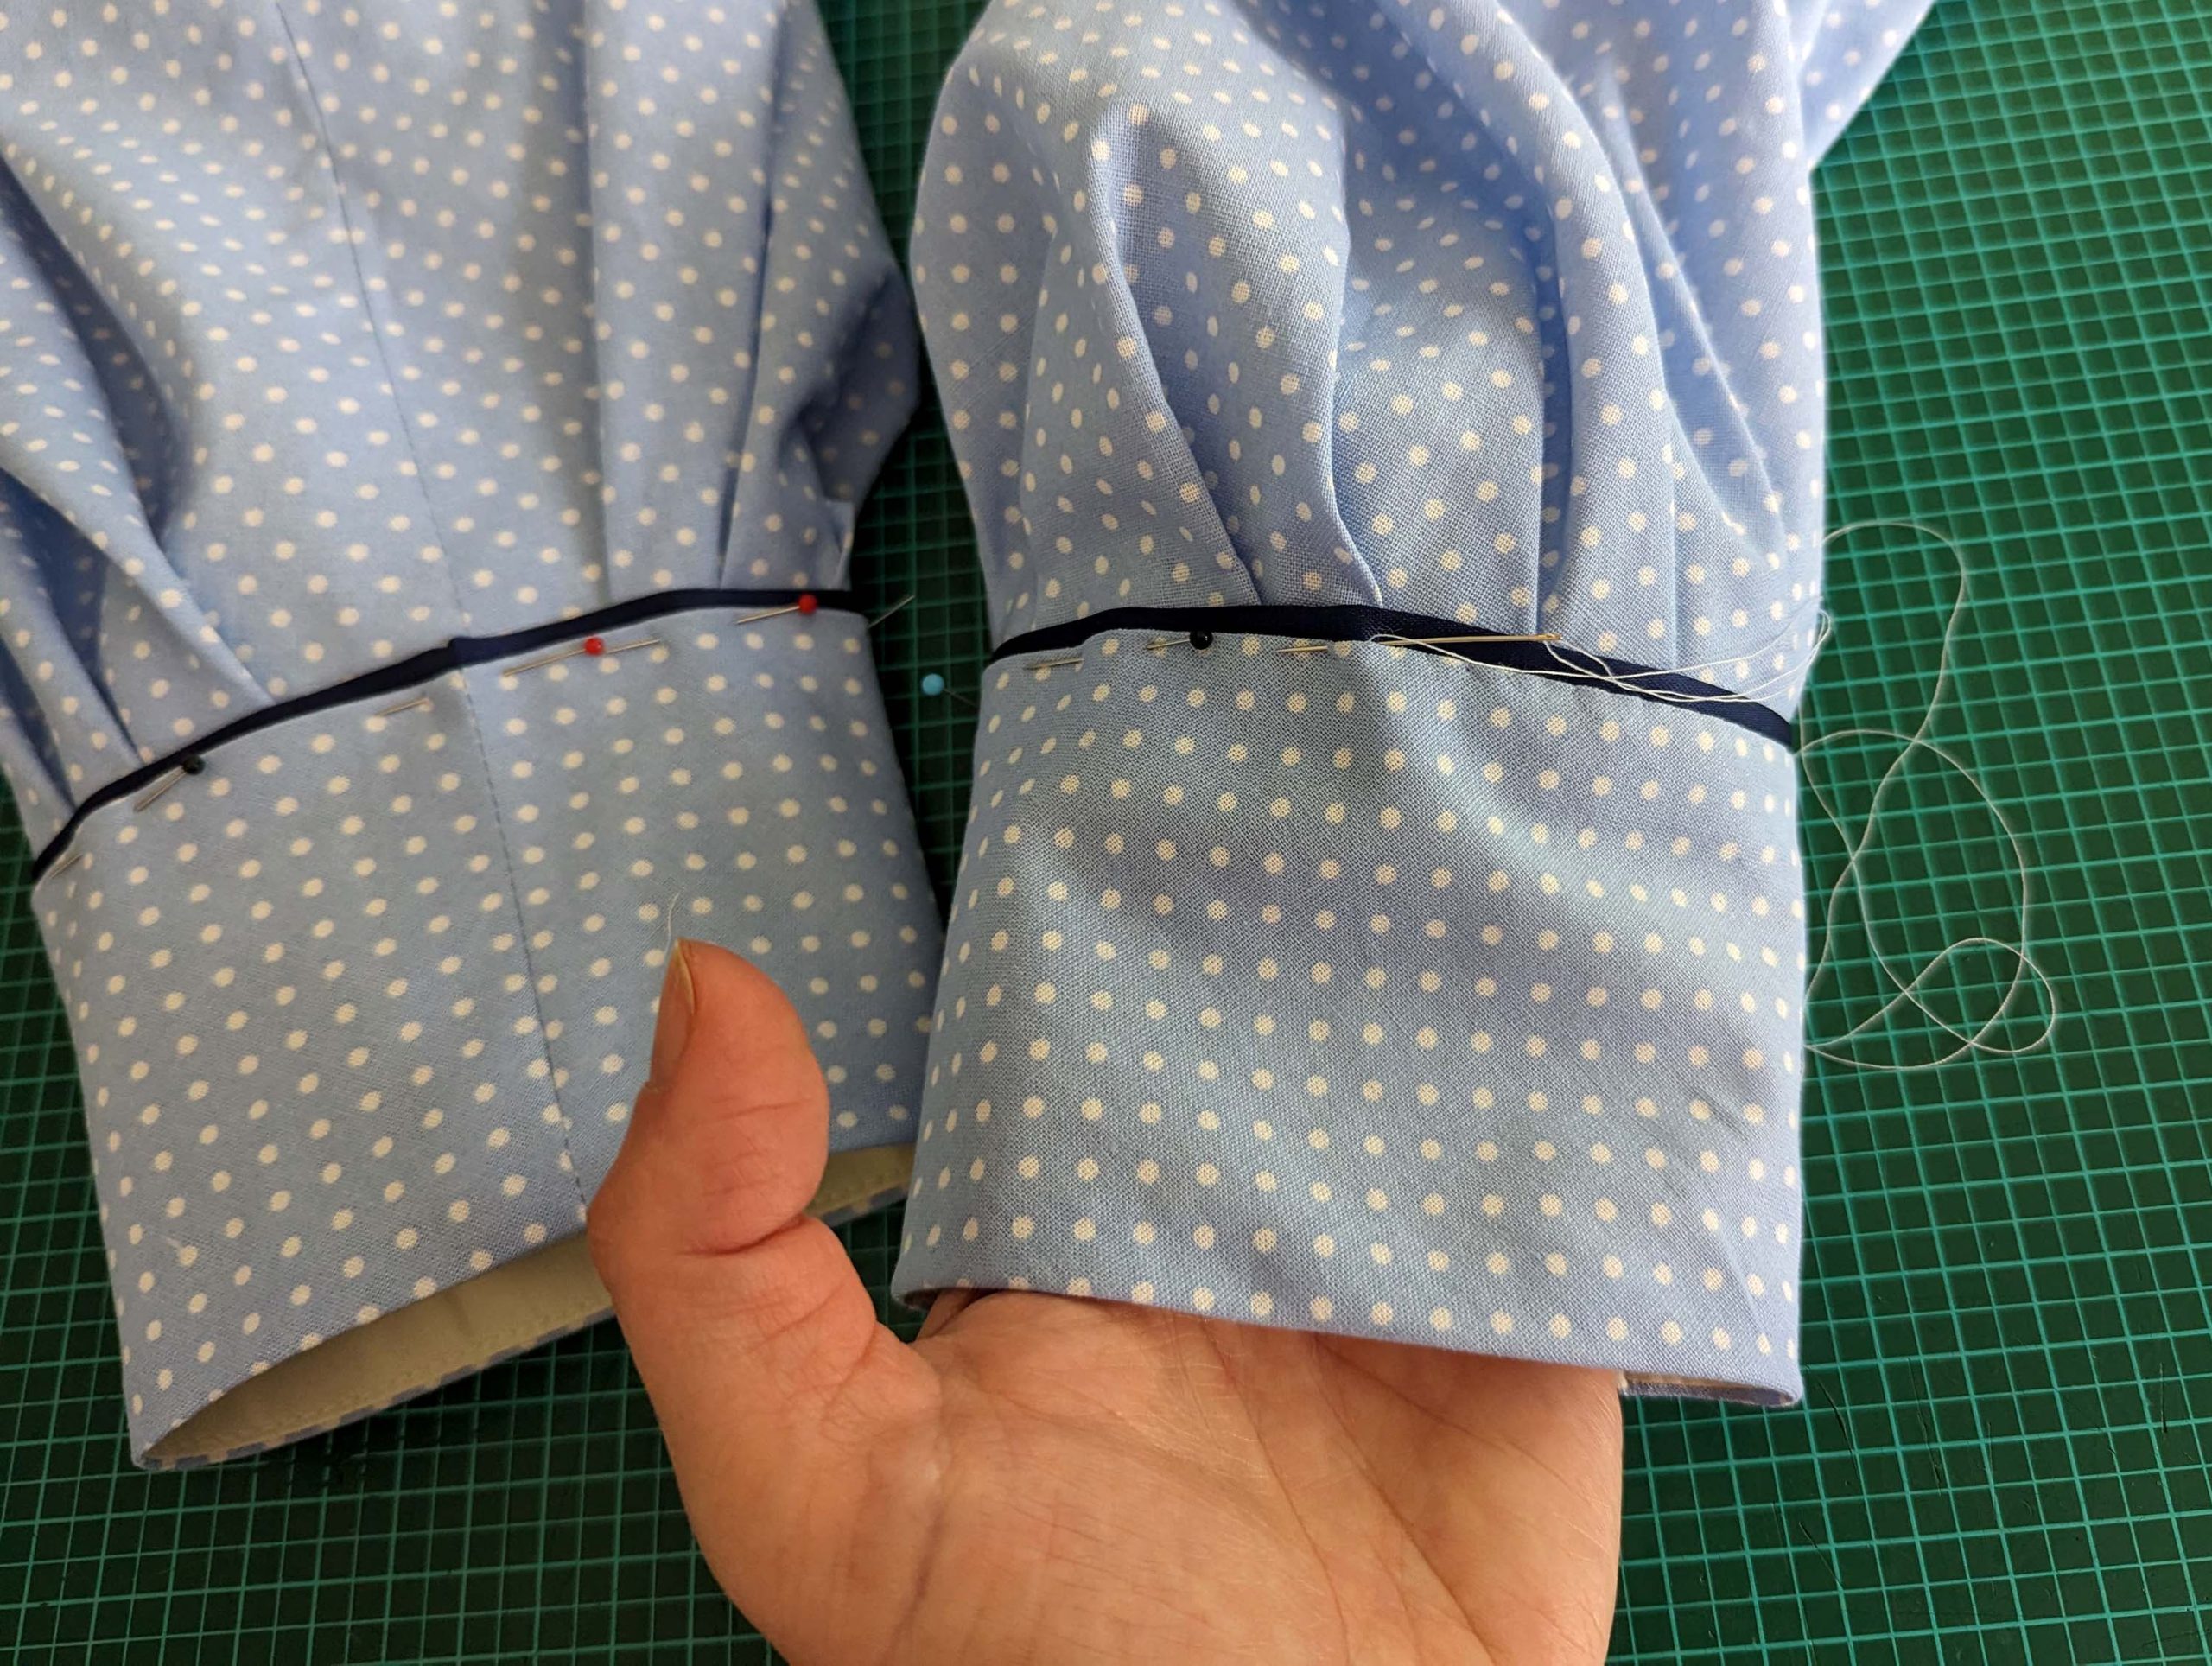
Turn in the seam allowance along the top edge of the cuff from the fashion fabric and fold over the lining, wrong sides together, with the top edge covering the raw edges of the top sleeve. Fell stitch to the sleeve by hand with barely visible stitches. If wanted, insert a satin ribbon, folded in half, for decoration.
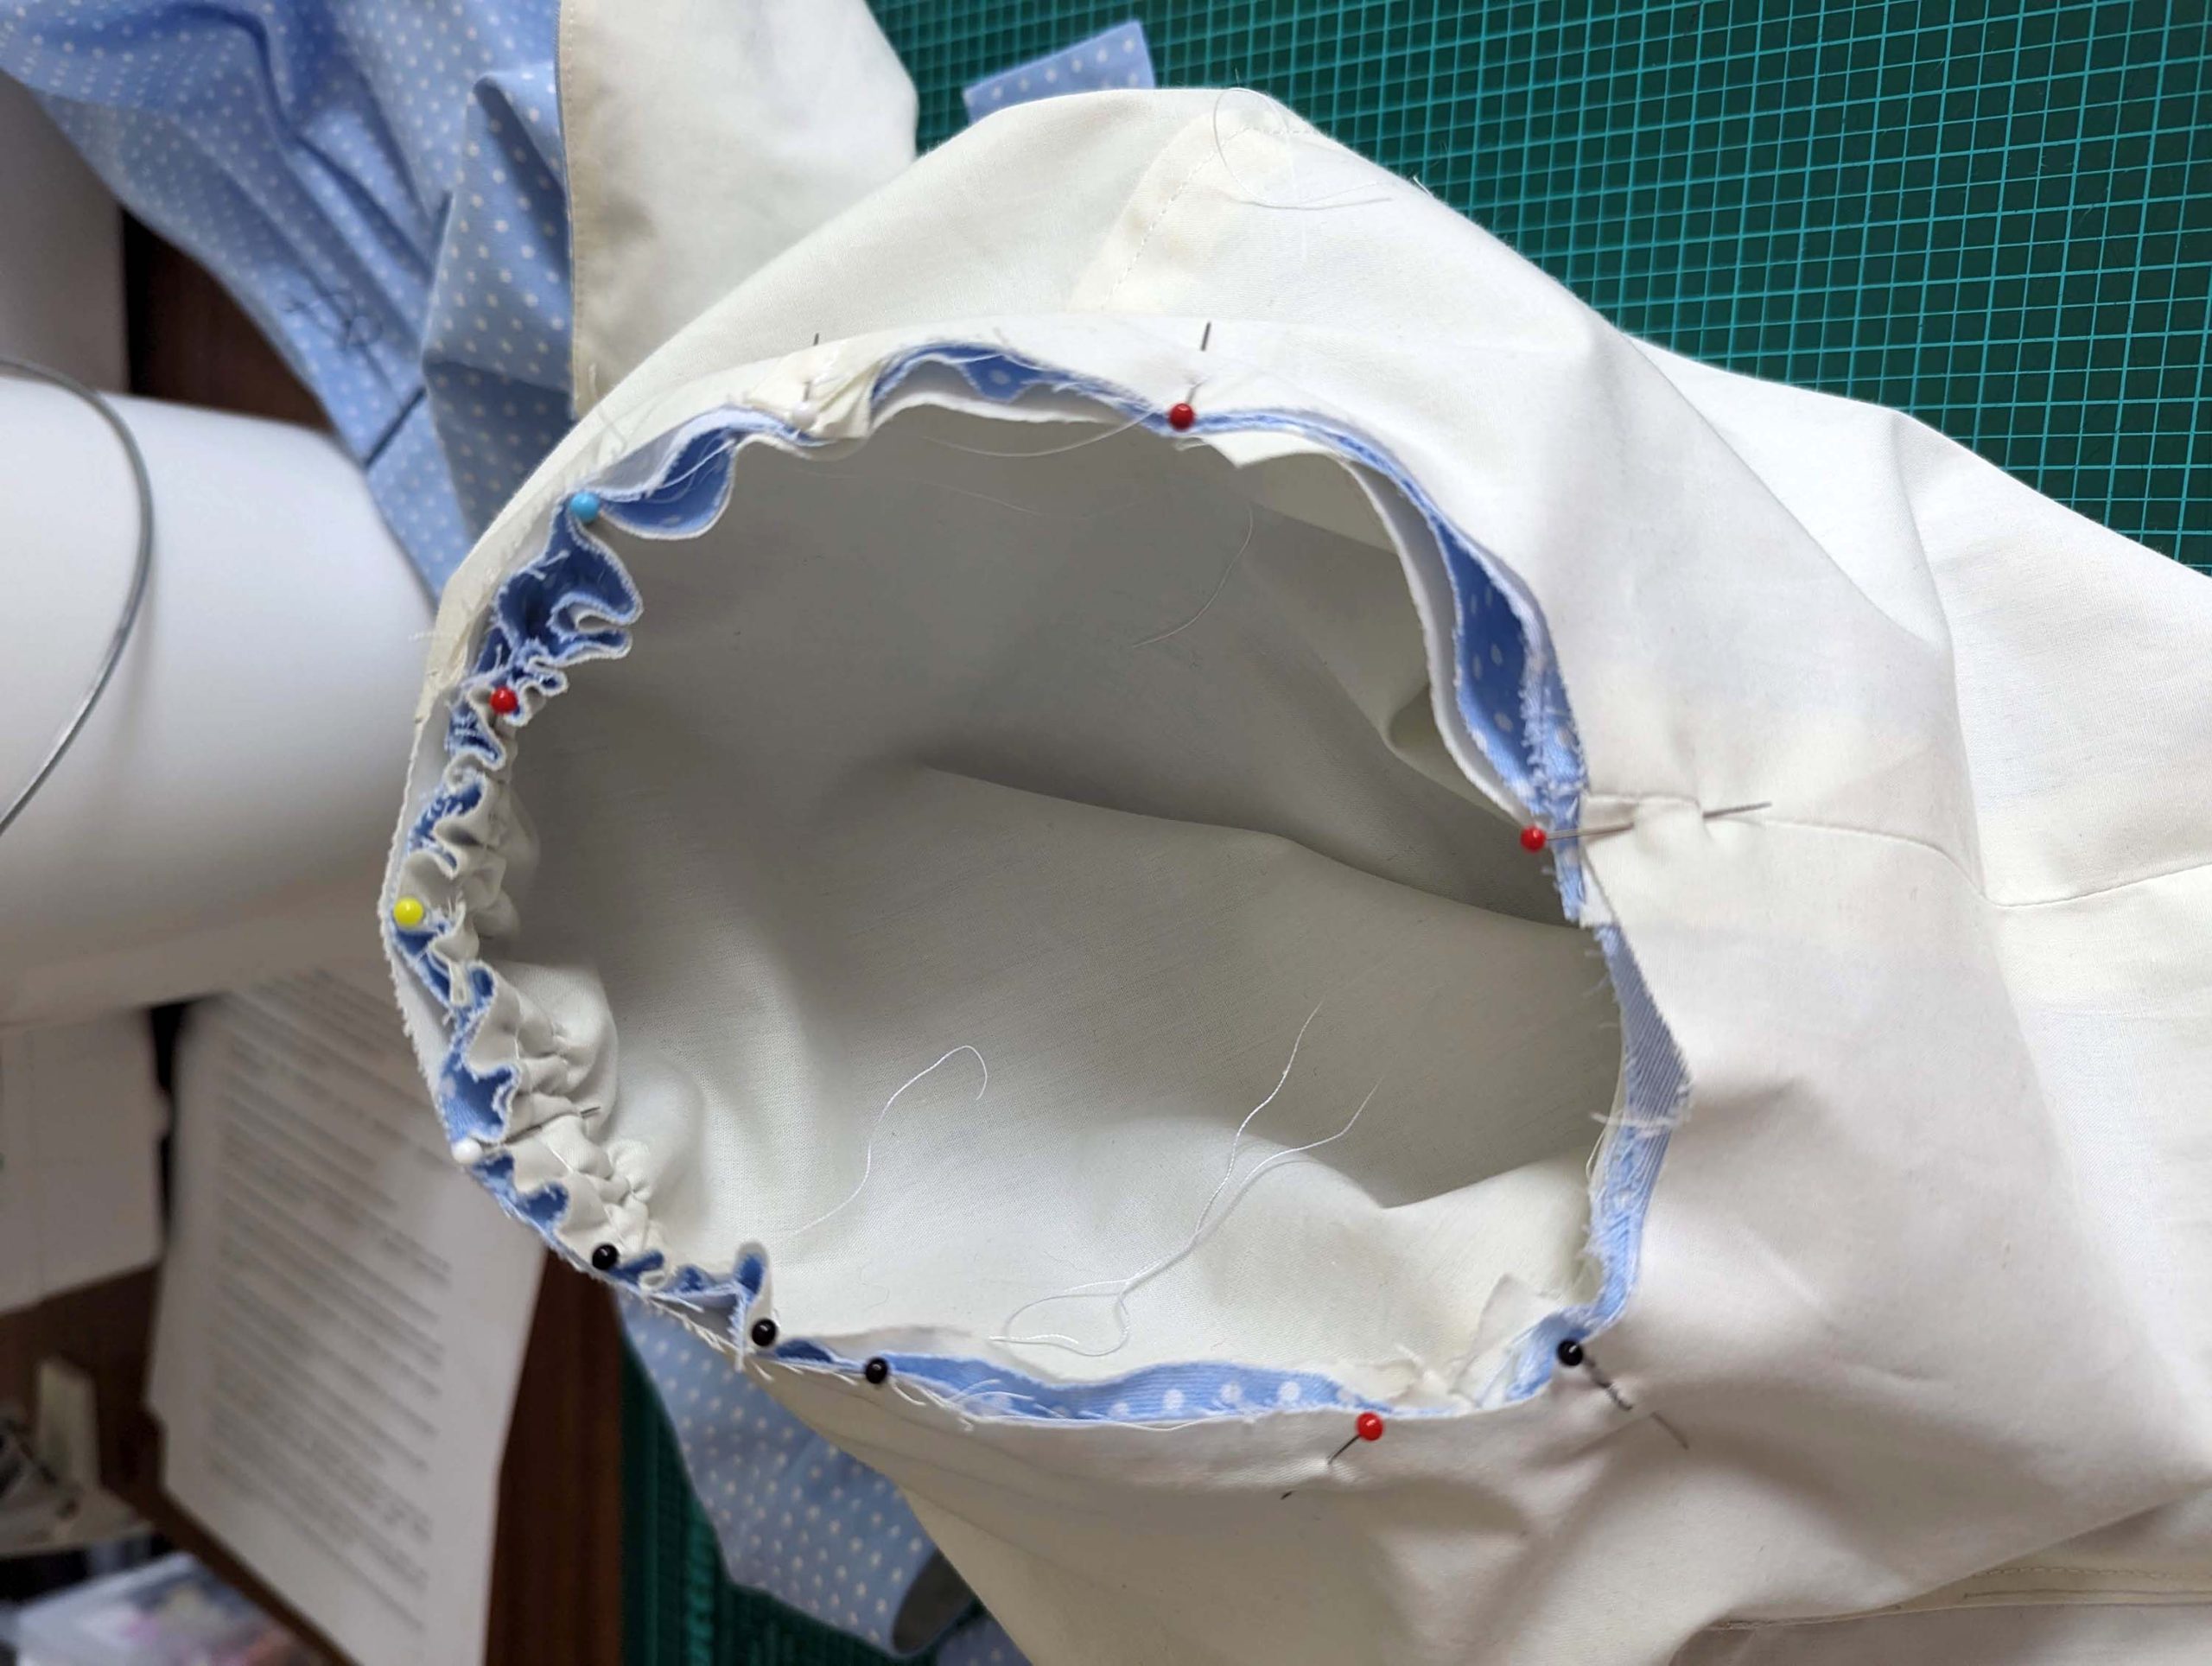
Sew the sleeves to the bodice, right sides together, matching all marks. Pull the threads to gather the sleeve head as needed. Trim back the seam allowances and neaten them with an overcasting stitch.
(9) Bereite die Tunnel vor as described and pin centered on top of the darts, side back, and side seams. Fell stitch in place along both edges, catching just the lining (f), insert the boning, and close the openings carefully. Attach boning at the collar in the same way where indicated on the pattern.
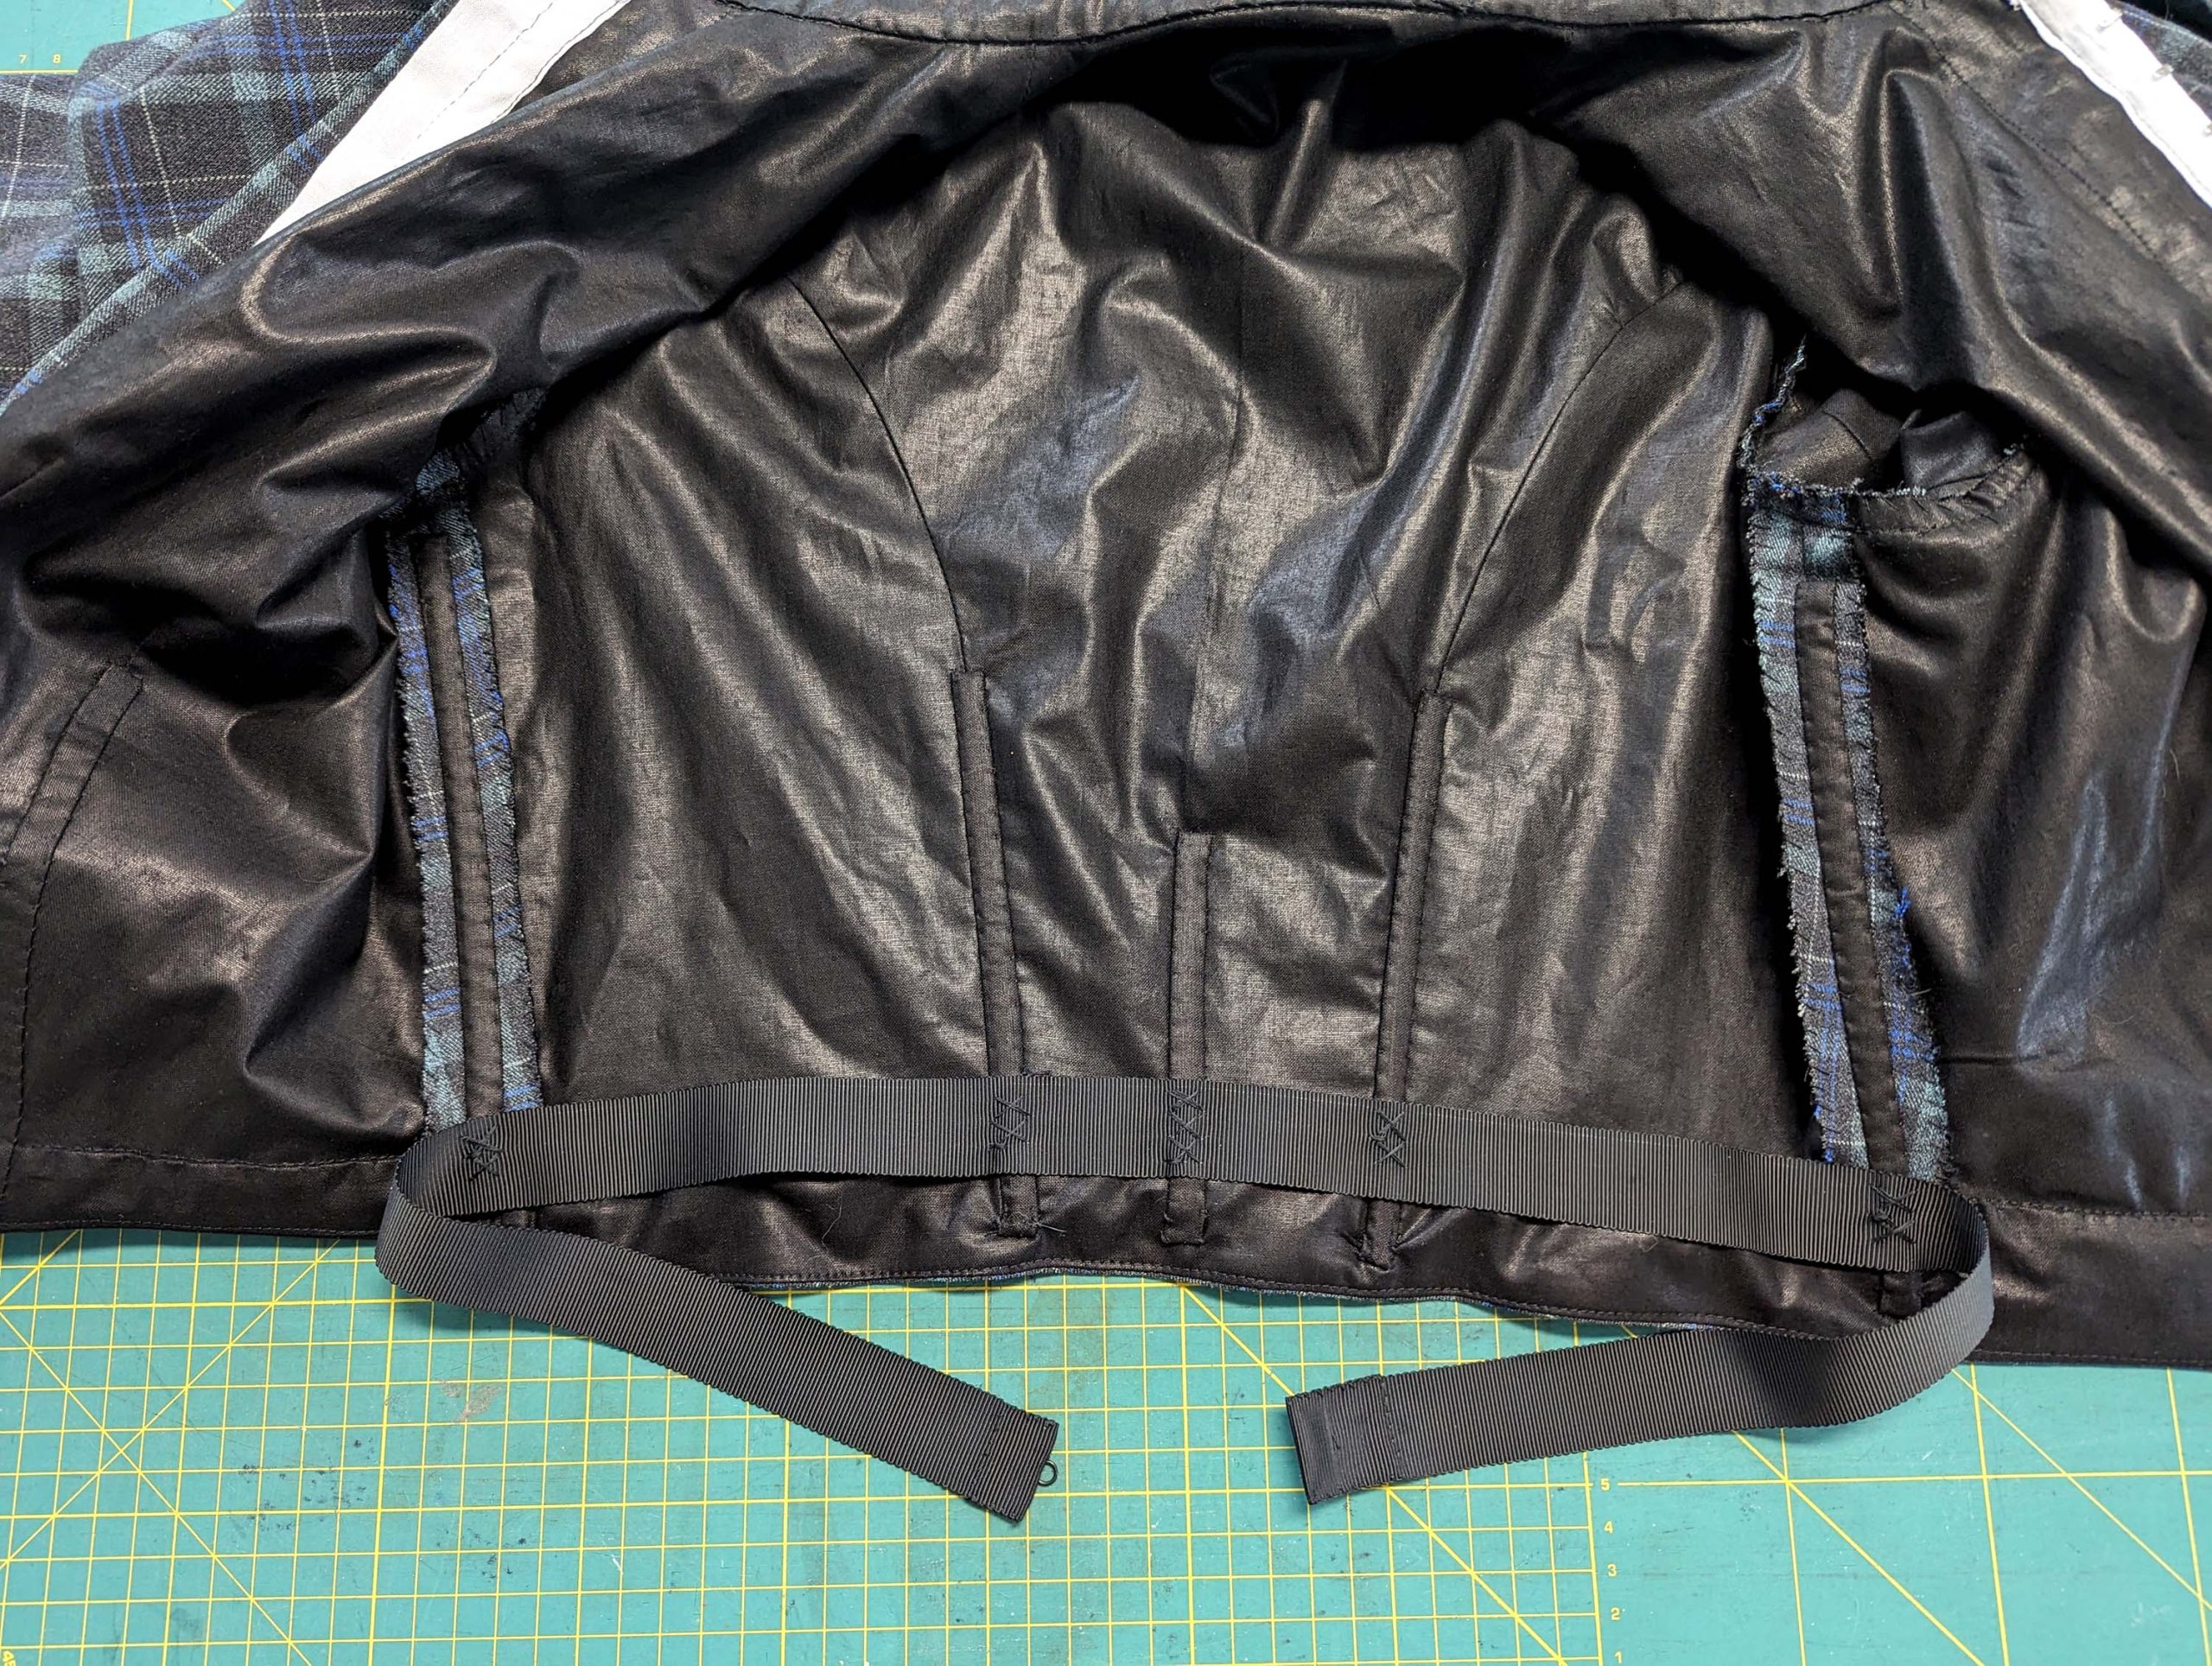
(10) Für das Taillenband, ein Naht- oder Ripsband fest um die Taille wickeln (im Korsett). gebe an jedem Ende 3cm Nahtzugabe hinzu und schneide es auf die benötigte Länge zu. Schlage die Nahtzugabe ein und bringe Haken und Öse an. Markiere die vordere Mitte am Taillenbund und nähe das Taillenband an die Stäbe der vorderen Mitte und Abnäher auf höhe der Taille. Optional auch an die Stäbe der Seitennaht.
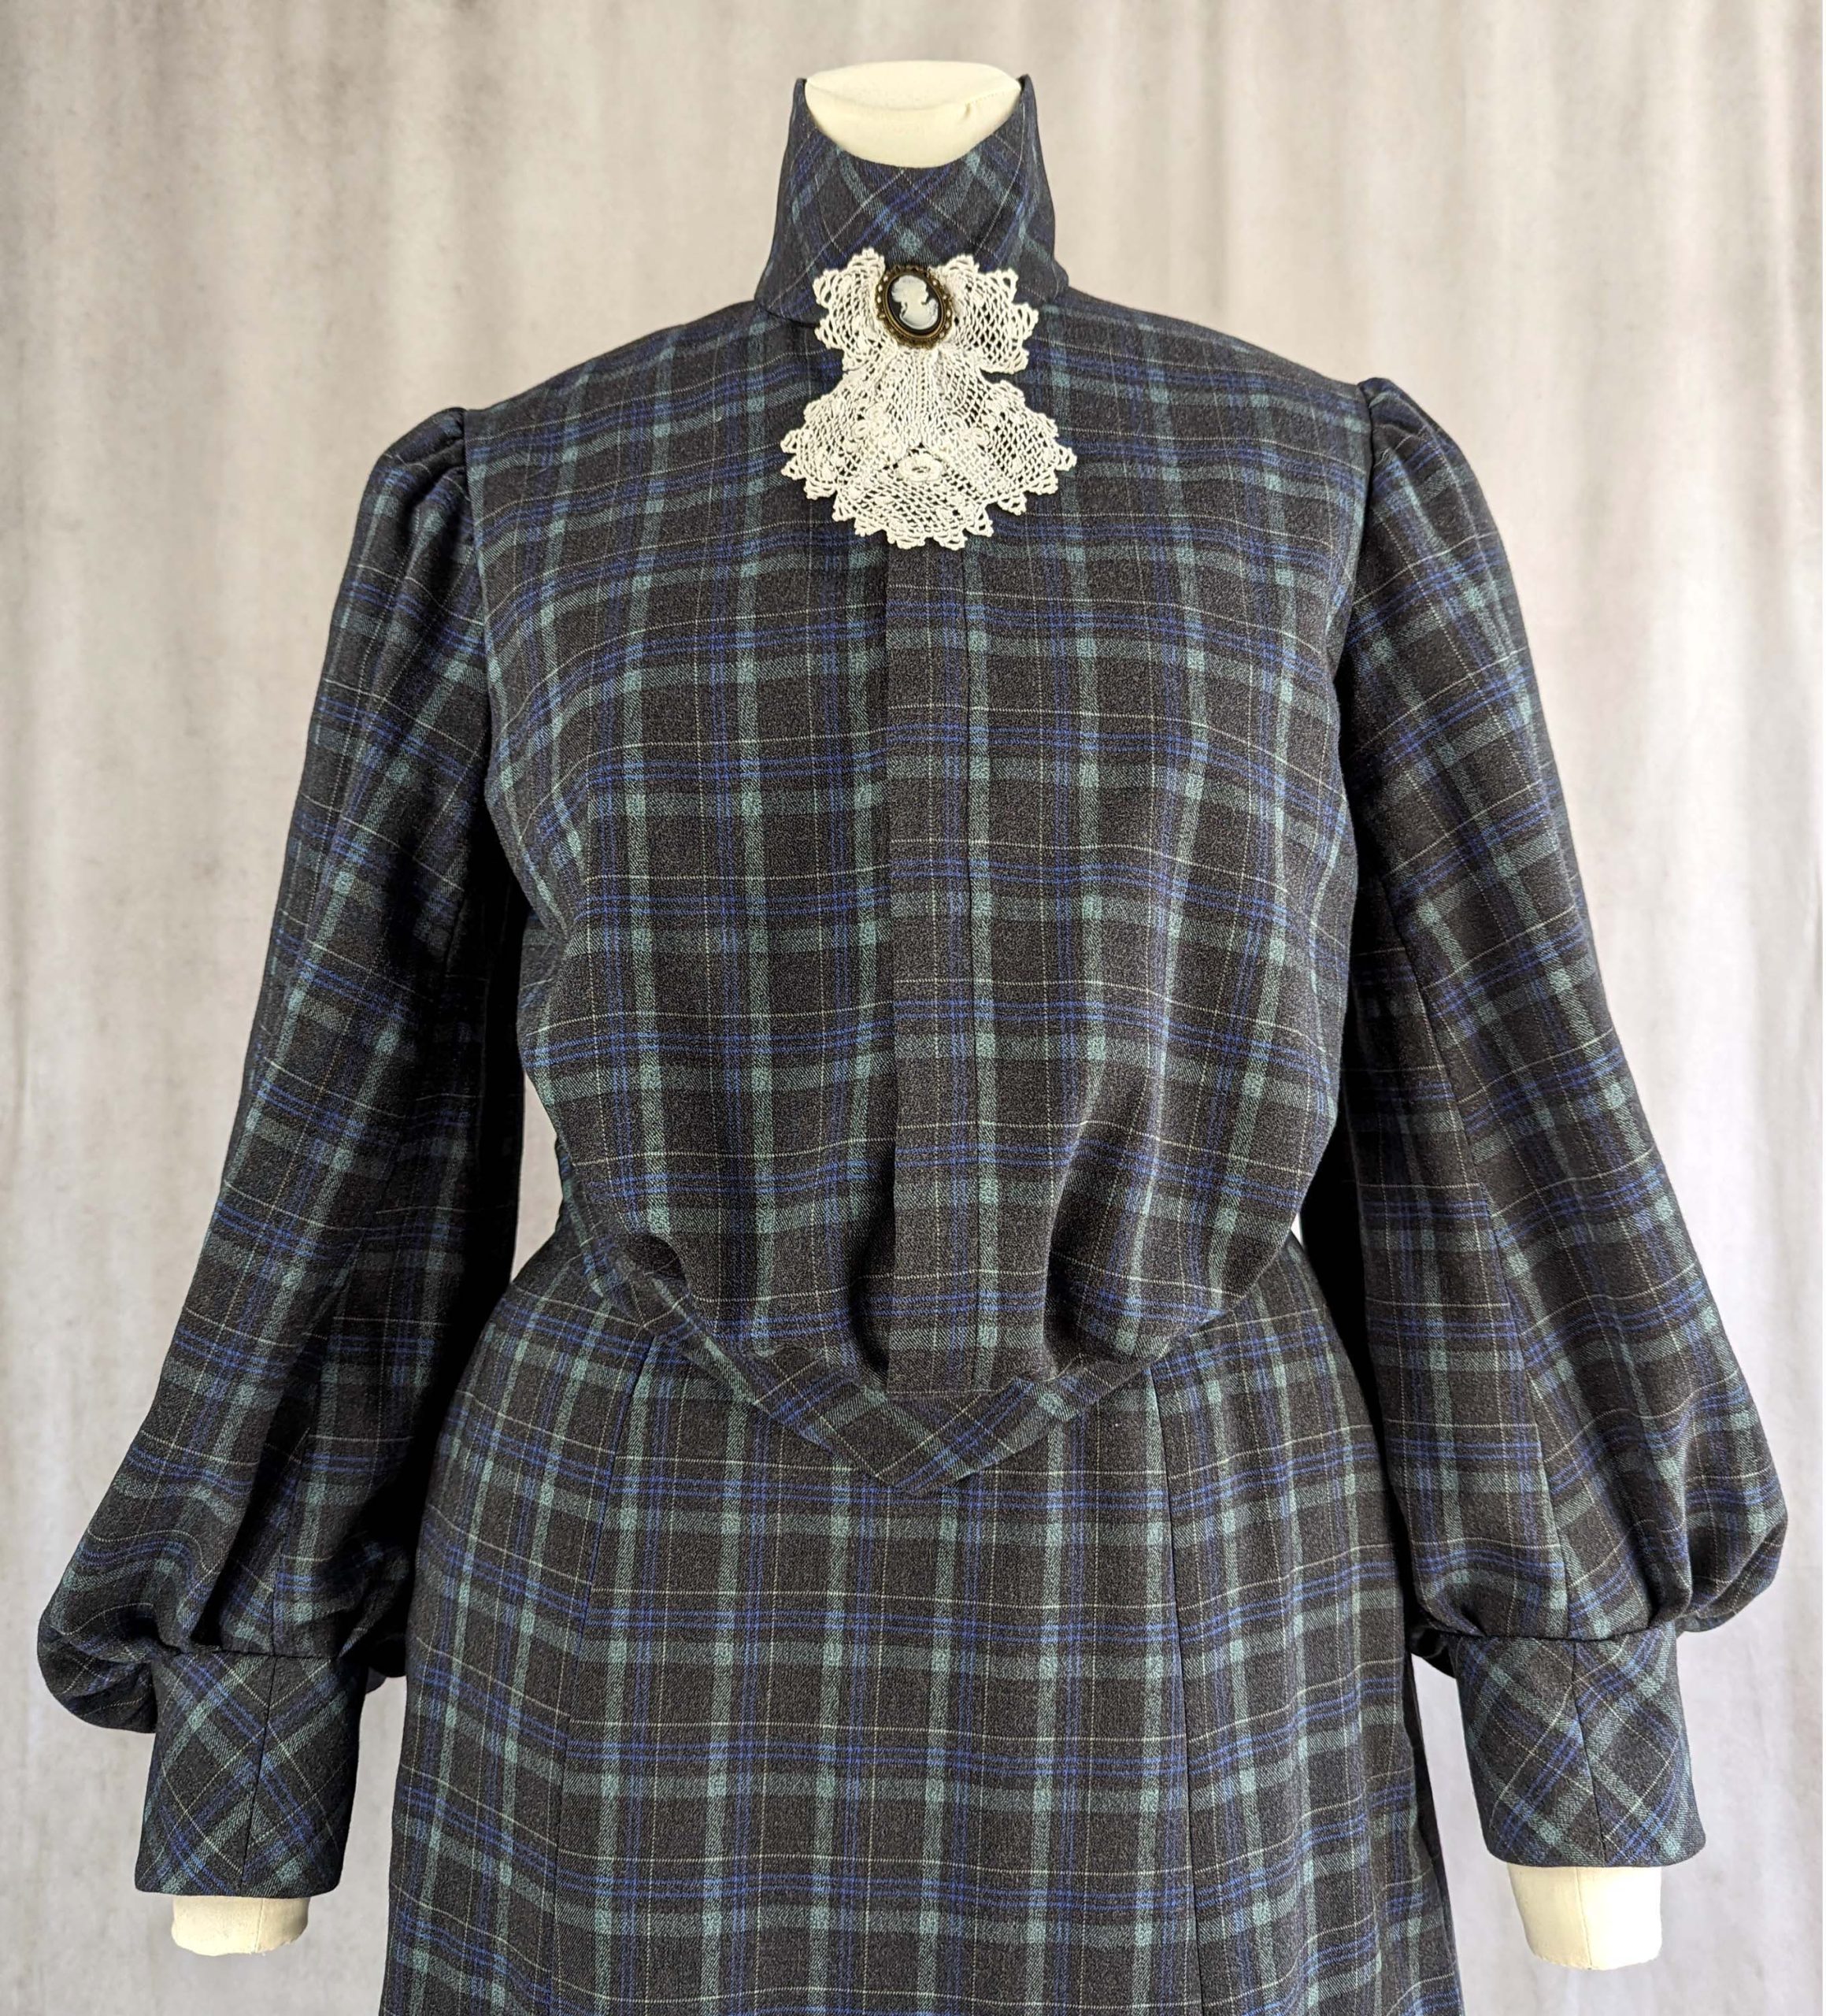
Decorate the collar /bodice as desired.