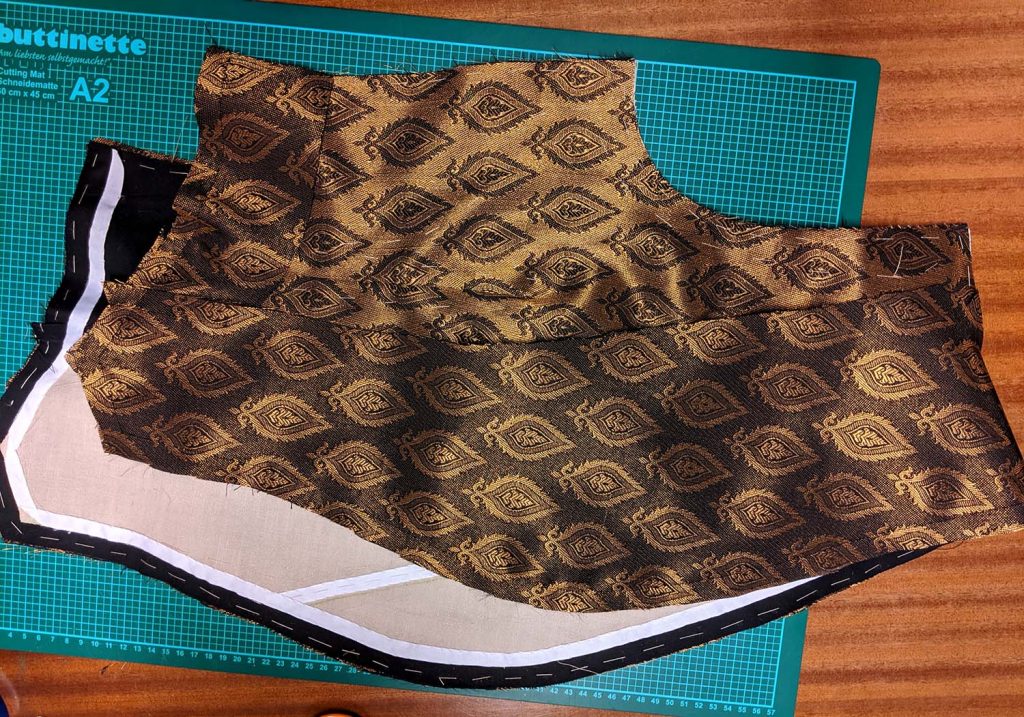
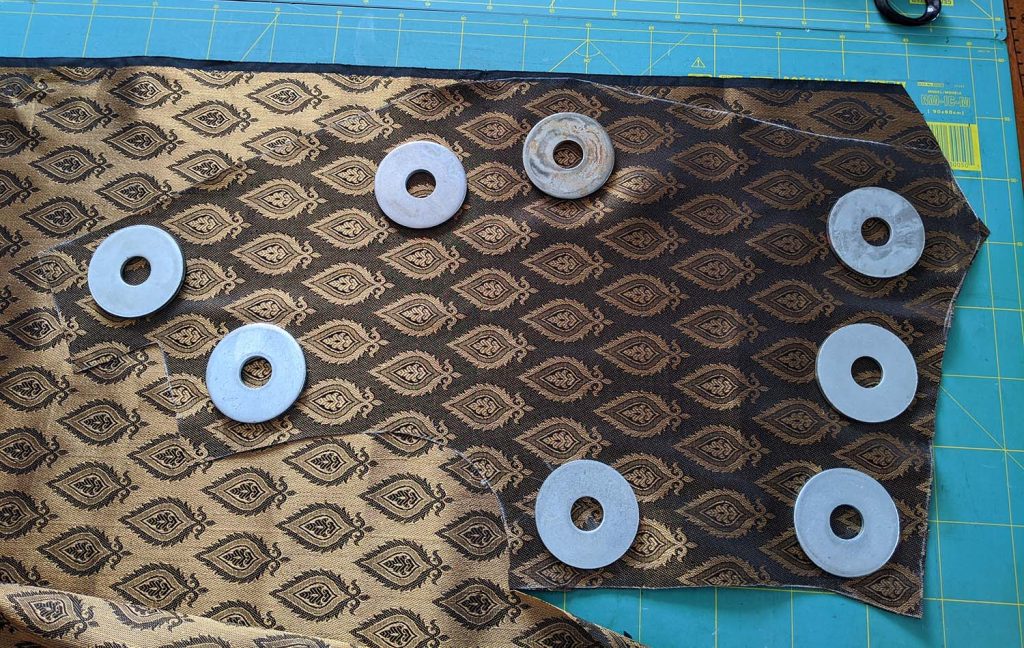
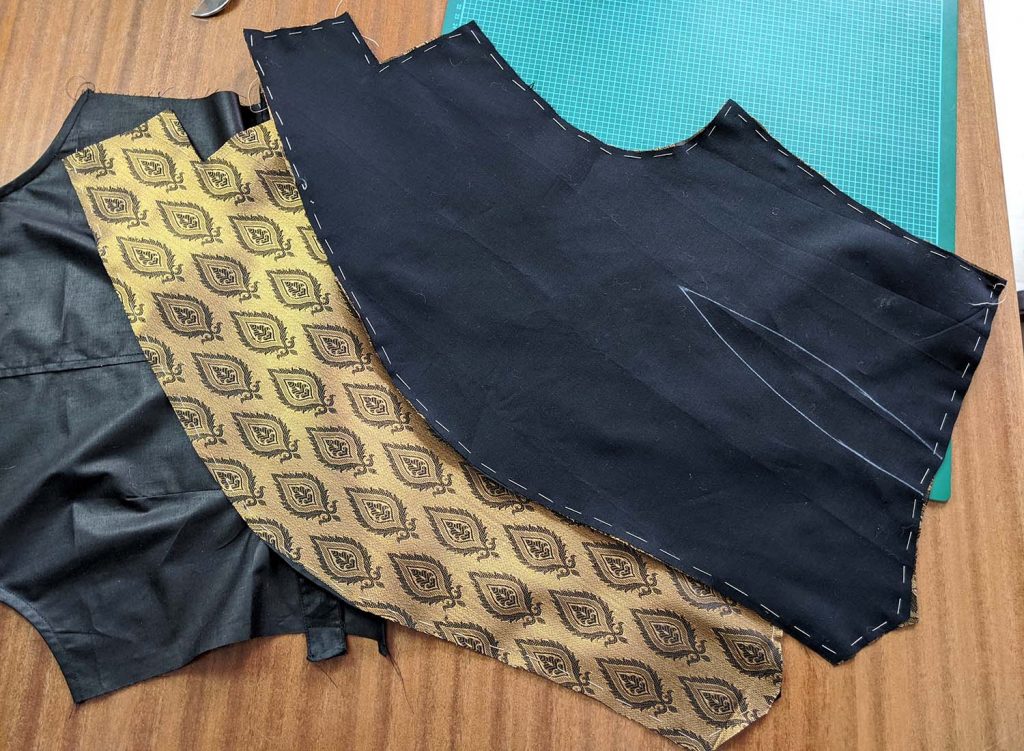
Archiv der Kategorie: Edwardian

The Victorian Waistcoat – Sewing Pattern #0516 – Part 1 (Pockets) – Steps (1) and (2)

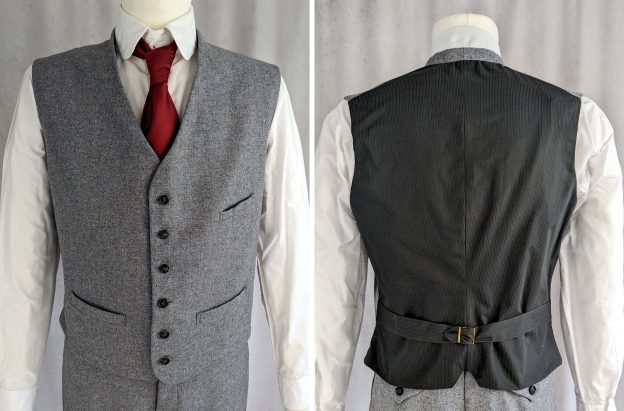
After the Norfolk jacket and the breeches, we’re now focusing on another essential garment in the men’s wardrobe: the waistcoat.

Similar to the patterns mentioned before, this one also originates from my early days as a pattern maker, marking my initial exploration into men’s tailoring in the 19th century. The waistcoat pattern represented my first endeavor in digital illustration, departing from my usual hand-sketching method. Despite the learning curve, it marked a significant milestone in my journey of pattern-making.

However, despite its age, a detailed blog post and sewing guide for the waistcoat was missing. That’s where this upcoming blog post comes in, especially focusing on the pockets. Join me as I delve into the nuances of constructing the waistcoat, offering practical insights and step-by-step instructions to help you bring this timeless garment to life.

Choosing the materials: A waistcoat, typically worn with trousers and a coat or jacket, evolved in material and style throughout the 19th century. At the start of the century, waistcoats were often crafted from contrasting materials. By the century’s end, they matched the trousers and jacket for informal occasions, forming a three-piece suit as we recognize today.

Similarly to modern practices, the back of the waistcoat was typically made from lighter materials. Polished cotton or fine twill/satin was commonly used for the back, straps, and lining.

Let´s dive into sewing, step by step as usual!

(1) As usual, start with dem Zuschnitt all the pieces from fashion fabric, interfacing, and lining, and carefully transfer all marks and notches, especially the little corner marks on the collar. The waistcoat is called collarless, but that´s not quite true, it´s kind of a shawl collar, just with a collar stand.
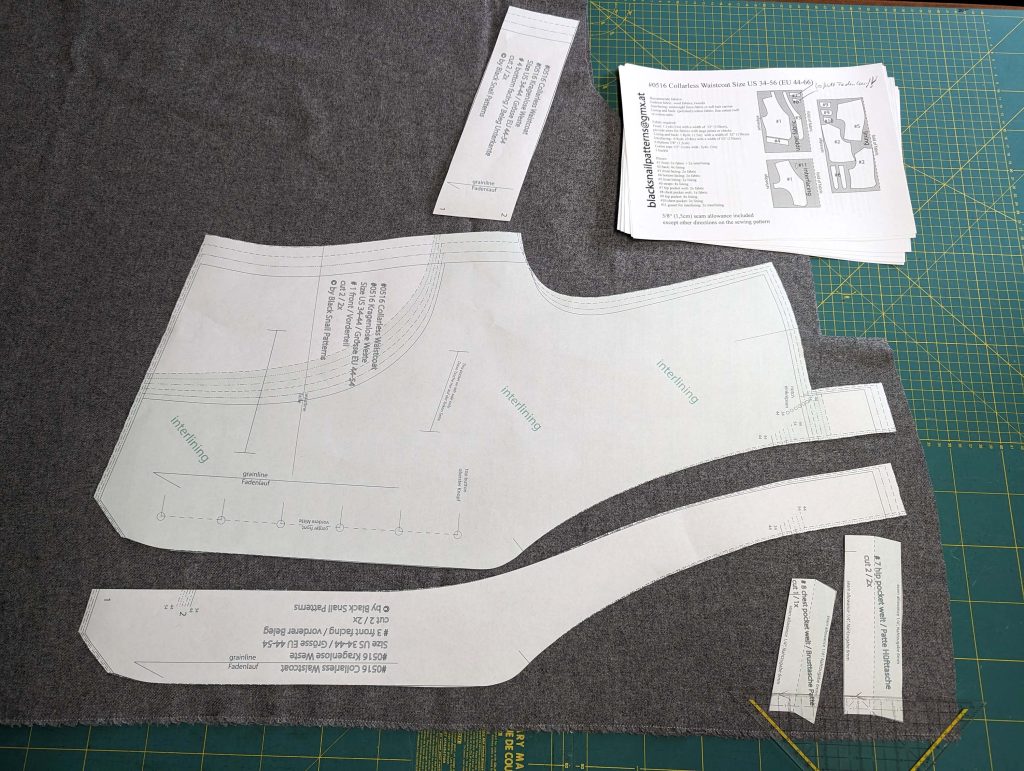
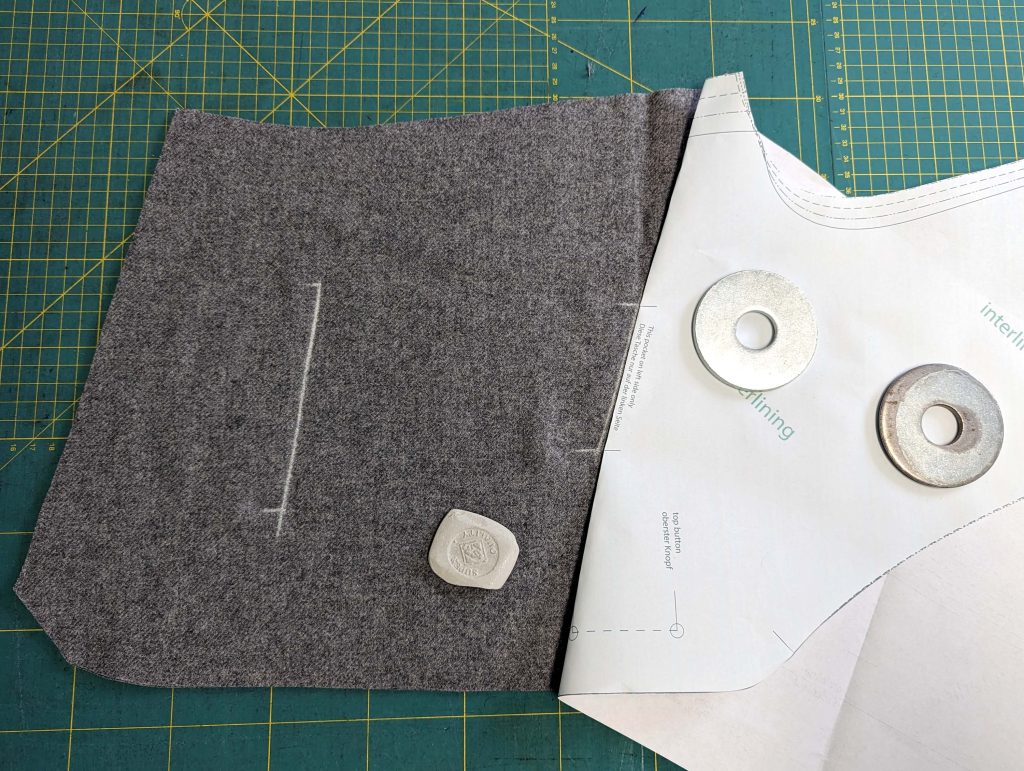
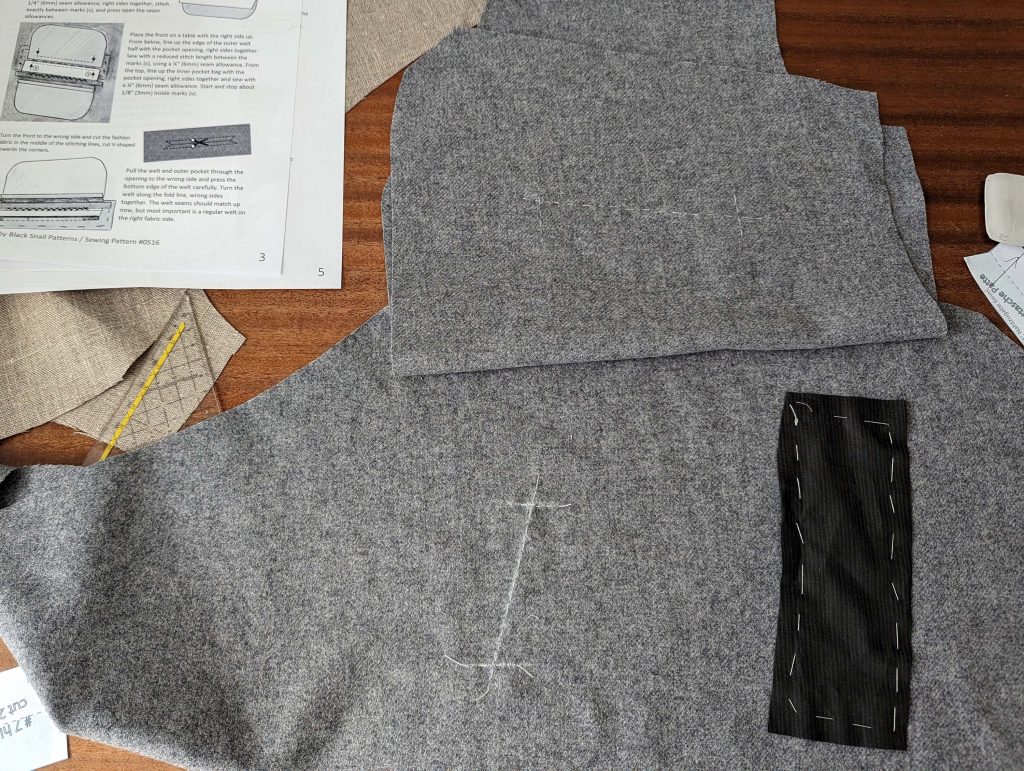
Now, let’s proceed straight to the intricacies of pocket sewing. I encountered some challenges with the 19th-century method, especially when working with thick wool fabric. The more angled breast pocket posed significant issues with bulk, therefore, I decided to change this pocket in the pattern to a less angled one. Also the pictures are not the waistcoat, to show you improved instructions, without all the mess I made with my first attempt on this wool fabric.

First, baste a piece of linen or cotton to the wrong side of the front, covering the pocket opening. Mark the pocket opening with a basting thread, clearly visible on the right side of the fabric.

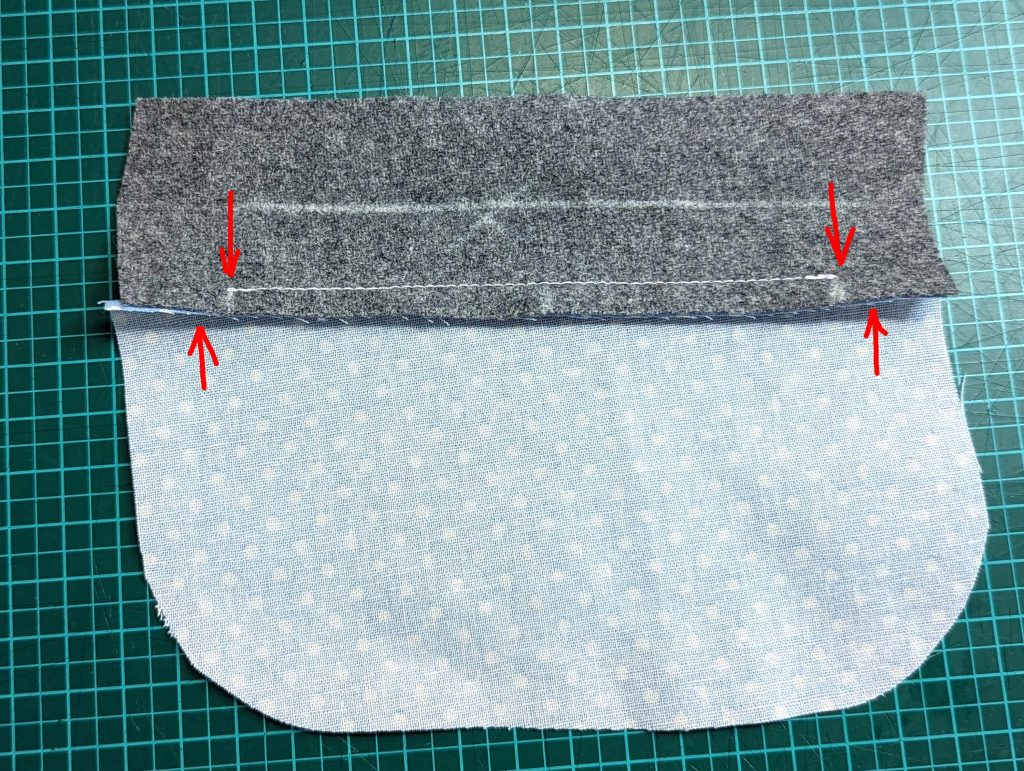
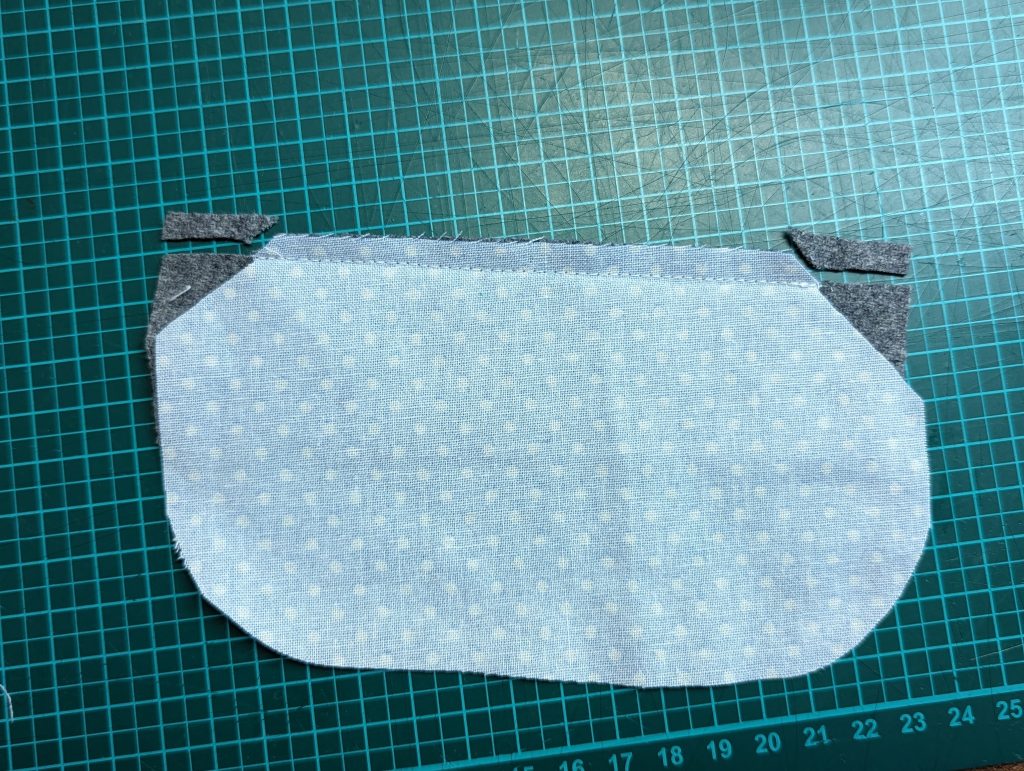
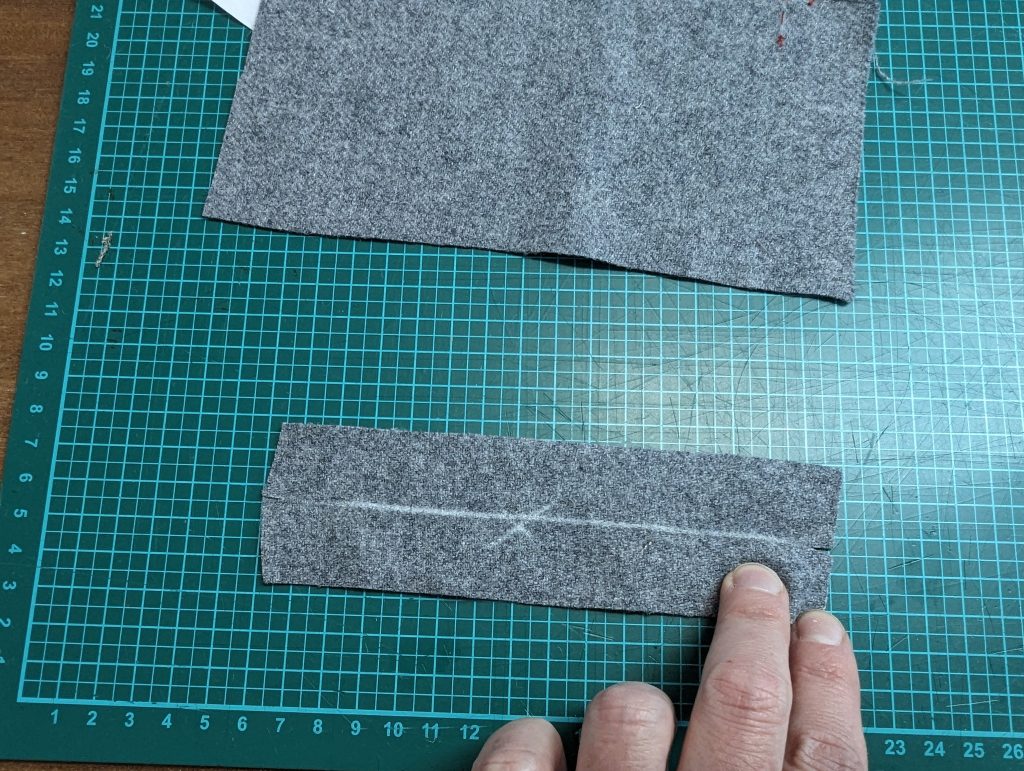
Fold the welt in half lengthwise, wrong sides together, and press. Reopen and mark the inside, as well as the half line. Sew the outer pocket bag to the inner half of the welt using a 1/4” (7mm) seam allowance, right sides together. Re-check before sewing, and stitch exactly between marks (x). Trim back the seam allowances as shown and press towards the pocket.

Weiterlesen

The Victorian Waistcoat – Sewing Pattern #0516 – Part 2 – Steps (3) to (9)

Part 1 – Steps (1) and (2)

After all that hand-sewing of the first part, let´s do some machine sewing on all the long seams. Remember, the sewing machine had already been invented by then, so there’s no need to feel guilty about using it!

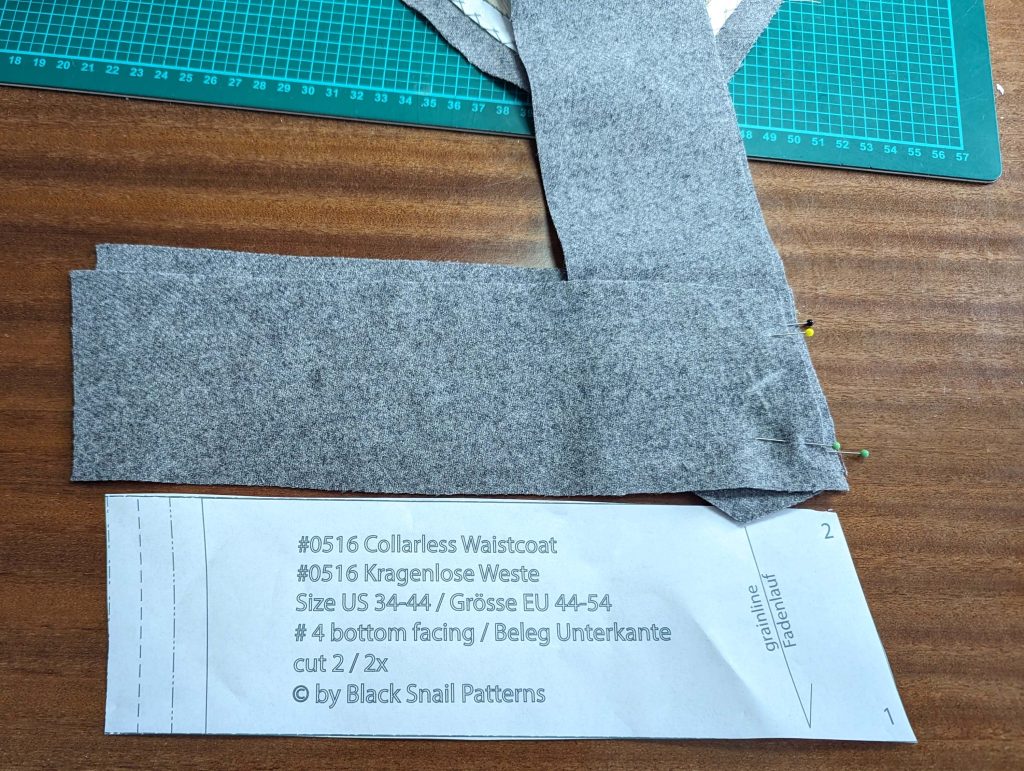
(3) Sew the bottom facing to the front-facing, right sides together, matching all marks. Trim back the seam allowance and press towards the bottom facing. Understitch if desired.

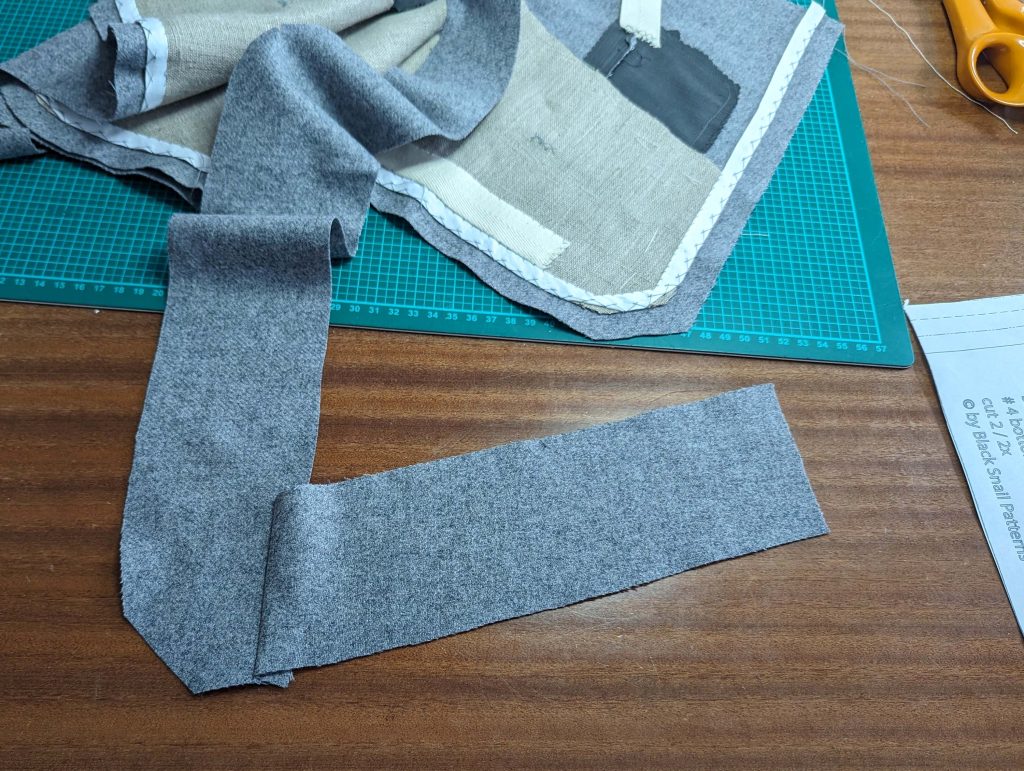
Line up the facing with the front, right sides together, and stitch right beside the bridle tape. Trim back the seam allowances and turn the right sides out. Press the edges, rolling the seam slightly out of sight towards the garment’s wrong side. Baste along the edges to hold the pressed seam in place. At the armscye trim back the seam allowance to 3/8” (1cm) and fold around the bridle tape. First, baste, then fell stitch the seam allowance to the interfacing/bridle tape. Fell stitch the loose edges of the facing to the interfacing, stop 2” (5cm) before the collar notch.

Weiterlesen

0916 Tages- und Unterrock 1890-1910

Es ist Zeit, ein weiteres Schnittmuster zu überarbeiten, das sogenannte Turtleneck Dress. Das Schnittmuster enthielt Rock und Oberteil, ich denke aber, für viele von euch sah es einfach zu kompliziert aus. Tatsache war, dass nur wenige Leute das Schnittmuster kauften, obwohl es eigentlich viel geboten hat. Ich habe schon einige Jahre nachgedacht, das Schnittmuster einfach in Rock und Top aufzuteilen, aber ich wollte einige Extras und Neues hinzufügen, zumal mir der Rock zu einfach erschien. So vergeht die Zeit und irgendwann kommen die Ideen von alleine.

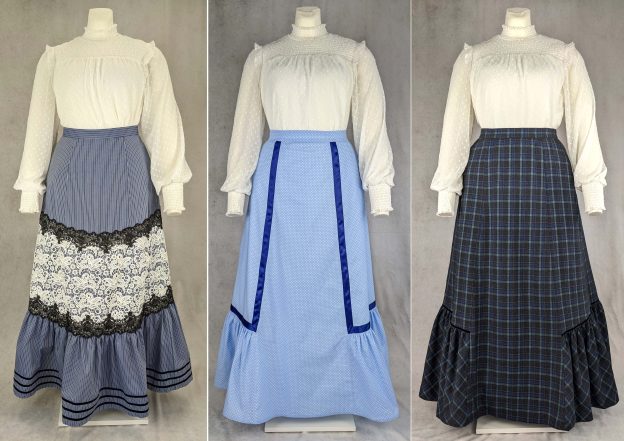
Das neue Schnittmuster #0916 bietet nun zwei Rockvarianten und einen zusätzlichen Unterrock, der gleich zugeschnitten wird (passt auch perfekt zu Schnitt #0414). Das Oberteil wird in ein paar Monaten als zusätzliches Muster erscheinen.

Fangen wir an zu nähen! Ich zeige nur, wie man Ansicht B und C näht, da die meisten Schritte gleich sind, es ist nur so, dass Ansicht B und C einige zusätzliche Überlegungen erfordern. Auch hier ist der Blogbeitrag als Ergänzung zum Schnittmuster gedacht und versucht, verschiedene Techniken und Möglichkeiten aufzuzeigen, wie man den Rock näht.

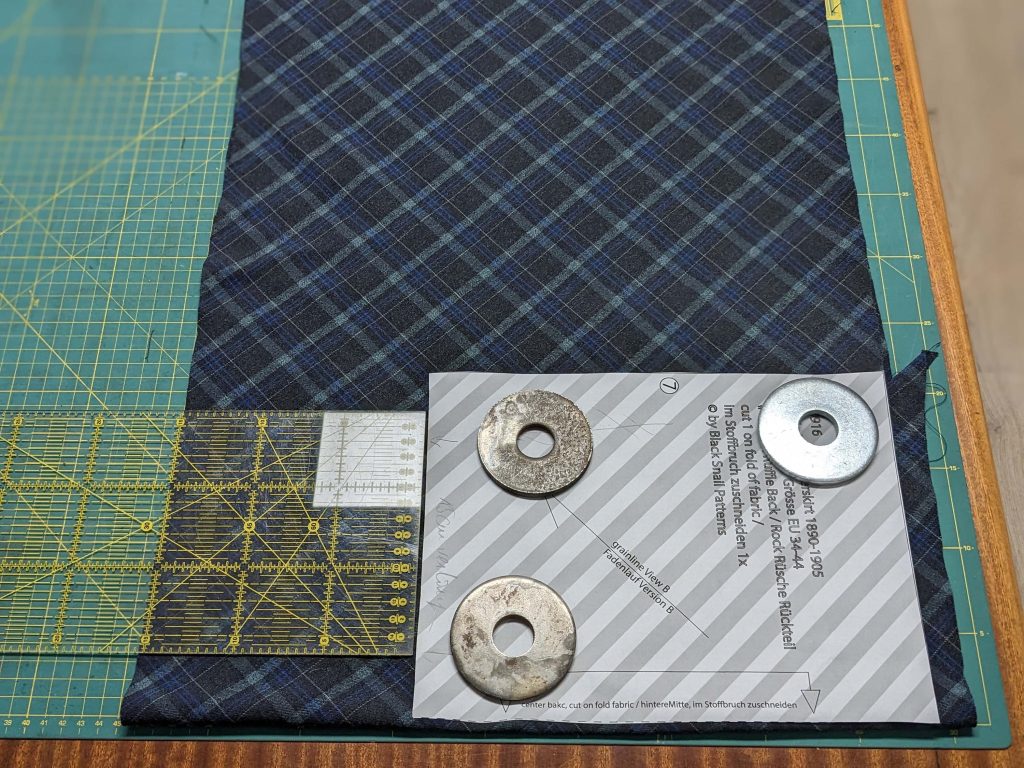
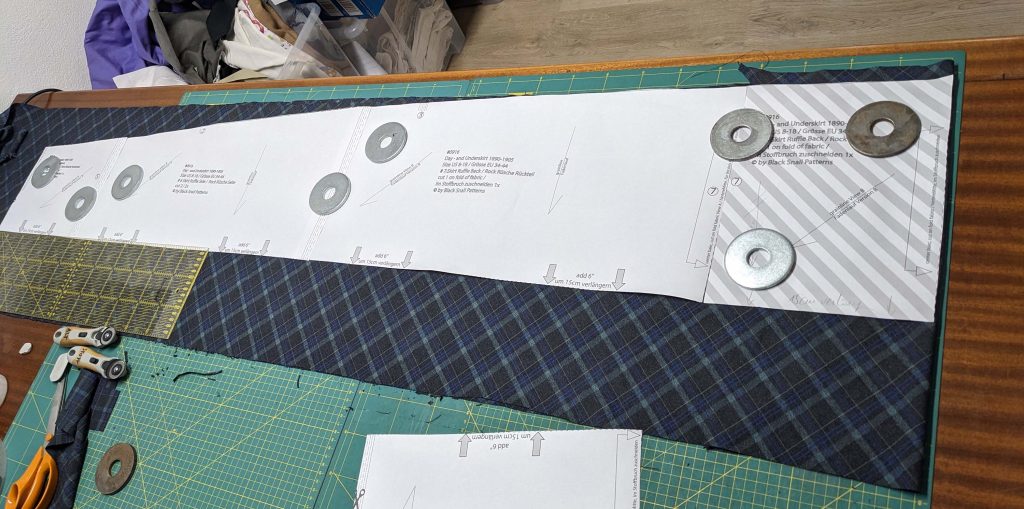
(1) Wir starten wie immer mit dem Zuschnitt aller Teile aus Oberstoff und Futter. Achte auf den Fadenlauf und vergesse nicht, 15 cm zum unteren Rand der Rüschenstücke hinzuzufügen.

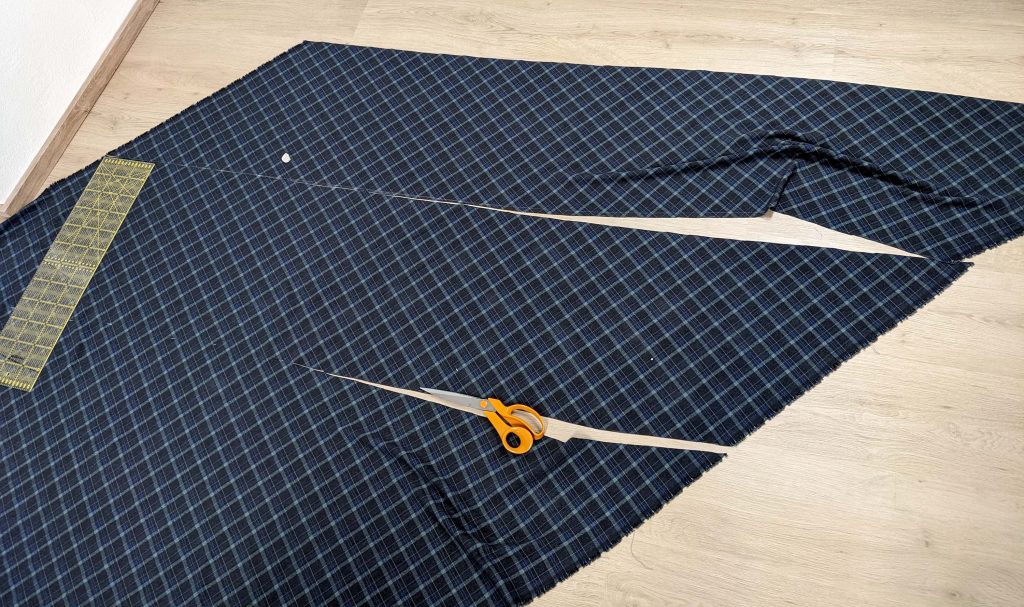
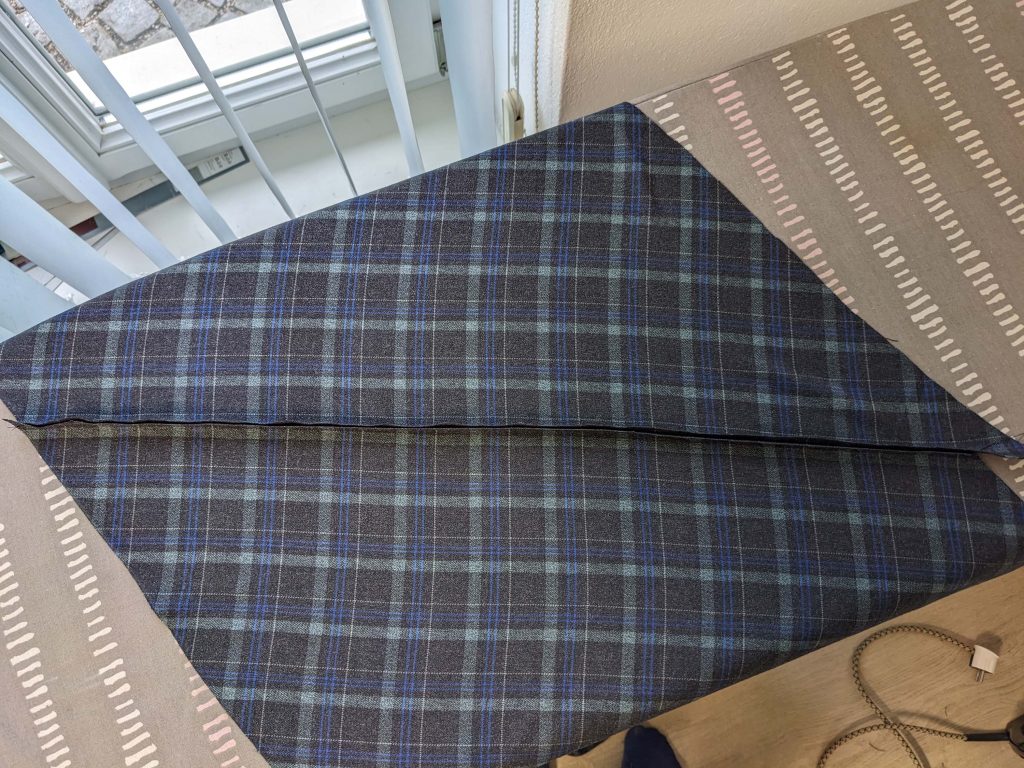
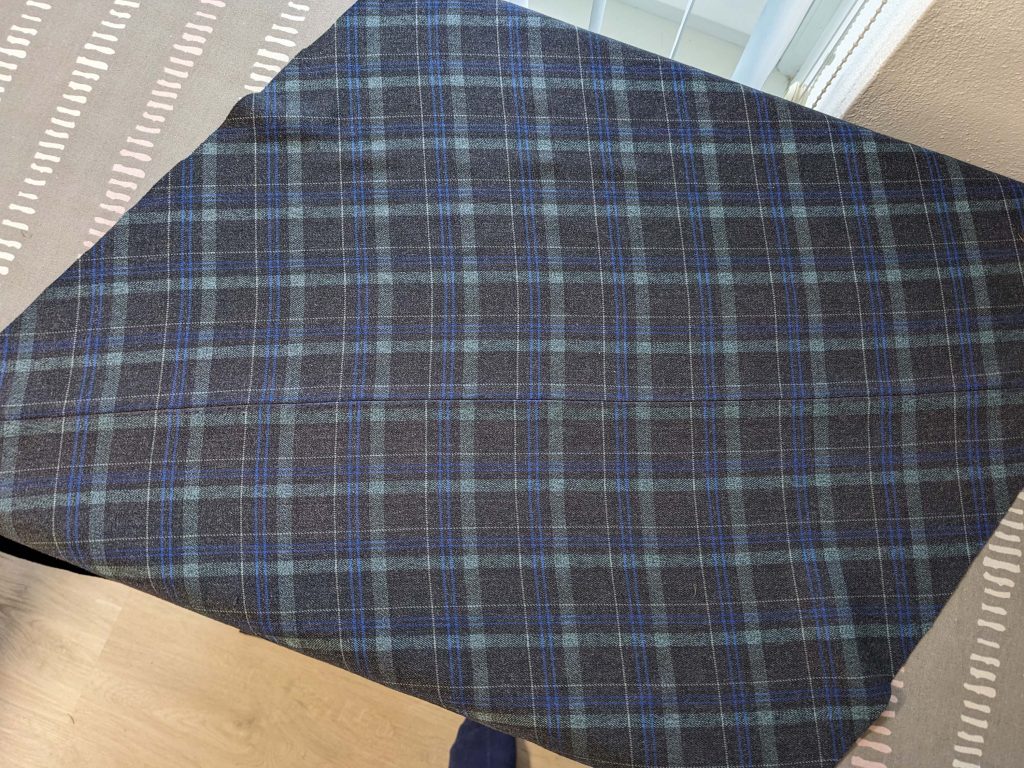
Schnitt B wird keine Schwierigkeiten machen, Schnitt C mit Rüschen, Schrägschnitt ist etwas kniffliger, vor allem wenn man wie ich einen asymmetrischen Karostoff verwendet. Zuerst schneide ich zwei 45 cm breite Schrägstreifen und nähe sie entlang der hinteren Mitte zusammen, wobei ich versuche, das Muster so gut wie möglich anzupassen. Dann falte ich den Streifen entlang der späteren hinteren Mitte und lege meine Schnittteile darauf, um sie in die benötigte Form zu schneiden. Vergesse nicht, alle Markierungen zu übertragen.

Weiterlesen

1890er Damen Weste Anleitung Teil 3 - Zusammennähen und Details

Teil 1 - Vorbereitung des Rückens

Teil 2 - Vorbereiten der Vorderteile

Jetzt ist es an der Zeit alle Teile der Weste zusammen zu nähen.

Nähe den vorderen Besatz an den unteren Besatz, passe alle Markierungen rechts auf rechts zusammen und bügele die Nahtzugabe in Richtung des unteren Besatzes. Hintere Mittelnaht – Kragen rechts auf rechts schließen, Nahtzugabe zurückschneiden und aufbügeln.

Den Besatz an den Vorderteilen rechts auf rechts anlegen und entlang der Vorder-, Unter- und Kragenkante nähen, Stichlänge an den Ecken reduzieren. Nahtzugabe an den Ecken schräg zurückschneiden, Nahtzugabe dort einkerben, wo sich der Kragen zu drehen beginnt.

Weiterlesen

Damenweste um 1890 Anleitung Teil 2 - Vorbereitung der Vorderteile

Teil 1 - Vorbereitung des Rückens

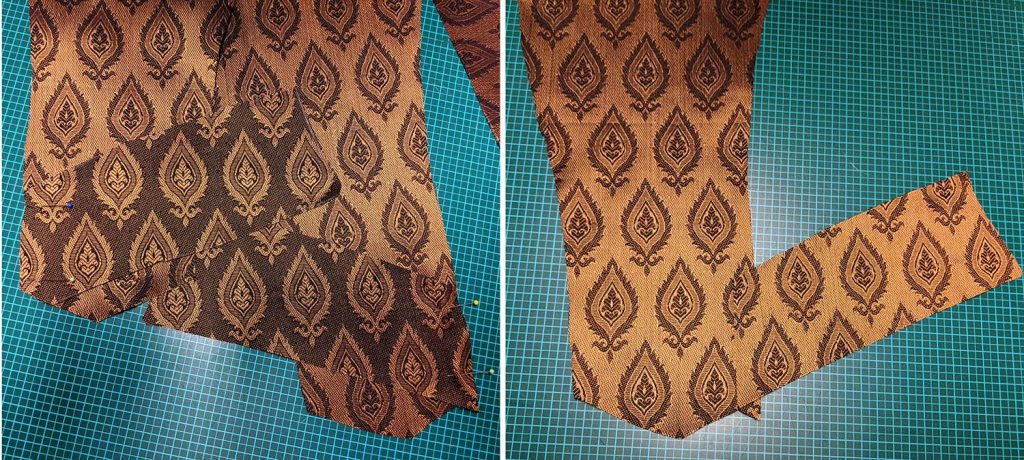
Jetzt ist es Zeit, die Vorderteile zu nähen! Gehe beim Nähen mit gemusterten, karierten oder gestreiften Stoffen sehr vorsichtig mit dem Musterabgleich um. Schneide niemals beide Seiten auf gefaltetem Stoff.

Beim Nähen mit diesem zarten Seidenbrokat habe ich mich entschieden, die gesamten Vorderteile glatt zu machen, was beim Nähen mit z.B. ein Wollsatin. Ich nähe das Futter lieber von Hand ein, um bei Bedarf während des Nähvorgangs einige Stiche leicht aufzutrennen.

Weiterlesen