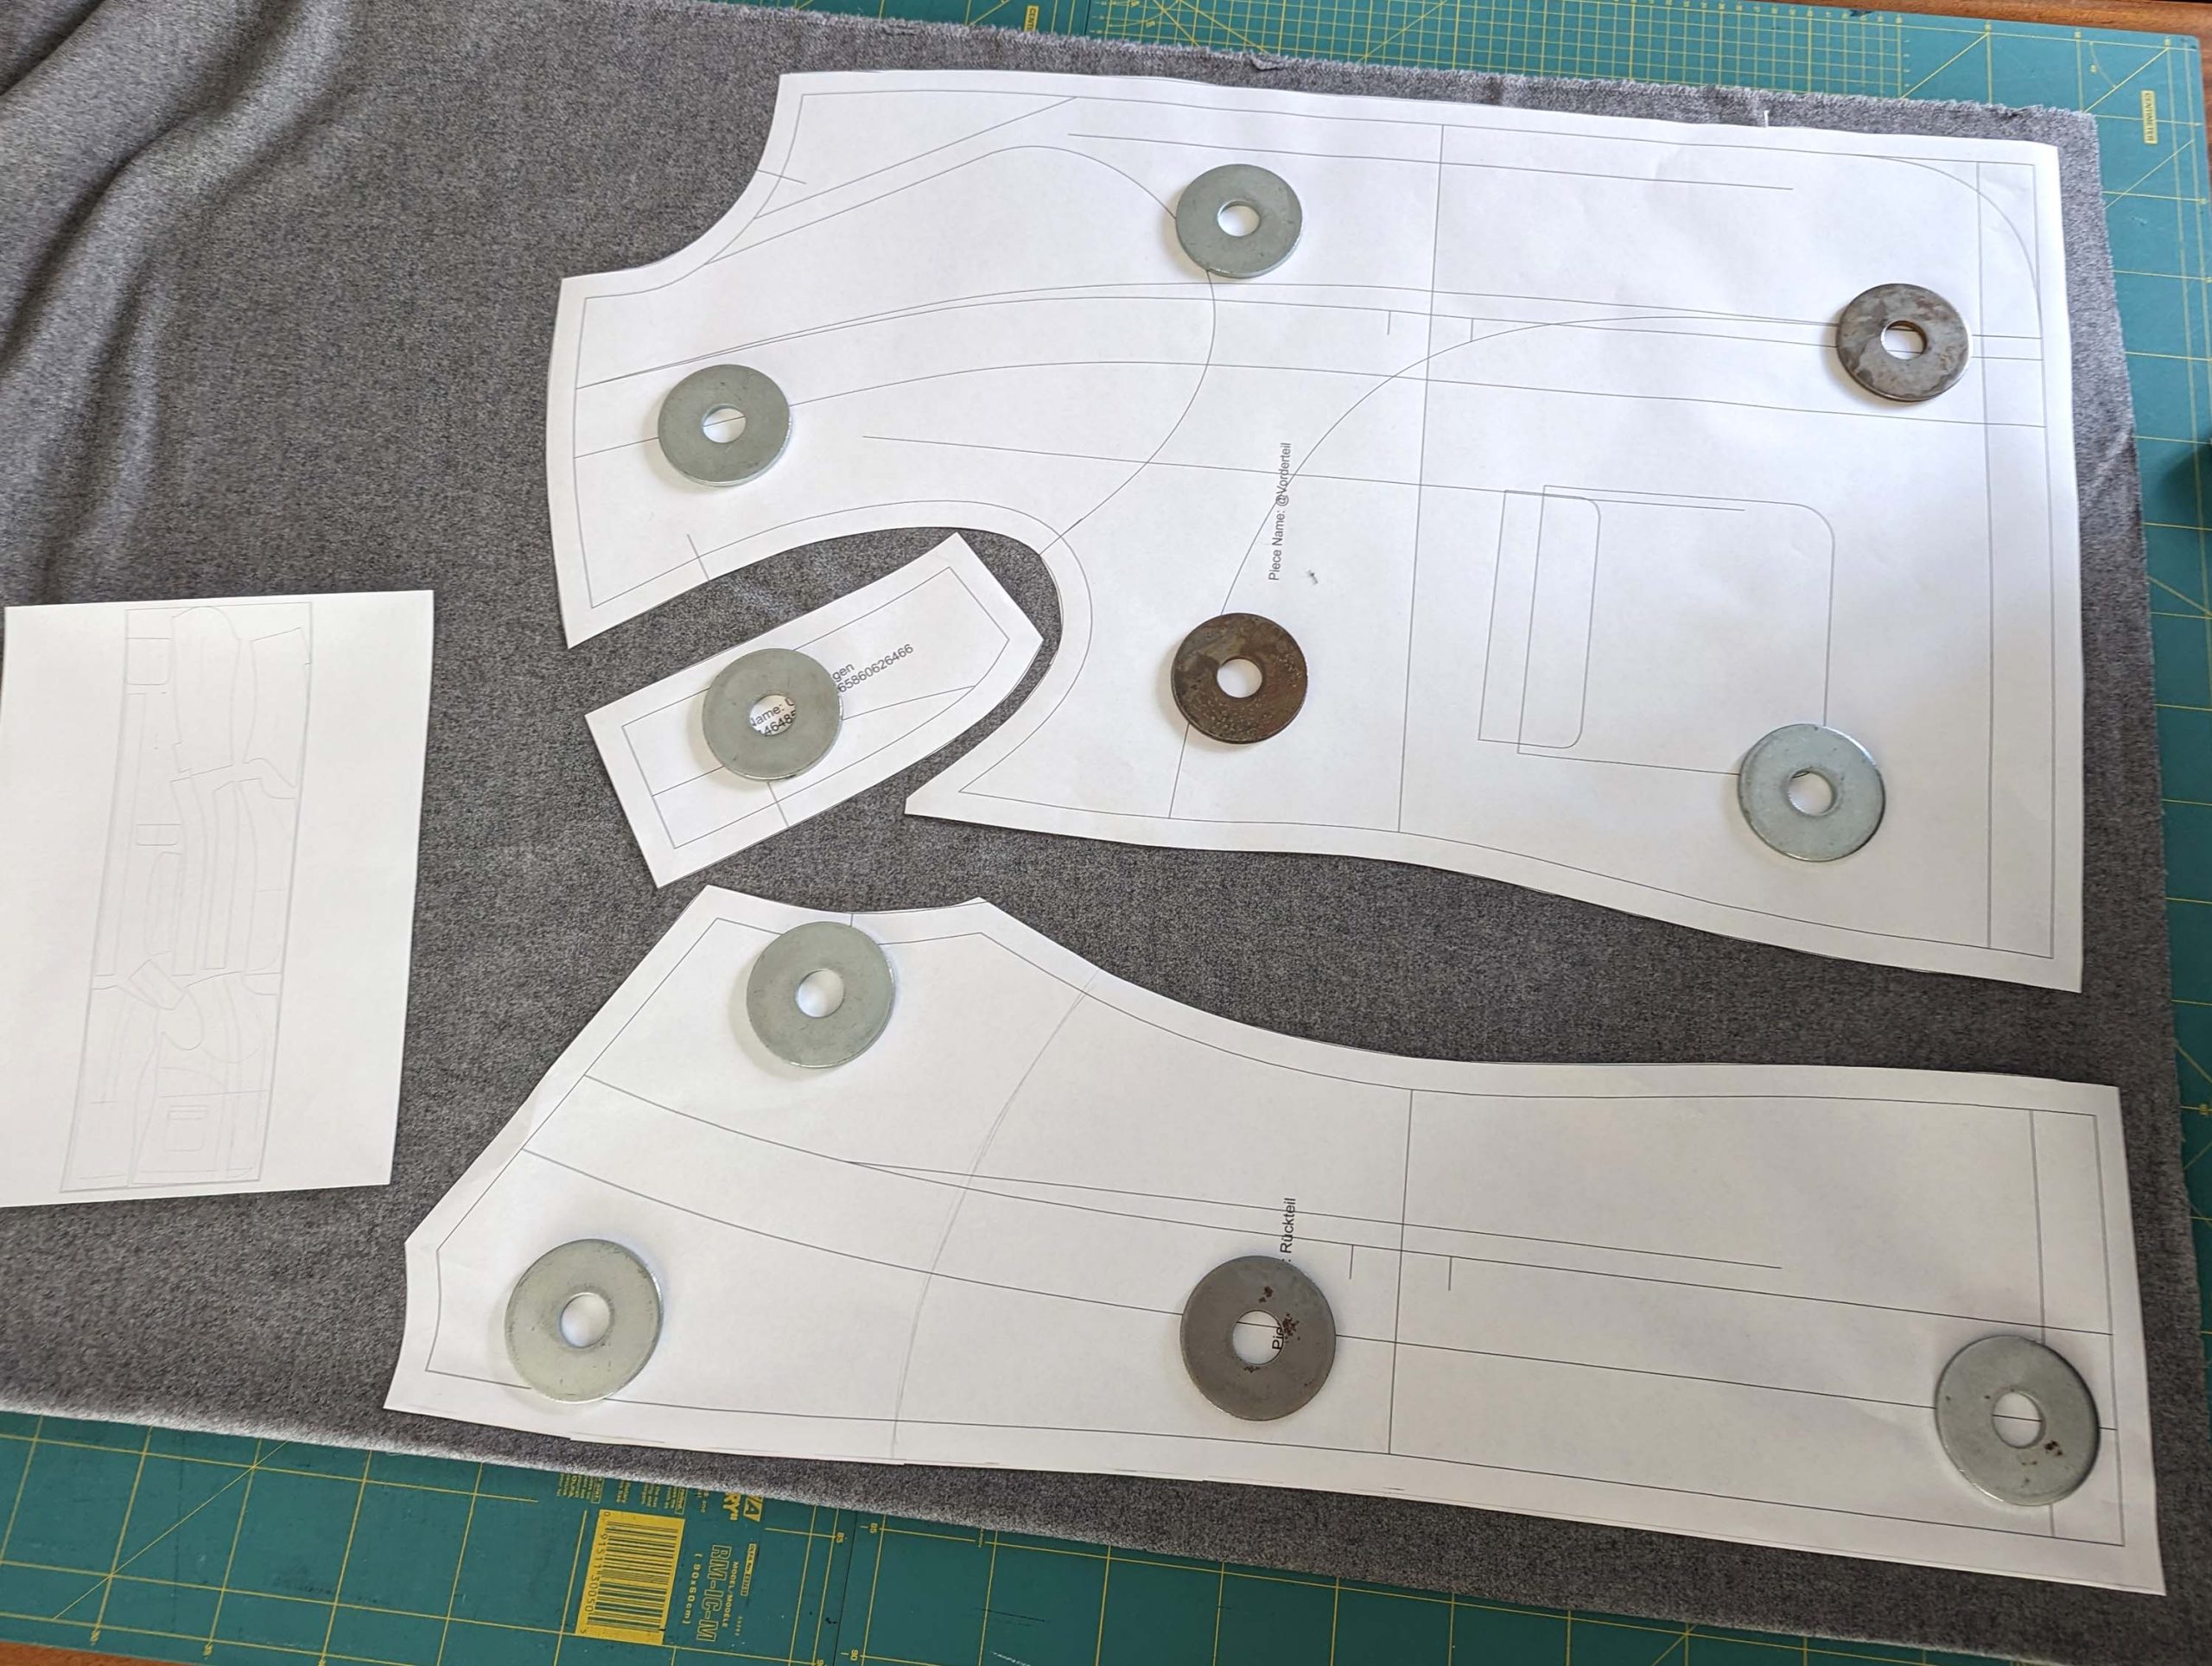
Part 1 – Steps (1) to (5)
(6) Side pockets V1 (the accurate way with pattern pieces #5):
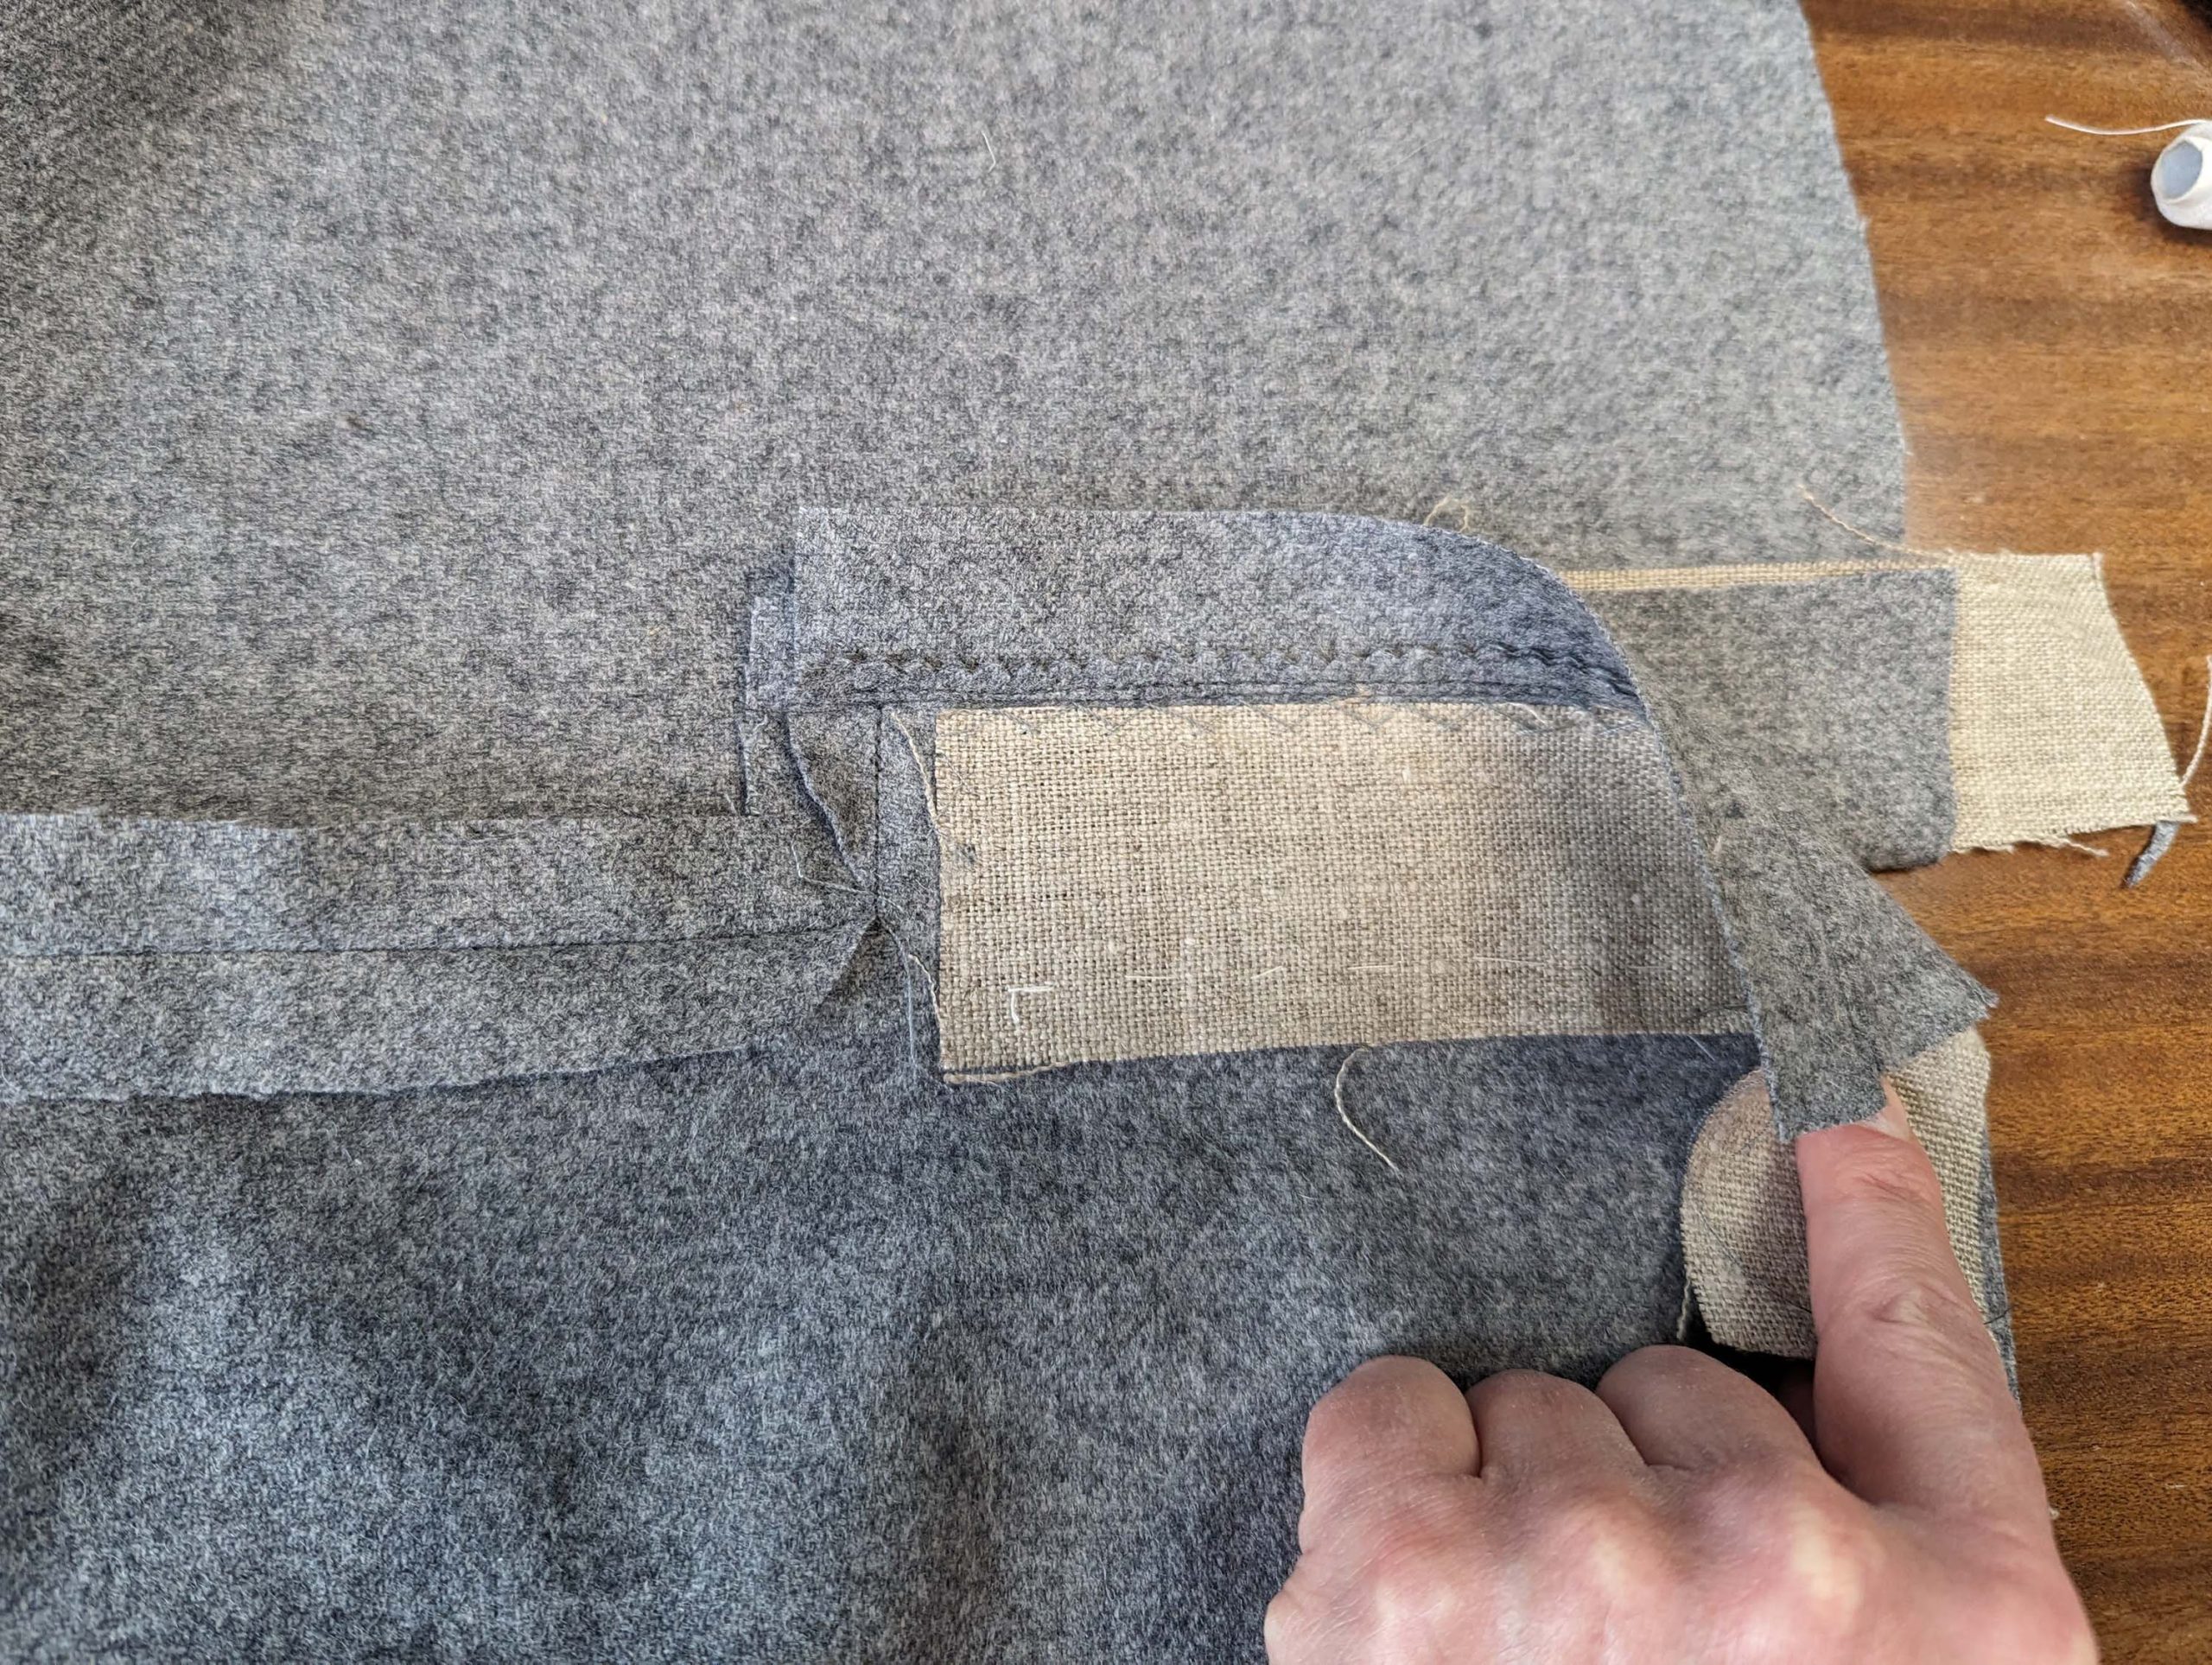
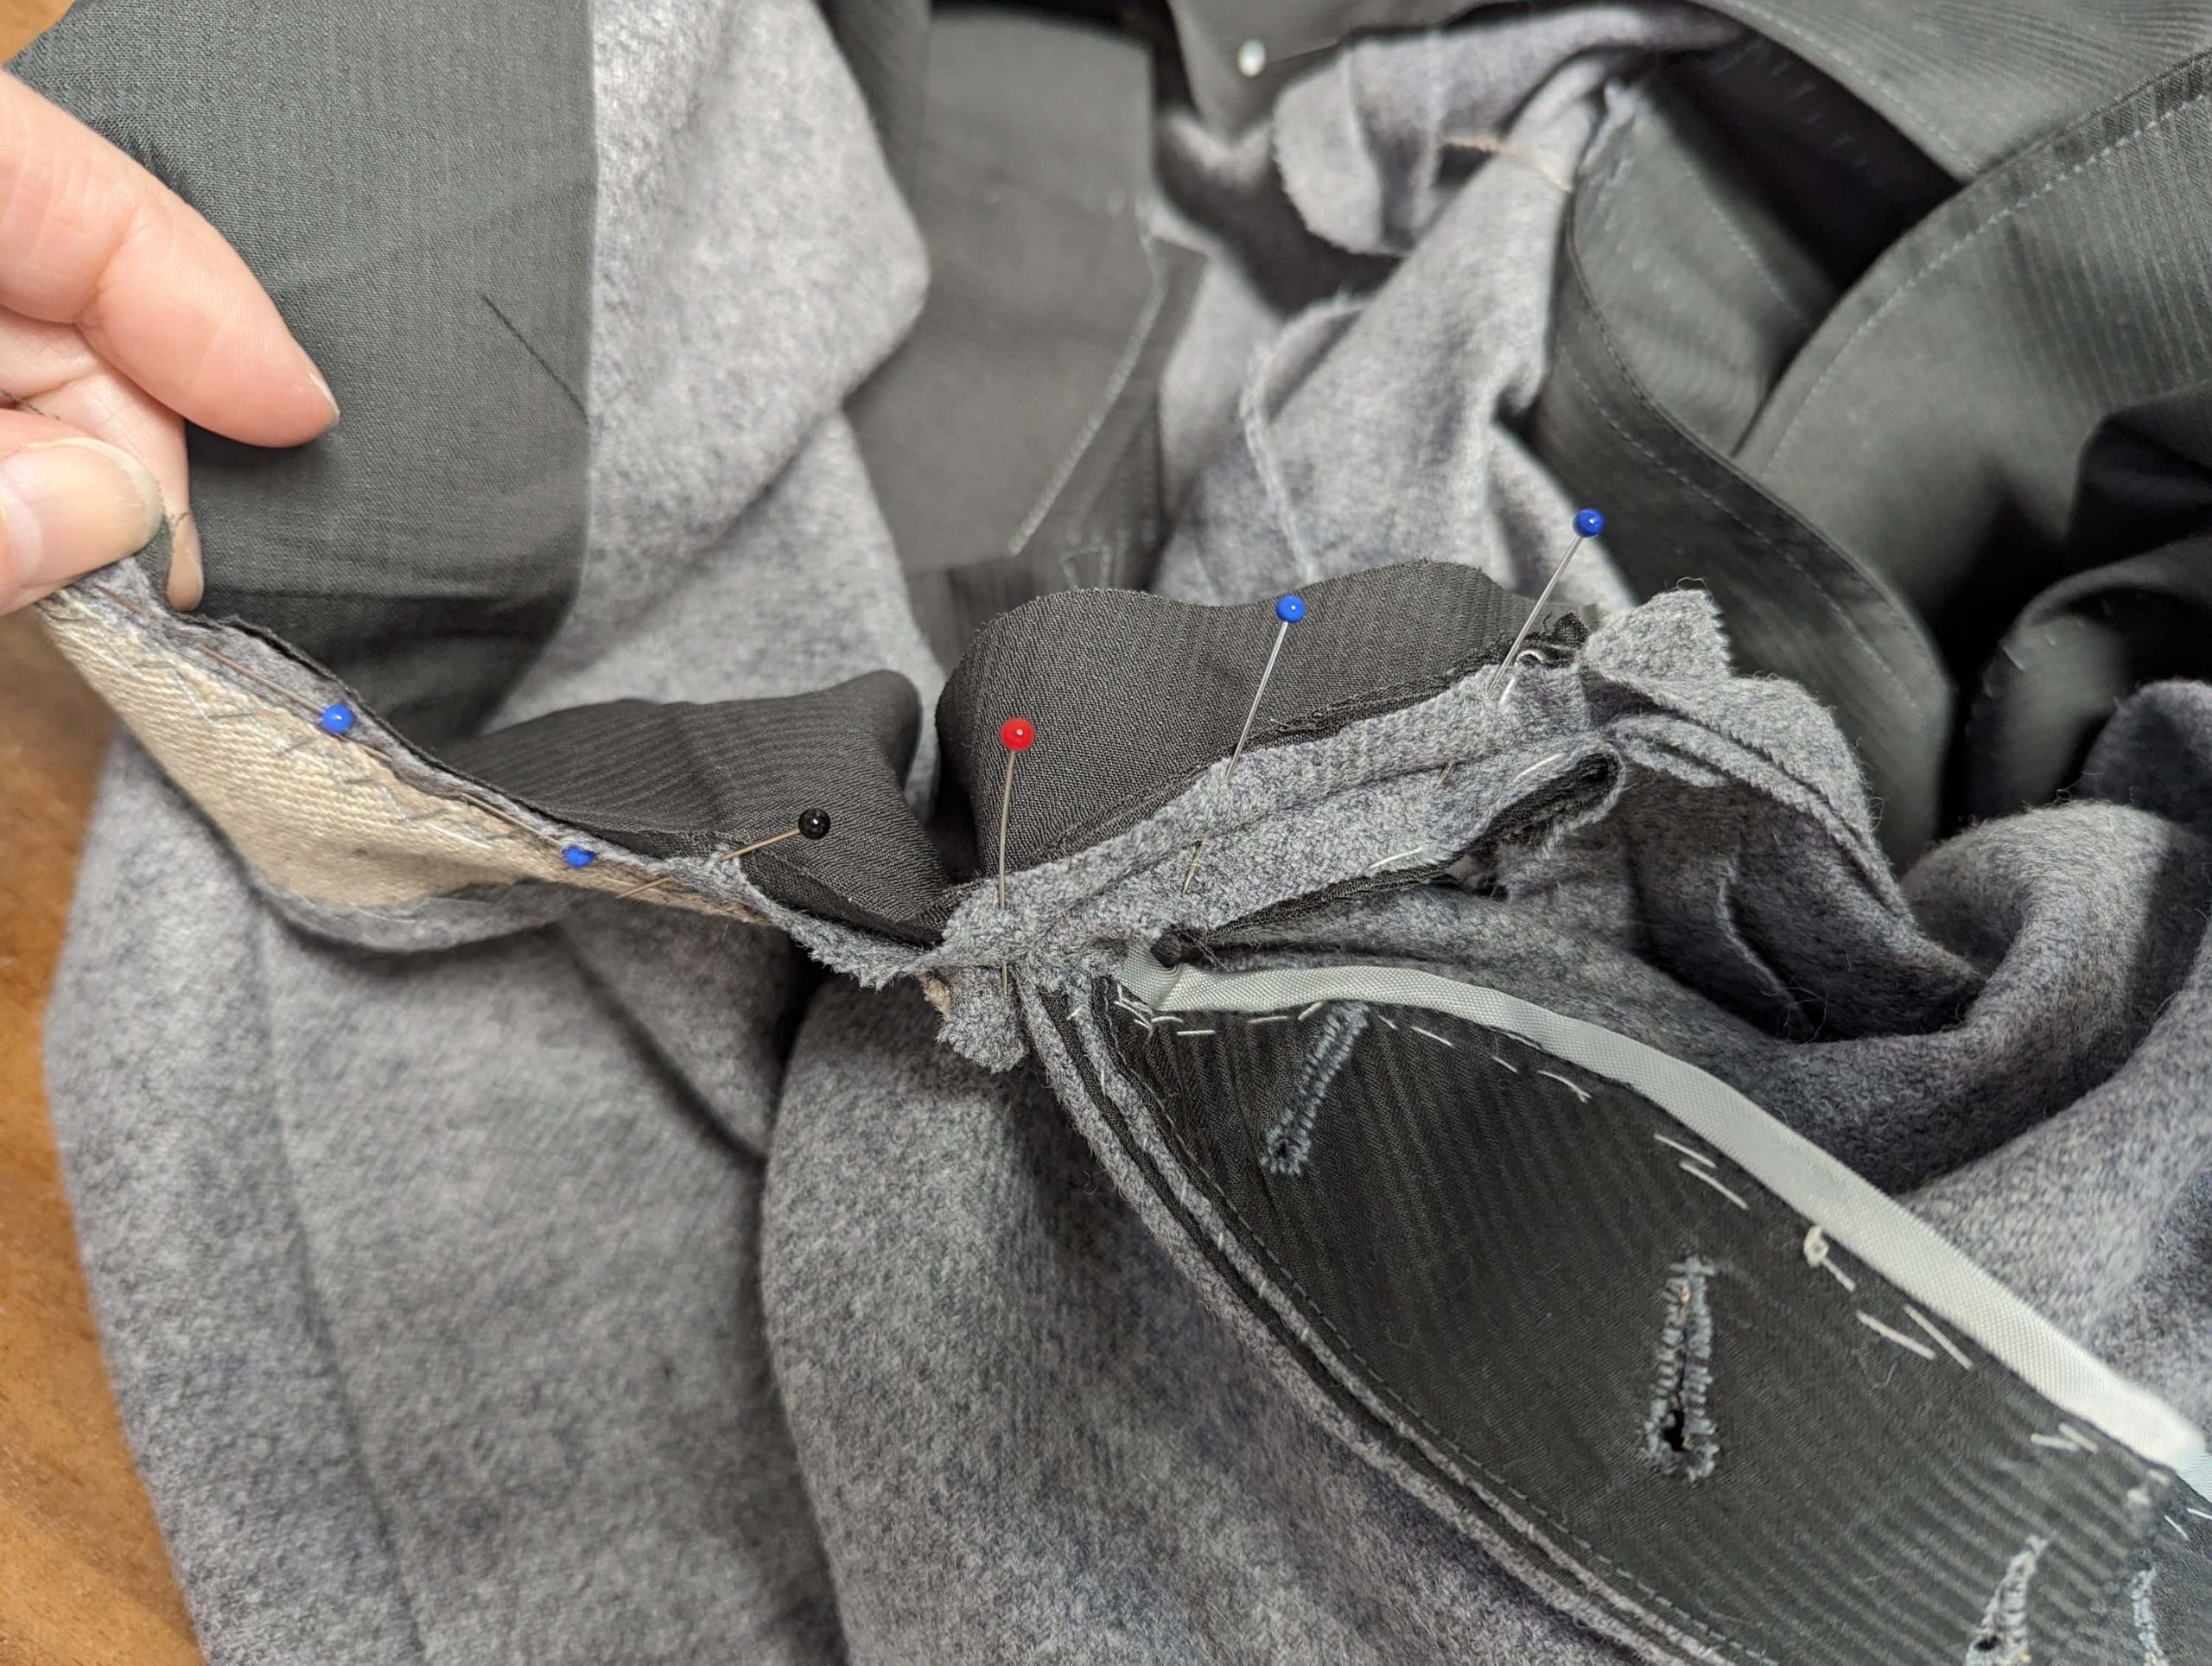
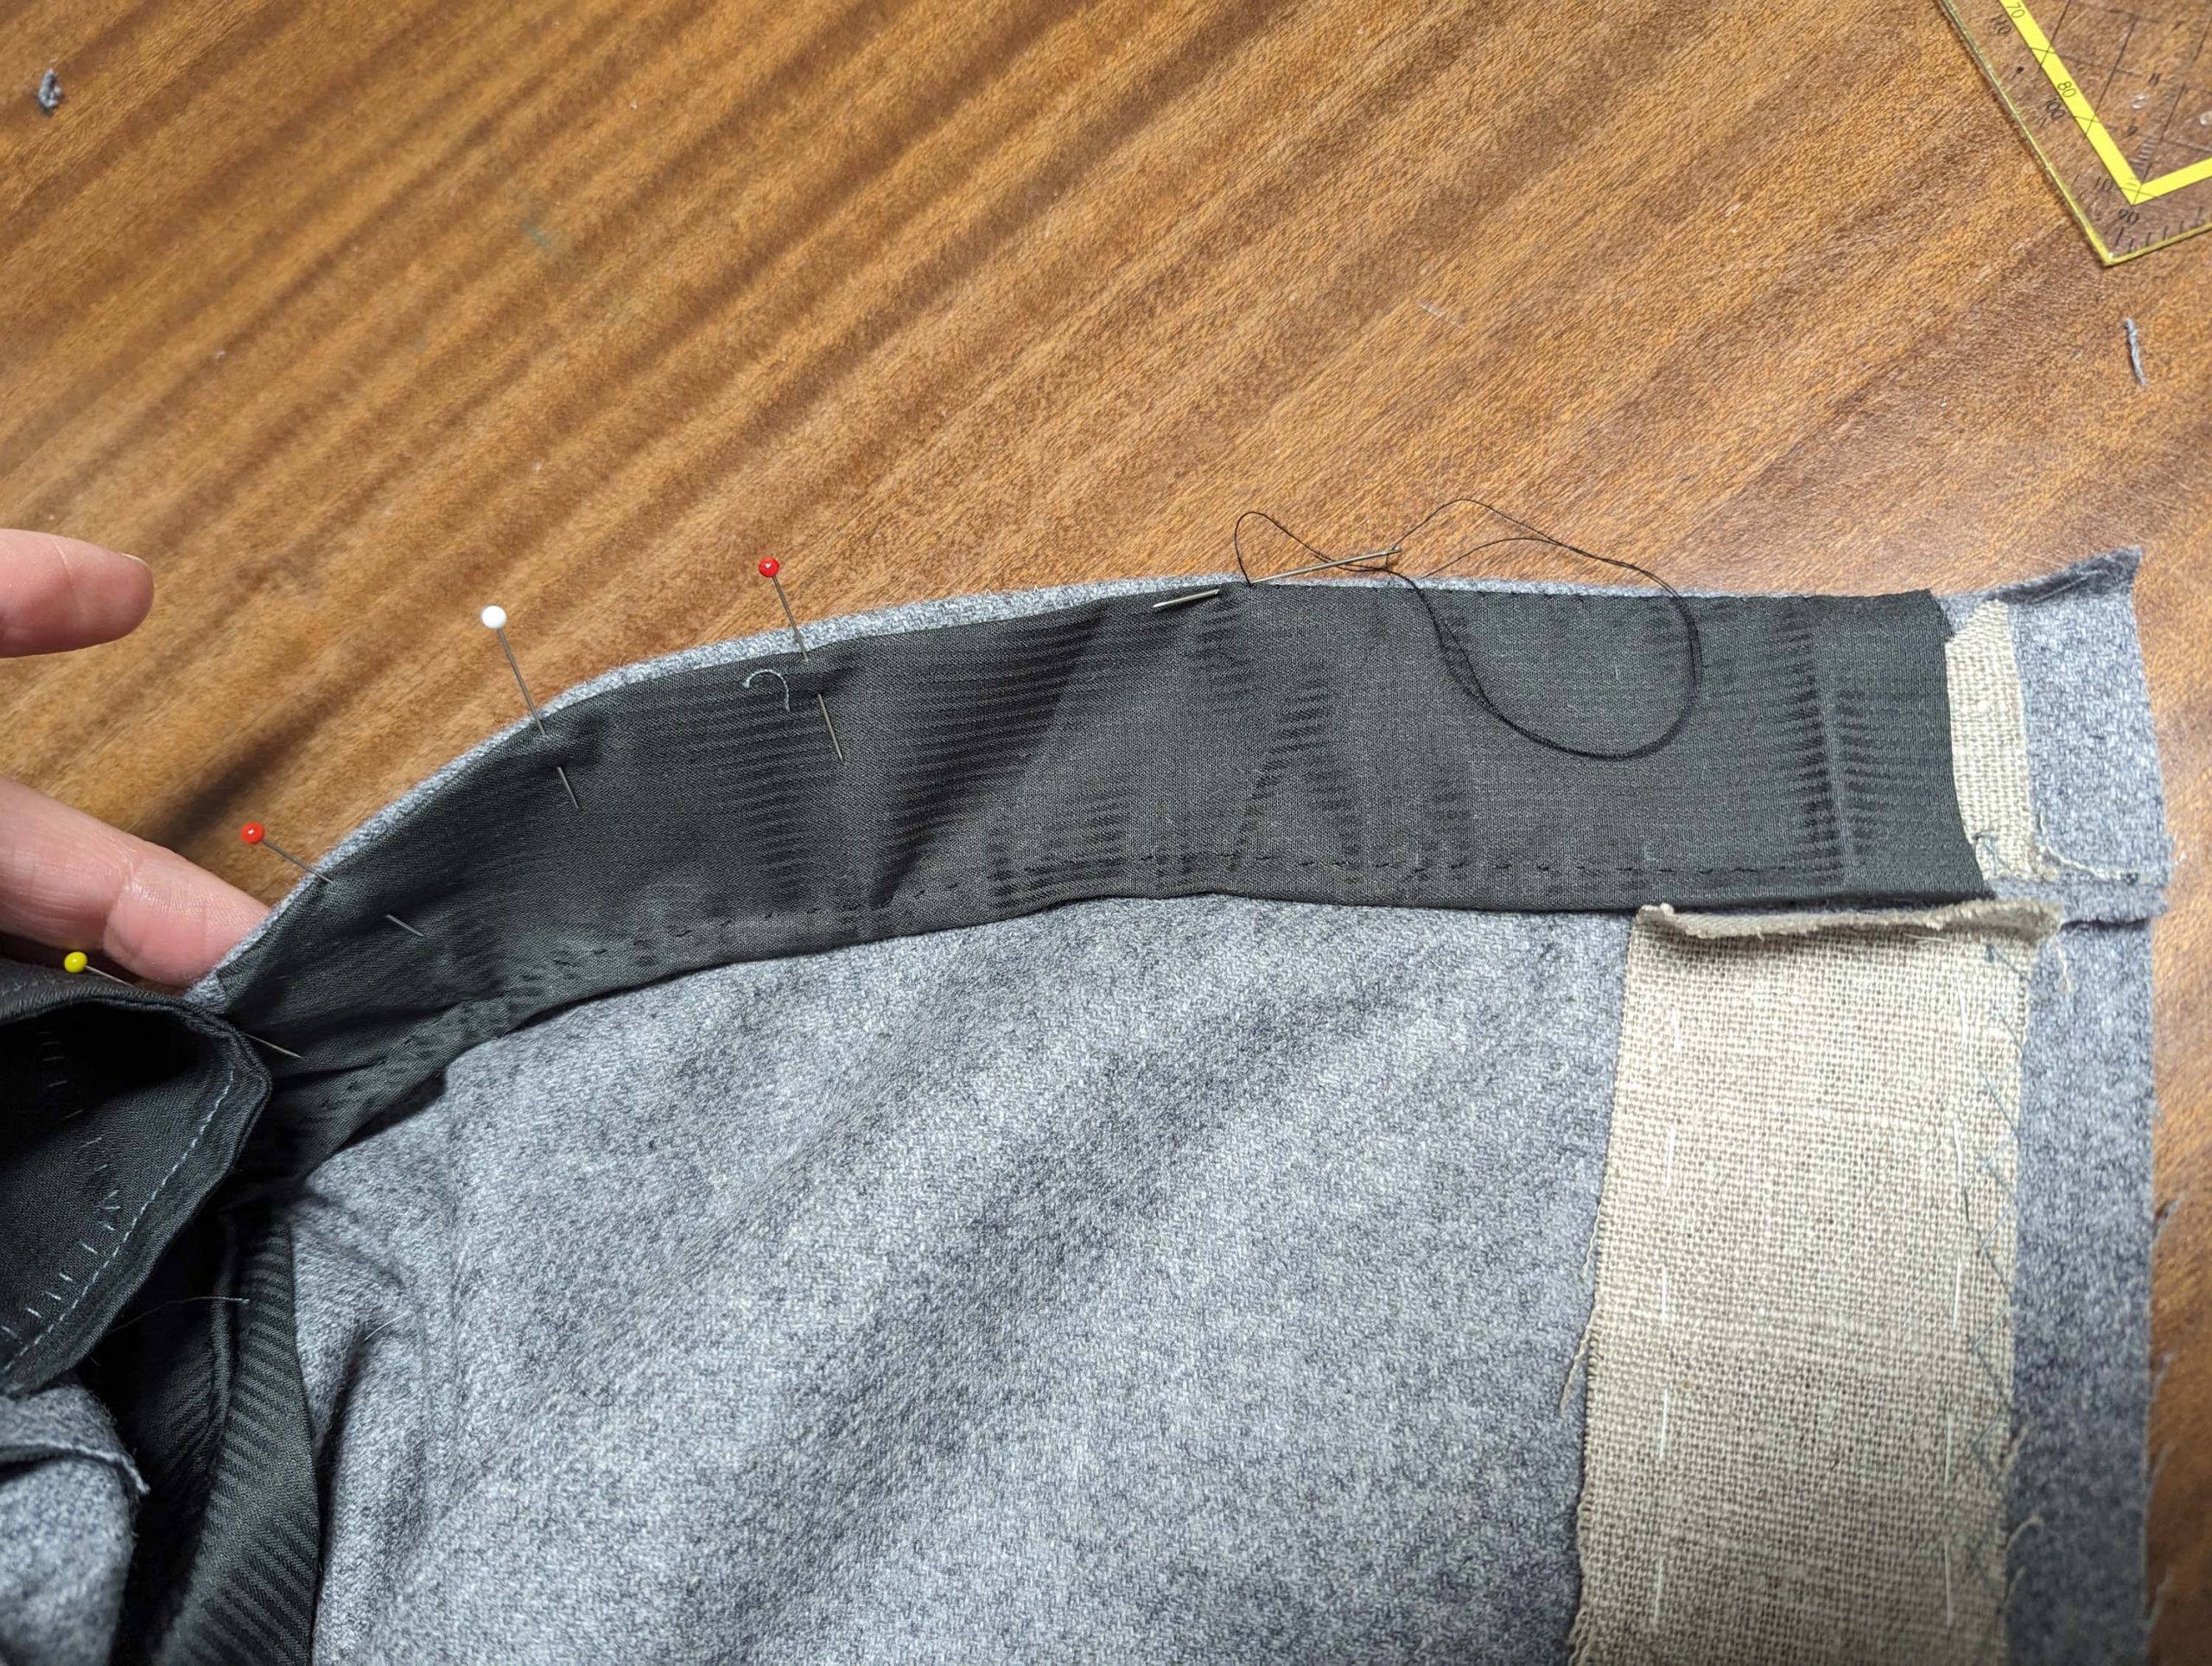
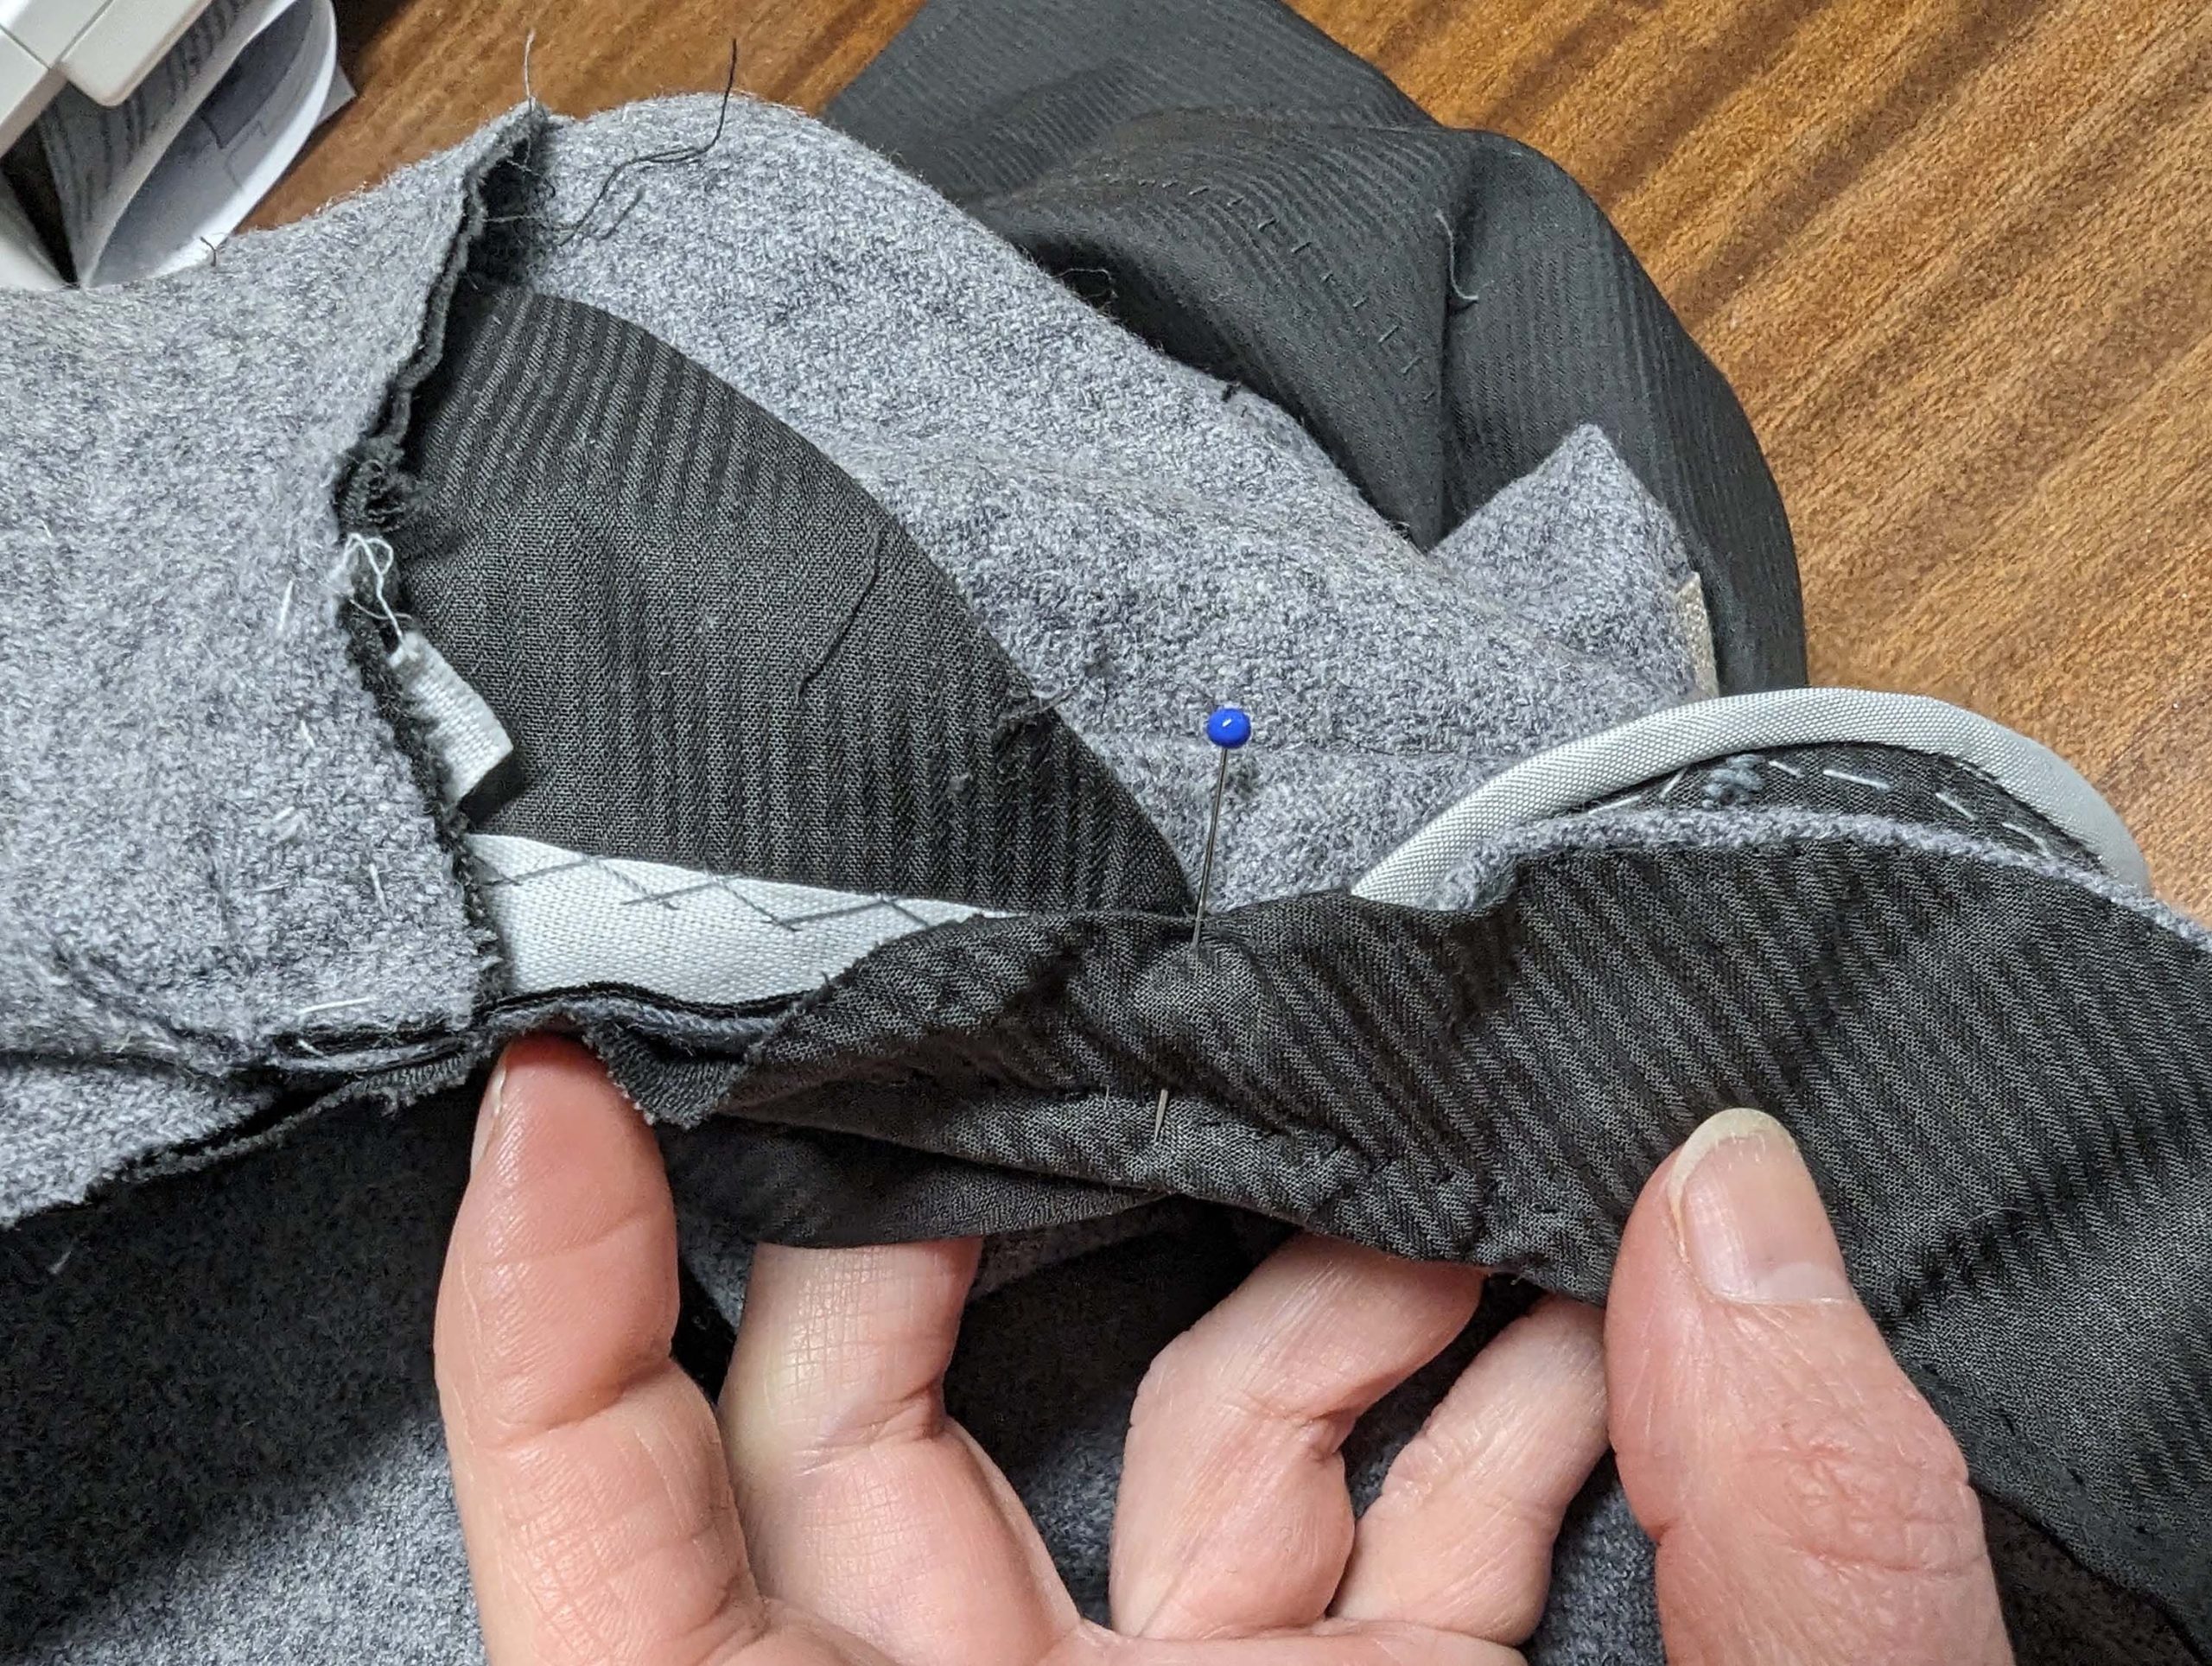
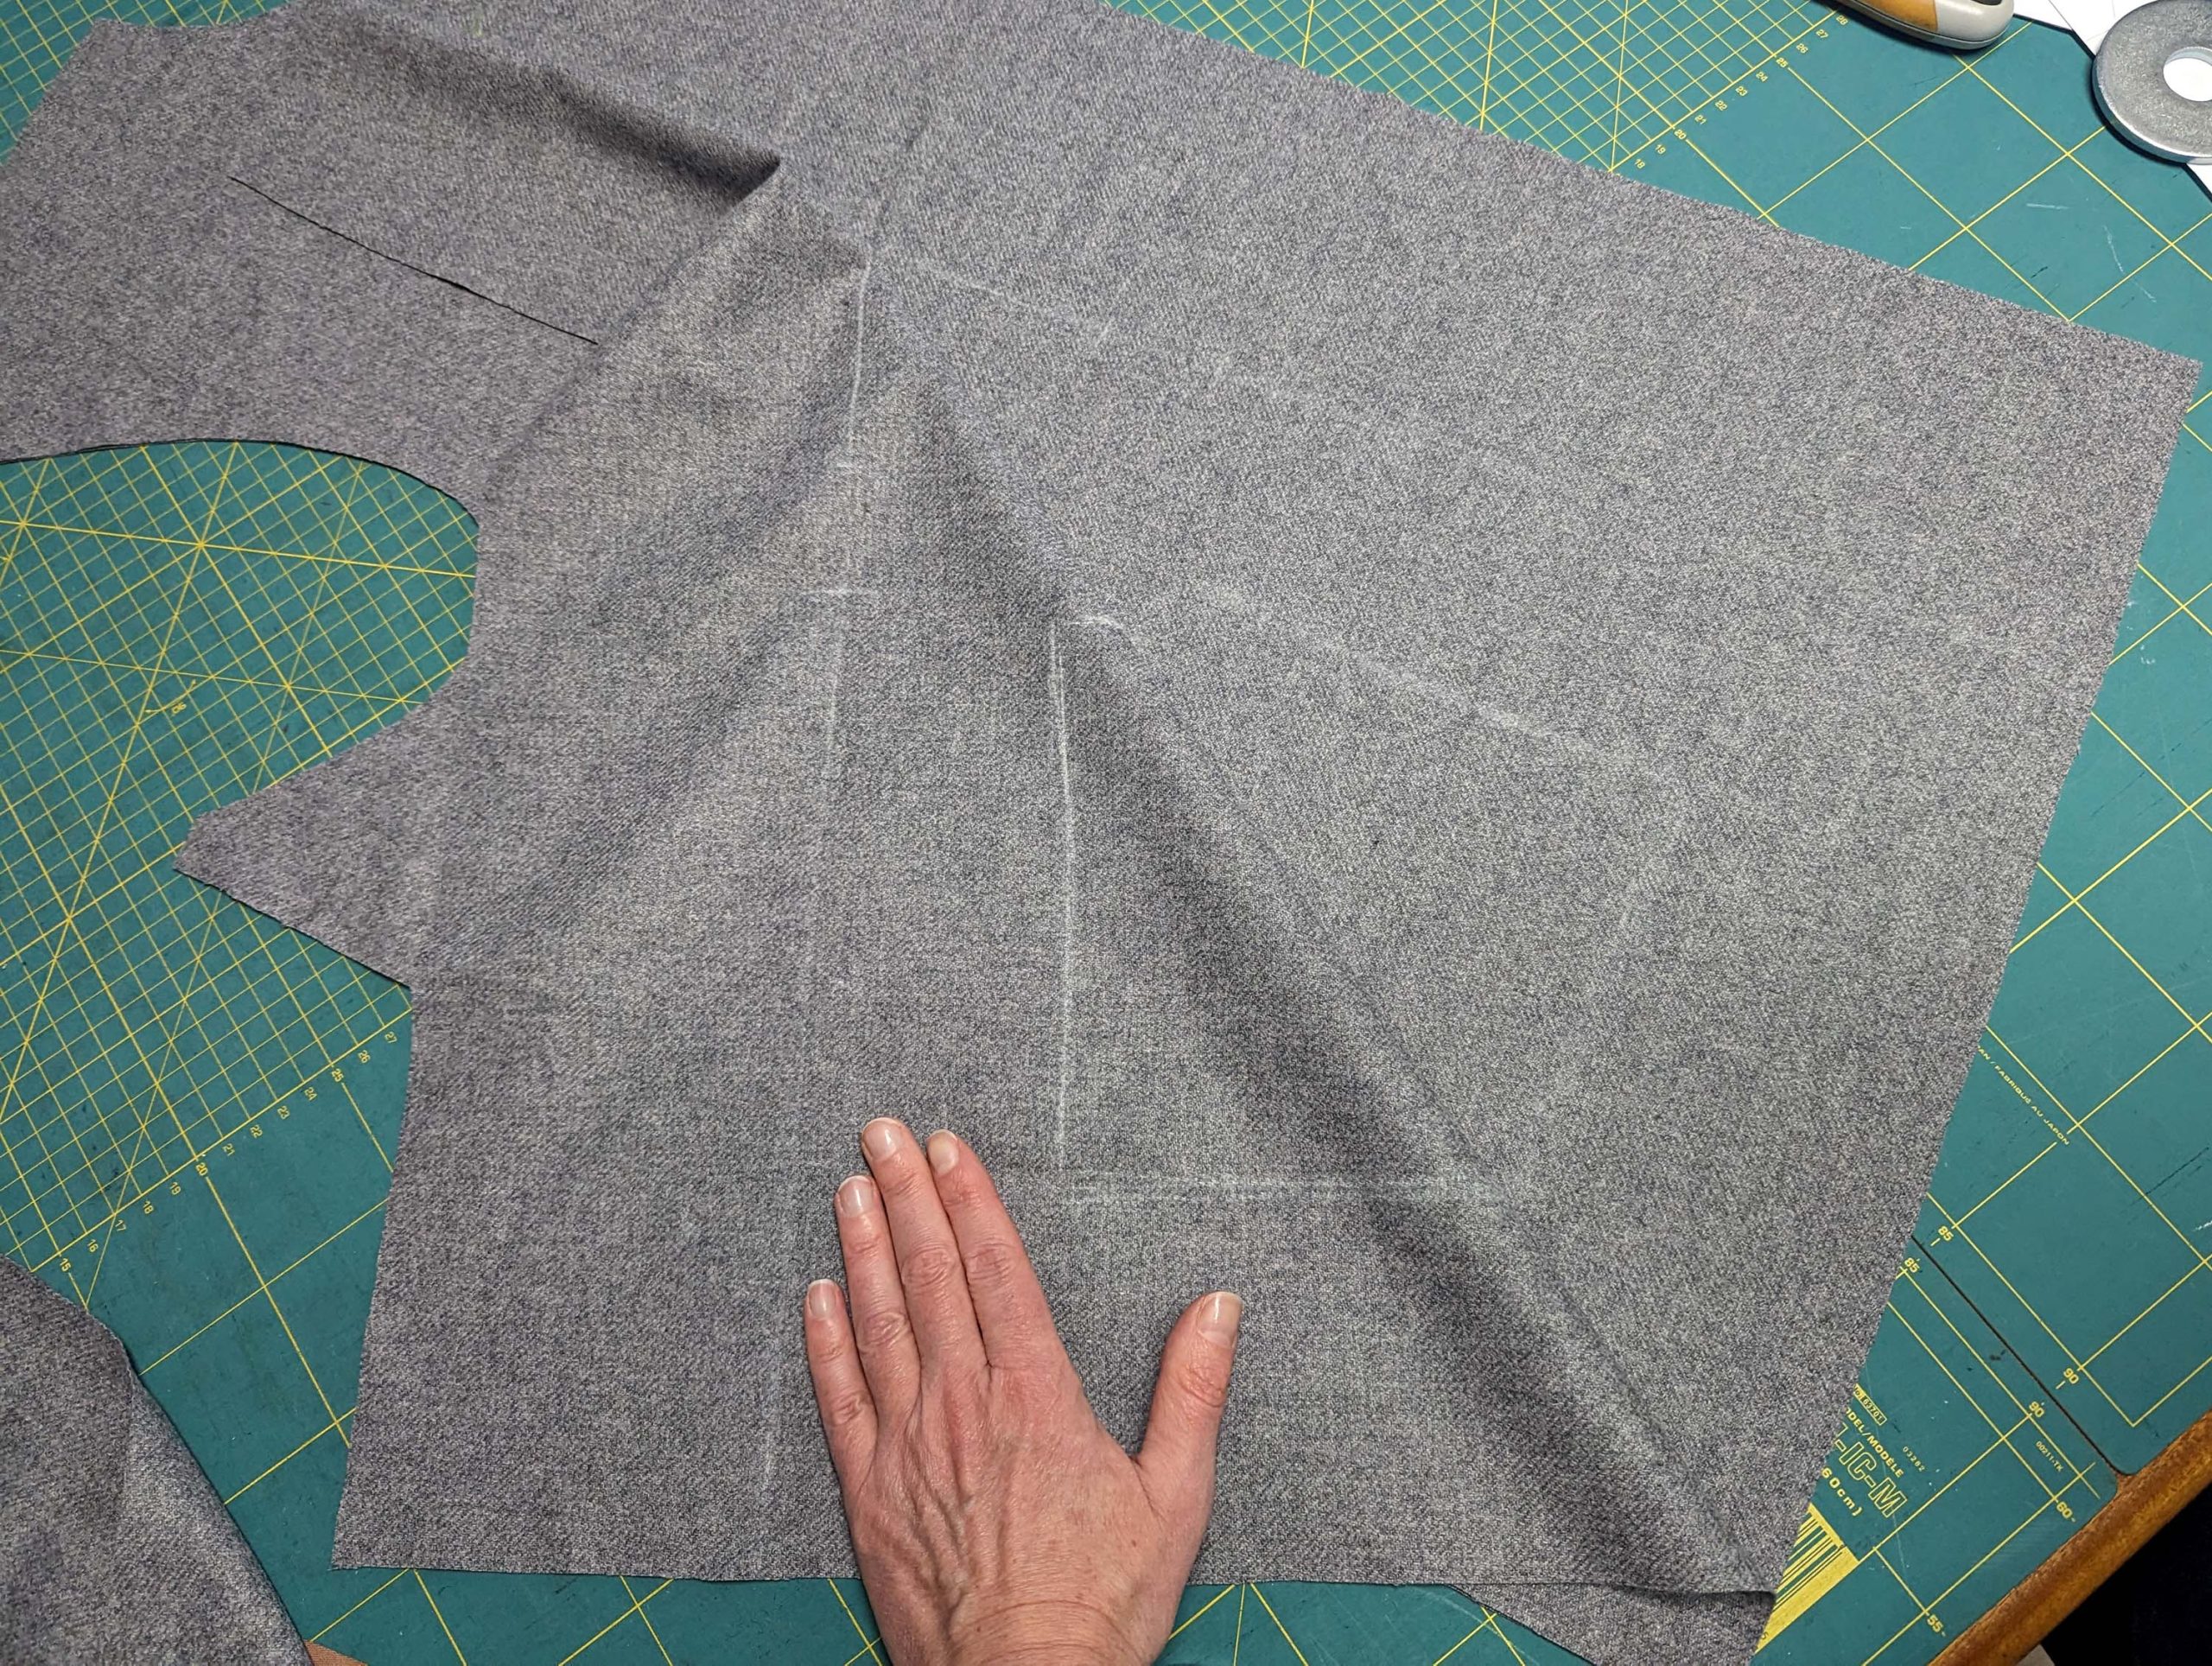
Line up the pocket facing (#5b) with the side edges of the top and undersides, right sides together, matching marks (1) and (2). Sew exactly between the marks with a seam allowance of 1/2” (1,3cm) – please ignore the wrong position and material of the interlining, I replaced that later. Trim back the seam allowance of the facing only, slanted at the end of stitching, to reduce bulk, and fold to the side.


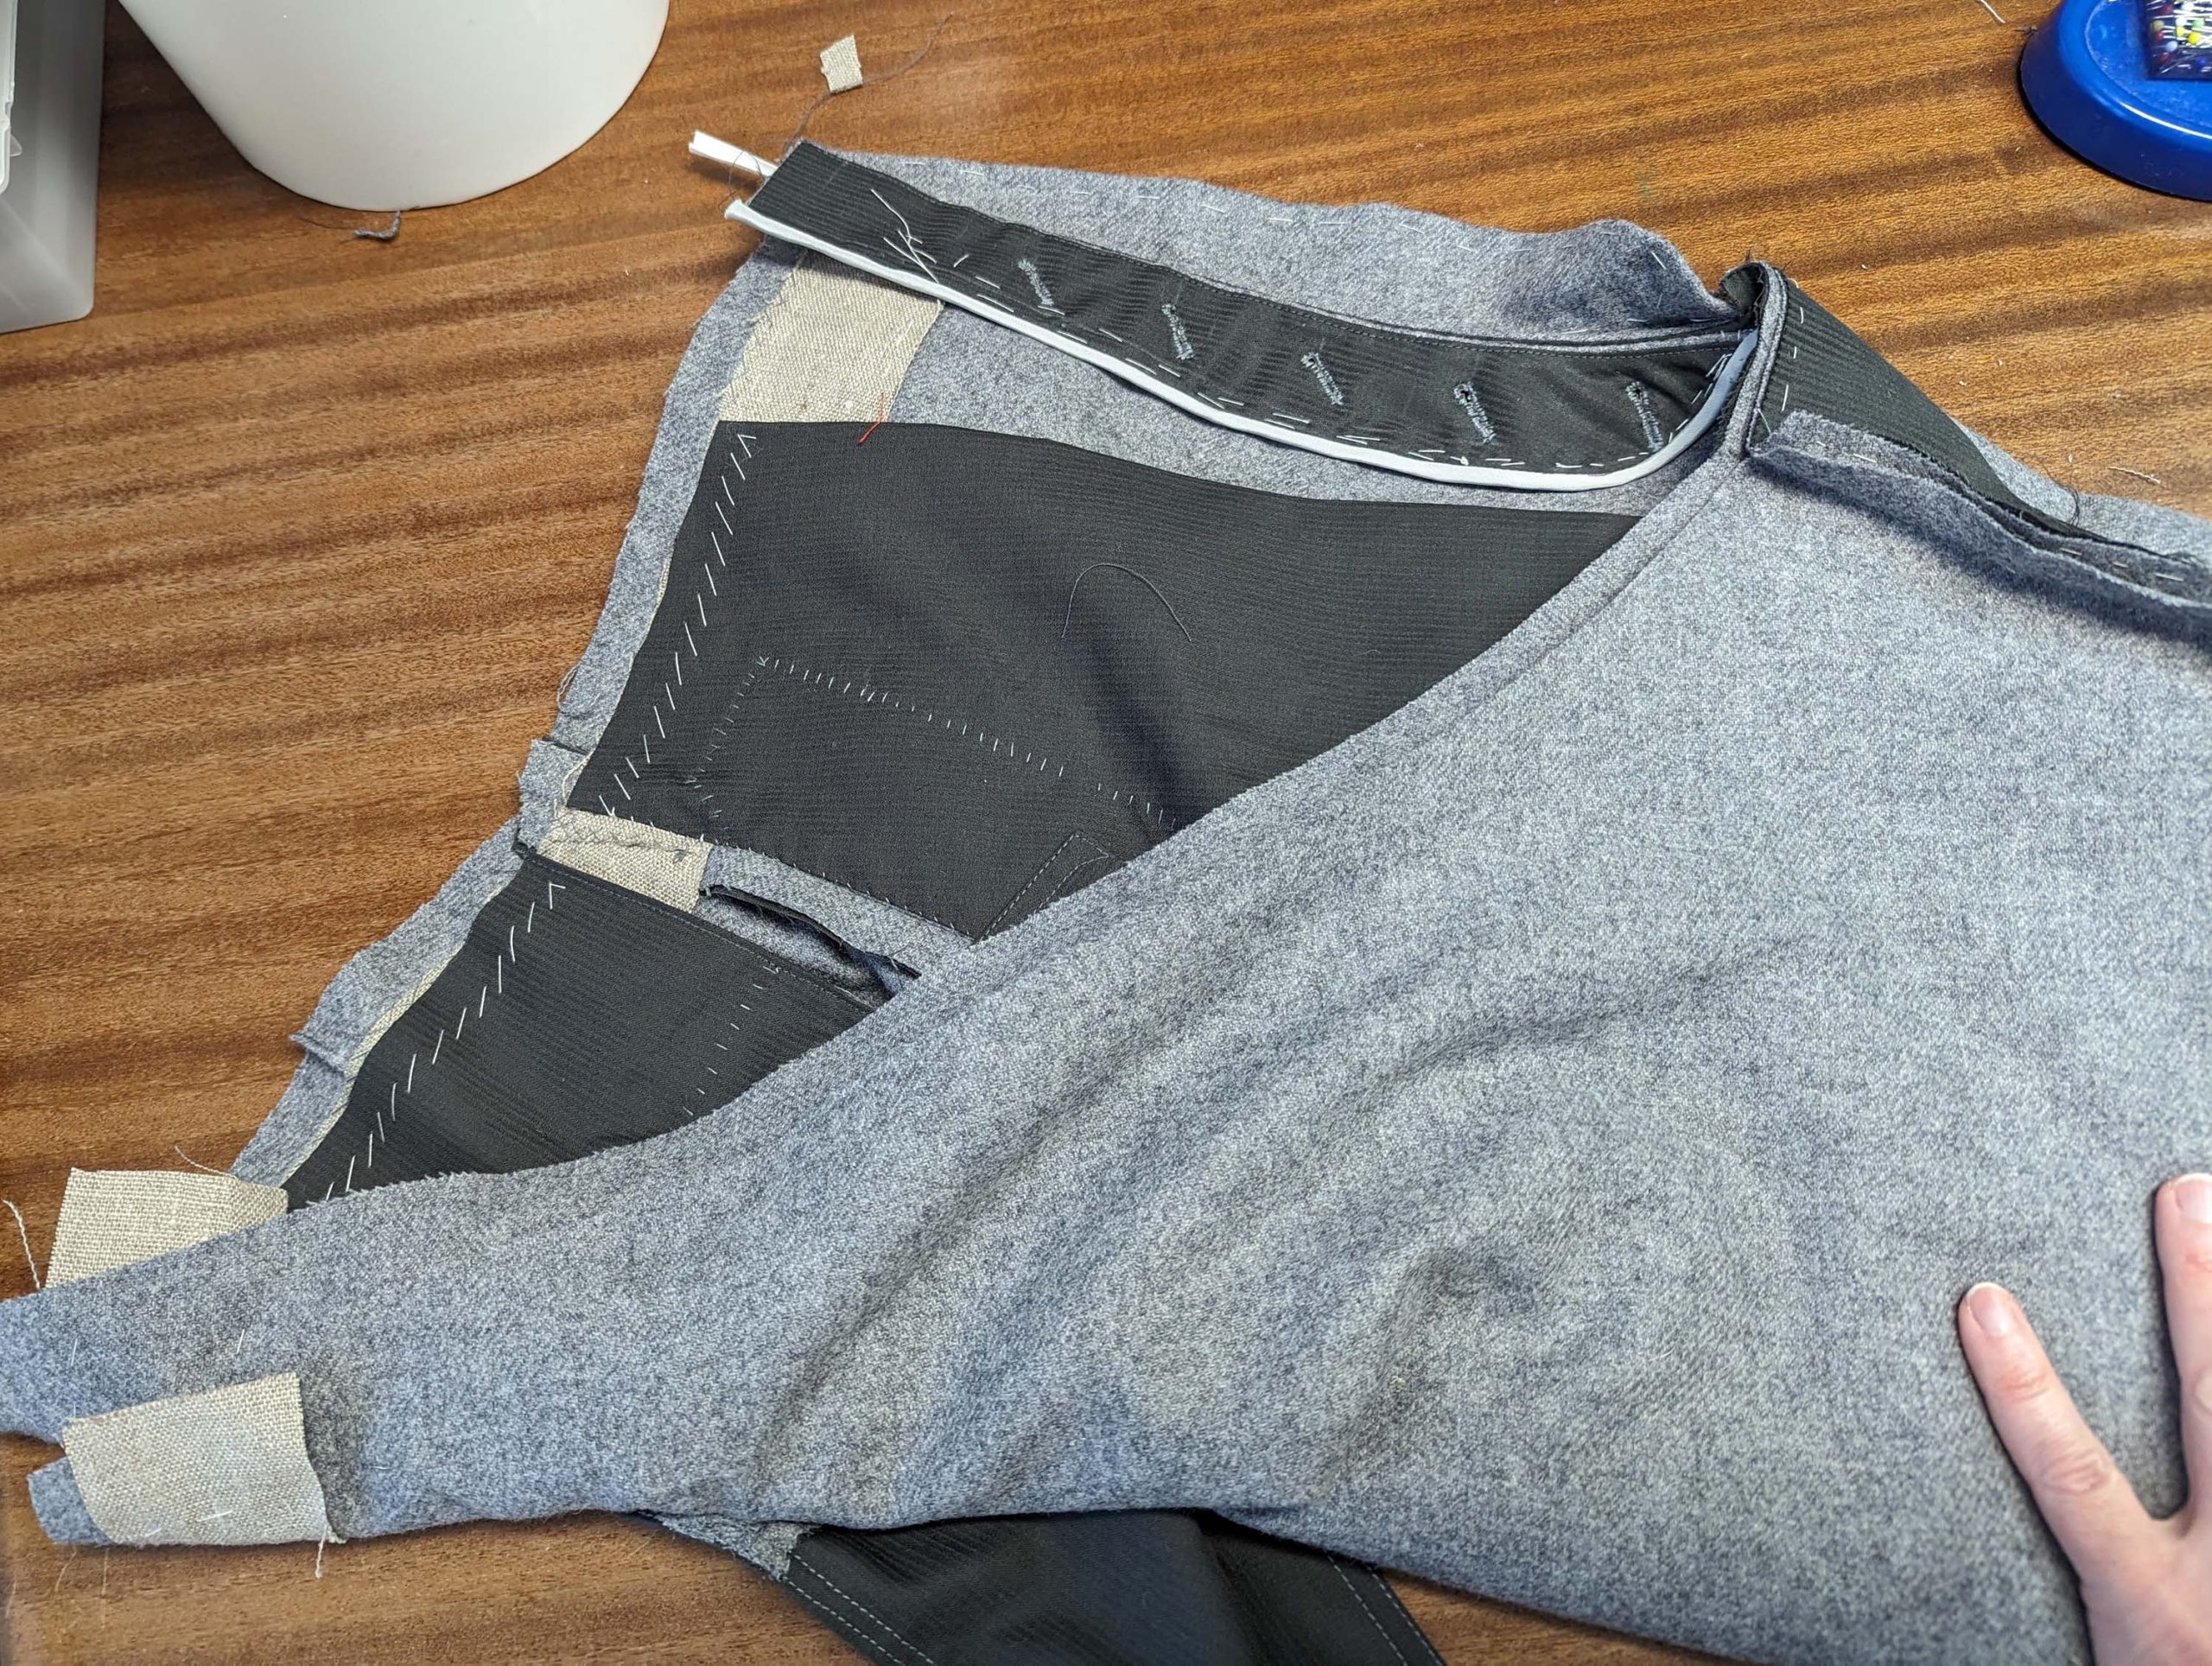
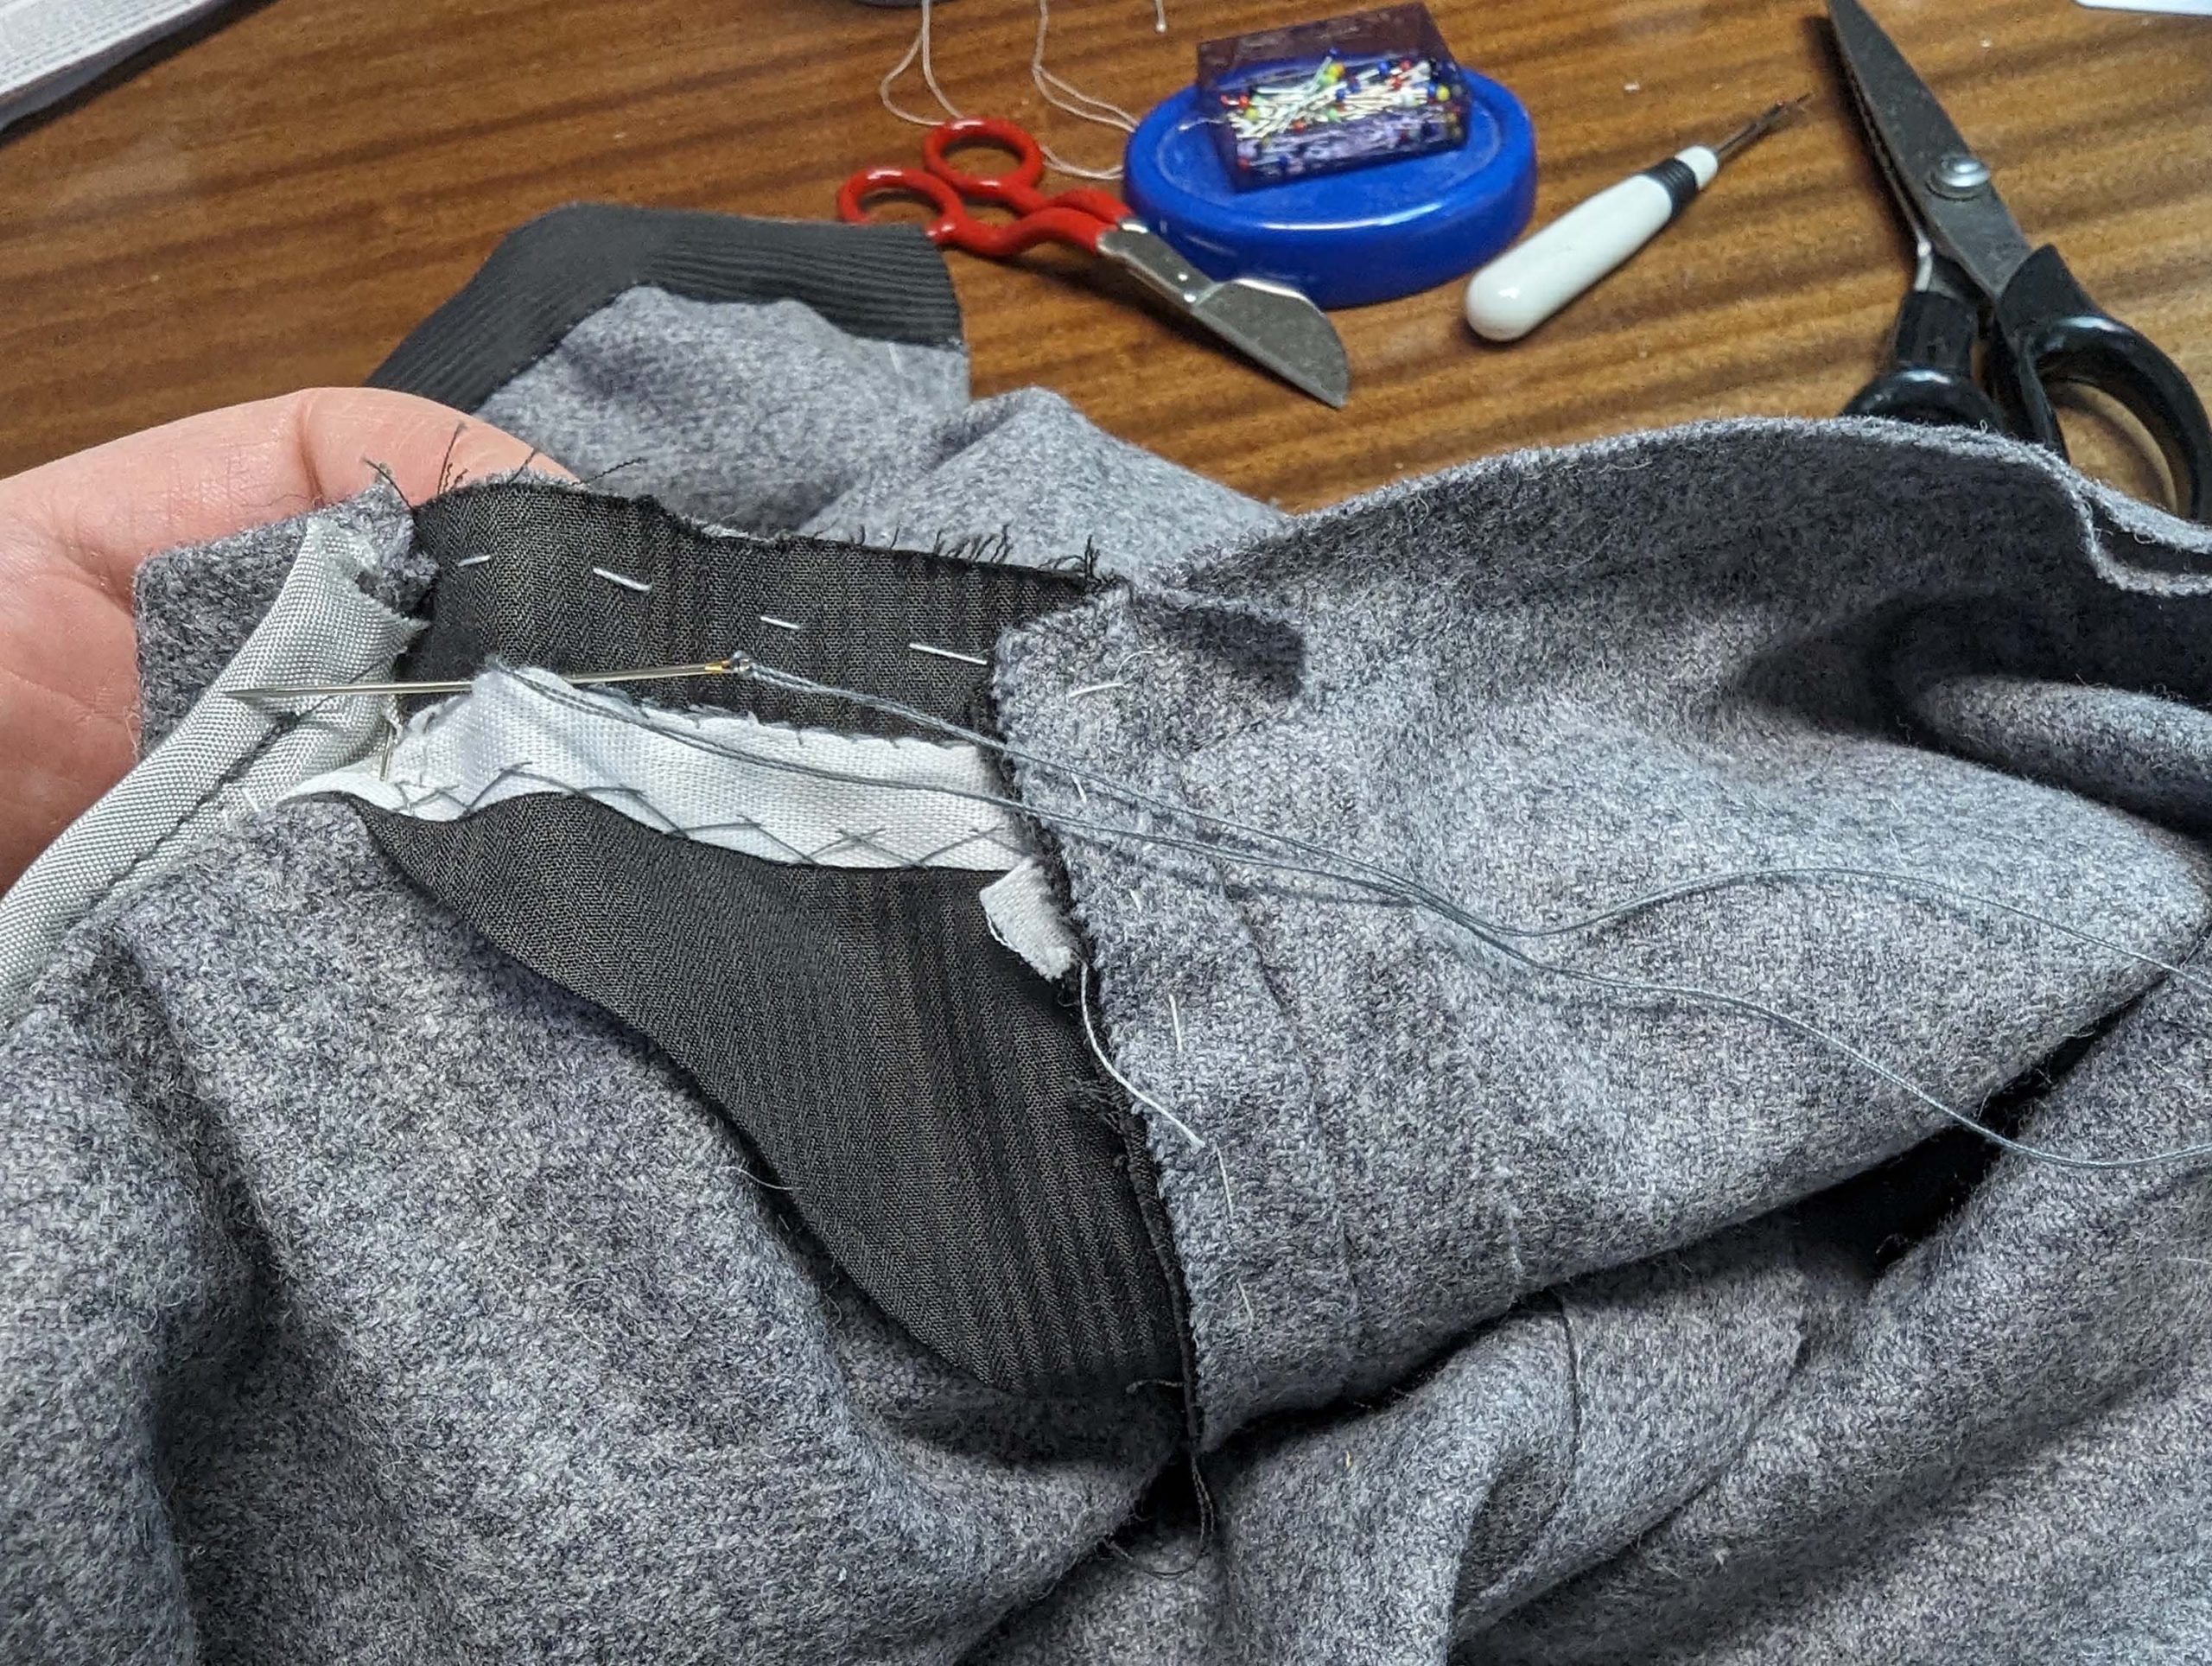
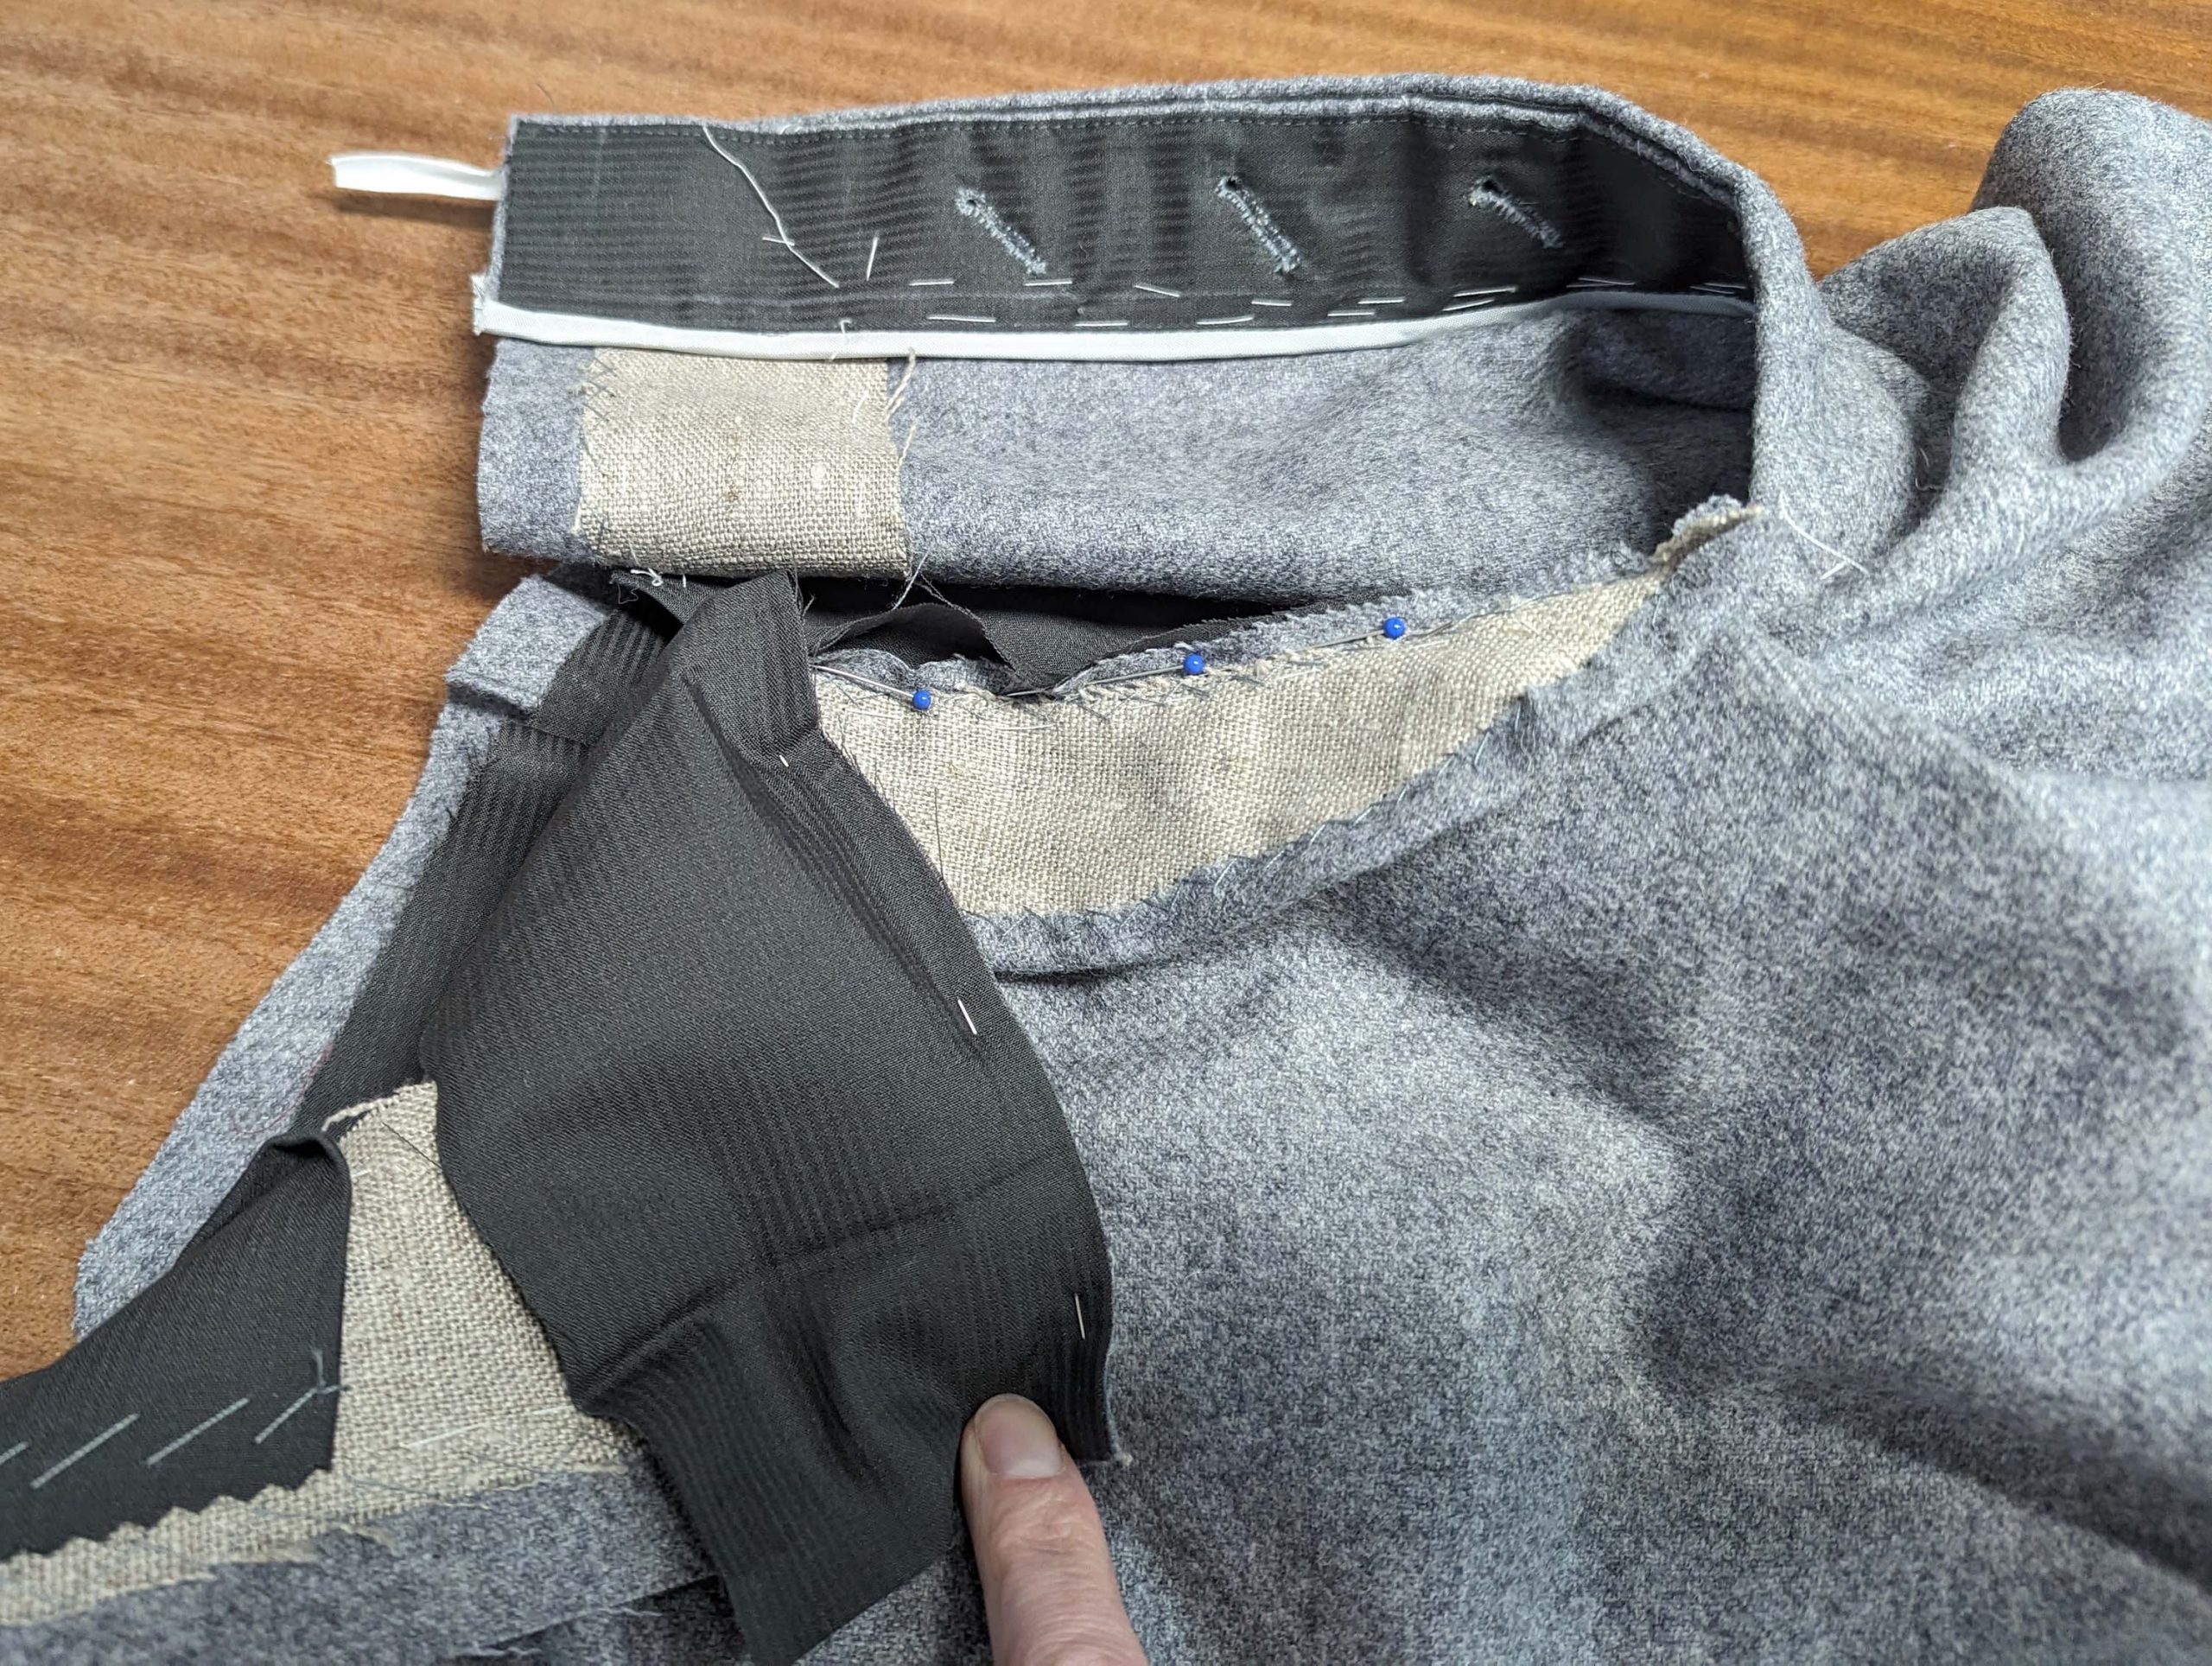
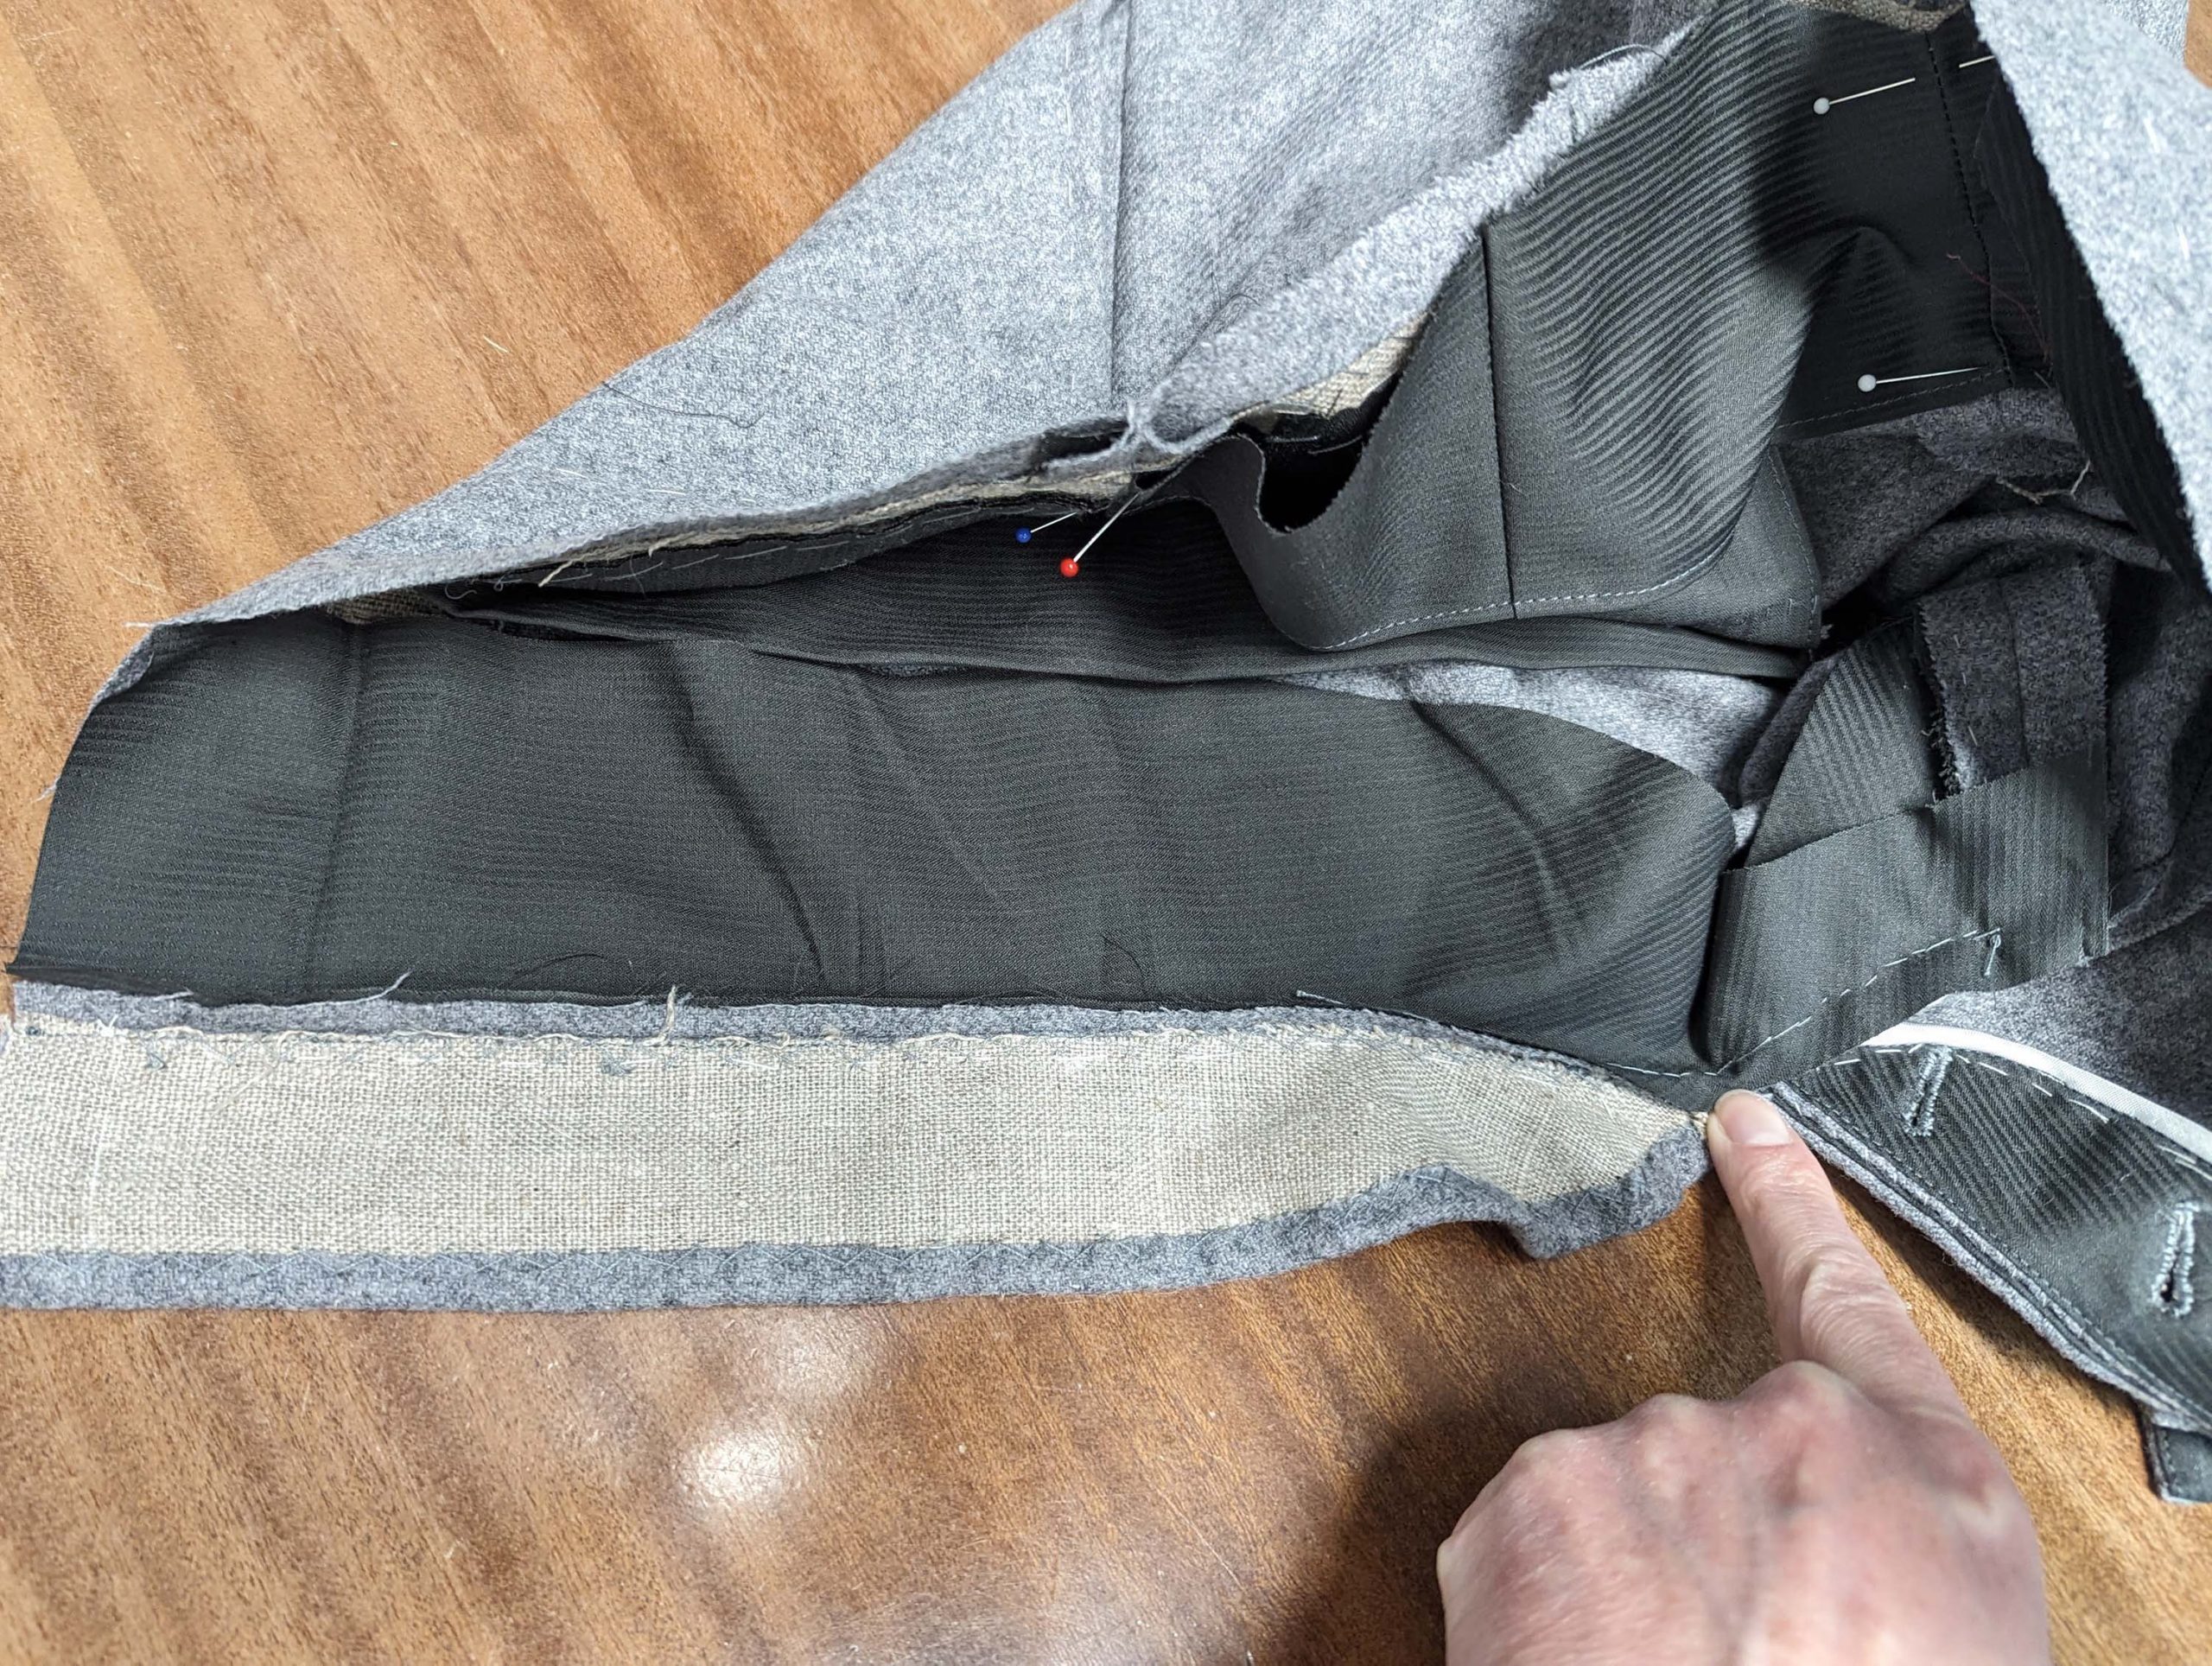
Line up the top and undersides along the side seam, right sides together, matching the marks and sew with a seam allowance of 5/8” (1,5cm). Sew from the top, until reaching mark (4), skipping the pocket opening between (1) and (2) . Notch the seam allowance of the undersides at mark towards the end of stitching and press open the seam allowances.